HOLIDAY DONATION DRIVE - SUPPORT MSW - DO YOUR PART TO KEEP THIS GREAT FORUM GOING! (Only 72 donations so far out of 49,000 members - Can we at least get 100? C'mon guys!)
×


westwood
-
Posts
275 -
Joined
-
Last visited
Content Type
Profiles
Forums
Gallery
Events
Everything posted by westwood
-
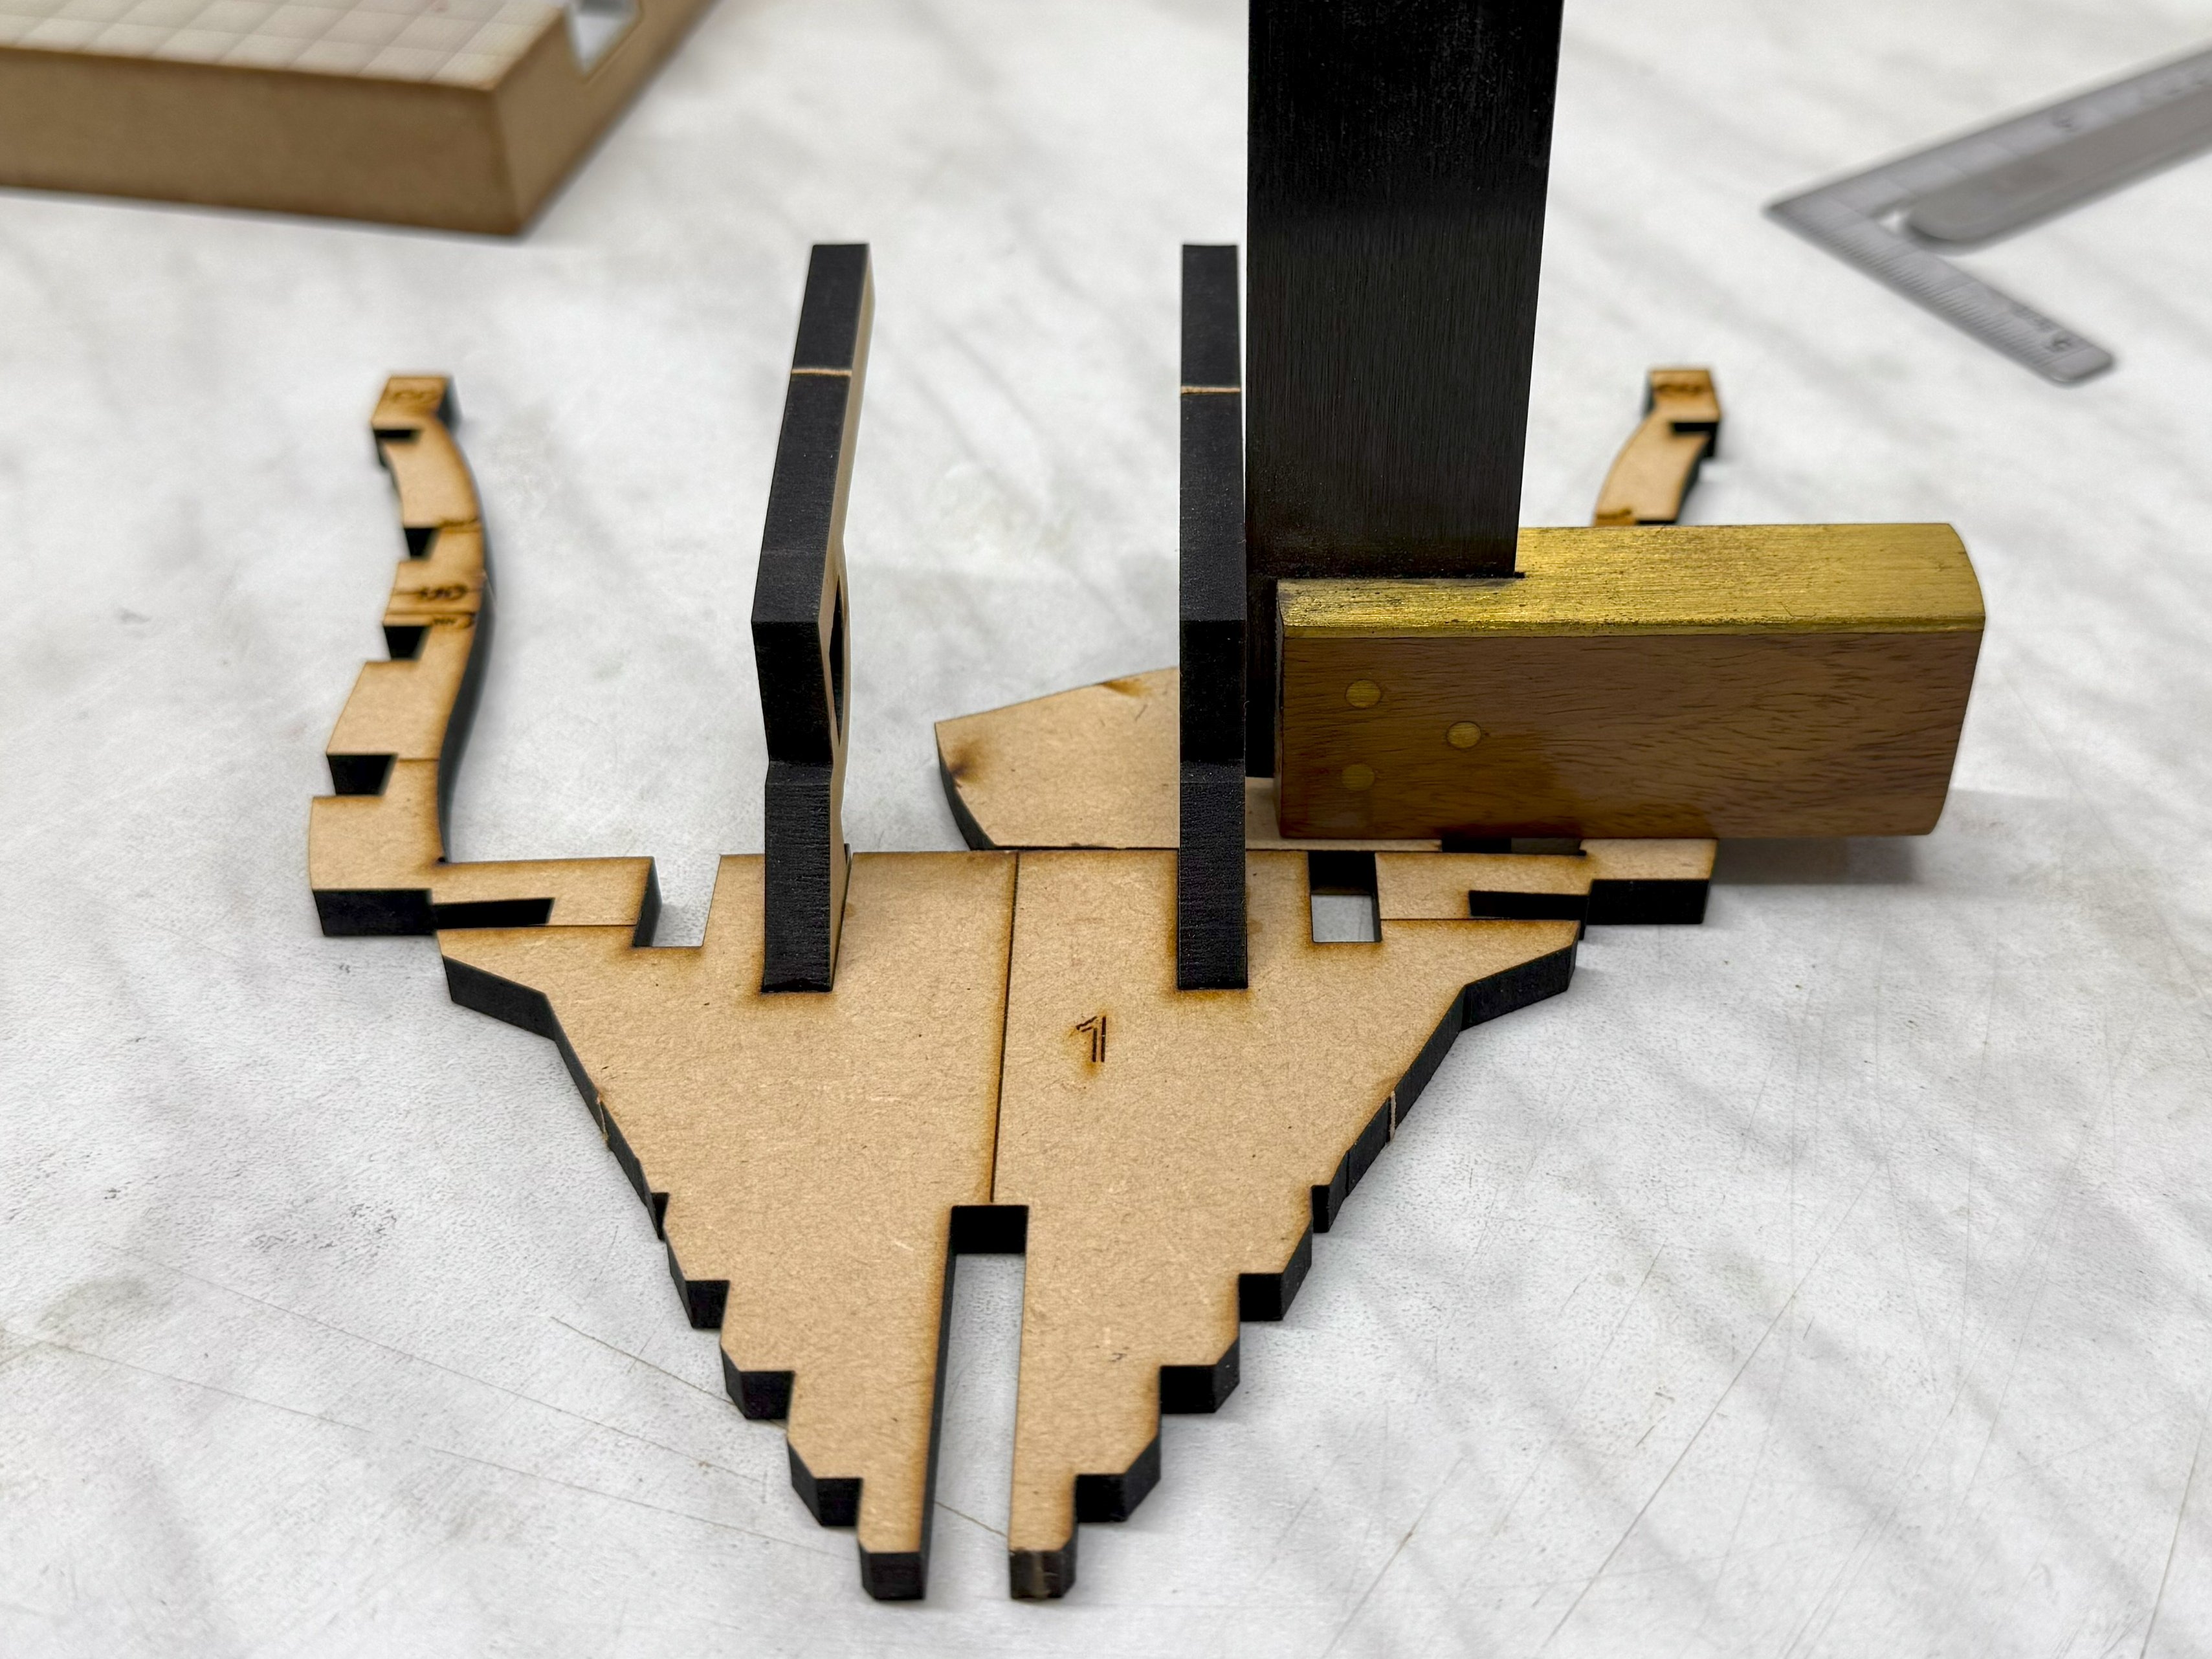
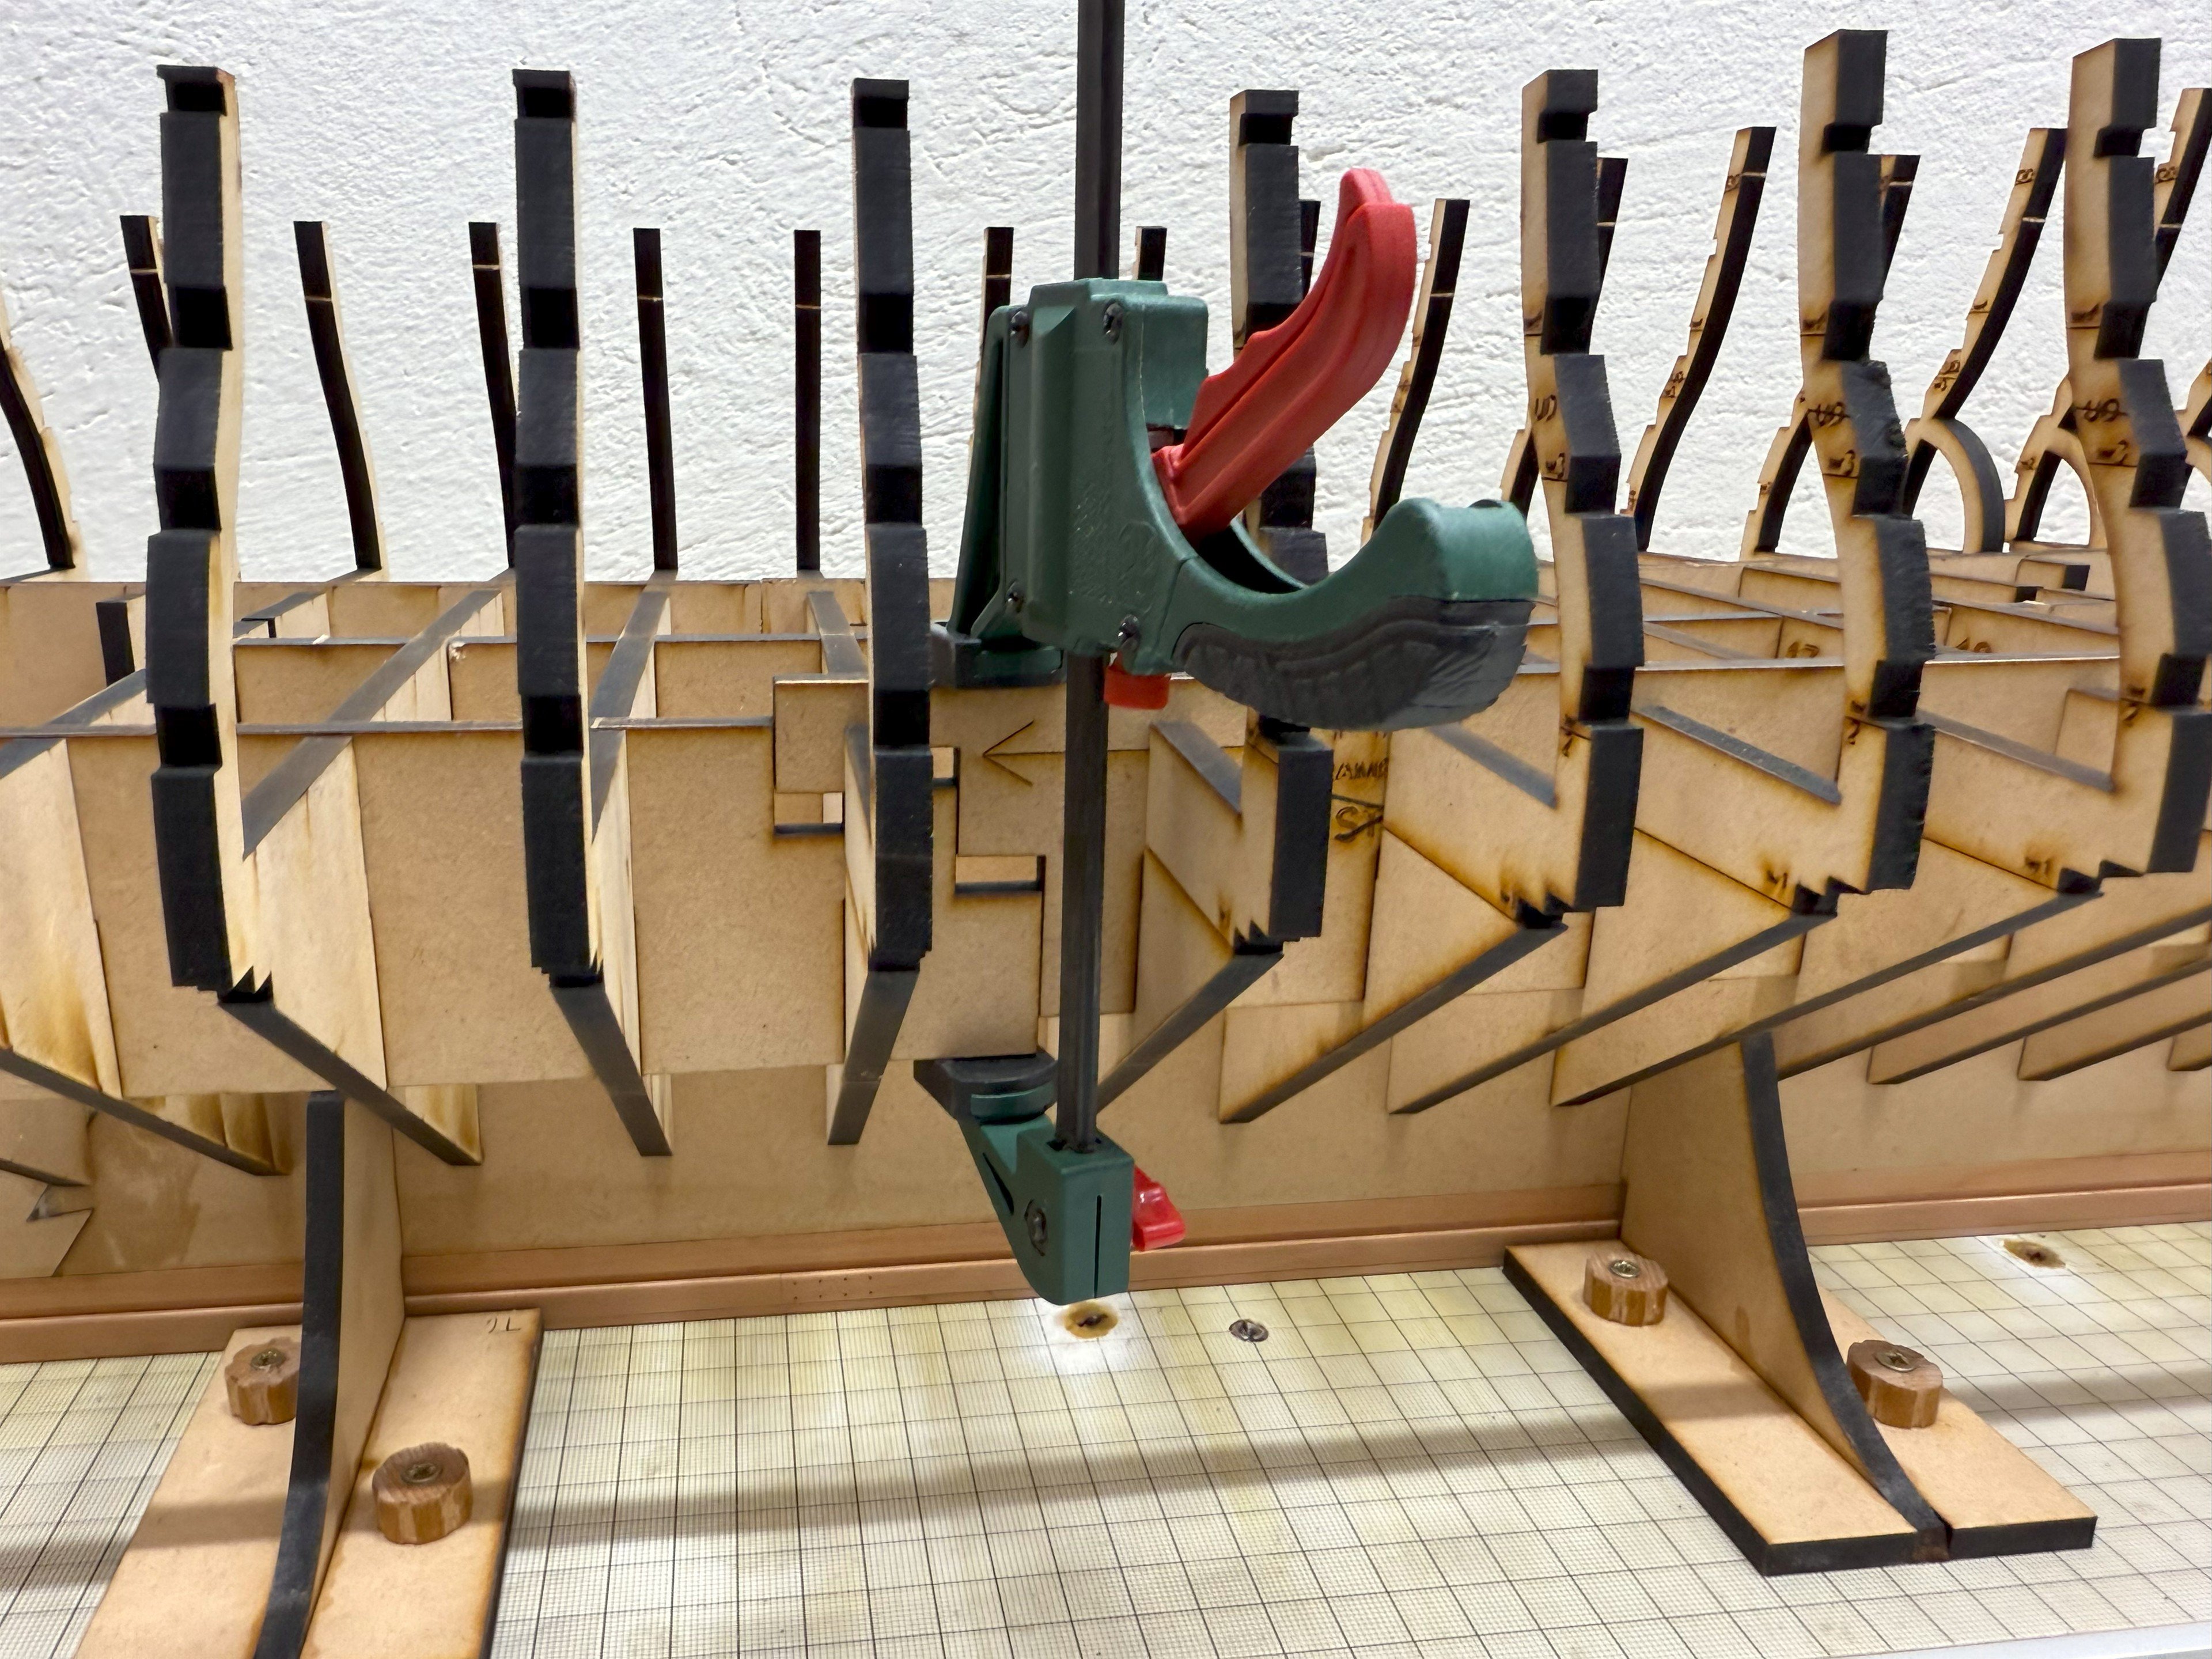
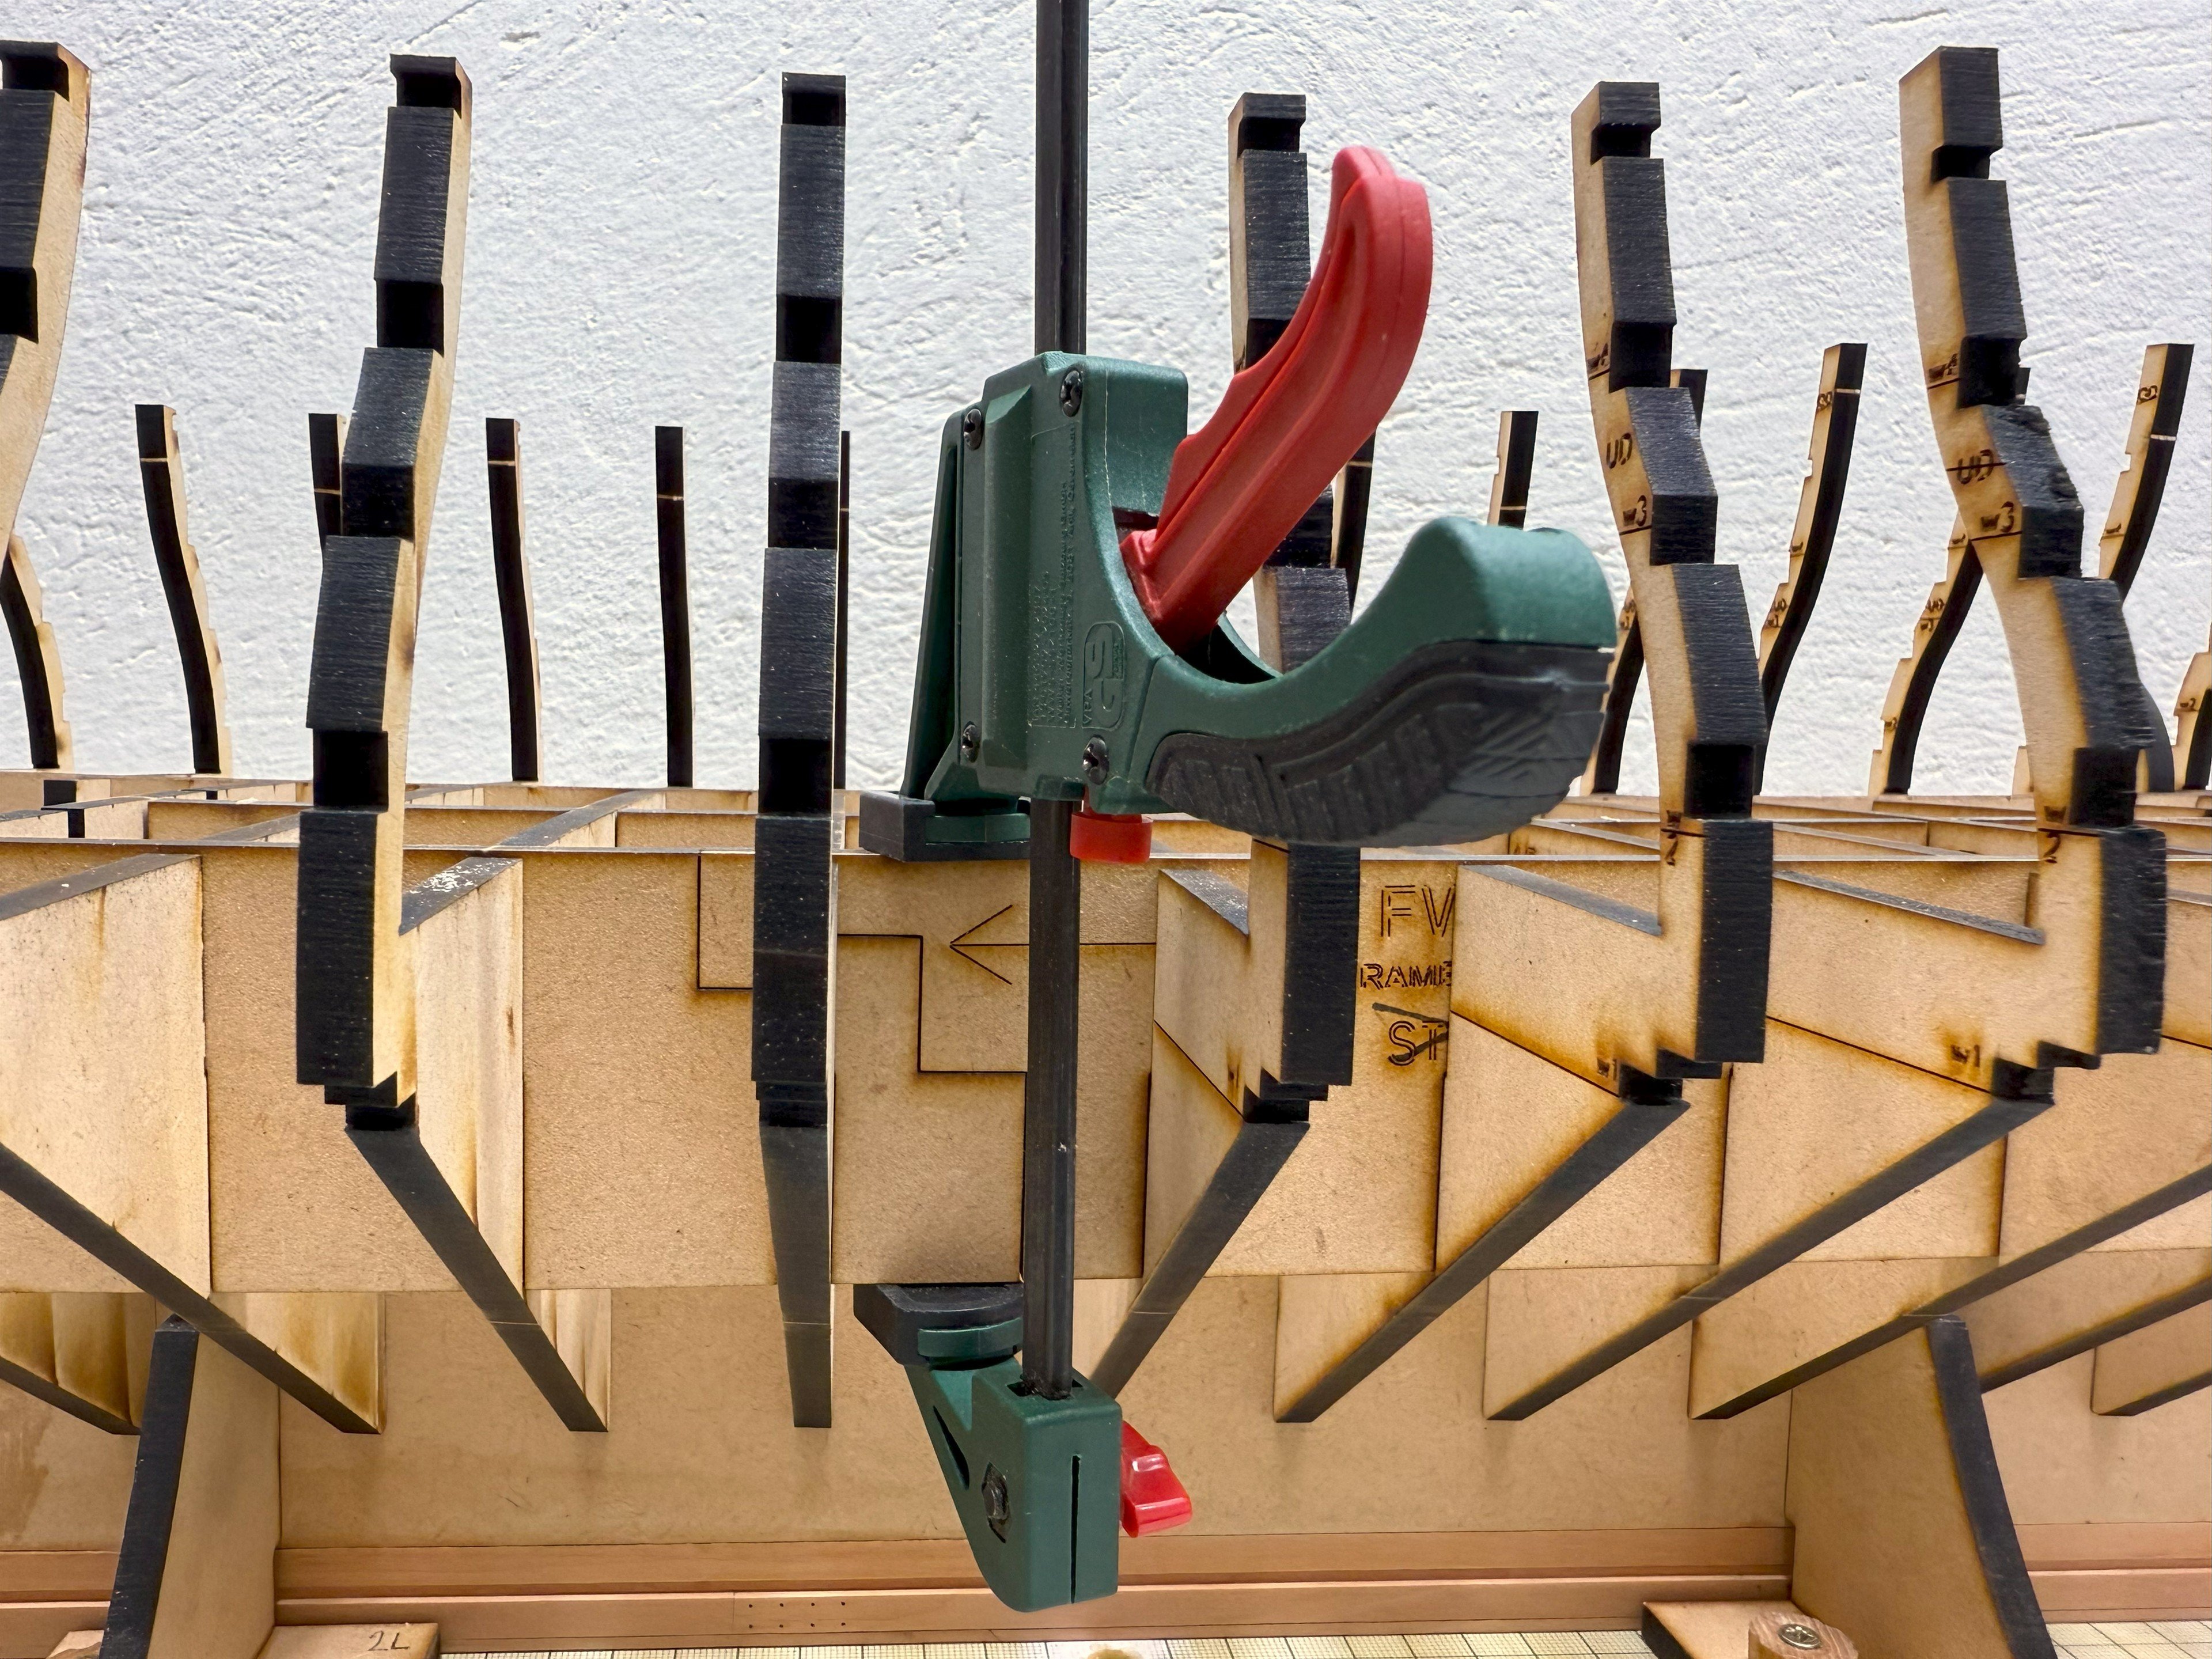
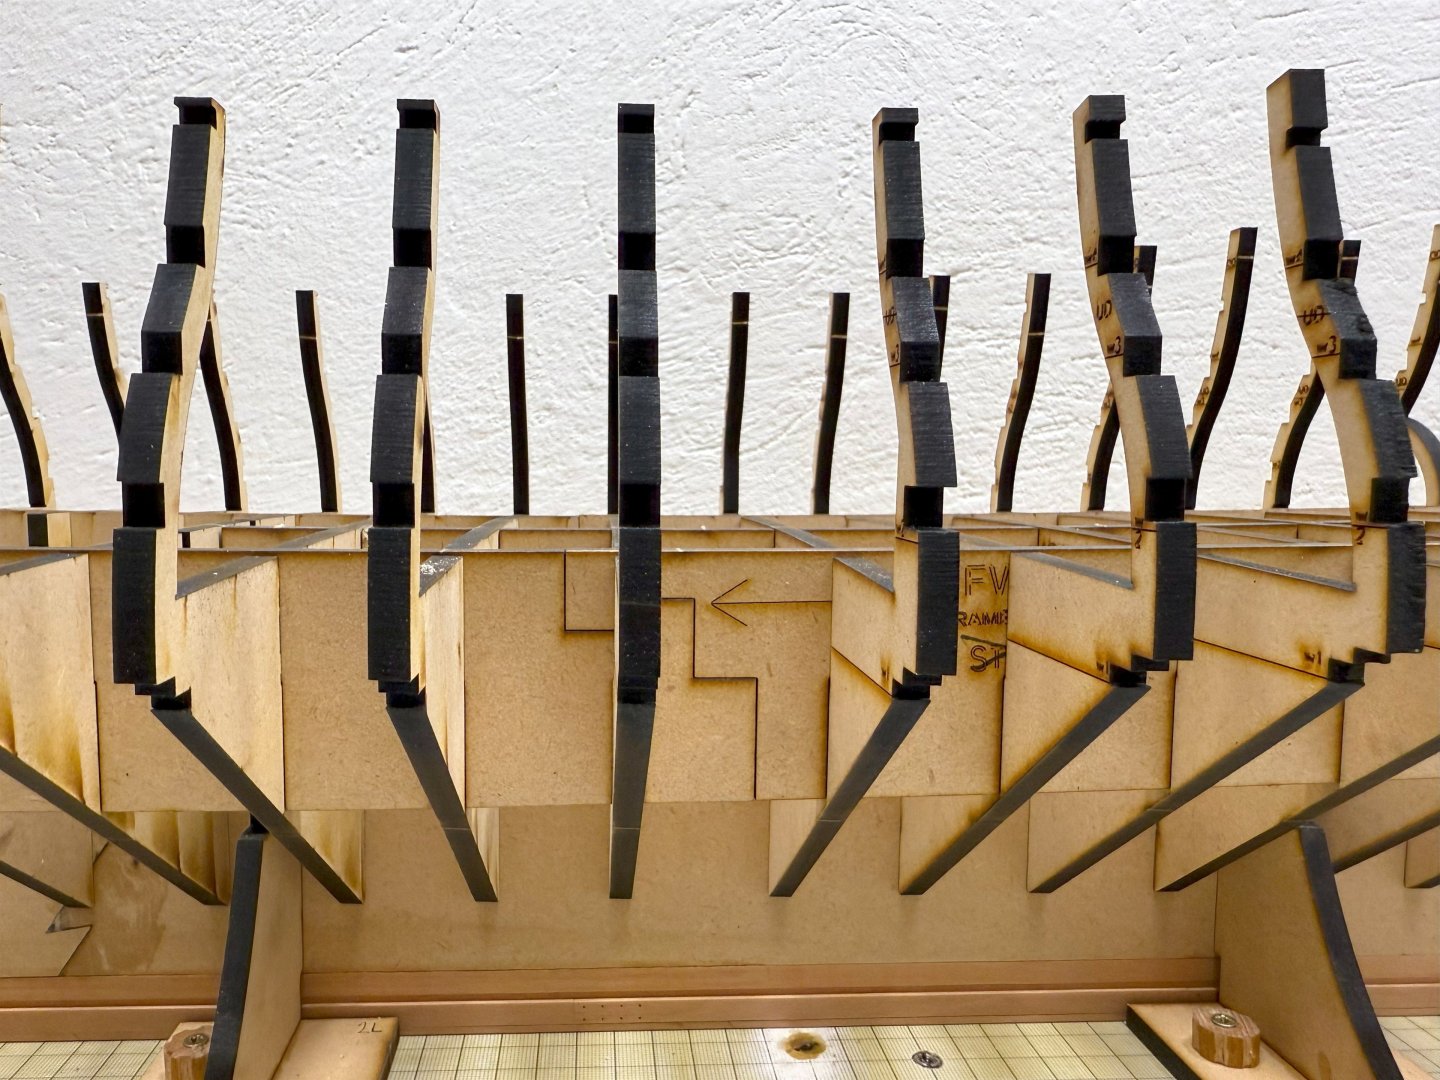
Thank you, JJ. Today, just a small sample. I installed the inner bow frames on bulkhead one. I haven't started gluing the other bulkheads yet. I dry-tested some of the other parts to check their fit and symmetry...


-
Nice progress, Ben! I'm glad I'm behind you because I can be inspired by you.
-
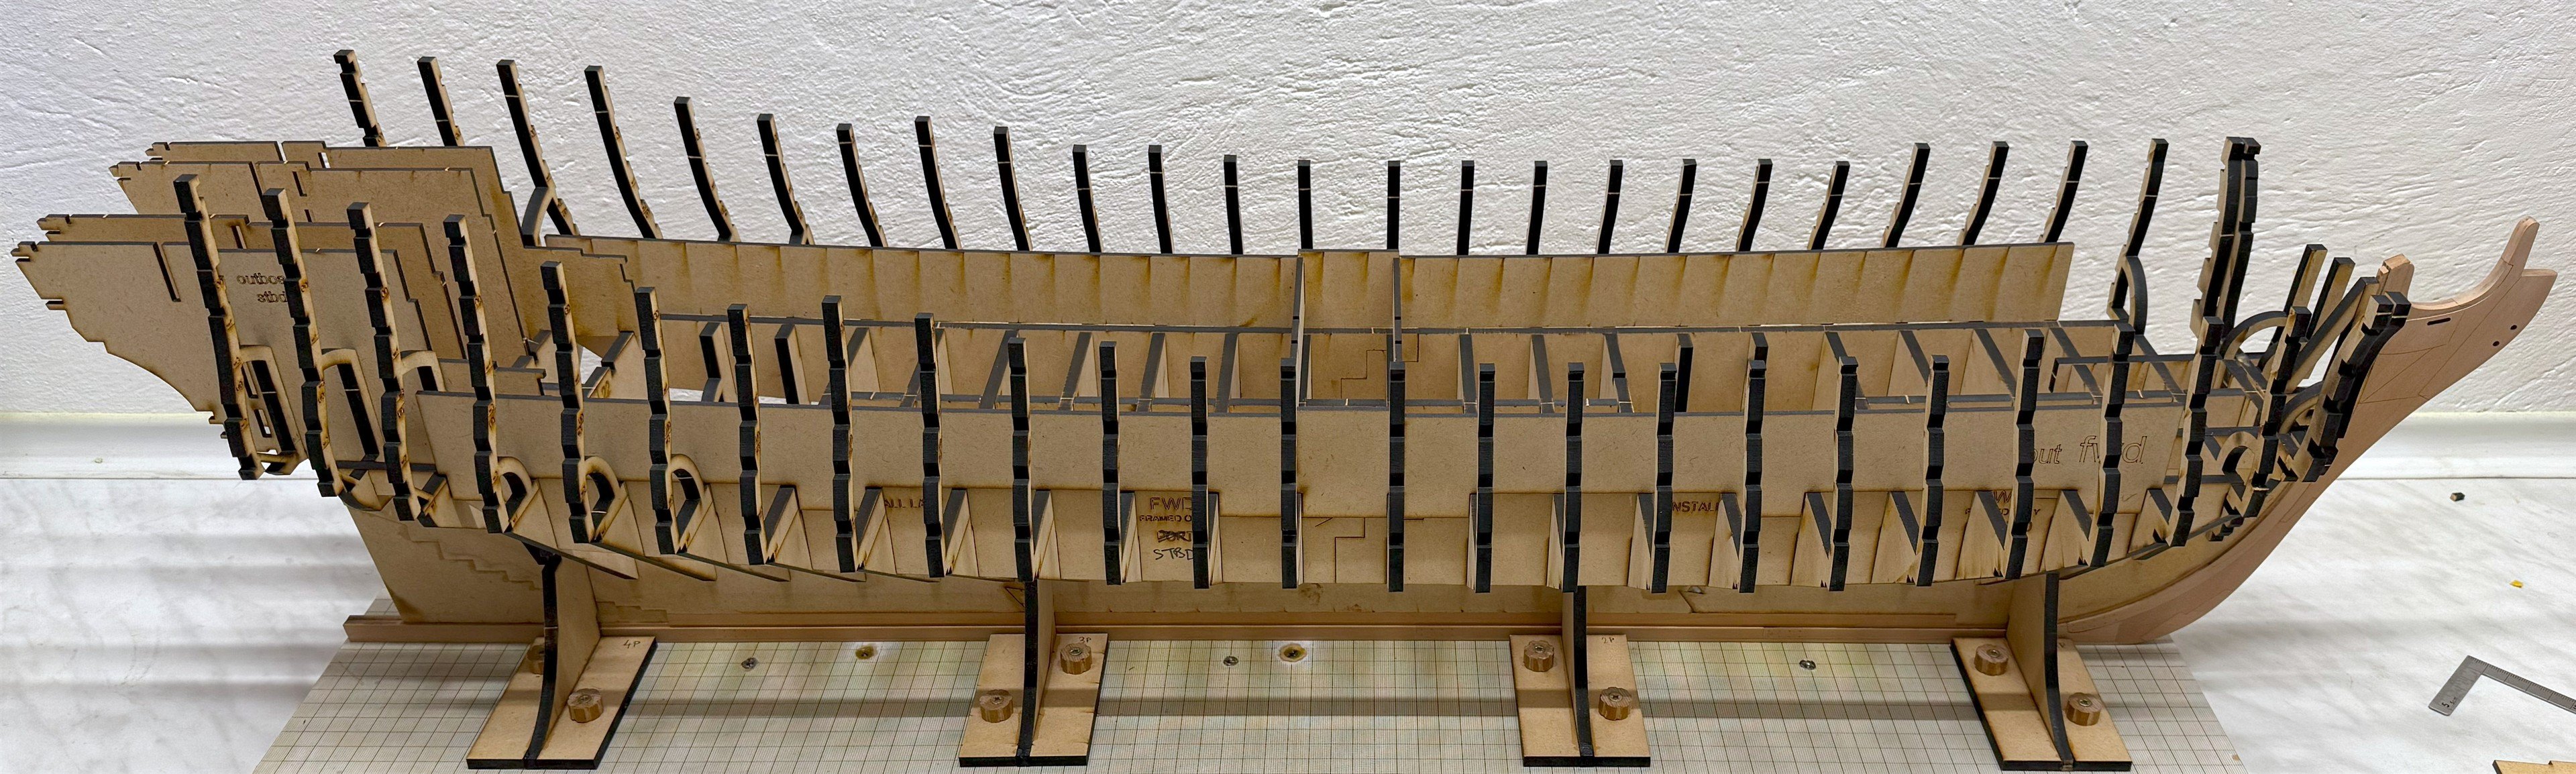
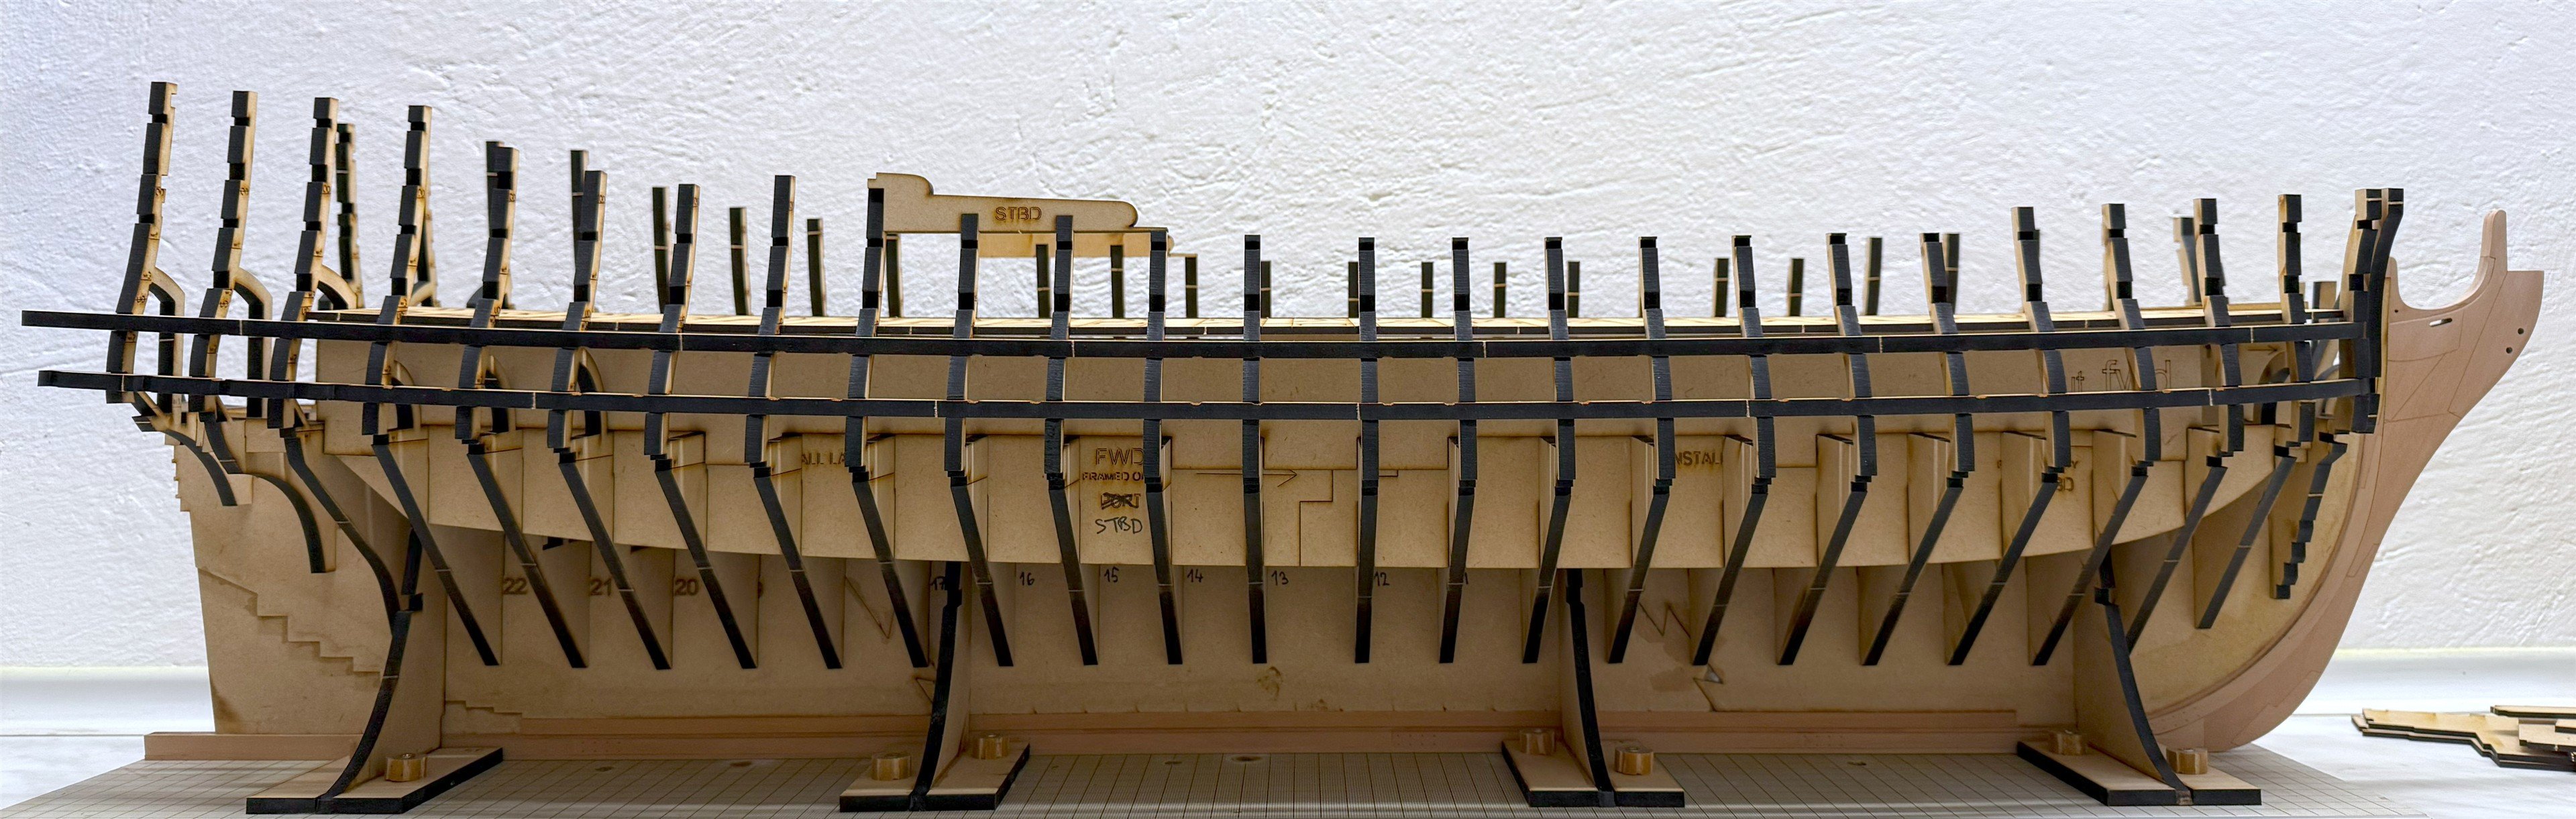
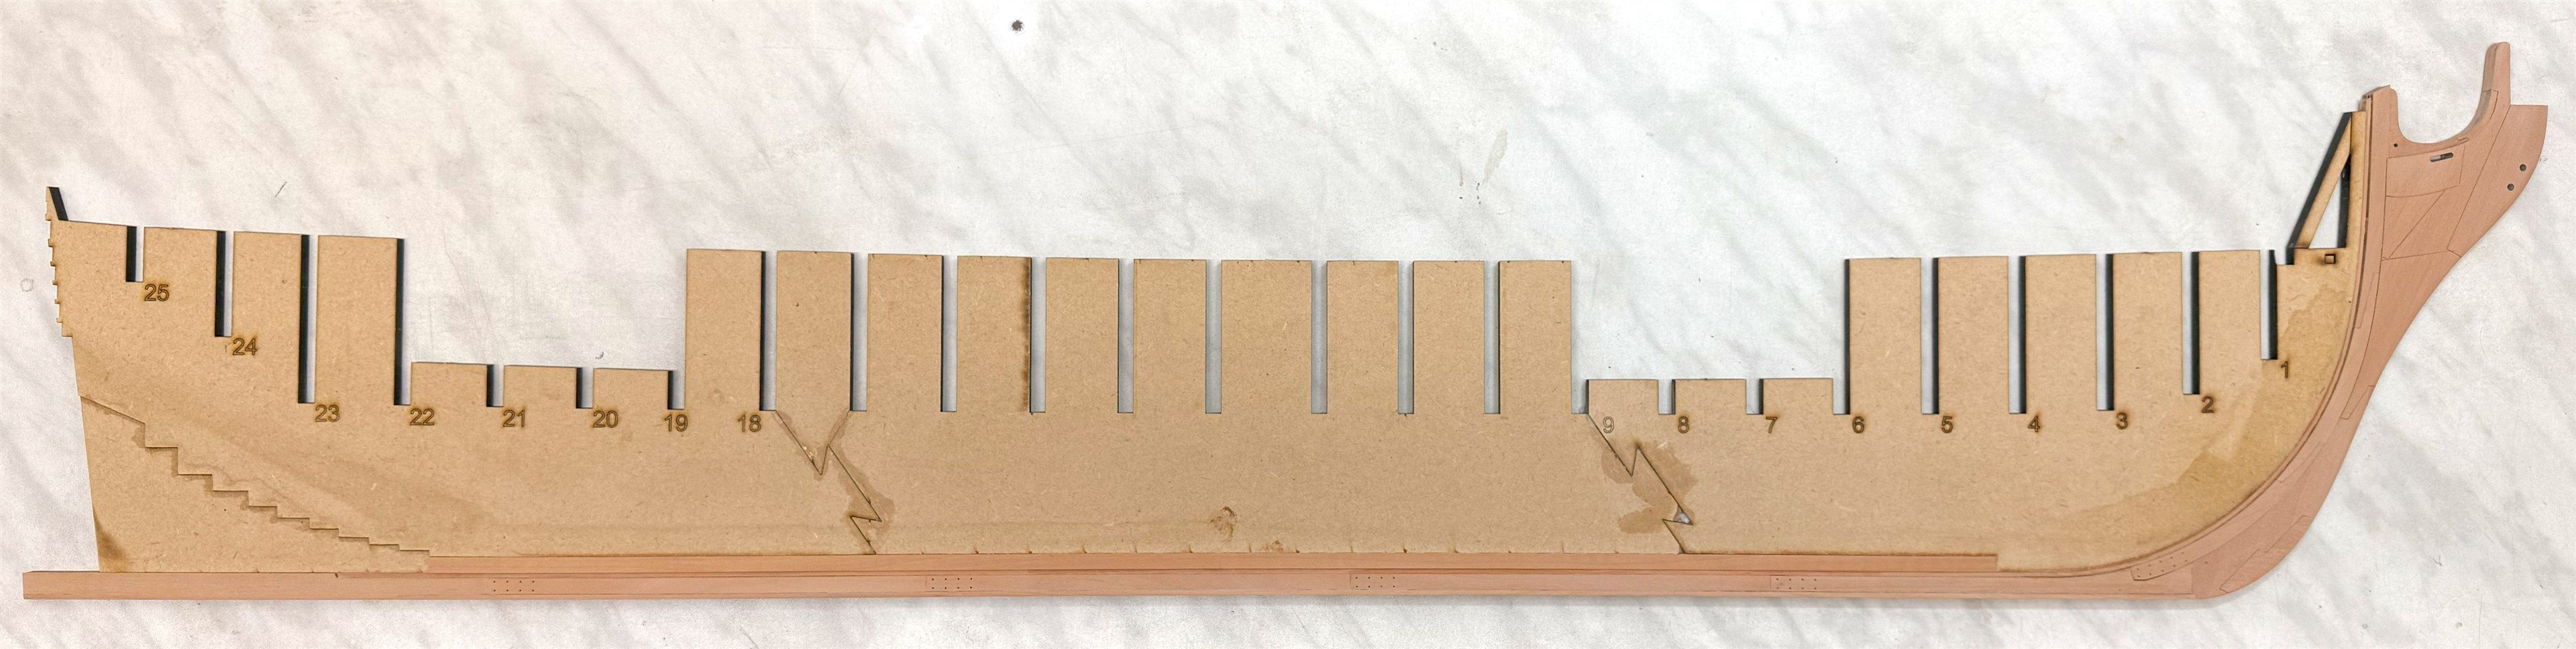
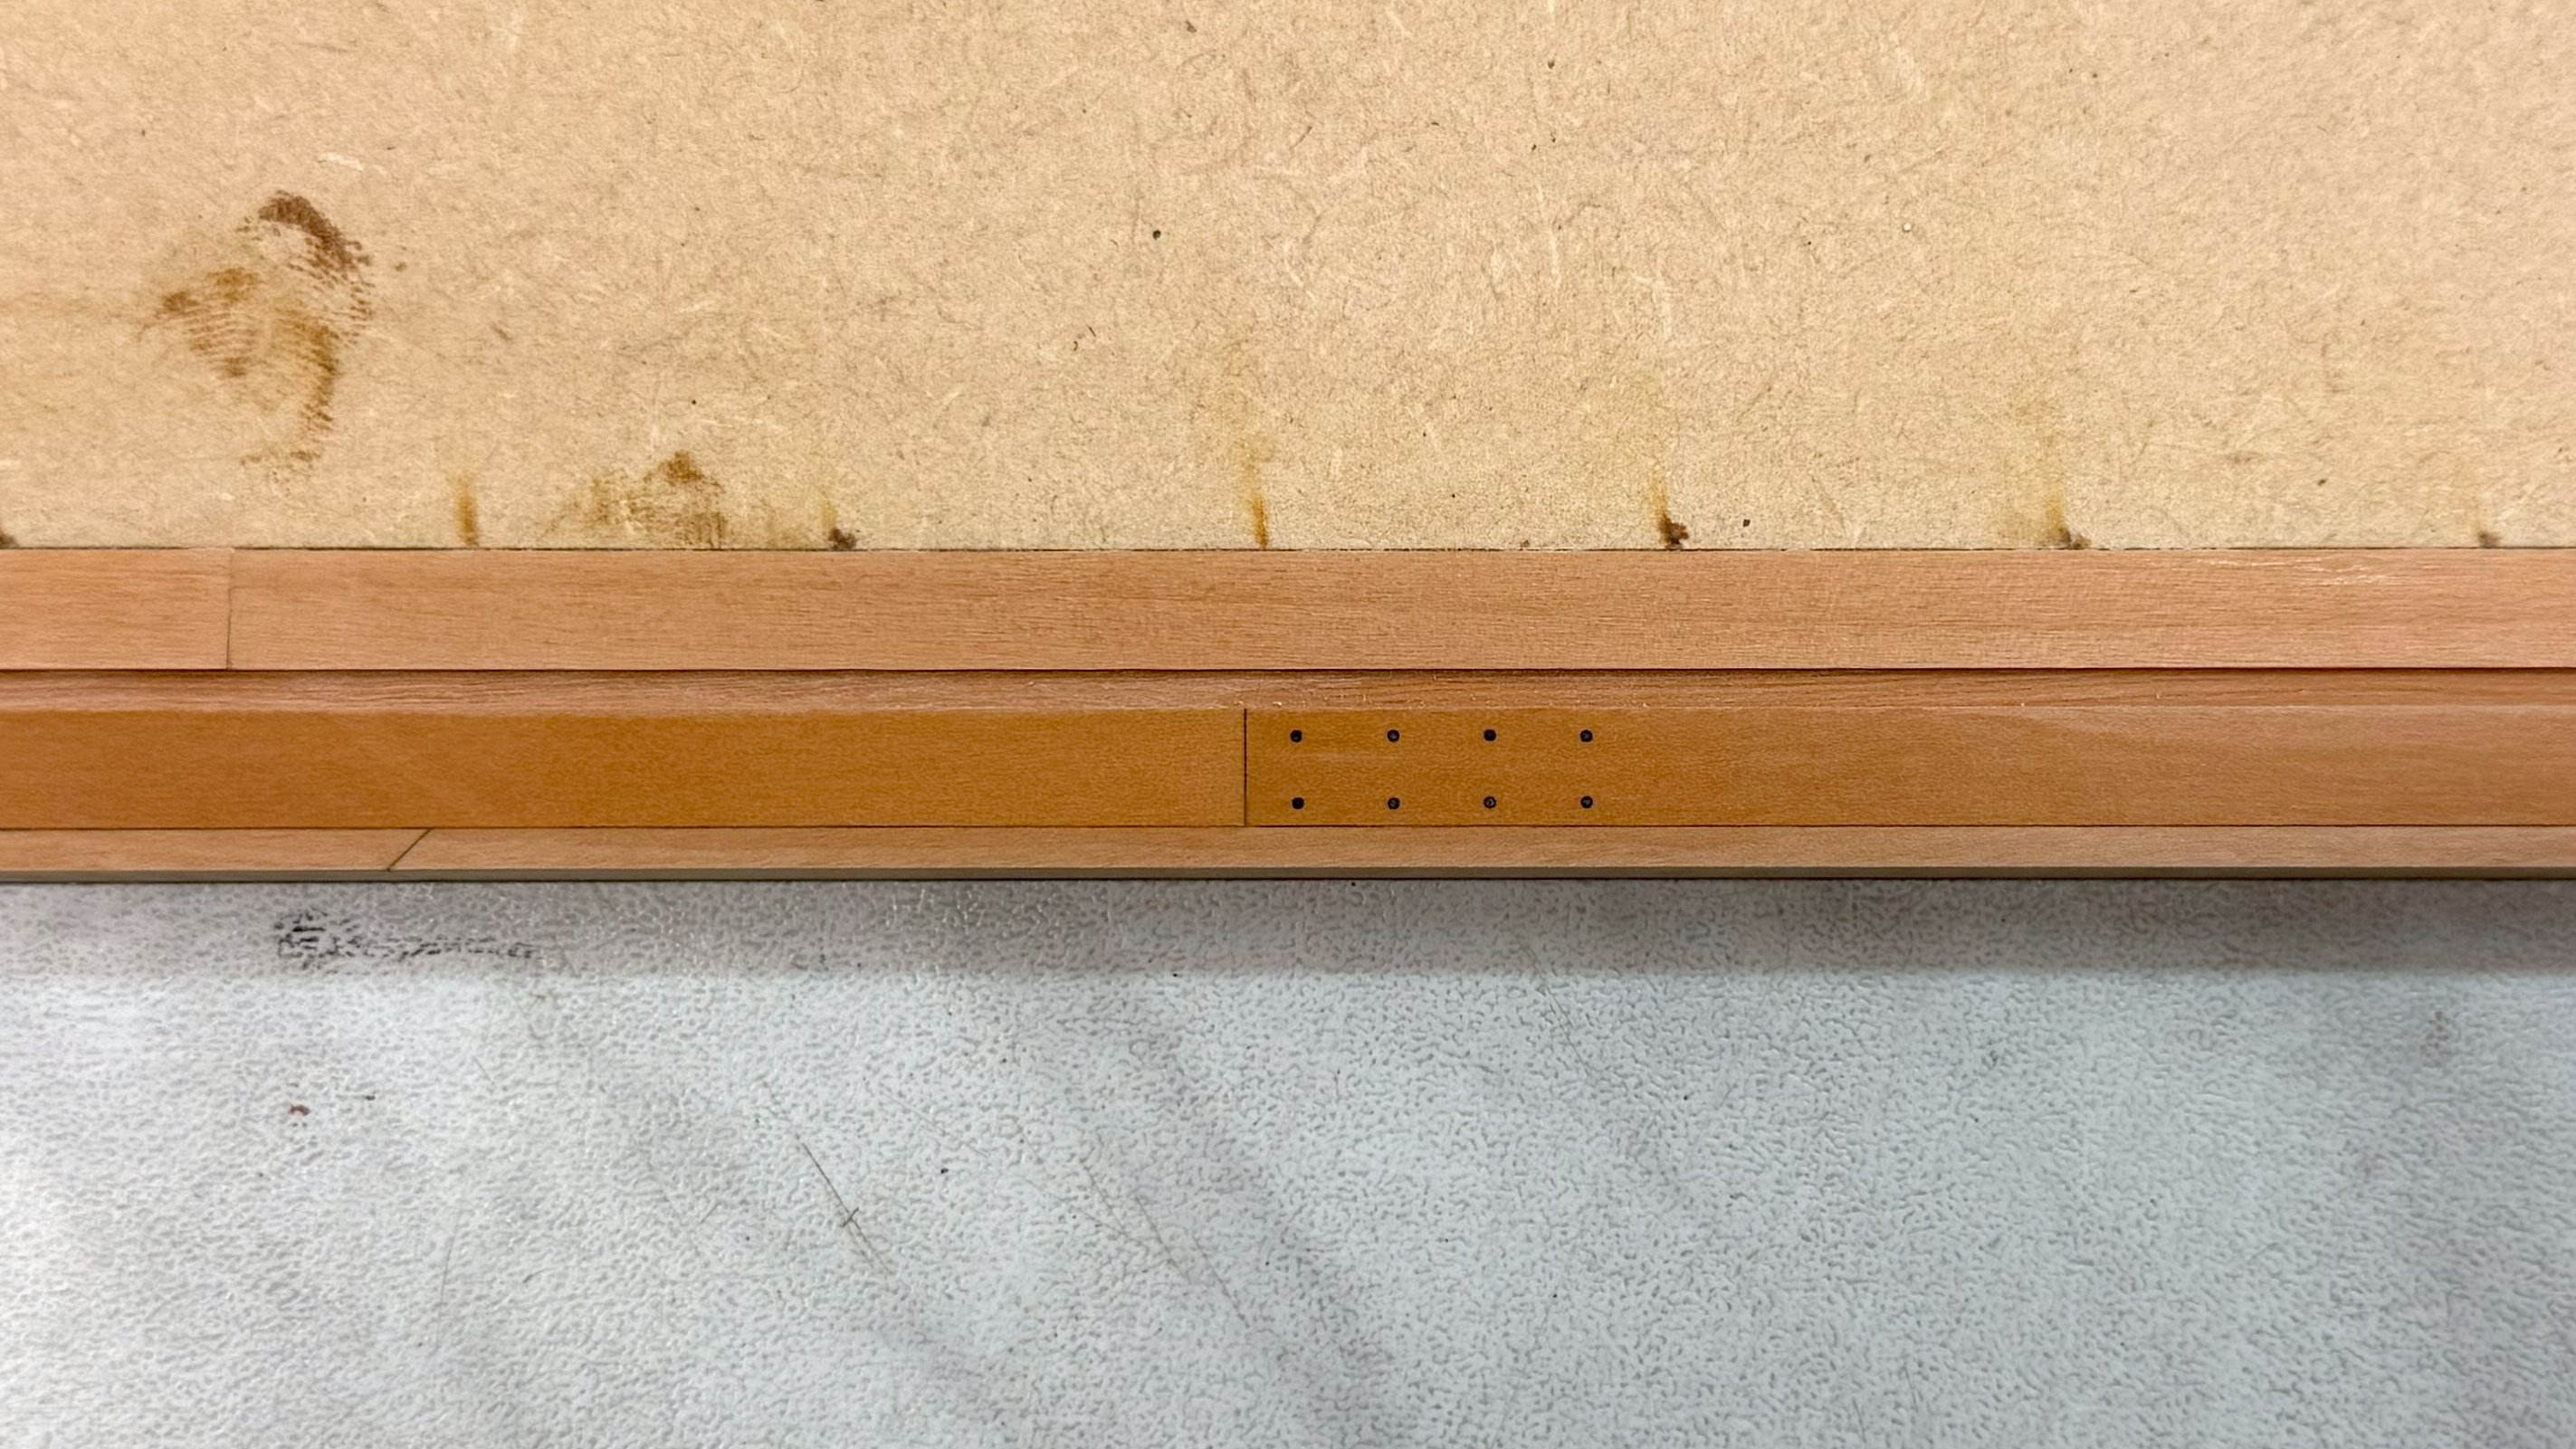
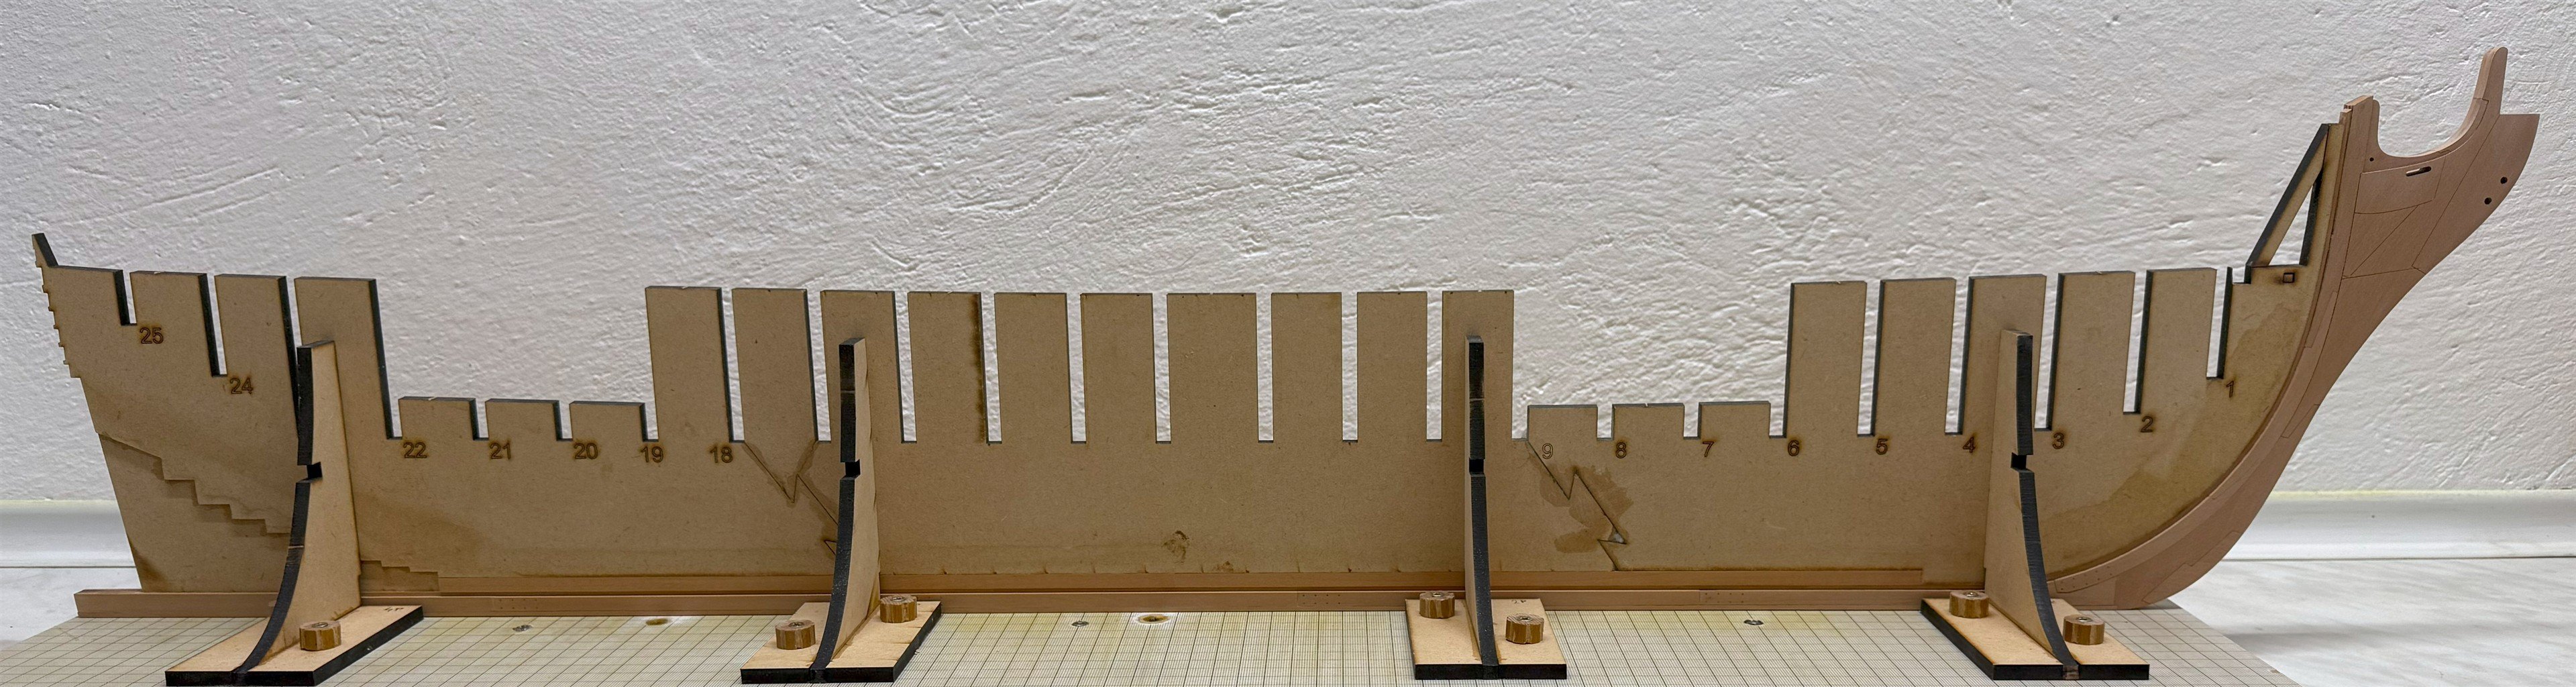
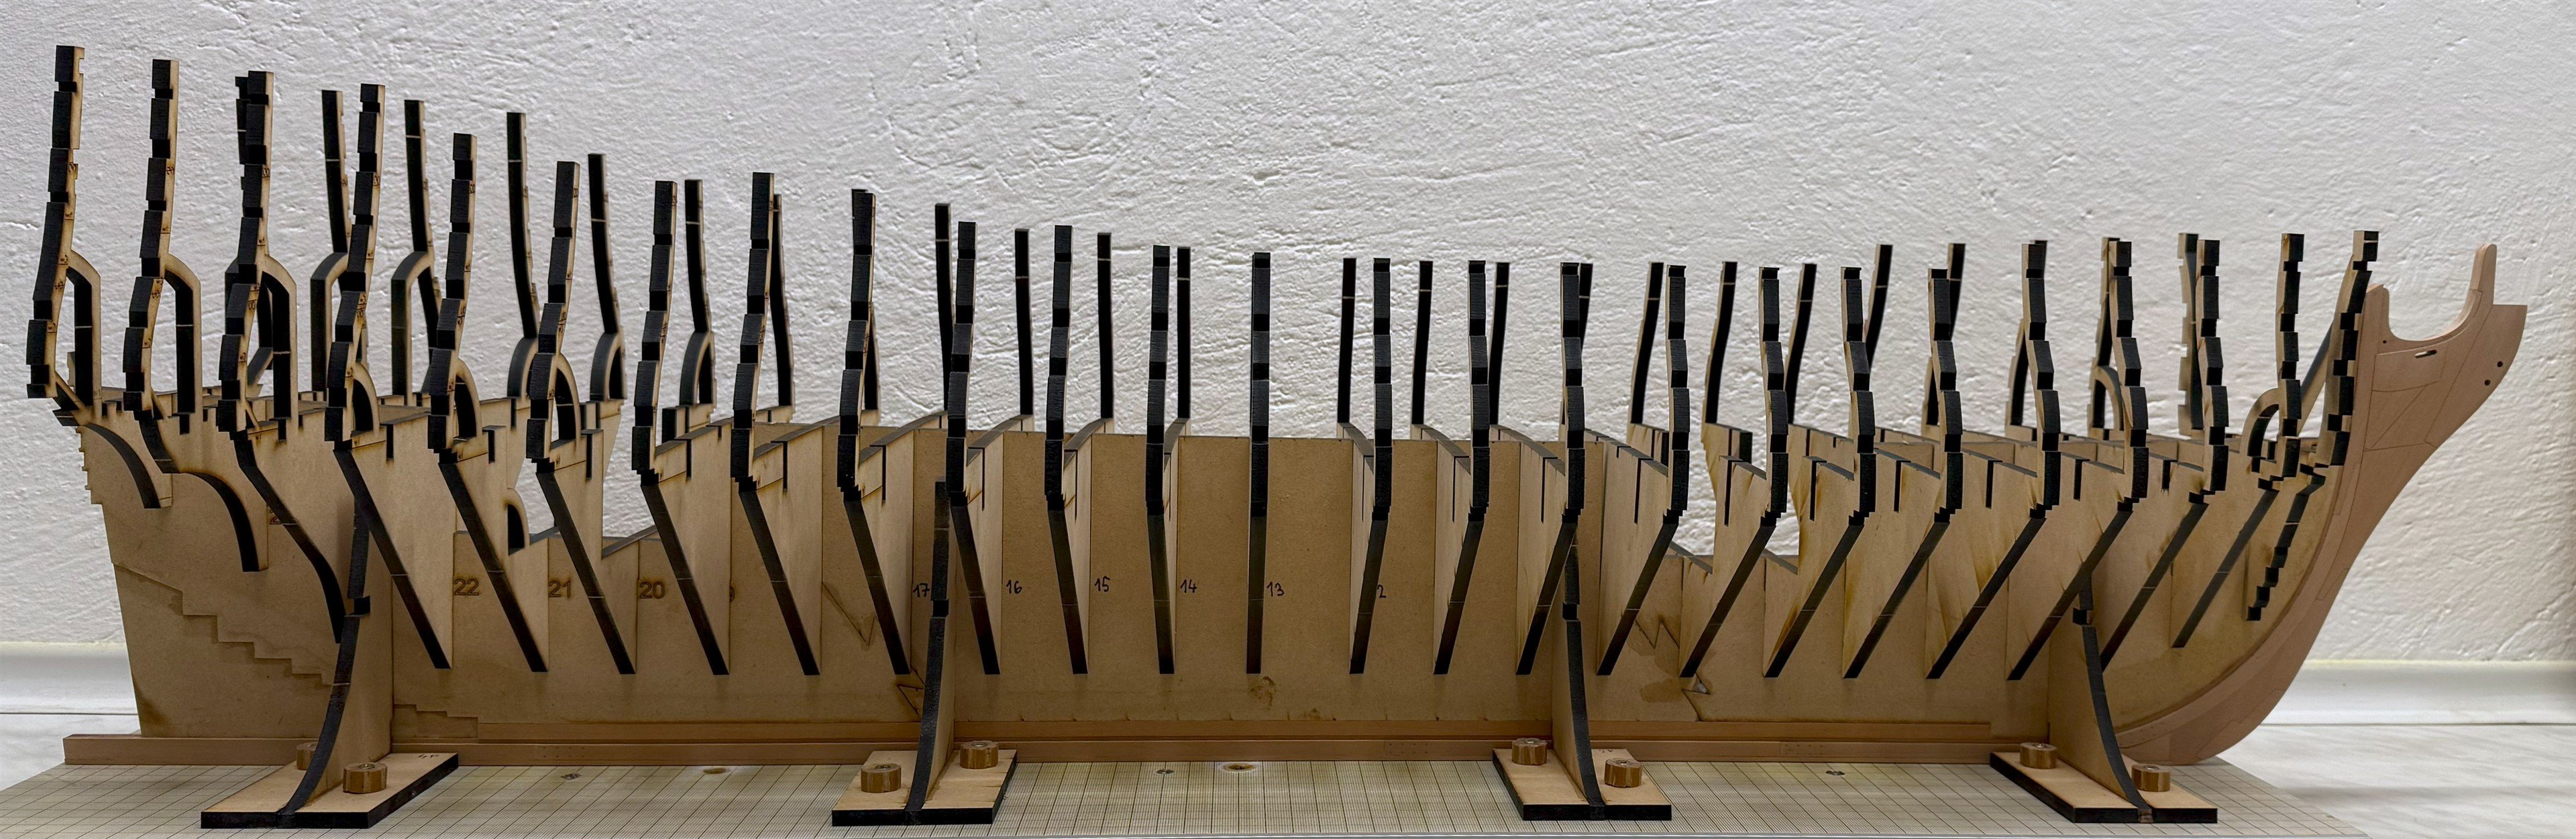
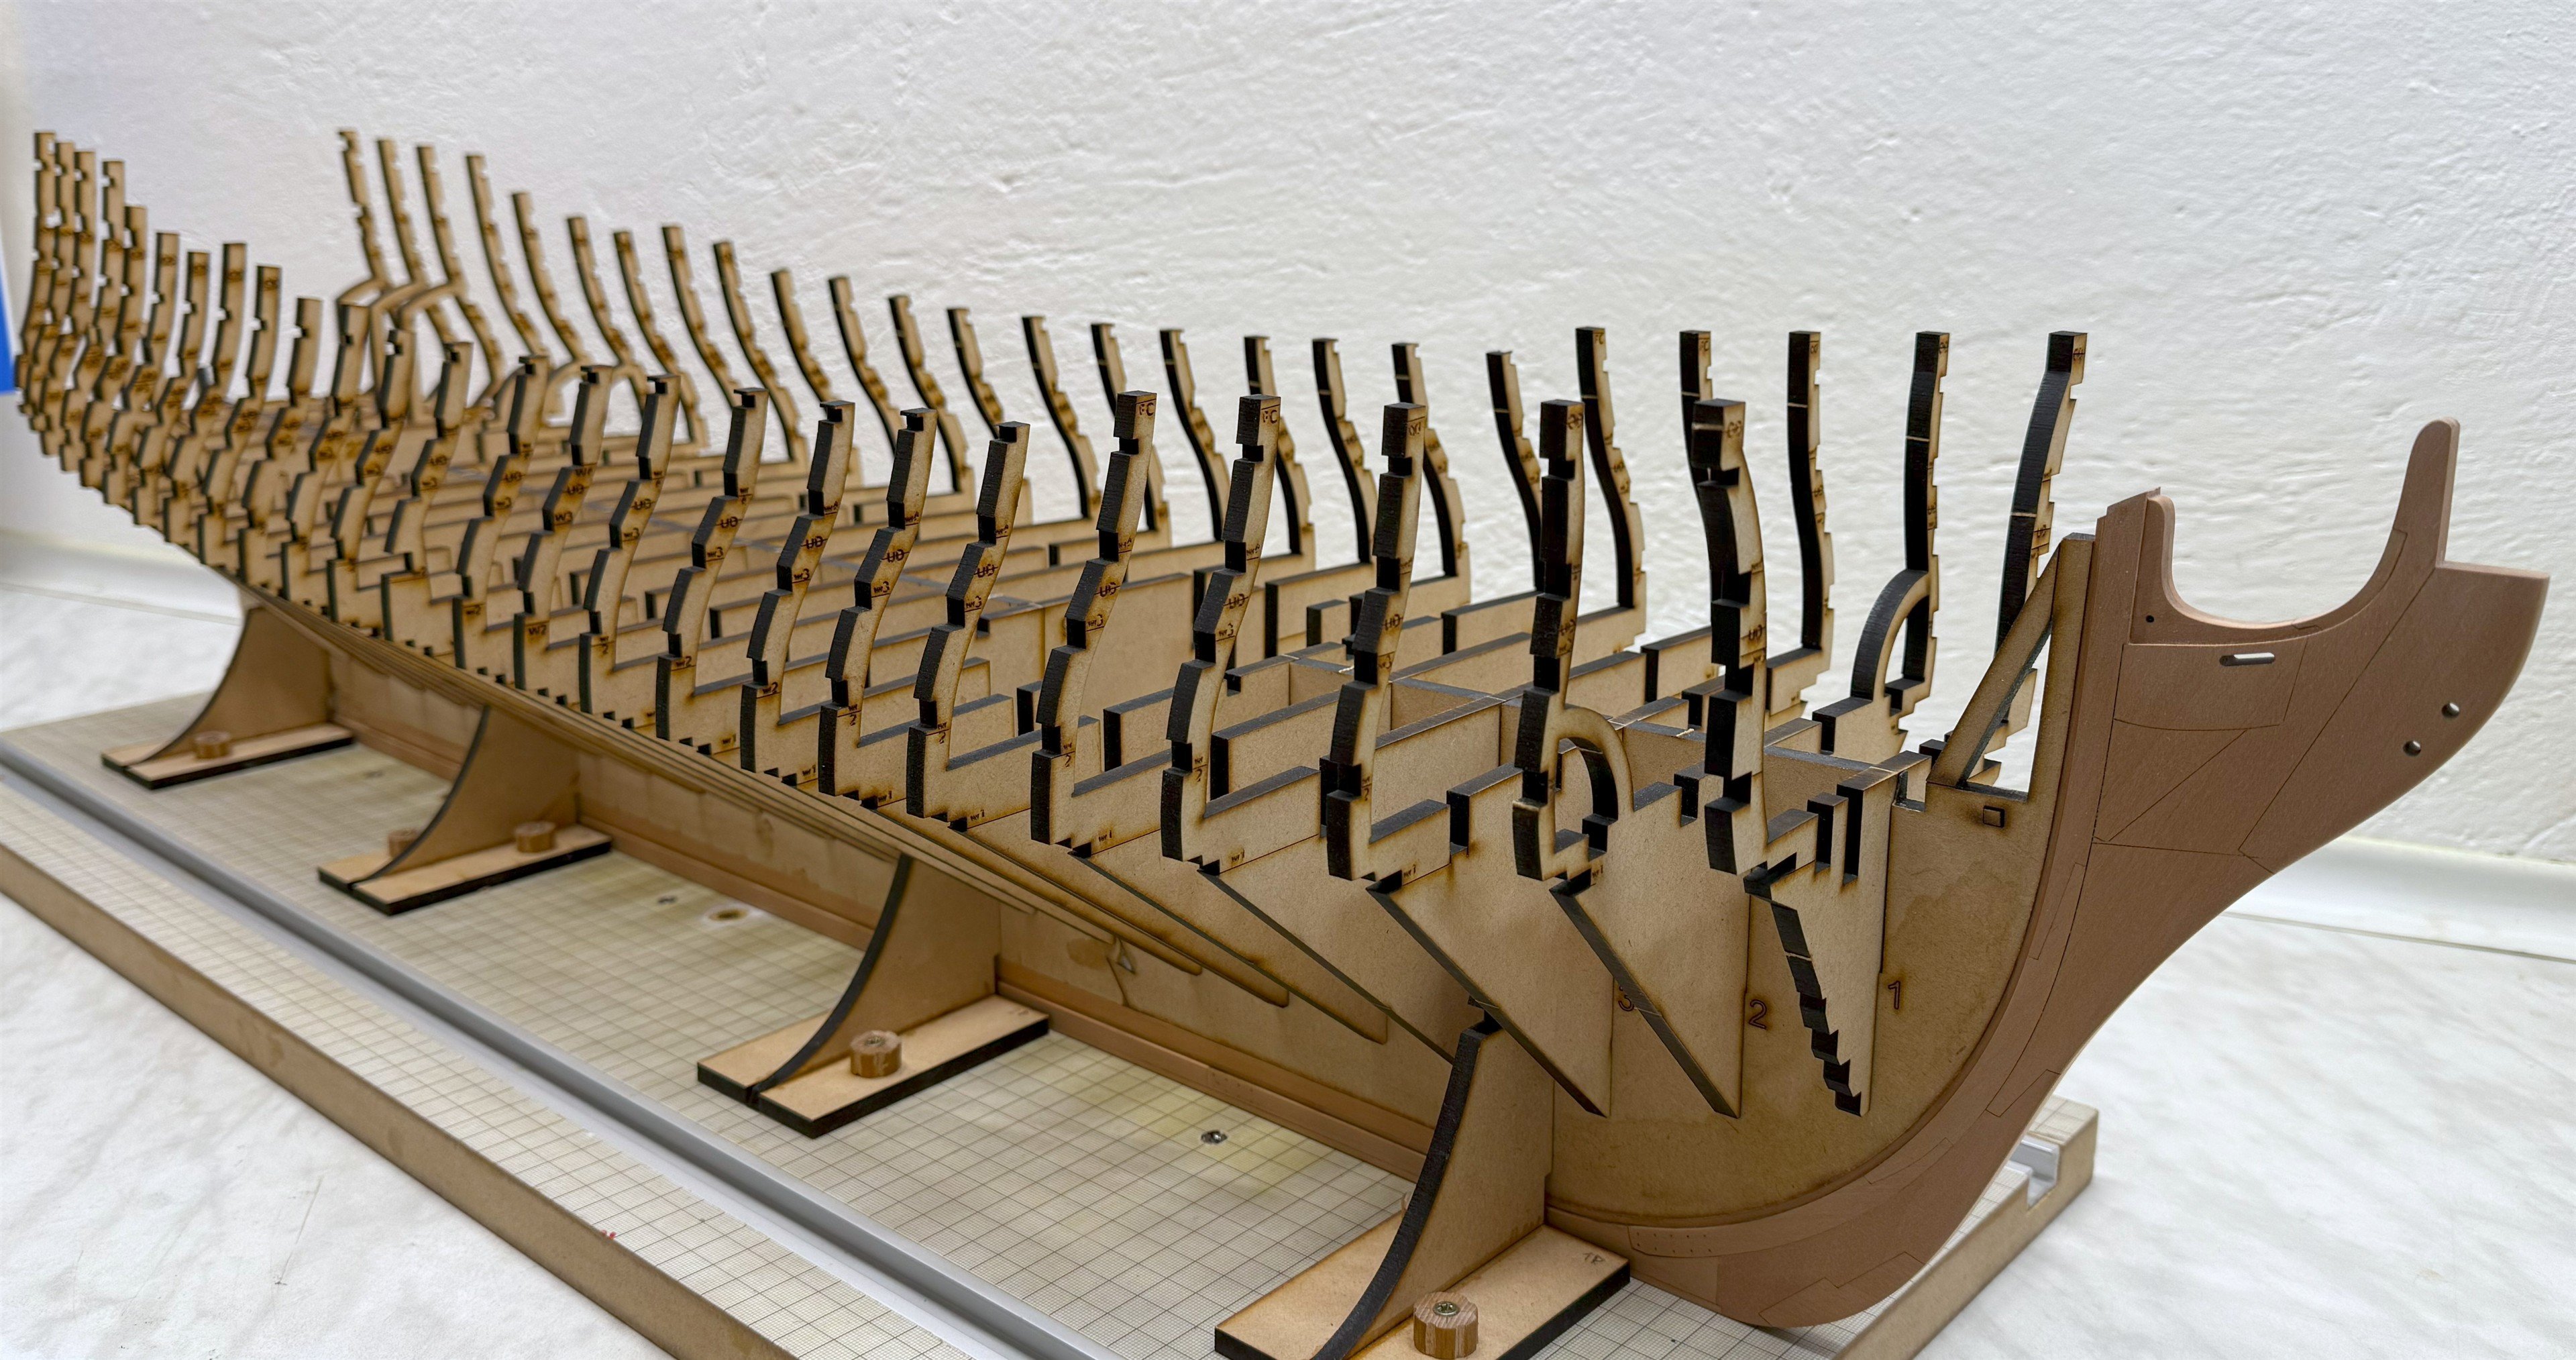
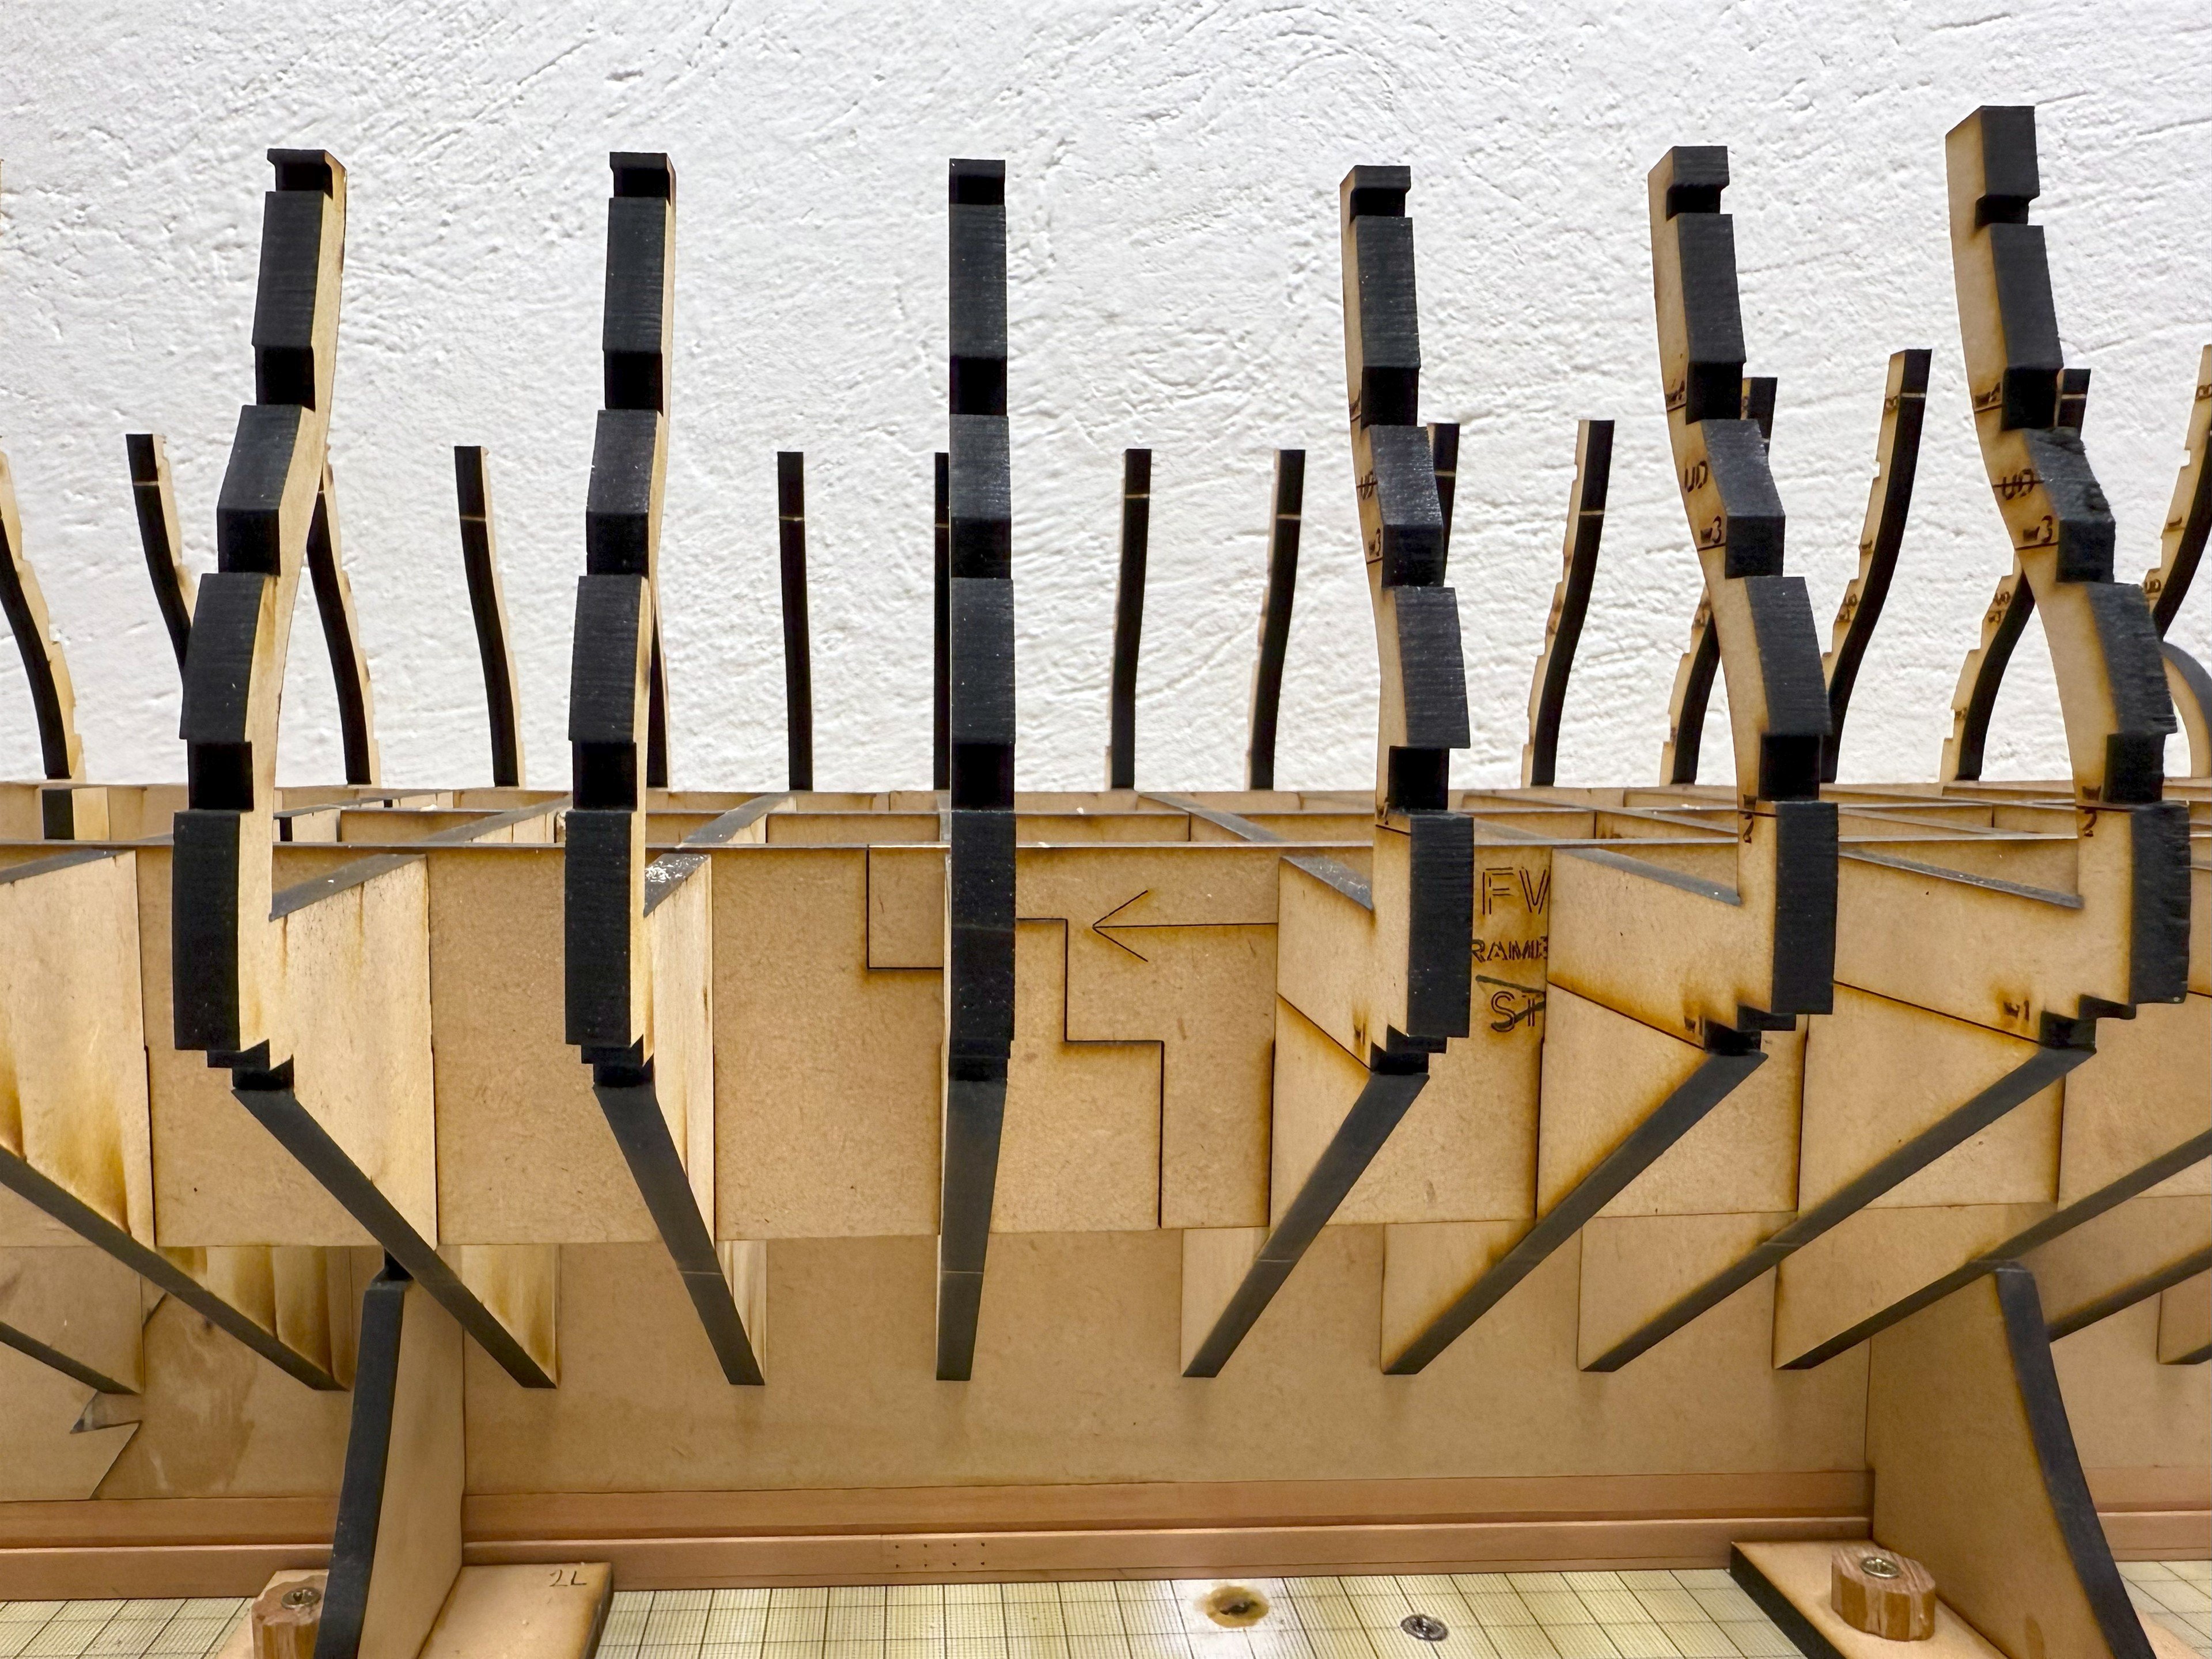
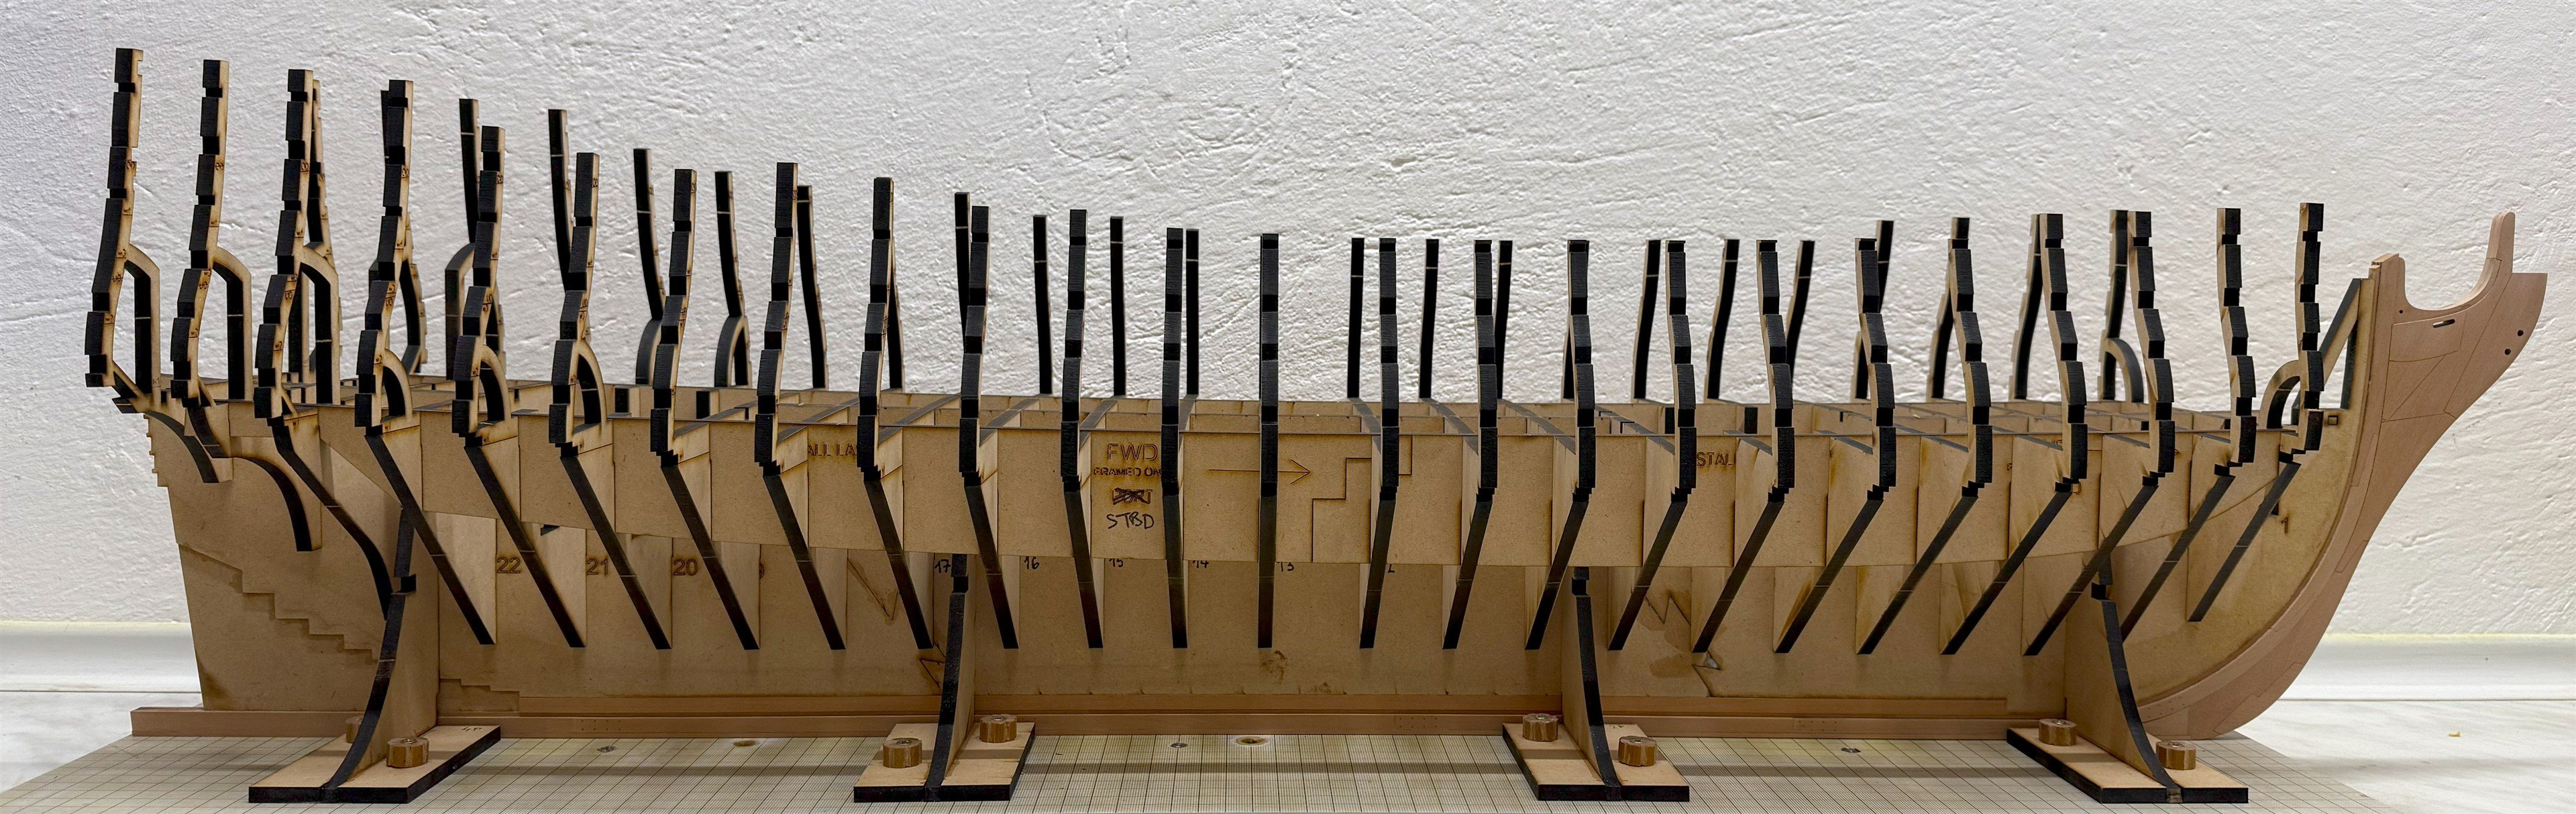
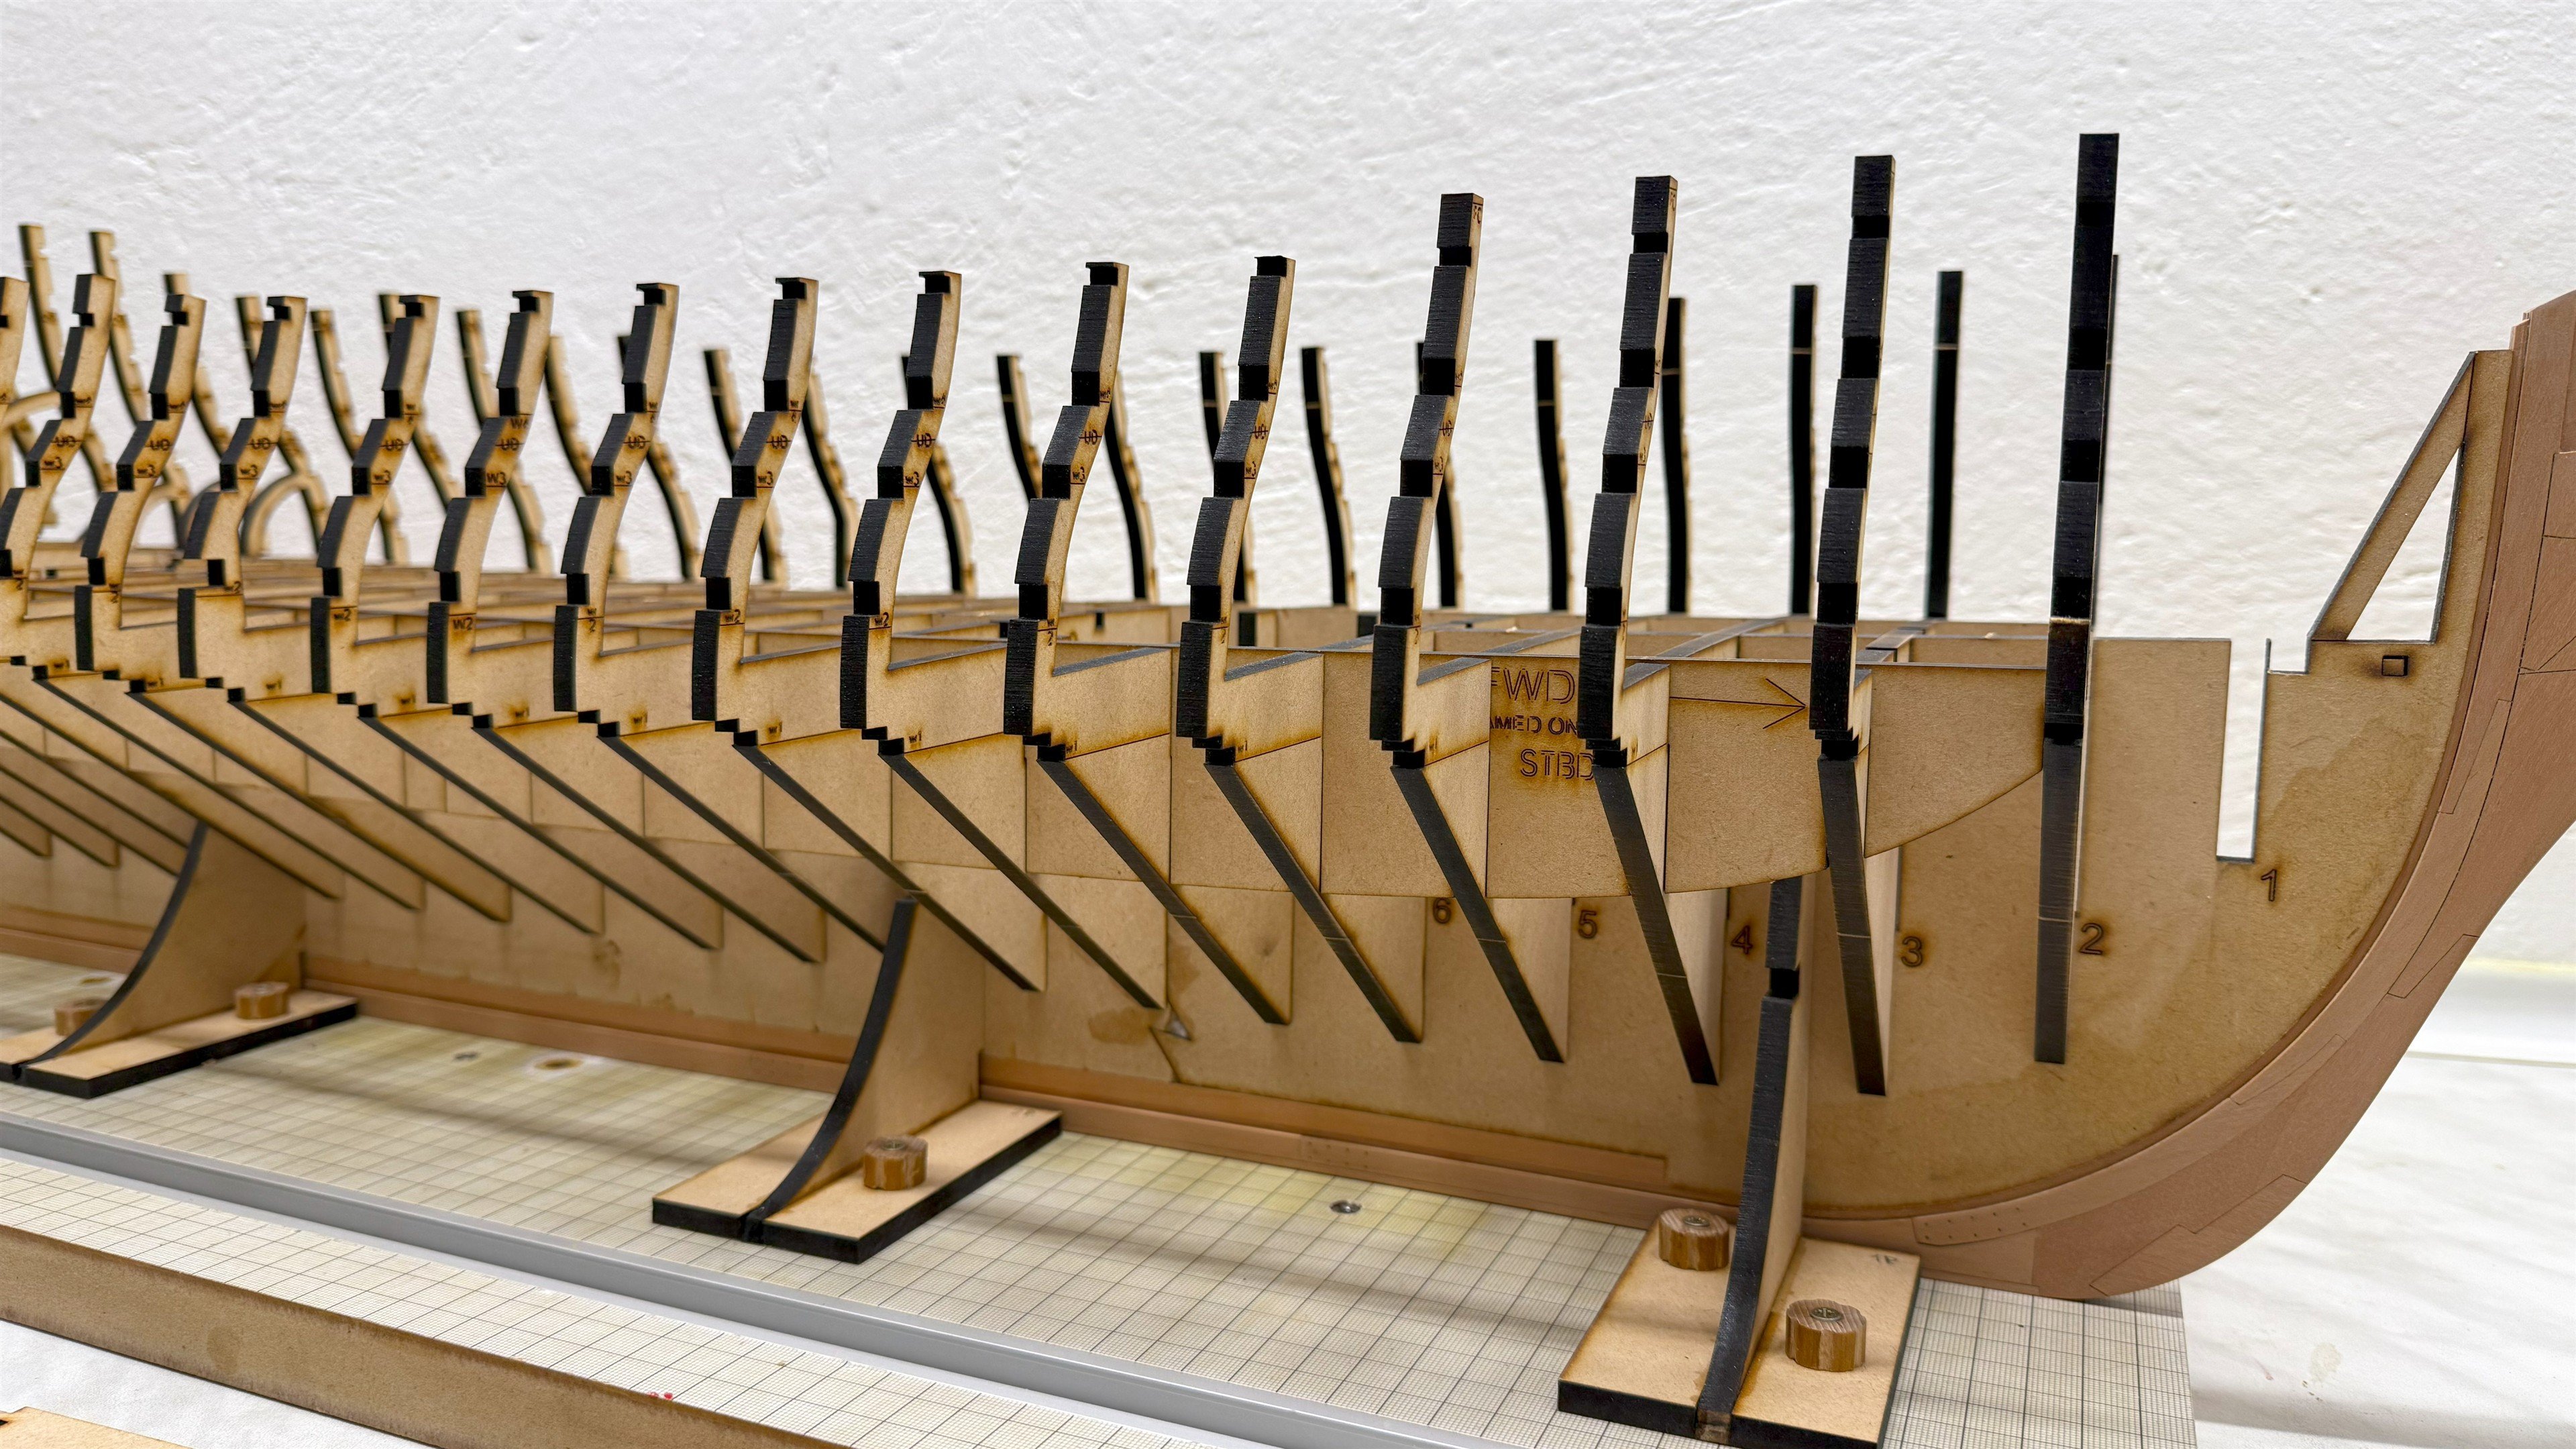
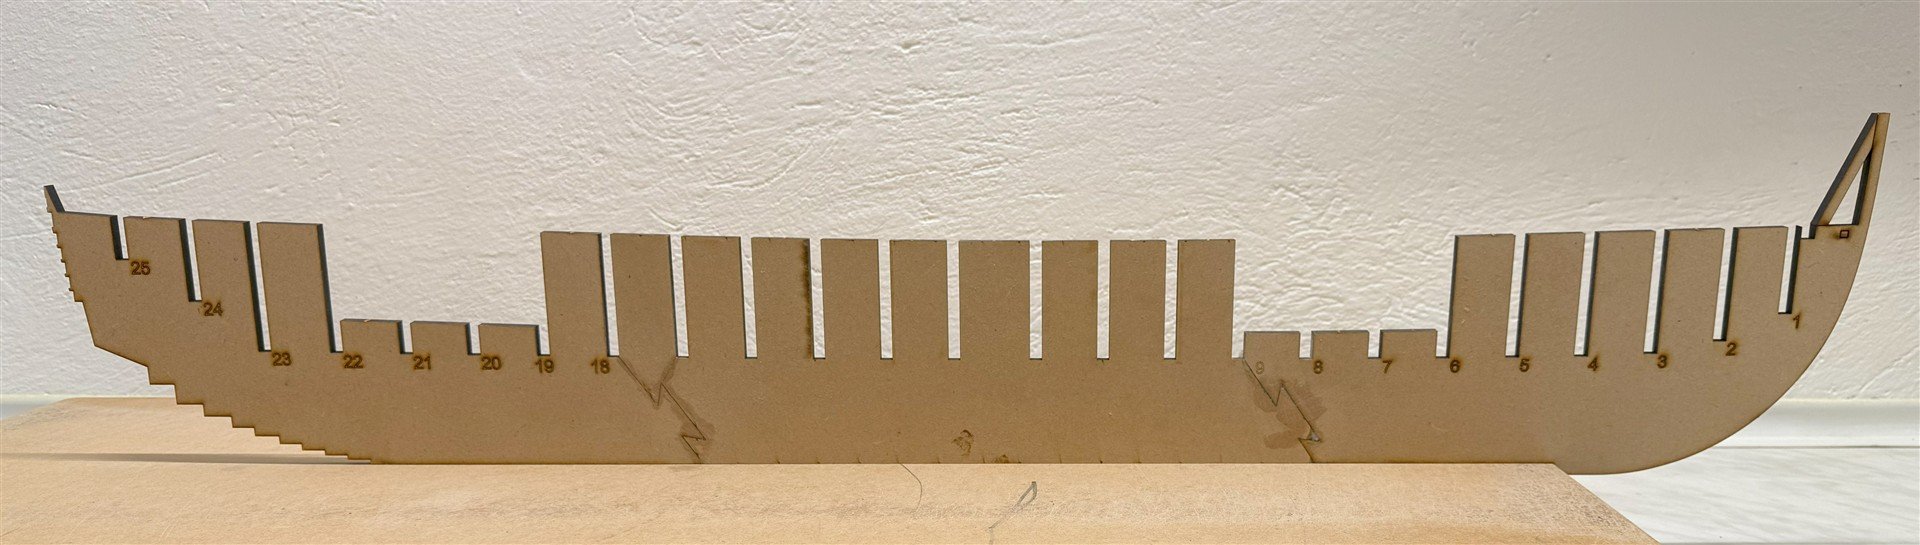
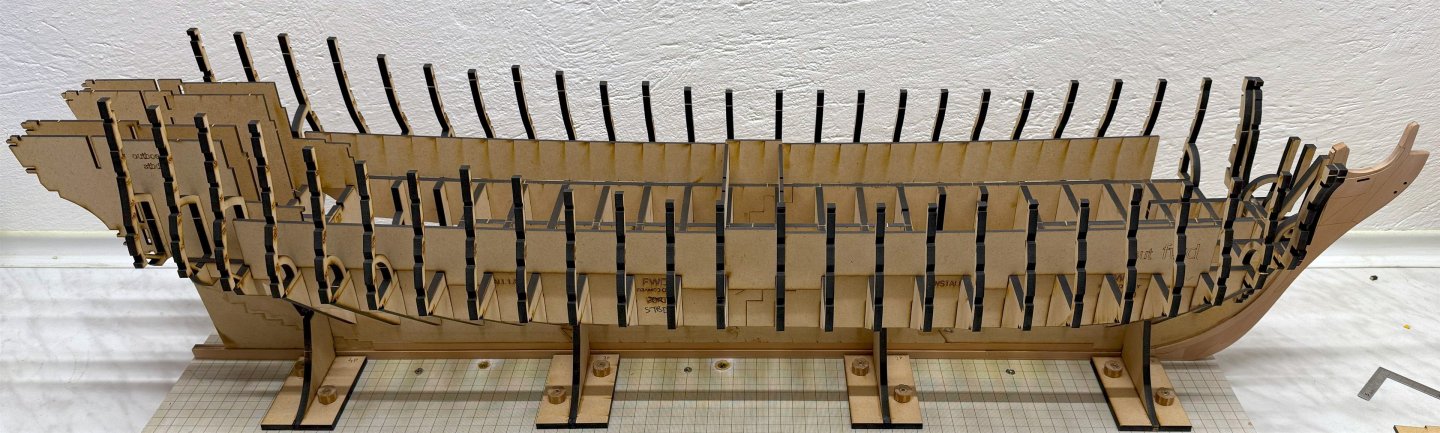
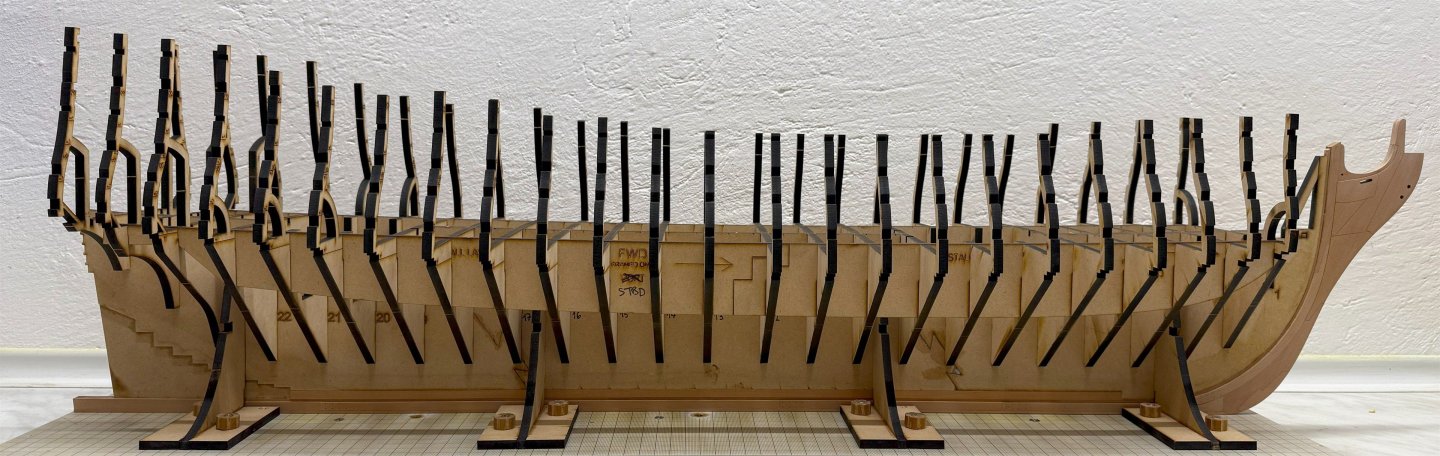
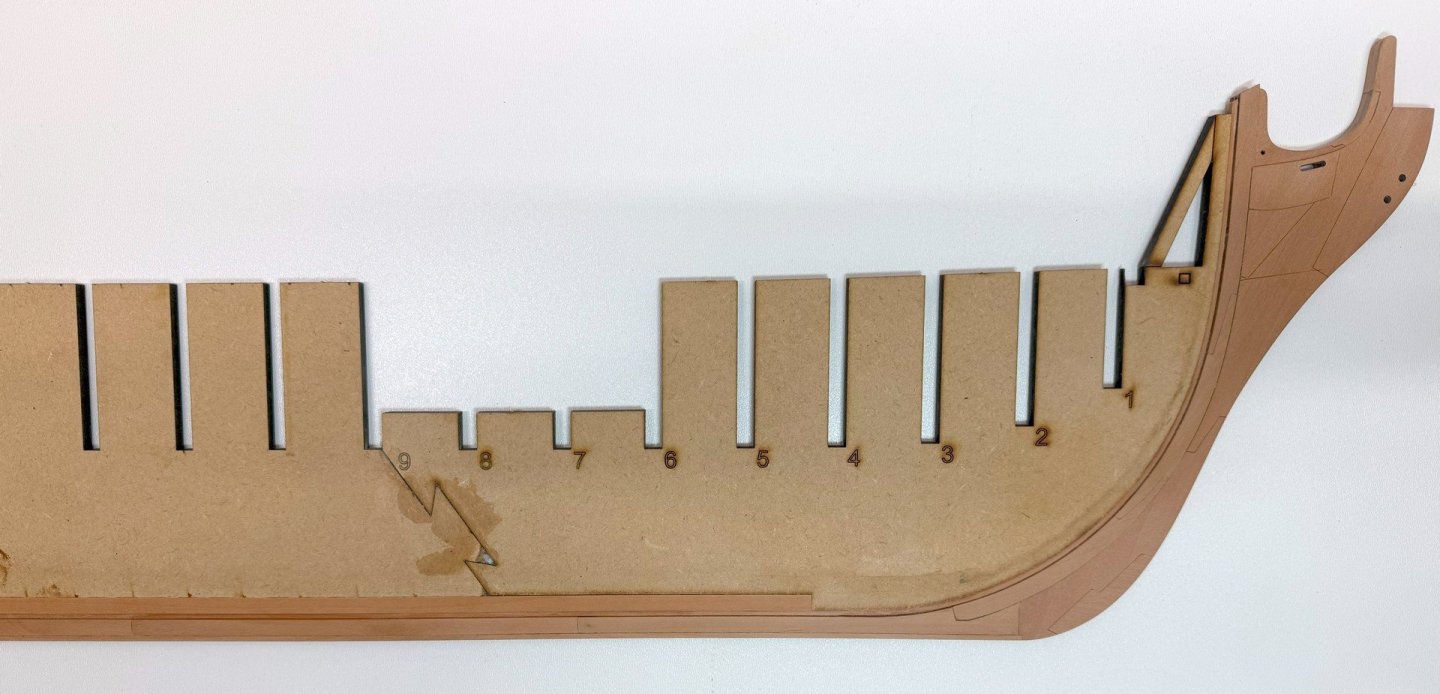
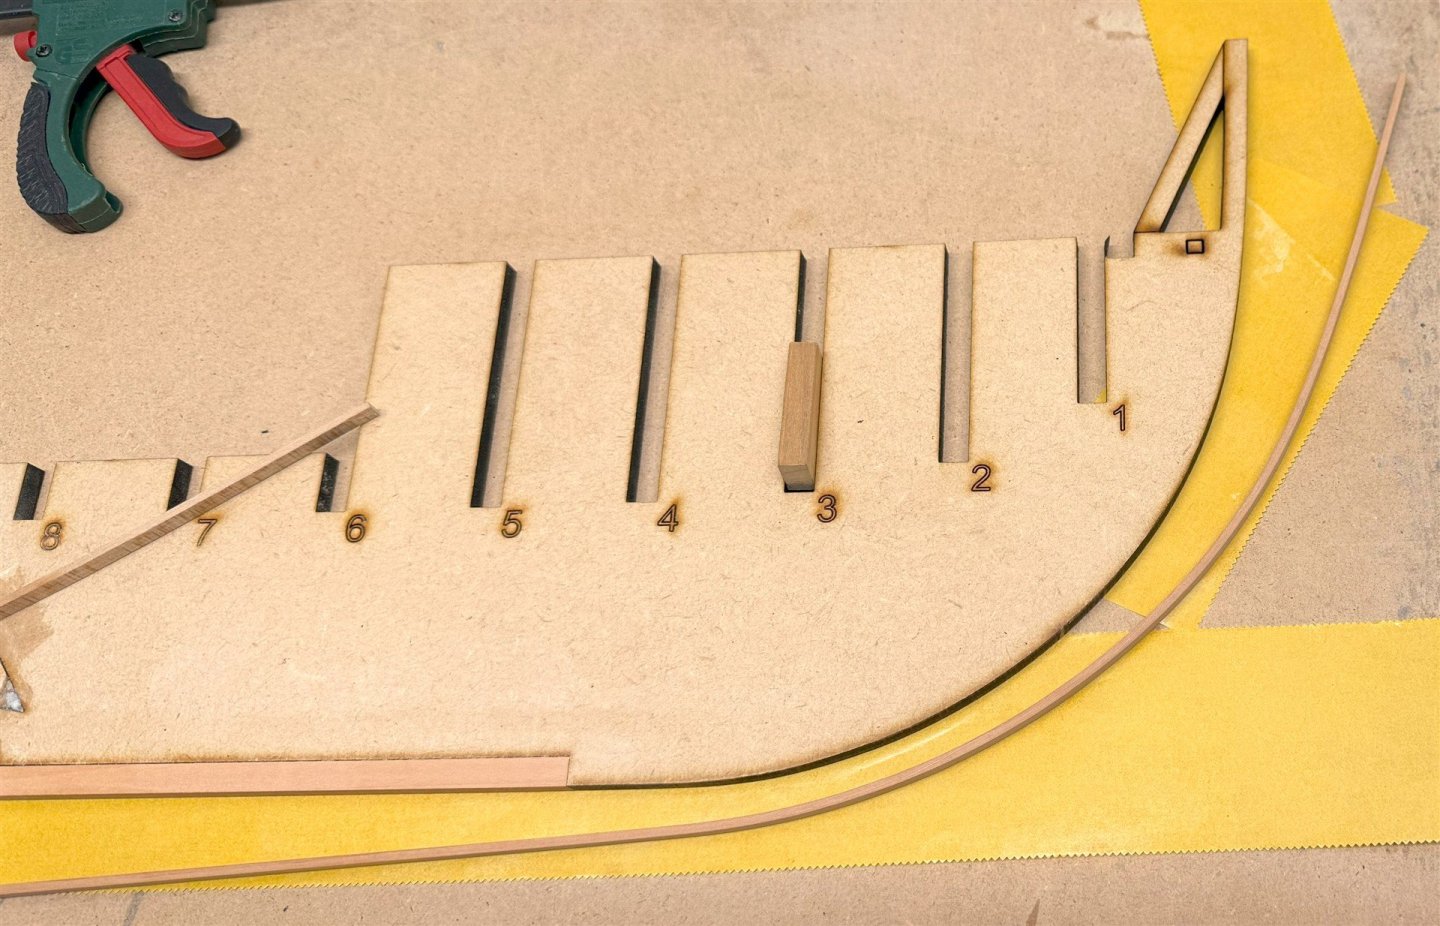
Thanks for the comments and likes guys. Today, after much thinking about whether to do it or not, I drilled and fitted the nails into the keel. Then came the next stage. Fixing it to the stand and dry fitting the bulkheads. So far everything is fitting nicely into place.


-
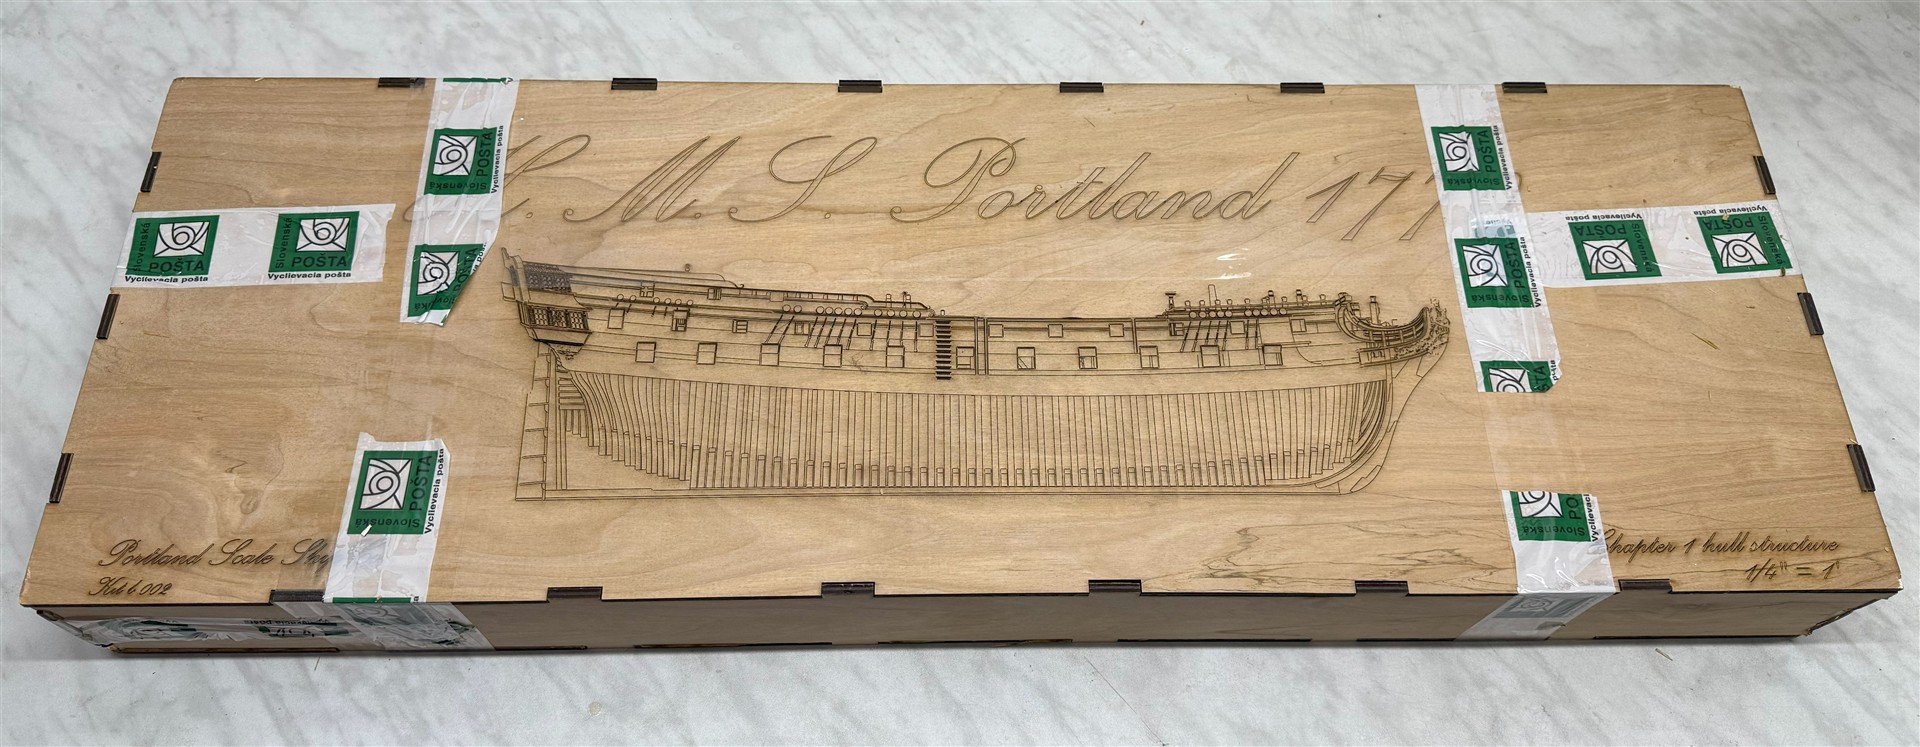
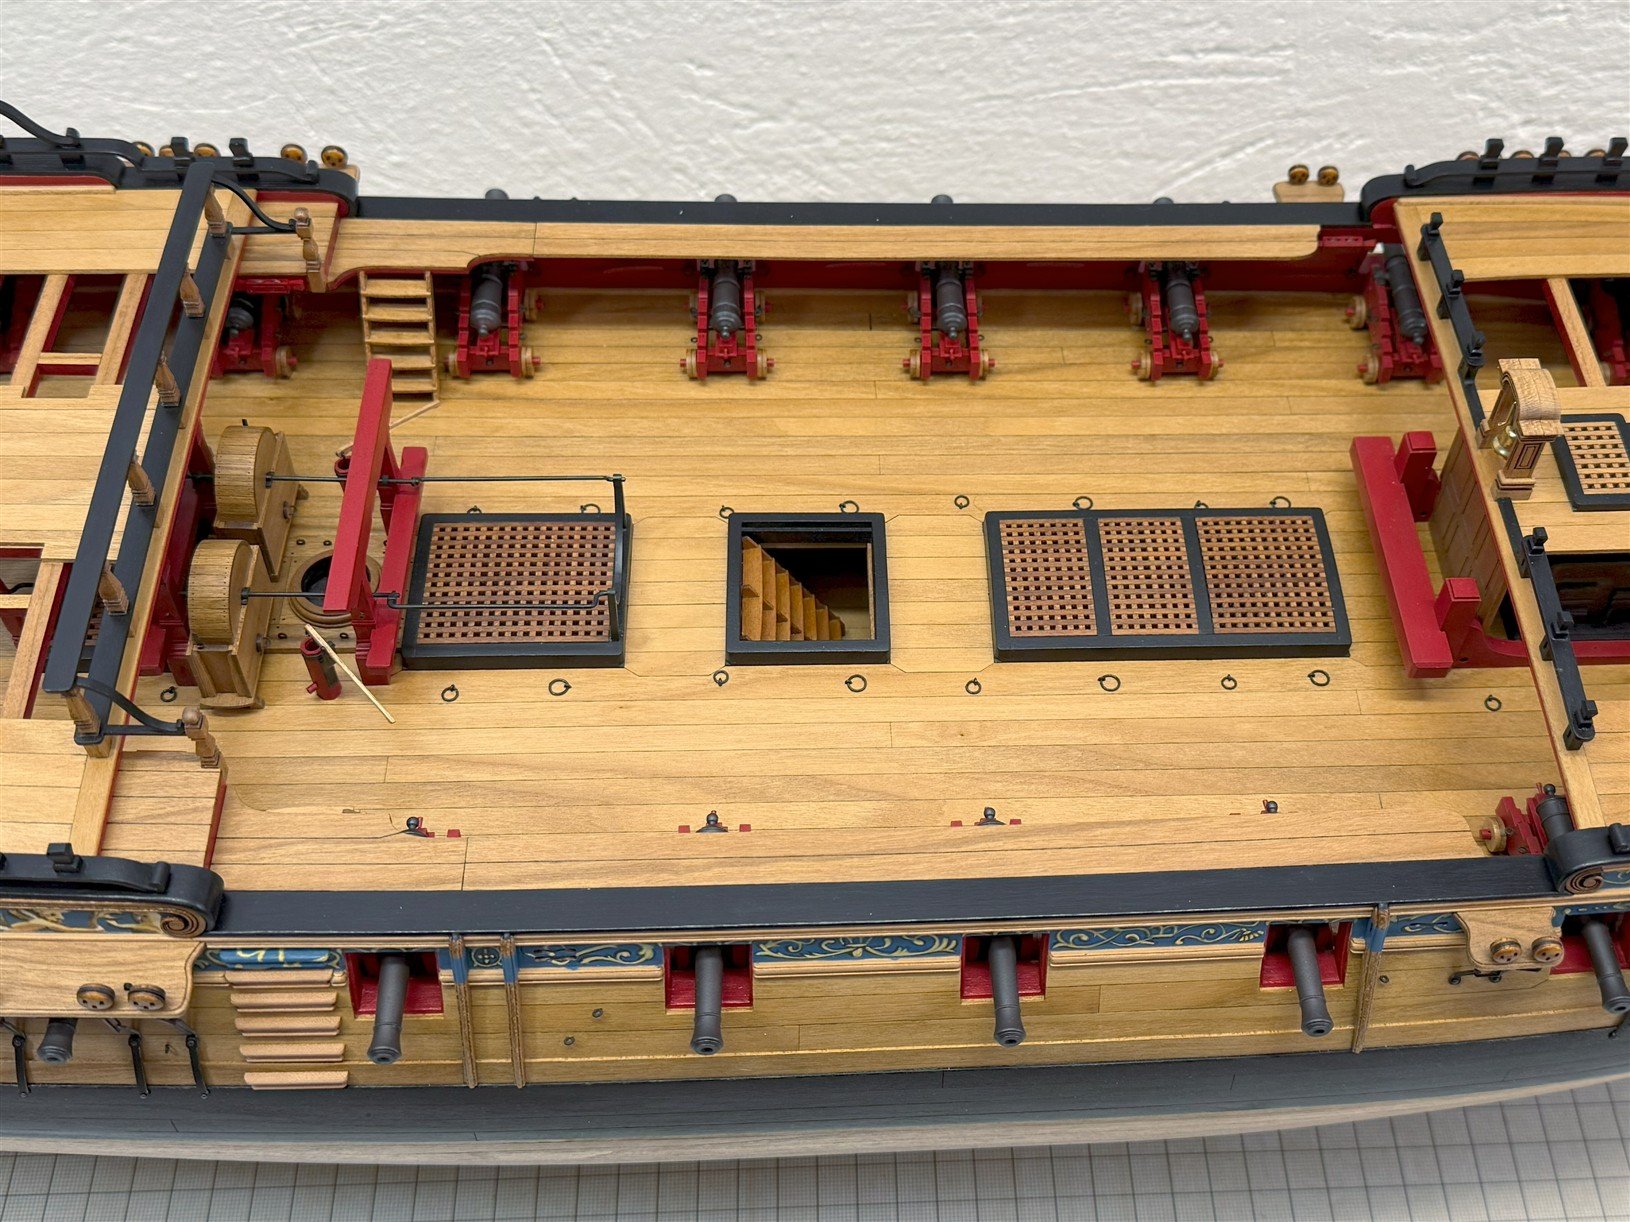
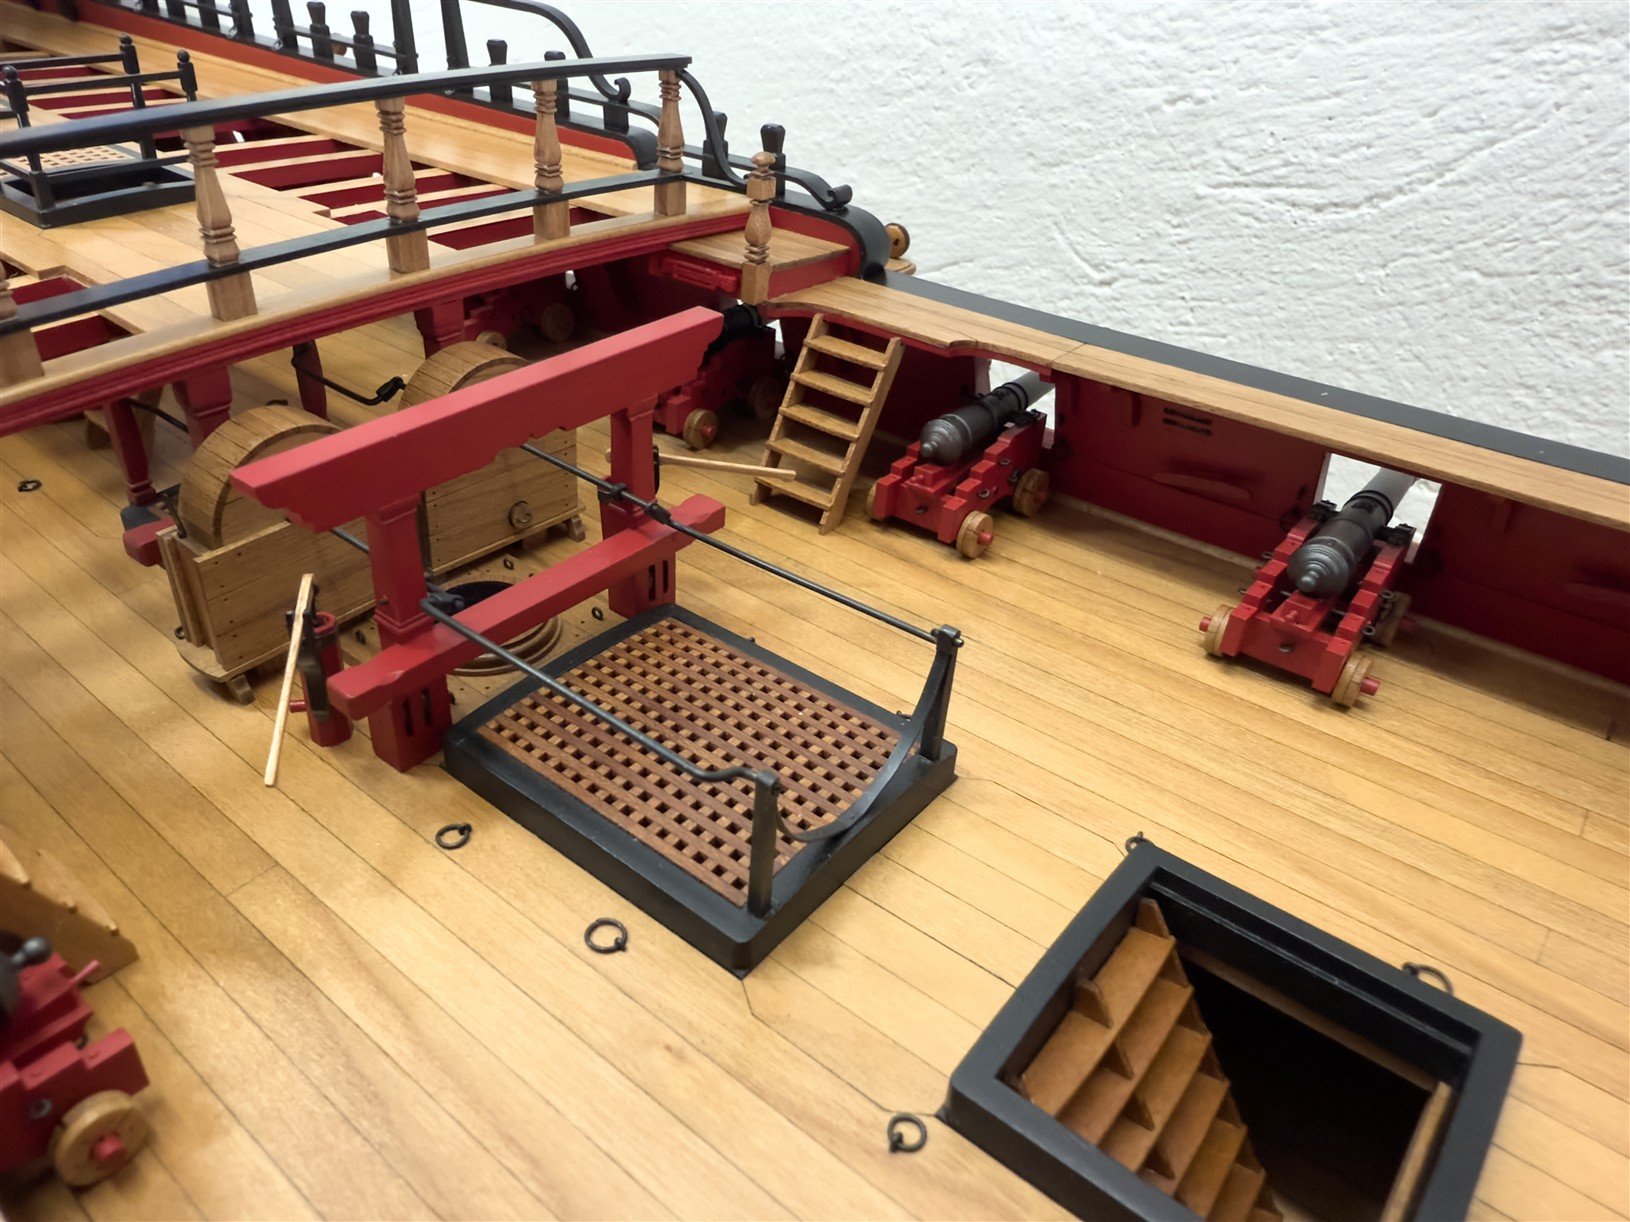
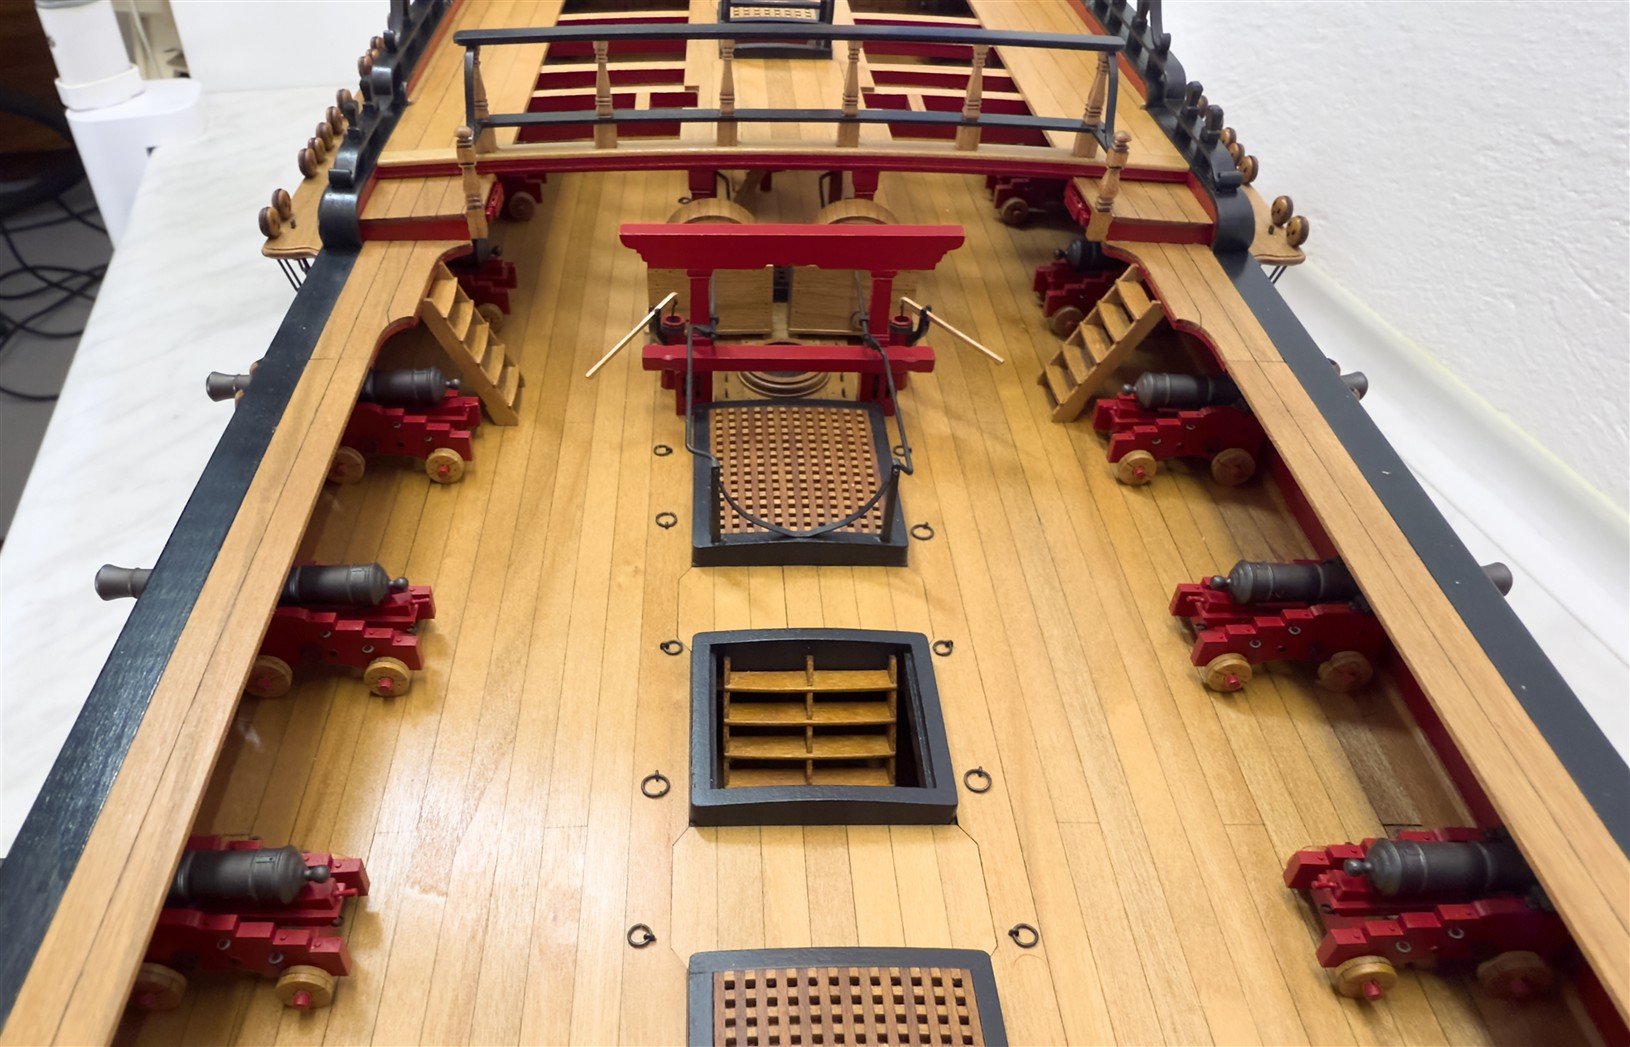
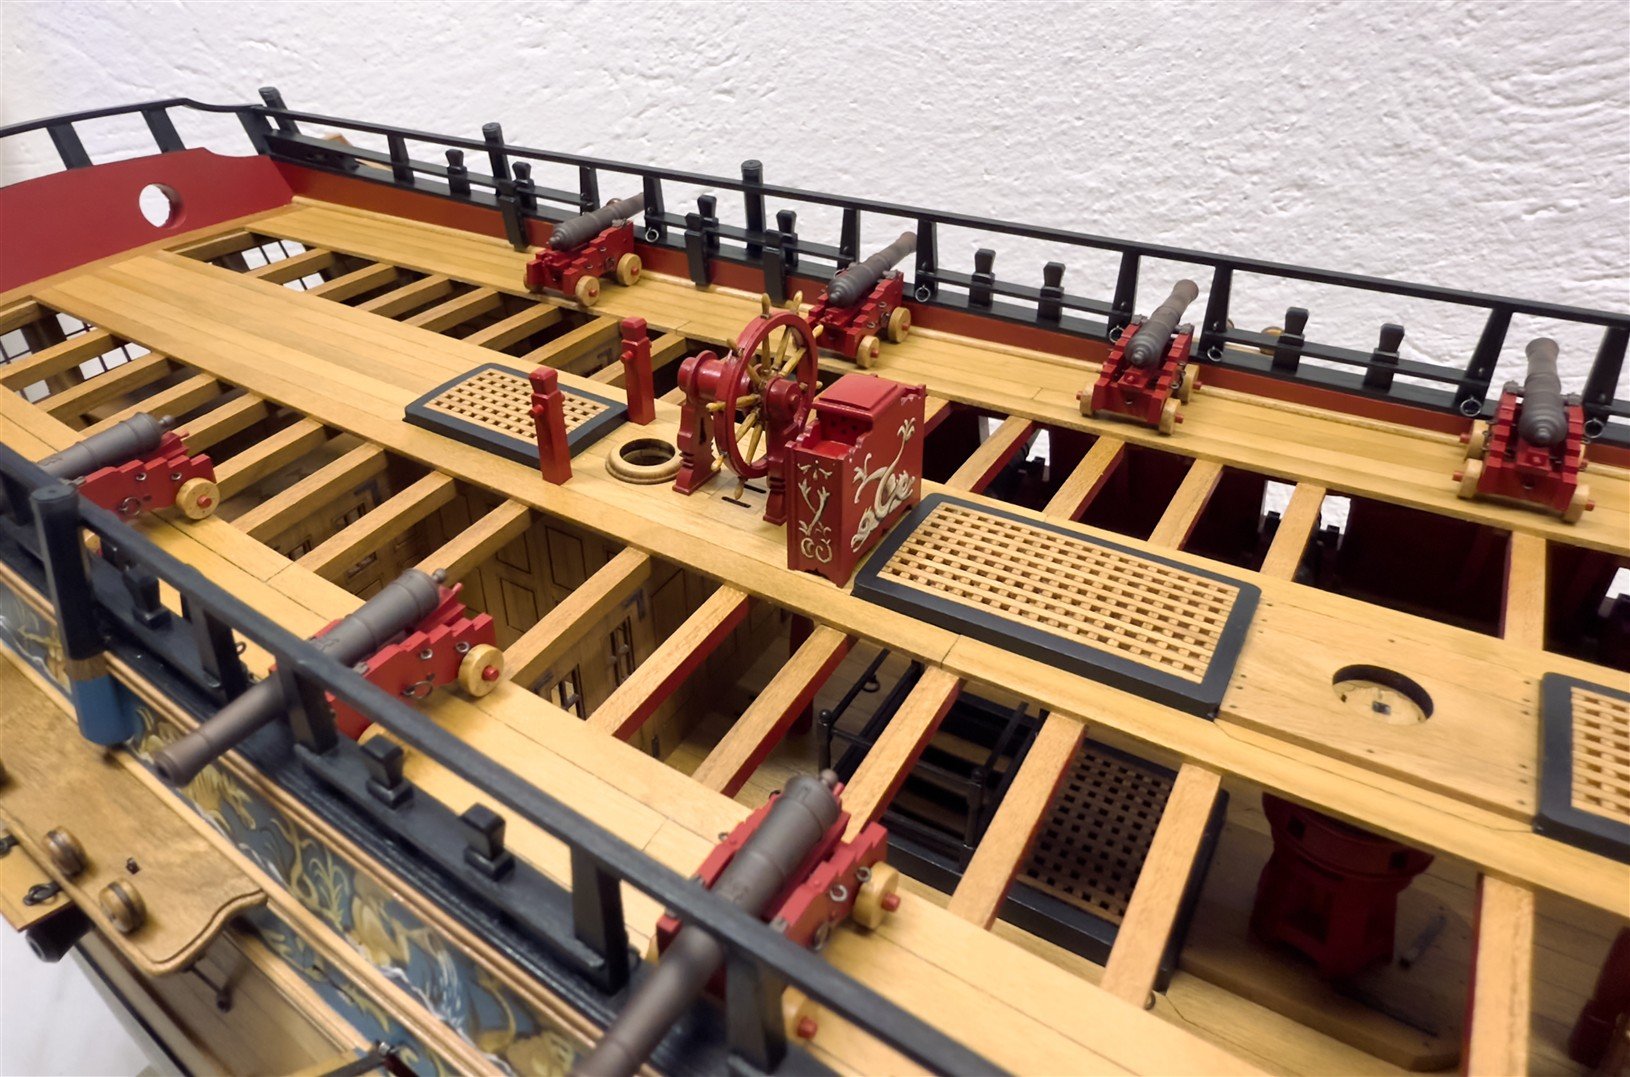
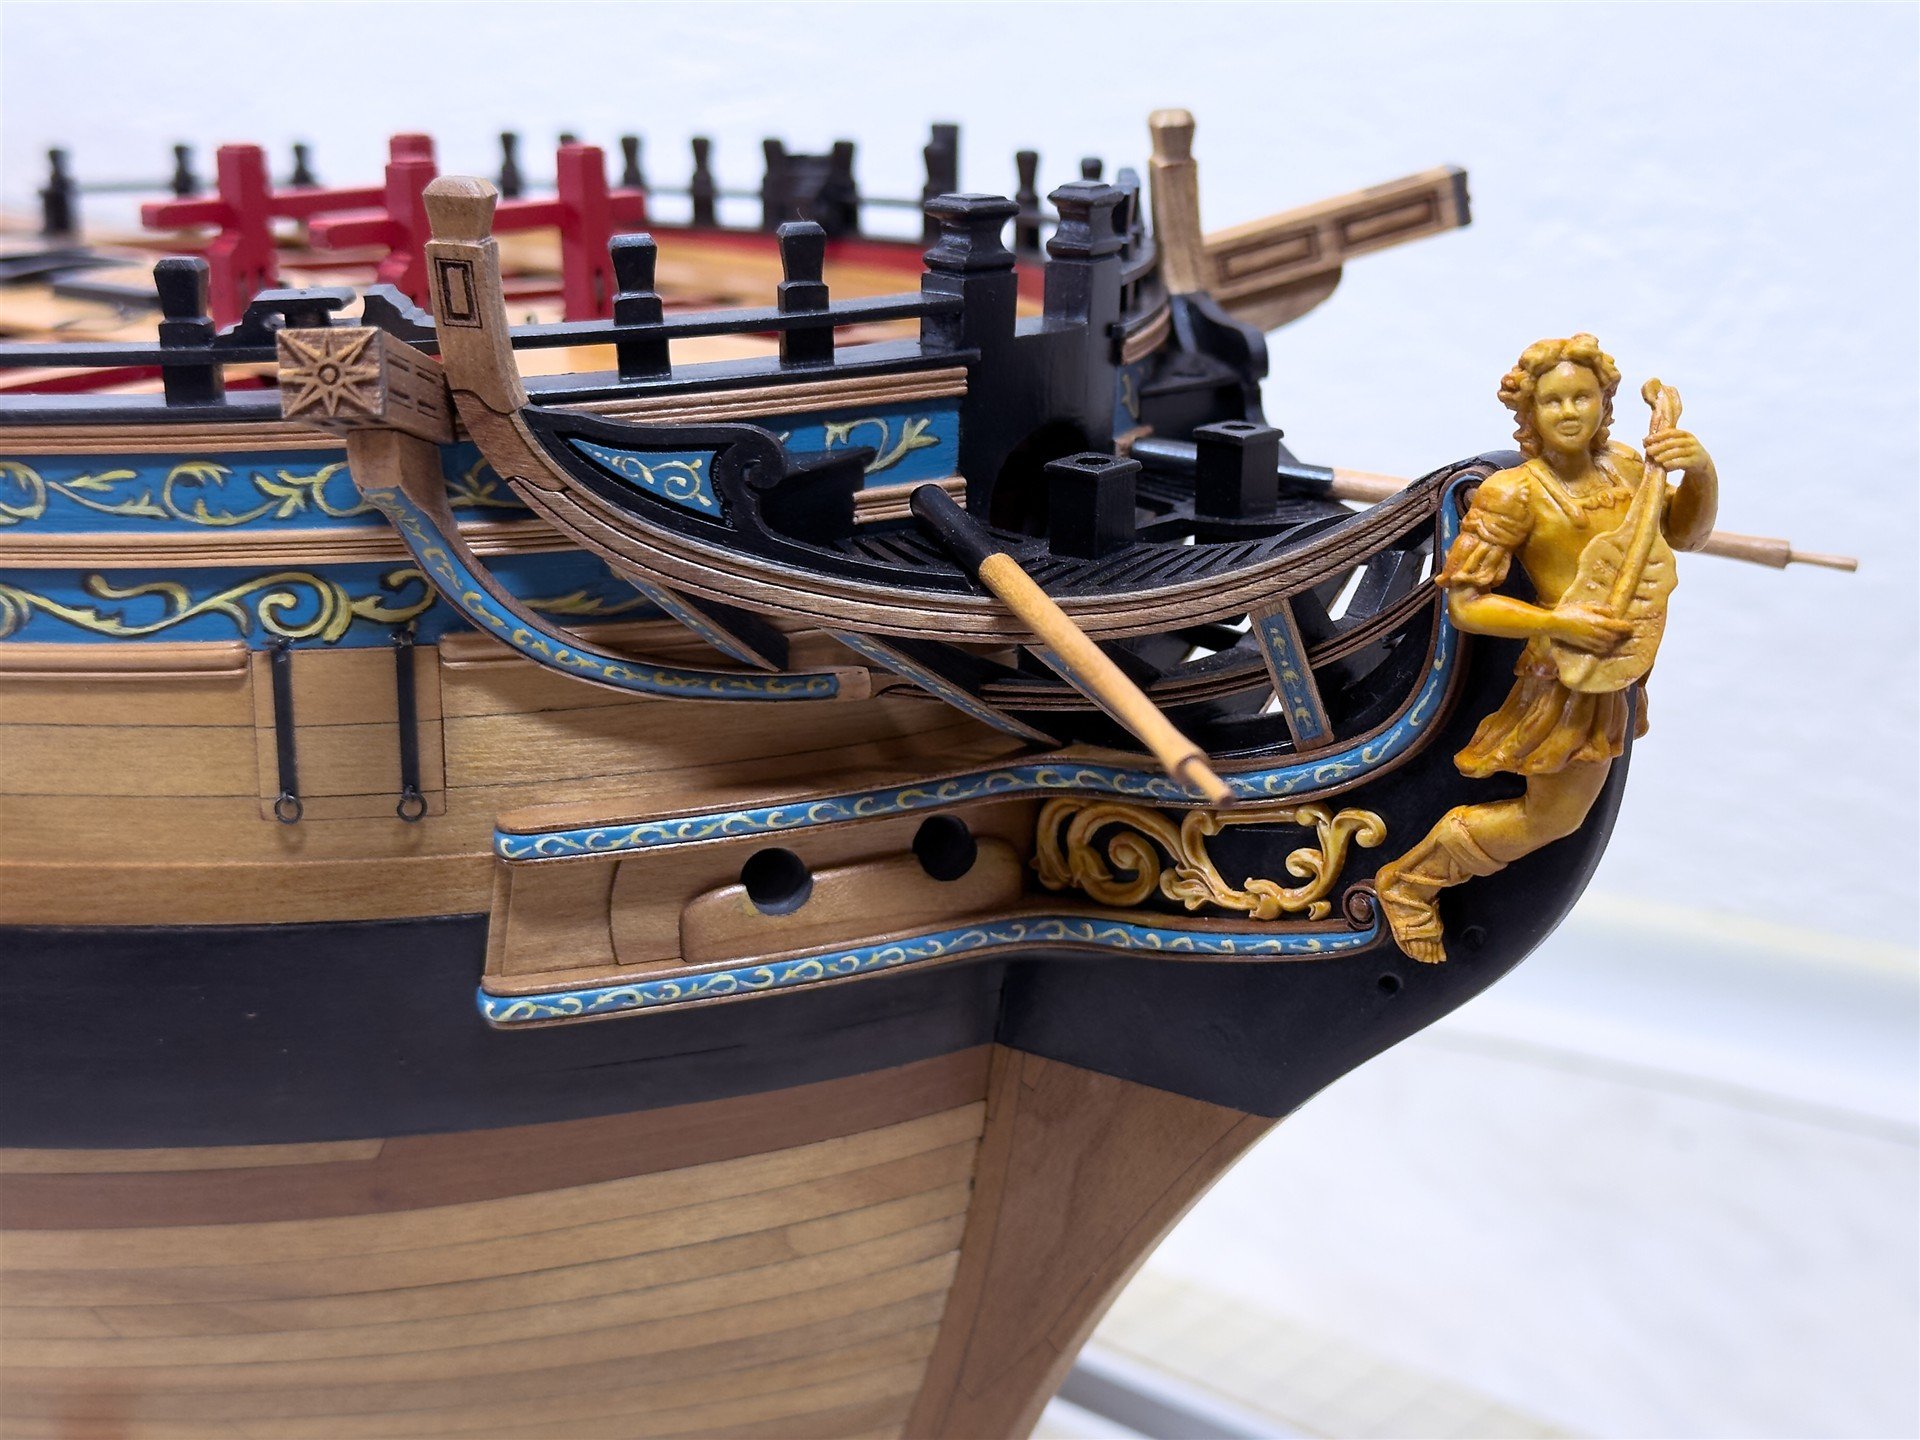
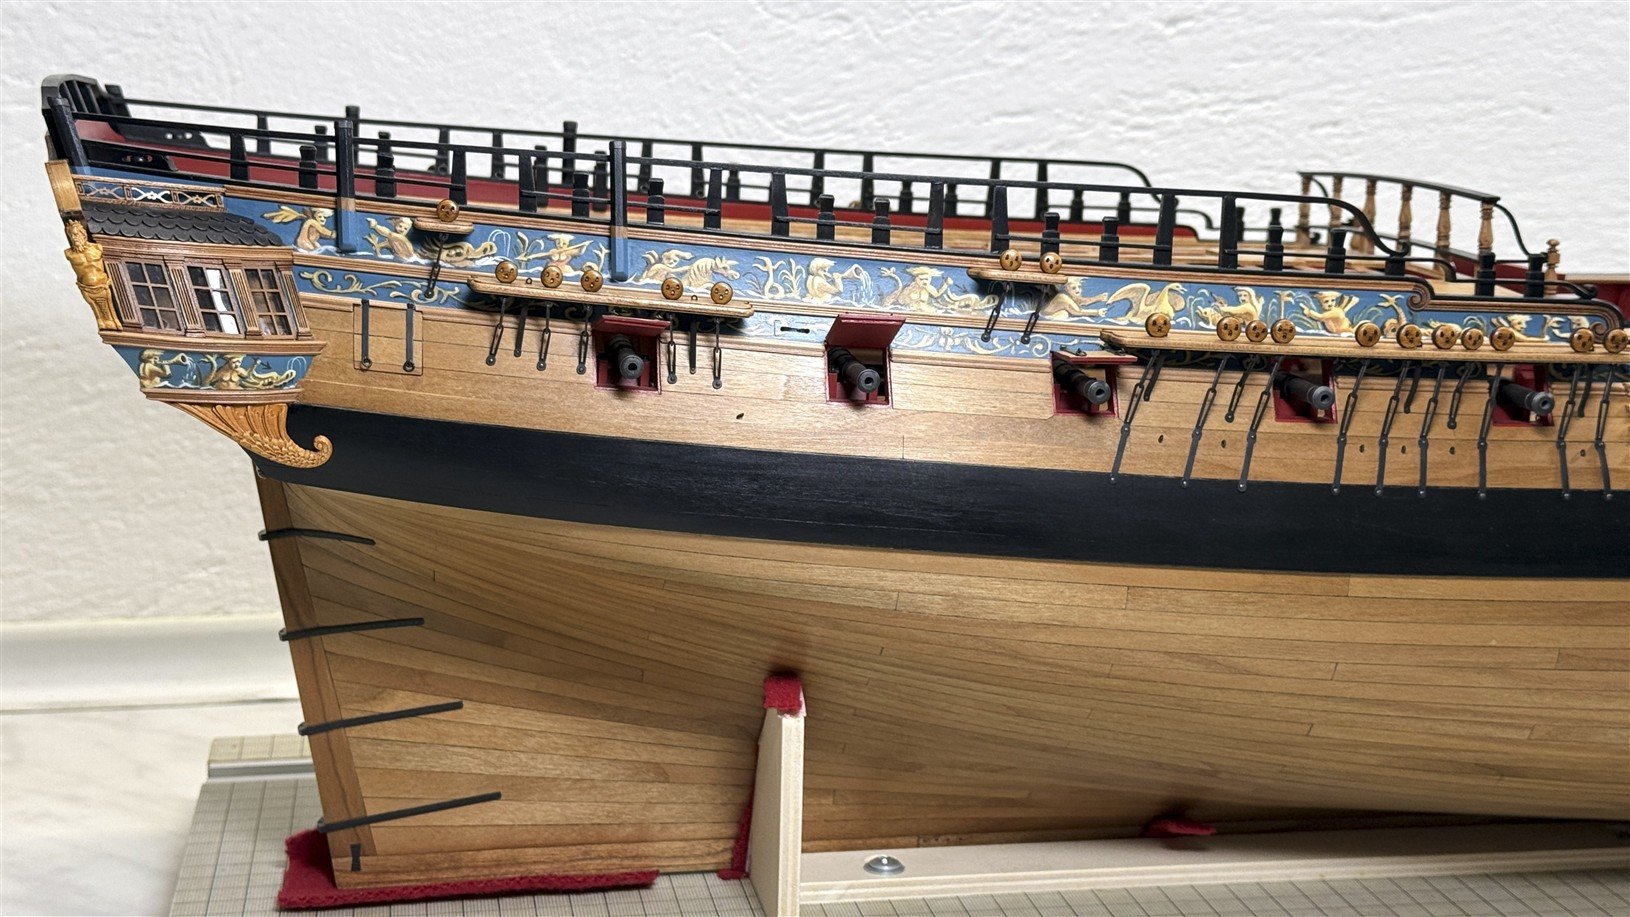
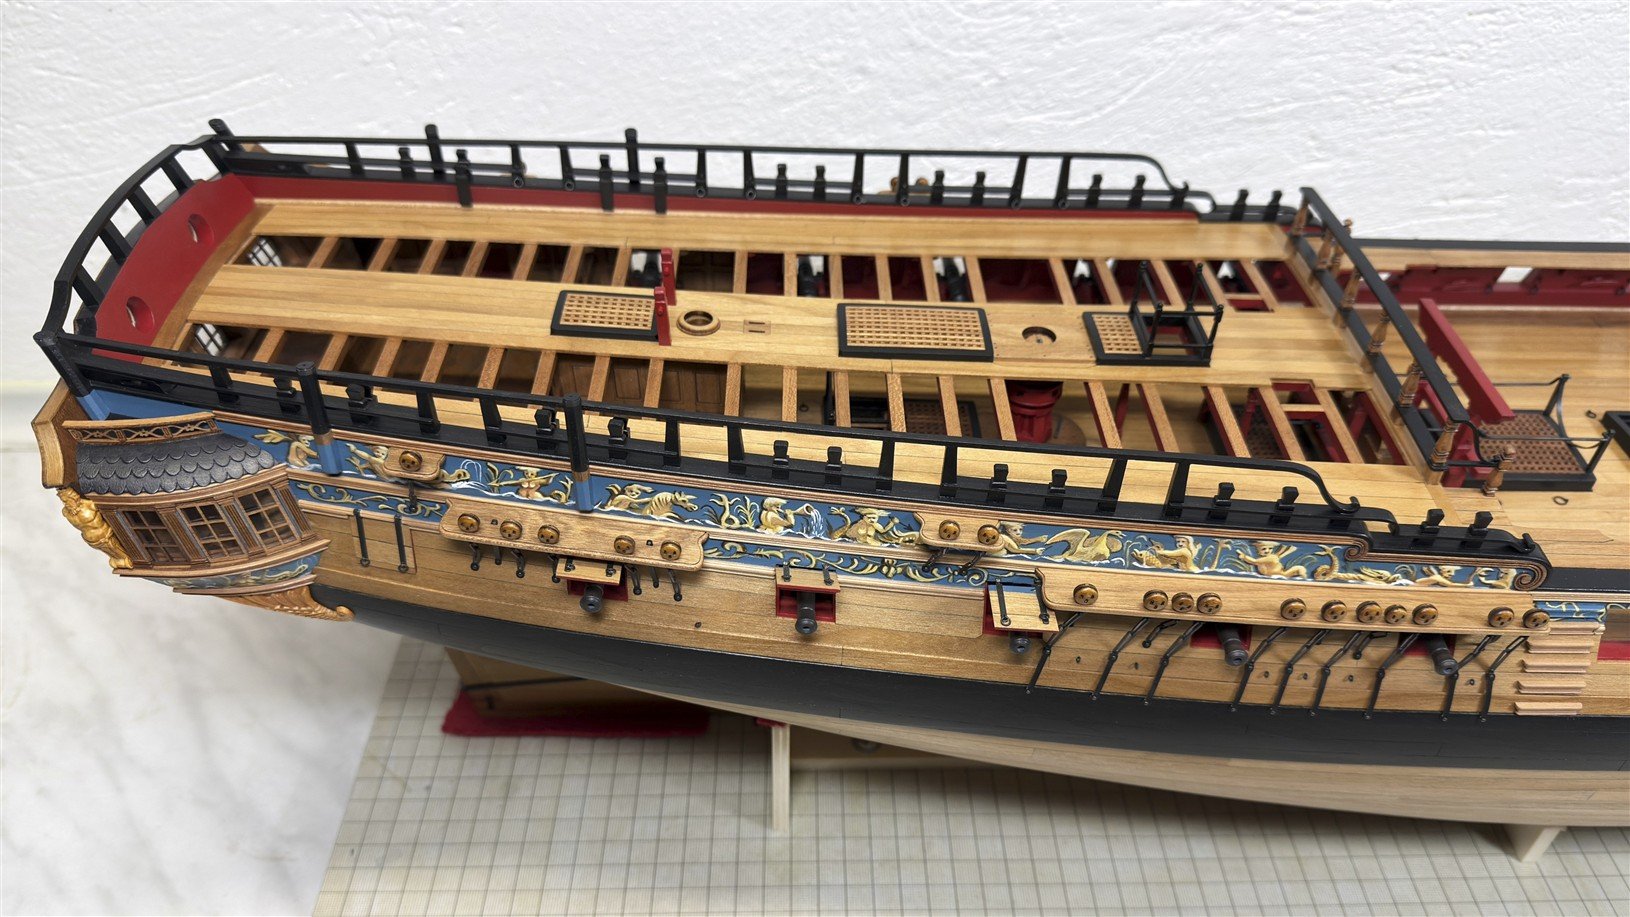
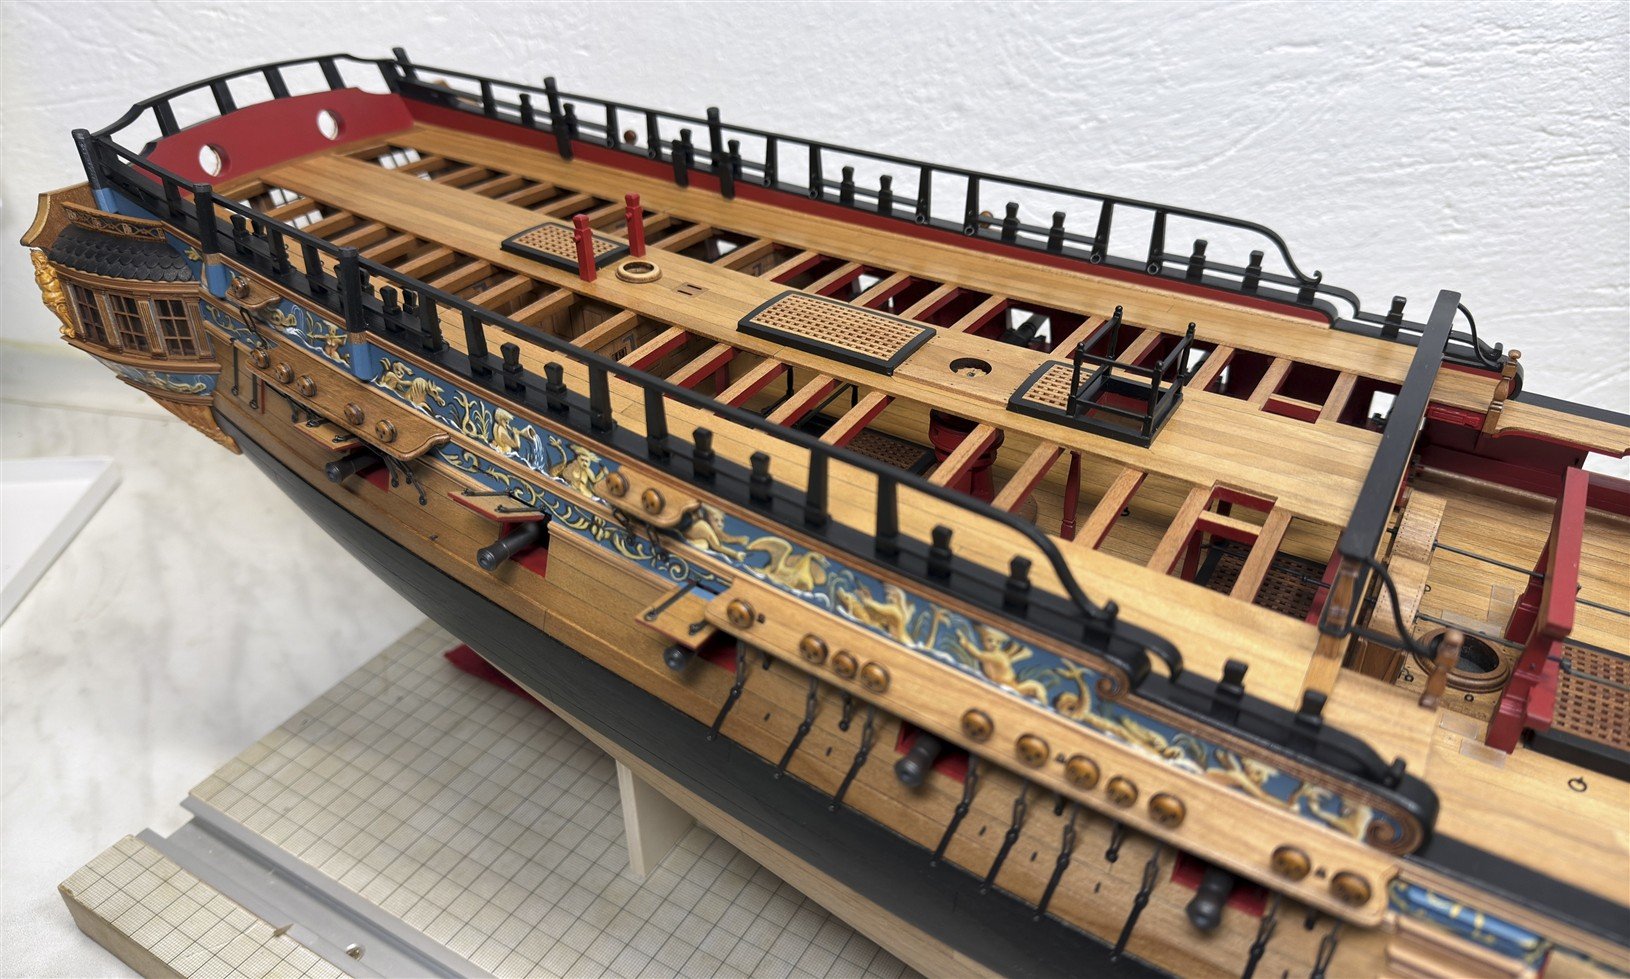
Hi Yves, Thank you! As I mentioned earlier, the model was designed by a longtime member of this great forum scrubbyj427 HMS Portland 1770 Prototype 1:48 - 4th rate 50 gun ship This is the first model he has designed himself, and he is doing everything in his spare time. In addition to designing the entire model, he is also working on prototypes, a build manual, and a website. The model will be released in chapters, as Chuck did with Winchelsea. The model's overall length is 43 inches (109 cm), so it's quite a beast. Ben and I are building prototypes to verify the design elements. Stay tuned, and keep your fingers crossed!
-
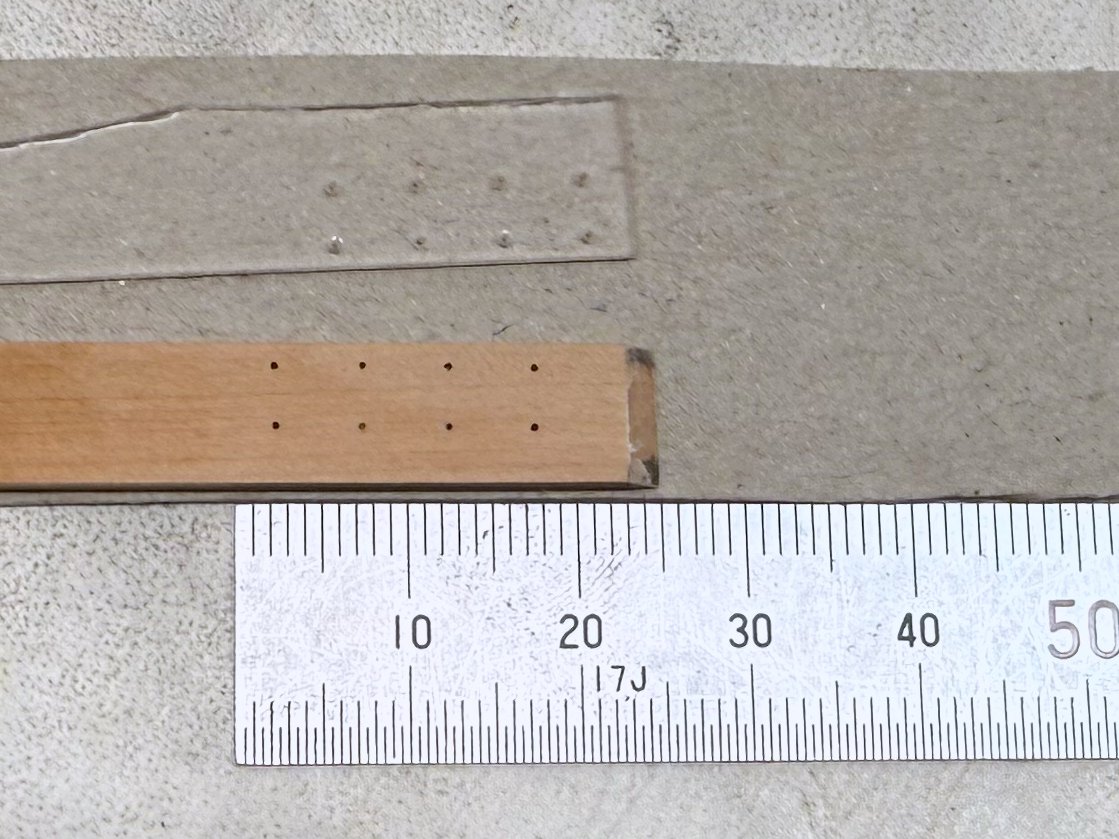
It looks like I've finished the keel. But I'm still thinking of adding - simulating nails to the keel. Here is a test with an 0,5 mm drill bit. I don't see them much on the contemporary models but I have done them on Winnie and probably will do them now. What do you think? Should I do it?

-
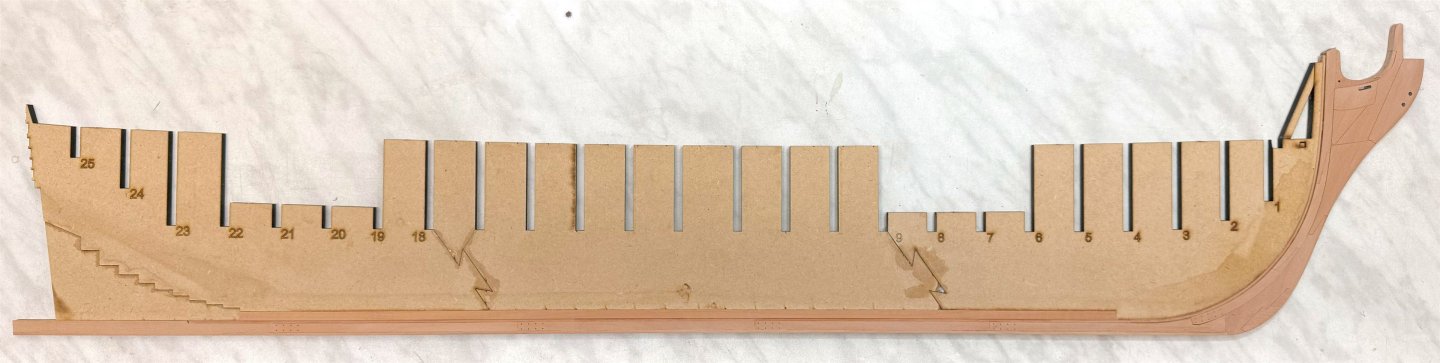
So, here's another update after the weekend. A lot of sanding, and finally, keel mounting.

-
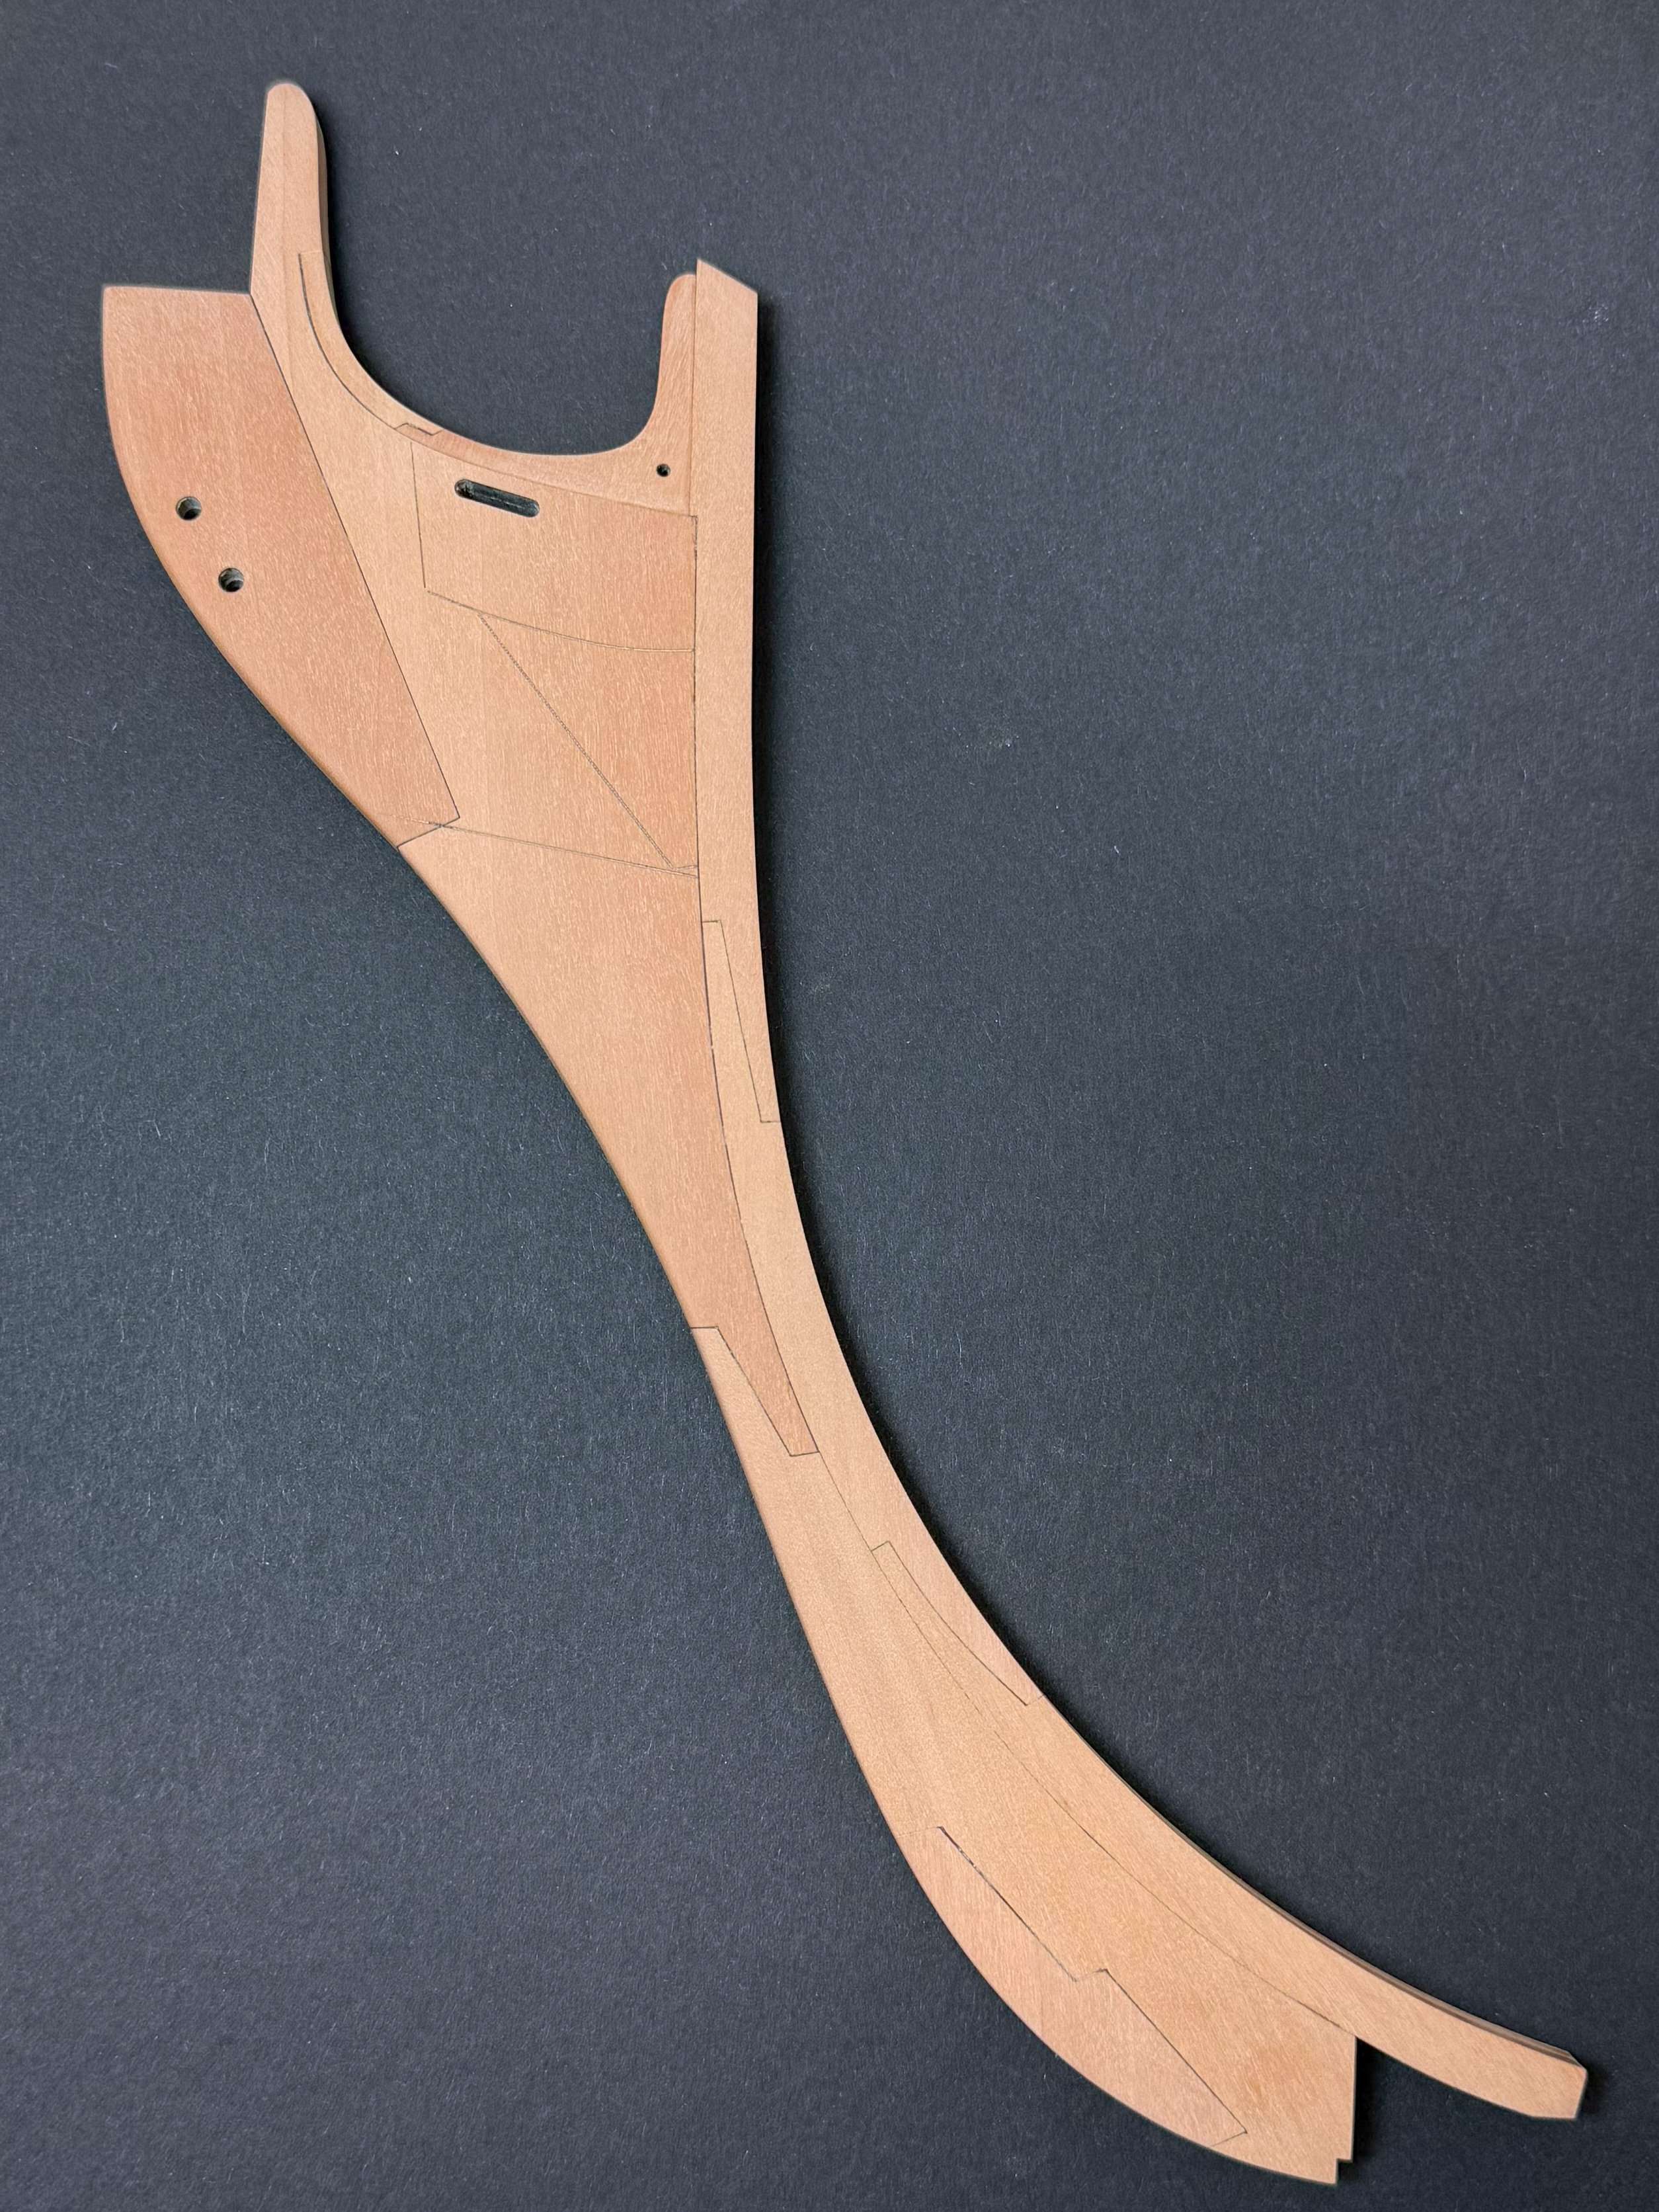
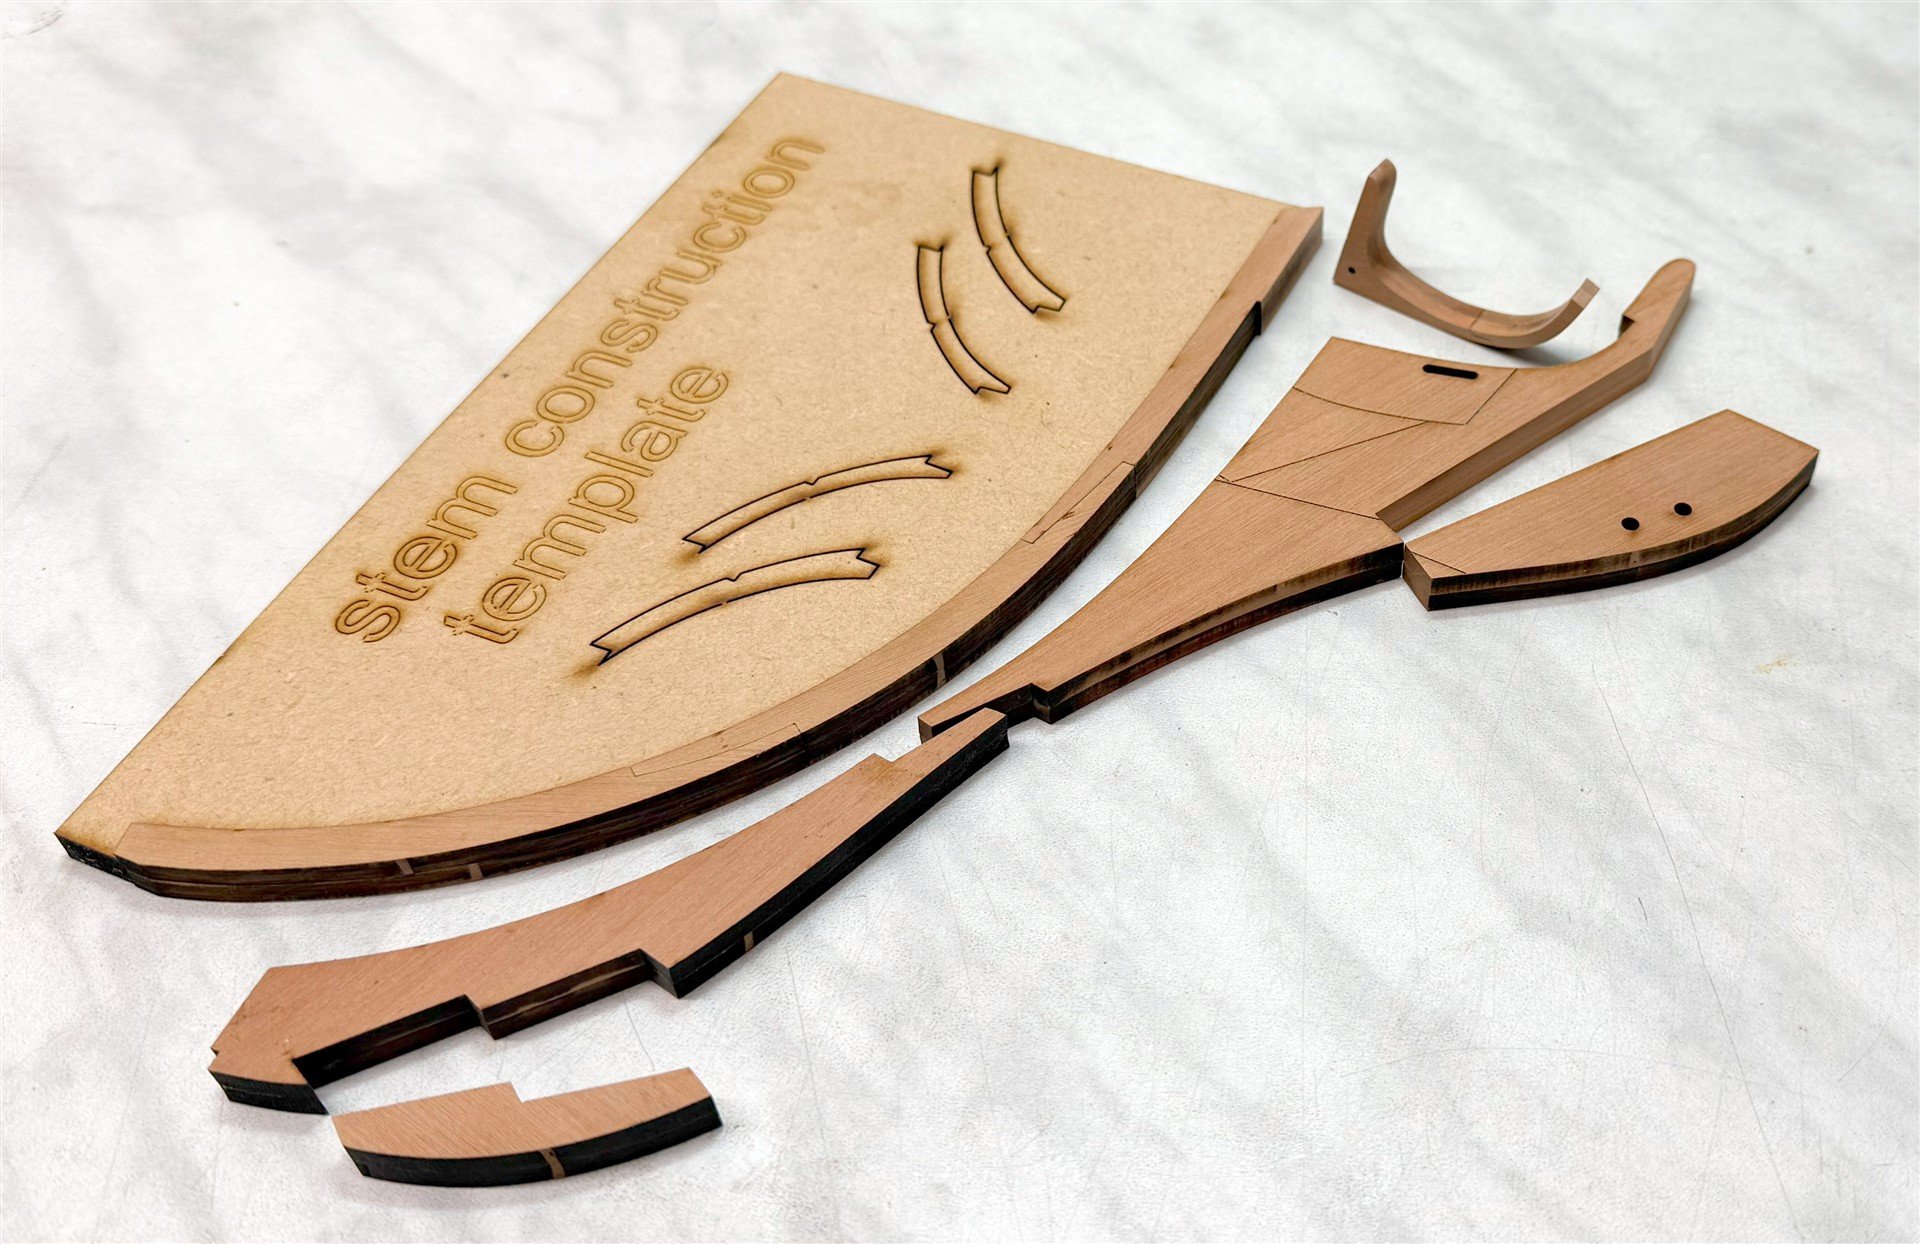
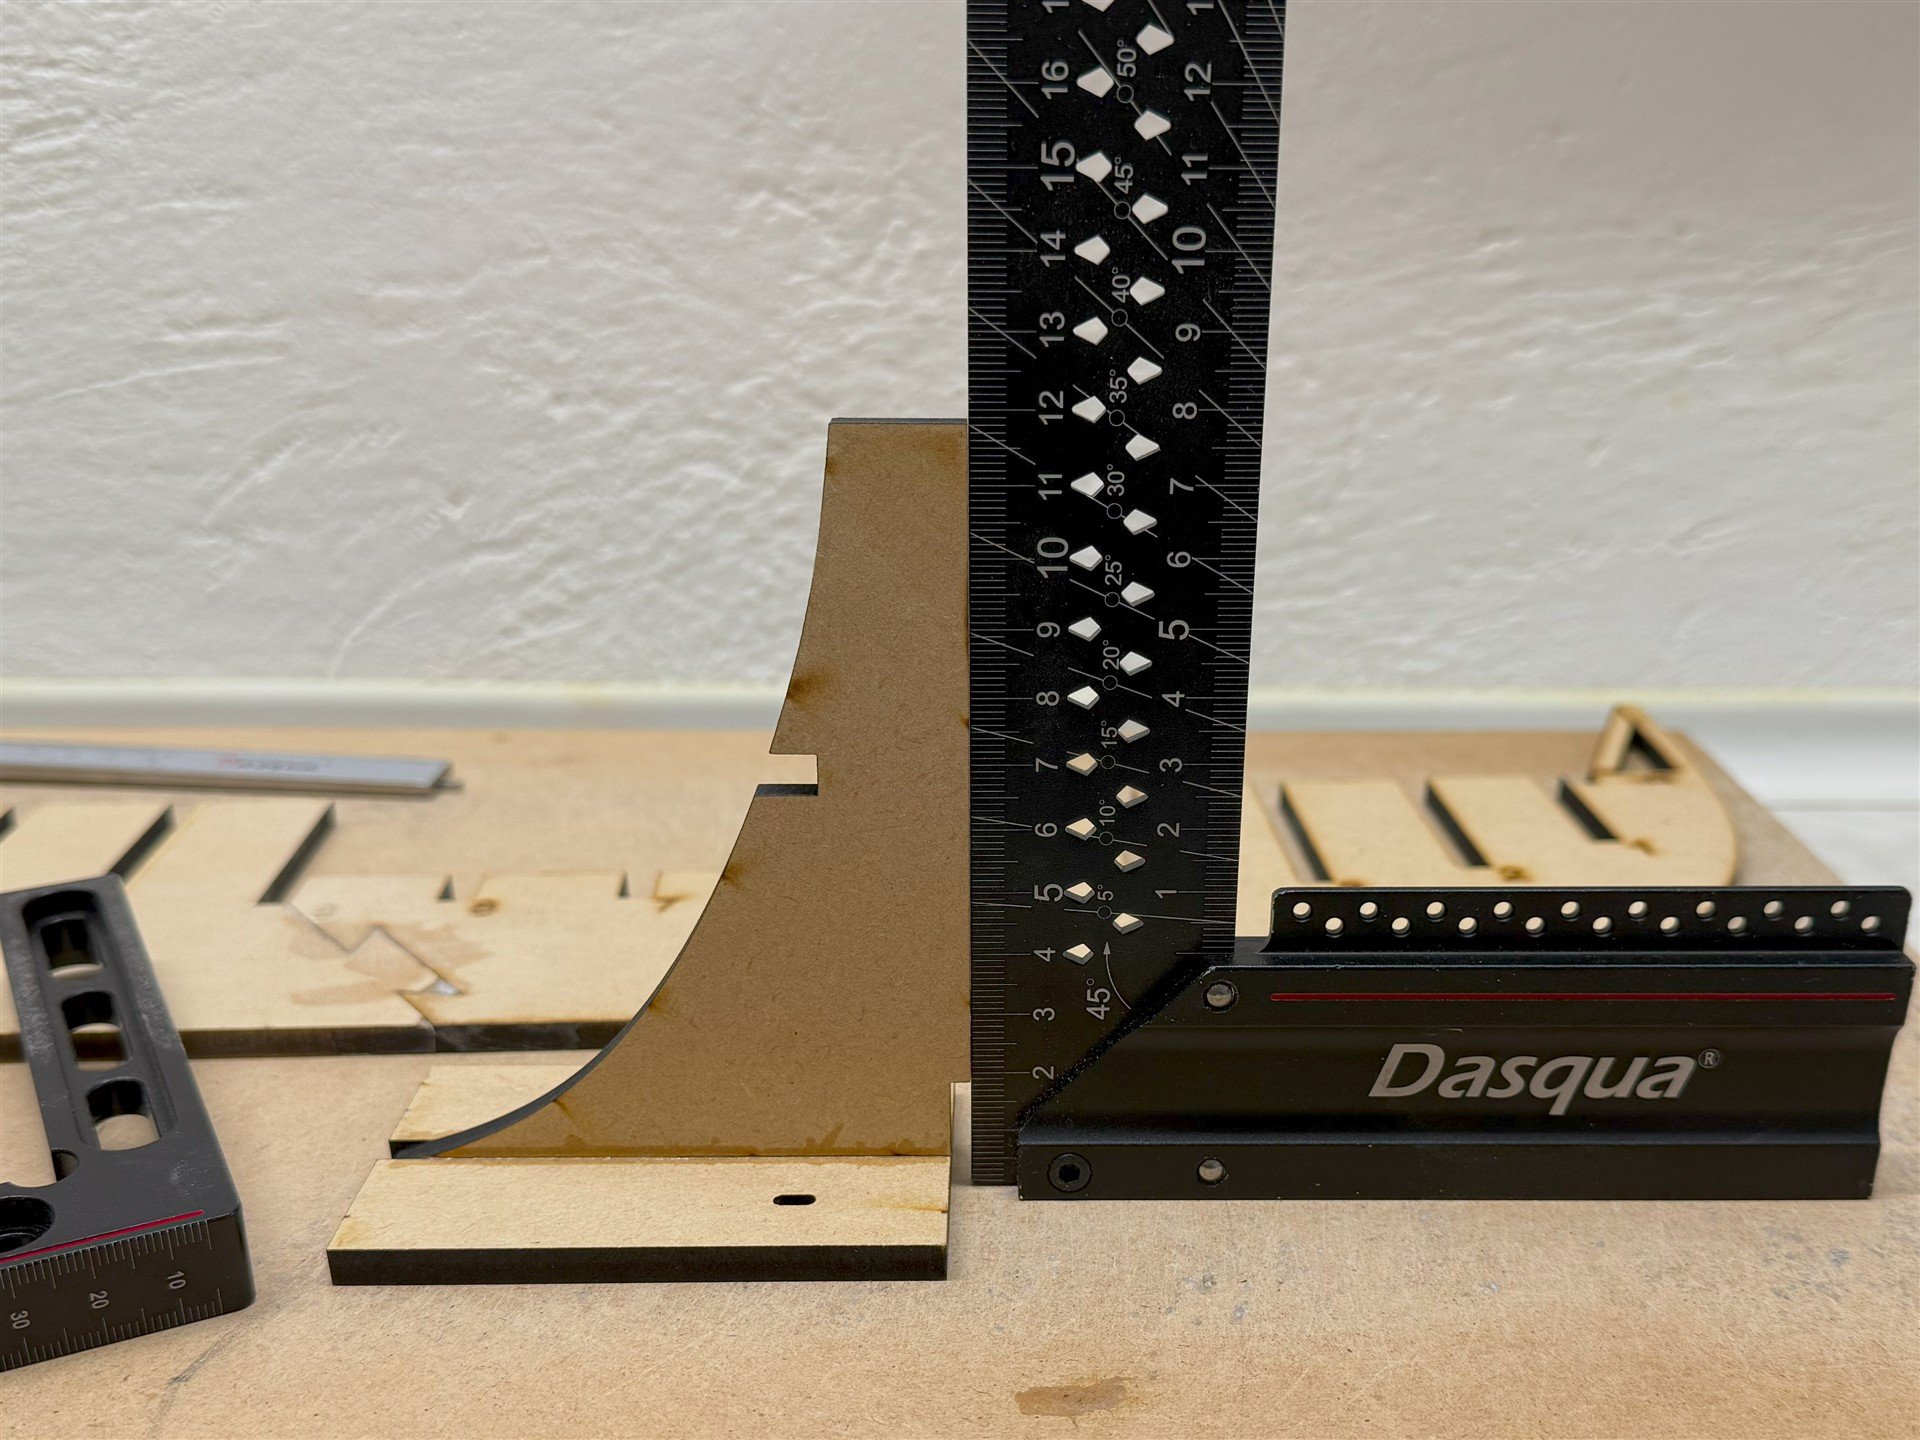
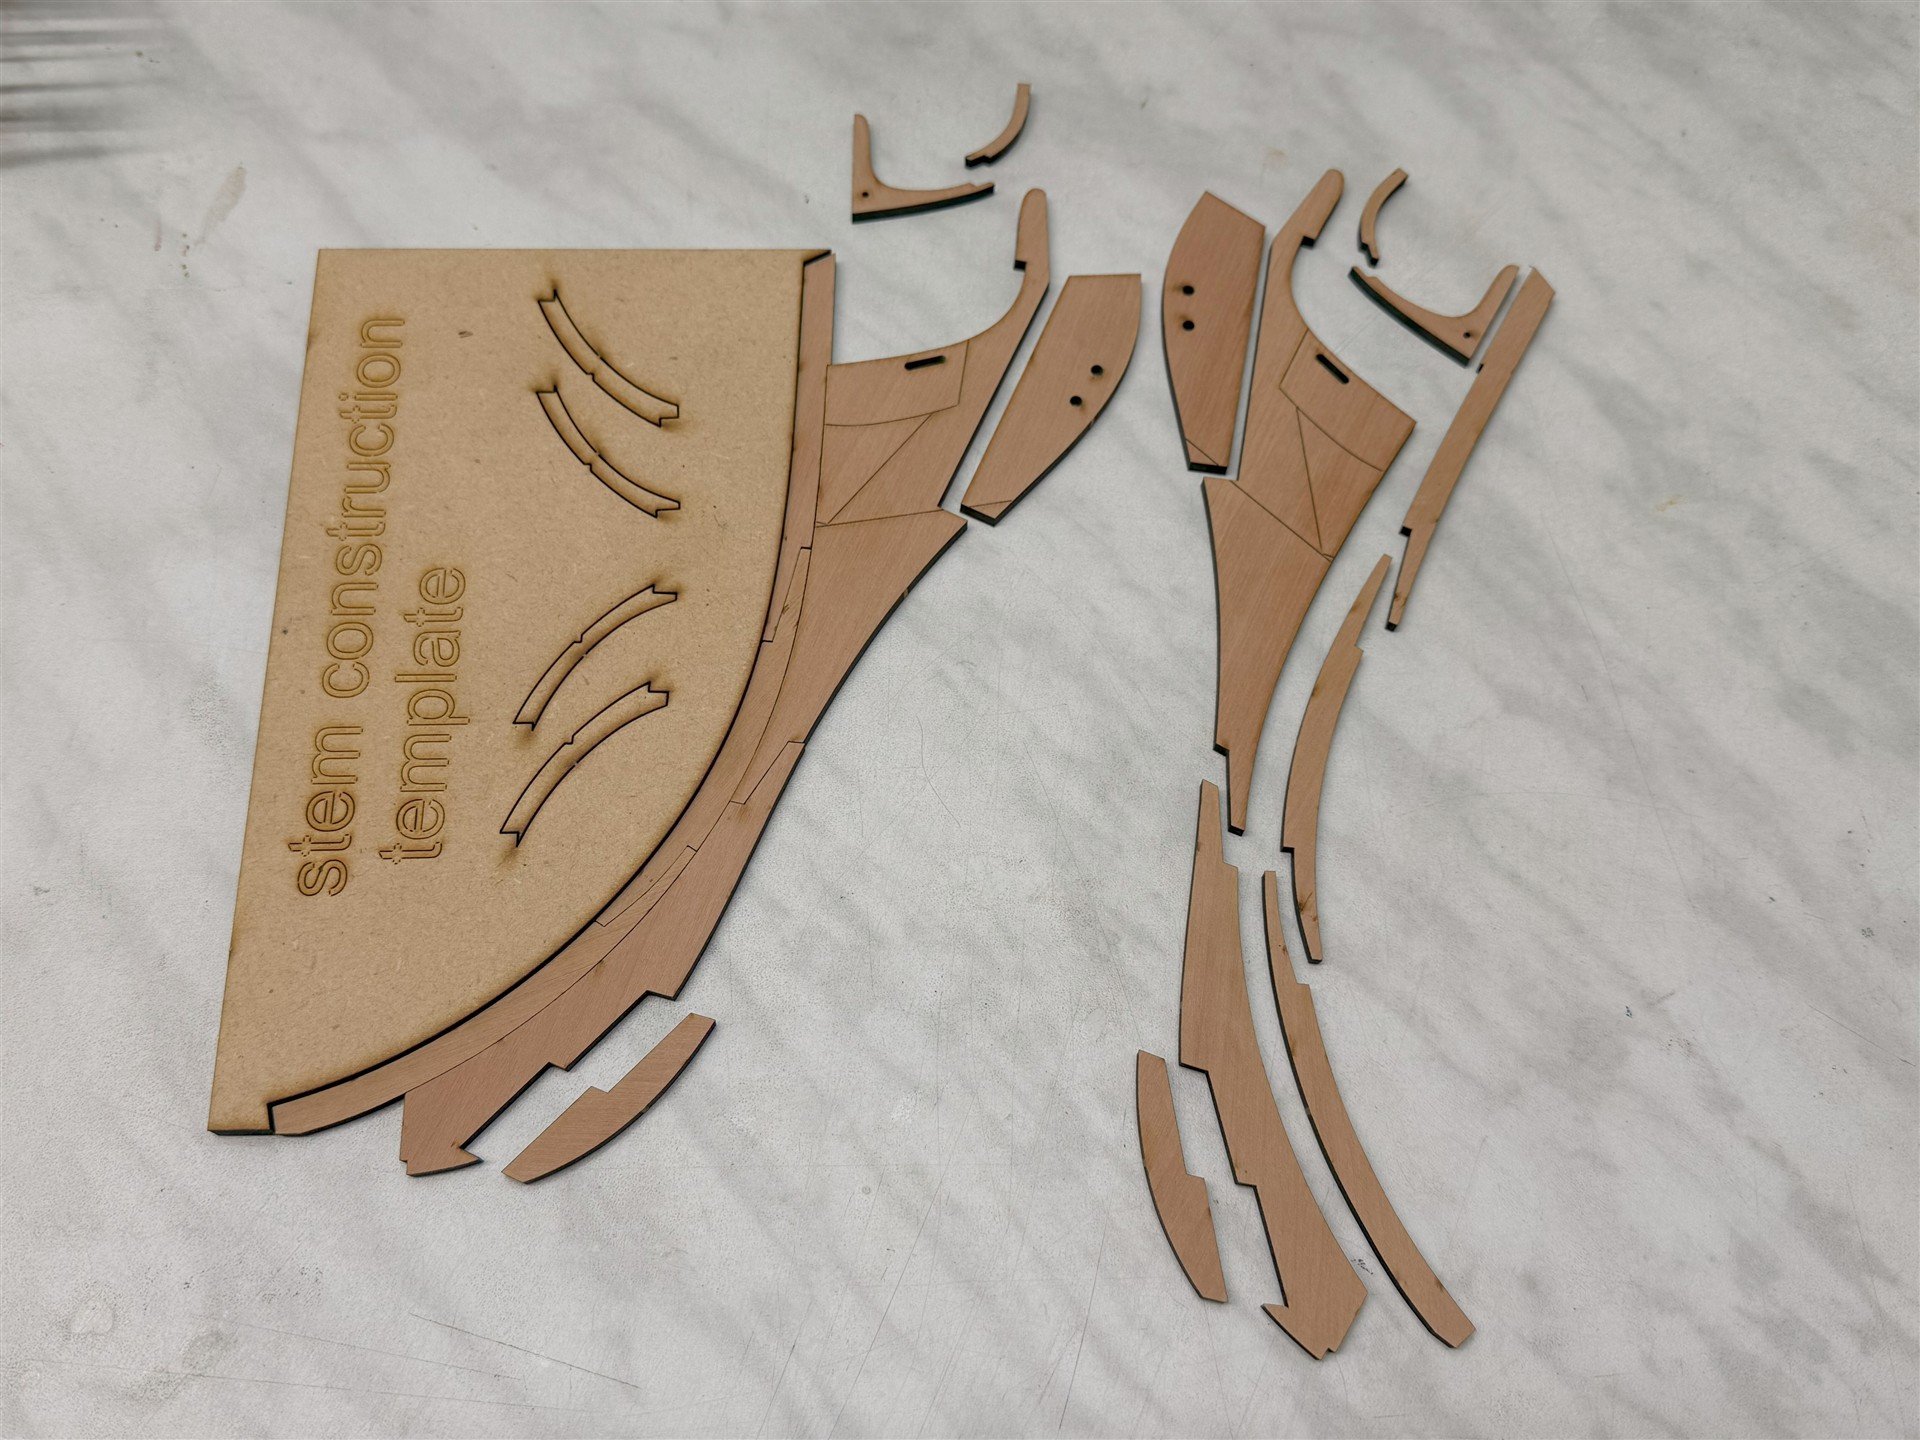
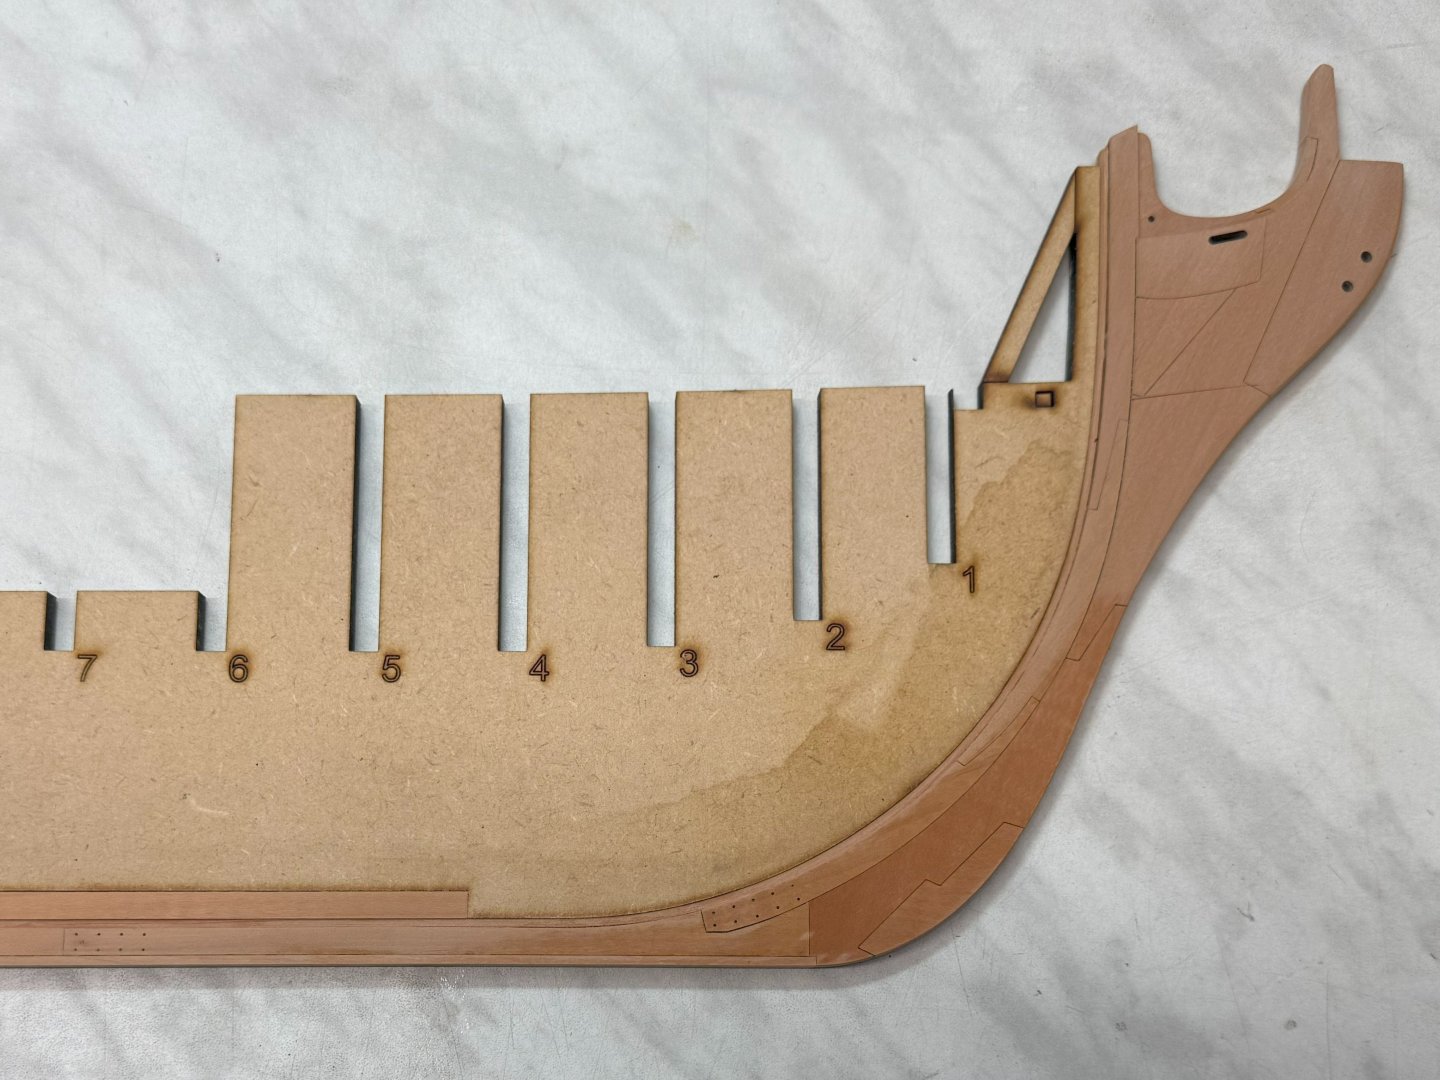
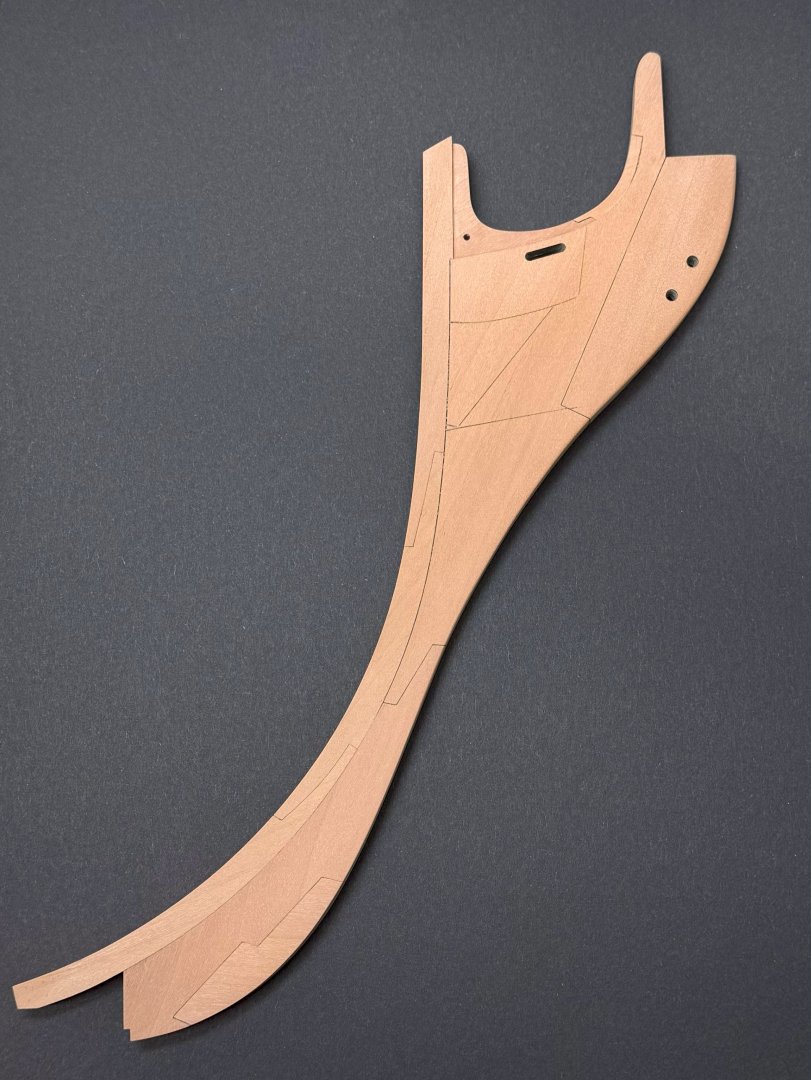
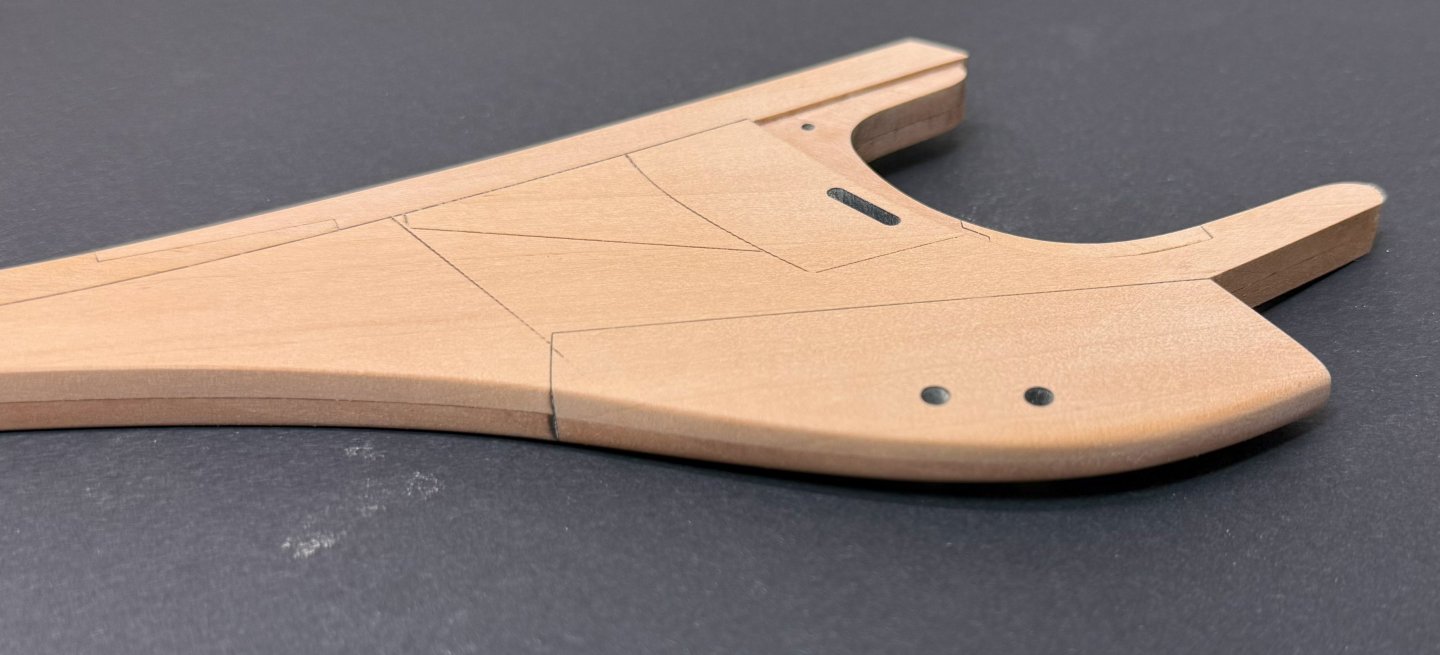
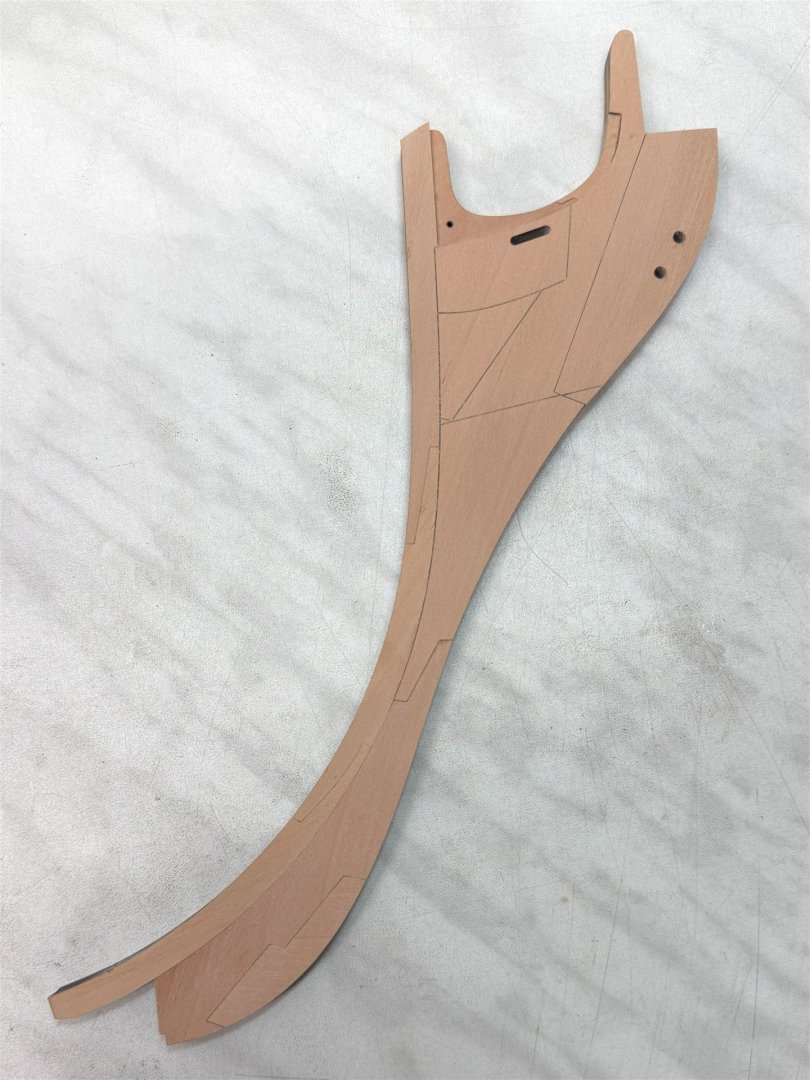
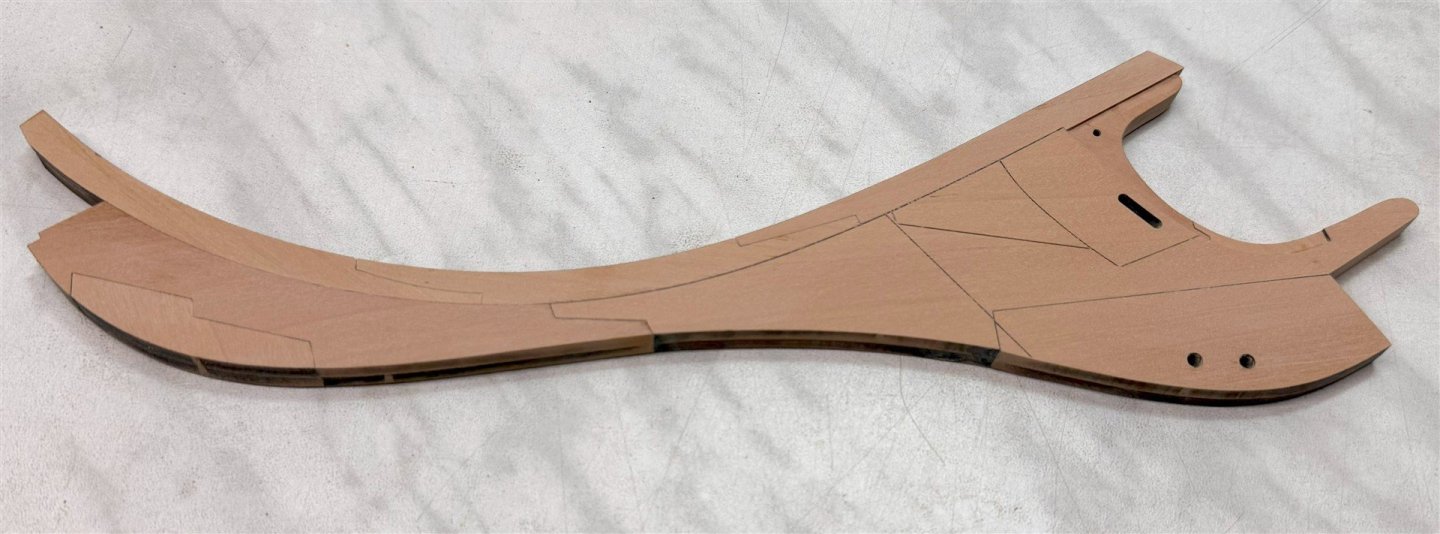
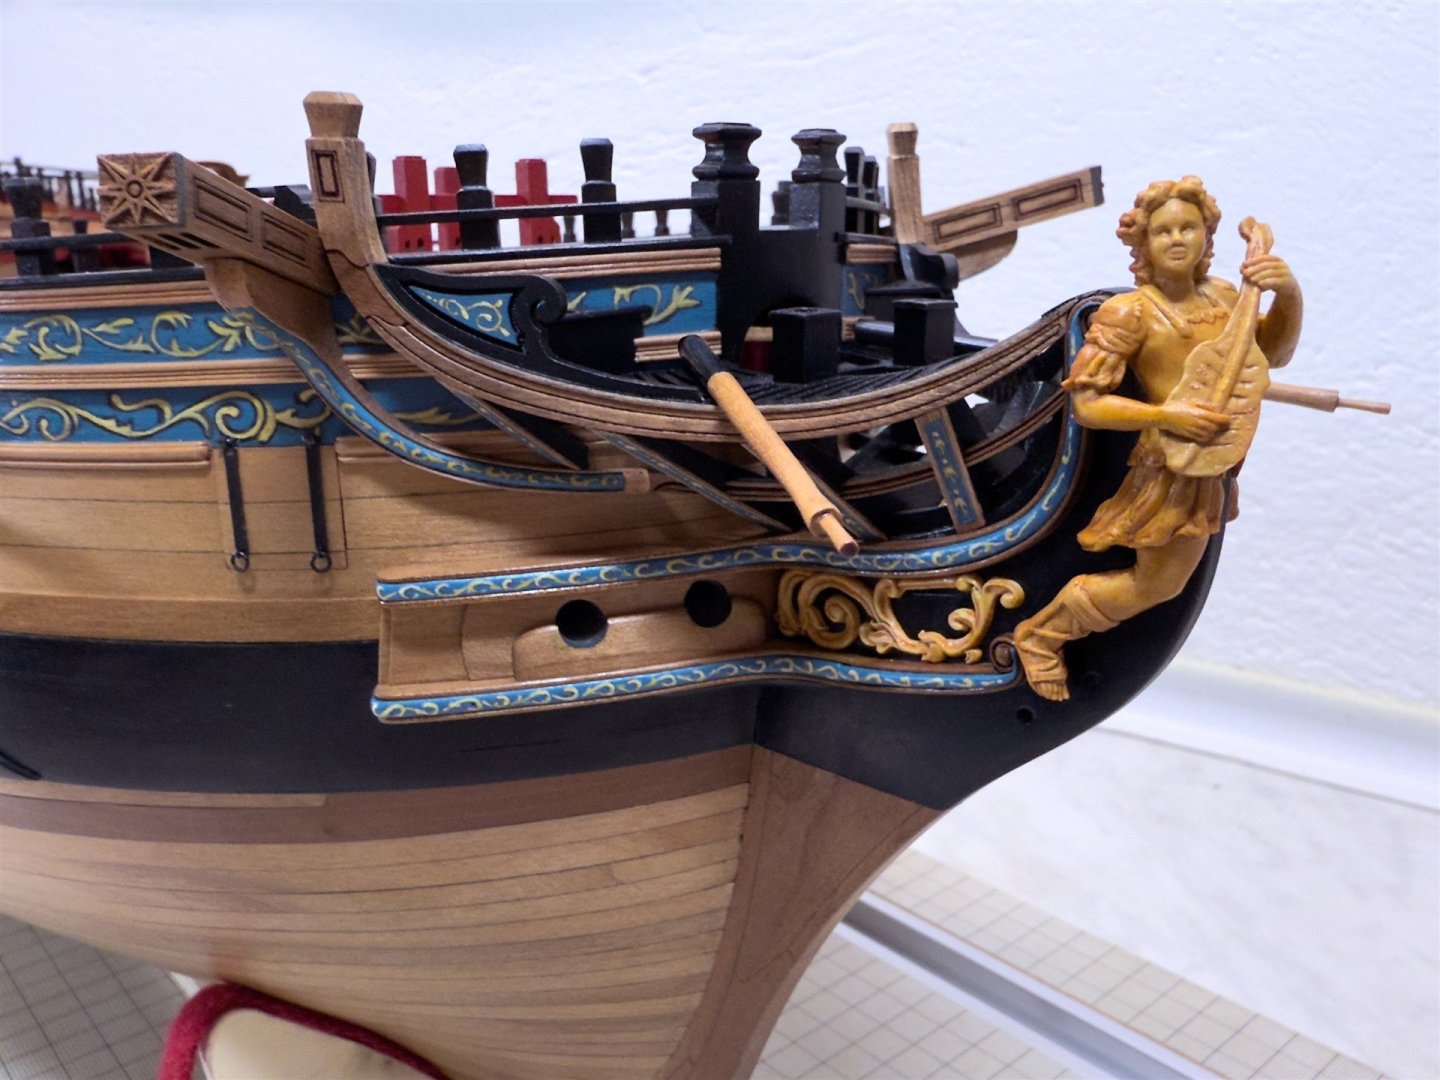
Hey, guys! I have a little update today. The stem and knee parts are assembled, so now I have a lot of sanding and tapering to do for the figurehead...


-
Great progress, Ben It's looking very good!
-
Thank you, guys! Yes, I'm excited to start building, but I'm taking it slowly. Today, I glued the fake rising wood to the bottom of the bulkhead former and bent the rabbet strip over with hot steam. I've only clamped it for now to dry and shape it by tomorrow. Alongside that, I'm slowly assembling the knee head parts...
-
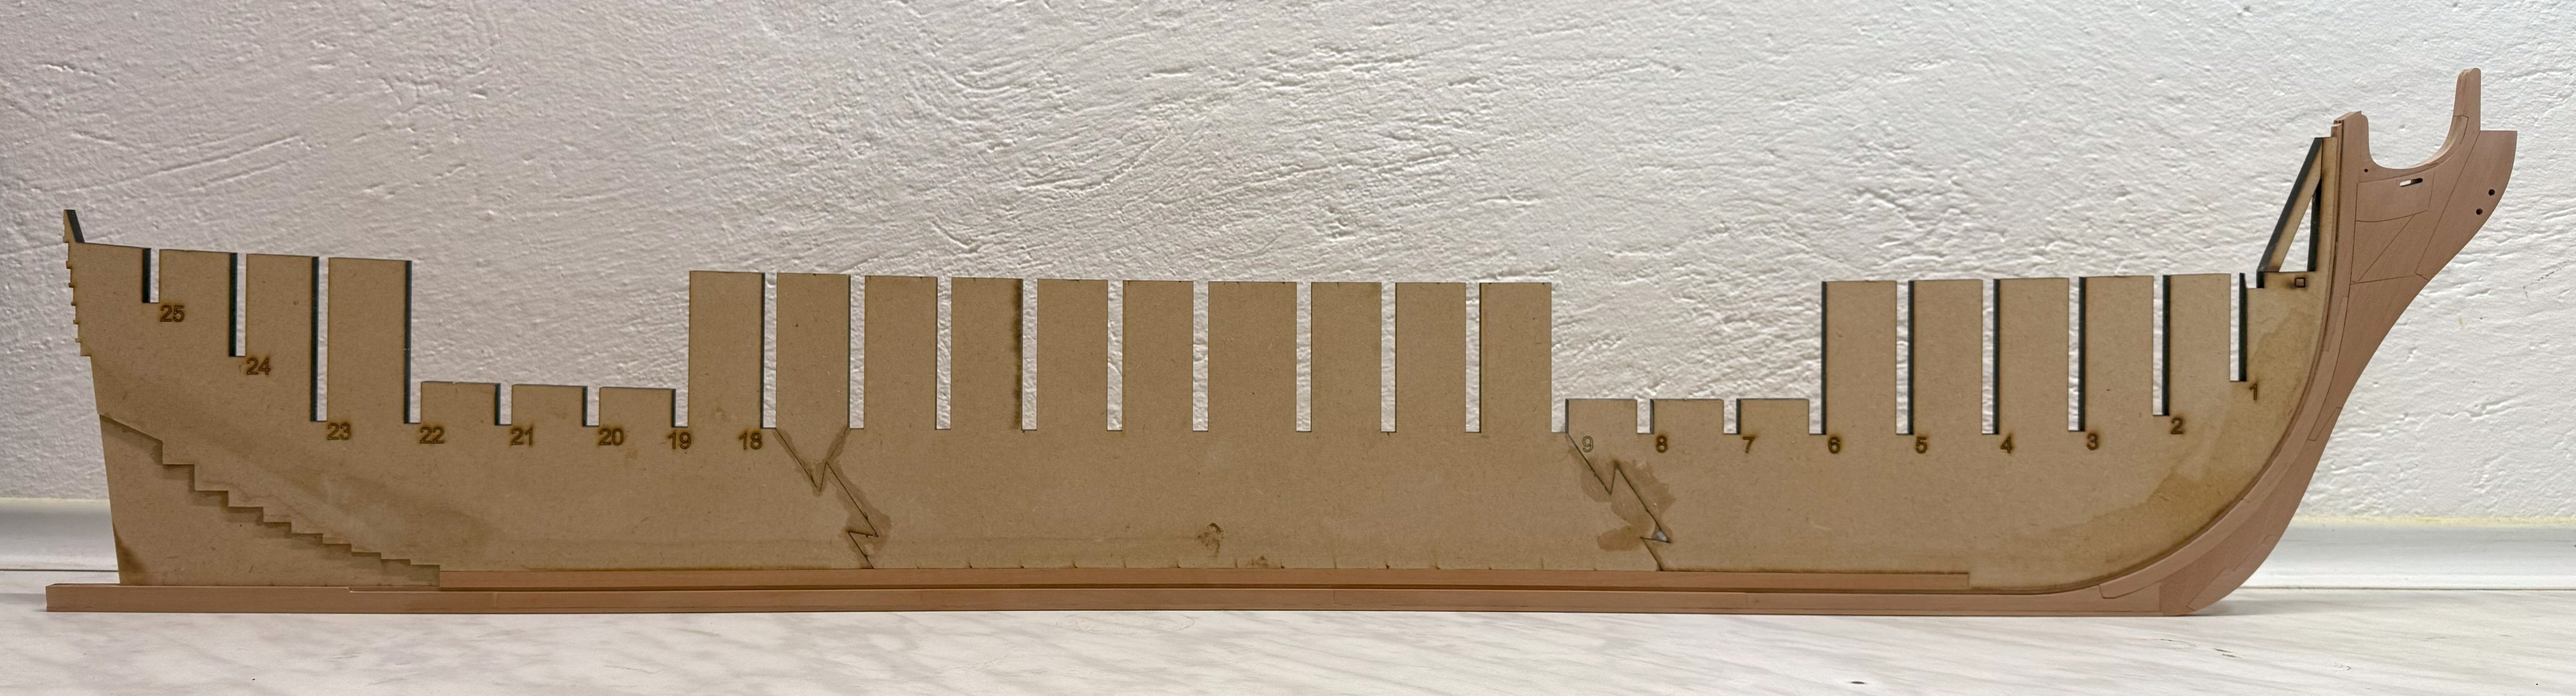
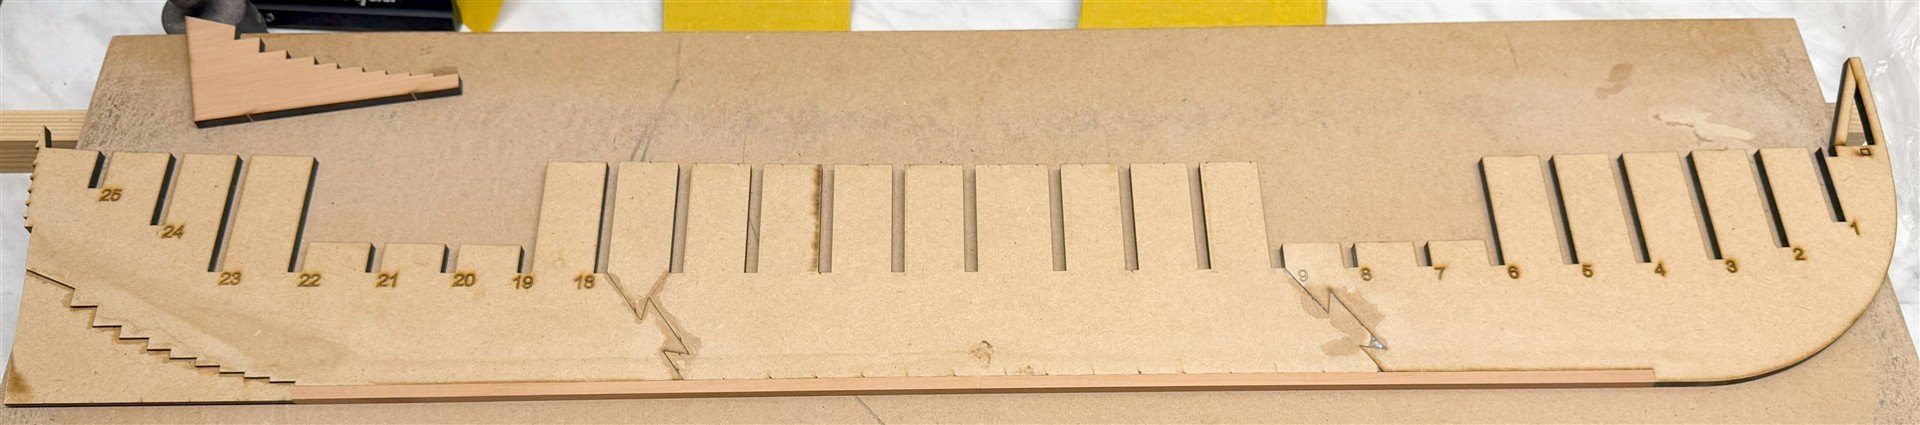
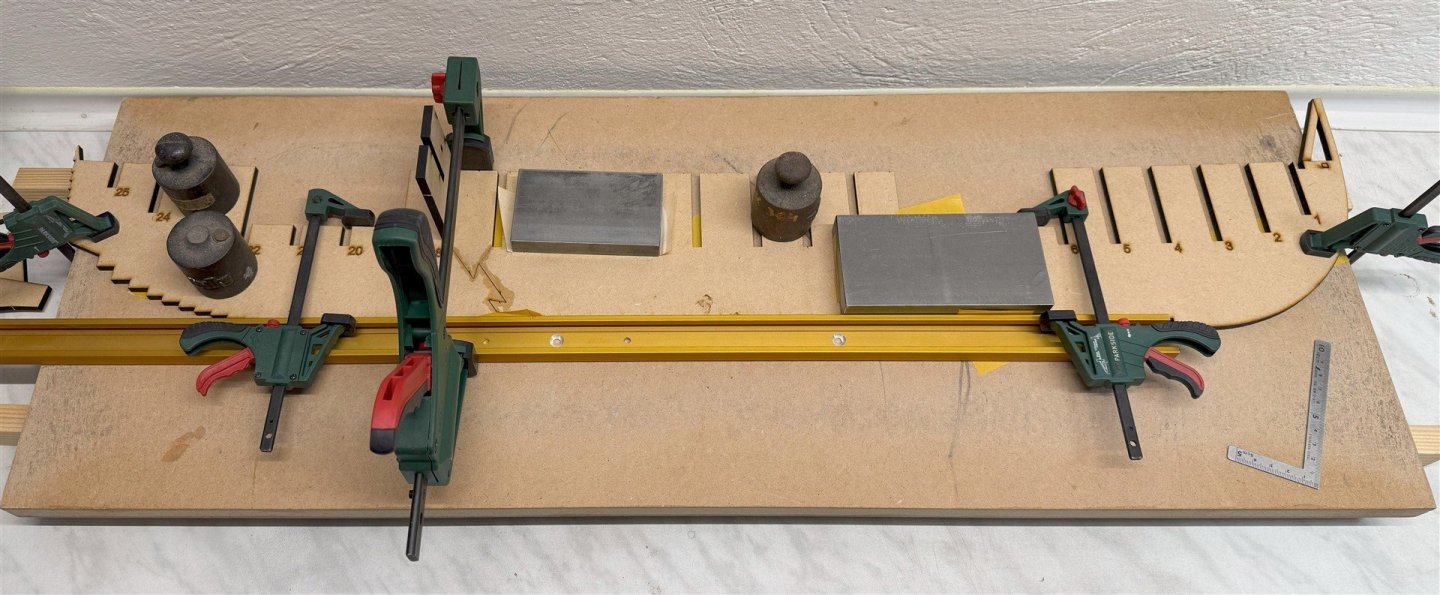
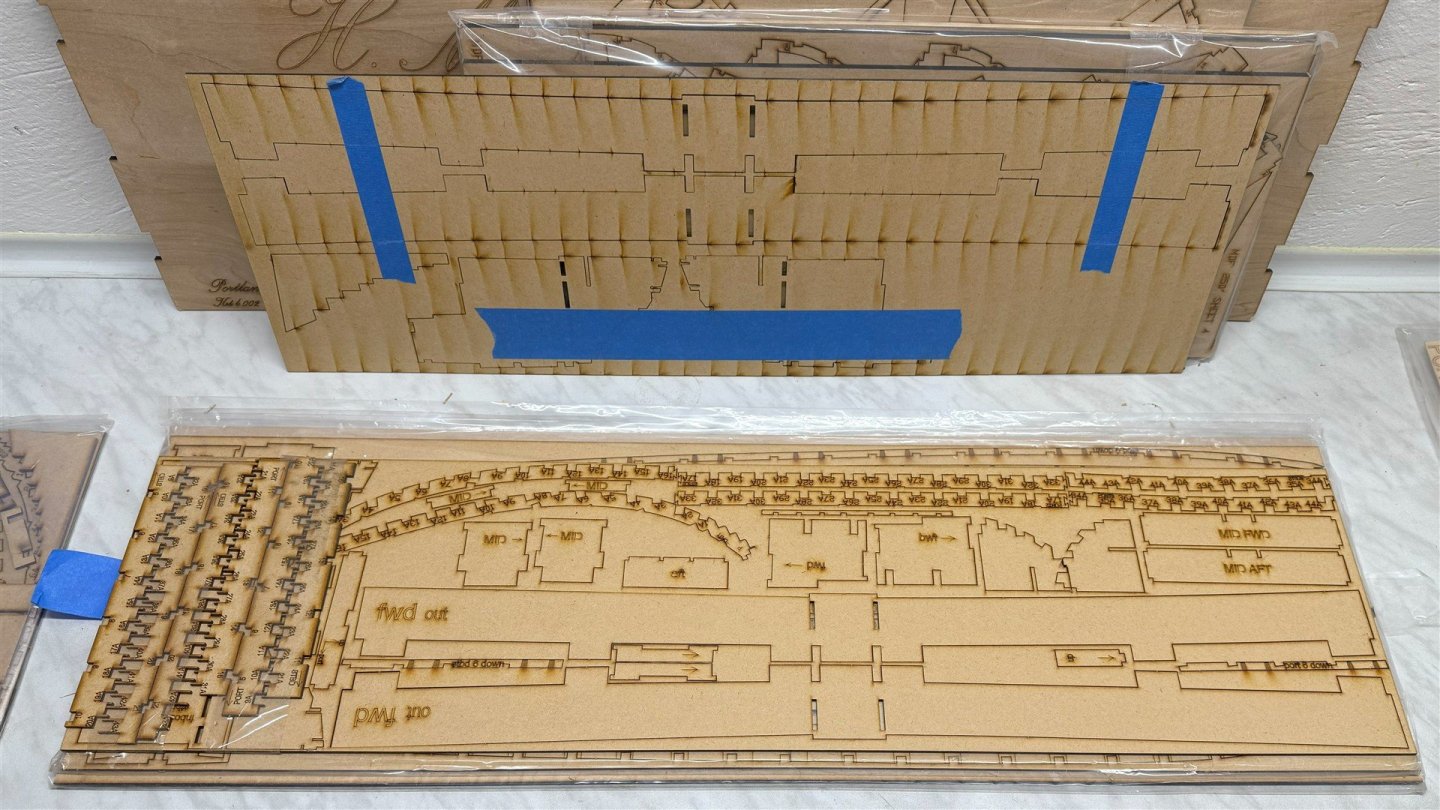
First steps of construction, I glued the three pieces of MDF bulkhead former together on a flat board. From the bottom, I attached an aluminum rail to keep all three parts flush. I let it cure well overnight. Then MDF deadwood - 3mm thick so I used 1.5mm strips to centre it Bulkhead former is 6mm thick. I also glued the hull stands together. I use a very thin CA glue to glue the MDF together, which I let flow into the joints Next tuning The knee of the head parts so far dry


-
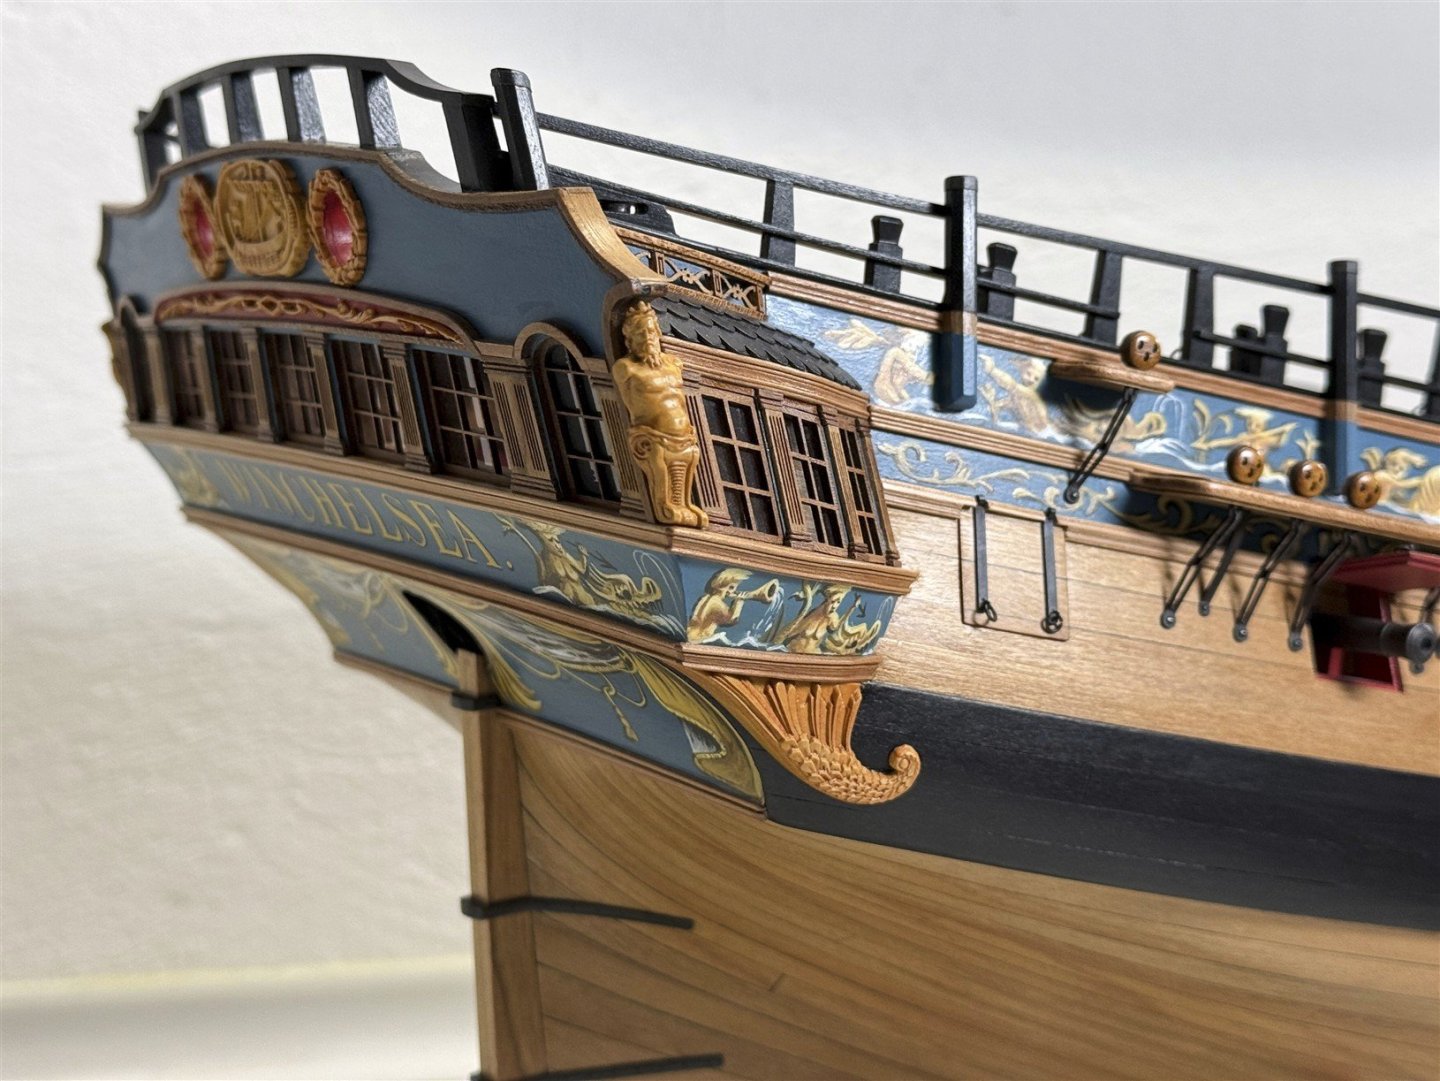
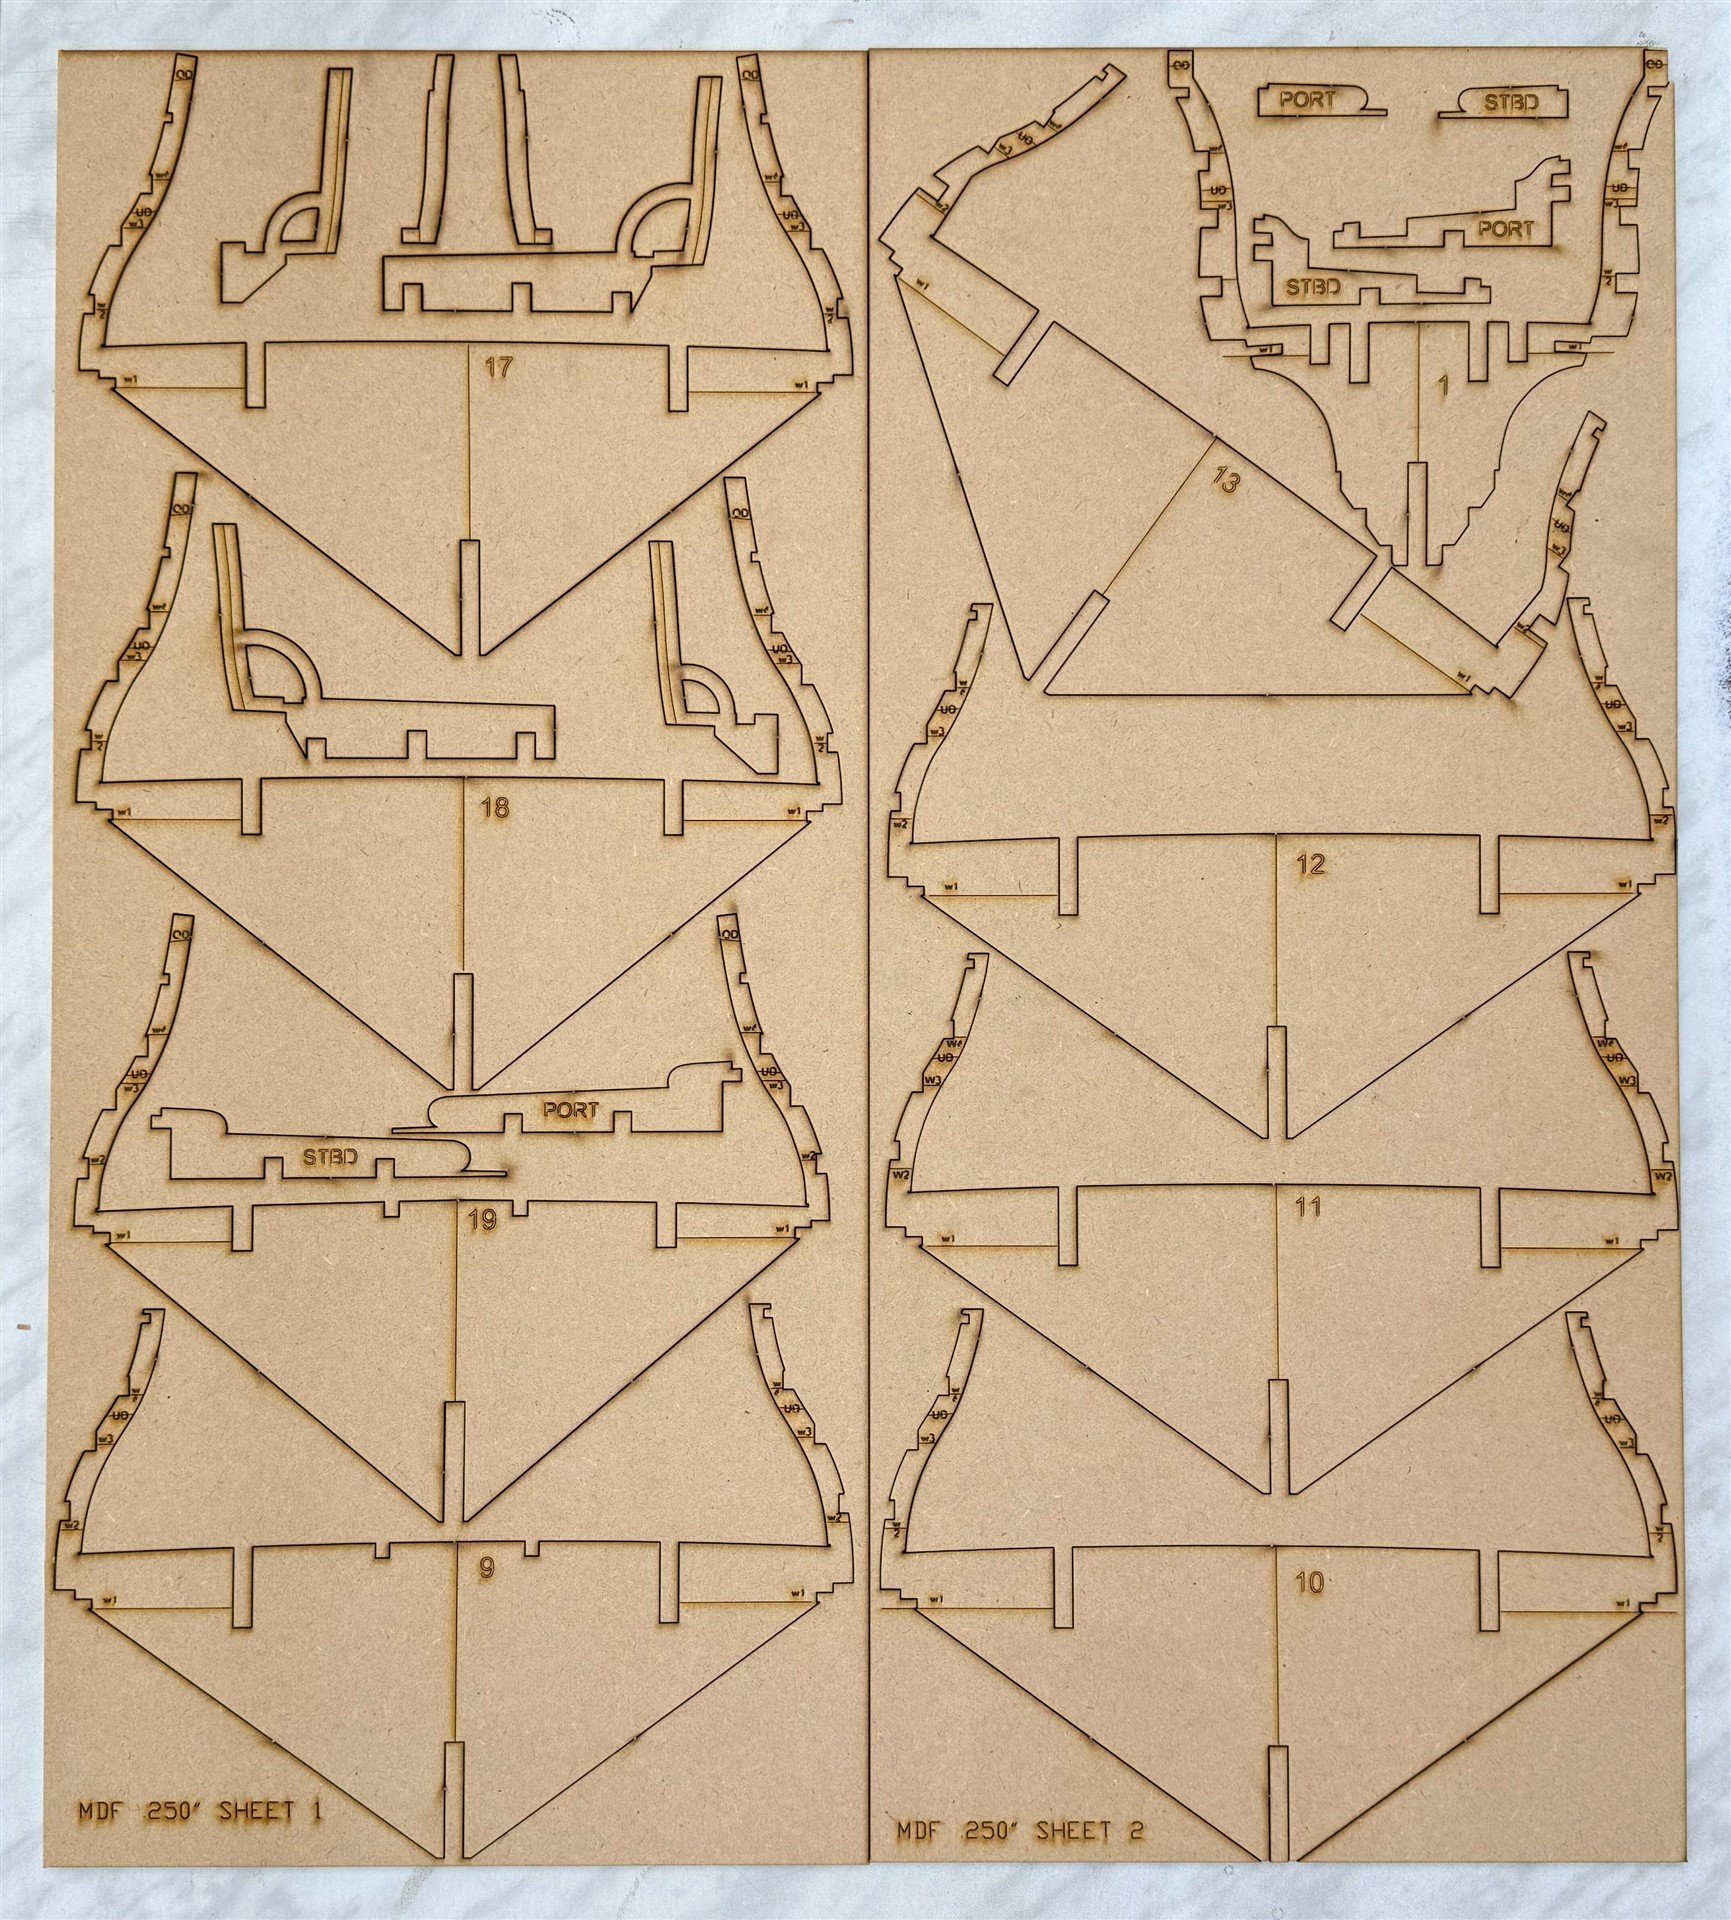
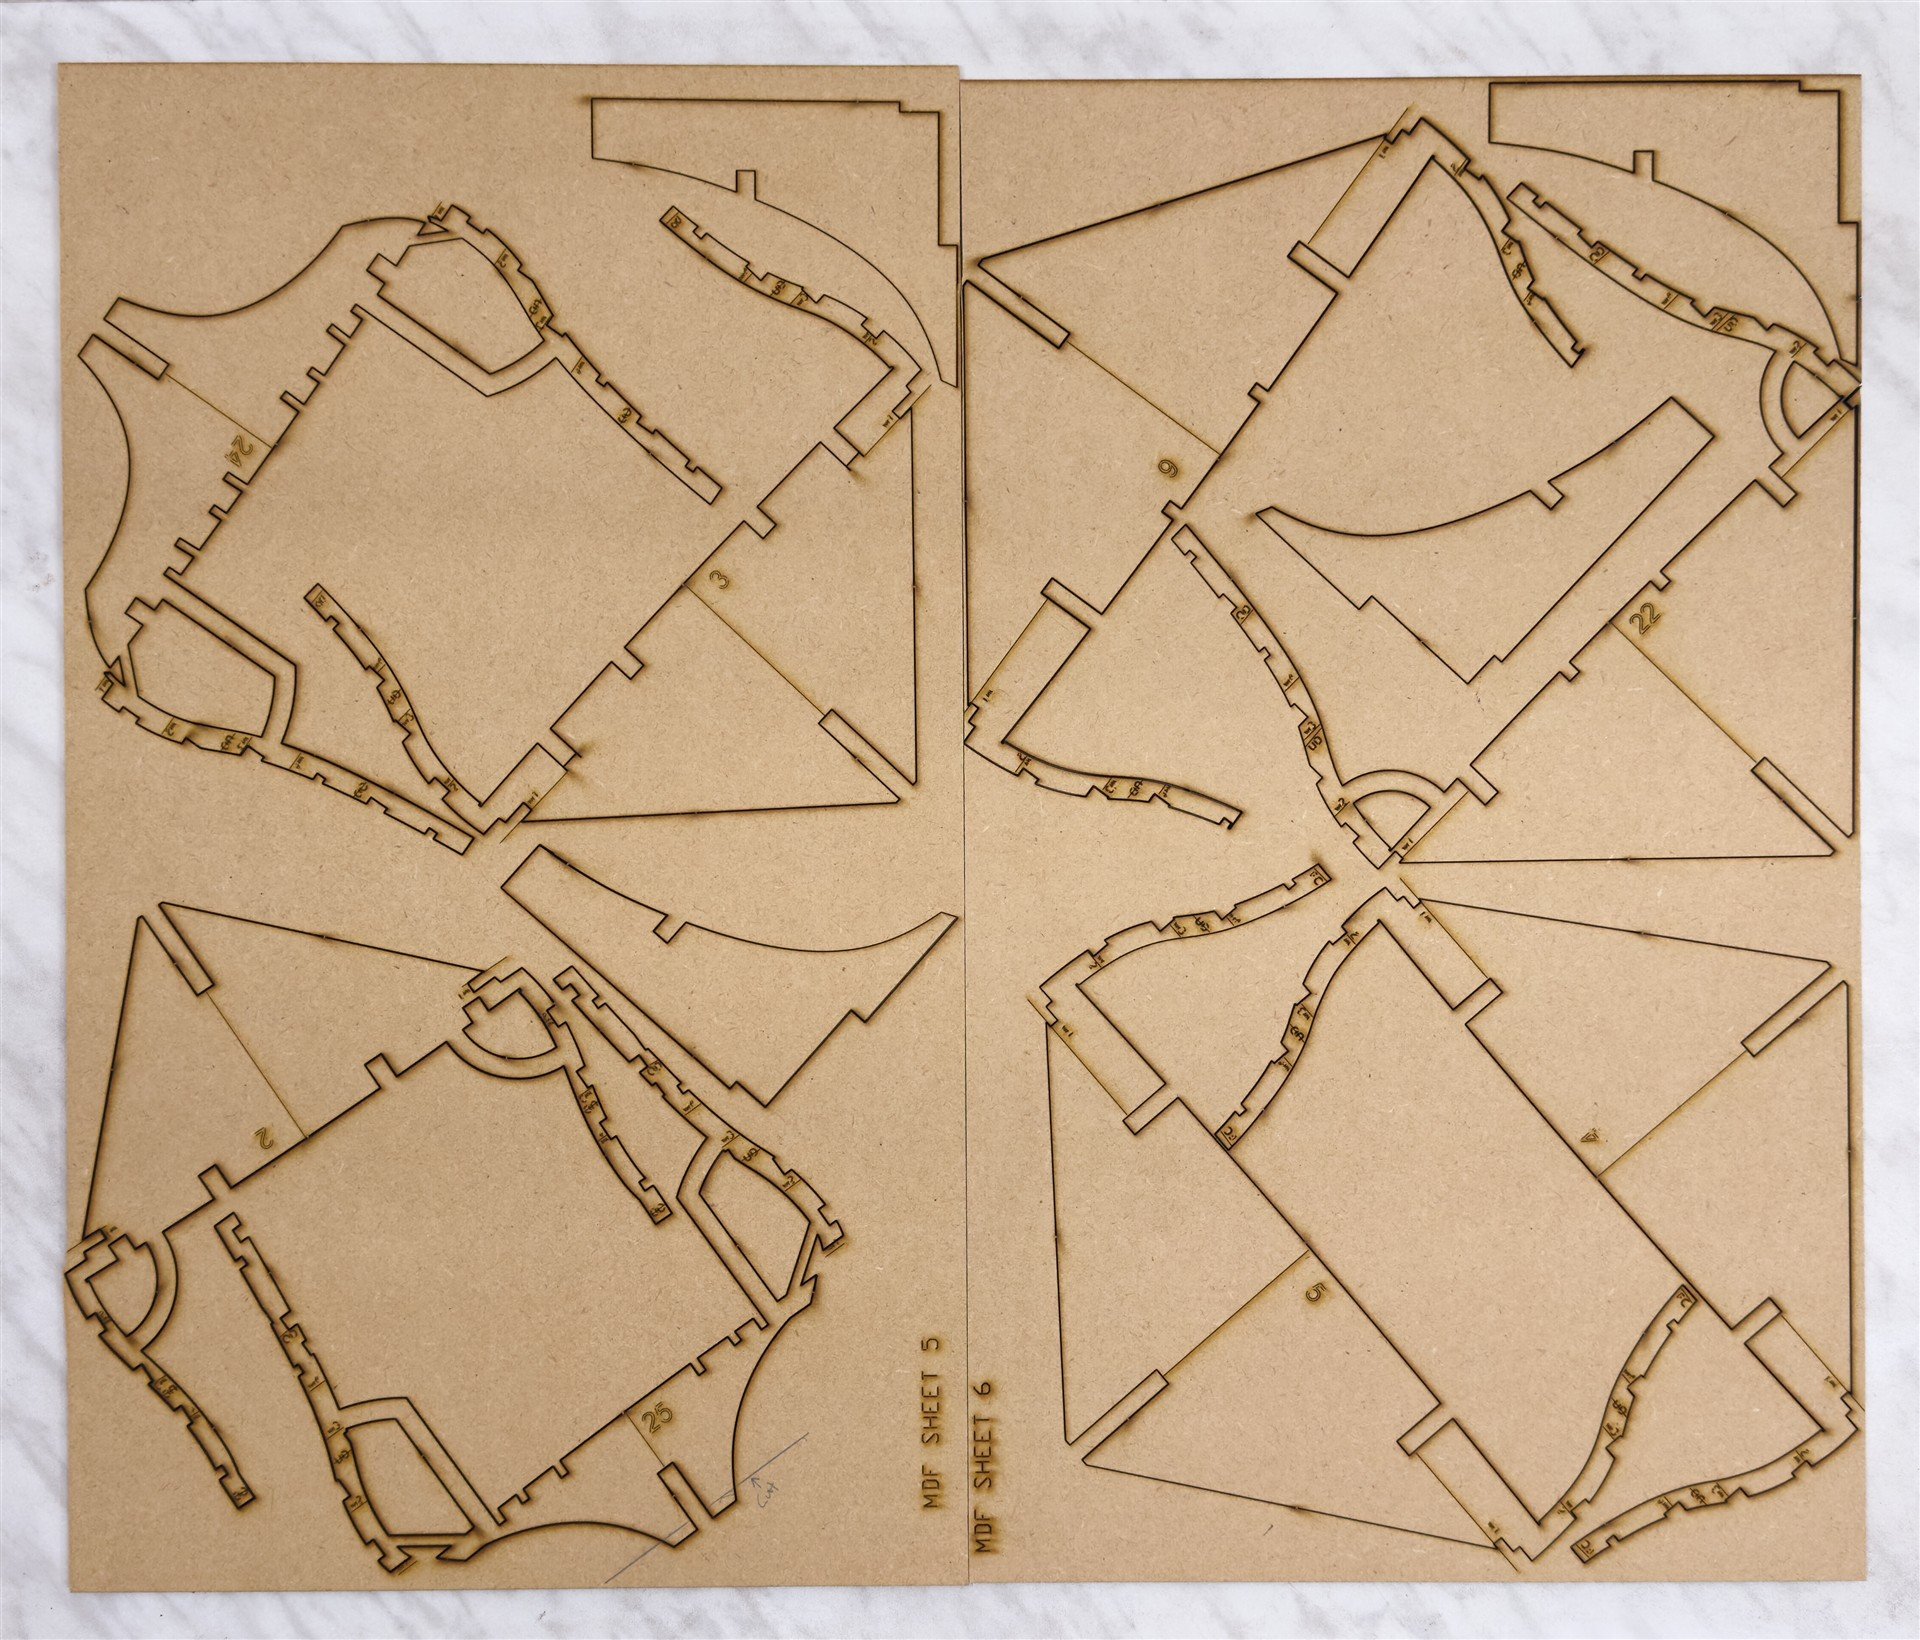
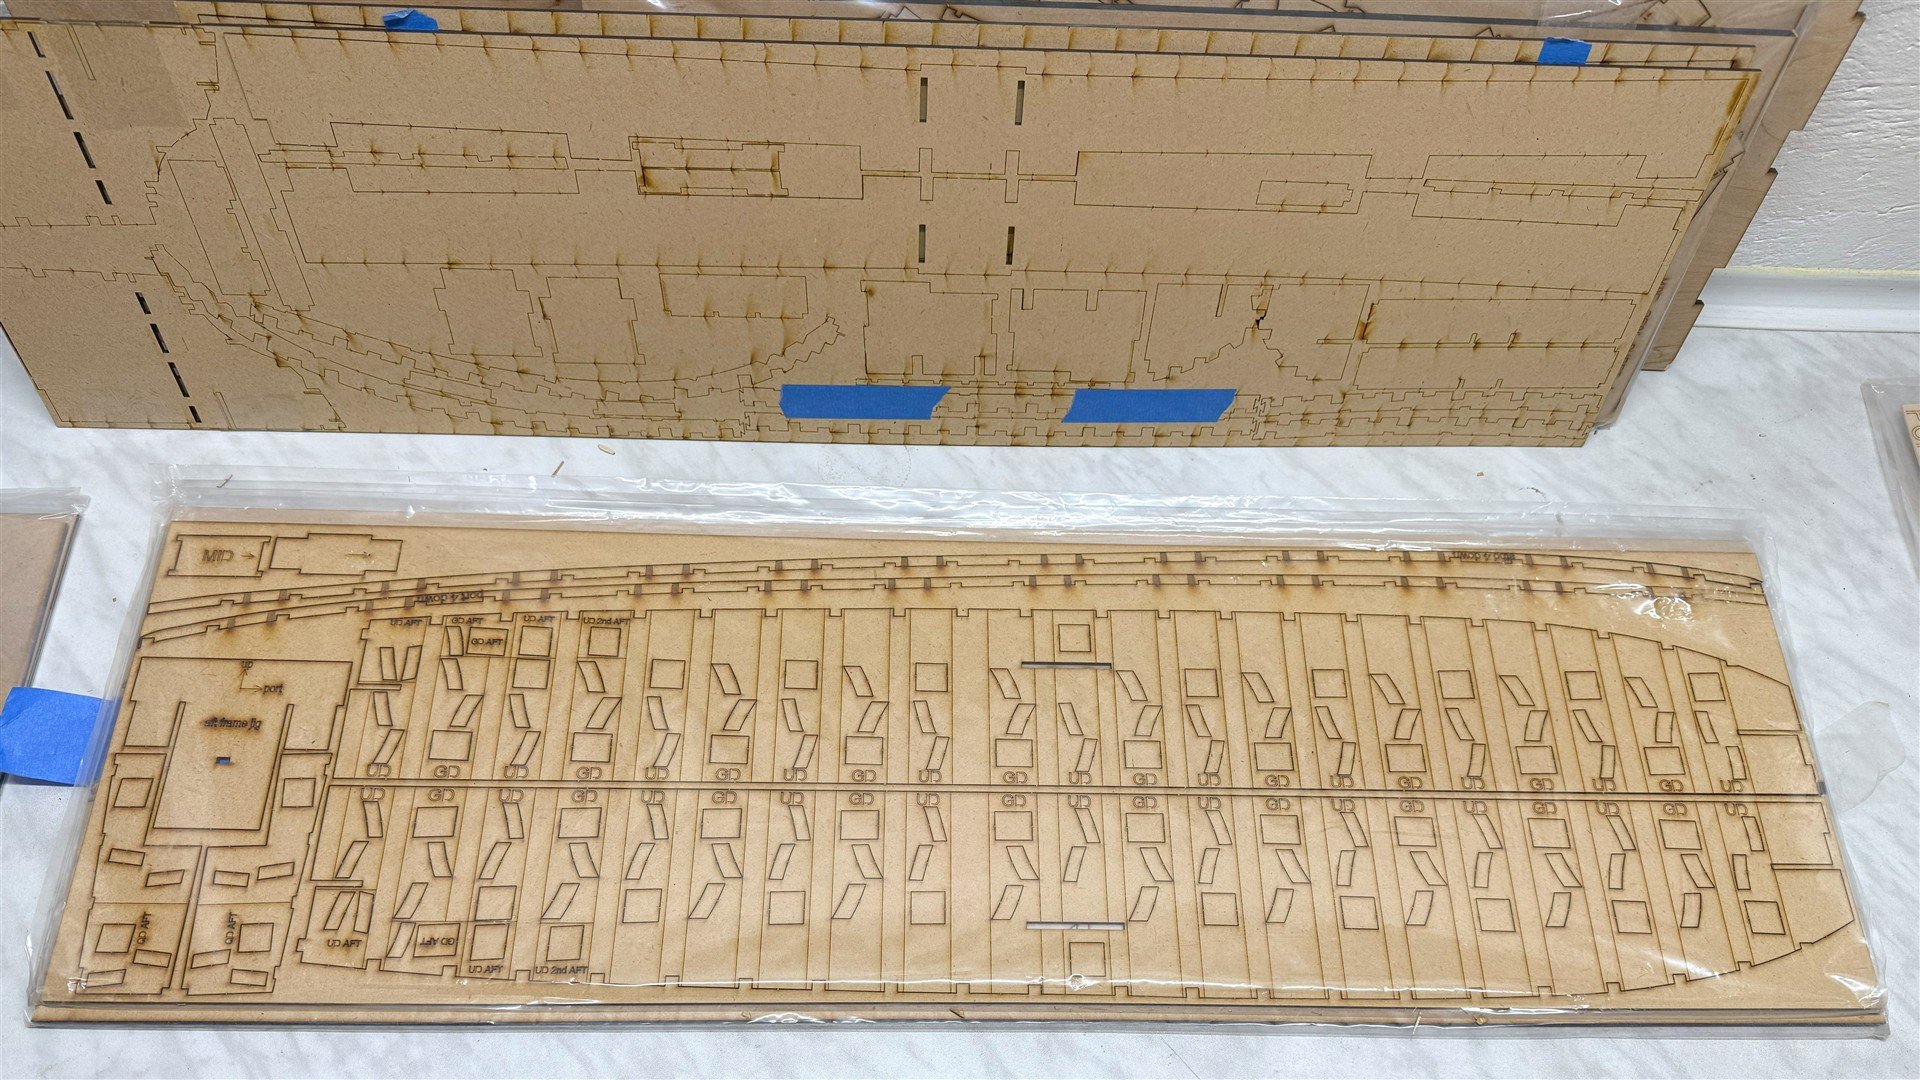
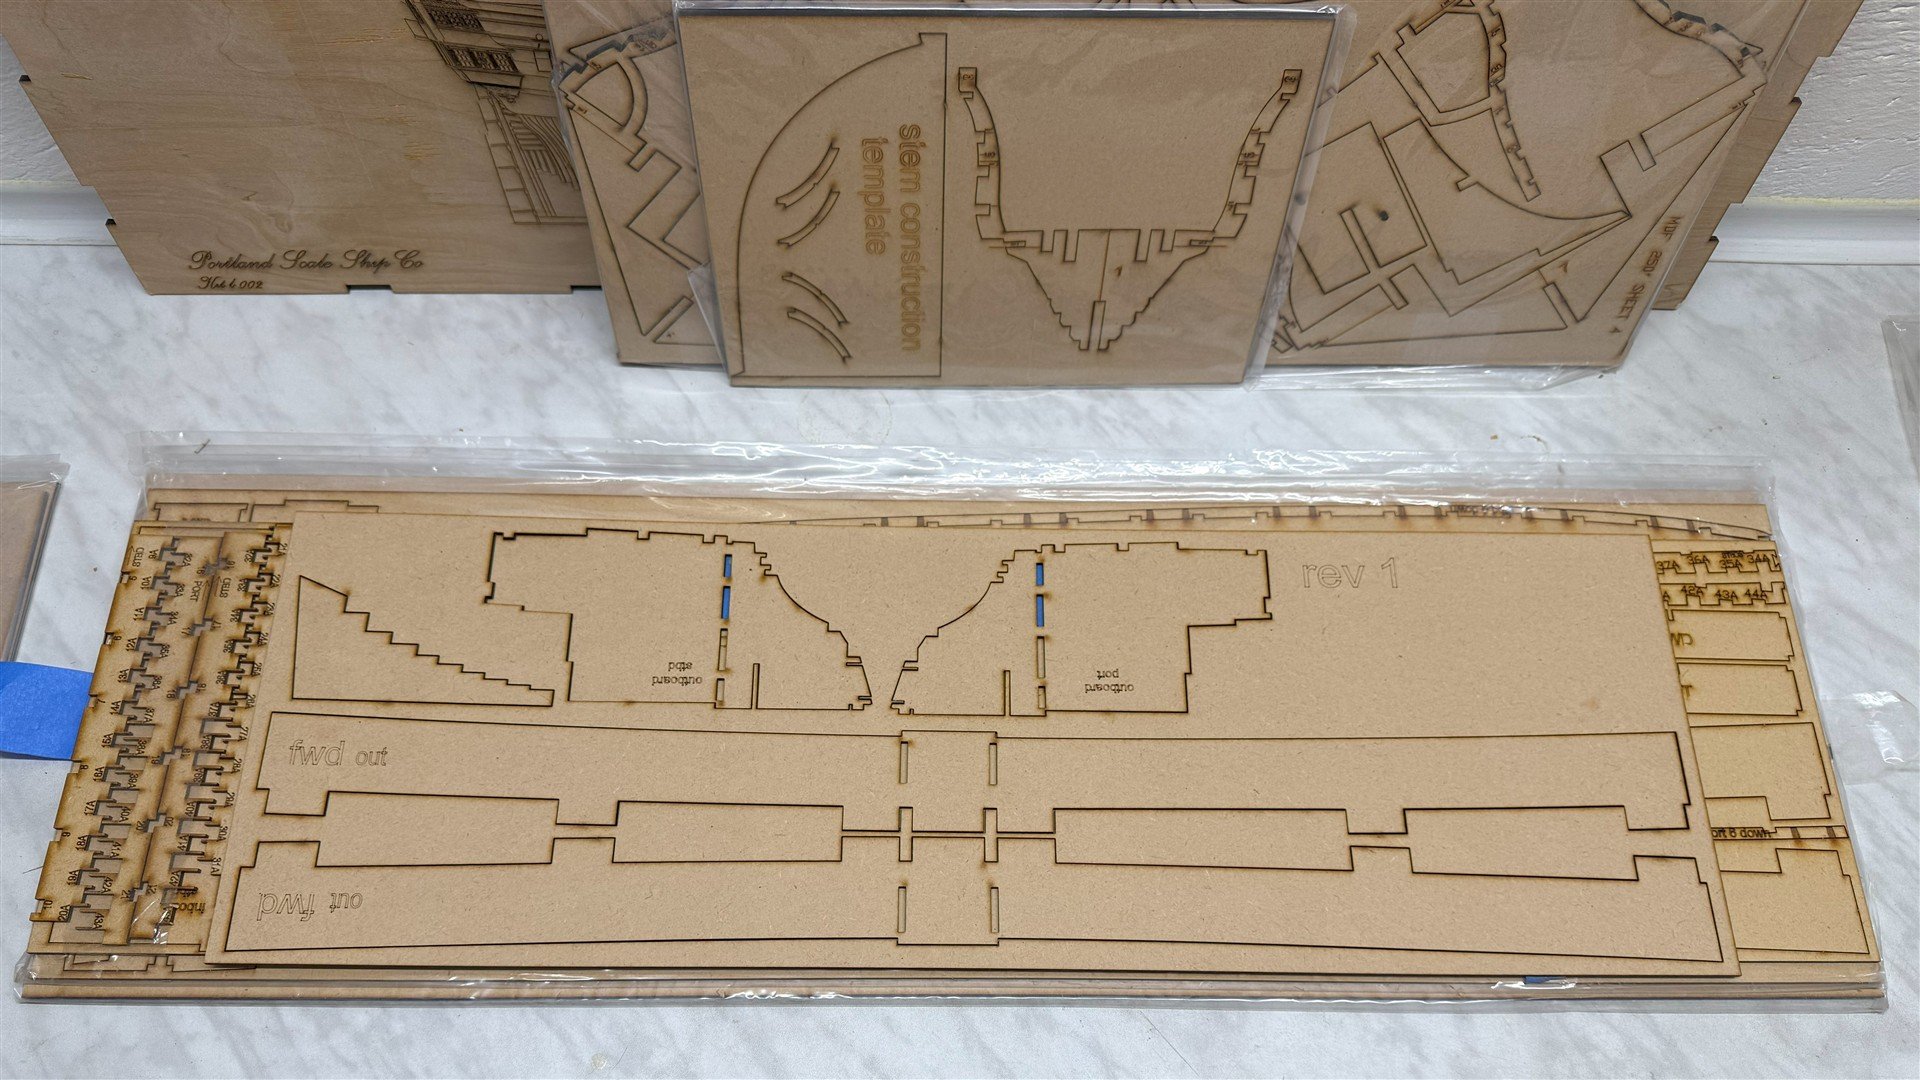
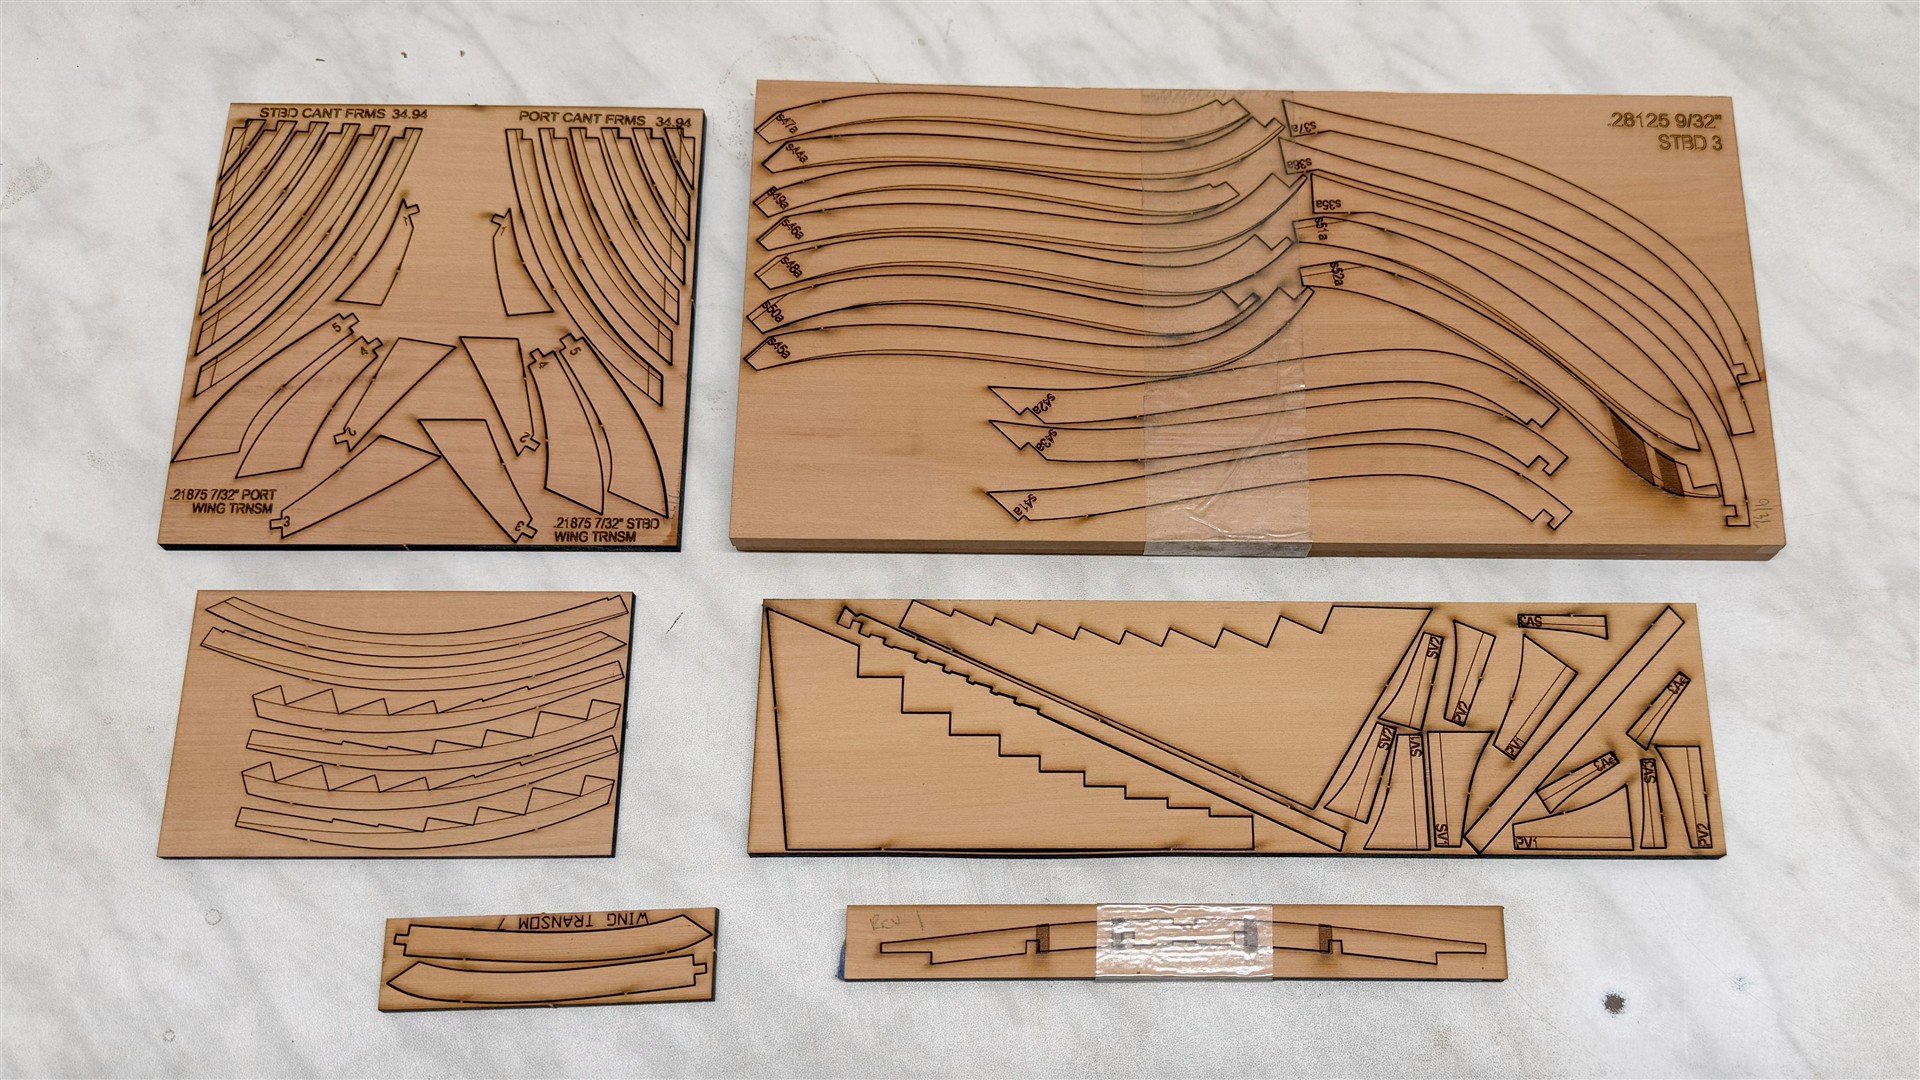
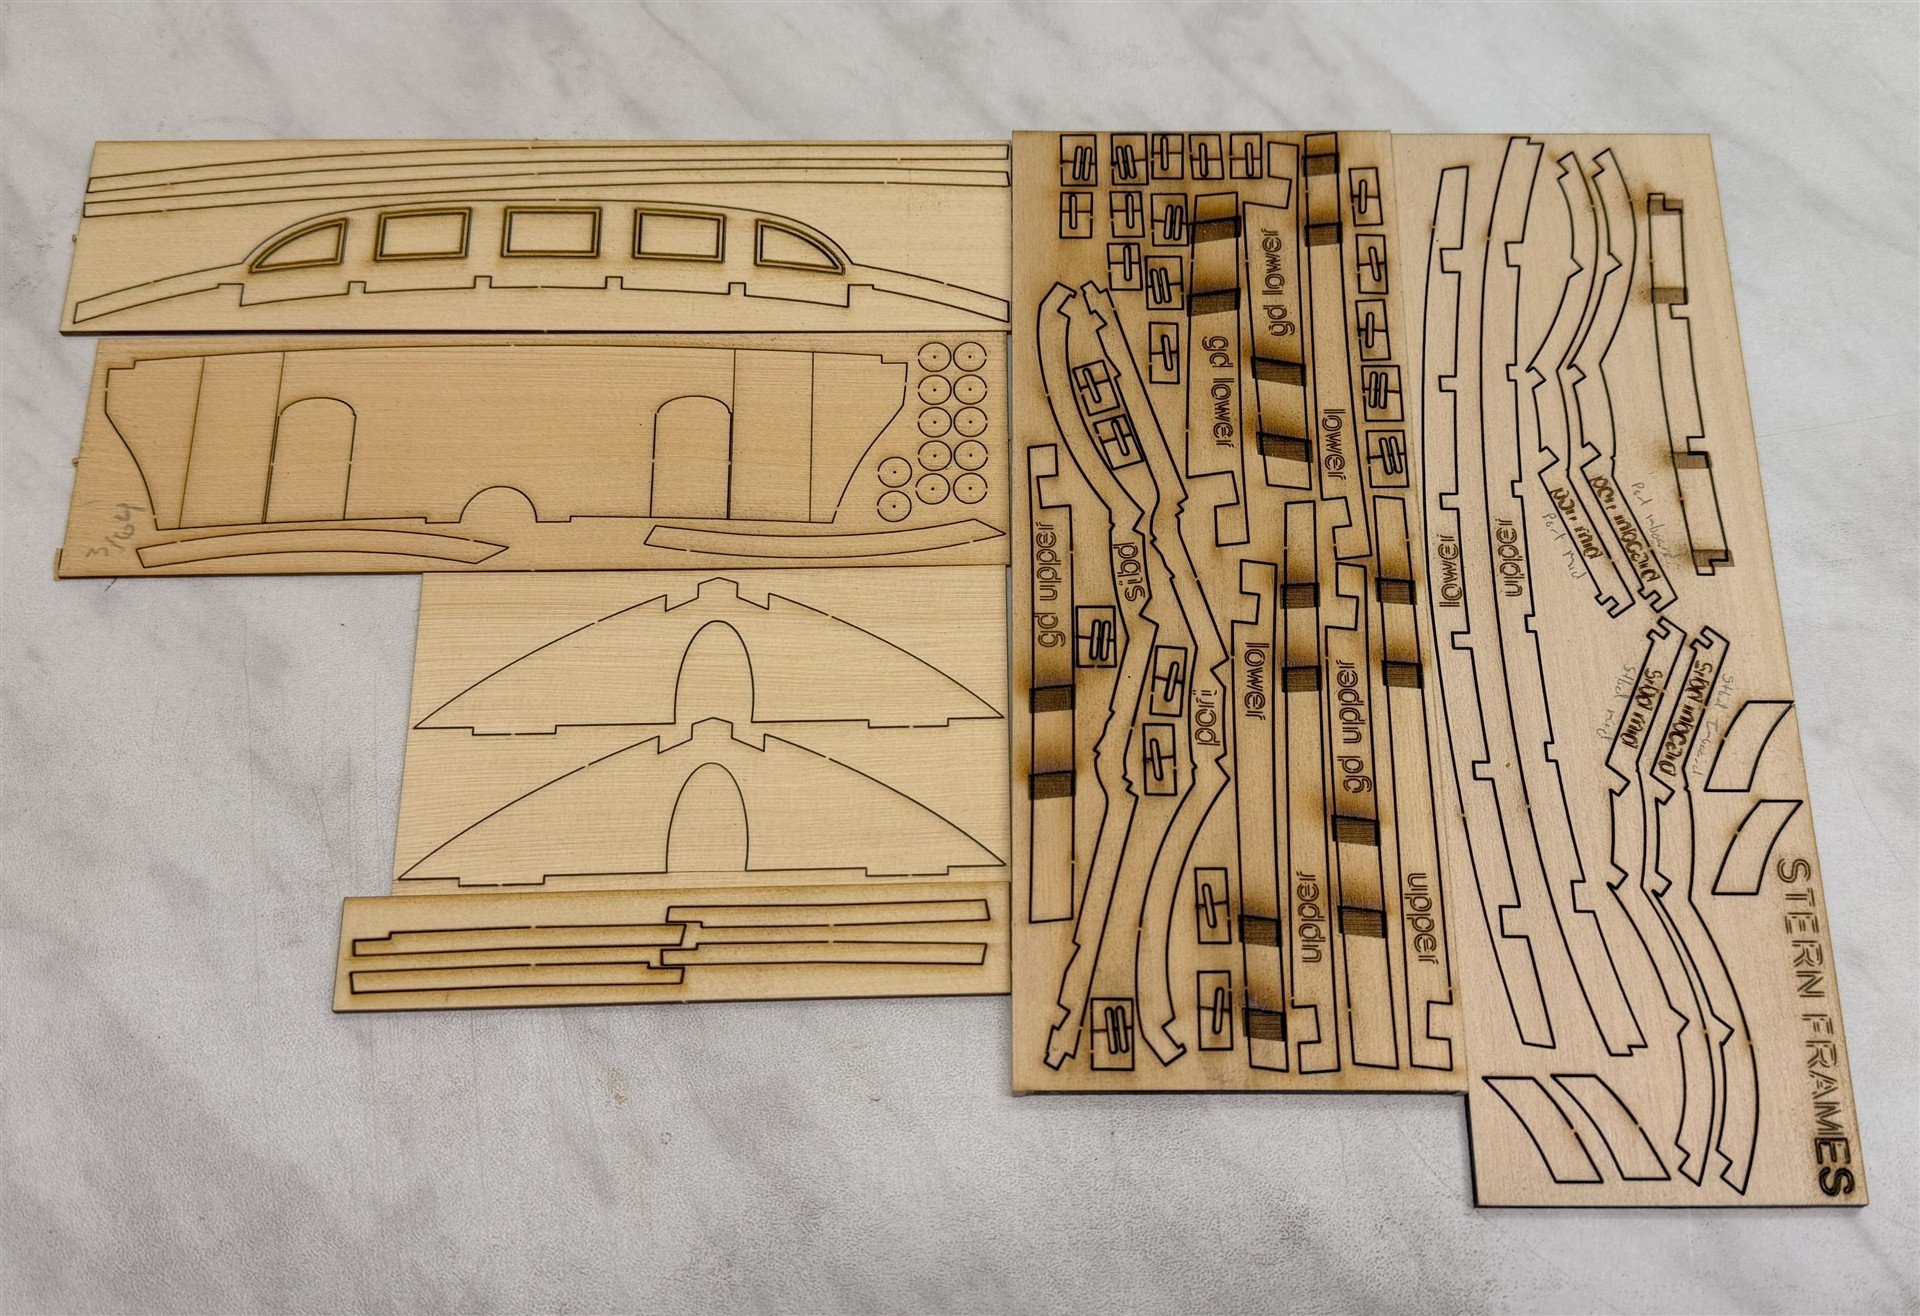
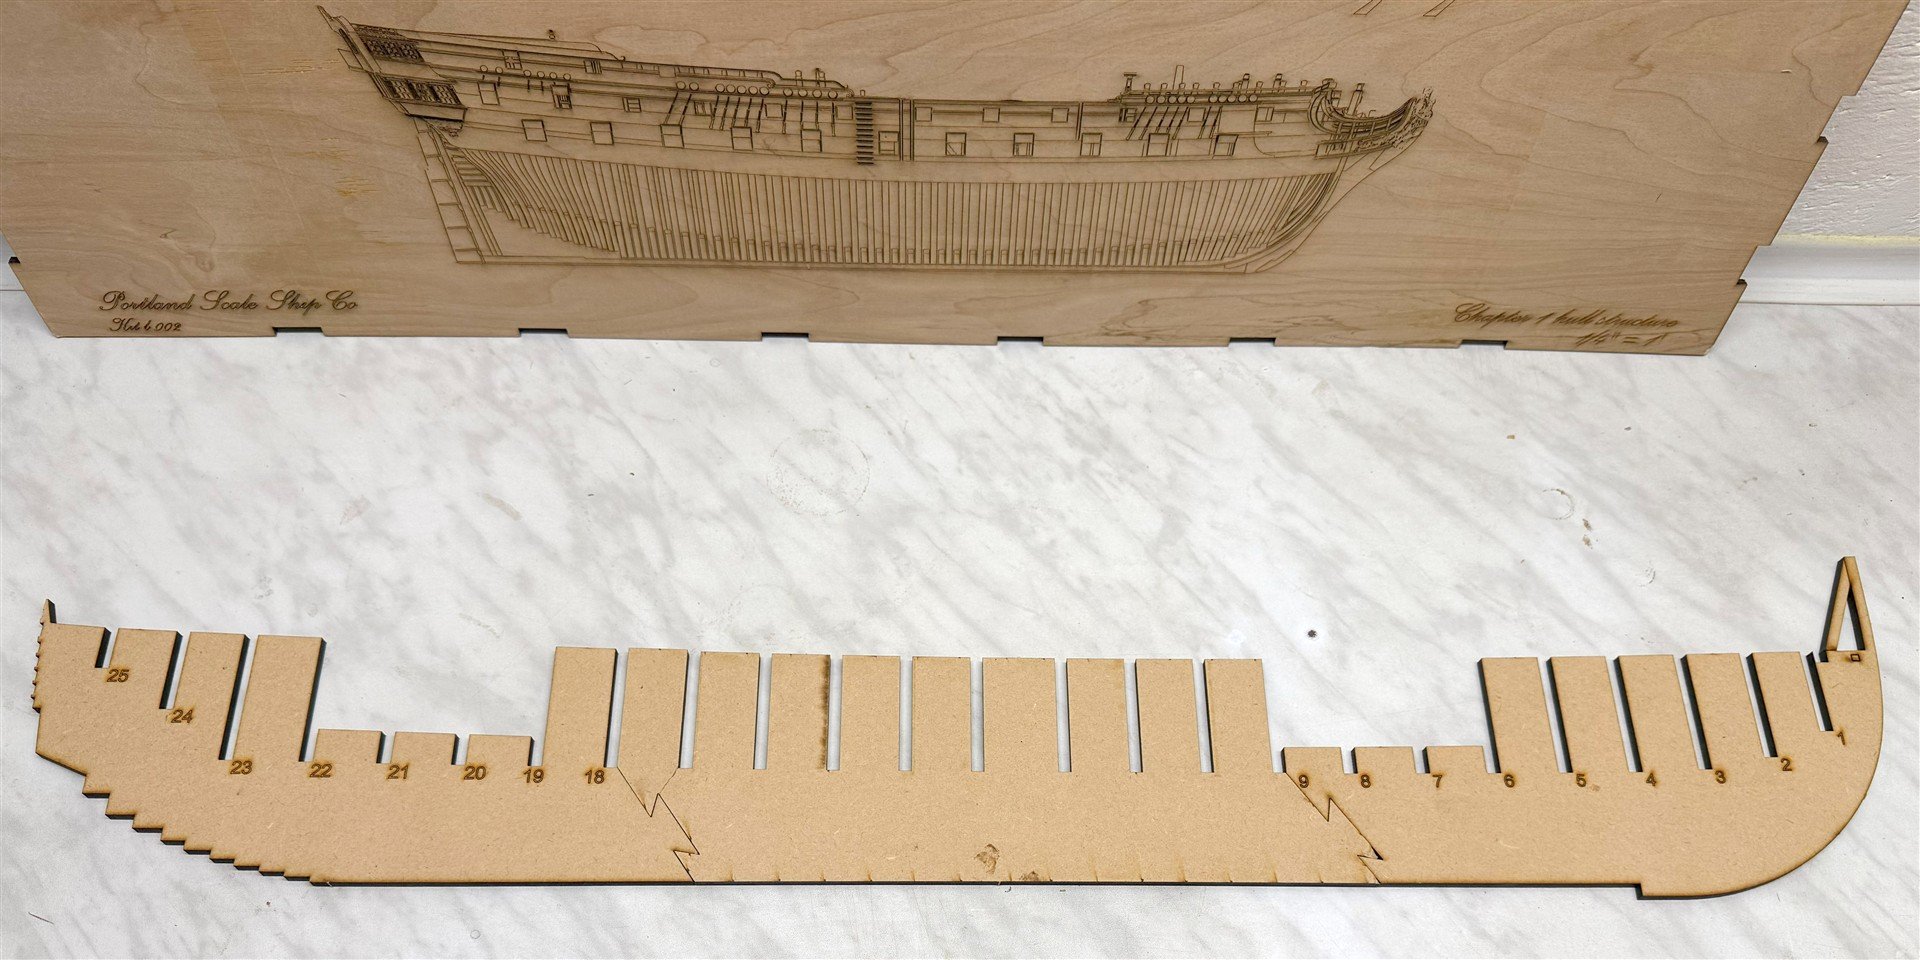
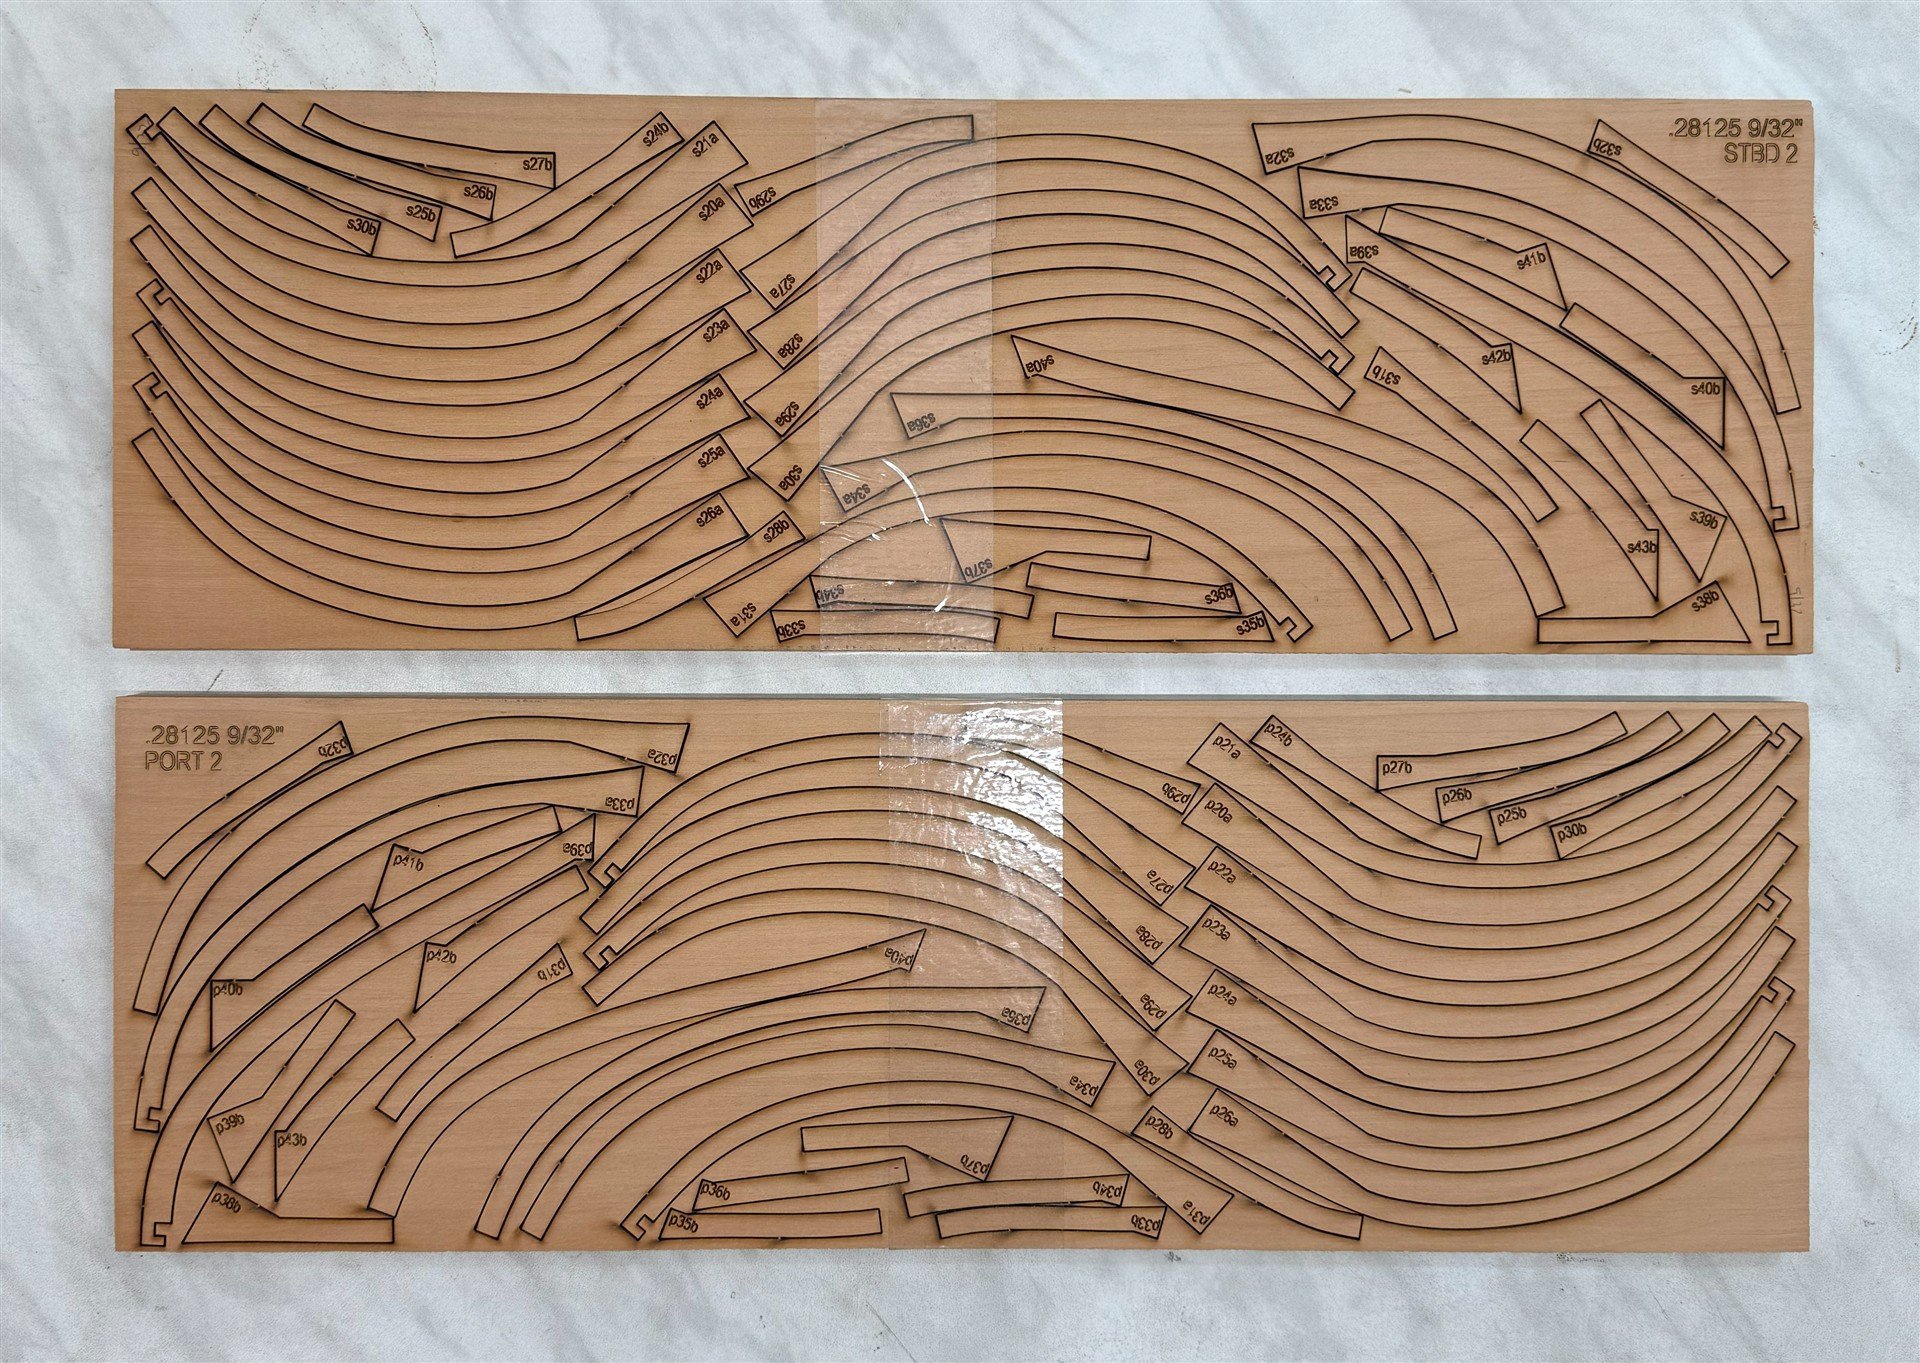
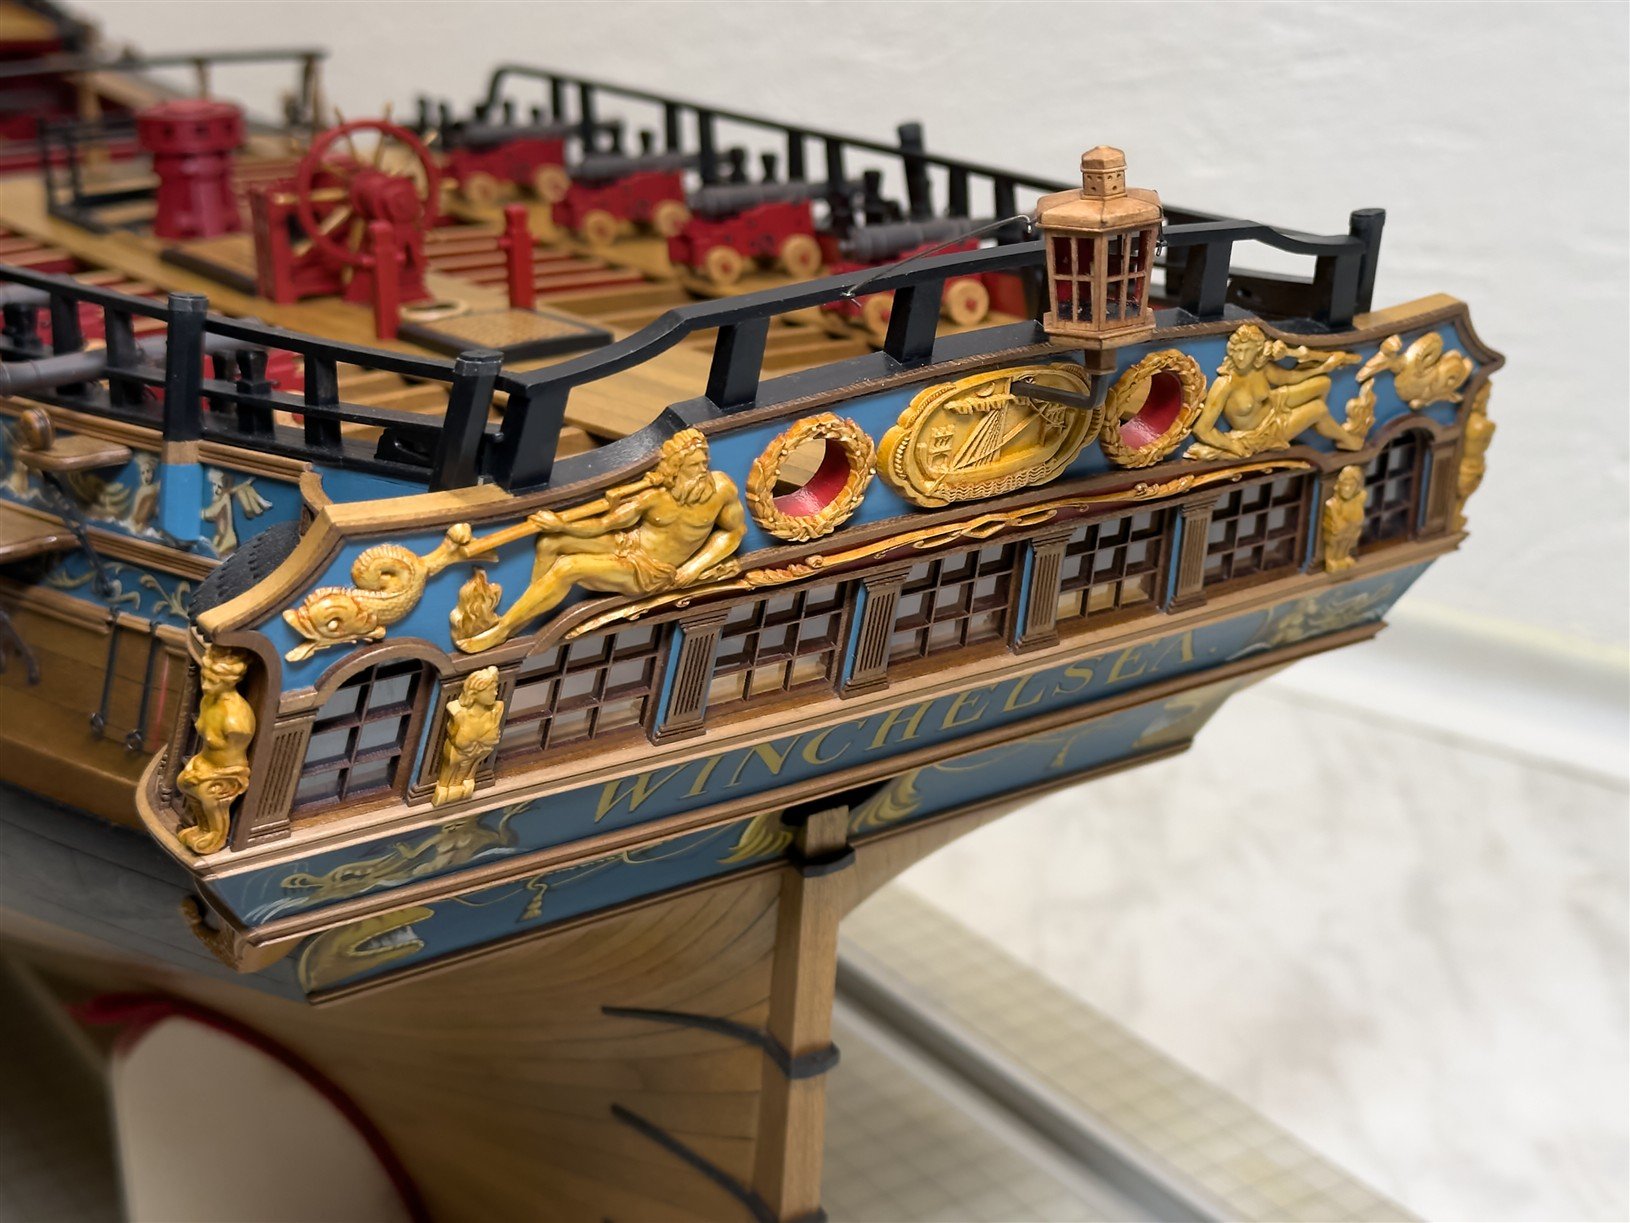
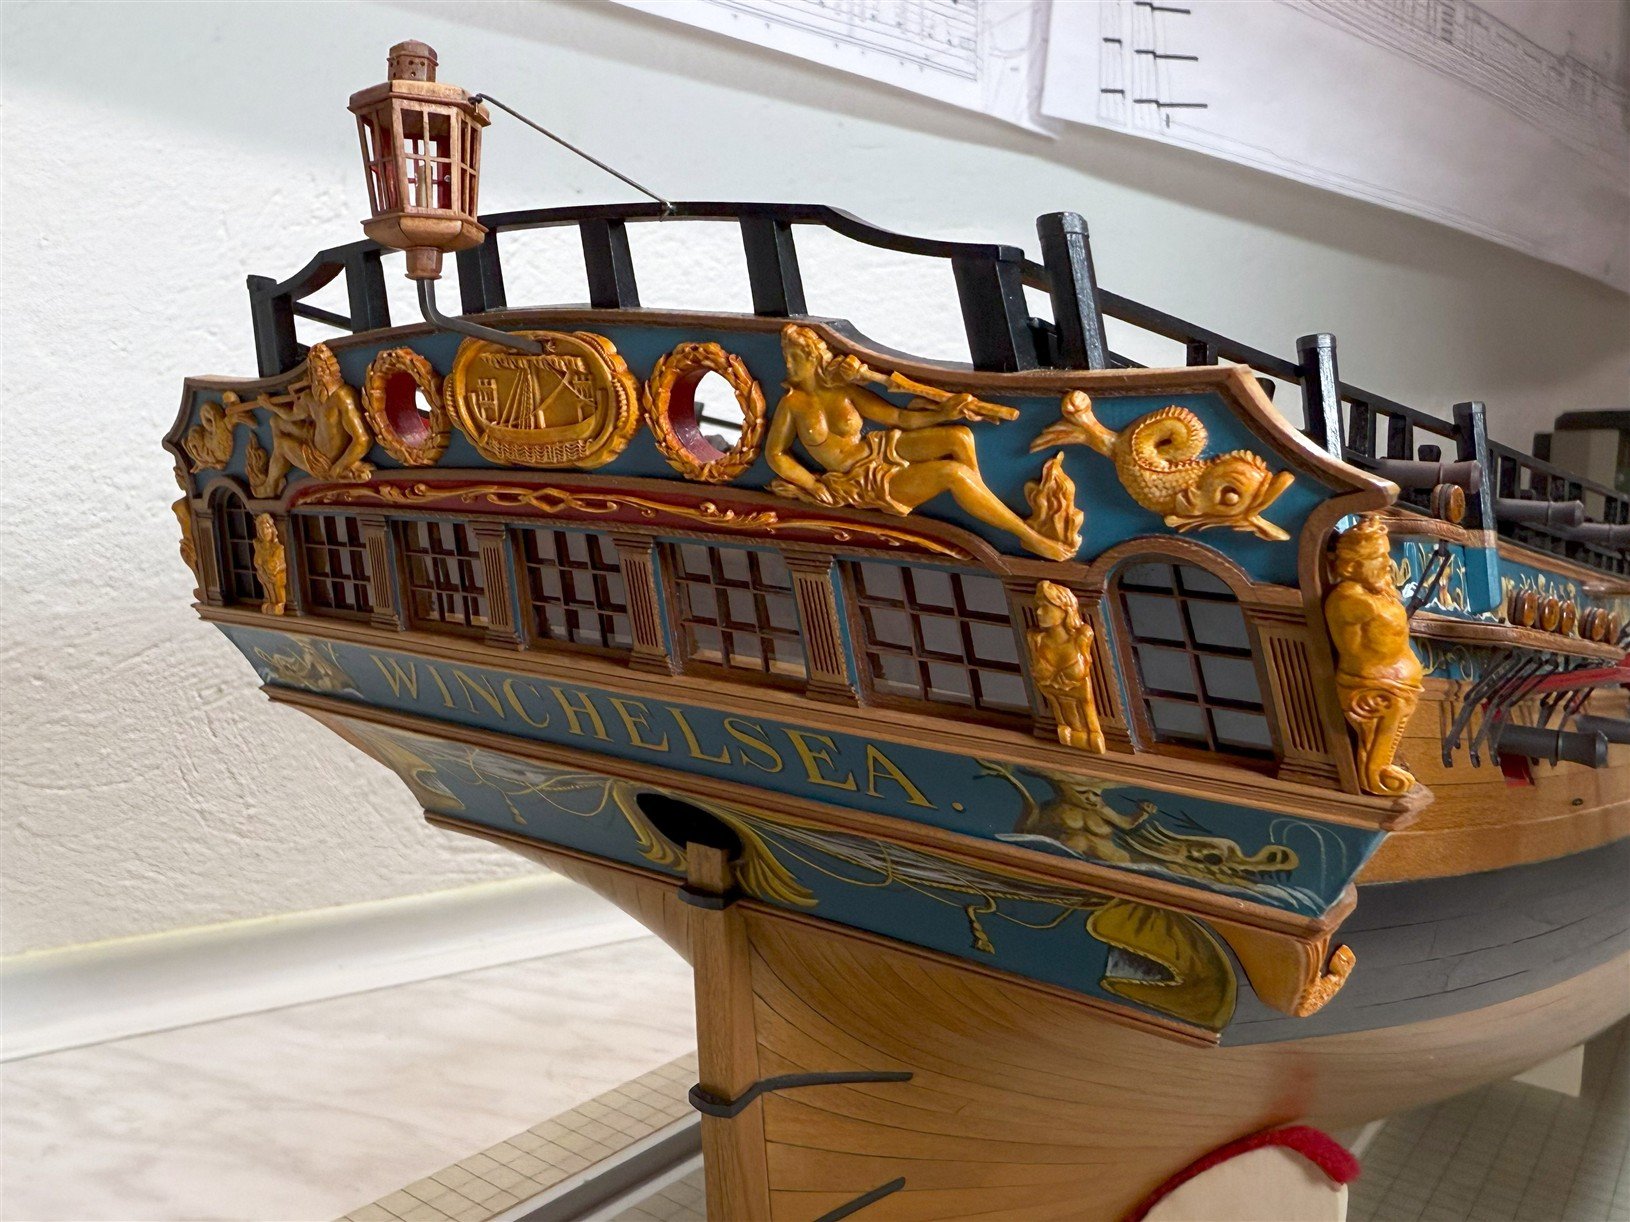
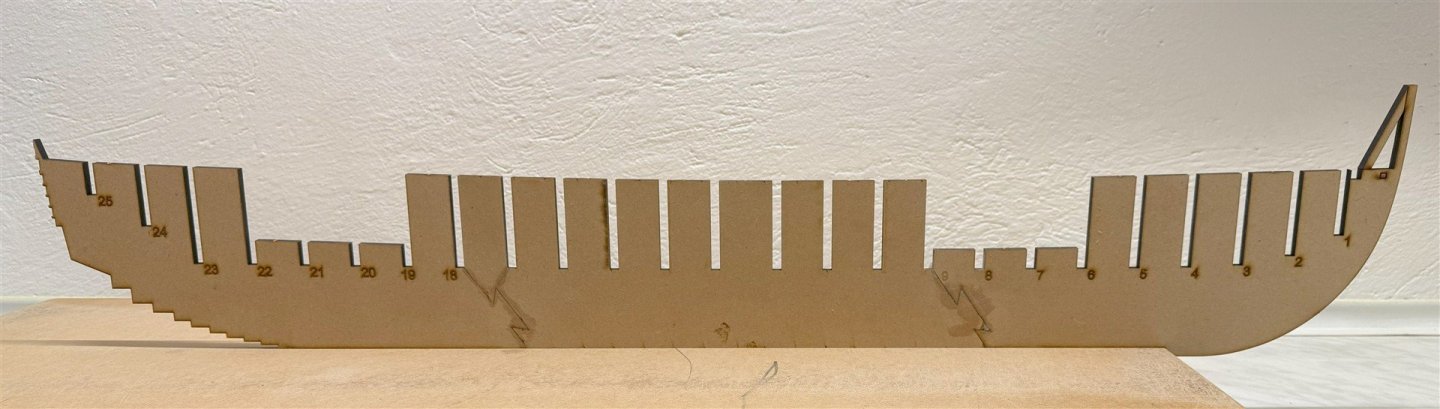
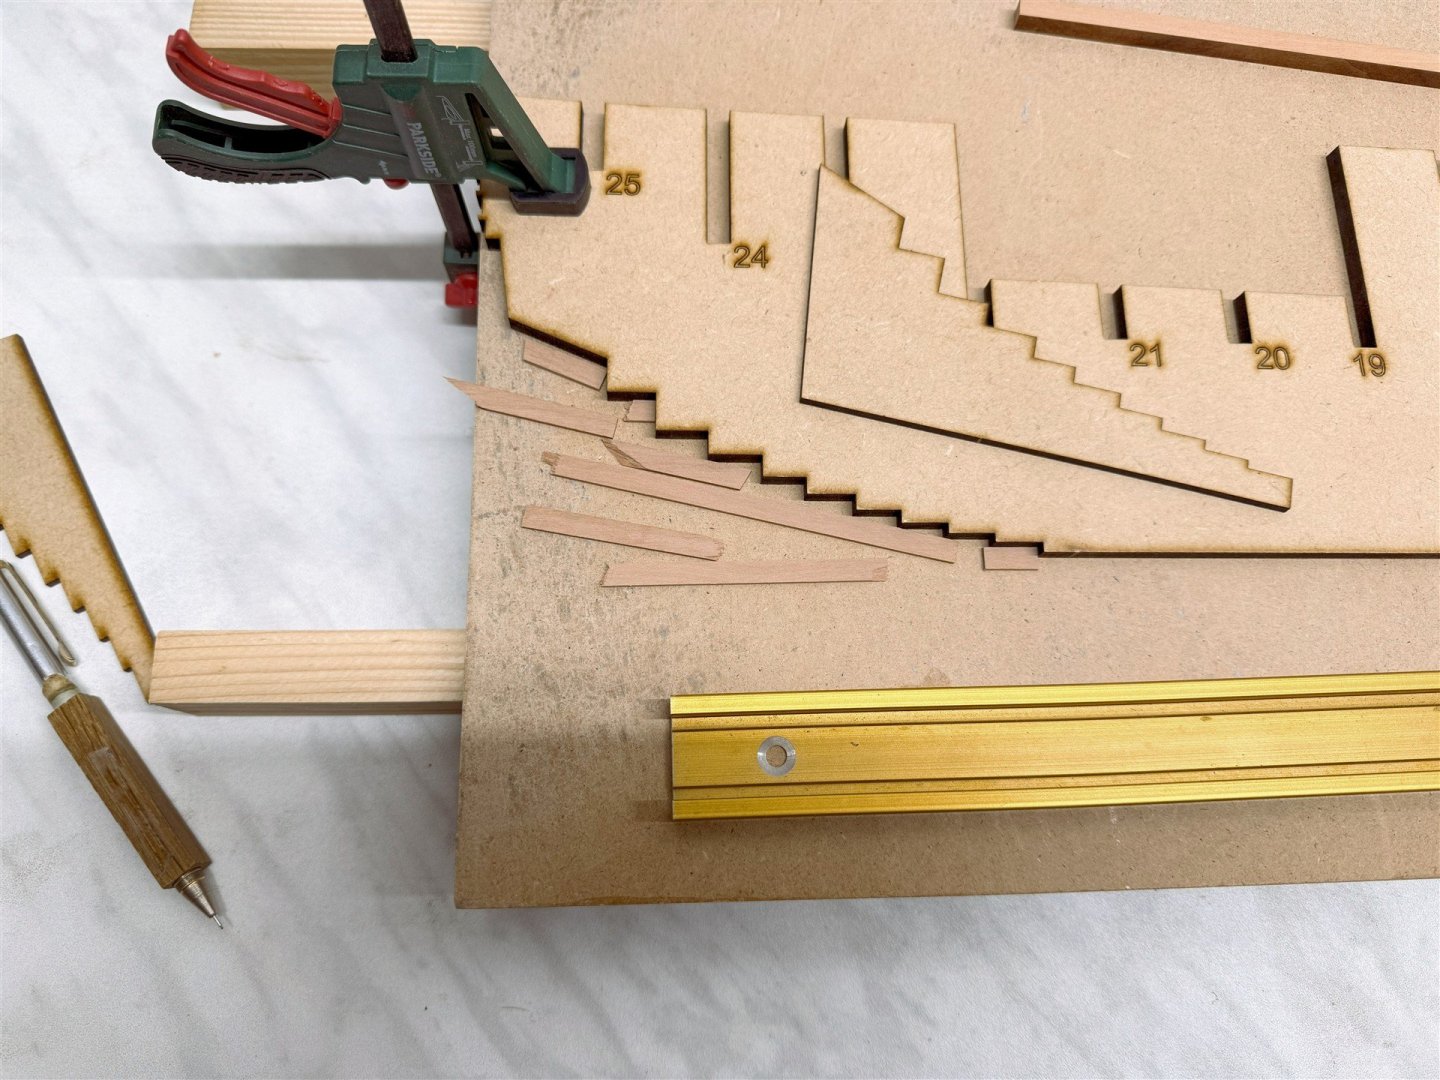
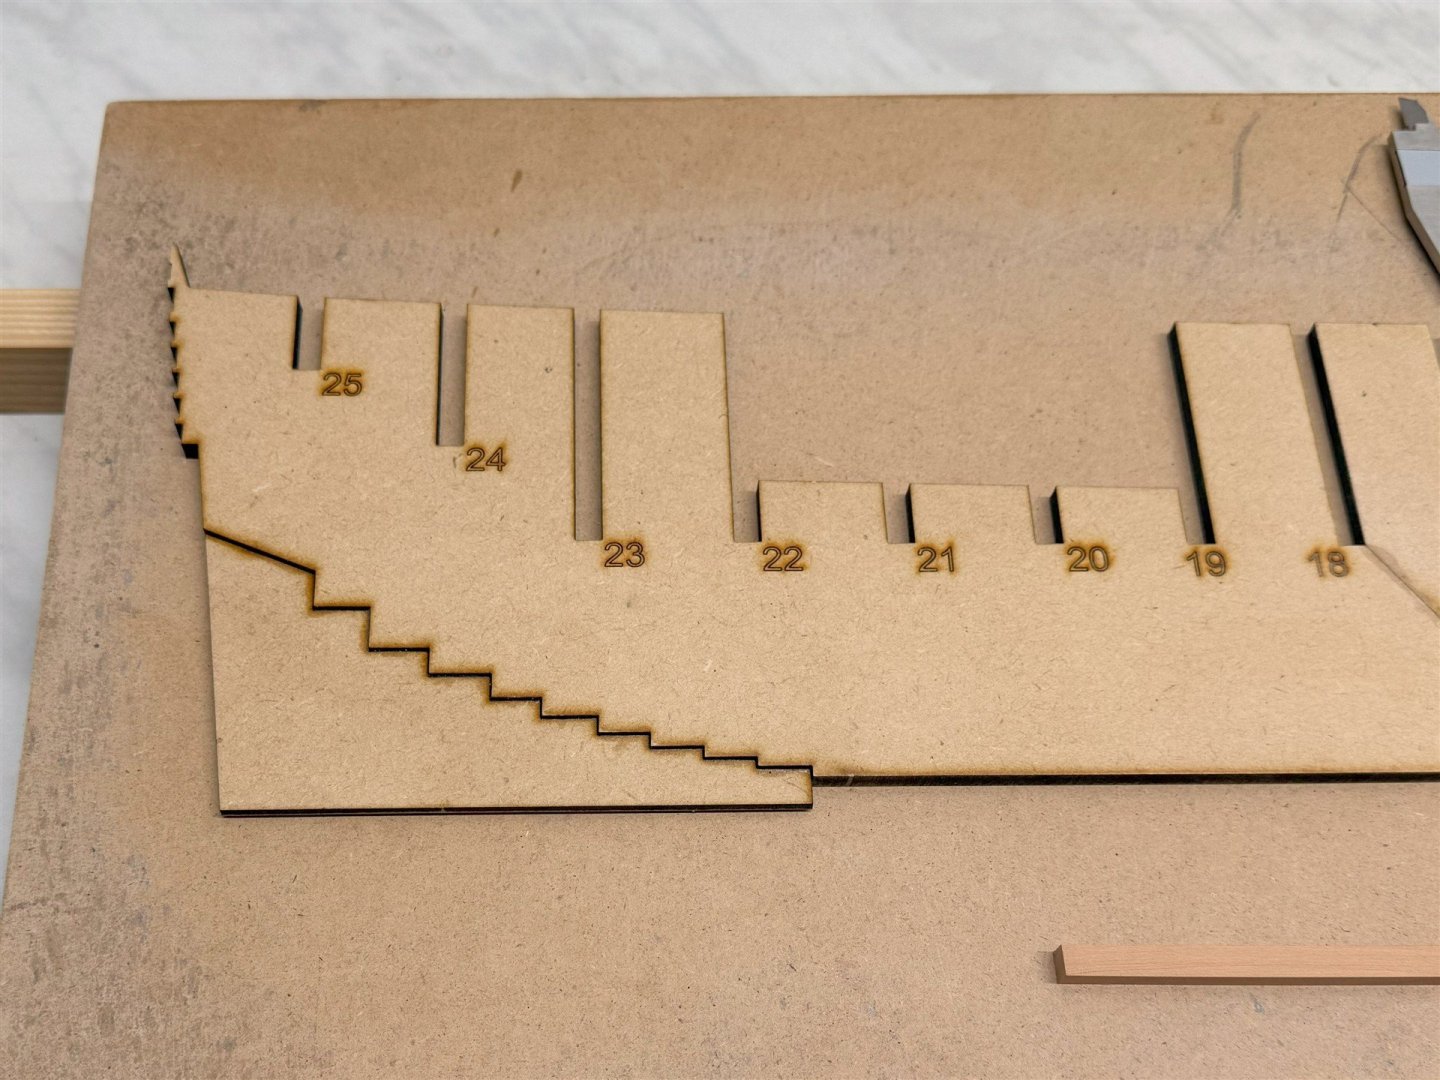
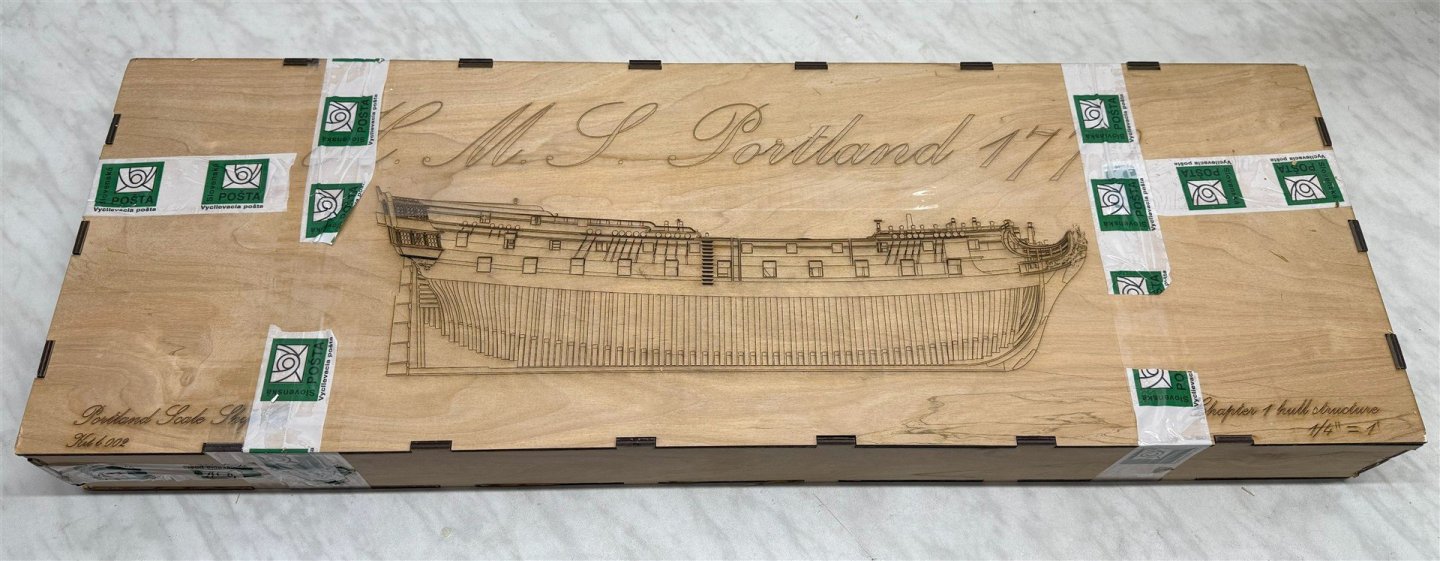
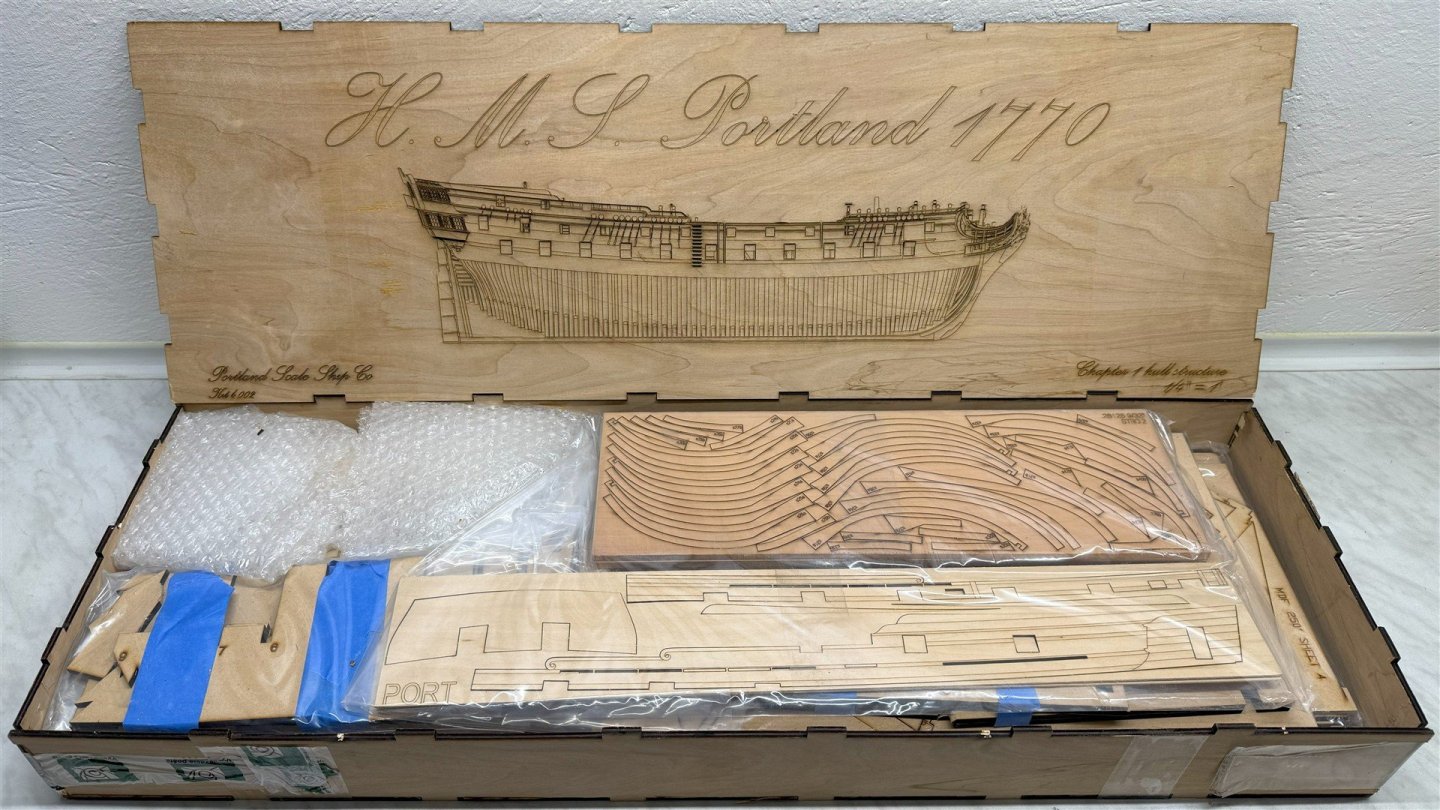
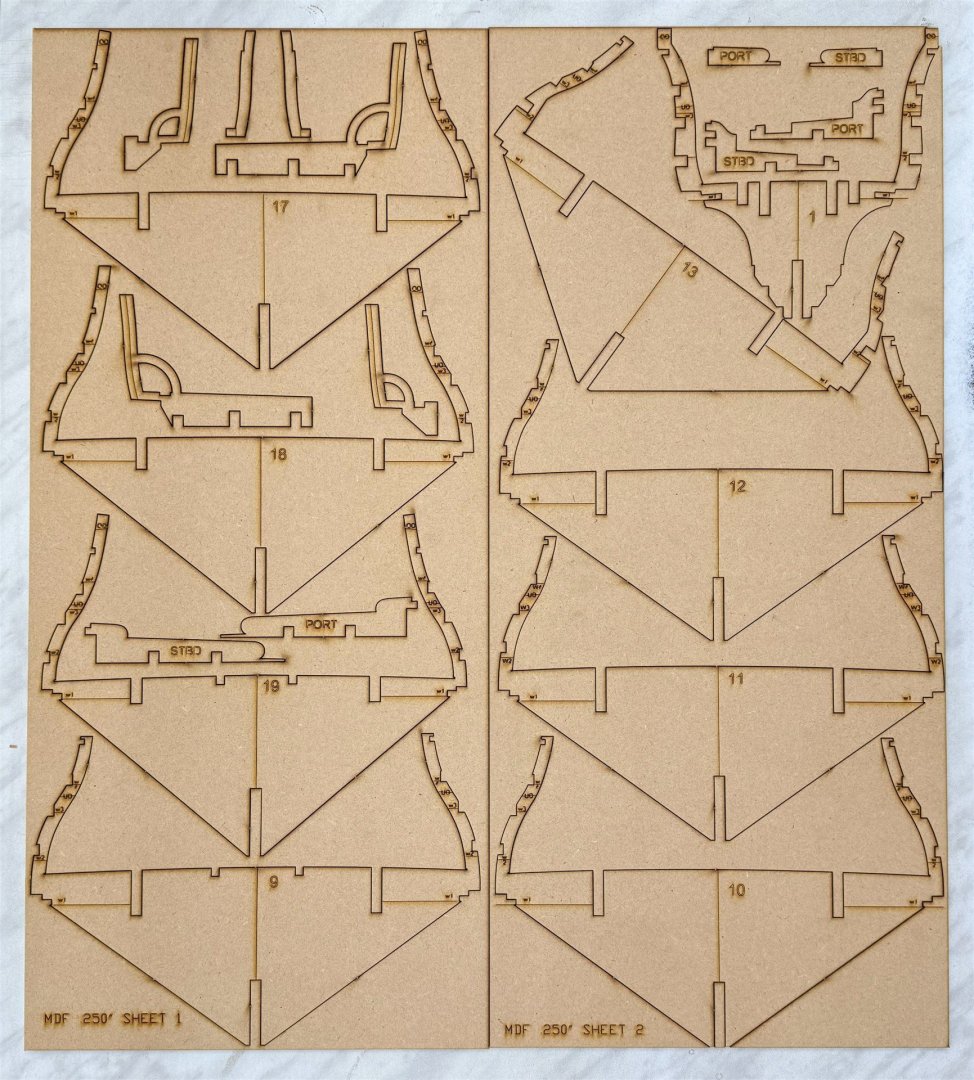
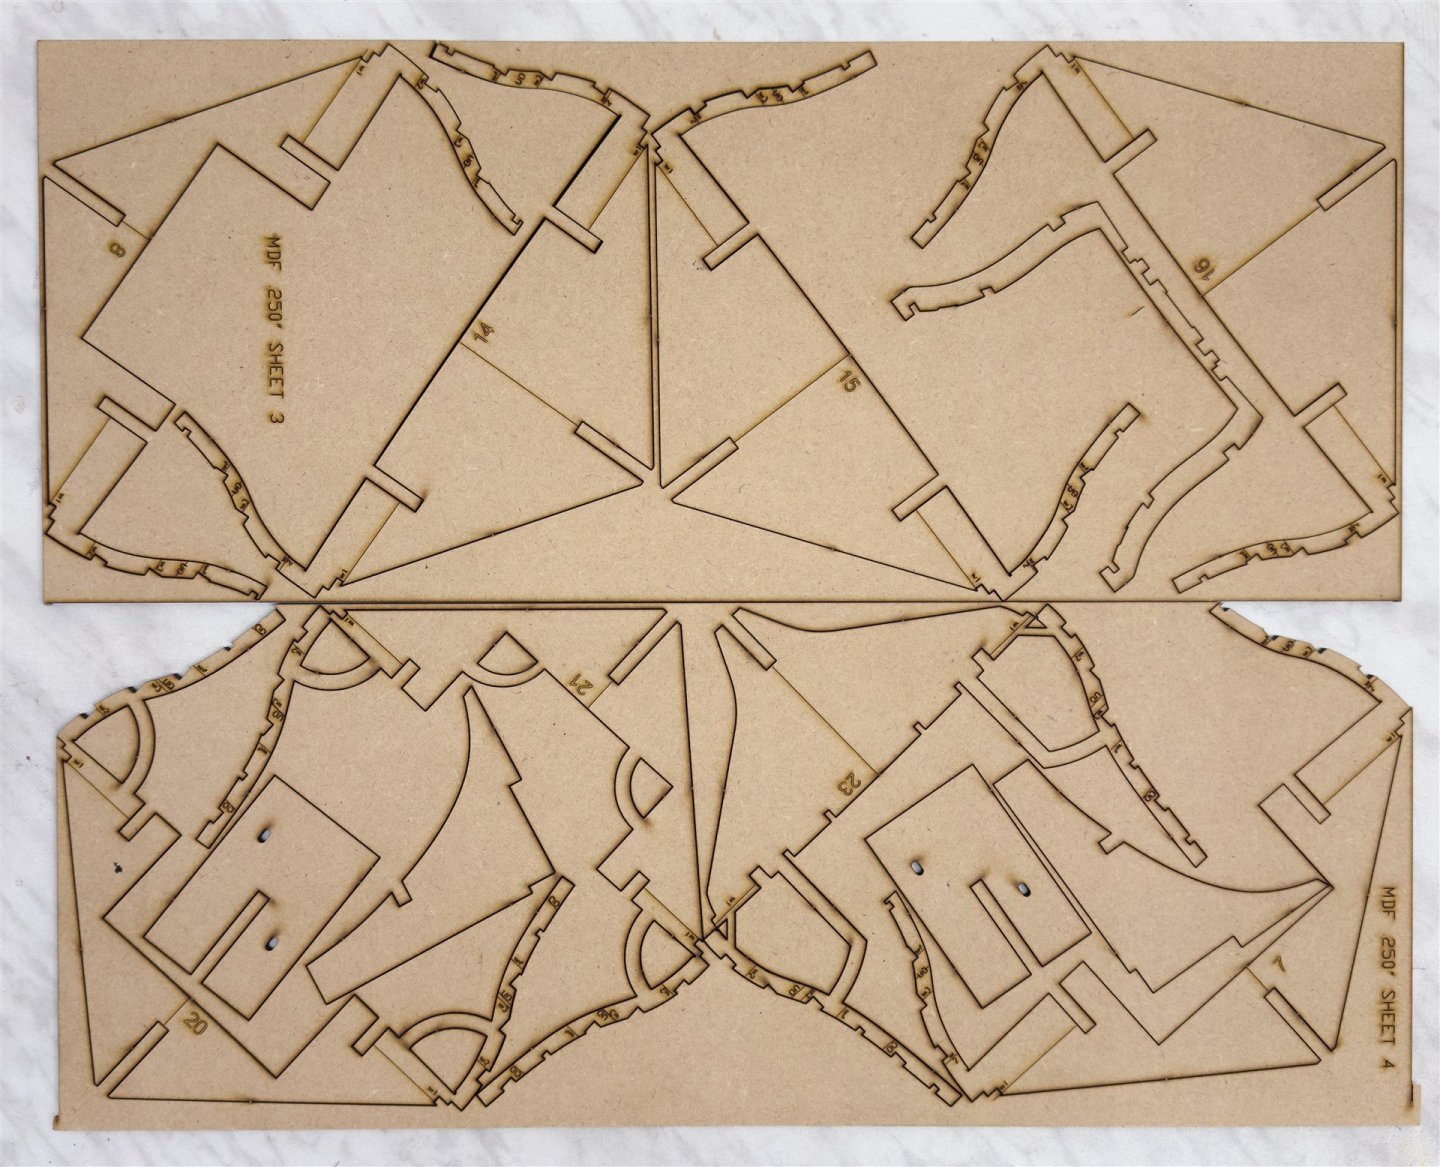
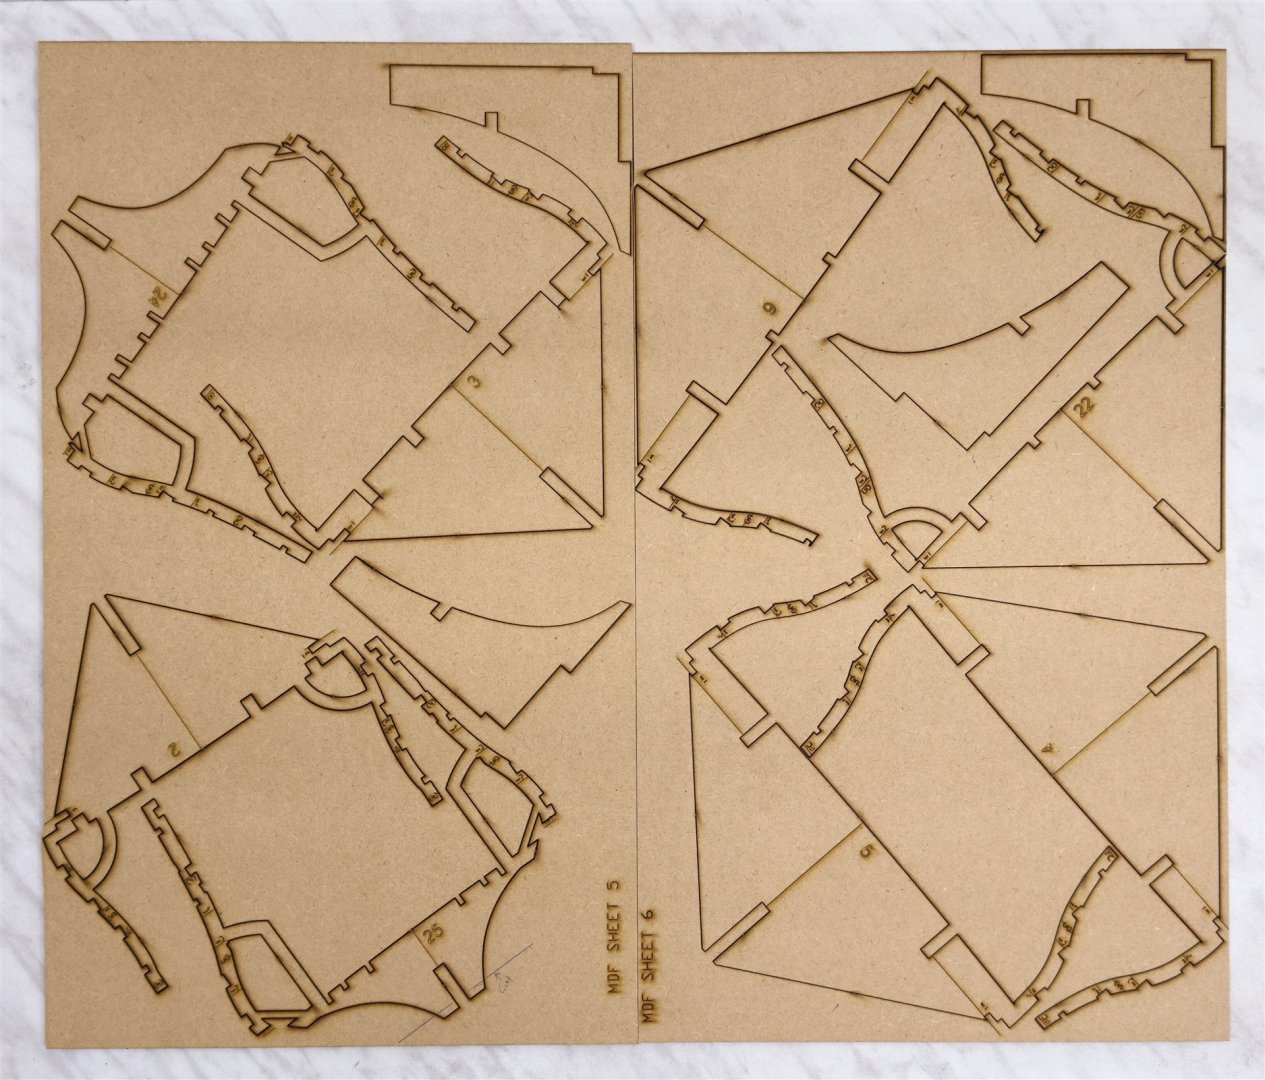
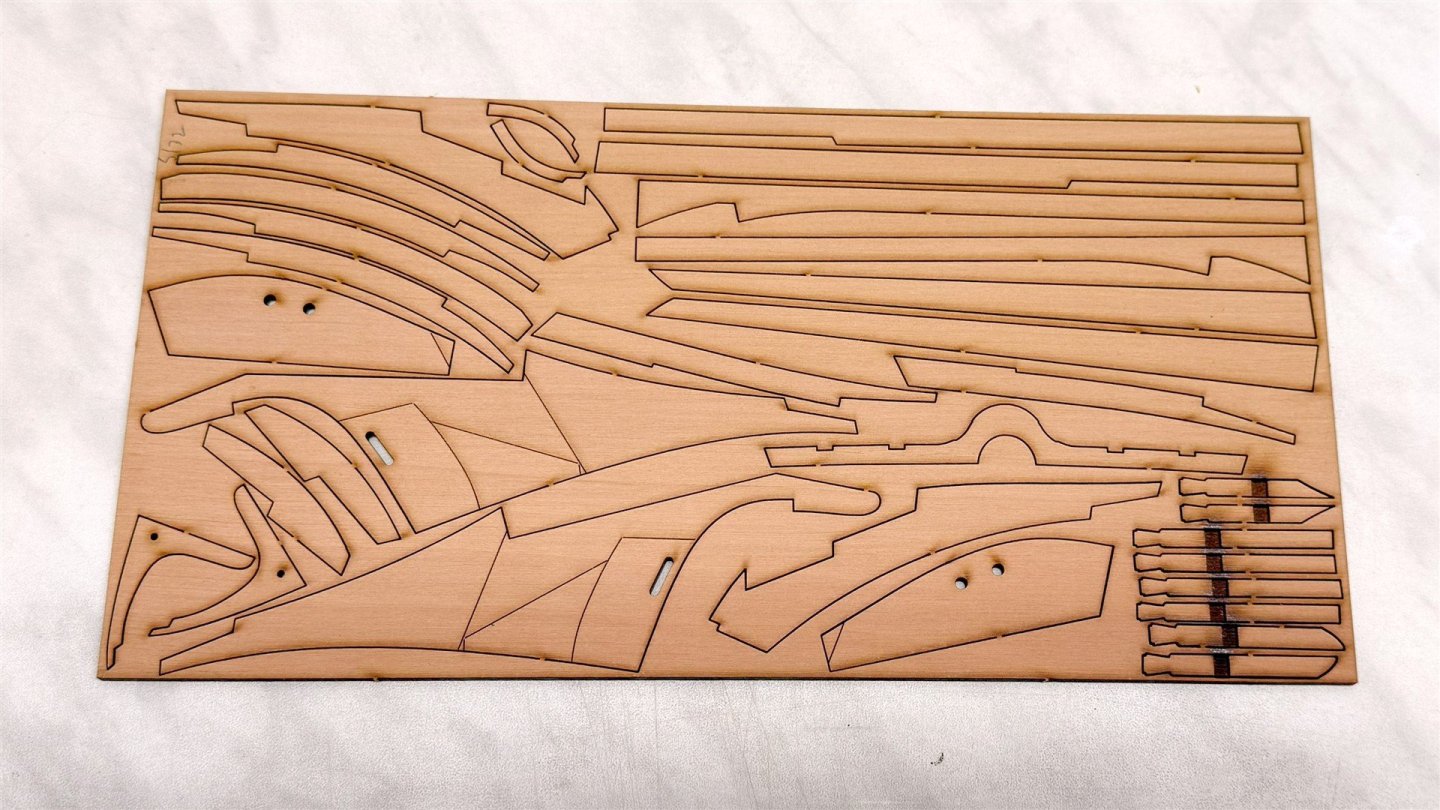
Hello, friends! It's been a few months since I finished Winchelsea. Even before its completion, however, I have been following the development of the new HMS Portland 1770 kit with great interest. I really like contemporary models of this class, especially when they have such wonderful carvings and painted friezes! I also very much like Joseph Marshall's painting, which serves as a visual template. scrubbyj427 elaborate design, as well as the idea of a hybrid frame construction, really appeals to me. I impatiently awaited updates on the development until finally, word got around! So here is my new build log. HMS Portland 1770 1:48 - 4th rate 50-gun ship Ben and I had the opportunity to start building the prototype together. Unpacking first. The box and weight is huge and yet it's not a complete model yet. It's chapter one - the basic hull structure. All the parts were well packed even though the first unpacking was done by customs officials 🙃 Many parts, such as the bulkhead former, bulkheads, jigs, and stands, other supporting parts are made of MDF of different thicknesses. The frames, keel, and knee of the head are made of beautiful pear. Here are some photos.


-
Good start, Ben! Looking forward to following you!
-
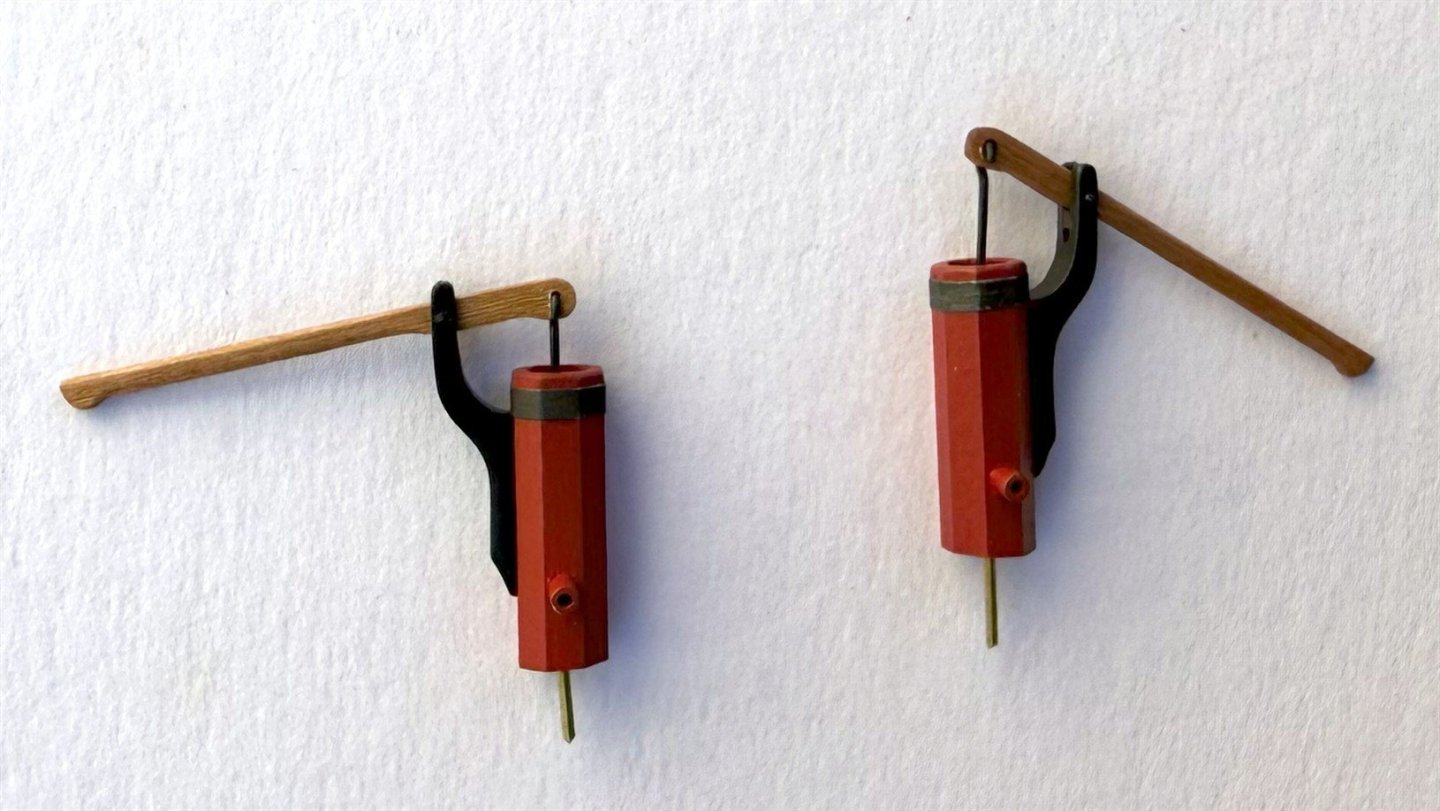
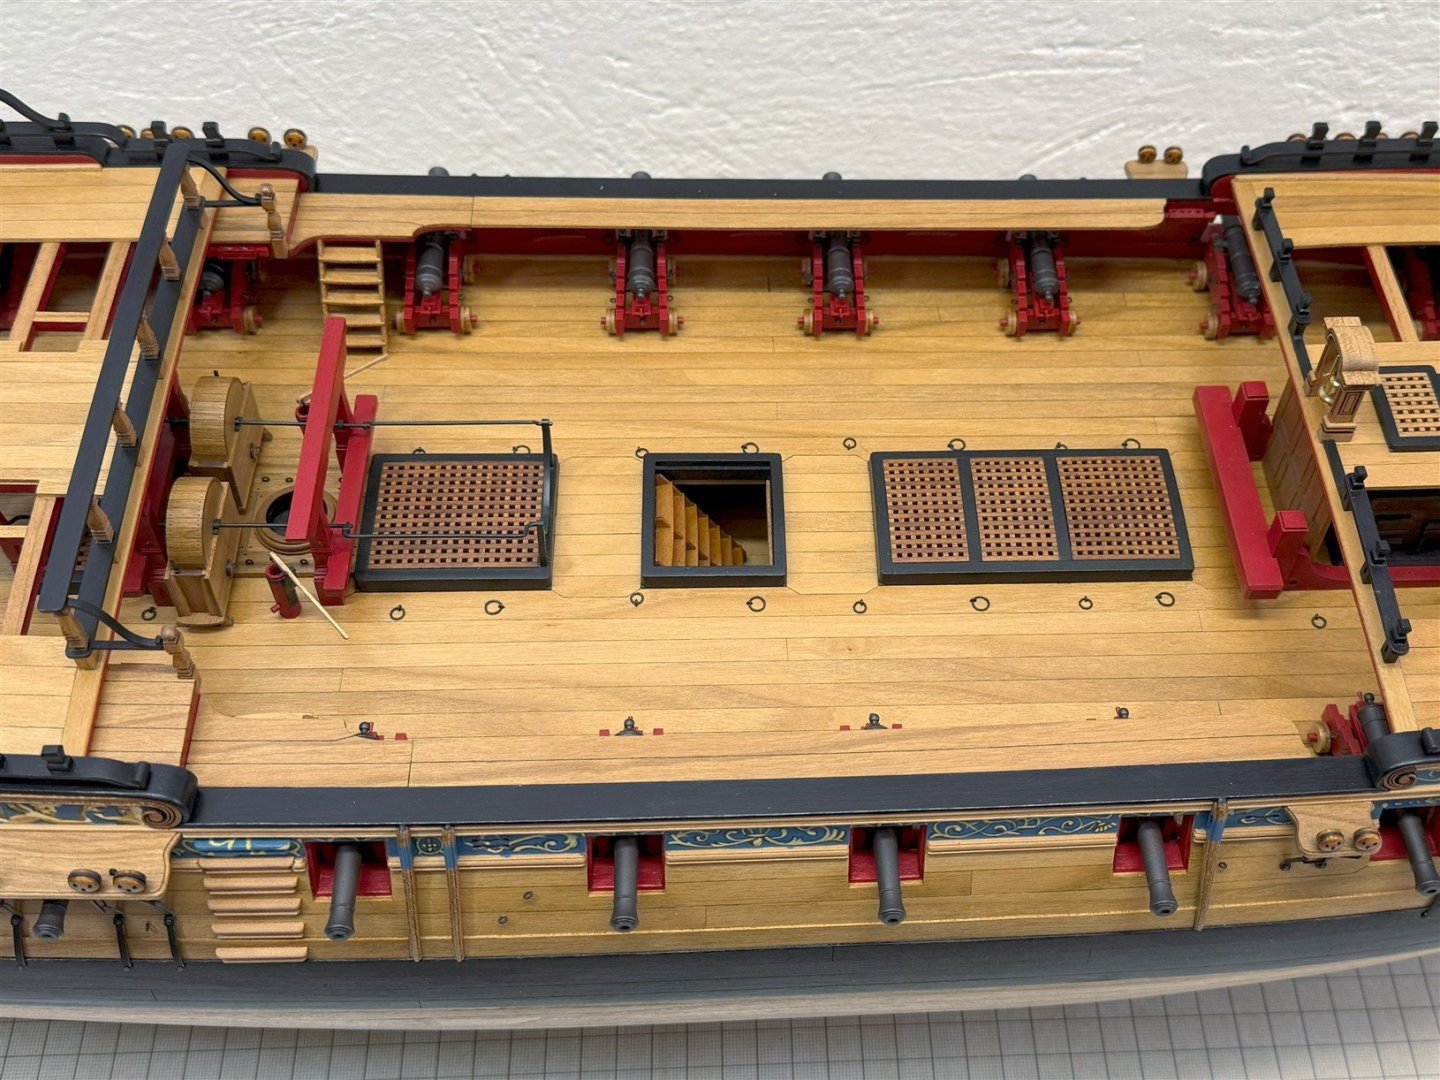
Hi Chris, both the brick stove and the cannons look great. So does this confirm the development of the Tiger 1681 from Richard Endsor's drawings? The scale is 1/64 ? Will the stove and cannons be sold separately and also in 1/48th scale?
-
Wow, if it wasn't written that it was 3D printed, I think it really is a pear with a little patina. Really great finish
-
Very nice details - Edward, Good job. Those barrels are from Chuck 3D printed in black resin?
-
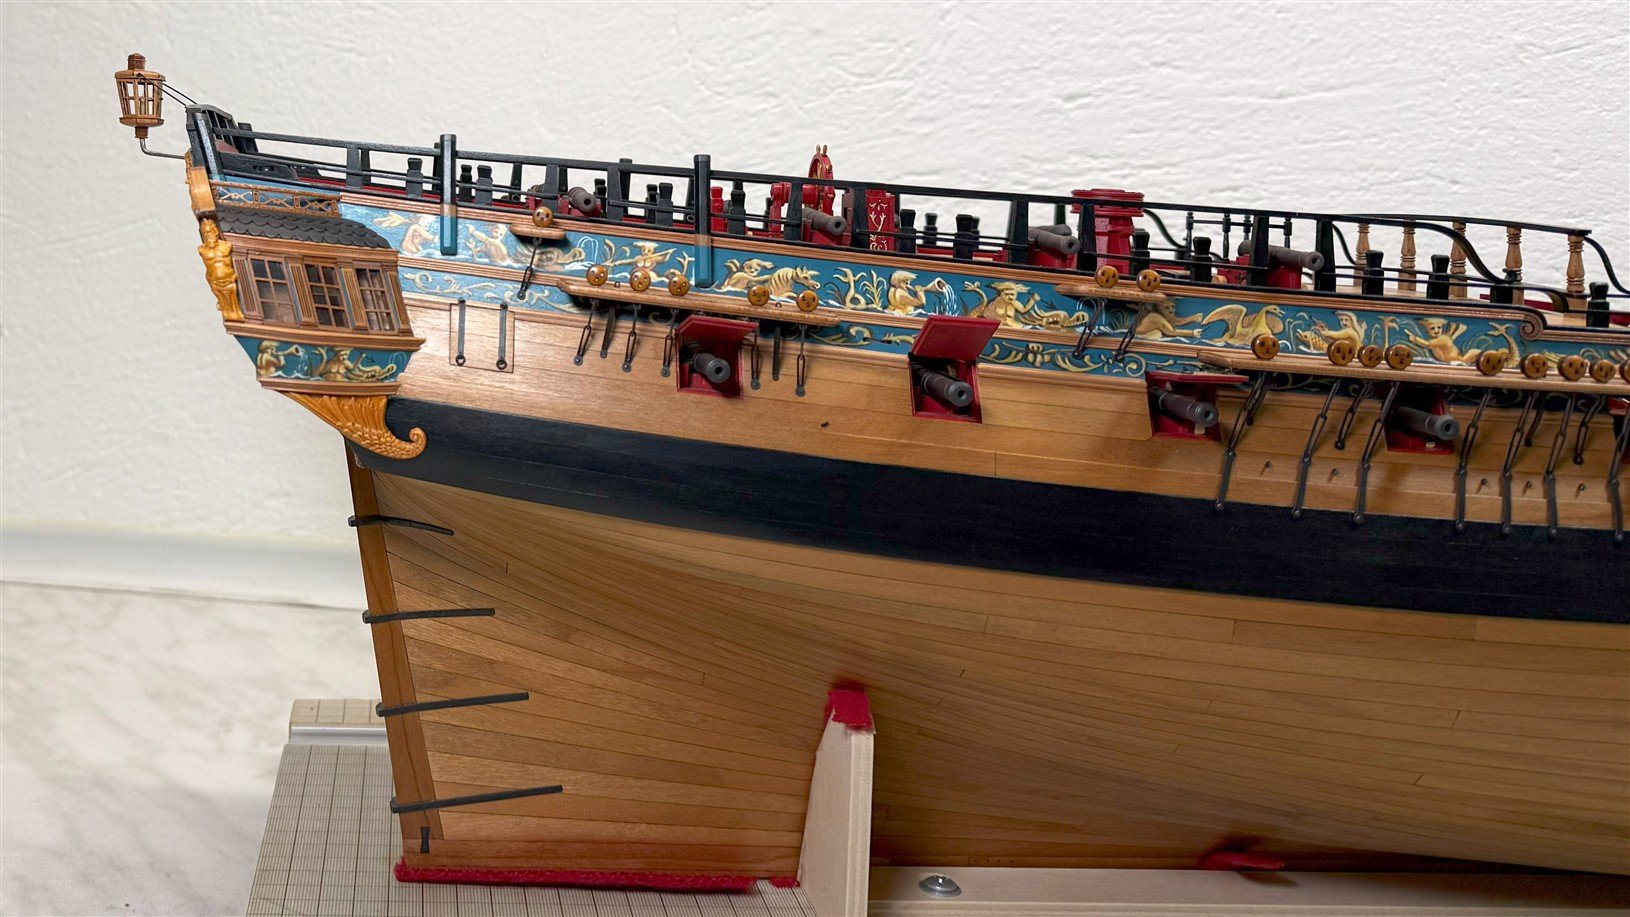
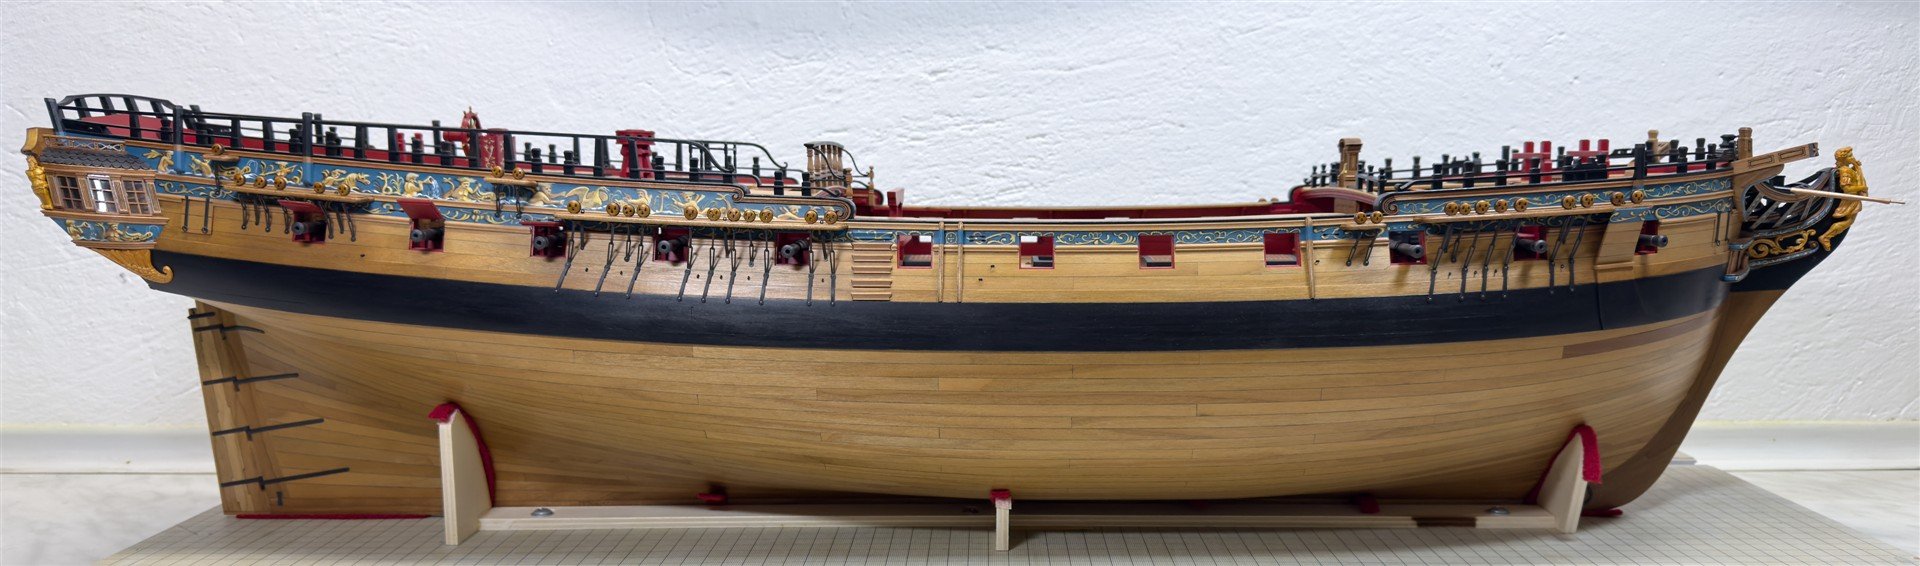
Hi Rick thank you so much for the compliments. You are right I only used the leather dye on the wales and everything else was well painted with Vallejo Mecha Color - Pure Black 69.042. And also thanks for all the comments and likes guys. Winie is currently waiting for the cover and base and then I will take the final pics.
-
Hey Frank, good to have you back on board. Good work again, looking forward to the next progress.
-
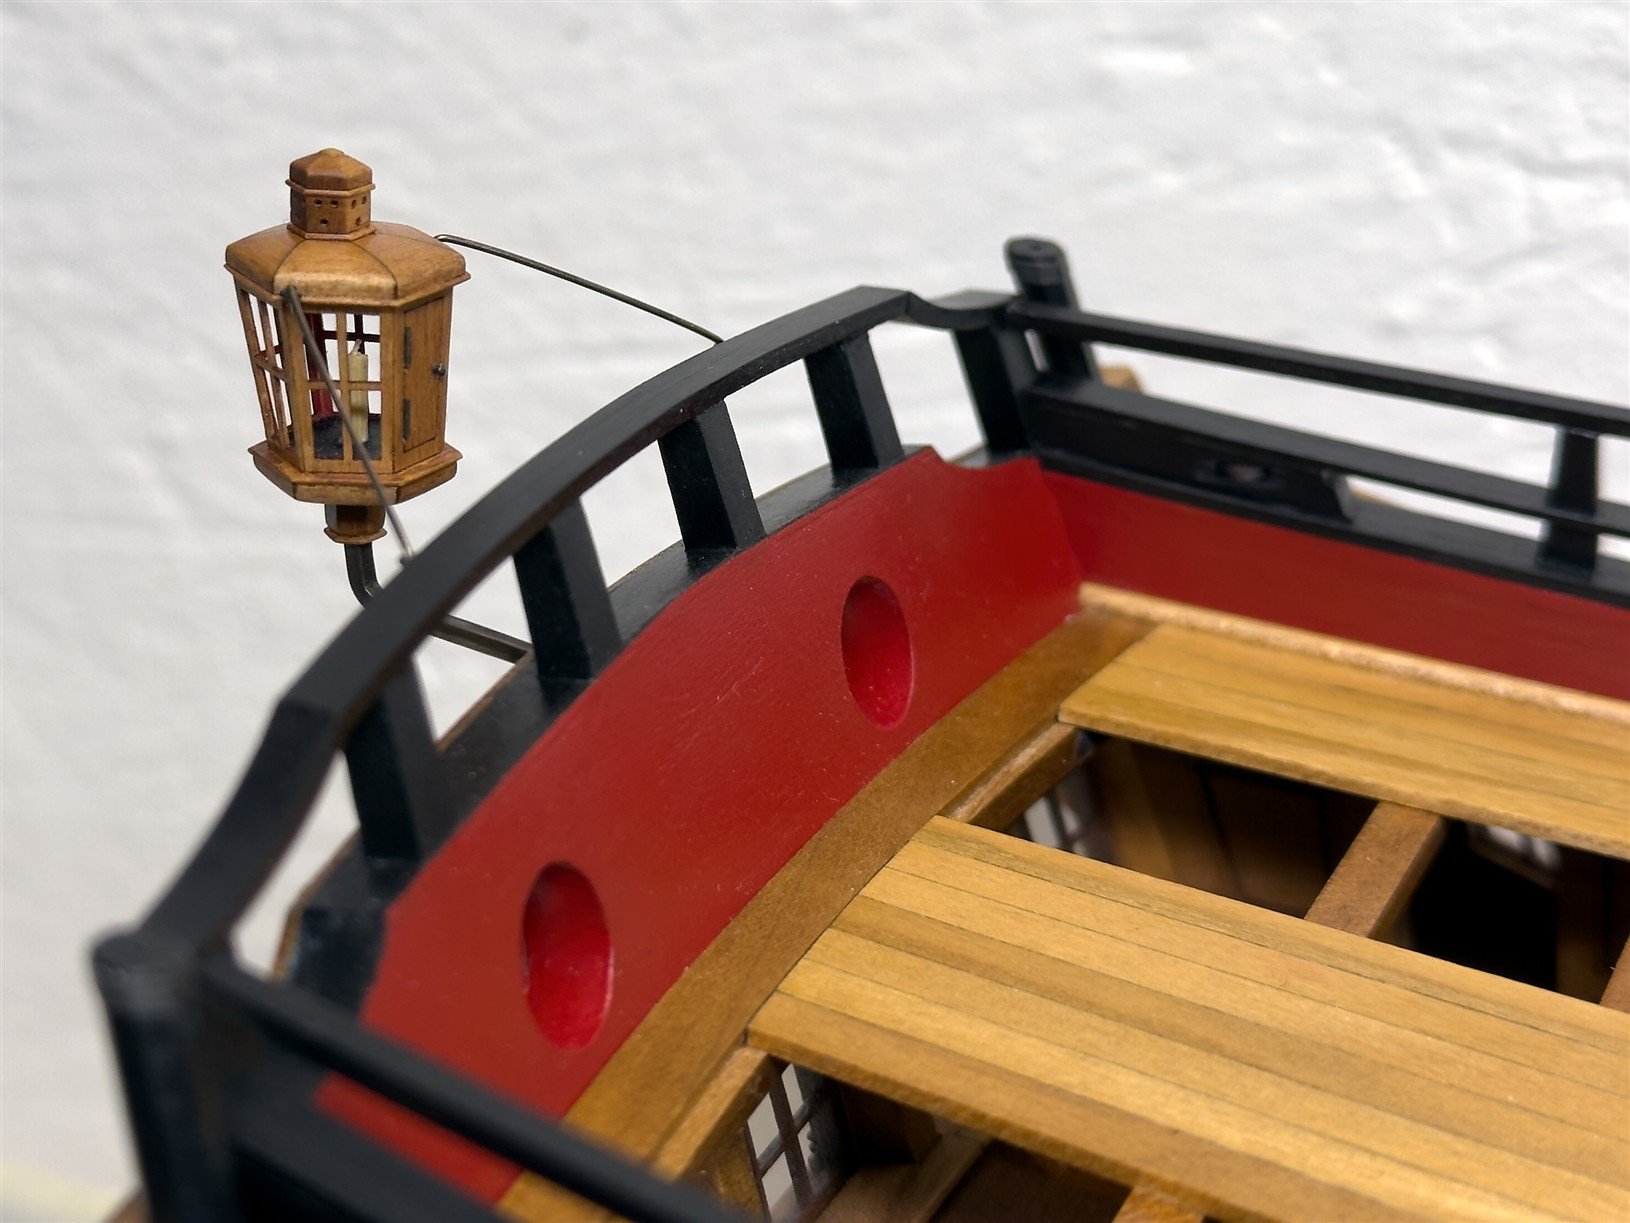
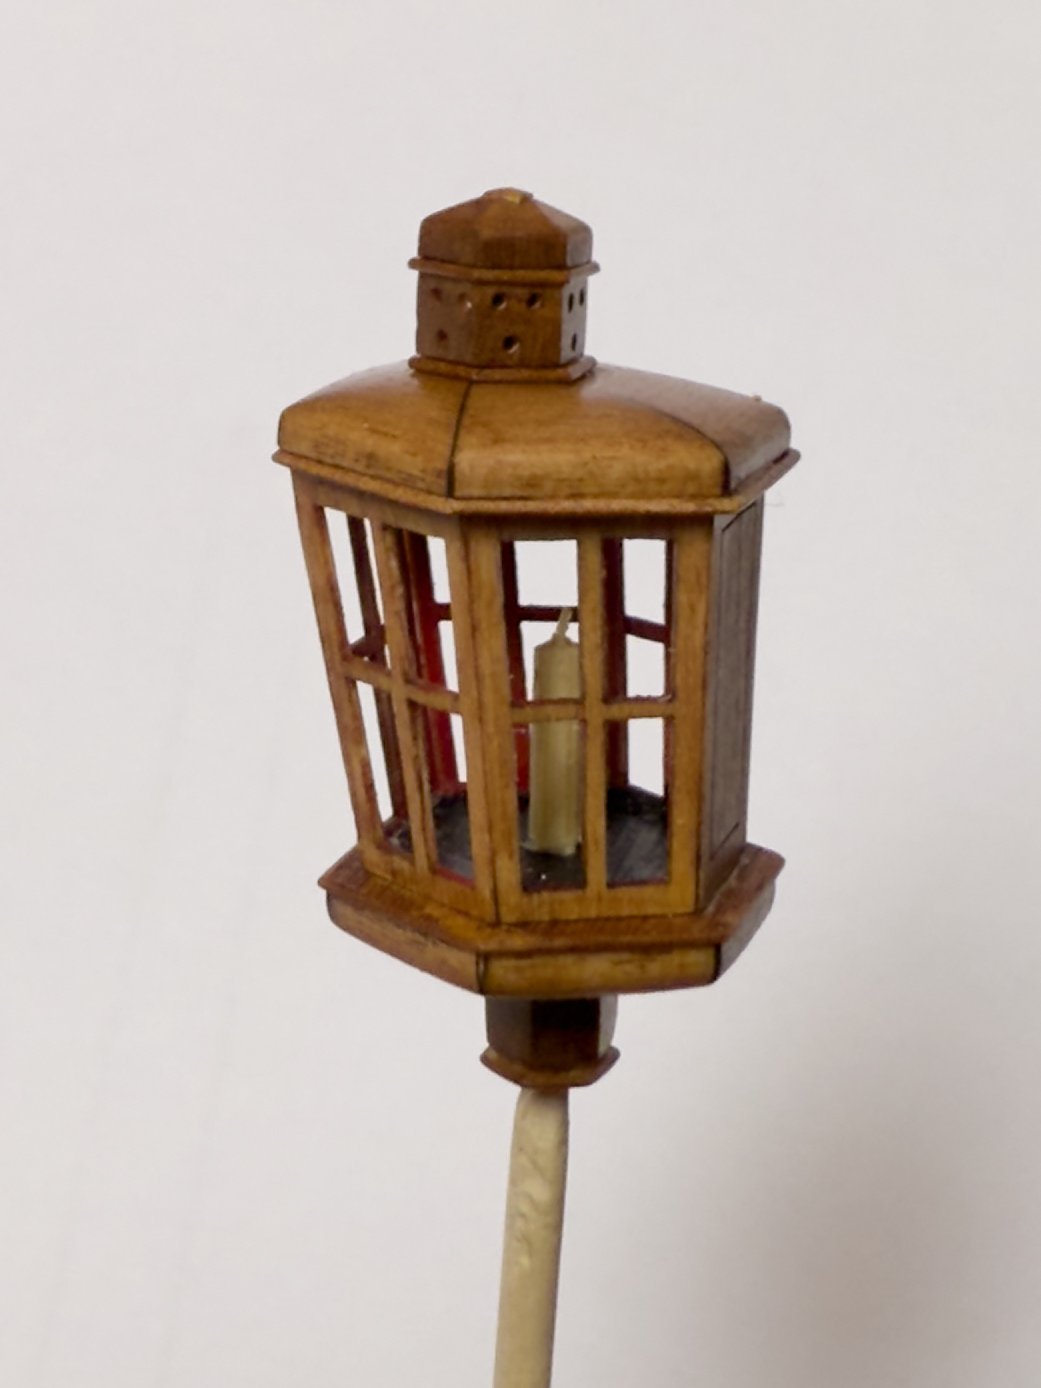
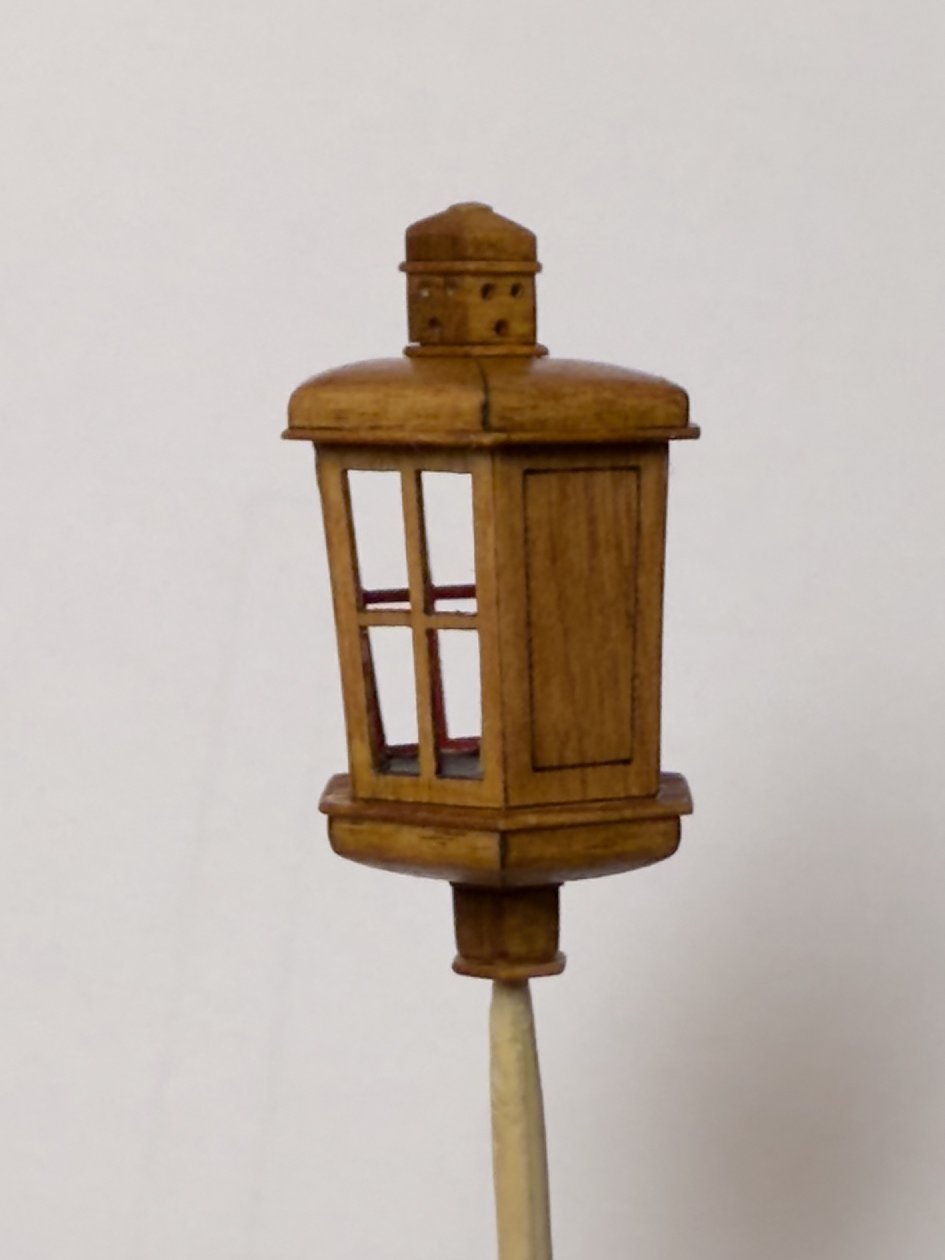
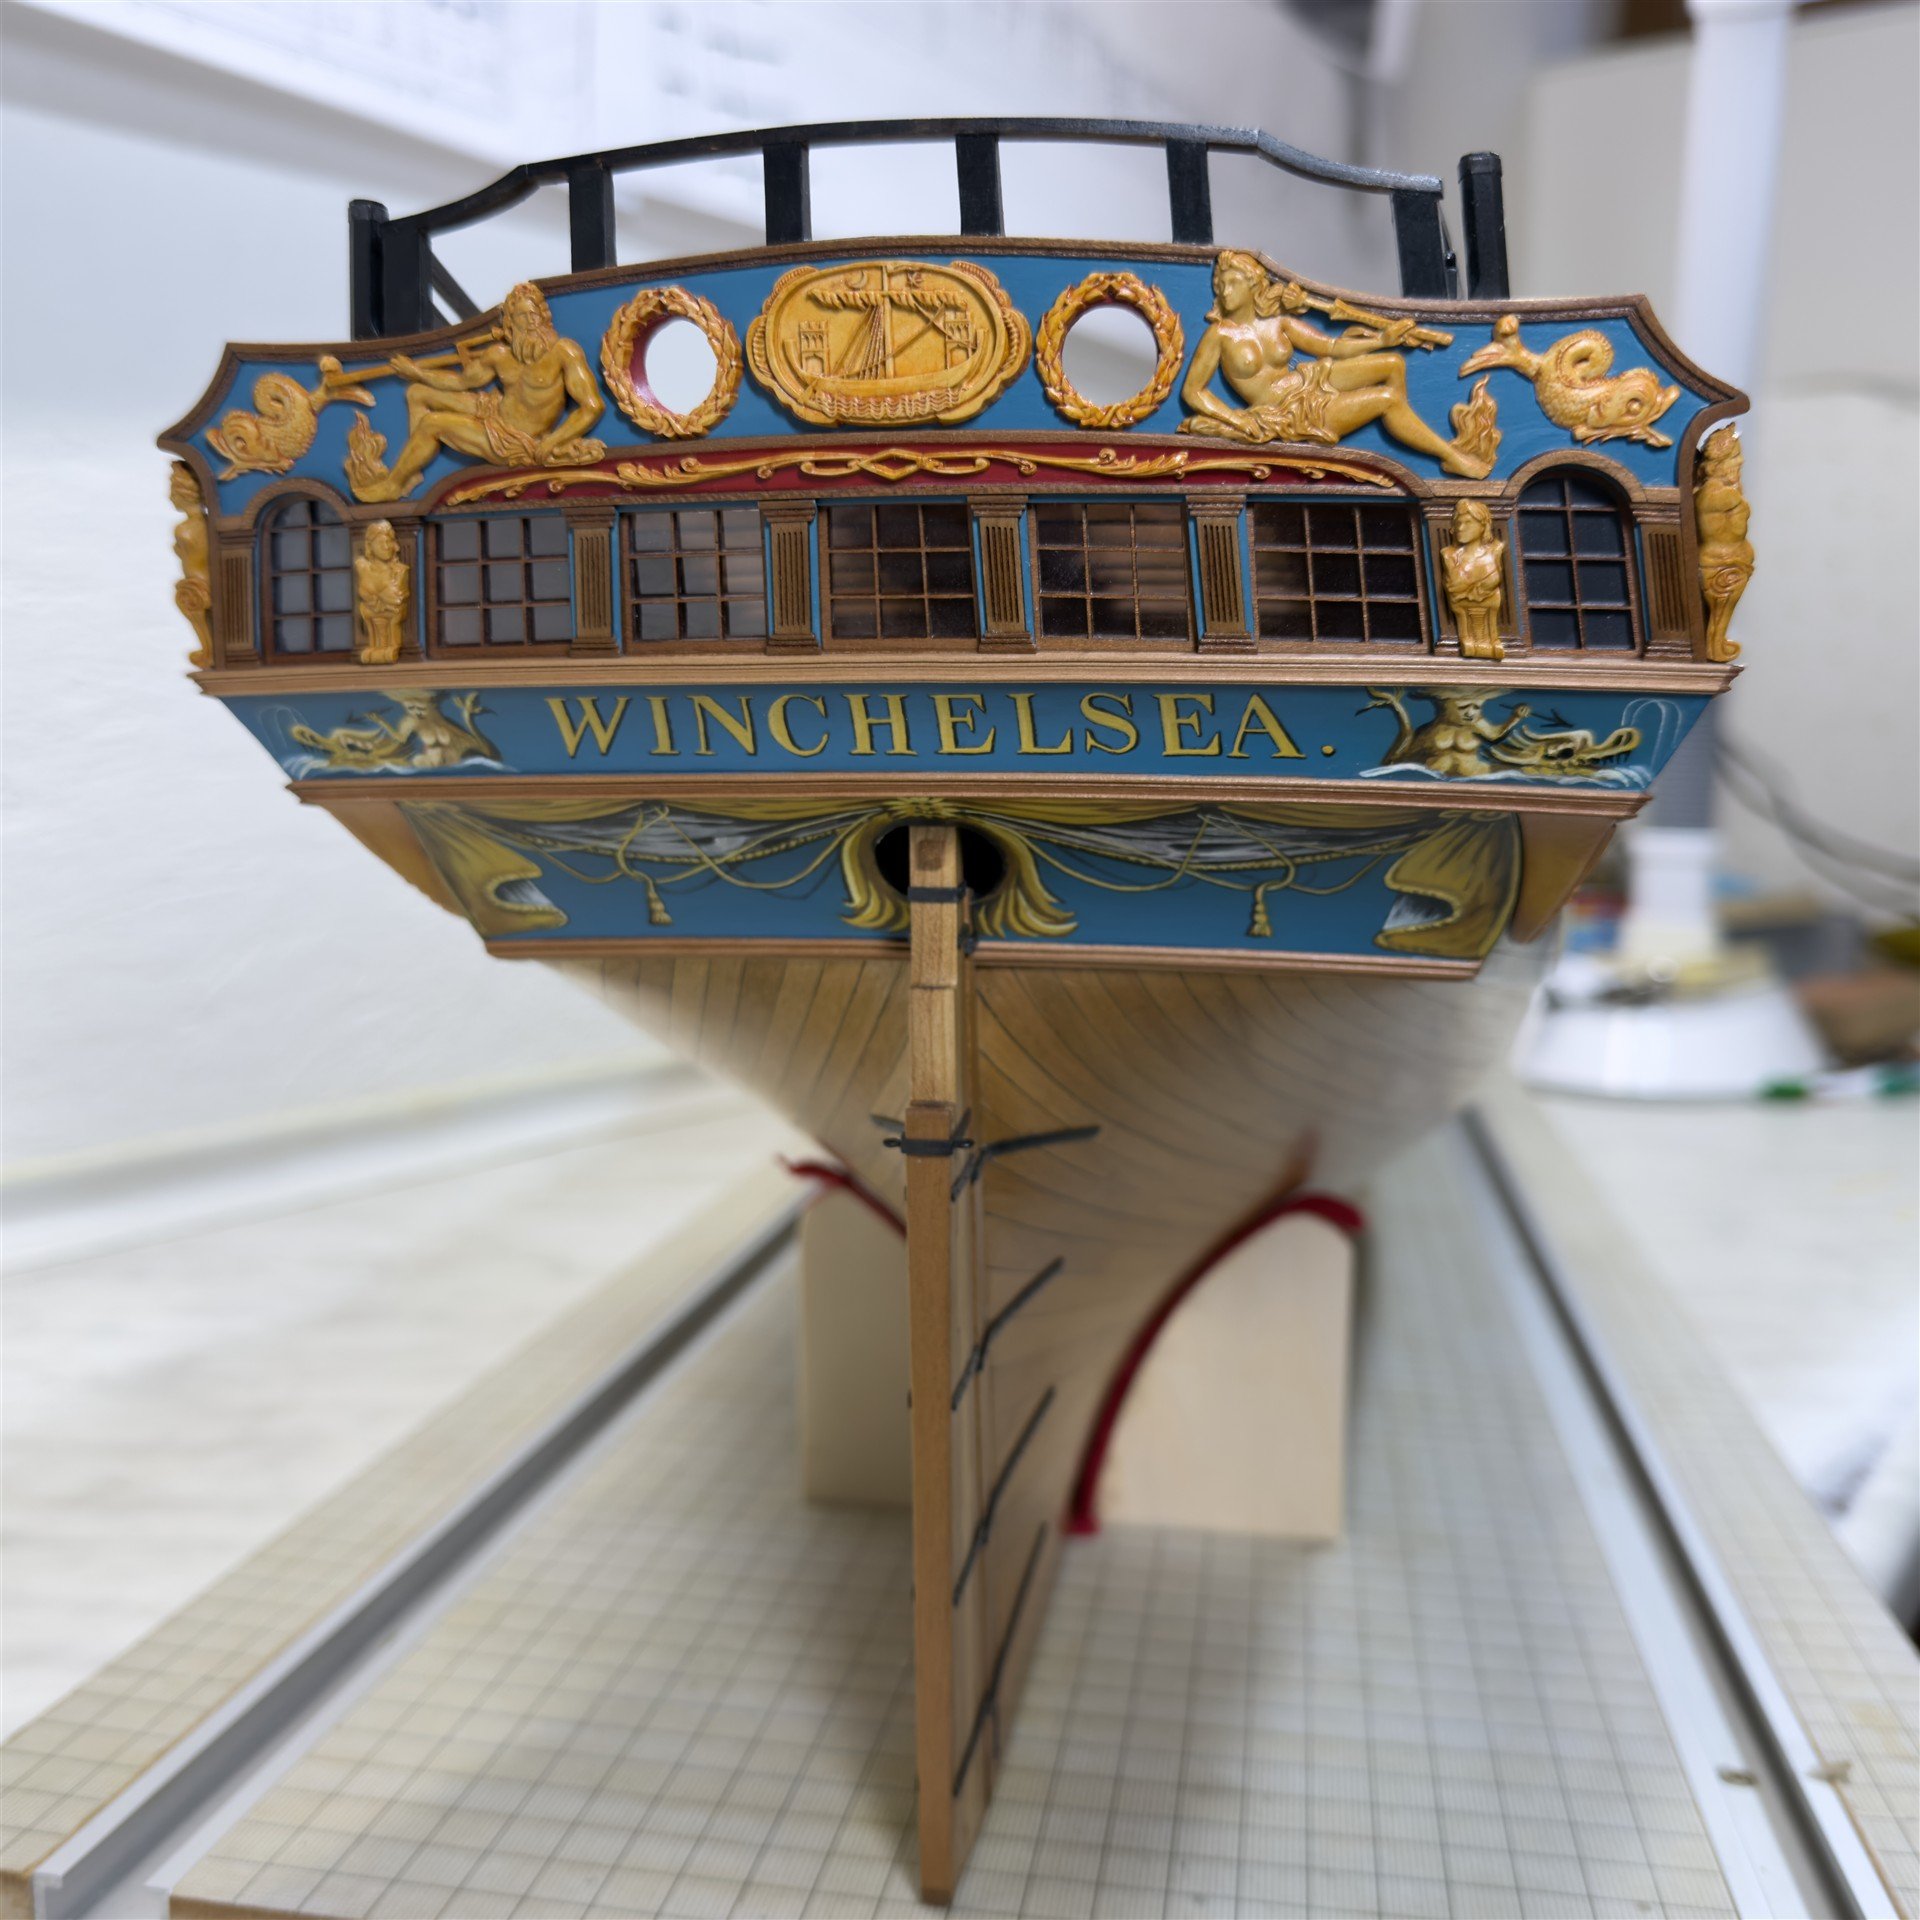
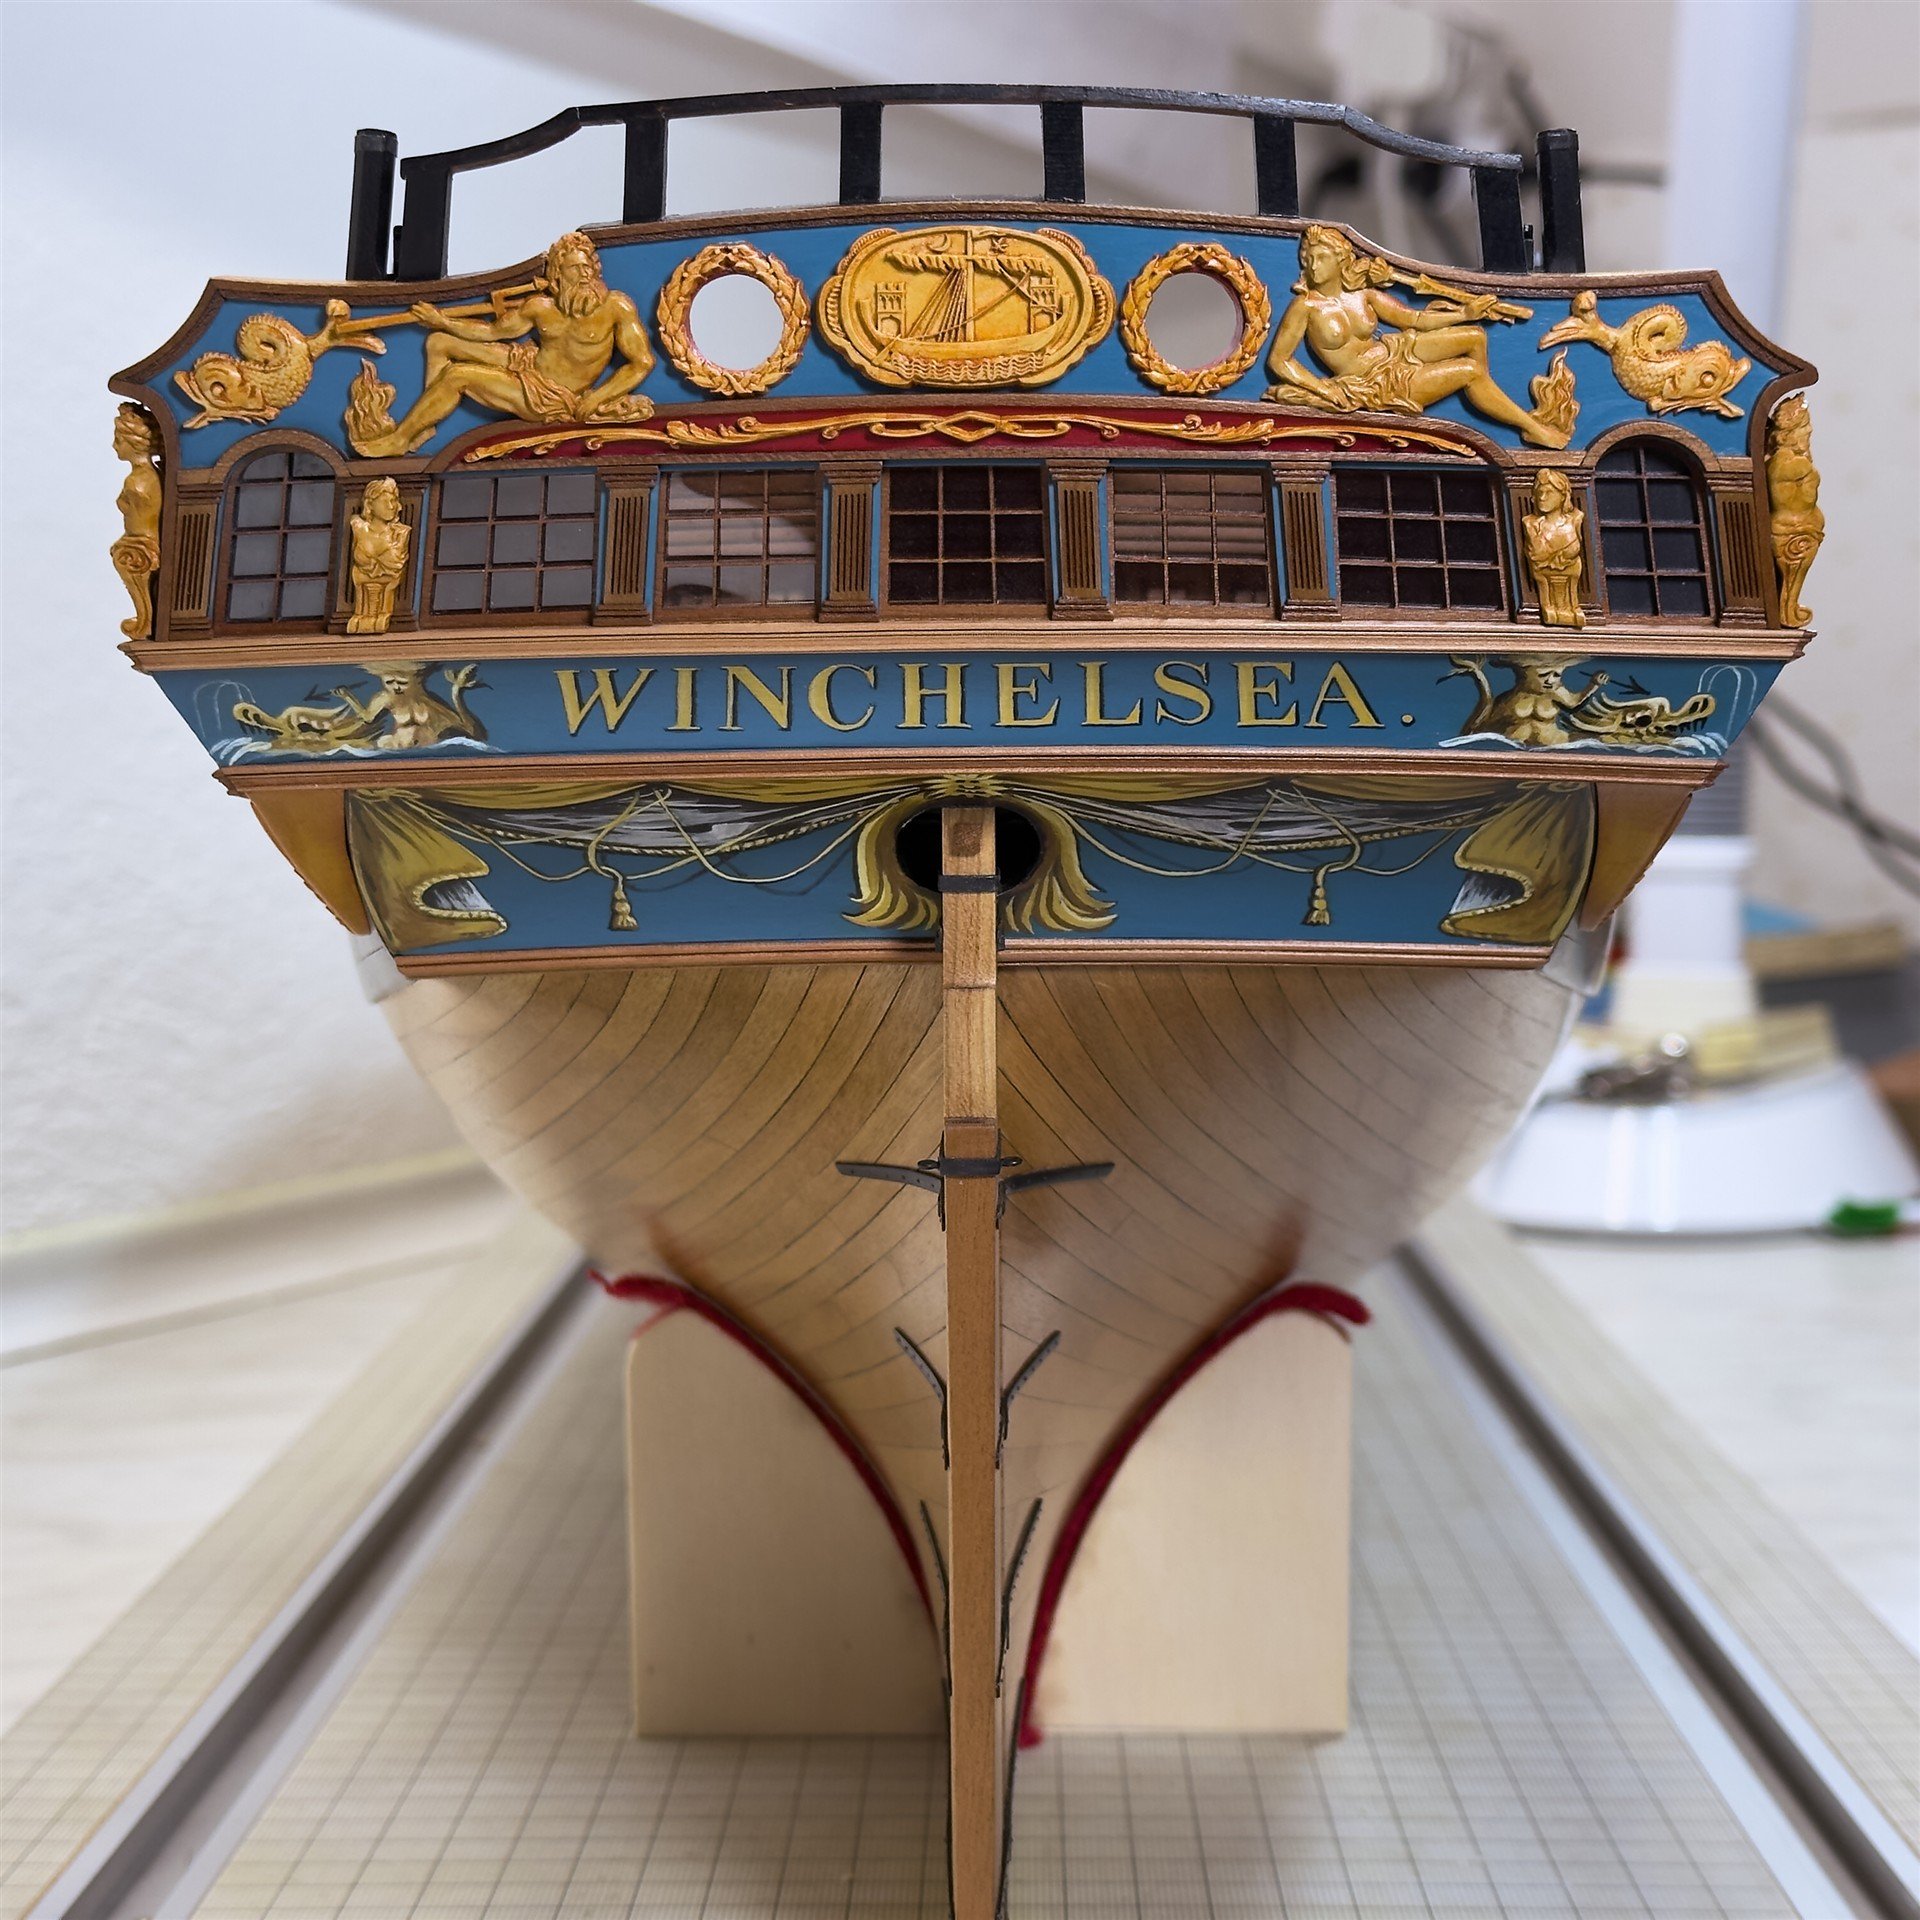
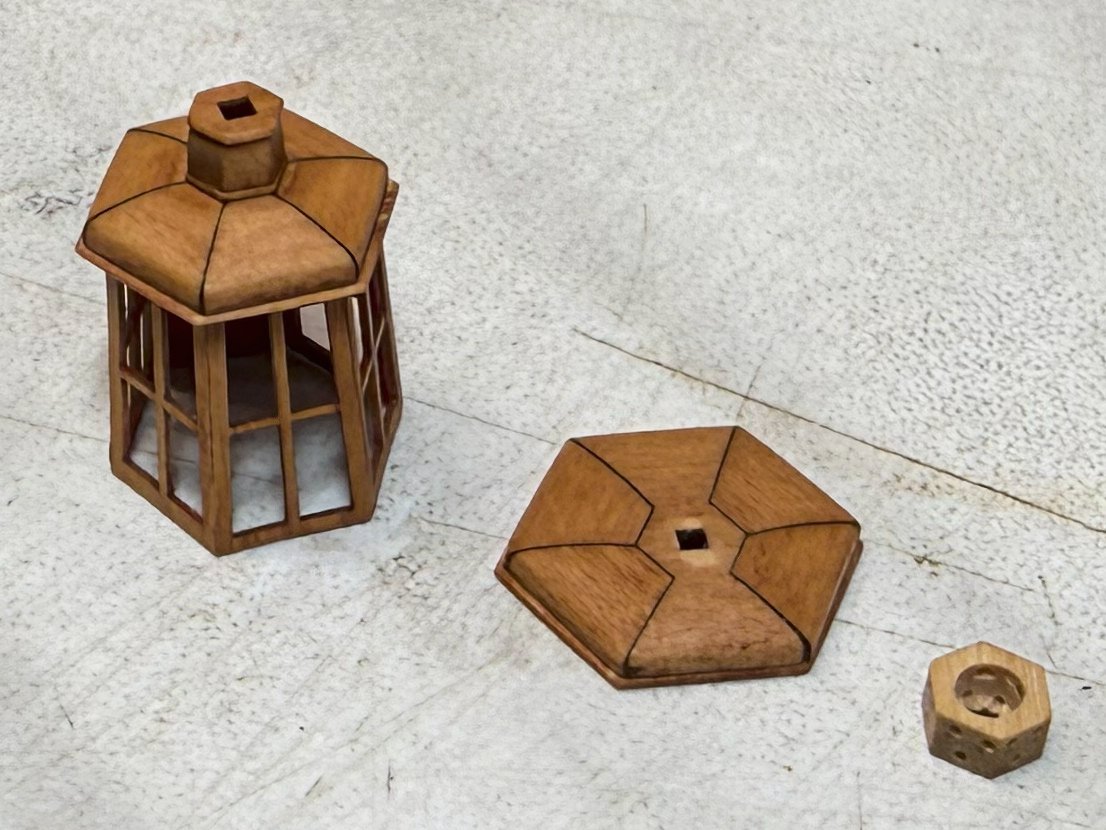
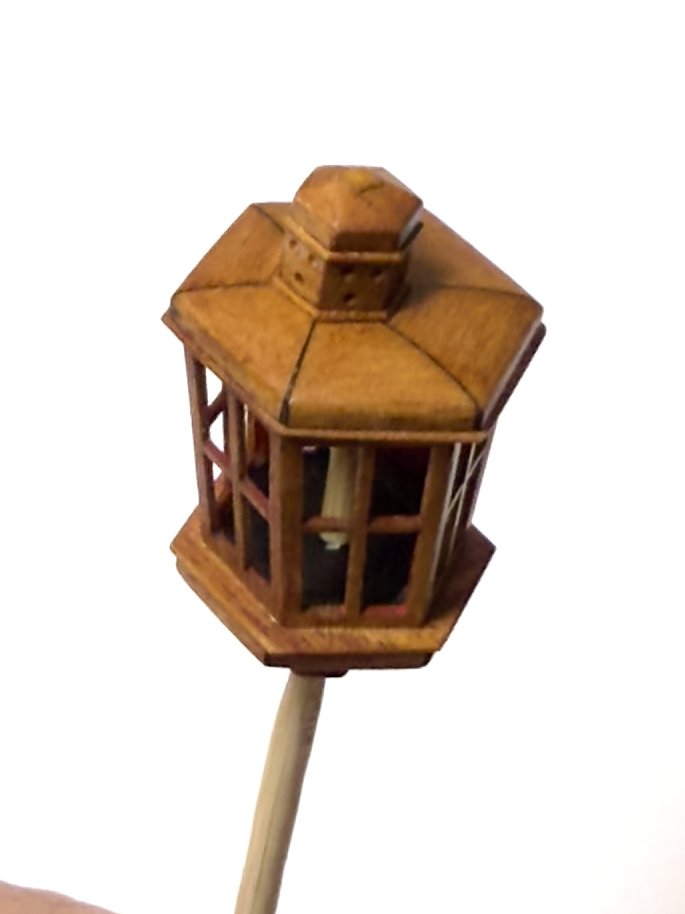
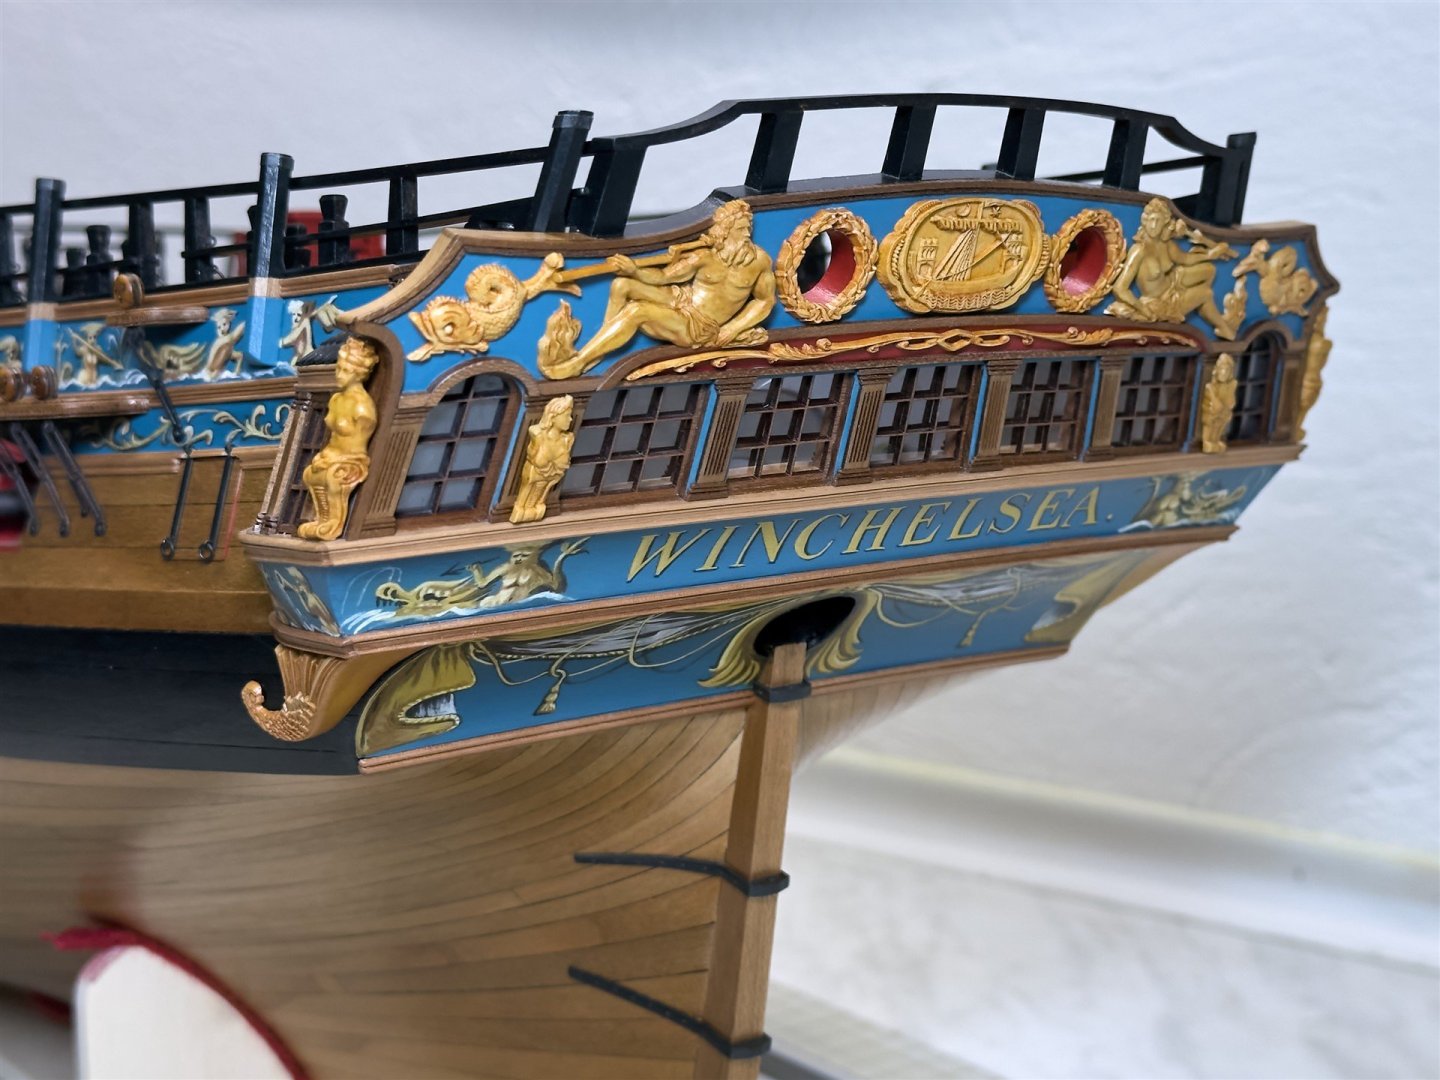
Thank you guys and I wish you all the best in the new year. Test fitting of the lantern on the model. Compromise solution - I didn't drill the badge on the transom. The square brass rod is just a support The lantern is only hanged on two auxiliary rods. Tomorrow I'll probably order an acrylic cover and just make the base and it's done 🙂


-
Thanks Chuck, Yeah, I'm glad I chose the cherry version. Although I was a little worried at first about how it would turn out in that size. I had a cherry on the Revenge from a different source, and I didn't like the "tigering" there so much. That's why I used a different source for the Winie and cut the strips slightly different so that the grain wasn't so visible. I'm trying to build a Stern lantern. I tried, but it didn't work as well as I imagined. Hopefully I will finish it and then decide if it will be on the models . I have already made a request to local companies to make me a plexiglass case And I'm already thinking about what to do next...


-
Hi Ben, the case looks great. Do you have any older acrylic cases on other models? How do they look after all these years? Is there any yellowing? Don't they scratch when you dust them? I like them because at this size the glass is heavier and definitely more expensive I think. Here in Slovakia, or at least in the EU, I haven't found a manufacturer yet...
- 399 replies
-
- 2
-

-
- winchelsea
- Syren Ship Model Company
- (and 1 more)
-
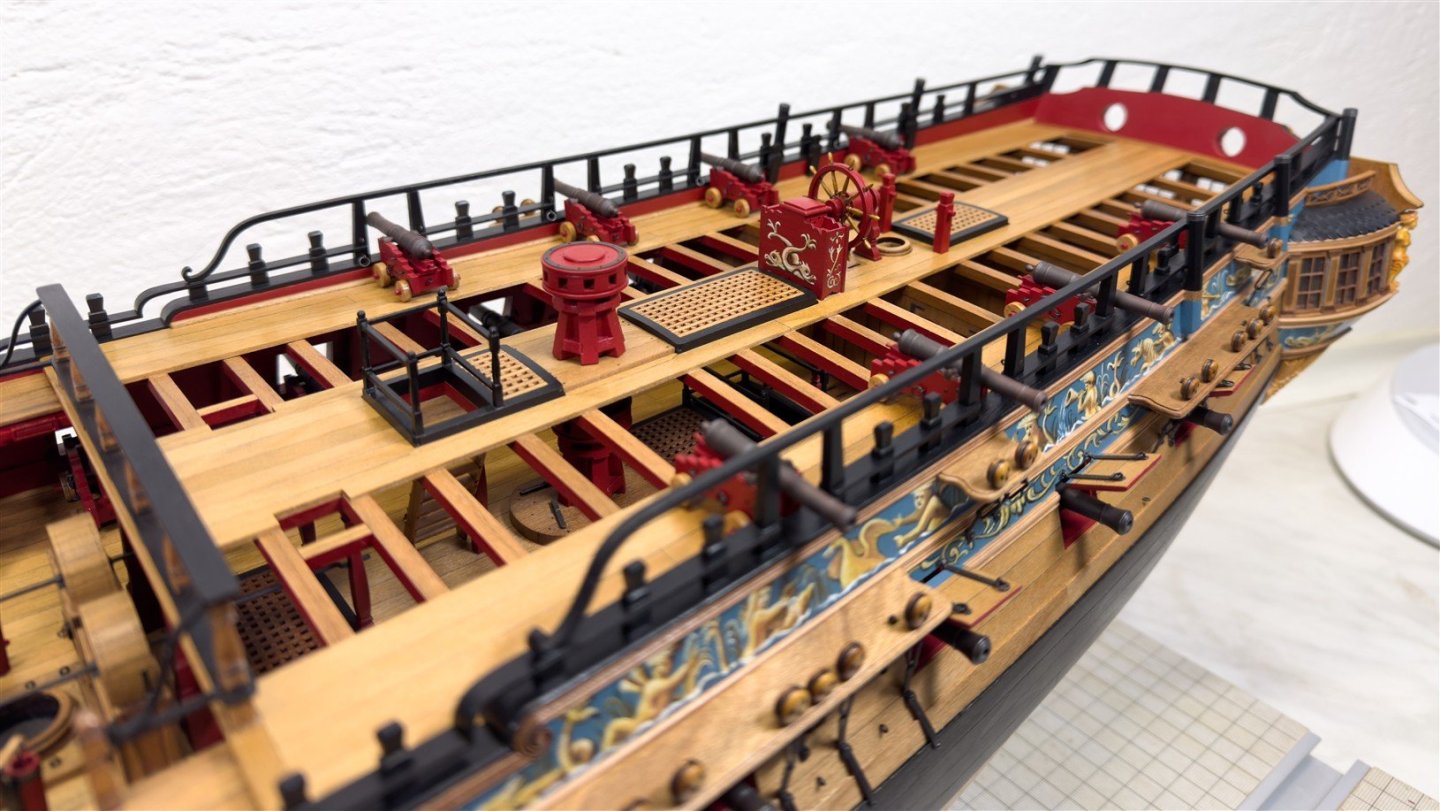
Thank you guys, I'm one step away from the finish line. Swivel Guns will not be displayed, so the last step is to make a Stern Lantern. And also time to make the stand and find a company that will make me a glass or acrylic case.


-
Wow, a beautiful and unique model Ben. I loved following your diary. Congratulations on the finishing
- 399 replies
-
- 3
-
-
- winchelsea
- Syren Ship Model Company
- (and 1 more)
-
Welcome aboard Robert, thanks for the compliments and I wish you all a Merry Christmas


-
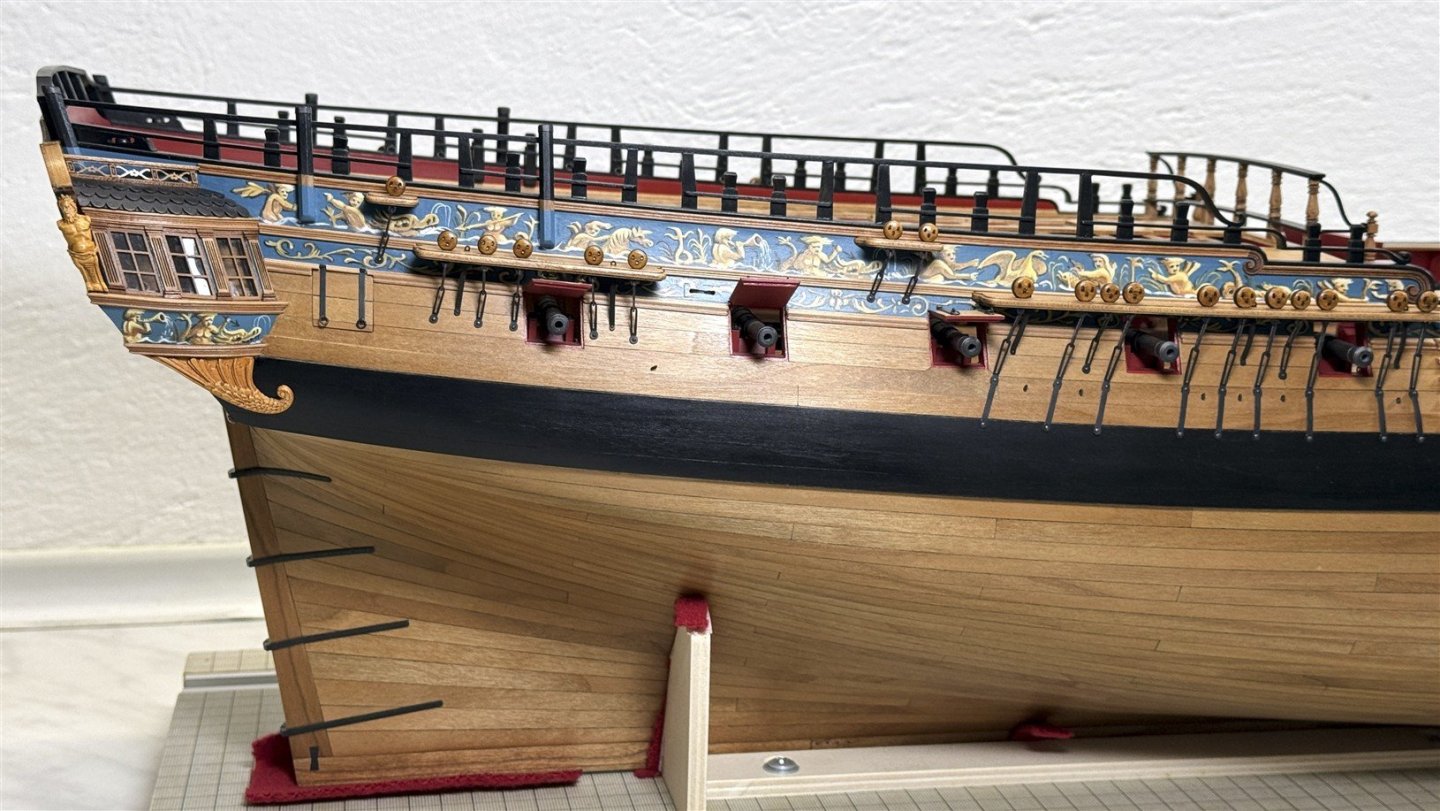
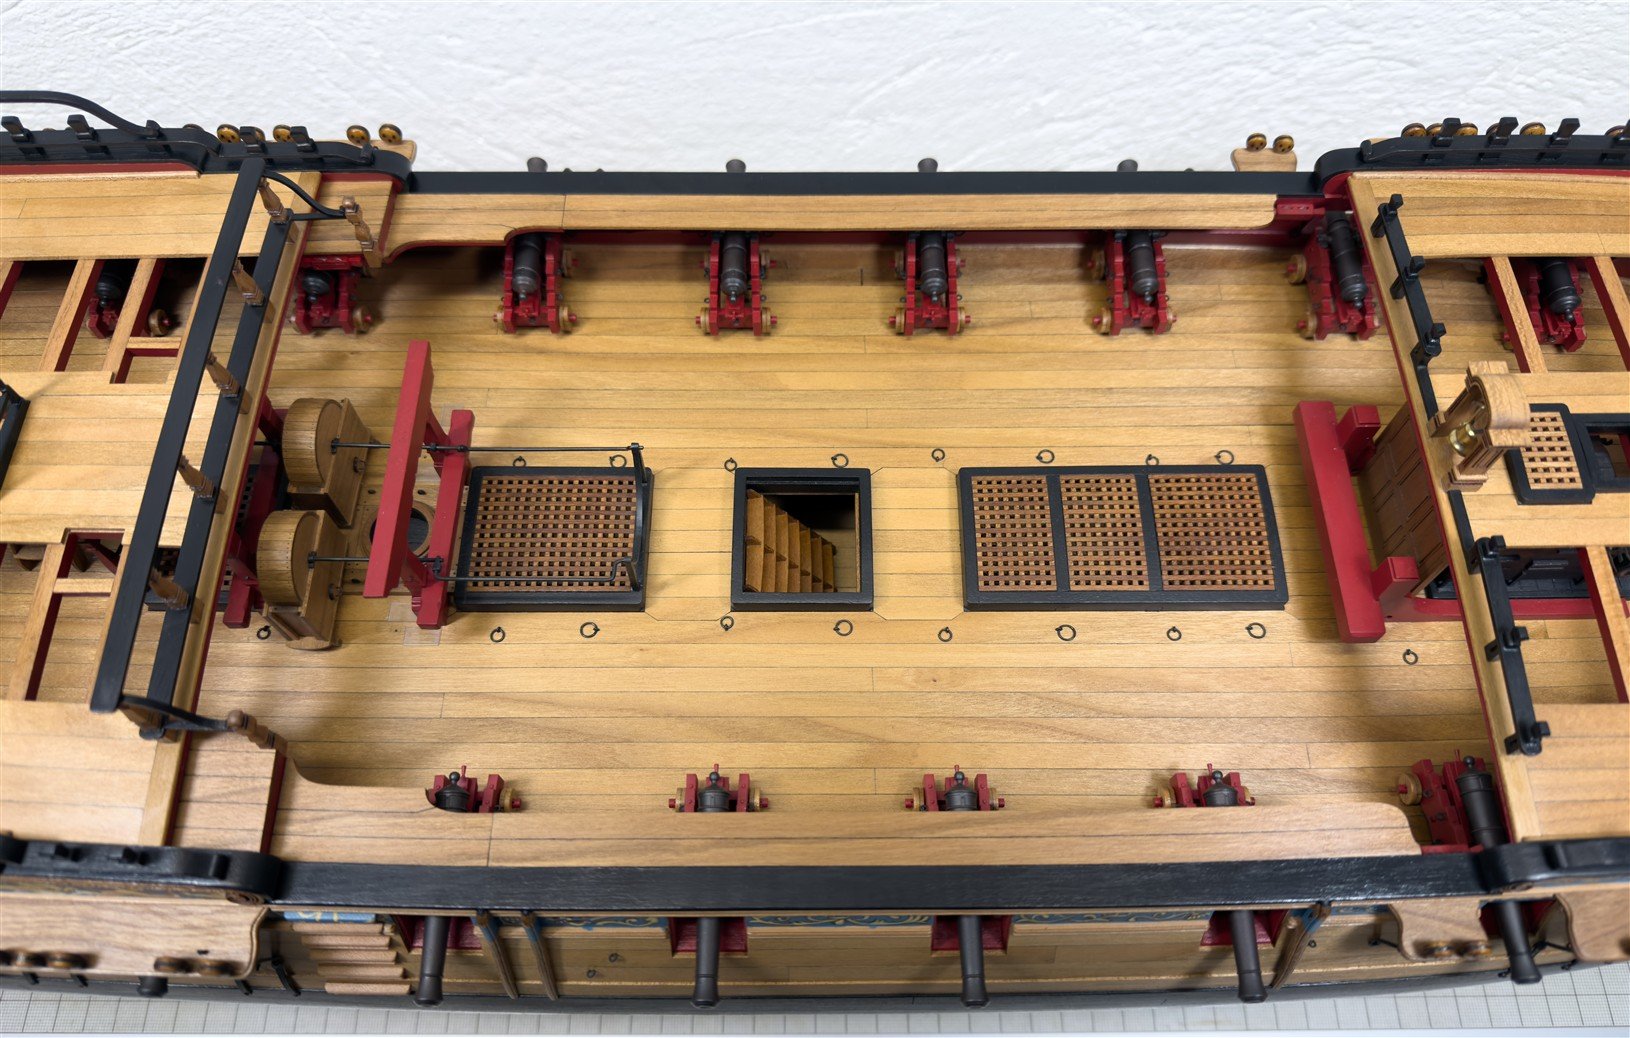
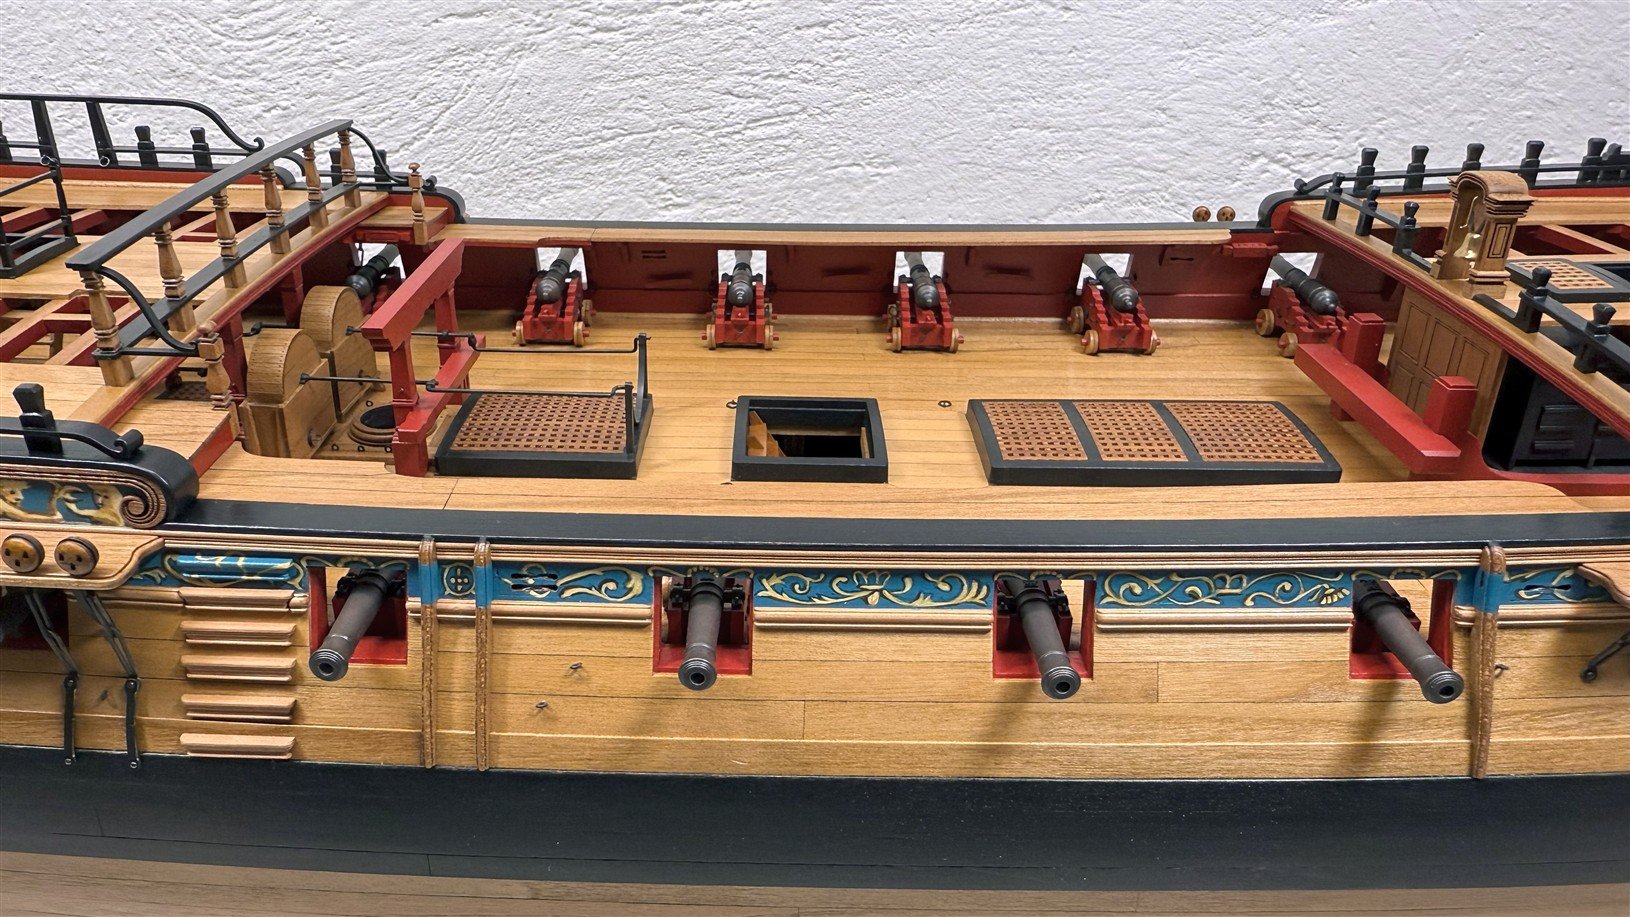
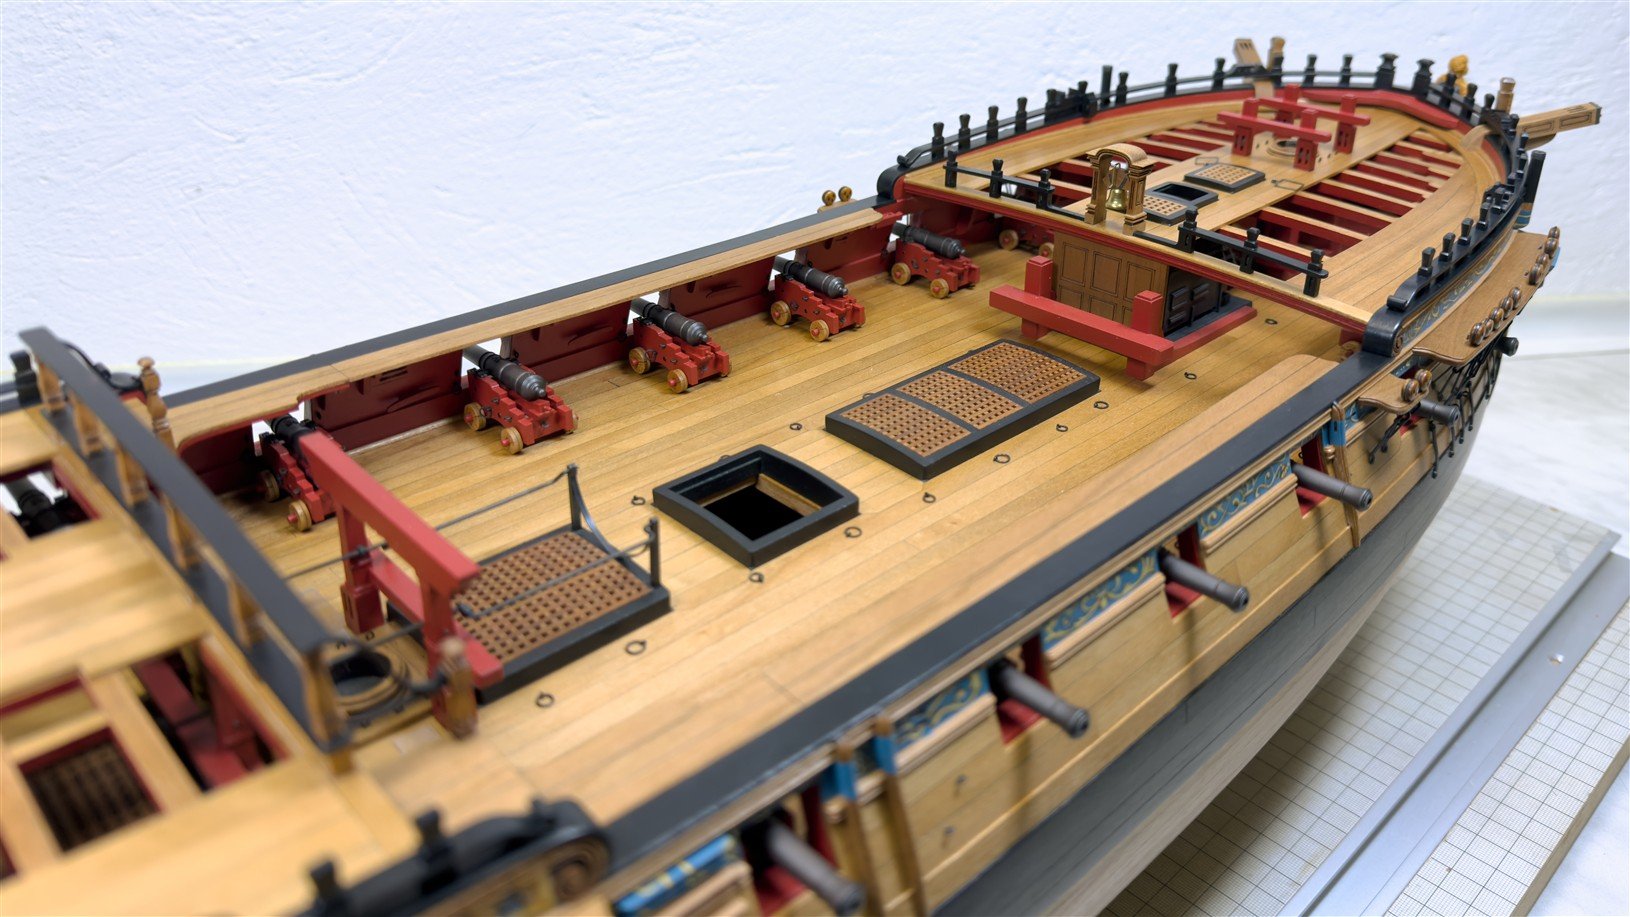
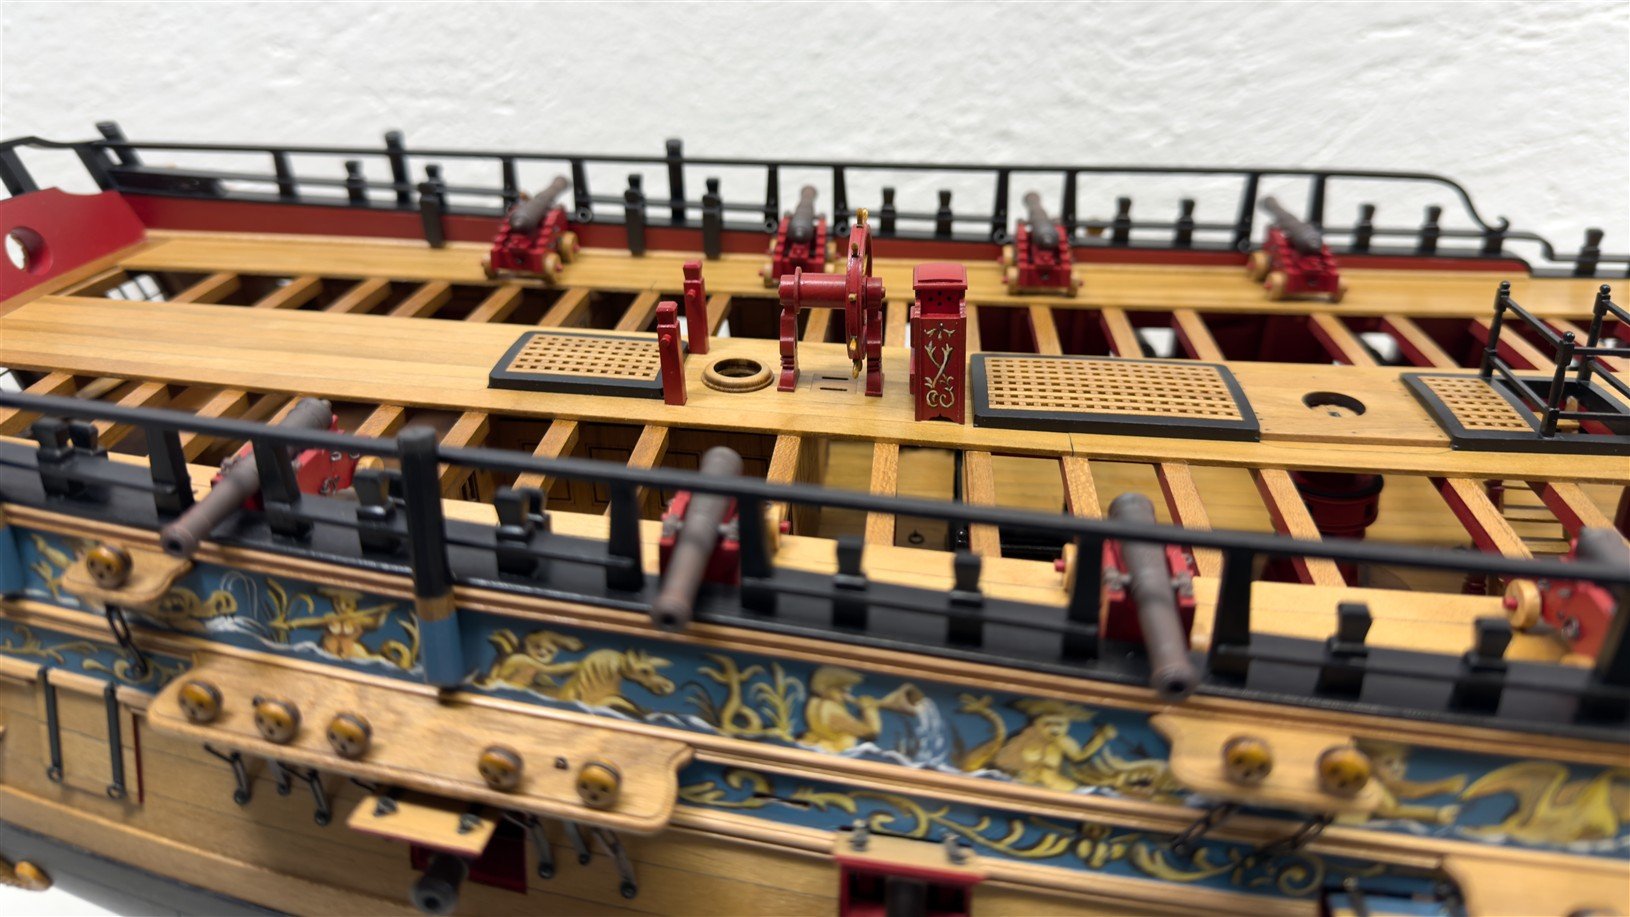
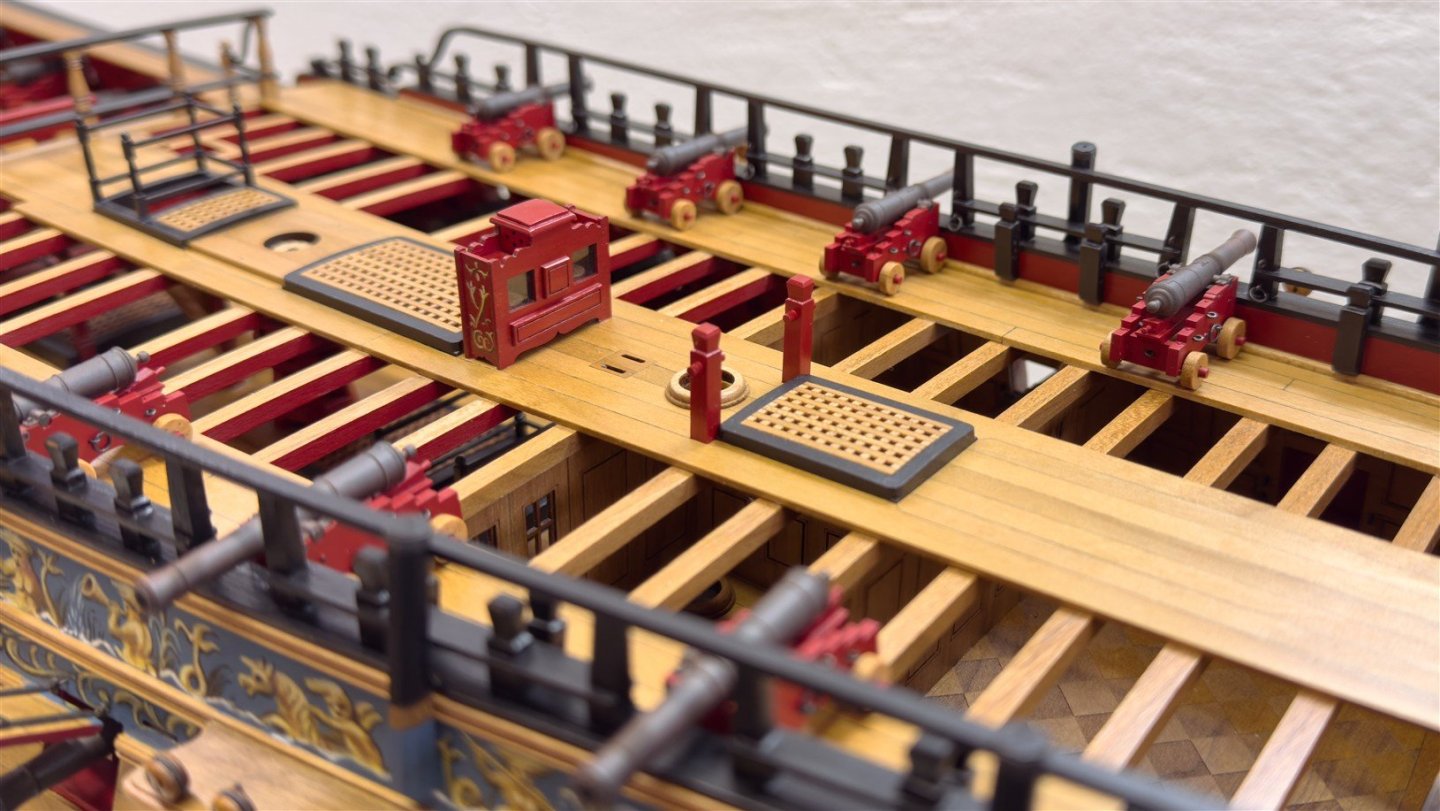
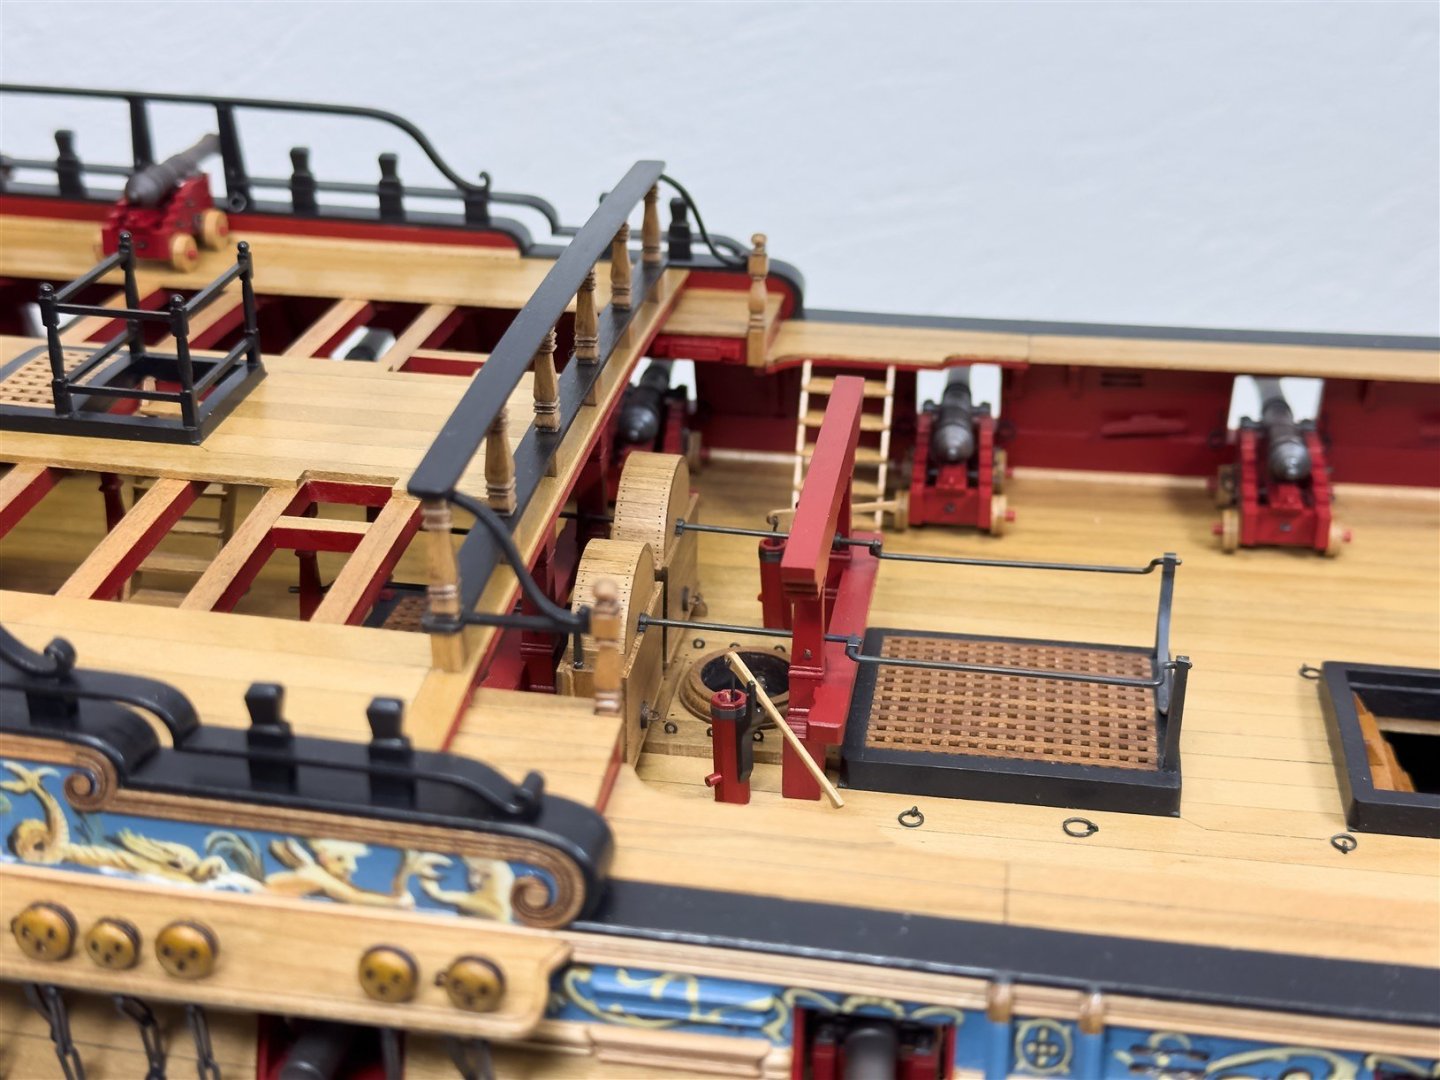
continued... I finished the fancy roof rail qgallery and I started to place the carvings and fittings for the Qdeck…