bcochran
-
Posts
615 -
Joined
-
Last visited
Content Type
Profiles
Forums
Gallery
Events
Everything posted by bcochran
-
 Look at this picture from Longridge's book, It looks like the shrouds are attached to hearts, then the hearts are attached to the deadeyes. I've always seen models with shrouds attached to only the deadeyes.
- 481 replies
-
- 1
-

-
- Cutty Sark
- Revell
- (and 2 more)
-
Here is a picture of Cutty Sark drying sails. Not very dignified, I'd say. Hismodel has these sails that are for showing furled sails. Adding sails means adding much more running rigging as apposed to harbor rig. That is to do it right, in my opinion. On the positive side, furled on top of the yards means not having to add jack stays.

- 444 replies
-
- 3
-
-
- Cutty Sark
- Revell
- (and 2 more)
-
I hear that the Cutty Sark is the last remaining clipper. We have the Star of India (Ramsey Shipyard in the Isle of Man in 1863) in San Diego, which still sails and the Balclutha (launched in 1886 by the Charles Connell and Company shipyard near Glasgow, Scotland) in San Francisco. Both are iron clippers.
- 481 replies
-
- 1
-
-
- Cutty Sark
- Revell
- (and 2 more)
-
It's here : https://www.johnsankey.ca/cuttysark.html Sankey is the grandson of one of the apprentices on the Cutty Sark when Wallace was captain. He was on the hell ship voyage.
- 481 replies
-
- 4
-
-

-
- Cutty Sark
- Revell
- (and 2 more)
-
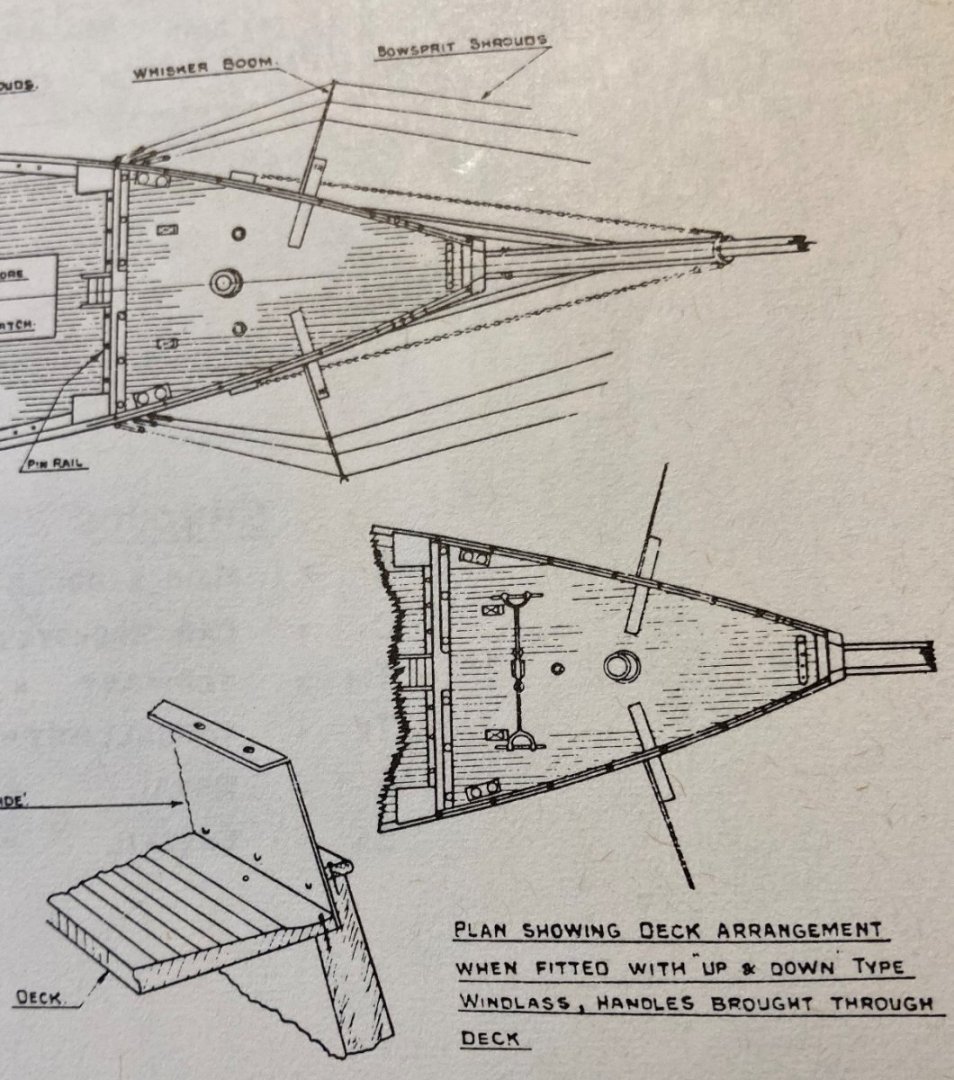
This is interesting. Compare Underhill's plans of the forecastle with Campbell's and Revell's. Underhill has two plans. One with an up and down type windlass and one without. Also the capstand is in a different position on both. The break of the forecastle is a straight line with a ladder or steps in the center. Campbell's is similar to what Revell has done except he has pin rails where Revell has steps. Campbell doesn't have any way to get from the main deck to the forecastle. So which do you want for your accurate model? Revell, Underhill, Campbell or something else altogether? Was the Cutty Sark really that different during it's sailing days? Can we really pick one plan for our models and say we are accurate without reference to a period of Cutty Sark's life? Do our models represent the ship at any particular time in its life at all?


- 481 replies
-
- 2
-
-
- Cutty Sark
- Revell
- (and 2 more)
-
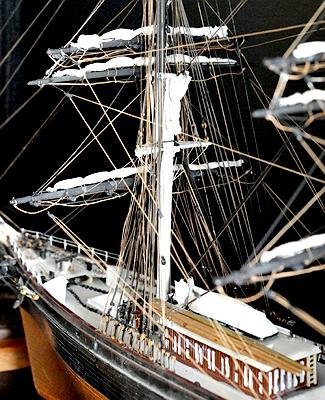
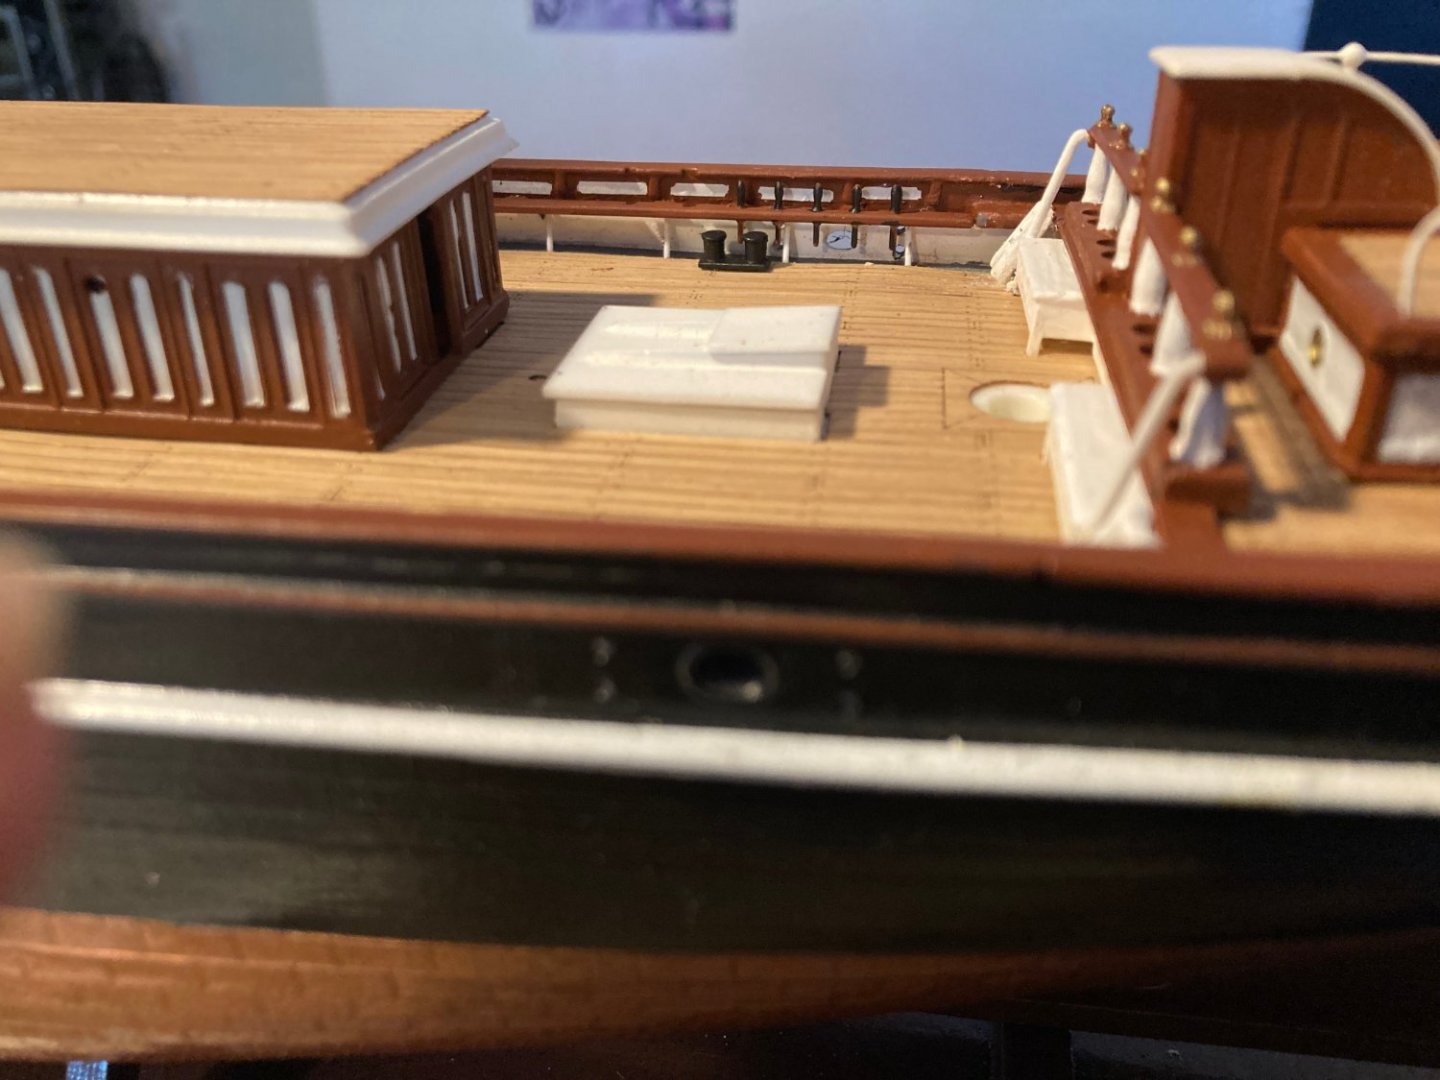
The first two are Longridge, the next two are Sankey's Revell model.
- 481 replies
-
- 2
-
-
- Cutty Sark
- Revell
- (and 2 more)
-
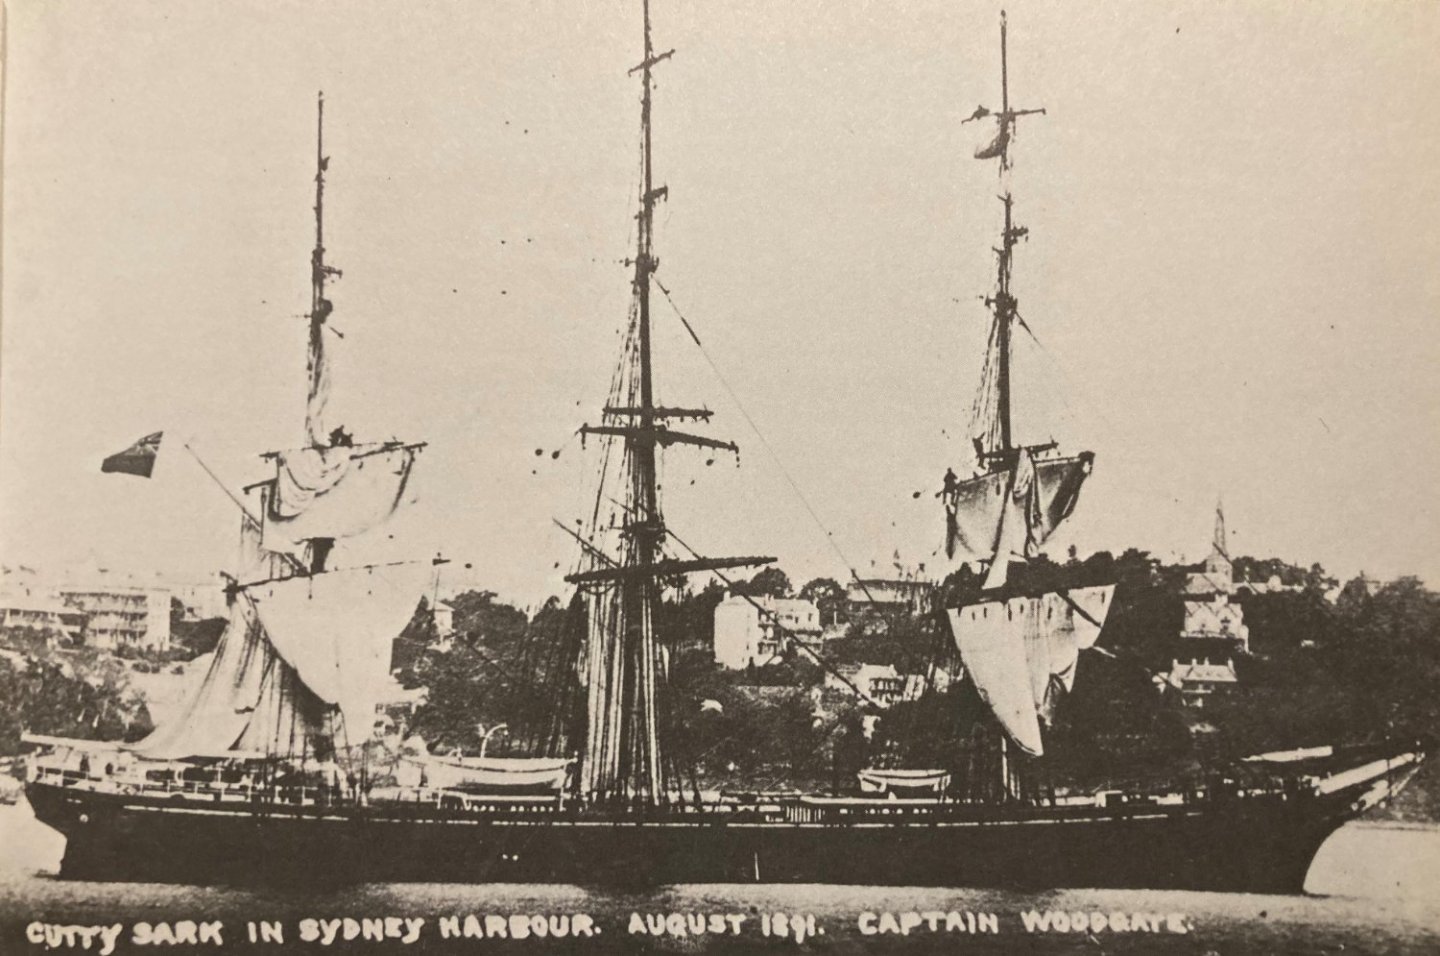
I noticed something about Longridge's model. He has white panels on the deck houses, a skysail boom, stun sail booms and brown wood masts. He also does not have the name board on the bow. Is that accurate? Cutty Sark's skysail was gone in March 1880 when the yards and masts were cut down. What period of Cutty Sark's life did he model? His forecastle break is not like the ship today, which is what Revell has modeled. When was that changed on the ship? By the late 1880's, I read John Sankey to say, that masts and spars were black and no stun sail booms in the cut down version. If one was to alter Revell's mast and yards to represent the cut down version, how would you go about it? I want to know when the panels were first painted white. John Sankey's model is what I aspire to, a wool clipper. Sankey's grandfather was an apprentice on the Cutty Sark during Captain Wallace's hell voyage. Sankey said "G.F.Campbell made detailed drawings of her 1870 tea rig for the Cutty Sark Preservation Society" If we follow Campbell are we building a tea clipper? I guess so. I wonder when we in 2022 decide what details to add to our models based on our assumptions about the ship in the years 1869 - 1922 how certain can we be that what we are doing to our models is accurate? At what point in time are we modeling her? Do we ask ourselves that? I know my model is based on what Revell has done and my deciding to paint it as I like, along with an unpainted deck and the few changes I made. Mine will be in the vain of Longridge's, not an exact replica of the ship at any certain point in time. I think the same goes for most models. My unsolved mystery and I really wish I knew is when were the panels first painted white? Another question I have is what was Revell's source of information when the model was designed? Its inaccuracies have been referred to many times in these forums and others, yet some authors consider the model very accurate. This morning I have begun reading Longridge's book after having read Lubbock's book twice. Maybe I will find an answer. In his book, plans by Underhill show white panels on the deck houses. I have posted a potion of that plan. So what year was he referring to in his plan?


- 481 replies
-
- 2
-
-
- Cutty Sark
- Revell
- (and 2 more)
-
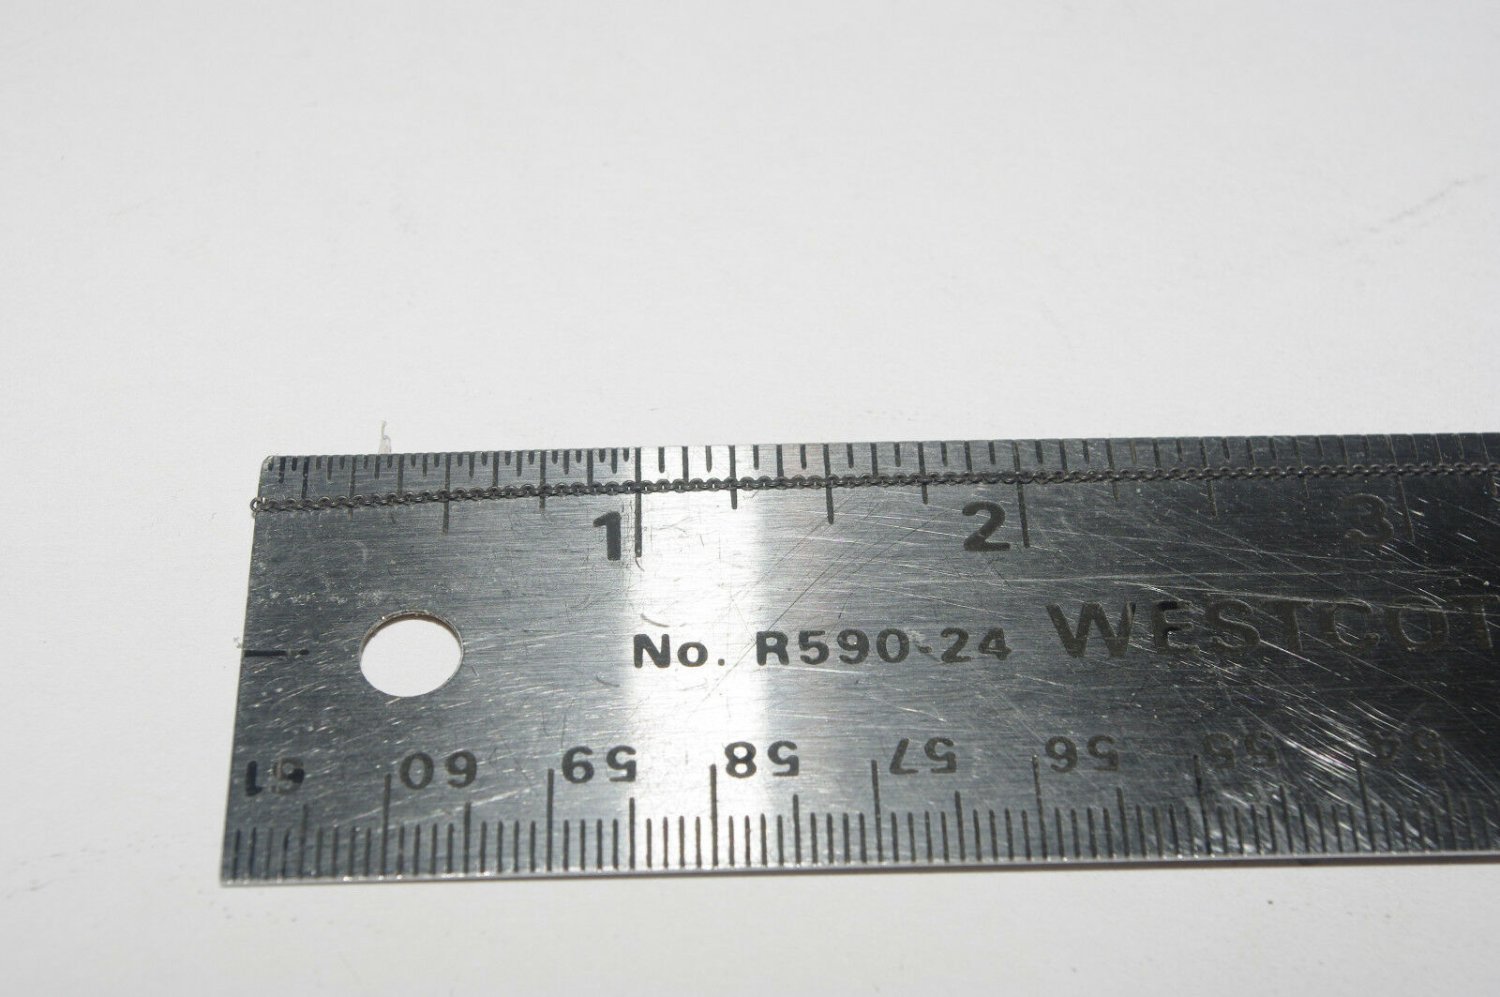
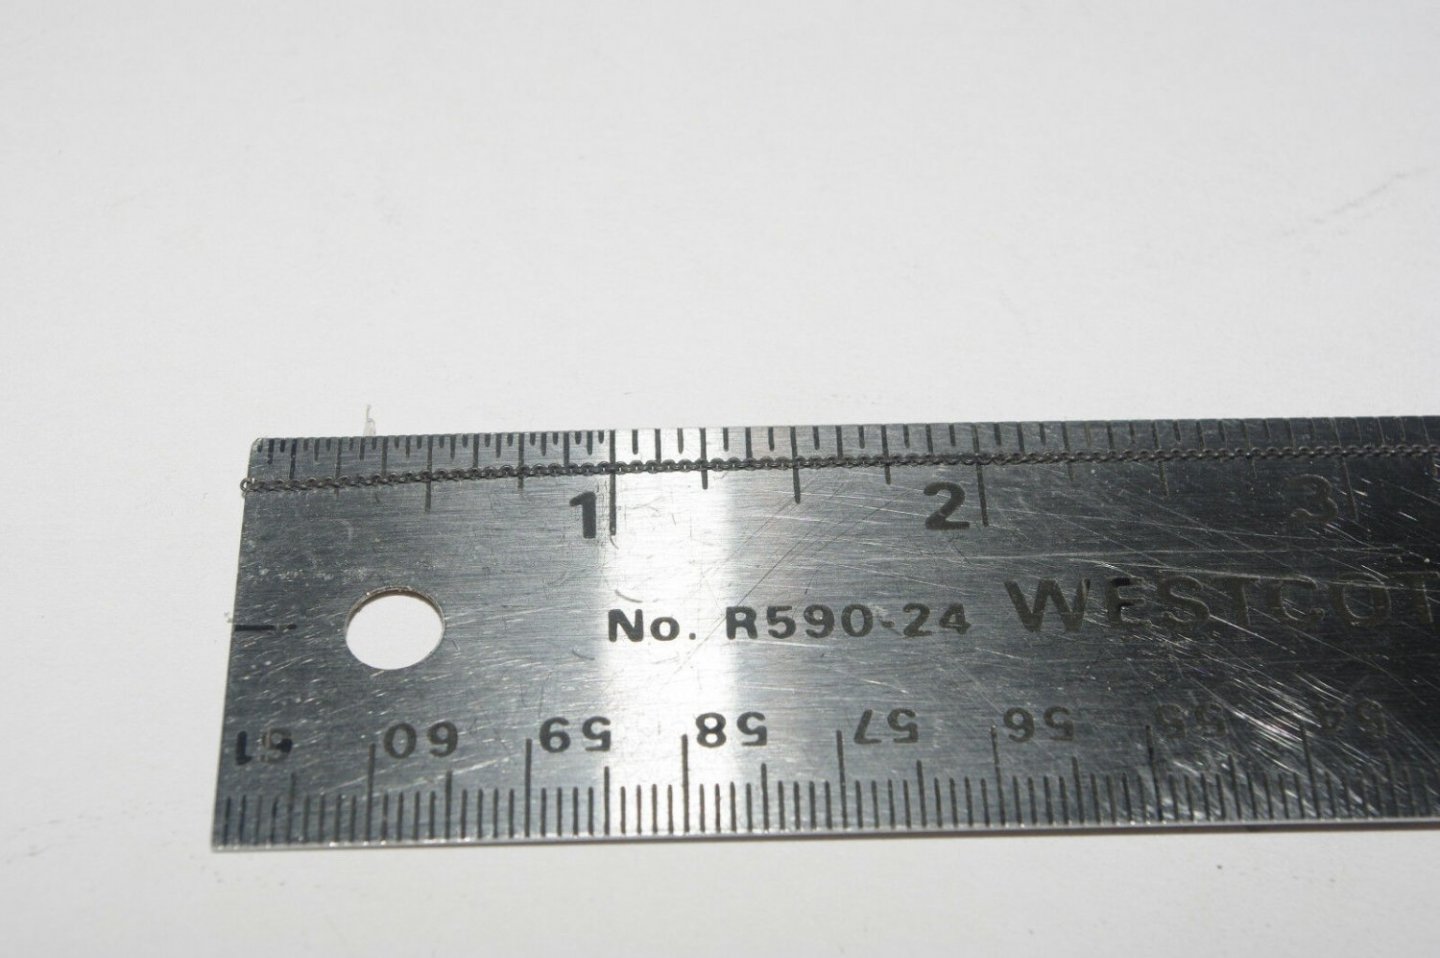
I noticed on Kevin's log a discussion of chain. I bought 45 link per inch chain on Ebay HO model railroad section. I bought all he had but there may be more later. I learned long ago to look to model railroad parts for planes, boats and automobile details. They sometimes look like what you are after even though they are really something else in train scale. It helps that I have been playing with trains for 70 years. Ships are a sideline. Crescent Locomotive works Inc, blackened brass chain. Great for freight car and flatbed loads, logging, rigging and many other applications. This chain is 45 links per inch and can be easily cut with an Xacto blade. Chain is sold by the foot at 1.95 per foot.

- 481 replies
-
- 1
-
-
- Cutty Sark
- Revell
- (and 2 more)
-
I'm beginning to post to Kevin's log too. I learn a lot from him as I did from Bruma
- 481 replies
-
- 1
-
-
- Cutty Sark
- Revell
- (and 2 more)
-
I would not "reeve" ? deadeyes at 1/168 scale. That would be akin to self abuse I think. .
- 481 replies
-
- 1
-
-
- Cutty Sark
- Revell
- (and 2 more)
-
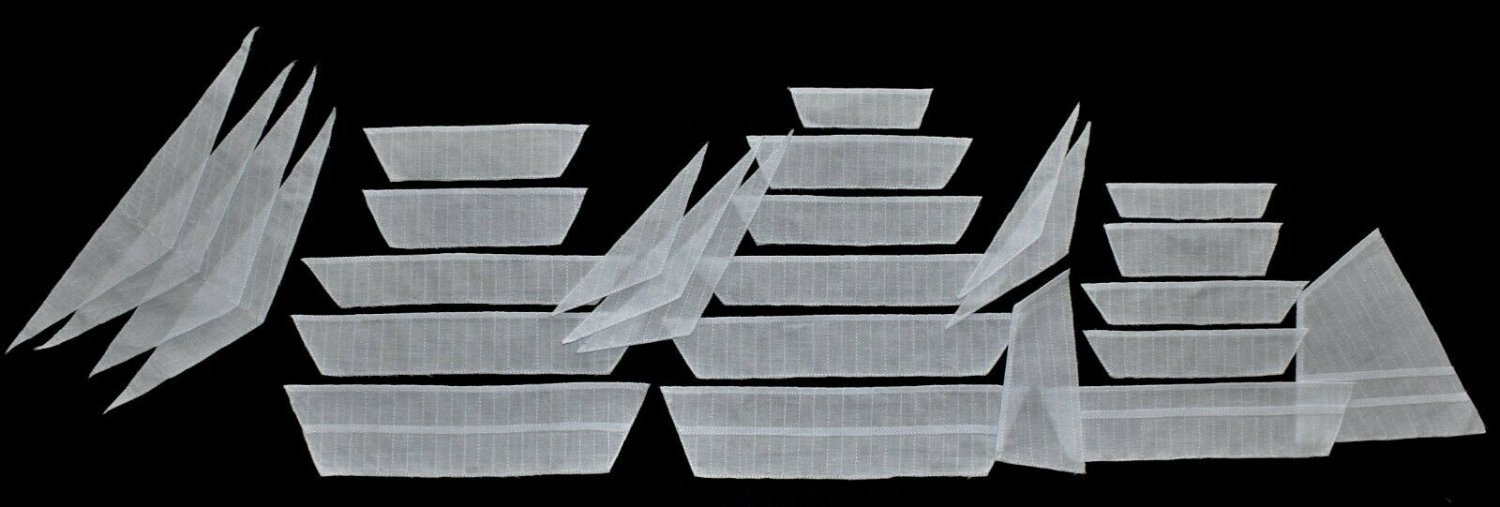
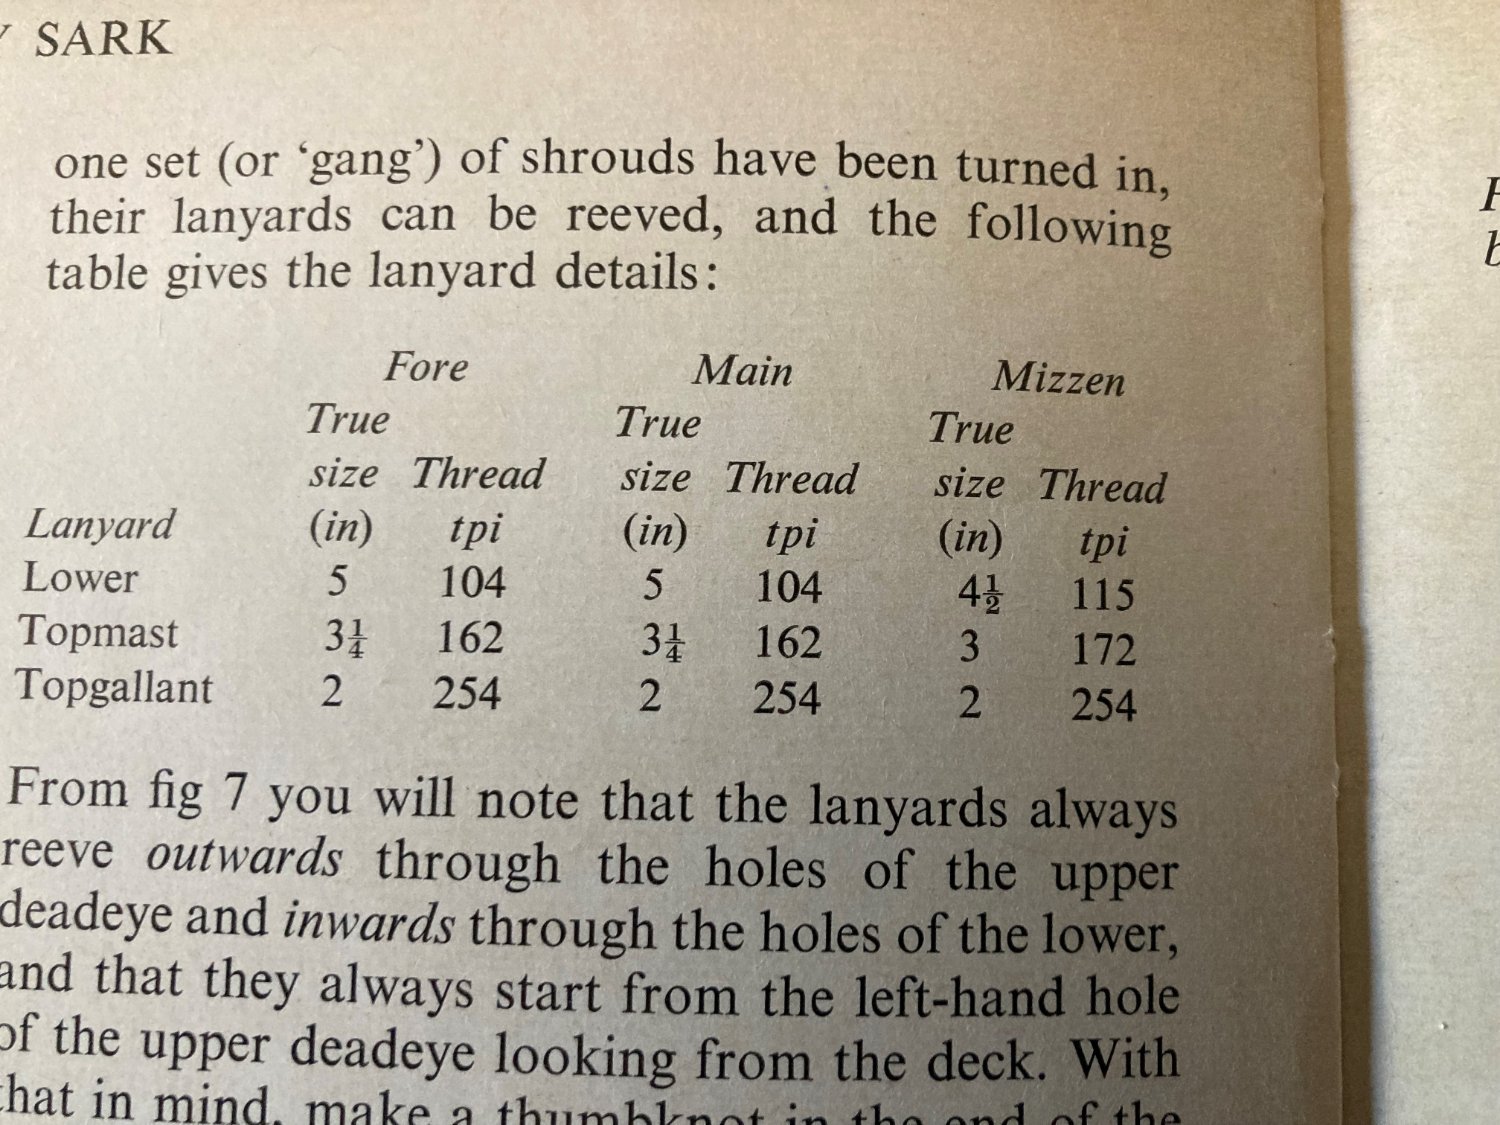
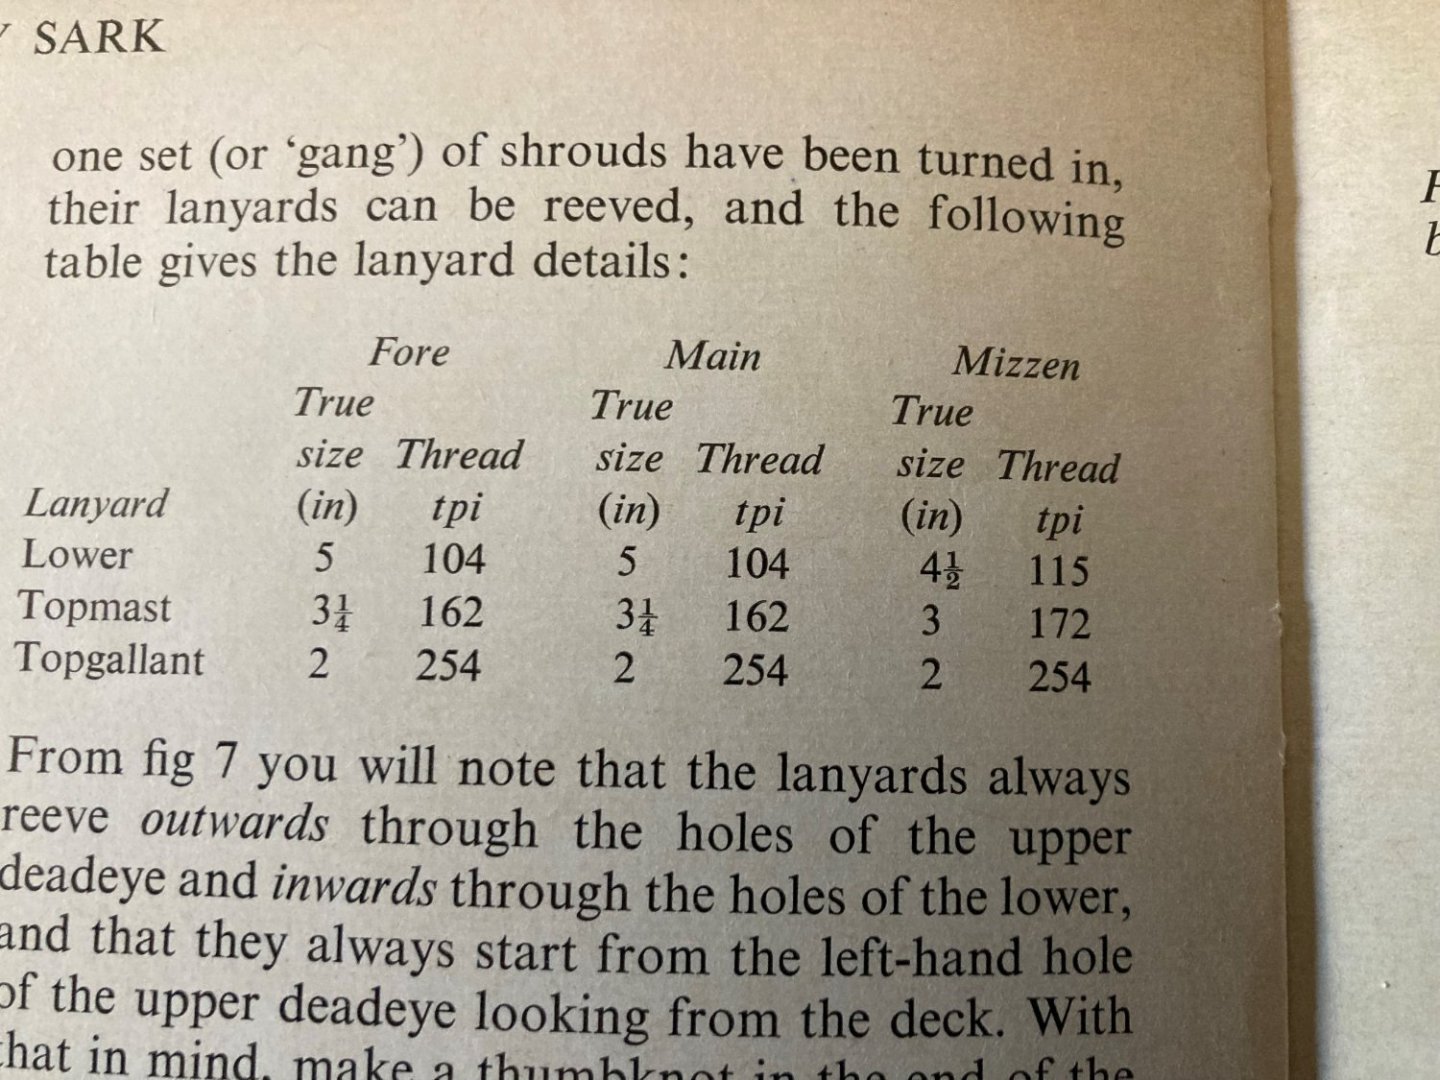
I replied on your log, but here it is again. This is from Hackney's book on the Airfix Cutty Sark , tpi = turns per inch. We would need to convert that size to 1/96. Airfix kit is 1:168 14 ft to an inch.


- 481 replies
-
- 1
-
-
- Cutty Sark
- Revell
- (and 2 more)
-
Kevin, This is from Hackney's book on the Airfix Cutty Sark , tpi = turns per inch. We would need to convert that size to 1/96. Airfix kit is 1:168 14 ft to an inch.
- 444 replies
-
- 1
-
-
- Cutty Sark
- Revell
- (and 2 more)
-
I will research that. I have the answer somewhere in my books. Give me a bit of time. I also bought the Amati ropes from Hismodel. I haven't got them yet. I have somewhere the rope sizes for the Cutty Sark, and we need to convert that to the Amati threads.
- 481 replies
-
- 1
-
-
- Cutty Sark
- Revell
- (and 2 more)
-
I was wondering if the Revell sail plan was before or after the masts and yards were cut down. Here is what it says in "Log of the Cutty Sark", "Thus it came about that in March 1880, 9 feet 6 ins were cut off her lower masts, 7 feet off her lower yards, and her upper yards were shortened in proportion, whilst her skysail yard disappeared altogether." The Revell sail plan has a skysail yard, so I think it represents the ship before March 1880, before the cut down. That would mean another inaccuracy for my model because I think the white panels on the deck houses and poop cabin sides were there in the late 1880's after the cut down. I am not sure when they were painted, but the reason was to reduce the labor needed to keep all the teak varnished and reduce the crew size. The cut down was because the tea clipper days were over due to steam ships getting the tea cargos. The steam ships went through the Suez Canal cutting the number of days for the return trip by half of that of the clippers going around Africa. Thus, there being a lower profit and need to cut labor costs as a wool clipper and a reduction in sail area. The crew size was cut from 30 sum to 28 in 1880. I don't feel like changing the Revell sail plan, so I will live with the inaccuracy.
- 481 replies
-
- 1
-
-
- Cutty Sark
- Revell
- (and 2 more)
-
Here is where we stand today in the kitchen, almost a week off after having screwed up the stern etching again. I hope to get going again today. Not too much left on the main ship body. Need to start the masts and spars and begin rigging. I was really not into it after the etching boo boo, Hismodel is sending a free replacement. I spent a lot of time reading "The Log of the Cutty Sark" to keep my interest up. Playing around with the edit function on my i-phone gives the picture a more dramatic effect.

- 481 replies
-
- 2
-
-
- Cutty Sark
- Revell
- (and 2 more)
-
Here is a free pdf download. https://onedrive.live.com/?cid=A6841197E6064168&id=a6841197e6064168!80203&parId=a6841197e6064168!80201&o=OneUp I need to get back to the Cutty Sark it's been days
- 481 replies
-
- 1
-
-
- Cutty Sark
- Revell
- (and 2 more)
-
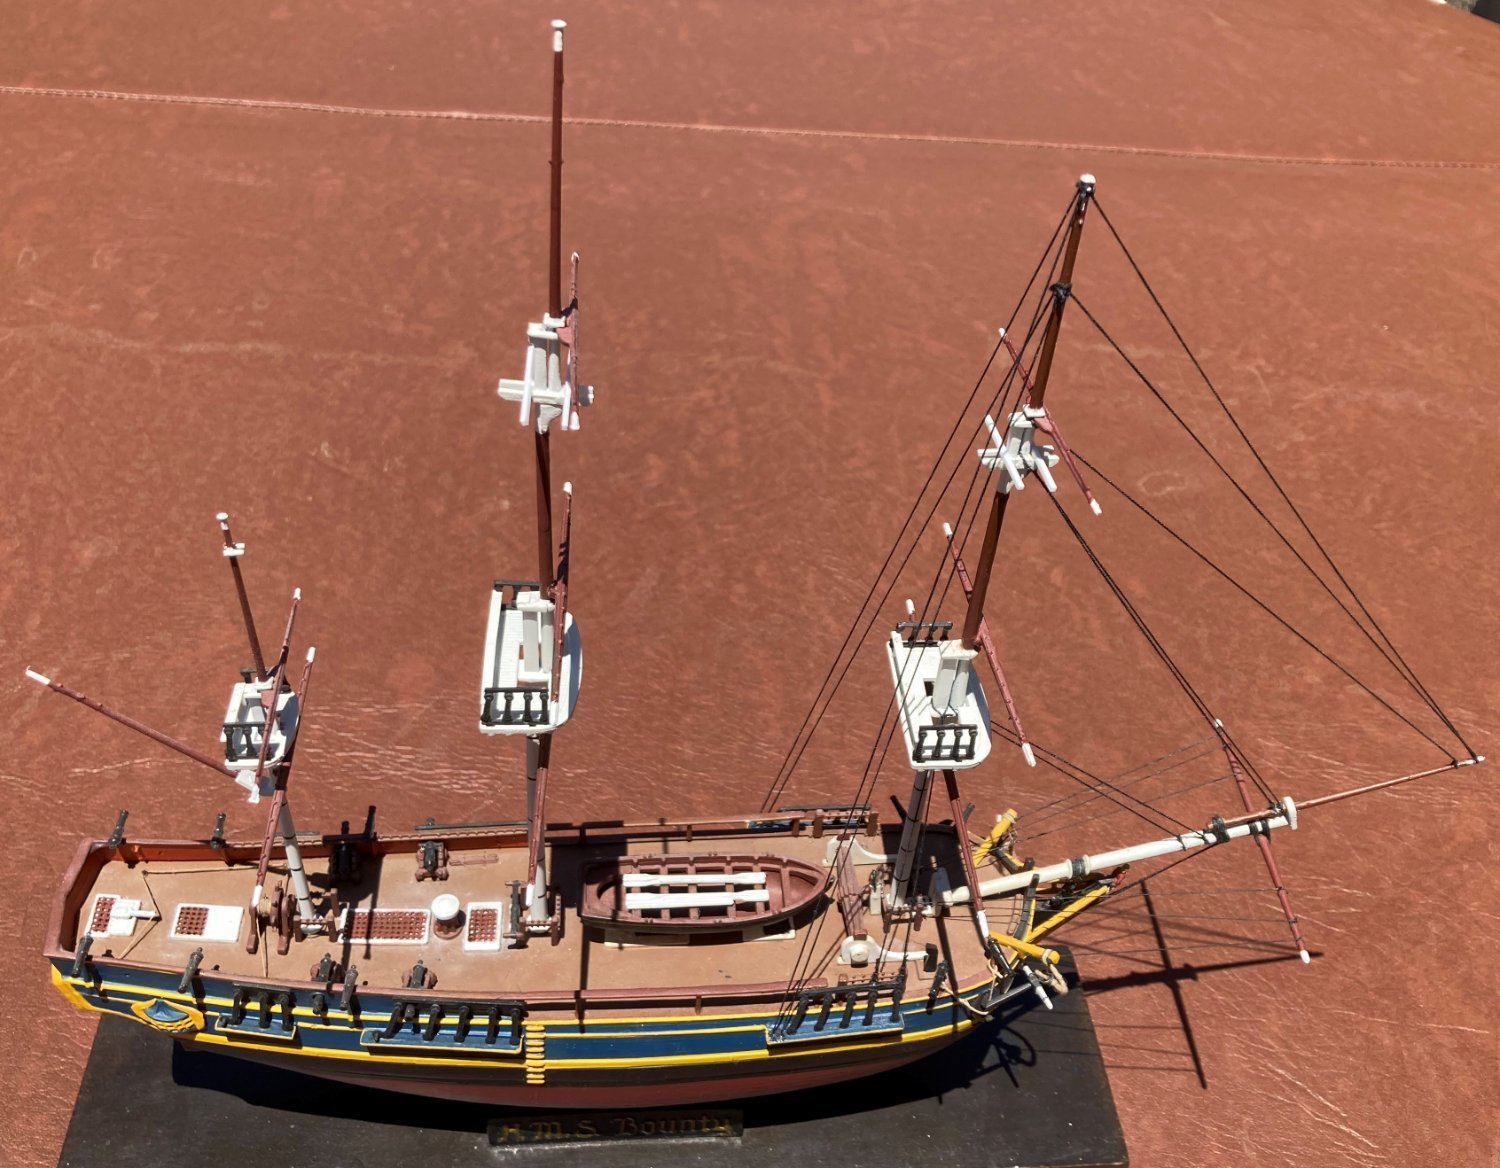
AOS book? Something about the Airfix kit does not look right to me. The deck at the bow is below the top of the bow bulwark where Revell has it even. J Tilly at Fine Scale Modeler said, "Airfix made some excellent sailing ship kits (the Wasa is one of my favorites), but the Bounty isn't one of them. The designers apparently ignored virtually all of the excellent available source material about this ship, and introduced some mistakes that are downright silly. "
- 481 replies
-
- 1
-
-
- Cutty Sark
- Revell
- (and 2 more)
-
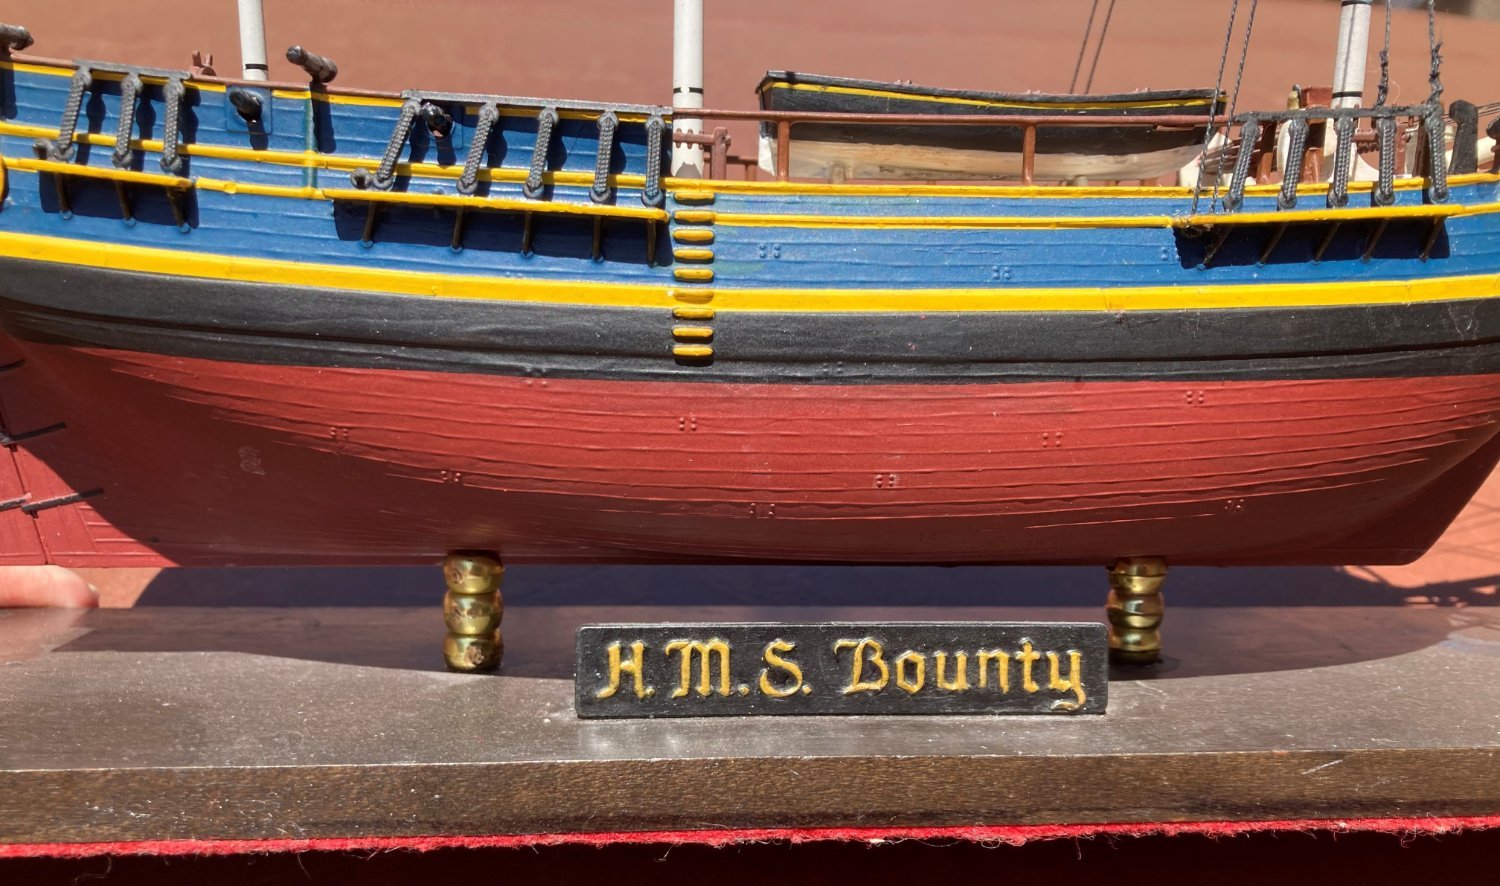
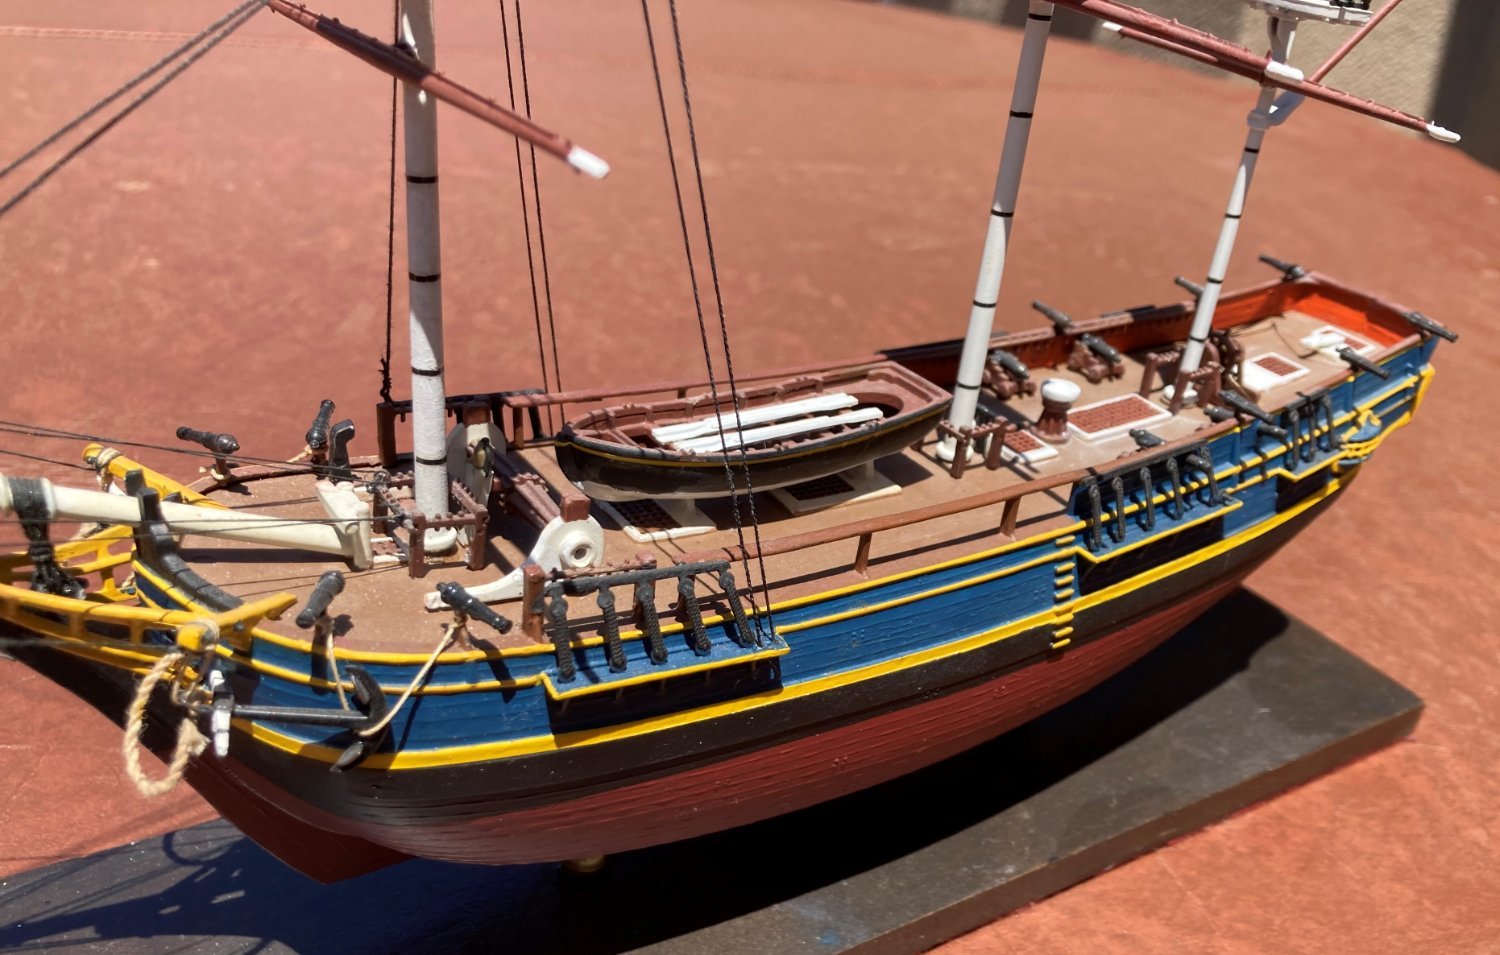
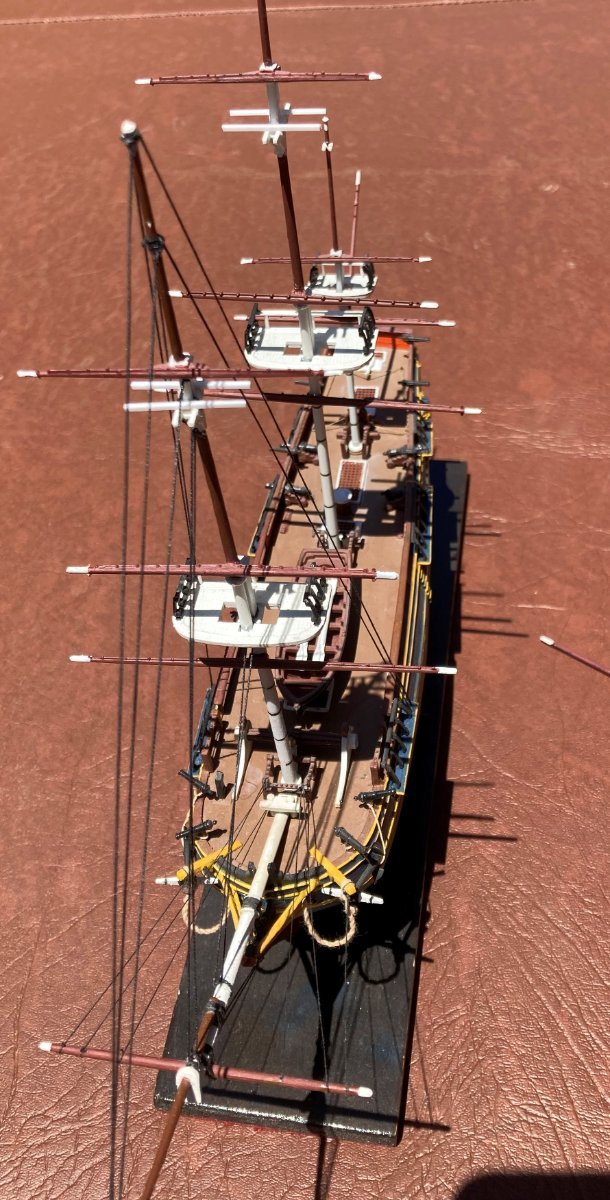
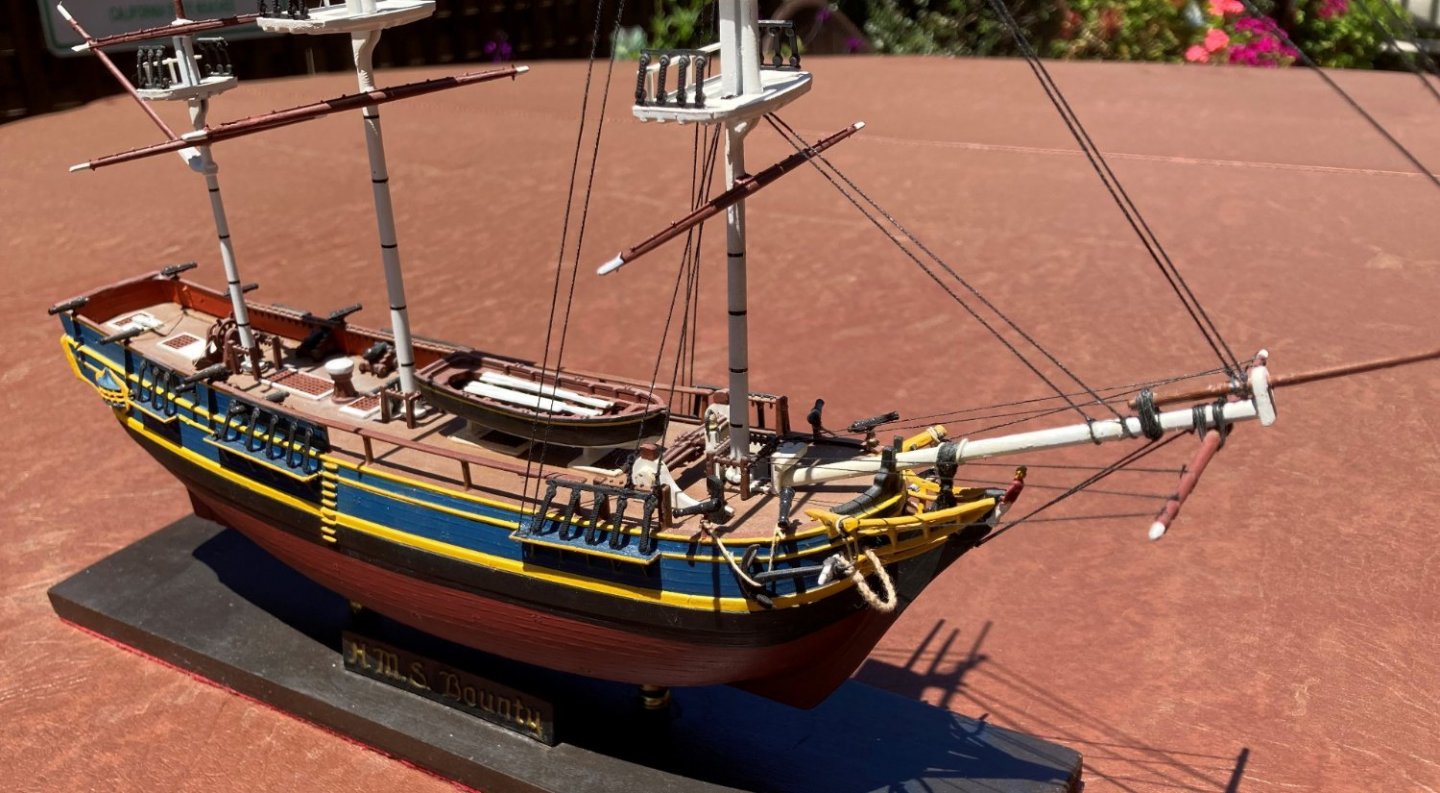
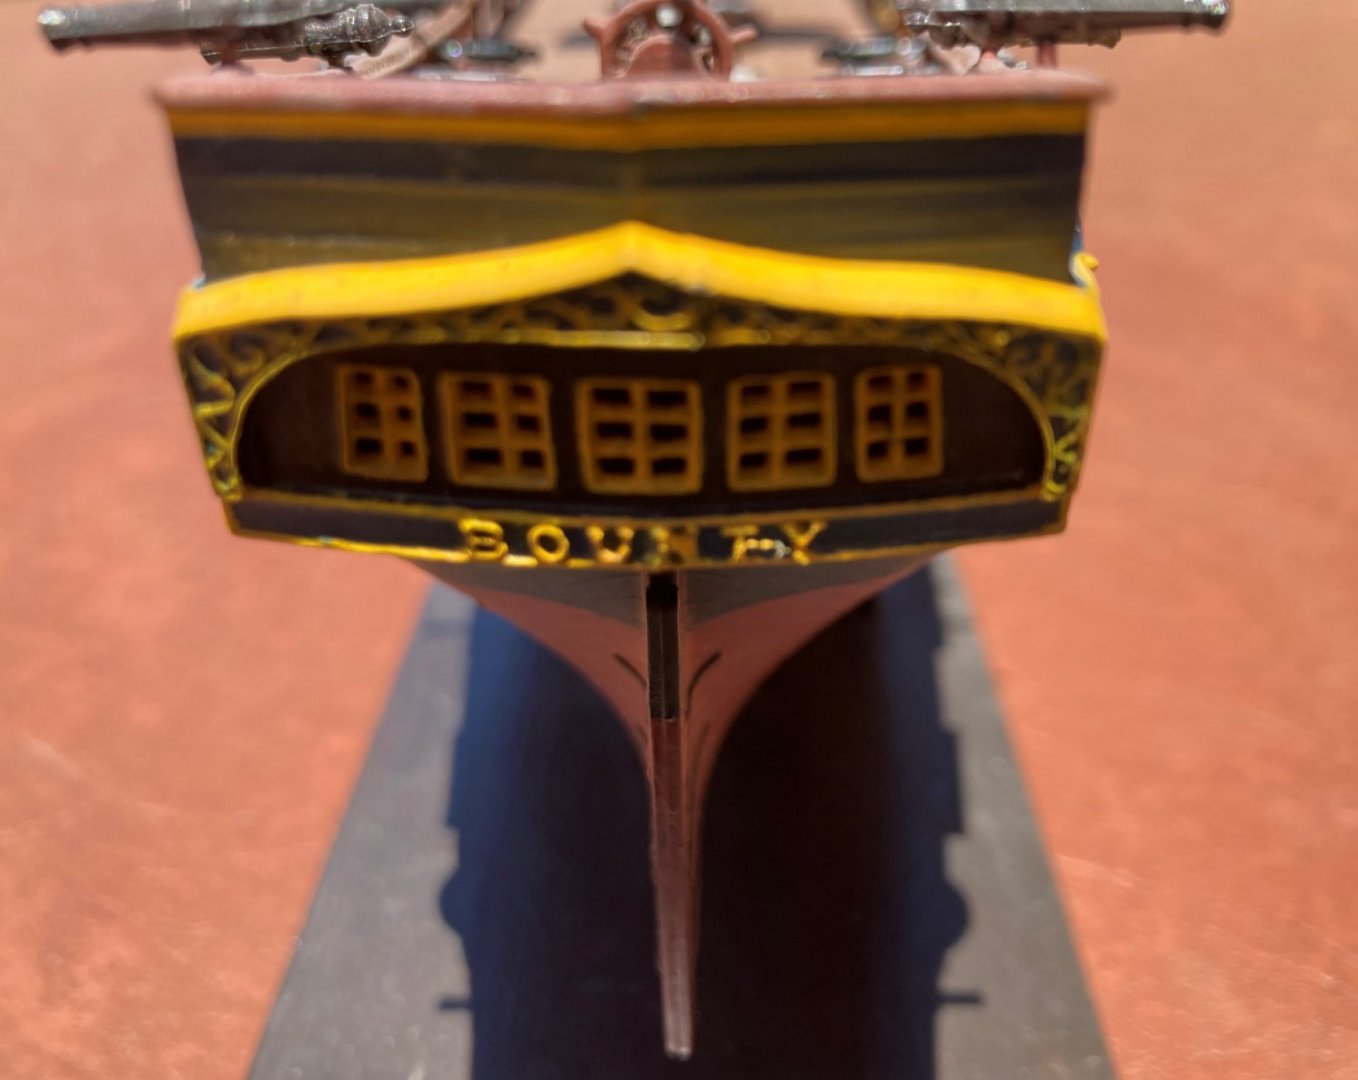
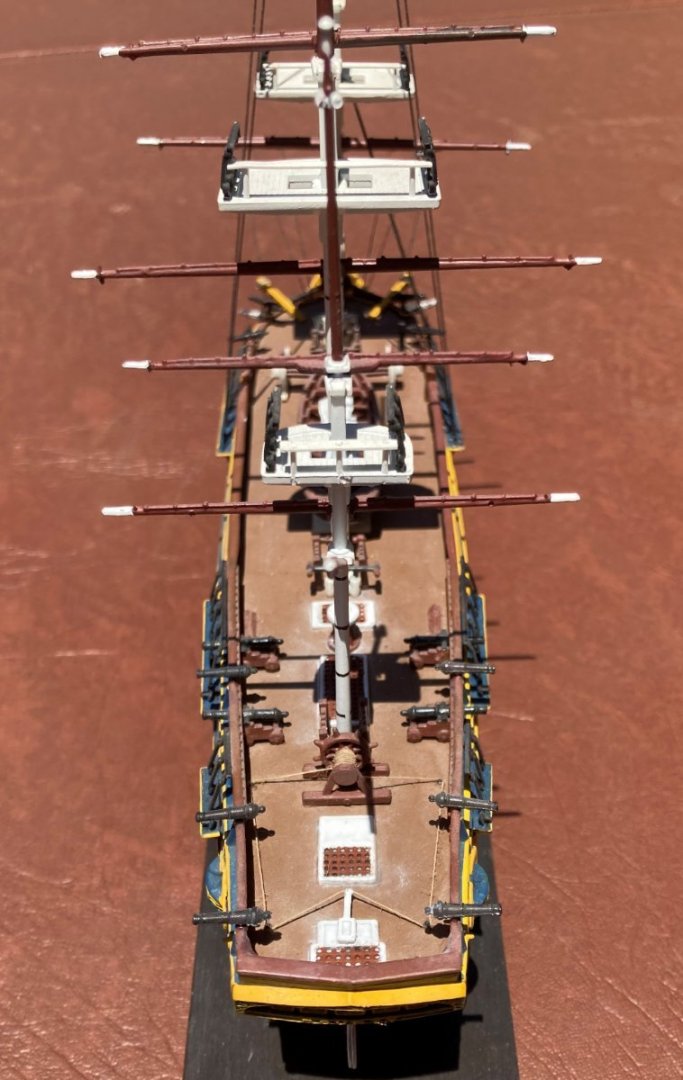
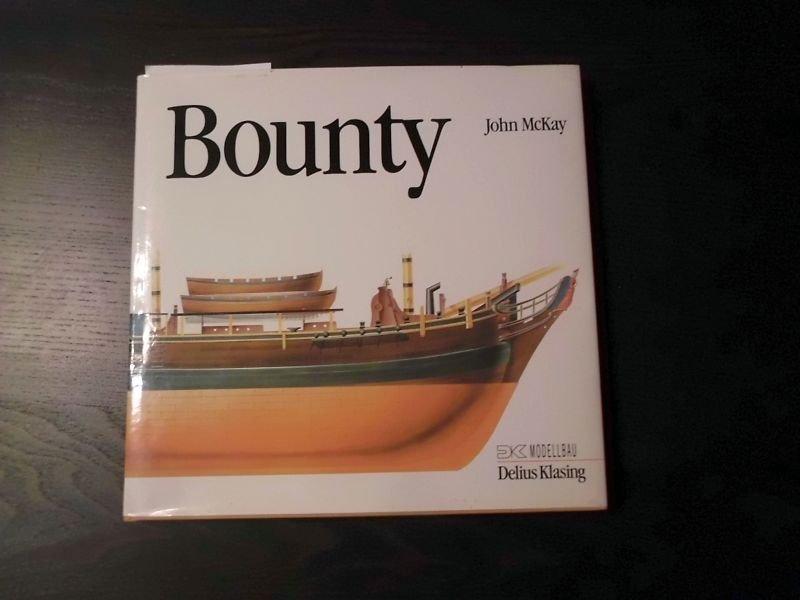
Just for fun, a Revell HMAV Bounty I have been working on for years. Last time I was putting on standing rigging. I want to build the Airfix 1/87 Bounty.


- 481 replies
-
- 1
-
-
- Cutty Sark
- Revell
- (and 2 more)
-
That is my plan also. I have seen some ship pictures and plans where one boat is placed on top of another. The Bounty pictures and plans sometimes show a cutter above the lifeboat. I would think a fourth boat on the Cutty Sark may be a cutter and be place upside down on a lifeboat, or right side up. Though I don't think it would be on a boat hanging from davits. Possibly placed on the boat on the forward deck house, both boats right side up, the cutter being the smaller. Here is a picture of a cutter.

- 481 replies
-
- 1
-
-
- Cutty Sark
- Revell
- (and 2 more)
-
I might use the kit figures on the deck and rigging. I don't know about the 4th boat. Longridge talks about two lifeboats over the aft deck house. Woodget had a boat he would use when he photographed the Cutty Sark. It had a sail, I think. I don't remember where I read about it.
- 481 replies
-
- 1
-
-
- Cutty Sark
- Revell
- (and 2 more)
-
Thank you for that description. I will follow it. I am going to try it out on the name etching that goes on the bow first. That is the one where you paint the bits holding the letters black.
- 481 replies
-
- 1
-
-
- Cutty Sark
- Revell
- (and 2 more)