bcochran
-
Posts
615 -
Joined
-
Last visited
Content Type
Profiles
Forums
Gallery
Events
Everything posted by bcochran
-
 Campbell says 3 1/2 inch wire not dia. That was my mistake. Yes I have Undehill's book. 3.5 / 3.14285 = 1.11 I get it now.
- 481 replies
-
- 2
-

-
- Cutty Sark
- Revell
- (and 2 more)
-
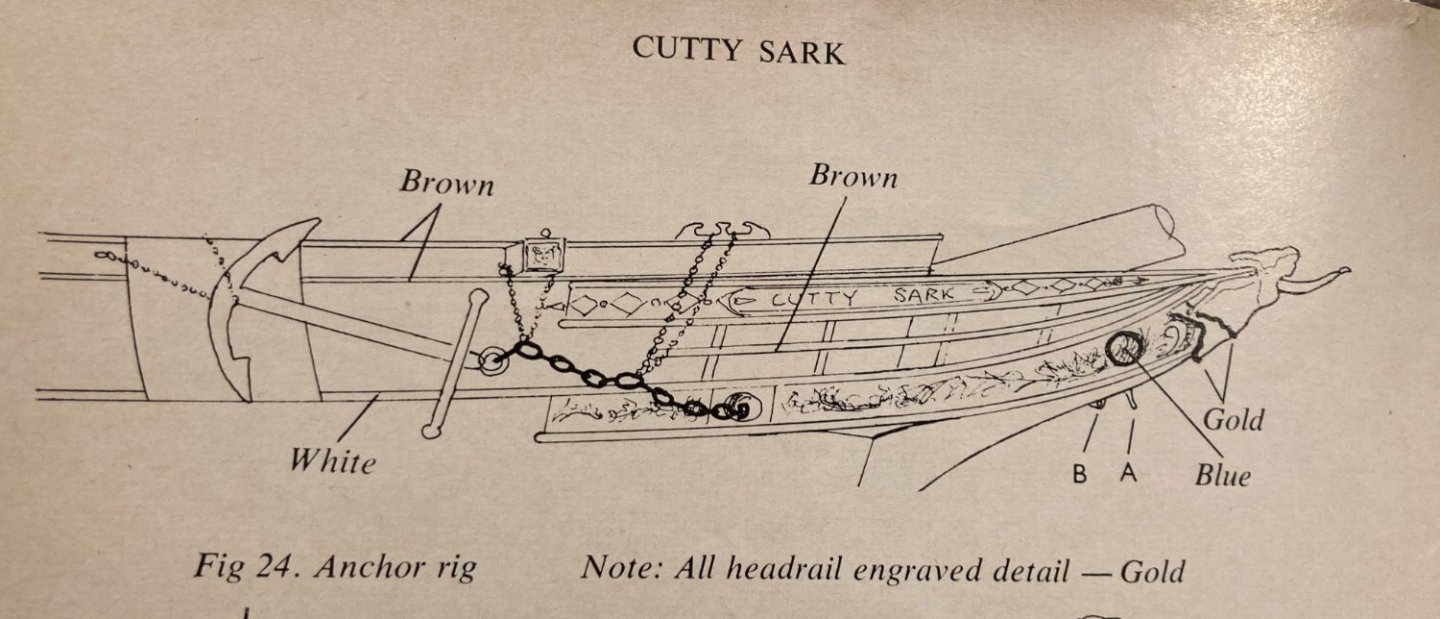
Here is a question for rigging experts. I want to add the jib boom guys. Campbell and Hackney say they are 3 1/2 inch dia. wire rope on the real ship. My rope guide says that 3 1/2 inch dia. rope in 1/96 is .98 mm. thread. I have Amati rope of 25,50,75,100. I assume that the Amati numbers are mm measurements of .25,.50, .75 and 1mm. If so the closest I have to .98mm is 1mm thread. The main stay according to Campbell is 5 inch wire. That is off my guide which only goes to 4 inch wire and that equals to 1.12 mm in 1/96. With the thread I have, 3 1/2 and up would be 1 mm thread. That would not look right. I picked the 50 thread for the jib boom guys because it looks right to me. I am confused as to what thread to use
-
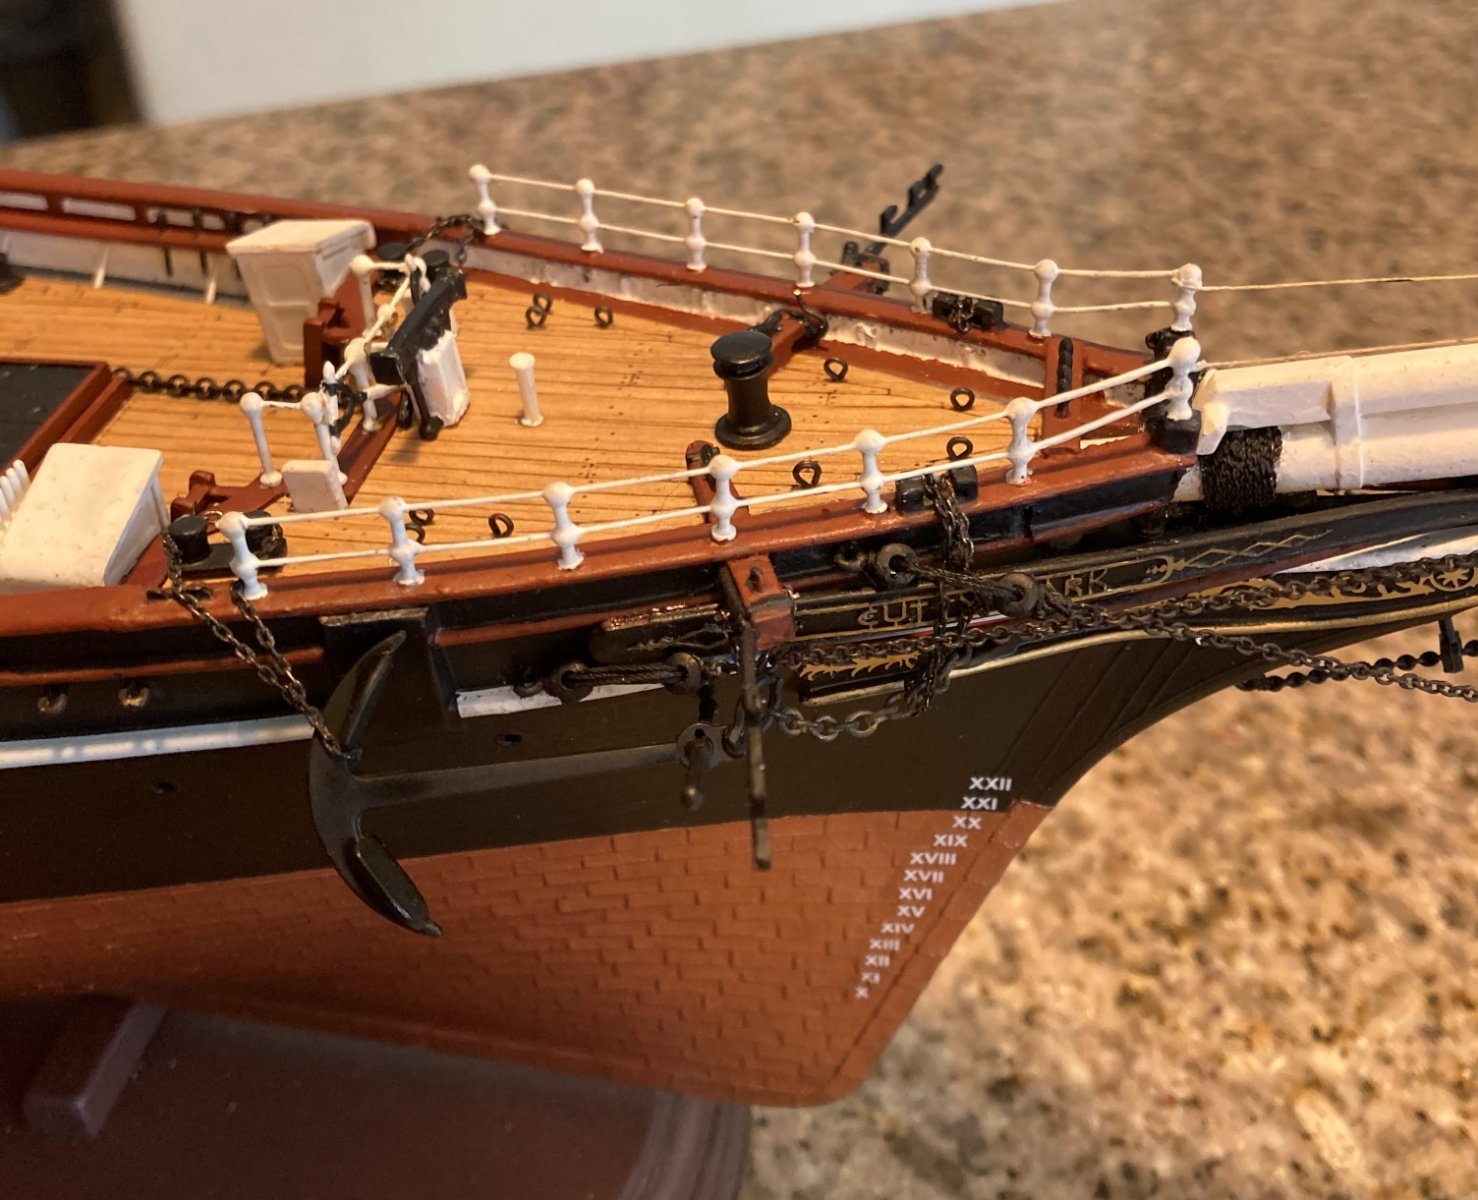
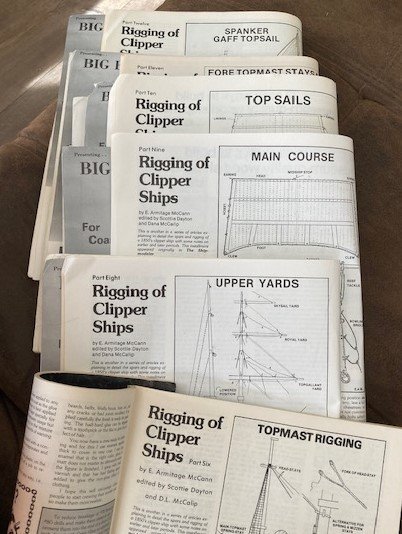
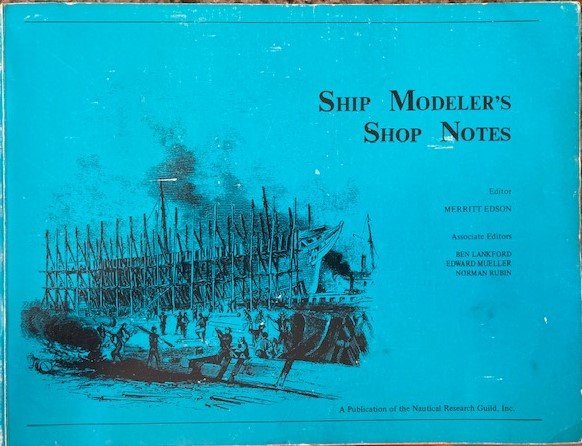
Here are more books and magazines that I have in my "library." For many years I have wanted to complete a sailing ship. I have never gotten as far as I have with this ship, thus I haven't read much on rigging. I plan to have a pretty good understanding of what is needed before I get deep into the rigging. I am at one of my pauses. While working on the jib boom guys, I broke off the port cat head tip. I also broke off the starboard one a week ago along with the jib boom and martingale three times. Each time I have recovered. I am kind of anxious to get away from that part of the ship for a while. I want to redo some anchor rigging and the jib boom guys, but I am sitting it out for now. I am going to read about rigging until the muse comes back.

- 481 replies
-
- 2
-
-
- Cutty Sark
- Revell
- (and 2 more)
-
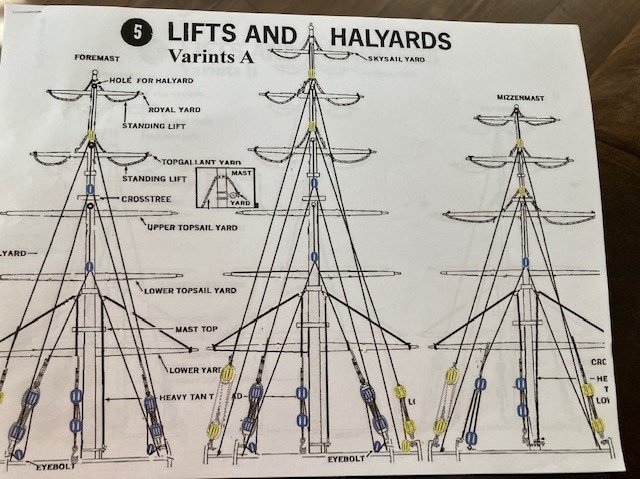
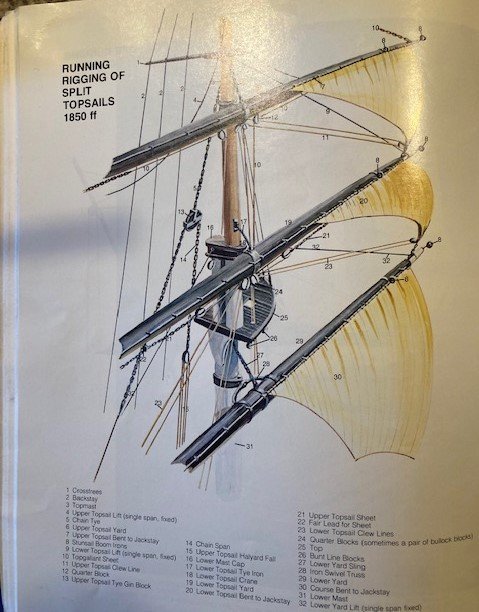
So I am beginning to get into rigging. I find reference books that describe what rigging goes where, though I haven't reached the point where I have a visual in my mind. I am a visual person, meaning when I understand what I need to do, I can visualize it in my mind first. Radimir at HisModel has taken Campbell's rigging plan and broken it down into types of running rigging, and he has color coded what blocks are needed where. That's the kind of visual I need. I need to spend a lot more time reading and studying Cutty Sark's rigging and clipper ship rigging, in particular so that I have that information available in my mind and can form a visual. I bought all the blocks I need from Radimir, but I know nothing about how to strop them. I haven't found any information on stropping blocks for this ship. In books, they show how an actual block was stropped, but that is little help for model ships. Rigging this ship will be quite a learning experience for me. I have mixed feelings about it. I always have to take two steps forward and one back with these kinds of things. I used to tell people that in model building, you have to trash a lot of kits before you succeed in building something worth keeping.
-
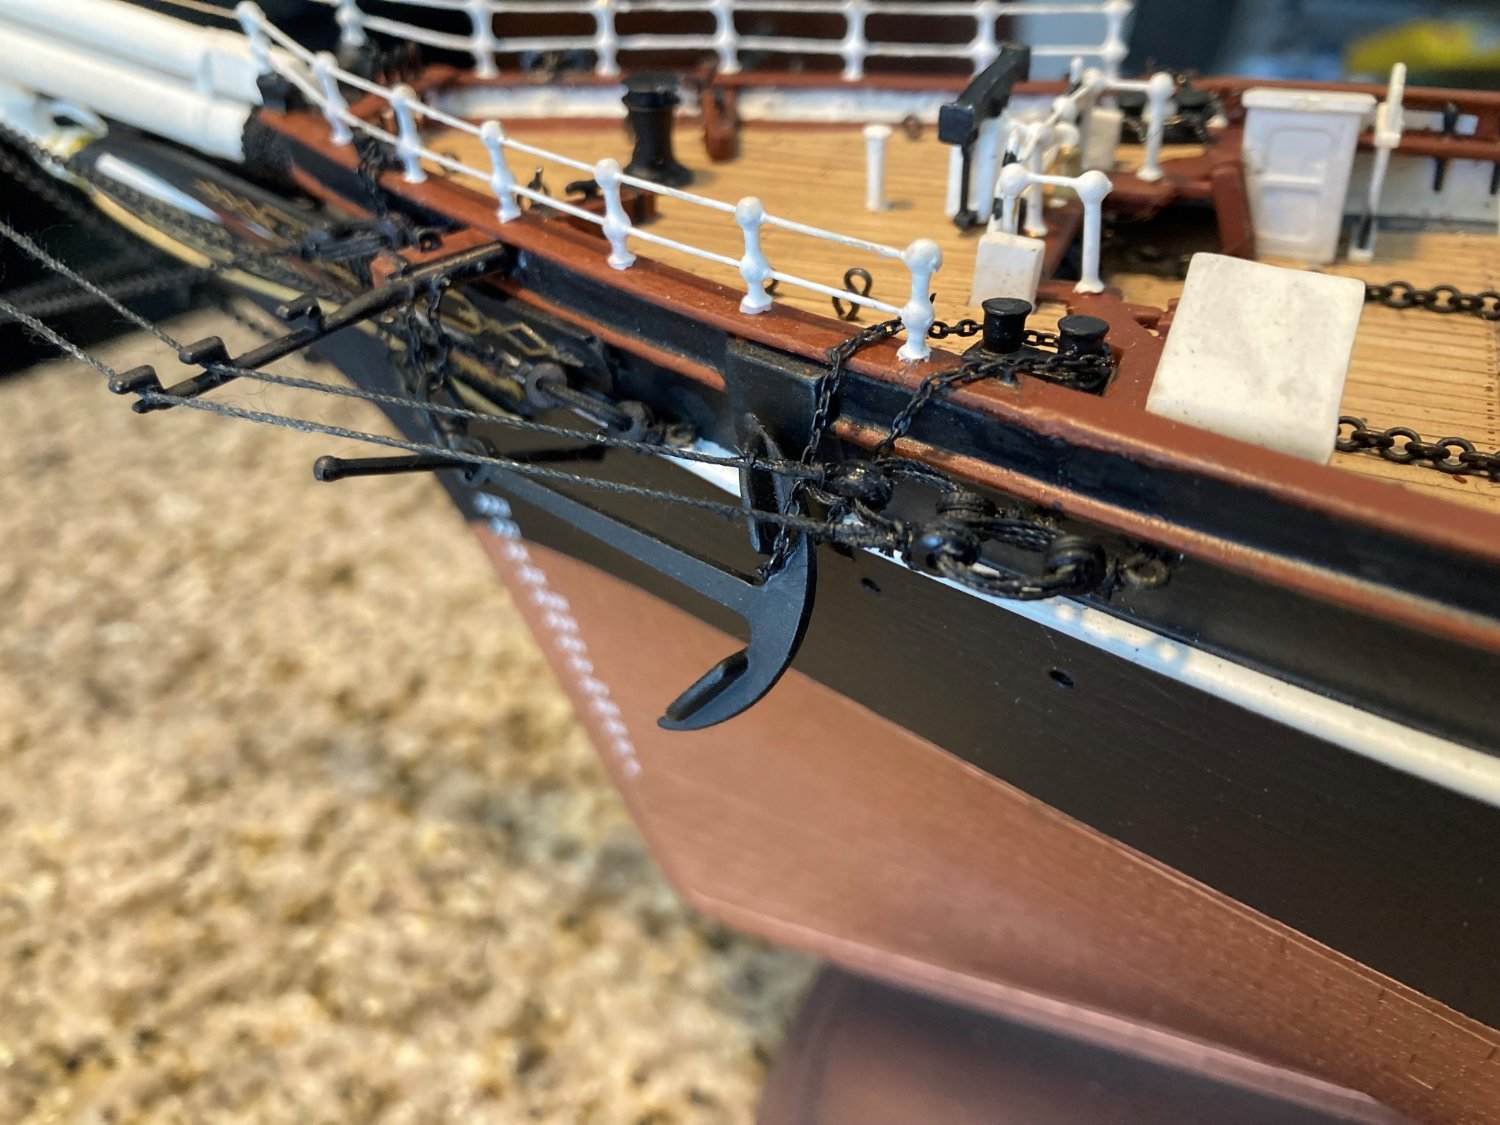
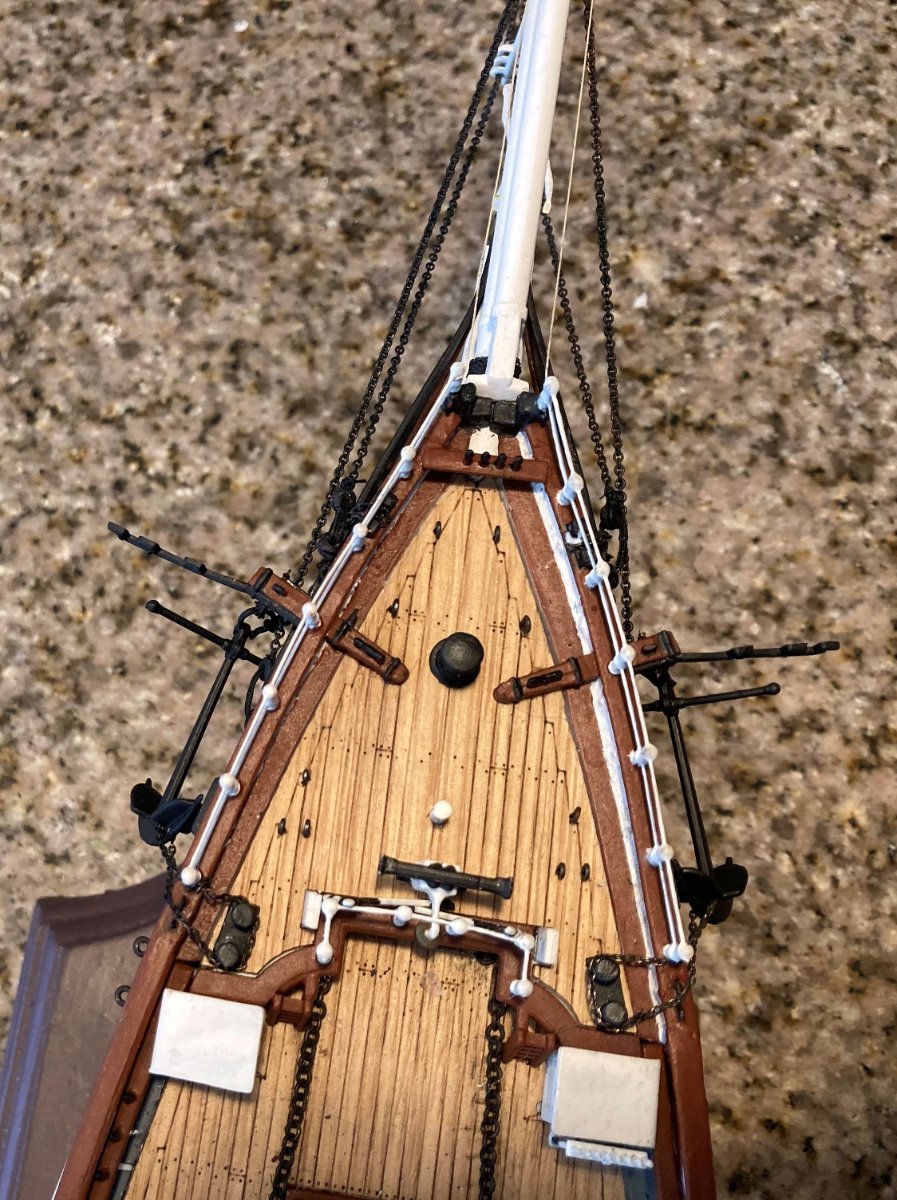
I took the jib boom guys off to redo. They did not look right to me. I have no experience doing this kind of rigging. I am never satisfied with my first attempts. Bruma attached the chain to the outside of the bulwark, as Campbell shows. I think I will do that also. I have to keep reminding myself that I have no deadline to finish and to take my time. I am beginning to think that being finished should not be the goal, but rather being satisfied with my work at the place where I am is a good goal.
-
Well, the port jib boom guys are on. I don't think I will win the award for excellence in rigging.


- 481 replies
-
- 3
-
-
- Cutty Sark
- Revell
- (and 2 more)
-
What kind of glue do you use
-
I have my first question for the rigging experts out there. I want to attach the jib boom guy to the bullseye that will have lanyards attaching it to the bulls eye tied to the hull. On the real ship, the guy wraps around the bullseye and is seized in three places. I don't think I can replicate that. How would you go about attaching the guy to the bullseye? I've tried seizing the guy to the bullseye like the seizing on a noose as is shown in a YouTube video. I could not do it. If that is the way to go, I guess I need to practice for about a month. I feel rigging is going to take me a long time until I can learn to handle the different types of seizing etc. It looks like the seizing on shrouds, so how do you do that? I am afraid I am stopped until I learn this. I don't want to just tie everything like Revell says to do because it doesn't look right with big knots everywhere. The chain was easy because I just tied it to the bullseye, but rope or wire guys are not so easy.
-
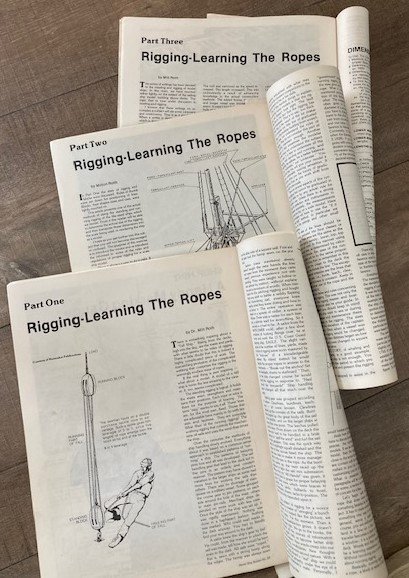
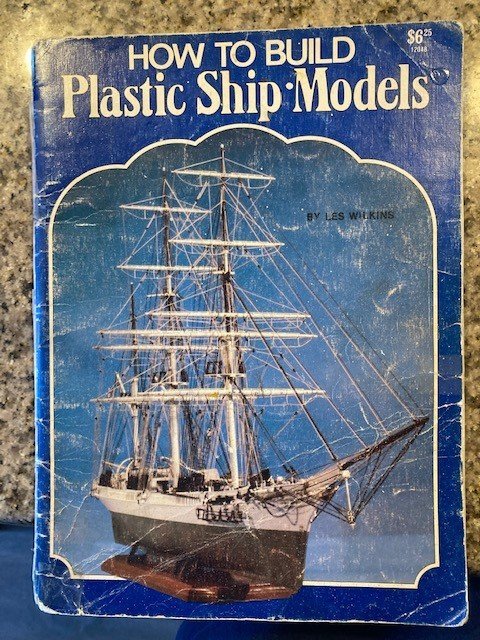
Here are two thin books I've had in my "library" for many years. Both have valuable information and tips that I am using, or I am going to use.


- 481 replies
-
- 4
-
-
- Cutty Sark
- Revell
- (and 2 more)
-
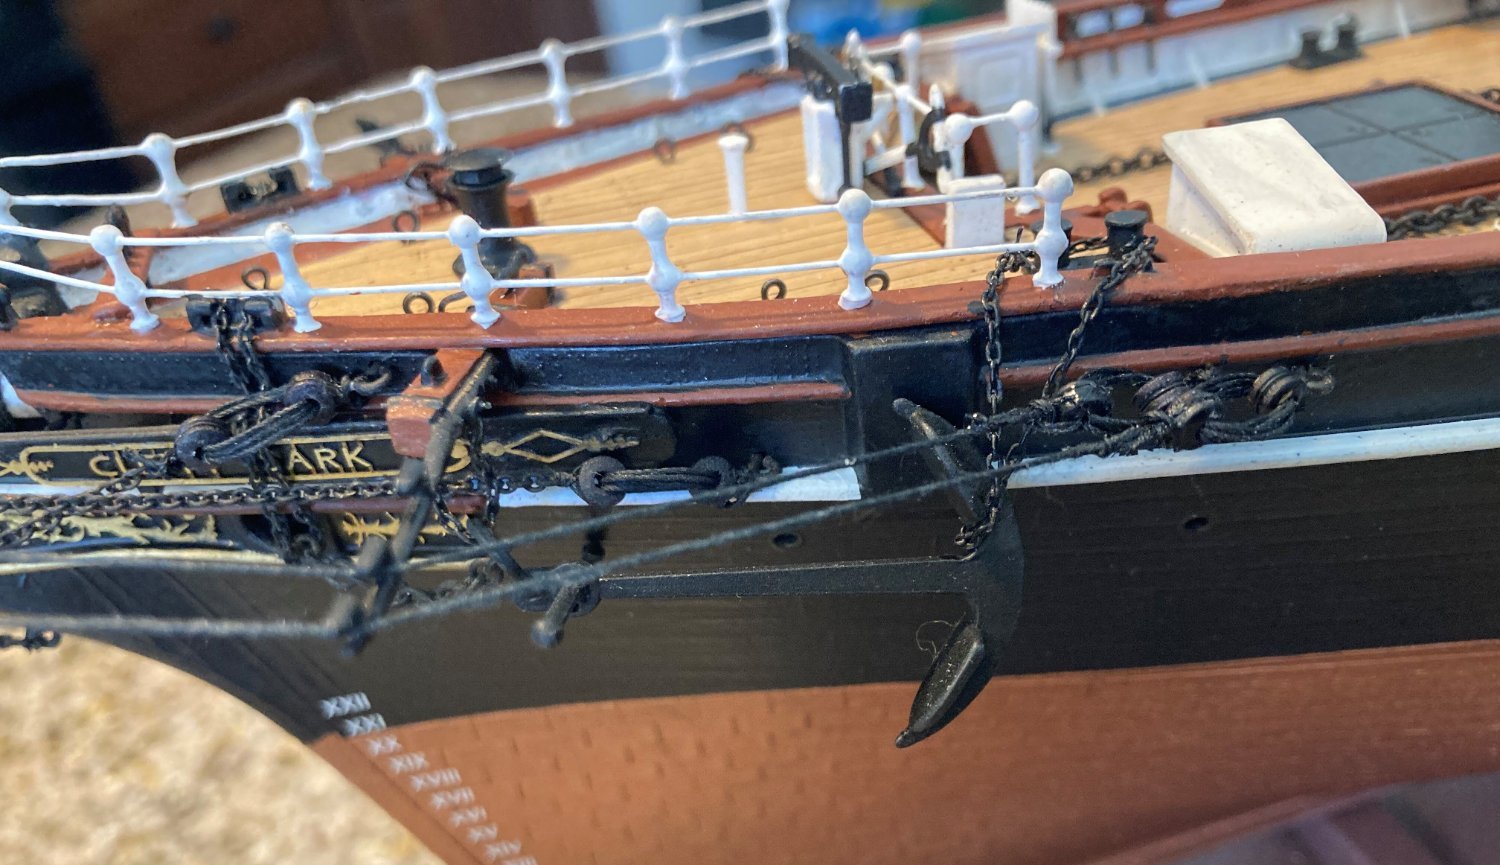
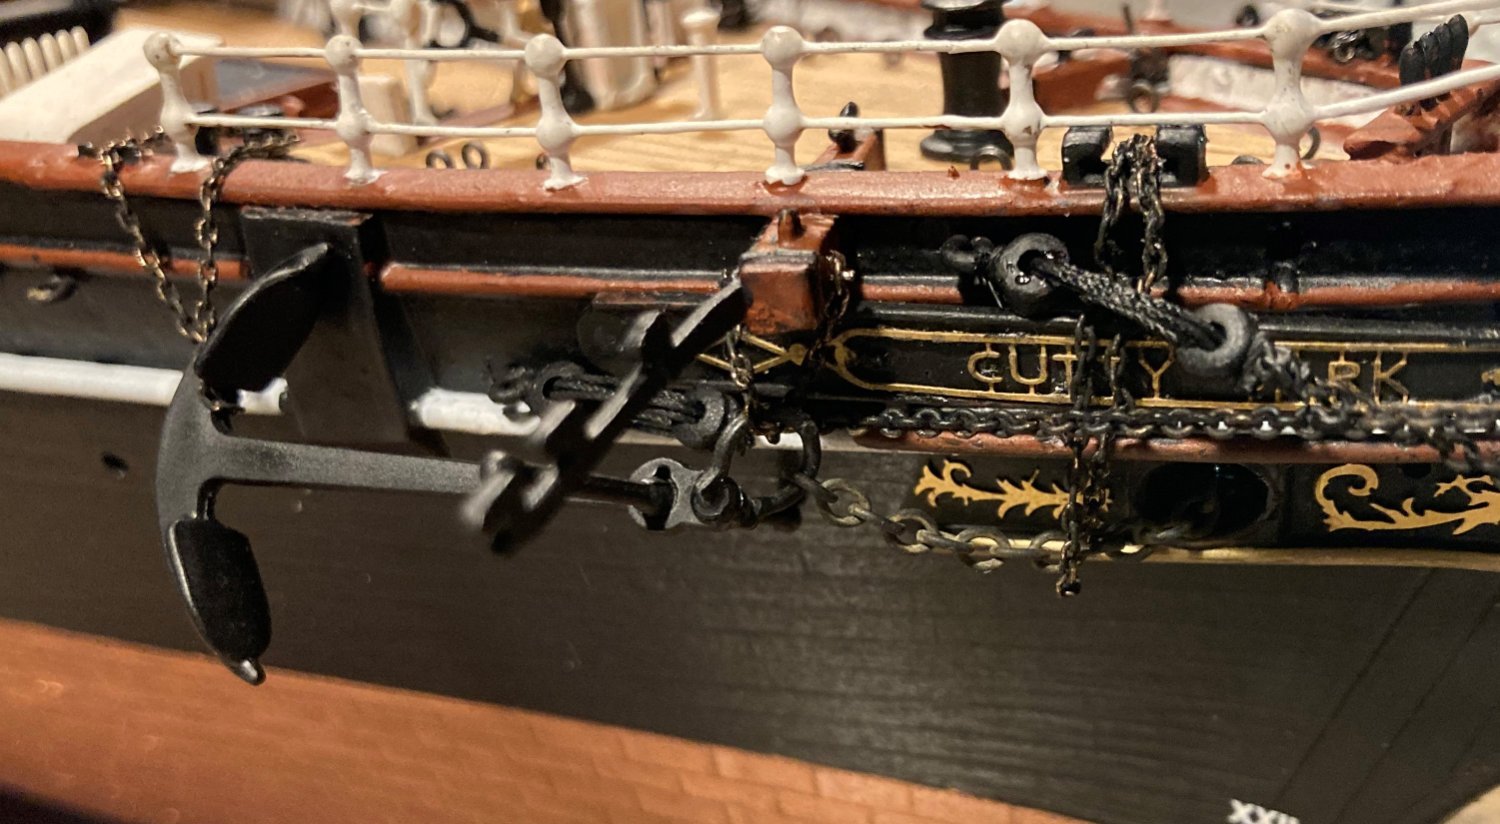
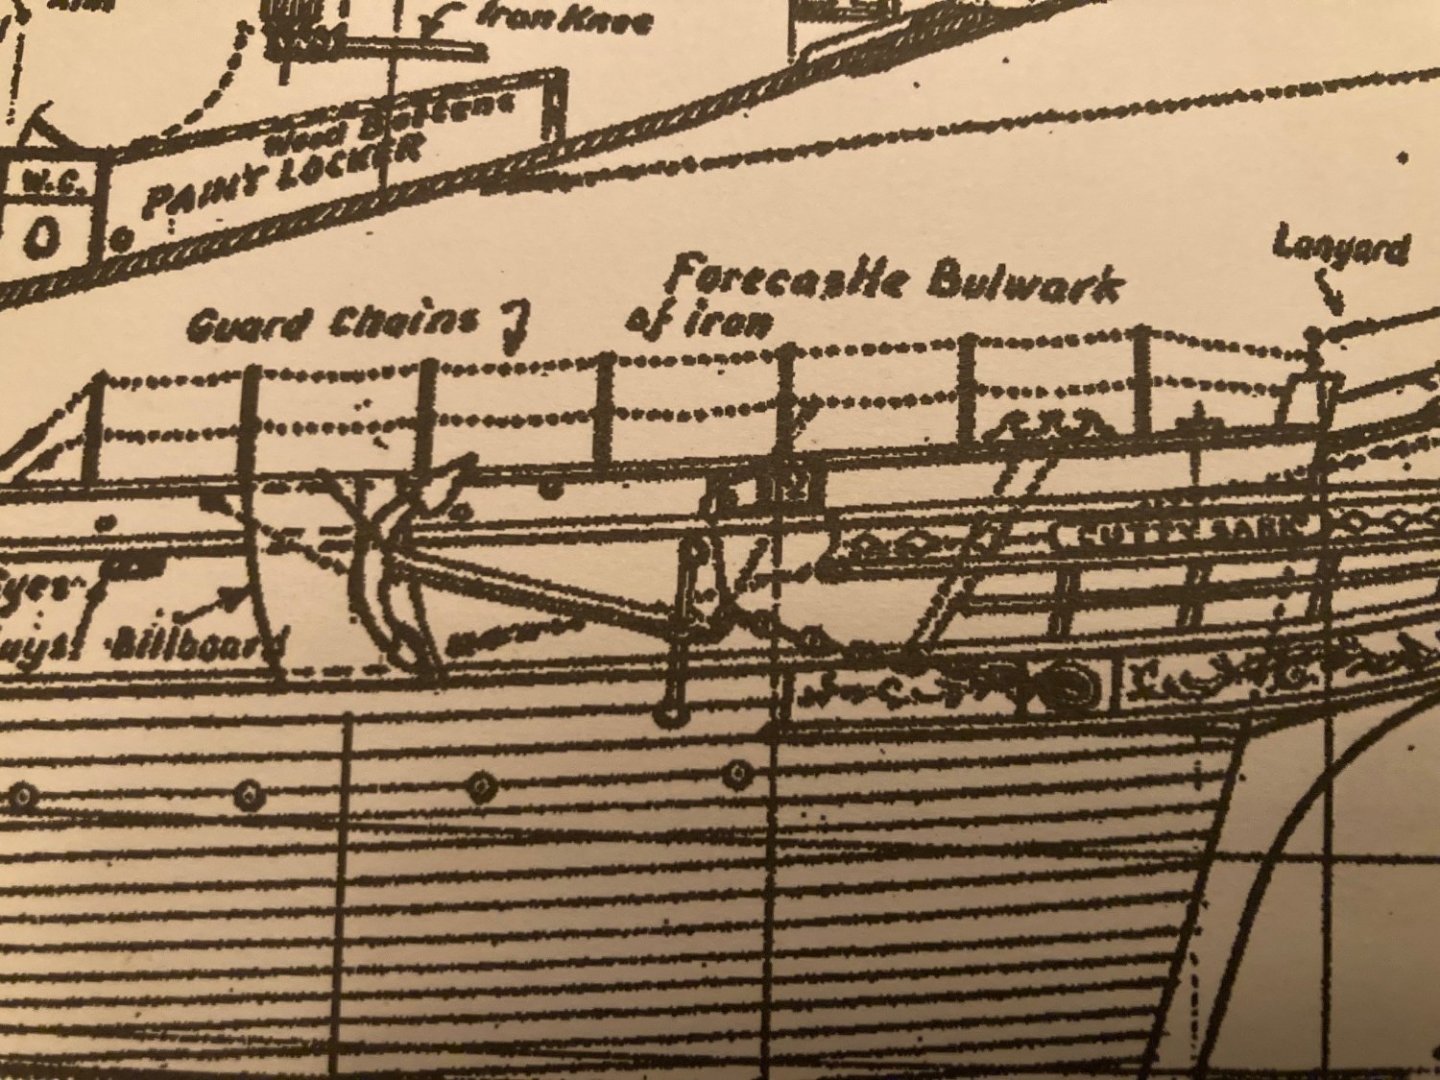
Here is a compromise between Revell and Campbell. The chain used the fairlead, but does not touch the stanchion.

- 481 replies
-
- 3
-
-
- Cutty Sark
- Revell
- (and 2 more)
-
Actually, it is not just like Campbell. It looks like one end of the chain should be attached to the outside of the bulwark. Though, Revell has a small fairlead where my chain is. Campbell would have me ignore it. I'll change it so that the chain does not touch the stanchion, thanks for the suggestion. I welcome any and all suggestions and critiques. They are signs people are paying attention and the wealth of ship knowledge you all have is a reservoir of ideas I like to incorporate in to my ship.
- 481 replies
-
- 2
-
-
- Cutty Sark
- Revell
- (and 2 more)
-
I believe he was one of my ancestors, if that is Thomas Cochrane. They dropped the "e" on the end of our name when they came to America.
- 73 replies
-
- 2
-
-
- Sphinx
- Vanguard Models
- (and 1 more)
-
Oh wow! That happened while I was at the museum on Tuesday. The day before, I could have seen her in her place at the museum, though you could not board her. I asked a worker how long would she be gone, and that's when he told me she went aground and was probably even more damaged. He said she was being towed. At that time, he wasn't sure what happened.
-
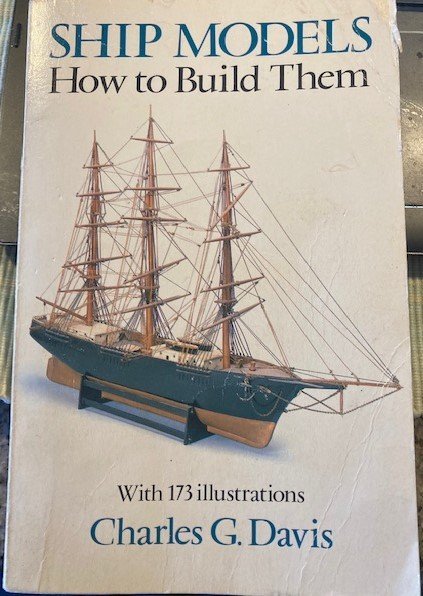
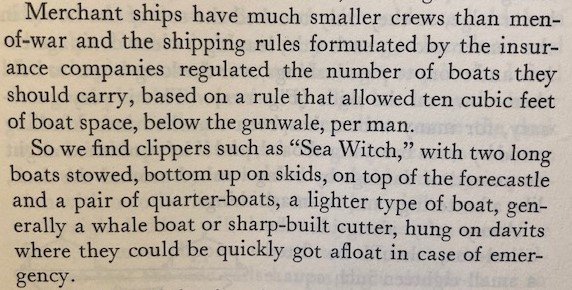
Here is something about ship's boats. I want to build Lindberg's Sea Witch at some point, so I was reading Charles W Davis's book, which is about building a model of the Sea Witch. The Sea Witch was built in 1946 in New York. Davis says that the number of ships boats on merchantmen was determined by the insurance companies.
-
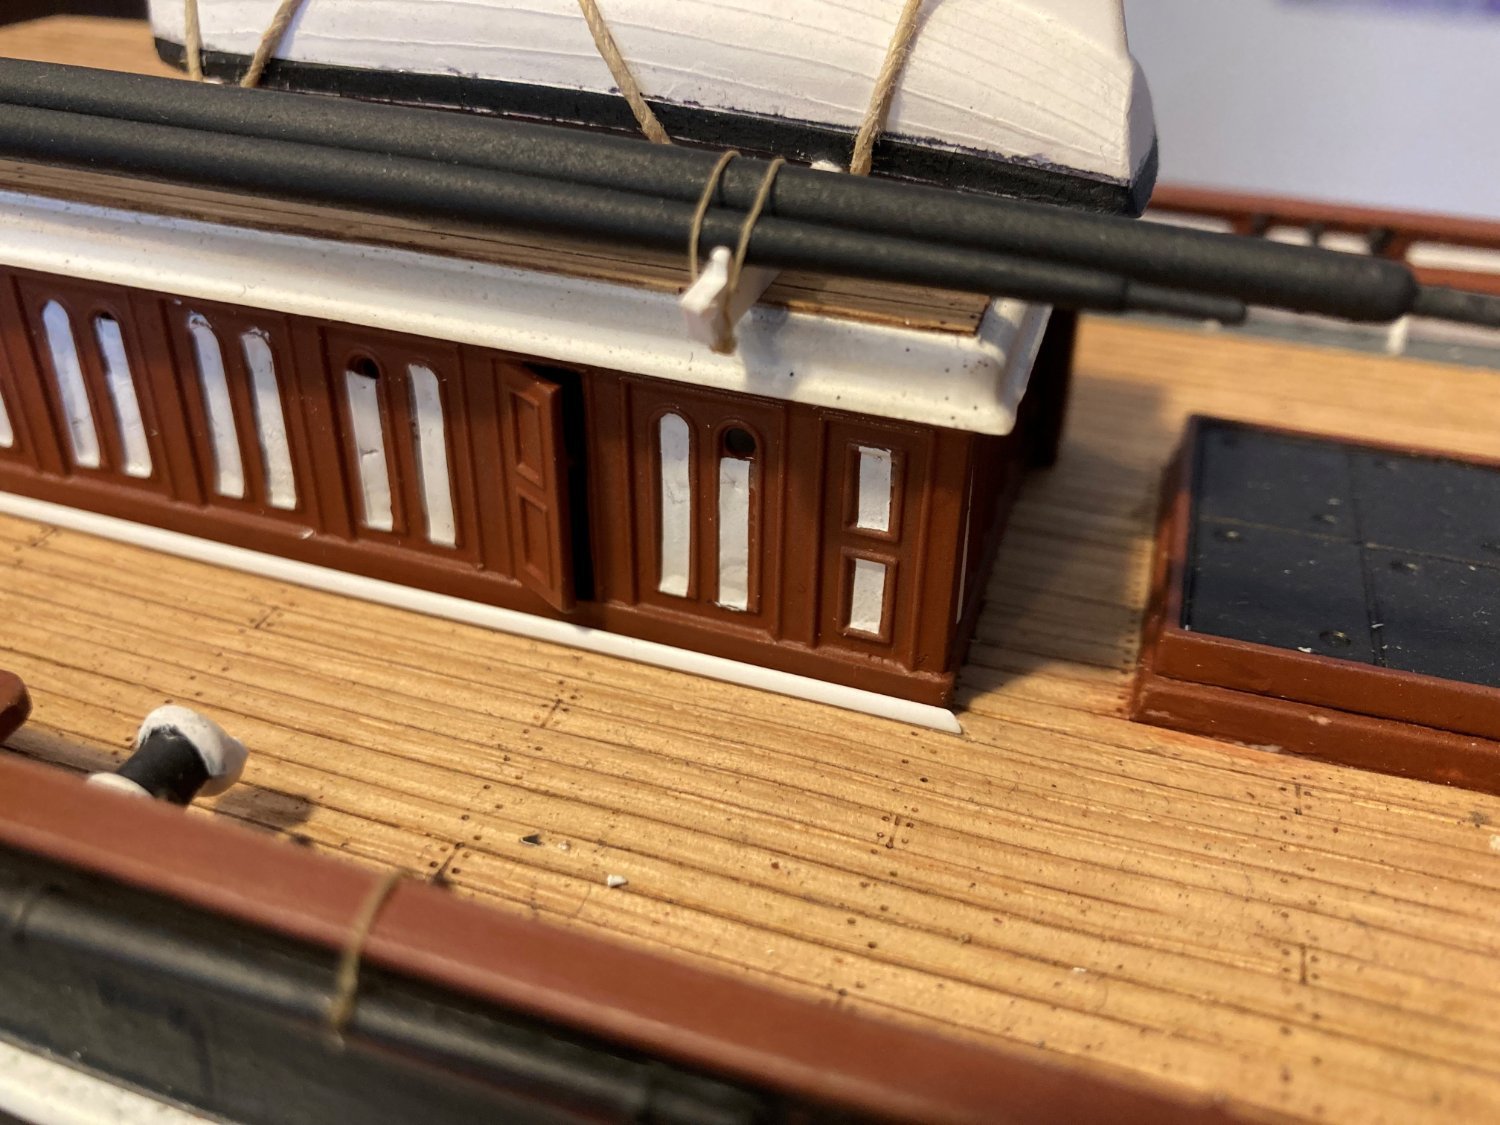
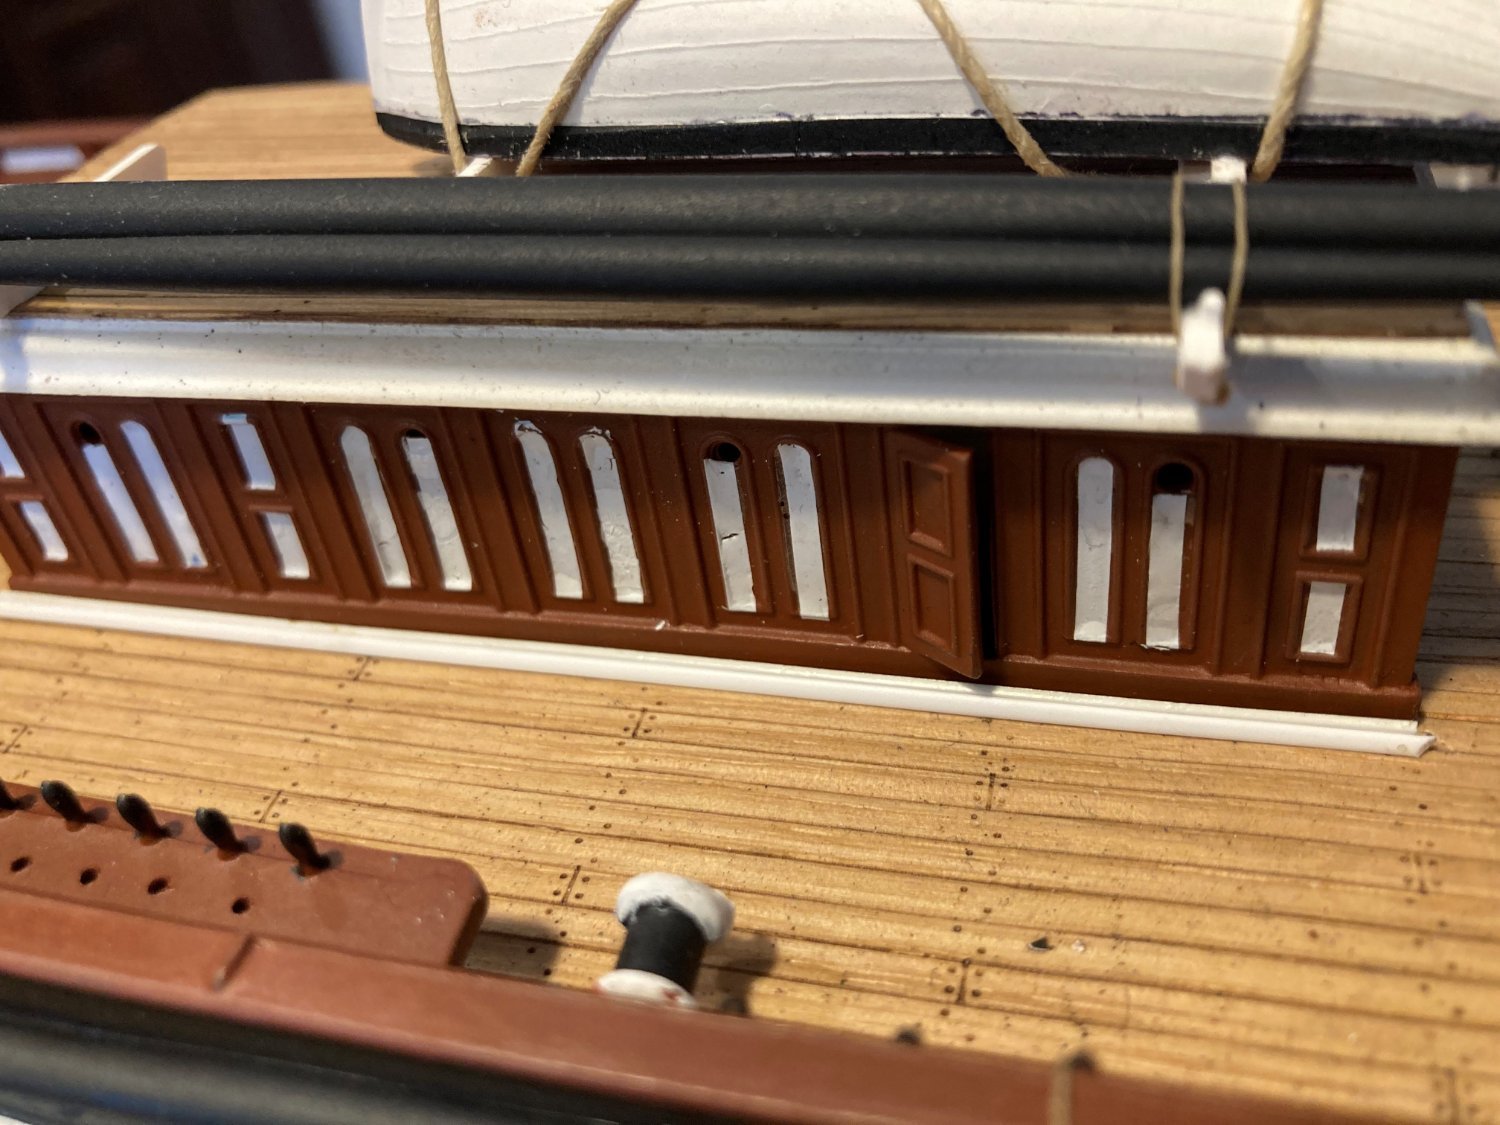
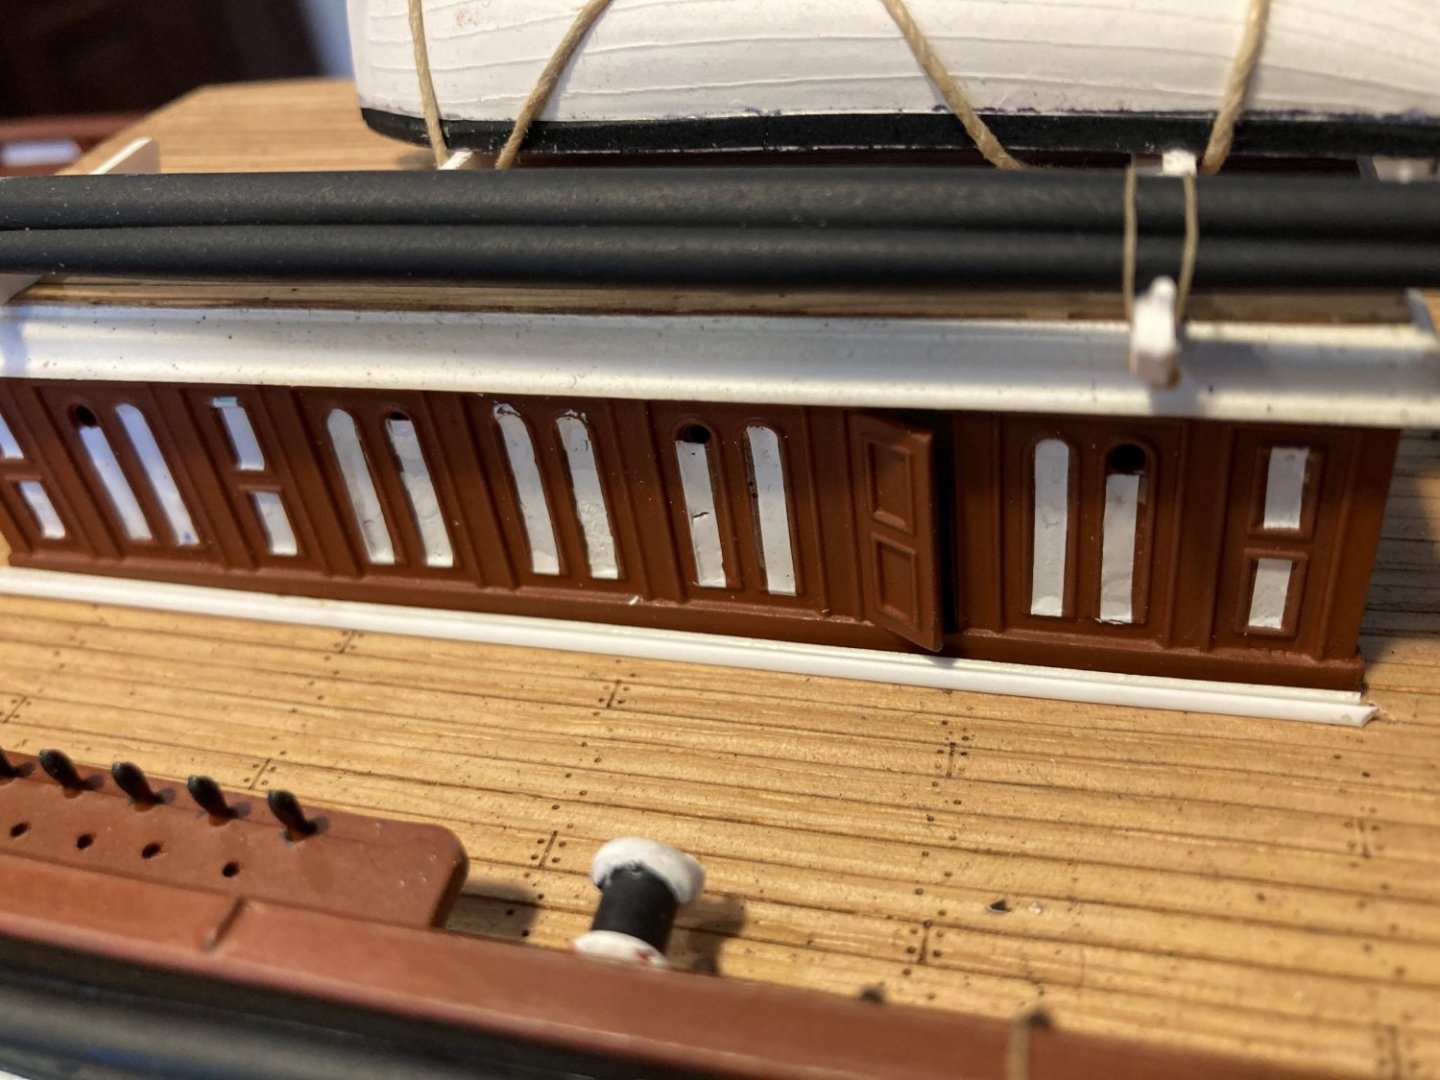
This is what my edging along the bottom of the deck house looks like. So now to complete the rest of it and the aft deck house.
- 481 replies
-
- 2
-
-
- Cutty Sark
- Revell
- (and 2 more)
-
My grandmother on my mom's side was from Naples. She always said in Italian, "If you don't work, you don't eat." My parents found jobs for us when we were in the fourth grade, when I was 10. I retired at 70. So it was either school or work for me for 60 years. But what I did was nothing compared to boys on ships or in the mines. These boys risked their lives, so some others could sit and sip tea.
- 481 replies
-
- 1
-
-
- Cutty Sark
- Revell
- (and 2 more)
-
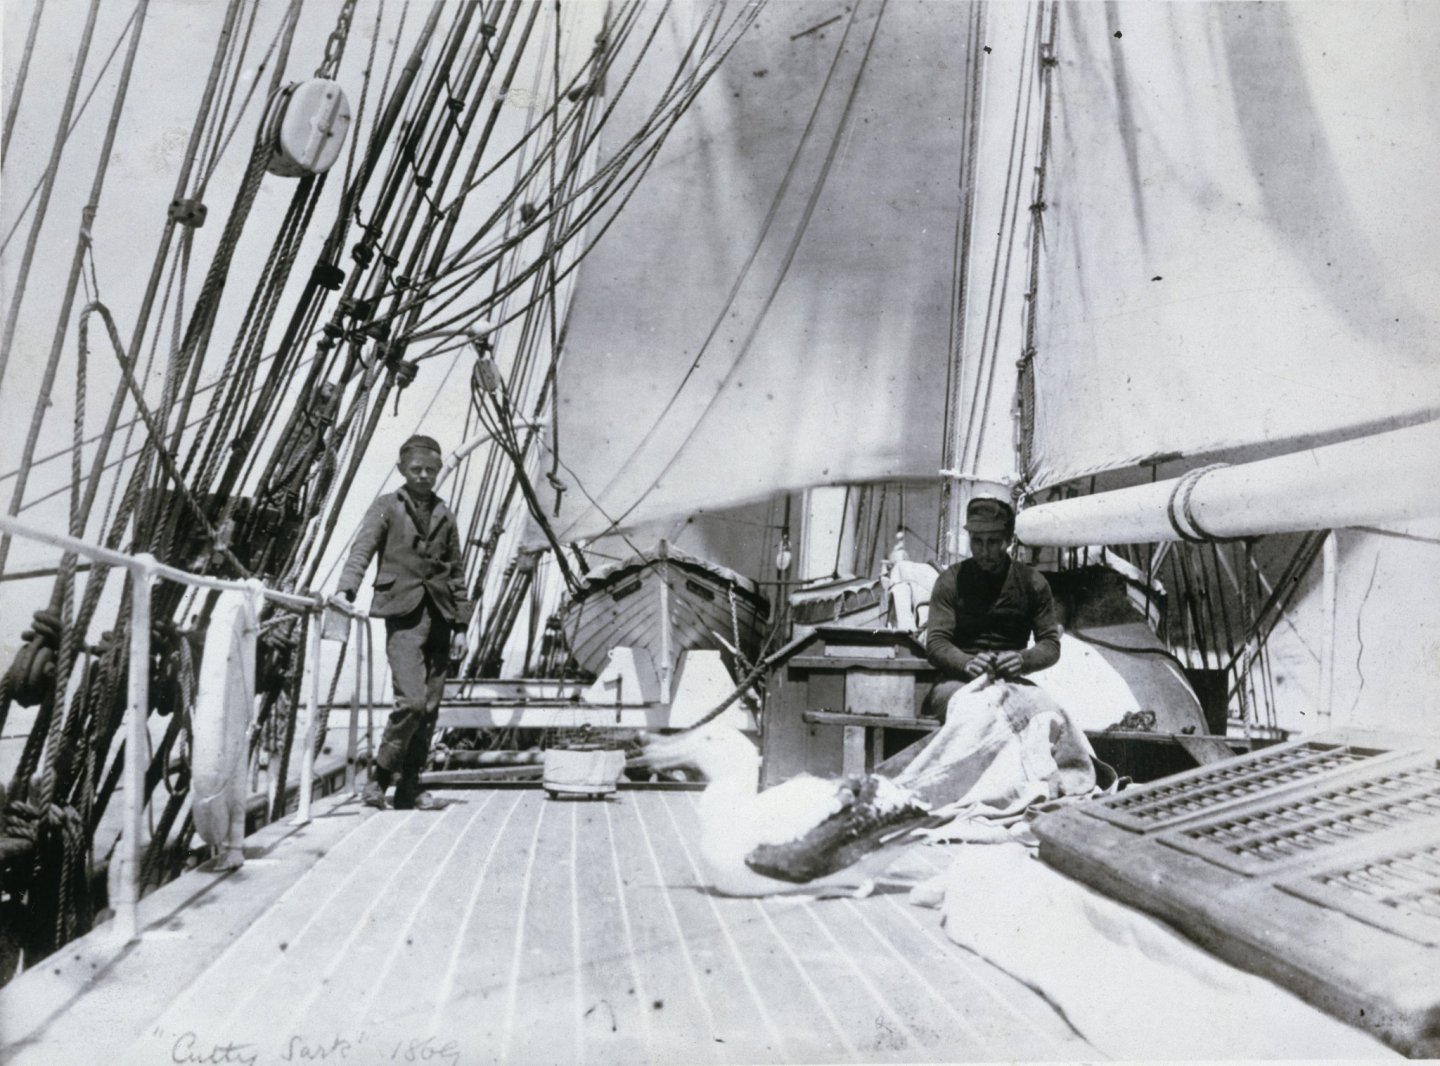
What I have read about the two casks, one was for salt pork and the other for salt beef. Fresh water was held in a tank under the main deck. That little pump next to the deck house was for the fresh water. The pump on the port head had a pipe that went down below the water line and out through the copper plates. It was a salt water pump. This was what I read in Campbell’s book. Another interesting thing he says, candles on board were of a mixture of tallow and rat poison. In that picture, I wonder if the kid is an apprentice who climbed the rat lines and worked out on the yards during a raging snow squall at a young age?
-
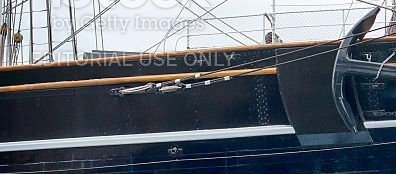
Just for information I was reading George Campbell's book, "China Tea Clippers". On appearances, he wrote, "The raised poop decks were, as often as money permitted, of teak or an oiled hardwood, and the deck seams in white putty, purely for appearance. The white seams also appeared frequently on the tops of deck houses.
-
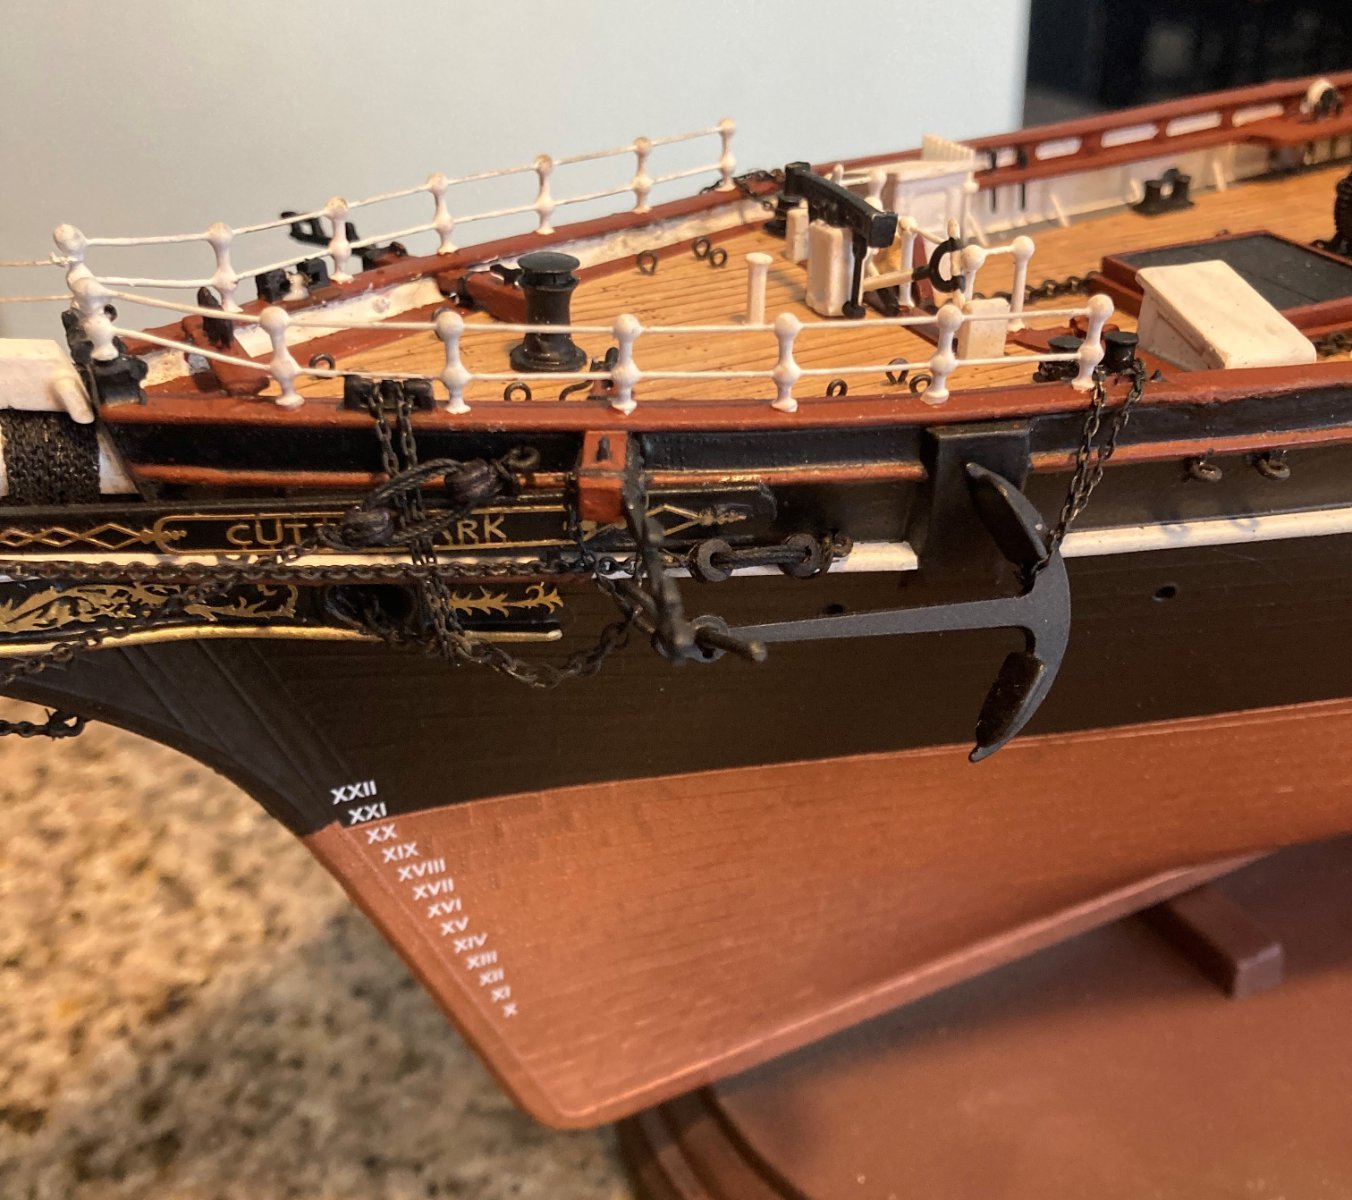
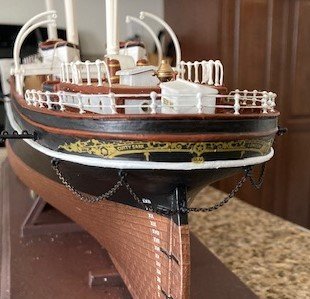
I finally have the stern decorations added to my ship. They are decals. Thanks to Kevin.
- 481 replies
-
- 5
-
-
- Cutty Sark
- Revell
- (and 2 more)
-
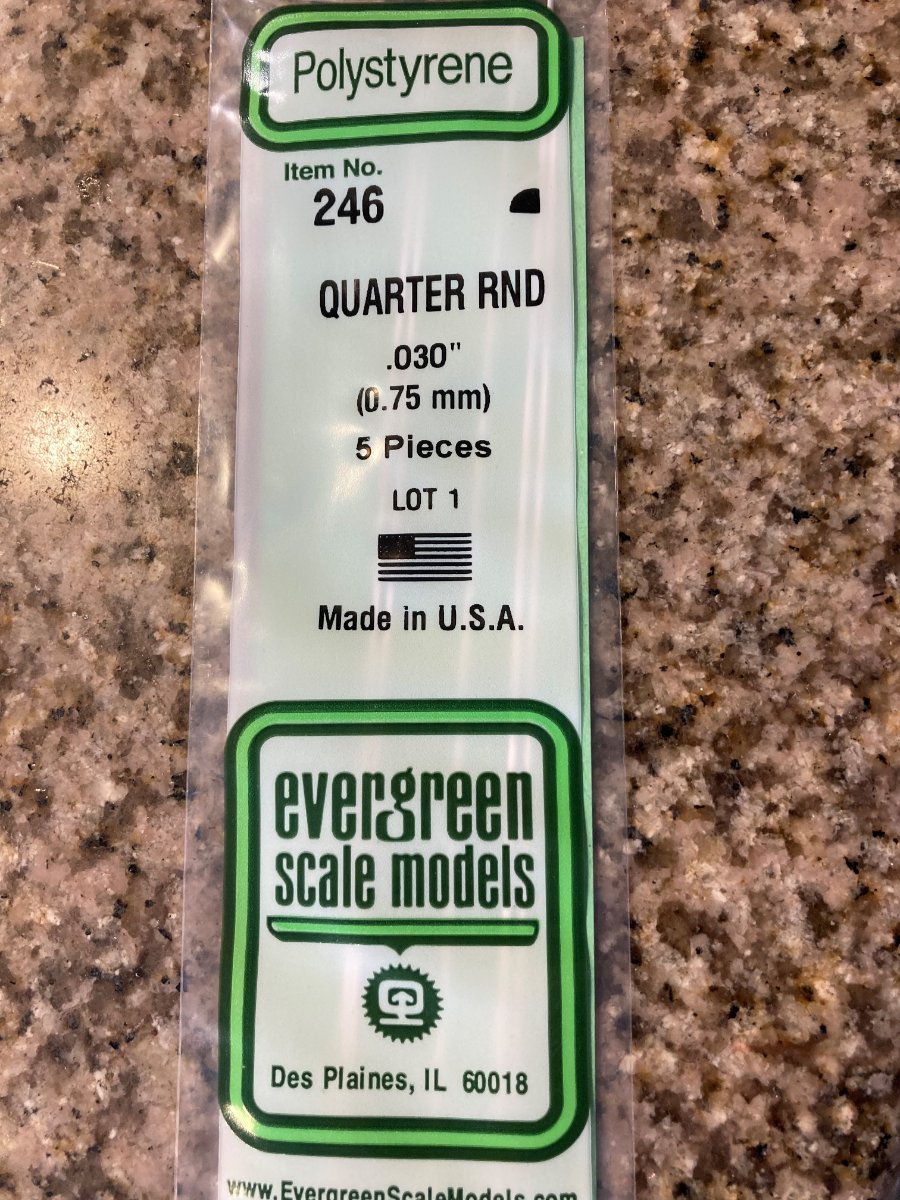
Today I received this Evergreen Styrene package of .030 quarter round. It is perfect for the base of the deck houses.


- 481 replies
-
- 1
-
-
- Cutty Sark
- Revell
- (and 2 more)
-
I never got into Game of Thrones. But then I am from a much older generation. My favorite fiction as a kid was Aesop's Fables.
-
I think you have Campbell's book about Tea Clippers. Read the part about building iron ships and the methods for forming the plates and the clothes they wore doing it.
-
What is amazing to me is that these relics from the past remain for us to admire today. That these ships were built without the tools we have today just astounds me. In my mind, I compare the methods of the builders in the 1700 and 1800's and what tools they used with methods and tools that would be used today to replicate those two ships exactly. In San Diego they have a replica of the San Salvador, the ship Cabrillo sailed here from Spain. I watched them build it. It is in no way constructed like the real ship was. Nobody has the skills used to build the original ship today.