-
Posts
1,940 -
Joined
-
Last visited
Content Type
Profiles
Forums
Gallery
Events
Everything posted by cdrusn89
-
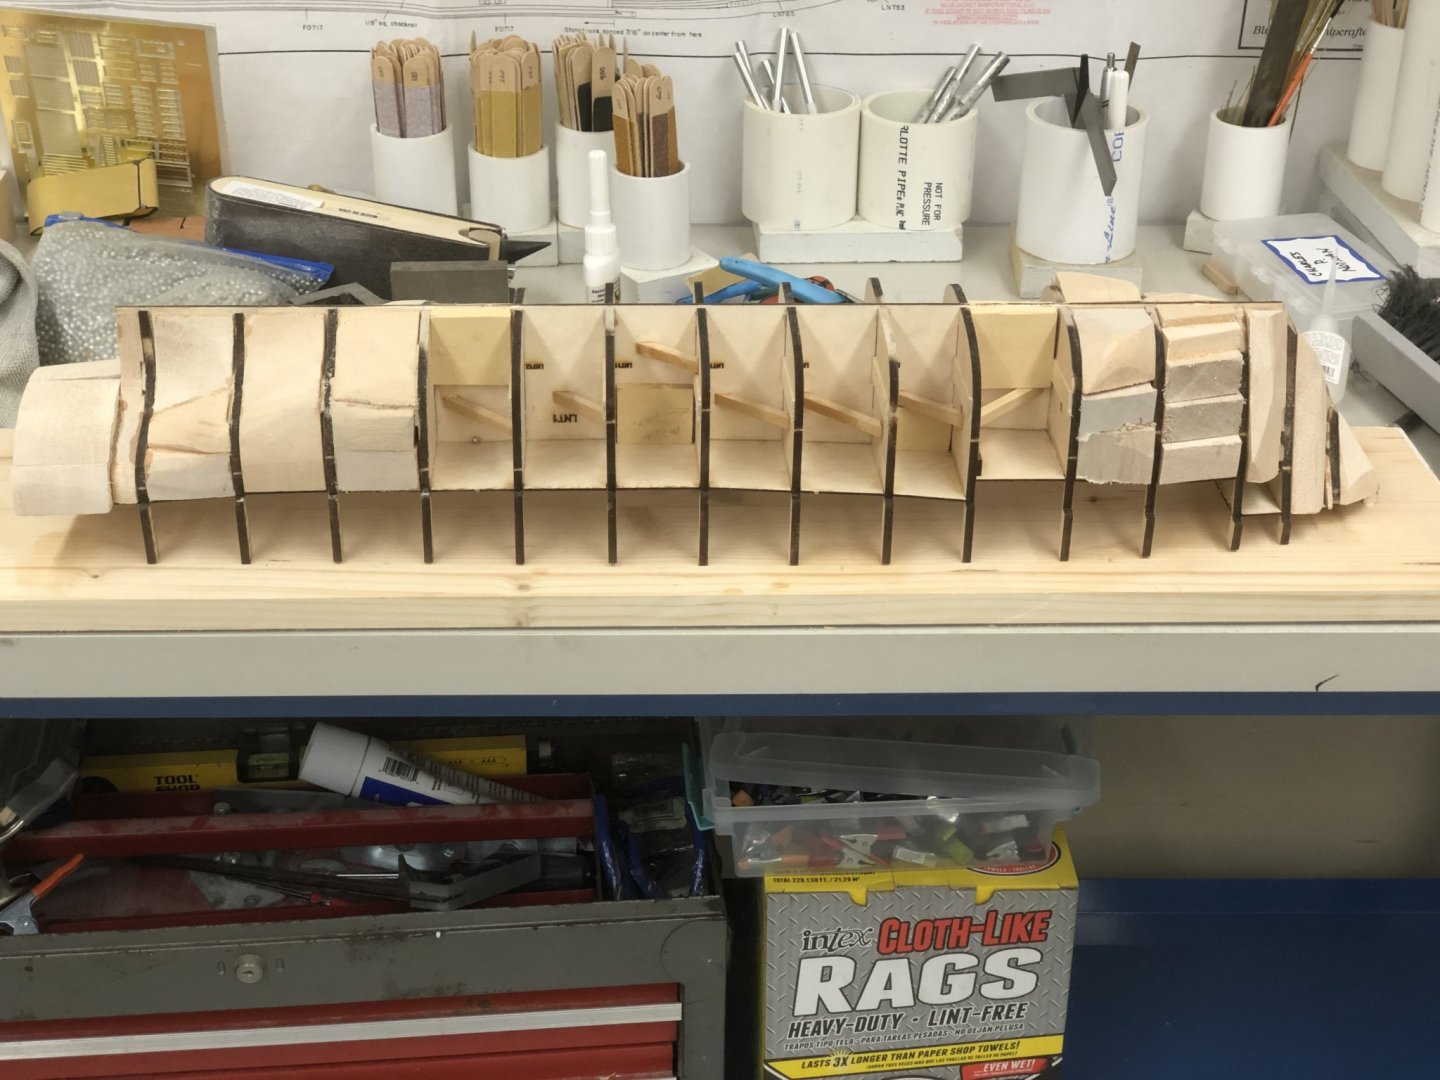
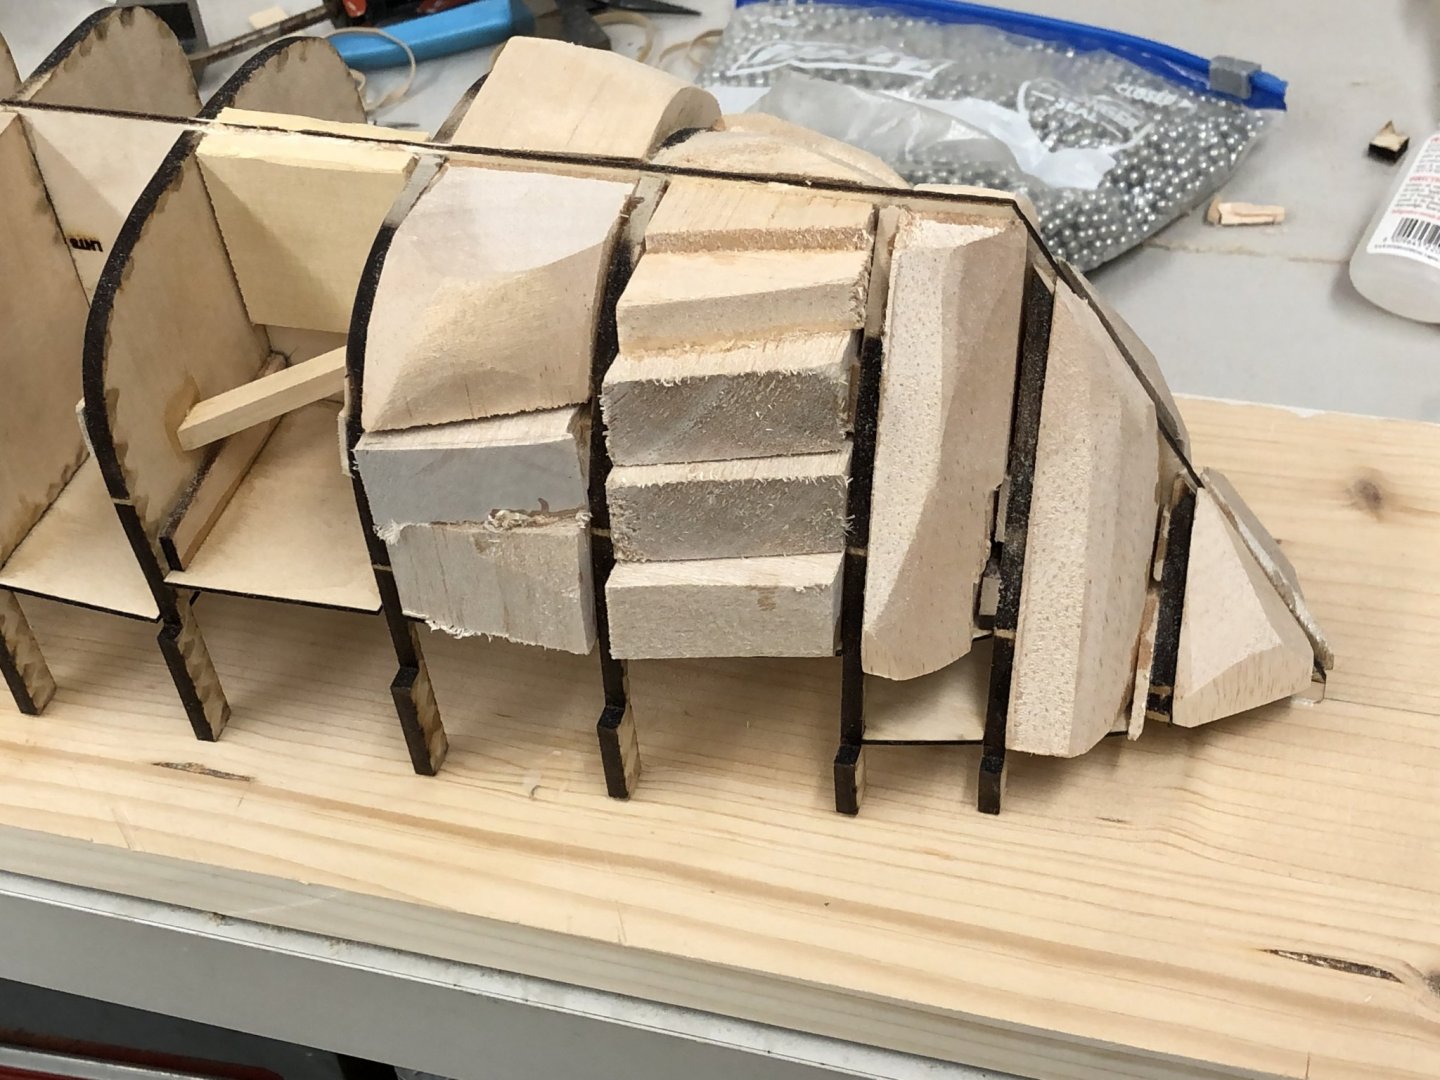
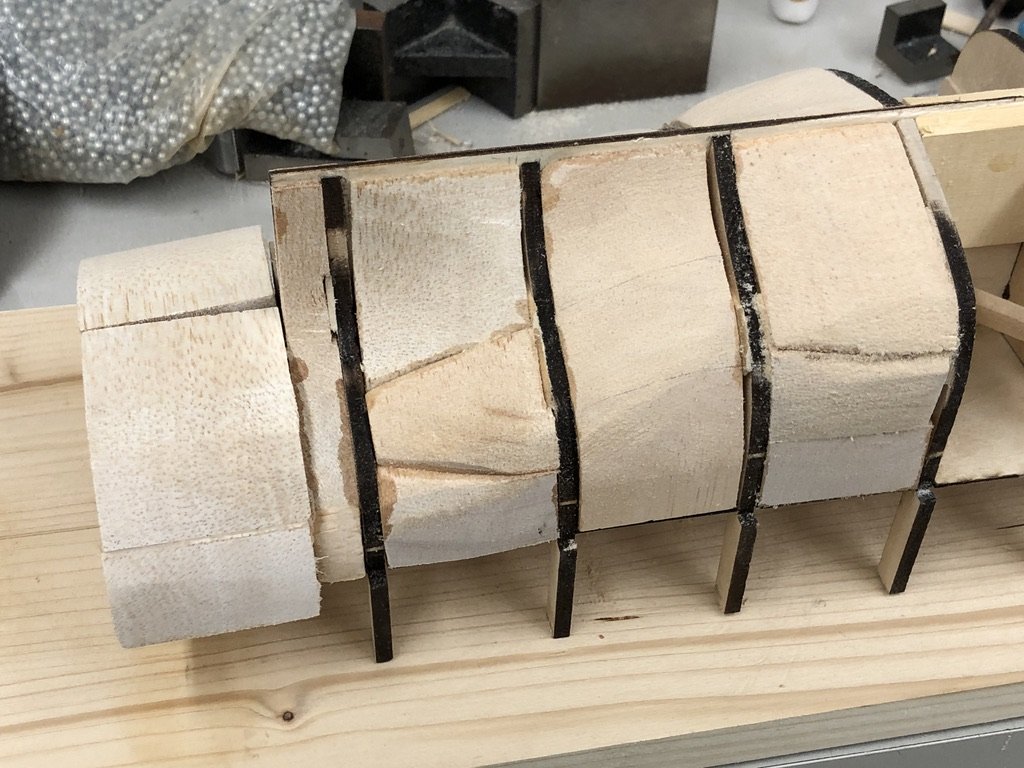
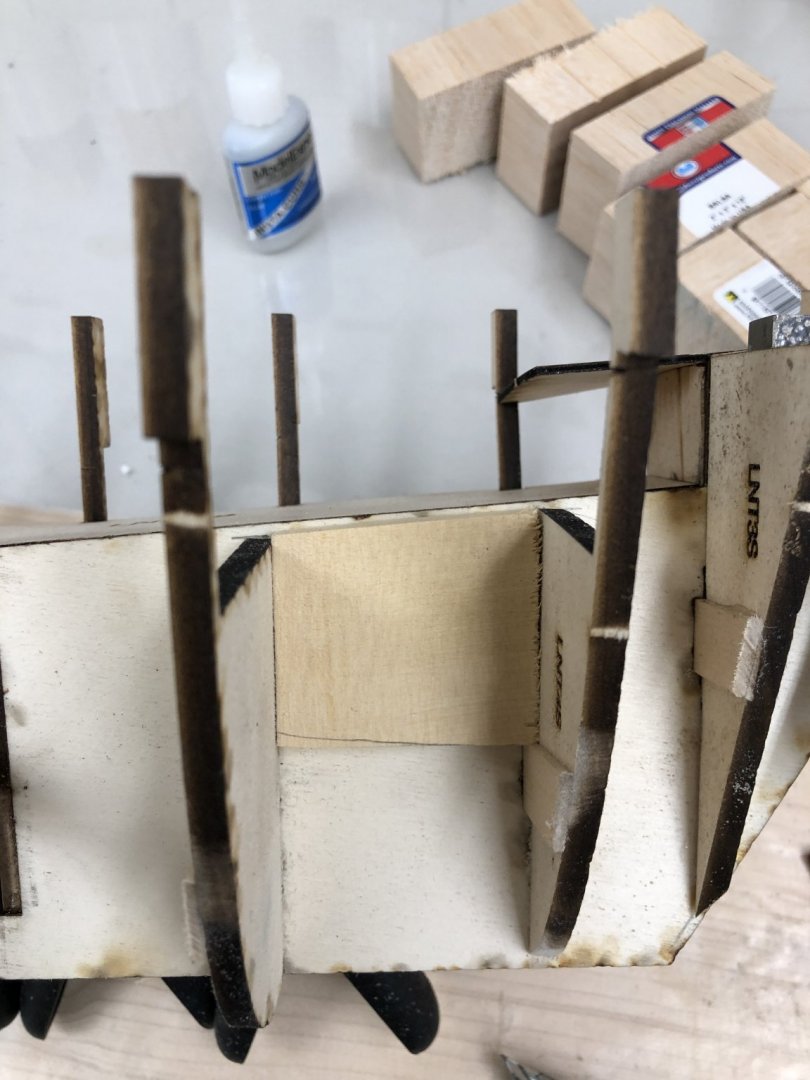
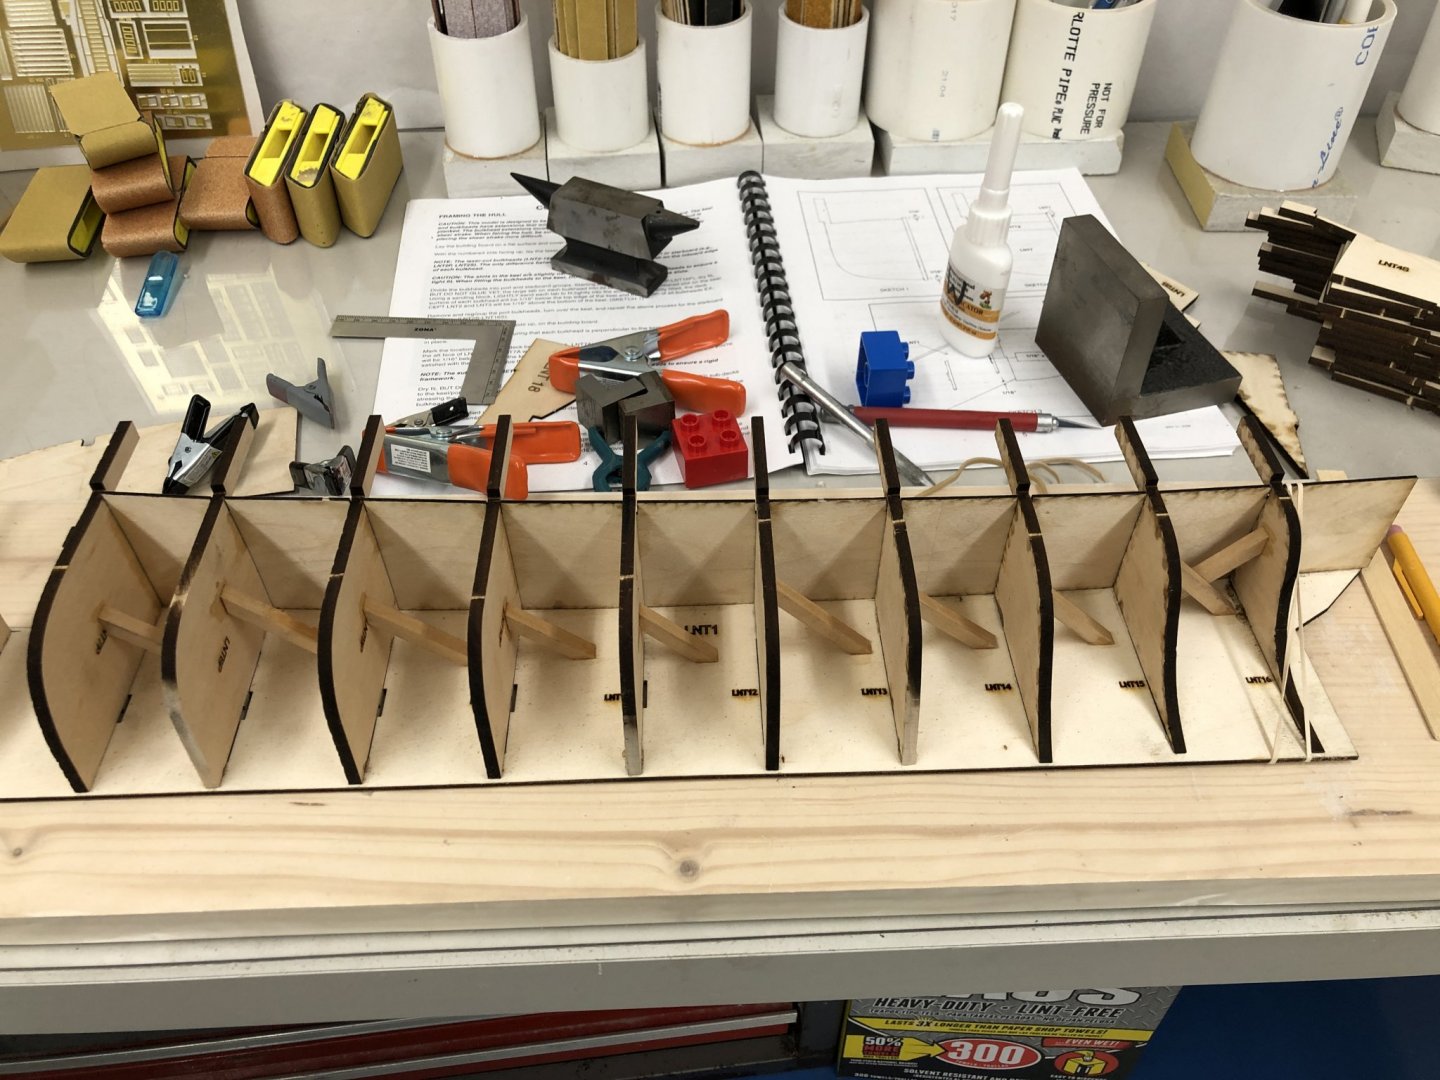
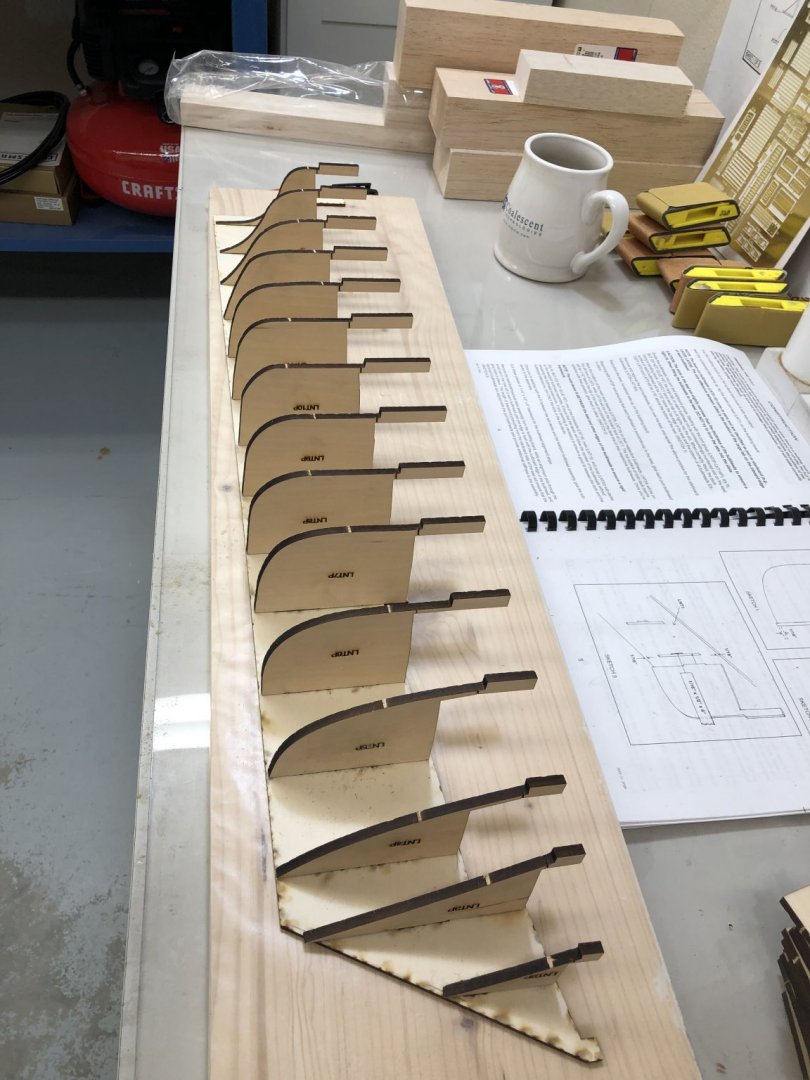
I got all the reinforcing done and added the filler blocks. The instructions and drawings show fillers in the first three "blocks" forward and the last two aft. Based on experience on the 1/35th scale Endeavour I did all the blocks from Bulkhead 6 to the bow and from Bulkhead 13 to the stern. I used the pictures in the Photo CD to get an idea of what the block at the very stern should look like. The instructions promise that this will be dealt with "later". On the Endeavour I filled in the entire hull with balsa (was advised to by others who had experience building her) and was tempted to do that here as well but the hull is not nearly as complex as the Endeavour so I opted to fill in from both ends until the hull sections were close to the same. Not the prettiest balsa filler job I ever did but 80 grit sandpaper can cut down balsa pretty quickly (I hope). So here she is with the hull structure complete and waiting for the decking to be installed before being glued to the build board.
- 144 replies
-
- charles p notman
- finished
-
(and 1 more)
Tagged with:
-
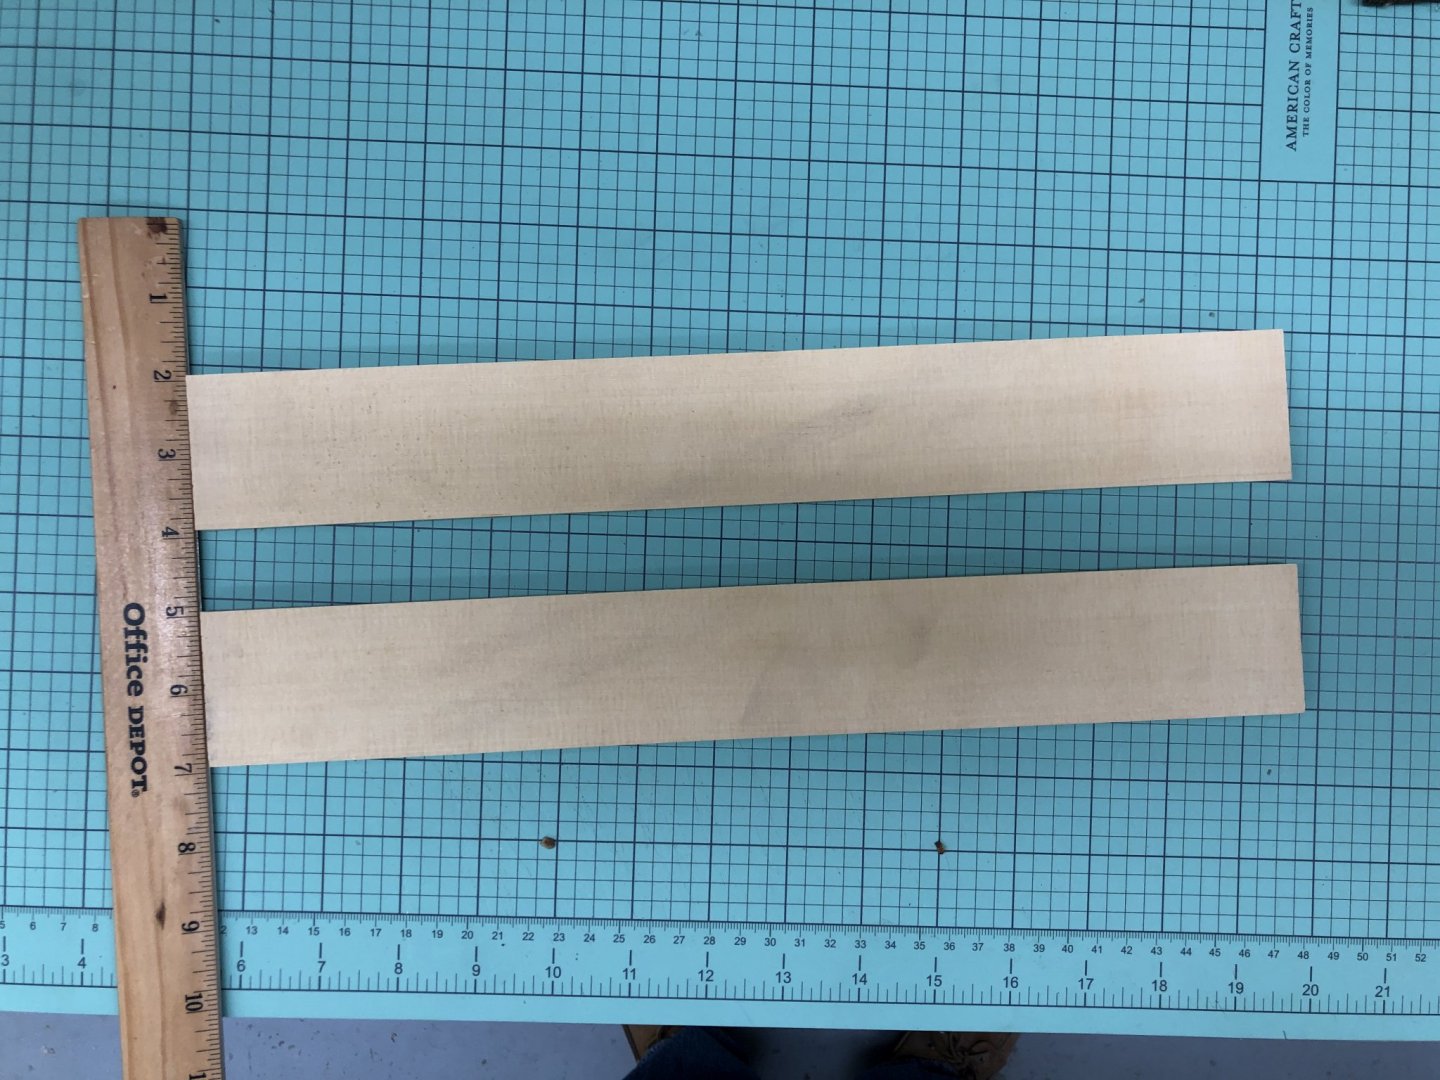
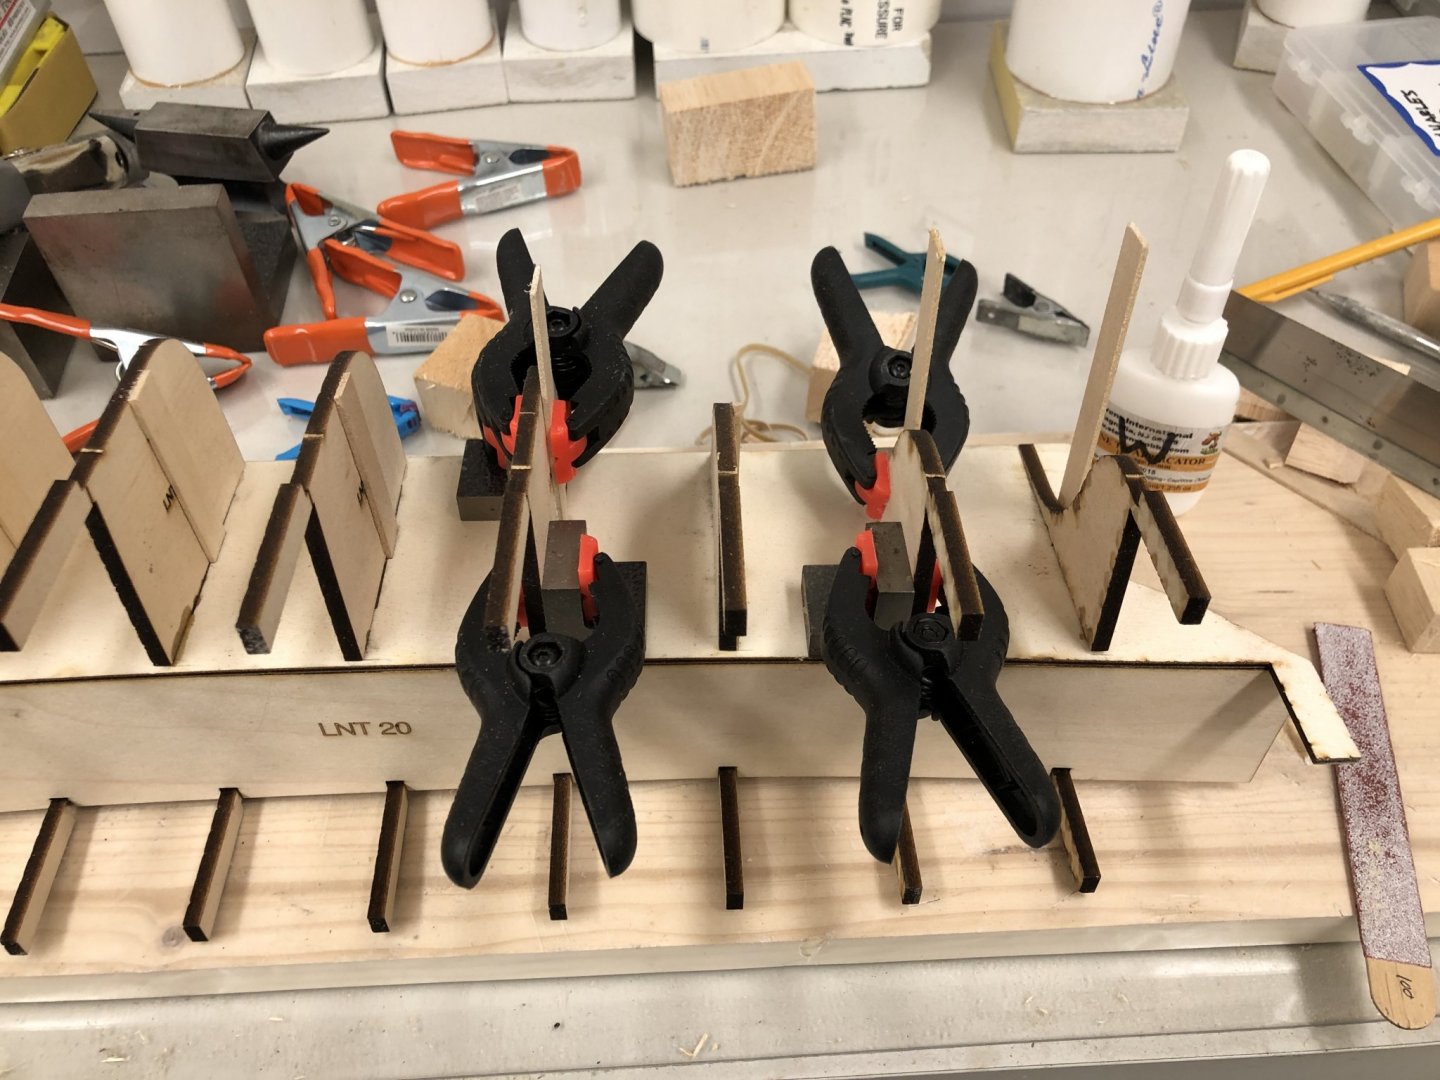
I started to cut the reinforcing pieces where the masts are stepped and found I was short one piece of the 1/2" X 1" basswood required. After looking around I found some 1/2" thick yellow cedar left over from something and I decided to use this instead of the basswood. I also decided to increase the size of the mast reinforcements to 1/2 X 2" so I cut two 15" strips which should be more than enough to do both side. Here are the two pieces and a dry fit of the fore mast one on the starboard side. Here is where we are Thursday night I have all the bulkheads installed with the last two drying. I still have to install the diagonal reinforcements on the starboard side. I also have the two forward subdecks installed and the port side main subdeck. Once the starboard main subdeck is installed it will be time to install the rest of the reinforcing pieces (top and bottom) and then work on the filler blocks. Here is the foredeck area (with some preliminary filler block work) and the two remaining bulkheads on the starboard side clamped up waiting for the glue to set.
- 144 replies
-
- charles p notman
- finished
-
(and 1 more)
Tagged with:
-
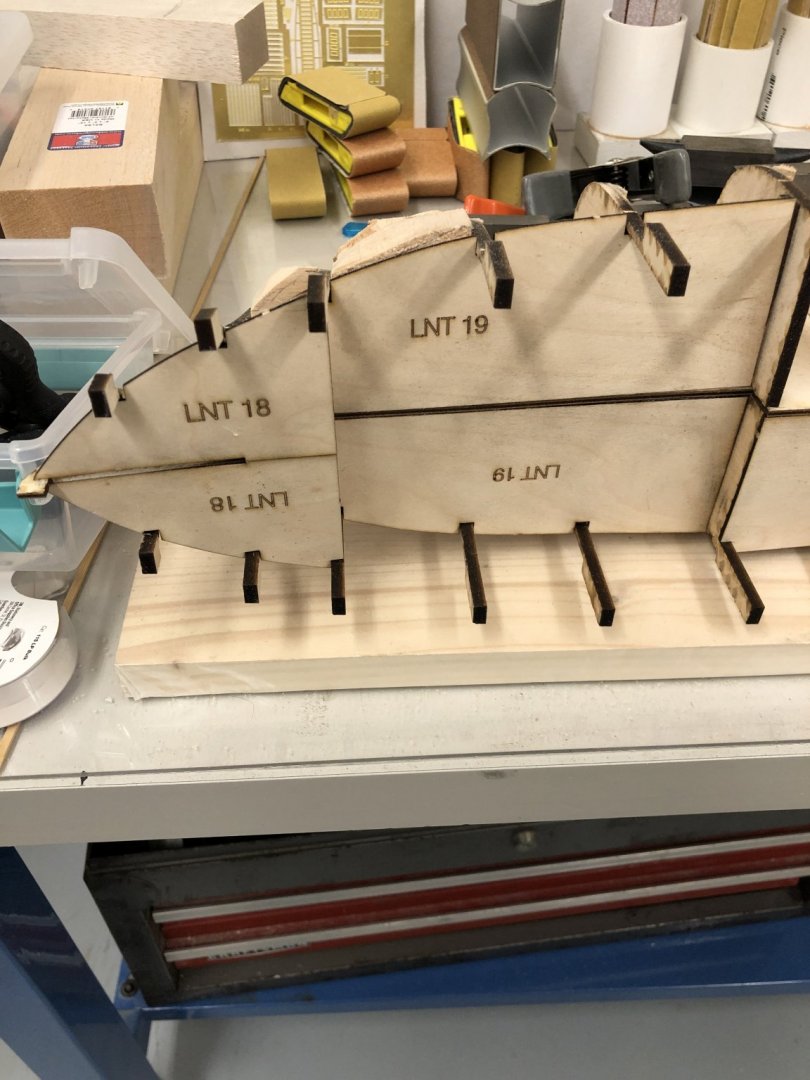
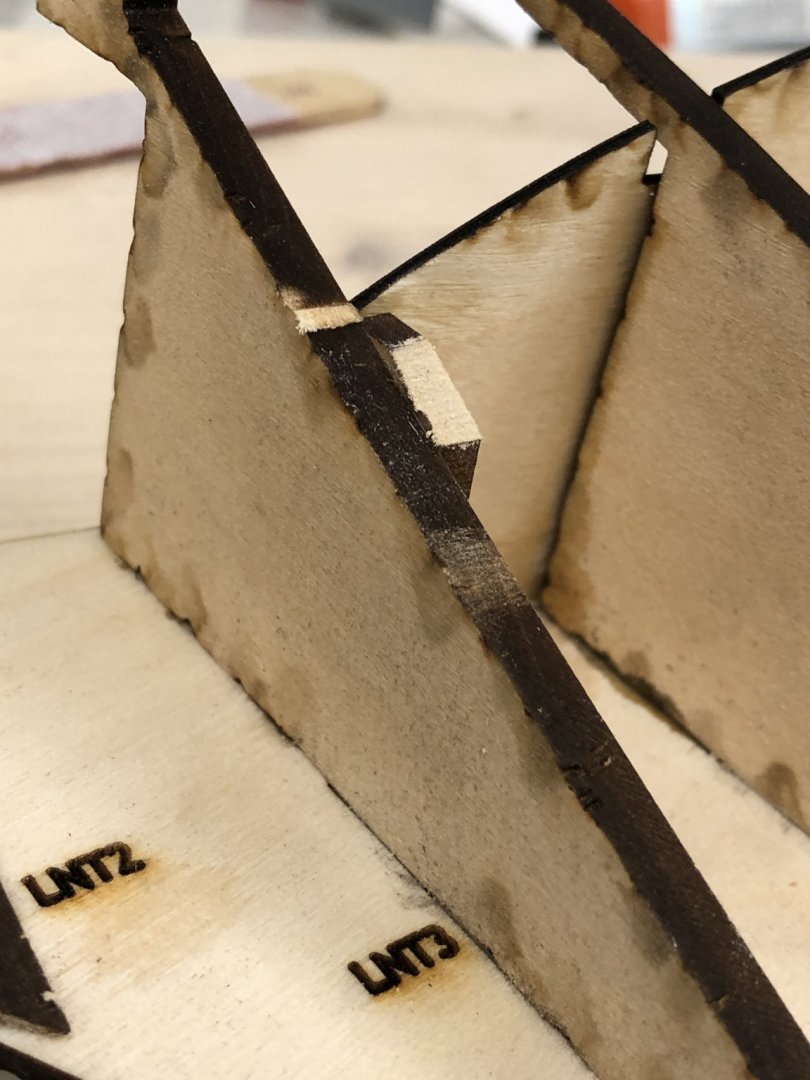
Continuing to build out the port side of the hull structure. Everything is pretty straightforward except the LTN3A piece which forms the deck beam at Bulkhead 3 (LTN 3) sticks out past the end of the bulkhead and has to be trimmed back. Here is the offending part installed and sanded down (some). There will be balsa fillers in this area so this is not the last thing that will have to be sanded down.. I used most every square "shape" I have to get the bulkheads glued in perpendicular to keel. It took several sizes of clamps due to the size of the "squaring blocks" and the size/shape of the bulkheads. Here is a shot of "work in progress". It has been my practice on past POB kits to add diagonal stiffeners between the bulkheads and the keel and I am continuing that practice on the Notman. You can see these stiffeners in the picture below. After I did these I decided it might be better to get the decking installed first before adding the rest of the stiffeners so that was the next step. I use thin CA to attach the stiffeners as this permits me to just hold the stiffener in place and hit it with the CA, hold for 5 seconds and that one is done. Here is the hull with the aft deck and stiffeners in place. And here is the port side ready to add the lateral stiffeners which will support getting the starboard side bulkheads on "square".
- 144 replies
-
- charles p notman
- finished
-
(and 1 more)
Tagged with:
-
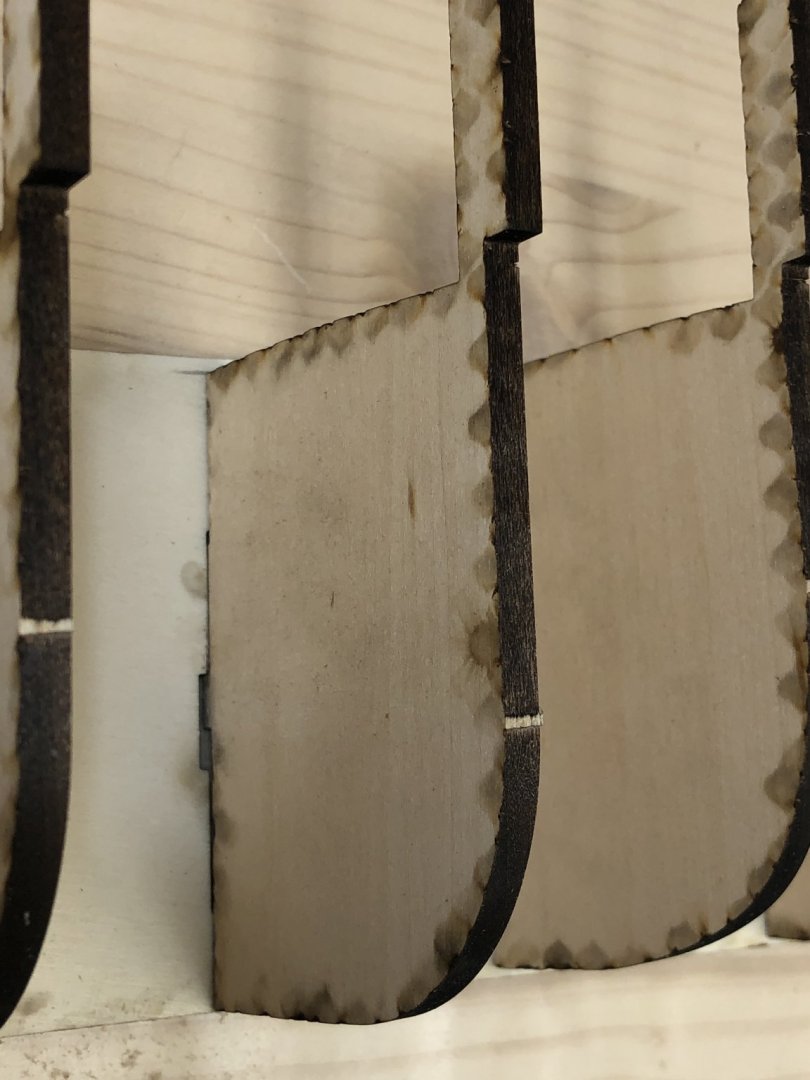
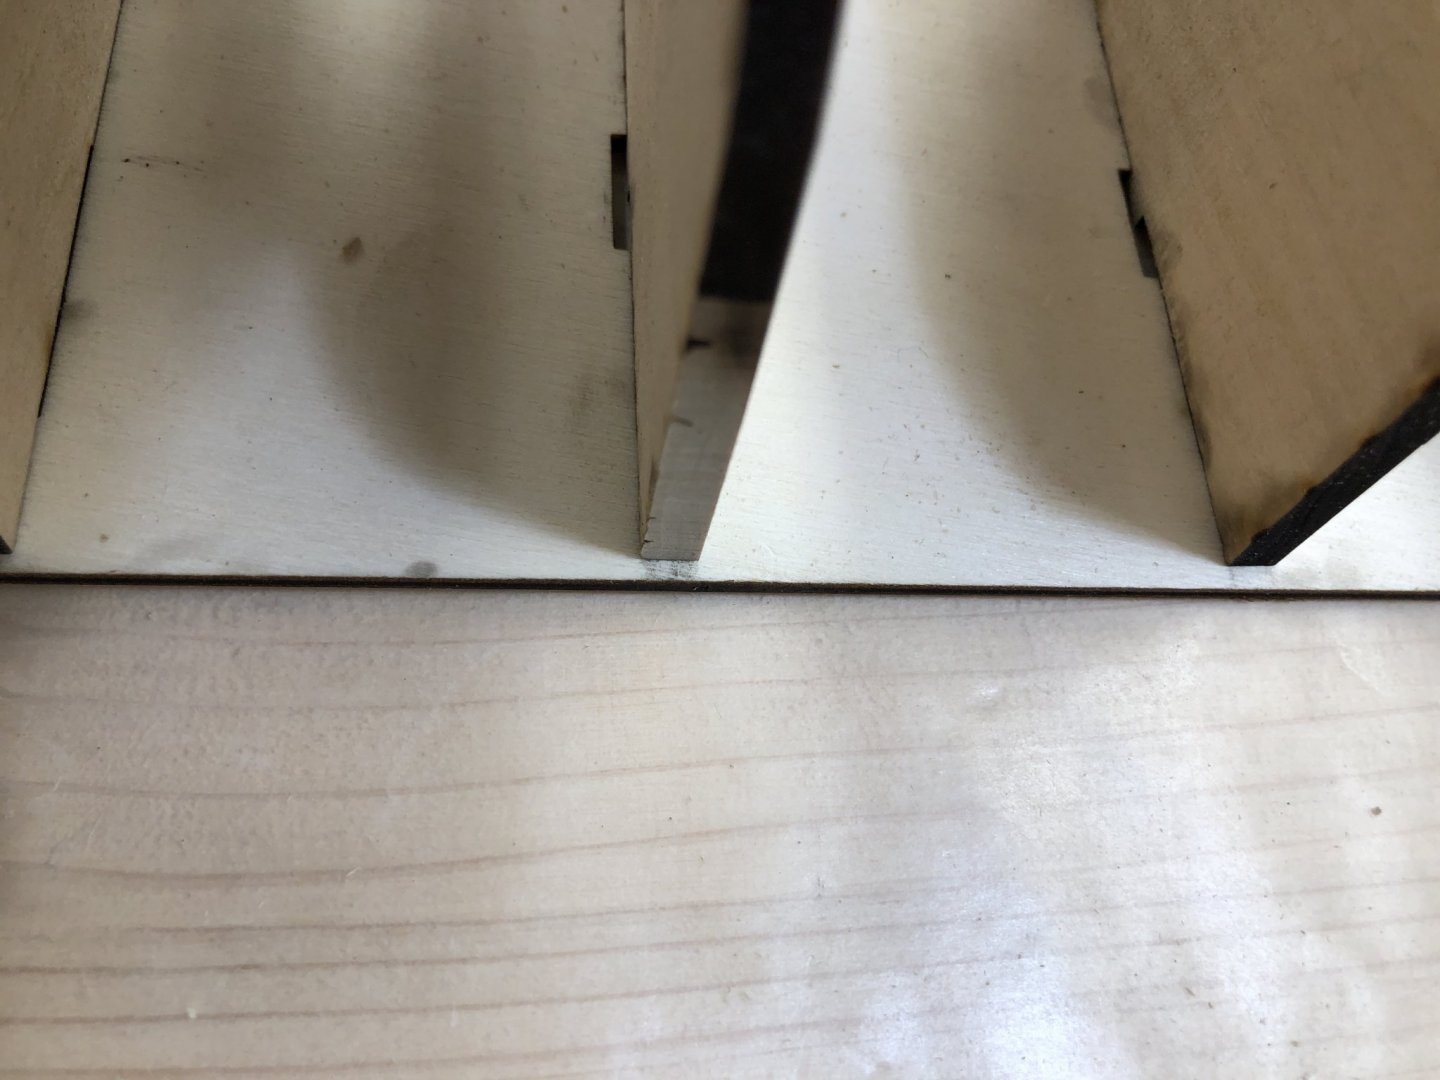
I had to adjust several of the port side bulkheads to get the required 1/16" clearance at the bottom having decided that getting the 1/16" at the top was the more important place. As can be seen a similar condition exists for the starboard bulkheads. I used the disk sander (with 220 grit) to very lightly take a bit off the bottom of the offending bulkheads with a 1/16" X 1/16" piece of boxwood clamped flush with the top of the keel to make sure I maintained the 1/16 clearance at the top. Here are a before and after of one of the bulkheads that was modified.
- 144 replies
-
- charles p notman
- finished
-
(and 1 more)
Tagged with:
-
- 144 replies
-
- charles p notman
- finished
-
(and 1 more)
Tagged with:
-
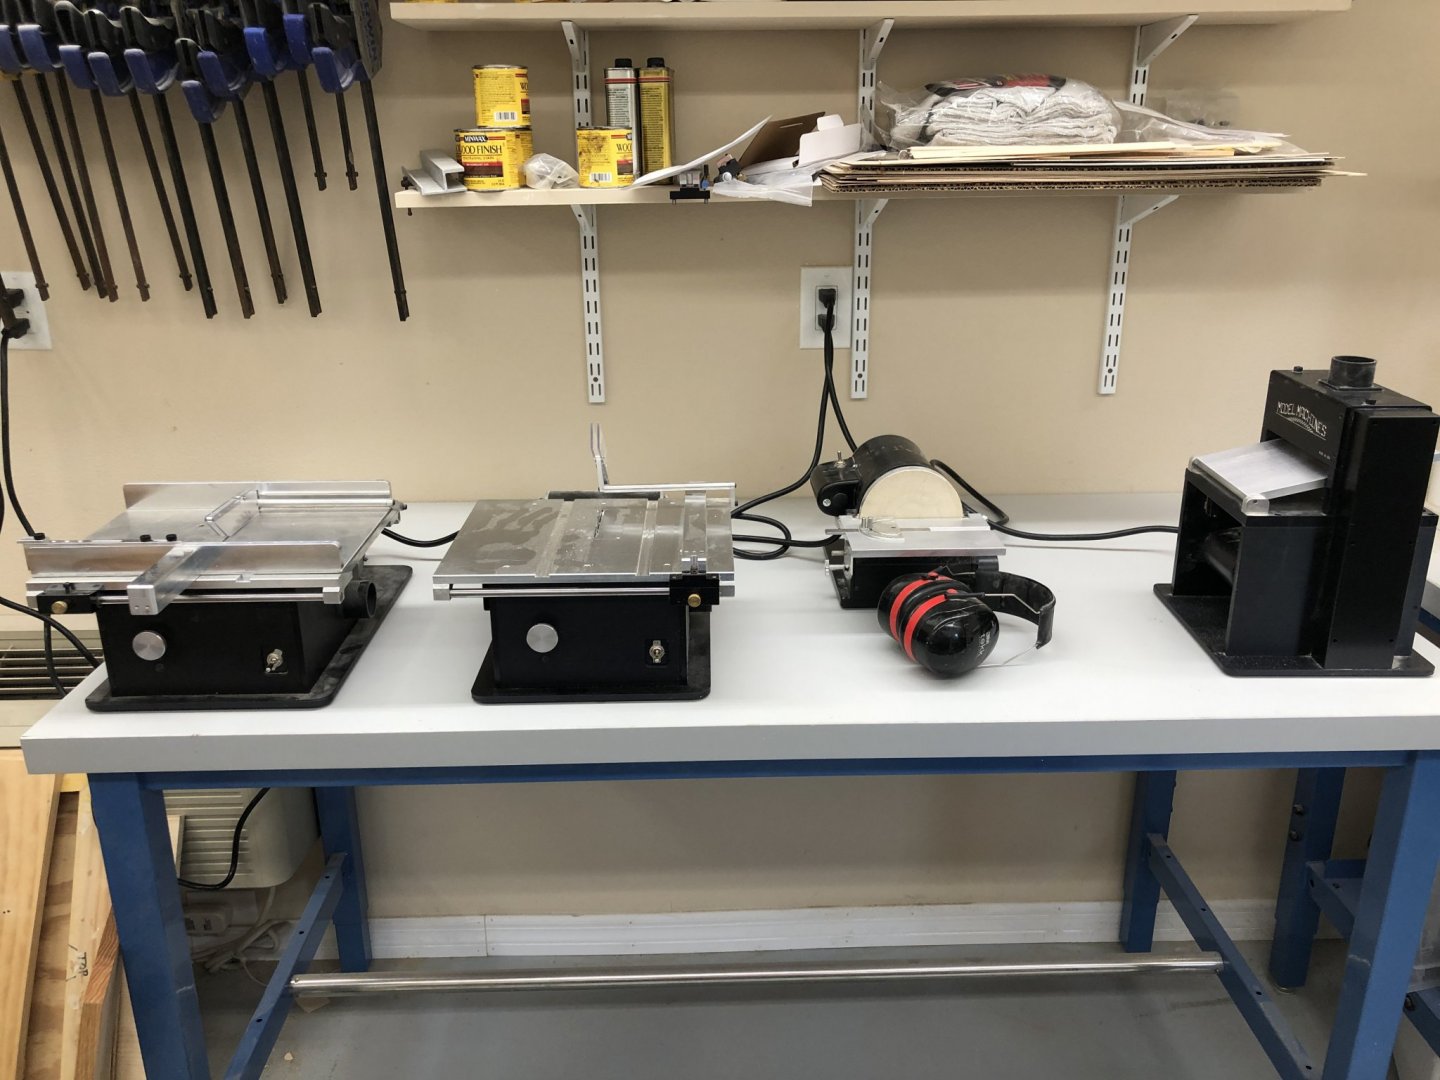
So I made up a bunch of new sanding sticks (I use tongue depressors), put new sheets on my sanding blocks, cut the building board and cleaned up my power tool table. So it is time to "start building". The rest of the cleaning can wait until I get "something" done.
- 144 replies
-
- charles p notman
- finished
-
(and 1 more)
Tagged with:
-
Jon - I have (and have read) "A Shipyard in Maine" and visited the Maine Maritime Museum last summer while on a road trip that got cut short by an impending (but eventually a non-event) hurricane. In my previous life I spent a good deal of time in Maine at BIW watching them build the Arleigh Burke (DDG 51). I actually considered trying to build the Notman at 1/48th but the model would be over 6' long and I had enough trouble finding a place for the 1/35th scale Endeavour I built last year and that is just over four feet long (but five feet high). I will try and do the model justice.
- 144 replies
-
- charles p notman
- finished
-
(and 1 more)
Tagged with:
-
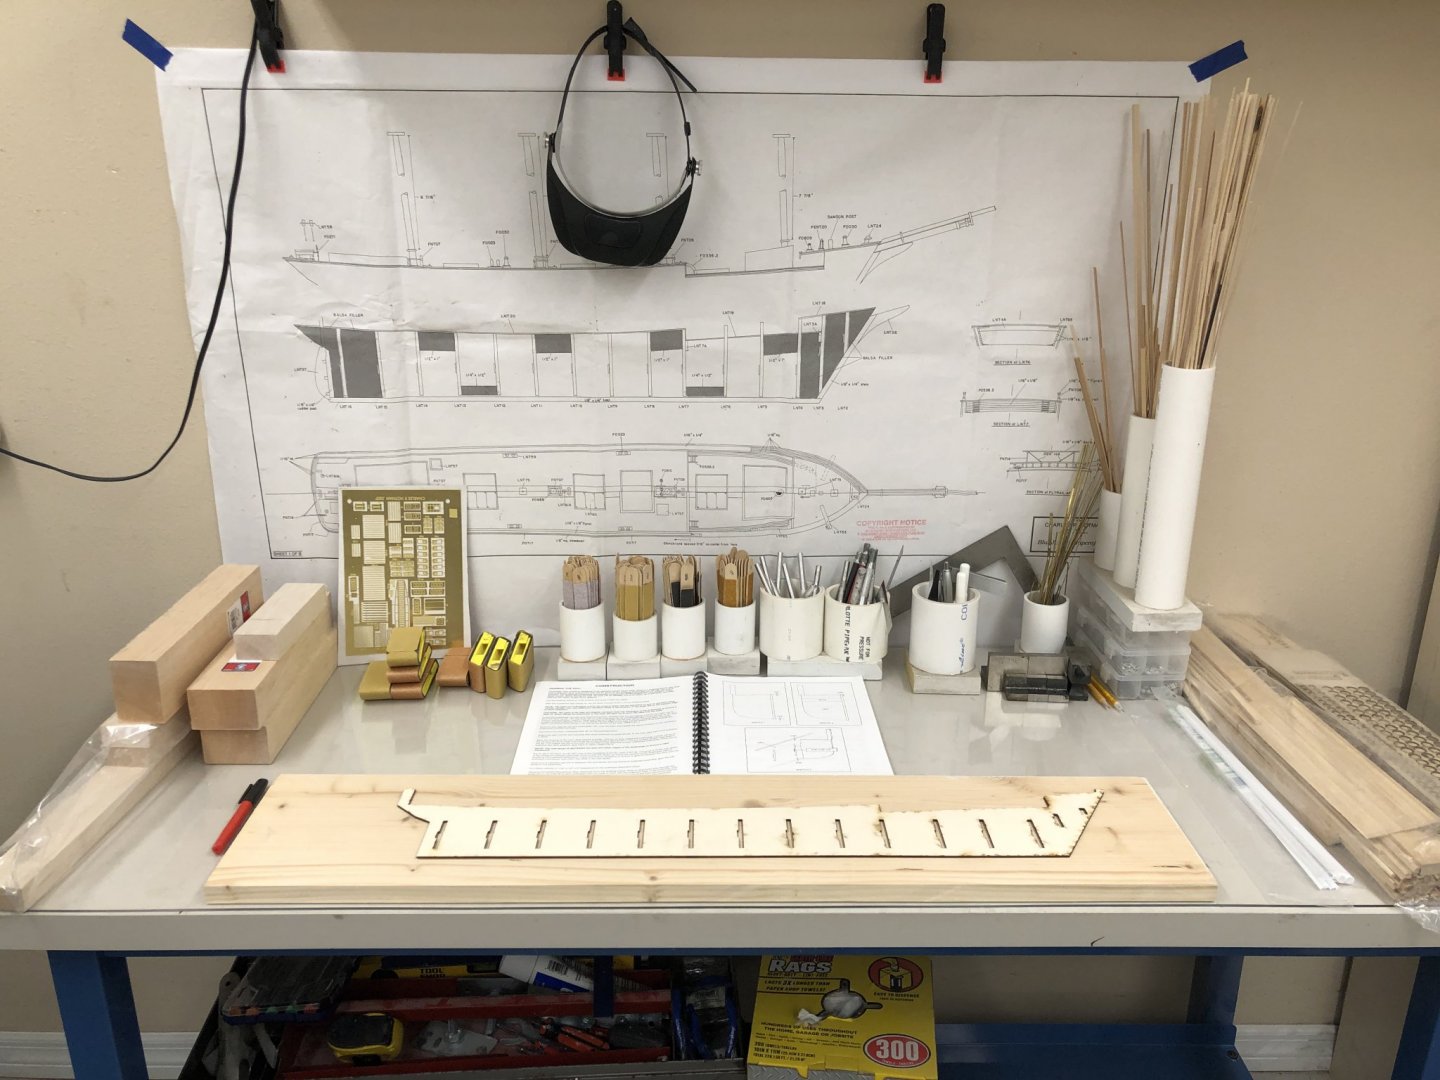
I got one end of the workshop cleaned and reconfigured to provide a good view of one sheet of the plans - in this case the profiles.should be useful when constructing the hull. I will work the other side tomorrow. You would think I would have the arrangement down after four kits built in this workshop but every time I seem to come up with "a better idea'. I am reminded of a quote from ADM Gorschkov (head of the Soviet Navy in the 1980's) that "better is the enemy of good enough".
- 144 replies
-
- charles p notman
- finished
-
(and 1 more)
Tagged with:
-
Chris, The level of detail and instructions are at a much higher level than on the Gorham. Vic told me the Gorham kit was developed in the 80's and the Notman in the early 2000's. I too am looking forward to seeing it come together.
- 144 replies
-
- charles p notman
- finished
-
(and 1 more)
Tagged with:
-
Eduardo/John, Welcome aboard. It may be a few days before I actually get started on the Notman. The workshop is really a mess.
- 144 replies
-
- charles p notman
- finished
-
(and 1 more)
Tagged with:
-
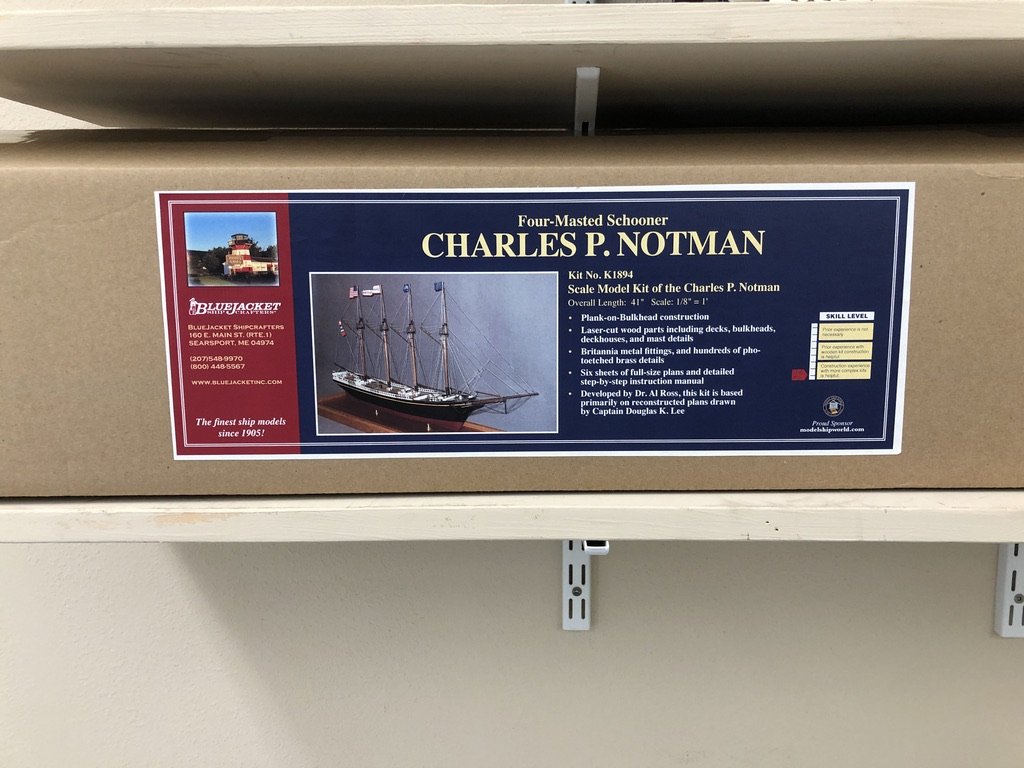
I finished the Fannie A. Gorham (three masted schooner) this morning and have the Charles P. Notman (4 masted schooner) ready to start but first need to clean up and reorganize the workshop. This kit will be a first for me as the Notman used galvanized wire for the standing rigging so no Black/Dark Brown thread during this build. Since the workbench is still a mess I will have to start with a picture of the box on the shelf. I did open it already and will take a look at the instructions and drawings when I get a spot cleaned off enough. It seems I must have taken out/used every tool, box, container and bottle in the course of building the Gorham. What a mess. Famous last words - "I will clean up and put things away as they are no longer needed - THIS TIME!"
- 144 replies
-
- charles p notman
- finished
-
(and 1 more)
Tagged with:
-
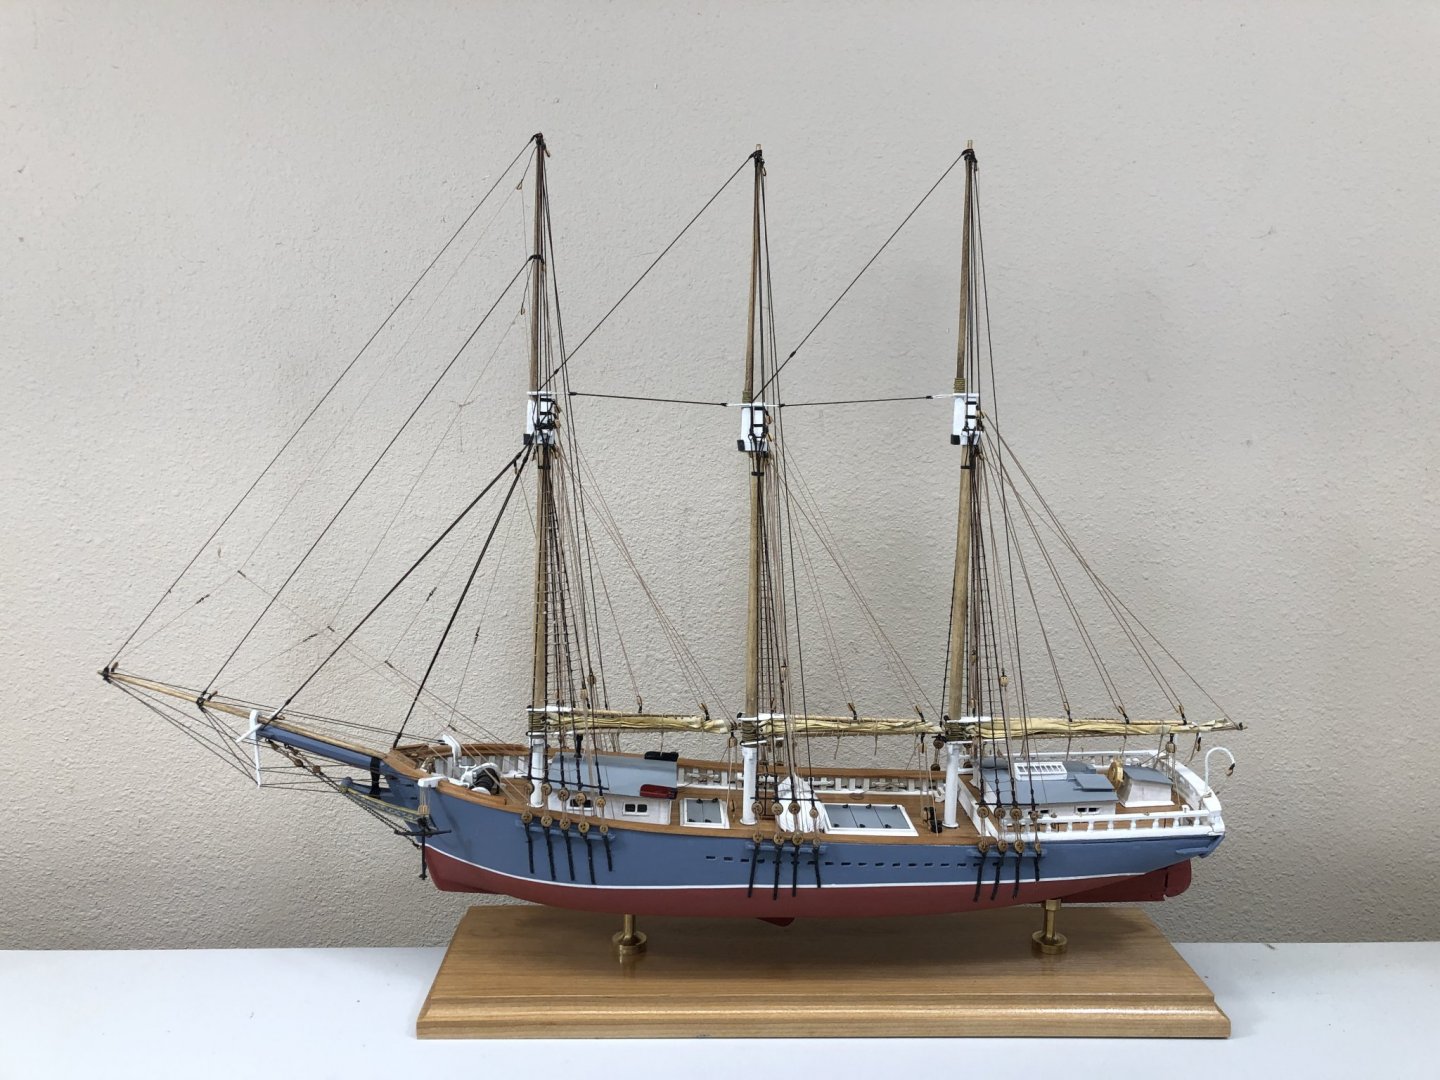
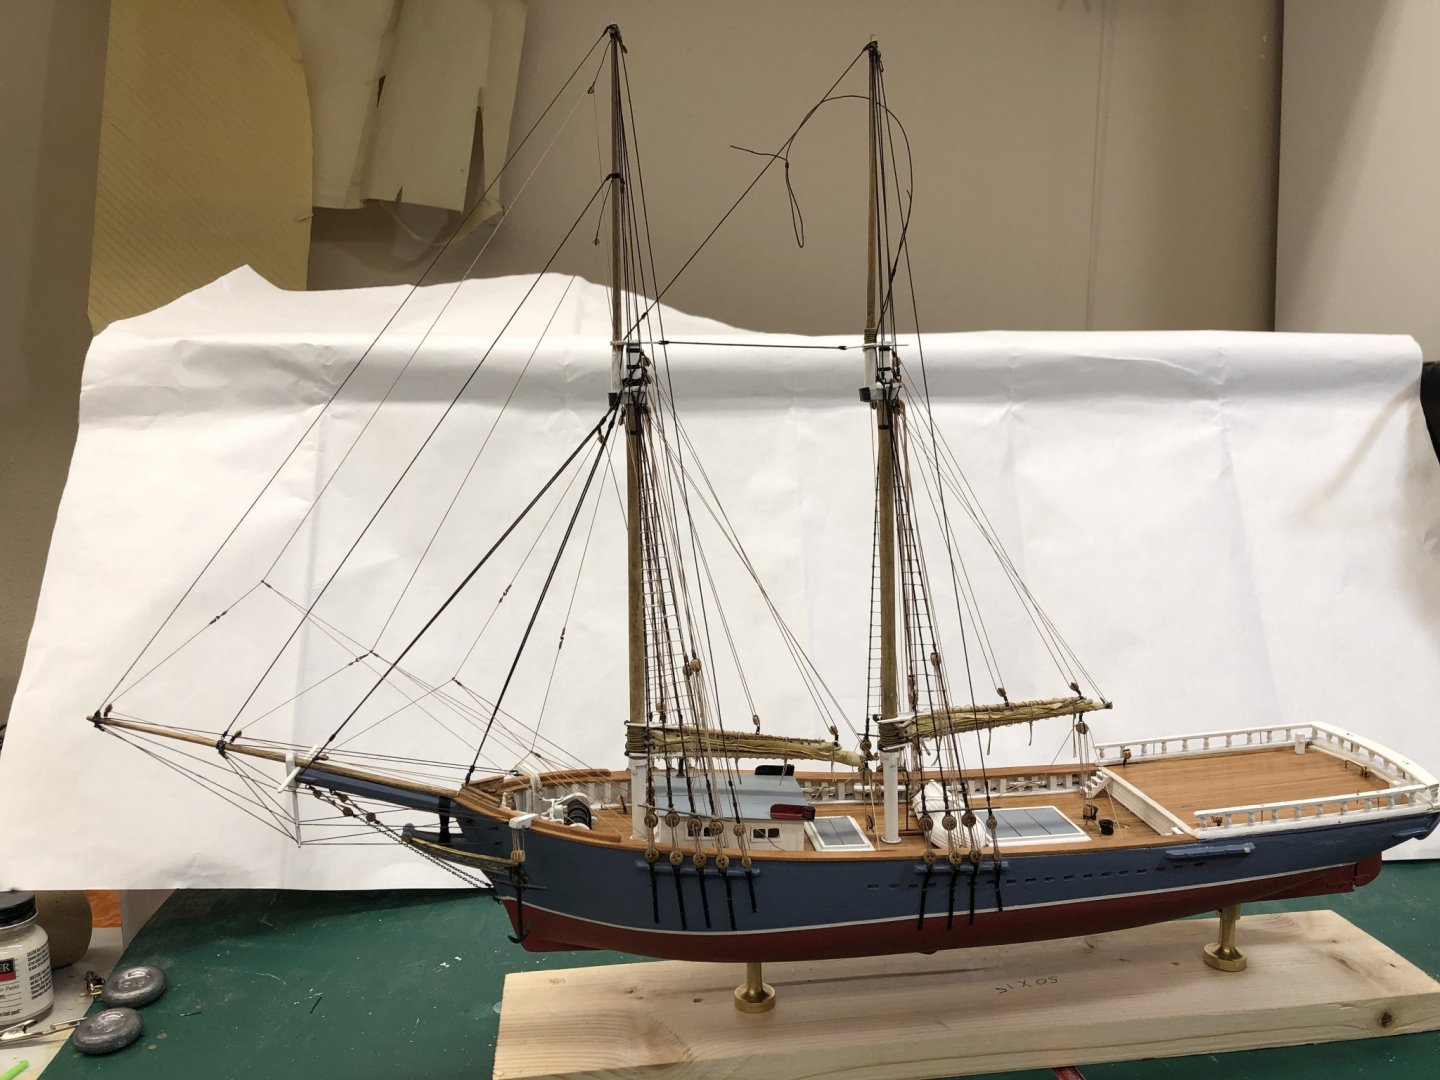
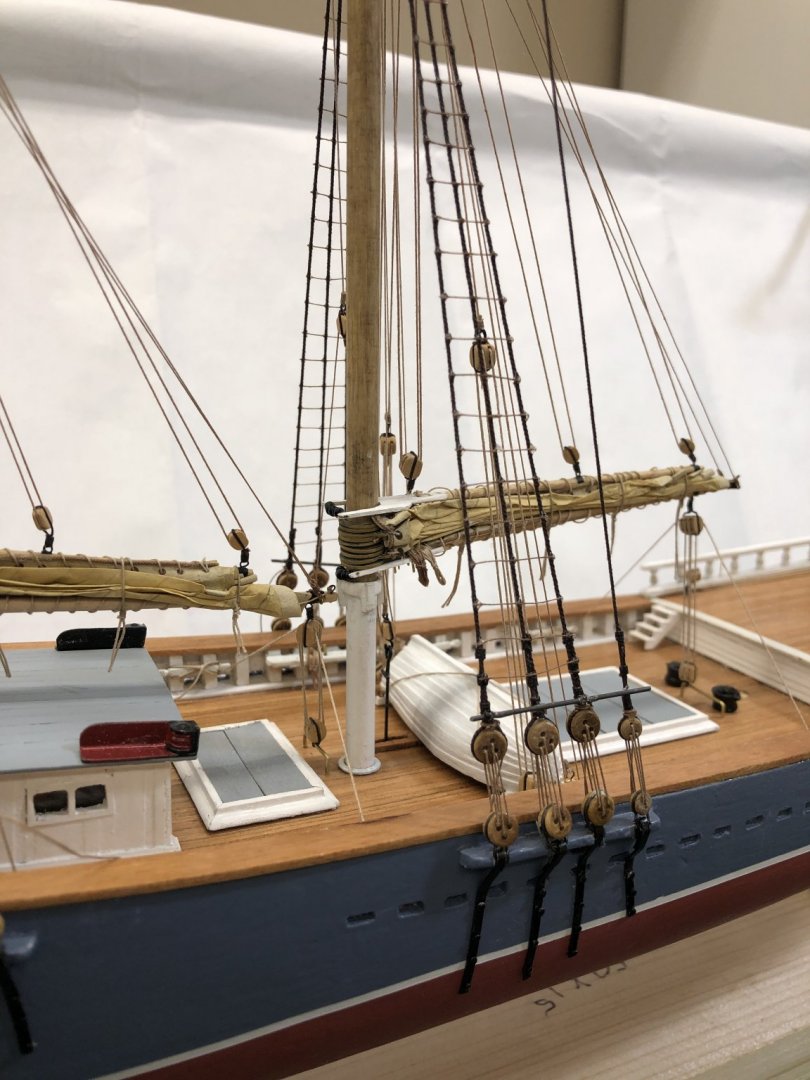
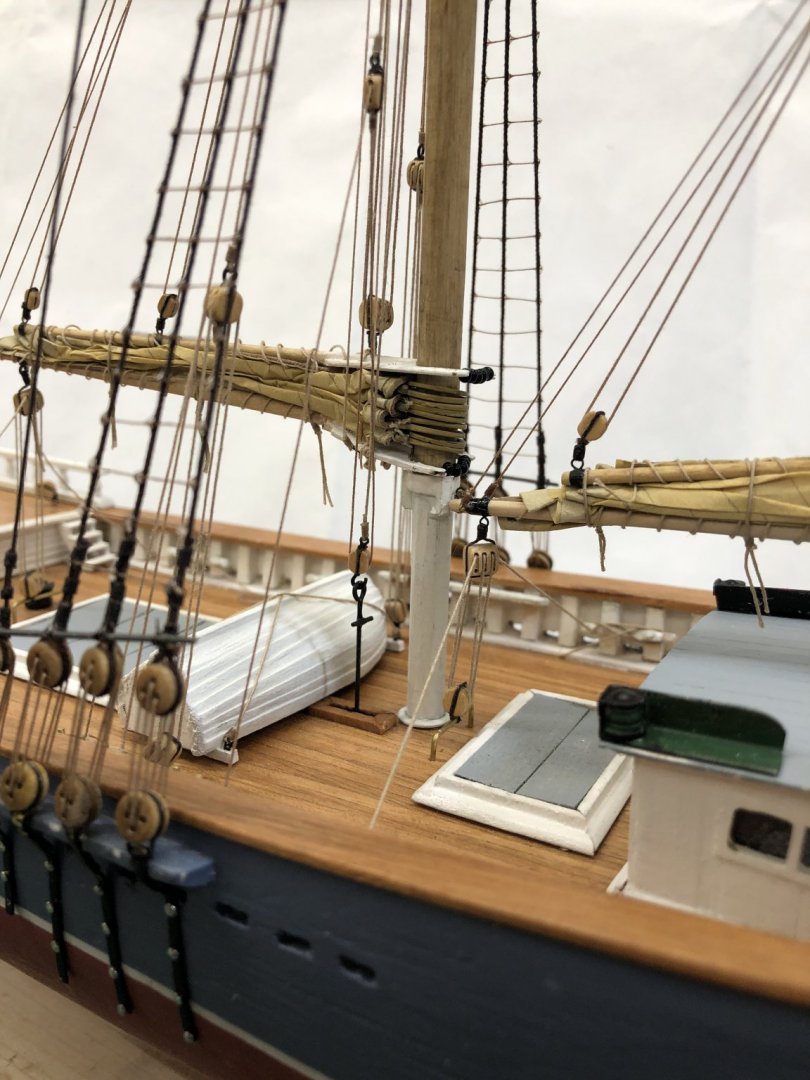
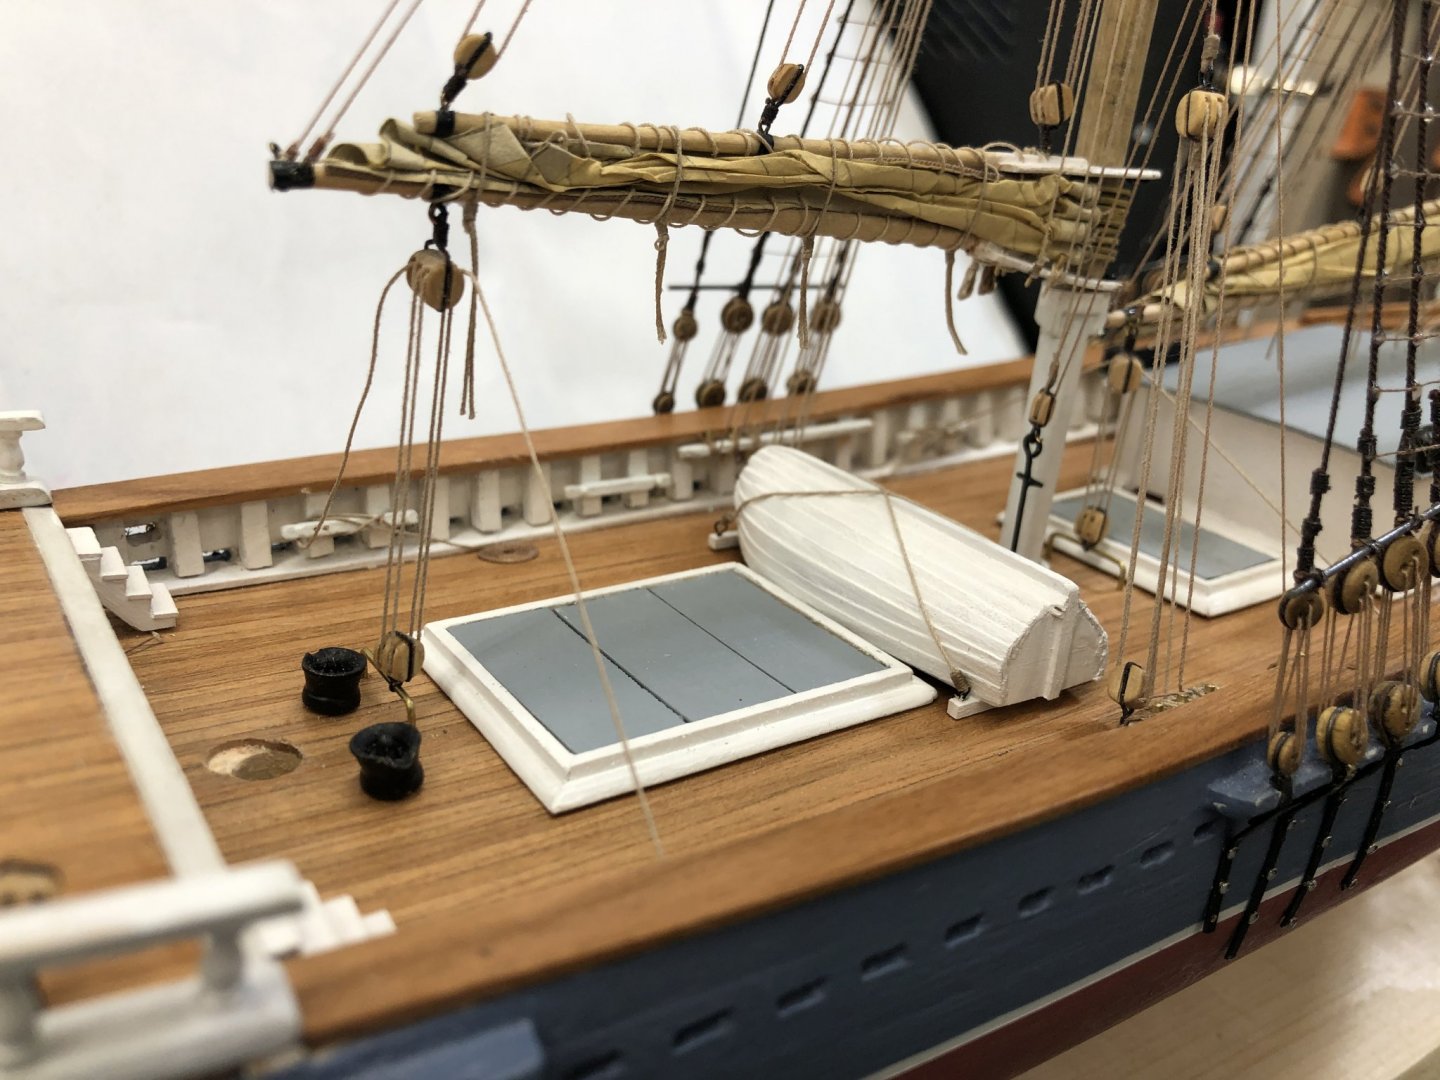
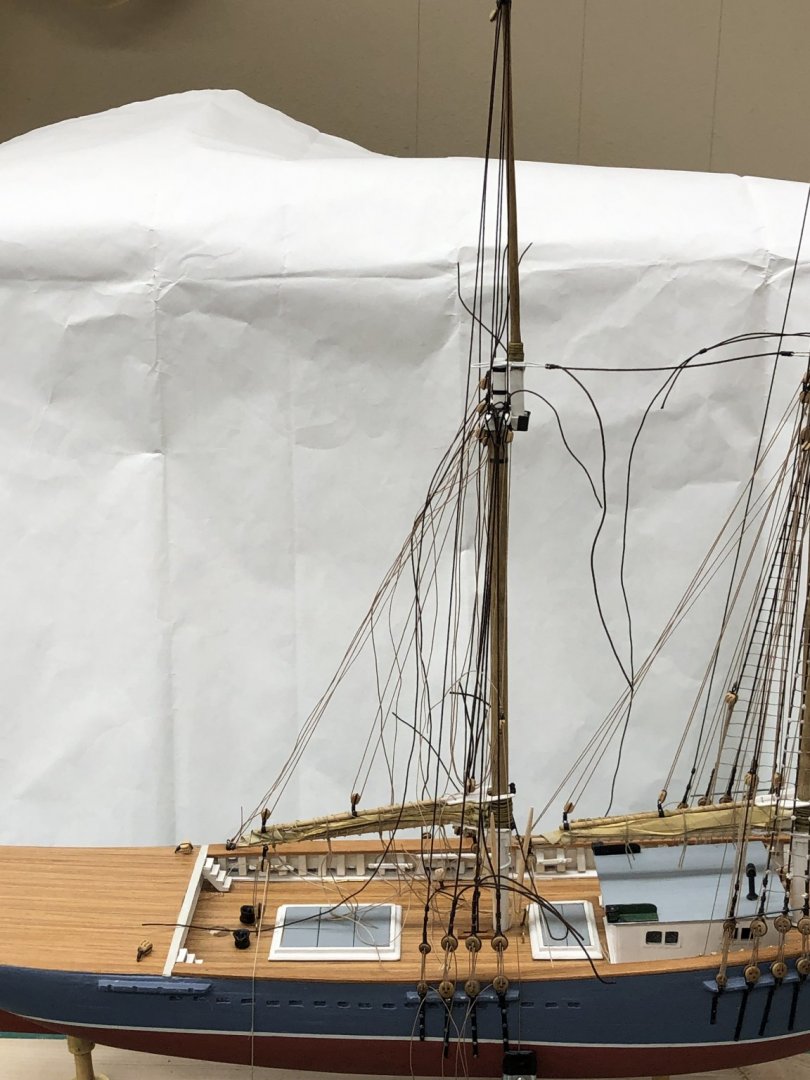
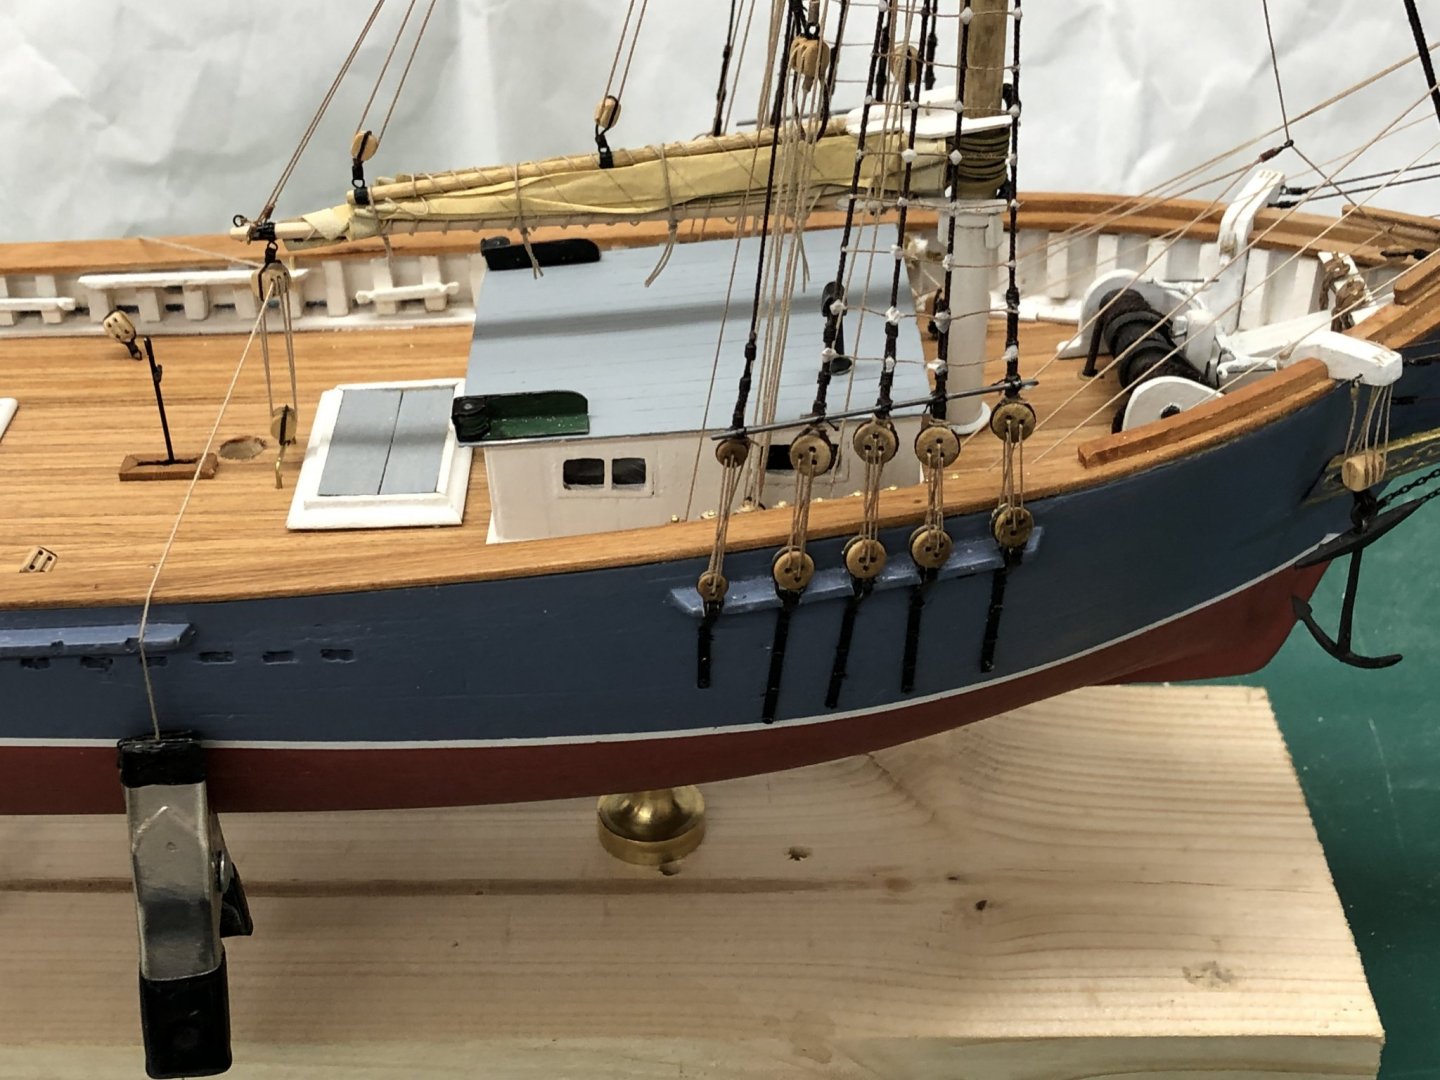
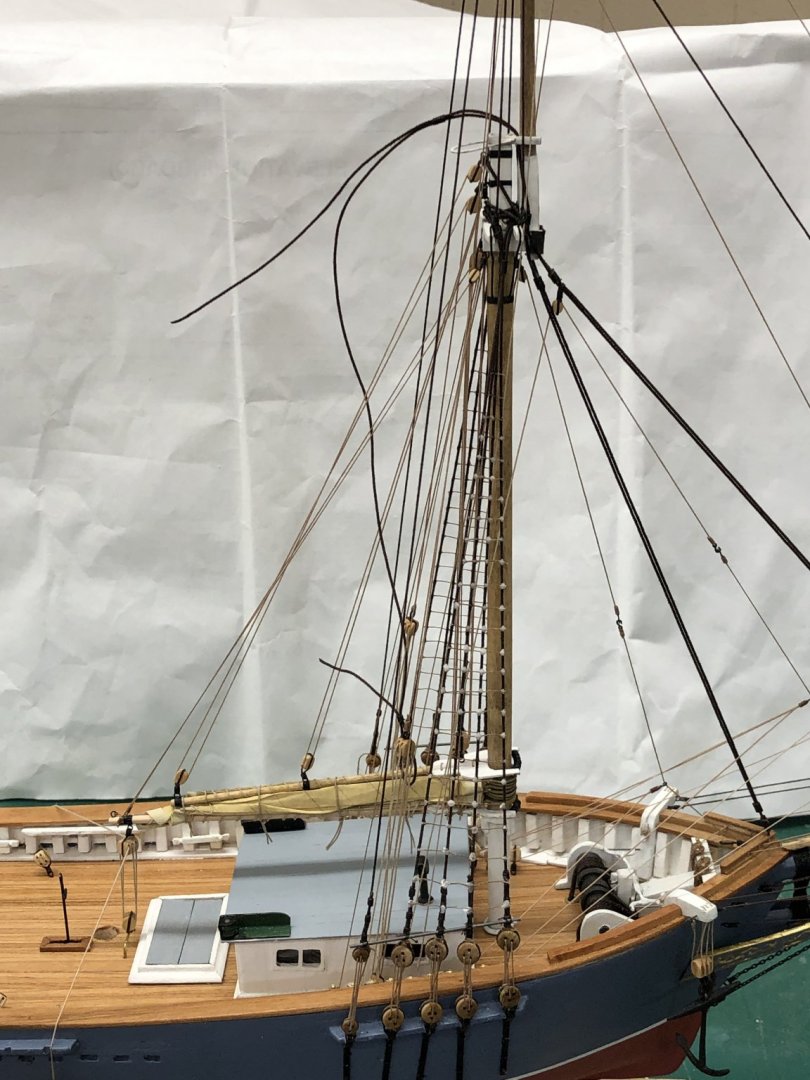
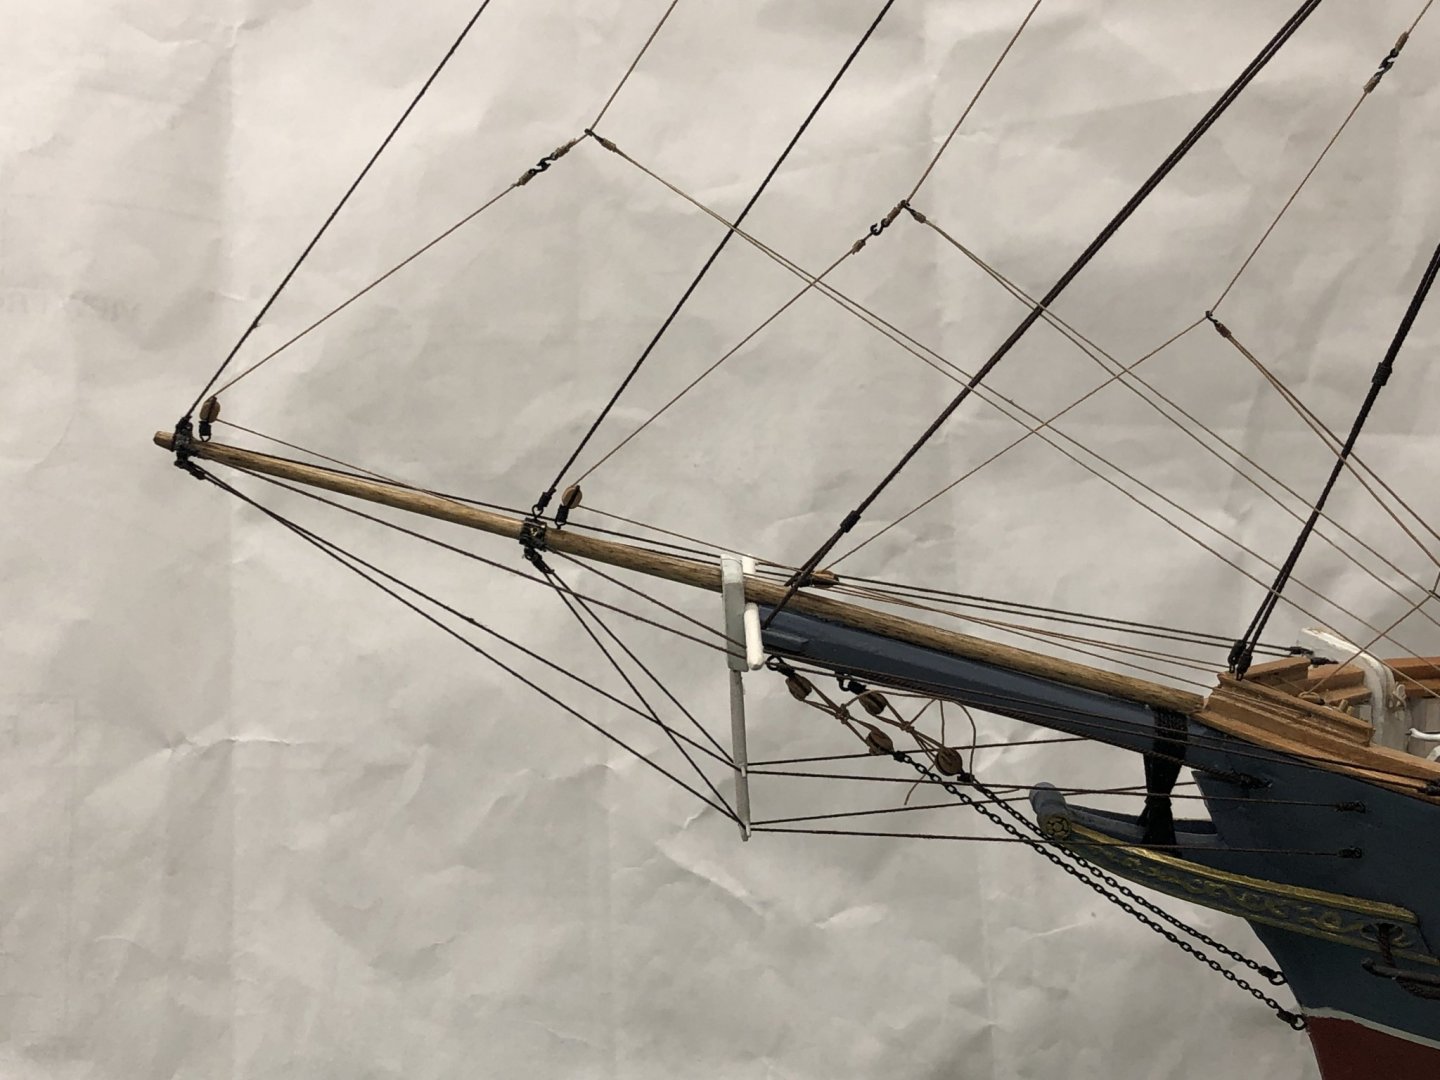
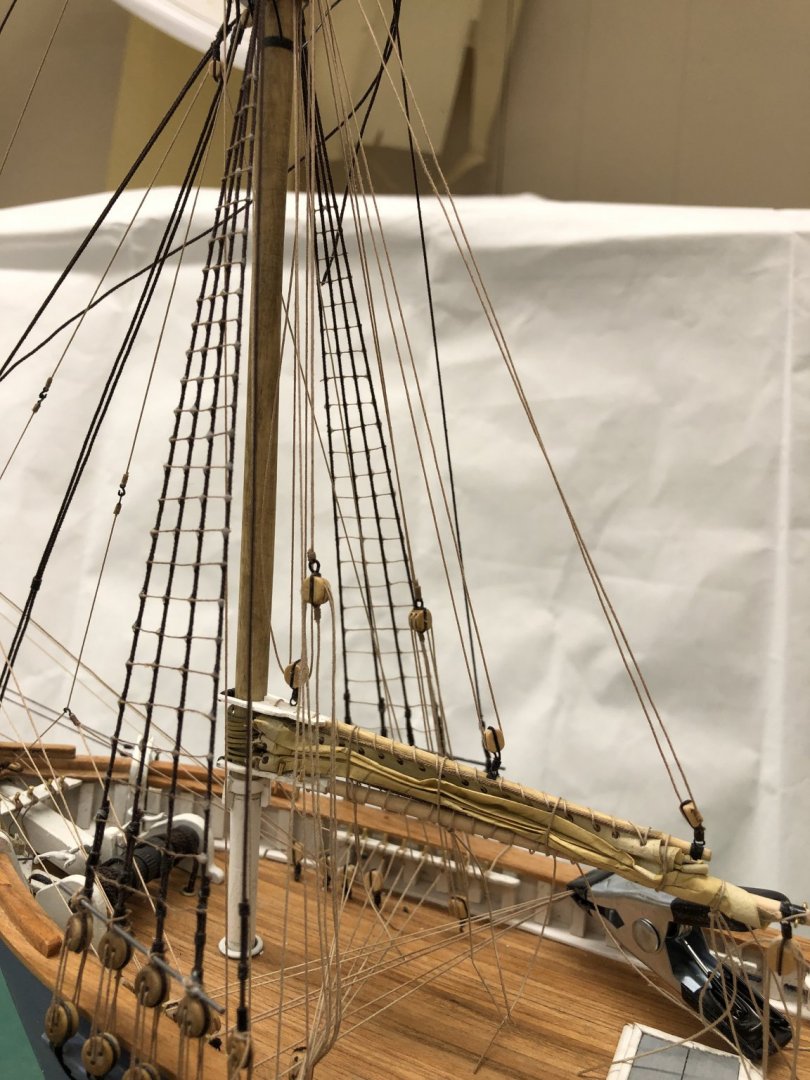
The Fannie A. Gorham model is complete! I think the "inverse rake" (leaning forward) that appears in some of the photos is caused by the Canon 10-22mm wide angle lens. I can't get back enough to use the 100mm macro lens. Compare the two photos below. The first was shoot with the Canon, the second with my iPhone 10. I think the second comes closer to the reality I see. So here some more pictures, more than anyone would really want to look at but since I took them here they are.
- 166 replies
-
- fannie a gorham
- finished
-
(and 1 more)
Tagged with:
-
- 166 replies
-
- fannie a gorham
- finished
-
(and 1 more)
Tagged with:
-
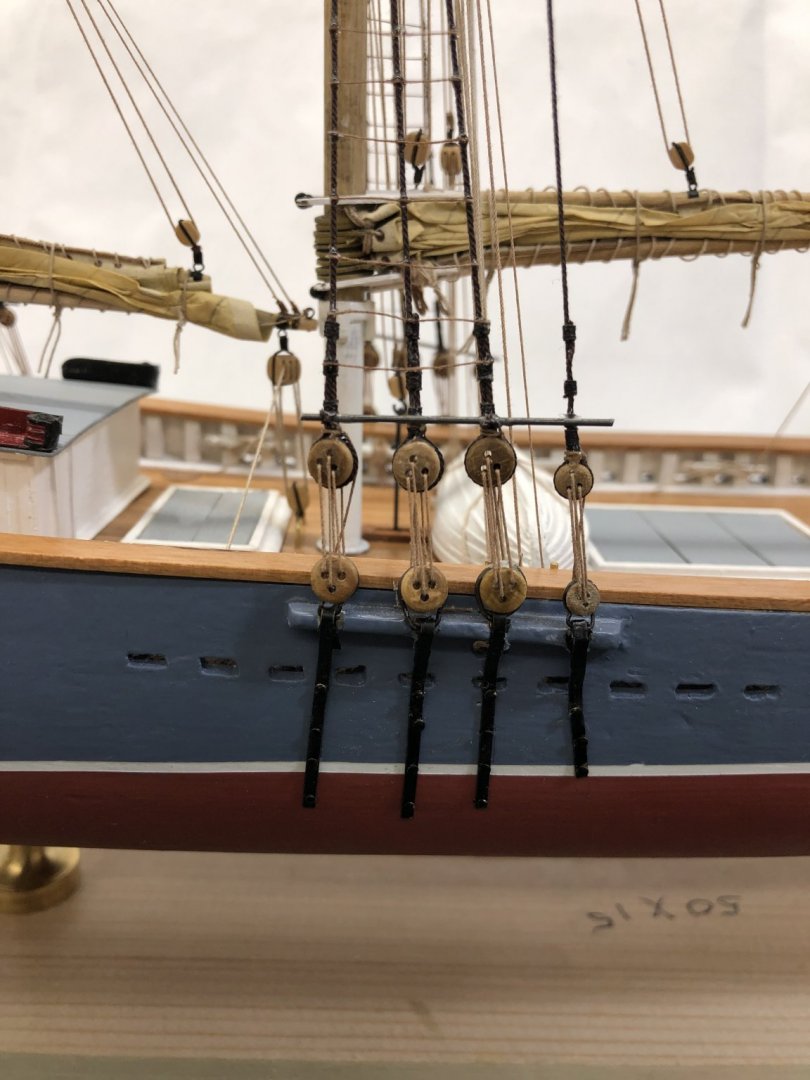
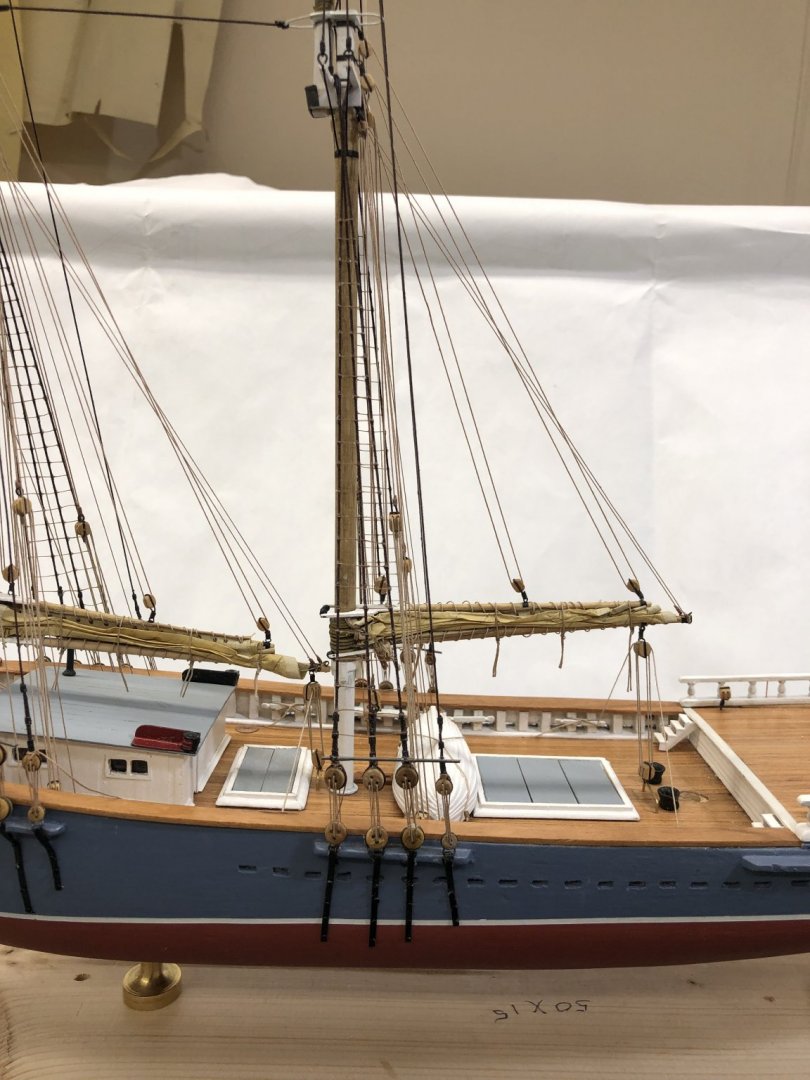
After what seemed like one difficulty after another (I pull the cavil off the bulkhead trying to get the boom tackle taught on both sides for example) I finally have the Main Mast onboard and all the standing and running rigging secured except for a rope coil for three which have been made up, and are drying "as we speak". So it will be on to the Mizzen tomorrow baring some catastrophe overnight. Here are so shots of the model with emphasis on the main mast area.
- 166 replies
-
- fannie a gorham
- finished
-
(and 1 more)
Tagged with:
-
Main Mast has been stepped. I have the deadeyes attached to the shrouds on both sides but ran into some difficulty getting one of the chain plates to mount correctly. After considerable efforts I finally gave up and had to fab (and drill and paint) a new one. I did get all the running rigging "hung" and routed so once I get the shrouds straightened out and the ratlines done it will simply be a matter of sorting the lines out (no crossed lines hopefully) and getting them to the belay points. I ran out of the white PVA glue I had been using and was "forced" to shift to something else. I had several containers of various carpenter (aka yellow) glue in the cupboard but decided to start using a container of Weldbond "universal adhesive". I remember from somewhere (one of Bob Hunt's practicums I think) that Weldbond is soluble in rubbing alcohol which turned out to save the day when I somehow (inattention to detail again I suspect) glued the deadeye to one of the shrouds at the wrong place. Since I had used Weldbond to connect the deadeye and the line, as well as the seizing to the line in was a matter of soaking the offending deadeye in rubbing alcohol for 15 minutes or so and then pulling the seizing and line away from the deadeye. Some wiping with an alcohol soaked rag and waiting 30 minutes to make sure all the alcohol had evaporated and everything was ready for reattaching the deadeye in the correct location. I will continue with the Weldbond for all the deadeyes on the mizzen. Anyway, here is what the "good" side of the Main Mast looks like at this point. Sorry for the rats nest but all the running rigging is there as well as the ends of the shrouds which have not been cut off yet.
- 166 replies
-
- fannie a gorham
- finished
-
(and 1 more)
Tagged with:
-
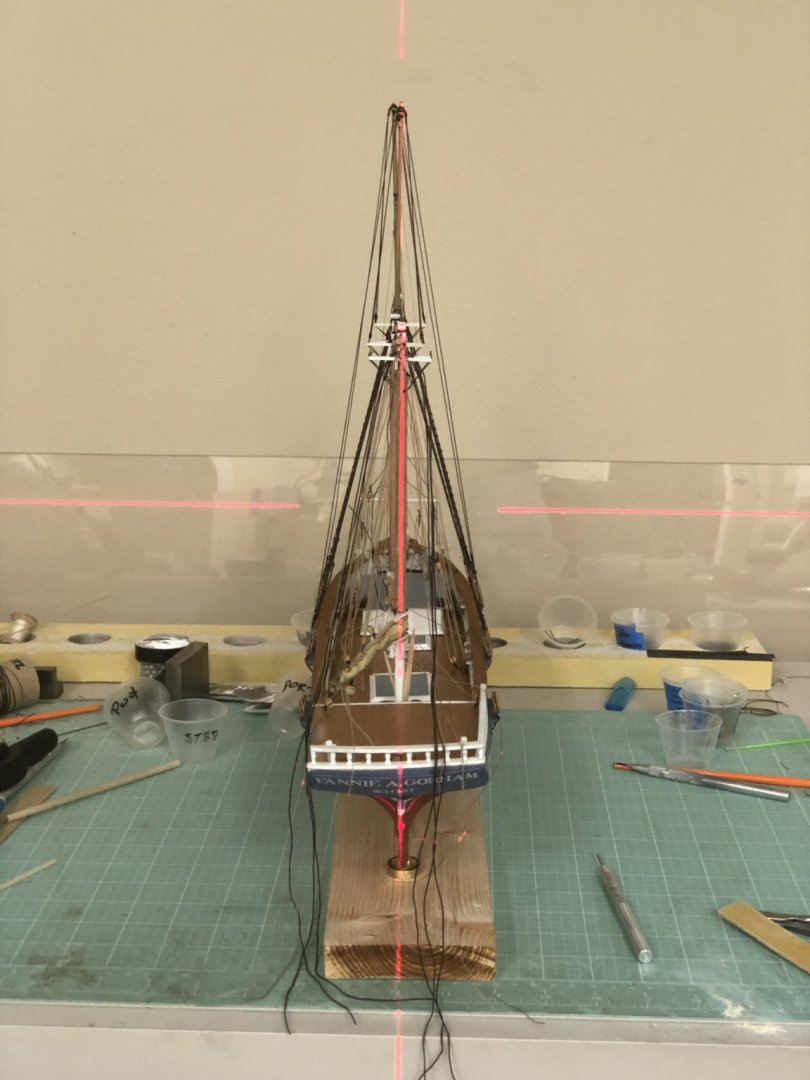
It is time to step the Main Mast. Unlike the Fore mast this time I took the time and cleaned up some of the things I had to do on the Fore while it was onboard. I tightened up and secured the gaskets holding the sail in place (and holding the gaff to the boom against the pull of the peak halyard), put a pin in the boom jaw to hold the boom down against the pull of the throat halyard, installed rope coils on the jaw belaying pins for the topsail tack and sheet, installed the gate the would hold the topmast and made sure the topmast follows the lower mast (not leaning back or forward). Here is my setup for checking the mast alignment (and my messy workbench). I turned the model around , although the main mast is offset to port from the fore there is enough "stuff" in the way that I think this works better. I checked both "roll and pitch" and the roll was okay but I toned down the pitch (rake) - trying to not make it noticeably more than the fore. I added wedges at the mast base to keep this alignment and will pull them out assuming I can keep this alignment through the rigging process. If I still need them I will add a drop of glue and cut them off at the deck - the mast coat should hid them.
- 166 replies
-
- fannie a gorham
- finished
-
(and 1 more)
Tagged with:
-
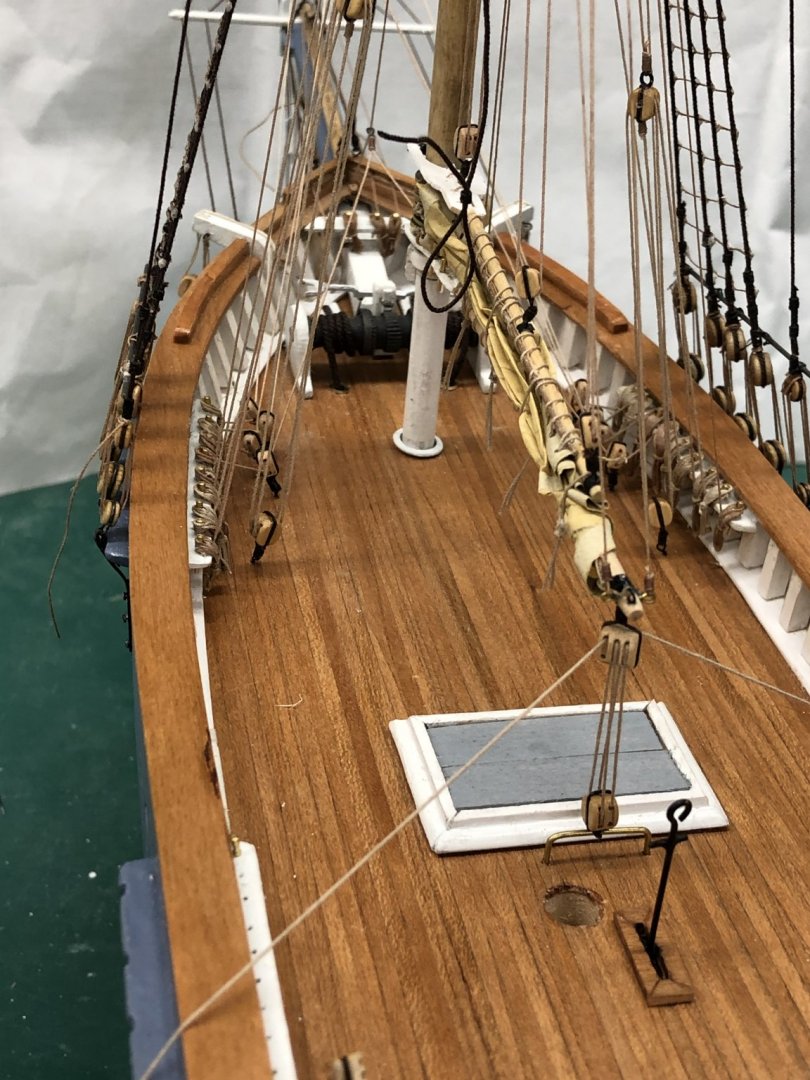
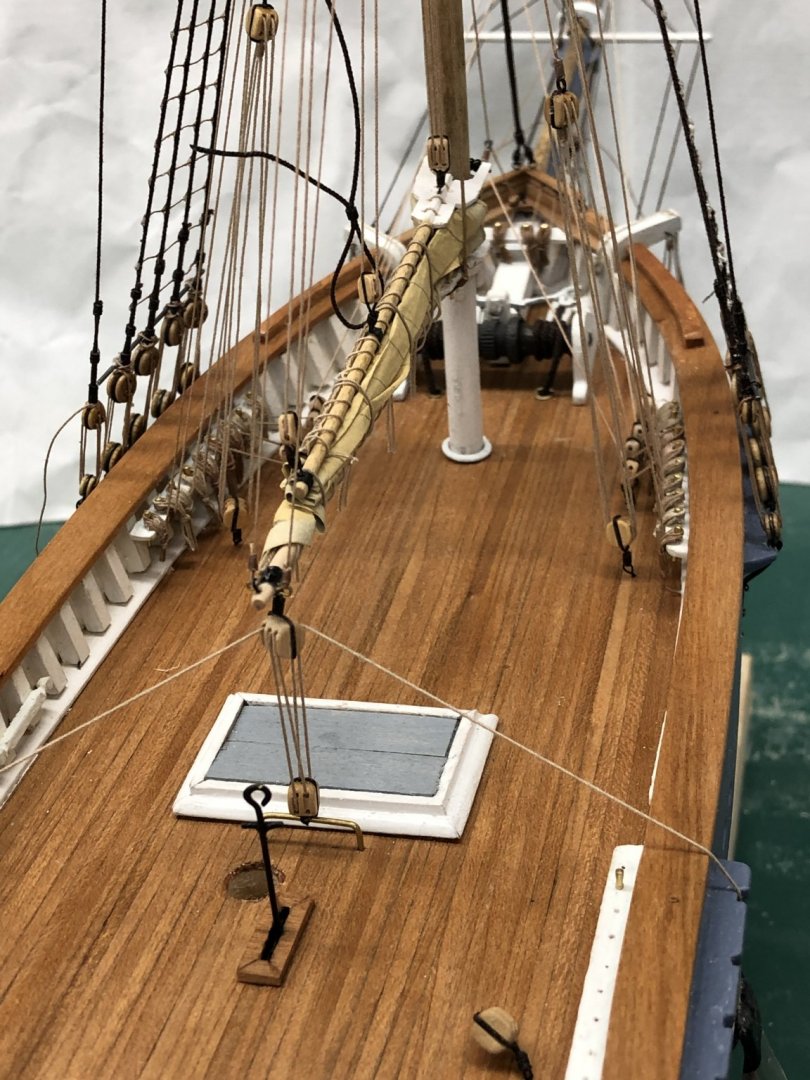
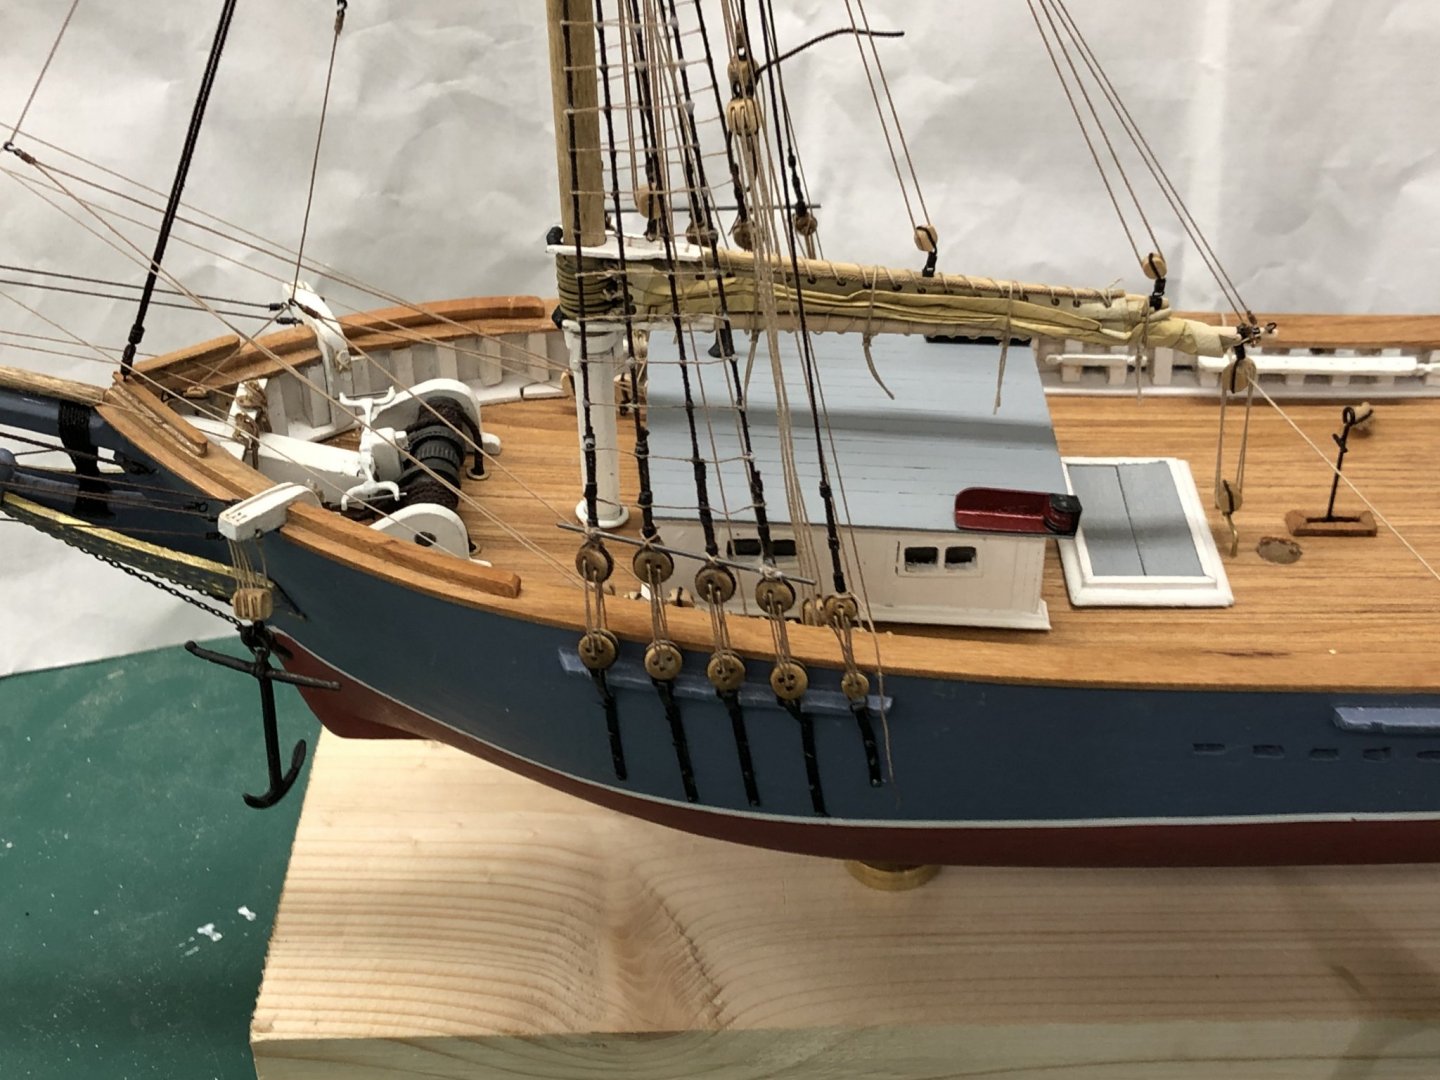
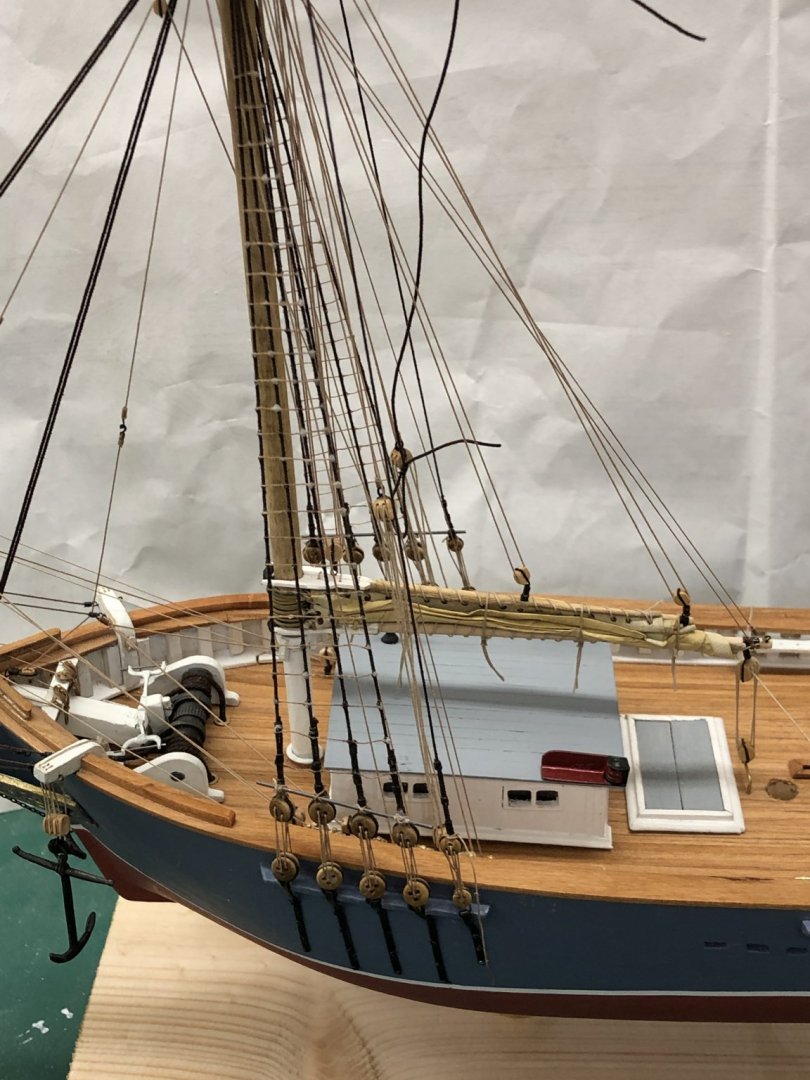
I am declaring the forward third of the Gorham complete (pending a bit of touch up). I got the rope coils on all of the belaying pins used, except the topsail halyard which is on the boom jaw and since the other end is also at that level there would not be much line left. Speaking of rope coils here is my jig of creating them and storing them until needed. I have a spreadsheet which lists all the rigging lines and lays out the color and size of the line (as well as all the other tackle (blocks, eyebolts etc.) needed. I use the spreadsheet to match the belaying pins with the size and color of line used for that particular line. Over the years I have used a multitude of jigs for creating rope coils of belaying pins. Because this is my first model at 1/8" scale I had to build new ones as all my existing ones would make coils too large to fit the relatively tiny belaying pins at this scale. So here are some shots of the model, first without the deck house and then with (although it is not yet permanently attached.
- 166 replies
-
- fannie a gorham
- finished
-
(and 1 more)
Tagged with:
-
I have completed rigging the lower shrouds, backstays, topmast shrouds, all four head stays, the four down hauls, halyards and sheet lines for the head sails. I also rigged the peak and throat halyards and their whips. This along with the Fore top sail halyard (I have decide not to rig the topsail sheets and tacks as the block for the sheet I did not install on the gaff and most of this rigging would not be obvious since it would run under the gaff which is not visible with the gaff lowered as it is on this model) and the topping lifts (they are next) will complete the rigging for the Fore Mast - except for those items which terminate on the main mast. All of the running rigging is currently belayed on the pins according to the instructions but nothing has been glued in place yet. My plan is to let the current arrangement sit overnight to see if anything comes undone or I find lines crossed. I will make whatever changes (none hopefully) in the morning and then put a drop of white glue on each of the belaying pins. When the extra lines are clear I will add rope "bundles" which I have been making "on the side" which waiting for glue to dry. Here are some pictures of the model as it looks now.
- 166 replies
-
- fannie a gorham
- finished
-
(and 1 more)
Tagged with:
-
Stbd side Fore Mast ratlines are done. Not too bad although the white glue is a bit more cloudy on this side for some reason (same glue - same technique ???) so the brown paint I ordered will come in handy. For the other masts I am thinking of initially only gluing the ratline to the outboard shroud and then, when that is dry extend the line across the other two shrouds. My rational is that it is nearly impossible (for me) to only move the line on a single shroud and that even when cut to lengths as short as 3/4" there is still at times some curve to the line which is hard to remove. We shall see if initially only doing one makes things easier. Here is the stbd side - now on to the stays and topmast shrouds.
- 166 replies
-
- fannie a gorham
- finished
-
(and 1 more)
Tagged with:
-
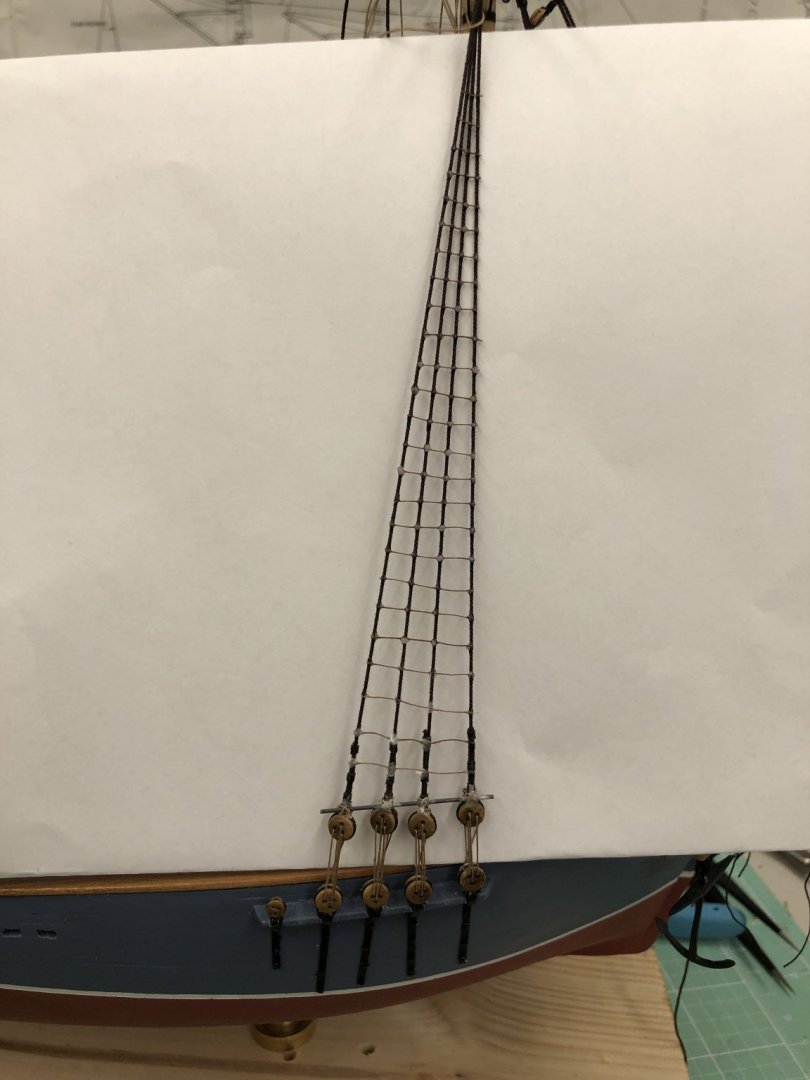
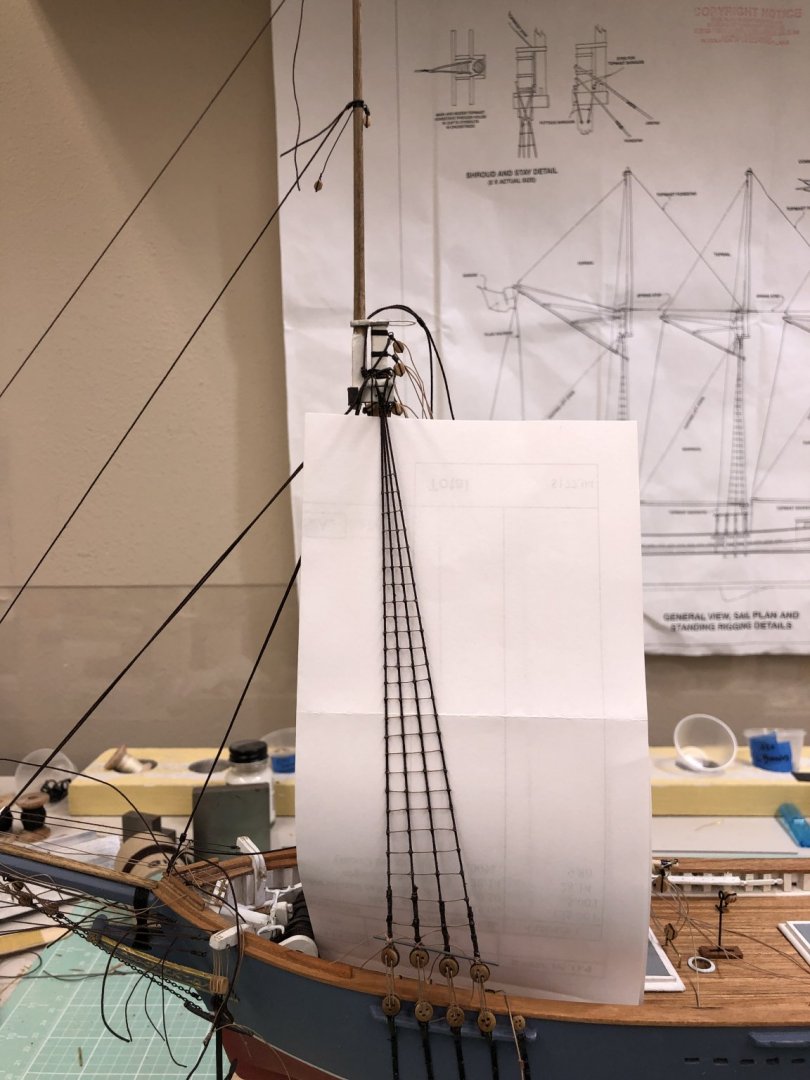
I waited a full 24 hours before cutting the extra line off the port Fore Mast ratlines. It think it looks okay but I have ordered some brown paint which I may use to touch up the glue drops but honestly I do ot find the appearance "as is" objectionable. Anyway here is a picture with a white sheet of paper behind the ratlines to make them more visible. If could change anything I would like the ratlines to be more horizontal. Them tend to be slightly lower toward the bow. It is hard to get a true horizontal reference, especially with the hull on its side. I will try and get something to use a reference for the stbd side. One difference I noted from the plans is that these must be somewhat closer spaced than the plans as I have 25 ratlines while the plans on show 21.
- 166 replies
-
- fannie a gorham
- finished
-
(and 1 more)
Tagged with:
-
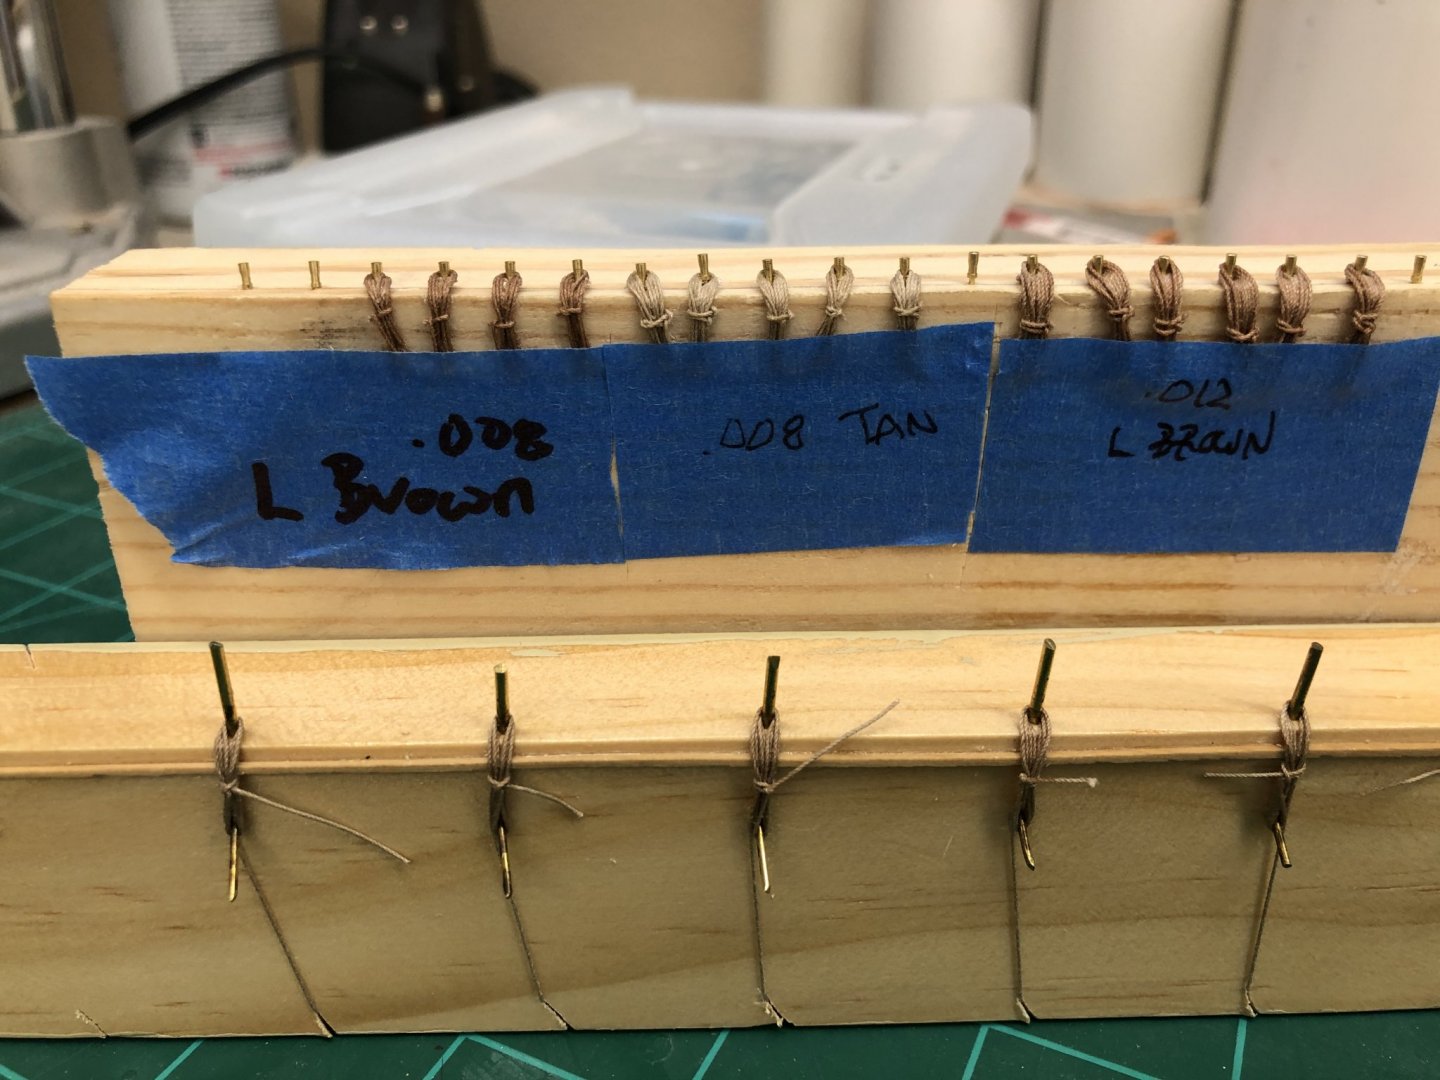
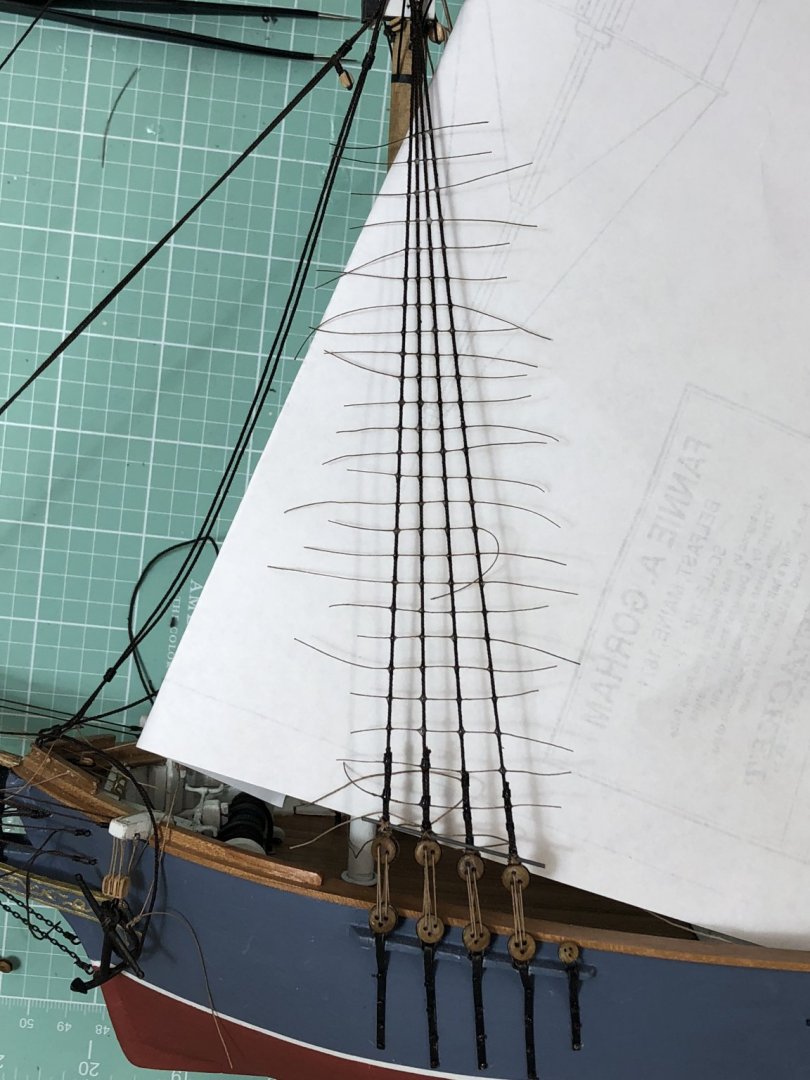
After reading JerseyCityFrankie's blog posts on his build of the Niagara I decided to try his method of attaching the ratlines using only glue. He points out that at the 1/64 scale of Niagara any knot you could tie would be badly out of scale. If true at 1/64 it would be even more so at 1/96. So I laid the model on its side (carefully) and gave it a try. Here is the port side of the Fore Mast before I trim the ends. I put a drop of white glue on the desired locations and then (carefully) put a piece of ratline (more on these below) into the glue. I gently "tug" on the line once in place to get in sunk into the glue drop. After the first drop sets up I add a second drop and then let it dry overnight. Clearly I have not had the experience of trimming all these but hopefully it is no worse than trimming after tying all those knots. I will say at least the installation is much faster than using knots, at least with my slow and clumsy fingers. Waiting for the glue to dry is the limiting factor on how long the entire process takes. On previous builds I used black or light brown Syren .008 line for the ratlines. Given the reduced scale here I decided to use Bluejackets .005 linen line. Unfortunately it only comes in white, black and a very light beige (aka "natural"). I have read some of the debates on this site on the correct color for ratlines and have concluded that neither black nor tan are probably correct. So I took the tan Bluejackets line and used walnut Minwax wood stain to color it by running the line through a rag with a few drops of the stain applied. I seems to make a color between the Syren Dark brown and Light brown although that is not obvious in the picture. For consistency sake I colored enough line in one session to do all three masts. Next build I will have to repeat this or find another solution.
- 166 replies
-
- fannie a gorham
- finished
-
(and 1 more)
Tagged with:
-
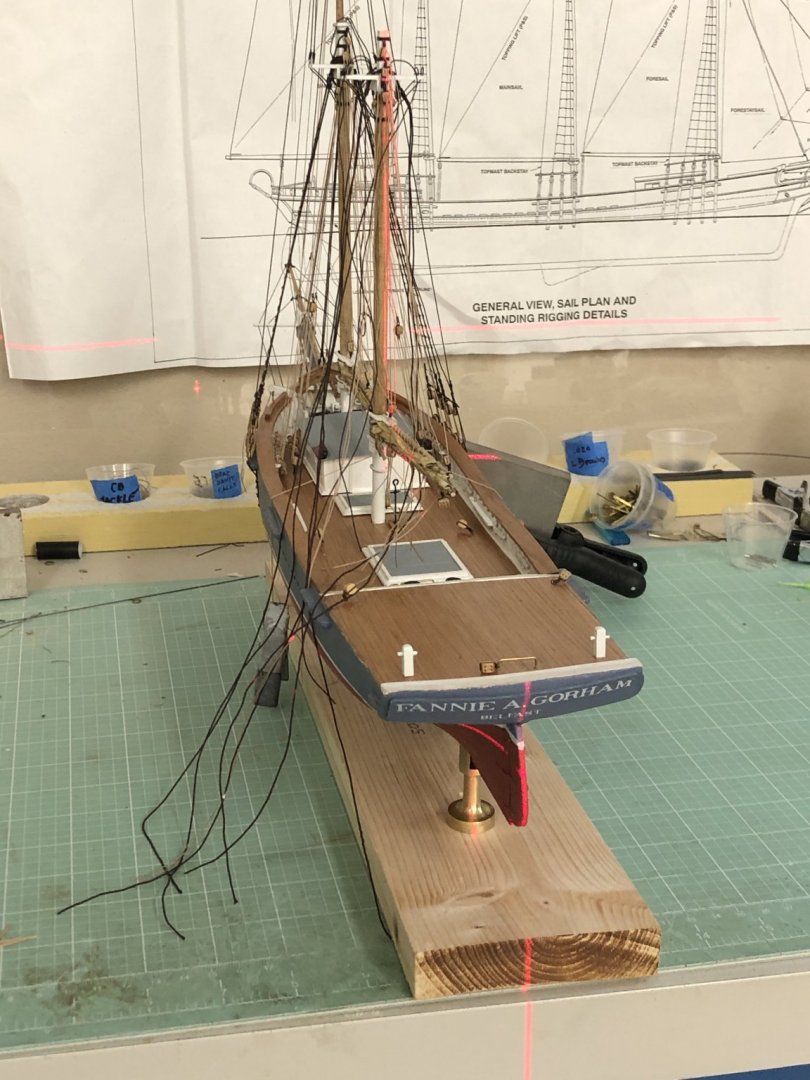
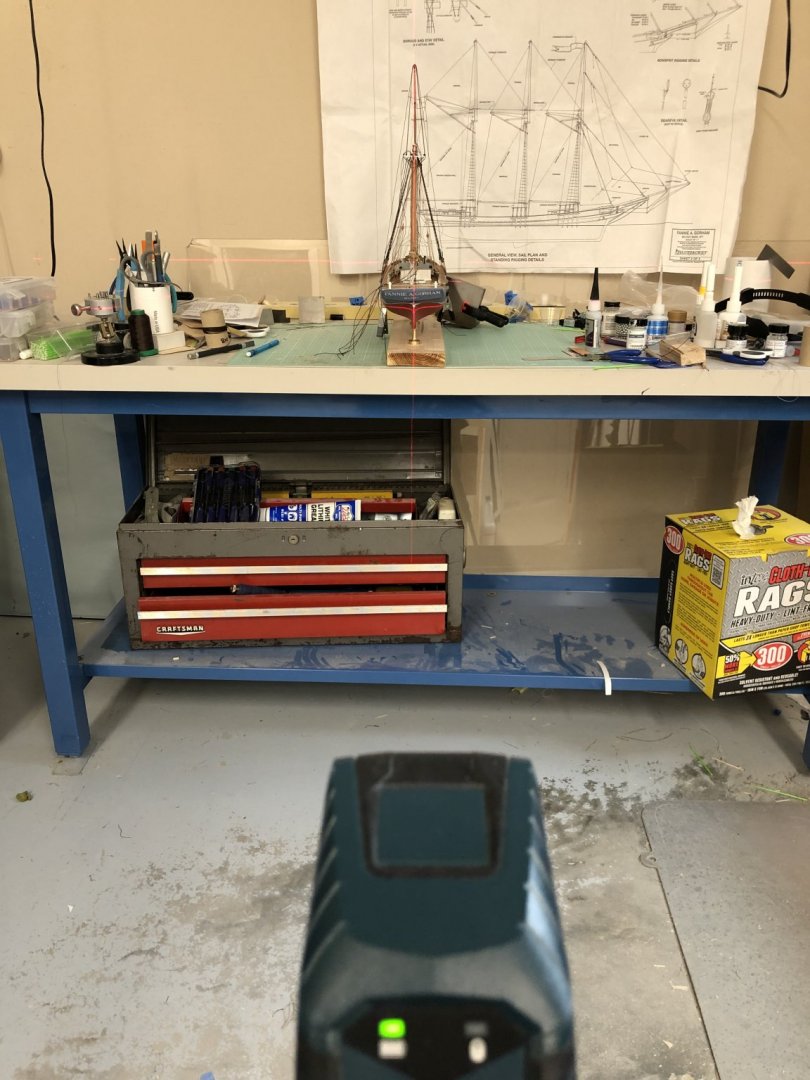
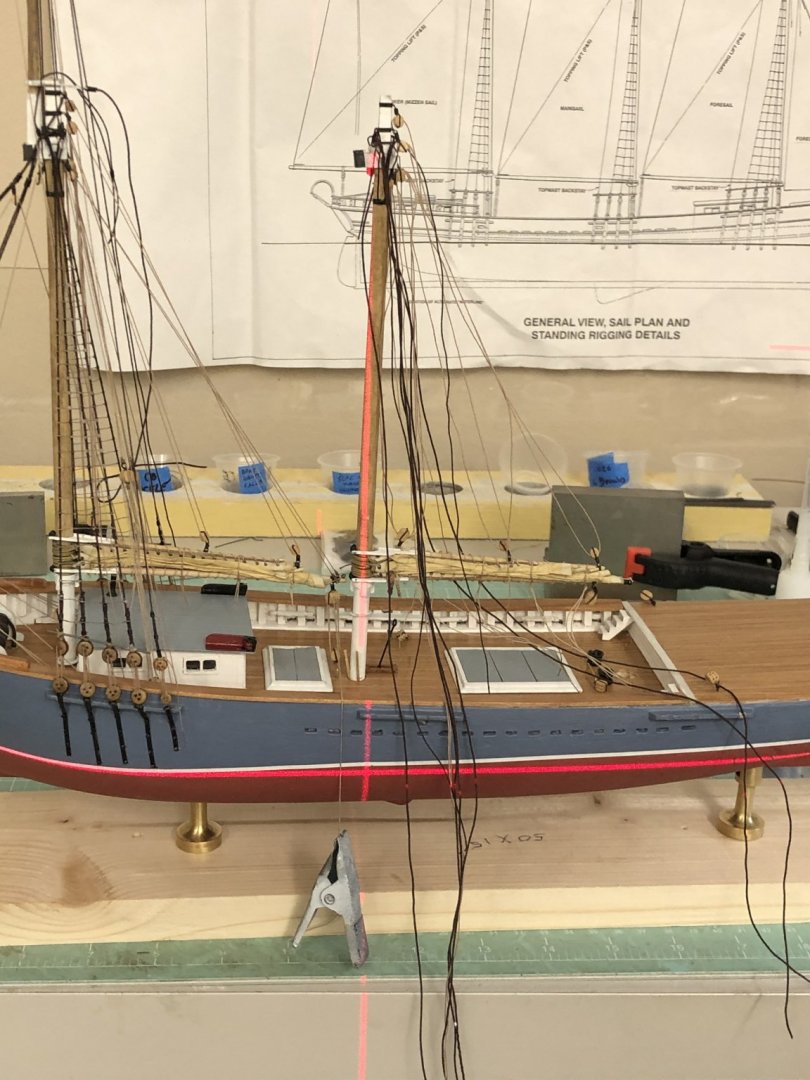
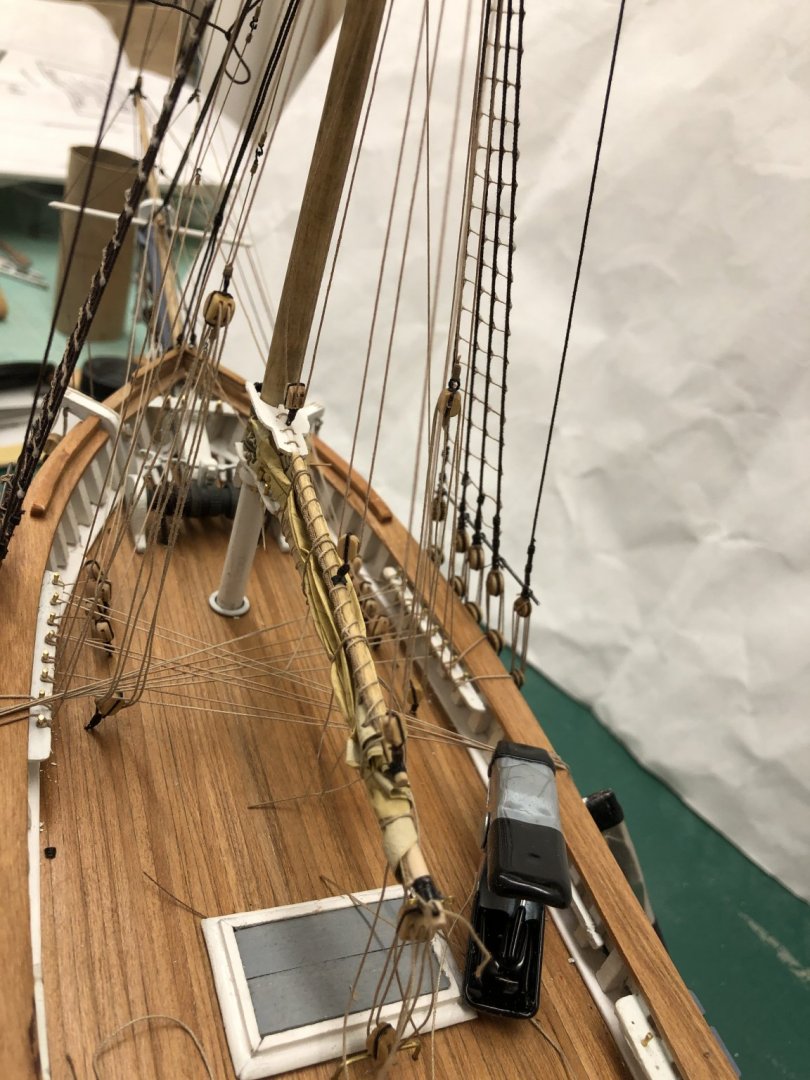
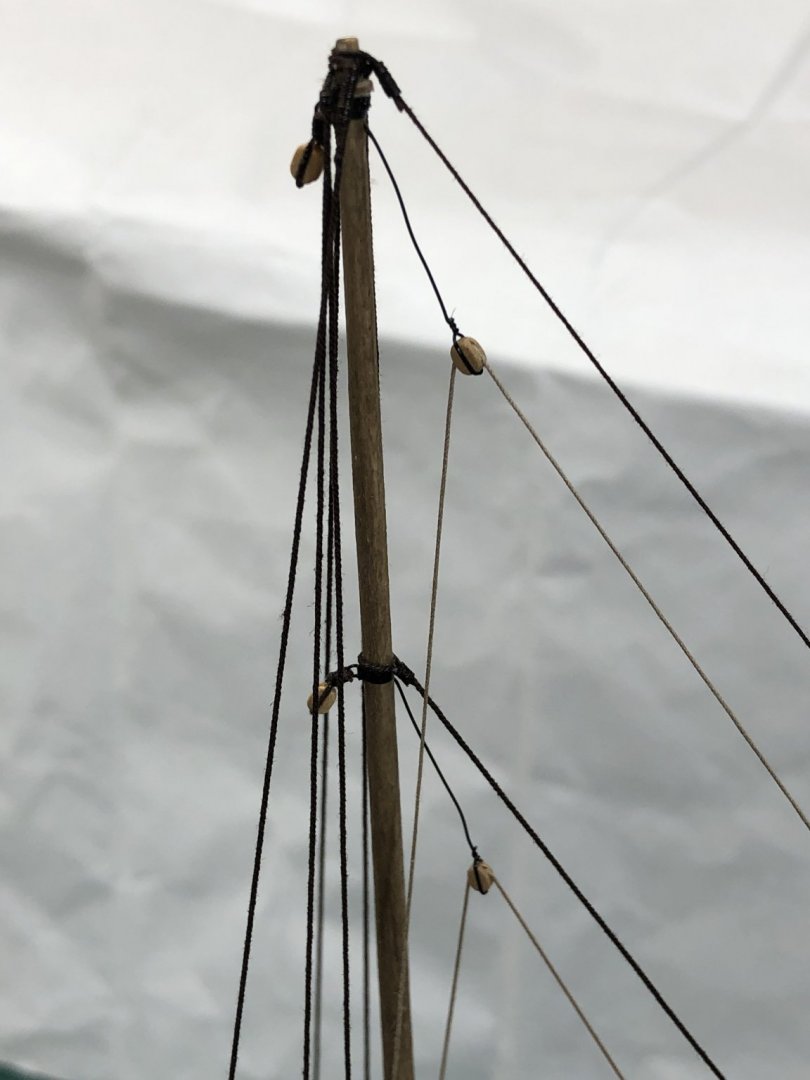
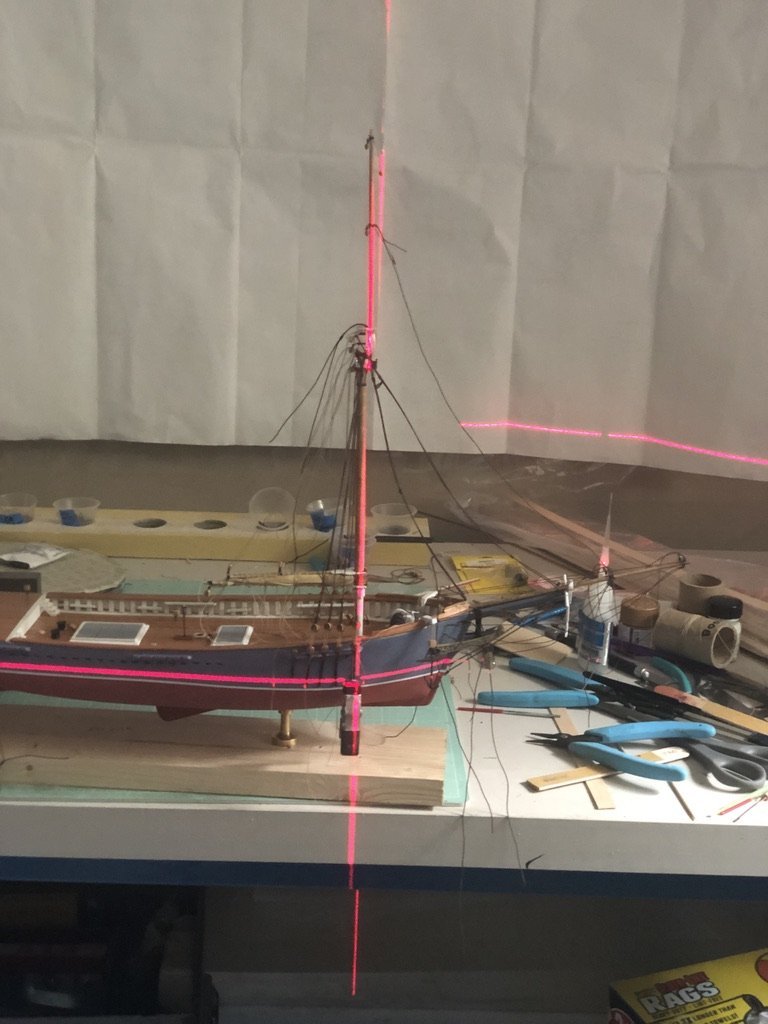
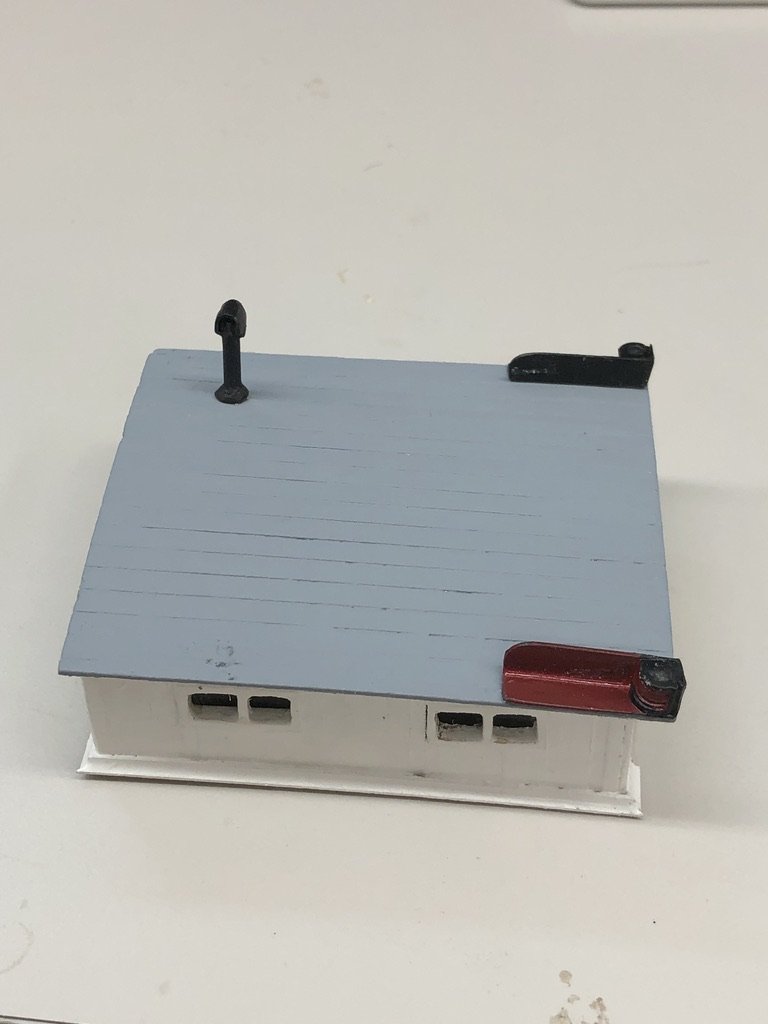
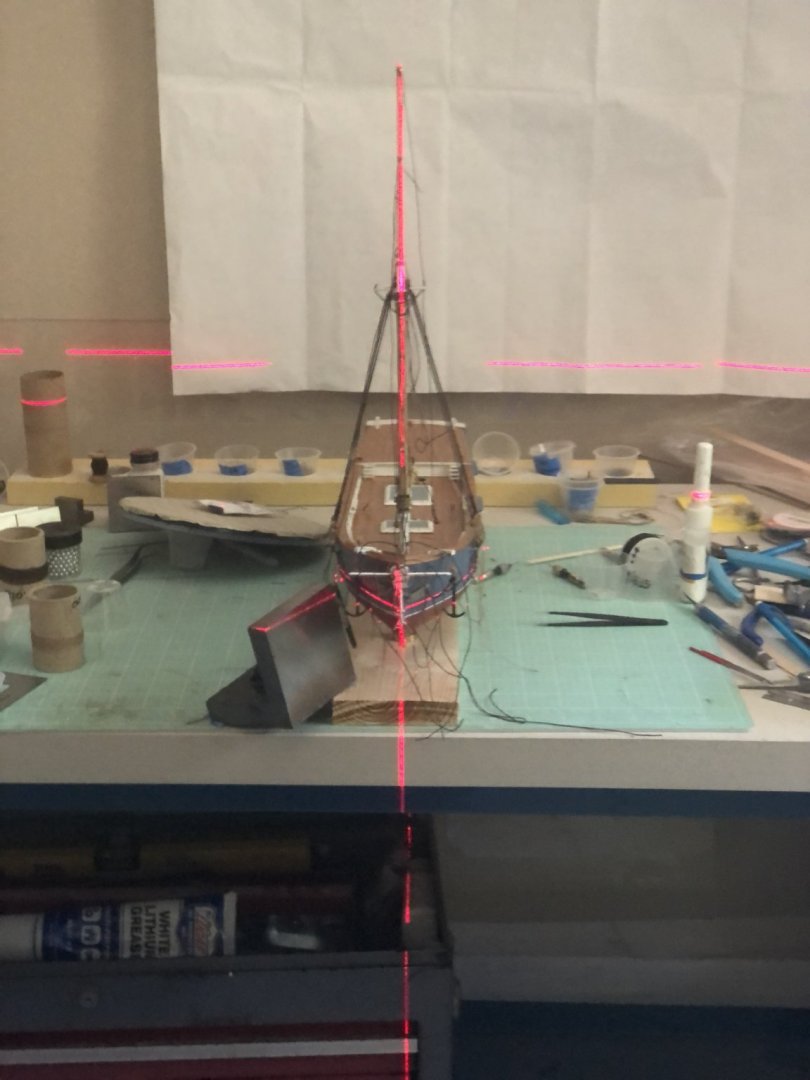
I decided to check the rake of the Fore Mast before I tension the fore stays, although with the topmast backstays, spring stay and Main Topmast forestay yet to be fitted there will be other albeit limited opportunity to adjust the rake, at least of the topmast. I turned the model 90 degrees and lined the laser up on the mast. I appears that the lower mast does indeed rake back a bit as the laser light lines up with the topmast, which is forward of the lower mast. This is probably more than the one degree specified in the instructions but means there is room for the tensioning of the fore stays to move the mast forward without raking the mast forward. I plan to tension at least the fore stay tomorrow so we will see how it looks after that. On another front I found the running lights that are part of the Britannia metal package that came with the kit. However, the instructions and provided pictures of the prototype model and plans are silent on where they should be placed. On previous kits (Bluenose for instance) the running lights were placed in the ratlines of the Fore Mast. However on the Gorham the Fore mast ratlines would be almost completely blocked by the running lights if they were placed there. I can imagine the crew not being enthusiastic about climbing up the mast and having to work around the running lights - not to mention having to climb up every night to light them. So I decided to put them on the cabin roof top at the aft end so they would be visible without being obstructed by the deadeye/lanyard assemblies. Here is the deck house with the lights installed.
- 166 replies
-
- fannie a gorham
- finished
-
(and 1 more)
Tagged with:
-
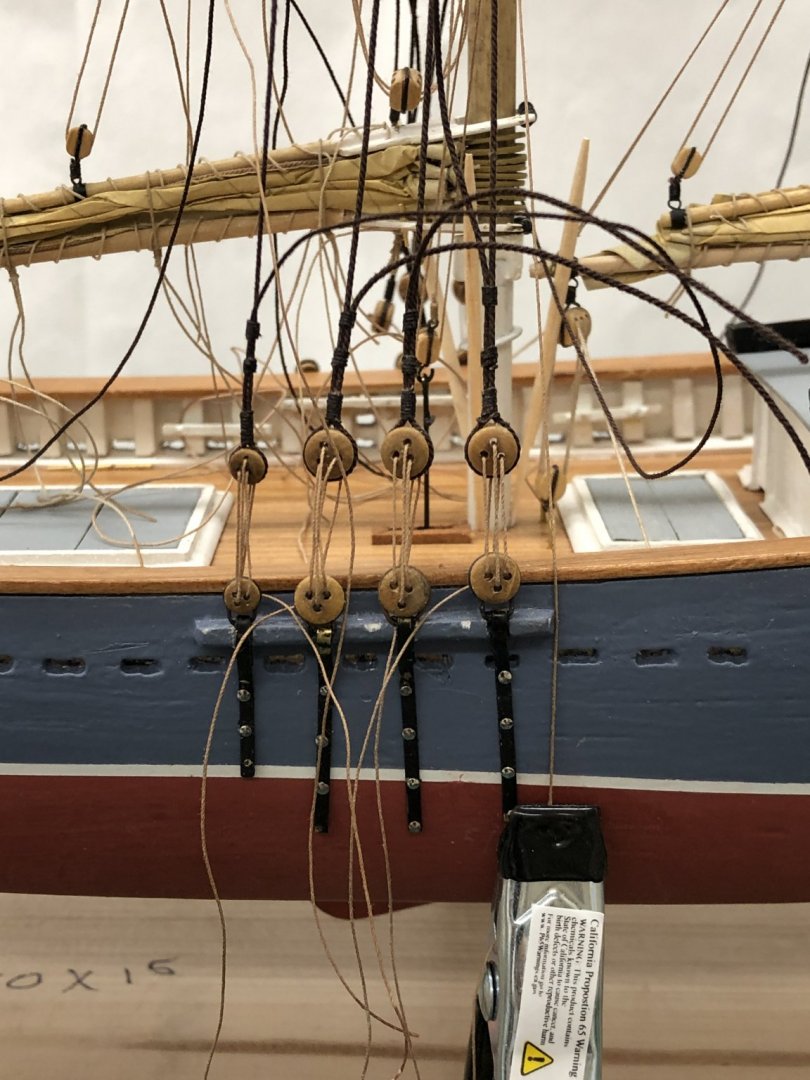
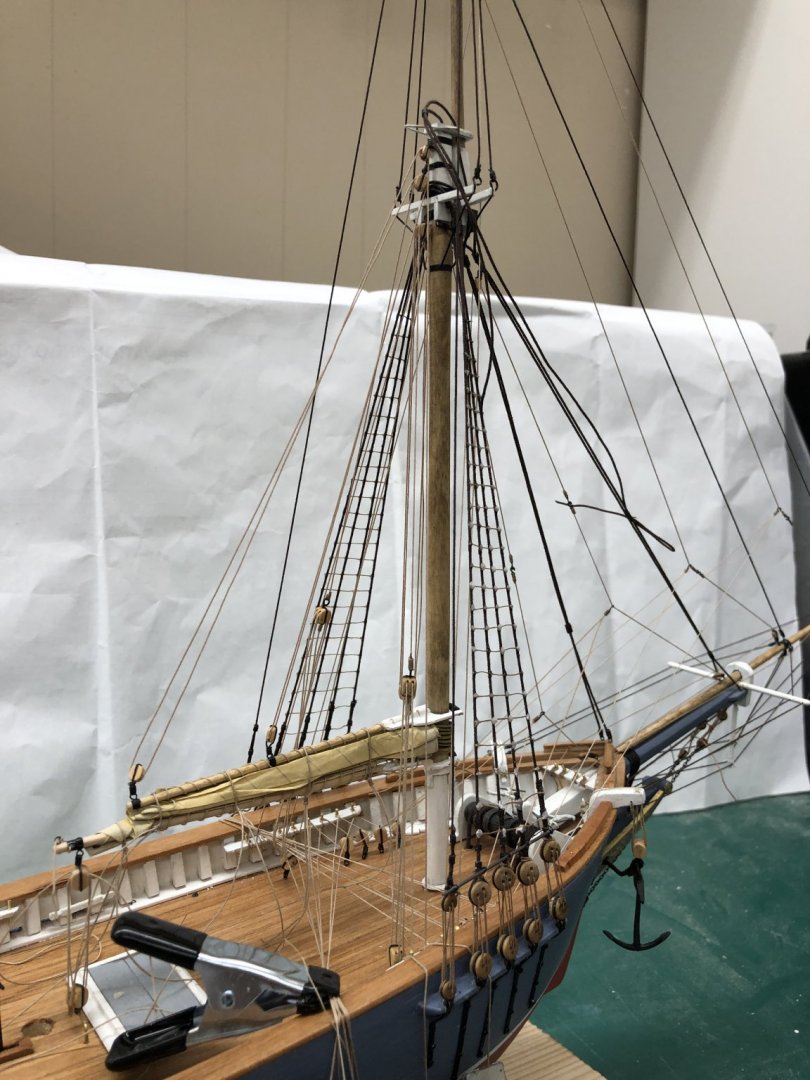
Second attempt on the stbd Fore Mast was more satisfactory. I replaced the aft two shrouds and deadeyes but have yet to cut out the existing set. Hopefully that will not "upset the apple cart here". Here is the stbd side now. The clamp is holding the anchor tackle while the glue sets it to the cleat. Anyway to reassure myself that the mast remains vertical I reran the laser check and everything looks good in that regard.
- 166 replies
-
- fannie a gorham
- finished
-
(and 1 more)
Tagged with:
-
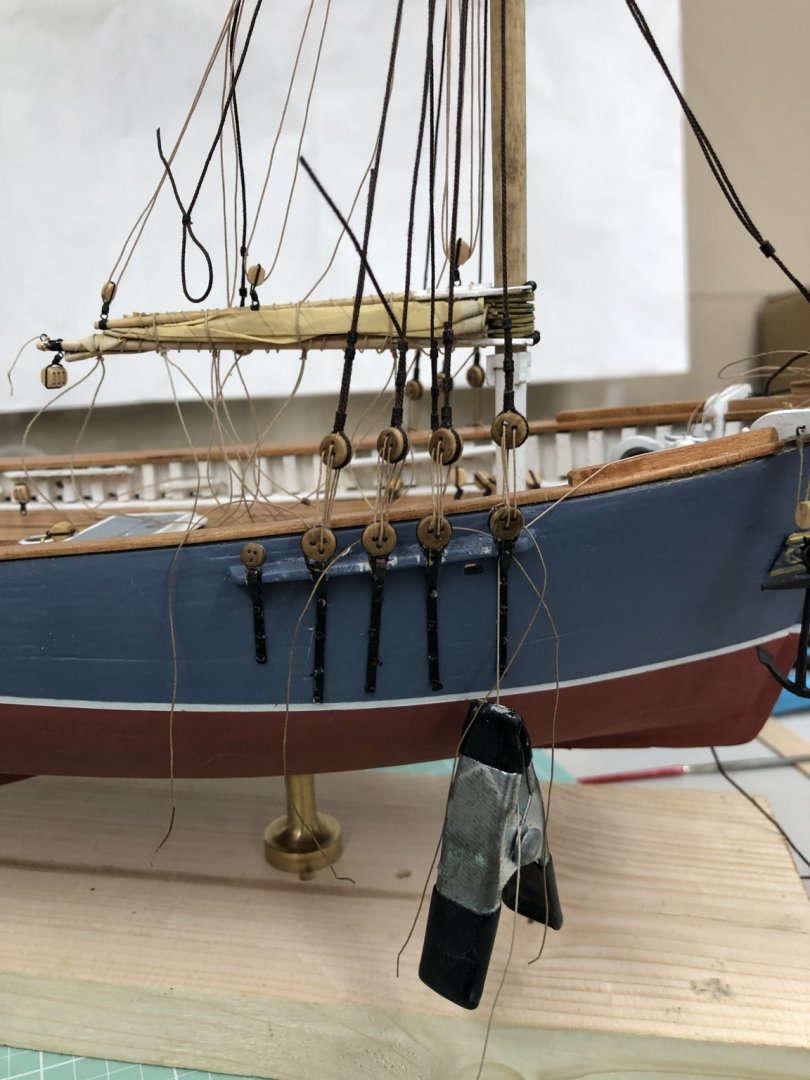
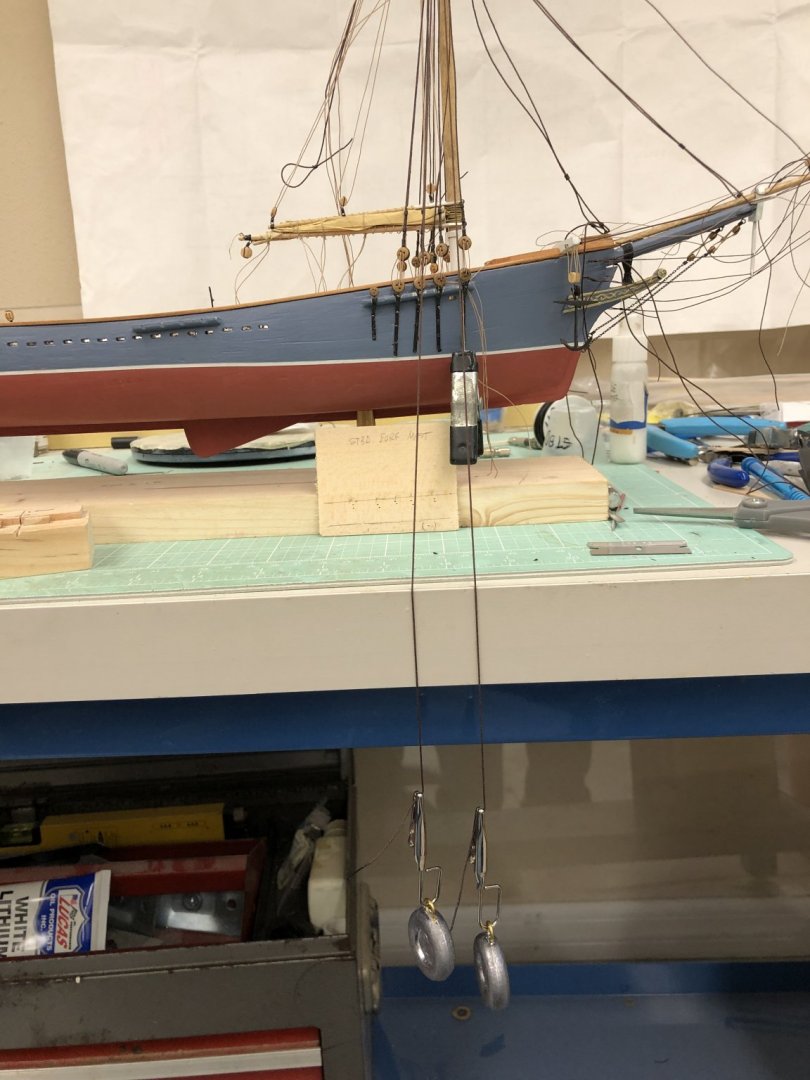
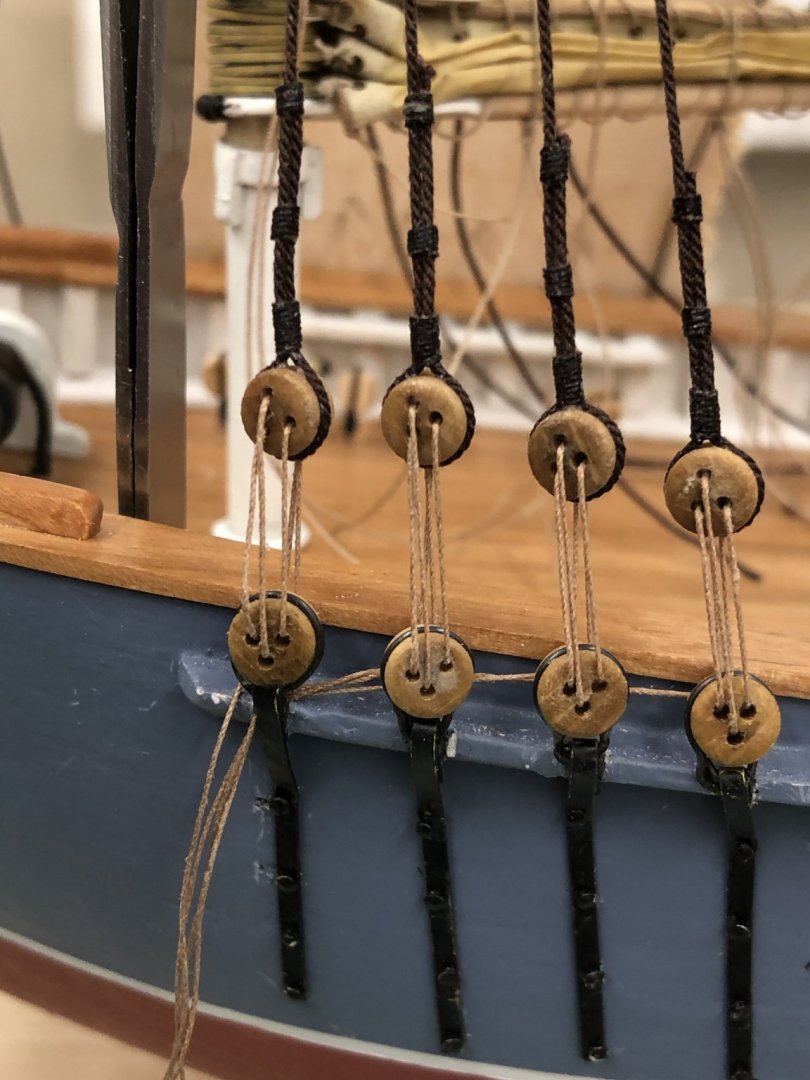
Well, the starboard side would be a "wave-off" as the #3 deadeye is significantly lower than the other three. Luckily this is the top pair of shrouds on the mast and thus the easiest to replace. I think I will forego the serving of the top couple of inches on this set as I view it as an "emergency" repair. When I looked at my template I can see where the #3 deadeye got mounted somewhat lower than the others (how exactly this happens is a mystery but I suspect something like inattention to detail may have played a role. I did not have any of the .025 Syren dark brown line that was all ready out of its shipping envelope so I set up the replacement shroud pair and put some weights on the end to get the "kinks" that happen during packing out before proceeding to fit two new deadeyes and remove the offending pair.
- 166 replies
-
- fannie a gorham
- finished
-
(and 1 more)
Tagged with:
-
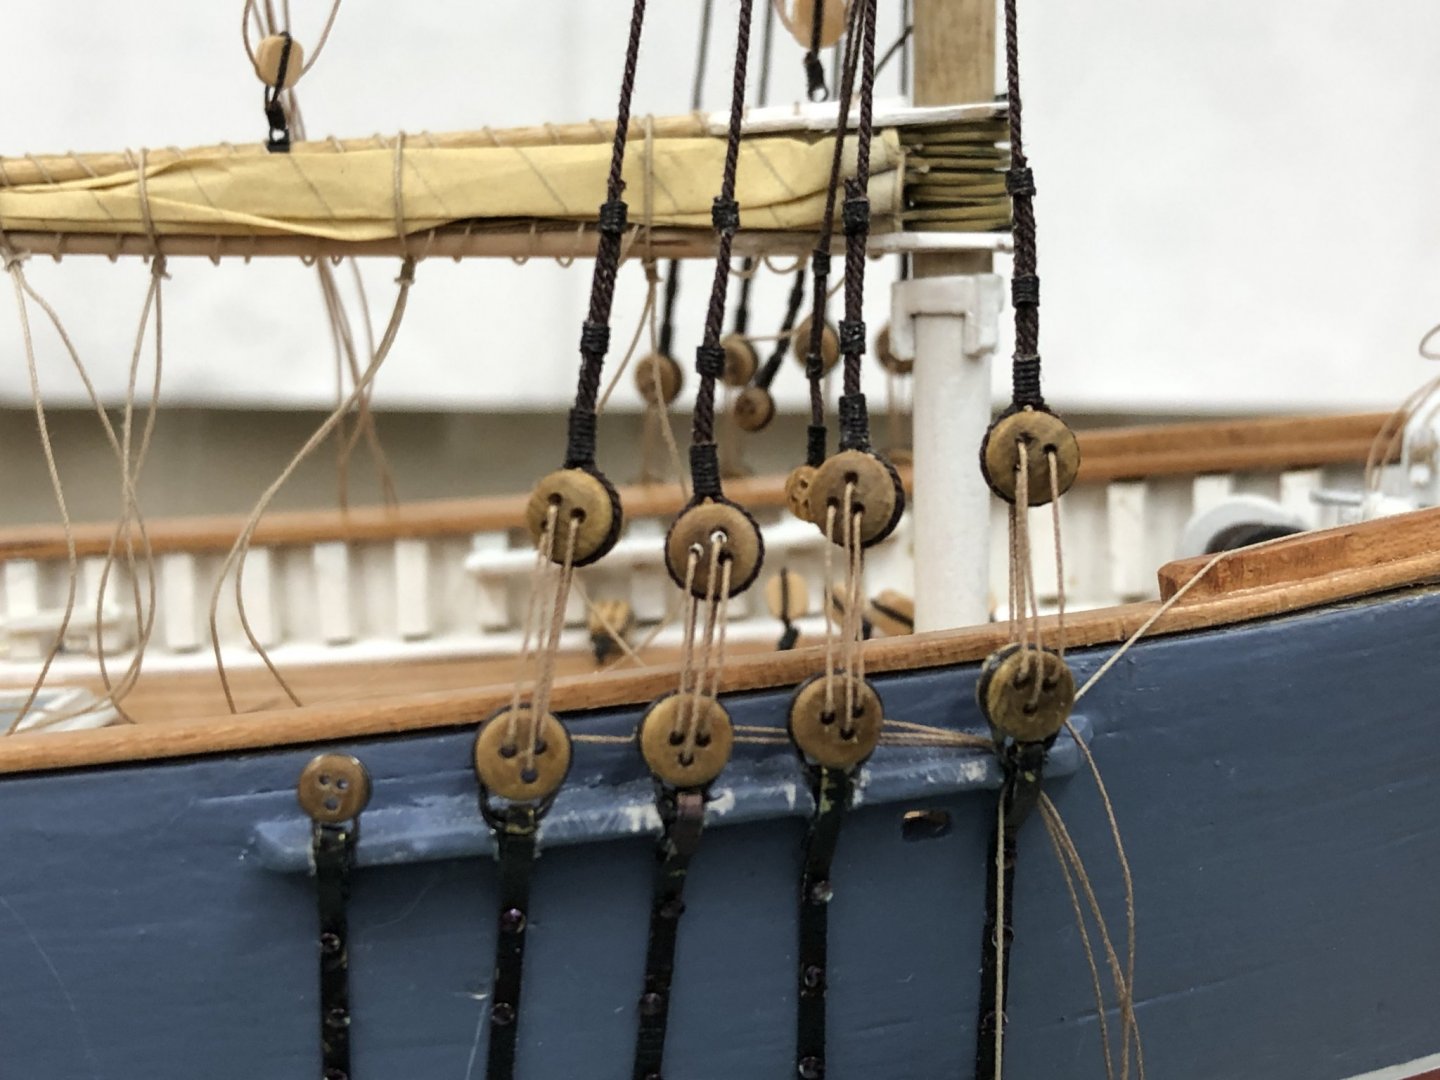
First task today was the rig the lanyards on the port deadeyes to see how well the deadeyes are aligned. Here they are - the lanyards are not secured (that rats nests of line forward of the channel are the ends of the lanyards). Probably could use to have the second one back a tad lower but overall I think this is an OK 3 wire (acceptable landing on aircraft carrier). On to the starboard side and then the fore stays.
- 166 replies
-
- fannie a gorham
- finished
-
(and 1 more)
Tagged with:
About us
Modelshipworld - Advancing Ship Modeling through Research
SSL Secured
Your security is important for us so this Website is SSL-Secured
NRG Mailing Address
Nautical Research Guild
237 South Lincoln Street
Westmont IL, 60559-1917
Model Ship World ® and the MSW logo are Registered Trademarks, and belong to the Nautical Research Guild (United States Patent and Trademark Office: No. 6,929,264 & No. 6,929,274, registered Dec. 20, 2022)
Helpful Links
About the NRG
If you enjoy building ship models that are historically accurate as well as beautiful, then The Nautical Research Guild (NRG) is just right for you.
The Guild is a non-profit educational organization whose mission is to “Advance Ship Modeling Through Research”. We provide support to our members in their efforts to raise the quality of their model ships.
The Nautical Research Guild has published our world-renowned quarterly magazine, The Nautical Research Journal, since 1955. The pages of the Journal are full of articles by accomplished ship modelers who show you how they create those exquisite details on their models, and by maritime historians who show you the correct details to build. The Journal is available in both print and digital editions. Go to the NRG web site (www.thenrg.org) to download a complimentary digital copy of the Journal. The NRG also publishes plan sets, books and compilations of back issues of the Journal and the former Ships in Scale and Model Ship Builder magazines.


