HOLIDAY DONATION DRIVE - SUPPORT MSW - DO YOUR PART TO KEEP THIS GREAT FORUM GOING! (Only 53 donations so far out of 49,000 members - C'mon guys!)
×

Pfälzer
-
Posts
371 -
Joined
-
Last visited
Content Type
Profiles
Forums
Gallery
Events
Everything posted by Pfälzer
-
 Yesterday the smaler Oak is delieverd. I know Oak is not in Scale, but it looks fine.
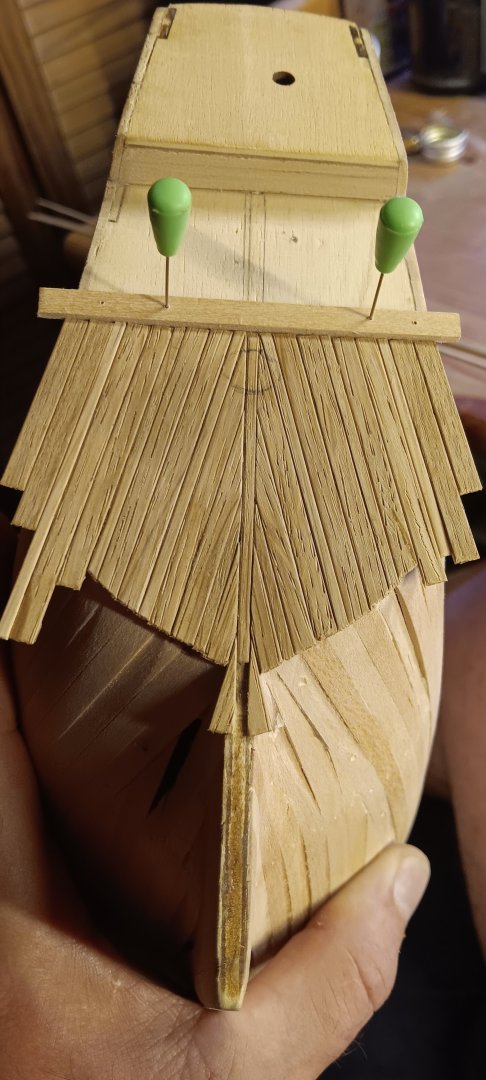
- 210 replies
-
- 1
-

-
- San Martin
- OcCre
- (and 1 more)
-
Hello lovelies, At this point, I have to take a quick look. You need to change your perspective a little. I thought the same thing when I opened my first box from one of these manufacturers. I cursed, cursed, cursed. Fortunately, I had a kit of better manufacture beforehand, and had plenty of material left over to be able to rebuild pretty much anything. As a result, I bought it again from a cheap supplier because of the price. I just had to buy high-quality material for about 50 euros to get the same end result. The next approach, it encourages your creativity and also means that everyone has a unique piece at home. It would be boring if everyone bought the same update package. It's just a train of thought, maybe the next one will be from a better manufacturer, who knows. Make something of it, I can't take care of everything. Translated with DeepL.com (free version)
-
Ola Senor
-
Hello Mikki, I had also considered the Dusek. But after I realized that I wanted to replace half of the material anyway, I went for the cheaper option. The Dusek set is also a different scale and therefore more detailed. I have already sanded the hull roughly. The planking went excellently, none of the strips had to be pre-bent in any way. The oak strips that I have planned for the second layer can also be attached without any problems as far as I have been able to test them dry. Since some difficult layers had to be attached with the help of clamps and had to dry first, I took a look at the gun mounts for the guns. You can imagine that I don't really like this plywood variant either. So I thought about making the parts myself from all the oak material from the carpenter, but then decided to build them from small strips. Due to small changes in the construction plan, my hull will be thicker than planned, which is why I need wider strips for the end. So I also ordered some very fine oak strips, because you can't treat yourself to anything else. I will probably have to wait for these now as I had the idea of planking the transom with strips of different widths to create a nice pattern. Today I'm off to Luxenburg to smuggle tobacco and coffee. Take care and have a nice Sunday Translated with DeepL.com (free version)
- 210 replies
-
- 1
-
-
- San Martin
- OcCre
- (and 1 more)
-
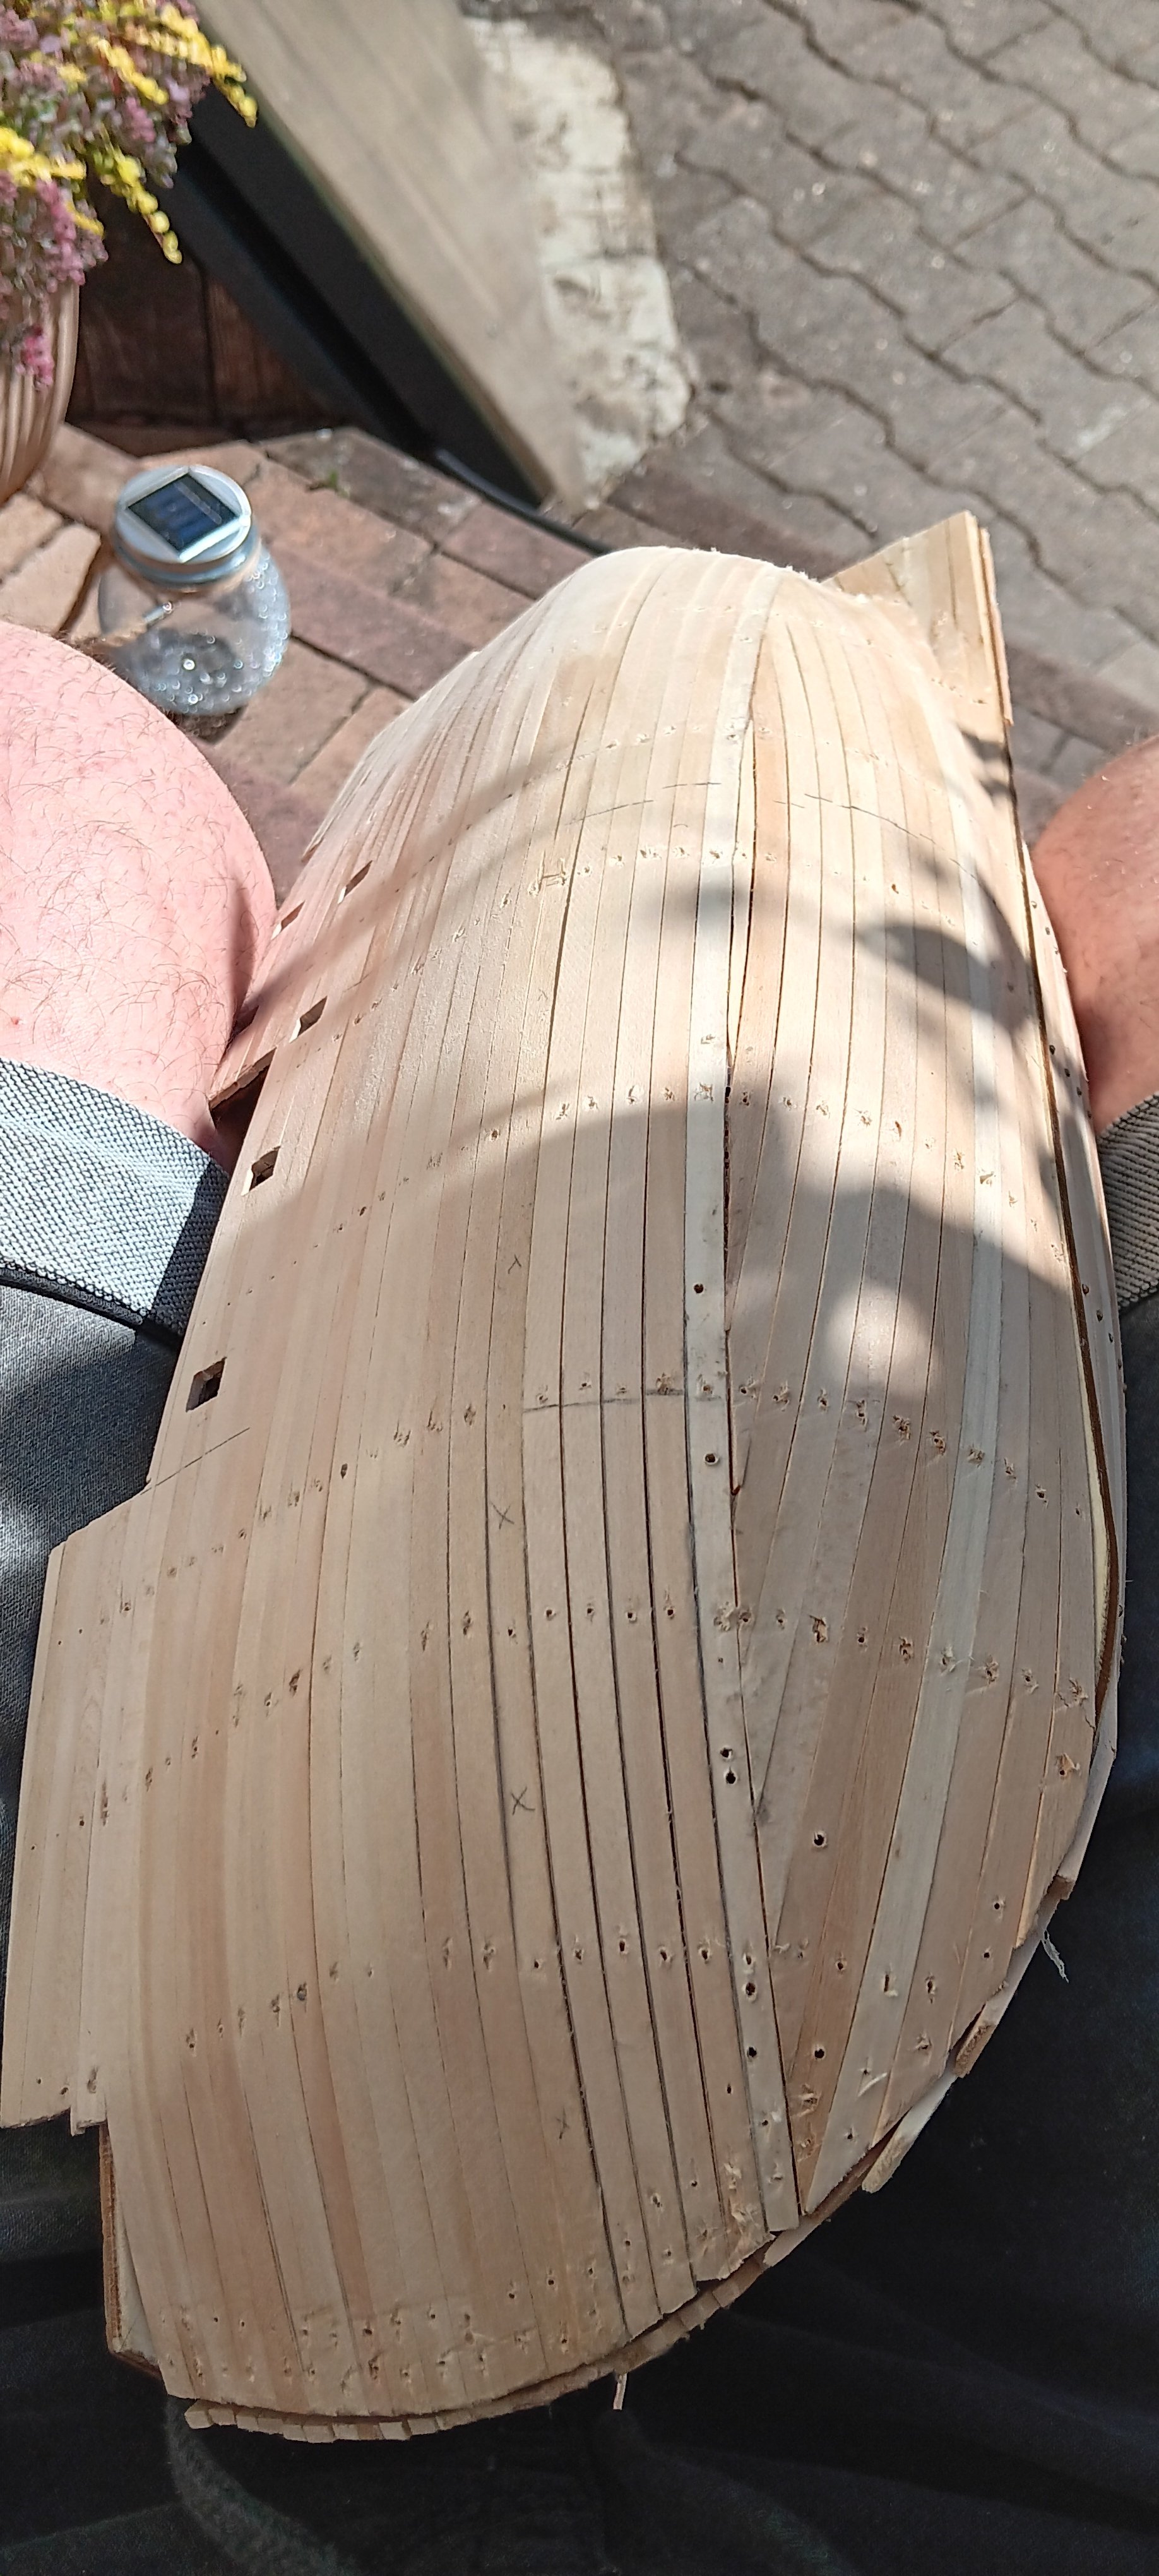
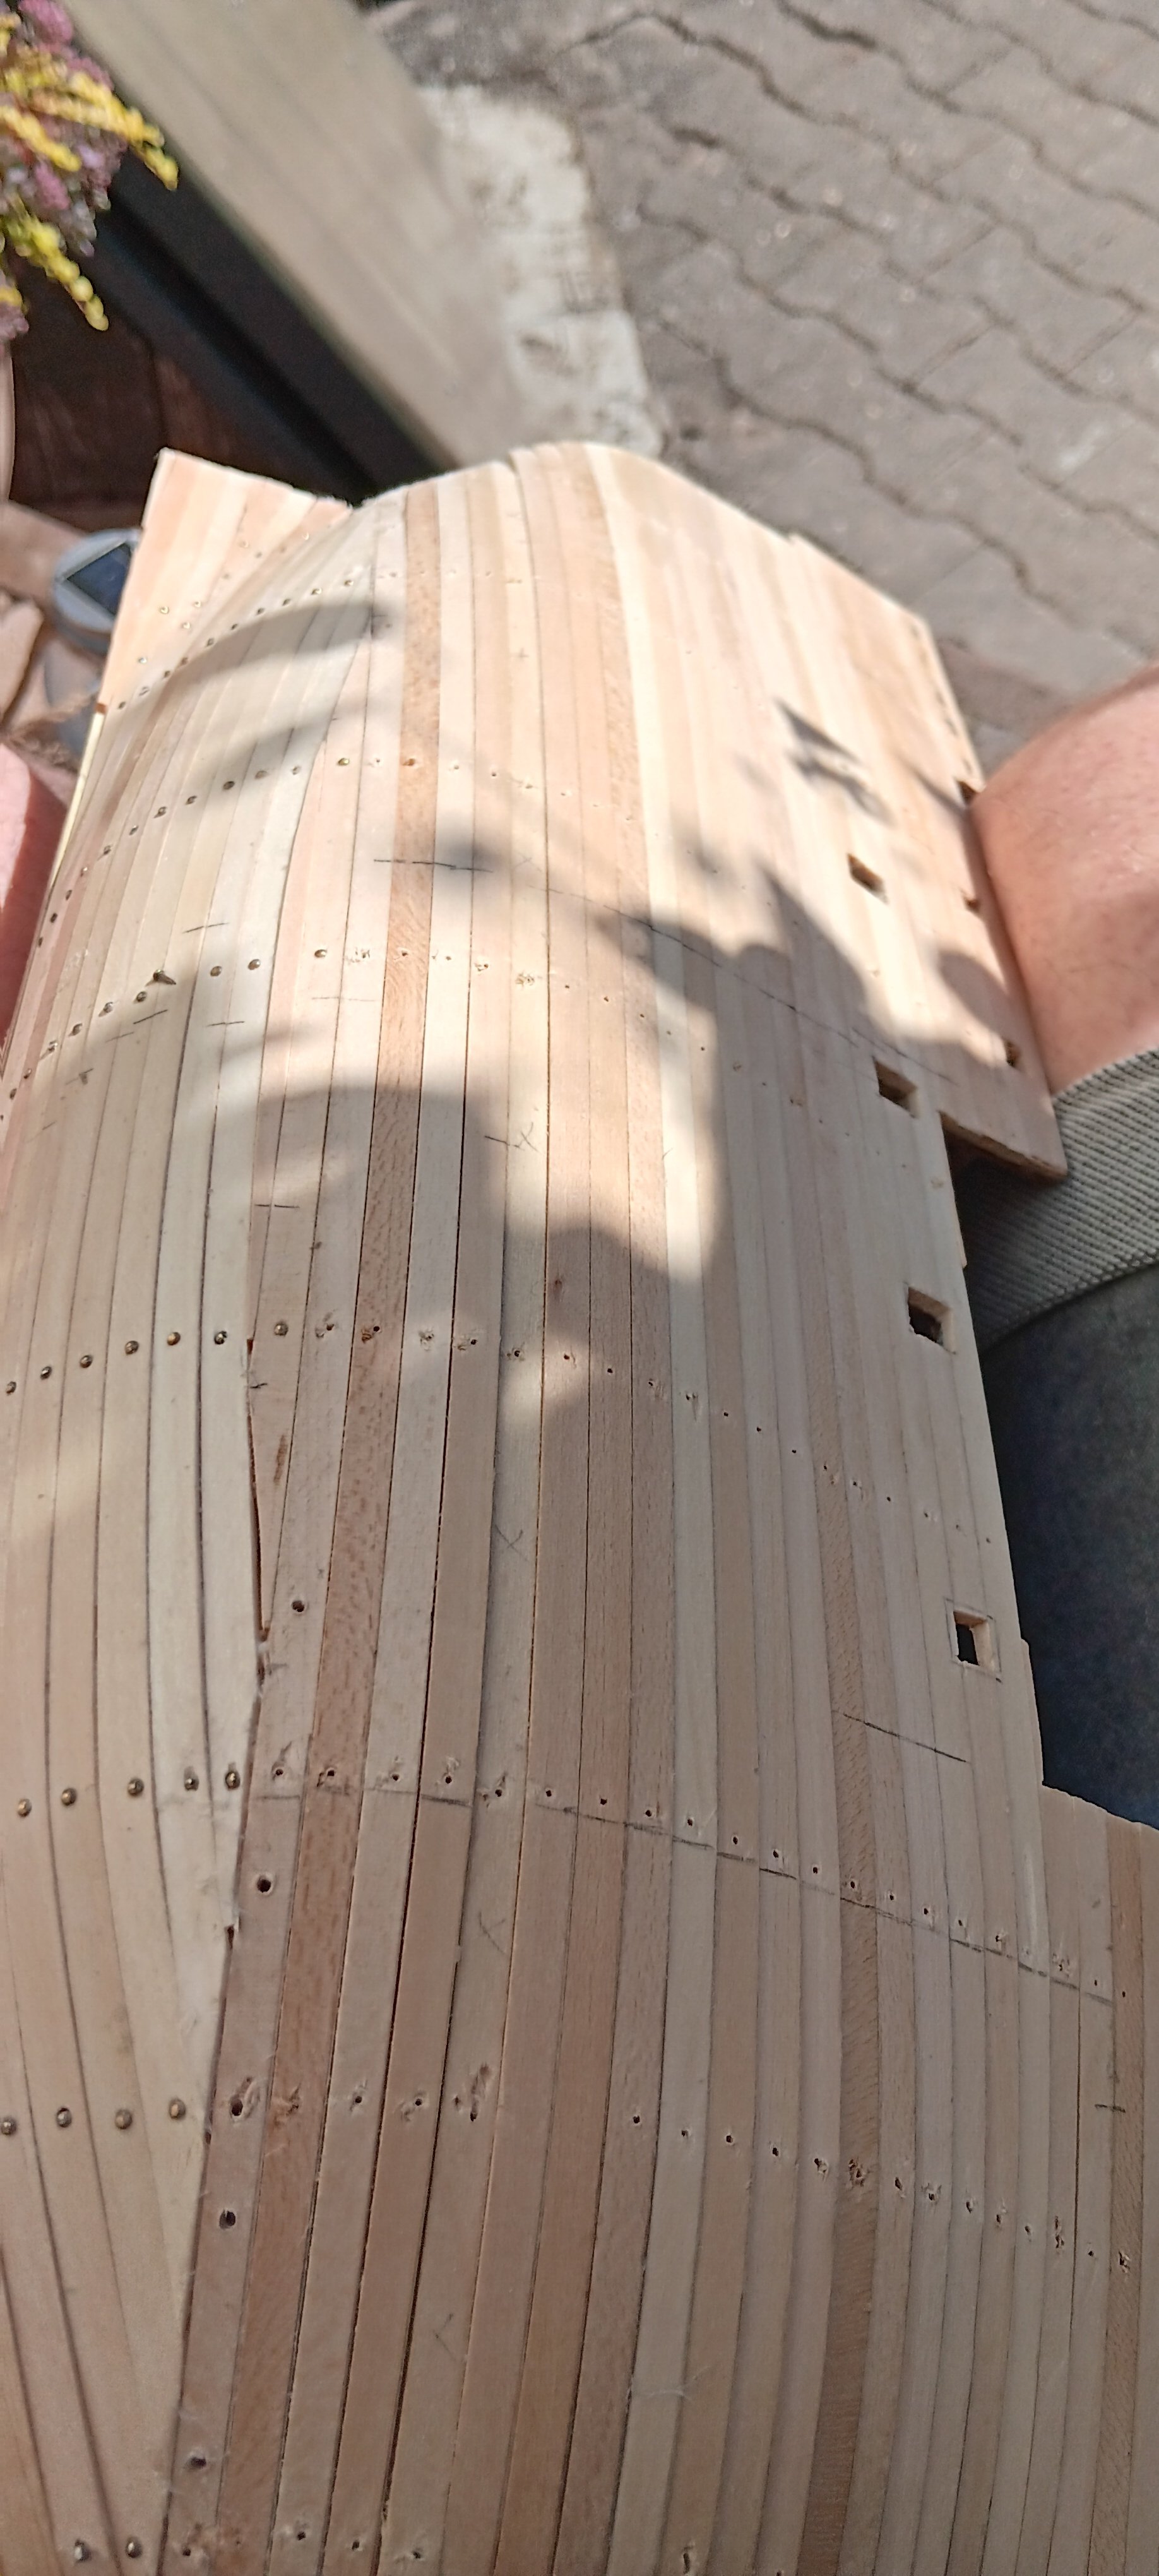
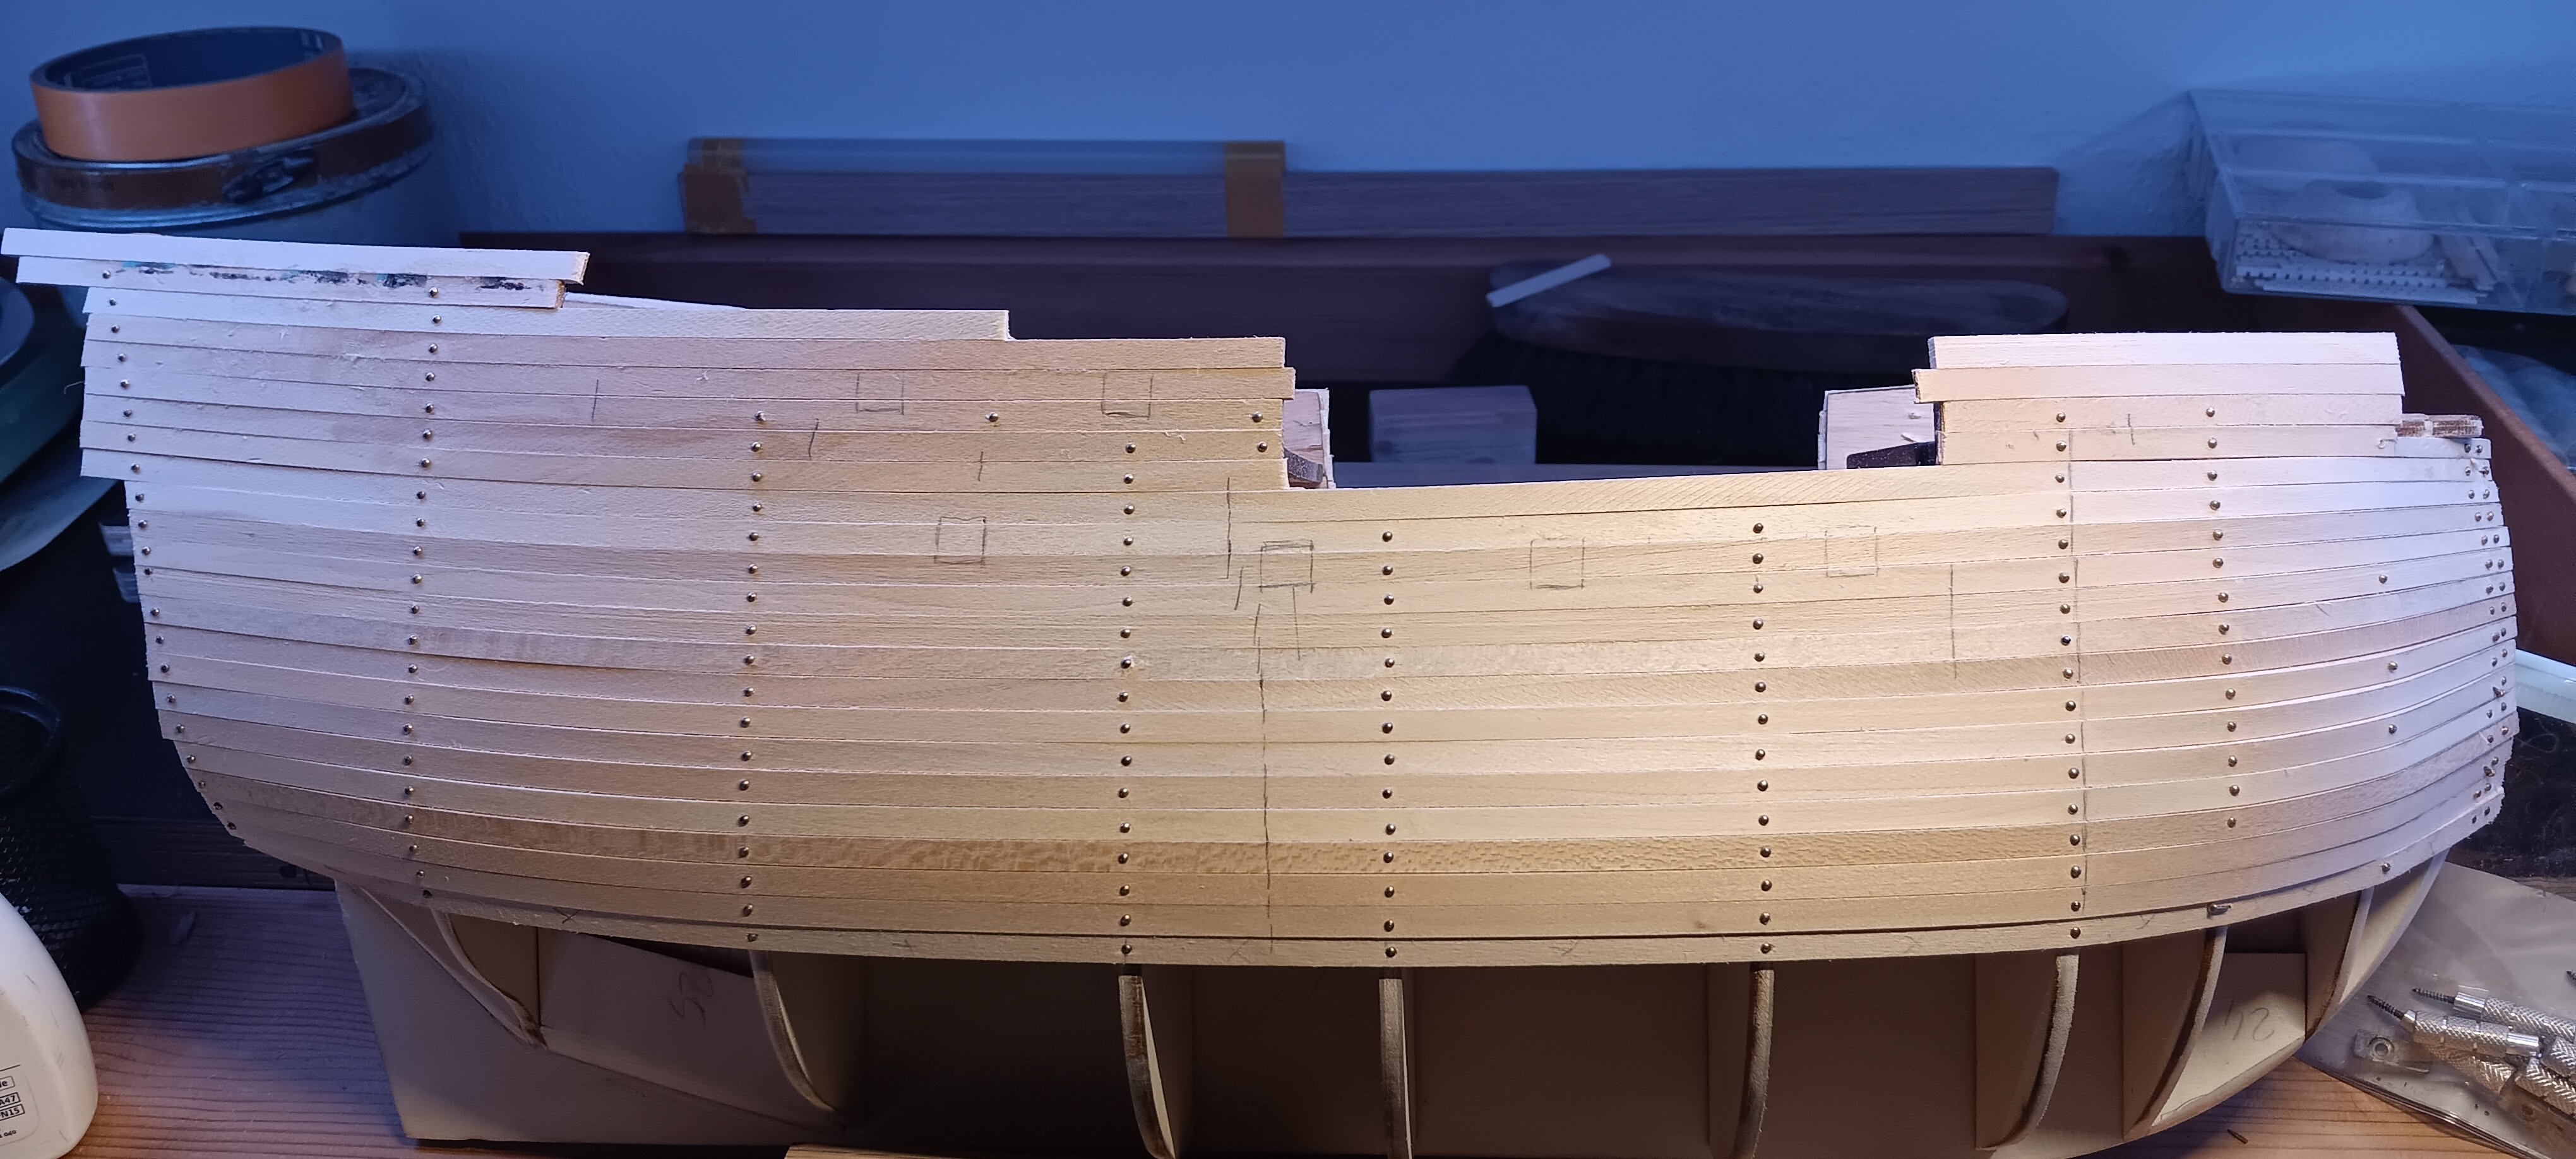
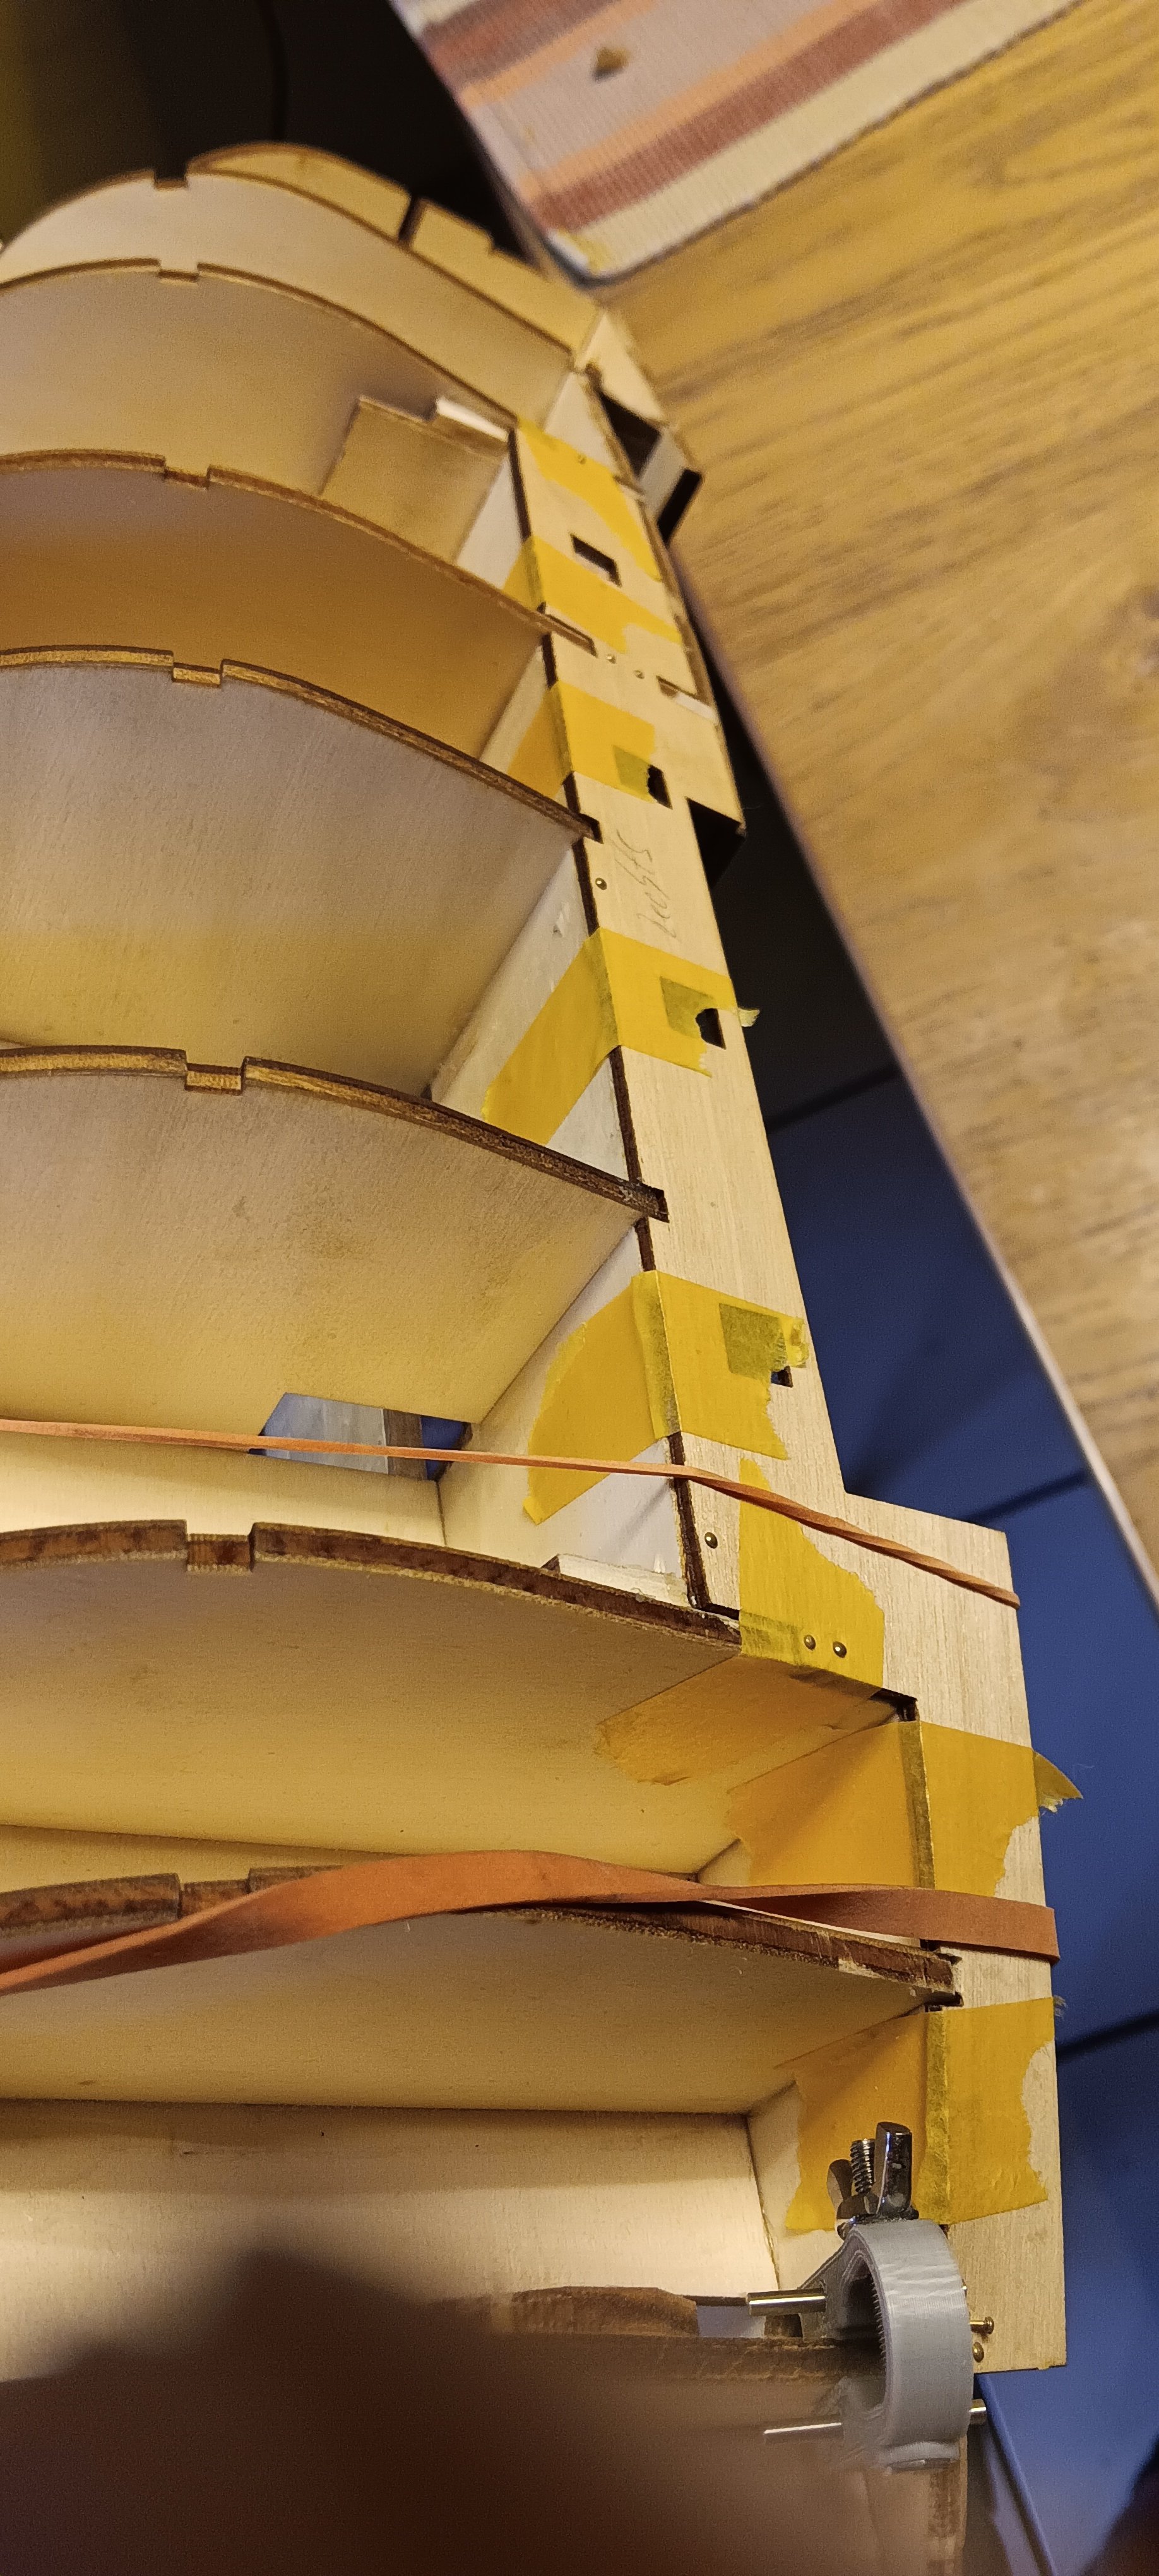
Hello everyone, As you can see, I have made very good progress with the planking of the hull. This was partly due to the bad weather we had yesterday, but mainly to the excellent material. Firstly, the basswood strips are very well cut and secondly, despite their thickness of 2mm, they are extremely supple. I didn't have to vaporize or use any bending tools. Top quality It was a bit fiddly on the port side, which is why I decided to taper the battens by 1.5mm on the starboard side in the bow area. Have a nice time Translated with DeepL.com (free version)
- 210 replies
-
- 1
-
-
- San Martin
- OcCre
- (and 1 more)
-
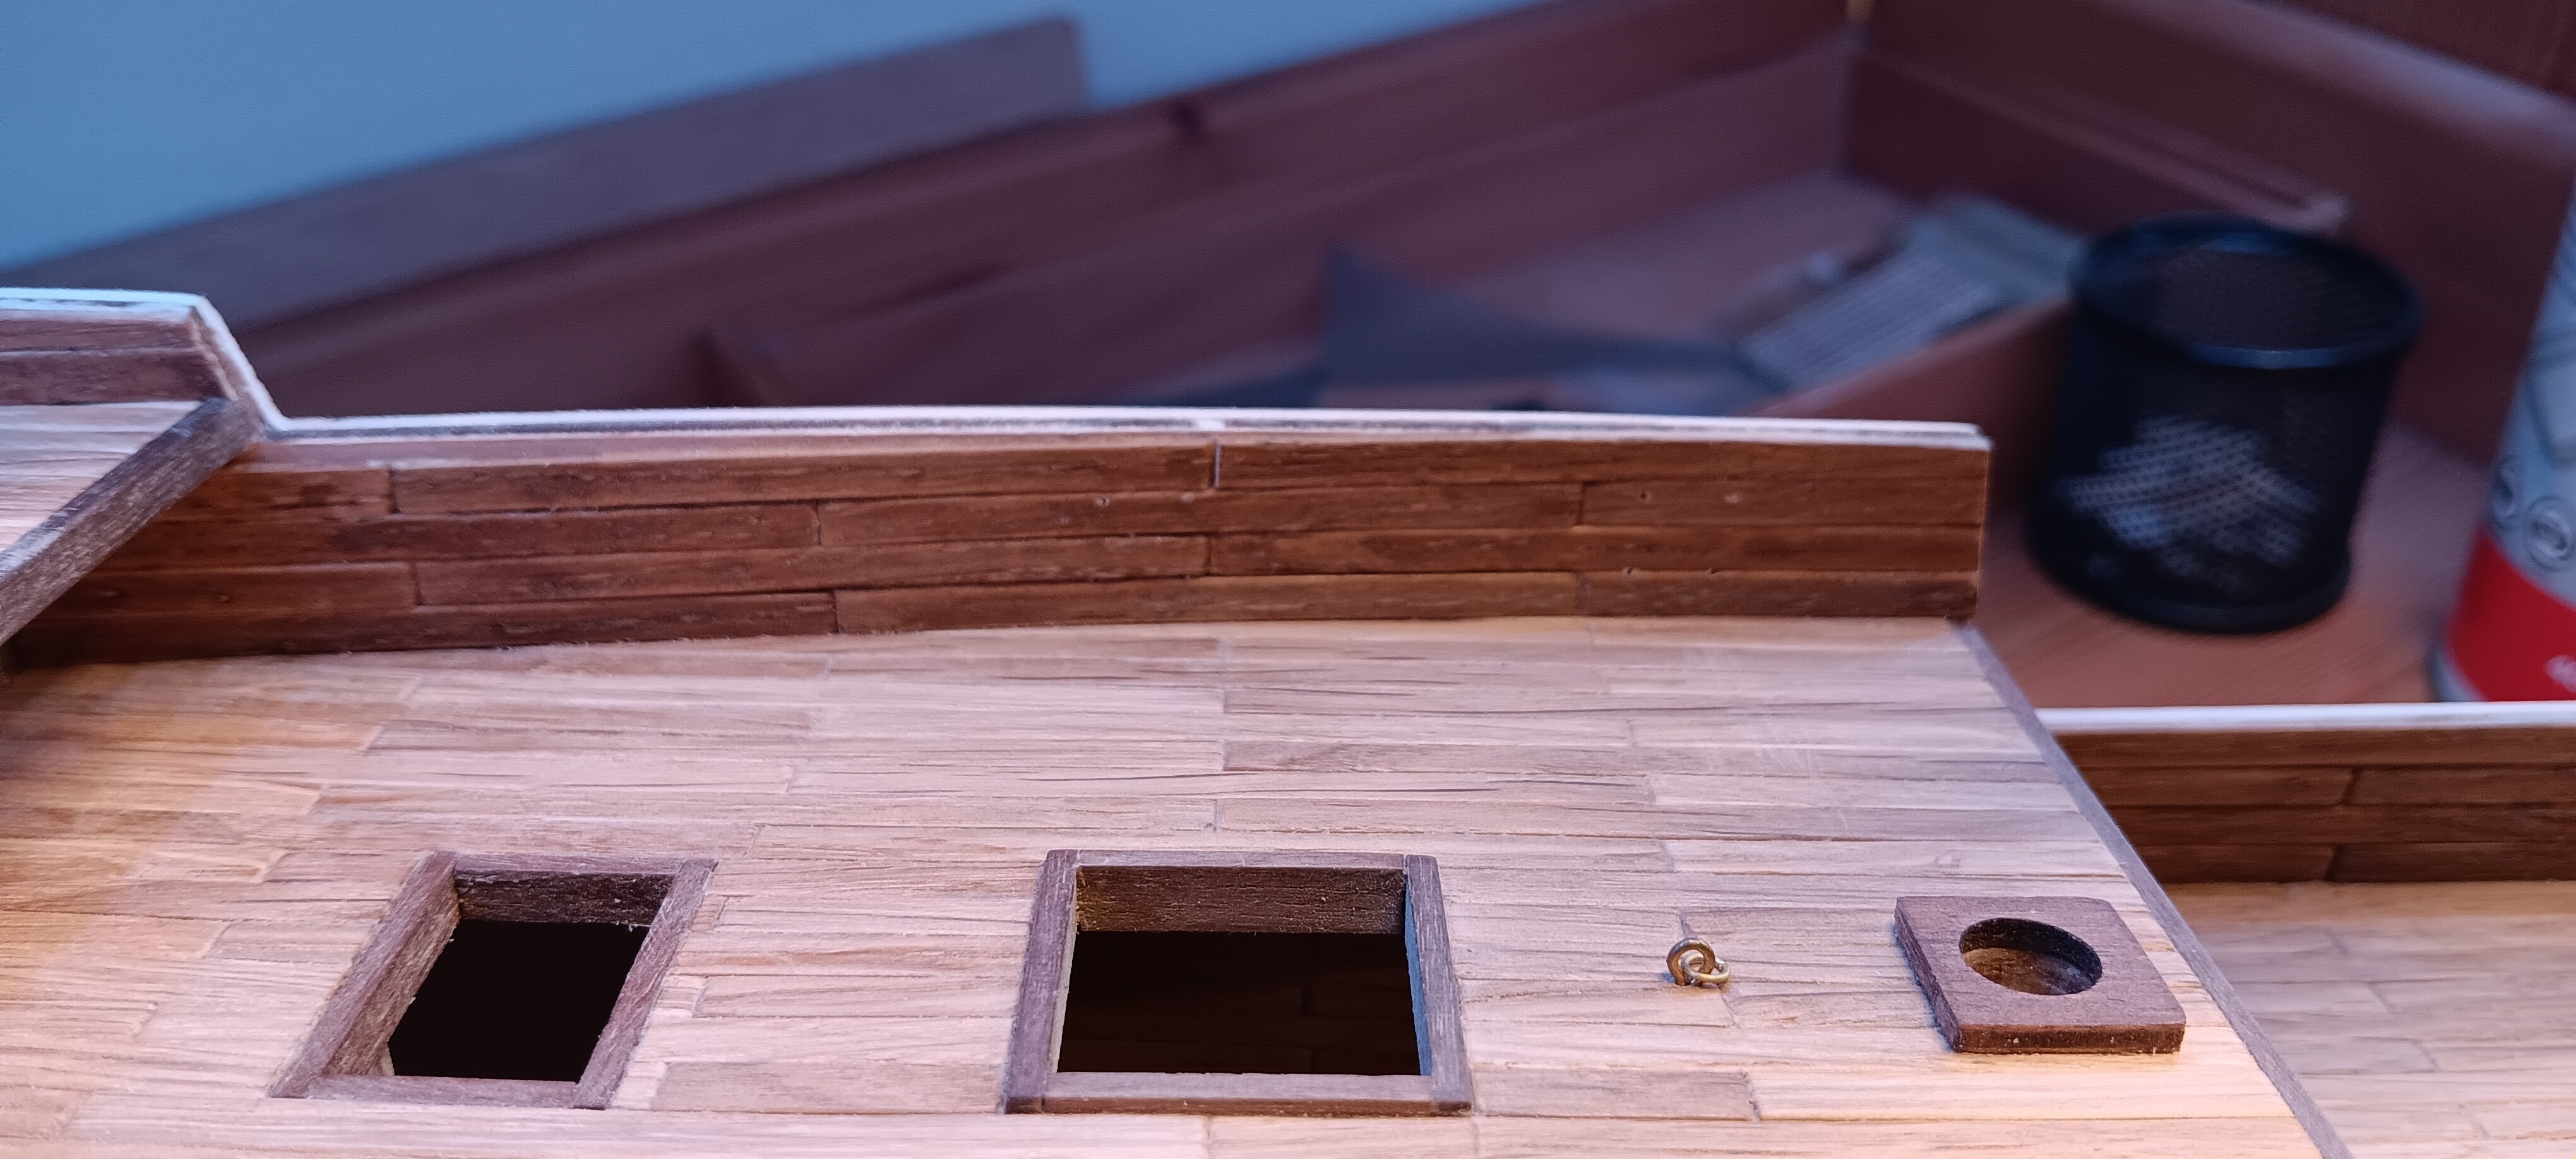
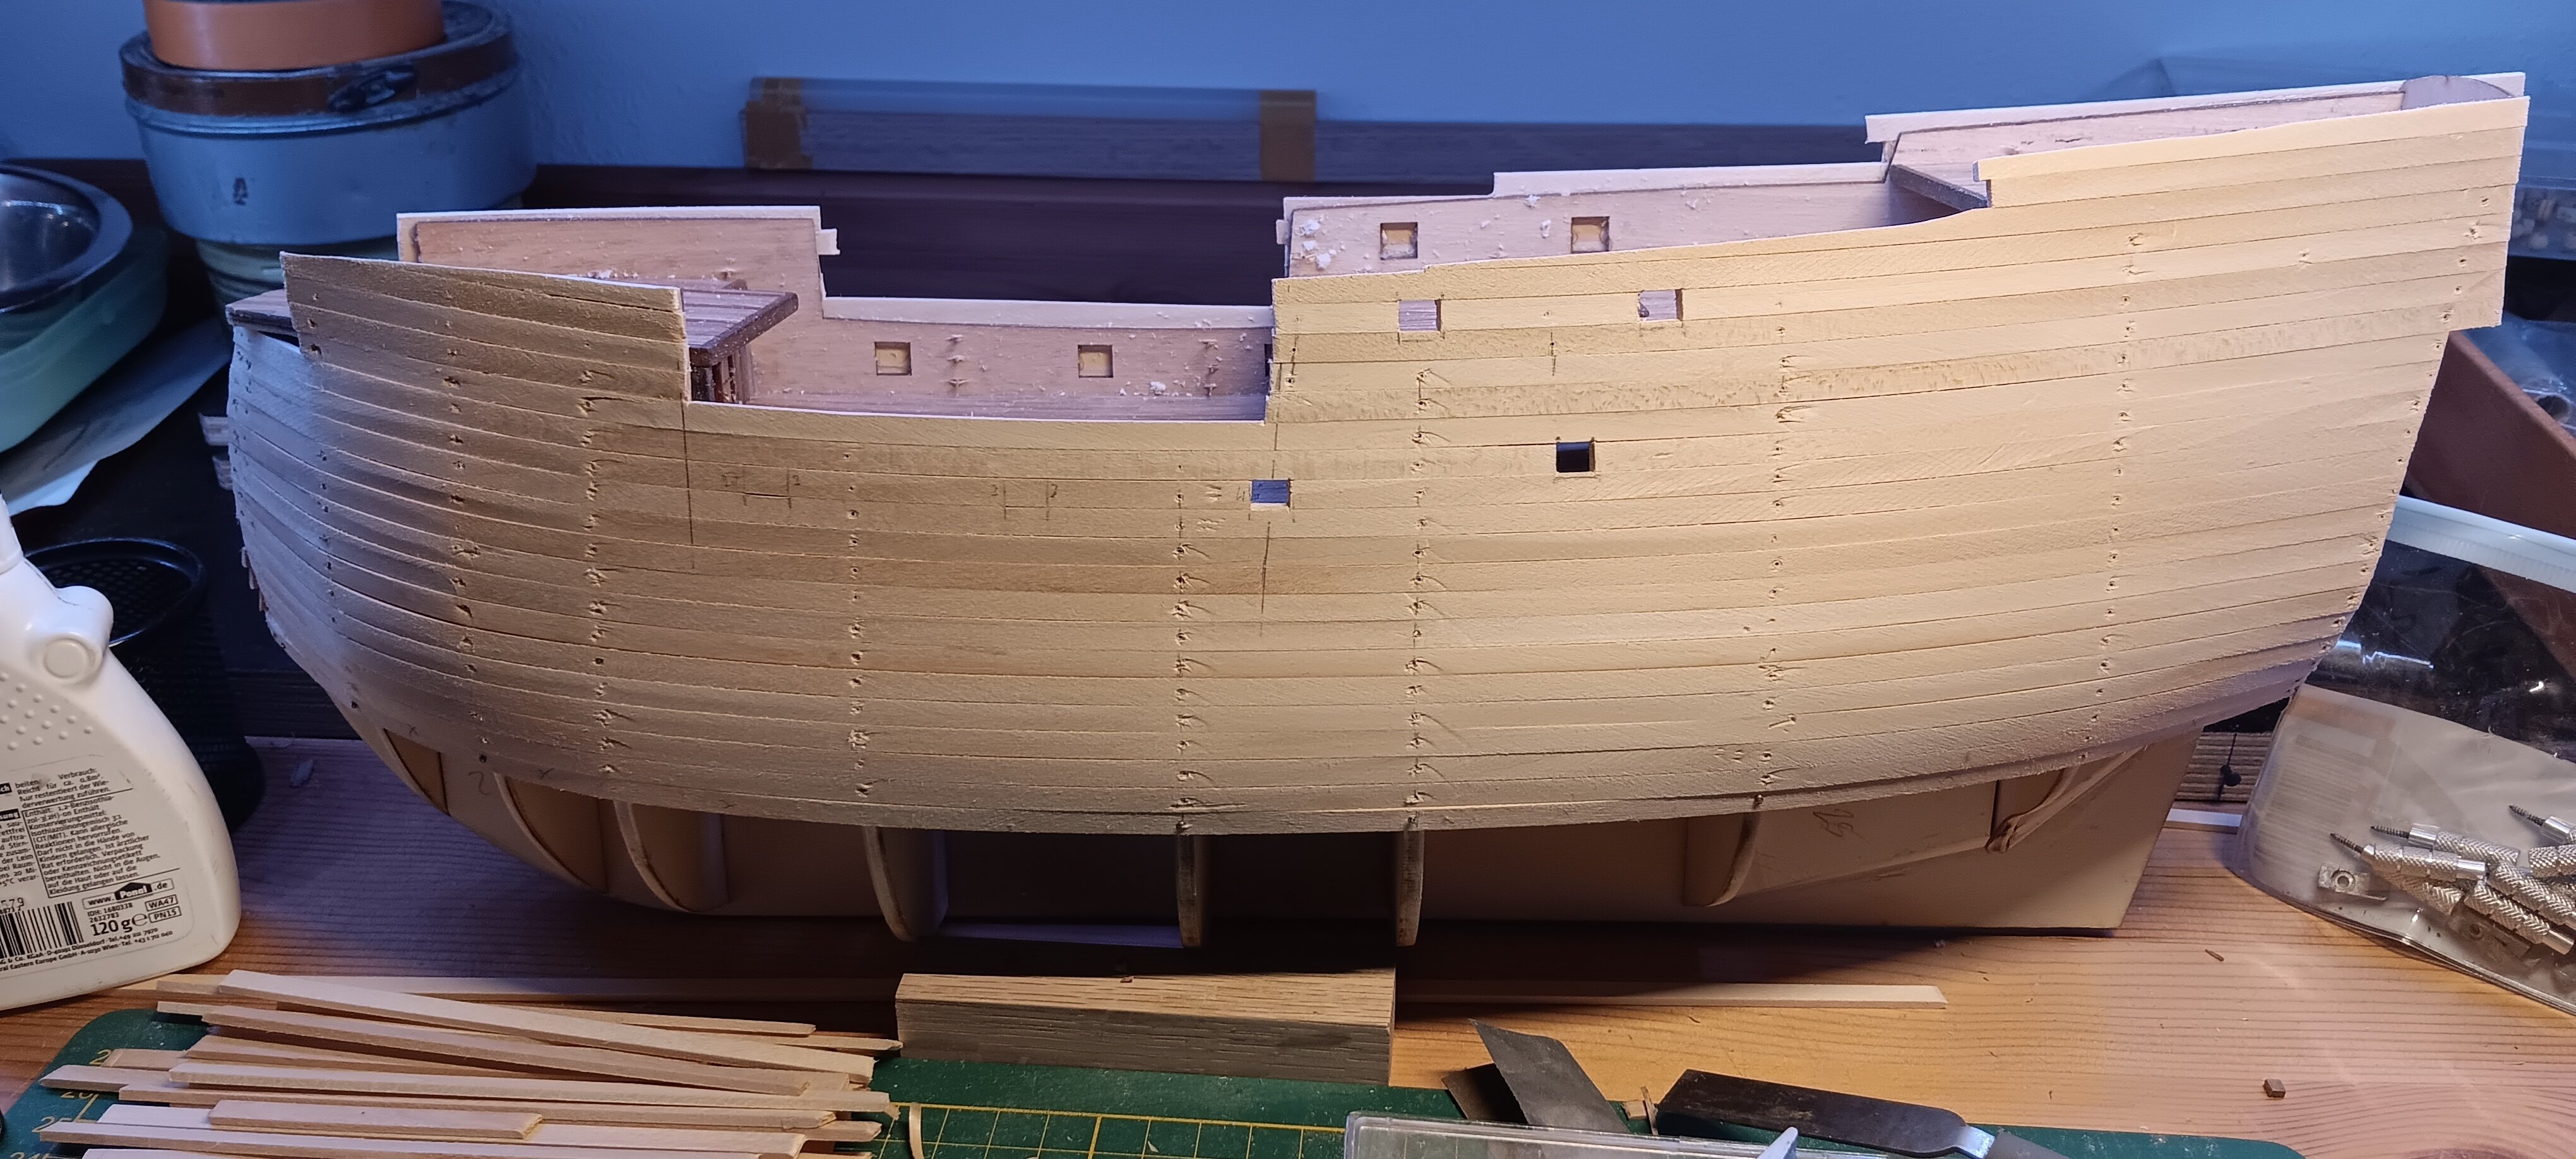
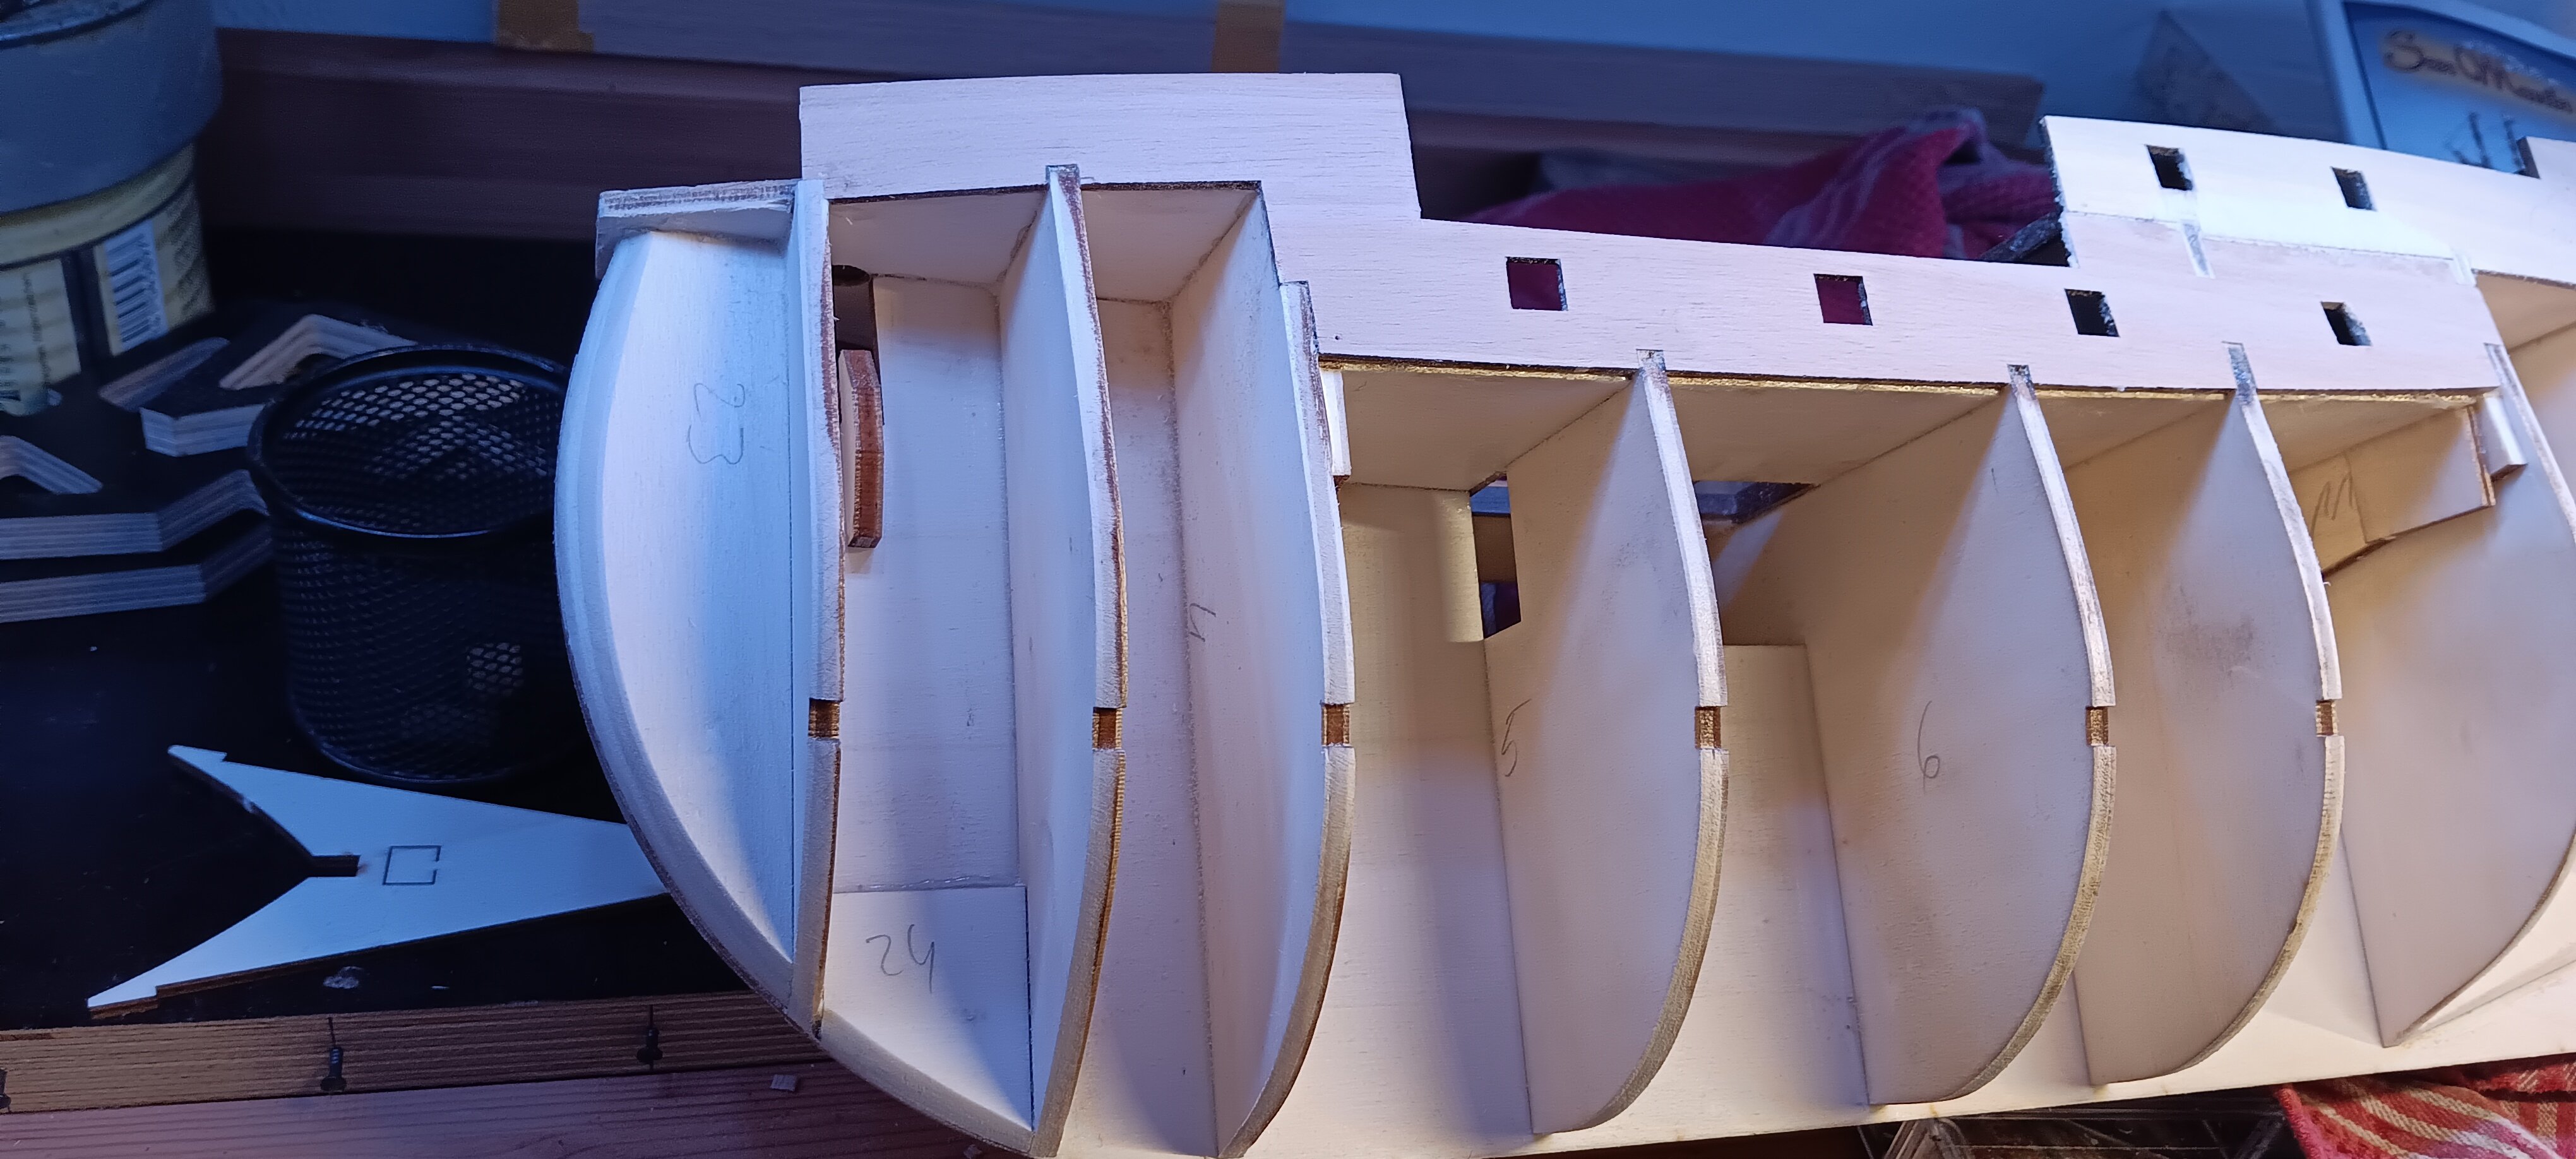
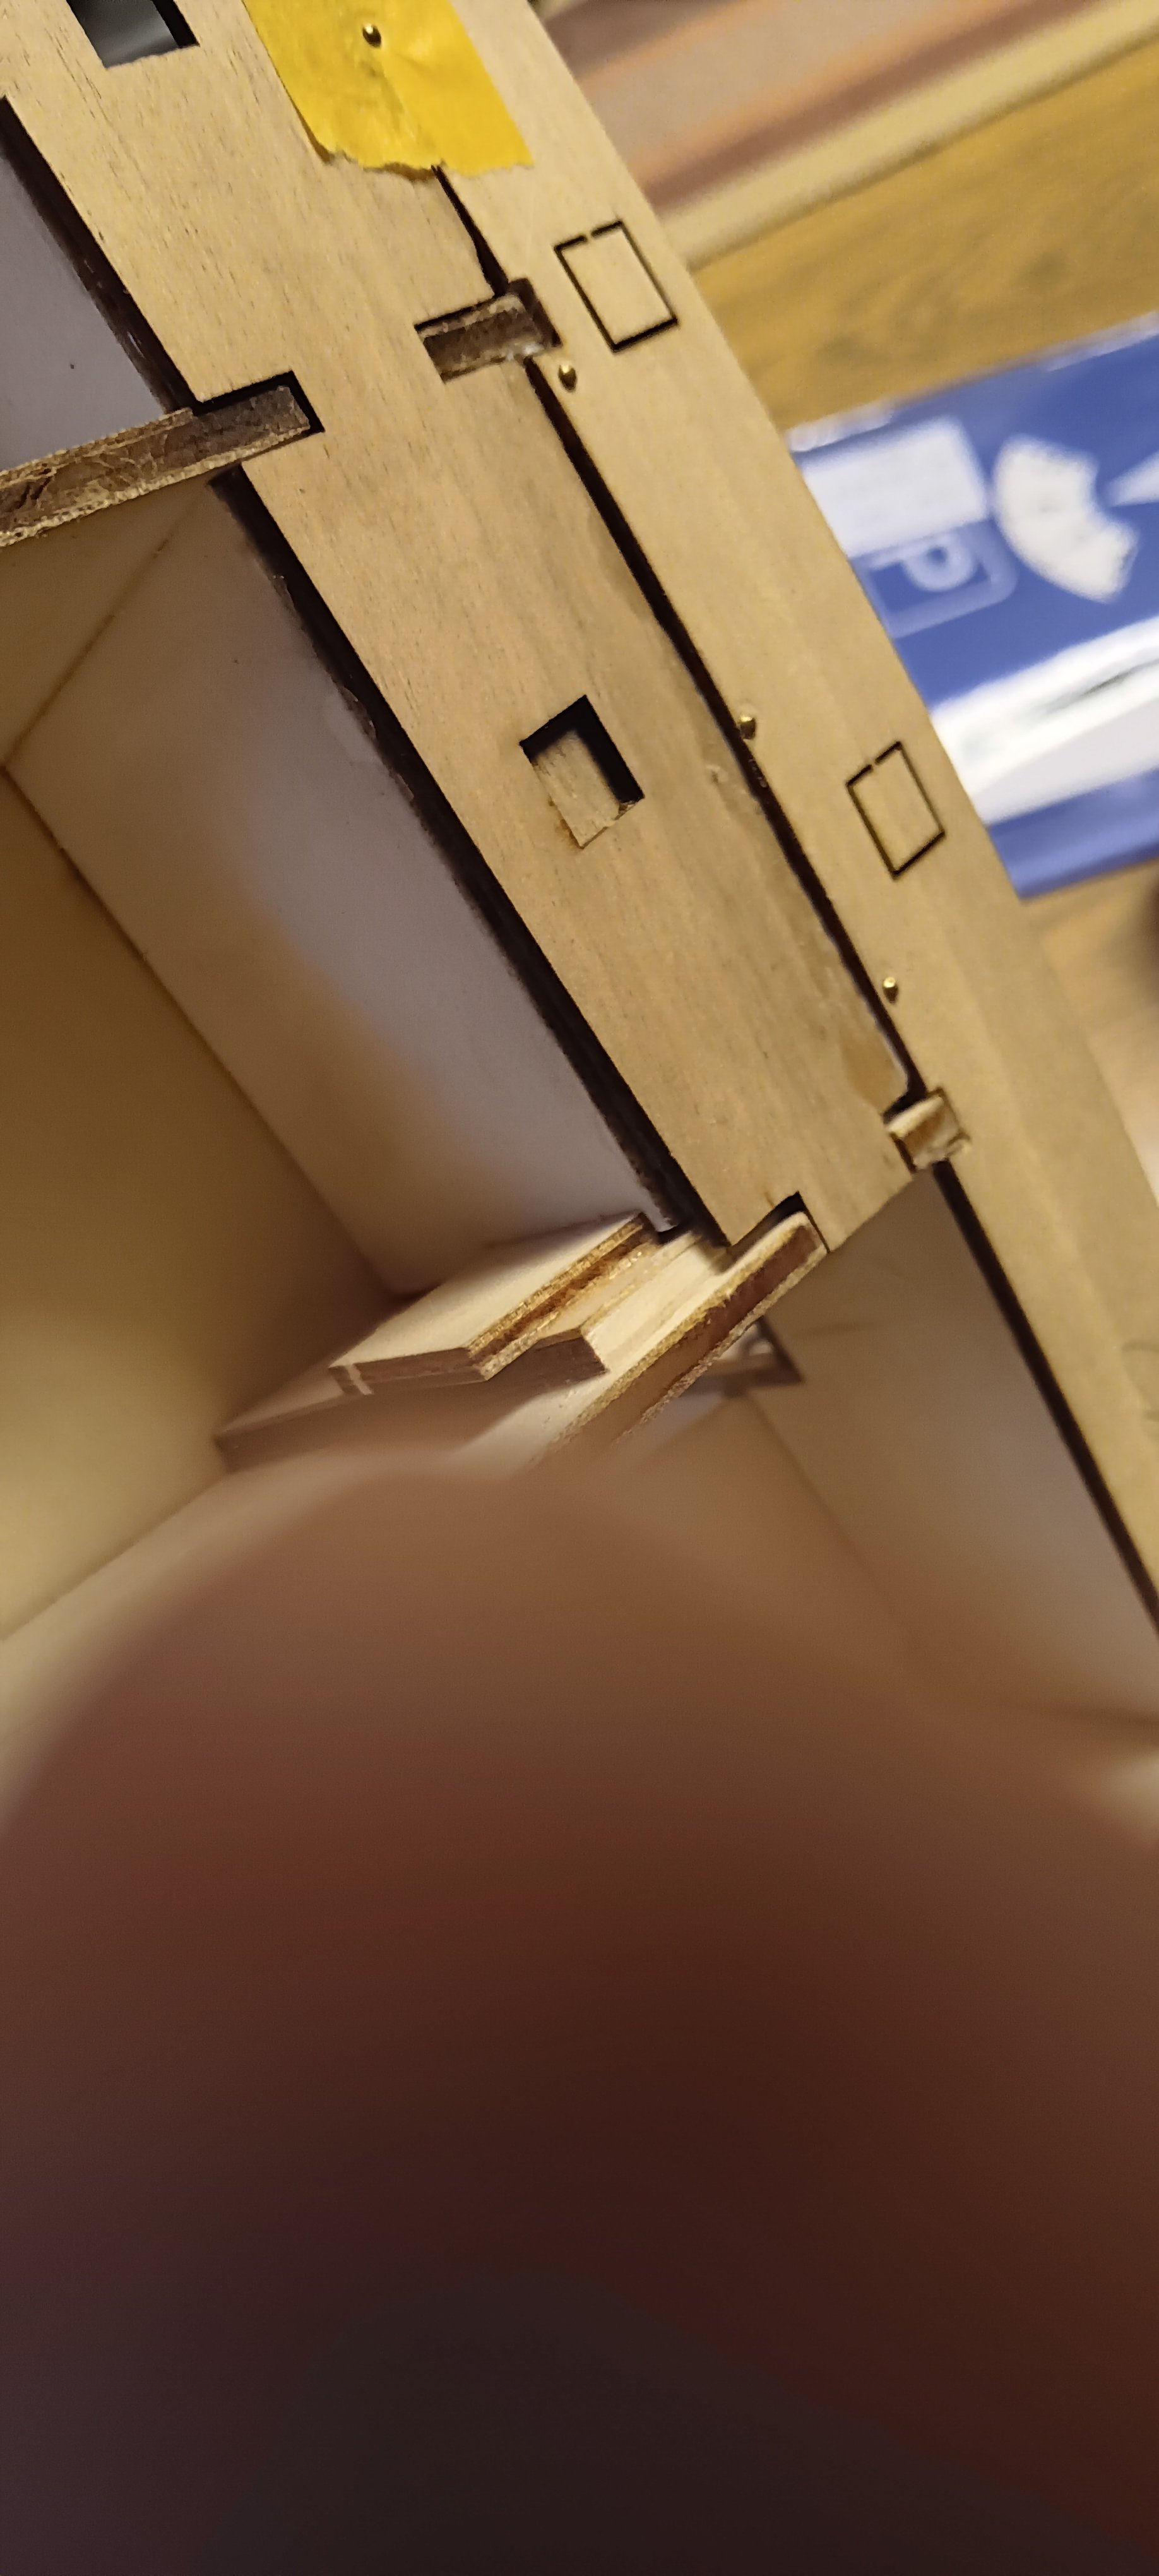
As you can see, the lower bulwarks fit perfectly. For the upper ones, it is better to sand the guide cuts at an angle from deck to frames, then they will fit better. As I've already planked part of the lower dress on the inside - I found staining boring - it doesn't curve quite as nicely as the upper one. Let's see if I level it with filler from below or sand it from above. Since I'm planking the inside with 1mm anyway, that would be according to the construction plan again. So I think I'd rather plank from the inside first and then sand. If you have a different opinion, please let me know, good advice/criticism is always helpful, I always see things from a positive point of view. Translated with DeepL.com (free version)
- 210 replies
-
- 1
-
-
- San Martin
- OcCre
- (and 1 more)
-
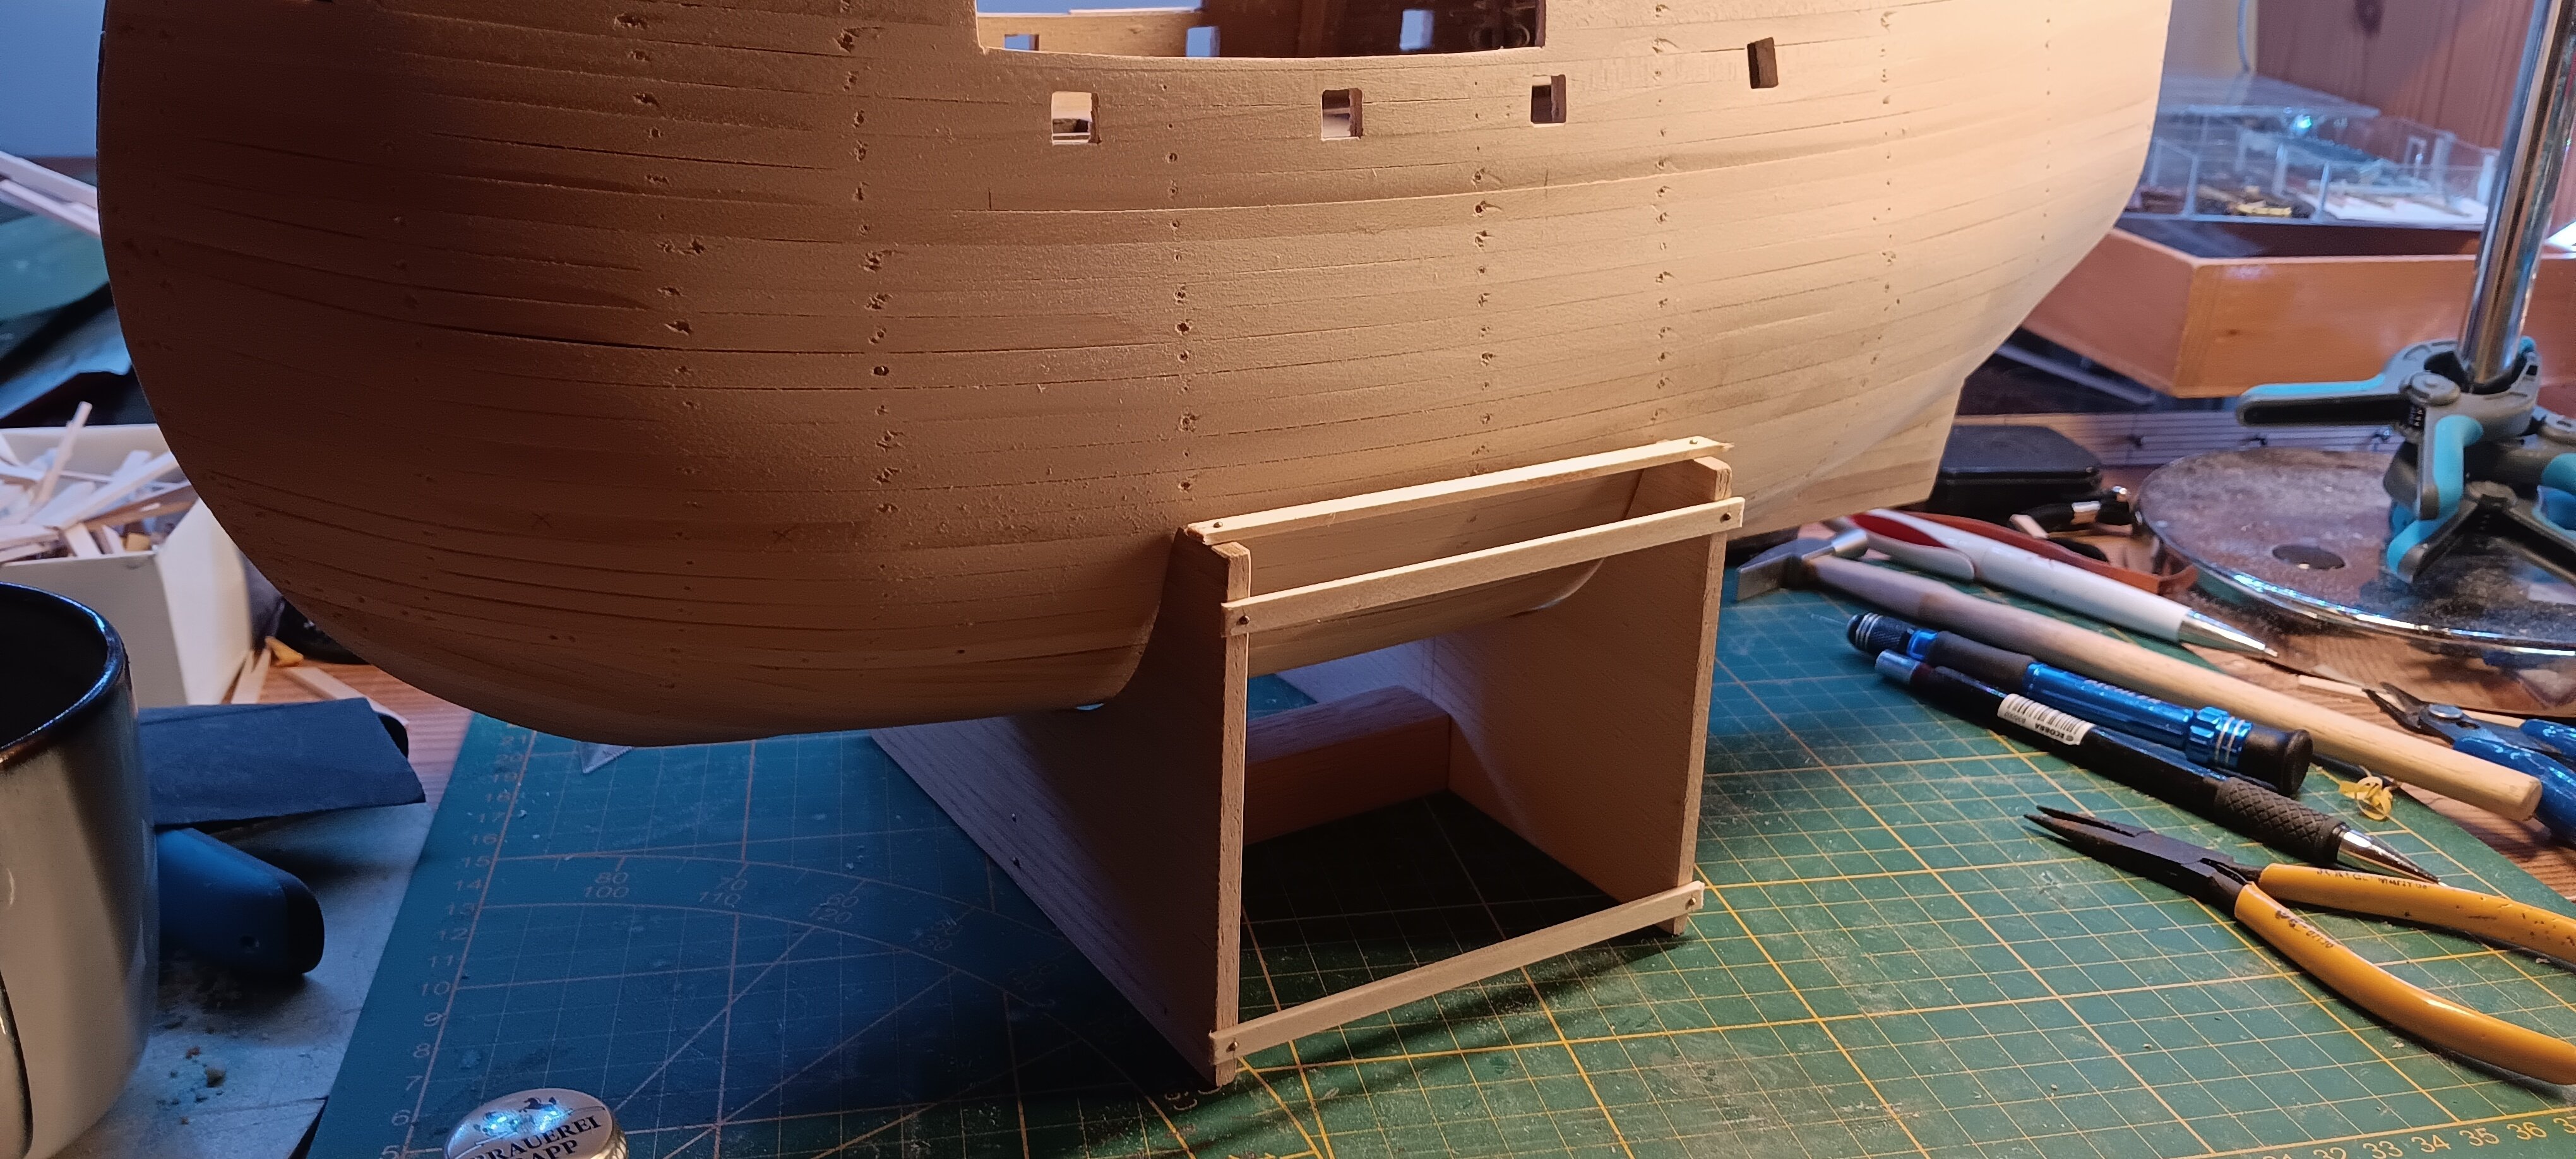
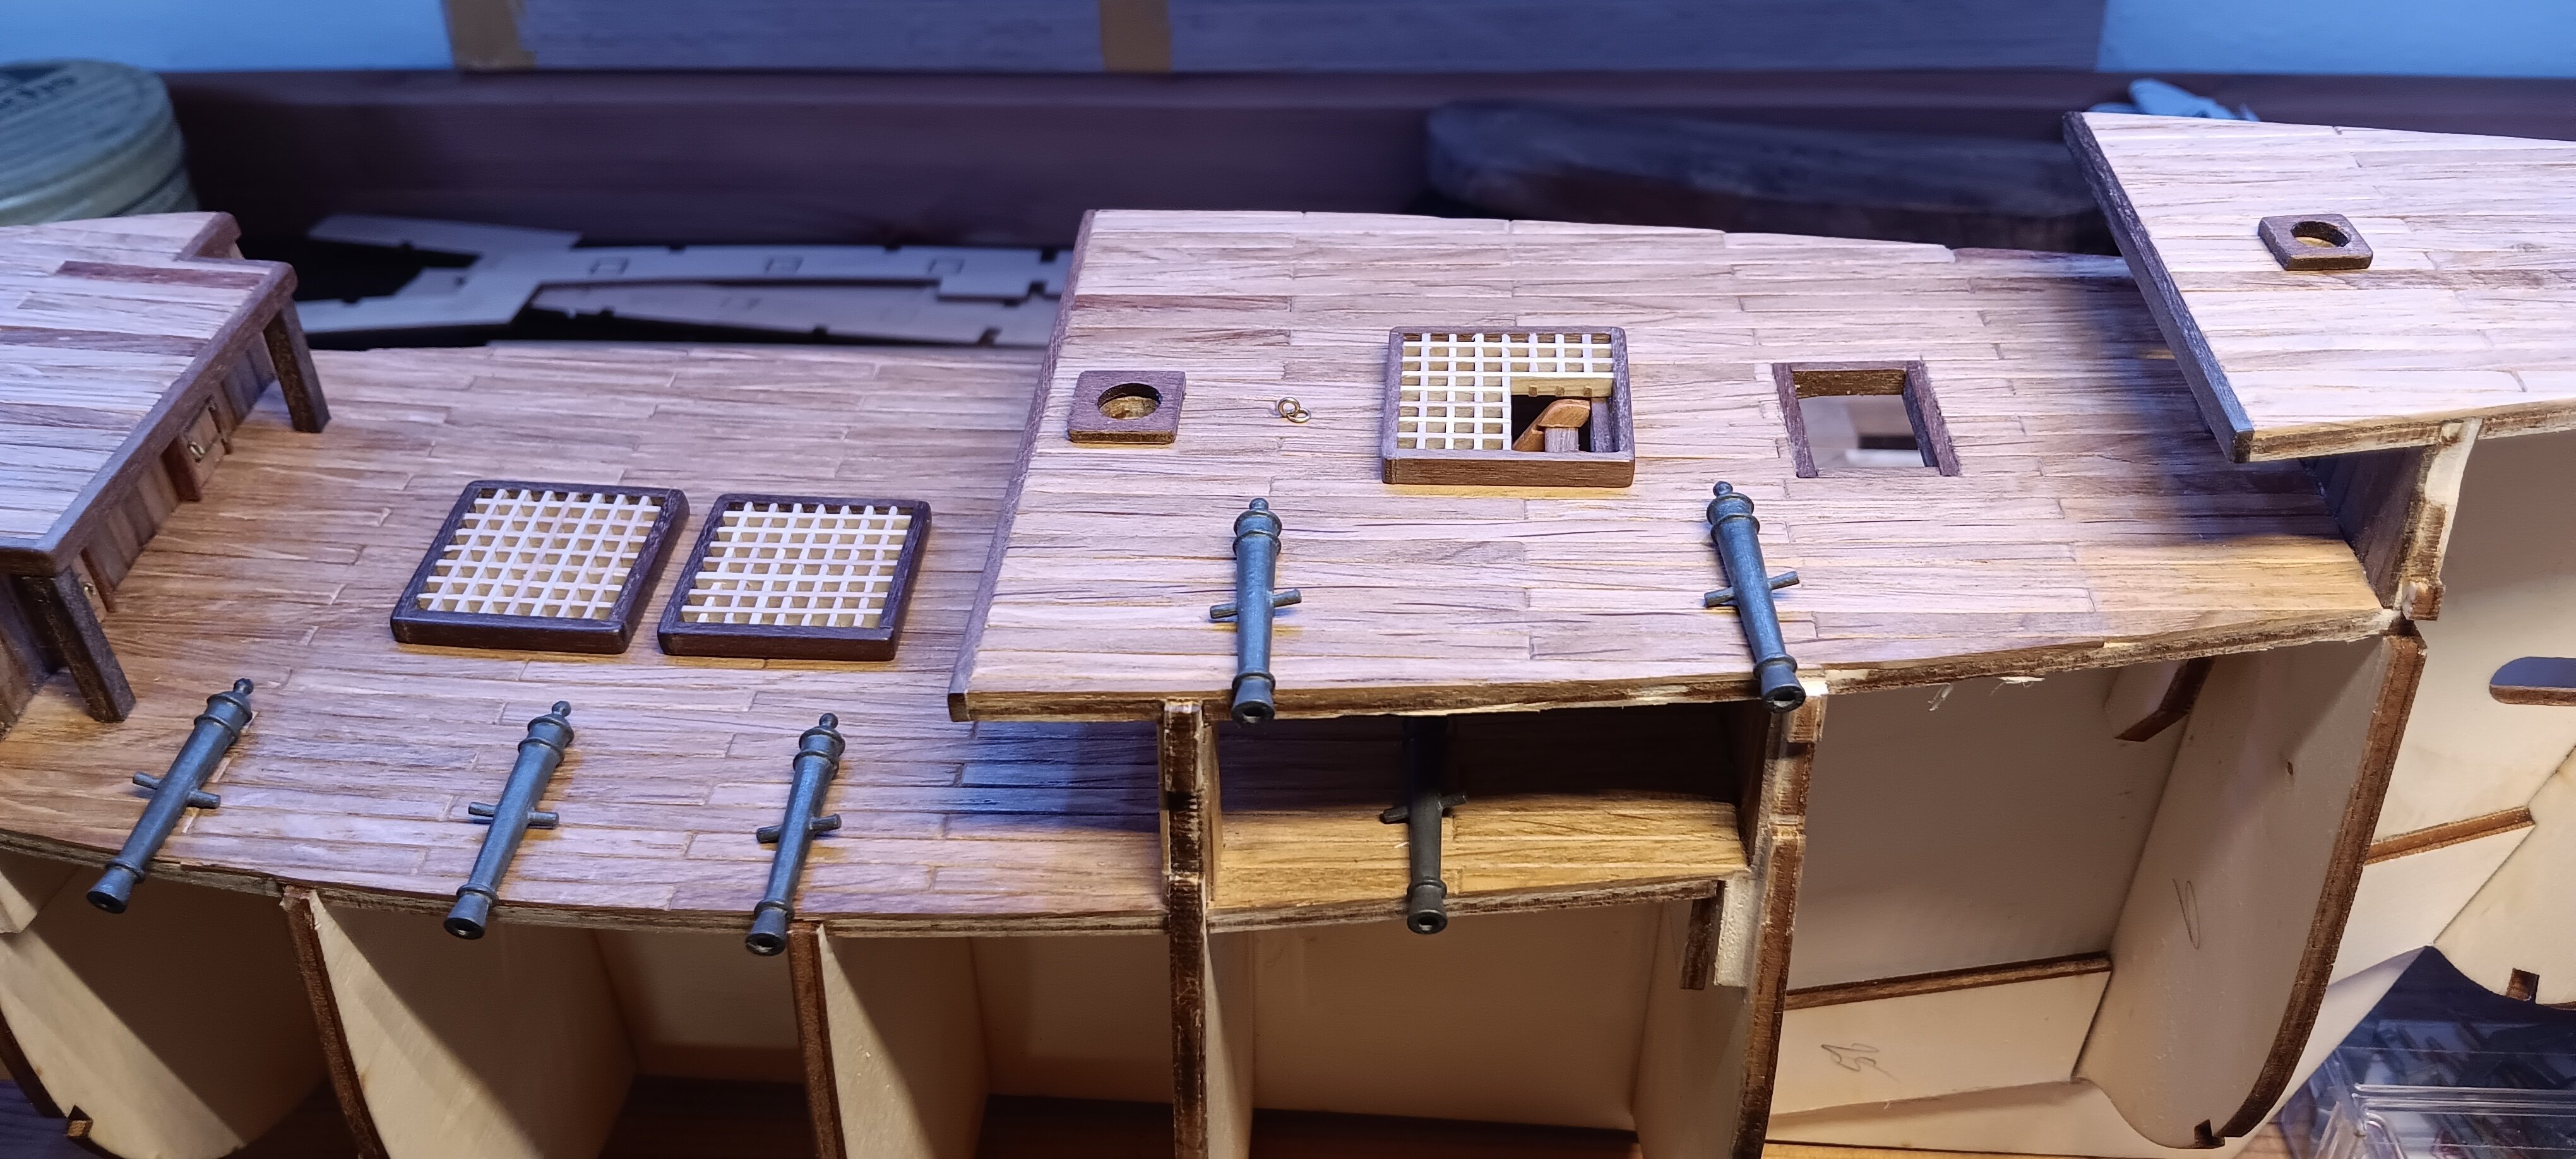
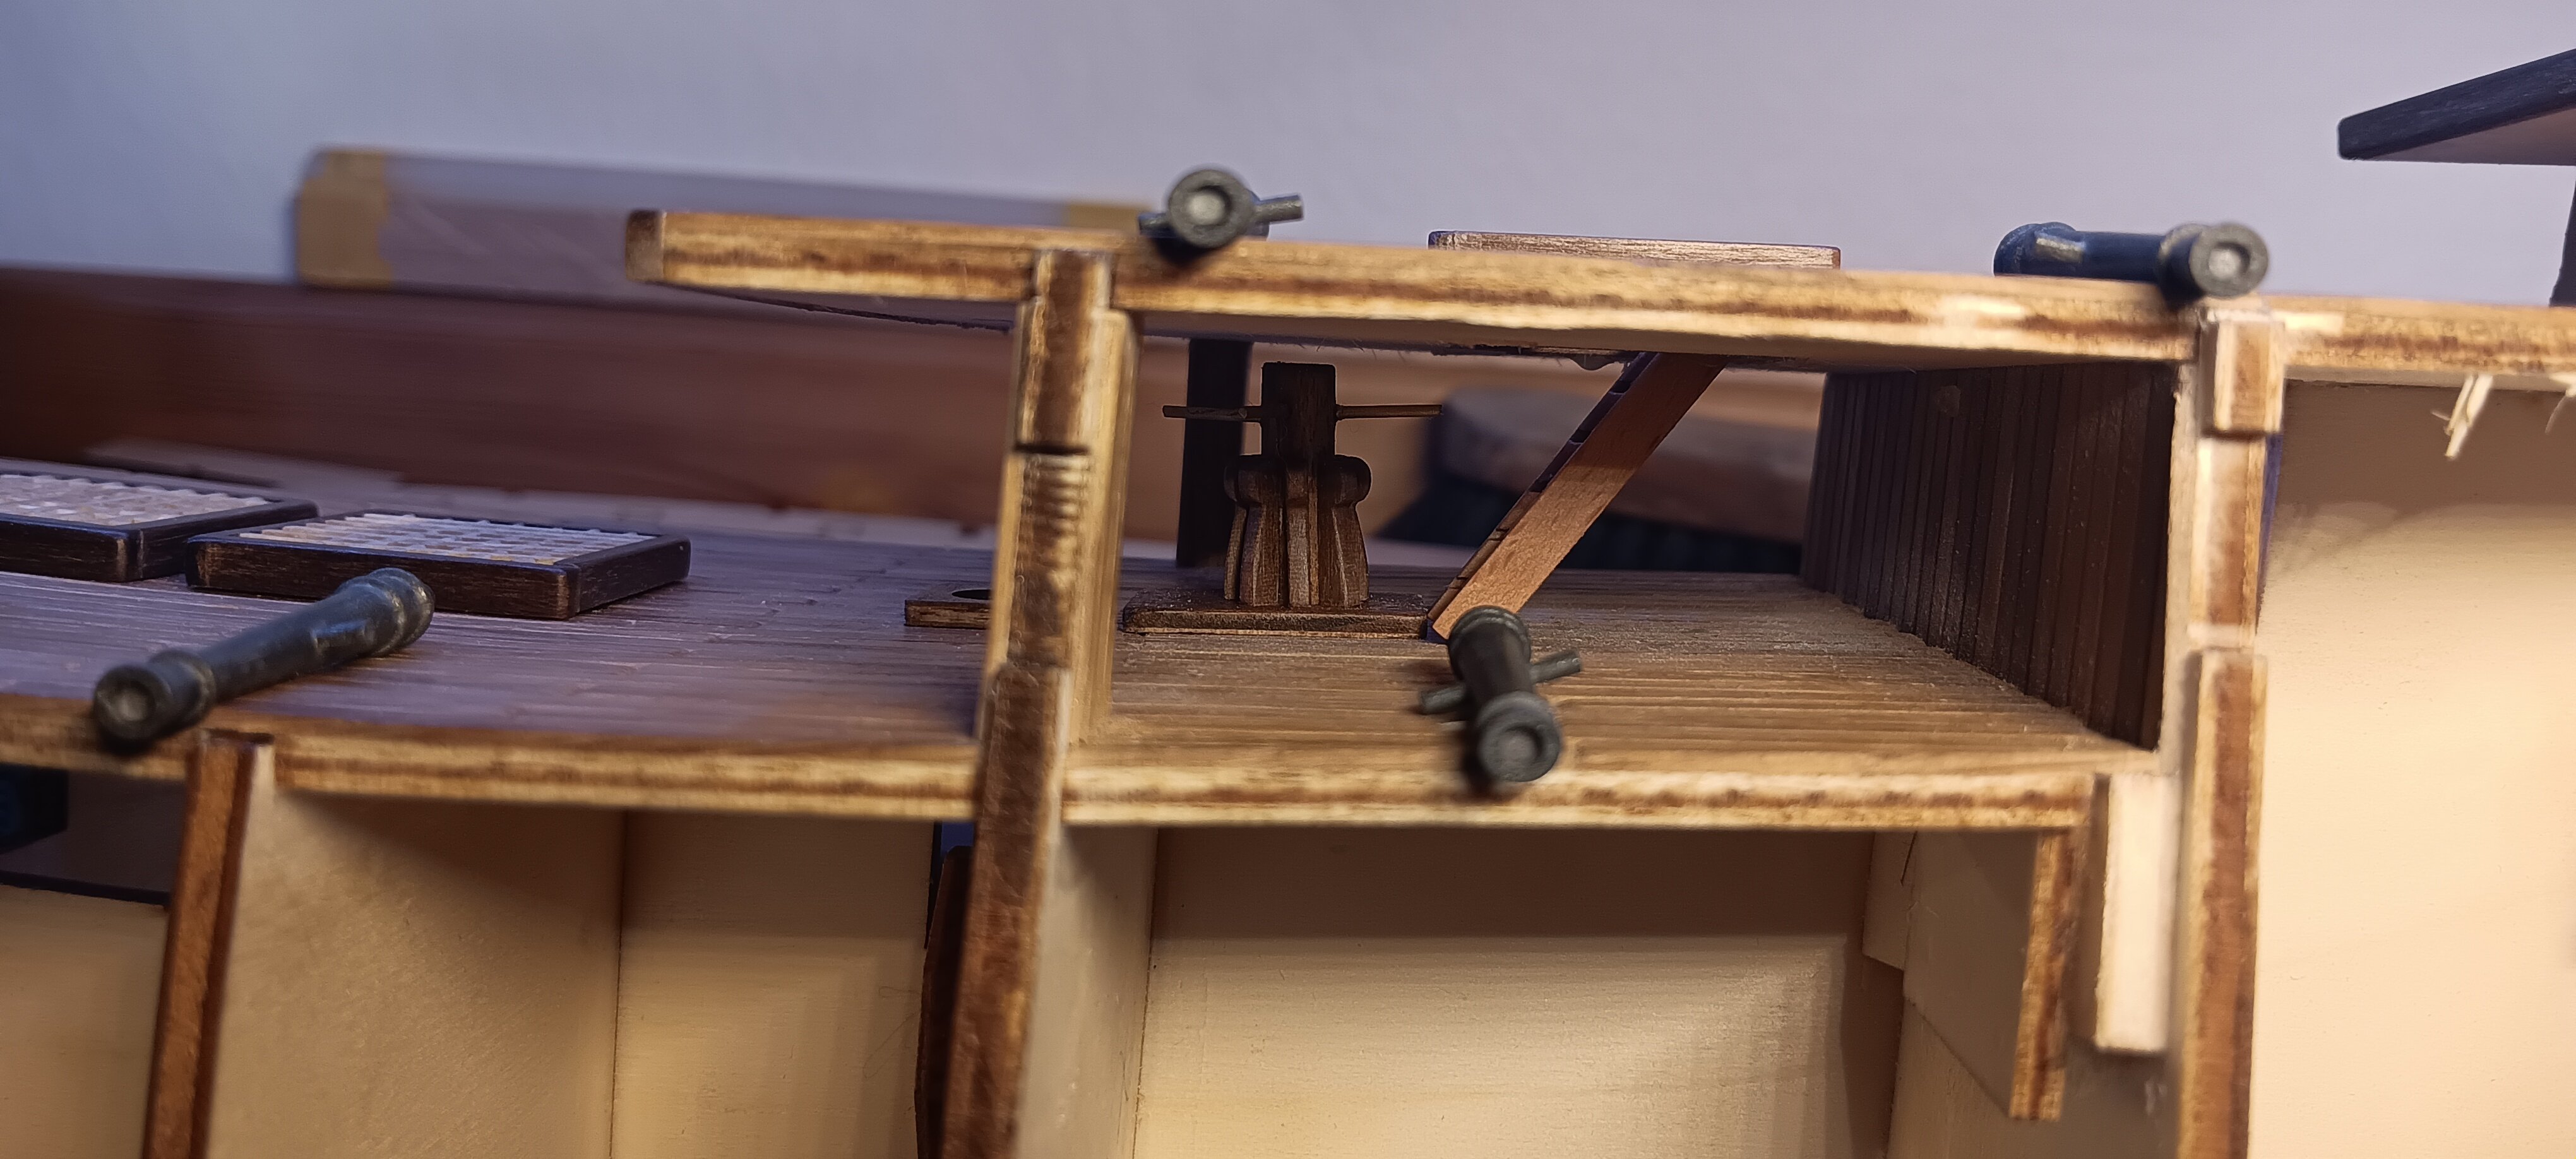
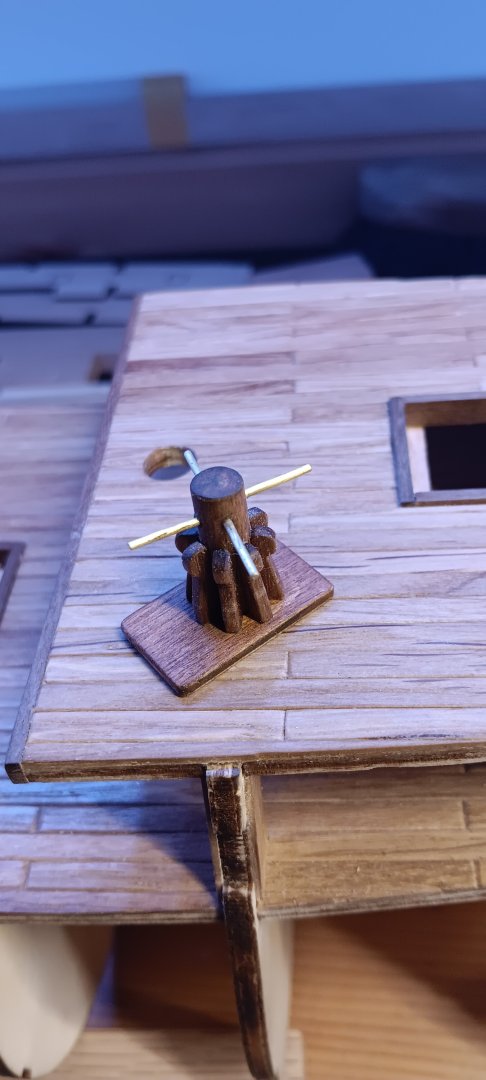
Thats what i have done, yesterday. But i think the Anchor Winche is to big.


- 210 replies
-
- 3
-
-
- San Martin
- OcCre
- (and 1 more)
-
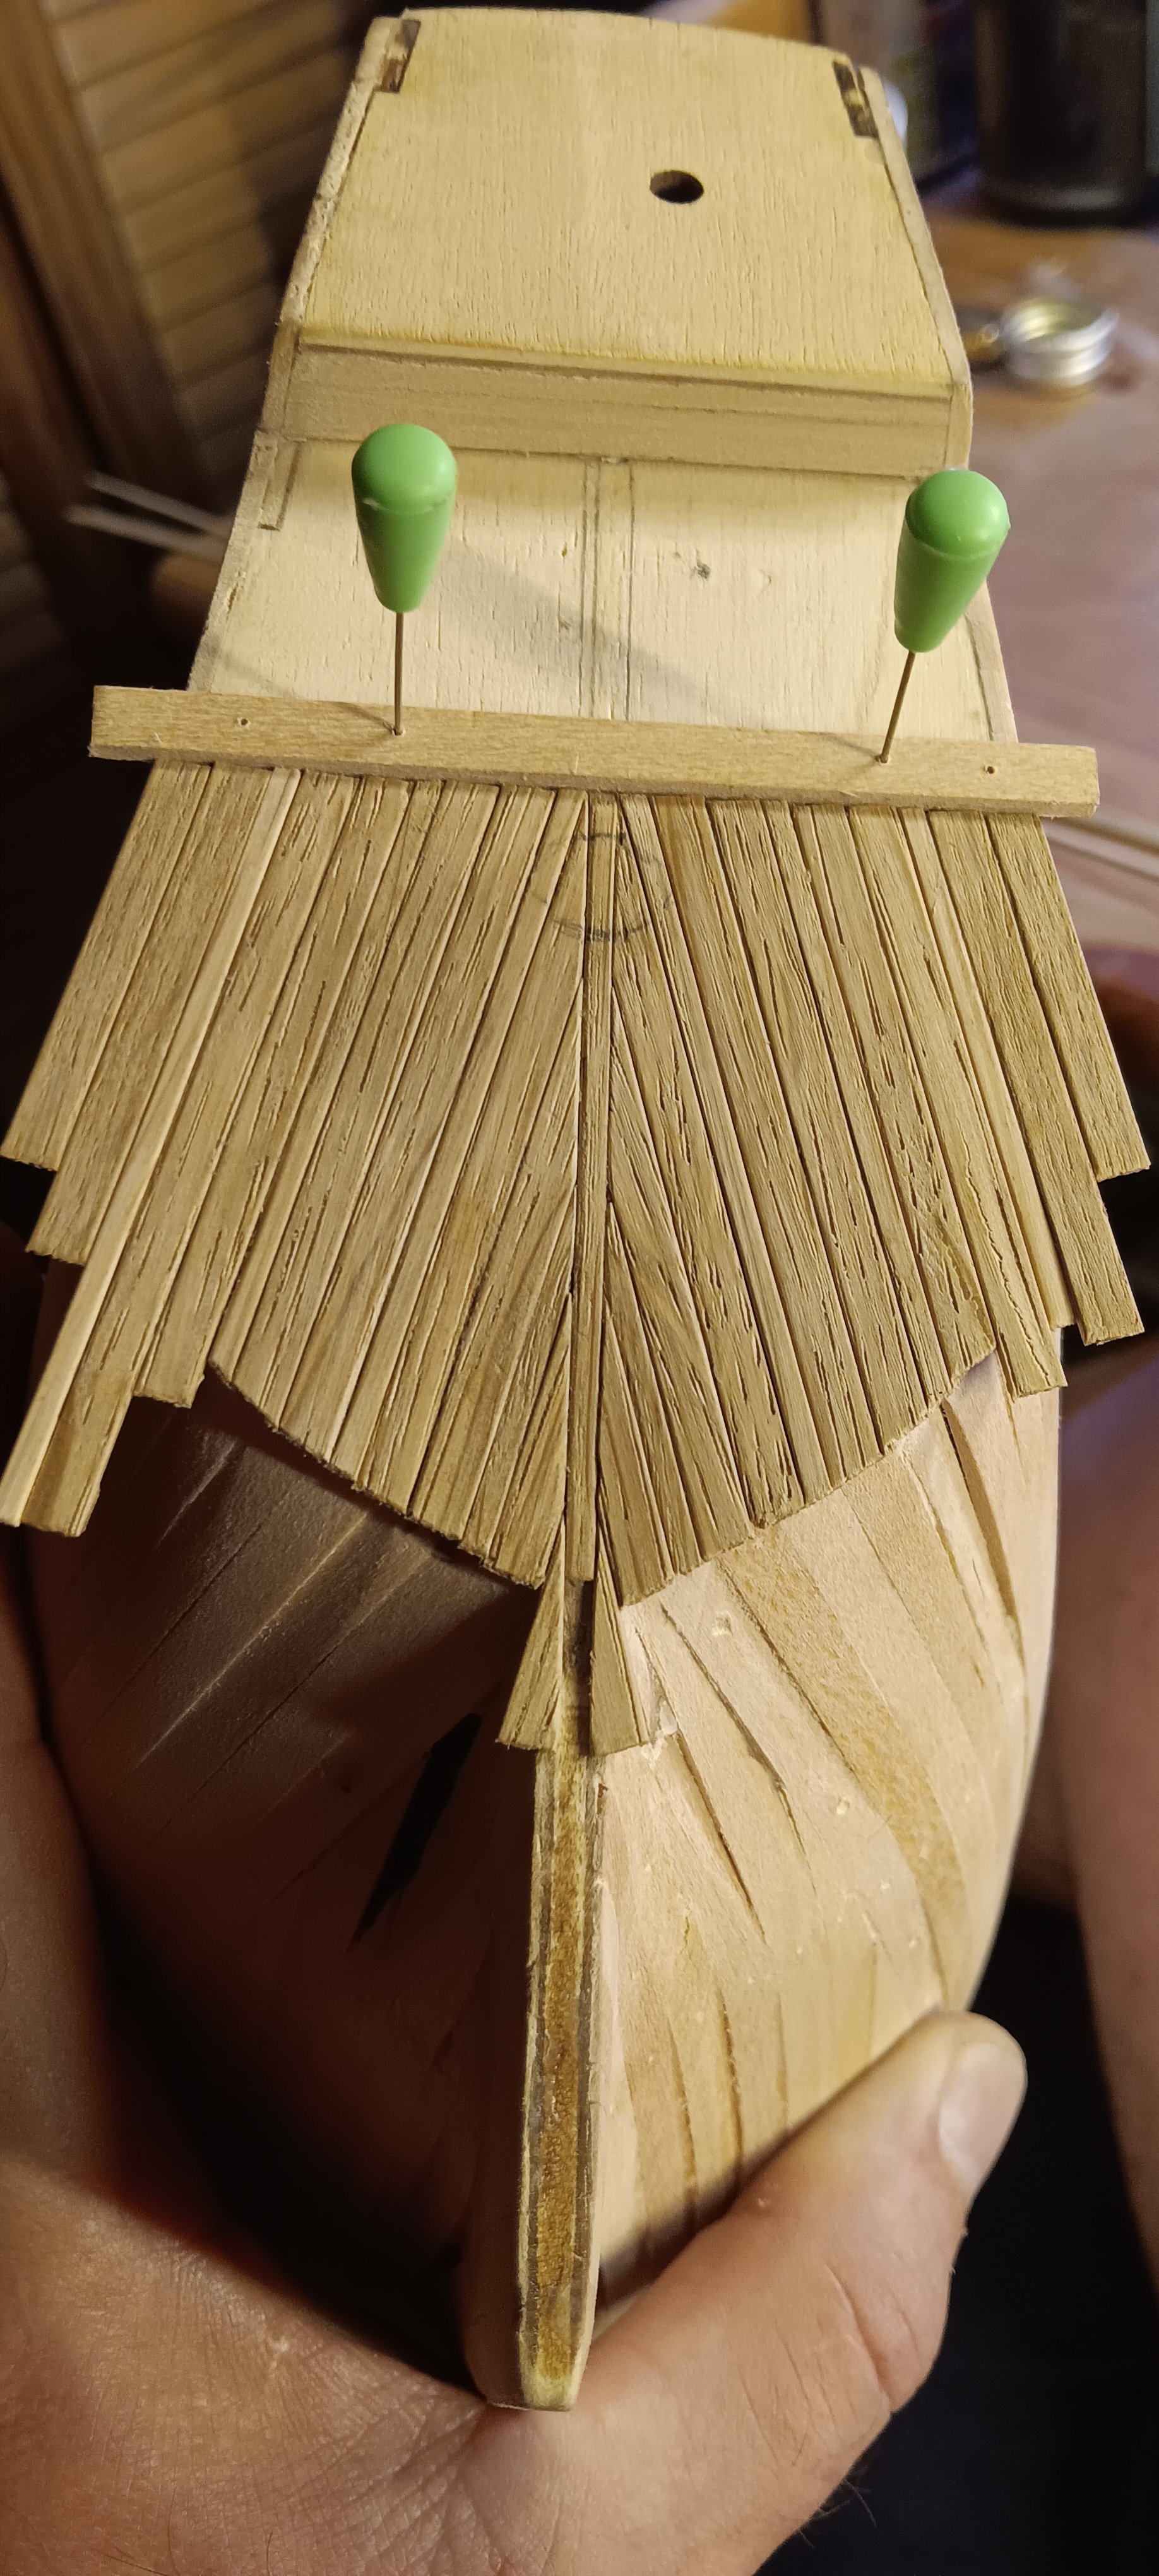
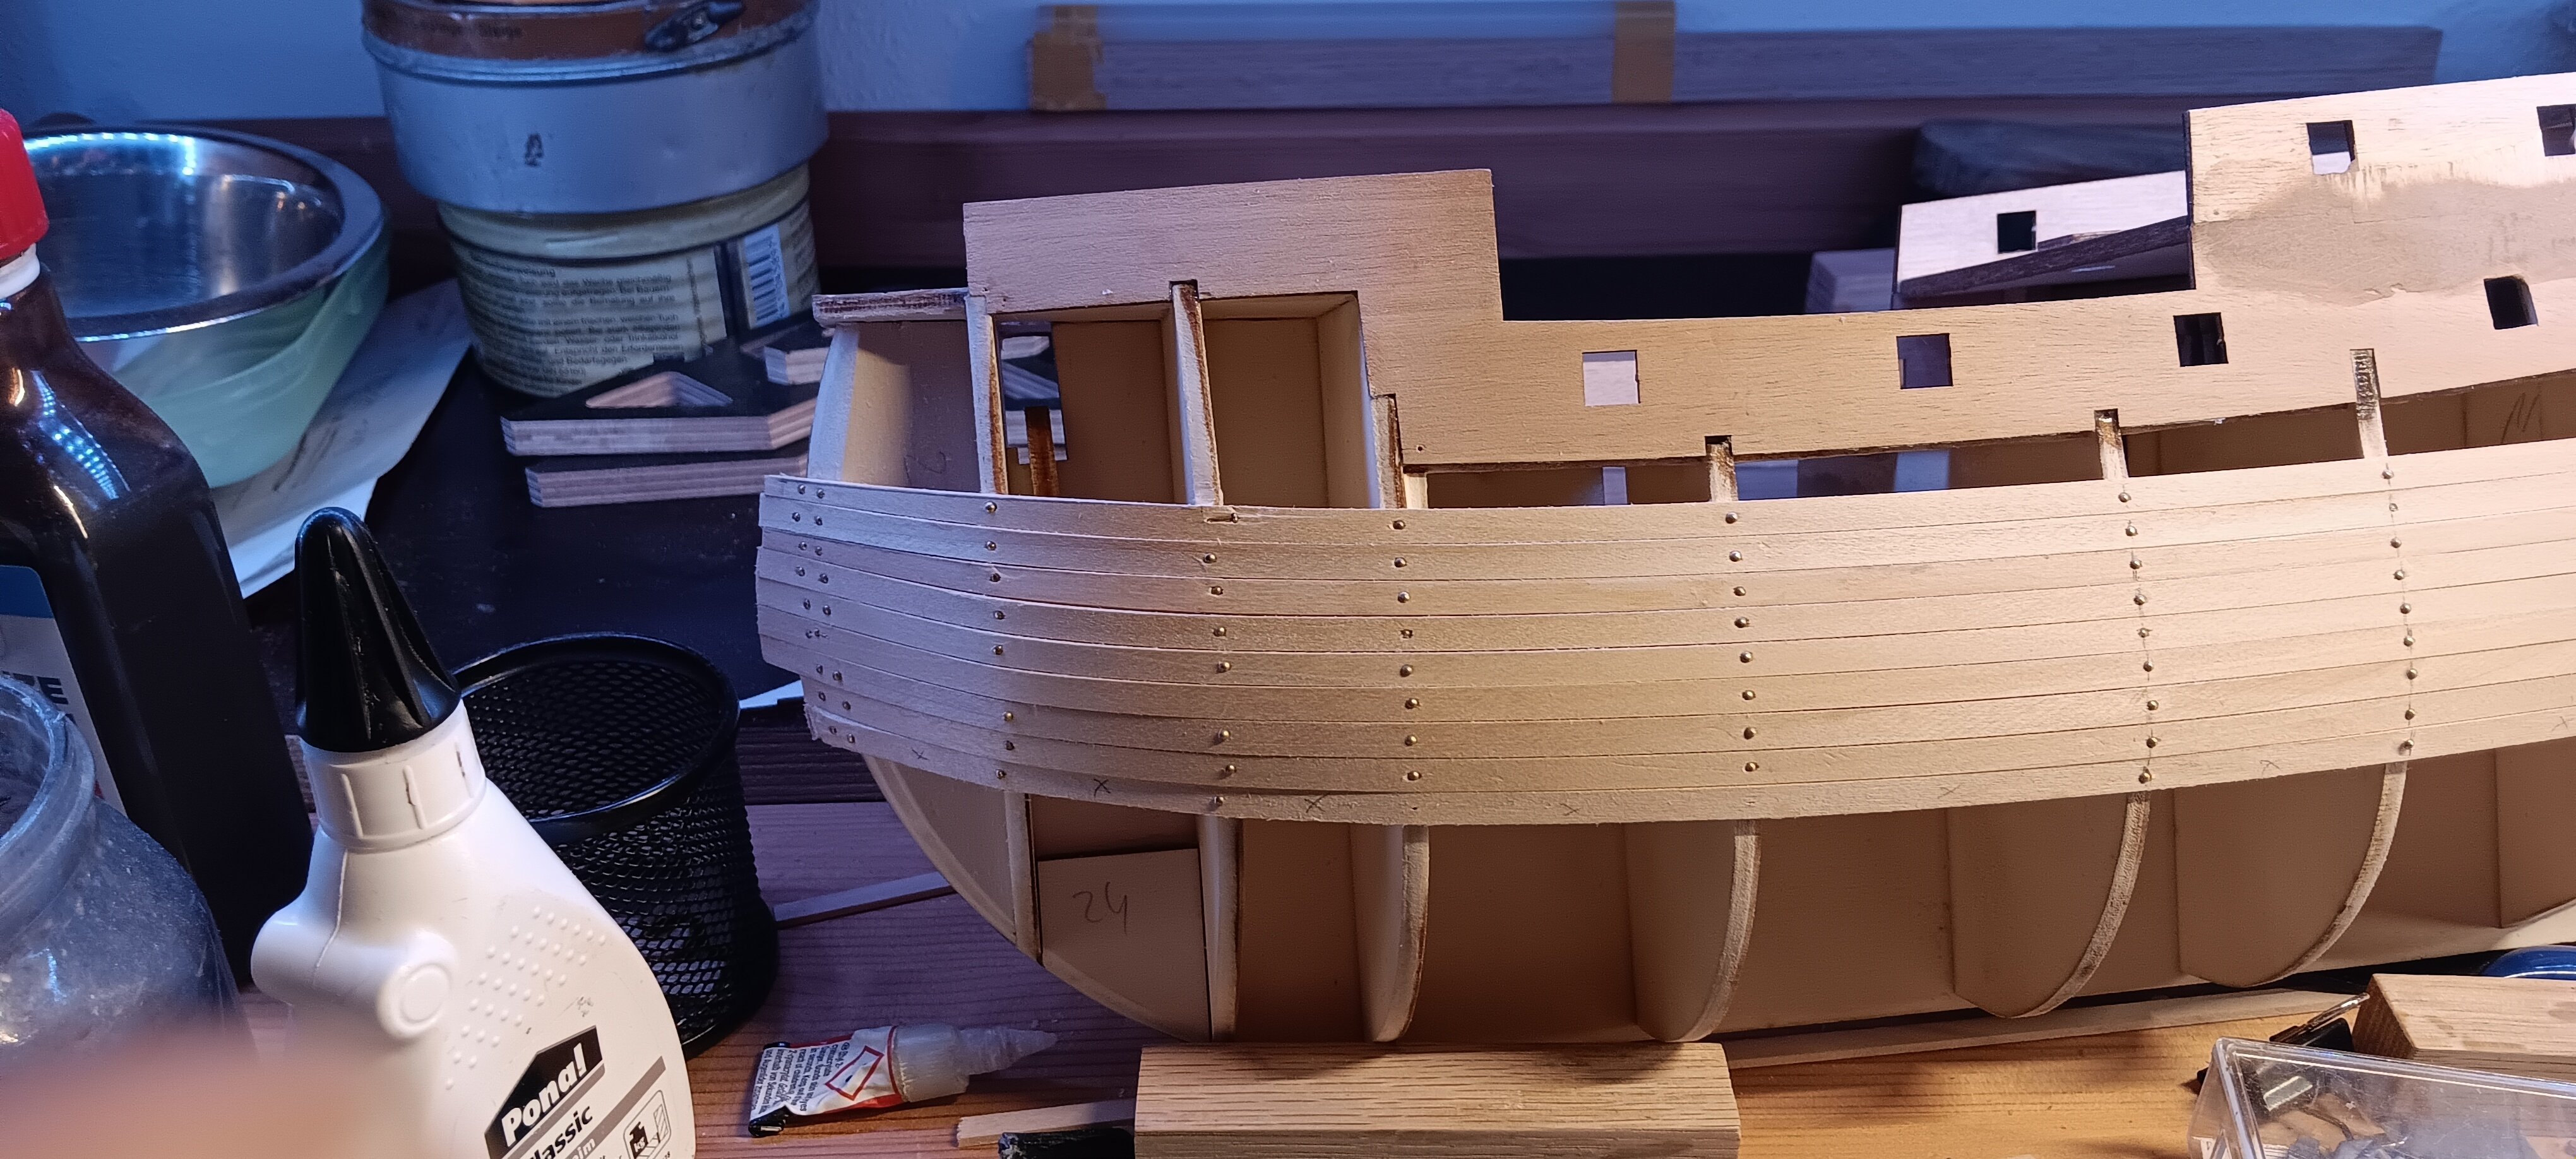
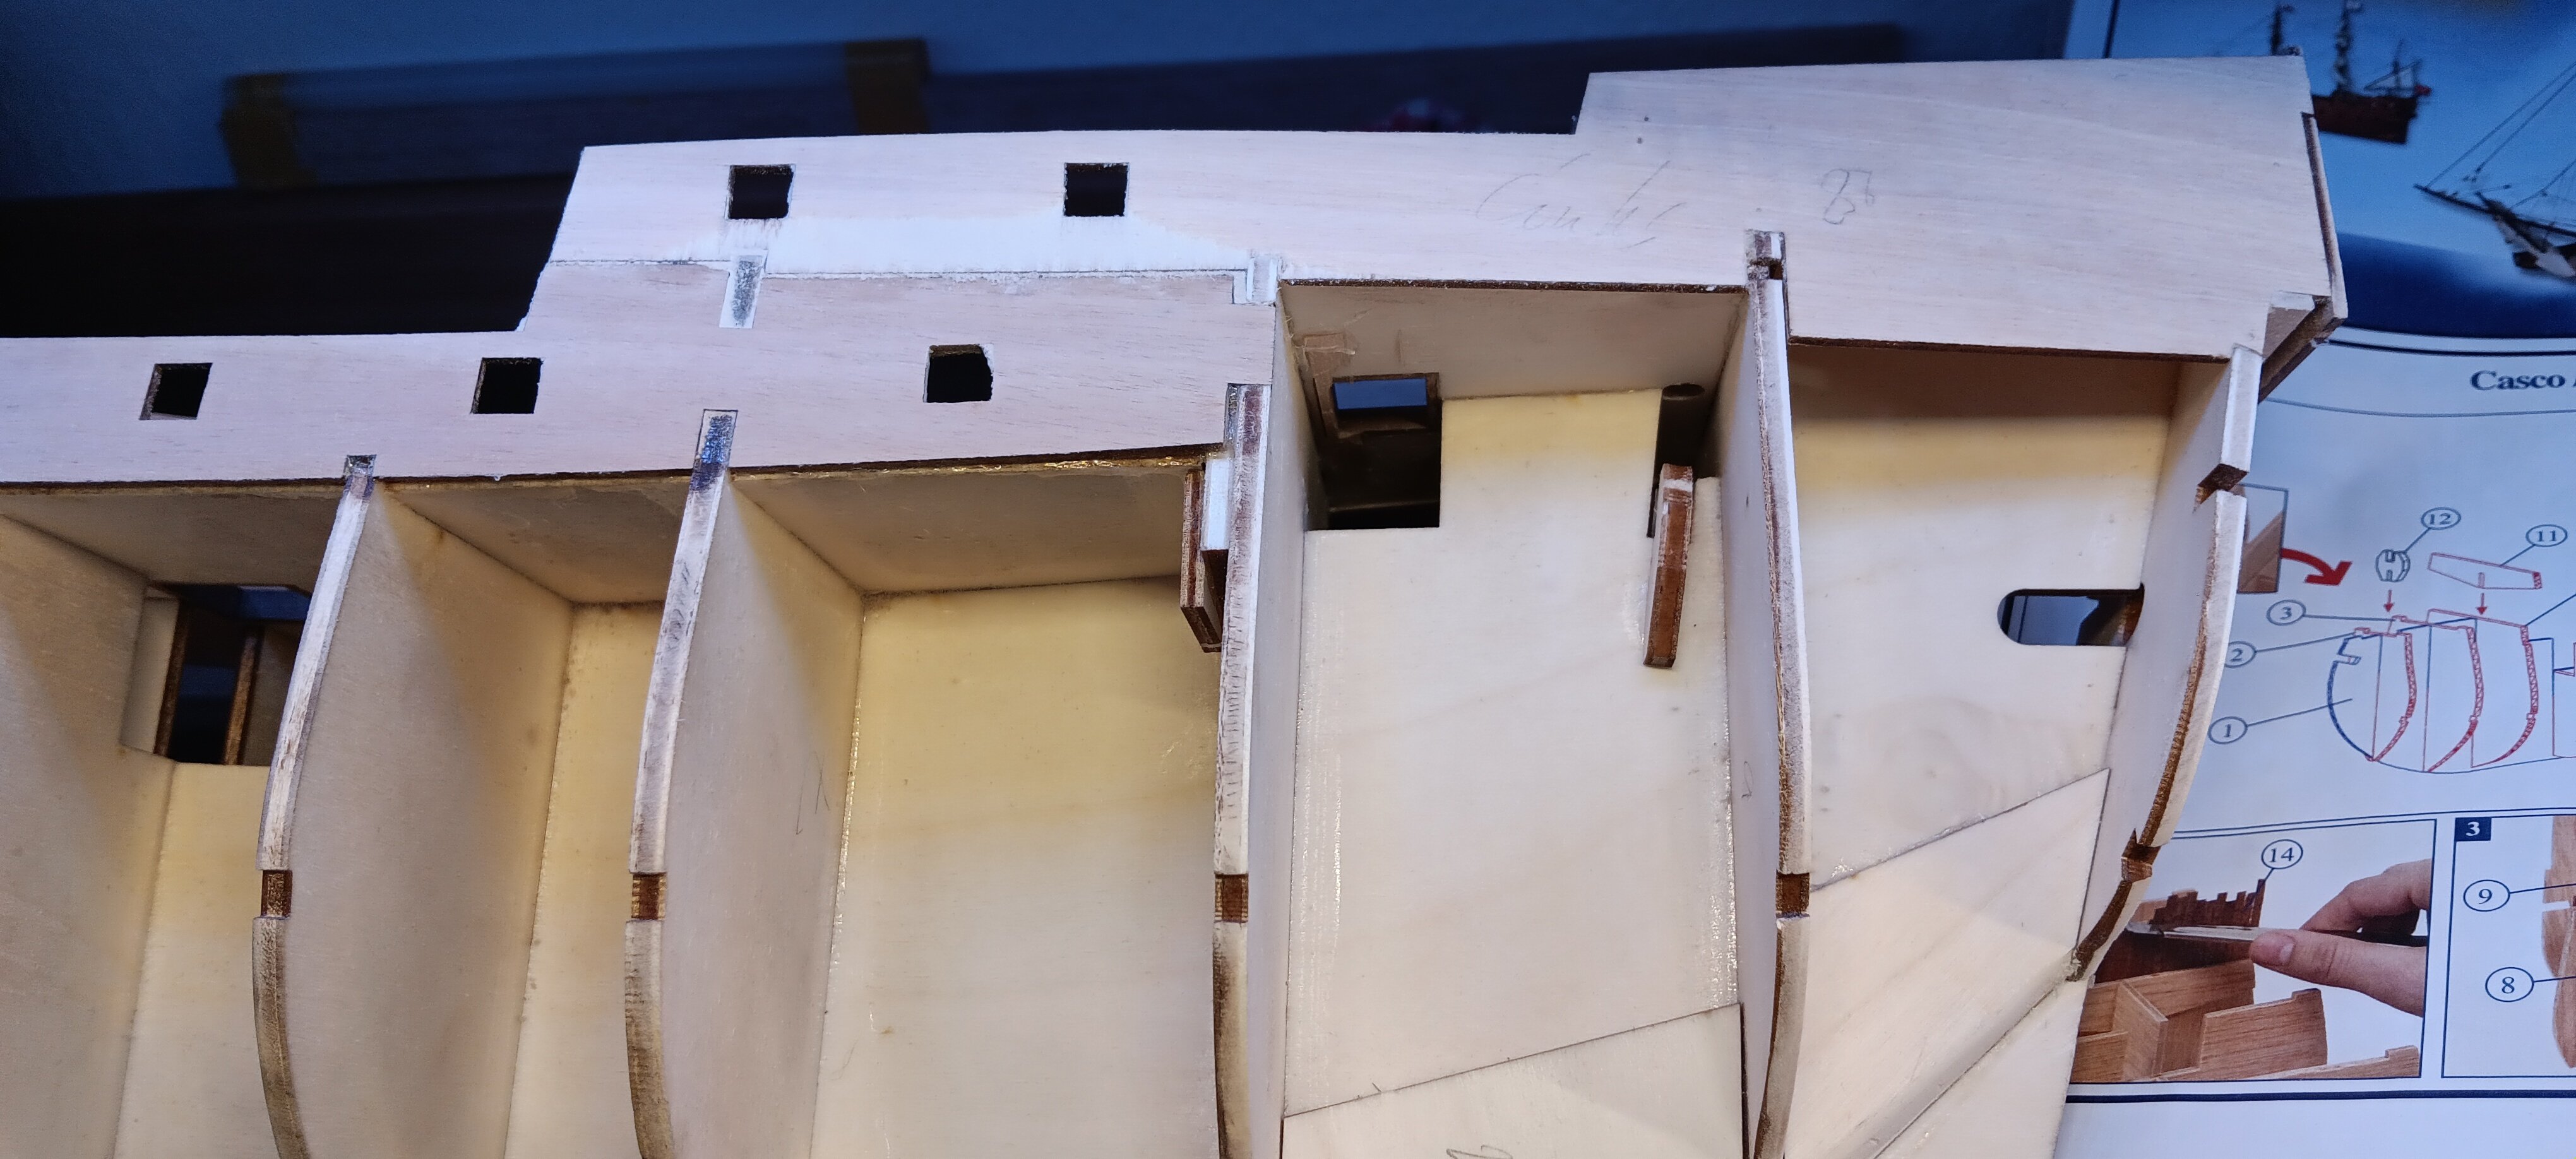
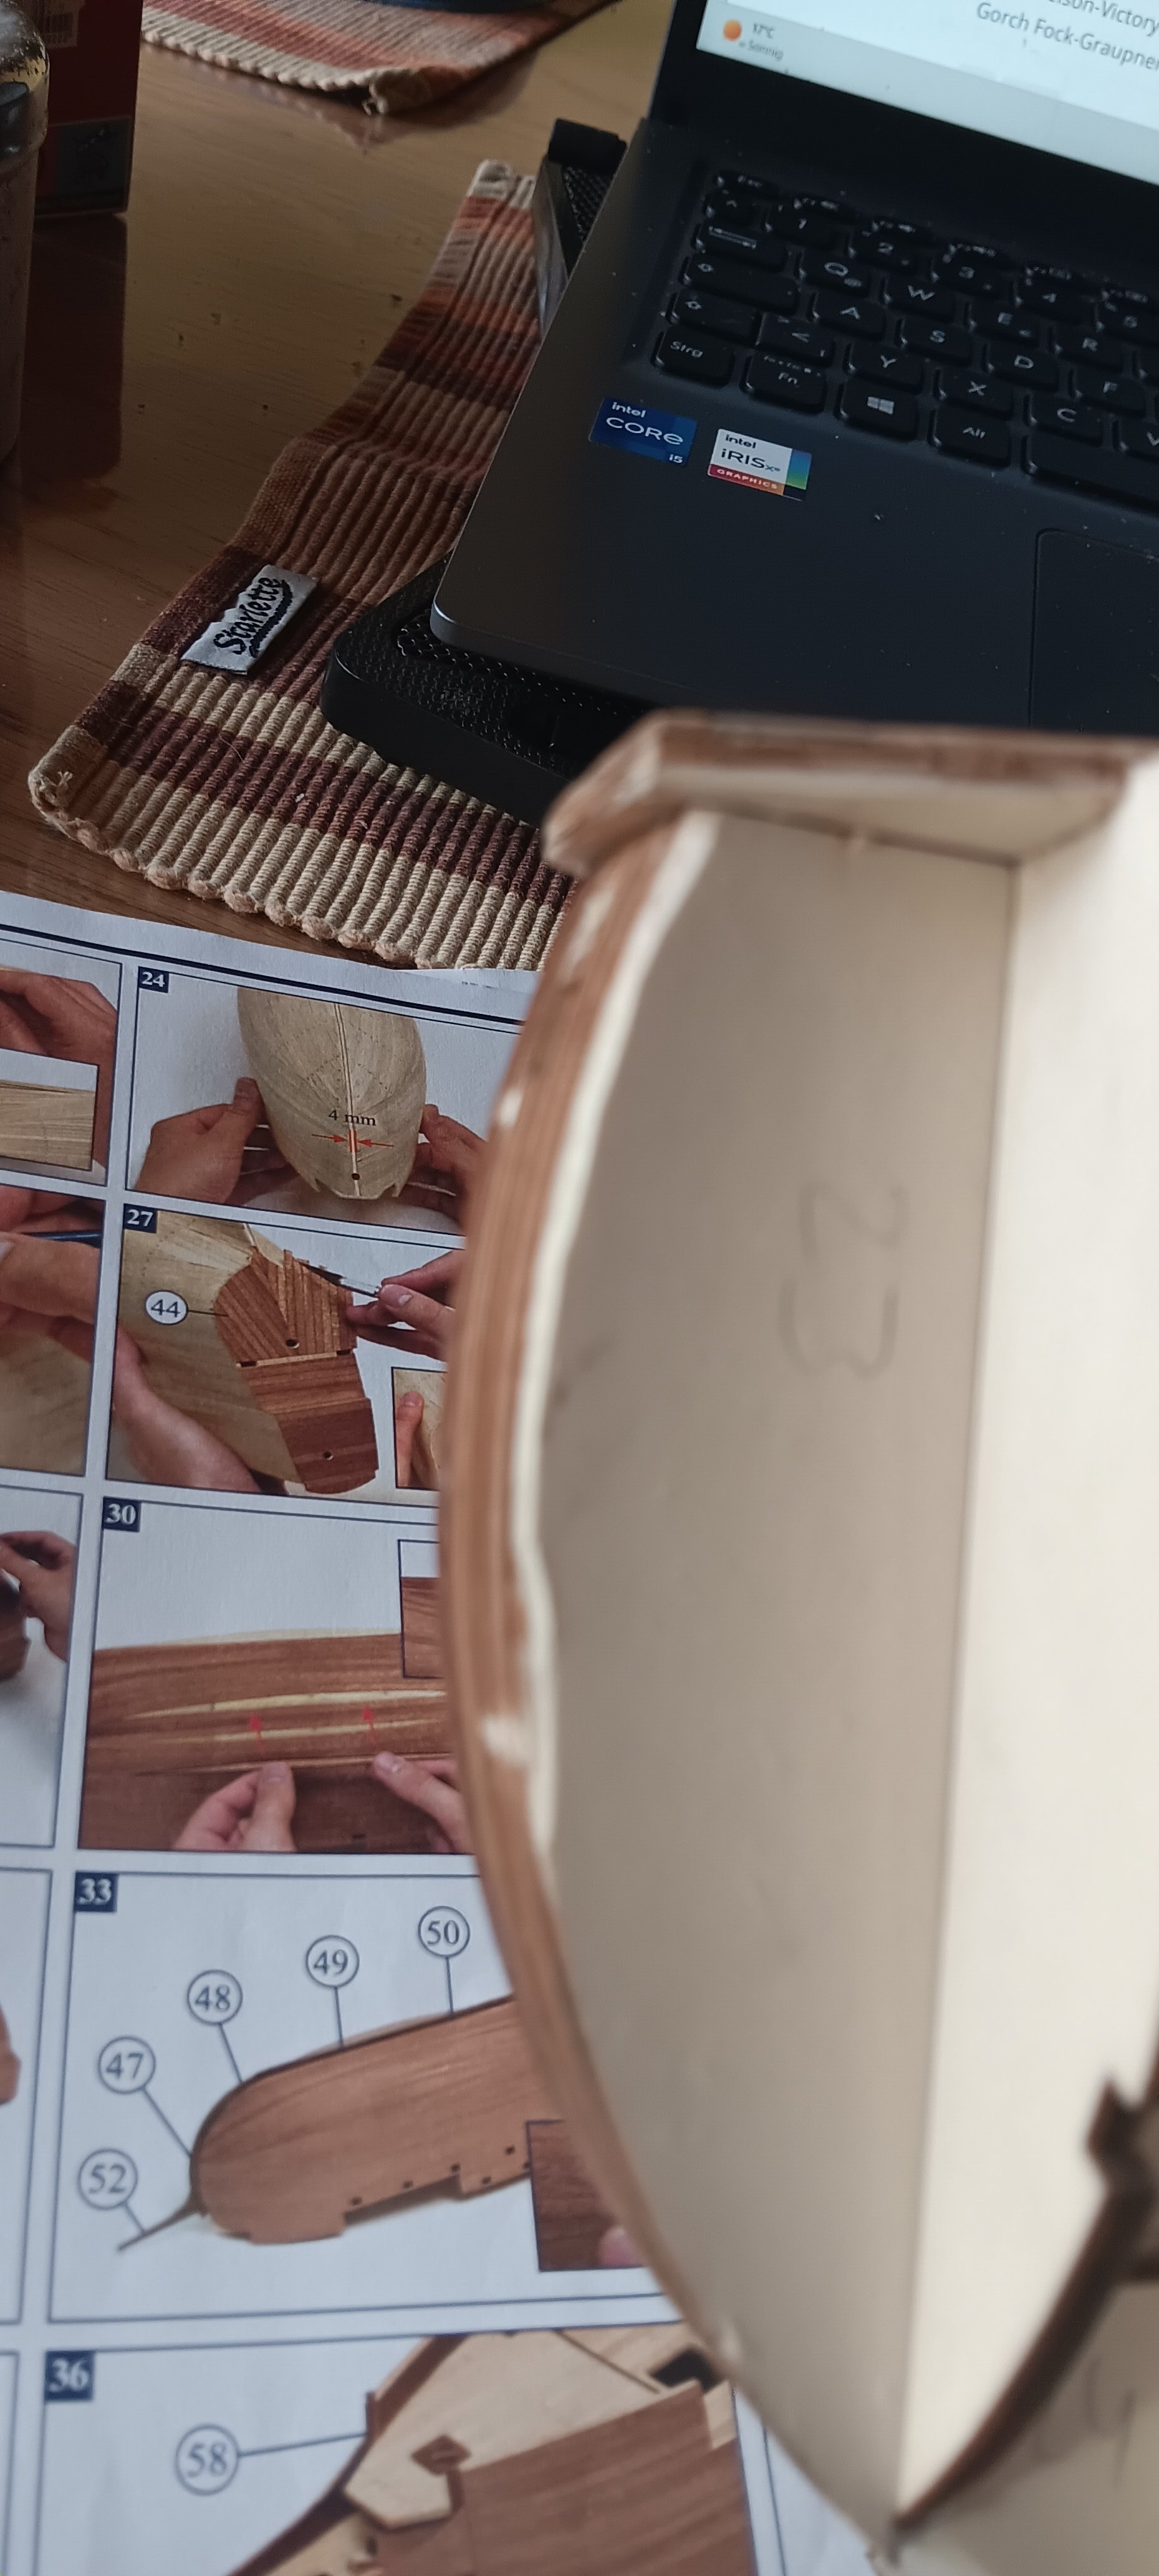
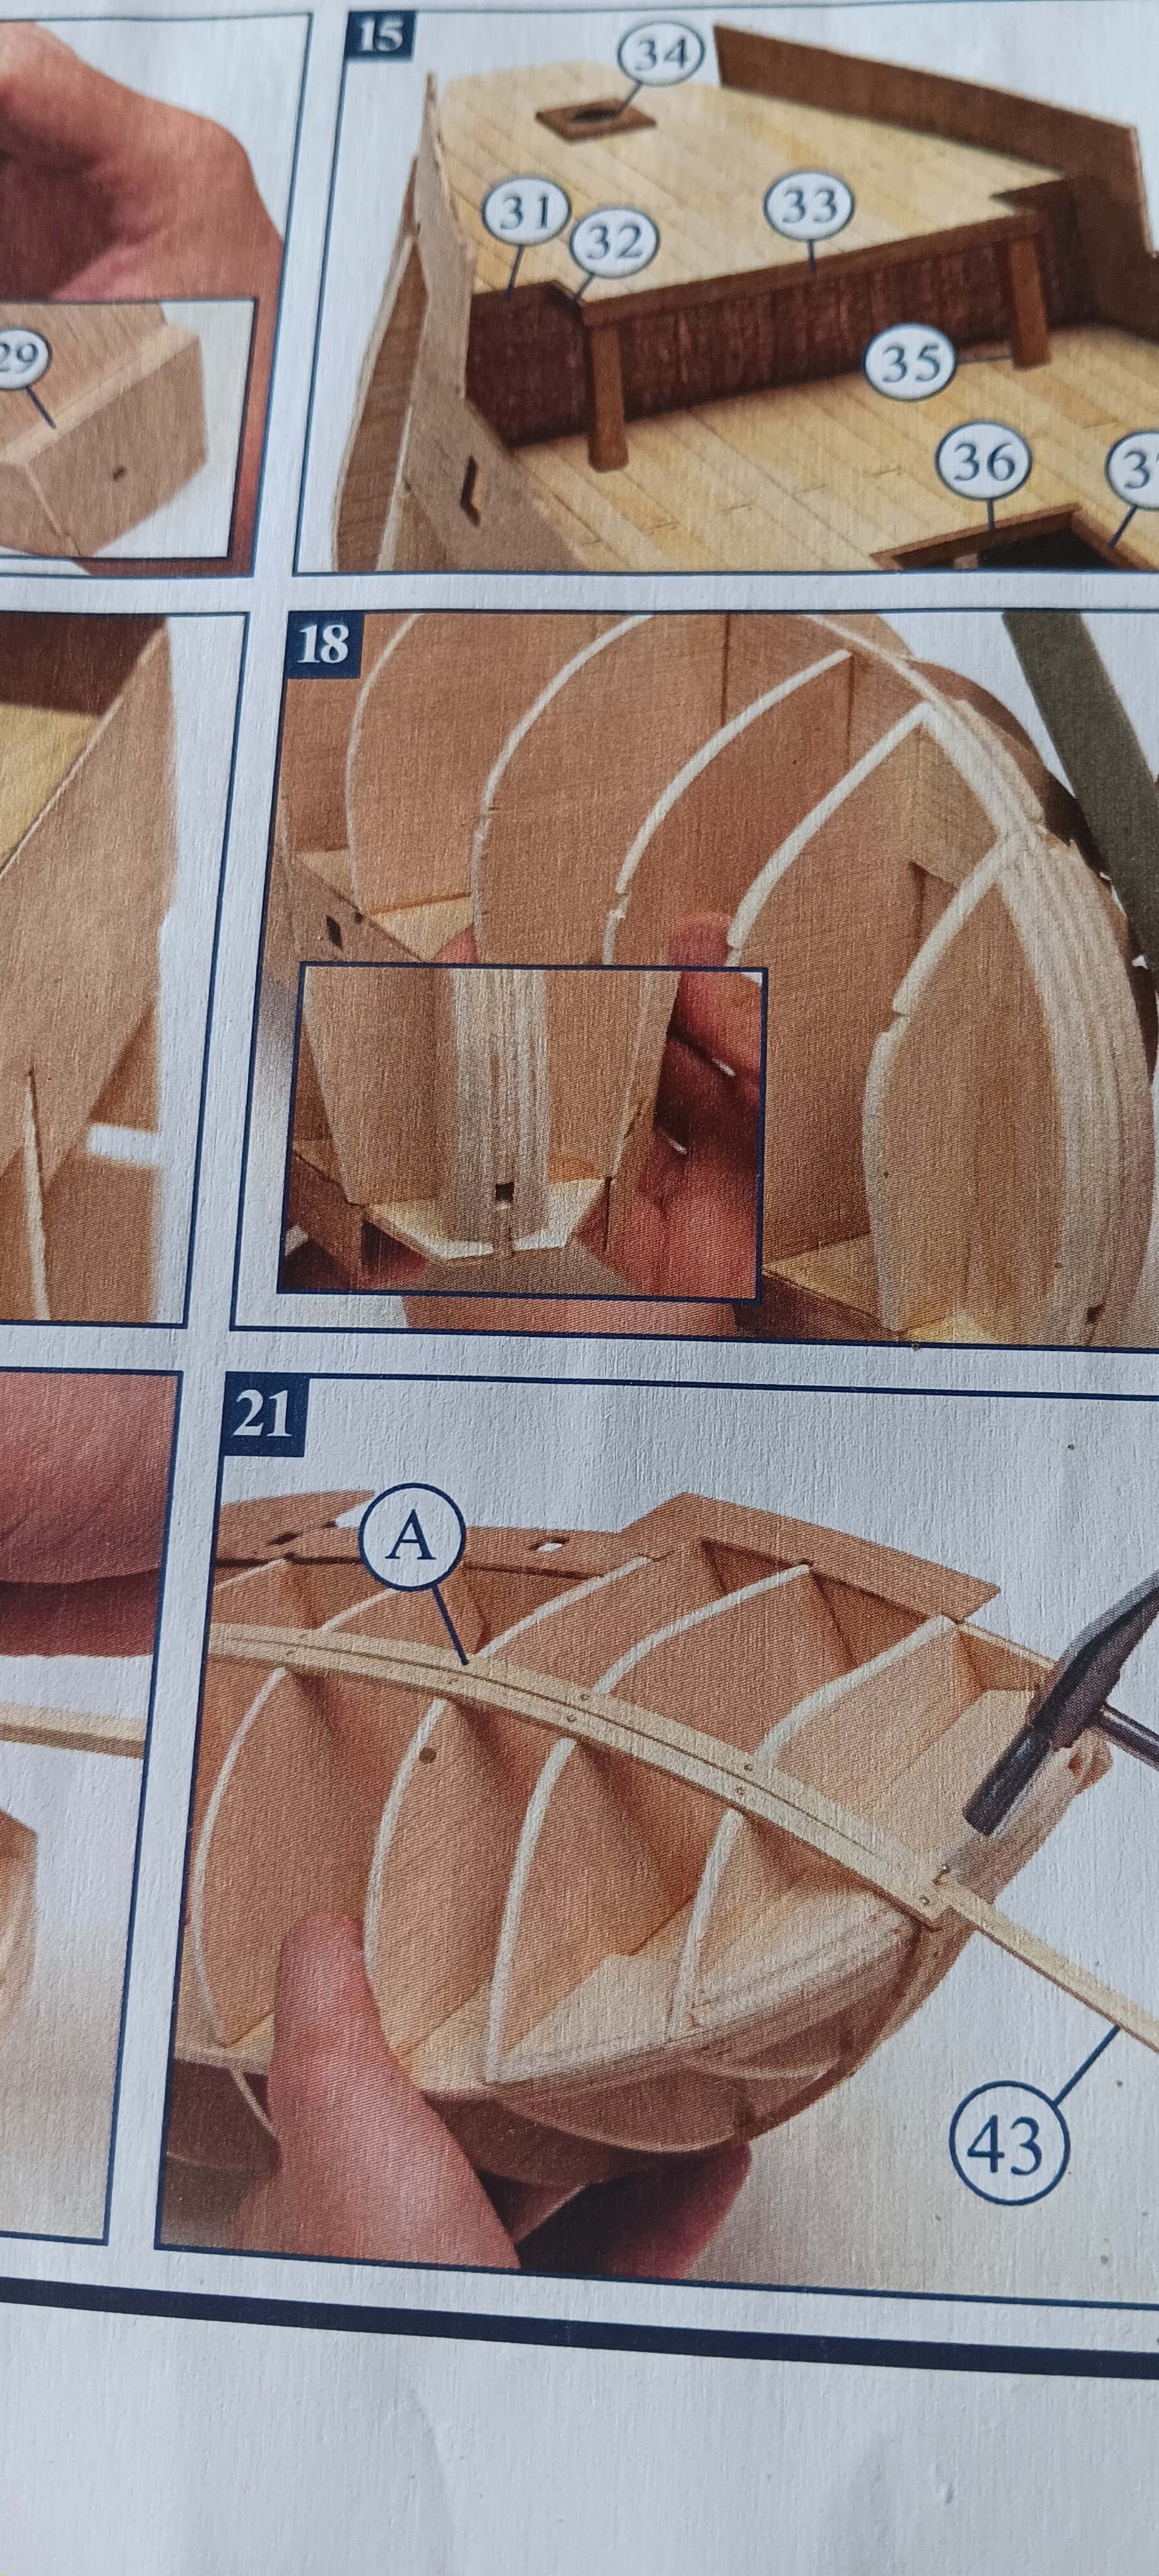
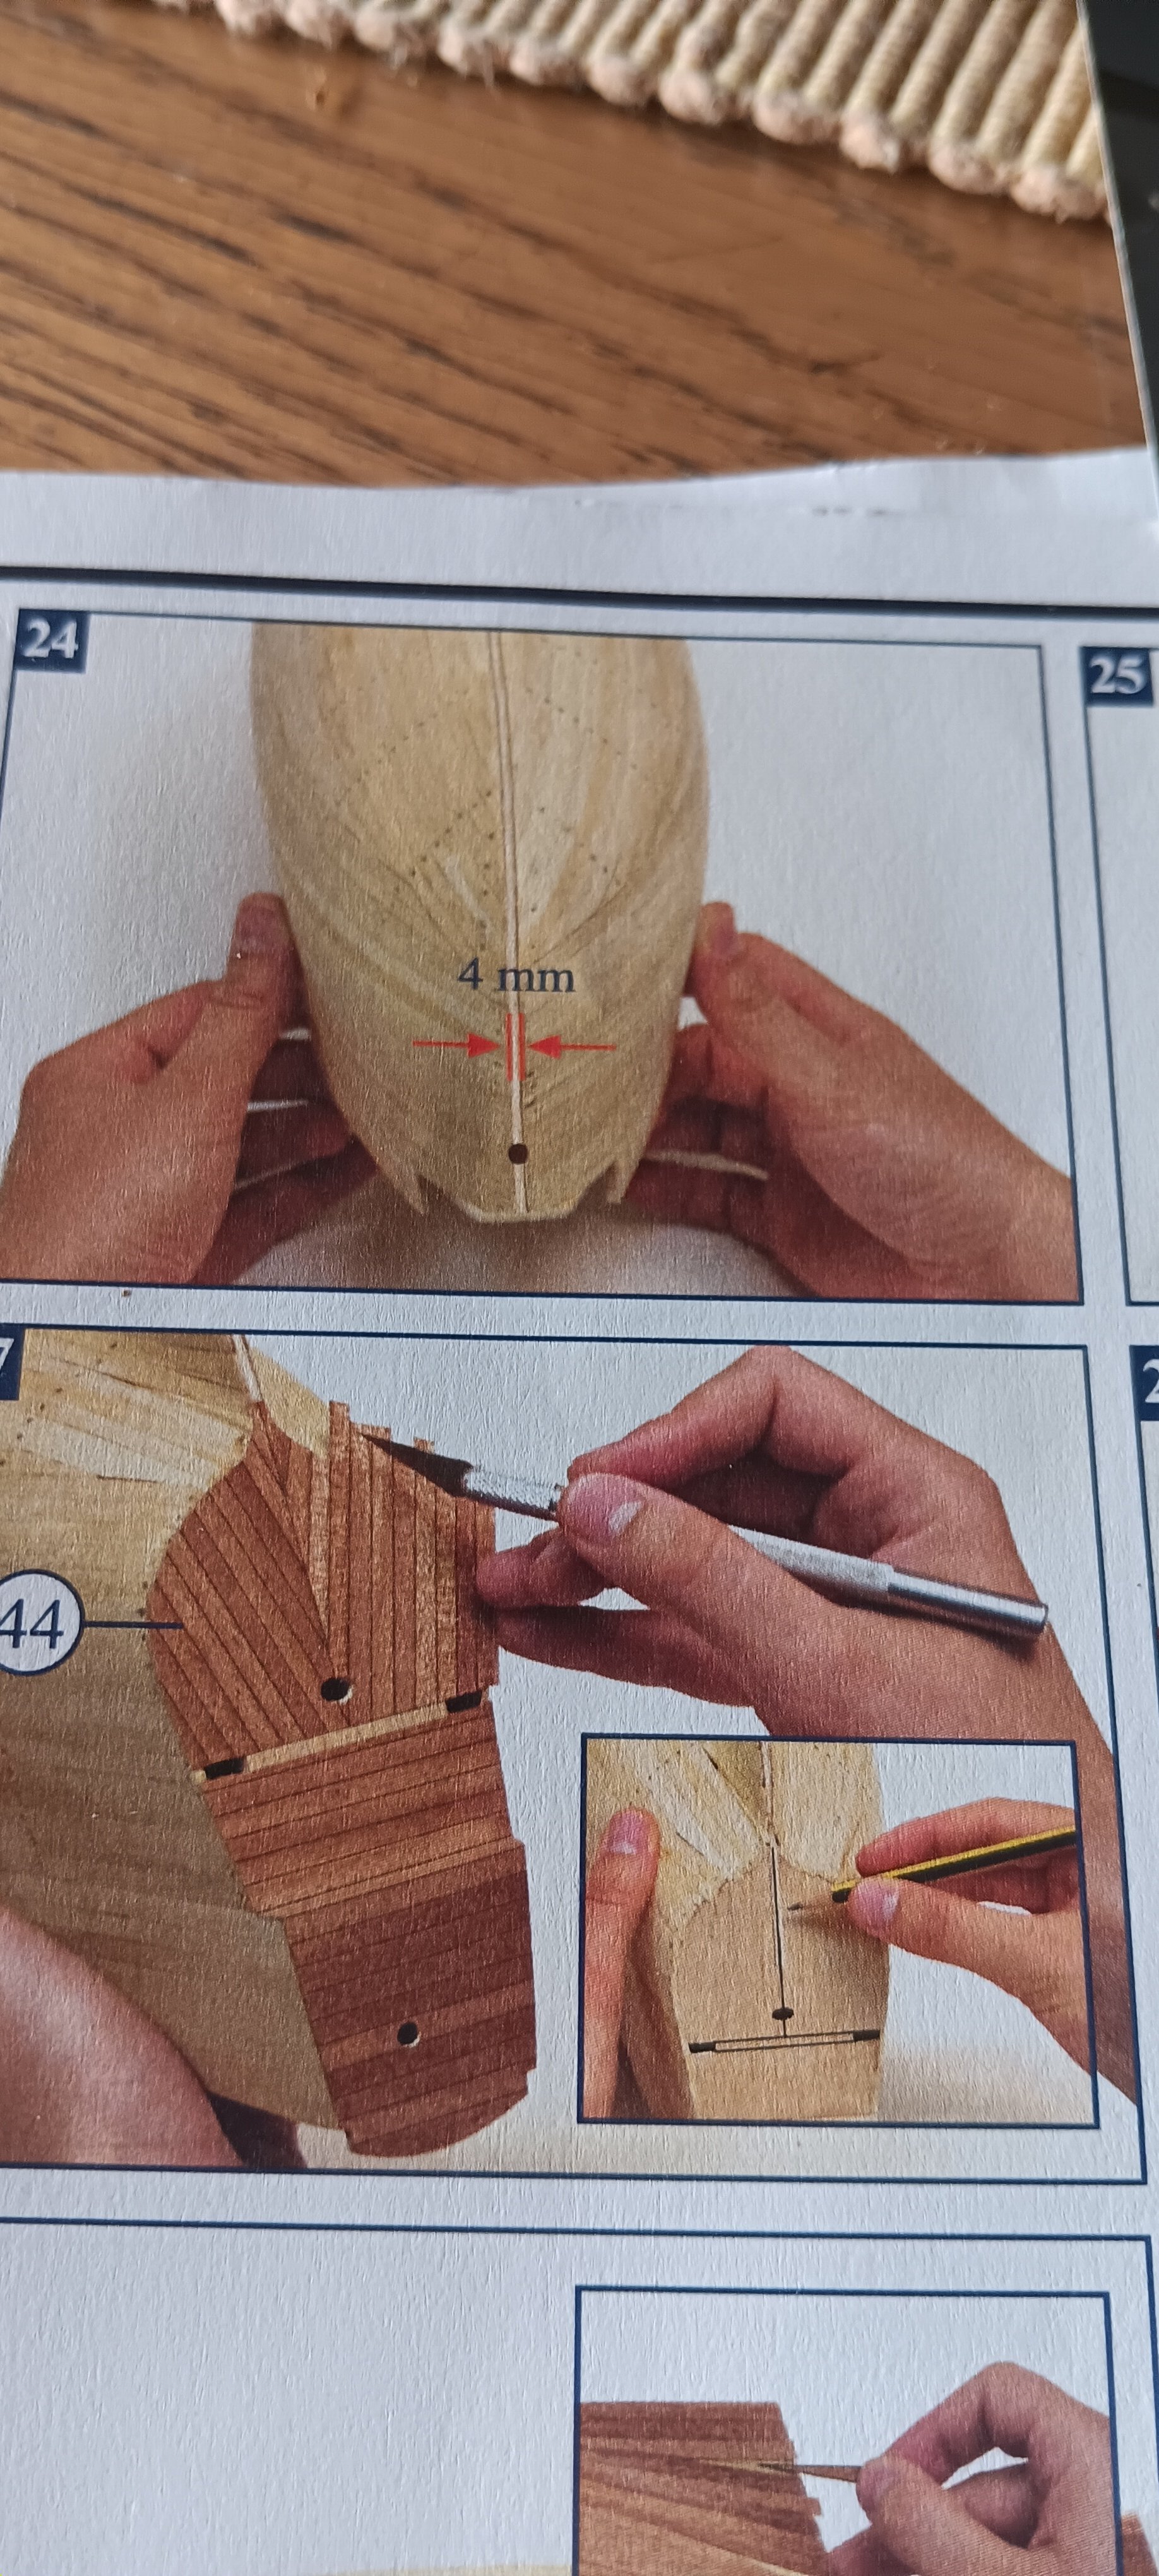
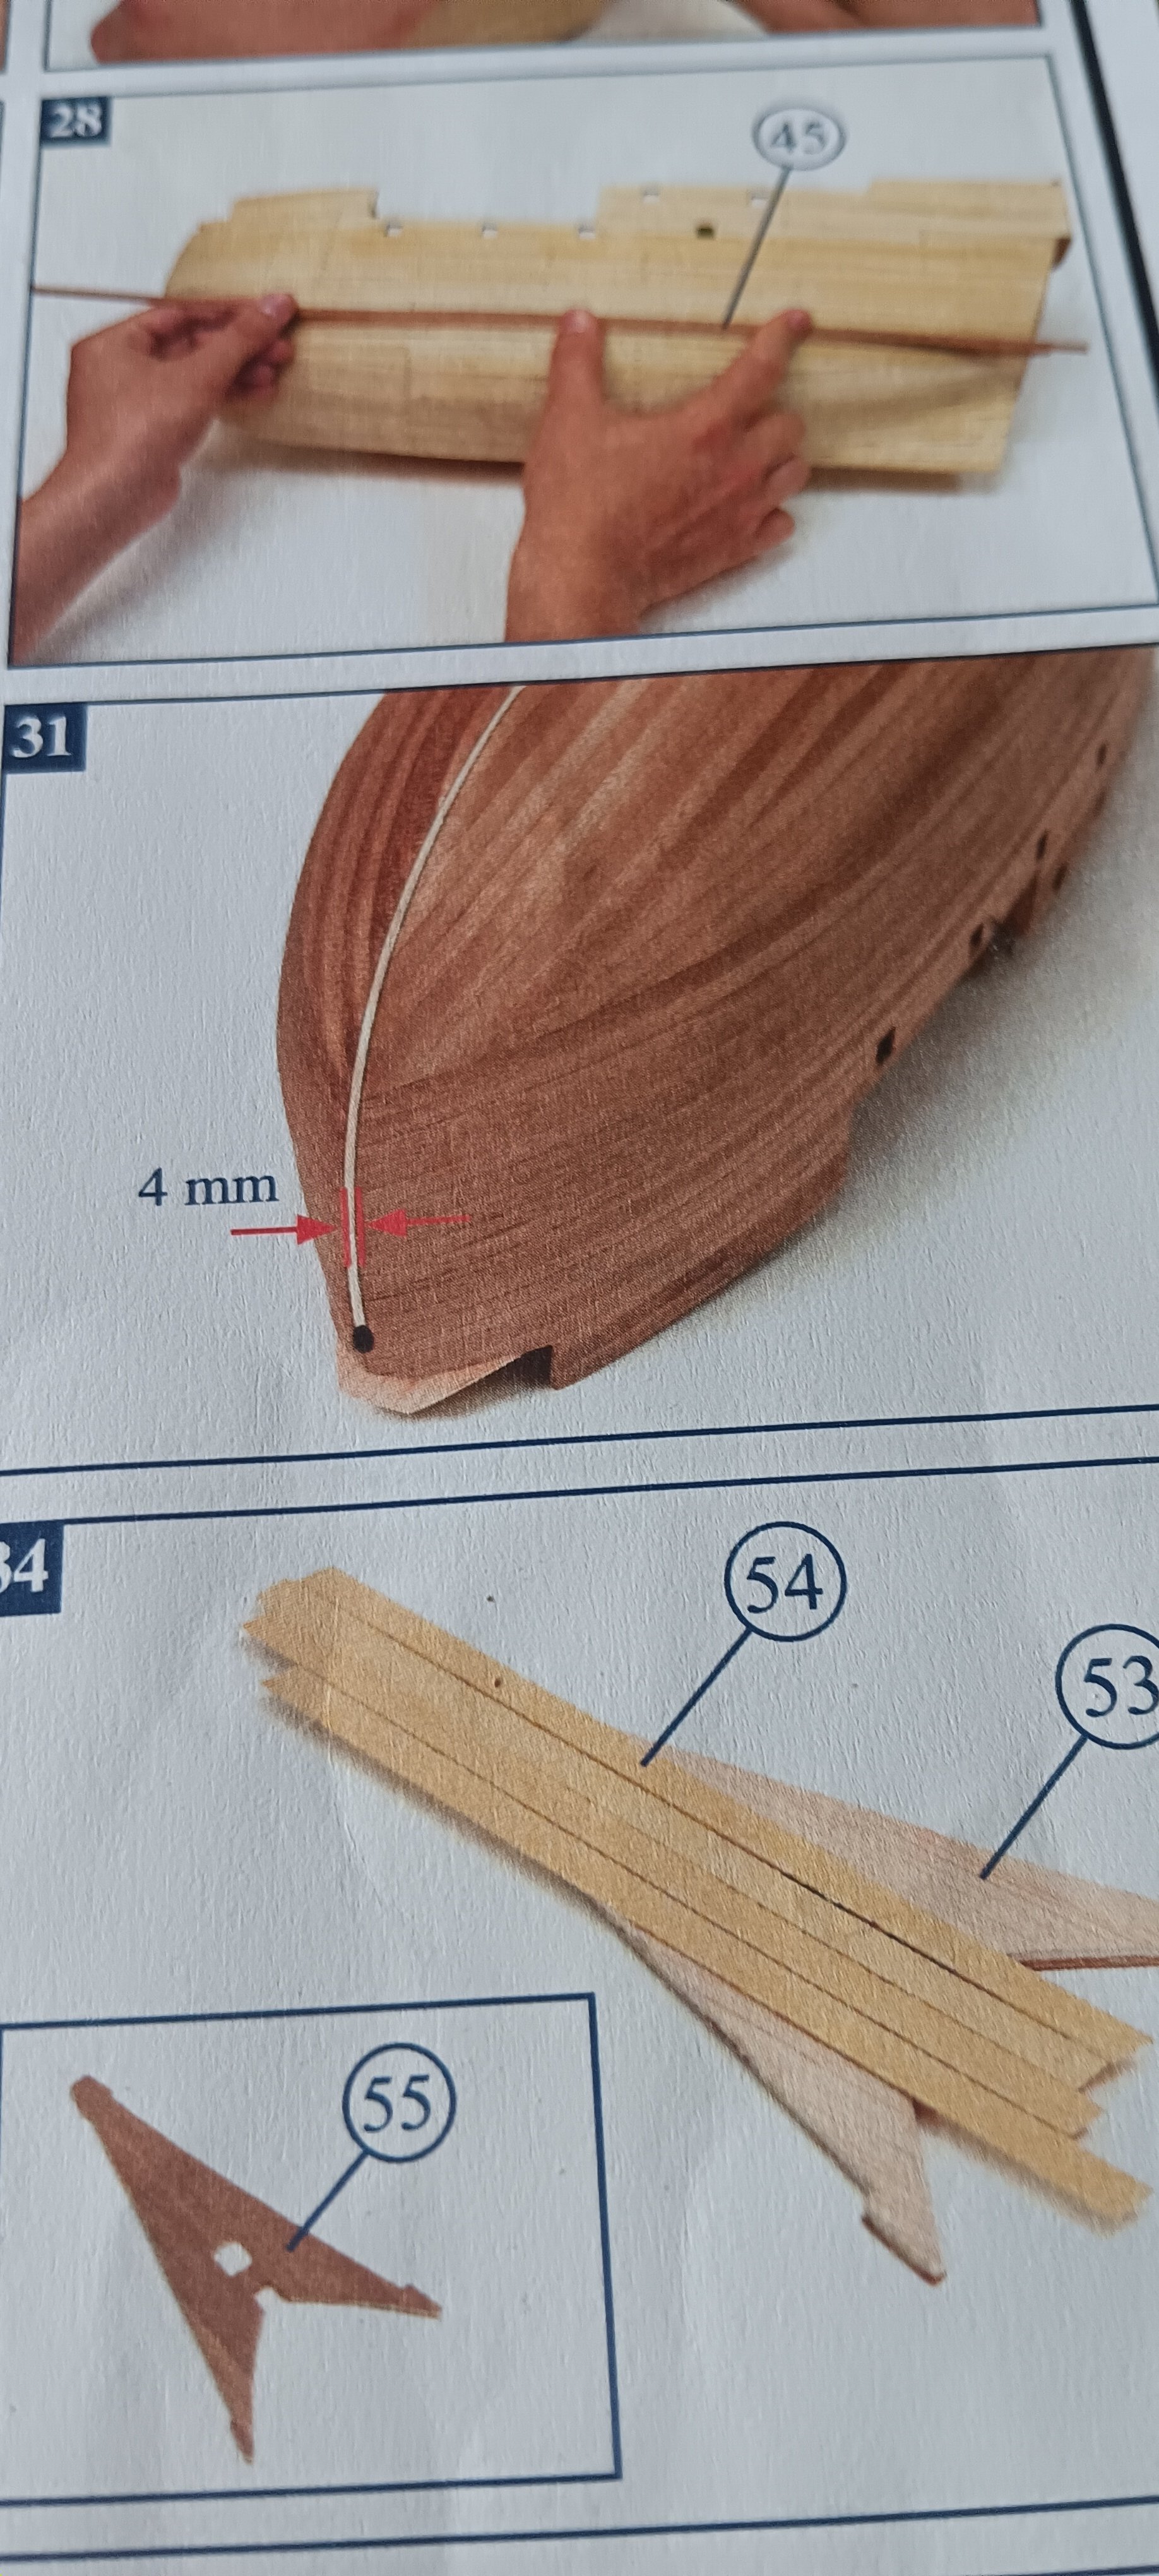
Hello on this sunny Sunday, a little insight into the wondrous world of Occre building instructions. A careless beginner to our hobby would already make the first serious mistakes here. After installing the bow deck, it protrudes about 3-4mm forward over the false keel. In the instructions, however, the deck is clearly flush in photo no. 10. On photo no. 18 there is again the overhang which, oh wonder, is gone again on photo no. 24. Of course, one would say that 2 mm of first planking was applied in between. But then, unfortunately, after another 0.6 mm of second planking on photo 31, there is suddenly a 3-4 mm overhang again. A look at the technical drawing on a scale of 1/1 makes the chaos perfect. There the whole thing is shown flush again. Translated with DeepL.com (free version)
- 210 replies
-
- 2
-
-
- San Martin
- OcCre
- (and 1 more)
-
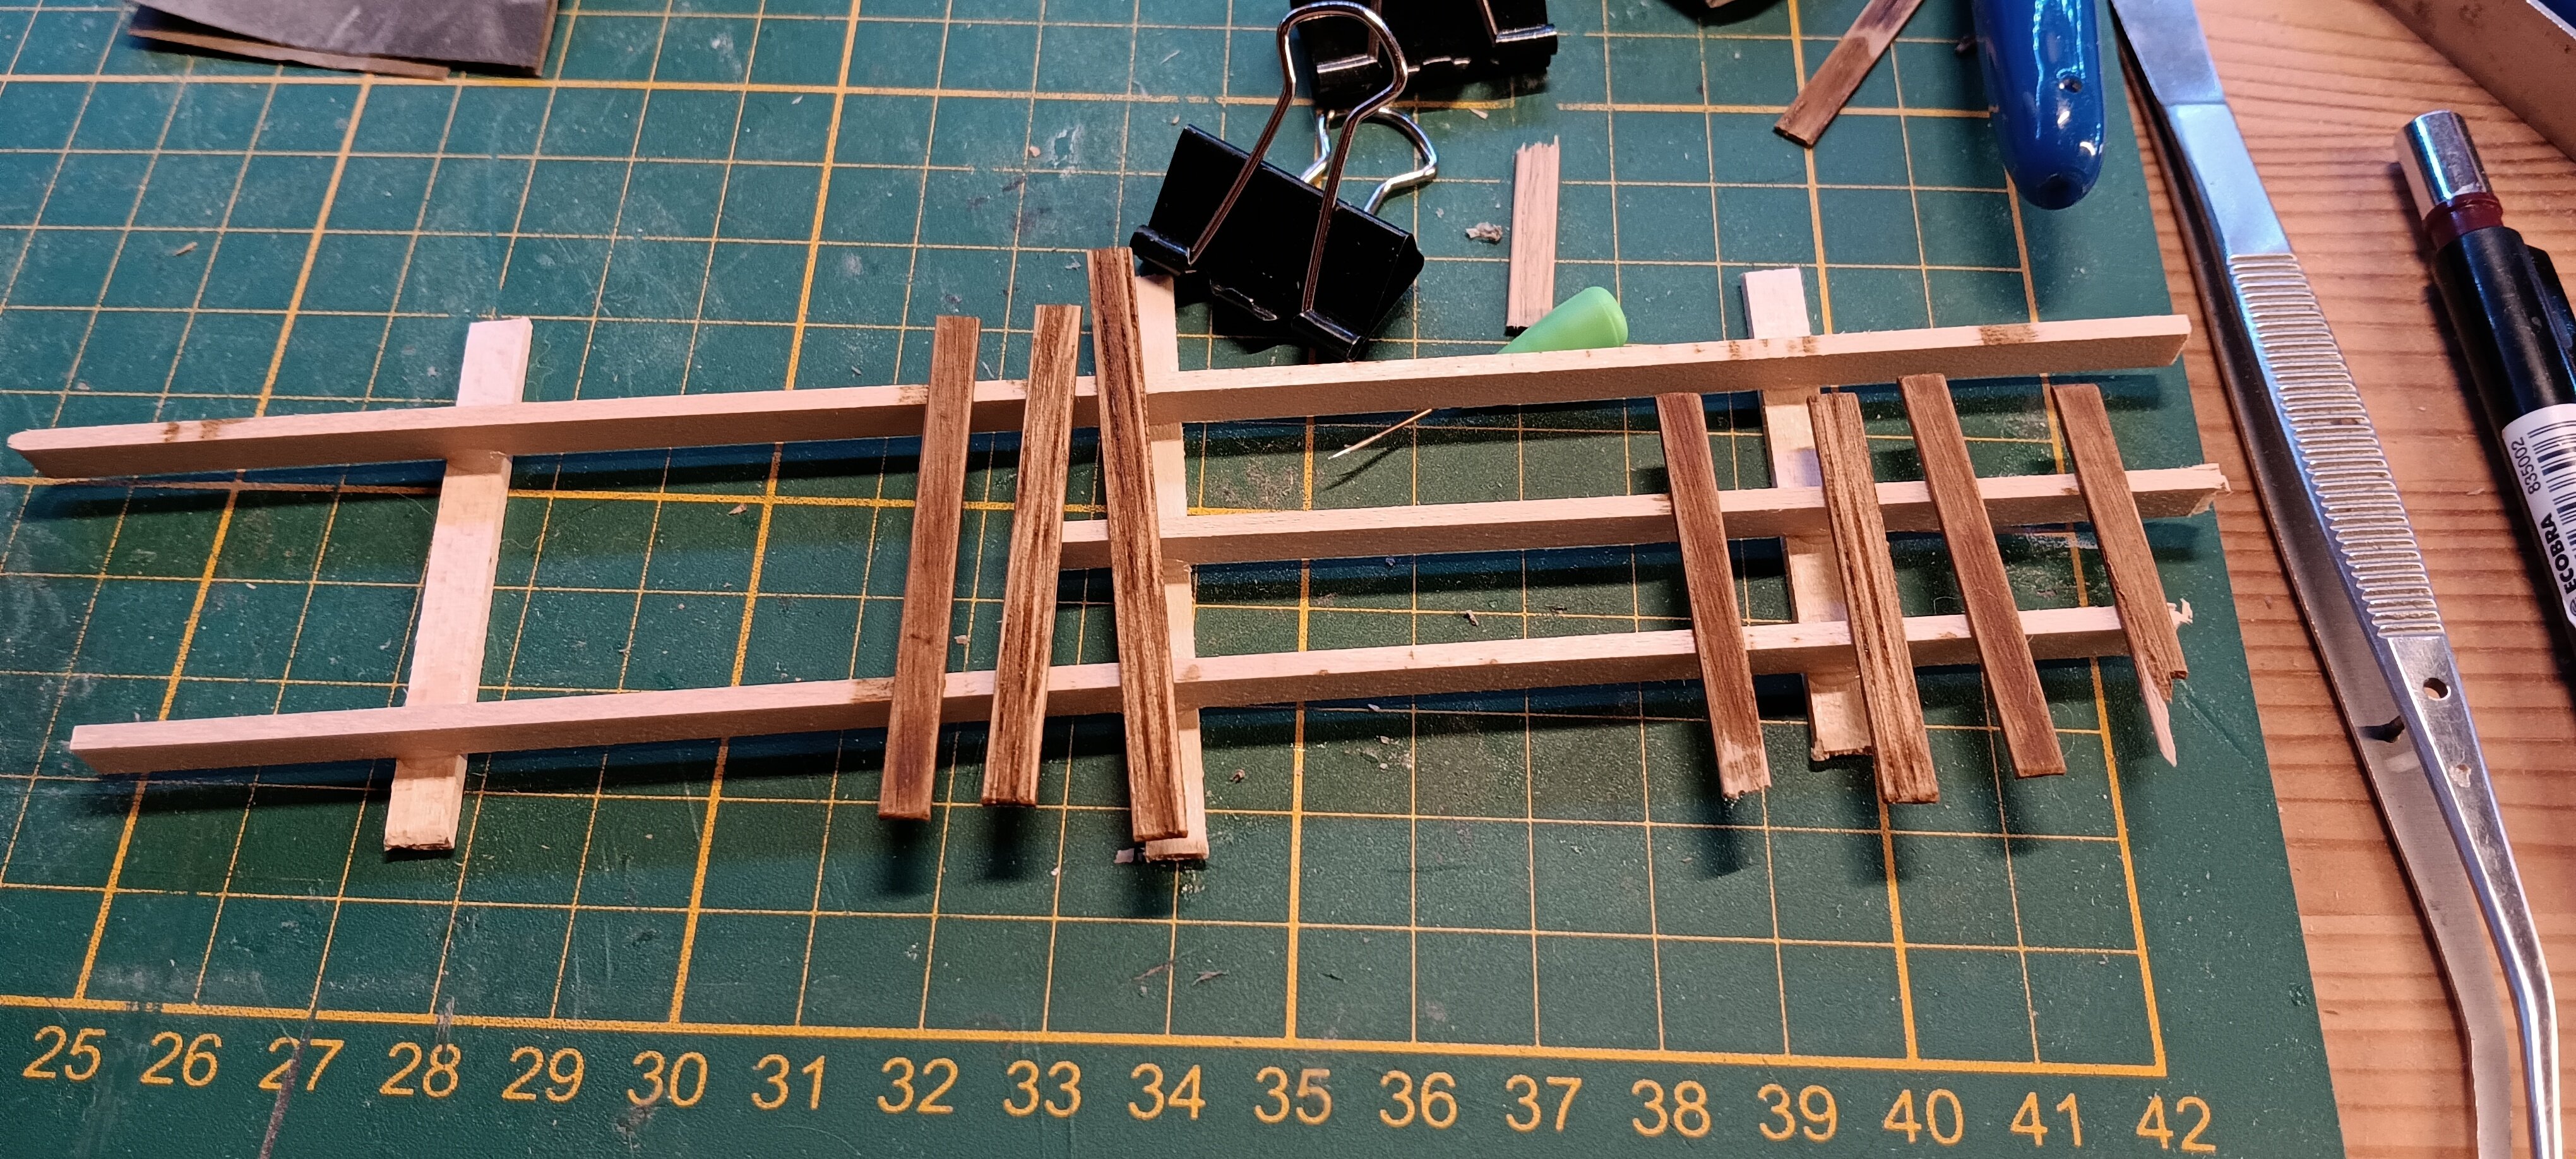
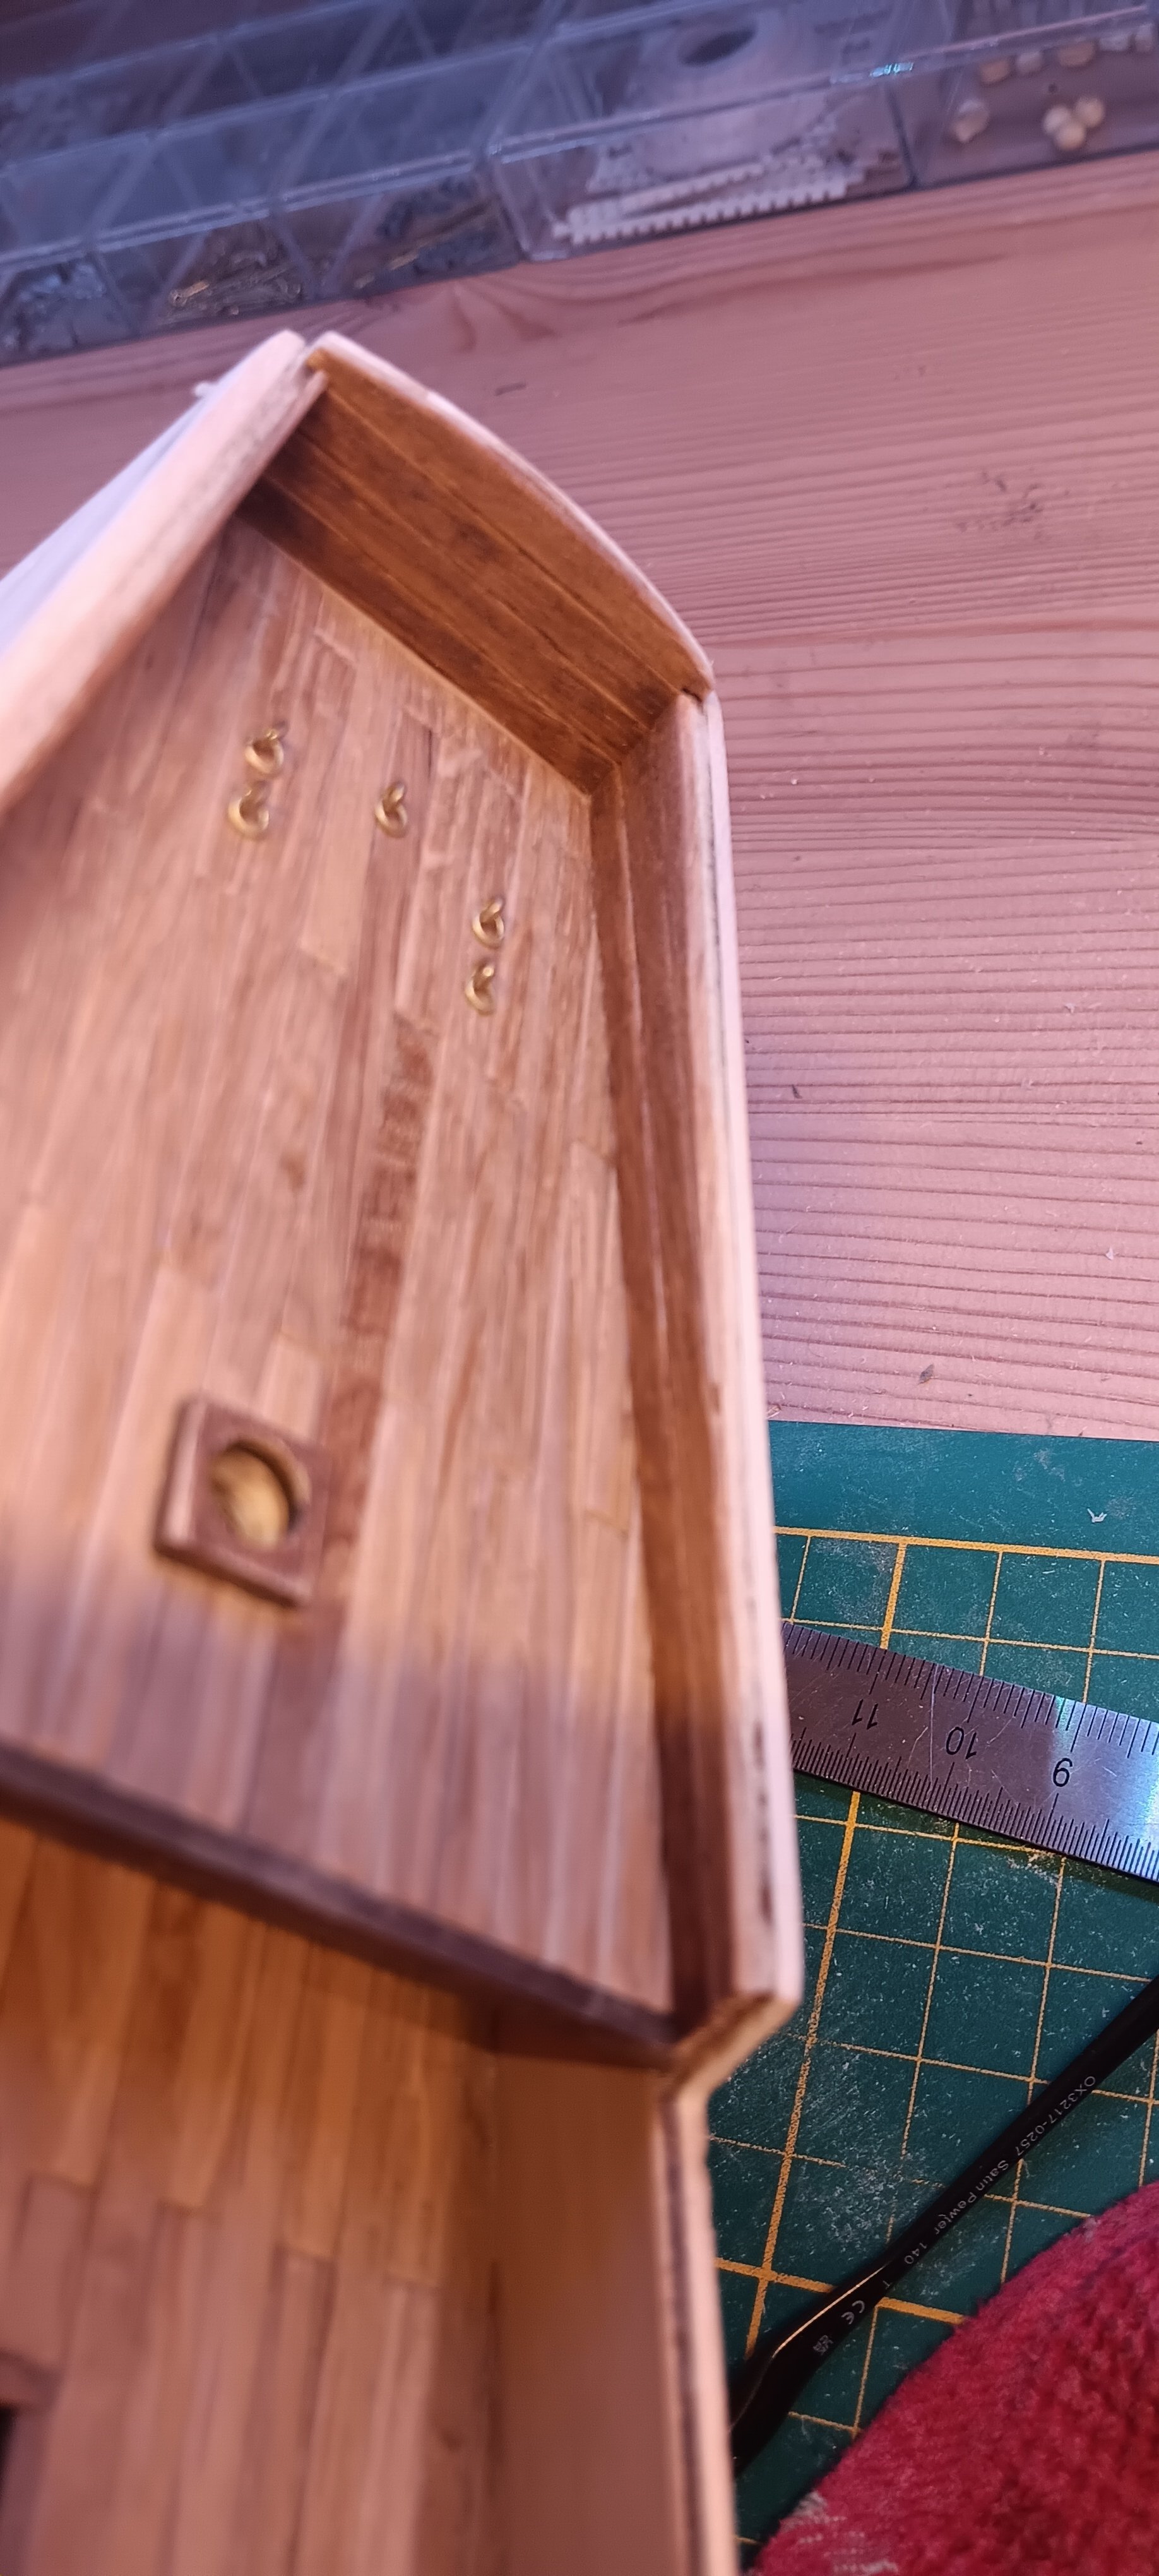
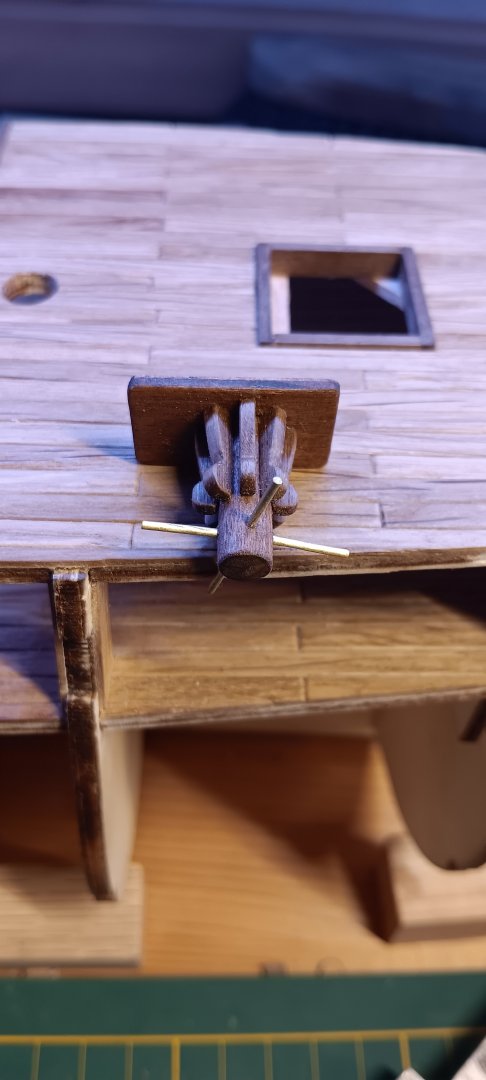
The Anchor Winche, made with Walnut , Plywood and 1mm Brass.
- 210 replies
-
- 4
-
-
- San Martin
- OcCre
- (and 1 more)
-
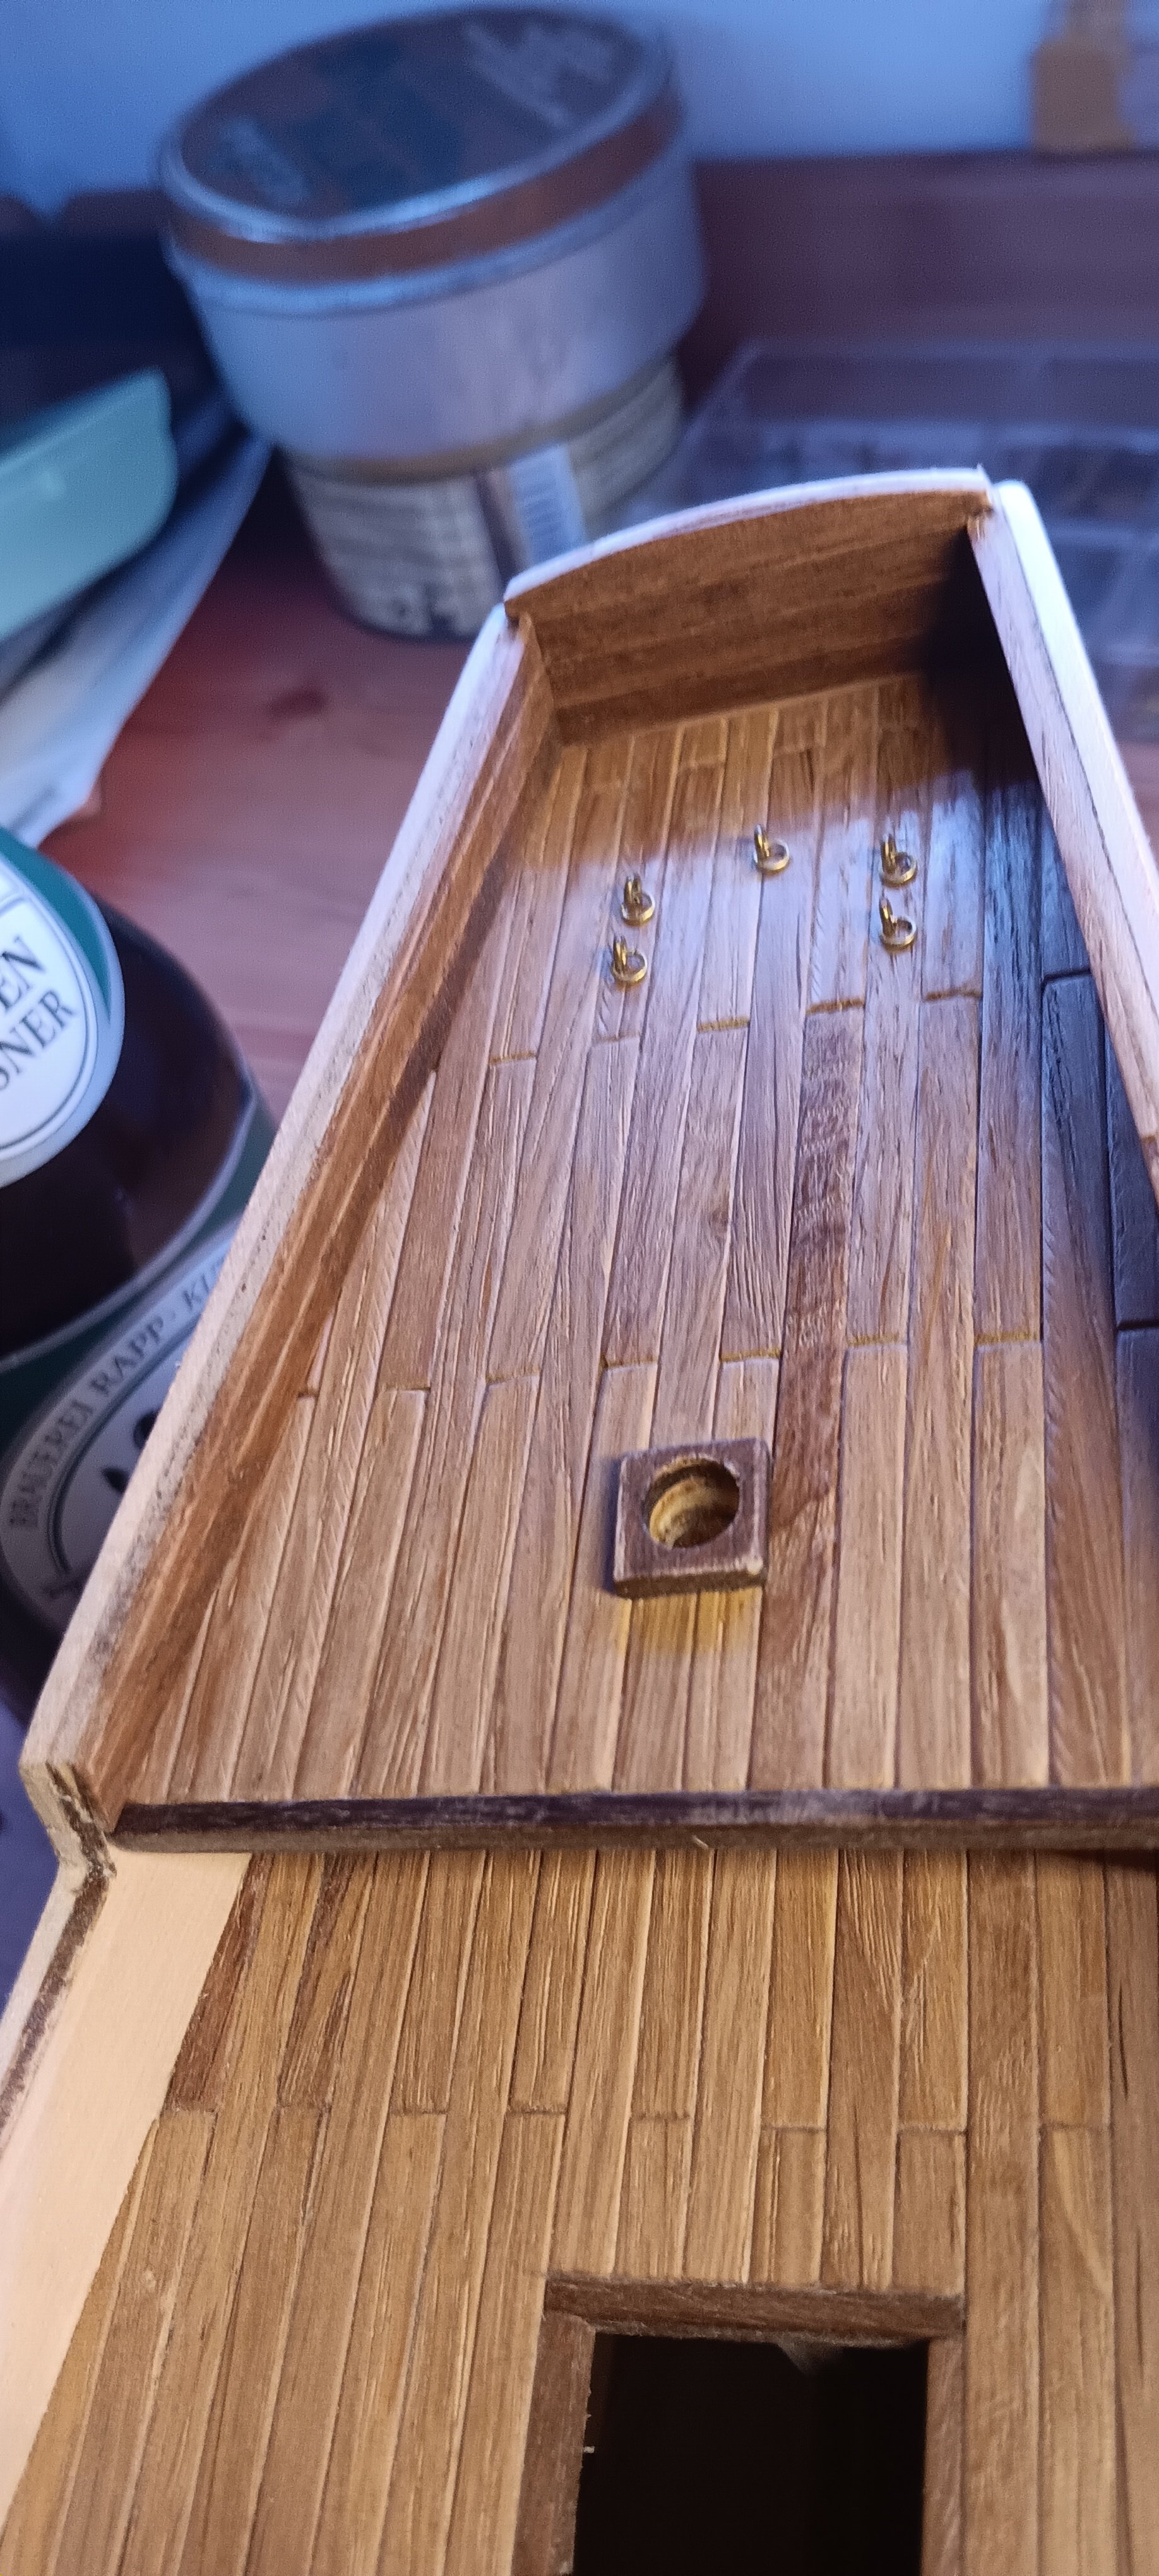
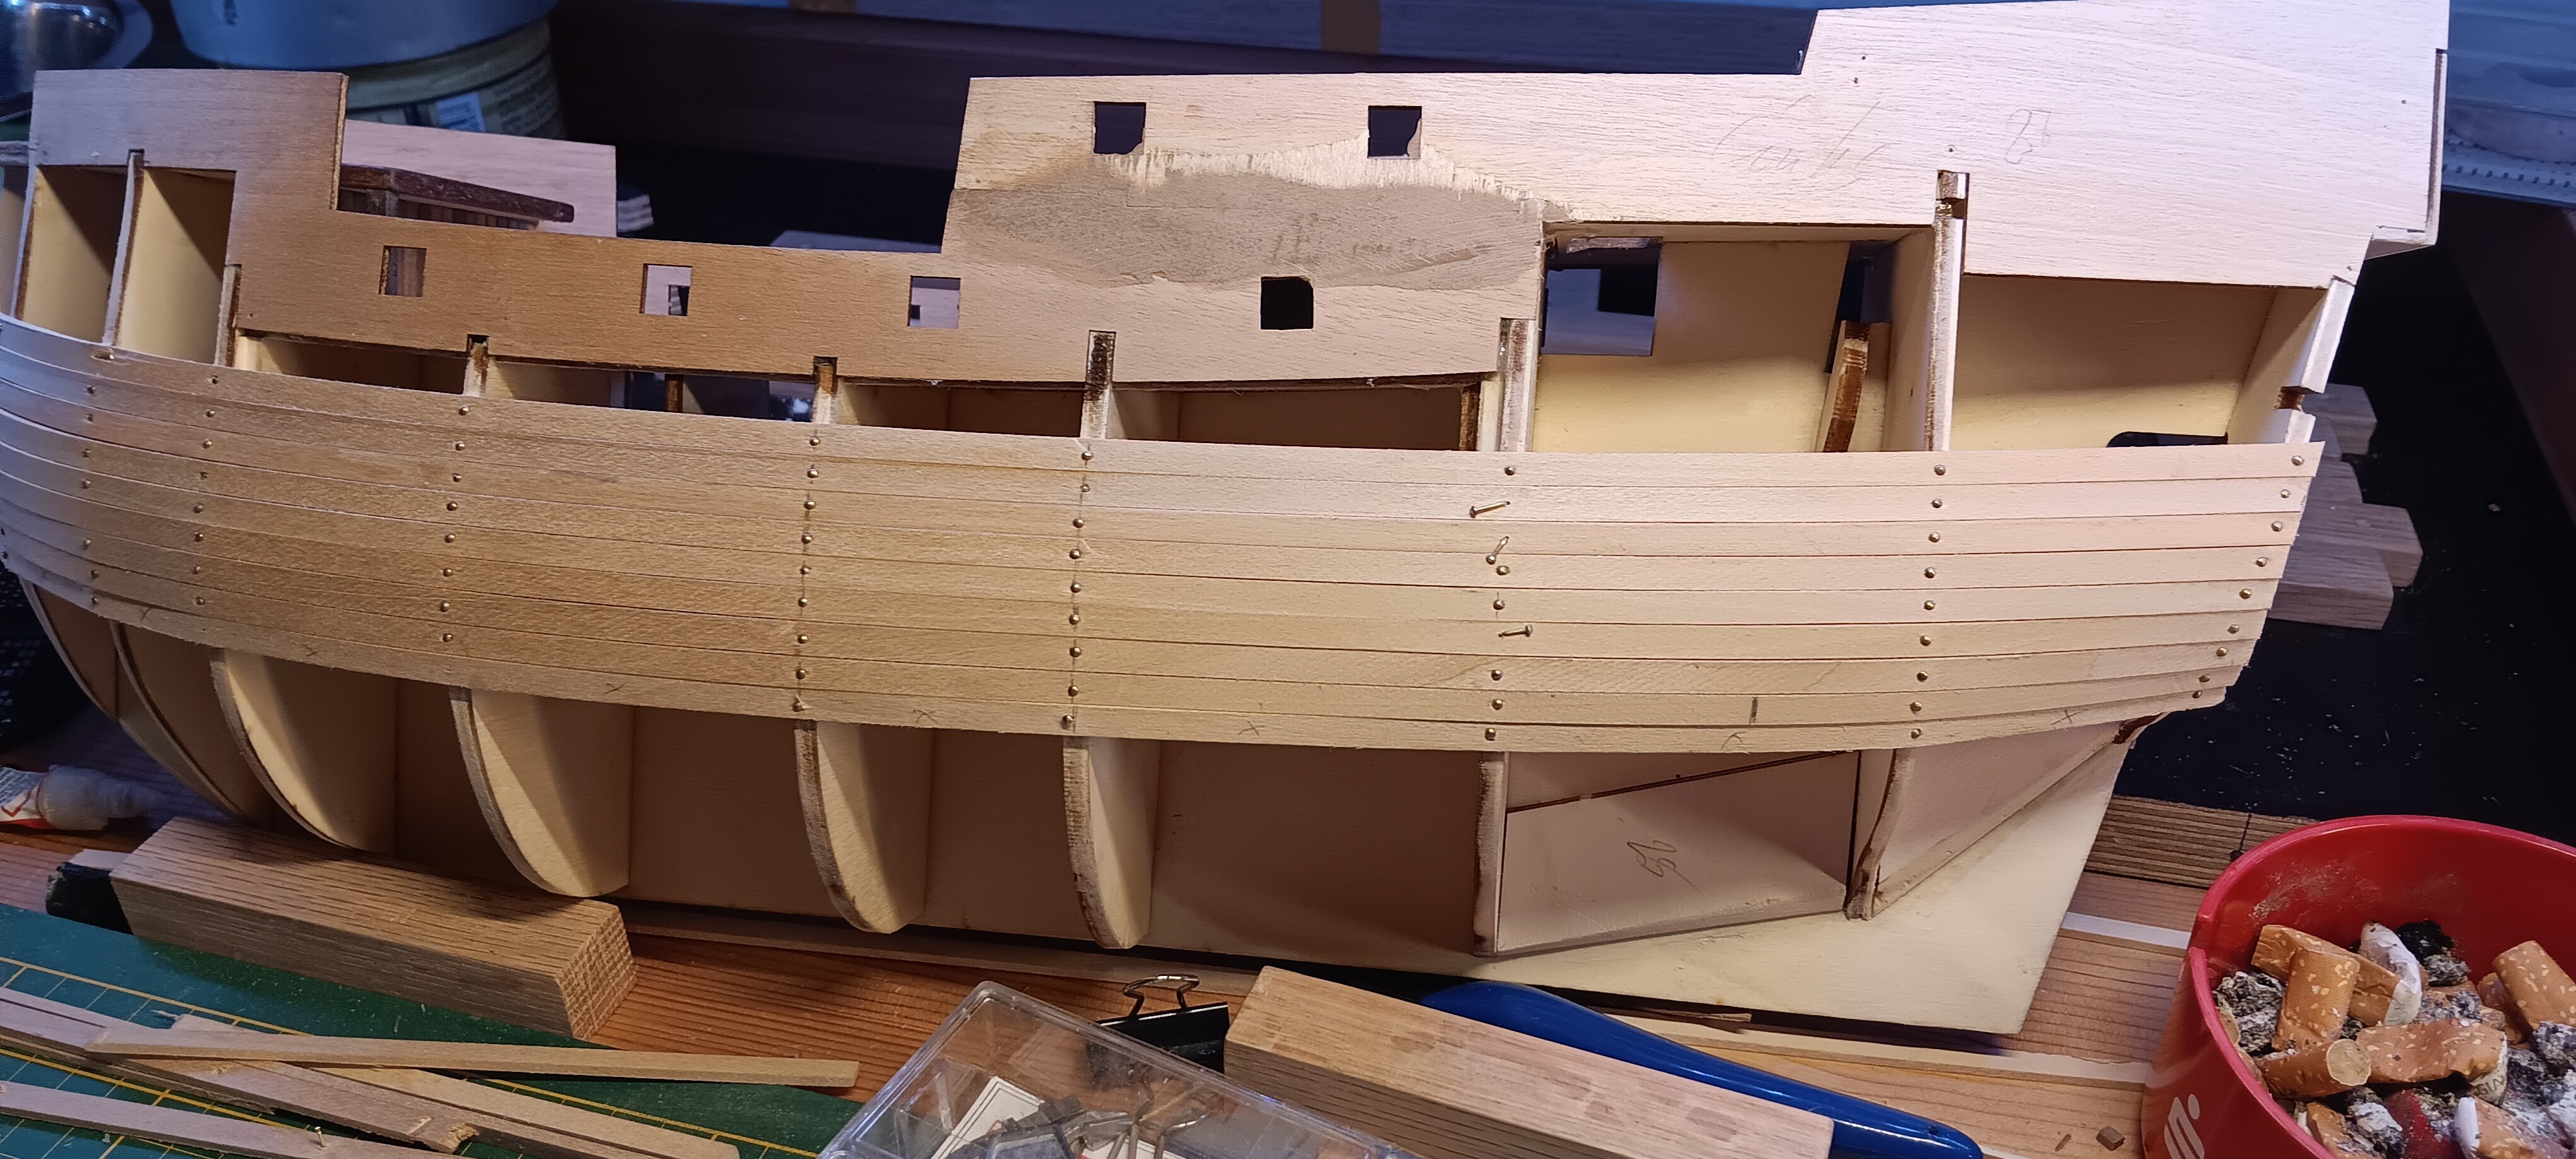
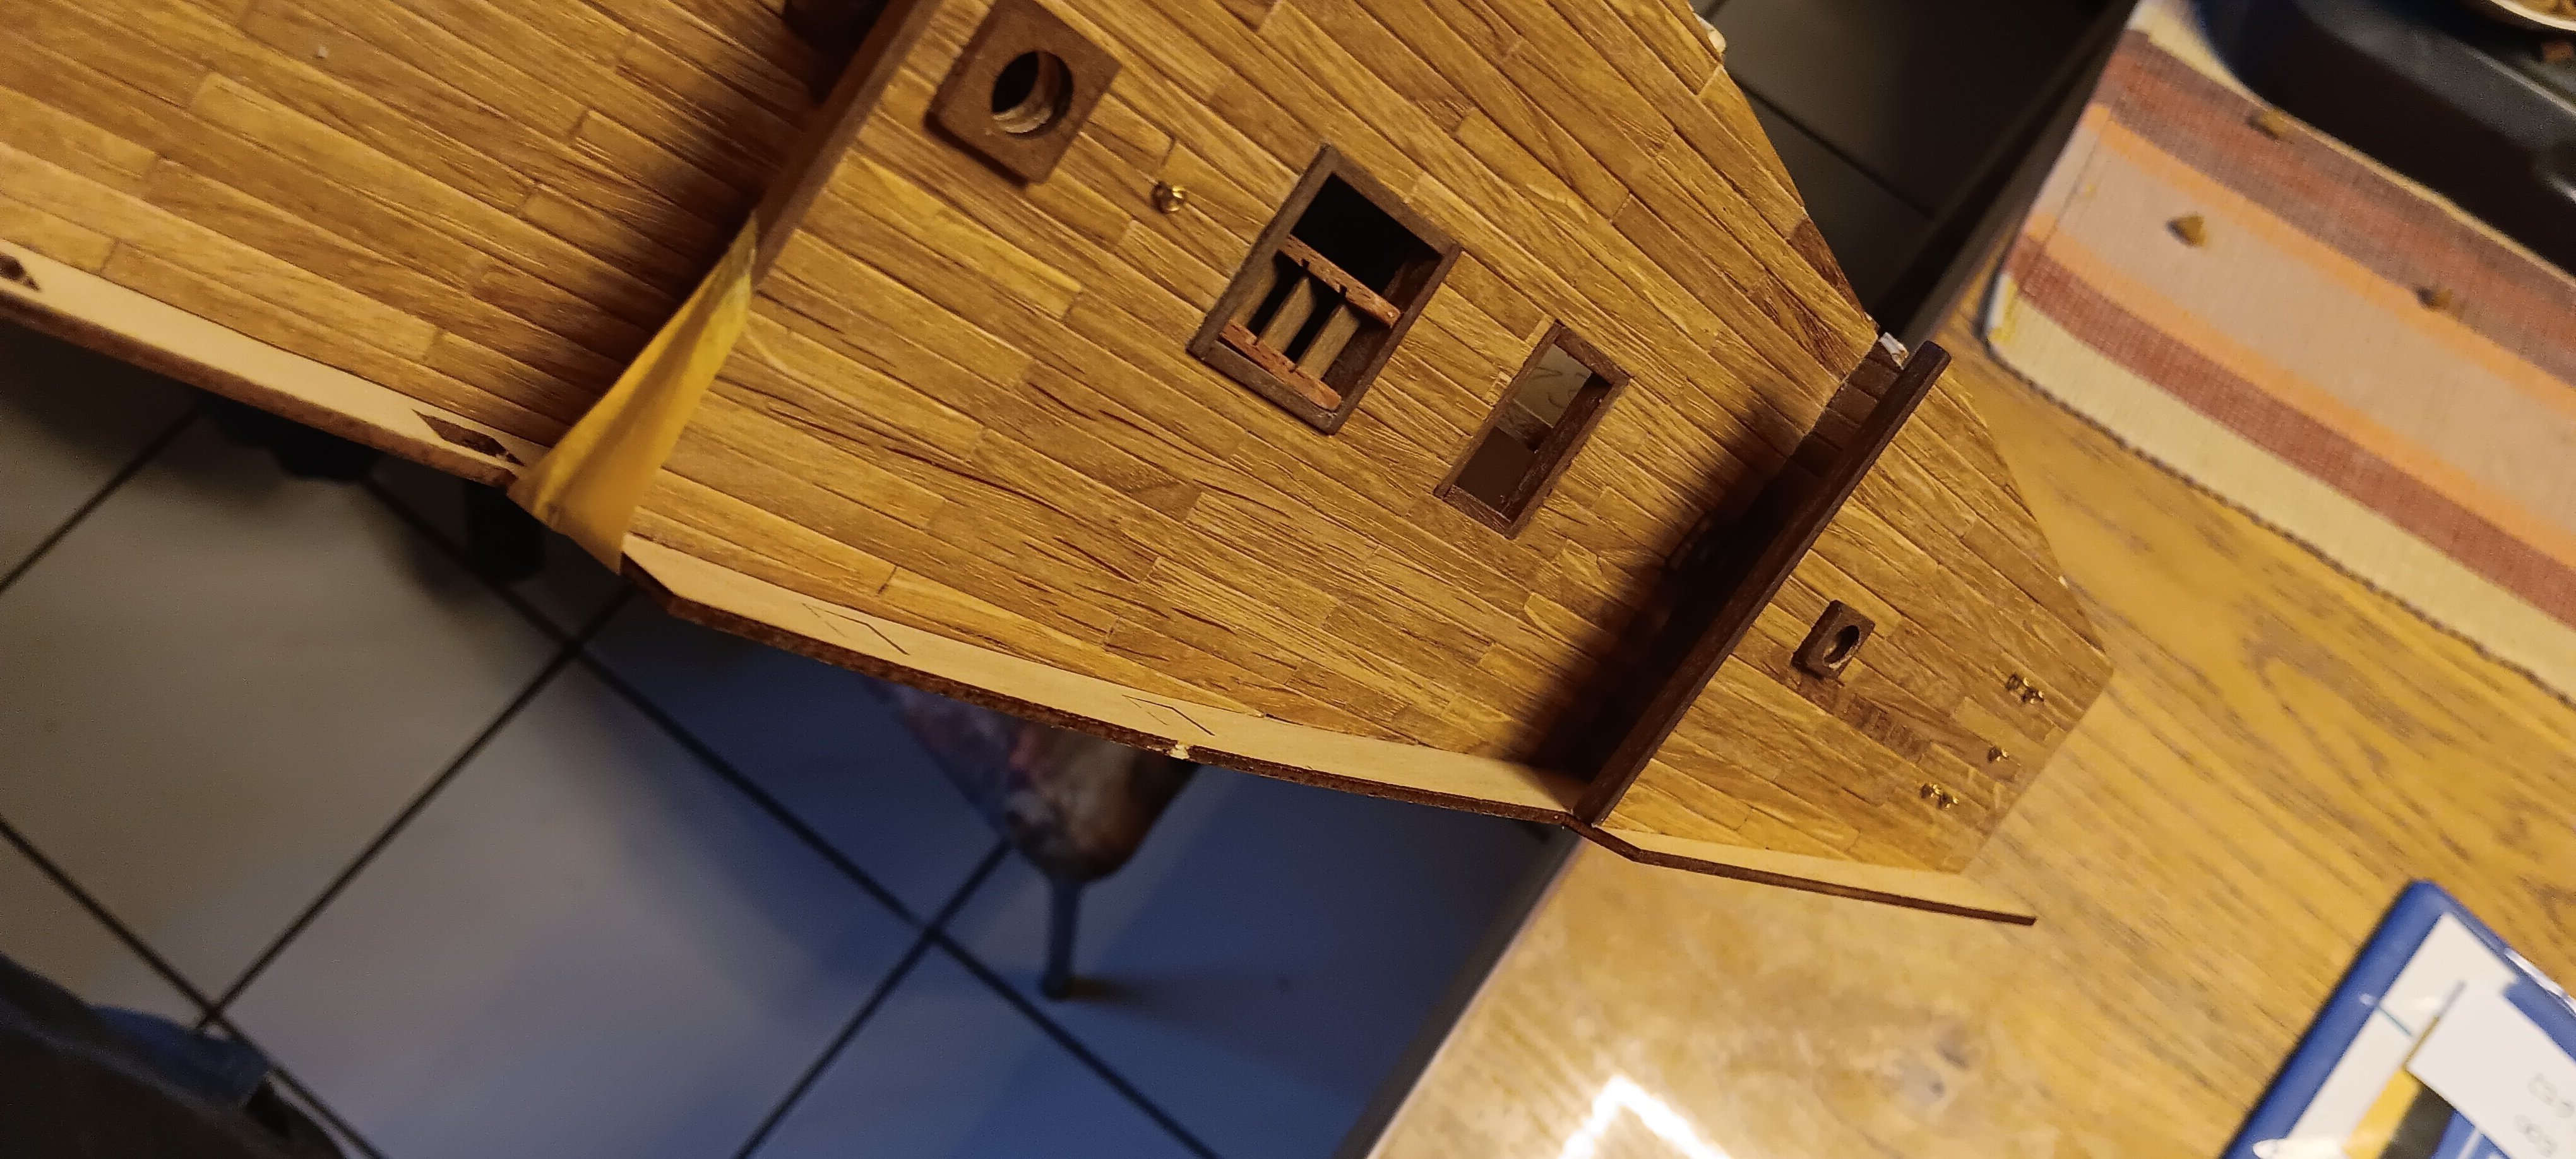
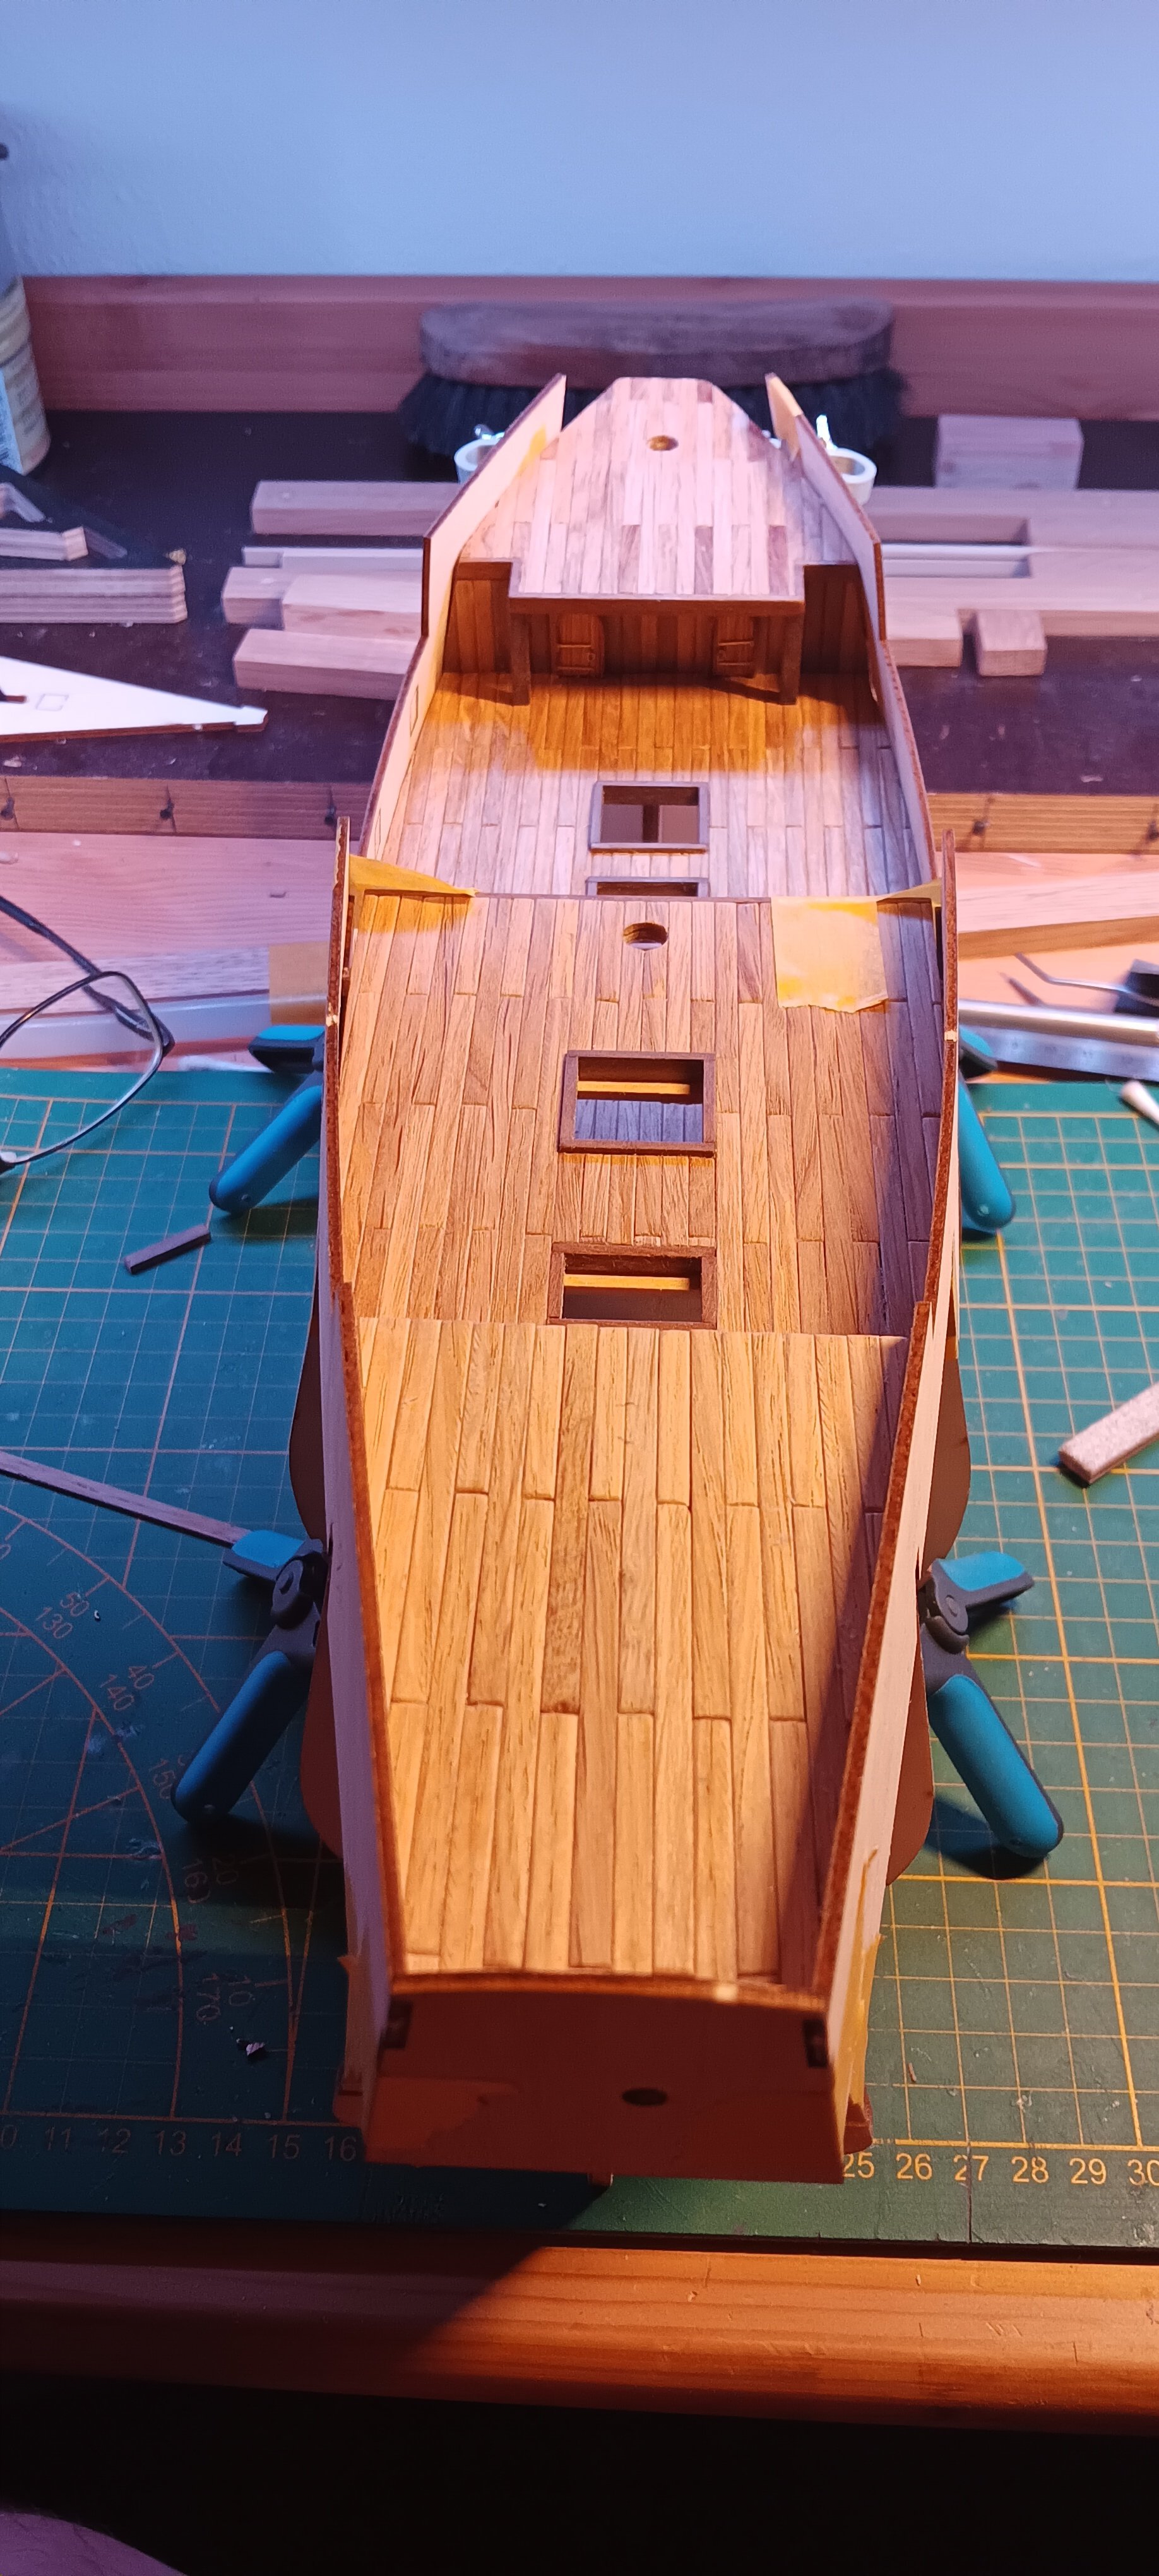
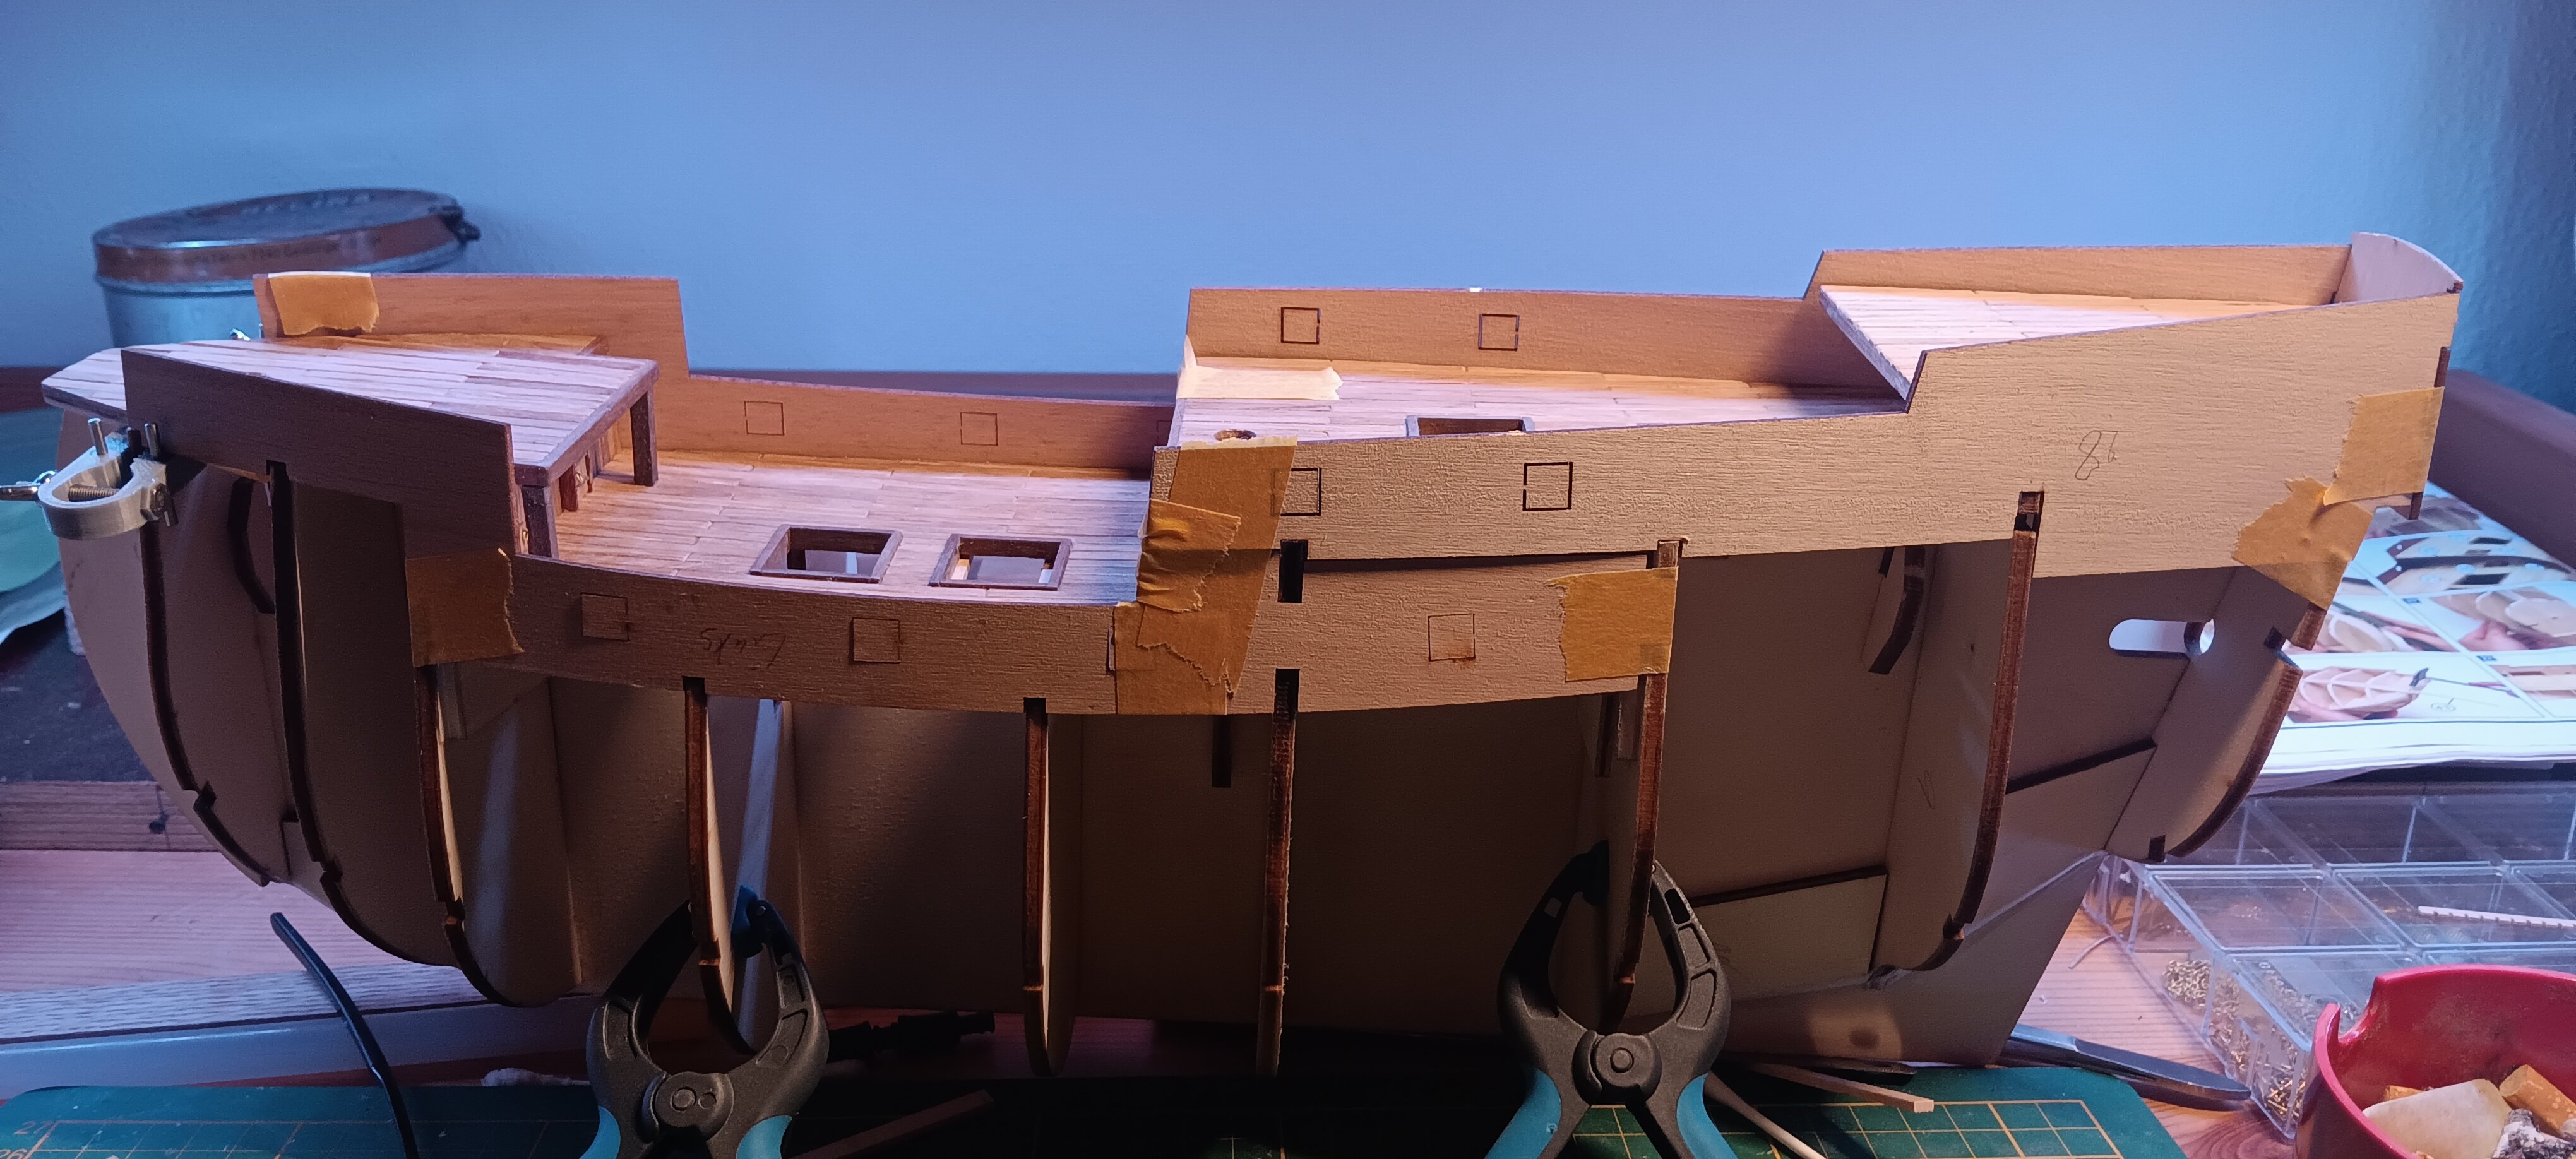
Well lovelies, did you sleep well? I slept less as you can see. The decks are planked. Here, too, I deviated from the plan and used my 1x4mm oak strips instead of the thin strips. The bulwarks fit almost perfectly when dry, a little sanding here and there and then it works. So far everything is going well except for one small problem. I had planned to have the Esmeralda in the shipyard by Christmas and it's ready on the shelf. If this build goes smoothly, I'll have to explain to my wife that a package will probably arrive this year after all. Greetings Translated with DeepL.com (free version)
- 210 replies
-
- 2
-
-
- San Martin
- OcCre
- (and 1 more)