HOLIDAY DONATION DRIVE - SUPPORT MSW - DO YOUR PART TO KEEP THIS GREAT FORUM GOING! (Only 53 donations so far out of 49,000 members - C'mon guys!)
×

Pfälzer
-
Posts
371 -
Joined
-
Last visited
Content Type
Profiles
Forums
Gallery
Events
Everything posted by Pfälzer
-
Hallo Lars, Grüße aus der Pfalz in den hohen Norden.
-
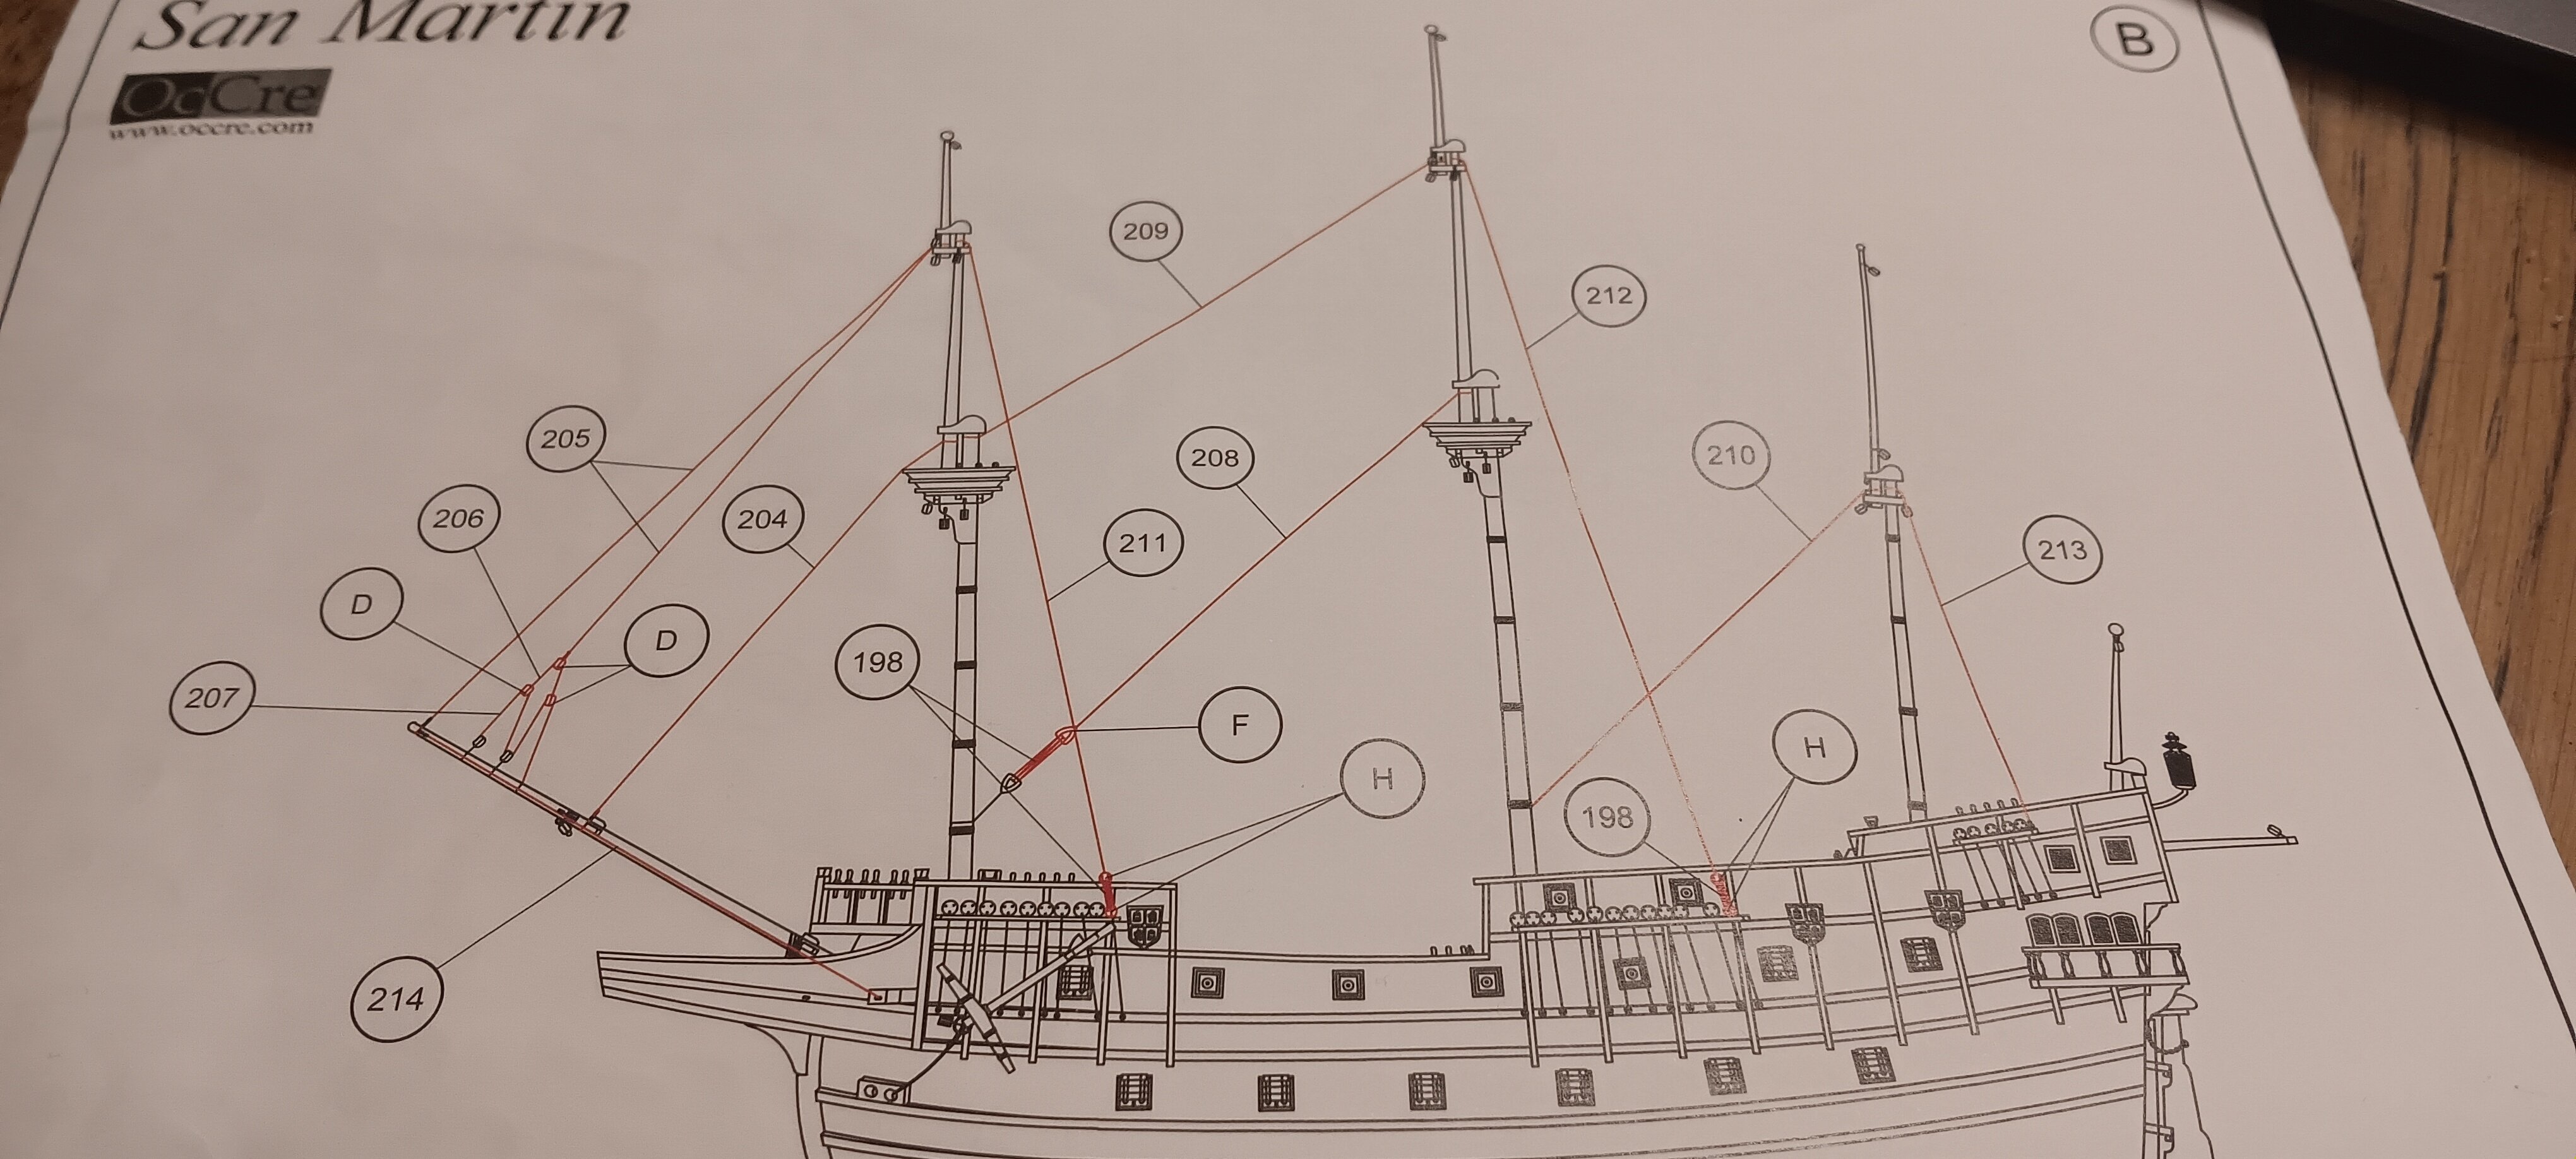
 Hallo Kirill, endlich mal wieder konstruktive Kritik hier. Ehrlich gesagt habe ich vom Schiffbau und den ganzen Fachbegriffen überhaupt keine Ahnung. Ich betreibe dieses Hobby zur Entspannung und als Ausgleich zu meiner eher öden Arbeit, was die Konstruktion angeht. Mein bisheriges Berufsleben habe ich mit Werkplanung und technischen Projekten verbracht und privat amerikanische Motorräder in einer schmerzlosen Hardcore-Version gebaut. Aber zurück zum Thema, eigentlich müsste ich deine Kritik an Occre weitergeben. Denn die möchten die Takelage genauso eingebaut haben. Beim Bau der Esmeralda sind mir einige Seilspannungen aufgefallen, die in der Realität keinen Sinn ergeben konnten, da sie bei manchen Rahen im Weg wären. Ich denke, es wurde in den Bauplan aufgenommen, um es dem Modellbauer beim Zusammenbau zu erleichtern. Die Reihenfolge der Takelage habe ich nur insoweit geändert, als dass ich nicht wie beschrieben zuerst die Wanten hergestellt habe, da ich im Anschluss nicht mehr richtig an die Stufen herankomme, zumal diese laut Beschreibung nicht mit den Wanten in Berührung kommen. Danke jedenfalls für eure Anmerkungen, allerdings kann ich nicht versprechen, ob ich das schon verbaute noch ändere. So wie es aussieht habe ich offensichtlich keine Möglichkeit die Seile richtig zu befestigen. Meine drei Bauten dieses Jahr waren alle eher experimenteller Natur. Da alle drei Schiffe nie wirklich existierten, habe ich mir darüber ehrlich gesagt keine großen Gedanken gemacht. Aber ich gelobe, es besser zu machen, da ich in der Bucht einen Sieg von Corel errungen habe. Dies wird mein erstes ernsthaftes Modellierungsprojekt sein. Grüße ins kalte Petersburg
- 210 replies
-
- 1
-

-
- San Martin
- OcCre
- (and 1 more)
-
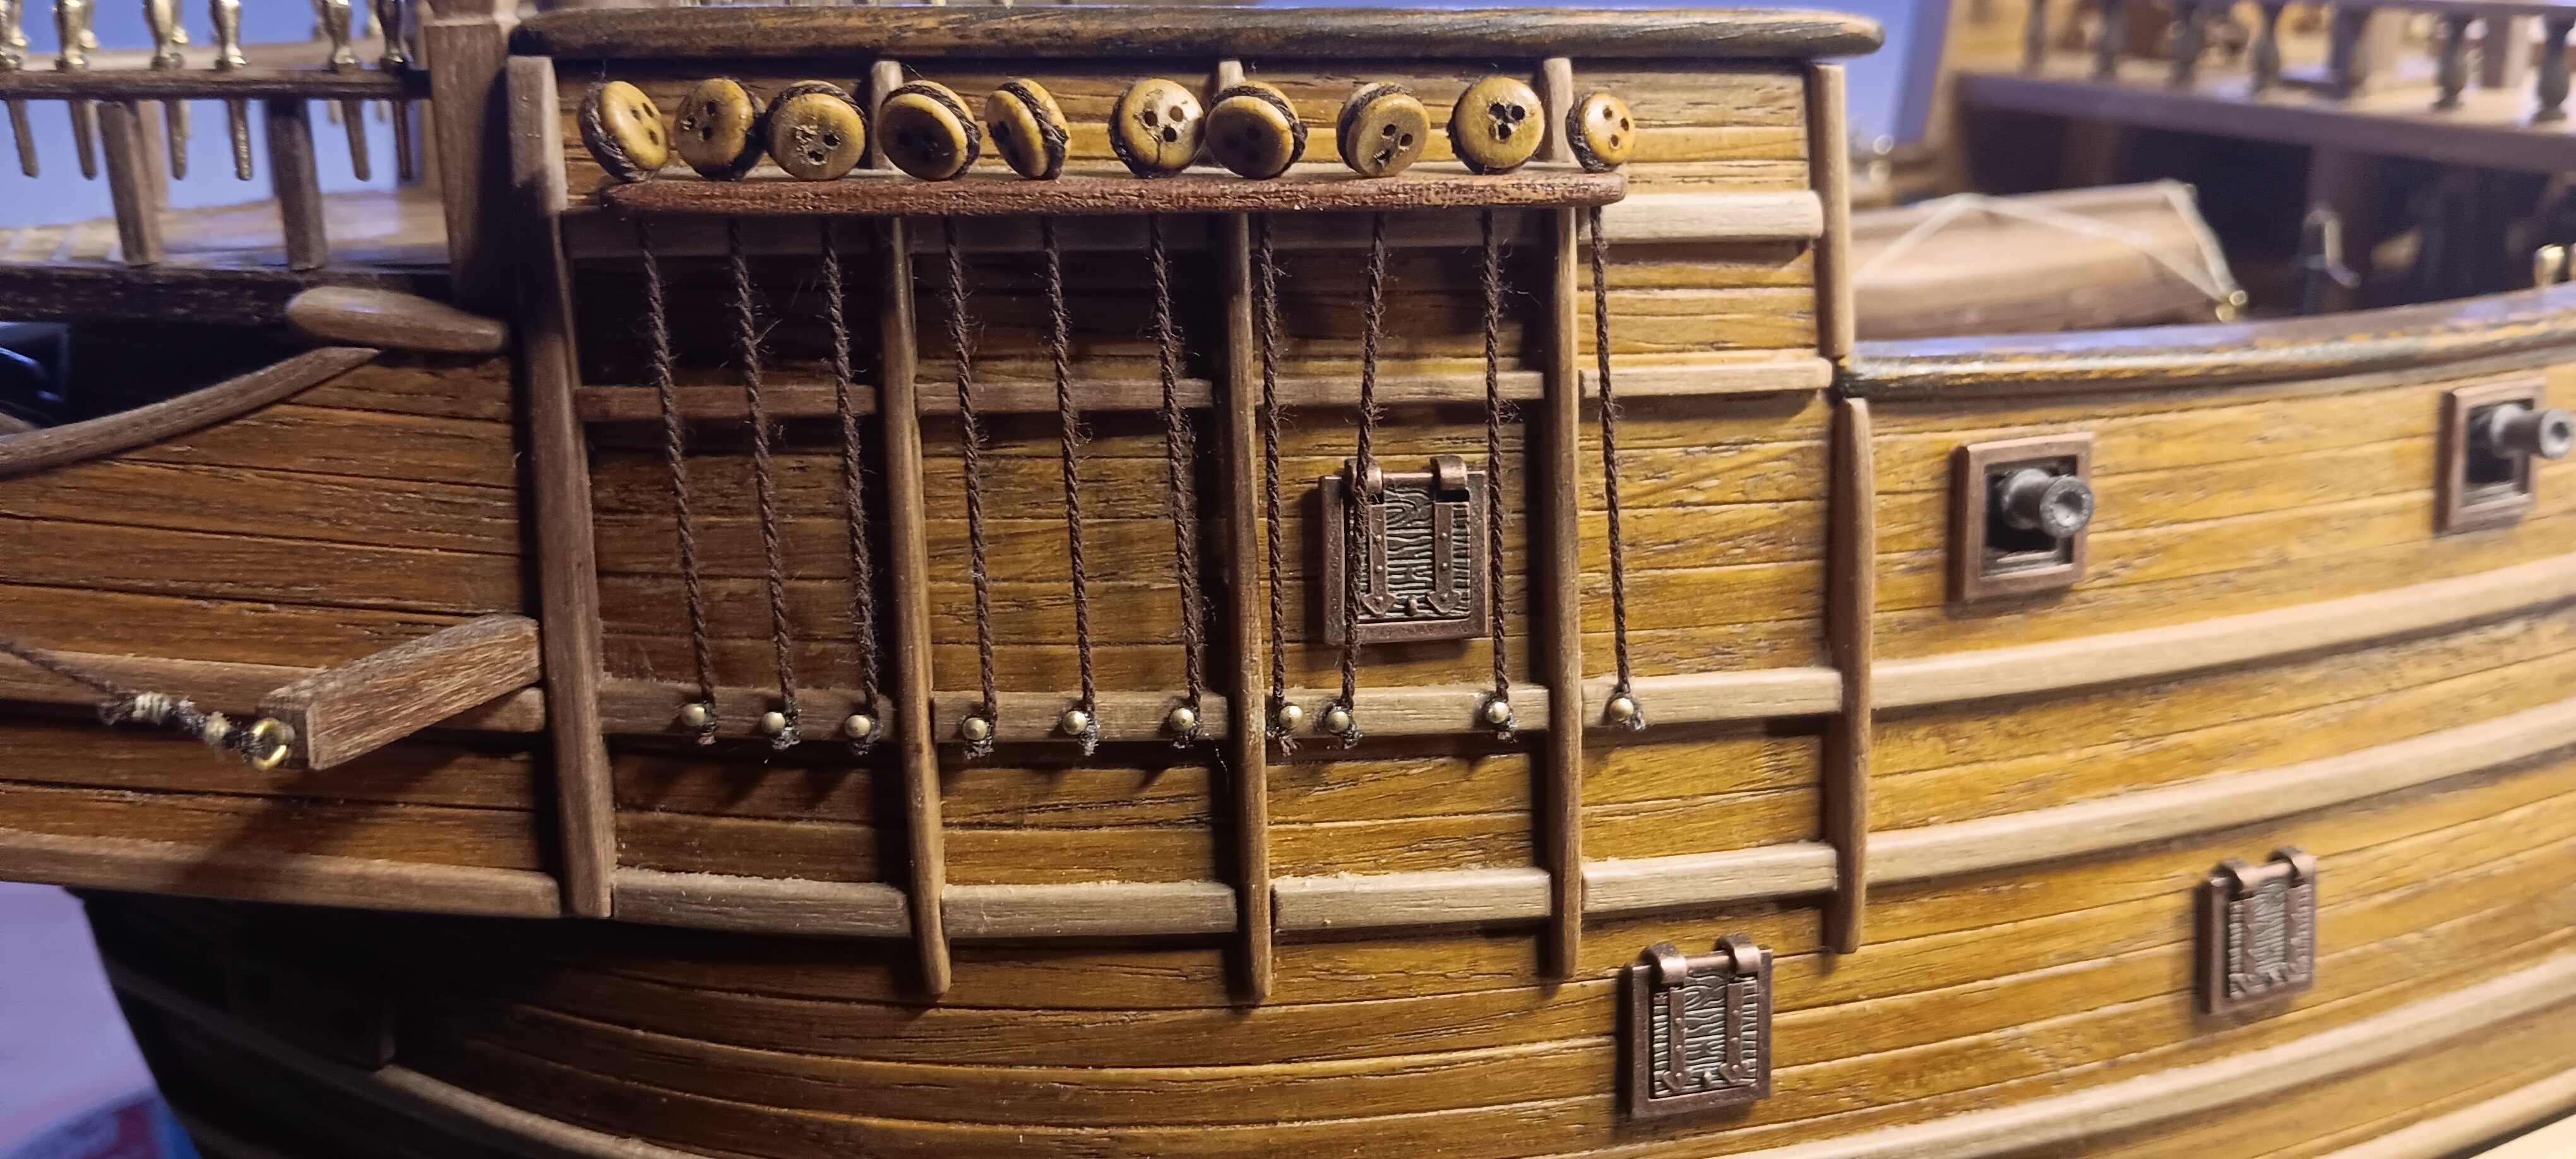
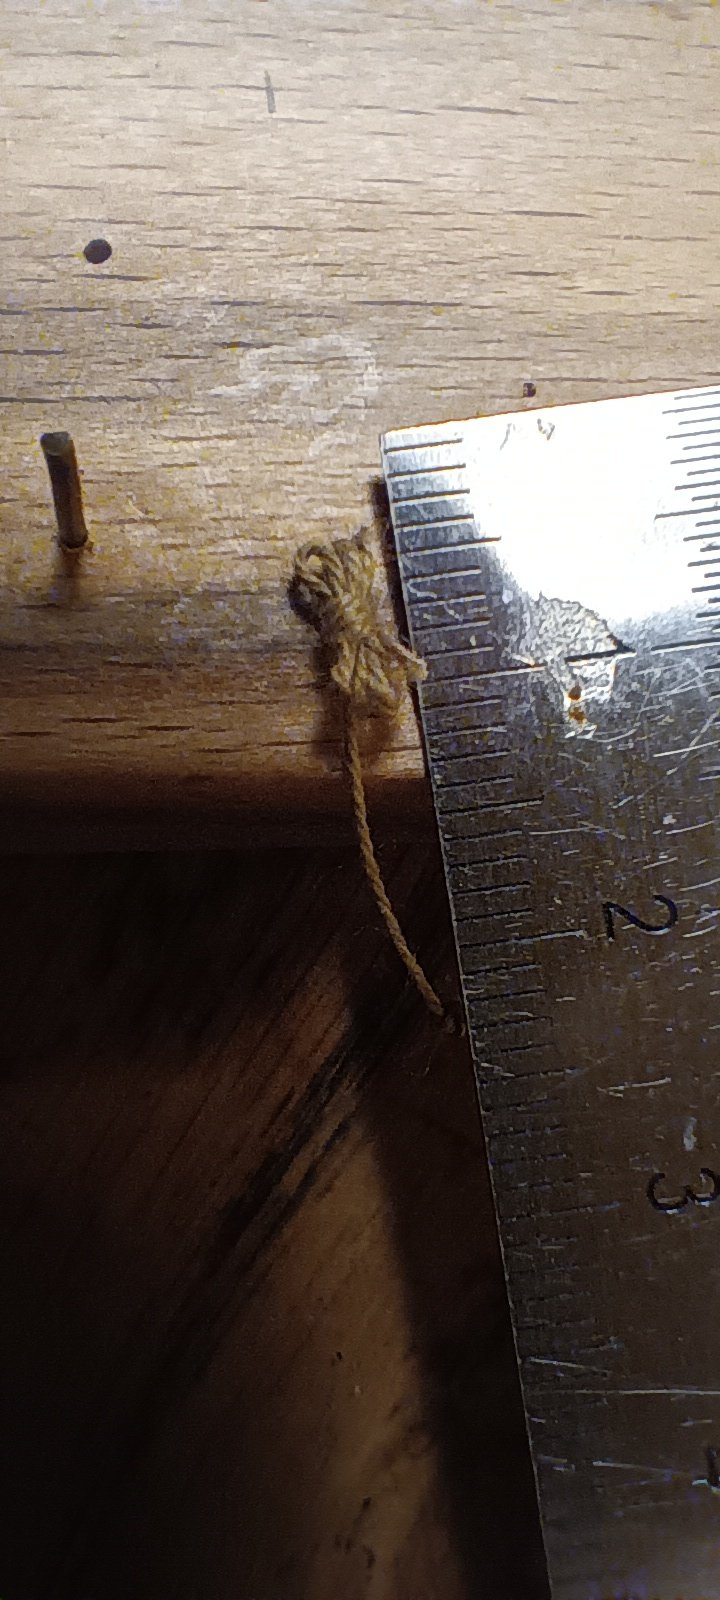
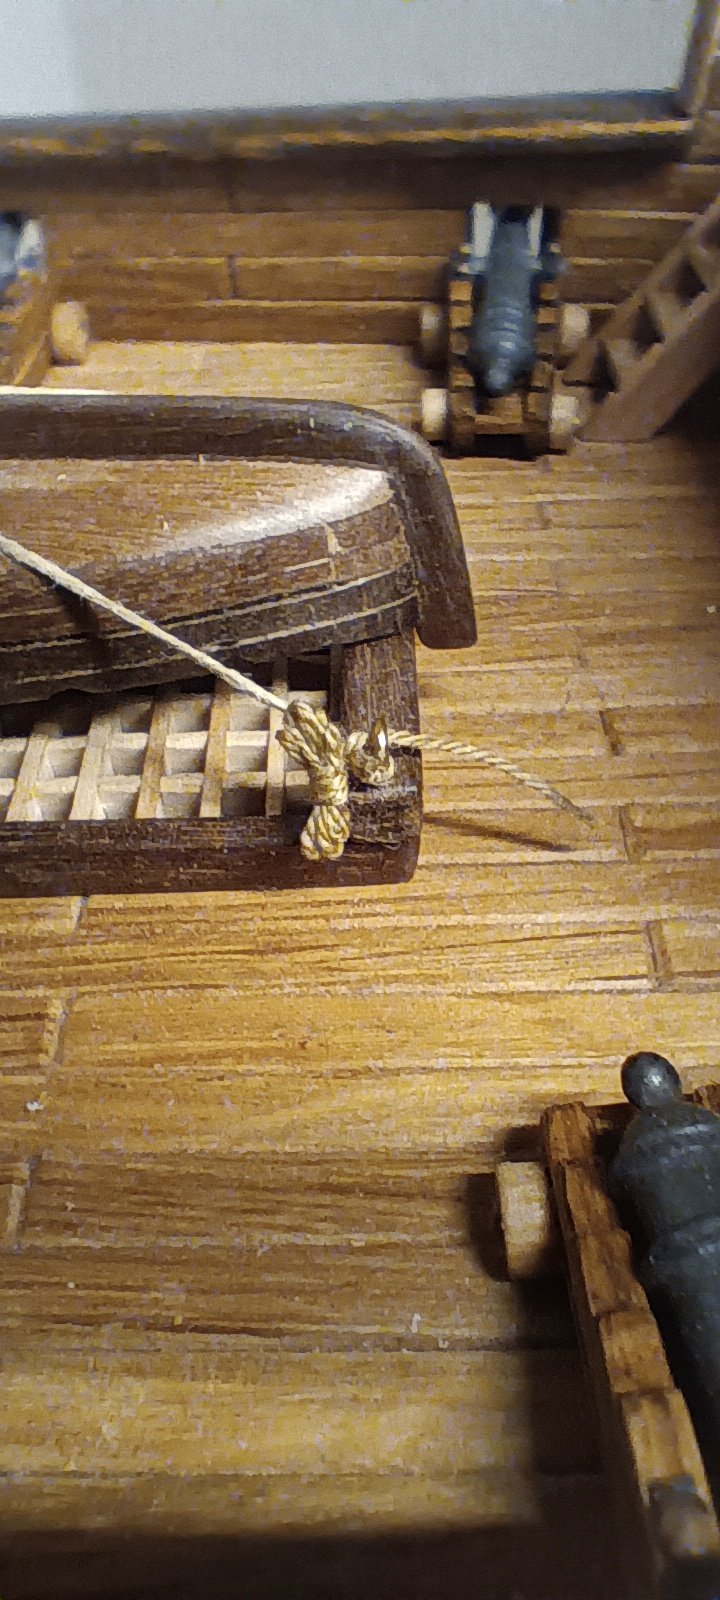
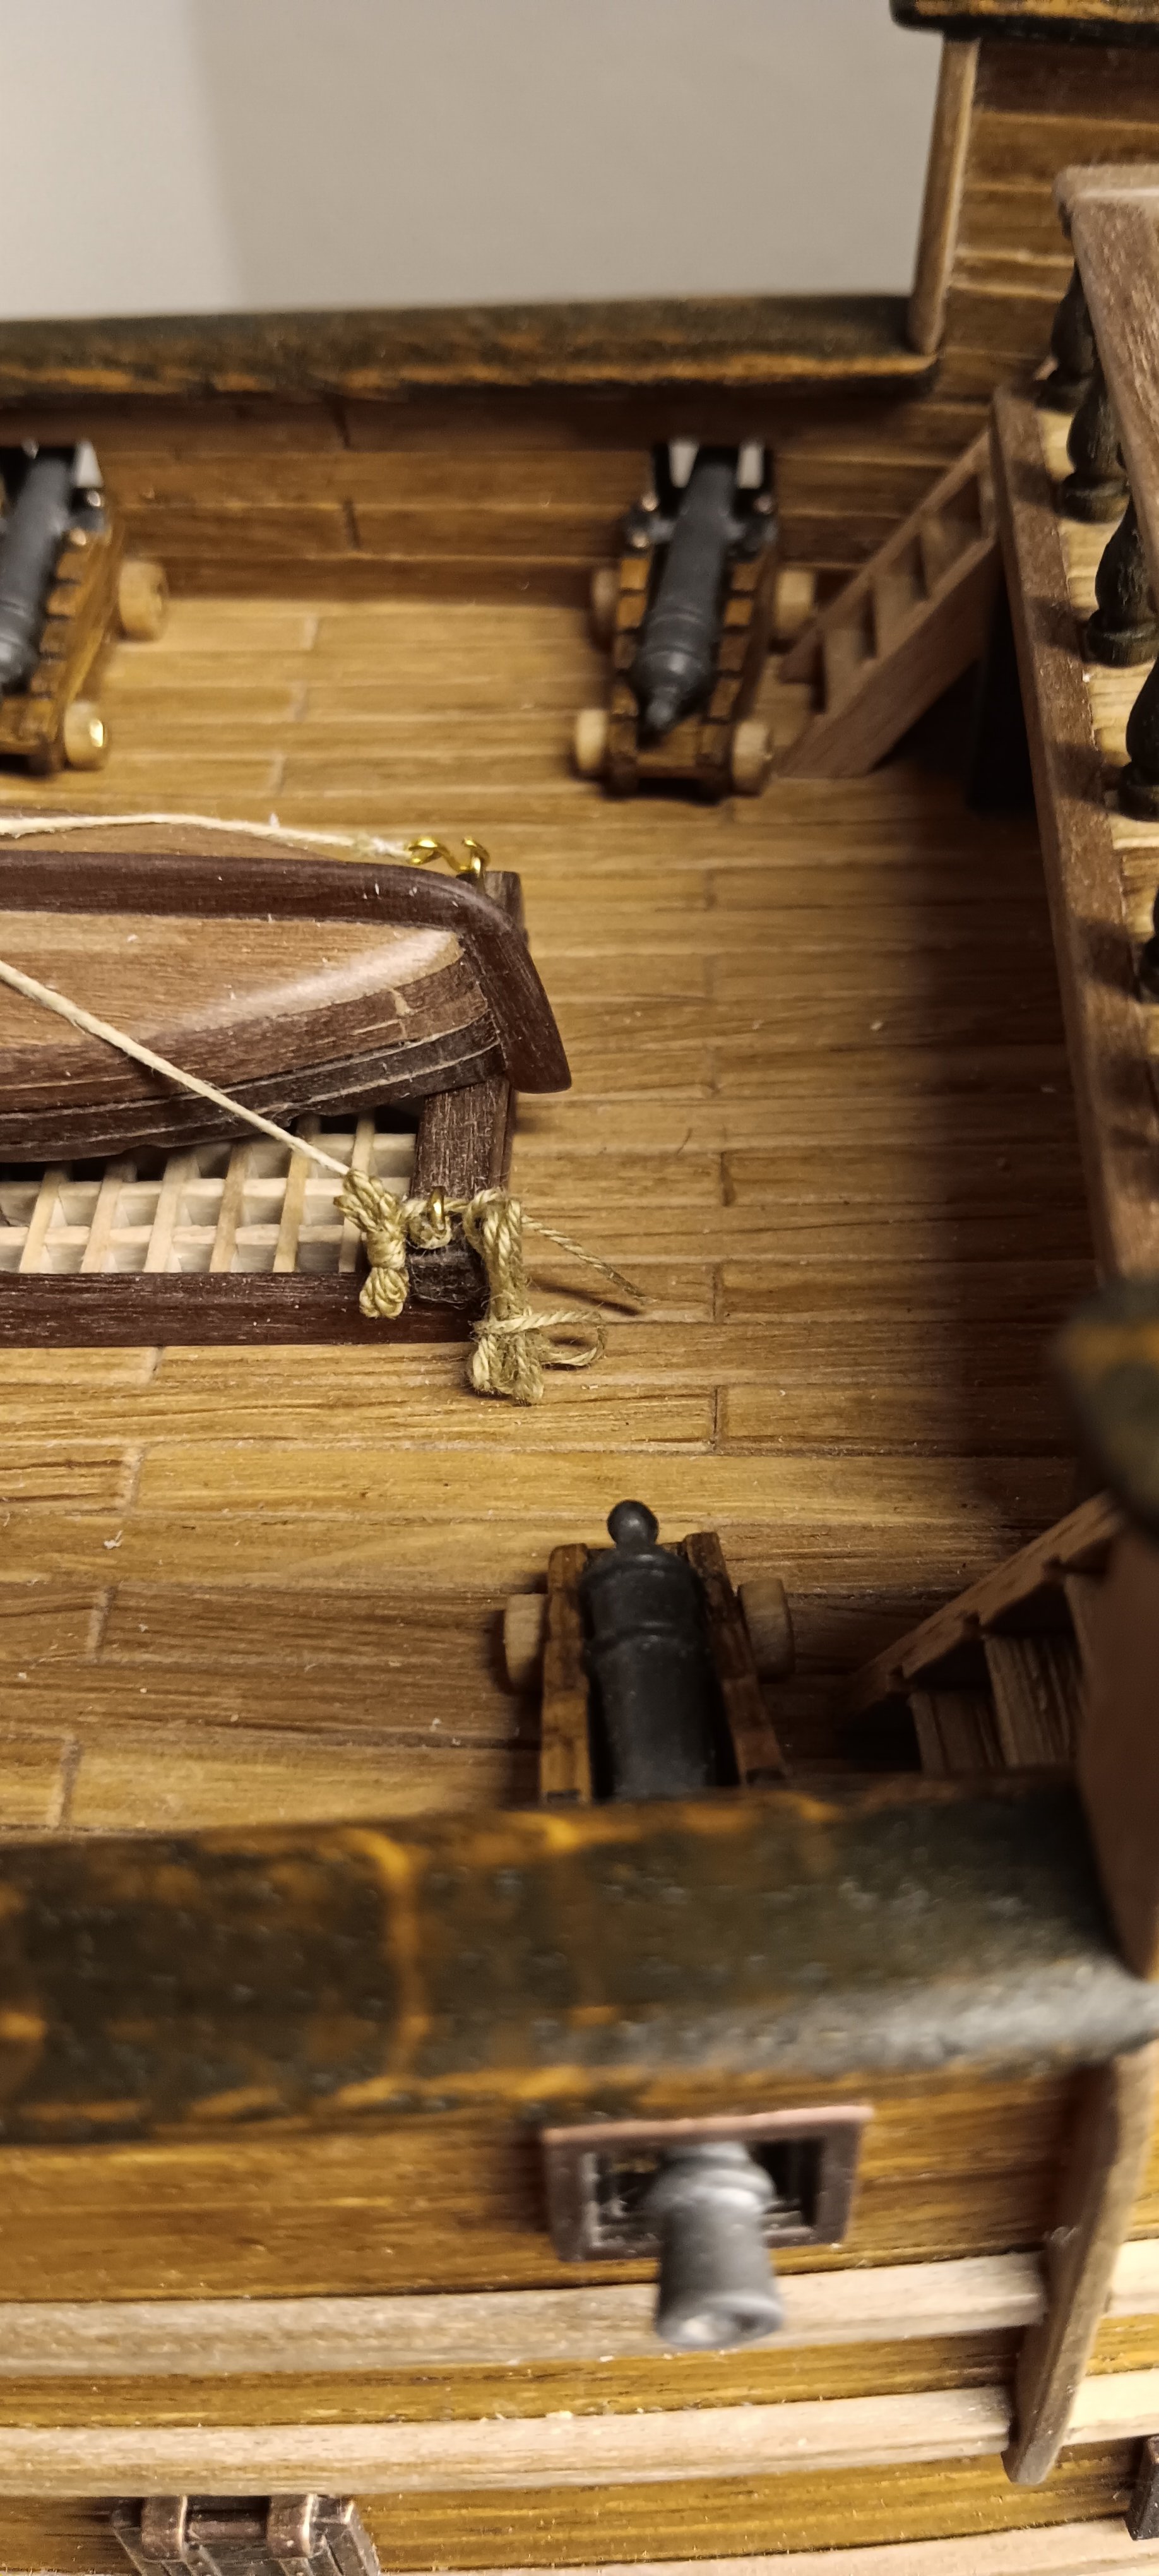
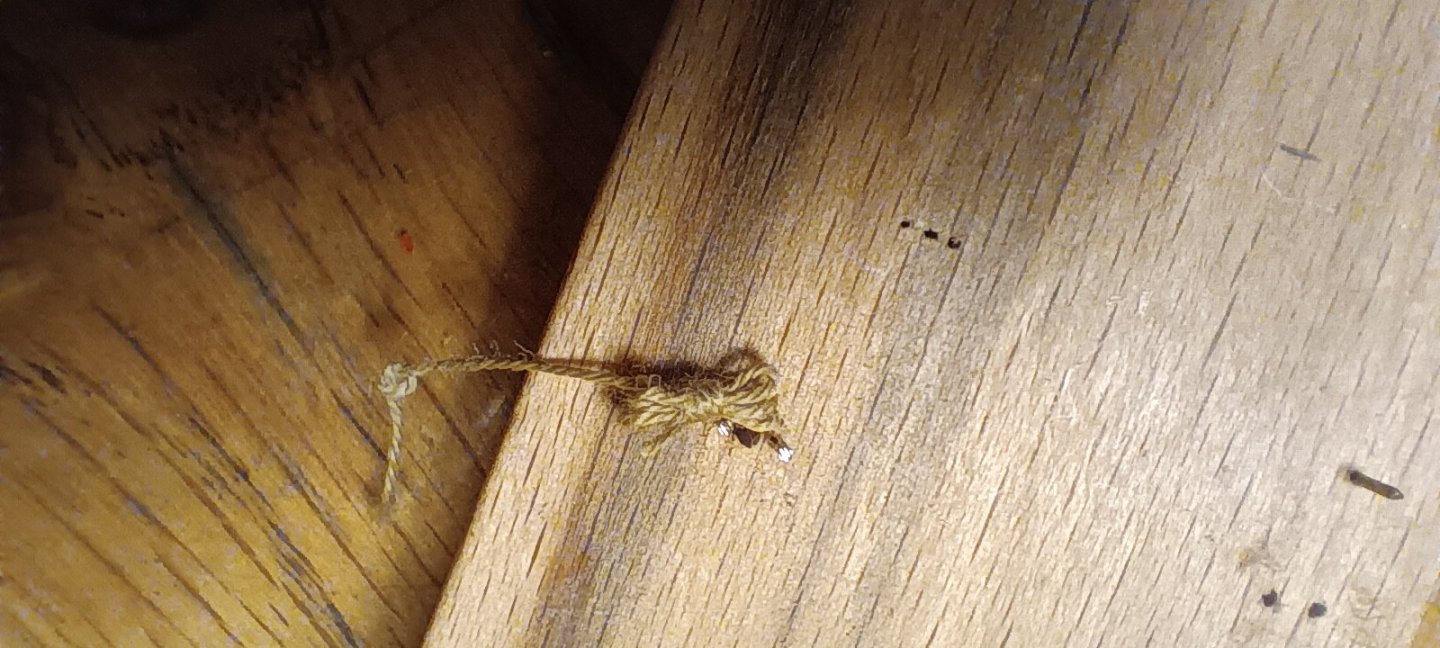
The Knots under the nails are not so fine
-
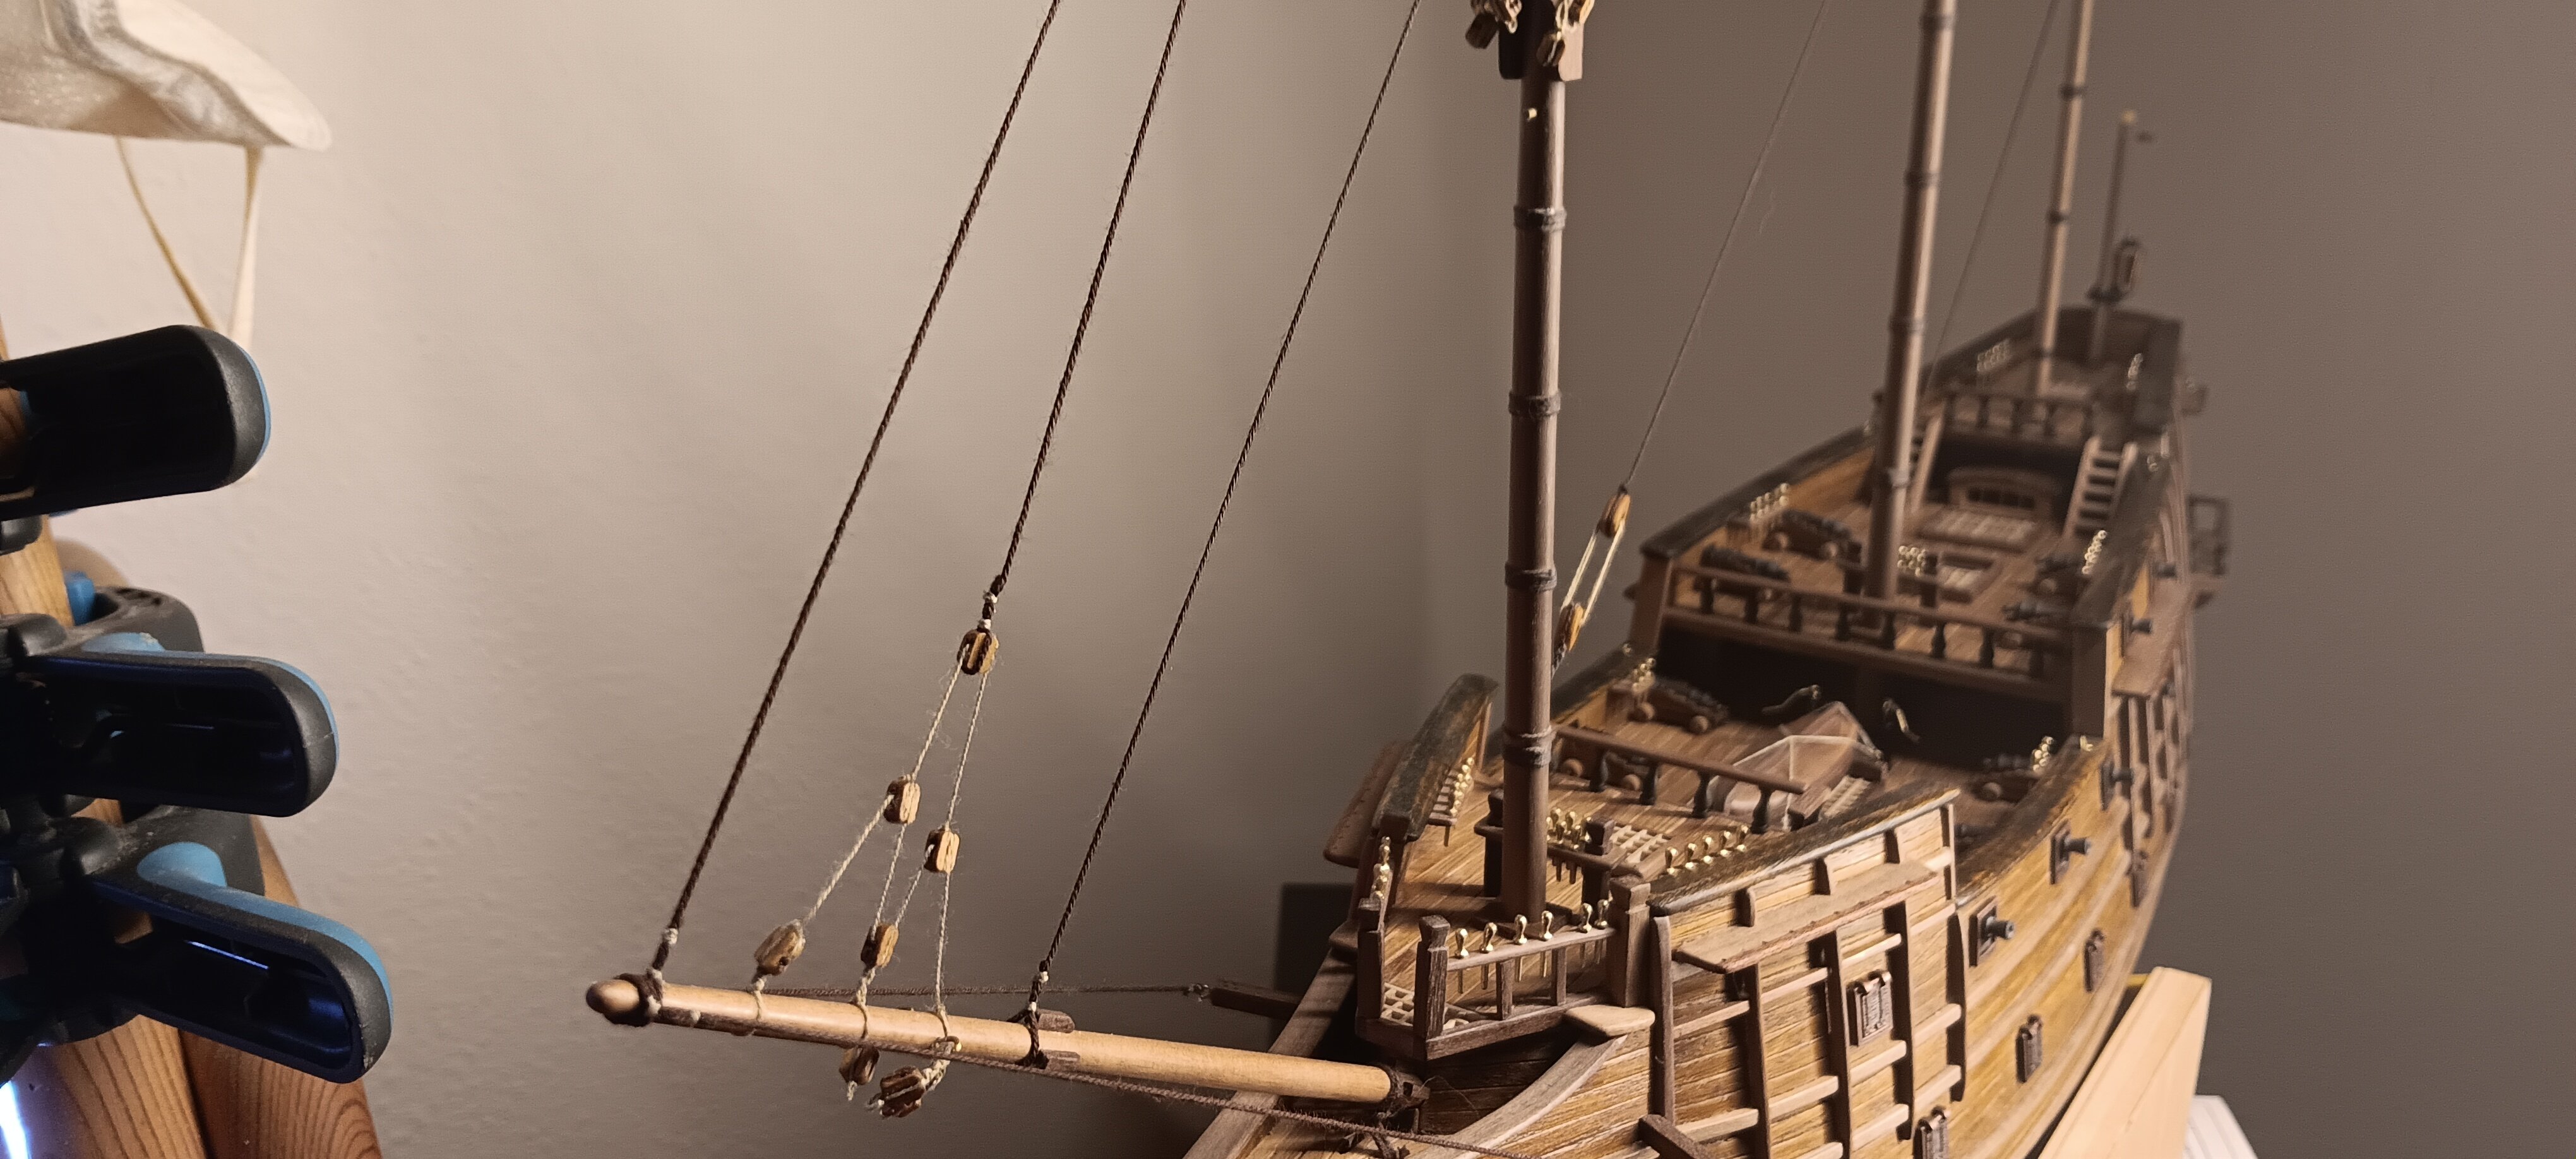
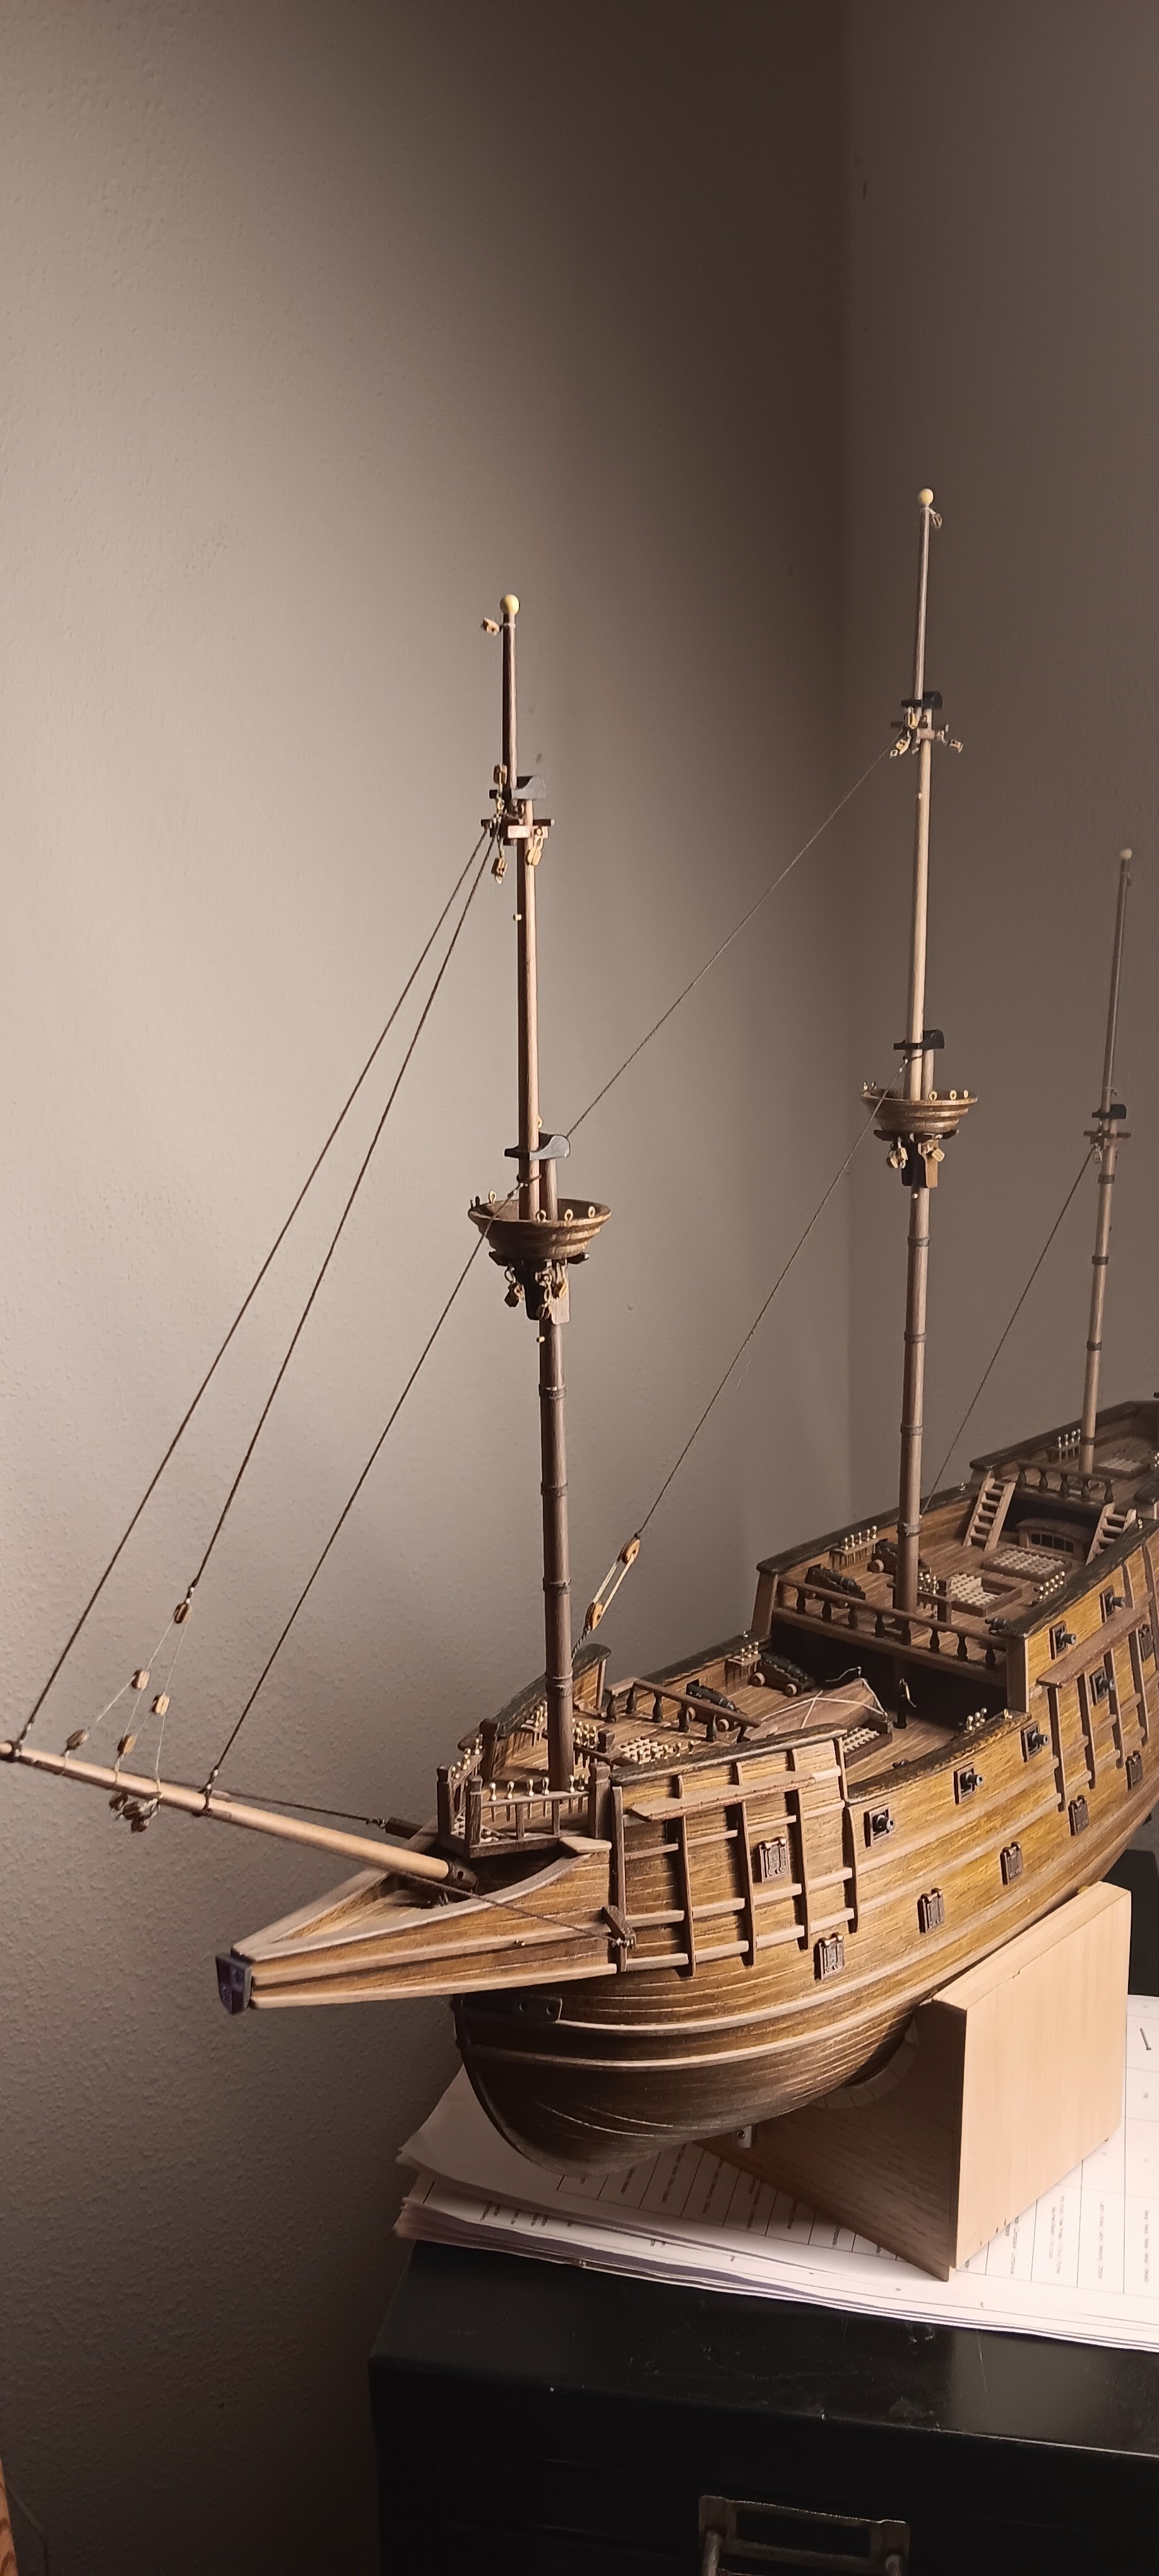
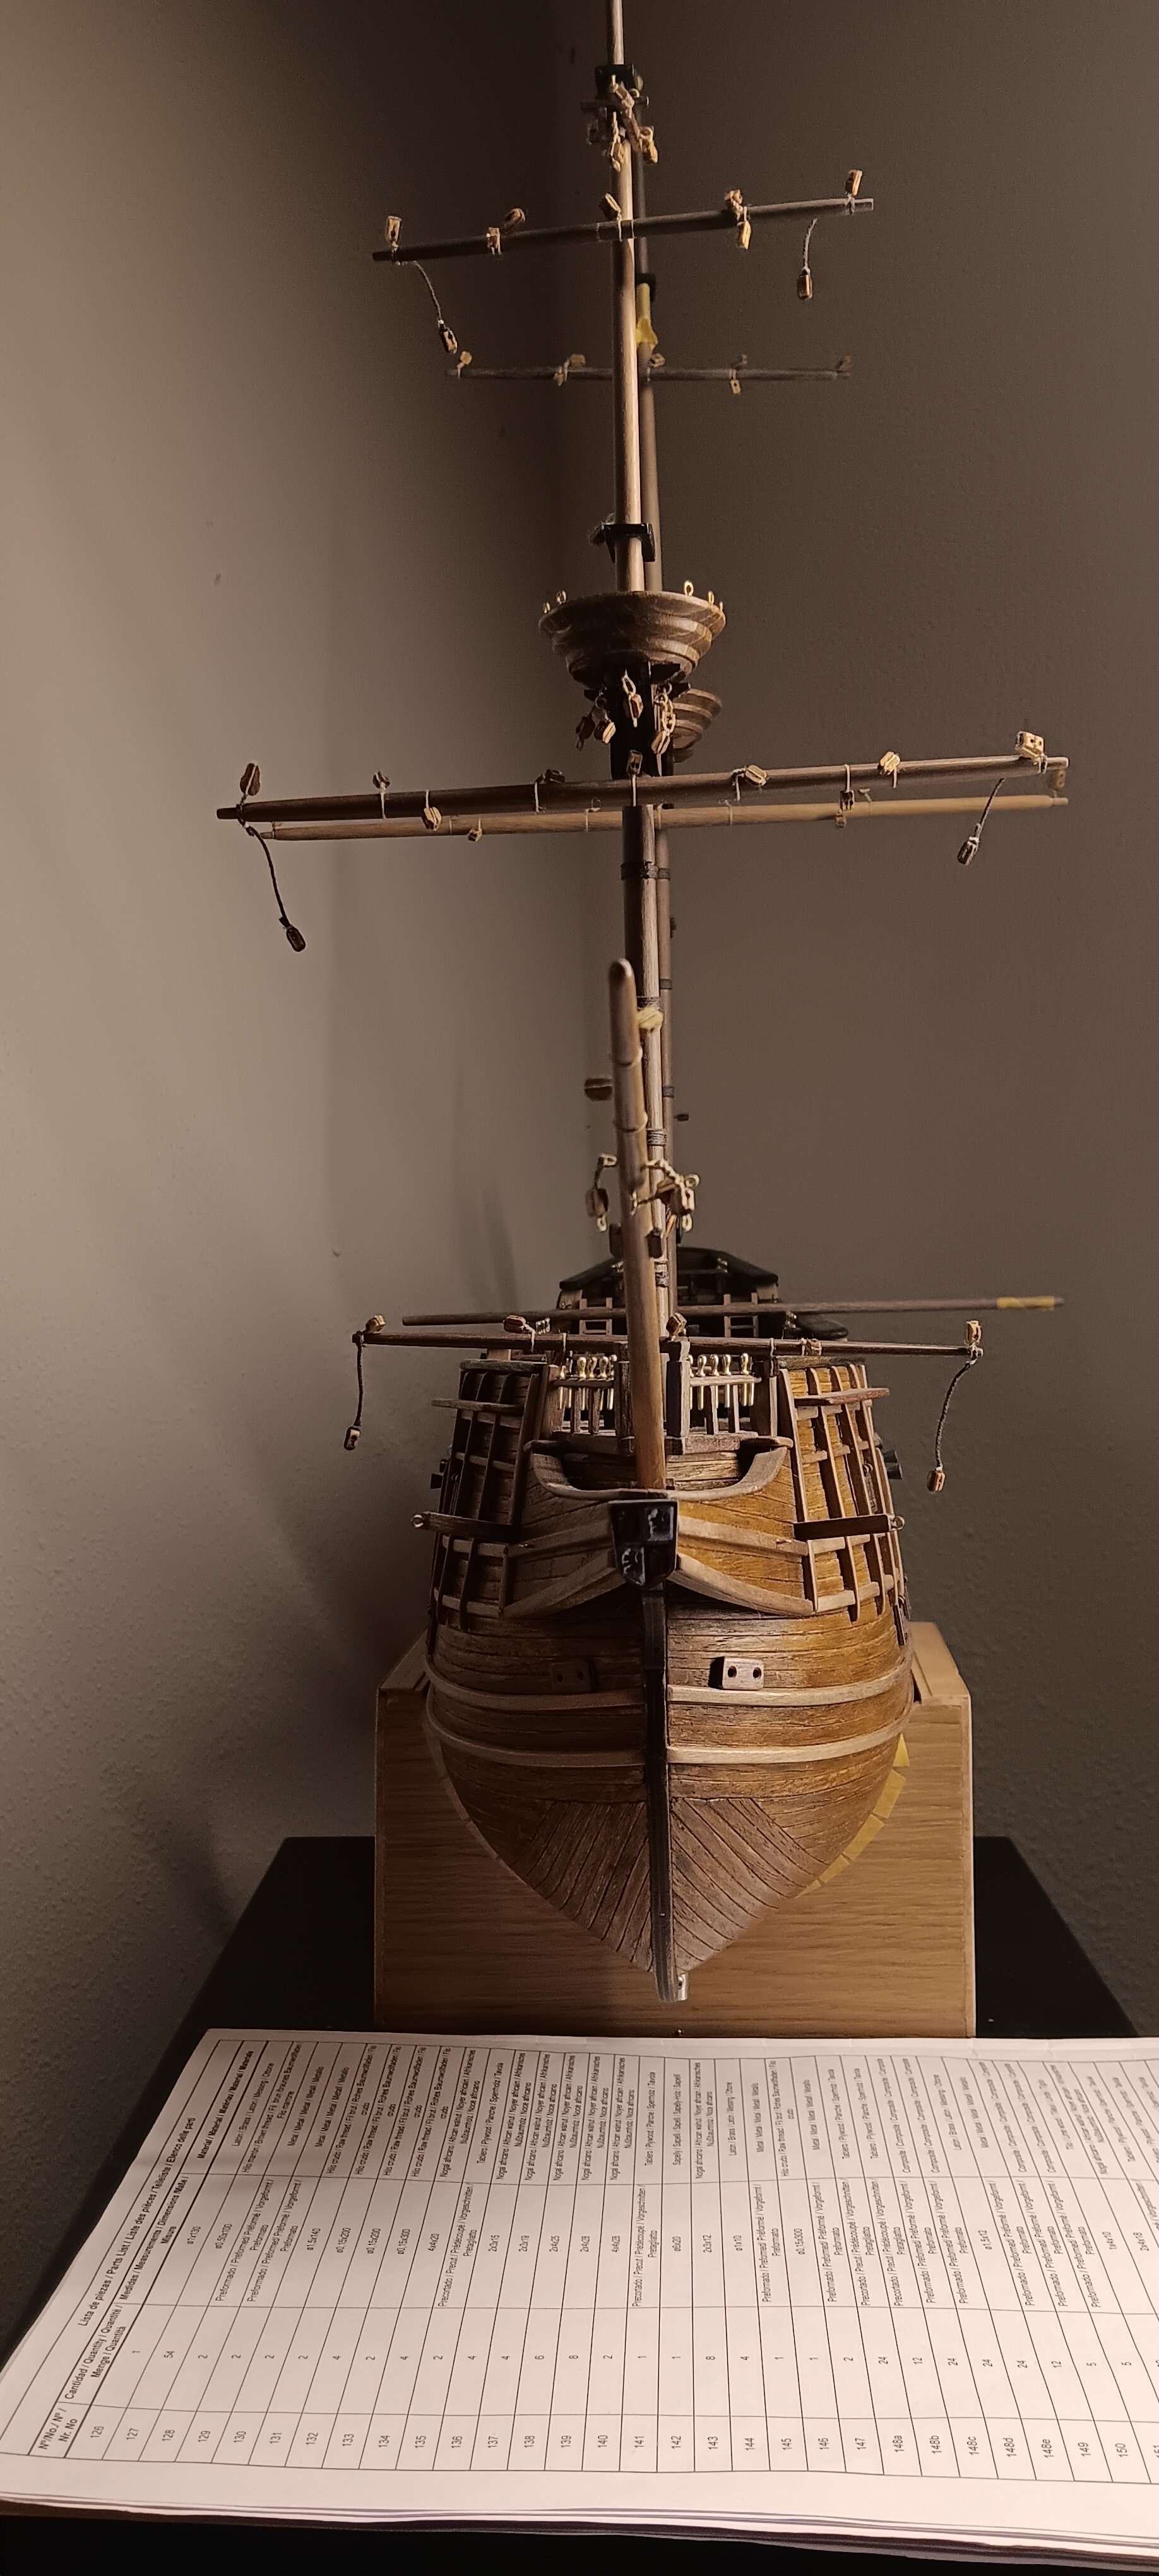
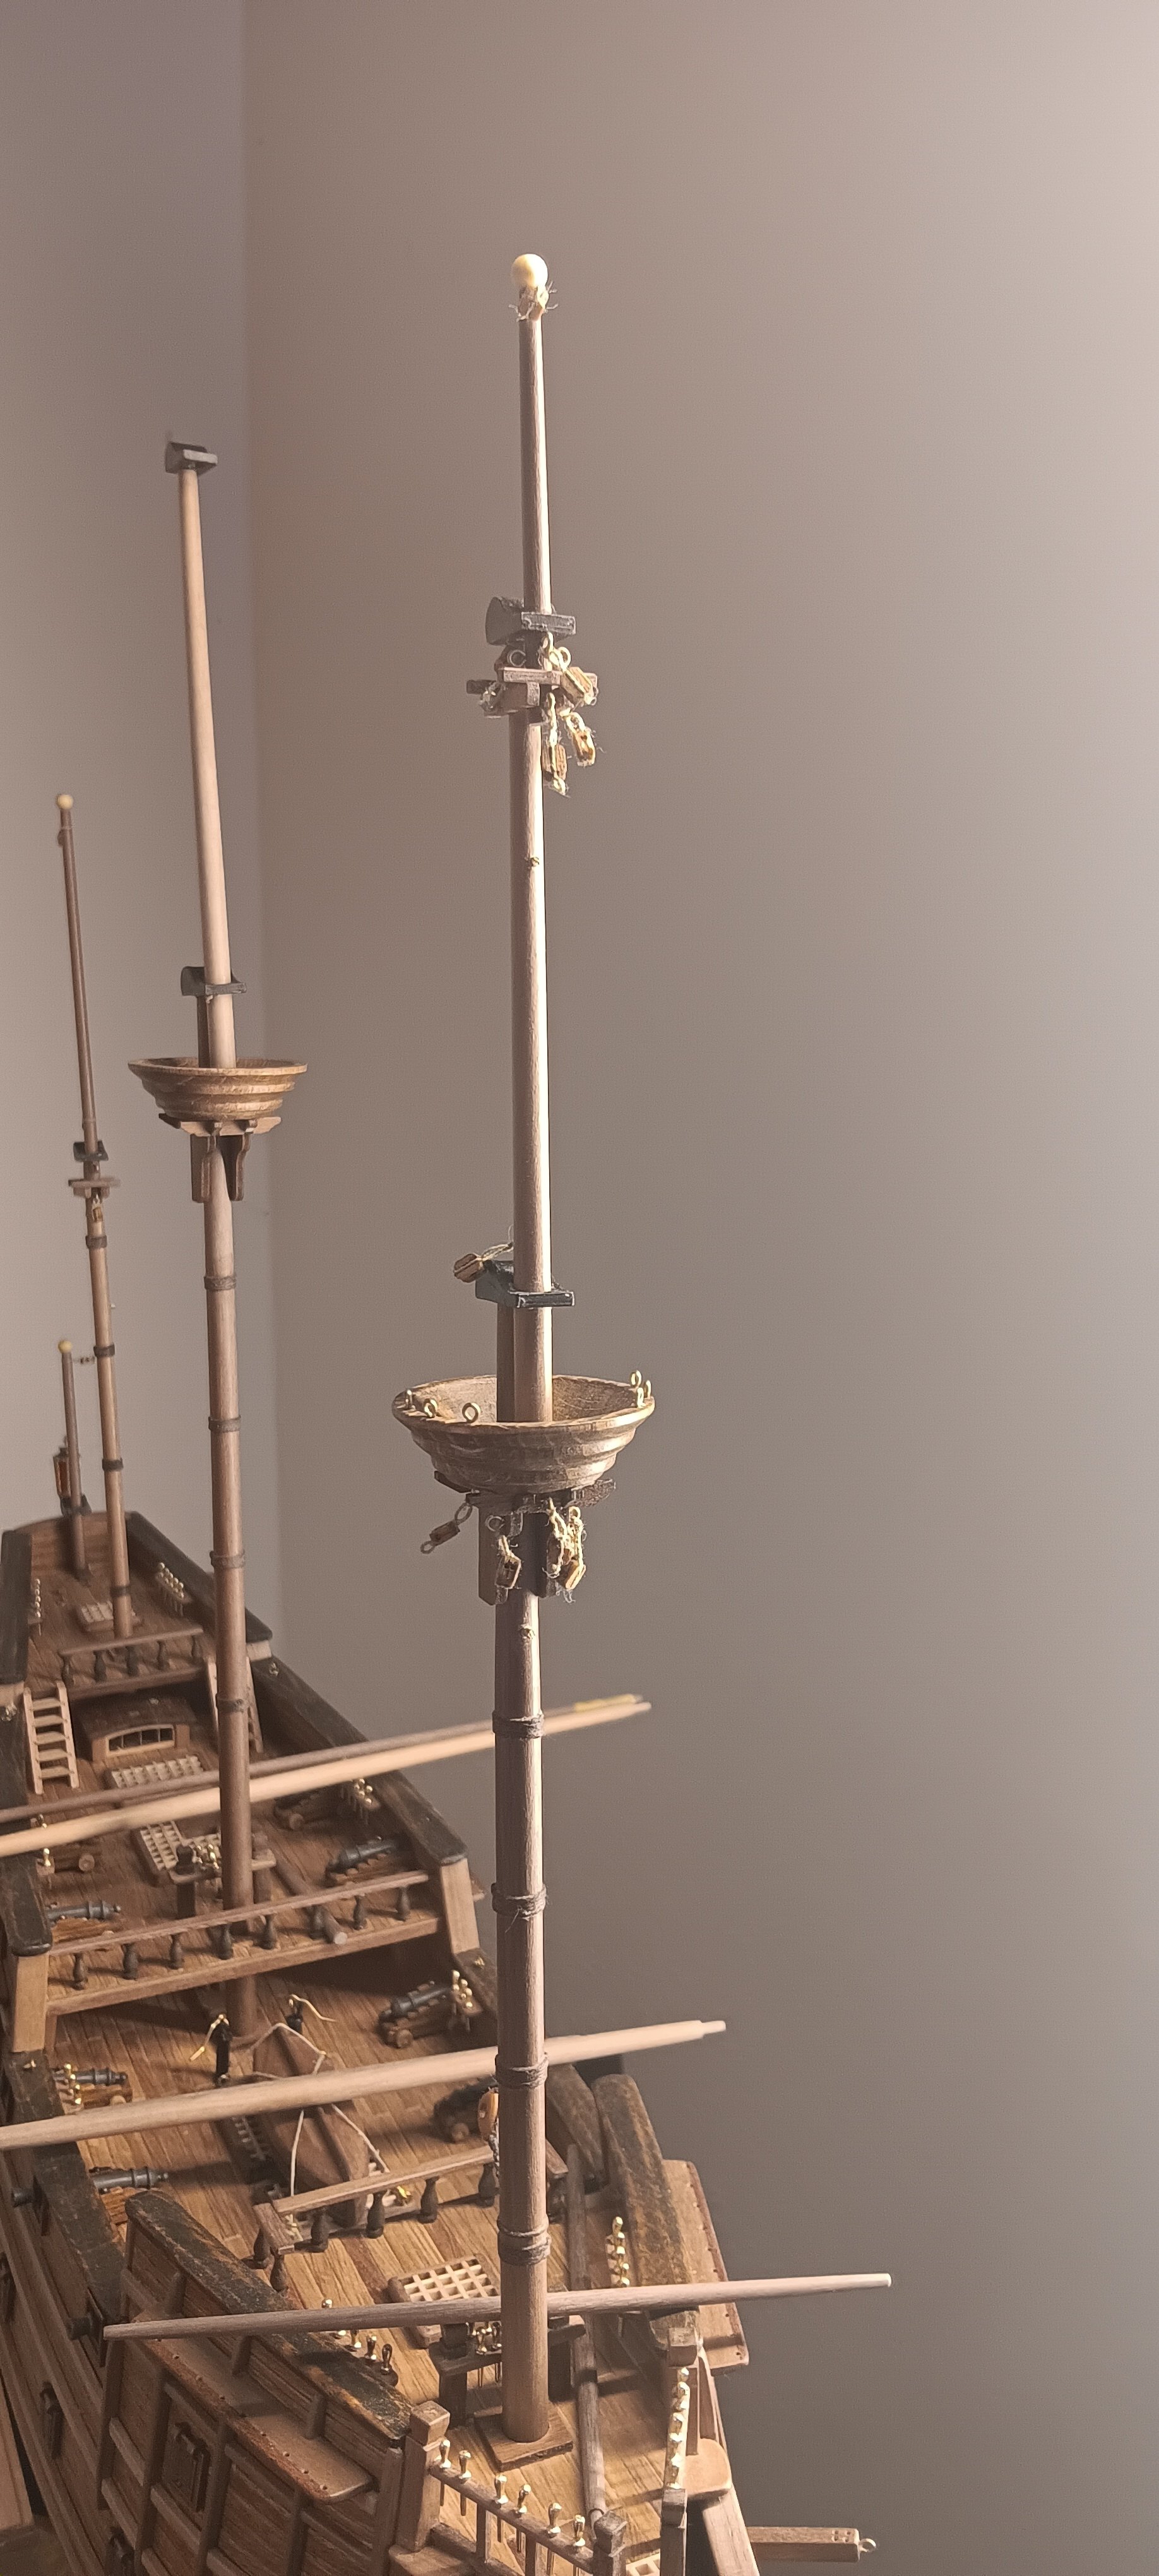
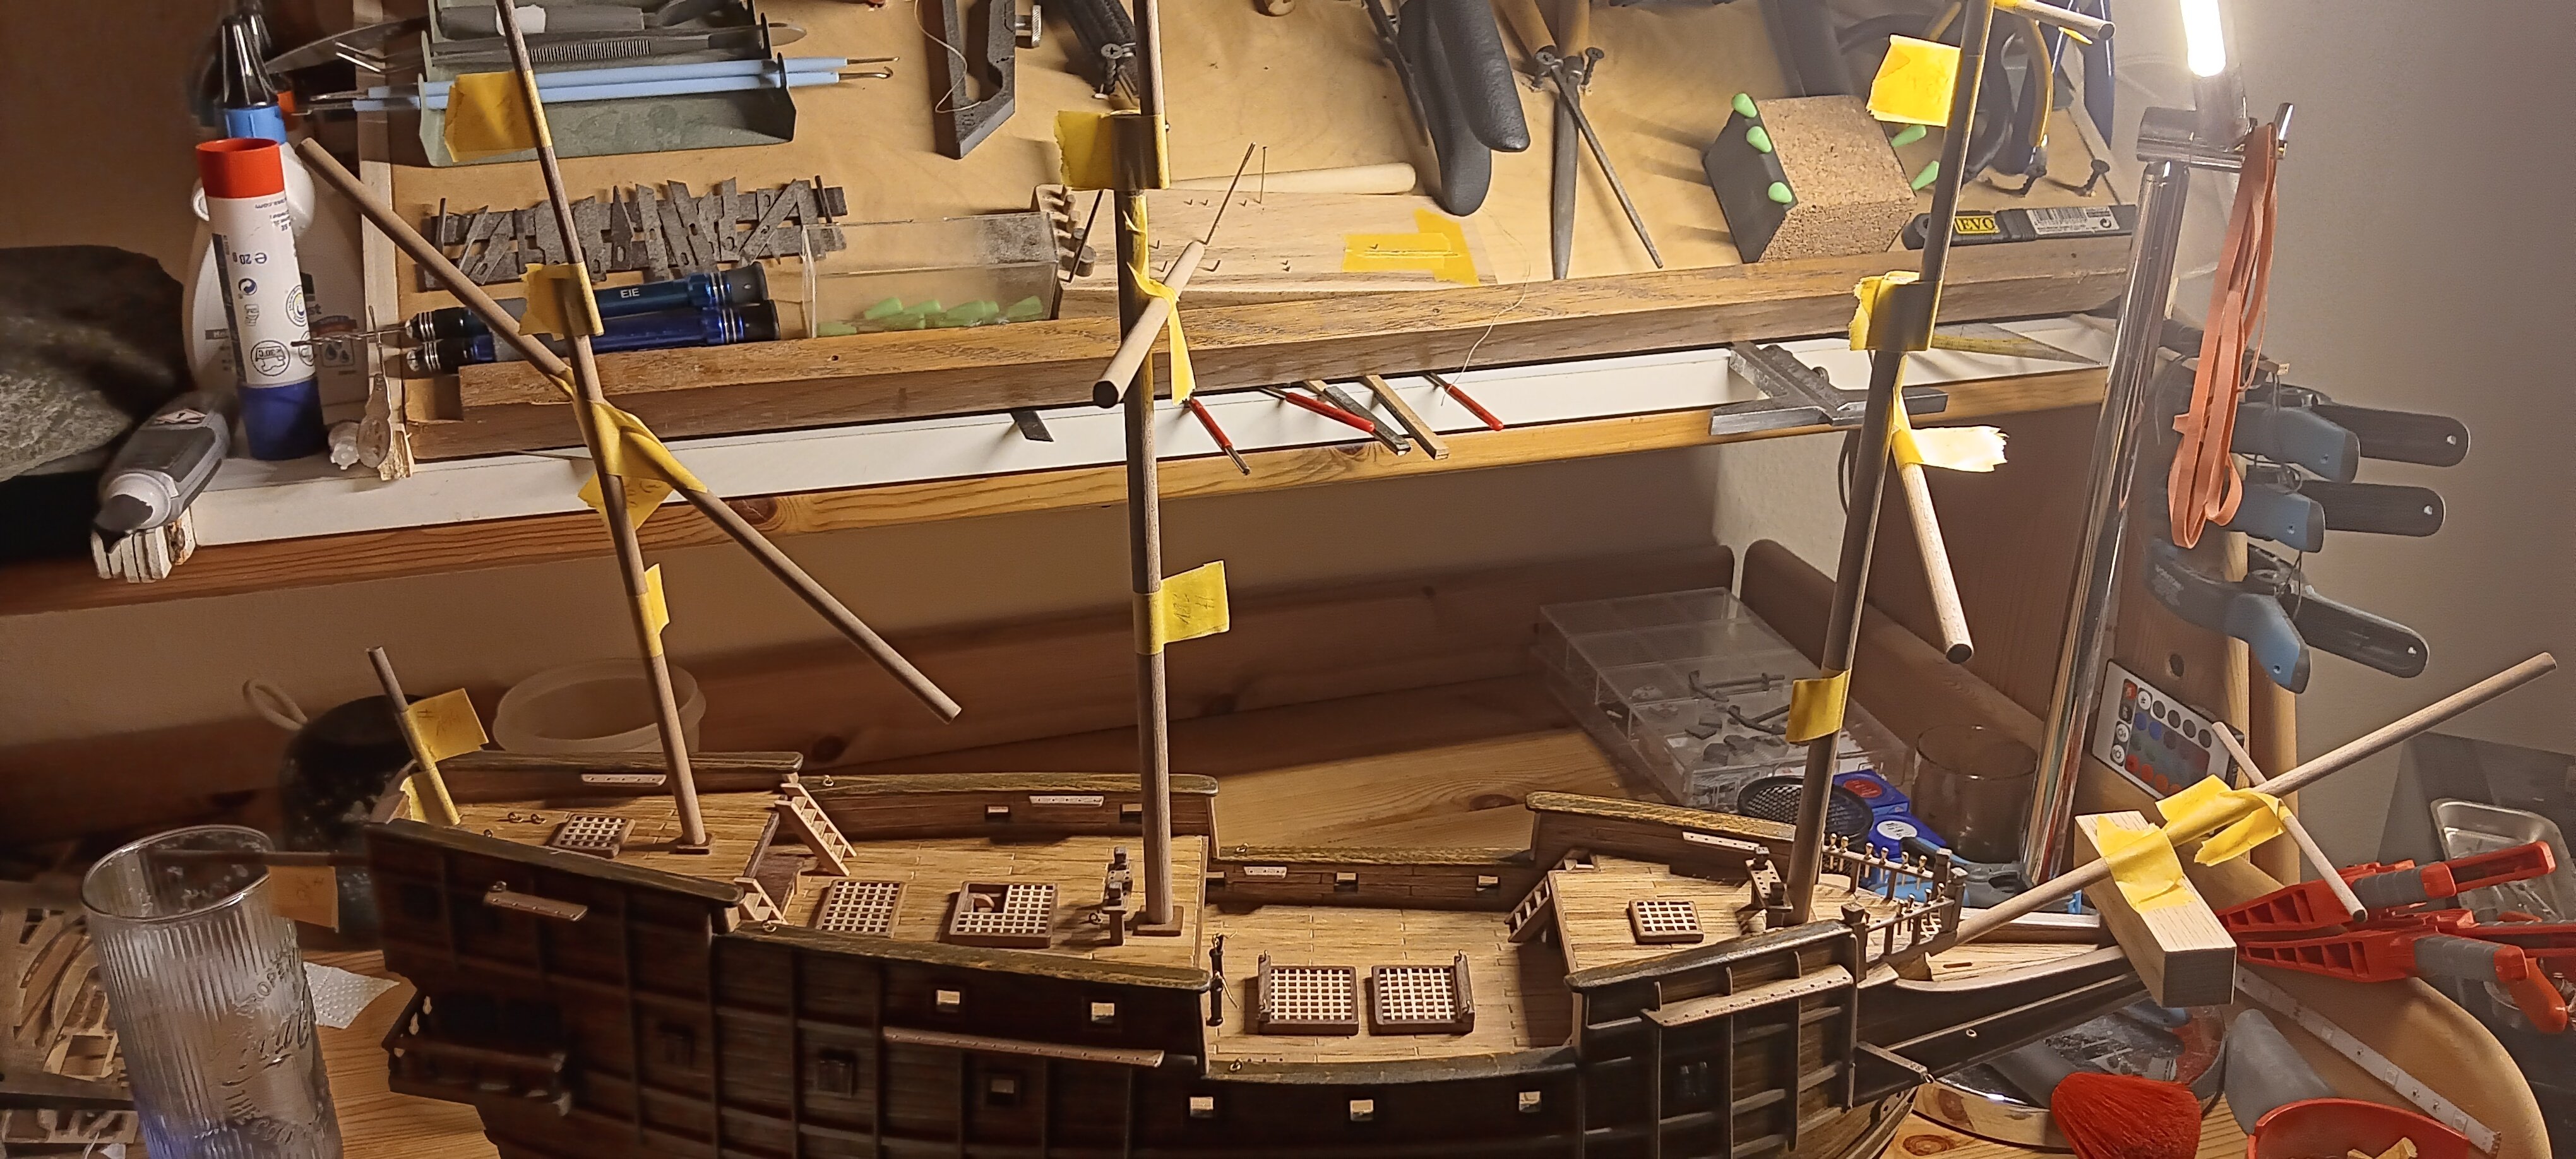
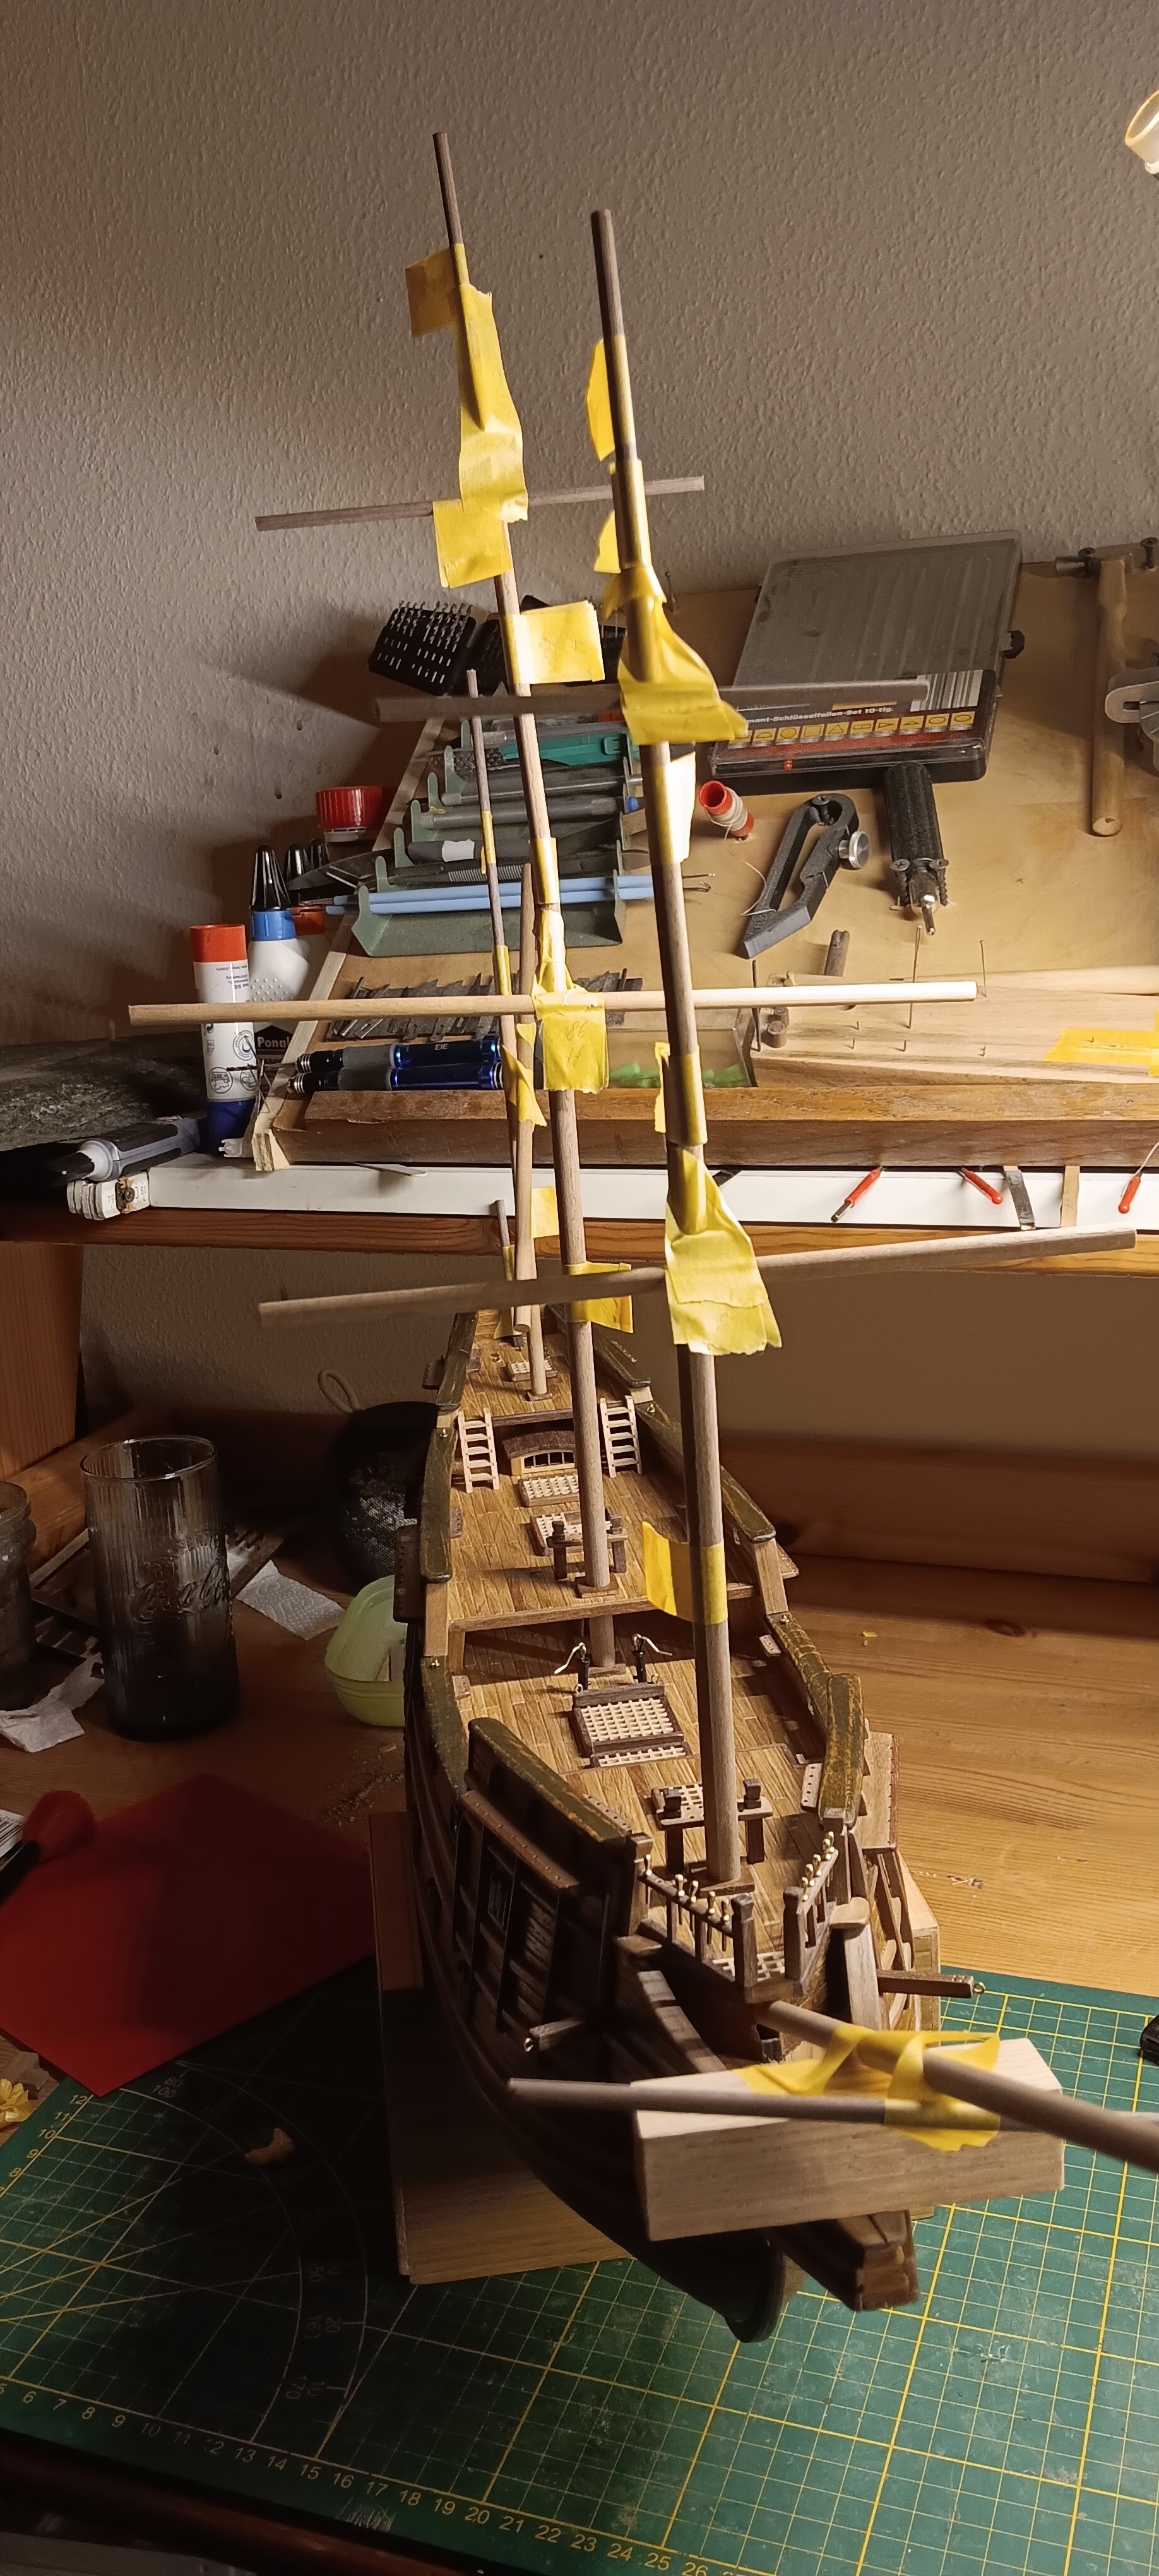
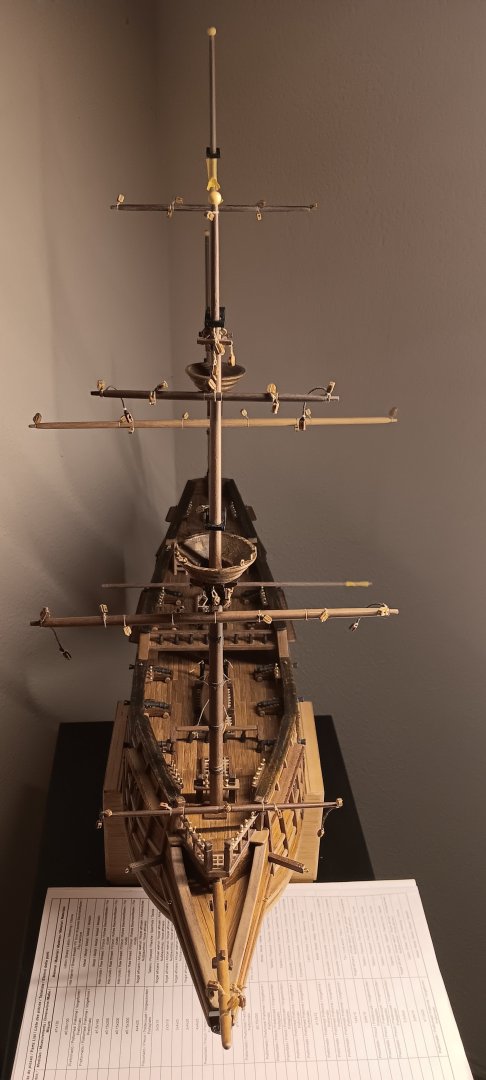
Last work on the Mast. After the Weekend i start rigging

- 210 replies
-
- 5
-
-
- San Martin
- OcCre
- (and 1 more)
-
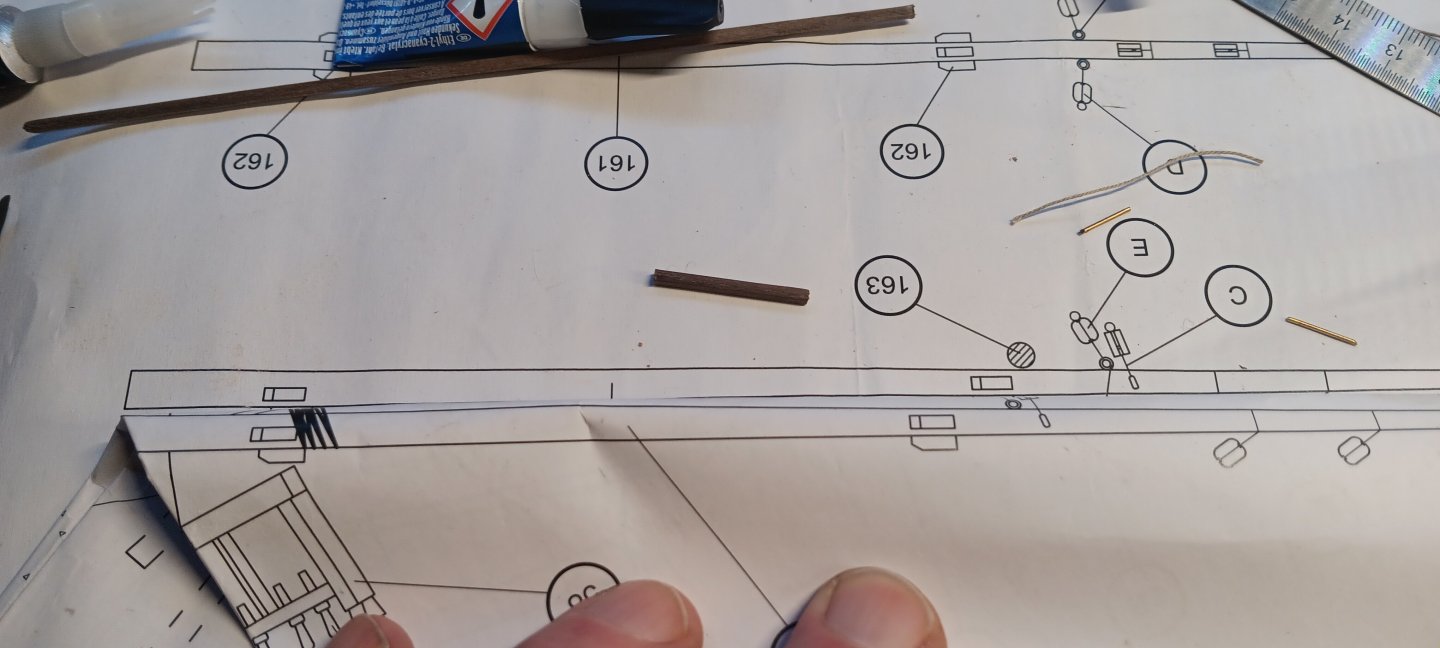
Ohjee, the spanish art of Plan
-
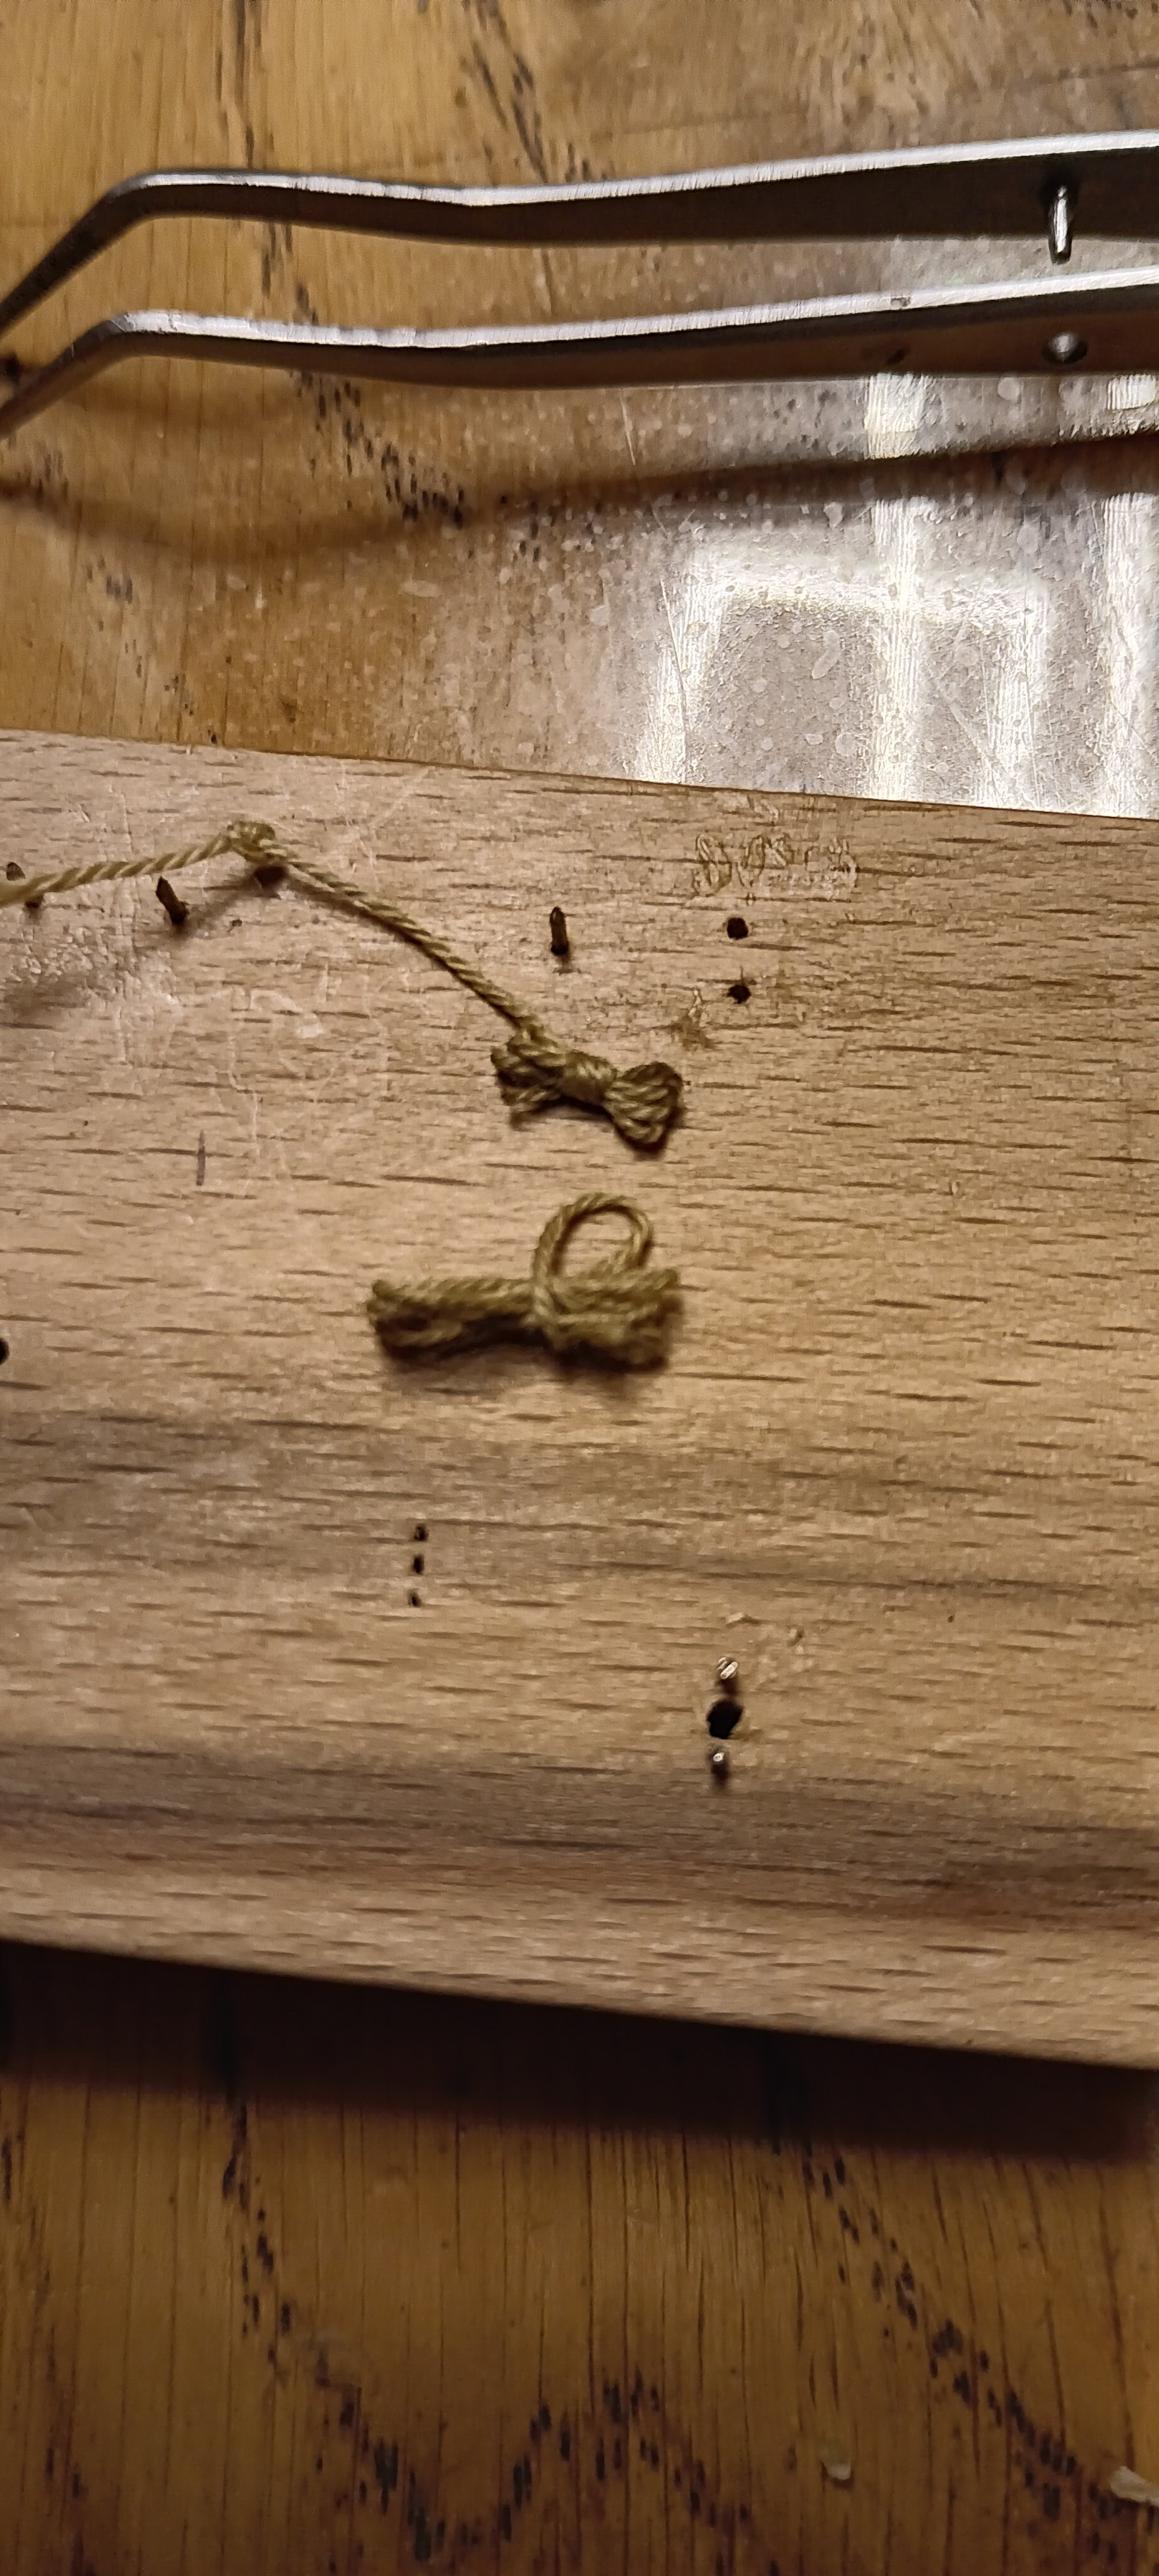
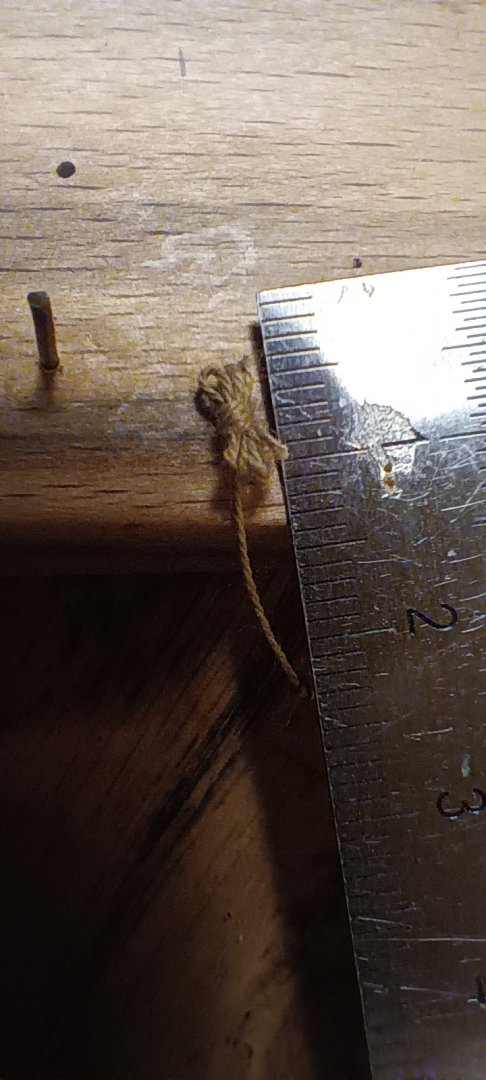
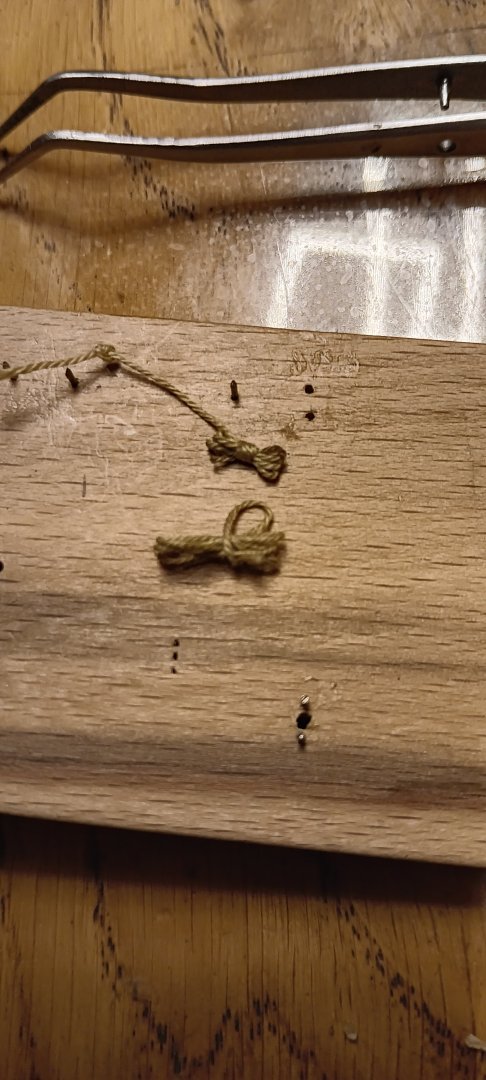
So, orle, ihr Lieben, jetzt braucht er euren Rat. Ich habe zwei Stunden damit verbracht, meine erste Seilschlaufe zu binden. Die erste, größere, ging gleich wieder auf. Ich fand sie zu groß für den Maßstab 1:90. Also habe ich eine kleinere gemacht. Die mir jetzt fast zu klein vorkommt. Lasst mich bitte wissen, was ihr davon haltet. Liebe Grüße


- 210 replies
-
- 4
-
-
- San Martin
- OcCre
- (and 1 more)
-
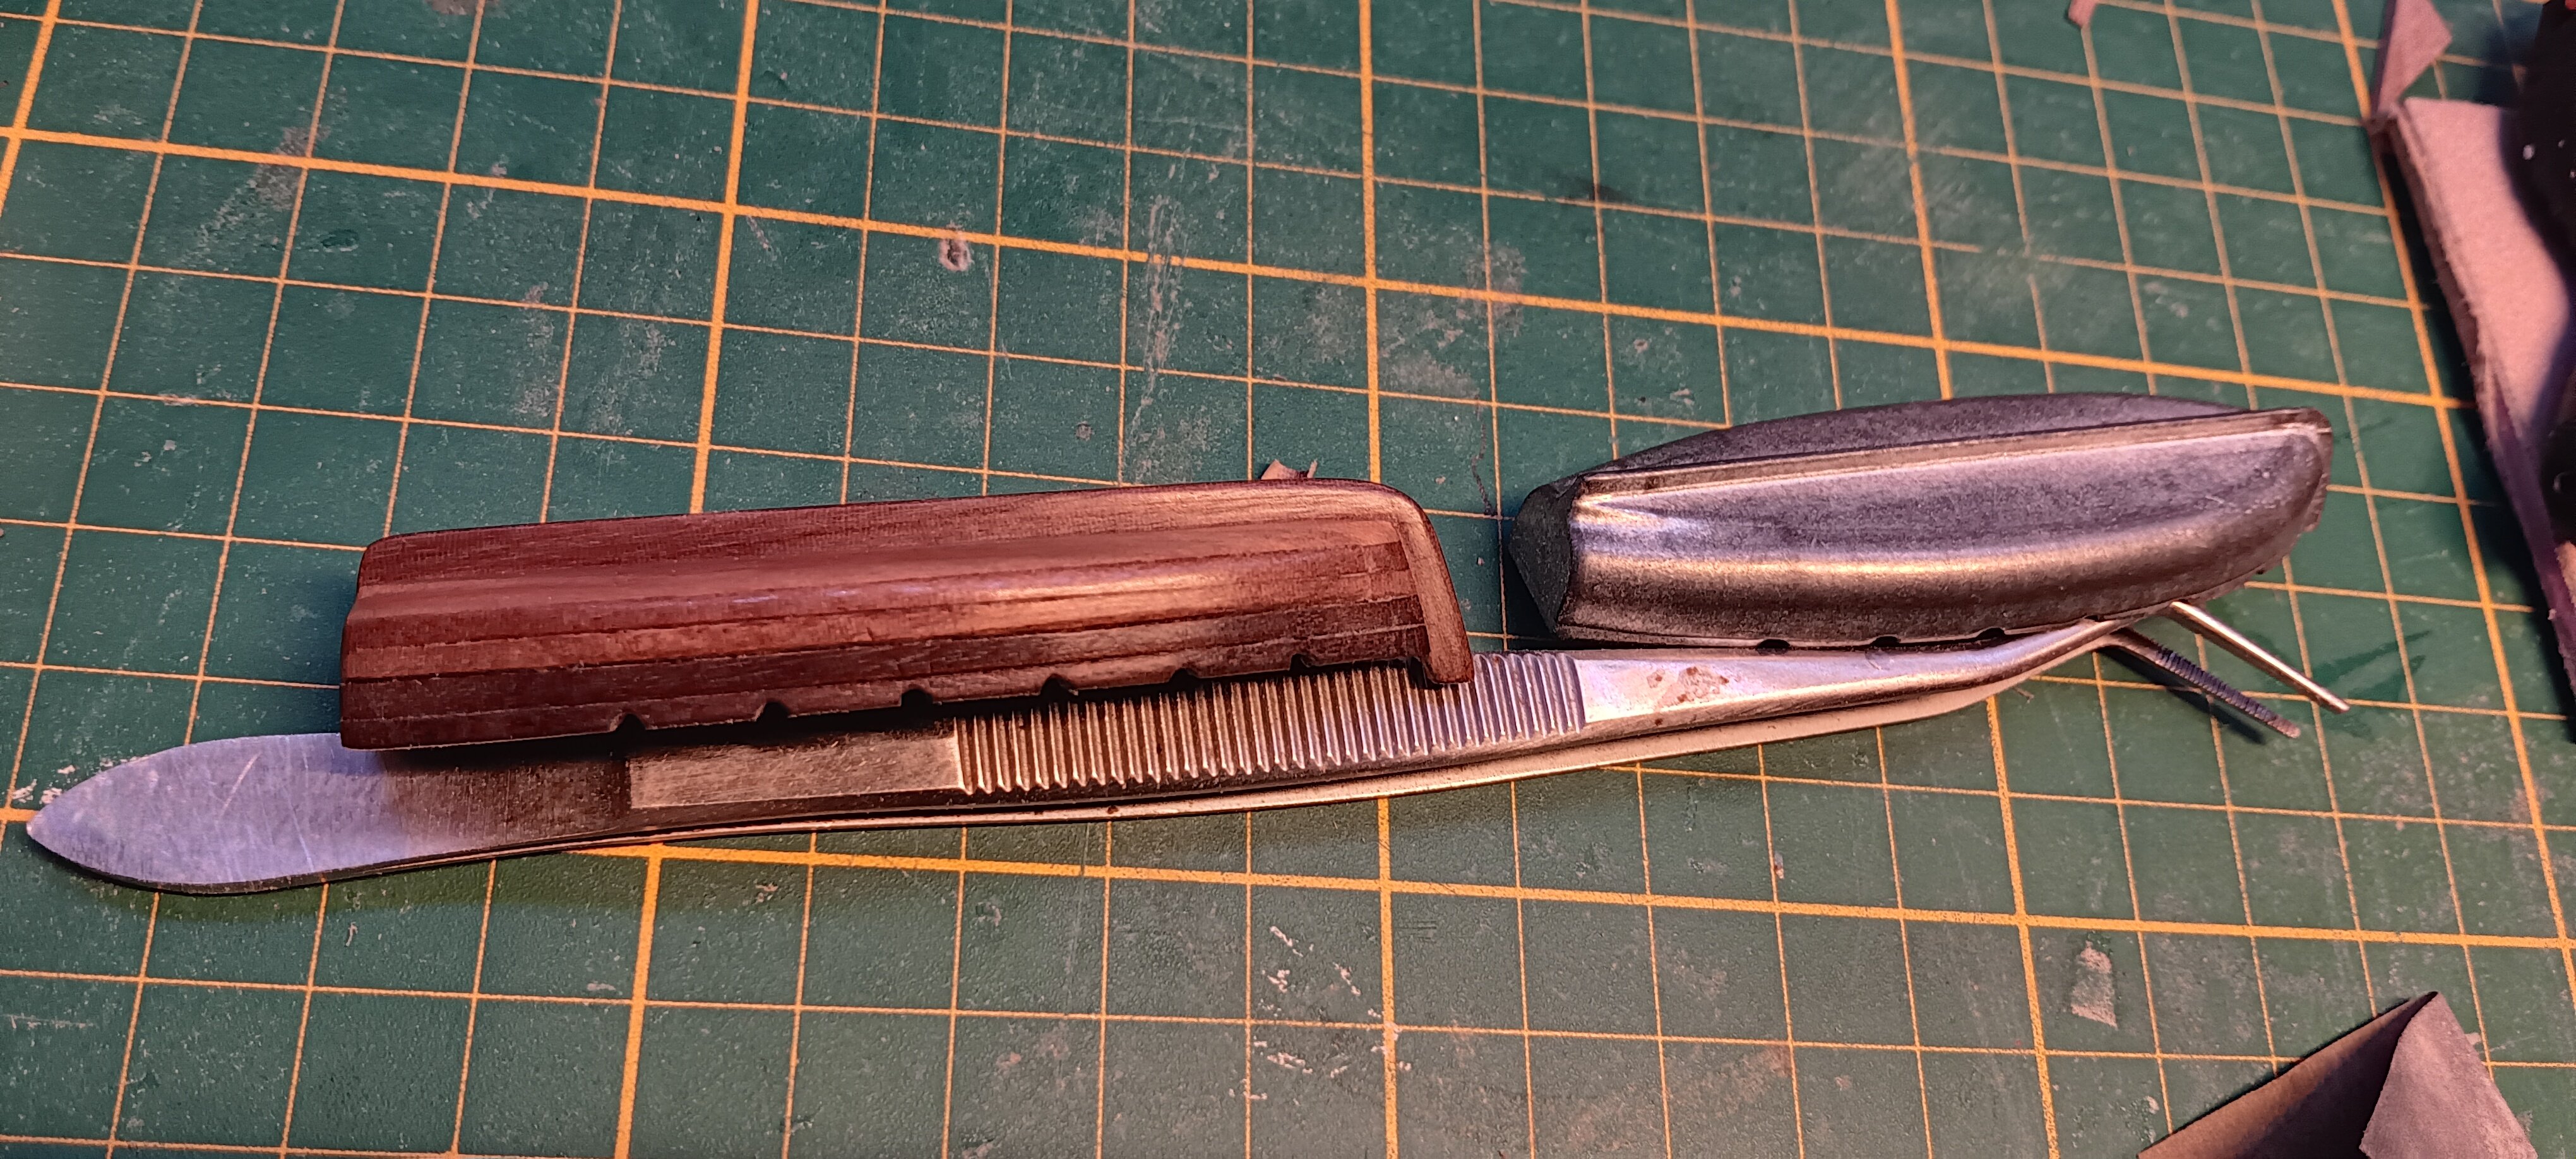
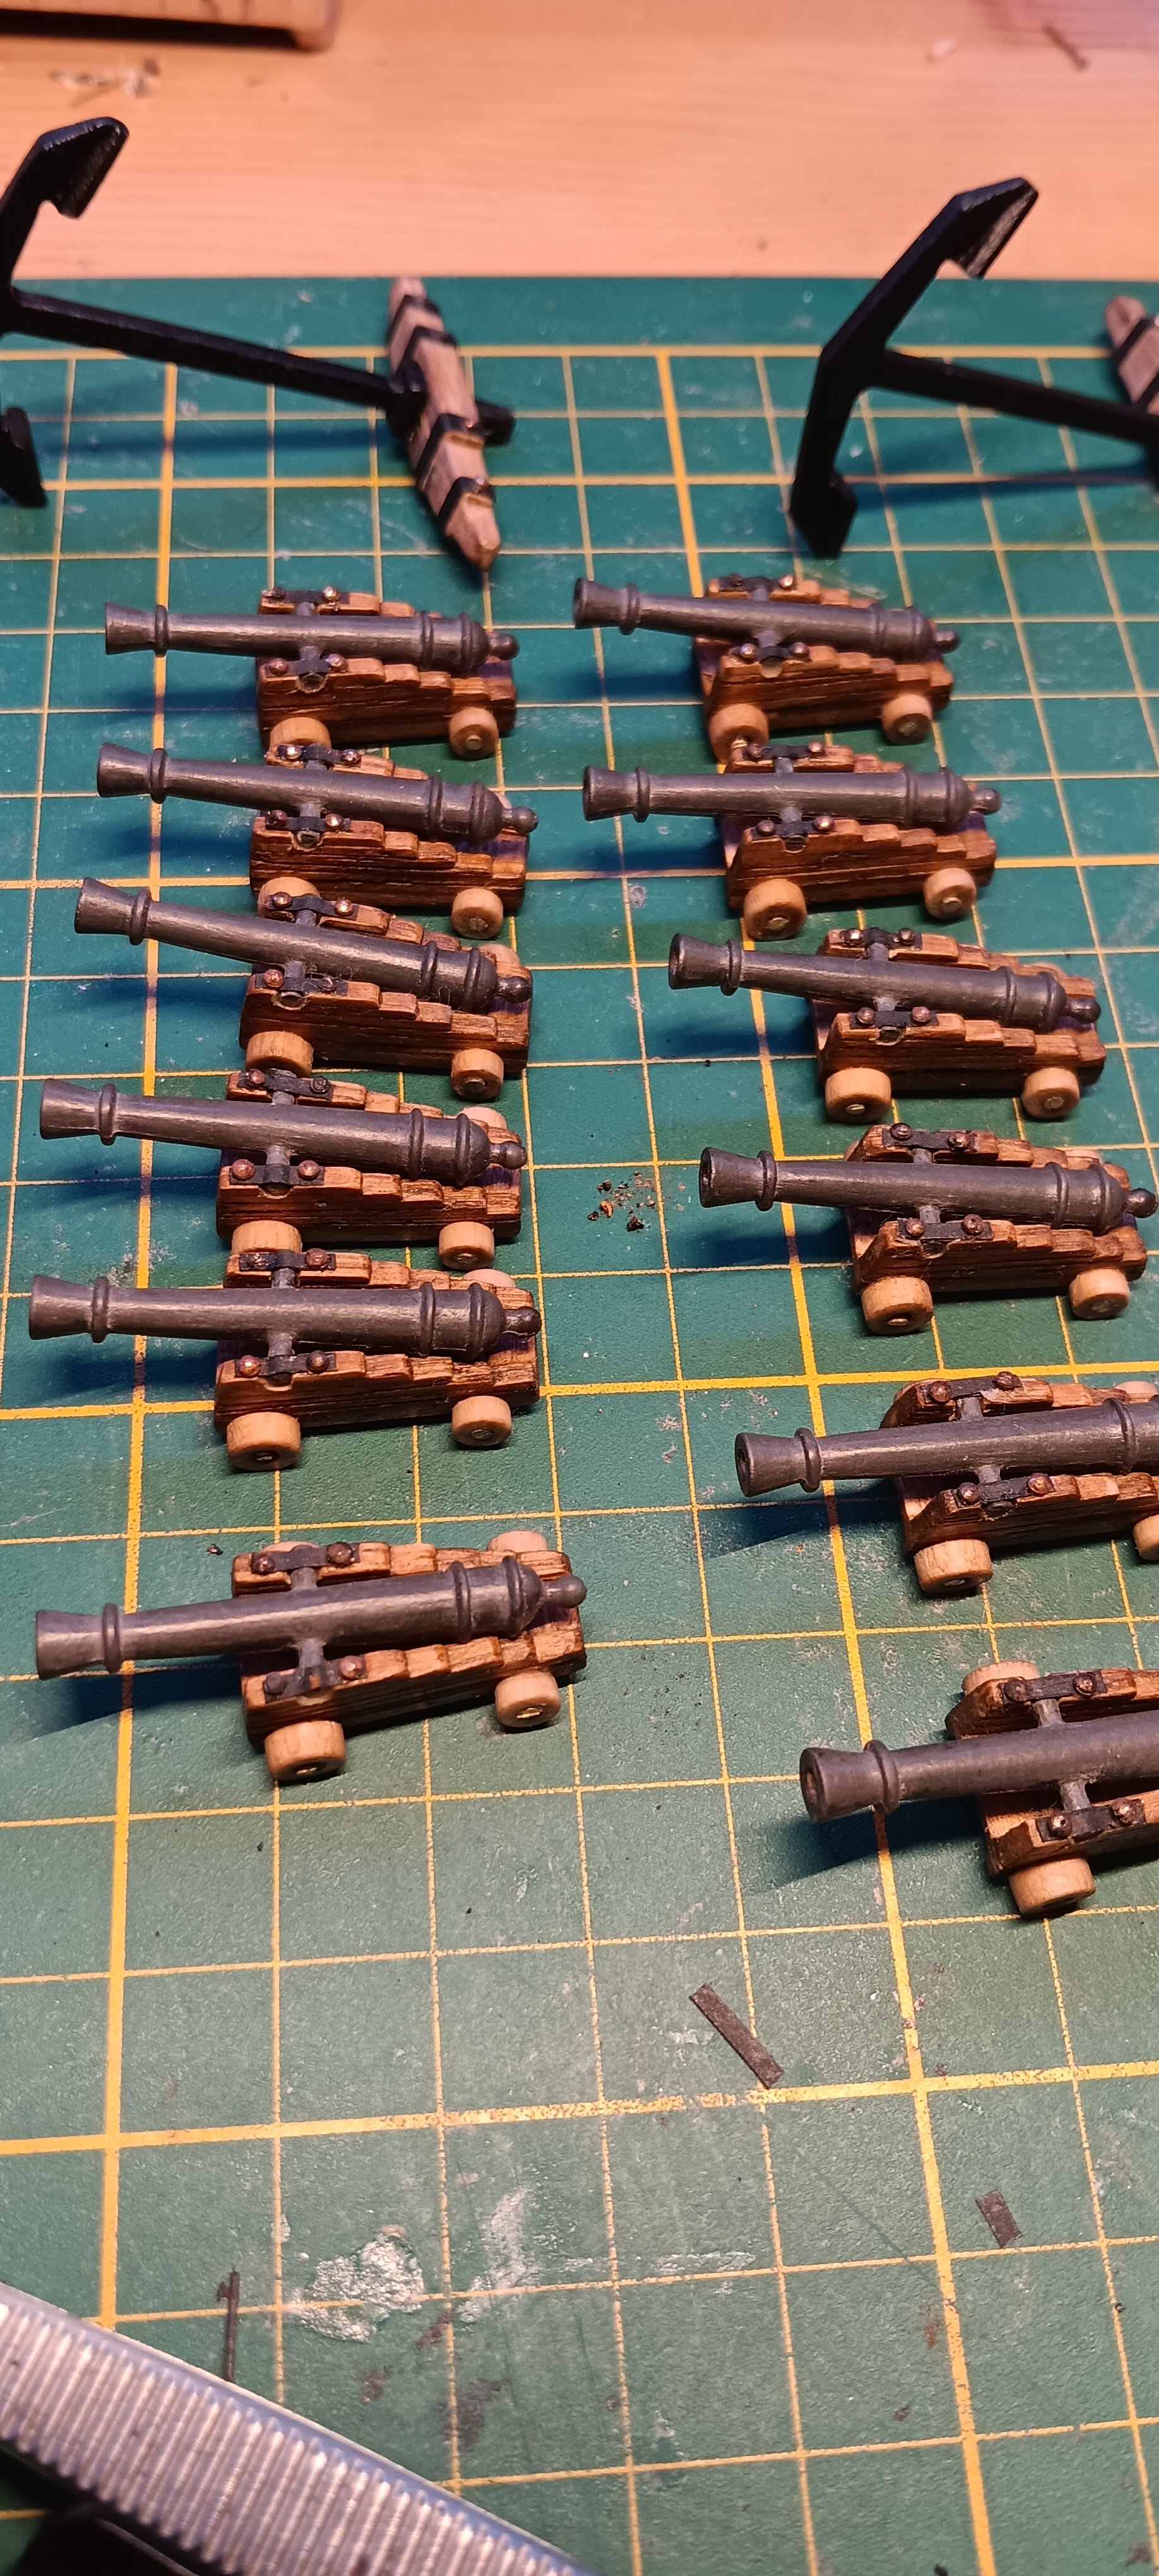
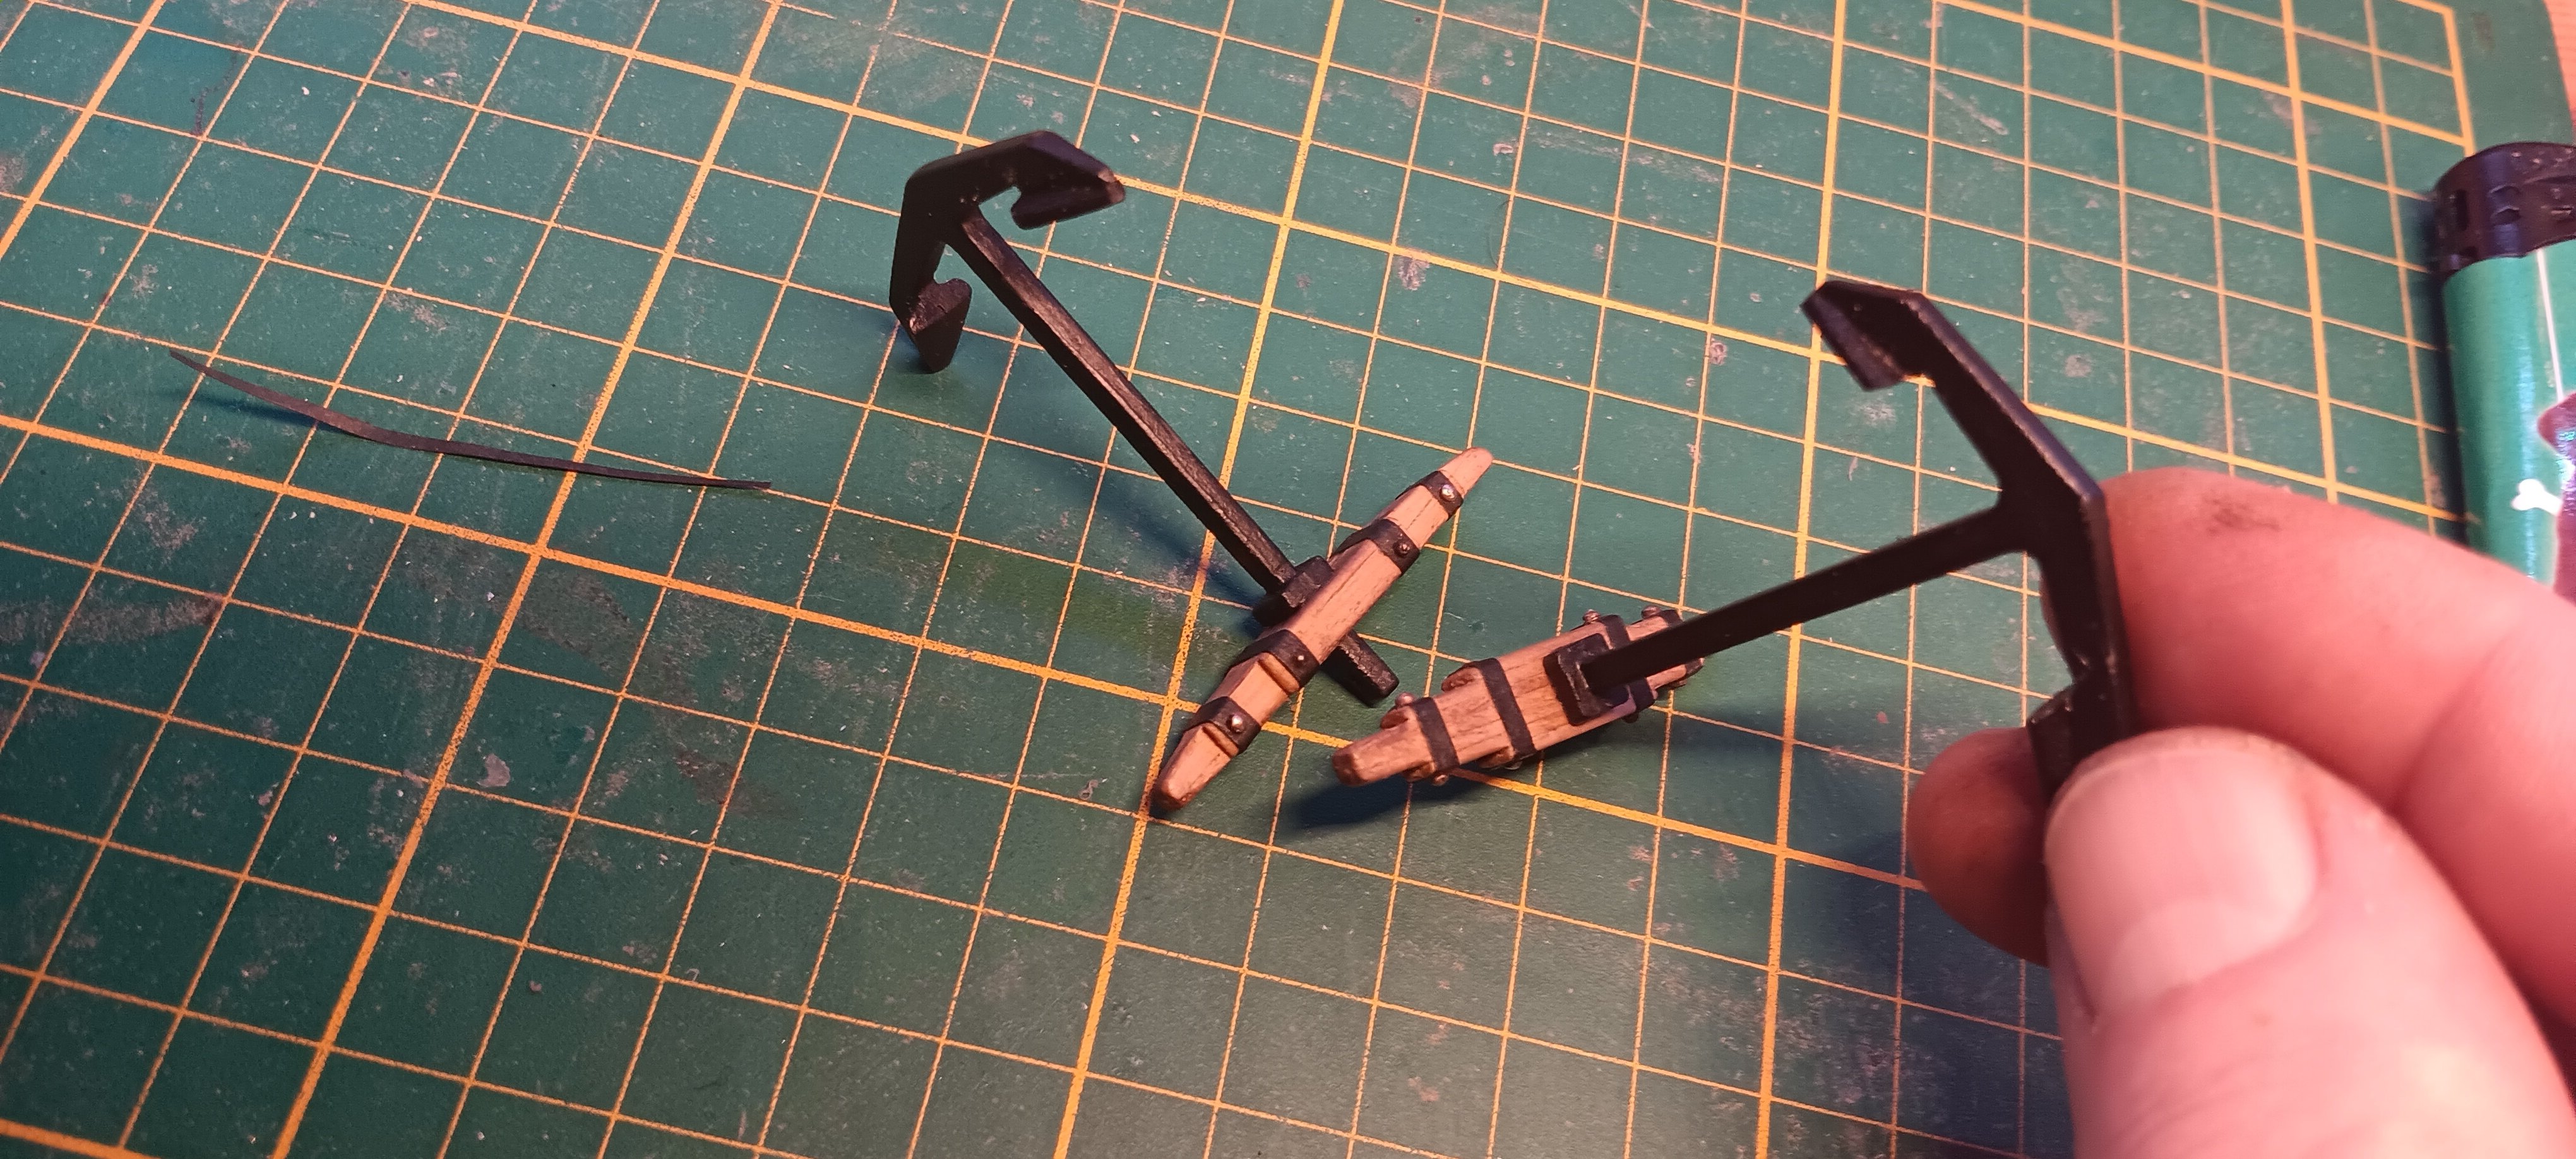
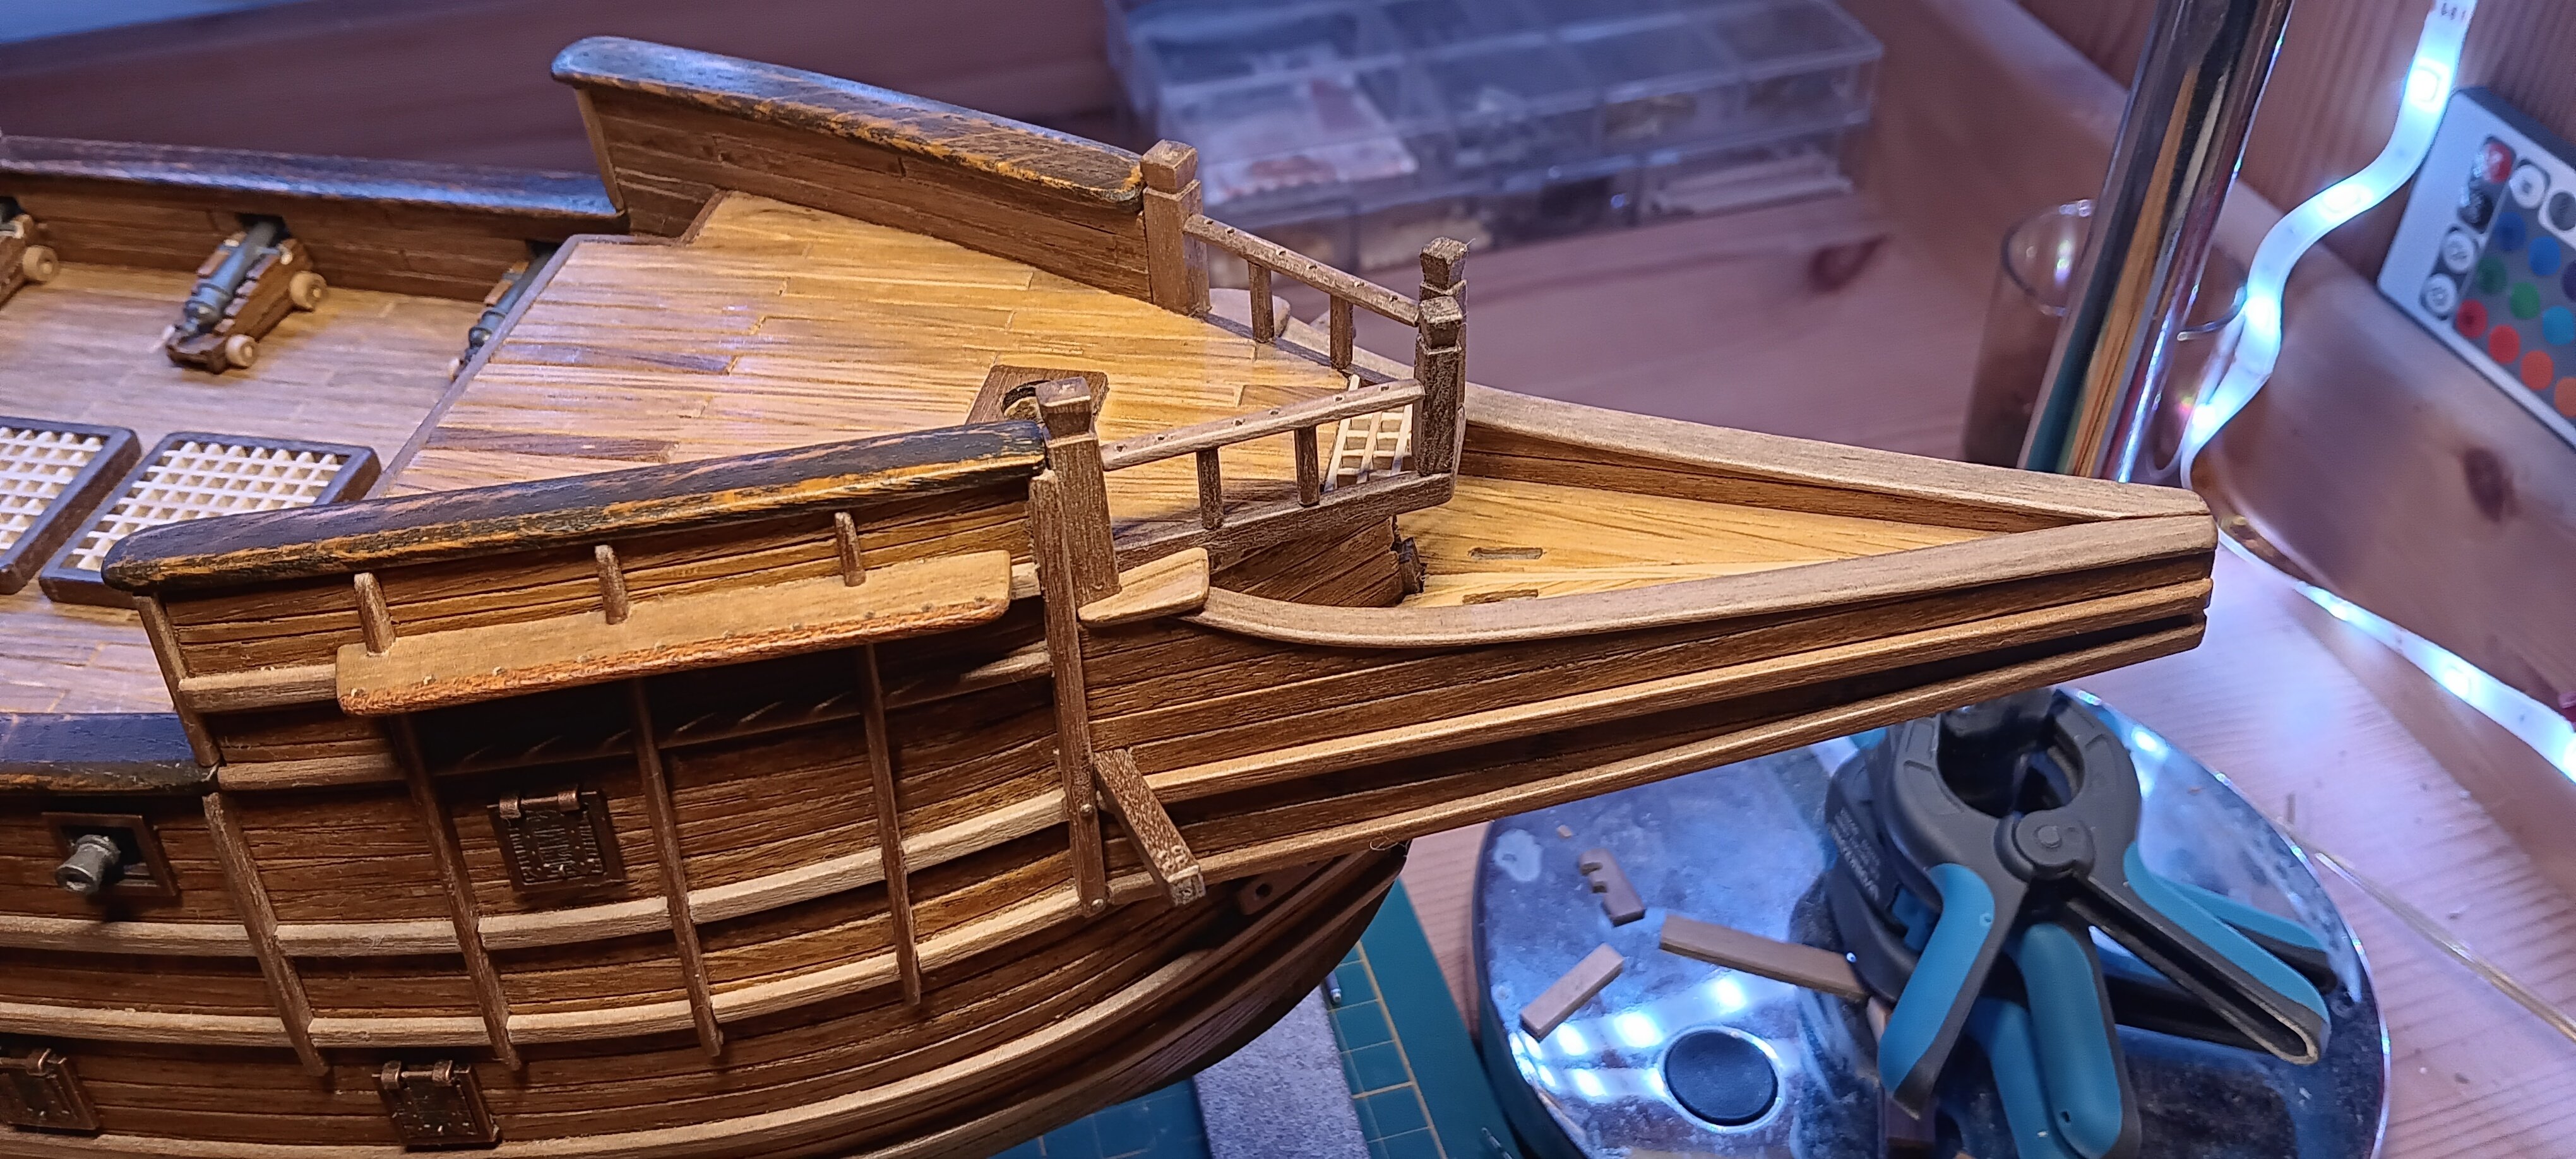
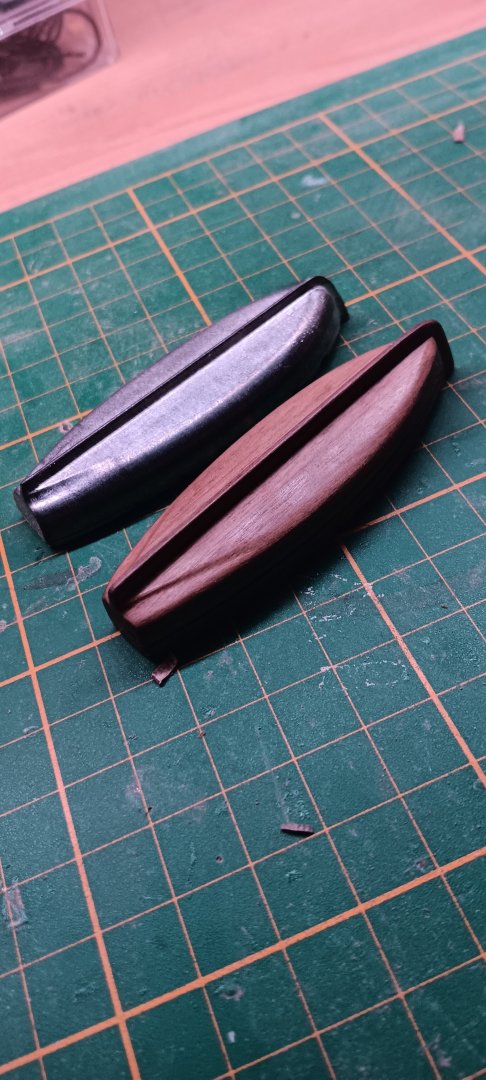
Ich baue dieses kleine Boot, weil ich dieses Metallteil nicht verwenden möchte

- 210 replies
-
- 5
-
-
- San Martin
- OcCre
- (and 1 more)
-
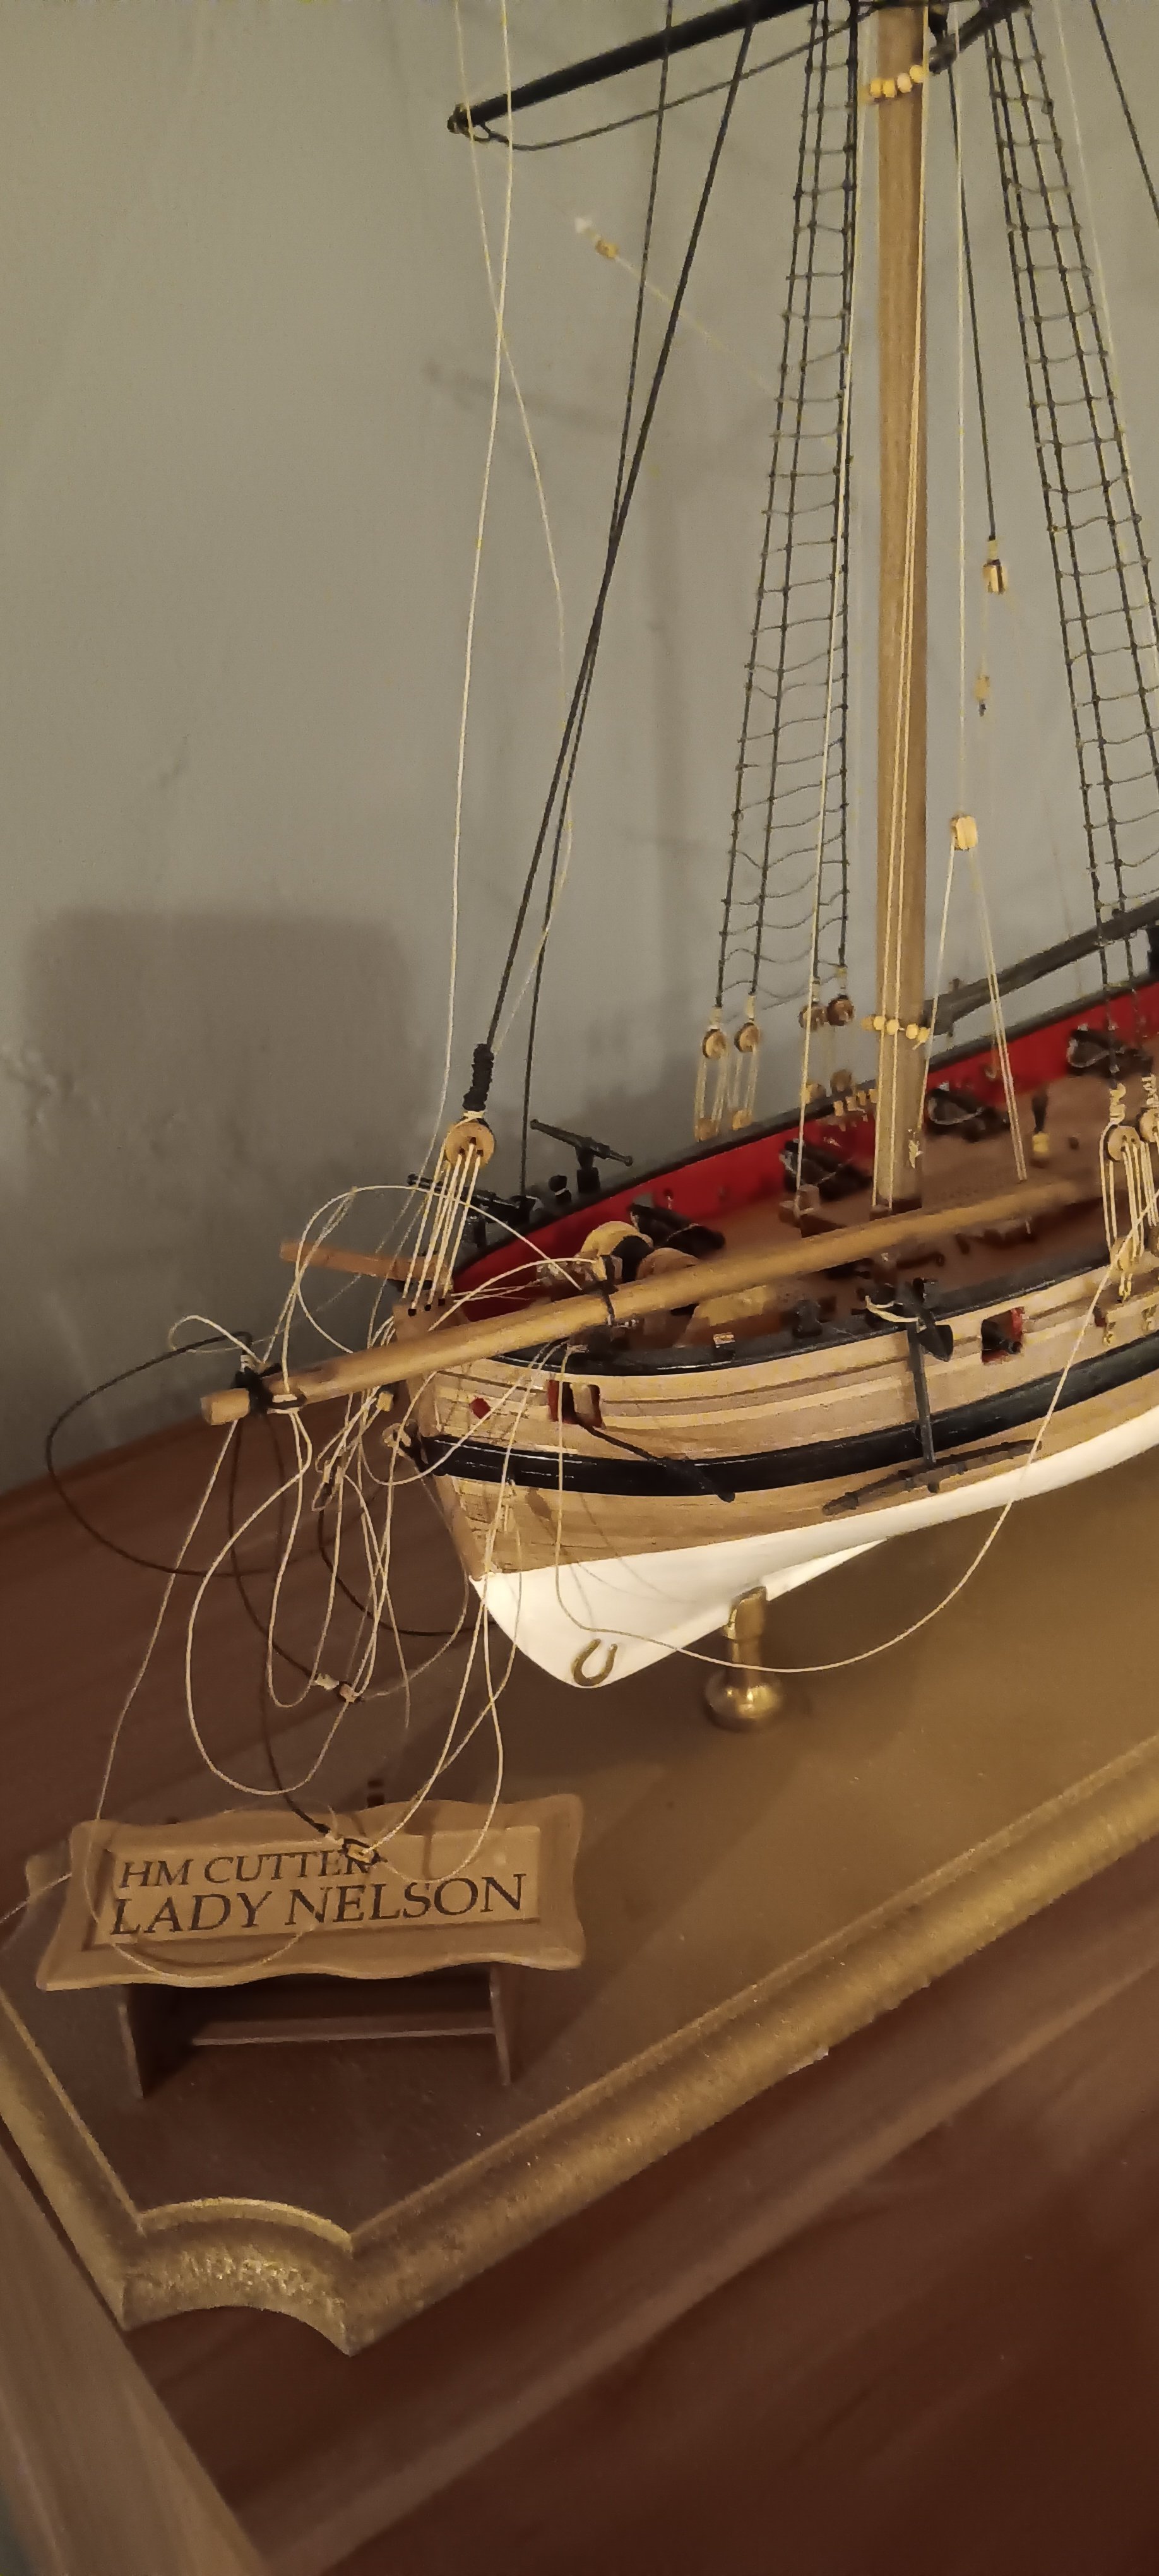
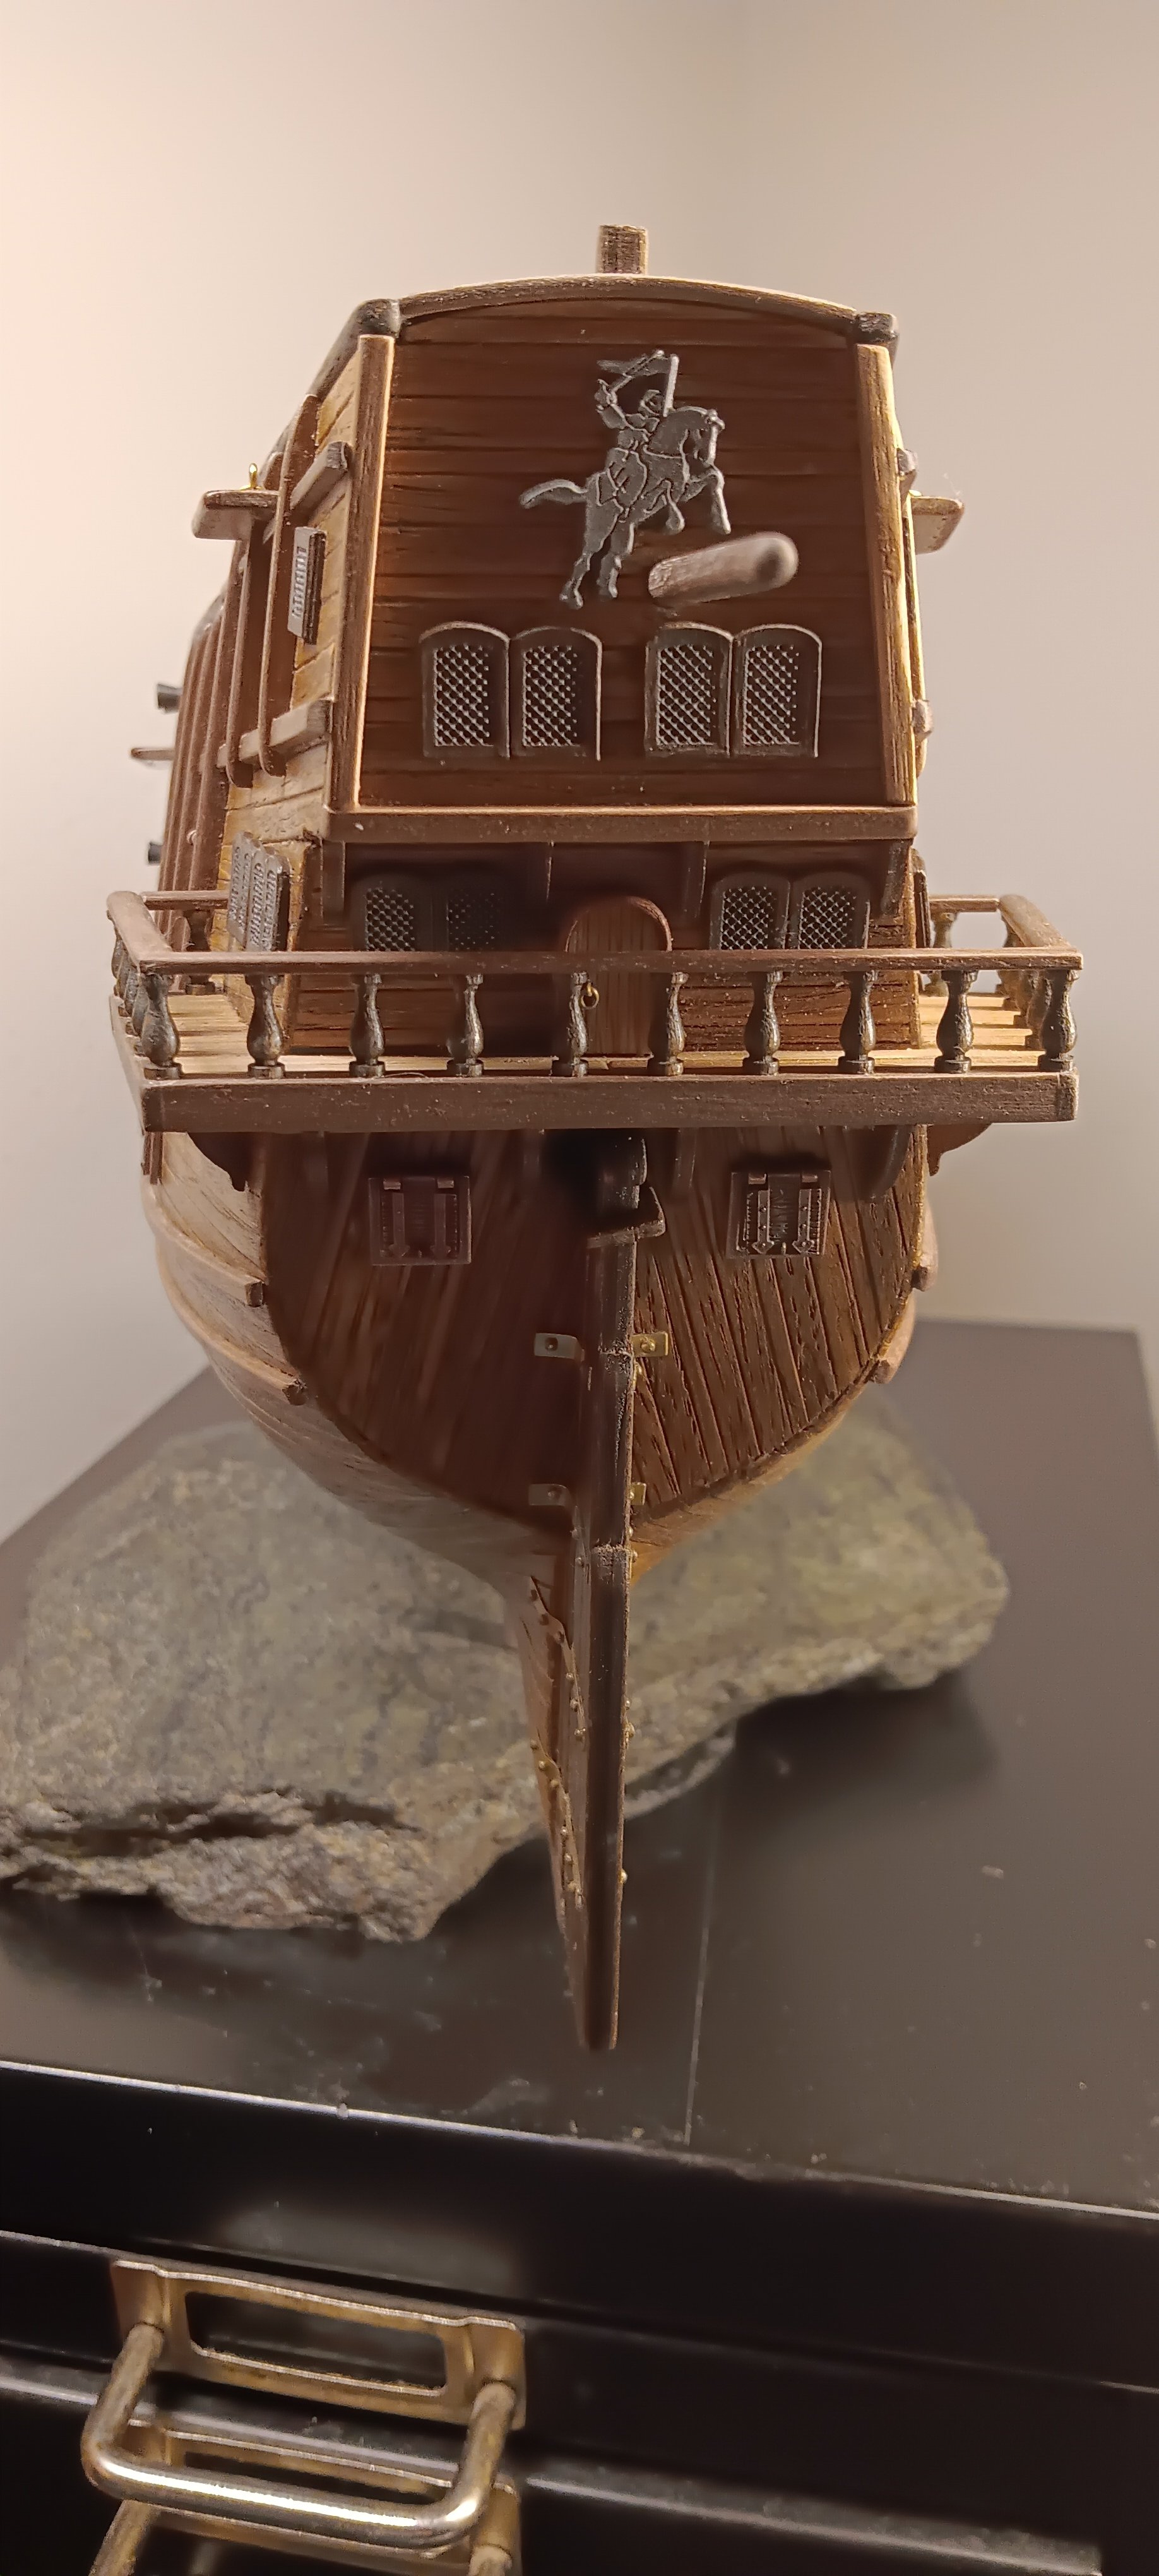
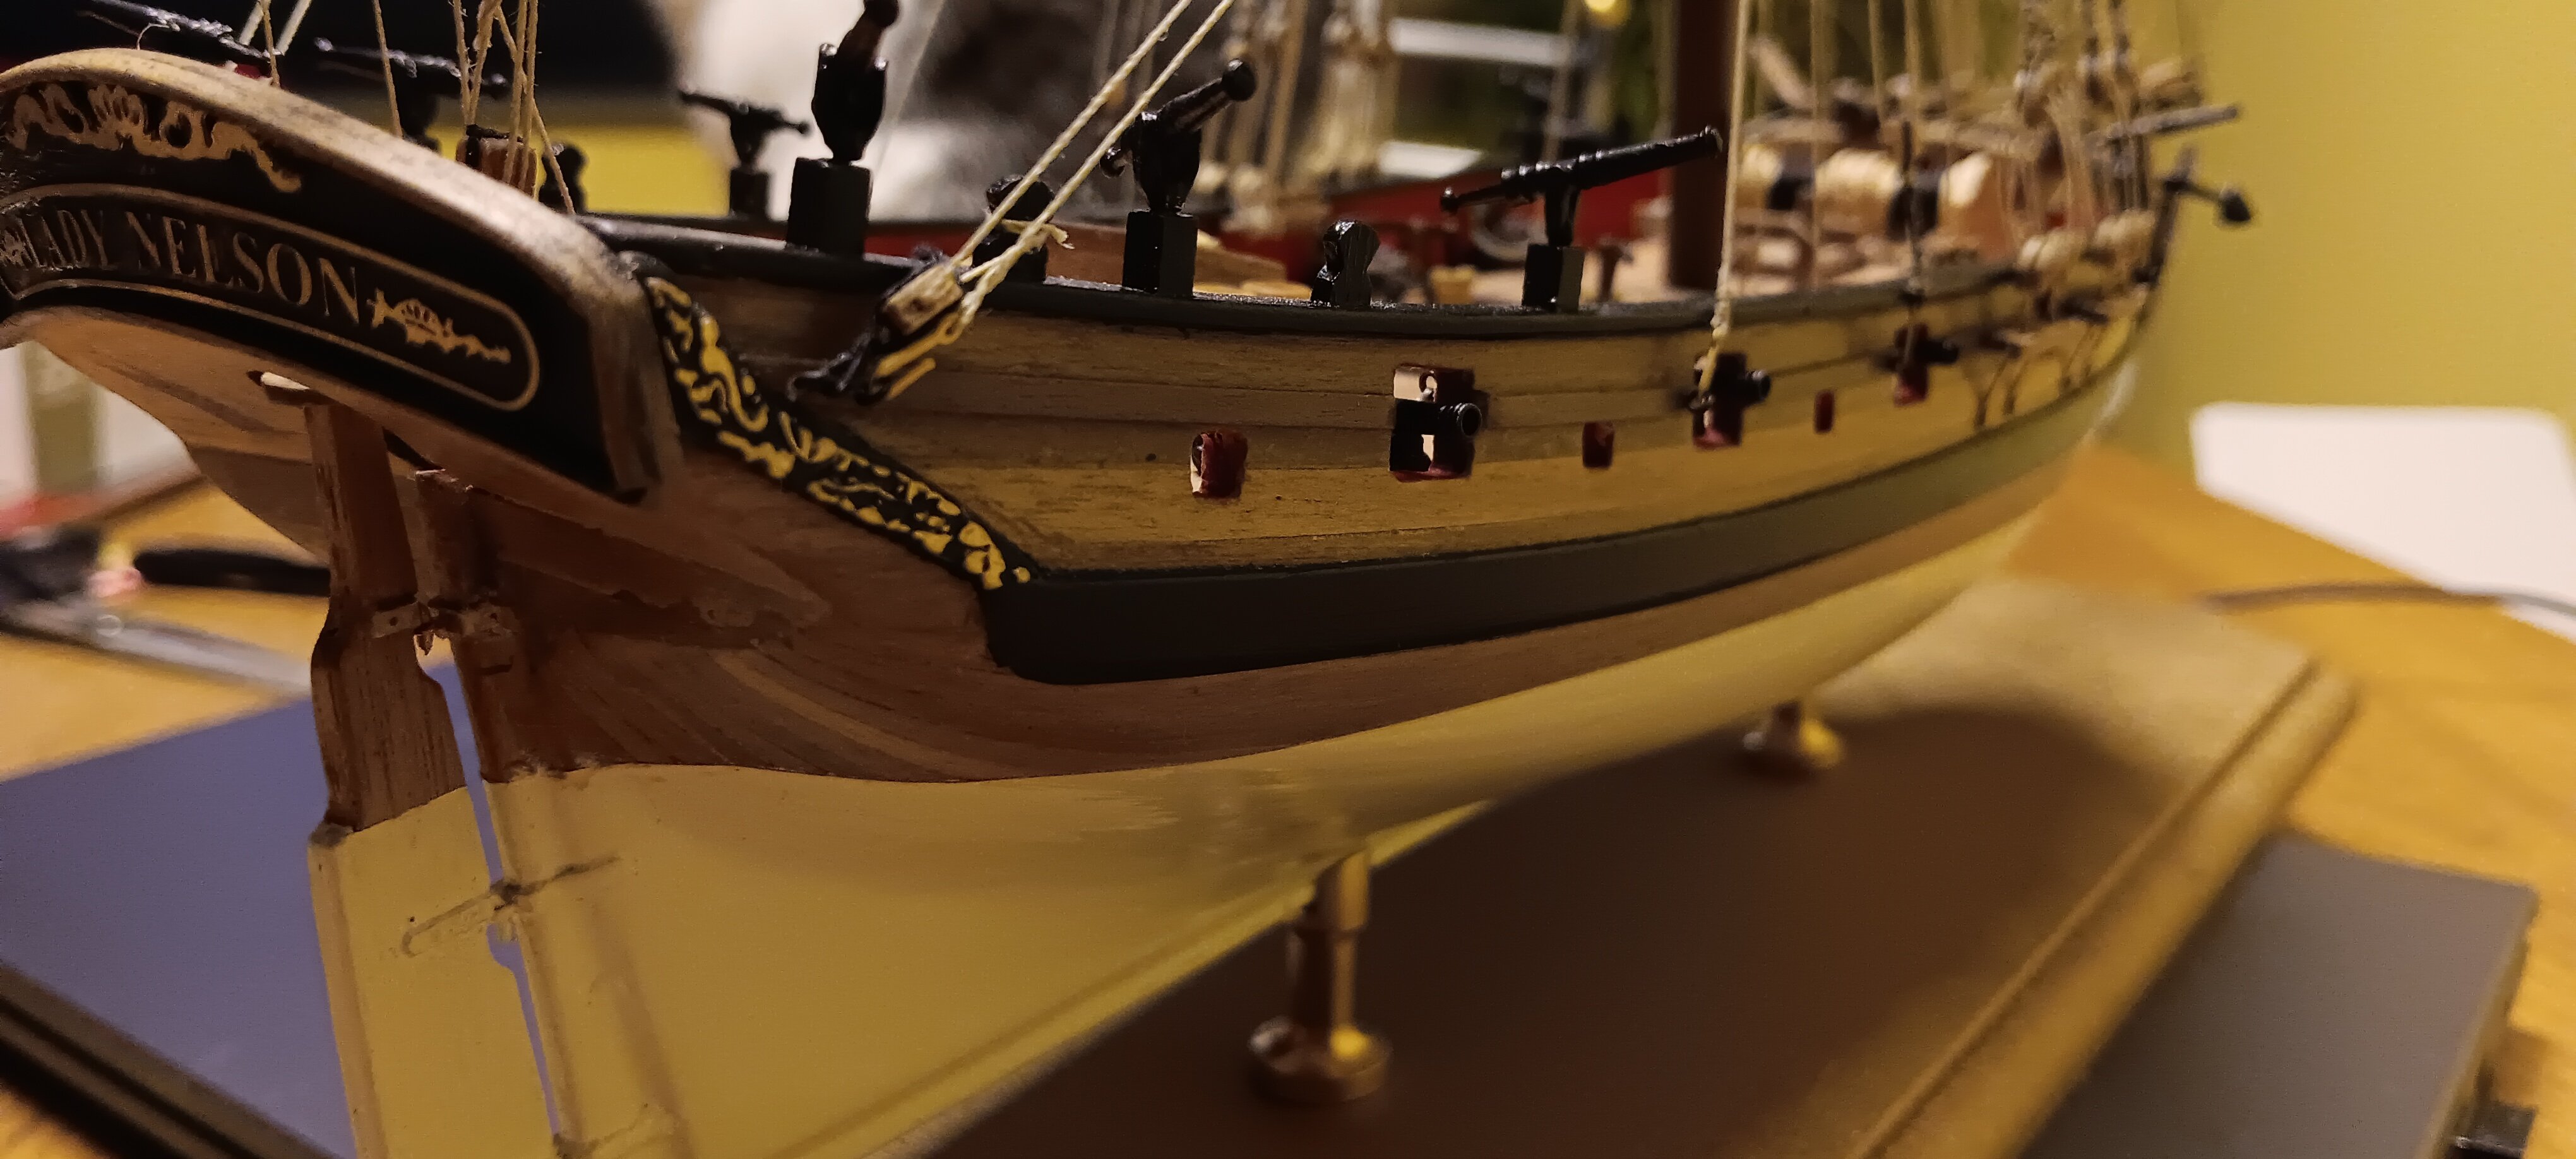
Of course the good lady will be refloated, it's not that dramatic. I've already found a safe place for it in a display case in one of our branches. After painting the frieze details in black, I simply sanded them off with 1000 grit wet sandpaper.
- 8 replies
-
- 2
-

-

-
- Lady Nelson
- Amati
- (and 1 more)
-
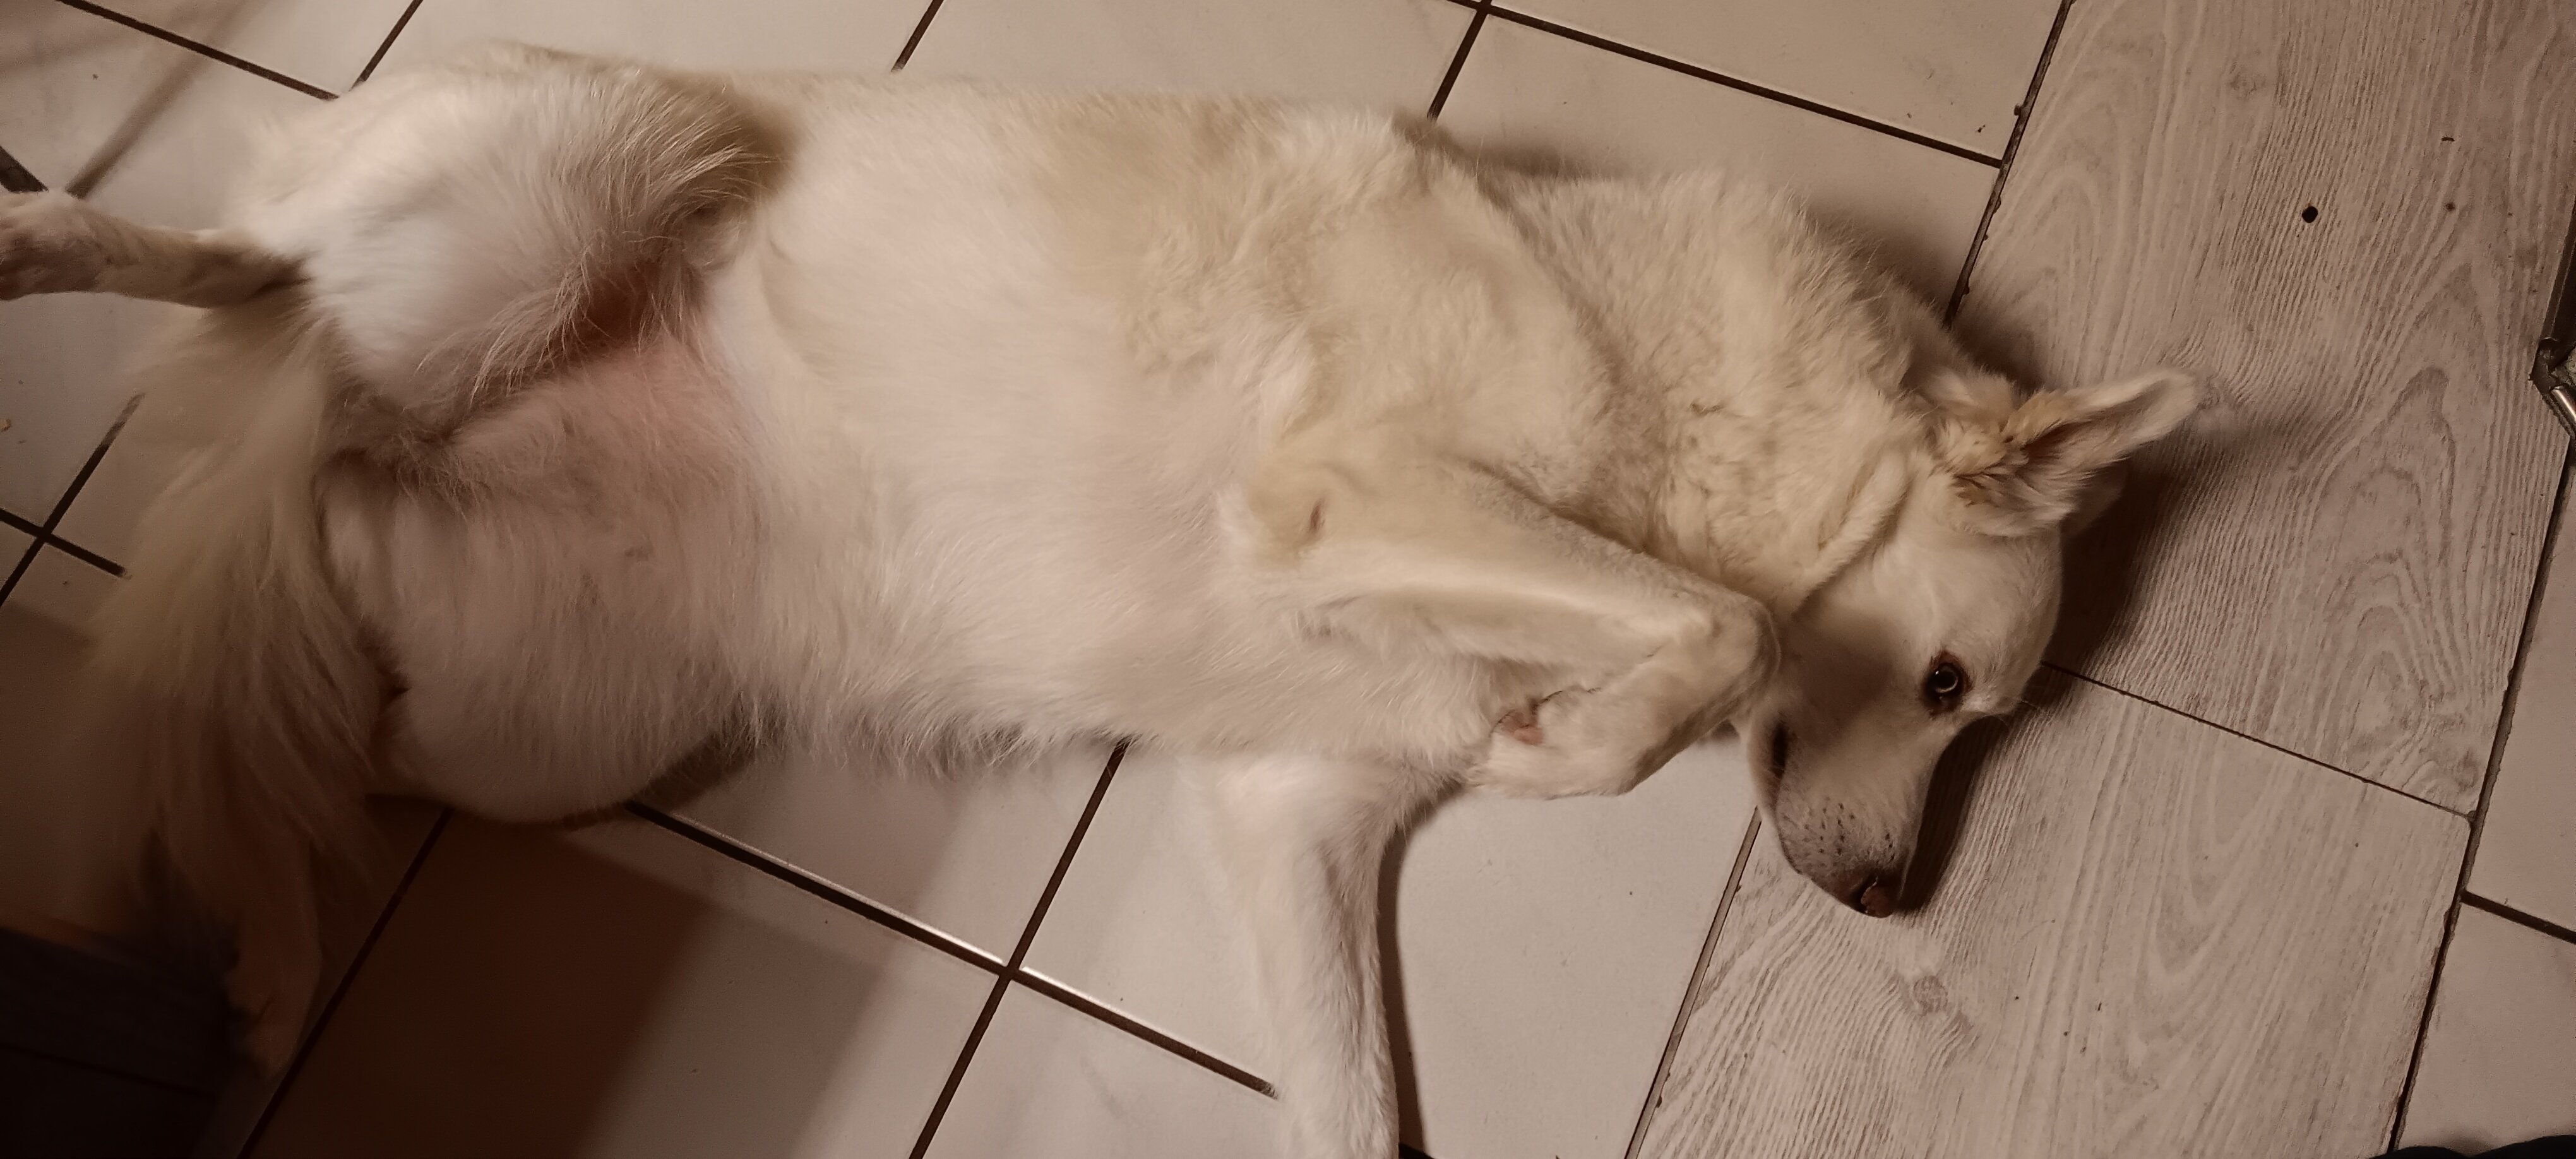
Schlechte Nachrichten, das gute Stück stand die ganze Zeit auf der Fensterbank, zur Freude meiner Nachbarin. Nur unserem Hund war es immer im Weg, wenn es darum ging, Leute durchs Fenster zu zwicken. Tagsüber dachte ich, das sei wohl ein schlechter Platz. Naja, zu lange überlegt, heute hat der Hund es ernst gemeint. Sie sieht zumindest so aus, als hätte sie ein schlechtes Gewissen.


- 8 replies
-
- 5
-

-
-
- Lady Nelson
- Amati
- (and 1 more)
-
So, ihr Lieben, das Boot ist nun kampf- und wassertauglich. Jetzt gilt es, es segeltauglich zu machen. Auf die Geschütztakelage werde ich wohl verzichten müssen. Als die Schanzen angebracht waren, dachte ich, ich sollte die Löcher für die Ösen bohren, bevor ich den nächsten Schritt machte. Nach dem nächsten Schritt dachte ich, oh, ich sollte die Löcher bohren. Nun, anscheinend habe ich das oft gesagt, denn als ich die Kanonen auftakeln wollte, hörte ich mich denken: ****, da war was mit Löchern. Deshalb machen wir Fehler, damit es beim nächsten Mal nicht wieder passiert. Na dann, ich muss Masten schleifen, tschüss Übersetzt mit DeepL.com (kostenlose Version)

- 210 replies
-
- 5
-
-
- San Martin
- OcCre
- (and 1 more)
-
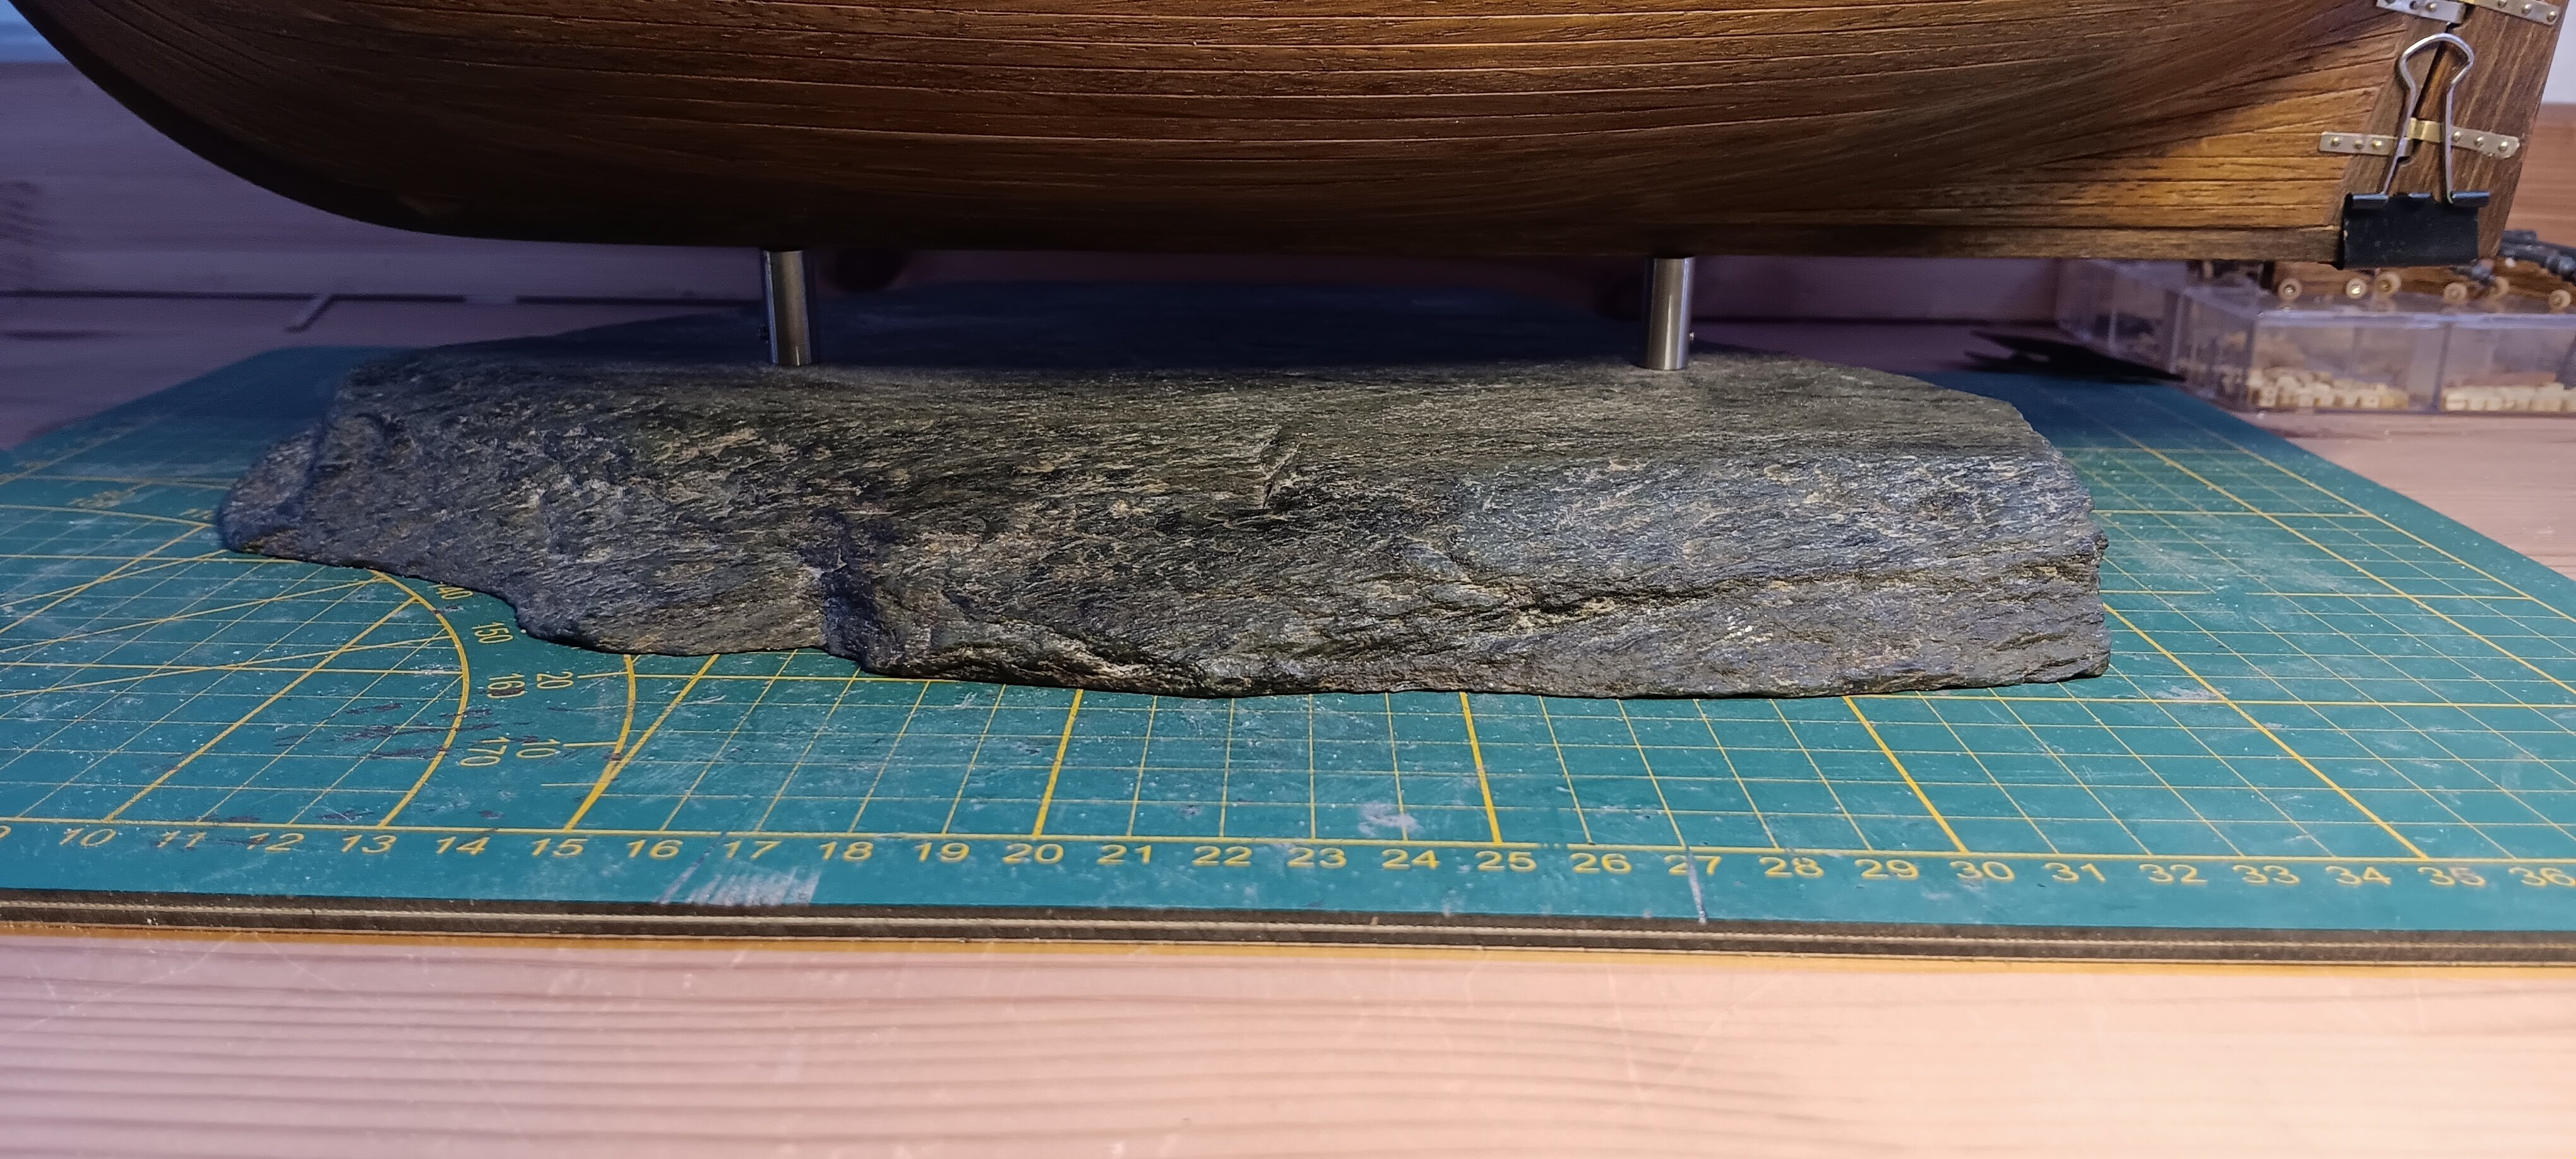
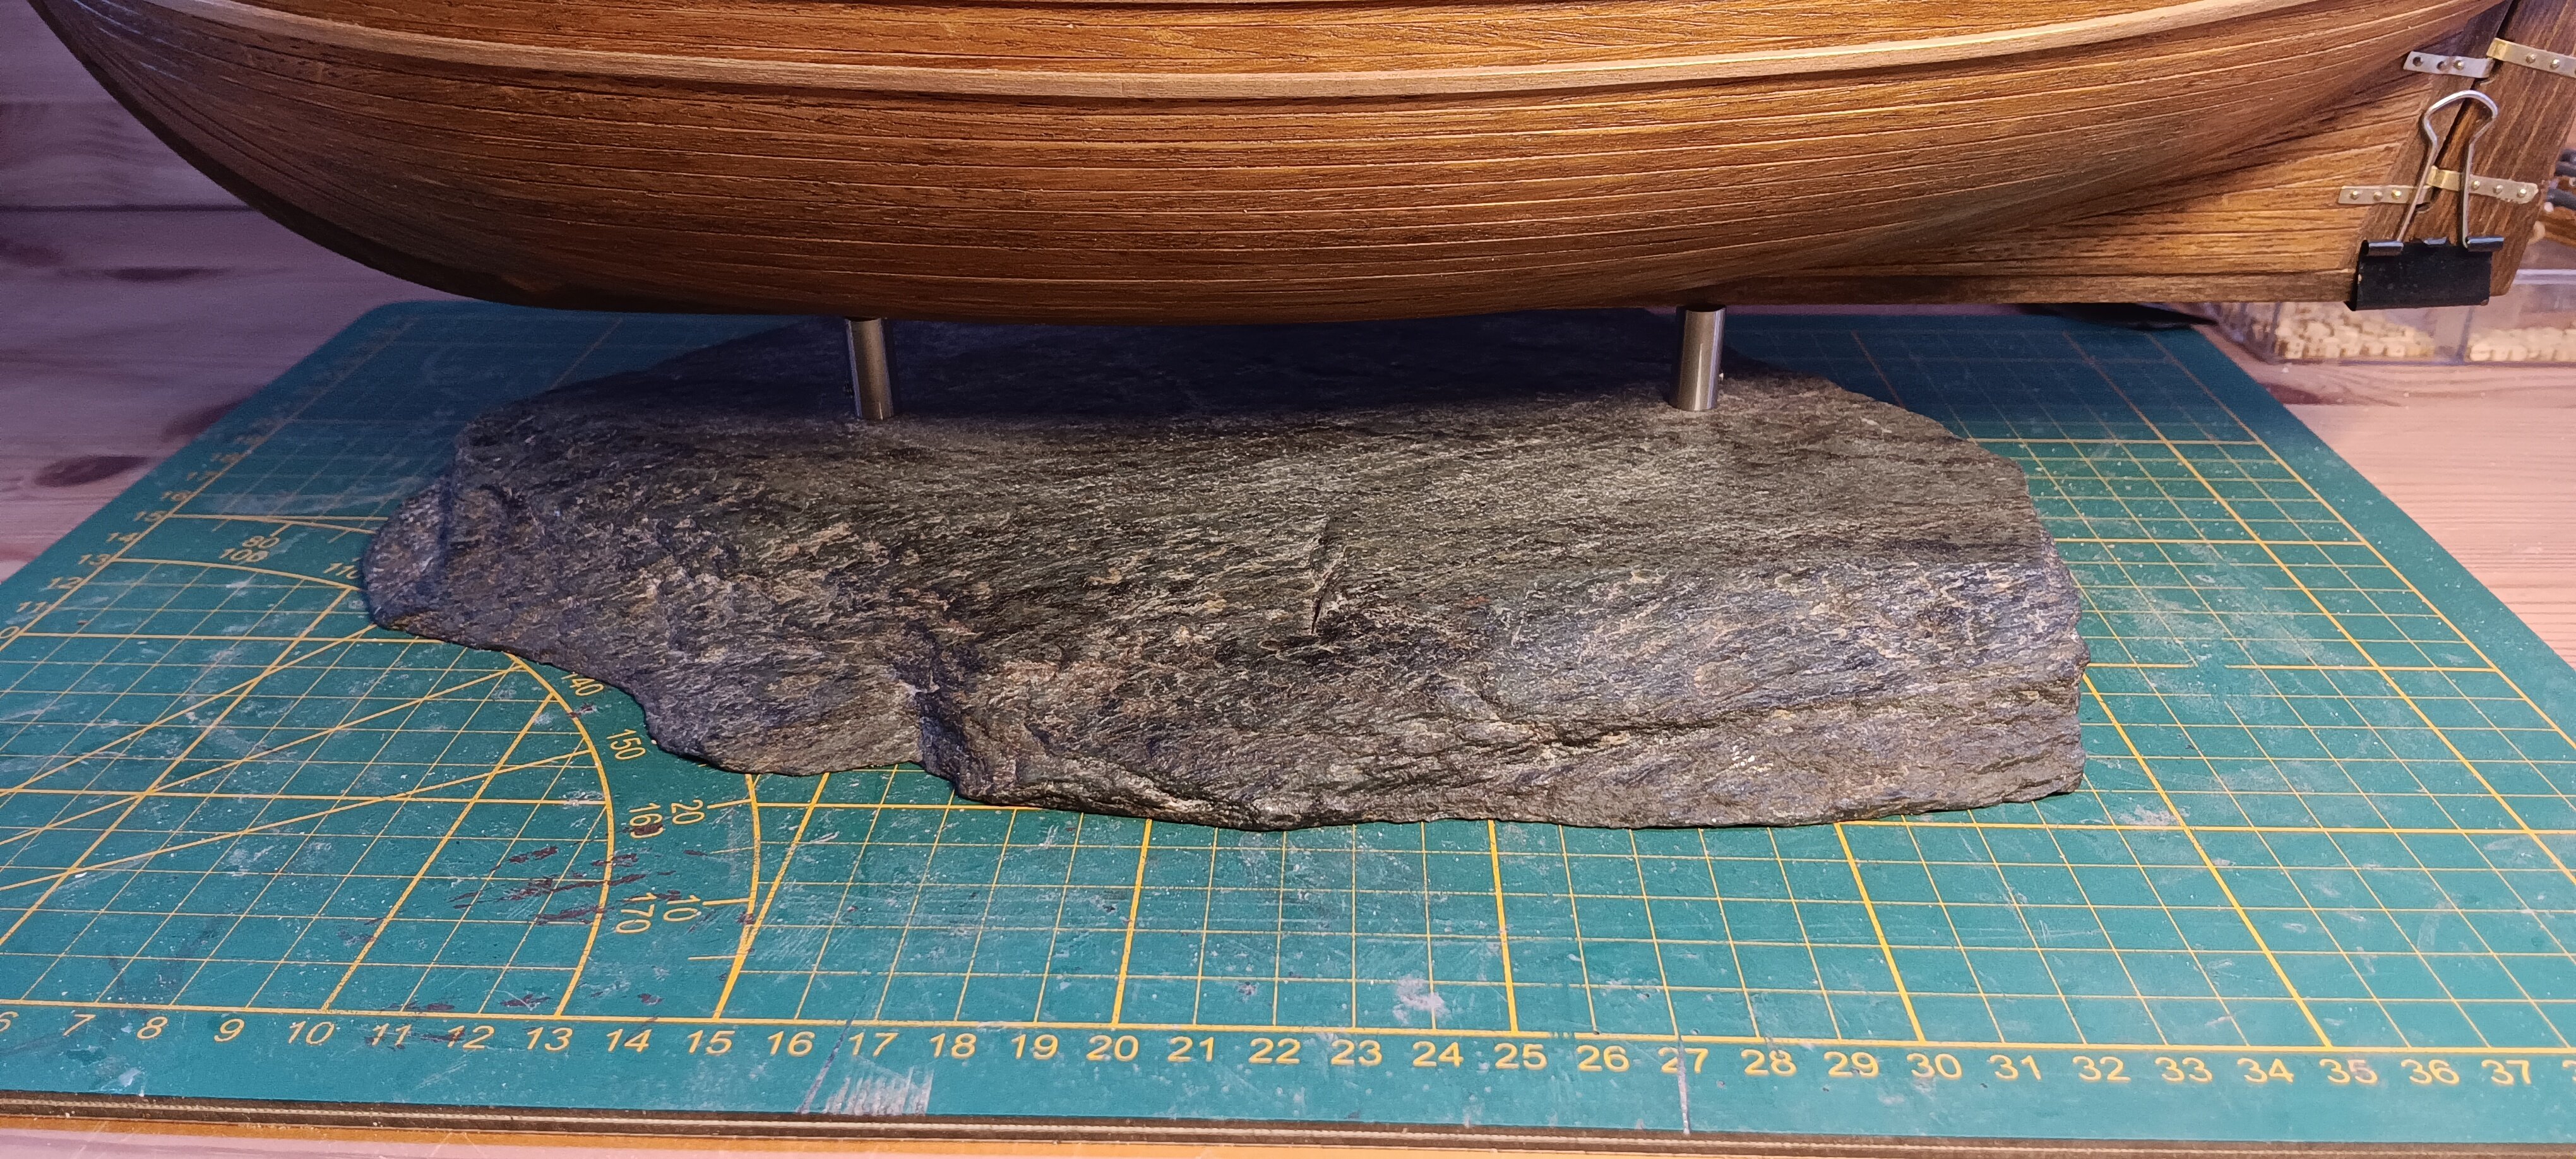
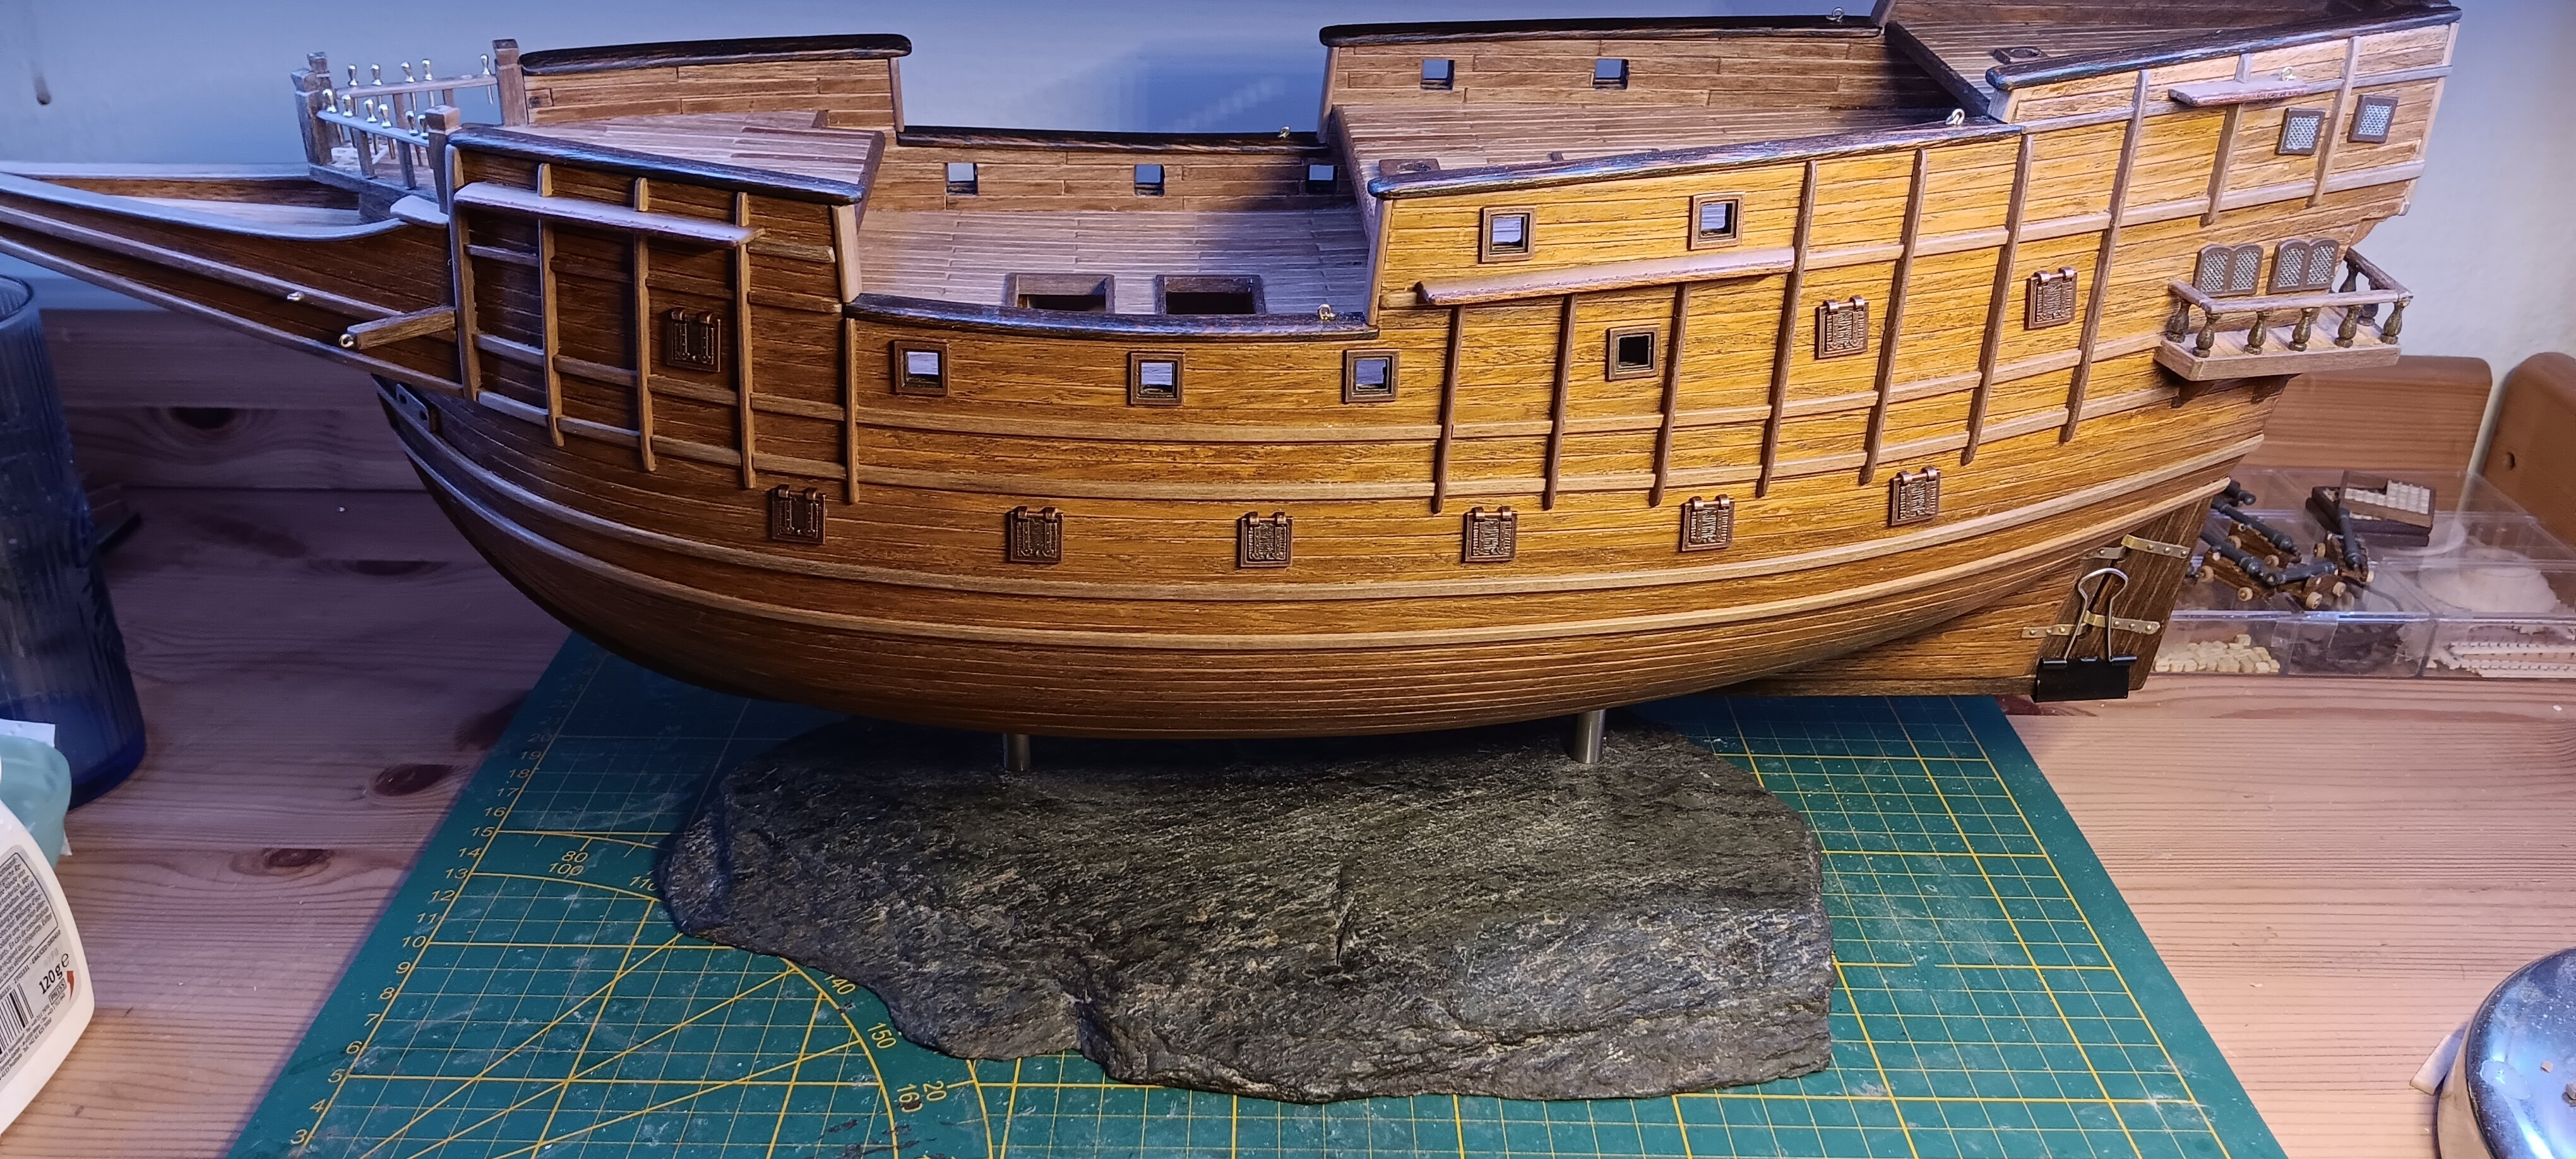
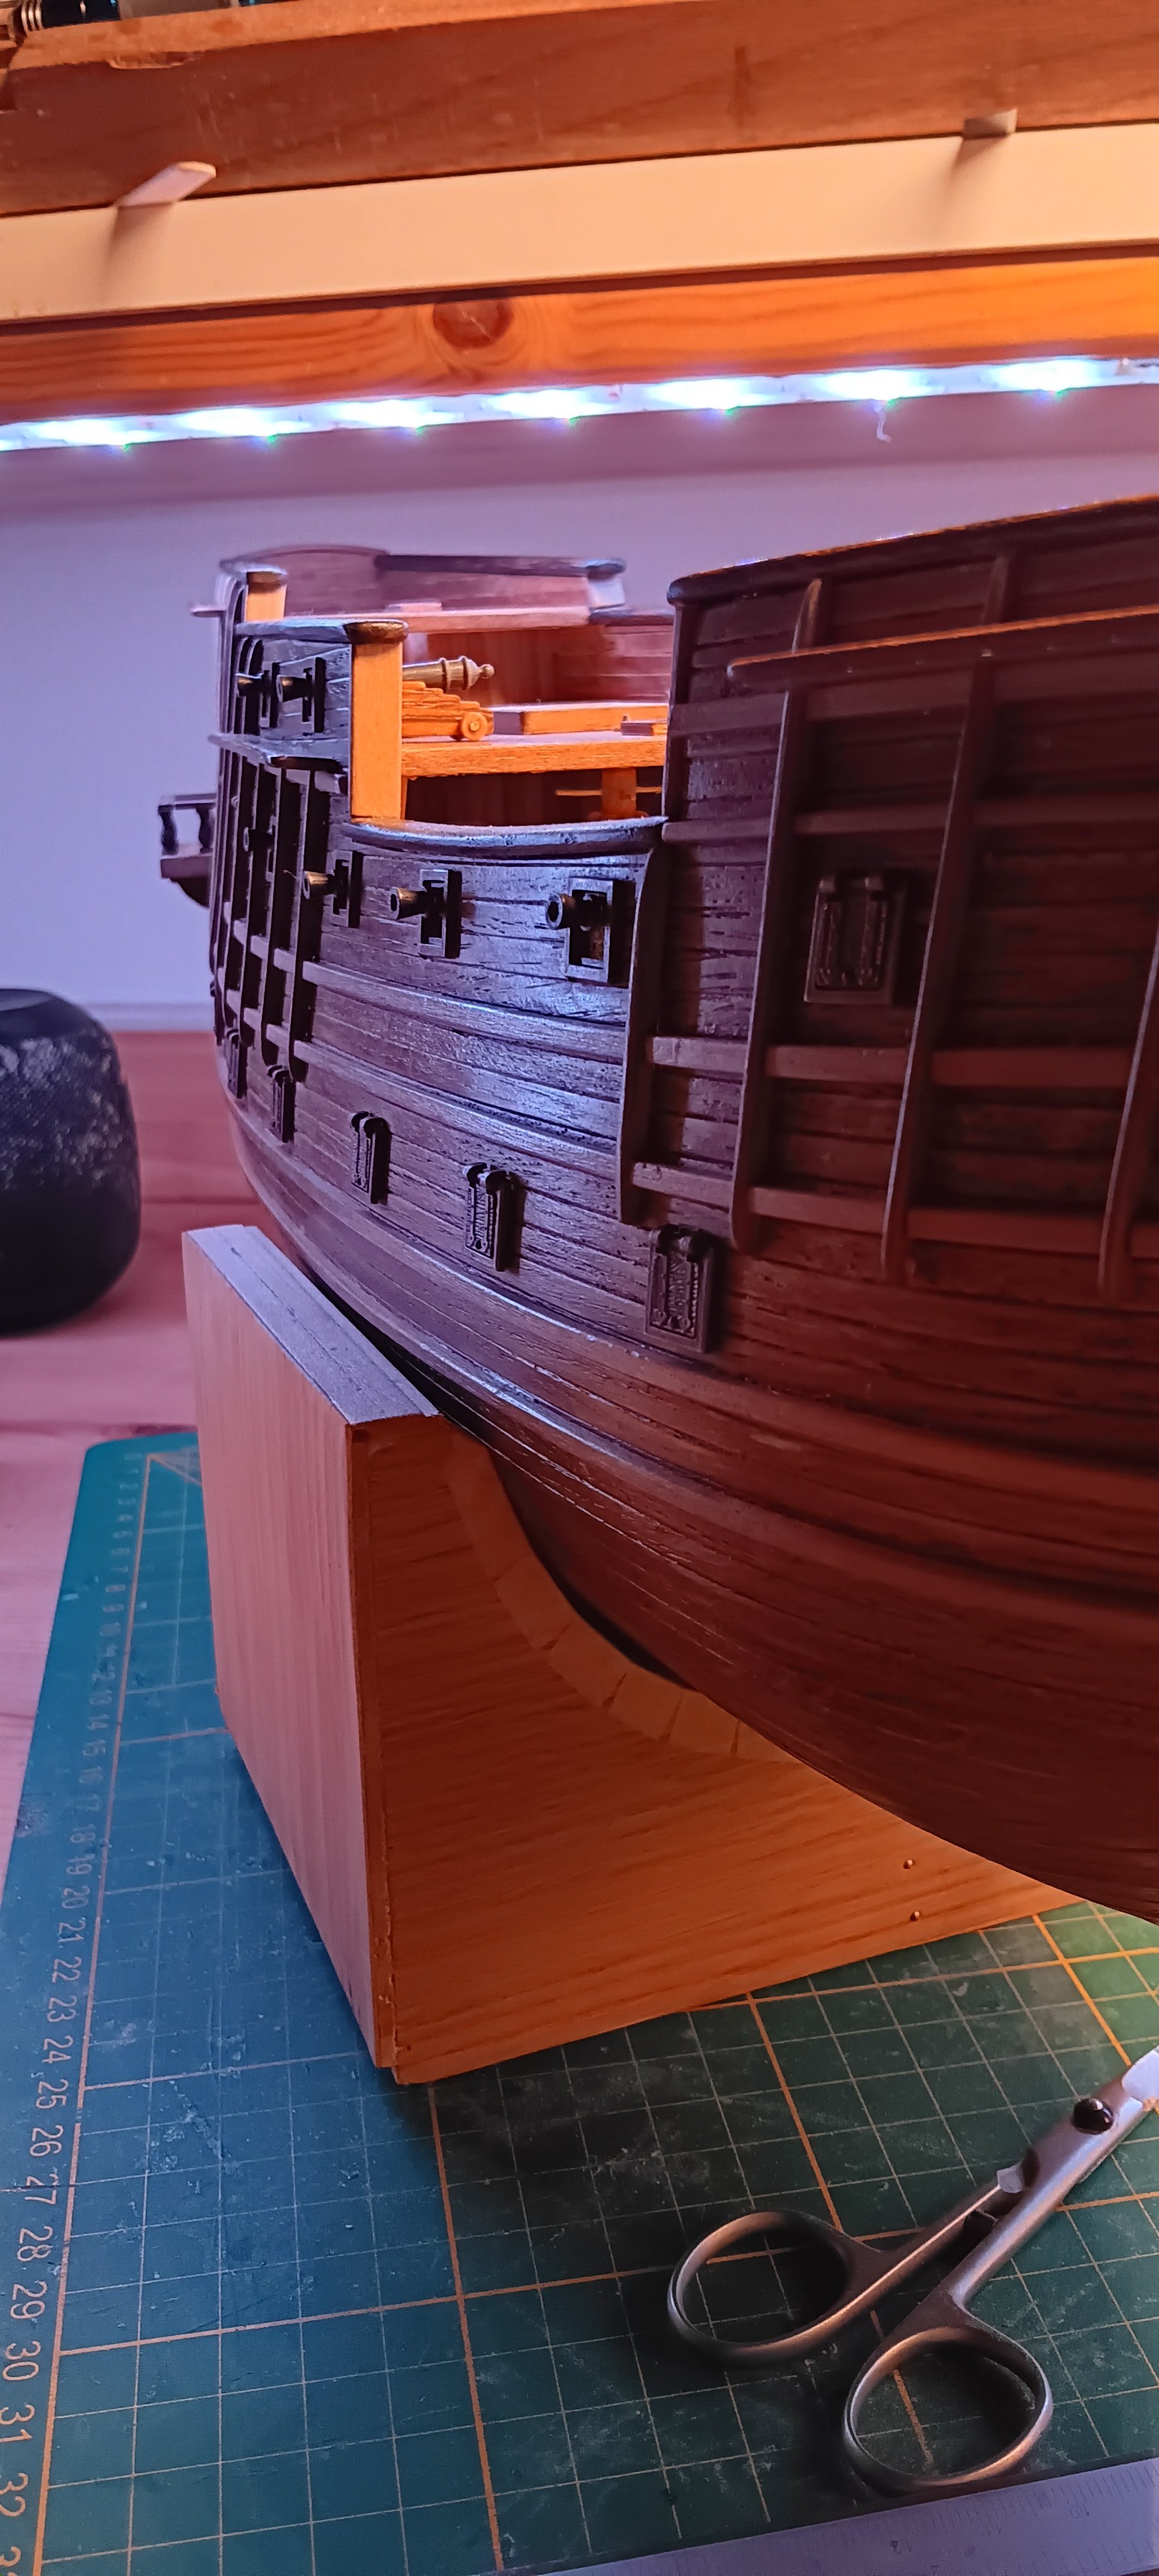
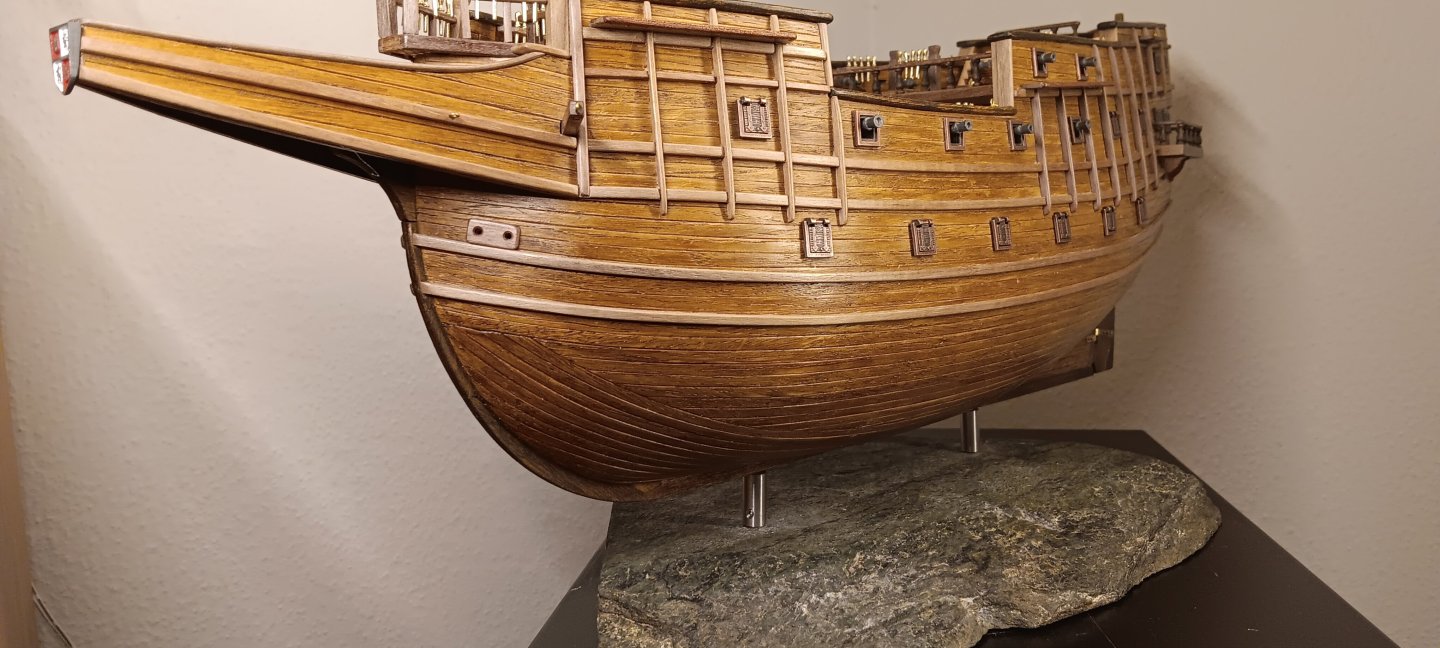
Hello lovelies, I would like to explain the stand in more detail. It's made of soapstone, which I found about thirty years ago at a rubble dump. In our wild years it was used for chopping various powders to party the night away. Then it was used as an ornament on one or two cupboard shelves and now fulfils a very useful purpose. I had to drill two three-millimetre holes and fill them with walnut dowels to install a nameplate holder. Small problem, unfortunately I measured the original pins of the holder and didn't realise that the actual hole in the holder is 4mm. Not dramatic, the ship is not yet fixed, the holder is temporarily lined with adhesive tape. I'll have to look into getting a 4mm brass tube in the next few days, which I can then use to level out the discrepancy. Have a good Sunday Translated with DeepL.com (free version)
-
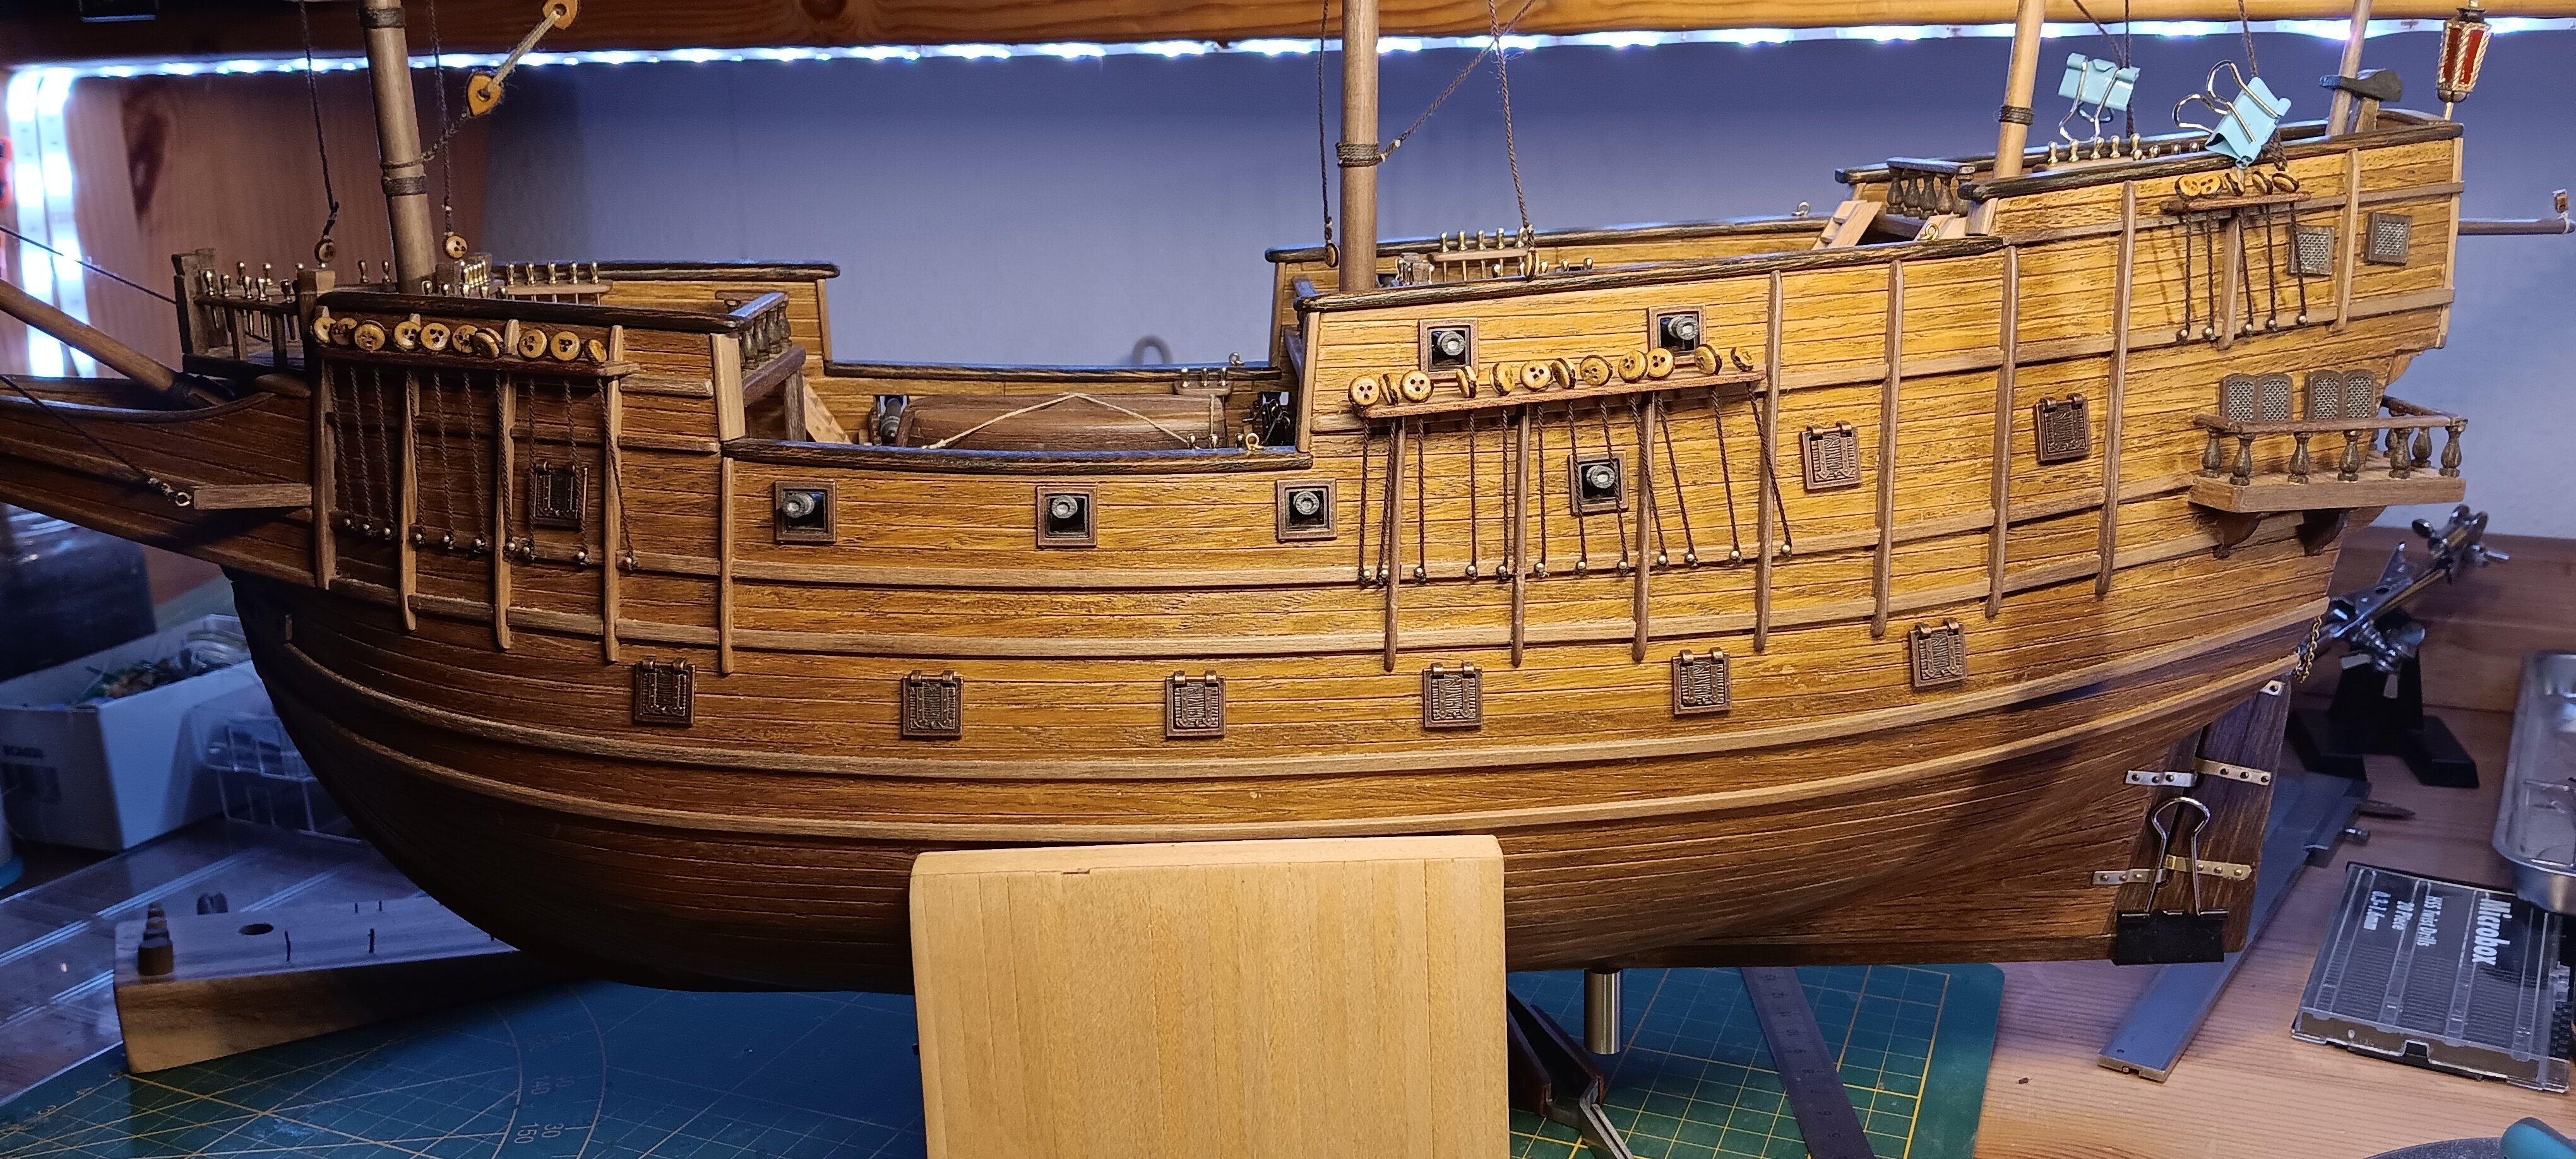
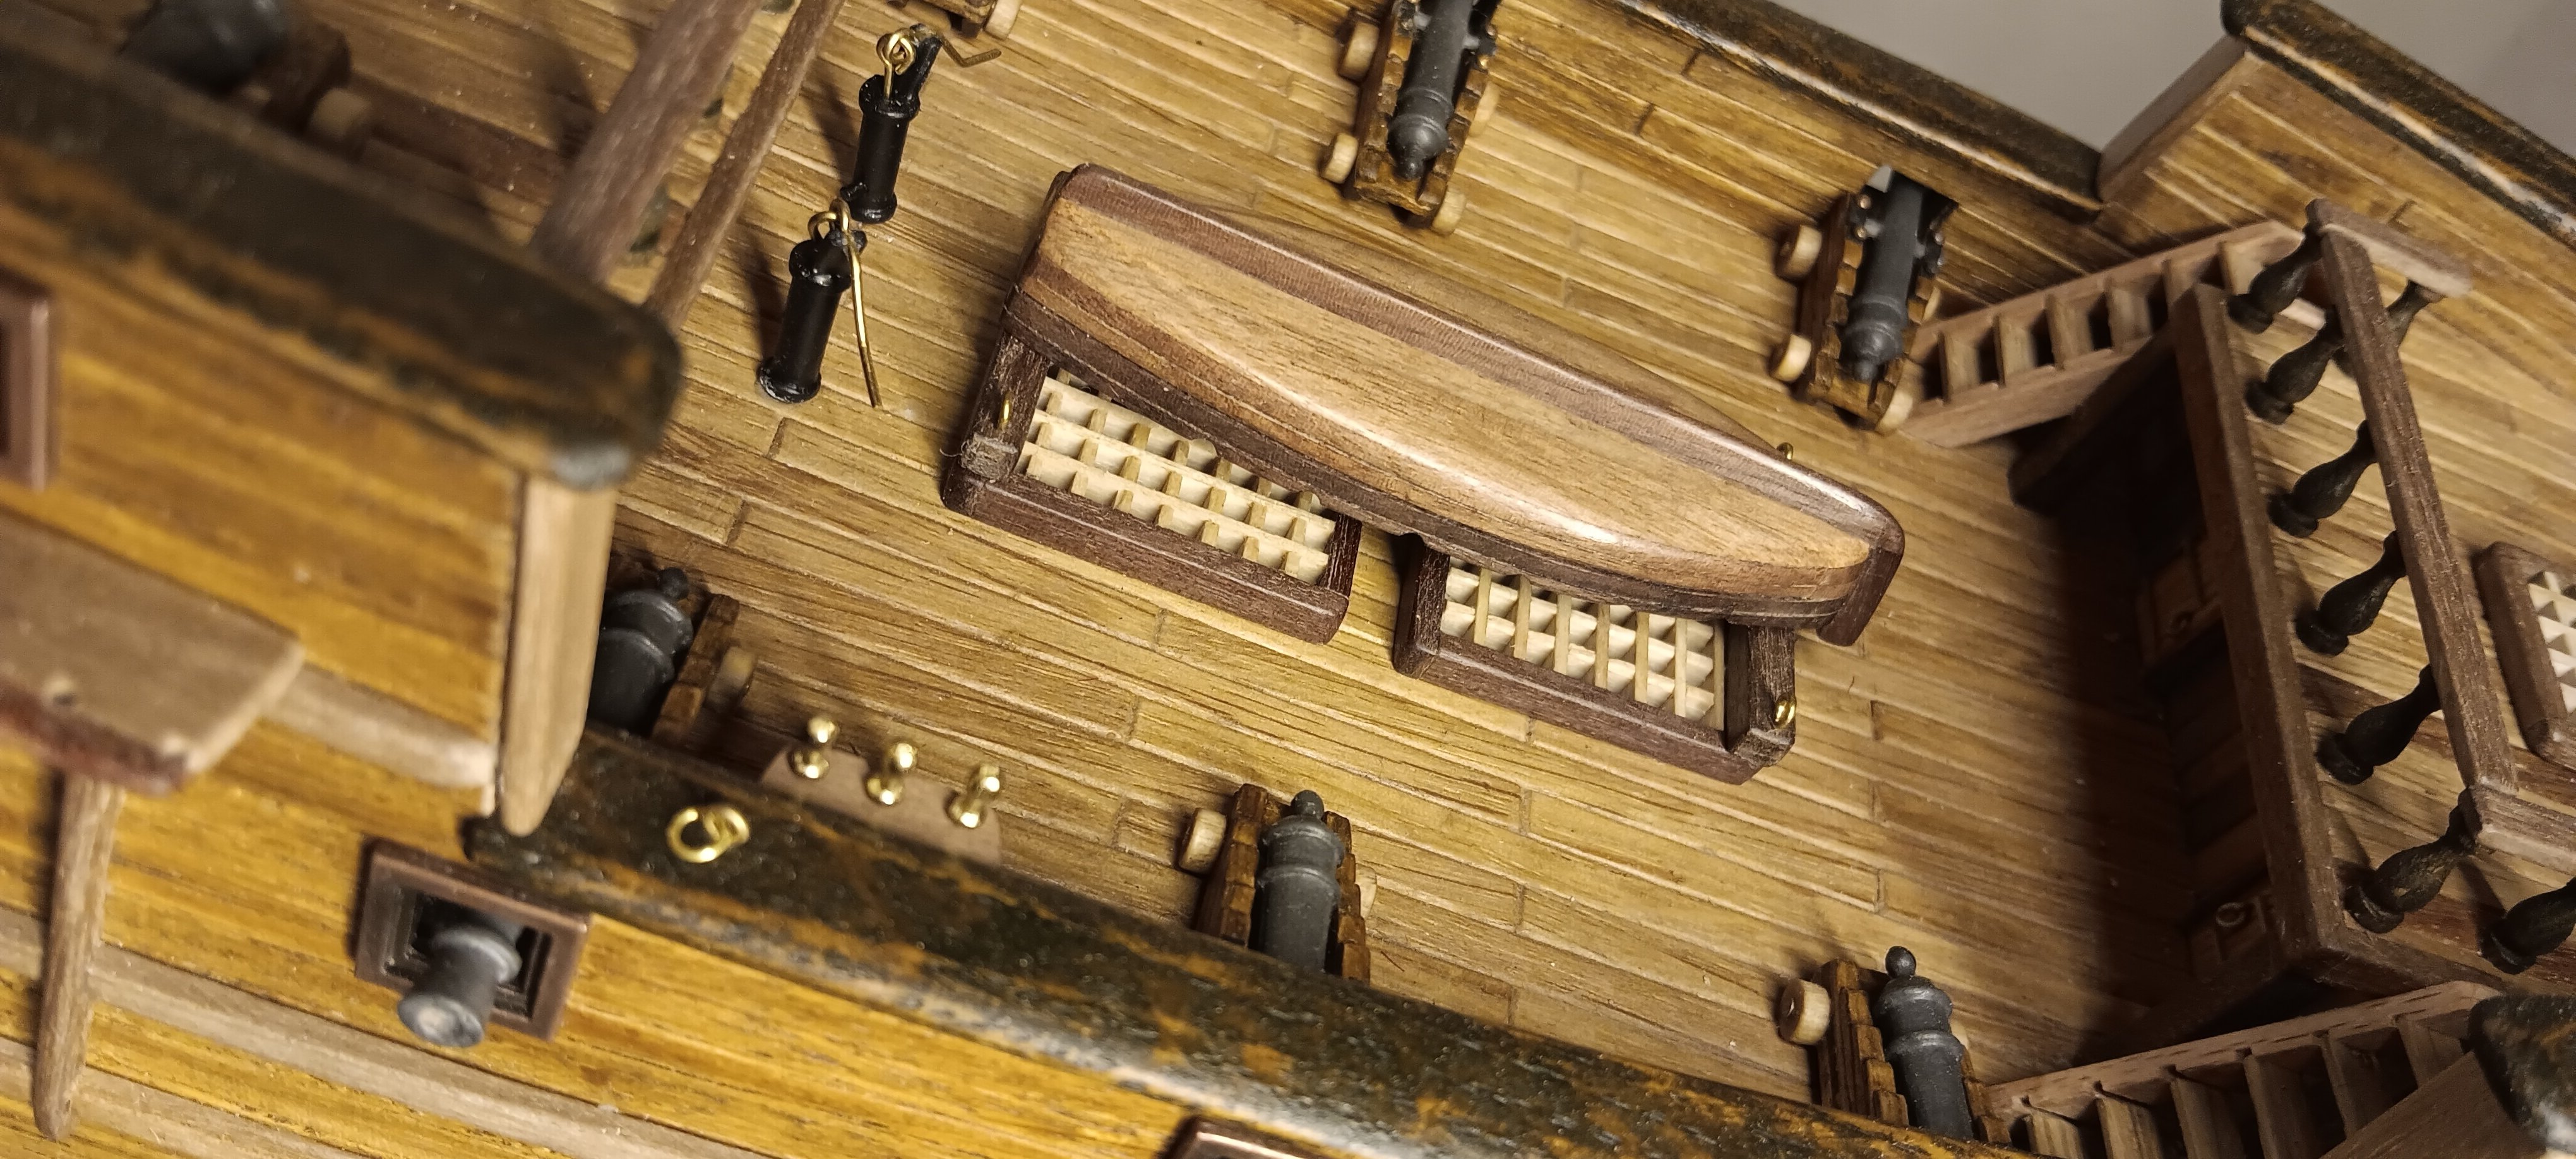
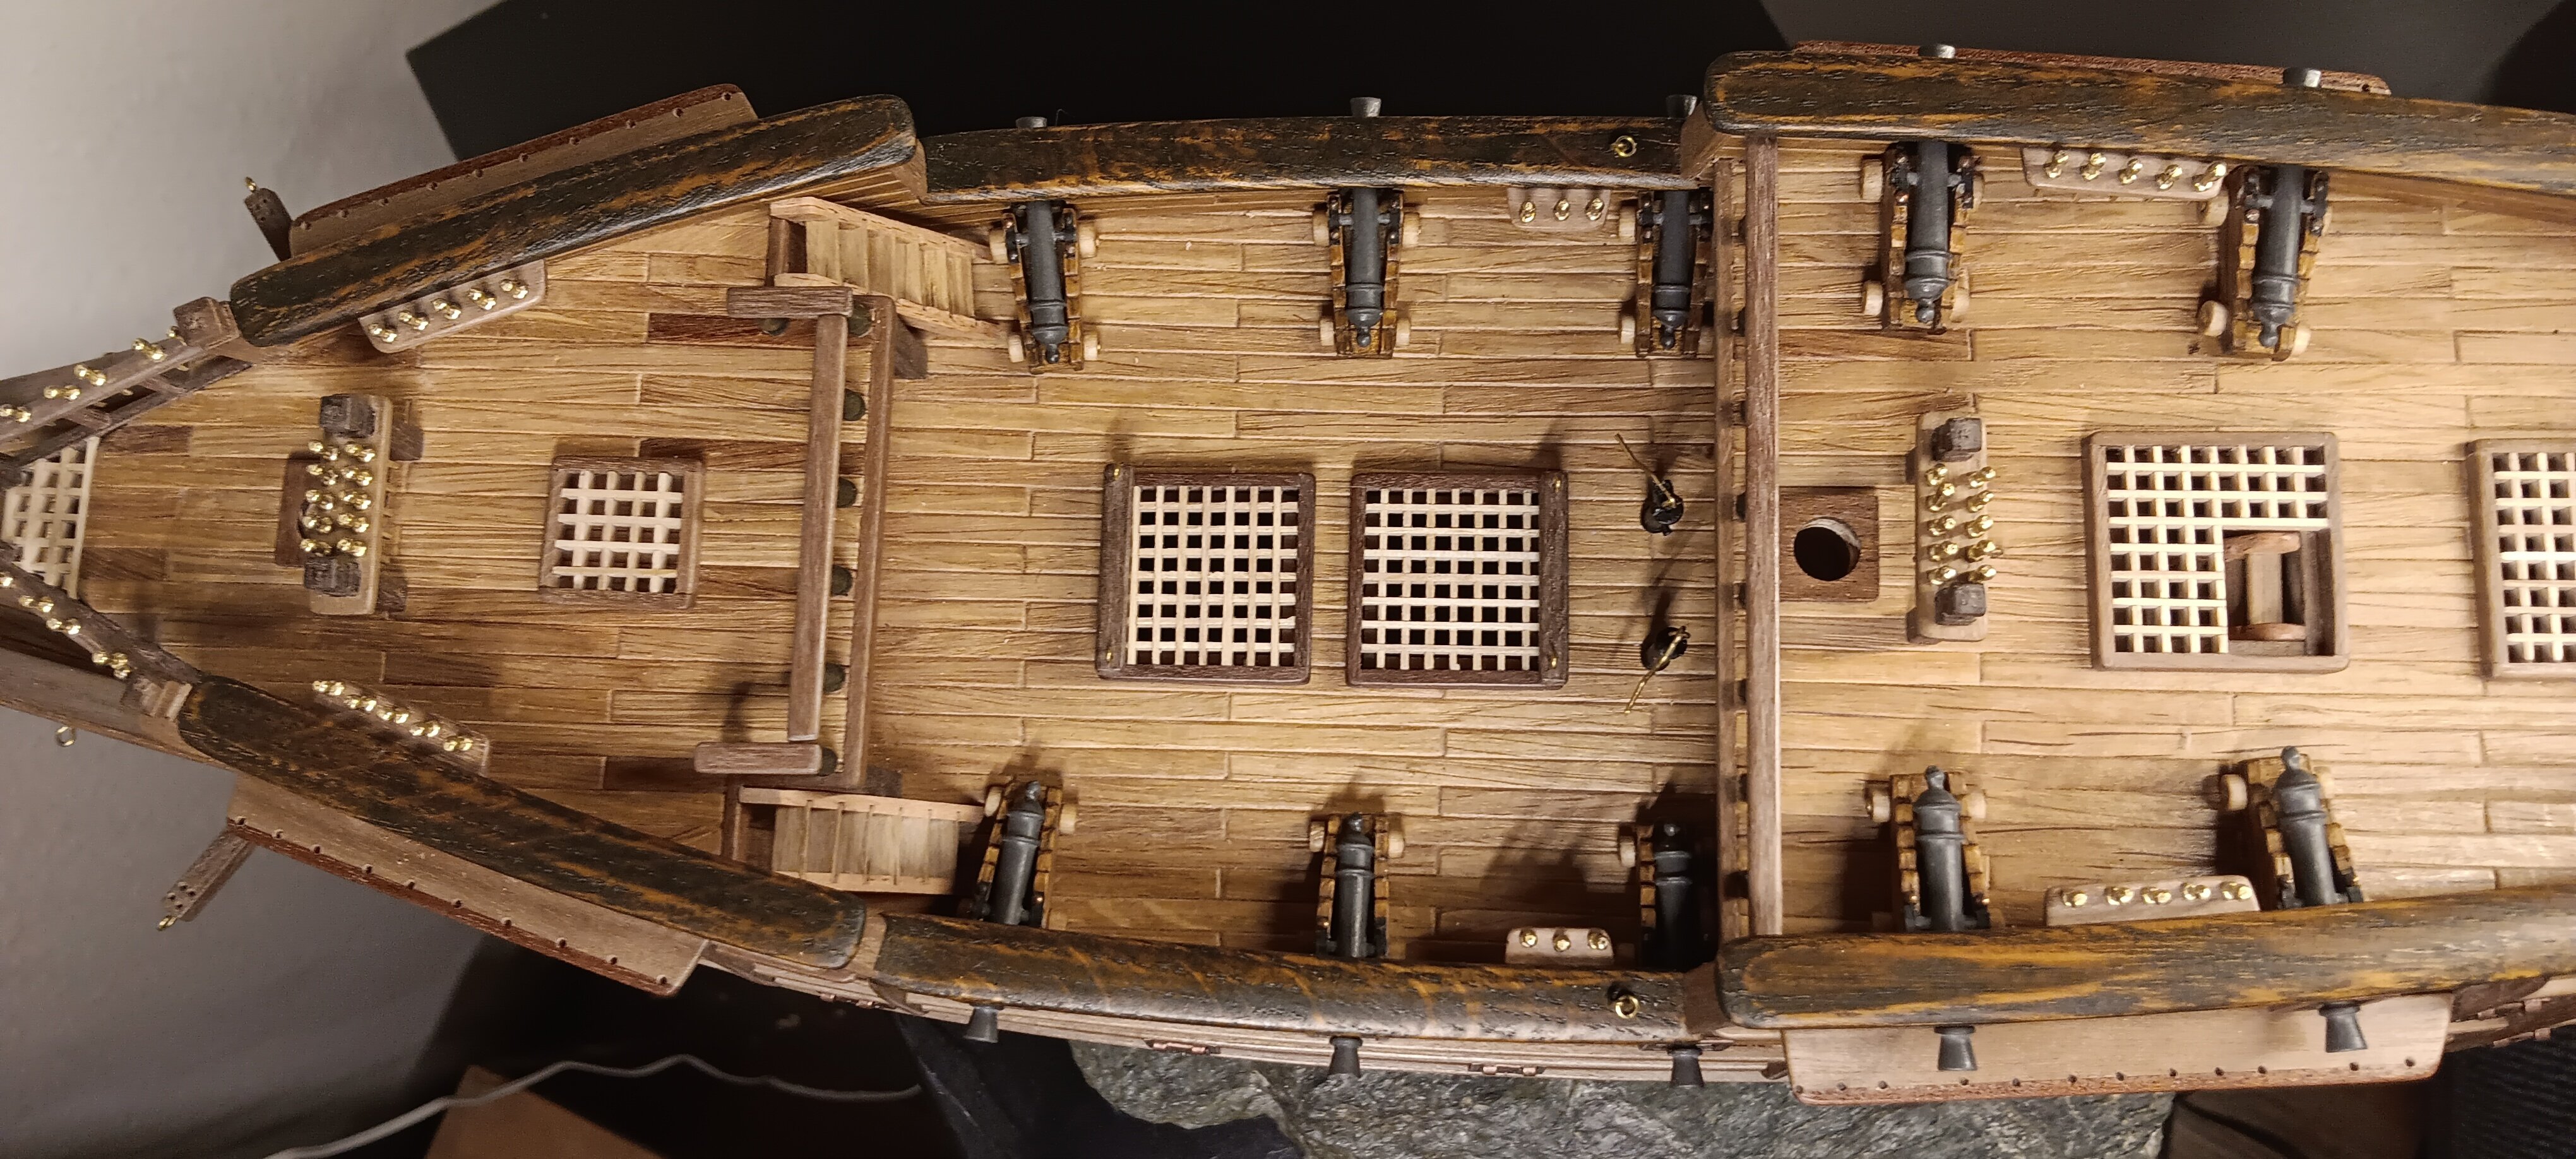
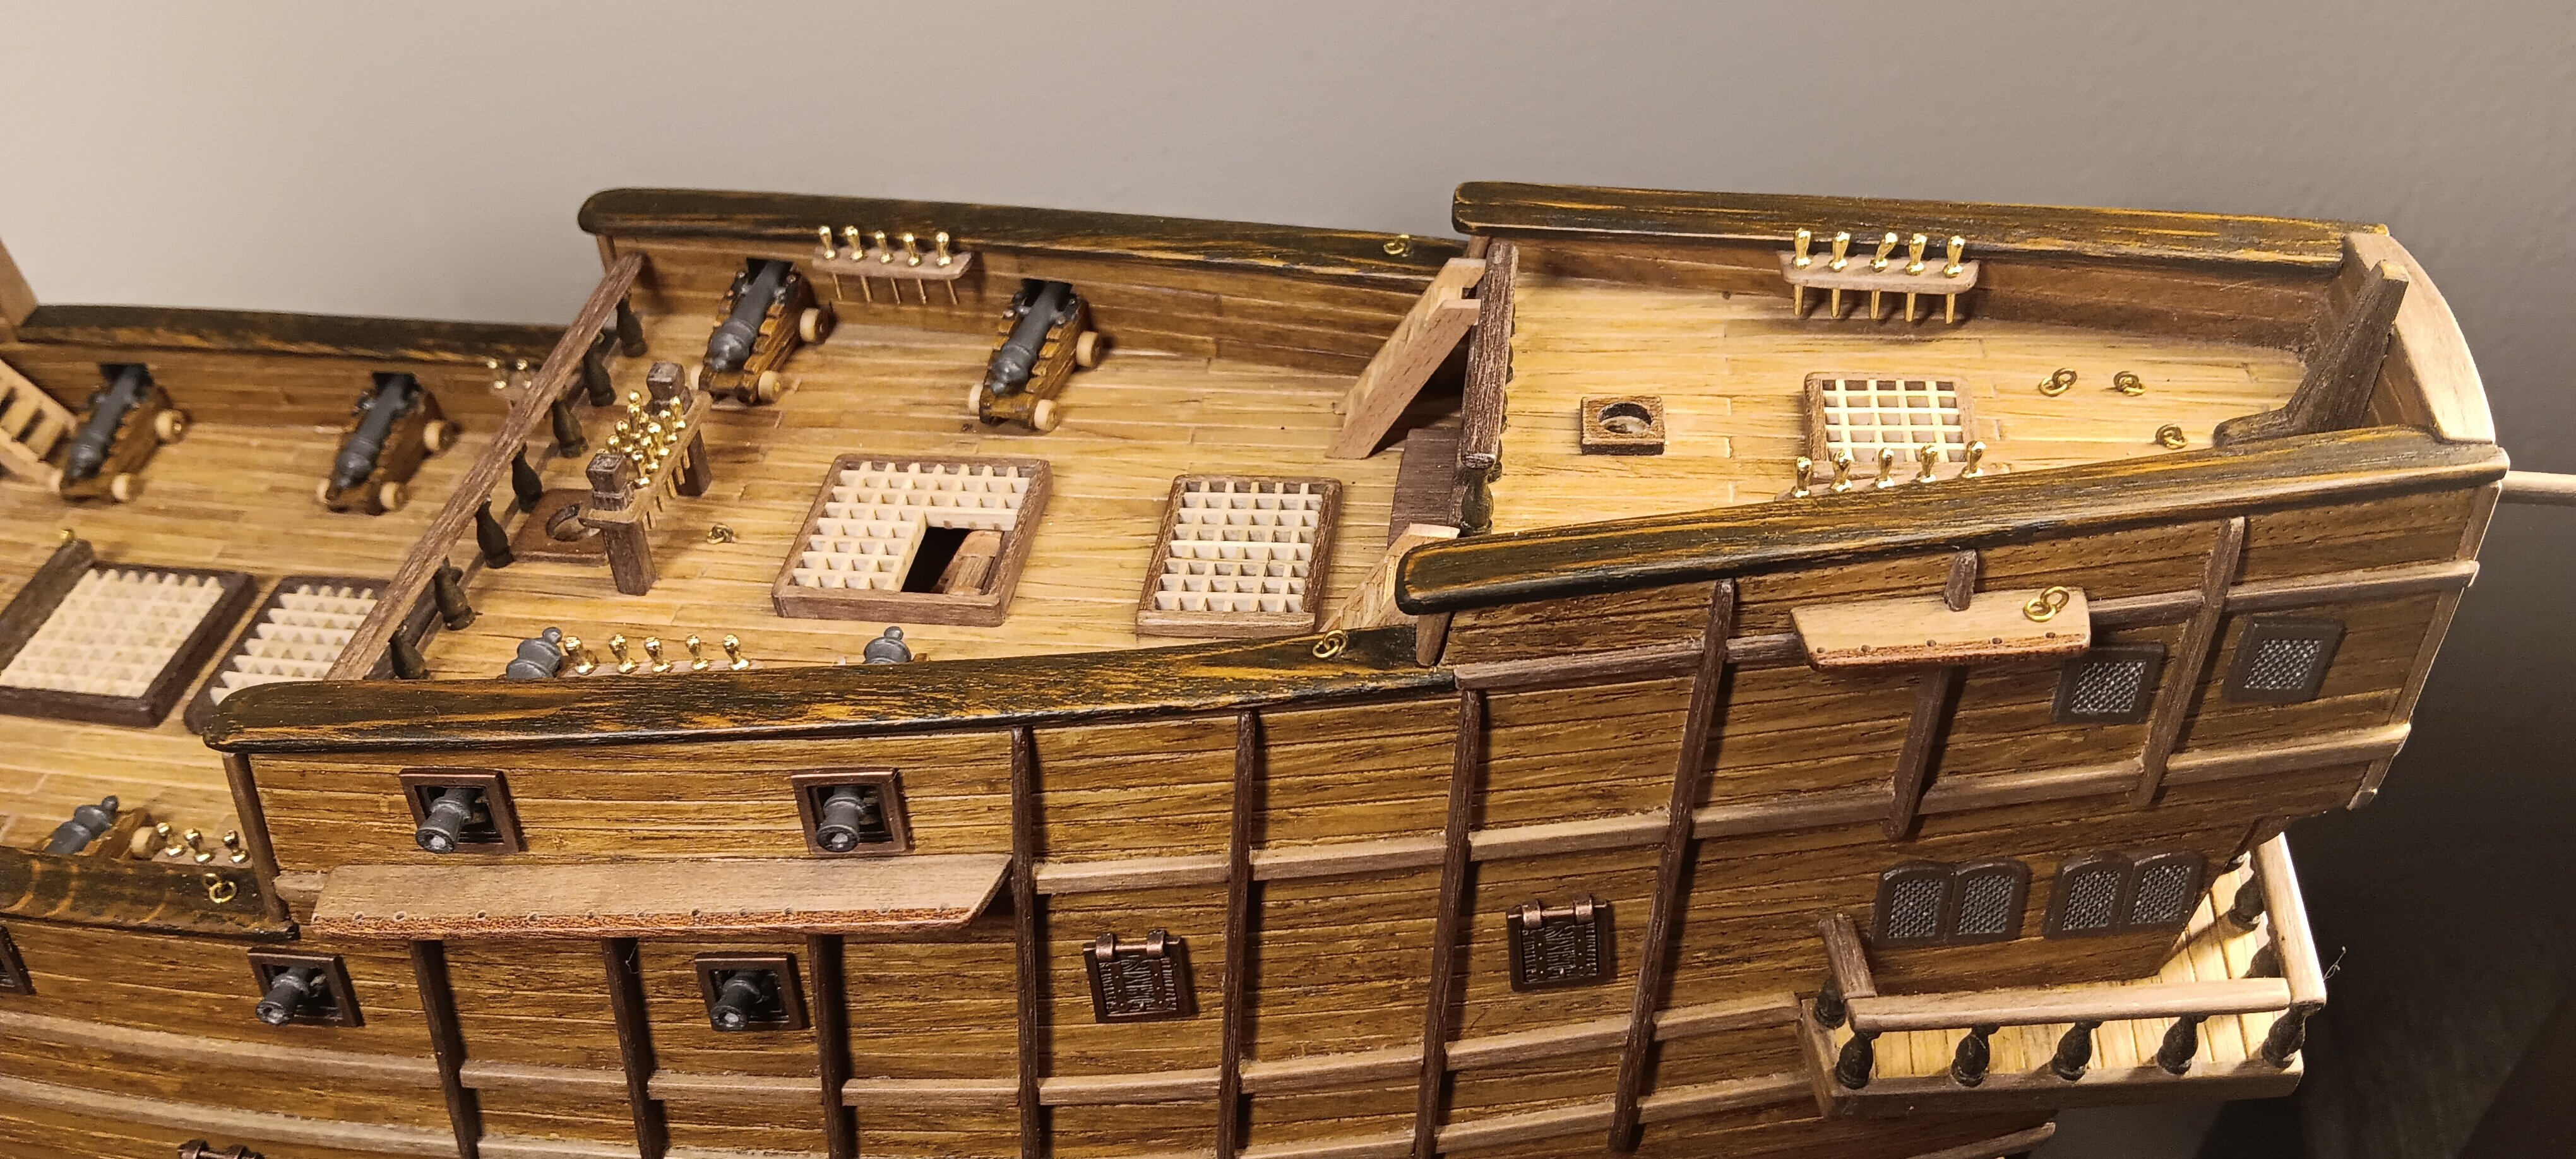
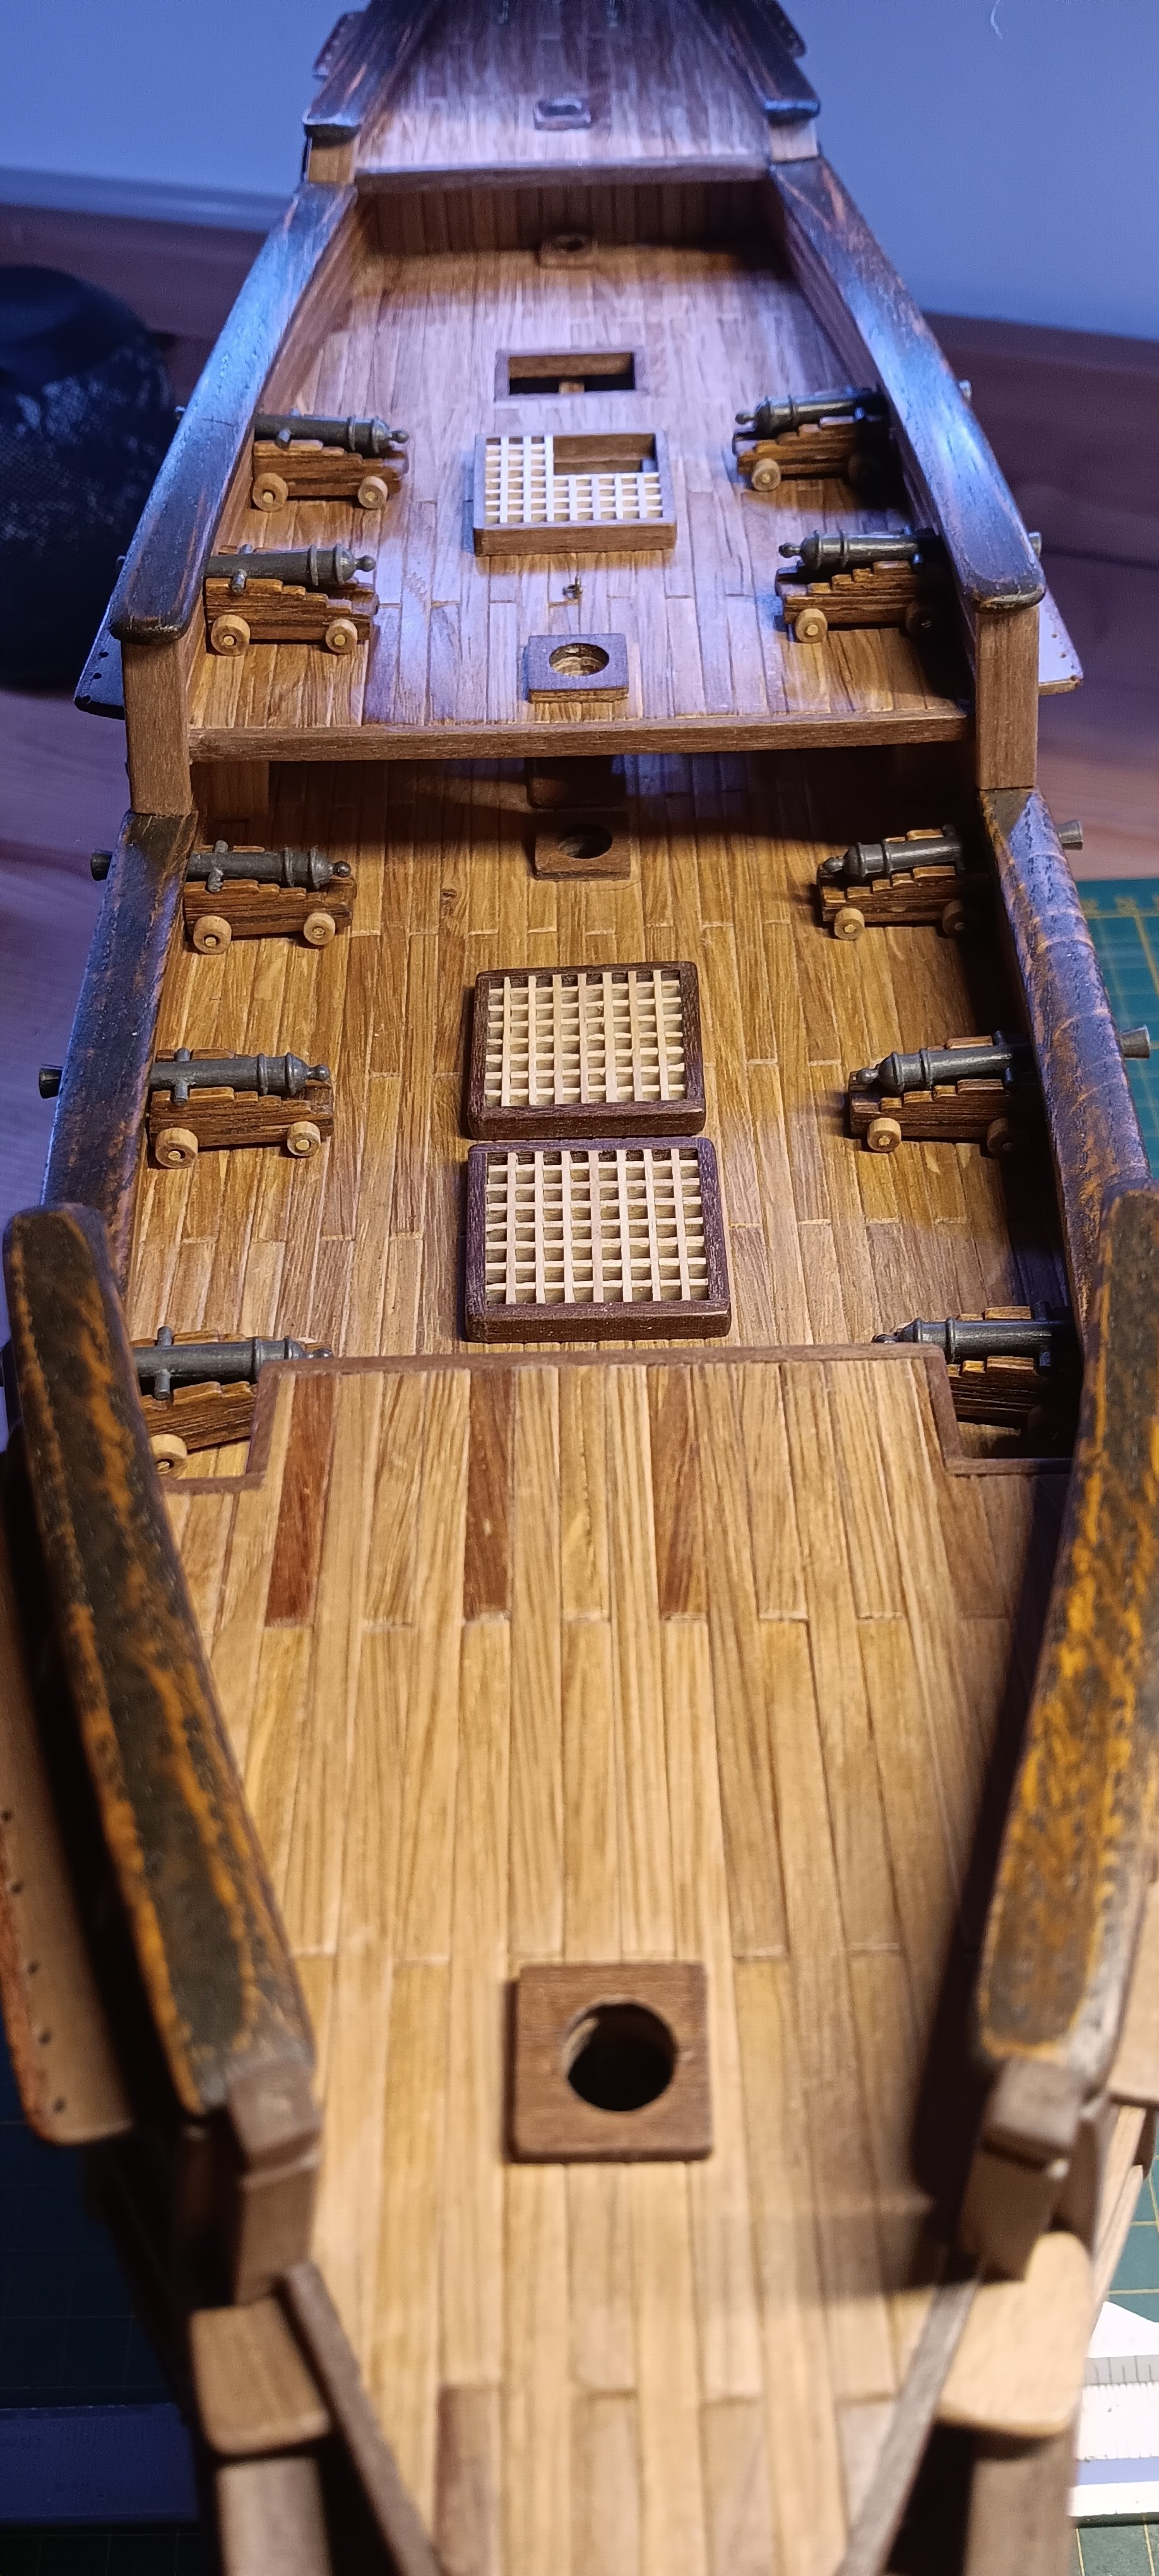
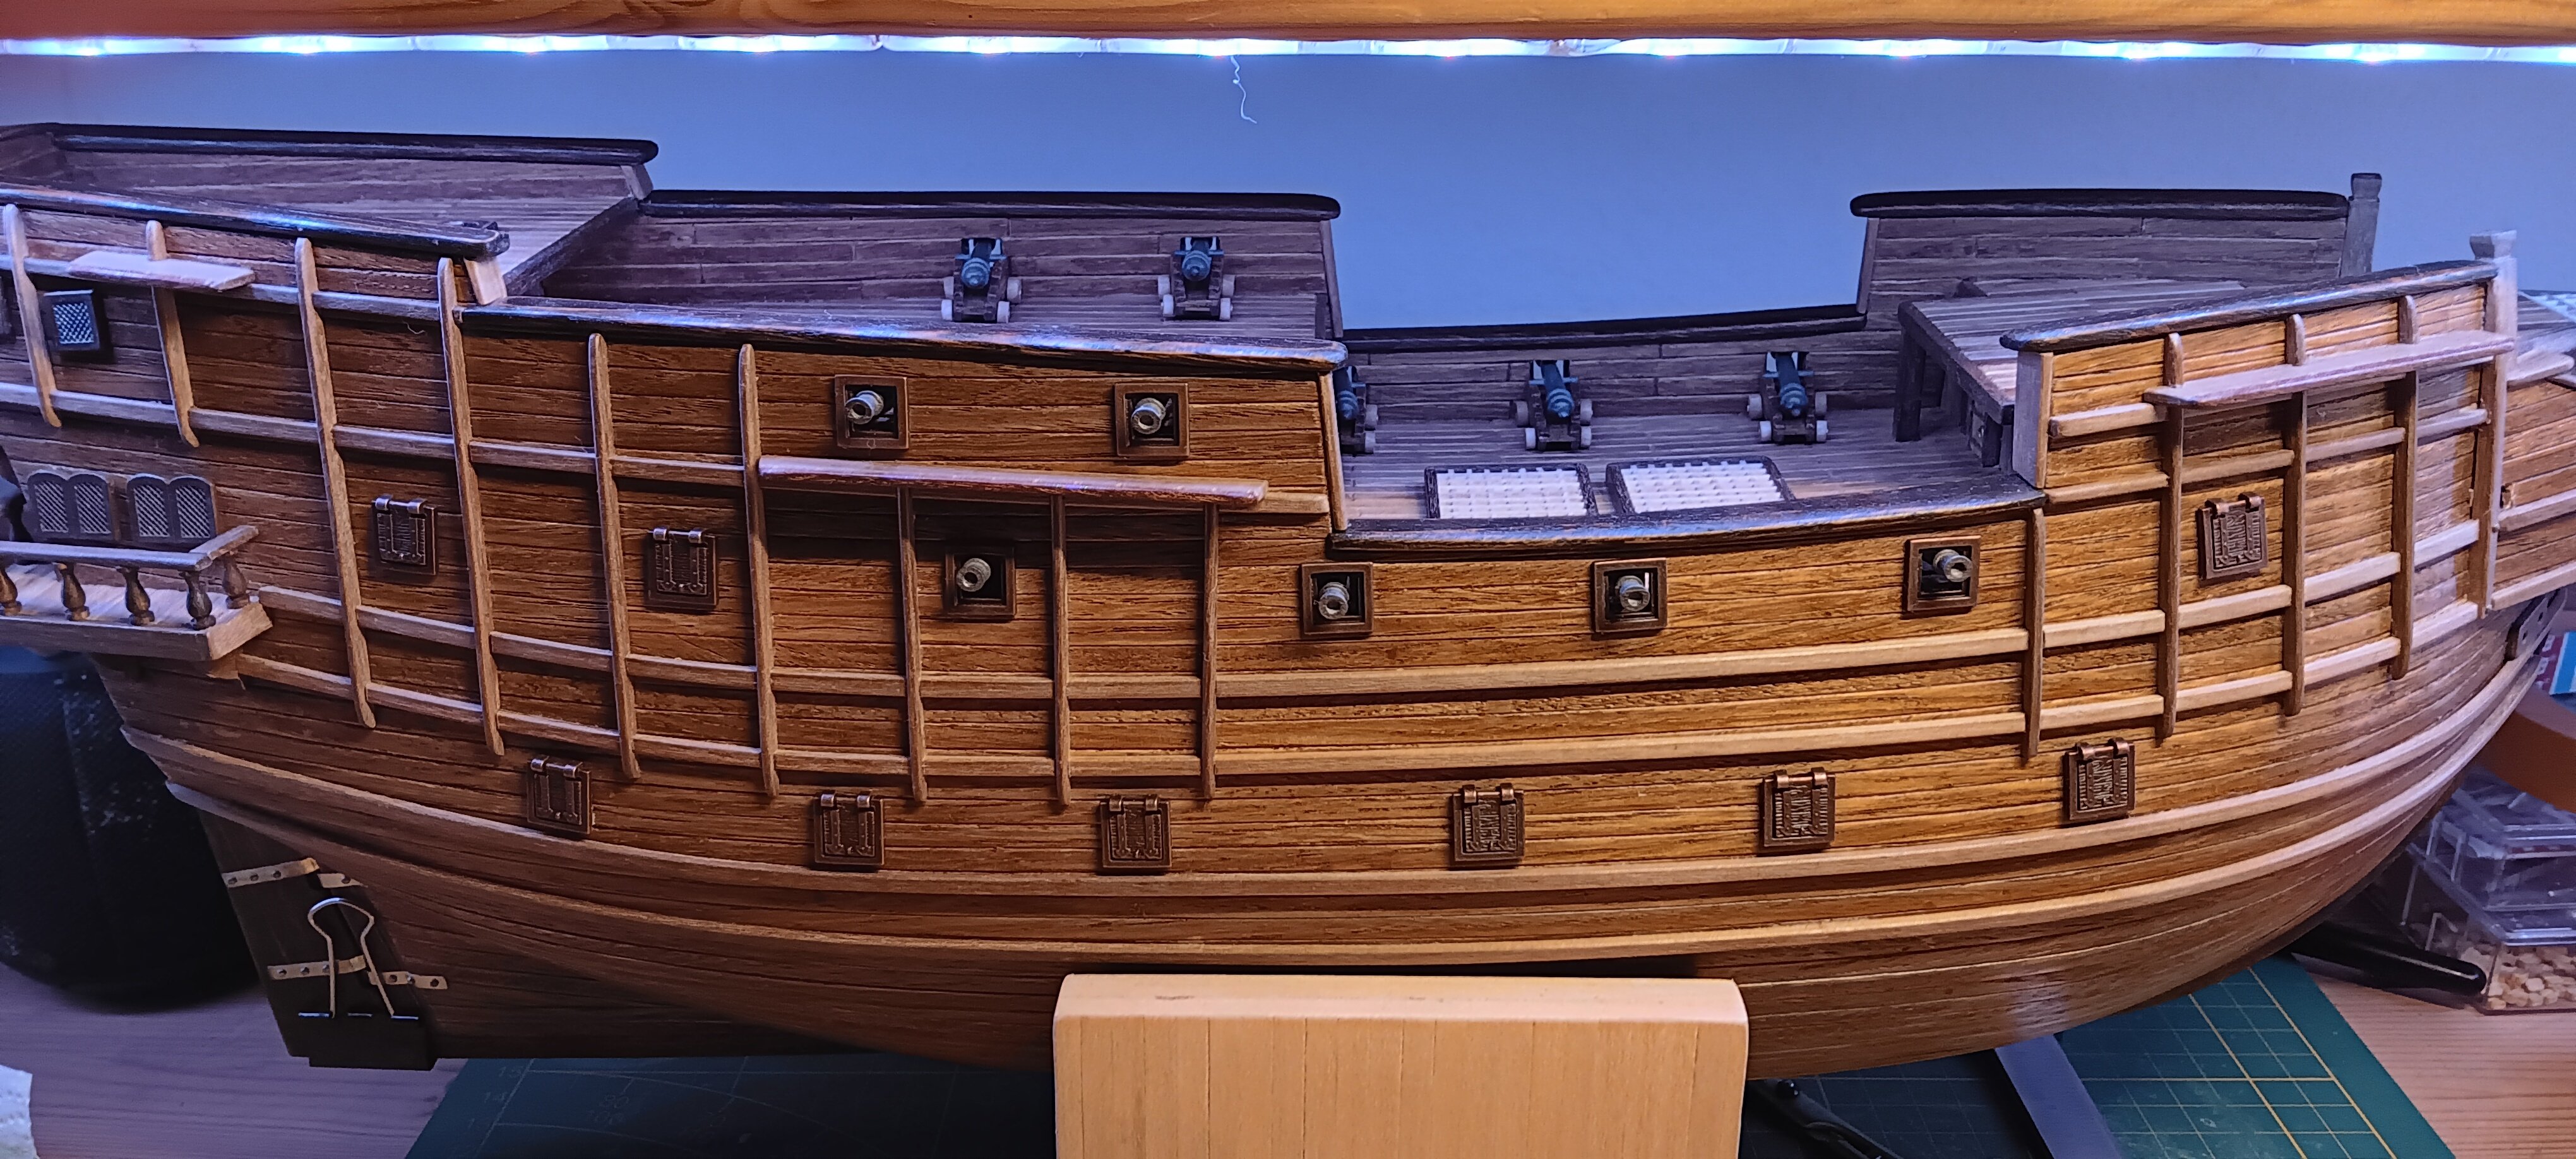
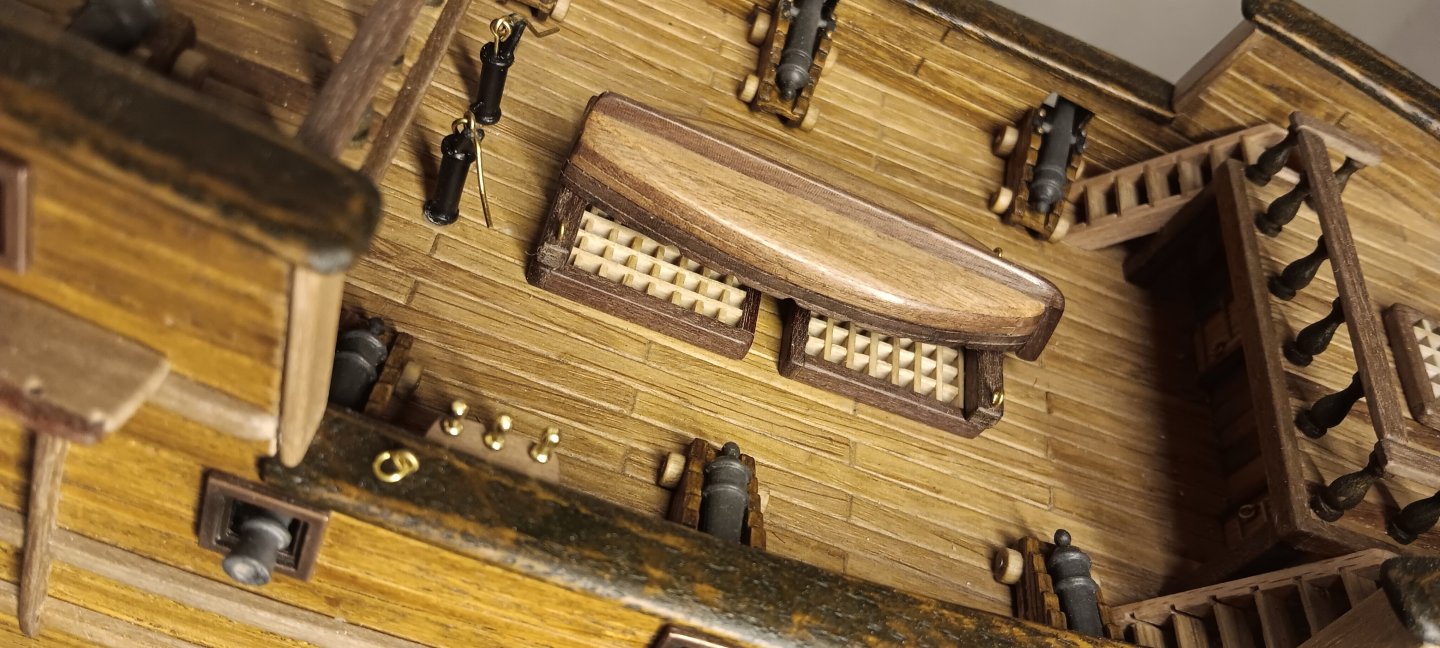
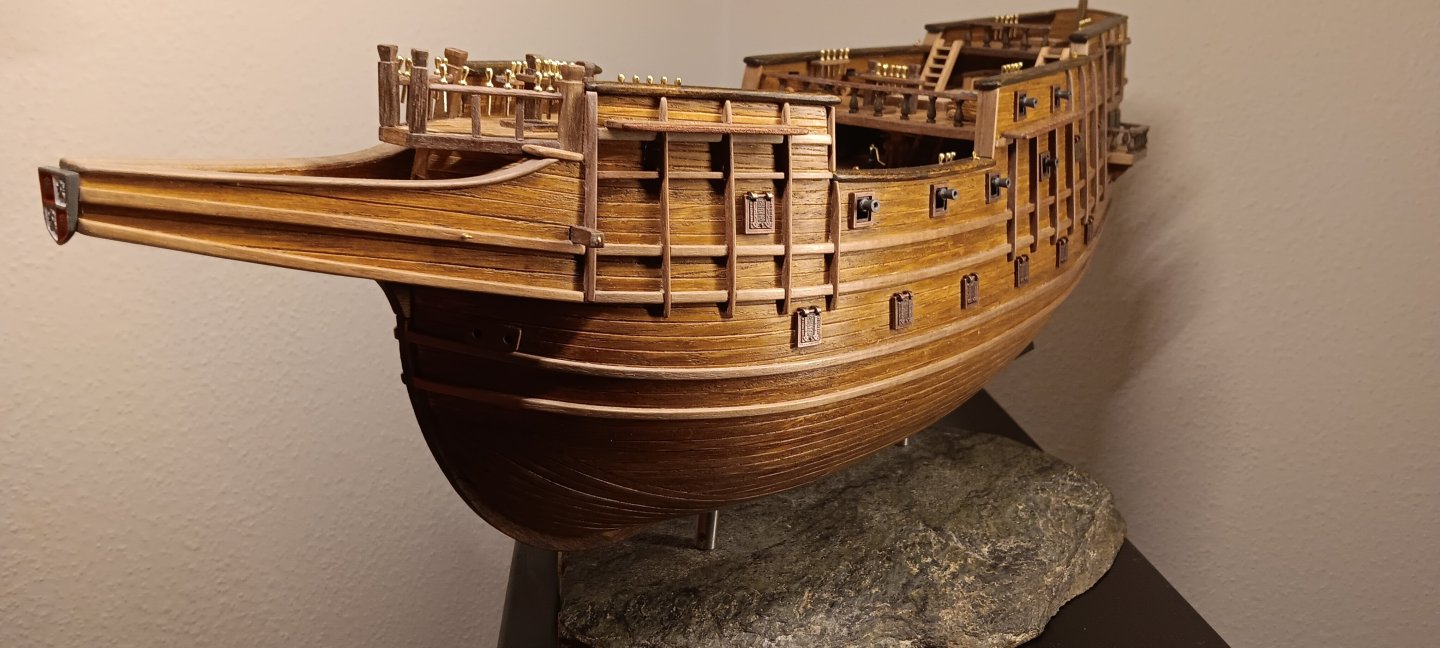
The Woodwork on the outer Hull are ready. Now i must think about the Takelage from the Cannons.


- 210 replies
-
- 2
-
-
- San Martin
- OcCre
- (and 1 more)
-
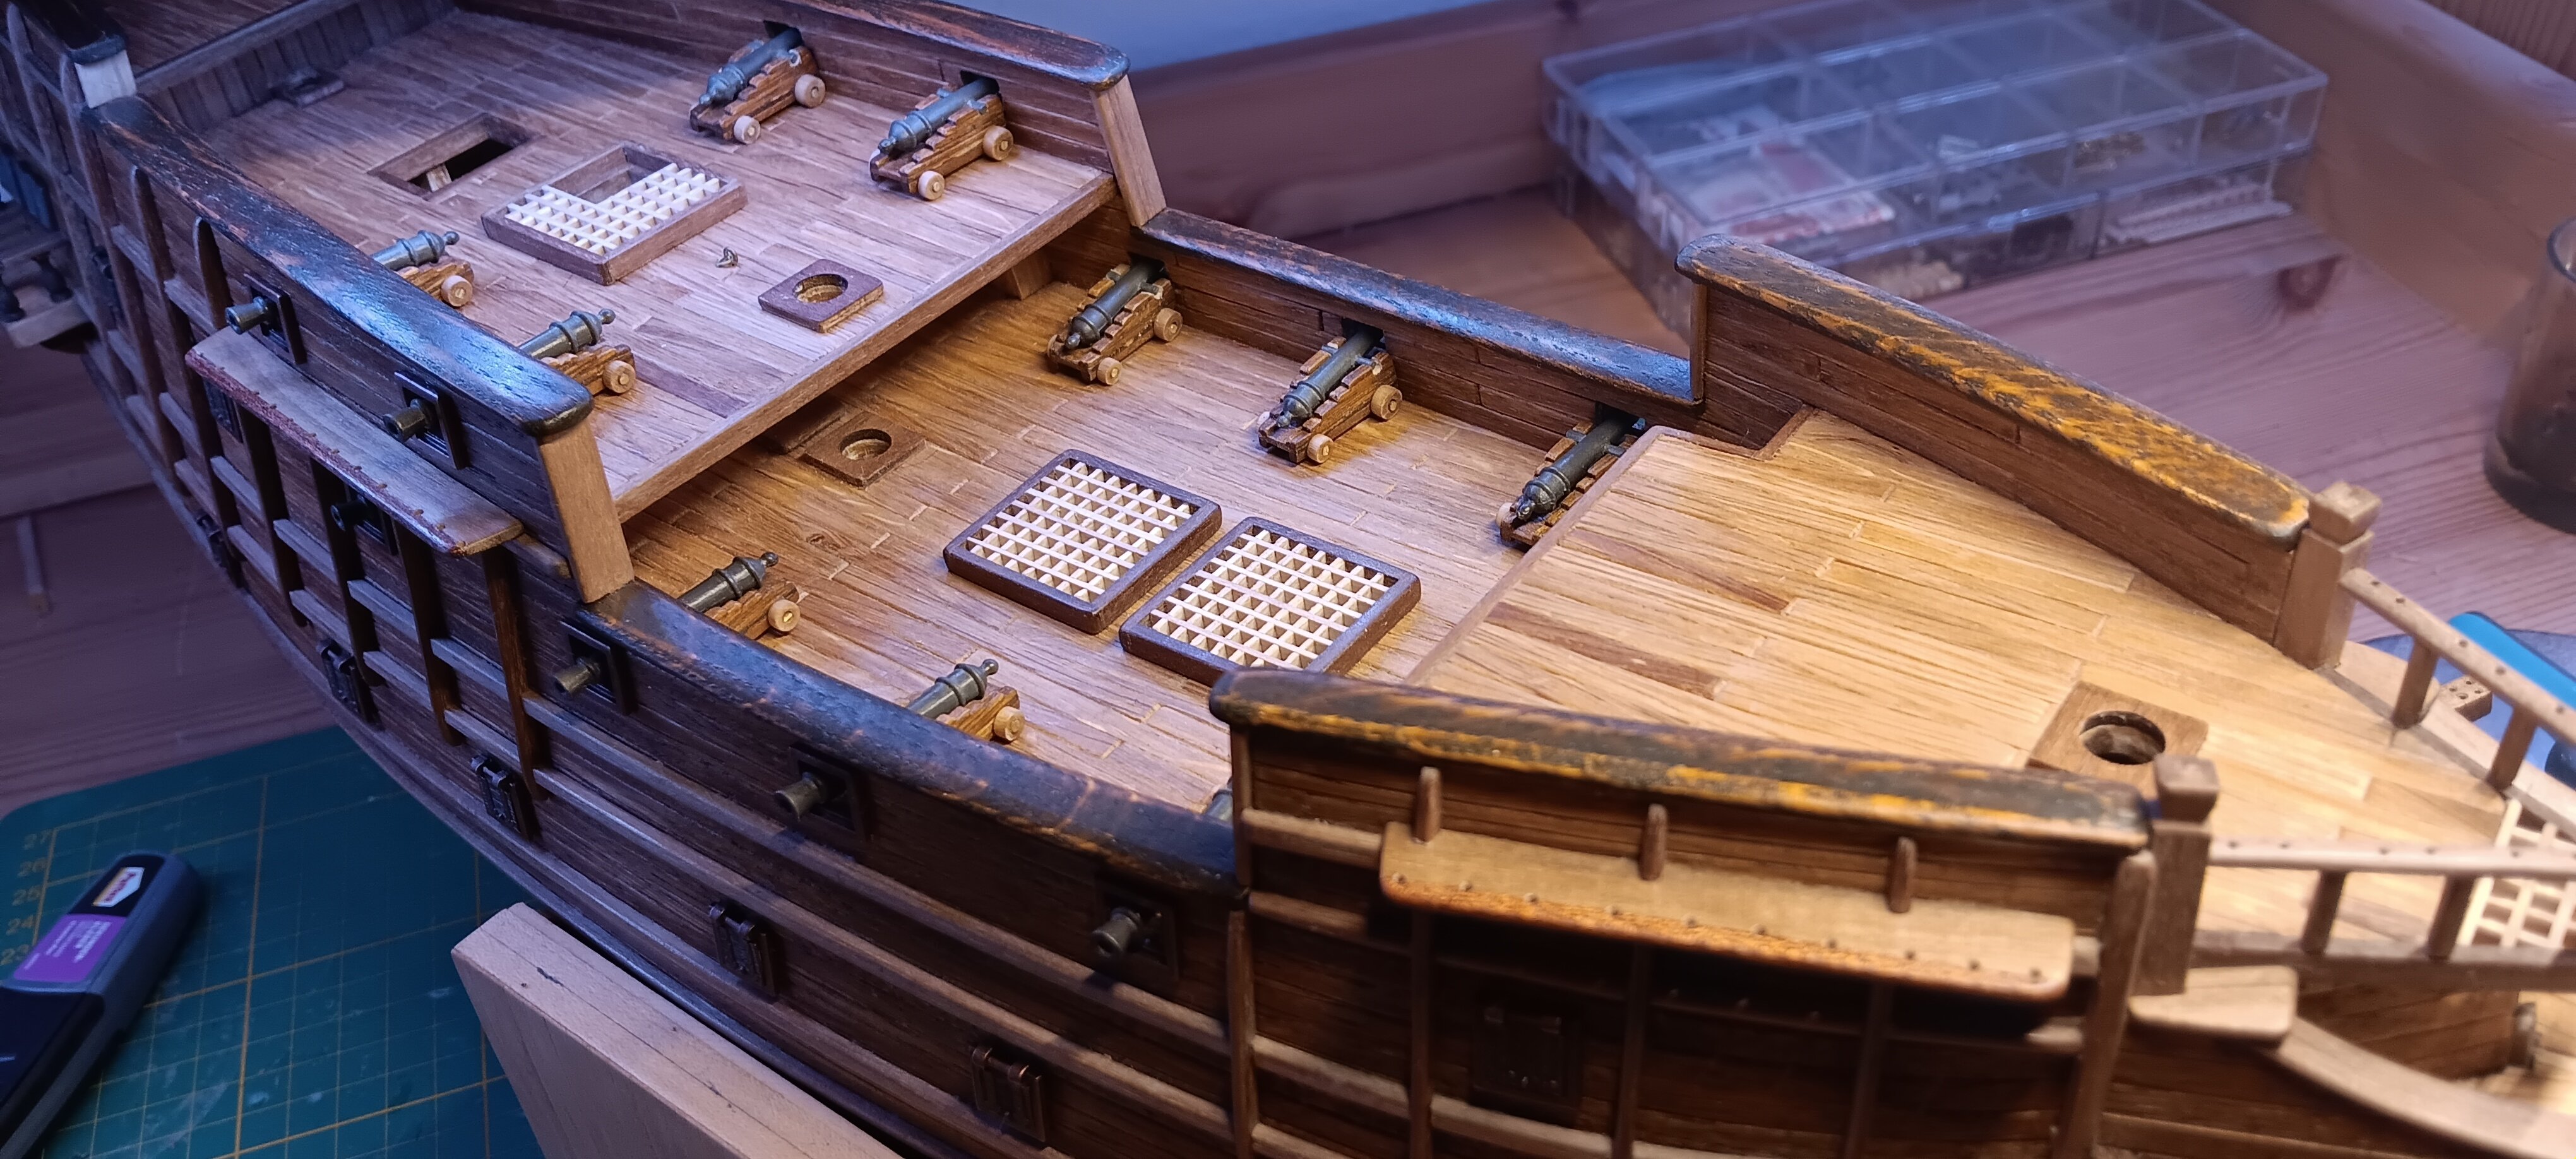
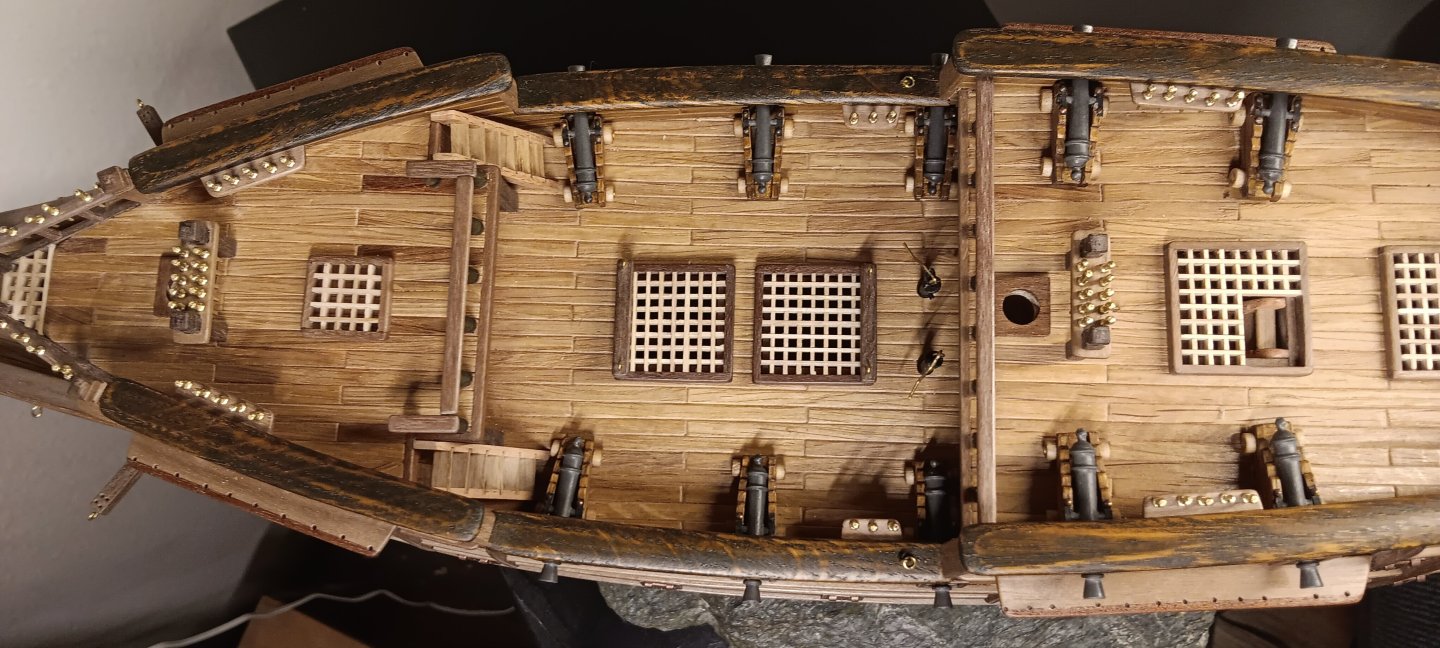
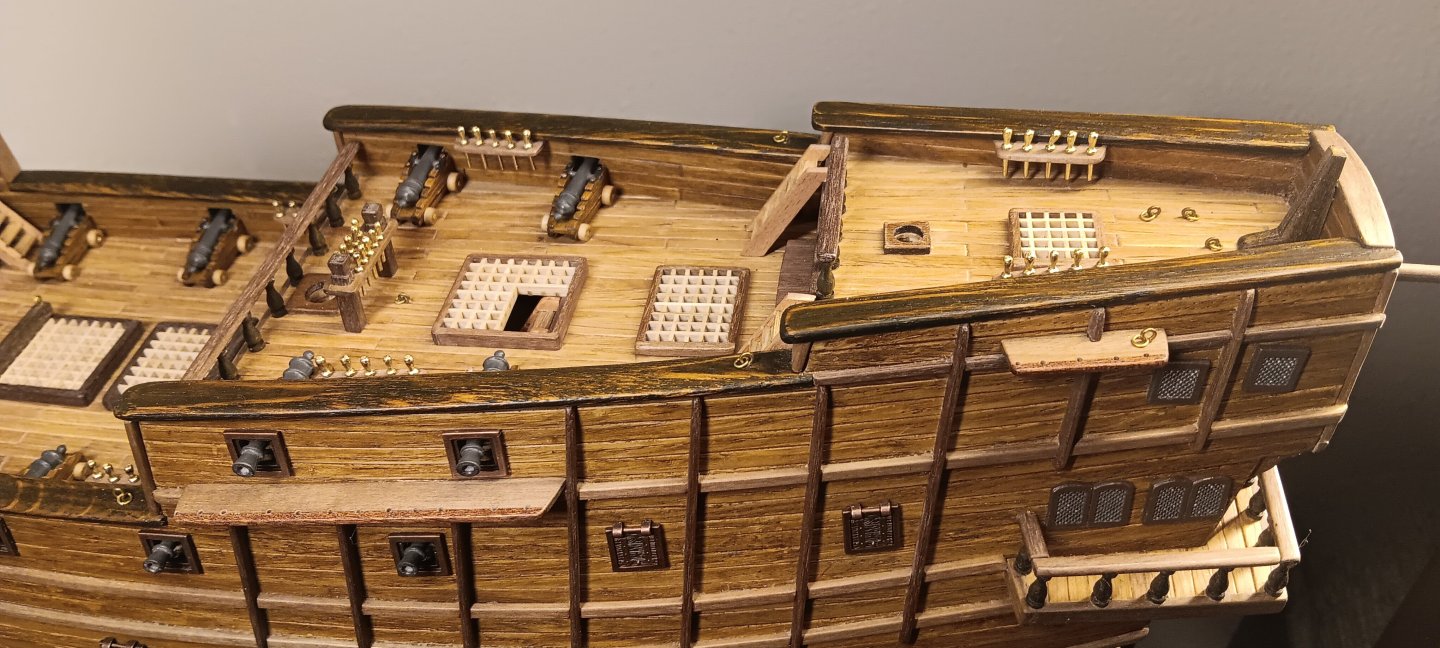
Yes, the mounts are too high. But that's because I planked the deck thicker than Occre intended. I think simply wedging underneath would be the wrong way to go. There is still room for manoeuvre at the bulge for the gun, so it will be a smooth mount instead of a curved one. Stupid, because I've already spent days preparing and ageing it. But that's the way it is. I also didn't want my current intestinal upset and have to live with it.🤣 Greetings
- 210 replies
-
- 2
-

-
-
- San Martin
- OcCre
- (and 1 more)
-
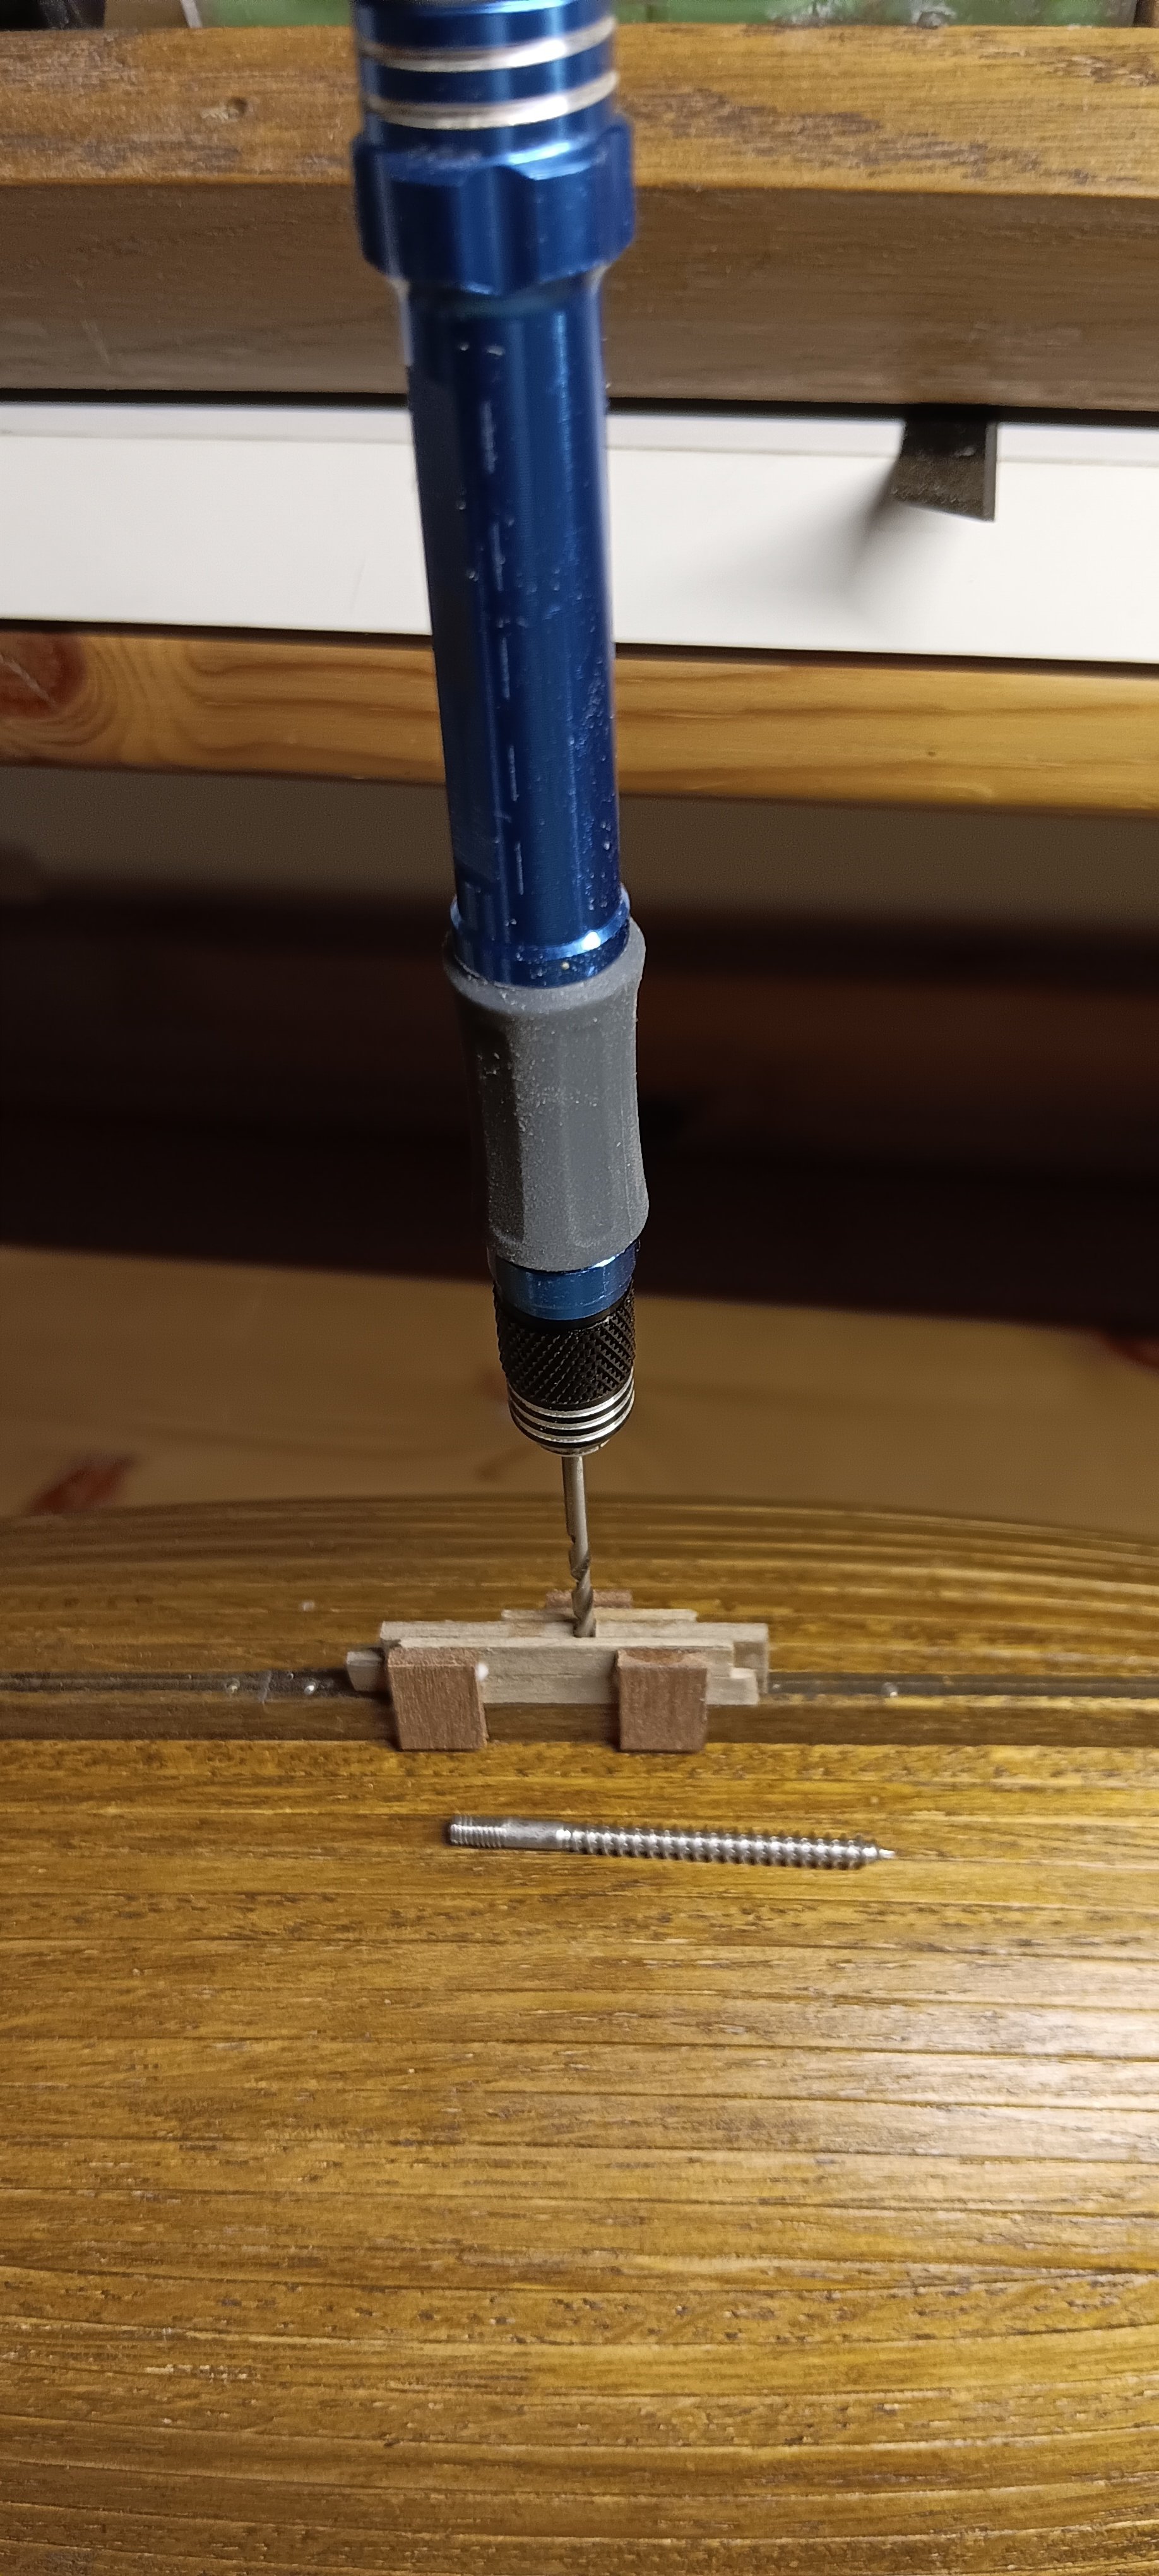
I builded an Adapter to drill the Hole in the Keel for this Screw. Its for the Stand.