HOLIDAY DONATION DRIVE - SUPPORT MSW - DO YOUR PART TO KEEP THIS GREAT FORUM GOING! (Only 51 donations so far out of 49,000 members - C'mon guys!)
×

guraus
-
Posts
361 -
Joined
-
Last visited
Content Type
Profiles
Forums
Gallery
Events
Everything posted by guraus
-
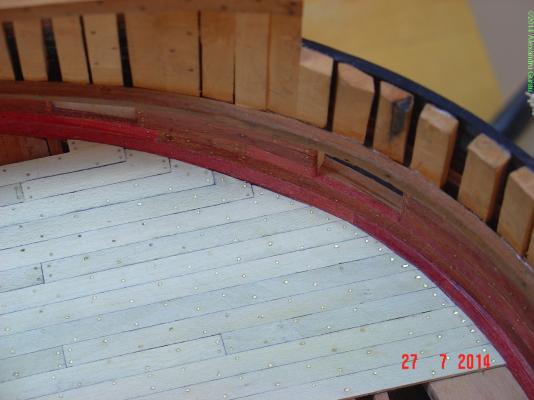
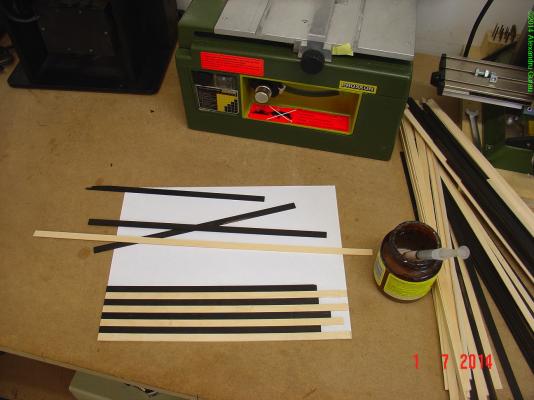
I only used a filler on the inside of the hold planking. After that all you see is either nailed using brass wire or treenailed with wooden pegs. The outside of the hull is the only treenailed part. Wherever I can, I do the nailing in place so the brass wire actually passes through the plank and into the wood beneath. I use CA glue to keep the nail in place so this adds strength to the model - and is water proof unlike the rest of the glued parts for which I use carpenter's glue. The wooden treenails are also glued (with white carpenter glue) and hammered in place. They were square in section and forced into sound holes. I used actual small brass and steel nails for the beams end on the shelves and for the ribbands. And for the rudder iron work. Anything else is 0.5mm brass wire. I also used copper 1mm wire for the frames and keel joints in addition to glue and for deck shelves - the wire passes through them and the frames at each frame. For the second question - there is only one of me but if you look at the date on the first pictures you will see that the actual build started in 2007... if you ask because it seems I work fast. Alexandru Alexandru
-
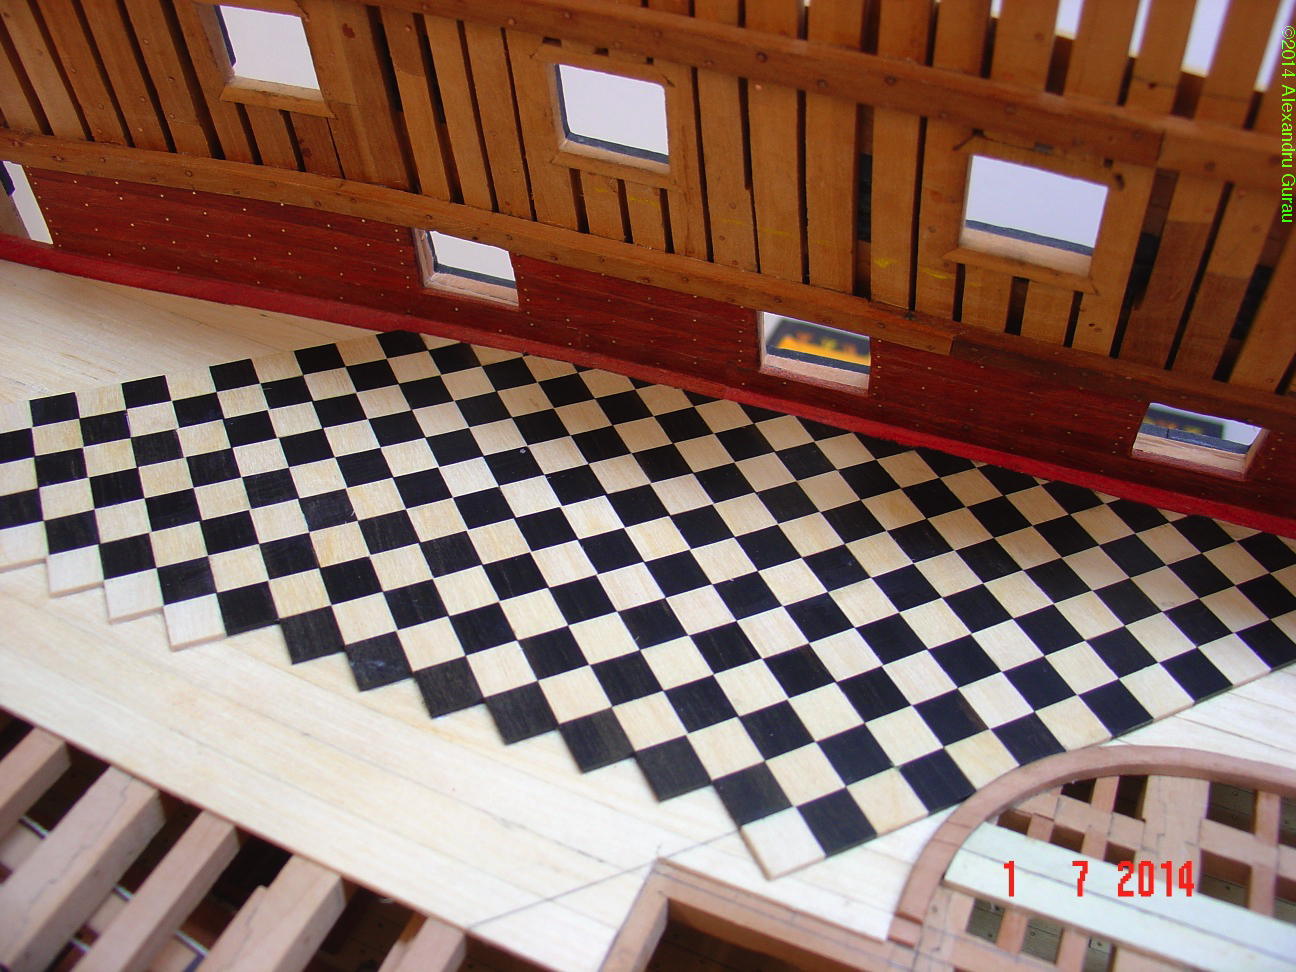
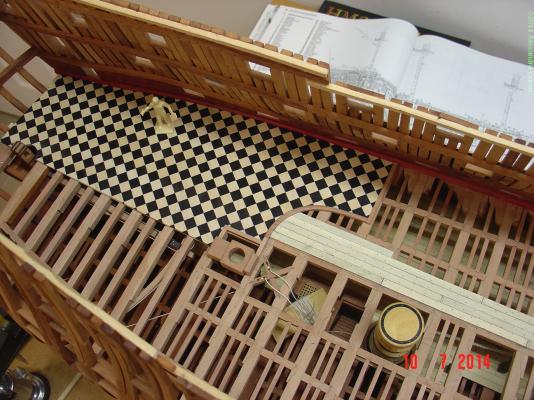
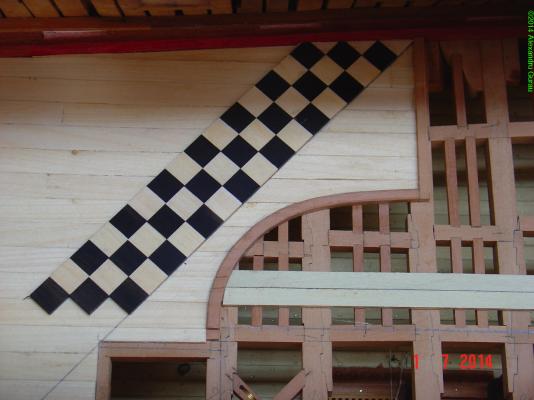
Yes, that is holly and it has quite an interesting story. I bought it a year or so ago at a wood store in Ottawa at a very discounted price as the tree it came from was, when alive, "contaminated" with some kind of fungus so the wood is not the perfect clear white as it should but it has a blend of gray and green in it. The fungus is no longer active but the wood is no longer clean white either. But for the deck I think it is even better this way as the deck were getting in time a dirty white color after so many years of washing and stone/sand scrapping. I also bought another piece of perfect white holly in the same time a tenth of the size of the one I used for decks at twice the price. Was planning to use that one on the more visible upper decks but I think I will stick with the tainted one all over. Alexandru
-
...

-
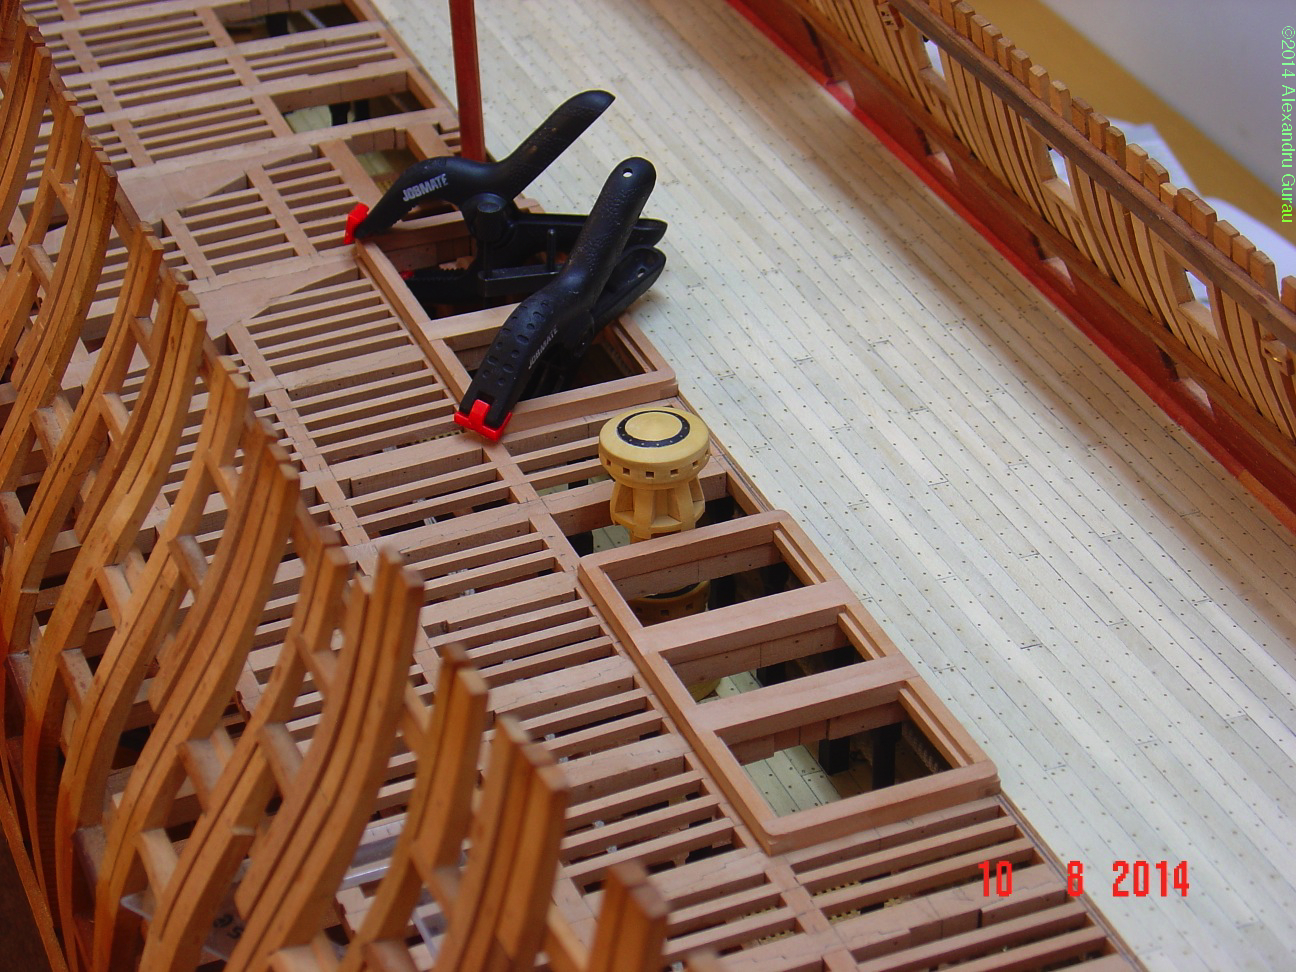
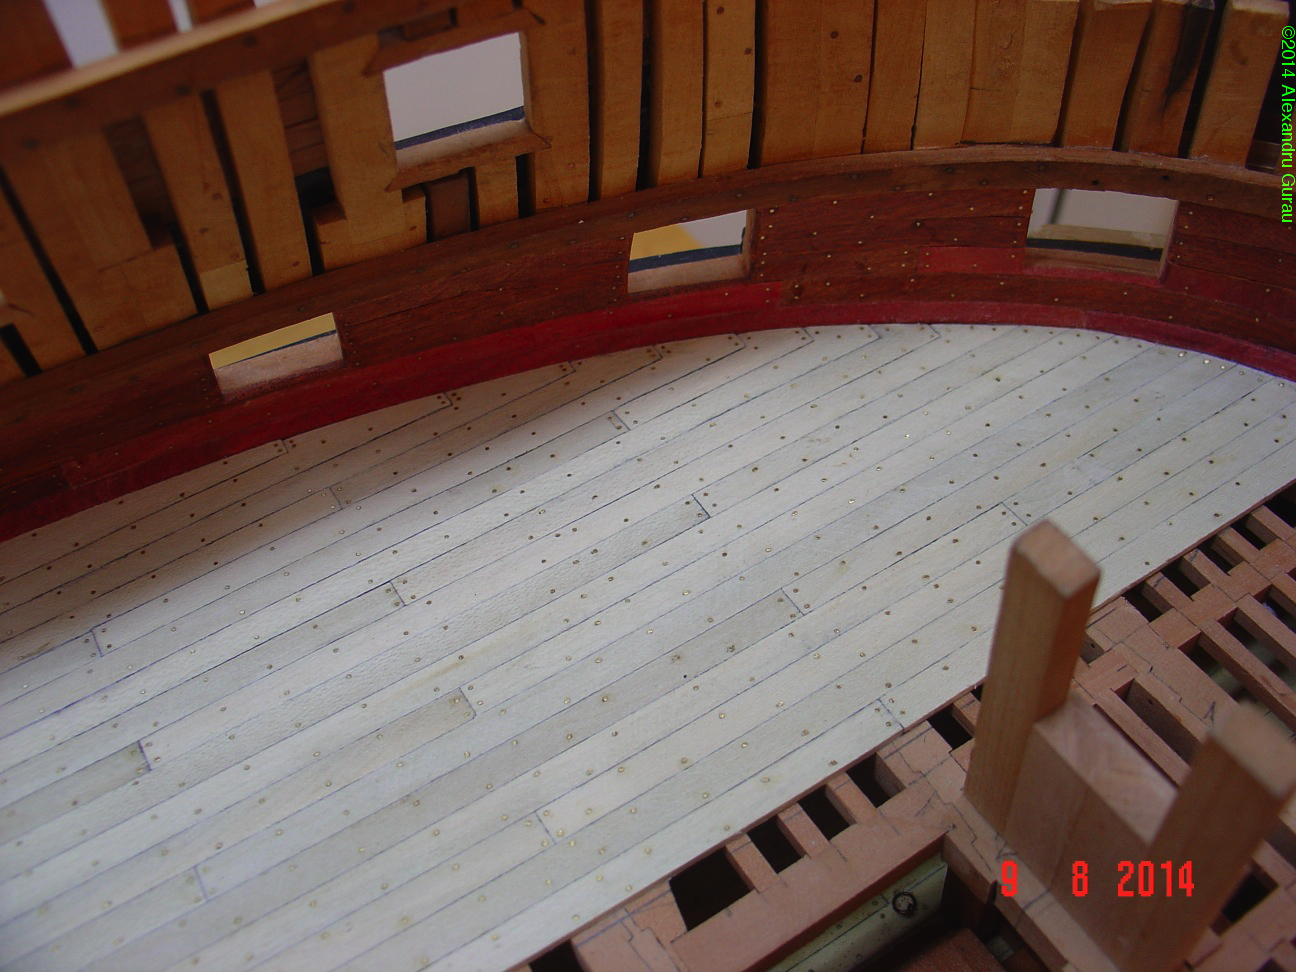
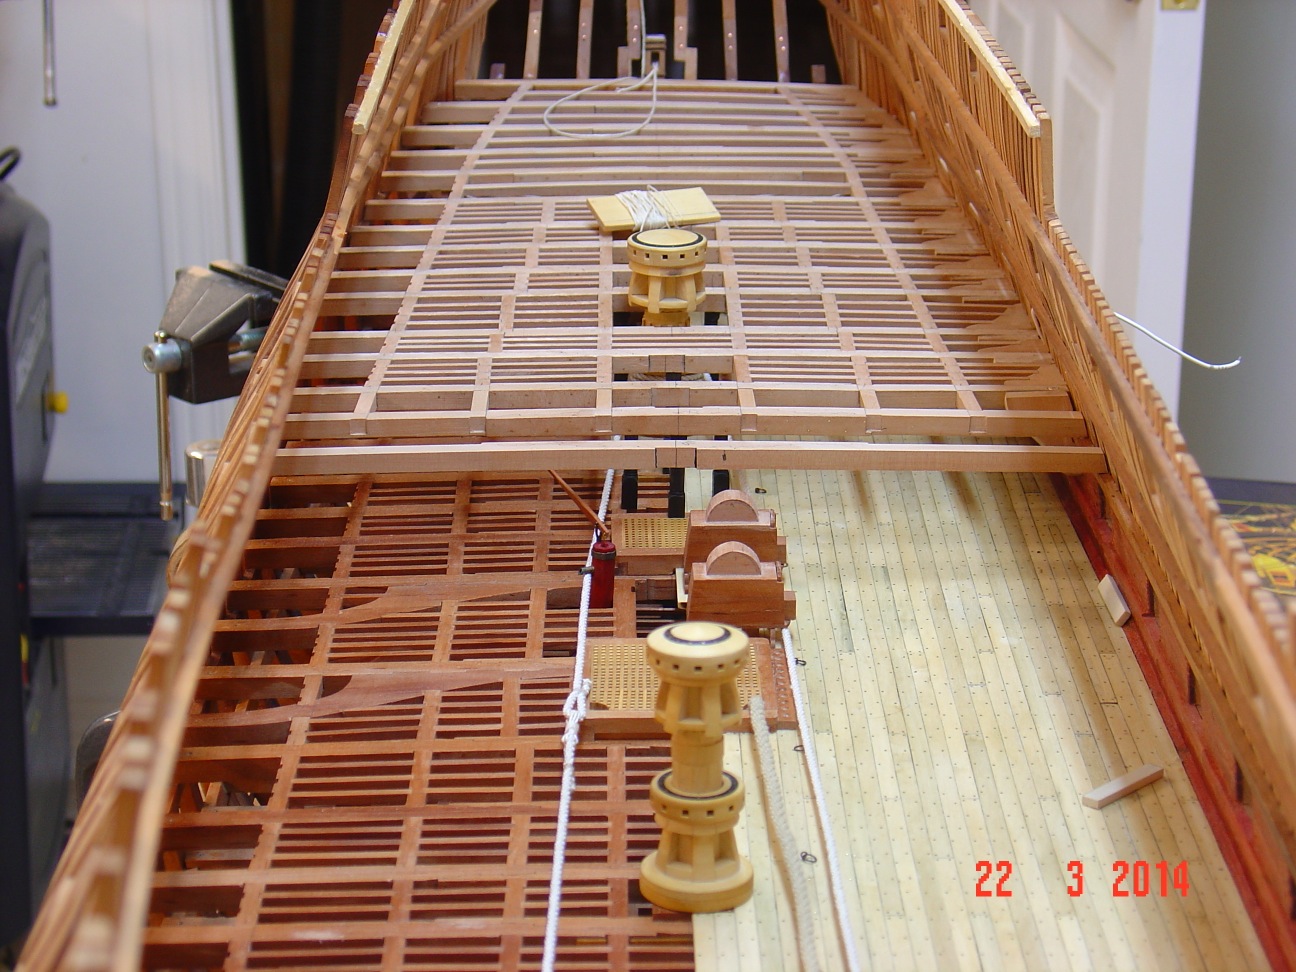
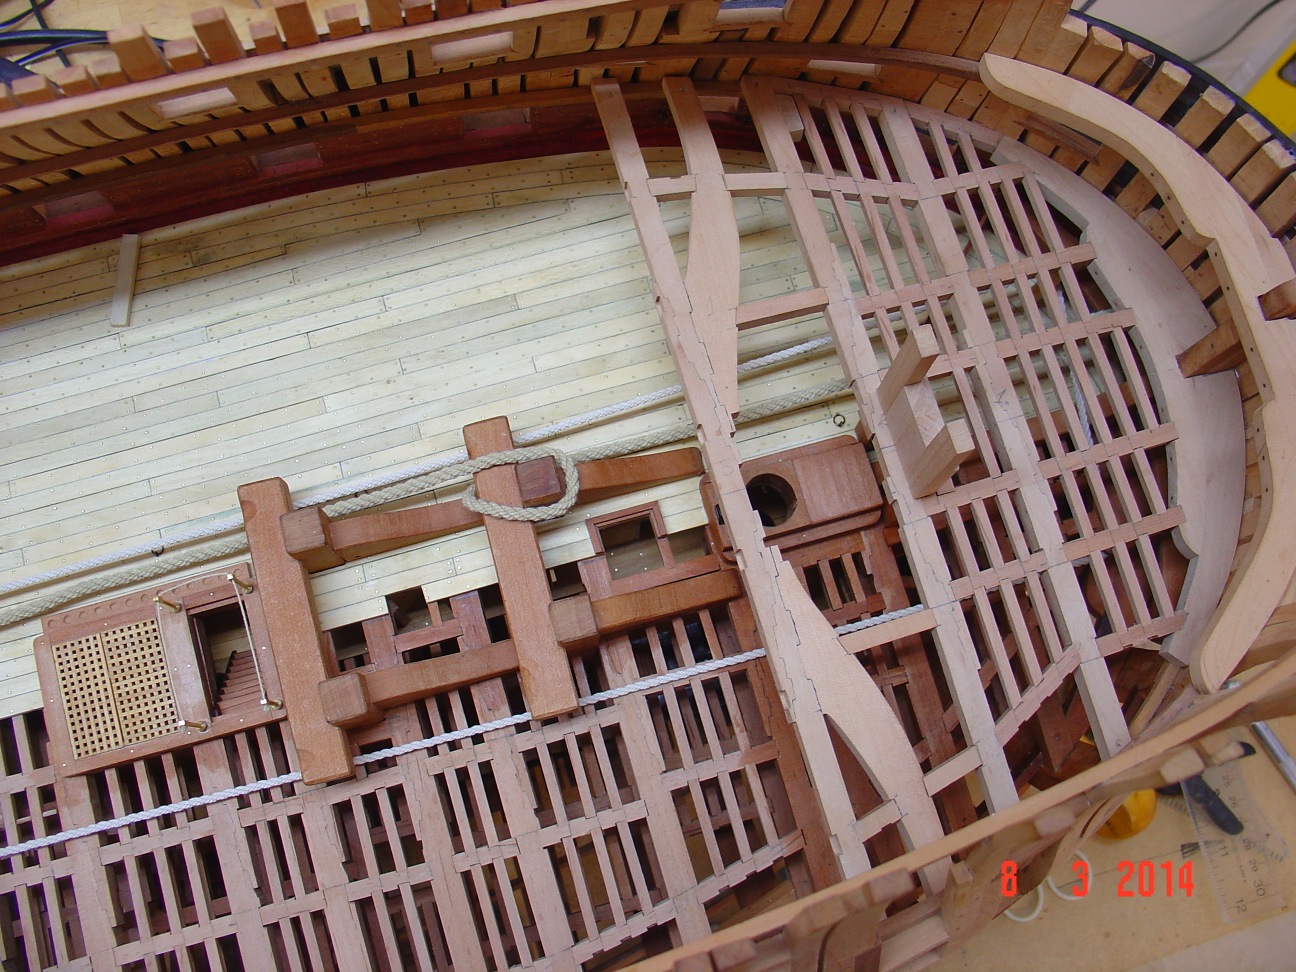
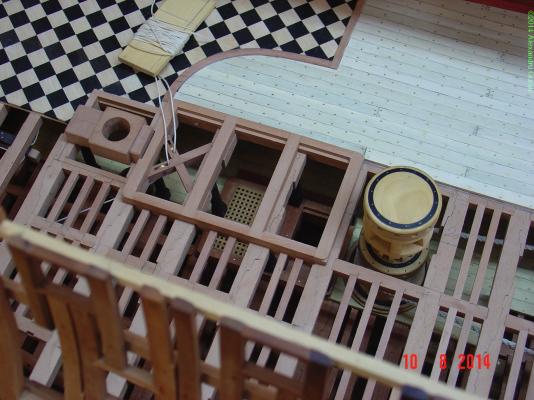
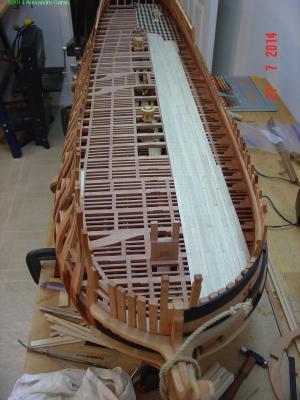
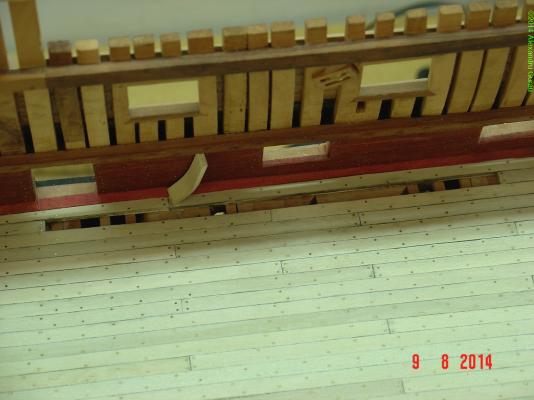
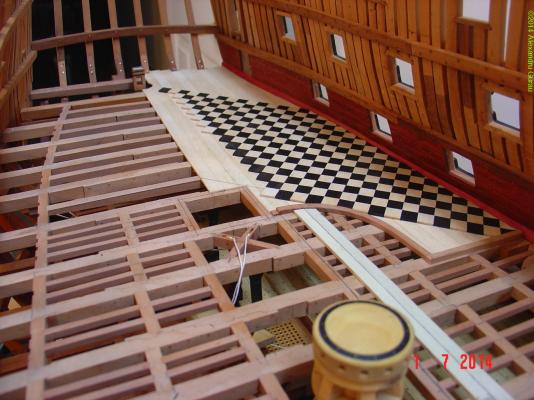
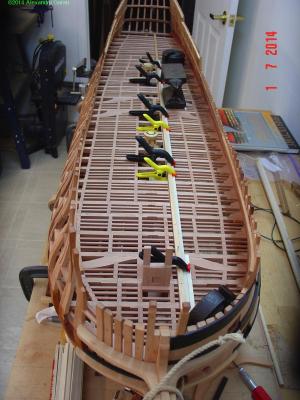
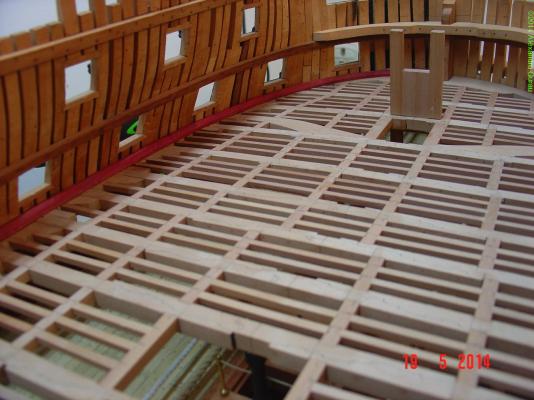
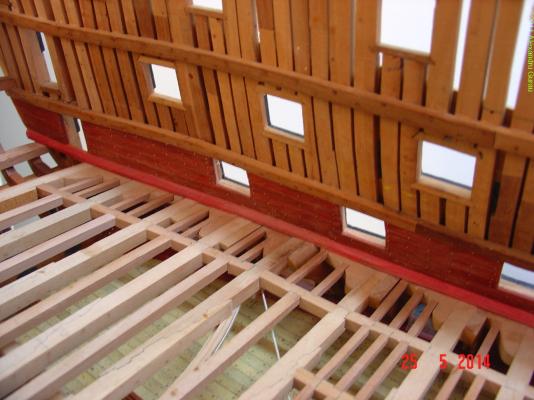
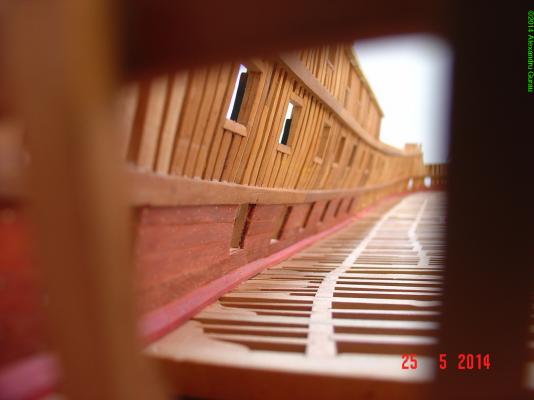
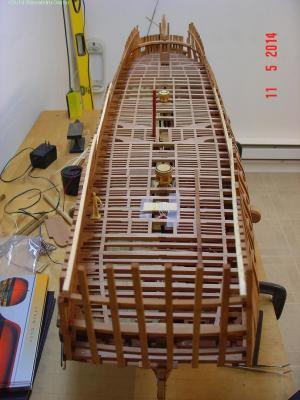
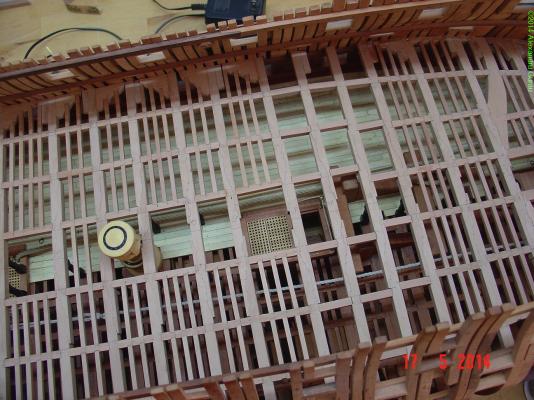
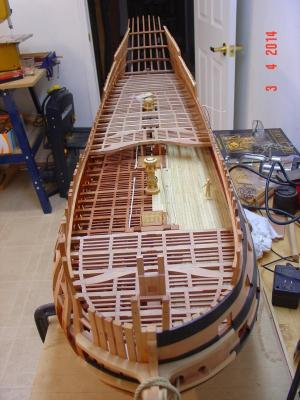
Thank you all for appreciation. Thanks Dave. Here is another update. Quite a while since the last one but it took me a bit to plank and especially to "nail" the half of the middle deck. I already started with the framing of the different deck openings. Here are some pictures.

-
Hi Monello, I see that you are starting seriously to work on this project. It has been a while since you were looking for the plans.... I am glad you didn't give up. Regards, Alexandru
-
...


-
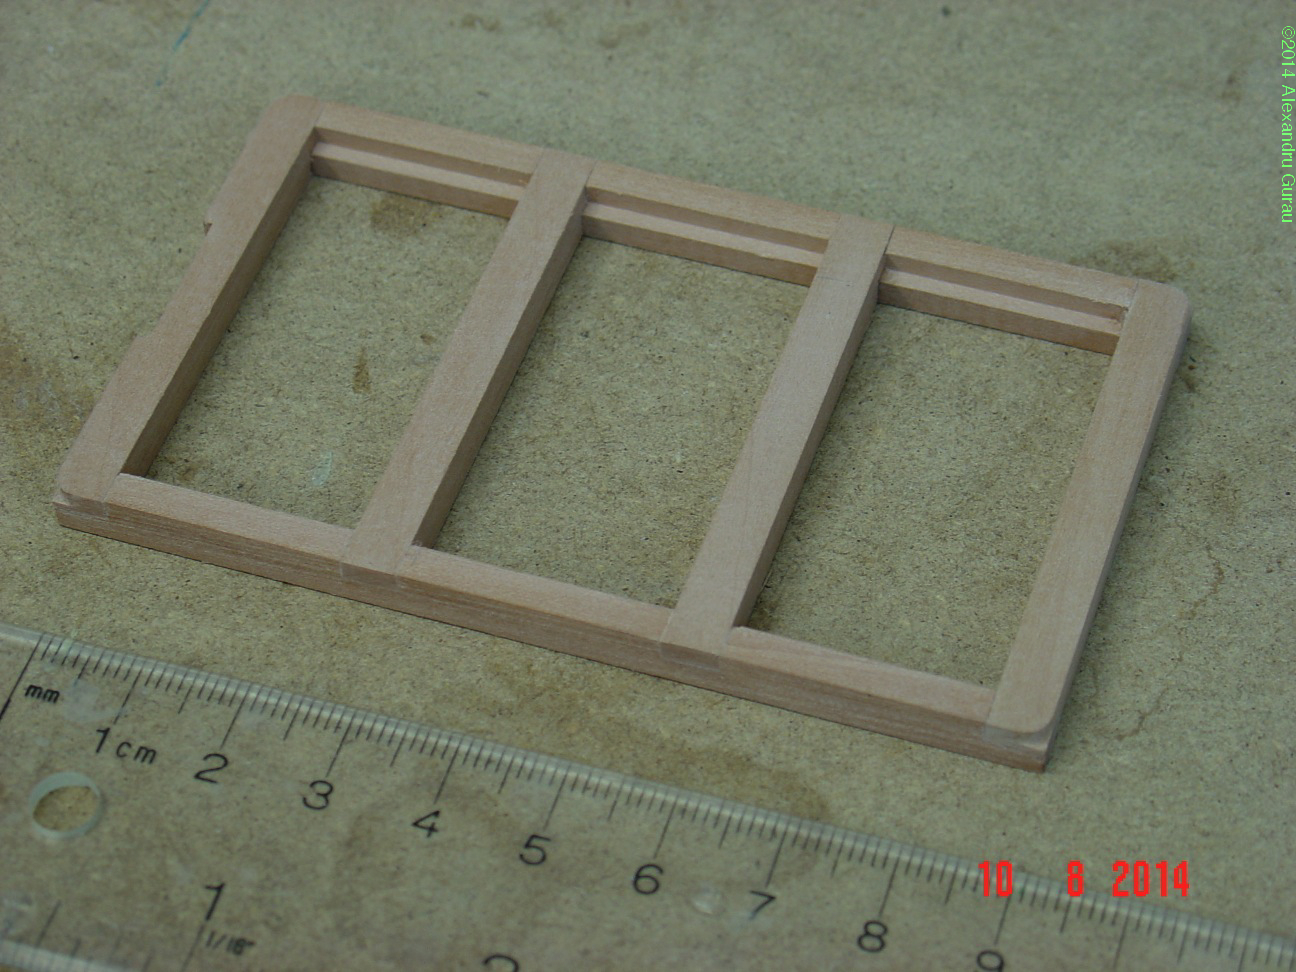
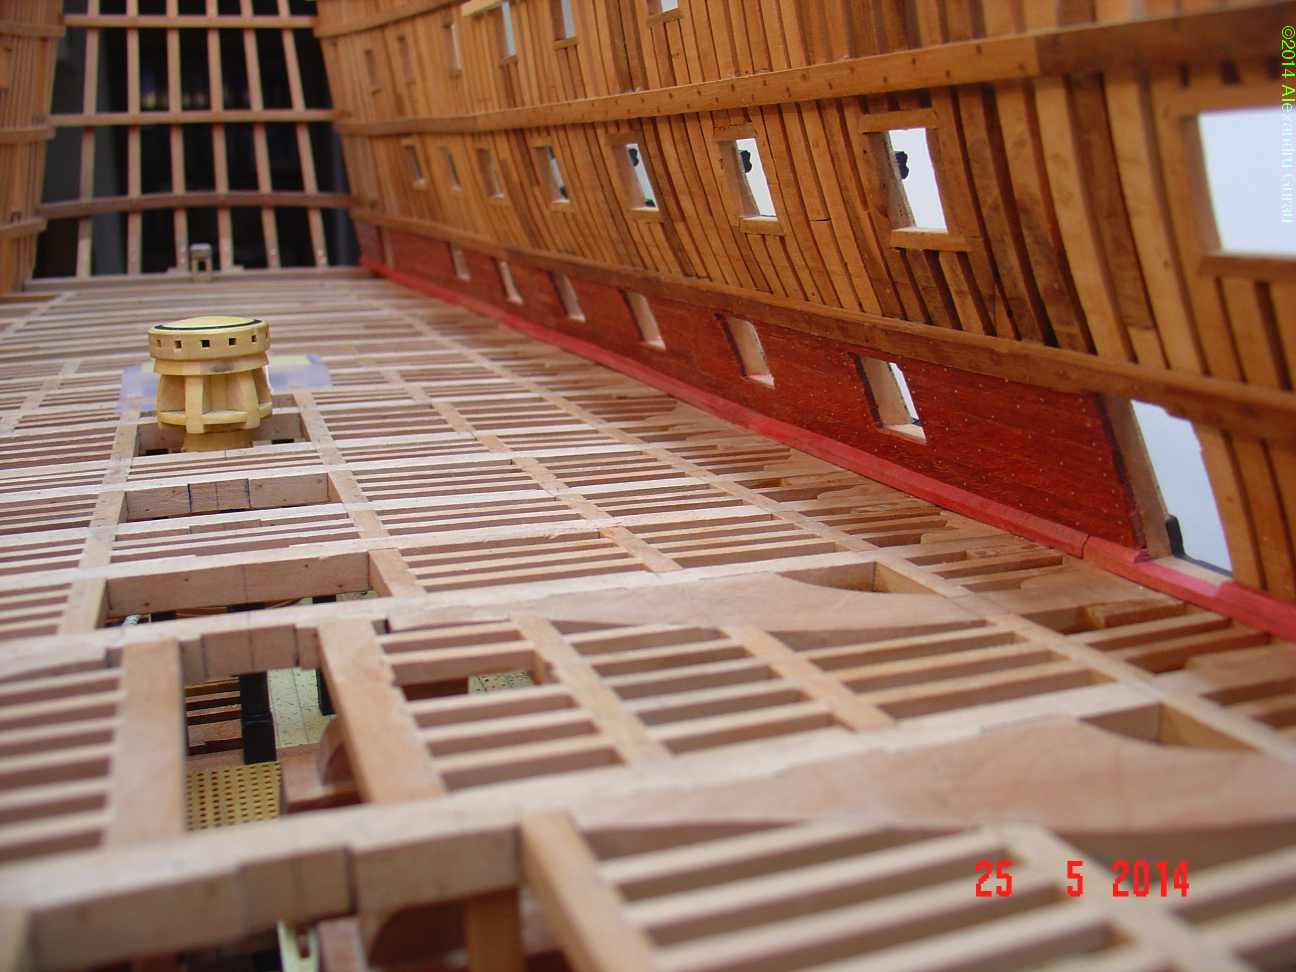
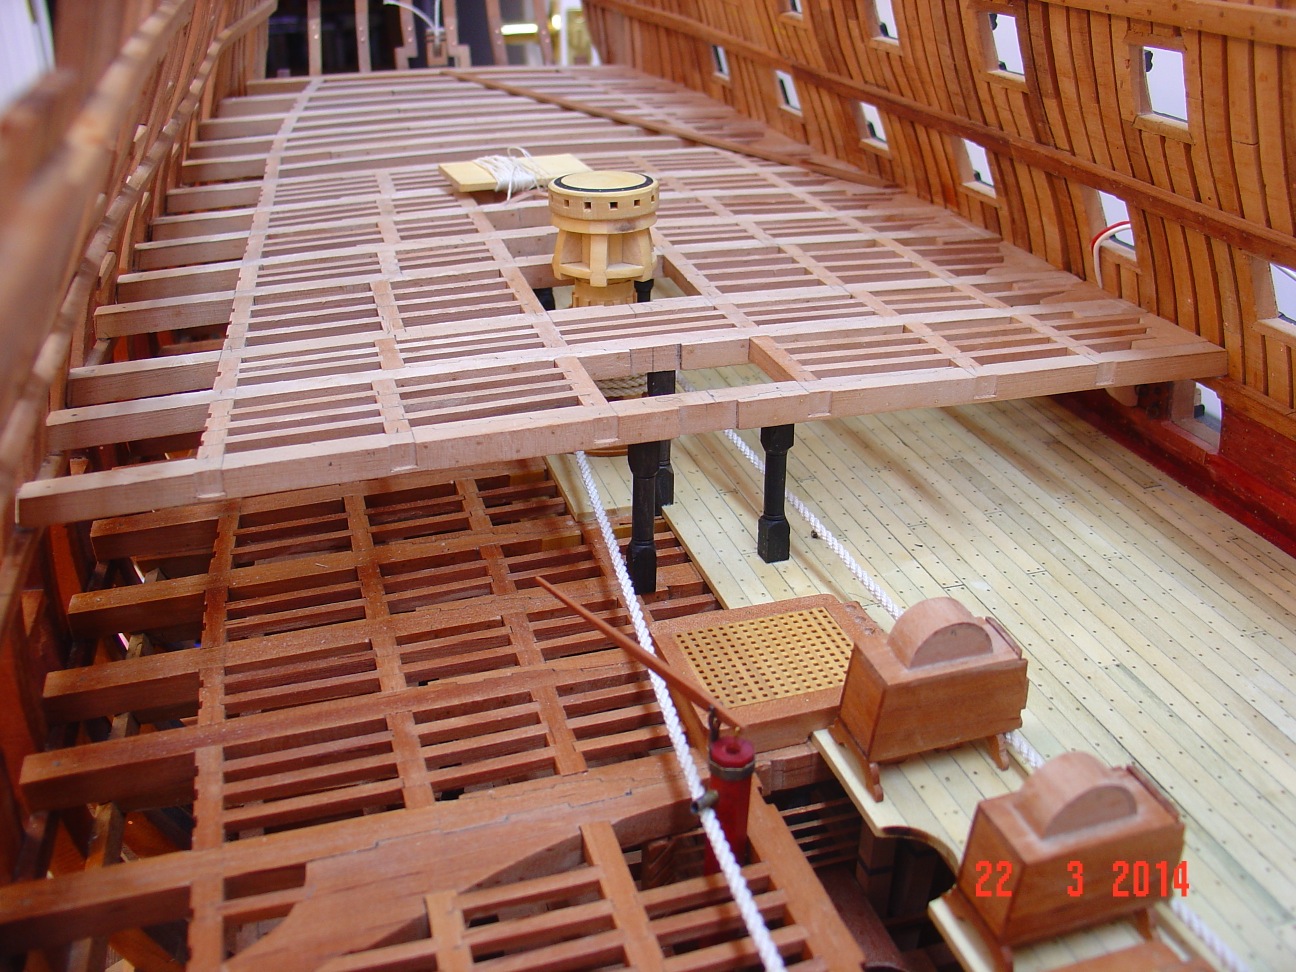
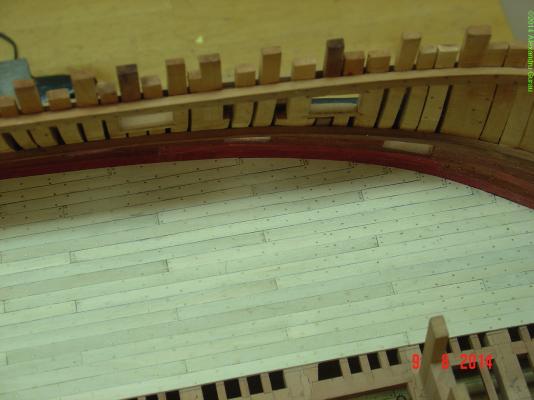
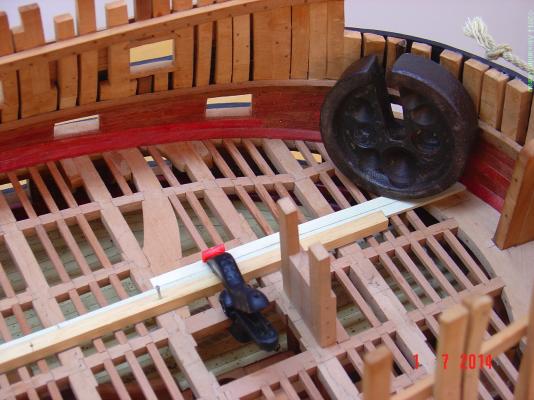
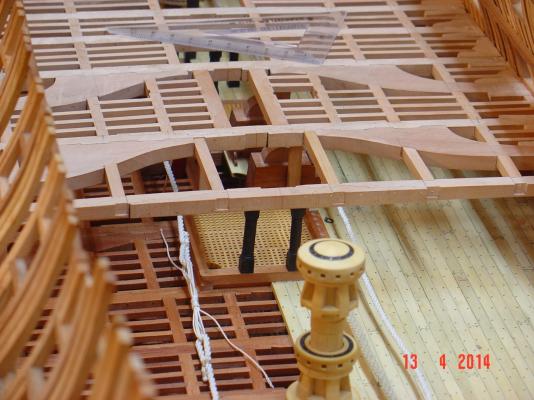
Hello, A small update on the middle deck planking. Alexandru


-
Thank you all for the great comments! They are really appreciated. Same for the thumbs-up. Regards, Alexandru
-
...


-
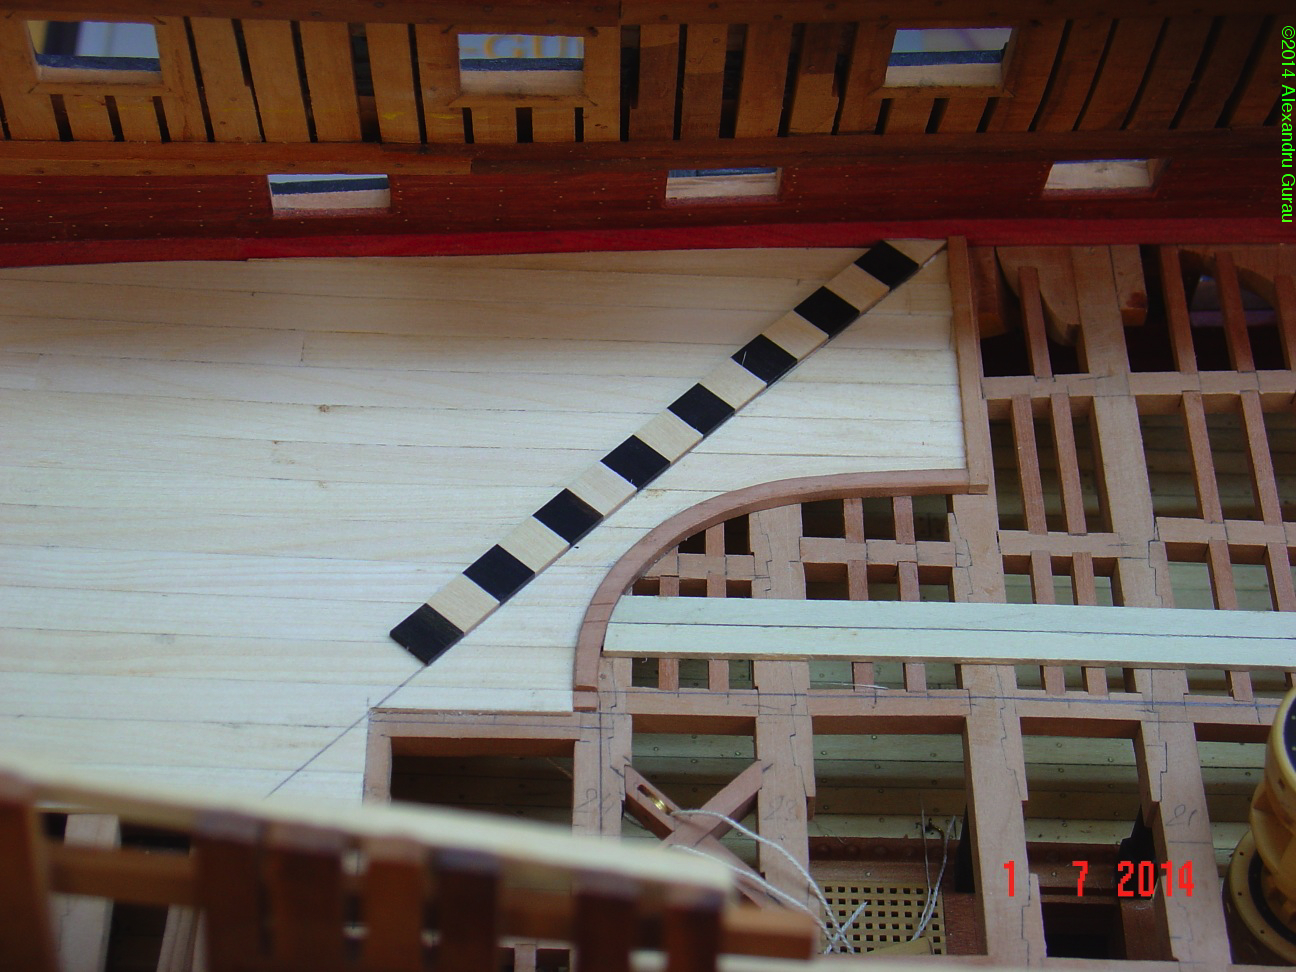
Hello, here is another update. Alexandru


-
Thanks everybody for appreciation and the thumbs up. The Learner, I am using McKay's plans for this build and yes if you buy them all they are quite expensive. For the exact same reason I only bought 13 sheets at 1/48 scale and for the rest I am using the book. Also you may want to consider at least a couple of plans drawn by him in the book: "HMS Victory Her Construction, Career and Restoration" by Alain McGowan. Maybe you noticed that the sections and waterlines are missing from the Anatomy of the ship book. In fact everything that is in this second book is missing from the other but I think they complete each other very nicely. Alexandru
-
...

-
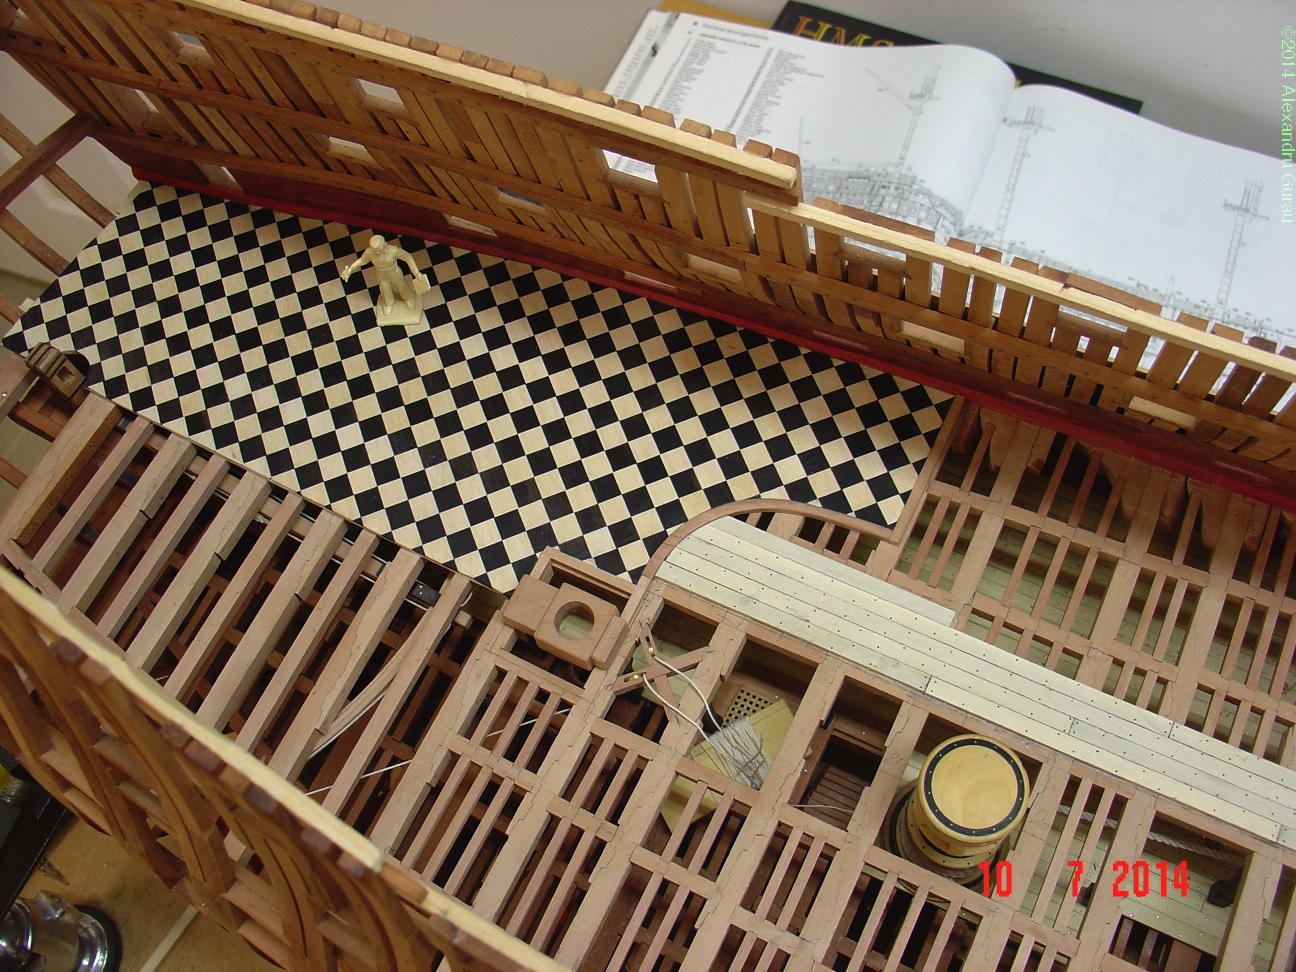
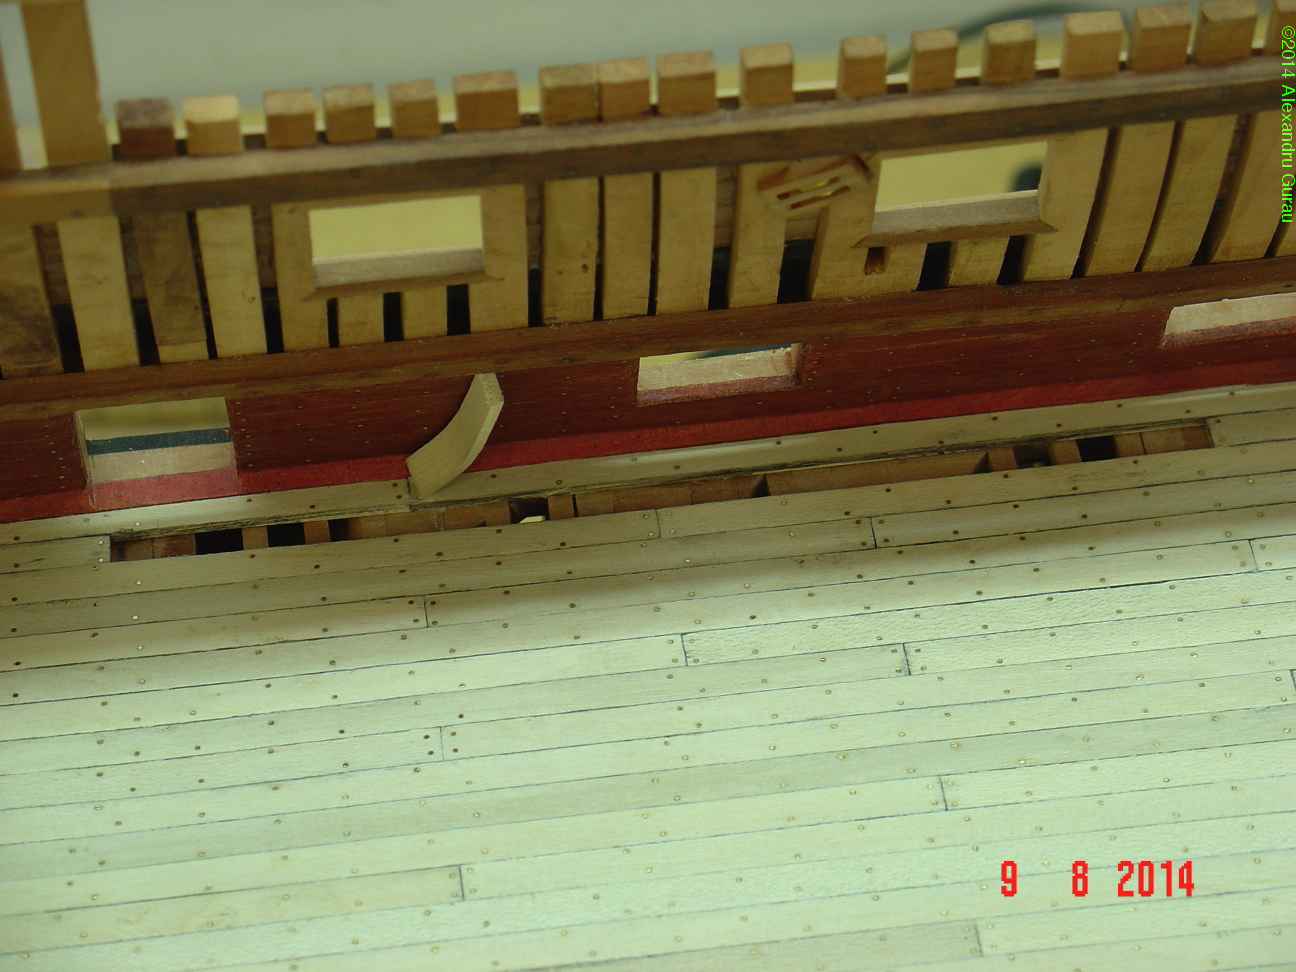
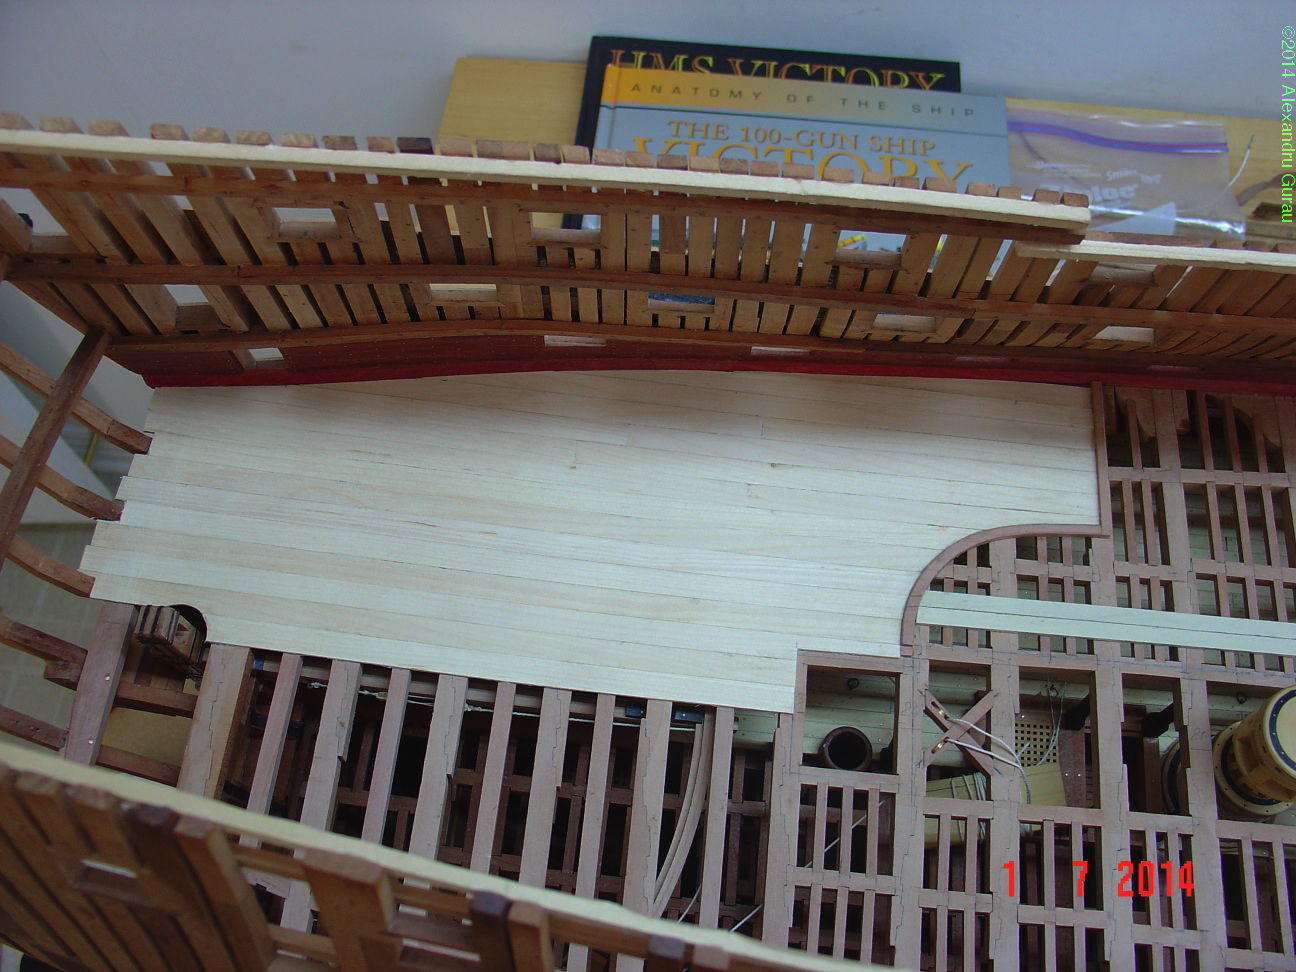
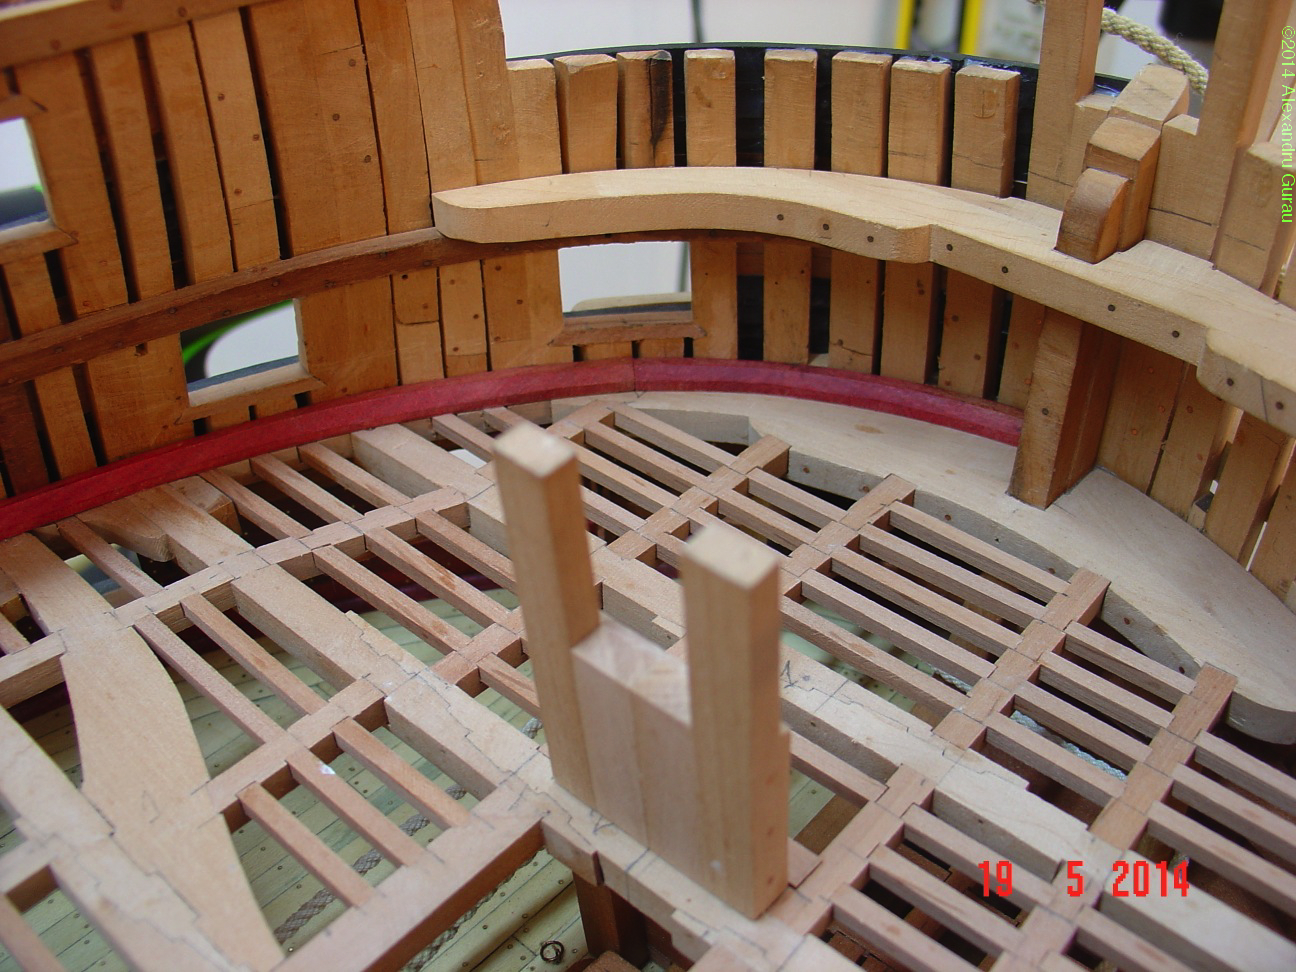
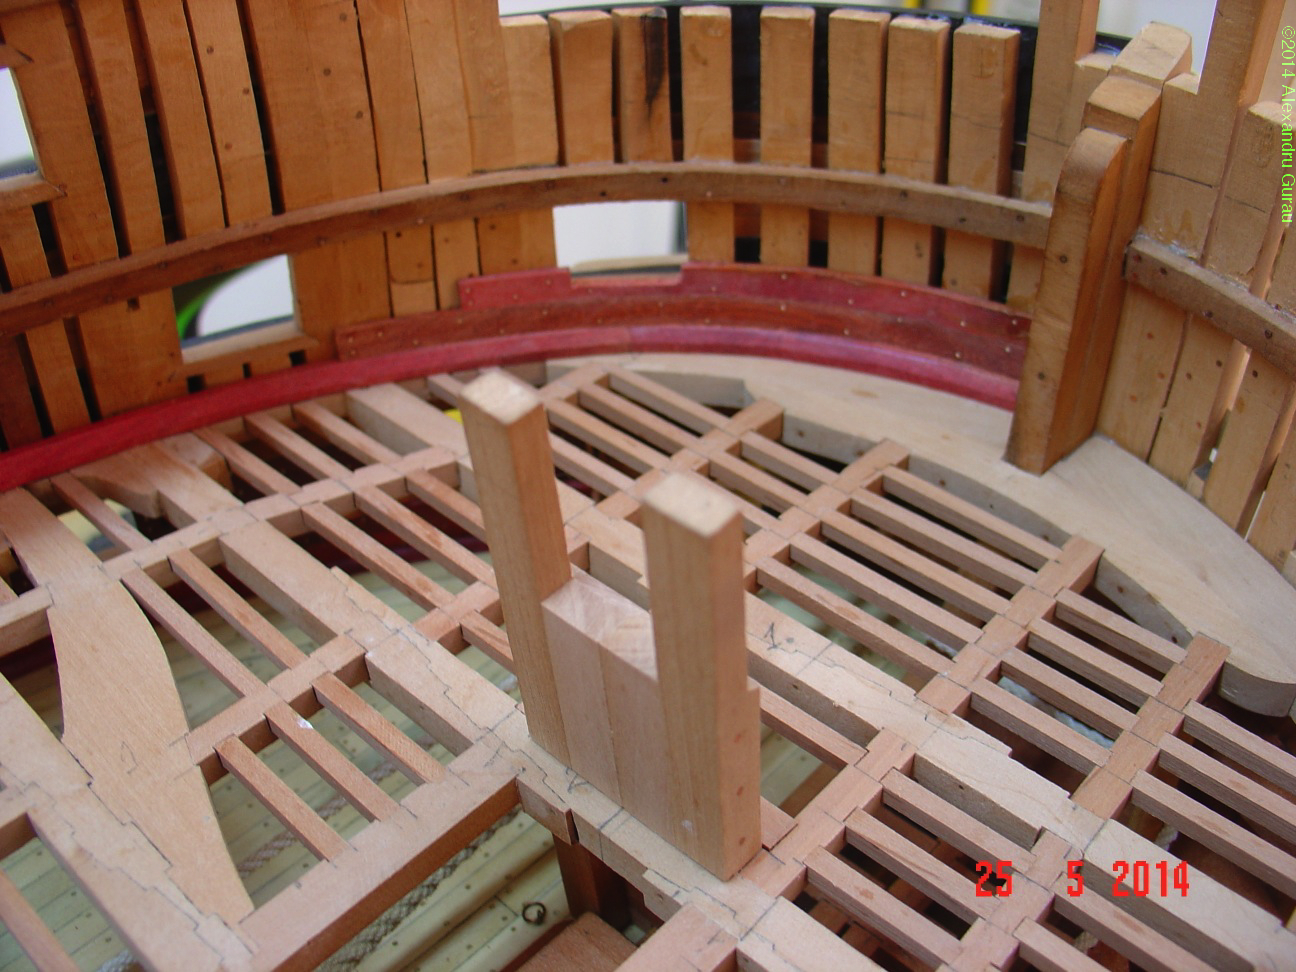
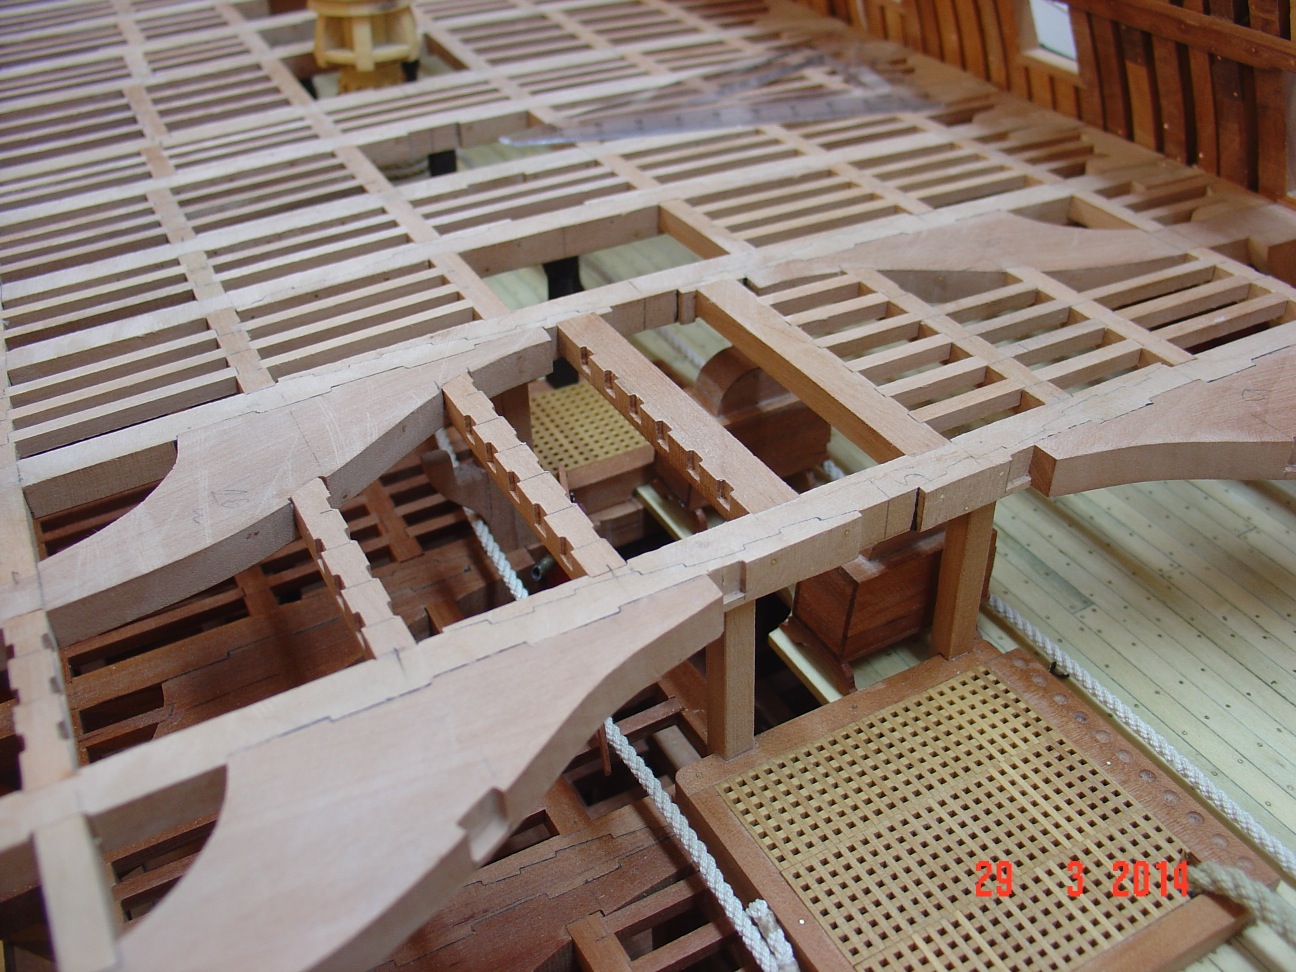
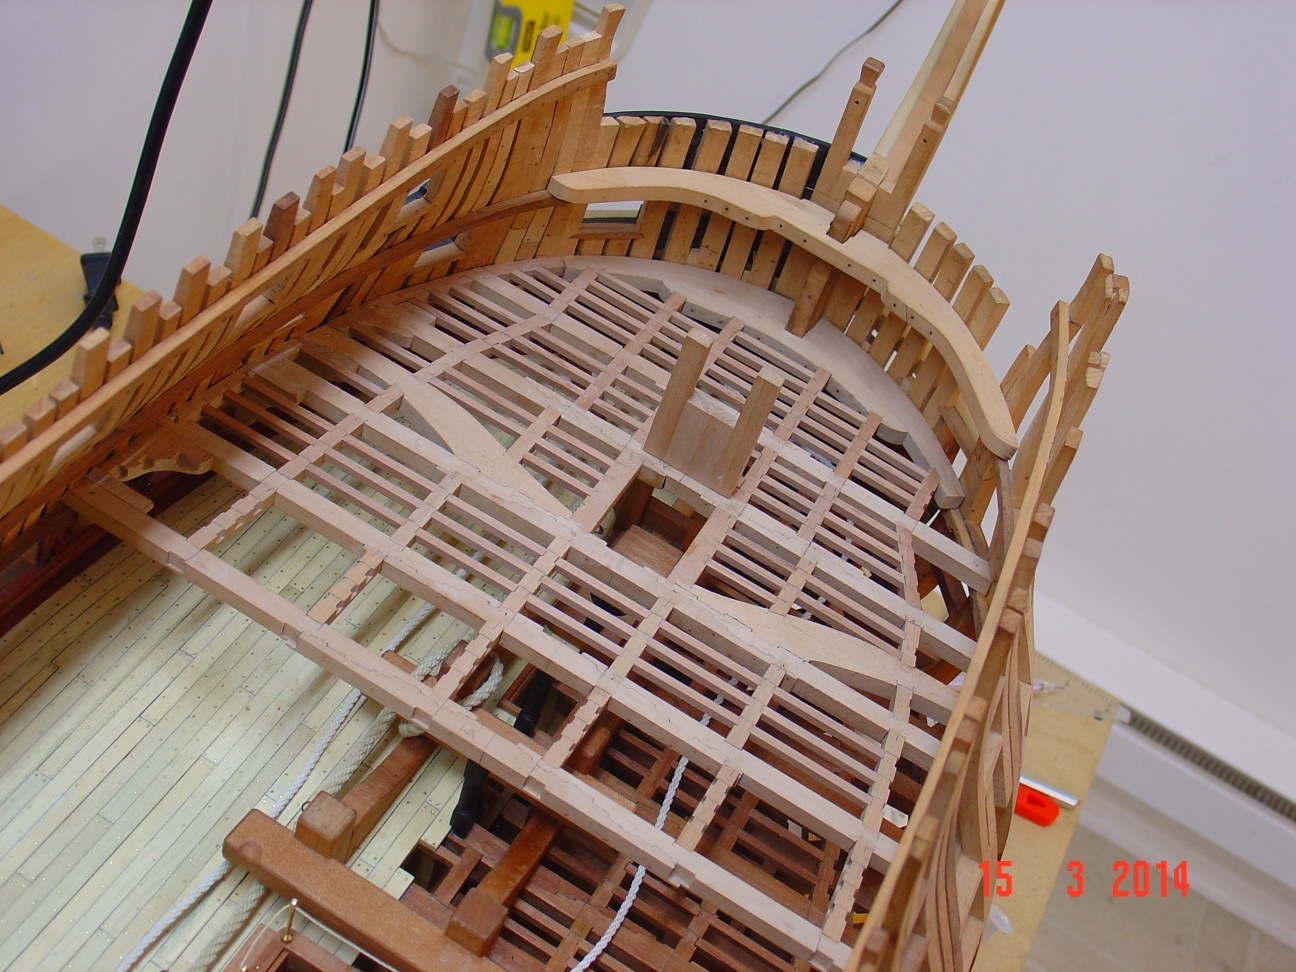
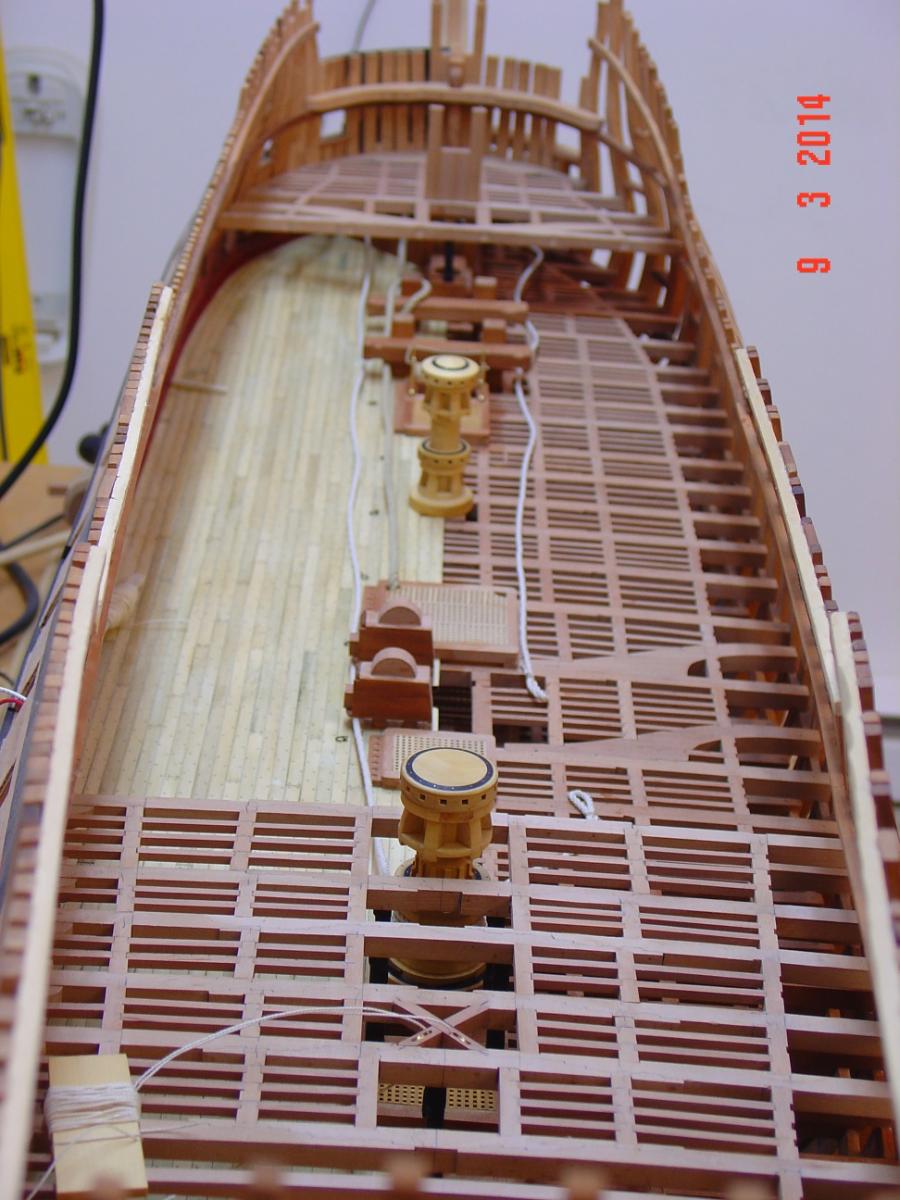
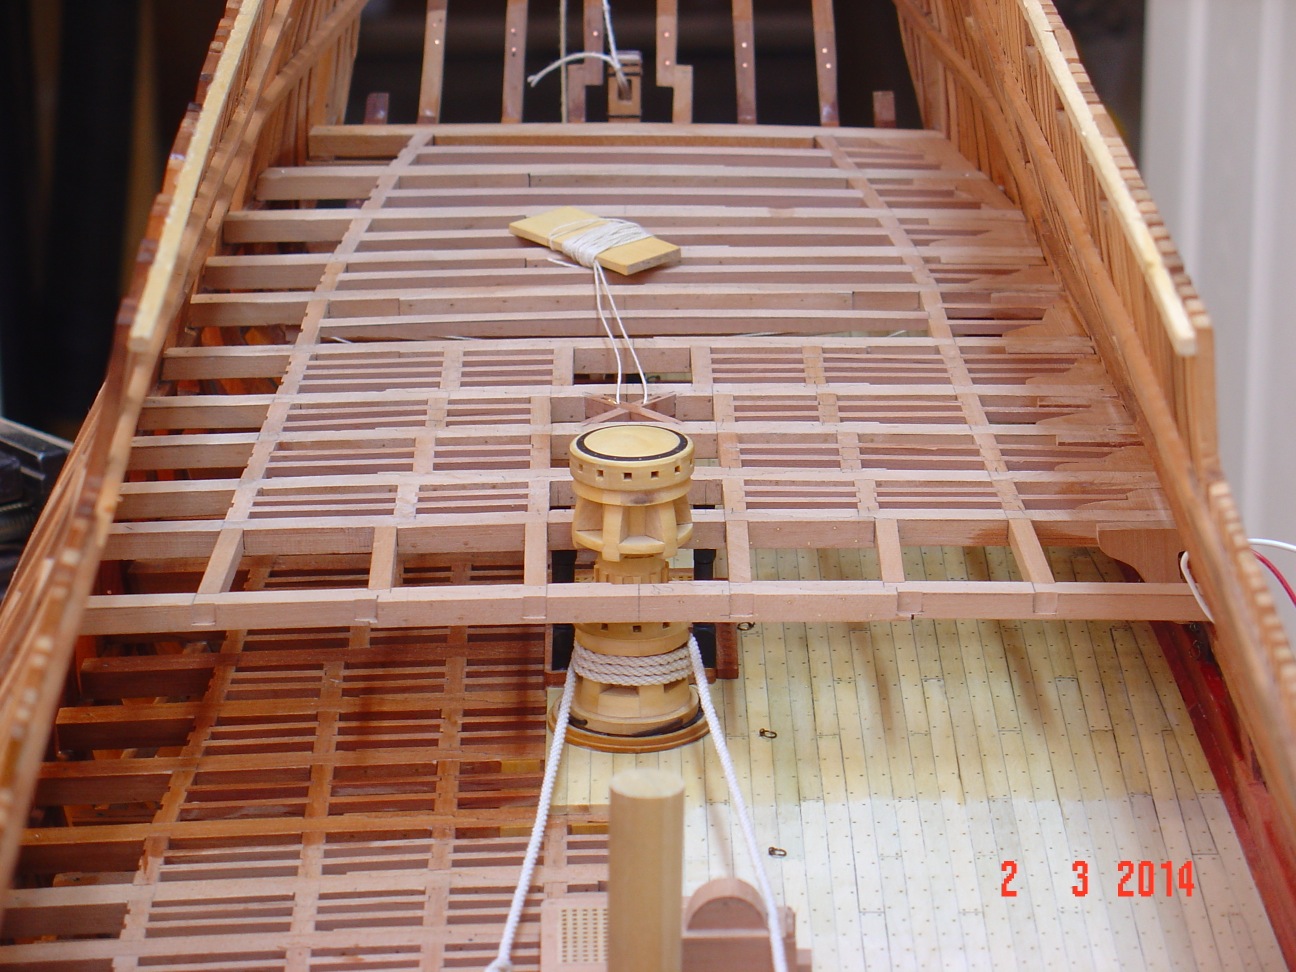
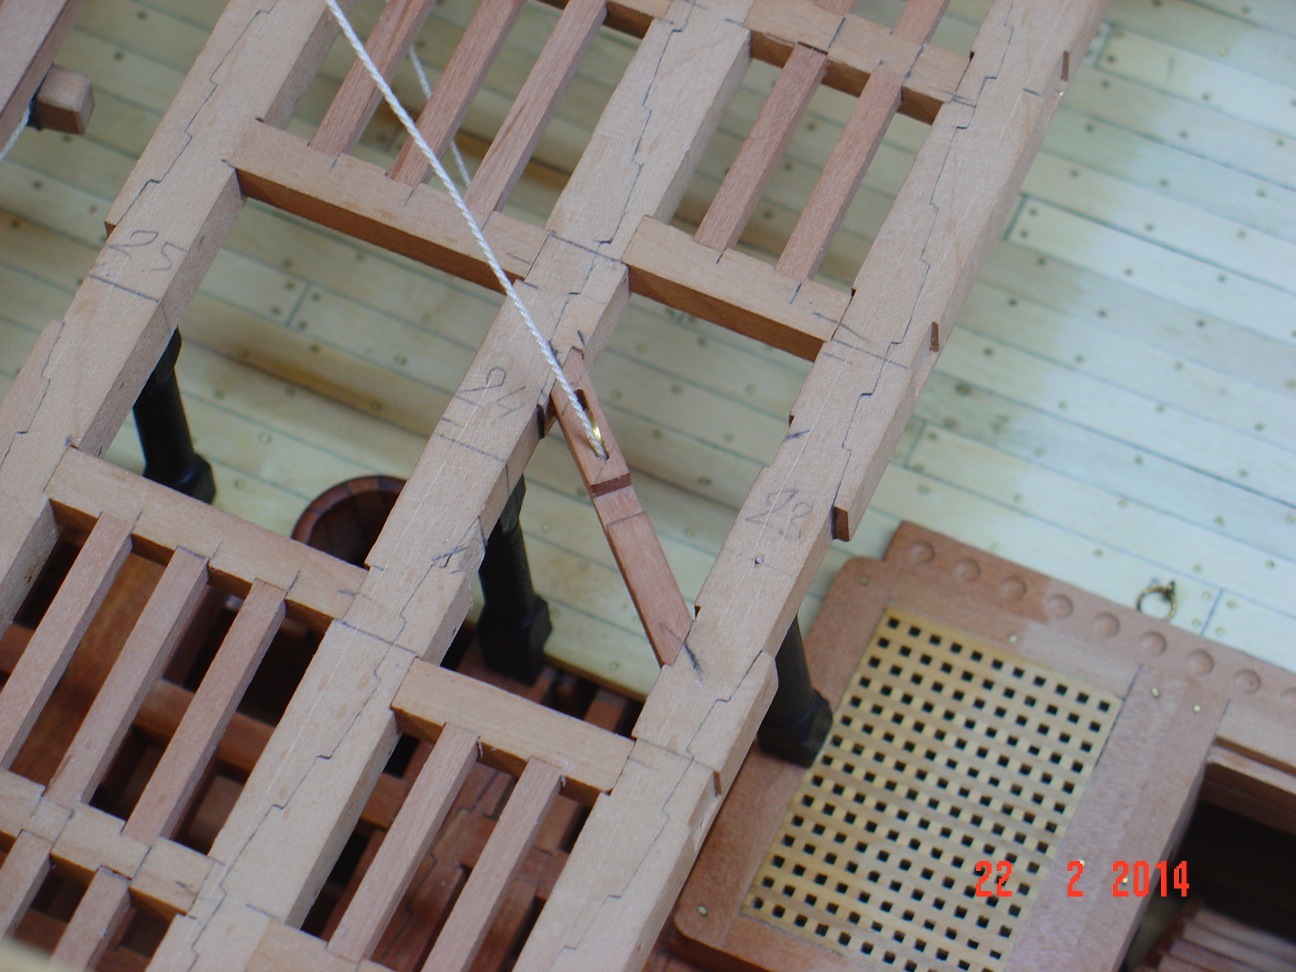
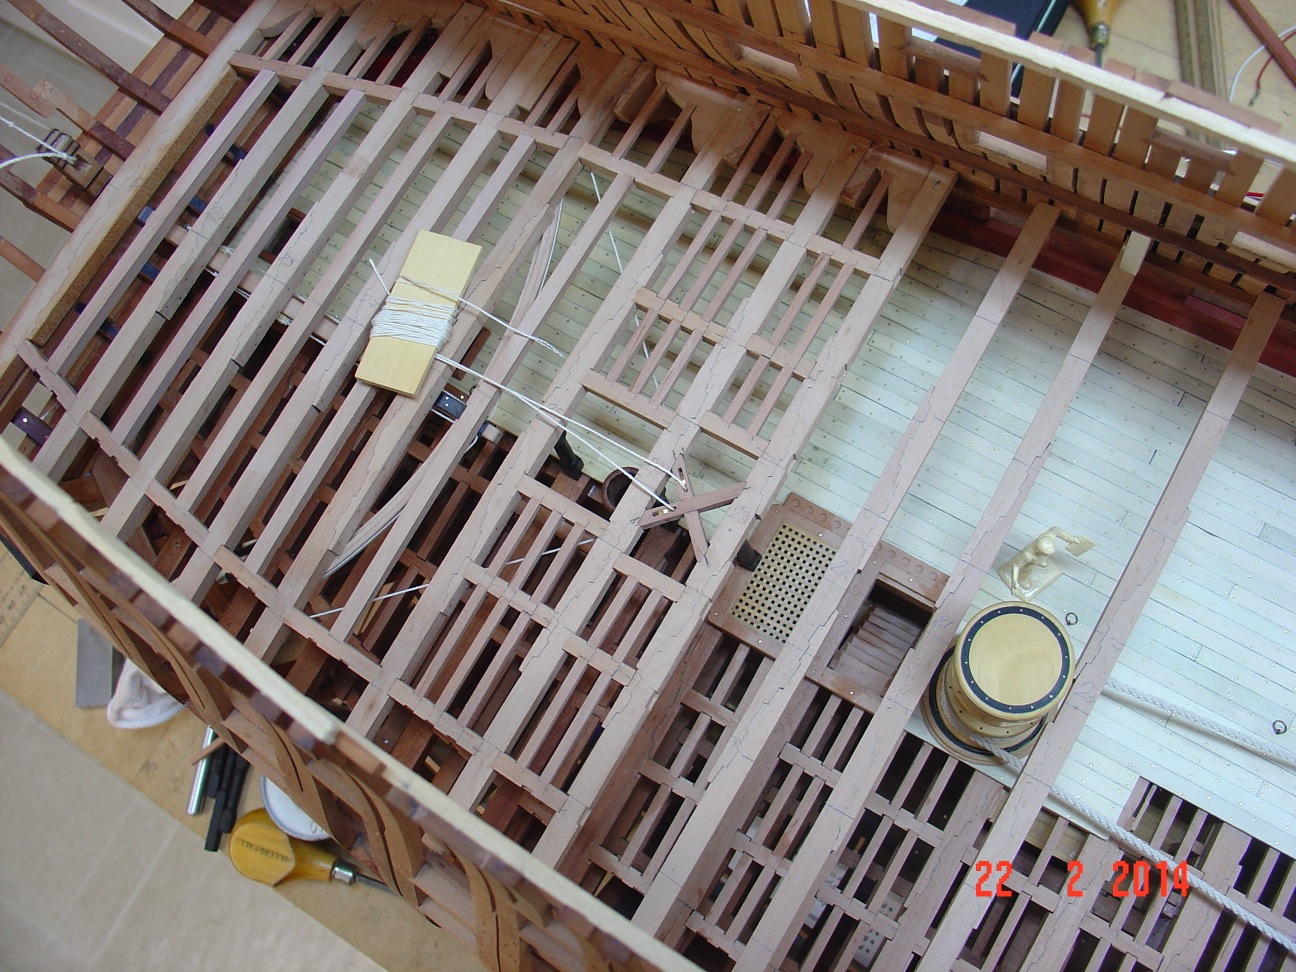
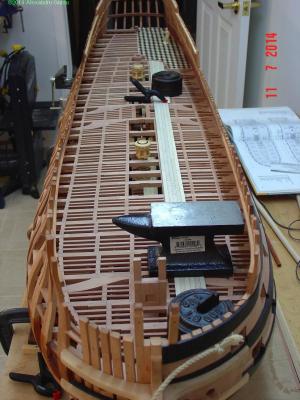
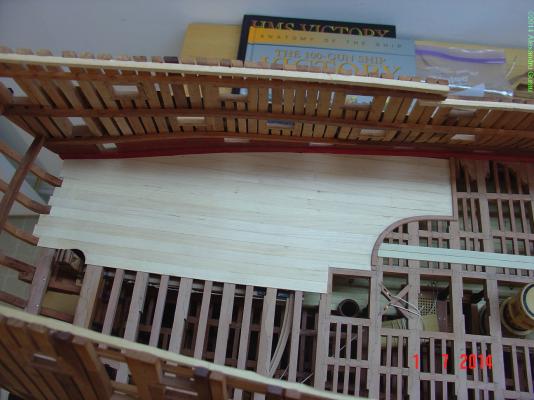
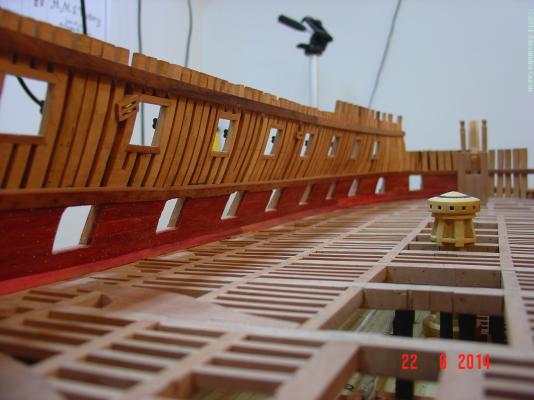
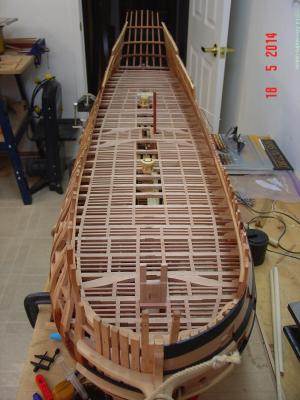
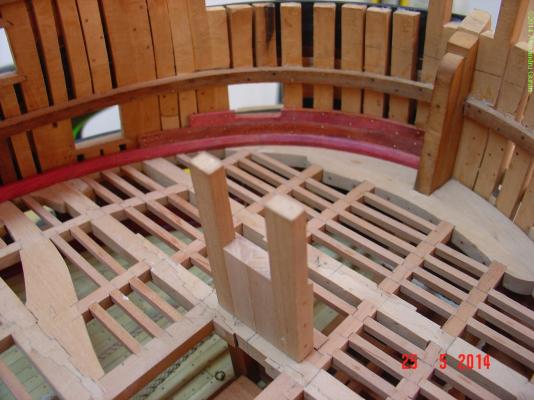
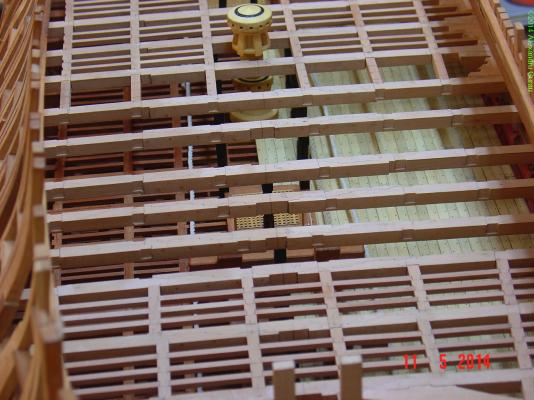
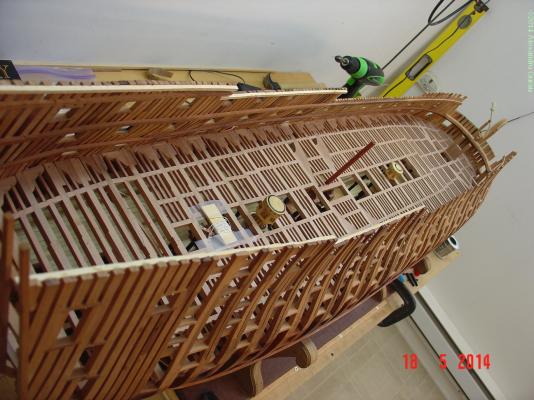
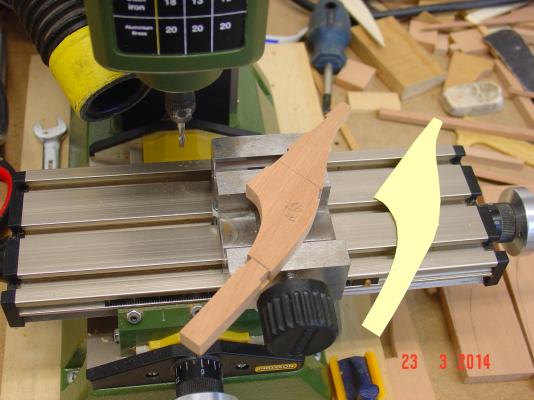
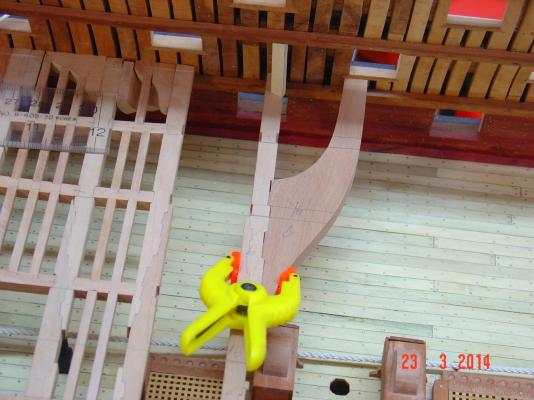
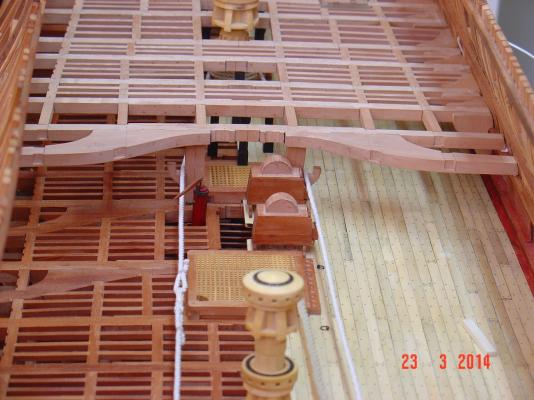
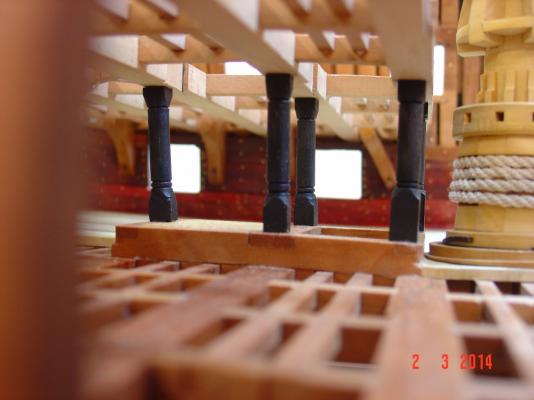
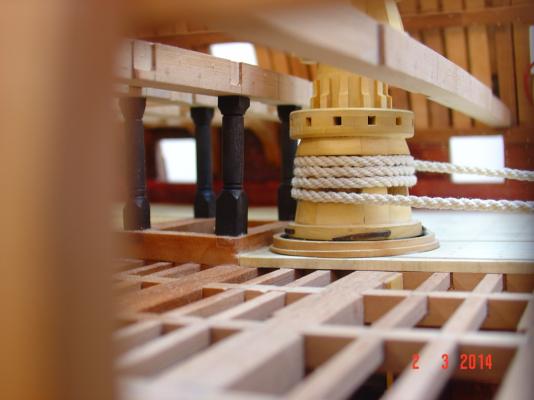
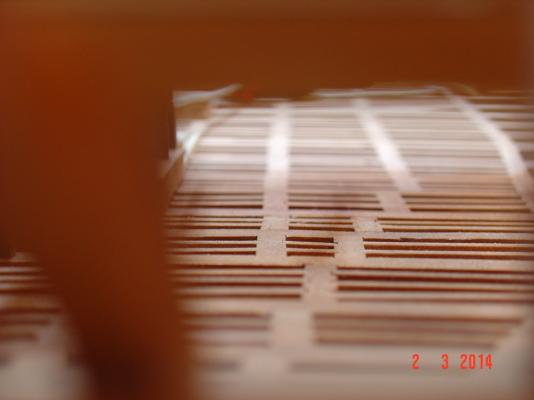
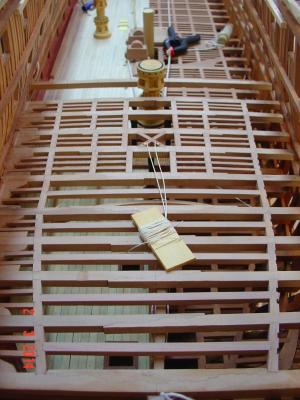
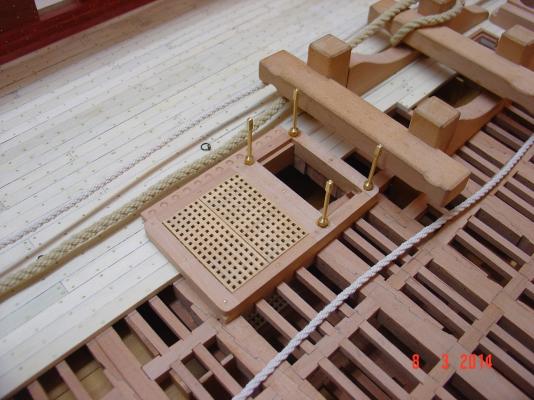
Hello, Here are some progress pictures on the middle deck framing.


-
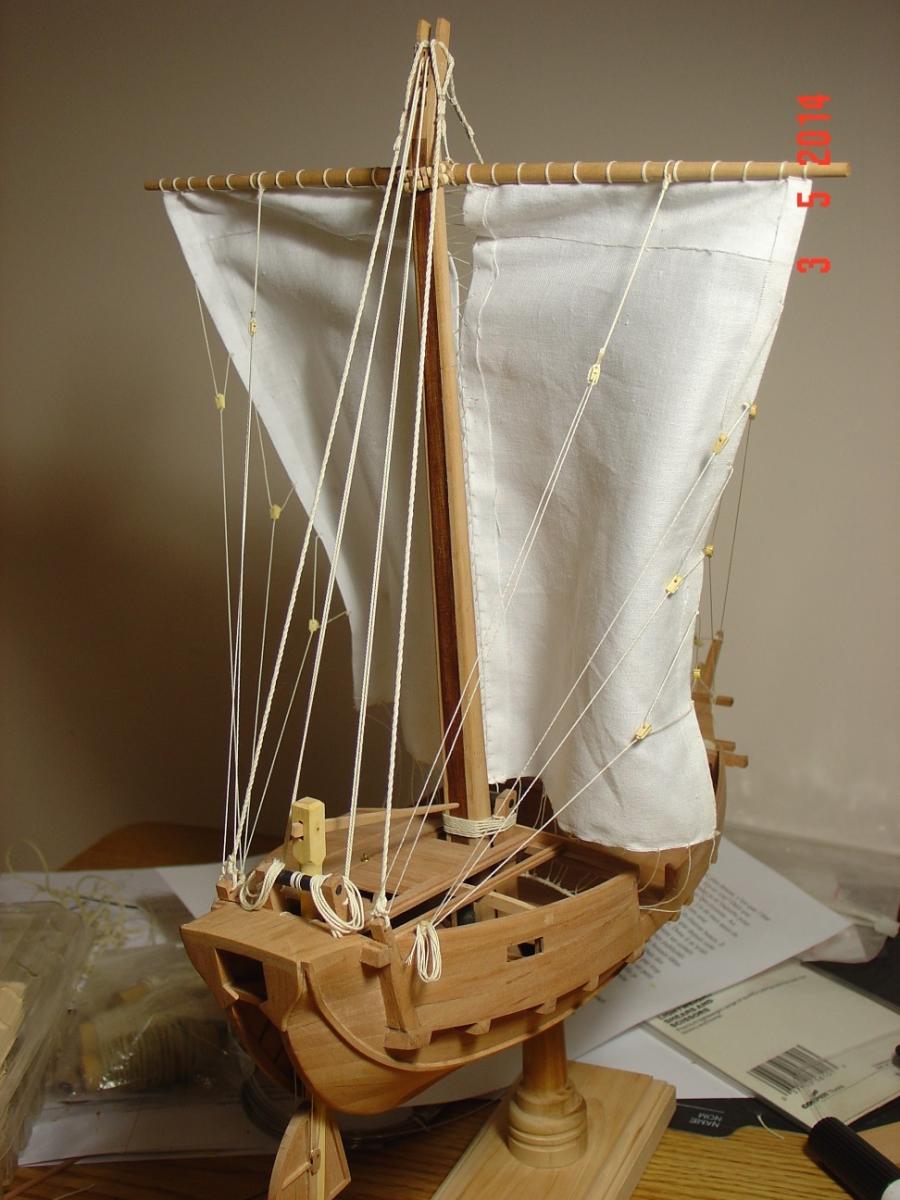
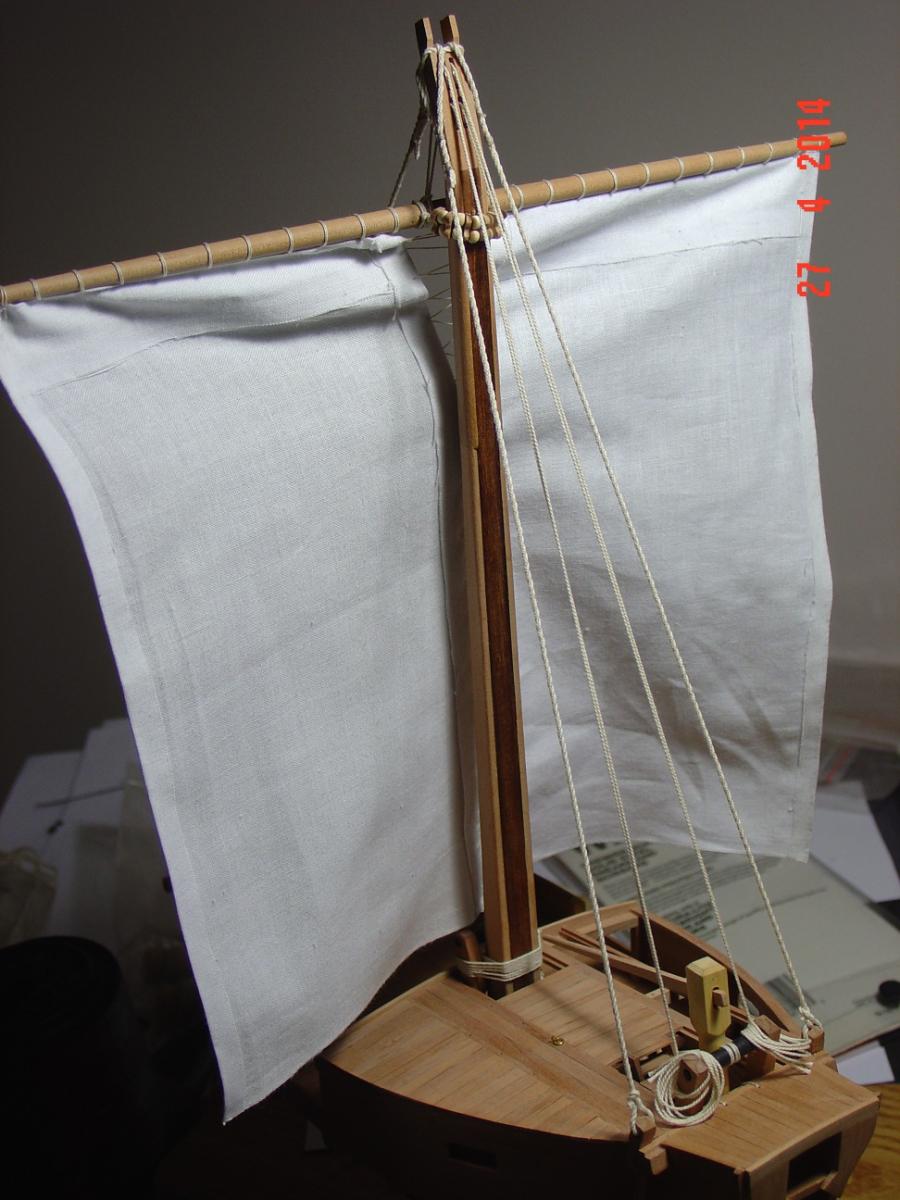
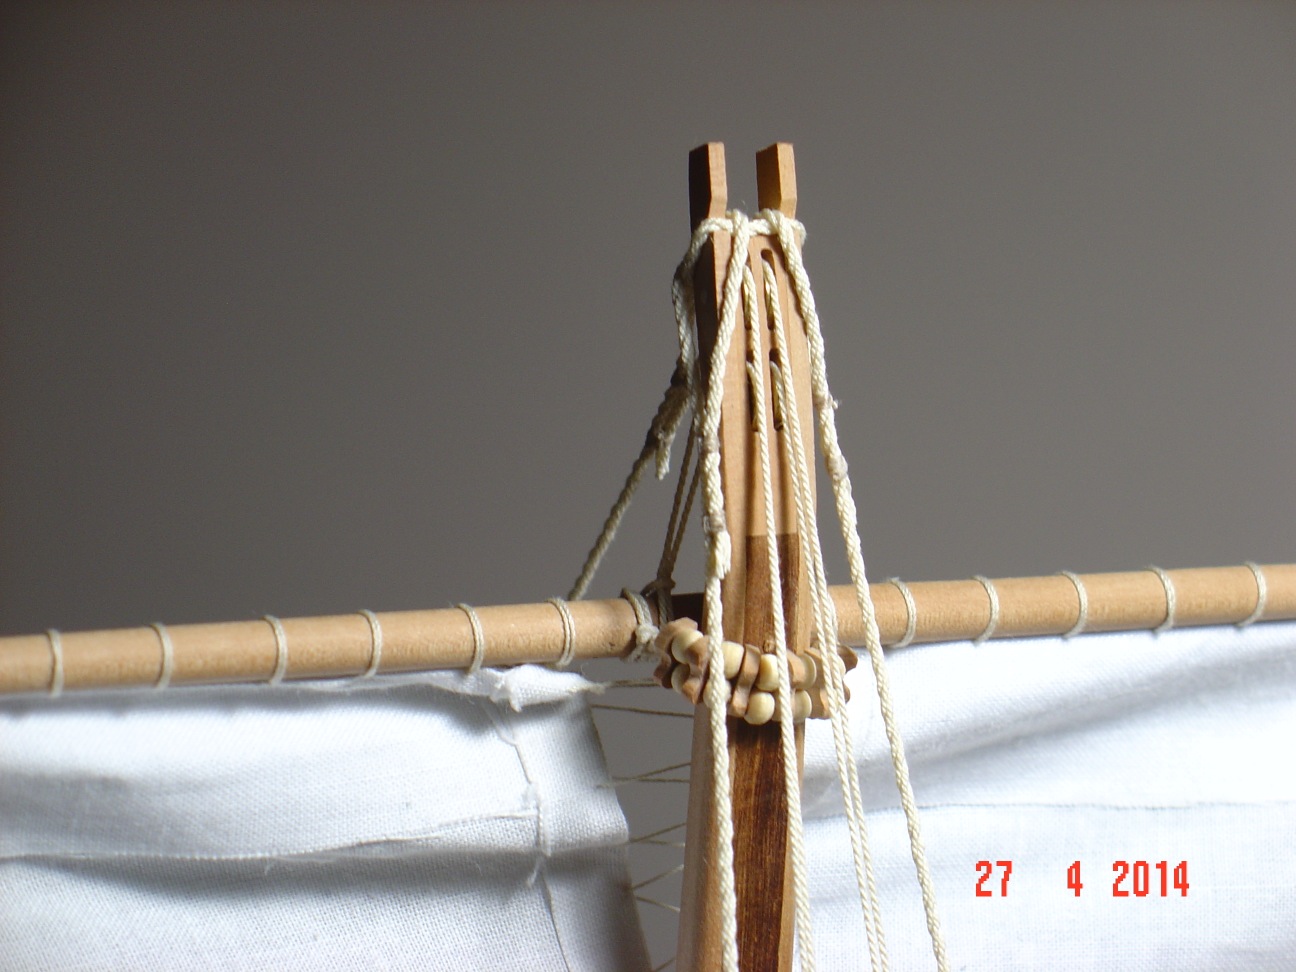
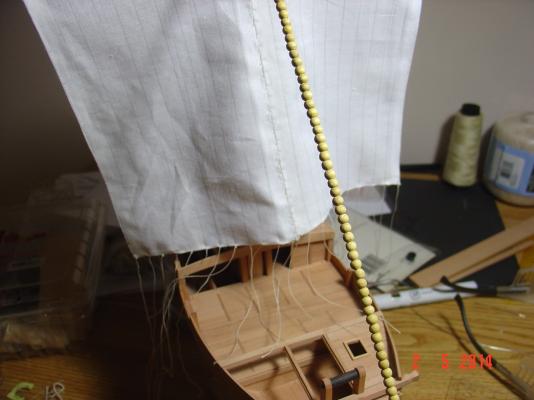
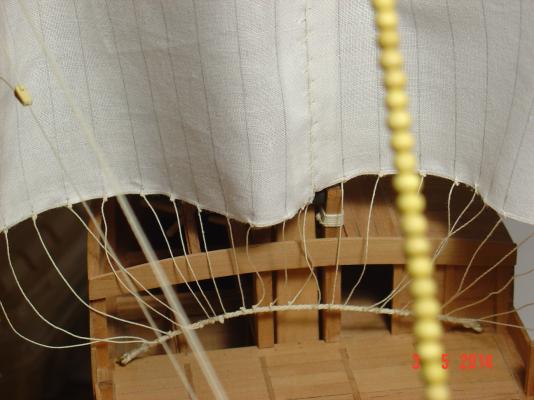
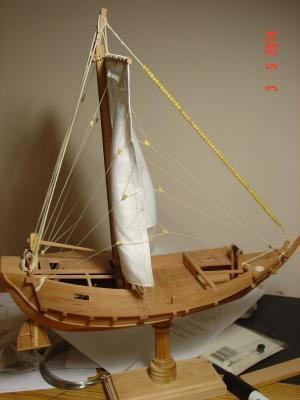
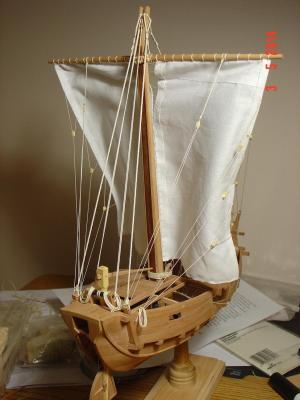
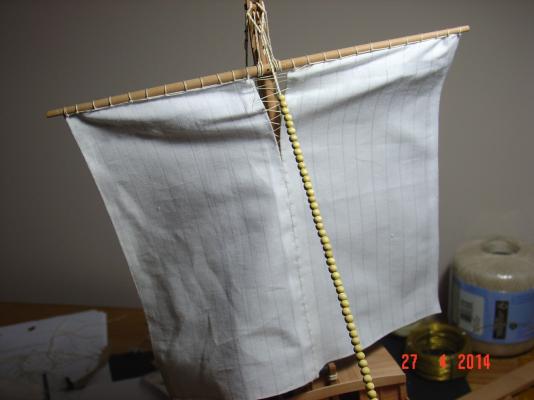
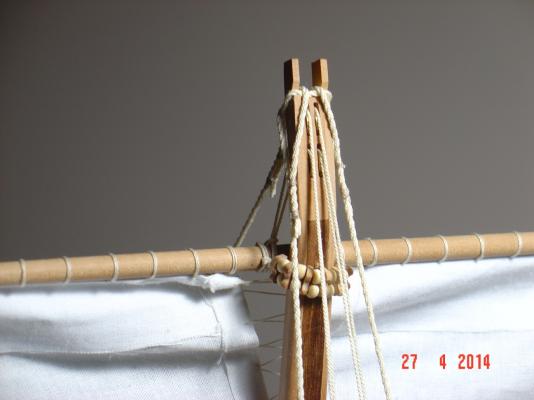
The rigging is now complete. I liked this model as it has quite simple rigging - this being a part I don't particularly like to do. Regards, Alexandru


-
Well, it took me a while but I think I posted back all the missing pictures with only several exceptions - for some reason I can't find them on my computer but there's only about 5 that are missing. Regards, Alexandru
-
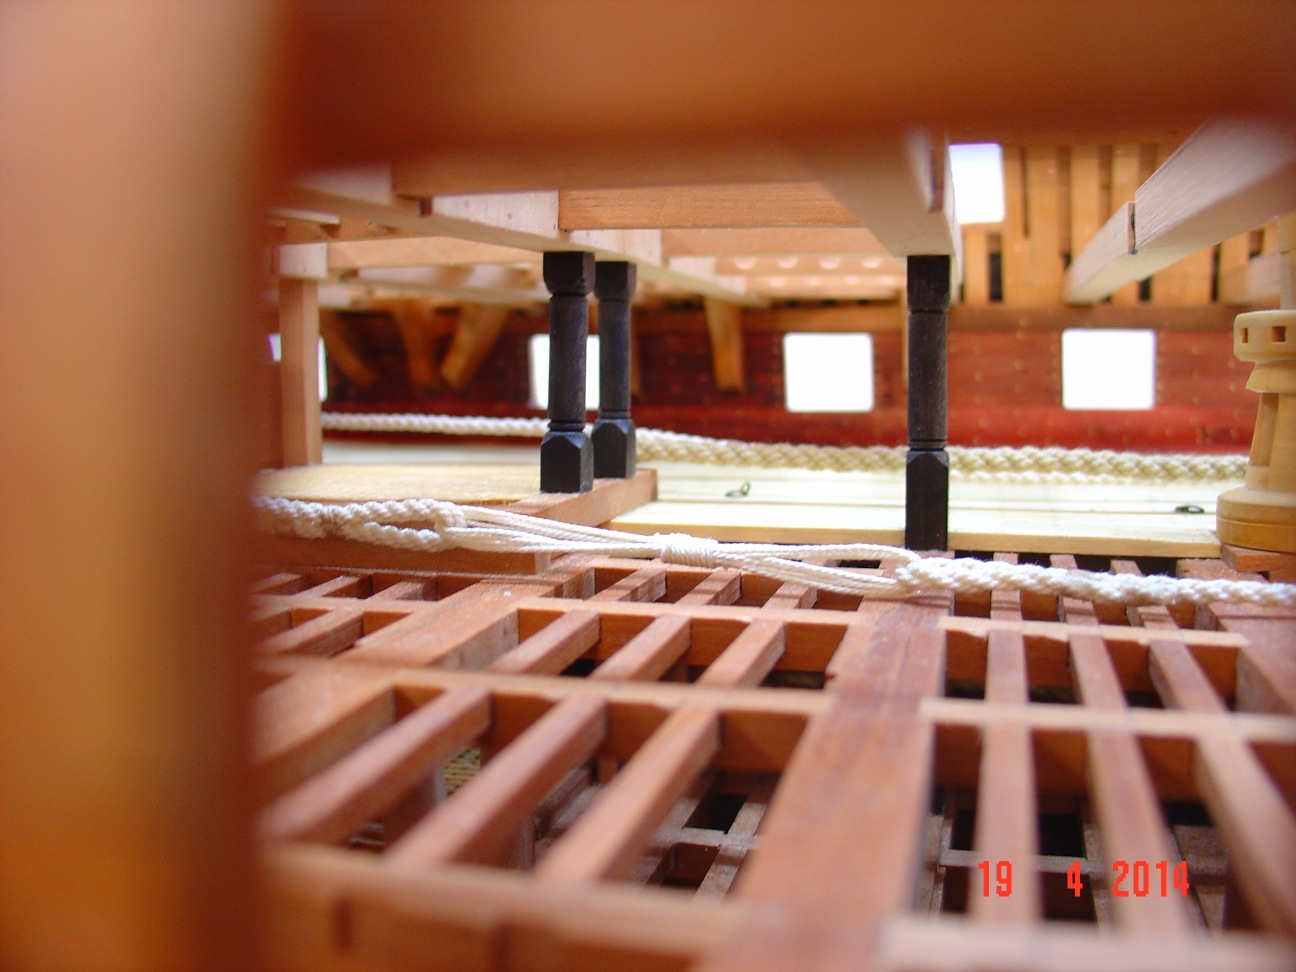
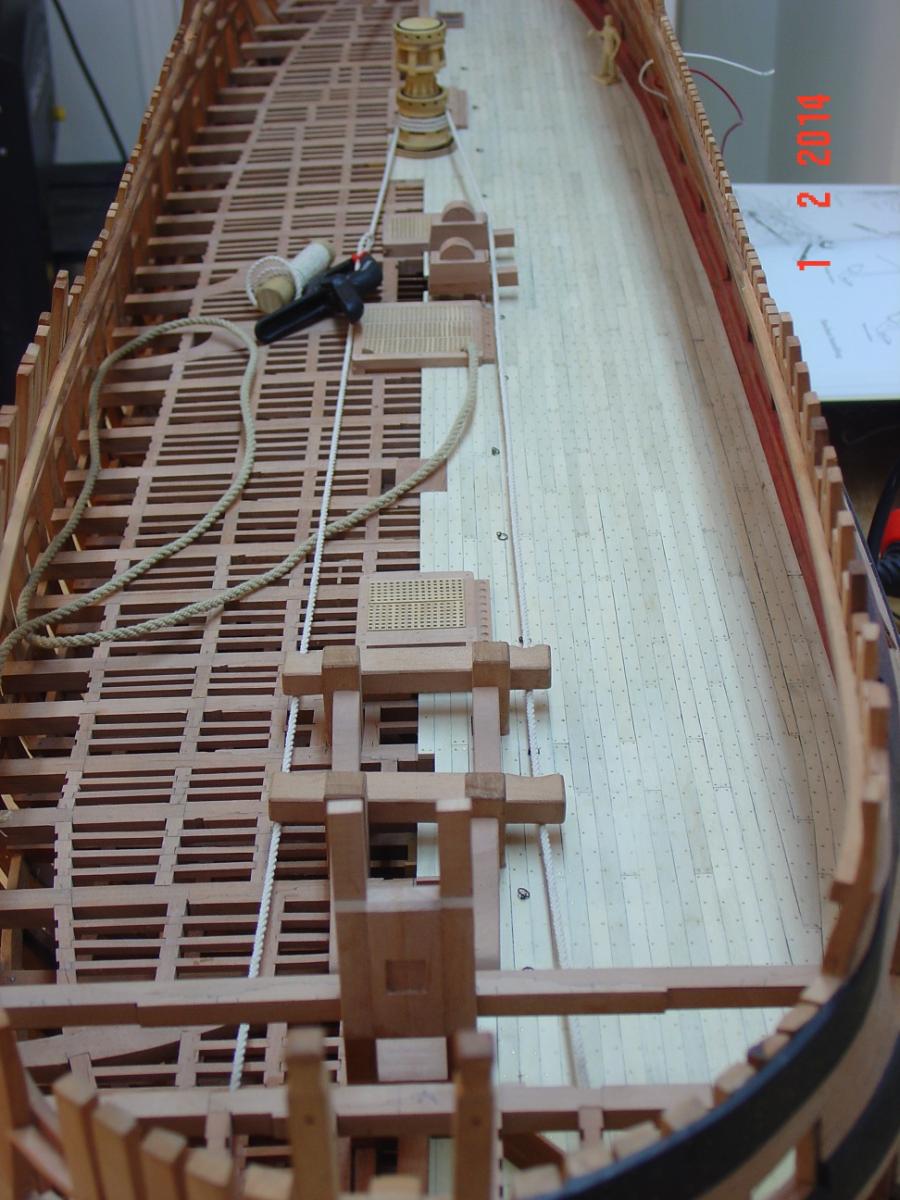
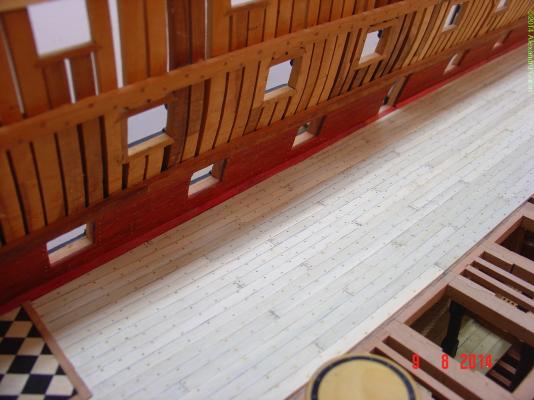
After a long time I managed to do something for this model. Here are some pictures.


-
Thank you Monello for pointing that out. I was not aware of it but you are right: almost all pictures on pages 16 to 18 seem to be lost. I wonder if that happen to other build logs too. Didn't see any note from admins informing us about any loss of data so maybe they don't know either. Could someone share some light on this issue? Thank you, Alexandru
-
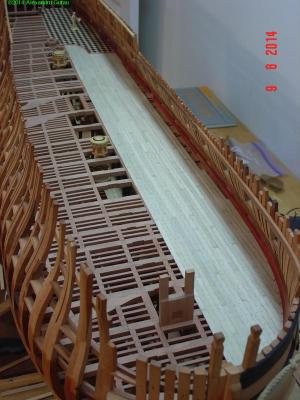
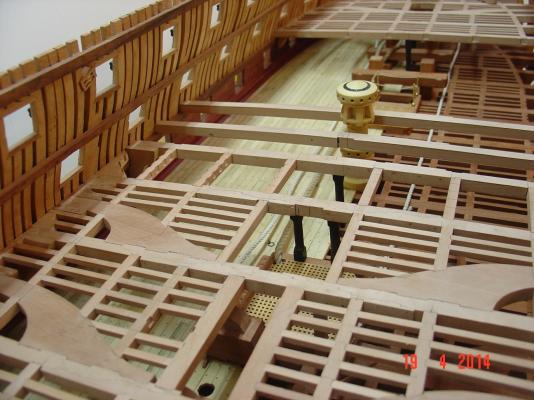
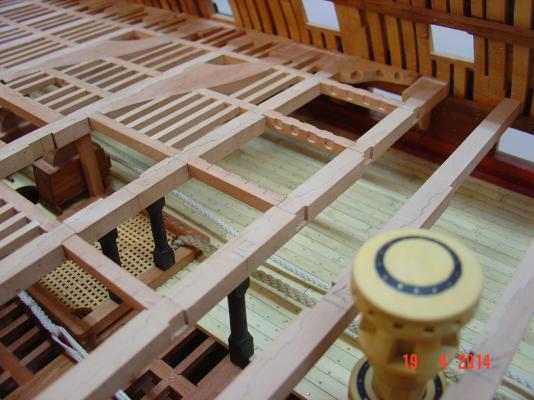
Thank you all again. Here is another small update as I continue with the middle deck framing. Regards, Alexandru


-
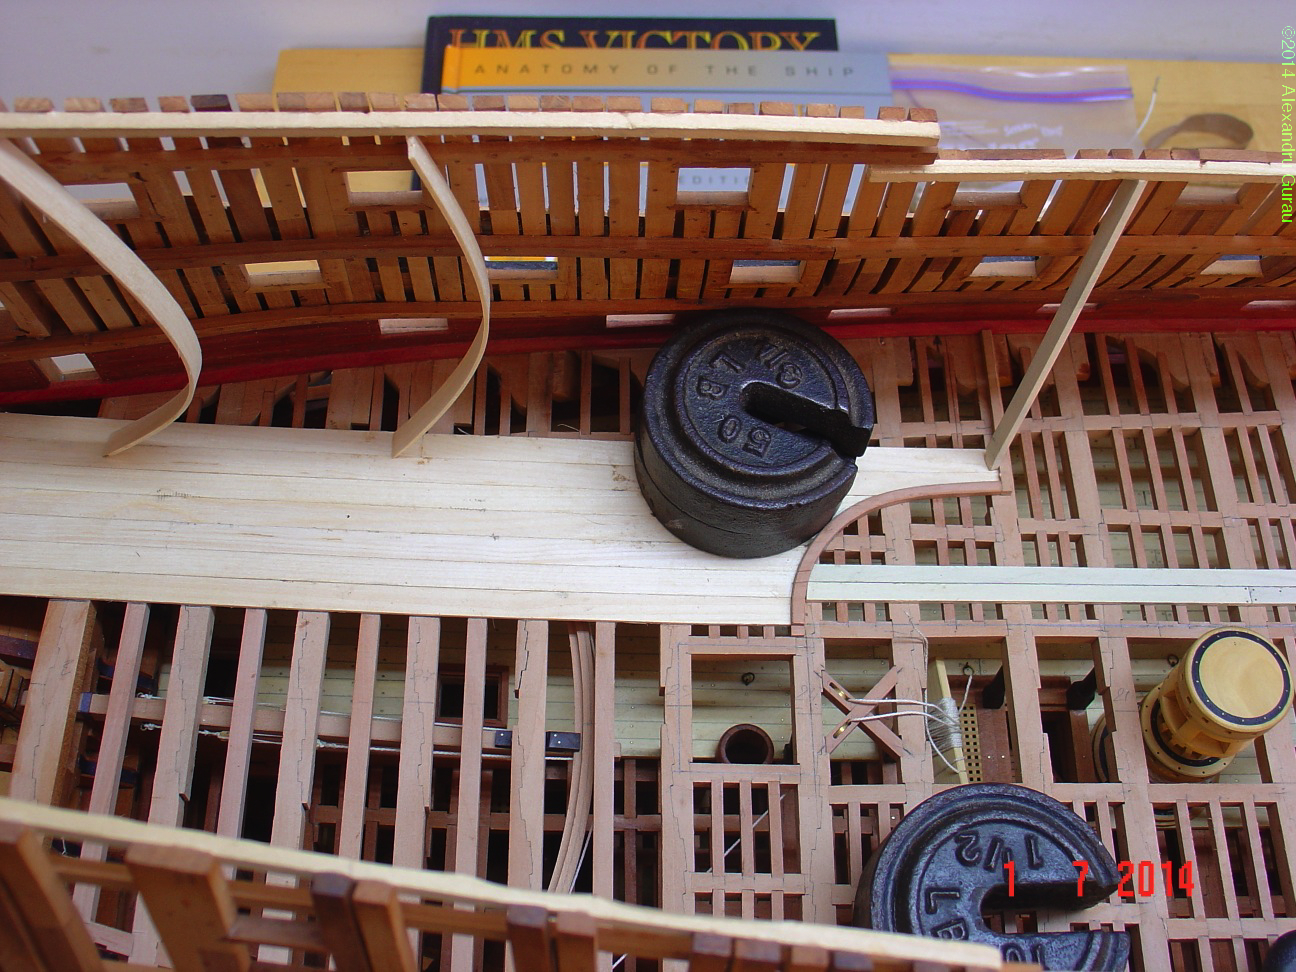
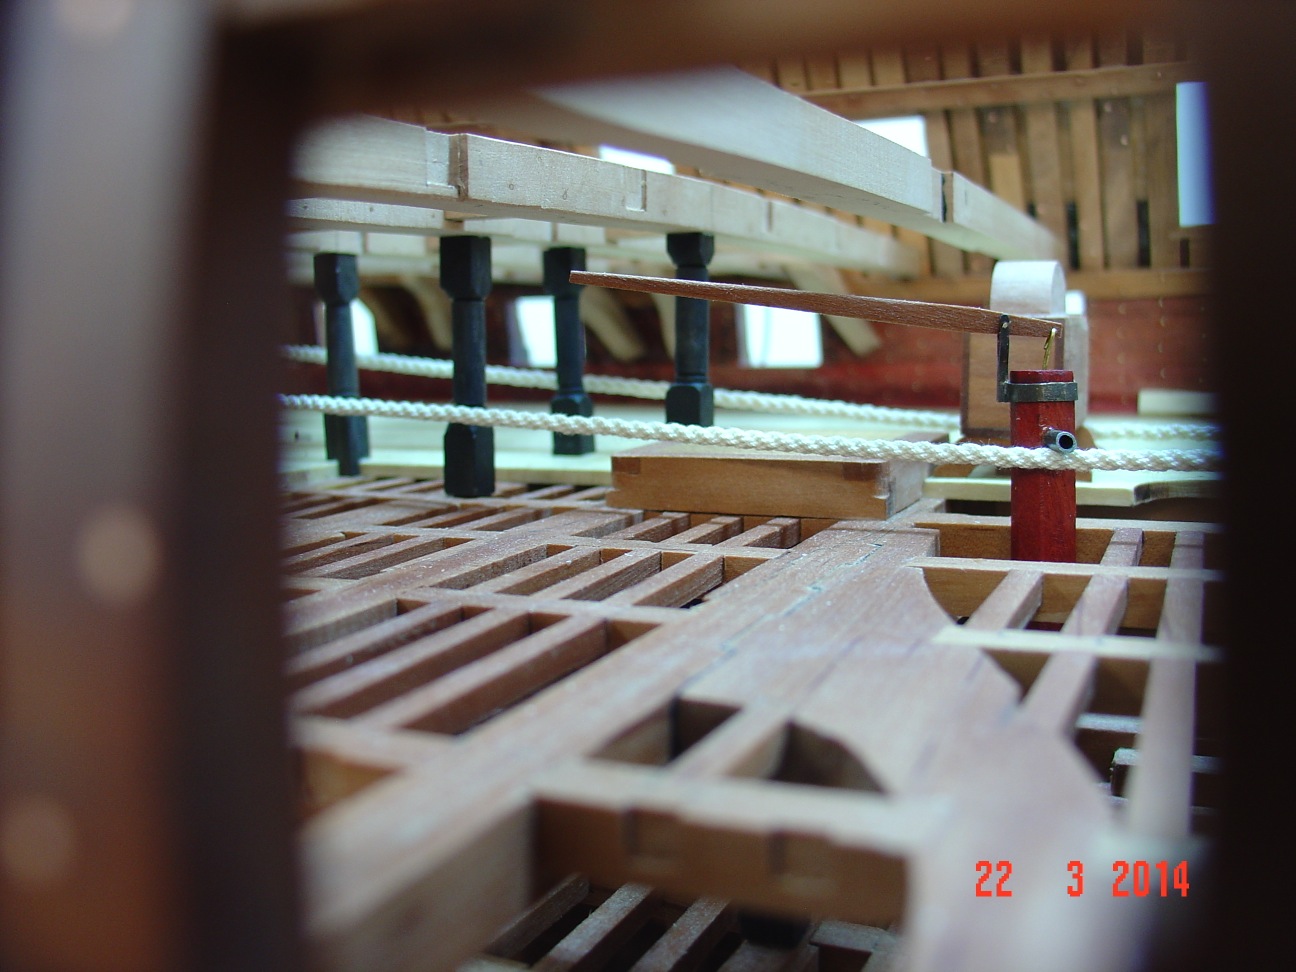
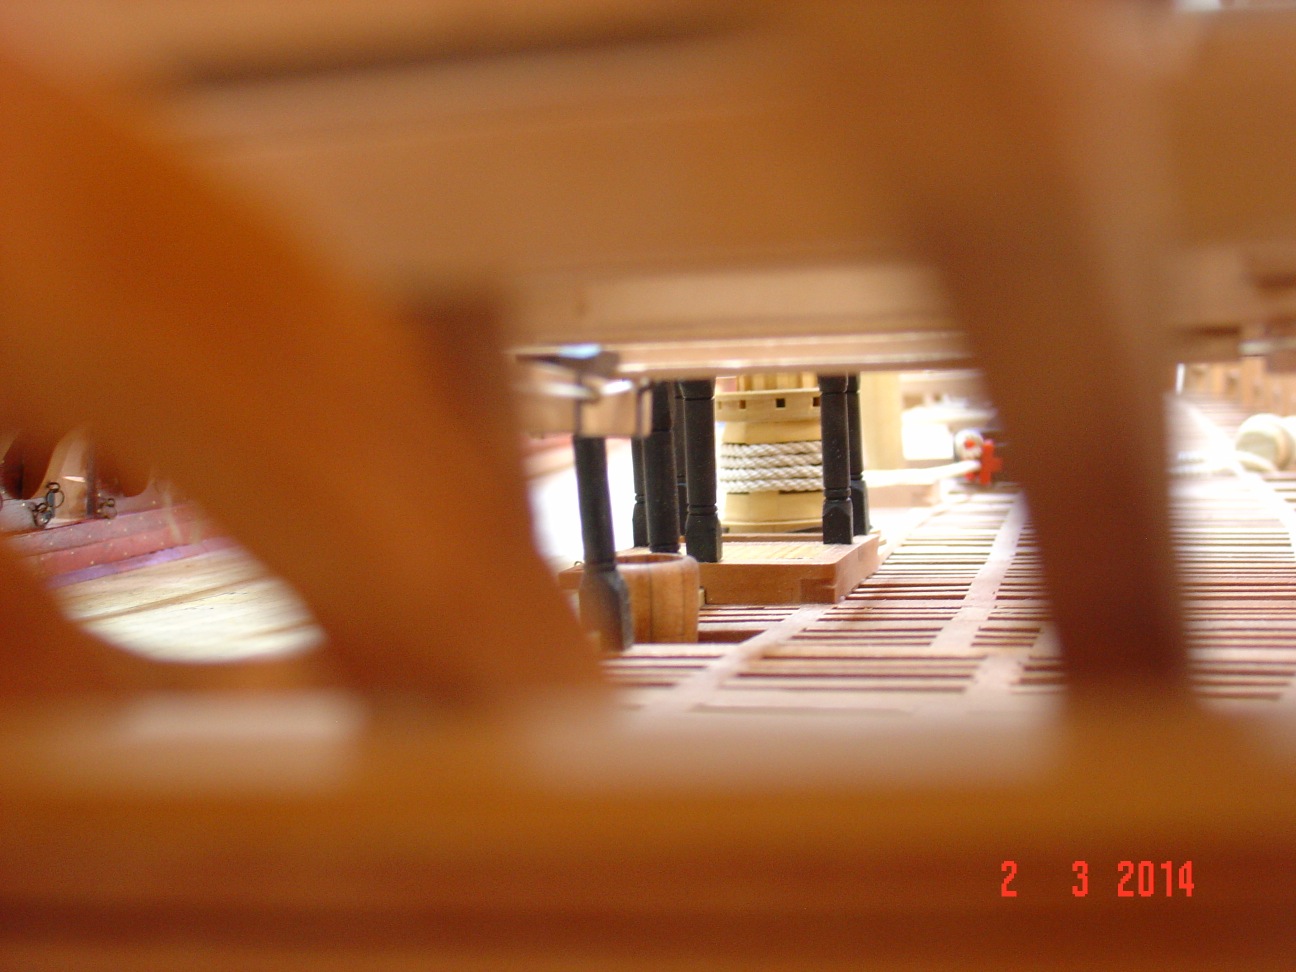
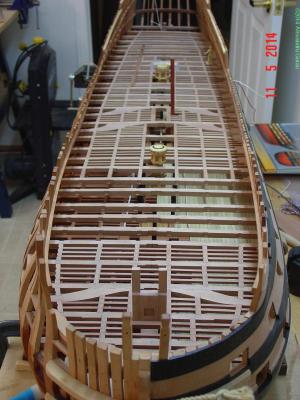
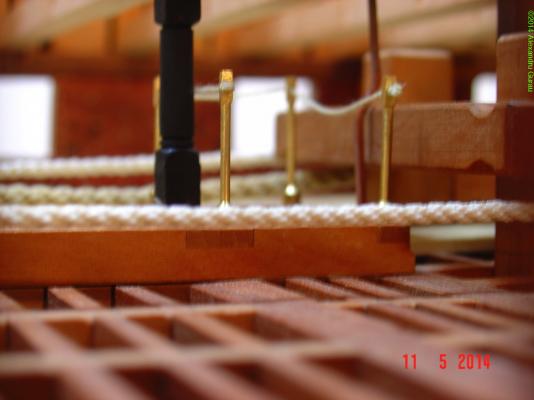
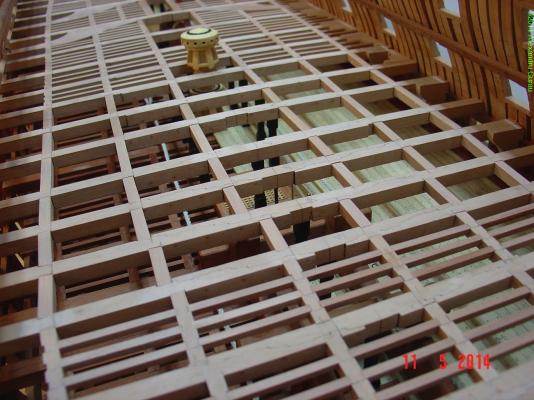
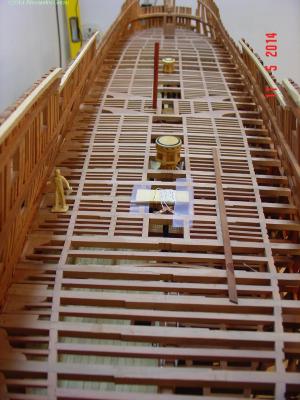
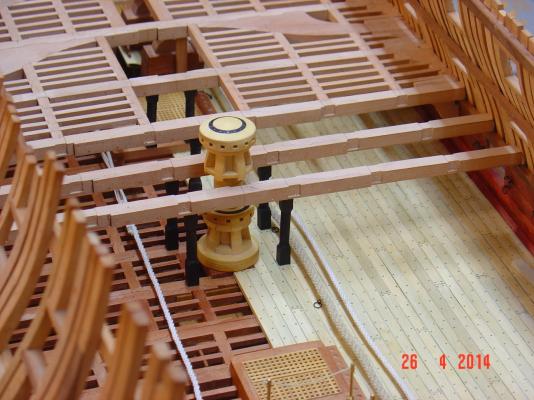
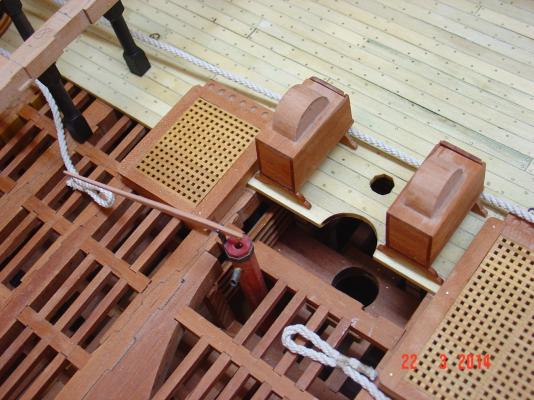
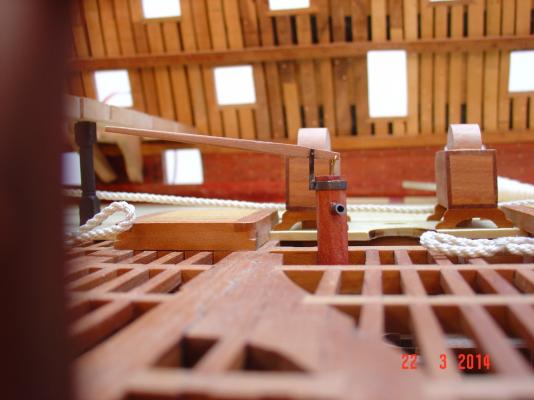
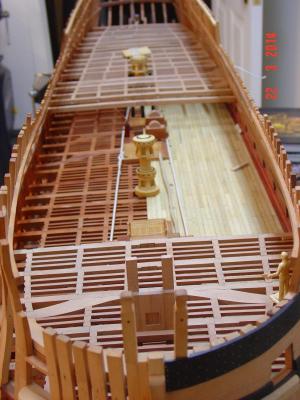
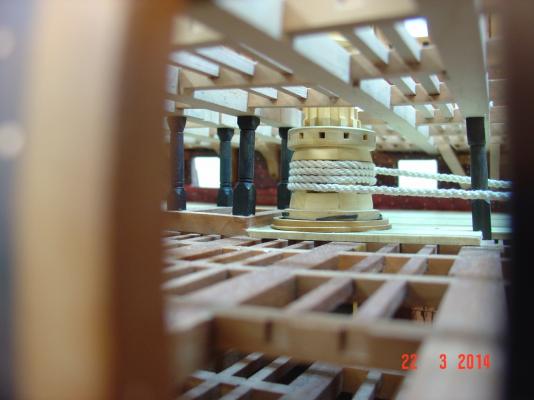
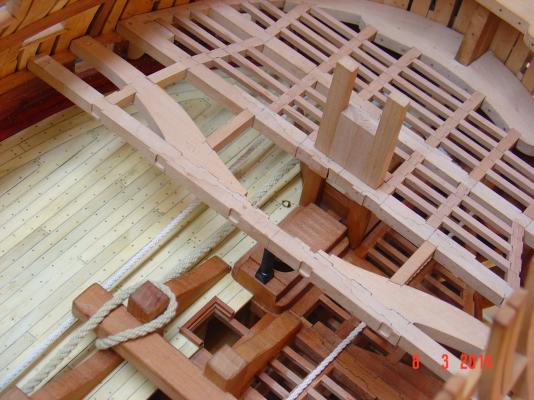
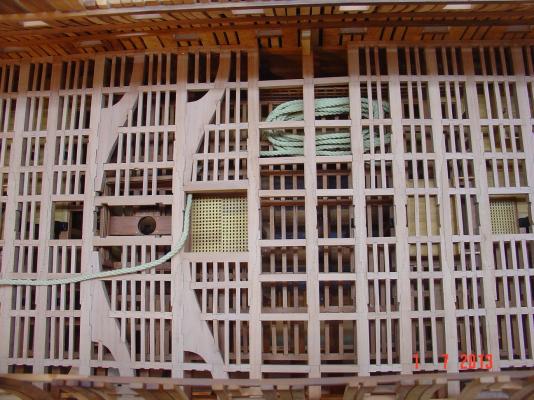
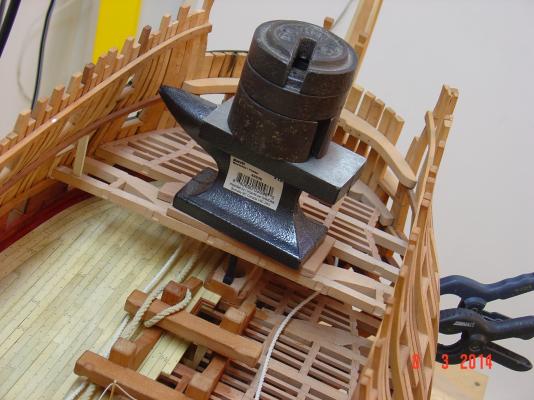
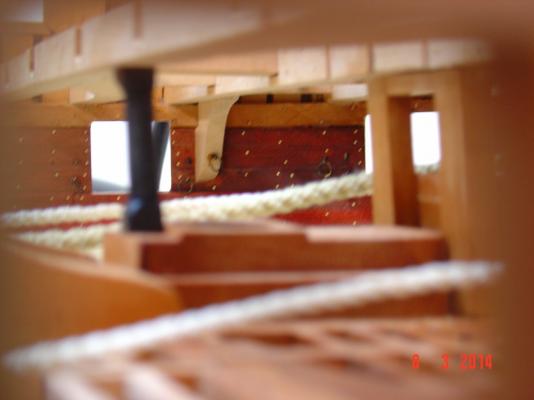
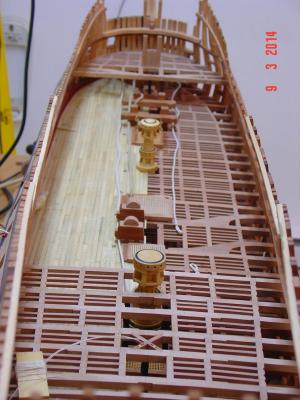
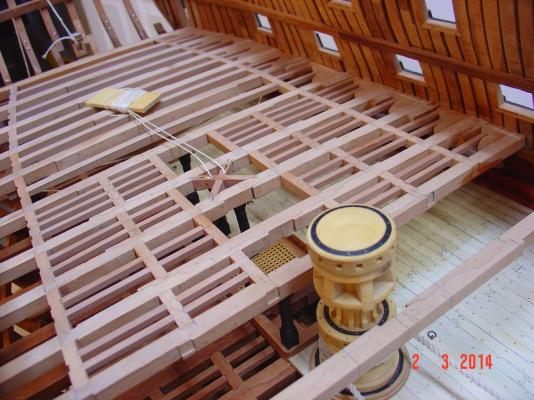
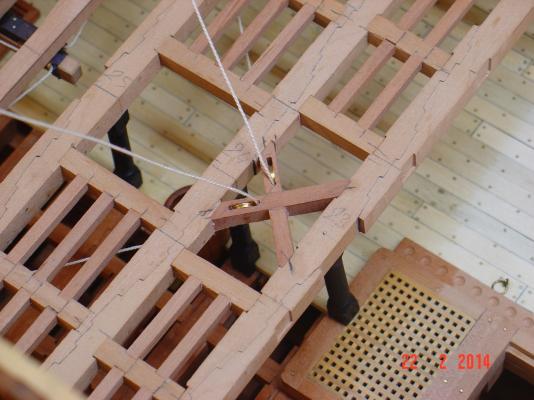
Thank you Bob. Dave, You are right about the messenger being engaged on the capstan then the anchor cable attached to it. I did exactly the same on my model but maybe is not obvious from the pictures I posted. In the first picture below you can see the anchor cable belayed to the riding bit (the thicker one and a bit darker in color) and the messenger passing next to it (the thinner, white one). Same messenger is coming back in the bottom of the picture. In the second picture you see the messenger (white one) engaged on the capstan. In the third picture (an older one) you can see the whole arrangement: anchor cable going down through the corner of the main hatch on the orlop deck where is coiled as you can see in the forth picture (an even older one), while messenger go around the capstan. Regards, Alexandru


-
...


-
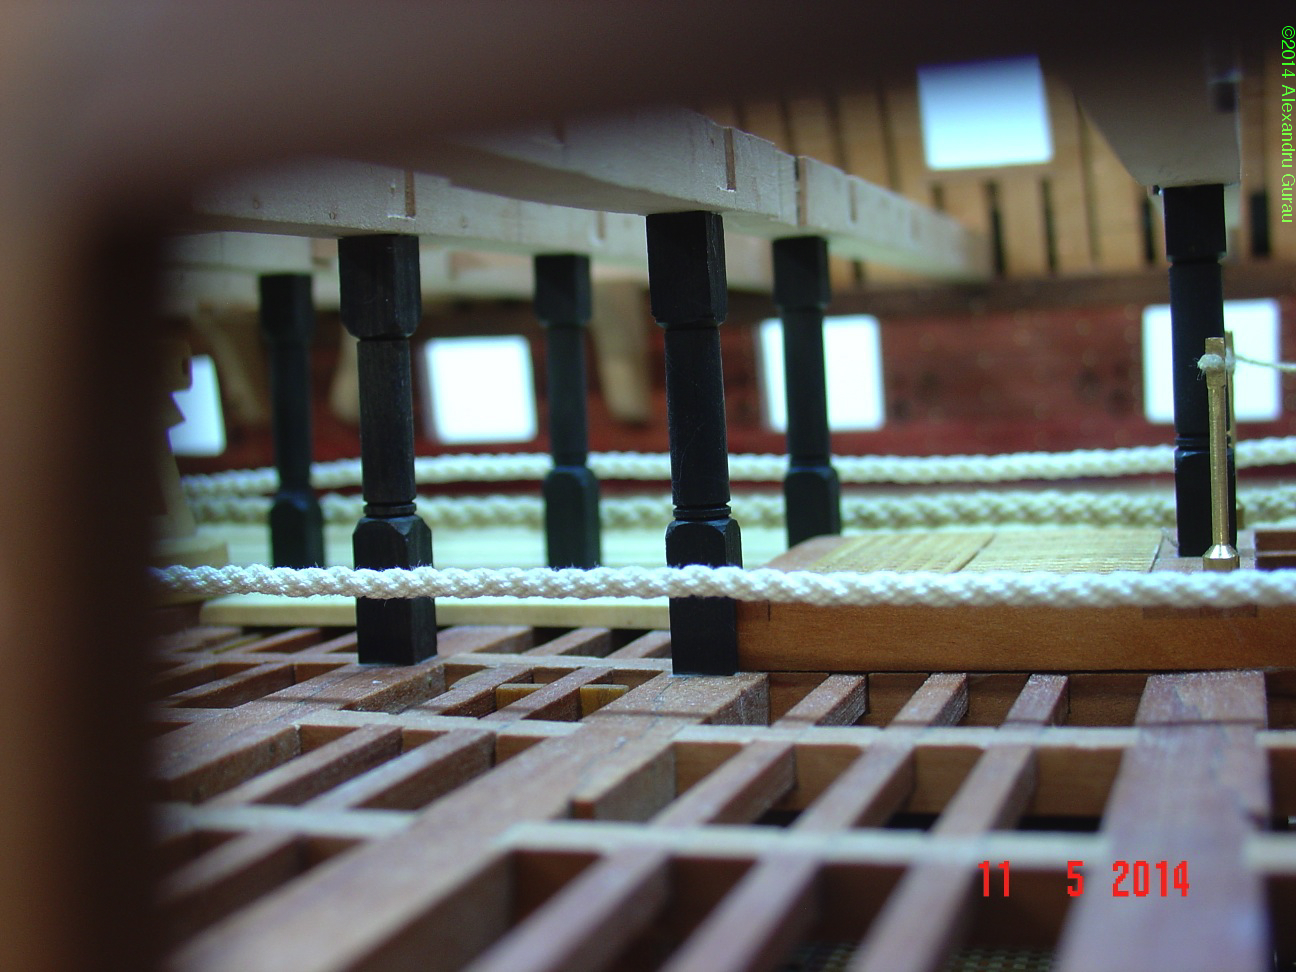
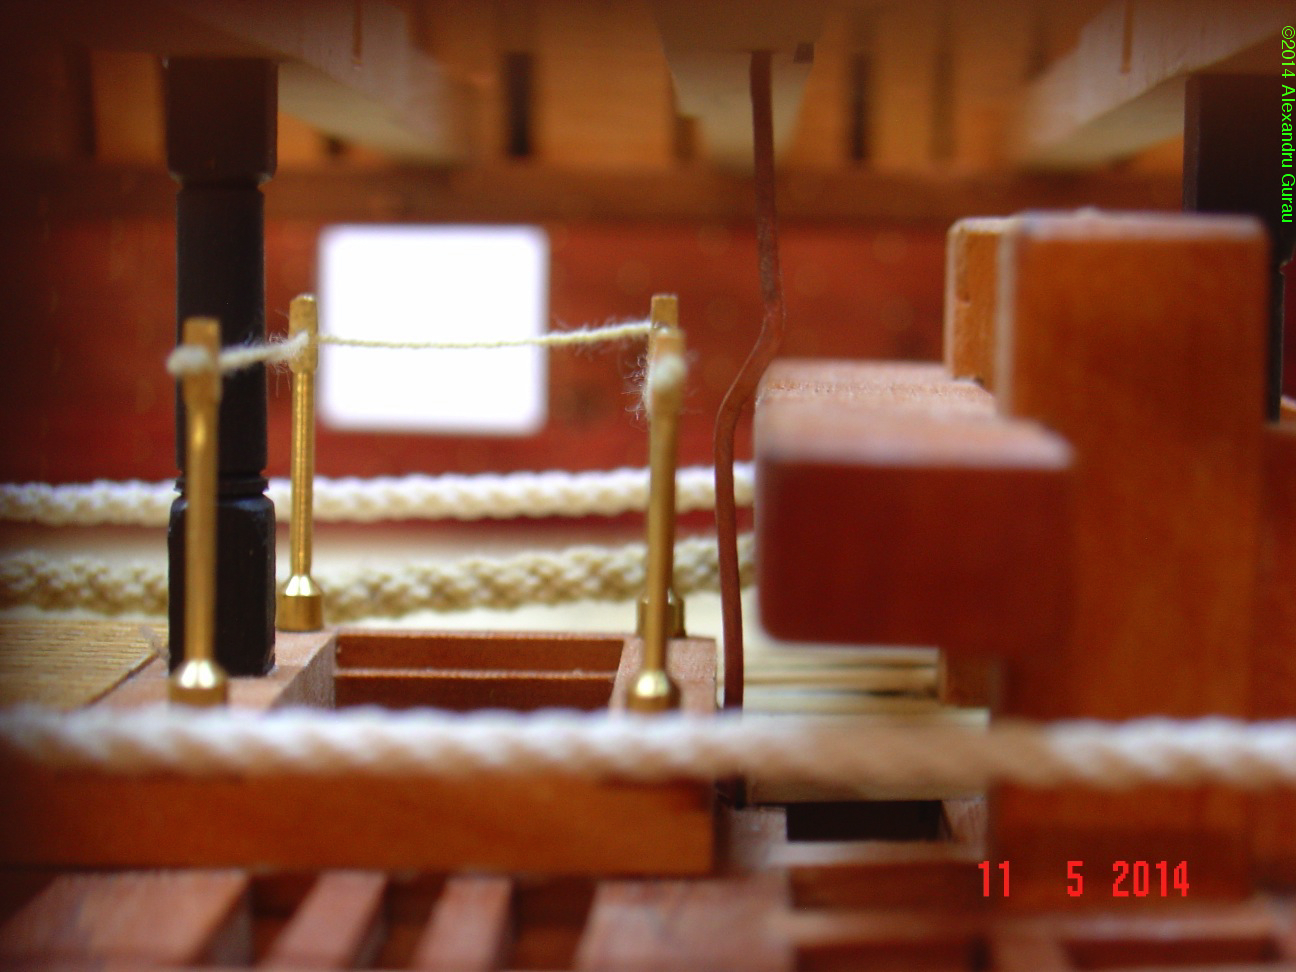
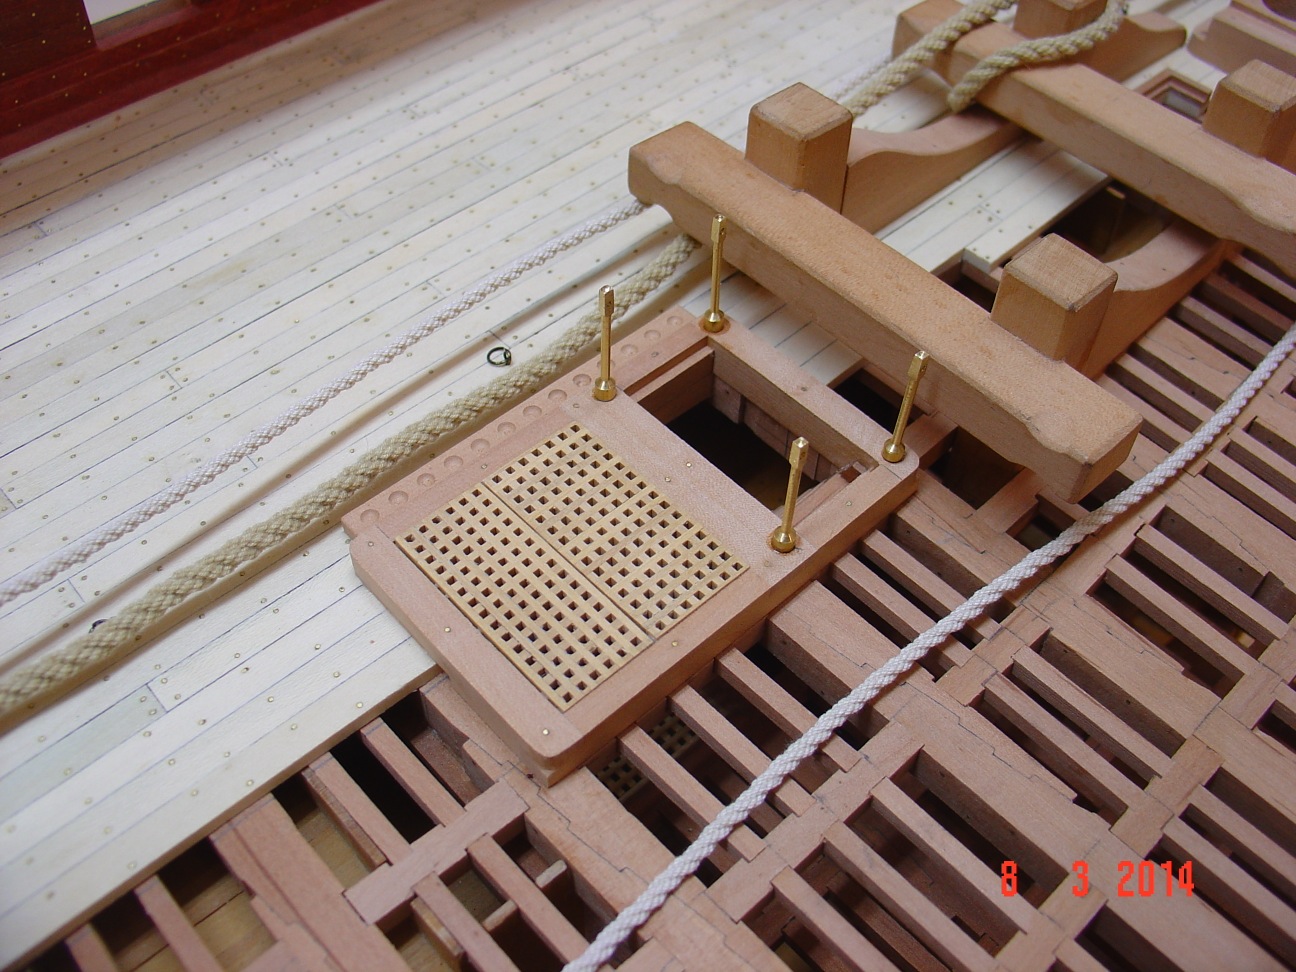
Hello all, Here are several more progress pictures.


-
Thank you all for the kind words and appreciation. Alexandru
-
Thanks Bob, Antony and Jeronimo for following my build. Here is another small update. Regards, Alexandru


-
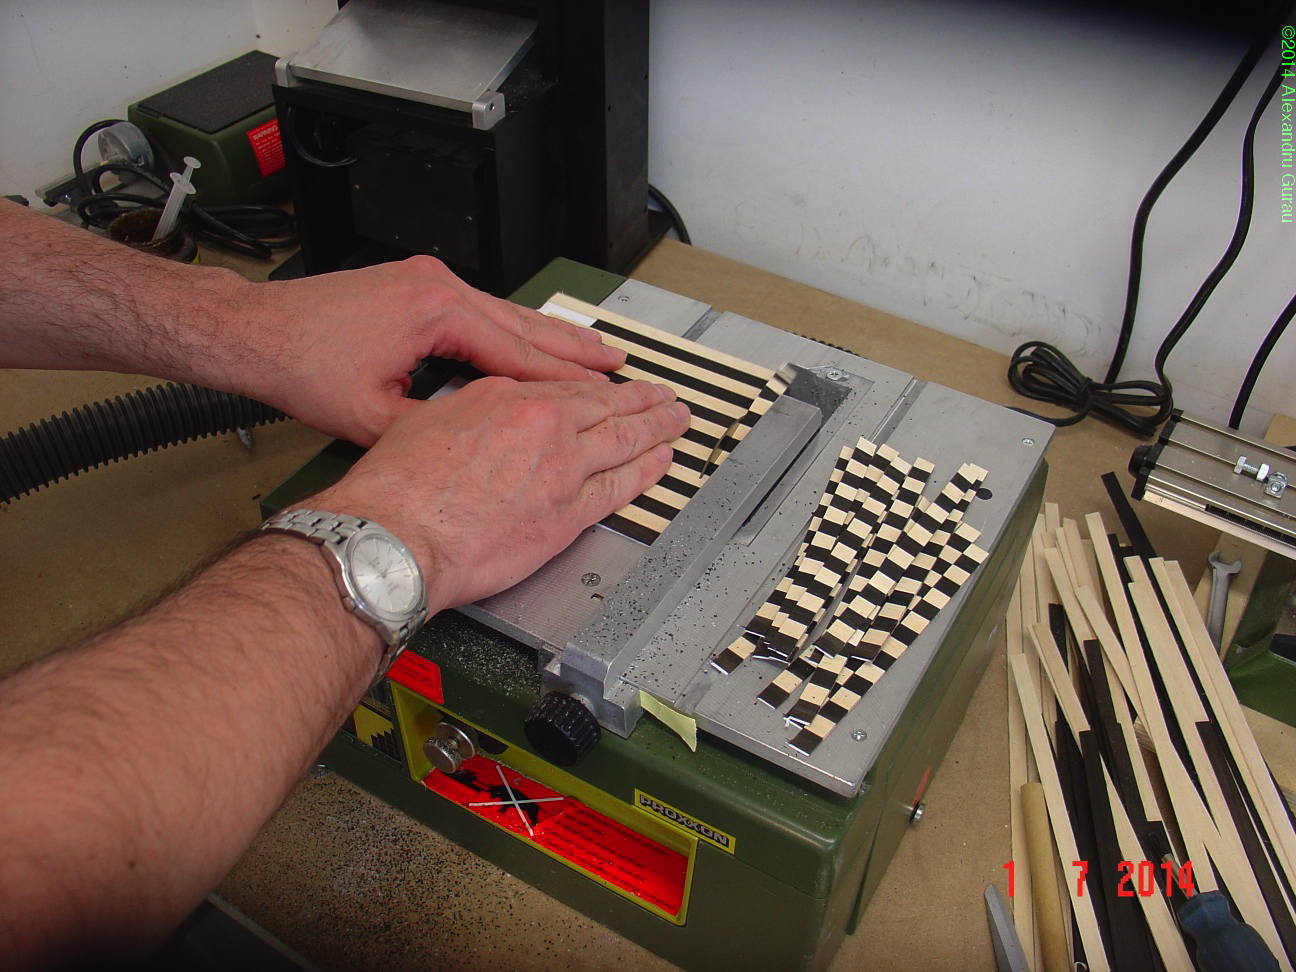
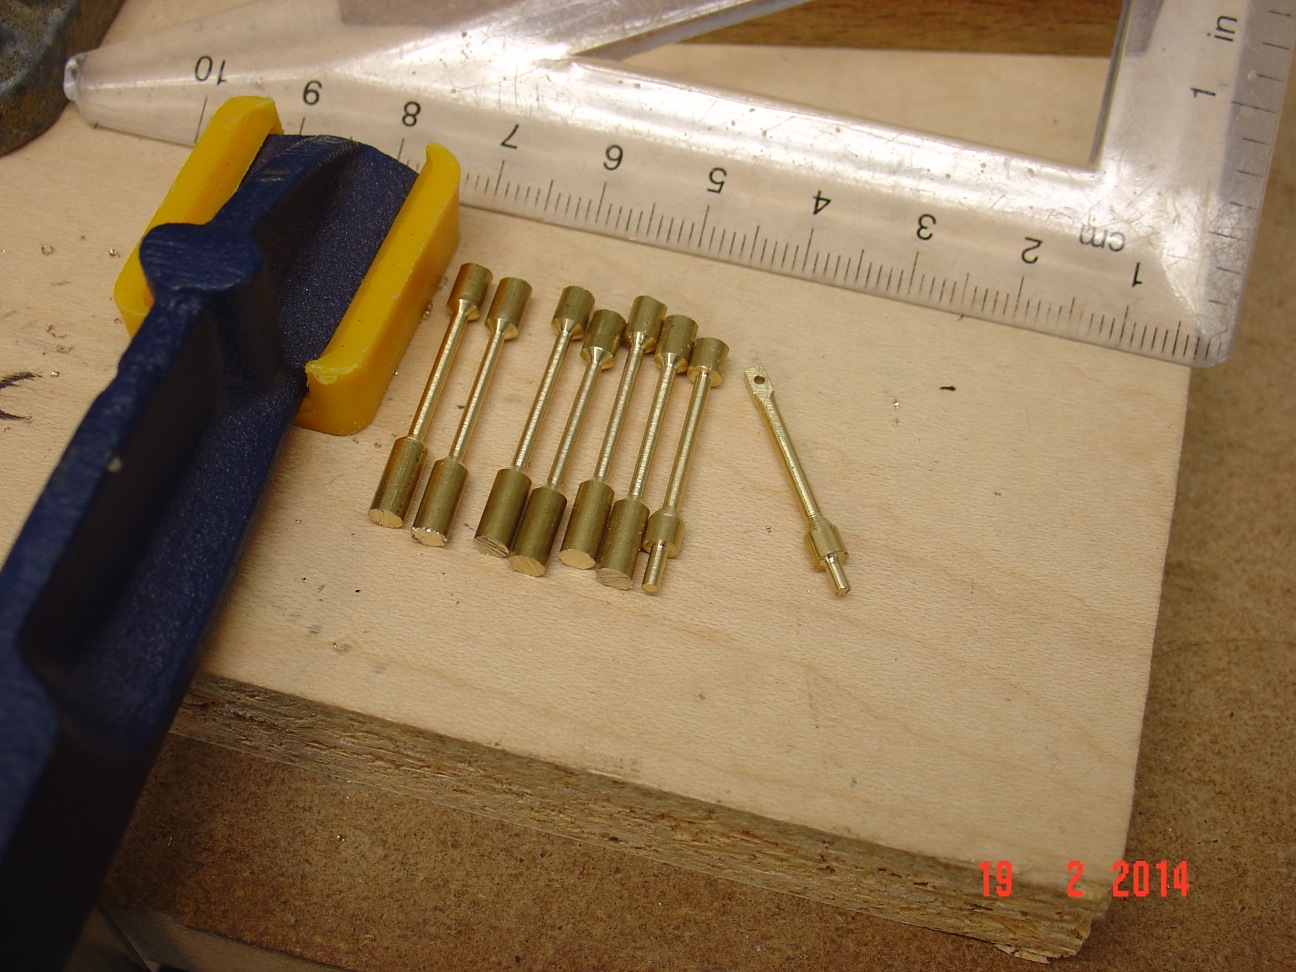
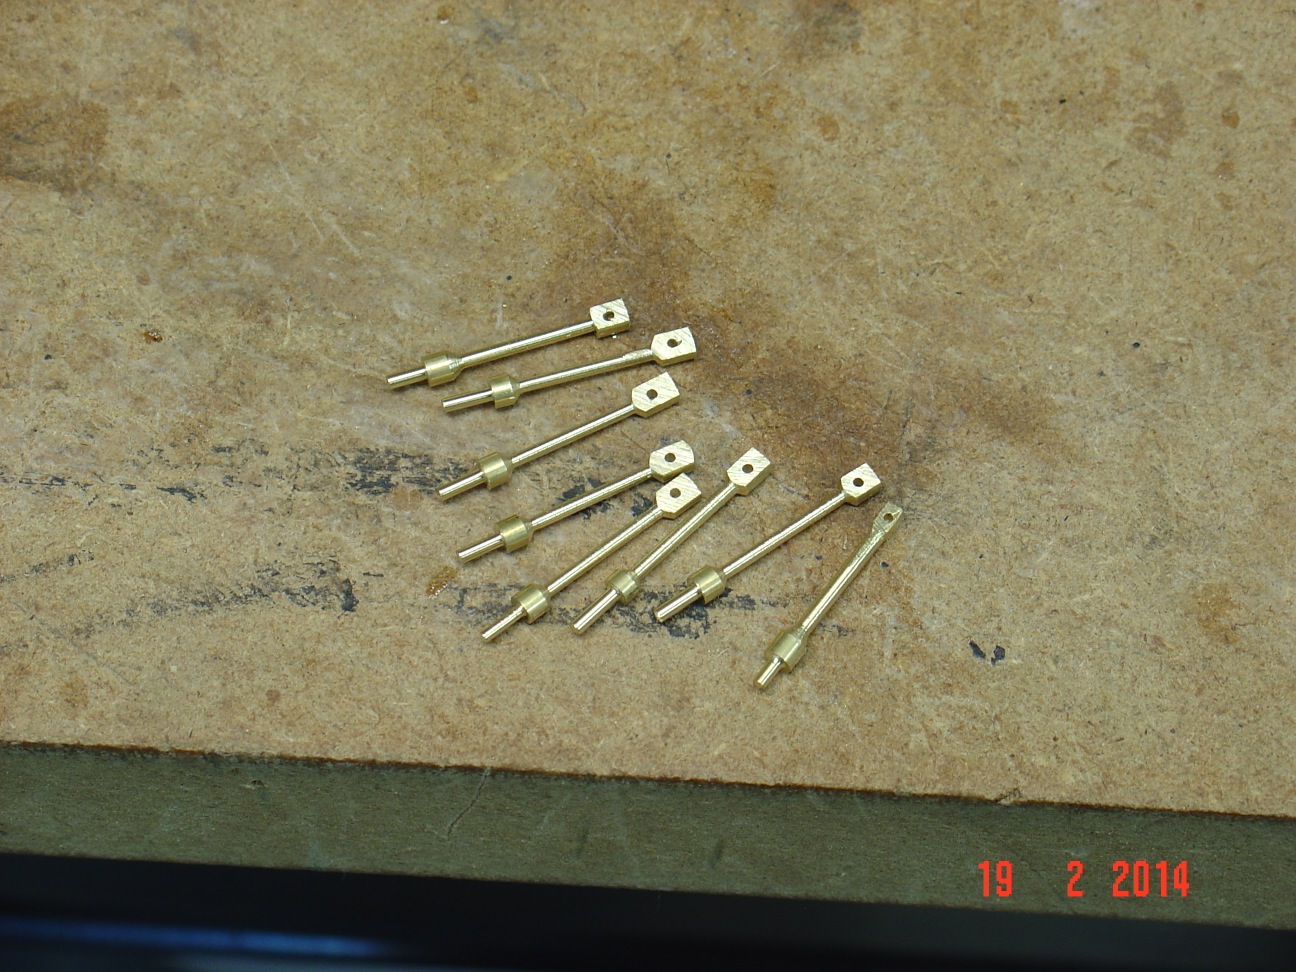
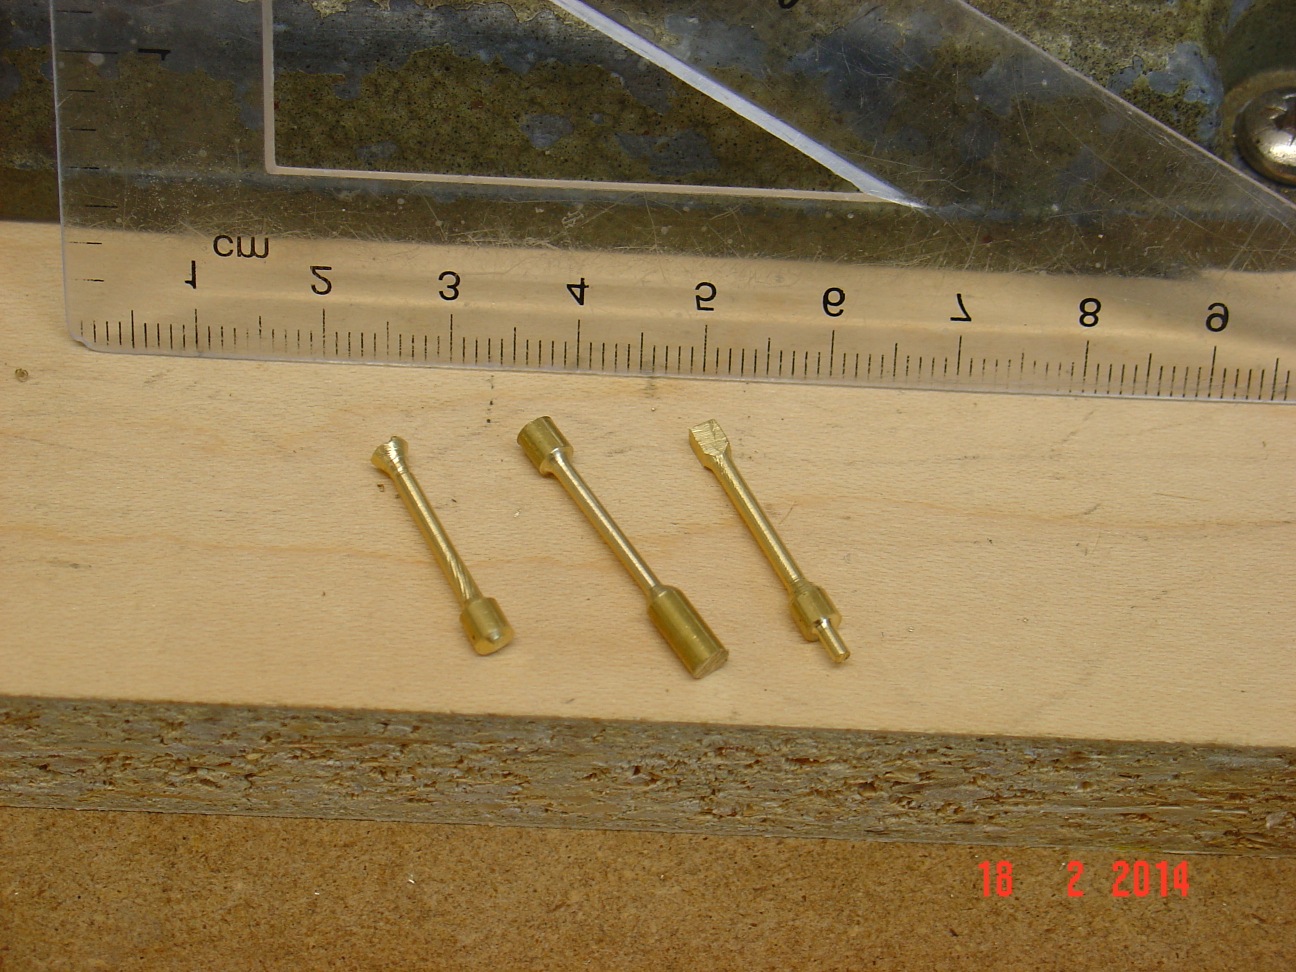
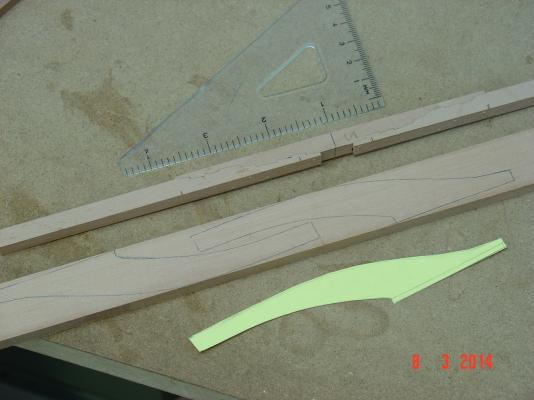
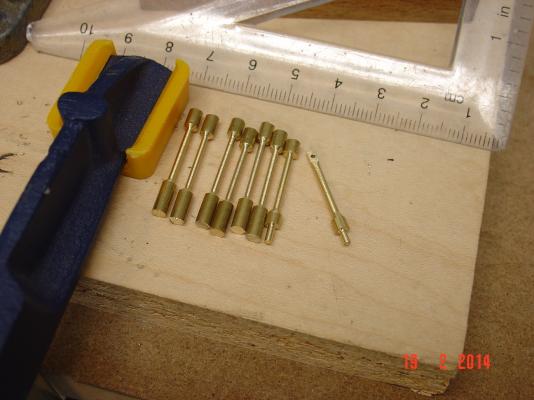
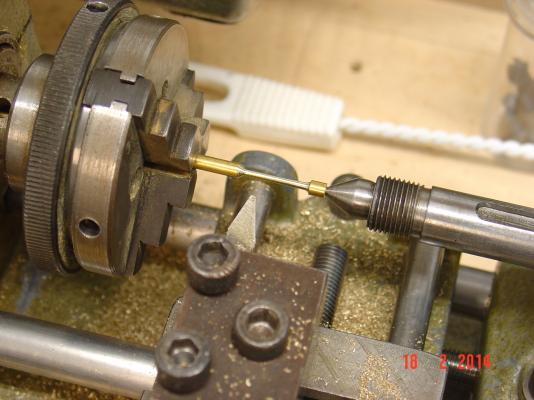
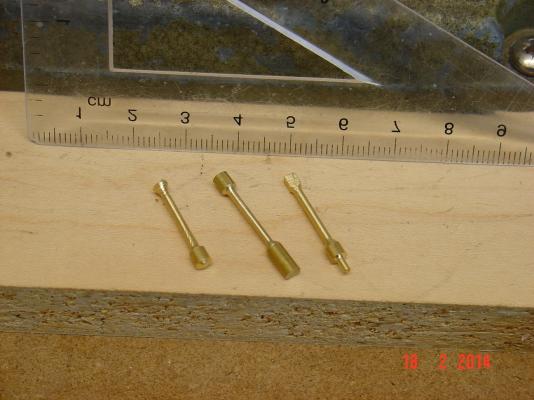
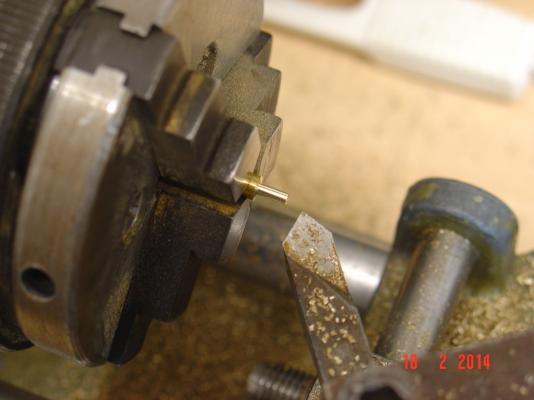
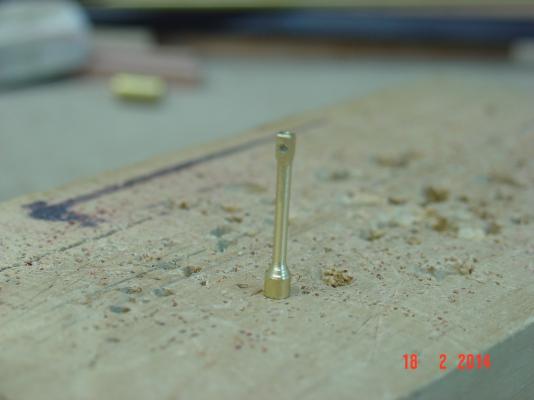
Bob, Here are the pictures as promissed. In second picture are the tries in order from left to right. First one without free end support is scrap, the other two are ok. Last picture is final product with the hole for the rope drilled. The more I do the better results I have and I am quite happy with them. Takes me about 5 minutes to turn one as I have to drill a centre hole for the live centre then change tool a couple of times, take it out and cut it from the longer stock then turn the other end (picture 4). Alexandru
-
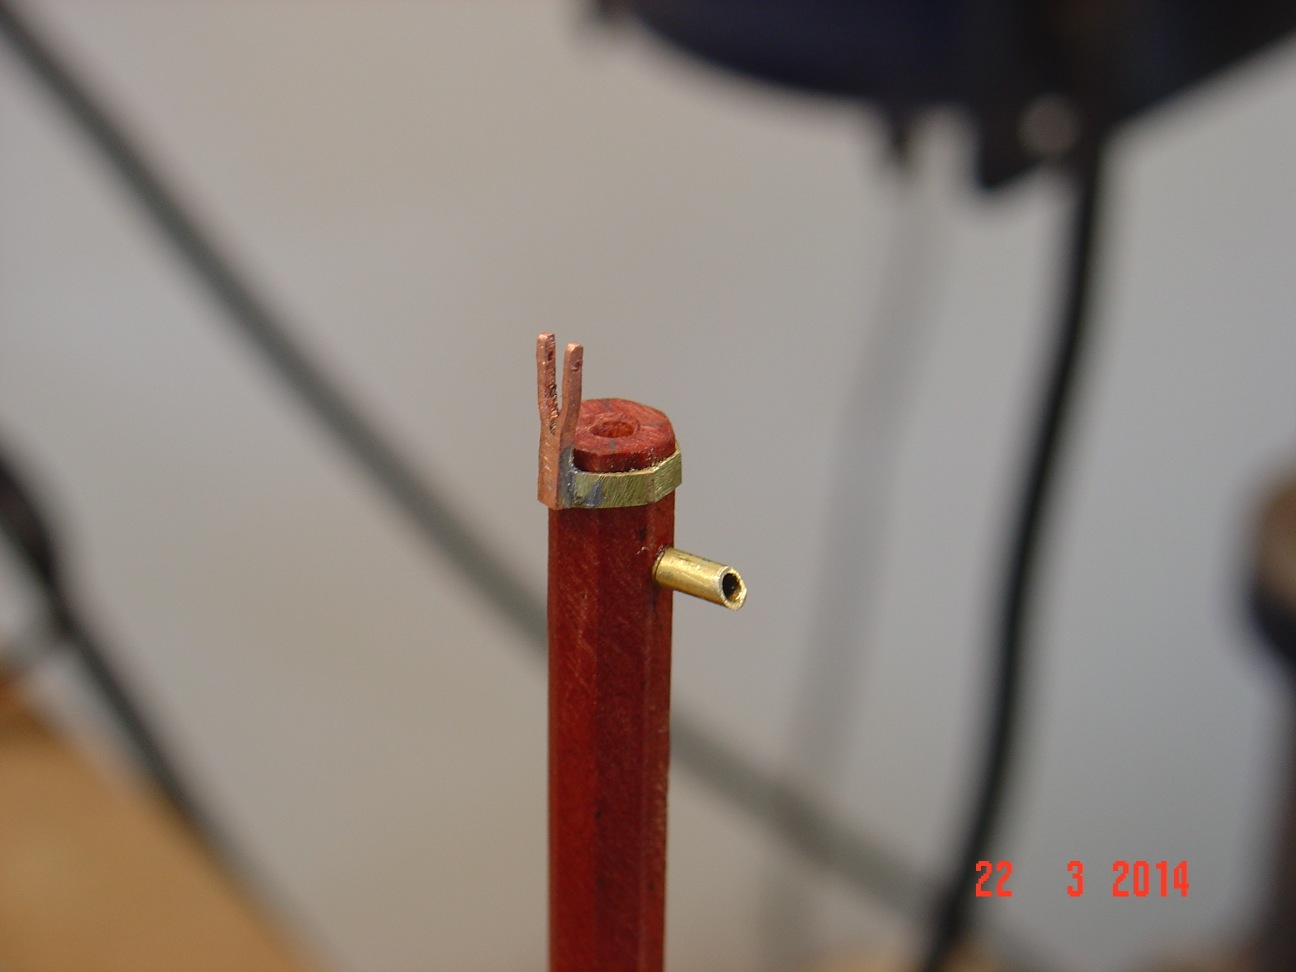
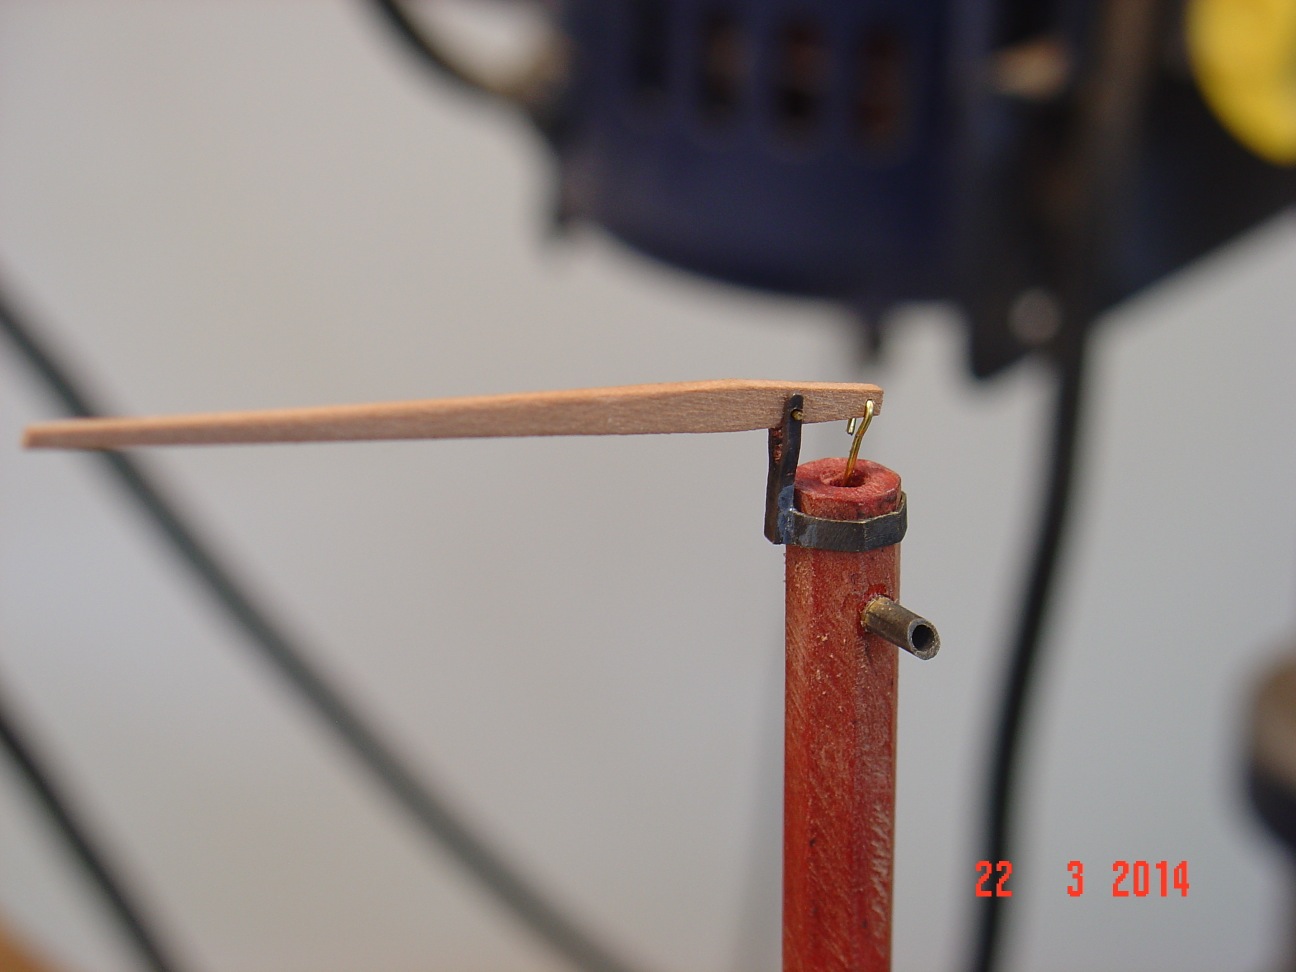
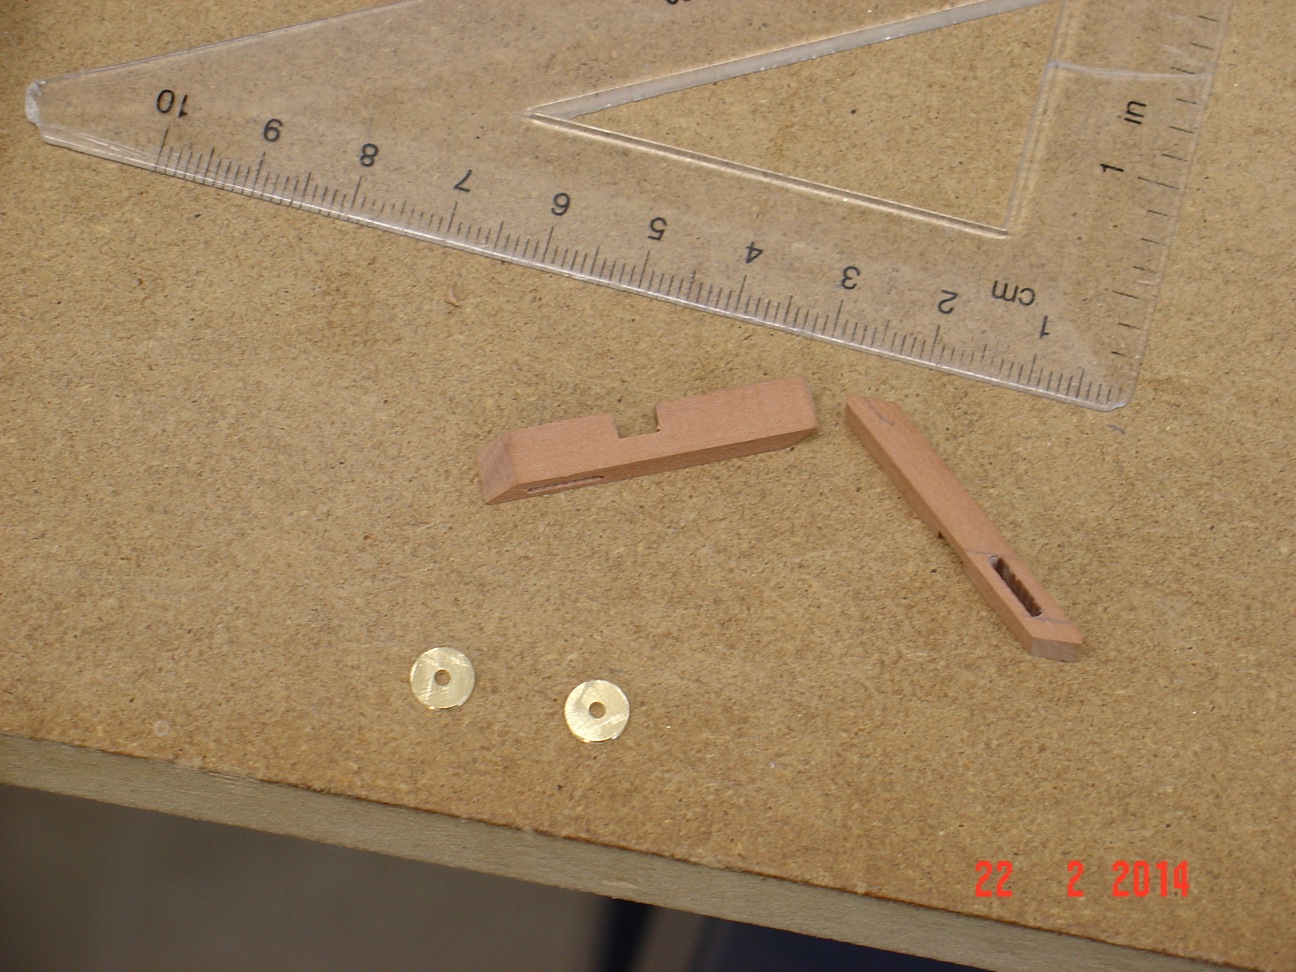
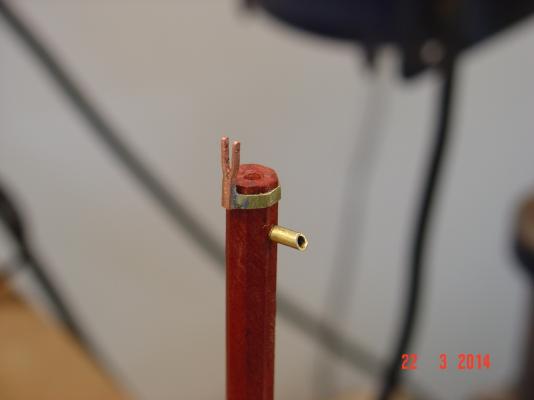
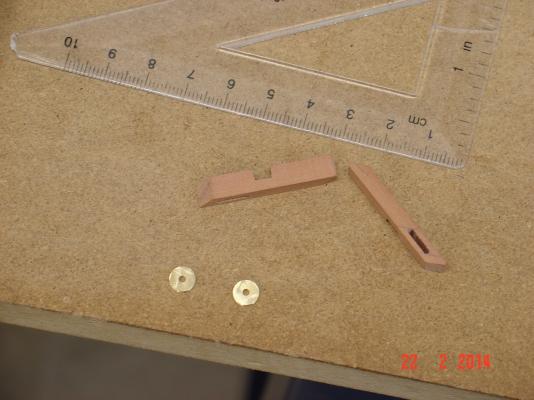
Bob, I was thinking about doing that but I had quite poor results with the soldering so I said that having them made from one piece will help. The only issue I have with turning (aside of the necessary time to do them) is that they are quite thin (close to 1mm diameter at the end) and I have to support the free end to actually turn them at that size even if they are short (15mm). I'll post picture with the results and you will see what I've got. Alexandru