


mhaas2
-
Posts
73 -
Joined
-
Last visited
Content Type
Profiles
Forums
Gallery
Events
Posts posted by mhaas2
-
-
This site has some stuff that may help you. They have railings and ladders.
-
Looking good. I just ran into a problem with mine last night, but from your pictures I think you will be OK when you get to that step. I found that when I installed the bowsprit that my knightheads were to short. An hour, some scrap and some white paint. All better now. Just remember, it is your model, have fun!!!
-
Hi Don. Although the painting guide says the deck should be painted, I opted to leave it wood. I use a #2 pencil on the edges of the deck planks and then I scrape them rather than sanding after gluing them down. I have left the wood untreated as I feel that a holystoned deck would have that natual look. I do not claim that that is correct for this type of model, I just like the looks.
-
-
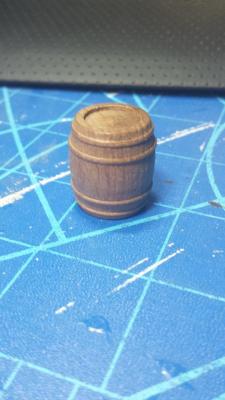
OK, so added some scoring to represent the strakes. blackened them, sanded the hoops to a better profile and painted. Stained the barrel, added a bung, handle and tap. Made the base, painted and added some rope to hold the barrel in place. Much better than the turned hunk of wood.
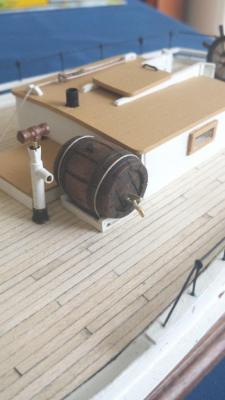

Next up is the dredge protective sheathing
-
Next up is the water cask. It needs some help; looks like a piece of wood turned into the shape of a water barrel. I'll see what I can do to make it look a bit more interesting.
-
-
Thanks, Russ. I f'd up a few parts for these, but the trick is parts that fit and clean parts. Just like the tutorials I have read here said!!
-
Bilge pumps. Time to put my newly learned silver soldering skills to the test.

The parts to make the pumps:

spout soldered and the upper cone made and soldered.

1 pump made. I must admit I think these look nice.
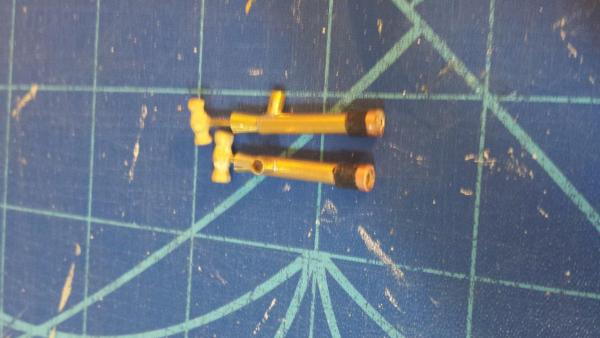
Both pumps made. A little stain and some white paint and the bilge pumps are done.
-
-
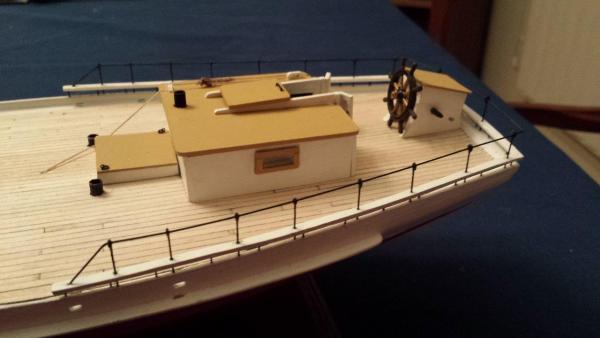
OK, all caught up. I finished the caprails and hand rails today. As I have been taking these pictures to show progress to friends and family. I have been taking pictures of completed steps. I will start taking more shots of the processes. Next up are the bilge pumps, deck protectors and water barrel.

-
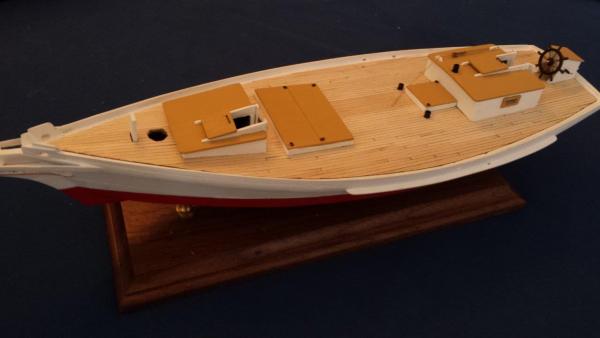
Deck houses complete.
After Deck House
Forward Deck House

WheelHouse
Trailboards.
Next up is the cap rails and Hand Rails. Time to learn to silver solder.
- hexnut, tasmanian, Ol' Pine Tar and 5 others
-
 8
8
-

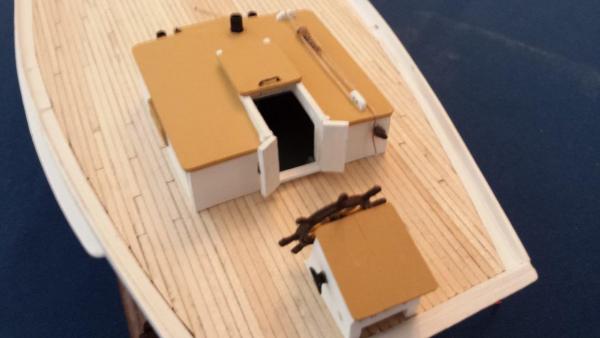
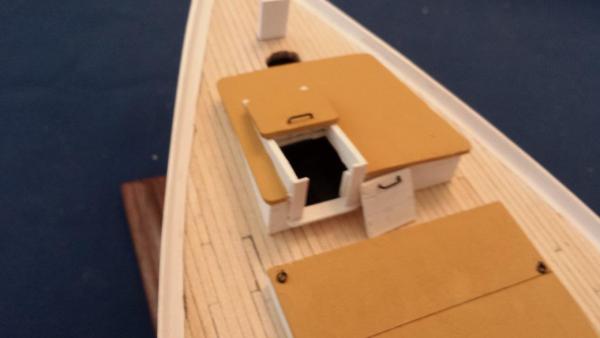
Decking complete and bilge pump pipes added.


After cabin deatailed. Beds are felt wrapped around a form and glued in place.

Main and rear hatches completed.
- tarbrush, mischief, Salty Sea Dog and 2 others
-
5
-
Up on the base. A little tricky as the rear pedistal is where I led the lighting wires down. I epoxied a tube from the bottom of the base to the cargo decking and inside the pedistal. That gave me the support I needed as there is no scew in that pedistal.
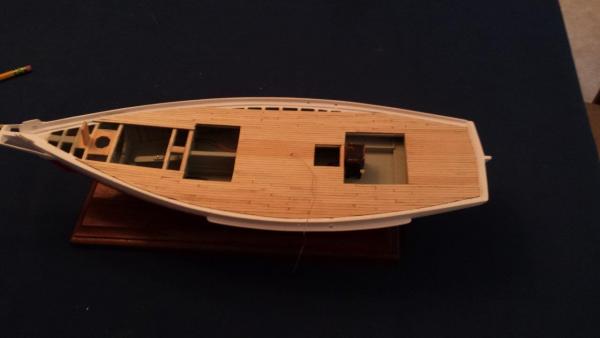
Decking. I used a 10" scale lenght and a standard 4 stagger.

You can see the LED wiring here also.
-
Thanks. I went on the Library of Congress and found picturs that showed the sheathing. Makes sense as most of there work was done in the winter time.
-

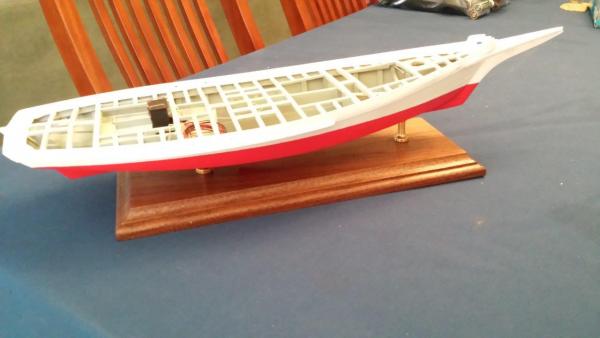
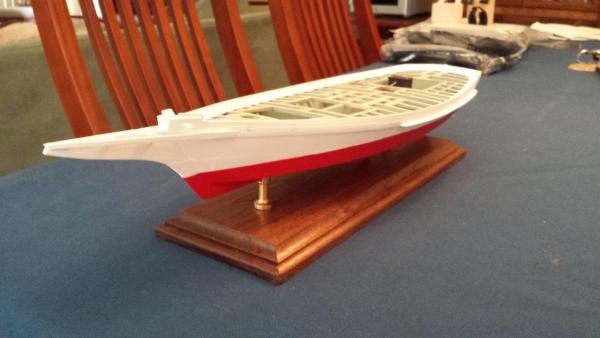
Bends, planksheer and log rails. Starting to look like a boat!
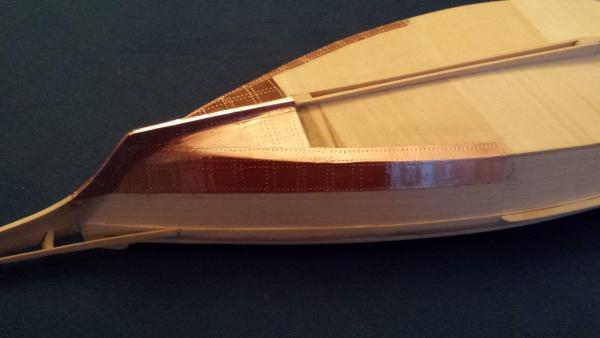
Ice sheathing. Copper plumbers tape and a ponce wheel. First time I tried to do someyhing like this. Worked out well.

Stove. Scratch built and added a fire LED kit from a model railroad. Flickers and look real cool. There will be LED's in the fore and after cabin also.
Ahhhh! Color! and the centerboard.
- mischief, tarbrush, Salty Sea Dog and 4 others
-
7
-
Deck beams and carlings

Whole lot of work that will not be seen, but we know its there!

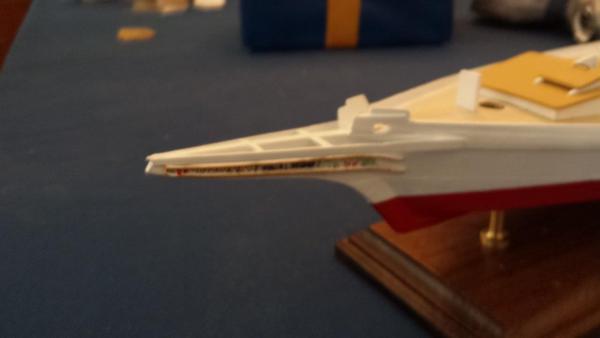
Stem and cutwater
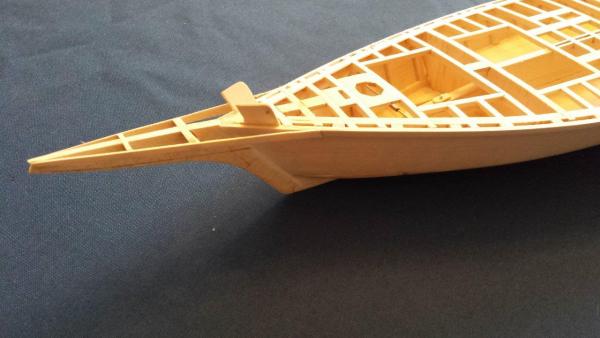
Headboards. Boy that was fidley.
- ulrich, piperjoe, Ol' Pine Tar and 2 others
-
5
-
Continuing on with the interior details.
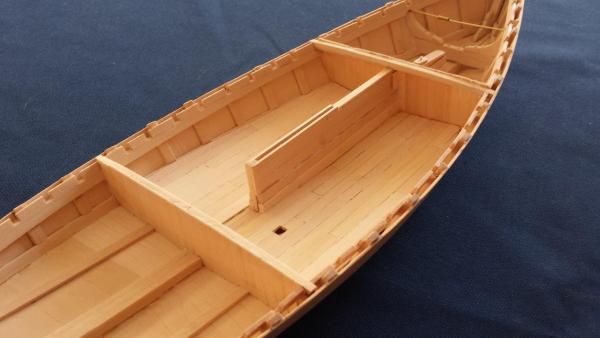
Forward and afetr bulkheads.

The beginings of the after cabin. Lots of just figure it out stuff hear. I spent lots of time looking at and com paring the views on the drawing to get this in with some semplence of correct.
Had to do at least some of the deck beams and carlings to be able to do the bulkheads in the after cabin.
- Aussie048, tasmanian, Ol' Pine Tar and 3 others
-
6
-
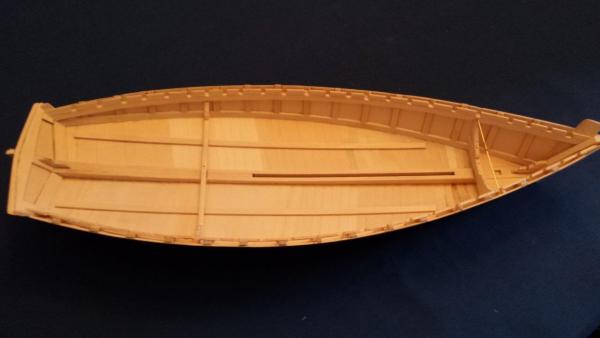
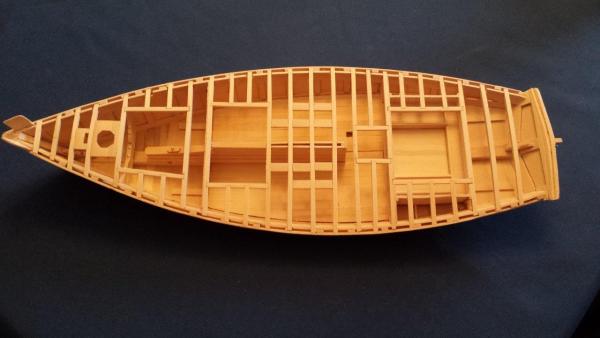
Deck clamps imstalled
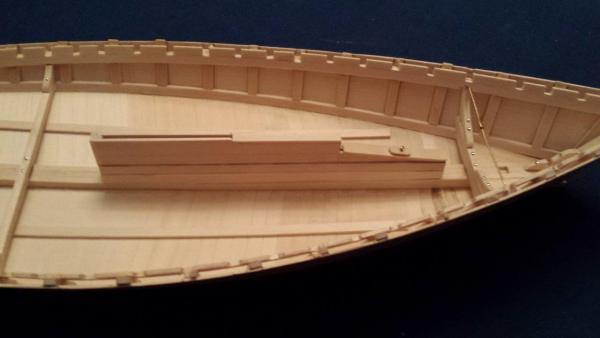
Center board structure
added the floors
and the cargo ceiling.
- Ol' Pine Tar, tarbrush, tasmanian and 2 others
-
5
-

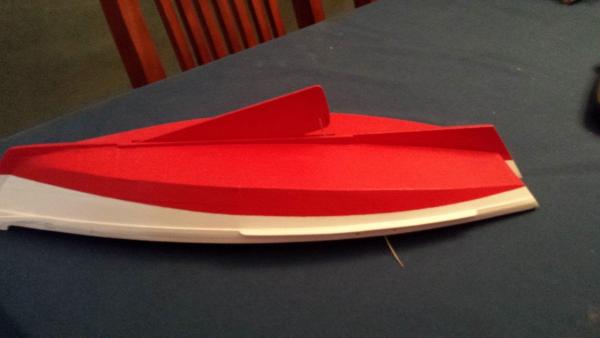
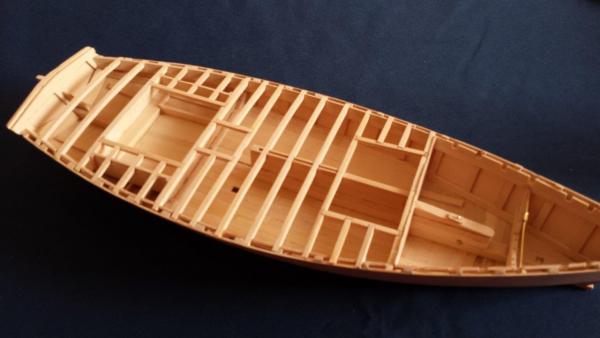
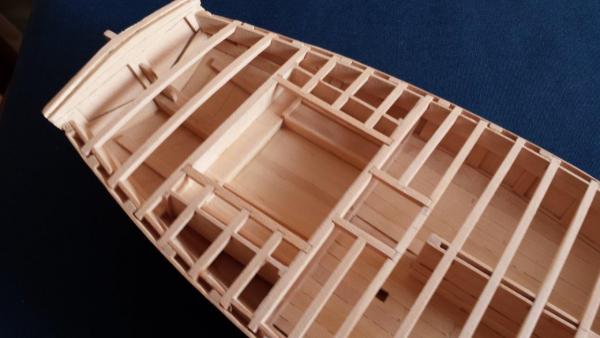
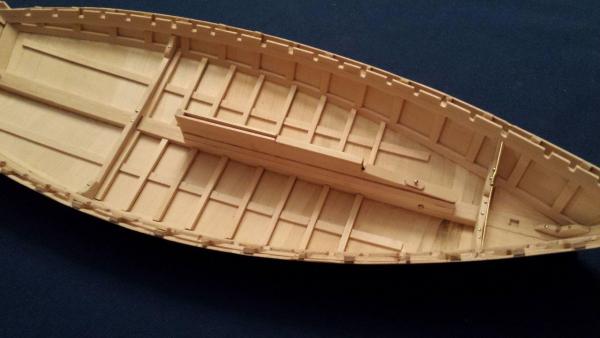
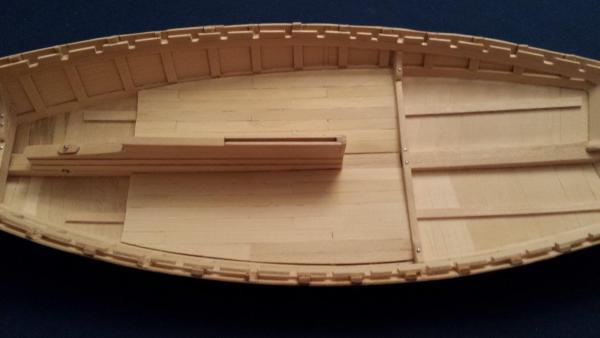
The side sheeting has been added,
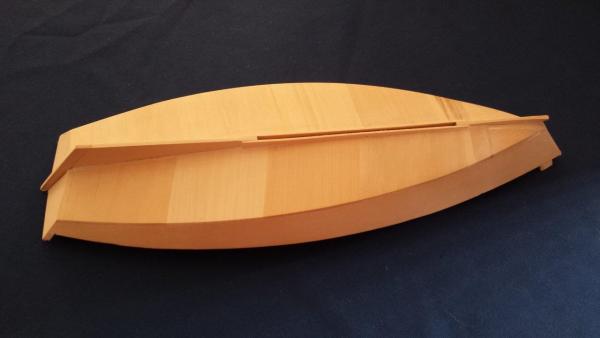
as has the bottom planking. The hull was removed from the mould and sanded.

The knight heads, knees and fwd strongback have been added also the batons.

Added the ribs and the after strongback, plus sone various details. Most of this will not be seen, but it is good practice.
-
I started this model back in April and have decided to share what I have done, so fa,r for coments and constructive remarks. I choose this model because it would allow me to practice some techniques that I wanted to learn before I return to my Charles Morgan. Also my deceased wife and I enjoyed a wonderful afternoon on on of these marvalous little boats before she passed. In particular this model has a lot of what most would call scaratch-building and there will be ample oppertunities for me to practice "ironwork" and silver soldering.
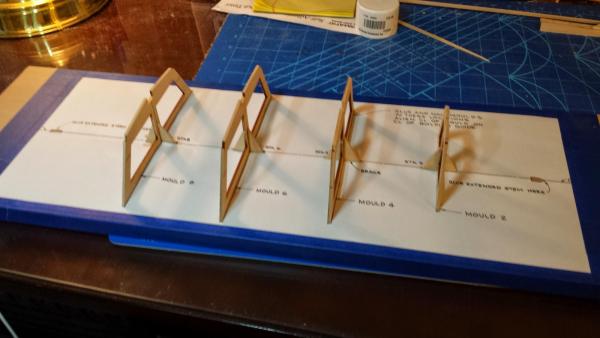
Building board with building moulds.
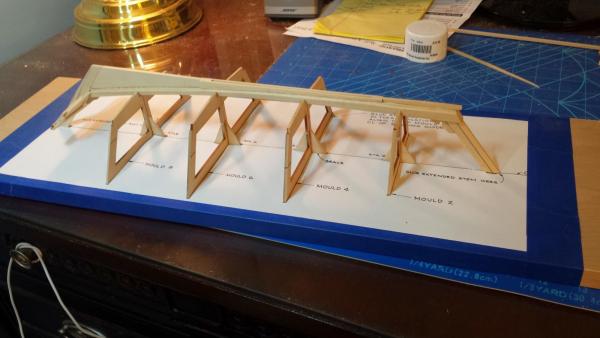
Keel assembly with rabbit
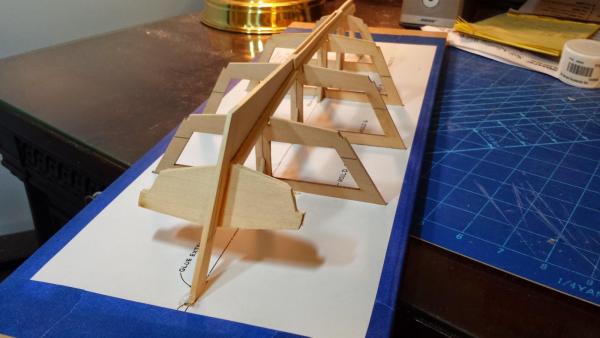
Transon added
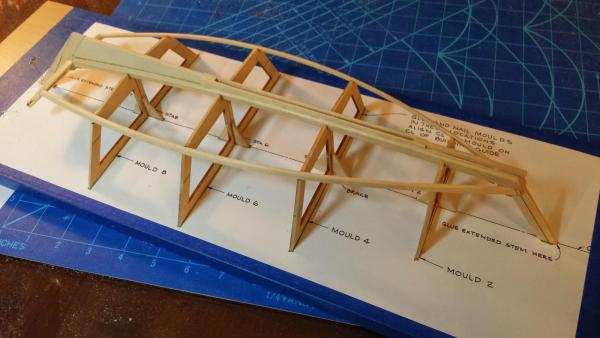
and chin logs
- Ol' Pine Tar, tarbrush, radrick21 and 1 other
-
4
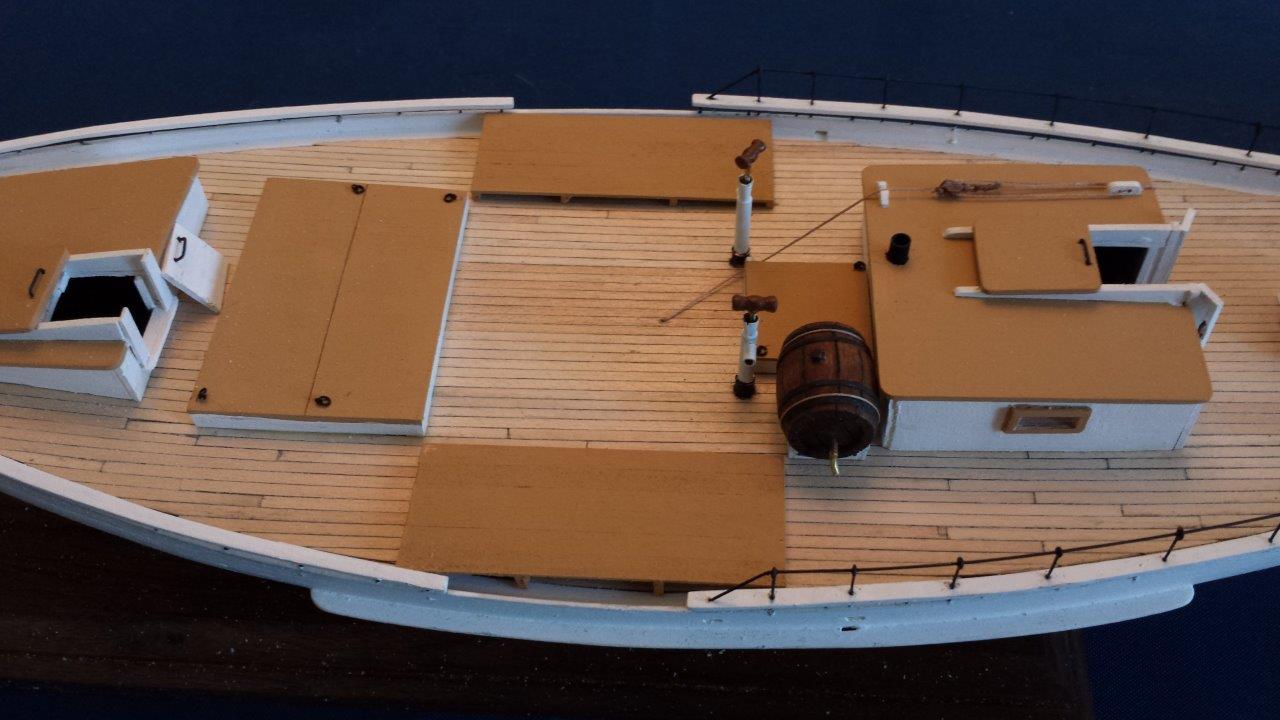

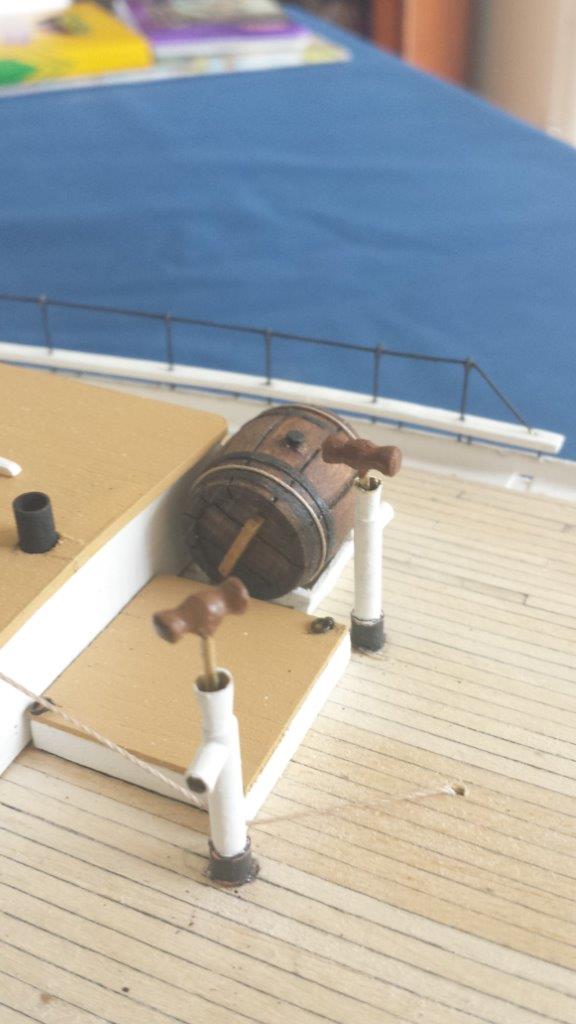

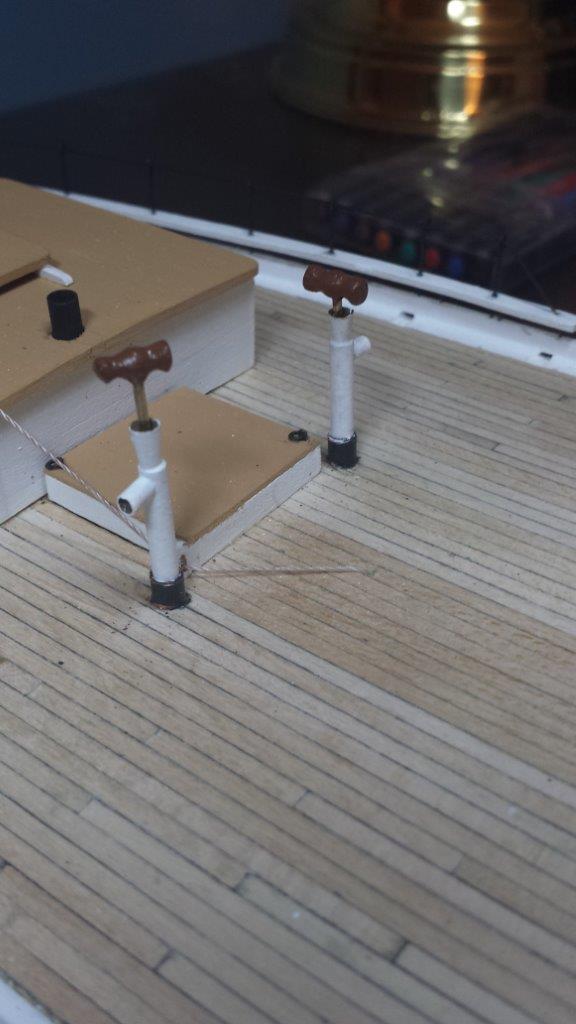
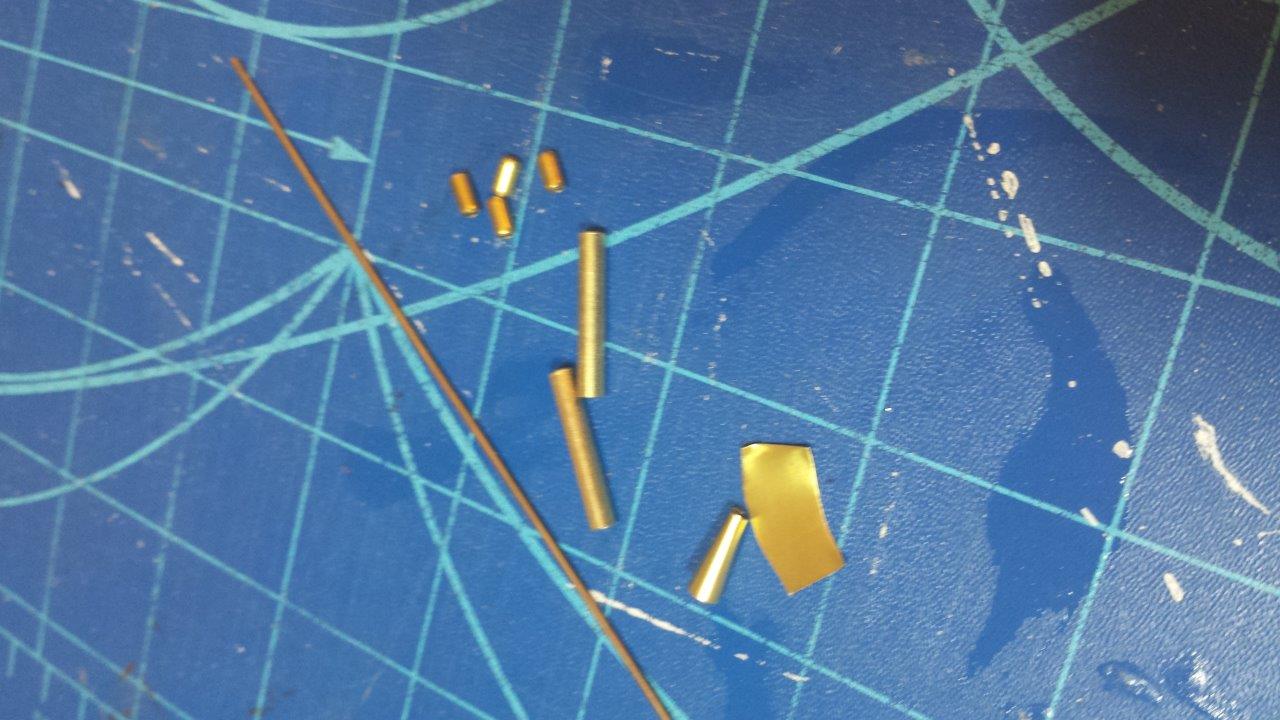
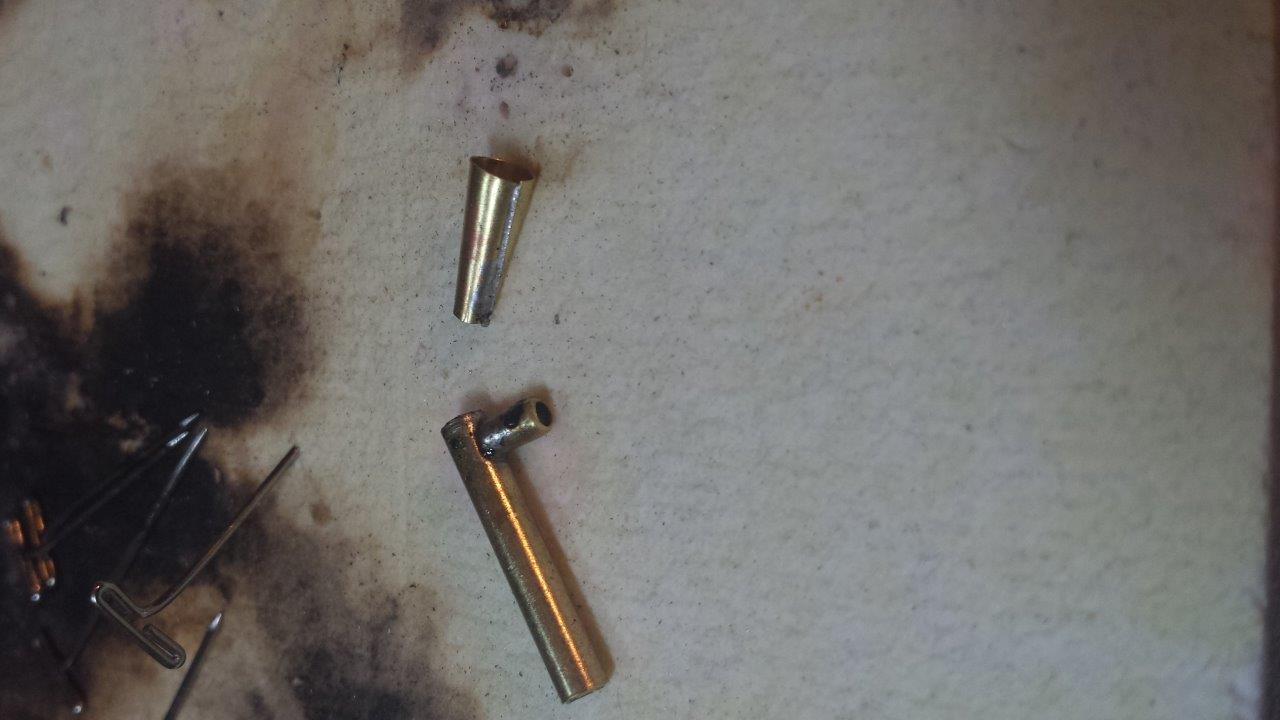


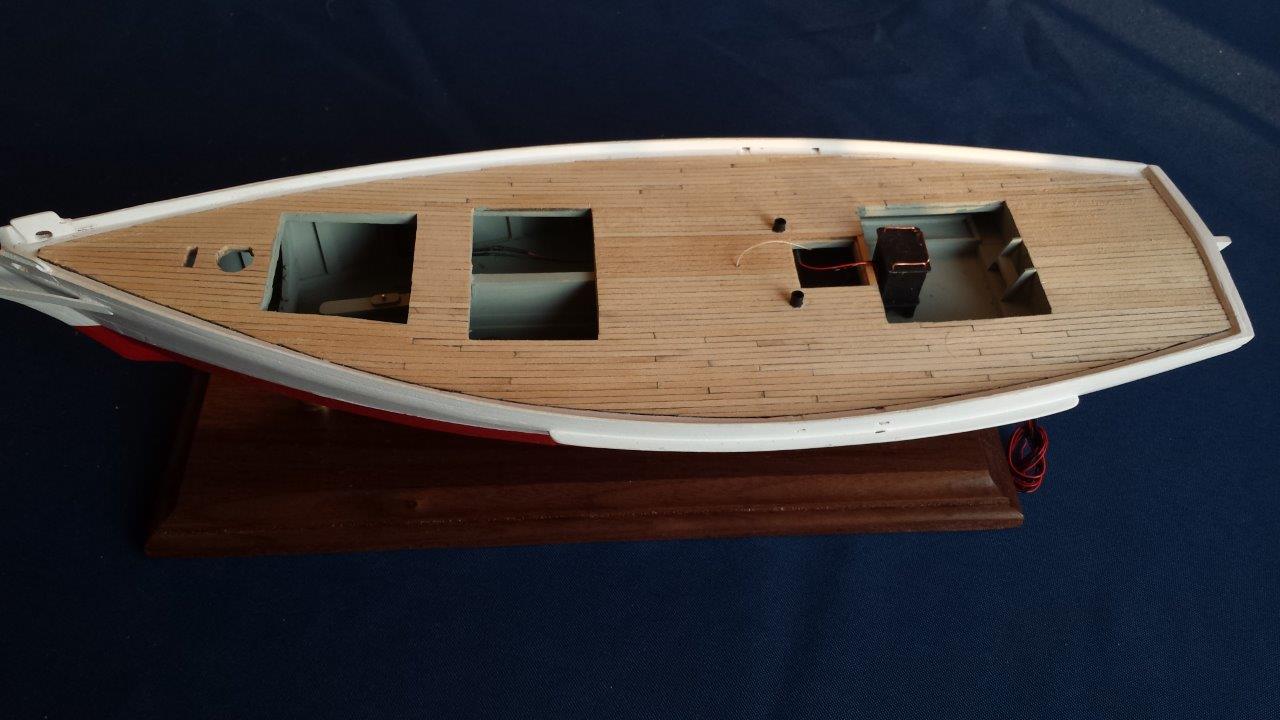
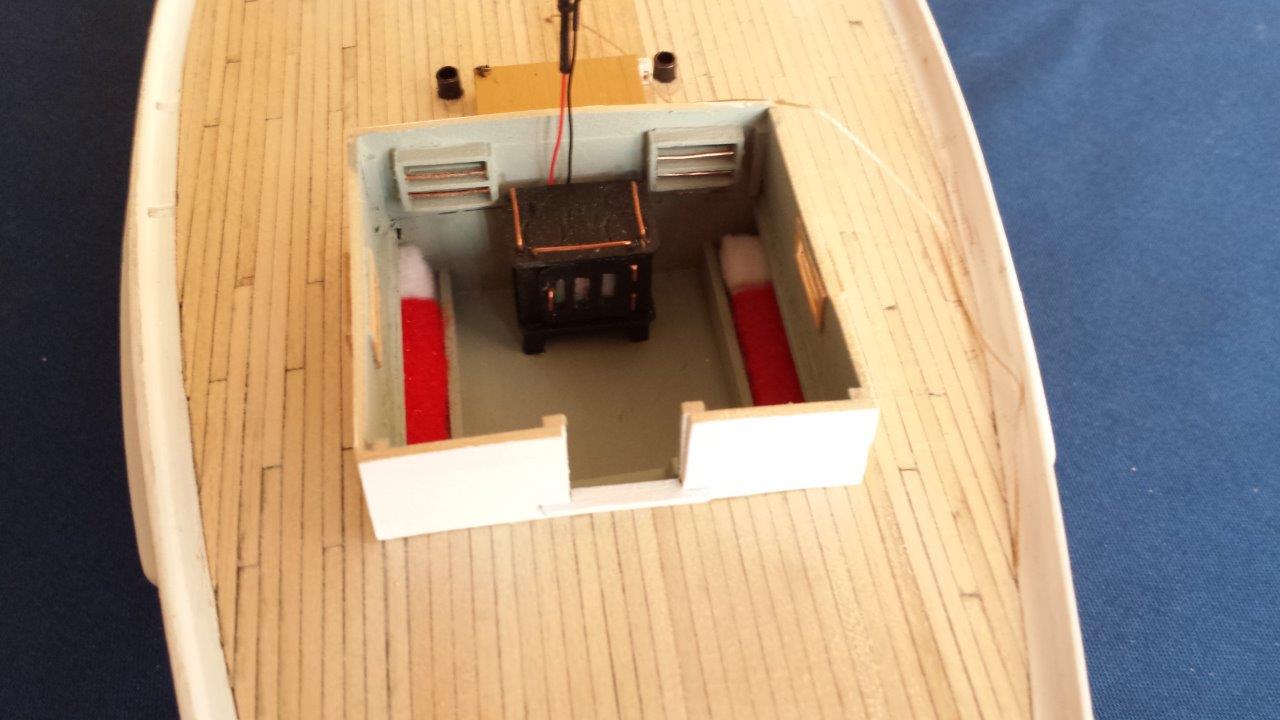
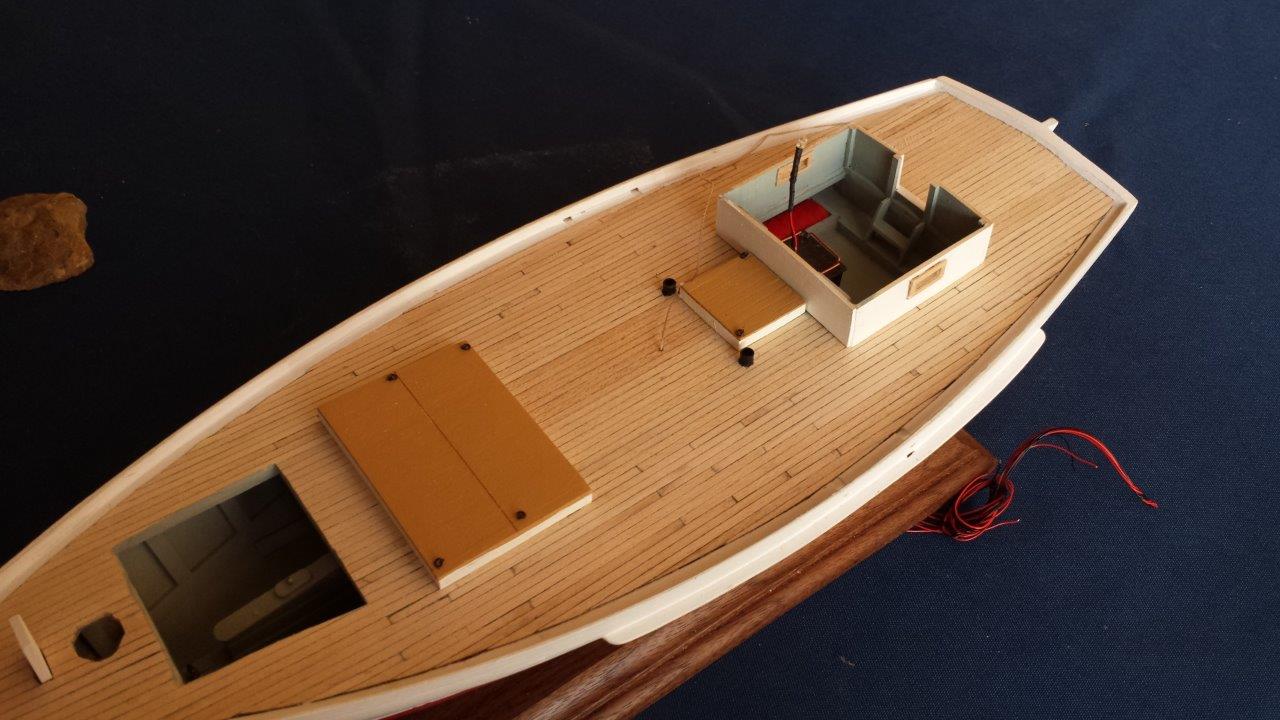

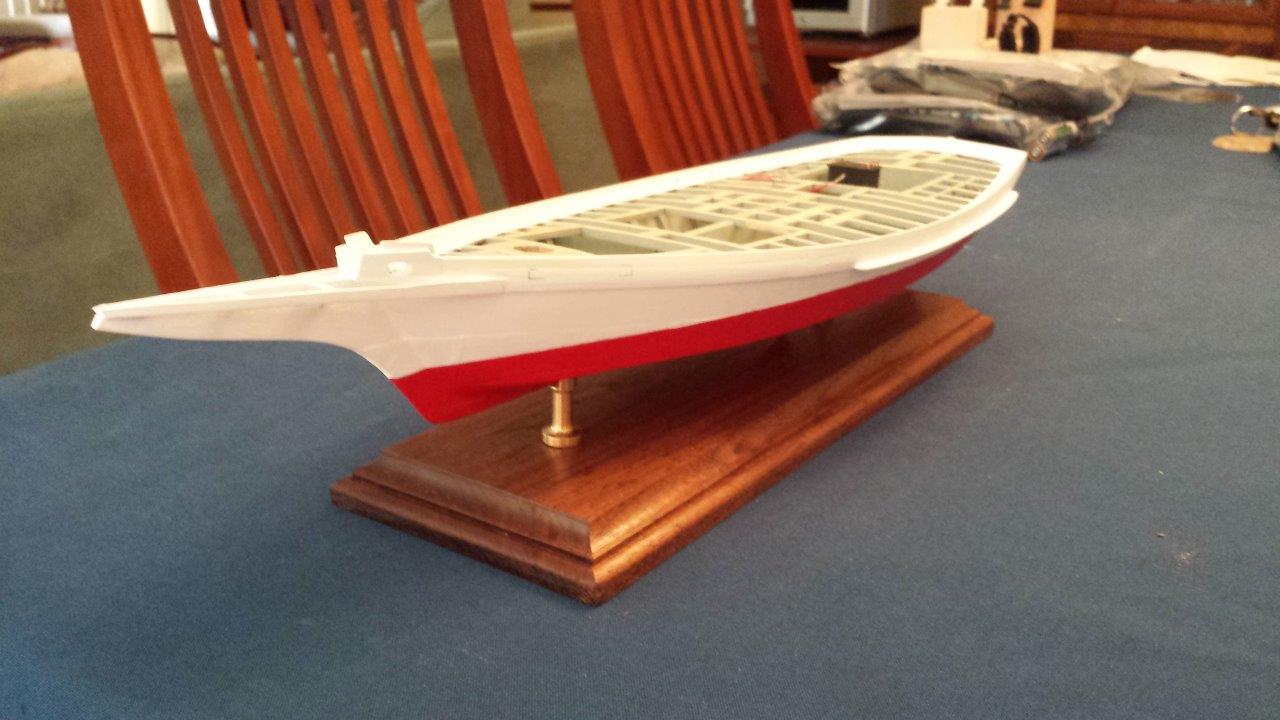


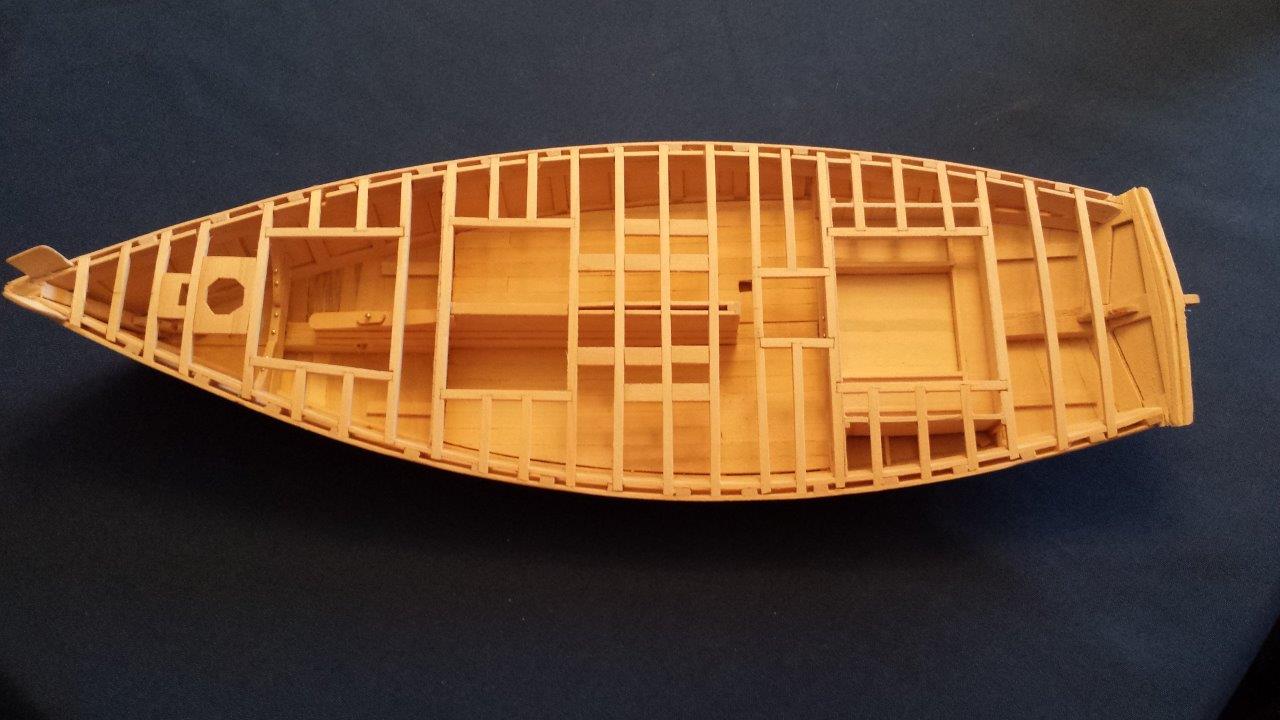
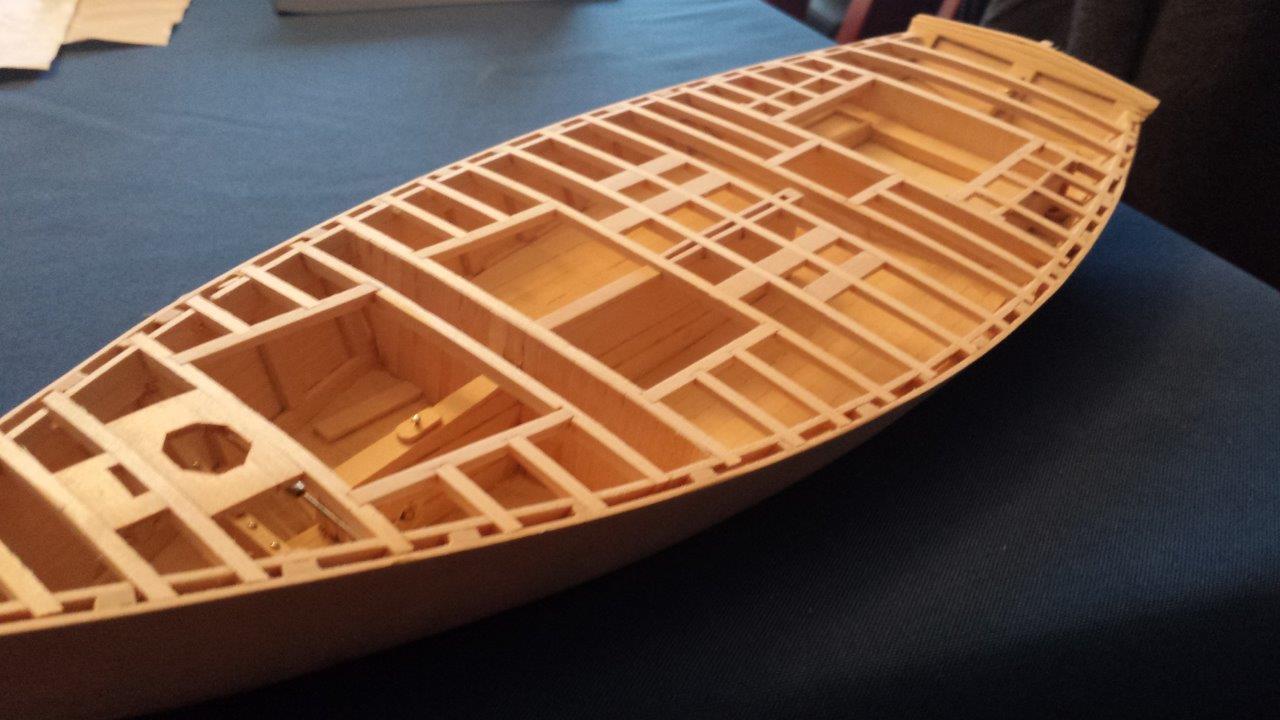
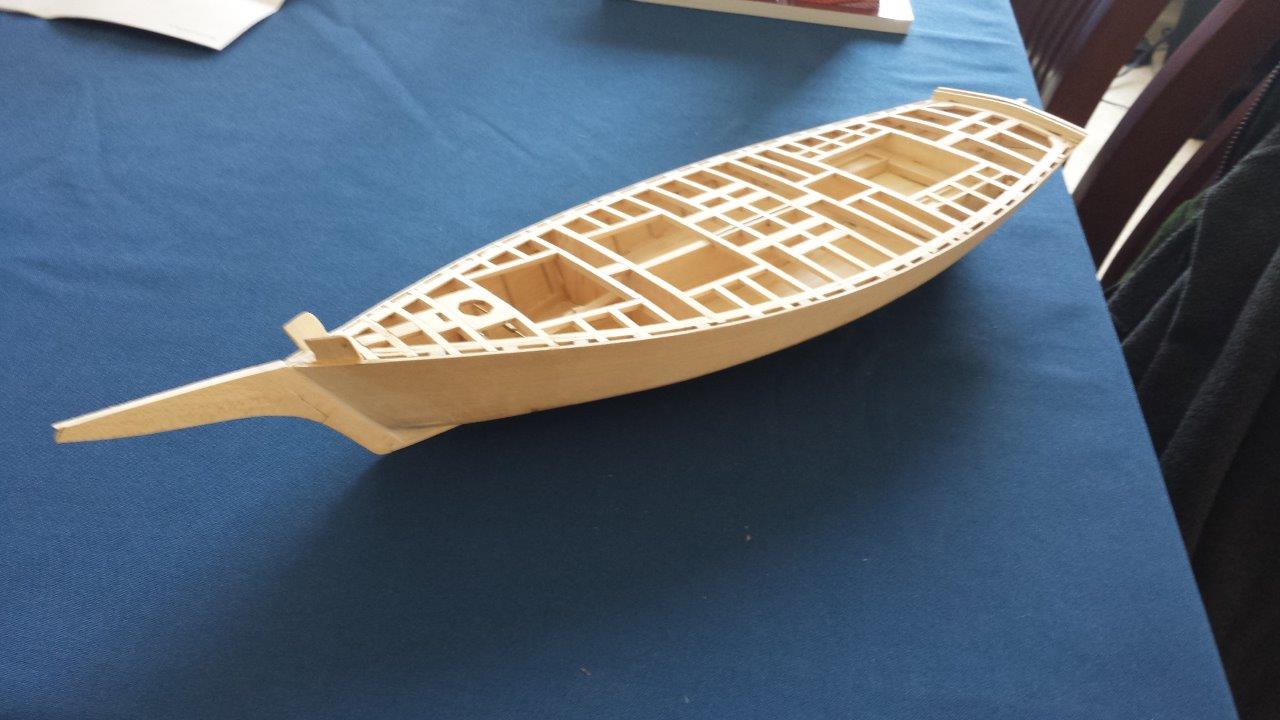


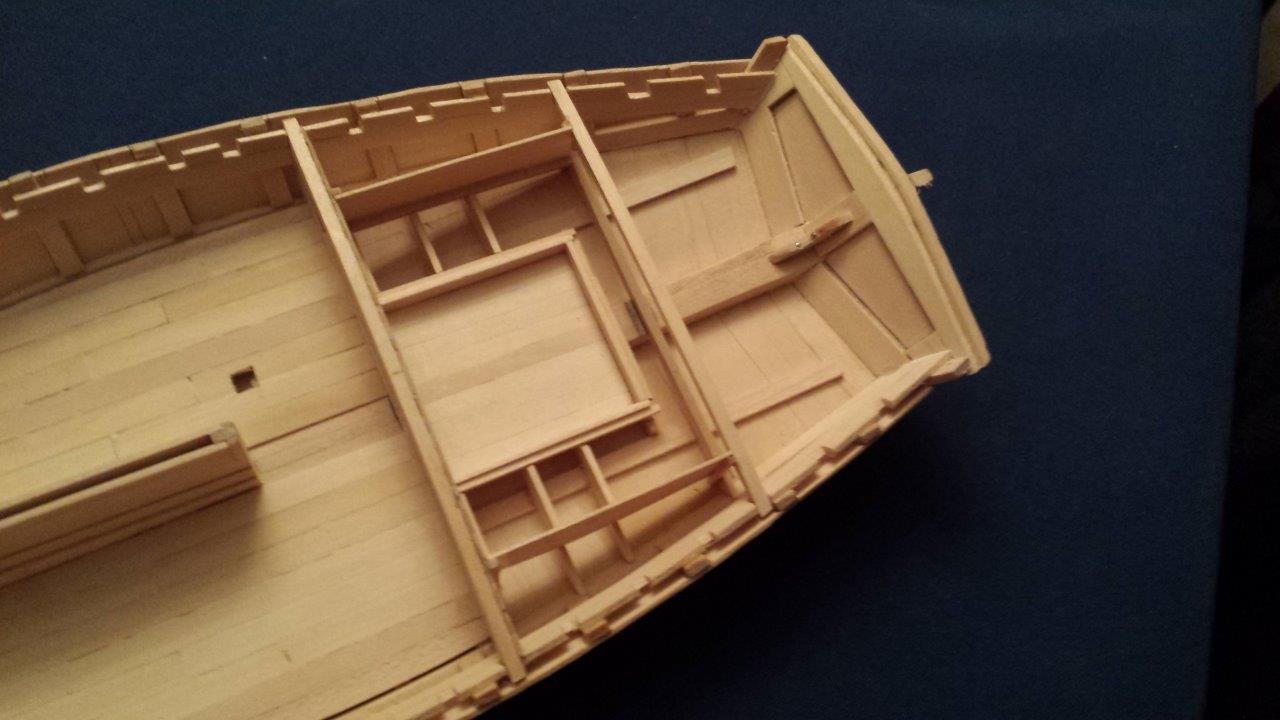


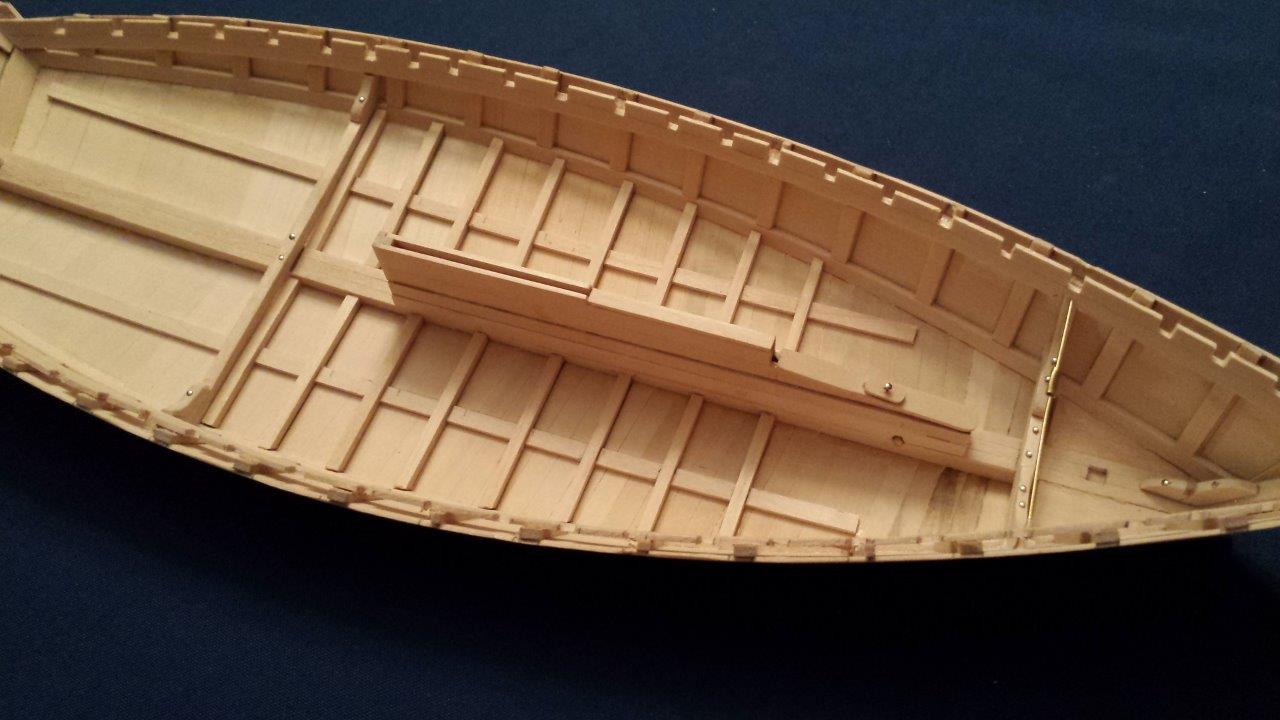


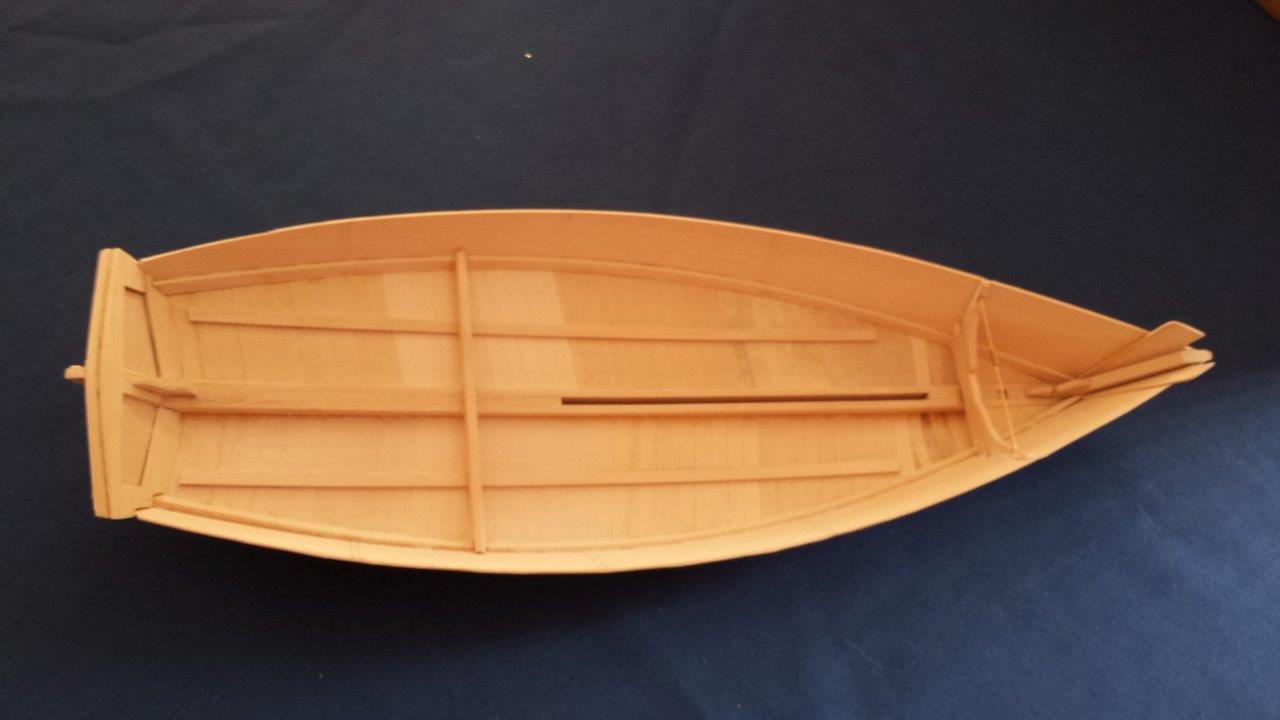
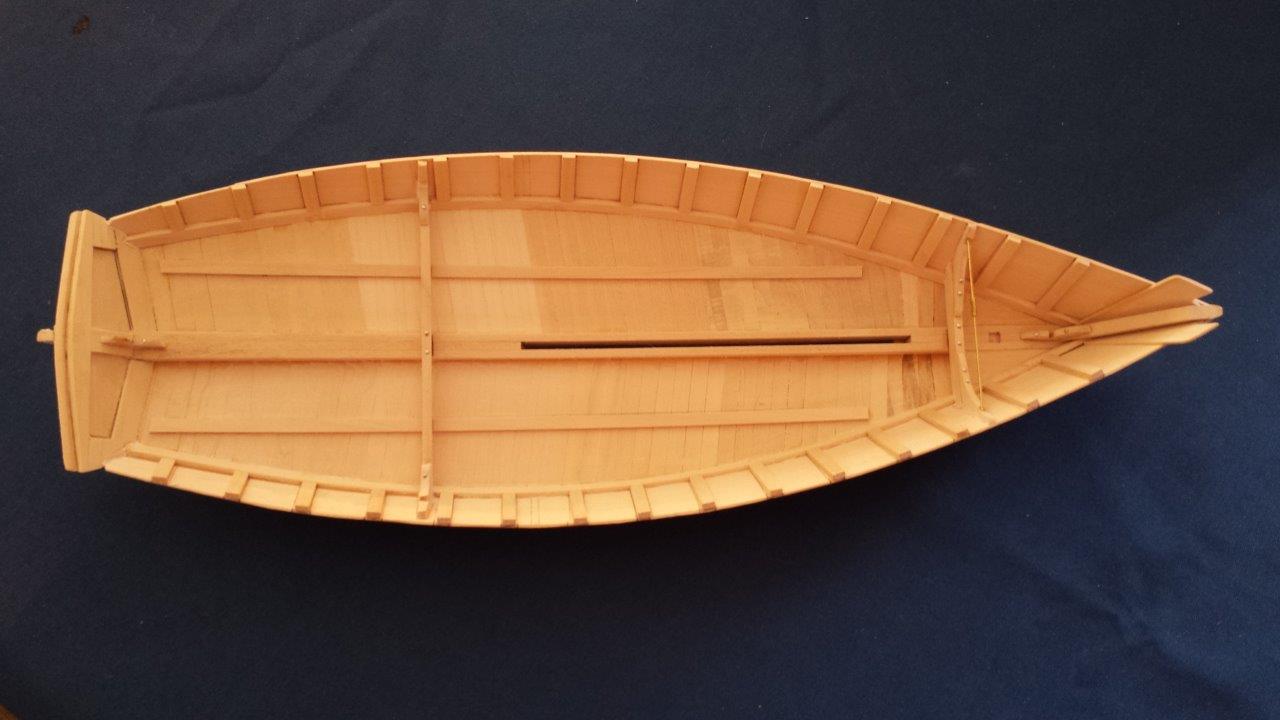
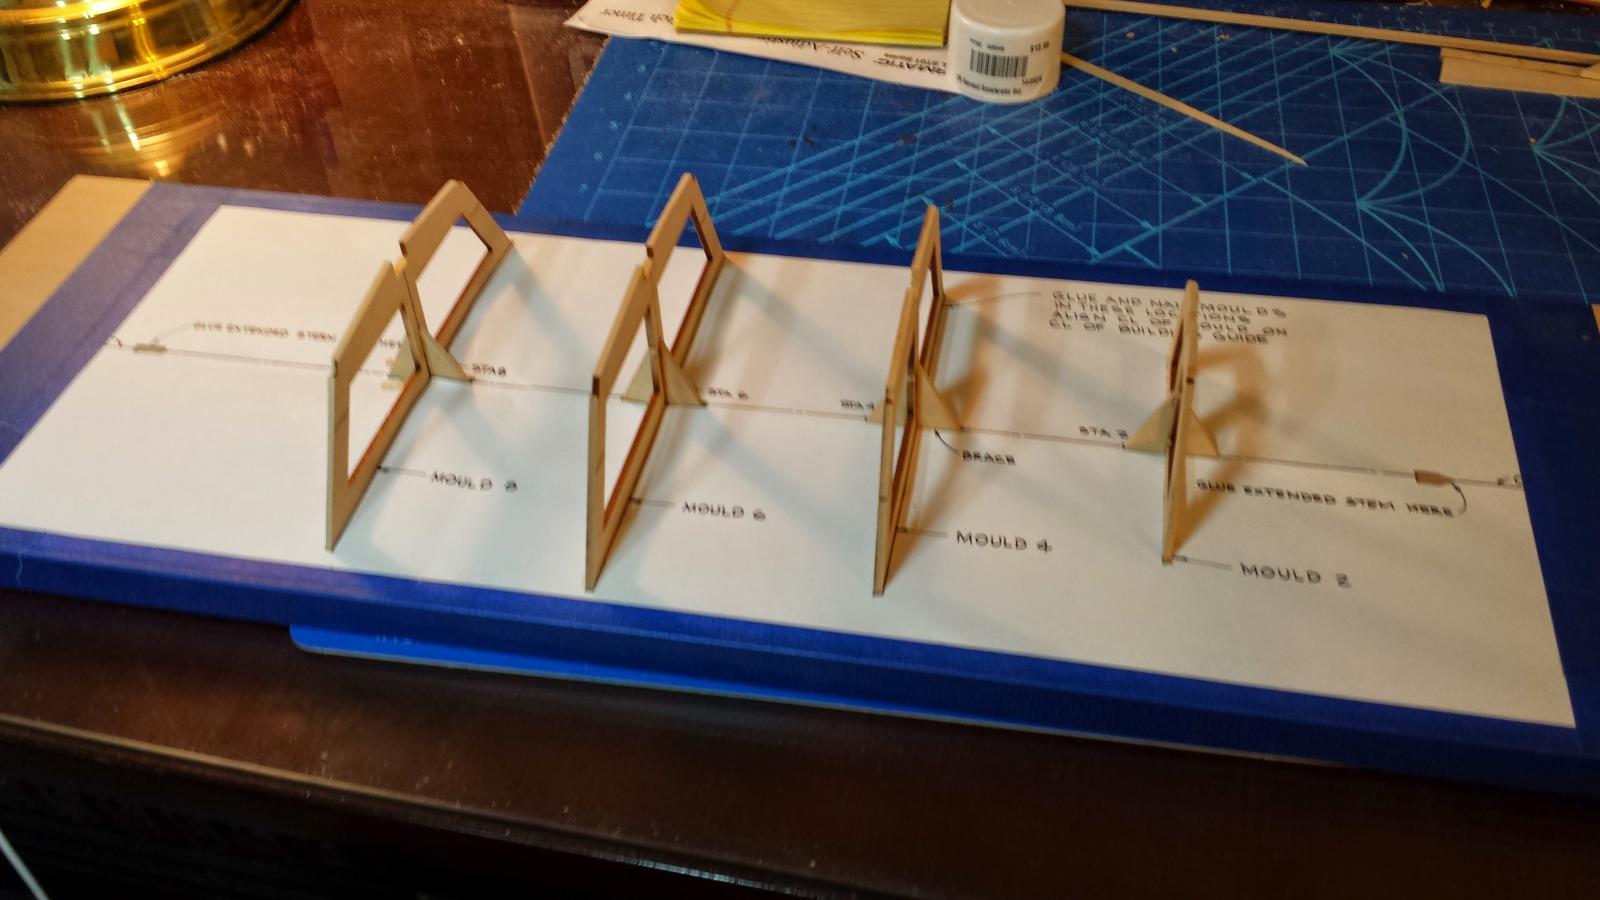

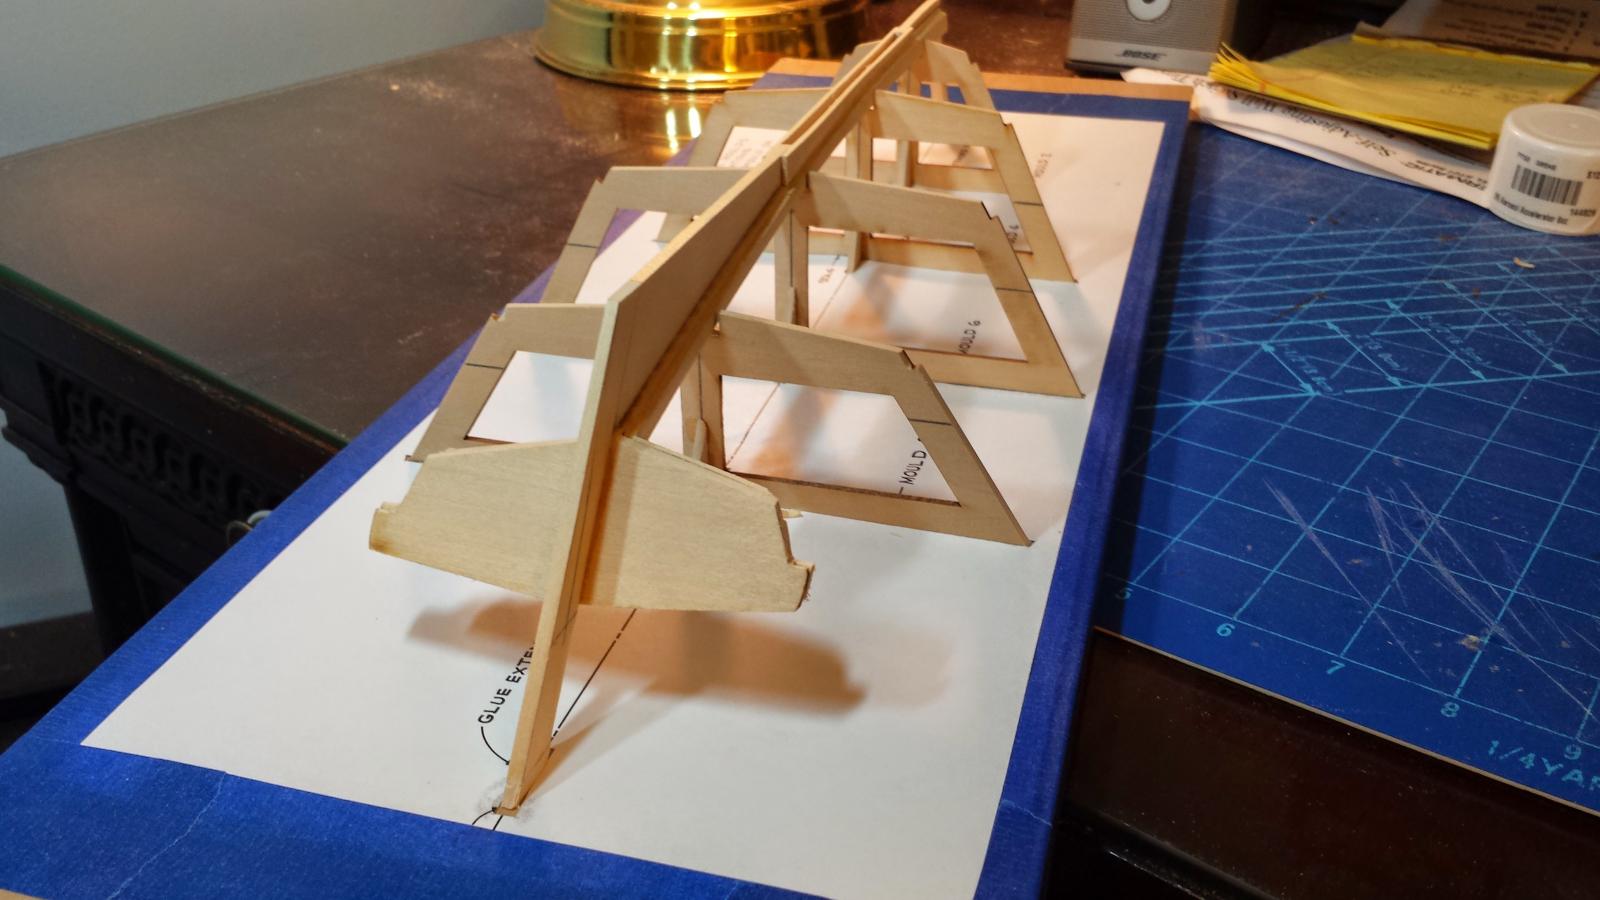

Photo Etch Maine
in Metal Work, Soldering and Metal Fittings
Posted
This might be of help, Right time period and really close on scale at 1/240
https://www.whiteensignmodels.com/p/Gold+Medal+Models+1240+USS+OregonOlympia+GMM+24004/3181/#.U_UQc6NuVg8