-
Posts
189 -
Joined
-
Last visited
Content Type
Profiles
Forums
Gallery
Events
Everything posted by Mayohoo
-
Found another source, Ship Modeling from Stem to Stern by Milton Roth. He quotes Mungo Murray for determining the length of the Mainmast and divides the Mainmast into the Lower, Topmast, and Topgallant mast. For a 1750 ship (next point is 1850) the Lower Mainmast is 2.28 x Beam or in this case 2.28 x 35 feet or 79.8 feet. So to scale of the model, this would be: Model Lower Mainmast/Model length = Ship Lower Mainmast /Ship length or Model Lower Mainmast = Model Length x Ship Lower Mainmast/Ship length " " " = 34.25 inches x 79.8 feet/130 feet therefore Model Lower Mainmast = 21 inches The Lower Doubling (Overlap I guess) is 0.13 or 2.73 inches The Topmast is 0.58 of the Lower Mainmast = 12.18 inches The Upper Doubling is 0.06 or 1.26 inches The Topgallant mast is .031 or 6.51 inches So the total length is 21 - 2.73 + 12.18 - 1.26 + 6.51 = 35.7 inches Now that is in the ballpark of 31.62 inches from the Lavery drawings! (Especially as I am guesstimating the distance to the gun deck...) I am happy with that... Mainmast diameter is 27/28 of each 3 feet of Mainmast length. So at 79.8 feet/3 = 25.65 inches in diameter. At 1:48, then the diameter is 0.53 inches. The mast also needs to be tapered to 3/4 maximum thickness at the Top Trestletree doubling. Progress! Foremast is: 21 inches x 0.9= 18.9 inches Lower doubling is 18.9 x .13 = 2.46 inches Topmast is 18.9 x .57 = 10.78 inches Topmast doubling is 18.9 x .06 = 1.13 inches and the Topgallant mast is 18.9 x .29 = 5.48 inches Total length is 18.9 -2.46+10.78- 1.13+5.48 = 31.571 inches Foremast diameter would 79.8 x 0.9 x 27/28 = 23.1 inches at 1: 48 = 0.48 inches Mizzenmast length is: Lower mast is 21 inches x .84 = 17.64 inches Lower doubling is 21 x .095 = 2.00 inches Topmast is 21 inches x .43 = 9.03 inches Topmast doubling is 21 x .095 = 2.00 inches Topgallant mast is 21 inches x .22 = 4.62 inches Total length is 17.64-2 + 9.03 - 2+ 4.62 = 27.29 inches Mizzenmast diameter is 15/22 x 79.8/3 = 18.13 inches at 1:48 = 0.37 inches To bed... ;0)
- 188 replies
-
- surprise
- artesania latina
-
(and 1 more)
Tagged with:
-
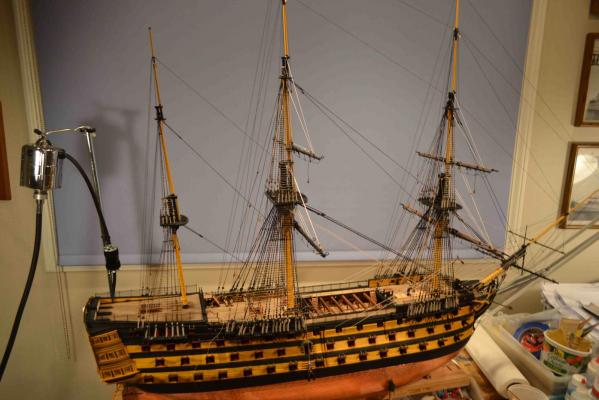
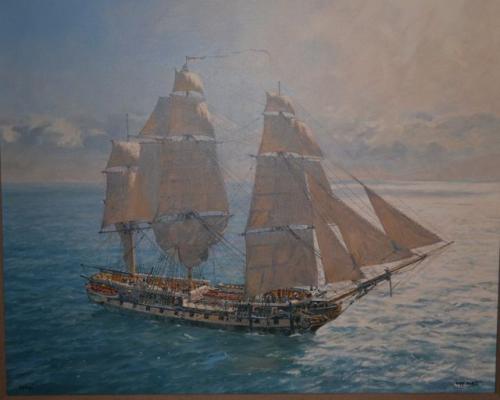
After some advice from The Moderator, I am going to do some work on the masts in order to get them to seat solidly and correctly at the rake I want. I could not find the exact heights of the masts in the PO books. I do know they did experiment with the longer main mast.. Here is a formula in the Peter Goodwin book which states: 1794 Mast = (G + W)/2 where M is mast length in feet, G is length of gun deck in feet taken between the rabbet of the stem and the rabbet of the sternpost, and W is the extreme breadth of the ship in feet. Looking at the Lavery drawings, PO HMS Surprise is then 130 feet in length at the gun deck and 35 feet in maximum width (including steps and all?). So the Main mast height should be 130 + 35/2 = 82.5 feet. It does not state if from the keel or the gun deck so I arbitrarily chose the gun deck. The Foremast is 0.90 the length of the Mainmast so it would be 82.5 x .90 = 74.25 feet The Mizzen mast is given as 0.86 the length of the Mainmast so it would be 82.5 x 0.85 = 70.125 feet. The Main mast diameter is D = M/3 so 82.5/3 is 27.5 inches The Foremast diameter is "proportional to the mainmast". So I presume it is 0.9 also so 27.5 x 0.9 = 24.75 inches The Mizzenmast diameter is 1/3 the length of the mast divided by 12 and then multiplied by the appropriate factor (0.67 for Third rates and below). So this would be 70.125 /3 = 23.2375 / 12 = 1.947x .67= 1.30. This is impossibly small. I think the 12 factor is a mistake as this would increase the size to 15.66 inches, which seems proportionally more in line with the drawings and the paintings. So: Mainmast 82.5 feet length, 27.5 inch diameter. Foremast 74.25 feet length, 24.75 inch diameter Mizzenmast 70.125 feet length, 15.66 inch diameter. Model scale then would be: Model Mainmast = Model length x Ship Main mast length/ Ship length Model Maimast= 34.25 inches x 82.5 ft/130 feet Model Mainmast is 21.74 inches above gundeck Foremast would be 19.56 inches above gundeck Mizzenmast would be 18.48 inches above the gundeck Problem: Looking at the Lavery/Marquardt drawings of the Rigged ship, it looks like the mainmast is 120 feet in ship length or 31.62 inches above the gun deck! On further reading, Lavery has the drawings with the 36 gun frigate mainmast. I guess that is the difference, but it is 21.74/31.62 or 45% longer??? Given the proportionality of the drawings I am favoring using the drawings and scaling as best I can from them. Am I making a mistake somewhere?
- 188 replies
-
- surprise
- artesania latina
-
(and 1 more)
Tagged with:
-
Ok, just finished the gun ports and am gettinf ready to place the gun deck above. Kind of sad to see all the little things go, but that is the price of progress. Question: Before a put the deck on is there anything else I should have done before I glue it on and start the second deck? Like mast or rigging wise?
- 188 replies
-
- surprise
- artesania latina
-
(and 1 more)
Tagged with:
-
Hmmm. My first kit? Sorry. The best source I have found for drawings was Brian Lavery's book The Frigate Surprise: The Complete Story of the Ship Made Famous in the novels of PatrickO'Brian. Worth buying or I got a look at the Library before I purchased. The original ships plans are also available if you google HMS Surprise plans
-
There should be a book and a CD. See the first page of my build that has a picture of the front cover. If AL won't help I could probably photocopy them for you. PM me if you would like
-
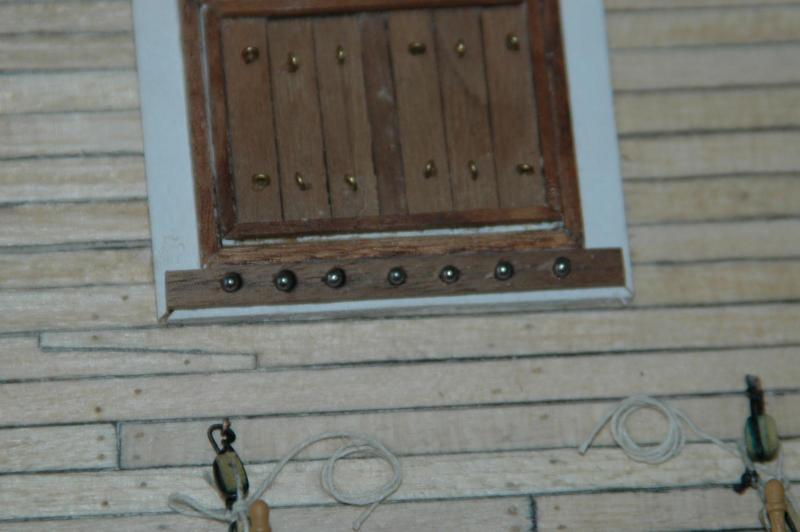
Hrs 597-610, A bit of a slow period as moved the daughter into an apartment in NYC. Wow! Rent for a 350 sq foot loft...$4000 a month. Gulp. Finally got all 10 hatches rigged and done. They look nice, but they are a little thick for perfection. I thought they needed a little heft to add interest. I like the tompion look though. Inside view with the trapdoor rope attached inside to a hook. It's hard to get good help! They sleep a lot...
- 188 replies
-
- surprise
- artesania latina
-
(and 1 more)
Tagged with:
-
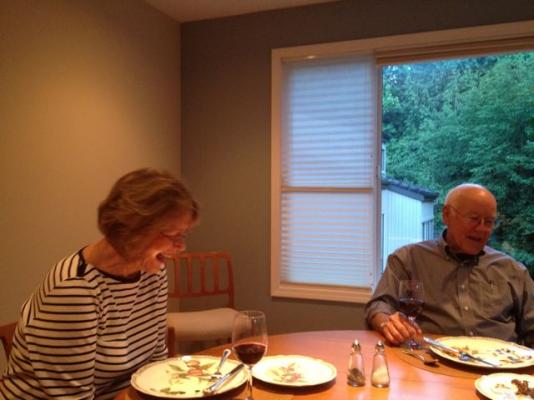
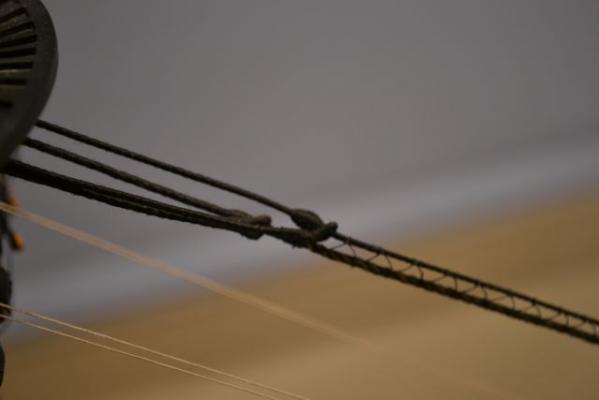
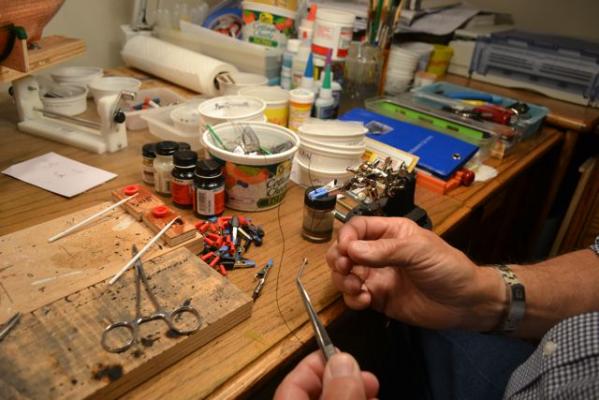
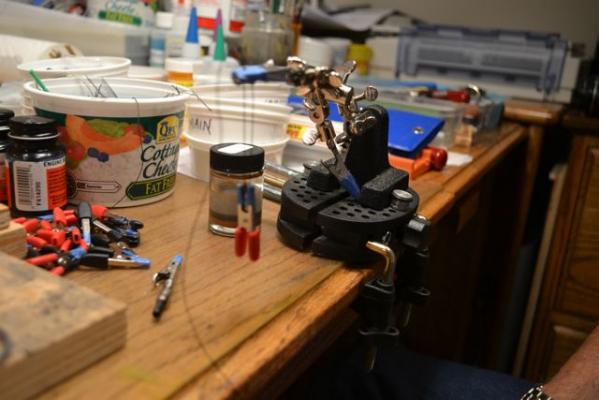
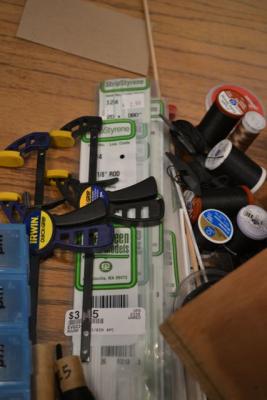
I had the pleasure and honor of visiting Gil Middleton in Seattle while I was attending a meeting. He is the artist/craftsman/genius! who is building the HMS Victory here on another blog. I was astounded at his work and when I found out I was going to Seattle for a few days I arranged to meet with him. He was incredibly kind and picked me up at my hotel (right after I got done with a speech...he phoned me as I was talking and the audience got a chuckle when my phone stared quacking during my talk...note to self...turn to buzz ;0)] He and his wife Judy had me for dinner and we had a great time talking about our mutual profession of surgery. Judy is a superb cook and it was a lot of fun! . I was describing how I made "Spotted Dog" for my children using the original recipe...and that it was NOT a hit. She did much better! With his permission I was able to tour his work area and he gave me some tips on the next great adventure...rigging! This is an area that I was looking forwards to with a little trepidation as I am doing this on my own with no experience and only the Internet to help. Here were some tips he gave me: A Lazy Susan is extremely helpful so as to allow you to spin the ship and balance the rigging from side to side. One side gets done, then the opposite. The masts are not perfectly straight. The main and mizzen are slightly raked depending on the ship. Splicing, seizing (not the neurologic one ;0)), worming, netting, and other rope work require a little skill and some equipment which he was kind enough to illustrate for me (the splice at least). Some is just...wow... Styrene is great for details. And the right CA glue is important... I think I got splicing down (long and short), and I at least have some understanding of what is going on. All in all a great time. And his ship is soooo gorgeous. As my Surprise is my first ship, I am amazed at how smooth he was able to get his fairing. It is like fine crafted furniture!....Some day ;0) Anyway, a memorable evening with Gil and Judy. I shall refer to him as the "Admiral" from now on!
- 188 replies
-
- surprise
- artesania latina
-
(and 1 more)
Tagged with:
-
Beer soup is good! We have it here in the Midwest... Thanks for the interesting info. I always wondered why they didn't use that when they ran short of water in the tropics.
- 188 replies
-
- surprise
- artesania latina
-
(and 1 more)
Tagged with:
-
HMS Surprise is my first kit so I can't compare to other companies. However I can say the following: 1. Directions are not very good and tend to be very general ("Next, plank the hull.") Without MSW I would have been stalled from nearly the get-go 2. Historical accuracy is not great. If you look at the original plans or the mods taken from the books, the AL kit is not correct in particular the stern shape. 3. Cost is pretty high as the list is >$750. I was able to find the kit on eBay for a lot less tho ($400). 4. Material quality is variable. The pins they supply are iron based so apparently they will discolor over time as they oxidise. MSW members suggested using brass. I have been trying to use trenails as much as I can and avoiding nails of any kind. On the other hand the wood seems to be ok if you sand it and are careful with it. I find I visit the local Hobby store to get things I need to augment tho. I also like the Brass detailing they have and the cutouts for the parts are pretty nice too.
-
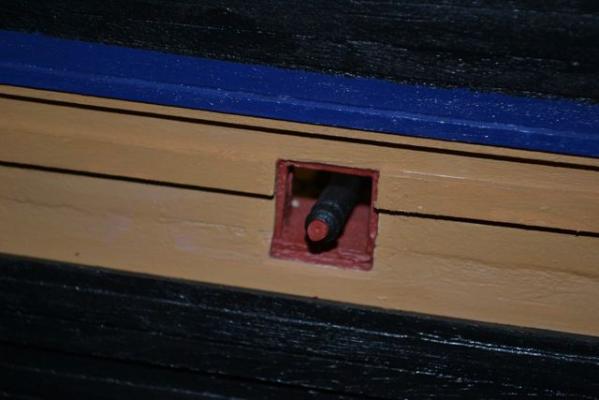
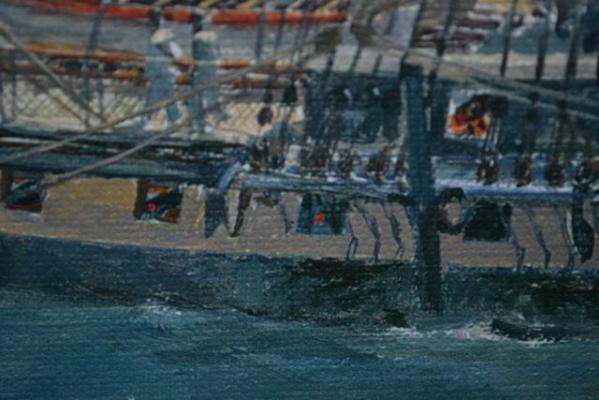
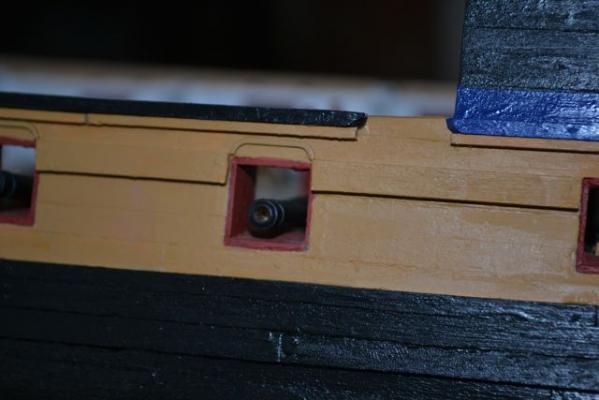
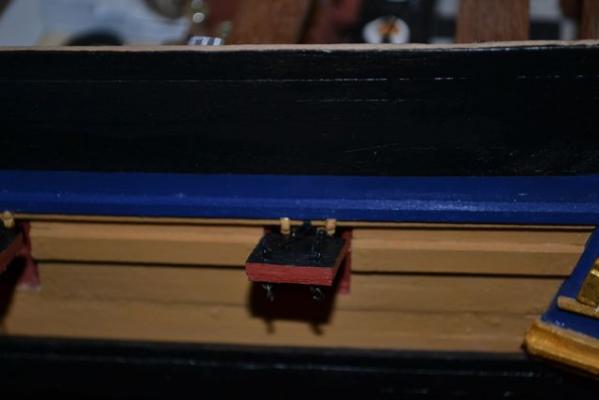
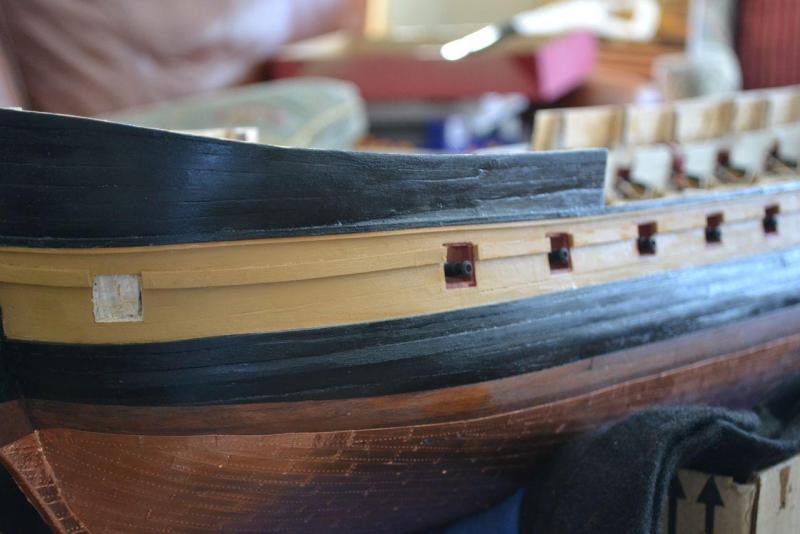
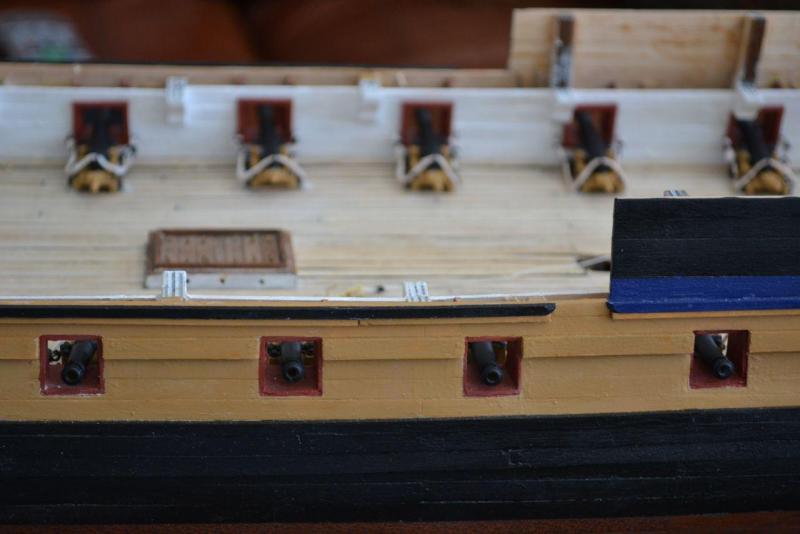
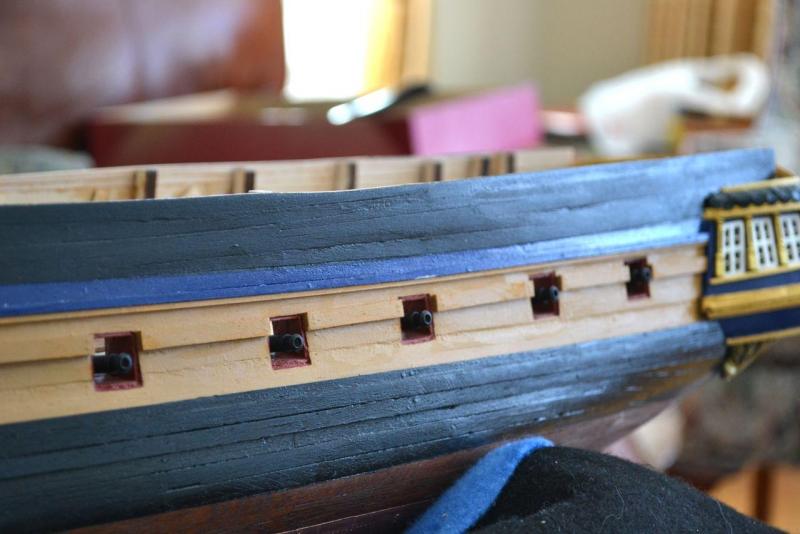
Hrs 586-596 Gun port lids So ordered hinges from Cornwell boats in England to use on gun ports. The problem with being in the frozen tundra is there are no hobby shops with this stuff locally. So it takes awhile to get things and I don't know what they will look like. Good thing they don't cost much... The Amati hinges with the little pin worked perfectly for the 15 mm x 15 mm gun ports. They are tiny! Finished product... I chose to use a modified HMS Rose type arrangement as opposed to the HMS Victory arrangement. Also added Tompions to the guns using red clay like the painting (Christmas present). And the little eyebrow over the guns in the waist. Originally was going to do 8 guns with port lids, but the hinges came in packages of 10 so that worked out to be 5 a side... so 2 up front and three over the Captains cabin areas...Just like I planned!
- 188 replies
-
- surprise
- artesania latina
-
(and 1 more)
Tagged with:
-
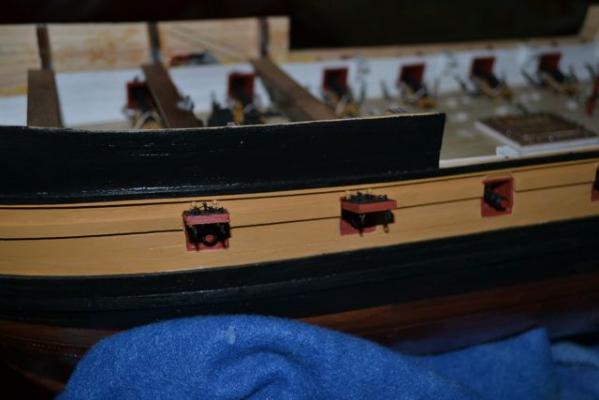
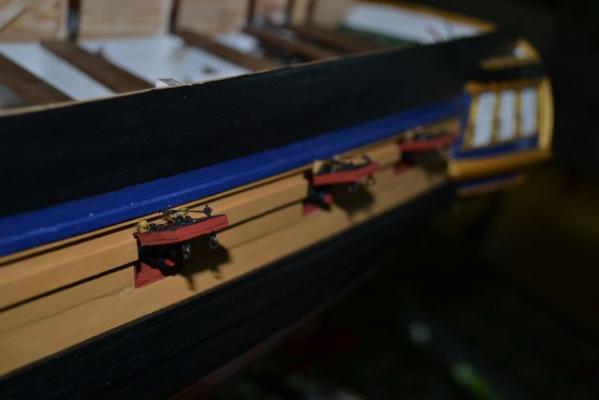
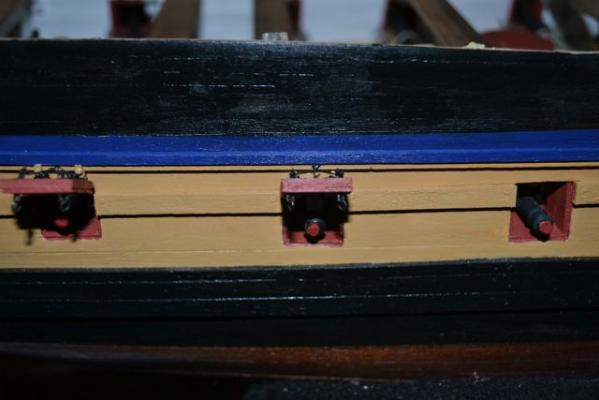
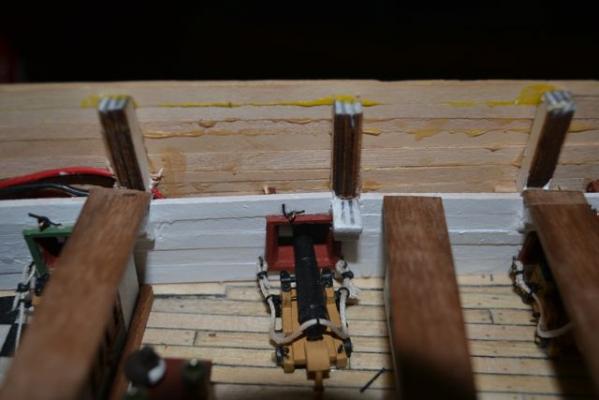
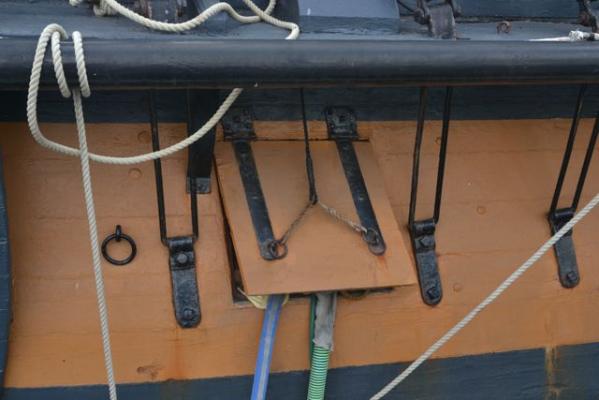
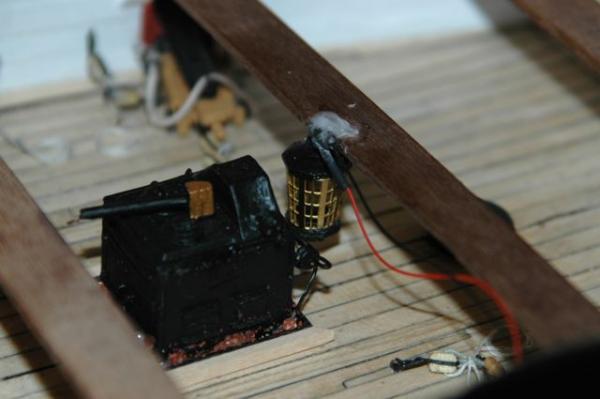
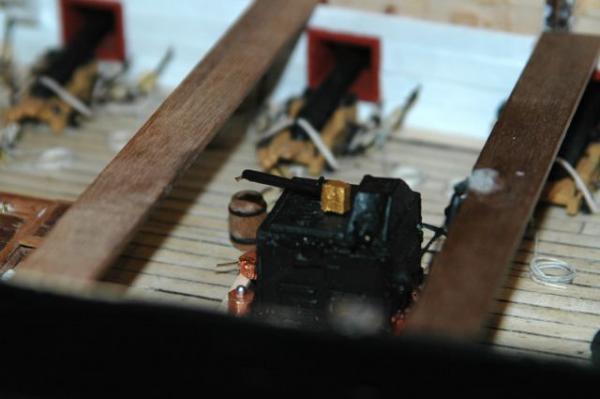
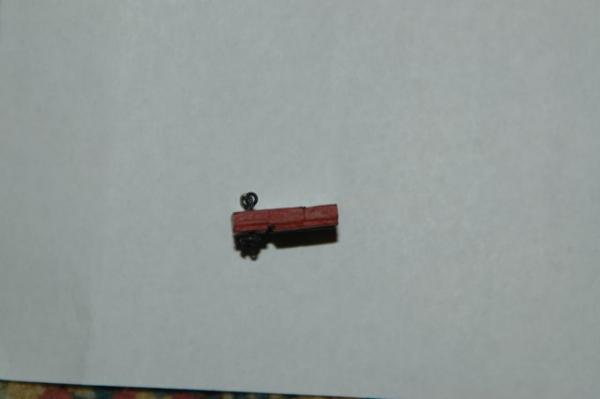
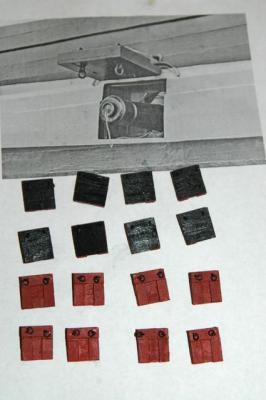
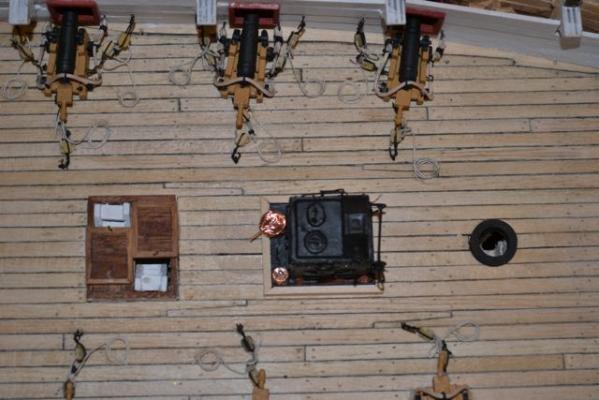
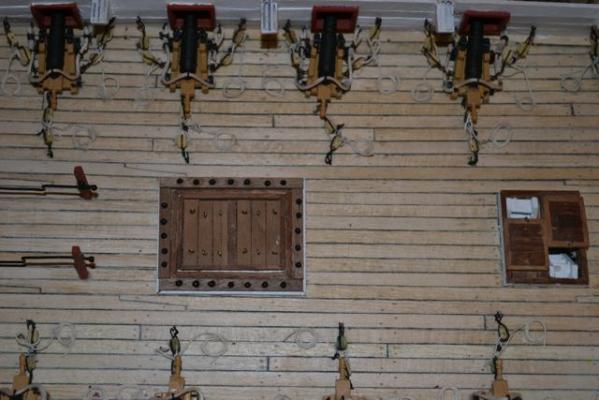
Hrs 576-585 Decided to work on gunport covers/lids. Made them to look like those on HMS Victory. After looking at the painting and book, decided it would make sense to put gunport lids on all except the 4 guns in the waist ie 16 gunport lids/covers and 8 uncovered. Theoretically they would lie flush with the hull, but I am going to have them raised. Wanted to put the pulley/rope system in place before putting on the next deck. Side view of a gun port . Then added some kind of serving pipe to Brodie oven, though am not exactly sure what it does. Maybe serves soup? Finally, put the two lights in to the gun deck areas fore and aft. Will try for a dark shot sometime. They flicker nicely so maybe a movie might do it?
- 188 replies
-
- surprise
- artesania latina
-
(and 1 more)
Tagged with:
-
Appreciate the kind words! A little bit at a time...And I'll finish this decade ;0)
- 188 replies
-
- surprise
- artesania latina
-
(and 1 more)
Tagged with:
-
Thank you runner 63. It's fun and I try. It's my first ship model so a lot of trial and error (accent on errors!) that get redone.
- 188 replies
-
- surprise
- artesania latina
-
(and 1 more)
Tagged with:
-
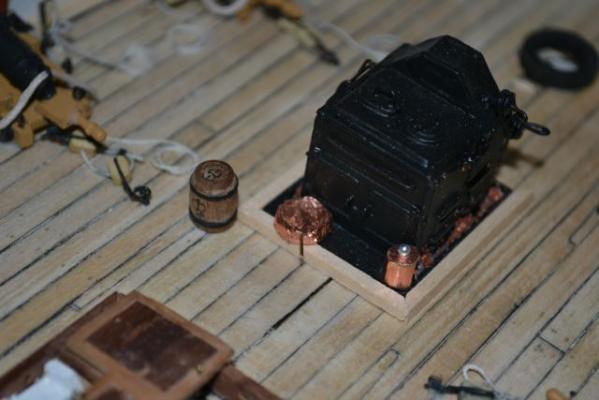
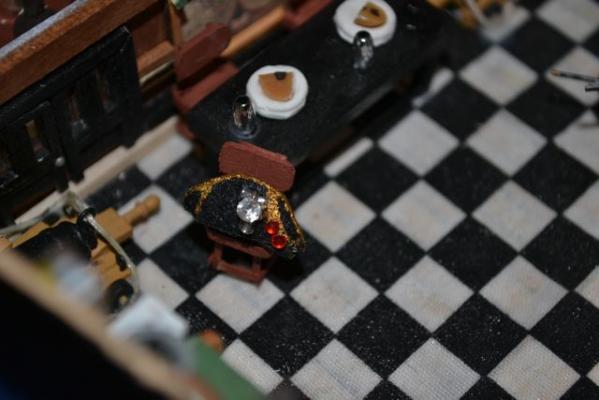
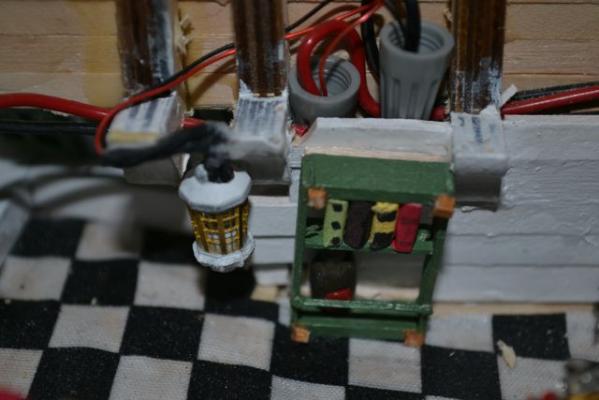
Hrs 571-575 Details and lights! According to the book, Feeding Nelson's Navy, the officers would have a keg tapped to imbibe wine or beer. So, I put one in the Staffroom with a little tiny tap and really big mugs. They wuz thirsty... If I look in the gunport I can see the barrel and the mugs... The biscuits were stored in small barrels with the British insignia on it, so I put one by the stove. They wuz hungry too... Because they were pumping the water up from the elm tree pumps to clean the decks... And they were looking for the Captains hat... which he had left in the cabin and forgot because the lights weren't quite ready (and yes I know they are a little incorrect in design, but I liked them for their ornateness so much I decided to use them in the cabin even though they are designed for on the masts ...so shoot me ) Tested them with the 9volt battery from the base and they worked! Now for the other 4 lights...
- 188 replies
-
- surprise
- artesania latina
-
(and 1 more)
Tagged with:
-

HMS Surprise by Derik - Artesania
Mayohoo replied to derik's topic in - Kit build logs for subjects built from 1751 - 1800
Well, if it is any consolation, I am banned from working on the bedroom rug... I may be the head, but the boss is the neck. Lots of progress Derik! -
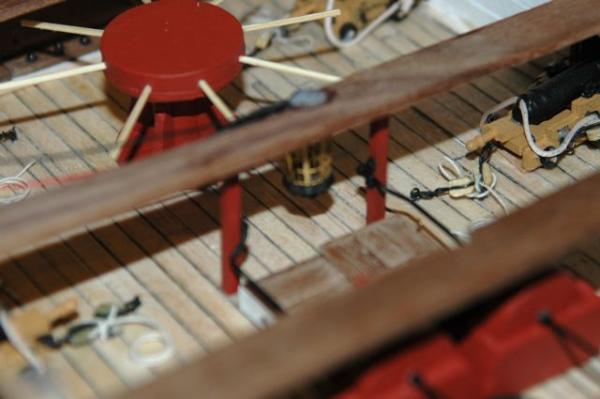
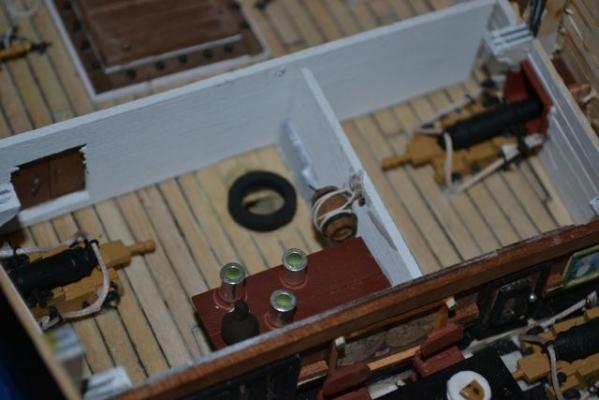
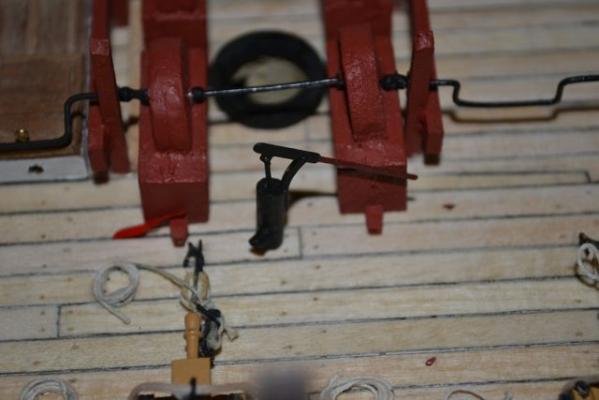
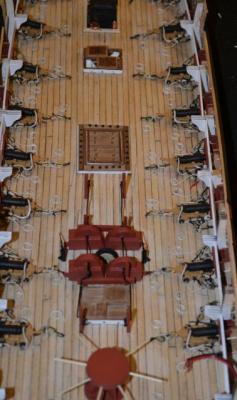
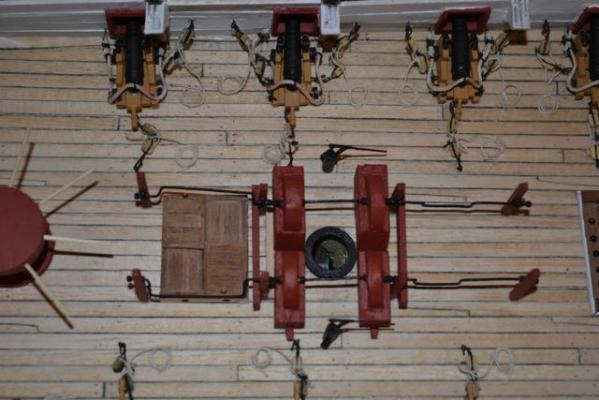
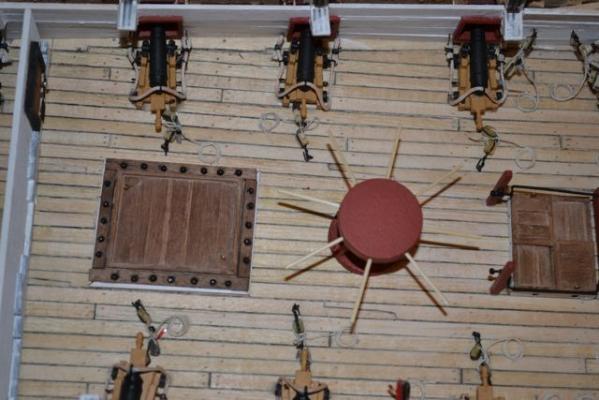
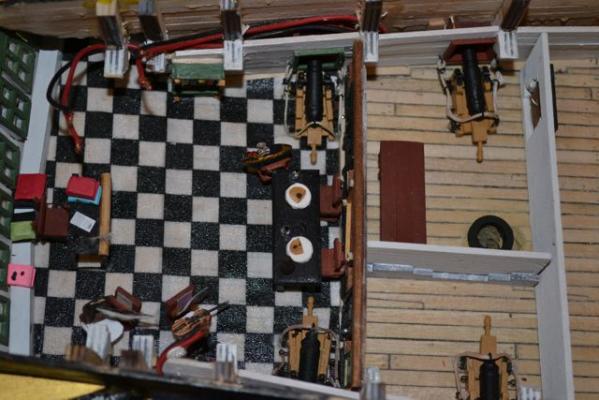
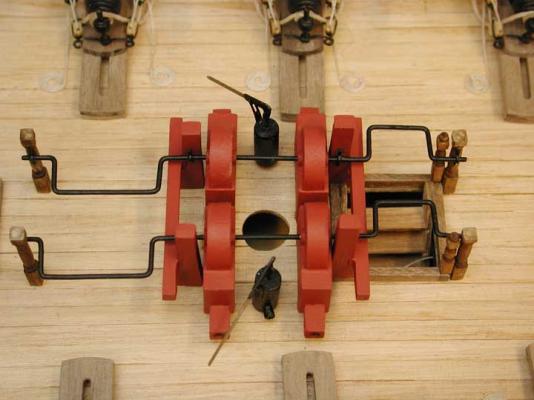
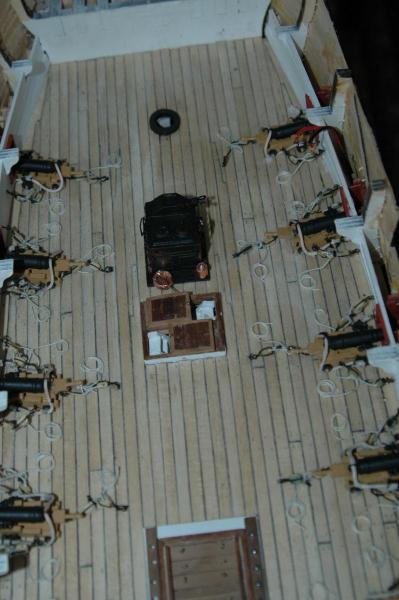
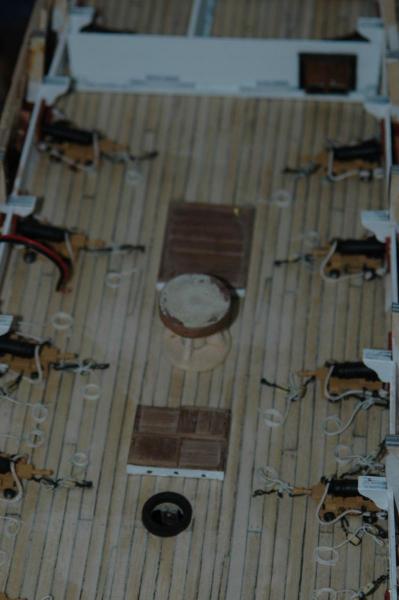
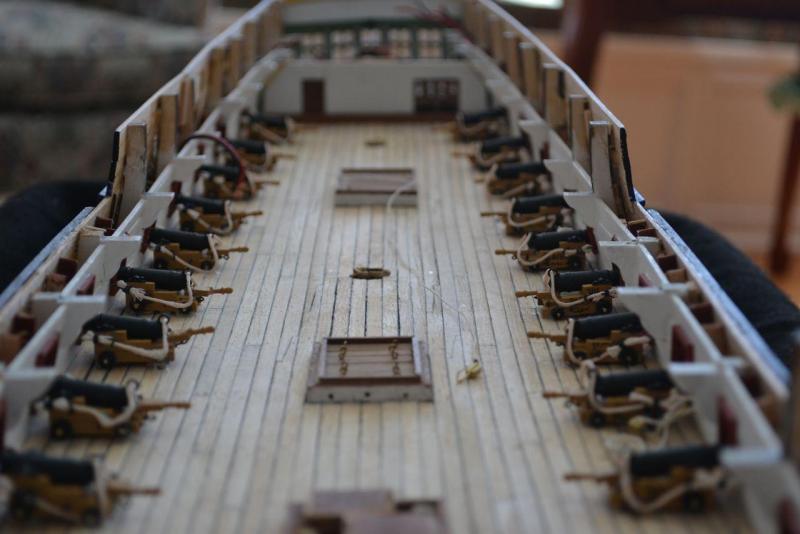
Hrs 551-570 Finishing the gundeck by adding table to staff room and walls with door. Moving forward to the hatches with capstan. Then the chain pumps an elm tree pumps. Cannonballs and hatches... to Brodie stove with pots and pans... and a longitudinal view from stern toward bow. Next step, putting in the lights!
- 188 replies
-
- surprise
- artesania latina
-
(and 1 more)
Tagged with:
-
I am trying to bend soft florist wire to 90 degree angles to make handles for chain pumps to be located on the gun deck of my HMS Surprise. It requires 4 90 degree angles in a row to create a rectangular handle. However, I am having trouble getting the angles to be sharp enough to look as good as the Jotika model on their website. http://www.jotika-ltd.com/KitPics/LRG/Surprise_Const073_lrg.jpg Does anyone have any tips on how to do this?
-
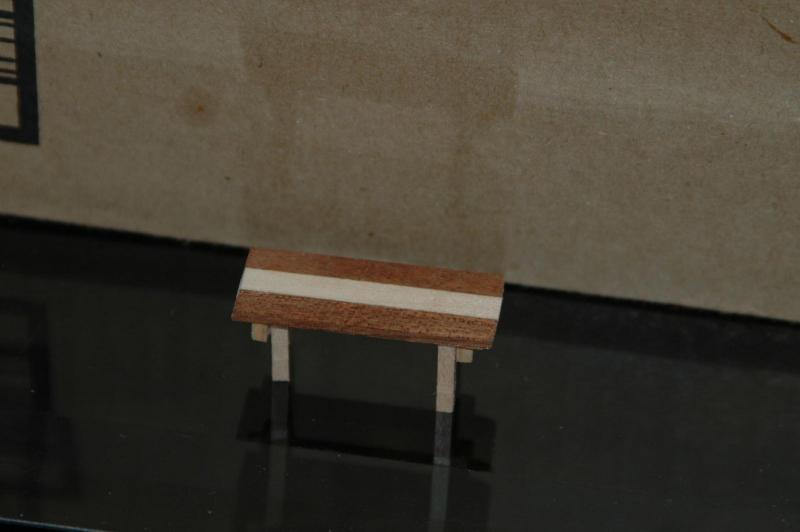
While I was at it, added Stove into place and a Staffroom table. Working on cannon ball holders using #9 birdshot from a shotgun shell.
- 188 replies
-
- surprise
- artesania latina
-
(and 1 more)
Tagged with:
-
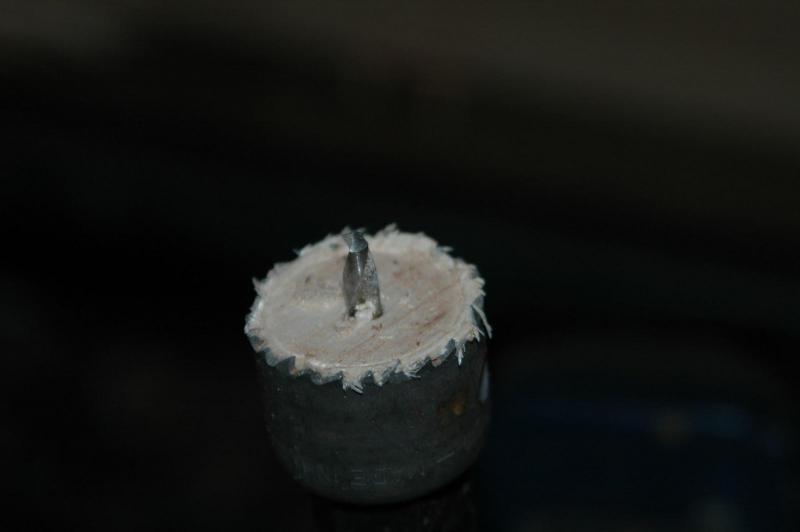
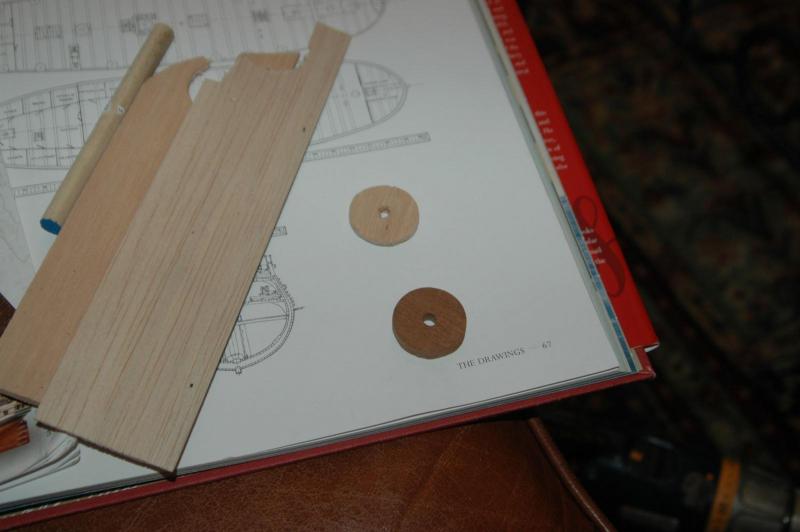
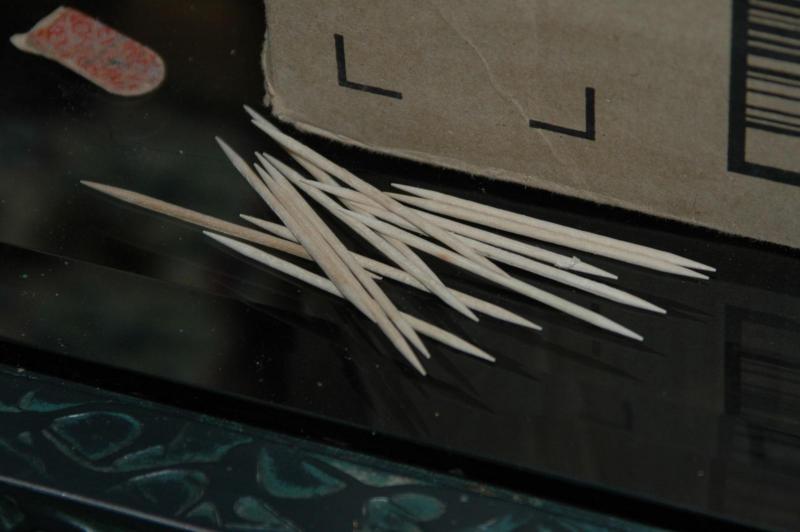
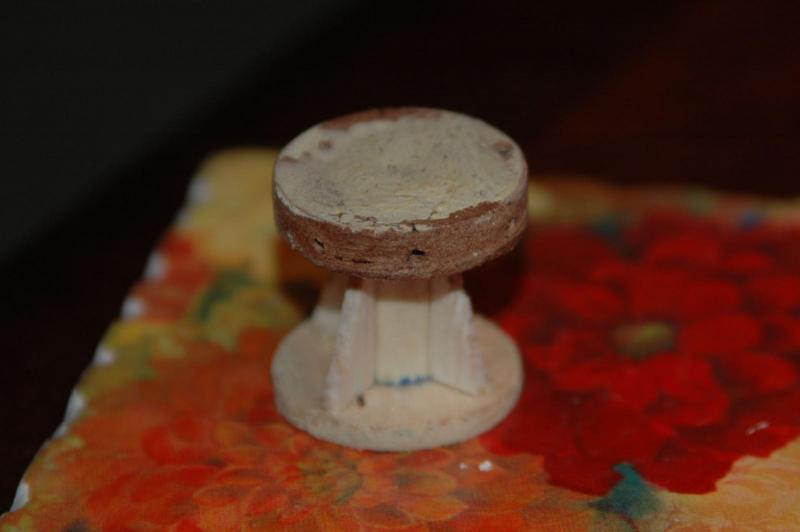
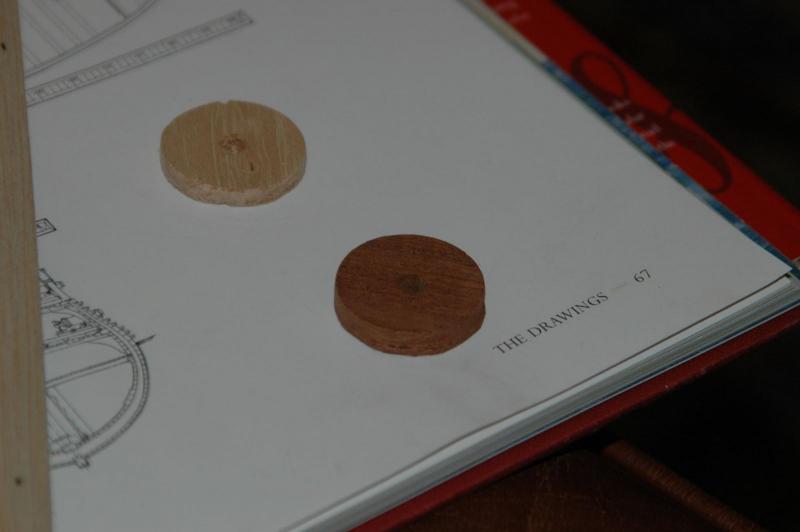
Hrs 538-550 Gun deck Madness! So started to make a capstan for the gundeck based on the Jotika appearance. Cut out Balsa and scrap mahogany into disks and glued together with a dowel. Added fins and drilled holes for the handles. Going to use toothpicks somehow for them Tentative placement...
- 188 replies
-
- surprise
- artesania latina
-
(and 1 more)
Tagged with:
-
Wow. Just Wow. Every time I come to look I feel humbled at how fine your work looks...and I've got a looooong way to go.
- 755 replies
-
- finished
- caldercraft
-
(and 1 more)
Tagged with:
-
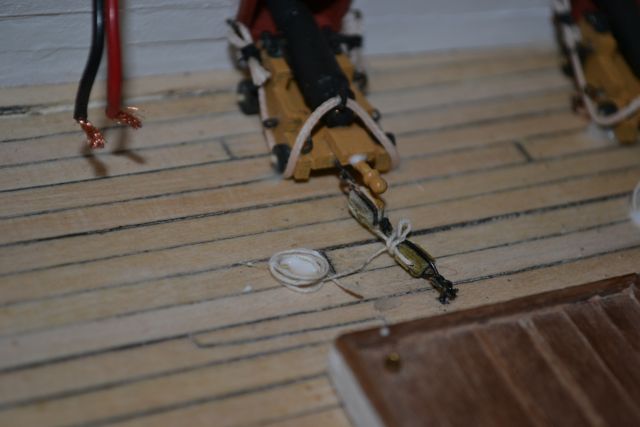
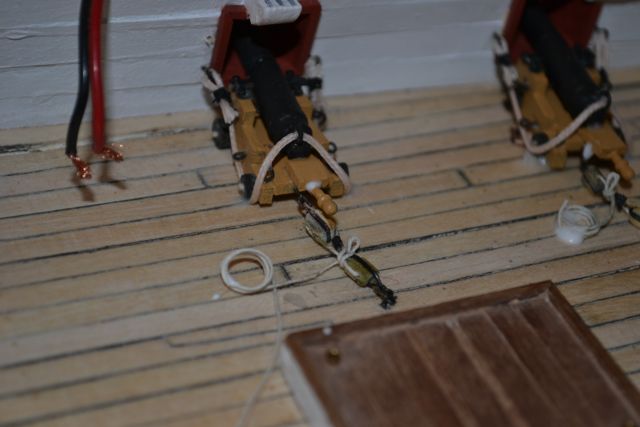
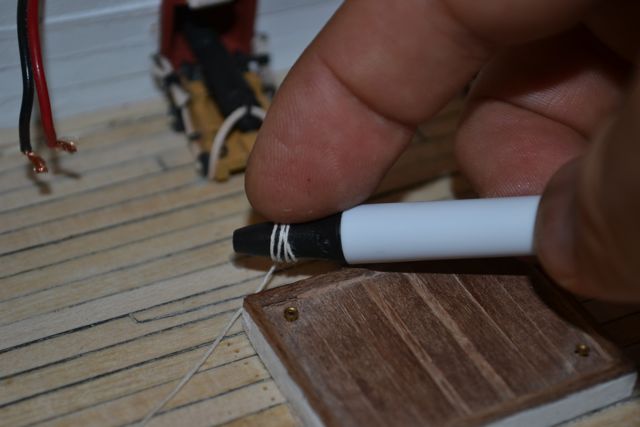
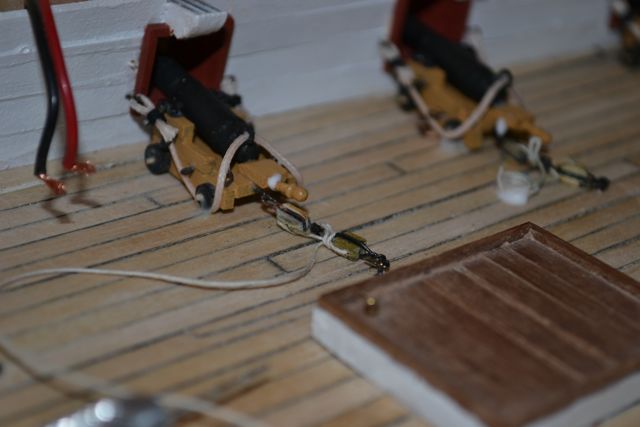
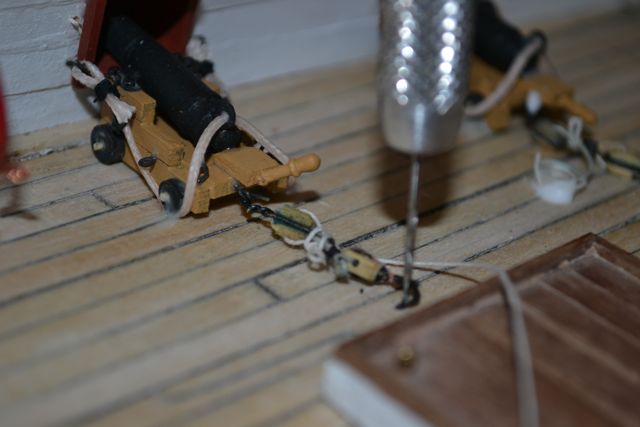
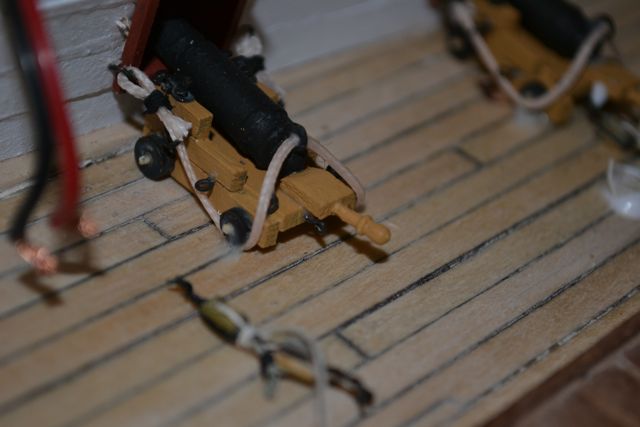
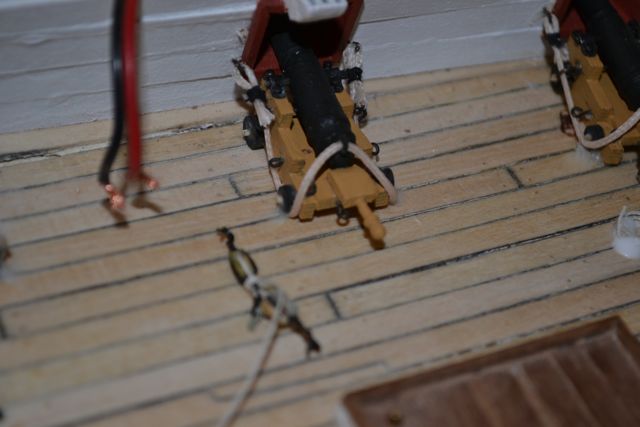
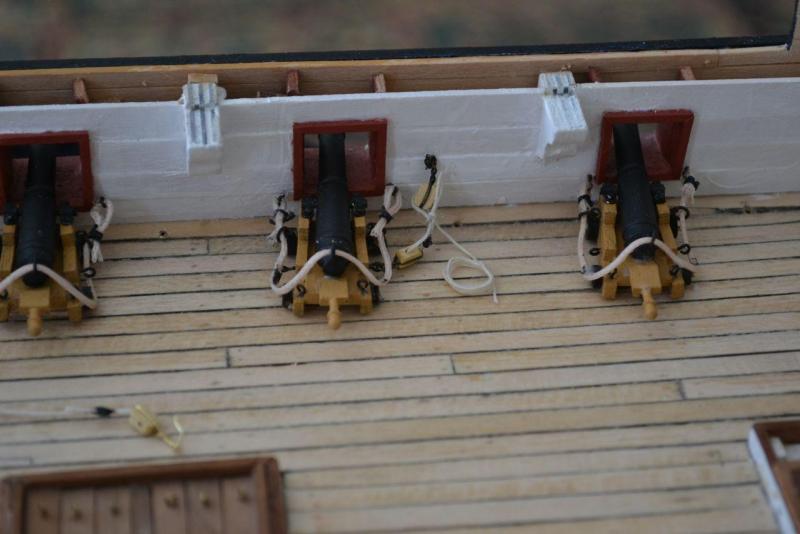
Cannon tackle issues. 1. For the back most tackle rig I wasn't sure why the last bolt ring on the gun carriage was off center in Gil Middleton's pictures. Turns out because the wedge covers it. Also, the ring itself should be perpendicular to the deck, not parallel. Otherwise very hard to get the hook through the ring. Duh. Broke several handles off trying to get the hooks connected. Lesson learned. 2. Next stretched block and tackle out and secured with ringbolt directly back. 3. Then created coil using Bic pen and 4 turns of "rope" sealed with a bit of glue and trimmed and attached to deck. Voila'!
- 188 replies
-
- surprise
- artesania latina
-
(and 1 more)
Tagged with:
-
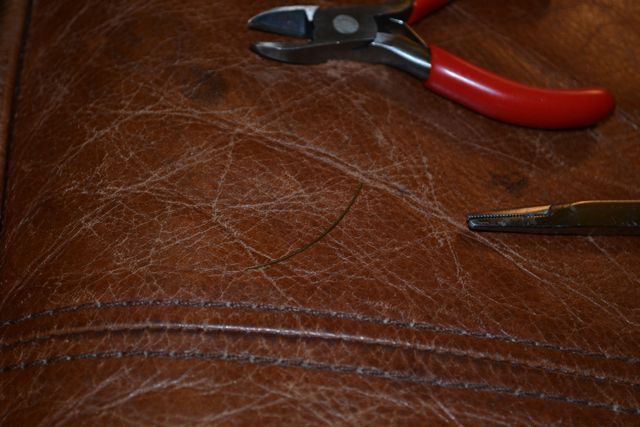
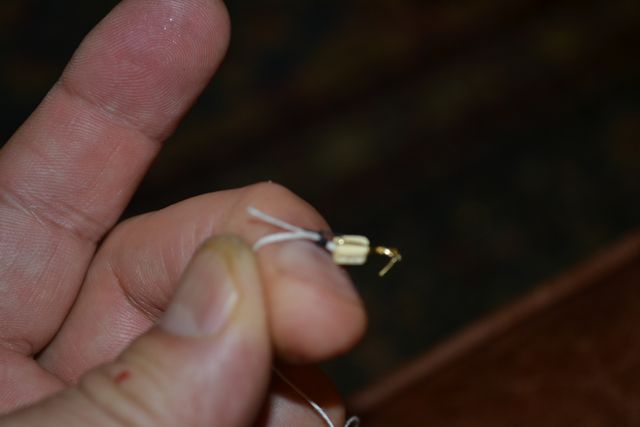
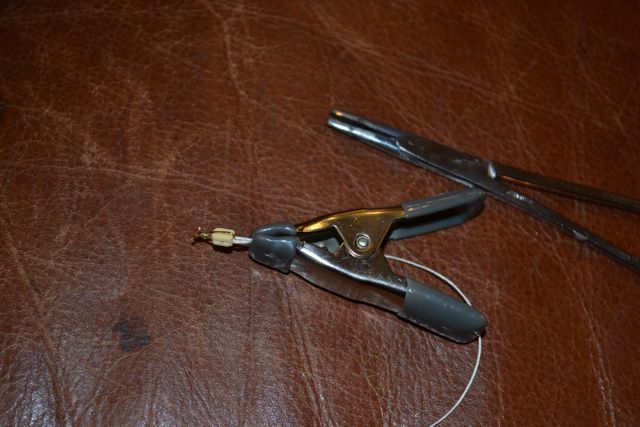
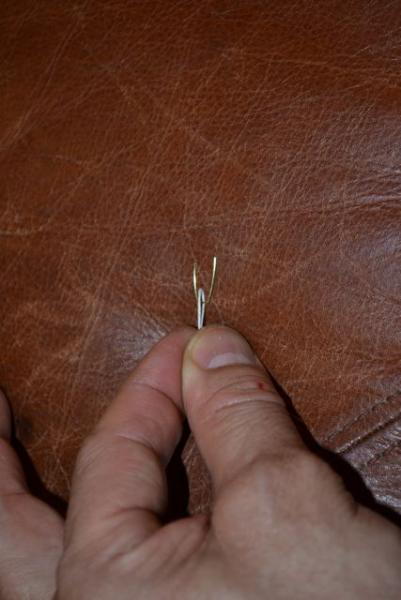
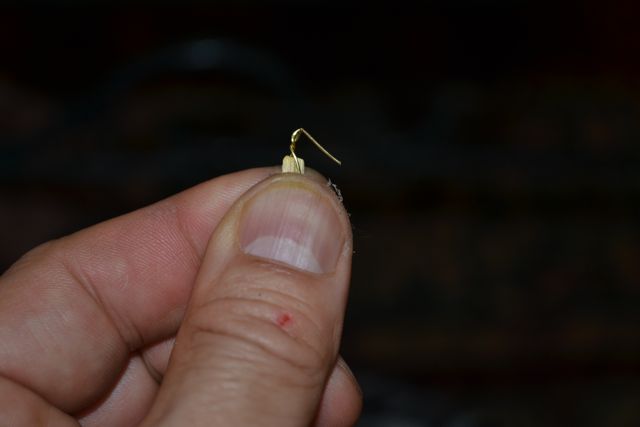
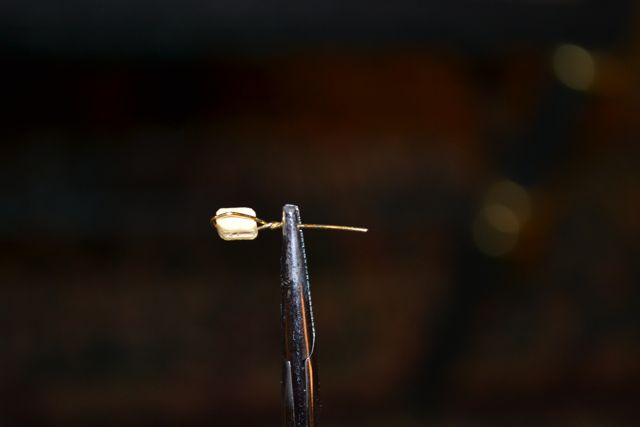
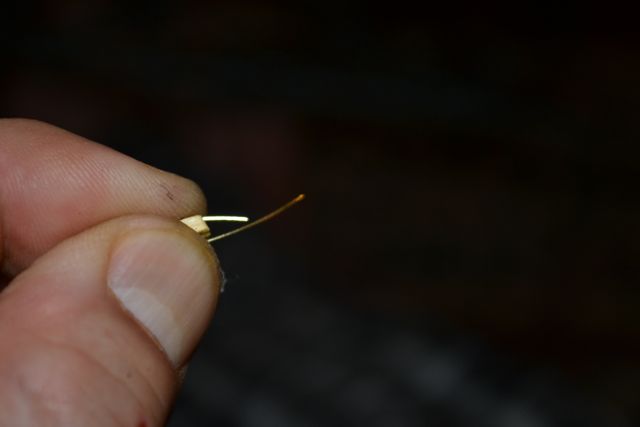
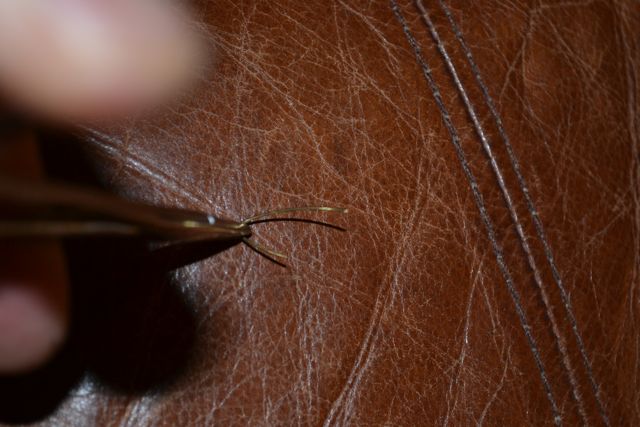
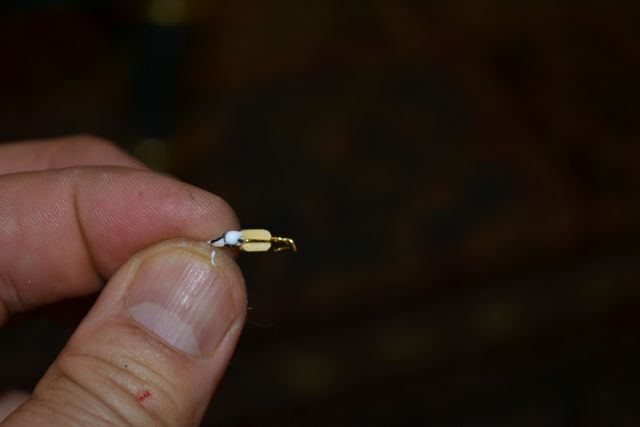
Hrs 513-537 Block and tackle Using the pictures from the Web and from Bahamas rider and Russ al I decided to make a how to for single blocks. 1. cut the provided wire 1 inch long with wire cutters 2. bend with needle driver to block shape with a little extra 3. add block and twist 4. make hook and trim 5. make second hook with thread attached 6. use clip to hold thread to instrument tie loop with three knots, wrap, flip, and another three knots 7. drop of glue to hold in place and trim extra Then drop into Brass Black solution for 20 minutes. If left overnight, the wire will break...
- 188 replies
-
- surprise
- artesania latina
-
(and 1 more)
Tagged with:
-
Hi Mike, I am building the AL kit and have found it to be pretty good. Couple issues: 1. The directions are sketchy. For example it will say "plank the hull". If you are a newbie like me, that encompasses 3 months work and a lot of help from Internet sources to do it correctly. 2. The nails provided are not brass, they are iron so will rust. I used bamboo trenails that mimic the ship and are to scale. 3. The plans and a few of the parts are not historically accurate, but using the Lavery book and other source material like the Admiralty plans you can work around it. 4. The cost of the kit is variable as it lists for $800, but I ebayed it for $450. I think I have a newer kit as it has a cd of the plans in it that others have not mentioned in their blogs in MSW 1.0 before it died. Feel free to message me if you'd like more info
-
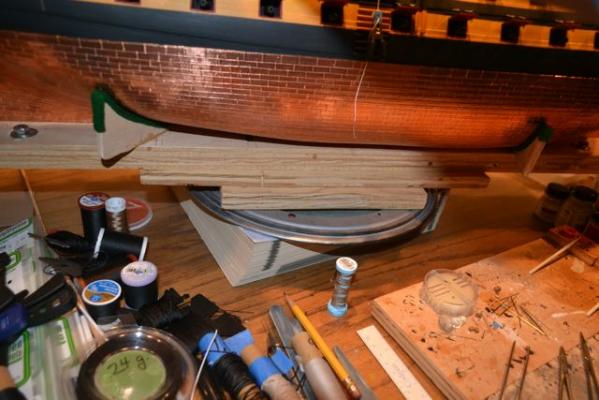
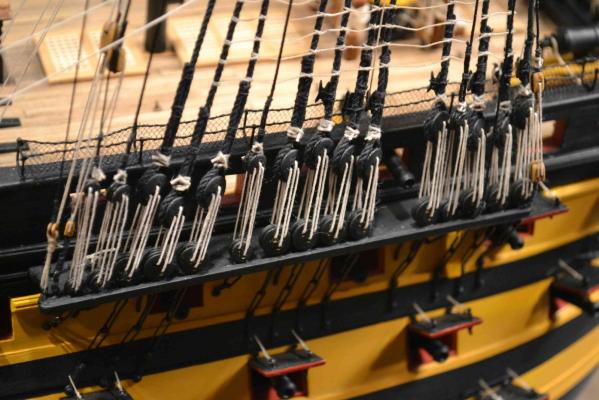
Hours 500-512 Mounted the cannons in place and glued them down. A little persnickety getting them all in a line and the same distance out from hull. Put in the breeching tackle, now working on the blocks for the gun tackle. My first attempt on one. Thanks for the help on the blocks Russ and Bahamas Diver!
- 188 replies
-
- surprise
- artesania latina
-
(and 1 more)
Tagged with:
About us
Modelshipworld - Advancing Ship Modeling through Research
SSL Secured
Your security is important for us so this Website is SSL-Secured
NRG Mailing Address
Nautical Research Guild
237 South Lincoln Street
Westmont IL, 60559-1917
Model Ship World ® and the MSW logo are Registered Trademarks, and belong to the Nautical Research Guild (United States Patent and Trademark Office: No. 6,929,264 & No. 6,929,274, registered Dec. 20, 2022)
Helpful Links
About the NRG
If you enjoy building ship models that are historically accurate as well as beautiful, then The Nautical Research Guild (NRG) is just right for you.
The Guild is a non-profit educational organization whose mission is to “Advance Ship Modeling Through Research”. We provide support to our members in their efforts to raise the quality of their model ships.
The Nautical Research Guild has published our world-renowned quarterly magazine, The Nautical Research Journal, since 1955. The pages of the Journal are full of articles by accomplished ship modelers who show you how they create those exquisite details on their models, and by maritime historians who show you the correct details to build. The Journal is available in both print and digital editions. Go to the NRG web site (www.thenrg.org) to download a complimentary digital copy of the Journal. The NRG also publishes plan sets, books and compilations of back issues of the Journal and the former Ships in Scale and Model Ship Builder magazines.


