HOLIDAY DONATION DRIVE - SUPPORT MSW - DO YOUR PART TO KEEP THIS GREAT FORUM GOING! (Only 51 donations so far out of 49,000 members - C'mon guys!)
×


Mayohoo
-
Posts
189 -
Joined
-
Last visited
Content Type
Profiles
Forums
Gallery
Events
Everything posted by Mayohoo
-
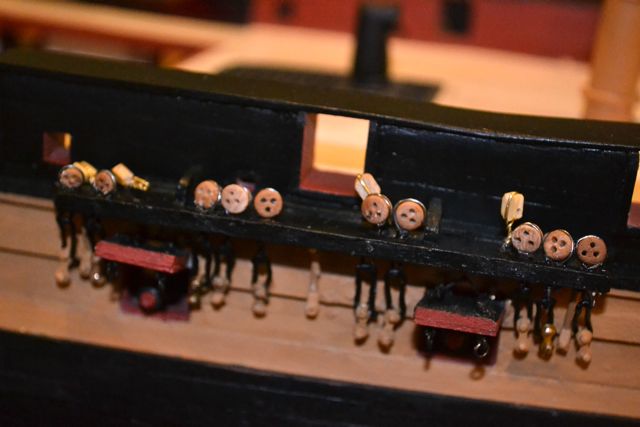
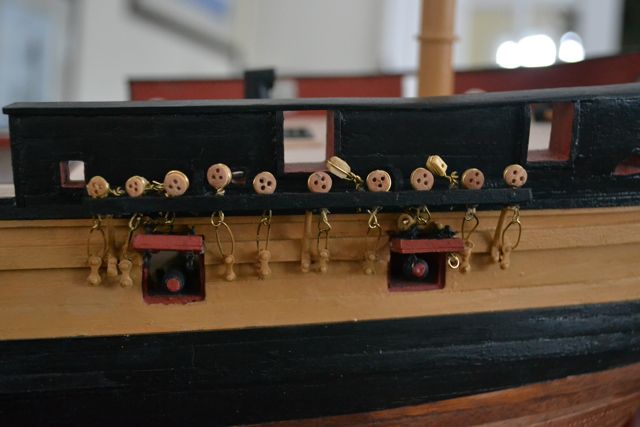
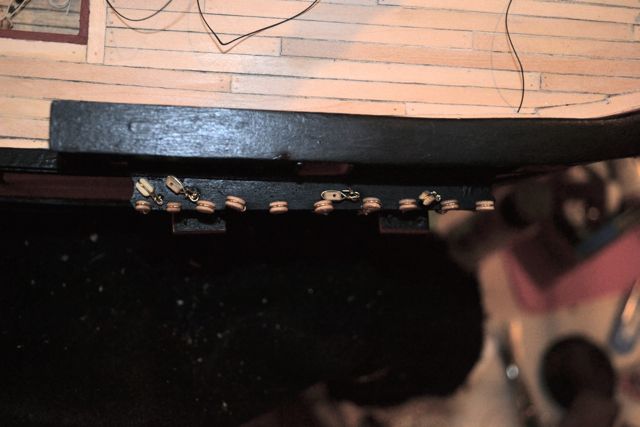
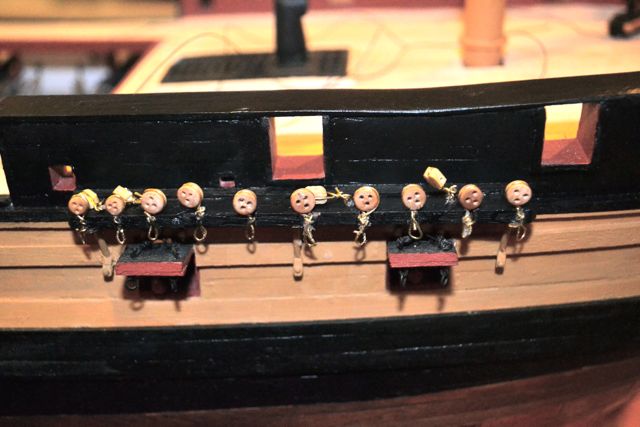
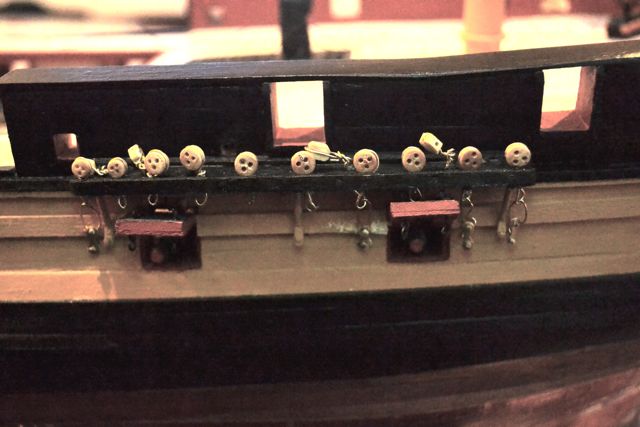
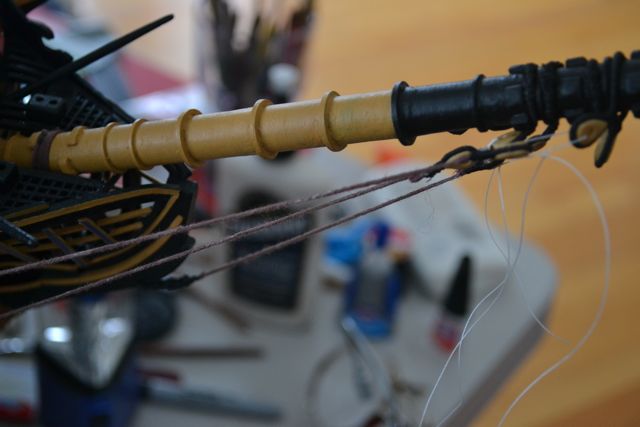
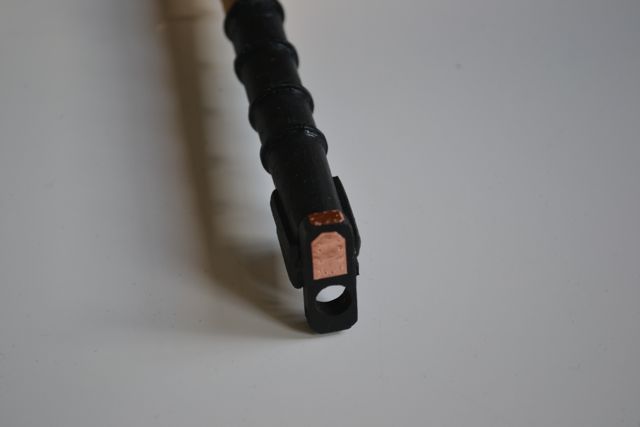
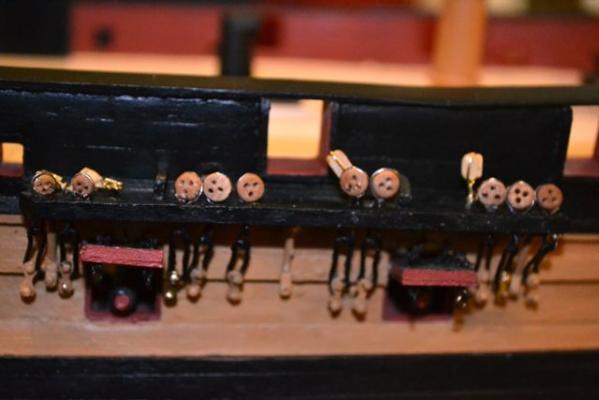
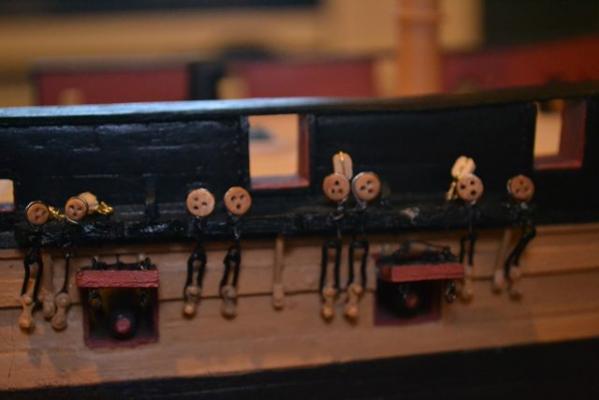
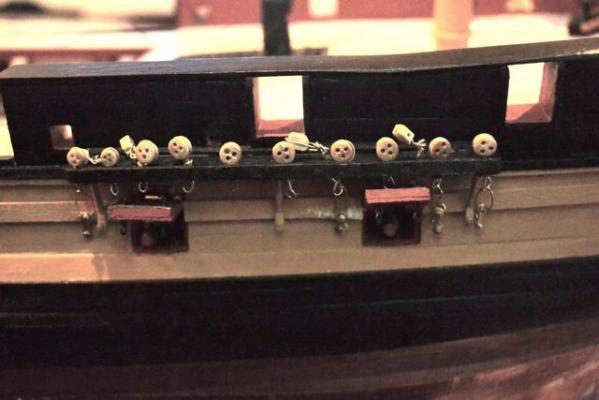
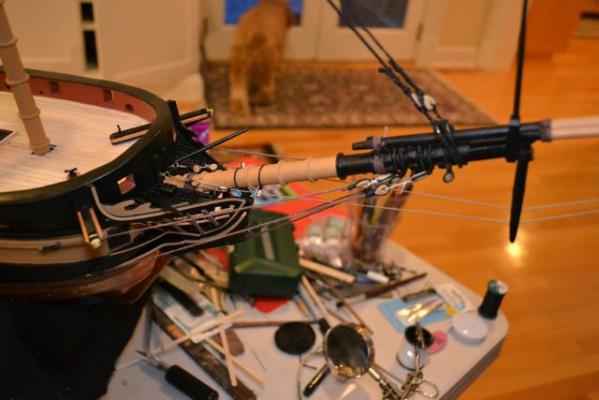
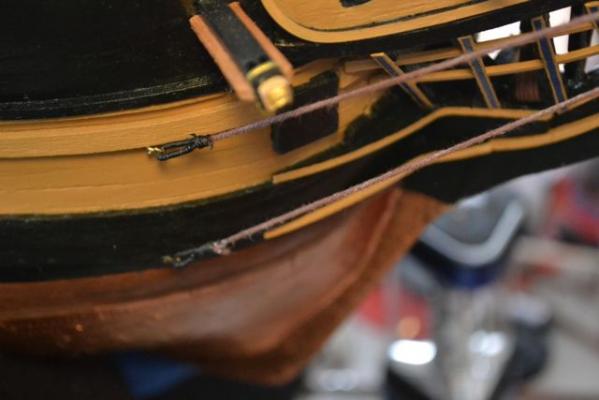
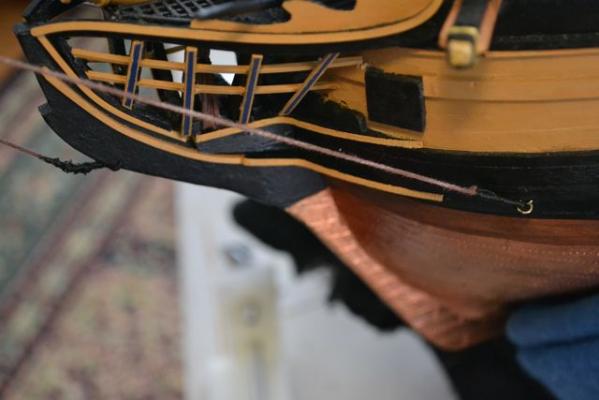
 Hrs 922-927 Finally, done. Managed to get 10 each side, though they are a little close. The copper wire worked well, but the paint is a little worrisome because it seems to flake. Need some touch up painting of exposed brass but I think I can go with them. Gee, only 4 more to do...
- 188 replies
-
- 3
-

-
- surprise
- artesania latina
- (and 1 more)
-
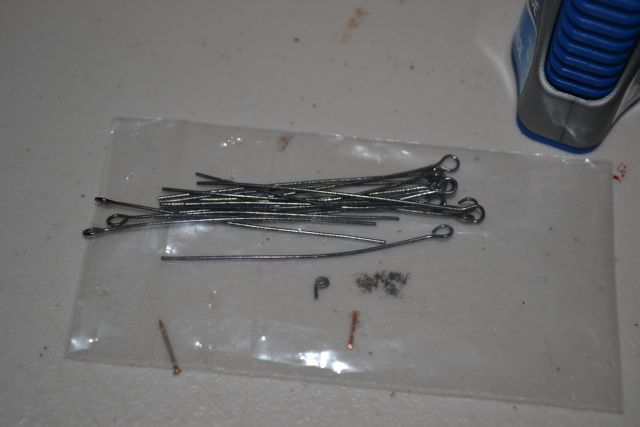
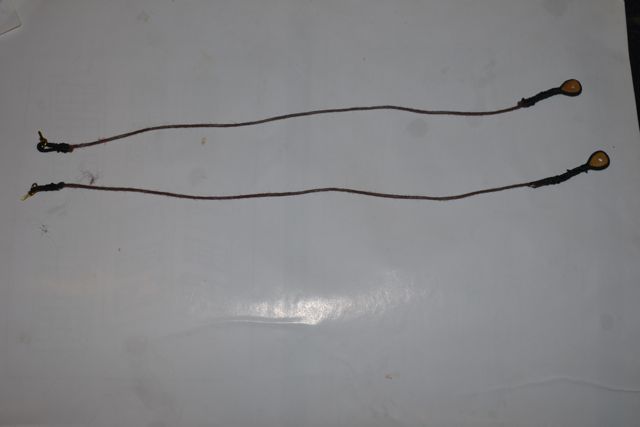
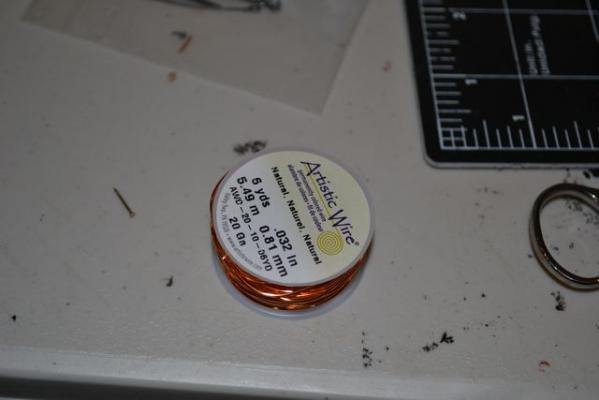
Hrs 915-921 Redo, revise, retry... I have changed from skinny wildly non uniform wire loops to thicker copper 20 gauge wire which is easier to work with and make more uniform in appearance. It doesn't paint well though. Also using 2 inch beading wires with circlets which again are easier to work with. So the 10 along the chain wales that obscured the gun port are going to be 9 that will align with the rat/shroud lines... I hope. Have to add one more forward. The single wire I tried is on the second chain which will be switched out for the double. Redoing things takes awhile...grr.


- 188 replies
-
- 3
-
-
- surprise
- artesania latina
- (and 1 more)
-
Rats...back to the drawing board... I think I need a little thicker wire. Will have to experiment some... Thanks Navis, yours look great. Two steps forward, two steps back...
-
Rats. I see what you mean. I need to shift at least one to the side a considerable amount. And I just finshed repainting and touching it up... Sigh. FIrst ships are definitely a learning process...
-
Hi Captain71, I was able to keep the mast holes in the center, but the issue is that the structure is not perfectly even (at least on my kit), the deck planking is not precisely even in width and I was not precise enough in my placing and cuts to get it to be perfectly congruent on both sides. So I ended up with slightly different cuts into the sides (nibbling). The gun deck is good to practice on as it is nearly completely covered except midships. There is a specific pattern (4 or 5 butt shift?) and plank length (15-20 ft) that is most historically accurate and I added trenails (1 inch to scale or 0.20 inch diameter on the model). There are some nice planking tutorials here. http://modelshipworldforum.com/ship-model-framing-and-planking-articles.php Hope this helps. This photo is from my build log.
-
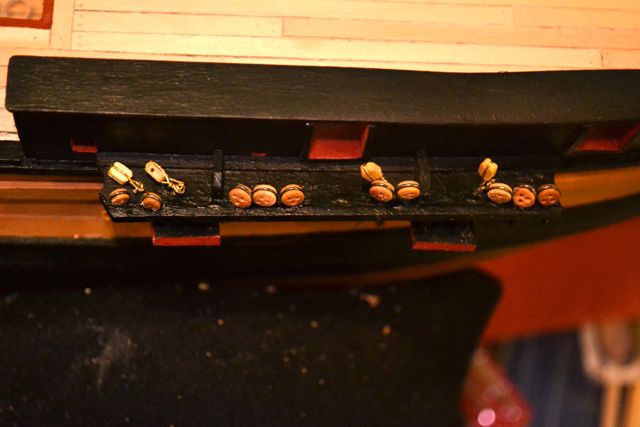
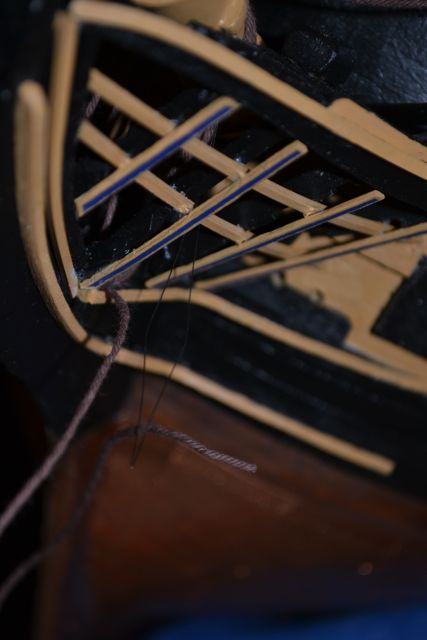
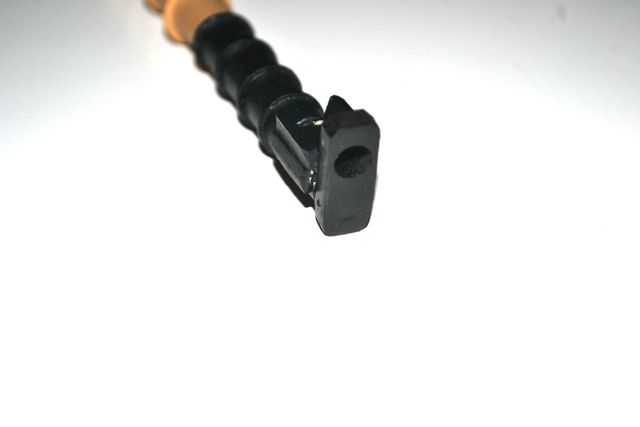
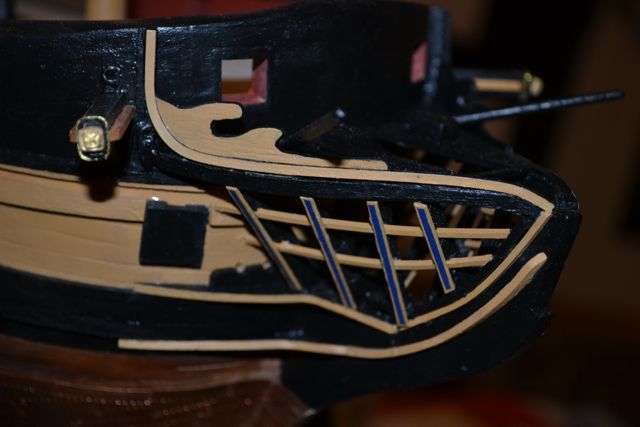
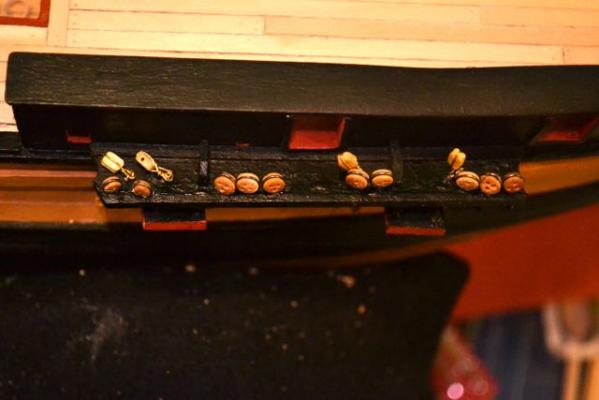
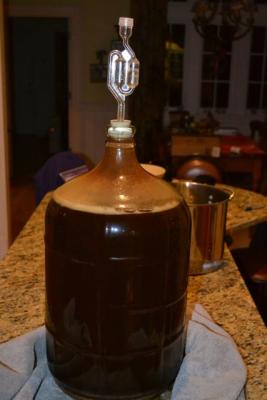
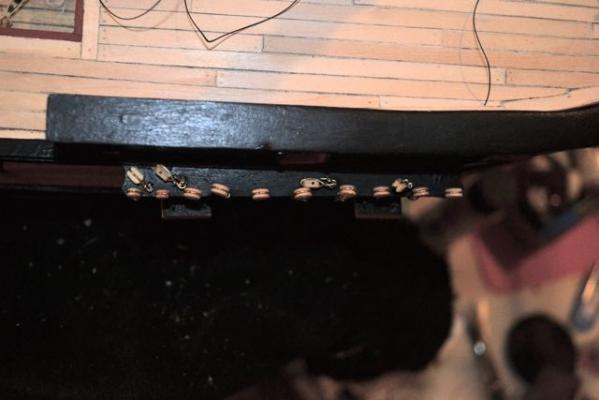
Hrs 910-914 Chain wales: Trying to set these up. Added Channel with Tee plates. Will add Knees after securing in place using trenails. Added Capping strip and doubly secured with finishing nails (as I understand there is a lot of pressure on these and they tend to warp up?) Everything needs to be cleaned up, of course. I wonder how you can make wire links without joints that are visible? Unfortunately, it looks like the gun ports beneath the chain wales will interfere with their placement. Have to ponder this. Probably over a beer... A honey brown ale I brewed up with my son over Christmas.


- 188 replies
-
- 2
-
-
- surprise
- artesania latina
- (and 1 more)
-
Aha! Found you. Looks good Will follow along....
-
Hi. Am doing the Surprise from AL and it is indeed large. Have a build log and would be happy to help in any way (given that this is my first build). I am now at the rigging phase...
-
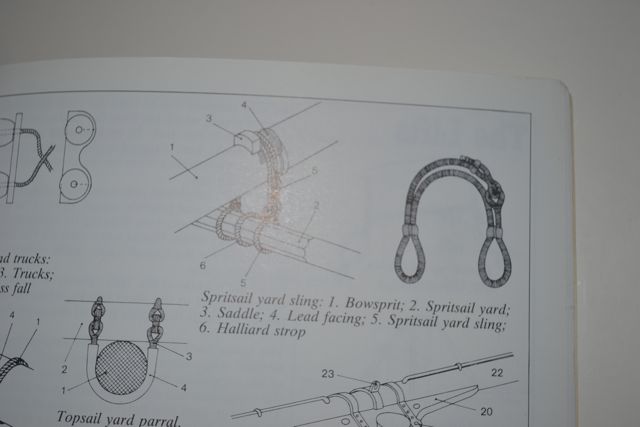
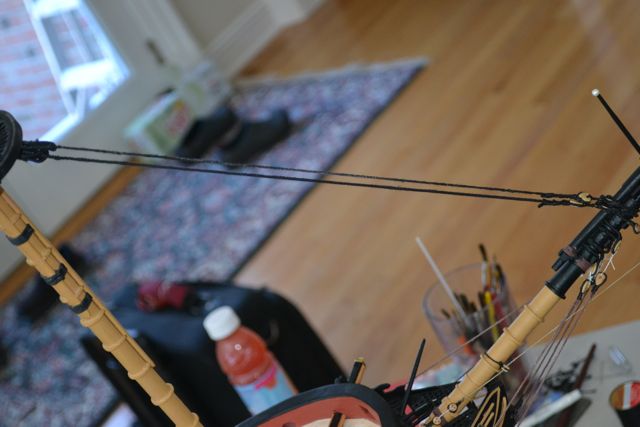
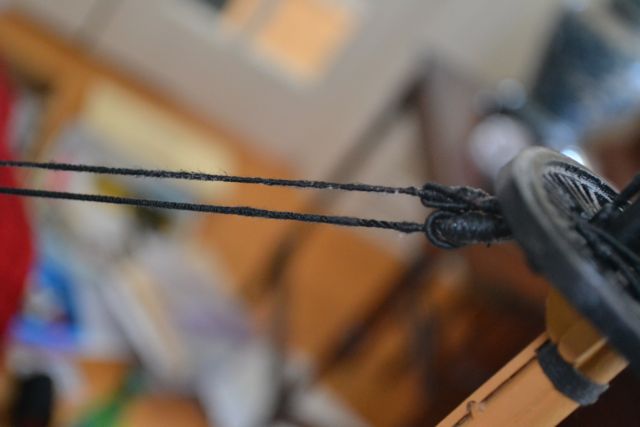
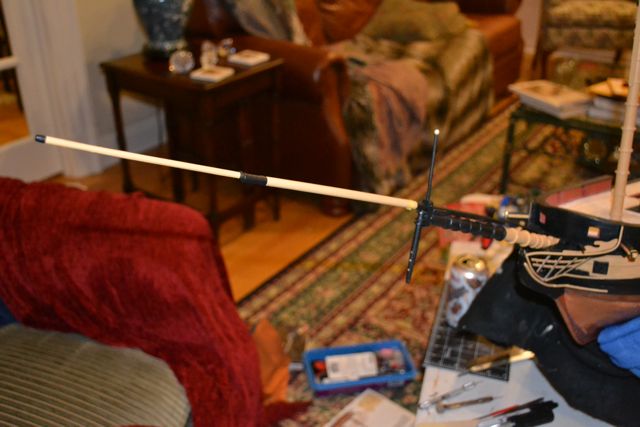
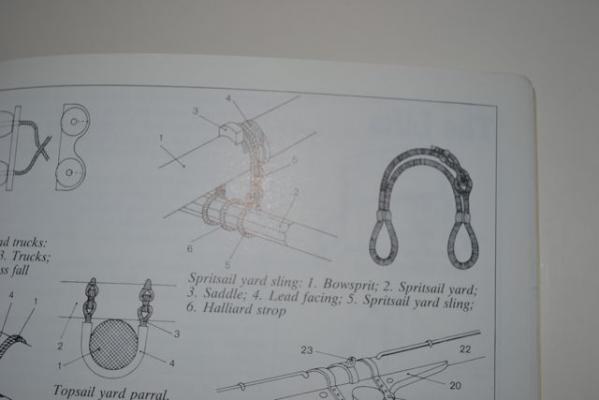
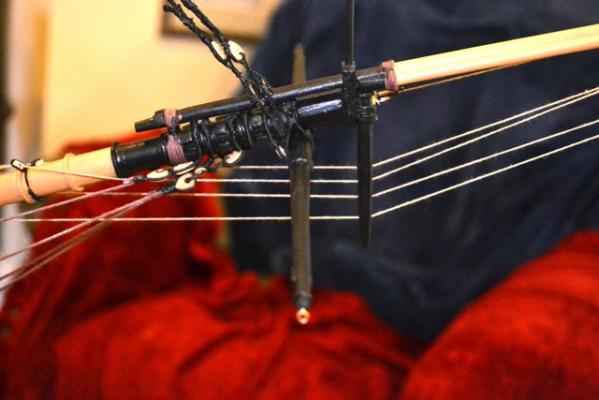
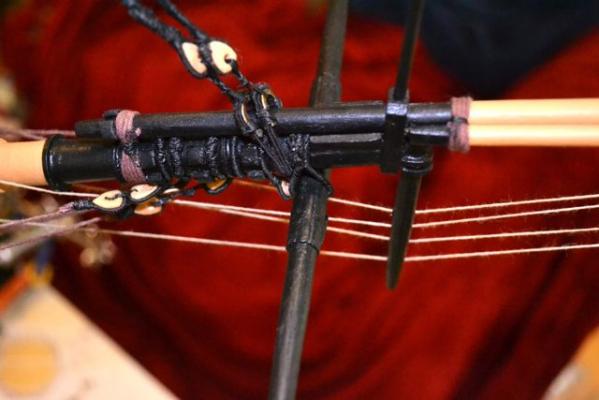
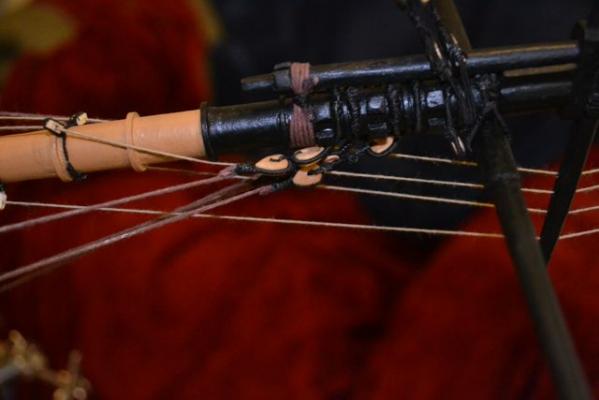
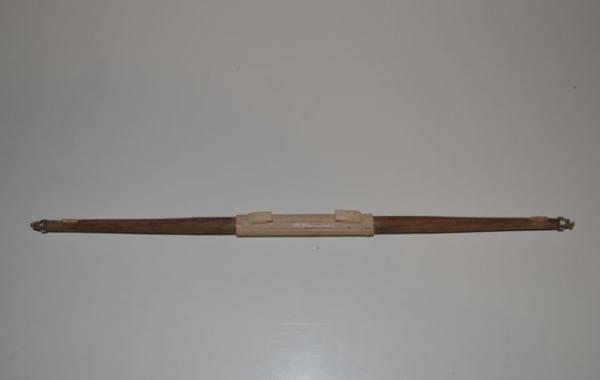
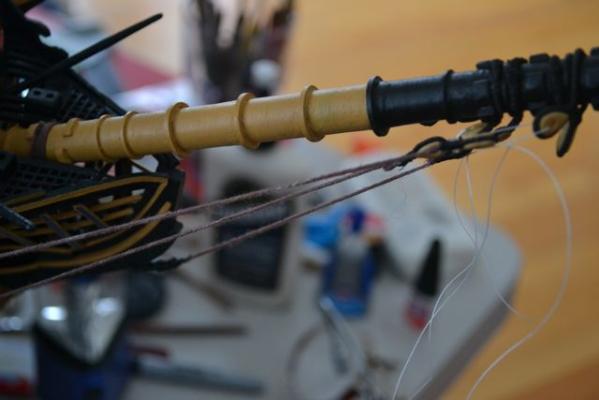
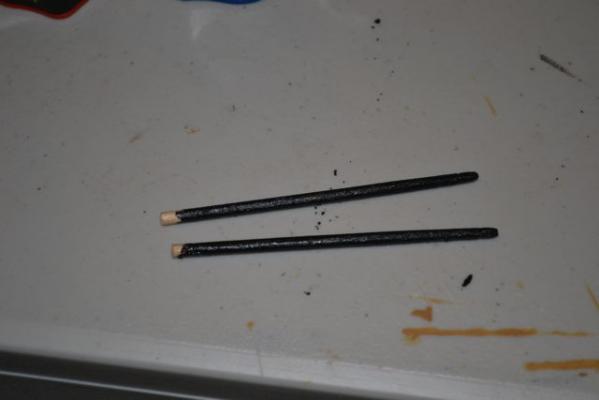
Hrs 906-909 Finished spritisail yard and mounted it in position using yard sling illustrated in Mondfeld book. It is best to remove the sling cleats on one end to get the sling over the yard, then reattach and repaint. Then changed all the temporary blocks to correct size and changed to black thread. Added Flying Jibstay to Flying jibboom (not shown) To bed.

- 188 replies
-
- 4
-
-
- surprise
- artesania latina
- (and 1 more)
-
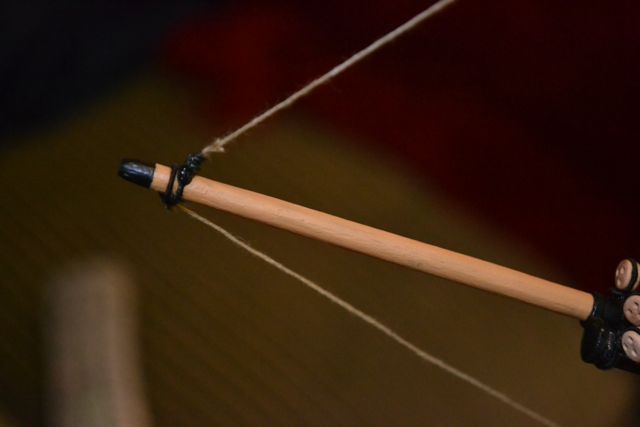
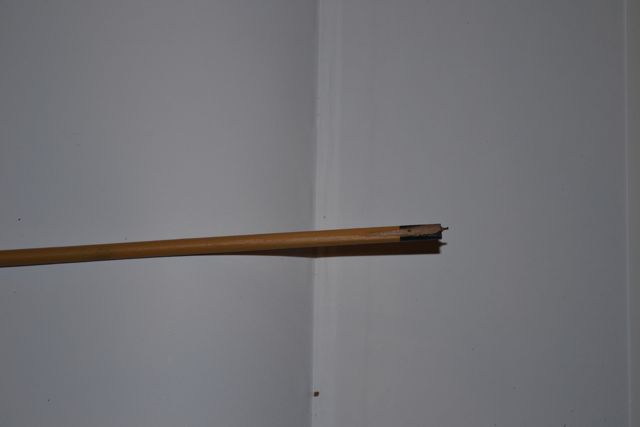
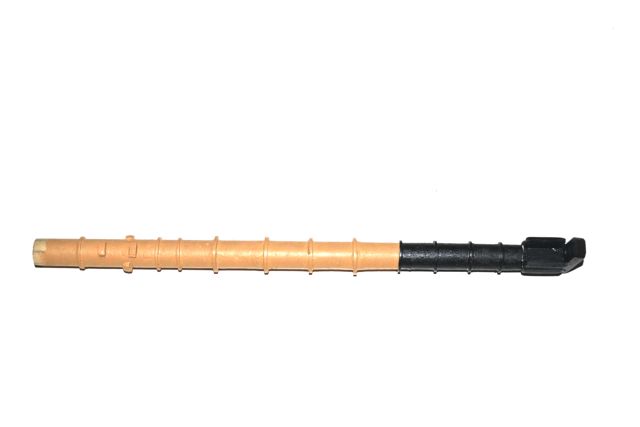
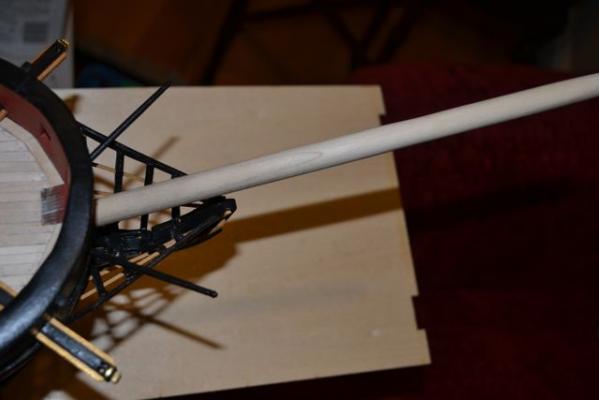
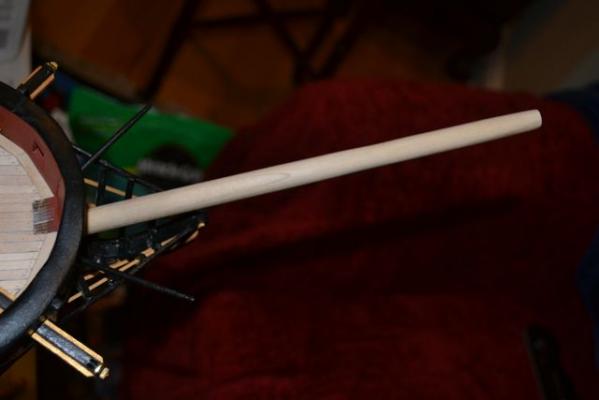
Hrs 903-905 Spritsail yard: according to Longridge (page 199) it is 64 ft 6 inches long. According to the AL instructions it is 23 mm long, tapered to 1/2 the diameter. The central 1/4 is thickened with 16 sided pieces of wood. So I used 8 pieces to create the thickened octagonal area in the center quarter (couldn't fit 16 and it seemed overkill). Then, there are an eye bolt and an iron band at each end of the yardarm. Finally, there are 2 thicker sling cleats centrally on the bottom side and 4 smaller stop cleats out laterally on the yardarm, 2 above and 2 below. (Have to add 2 more on the top side)

- 188 replies
-
- 2
-
-
- surprise
- artesania latina
- (and 1 more)
-
Hrs 901-902 So maybe three steps back and one step forwards. I figured out that I messed up the Fore Royal stay and the Flying martingale. According to Longridge, the "The fore royal stay passes through...the flying jibboom end...Fourth sheave in the Dolphin striker takes the fore royal stay". Duh... Flying means the Flying Jibboom (flash of clarity). It then goes to the port side of the knighthead through a block on the bowsprit. So, the "flying martingale... goes with an eye splice around the the outer end of the flying jibboom... reeves through the third sheave of the dolphin striker...and also sets up with a purchase to the starboard knighthead." Sometimes my denseness amazes me...

- 188 replies
-
- 3
-
-
- surprise
- artesania latina
- (and 1 more)
-
Sigh.... 2 steps forward, 1 step back... Thanks Neptune
-
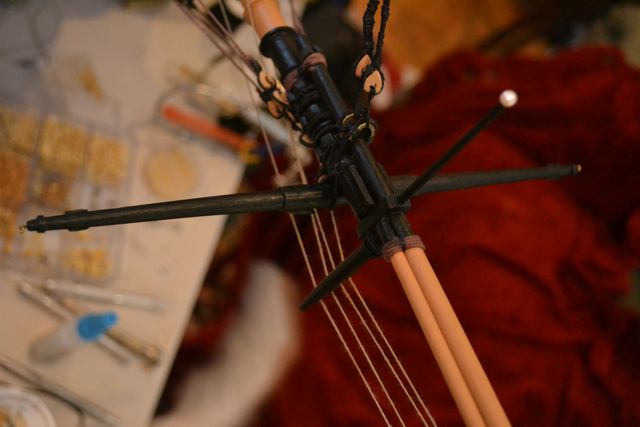
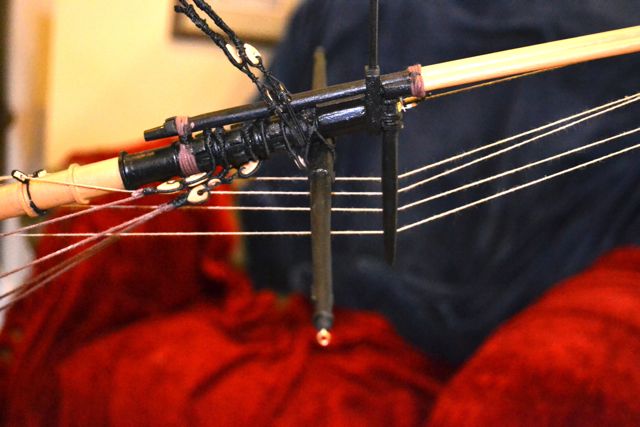
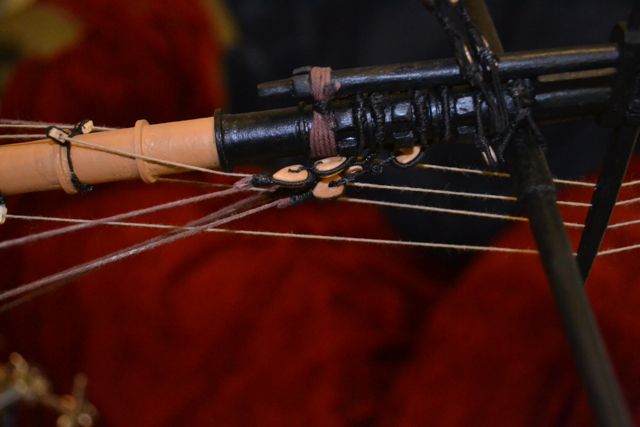
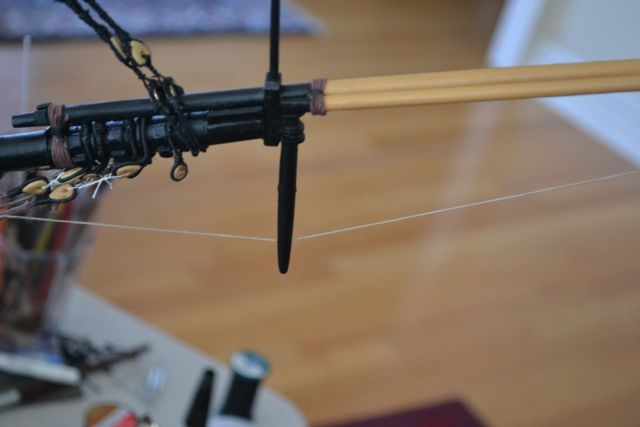
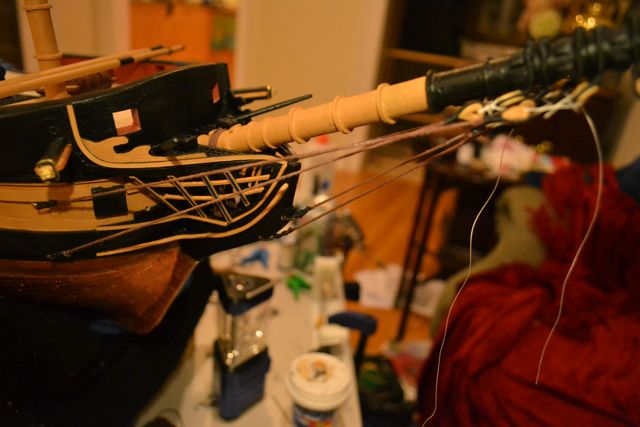
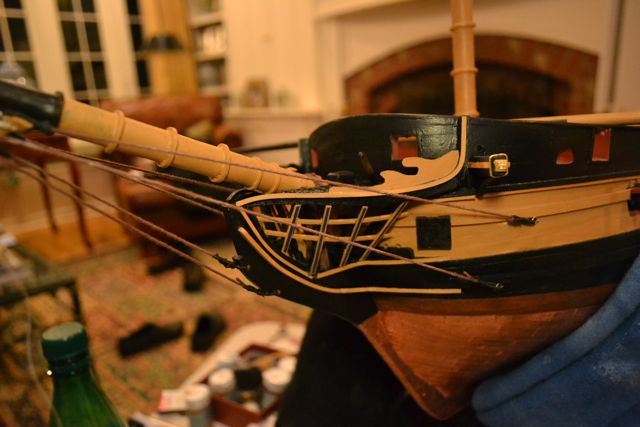
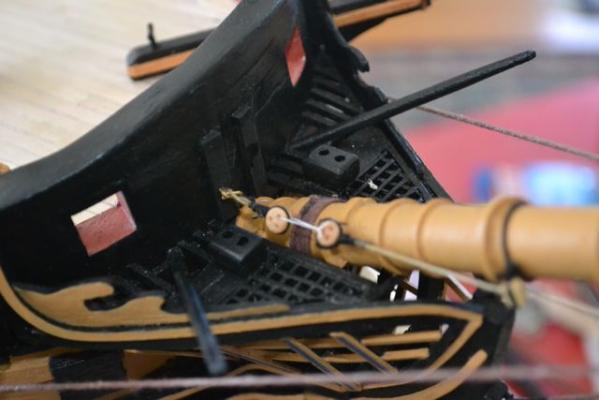
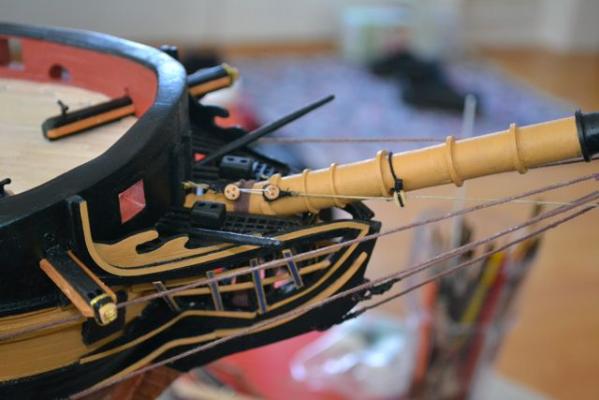
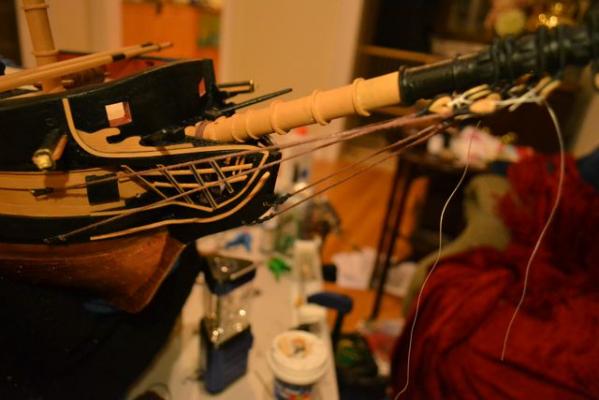
Hrs 896-900 I am getting the hang of it. The vocabulary is pretty amazing and I have to constantly look at the references to make sure I am on the right track. So for the Forestay and the Fore preventer stay, I created a mouse after serving the lines, which are nor the same diameter. These are attached to the bowsprit using the open heart collars at the junction of the Bowsprit and Jibboom. Then attached the Fore Royal Stay (goes up) and the Outer Martingale (goes down) that is connected through the Dolphin and a sheave block on the Bowsprit to the Knighthead on the starboard side. Since the AL plans did not have Knightheads, I sort of manufactured ones that looks like reinforcing timber about the Bowsprit. Off for Thanksgiving to see the daughter in NYC. Son is meeting us there. I am taking a frozen turkey in my luggage...think they will be suspicious?


- 188 replies
-
- 5
-
-
- surprise
- artesania latina
- (and 1 more)
-
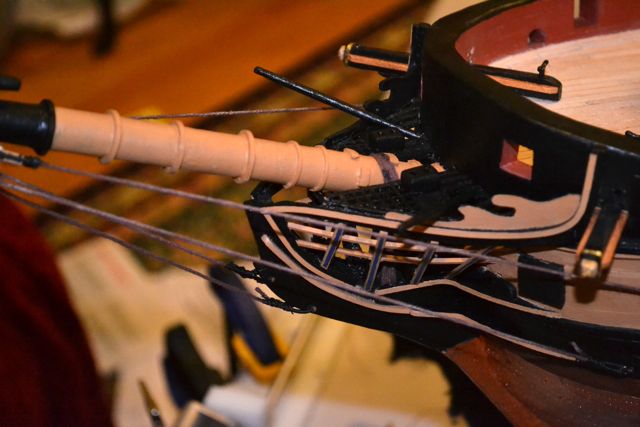
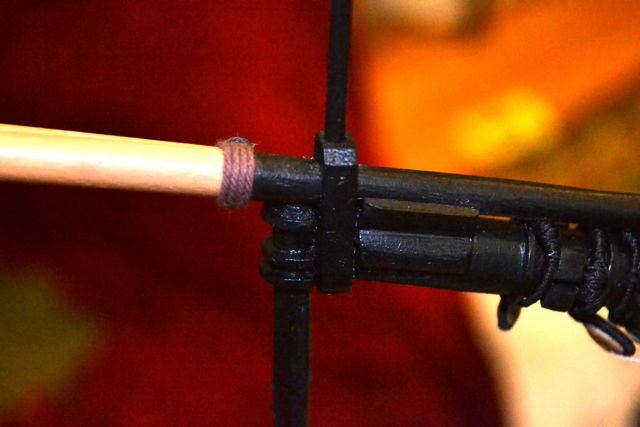
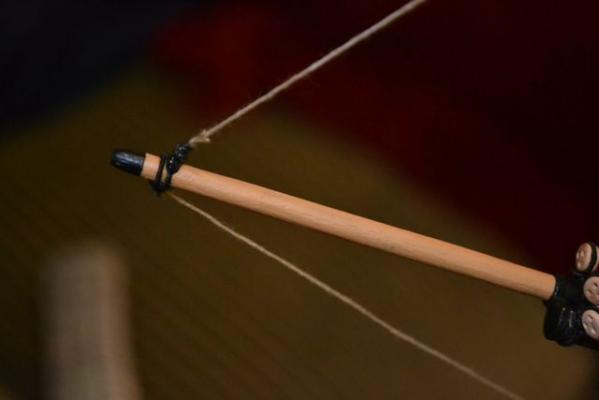
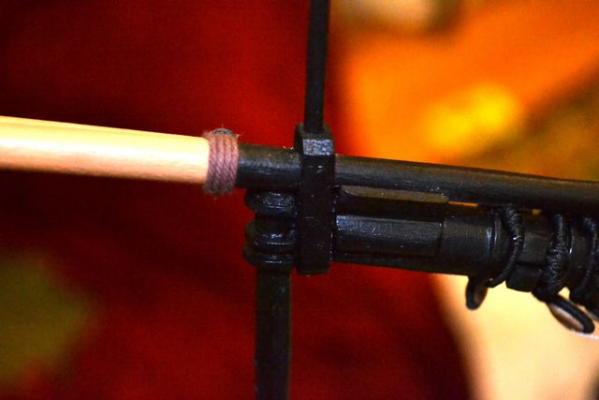
Hrs 893-895 One forward two back. It appears that I put the fore most Bowsprit stays on the upper part of the hull, not the lower so they look crossed. Fixed... The Flying Jibboom is put into a socket for the heel of this spar...(in which) a short spigot of brass wire will act as a tenon to hold the heel in position". (Longridge, p 189.) This is then held in place by a "rope crupper" or lashing (Lees, p. 52) Slow going... To bed.


- 188 replies
-
- 5
-
-
- surprise
- artesania latina
- (and 1 more)
-
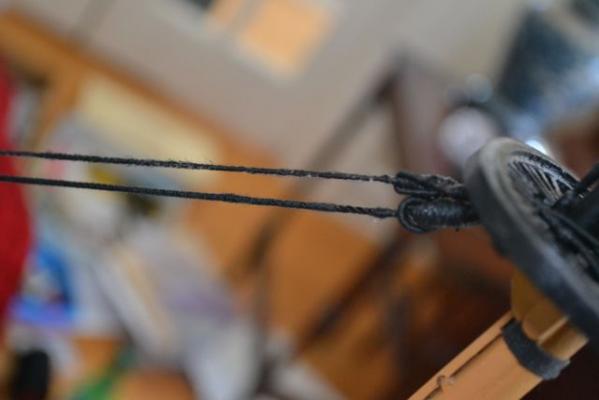
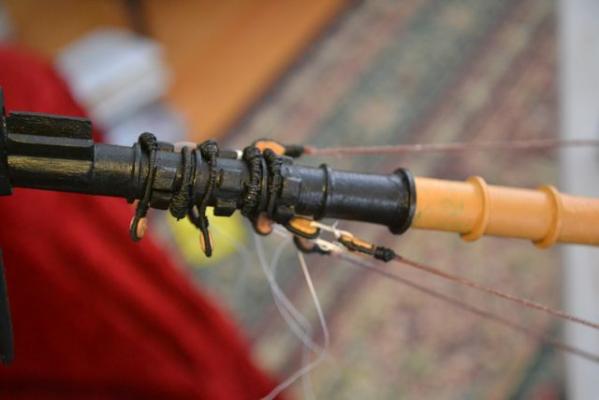
Hrs 889-892 I'm getting the hang of it. Unfortunately, once I do I realize the old work is not good and tear it out and restart. Grrr. Things I learned: 1. Photos: I kept getting these glaring contrasty pics with blacks and whites all ugly looking. After talking to an OR photographer, he suggested using a white card in front of the flash to deflect the flash light upwards. Less contrast and glare. 2. I started using a different hitch to do the lashings/whippings and it works much better. Thanks to: http://search.yahoo.com/search?ei=utf-8&fr=aaplw&p=model+ship+rigging+youtube So, finally the correct Bowsprit shrouds with rings Bowsprit collars with tapered splices And finally getting them temporarily connected into place. Lines are beeswaxed and seized areas painted with thin paint (tar)

- 188 replies
-
- 4
-
-
- surprise
- artesania latina
- (and 1 more)
-
Hrs 886-888 So learned that Longridge "Anatomy of Nelson's Ships" is the definitive source for rigging and what is seized, lashed, spliced etc. Looked it up and the Bowsprit shrouds are seized only at the blocks and eyebolts. Grrr. Also, the Collars are seized circumfrentially, but then appear spliced. So took them down and am trying to splice them after seizing them. Two steps forward, 1 back...
- 188 replies
-
- 2
-
-
- surprise
- artesania latina
- (and 1 more)
-
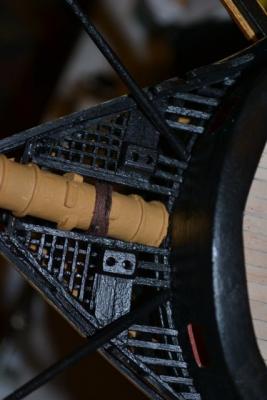
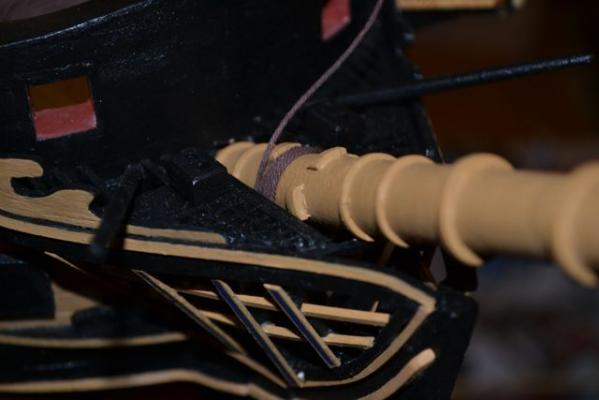
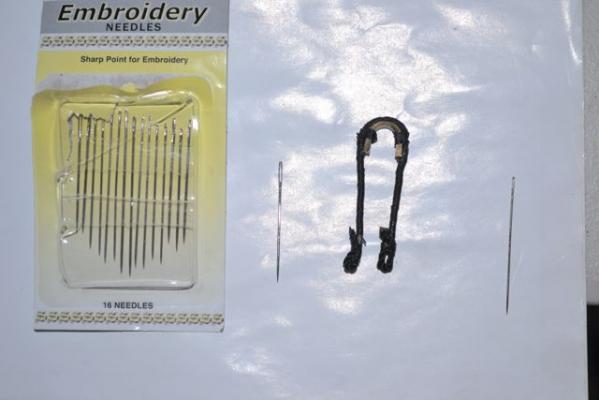
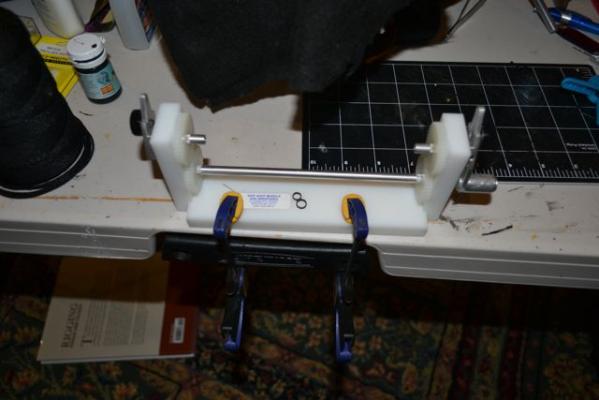
Hrs 877-885 So after reading Gil Middletons HMS Victory build have made my first sortie into SEIZING, LASHING, and Collars. My first attempt at non-seized Bowsprit collar, went ok after v1, v2 were junked. FIgured out how to use the "Ships Ahoy " Seizing machine. Had to disconnect the gator clip and secure the ends to keep it from unraveling while I seized it with polyester thread. But using Gil's technique of running the seizing thread through the big rope with a dot of Cya it worked pretty well. Then tackled Gammon rope. I could not determine if it was seized, but Biddlecombe did not mention it in the Table, so I left it au natural. Used a long thread passer for threading needles to pass it through the bowsprit structure. Worked well. Then did a Bowsprit shroud seized to go from bowsprit to hull. Used Cya to stop knots from unraveling and also a match to get rid of excess thread. Takes a little practice, but I think I might be a little faster now that I understand seizing... First snow tonight!...


- 188 replies
-
- 4
-
-
- surprise
- artesania latina
- (and 1 more)
-
Hrs 874-876 Did the Jibboom and the Flying jib. Also drilled the holes for the rigging in the Dolphin boom. Almost time to place the Bowsprit and start the rigging. That will be the great Adventure!
- 188 replies
-
- 2
-
-
- surprise
- artesania latina
- (and 1 more)
-
Thank you for the kind words! It's slowly coming along...
-
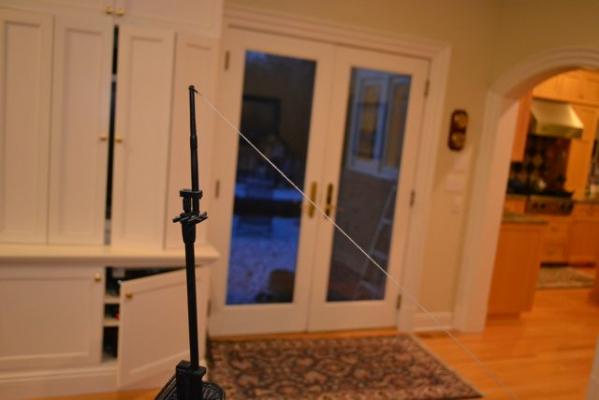
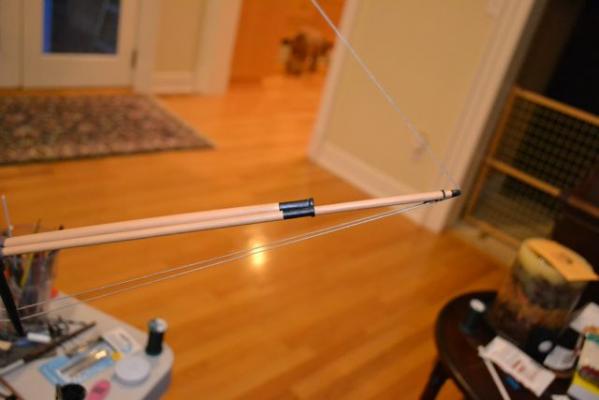
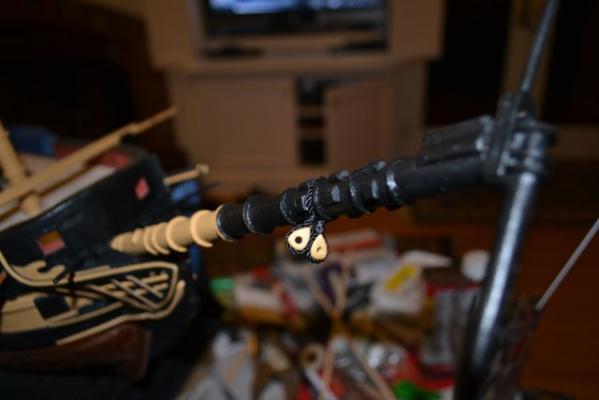
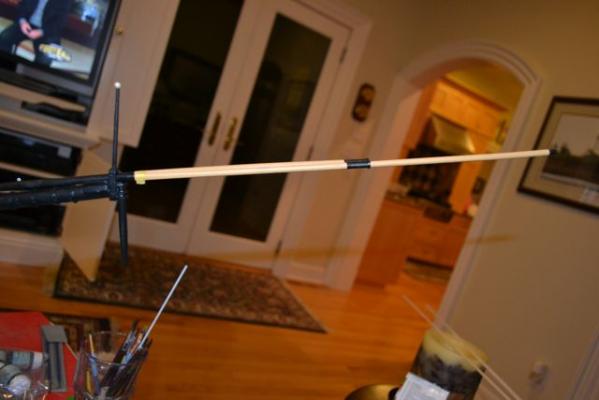
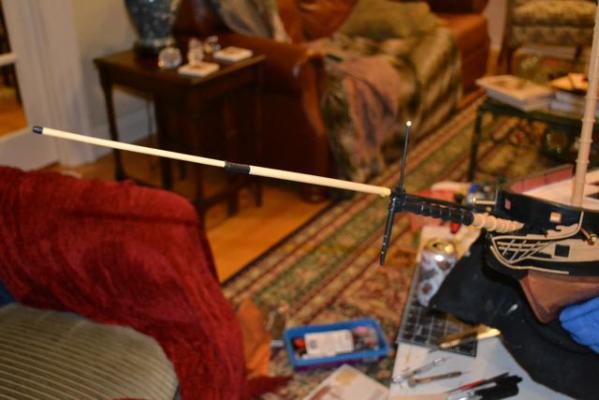
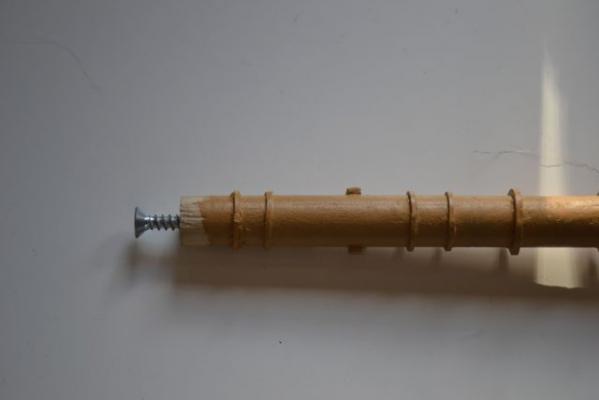
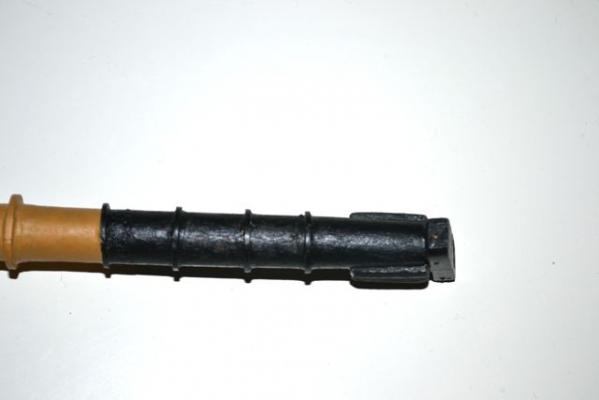
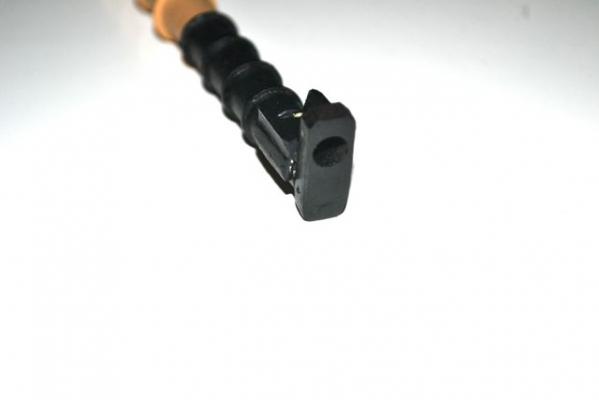
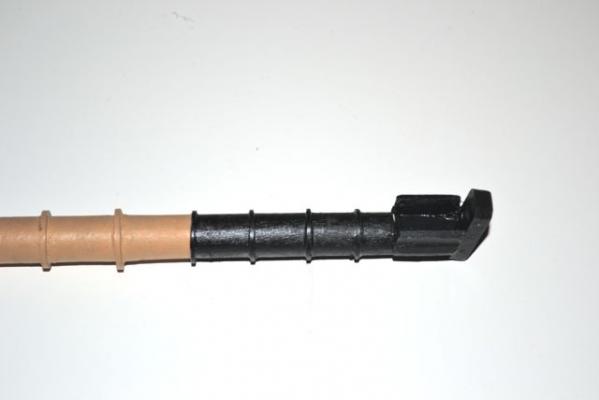
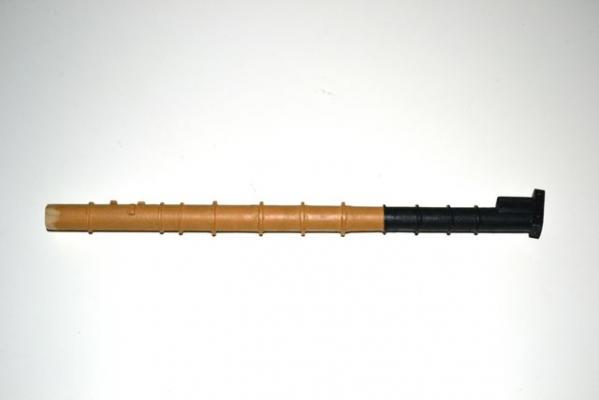
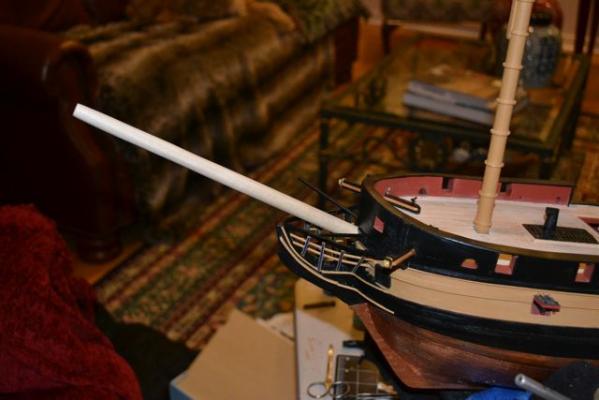
Hrs 871-873 Jib boom and bowsprit. So according to the book, the jib-boom is .41 of the length of the mainmast. Looking at the diagram, if drawn to scale there is a 40% overlap with the bowsprit. So 30 inches x .41 is 12 inches. 12 x .4 is 4.8 inches overlap. Seems long, but this is my first ship so...we'll see how she looks. So added a screw to end to make the bowsprit distance perfect coming out of hull. WIll epoxy in when ready. Looking at the HMS Victory, there appears to be some metal plates on the joint where the dolphin boom hangs down. So I did it in copper and will cover with black paint. Added iron rings to simulate attachment to the cap. First, the flag pole 6 cm and 3 mm in diameter, tapered. Added a costume pearl from an old lost earring to the top. Might gold leaf it later? Can see dolphin boom attached and hanging down. Added 2 trenails to reinforce the dolphin boom attachment o the cap. Off for a few days on a business trip. Then the jibboom...


- 188 replies
-
- 6
-
-
- surprise
- artesania latina
- (and 1 more)
-
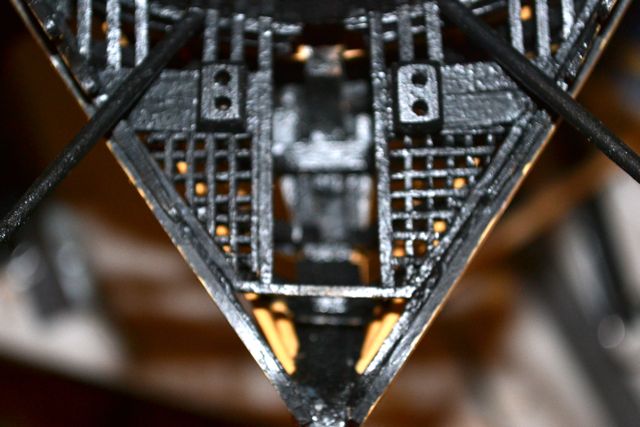
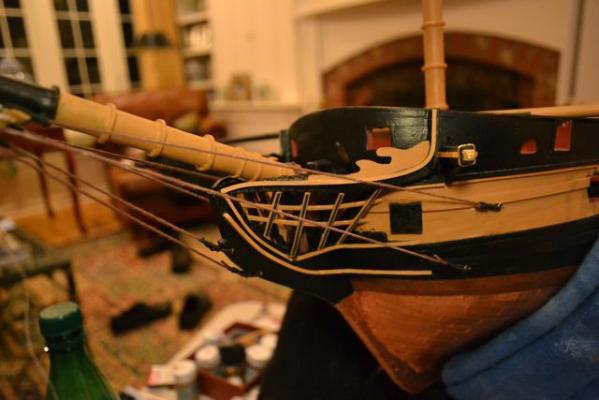
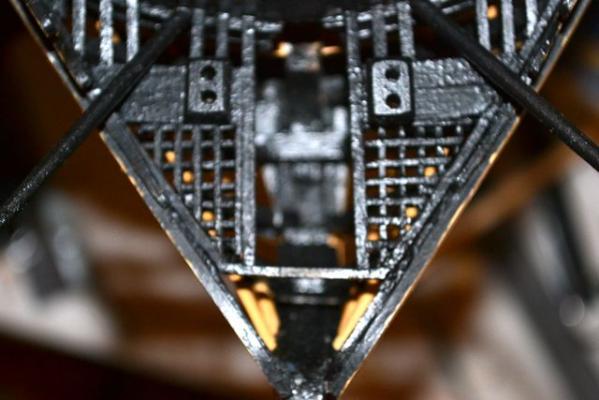
Hrs 867-870 Thanks to Gils instructions and diagram, the bowsprit is near done. Have the Bees and the base and blocks in to place. First show the heads and the grates a little better. Then the Bowsprit Above and Side views Oblique Next step: Jib boom?

- 188 replies
-
- 5
-
-
- surprise
- artesania latina
- (and 1 more)
-
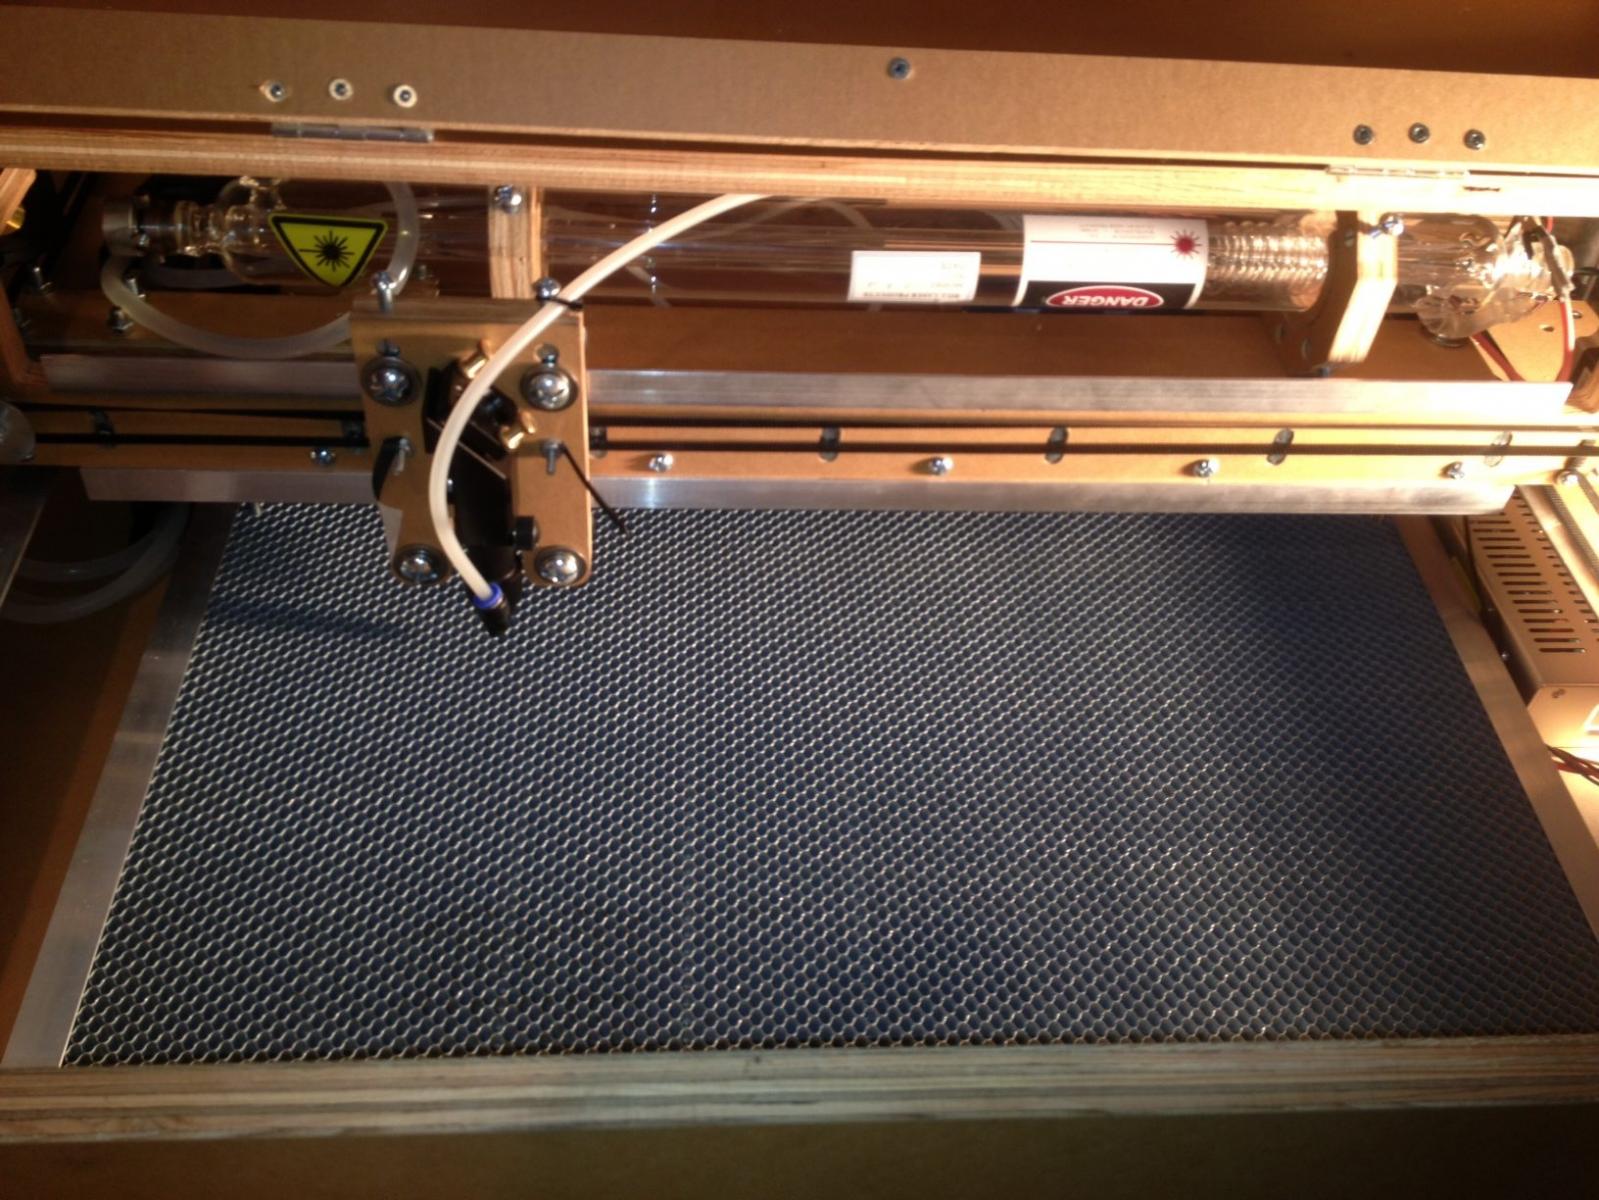
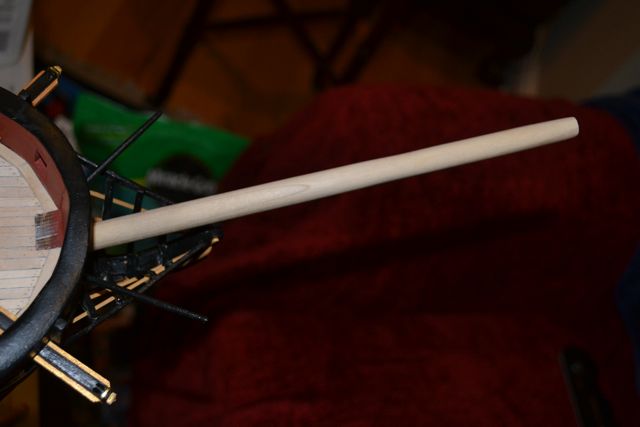
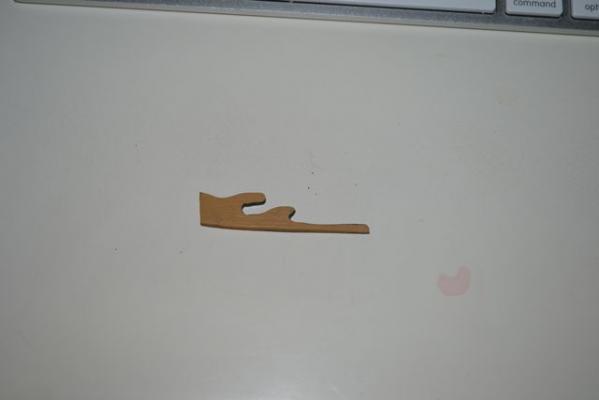
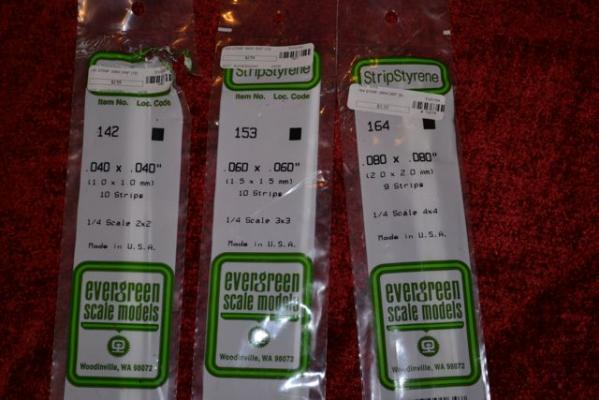
Hrs 860-866 Progress on the bowsprit. Many thanks to Gil who clarified the parts of the bees and blocks on his magnificent HMS Victory build. The first pics were tracings I took to bend the wood for the decorative trim. I eventually went to styrene for the most curved pieces as the wood was too difficult for me to get the compound curve right. Then I figured out why my styrene "iron" rings were so tough to create. The 0.8 is too thick (won't glue well) and the 0.4 looks too thin. The 0.6 is perfect. Then I painted the laser cut parts. Oh, and here is the laser...cool! Reminds me of "Goldfinger".... Many thanks to Dr. Mark Wylam! Bow on with heads in place and gratings in place. Starboard side of bow. Port side of bow. Another port side. Finished at last...now the Bowsprit proper.

- 188 replies
-
- 3
-
-
- surprise
- artesania latina
- (and 1 more)
-
Aha! Now I get it!! Thanks Gil
-
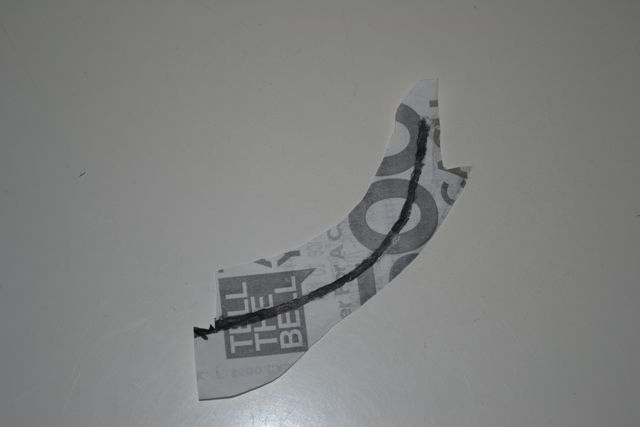
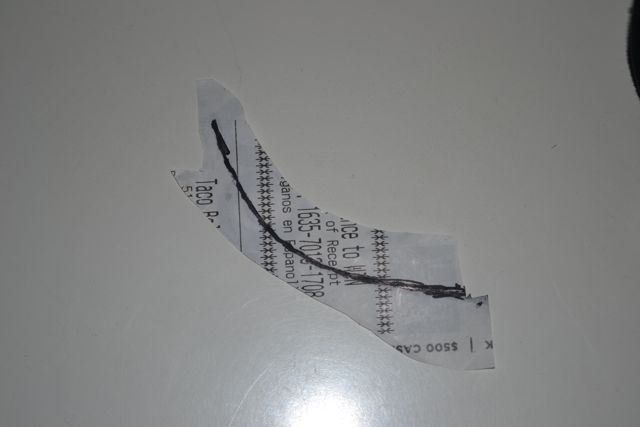
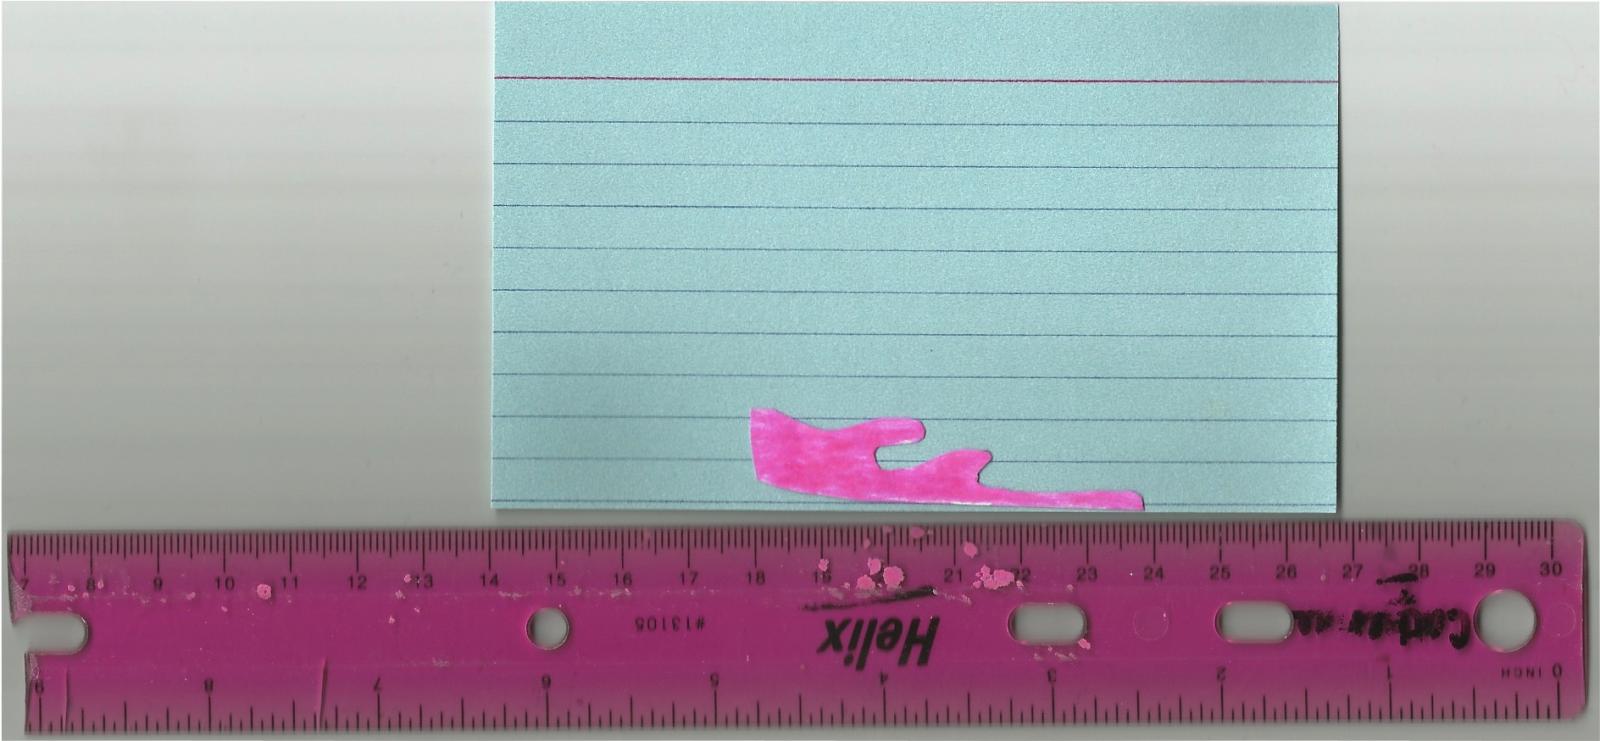
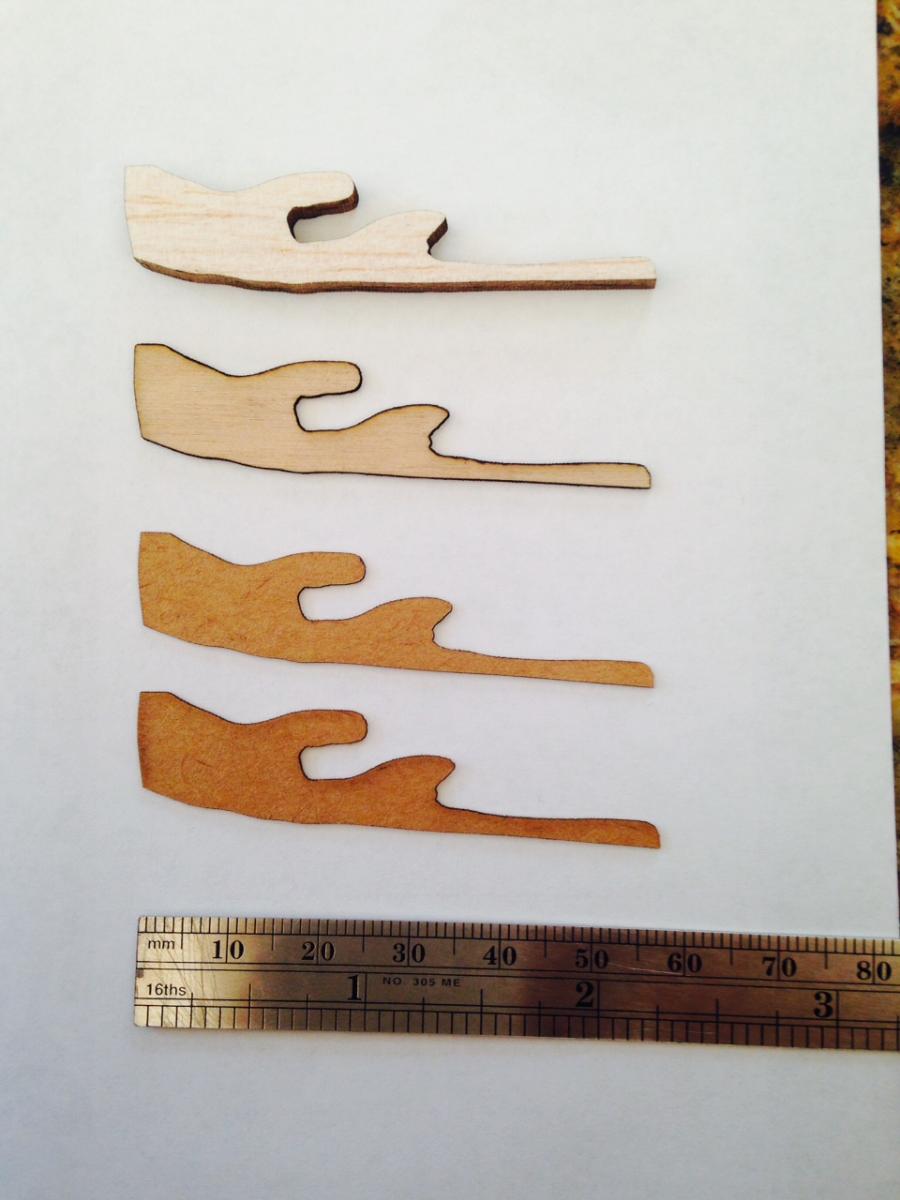
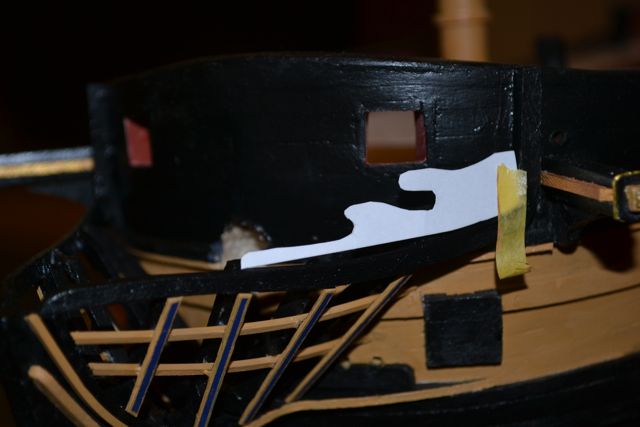
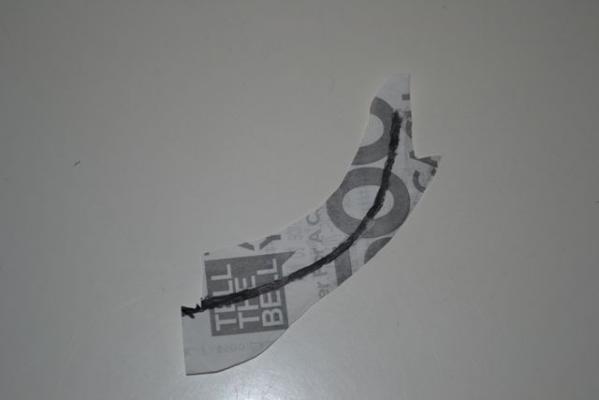
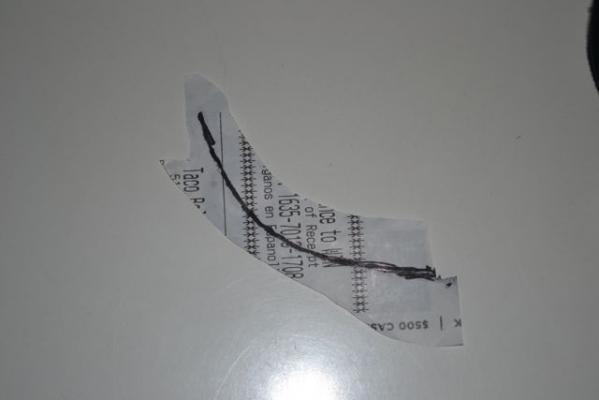
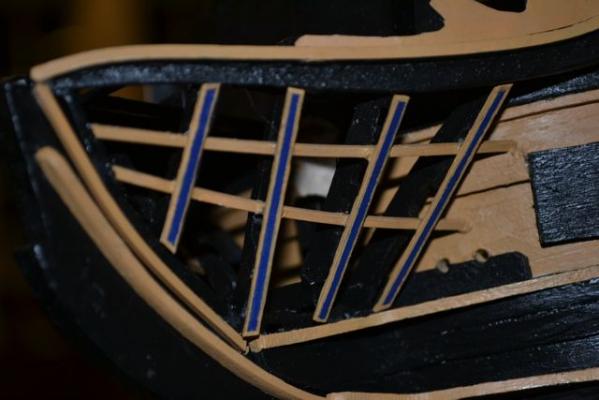
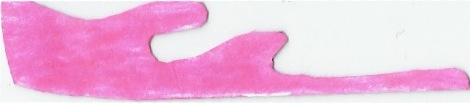
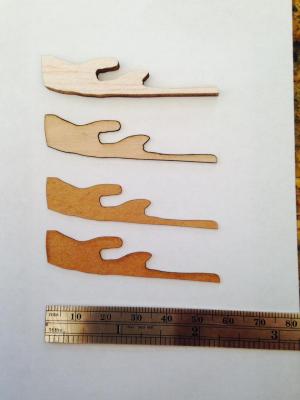
Hrs 857-859 The magic of computers and lasers. So I hand cut out a piece of paper, then colored it pink and scanned it into a JPEG. Added a ruler for scale and a 3x5 card. Because I couldn't figure out how to use the program (my Mac is too old for the software), my friend was able to drop it into a 3d software program hooked to his laser and burn the parts using basswood and balsa and cardboard. They fit near perfectly. Am in the process of laminating, sanding, painting and then putting on to the ship. More to come!

- 188 replies
-
- 3
-
-
- surprise
- artesania latina
- (and 1 more)
-
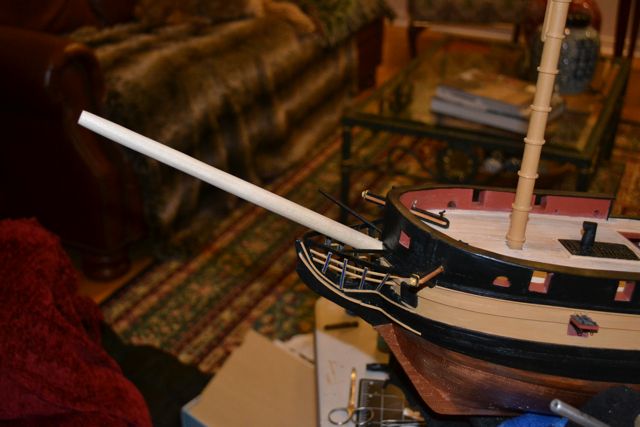
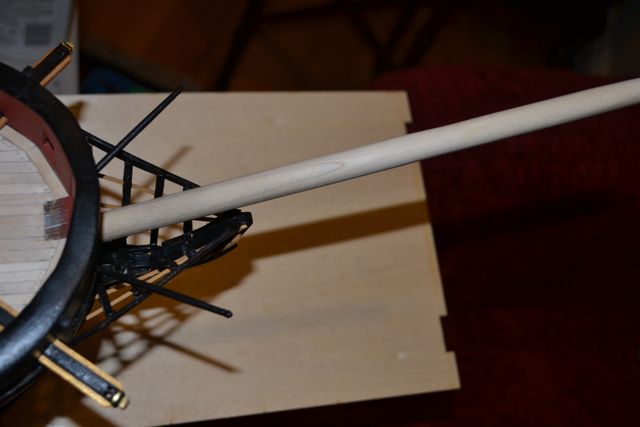
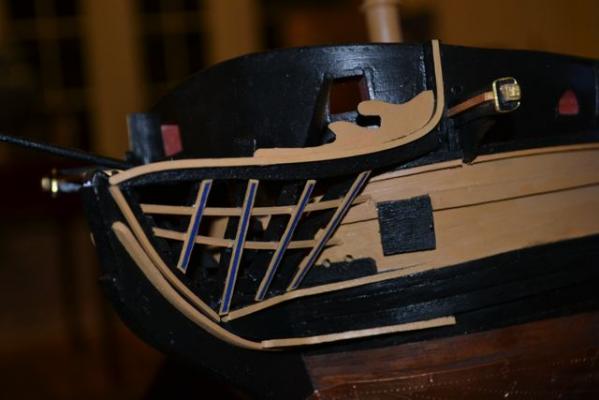
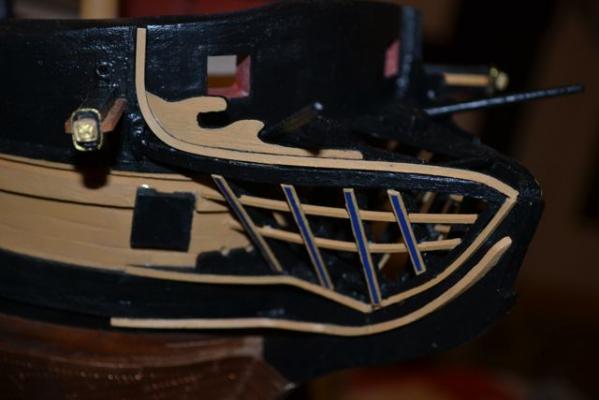
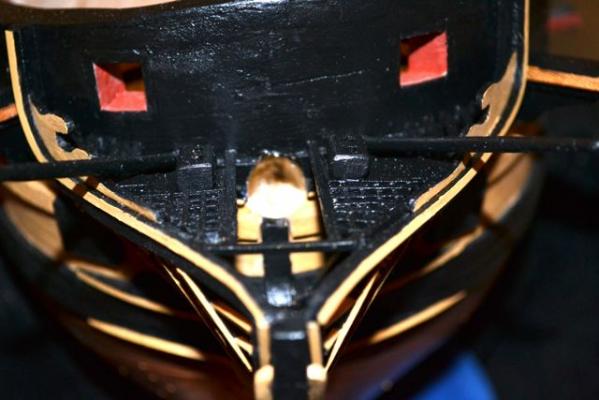
Hrs 852-856 Boomkins, or to the Land of Oz (munchkins, get it?) So, I followed the Jotika version mostly and added the boomkins. The scrollwork will be custom made to the paper cut out I have made as I have a friend who has a cool laser computer setup that he assures me will custom burn basswood parts based on scanning the paper piece into his computer! Will keep you posted on how it works. Anyway, boomkins in and dry fit the main bowsprit to see how it looks. So far so good.

- 188 replies
-
- 2
-
-
- surprise
- artesania latina
- (and 1 more)