HOLIDAY DONATION DRIVE - SUPPORT MSW - DO YOUR PART TO KEEP THIS GREAT FORUM GOING! (Only 51 donations so far out of 49,000 members - C'mon guys!)
×


Mayohoo
-
Posts
189 -
Joined
-
Last visited
Content Type
Profiles
Forums
Gallery
Events
Everything posted by Mayohoo
-
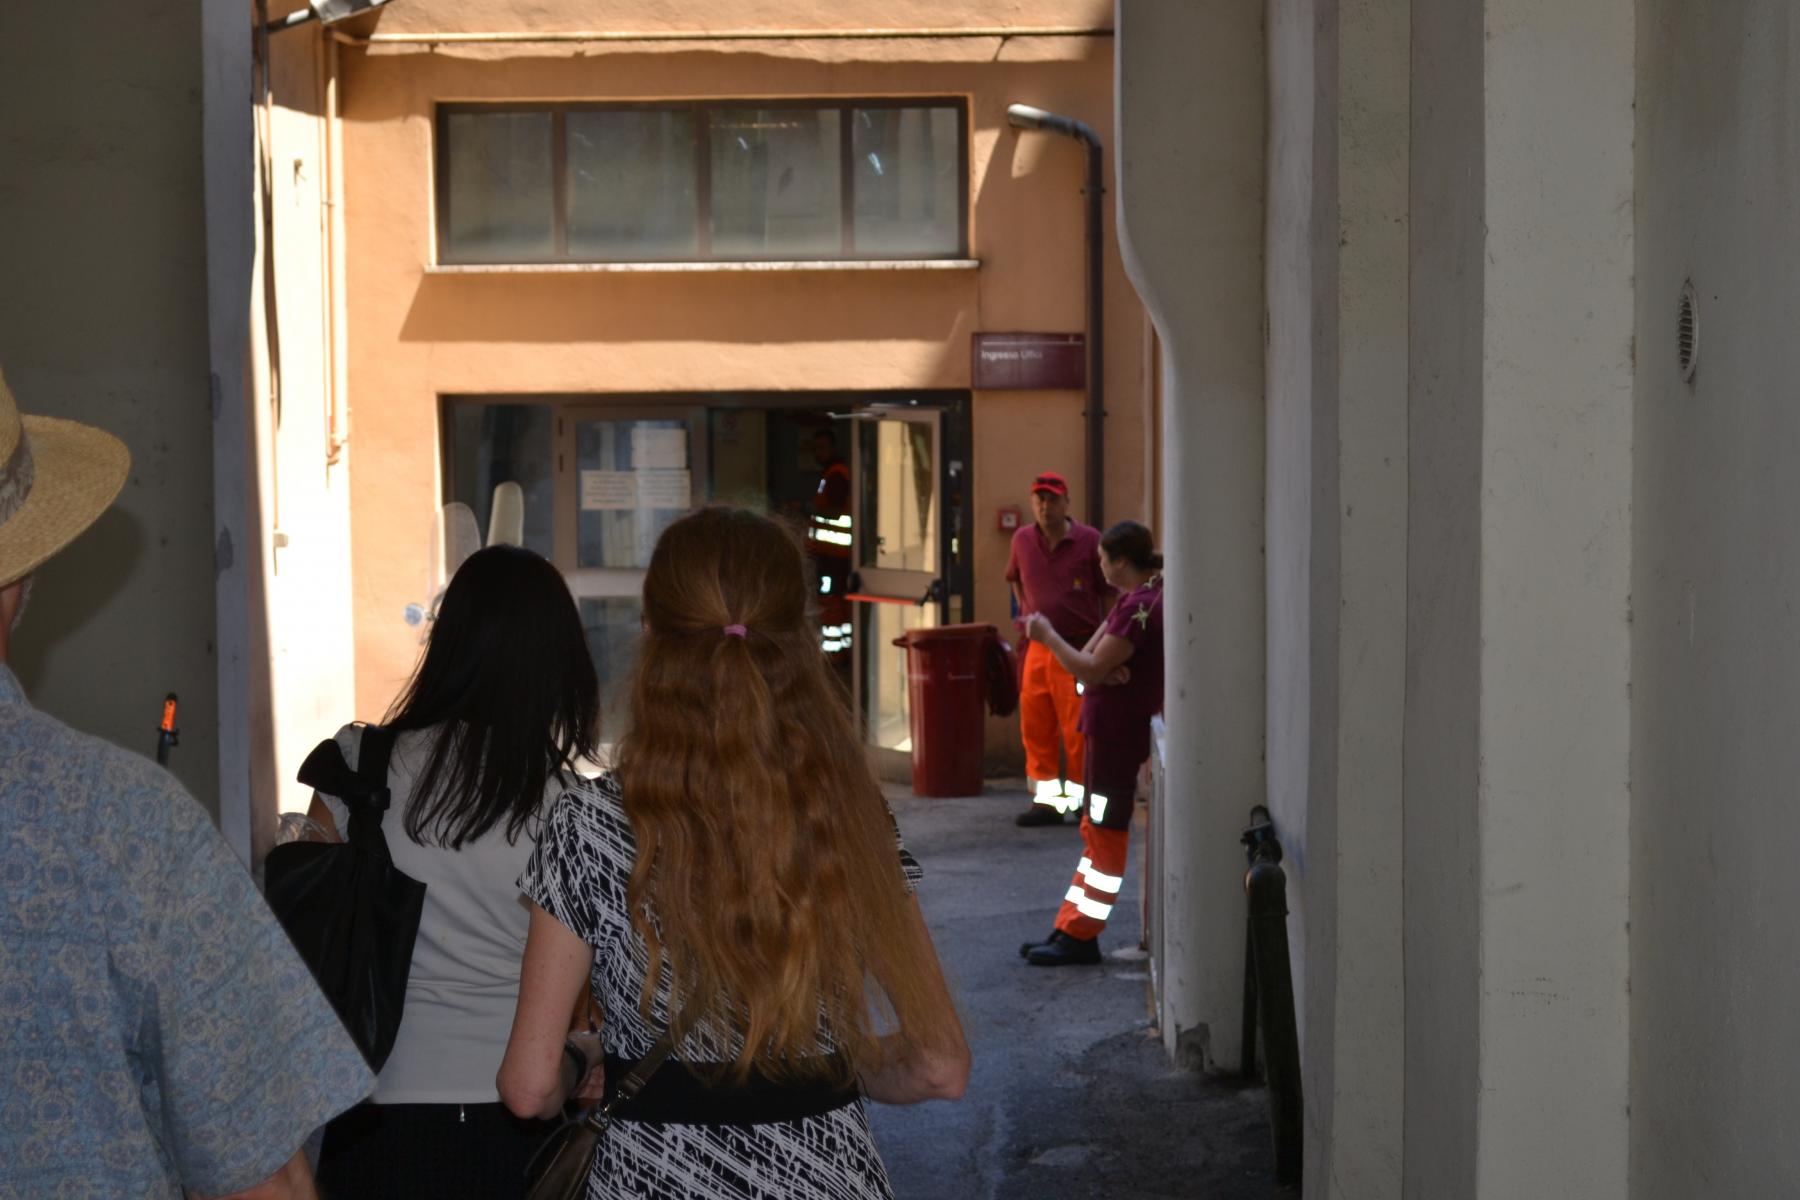
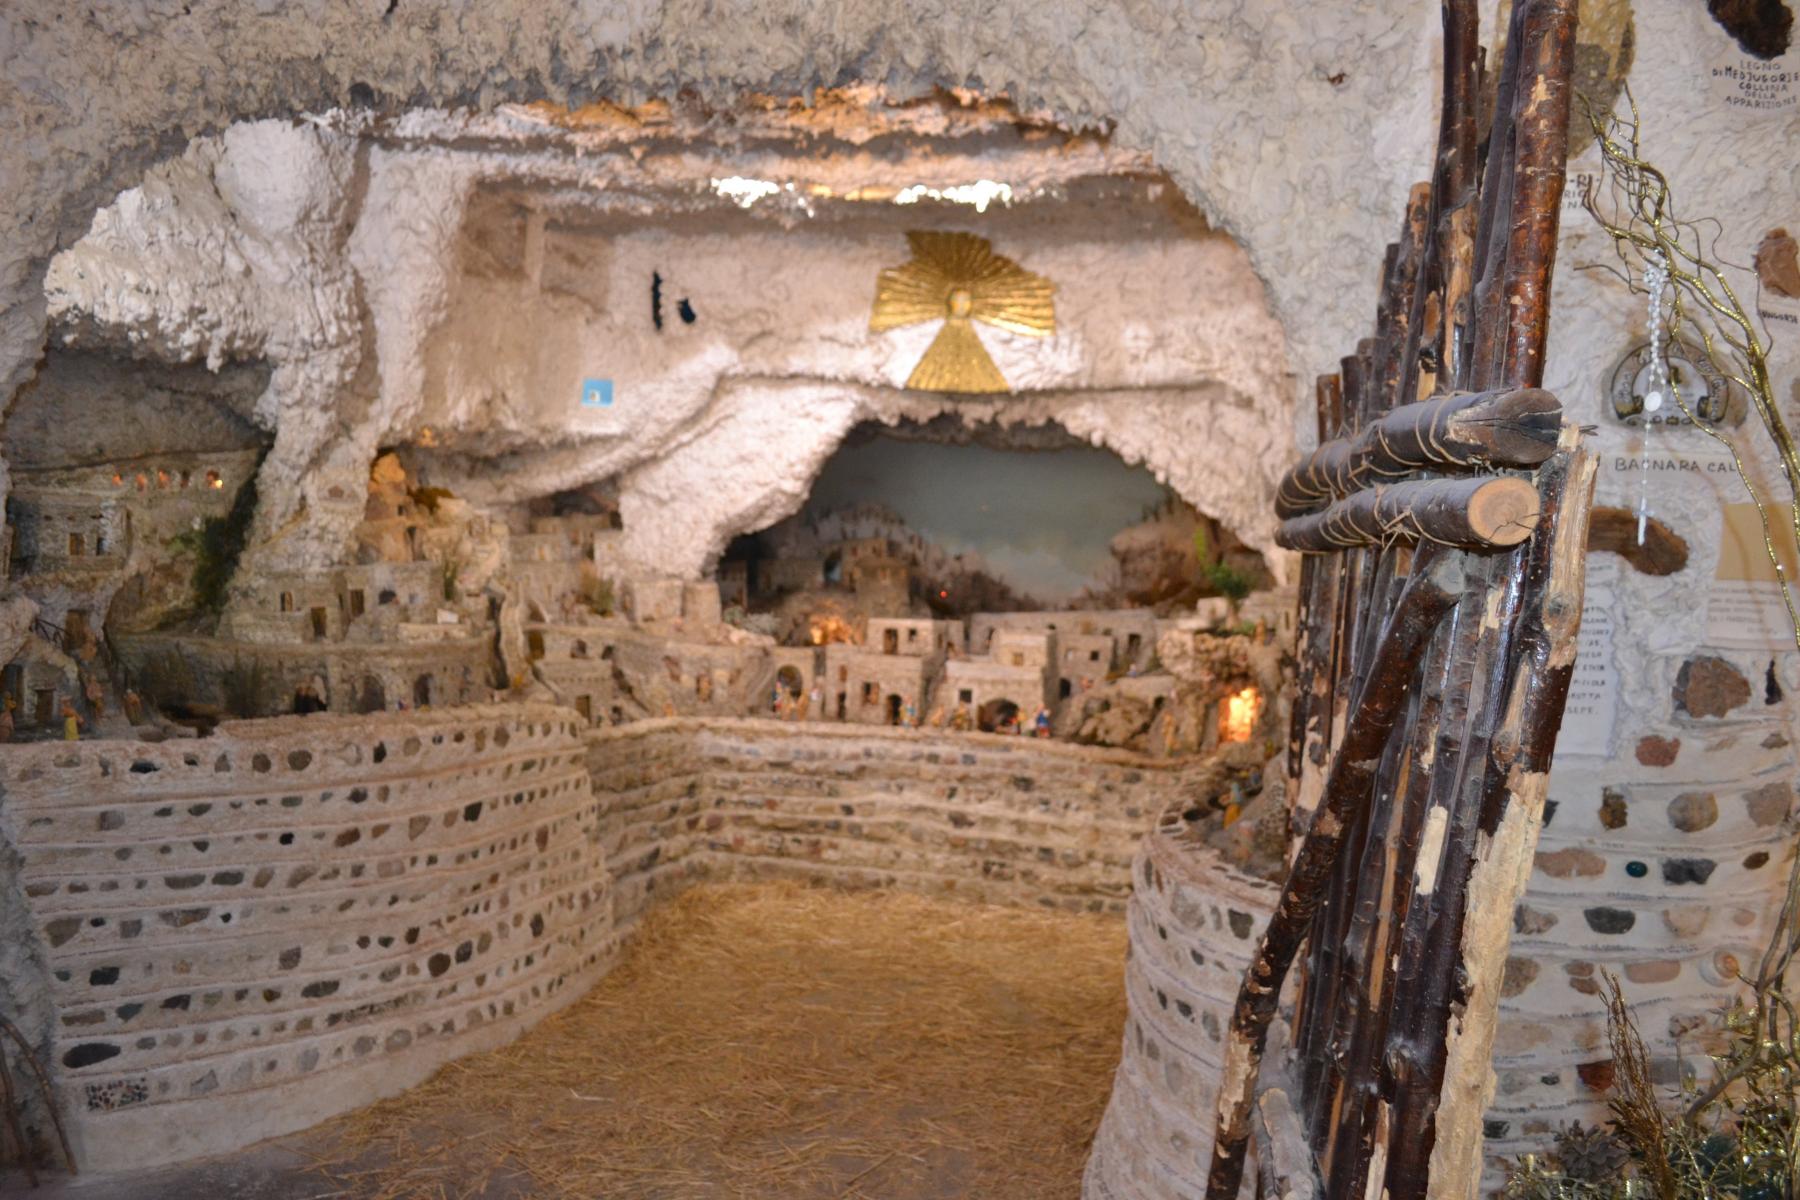
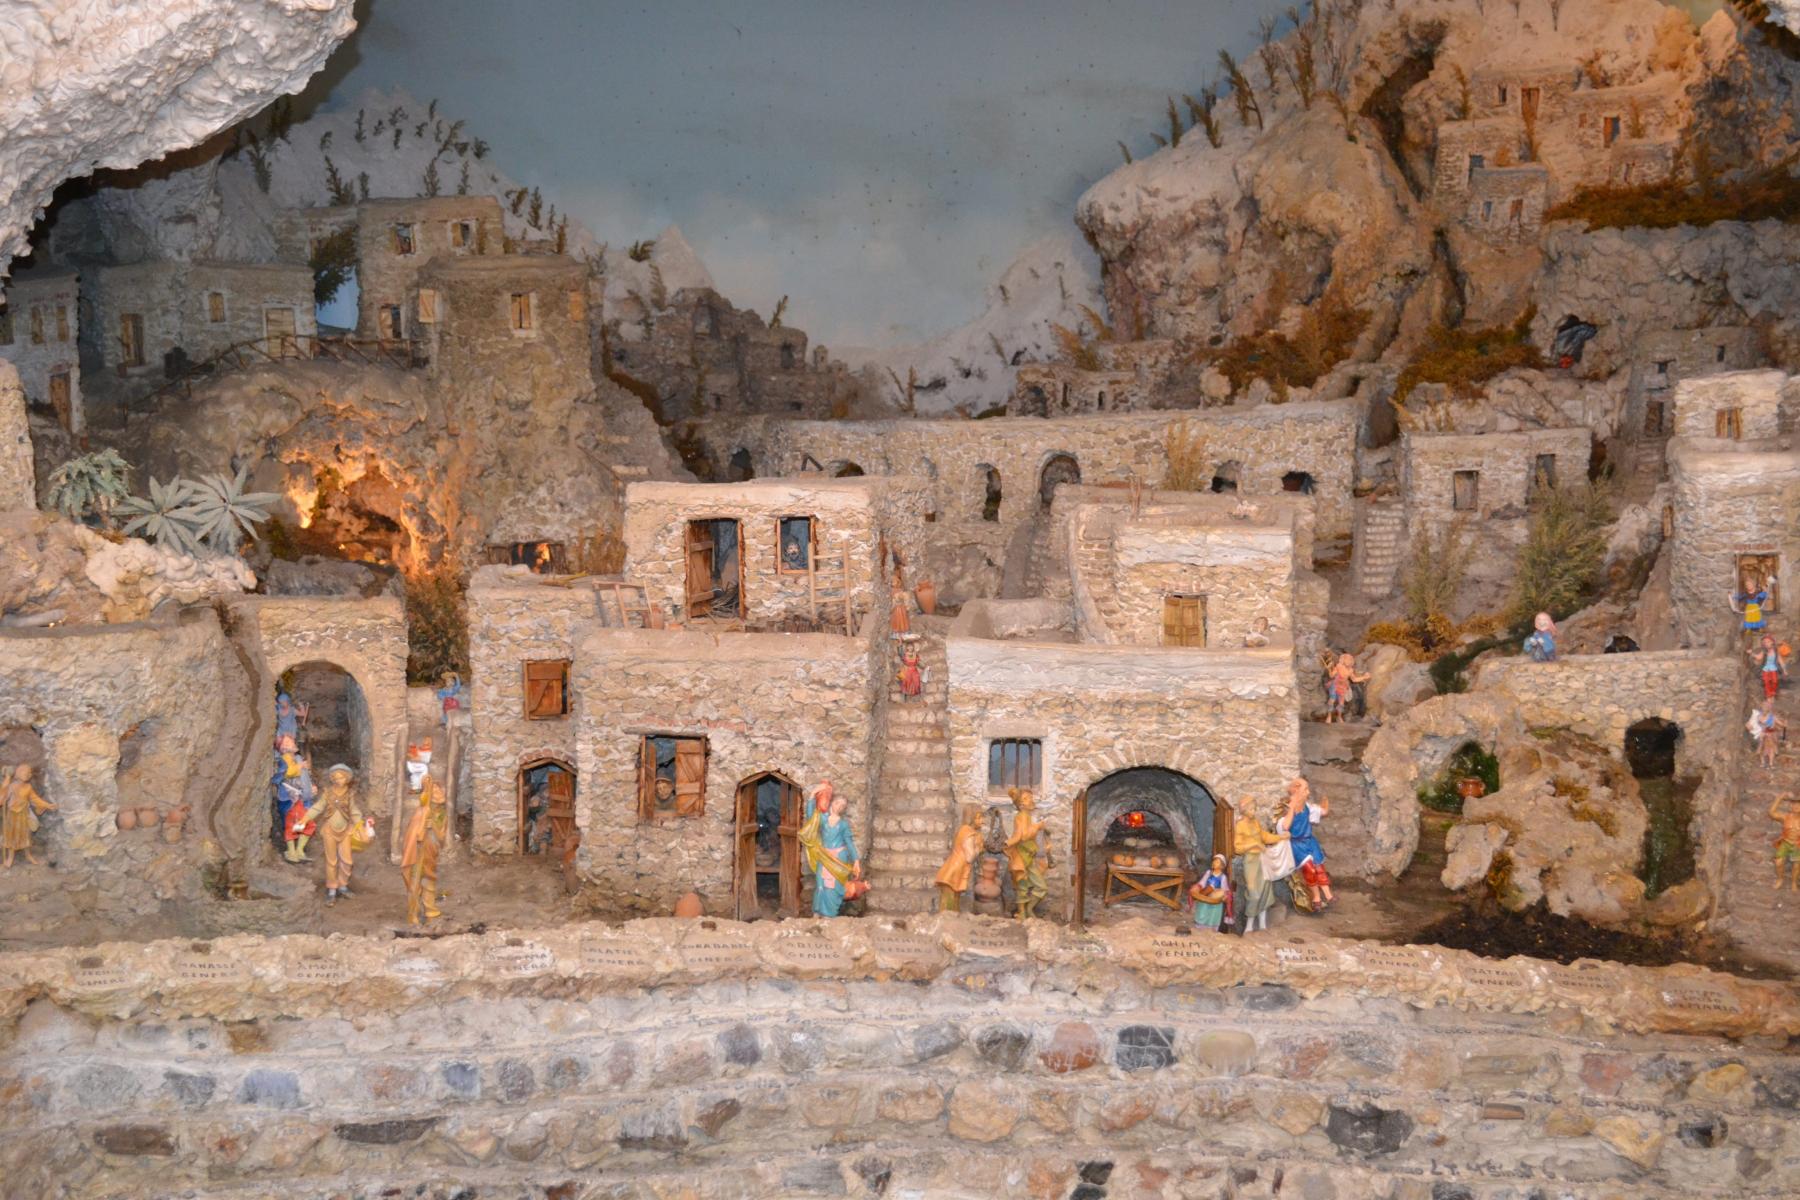
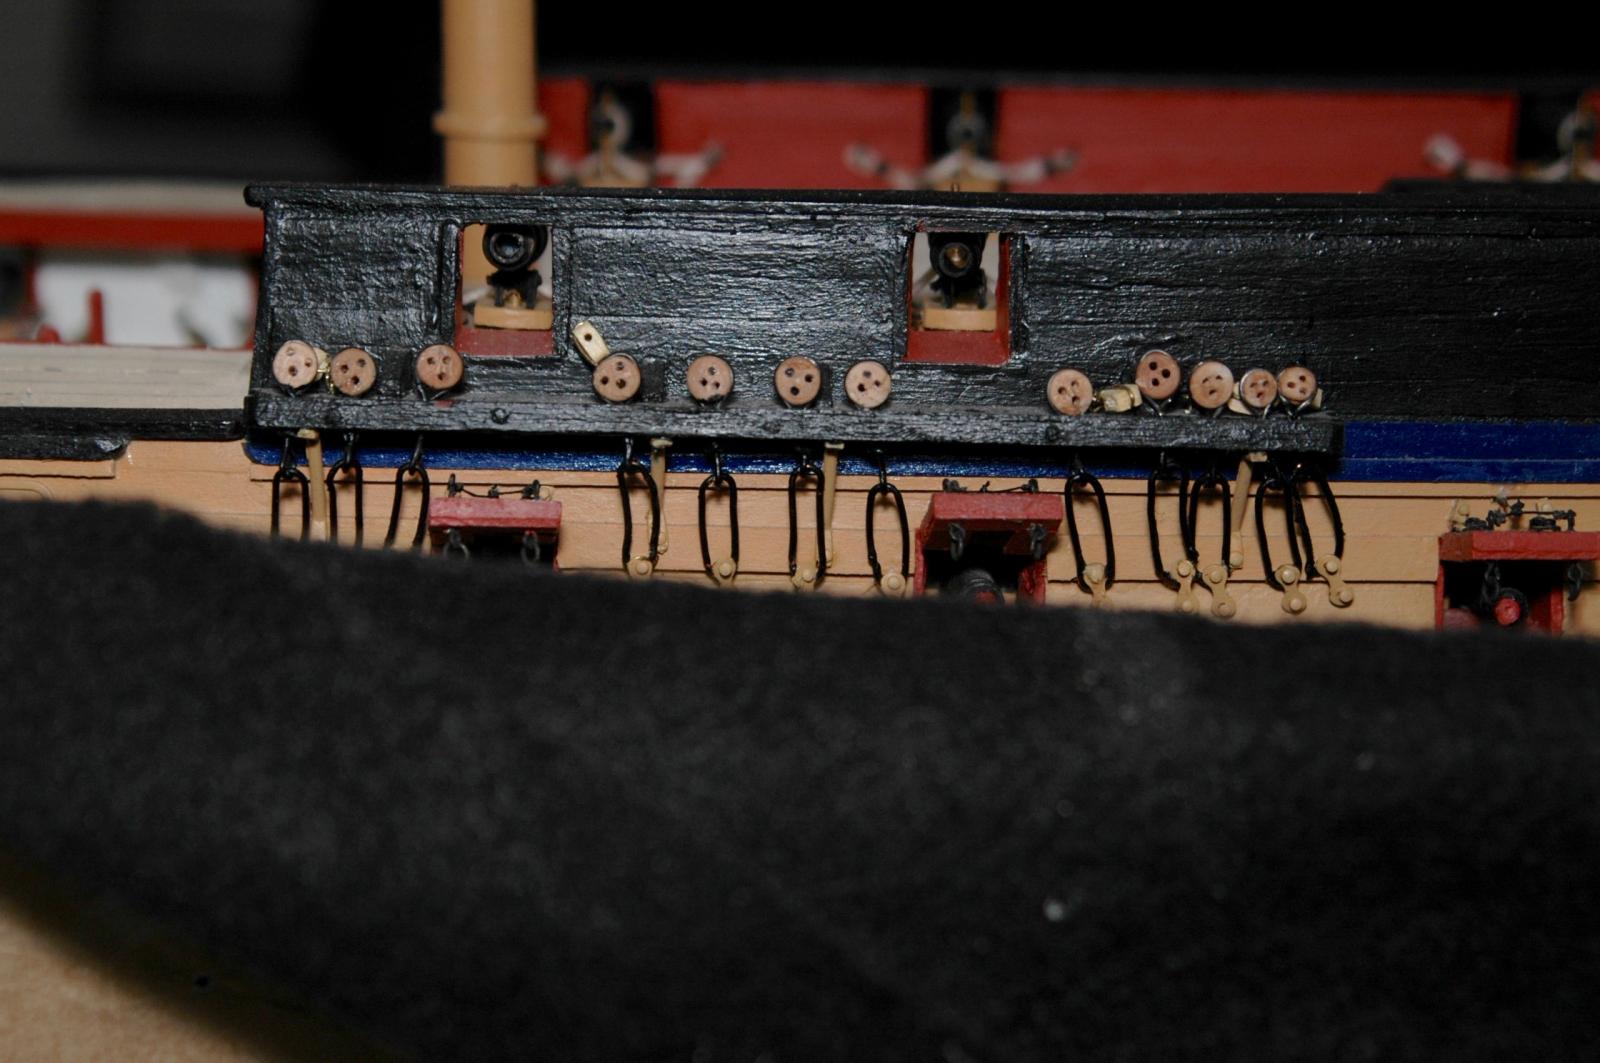
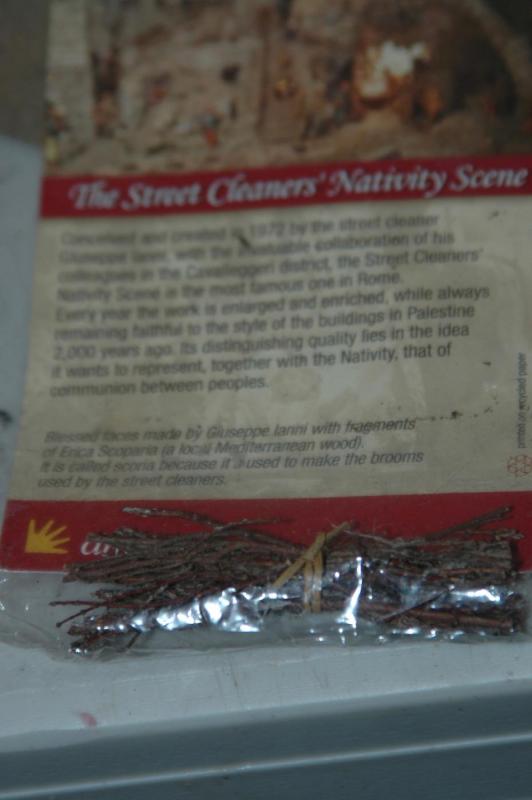
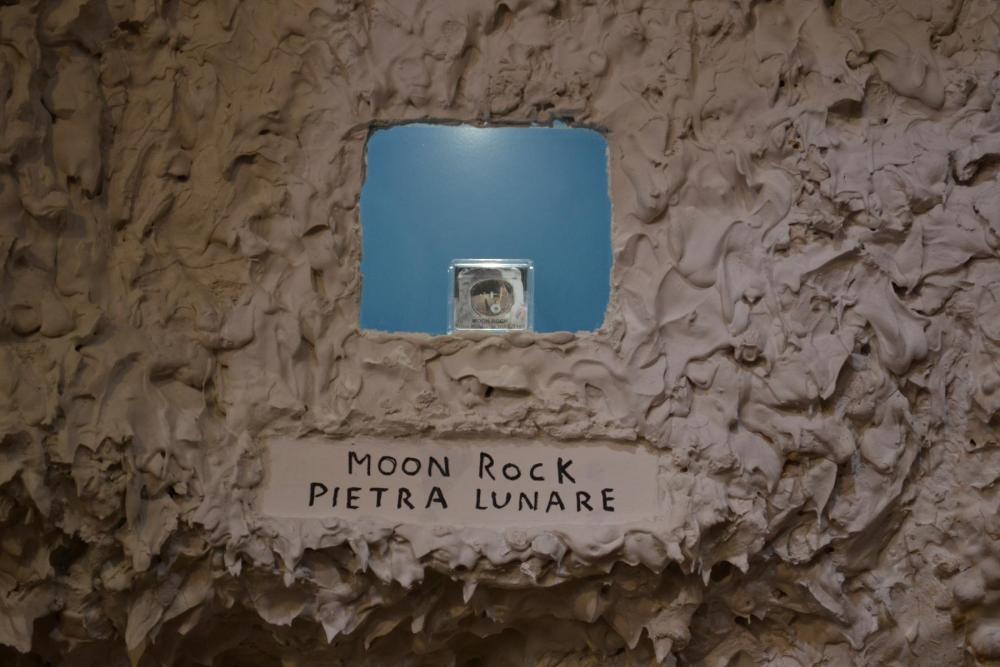
 Back from a long hiatus. Am finishing the carronades and their rigging. Also found some unusual wood from a display in Rome. There is a hidden Nativity scene that was built by the Sanitation Workers of Rome. A tour guide from the Vatican got us in to see it... lot of detailed work including a piece of lunar rock. As souvenirs, they gave us some of the street broom pieces, which I am going to put by the Galley oven like firewood.


- 188 replies
-
- 3
-

-
- surprise
- artesania latina
- (and 1 more)
-
Wow. Just Wow.
-
Very nice!
-
To paint or not to paint, that is the question?
Mayohoo replied to ratskiss's topic in Wood ship model kits
I found it to be ok for the hull and decking. The smaller fiddley bits tended to be dried and cracked easily eg. bowsprit, dinghy, gun carriages and required patching that could be seen if not painted. It may have been I got an older kit that had been on the shelf awhile. I'm about a thousand hours into it and am plugging along if you want to take a look. Mayohoo- 11 replies
-
- 2
-
-
- HMS Surprise
- Artesania Latina
- (and 1 more)
-
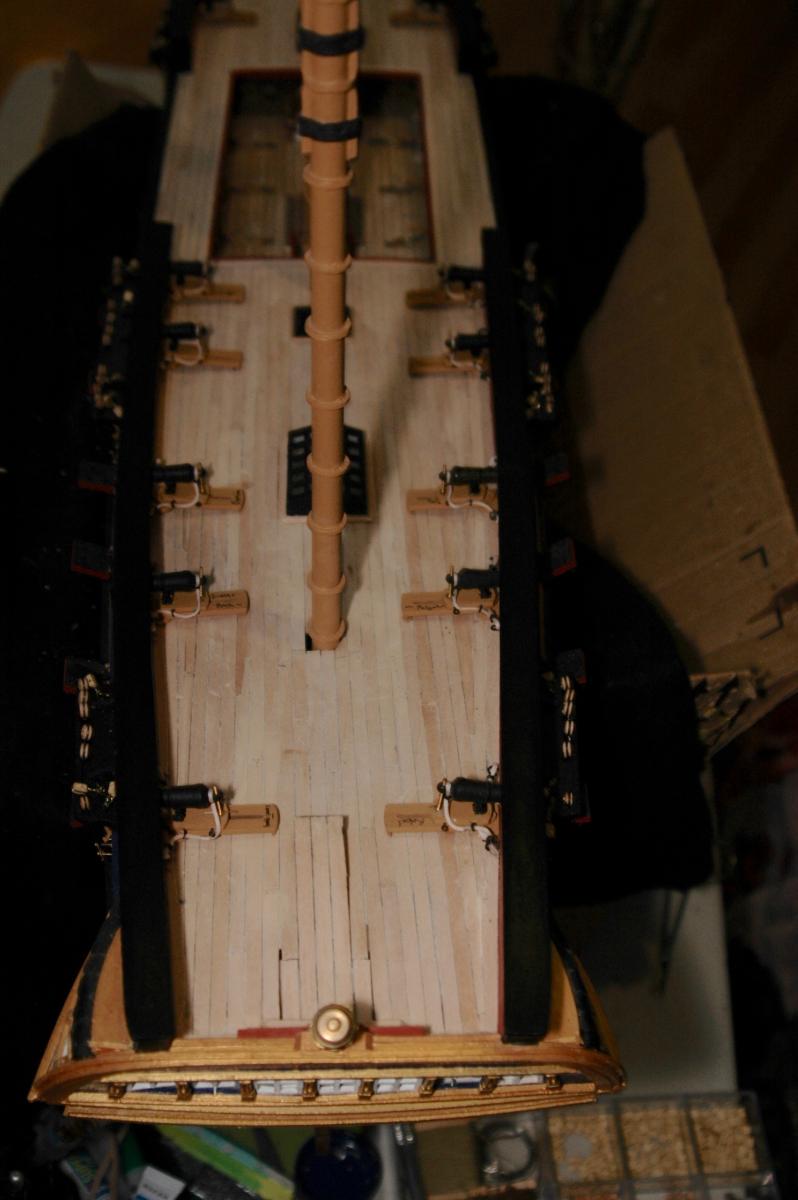
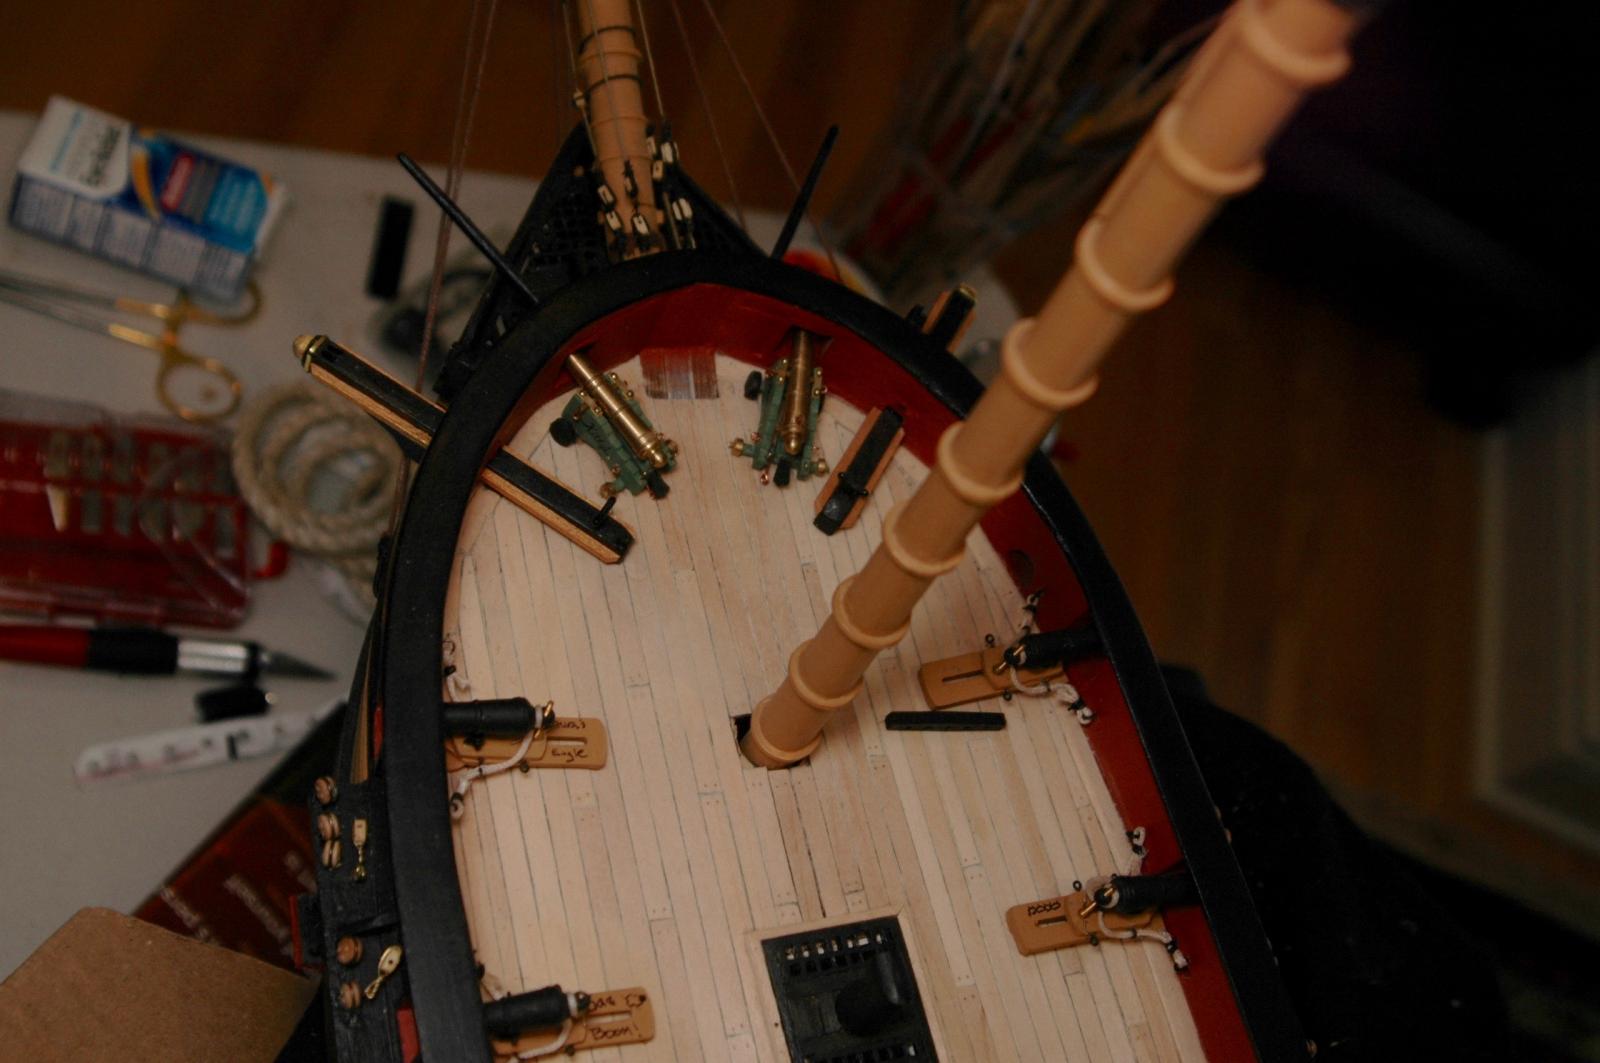
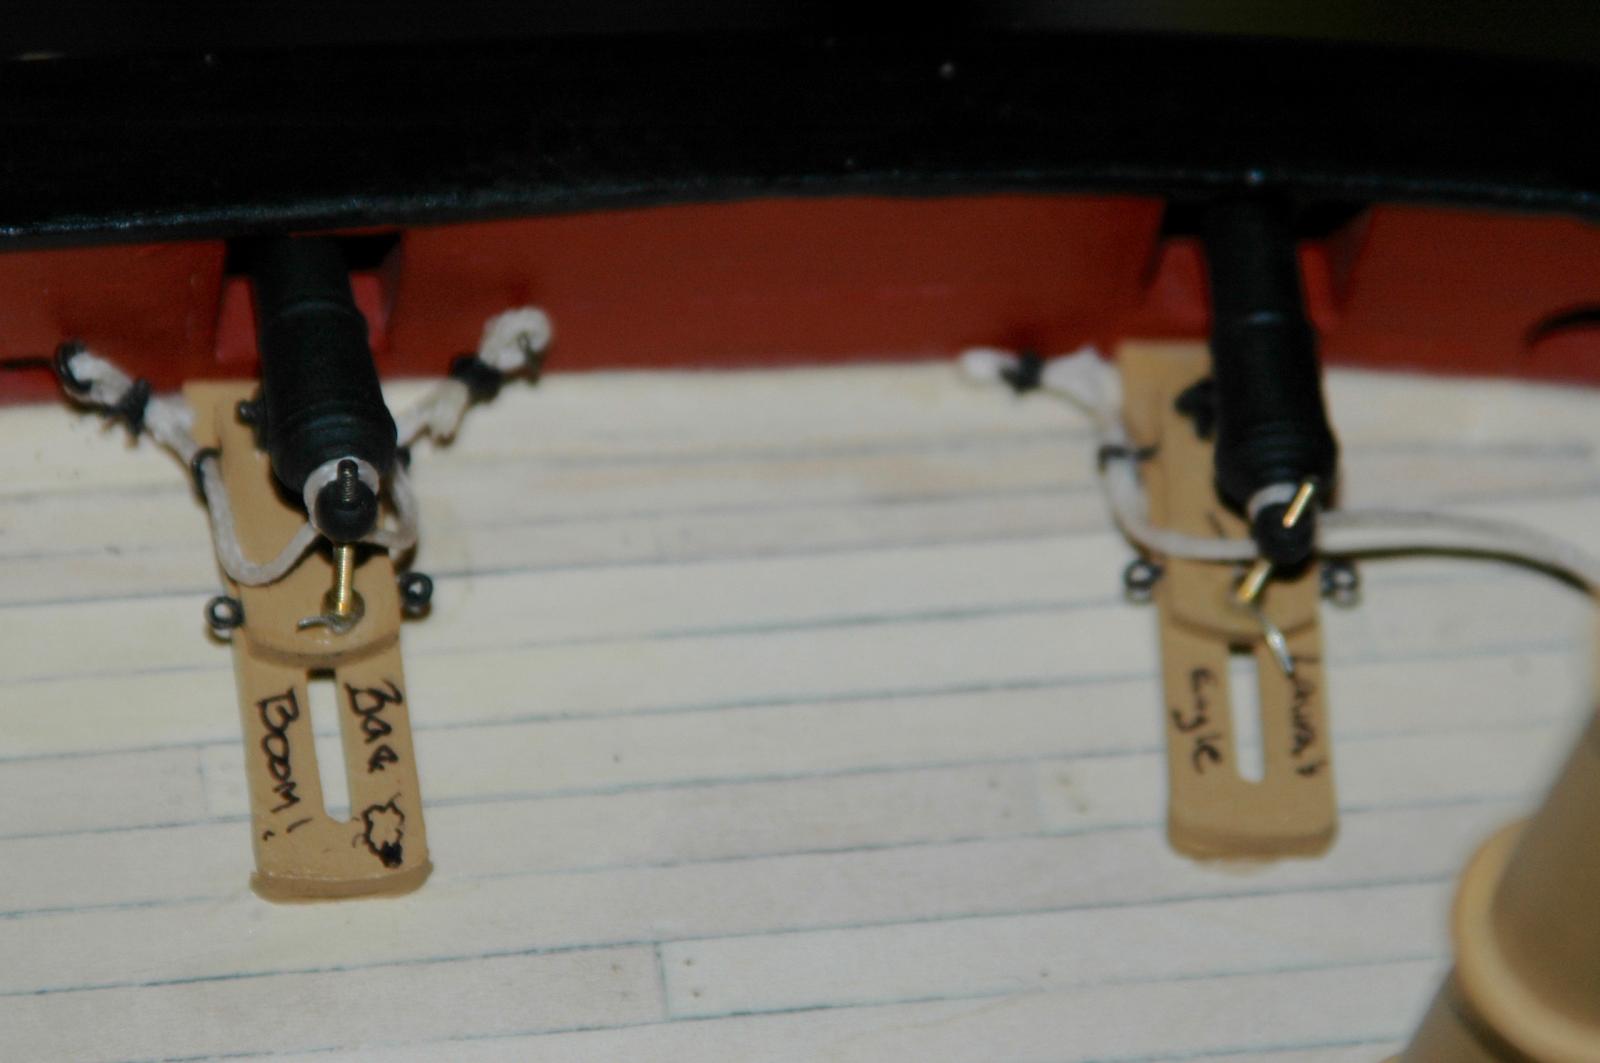
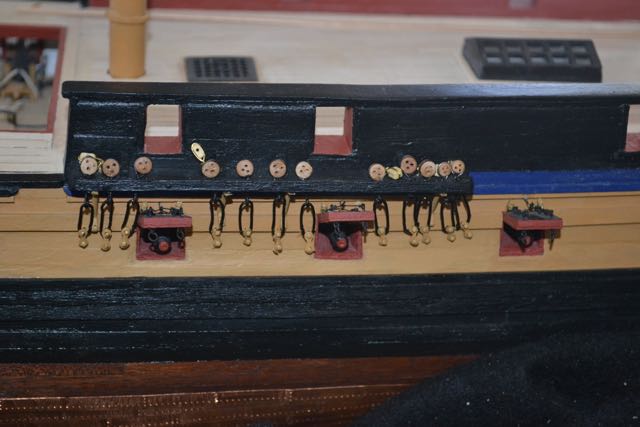
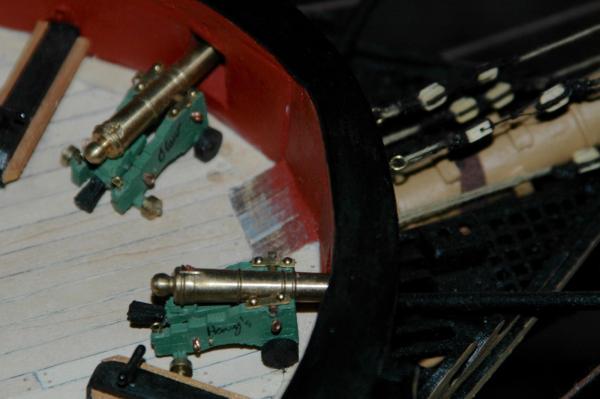
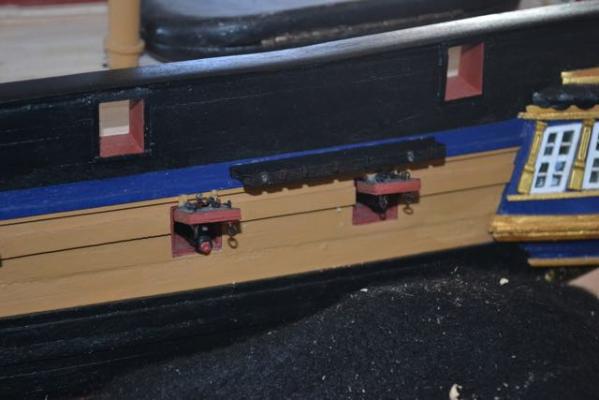
Hrs 951-965 Finally finished mounting the carronades. Been a busy summer and I have just gotten back to it during the long winter here in Minnesota. Holiday trip to Napa and the Rose Bowl with the kids. Go Cardinal! Got the bronze chasers plus the carronades. Working on the rest of the carronade rigging now.


- 188 replies
-
- 7
-
-
- surprise
- artesania latina
- (and 1 more)
-
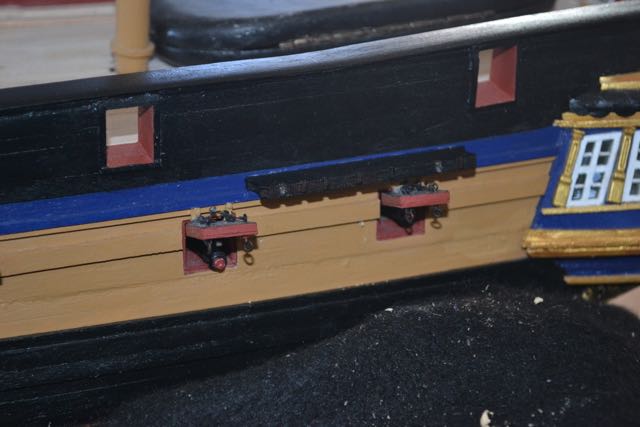
I am conflicted about the stern chasers. I have slots I could fit them in in the stern, and I trialed them there but the 9 pounders really crowd the flag lockers and also look like they would interfere with the stern boat davits. I got the impression from some of the books I have read that the brass bow and stern chasers were sometimes moved from bow to stern and back as needed (I would guess one wouldn't need to fire forward and backward during the same engagement!) I may put in the ringbolts only. So right now, probably not.
- 188 replies
-
- 2
-
-
- surprise
- artesania latina
- (and 1 more)
-
Nice work. I like the idea of using the glue for the windows in the stern. I used microscope coverslips and they were hard to get to cut perfectly. The glue seems to be a better way. How clear is it? Does it look like a window or is it cloudy?
-
Hrs 938-950 After a long summer hiatus with soccer coaching, learning to keep bees, a trip to England to see the son as he studied at Oxford and a trip to Stockholm with the daughter for her vacation (saw the Wasa, quite a ship and museum!), I am back to the HMS Surprise. Got the carronades mounted and named, now working on rigging them. Have two 9 pounder bow chasers (brass, just like Jack liked them) and the 24 carronades (all named with small jokes or people I know).


- 188 replies
-
- 4
-
-
- surprise
- artesania latina
- (and 1 more)
-
Microscope cover slips work ok. They are hard to cut perfectly though. They have a nice glassy glint when light hits them right.
-
Ok, deck it is. Will start with carronades and proceed from there. Thanks!
-
Finished the last Chain Wale. Question for Gurus: Should I complete the deck with cannons, bell, wheel etc? Or should I begin the rigging? I am not sure if having the netting /rigging/masts in place will interfere with putting all the other stuff in place. On the other hand, does the rigging force where I put the other stuff? Thoughts?
-
Looks good! Cutting the ports out was a fair amount of work, but worth it to me. The AL kit does not include the metal gunports that your Mamoli kit does. I am putting carronades on the upper deck and the ports needed to be a smidgen higher then if I used cannons.
-
Good progress!
-
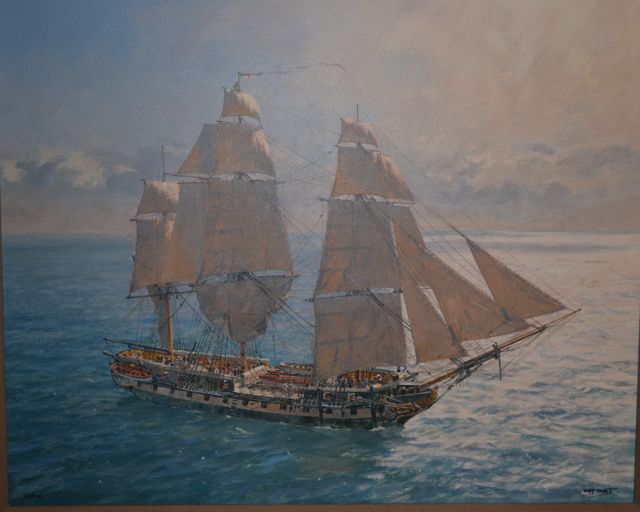
They do have oil paint versions of many of the HMS Surprise book covers. They are apparently done with a high level dot point computer technique that is then put onto canvas and signed. I have "Flying Kites" and it is really nice. It can be seen on page 4 of my blog in the background. They are a little pricey at $600 US or so... I added a blue stripe in the aft section but it is hard to see against the black background.

-
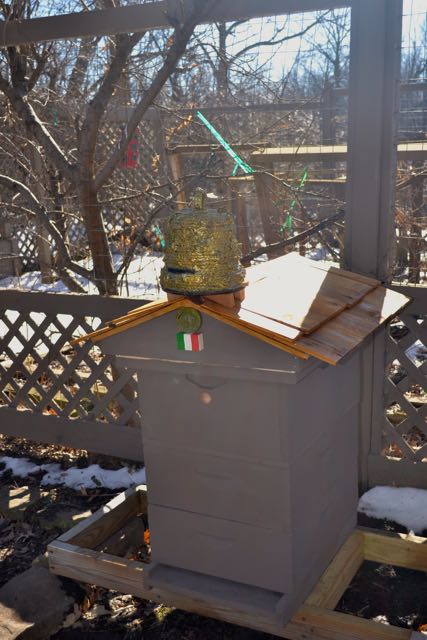
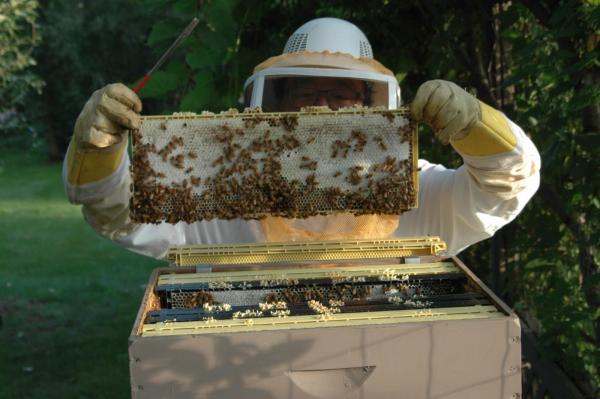
Hrs 938-945 Been busy as... well, I just decided to add bee-keeping as a hobby. Have chosen to sort of augment the standard hive with a faux decorative skep on top, cedar shake roof, copper dormer. Also, decided to keep two different varieties (Italian and Carniolan: note the flags). Also managed to finish one chain wale and start the last one (of 6). Empty nest = lots of hobbies... (PS Note the snow...)


- 188 replies
-
- 4
-
-
- surprise
- artesania latina
- (and 1 more)
-
Professor, It is beautiful. Skills of a plastic surgeon on display. Thank you for doing it and sharing how you did it to the rest of us. I work from your build a lot. Mike
- 755 replies
-
- 2
-
-
- finished
- caldercraft
- (and 1 more)
-
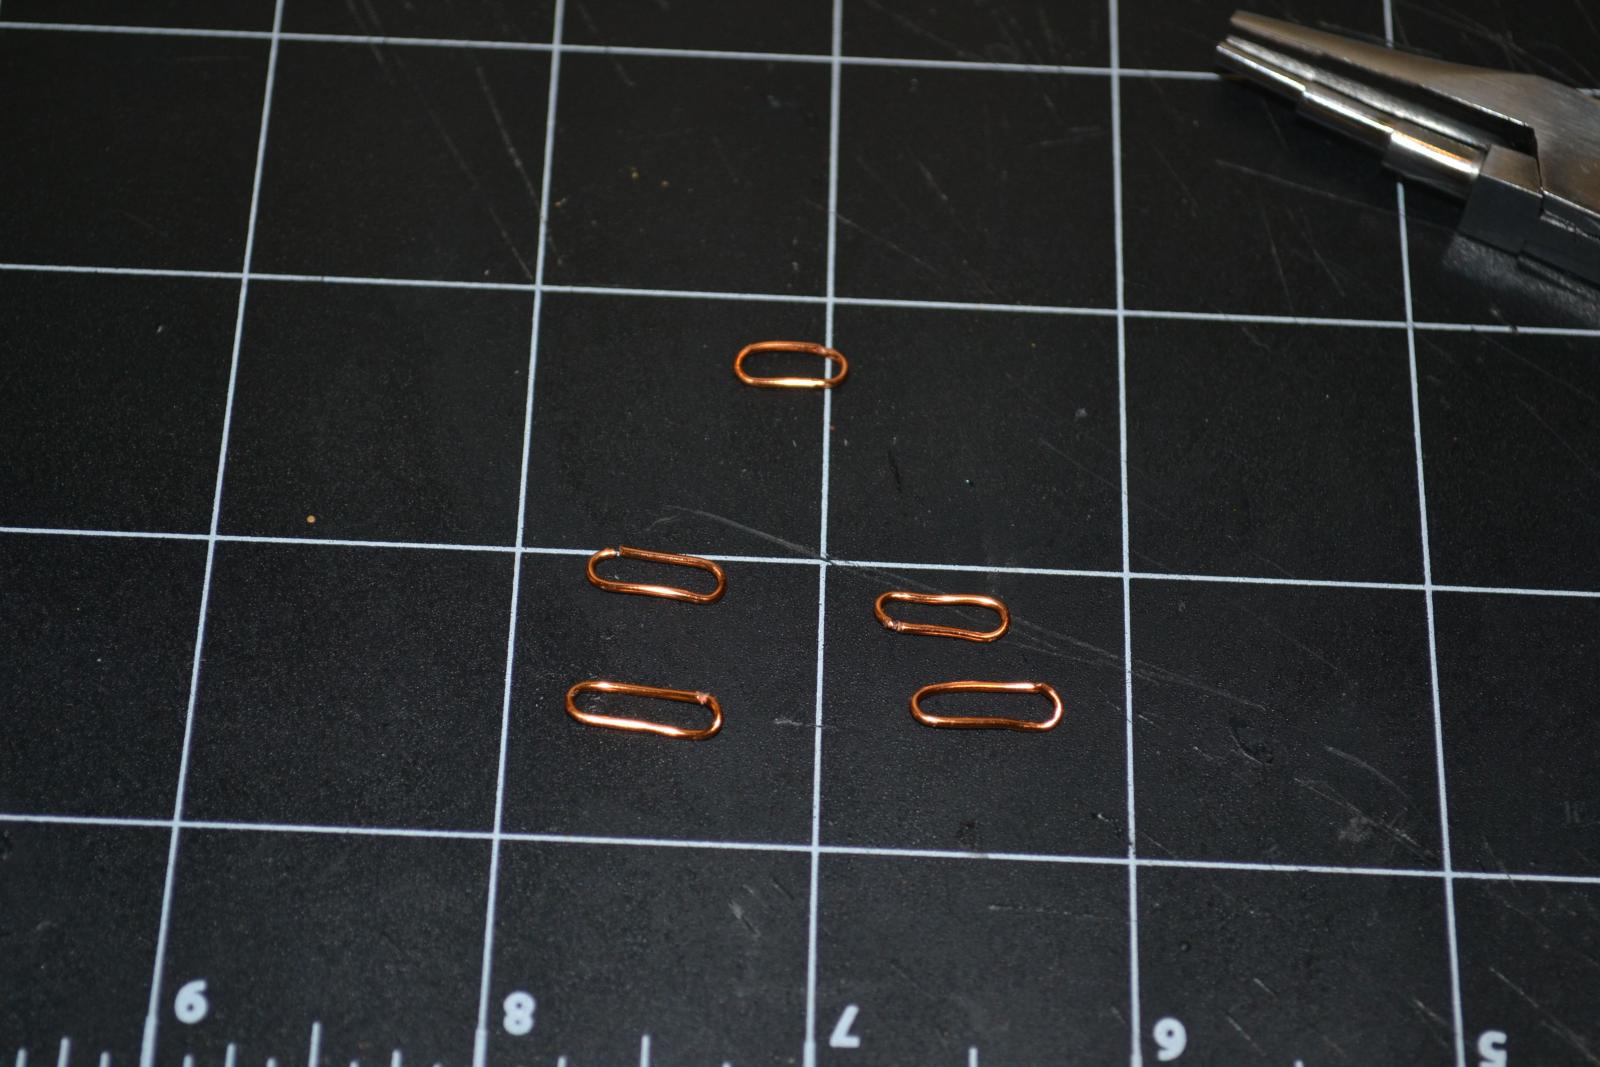
Hrs 934-937 So used the bending tool I got for Christmas. Makes the bends much more consistent. The next midships chain wale is done. Now for the mizzen mast pair.

- 188 replies
-
- 6
-
-
- surprise
- artesania latina
- (and 1 more)
-
For general information, "The Construction and Fitting of the English Man of War 1650-1850" by Goodwin is excellent. For model shipNelson era detail, "The Anatomy of Nelson's Ships" by Longridge is excellent. For general modeling, "Ship Modeling from Stem to Stern" by Roth is very good. "Historic Ship Models" by Mondfeld was also pretty good.
-
My first ship so I have been using kit line and then seizing them with polyester thread (black). I leave the unseized portions brown or beige as they come in different colors in the kit. I figure, the rigging was not uniform on a ship (some older, some newer) and would be varying shades of white, beige, and brown colors except the black portion which was treated.
-
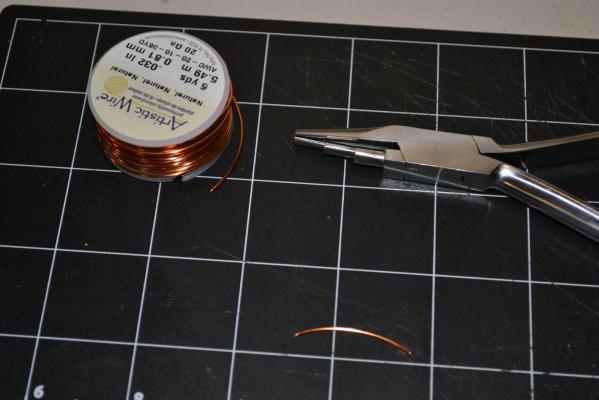
Hi Bipper, The AL instructions were also very vague and not very well written. The resources here and on the net are far better. For example, one set of instructions basically said: "Plank the hull". No details, how to's, minimal pics etc. Three months later, after doing research and trial and error, I finished planking the hull to my satisfaction and pretty close to accurate I think. With these kits, you just have to realize that the specifics and detail are not going to be there. The exception I have seen is the Jotika kits where I have seen their web build and instructions- they seem pretty good. As for the lines, much of the lines are "seized" or covered with fine black thread. After communicating with Gil Middleton (great HMS Victory build), I purchased this gizmo that works pretty well. Basically, it spins a layer of fine thread around a larger thread. I used black polyester threads (fine and medium) from the local sewing shop around the threads/strings included from the kit, which are brown and beige. The polyester thread is like $2 for 200 yards, so basically minimal cost.
-
I originally used a felt tip artist pen that promised not to run and it worked fine, cost like $5.. Then I lost it and used a Sharpie and it works fine tho it occasionally runs near the ends. I usually treat the entire plank and then cut to size and sand to get it perfect, then carefully and lightly do the end that was cut. Once you do a sand and oil the deck ends up looking somewhat weathered, which I think looks good. The oil mixes with a tiny bit of saw dust that is left to make the wood look less manufactured. It also fills in some of the tiny spaces between the not perfect boards and my not perfect placement.
-
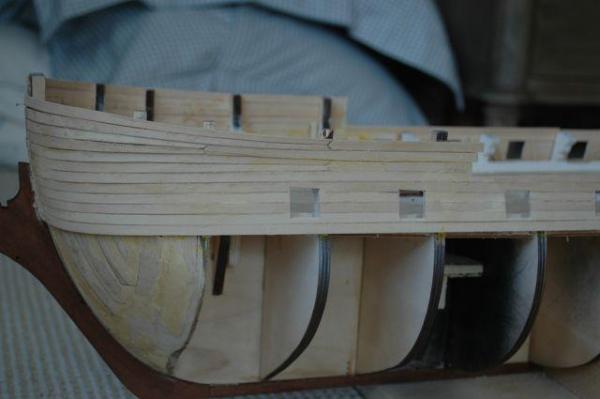
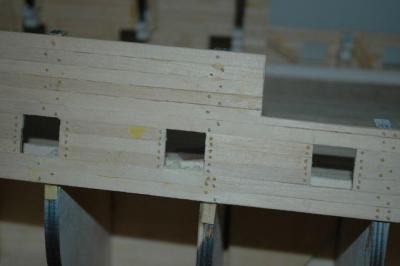
This kind of gives you the idea of using stealers to compensate for the difference in widths (much wider towards bow). The joints are not adjacent and nothing is reduced more than 50%. The second photo shows trenails at joints and where they are attached between gunports. Hope this helps.
-
I used the tutorial on planking to learn the "rules". I think they are 15 cm max length (scale 25 feet), no joints adjacent to each other on adjacent planks, no thinning a plank width more than 50%. I then did the upper bulwarks first by measuring the distance from a completely parallel single plank placed at the line dividing the upper and lower planking. The vertical distance i then quartered so as to even the distance discrepancies from stern to bow out gradually.I did not use any nails (rust issues as they are not brass) as they can discolor wood over time. http://modelshipworld.com/index.php/topic/219-hms-surprise-by-mayohoo-al-scale-1-48-after-aubrey-maturin-series-first-wooden-ship-build/page-2 and page 3. I then added trenails. For gunports, I would have cut them out in proper locations. GIven the difference in kits, I think you just have to cut planks to correct lengths. Hope this helps. Do you have specific questions?
-
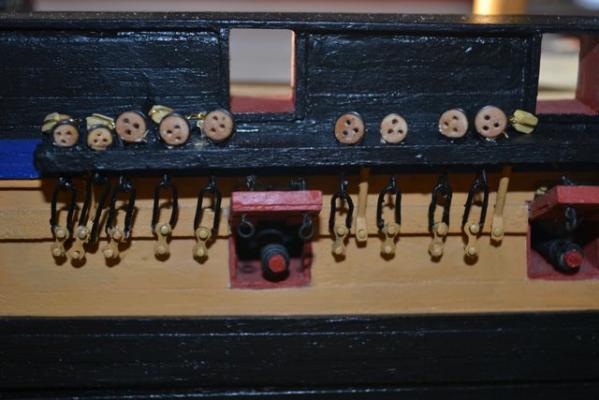
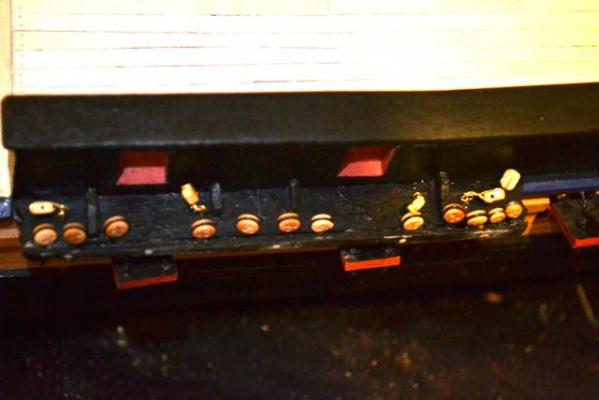
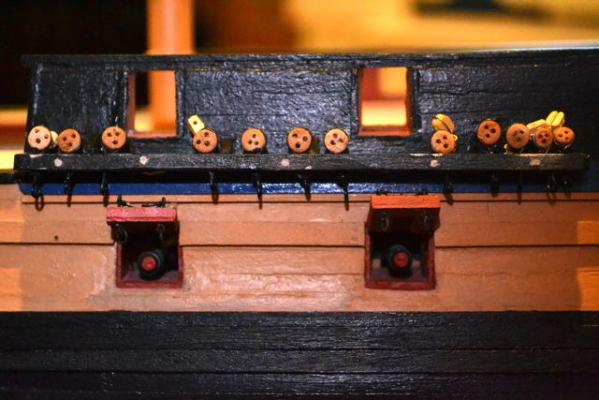
Hrs 928-933 Port Midships chain wale done. This time with 12 deadeyes in chain wale and 5 above. Could not really replicate the Lavery plans exactly as the gun ports seem slightly off versus the drawings and I need to avoid covering gun ports with ratlines (that would be bad...nice broadside, we lost our main sail...). Oh well. Still looks good. Note the 5 trenails I put in to add strength and to hold the molding on tighter. Also, used 2 finishing nails in main board to stiffen, then covered with outer molding. (not shown) 3 more to go...

- 188 replies
-
- 3
-
-
- surprise
- artesania latina
- (and 1 more)
-
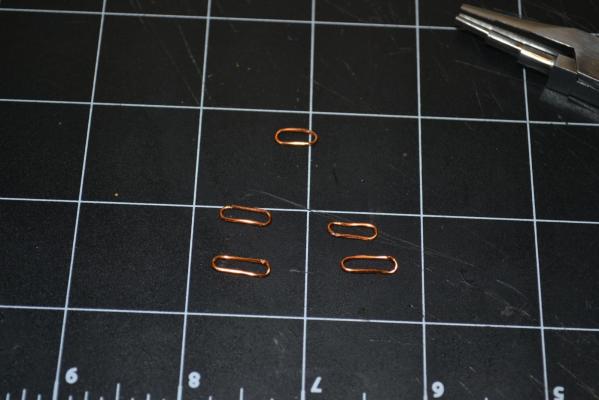
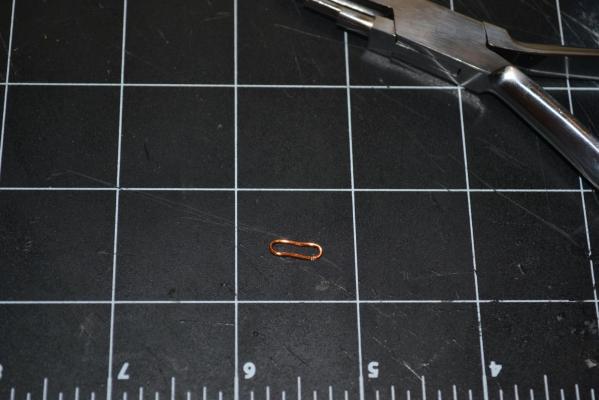
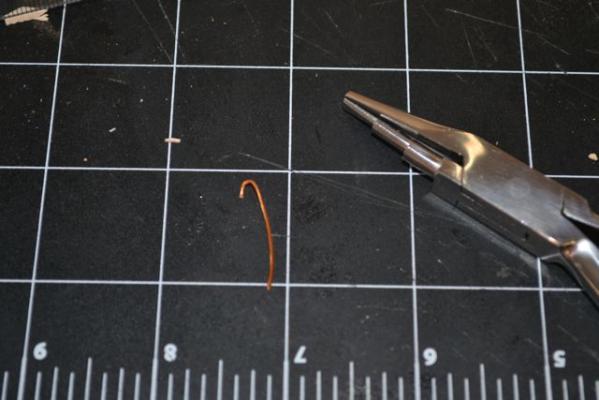
Hi lb0190 and jhughsonsr, I tried using Brass Black on the brass cannons (page 3, blog) and was not happy because of the blotchiness. Painting the cannons looked better. The paint on the copper wires of the chain wales started to flake after I manipulated the wires to try and get a uniform shape, curve and thickness while I was trying to wedge them into position. I am hoping that once I have them in the position and shape I want that they will not flake anymore. I have not tried sand papering the wire as it is copper and bends very easily. Hopefully it will be ok...