


Wintergreen
-
Posts
993 -
Joined
-
Last visited
Content Type
Profiles
Forums
Gallery
Events
Posts posted by Wintergreen
-
-
So, work continues slowly with the dingy.
Current state is that the garboards are on. And the next strake under way. But no pictures of that.
Here is at least a picture of the backbone and the rudder. So you get something for checking up this post


-
Haha! You know what? Your scratched capstan looks much better than the supplied one!
Good to see work done without a mill also..often you think you need a mill to get things right. You have proven otherwise
-
Hi there Dave, glad you found your way back

Looks like you will be finished in time for the sailing season
-
Yes, that one
Good to see you back Gaetan!
-
Hello Garward, and good to see you back at MSW 2.0!
A big Thank You for re-posting a lot of your pictures. This is such a great log, since you share all your small devices that simplifies tedious tasks.
-
Apart from the ship I like your rustic looking kitchen table
About the ship, coming along nicely there Per.
-
What a treat, your deck is just beautiful!
-
Thanks Alfons!
I have a couple (or three) up my sleeve...
The fun thing is, I was made an offer last night, but I have no more information at the moment, so stay tuned
-
Great, another longboat
perfect, since I am scratch building the ships boat for my build.Thanks for re-posting your work Toni!
-
Ben, thank you for this picture tutorial of the longboat. Exactly what I was looking for!
Both your builds look smashing, to say the least
-
Thanks for reposting some of your images Alfons
Your schooner looks sooo good!
-
Glad to see this build log back also!
-
Splendid stand Daniel! One might think that you are the brain behind the new Cutty Sark display....
-
Full scratch popeye
I don't trust the supplied wood after 20 years on shelf...
-
It takes a special kind of mind to redo so much stuff of the kit...and I like it.
A "Hip hip, hooray" for you Daniel!
-
Great progress, Håkan, it's nice to see the dinghy under way now.
John
Yep, its been lurking in my mind for over 20 years, and feels really good to finally get it out in 3D.
-
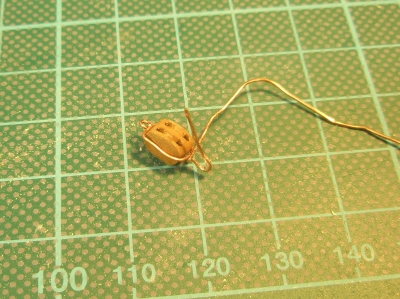
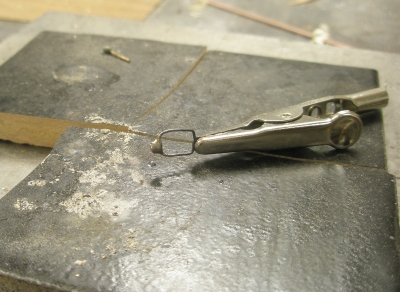
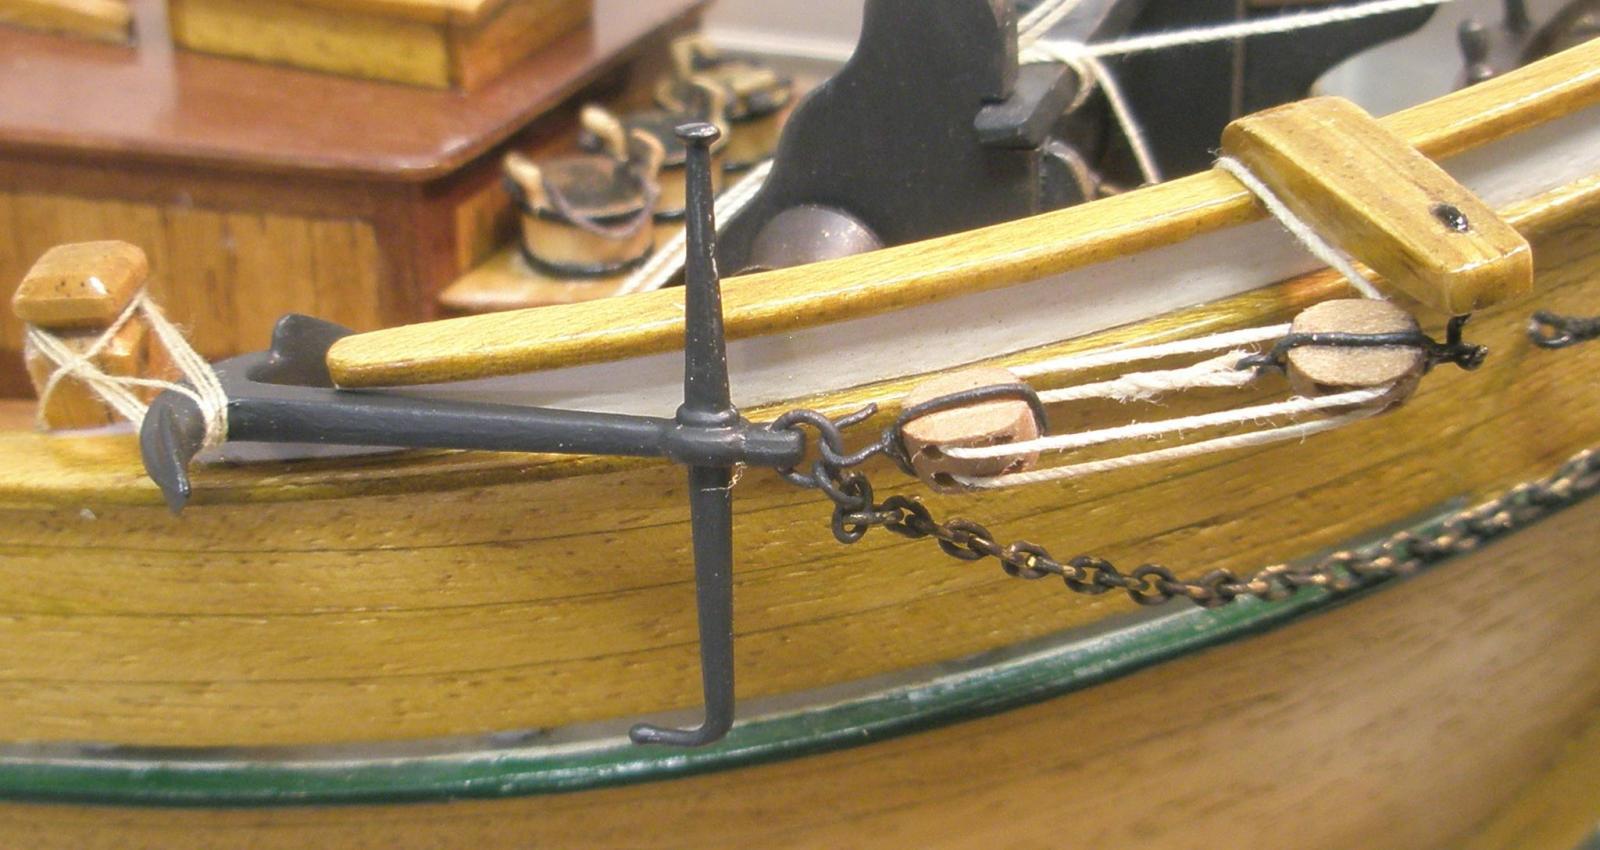
Here are some photos of how I made the iron strapped blocks for the anchor tackle.
Usual copper wire. In pic #2 I was a bit to slow with the torch. "well, lets just make another one shall we?"
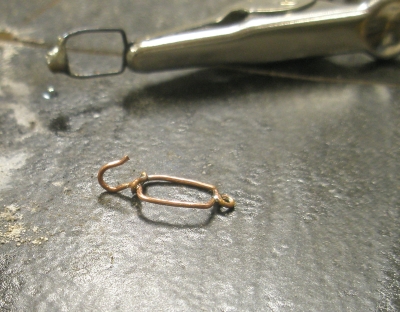
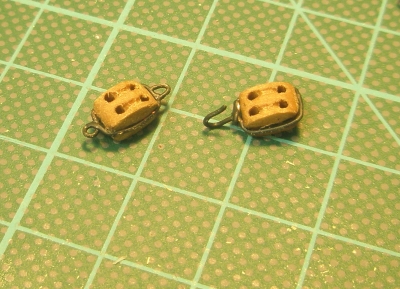
Here is the #2 try. Soft soldered since I don't have any hard soldering paste (yet). In the last picture the copper is painted because the soft solder did not take the blackening.
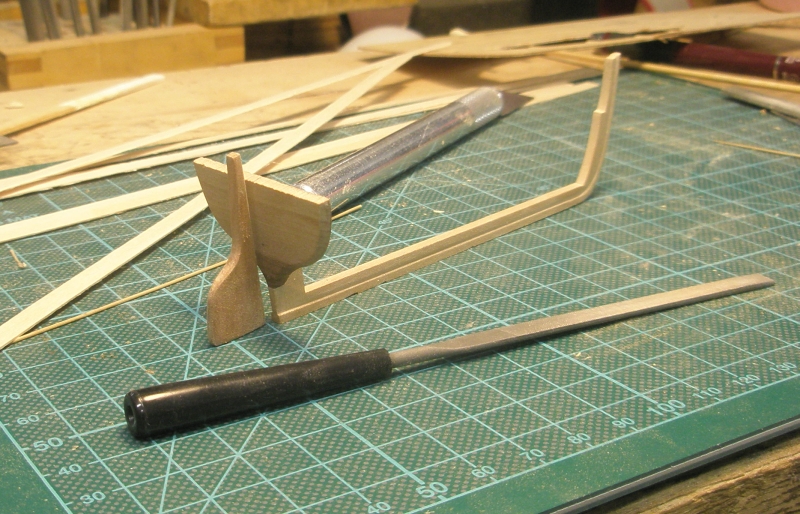
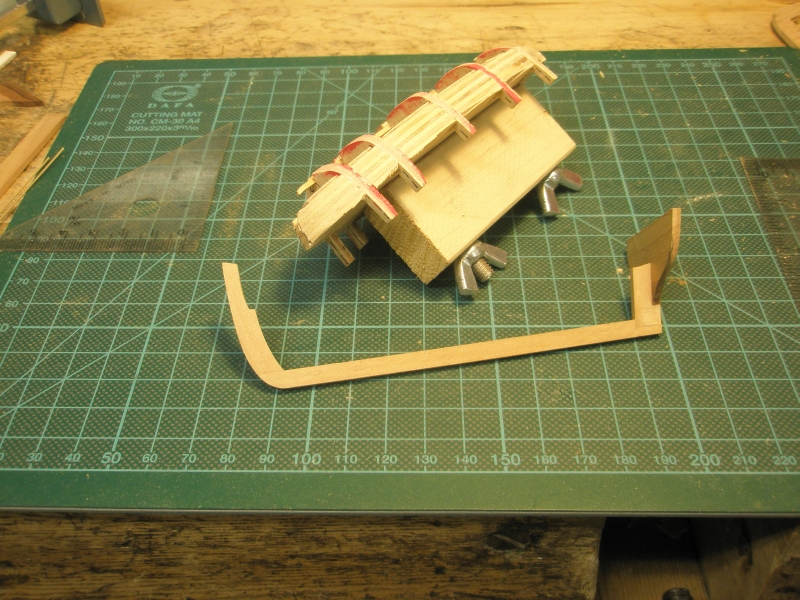
And finally, the work with the dingy.
The provided plywood sheets were warped and of very soft material. I will use them as templates only.
Here is the keel assembly with stem and stern glued and dowelled. Behind lays the plug that I will use for planking. The red paint on the frames is an idea that I will credit Dafi (Daniel) for. It makes it so much easier to see when it is time to sanding...

-
Lads - Thank You!
Its good to be back in business.
-
-
-
And from your on saying, its now the fun begins, eyh?! (read Rigging)
Good to have you back!
-
Your work is so precise it is scary...
- Vivian Galad and FrankWouts
-
 2
2
-
And now starts the long climb to re-earning my Lieutenant Commander rank.....;-)
Mark
Yepper, we all newbies ones again as Anja said.
Glad that your log is back and that you again will share your very precise work with us.
-
The above picture was the last in the old log. From here on I am up to date.
The boat is mainly finished (pics will come later) and work has started with the stern boat. The final picture for now is below. Remco was teased to do a proper splice for his mast pendant and that triggered me too. It WAS fiddly but in no means impossible to splice the thread.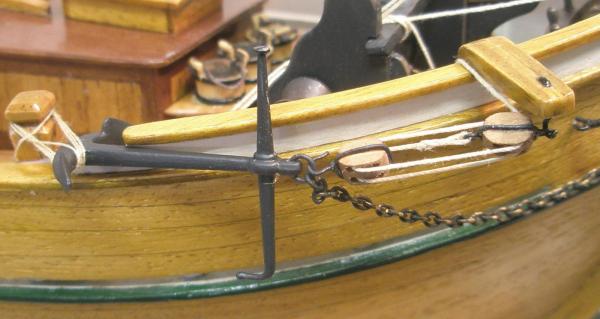
Regina by Wintergreen - FINISHED - Billing Boats
in - Kit build logs for subjects built from 1901 - Present Day
Posted · Edited by Wintergreen
I really hope so, Robert, I really do. :mellow: