popeye the sailor
-
Posts
16,007 -
Joined
-
Last visited
Content Type
Profiles
Forums
Gallery
Events
Everything posted by popeye the sailor
-
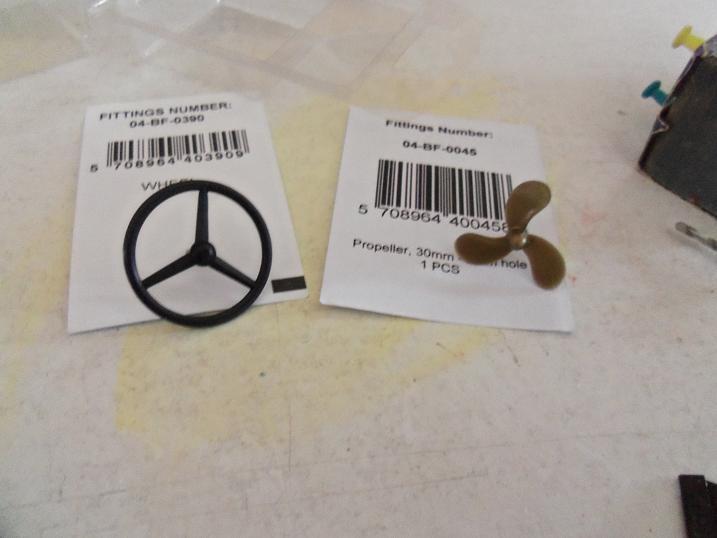
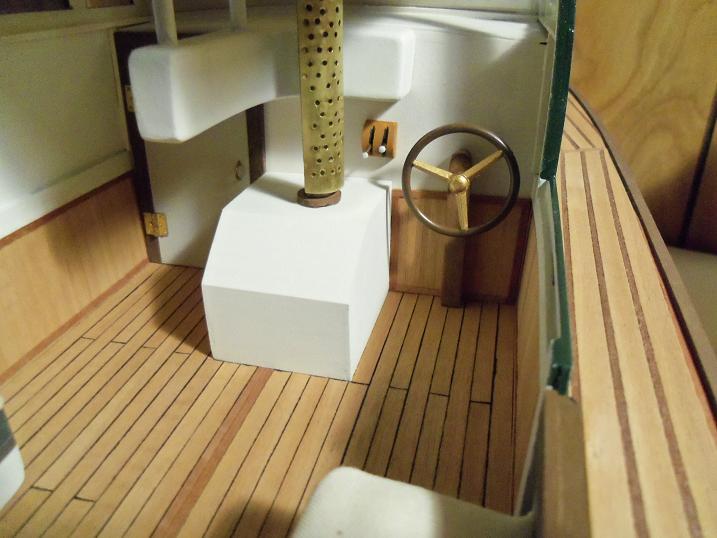
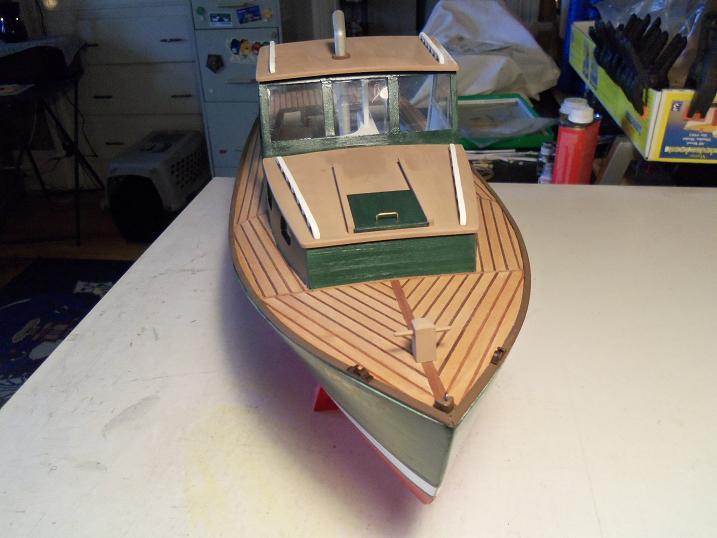
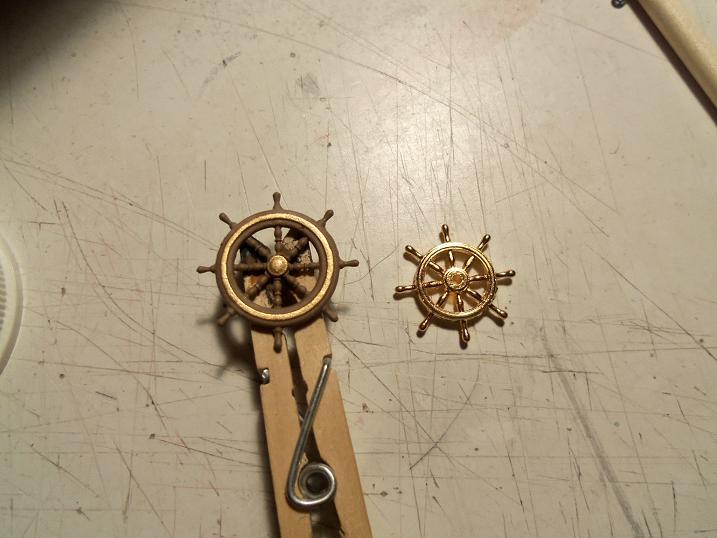
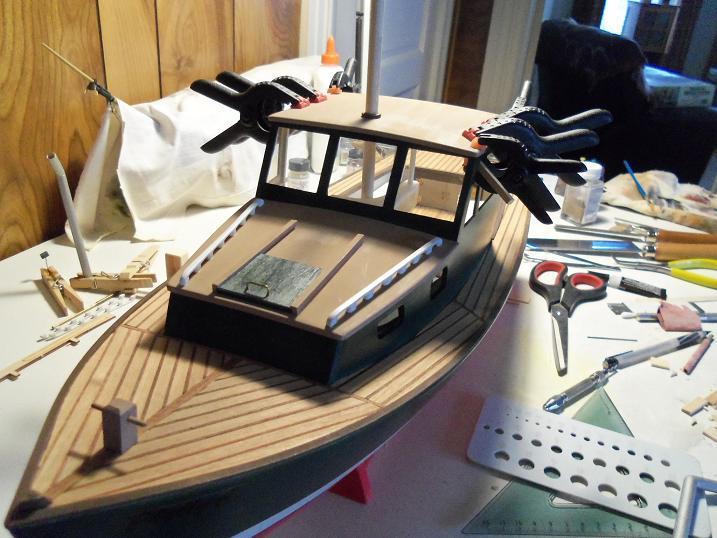
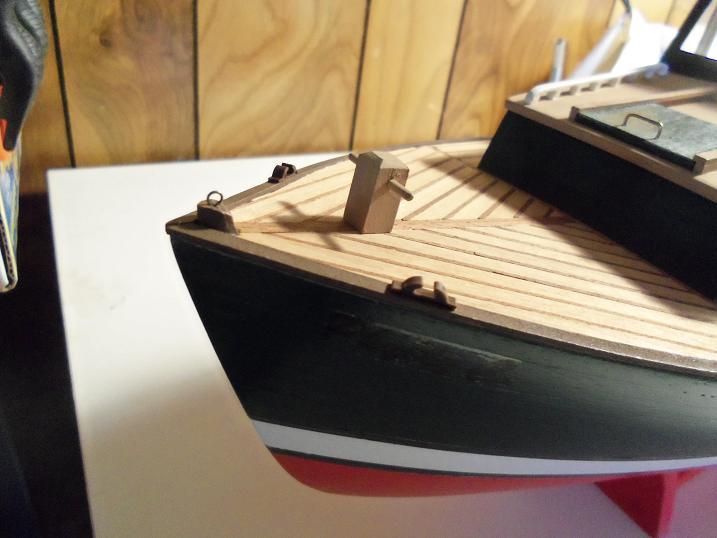
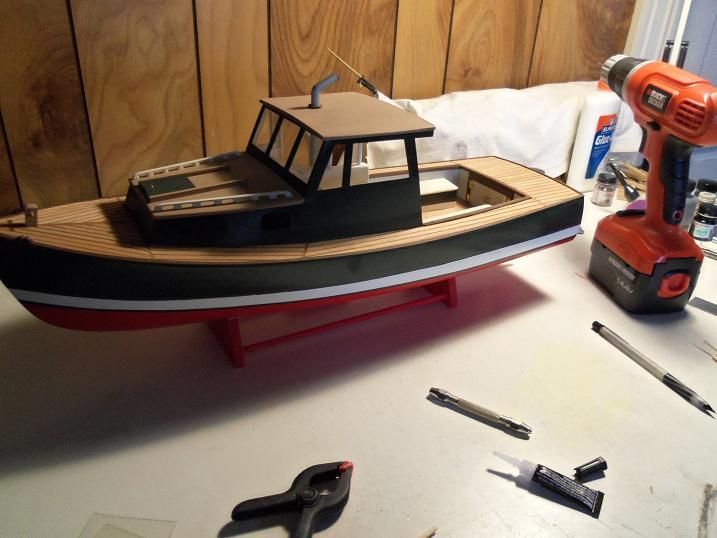
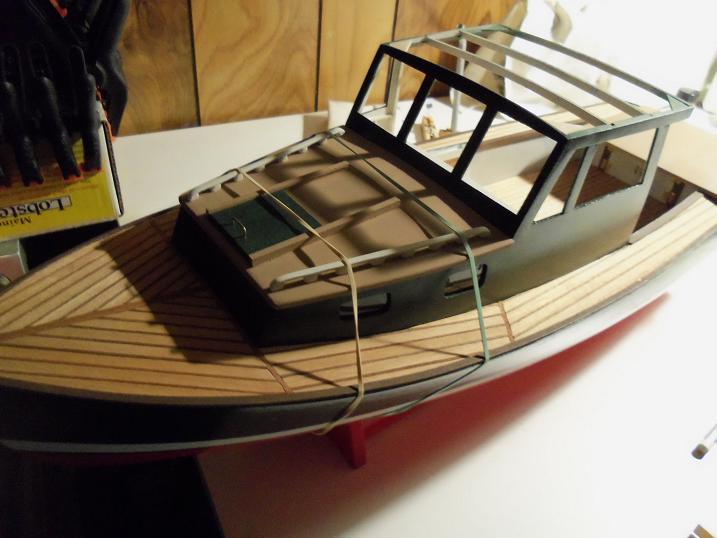
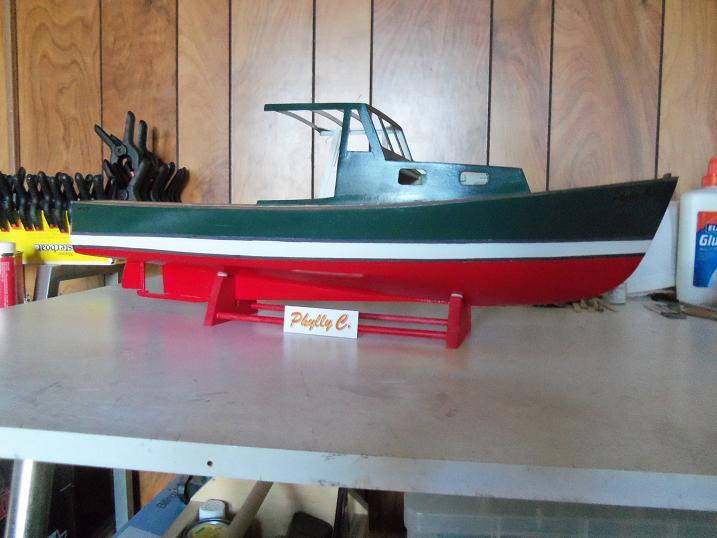
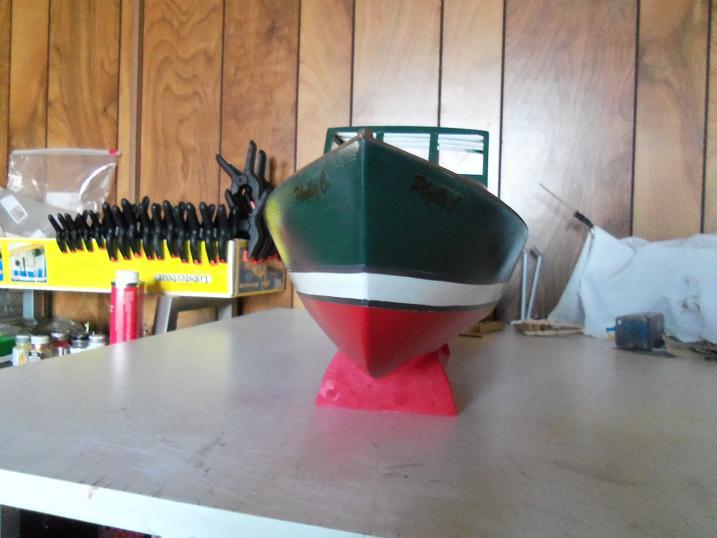
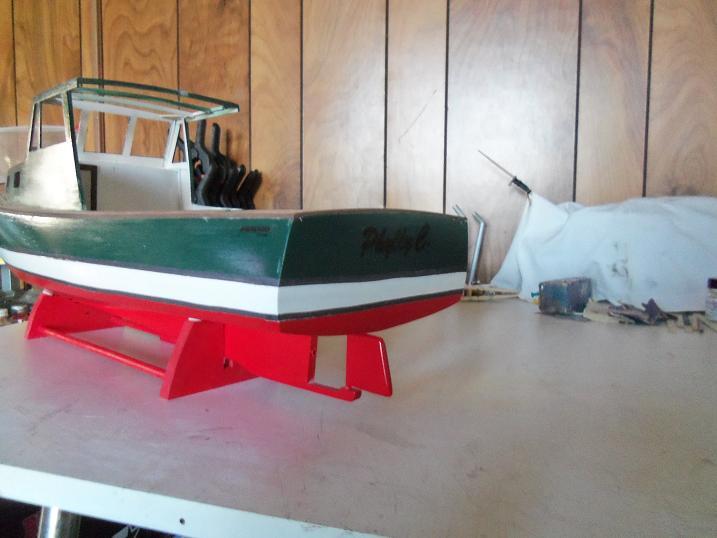
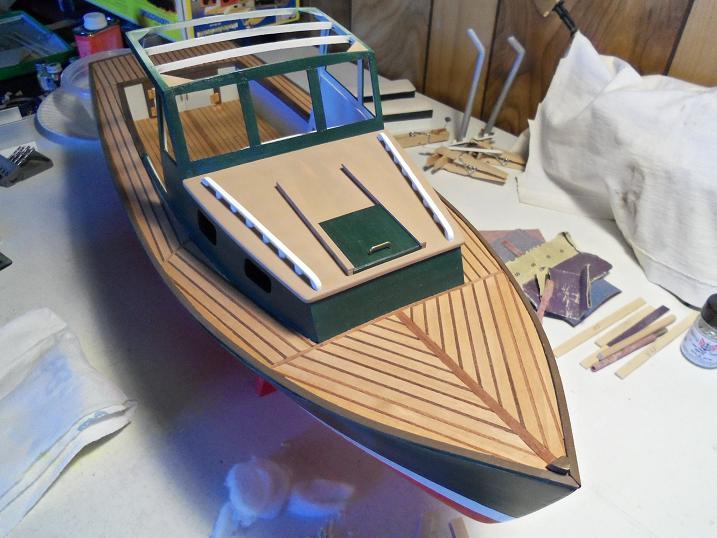
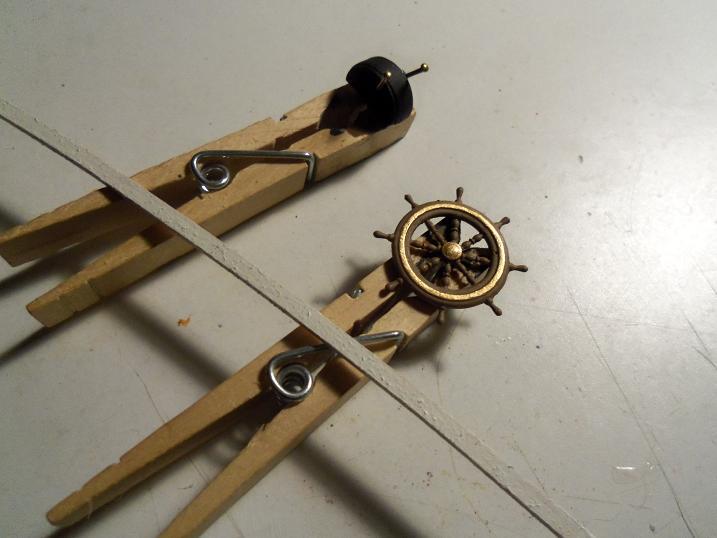
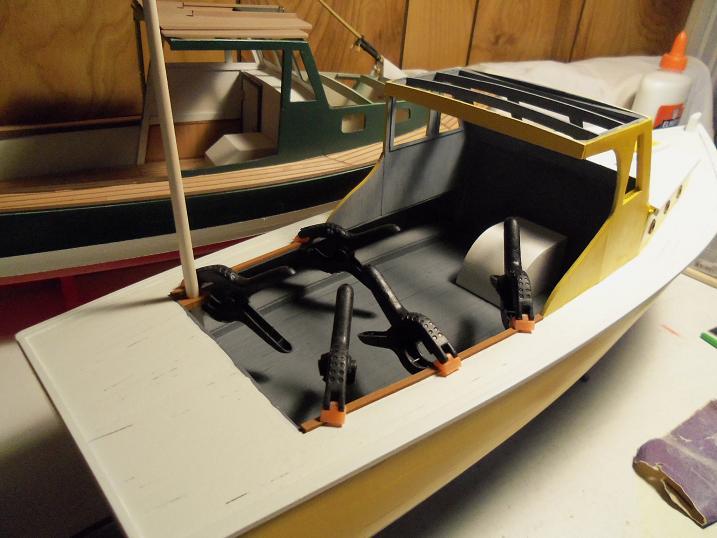
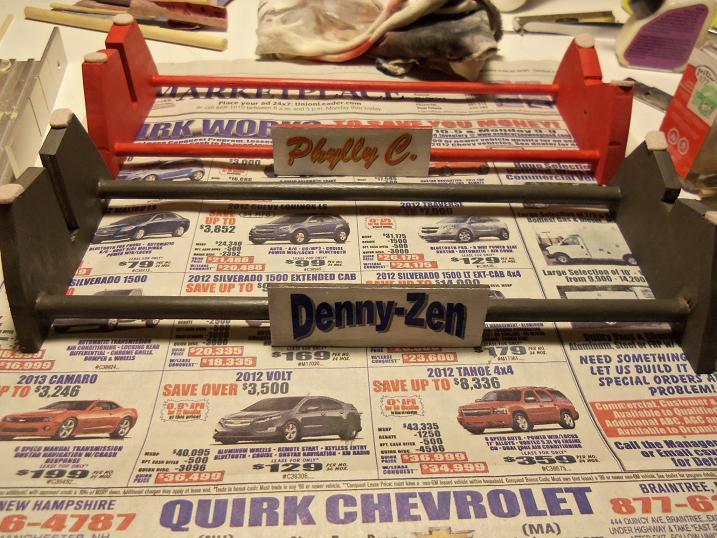
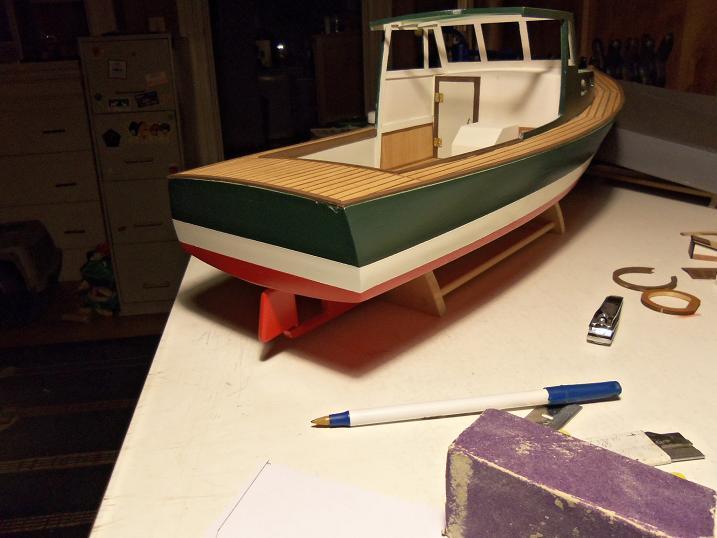
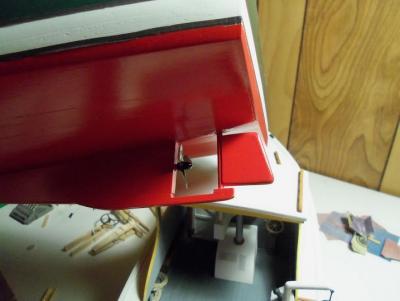
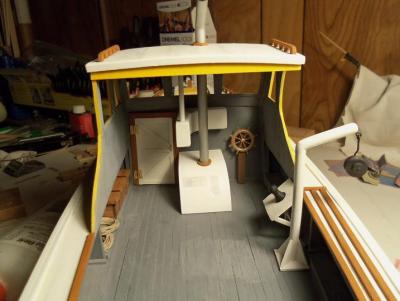
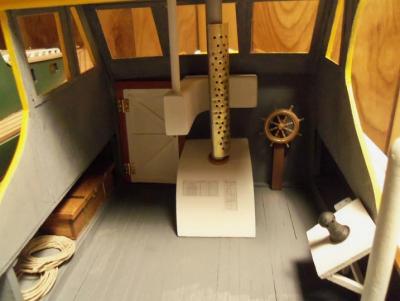
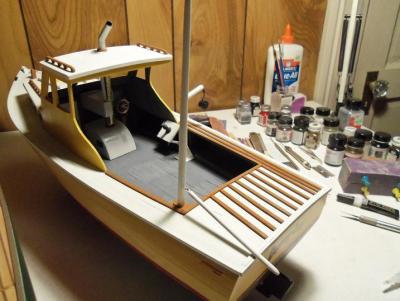
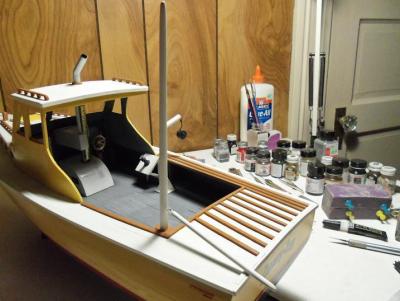
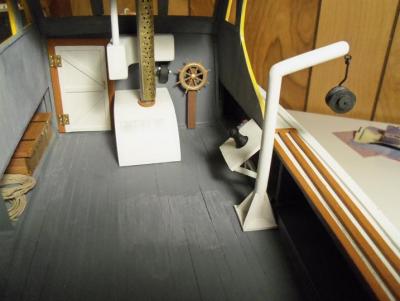
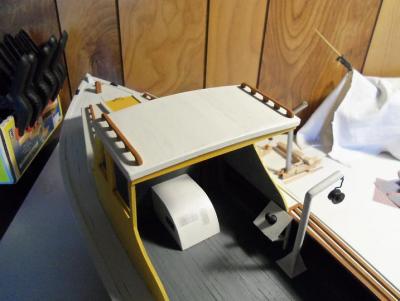
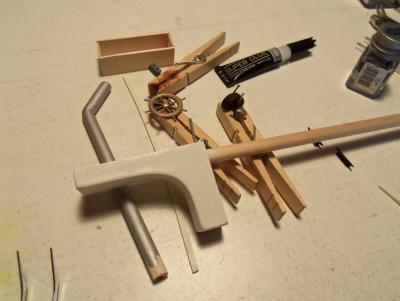
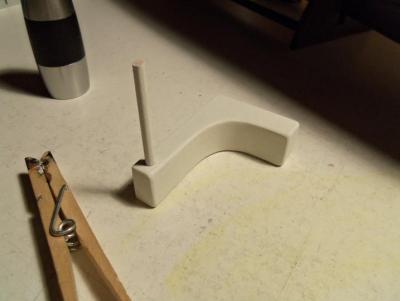
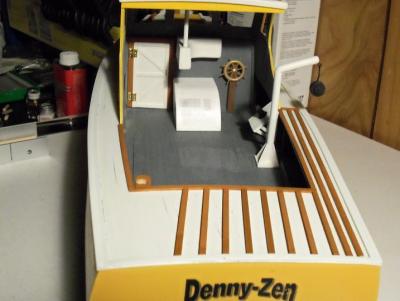
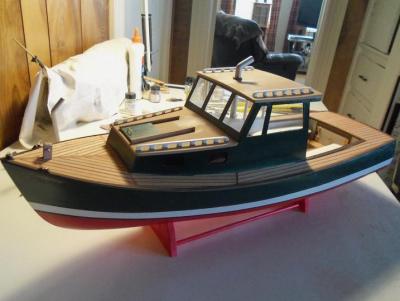
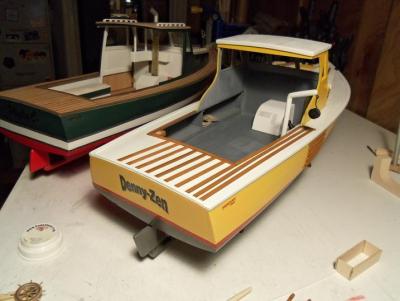
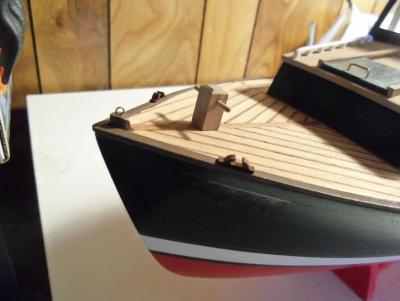
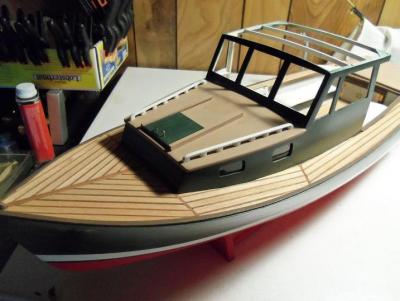
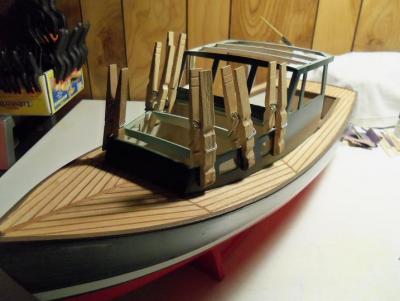
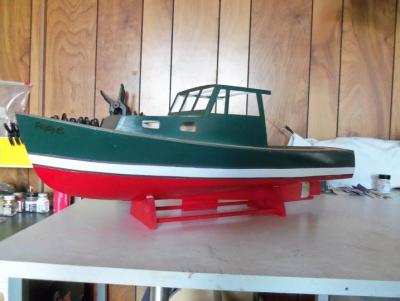
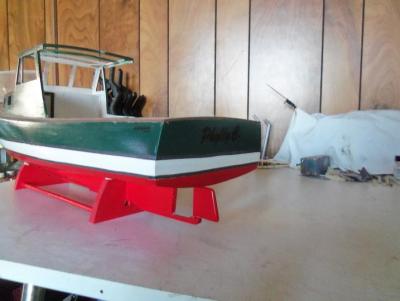
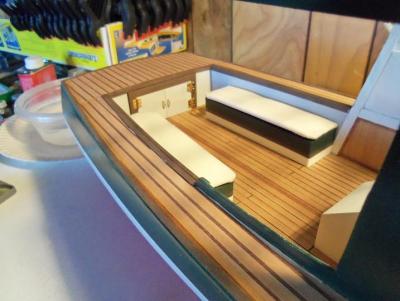
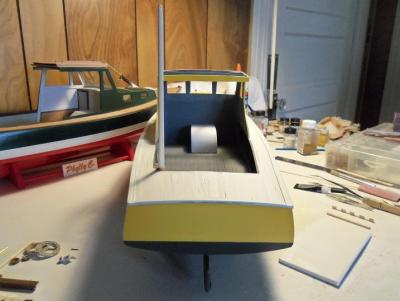
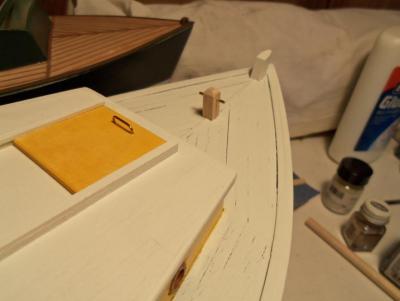
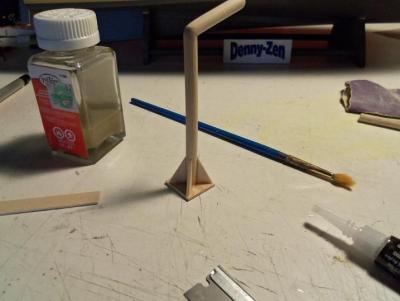
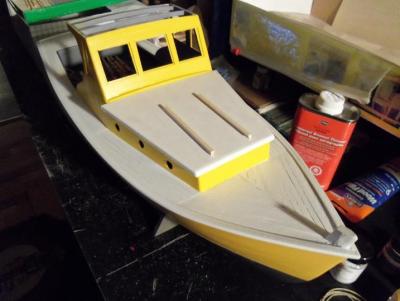
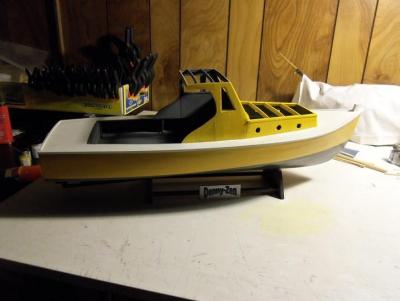
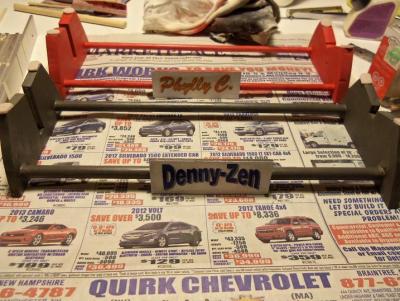
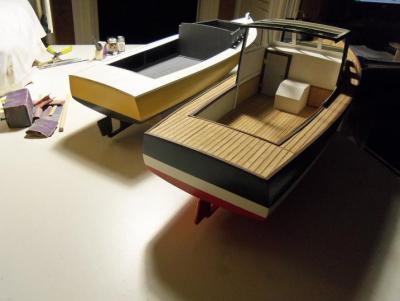
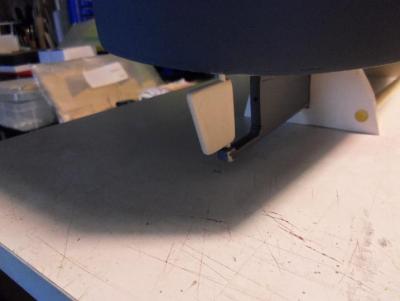
 Almost Patrick........just a little more! thanks bud! 2 - 13 - 2013 Change partners Just about all the parts I had made, are now on the Denny-Zen. Toggling over to the Phylly C build, the rest of her parts can now be installed. The ship's wheel and prop came in! since I had seen these wheels on pleasure boats, I thought it fine to use it. The prop is 30mm. the cosmedic parts are installed......the prop......the wheel post, and adding cleats to this build. there are a couple of kit supplied cleats for the lobster boat, so they will go to the Denny-Zen. I added the shield to the funnel and the control cluster......all of the kit supplied parts went to the Denny-Zen. I did add another cleat to the stern of the Phylly C.
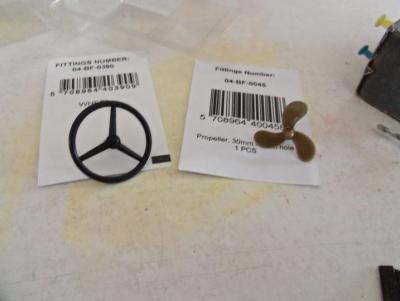

-
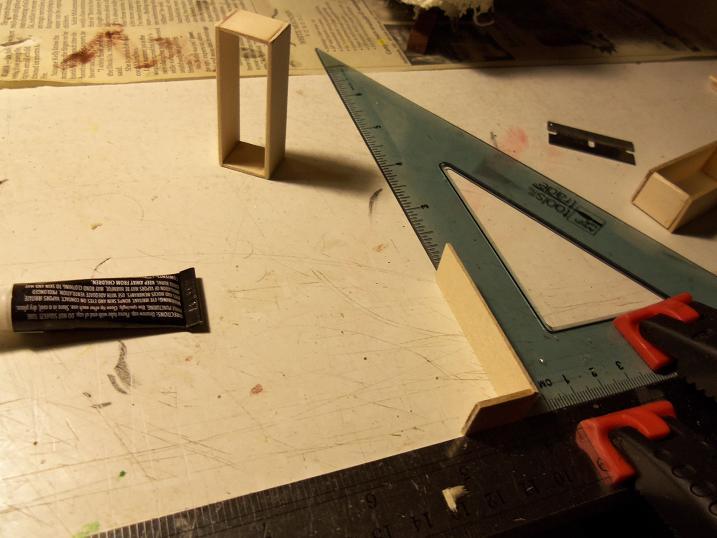
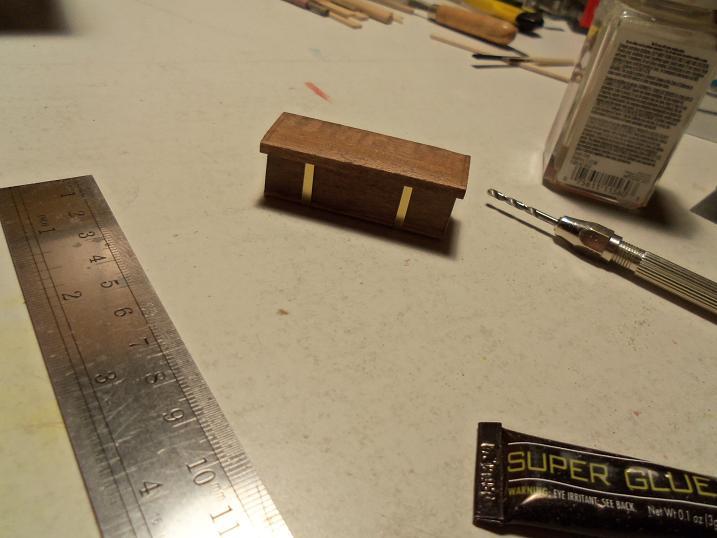
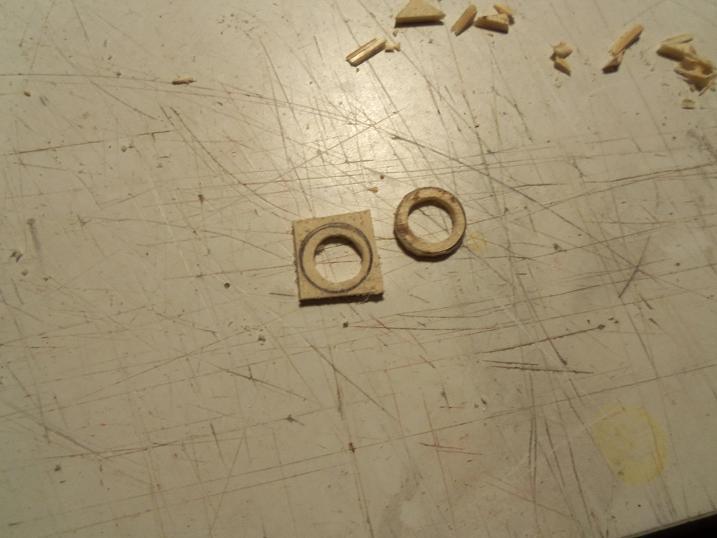
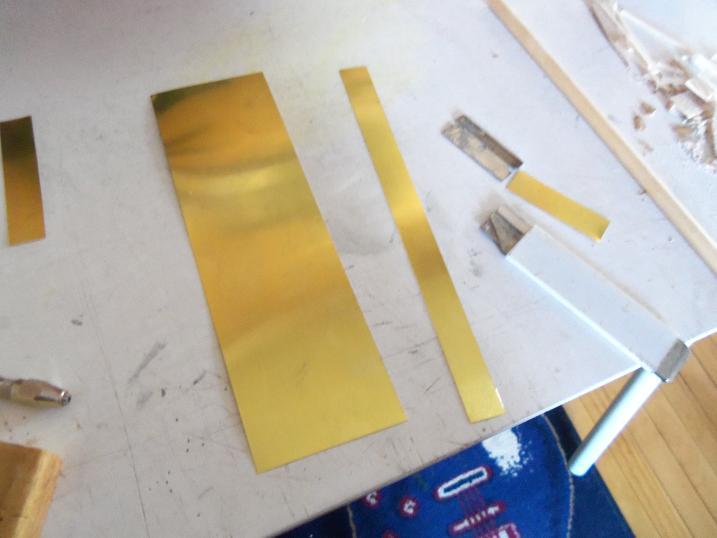
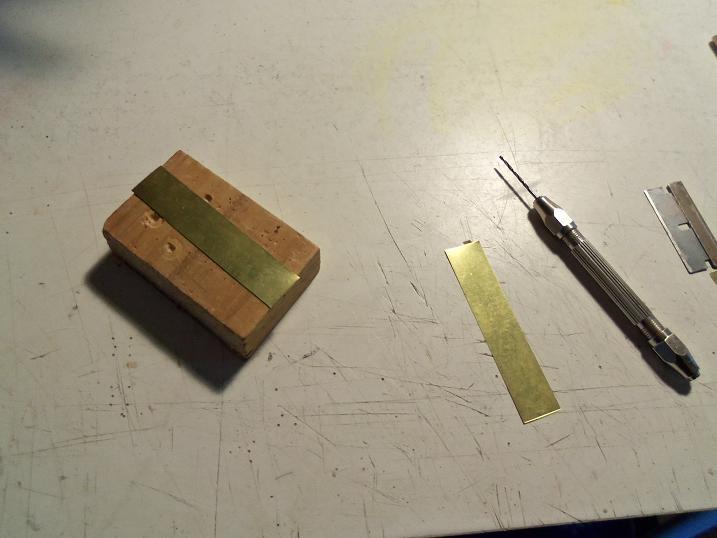
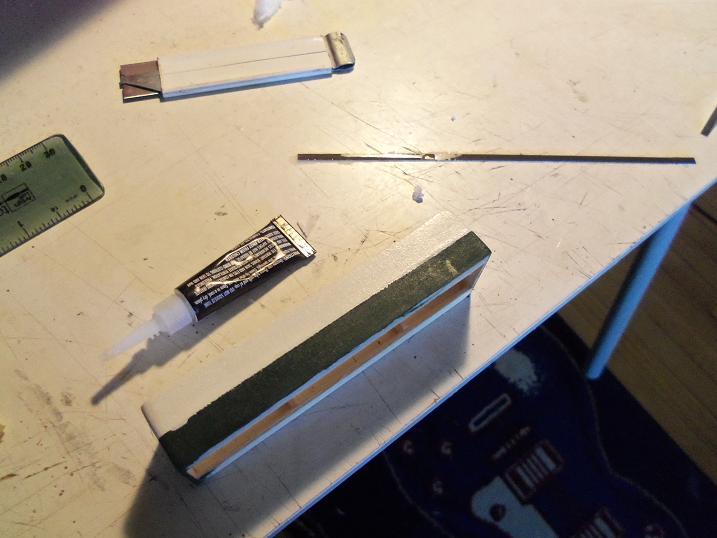
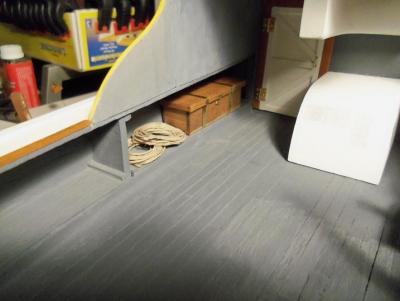
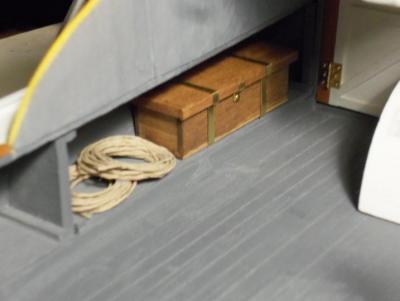
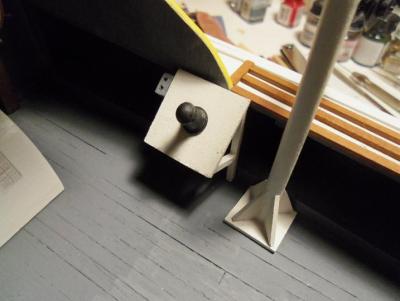
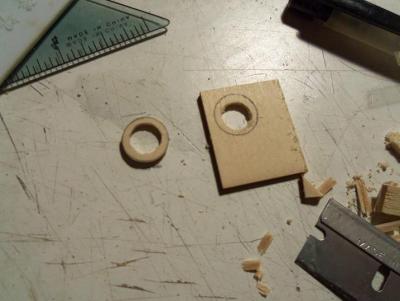
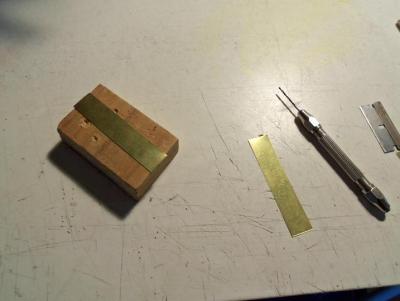
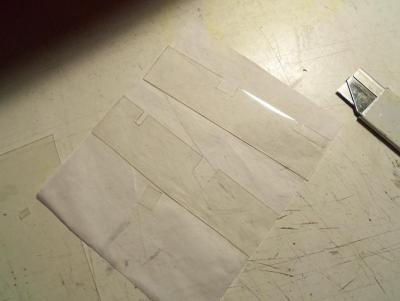
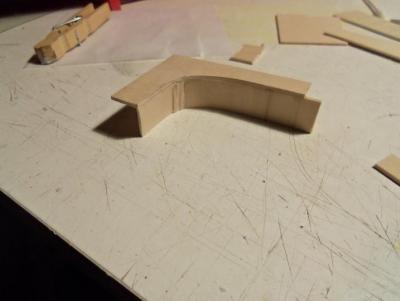
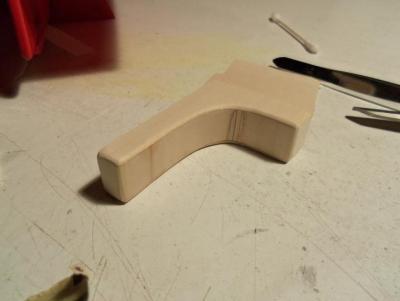
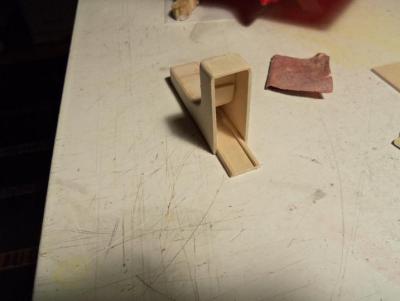
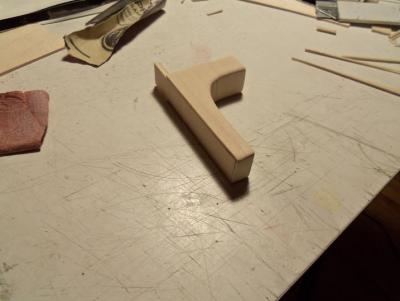
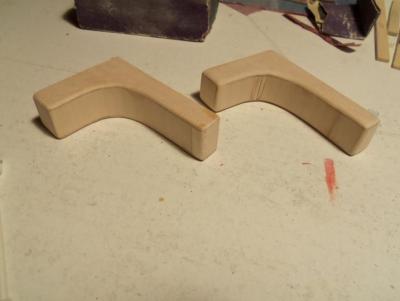
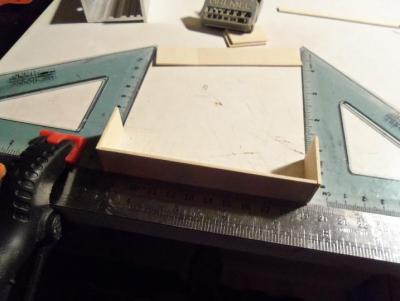
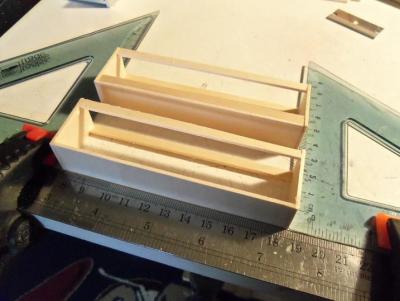
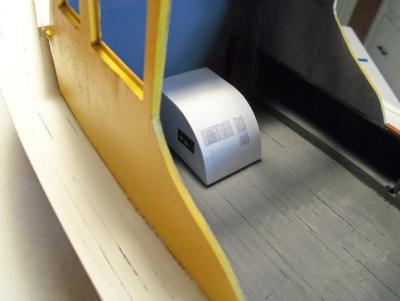
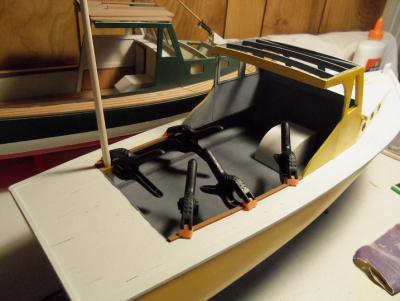
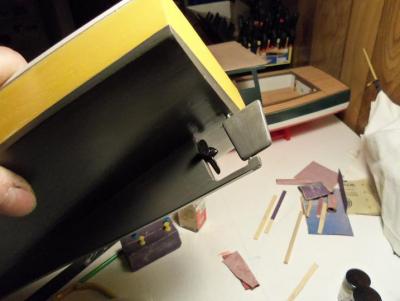
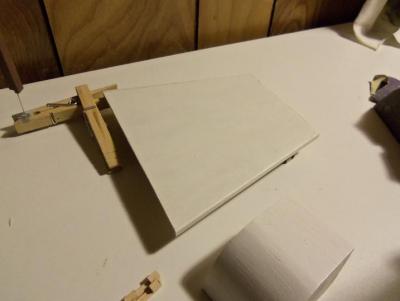
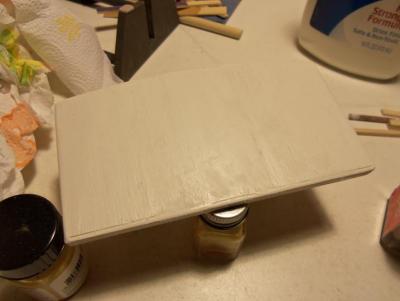
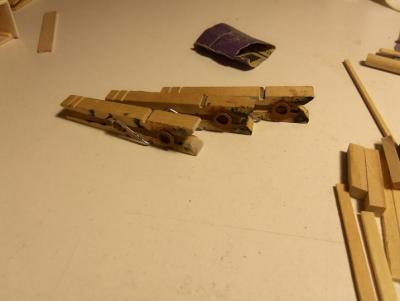
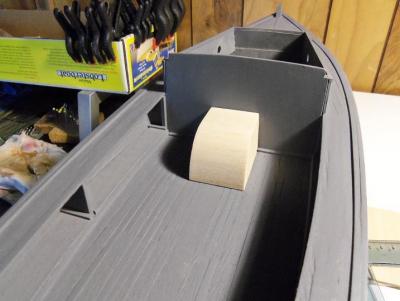
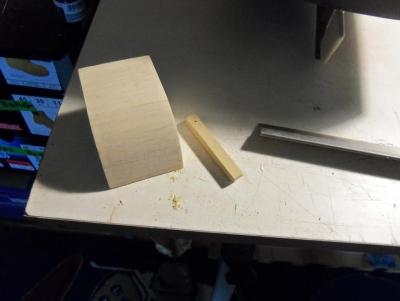
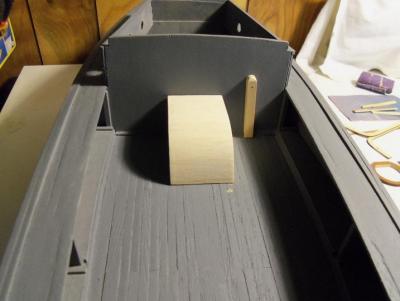
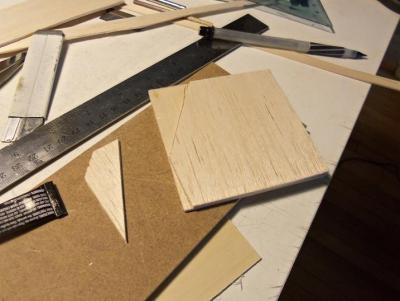
2 - 13 - 2013 I had made this mistake {part} back when I was working on the M&M build. This was to be one of the speaker boxes, but for some reason, it was rejected and thrown in a bag......I call the treasure bin. I always keep all the things I create.......you never know when something like this can be used for something else. .......back in the days of the M&M build.......... .......to the table where the Lobsie twins come together...... .......to where it was when you last saw it.......... .......brass straps and a lid for the top......... .......turns into a cool little chest! I forgot to mention earlier Carl.......I heard you it was explained to me by a friend onf mine from Maine, who during the summer months, brings me clams every once in a while......how the apparatus works.....the winch is run hydralically from the engine. I told him what I had done, and he told me I could do it this way as well......electrically. here is your power box. what!!!......NO BUTTONS! oh, I'll fix that in a bit. There you go Carl! so far..............


-
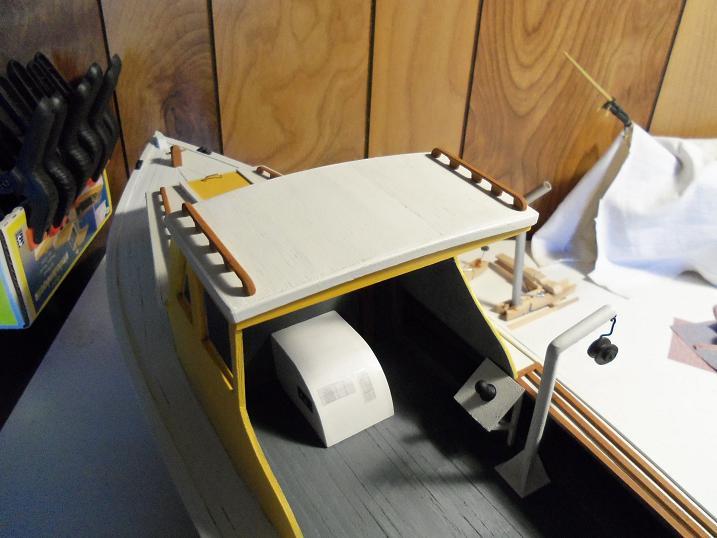
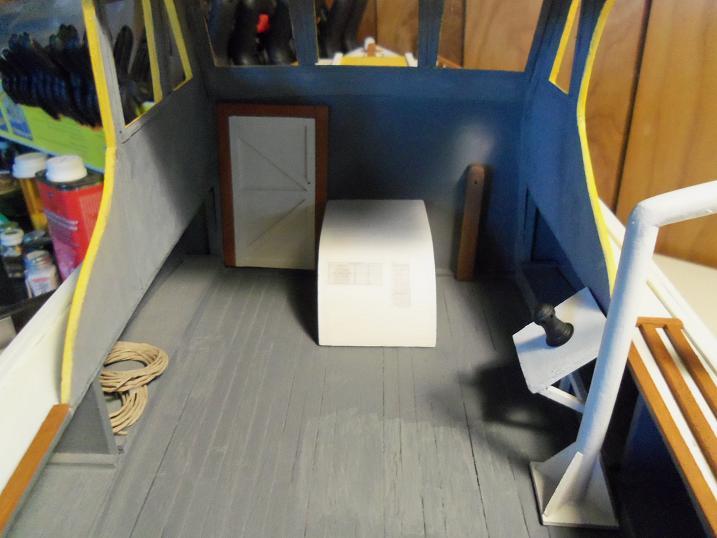
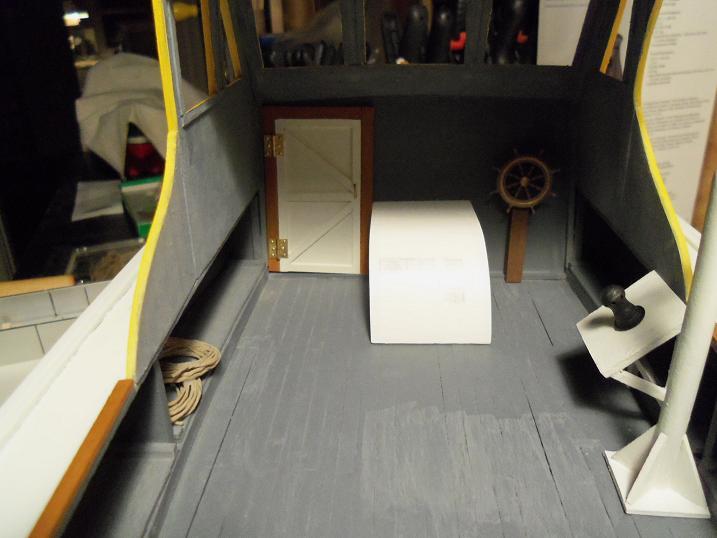
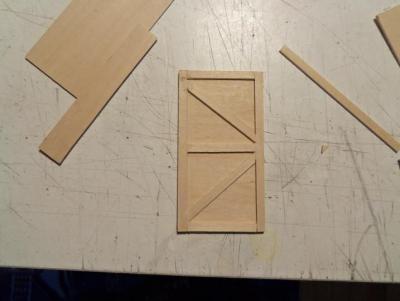
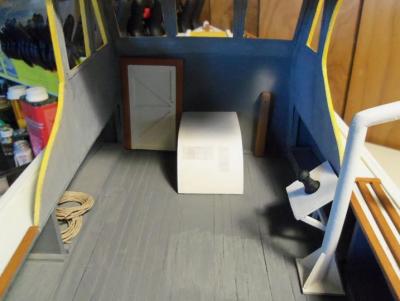
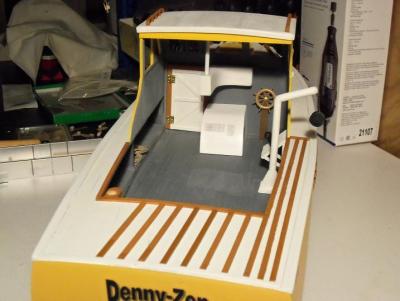
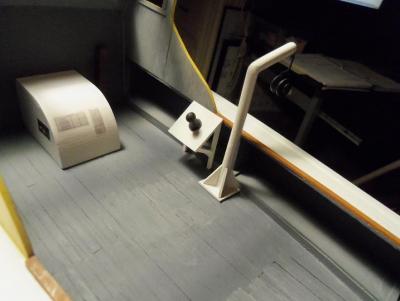
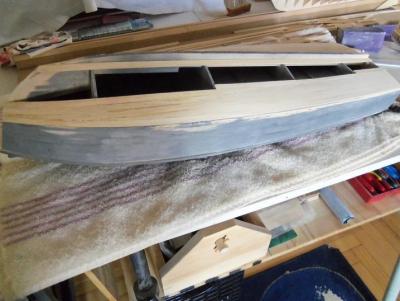
pay no attention to that boom in the pile.......it will not be used in the build. Meanwhile, in another part of the Wharf....... 2 - 7 - 2013 The Denny-Zen was being fitted with more parts. The console and the funnel was still to be installed. A couple of the props made it on the deck.......rather, in one of the compartments. the door was fitted in place. The installation of the console and the funnel was hampered, since the roof was also cemented in place. Here is another piece I am making. I had seen it in my treasure bin.......you'll see what it will be soon.


-
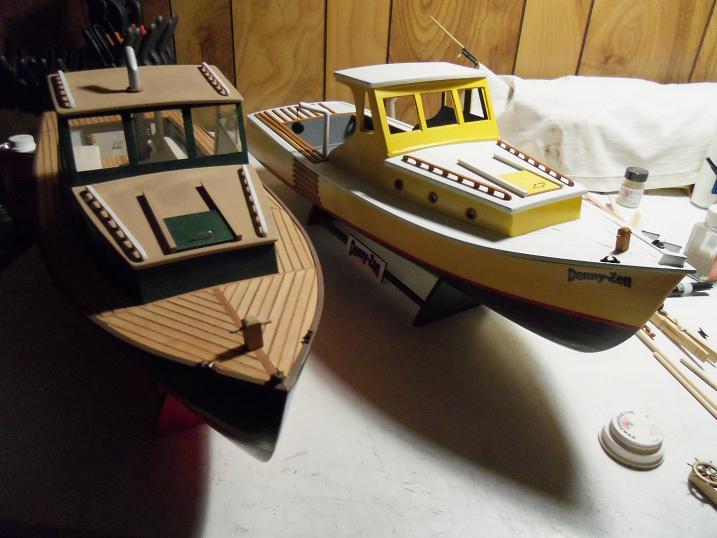
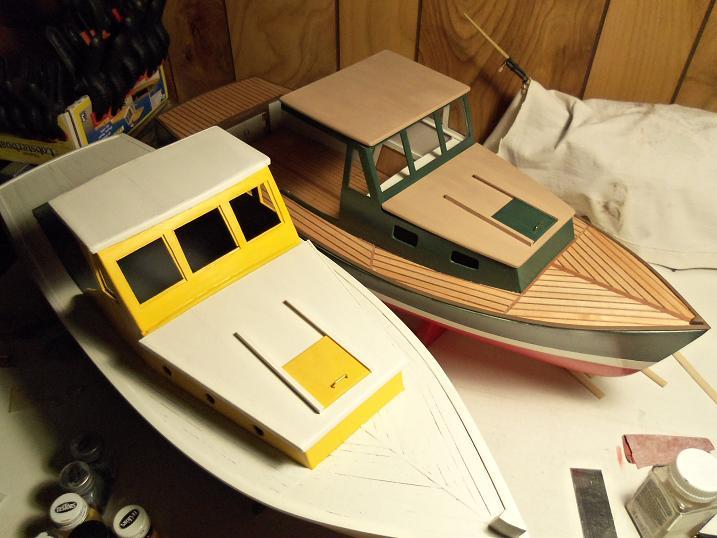
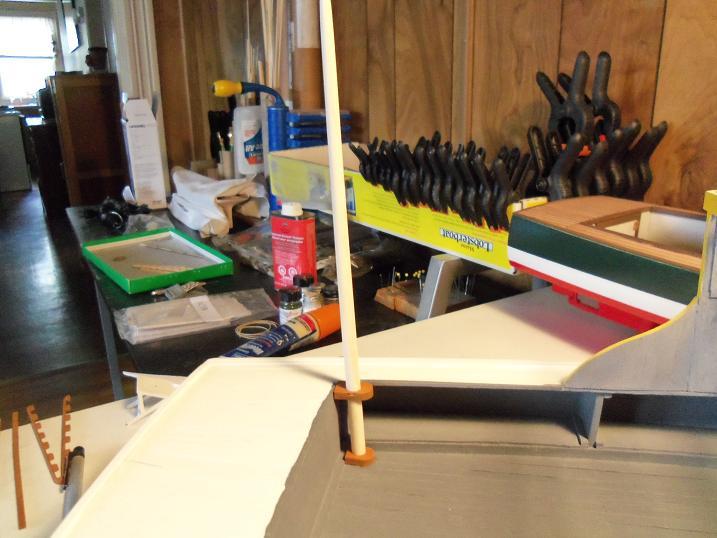
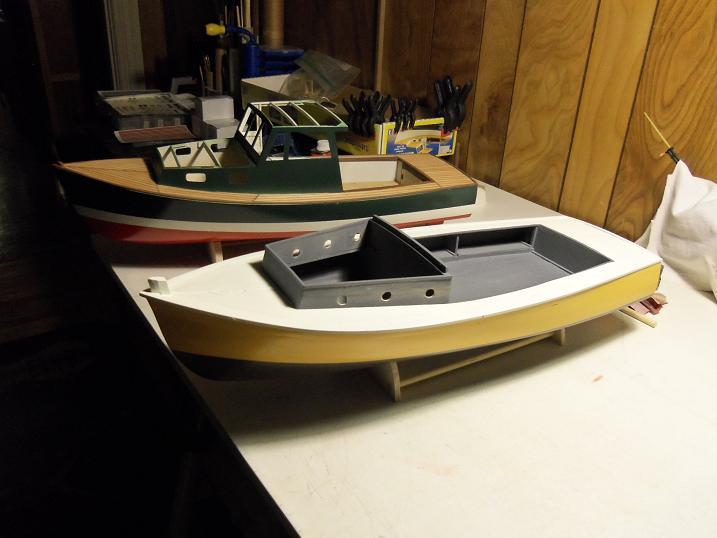
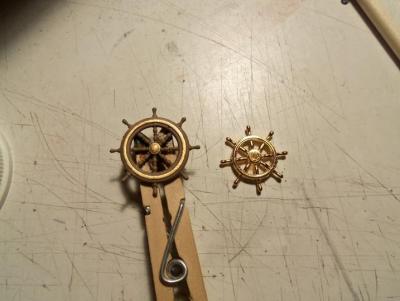
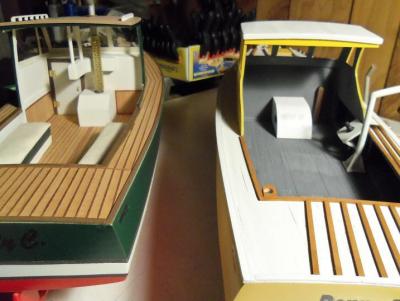
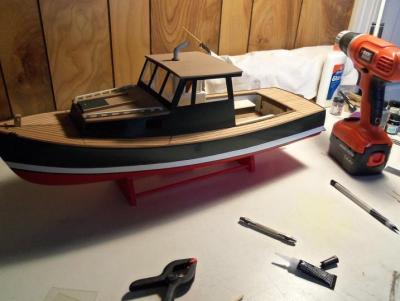
thanks Frank.......I'm almost there..........I don't want to stop! progress comparison - 2 - 6 - 2013 here's another one........I think it's safe to say the they are now as close as they are ever going to be. I can.......and have been........able to toggle between the two builds.....they are one. Just to give you a good idea how large the ship's wheel is......here is one that I have on hand. the one on the right is 23mm.......the kit supplied one on the left is about 30mm. Still more parts to add..........the build continues.........


-
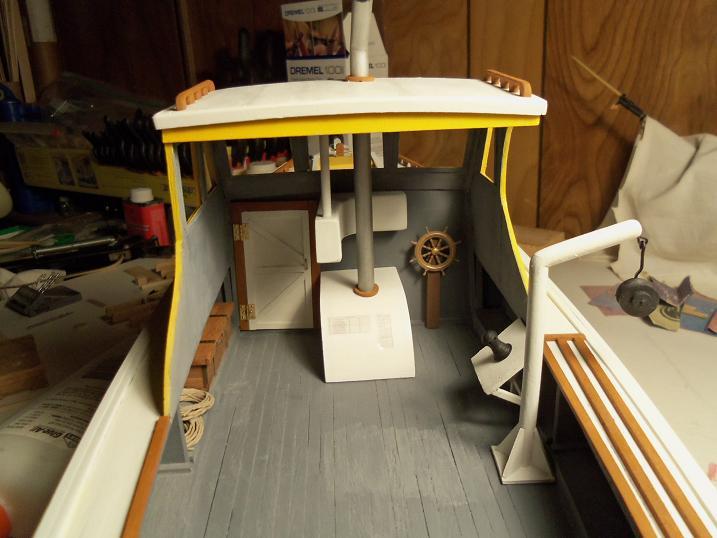
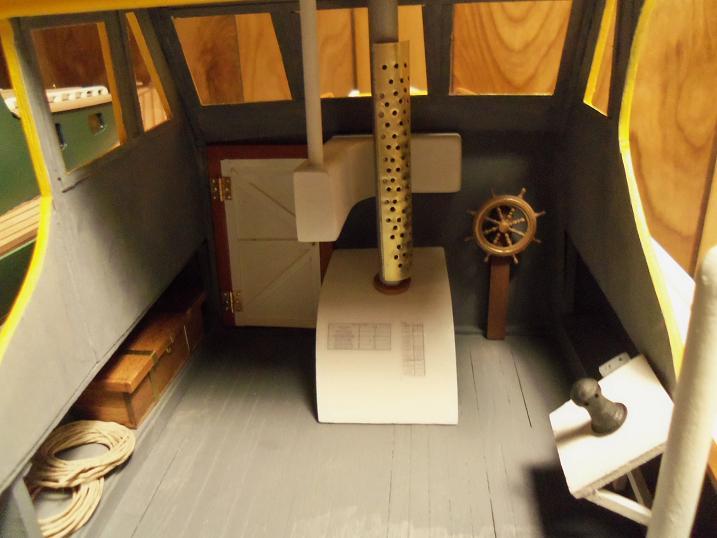
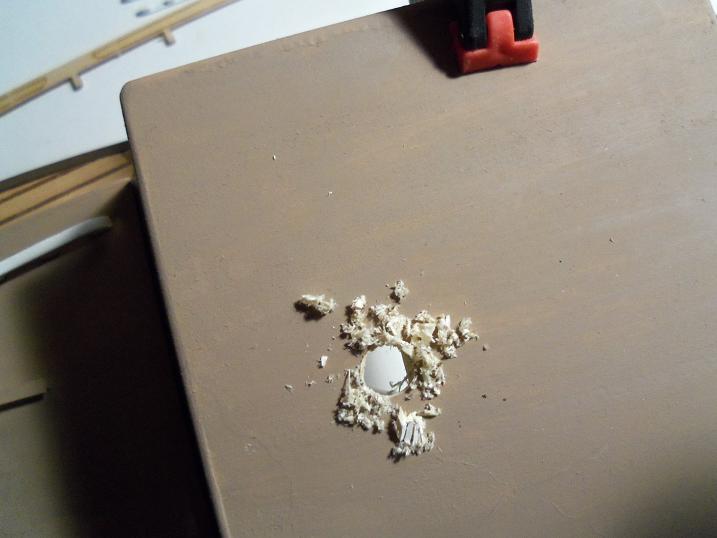
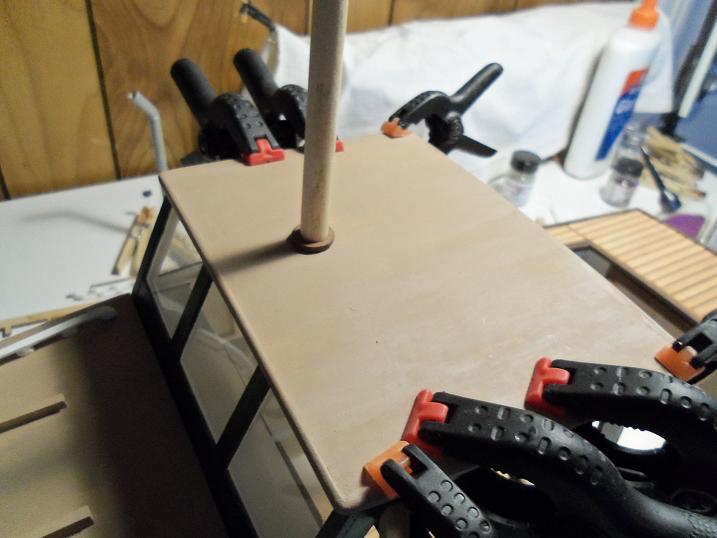
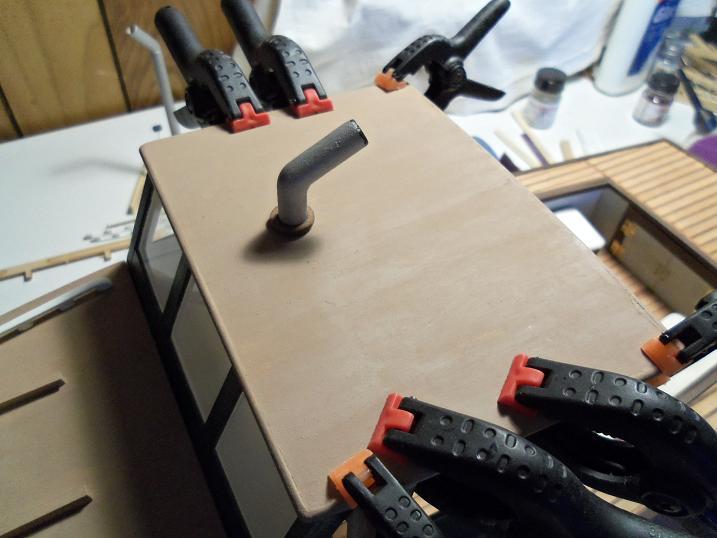
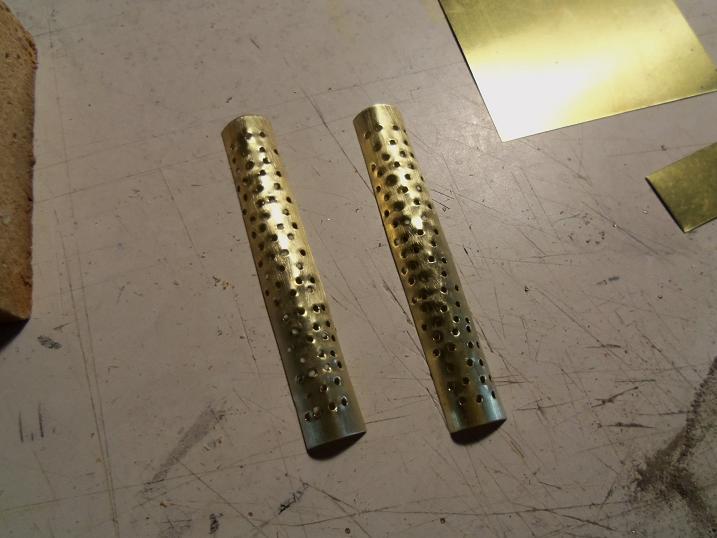
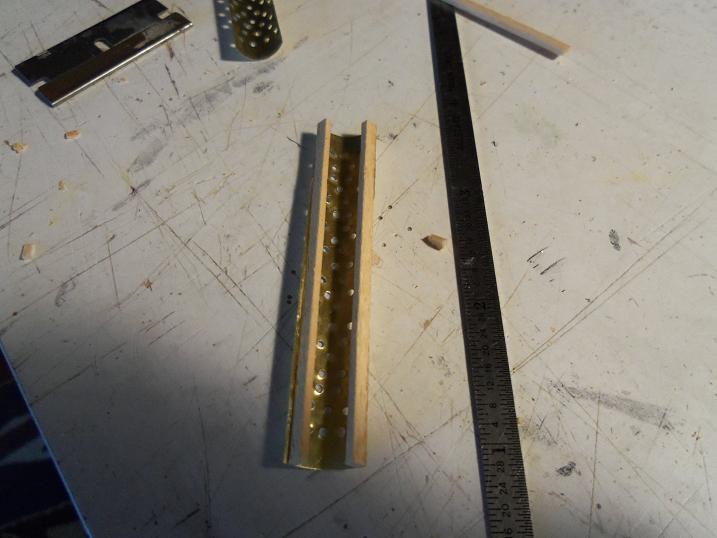
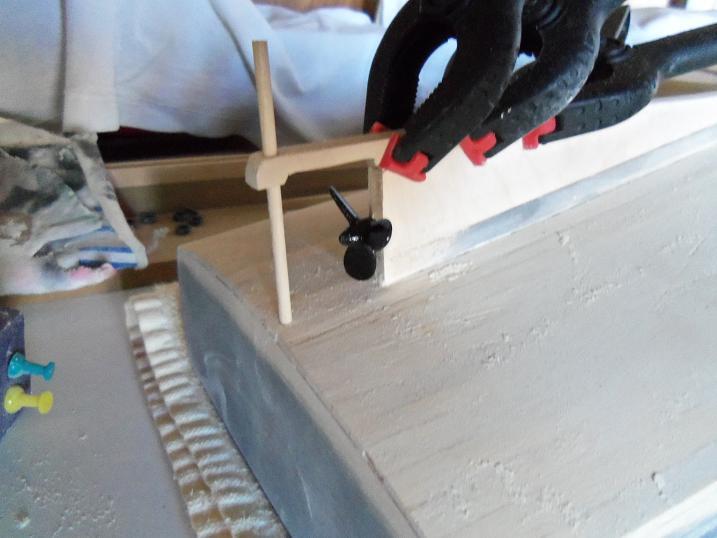
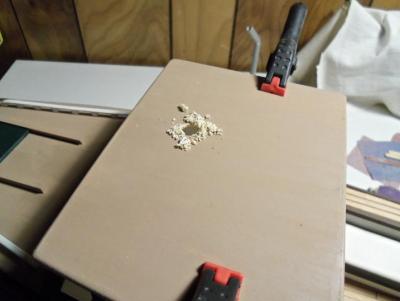
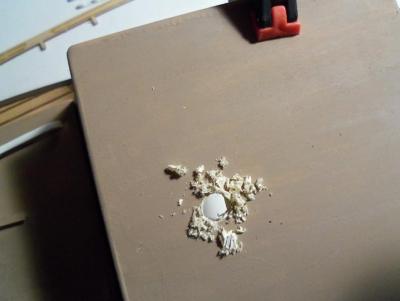
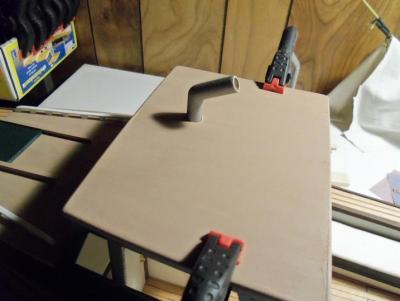
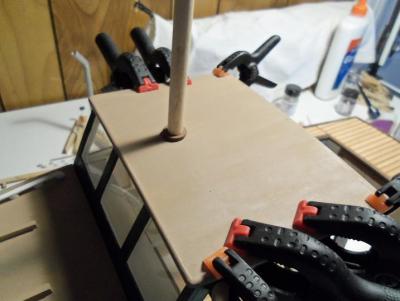
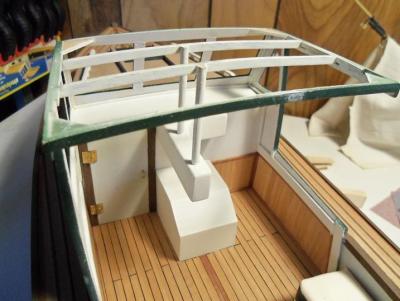
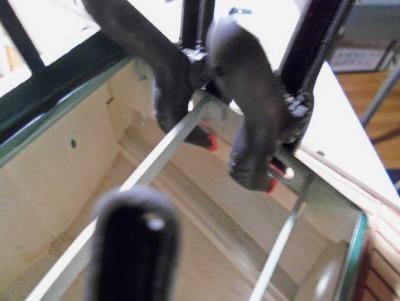
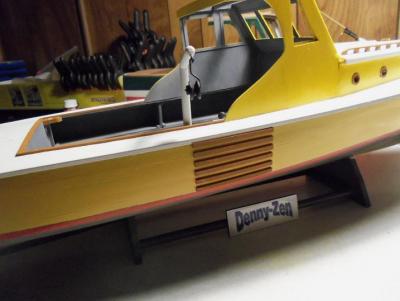
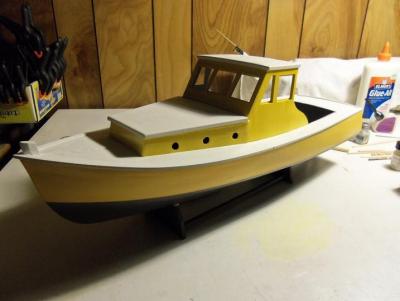
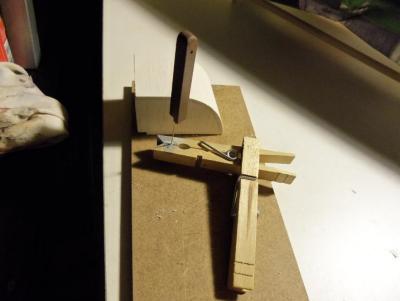
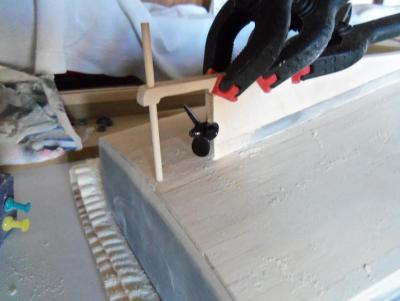
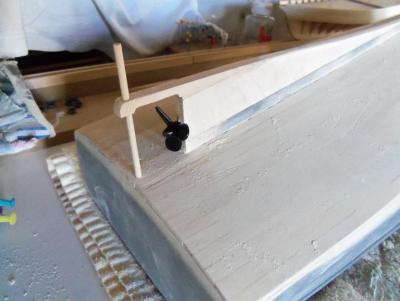
2 - 6 - 2013 With some of the window glass installed at this time, it was time to install the funnel and the roof. The hole for the funnel was drilled before the roof was cemented in place. The hole location wa marked with a pin. I made sure the hole was close to one of the beams. I couldn't find the right center for the funnel........it kept moving off the mark. I later put a brad in the base of the funnel, and this solved the problem. collars were made for the roof and the engine cover. The funnel was then cemented in place. I wanted to make shields for the funnels. I began to do this by hand, but it was very slow. I got out my battery drill and it sped it up a bit. The shields were sanded to knock the impressions down and then curves with the use of a dowel.


-
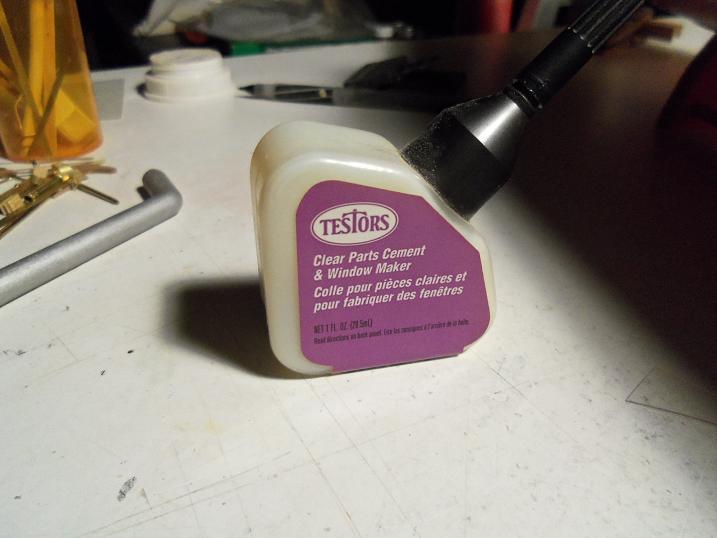
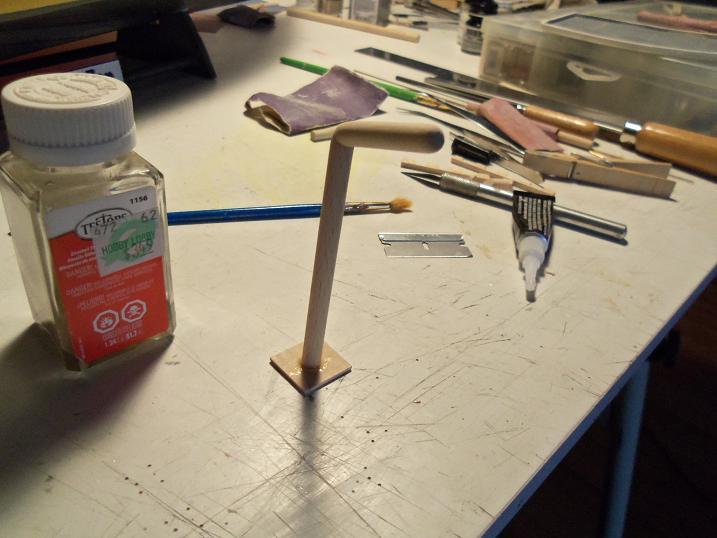
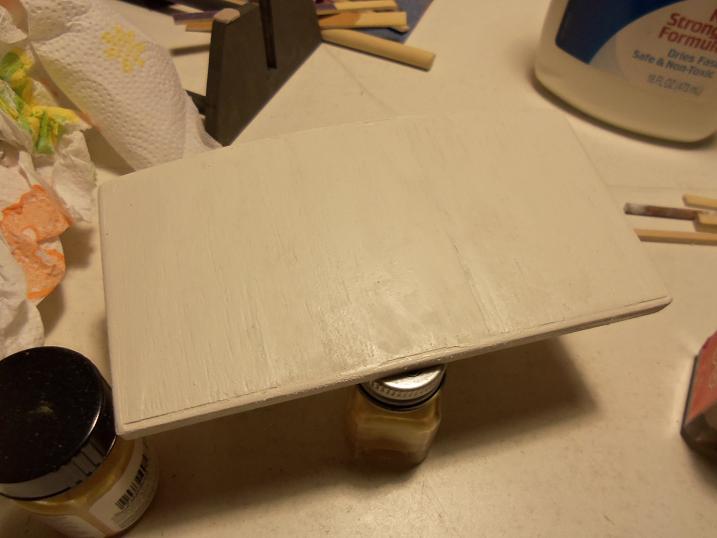
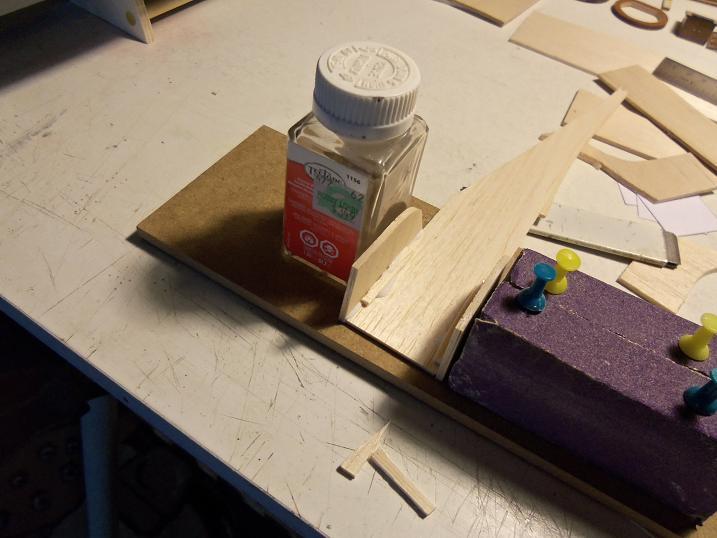
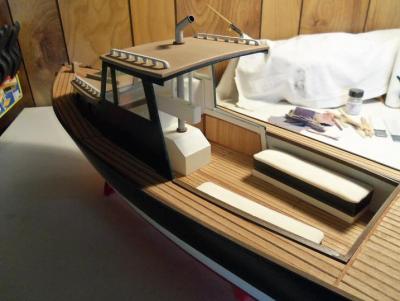
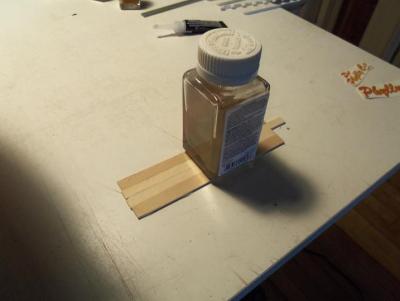
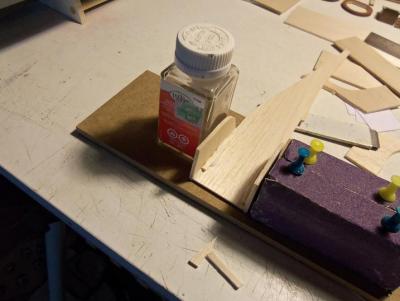
2 - 5 - 2013 It was time to install the helm roof to the build. I was asked about the window maker, so I thought I would show what the bottle looks like. This stuff is great for installing clear parts like windows and canopies.....it doubles as a glue. I use it for that purpose, but I also use it to make small windows and fill in light glass......it is also paintable. I had made some brackets to hang the console.


-
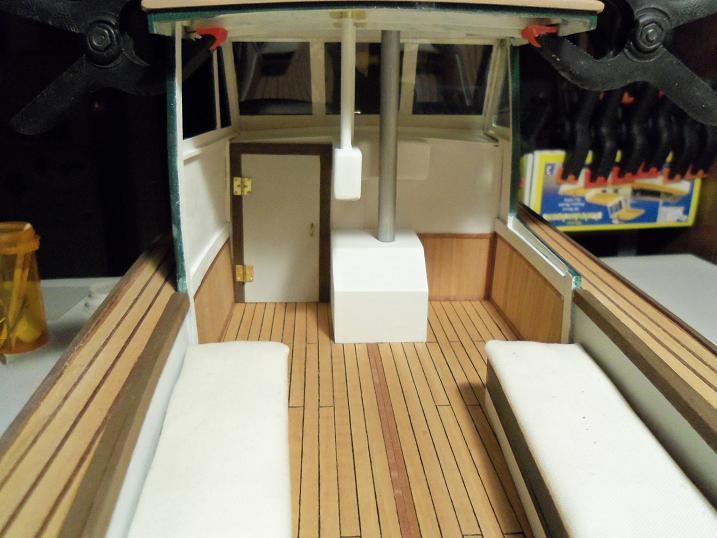
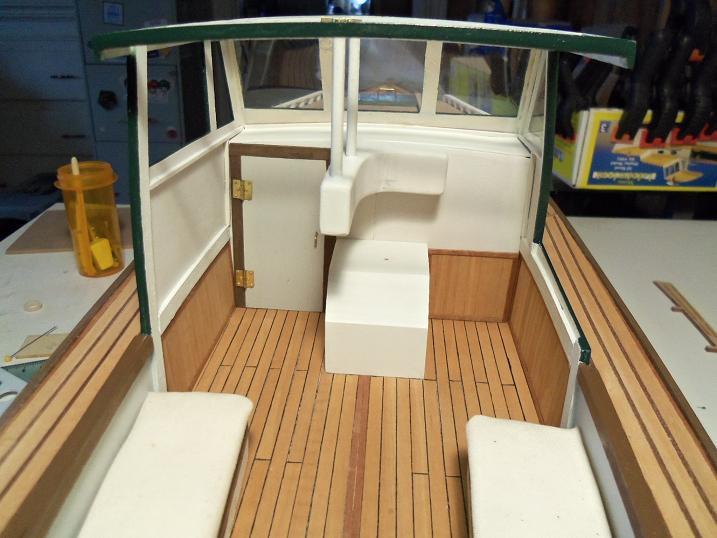
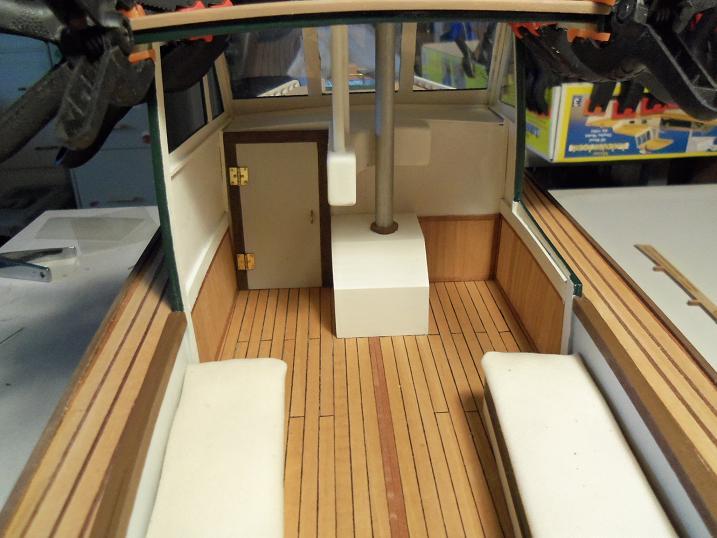
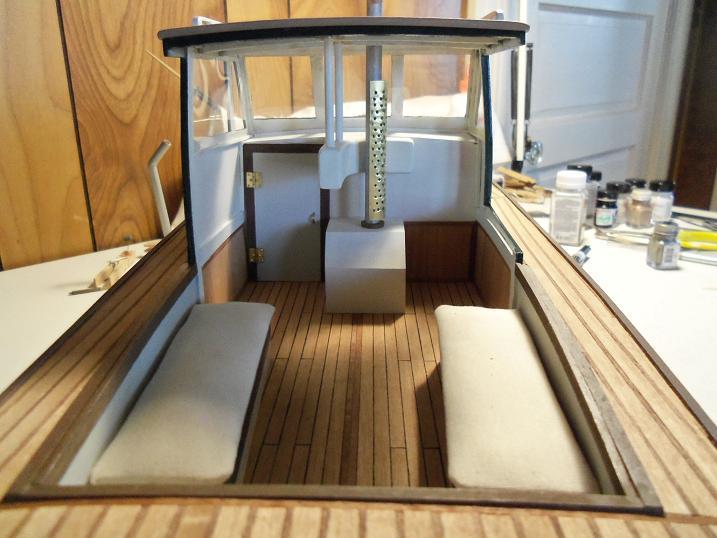
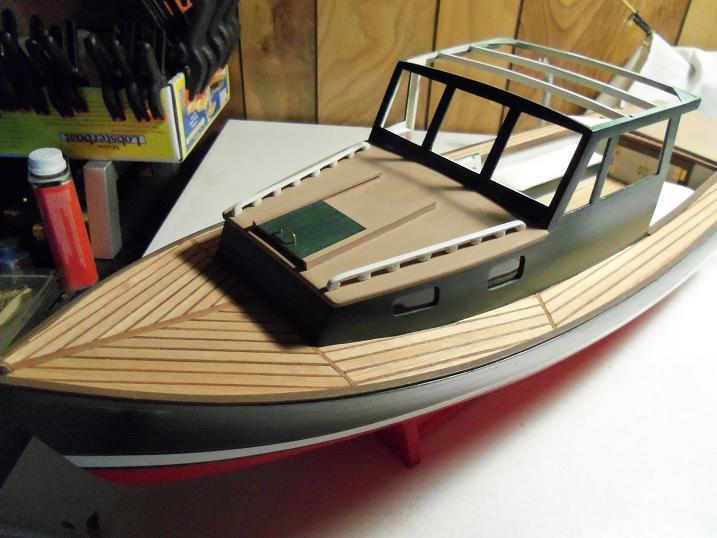
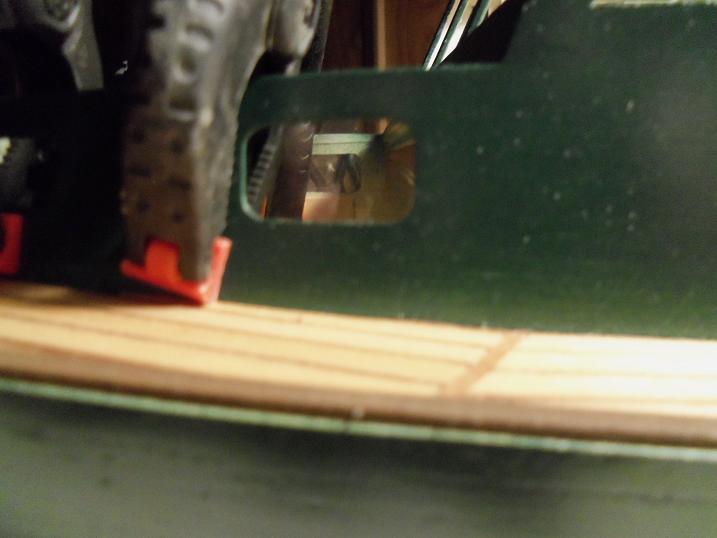
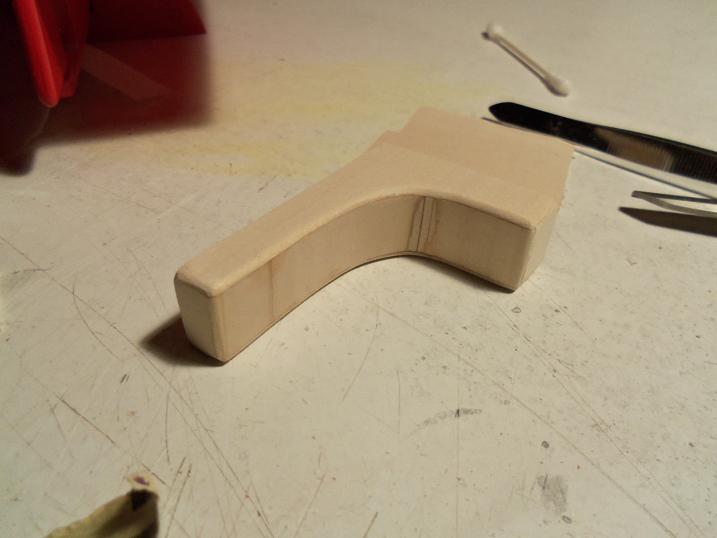
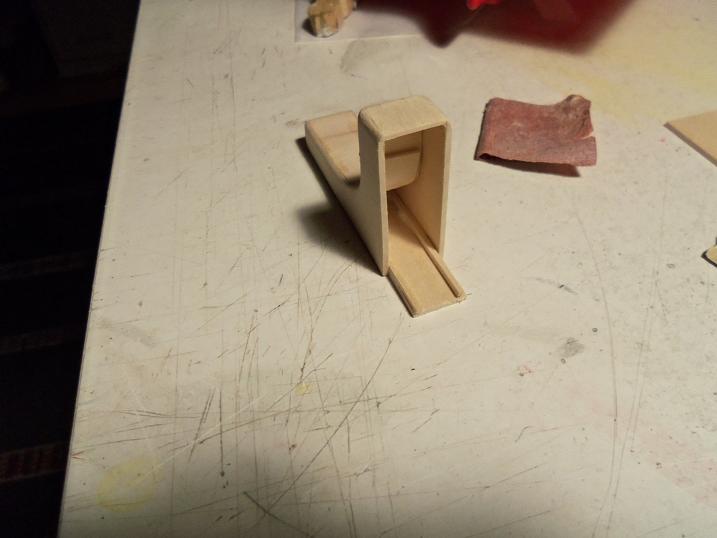
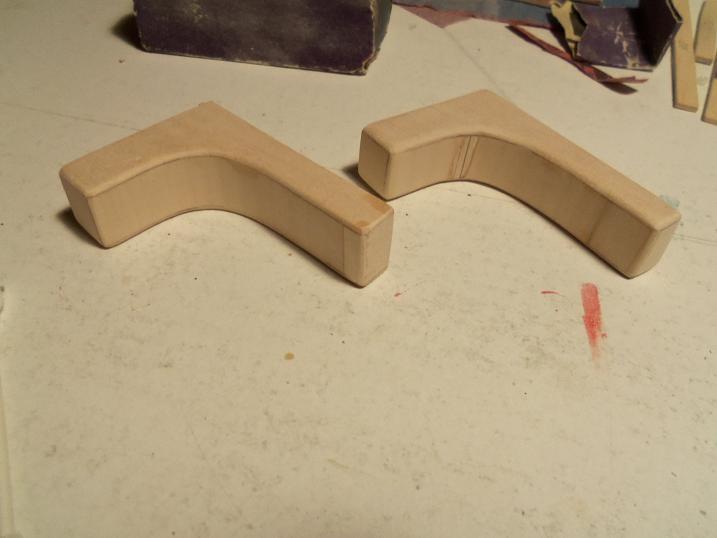
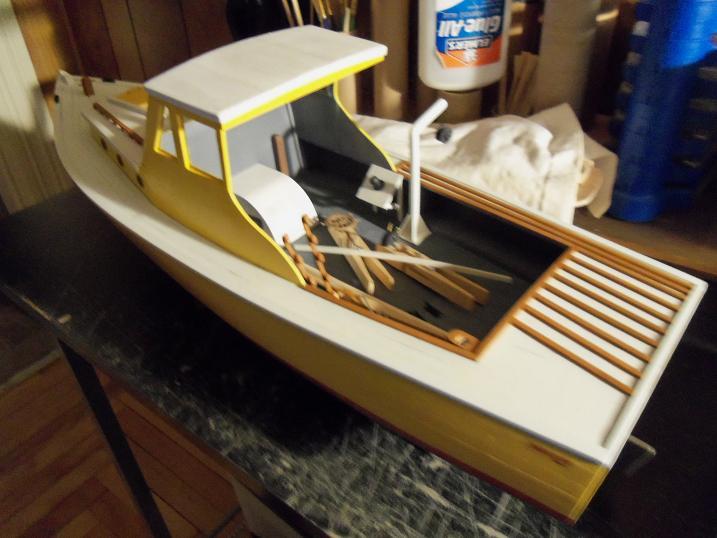
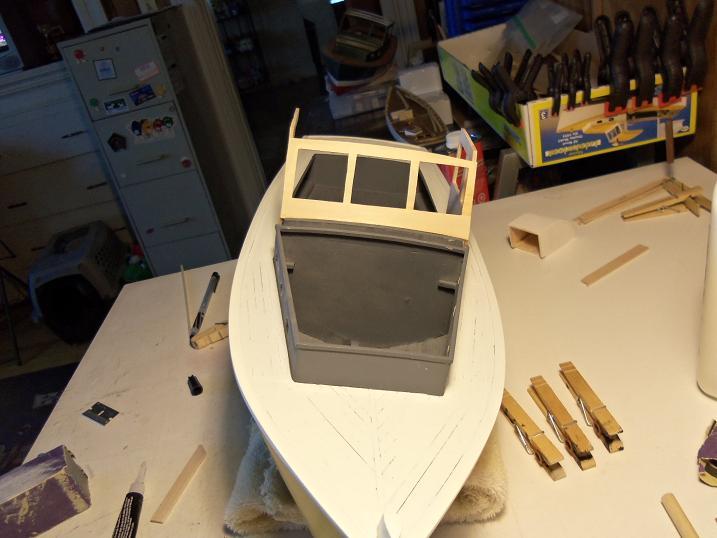
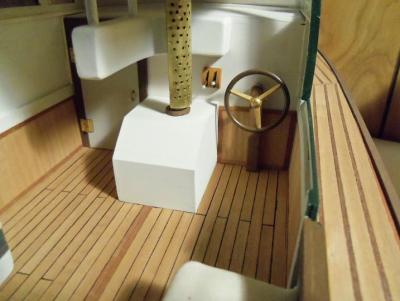
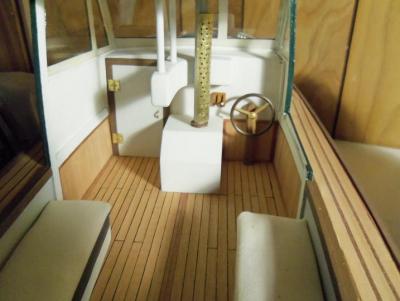
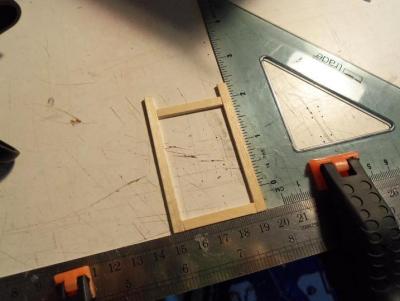
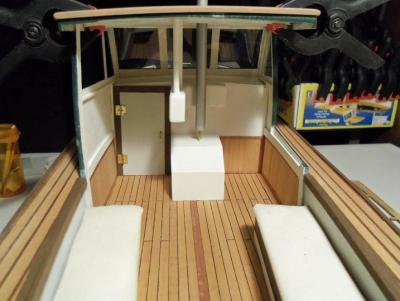
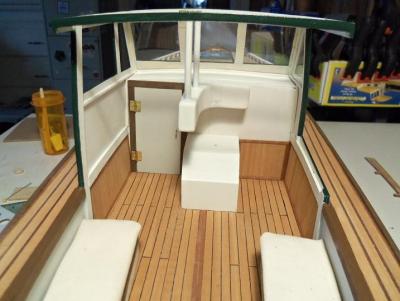
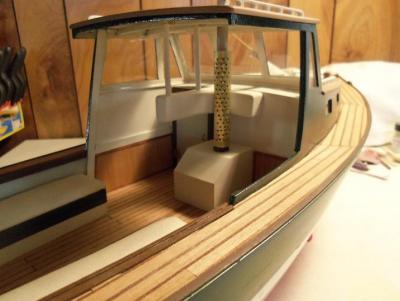
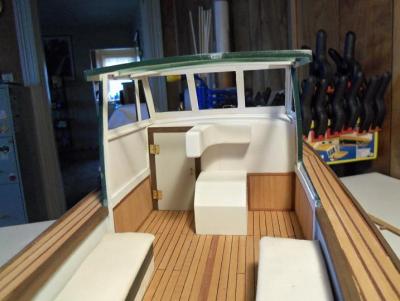
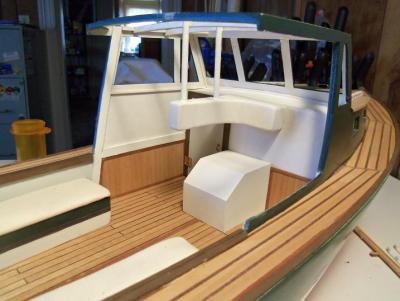
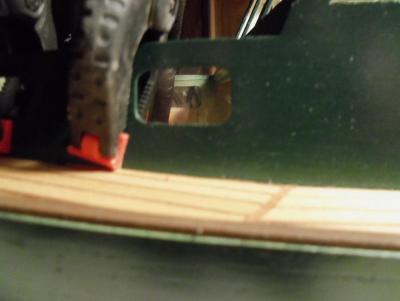
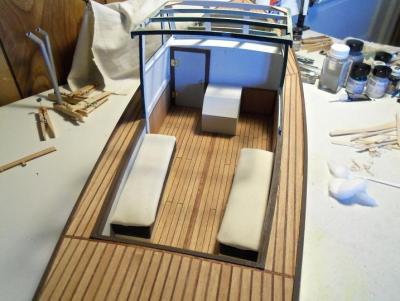
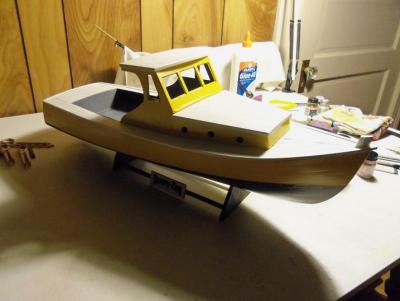
2 - 2 - 2013 The glass work was done to the Phylly C. I was constantly interupted today, so I didn't get too far....... although I did get to make a part that will really dress up the helm area. looking in, you can see out through the other side window. the helm console is made up of small pieces of flat stock. there was some trouble to get the wood to make the curve......but a quick repair later, and it ws back on track. the second one came out much better.
-
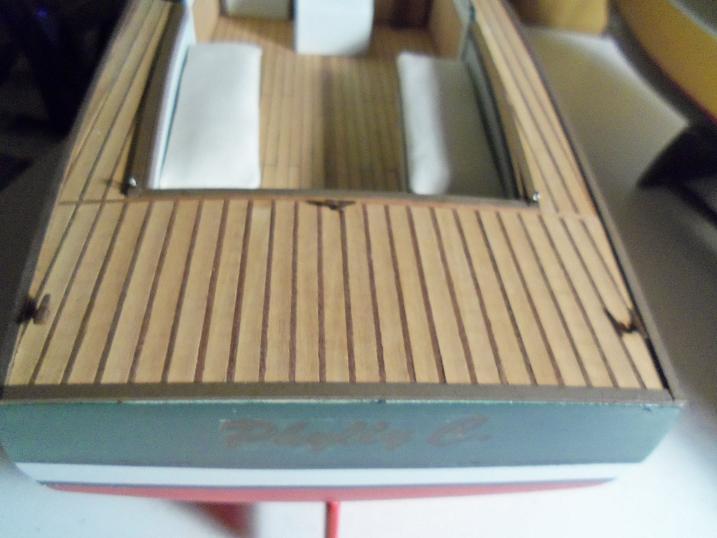
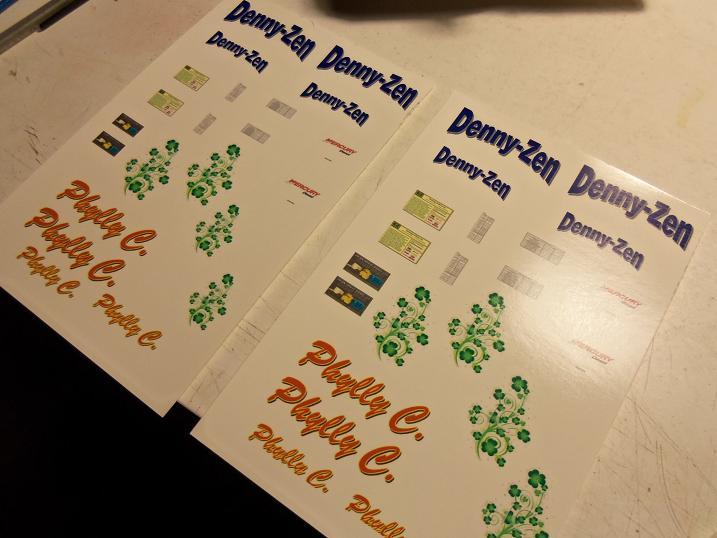
1 - 31 - 2013 I did the decal work to the Phylly C.........not exactly what I wanted to do, but it works just as well.


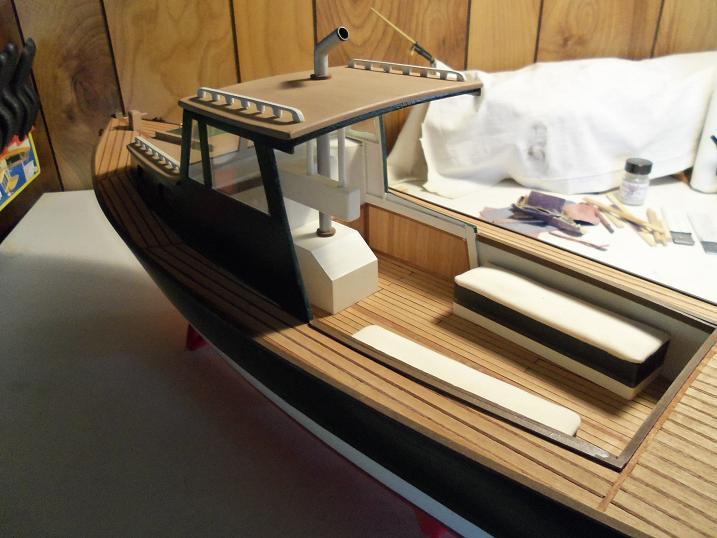
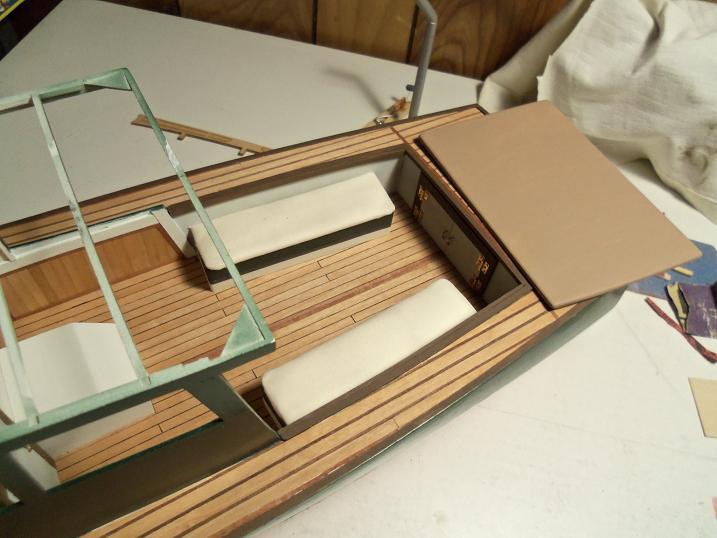
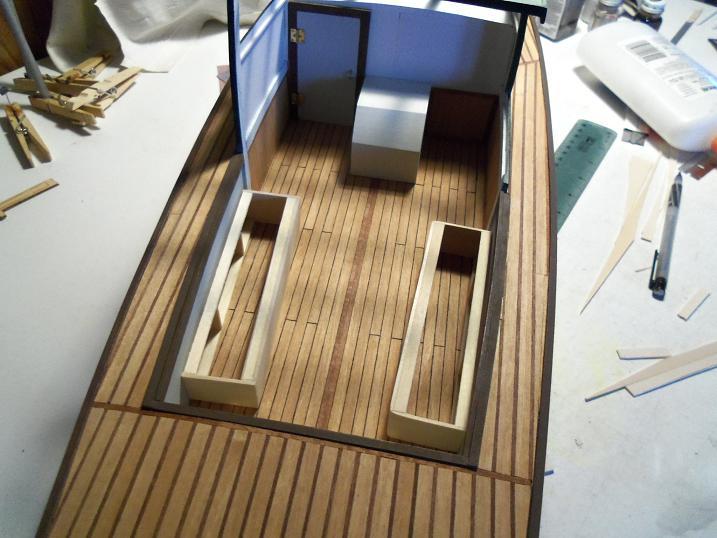
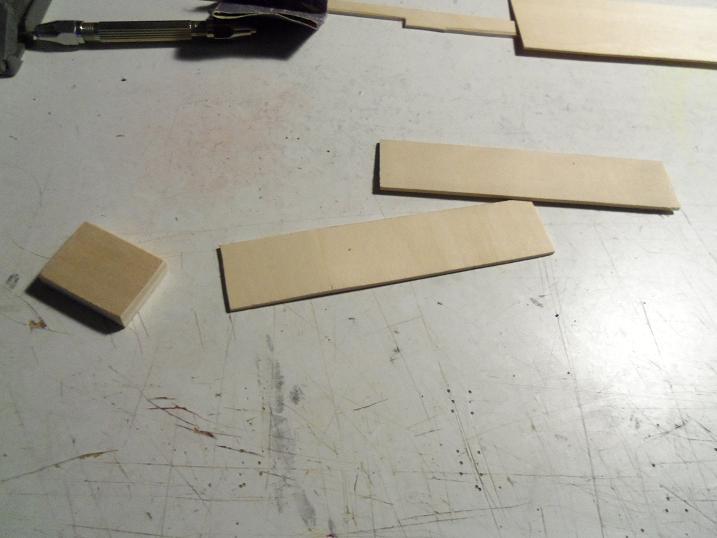
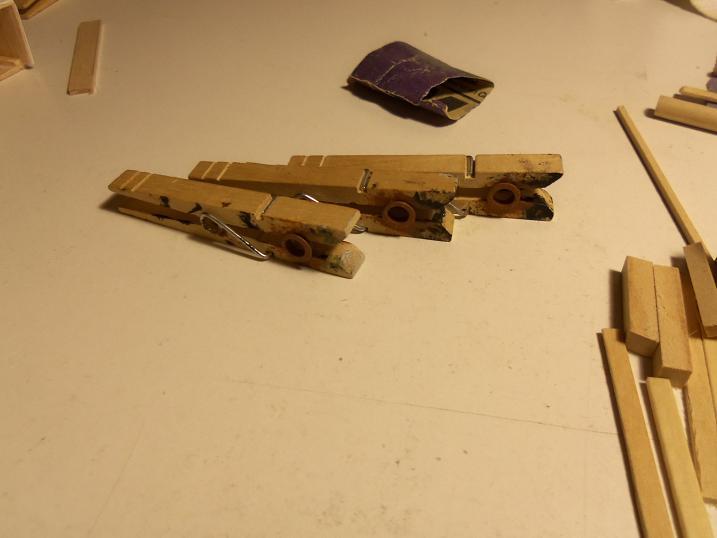
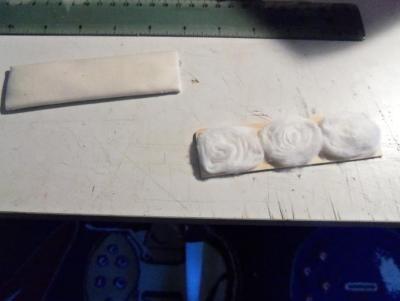
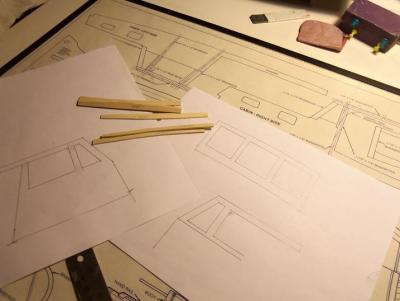
-
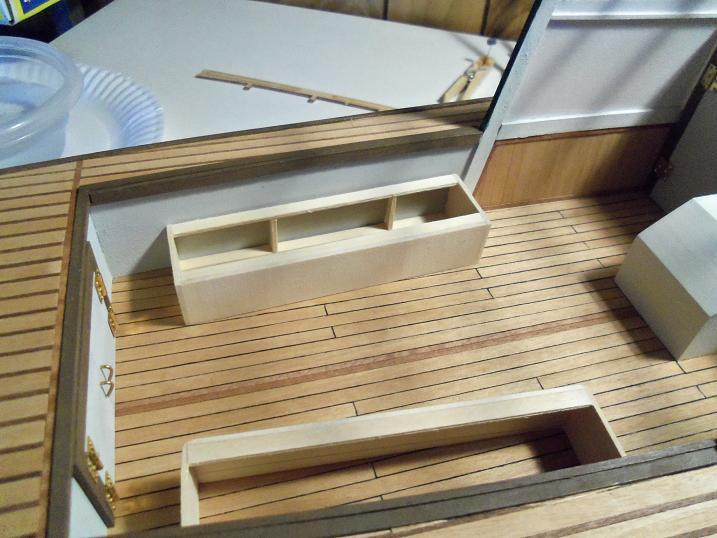
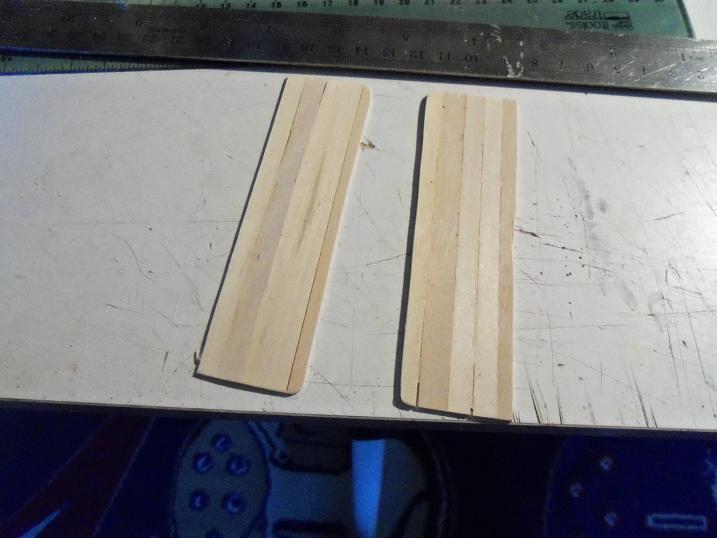
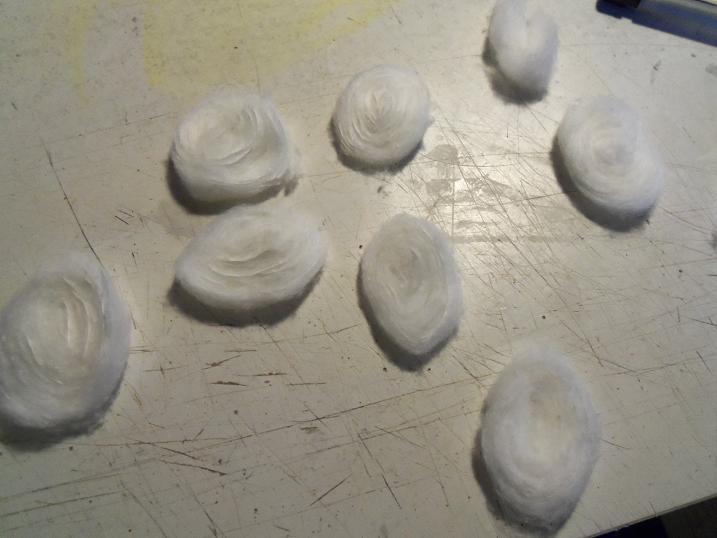
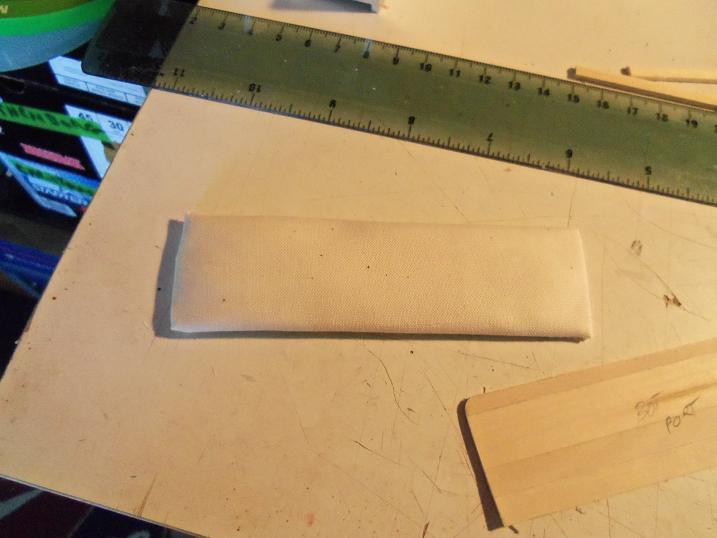
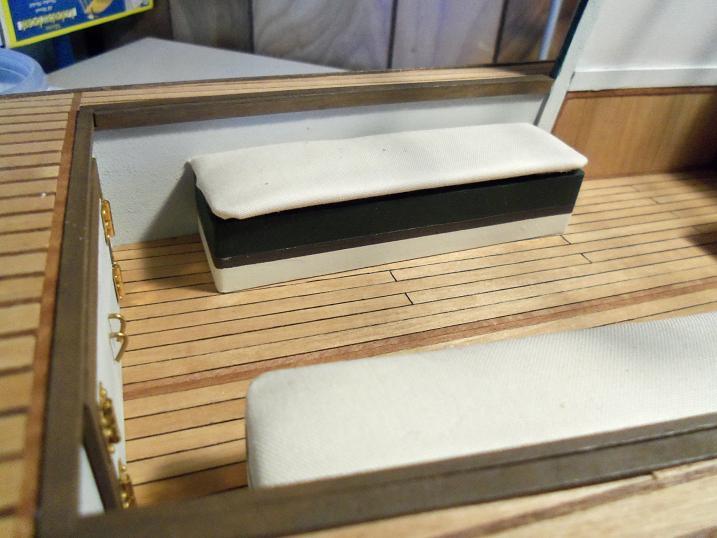
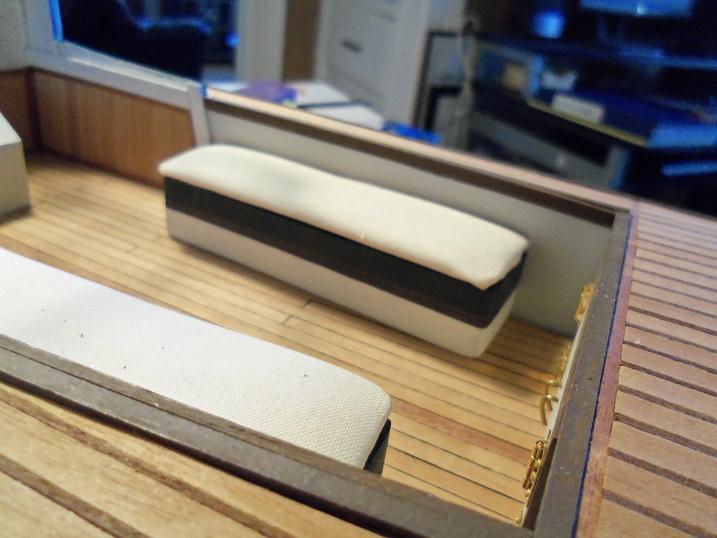
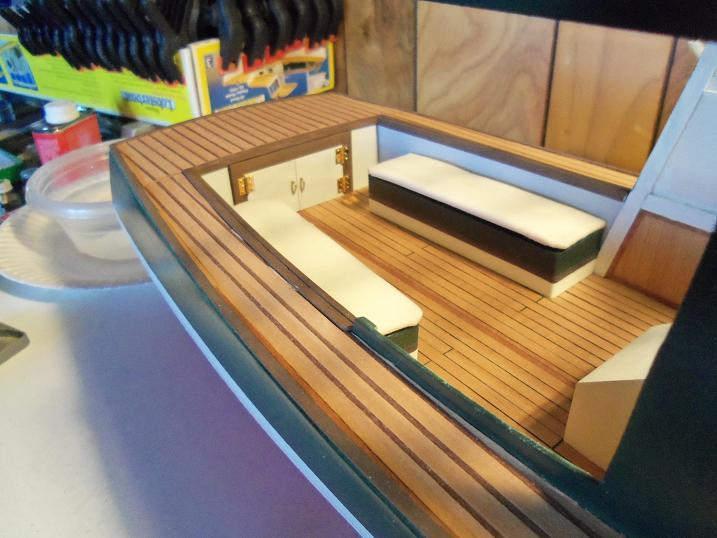
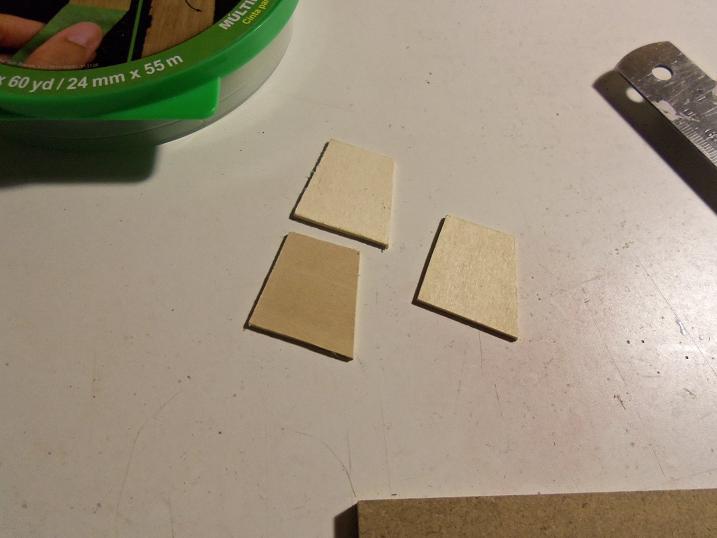
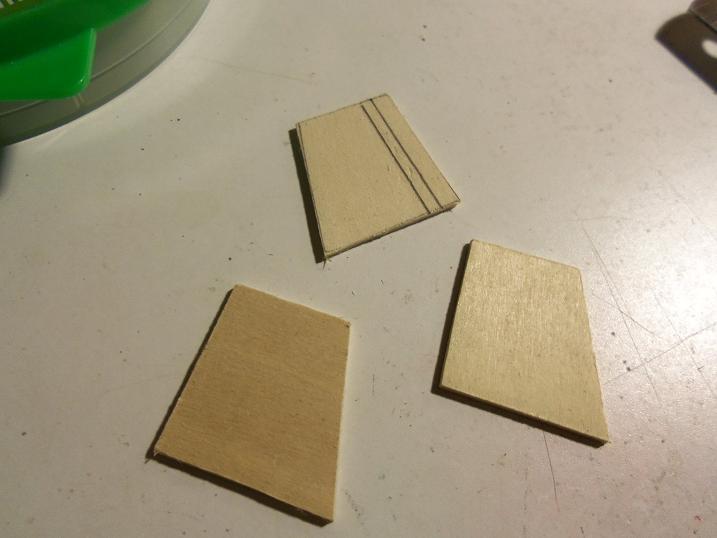
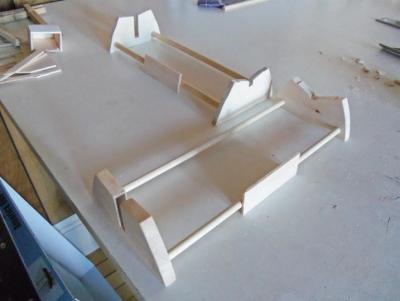
1 - 30 - 2013 Those parts you saw earlier, are the beginning of a pair of fittings for the deck. Someone mentioned something about seats......I think that's a very good idea. I had a meeting with the fashion designer, and we came up with an idea for them.......although she wanted prints.......I was just as happy with plain fabric. I was having to glue pieces of flat stock together to make larger pieces.......I was running low on wood. I keep putting in my requests......but they keep getting kicked back! DOOOUGHH! Stupid cost overruns!


-
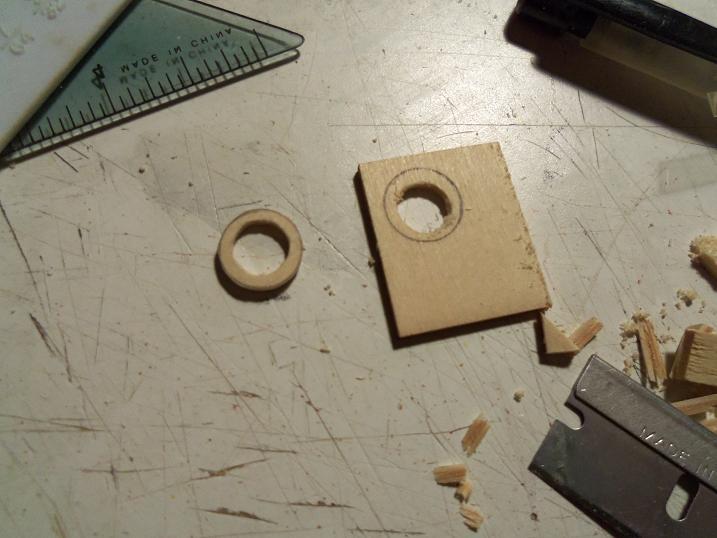
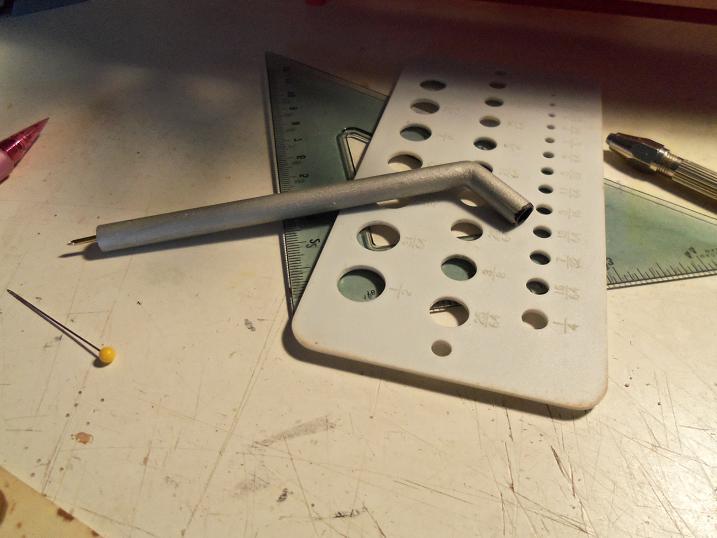
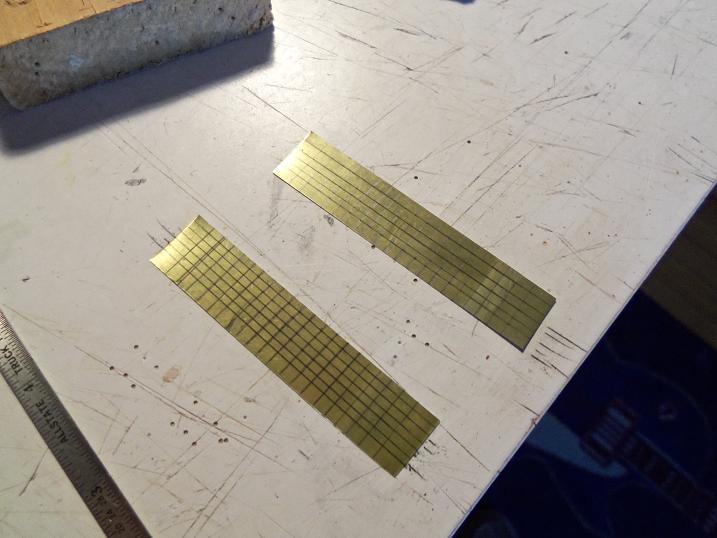
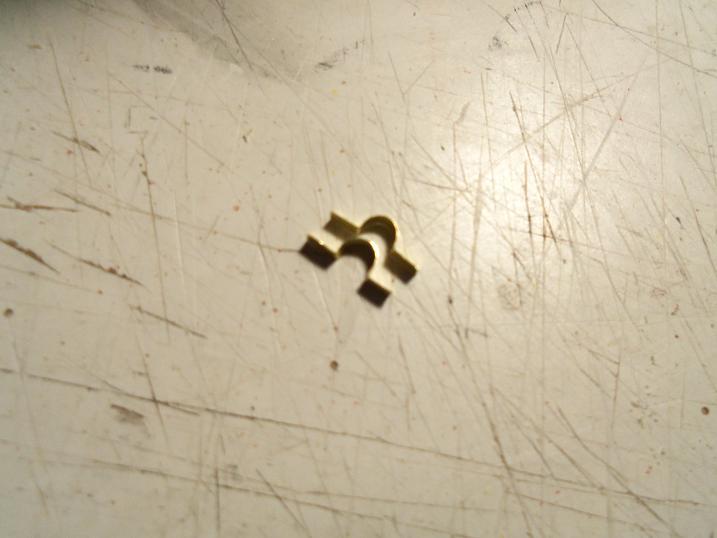
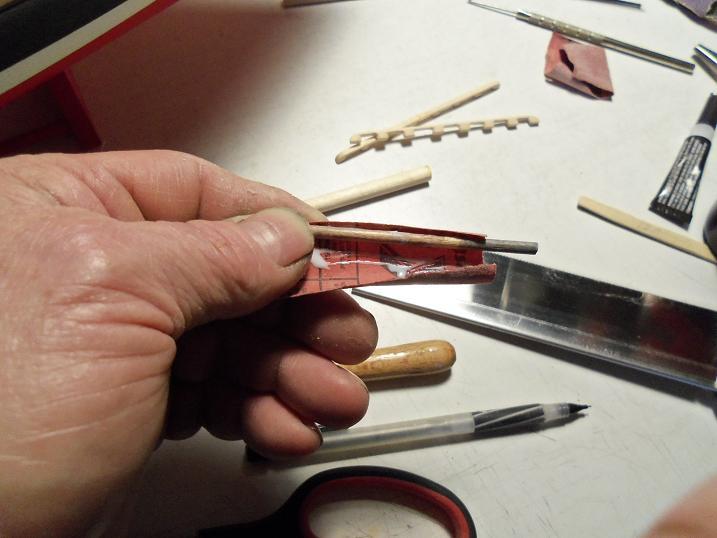
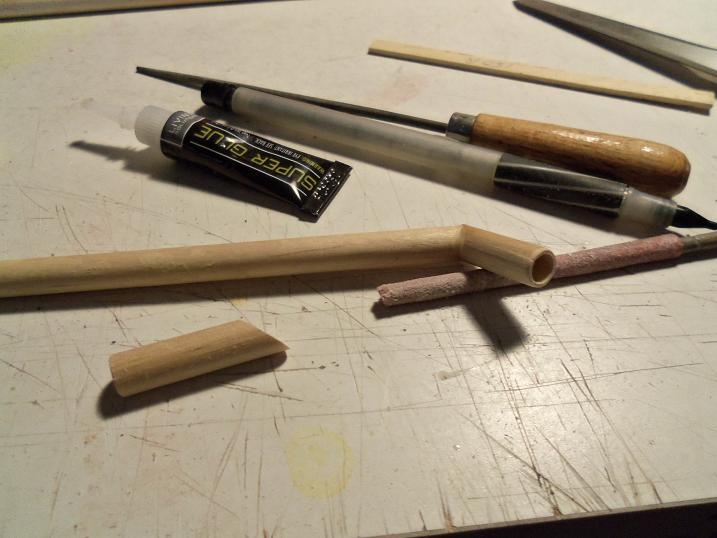
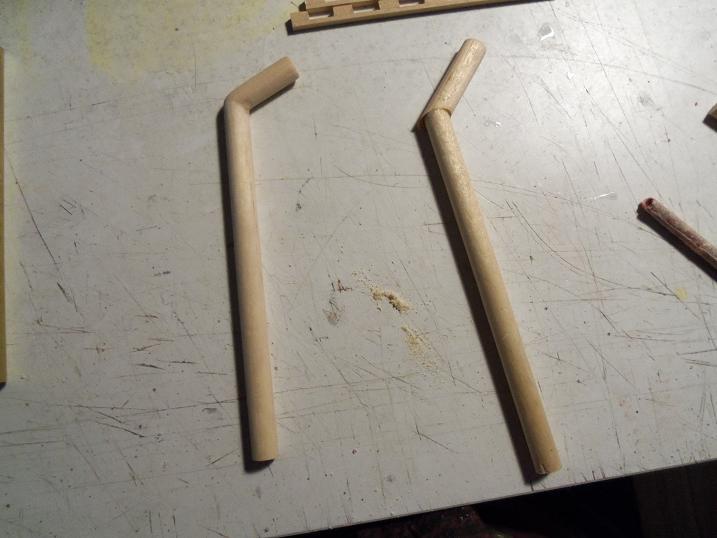
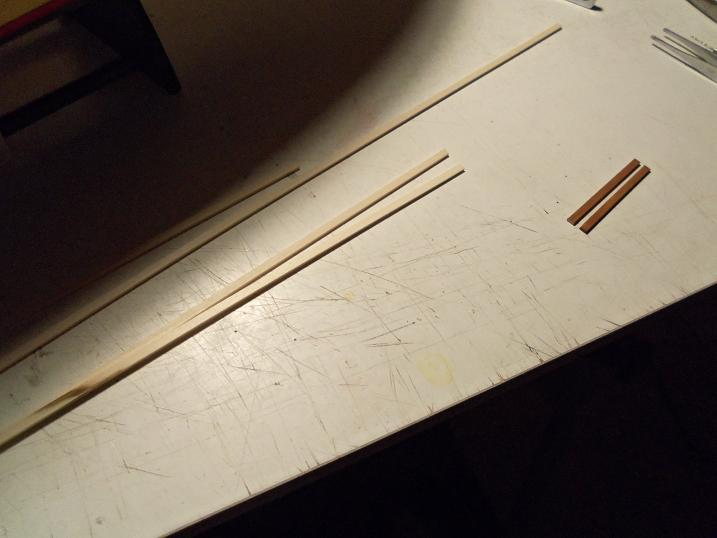
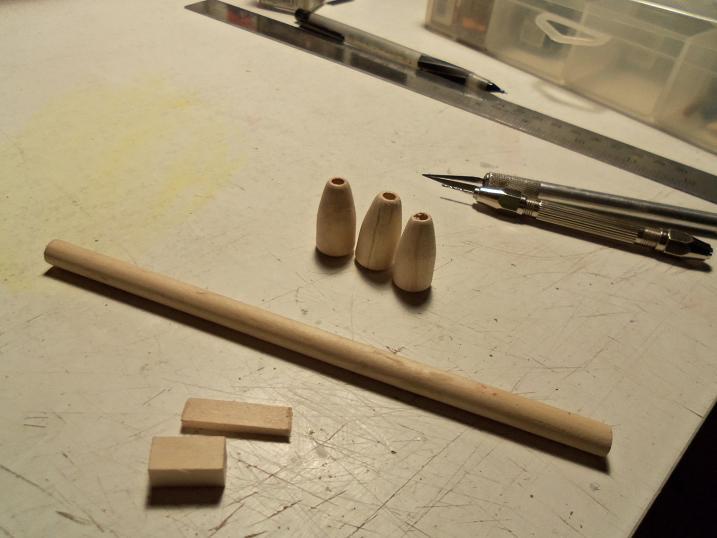
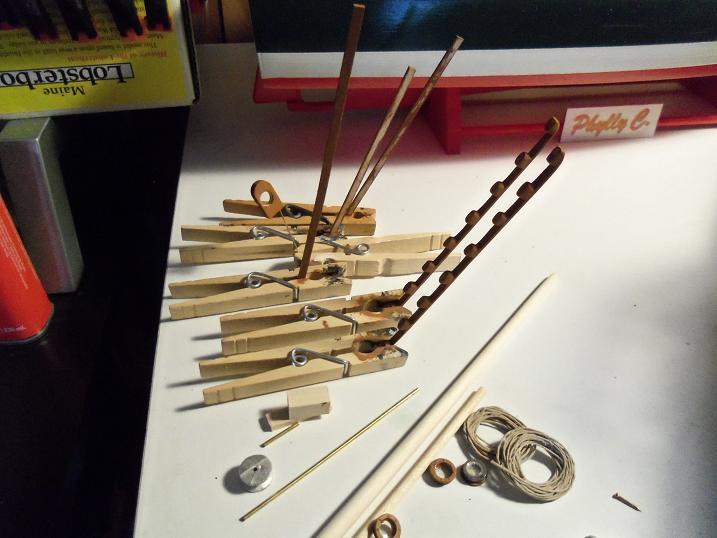
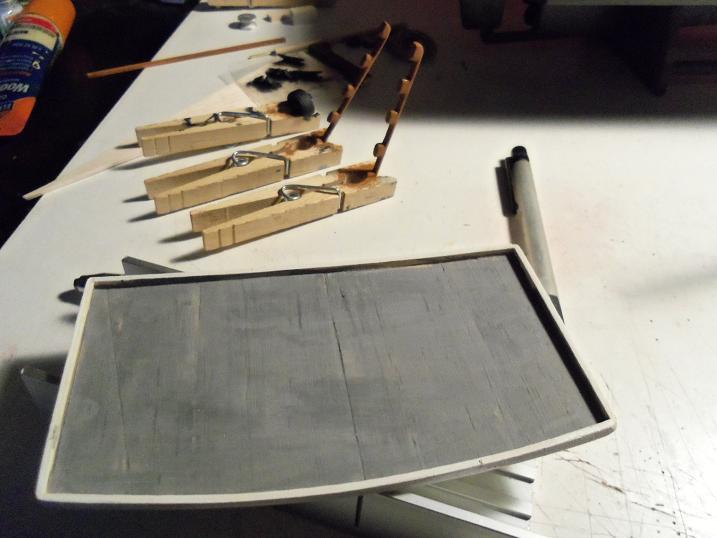
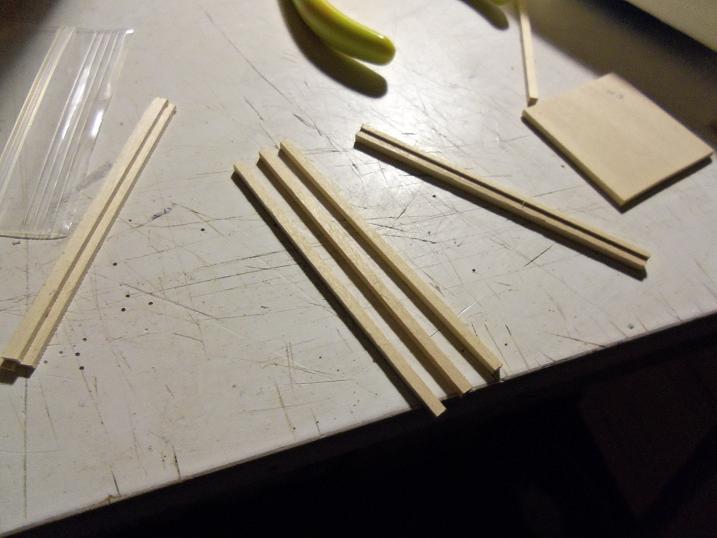
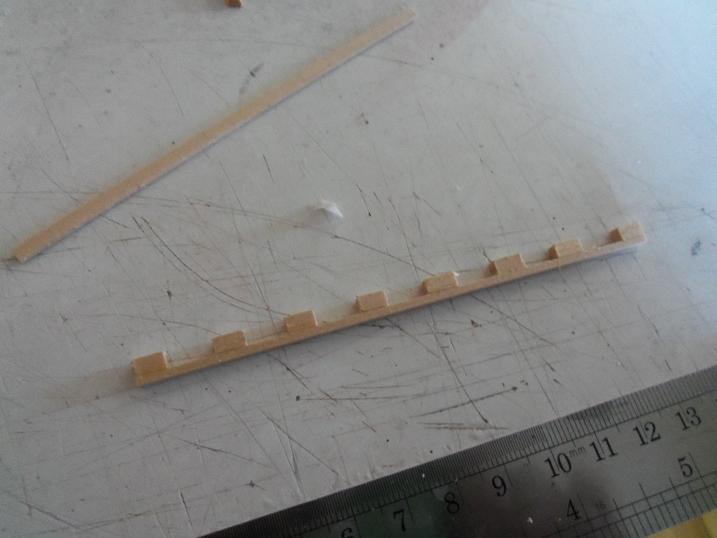
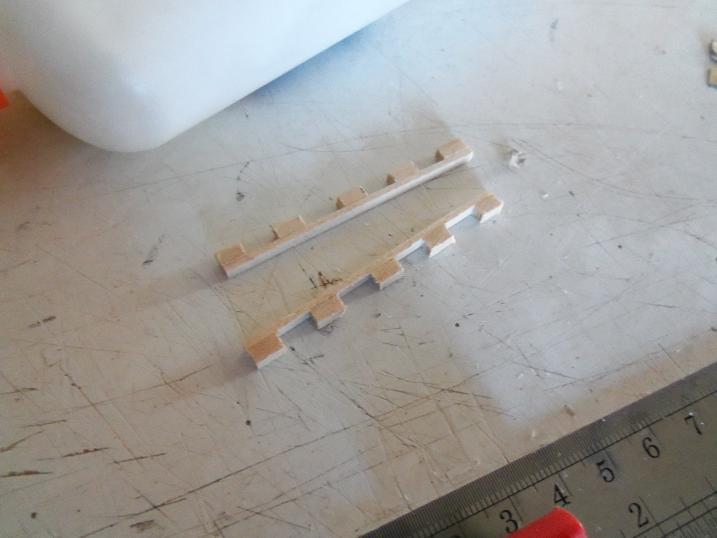
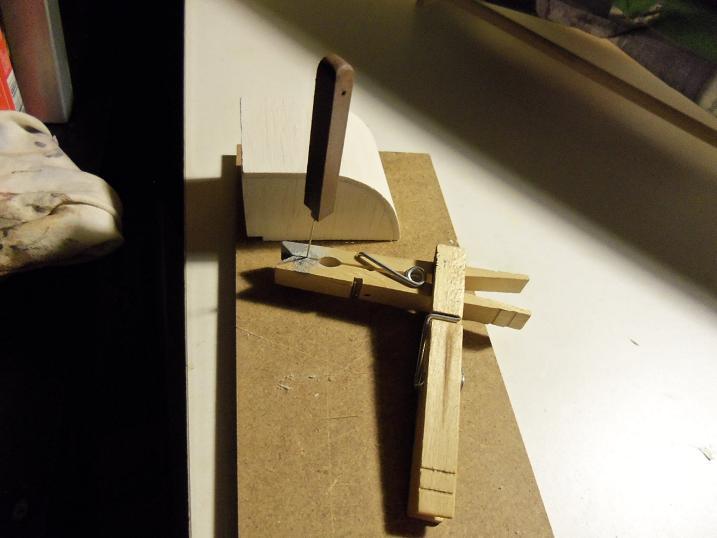
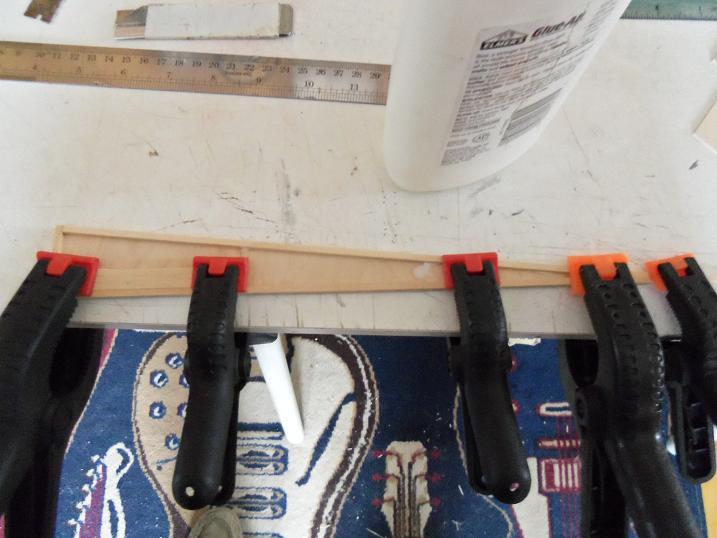
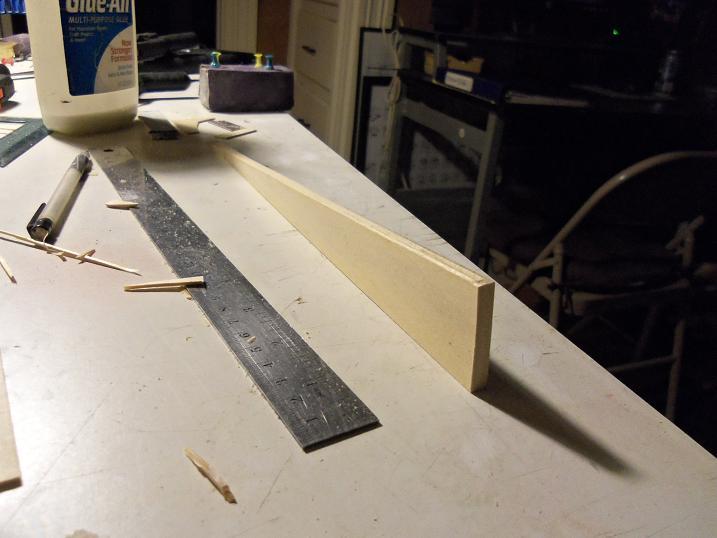
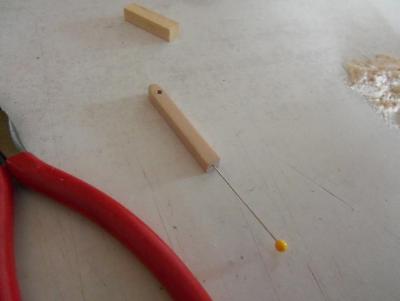
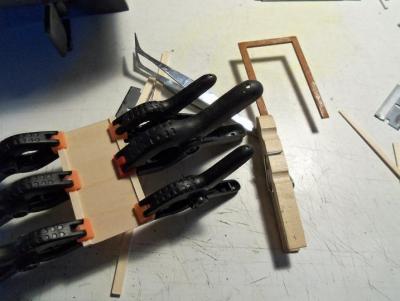
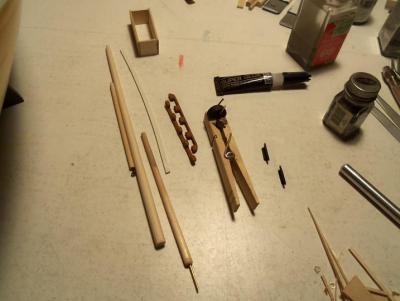
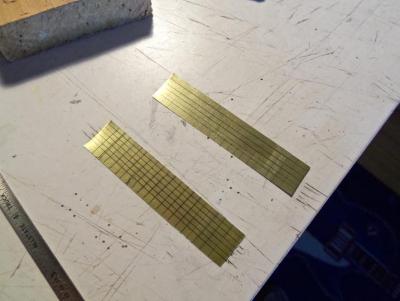
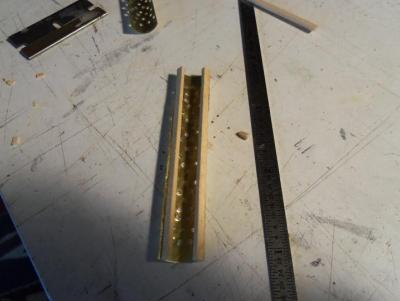
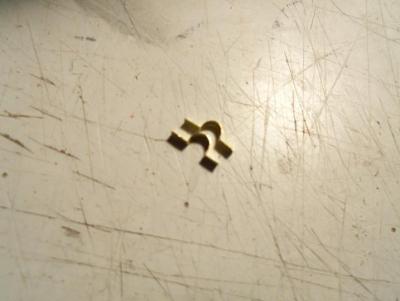
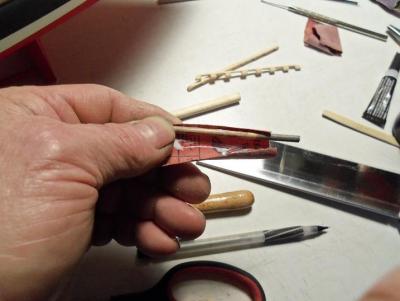
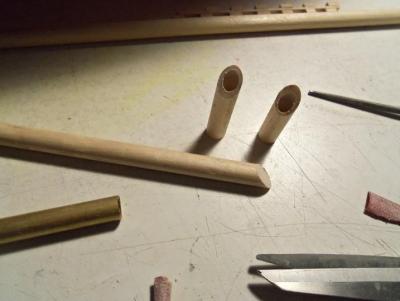
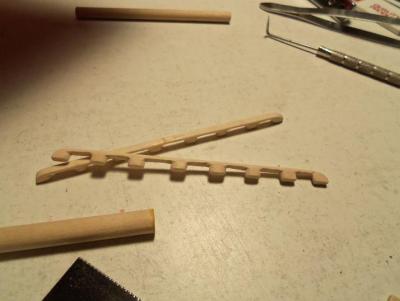
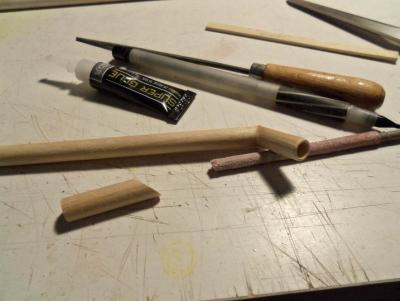
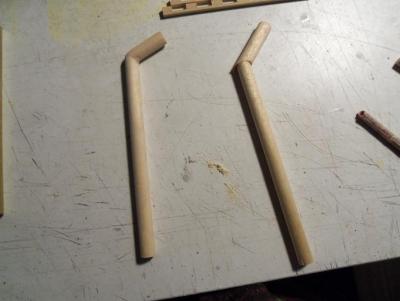
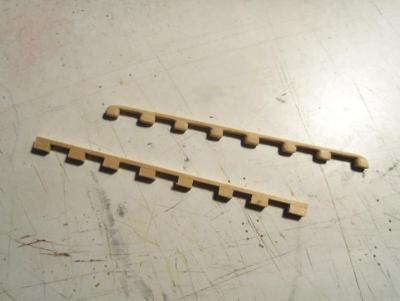
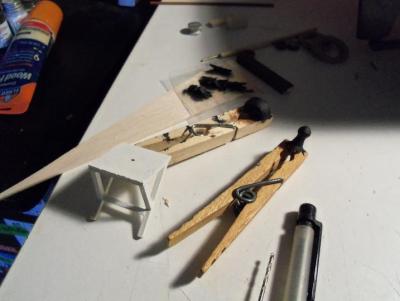
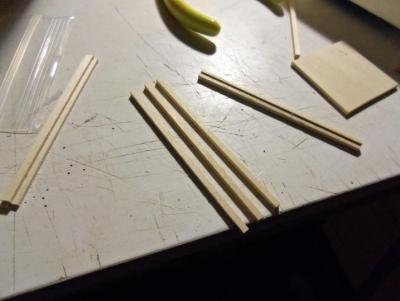
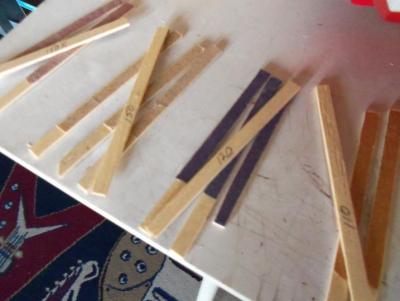
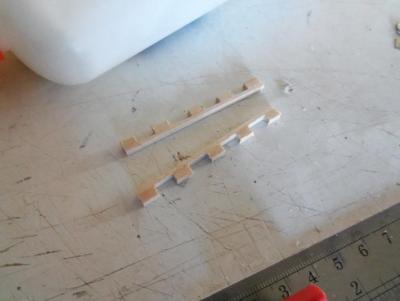
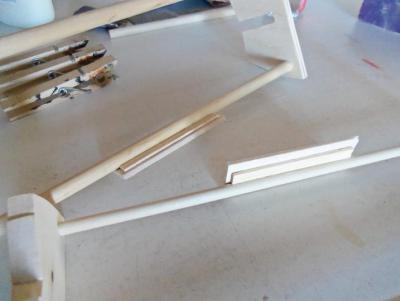
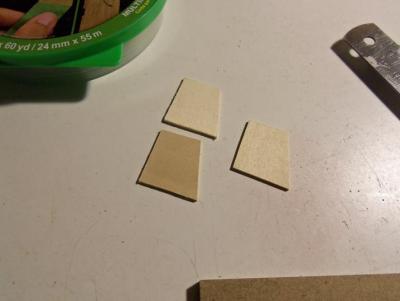
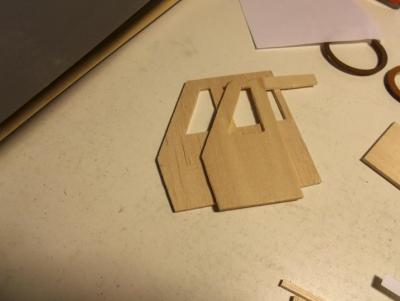
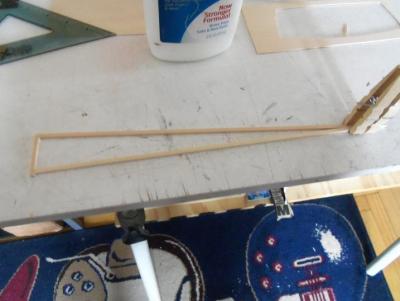
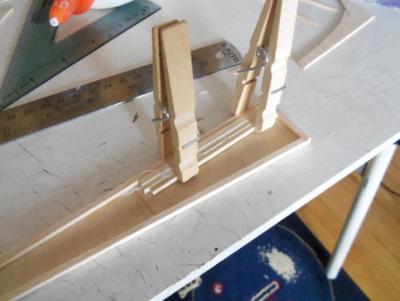
1 - 29 - 2013 The funnels are to be made for these two. I don't have enough brass tube to do them, so I'm going to have to rely on wood dowel. I drilled out the centers of some 5/16 dowel, making sure that the outer walls are quite thin. cut on an angle, the stack ant the spout was cemented together. I had to make a special sanding stick for the job......made from a smaller dowel. The grab rails for the Phylly C was sanded and prepped for assembly. Now.......what do you suppose these parts are for.......?


-
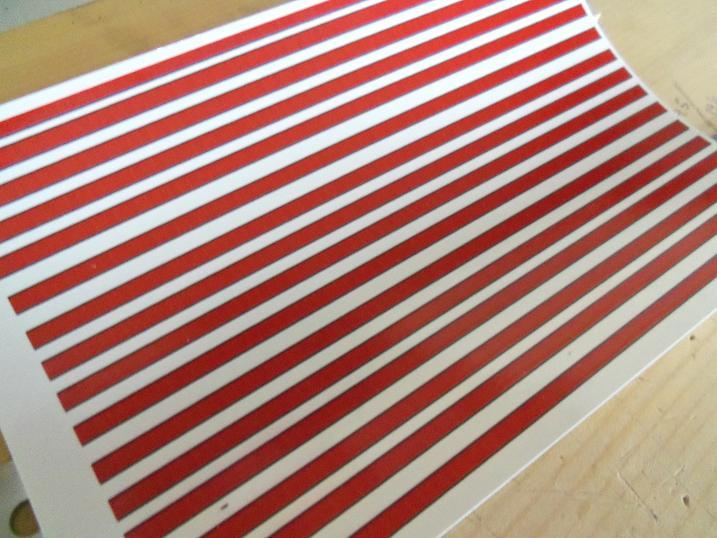
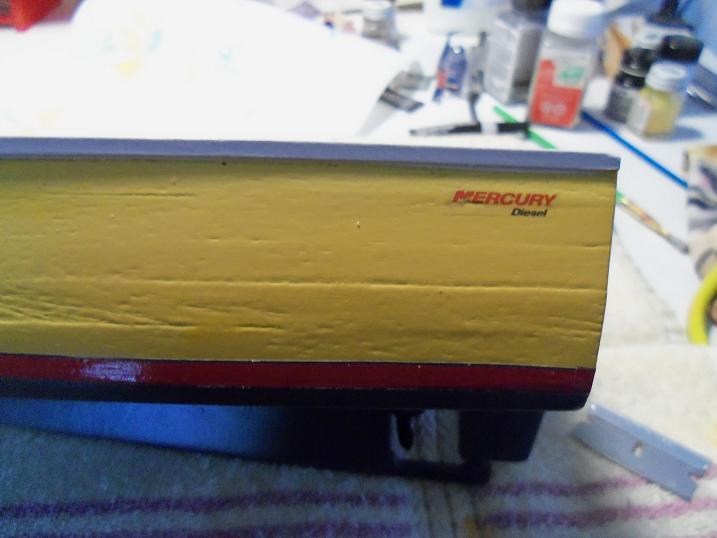
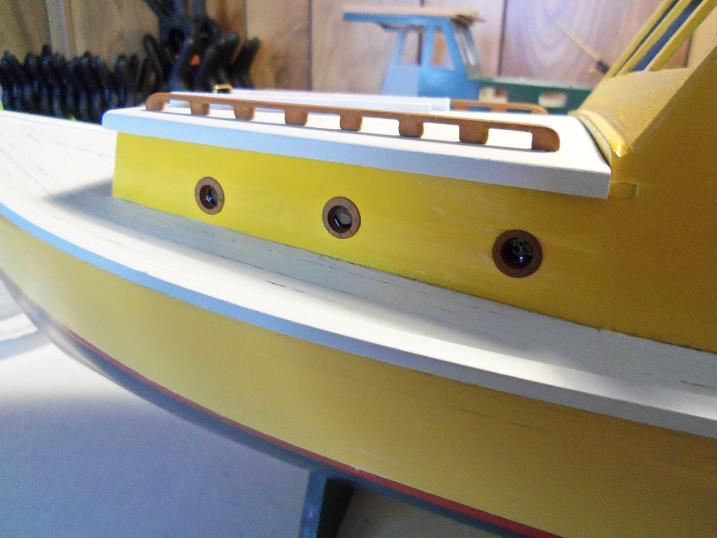
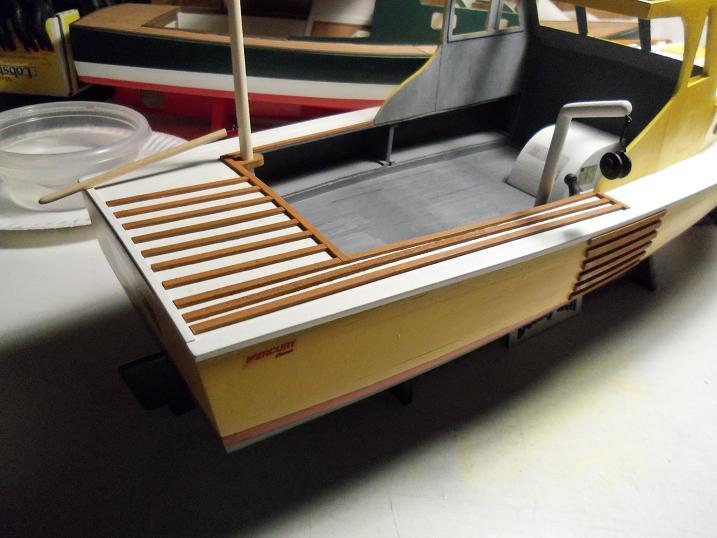
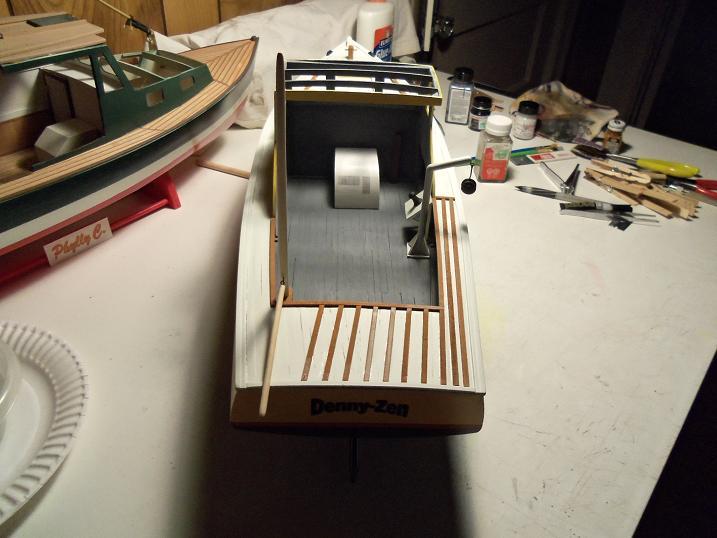
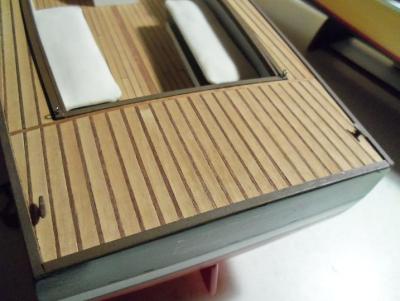
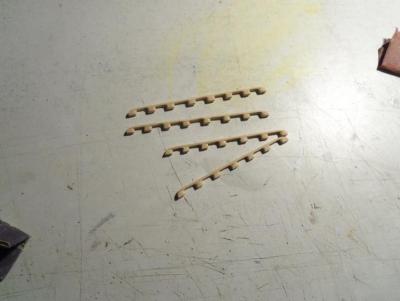
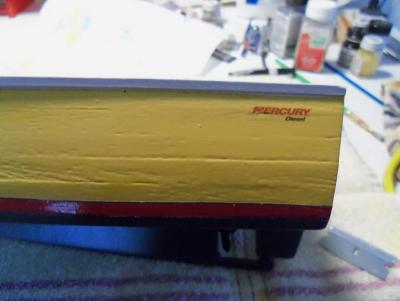
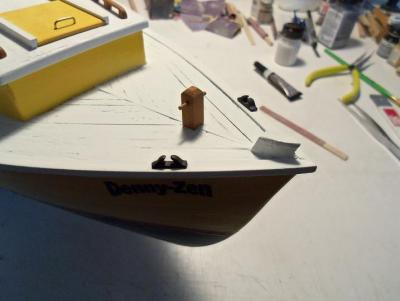
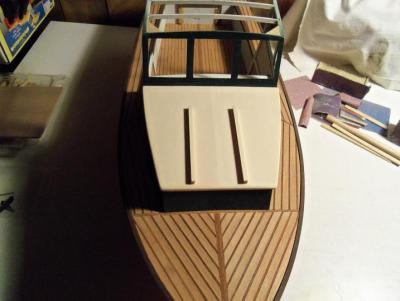
1 - 28 - 2013 The work continues on the Denny-Zen. Other decals were made for the boats as well......waterline striping. decaling was done at this time. The port side portholes were installed. Engine identification and specification placards were also made up......might as well try to be real about it. I finally cut down the bow stem......taking offabout a quarter of an inch. the bow post was added as well. the slatting is added to the build at this time. it was added down the starboard side and spilled over the stern. it stops short of the mast assembly. The parts I had made for him was stowed away.......it was time to bring his sister out to work on her for a while.


-
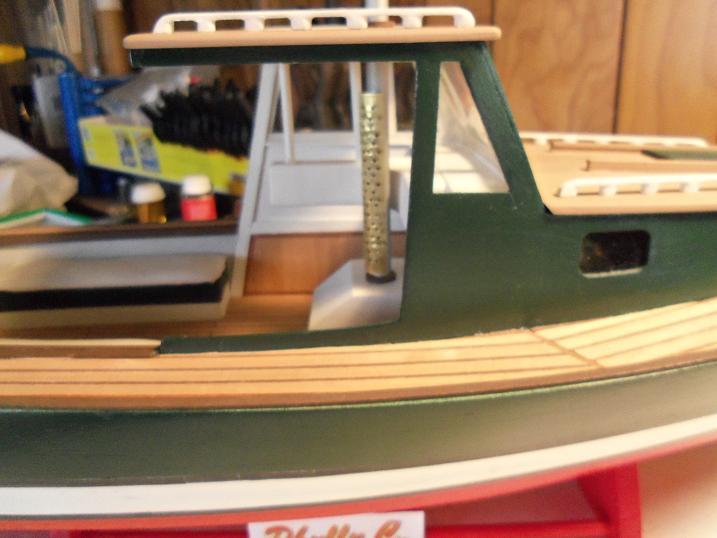
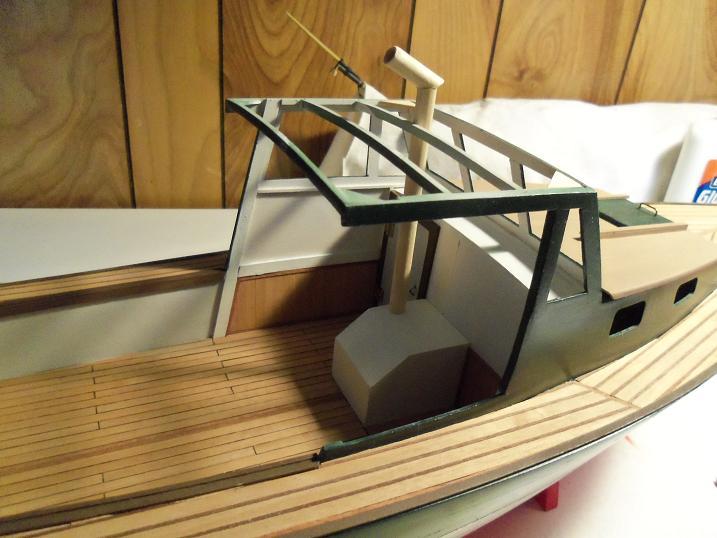
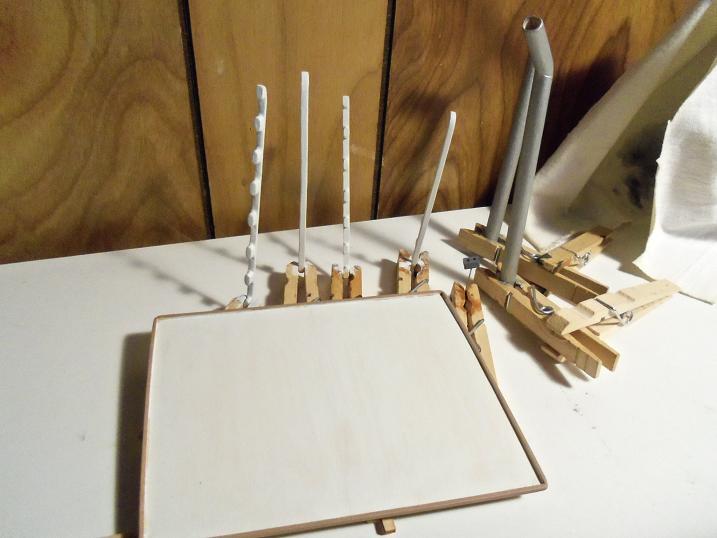
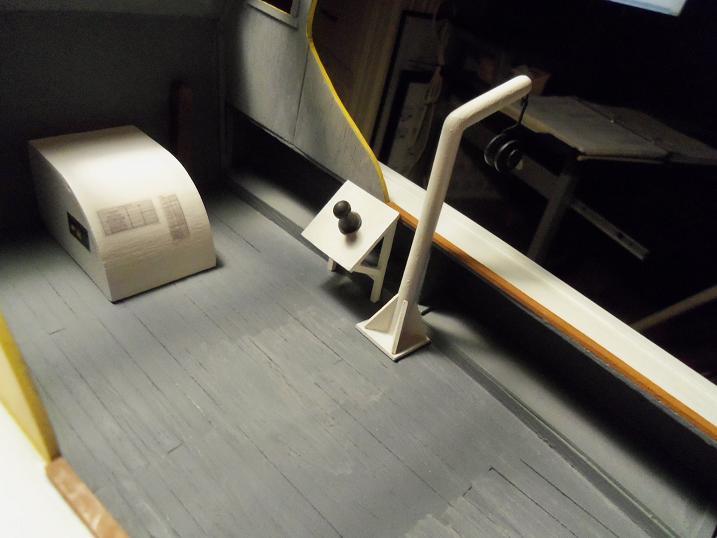
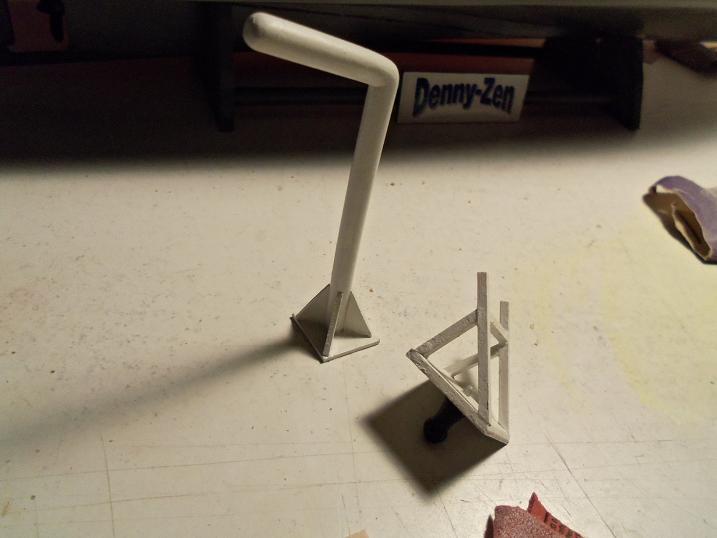
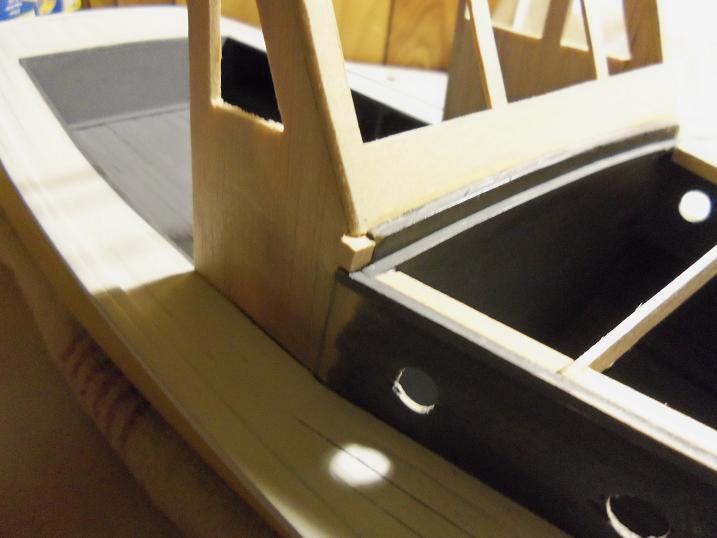
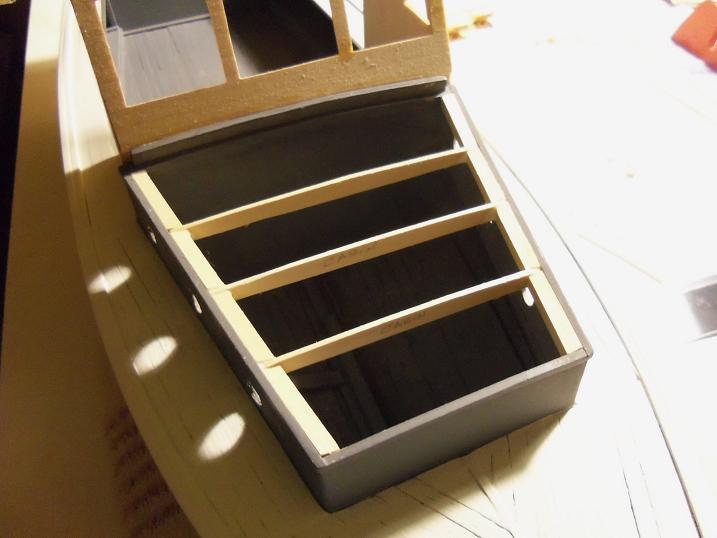
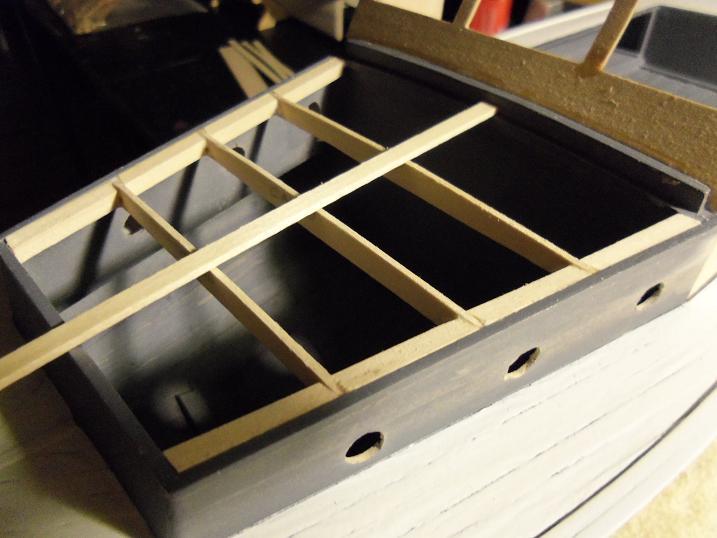
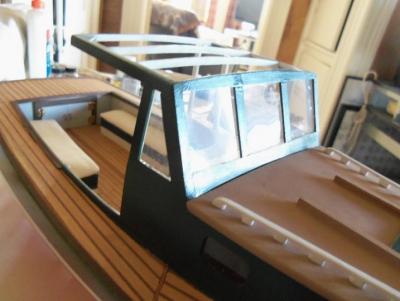
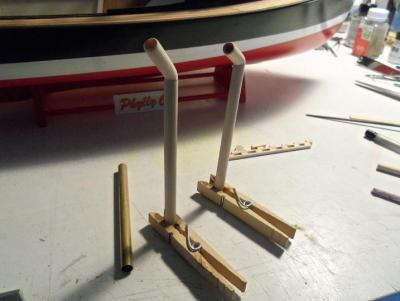
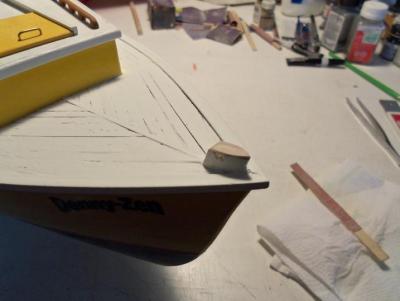
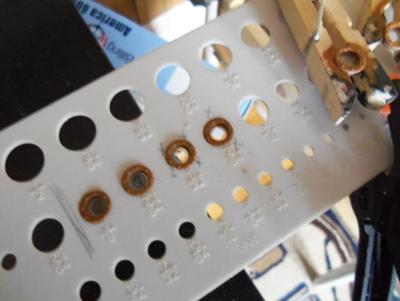
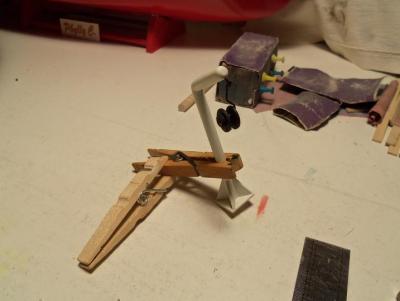
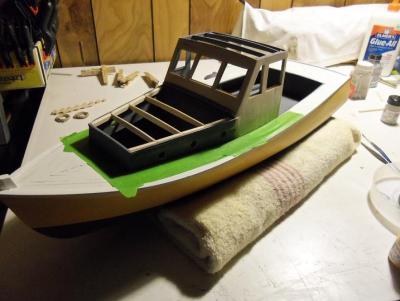
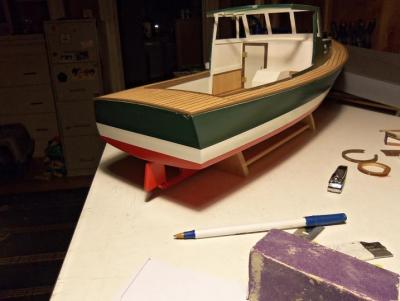
almost Carl...........almost. they need a little bit more history. thank you! 1 - 27 - 2013 The development of the Denny-Zen continues. The buoys supplied in the kit are like way out of scale, so I won't be using them. I will make some of my own.......I just need to know how many I need. applying the window maker in the portholes is a waiting game. It was applied to each one and set right side up to dry. I didn't want the window maker to flow into the porthole, or bow outward. I had to set them in a way, so they wouldn't do that. hopefully I can show you just how transparent this stuff is. you can see the top of the glue bottle......not crystal clear, but clear enough that it will allow light to show through, without showing the inside of the vessel. this is good in the event that the inside of the cabin is not finished in any way. the starboard side is now installed. The grab rails and the mast collars are to be done next. the mast is to be located on the port side of the deck. as I am told, this mast keeps the boat from rocking while the traps are being worked. The winch platform is almost ready to install. the crane also needs to be assembled. I don't like the way the kit portrays the assembly, so I'm going to make my own. The bow post was also made........I made one for the Phylly C as well. The trim is also being cemented around the cockpit as well. The crane starts out as a section of dowel, cut to an angle and cemented together. Supports are added to the base and the hardware is to be installed.


-
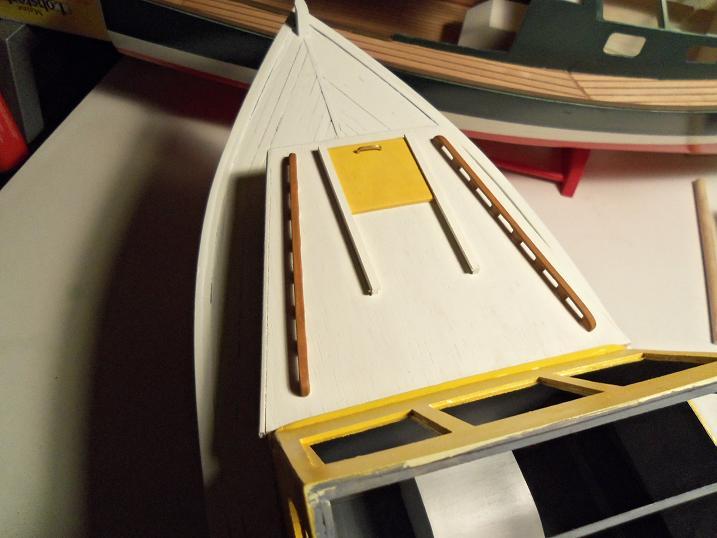
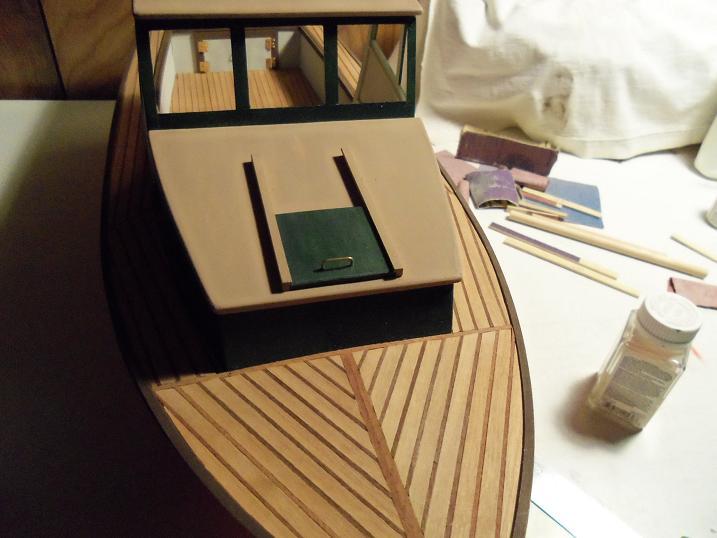
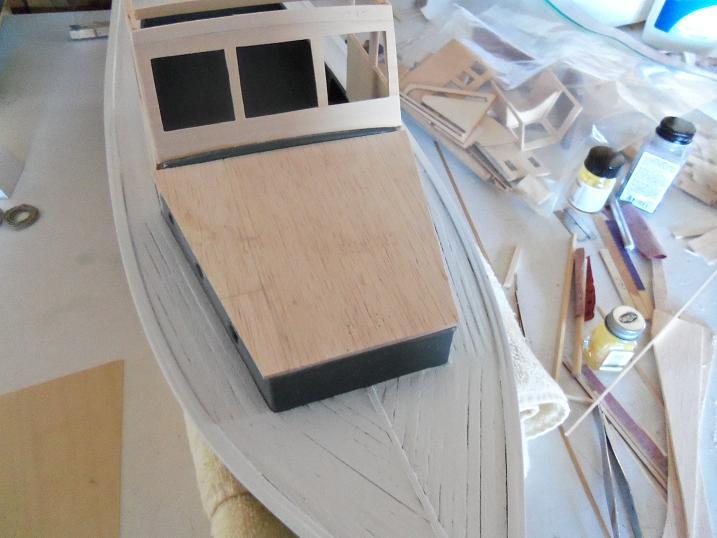
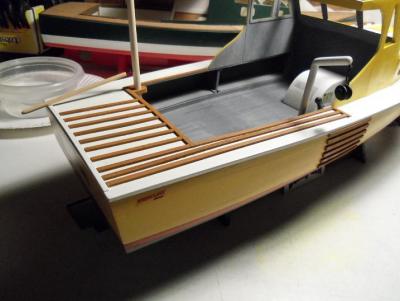
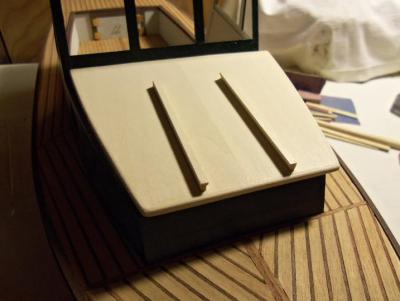
1 - 26 - 2013 The fore cabin roofs can now be cemented in place. there are to be hatches located on the fore cabin roof. all that was to be done, was to simply cement the hatches in place. I think there's room for expansion here........I made up two pairs of slider tracks for the hatches and accented them off with handles. The prop was also added to the Denny-Zen. The Phylly C got the same step of assembly. ........just a spark, that signaled that they were becoming one with the build. They would drift apart one more time, but I found that making a part for one, I would be making the part for the other as well. soon they will become the dual build.


-
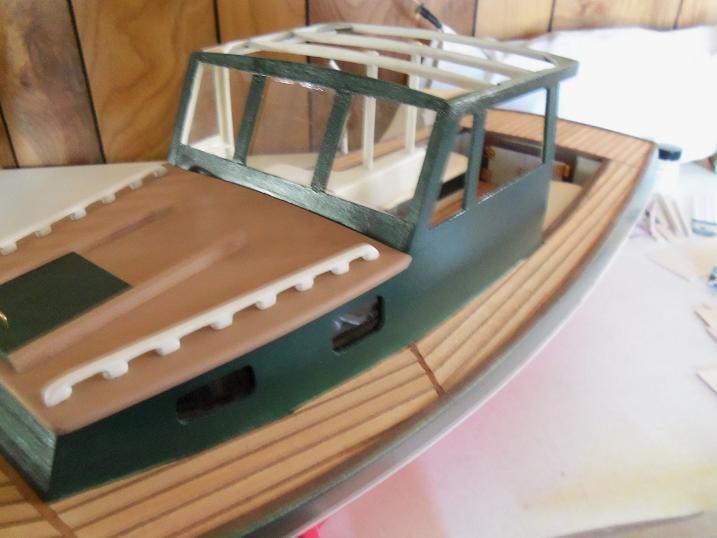
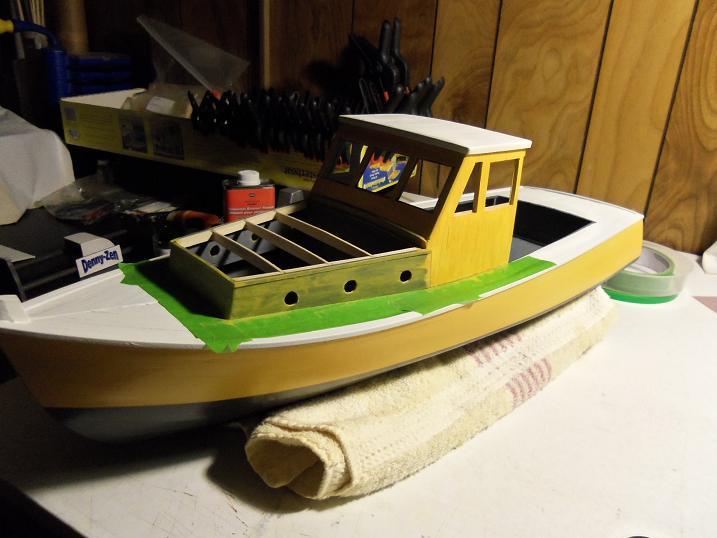
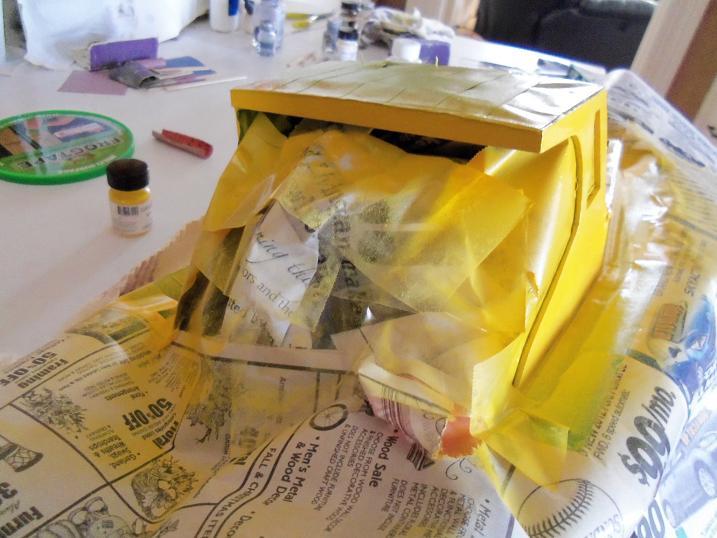
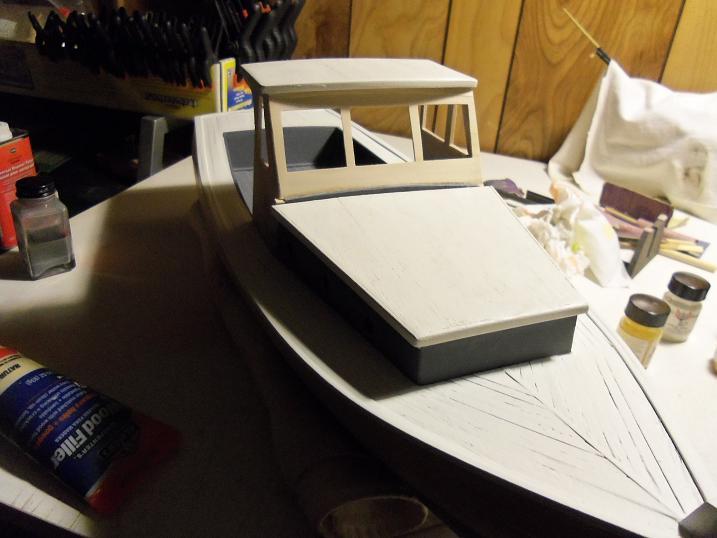
1 - 24 - 2013 The helm walls are to be painted at this point. I found that the gray primer was very hard to cover over using a brush........I ended up using the airbrush. painting the cabins on the Phylly C, I got some overspray on the interior.......I tried really hard not to copy the masking problems. I had decanted the gray paint from the spray can, but it was left in the cellar, and the cold ruined the paint......I got a less than desireable job. lucky for me, the paint from my F-15 build was very close to the primer color. I ended up painting the cabins with the Billing's primer........I got my paint shipment in....hourah! the helm was masked up with extreme care to guard against overspray. I also added curved extensions to the helm's side walls.......just to give it a little character. 1 - 25 - 2013


-
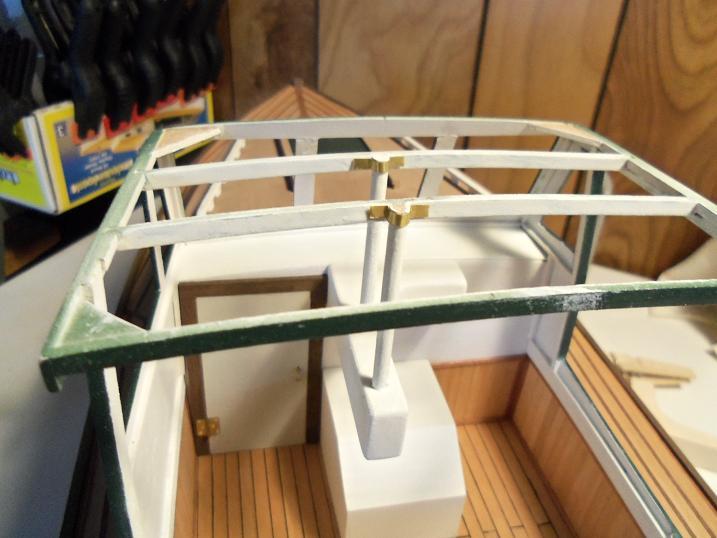
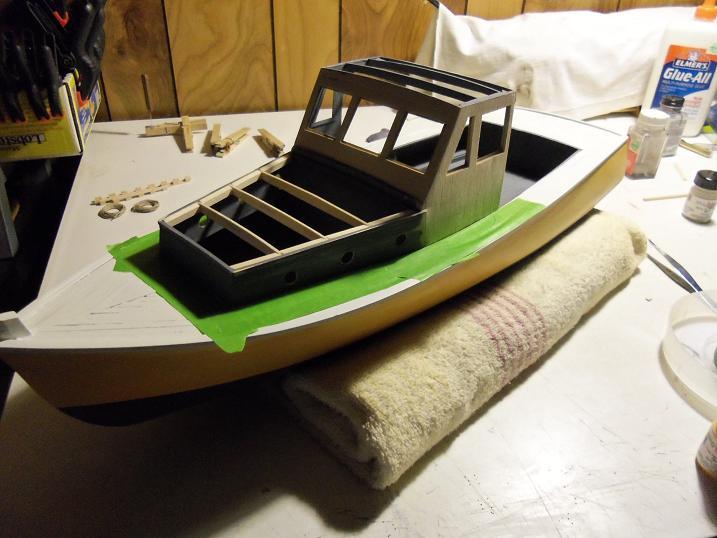
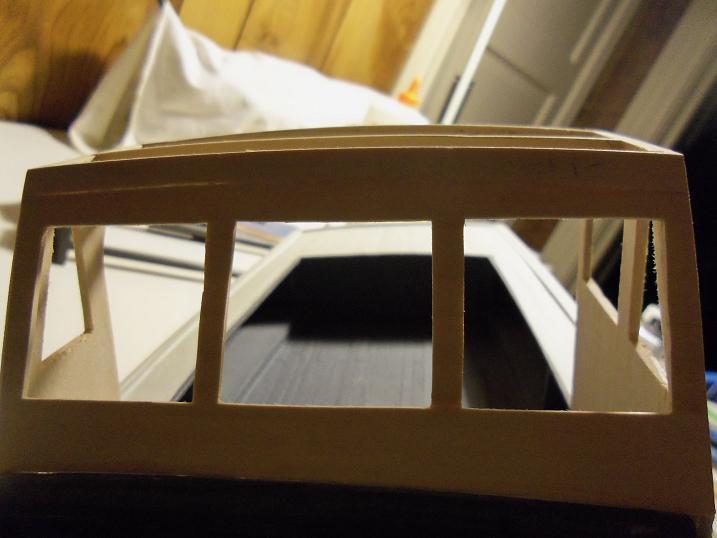
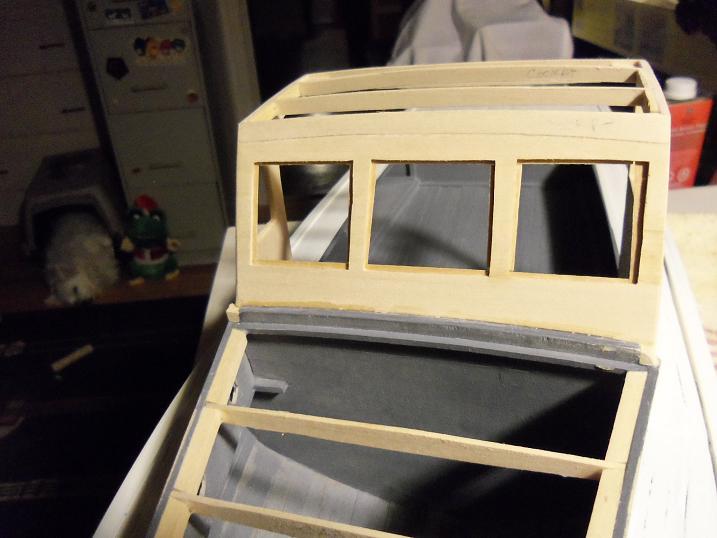
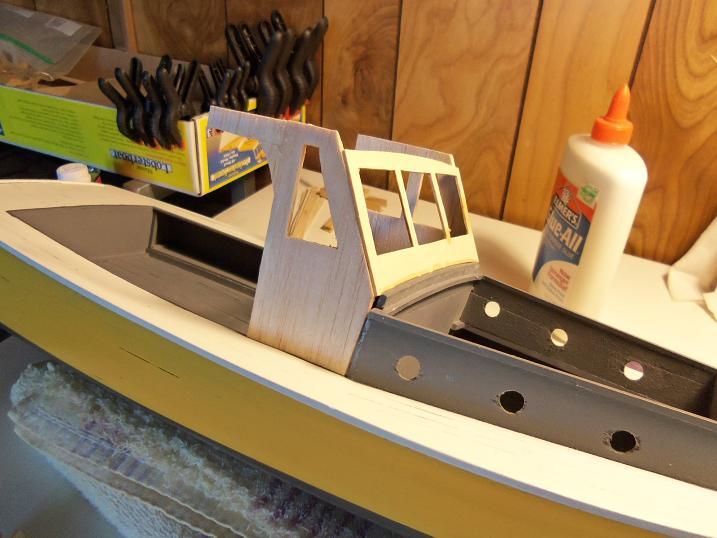
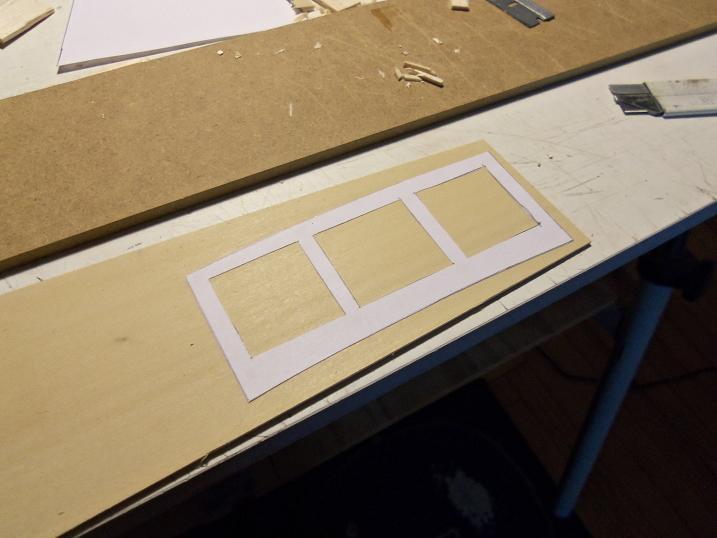
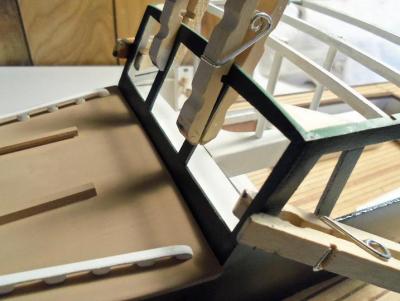
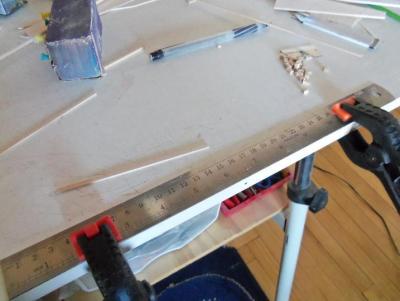
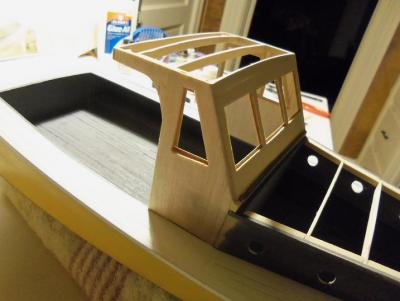
1 - 23 - 2013 This session was more of a fabrication session........the fore cabin roofs, grab rails, and helm roofs were fleshed out and assembled. I also needed some sanding sticks, so I made some of different grits. I did repair some of the imperfections in the hull.......after all, it does need to be water tight. The windows were framed, so they couid be installed from the outside, unlike his counterpart. the build continues..............


- 552 replies
-
- 1
-

-
- maine lobster boat
- Midwest Products
- (and 1 more)
-
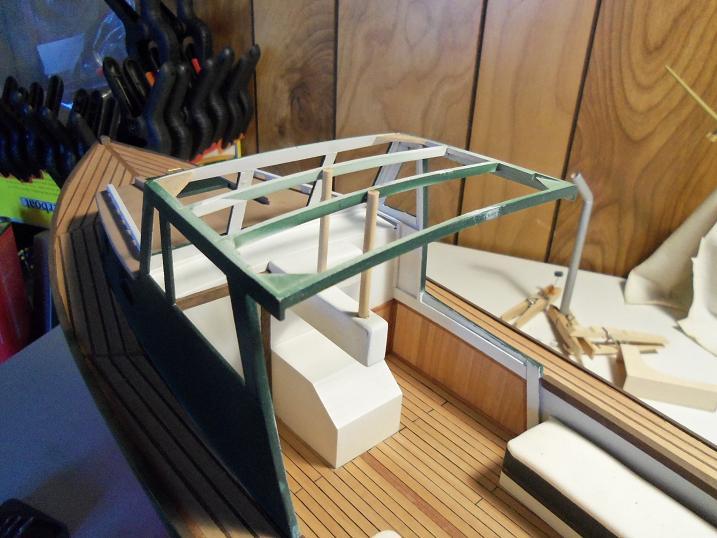
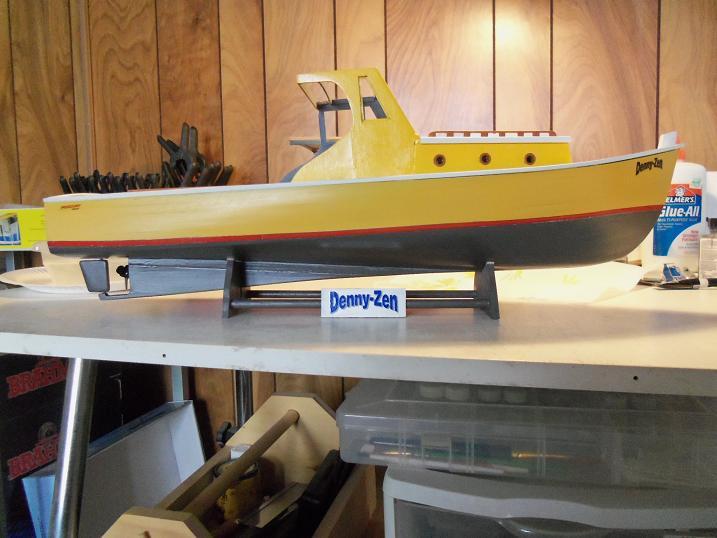
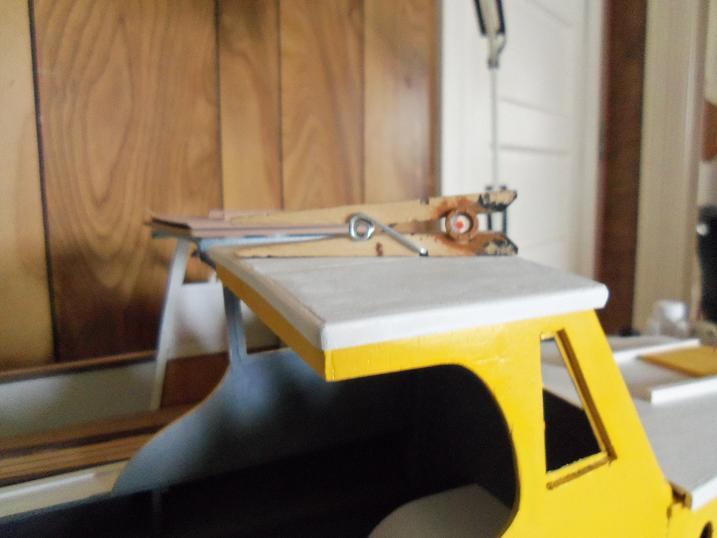
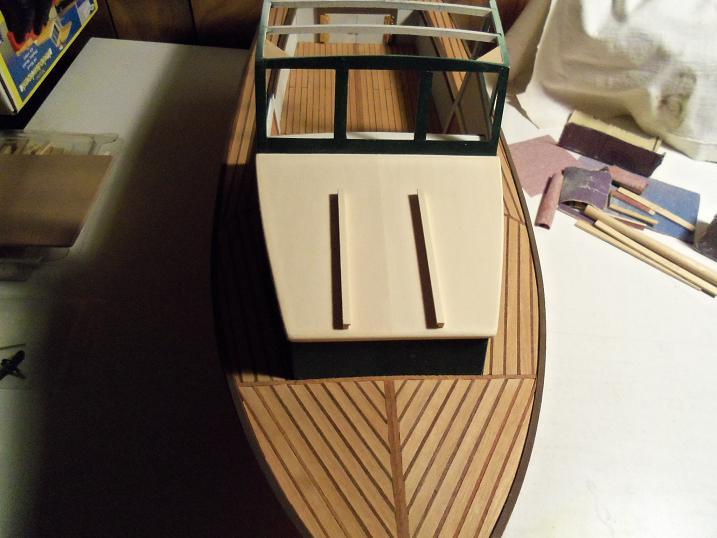
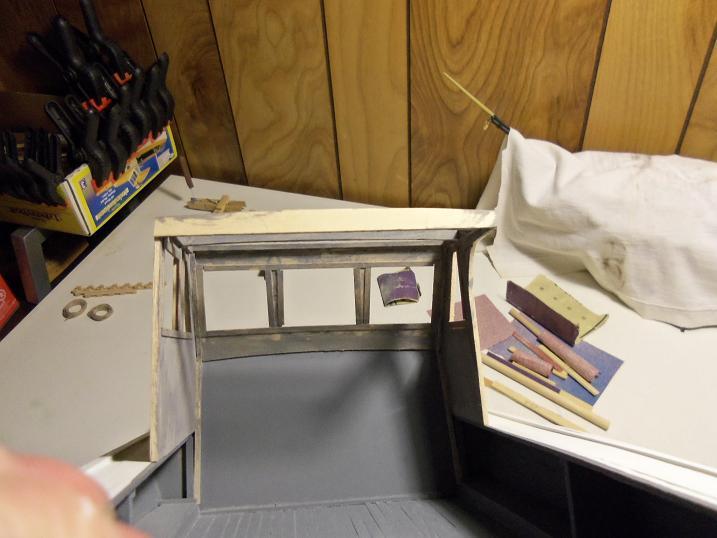
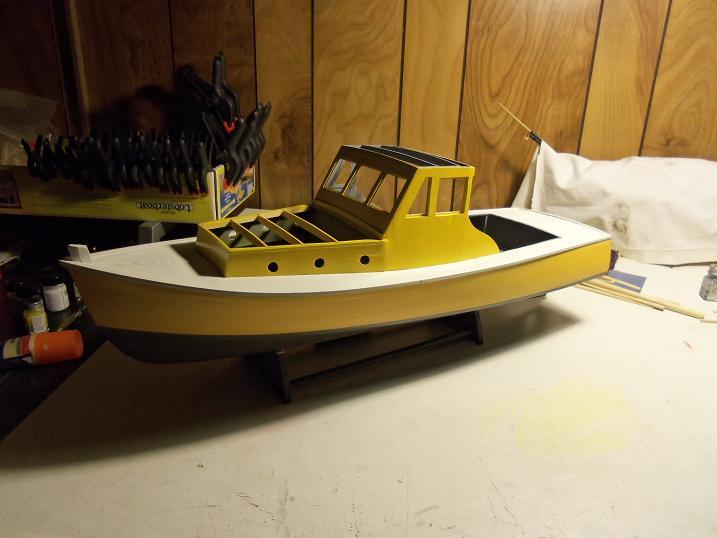
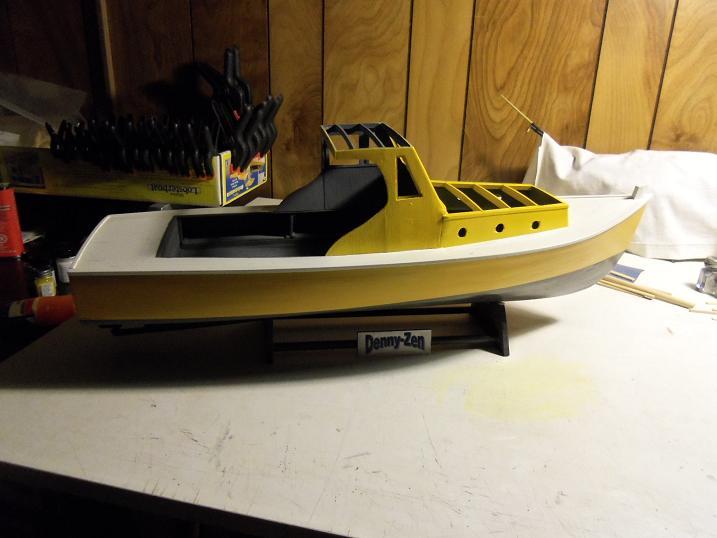
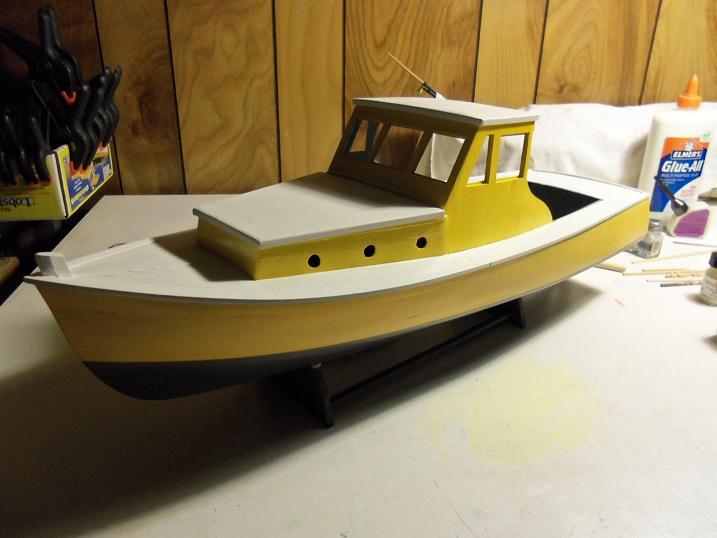
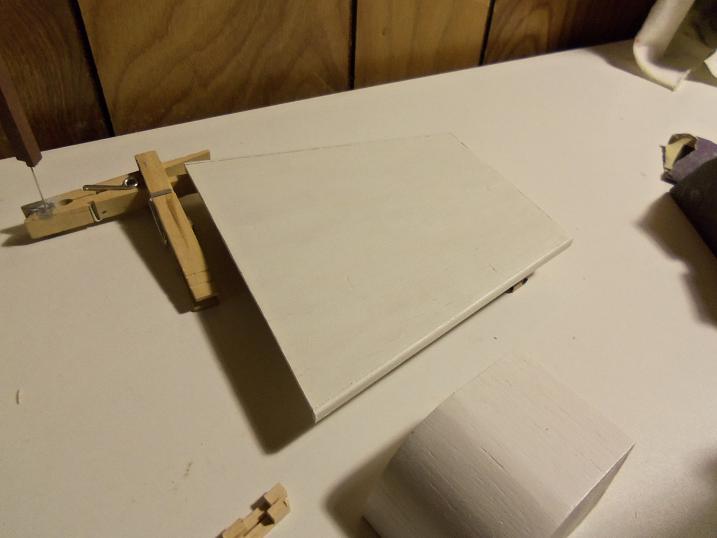
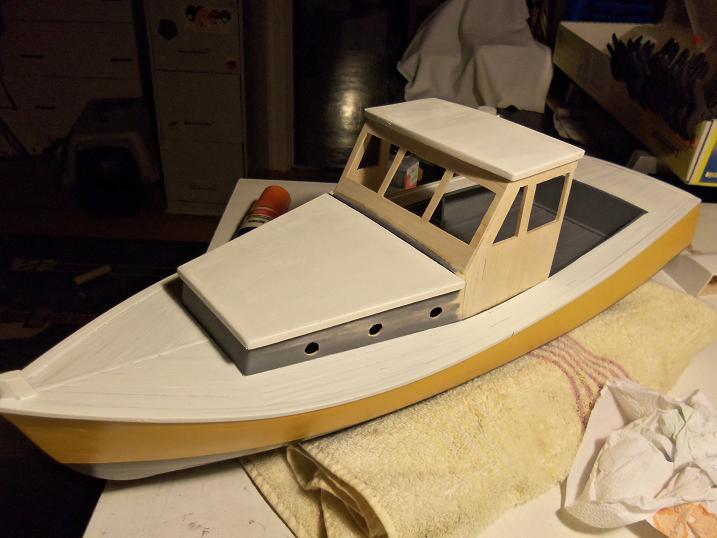
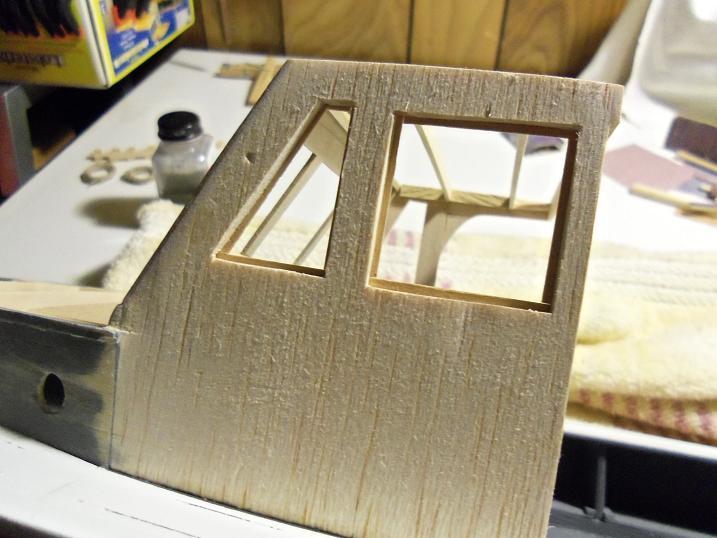
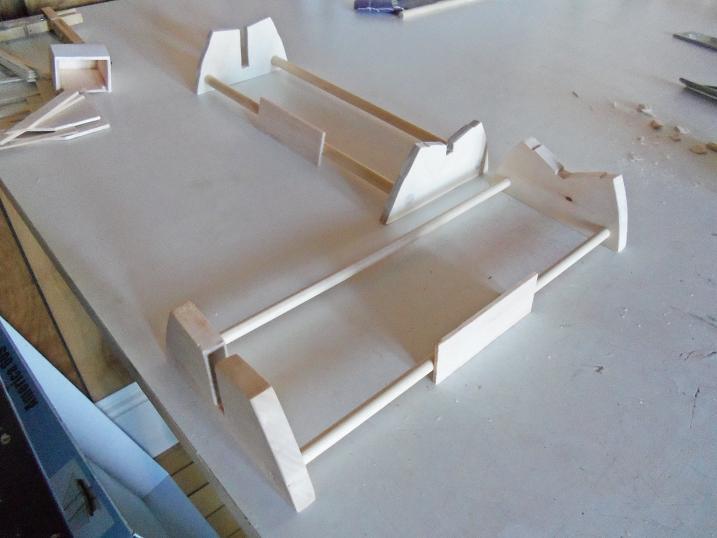
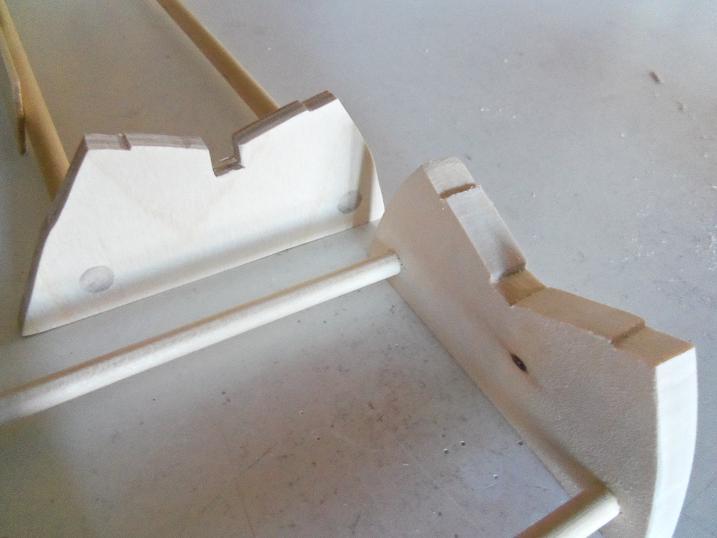
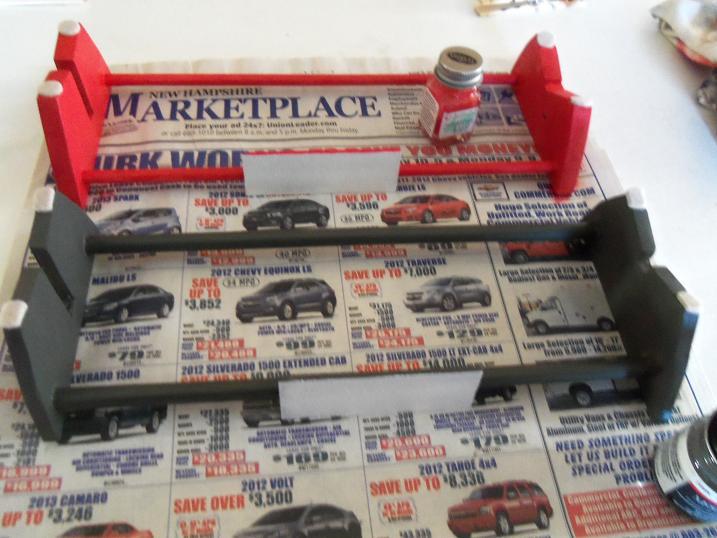
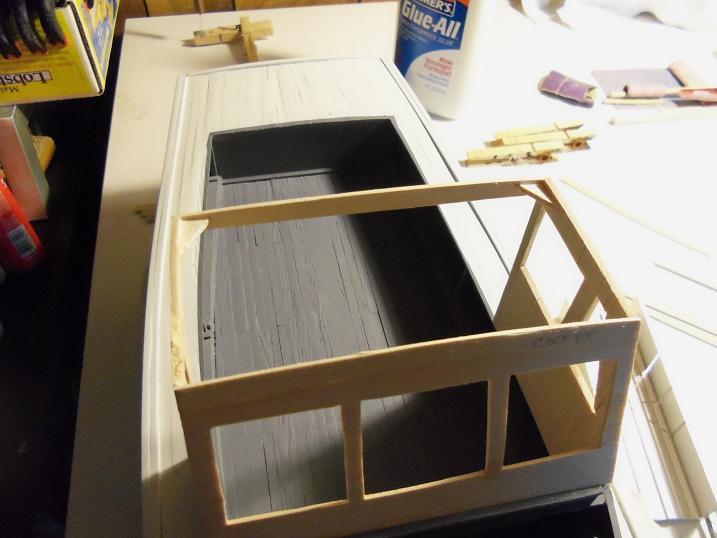
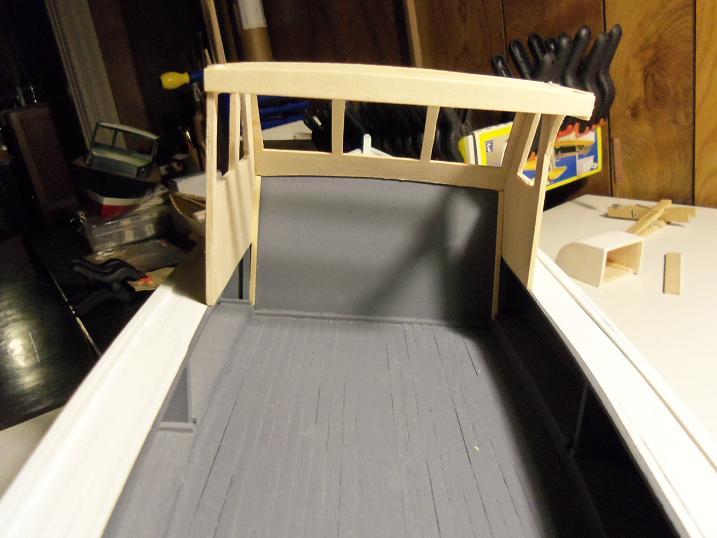
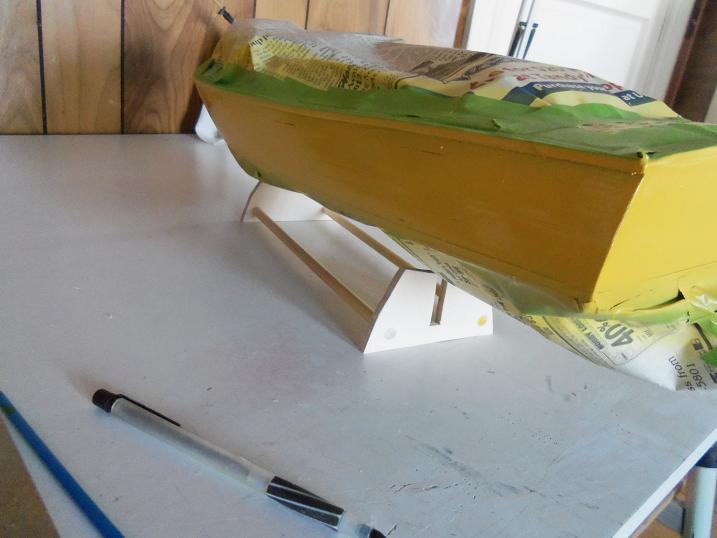
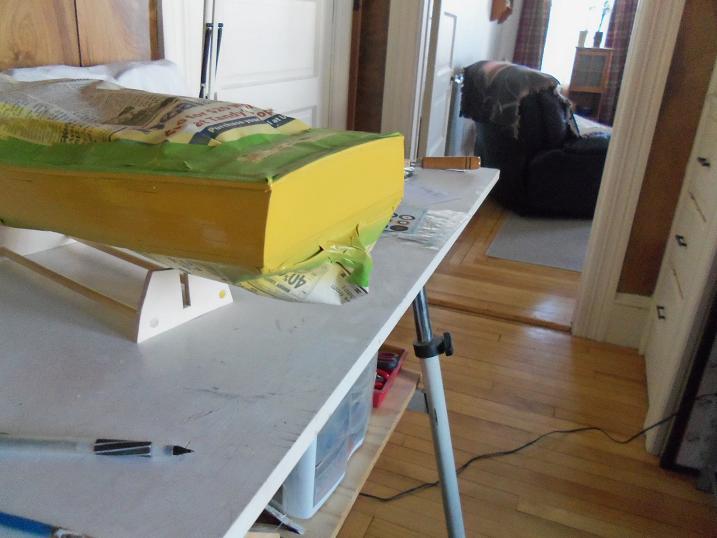
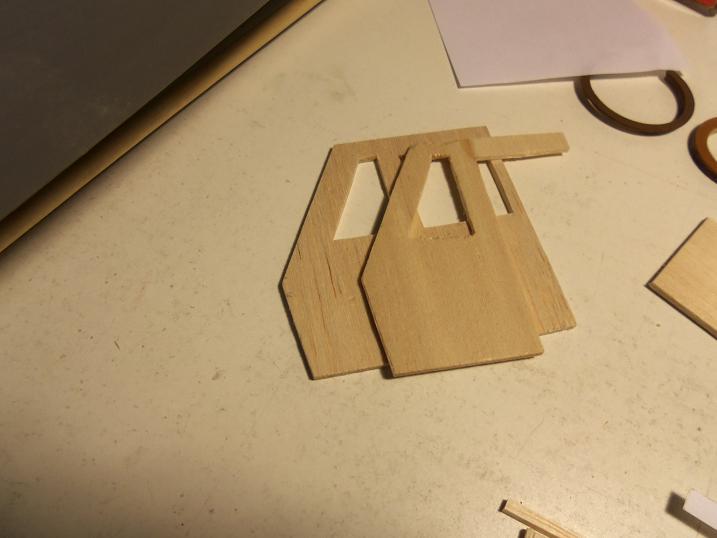
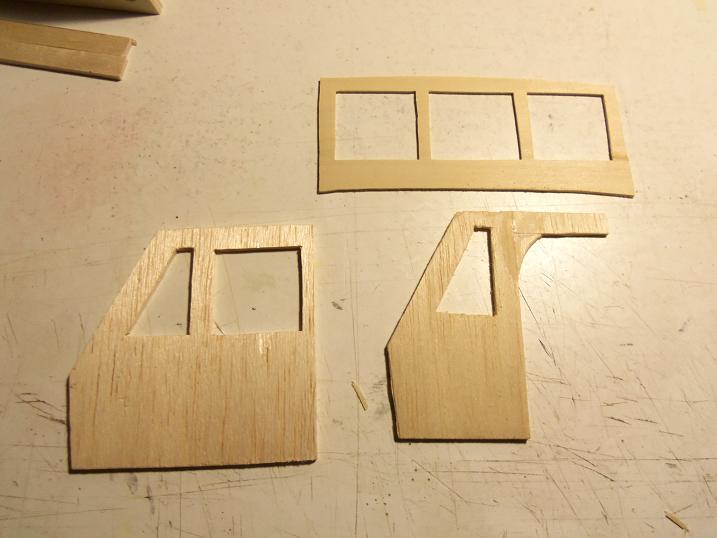
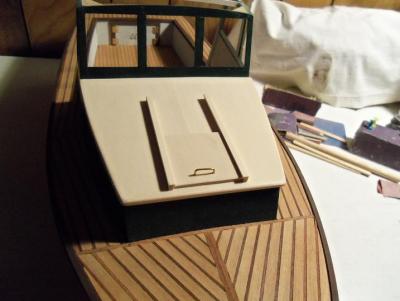
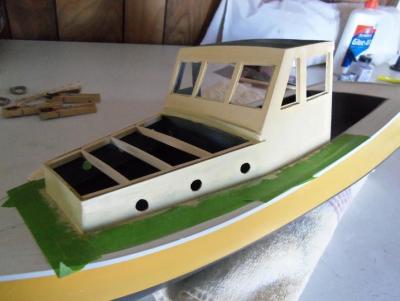
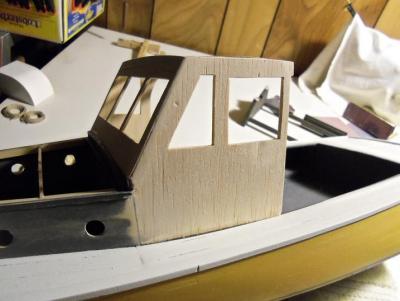
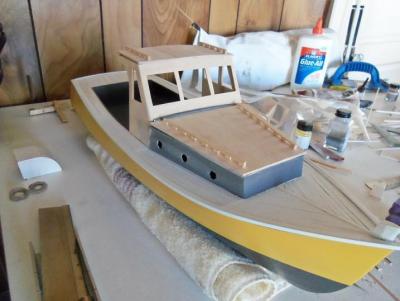
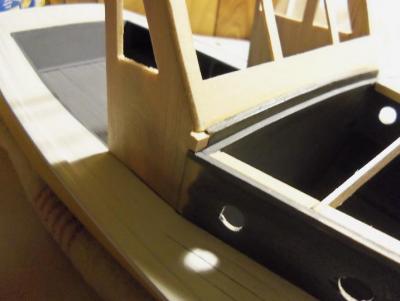
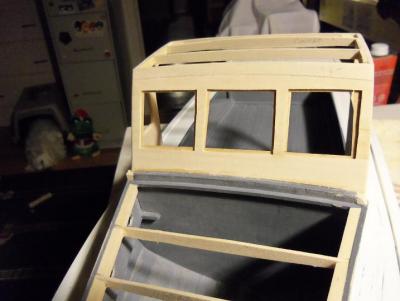
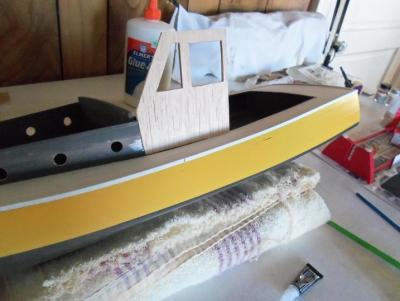
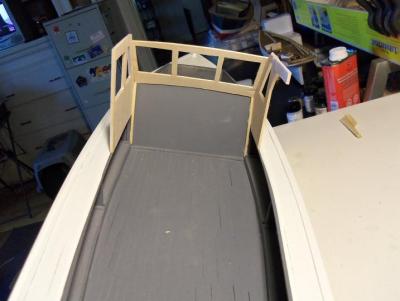
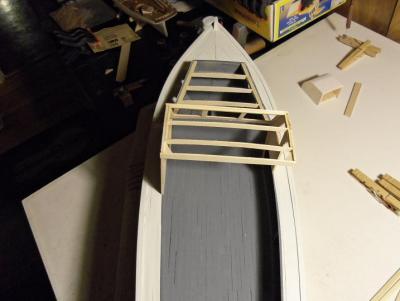
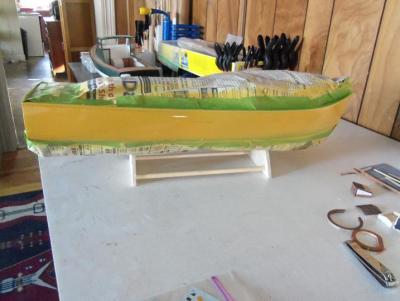
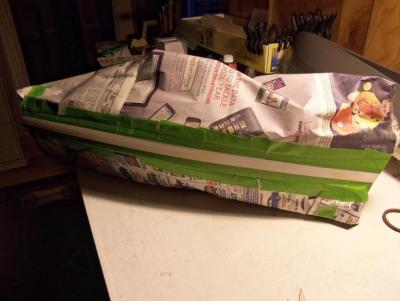
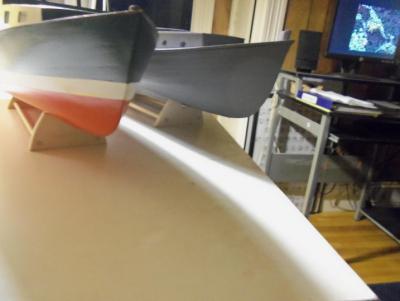
1 - 18 - 2013 The Denny-Zen has out grown the build slip and graduated to the stand I had made for him. I took the both of them and added a name plaque, and painted them up in the process. The helm walls came next........as mentioned, they were done in balsa wood. any imperfections will be left there. the windshield was made from basswood though......I wanted this part to be stronger. there will be some form of framework added to the helm cabin as well. Due to the use of balsa.......I've reinforced the roof frame as well. The fore cabin roof was fleshed out as well. The portholes still needed to have the window maker applied to them......time to prep them for the application.


-
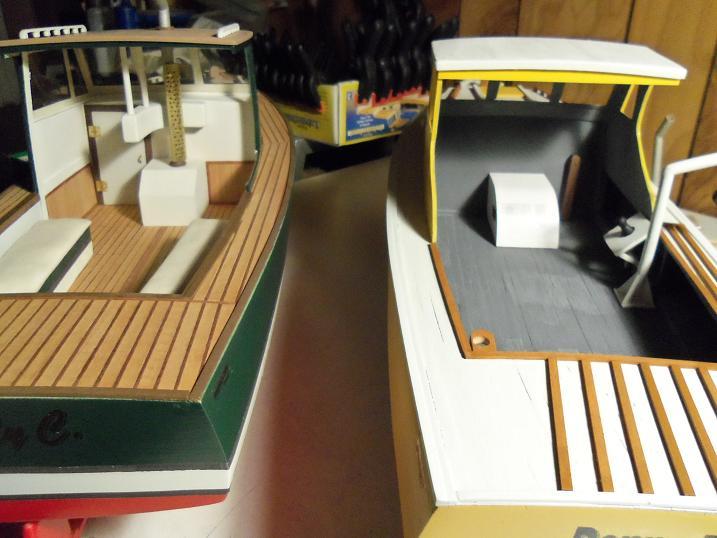
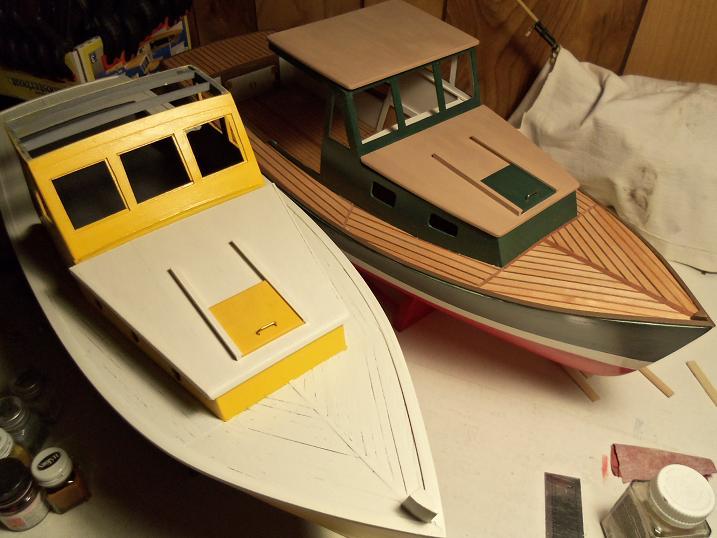
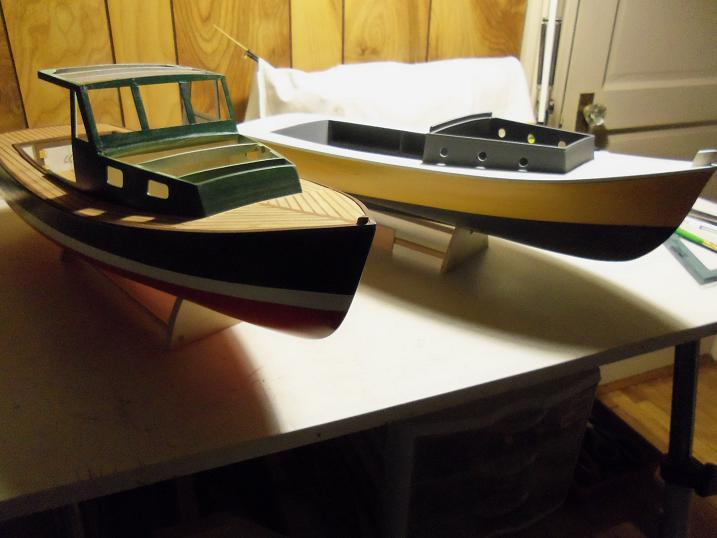
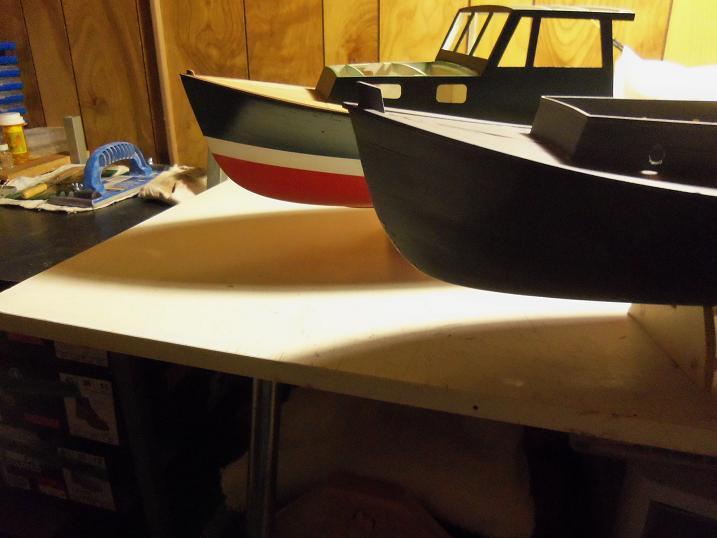
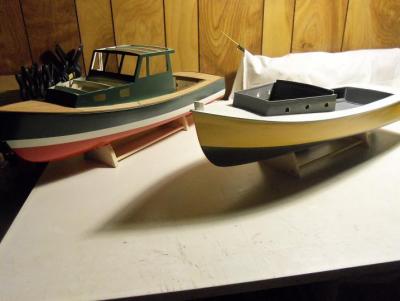
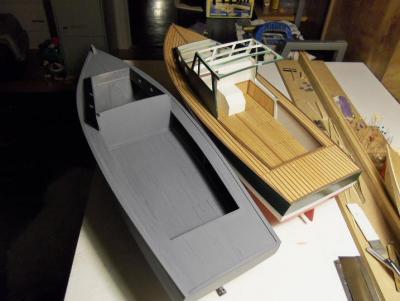
progress comparison - 1 - 17 - 2013 The two were then brought together again for another comparison. They are close.......but they still have a ways to go before they can be considered 'in sync' with one another. the build continues.........


-
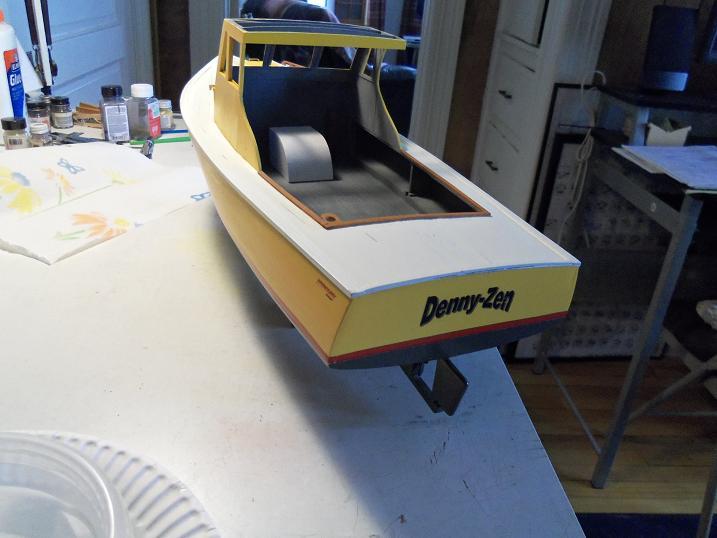
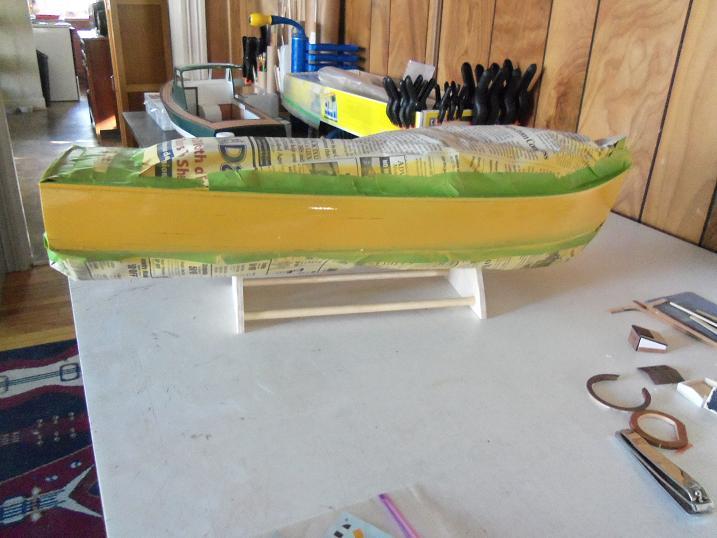
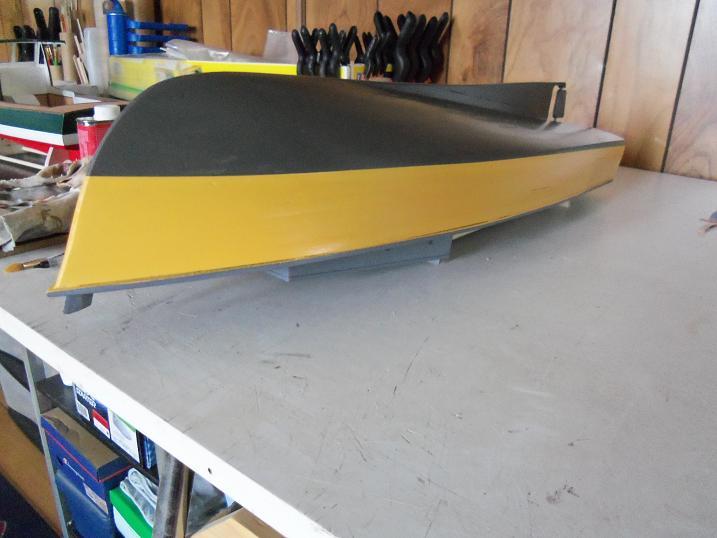
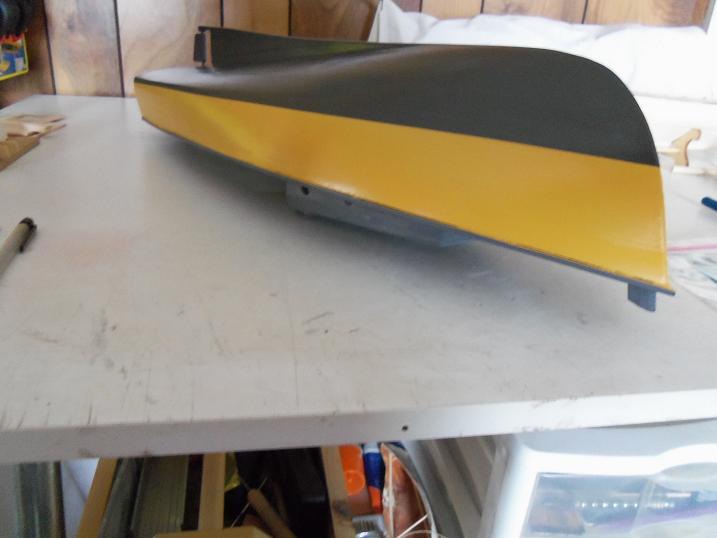
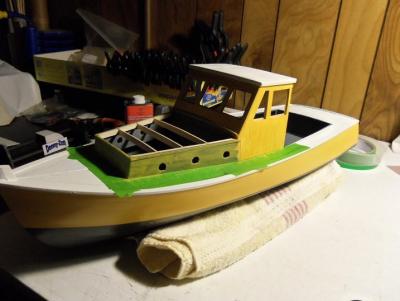
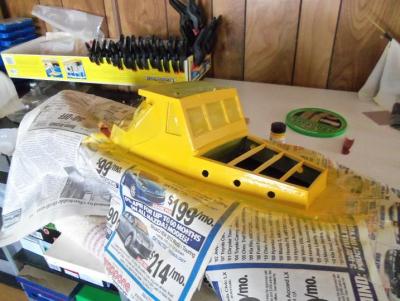
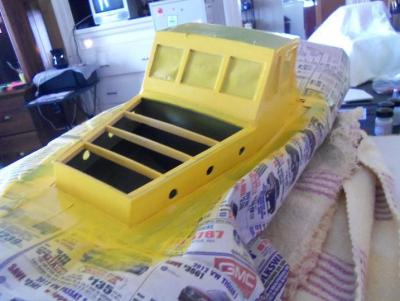
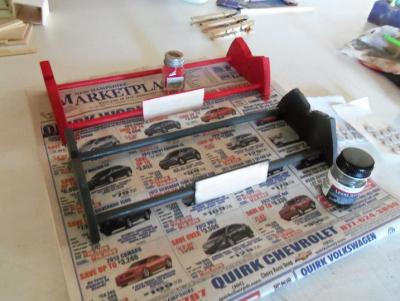
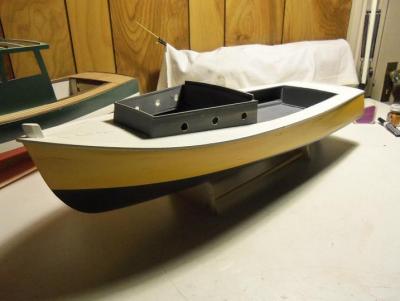
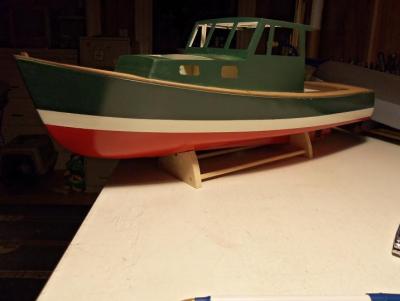
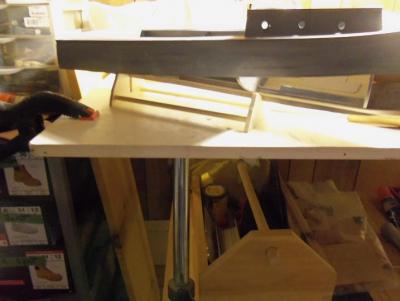
1 - 17 - 2013 Meanwhile, on the other side of the Wharf......... The Denny-Zen was getting ready for the upper paint. the admiral picked this color......figures.....it's the one that I have only one bottle of. OK........if that's what your want, My dear...... The Denny-zen got the sheer deck painted a flat white.


-
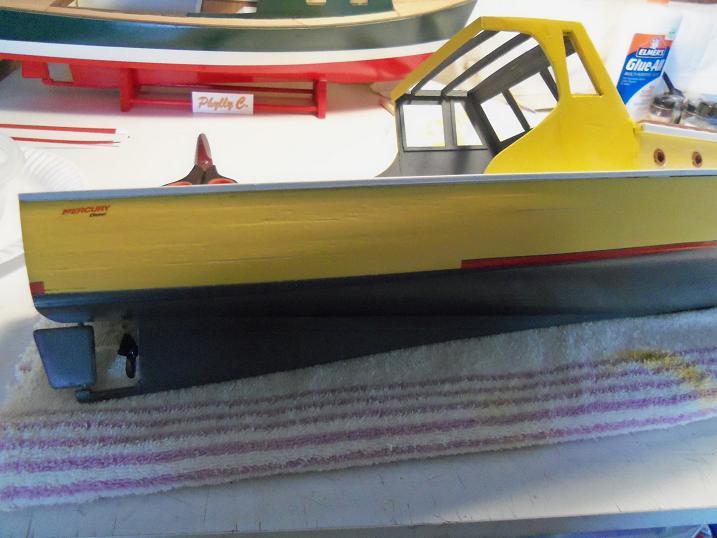
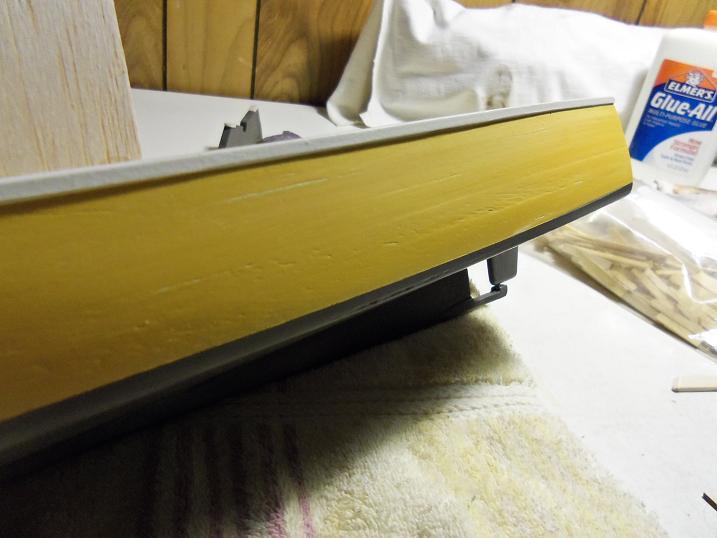
meanwhile......on the other side of the Wharf....... I had made some decals for these two. I showed them before, but here is a close up of them. The white strip along the sides of the hull was masked off and painted.


-
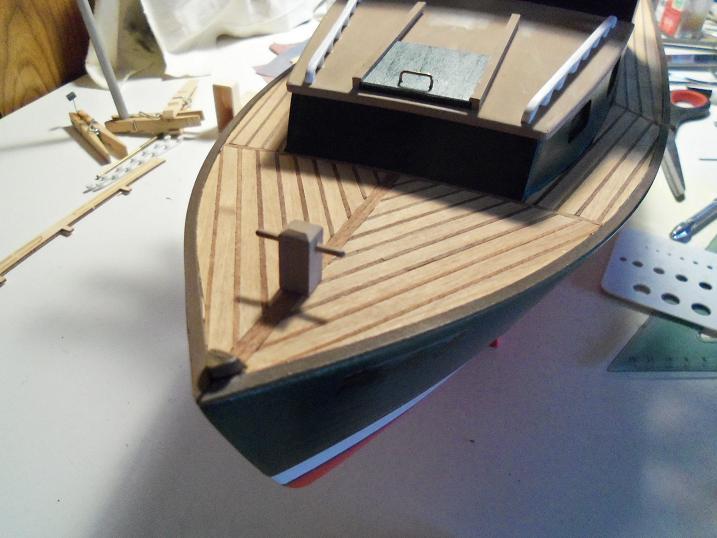
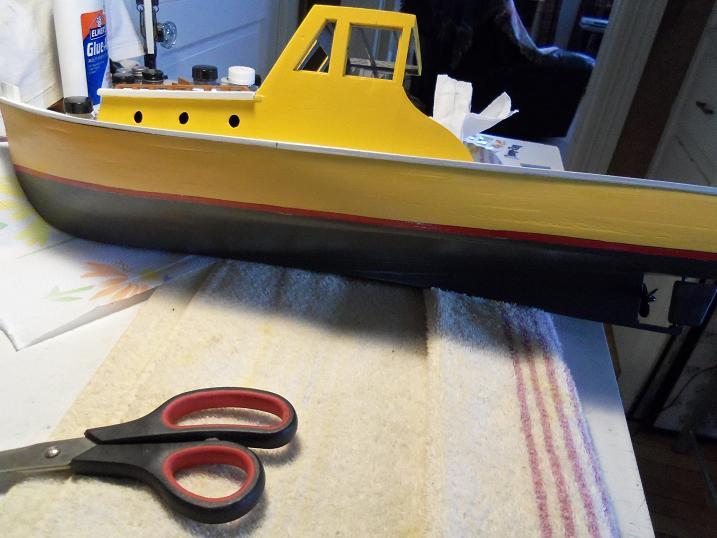
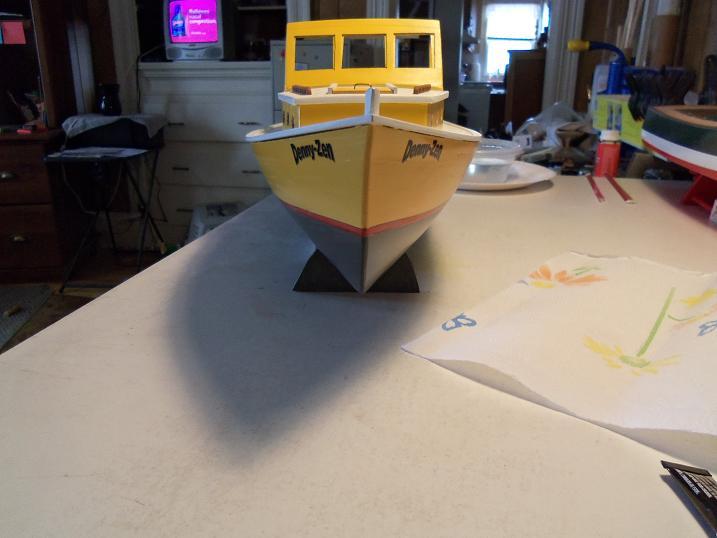
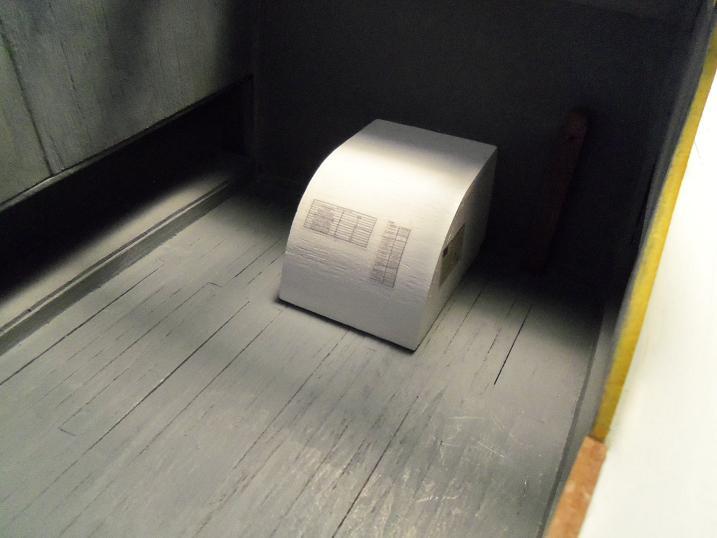
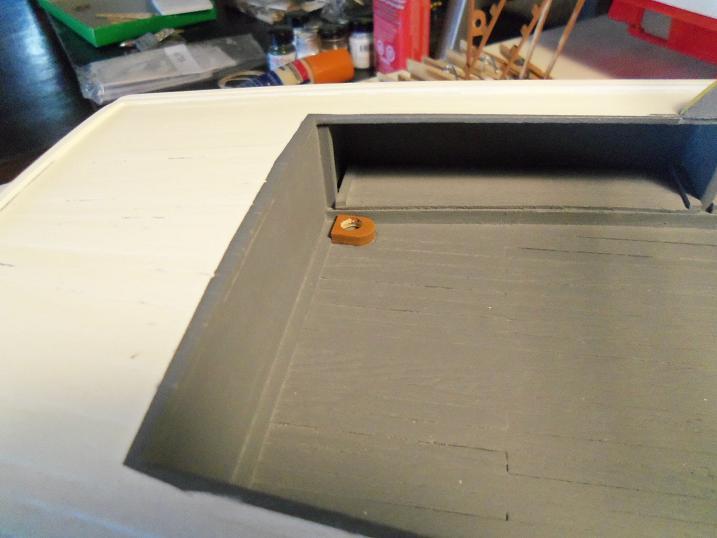
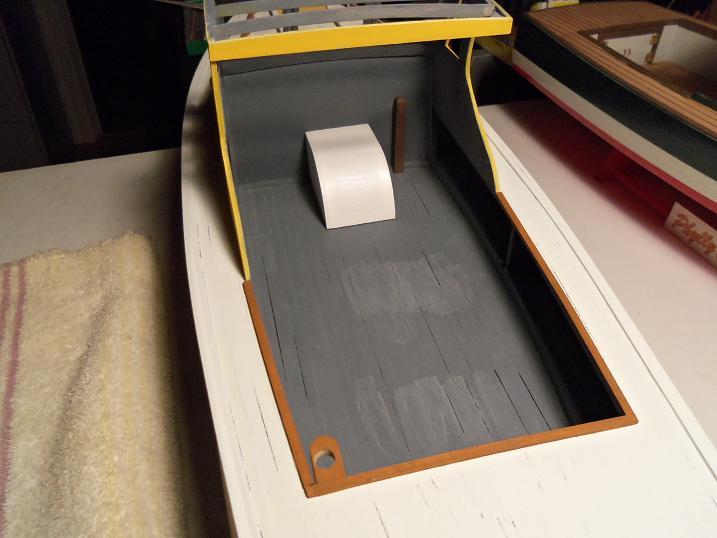
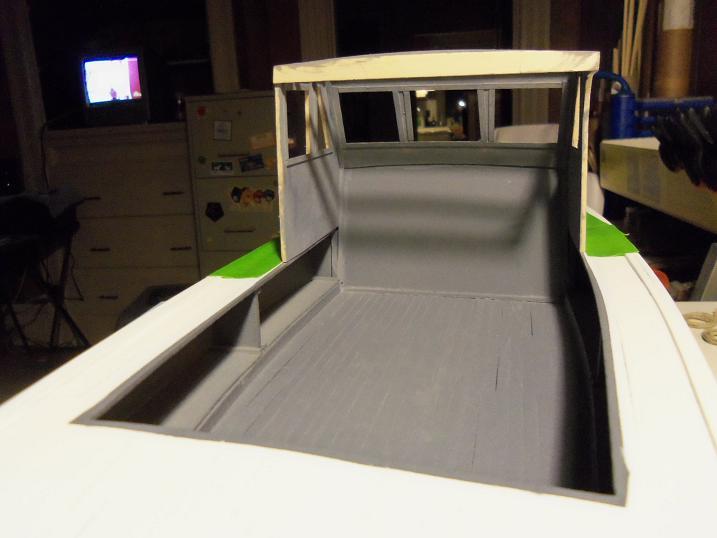
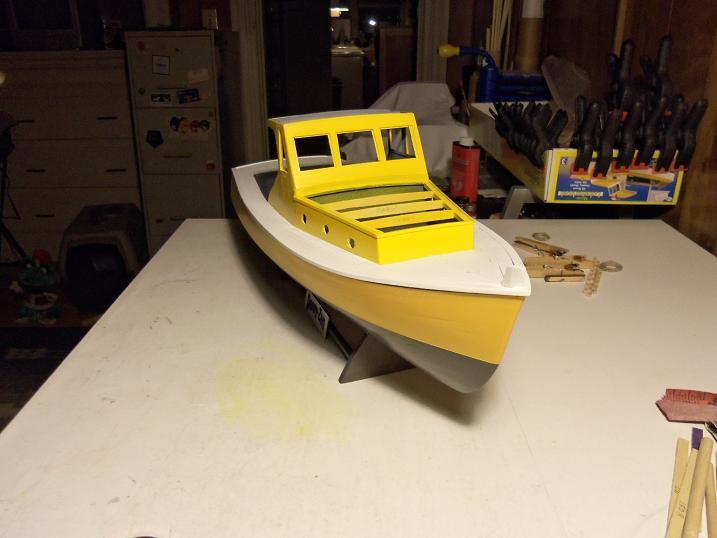
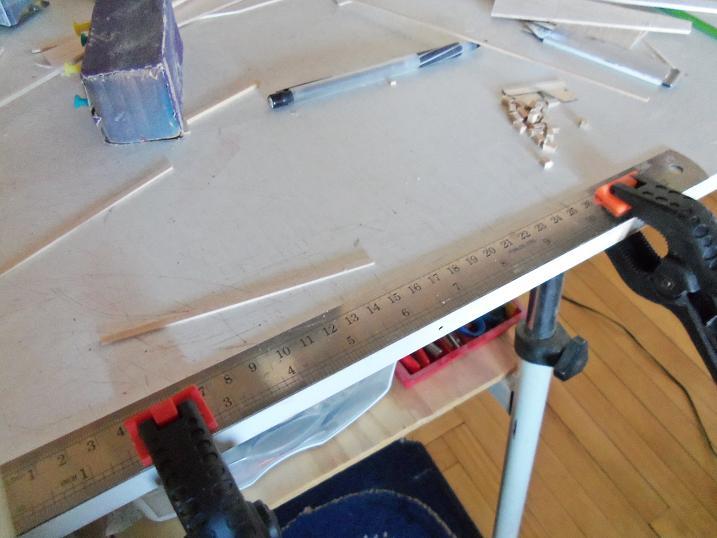
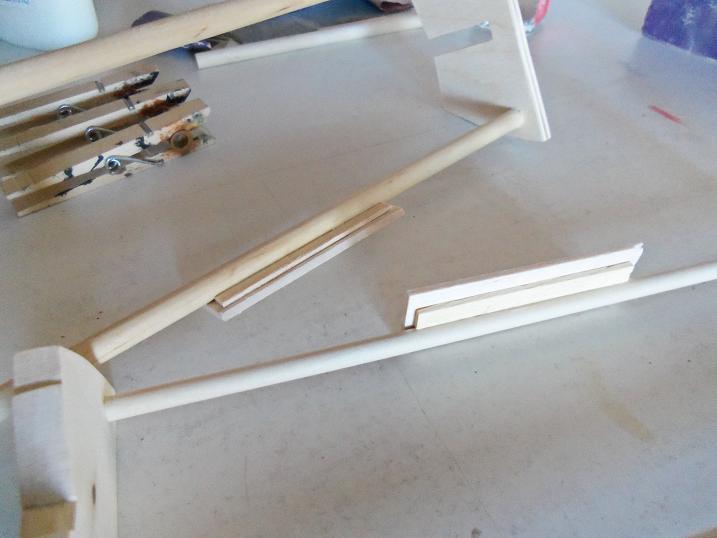
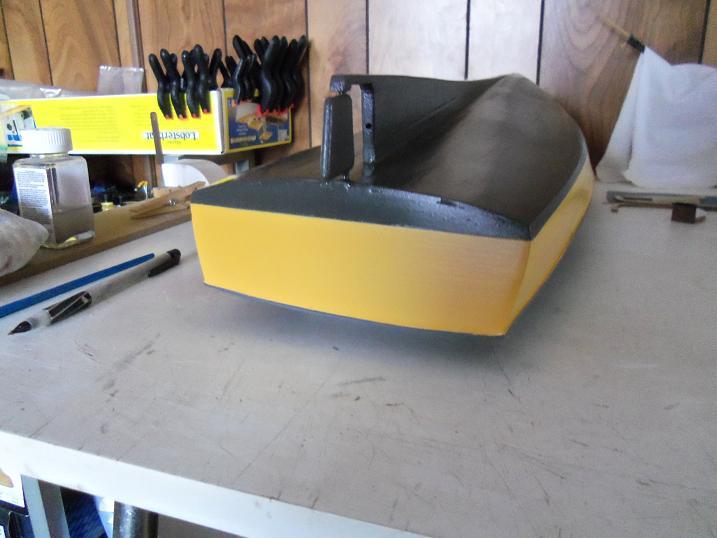
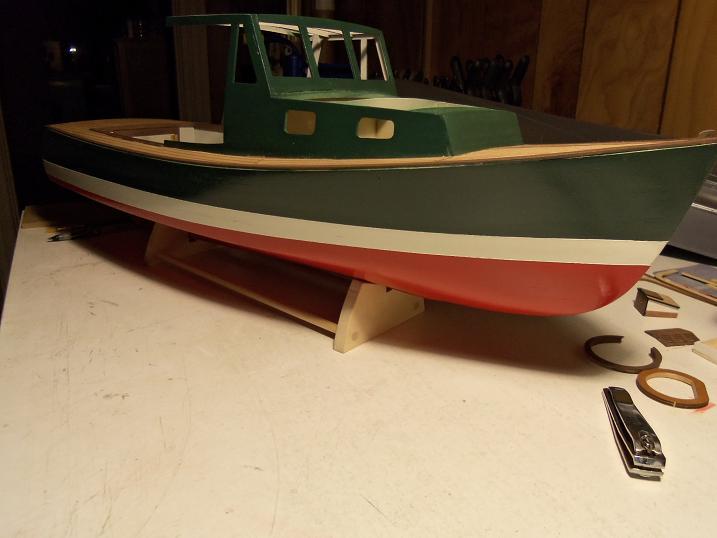
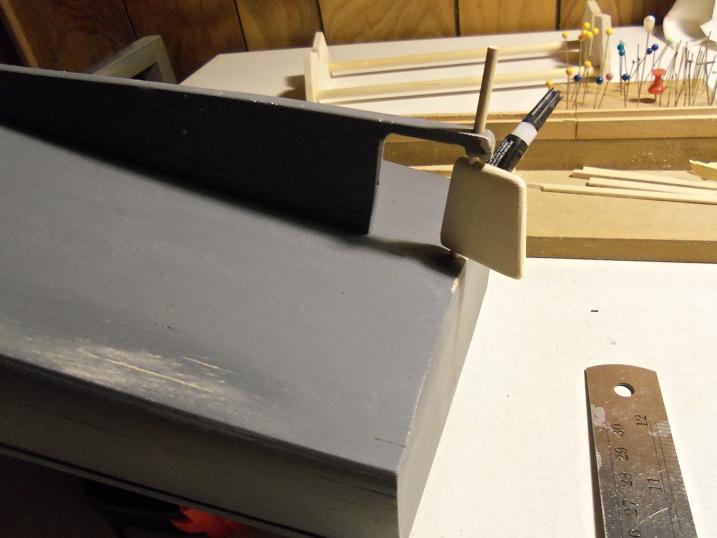
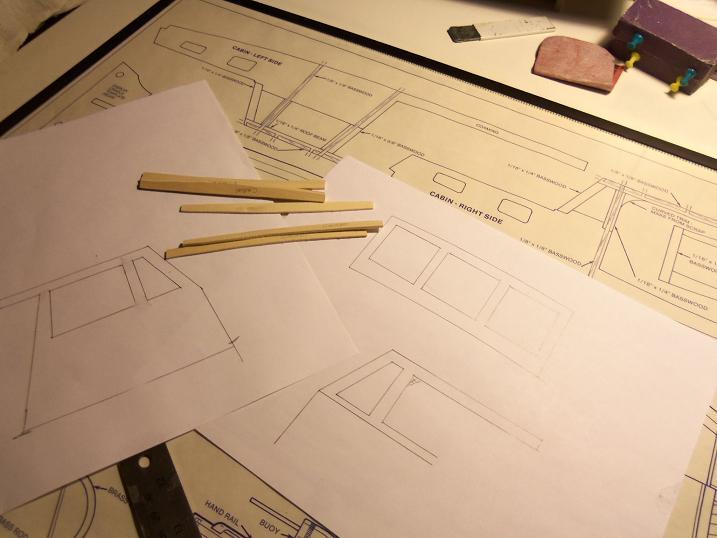
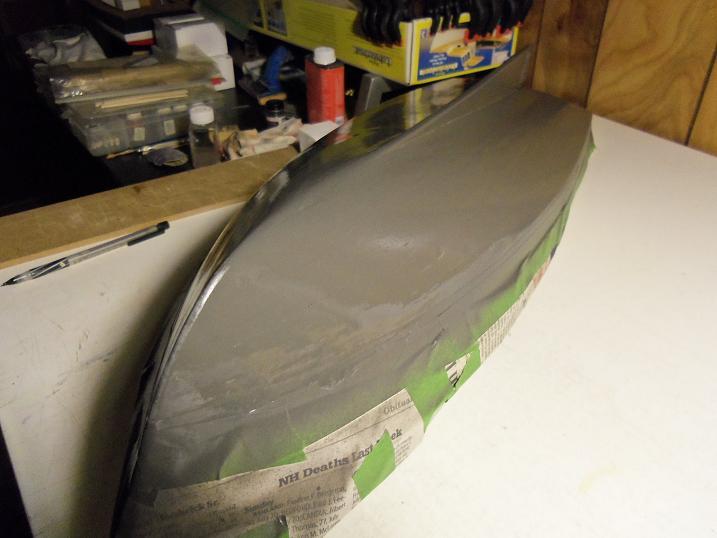
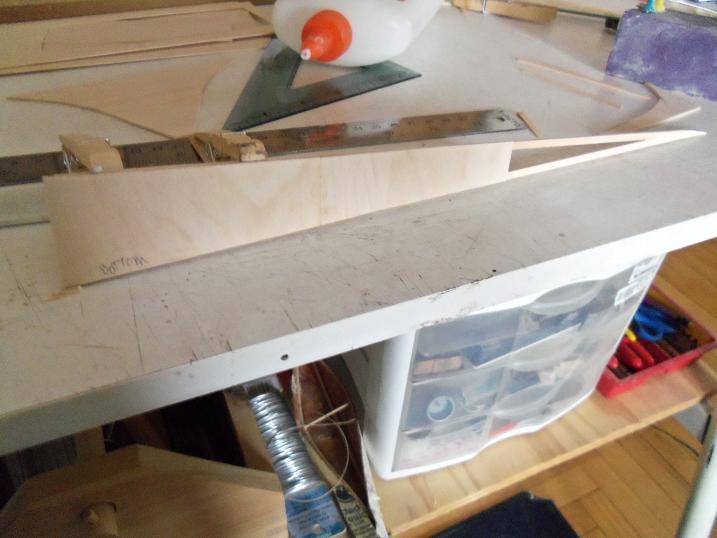
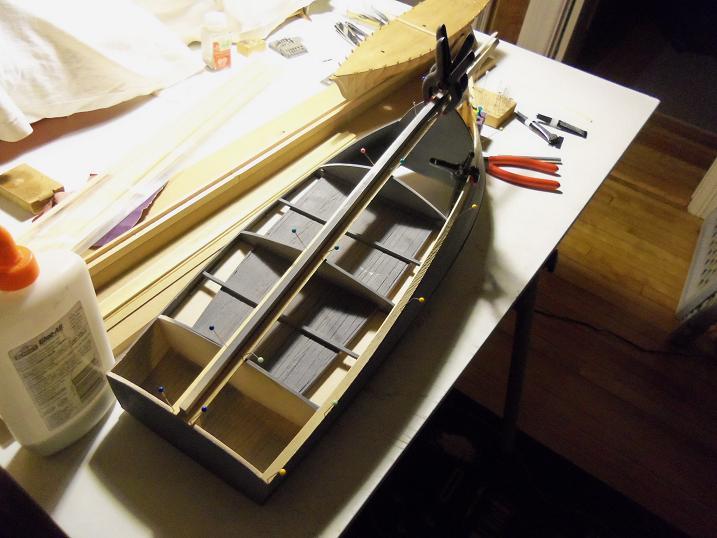
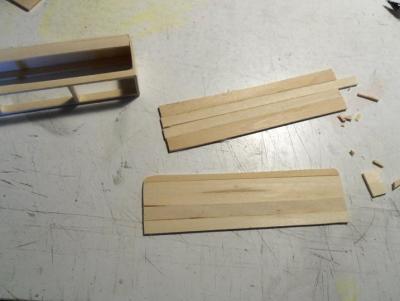
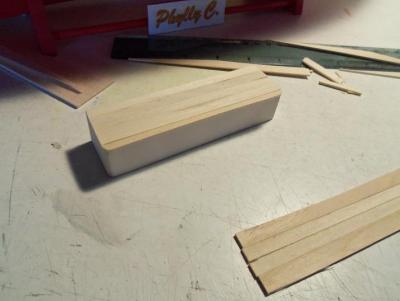
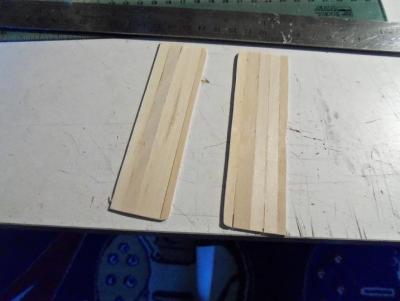
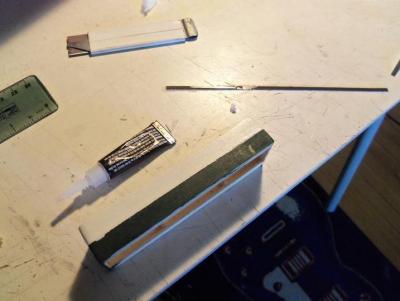
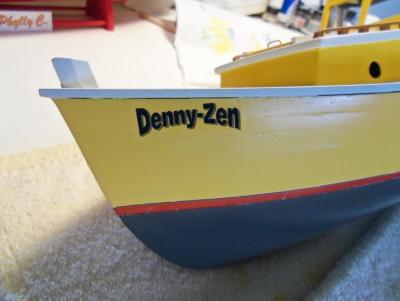
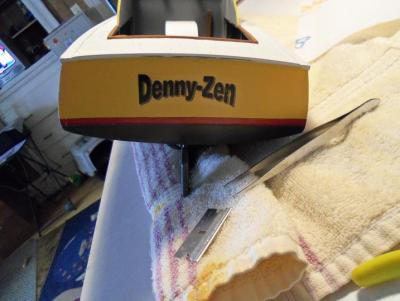
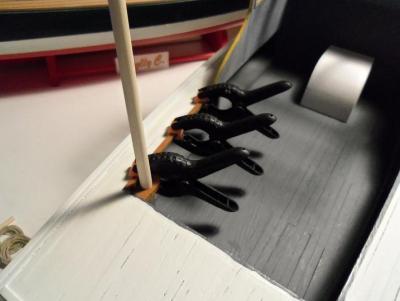
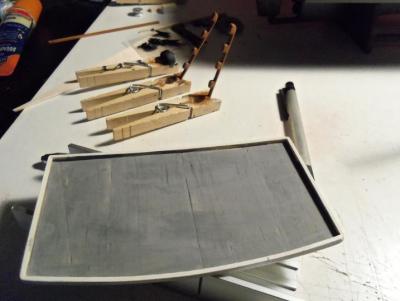
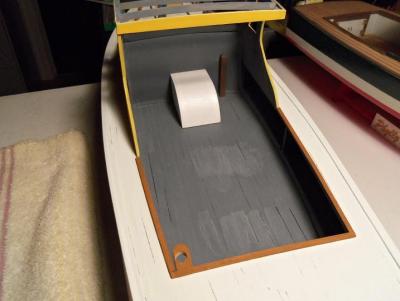
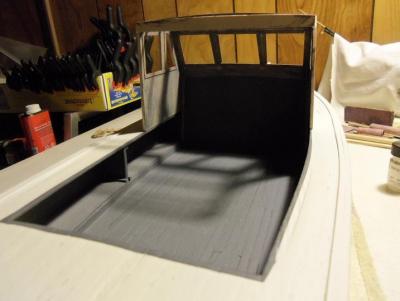
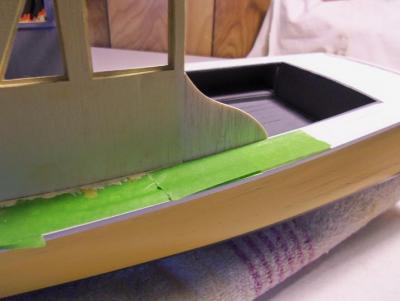
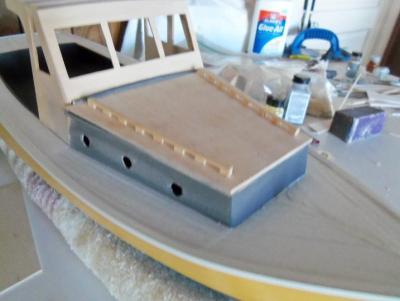
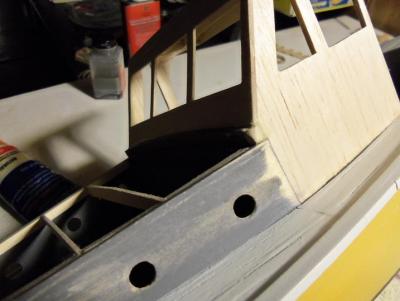
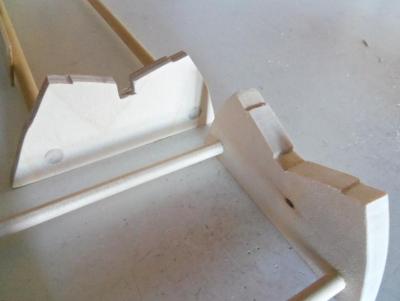
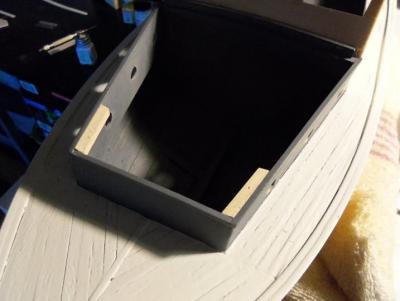
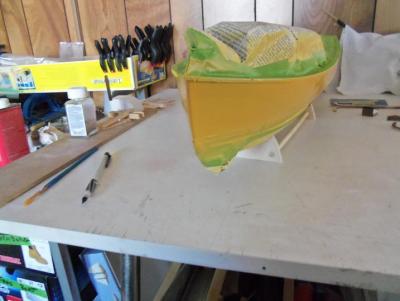
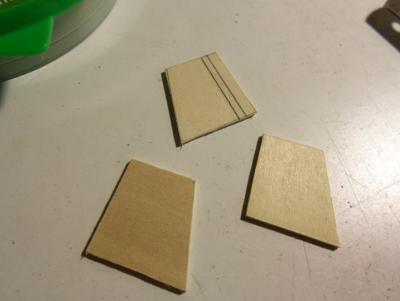
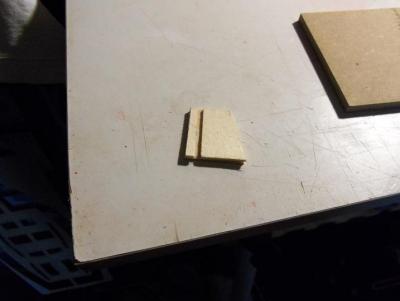
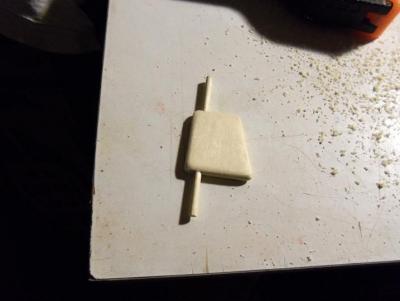
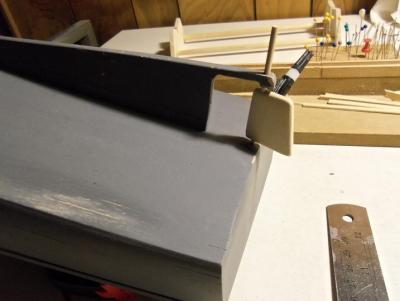
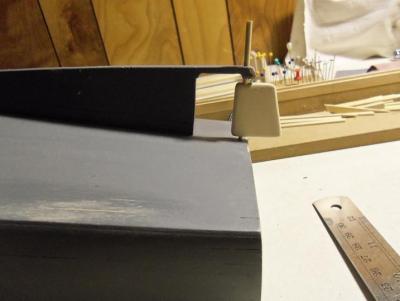
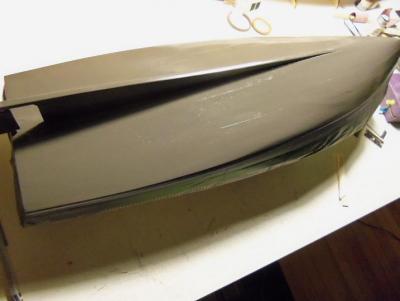
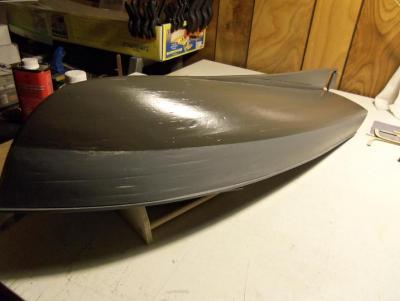
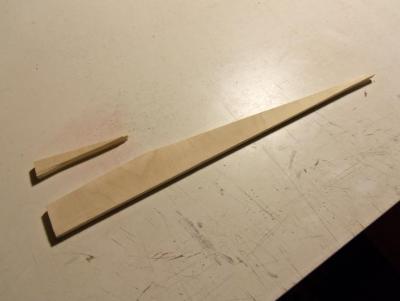
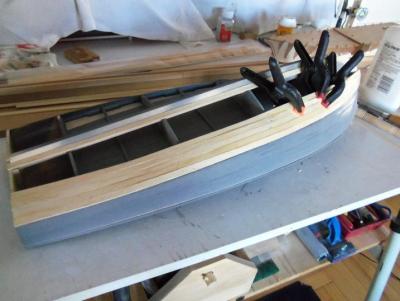
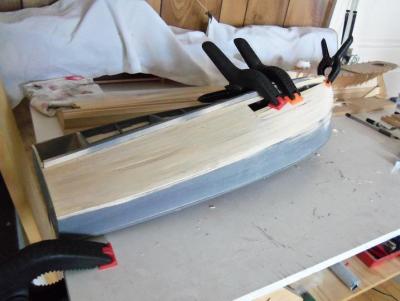
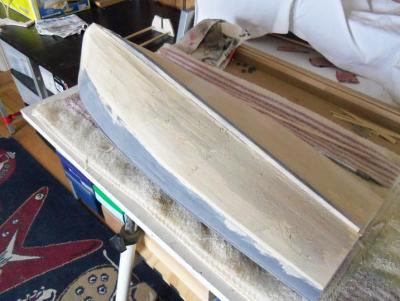
1 - 13 - 2013 The rudder was to be a bit different than the rudder for the pleasure boat. the rudder on the lobster boat sets back a bit further, so the shaft is going to need to run through the rudder. it is made of three layers of flat stock, the center layer has a slot through it, making it a two part piece. This slot will later be drilled out to accept the shaft. The next step will be to make the helm cabin sides. they were traced out from the plans, but will not be made the same way. I want the helm wall to be shorter, as well as the roof. 1 - 16 - 2013 The engine cover is to be made at this point. due to the lack of basswood flat stock, I'm having to use the excess balsa from the hull sheeting. in making this boat......I'm not being exact.......I'm not even fixing some of the minoe imperfections in the hull and on the decks. I want this boat to look old.....I want this boat to look used.......I want this boat to look like a lobster boat. the bottom hull was painted with the gray primer......this will turn out to be an achillies heel later on. I decided to leave the interior this color......it looks aged and old........I like it! I had made up some decals for the both of them.......their names have been decided. the pleasure boat will be 'The Phylly C' and the lobster boat will be 'The Denny-Zen'. the hull also got the bottom paint.....dark drab.


-
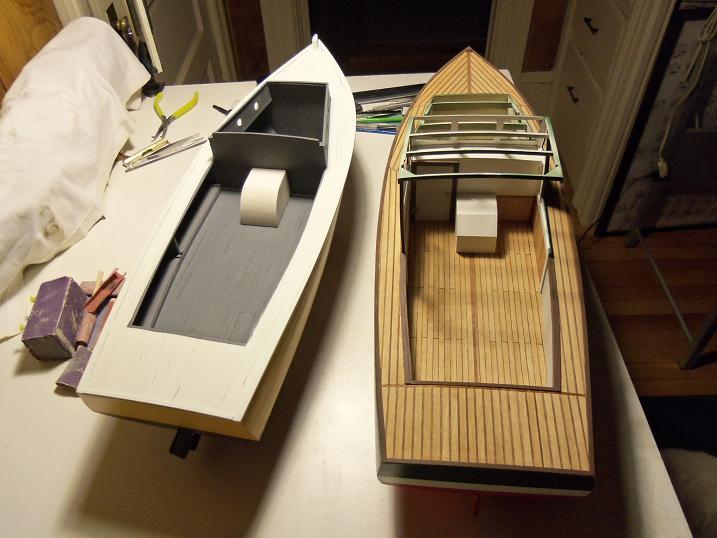
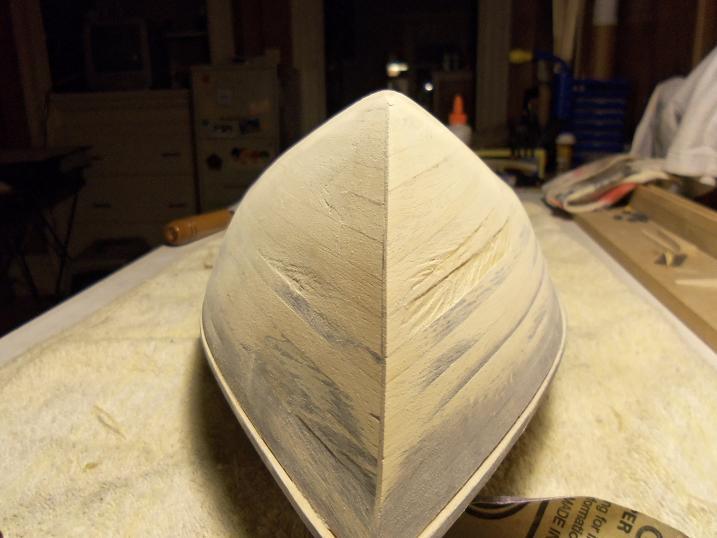
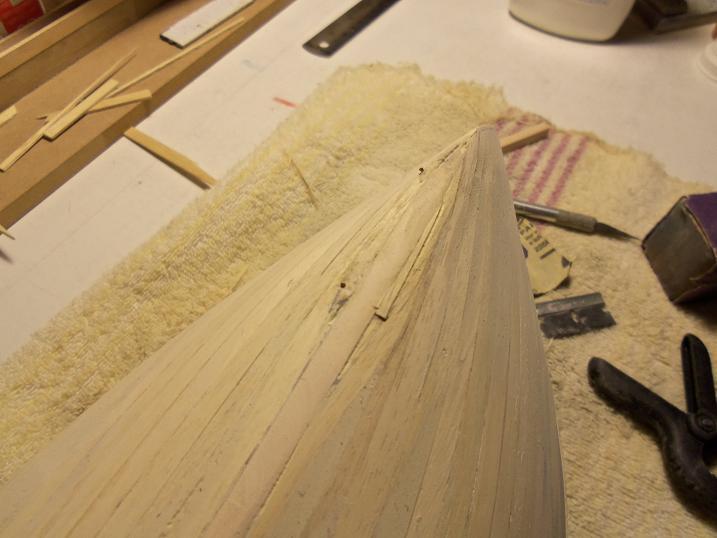
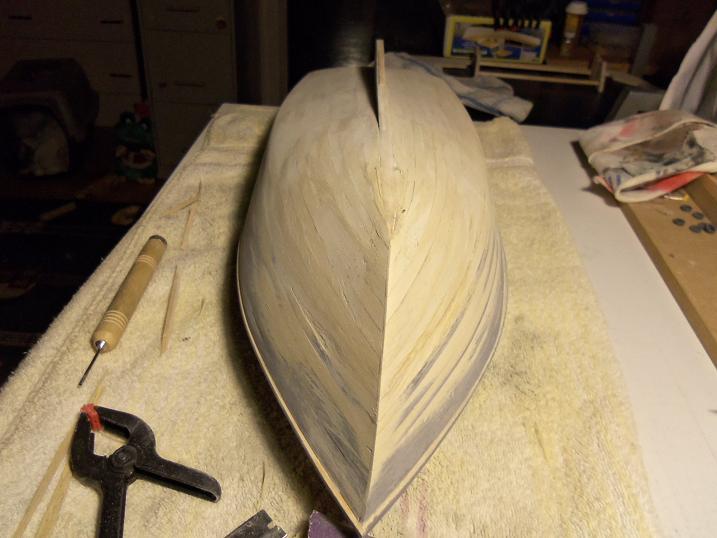
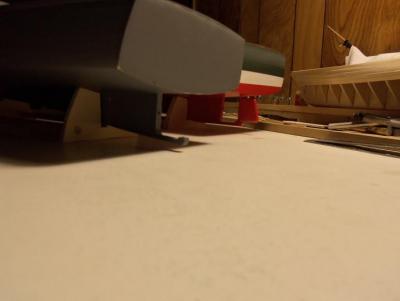
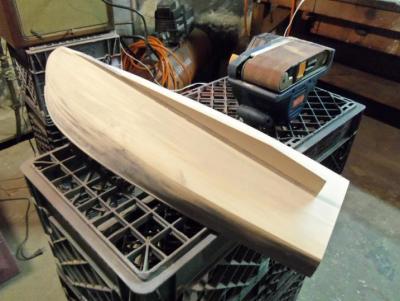
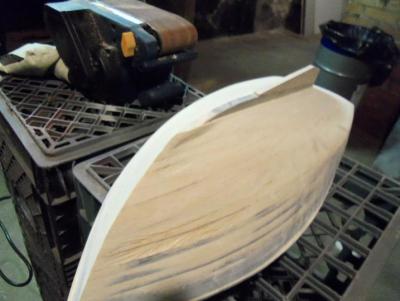
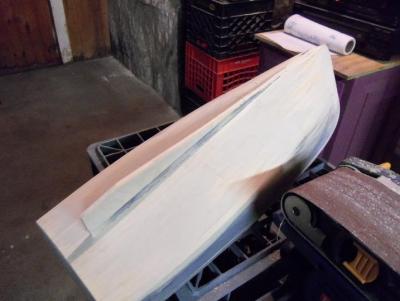
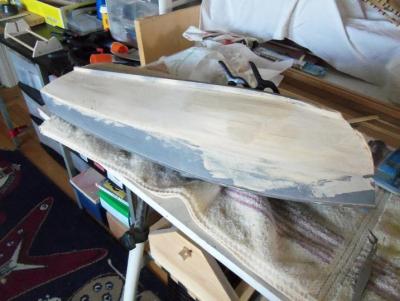
1 - 10 - 2013 After some repairs, the hull was fine. more sanding was required to make both sides equal to one aonther. the shoe and rudder assembly was made at this time. I have to order a prop and ship's wheel for the pleasure boat......I'm using the kit supplied parts for this build. the comparison with the cut of the bows is good.


-
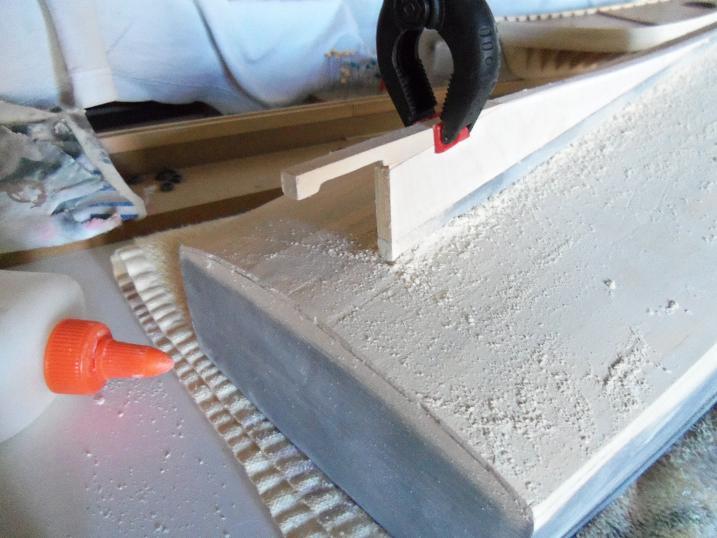
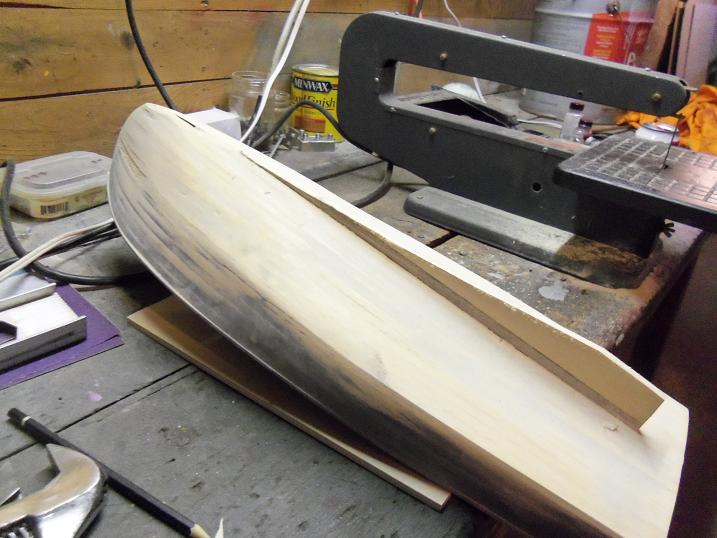
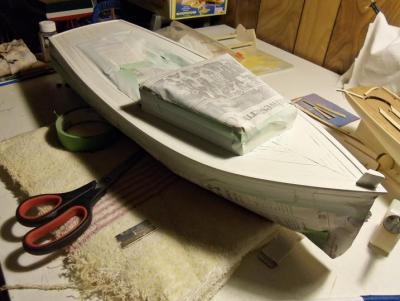
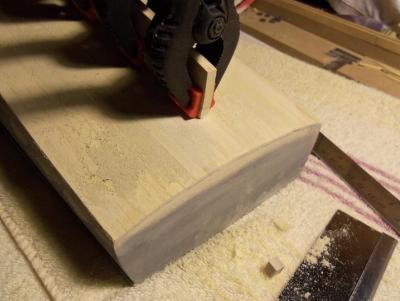
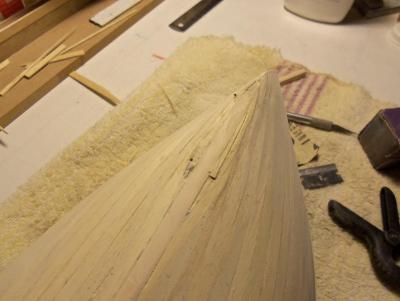
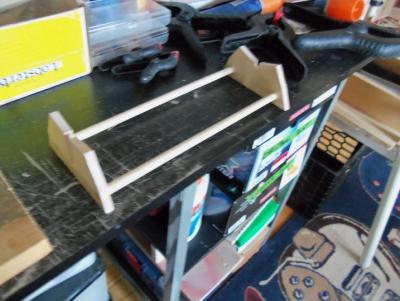
1 - 9 - 2013 I needed to make the keel fin. Then the shoe and rudder can be made for it. I decided to make the fin from strip stock, covering it with flat stock. I know that down the road, I will have to sand the entire length of the keel down to even it out and level it with the contour of the hull bottom. Here, I cut off the bottom edge of the fin........the shoe will need to be fitted here. now it is brought down to the laboritory..........are we ready for the operation......we have to decide just how much to take off........ It went well, but it didn't come without consequence........the belt sander went through the hull in a few spots, and did sand the fin a bit too much. after some repairs.....everything was just ducky!


-
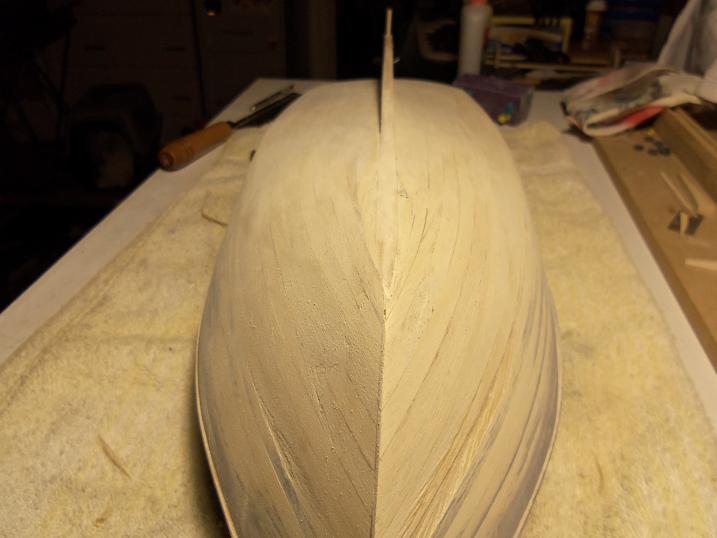
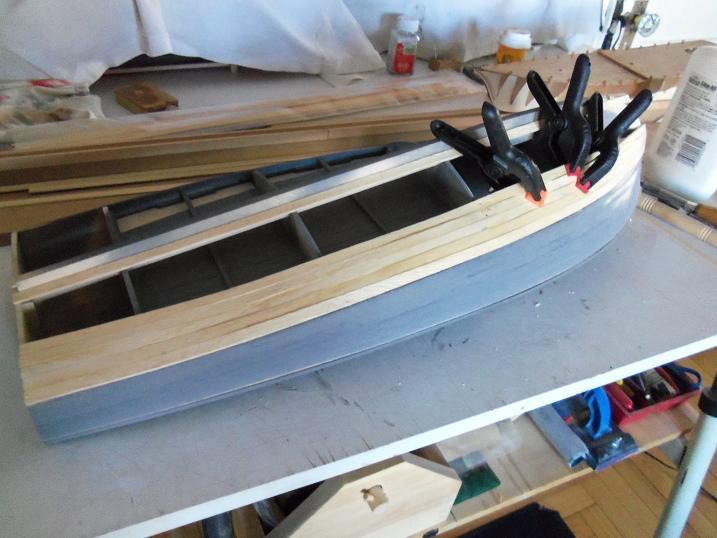
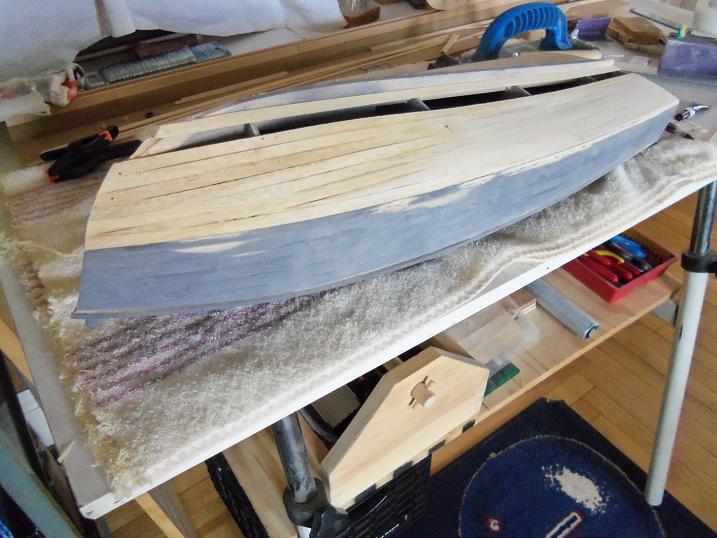
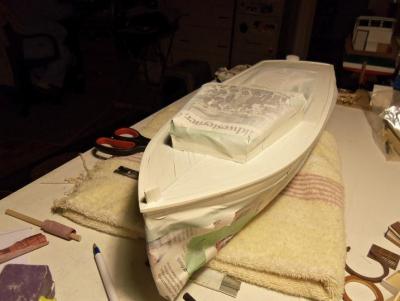
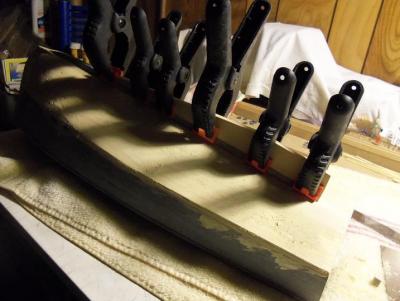
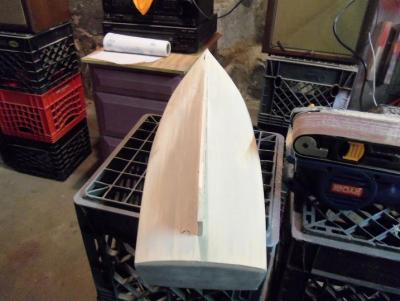
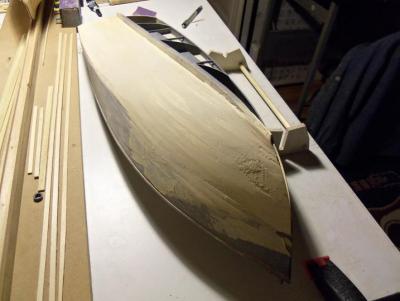
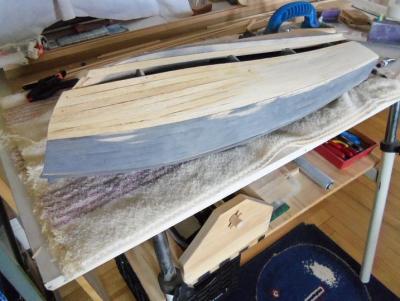
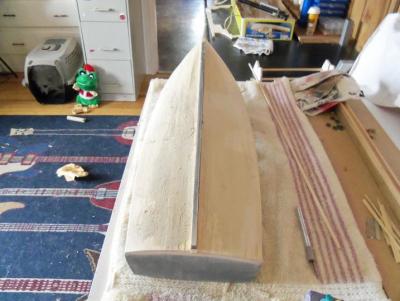
1 - 8 - 2013 The new year didn't stop the build......we turn the page. time to close up the hull. With the hull closed up, sanding and painting can commence. there was a small problem with the planking process, due mostly to the lack of ribs, but I was able to get the job done. should I ever do another one.....extra ribbing will need to be added to keep the shape.


-
thanks John.......yes.....it's coming back! I'm pleased to add in everything....even the time line.....I can't wait to be able to merge these two together......then I can post what I consider......the good pictures! glad you found me Sjors......I see you have been up to your tricks here........Anja taking your cannon balls away LOL! I will look forward in watching some of the builds you mentioned for the future!
-
so.........you scuttled the ship to make a new improved version......yeowza! did you......or are you going to reuse any of the parts from the old build? must be something there that'll make you life easier..... I'll enjoy seeing it all again.