


popeye the sailor
-
Posts
16,007 -
Joined
-
Last visited
Content Type
Profiles
Forums
Gallery
Events
Everything posted by popeye the sailor
-
 this is the reason why I didn't weather the boat......it's so confusing. I'll do a bit more to the traps anyway. I also have to furnish the interior. thanks for the pictures John......I've seen lots of pictures though......you can see just how versital this type of ship really is.
 -
not a problem Kats.......it happens to me too..... I'm just glad your getting all this back up
- 237 replies
-
- 1
-

-
- cutty sark
- revell
- (and 2 more)
-
that's true Augie........that's how they used to do it. the animal rights activists thought that was inhumain.......isn't eating them just as bad? no Bob.......he just has a very good pit crew.........LOL! thanks for the good word
-
thanks Rick and Patrick........model manufacturers do a pretty good job of supplying the parts to make some really fine models. there are some parts that we see that might not give a good representation of that particular aspect. I see something that can be done better...I'm going to try it. now that I've tried this and see that this is a doable thing.......I can do the same thing to the galley skylight on the Gothenborg........there's one in that build as well. thanks for the good word!
-
thanks Carl........now I know what to do about the galley skylight in the Gothenborg build
-
that's in the plans Wayne........perhaps not the bevs though......I run a tight ship! leave that for miller time it can be done Sarah.......I have bev containers in my M&M build.......the dollhouse dept can be a good place to find cool things. there was a time that I wouldn't frequent craft stores......but now, it's a whole different story. the jewelry dept.....stenciling.......just a few places where things can be found to accentuate the hobby. gotta be careful of the colors though.......don't want to clash dowel would also be a good material to make bottles and cans
- 552 replies
-
- 1
-
-
- maine lobster boat
- Midwest Products
- (and 1 more)
-
as mentioned gentlemen......thanks for the good words. this gives me quite a bit to think about for when I get back to them.....combined with the ideas that I already have......I can see that I am not finished by a long shot. we shall see now........now........don't pick on Sjors........he has a style all his own
-
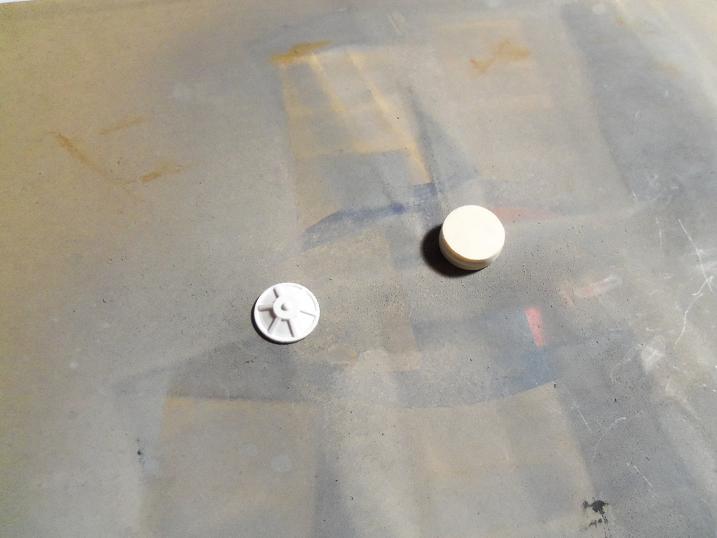
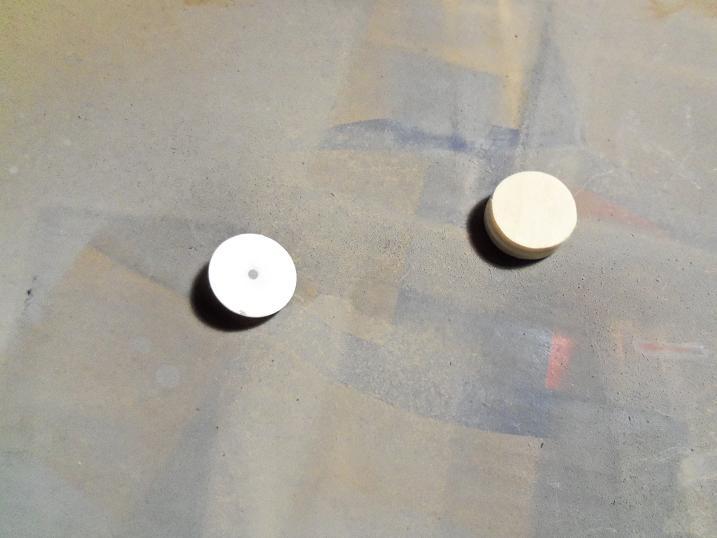
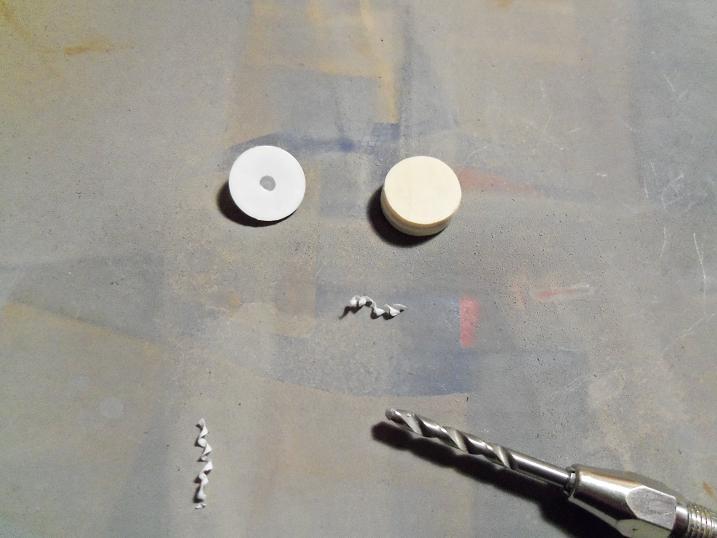
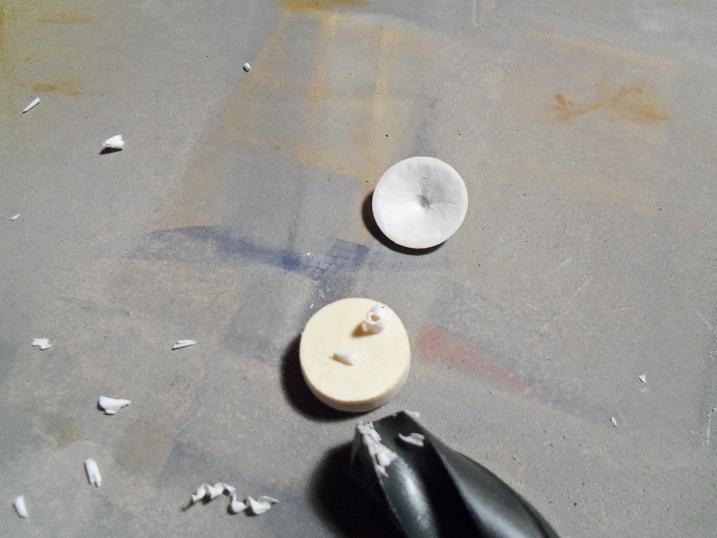
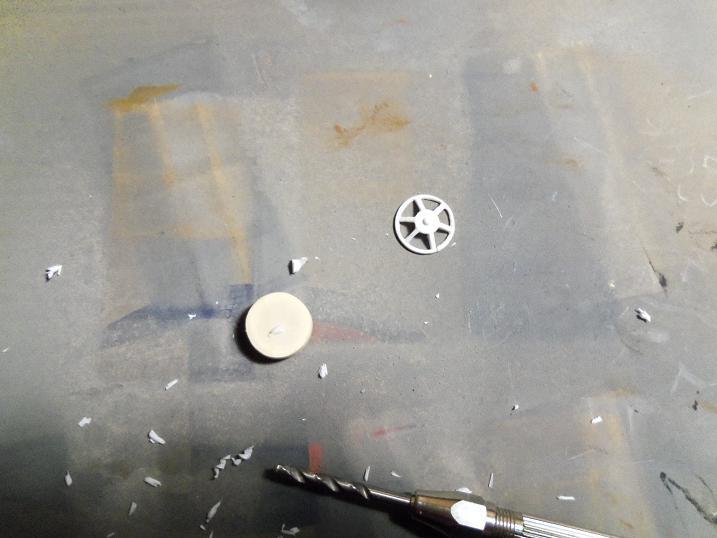
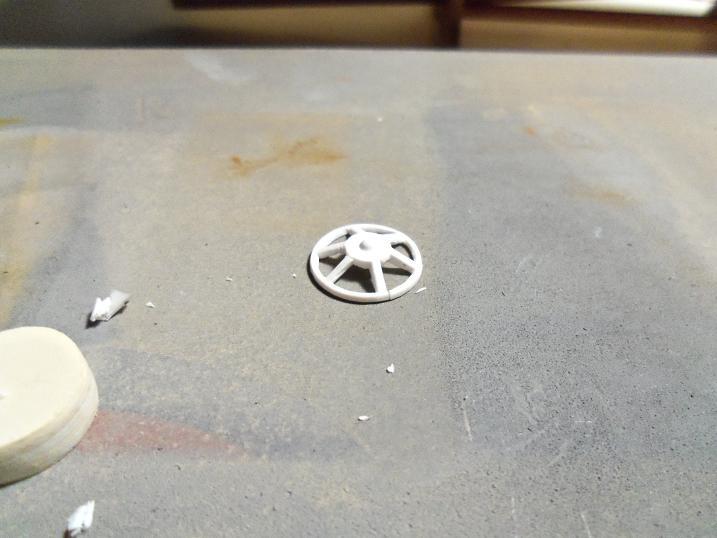
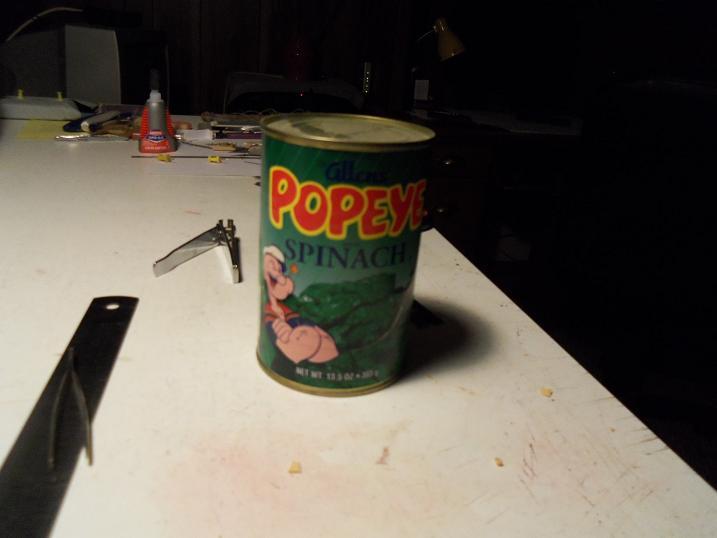
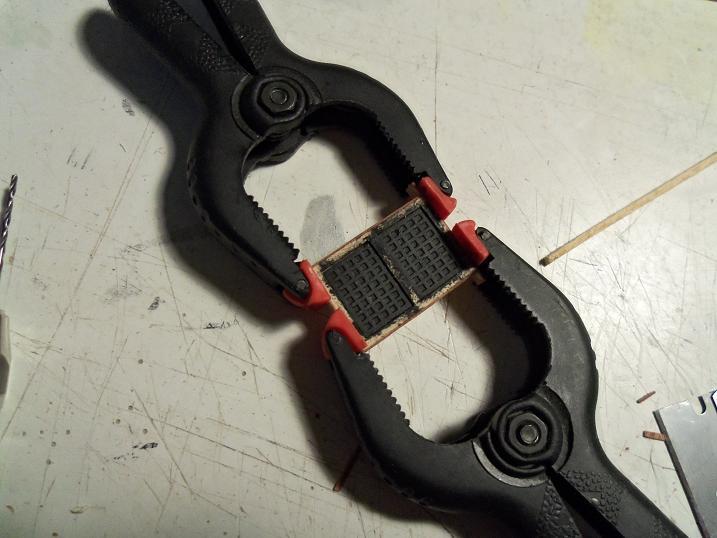
As mentioned, after I had finished posting, I wasa bit miffed. I didn't want it to look like the part on the kit. this is not normal plastic.......certainly not a styrene plastic by any stretch. looking at the underside, I noticed the dimple in the middle.....looked like a good starting point....I drilled a small hole, but not deep enough to go through. then I chased it out with a larger drill then, using a new 1/2 inch drill bit and a freshly bladed x-actor knife, I took out as much material as I could. checking the thickness with my x-actor knife, the material was reamed out until I was satisfied. then the windows were cut out. I wanted to hollow out the base, but the the delimma of the bottom occurred to me......that and I didn't want it to look weird. so, I painted the frame and the base. the very top of the base, I painted with a light coat of black......it'll just suck into the wood anyway, and give me the 'nothingness' look I was after. I let the frame dry for a bit..........and then filled the panes in with the window maker. it was a quarter to three in the morning when I went to bed.......got up around seven AM. I wanted to look at it, but there was just too much activity.......dog wanted to go out.......brought the son to work. passing by the coffee maker......I wanted my first cup......no time, I had to get the trash out to the curb. finally got that cup of coffee......and then I got my first look. it was a little blurry.......I put on my reading glasses. put on it's base, I was quite satisfied with the results. I's strong to da finich, cuz I eats me spinach.....
- 377 replies
-
- 2
-
-
- america
- billing boats
- (and 1 more)
-
thanks for the good word Augie......a bit more, and I'll be masting her thank you as well for the good word Patrick......and your idea.........it's close......very close
-
thanks Gary......glad to see you here......started a build log yet? thanks John.....that's what I'm shooting for! this manic constructive disorder.........it'll get the best of me yet! they told me not to breathe in the sawdust......but I didn't listen....LOL! love thy hobby!
-
thanks John and Mark.... I was thinking about doing this, figured I'd wait till I got back to 'em......but the natives were getting restless. I know Andy.......I'm thinking about doing it......just have to figure out how. I still have a bit to go yet thanks for the good word! really appreciate it guys!
-
slight change of plans..........after I posted about this galley skylight......I sorta got miffed at myself. nothing I can do.....ehhhh! Well! hangs onta yer 'ats..........me gots an idier! AK-k-k-k-k-k-k-k-k-k!
- 377 replies
-
- 2
-
-
- america
- billing boats
- (and 1 more)
-
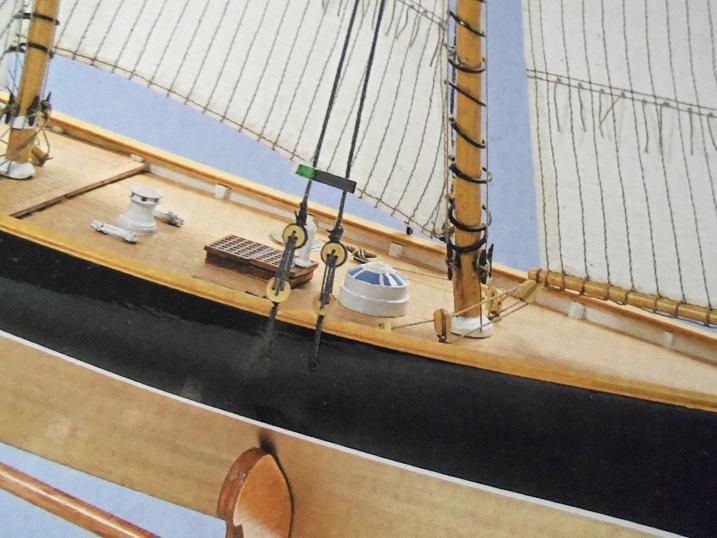
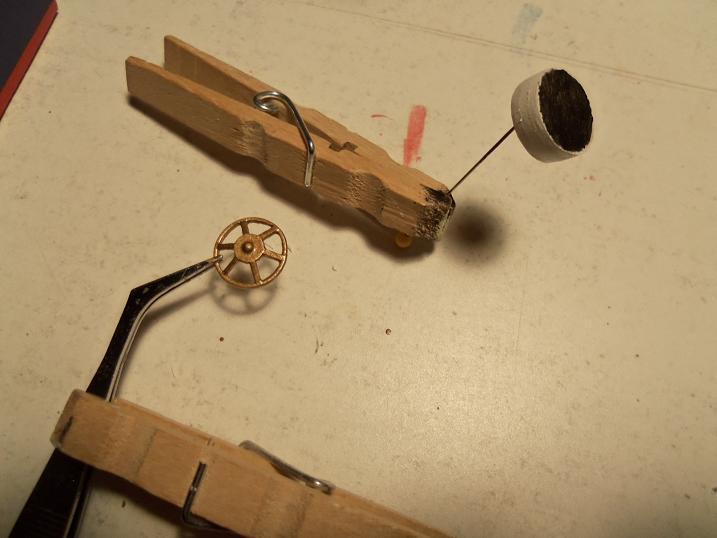
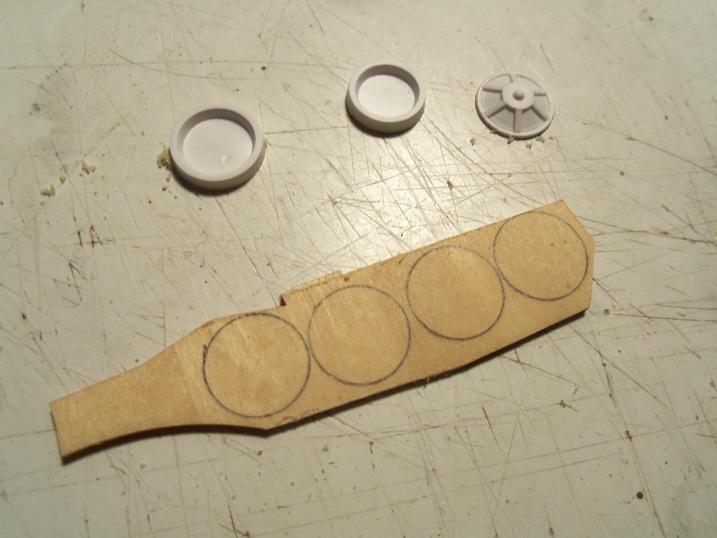
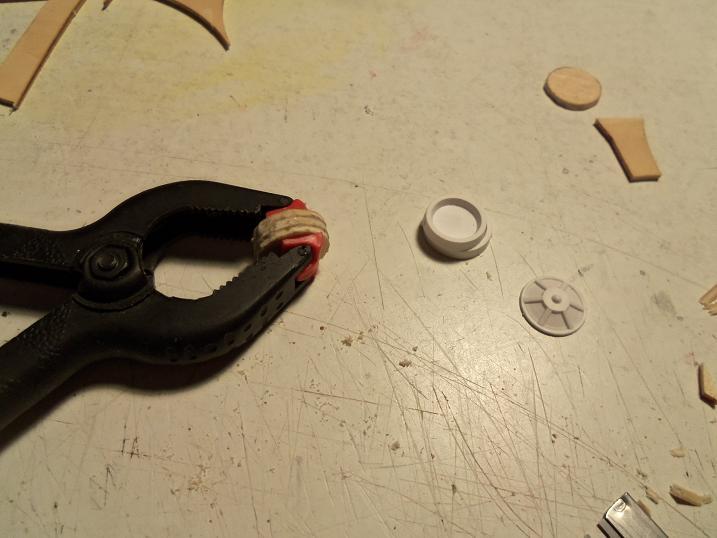
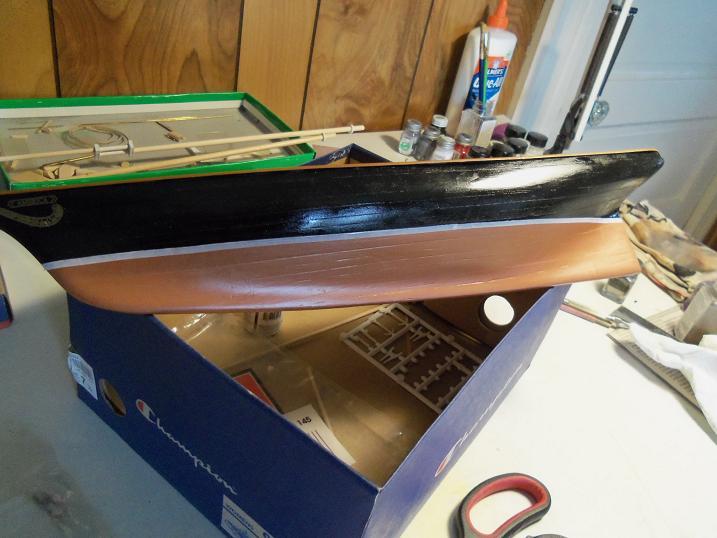
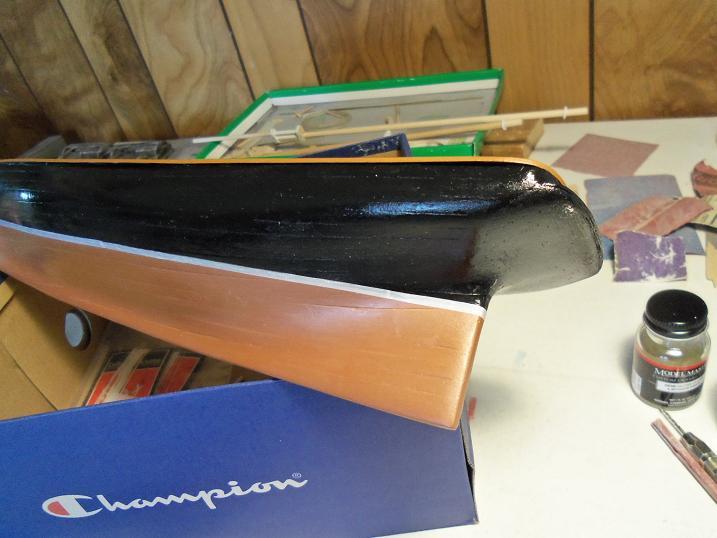
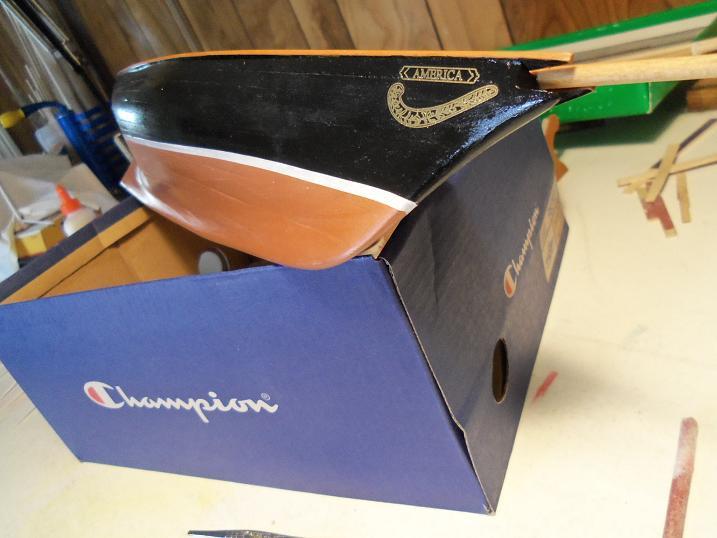
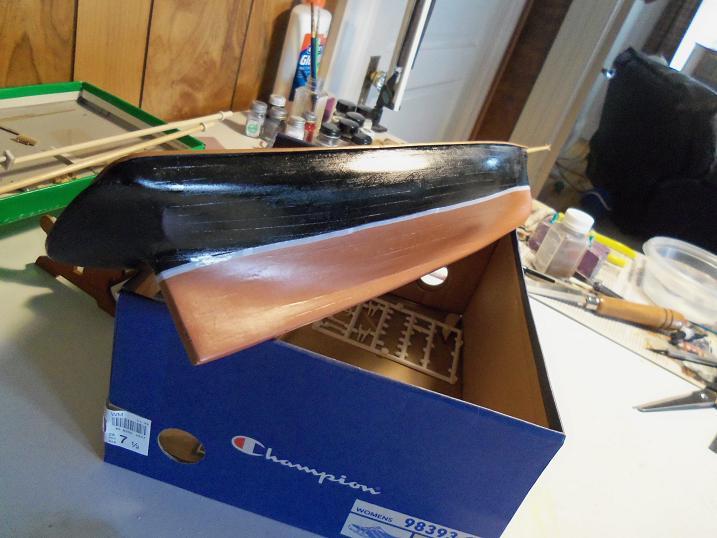
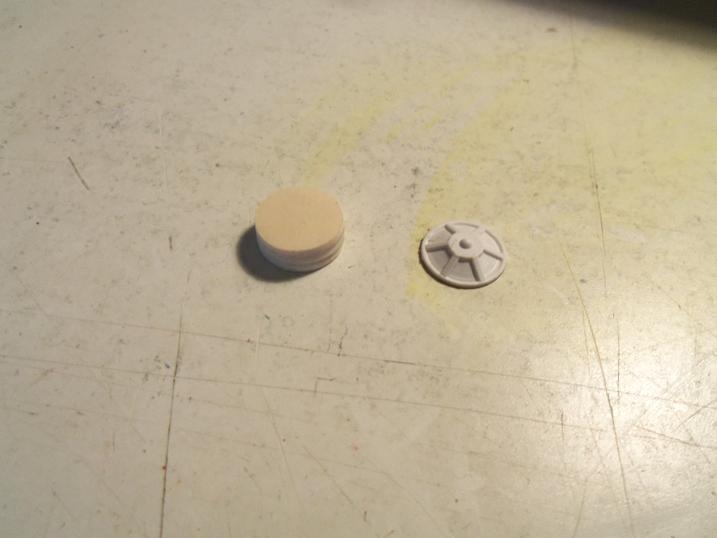
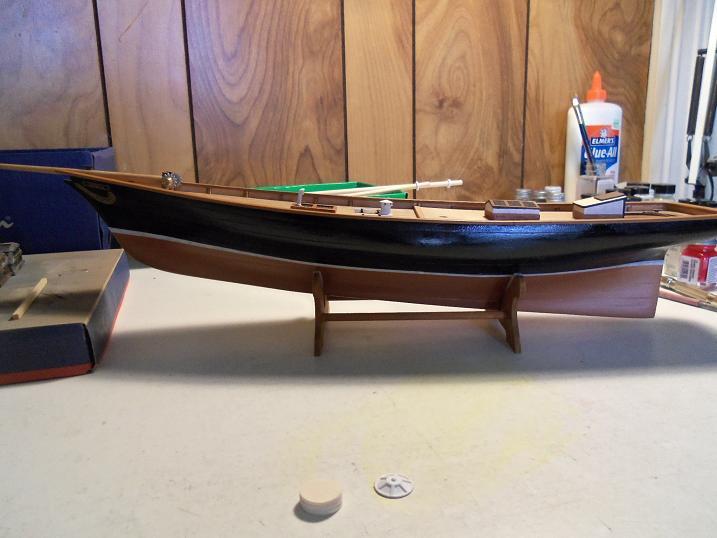
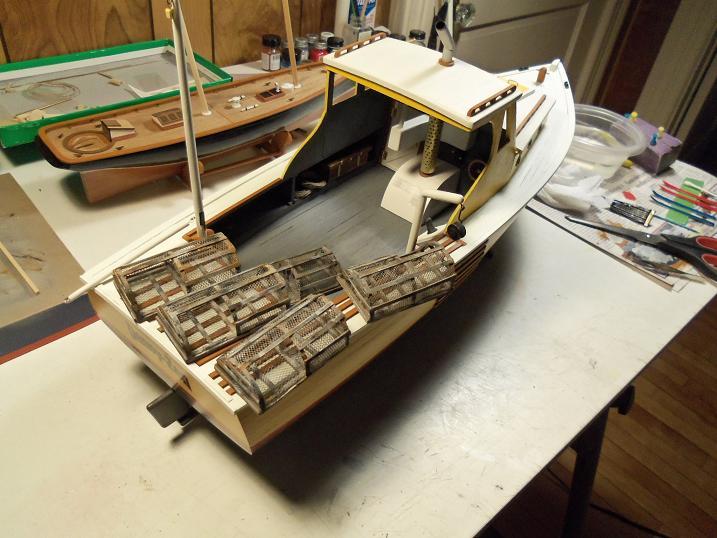
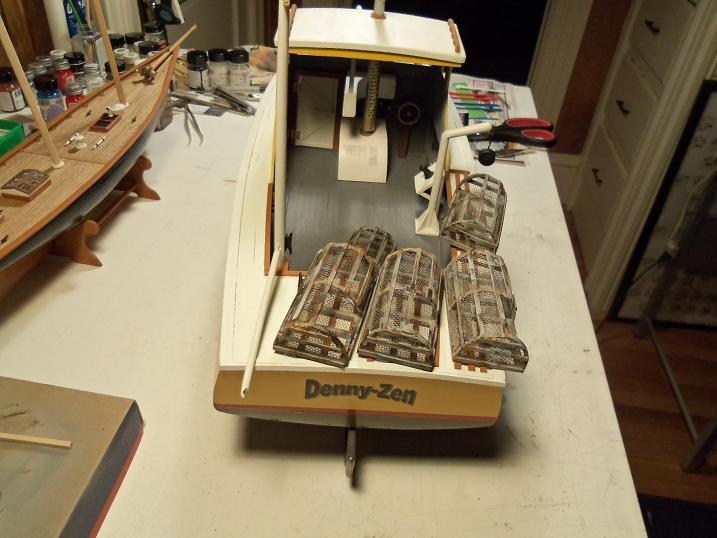
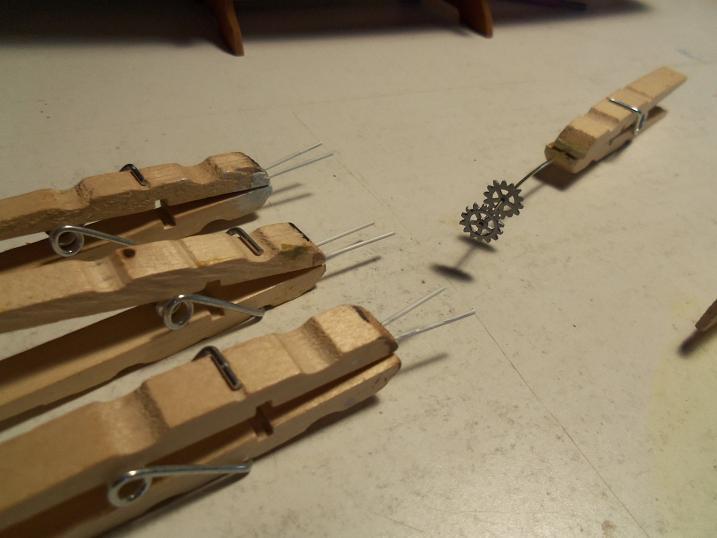
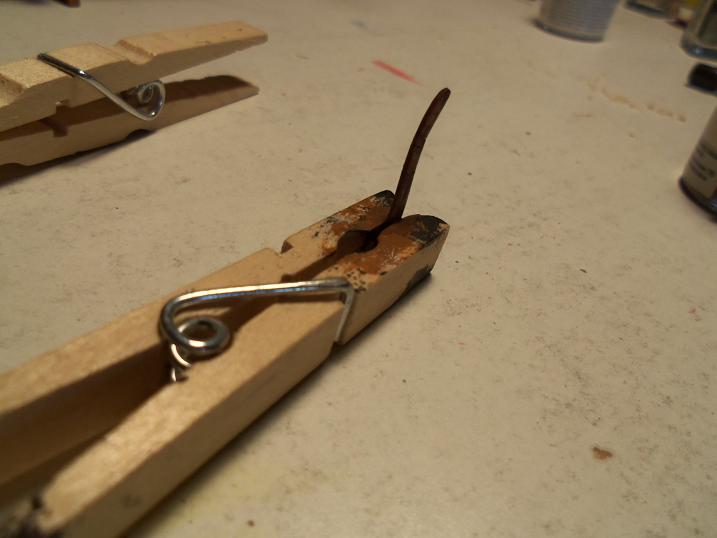
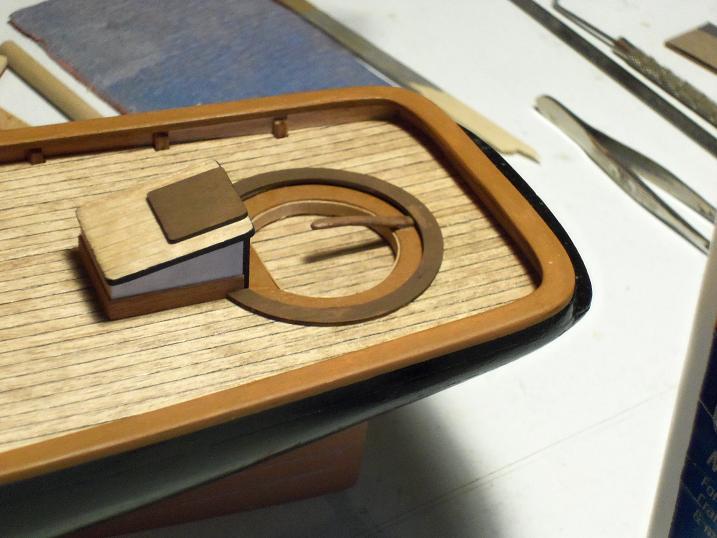
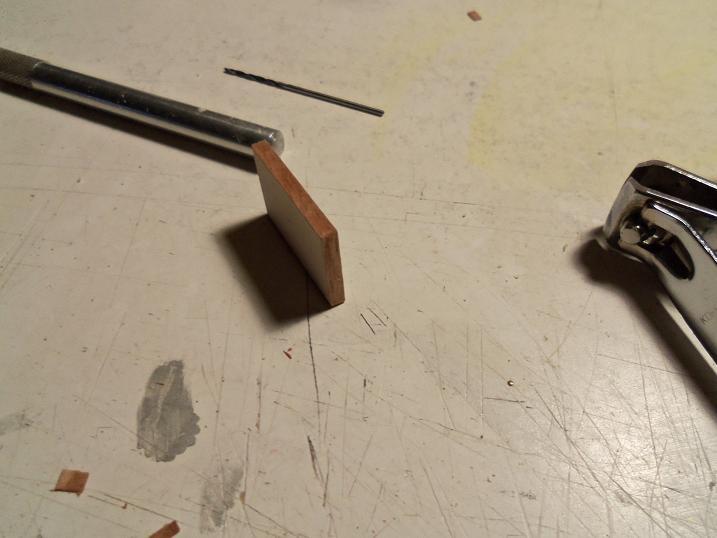
Since I took a couple quick pictures of the Denny-Zen, I was able to get these pictures ready also. there is another small skylight that I was at odds as to just what to do with it......it's totally made of plastic, and very odd. I can't do much with the dome, but I can replace the base with wood. making circles, and checking the hieght, I glued three of them together. while this was drying, I put the cleats on the deck I went to put on the decals next.......there was some trouble here. the decals are a film that is very thin, and even with them solvent on the backing, broke into pieces with the stress of trying to move it around, and so the eagle didn't make the cut. I thought to spray the rest of them with the decal bonder, and that helped out perfectly! I wasable to get the others on. I contacted Billing's.....they sent me an e-amil this afternoon letting me know that another decal sheet is on the way....I am pleased! so I did the other decals and the waterlines....a byproduct of the decal sheets I made for the lobsie twins. you would have seen the eagle here I got back to the skylight.....{or galley light} and sanded the base round. after some drying time, she's back in her stand. before I forgot......I still needed to do the rudder. I had one more length of decal, wet on the table. it was a bit of a rush to get the rudder in shape, so I could use it.

-
I feel bad that I put these two aside, to work on the AmericA..........I seem to have caused a ripple in the thread. So I thought I'd give you a glimpse.......a bit of an idea, as to what he'll look like when loaded up to head out.

-
thank you good sir! I'm humble, but lovable the Gothenborg is coming
- 1,668 replies
-
- 1
-
-
- syren
- model shipways
- (and 1 more)
-
sorry Hakan.......saw that metal leg......and well, you know how I imagine things. I am relieved. no matter how you do it, I think you'll end up with a very nice ship's boat.
-
thanks John.......I have the entire picture log of the Gothenborg in my computer......and I'm ready to start. I got an e-mail from Billing's this afternoon......another decal sheet is on the way. as mentioned, I did try the decal bonder, and I was able to use the rest of the decals. so, when I get them, I can put the eagle decal across the stern. I also did more progress on this build, I should have it up soon.
-
I too want to congrat you Augie......on you promotion and the milestone you've done on your build.....she looks amazing. I'm finding it rather hard to post sometimes, considering where I was when we crashed.....oh well, it just numbers.....and not the fun!
-
is there a deck platform to plank on, or do you just plank over the existing frame? does the waterway need to be beveled in any way? I don't think there any problem with scarf jointing....it's a much stronger joint, and it looks nice when finished out
-
so cool that your getting all this back in.......it will be invaluable to anyone that decides to build this kit, or recondition an older build. Great job Kats!
- 237 replies
-
- 1
-
-
- cutty sark
- revell
- (and 2 more)
-
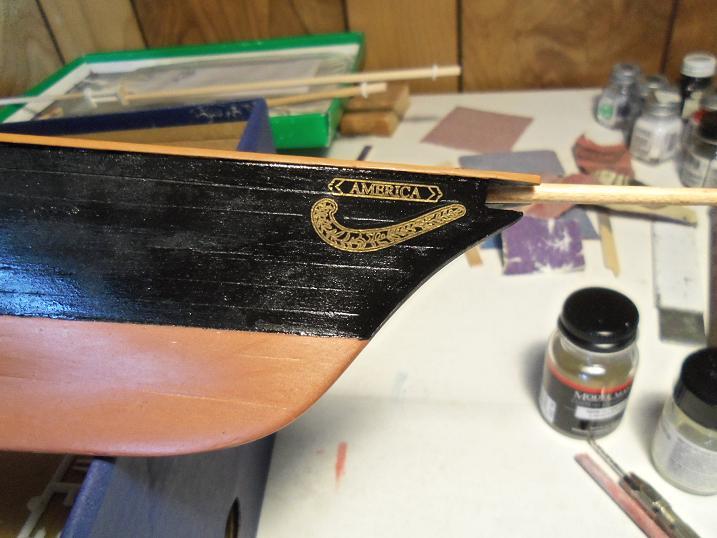
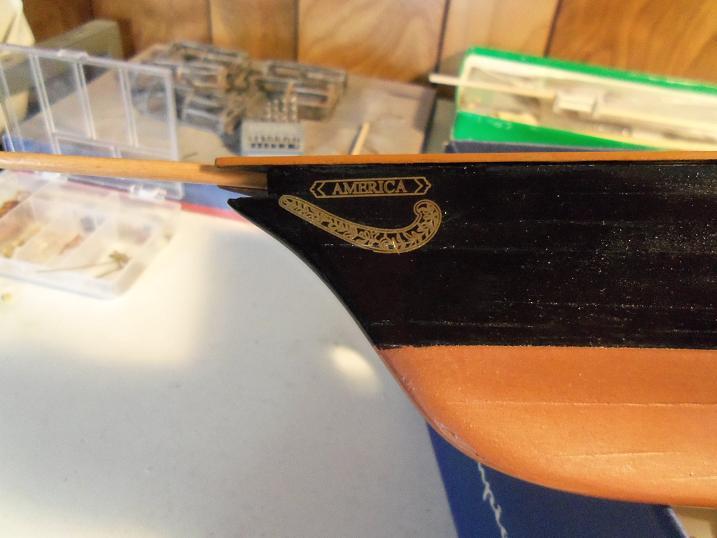
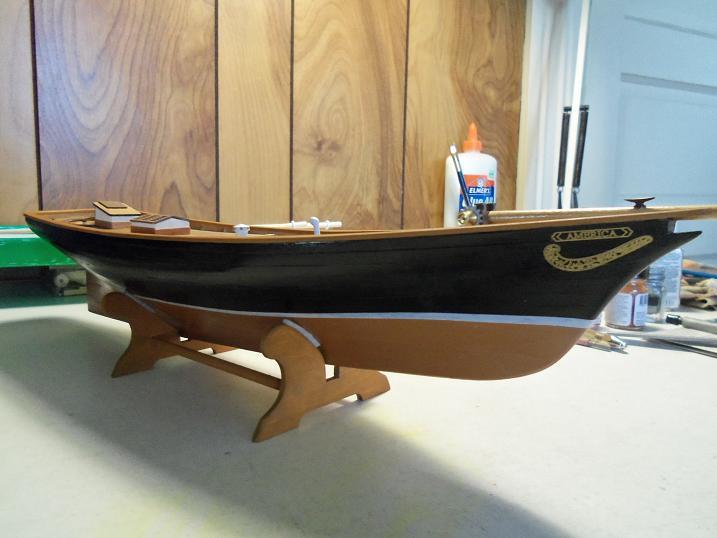
that's pretty funny Patrick! .....I like that.....pressed the little button and everything...LOL! today I thought I'd put on the decals that came with the kit. the stern has an eagle emboss on it......or rather, it HAD. the decal film is very weak, and even with it solvent on the backing, it broke up in three or four pieces. there are some decals that are to go on the bow......I took those and sprayed them with the decal bonder thatI use for the decals that I make. this solved the problem......I was able to get those decals to work. I sent an e-mail off to Billing's.......hopefully I can get another sheet, so I can dress up the stern. thanks for the good word Patrick.....I try not to disappoint
-
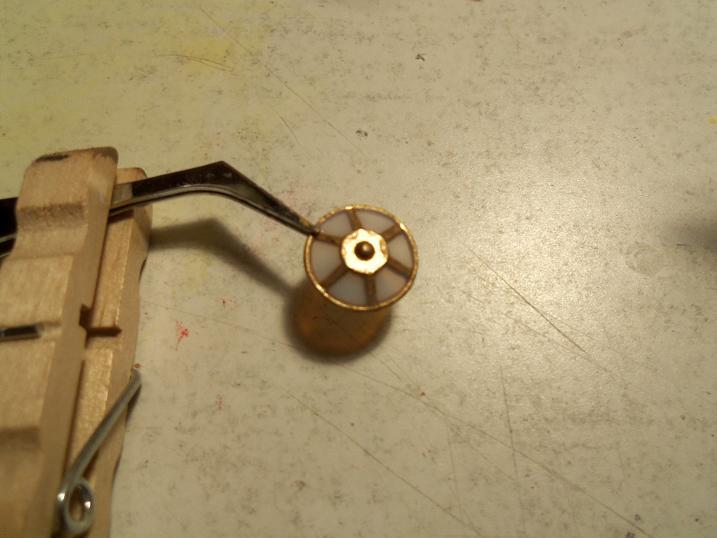
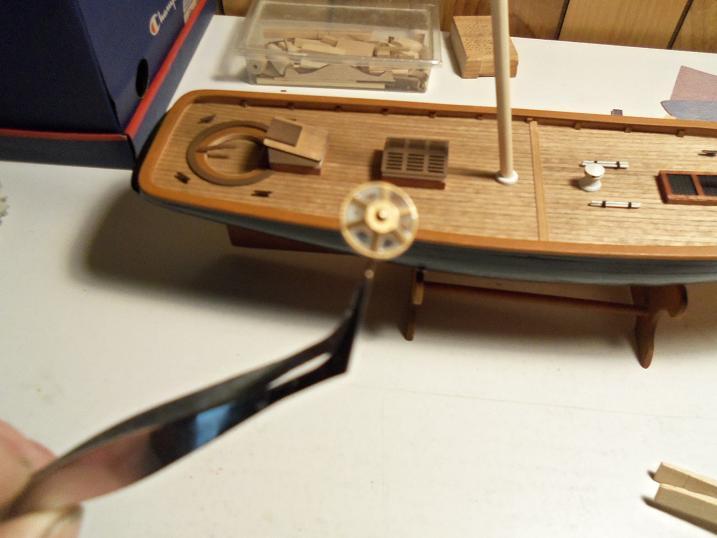
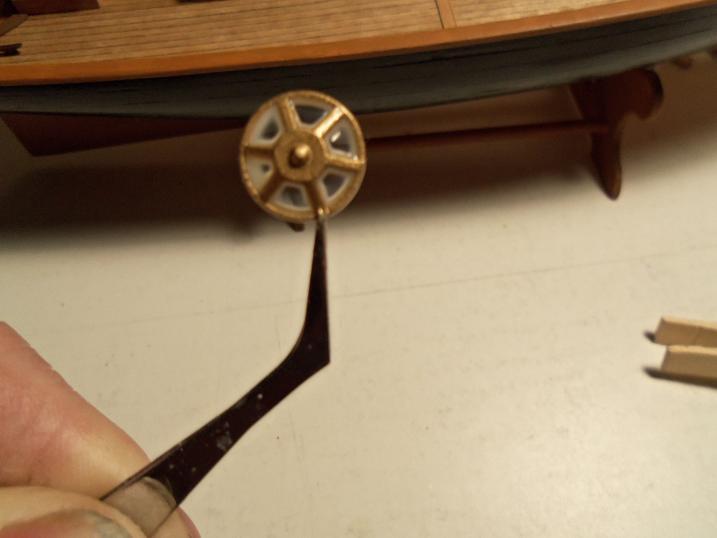
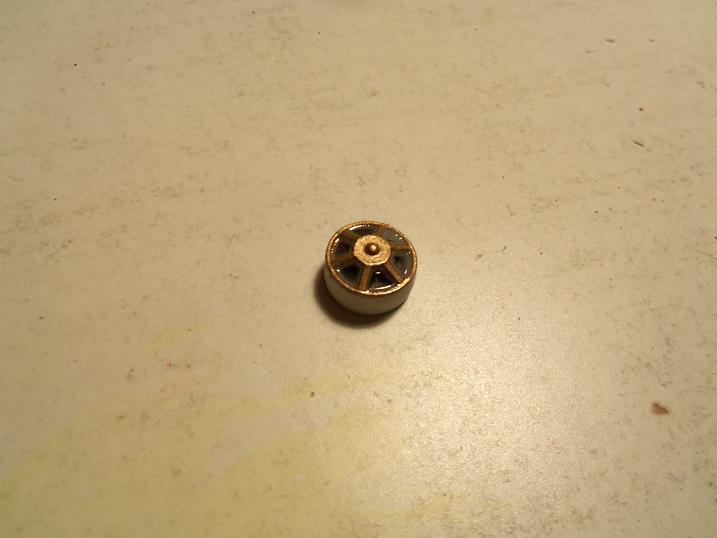
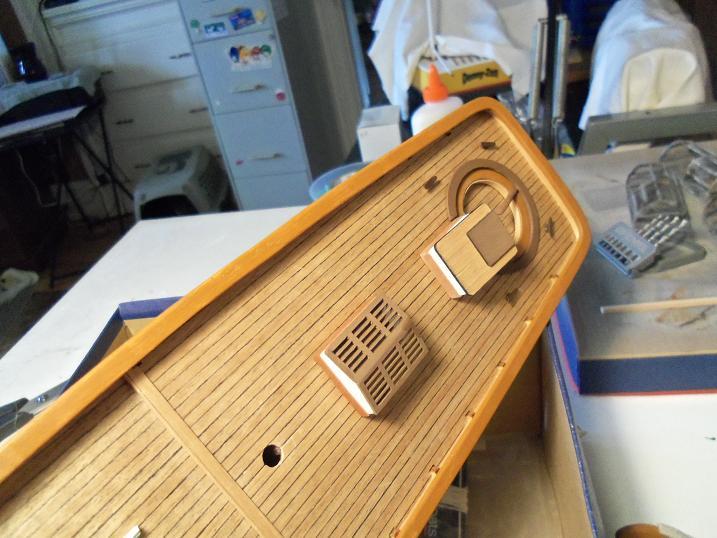
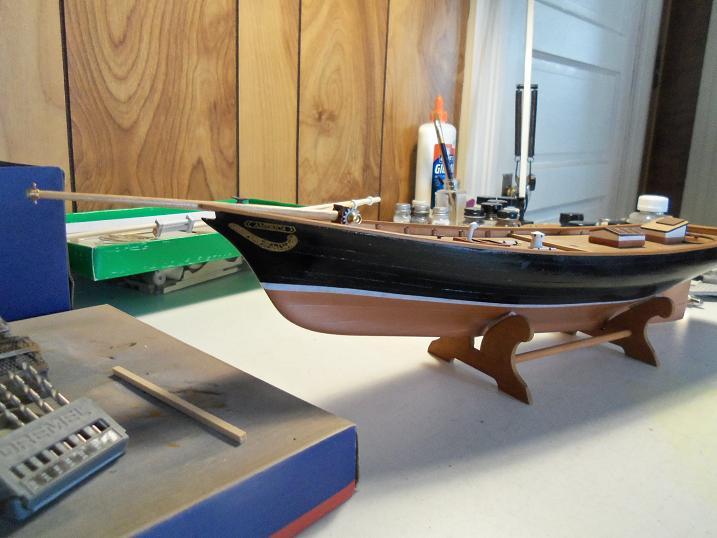
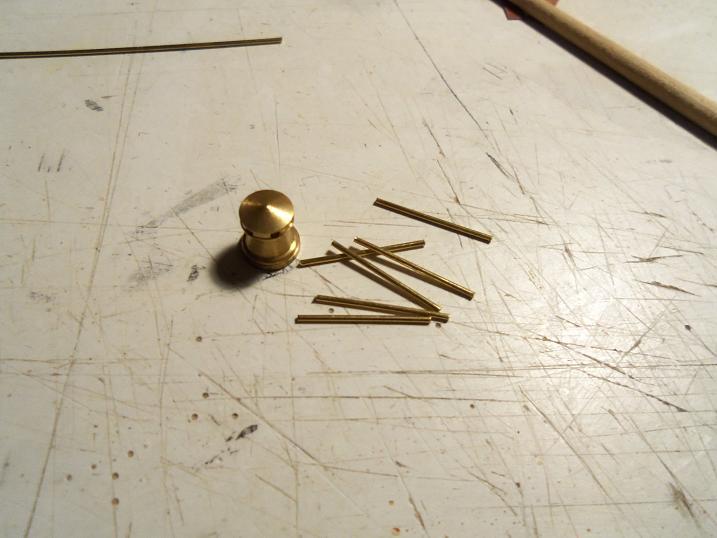
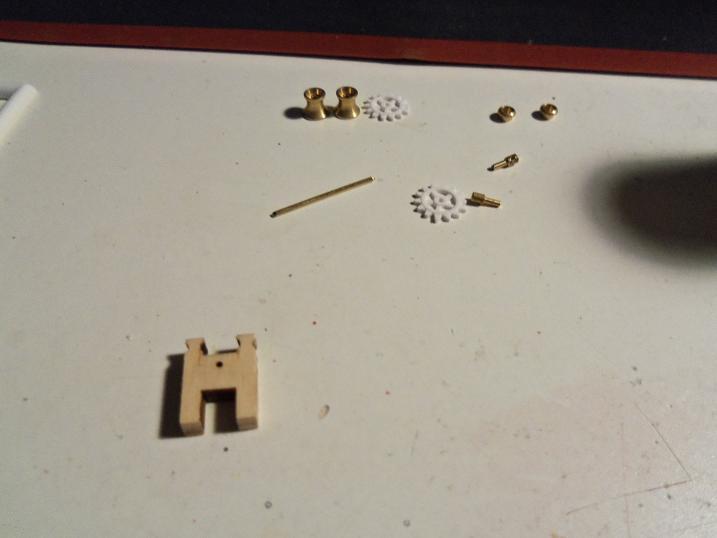
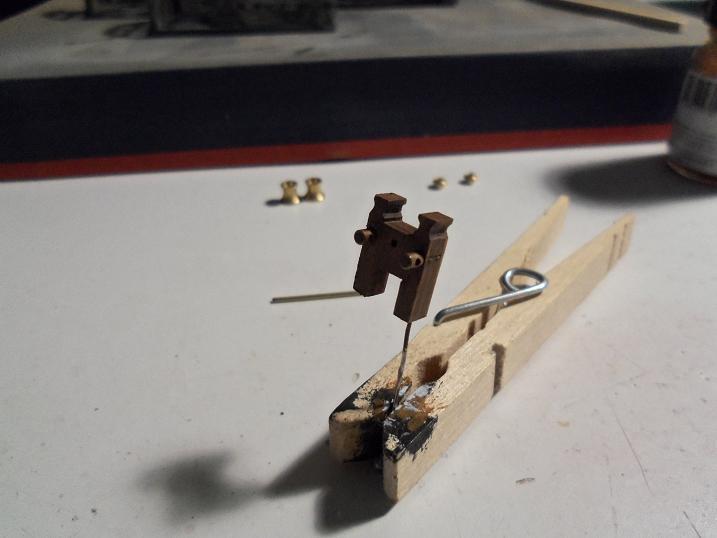
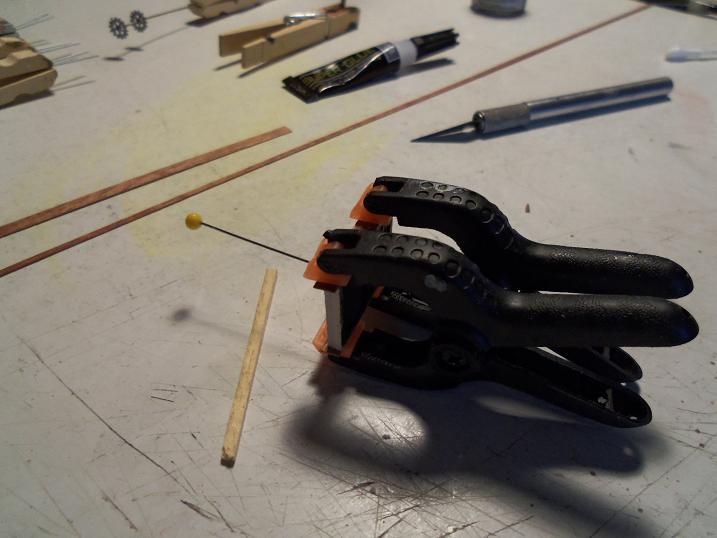
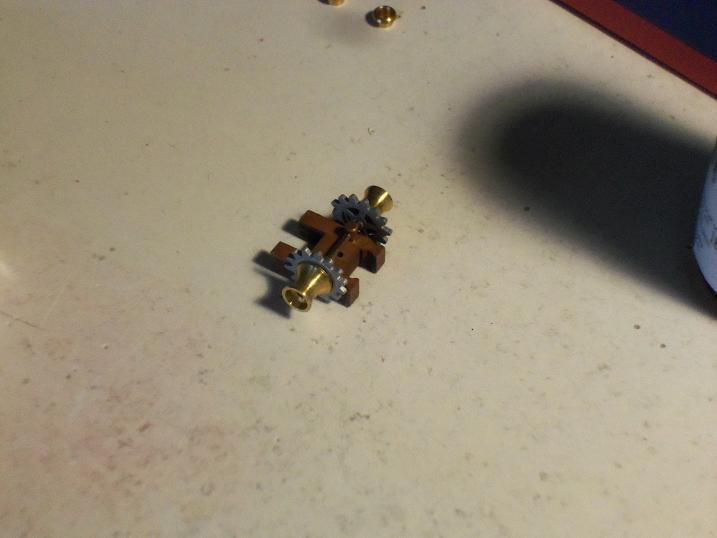
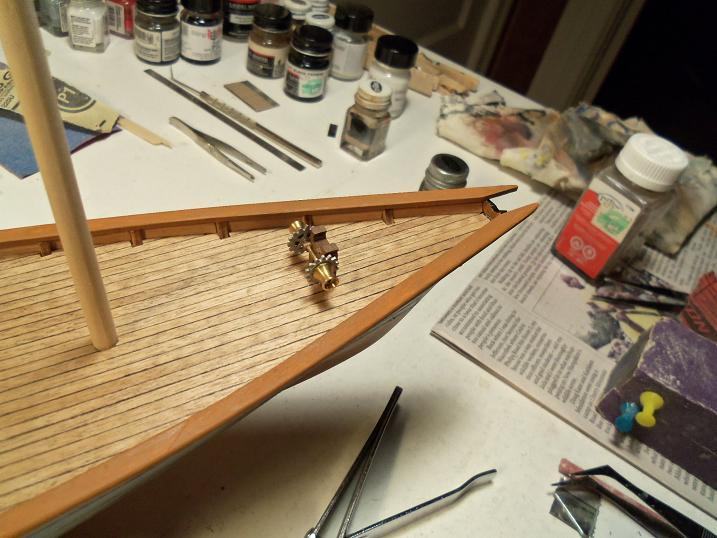
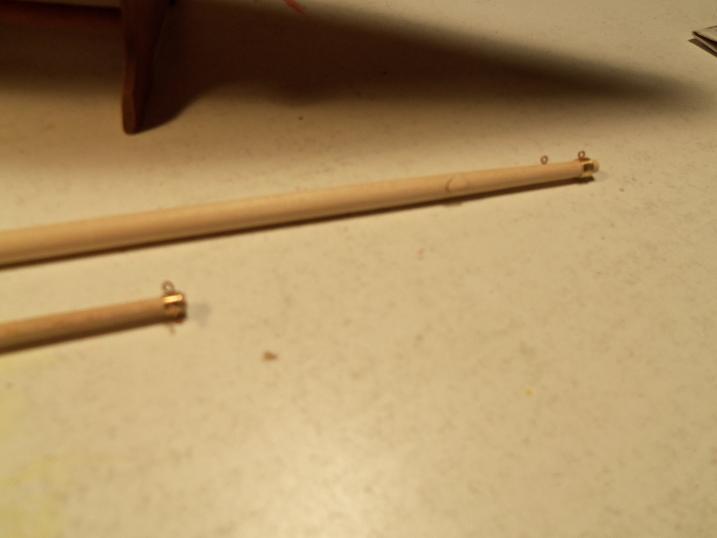
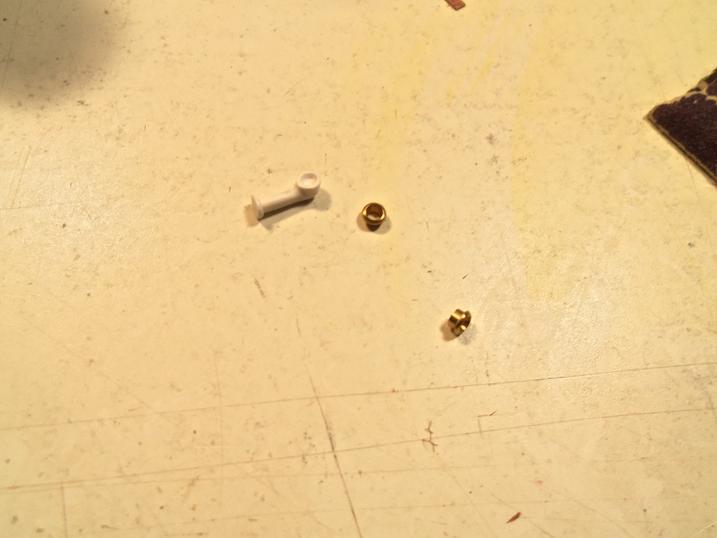
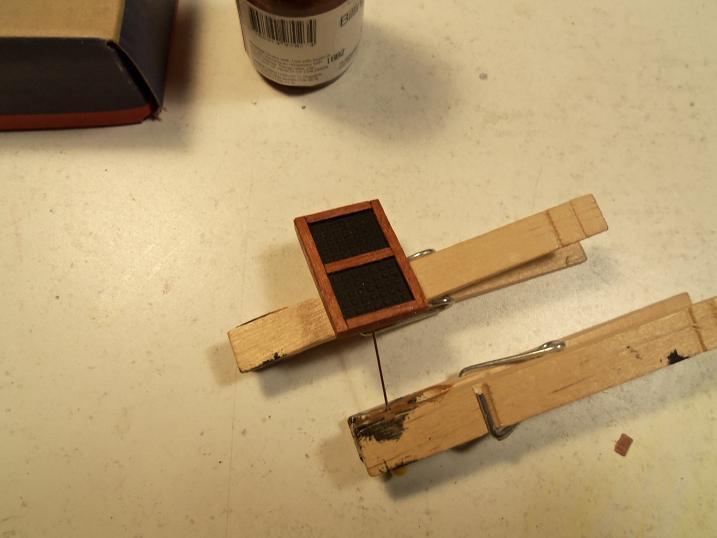
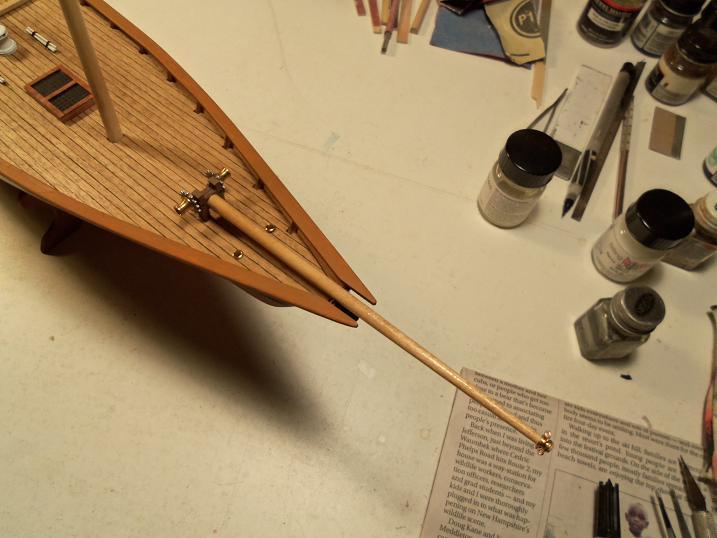
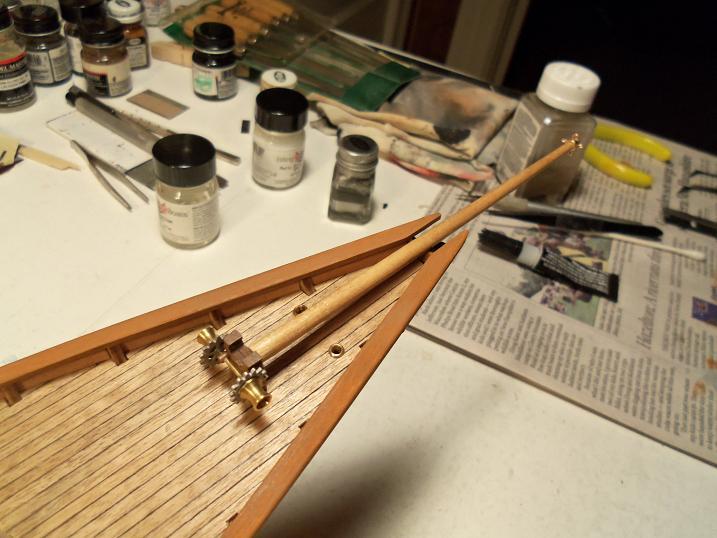
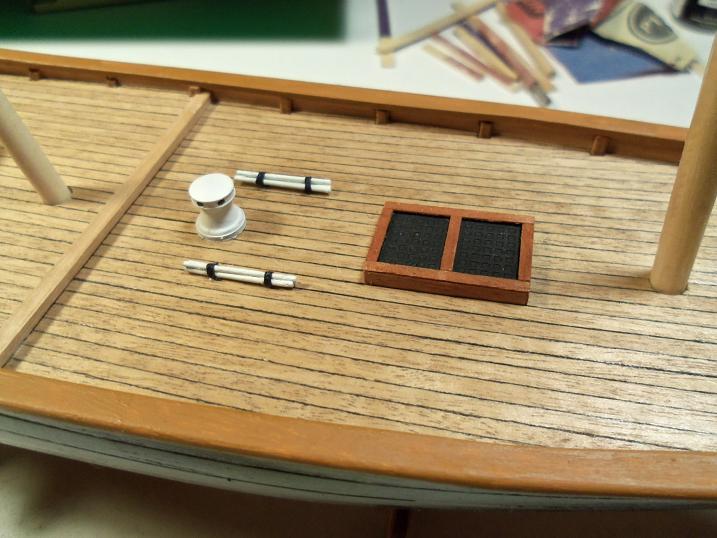
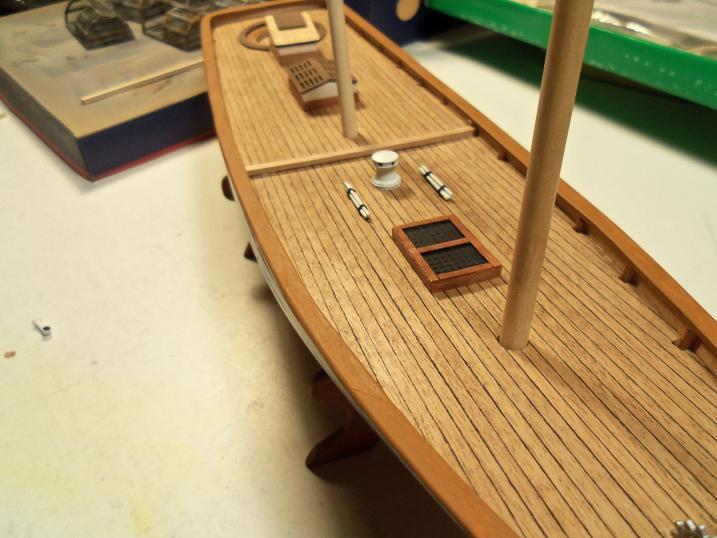
round and round I go......what I'll come up with next......I leave that up to the model gods. I did a bit of work to the AmericA yesterday....I was in a slump Tuesday.......just couldn't get into it. I did kind of a round - about assembly of some of the parts. some of the players were: the grate.....I'm going to give it a Annegre covering. the capstan and the shafts....the kit does everything in brass. the winch post and the parts imvolved. I don't know why there is a hole in the middle......there no bell and nothing seems to attach there. some of the parts will be painted ahead of time. they have the tiller as a small piece of brass rod. I used some basswood and fashioned one in it's stead. the winch post had a couple of holes drilled, and two eye posts were cemented in place. a shaft will be fitted through them. the grate got one pair of the sides cemented on ....and then the other.....after the edges are trimmed, I can start on the top. a piece of brass rod was fitted in the end of the bow spirit. the winch is assembled the tiller arm was cemented in place the grate half way there the winch was cemented in place some of the hardware was fitted on the bow spirit and the fore mast the fairleads and the vent. the opening to the vent was flat....I drilled a hole here in an attempt to make it look a bit more appealing the grate is complete and apinted with clear lacquer with all these parts ready, they were cemented in place. I made use of that hole in the winch post, it made a good place to locate the bow spirit and the other parts followed.


-
......toooooo much!
-
is that a crutch, I see in one of the pictures? I hope you are well. Yea, obechi can be a bear. I ususlly like to do the planking while it's wet......it makes it very flexible. impressions can be done very easily. the boat looks very good so far......you give new use for wire ties
-
sorry Patrick.........I seem to be dragging my heels. I kinda took yesterday off.......had a hard time gathering steam. but, today I spent some time on the AmericA. I will get my butt in gear........they're not going to finish themselves. good to see you know how to satisfy your itch........I'm a haddock fan myself. I saw the add on TV.......too bad there are no Red Lobster's around here.