HOLIDAY DONATION DRIVE - SUPPORT MSW - DO YOUR PART TO KEEP THIS GREAT FORUM GOING! (Only 13 donations so far - C'mon guys!)
×


popeye the sailor
-
Posts
16,007 -
Joined
-
Last visited
Content Type
Profiles
Forums
Gallery
Events
Everything posted by popeye the sailor
-
 please do........I would love Tom to see this! Fantastic work!
 -
thanks Frank.......I thought of you after I had done them. I don't do too much weathering. I try to do it......it looks good. I look at it later though and I get the feeling that I messed up.......so I fix it. I'm too keyed into the 'clean look' , to be able to come up with a totally weathered build. I see others do it and it looks fantastic.......like your hull! thanks for the good word.
-
interesting build. looks like a kit though that would look really cool finished out. nice craftmanship
-
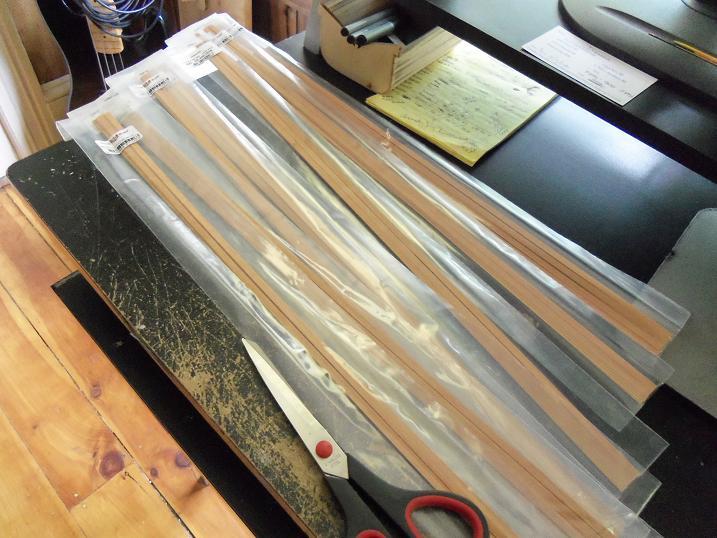
there is one good shot of the M&M build......where it was when these last pictures were taken. thank you Sarah for the good word. the deck planking I like to use is called Annegre. it is thin strip....about 0.7mm and comes in a variety of widths. it's a light mahogany from what I gather...I order it from Billing's. the crayon method is nice in a couple of respects.....it does a good job simulating the calking, and when sanded, blends into the wood quite well. I have been tempted to try different colors......browns, or grays......white might even be a nice touch, but how many decks do you see with white calking?......not so much {fun to try though}. I started to use a rattle can......when I did the Nordkap.......what a mess it made! I was in the local hobby store, when I saw the Testor's 'amazing air' airbrush kit. it works from cans of compressed air......but I fitted it to work from my air compressor, so I can adjust the pressure better. it's not very expensive....only cost me thirty bucks. the testor 1/4 oz bottles screw on nicely with the caps provided, classifying it as a siphon feed. I used to be able to find empty bottles, but they are hard to find......I just buy the small bottles of thinner and pour it into my big bottles....and thre you go, I have plenty of empty bottles to mix paint. clean up is easy as well......just the spray cap and the siphon tube.....and maybe wipe off the front of the sprayer. some adjustments can be made simply by turning the nozzle, but the only draw back is that it doesn't get down to the finite lines that other air brushes can do. for regular paint jobs......it has been great, and better control than with the rattle can.
-
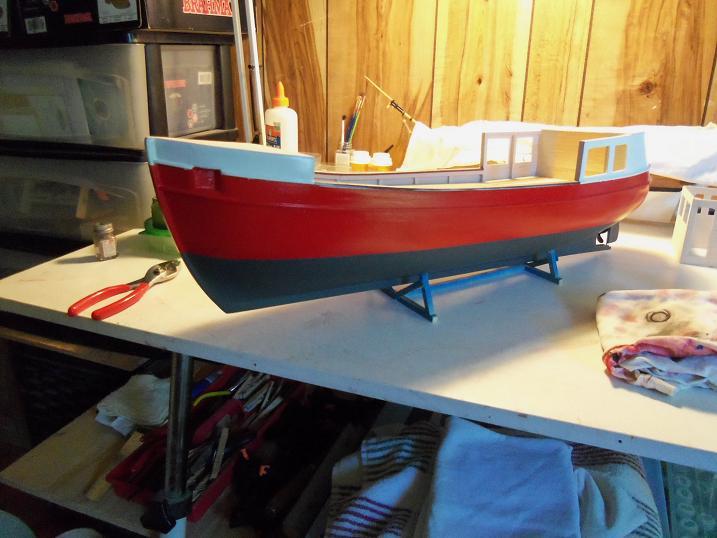
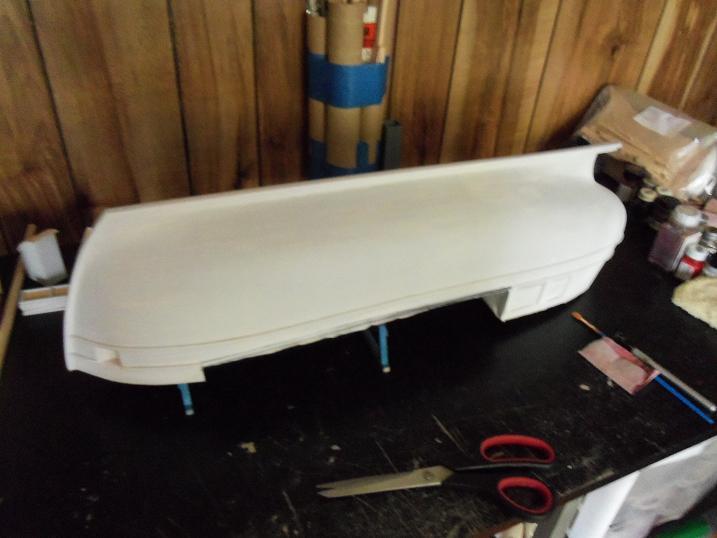
I have plenty of touch-ups to do on her.......I've just been plodding along. The M&M build had progressed to the point of adding the waterline......I was tossing around adding one to this build as well. I got a positive responce from all of you, which helped me make the decision easier. this brings this build back on the site and up to date. as seen from the date.....it's been a while. in that span of time, the M&M build is long finished.....the admiral is quite happy. but, in that span, I have wandered onto other builds....damn disorder I have! perhaps I will find a little time to fit her out with what I have so far and show it to you. I hope to get back onto this build soon
-
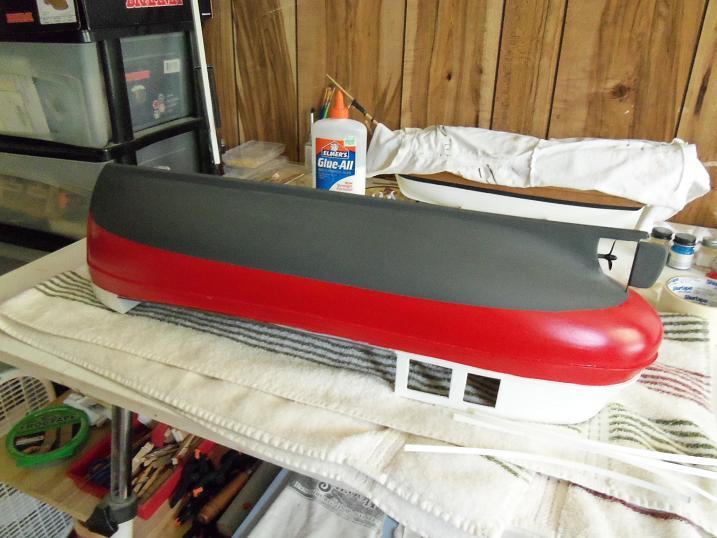
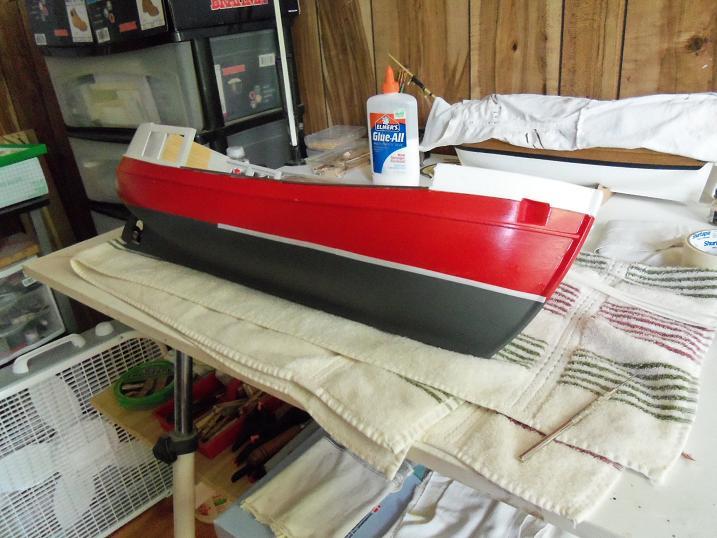
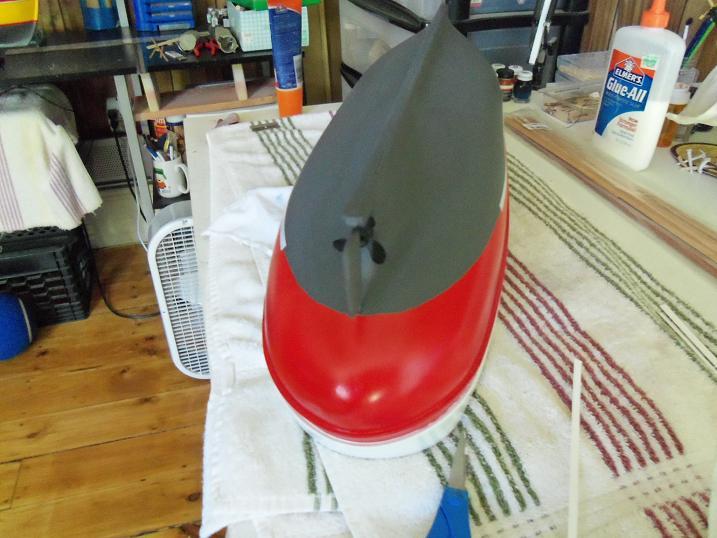
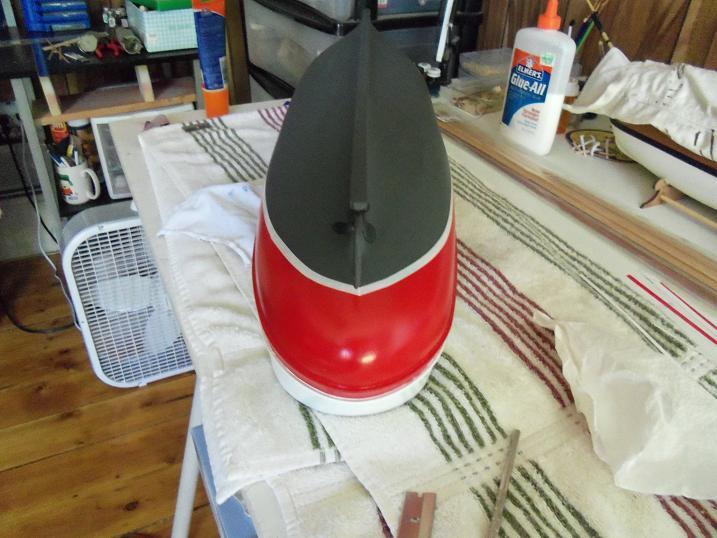
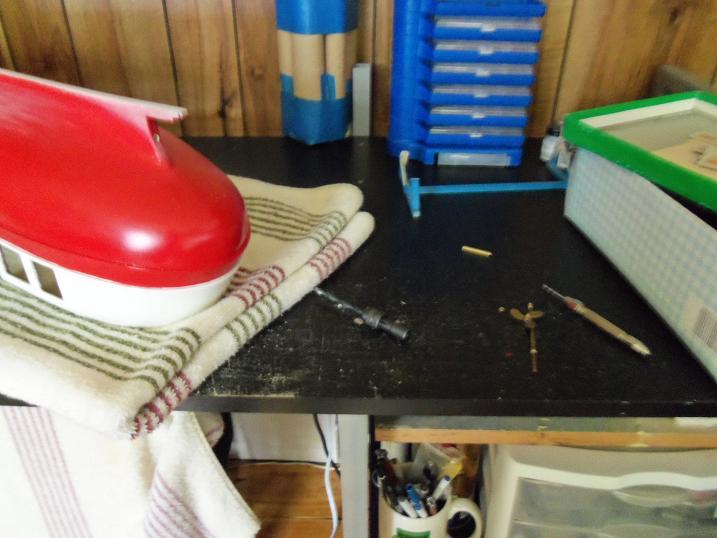
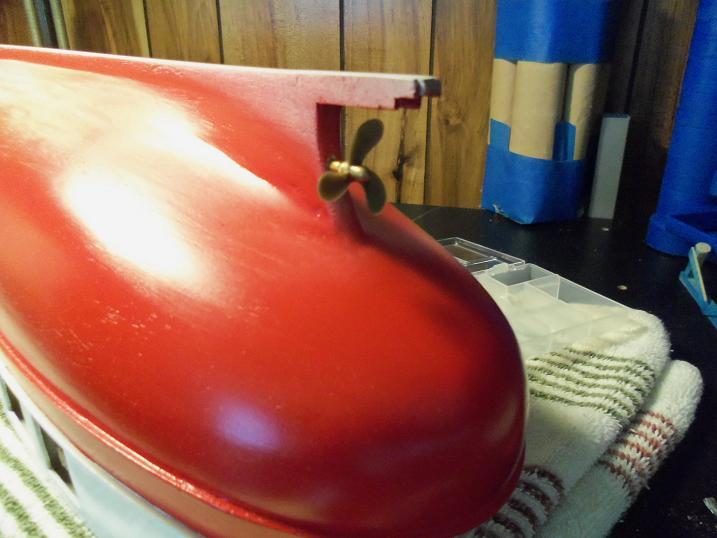
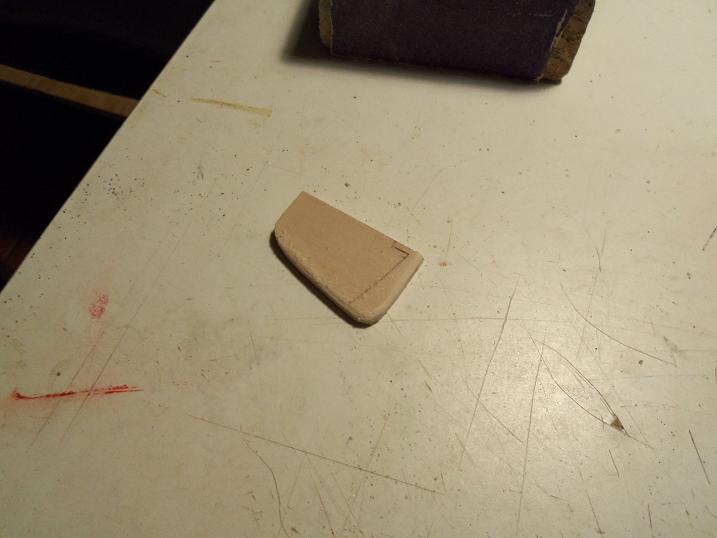
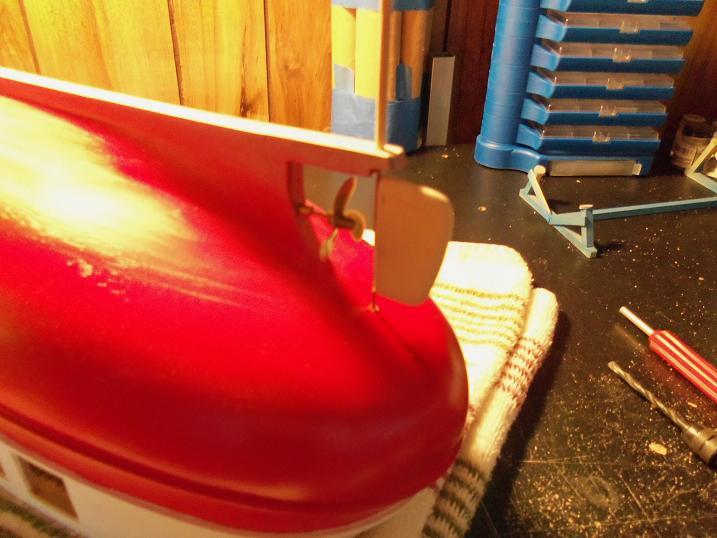
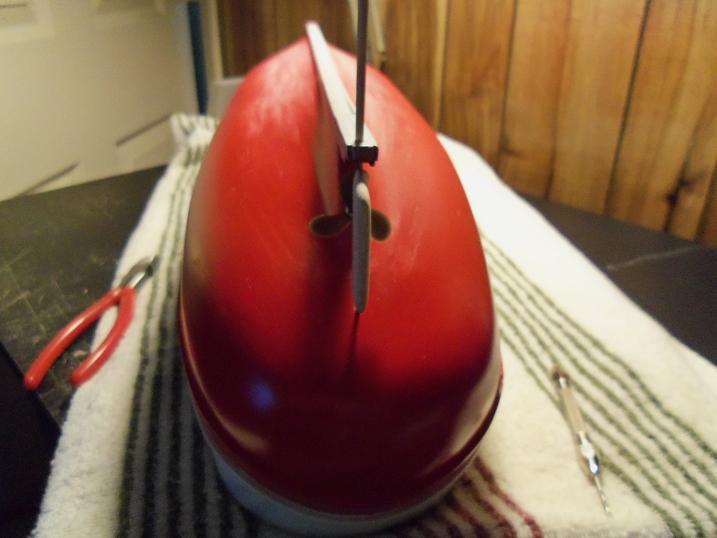
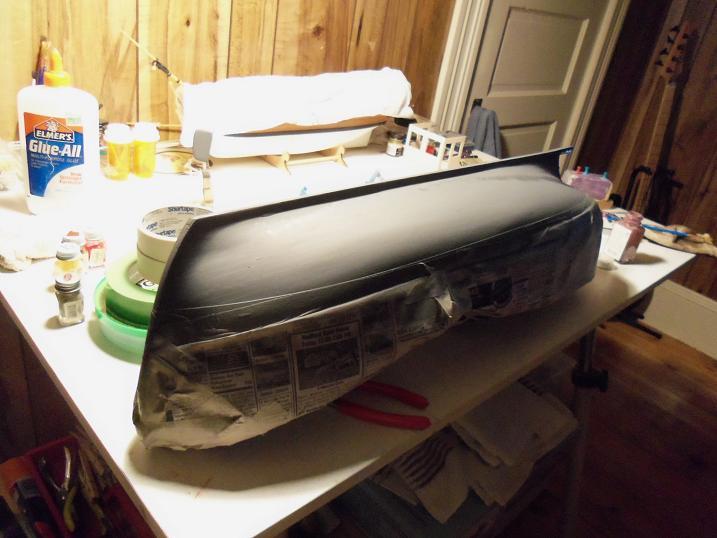
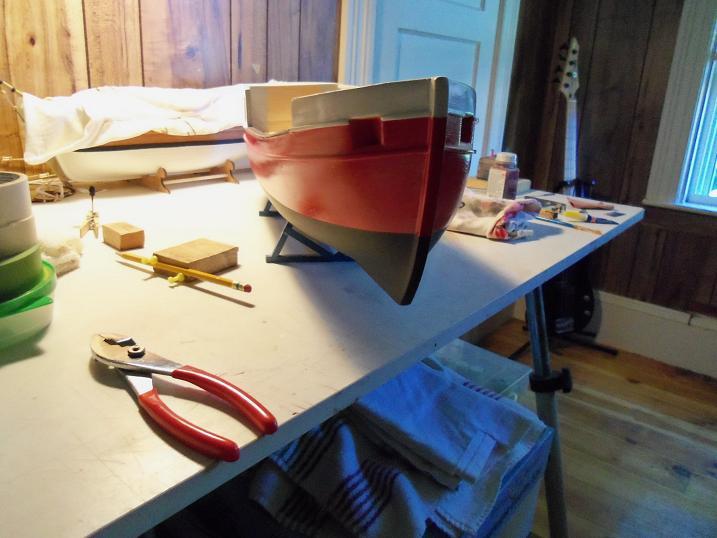
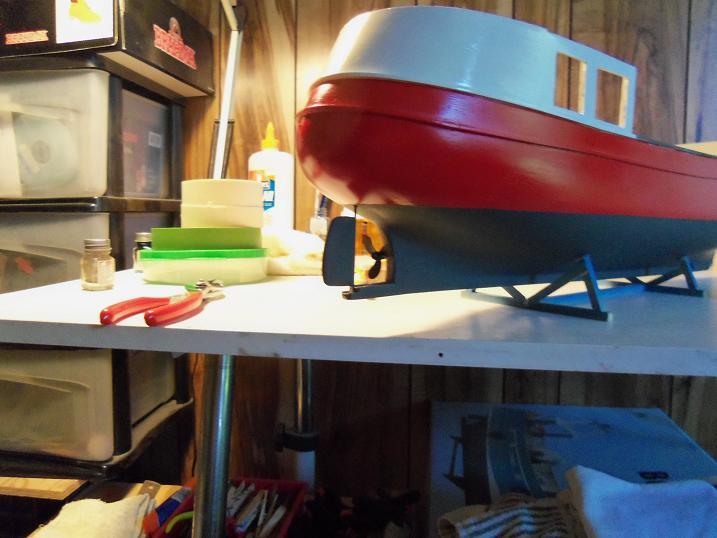
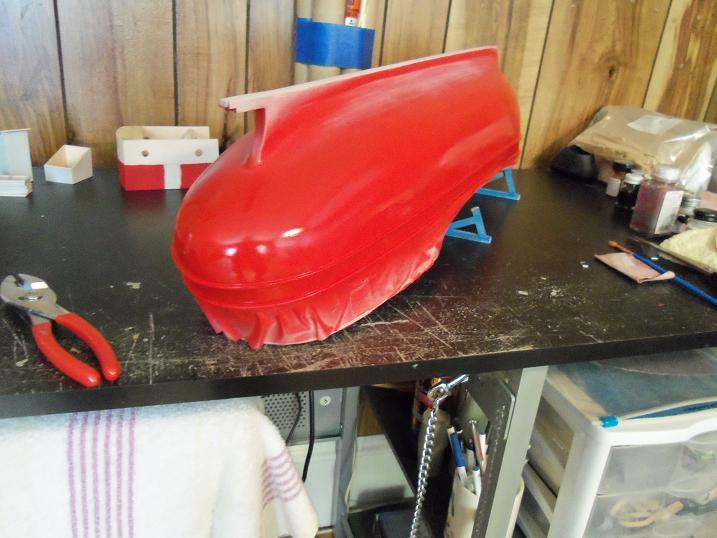
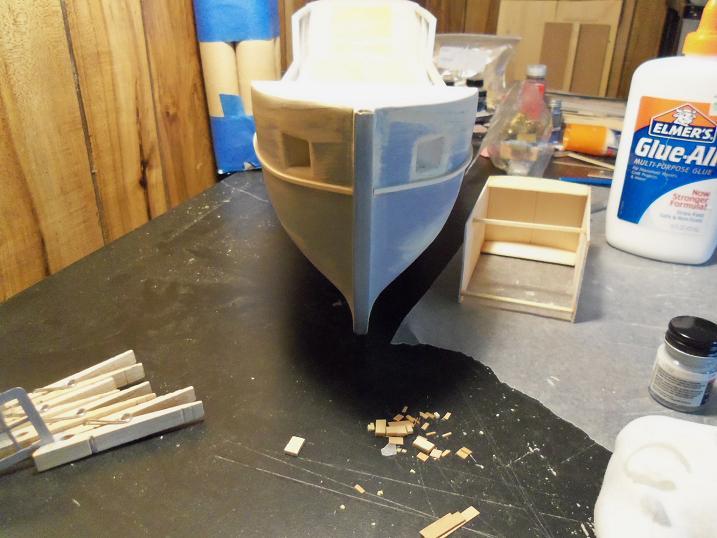
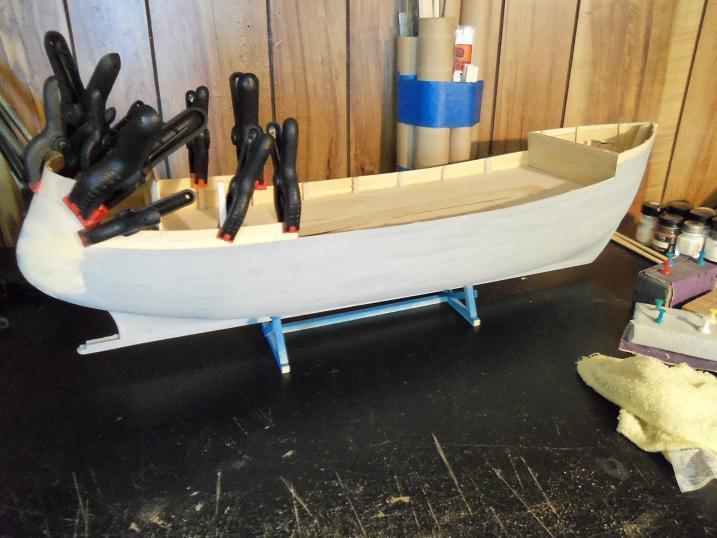
7 - 25 - 2012 the admiral was getting mad at me, because I wasn't paying as much attention to the M&M build as she would have liked. I started to bring this one out when I had nothing better to do.......or whenever I could sneak it in. I thought I'd do the prop and rudder at this point then I did the bottom paint.
-
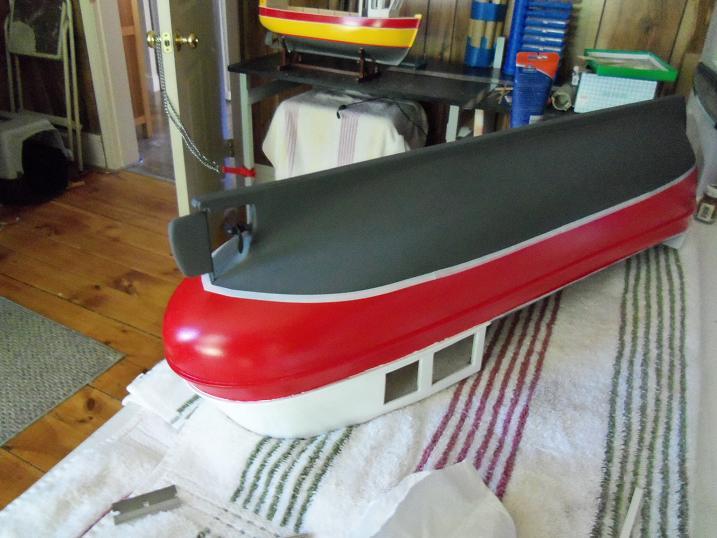
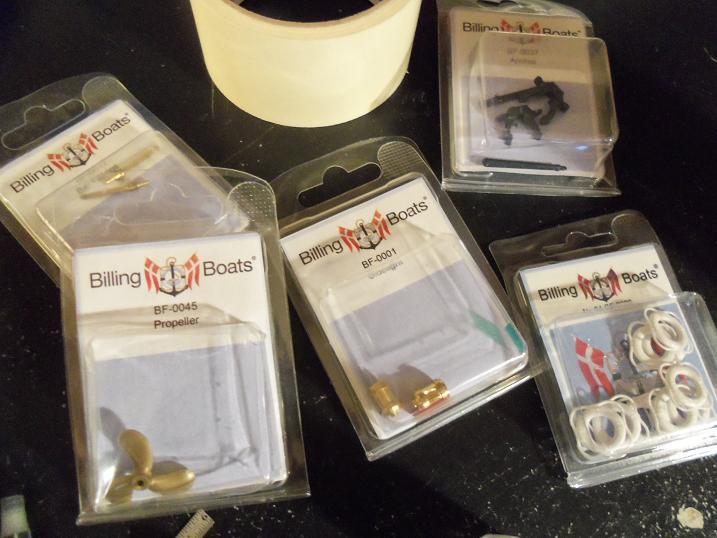
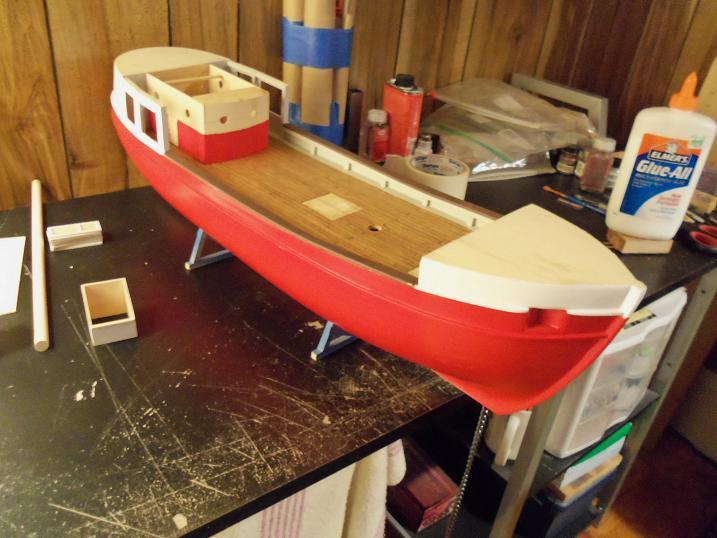
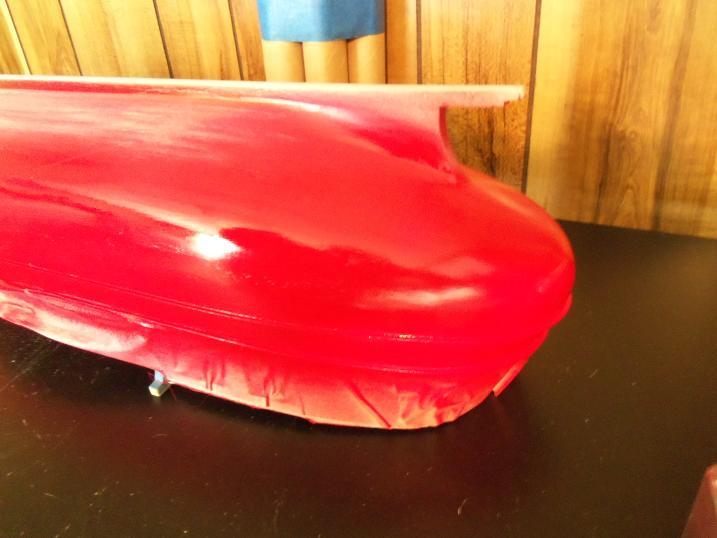
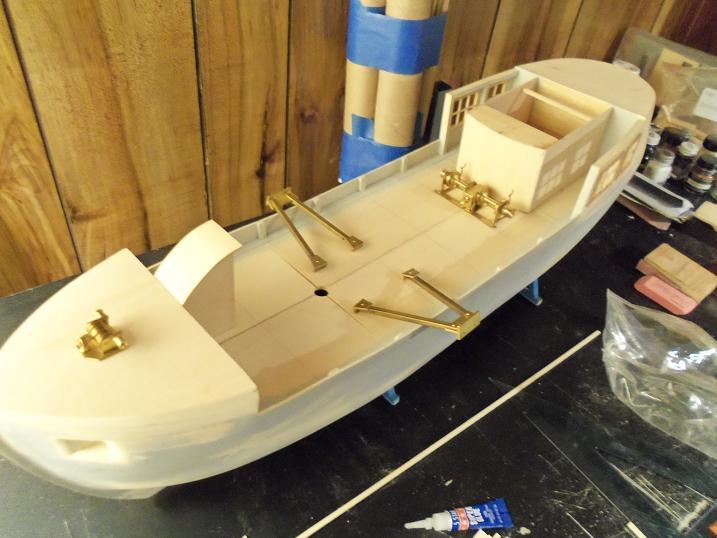
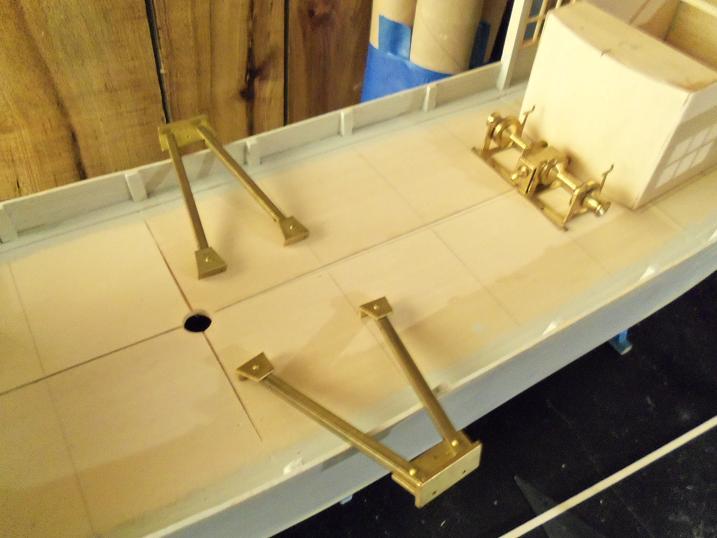
6 - 7 - 2012 I went further with the paint. I got in the fittings I ordered from Billing's as well. I now have almost everything I need to fit her out......although I might noe use those gallows.....I may ellect to scratch build some.
-
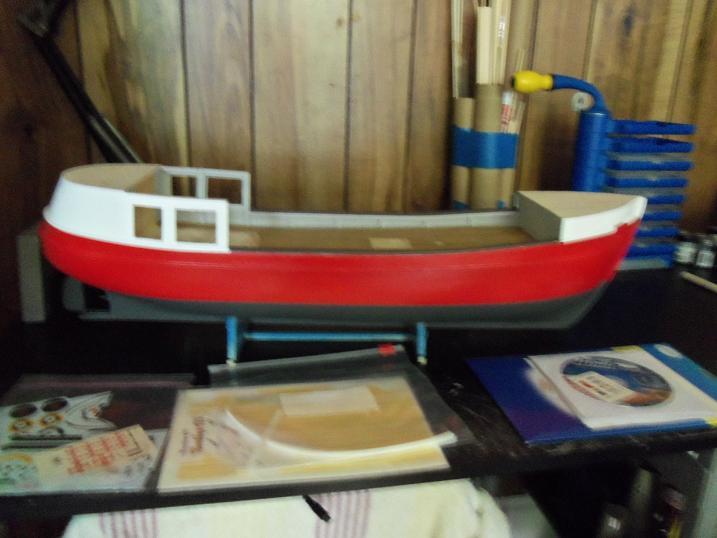
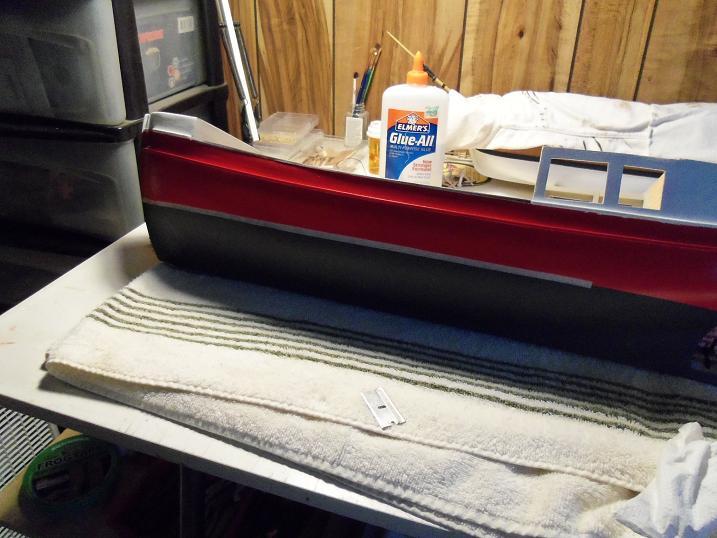
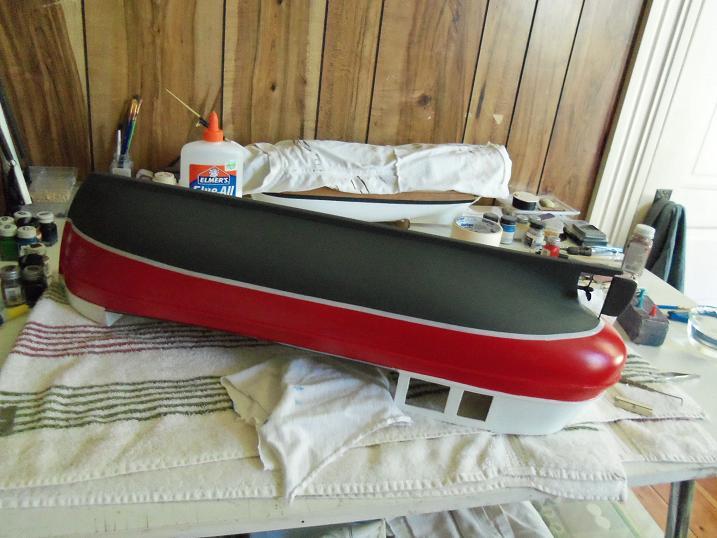
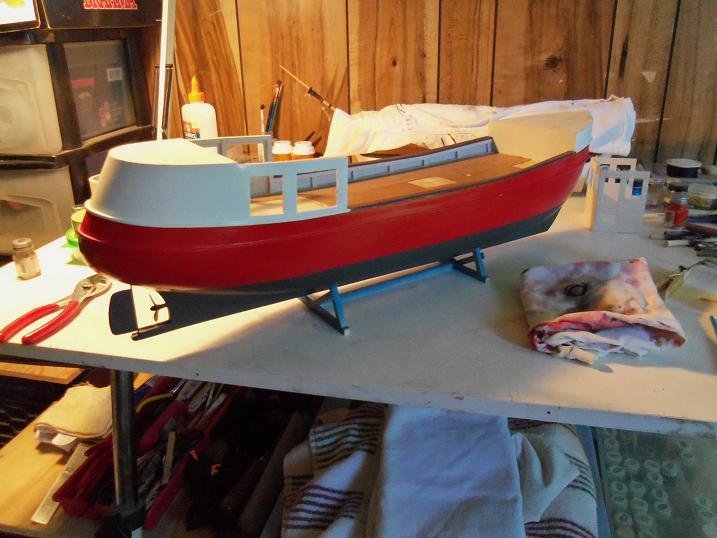
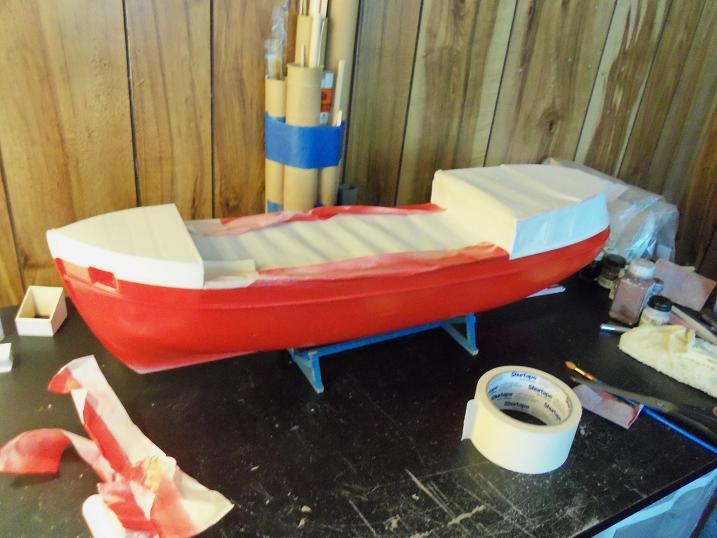
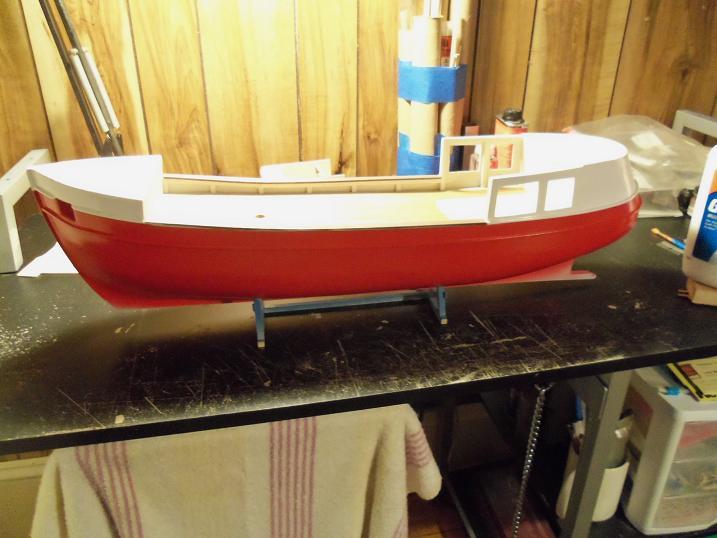
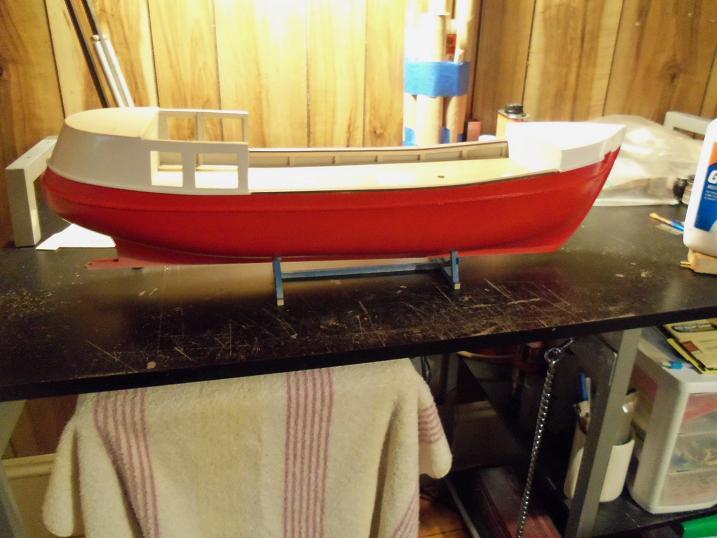
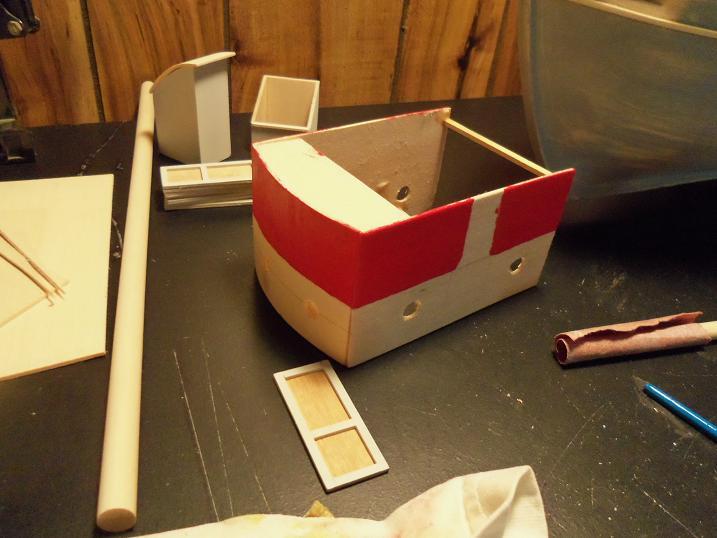
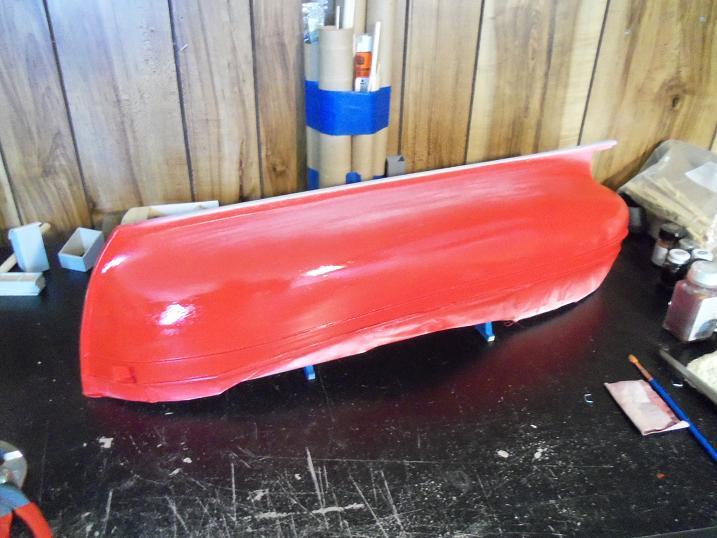
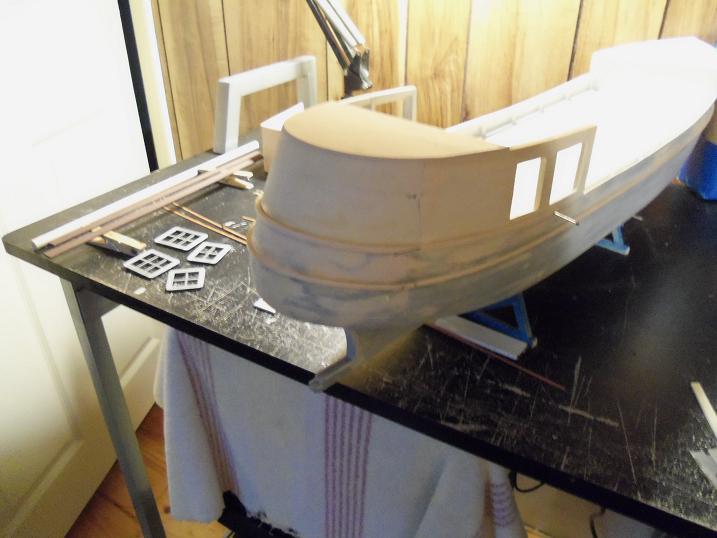
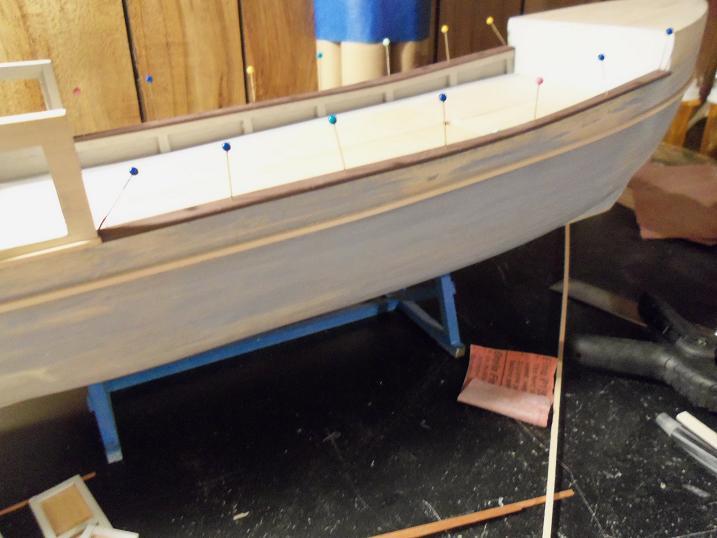
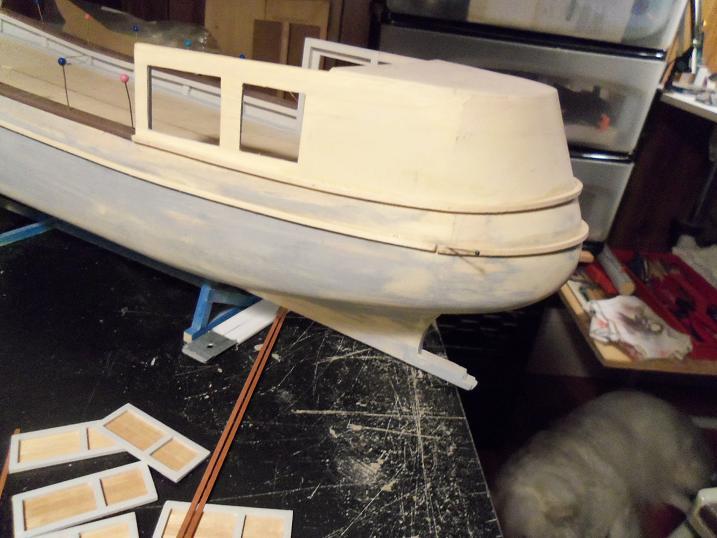
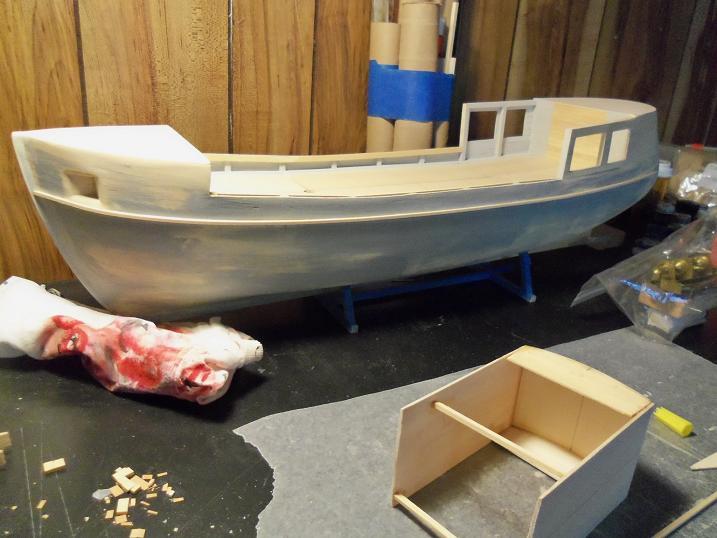
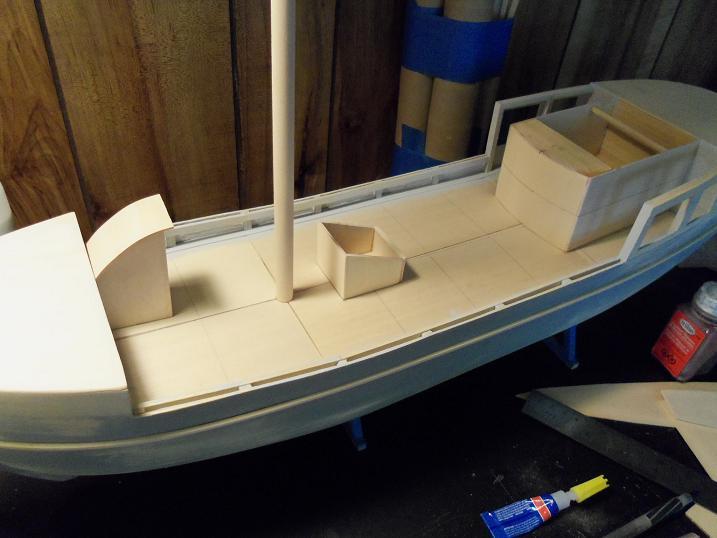
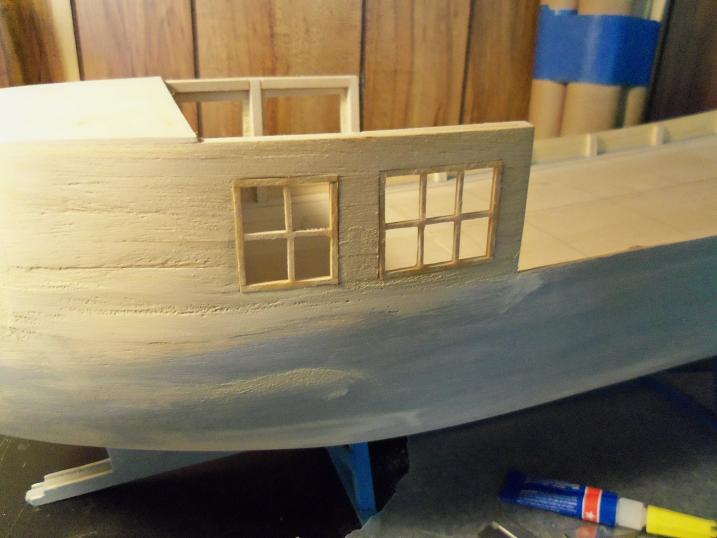
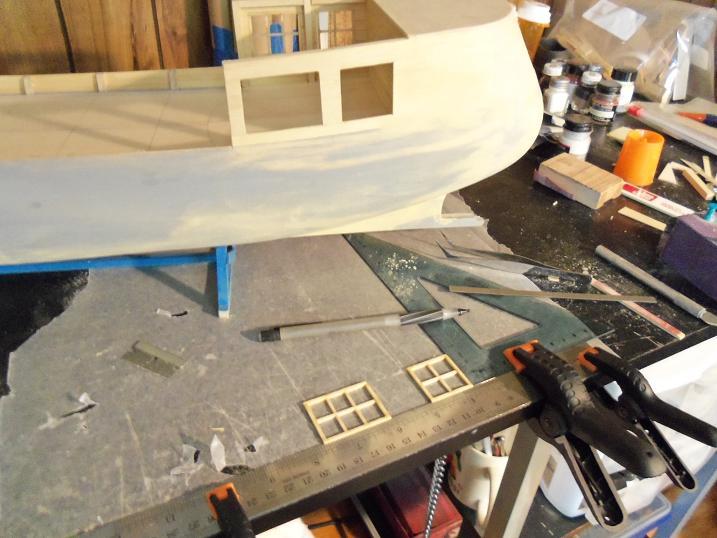
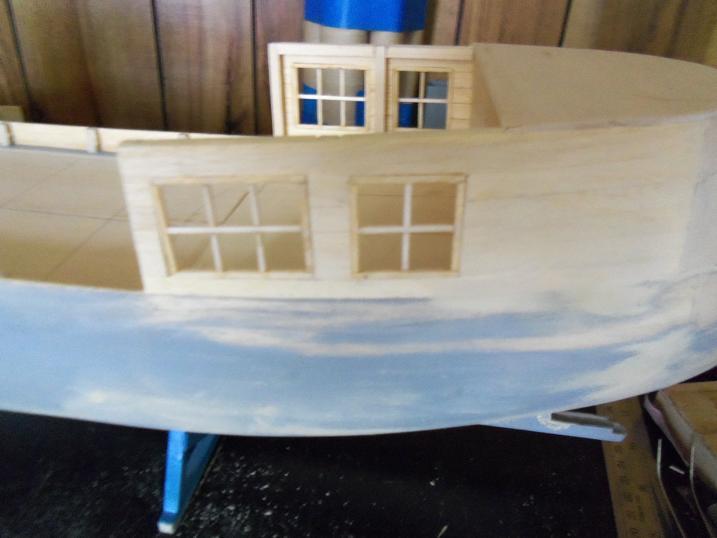
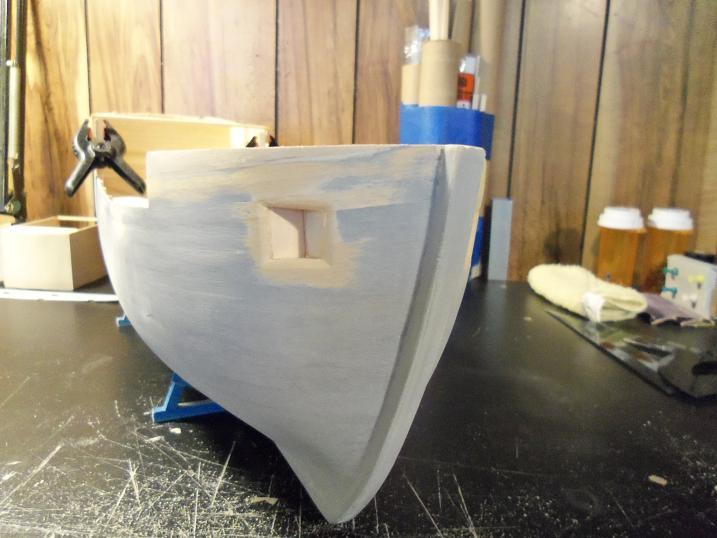
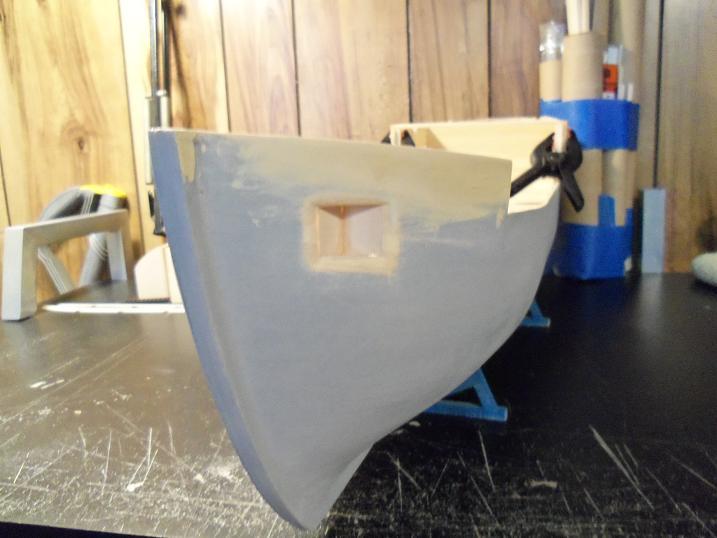
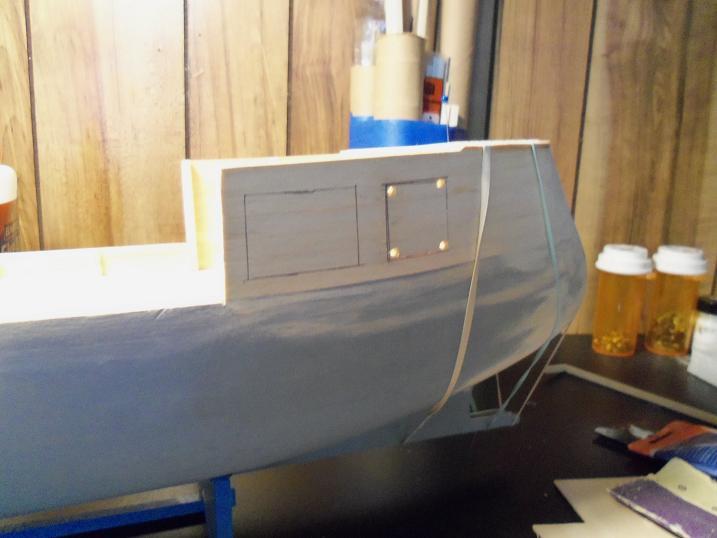
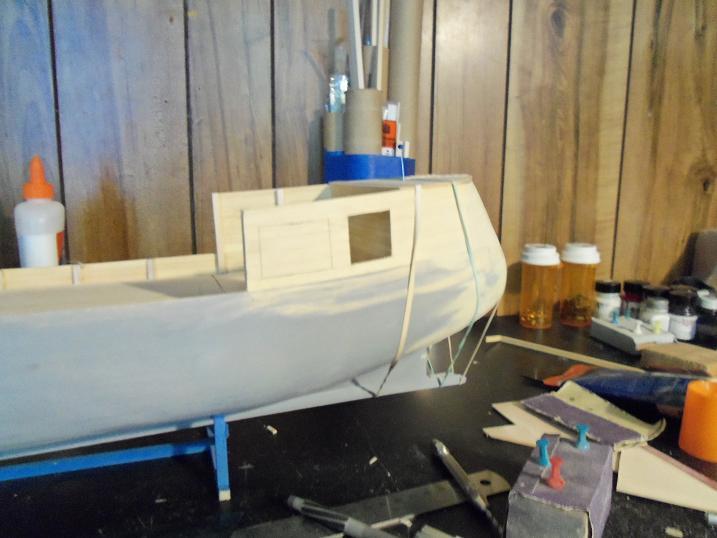
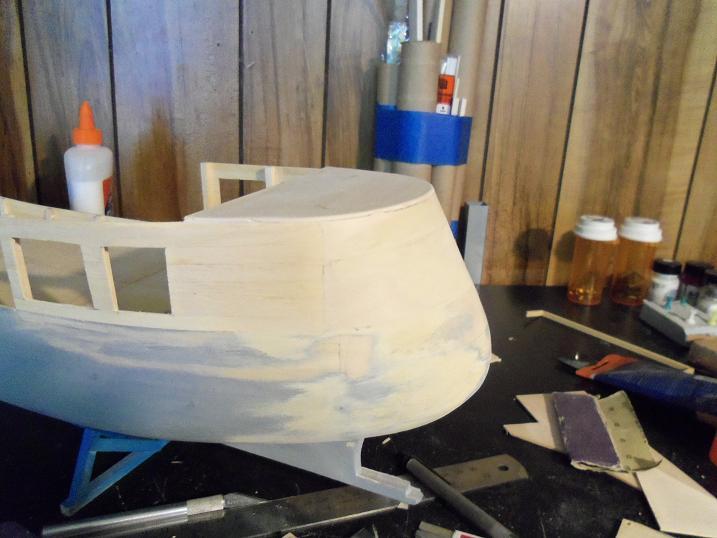
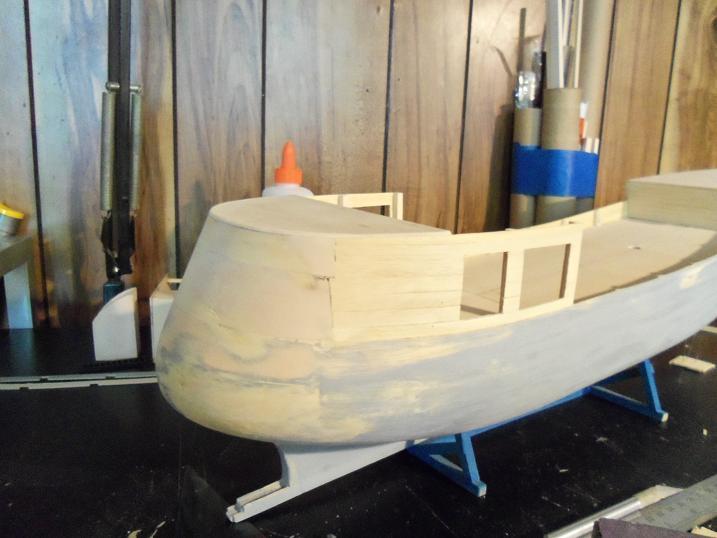
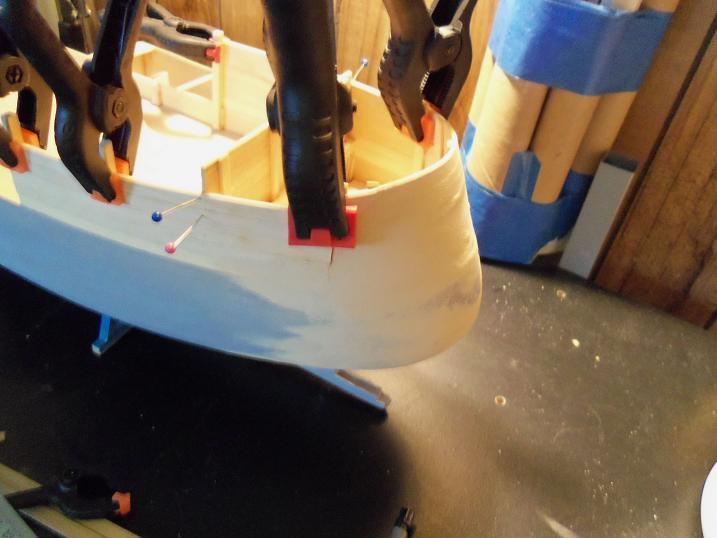
thank you Carl......I'm getting close to the end of my progress....I really need to get back to this one soon. 6 - 5 - 2012 with quite a bit of the structual work done, I was dying to get some paint on her. after prepping the hull up, I did just that. I didn't end up using those window frames....but I still might


-
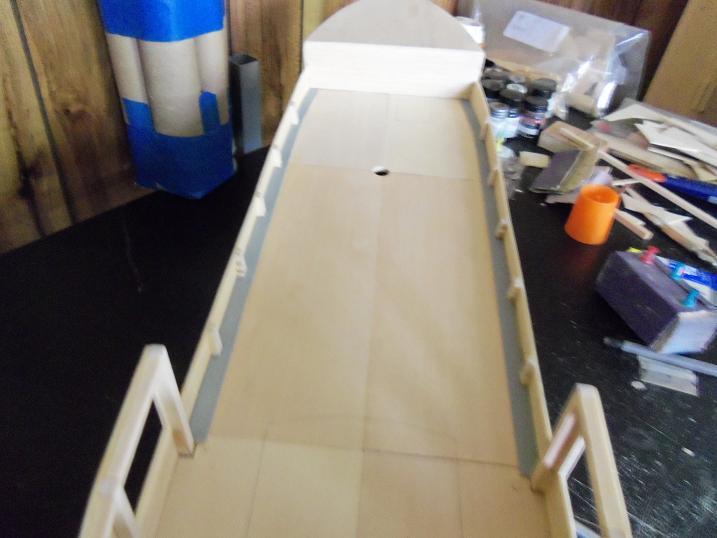
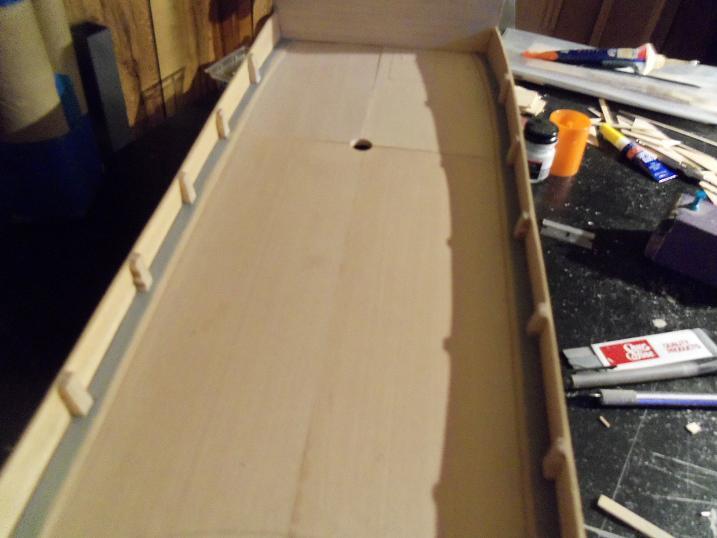
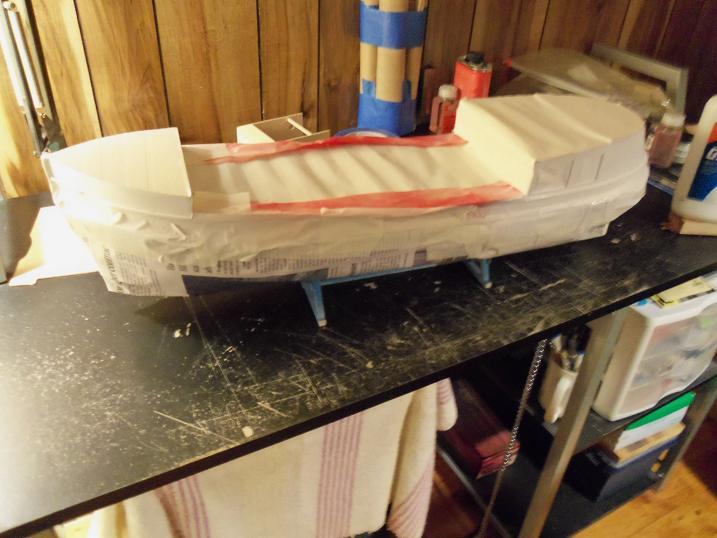
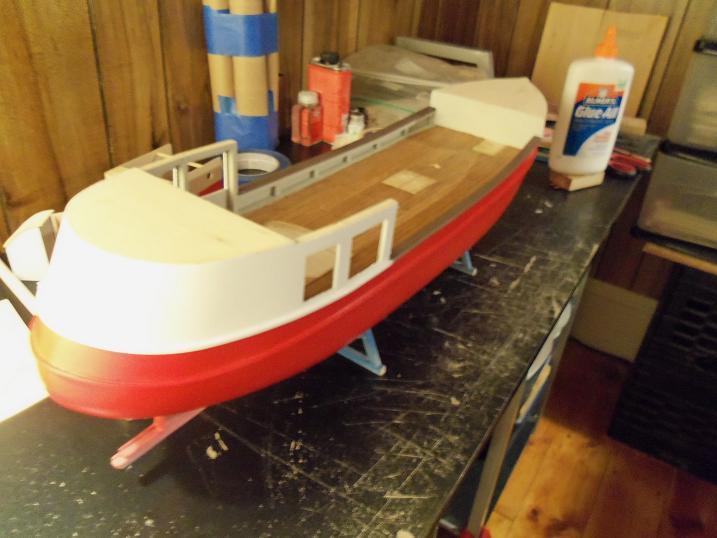
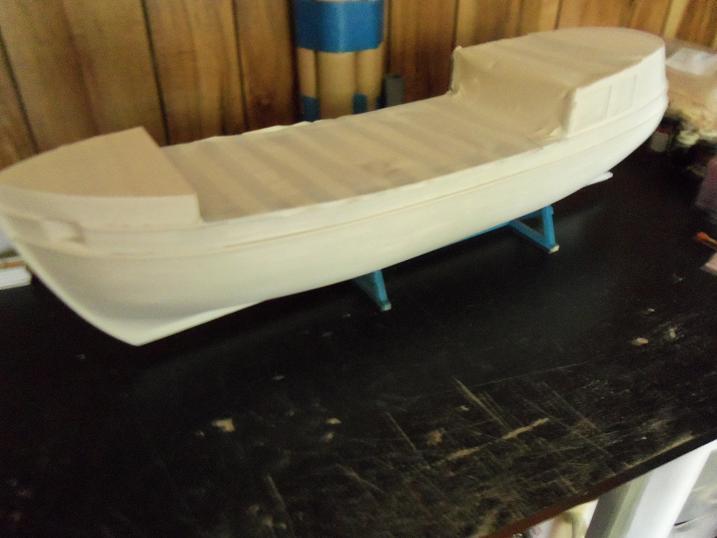
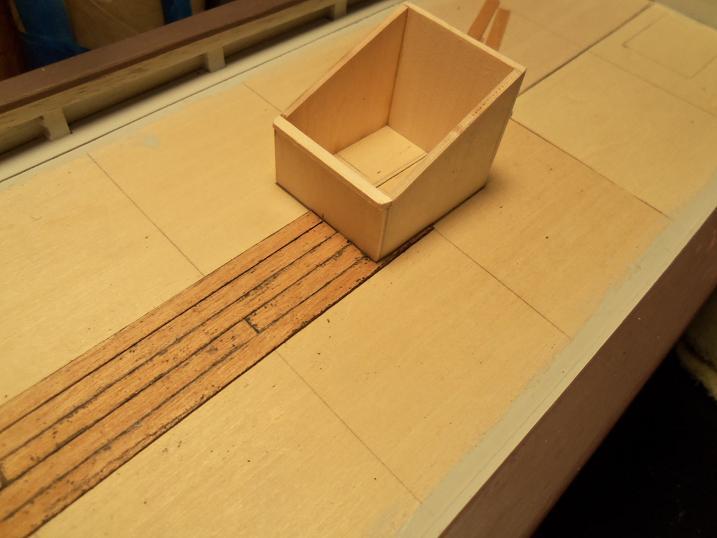
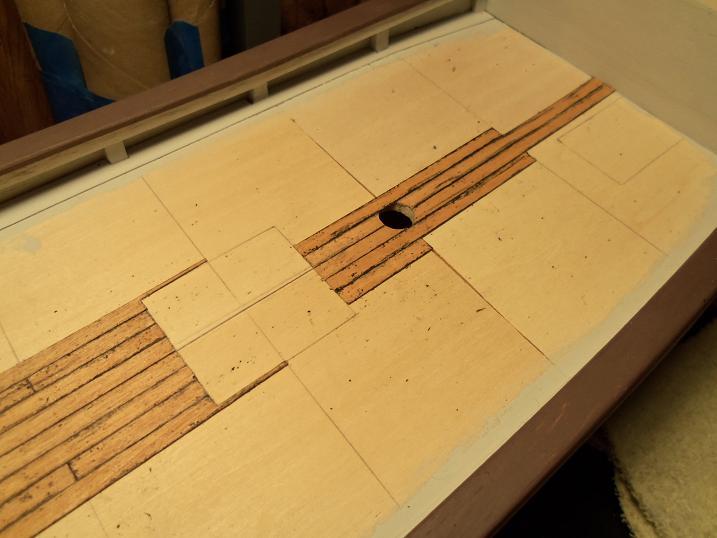
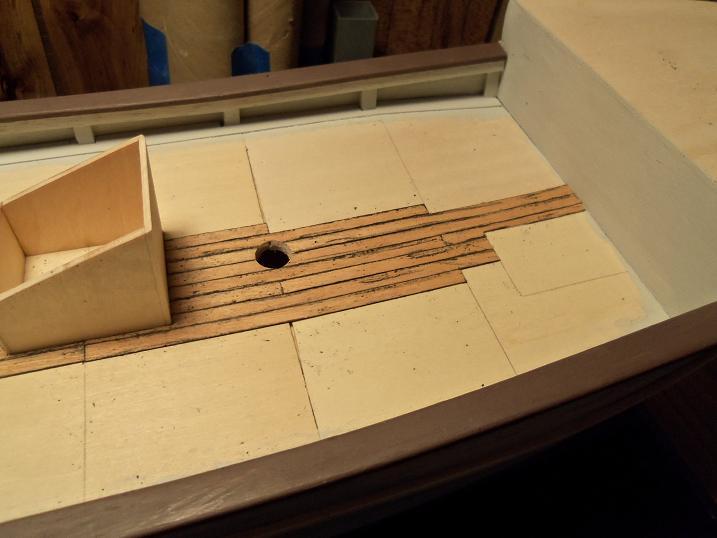
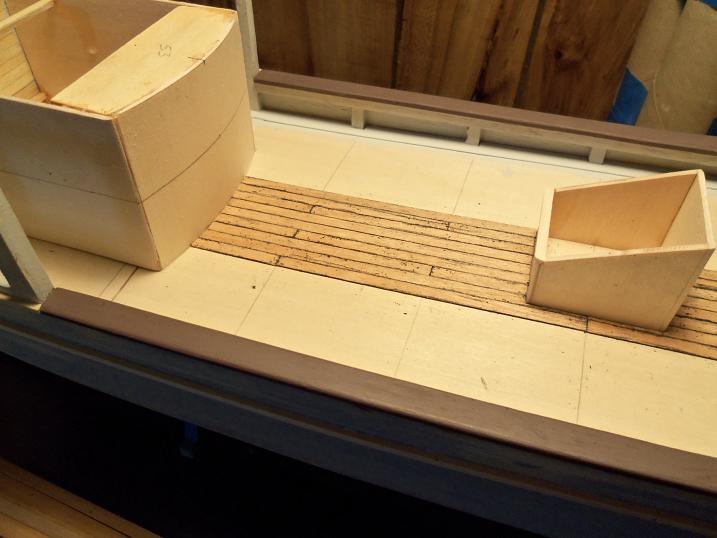
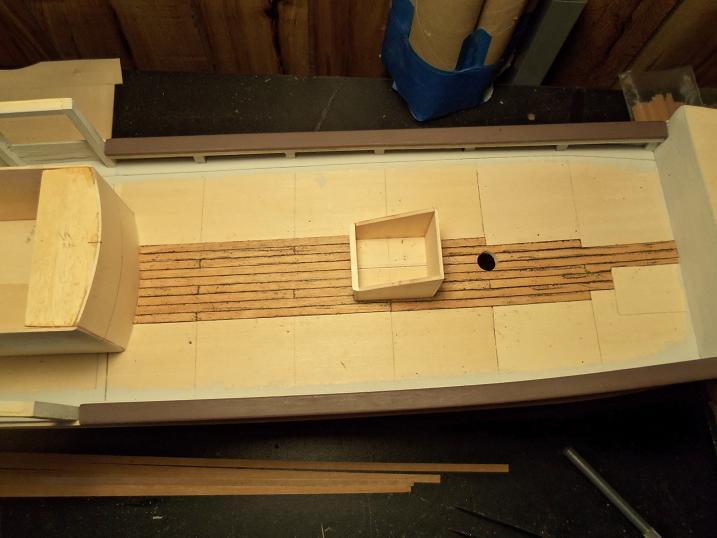
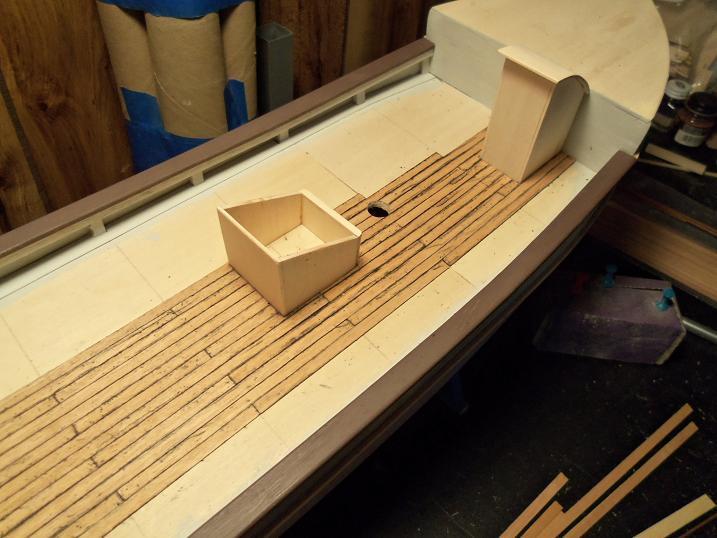
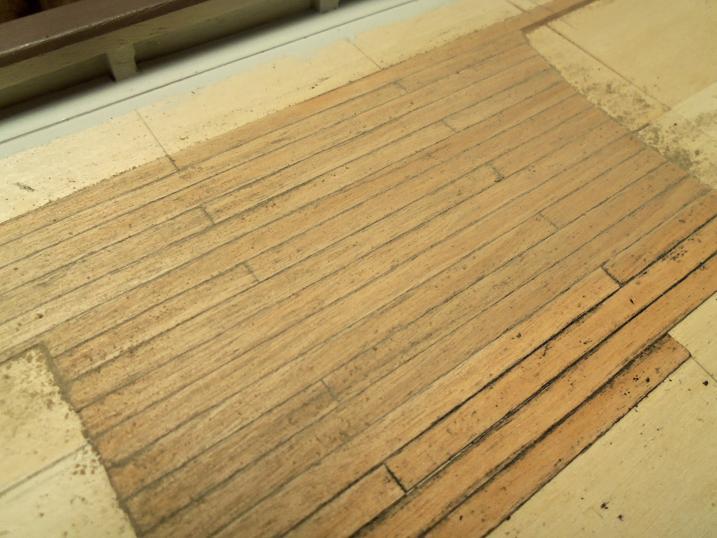
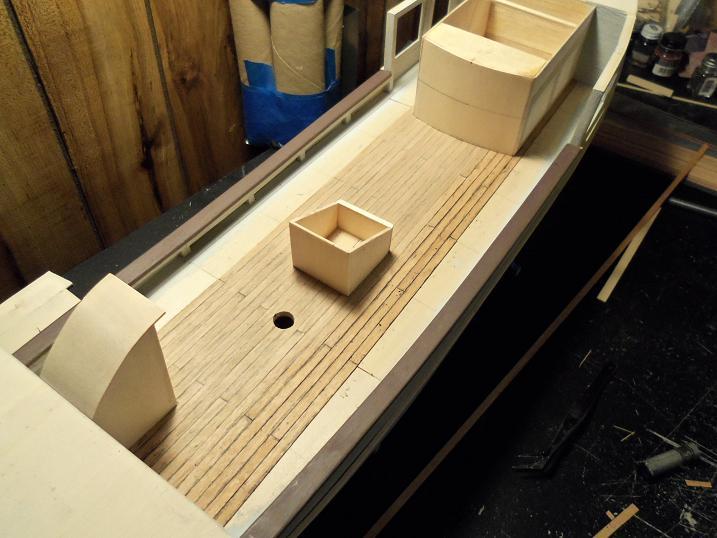
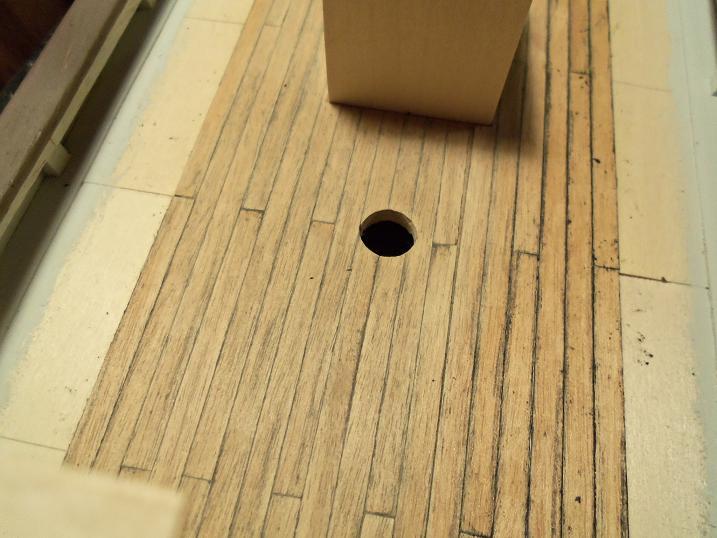
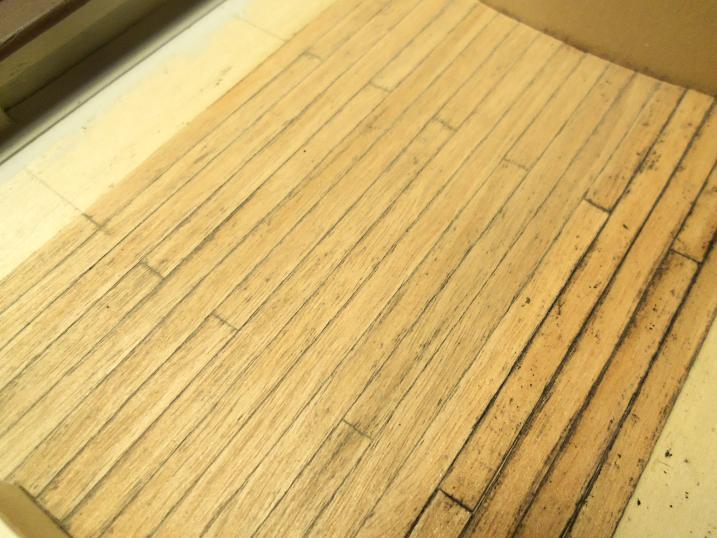
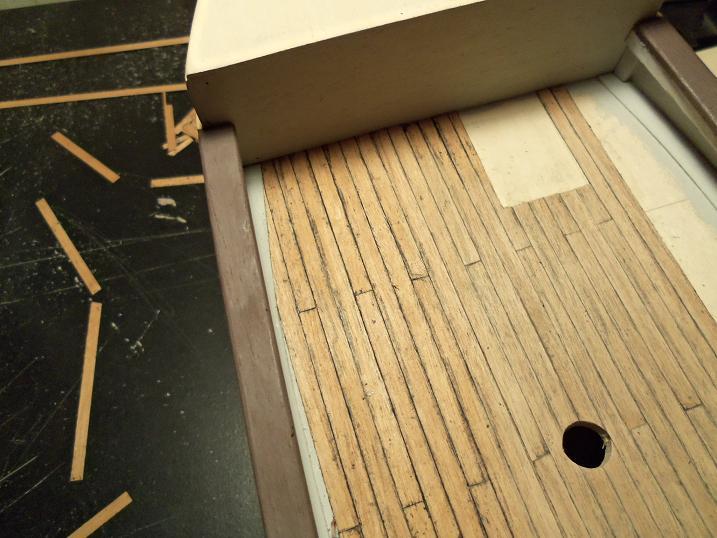
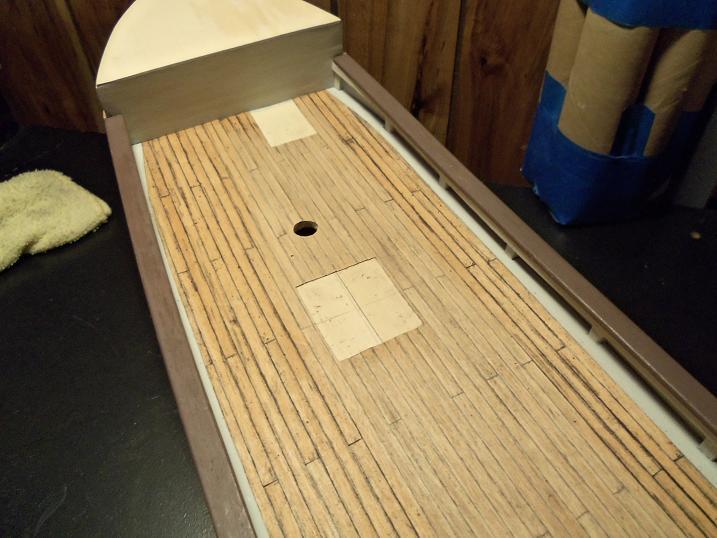
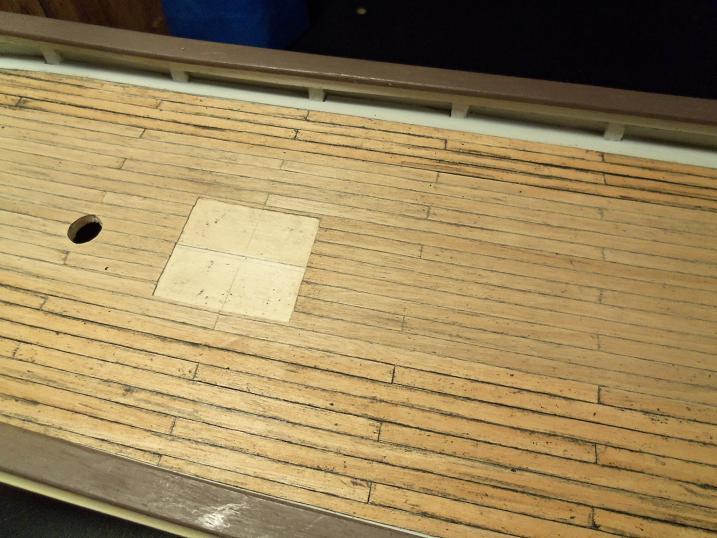
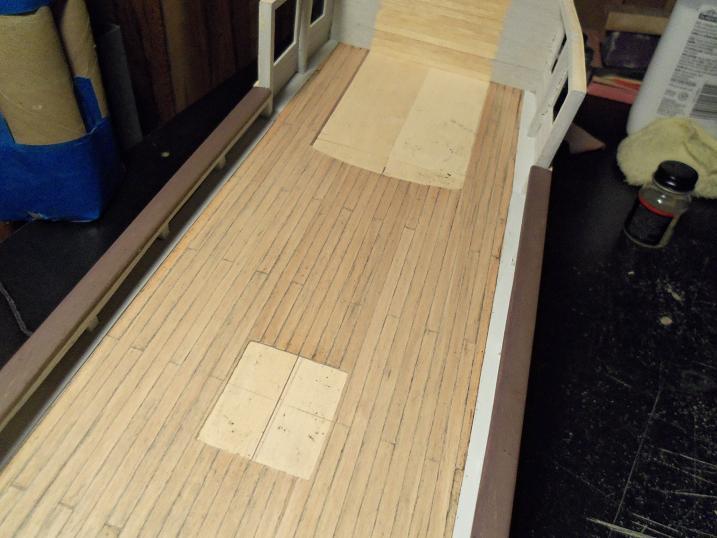
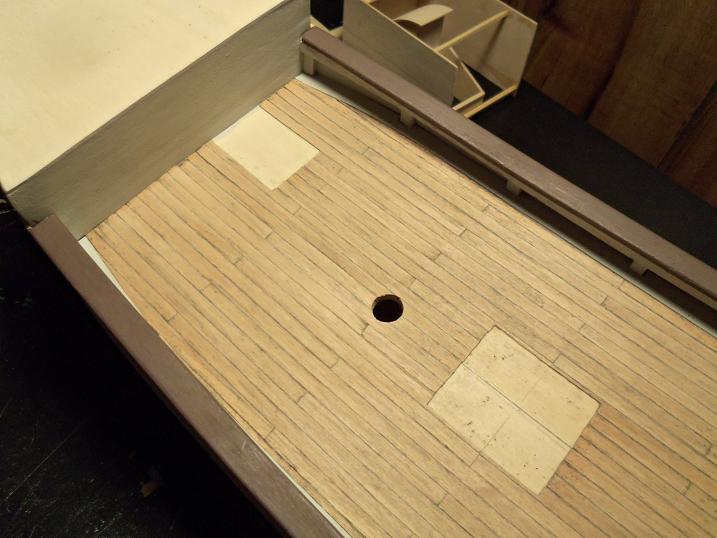
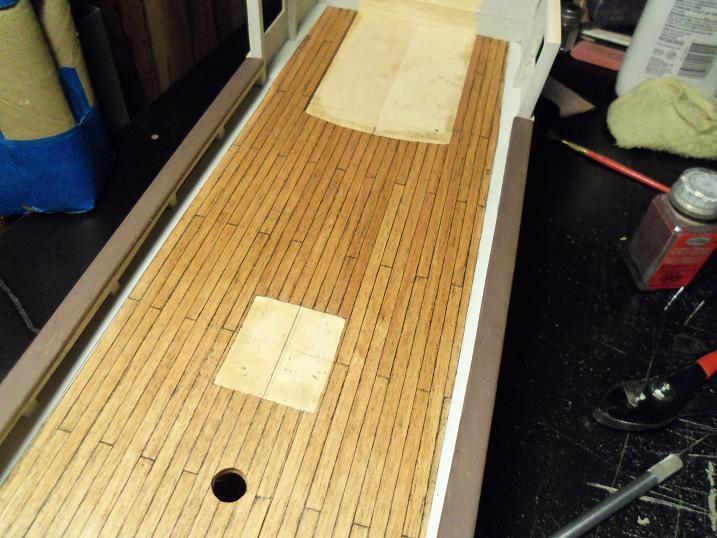
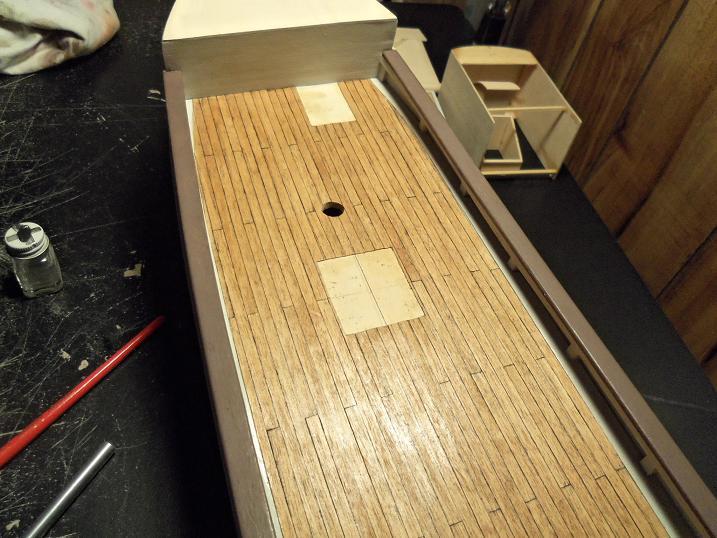
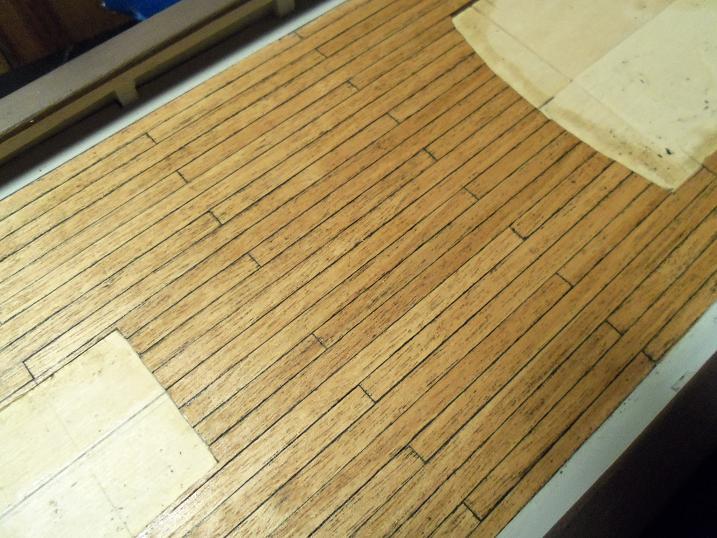
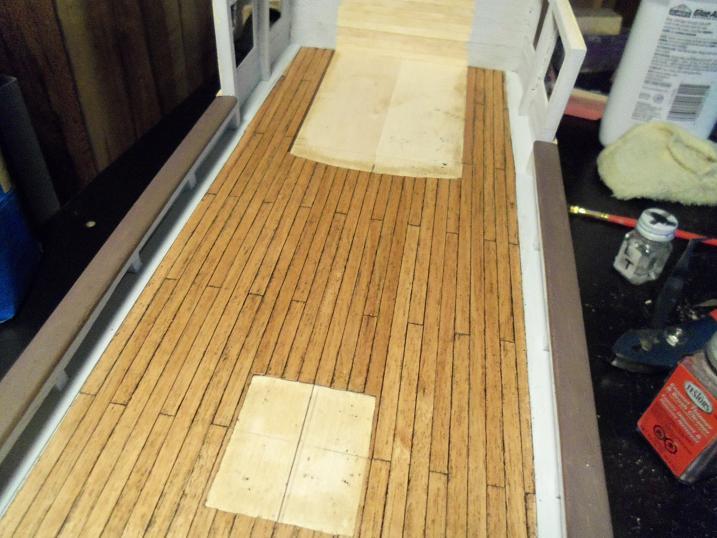
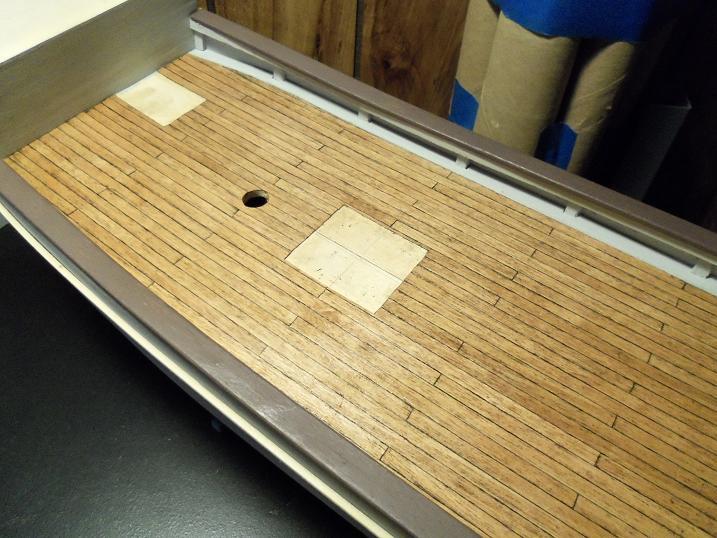
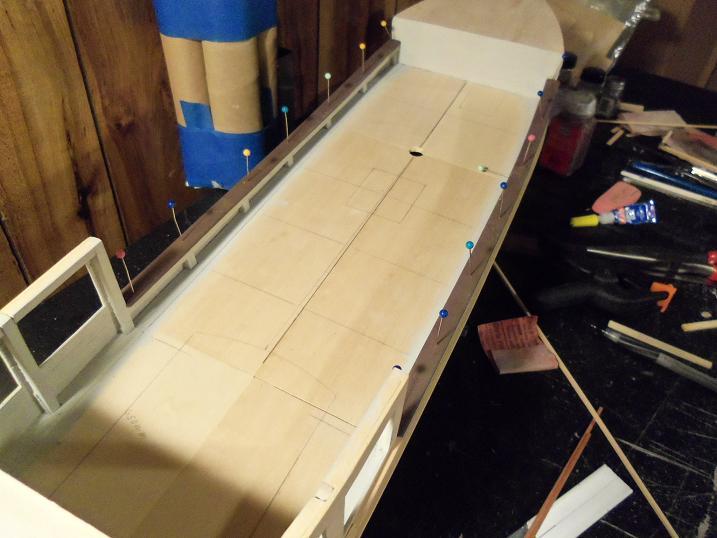
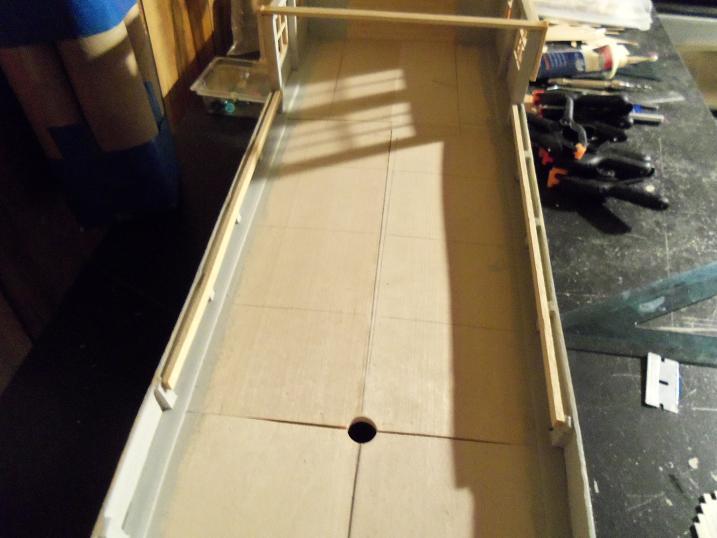
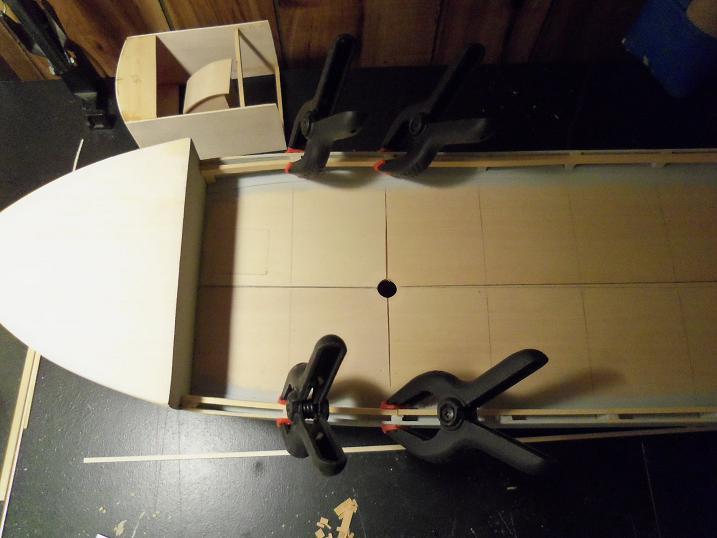
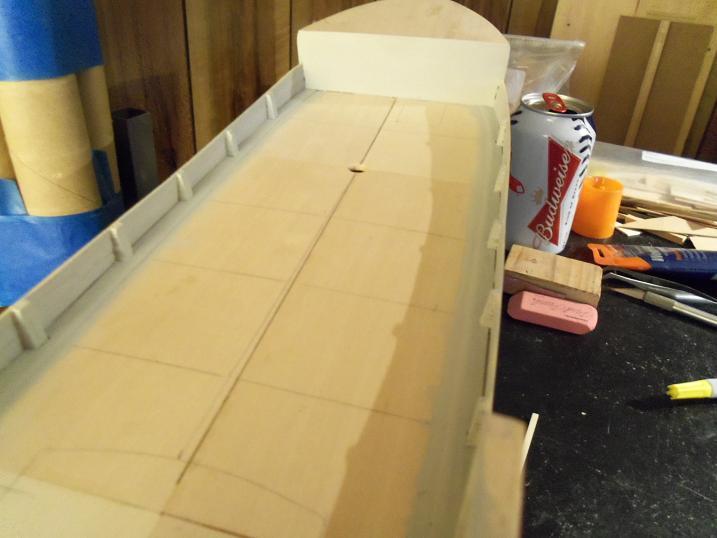
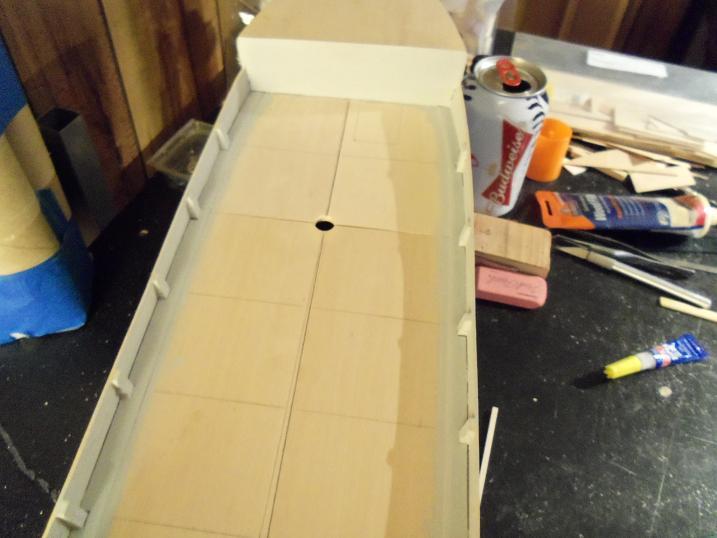
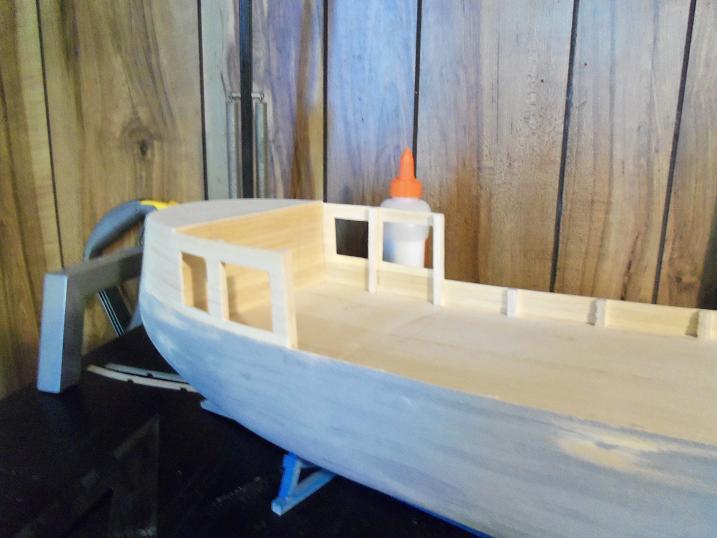
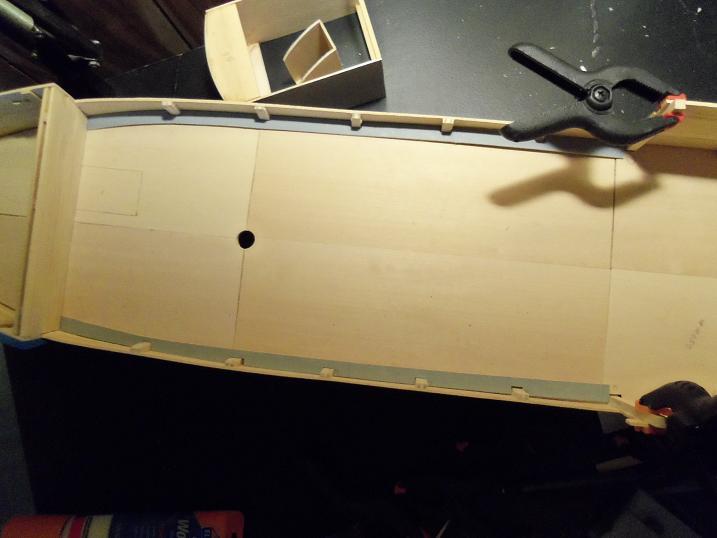
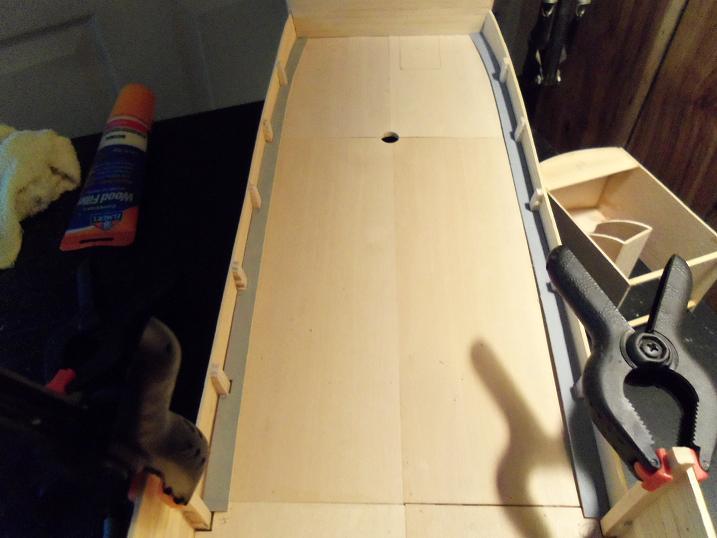
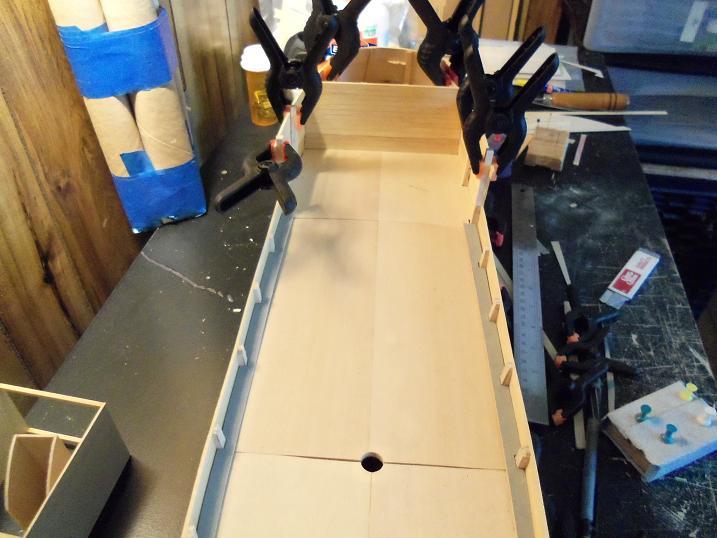
6 - 4 - 2012 this was the day that the deck was planked.......really big day. as I always do, I had mapped out the deck where all the structures were to be. these areas will not get planked, so to create a 'location slot' for them when they are cemented in place. this will not show separation lines that sometimes occur when parts are cemented together.......no tiny gaps. the center planks were run down from the bow, to the stern......done gradually so to get all the structures tight with the planking. I had sanded the waterways along the edges to meet the planking. I did the calking with crayon. after the deck was down, a light sanding blended it together and filled in any tiny gaps. crayon is a bit messy.......I was careful to scrape most of it off the upper surface, so there wouldn't be much to sand....hence the reason for the blending. it does give the deck a nice hue though. the open areas will provide a nice location point for the structures. the deck is sanded some at this point now it given it's first coat of lacquer
-
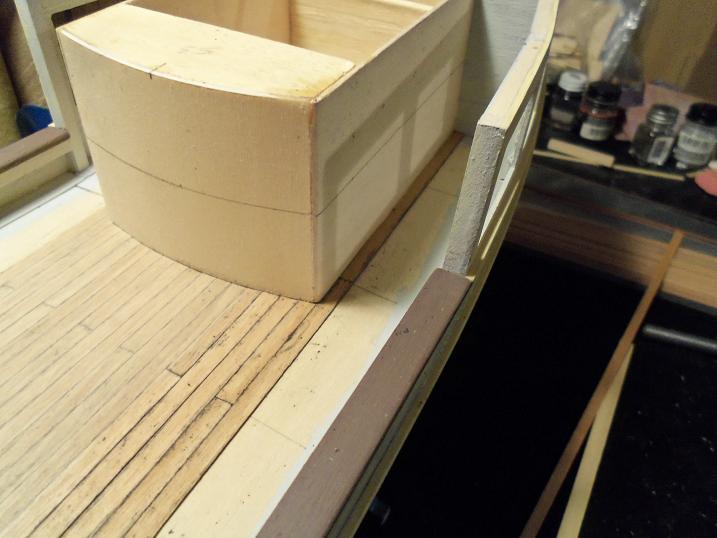
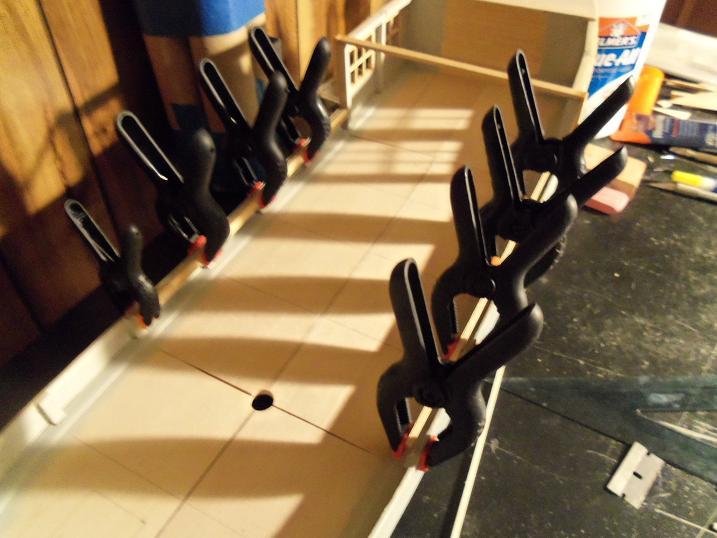
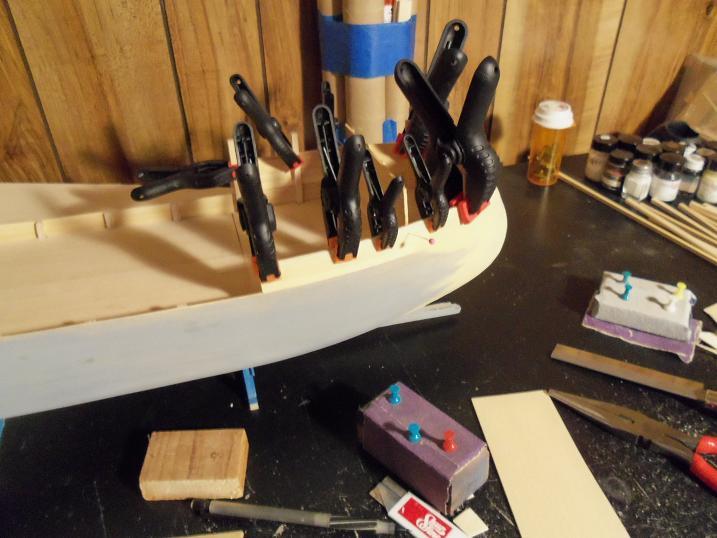
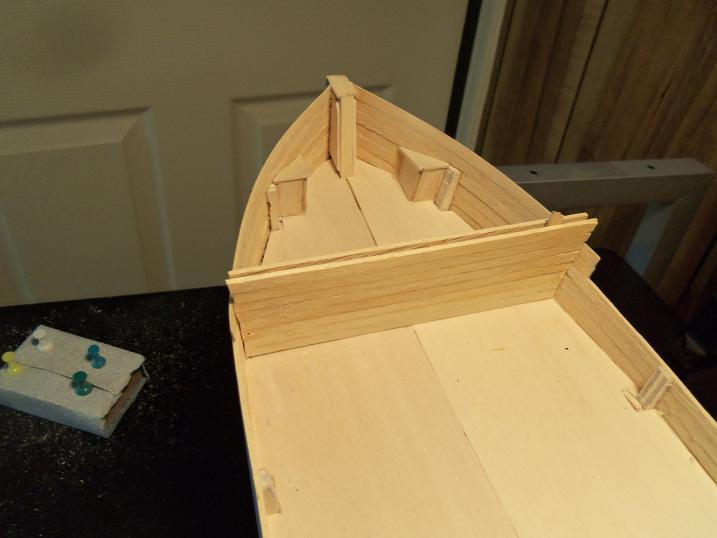
5 - 30 - 2012 here is the second part of this mega session the second rub rail was added to the hull the top rails were added at this point

-
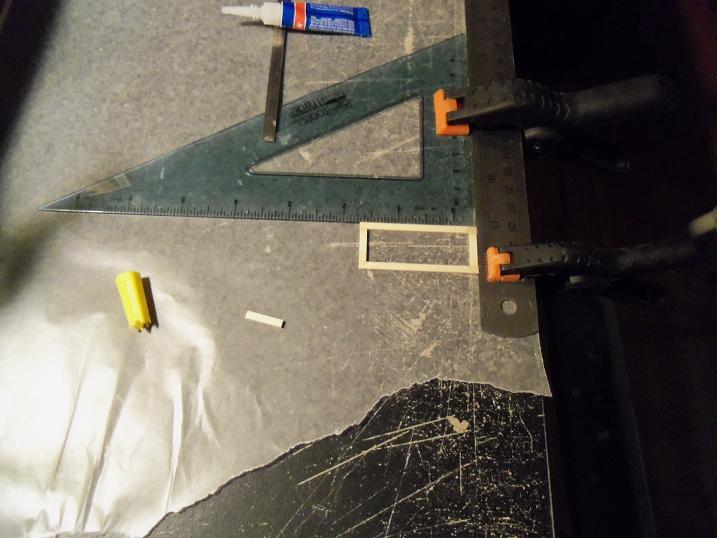
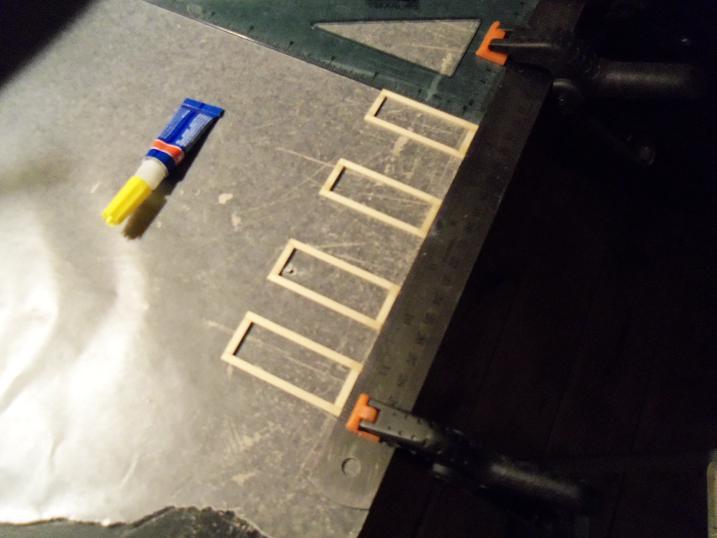
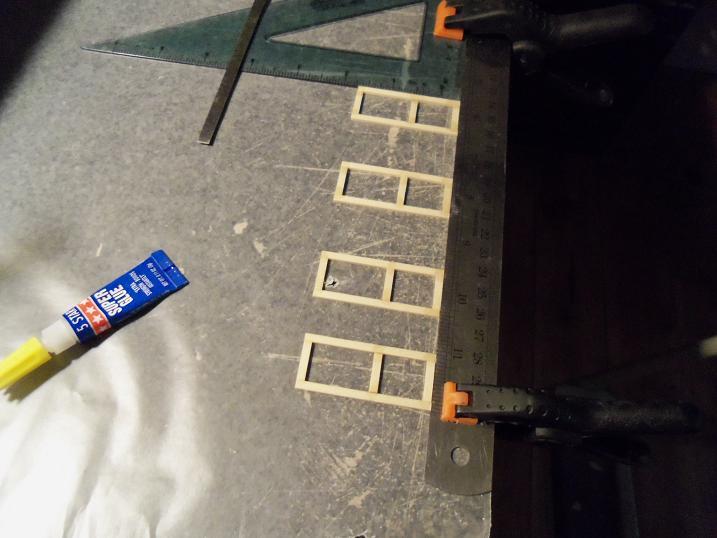
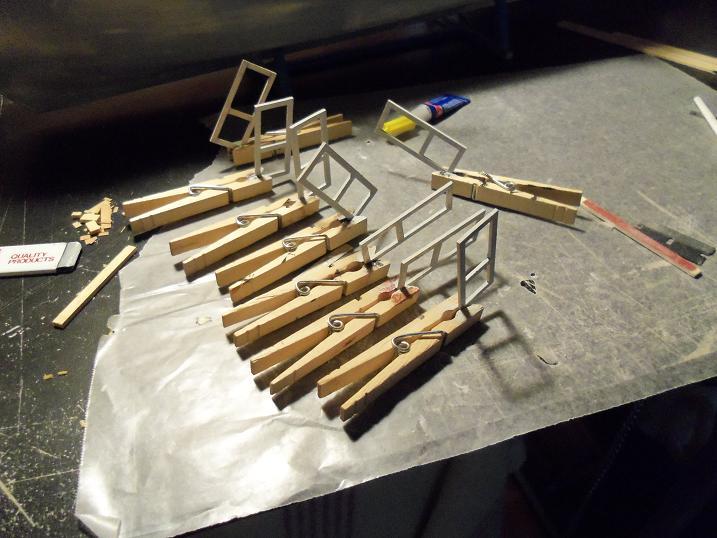
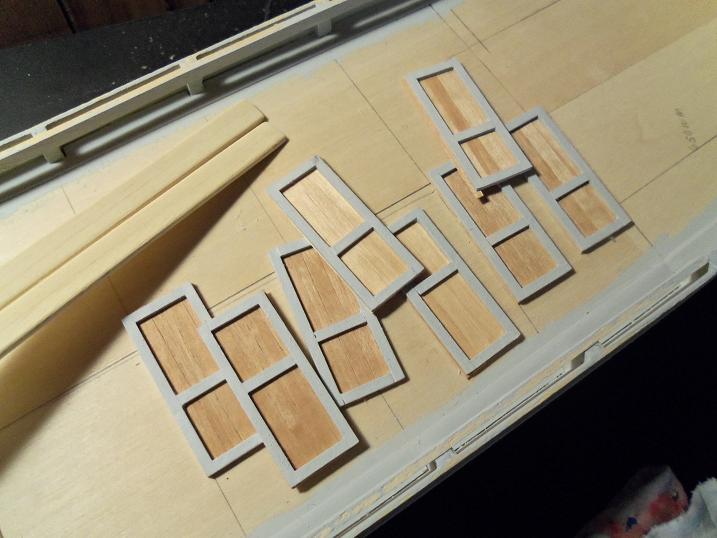
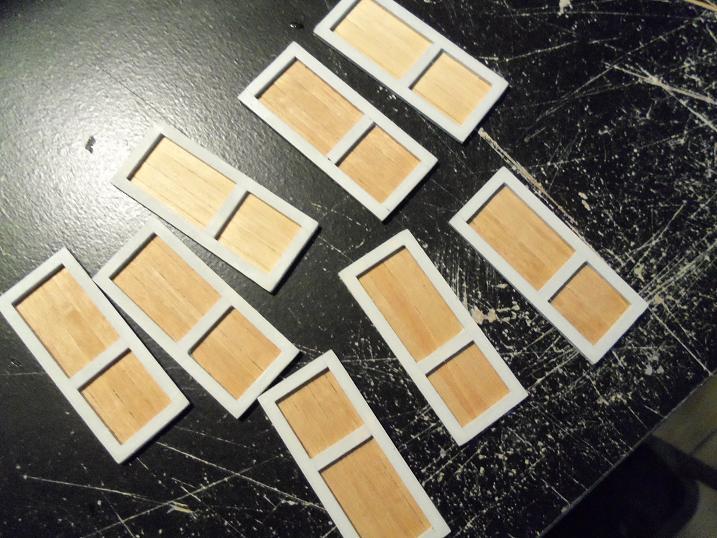
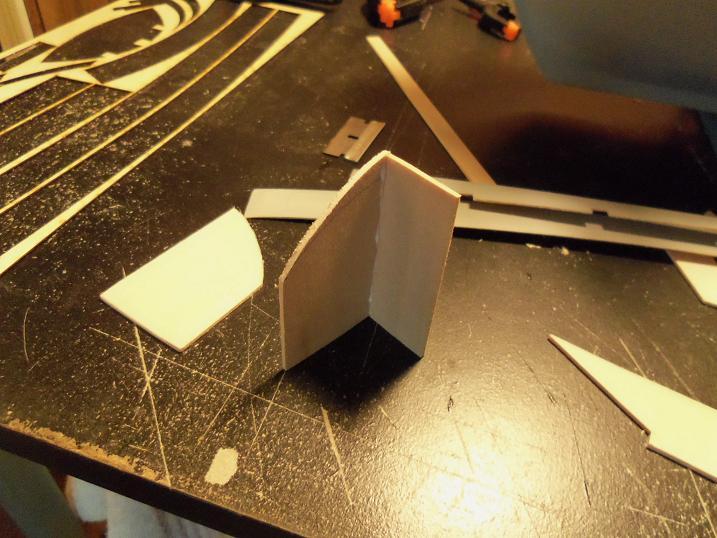
5 - 30 - 2012 this was a big day......so big that it was done in two parts. I needed a lot of doors for her.....around eight to be exact. here is how I made them. the rub rails were added to the hull more structures were assembled and fitted...by no means complete, adding to the build.


-
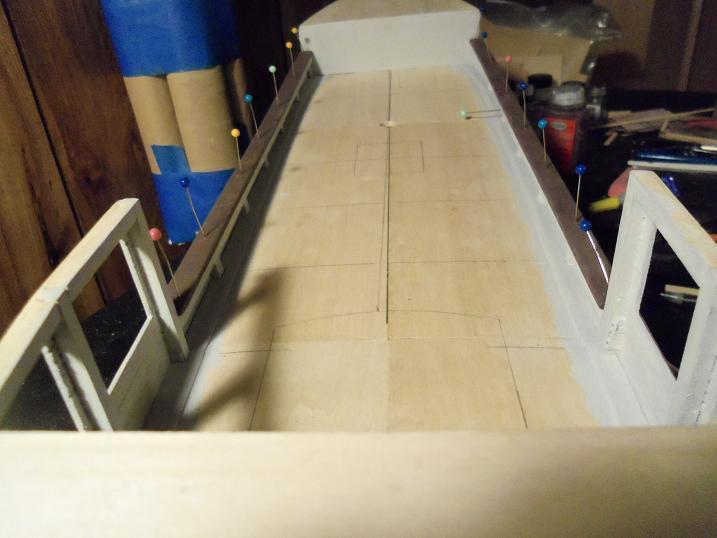
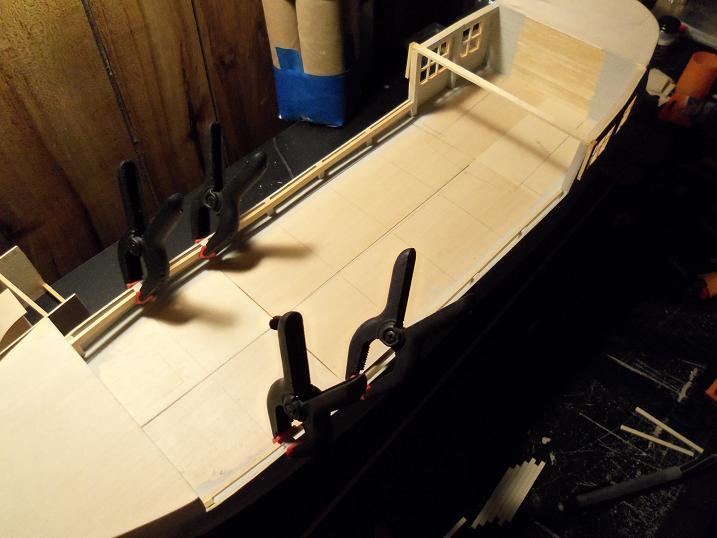
5 - 29 - 2012 I added an inner bulwark rail along the top.....mostly to give the top rails a better cement point.

-
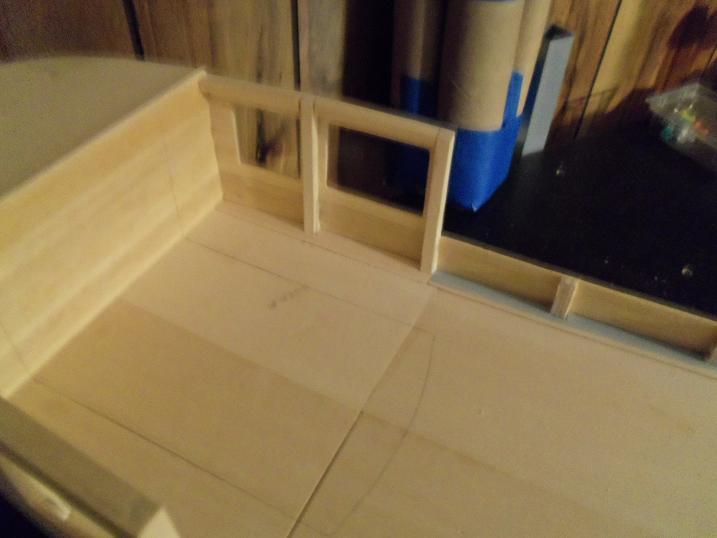
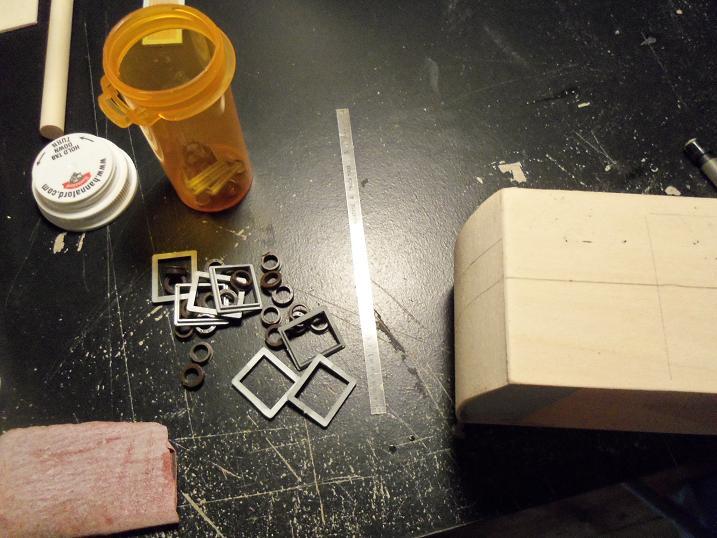
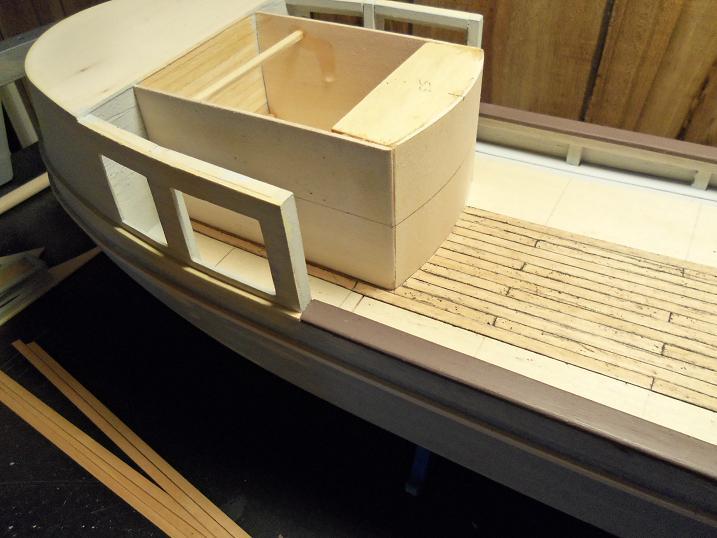
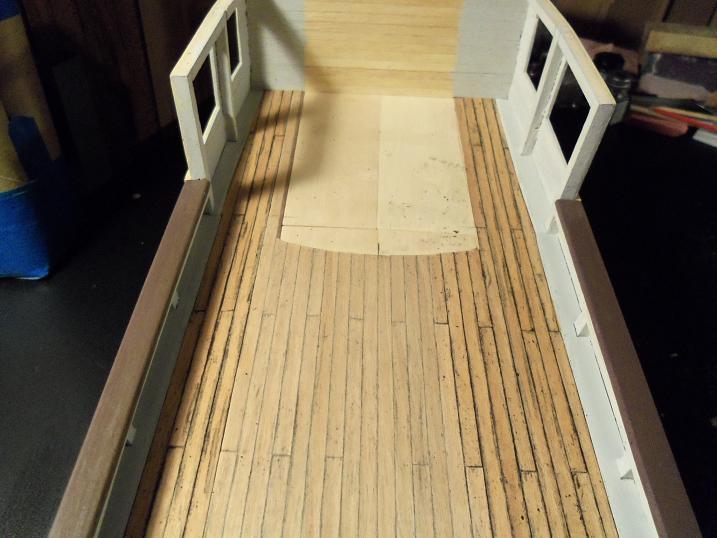
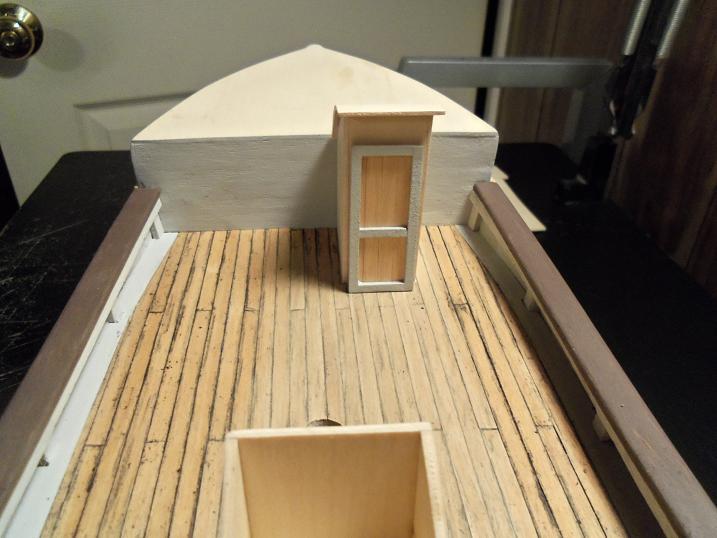
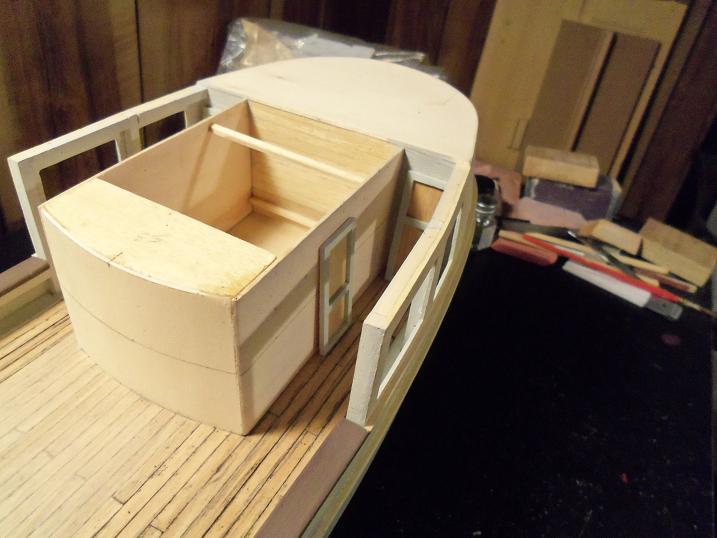
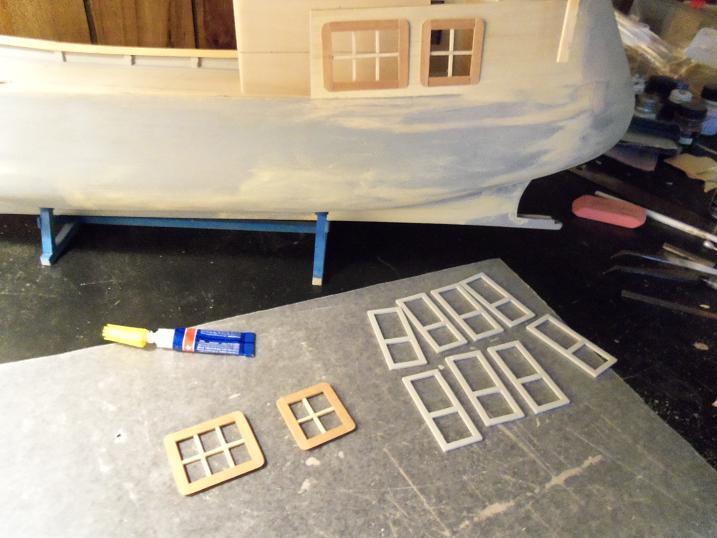
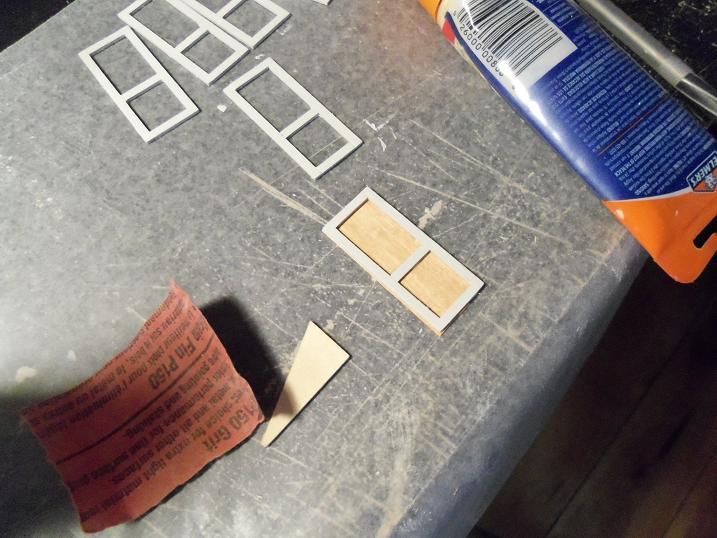
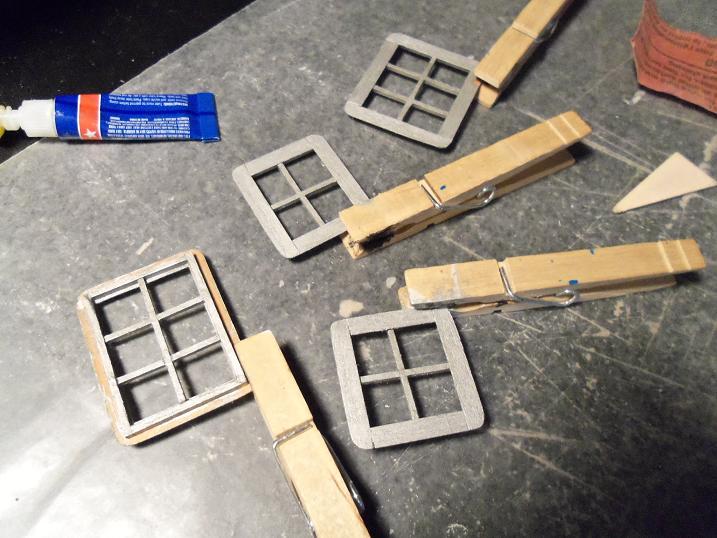
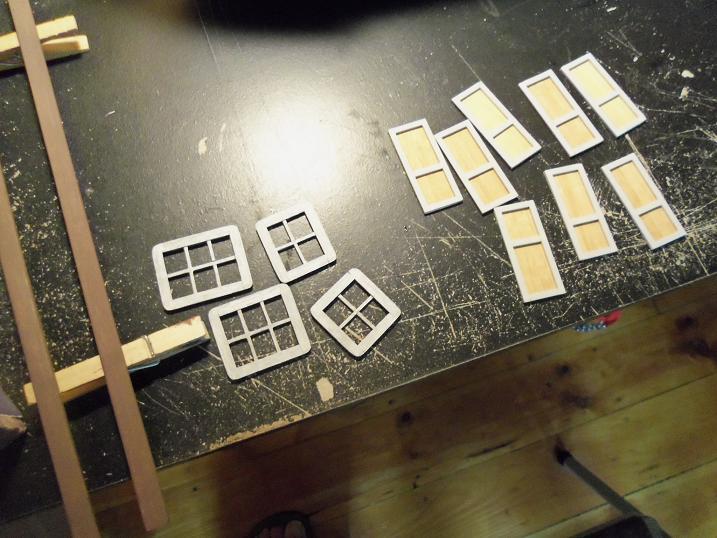
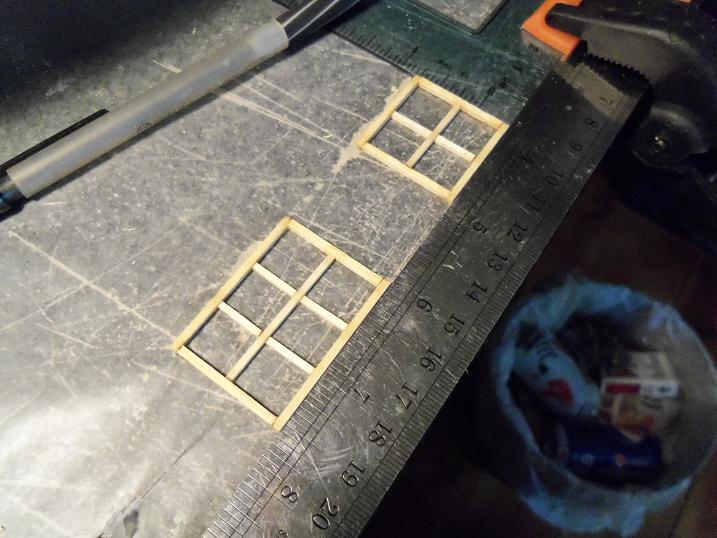
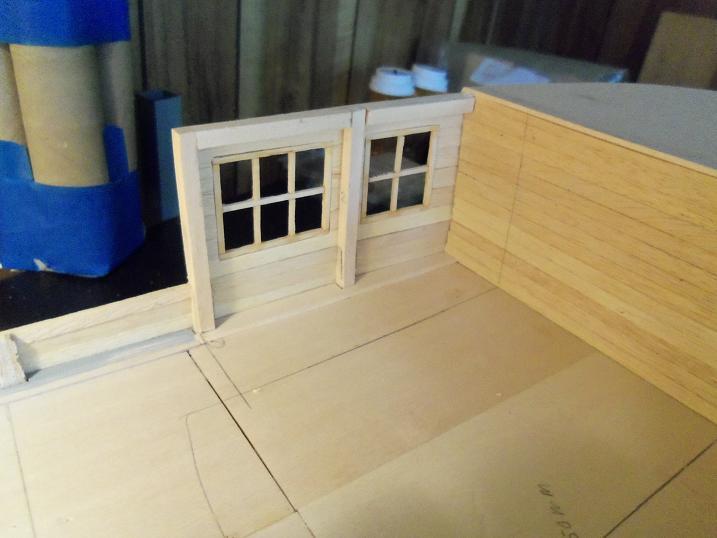
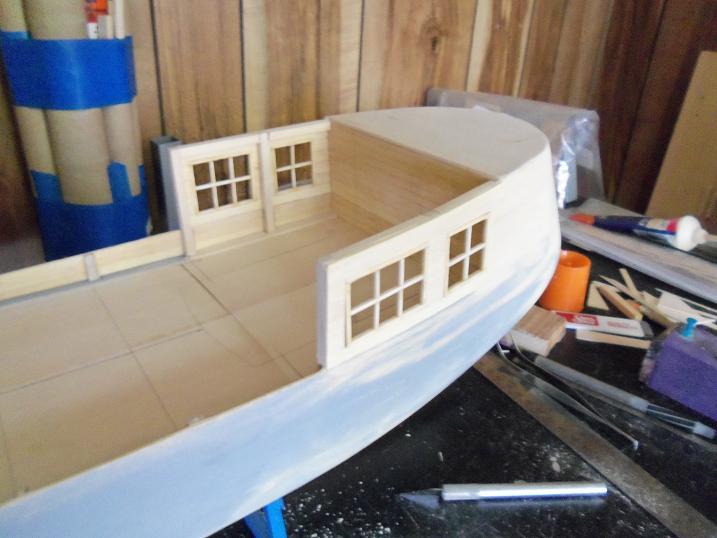
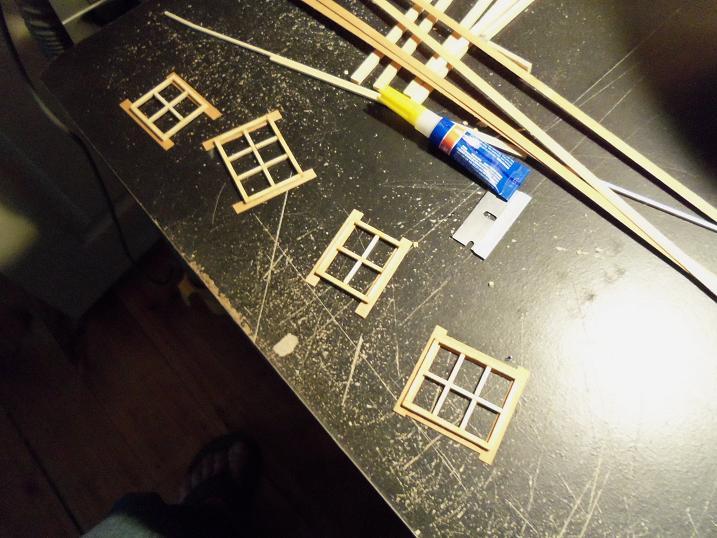
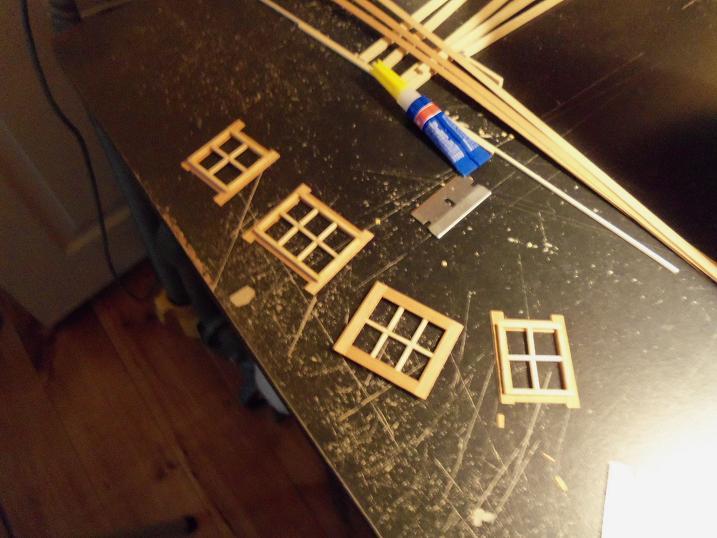
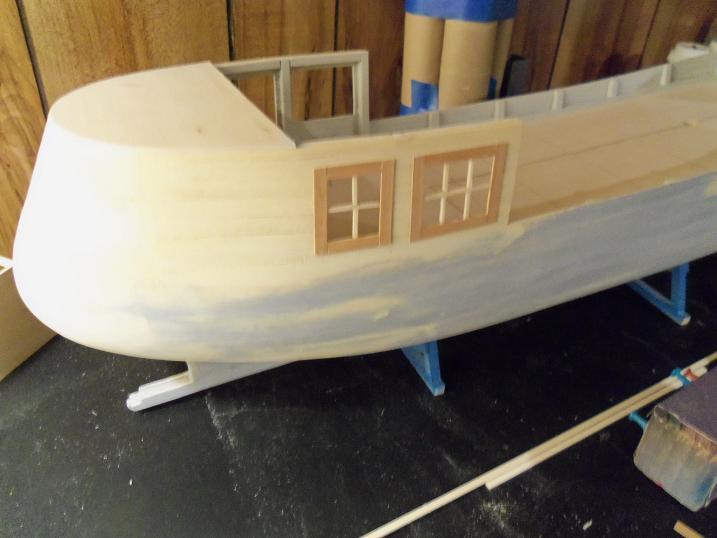
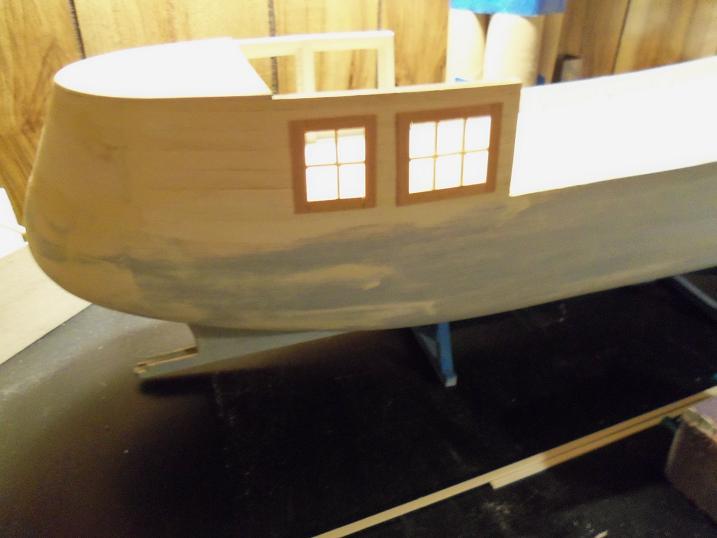
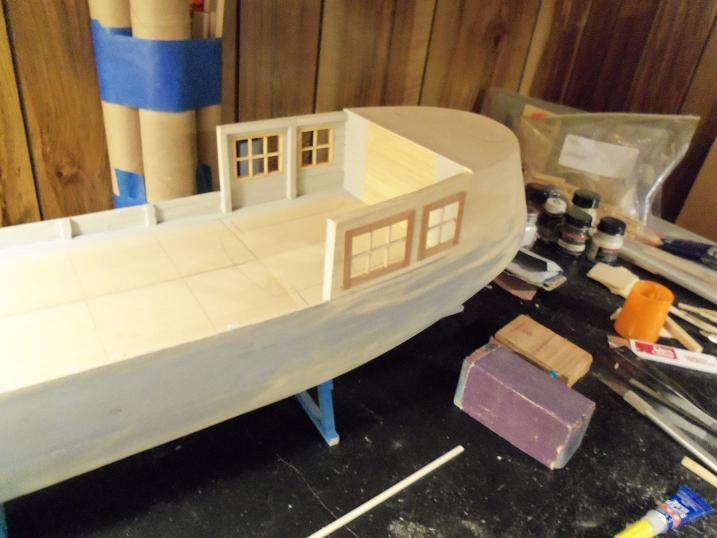
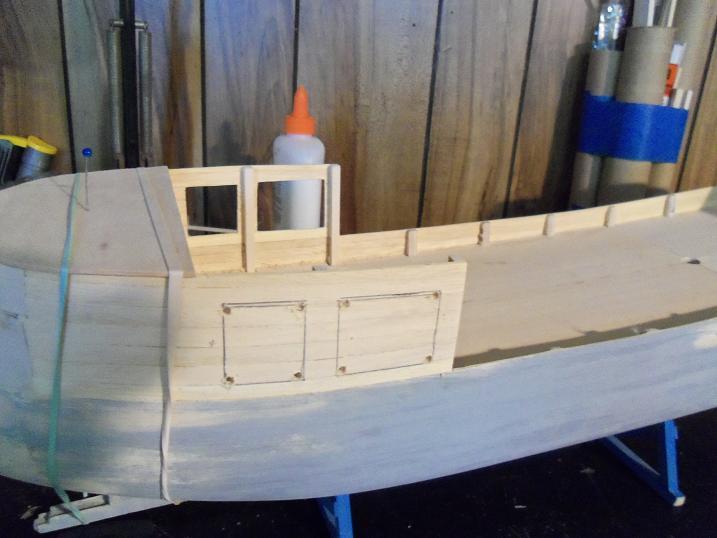
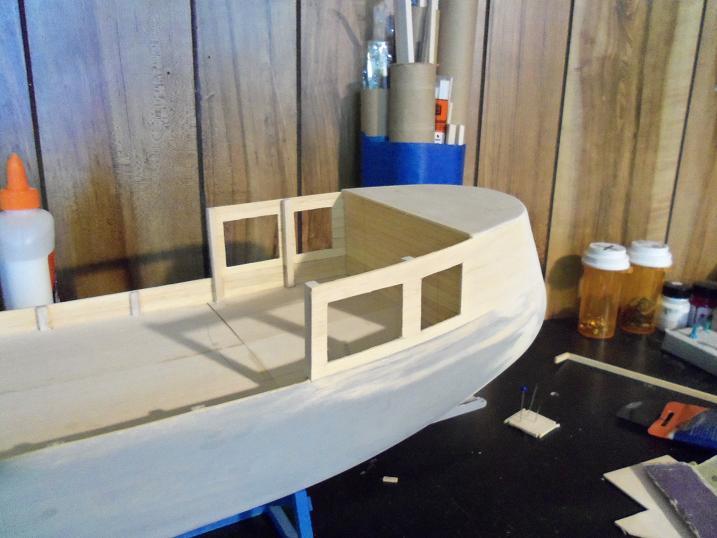
5 - 24 - 2012 I thought to add windows to the aft walls. on most trawlers, these areas are left opne and sculpted, but for this one, I decided to do them, to add to the looks. these are the fitting that I have from the Nordkap build. I had ordered these parts from Billings, when I thought that Harold wasn't going to be able to find the fittings he had. he did find them, and now I have all these nice things to play with.

-
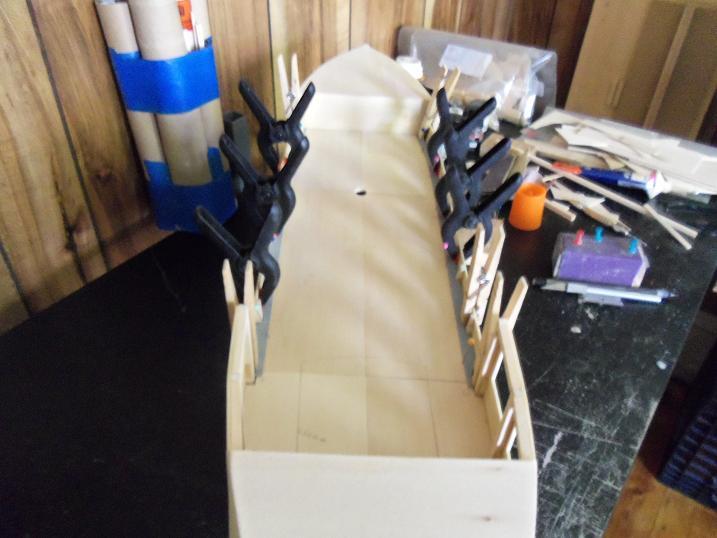
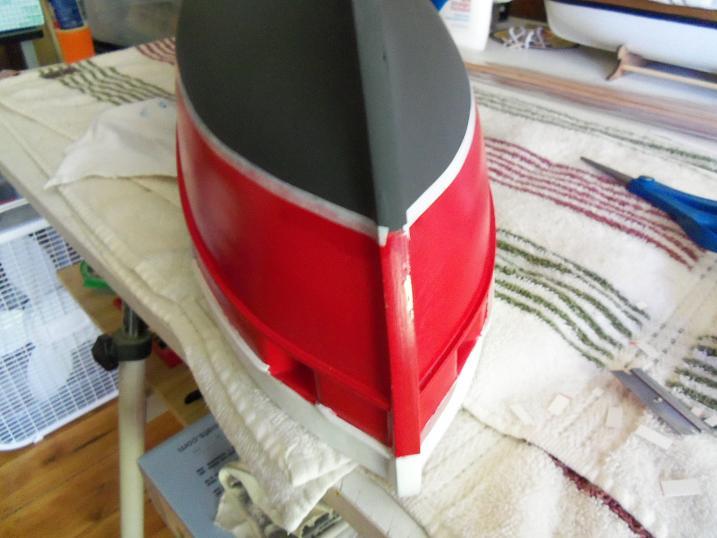
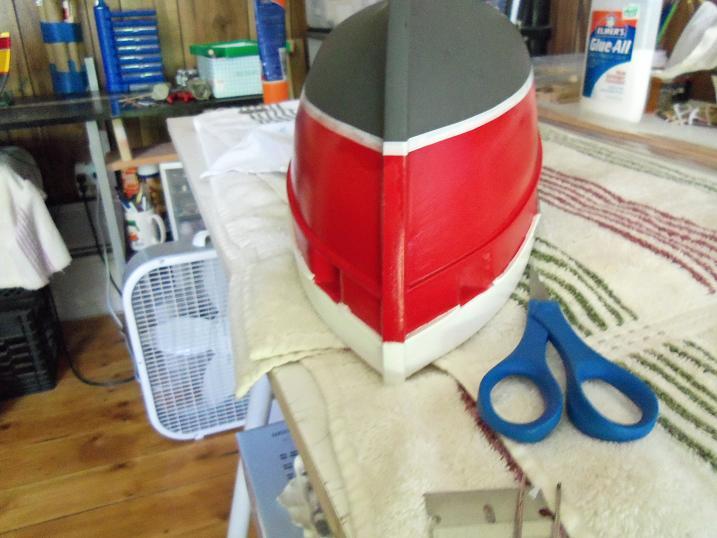
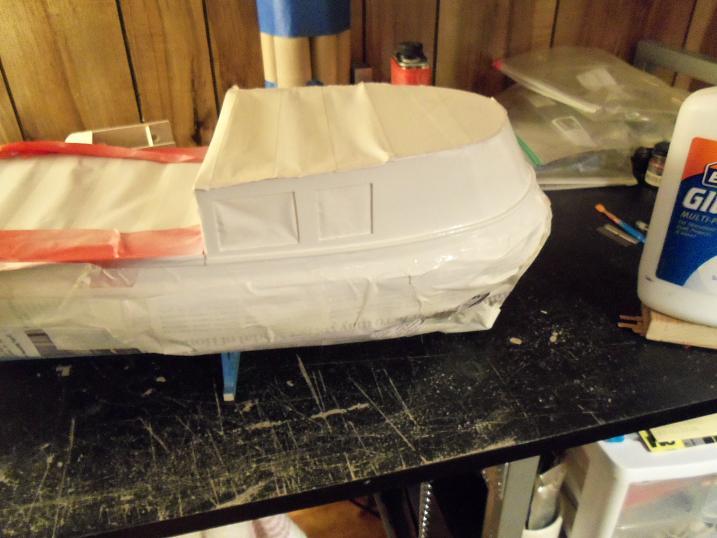
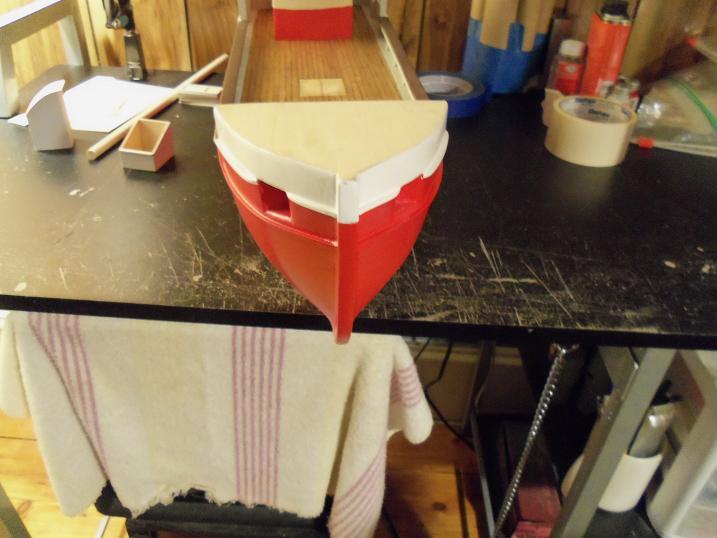
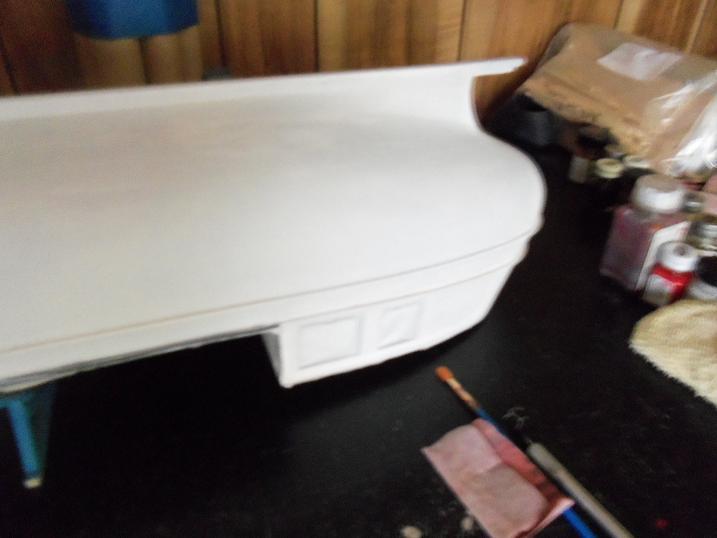
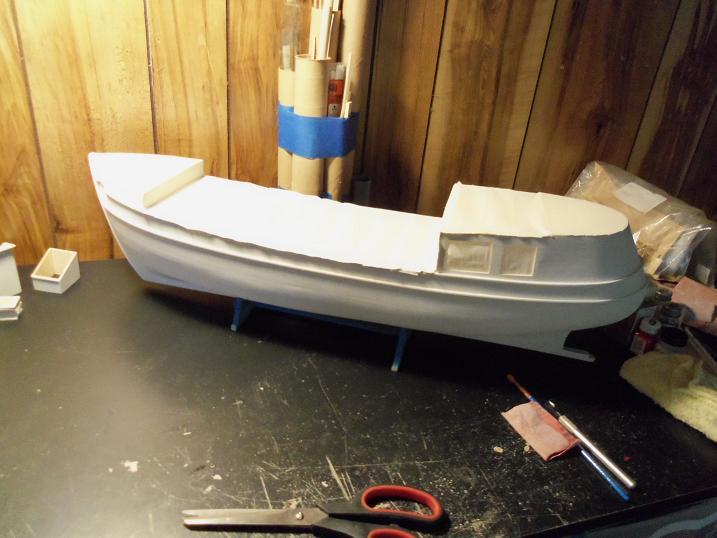
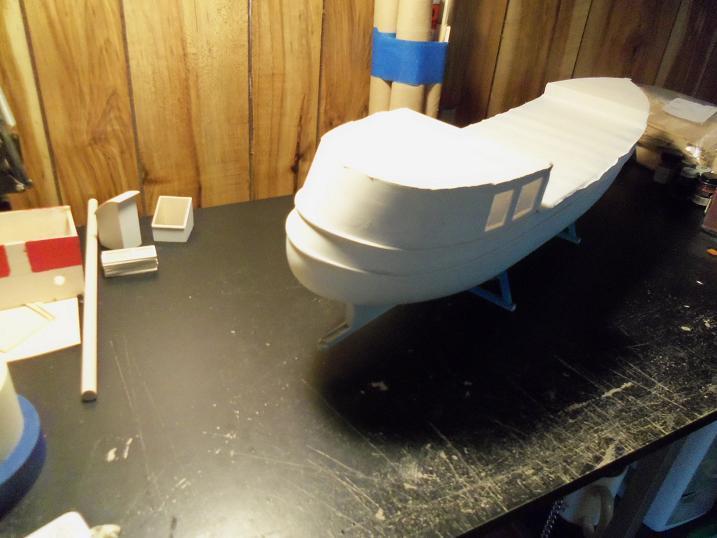
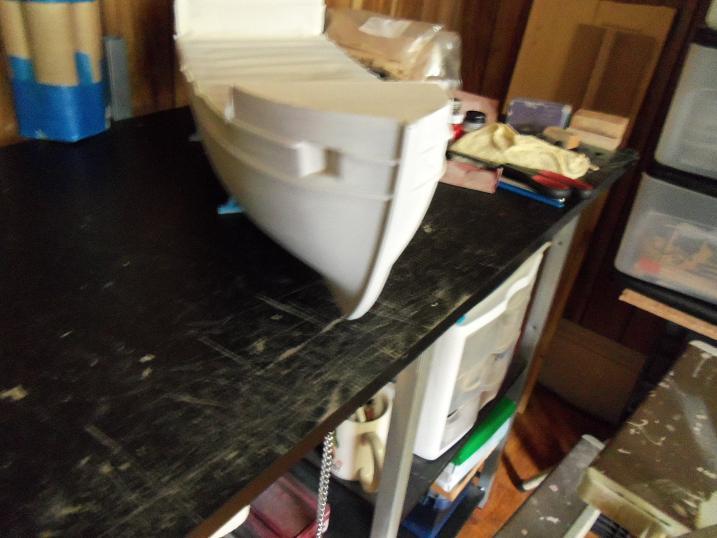
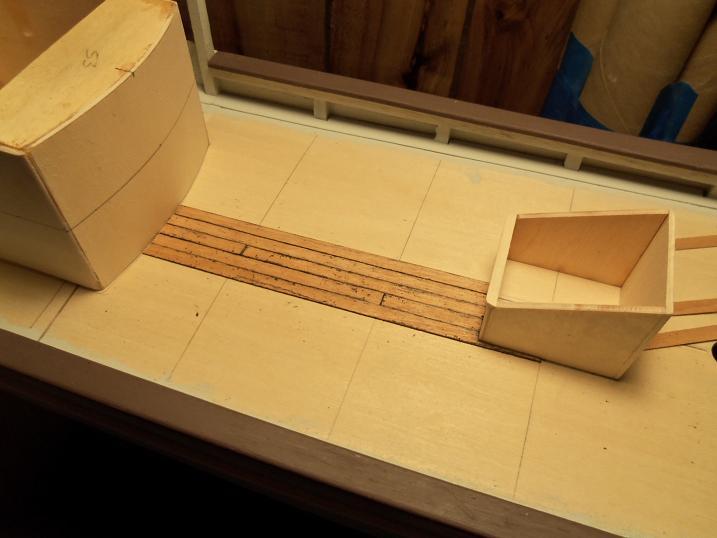
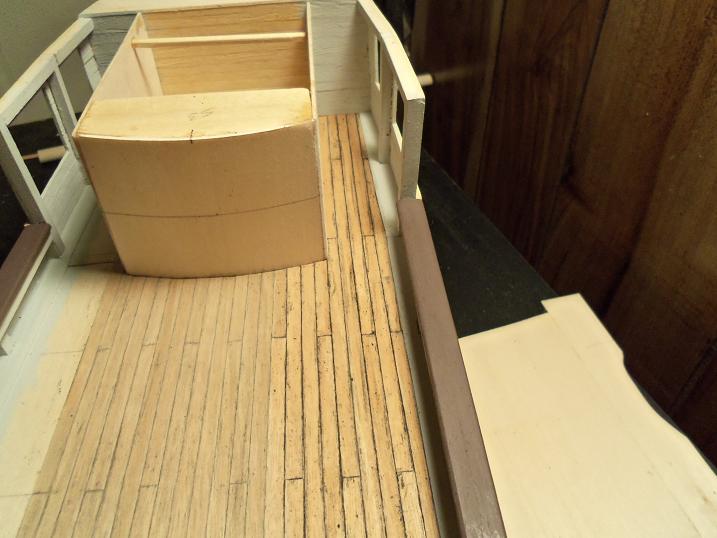
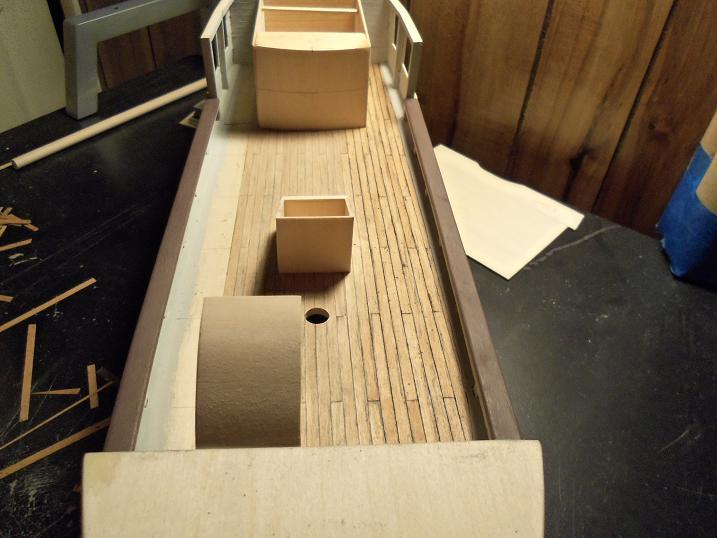
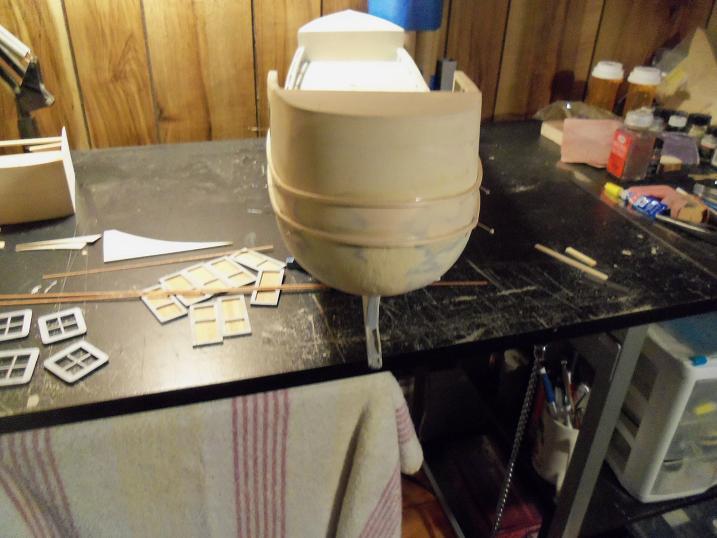
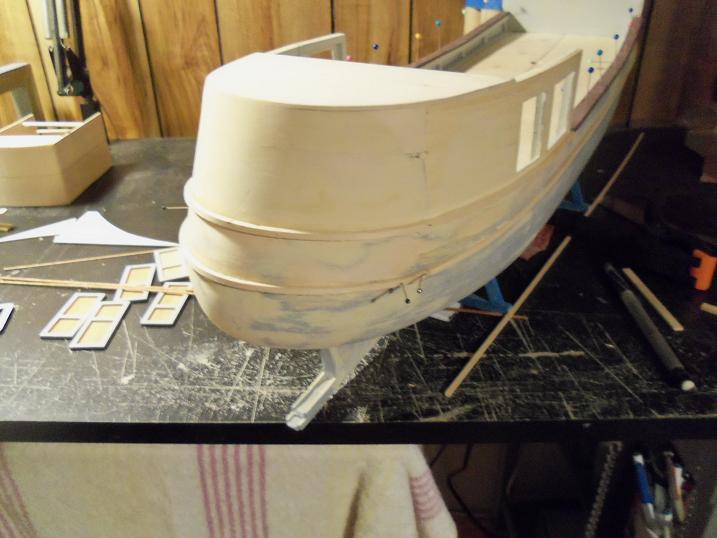
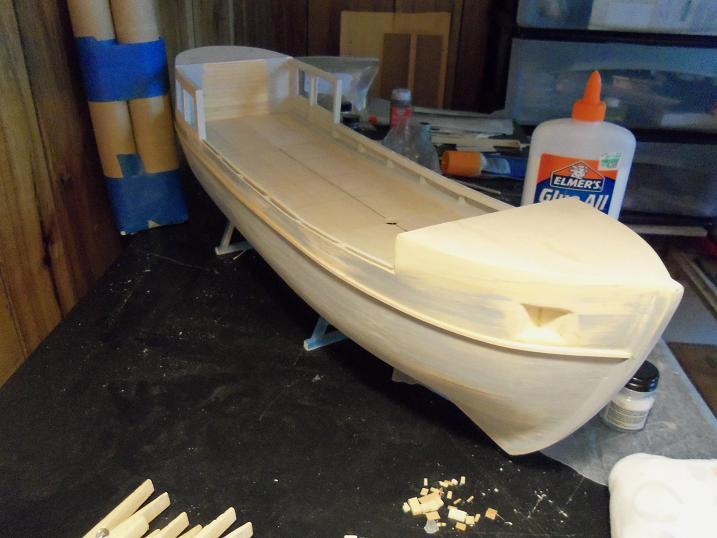
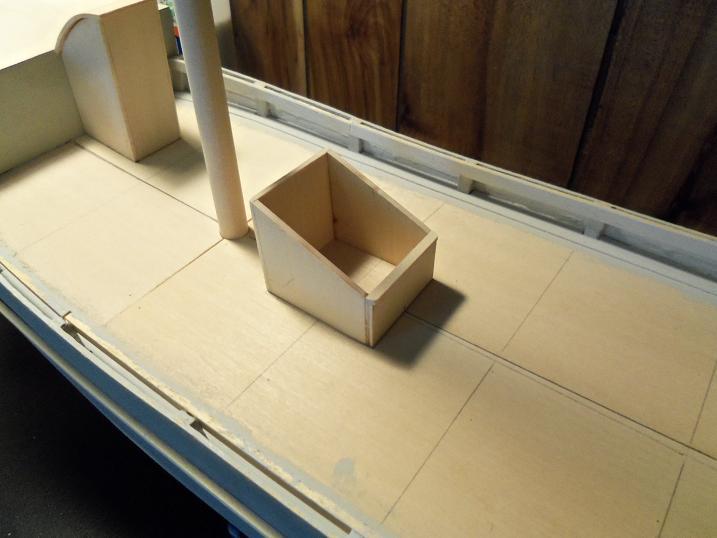
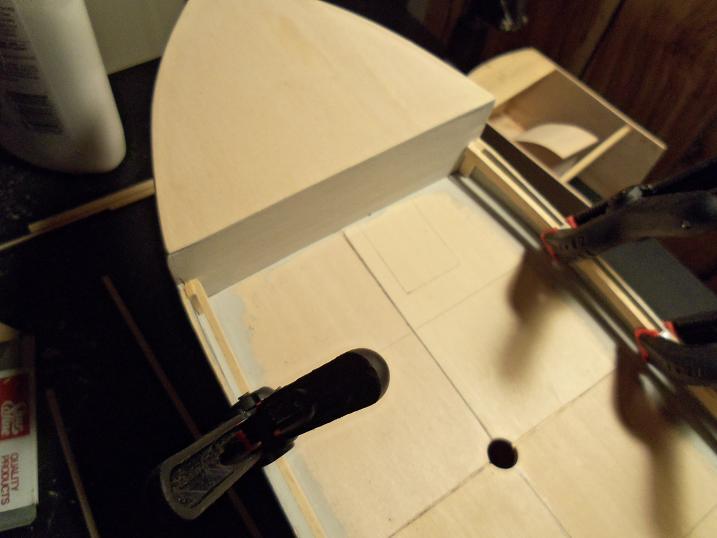
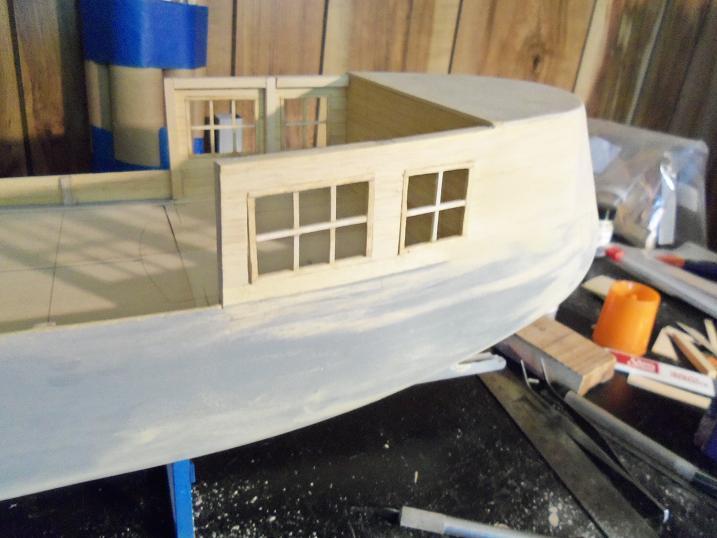
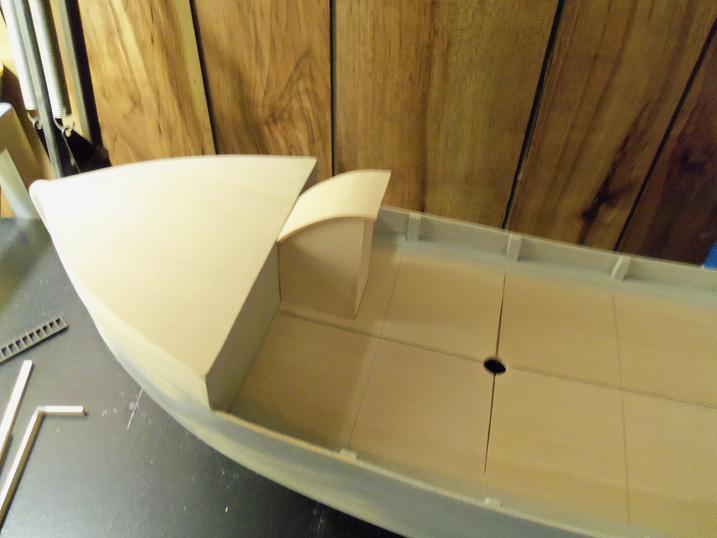
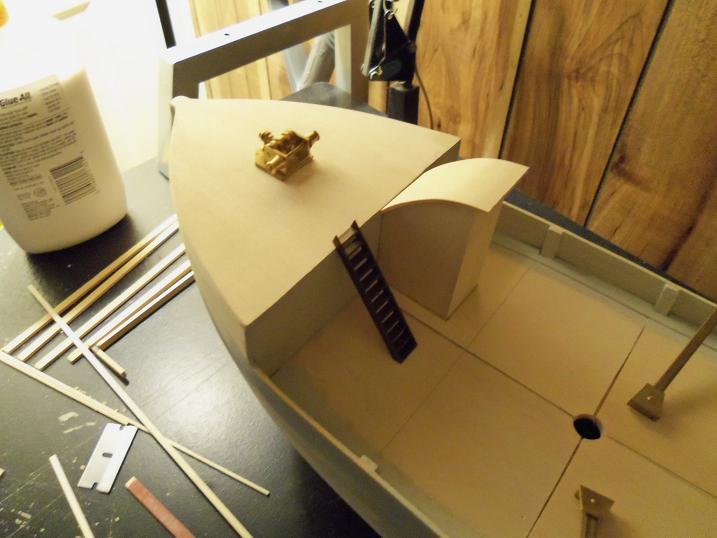
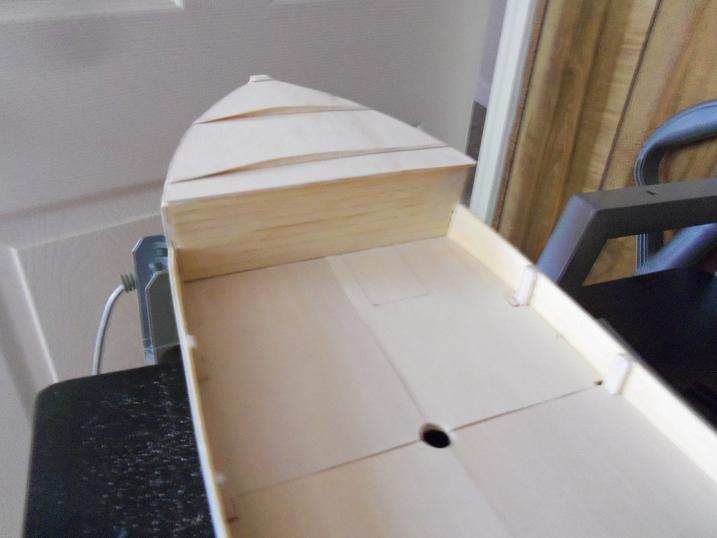
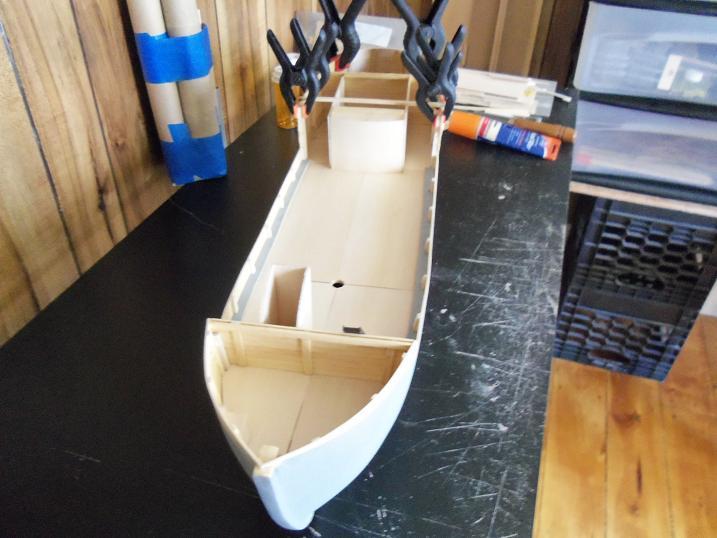
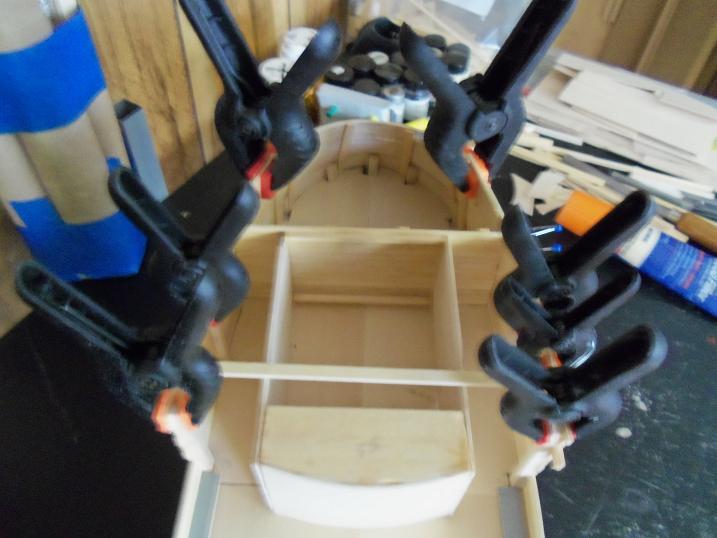
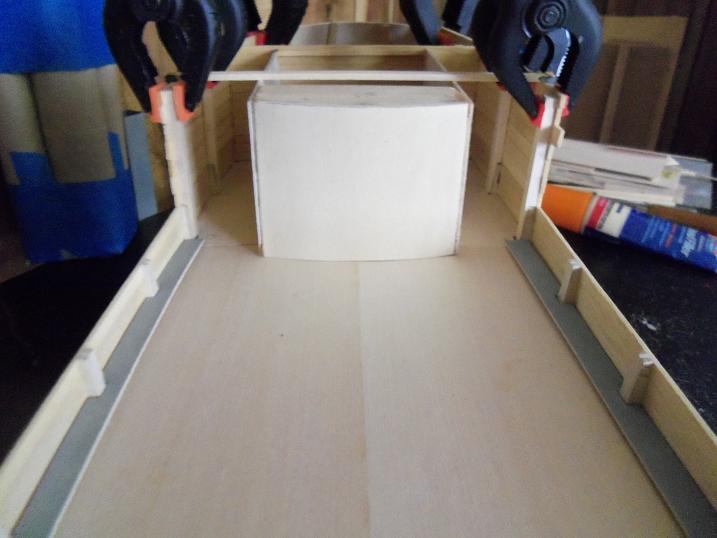
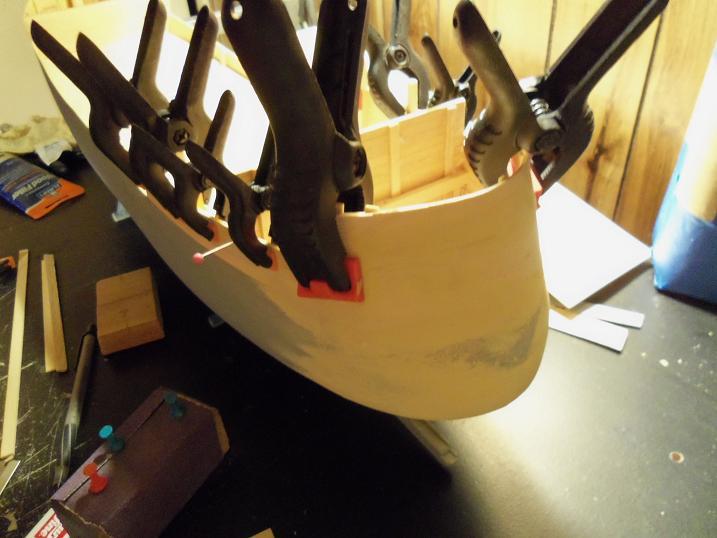
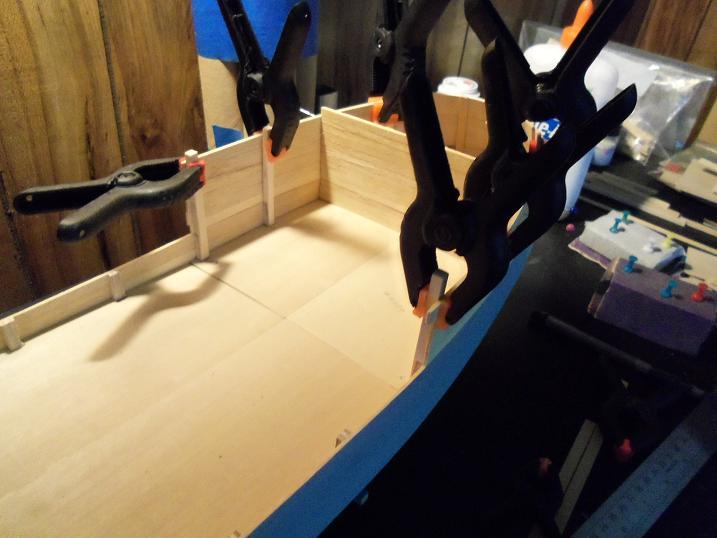
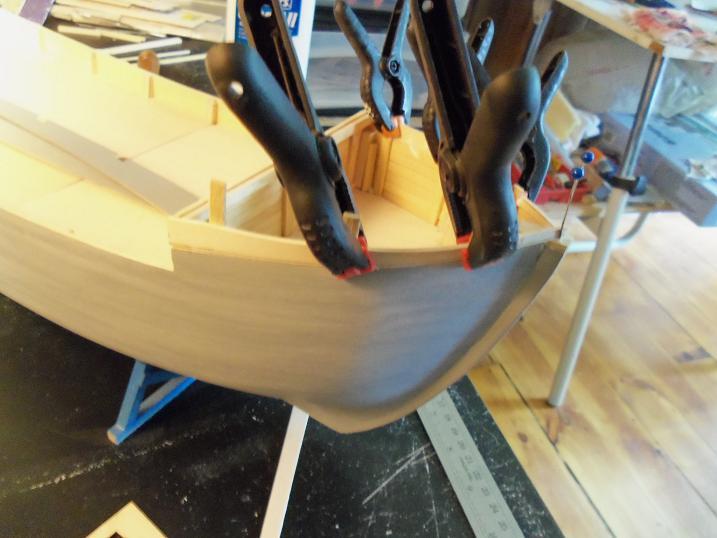
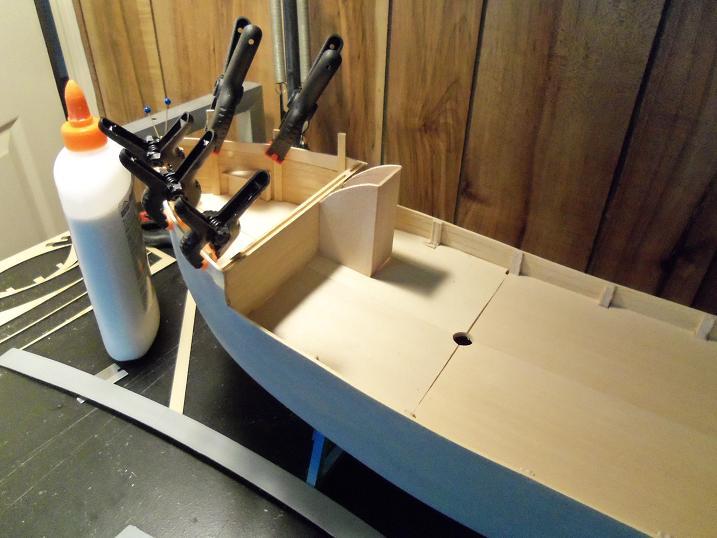
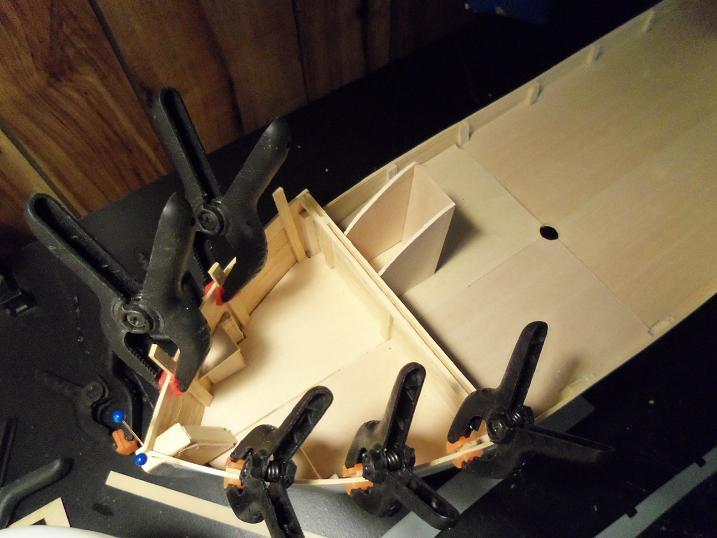
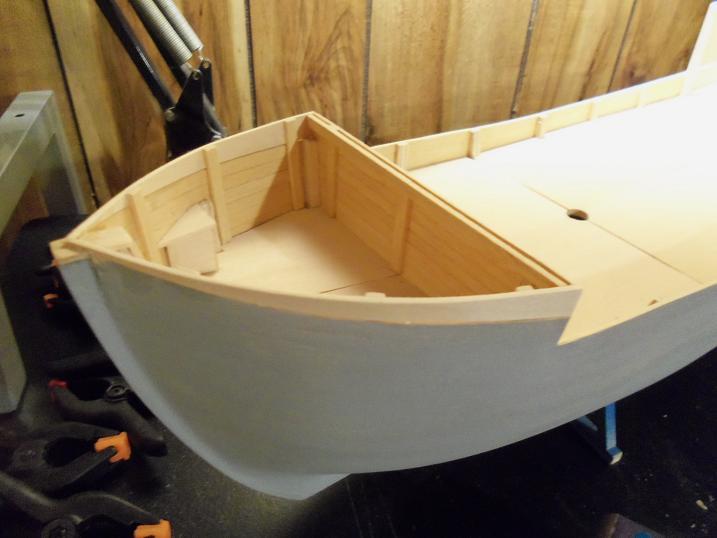
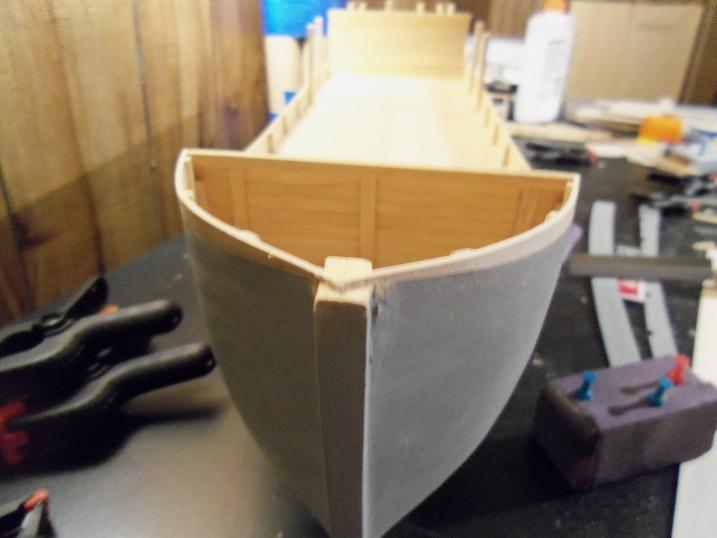
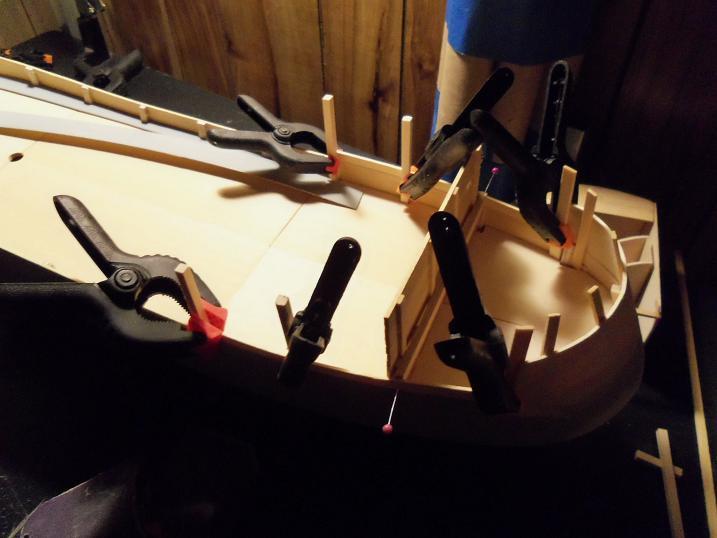
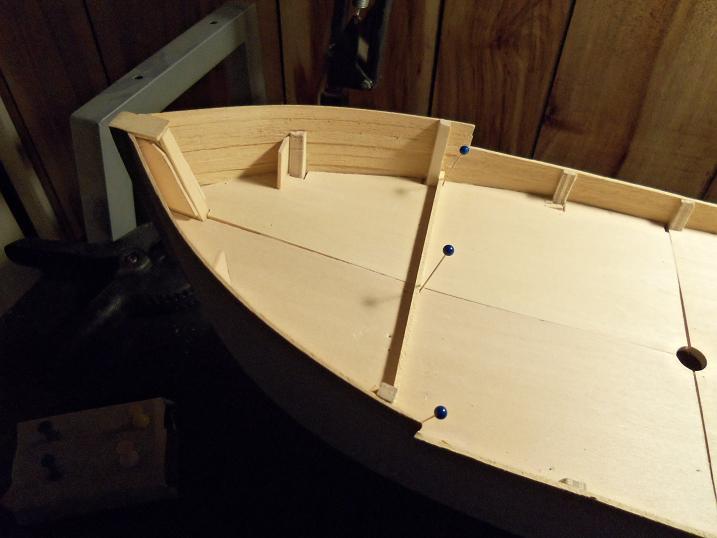
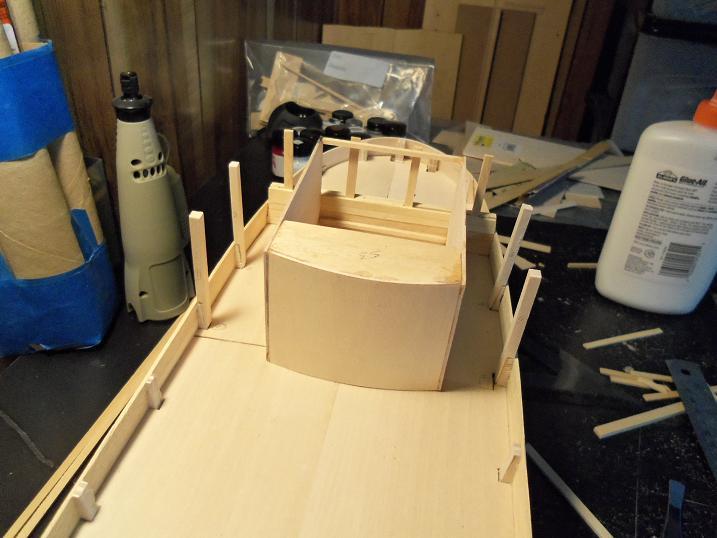
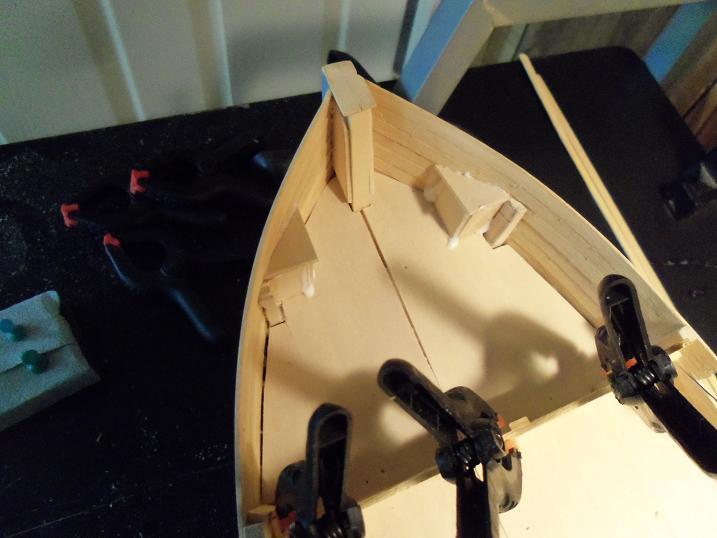
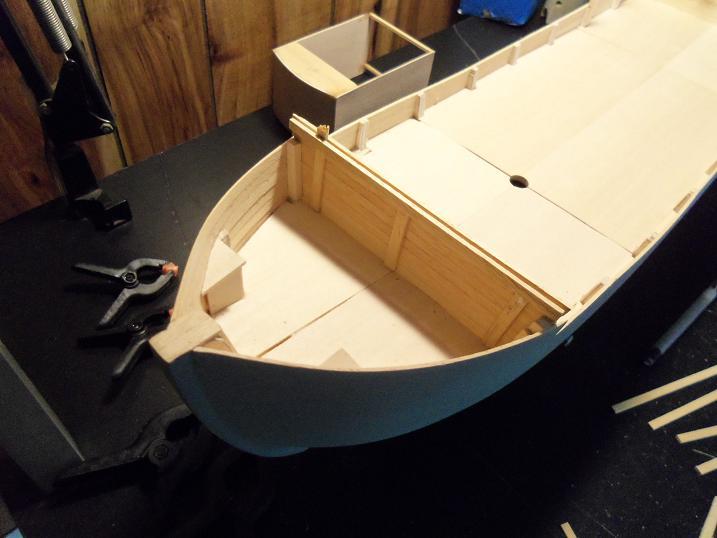
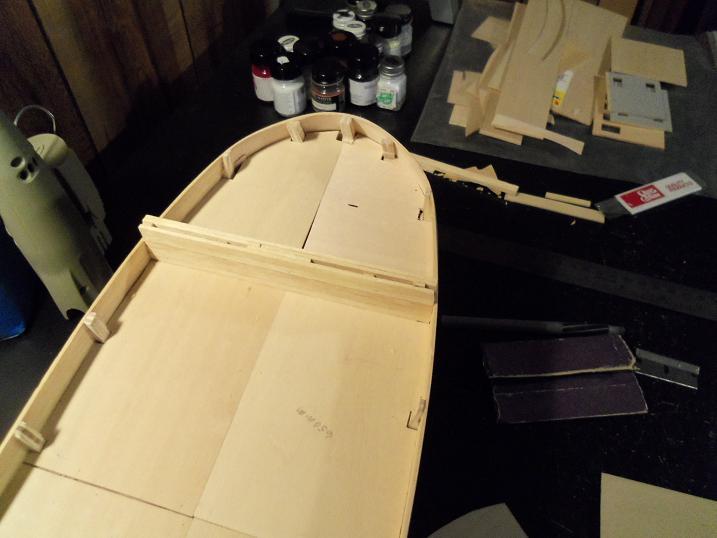
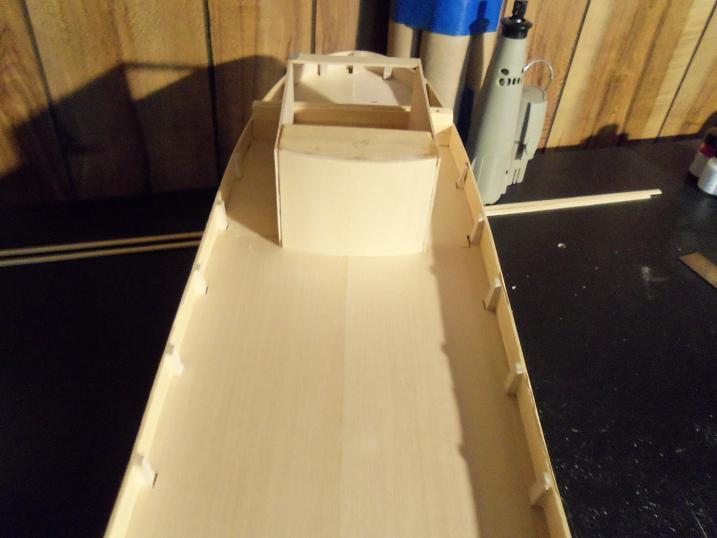
5 _ 18 - 2012 the hull and deck work is progressing. added in the fore deck beams and where I am on the stern. 5 - 22 - 2012 now that the anchor boxes are in place, the hull is shaped to show the recessed cavities for the anchors the deck platform is cemented in place the aft section of the upperdeck is cemented in at this point as well. I will do the rest of it when the lower deck structure is in place. I plan to do windows along the walls at the stern. they are cut out at this point. the shape of the stern cabin came out really well. it wraps around without any lumpy imperfections. to make the walls a bit stronger, an upper framework was added. I'm embarrased now.......can't think what I was trying to do here.....Hee...Hee


-
that is aewsome! unless you plan to light it, you might not be able to see inside.......but you have a lot of structural detail in there! really super work there Paul!
-
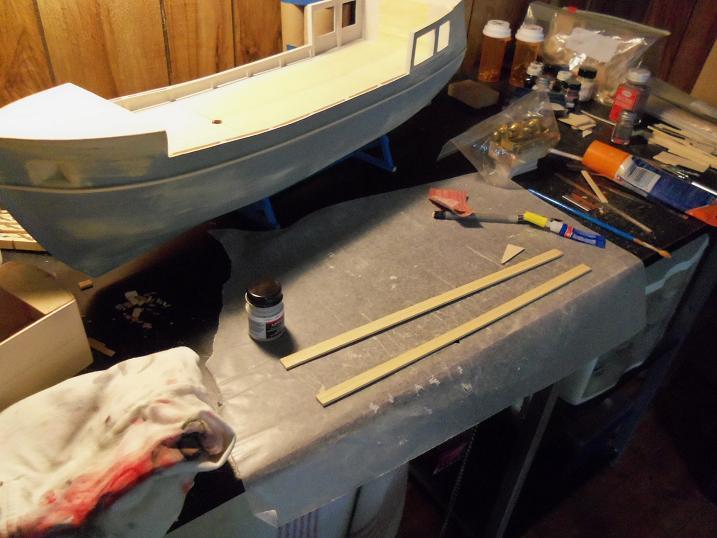
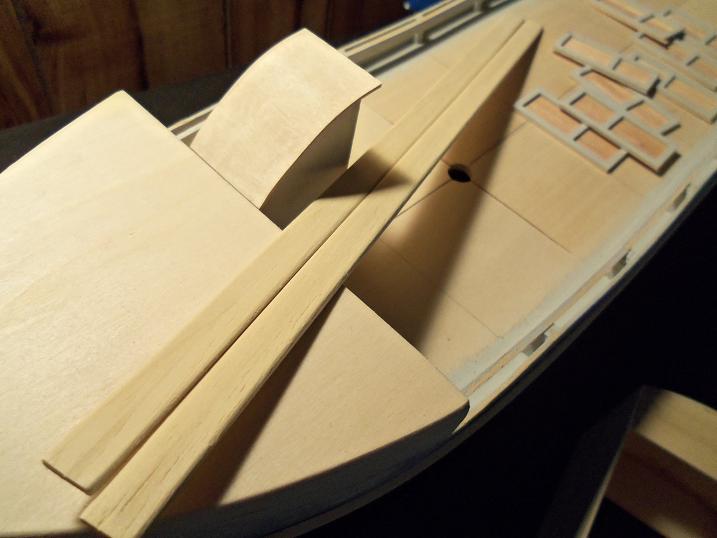
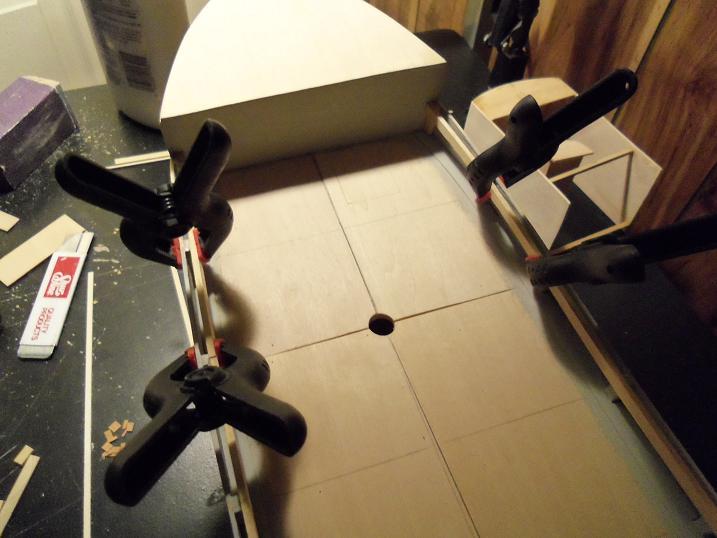
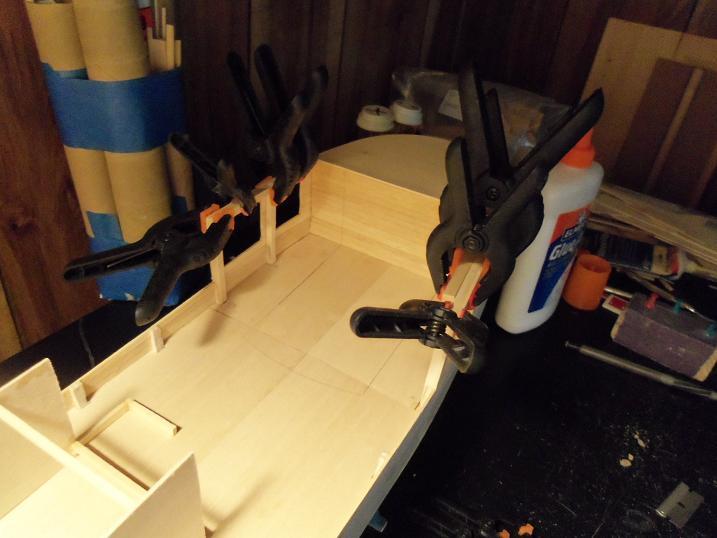
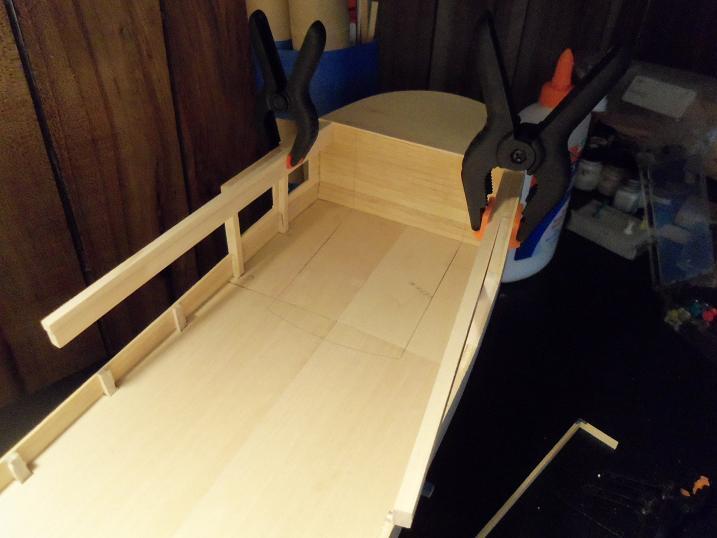
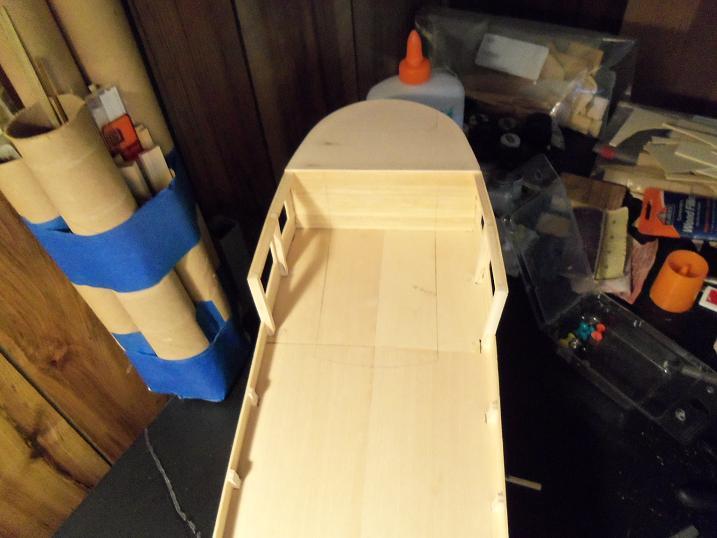
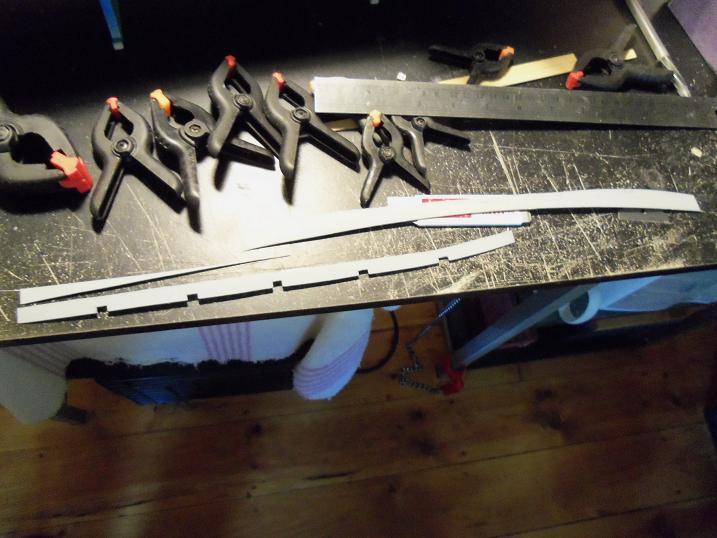
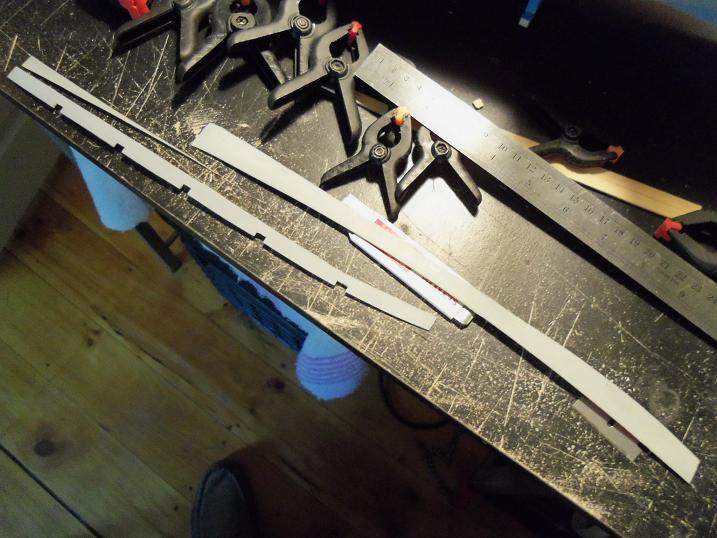
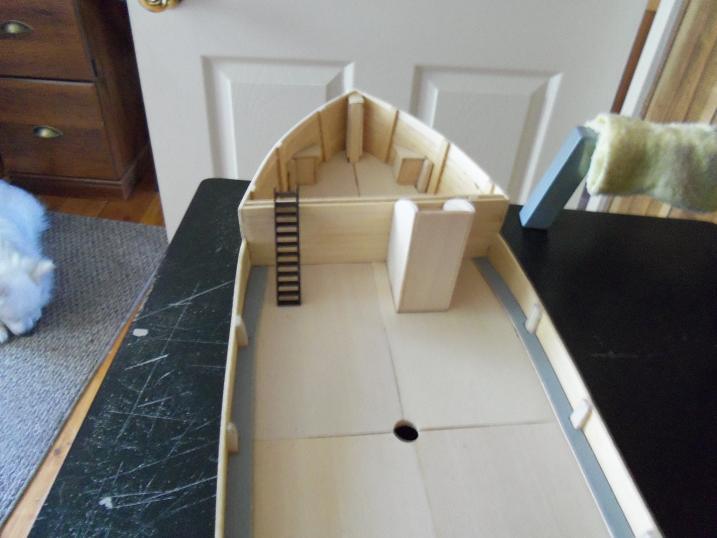
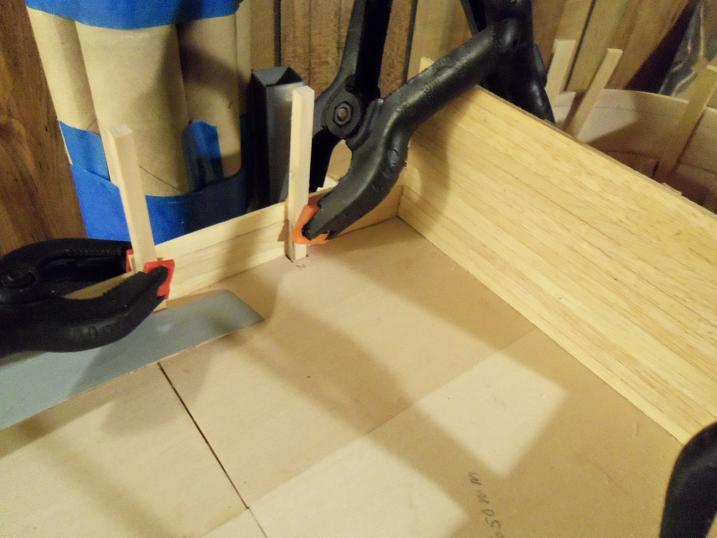
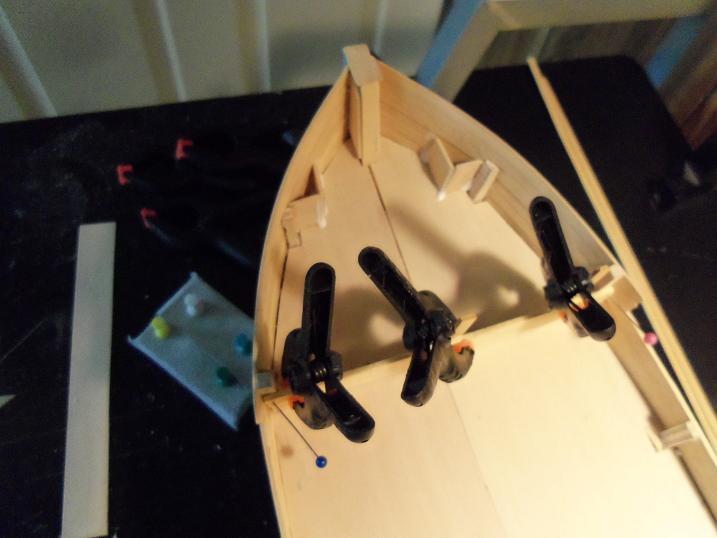
5 - 17 - 2012 more work on the waterways, as well as a couple of dry fits for you to see

-
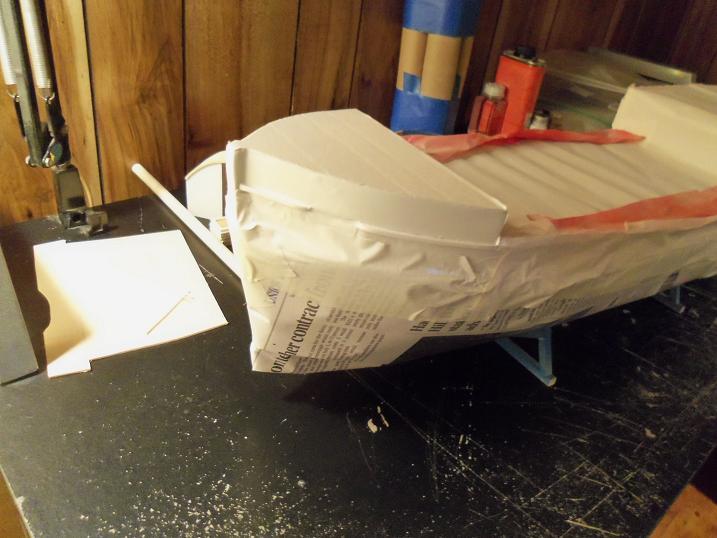
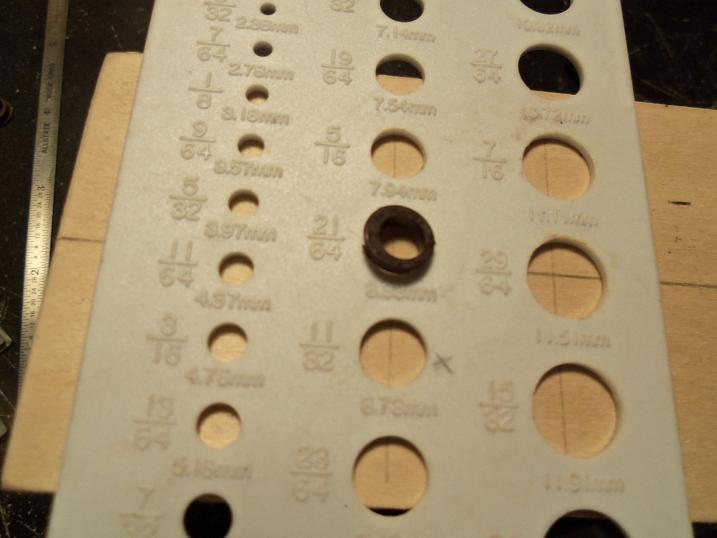
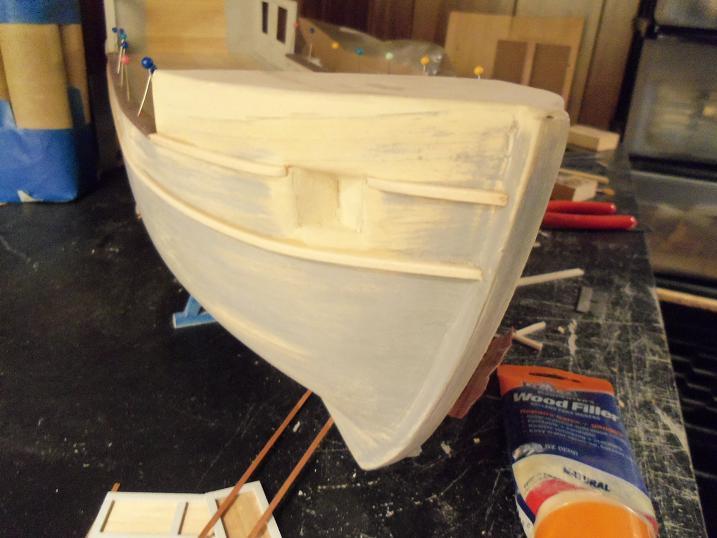
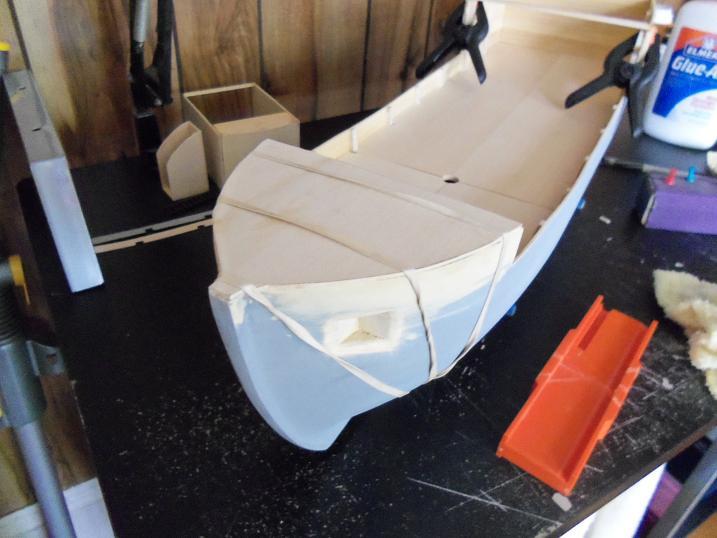
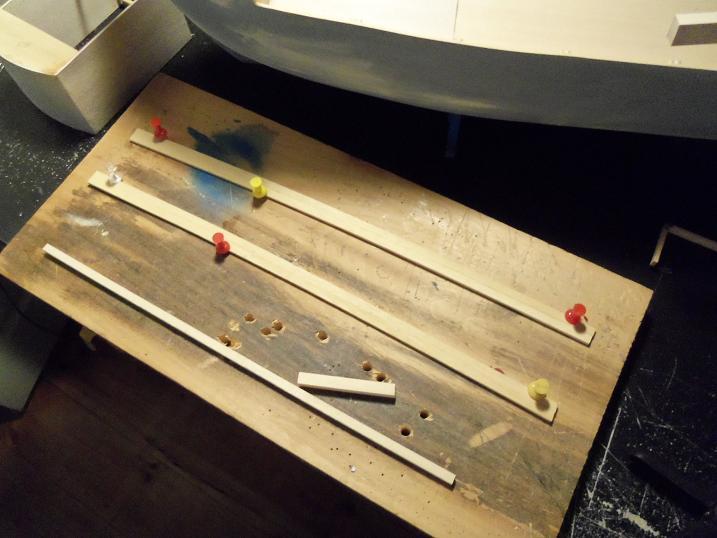
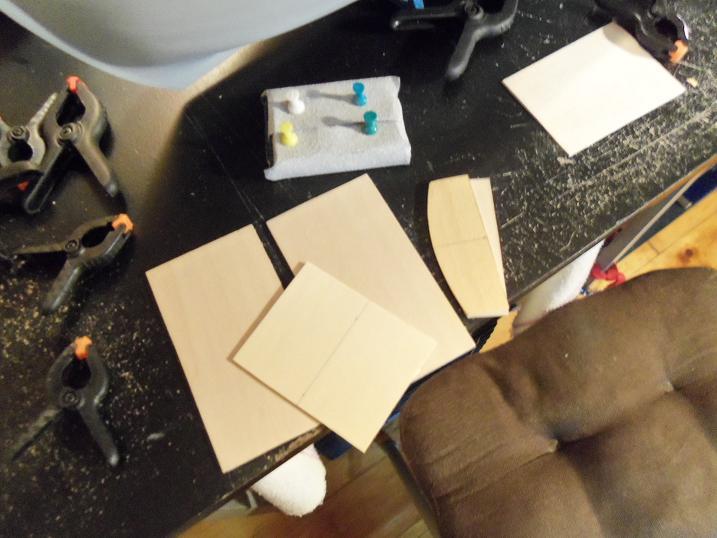
in the pictures, you can see the parts templates I used to make some of the parts I needed. 5 - 16 - 2012 more of the stern assembly I doubled up on this to equal the planking
-
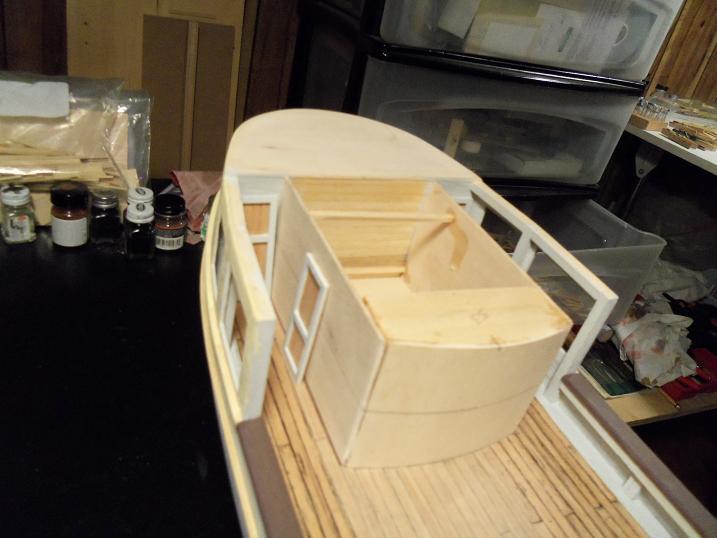
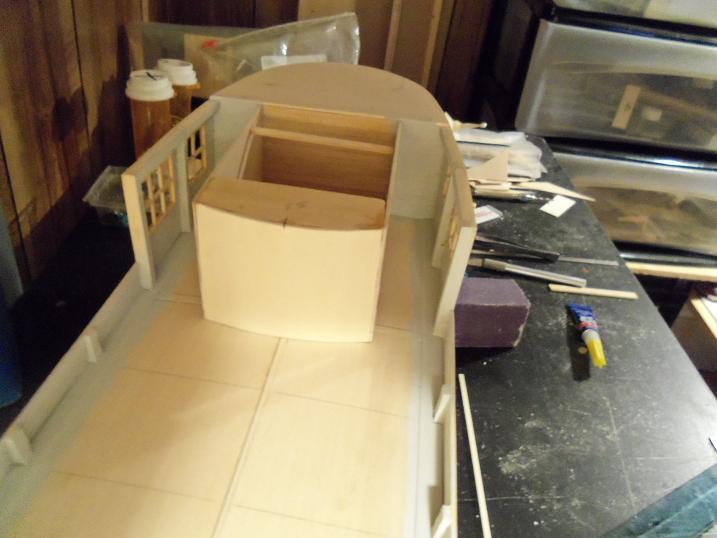
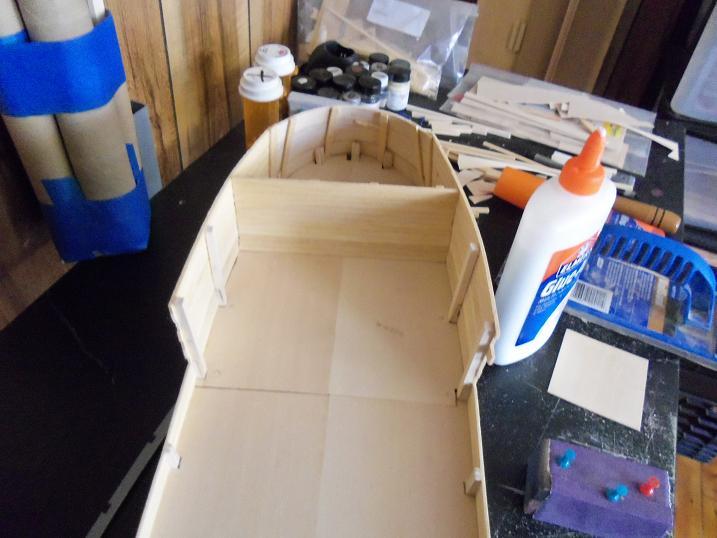
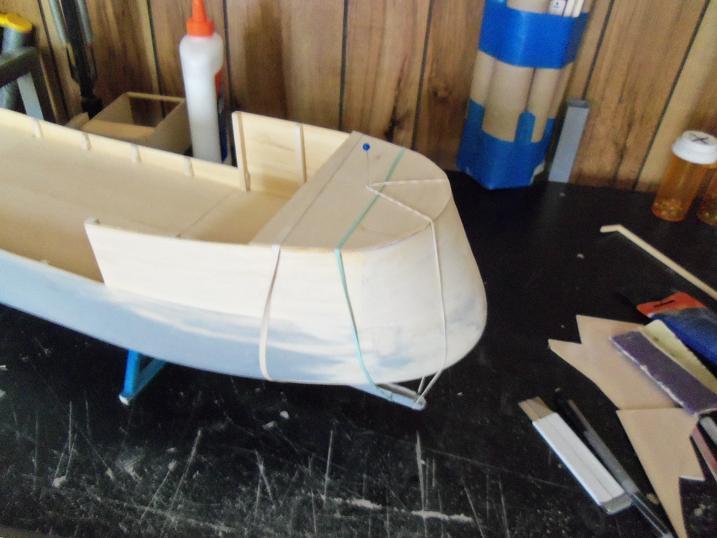
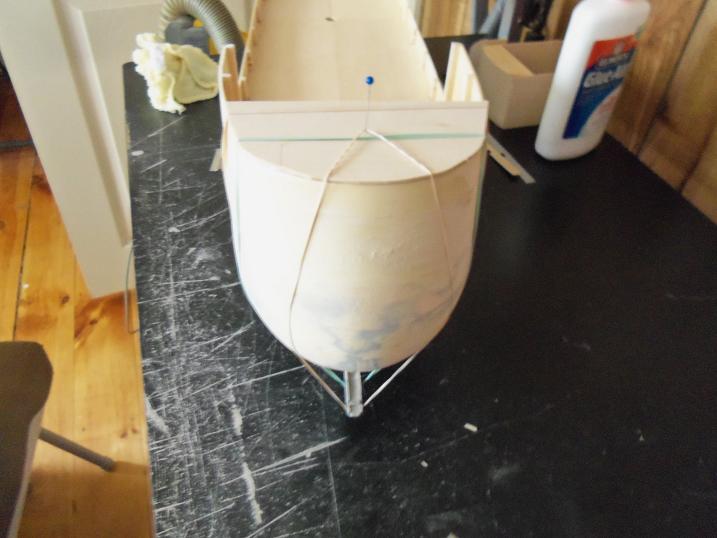
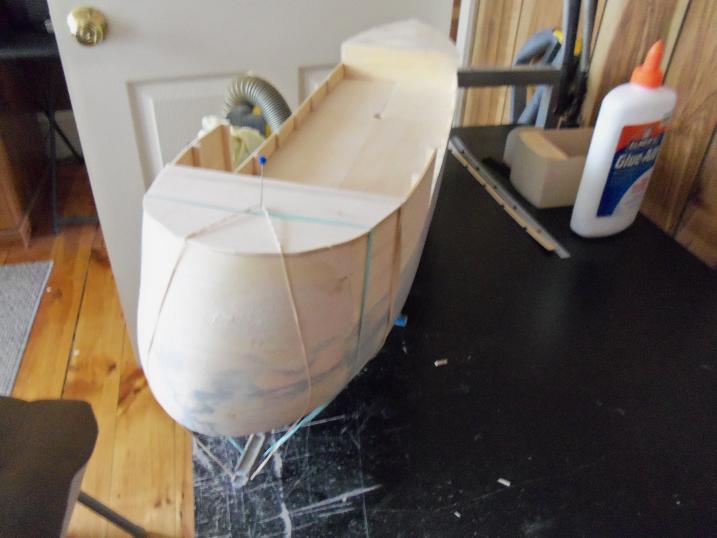
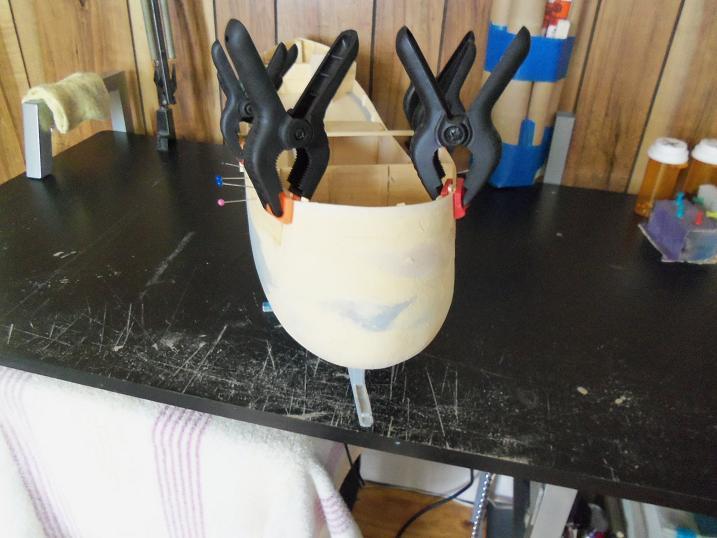
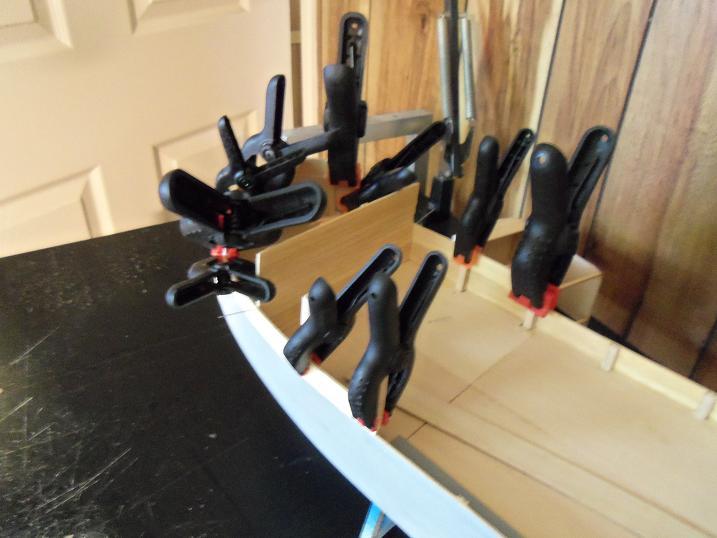
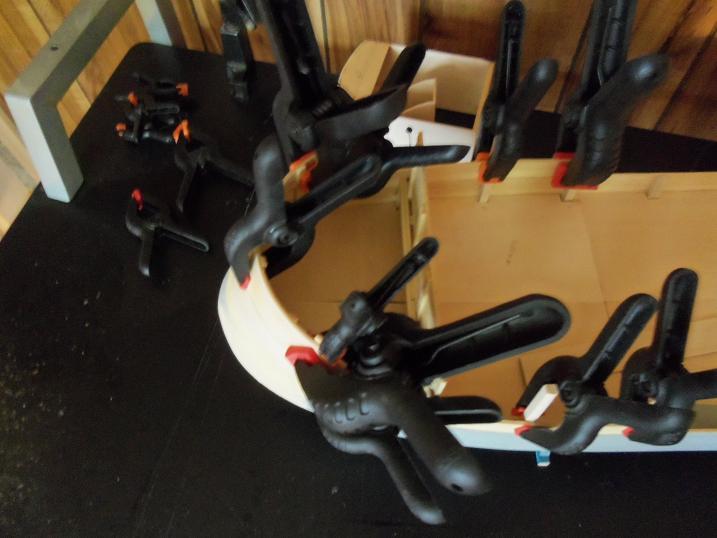
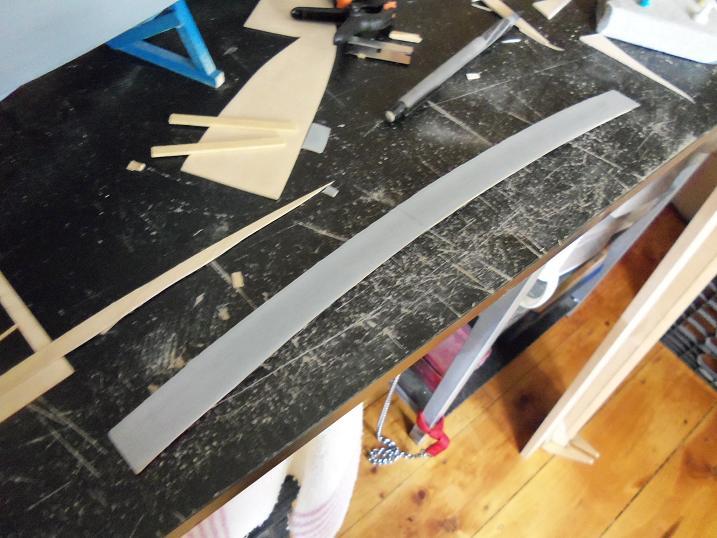
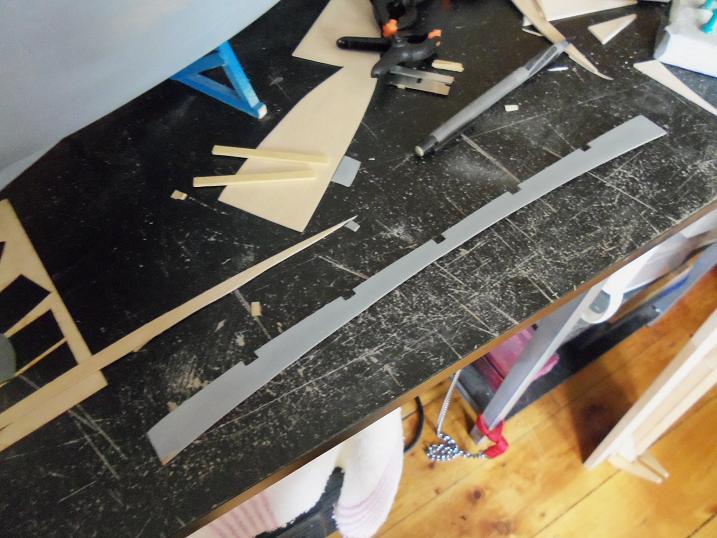
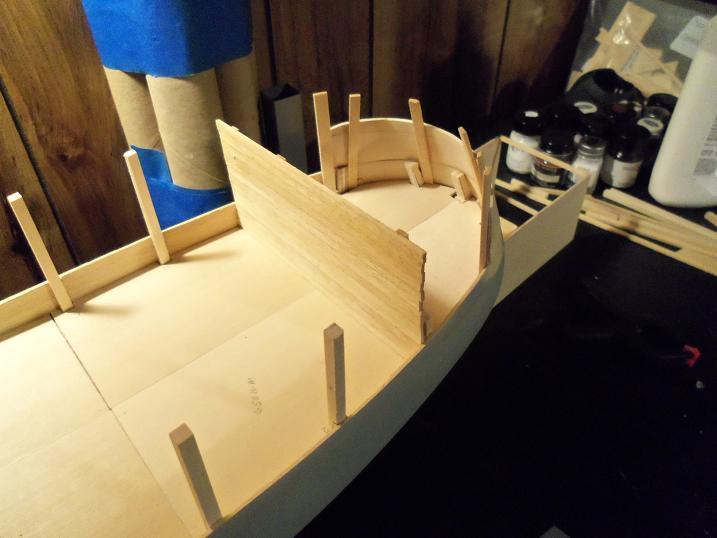
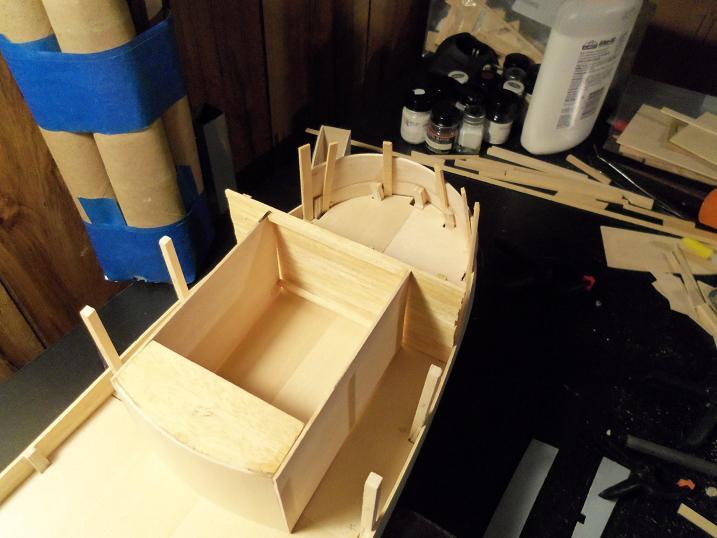
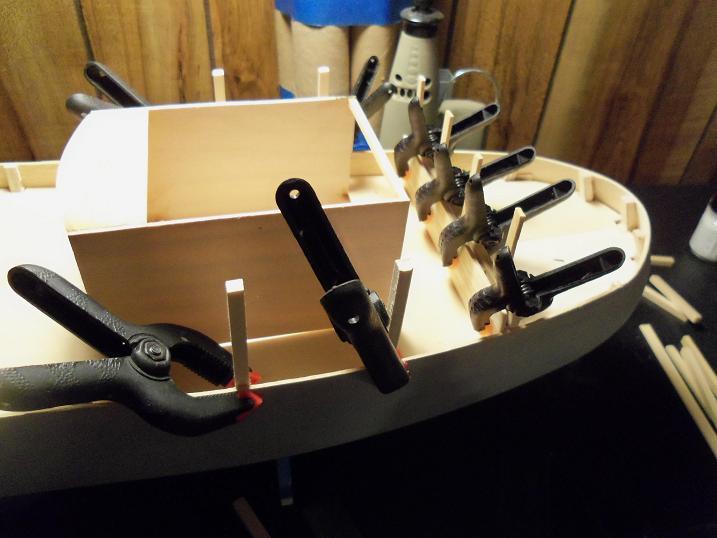
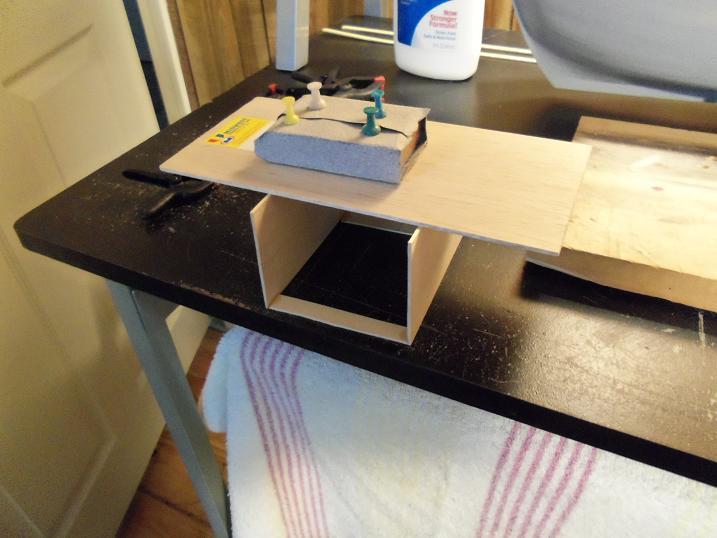
5 - 15 - 2012 more work on the fi\ore and aft walls was done at this time. I also began the assembly of the companionway. this is some really stiff plywood - like material. they would have been the bulwark walls for the Mary Ann, but I wasn't happy with them, so I ripped them out and planked the bulwarks instead. roughly the same thickness as the planking that I use, I will make the waterways from them. I added a bit more height to match the fore cabin wall I got my planking in........waaaaahooooo! this is how I made the wrap around for the stern the supports for the stern......it didn't have to look pretty. the piece you saw earlier will be cemented to these posts. how the fore section came out. now to complete the sides of the aft section, after the stern wall was dry.
-
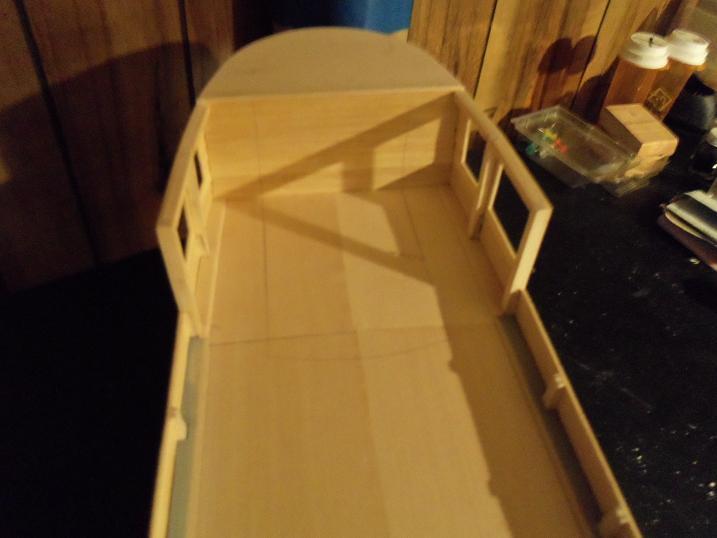
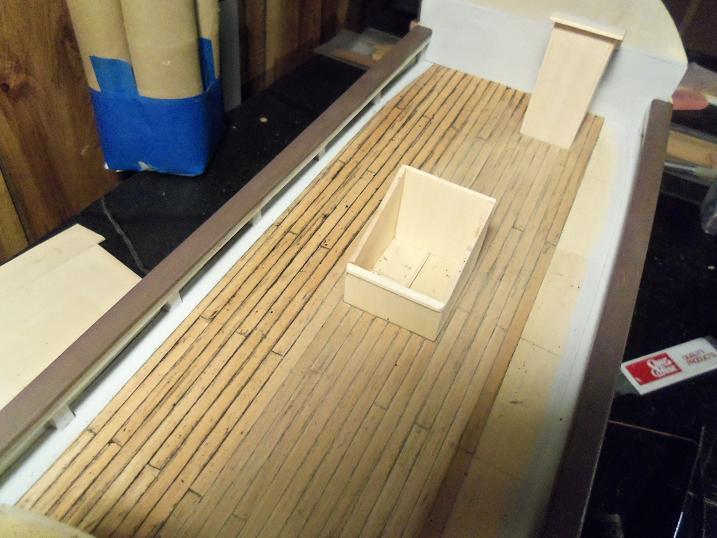
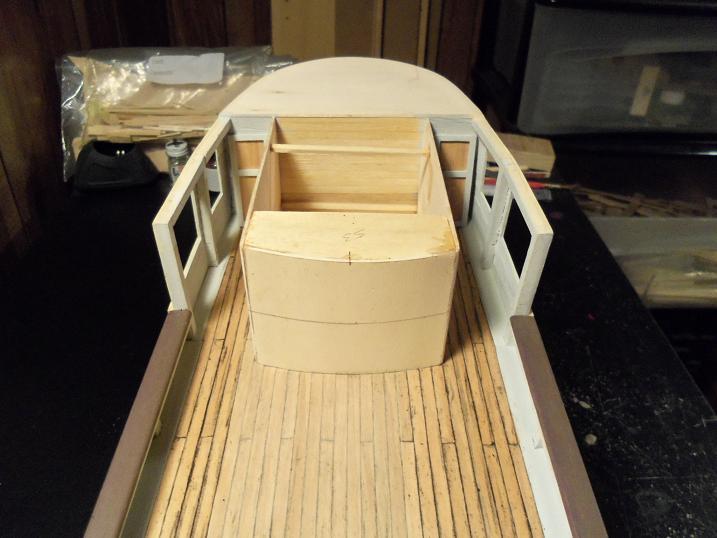
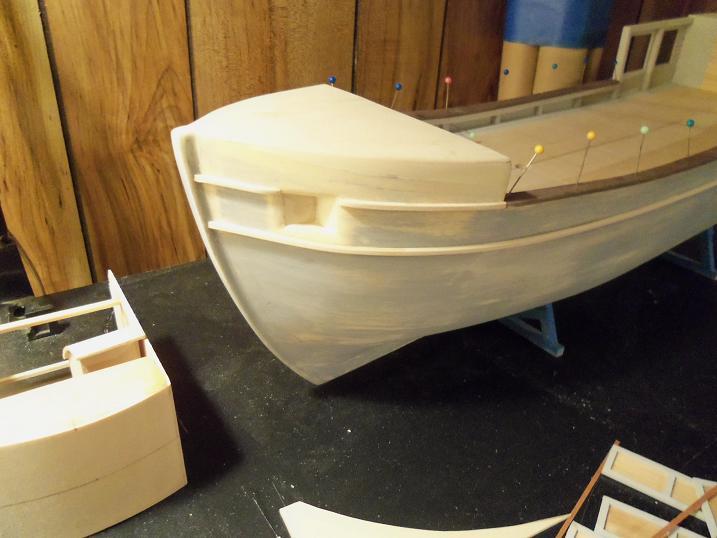
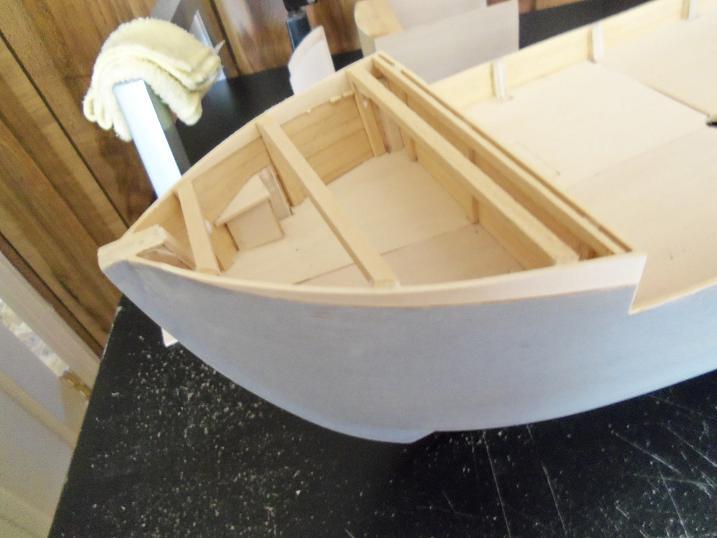
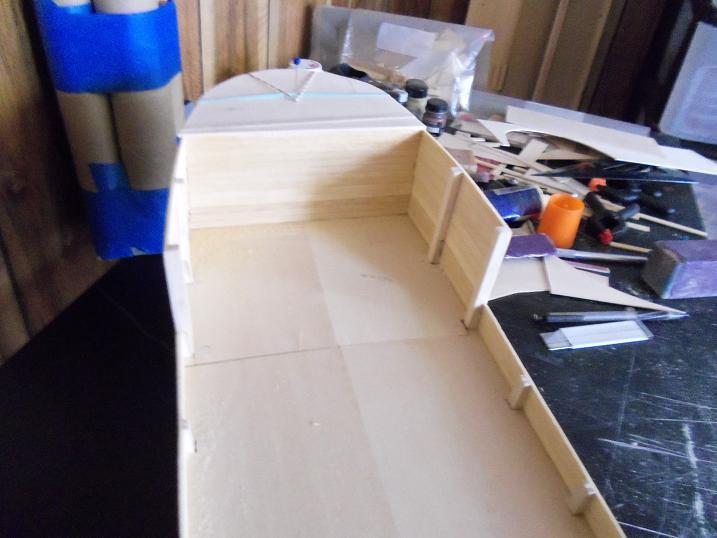
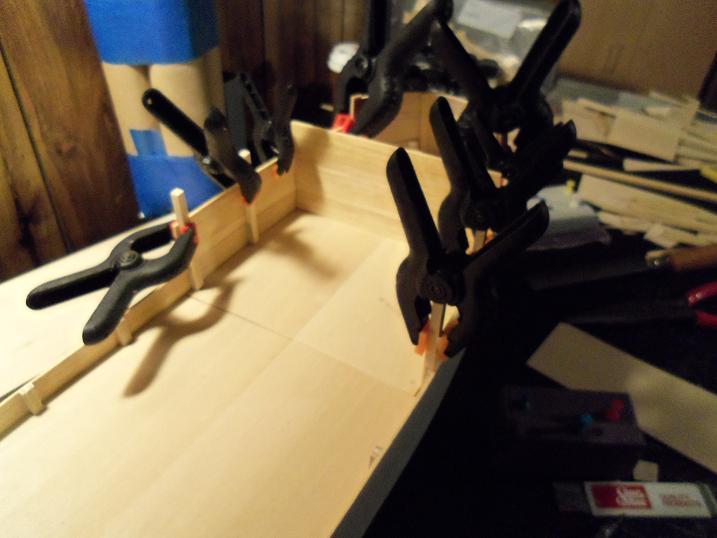
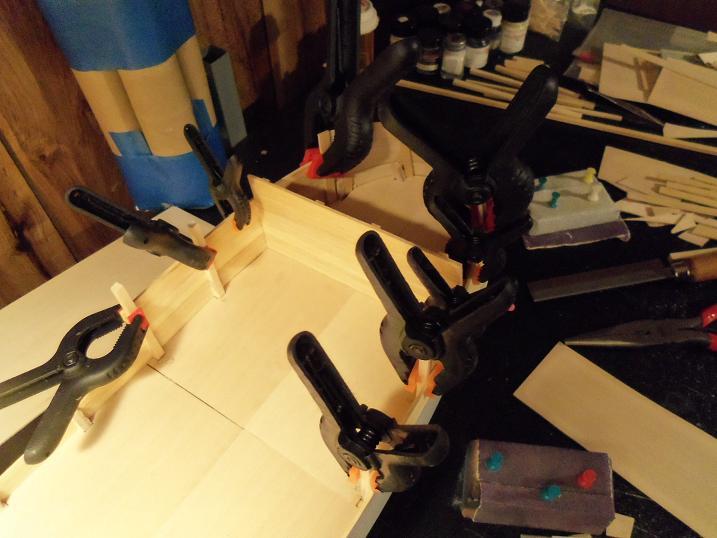
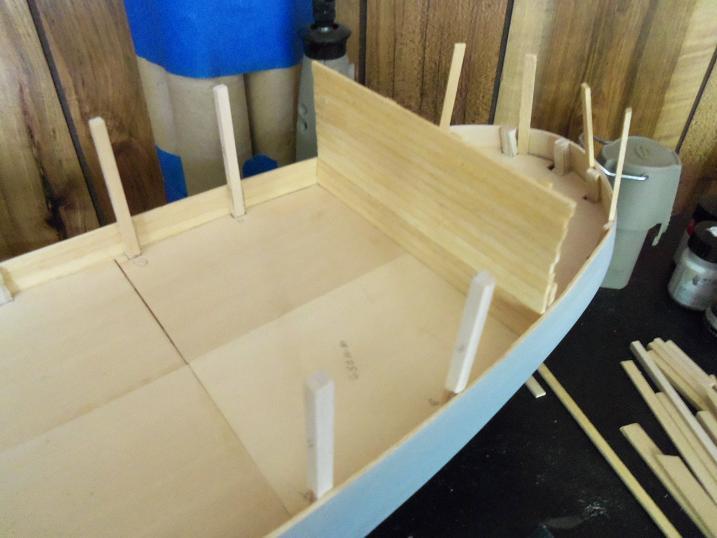
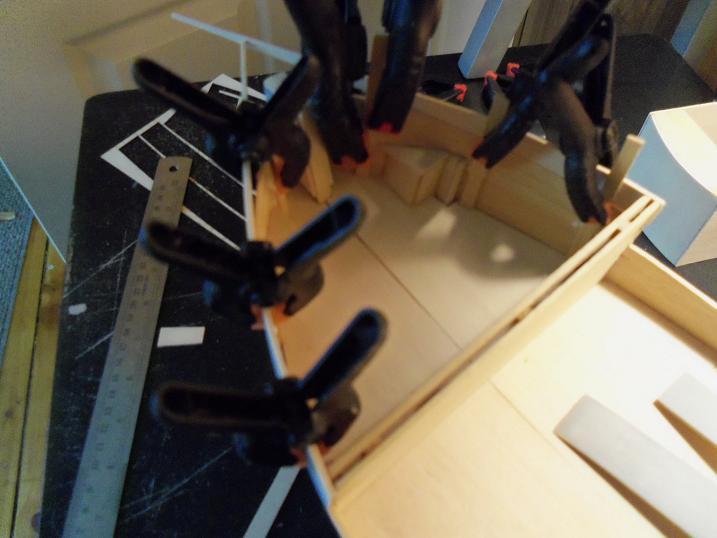
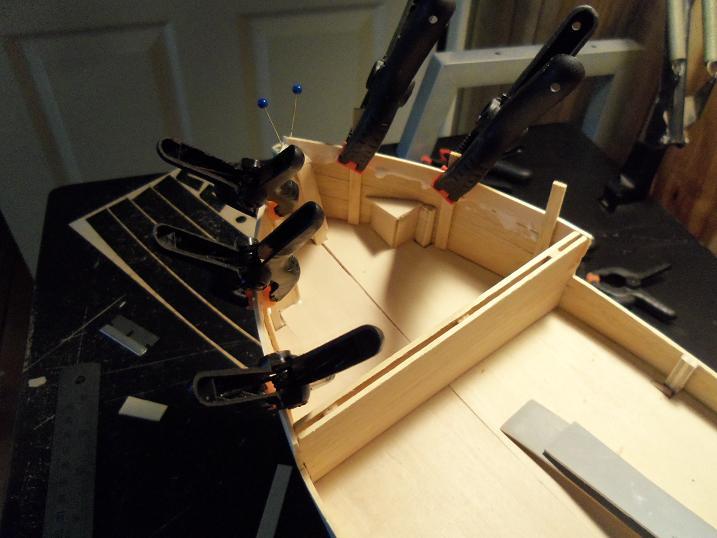
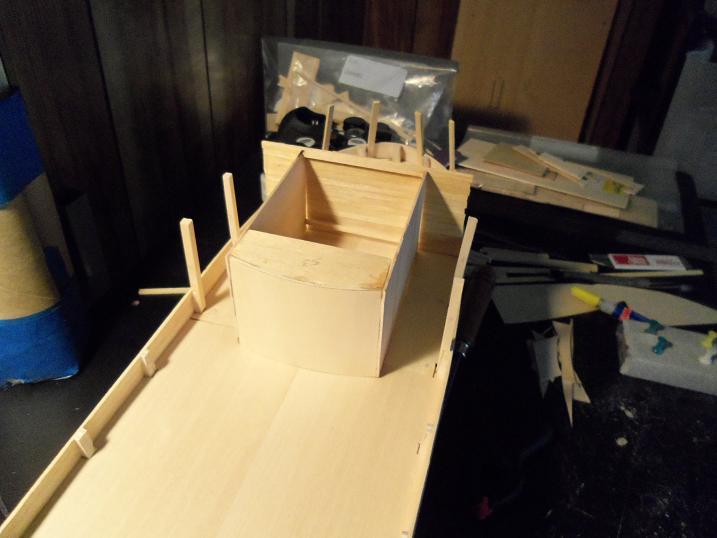
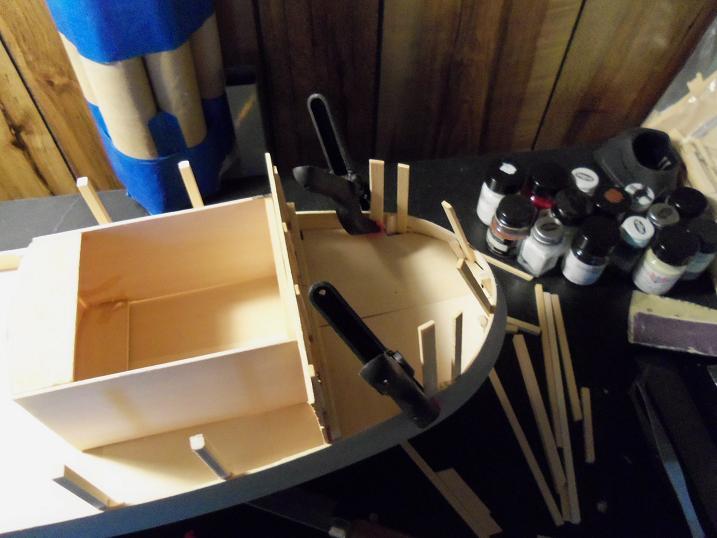
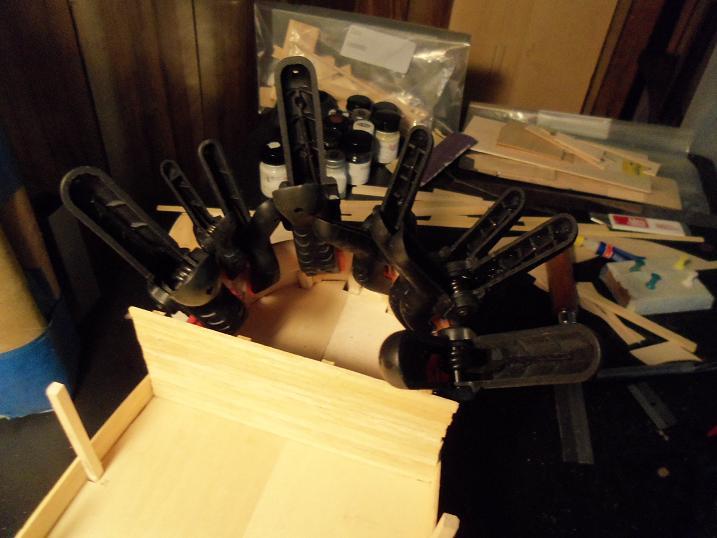
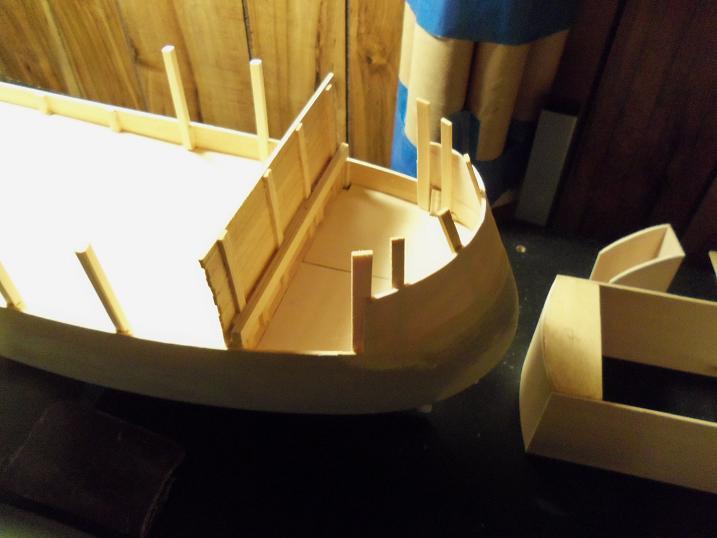
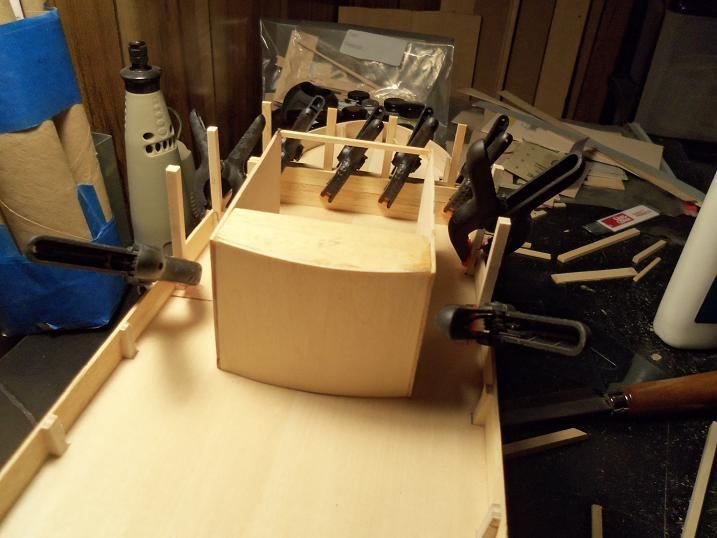
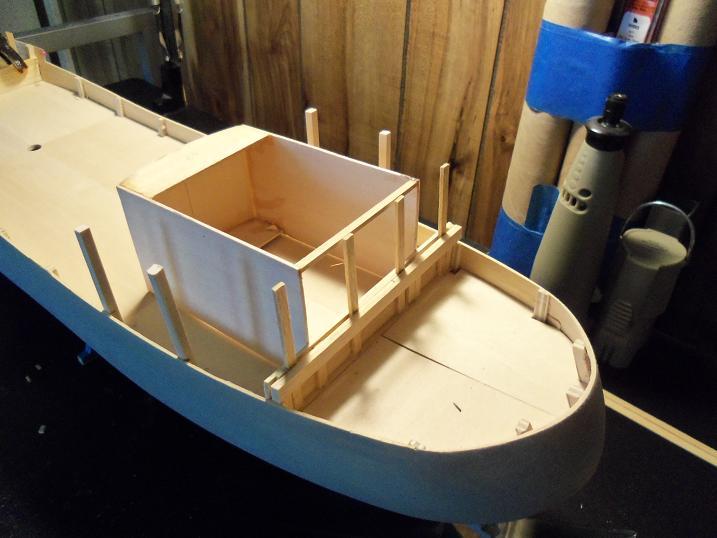
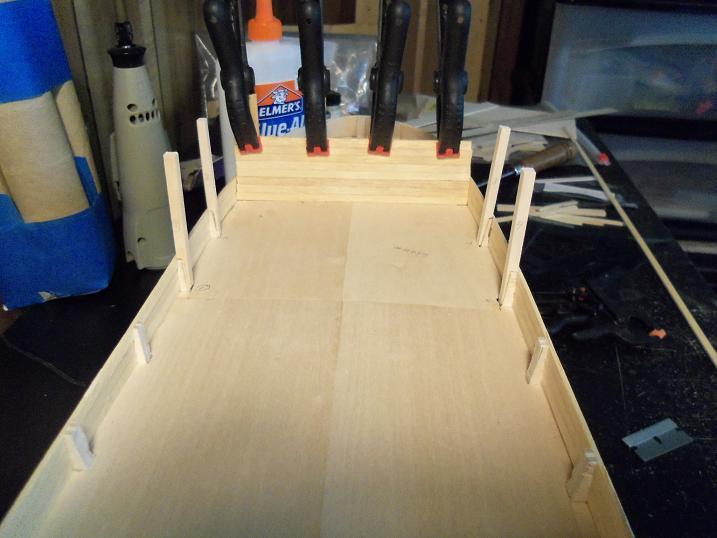
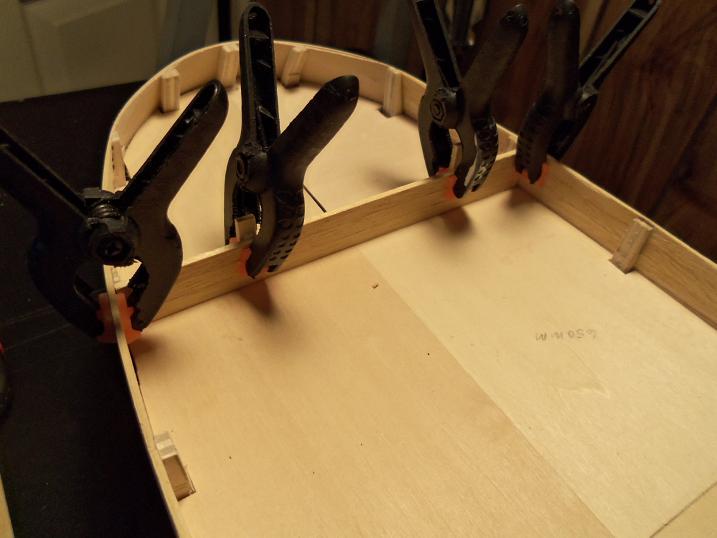
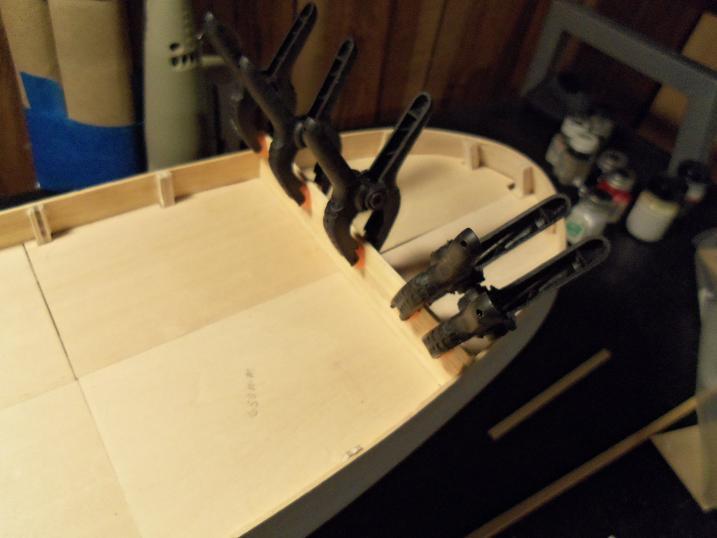
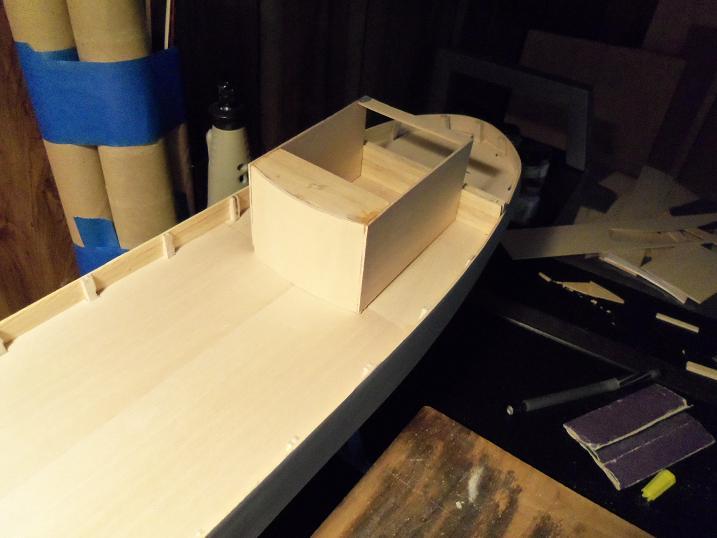
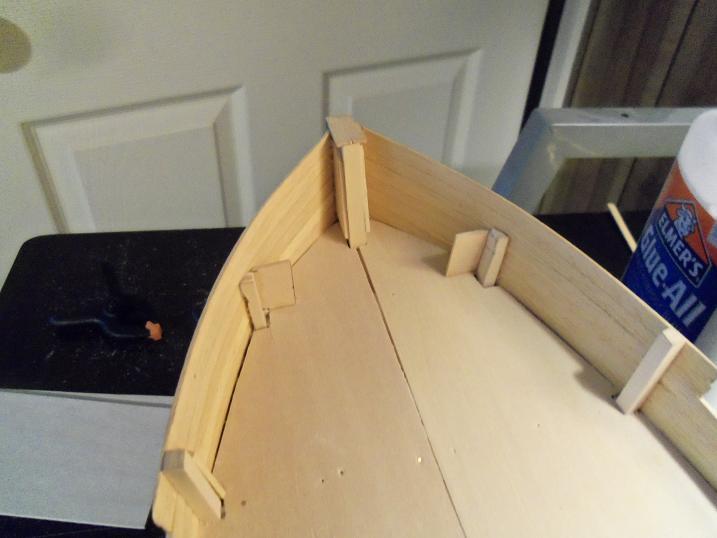
with the structure that tall, the aft wall needs to be that tall as well. it was built up even higher. 5 - 10 - 2012 as the aft wall was being built up, support posts were cut, shaped, and fitted the same height. a post frame was also built around the stern as well. there is to be an aft cabin, so a wall with cut outs will r\wrap around the entire aft section. more work was also done on the fore section, creating the wall for thr fore castle deck the anchor boxes were finished off at this time.
-
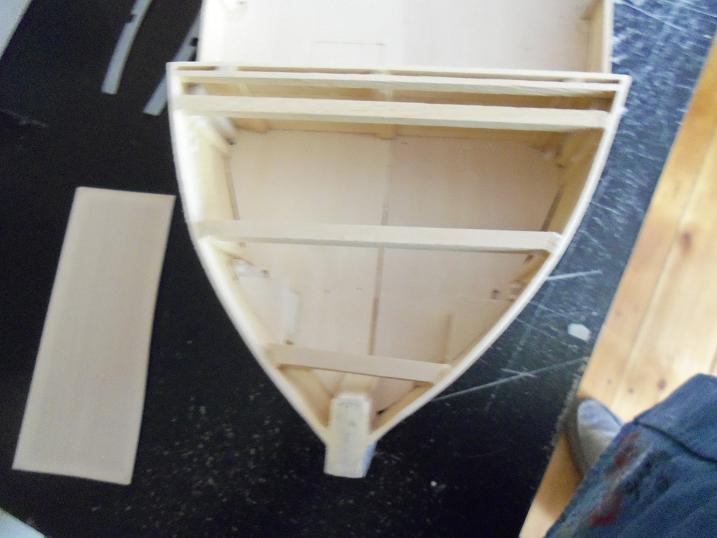
thanks Pat for the good word. I really appreciate it........all the talent that is displayed within this site.....makes it as great as it is! I'm proud to be a part of it on with the log 5 - 9 - 2012 here the aft wall asseml\bly has begun, as well as the anchor boxes and the main structure. the parts for the main structure were ctu to size. the beginnings of the anchor boxes
-
superb work Paul.......those turret s look great! the work you do is amazing!
-
all this talk of eating....and I haven't even caught anything yet...LOL! I'll try to make some progress soon.
-
superb workmanship........as well as your picturesGil! I am awestruck with this build....very well done!
-
wonderful work John......I look forward in seeing more progress.