popeye the sailor
-
Posts
16,007 -
Joined
-
Last visited
Content Type
Profiles
Forums
Gallery
Events
Everything posted by popeye the sailor
-
 pretty neat, isn't it augie! I hope to get it all done soon. I still have a ways to go, but I think I'm done for the evening. I will get one done before I start on another. thanks for looking in, my friend!
 -
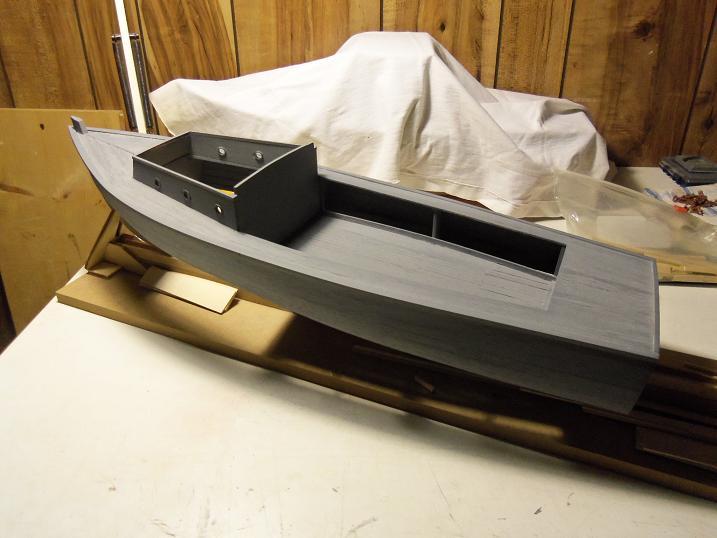
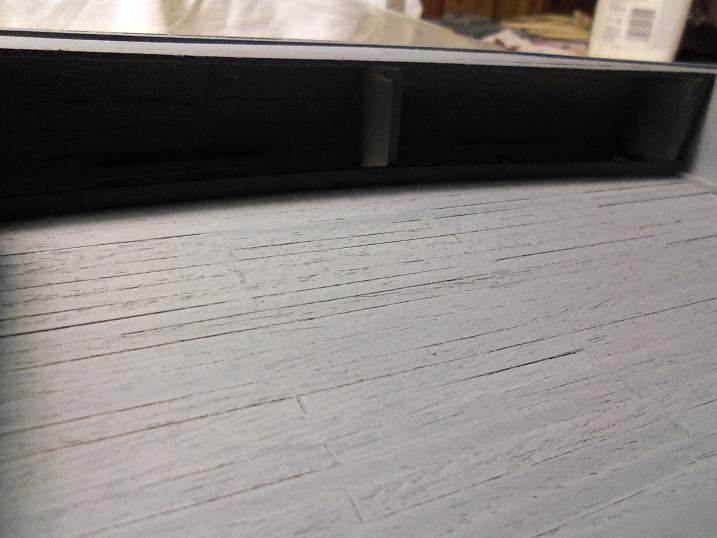
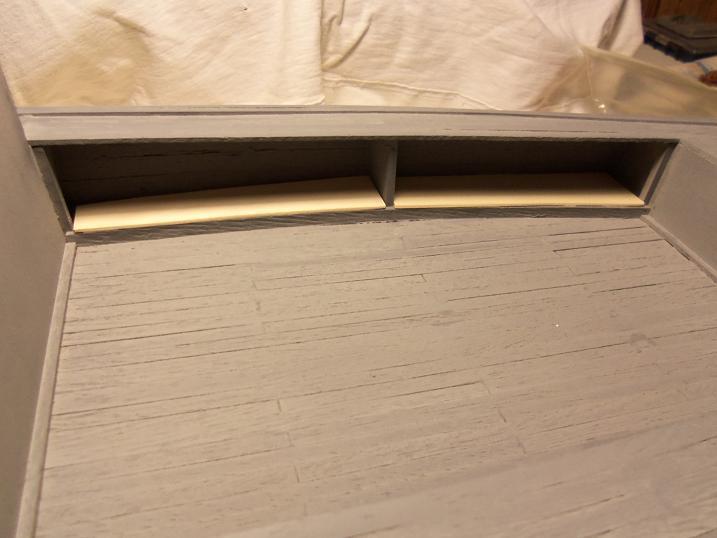
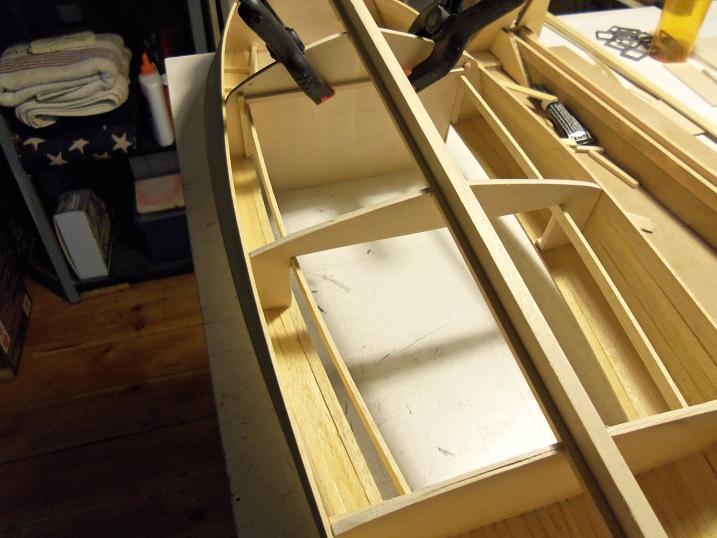
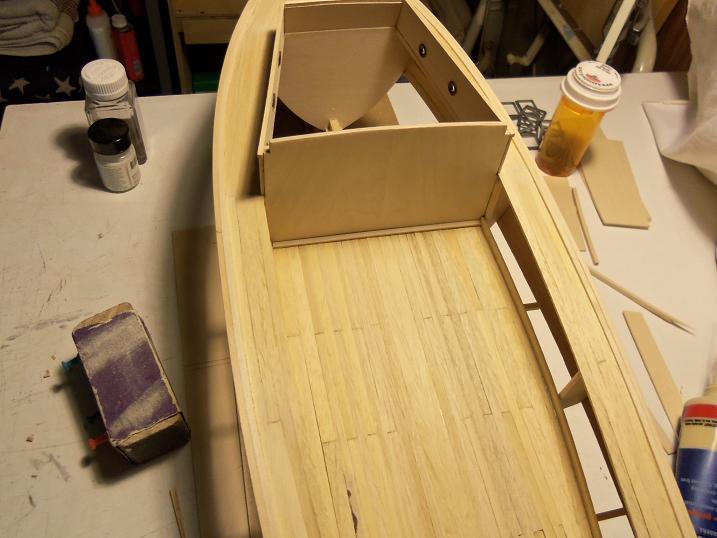
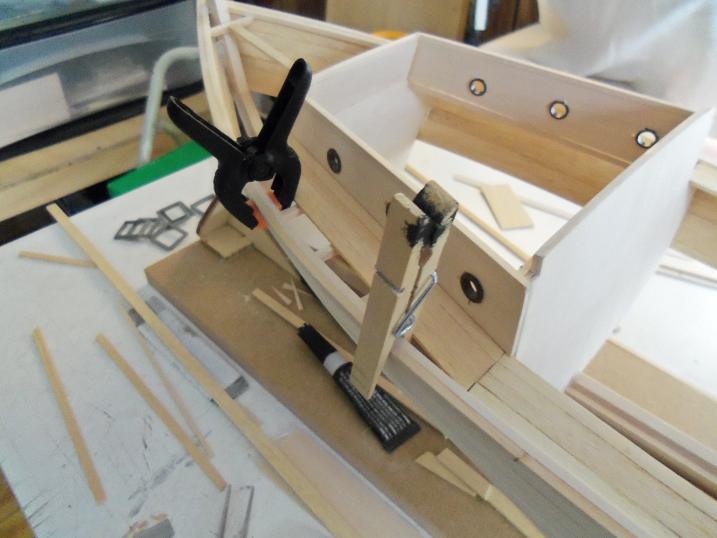
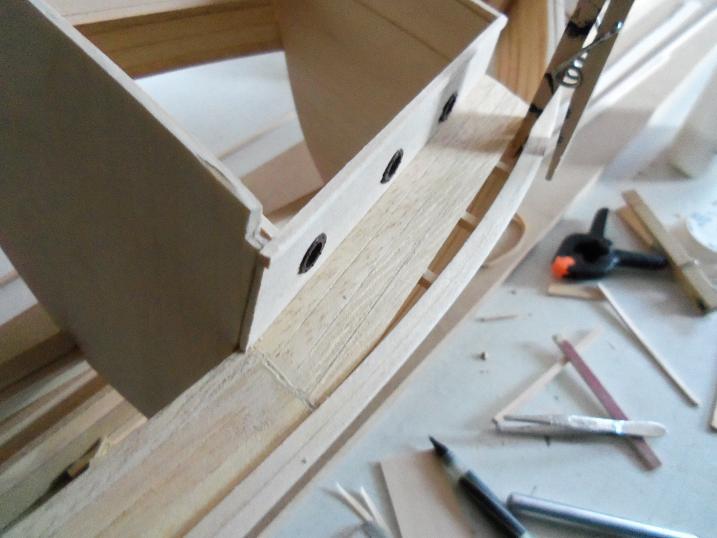
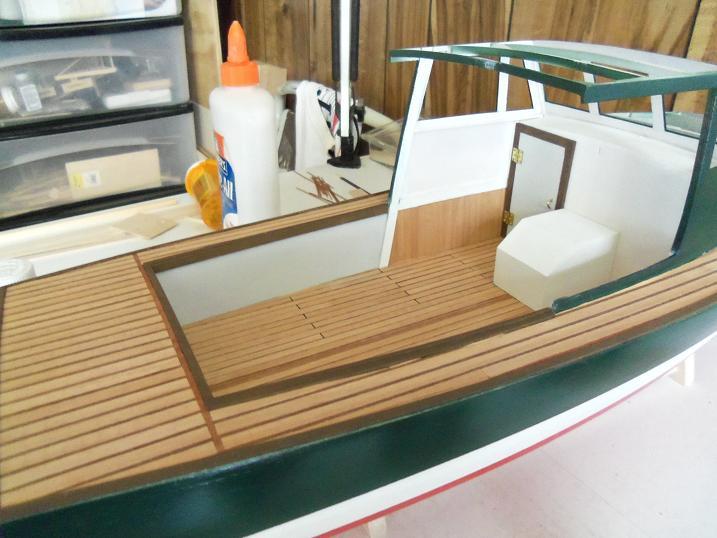
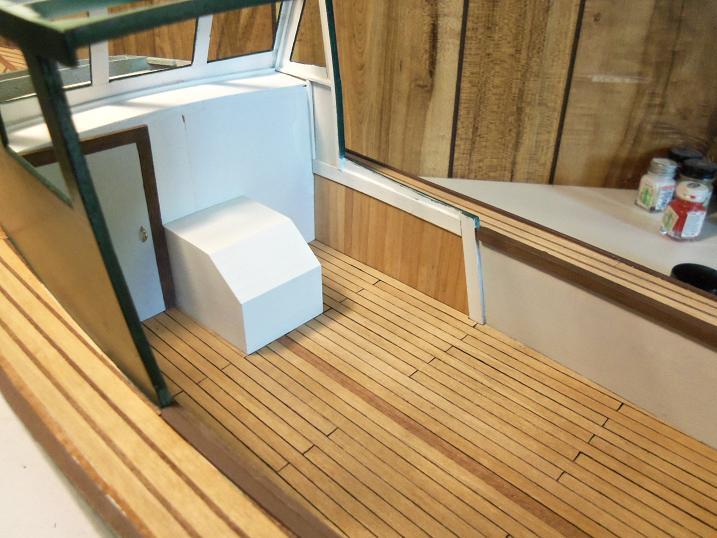
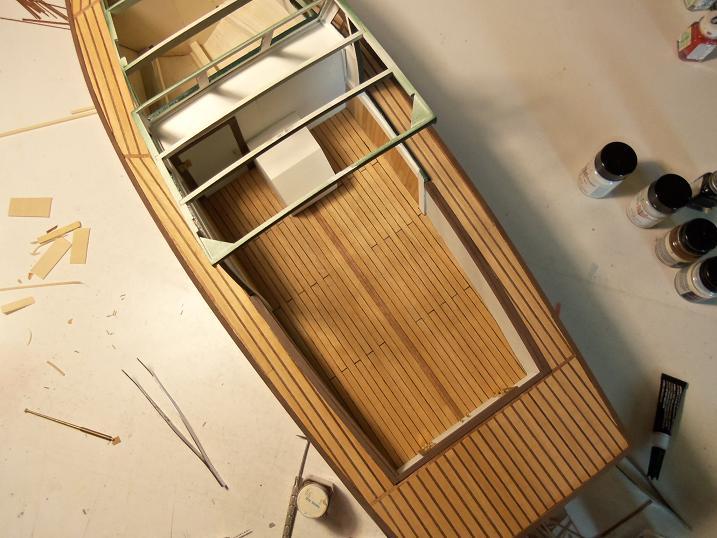
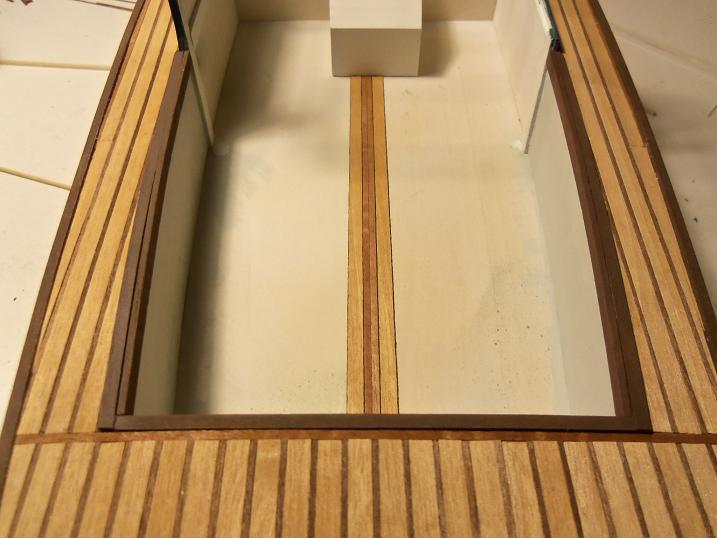
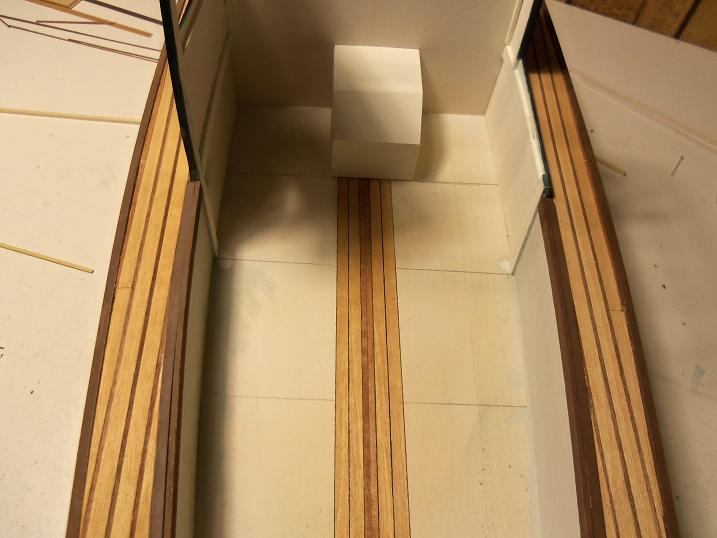
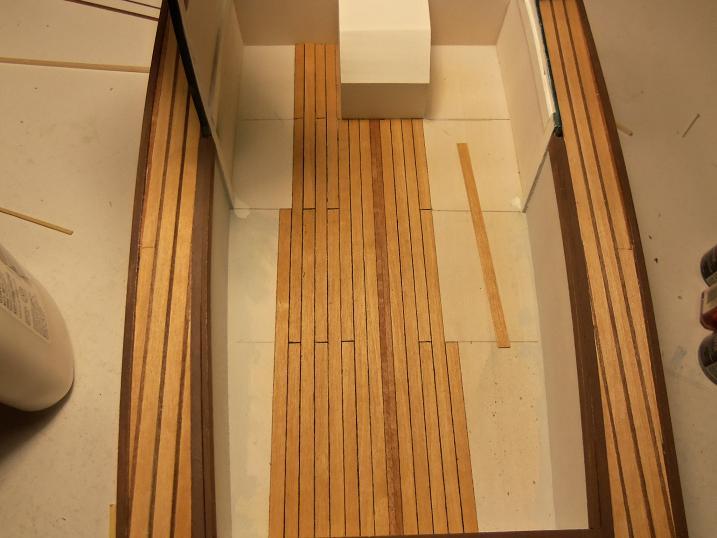
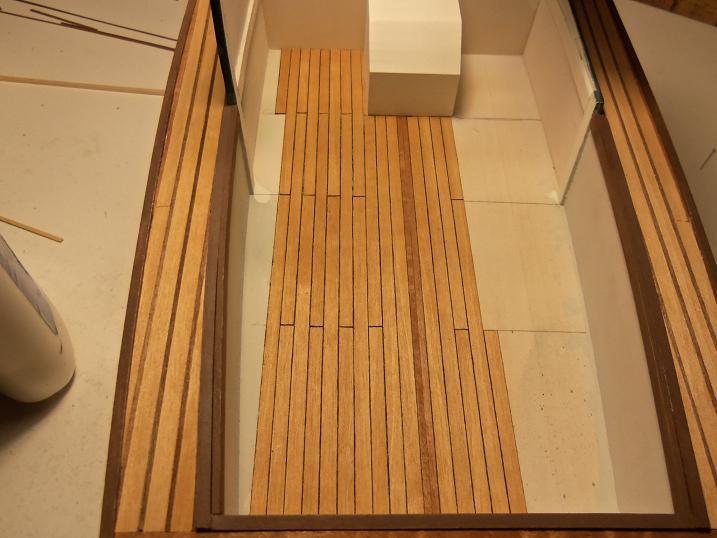
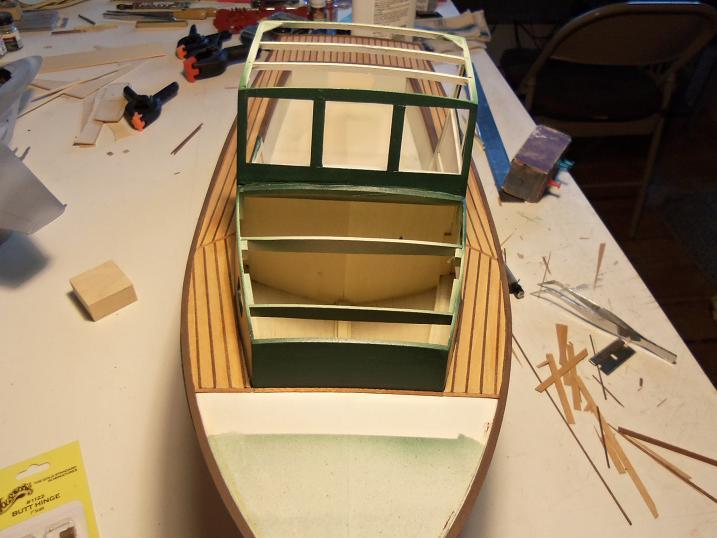
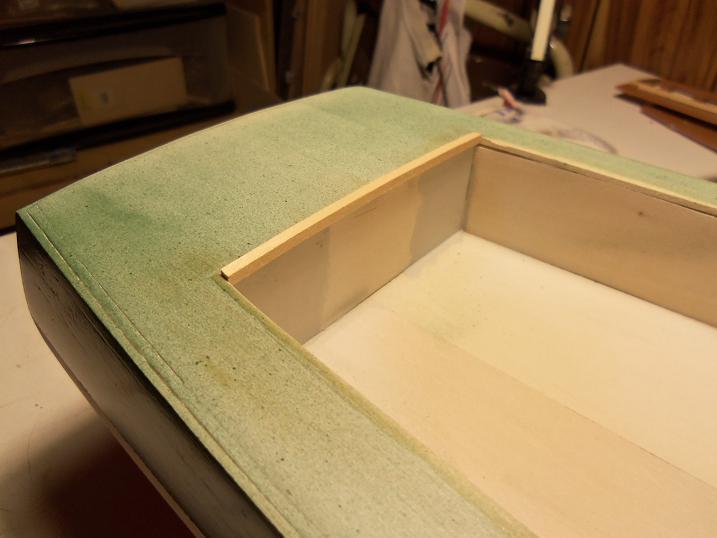
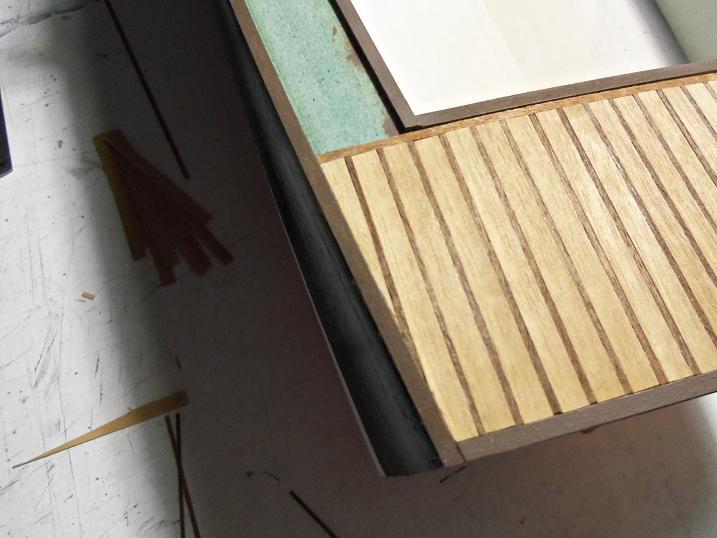
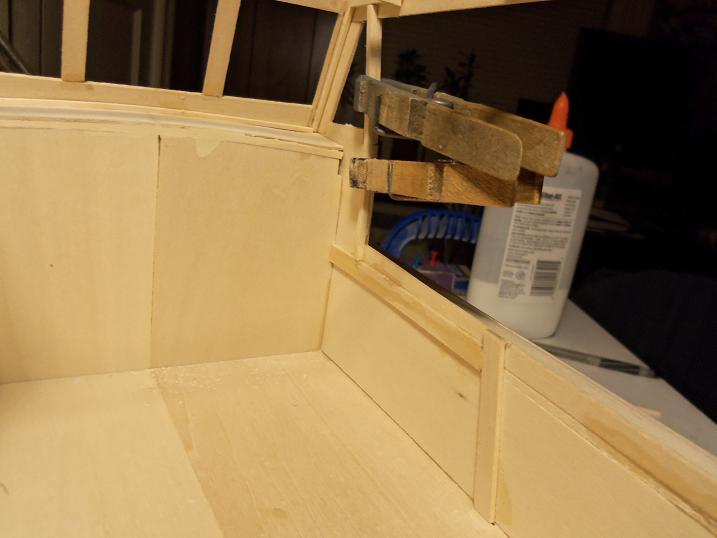
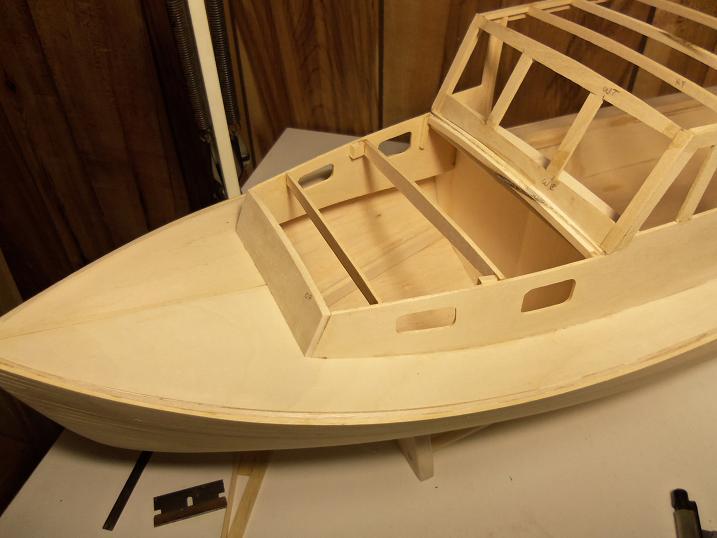
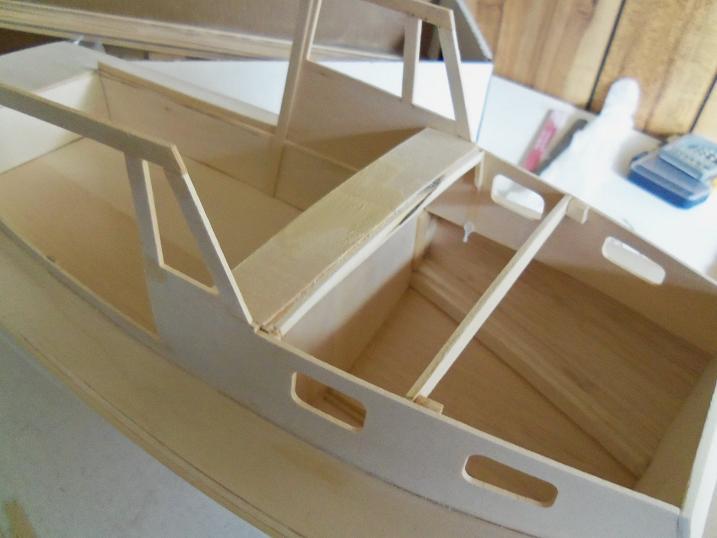
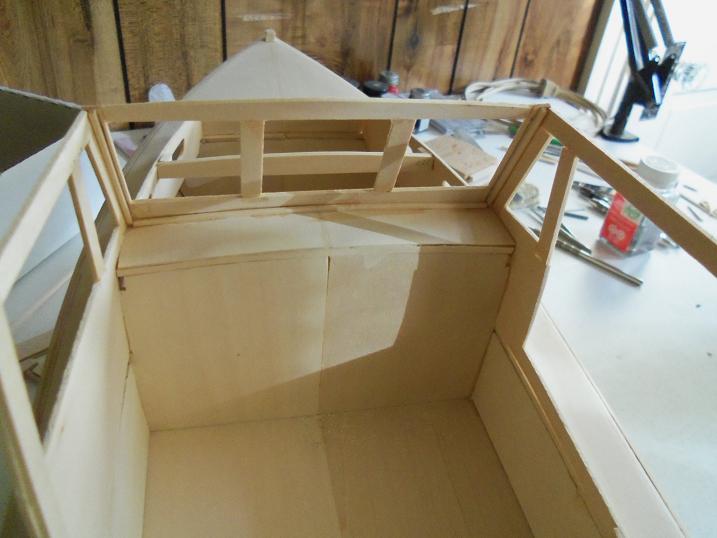
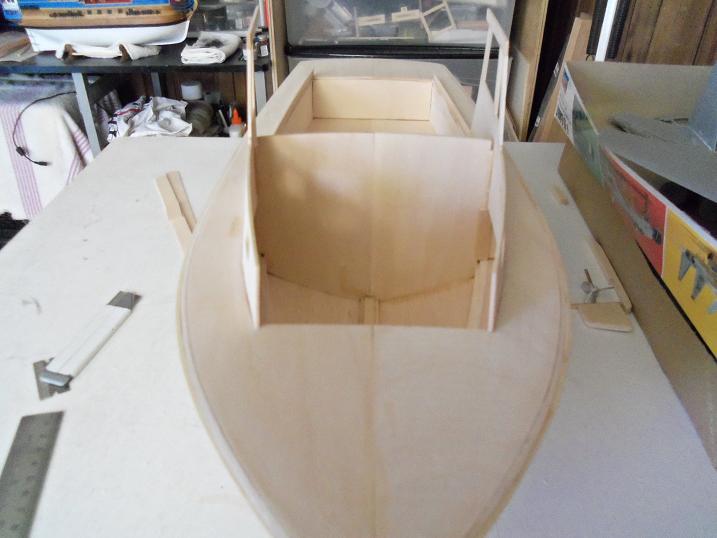
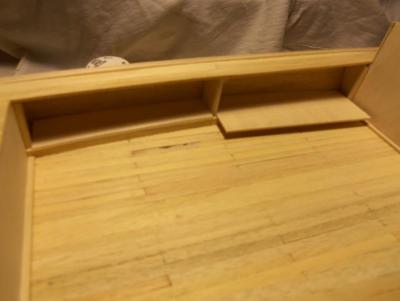
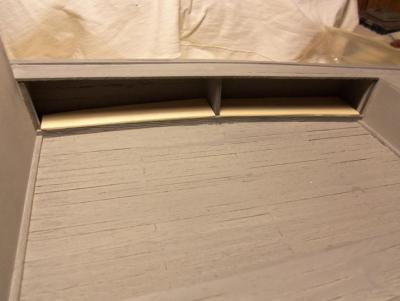
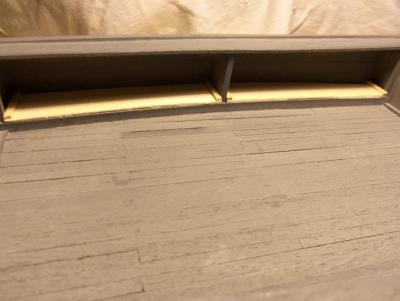
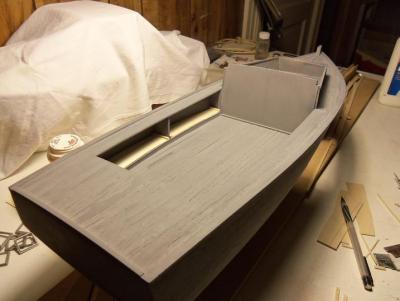
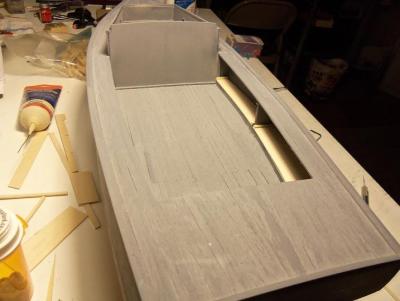
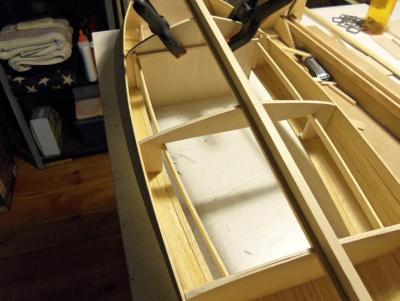
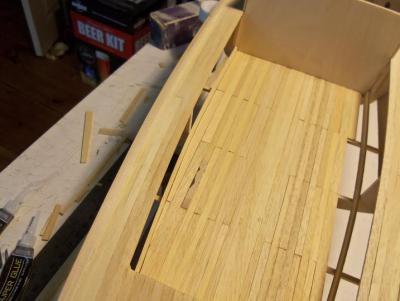
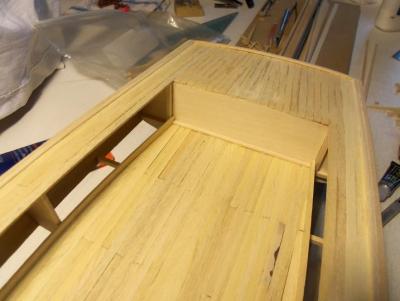
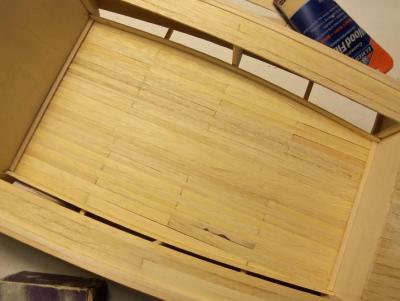
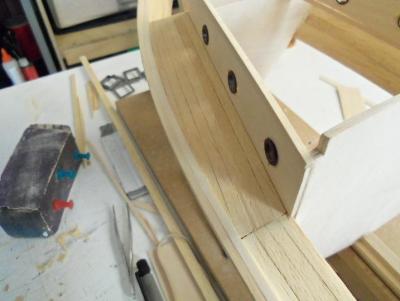
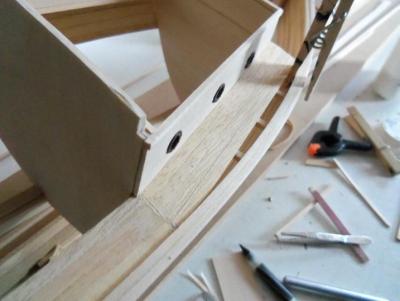
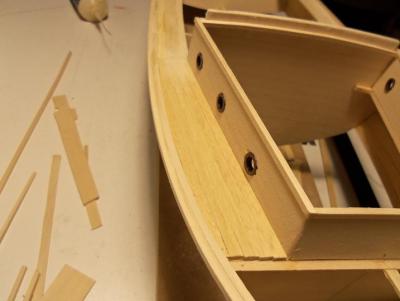
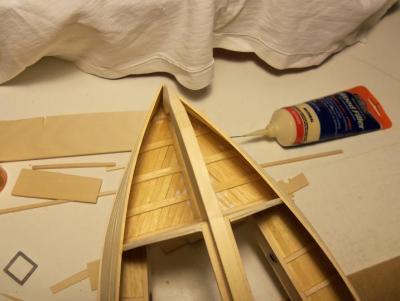
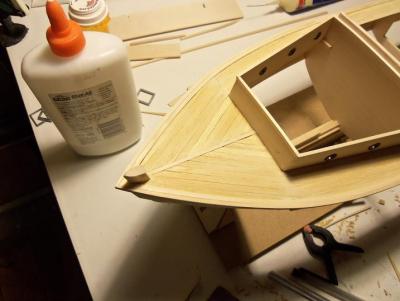
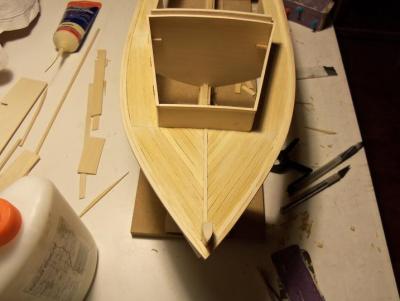
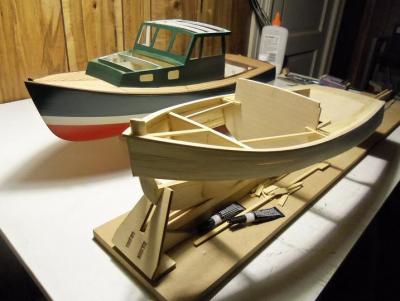
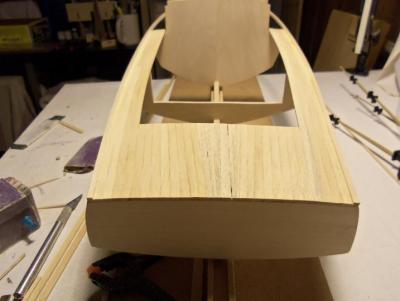
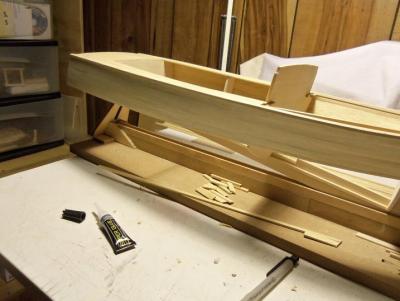
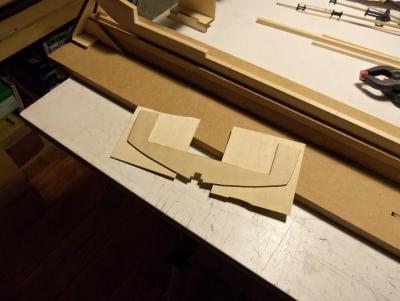
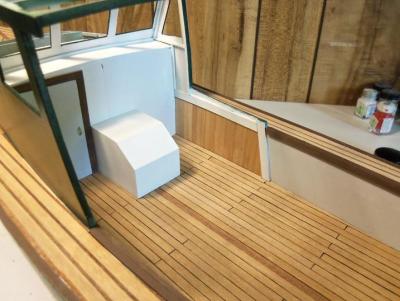
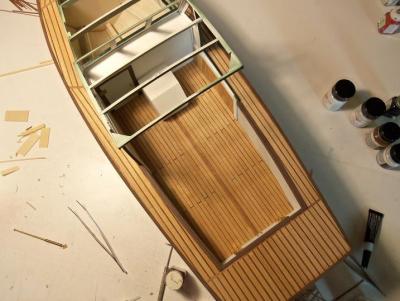
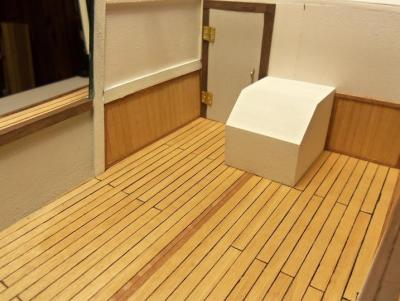
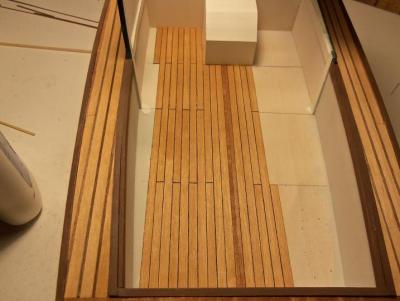
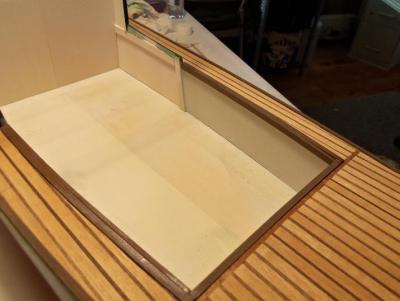
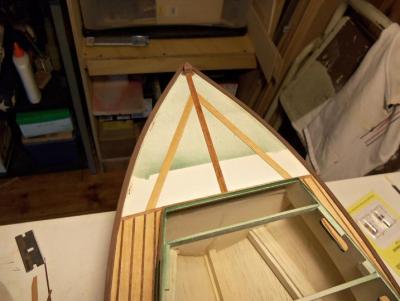
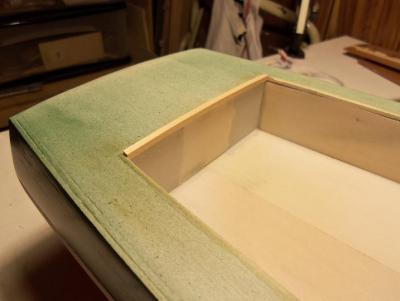
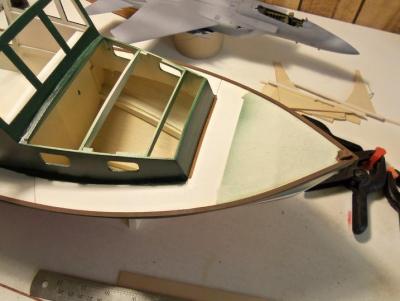
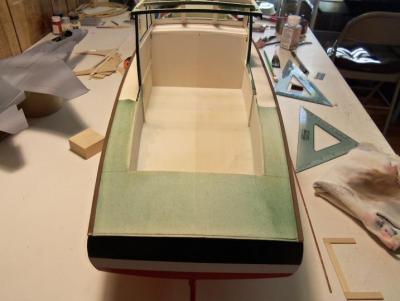
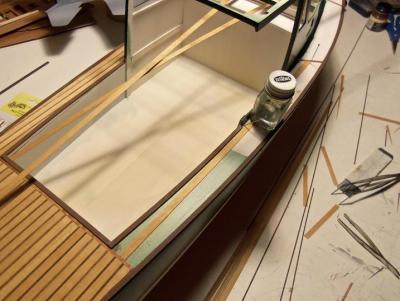
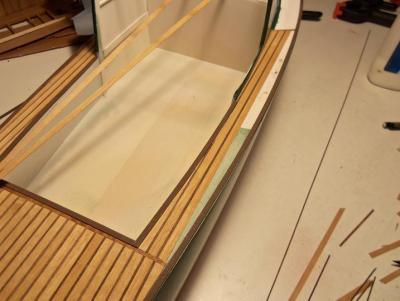
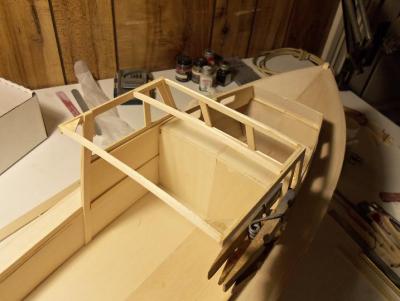
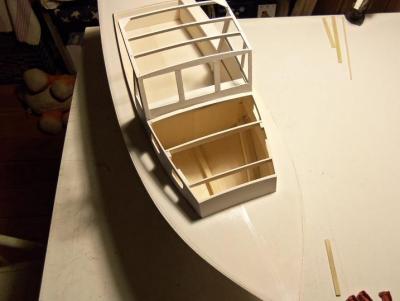
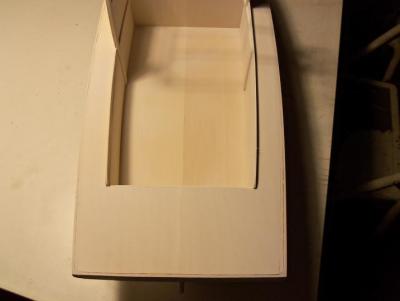
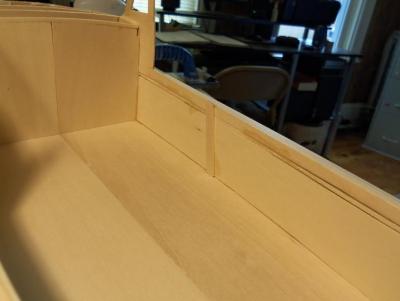
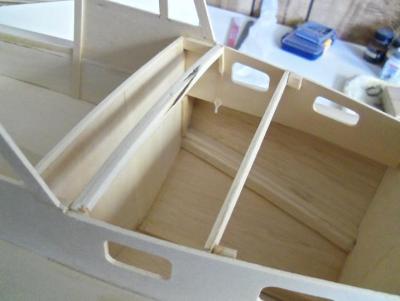
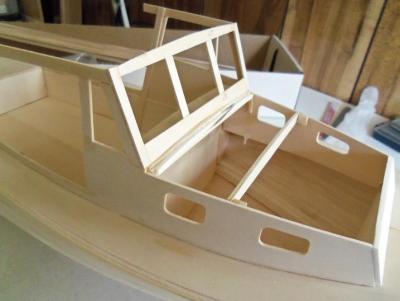
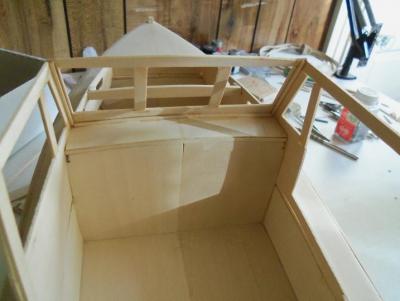
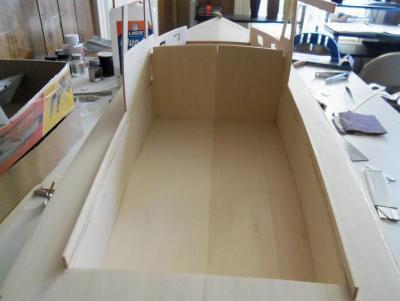
12 - 30 - 2012 New years was coming, and the build was moving right along. I couldn't wait for the day when both of these builds will be in sync with one another. then I could work on them together. the open areas under the sheers are to have a floor, in order to close them off from seeing the gaps left by the decking. I had used 7mm planking as borders along the side, to better gauge the deck planking. it works out well, because they will become the sills for these compartments. I also wanted to paint the inner areas with primer. if I didn't get paint under the sheers now, I wouldn't be able to do it later, with the hull completely closed in. I will make up the floor pieces, and then prime. the bad part was that I was almost out of white primer.......very little was left and certainly not enough. The floor were installed over the openings. they were later primed to get some on them as well


- 552 replies
-
- 1
-

-
- maine lobster boat
- Midwest Products
- (and 1 more)
-
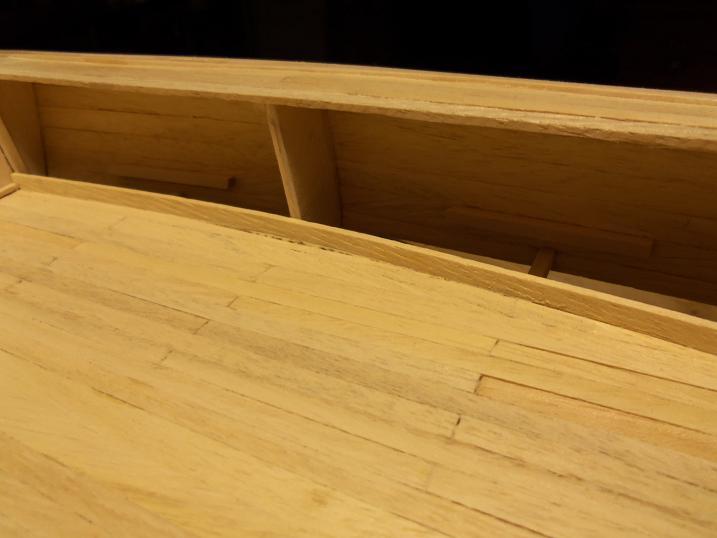
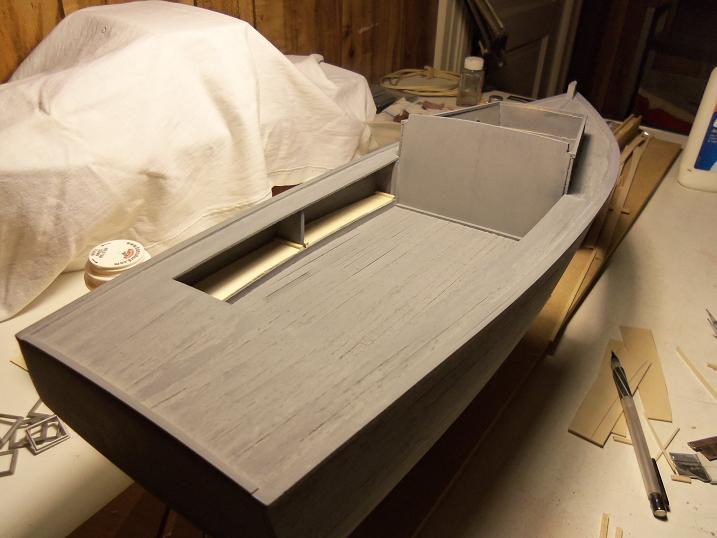
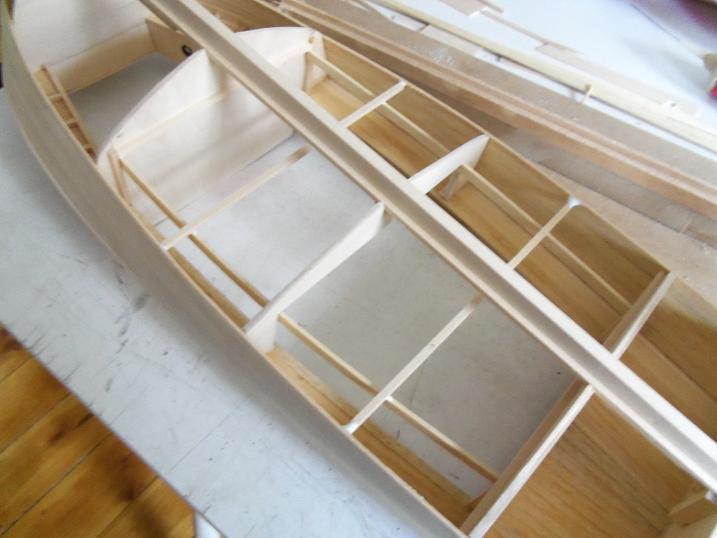
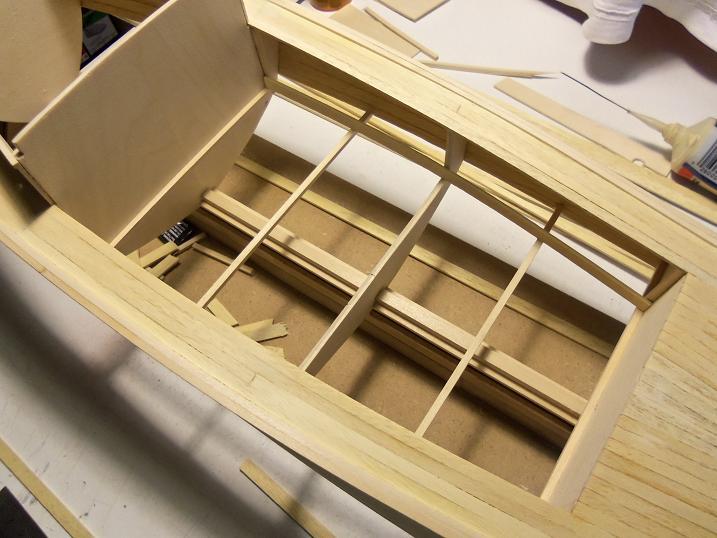
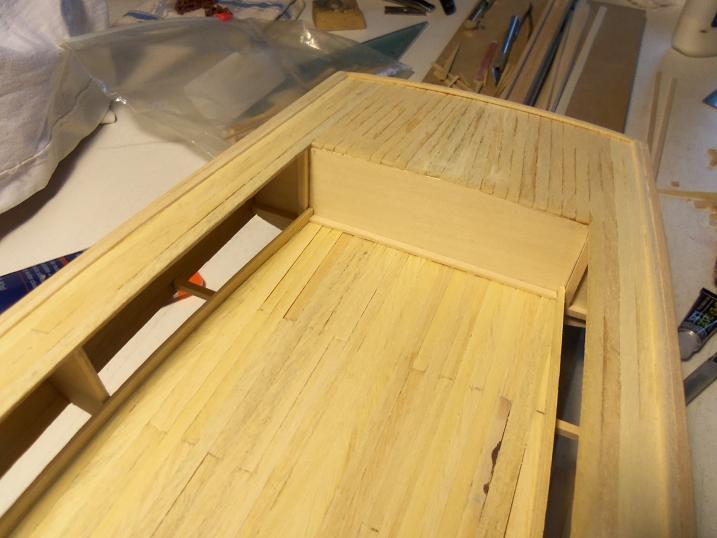
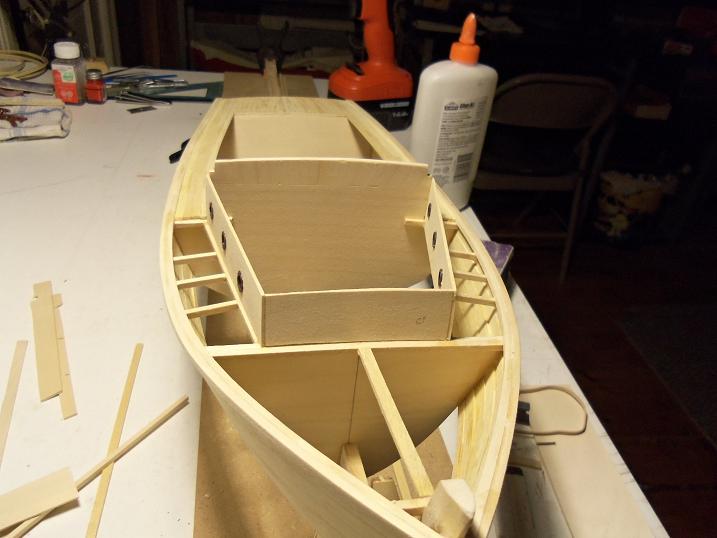
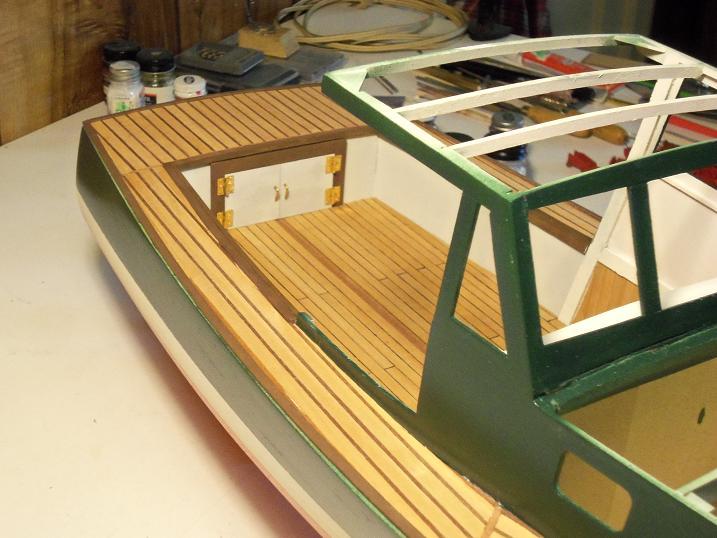
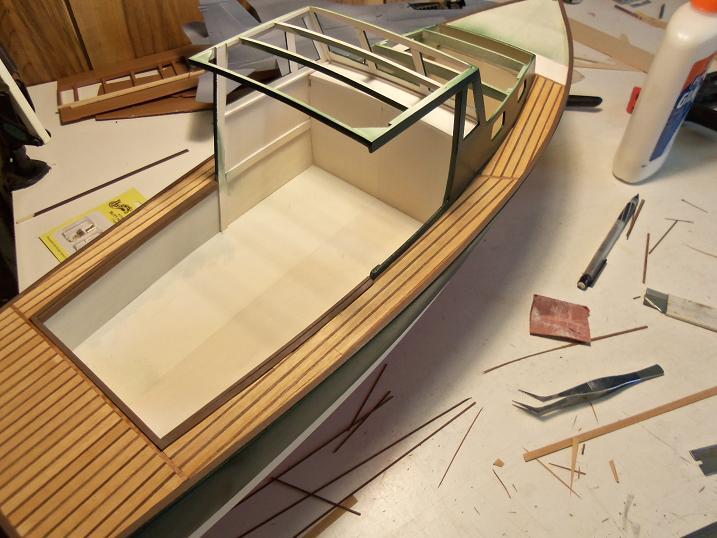
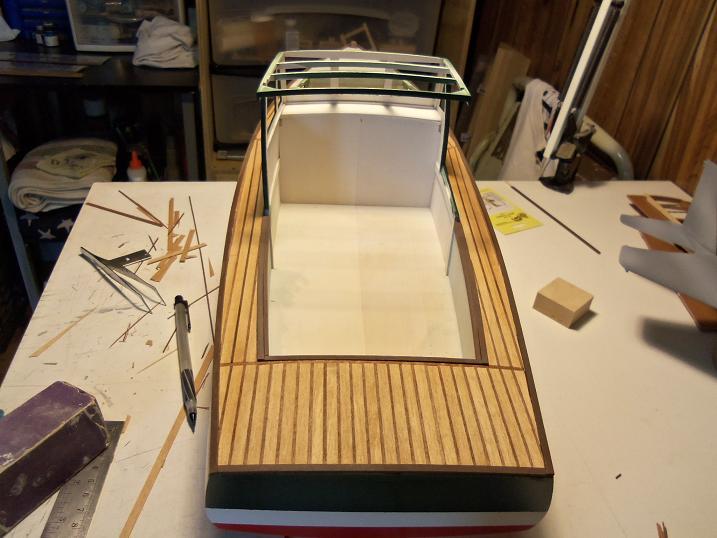
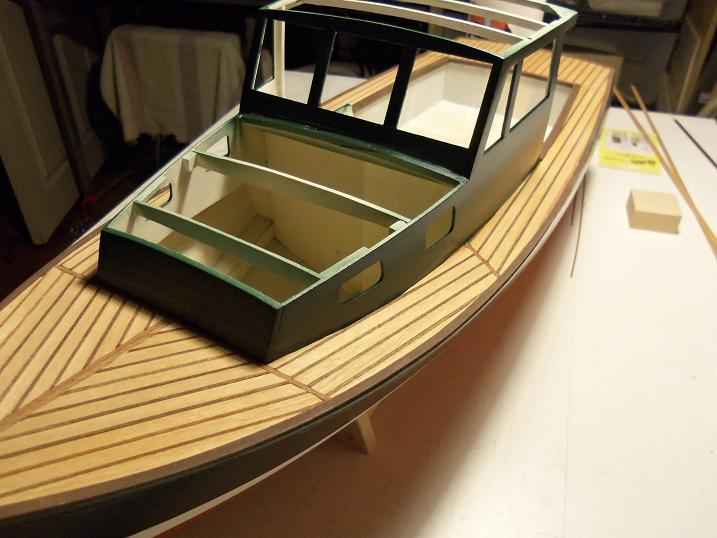
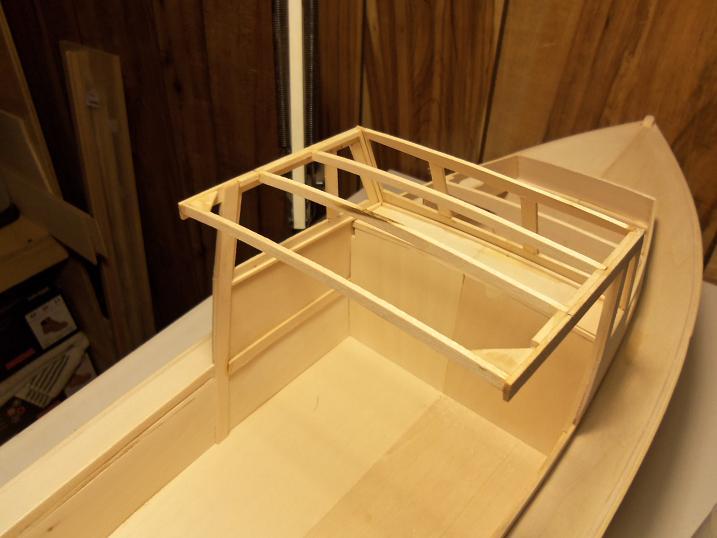
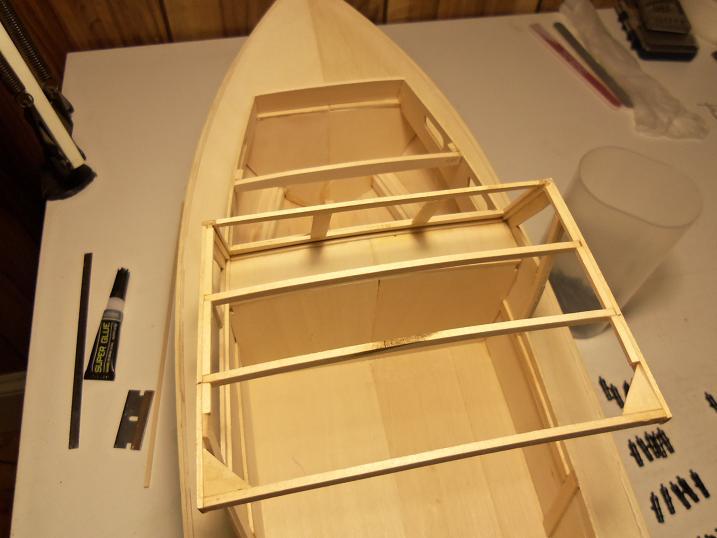
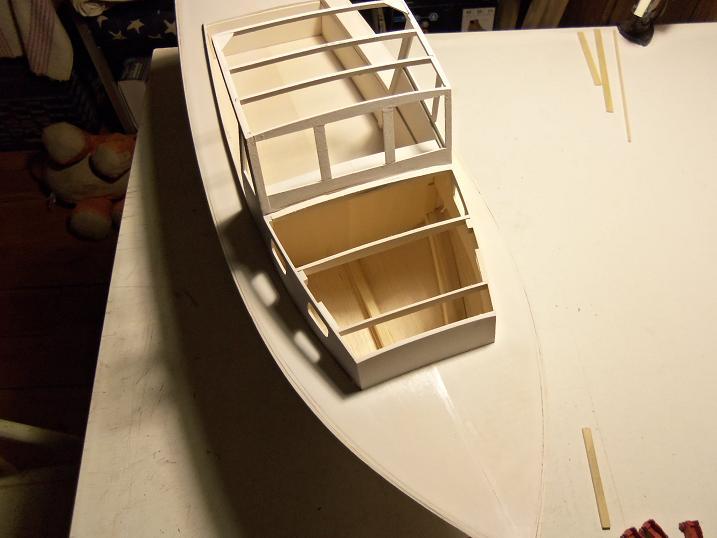
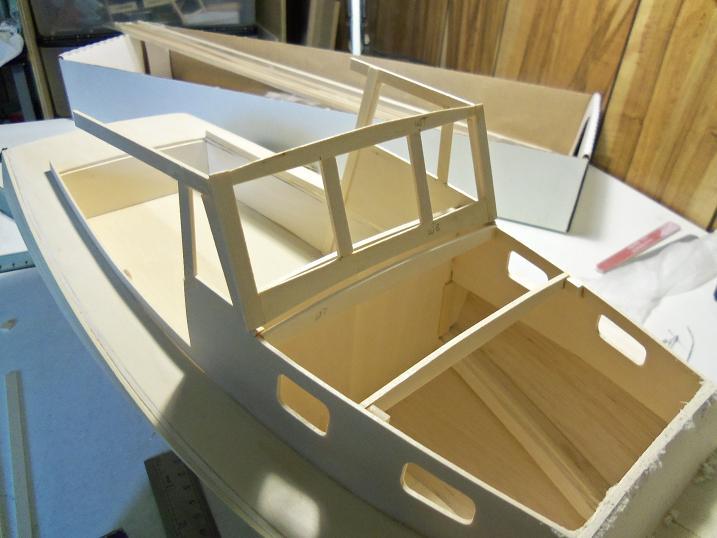
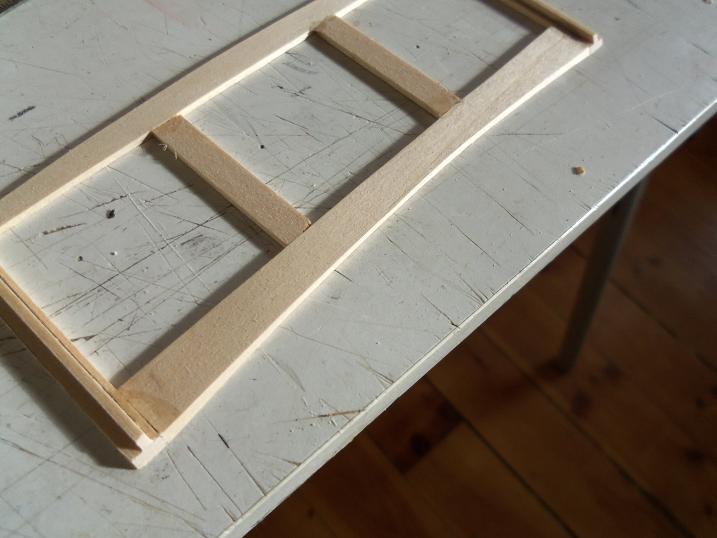
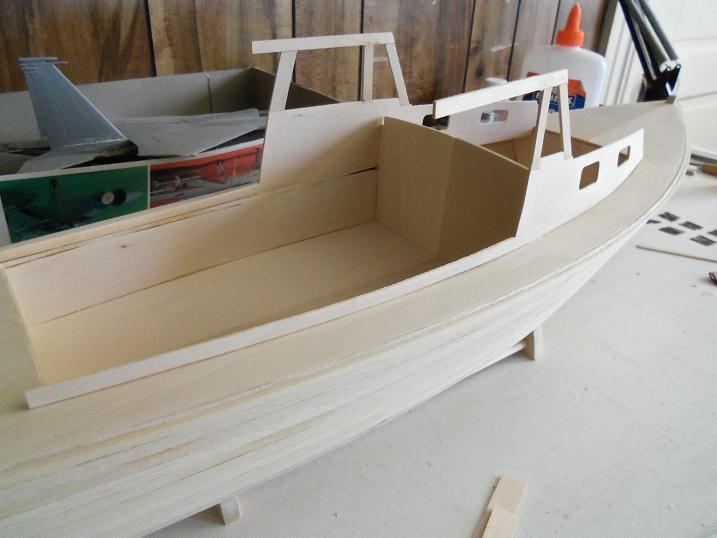
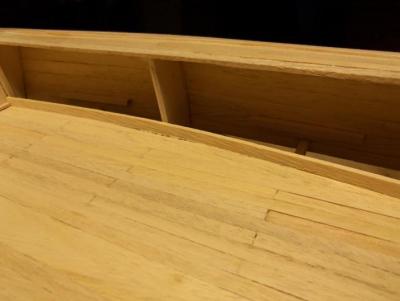
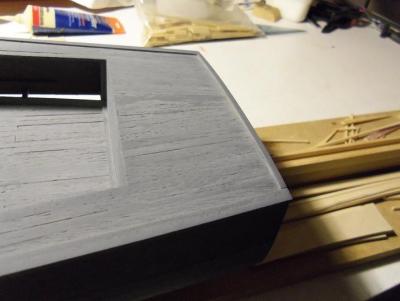
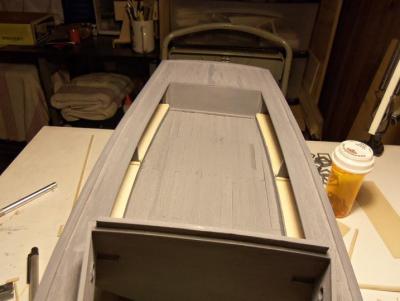
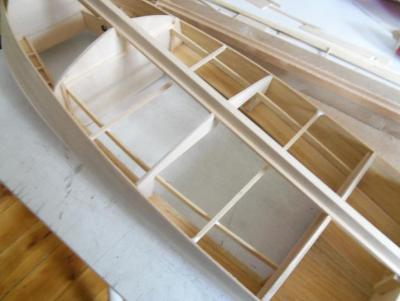
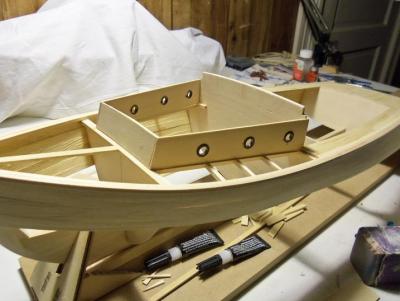
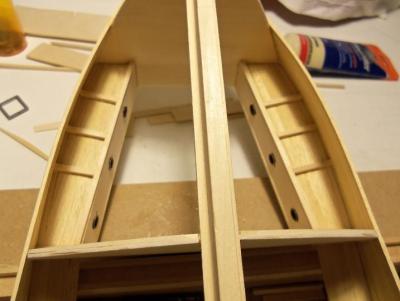
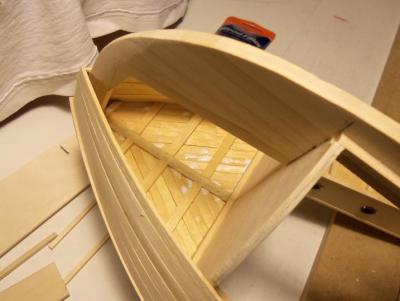
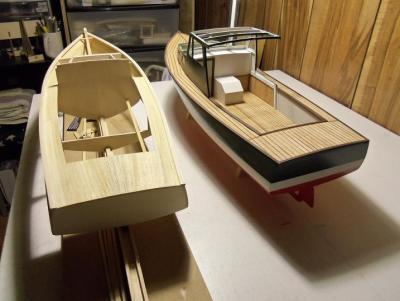
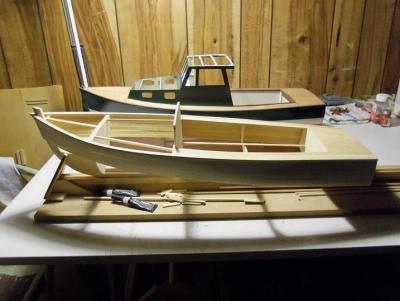
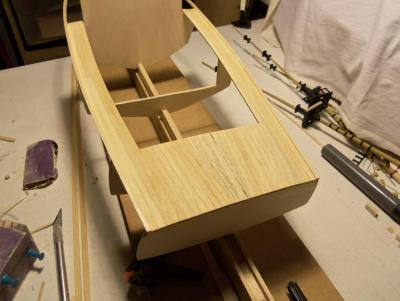
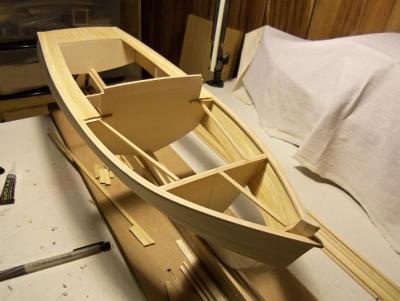
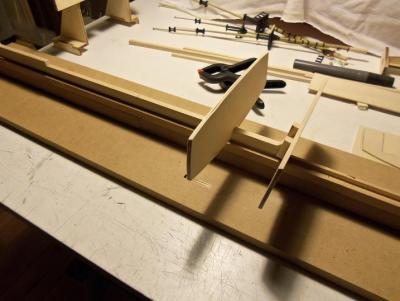
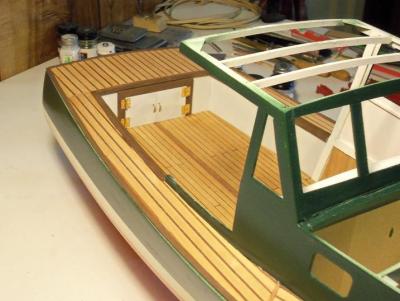
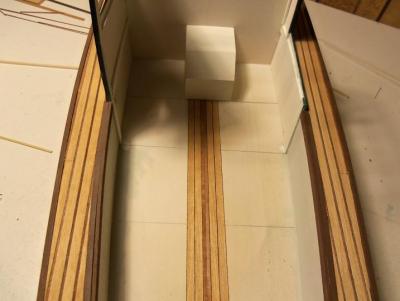
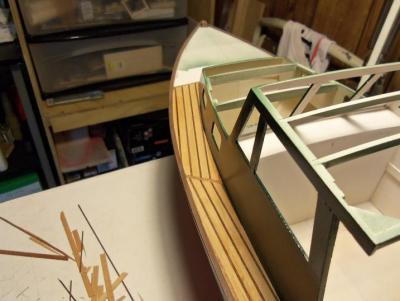
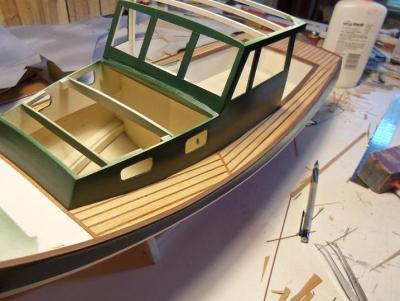
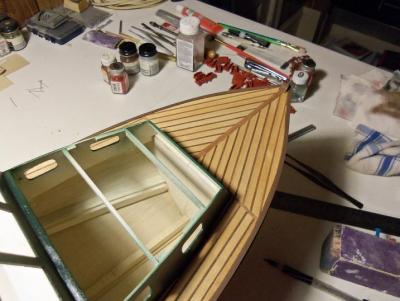
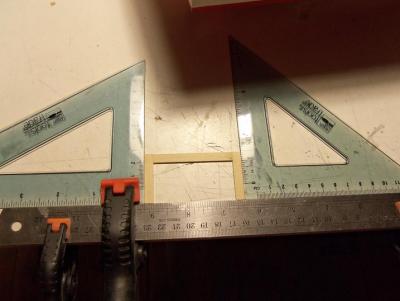
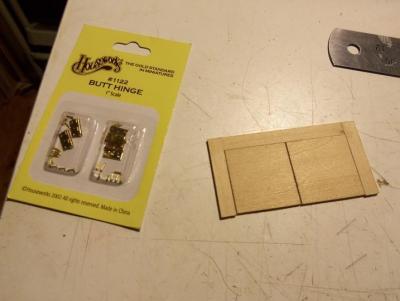
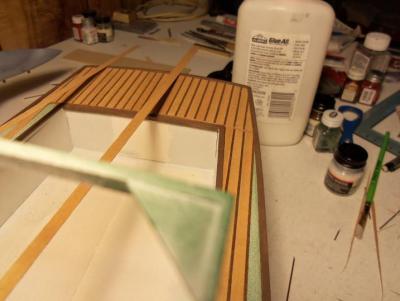
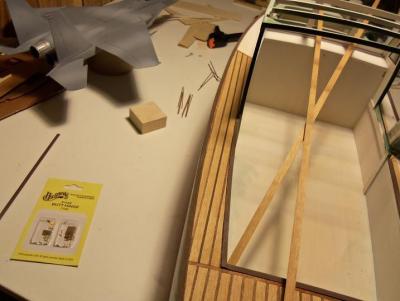
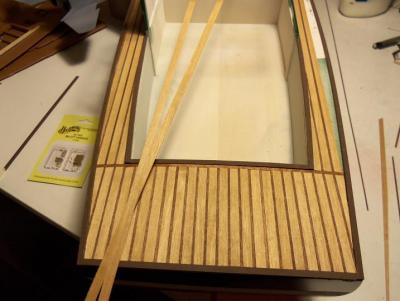
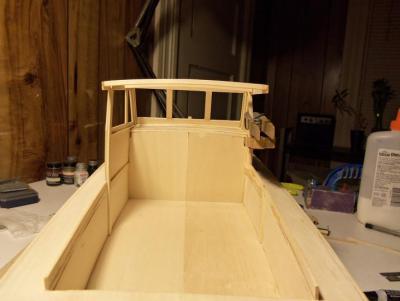
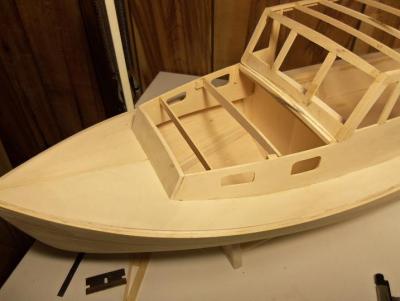
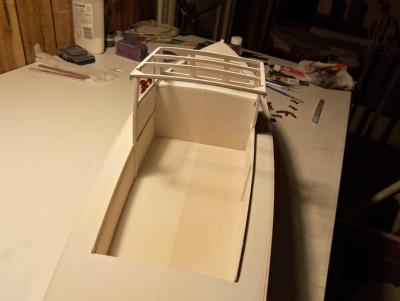
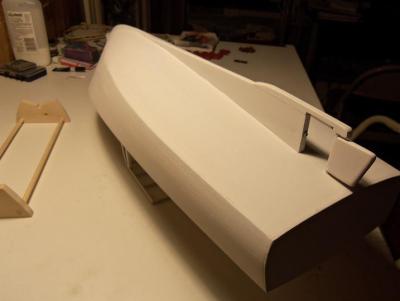
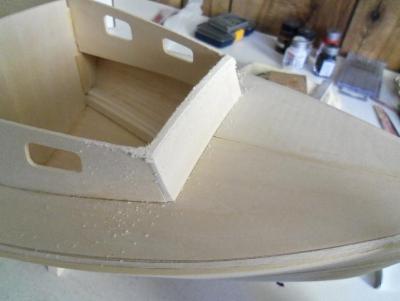
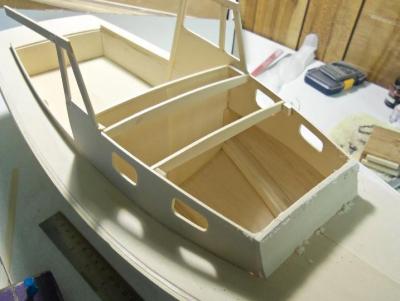
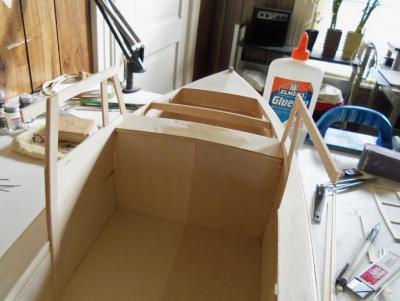
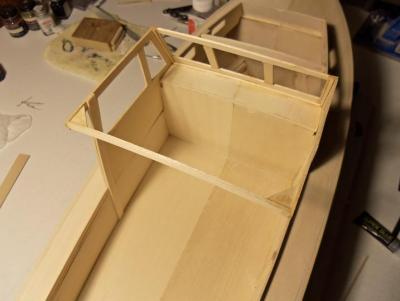
12 - 29 - 2012 While the hull is open, I thought it good to frame the inner deck. I am going to leave the sides under the sheer open for storage areas. even though the stern wall is closed in, I will not be installing any doors there. there will be a door on the froe cabin wall......I have to get more hinges to do it. I was beginning to run low on the 5mm planking. I even used my stir stick I used for paint...LOL! I subbed in some 7mm planking.......and having to finish it off with it as well.


-
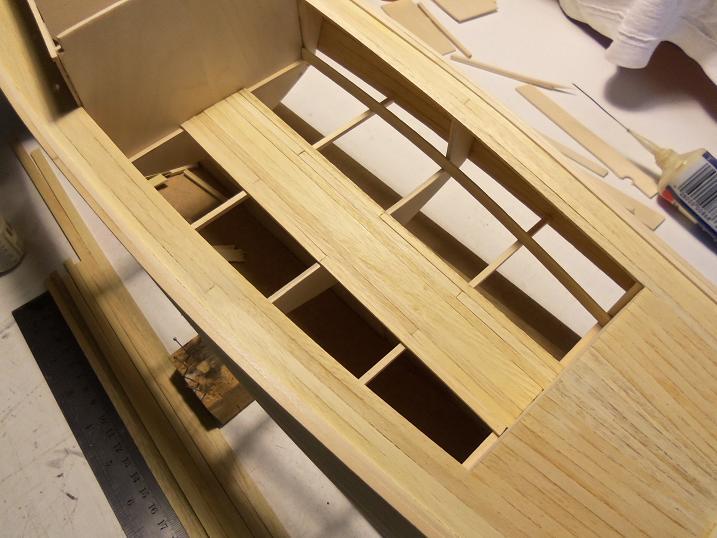
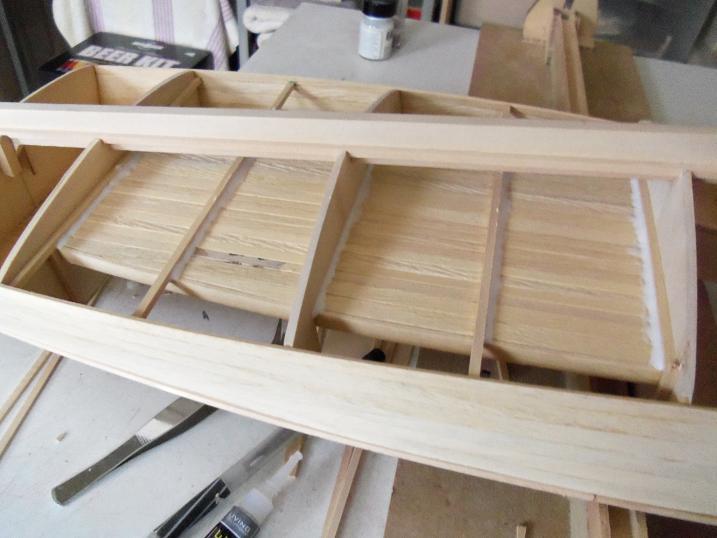
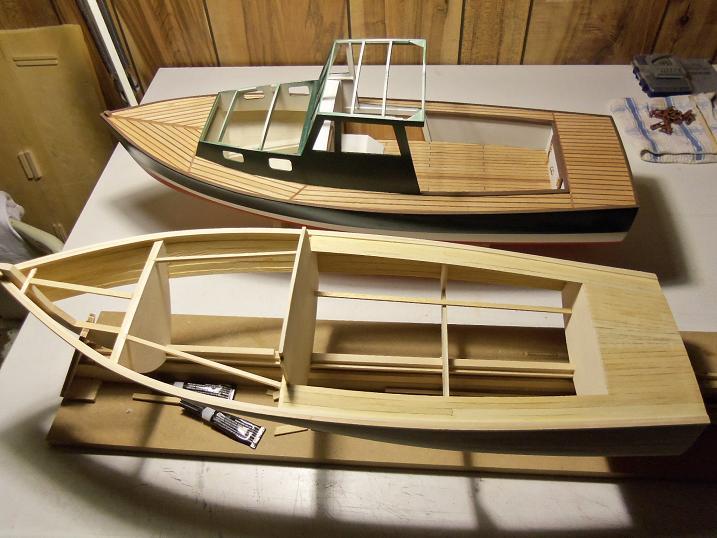
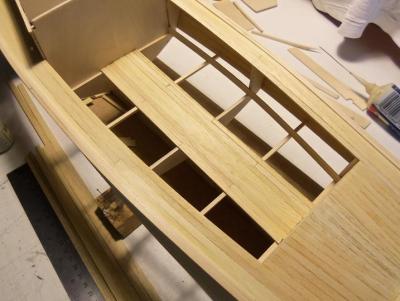
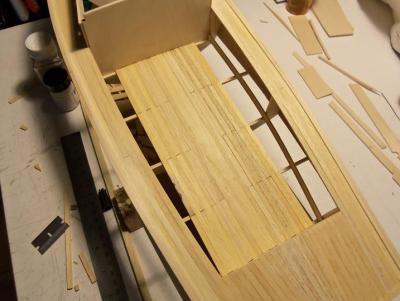
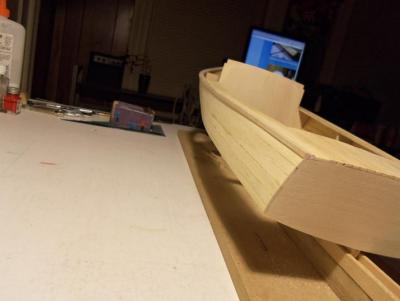
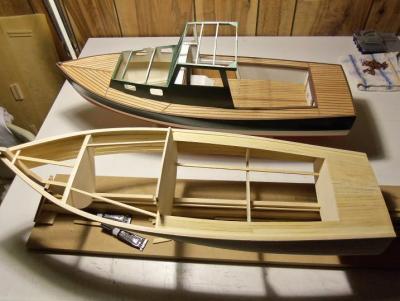
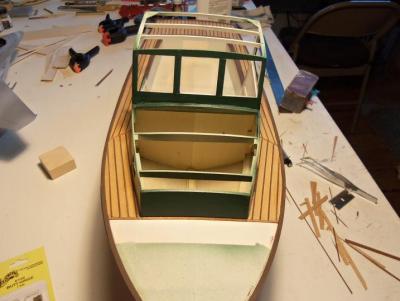
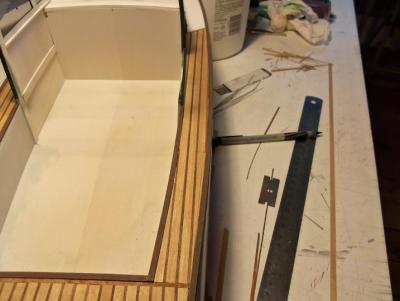
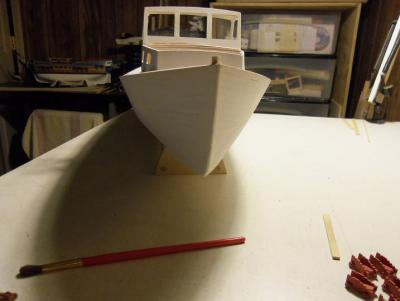
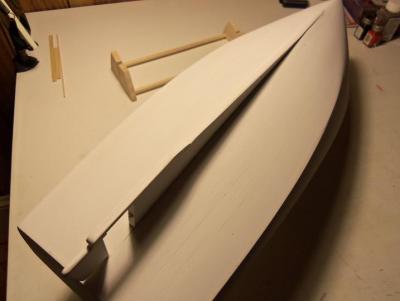
The picture of the two side by side is very misleading......it gives the impression that the lobster boat is longer that the pleasure boat. actually, the pleasure boat is longer than the lobster boat by 1/8 of an inch.......due to the double planking. the build continues....... 12 - 27 - 2012 more was done on the sheer. the rest of the deck was framed out to support the planking. 12 - 28 - 2012


-
here is the first progress comparison I did on these two boats. so far, everything looks good.........the build continues.........

-
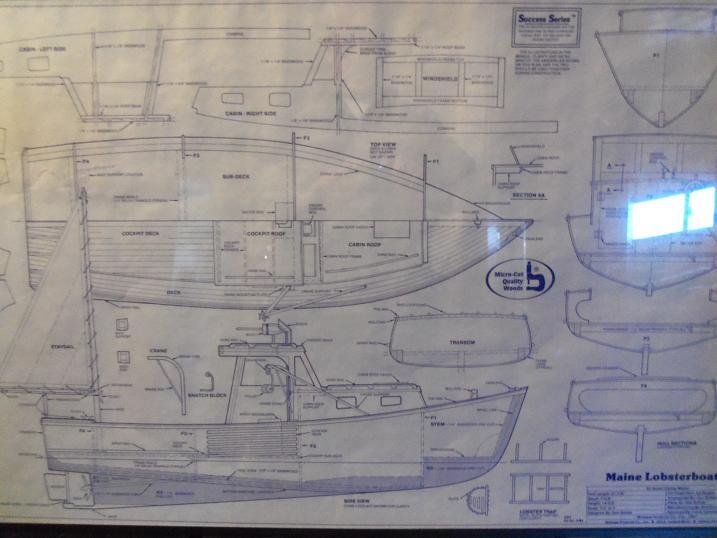
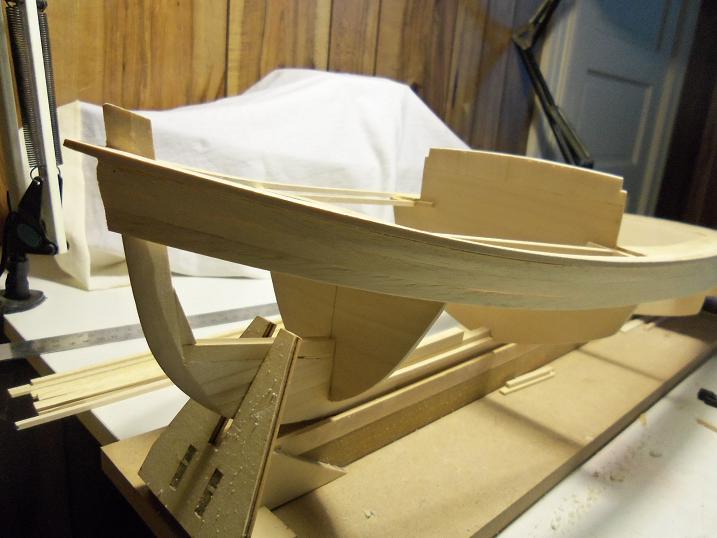
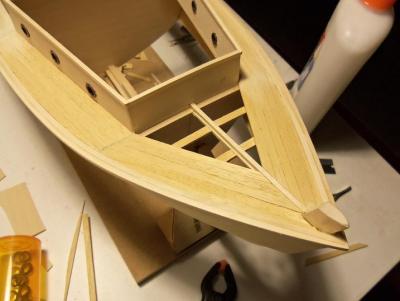
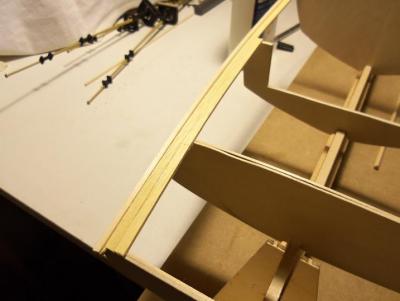
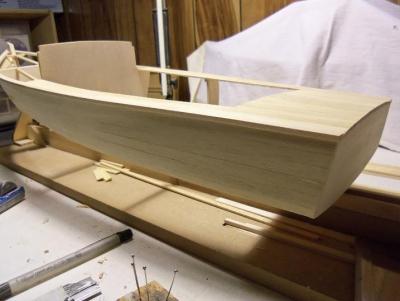
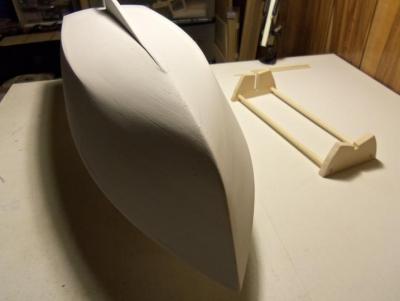
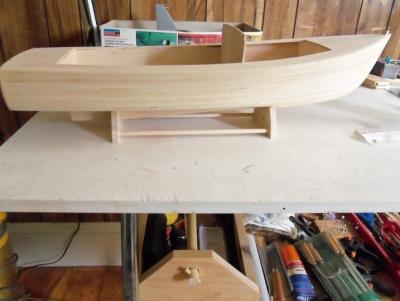
The Lobster Boat is under way........the other boat will become what was suggested......a pleasure boat. 12 - 25 - 2012 After the Christmas hub-bub was done, I had a little time to work on it before we went out to my son's house. basically, it was to finish the ribs and secure them to create the frame. Planking the sheer will give it a bit more strength. I did this after we got home......with nowhere else to go. Following the plans, which I find, are very good. I will make a few changes to speed up the build. 12 - 26 - 2012 carrying on with planking........I wanted to install the side planking today.


-
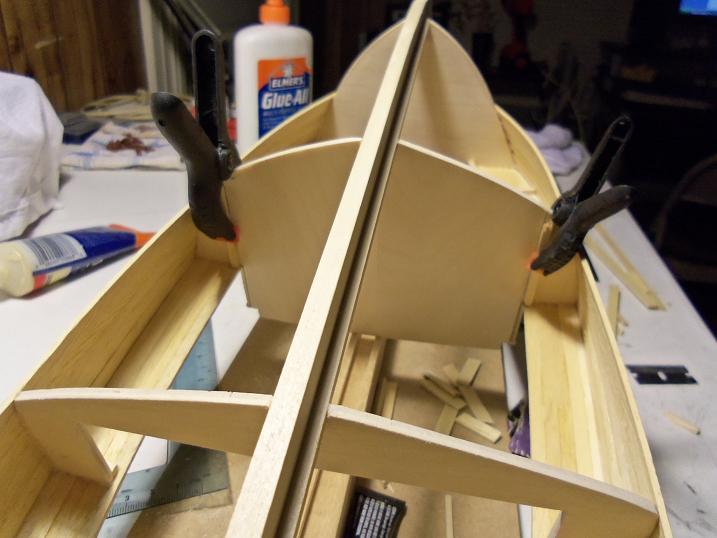
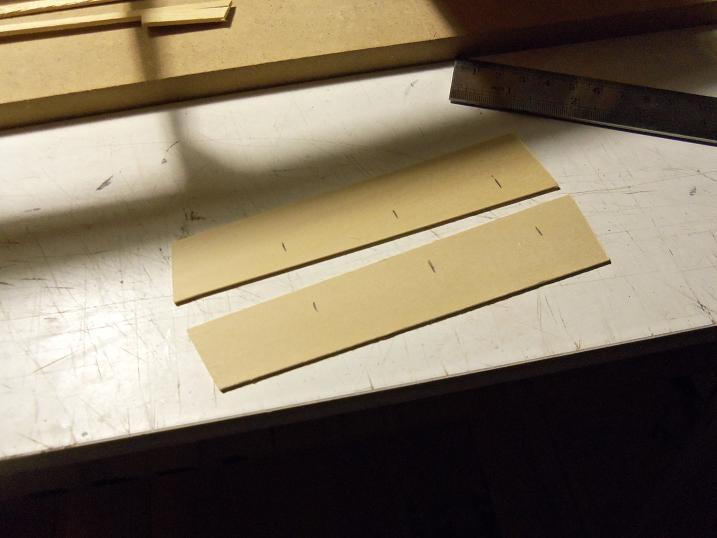
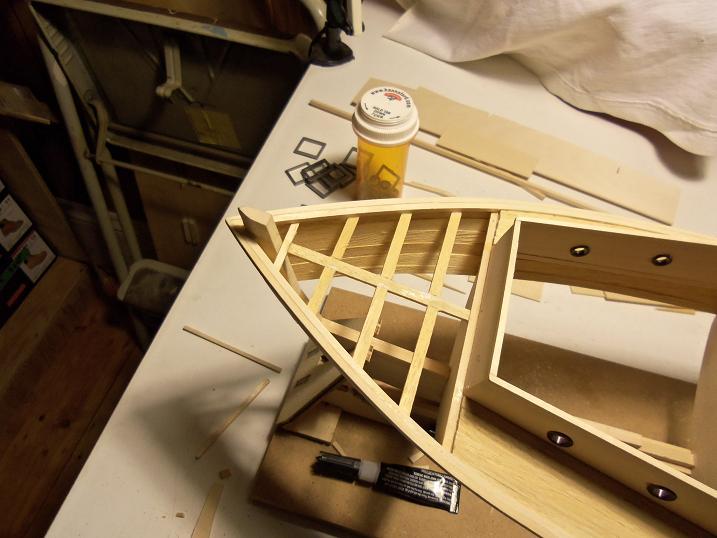
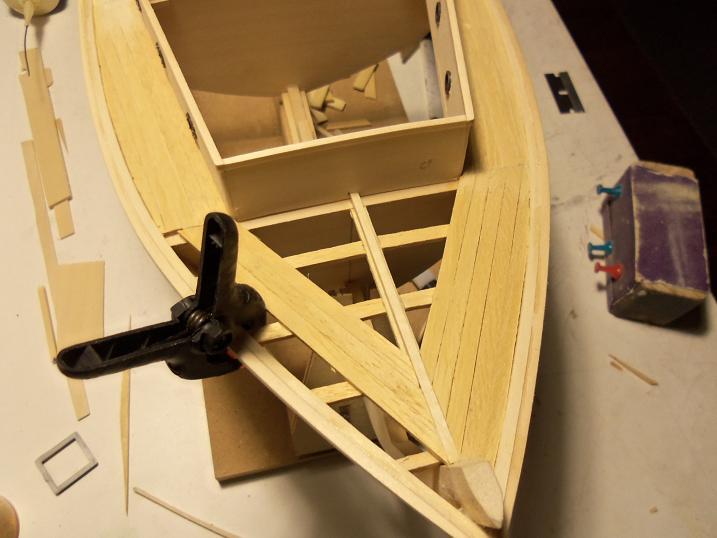
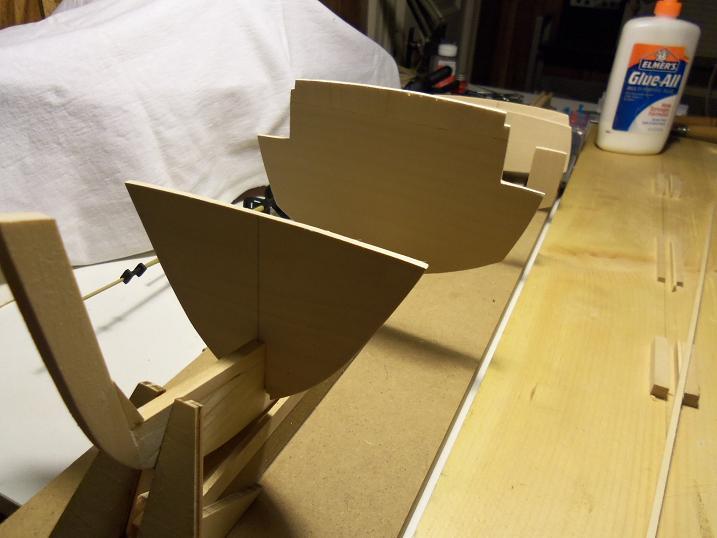
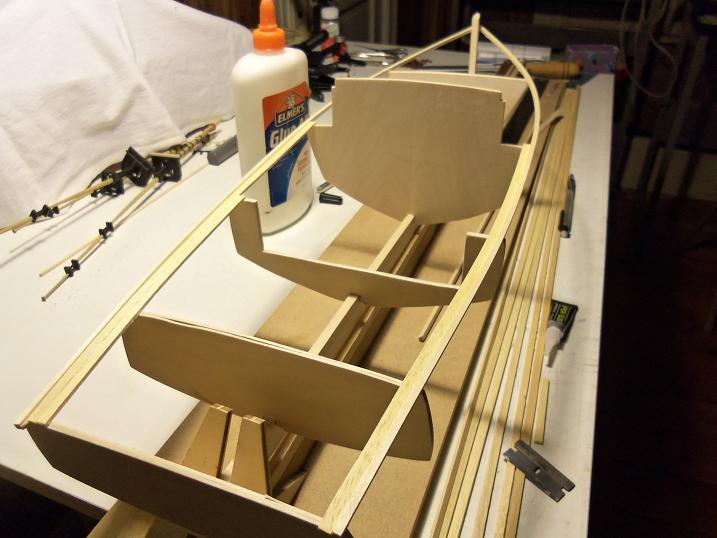
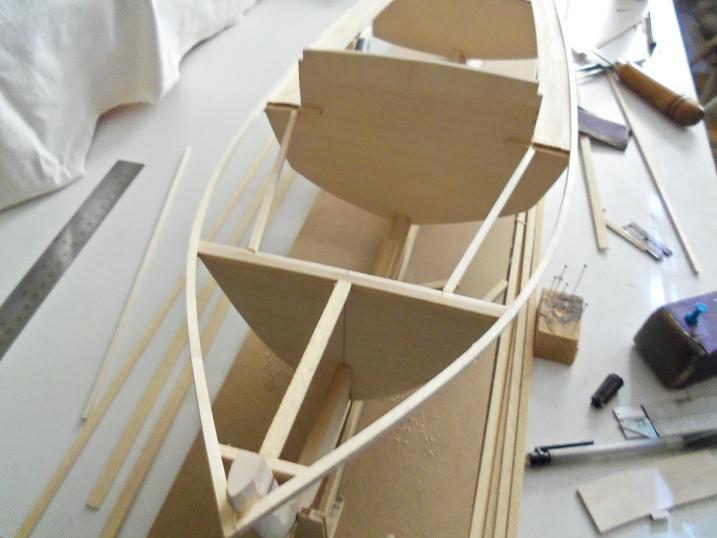
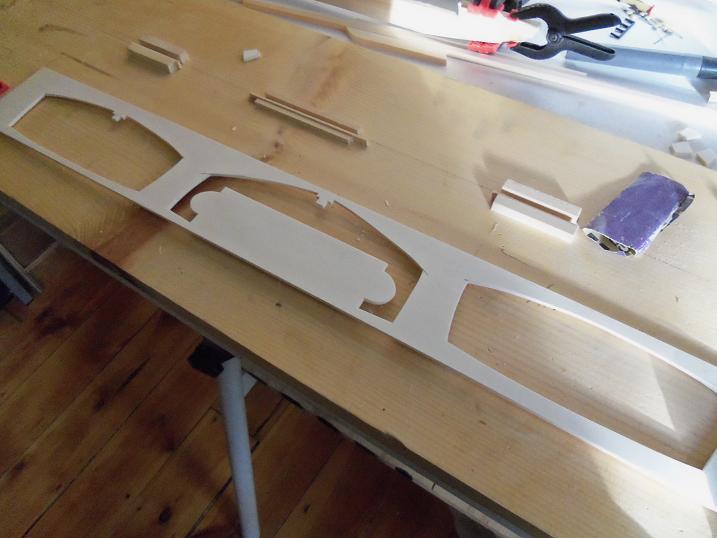
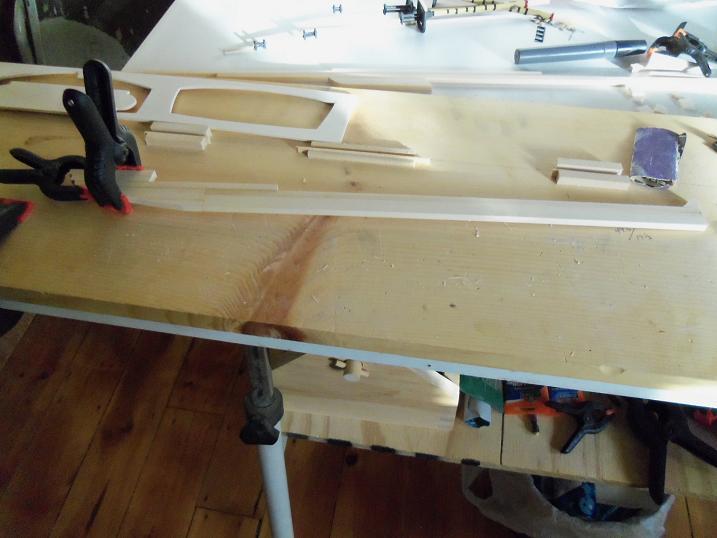
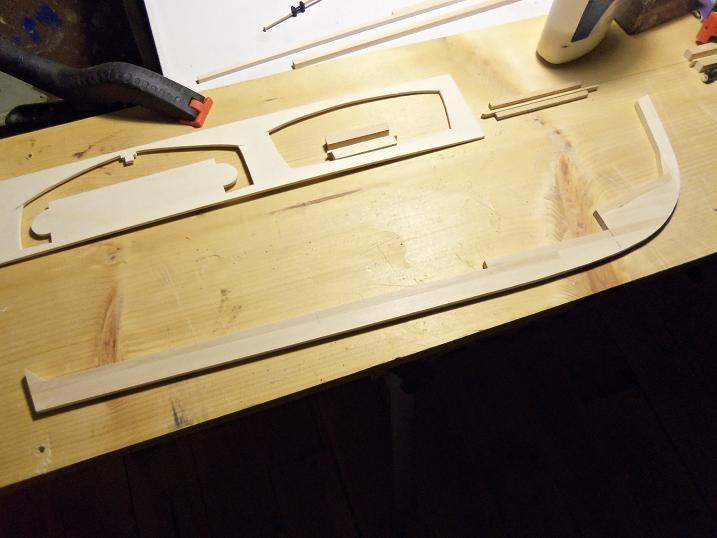
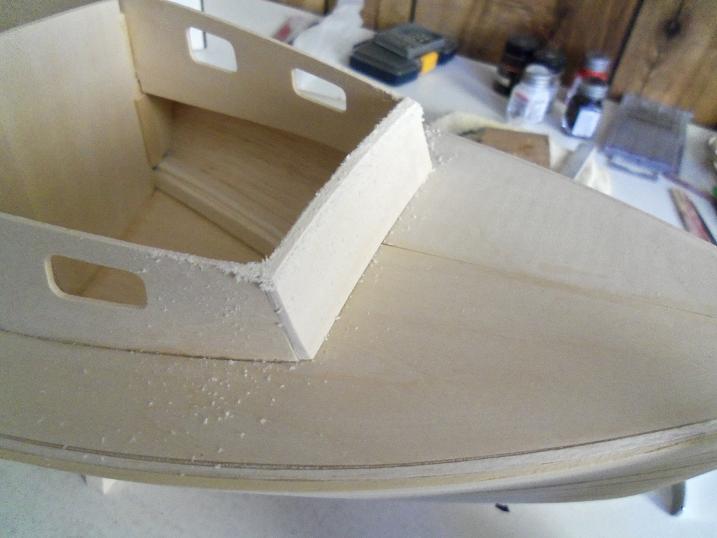
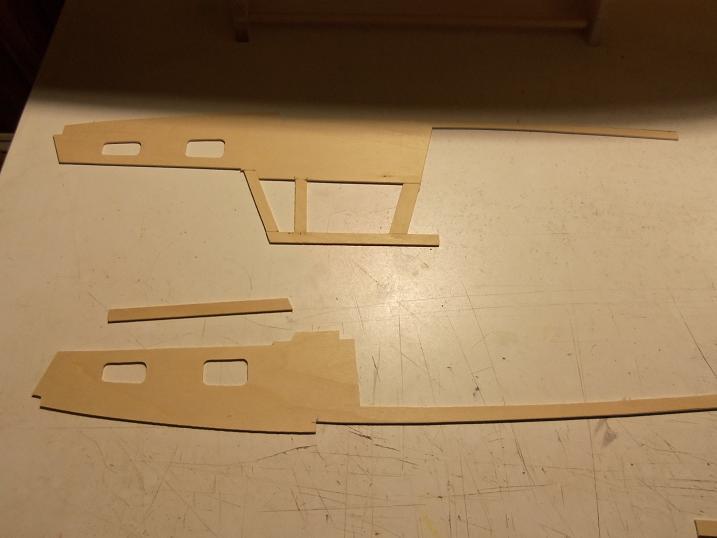
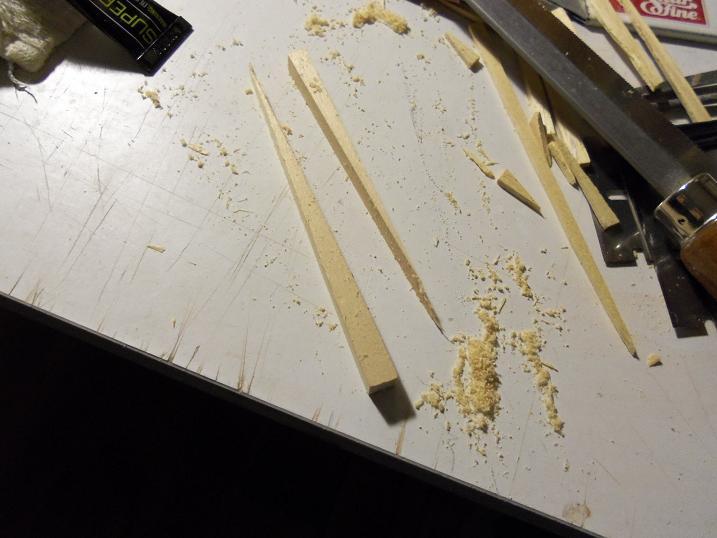
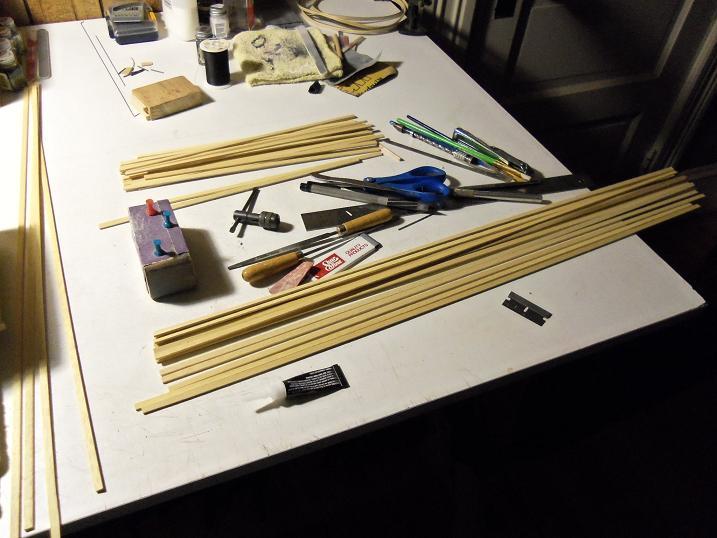
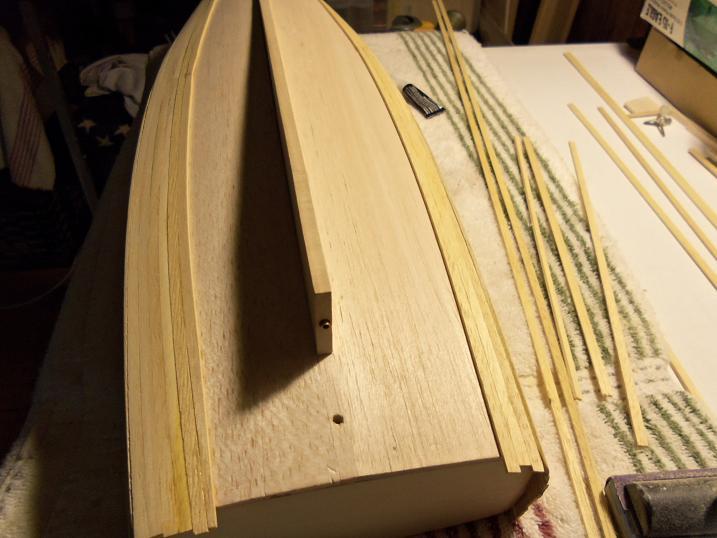
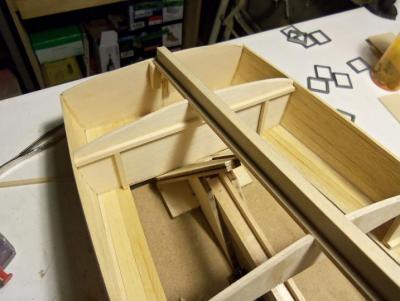
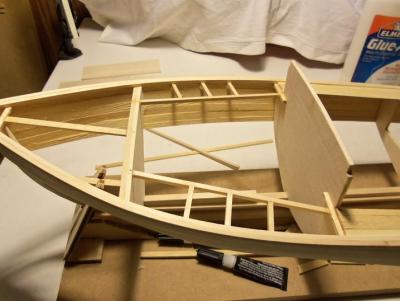
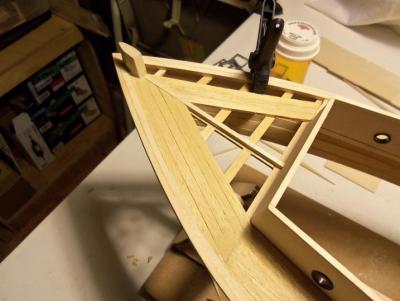
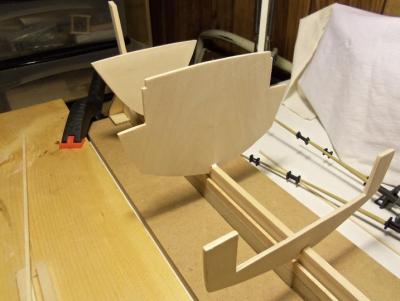
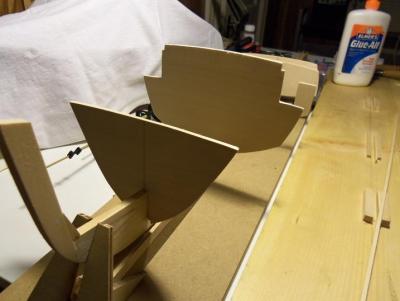
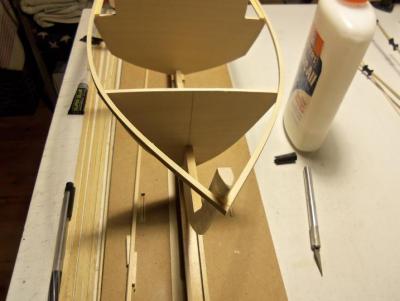
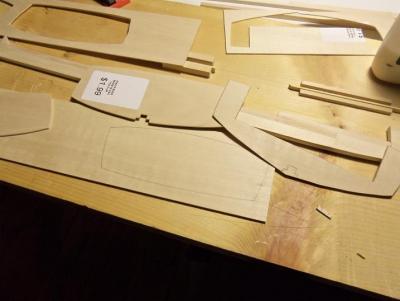
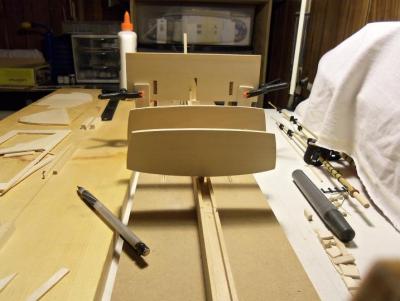
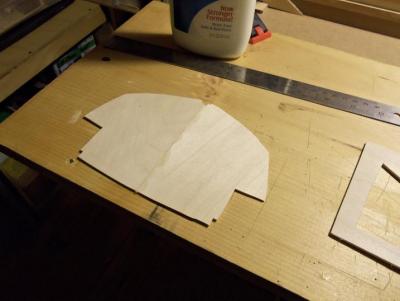
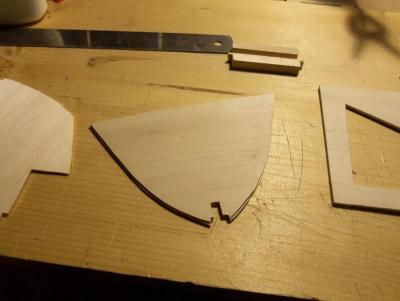
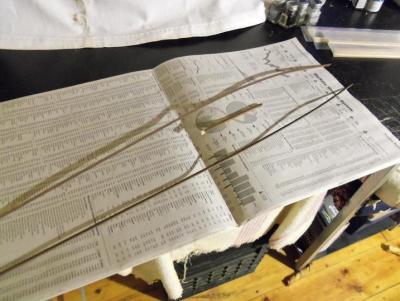
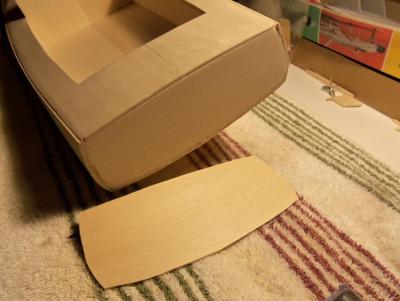
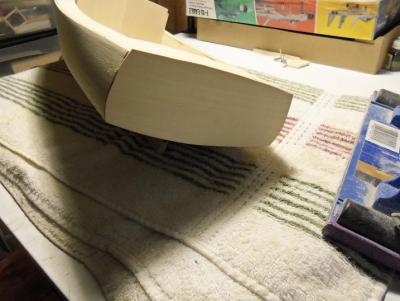
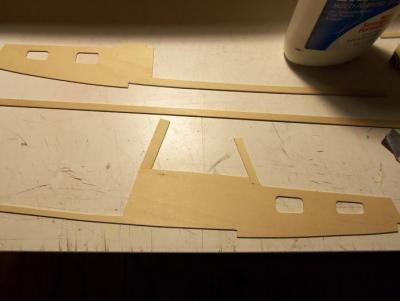
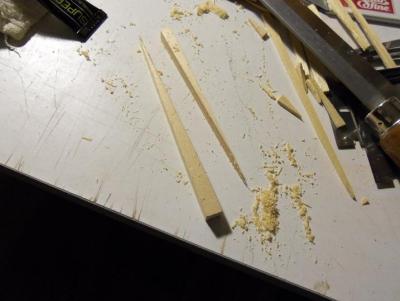
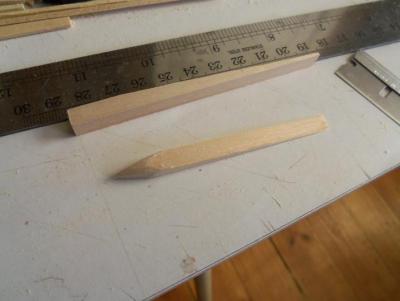
I had gotten a subtle hint earlier in the sheer planking, but one comment at this point, made me stop in my tracks. After reading the comment, I sat back and looked at the boat. "He's right, you know......, I thought to myself........what have I done? all the thinking I was doing about building another boat....all the idea I got while I was building this boat........was transferring to this build before my eyes. I have always said, that a modeler is part magician.......a person of the arts. a sculpter sculpts.........a painter paints...... and a wood worker plys his craft. each one follows the same goal......to create a work of art that will stand the test of time. we are ALL doing this very thing.........we ALL strive to attain this goal. Some of you are already there, surpassing yourselves with the age-old art of scratch building. this art has been around since before the intervention of scale classification......created to settle the disputes of many a modeler There are a lot of us that are still striving to attain such knowledge.......knowing that one day, that masterpiece will materialize before our eyes. then, and only then, will we know that we have surpassed ourselves. we have done what we set out to do. The point that I was trying to make before I got sidetracked, is that, like a magician, the modeler must envision in his or her mind, and creat that vision with their hands. I have referred modeling as 'the craft' before........I'm sure that when I've said it, you might have thought me daft. but, that's the way I've come to look at it. I can say more......but here I go........being a wind bag. I yam wot I yam. When I realized what I had done......it didn't take much thought to see waht I had to do. I set to work on a keel........for the real Lobster Boat. rather than cut it from plywood, I decided to make it out of 1/4 strip stock. it worked out just as well. I took all the panels with the hull parts punched out and traced the ribs and other hull parts. As you can see, I doubled the ribs to make them thick enough to hold planking. There will be no sheeting......I'm going to plank over the ribs. I didn't bother with the breasthooks either.....


-
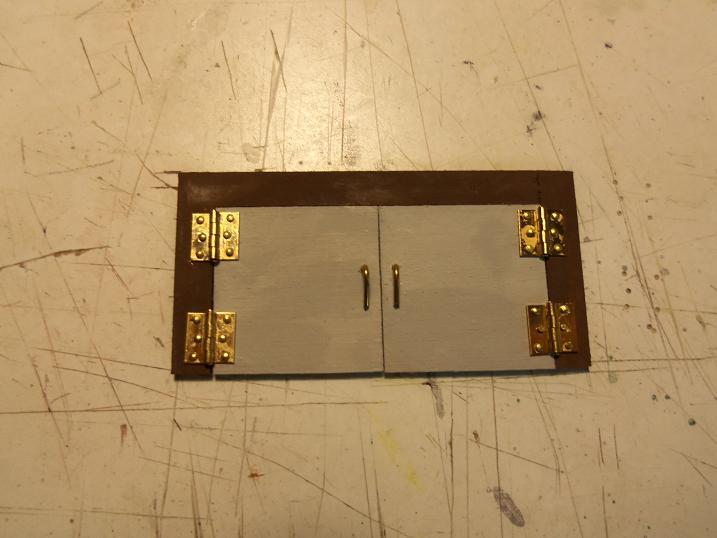
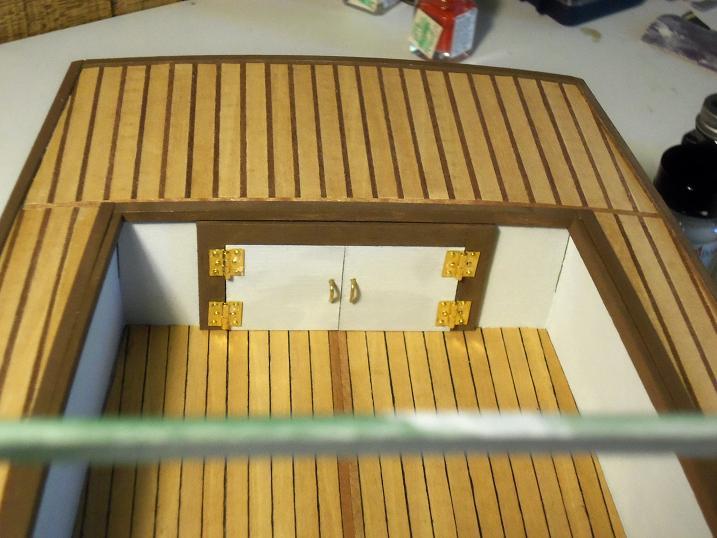
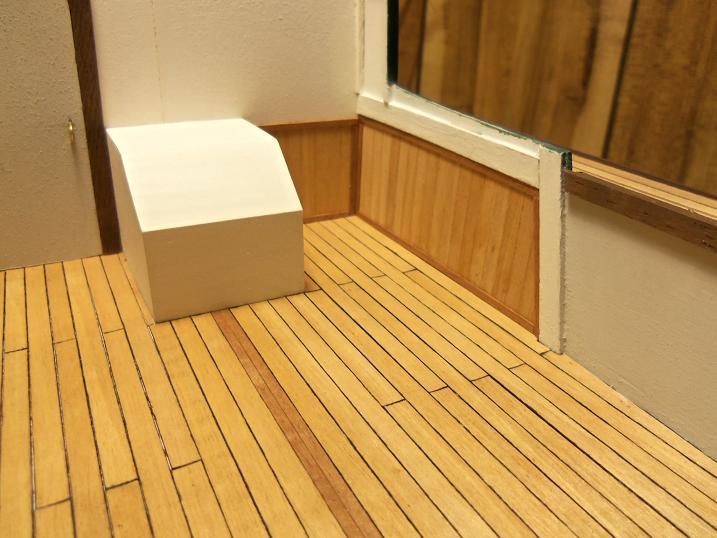
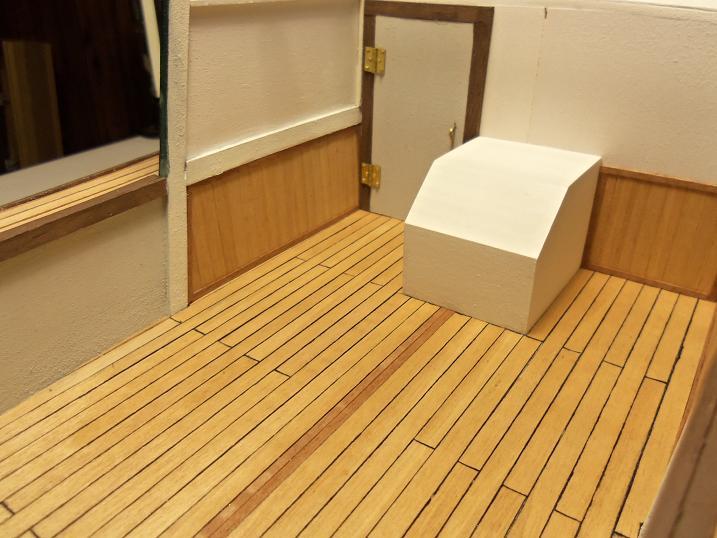
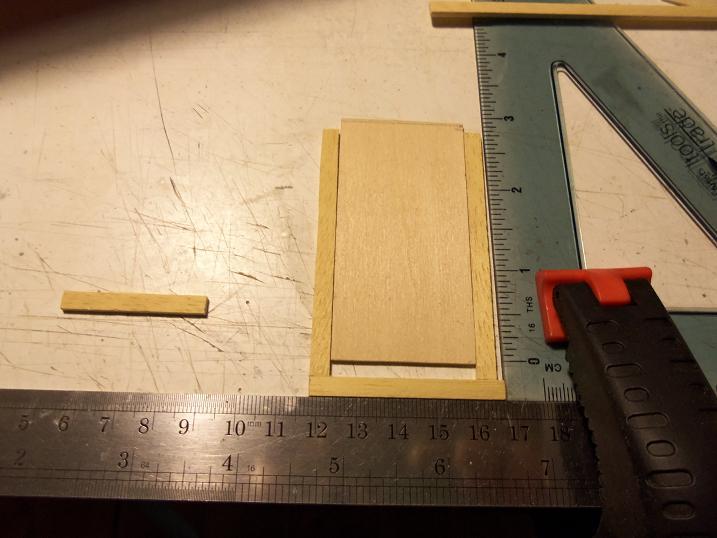
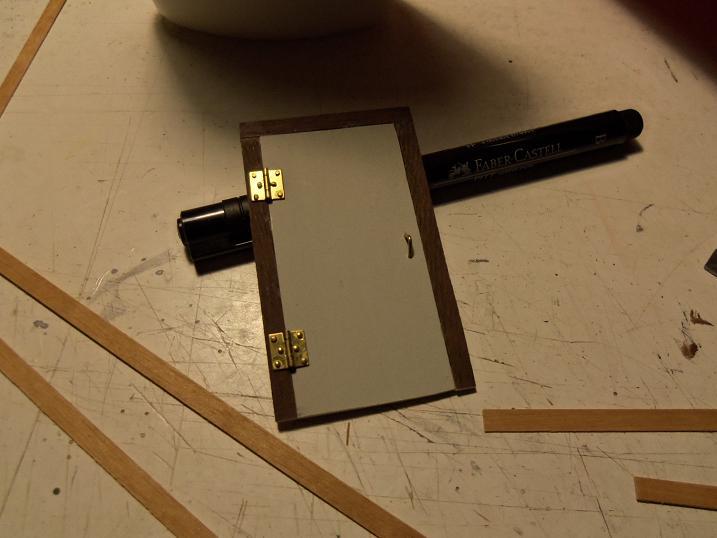
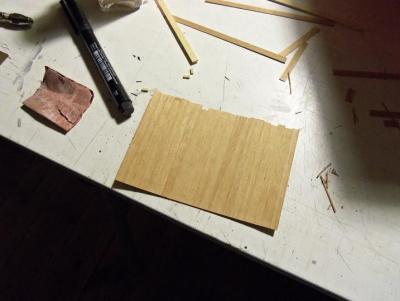
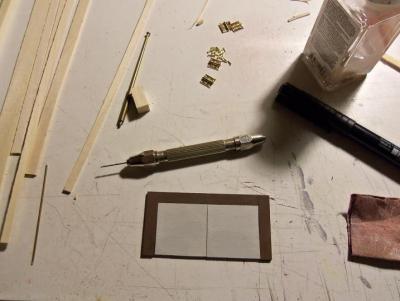
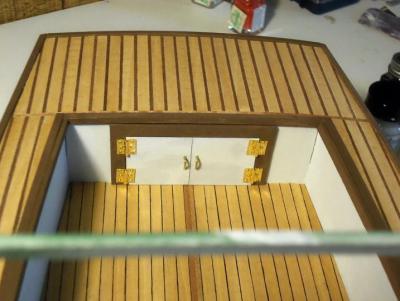
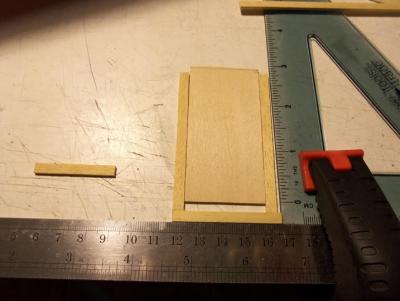
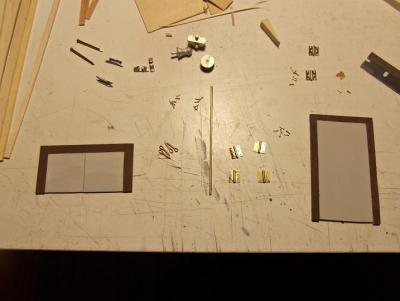
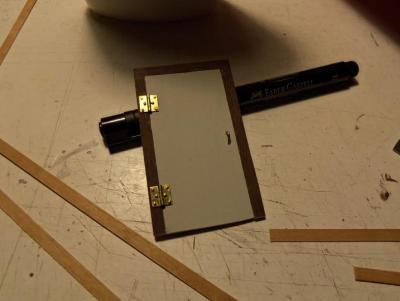
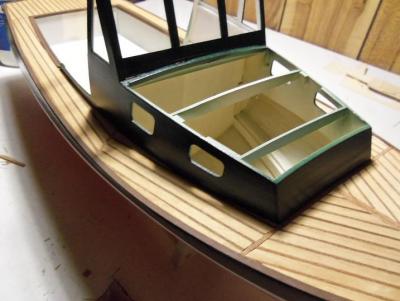
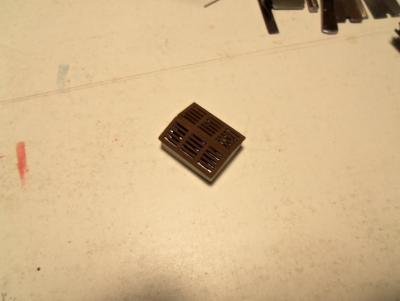
12 - 19 - 2012 Other aspects were being looked at. as I did in the Mary Ann build, I experimented a bit with making wainscoting panels, which were cut to shape and cemented along the inner helm walls. The stern wall door assmebly was finishedat this time. This phase of the interior assembly.......then the x-actor fell silent


-
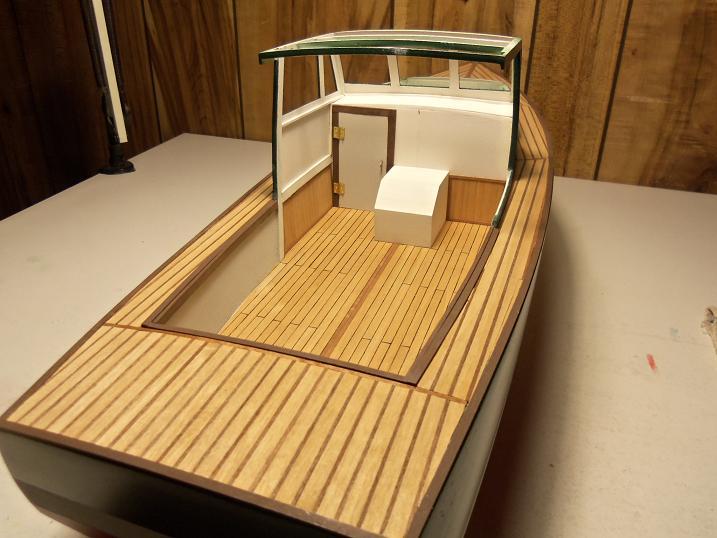
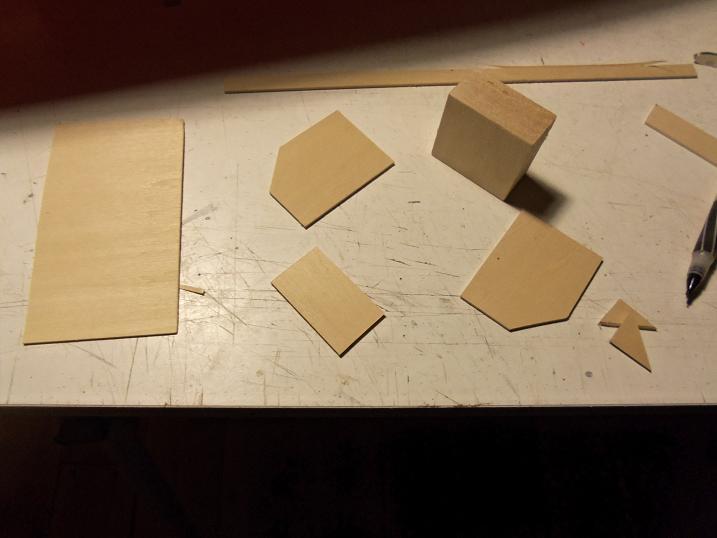
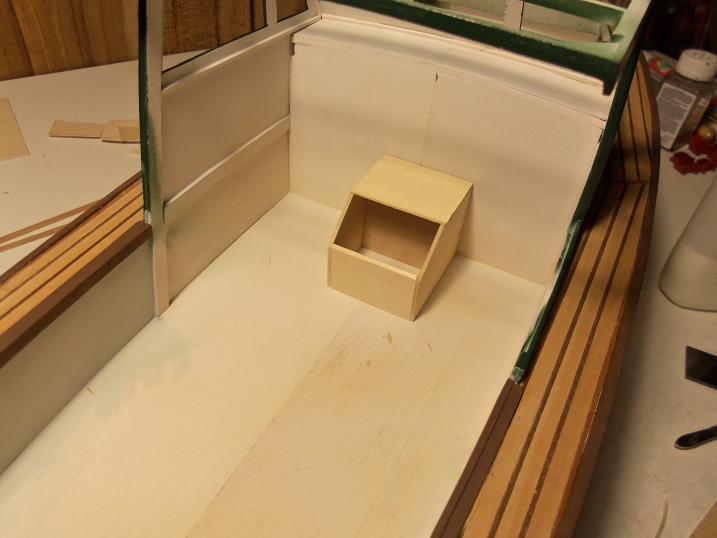
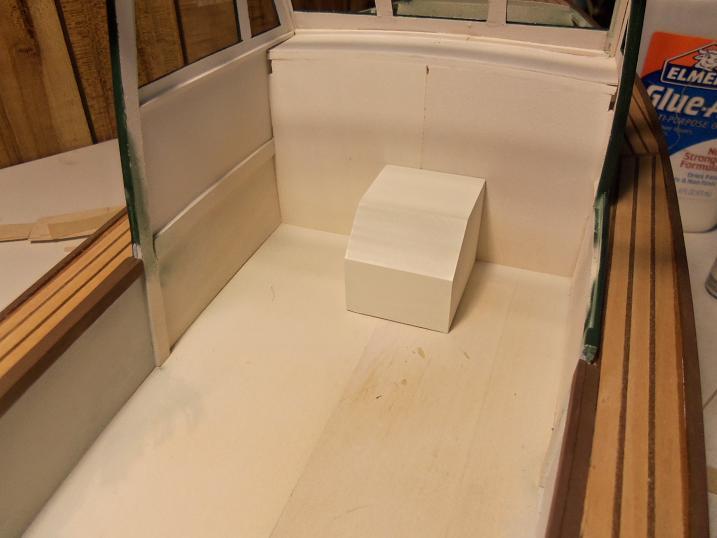
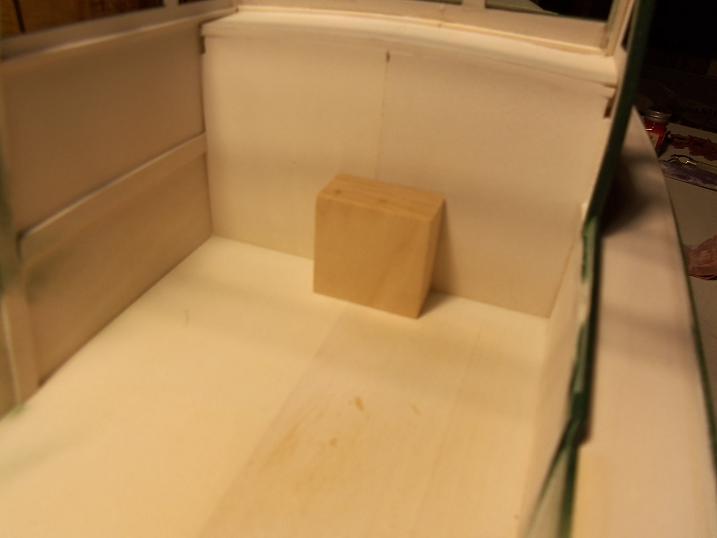
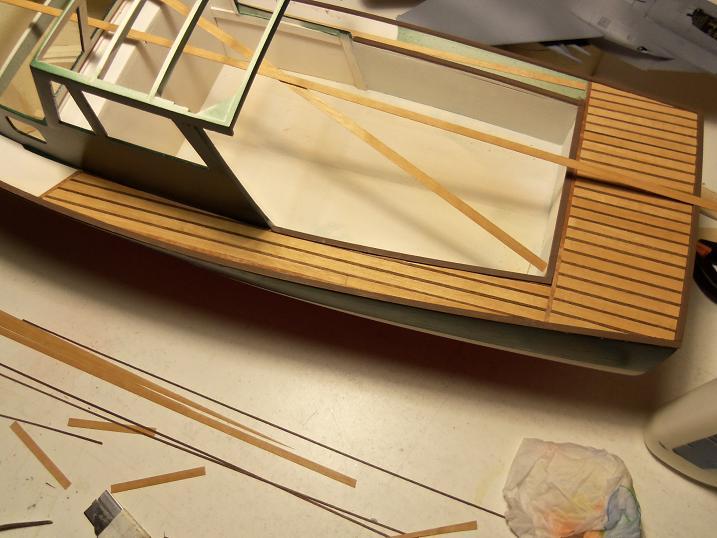
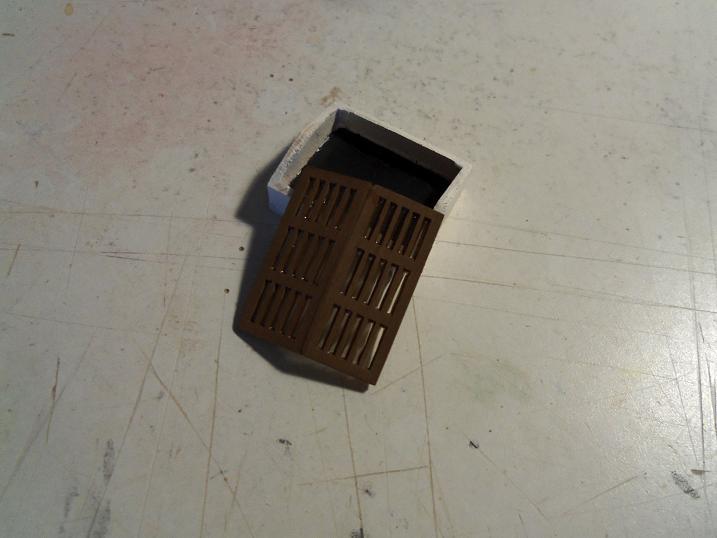
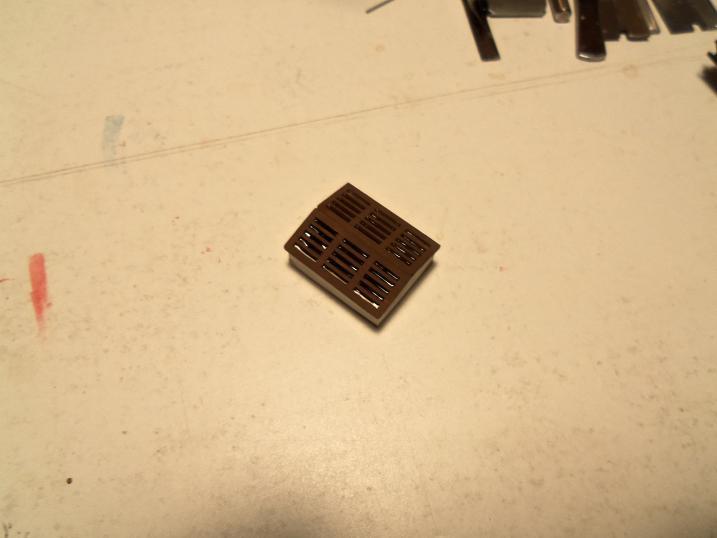
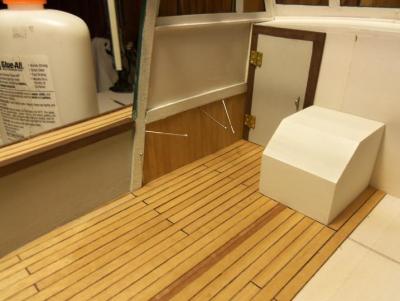
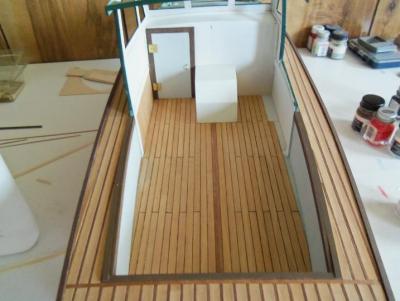
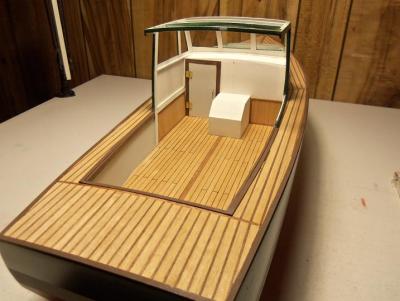
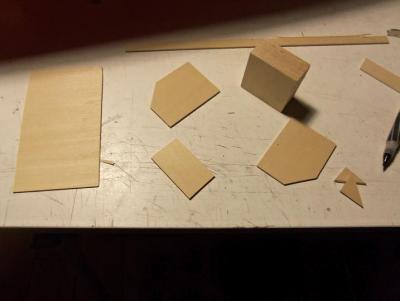
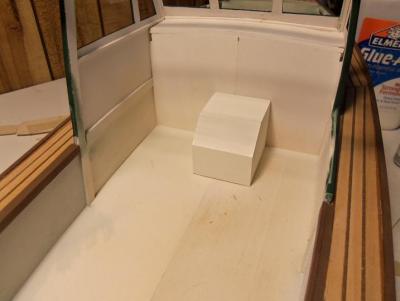
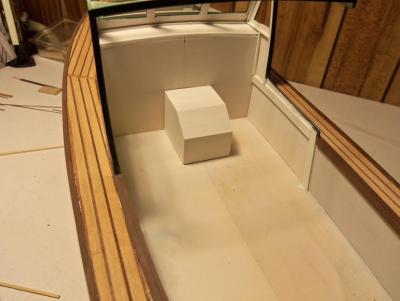
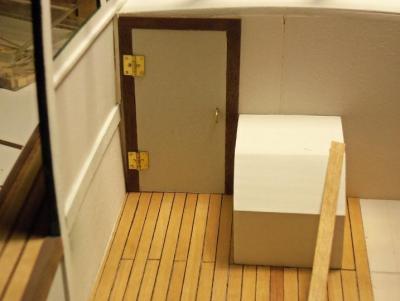
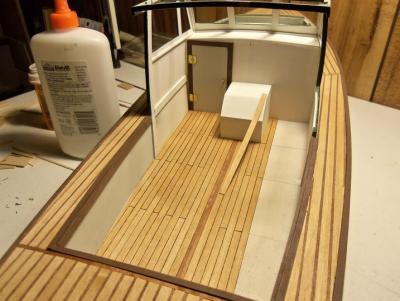
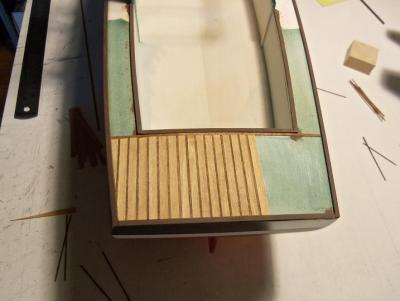
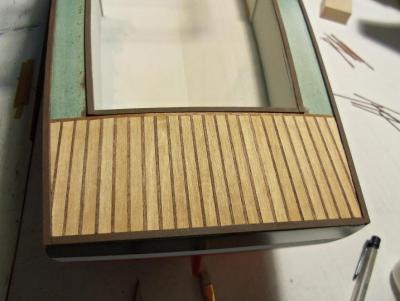
12 - 18 - 2012 The engine cover parts were cut and shaped, using the supplied block as part of the cover. The doors were also being assembled at this time. The engine cover was painted and placed where it was to be located. when the door frame was assembled, the position of the cover was refined and marked out. it was later cemented in place. the deck was planked at this time.


-
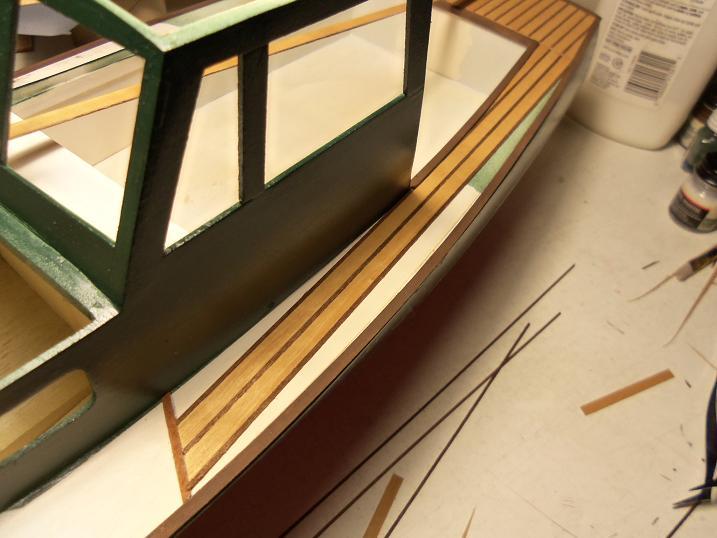
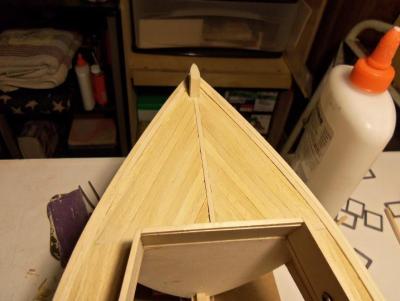
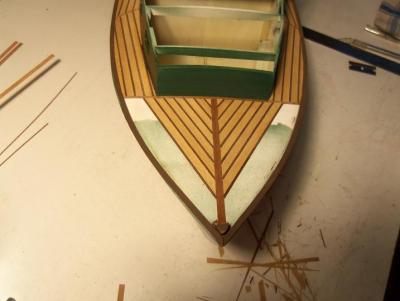
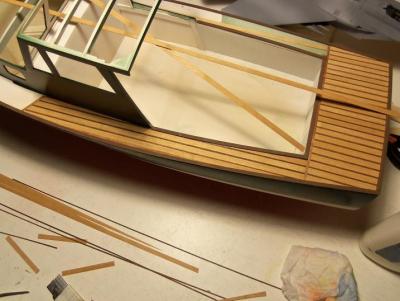
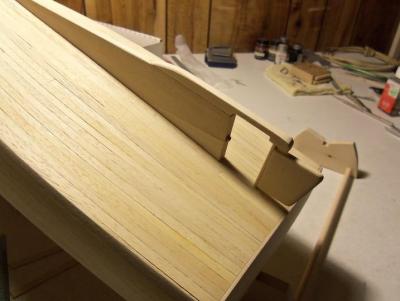
12 - 14 - 2012 here is the rest of the sheer planking......both fore cabin sheers and the bow. After the sheer was planked, the inner deck was next to be tackled.


-
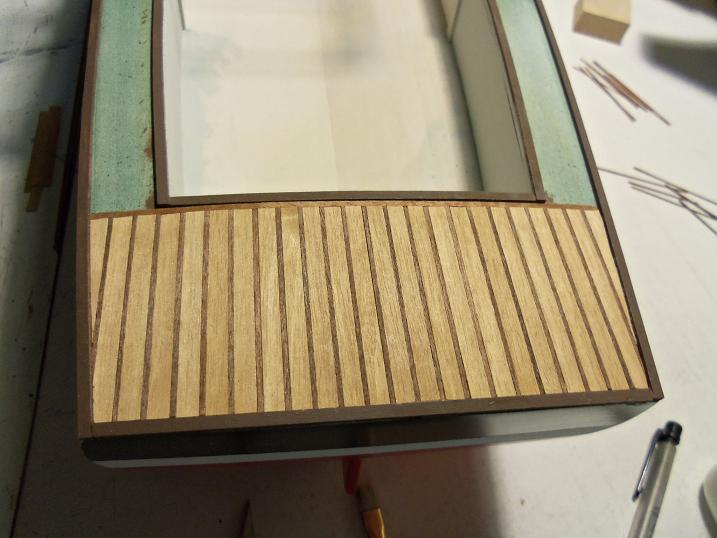
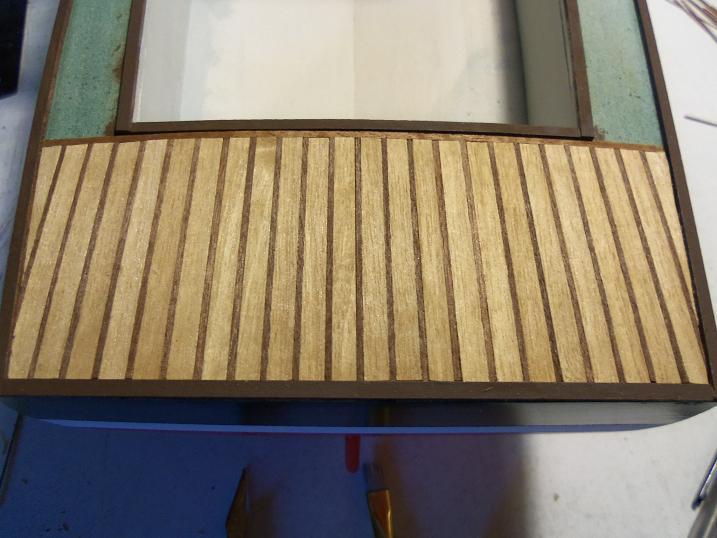
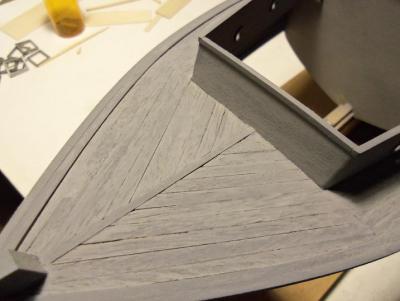
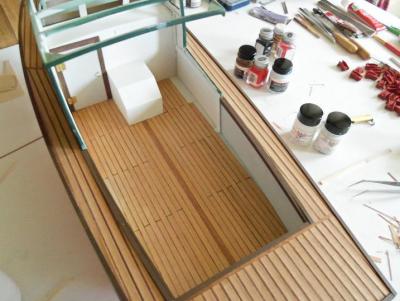
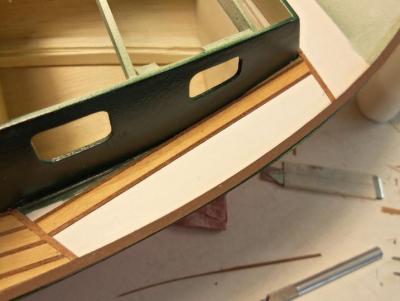
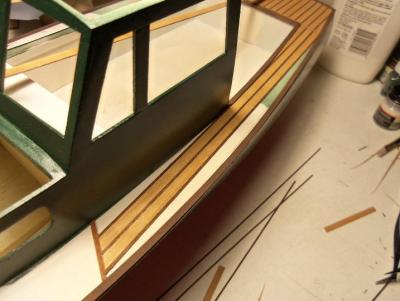
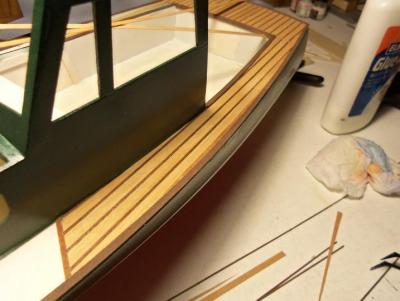
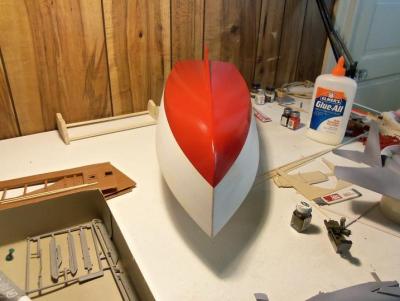
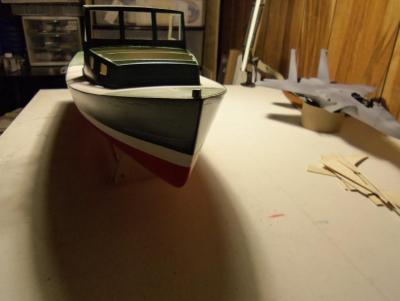
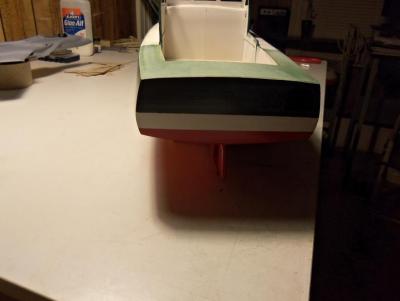
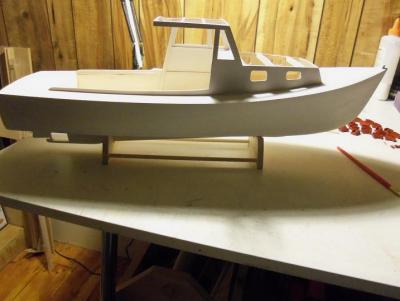
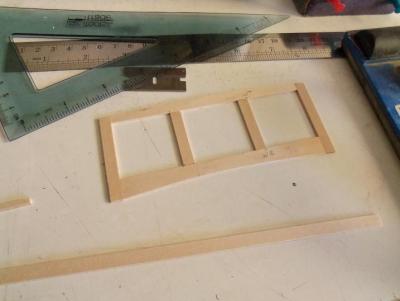
12 - 13 - 2012 With color on the hull........you know......it's funny how a bit of color, make one feel that a milestone has been reached. time to work a bit on the topside. I looked at the block they supply for the engine cover. nawwww.......I think something better can be done. I plan to put a pair of doors on the stern wall. a door is to go on the left side of the fore cabin wall. I began to work on these aspects. these are the top rail moldings that will line the edges of the sheer. there will also be molding around the inner deck cockpit. The sheer is to be planked with thin strips of annegre......a light mahogany. the stern was divided into sections. each section will take a direction that will be determined by the sheer. each section will have a trim separation to accent each section. The stern is planked.......the mid sheer follows next. Next will be the fore cabin sheers and the bow.


-
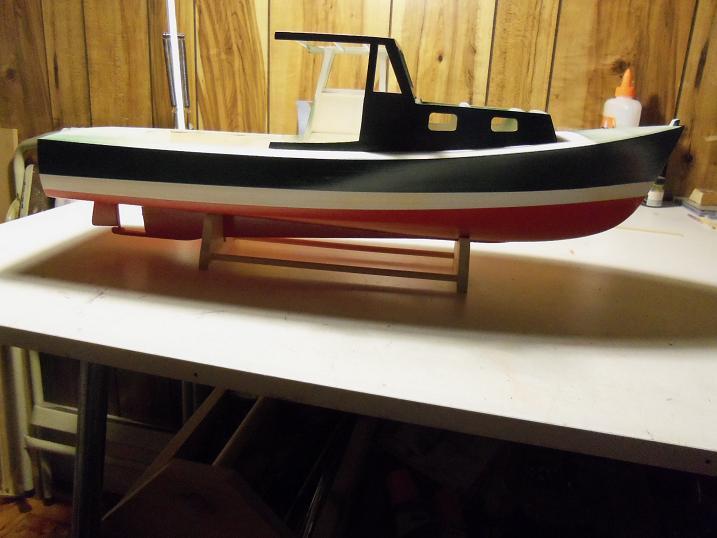
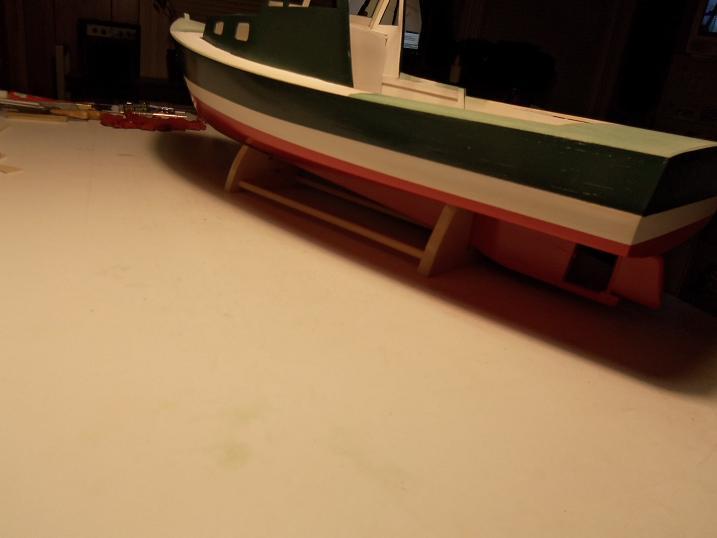
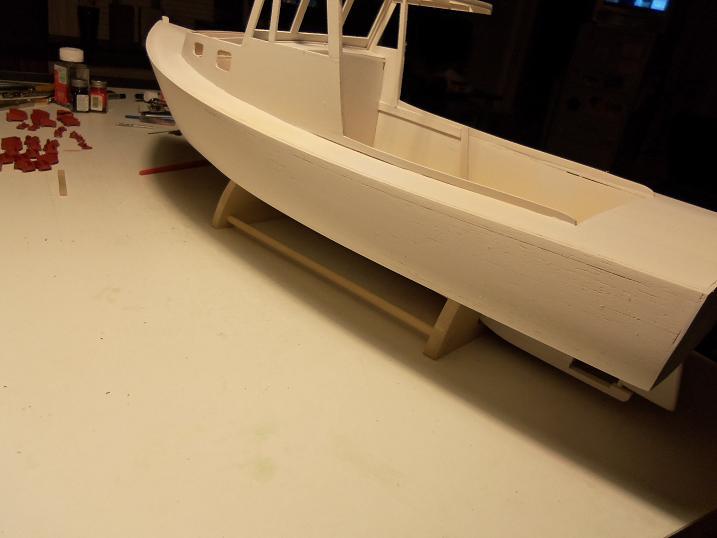
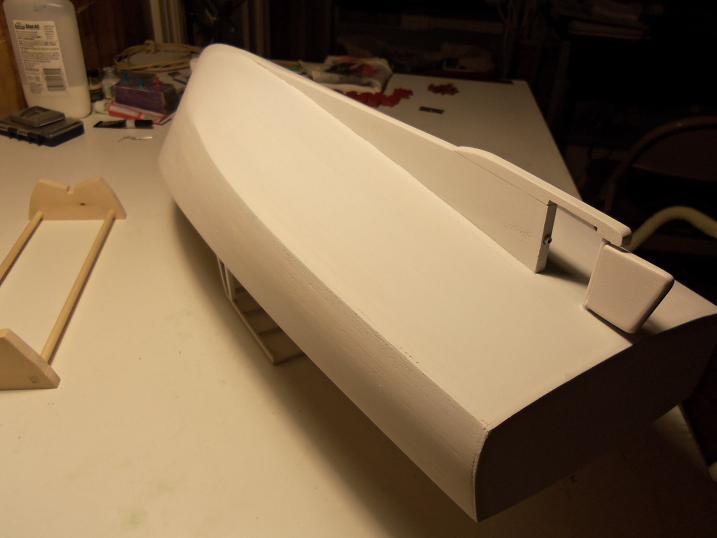
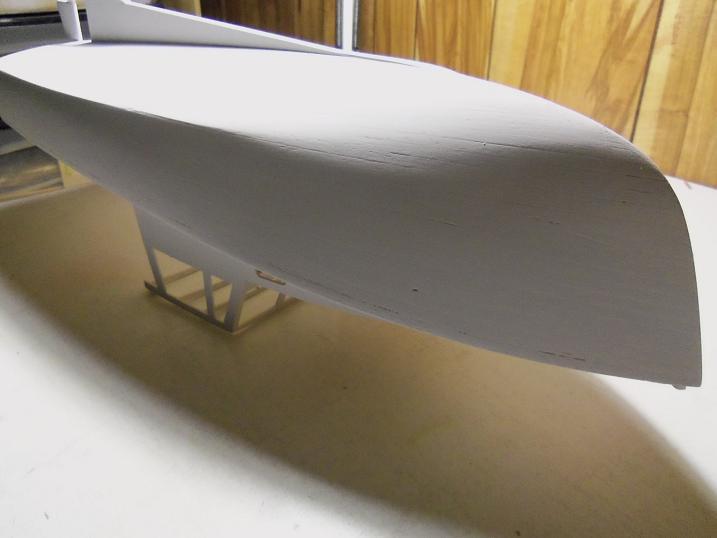
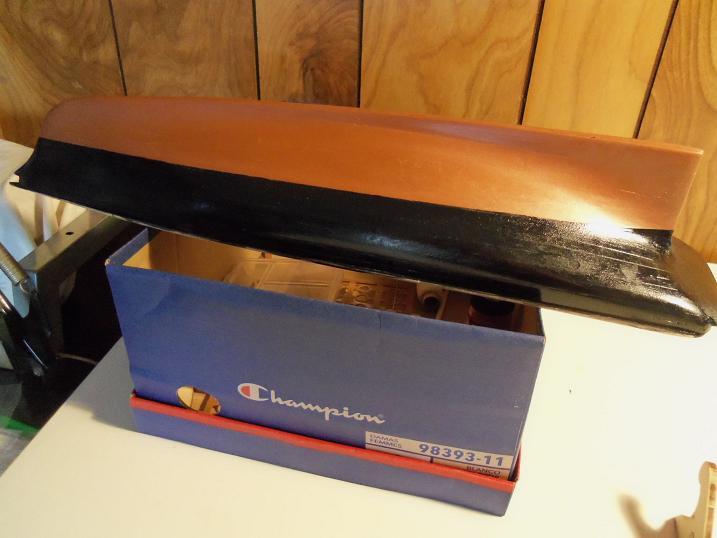
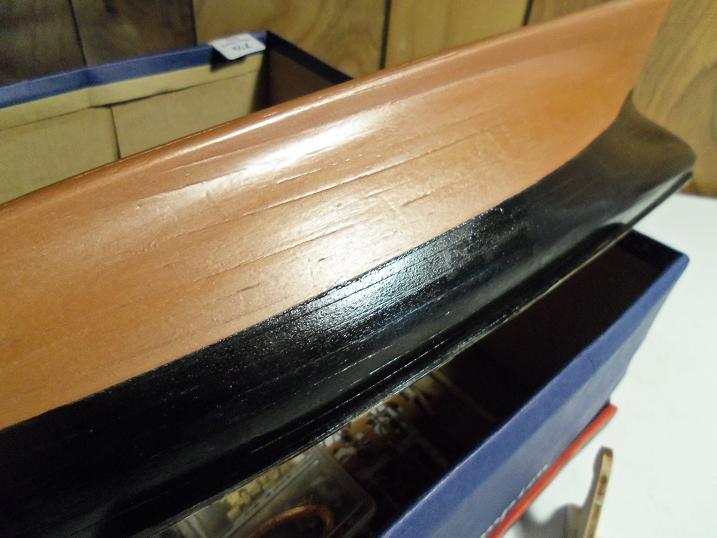
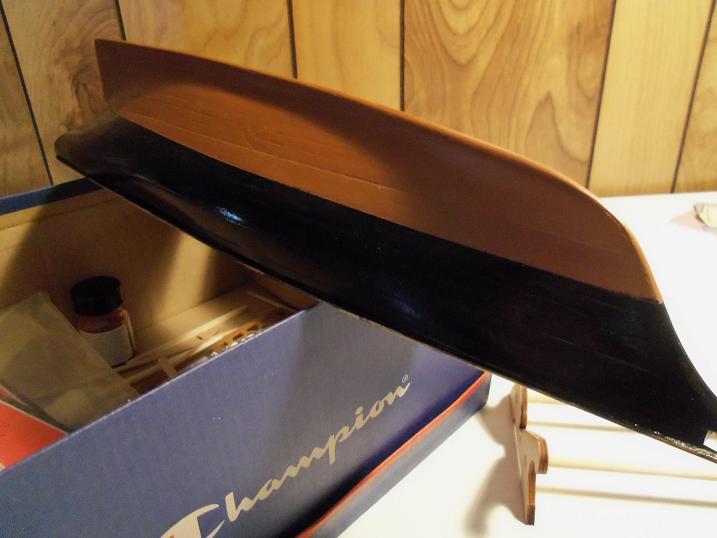
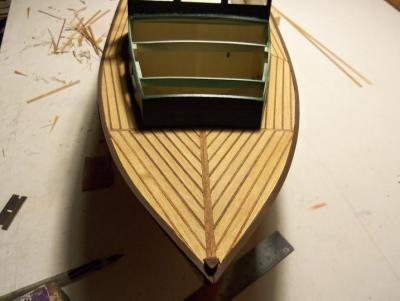
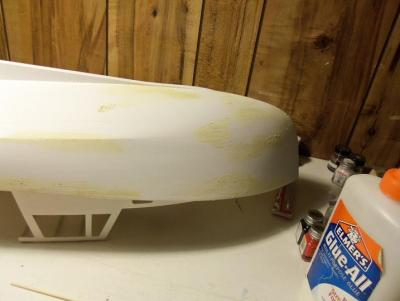
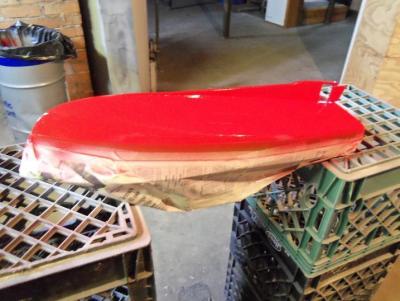
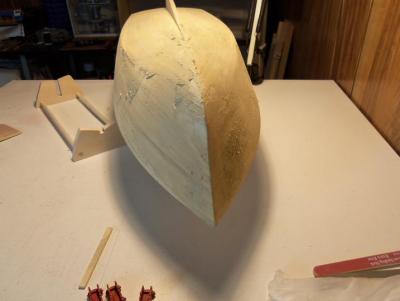
The hull got a little more filler to fill in the few voids that were left, after which, it got another coat of primer. the bottom paint was then sprayed. when the bottom paint ewas dry enough, the upper portion of the hull got painted Brunswick green. The white strip along the sides of the hull will be the color they are, a gloss white.


-
thanks Bob for the welcome back! I'm well on my way to put as much of this one back here as I can......I had to stop this afternoon....the site must have been too busy, lost the connection and couldn't get it back. the Denny-zen will come in after I plank the sheer and the deck......that seems to be when I got the deciding comment. thanks for the good word! not too sure of that Carl......some research into nautical folklore might shed some light. thanks to you as well Aldo and Frank......the plot will thicken soon.
-
thanks frank! you know, I forgot to mention that when I removed the tape, it left marks on the copper. seemed it was dry to the touch, but not for any type of adheasives......damn! I rubbed some of them and they seemed to disappear a little.....now that the hull has had some time to dry more throughly, I might try a polish on it. if that don't work, then I might give it another coat of copper after a fine sanding. I will use the airbrush this time. thanks for the good word Frank.
-
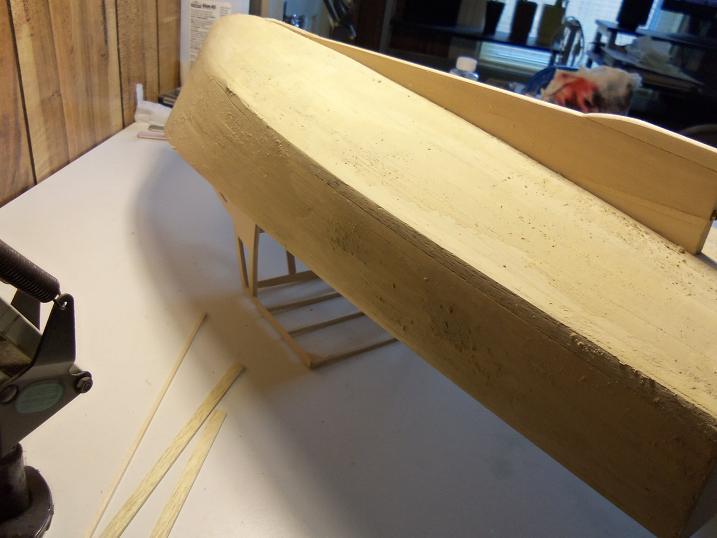
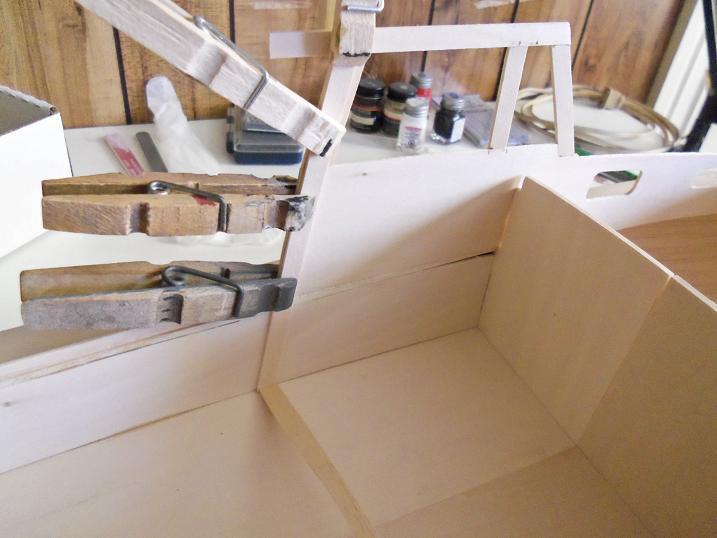
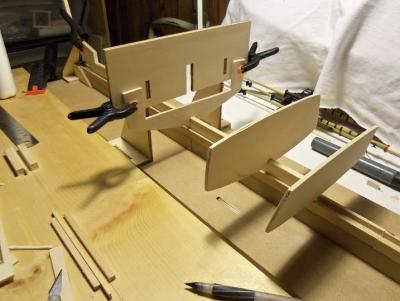
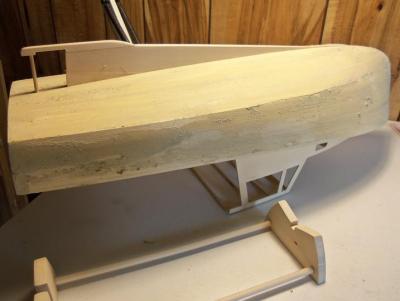
More framing was cemented in place. The roof frame was strengthened and checked for square......it was still a bit out, so corner wedges were installed to help squaring it up. the other beams were added, boxing them in. The hull got a thin coat of filler to repair the small cracks and gaps. After the hull was sanded and smoothed out, it was given a coat of white primer. the hull was lightkly sanded again, rubbed down, and another coat was applied.


-
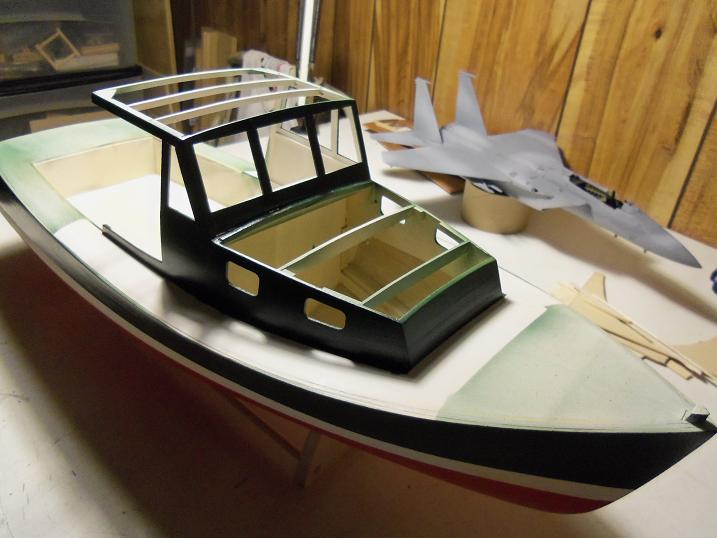
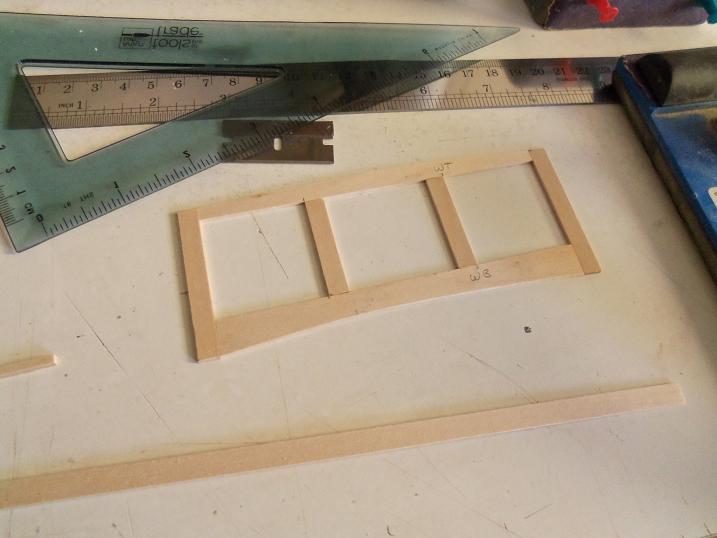
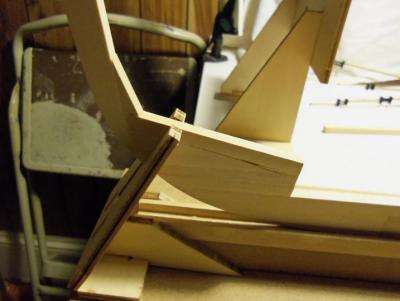
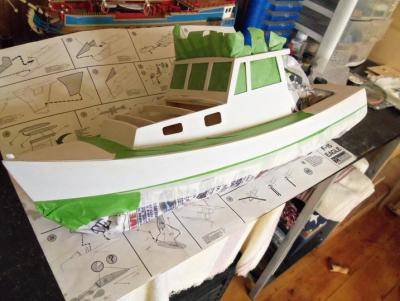
hi Carl, my friend........wild horses couldn't keep me away! 11 - 15 - 2012 The sides are up, now the rest of the cabin parts need to be cemented in place. the fore cabin front wall, the windshield, the dash top, all needs to be added. With the way the windows are assembled, I'm going to reinforce the walls with a frame. it will also help when it's time to do the windows. the fore cabin roof beams were cemented in place. test fitting the windows gave me what I needed for the dash top. alond the sides of the windshield frame will be reinforced as well. the inner most fore cabin beam was doubled up to support the windshield frame and the dash top. The dash top is supposed to be part of the fore cabin roof, but not wanting to install the roof before painting the cabin, I thought it best to do it this way. The outer helm roof beam was cemented in place to keep the roof parts together. it also serves to protect the roof line from getting broken. The shoe and rudder was cemented in place


- 552 replies
-
- 1
-
-
- maine lobster boat
- Midwest Products
- (and 1 more)
-
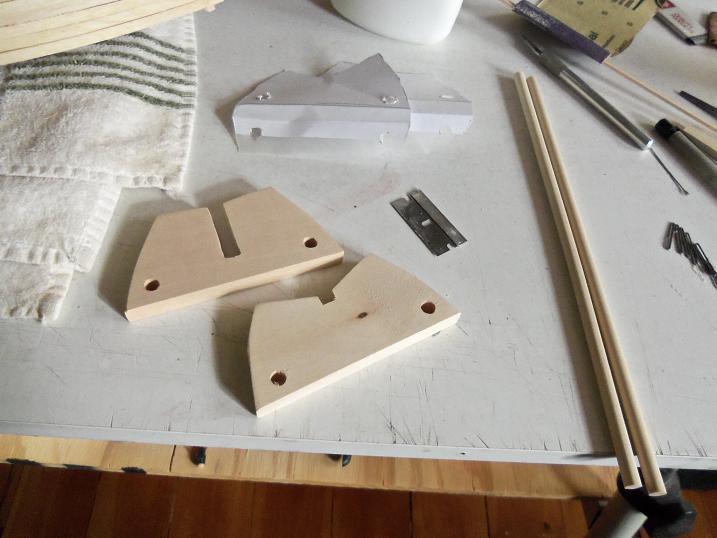
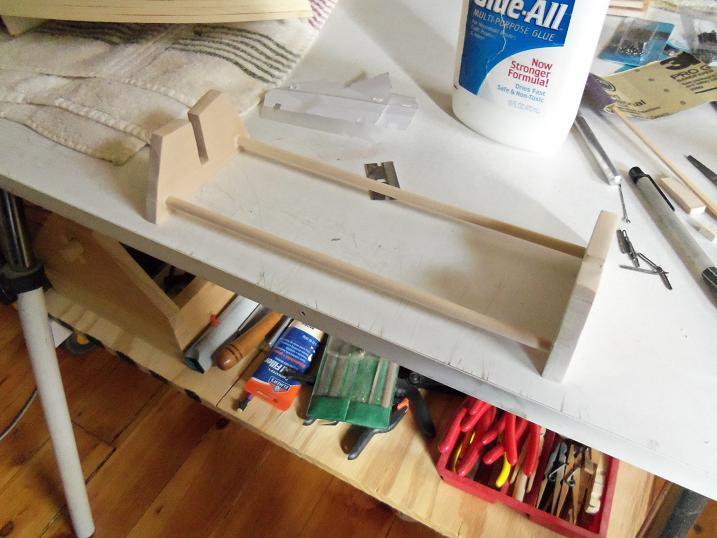
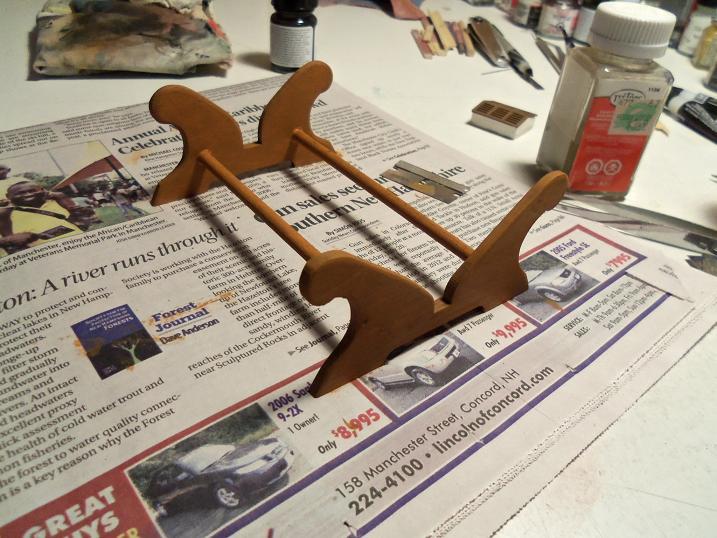
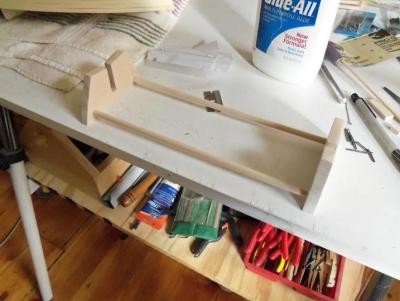
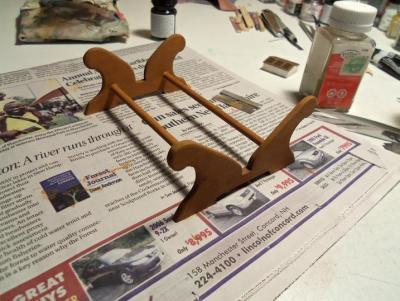
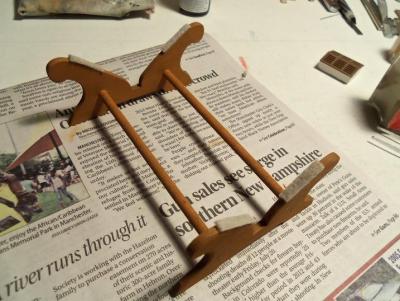
thank you Patrick and elia....this build is well under way! yes TB.......someone did mention that.....just as funny now, as it was then! I still have miles to go. with the new planking, another though occurred to me. I'll have to make a new transom cap, in order to cover the planking. then I thought that soon, I will need the stand.......so I made it. The next step that was to be done, was the cabin walls. they were prepped, trimmed and cemented in place. I wasn't too keen on how these are assembled.......too many joints. I would have thought that they would have been created as a whole part. Later in the build, it was said the there shouldn't be a ledge on the starboard side where the winch should be. I agreed, so I removed it.


-
little progress........there's no time limit........it's all good! looking good!
-
looks to me like he's building an armada.......not to worry, by the time he is ready, he'll be too old to light the fuse! LOL!! besides, I'll bet Anja pirates one from him........
-
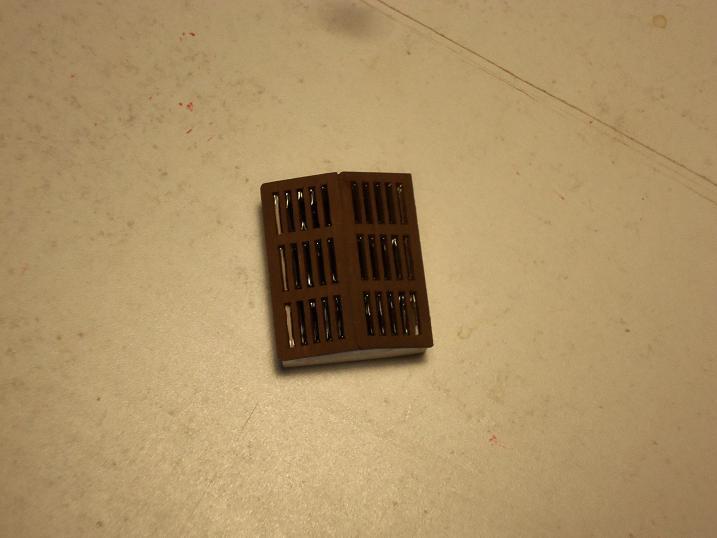
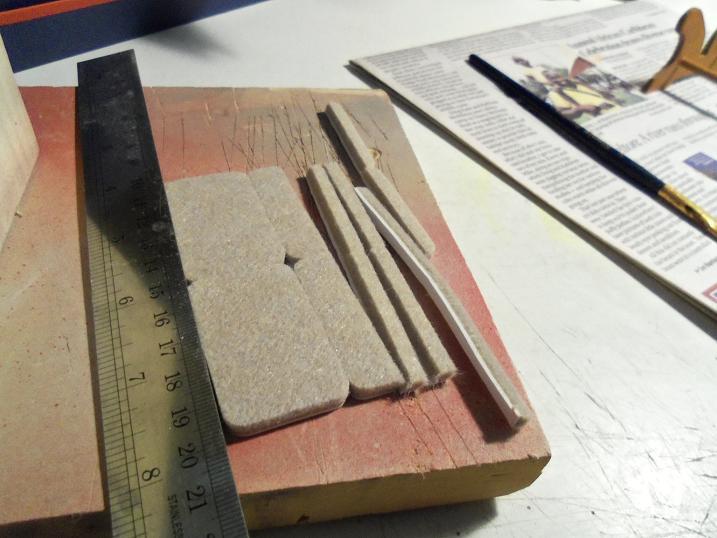
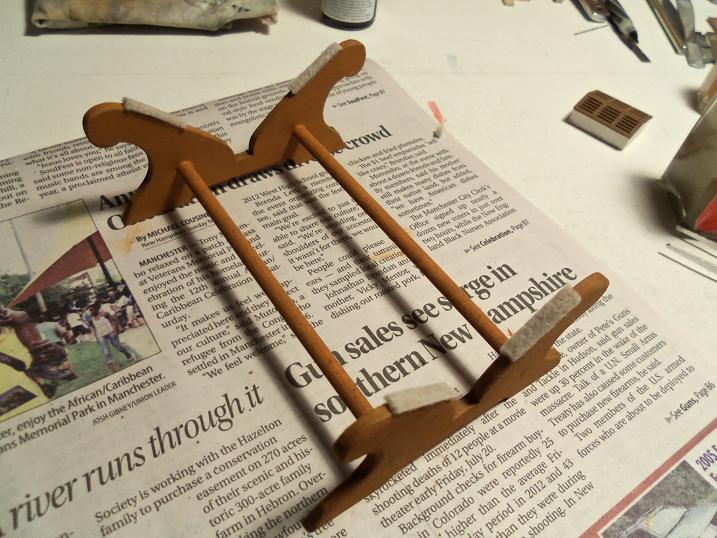
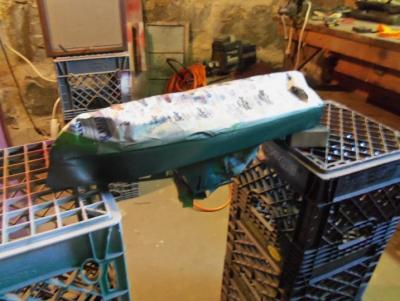
I do have a small update for this build.......I did this last week. the upper part of the hull got a second coat of paint........I am so sorry to have done it with a brush! I also did the paint work to the skylight. sad to see that the sides of the structure show through the bottom slots of the slotted windows. perhaps I will fill the bottom ones in and clean that up. I also painted the stand and added fely to the contact points. I didn't use the whole slice of felt........too thick. I cut felt slices from them and super glued them in place.


-
congrats on your decision Sherry.......remember, once you go to the dark side......tie a rope around your waist, and tell your husband to pull you out if you get in too deep! LOL! good luck, I'll be watching! thanks Rick! you'll like this kit!
- 377 replies
-
- 1
-
-
- america
- billing boats
- (and 1 more)
-
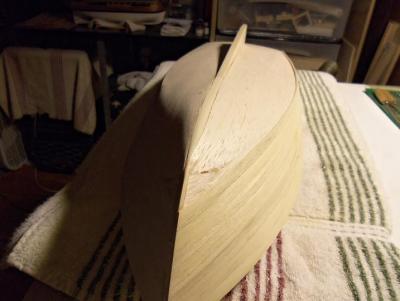
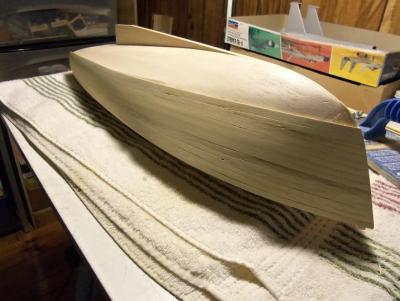
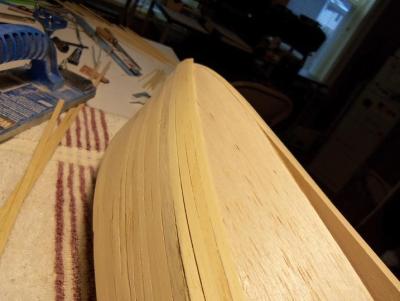
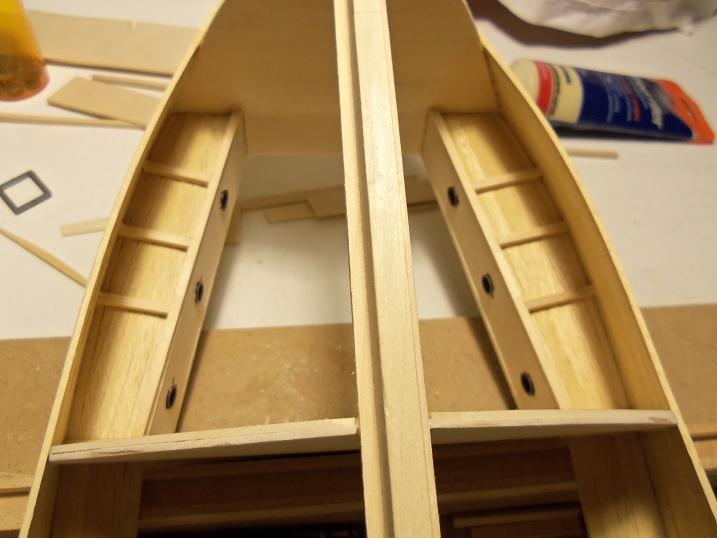
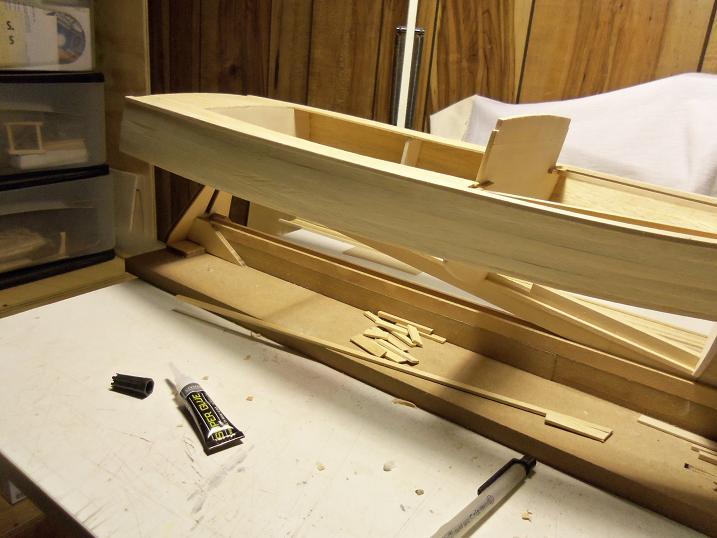
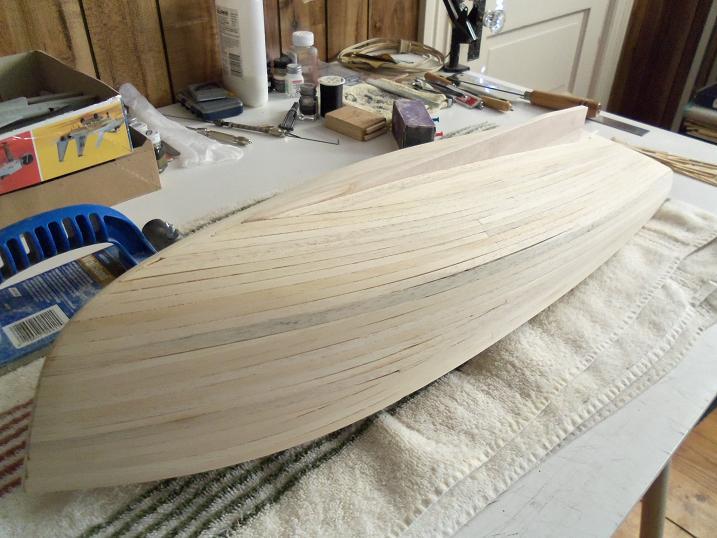
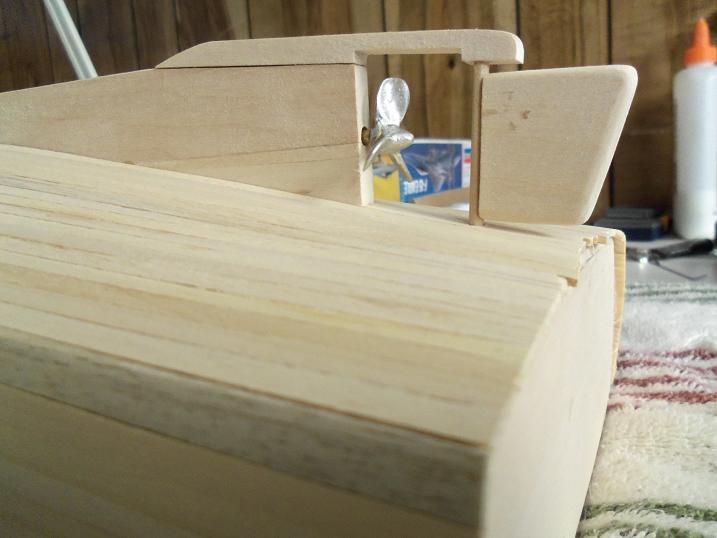
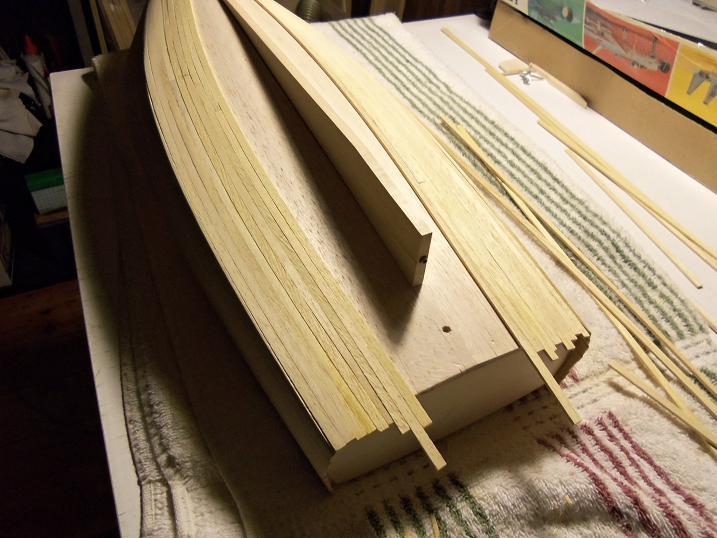
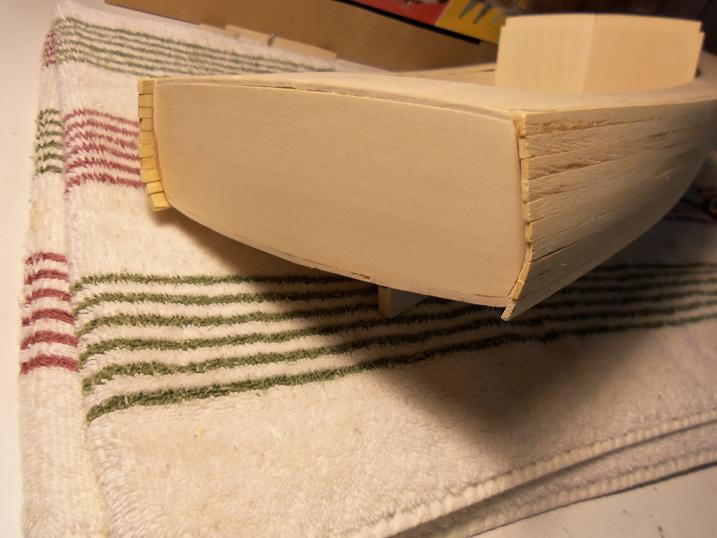
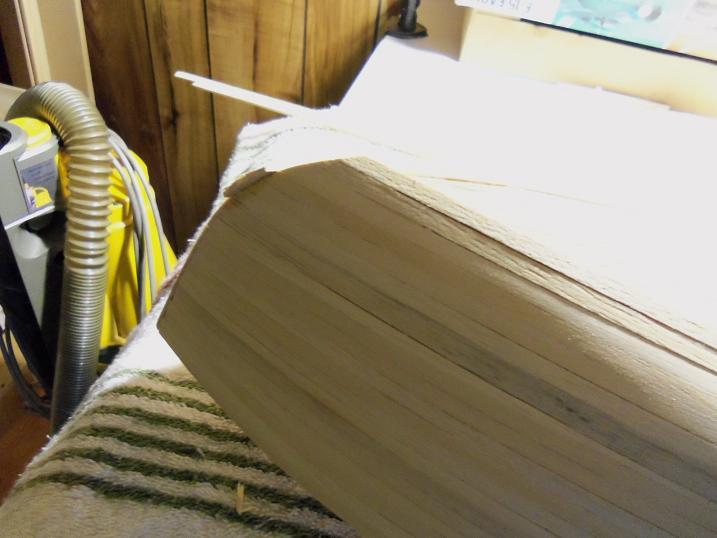
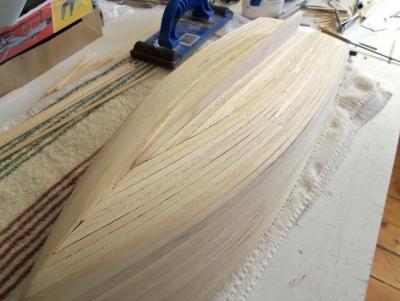
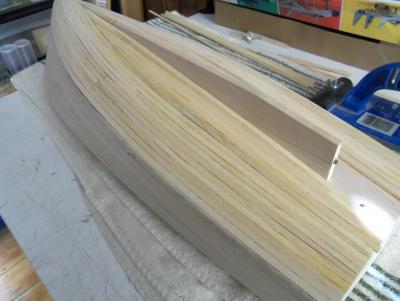
for some reason, I couldn't put the rest of the pictures on that post. here they are. the center keel plank is in place.....here are the rest fron this session. the hull at this point was sanded and smoothed out.....soon filler will be added to fill in the gaps.


-
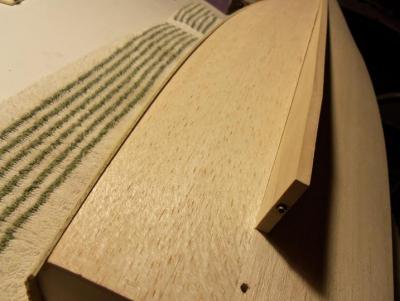
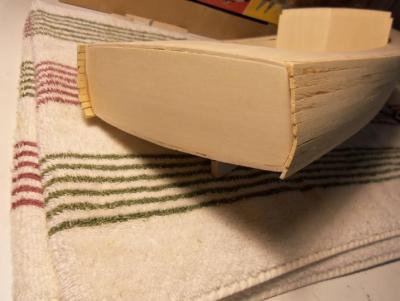
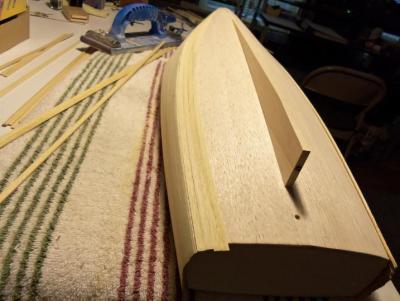
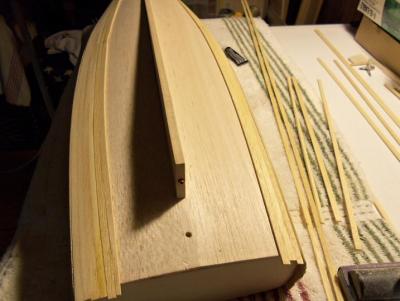
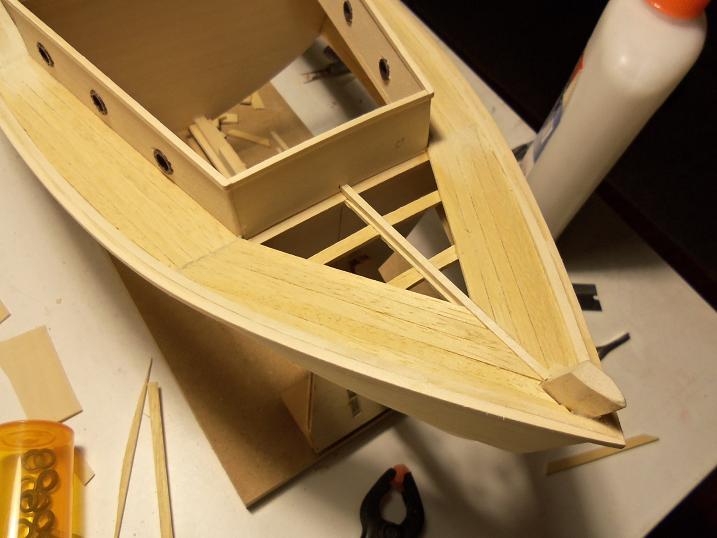
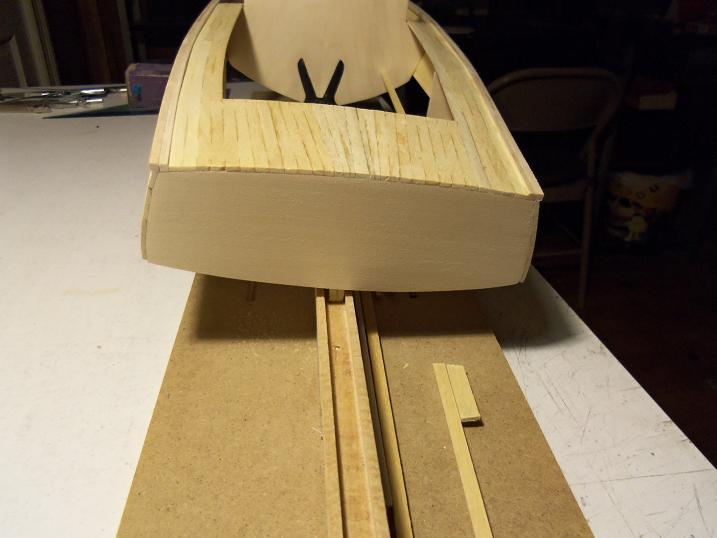
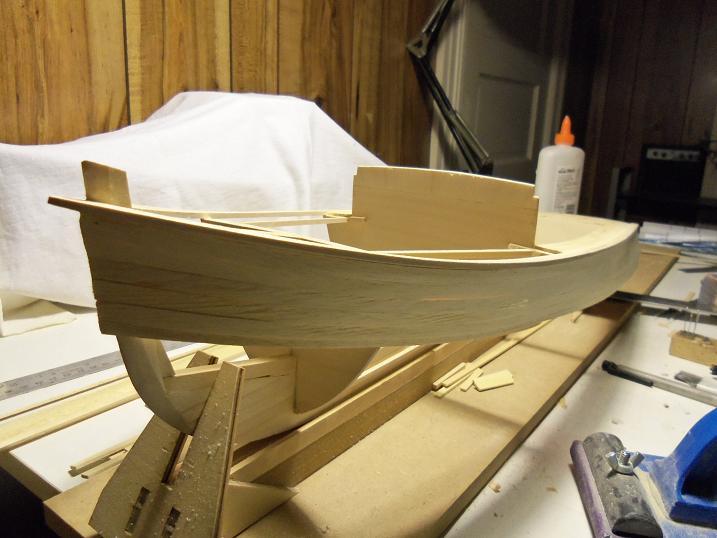
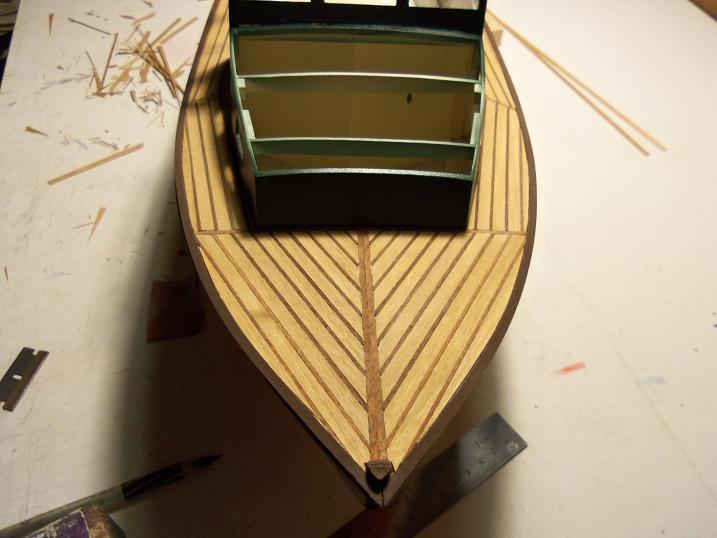
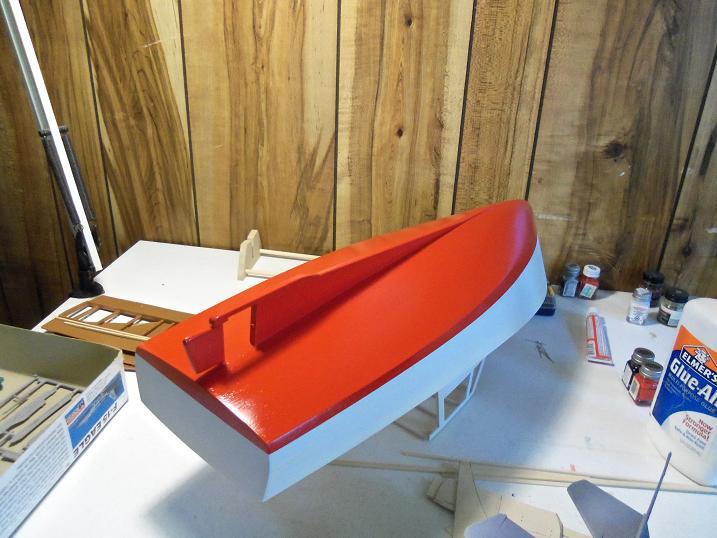
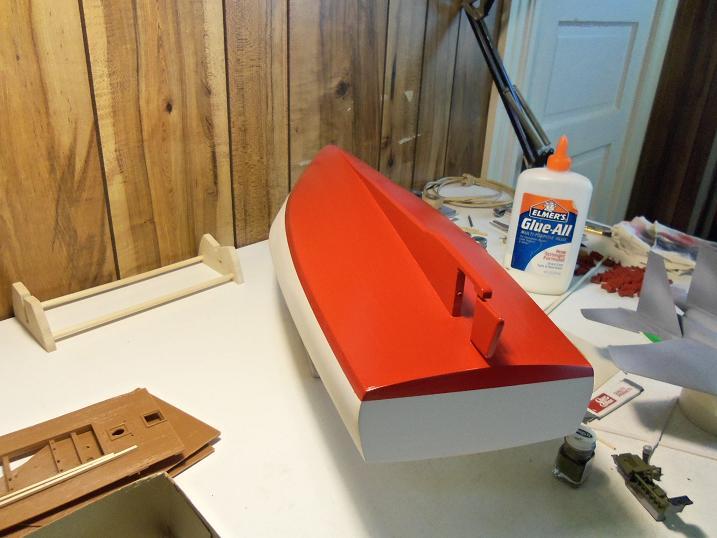
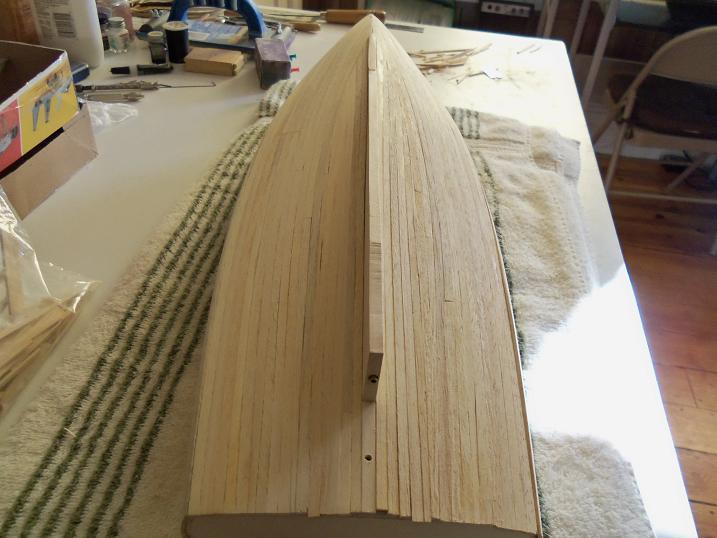
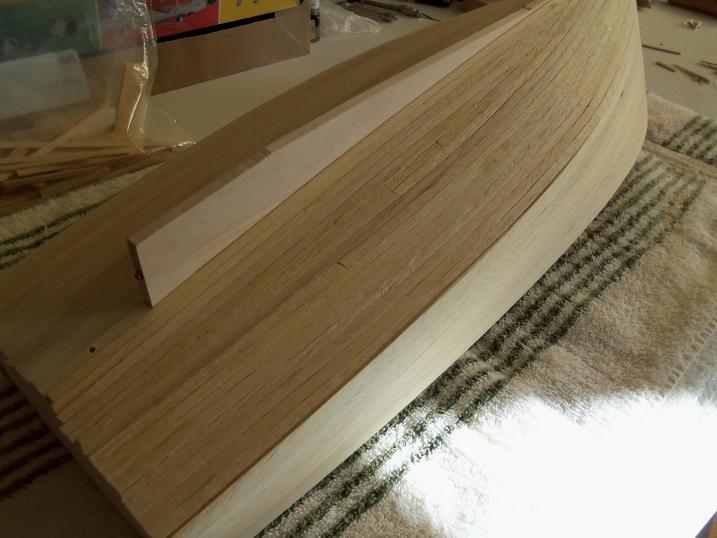
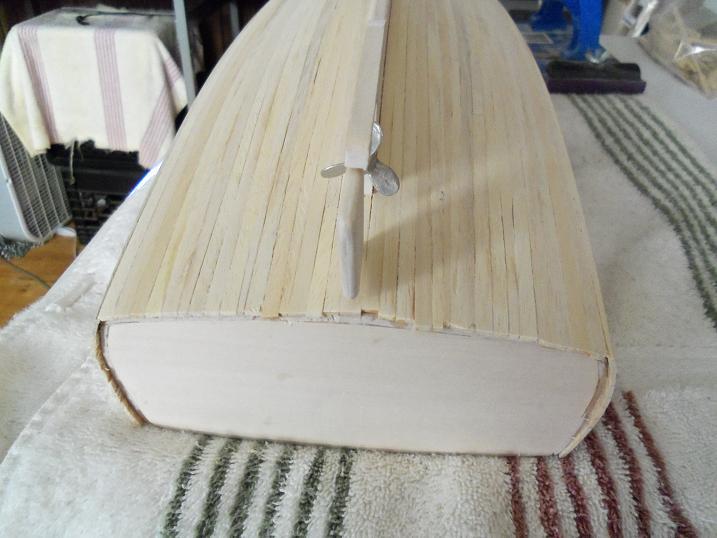
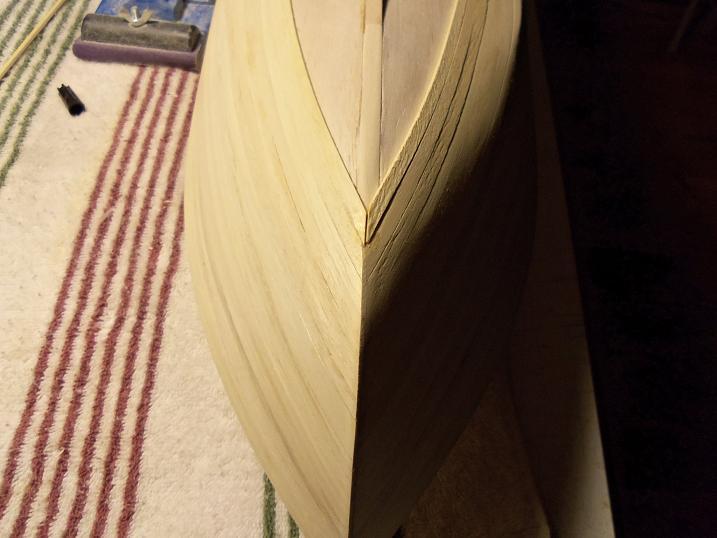
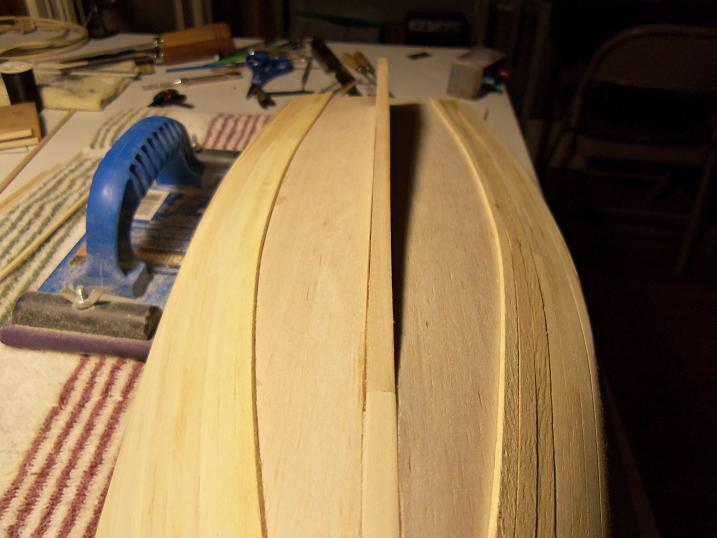
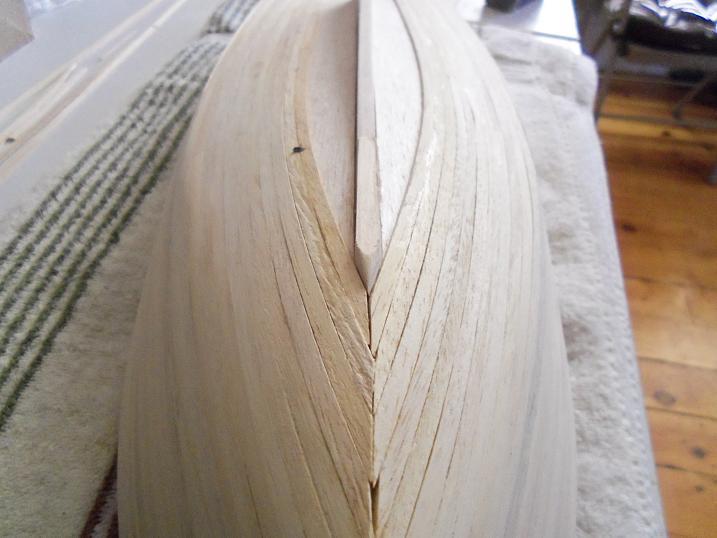
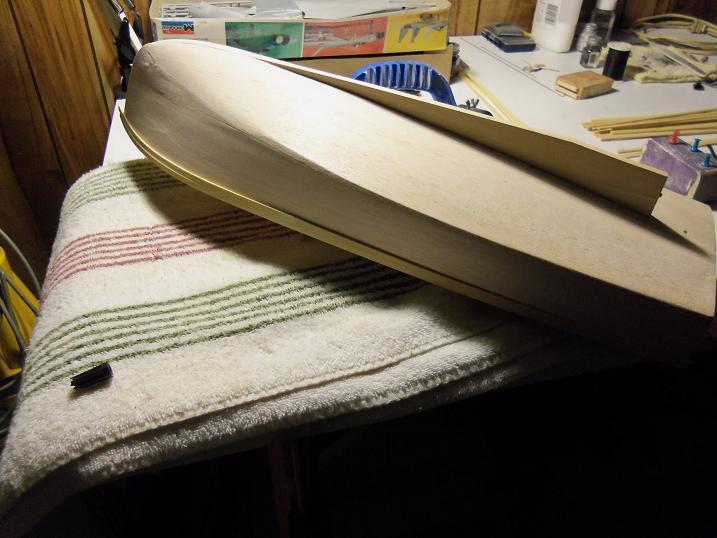
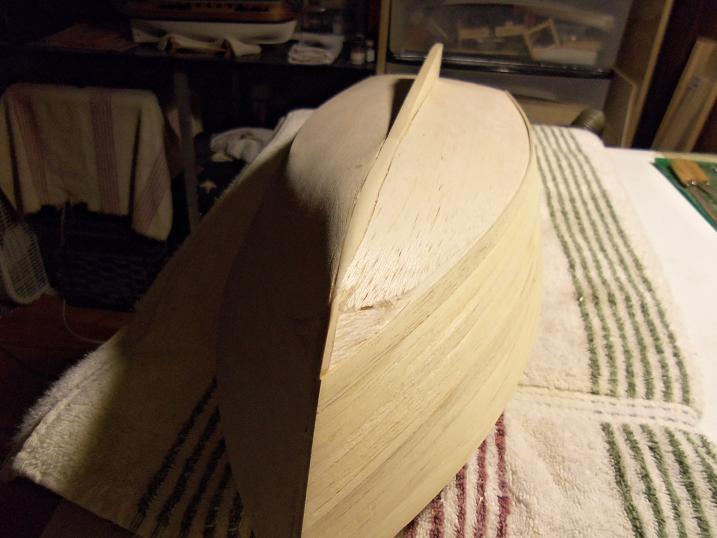
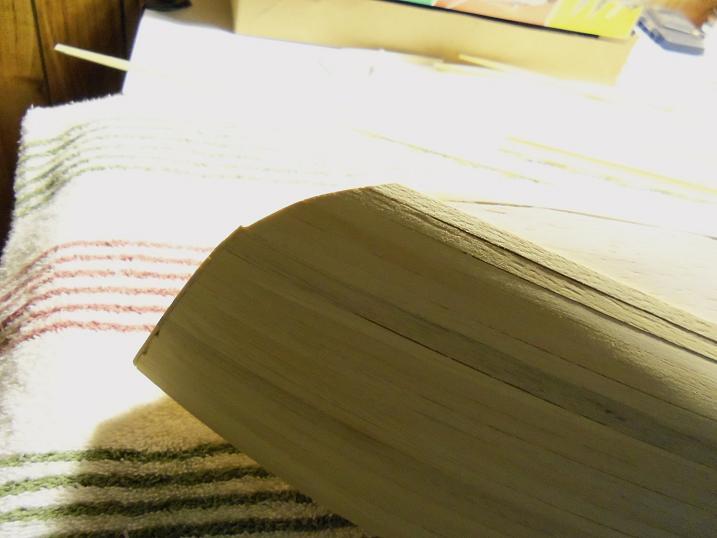
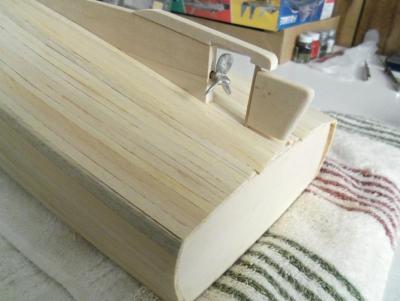
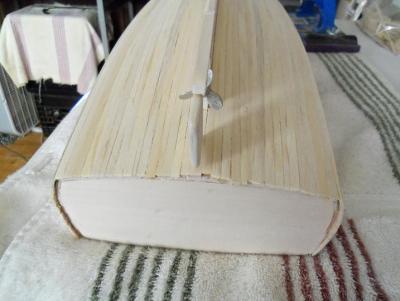
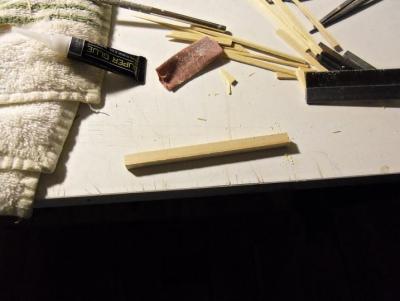
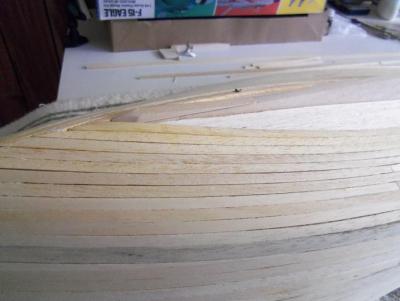
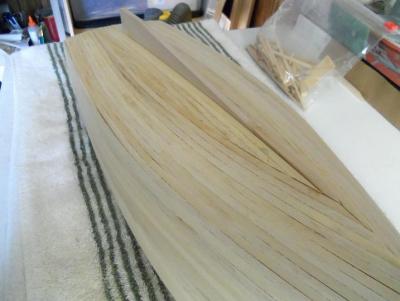
thanks augie.........this is going to be a long ride......so much ground to cover. thanks for the good word! 11 - 9 - 2012 the bottom planking presented new .......I don't want to call it a problem.......let's call it a redesign. adding the planking to the mix, makes the hull thicker.......higher than the keel line. to keep the keel line visible to the bow, it had to be made longer........and raised to acept the planking. a piece was cut and fitted at the bow before the planking got there. then the planking was mated to it, in an effort to blend it in. now the blending in process begins the center keel plank was set in place.......almost a perfect fit, the hole was drilled for the rudder shaft.


-
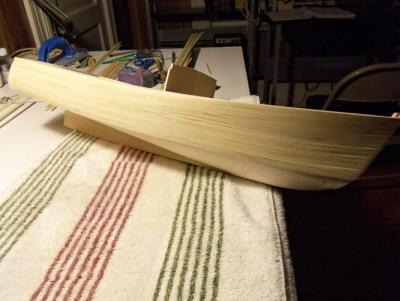
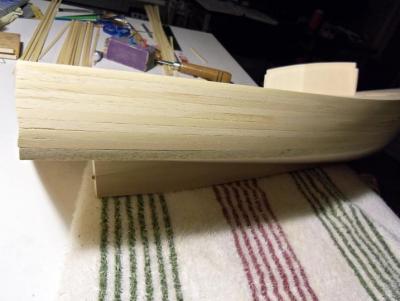
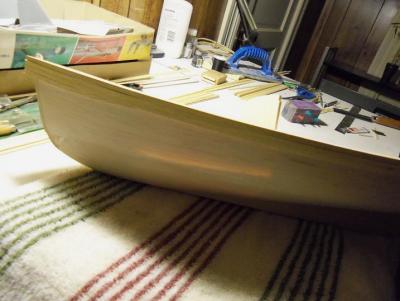
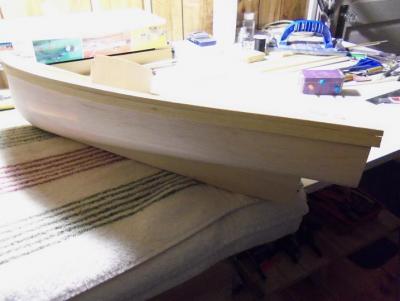
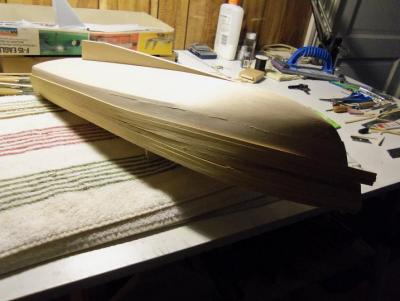
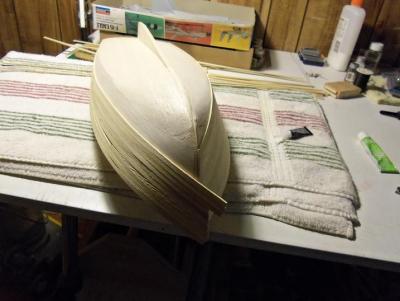
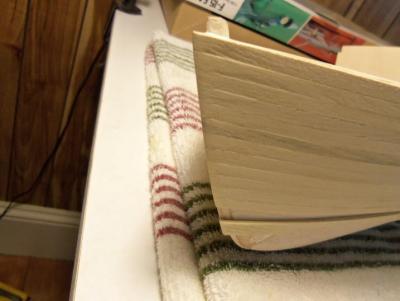
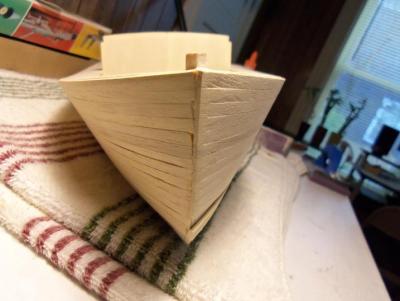
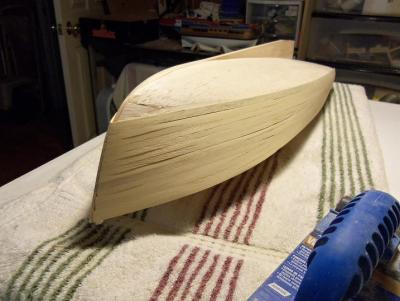
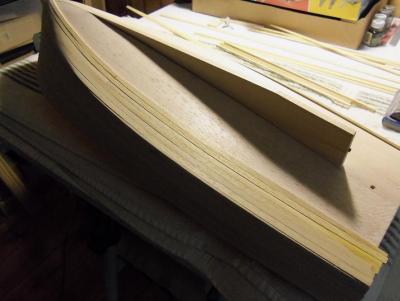
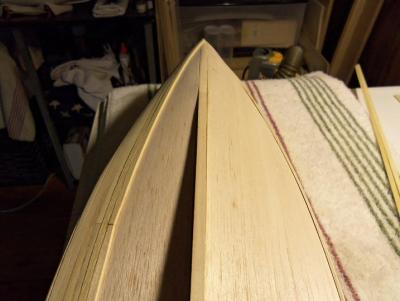
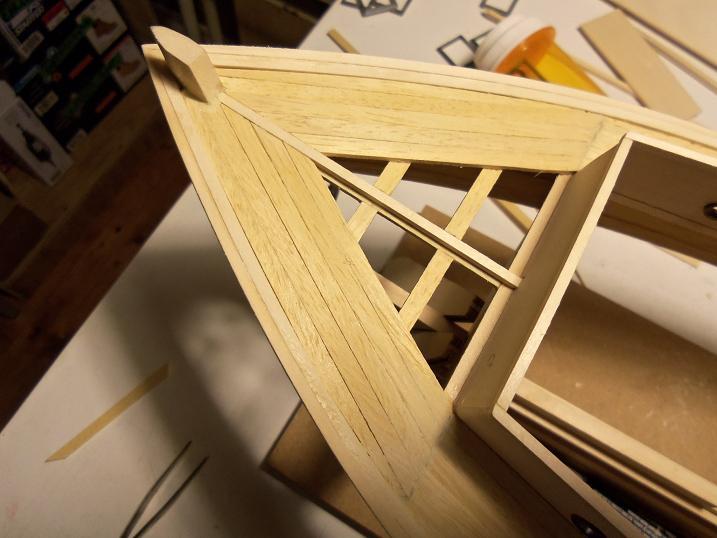
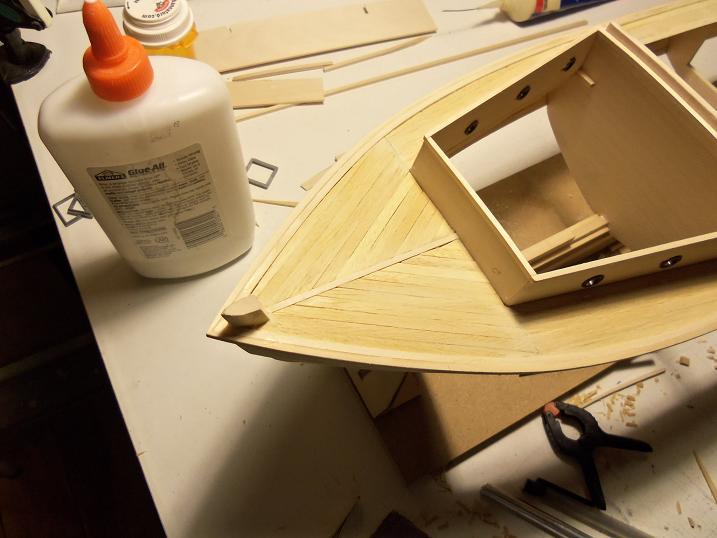
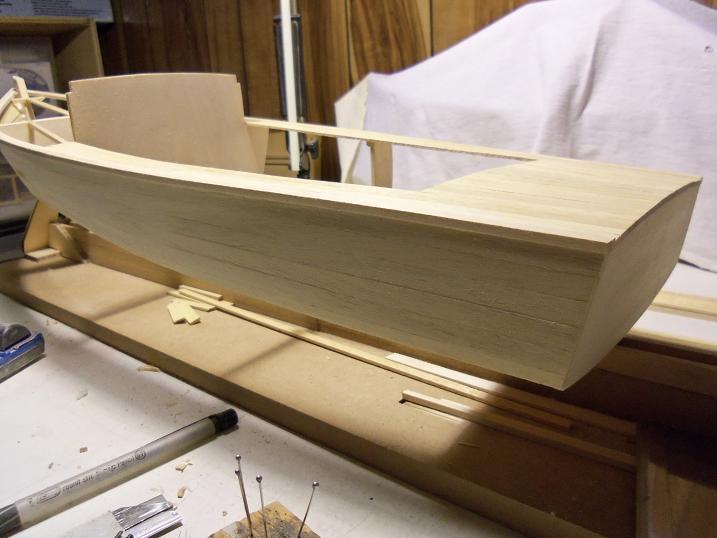
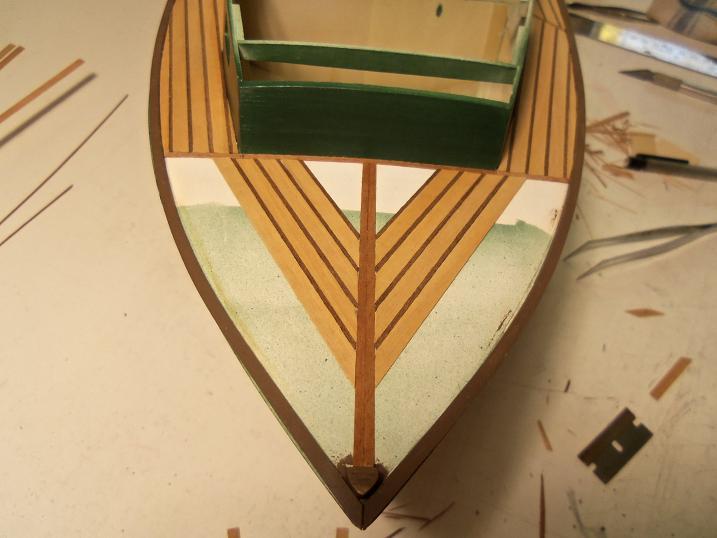
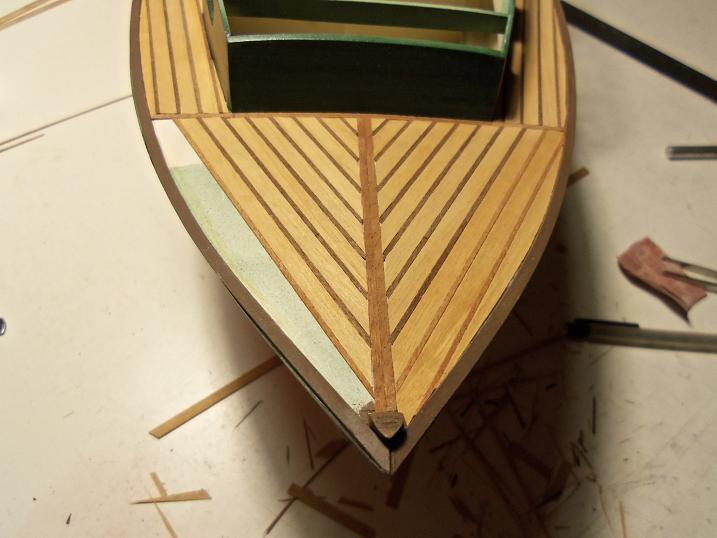
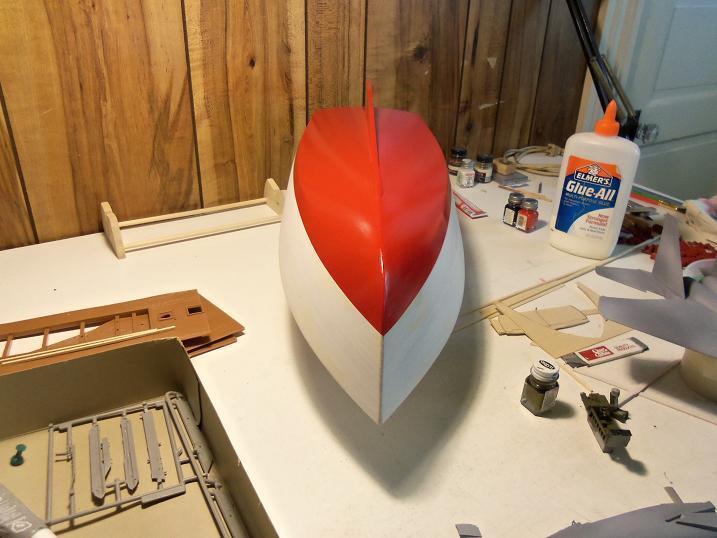
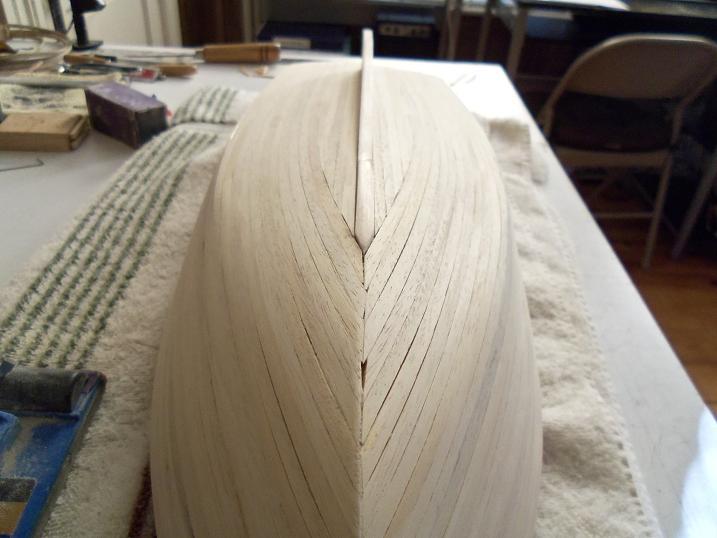
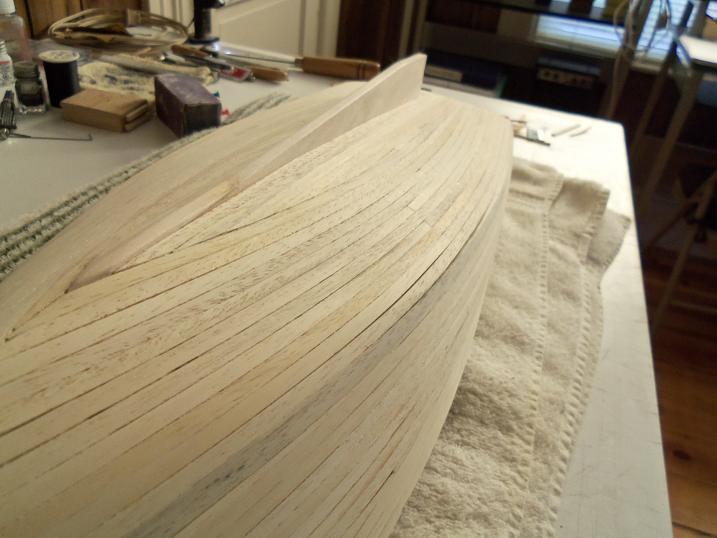
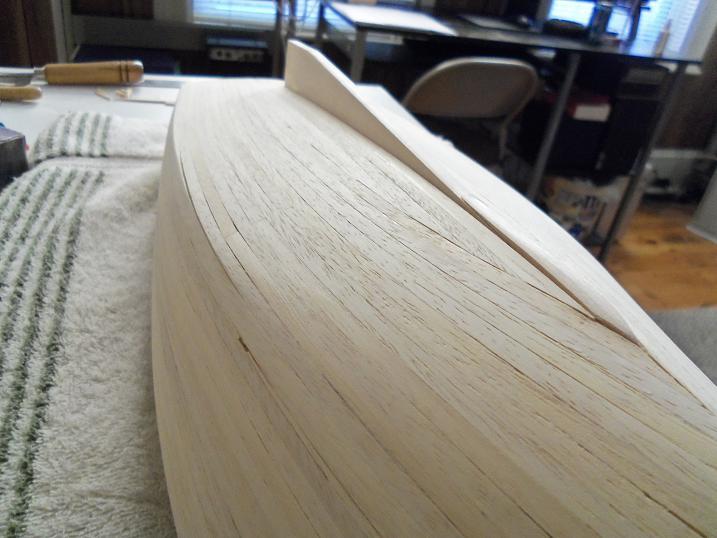
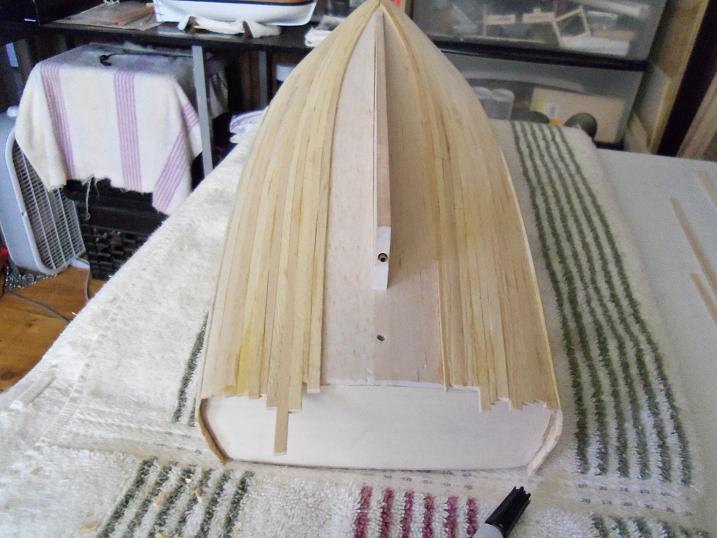
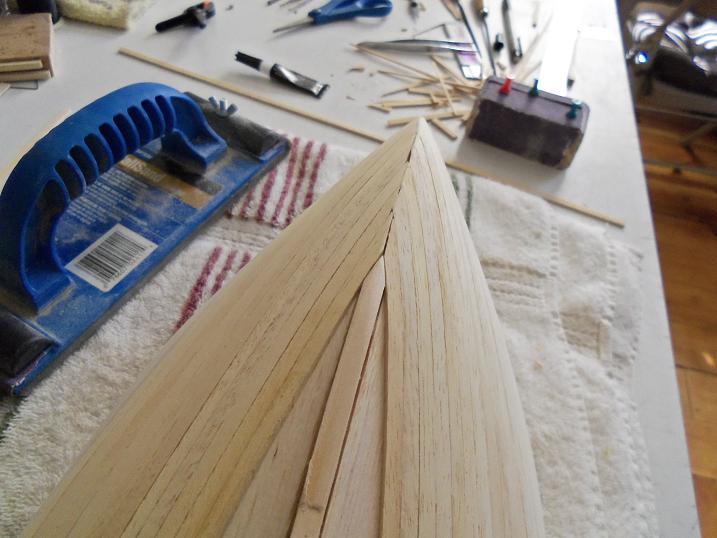
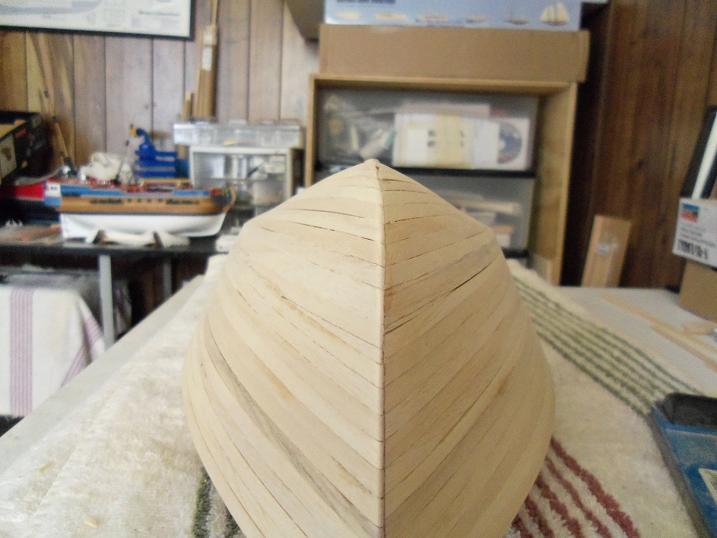
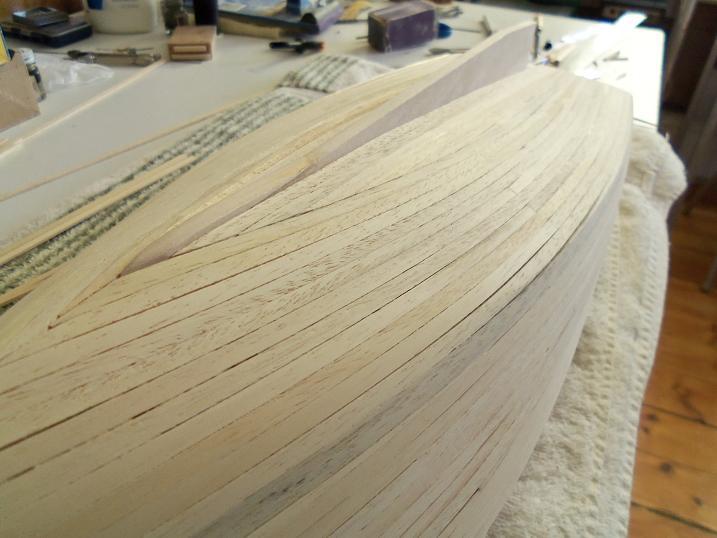
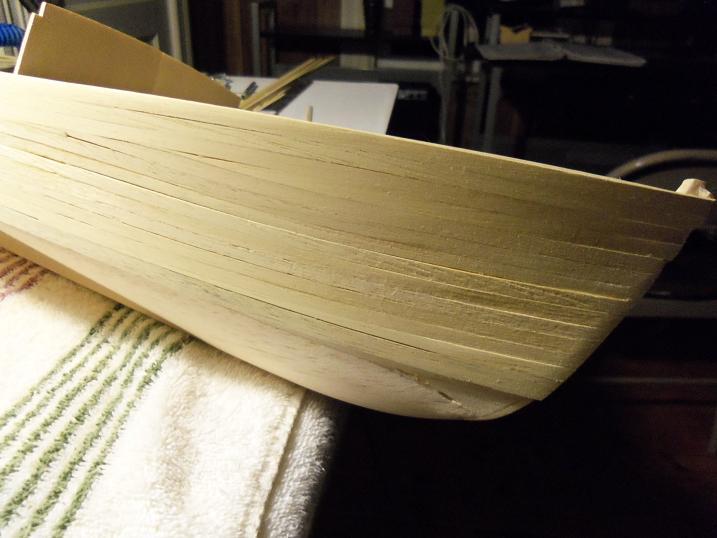
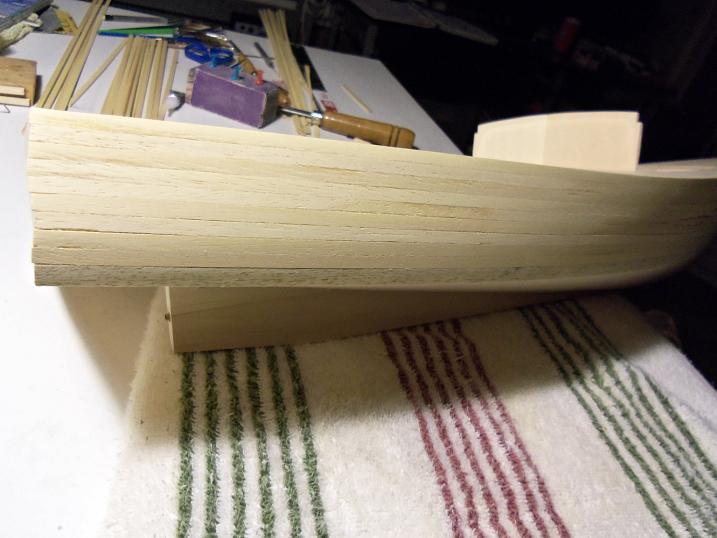
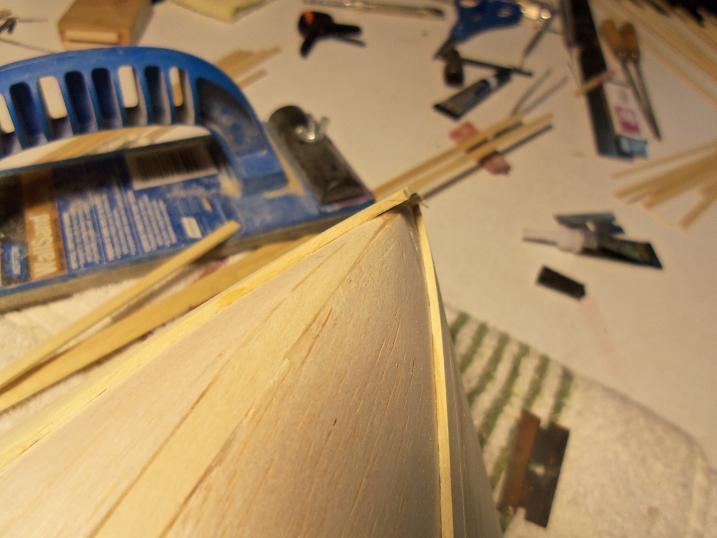
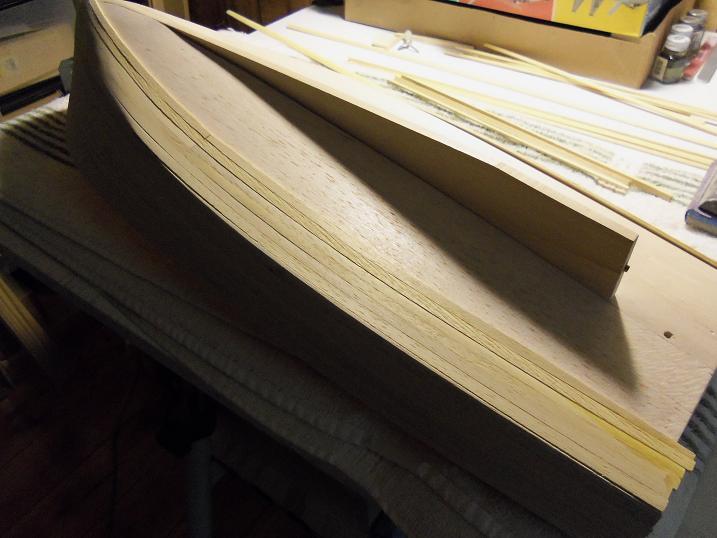
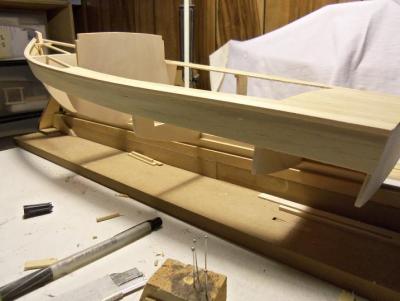
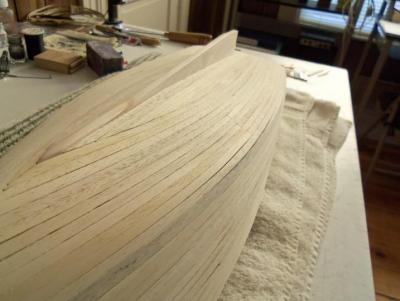
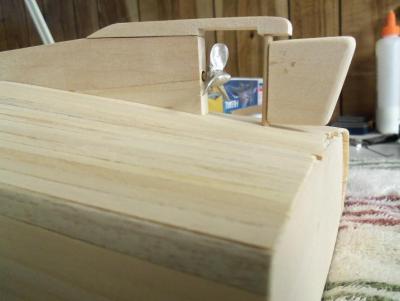
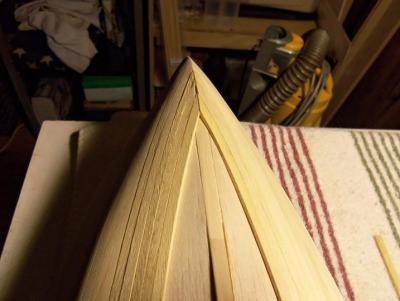
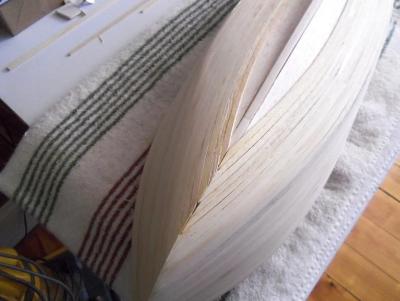
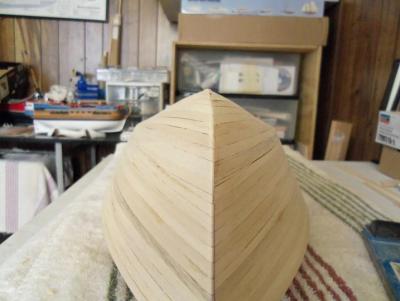
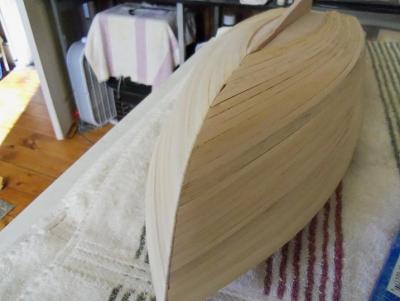
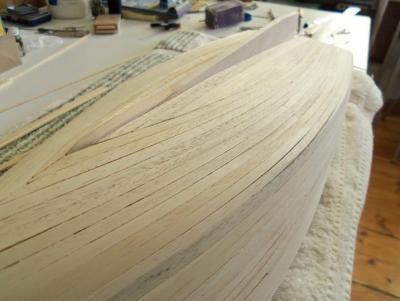
11 - 7 - 2012 it was decided to plank the hull. the sides were planked down to the chines, leaving a lip there to mate the bottom planking the planking is over lapped at the bow to form the point. after the hull is completely planked and sanded to shape, the tip will be blunted a bit to remove the sharpness of the point. 11 - 8 - 2012 the planking continued........and then carried onto the bottom planking. the chines are now defined. the edges can now be sanded to better define the sides from the bottom. the chine line will disappear about 1/3 towards the bow, so the shape of the bow can be achieved.