HOLIDAY DONATION DRIVE - SUPPORT MSW - DO YOUR PART TO KEEP THIS GREAT FORUM GOING! (89 donations so far out of 49,000 members - C'mon guys!)
×
ajromano
-
Posts
187 -
Joined
Content Type
Profiles
Forums
Gallery
Events
Everything posted by ajromano
-
Modified a bit. Some of the kit plan did not seem realistic and some did not fit properly.

-
Thanks all for feedback!
-
This is basically a training kit. If I wanted truly accurate I would scratch build or get more accurate kit. (Assuming there is such a thing) This kit was on sale and had additional discount applied. Wood ships and boats are such fun to build! Very challenging. Never rigged anything before, I have built several small boats and have current build of brig going. Model Shipways seems to actually be a tad better, especially if one paints ship.
-
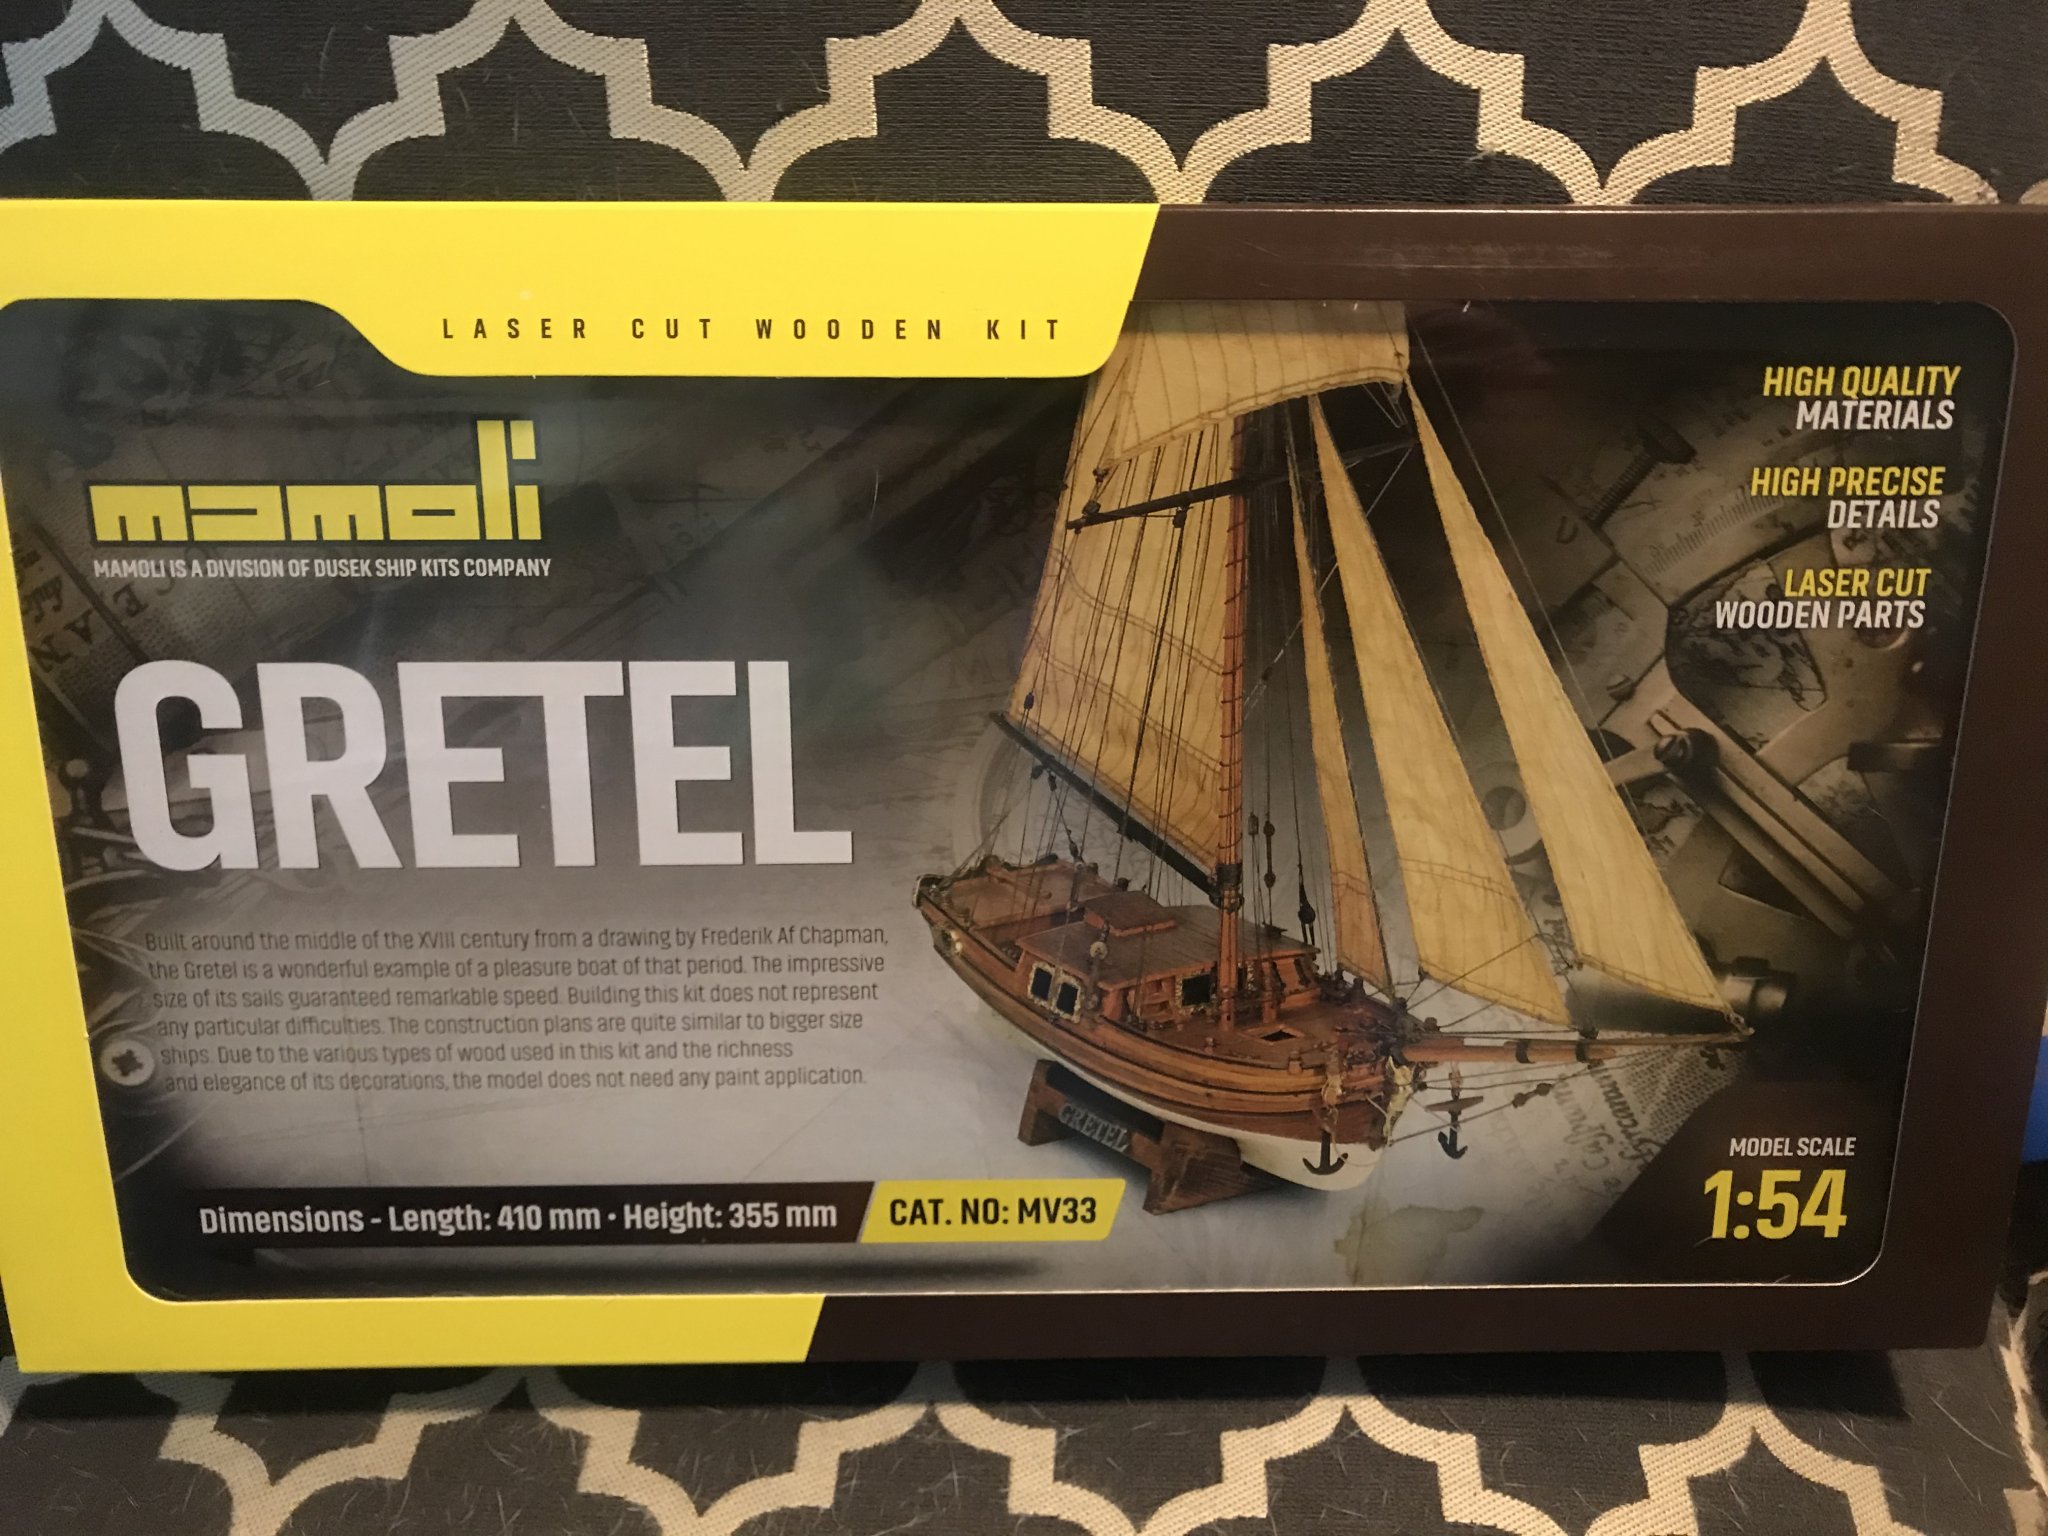
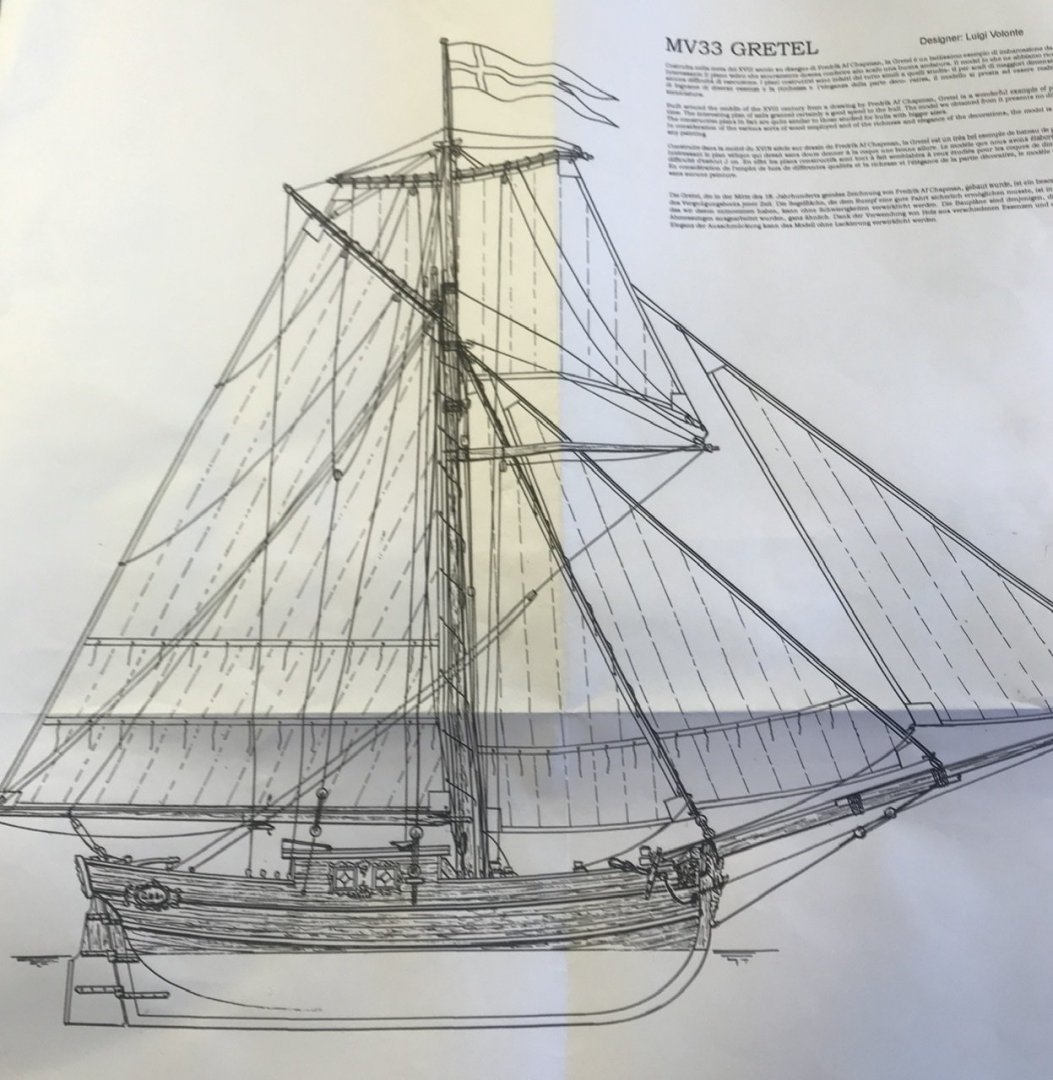
This looks pretty much like the kit.
-
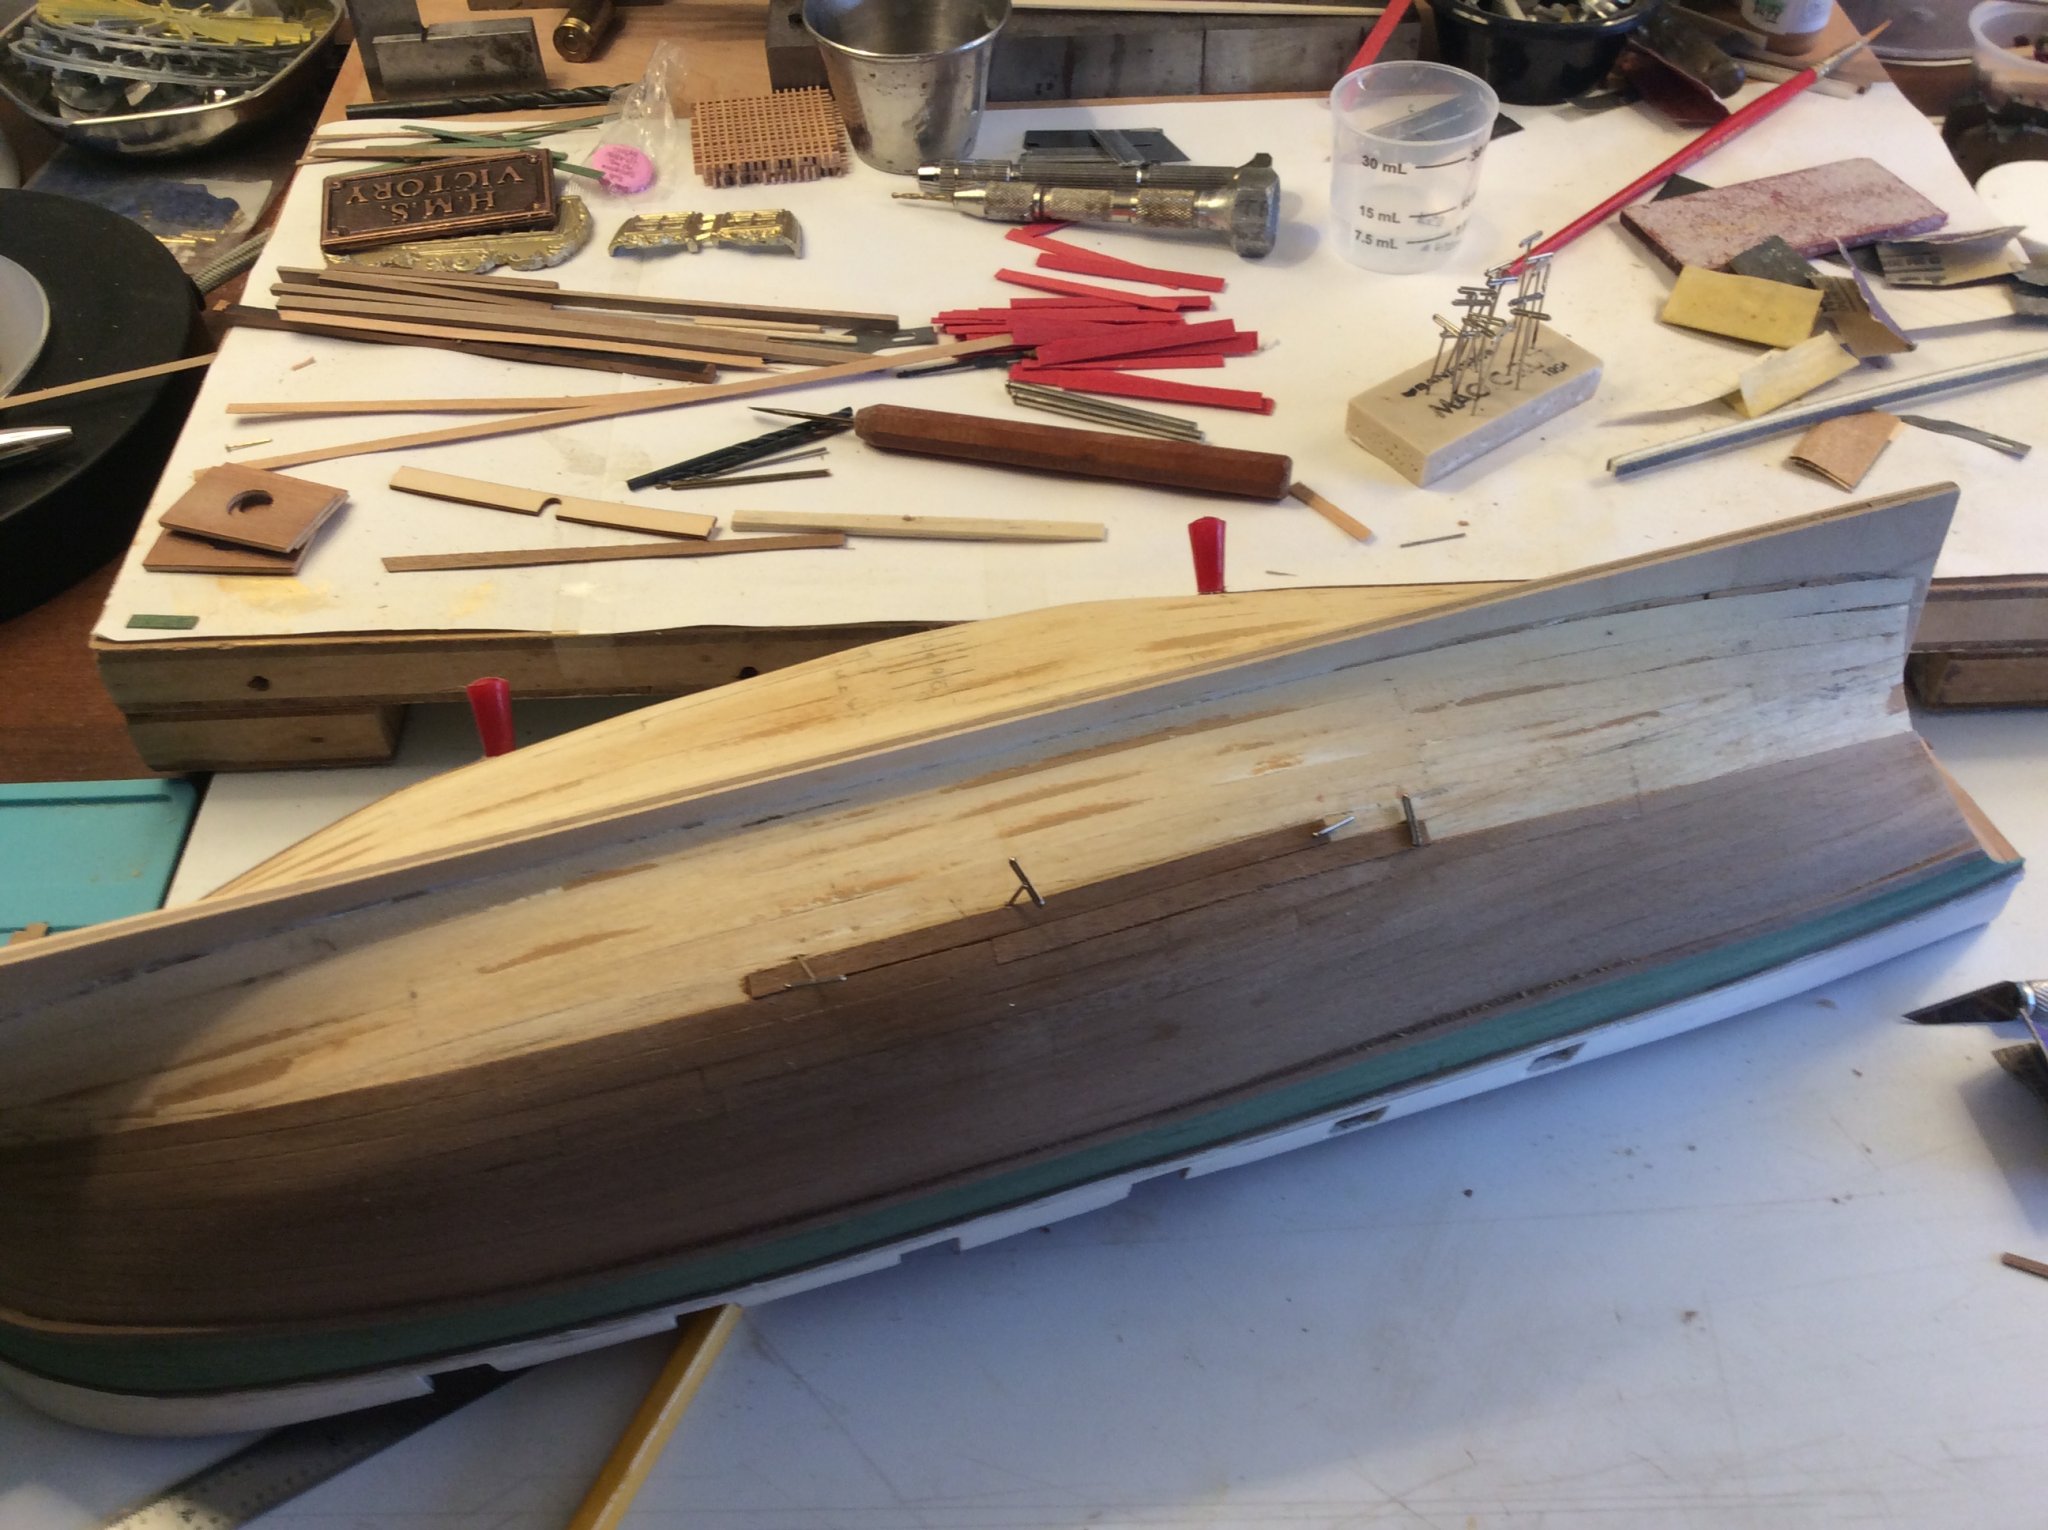
This is actually a nice looking little boat, I have been almost fanatical about quality. Still missed a bit on planking, but it looks fine! Only I will notice flaws.
-
Thanks. I assumed it was totally inaccurate. Small boat! Real boats use I-bolts?
-
On the hull?
-
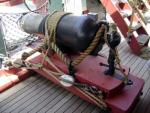
Seems to be close to what is called a naval sloop or Bermuda Sloop. I am getting way this would work in real life. Blocks attached to little brass “I bolts” seems wrong! This is worse than model trains!
-
-

-
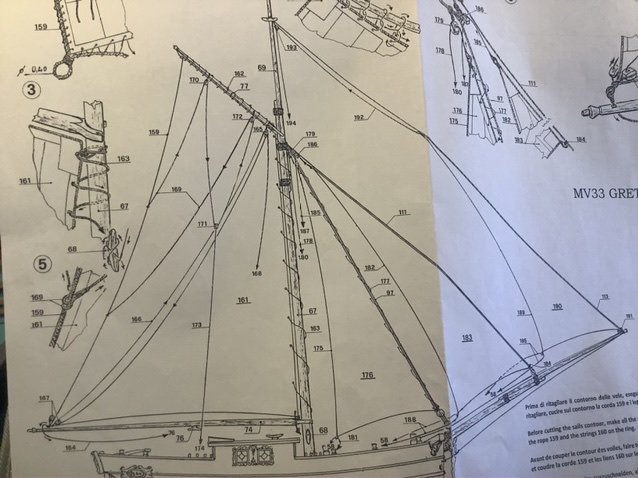
I think it is just a inaccurate kit. I will post more details later. Thanks, I reached same conclusion or question. How to reach upper mast to secure sail. Also I do not know all the proper terms! More reading in order 😉
-
Is this close to how a real boat would be rigged? Looks like mainsail would be furled to mast......?.??
-
Byrne's Table Saw additions/add ons
ajromano replied to blackjack40's topic in Modeling tools and Workshop Equipment
LOL! Discussion over before it started! With wife about cost of shoes. -
Byrne's Table Saw additions/add ons
ajromano replied to blackjack40's topic in Modeling tools and Workshop Equipment
Impressive! I am close to ordering one! -
Brig Eagle 1814 by ChadB
ajromano replied to ChadB's topic in - Build logs for subjects built 1801 - 1850
Fantastic build! Picture perfect quality, masterful! -
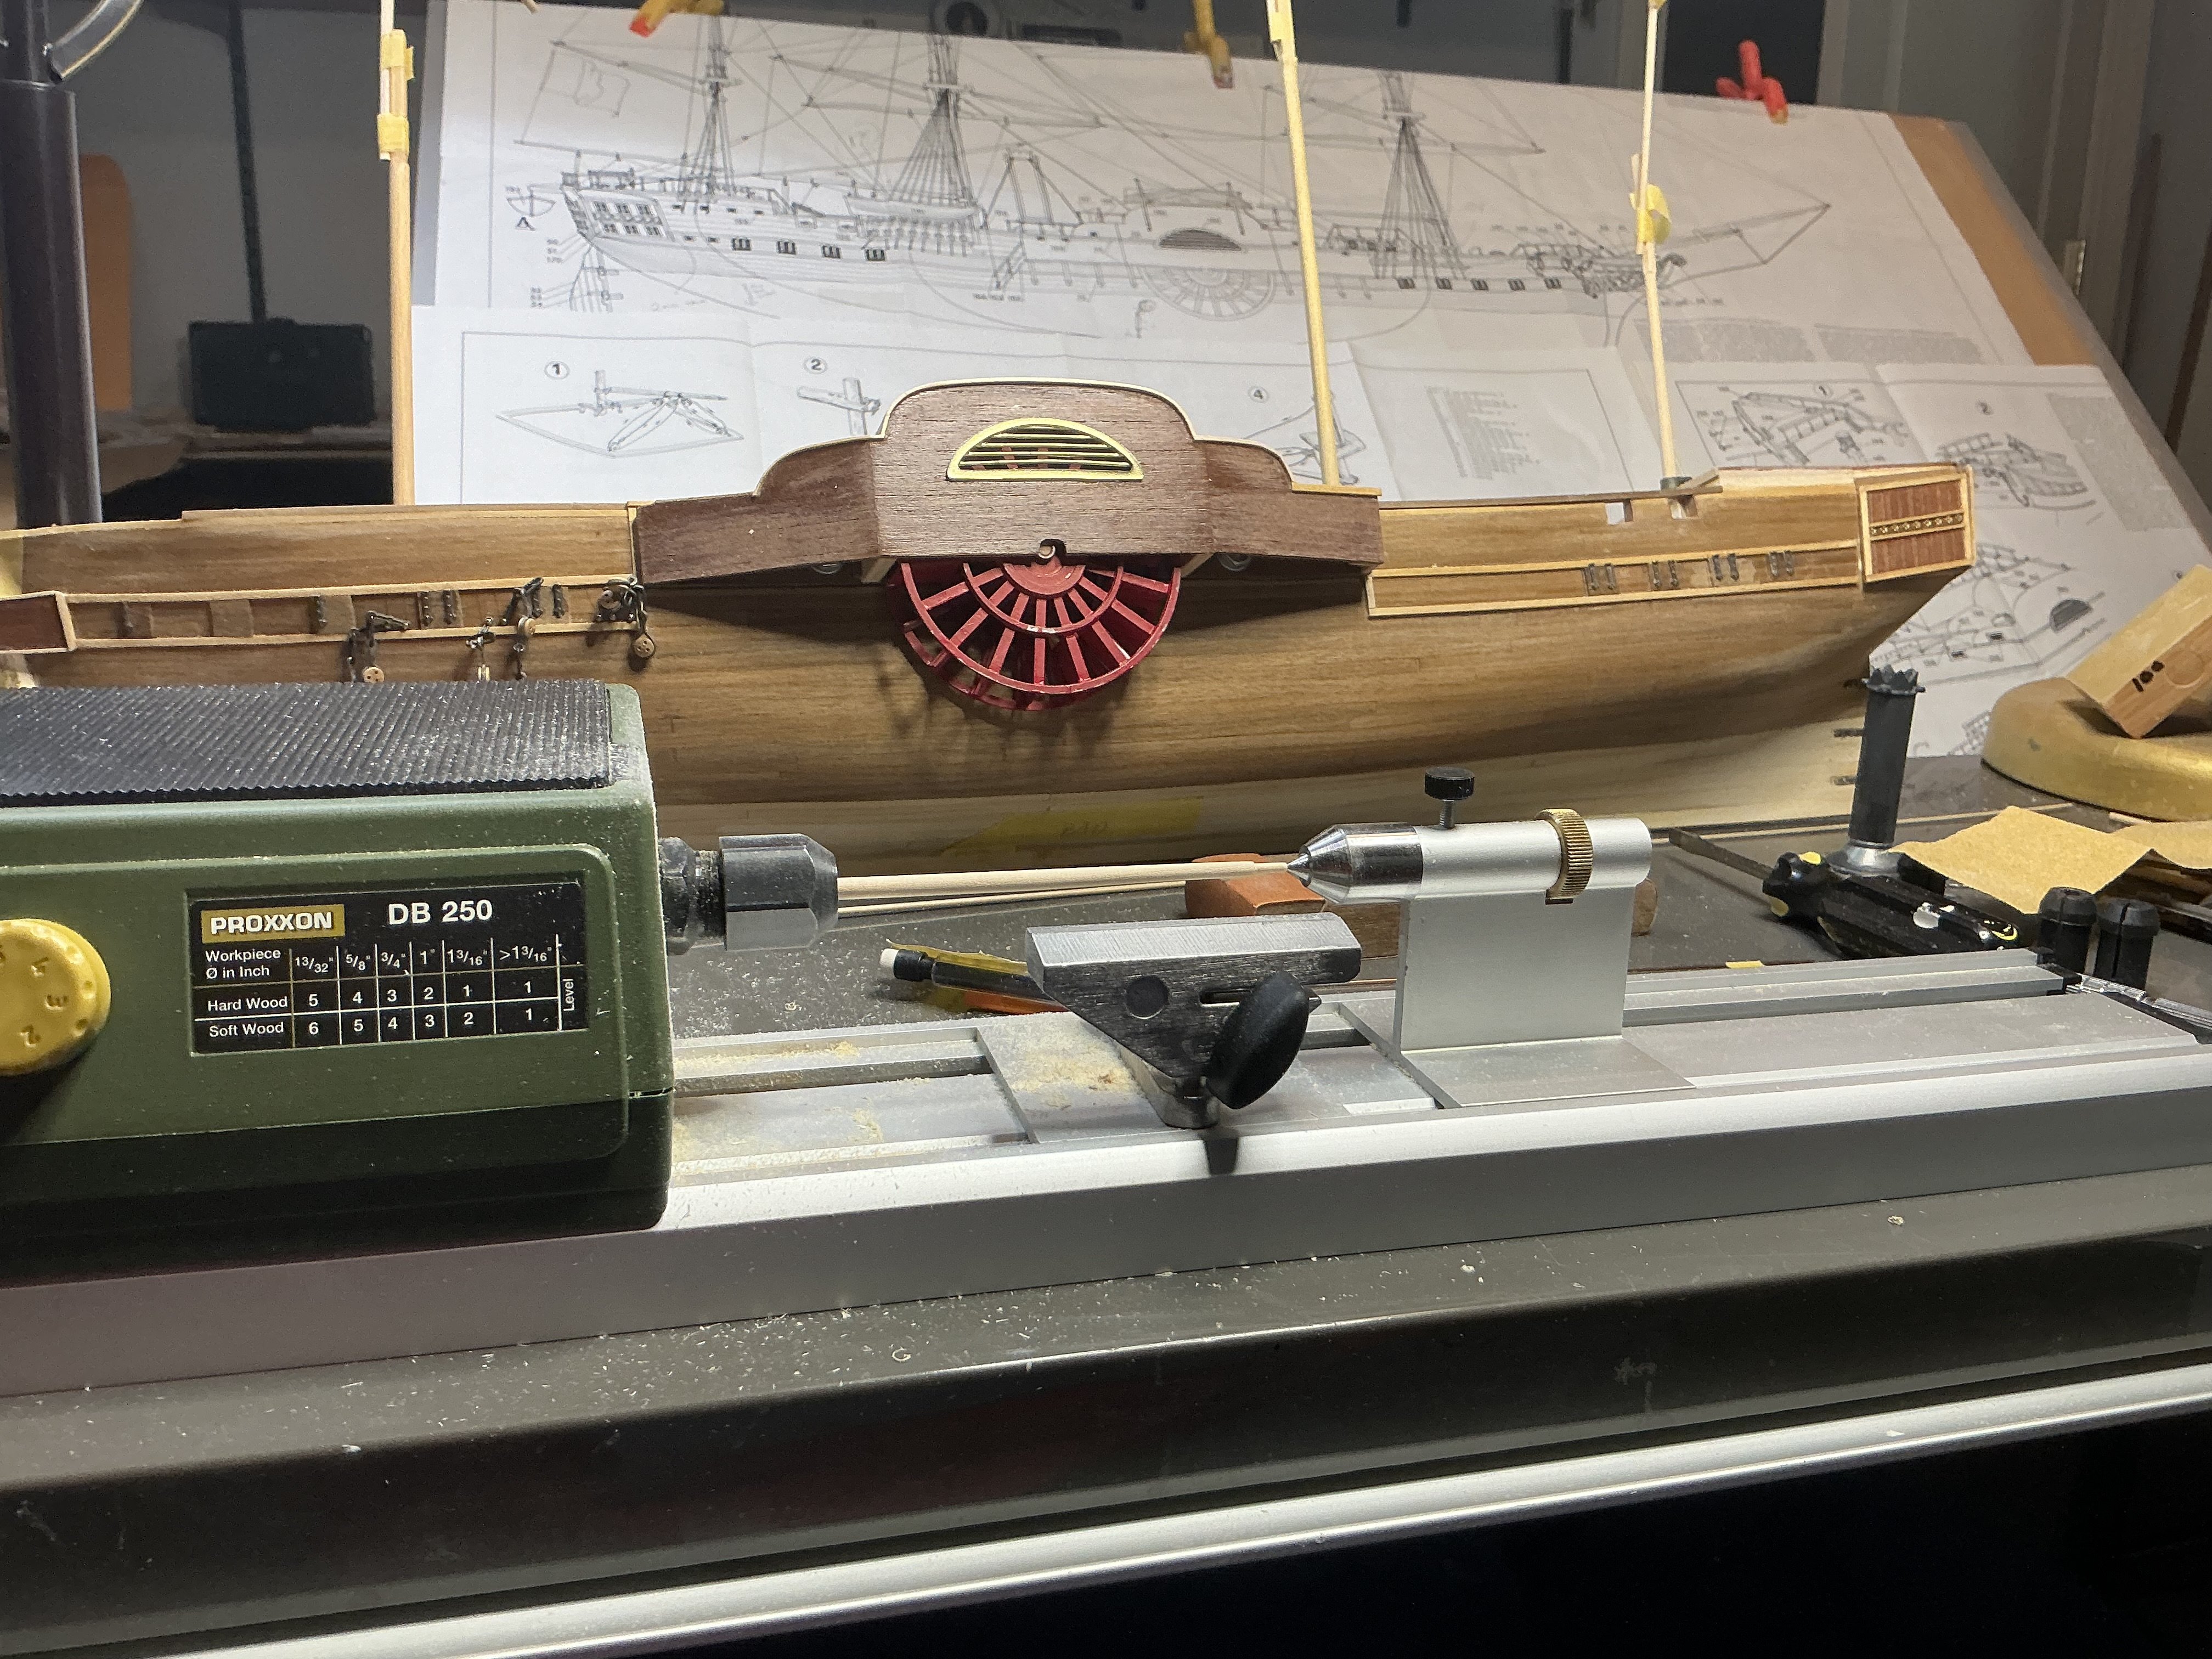
Anyone step in here? I maybe able to do this. Savannah now!
-
Love the cat!
-
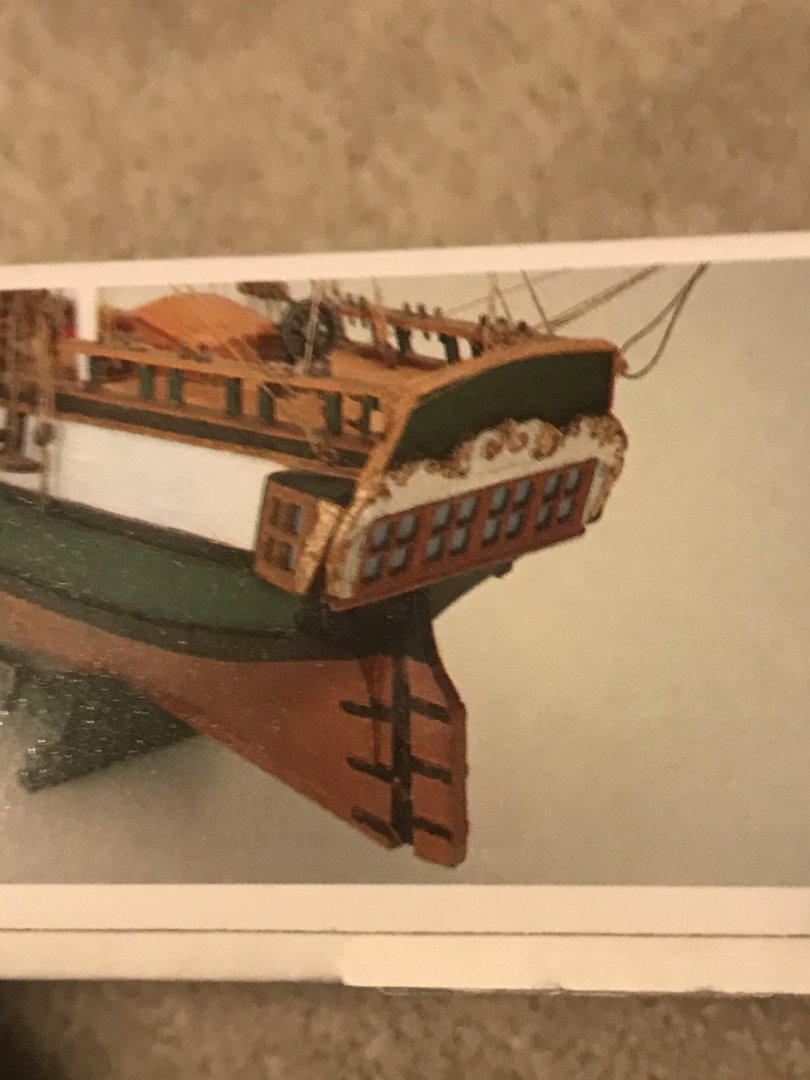
The stern detail is not very good! This is photo of the box kit came in. Seems like a part from some other ship or gaffe!
-
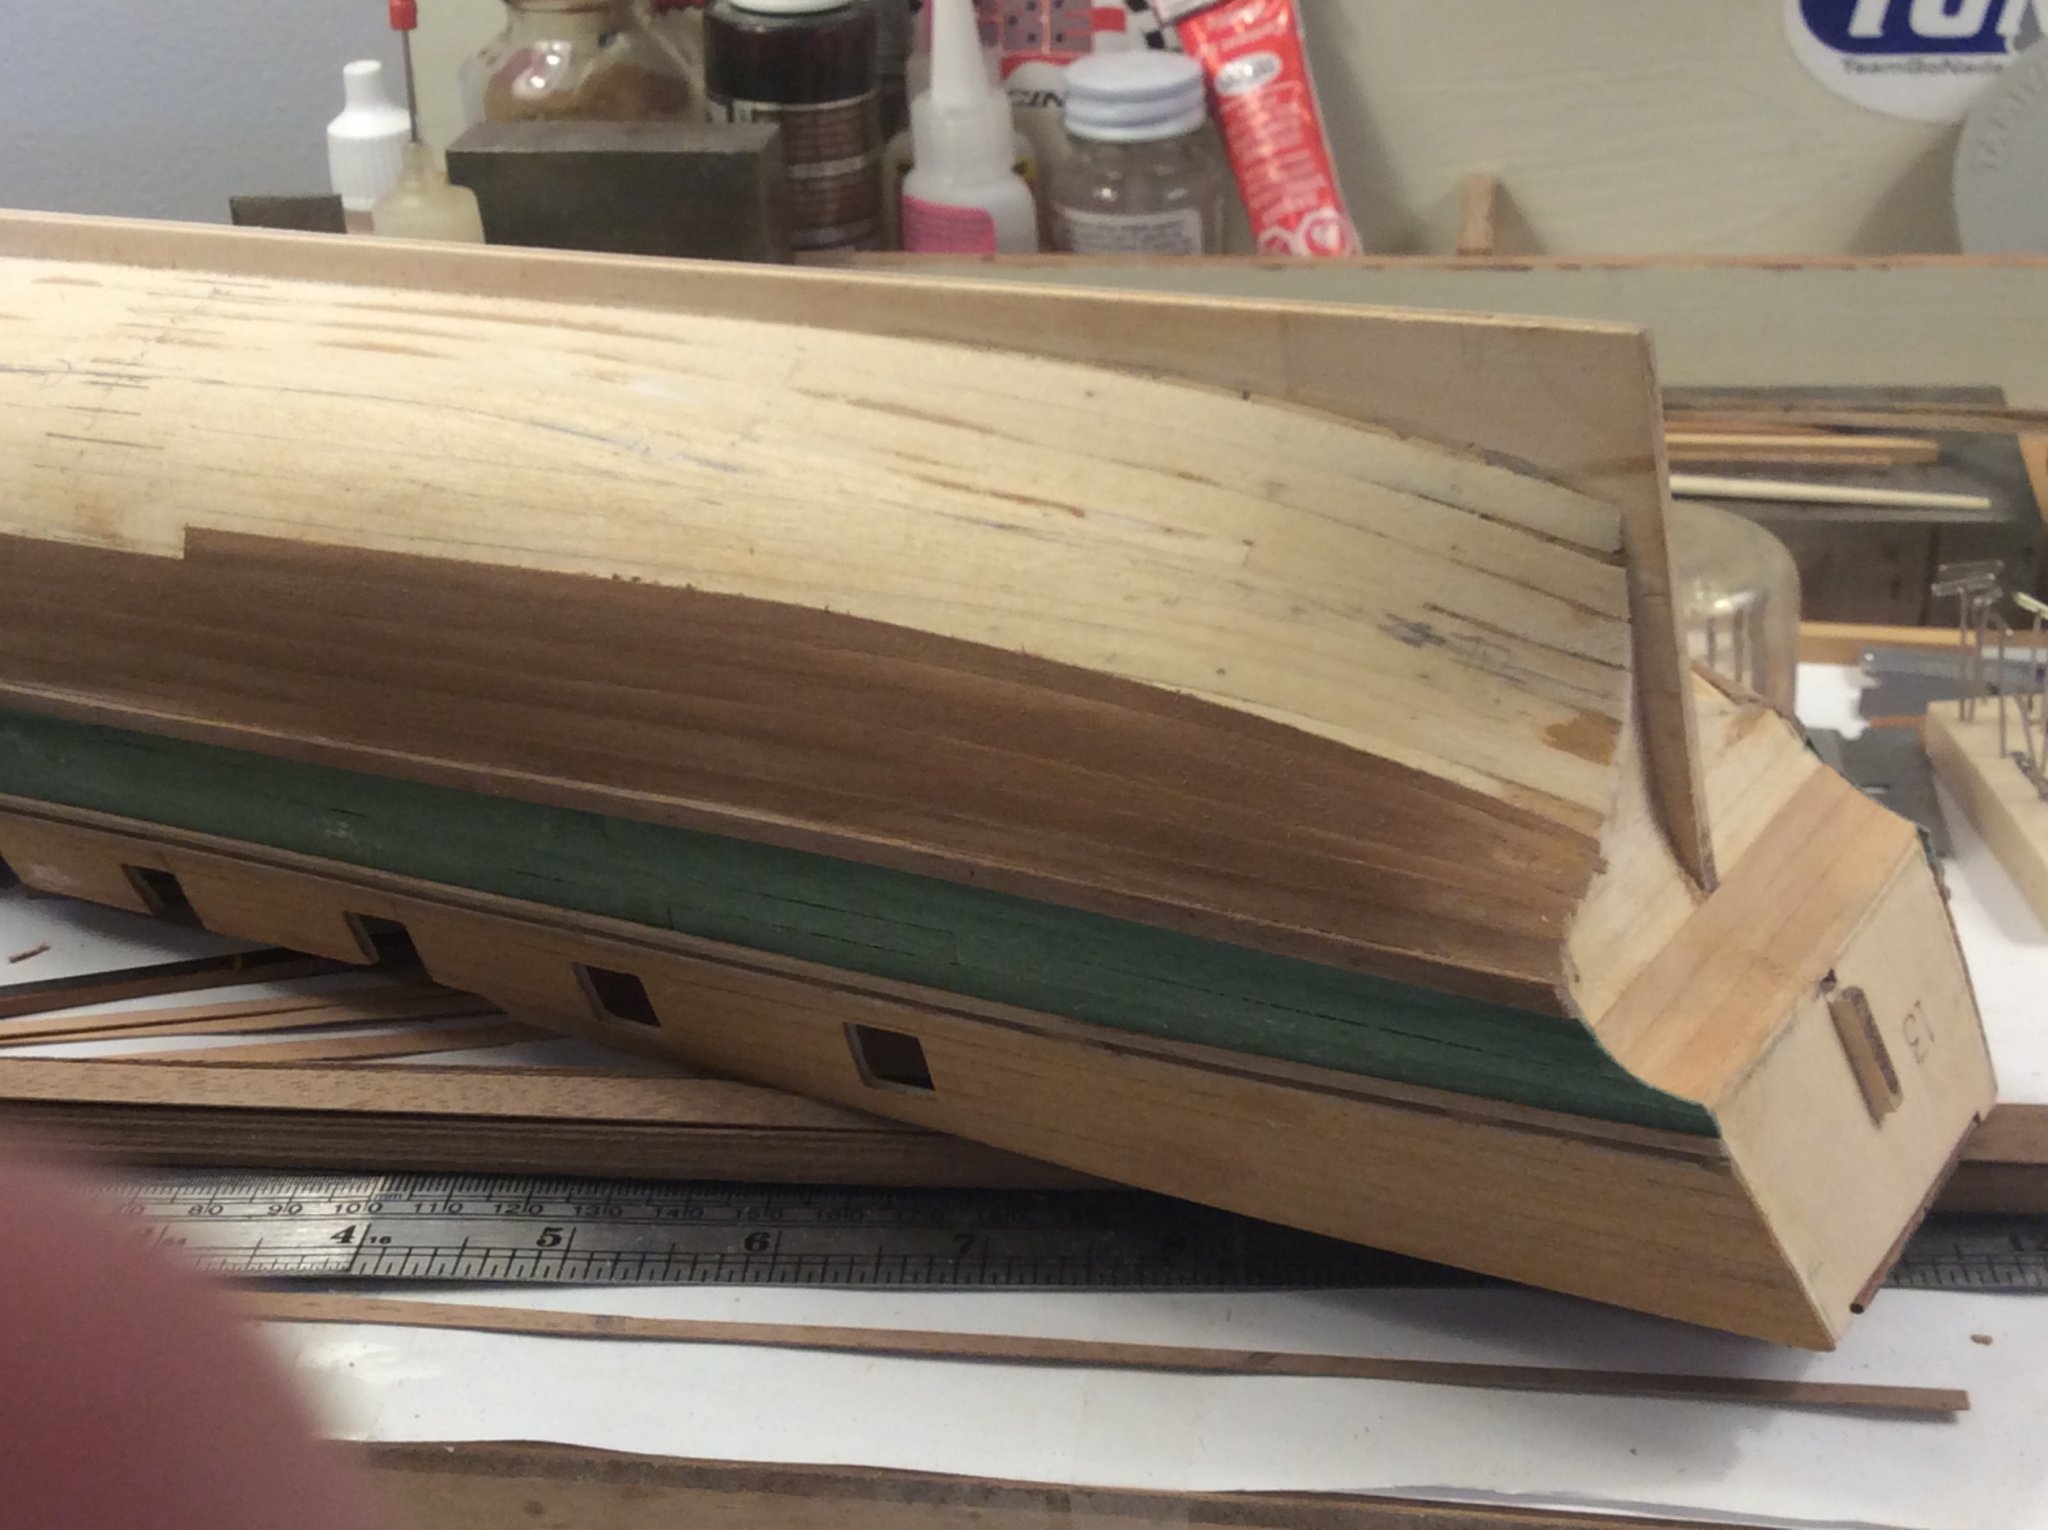
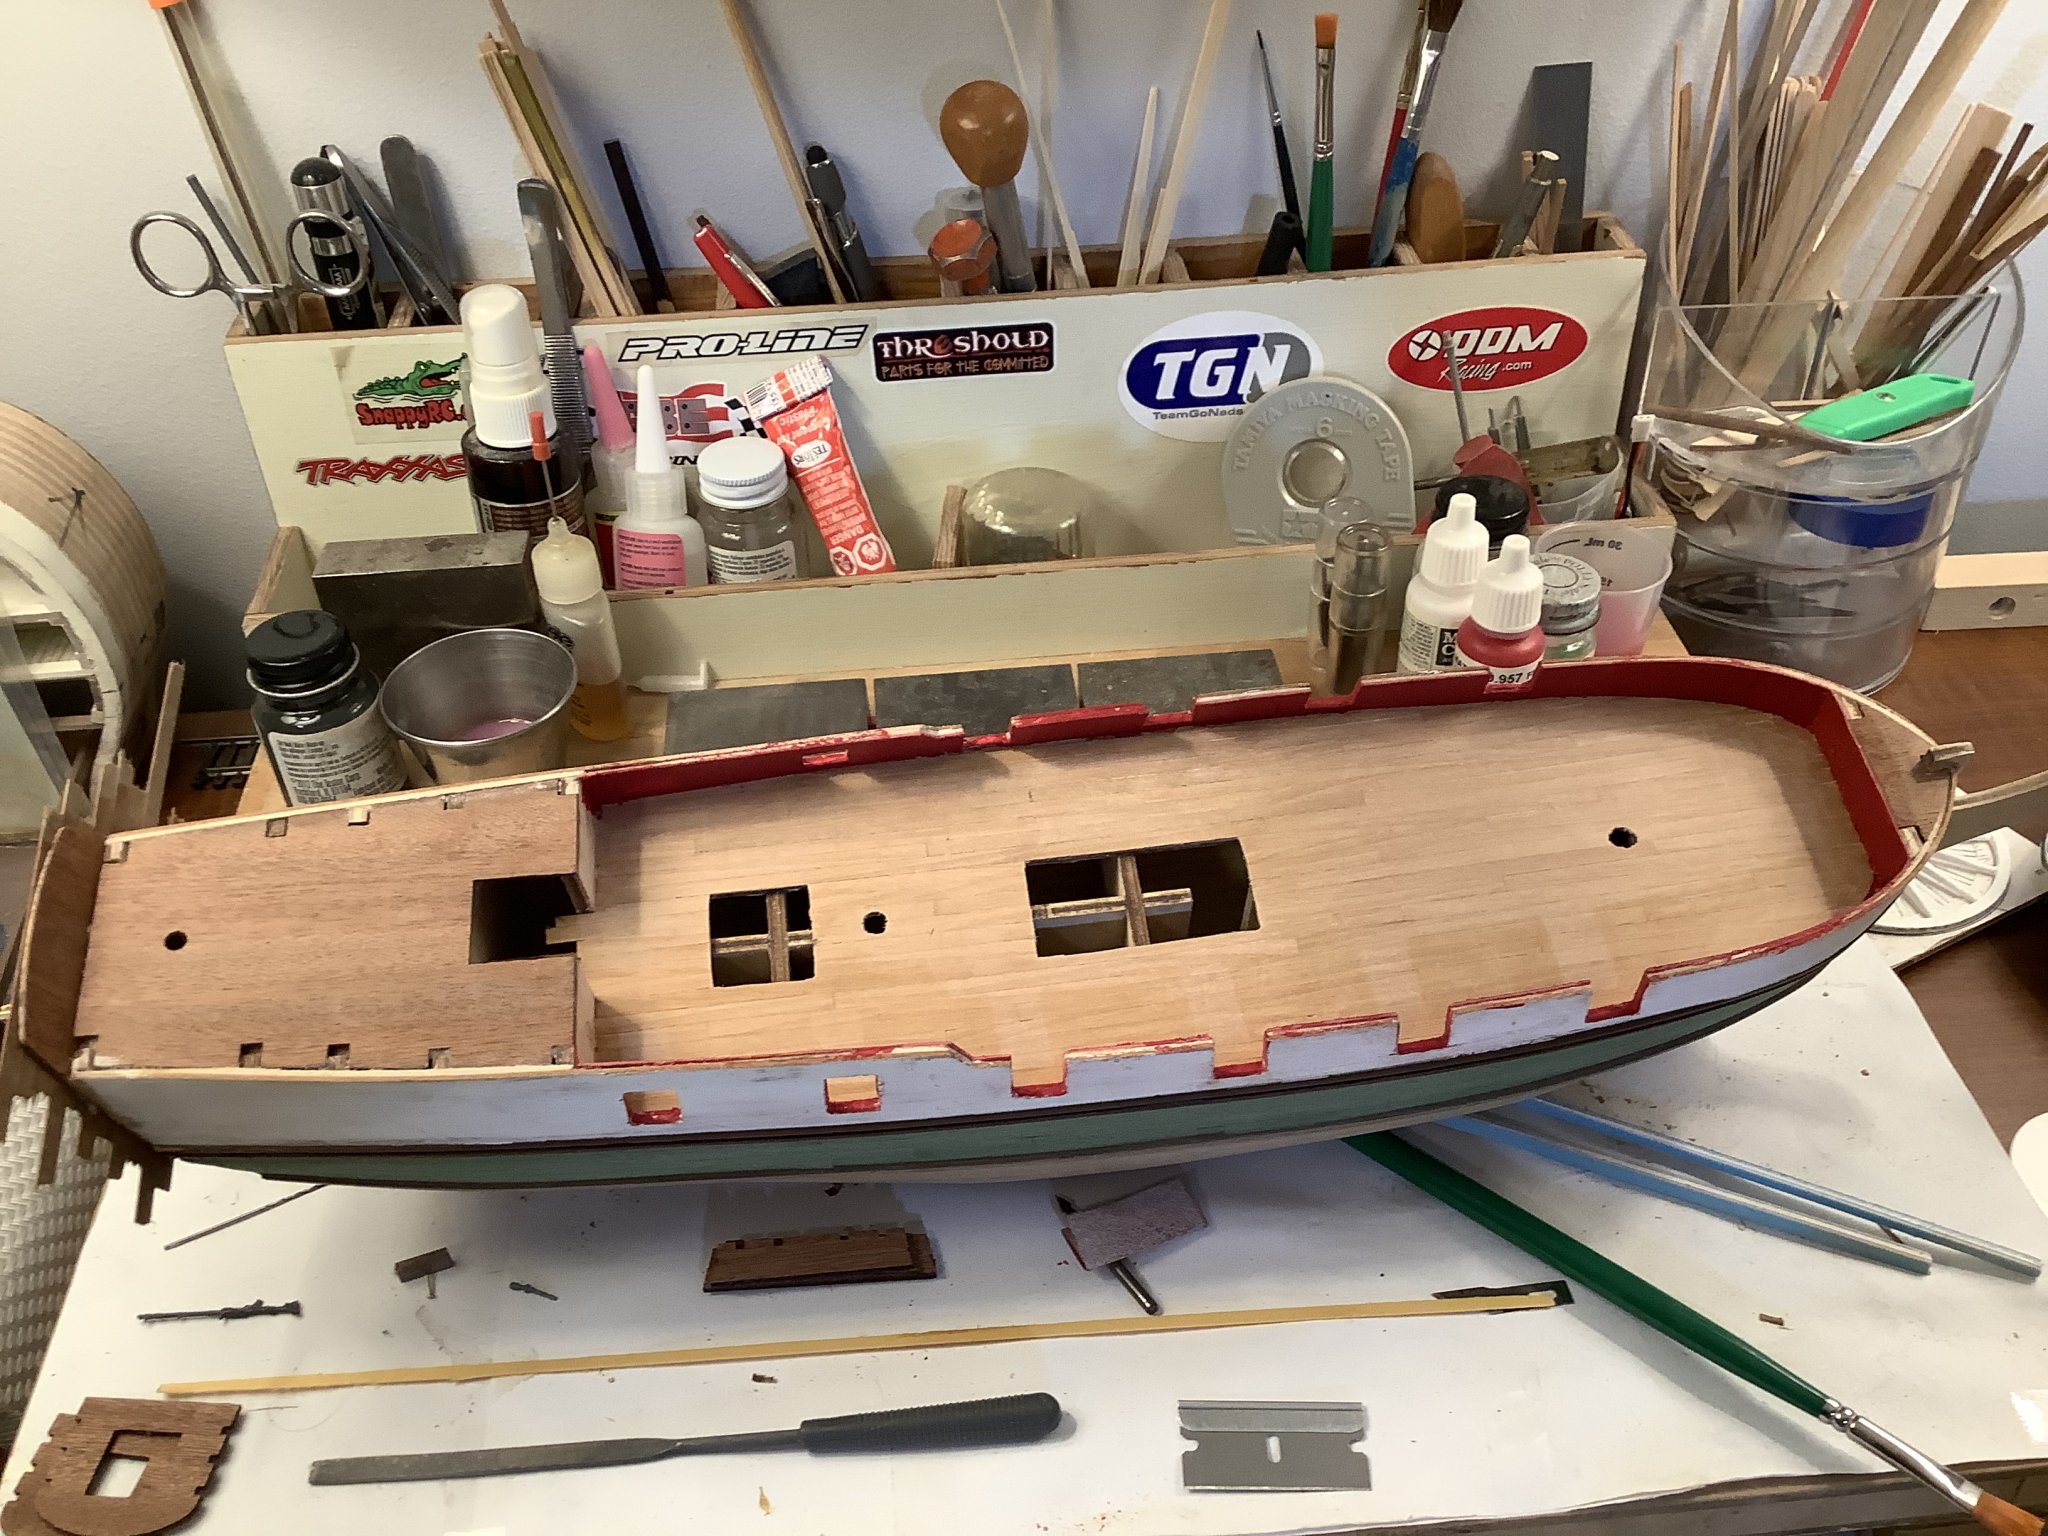
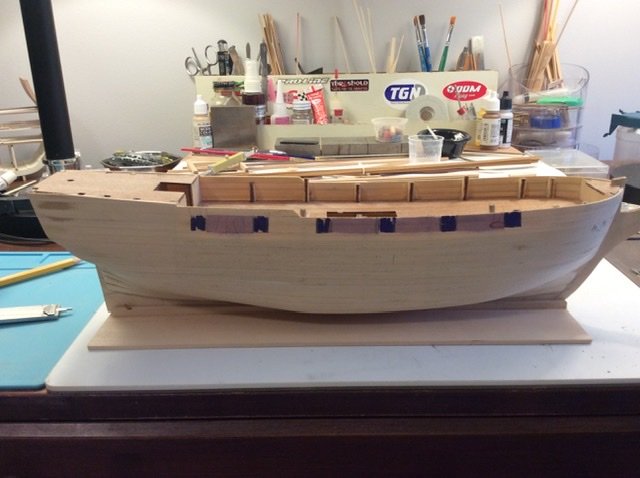
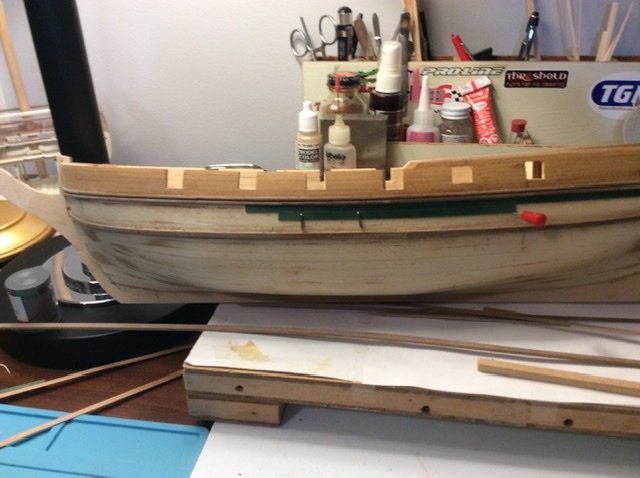
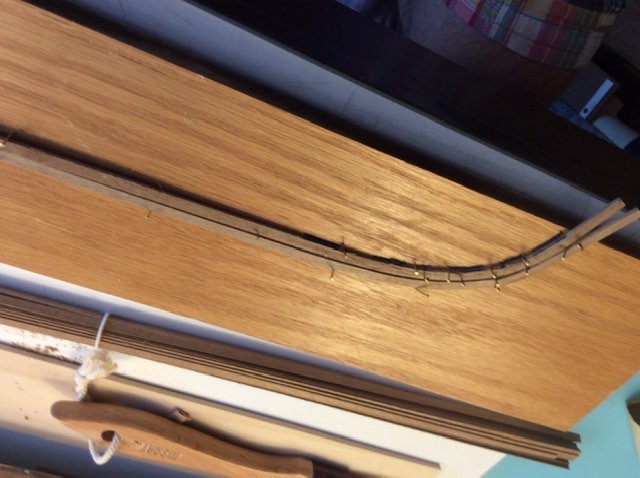
The red and green planking is dyed veneer from local woodworking store. It is actually too soft and I do not plan on using it again for major work.
-
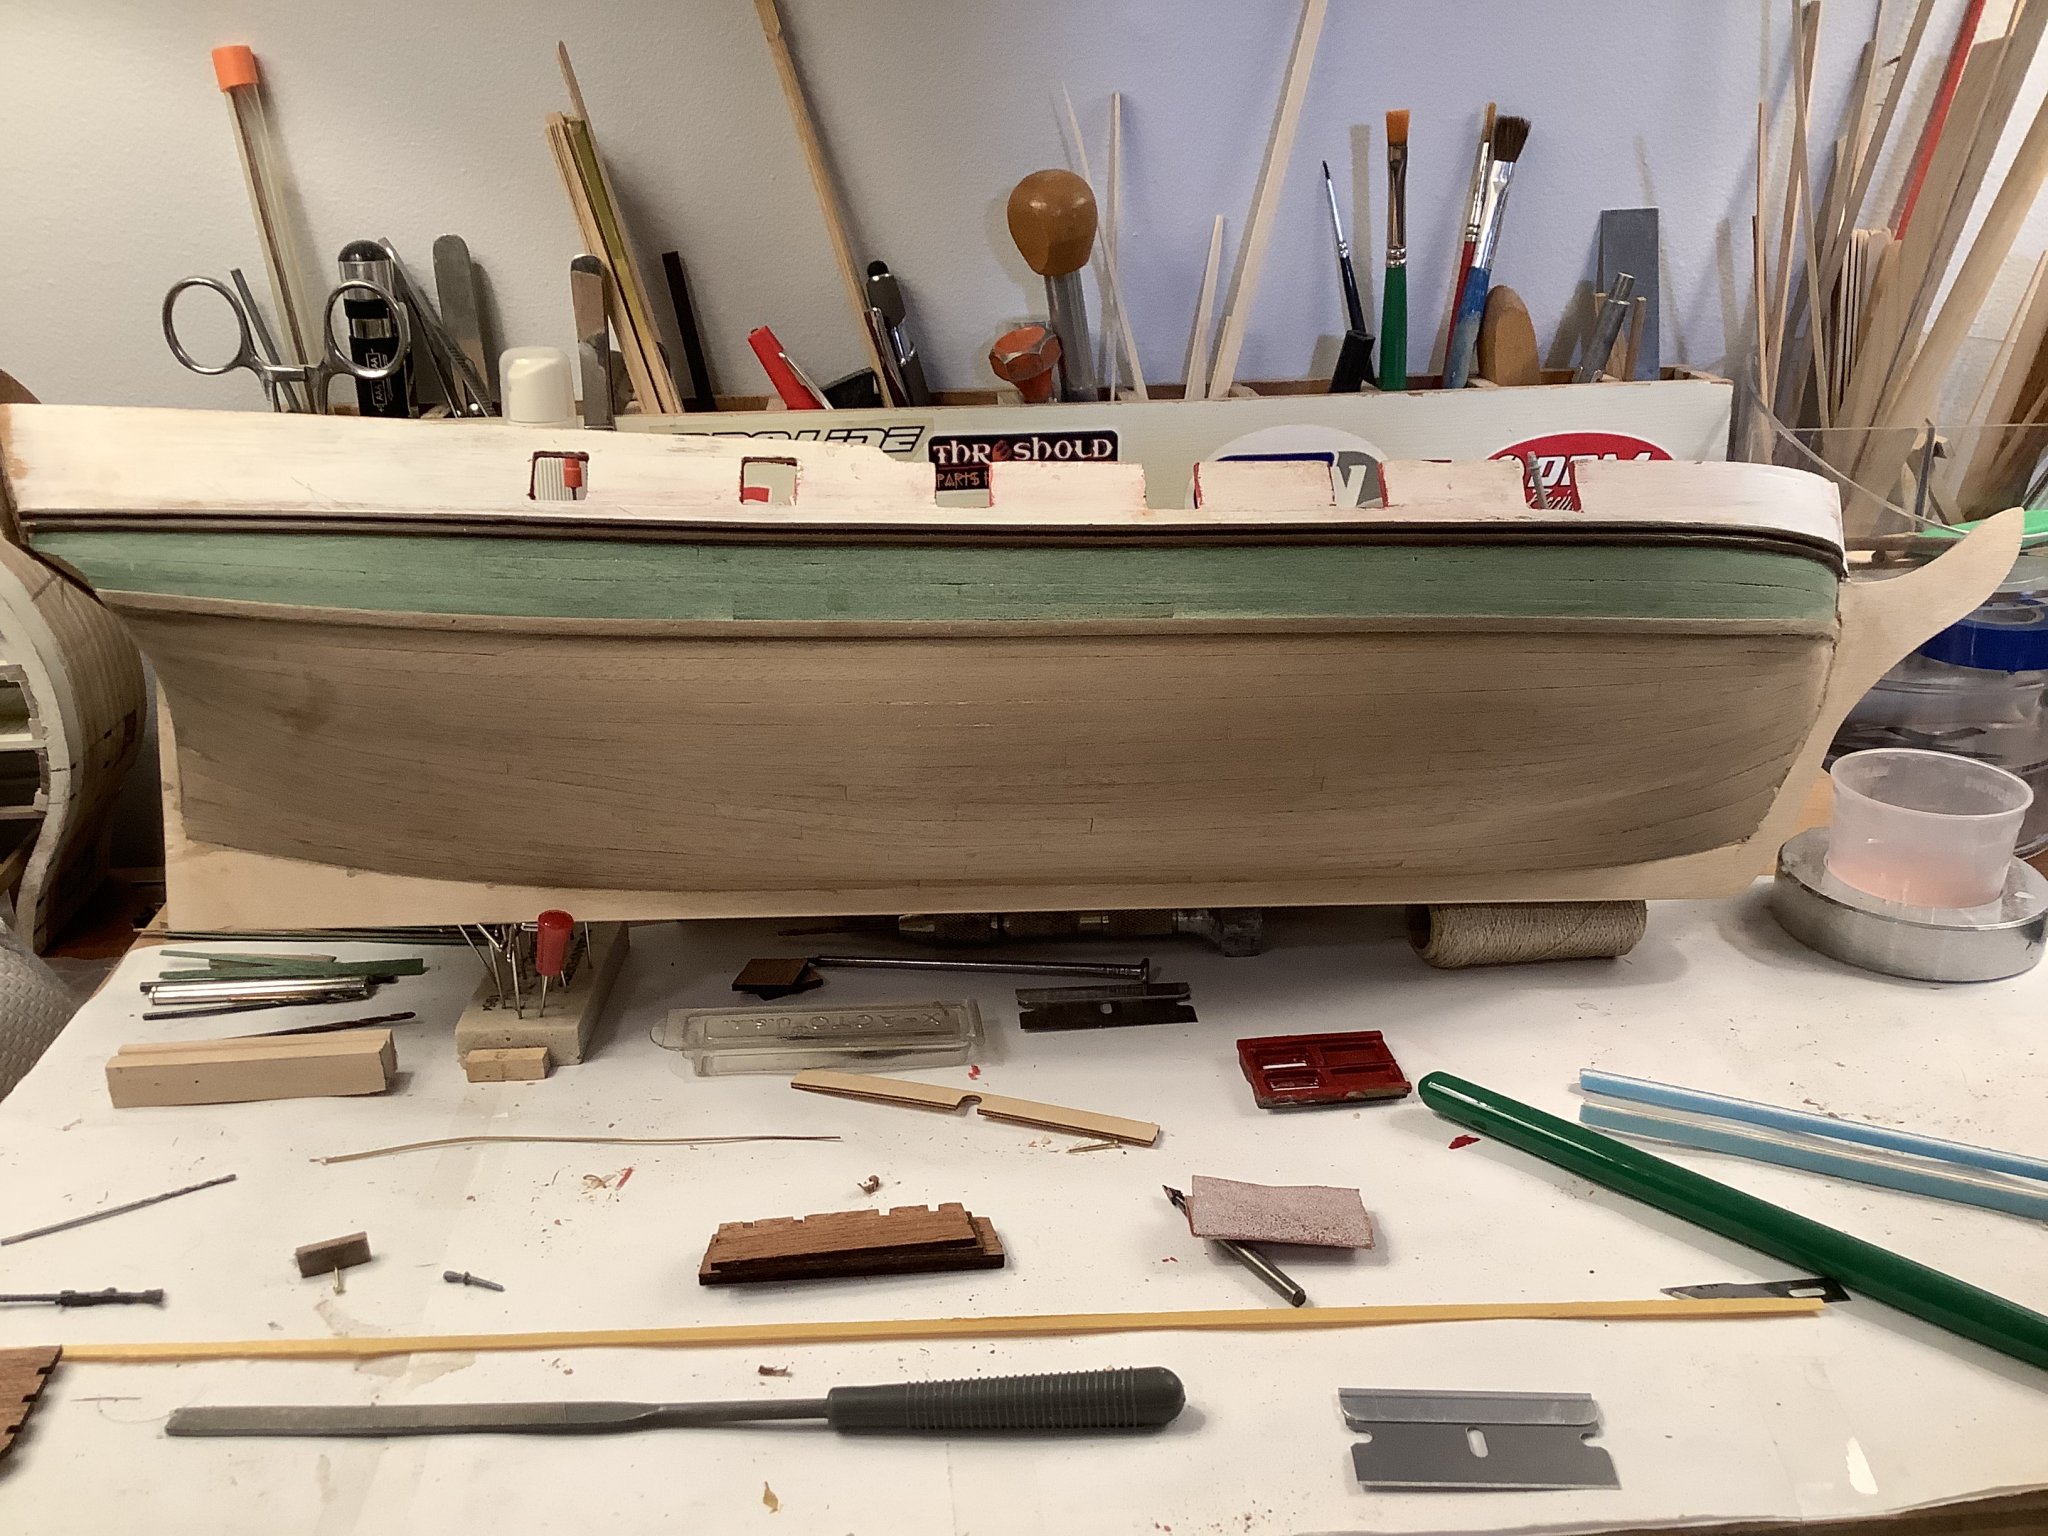
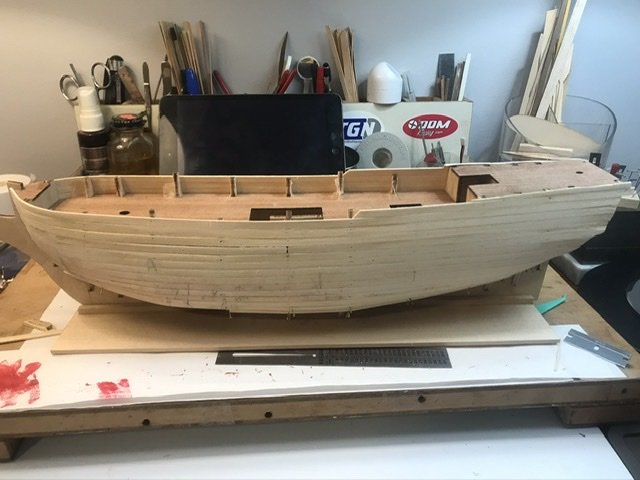
Progress on hull.

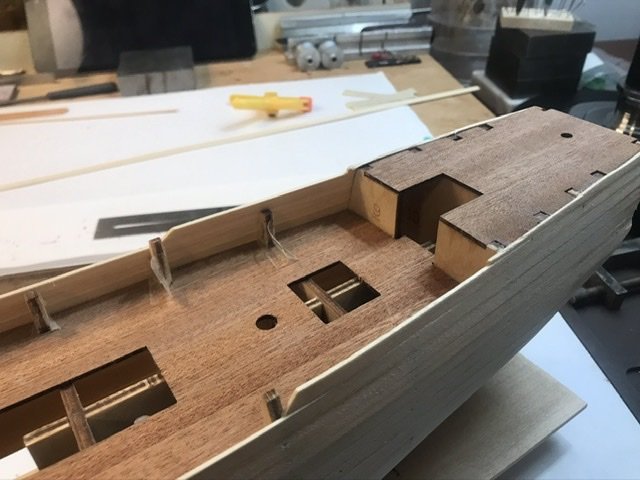

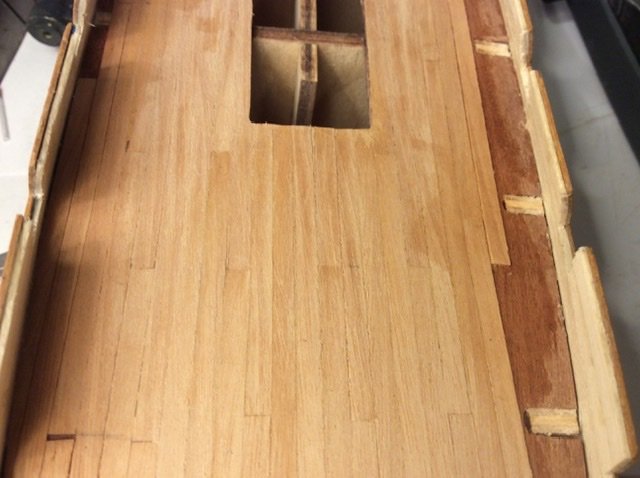
-
I started this kit around a month ago.
-
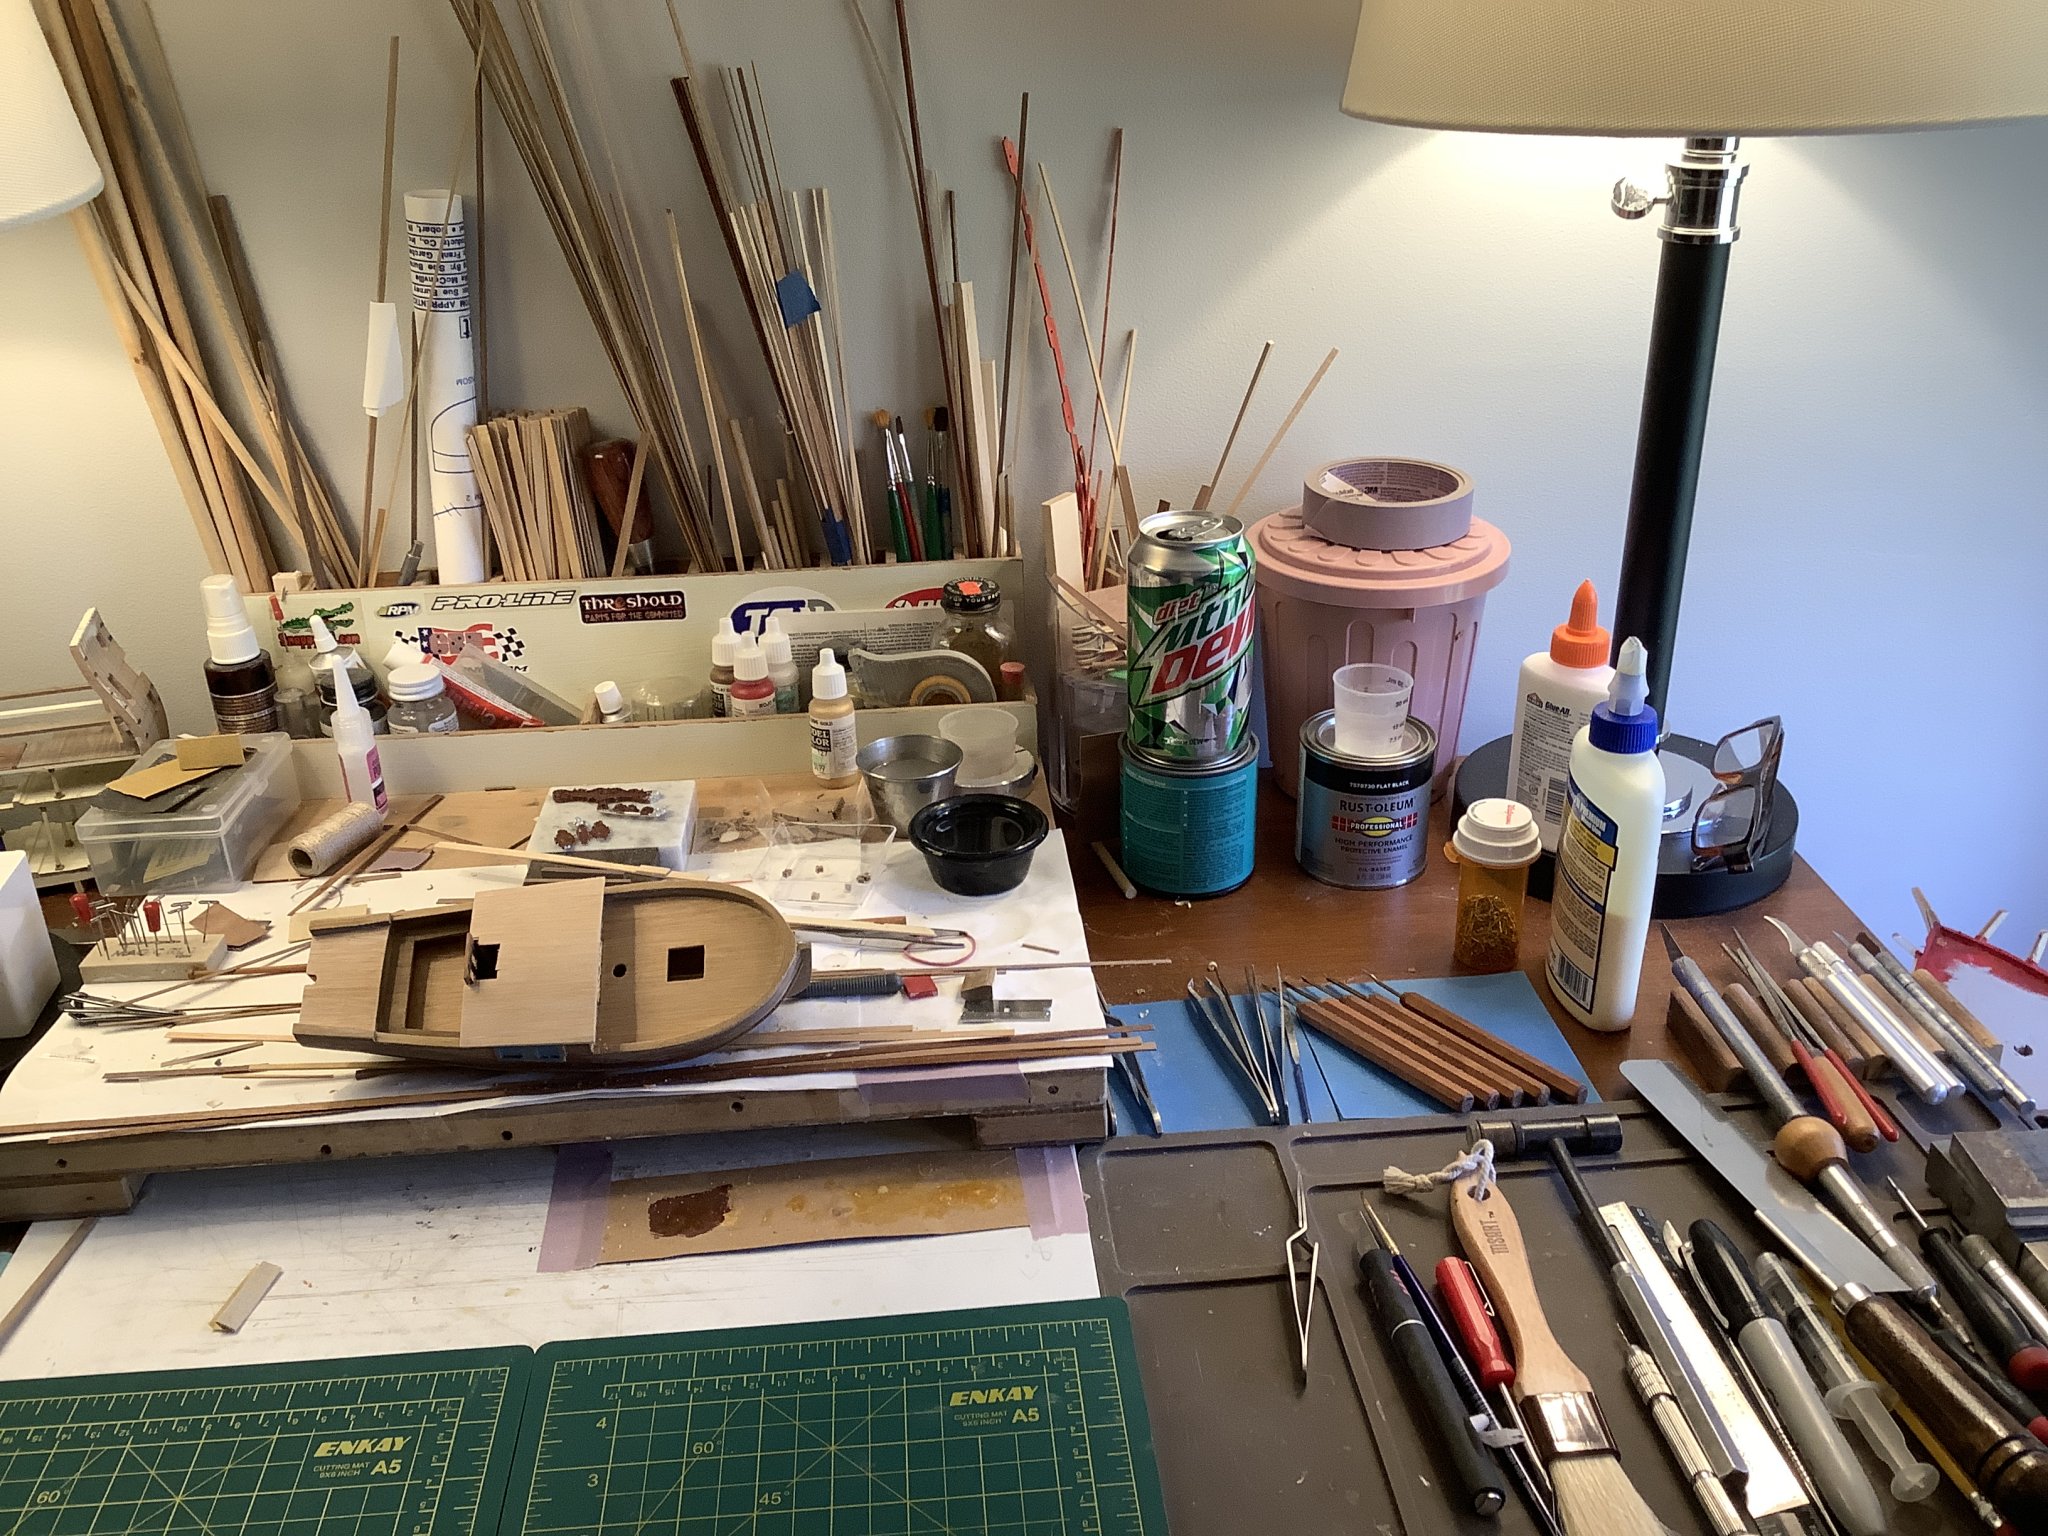
Back on hold! Building other kits, ADHD brain. Currently building c.mamoli Portsmouth and other small kits.
-
Amazing!