ChadB
-
Posts
184 -
Joined
-
Last visited


-
 Macika reacted to a post in a topic:
Triton Cross Section by ChadB (Chach_86) - FINISHED
Macika reacted to a post in a topic:
Triton Cross Section by ChadB (Chach_86) - FINISHED
-
Macika reacted to a post in a topic:
Triton Cross Section by ChadB (Chach_86) - FINISHED
-
Macika reacted to a post in a topic:
Triton Cross Section by ChadB (Chach_86) - FINISHED
-
Macika reacted to a post in a topic:
Triton Cross Section by ChadB (Chach_86) - FINISHED
-
Macika reacted to a post in a topic:
Triton Cross Section by ChadB (Chach_86) - FINISHED
-
Macika reacted to a post in a topic:
Triton Cross Section by ChadB (Chach_86) - FINISHED
-
Macika reacted to a post in a topic:
Triton Cross Section by ChadB (Chach_86) - FINISHED
-
Macika reacted to a post in a topic:
Triton Cross Section by ChadB (Chach_86) - FINISHED
-
Landlubber Mike reacted to a post in a topic:
USS Curtis Wilbur (DDG-54) by patrickmil - FINISHED - I Love Kit - 1/200 - PLASTIC
-
ChadB reacted to a post in a topic:
USS Curtis Wilbur (DDG-54) by patrickmil - FINISHED - I Love Kit - 1/200 - PLASTIC
-
ChadB reacted to a post in a topic:
USS Curtis Wilbur (DDG-54) by patrickmil - FINISHED - I Love Kit - 1/200 - PLASTIC
-
mtaylor reacted to a post in a topic:
USS Curtis Wilbur (DDG-54) by patrickmil - FINISHED - I Love Kit - 1/200 - PLASTIC
-
 Hey Patrick, I'll be following along on this one! I served on the USS Barry (DDG-52) and had a friend on the Curtis Wilbur back in 99-03. We both worked on the AN/SPY-1D radar- those things that look like giant stop signs under the bridge lol. It looks like a fantastic kit! Chad
- 97 replies
-
- 6
-
-
- Curtis Wilbur
- I Love Kit
- (and 2 more)
-
Only half a year late to the party, but the finished product looks amazing, Justin! Bravo!
-
100% agree with Mark. There's no reason you won't be able to make the display case also. Worst case you give it a whack and it doesn't work out, right? Glad the build log is helping... your comments are the exact reason I spent so much time making it so detailed. Keep up the amazing work!! Chad
-
Awesome work!!!!! Your cross section looks absolutely fantastic!!! 👏👏👏👏👏 Chad
-
Brig Eagle 1814 by bdgiantman2 - 1/48
ChadB replied to bdgiantman2's topic in - Build logs for subjects built 1801 - 1850
Hey Brian, Looks like a good start! I am pretty sure I have the drawings of my transom at home that I can share with you if it would help. Even if I don't I could take some measurements to help you out! I don't think I'd want to go through the process of trying to figure that all out again... Chad -
ChadB reacted to a post in a topic:
HMS Triton by Justin P. - FINISHED - Scale 1:48 - Cross Section
-
ChadB reacted to a post in a topic:
HMS Triton by Justin P. - FINISHED - Scale 1:48 - Cross Section
-
ChadB reacted to a post in a topic:
HMS Triton by Justin P. - FINISHED - Scale 1:48 - Cross Section
-
ChadB reacted to a post in a topic:
HMS Triton by Justin P. - FINISHED - Scale 1:48 - Cross Section
-
Nice looking jig and a very good start to your frames! You will find that the tolerances for your frames shouldn't be a huge issue on this build since the frames are all mostly square. I think as long as you can't see the black lines of the edge of the frame drawing then you have left enough. It can't be said enough though- if in doubt leave more! Chad
-
ChadB reacted to a post in a topic:
HMS Triton by Justin P. - FINISHED - Scale 1:48 - Cross Section
-
Good luck Justin! Looks like you are off to a good start! Don't be afraid of cutting out frames- it's not too bad. The key is finding the sweet spot where you don't take too much 'extra" off of the frame piece but don't leave so much that you are fairing for days. I'll be following along! Chad
-
ChadB reacted to a post in a topic:
HMS Triton by Justin P. - FINISHED - Scale 1:48 - Cross Section
-
Beautiful work as usual! I love your idea for making carriages! Could you go into a little more detail about how you made the initial block in the first photo? Thanks! Chad
-
ChadB reacted to a post in a topic:
H.M.S. Triton Cross Section by Ainars Apalais - 1:48
-
Brig Eagle 1814 by ChadB
ChadB replied to ChadB's topic in - Build logs for subjects built 1801 - 1850
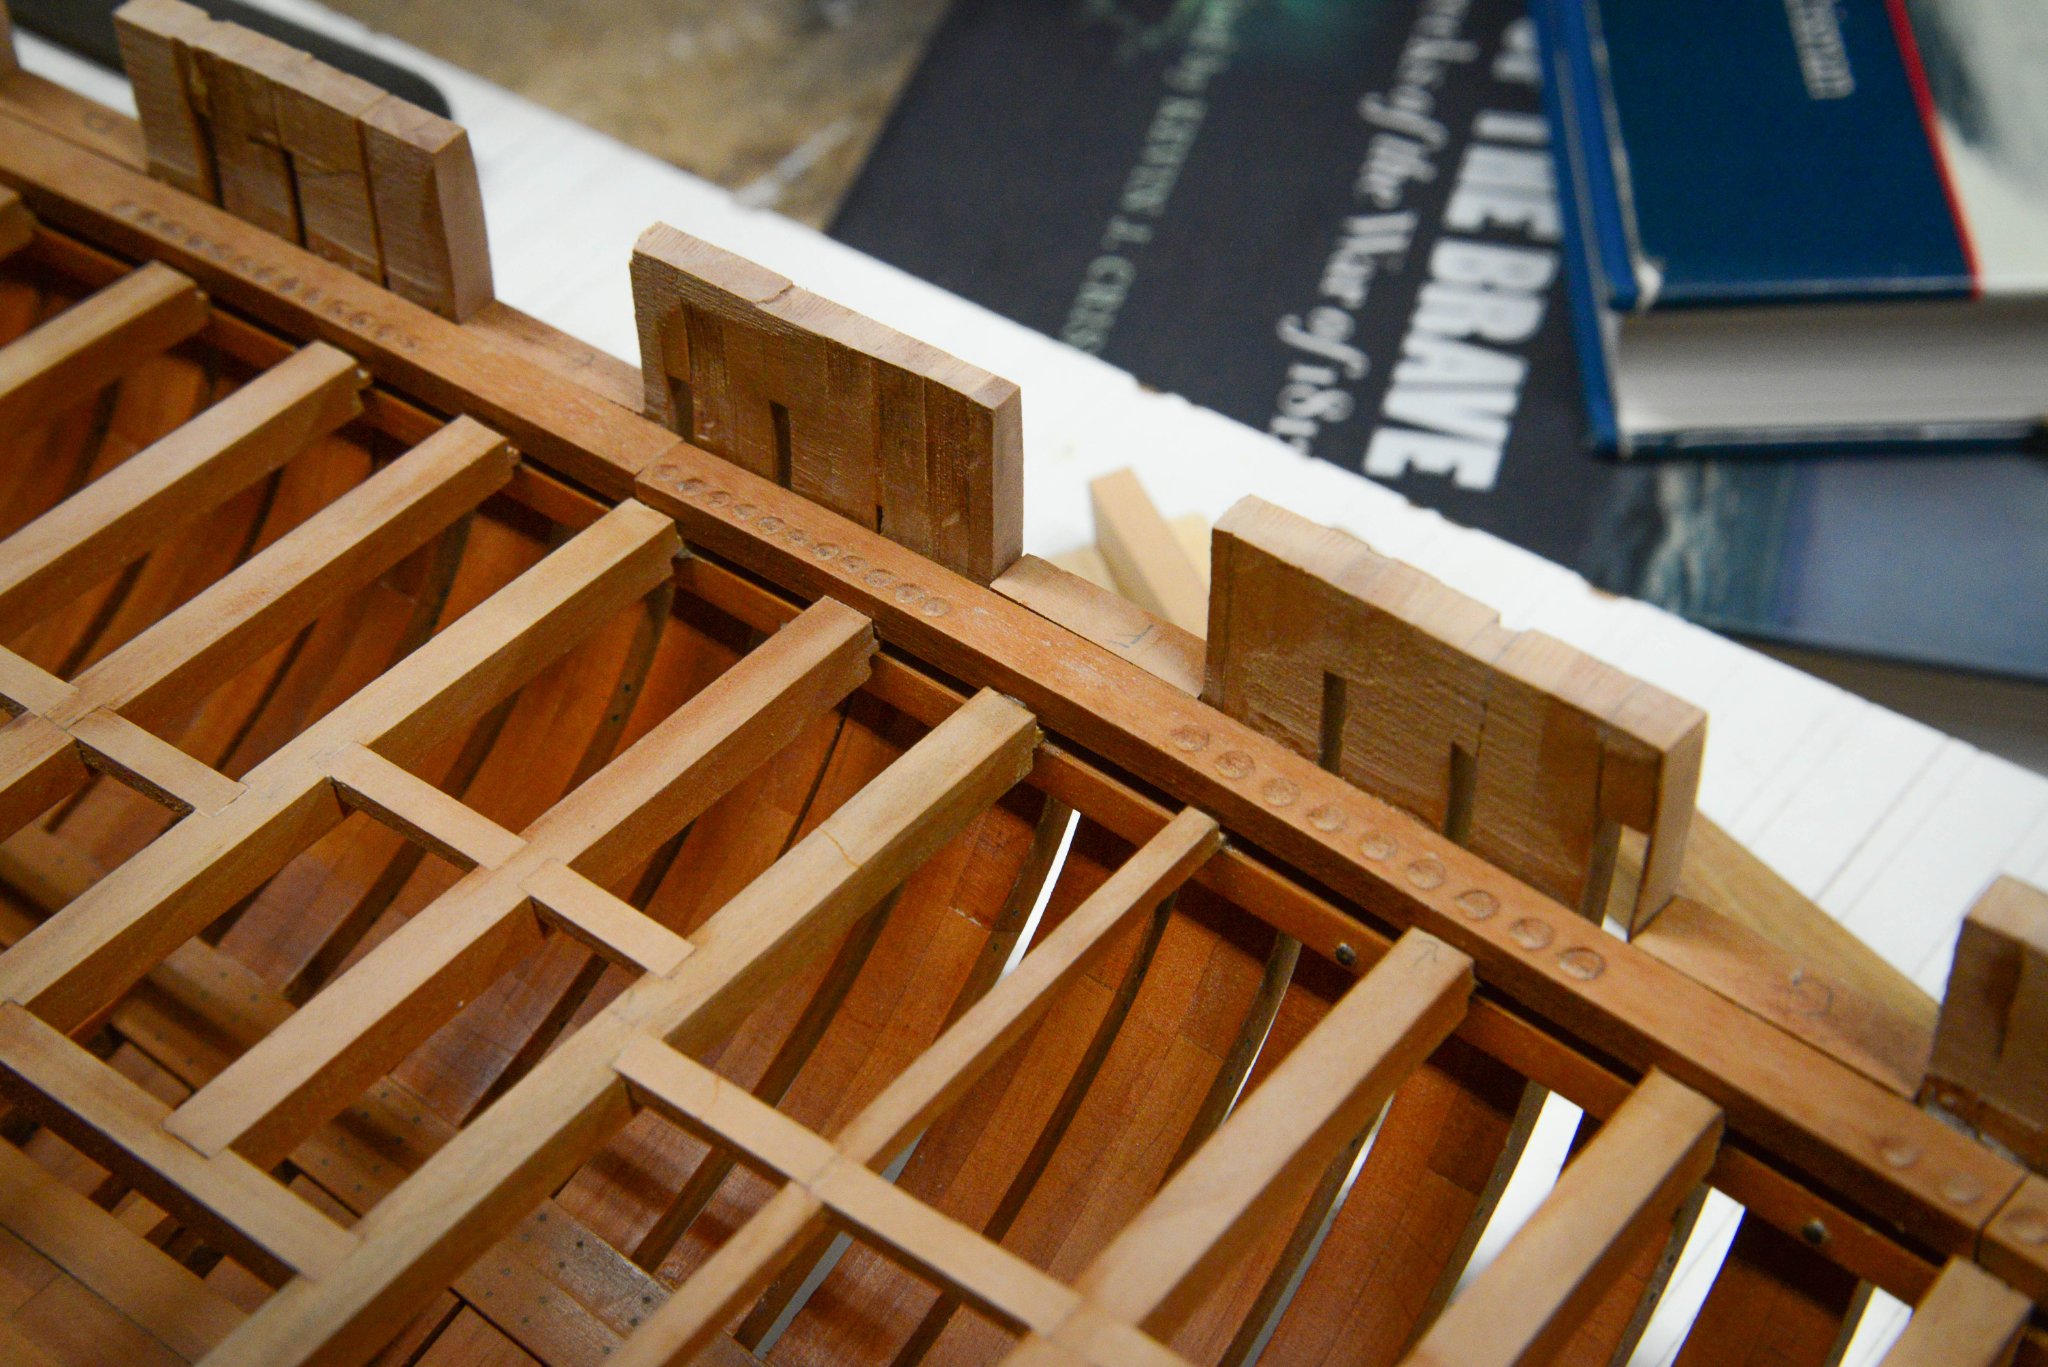
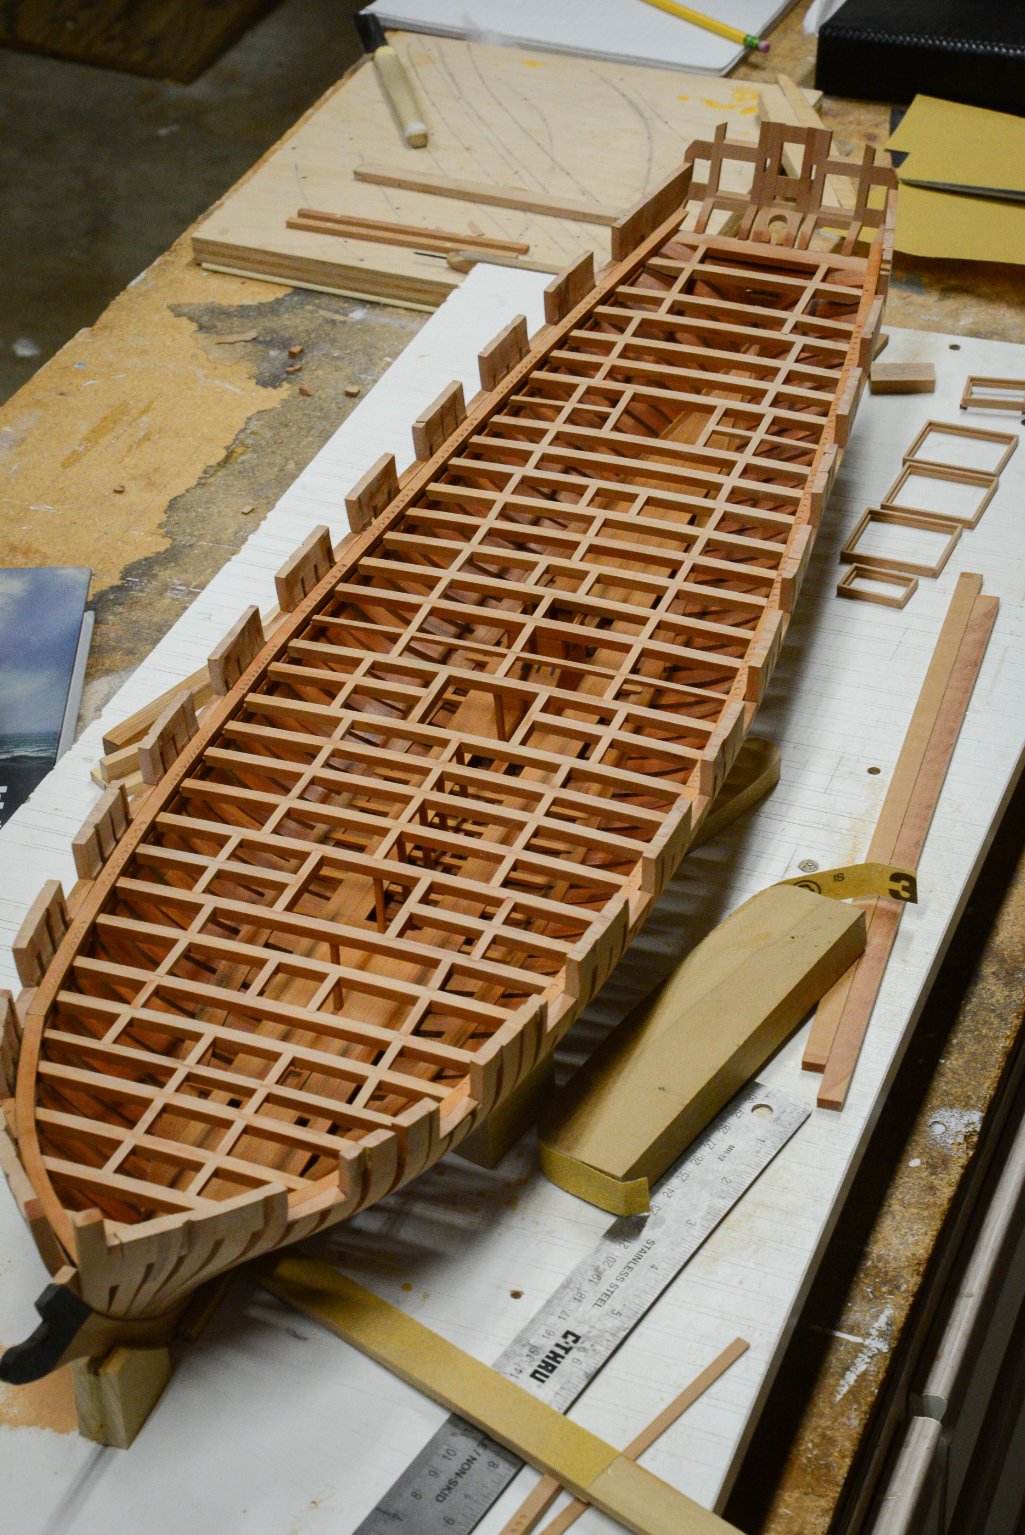
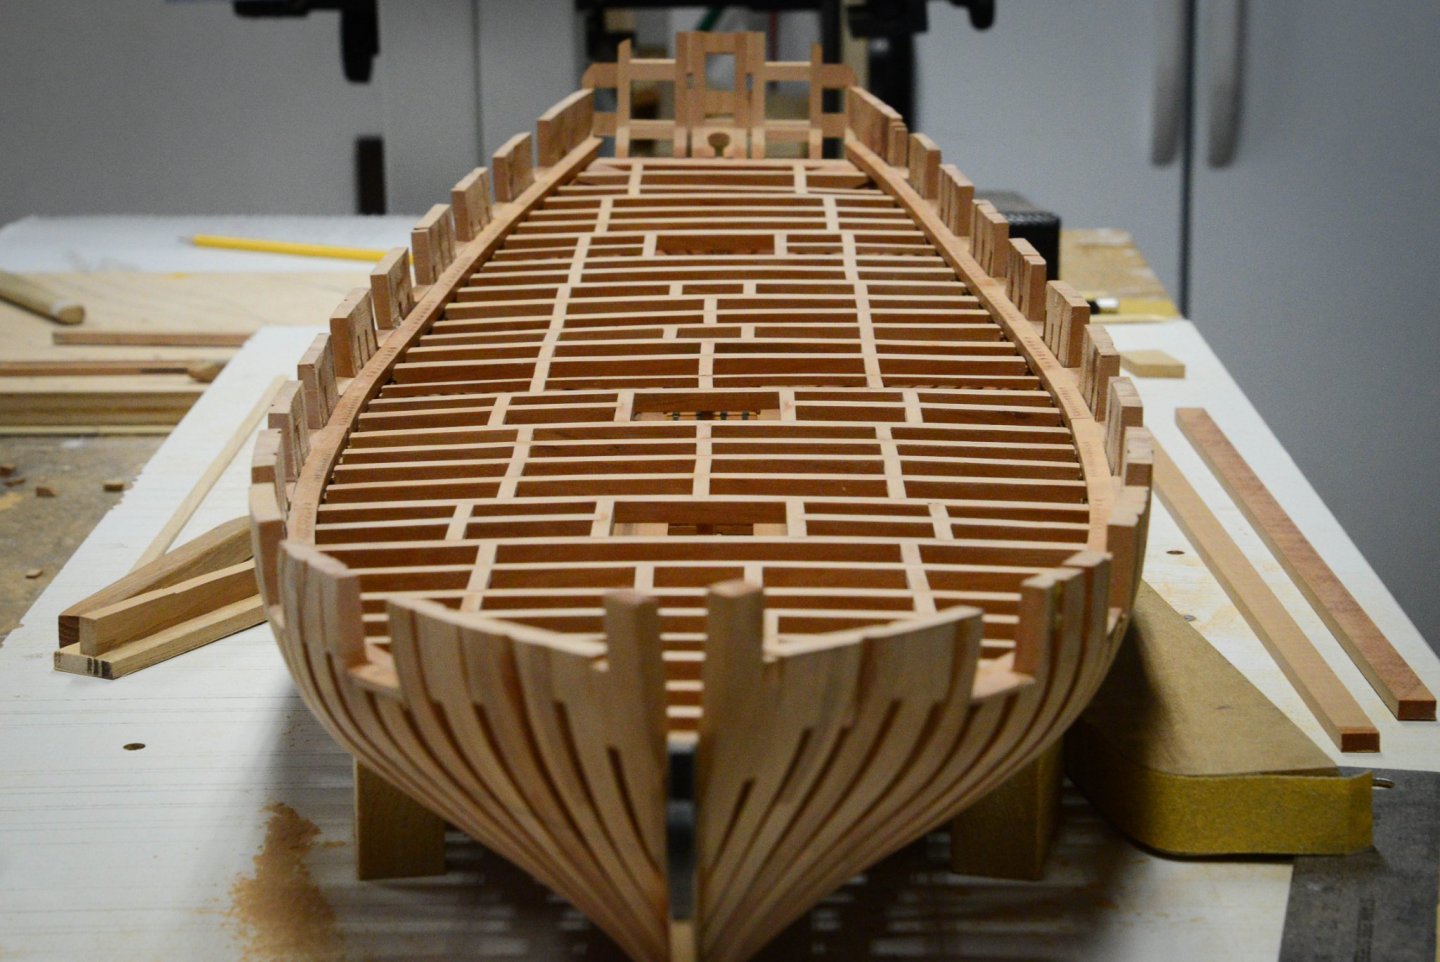
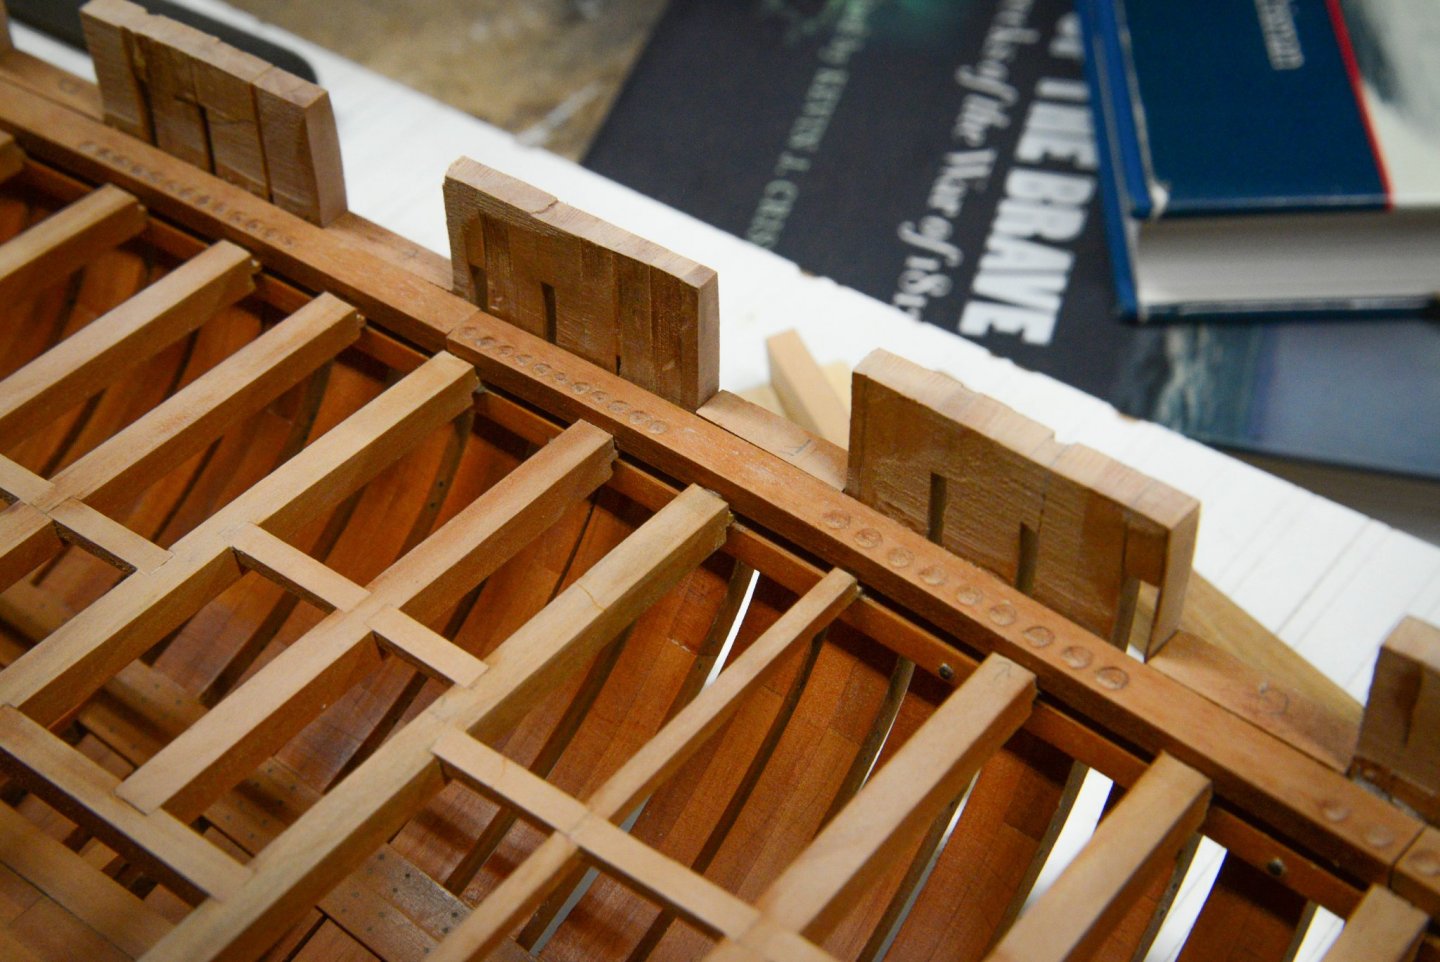
Johann, Joe, John- thanks for the kind words! Not a huge update, but an update nonetheless. Waterways have been installed- they ended up being more of a pain in the butt than expected because of the need to drill out the cannonball divots and making them neat. I feel that similar to treenails, it would be easy to make them look incredibly sloppy if not lined up and even. I think I got it where I'm happy with it considering I don't have a mill. In the end I also am not a fan of cutting down the deck beam ends into a tab to fit between the clamp an waterway like I did. The idea is to make things easier but I don't know if it accomplished that and also made some of my beams a bit less sturdy. In the future I would notch the clamp and waterway as was done in the original ship. I also cut down my frame tops. When I made my frames I didn't leave enough wiggle room on top so a few were a bit under the correct height for the rail. My solution was to cut them all down 5mm below the rail height which is why they look a bit low. I will add a 5mm cap along the top that will just get covered up by planking and I figure make things a little more rigid anyway. Thanks for looking in! Chad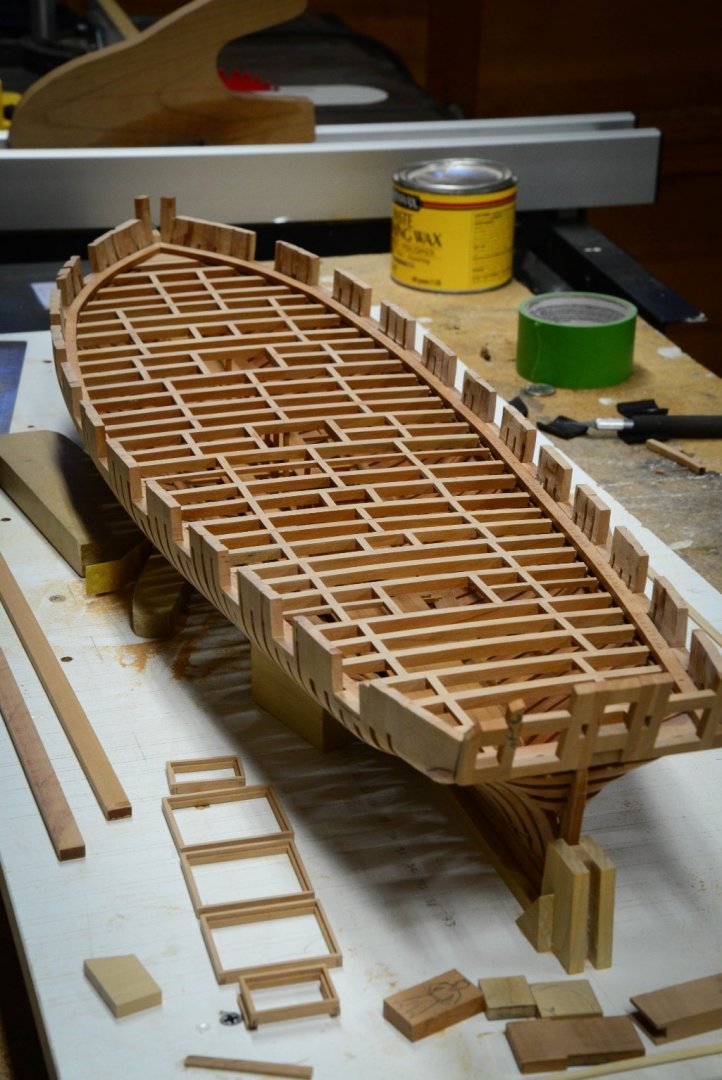

- 30 replies
-
- 11
-
-

-
Brig Eagle 1814 by ChadB
ChadB replied to ChadB's topic in - Build logs for subjects built 1801 - 1850
Schooners- thanks for checking in! Sorry I am just seeing your message now as I have been off the forums pretty much since my last update and nose down in decking or just enjoying the summer! Now that the rain has arrived back in the PNW I will most likely be getting back to work! JpR62, stuglo- thanks for the kind words and for checking in! Not a huge update and kind of a boring photo from my phone but deck framing has been completed. I am currently working on waterways. -Chad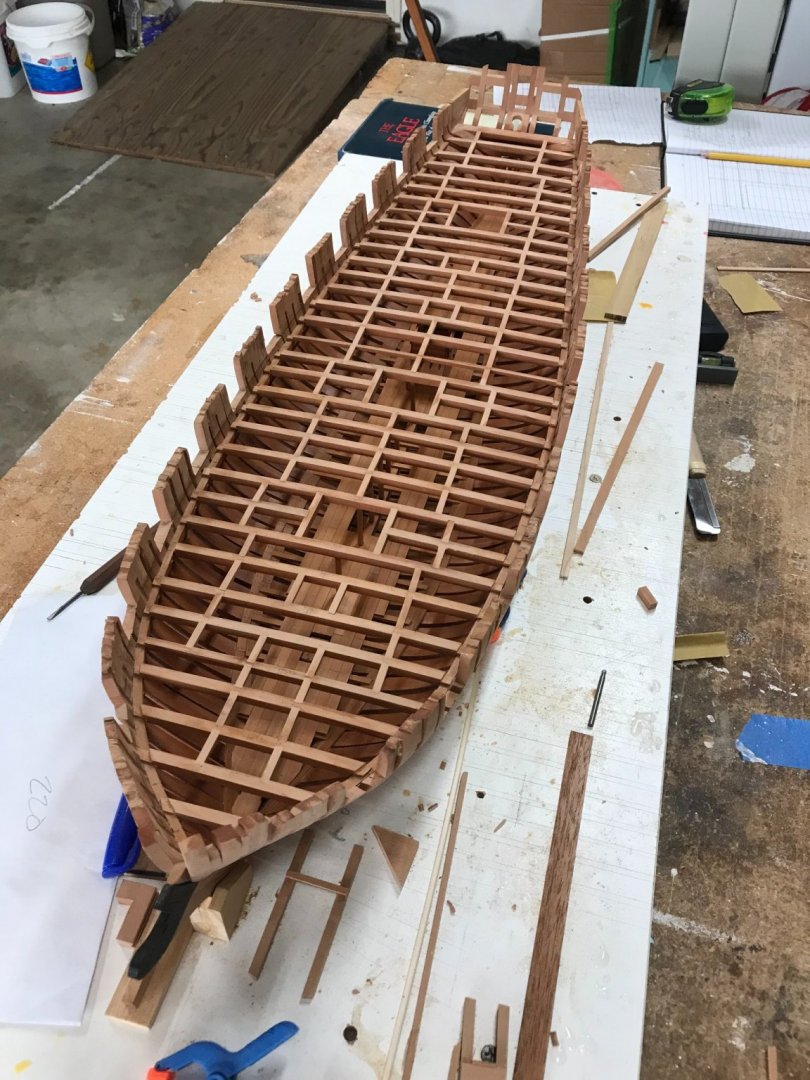
- 30 replies
-
- 13
-
-
ChadB reacted to a post in a topic:
Scroll Saw or band saw... help me pick the right one.
-
Because if you are scratch building framed models sheets are the best way to cut frame pieces. On a fully framed ship you will have hundreds of curved futtocks and floors, and spooning the patterns together on a sheet will create much less waste than using, say, a one inch wide sheet.
-
I've toyed around with the idea of doing this for quite some time and would love to do it when my kids are older and moving on with their lives (right now I want to give them all the time I can). I've slowly started tooling up for it and have been milling my own wood now, but want to get better because if I ever did it I'd want it to be the quality of the days of HobbyMill. I also have the added of benefit of having Gilmer Woods 20 mins from my house which would let me handpick the product. The major downside is that so far my back-of-the-napkin figures show that it probably leans more towards a labor of love more so than a profitable business. I wouldn't be looking to quit my day job but the time put in is time not modeling. Chad
-
Looks great so far! From the looks of it you seem to have the plank bending down! Chad
-
Looks great! In my opinion, the quality of your work has grown quite a bit throughout your cross section and full build! Chad
- 93 replies
-
- 2
-
-
- Triton
- first attempt
- (and 1 more)