Charley54
-
Posts
83 -
Joined
-
Last visited
Content Type
Profiles
Forums
Gallery
Events
Everything posted by Charley54
-
Hi Meredith, glad you stopped in. You are right. So many builds, so little time. My follow list is growing and growing. What an amazing way to learn new skills. It always feels good when I select "content I follow" and I see new post's. Something to look forward to. I have been framing the last few days. I will post some pictures soon. Sanding is taking forever. I have to take breaks otherwise I find myself sanding like a madman. Every now and then I will pull out the Dremel and go at it but my control is not the best so I get nervous and back off. It takes what it takes I guess. It looks more like a ship everyday though, thats the payoff
-
Thanks John. Im pretty happy with the whole thing so far. Rowan : In hindsight I agree completely with Augie and Richard. I will go much easier with the pencil when I do the main deck. I think its fun to experiment- so trying the charcoal pencil was good experience. I think in the future I will make a few test runs before I commit to a course of action. charley
-
Hey Larry, I will be following along. Nice work. Niagra is on my list of choices for my next build. Its a ways off of course but I just like the way it looks Charley
-
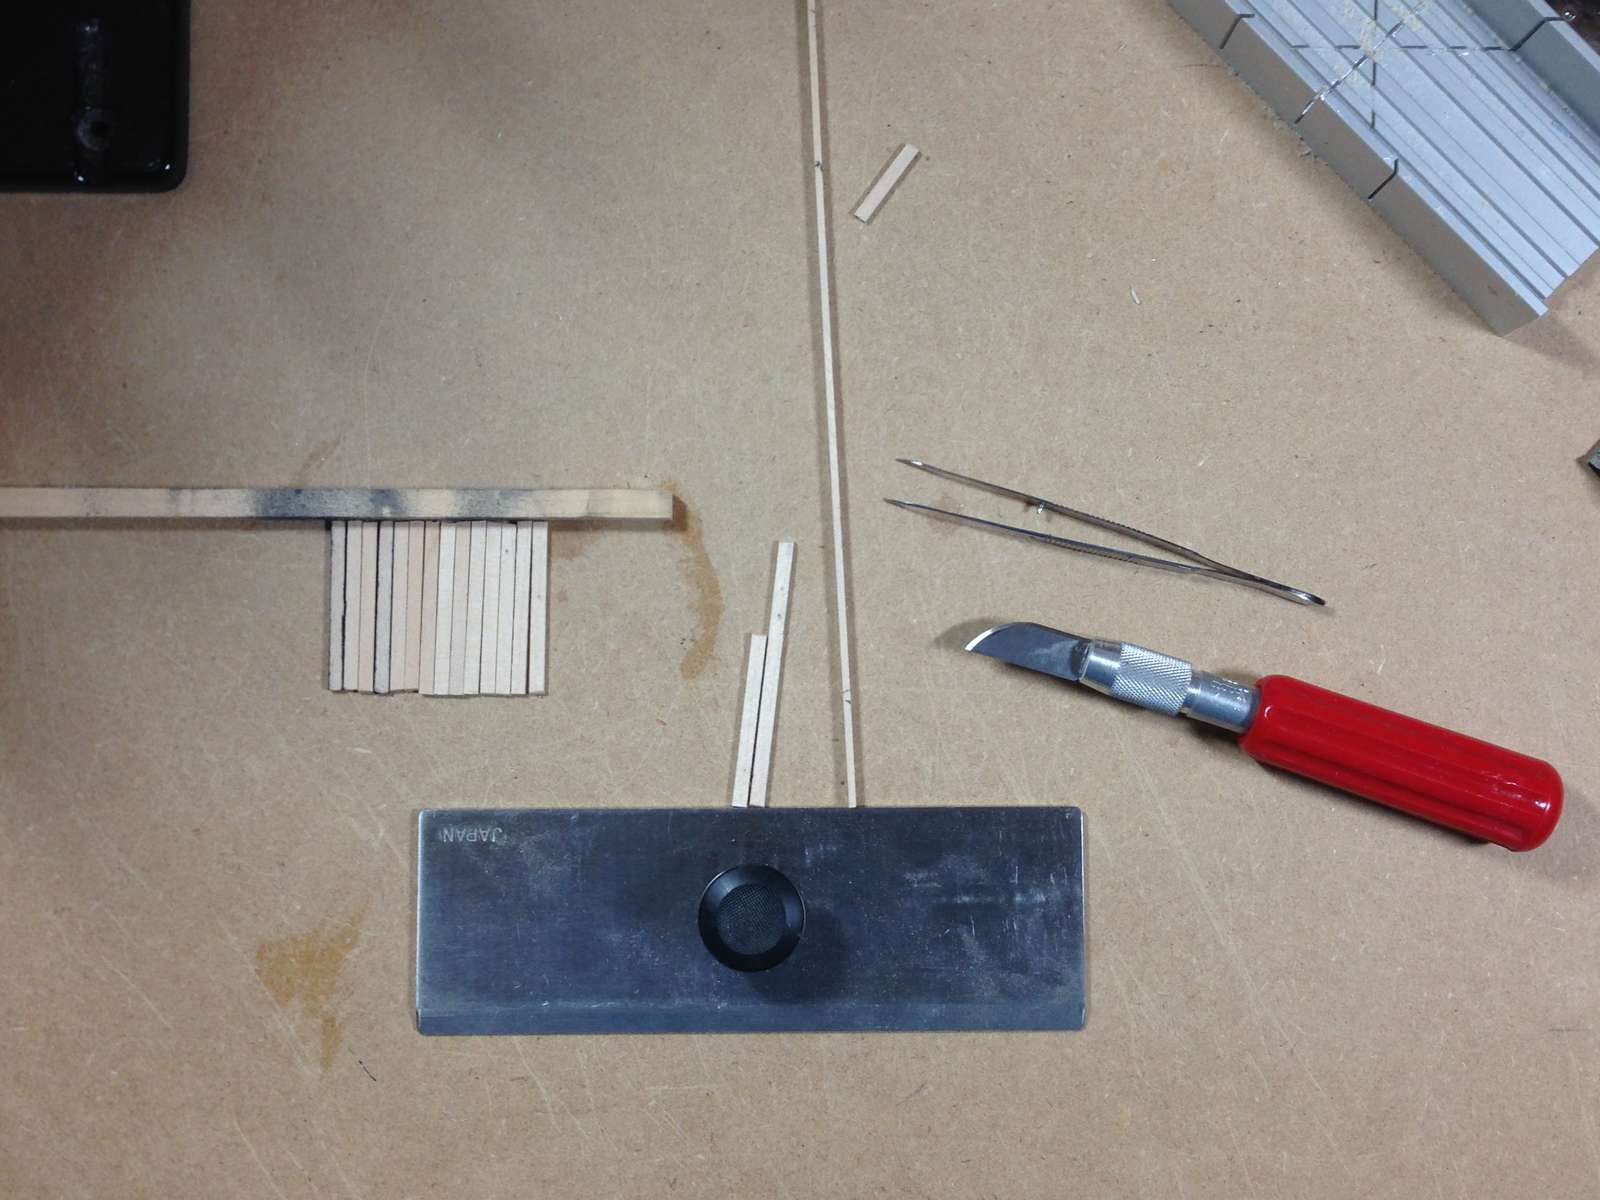
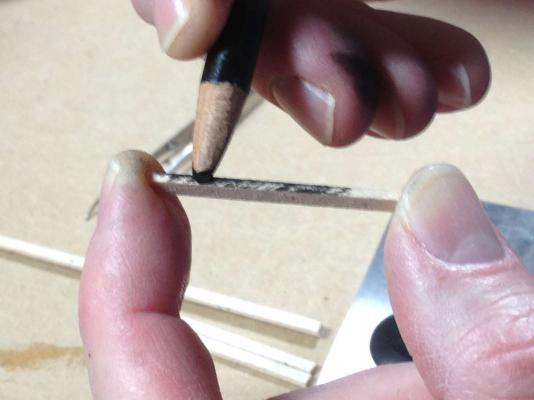
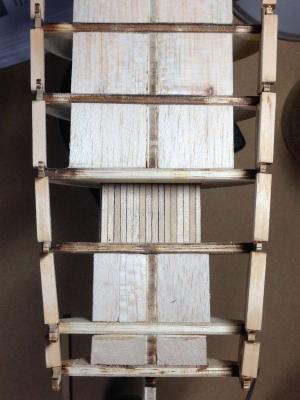
Next I got to work planking the lower deck. I trimmed some 1/16 by 1/8 strips to the approximate size. I didnt see any reason to be exact since the ends of the planks don't seem to show. Then, I messed up. The directions say to run a pencil over the edge to simulate the caulking. Well I had this charcoal pencil, that I use for weathering on the plastic builds that I like to do. So, I thought, hey, that will work. It turned out to be not such a good idea. The charcoal dust is too fine and got all over the place, which was not the best outcome in this case. It made the deck look a little dirty and sanding of course just makes it worse. Anyway, lesson learned. Everything went together fine and I had completed my first deck. I havent decided about the stain yet. I have the Golden Oak that Chuck used but I saw a can of stain at Hobby Lobby that was called Driftwood. How cool is that. I think I might try it. I like the light gray deck idea so I am going to grab it and give it a try. I'll post a picture when I am done.

-
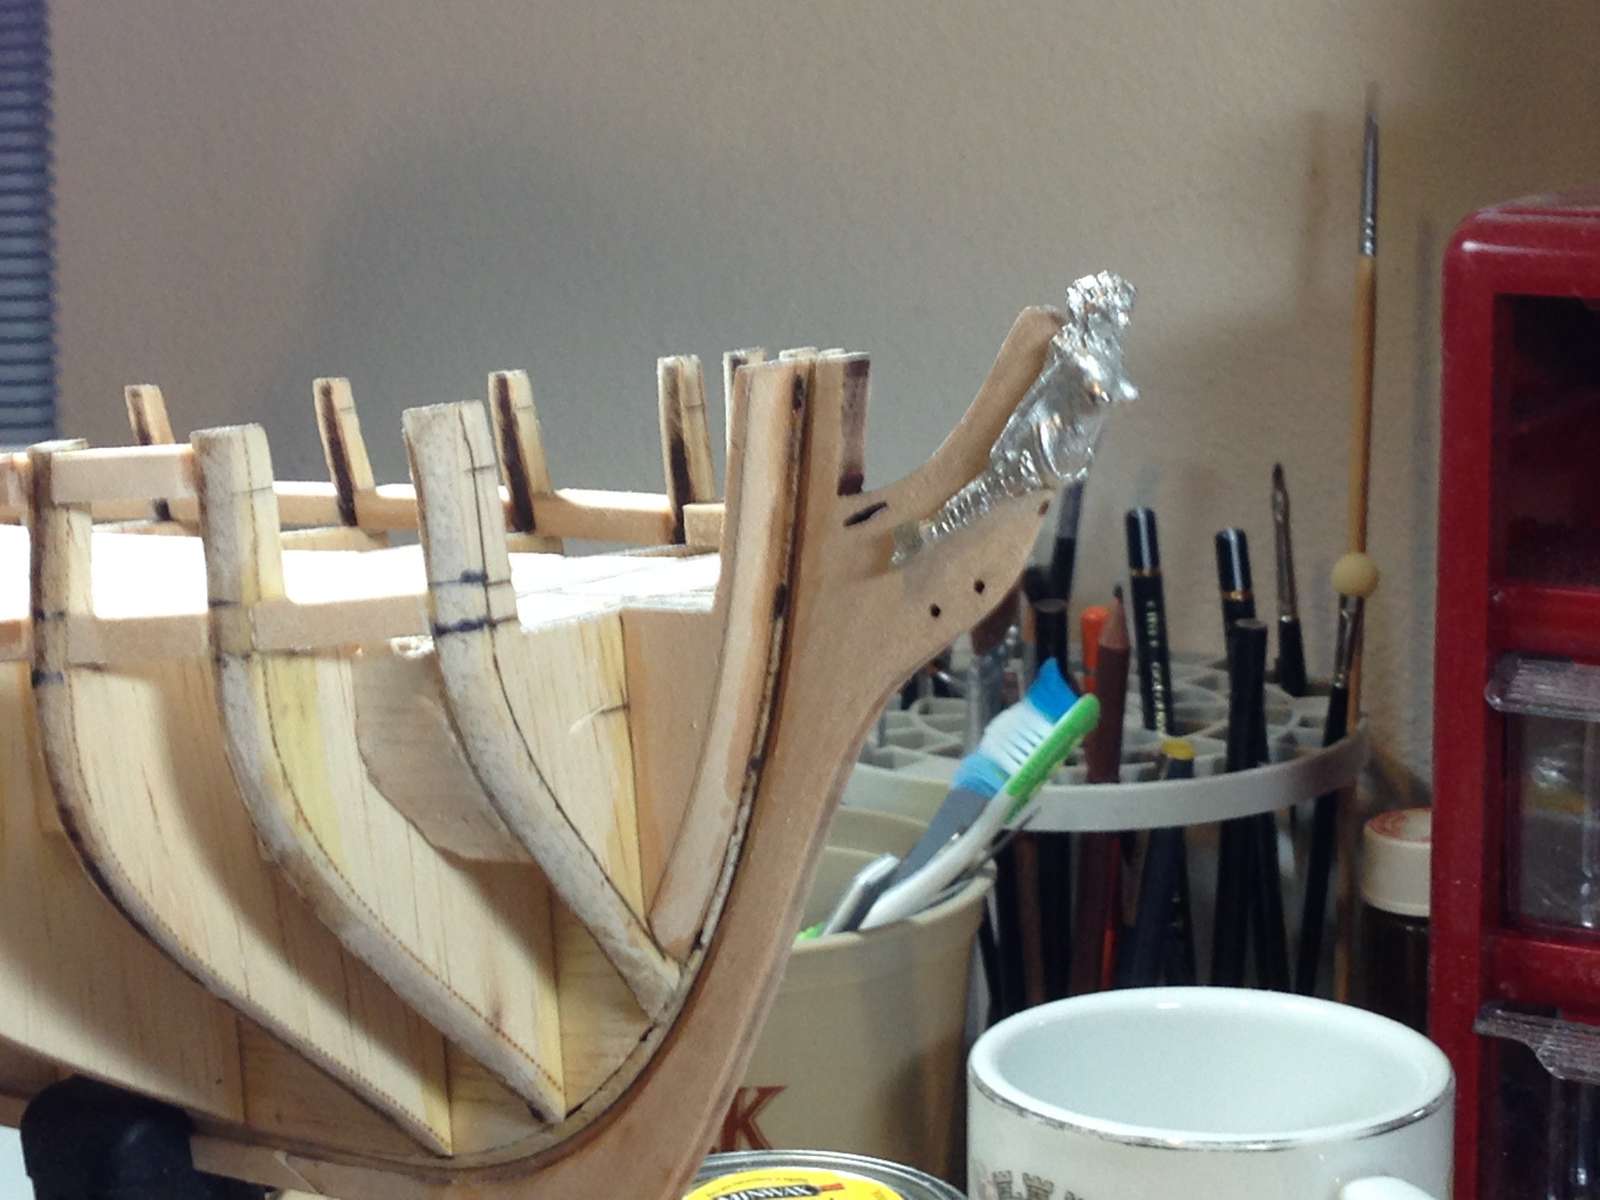
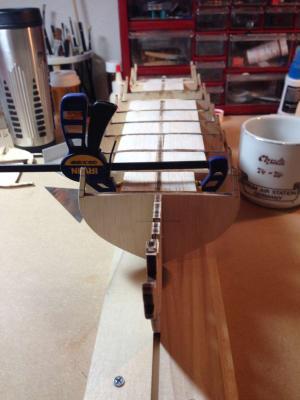
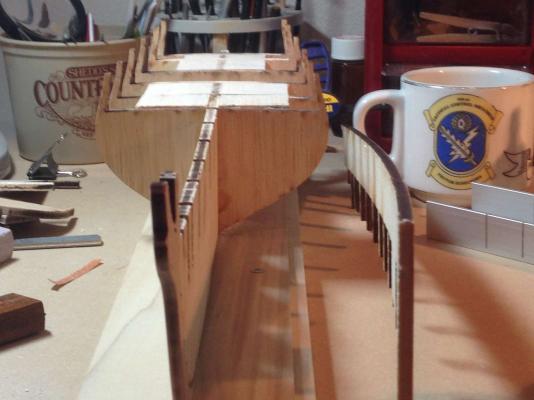
I decided to take a short break from framing yesterday to correct a couple of missed steps. First, I tapered the stem so the nice lady has a place to "take the air". I am still experimenting with photos. Right now I am having better luck with my phone camera than with my Nikon. I never could figure the darn thing out. Anyway I hope to improve depth of field and focus as soon as I take the time to read the directions.

-
Glad your here, John. Now, its on with the show
-
Hey guys. Glad you stopped by. Plenty of room here. I am working on a little deck planking as we speek. I will have more pictures soon. Charley
-
Get better Rowan, I got my build log started yesterday and Im looking forward to seeing yours. Charley
-
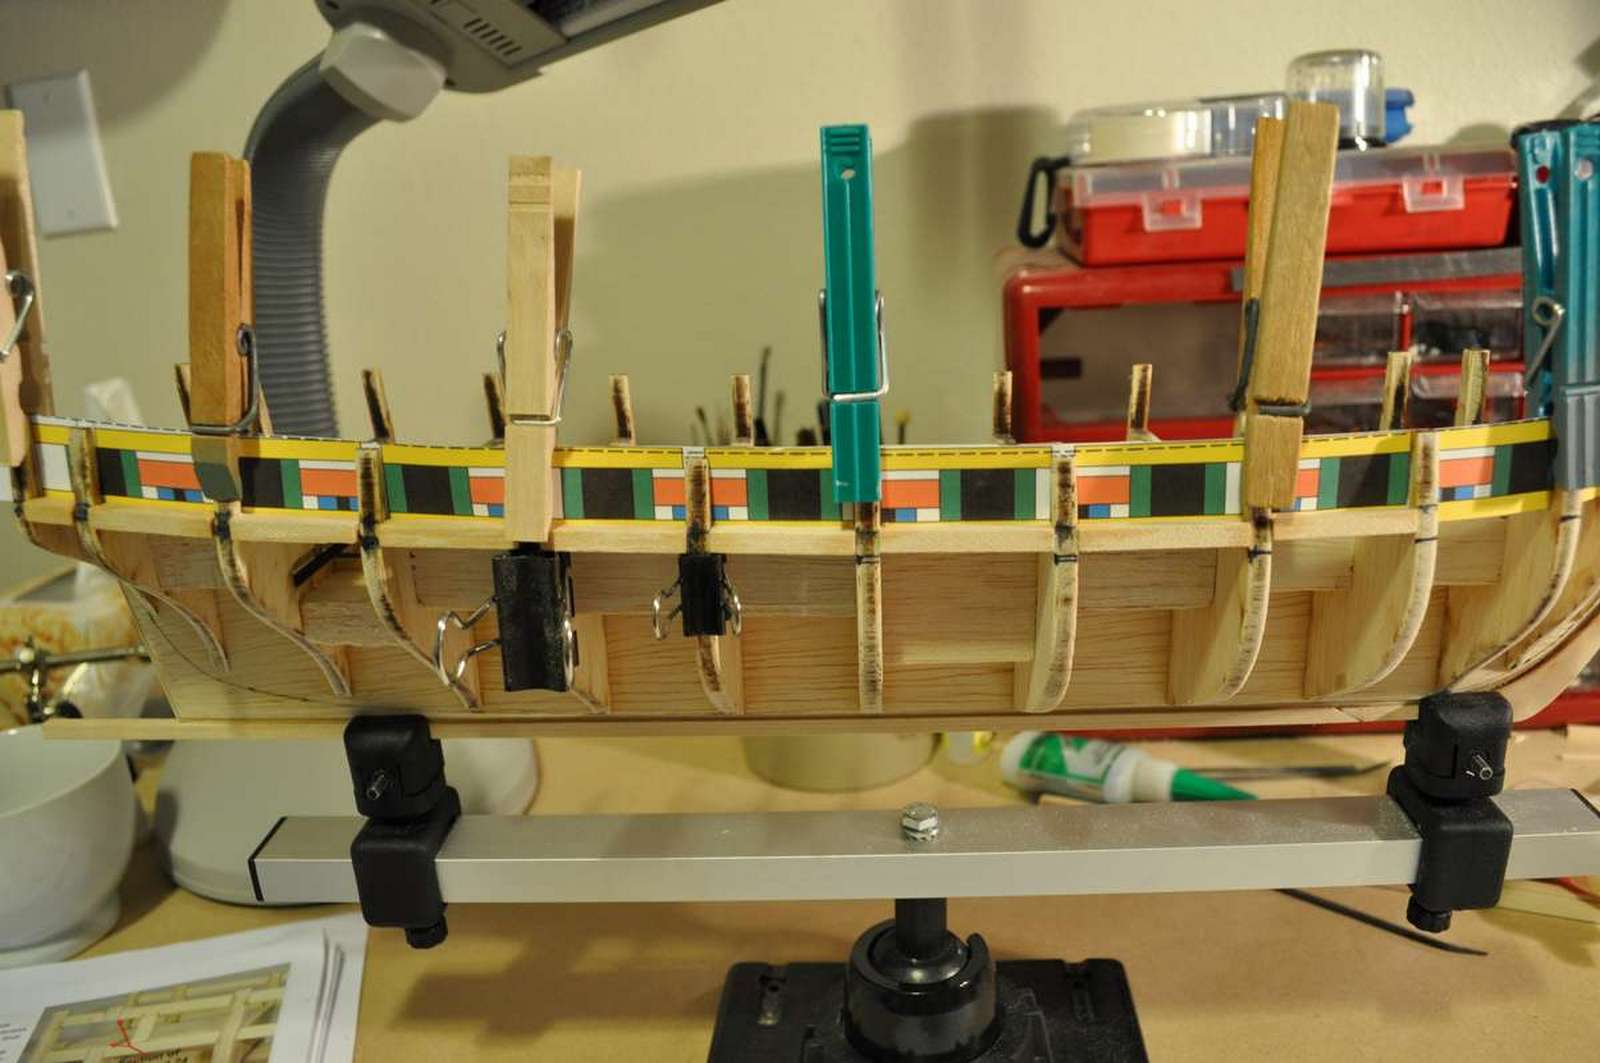
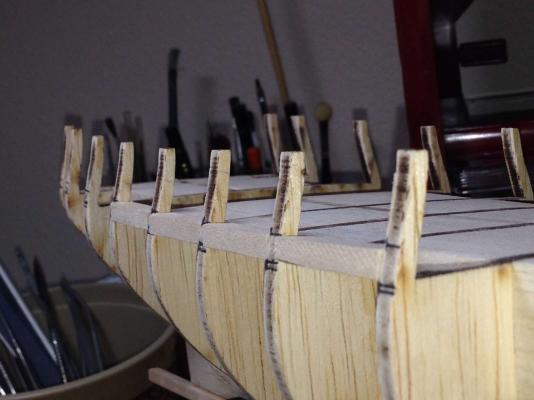
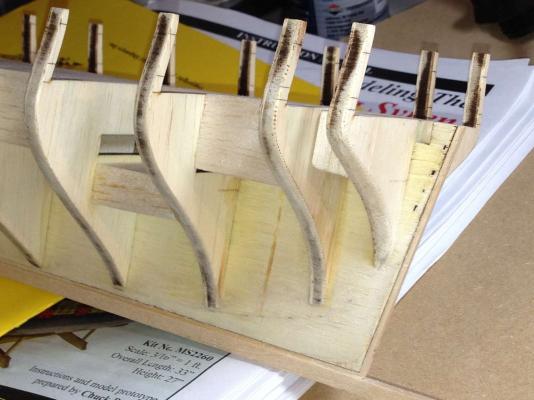
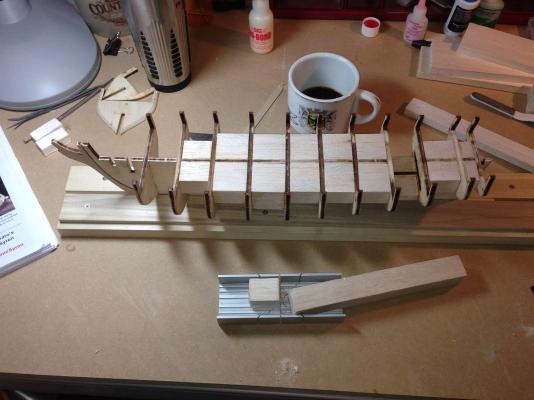
After checking everything with a batten and establishing what I think to be a smooth run, it’s time to start framing I find it difficult to keep everything lined up and in the correct plane
-
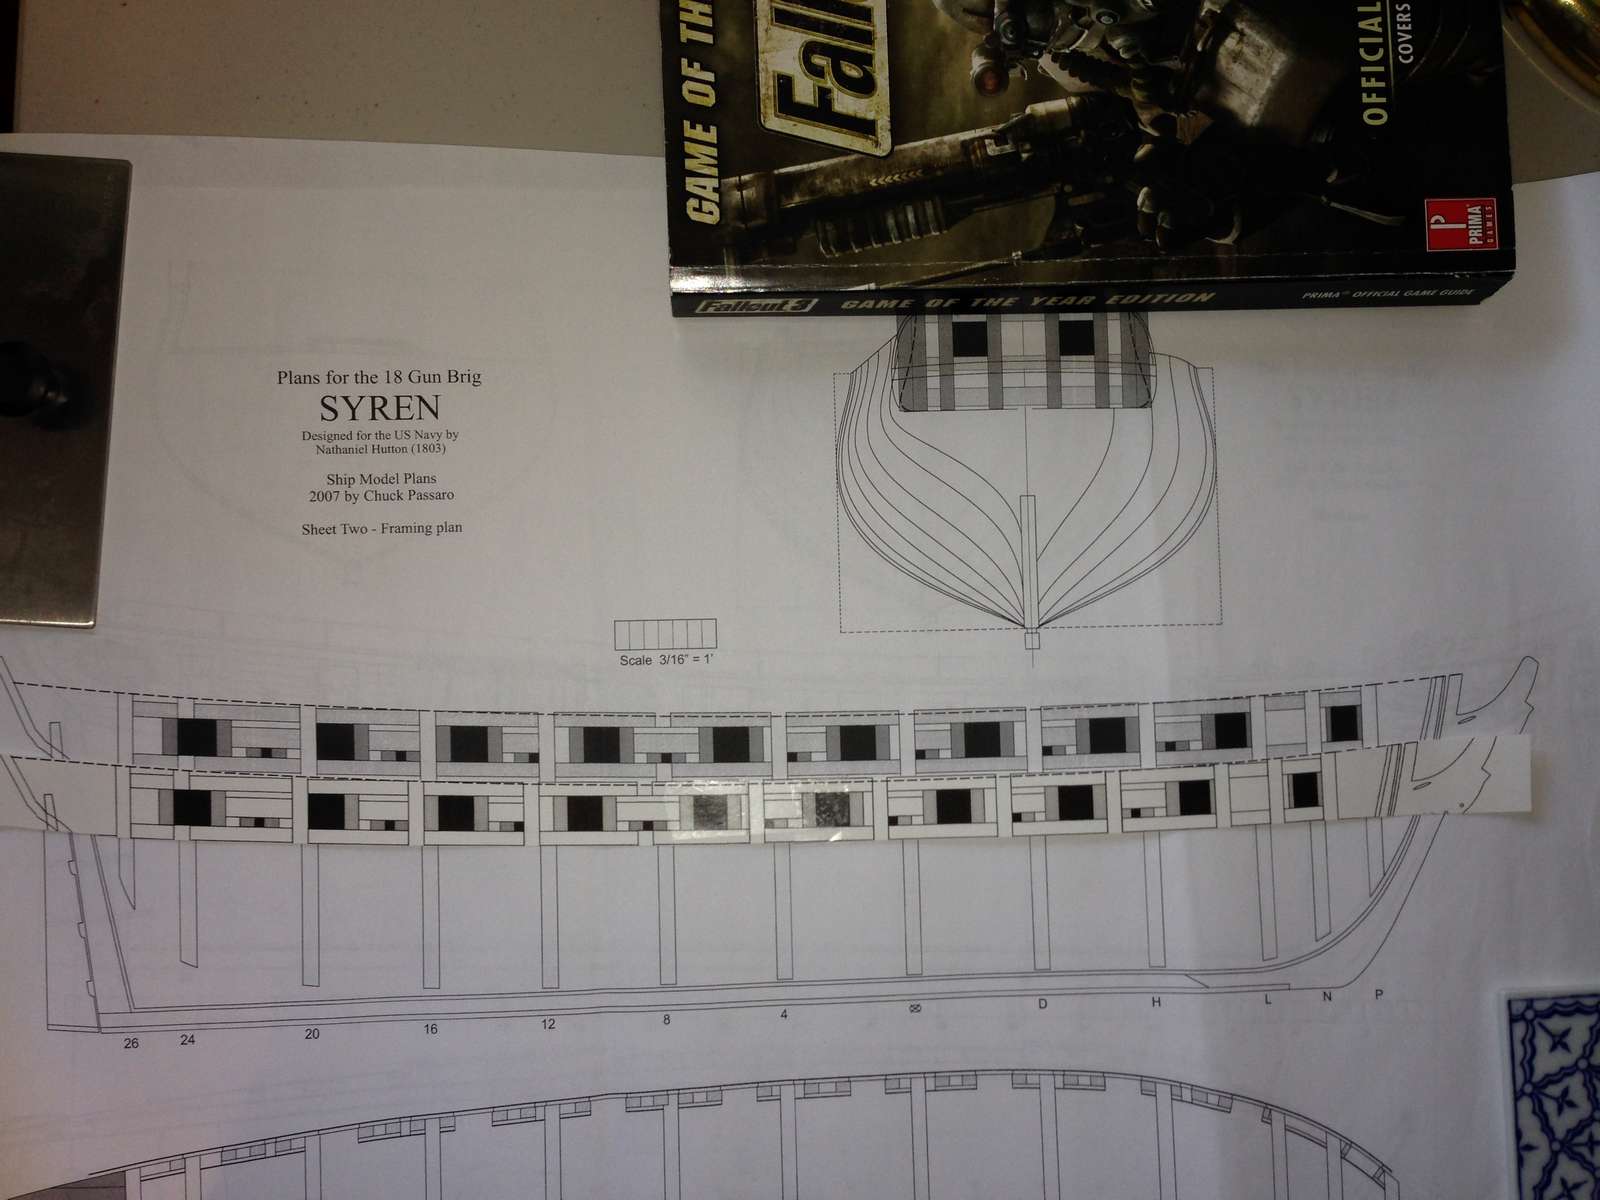
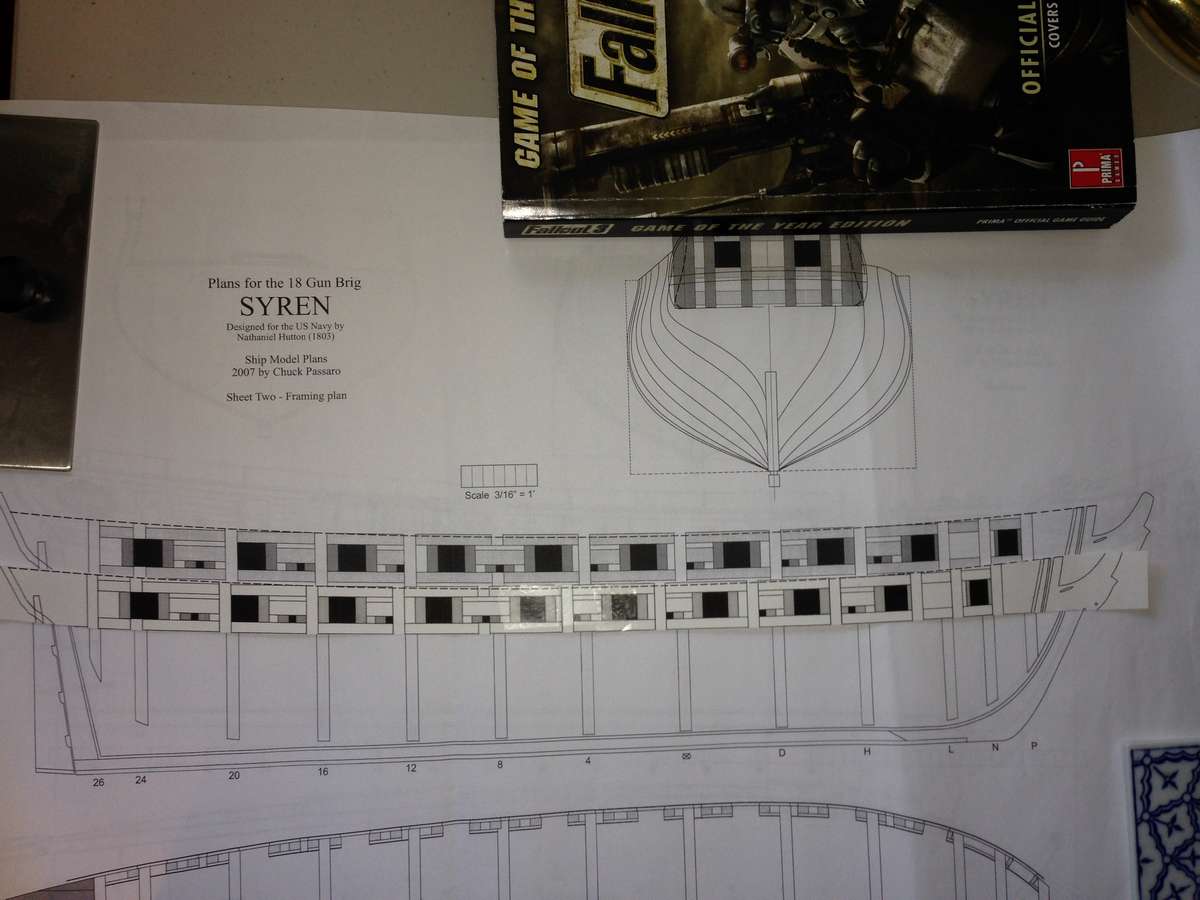
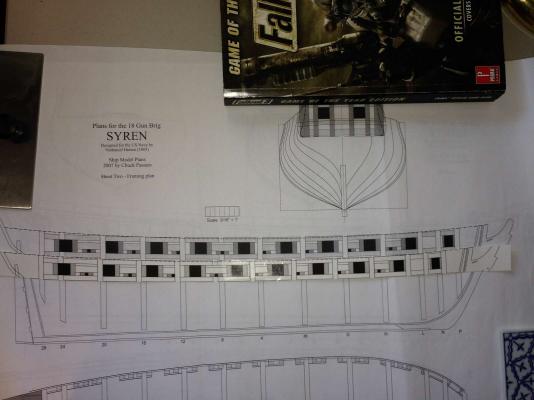
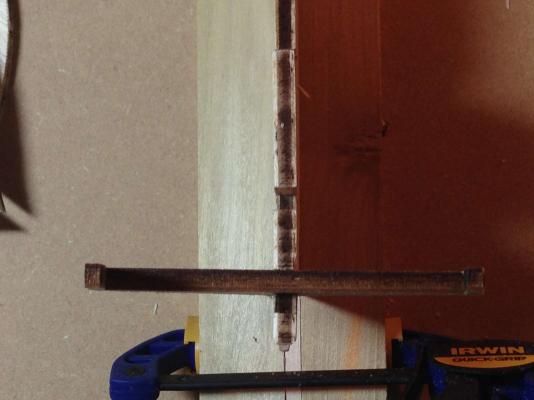
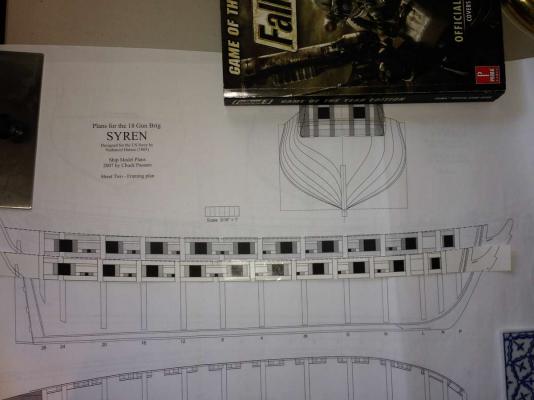
On to chapter 3 It seems the framing templates sent to me from ME were somehow out of scale. I was more than a little anxious when I laid them on my hull for the first time and nothing lined up. I spent some time scratching my head and finally asked for some help. Chuck was kind enough to send me some new templates in the correct scale as PDF files and, after trying these, everything amazingly looked like it was pretty close to where it should be. Picture me happy!
-
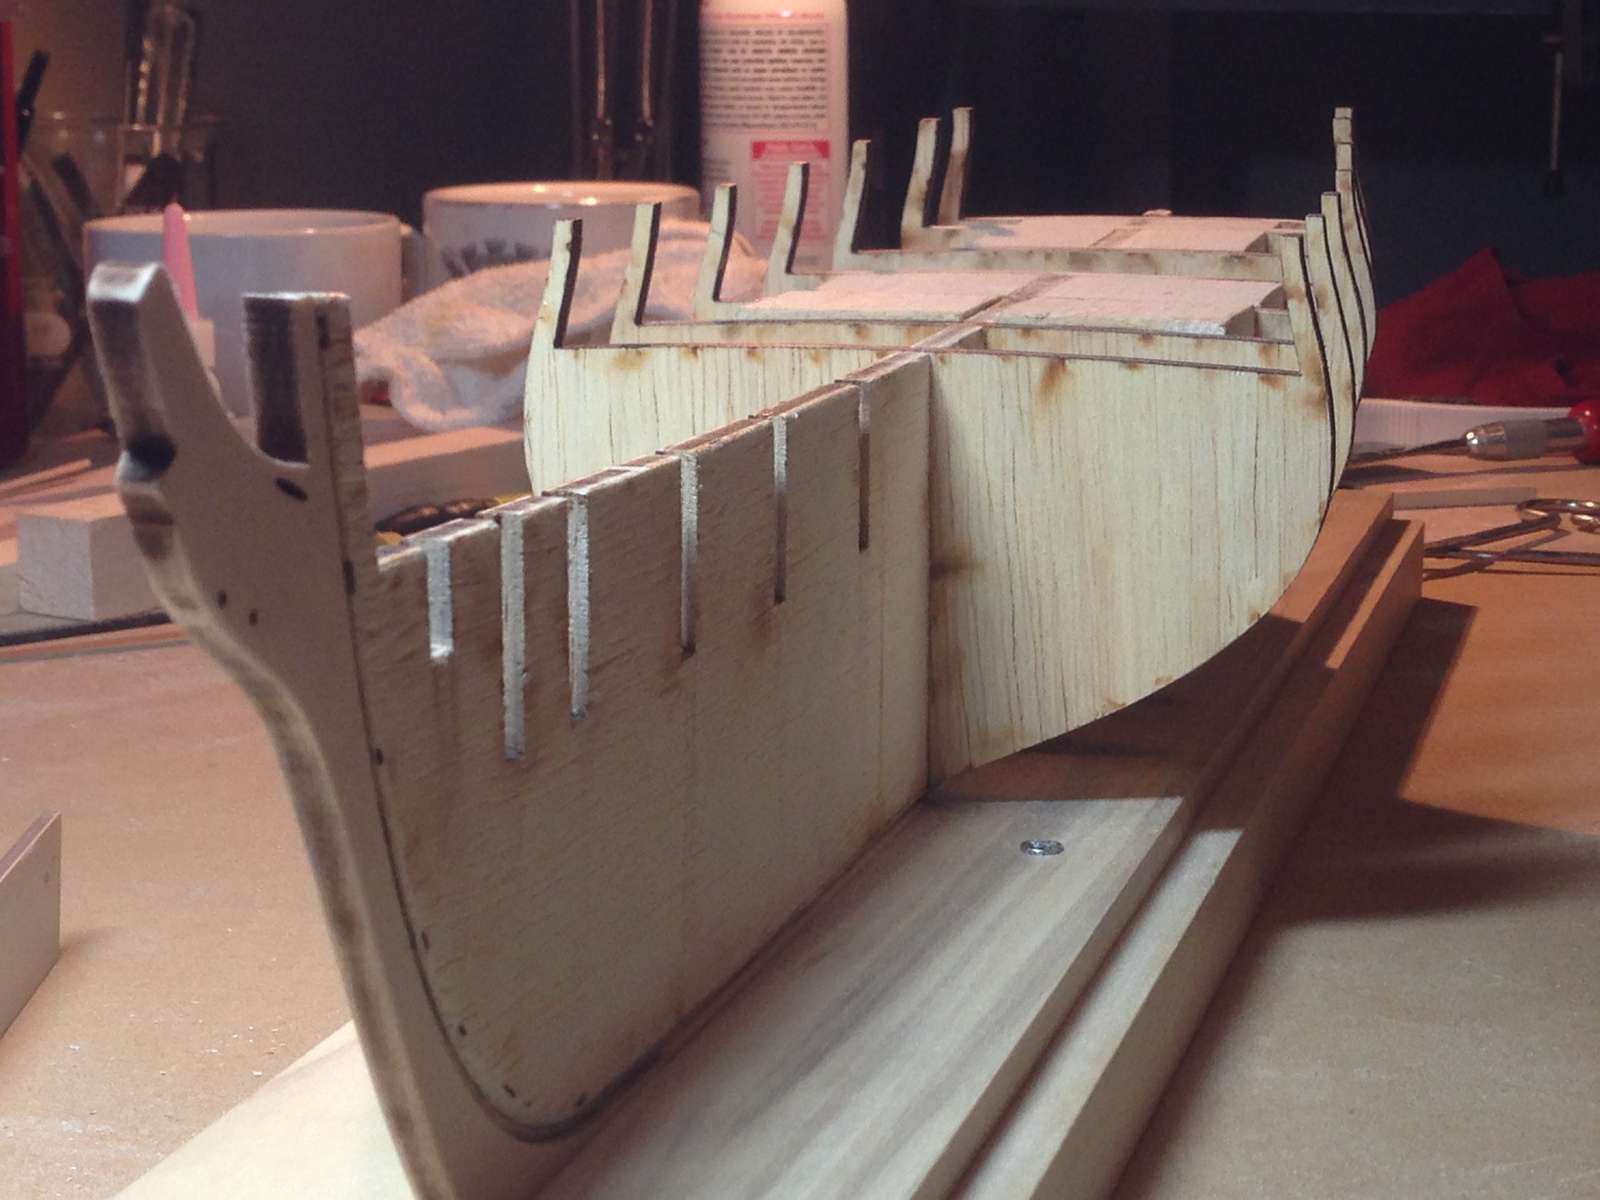
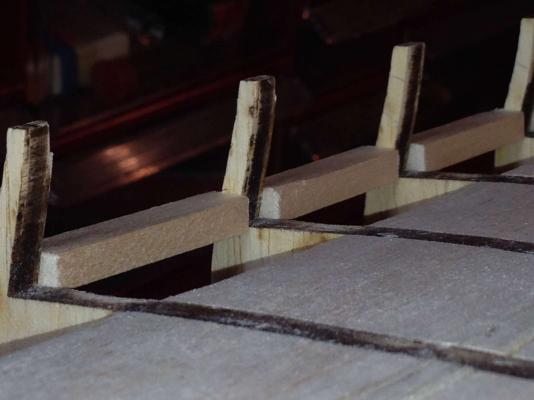
Doing some fairng checking with a plank as I go. Almost caught up to actual build state.

-
Thanks Augie and Thomas I refer to both of your builds often. Chuck, you are correct. I forgot all about tapering the stem.Thanks Charley
-
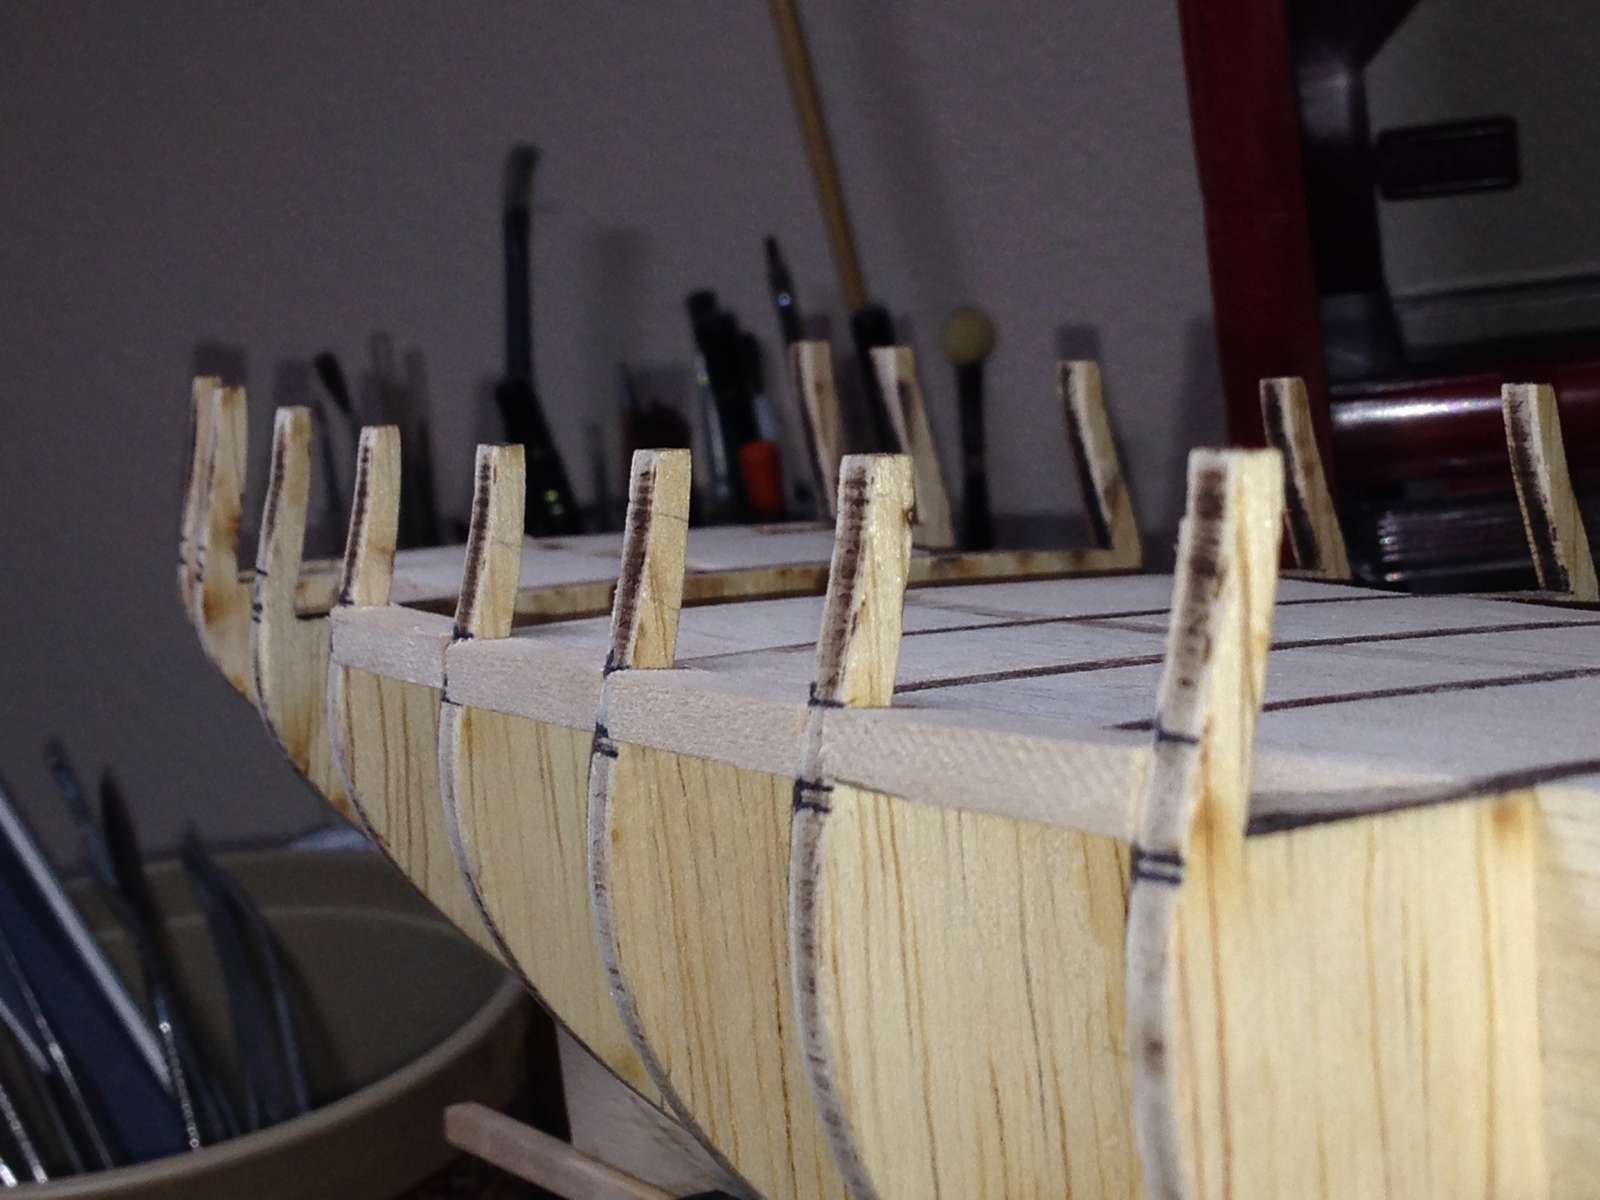
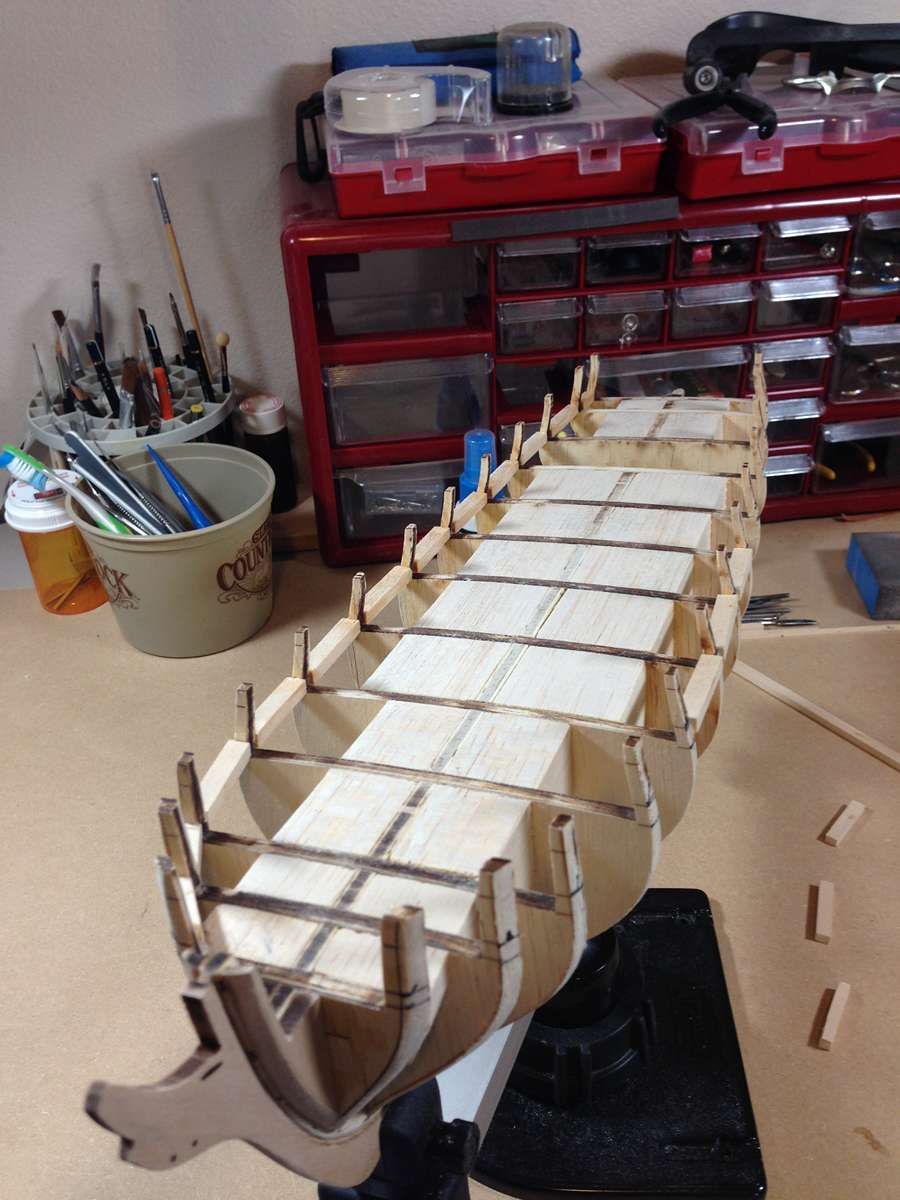
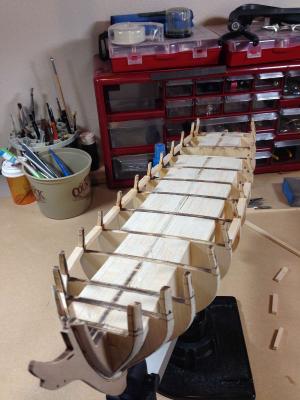
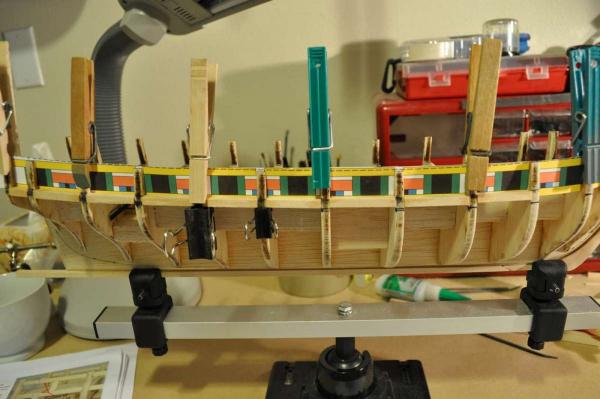
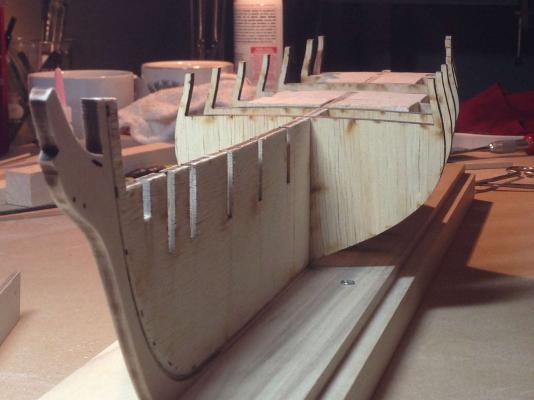
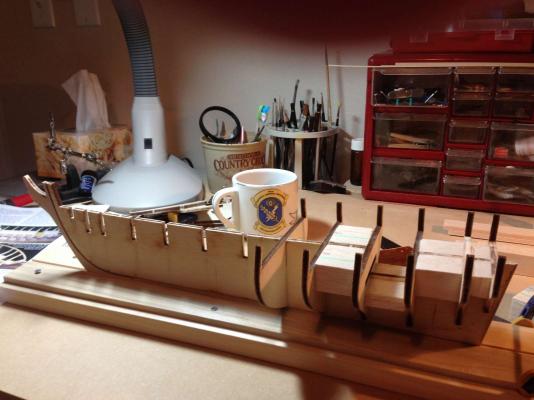
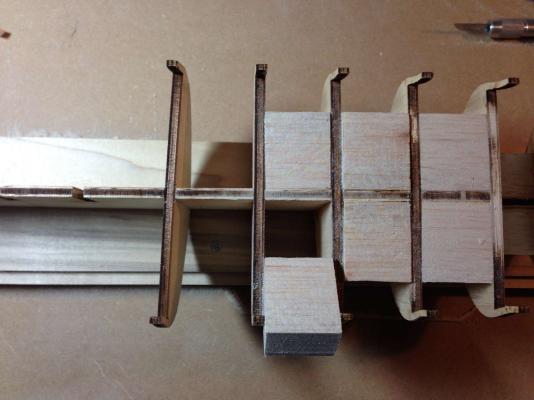
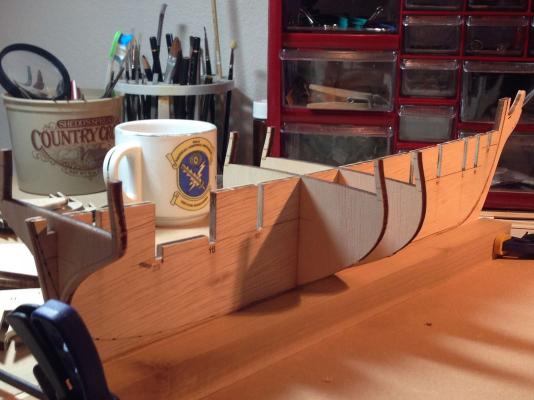
After seeking some input from some helpful folks here on MSW - I charged into the unknown and installed each bulkhead, one at a time, starting from amidships and working towards the stern. I cut and installed filler blocks at each bulkhead as I went, squaring everything along the way. After I completed the back half of the hull, I then worked my way forward using the same process. In this manner I completed the basic hull, pulled it out of the keel holder and eureka! It was straight and solid. It seems strange to condense something so monumental to me down into a few sentences. I have to admit I felt a tremendous sense of accomplishment. I never had so much fun in my life!
-
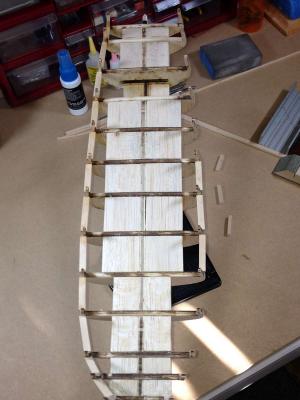
I spent several days going over the instructions and plans while also reviewing the build logs here on MSW. Right away I was dealing with what I considered a pretty nasty warp as well as a twist high up on the BH former right at the stern. At this point I forged ahead and clamped the BH former between 2 pieces of straight stock, glued on the rabbet strip then cut the rabbet without incident. Next, I glued on the stem knee and keel. I let the whole assembly dry overnight then took off the clamps. Well so much for that idea. I discovered that the laws of physics still apply, the warp was still there although somewhat modified. I did some research and asked a couple of questions here on MSW then proceeded to build myself a keel holder as shown in the picture. I had already purchased a product known as a keel clamper which I discovered although fine for holding a hull to work on is almost worthless for use as a device to straighten the warp I was dealing with.
-
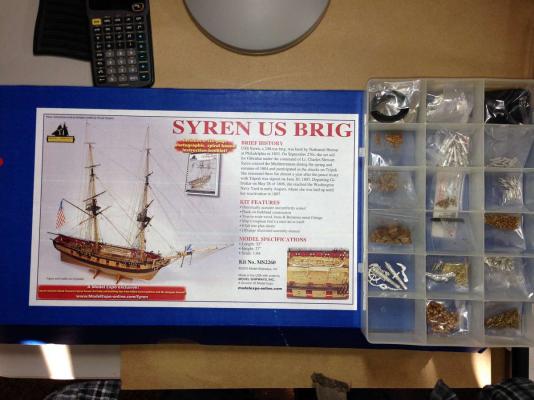
From personal experience I can’t stress enough, as many others have, that a complete detailed inventory of the kit should be made. My particular kit was missing 4 separate bags of Britannia castings as well as all of the framing templates for the kit. I have to- tip my hat- to Eric at Model Expo for providing those missing parts, at no charge. Thanks Eric.
-
Thanks guys. I am happy to be here. I'm still figuring out the whole format thing with the pictures and text but I will get it eventually. More to follow. Charley
-
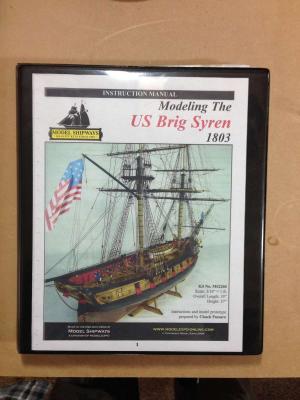
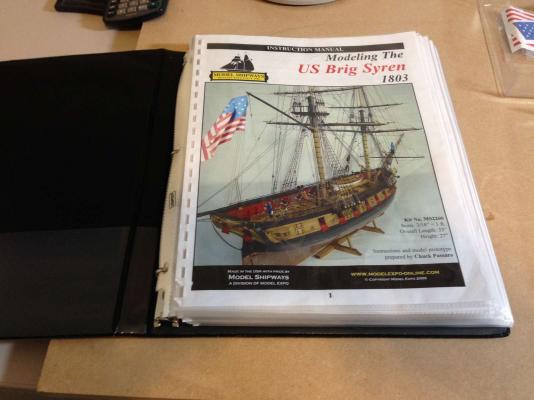
Everyone seems to take a few new kit pictures- so here I go. So, one of the first things I noticed was that, after pawing through the absolutely fantastic instruction manual for a few days, I became aware that I was messing it up pretty badly. I wanted to make sure I could keep it fine shape for future use so I took it to the Admiral and she put together the –new and improved- version. What can I say, that girl is always looking out for me.
-
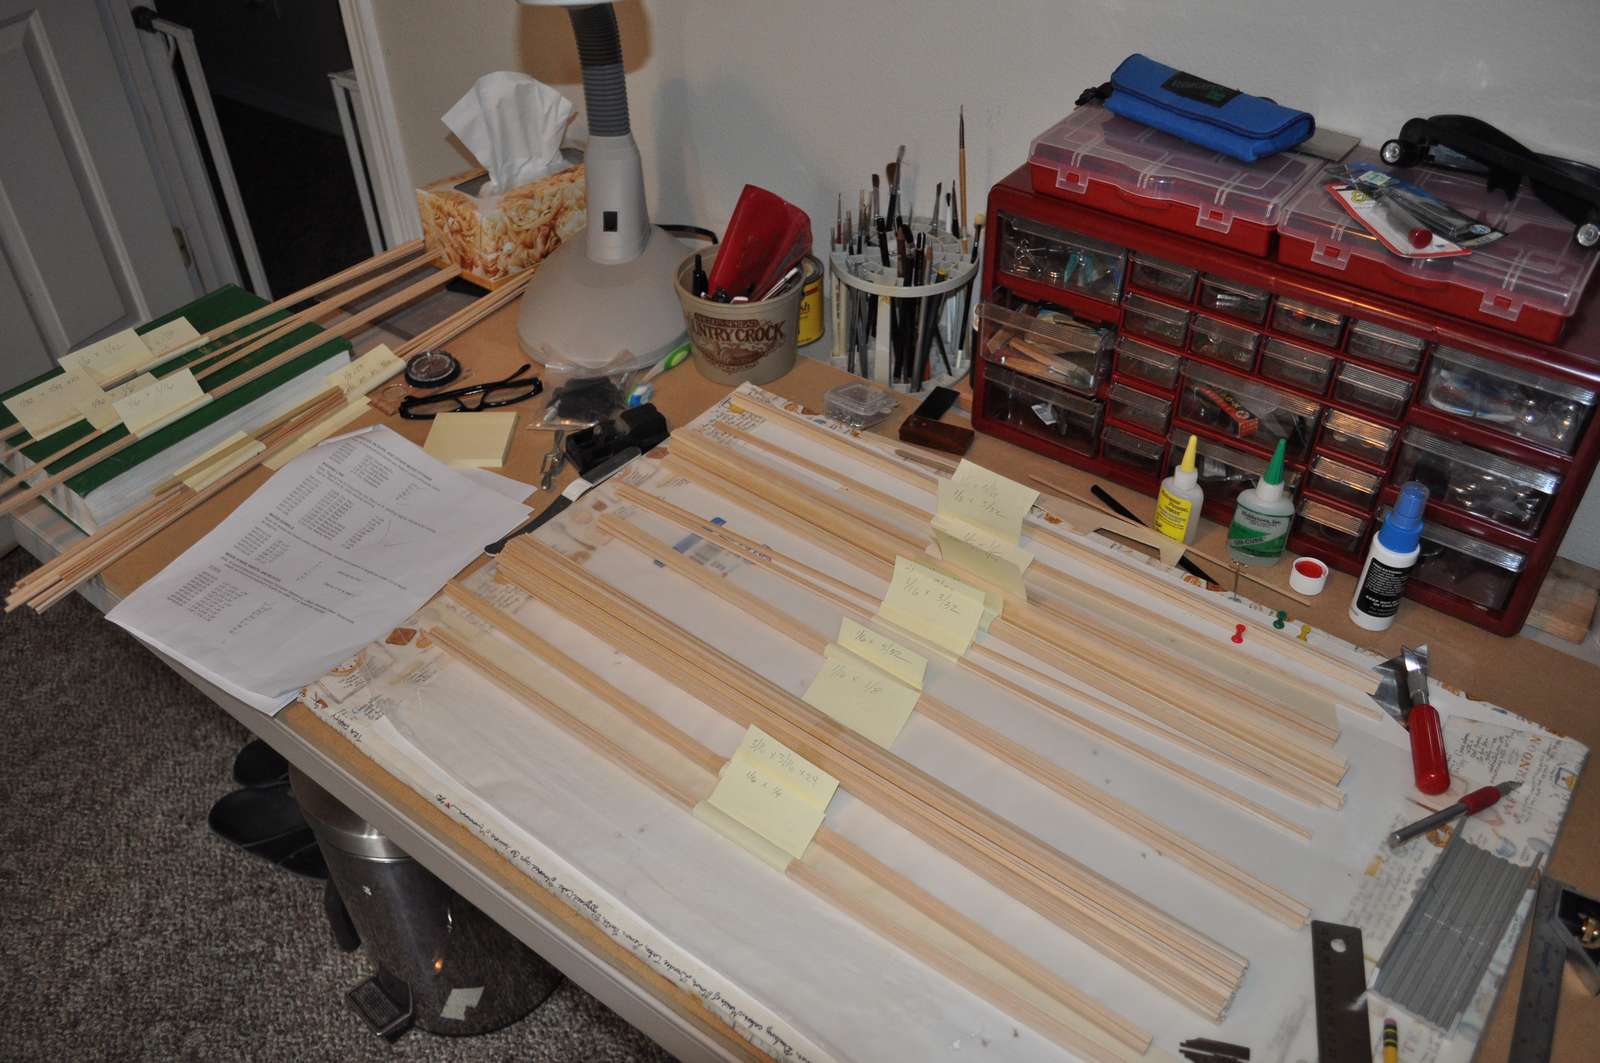
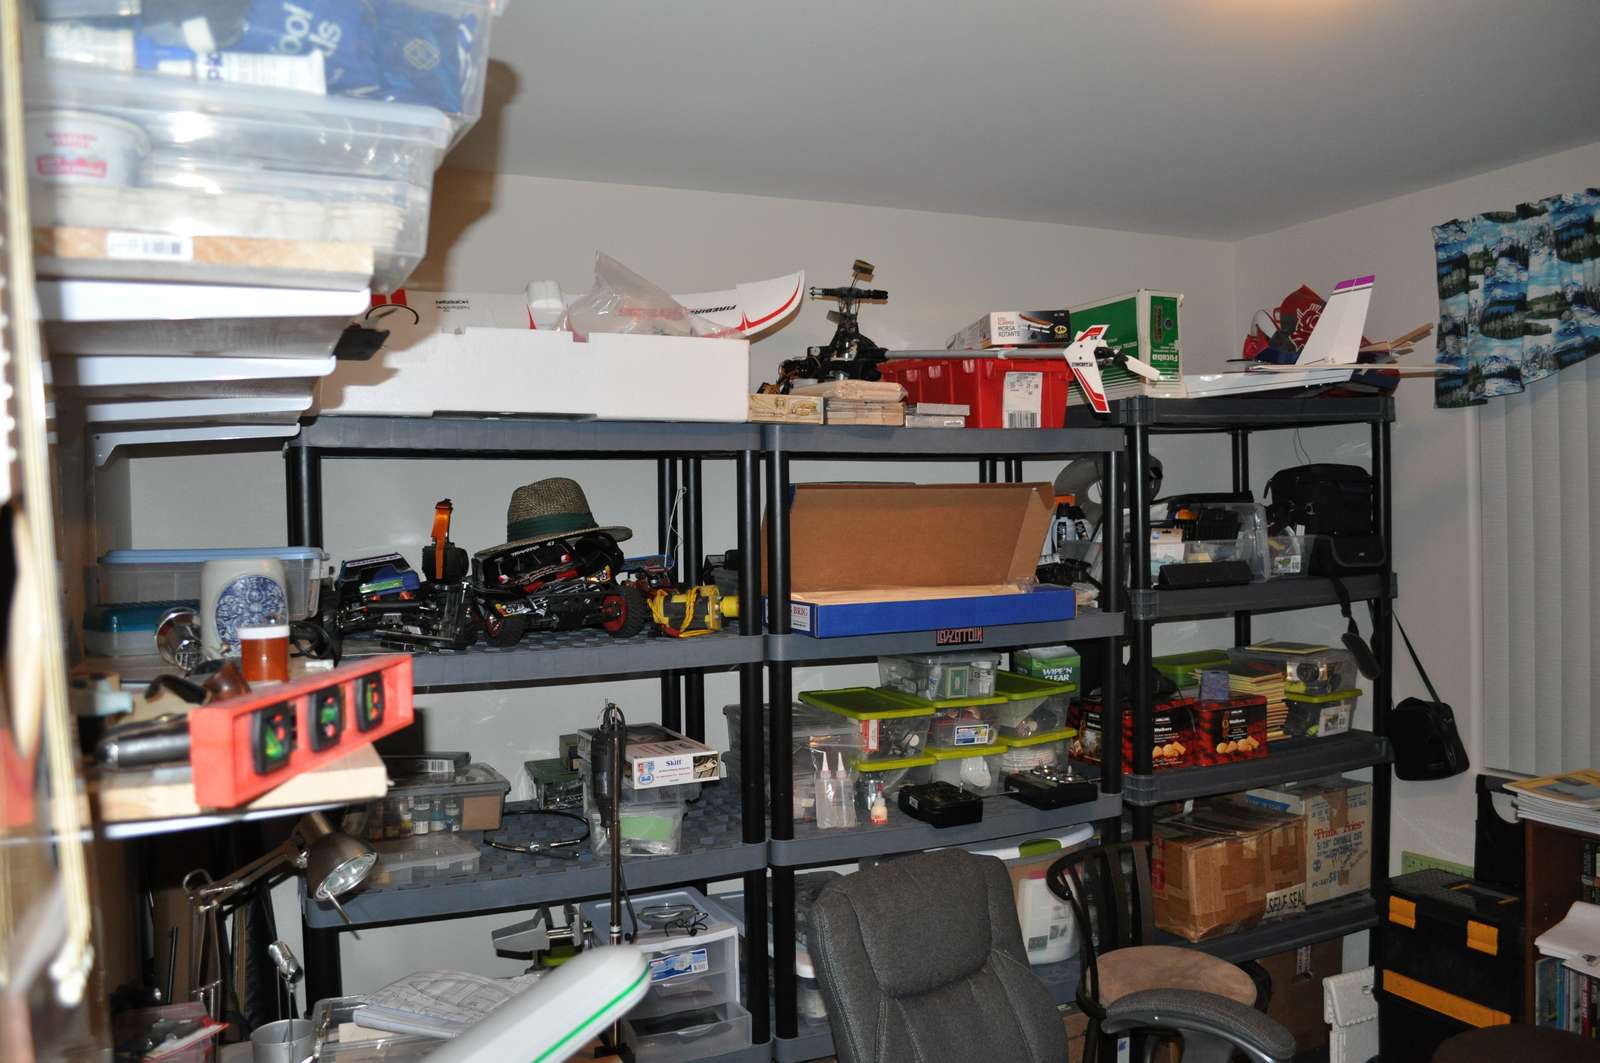
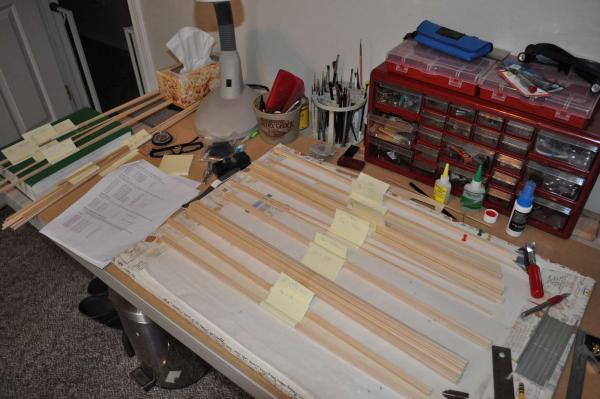
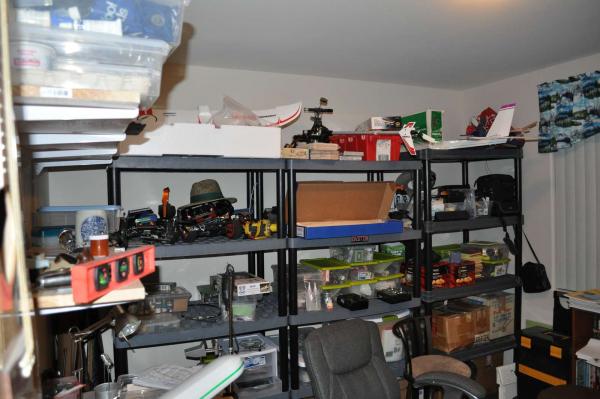
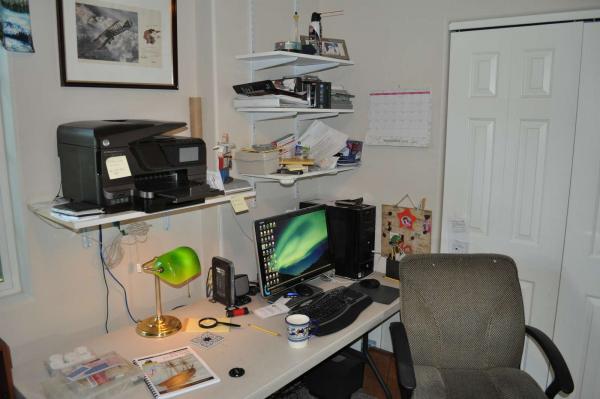
My building table and all my other junk
-
Hello all I can’t believe how much I have learned from all the other great build logs here on MSW so I thought it was about time to get going on my own. I actually started my Syren about a month ago and have been working on it as time allows. I am thoroughly enjoying it so far even though there have been some challenges. My background like many others has been primarily plastic and RC. I can build a plane out of balsa or foam anytime but I have very little experience with this kind of woodworking. I mostly fly electrics now but I also like heli’s, cars and nitro trucks. So, without further fanfare, I present my interpretation of the US Brig Syren. Just for orientation here are a few pictures of my shipbuilding environment.
-
Glad you finally got your Syren. I'll be watching closely. I need all the help I can get with mine. Charley
-
Im also happy to see another Syren build in the works. I started mine about a month ago and I am just begining the framing so I am not far behind you. I must admit it is hard to find the time but I have really enjoyed what I have done so far. I am kicking around the idea of starting my own build log. I've been taking pictures right along - just have to find/make the time. I'll be following closely. Charley
-
Hey Richard I think it looks great. Im still working on gunport framing on my Syren, trying not to think about planking yet. However, I had been considering the same questions about some kind of wood sealer to try and control the " fuzz" I seem to create when I sand. I have looked over your log ( as well as all the others) many times in my own build research and its been a great help. Charley
-
Thanks Chuck for the fast response. I will PM my email to you forthwith. Is this site great or what
-
Hi all, I am starting the framing on my Syren and I seem to have run into a problem which I have yet to figure out. Long story short, the templates that came with the kit do not fit my hull or my plans. At first I thought I really messed up on the bulkheads but after I measured everything a couple times, I have concluded that I am either blind or the templates are wrong. I am including a rather poor picture and I would appreciate some comments. Overall the templates are almost 5/8 inch short compared to what the plans show they should be.
-
Hey, thanks for the info on the coils and I appreciate the pictures. I will get to this point in my build eventually and I can use this. I thnk your Syren looks great. Keep posting pictures. Charley