Charley54
-
Posts
83 -
Joined
-
Last visited
Content Type
Profiles
Forums
Gallery
Events
Everything posted by Charley54
-
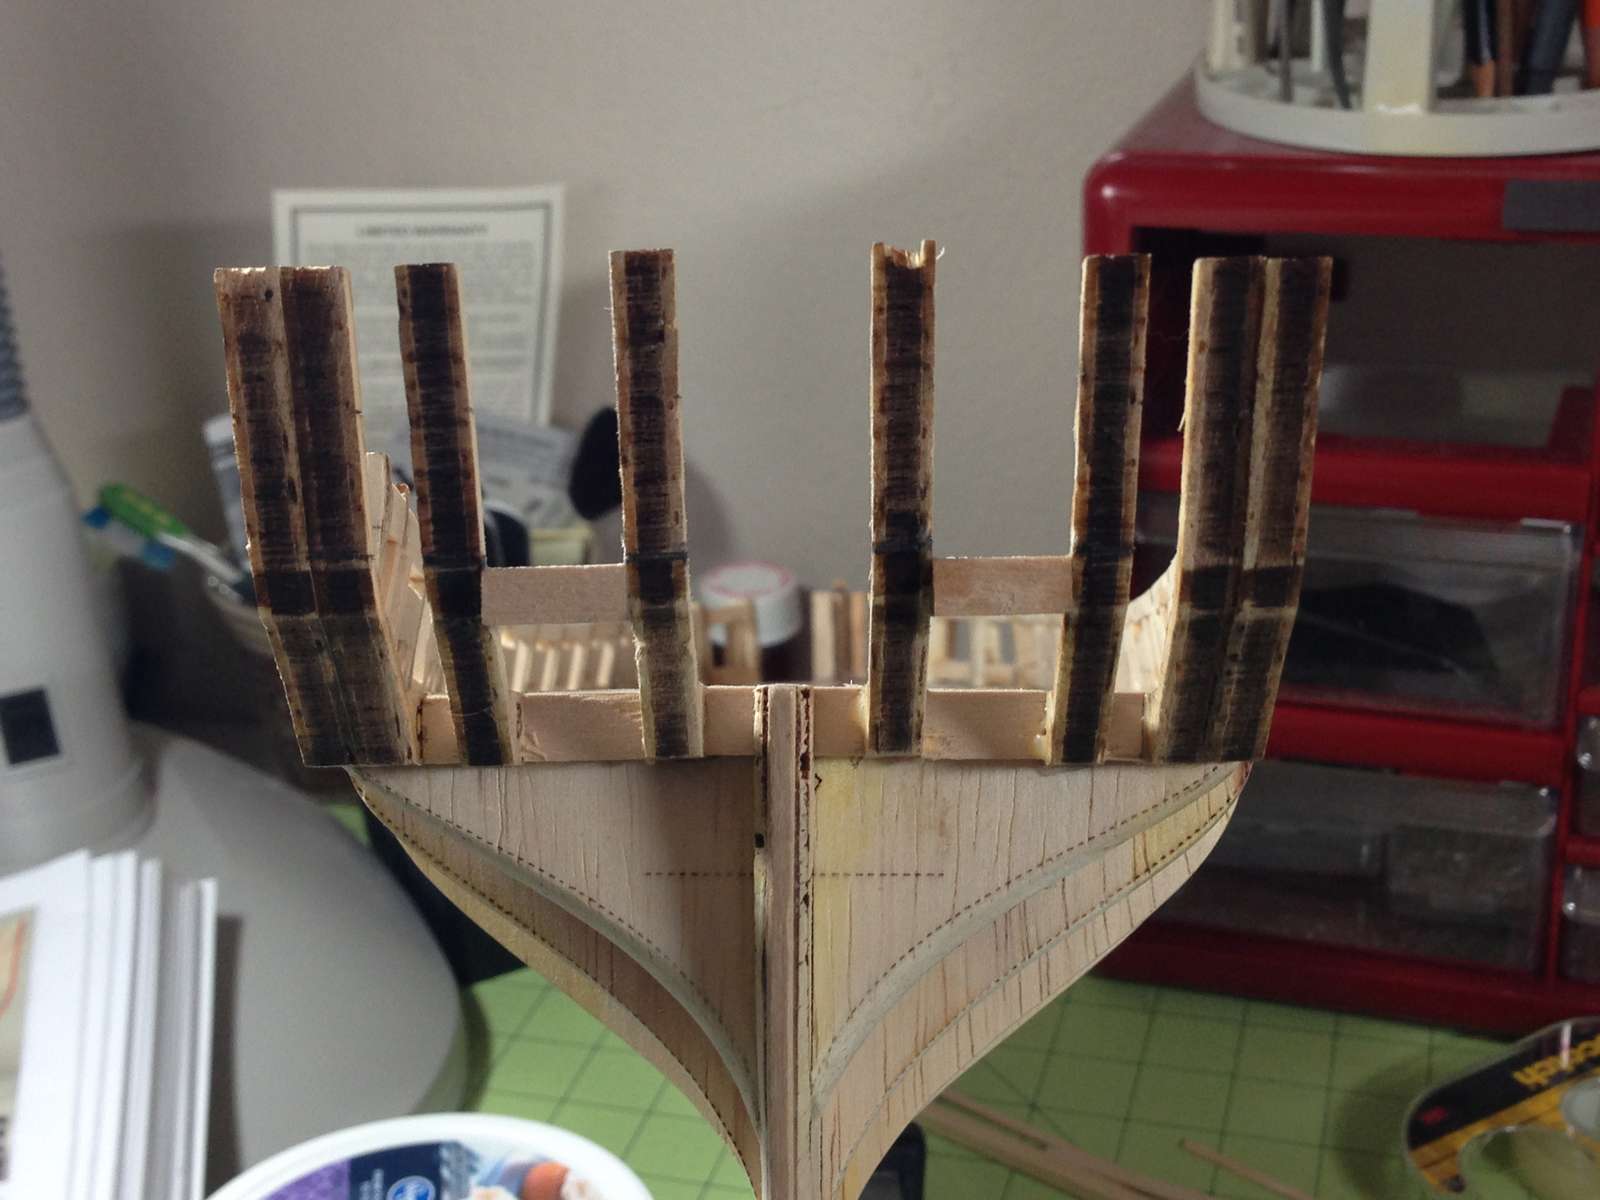
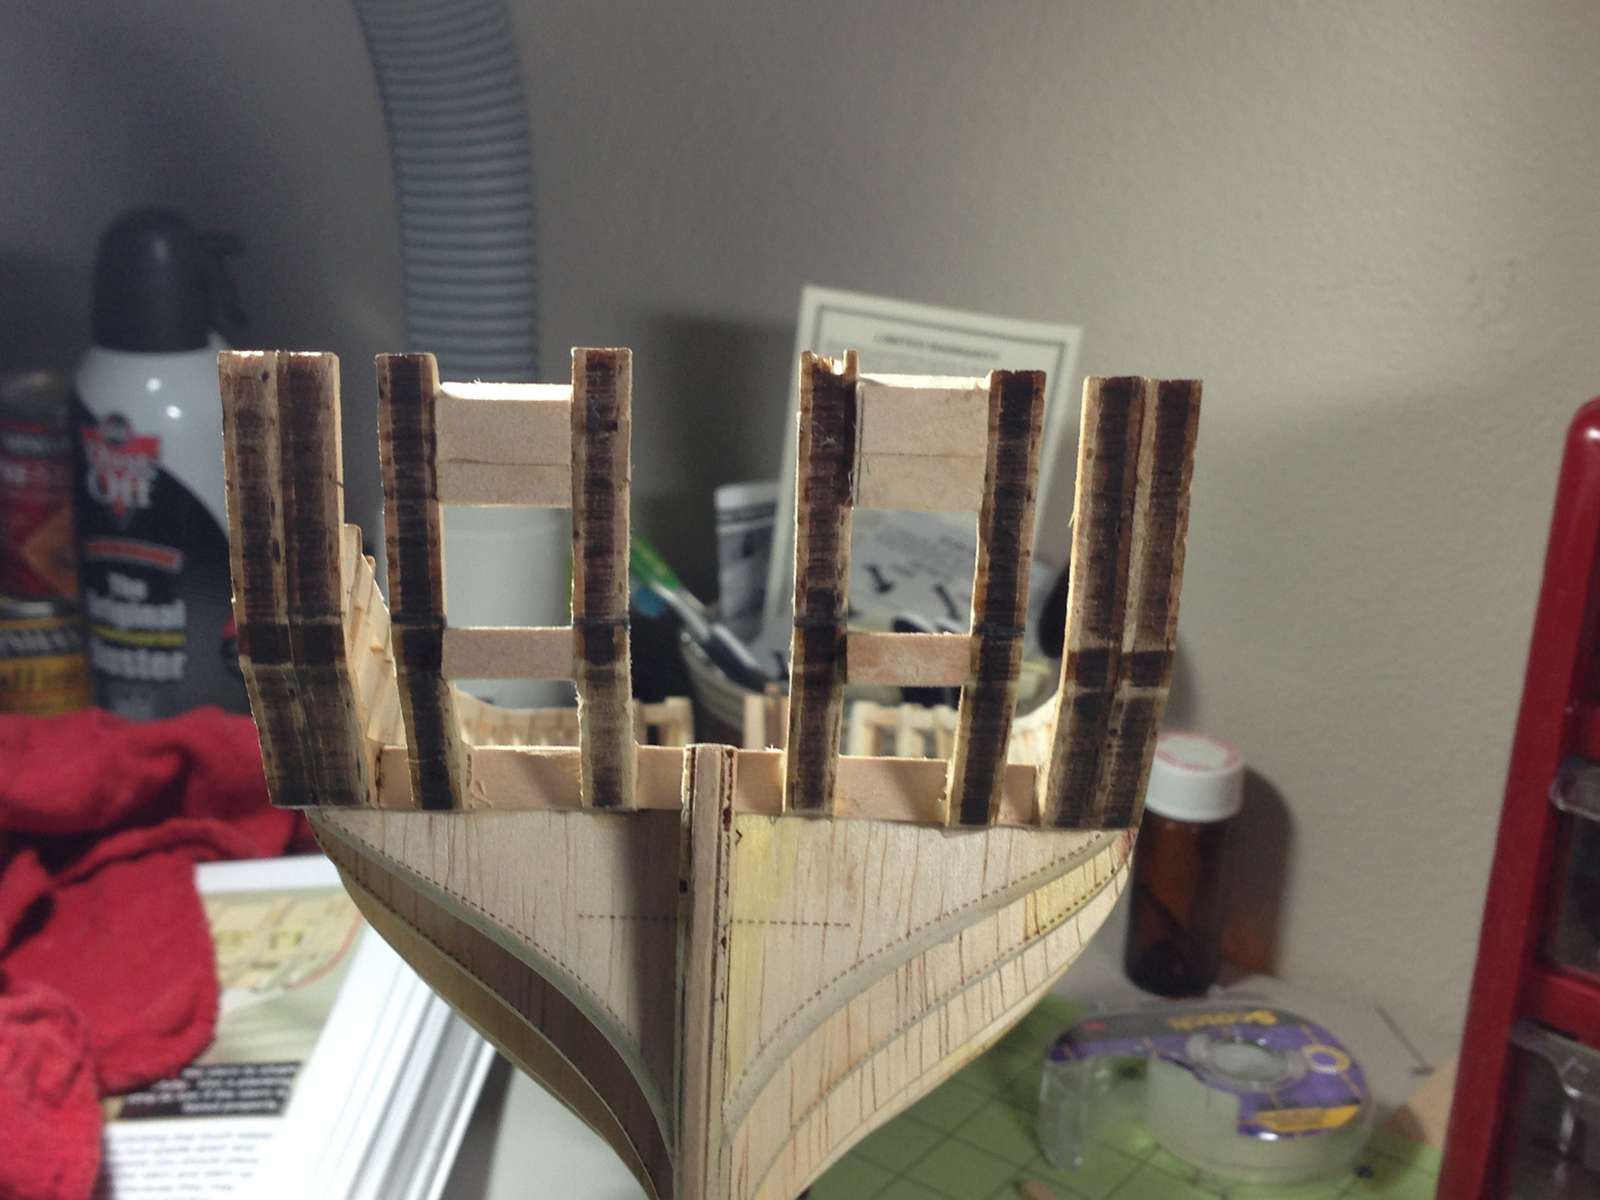
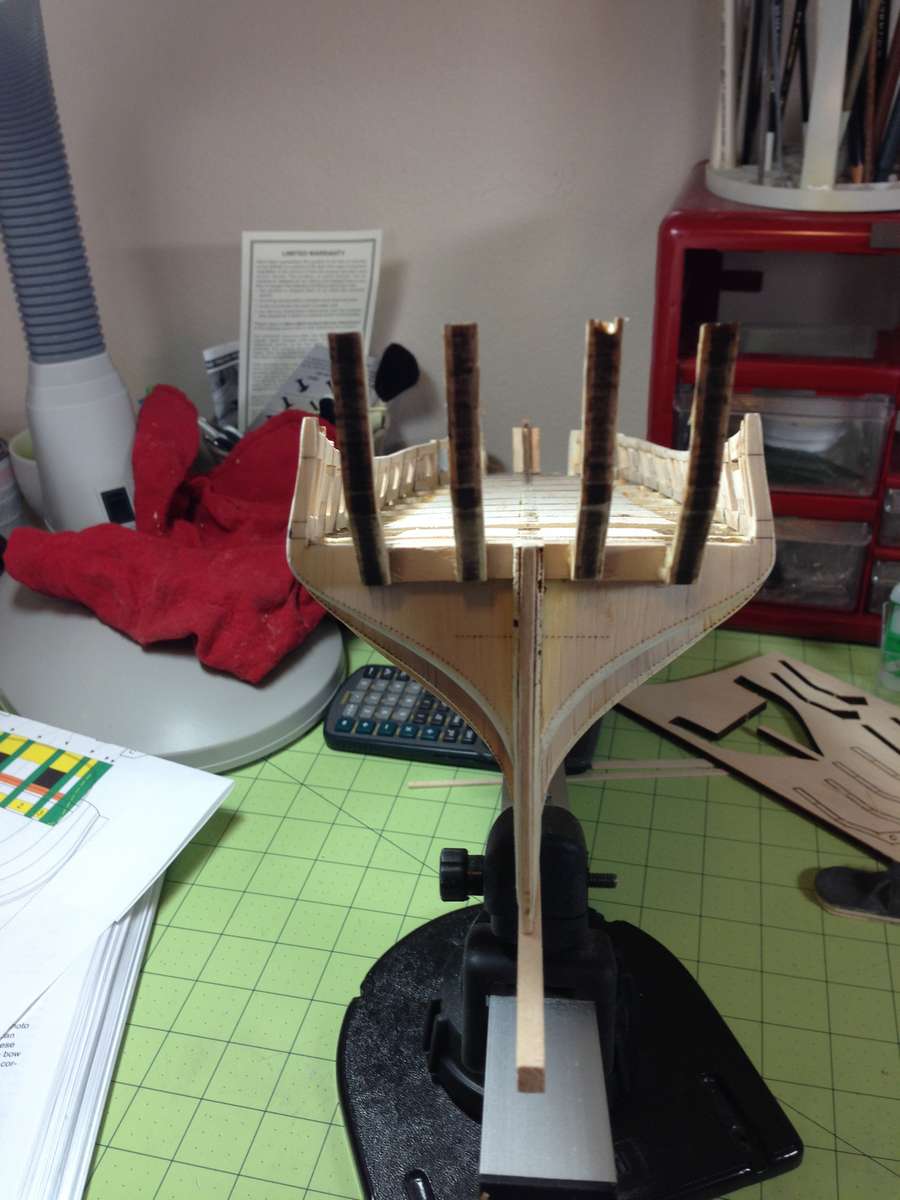
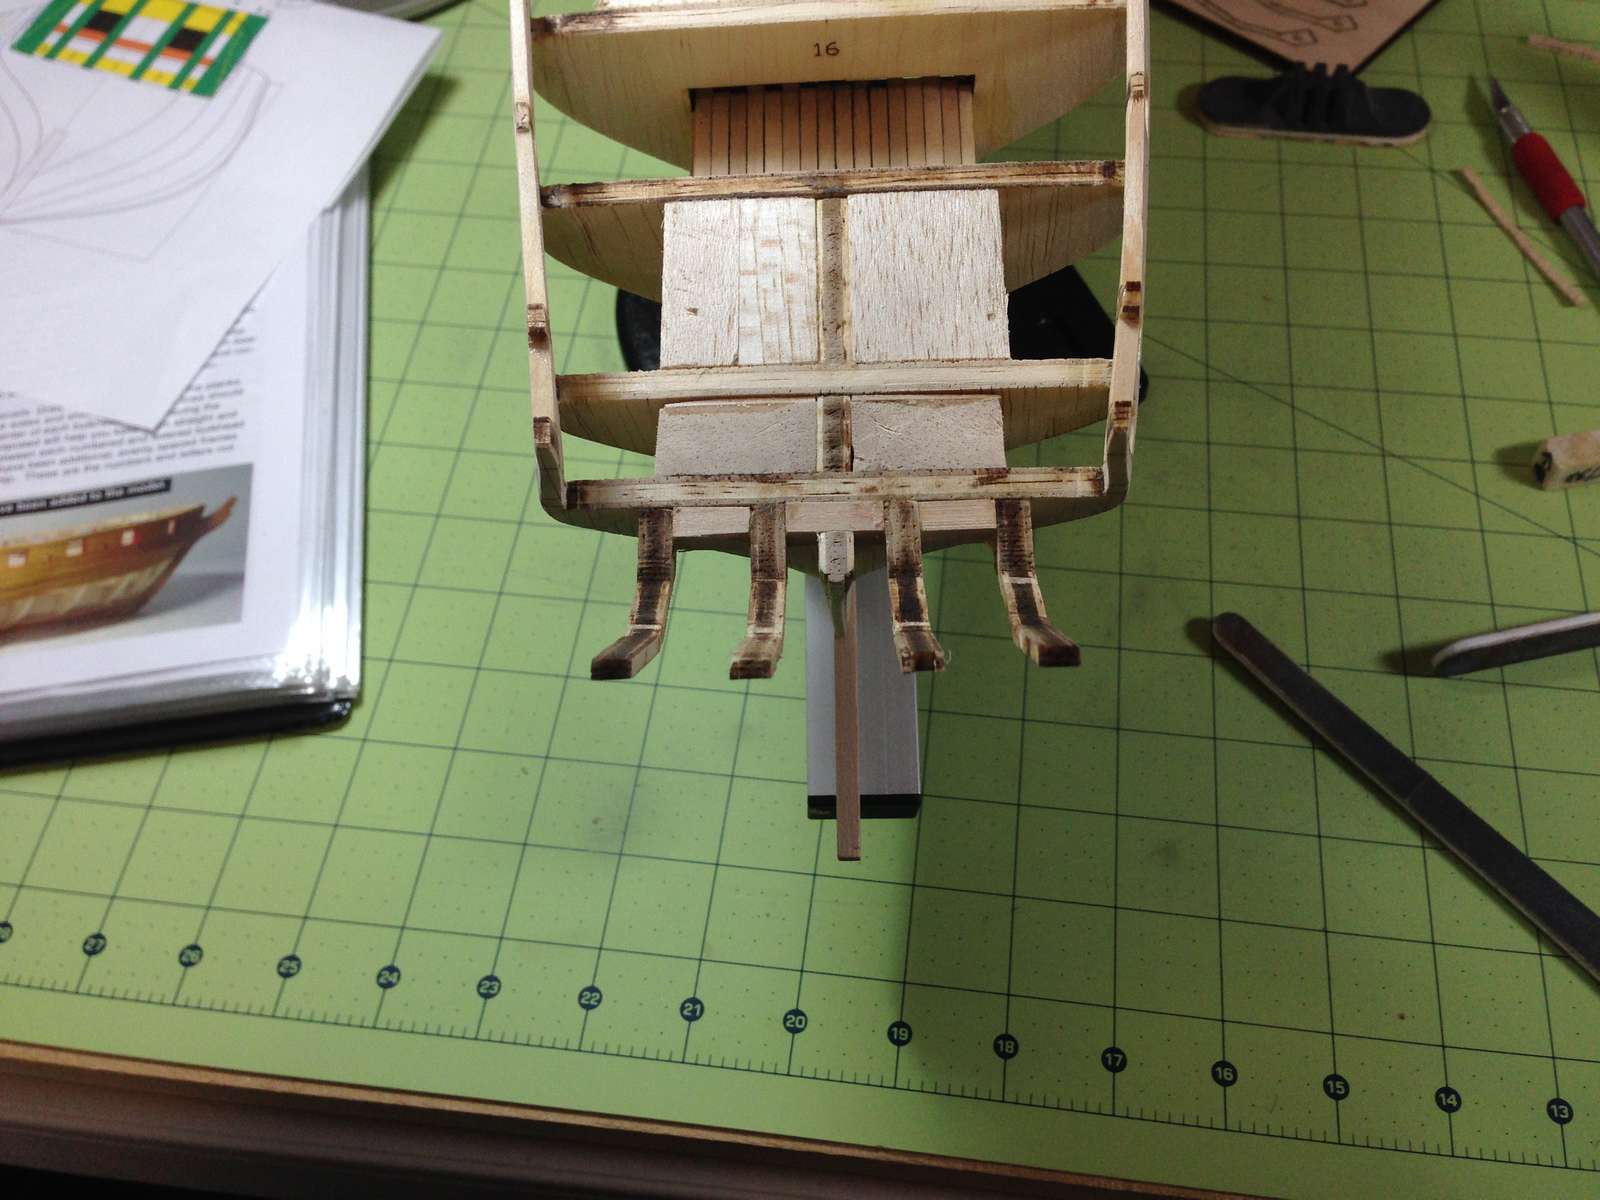
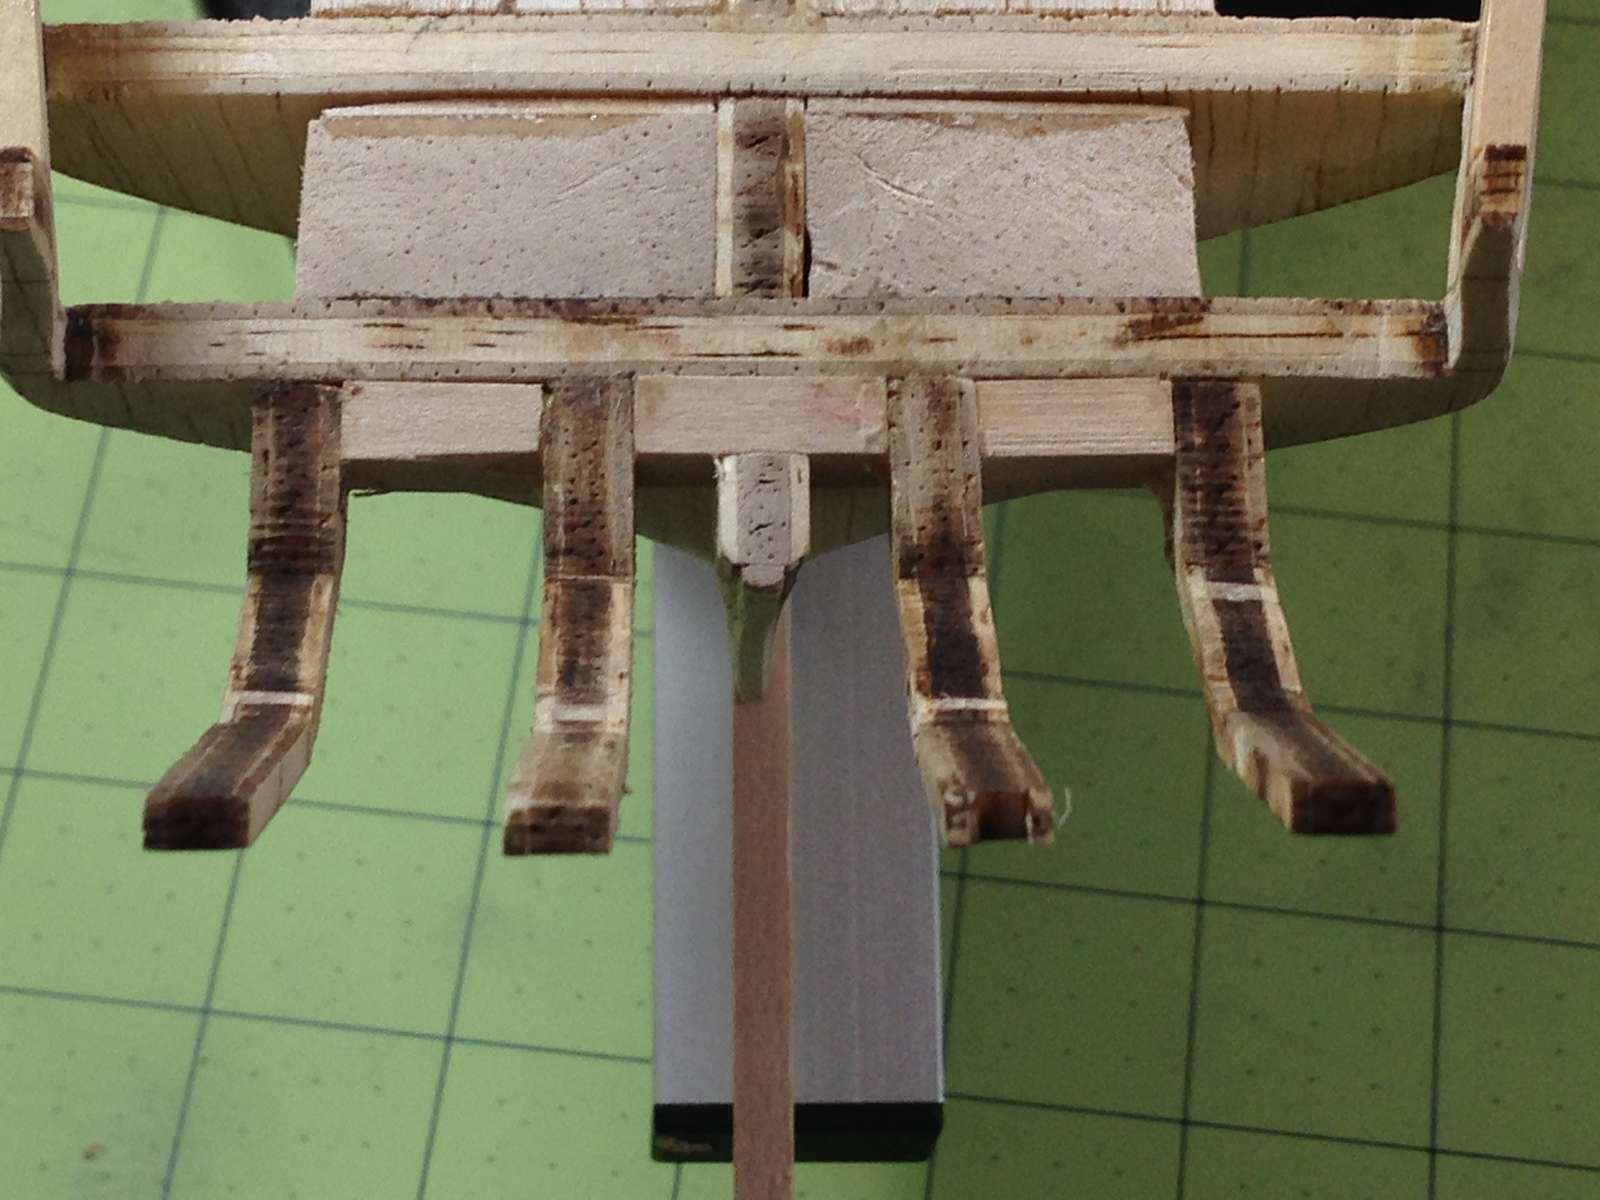
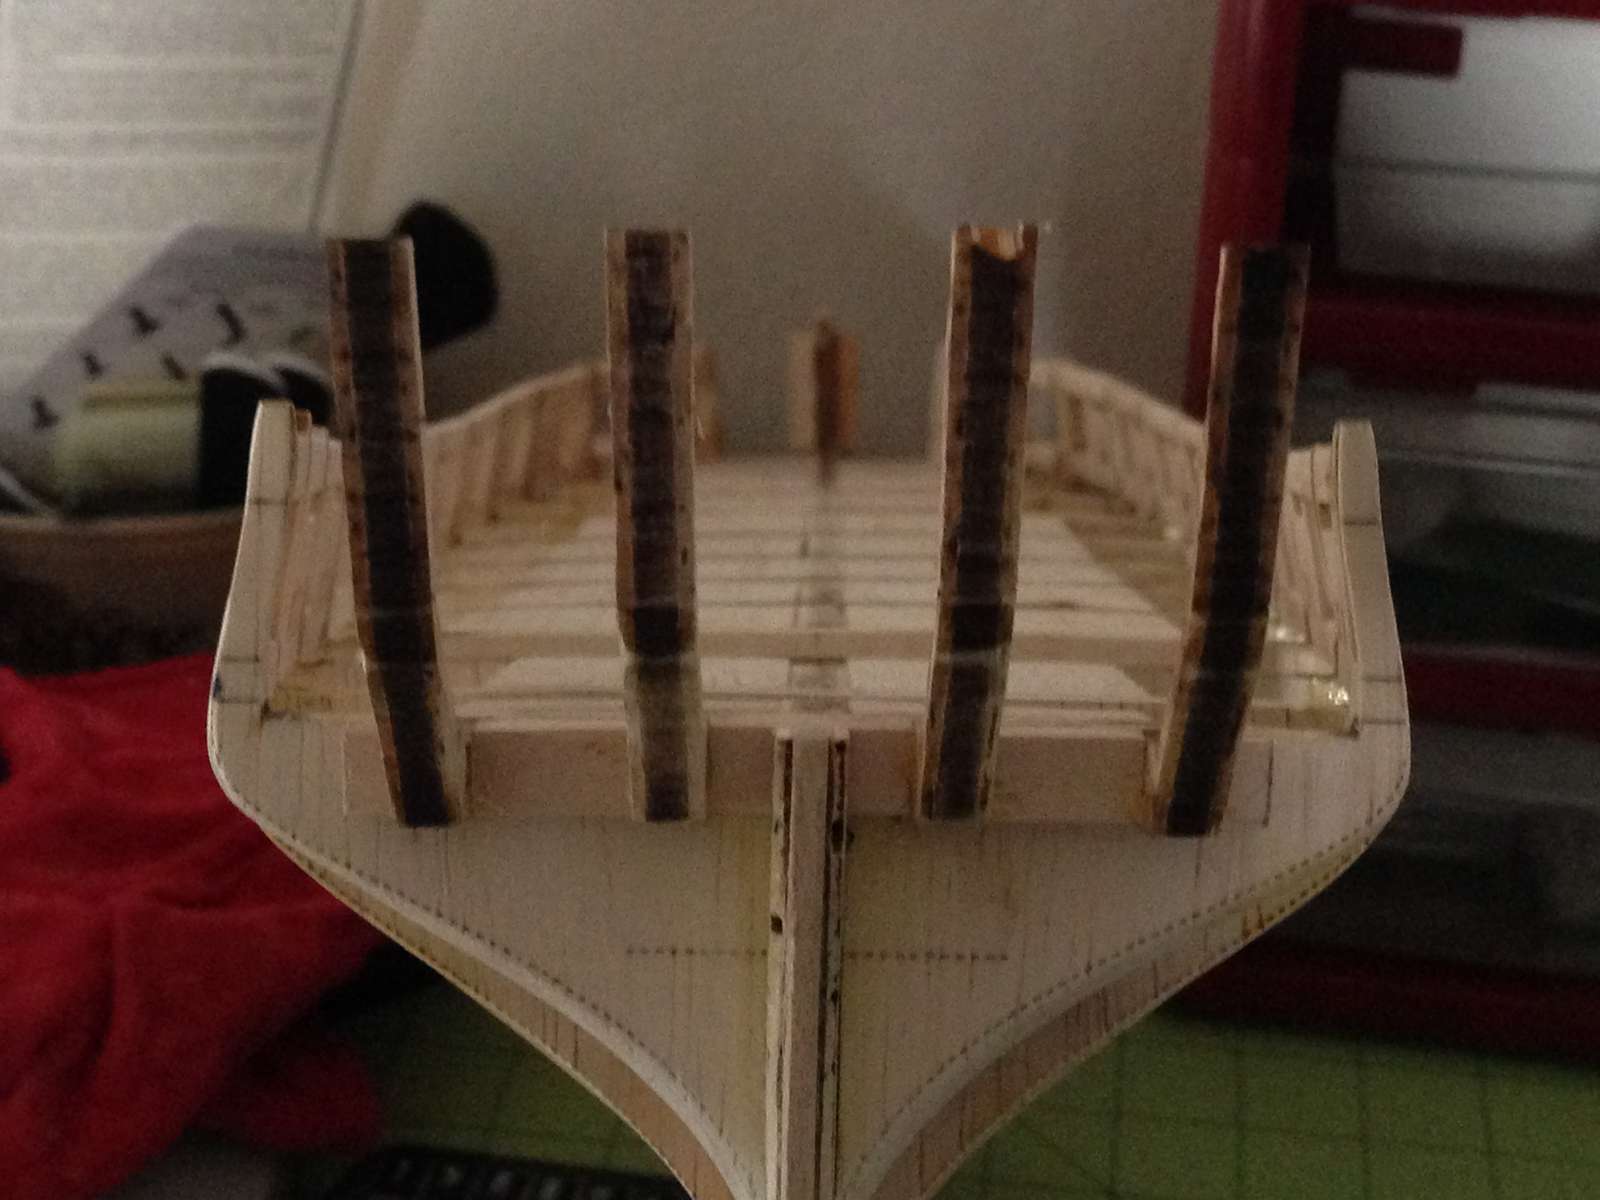
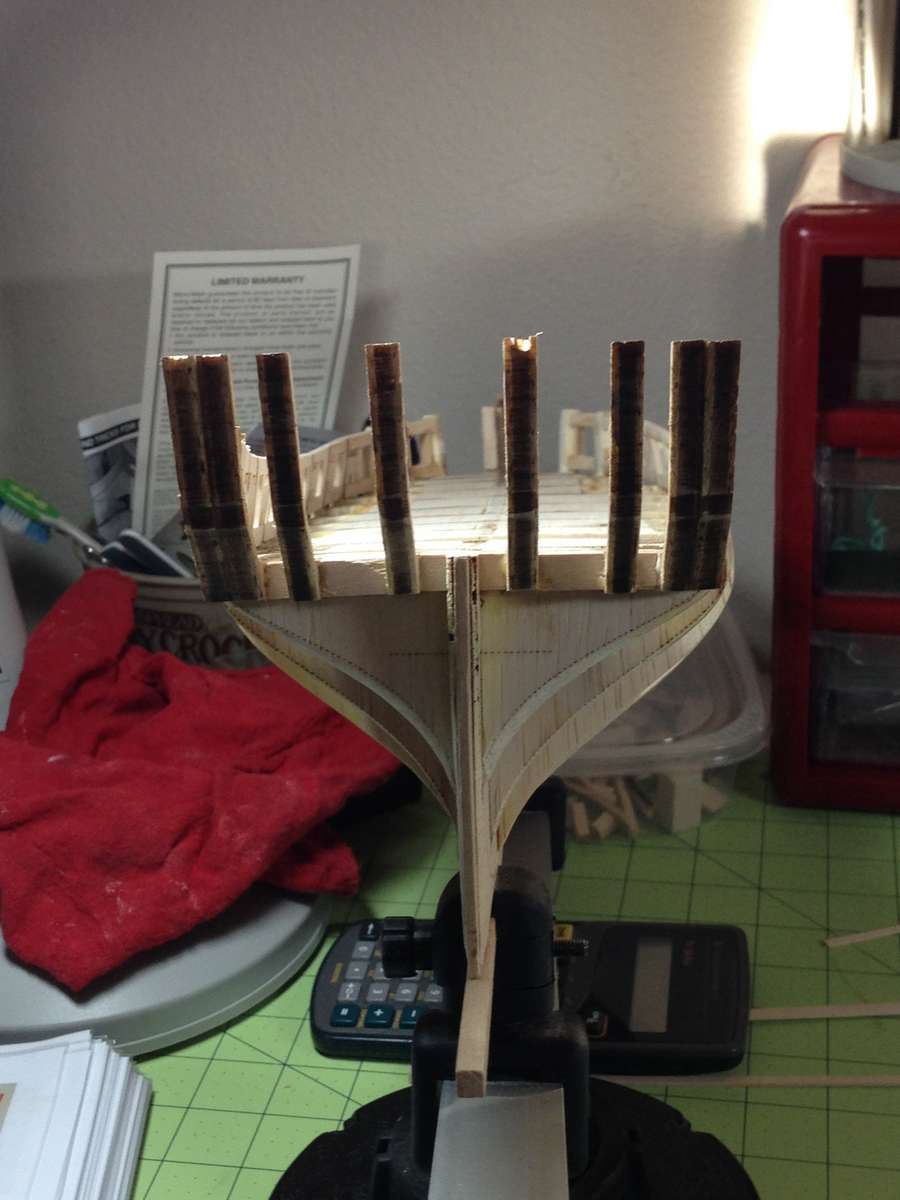
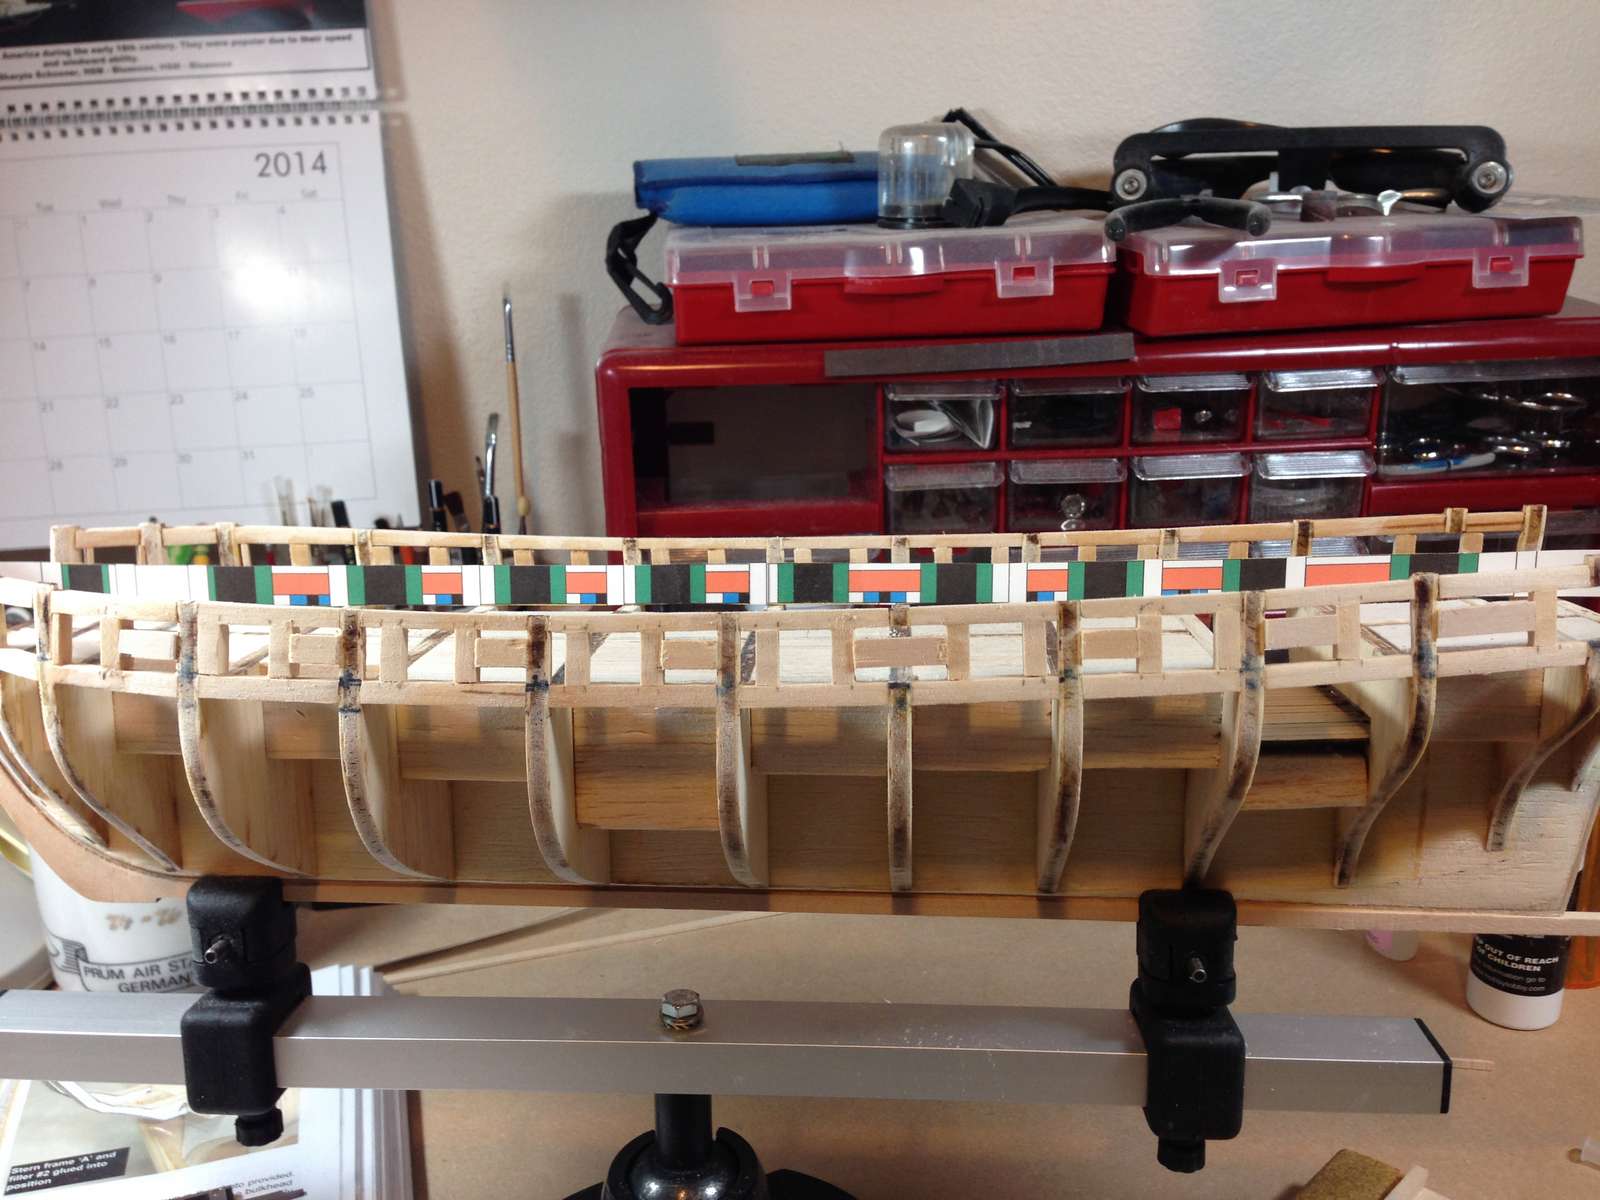
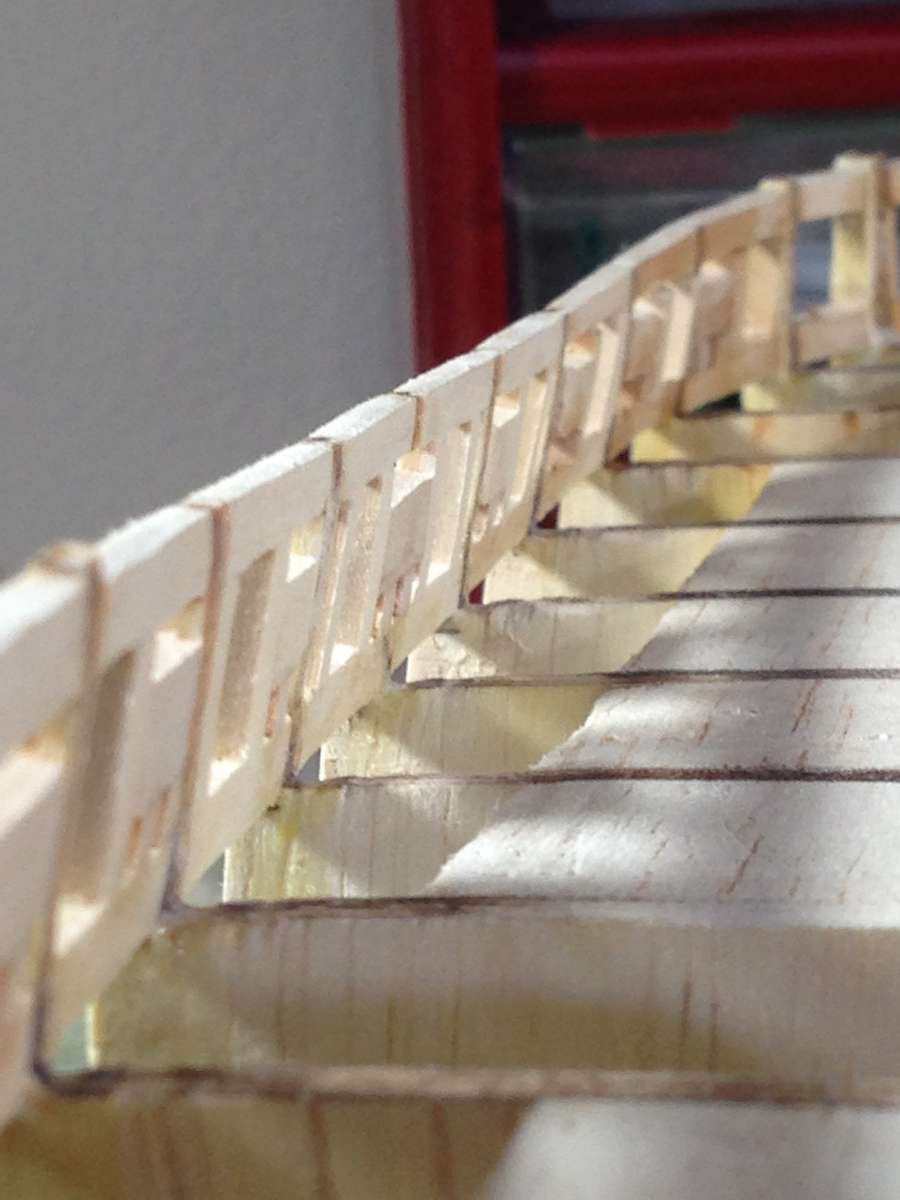
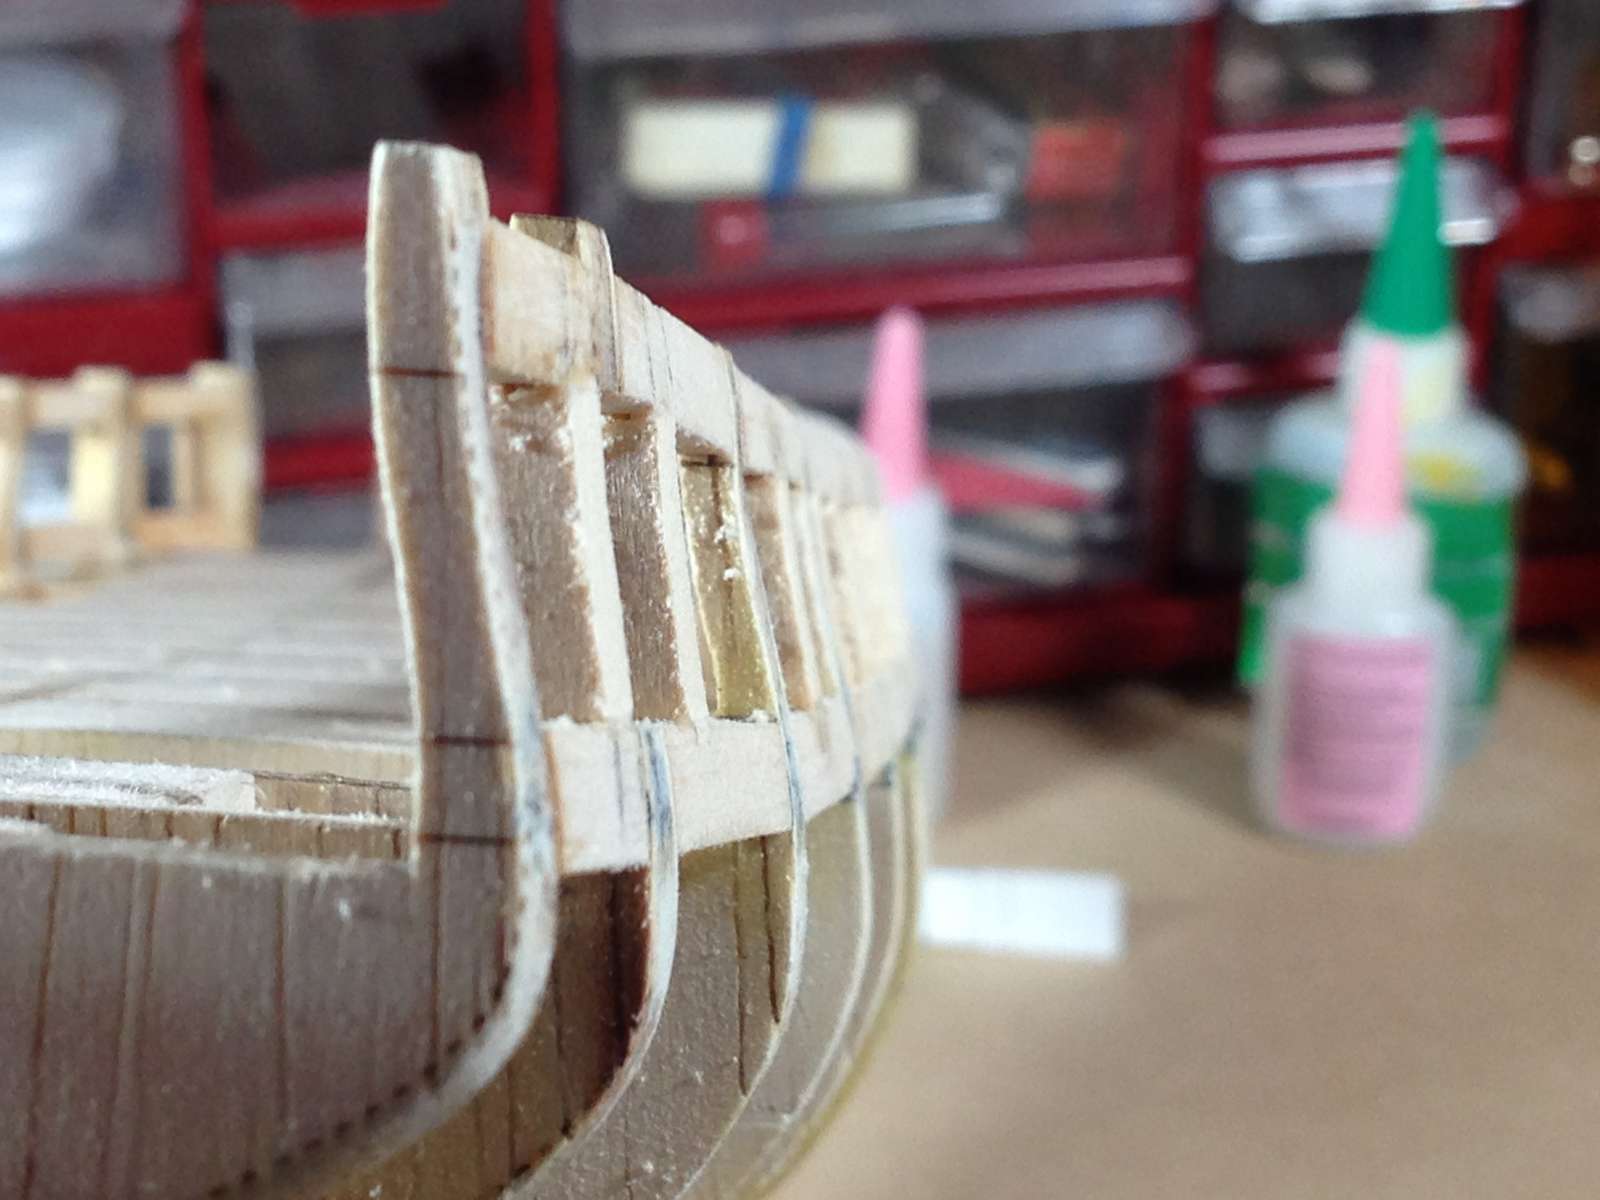
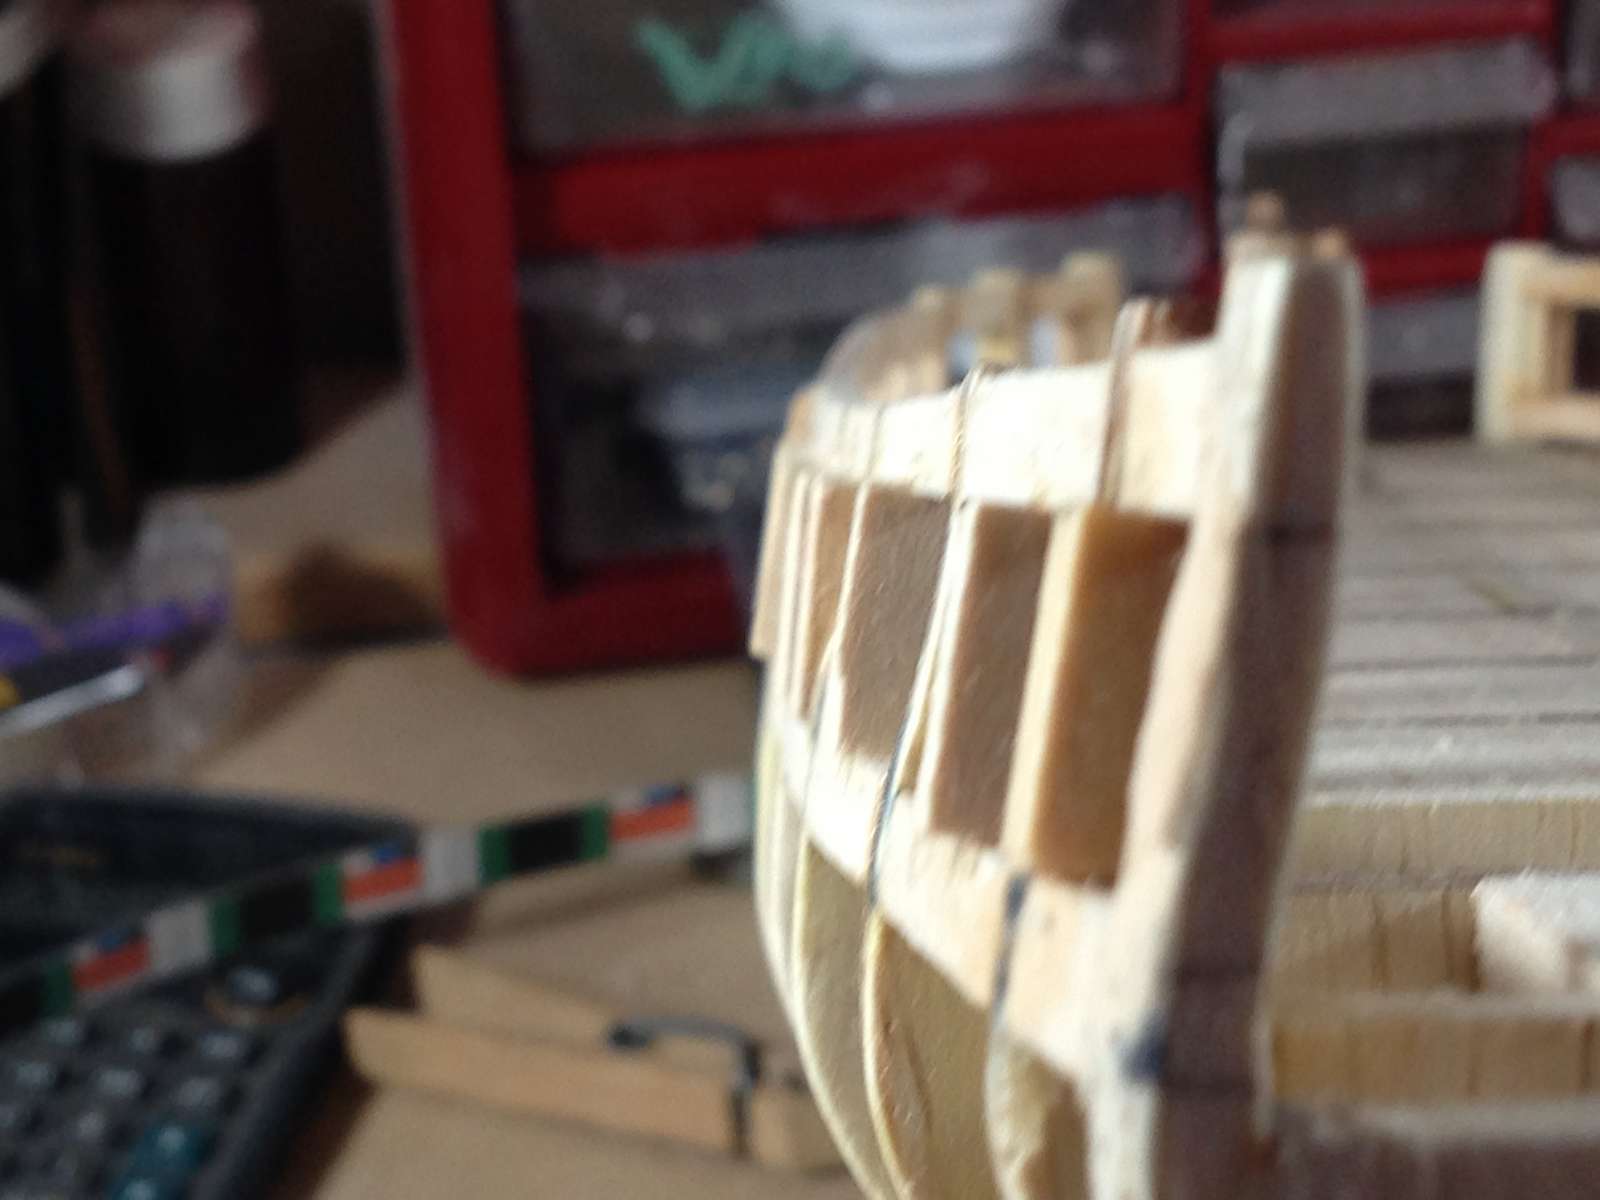
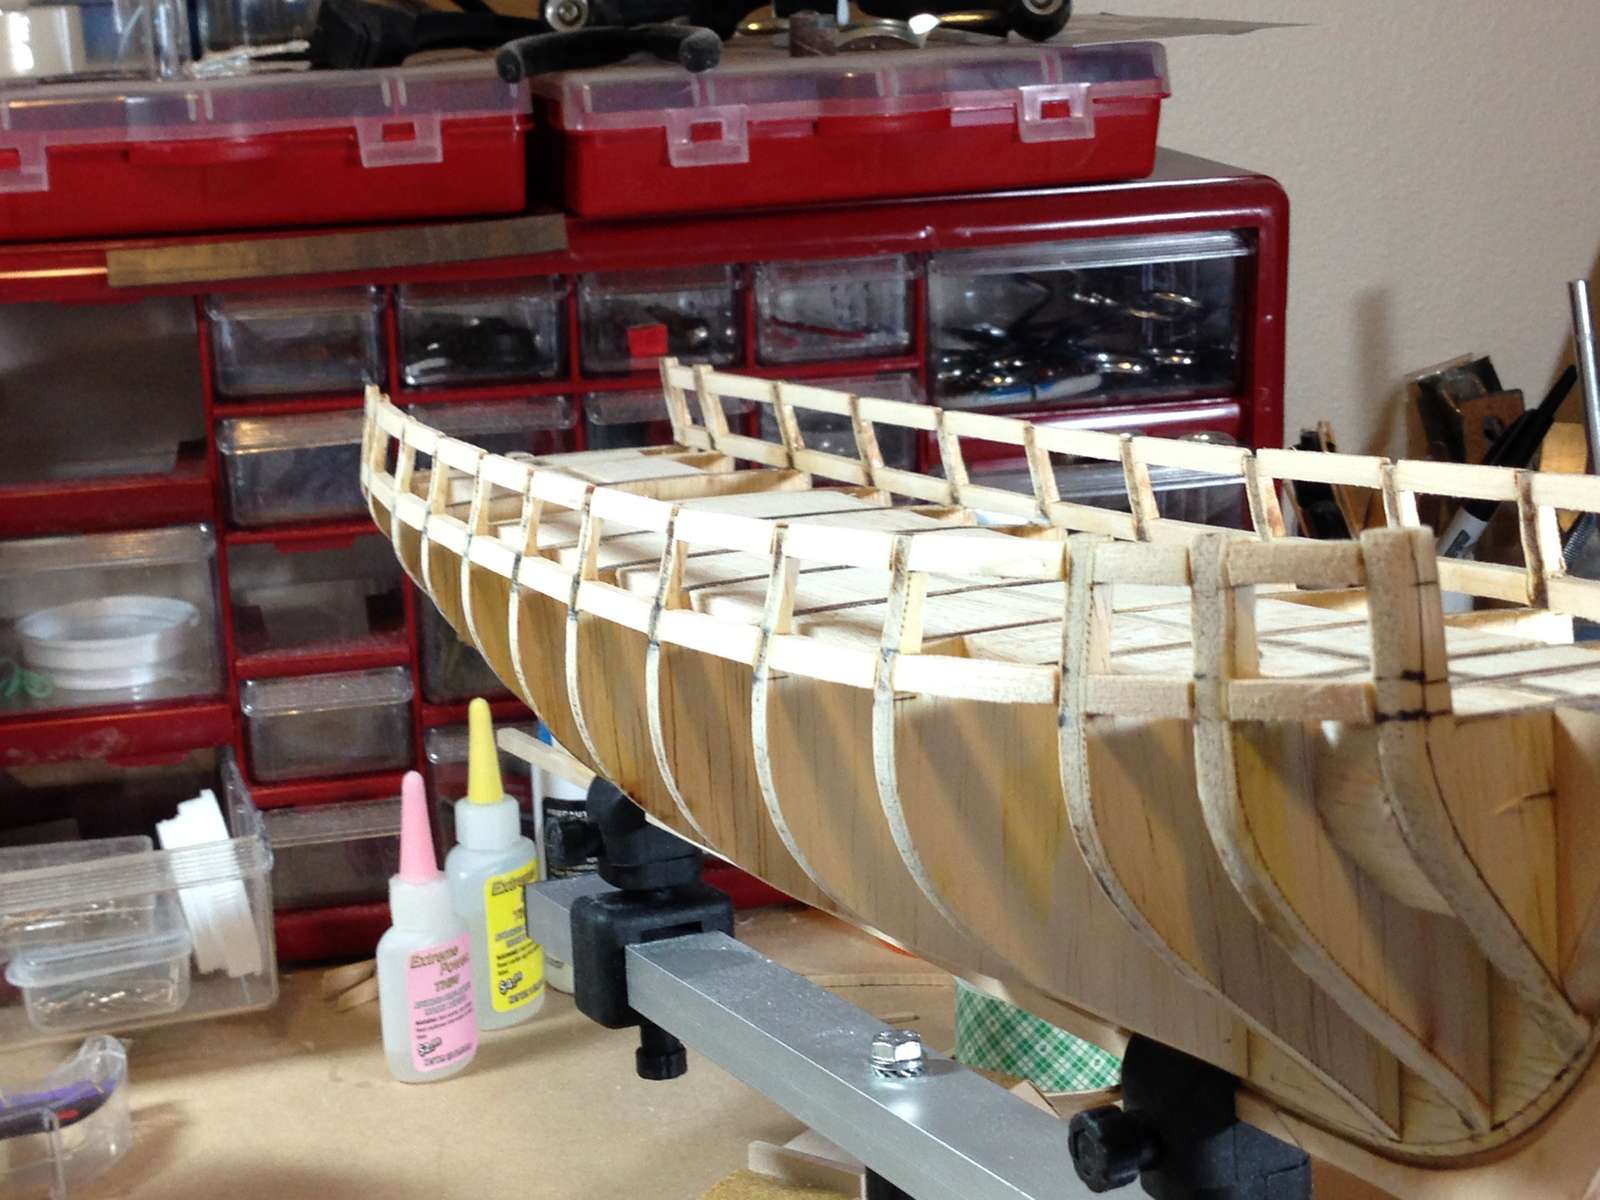
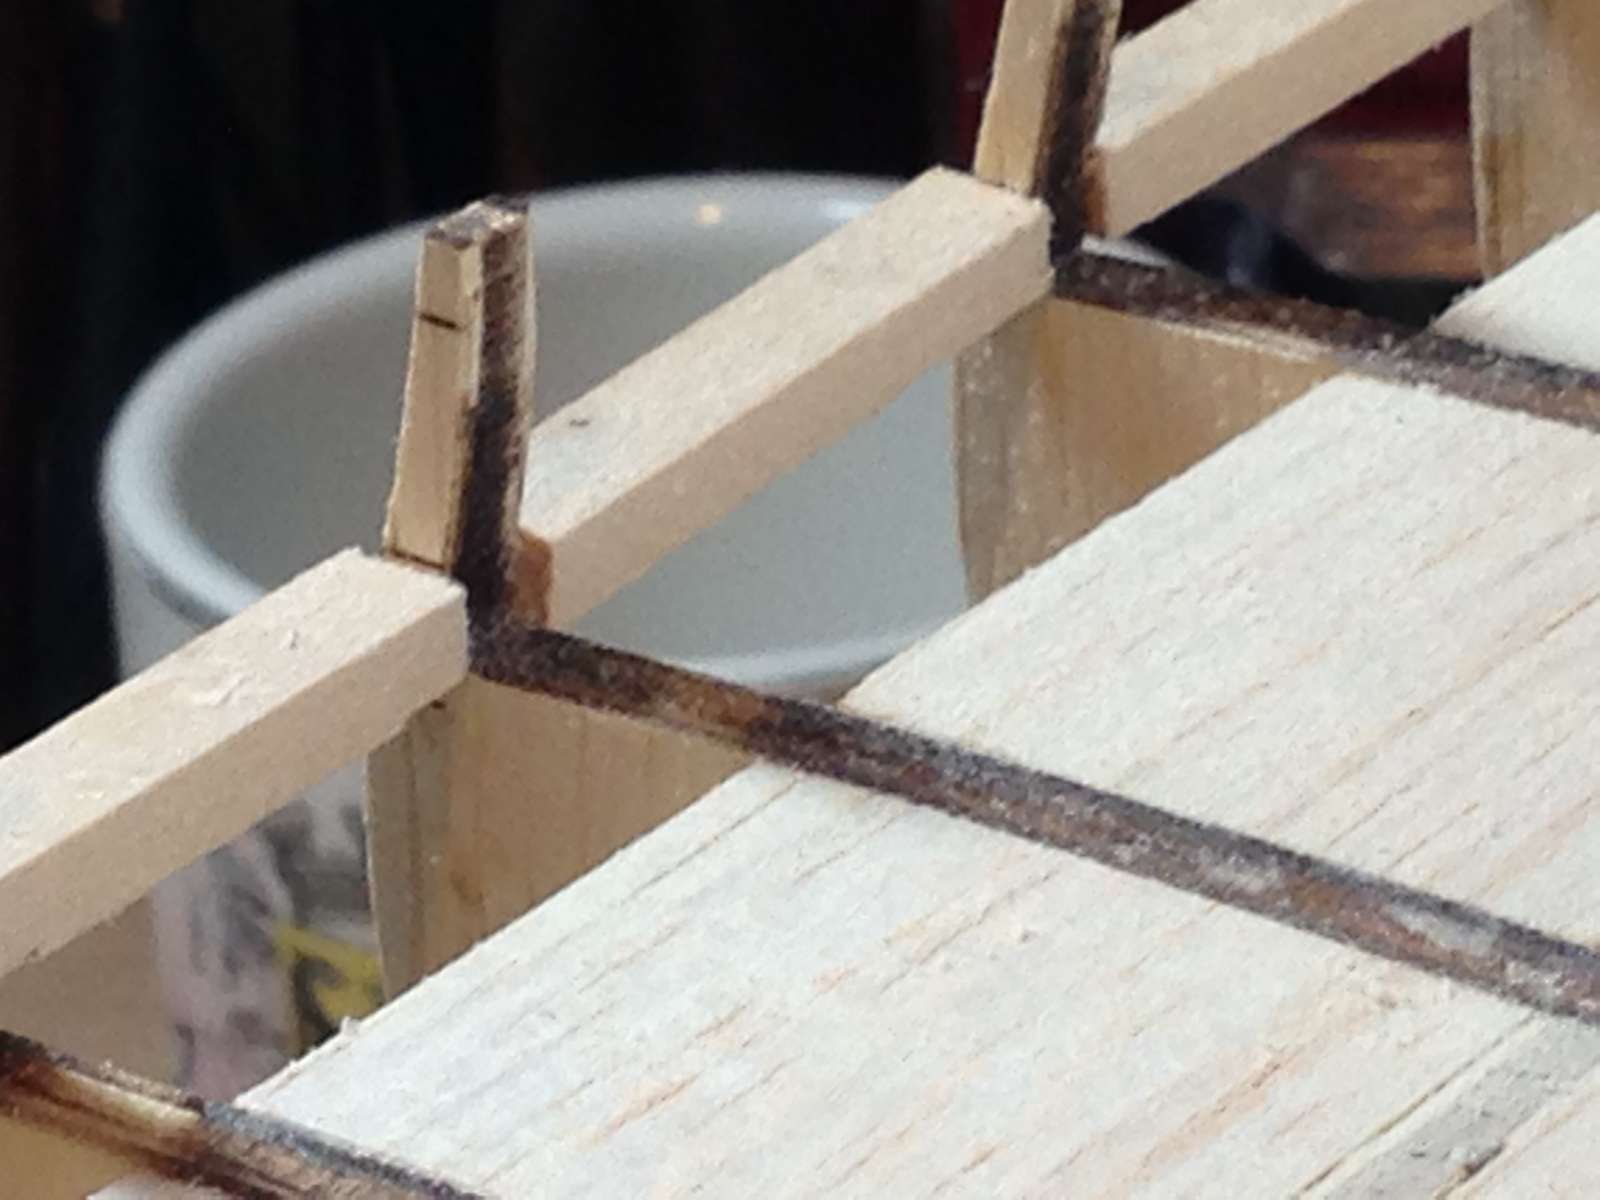
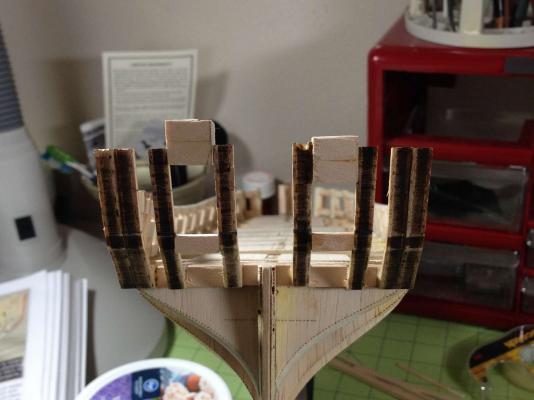
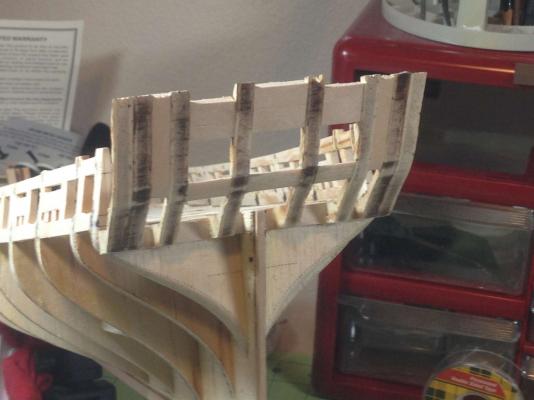
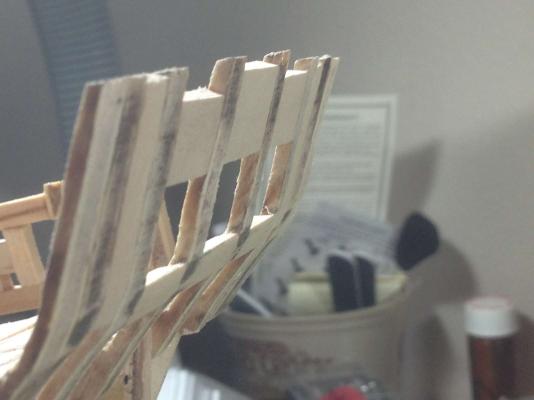
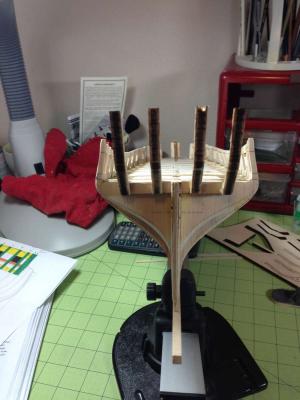
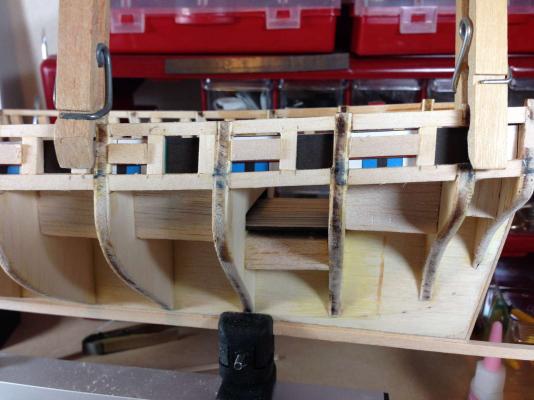
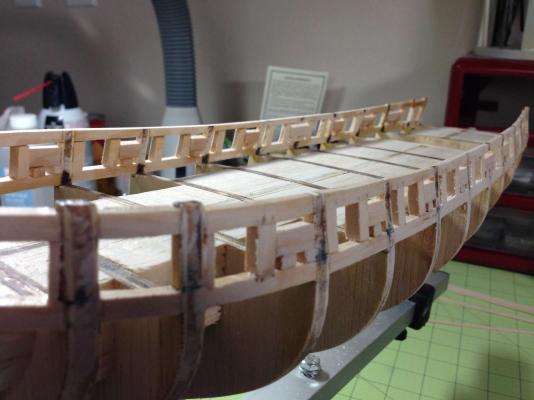
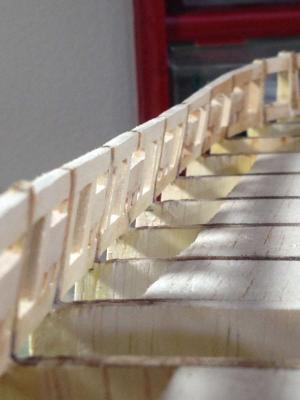
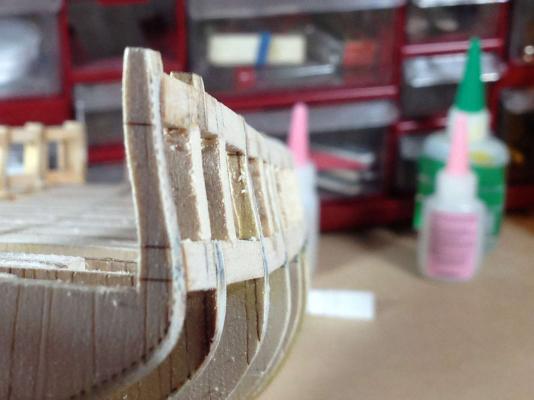
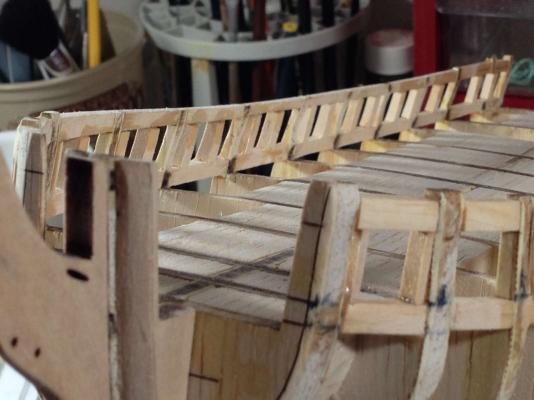
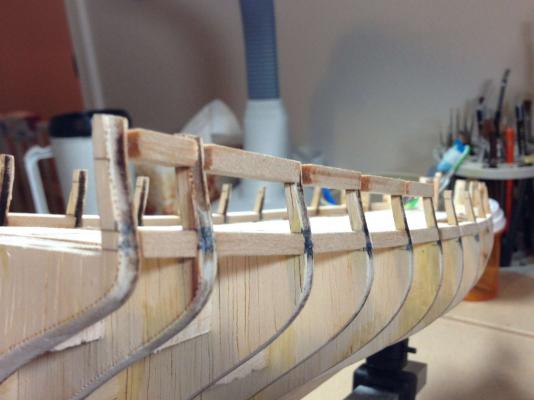
Continuing Stern framing- Chapter 4 Using 3/16 x 1/4 basswood sills and lintels are added using the template provided The rest is cleaning up and sanding smooth. Next will be filling below the counter


-
Ok, here we go - Chapter 4 - Stern framing. Just following Chuck's great directions. I, like everyone else, have discovered how absolutely fragile these parts are. Do not even look at them very hard- they will crumble. Other than that just A, B, C ........... Now just let the glue dry- Sills and lintels are next


-
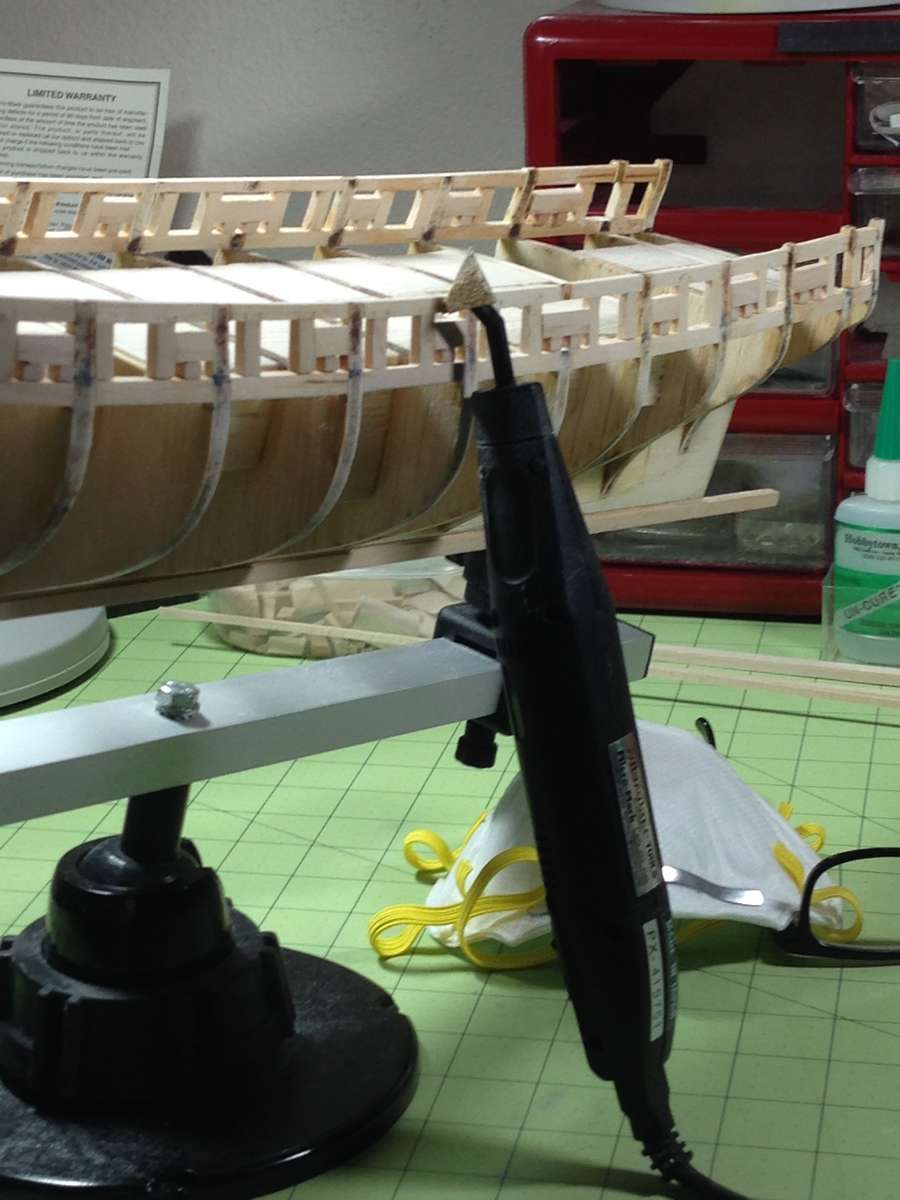
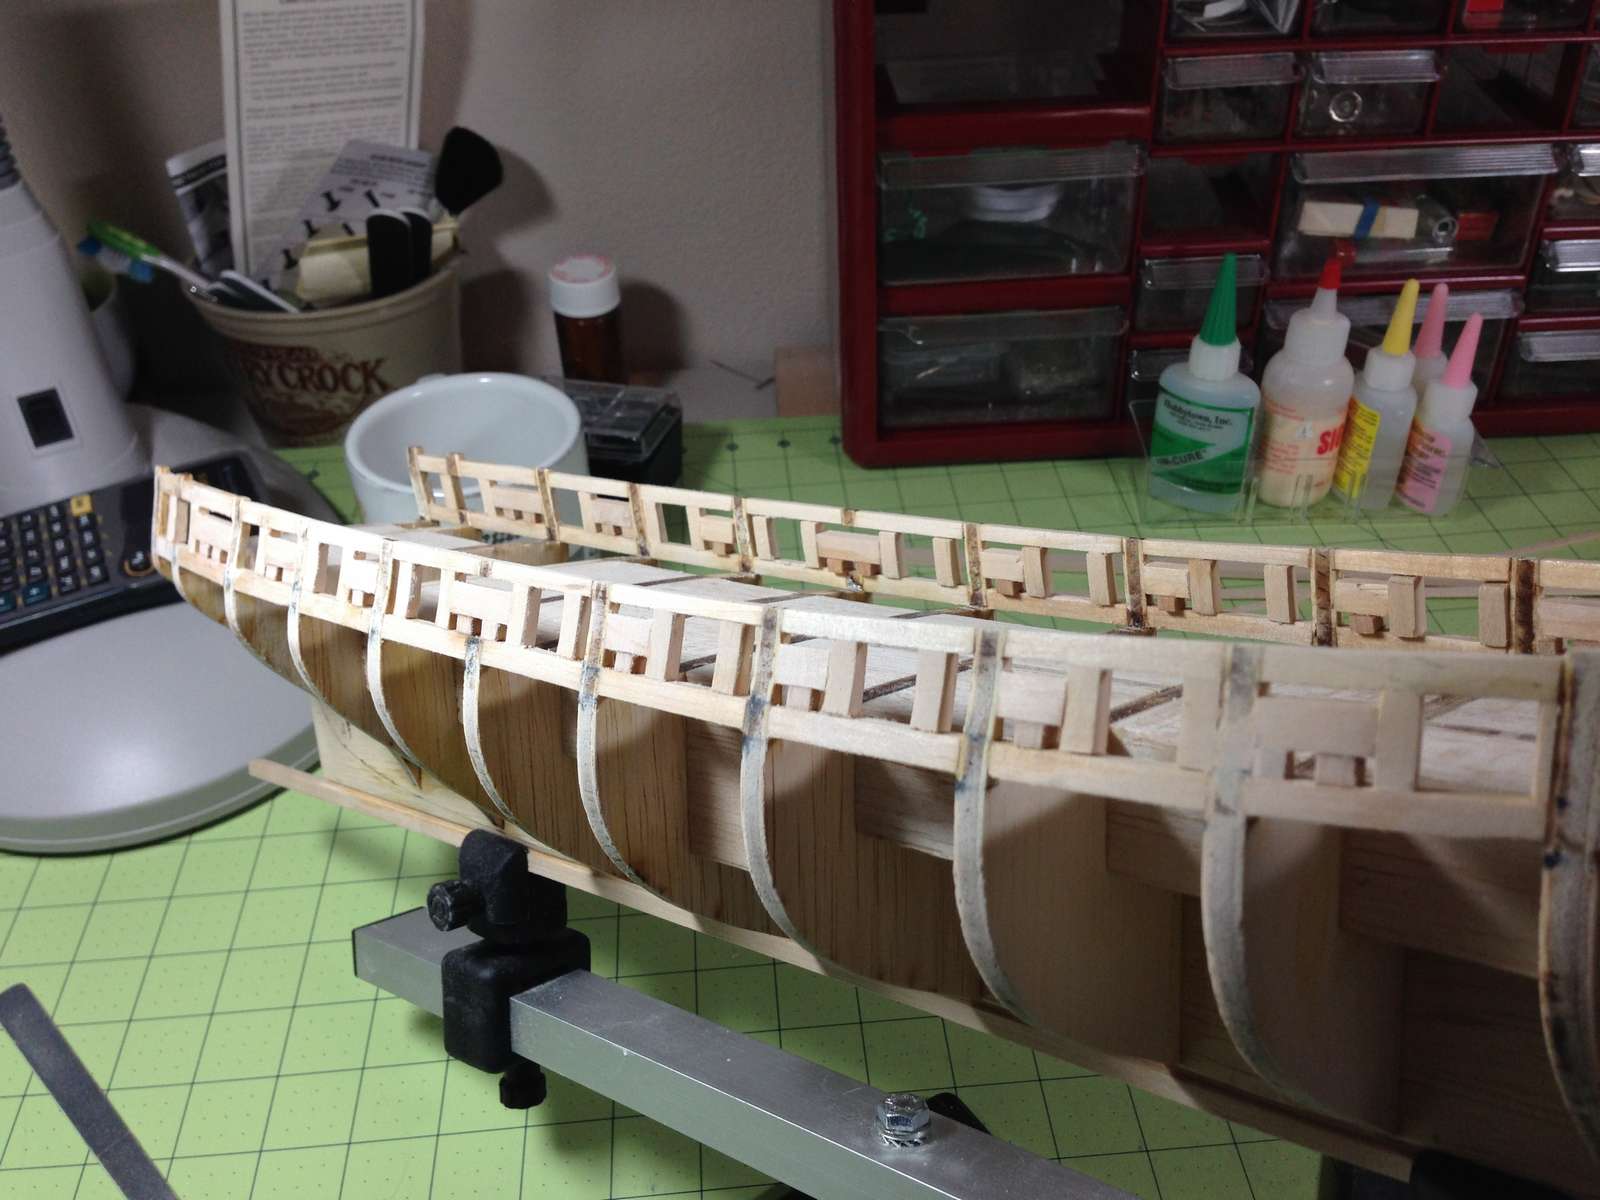
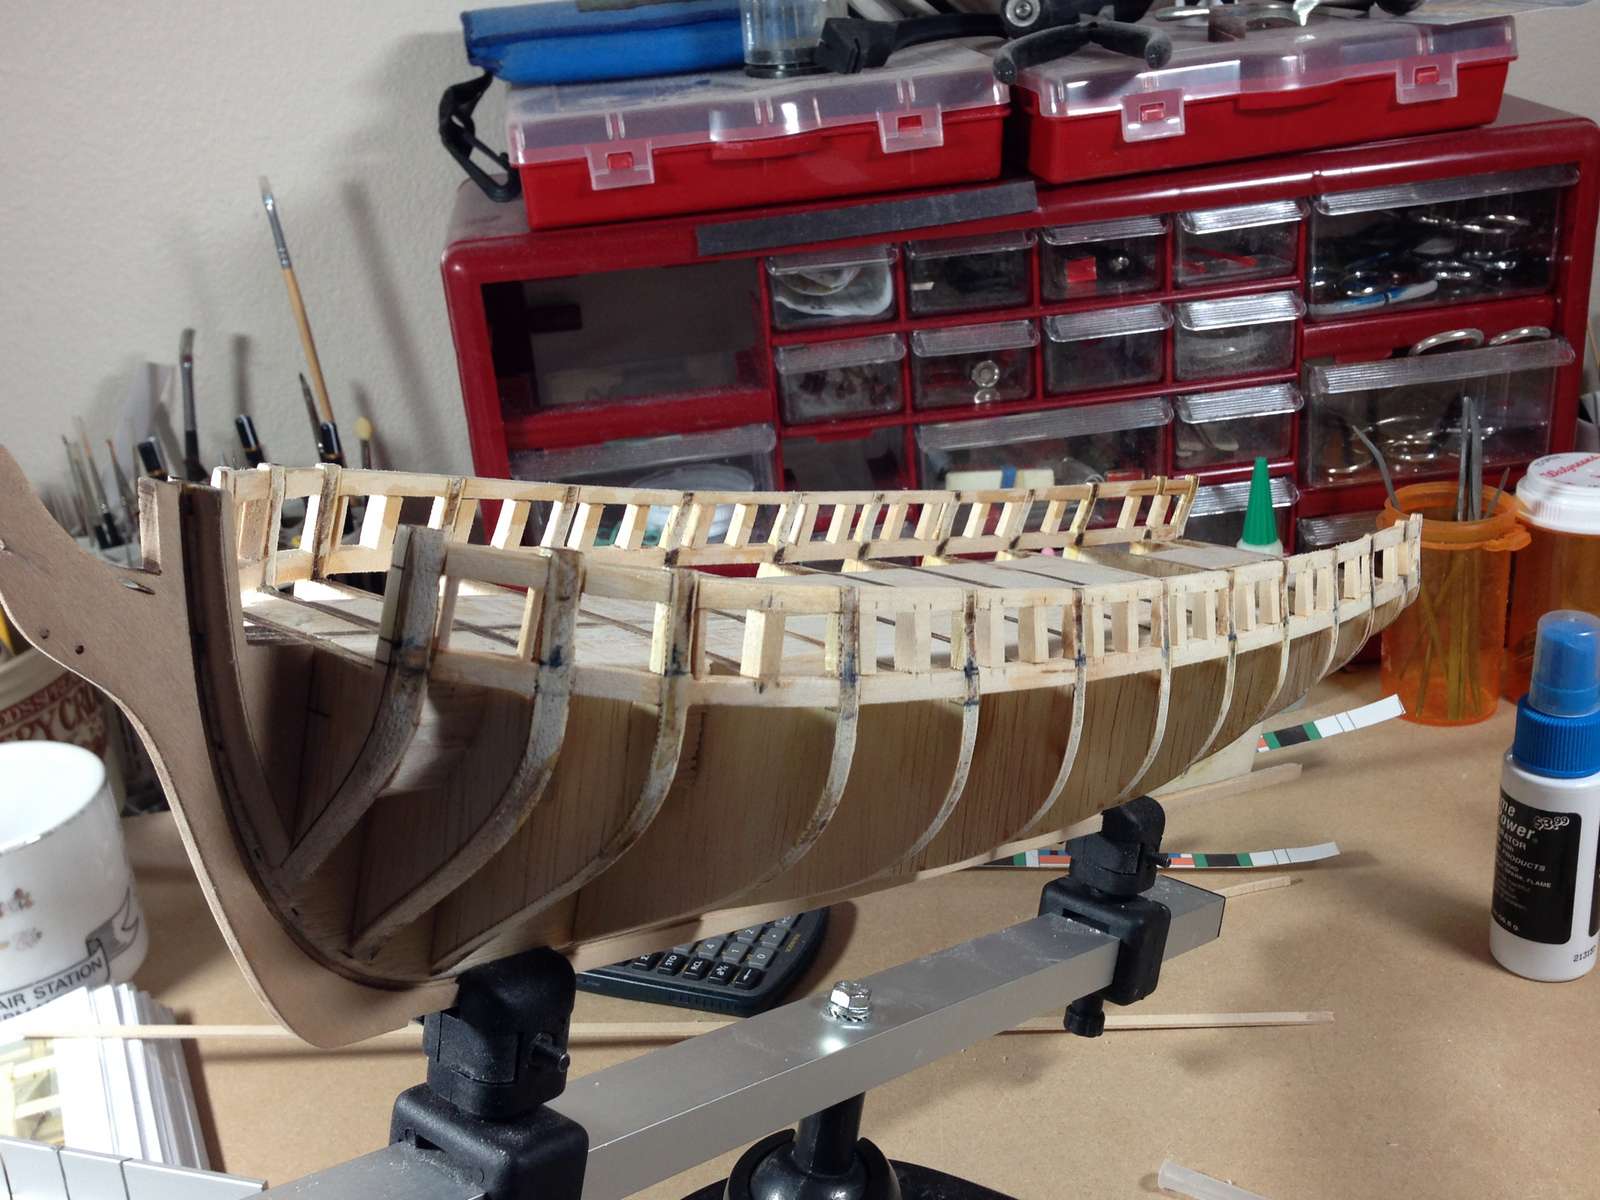
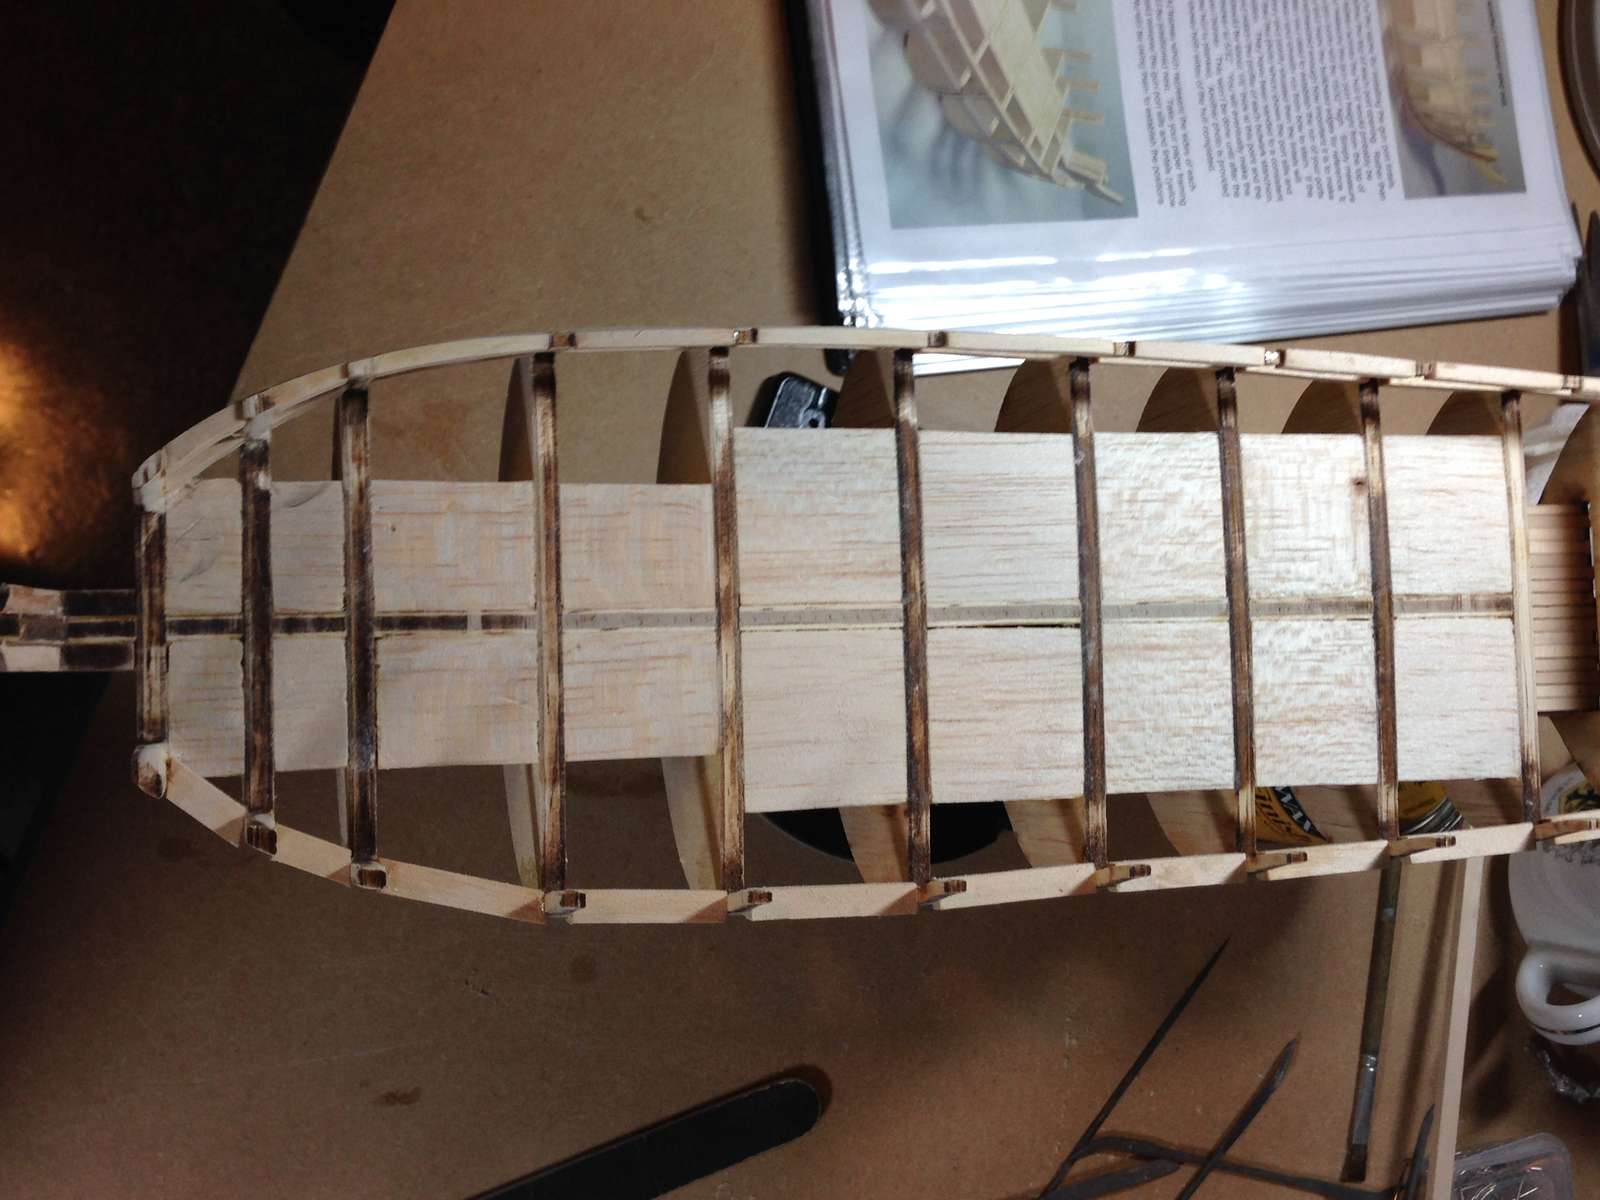
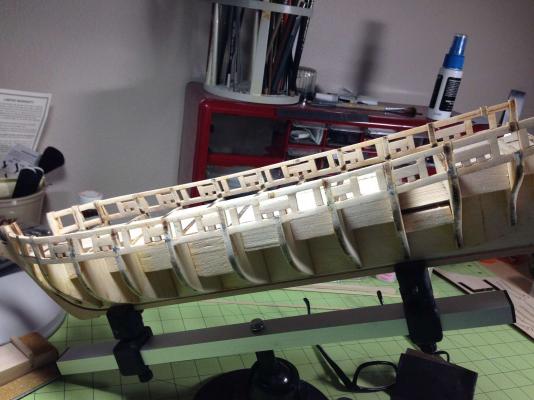
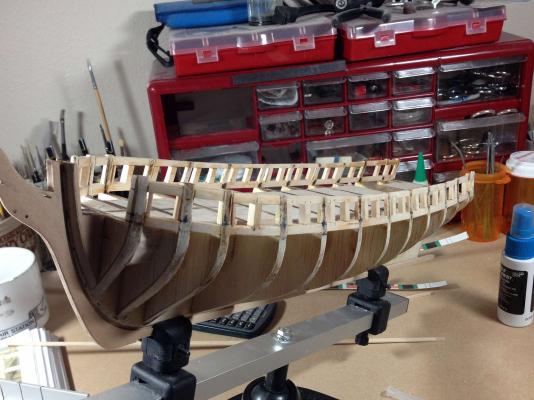
Finally, an update. Real life seems to keep interfering with important things, like working on my Syren, but I have made some progress over the last few weeks. First, a picture of my MicroLux pen sander which has become indispensable to me. I love this tool. It has really taken away much of the drudgery of sanding for me. Just my opinion of course. And a few more pictures of my more completed framing. I can not seem to stop tweaking, here and there, but I am almost satisfied. Now it is on to stern framing. Actually it is already complete. I just have to catch the log up to current state. More pictures in a few minutes


-
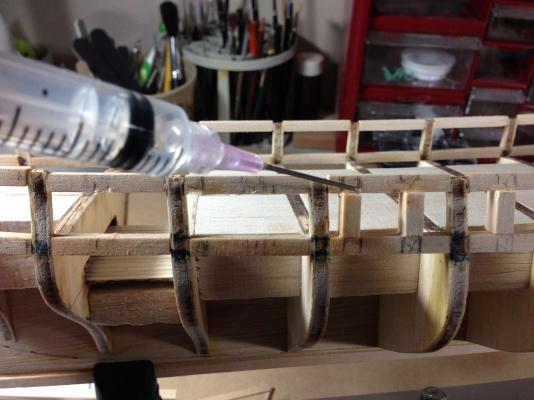
It looks much more precise than the filler method. No spread through the grain of the wood. Nice close up's. Hmmmm..... I just dont know if I have the patience. Really looks cool Meredith. What gauge of needle did you use? Charley
-
Todd- Checked my kit for you and I see what you mean. I have 5 pieces total for the boat and in the picture it looks like there should be 5 lifts plus a bottom. Hmmm.... inquiring minds want to know........ As for the variation in the vertical framing.. I just made sure that the framing plan was lined up on the last bulkhead and then made small adjustments as I installed all the remaining frames. I think it came out ok for me. Ive been working to much the last couple weeks so I havent been around as much as I like but your Syren is looking good! Charley
-
Thanks for sharing your process, Richard. In reading ahead in the instructions- I have gone over this several times but still was not sure. Your pictures help. Syren sure looks fine when she gets her cap on. Looks great. Charley
-
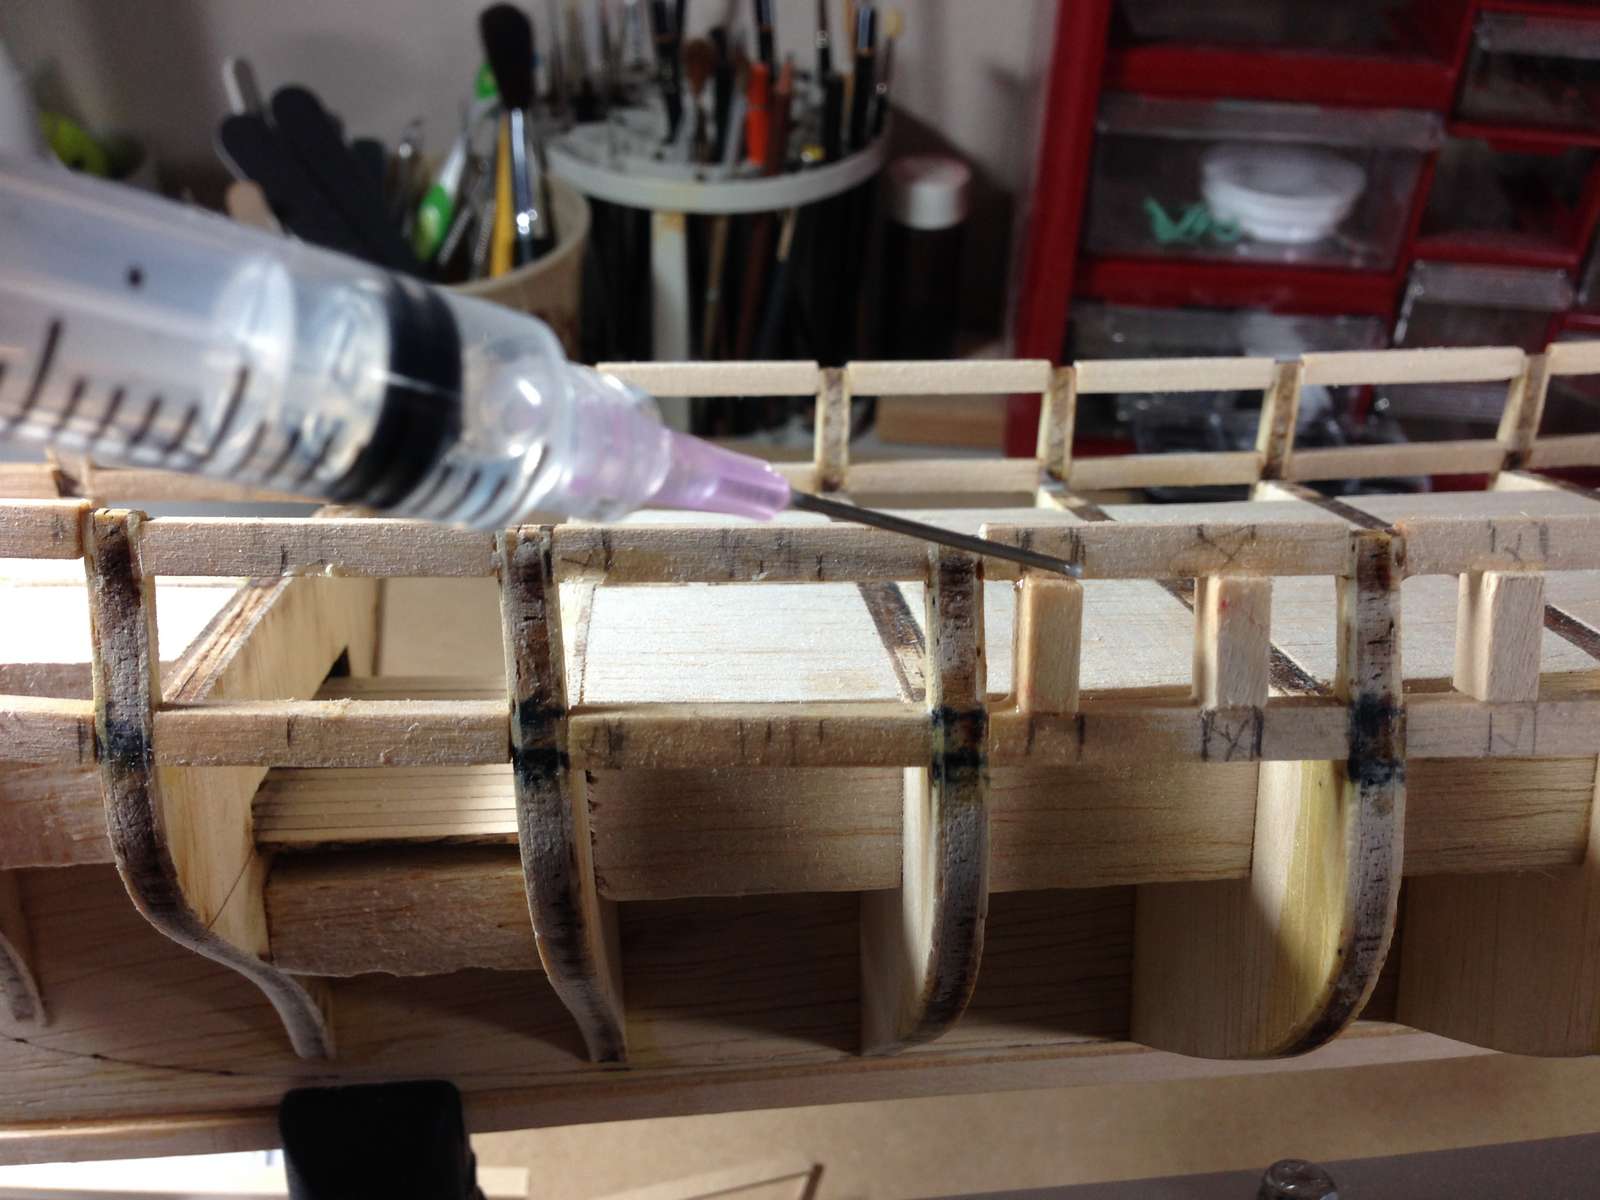
Dont worry Robbyn I stole the idea for the spacer from someone else , Dirk- I believe. I was using the syringe that day for alcohol because I had to redo those frames. It didnt work very well, too big of a syringe and needle, I think. I subsequently switched to insulin syringes with 31 guage needles and am able to control flow much better and get the alcohol right where I want it. If nothing else, I am getting really good at taking things apart after gluing them together Floyd- I am going to check out that Chopper thing
-
Augie-you gonna set up a planking class anytime soon ? Looks sweet. Charley
- 2,191 replies
-
- 1
-

-
- confederacy
- Model Shipways
- (and 1 more)
-
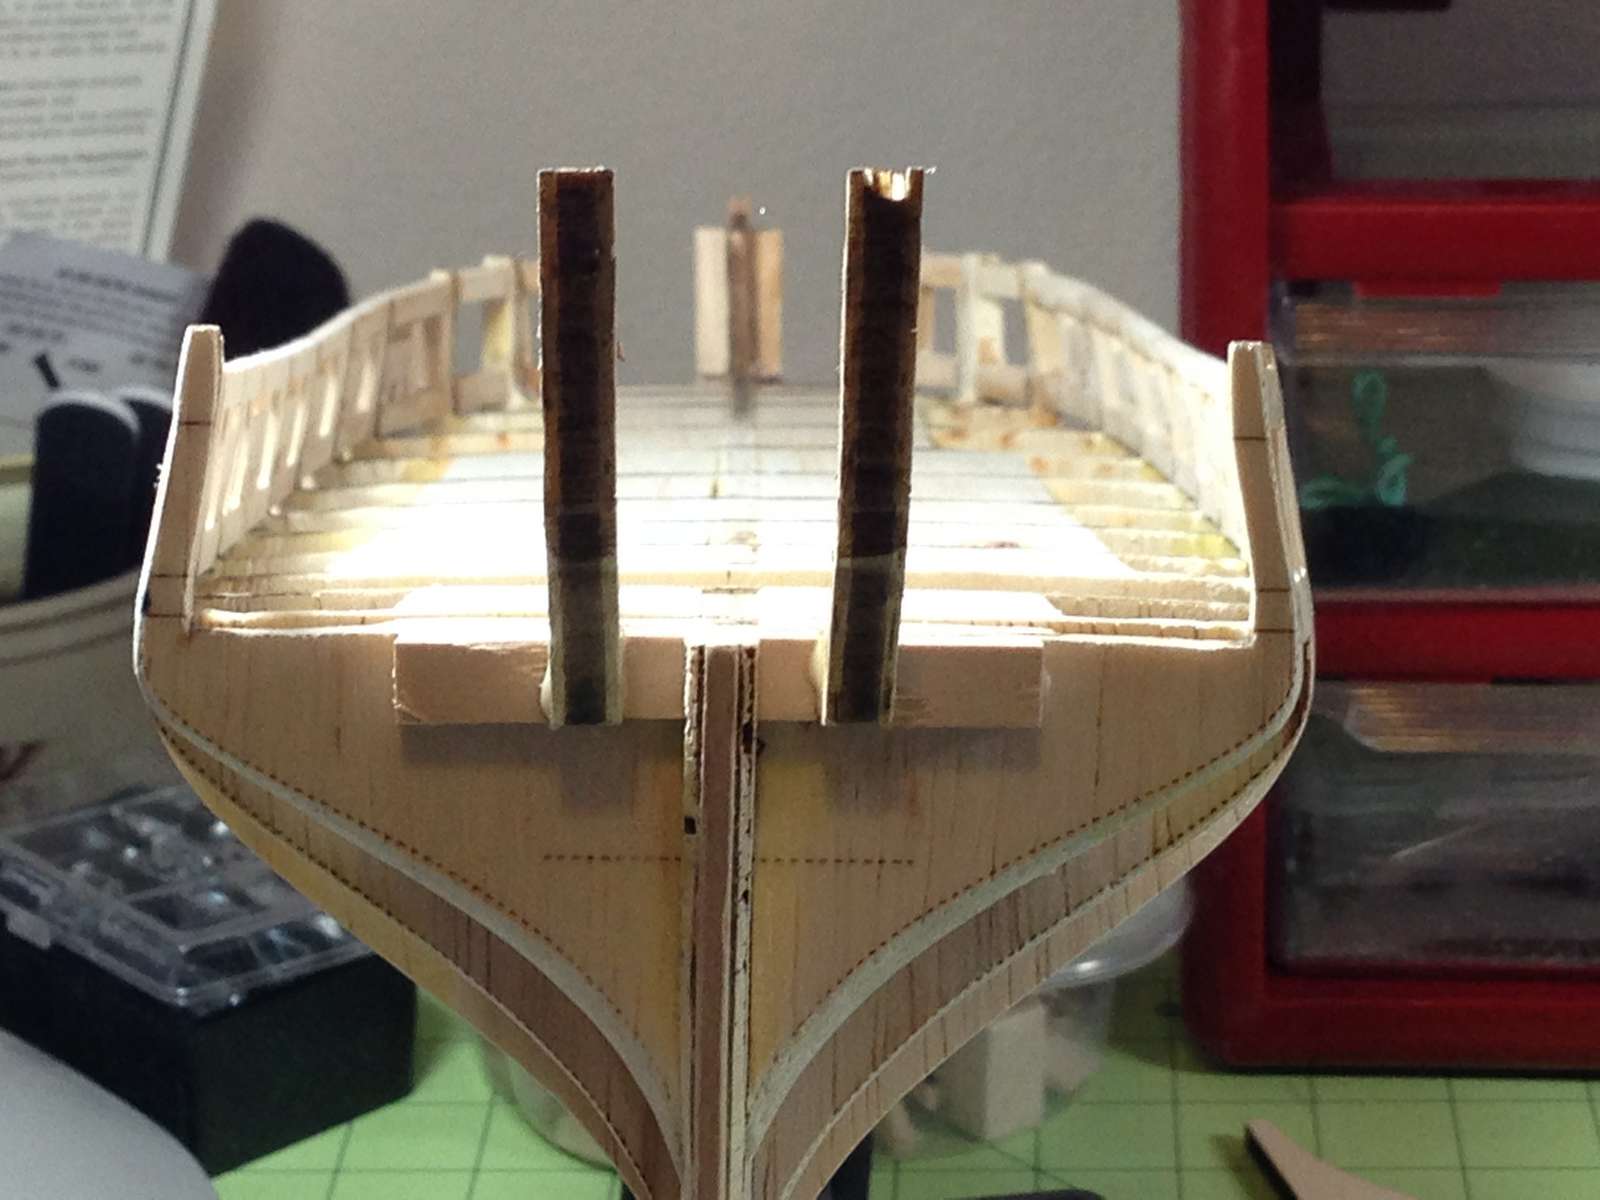
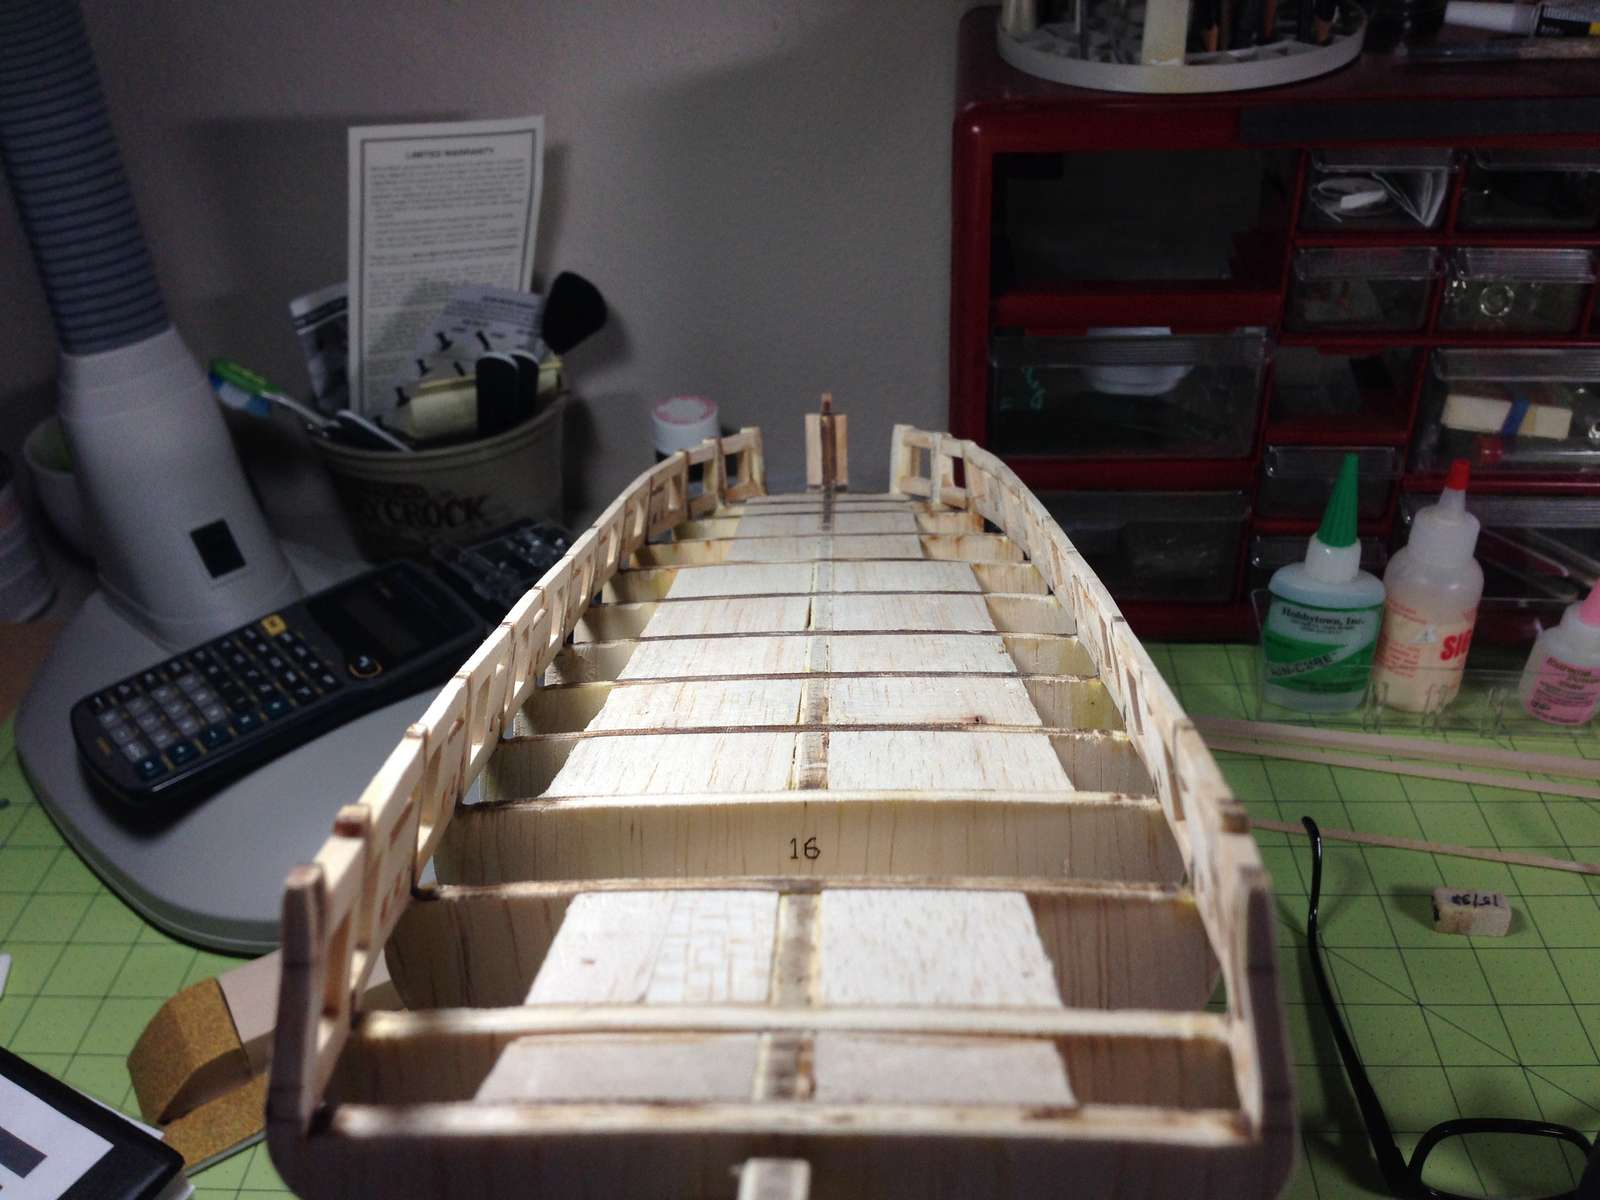
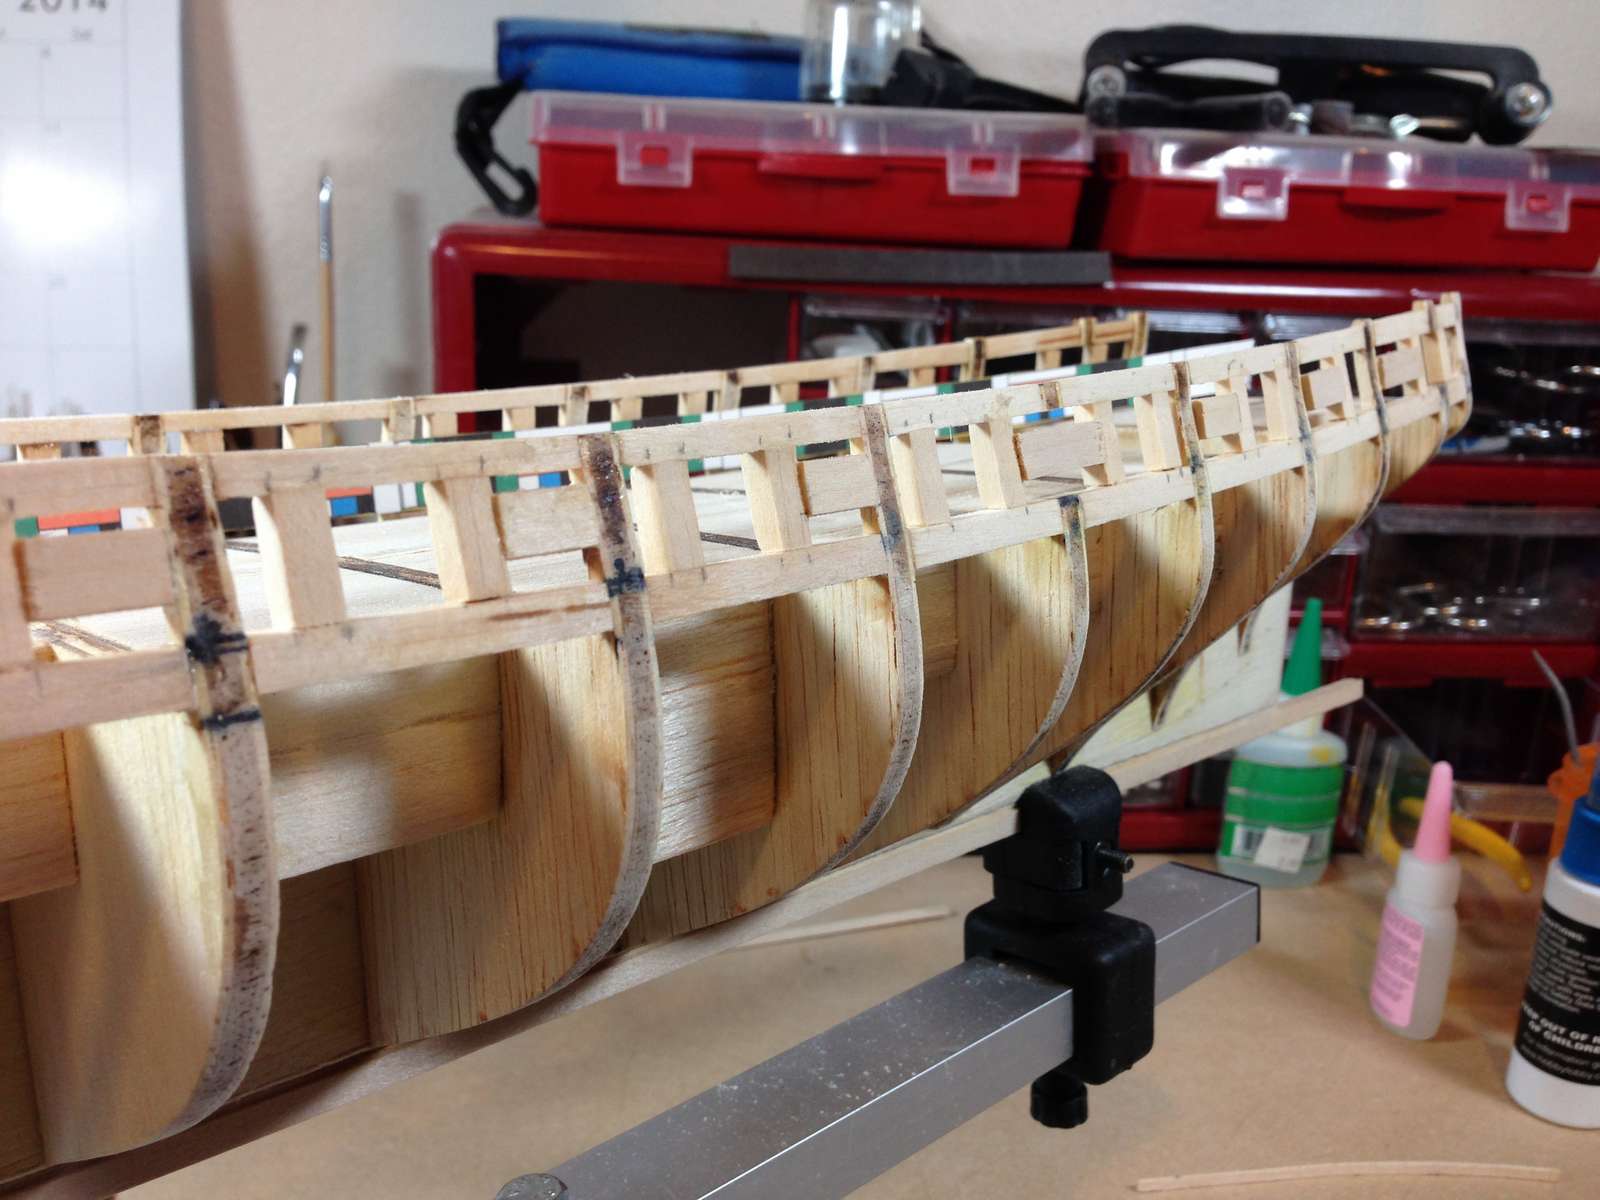
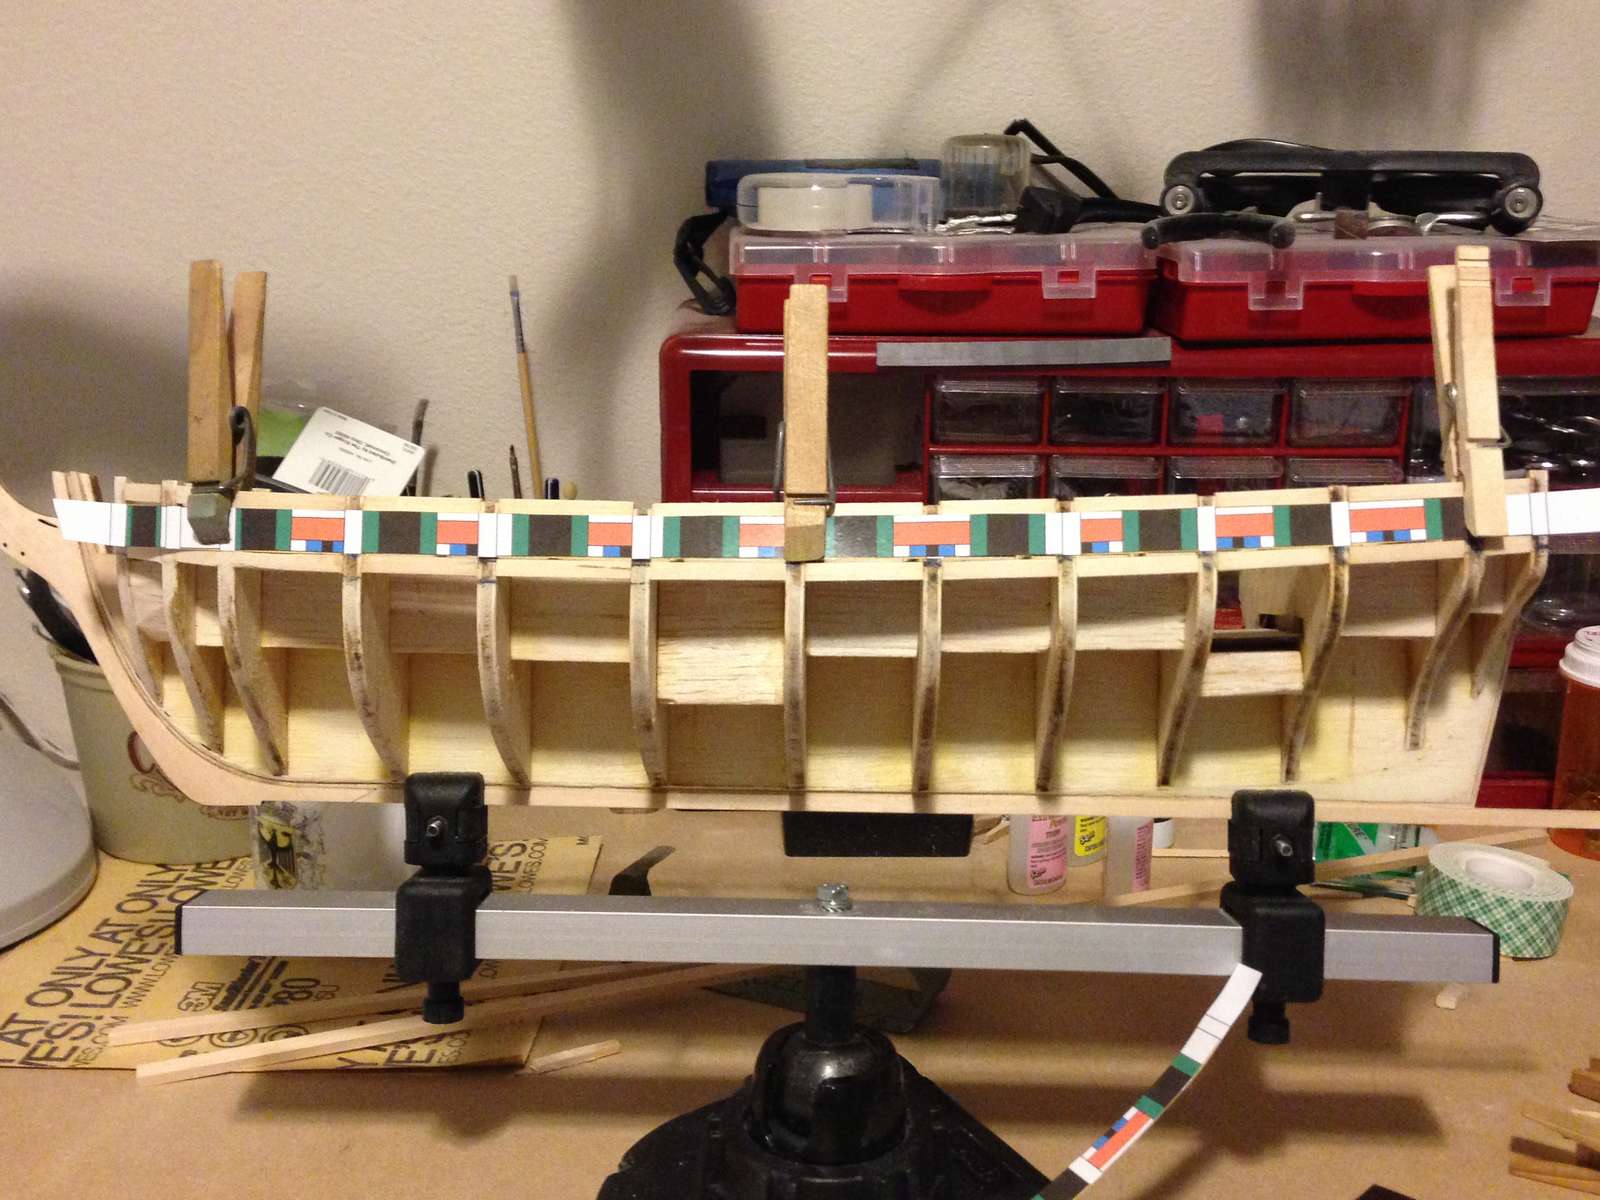
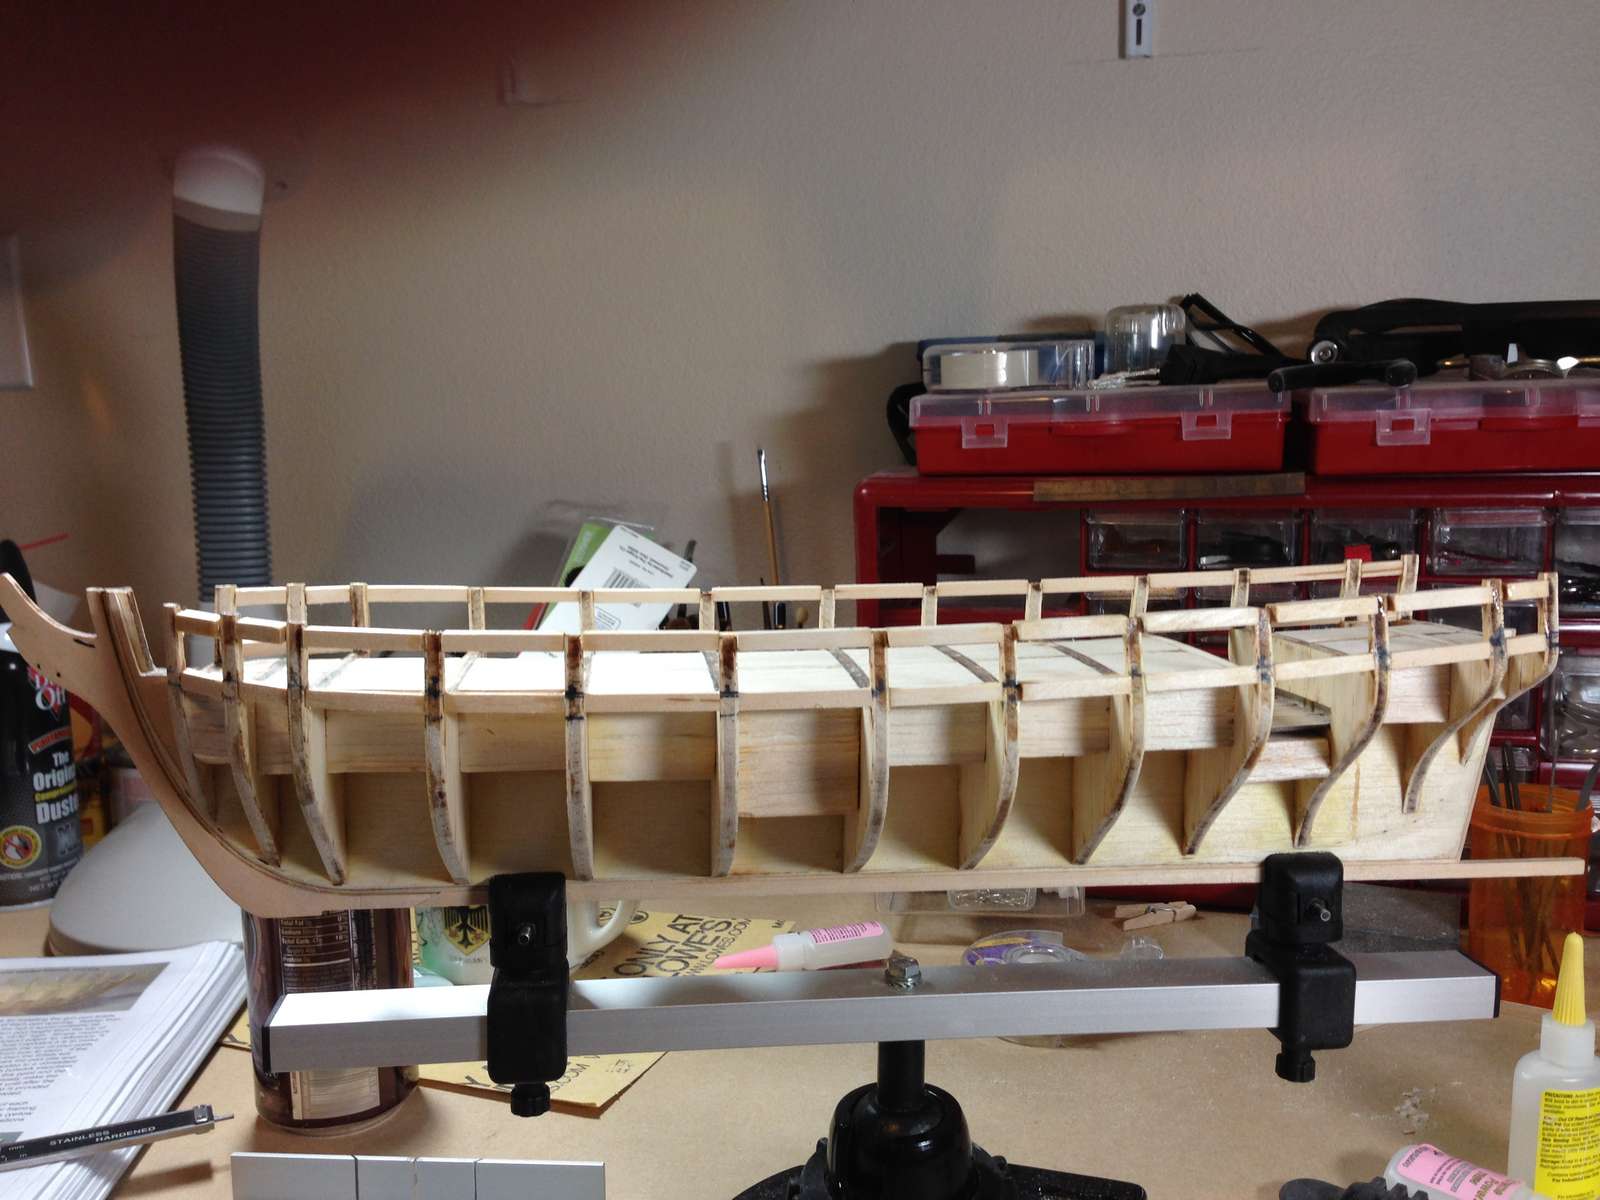
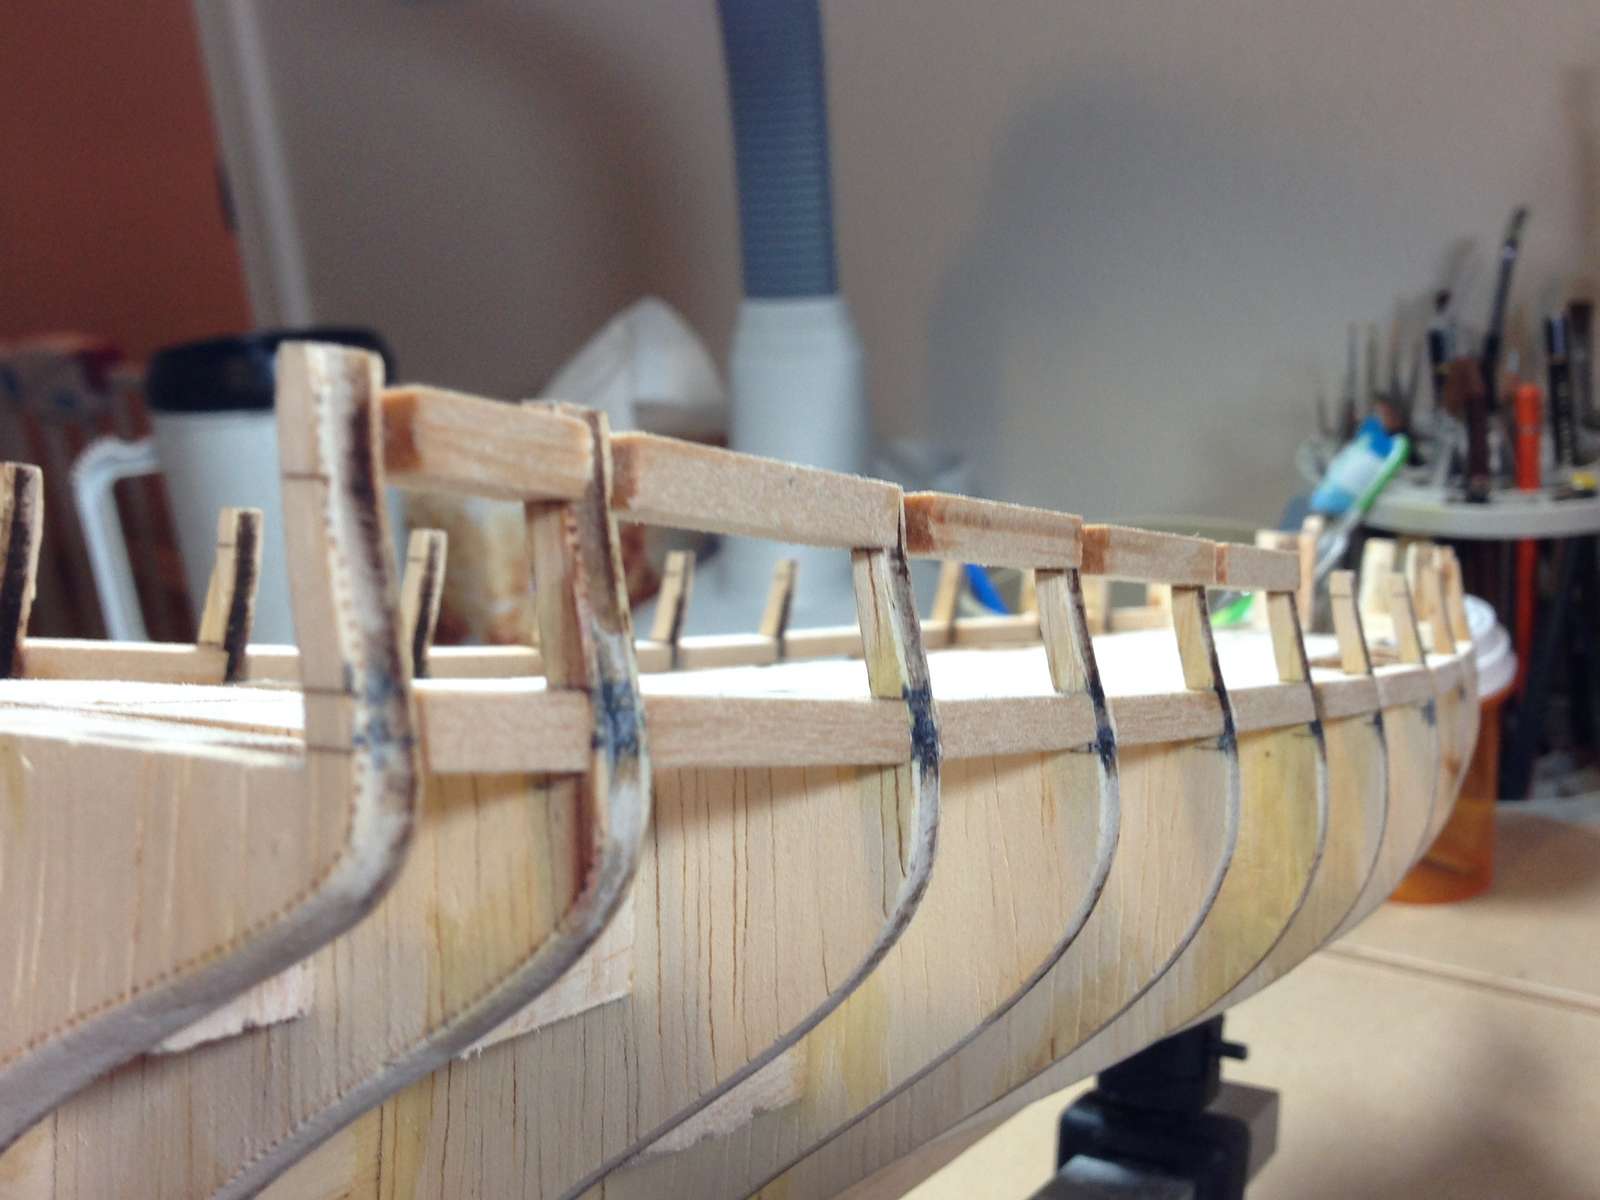
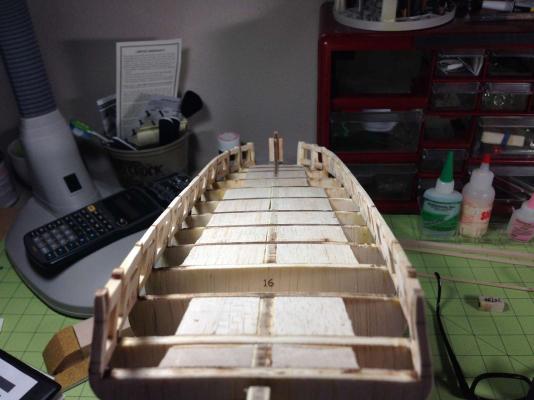
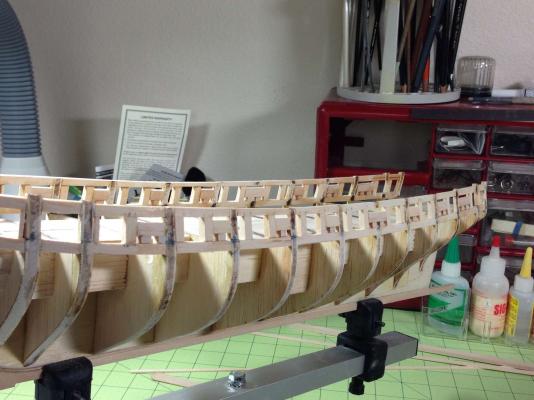
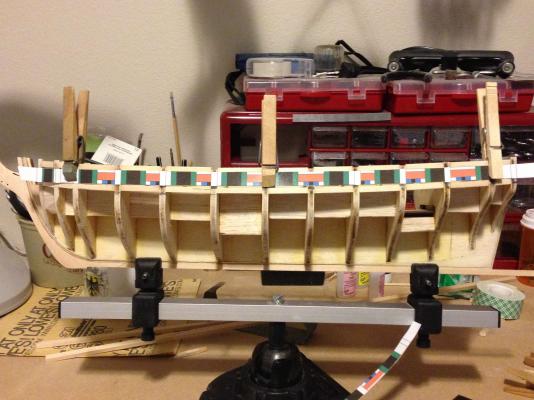
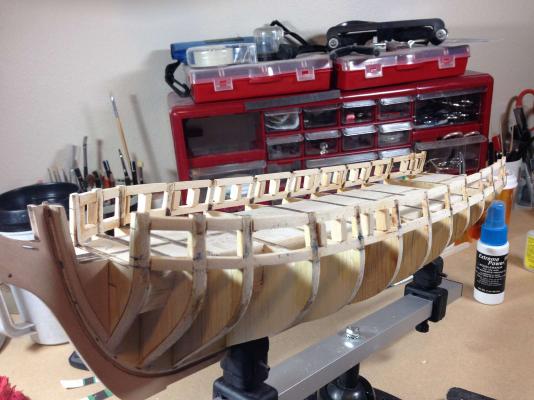
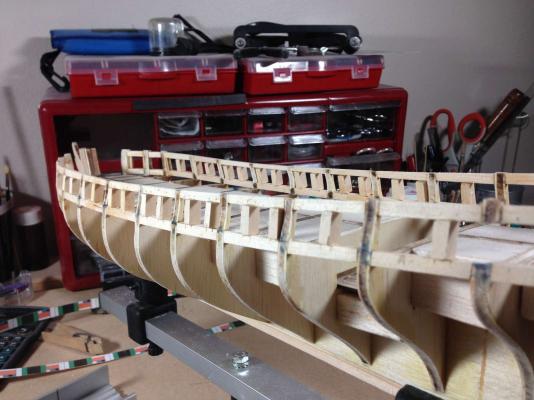
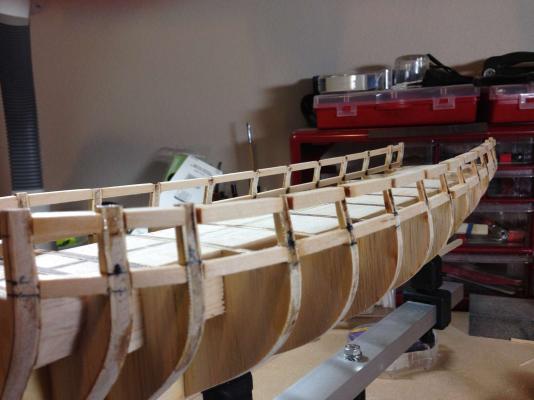
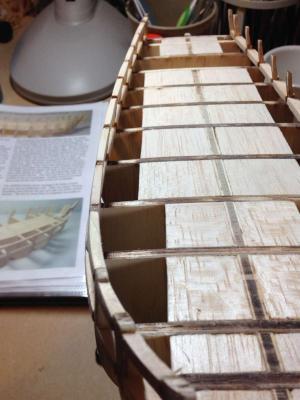
I finally finished the rough framing. All of the green, red and blue frames are done. I still have some sanding to do just to get her cleaned up like the lady she is . I have found I definitley need to work on my cutting skills. I struggle to cut a clean straight edge and angles are an exercise in frustration. I am using an Xacto miter box and razor saw but even so I find a lot of play in the slots. It may be time to put together some kind of jig. Here are a few pictures of progress to date. Happy New Year !!


-
Todd- I sent you a PM with copies of the Templates that Chuck sent to me just in case. Charley
-
Hi Todd. I will be following along. Good start. I had a time with the insides of the framing also. I got better as I went along. Charley
-
Thanks for the support guys. I still have plenty of sanding to do. Im not sure how far down I should go on the grit size of the sand paper at this point, since this is all sub-structure that will be covered up. I am pretty sure that Santa is bringing me one of those microlux mini sanders so I am hoping that will help me in that regards. Thanks for stopping by Charley
-
Ahhhhhhh..... there it is. I love those last two side views. The deck is beautiful. It fires my imagination. It had to have been a time tested design based on function and the will of the men who used this ship so succesfully. I can already see the masts in my minds eye. Great work John. Happy holidays to you and your family Charley
- 2,250 replies
-
- 1
-
-
- model shipways
- Charles W Morgan
- (and 1 more)
-
Hey Richard- I checked through my kit and I see what you mean.I dont see any specifically supplied wood. I looked at Dirk's build log and see that he cut his out of some after-market pear wood. I wish I could shed some light on this. I havent made it nearly this far yet but I will be very interested in the pending solution. Charley
-
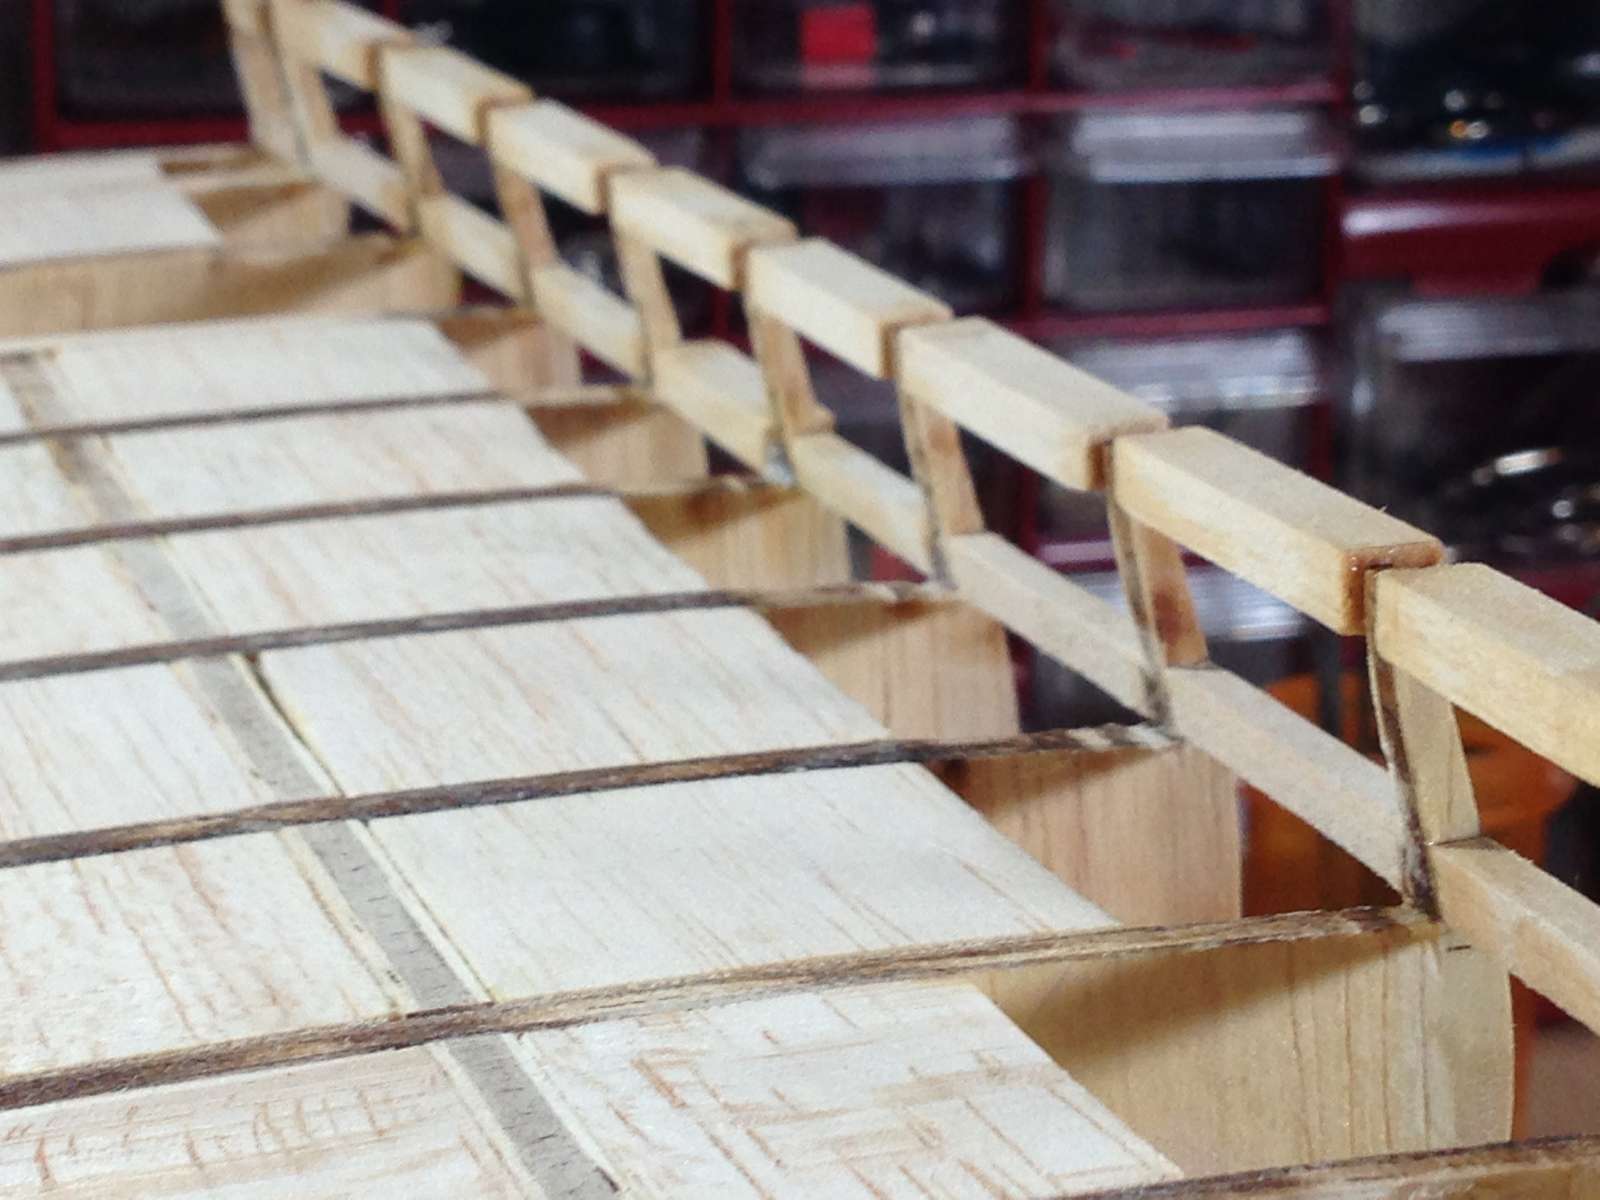
Green frames ( gunport sides) are also done. Pretty straight forward. Measure, cut, sand to perfect size with excruciating care, glue, wait to dry, come back and decide I dont like it, take out then repeat till I finally decide- enough is enough . I can't lie though. I am enjoying every minute of it. I have never found anything that takes my mind off "stuff" better than shipbuilding. Cheap therapy Anyway gunport sides are all in and sanded and I am on to the frames that define the sweep ports. I also wanted to say happy holidays to everyone here on MSW. I hope it is a good time- each in your own way. Thanks for being here.


-
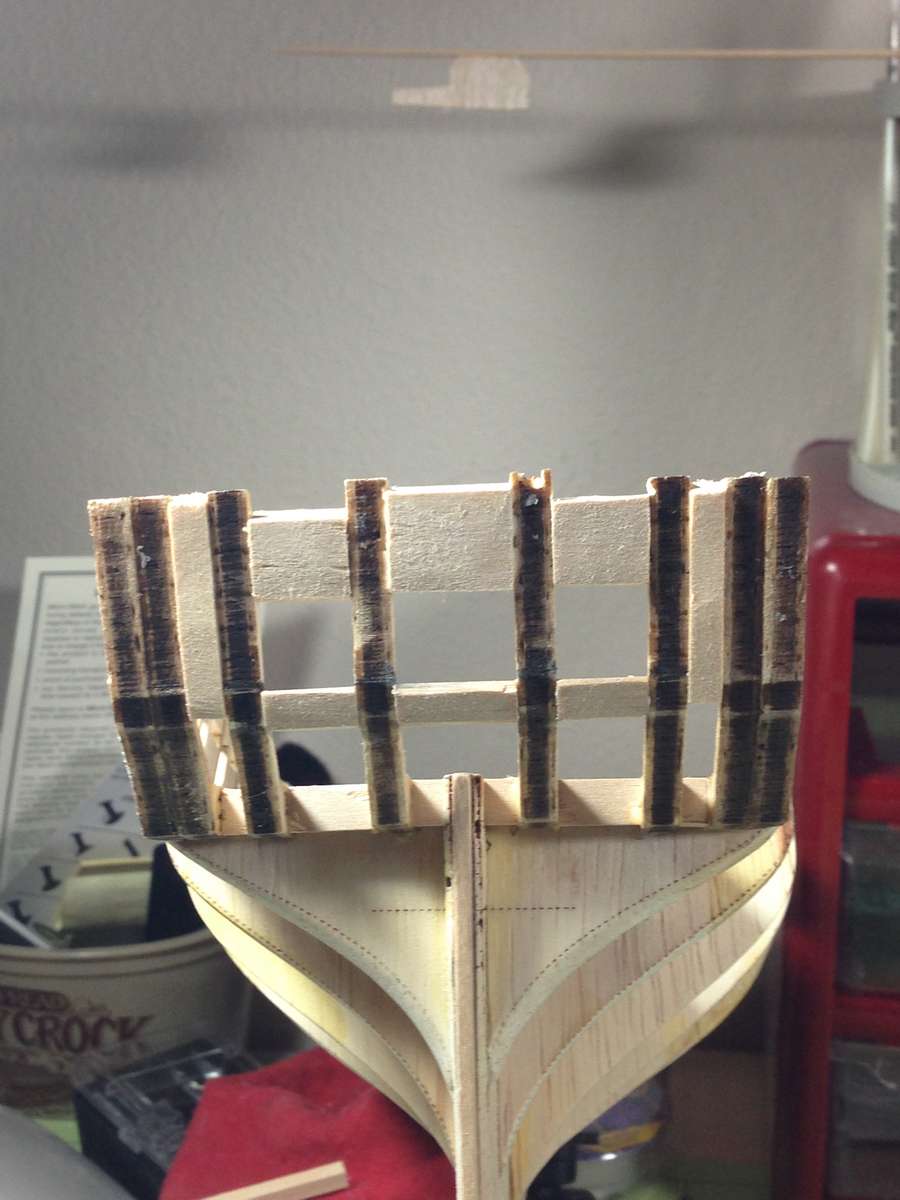
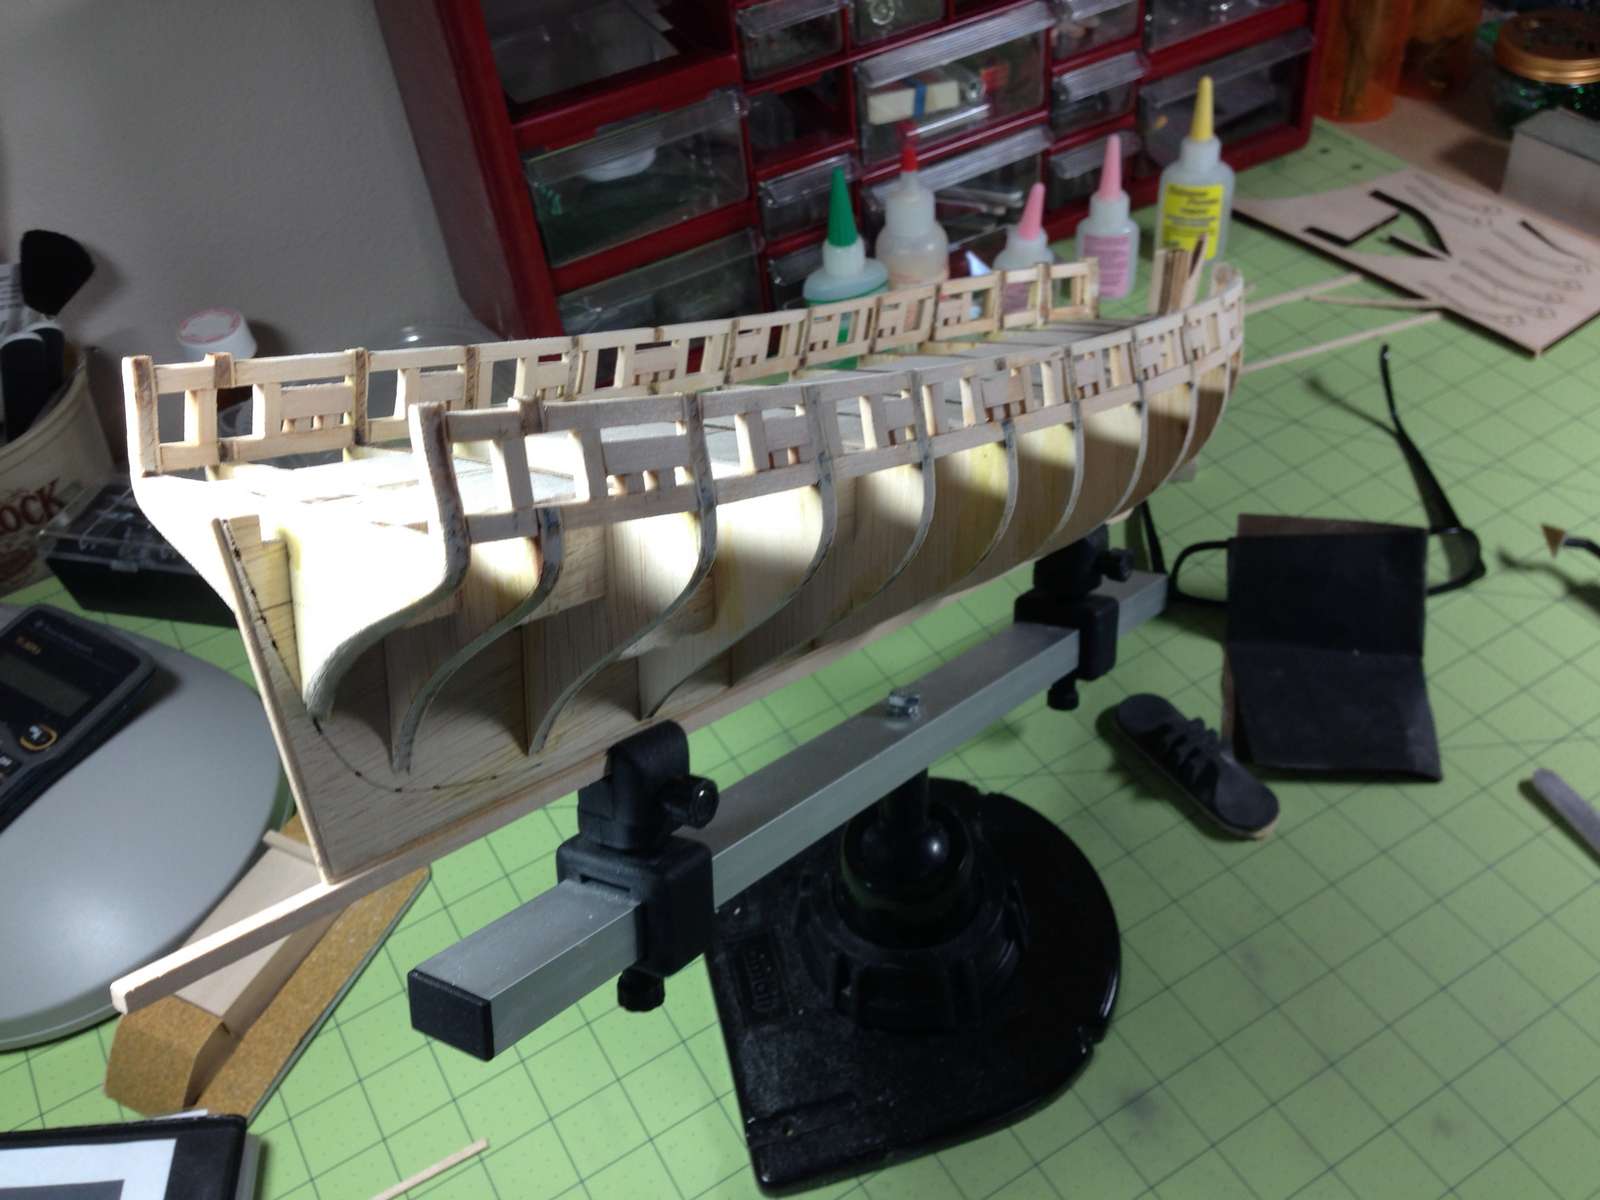
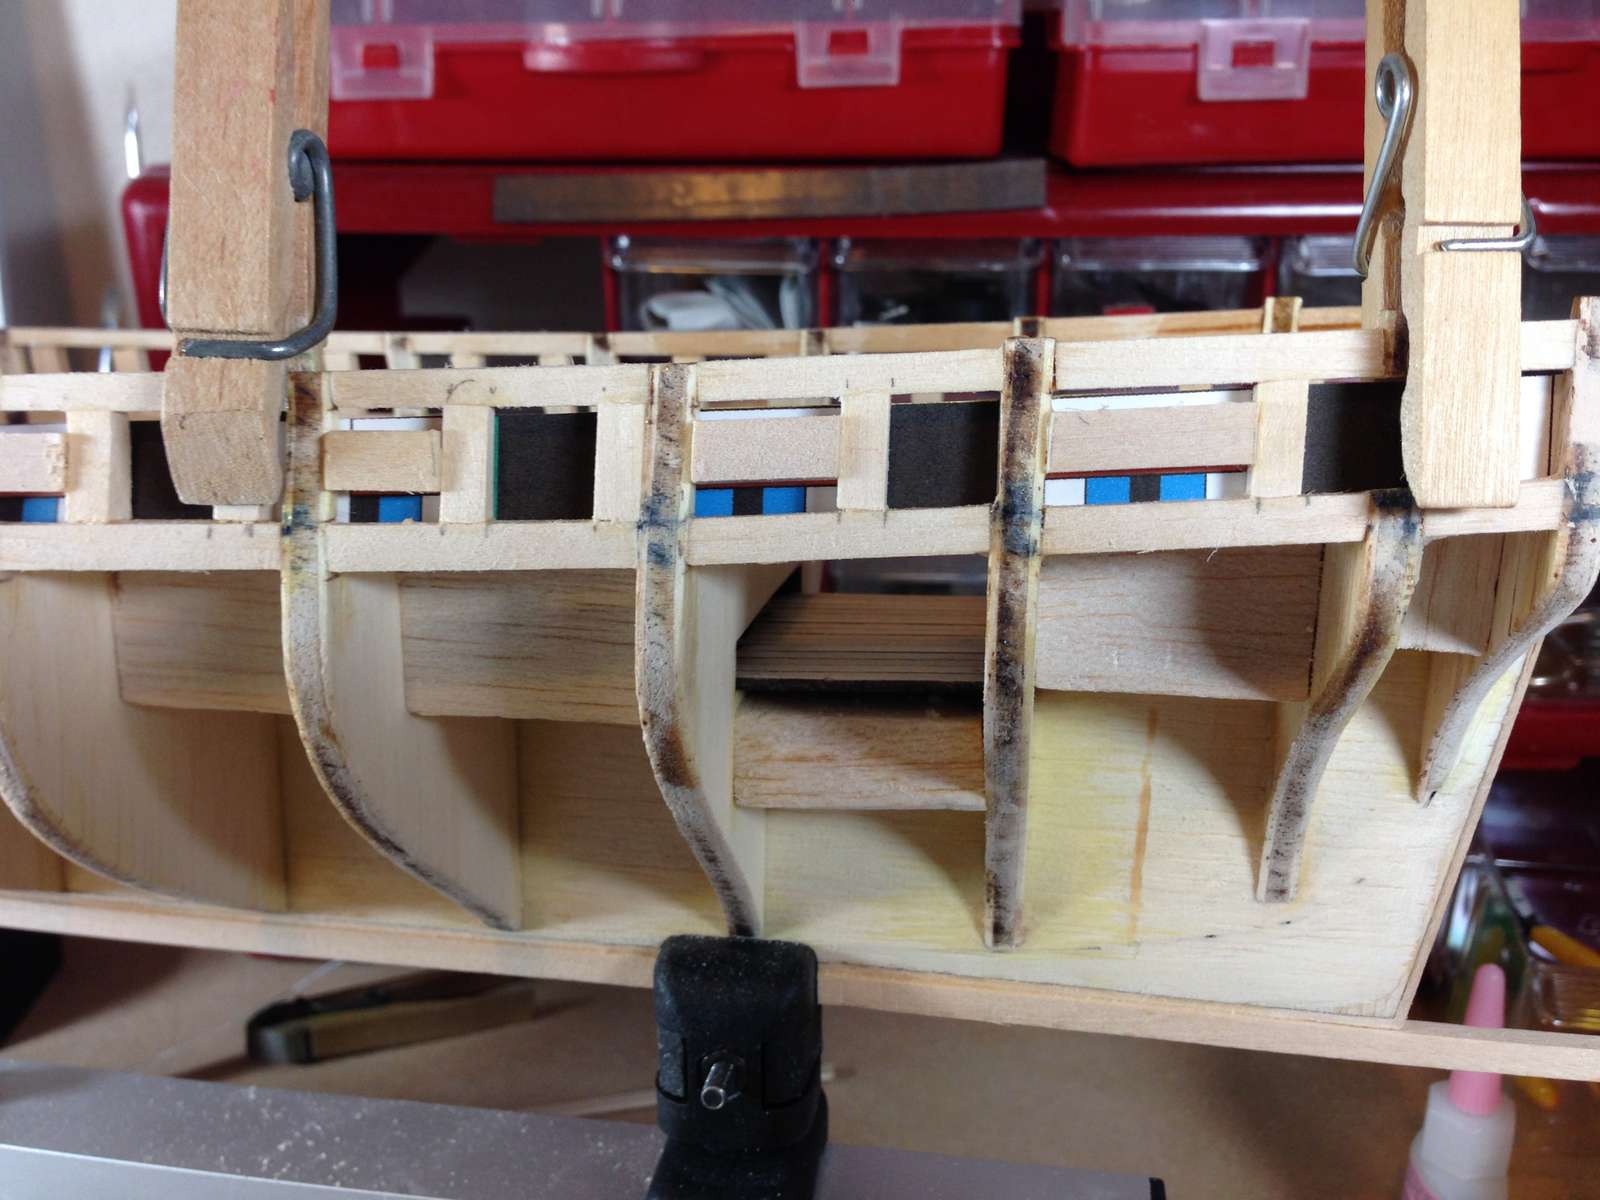
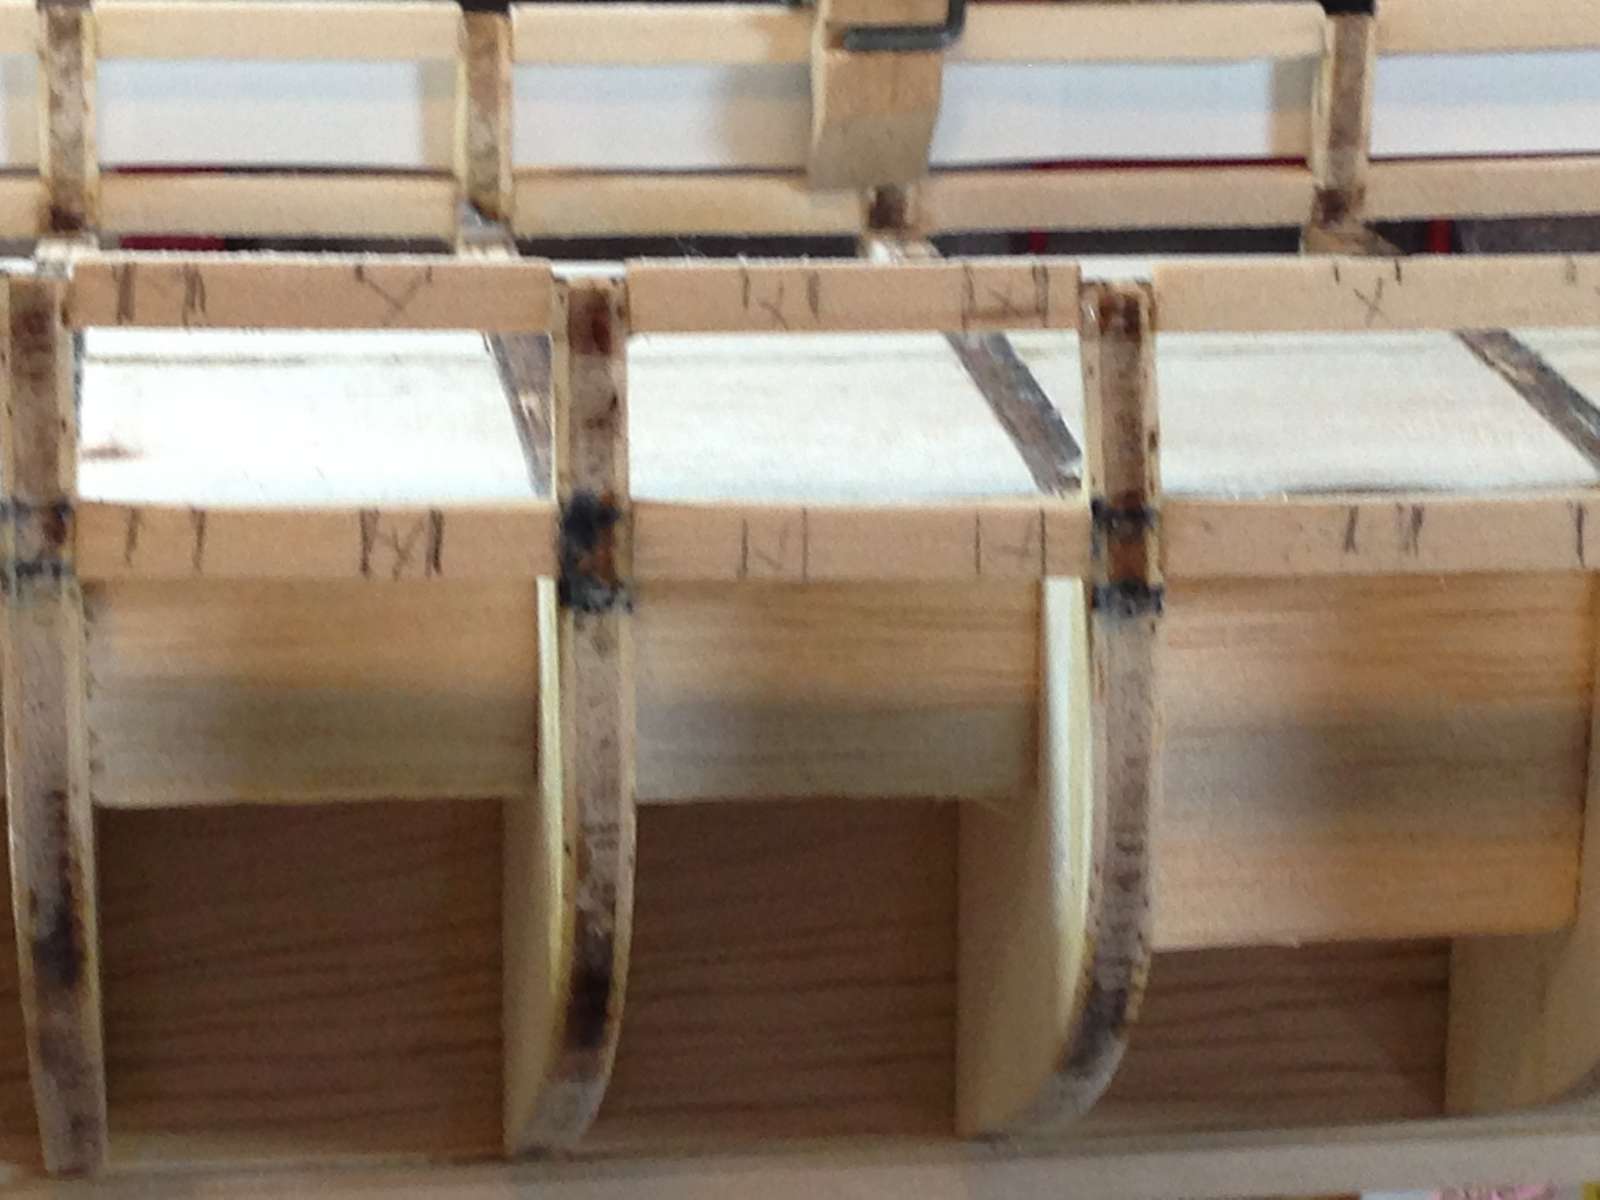
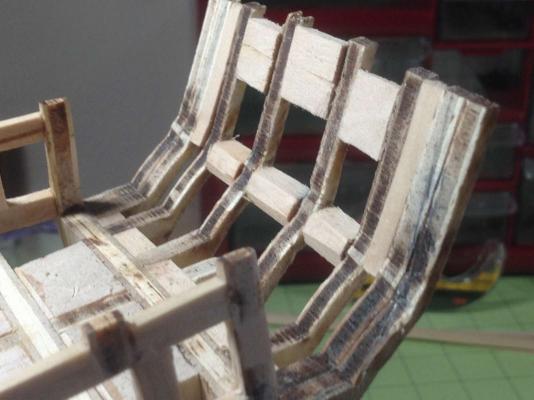
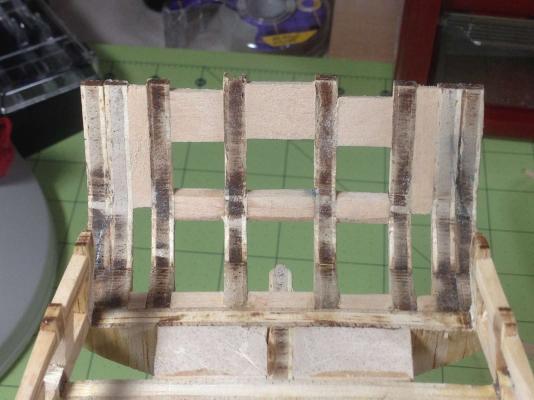
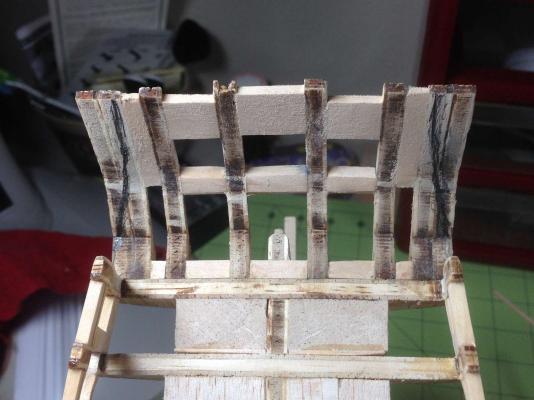
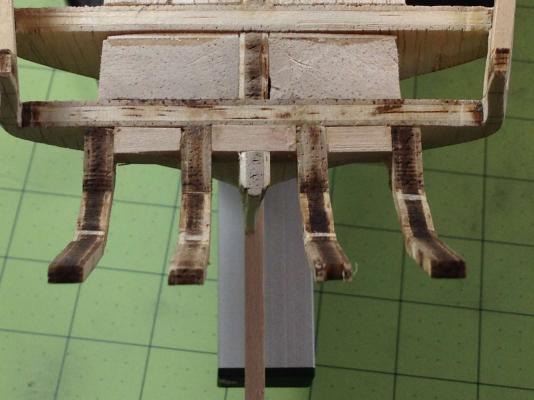
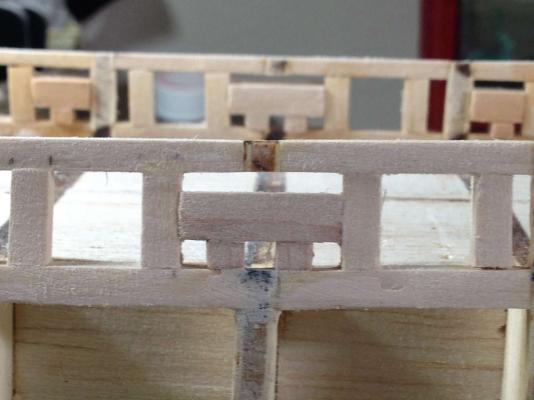
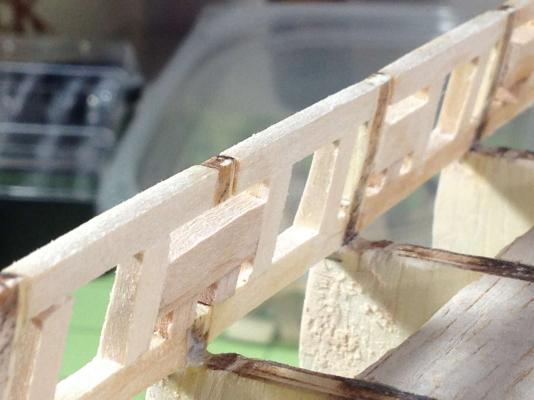
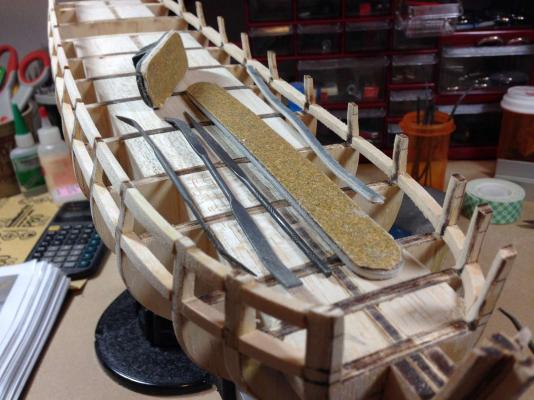
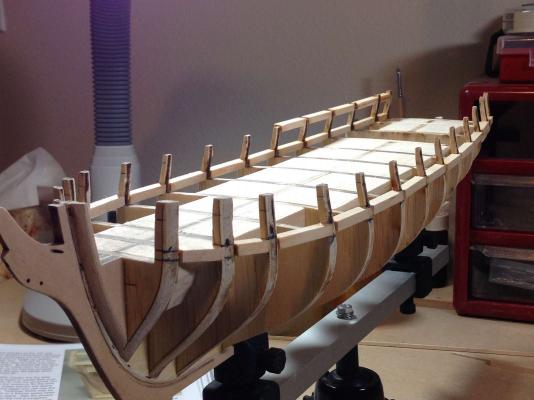
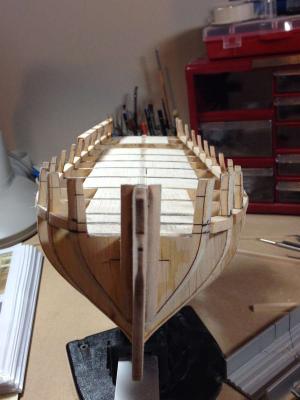
Ok finally a small update. Sills and lintels are all completed. Had to re-do a few. Seems like every time I walk away then come back they move Yessss...I have taken my medication today but I swear every time I stop working then come back after awhile I see some small error in a spot that looked perfectly fine previously. Anyway I have mastered the art of using isopropyl and debonder. I think you guys are rubbing off on me. A few of the tools I use and a few pictures of my progress


-
John.. all I've got to say is " I have got to get me one of these!".. Your work is ingenious. I love this ship more and more. I think the C.W. just went to the top of my short list for my next build. Of course I do need to find some time to wotk on my Syren first. Charley
- 2,250 replies
-
- 1
-
-
- model shipways
- Charles W Morgan
- (and 1 more)
-
Hey, welcome to the Syren group. I second everything Larry said. I used a very similar method except I used balsa for my filler blocks. Seemed to work fine for me. Good luck with your build.I will add it to my follow list. Charley
-
Hey John- The more I see - the more I like. Keep it up and keep the pictures coming. Charley
- 2,250 replies
-
- 2
-
-
- model shipways
- Charles W Morgan
- (and 1 more)
-
Augie- I just re-worked the idea for the spacer from several other builds I have seen on MSW. Someone always comes up with some little way to deal with most challenges. So many great ideas. As for the covering- I have my iron right here along with my heat gun on the shelf---sigh....but I think it would not be the same . Thanks for checkin in Larry- I am so used to trying to make everything look old and beat up. I am just not happy if I am not trying to weather something
-
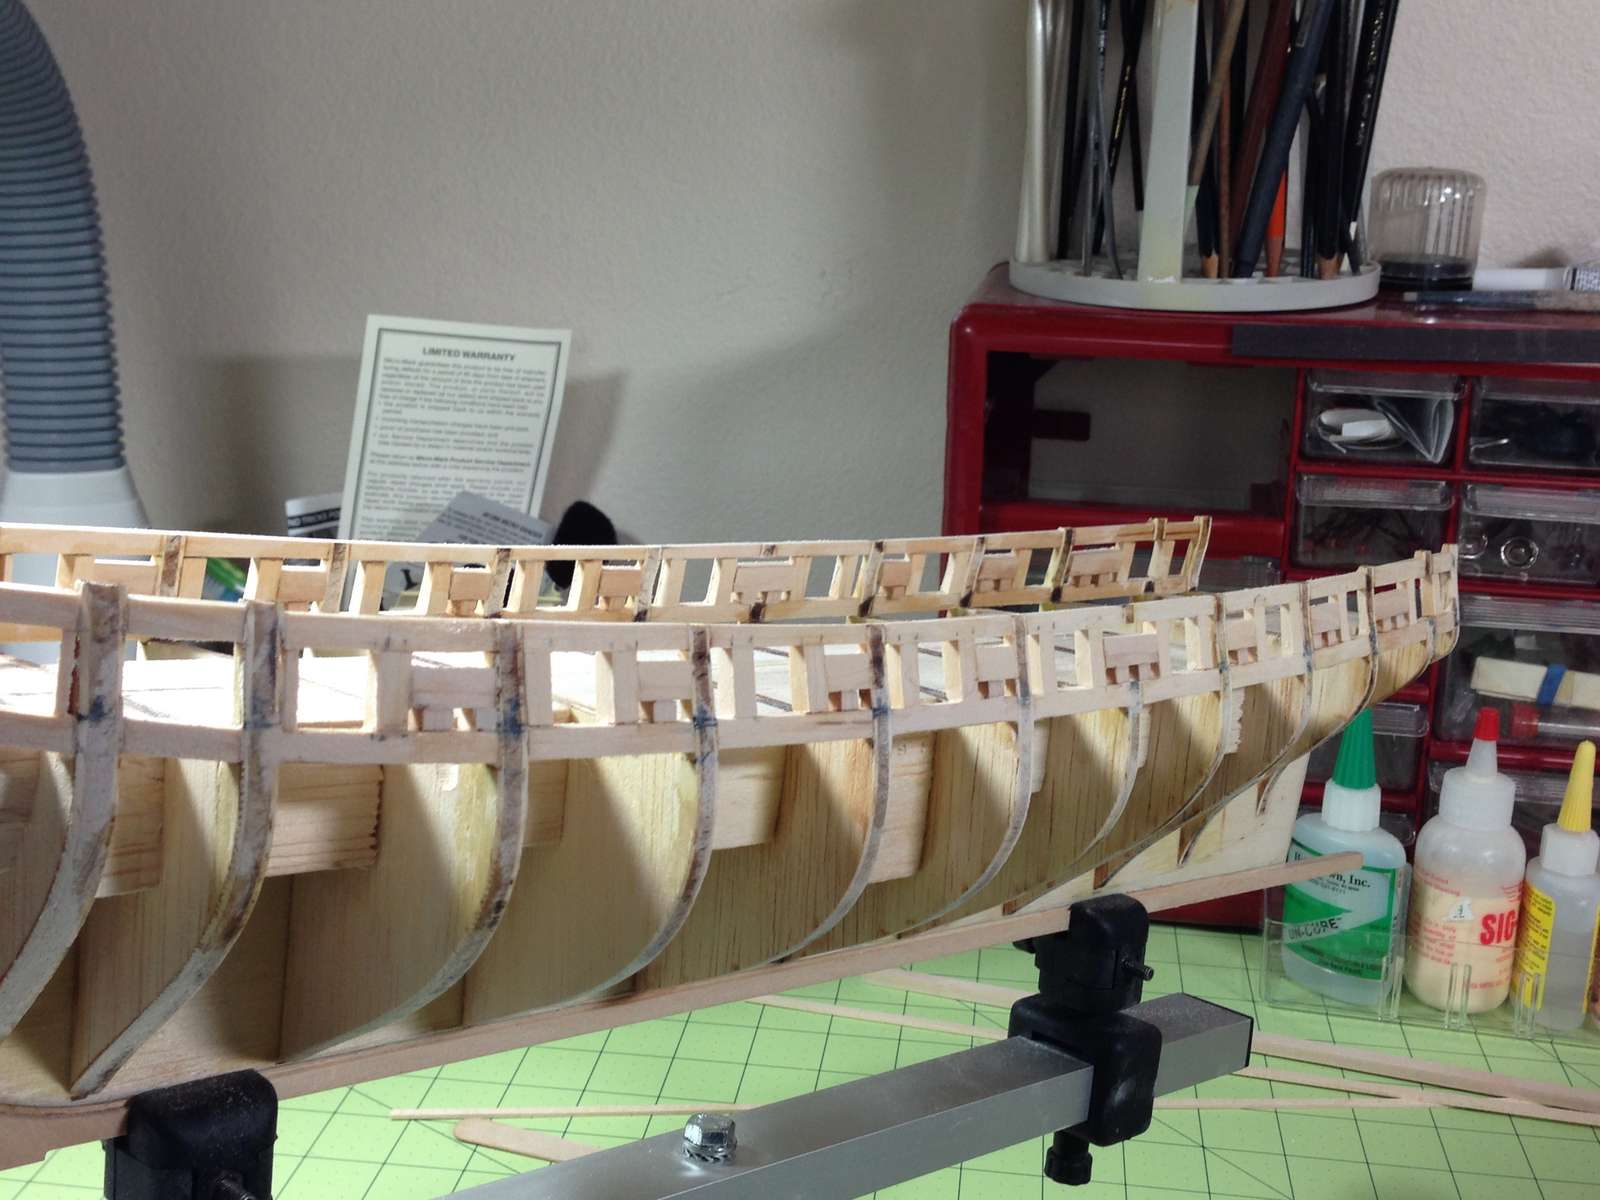
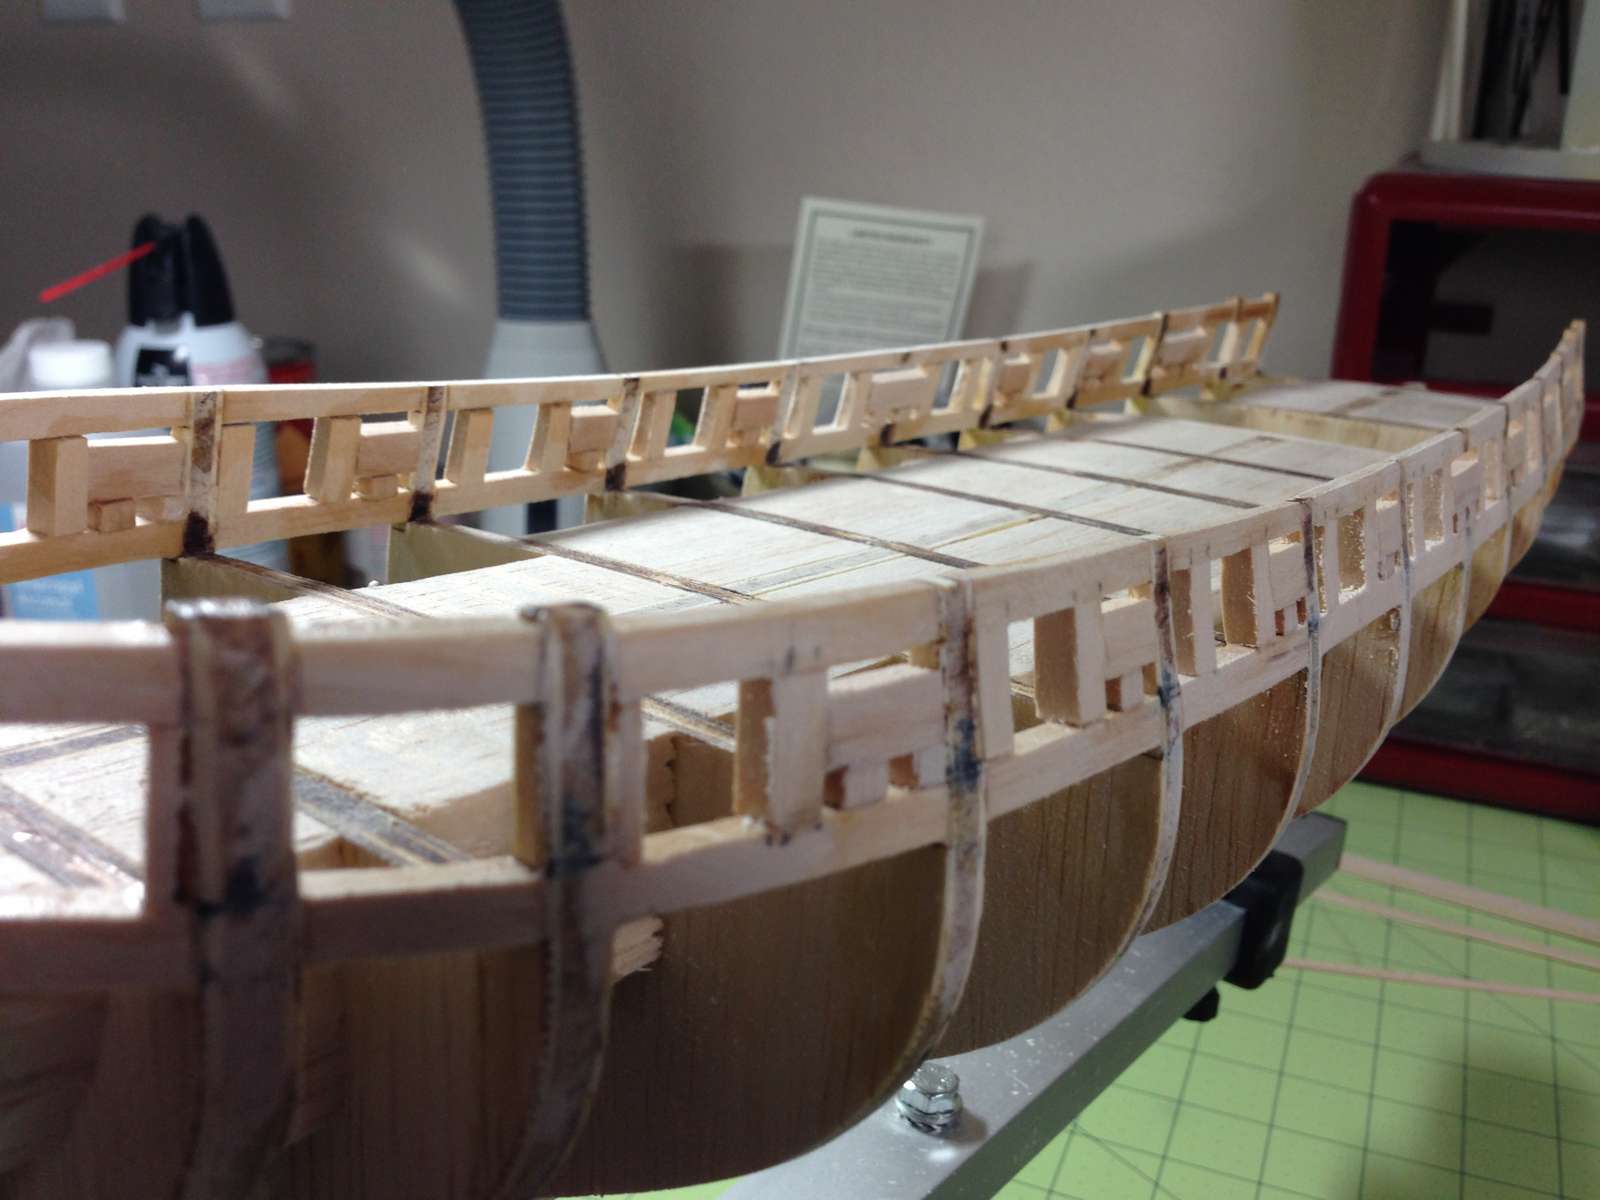
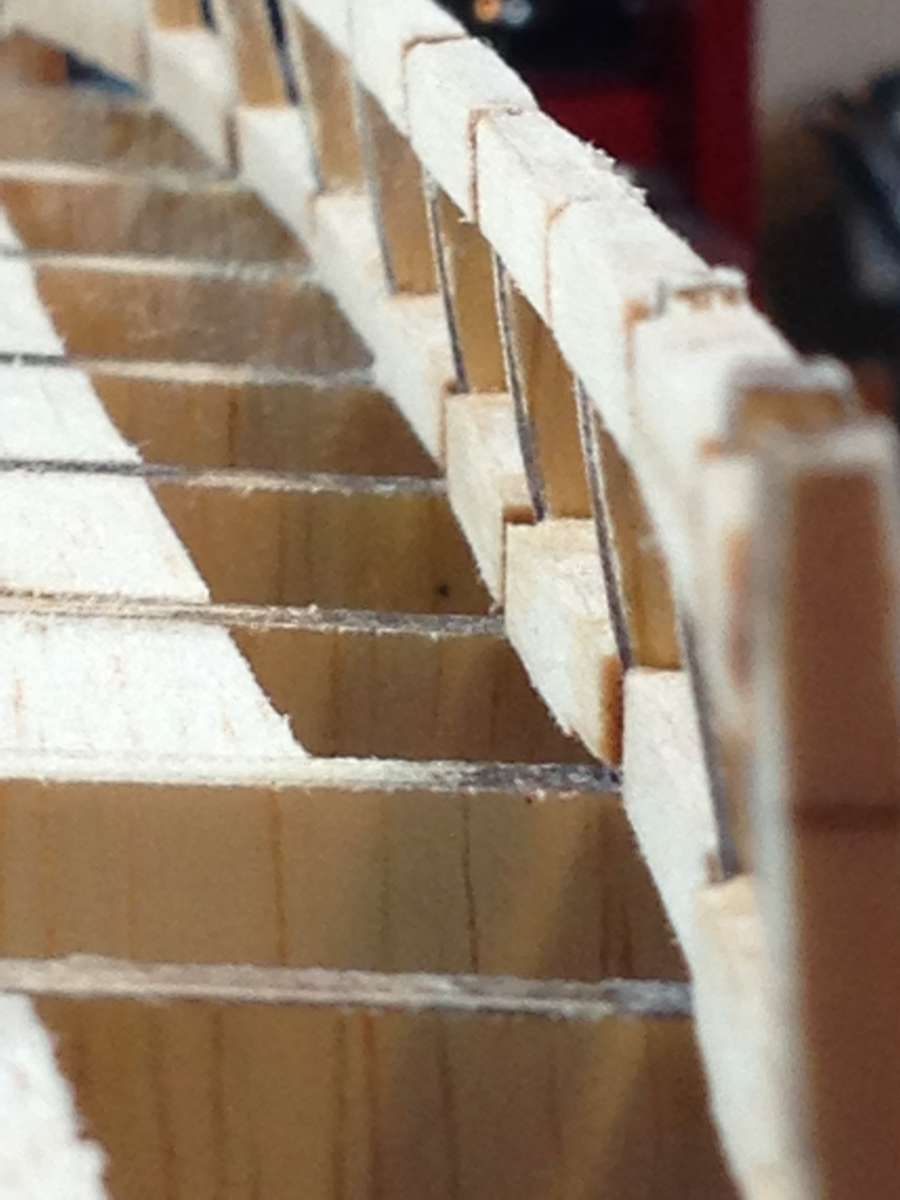
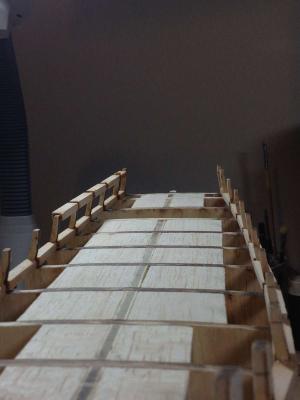
Their are a couple things I may have done differently on the framing that I have done so far First - I would have faired each set of frames sills, then Lintels after I completed each run, starboard then port, as Chuck suggested. Instead, I completed sills and lintels on the starboard side then sanded the whole thing. I think this made it more difficult. Second - I would not have glued the frames in place with so much inboard exposure ( if that makes sense). I have found it veryy difficult to sand inboard as opposed to outboard. ....duh . If anyone knows any tricks, let me know. I almost done with the starboard side ( it has taken me forever) but I still have to do the port side.
-
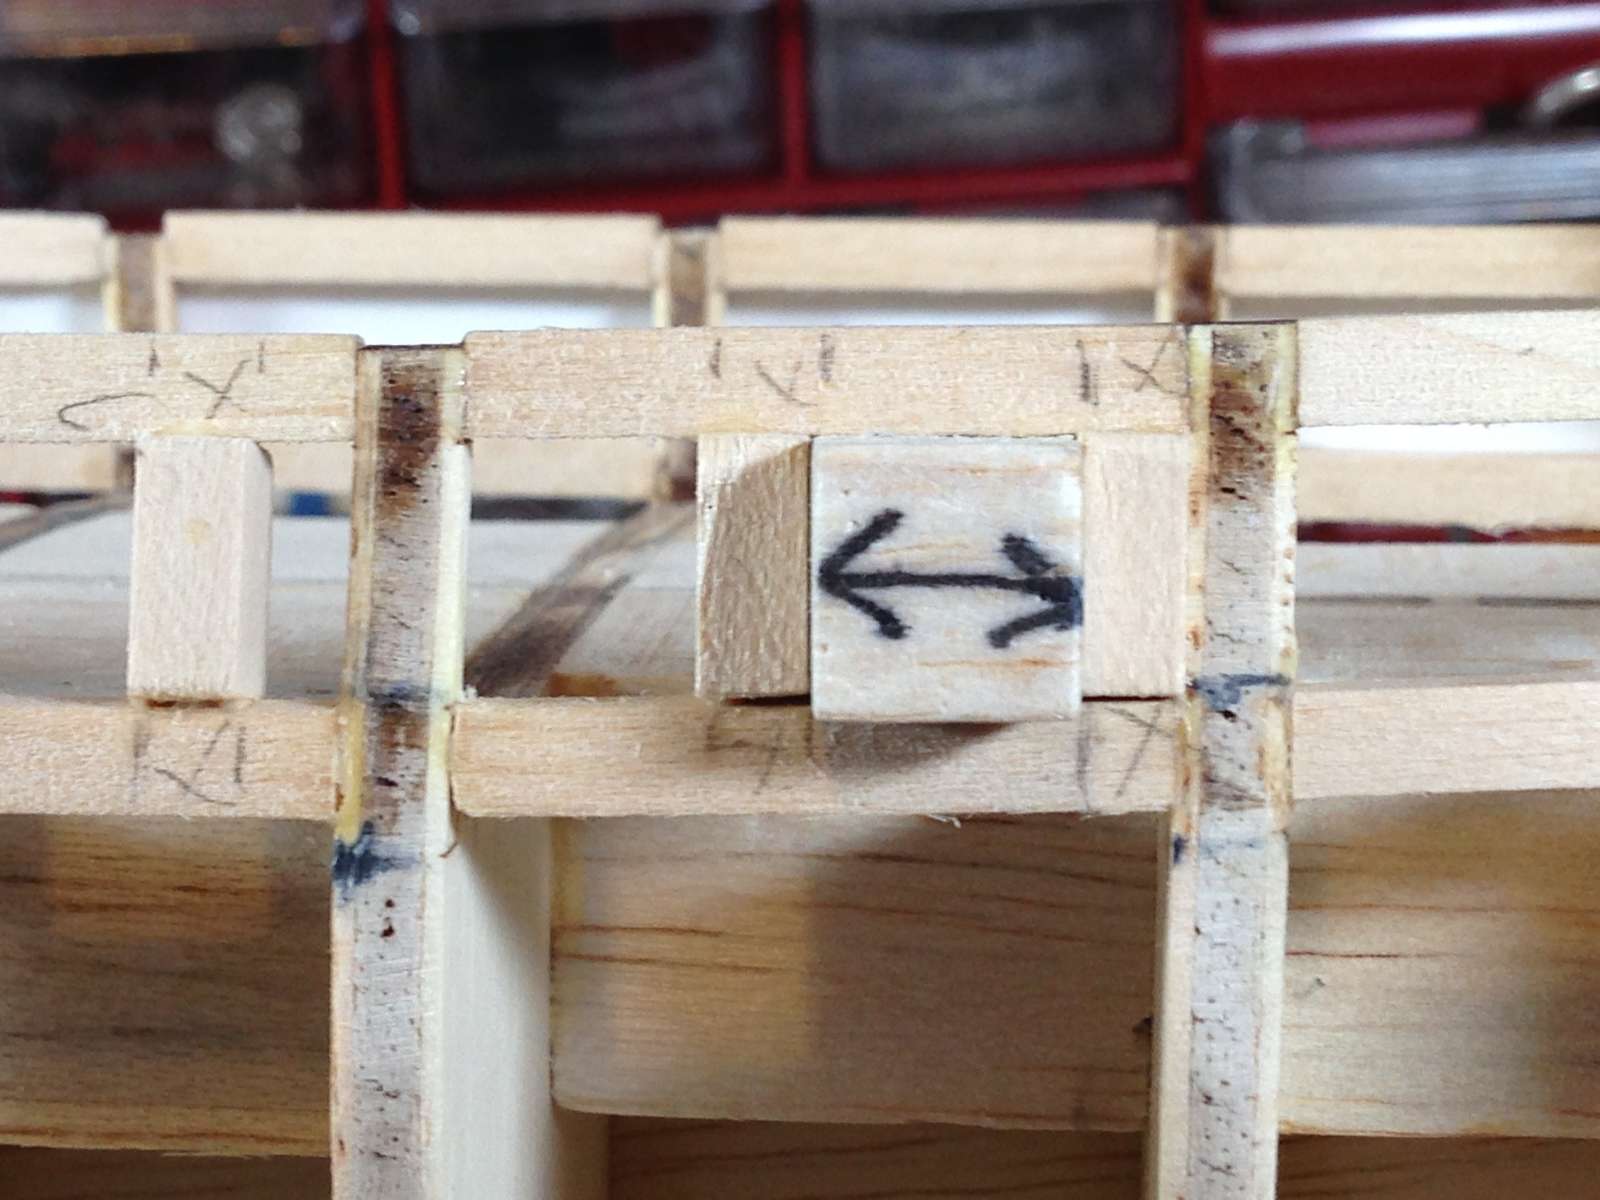
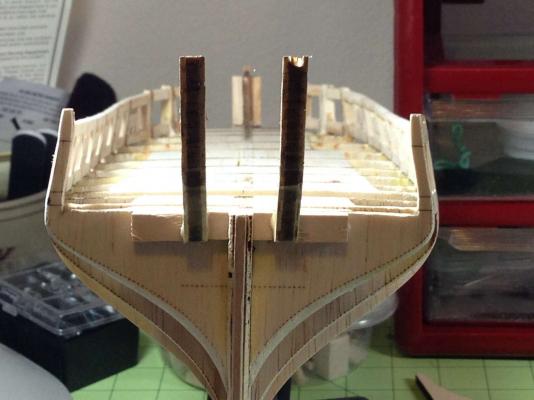
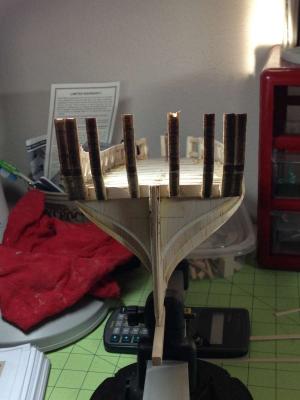
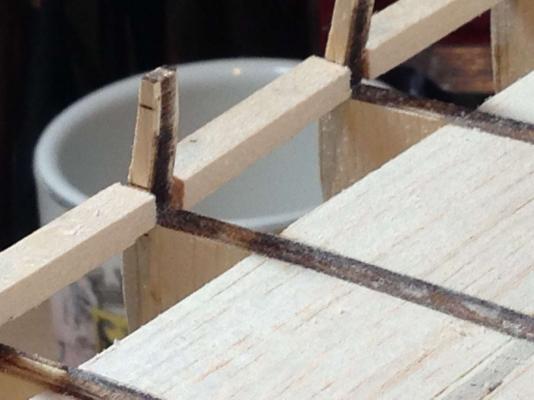
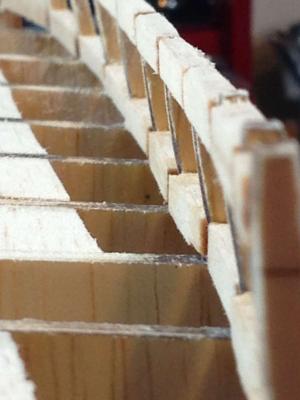
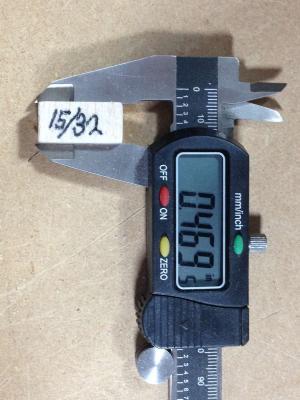
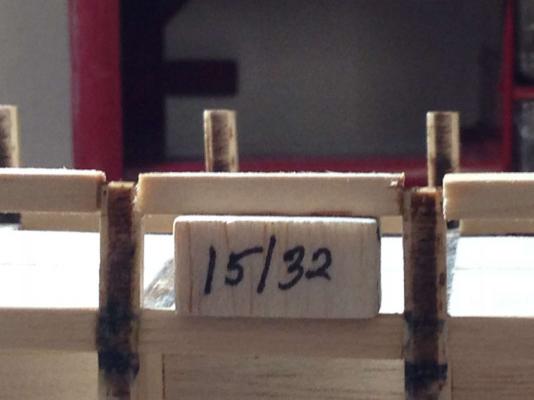
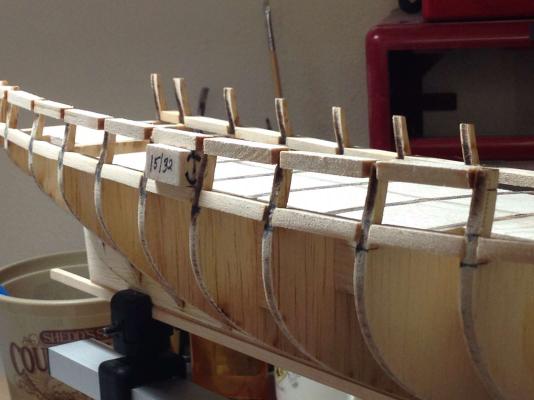
Its been a very busy week.....but....back to framing I made a 15/32 plug to help with lintel spacing. I am trying to make the change to PVA glue but it is hard. I have become so used to CA. I like to make things fit then run a little thin CA in a tight joint- then its done. I have built to many wings I guess. So, I have used PVA on some of these and CA on others. Of course the CA will be a problem when trying to stain but the frames will all be covered anyway so I am using this as a learning experience. Unless? I wonder if they make a wood grained Monokote? I could do one quick planking job


-
Really nice work though John. What you did looked really outstanding. Heck to me the one in the real ship picture looks almost to large, although I am certainly no expert. I guess its just a reaally big skylight. You know, maybe its the picture, but to me the bottom looks closer than the top. I admire your dedication. My skills are a long way from accomplishing anything like this.
- 2,250 replies
-
- 1
-
-
- model shipways
- Charles W Morgan
- (and 1 more)
-
Hey John, I finally got caught up on your build. Looking good ! Looks like I got here at a good time. I am interested to see how you tackle the skylight. Great detail. Charley
- 2,250 replies
-
- 1
-
-
- model shipways
- Charles W Morgan
- (and 1 more)
-
OK Richard I think Im liking it. Looks good. So, off to home depot I go to get pre- stain and natural stain. Thanks for posting all of this. It is going to save me some work.