gil middleton
-
Posts
308 -
Joined
-
Last visited
Content Type
Profiles
Forums
Gallery
Events
Posts posted by gil middleton
-
-
Thanks you all for the warm welcome back to MSW. I'll try to rebuild the log near to the original form, however, the sequence may change in order to deal with specific areas from start to finish. I've learned a great deal from many of you and value your comments.
Fortunately, our many online friendships were not lost with the crashed hard drive. Cheers, Gil
-
A slow restart, but I share the angst with our administrators/moderators. Gentlemen, our hats are off to you for your untireing efforts to get us all up and running again.
A few weeks ago, I upgraded my computer from Windows XP to Windows 7, backing up all my photos on CD's. On start up on Windows 7, I inserted the CD's to download the photos; BLANK DISC!!! Over 1000 photos of three model ships gone. After getting up off the floor, I called my son, a computer programmer with Microsoft, who after a couple hours recovered every photo. However, they are now in complete random order. After sorting them out into some kind of order, I'll begin to put together a new build log. Cheers, Gil
I plan to organize the new build log according to the following index. I may need some help in indexing the posts.
1. Bulkheads, Clamping and rough planking, Fairing the Hull.
5. Upper Gun Deck, Cannons, Deck Beams
6. Quarterdeck, Cannons, Chain plates
9. Lining Gun Ports, Gun Port Lids, Side Entrance
20. Photo Backdrop (1/3 down in post)
24. Miscelanious Details

HMS Victory by gil middleton - FINISHED - Caldercraft - 1:72
in - Kit build logs for subjects built from 1751 - 1800
Posted · Edited by gil middleton
INTRODUCTION
My choice of ship models comes from a lifetime of sailing and having been aboard each of the three vessels. My brother, sister and I bought our first sailboat around 1944 with money earned from paper routes. I was 11. Later, I served in the Royal Canadian Navy (Reserve) for eleven years, and then the United States Navy (Medical Corps) for two years, directing the Plastic, Reconstructive and Hand Surgery unit at the Balboa Naval Hospital, San Diego. After retiring from private practice, my wife and I took our boat offshore for three years and 30,000 miles. Hence the Cutty Sark (Billing) 2002-2004, the USS Constitution (Model Shipway) 2004-2008 and the HMS Victory (JoTika) 2008 to the present.
1. BULKHEADS THROUGH ROUGH PLANKING
Not much original material here. We've all been there. While I started the model in 2008, I didn't take many photos until discovering the Model Ship World web site in 2010. Posting photograghs to that date, I was astounded by over 1,000 views in the first week and even more so by over 300,000 when our web site crashed. However, we all started with the basics.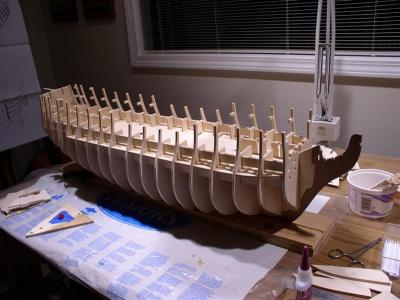
At this stage, holes were drilled for the future pedestal supports, adding wood on each side of the center piece for extra support. I apologize but I can't remember who suggested epoxying a nut into the framework to receive a long bolt for mounting, a much better idea.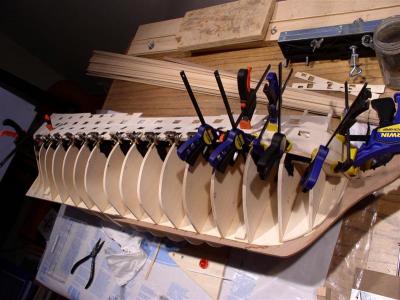
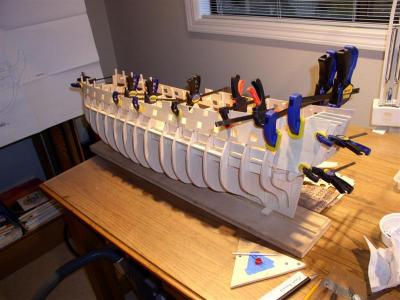
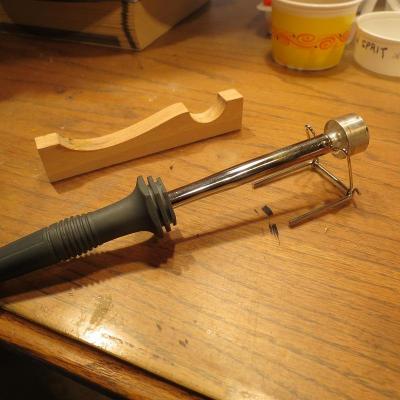
Rough first planking of double planked hull. Planks were bent by first soaking in water, then using a soldering iron and wood base to form to the desired shape. This worked much better than my previous method of boiling the planks and then bending and tacking to a planned shape.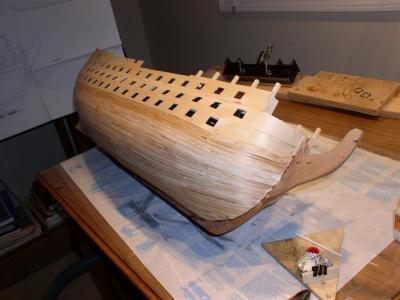
Aligning panels.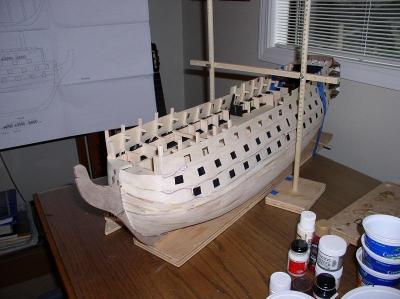
Fairing before coppering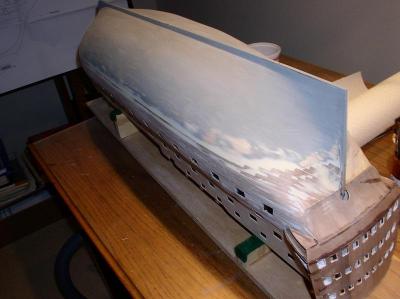
Used grey primer which showed depressions and irregularities, and allowed drawing individual rows of copper plating and belts of 5 or 6 rows.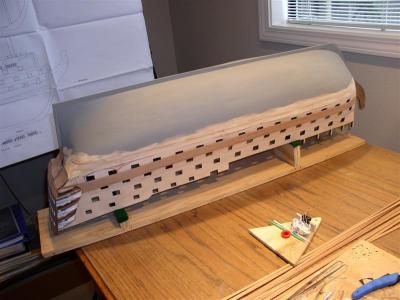
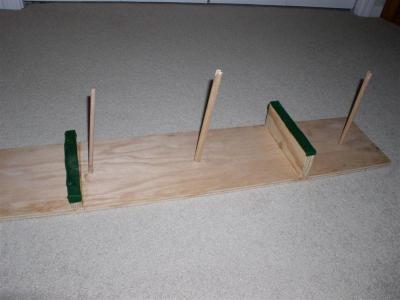
For the Constitution, I made a jig to work on the model inverted by using dowels sized and angled to fit the mast holes. For the Victory, I simply changed the dowels.