


MikeB4
-
Posts
320 -
Joined
-
Last visited
Content Type
Profiles
Forums
Gallery
Events
Posts posted by MikeB4
-
-
-
-
-
One of my near by hobby shops had some smaller cleats in stock which is kind of funny because they don't sell any wooden ship models. But I took a chance going over to see them anyway just in case and I got lucky. Although the cleats aren't as small as the plans show I think they'll work. I do have to do some modifications in order to make them fit onto the stanchions. In the pic I put the original cleat that came with the kit on the left and on the right is the new cleat, in the middle is one of the cleats I modified. If for some reason I find that these cleats don't work I've done some experimenting with 16 gauge wire and was able to make something that would work if need be.

- gulfmedic1 and Ebomba
-
 2
2
-
yes I will, I have one of my local suppliers looking into it at this time. I hope he gets back to me in a timely fashion.
-
I have a minor set back the cleats that came with the model are way to big. I'm going to have to find some that are to scale or think of a way to manufacture them myself.
-
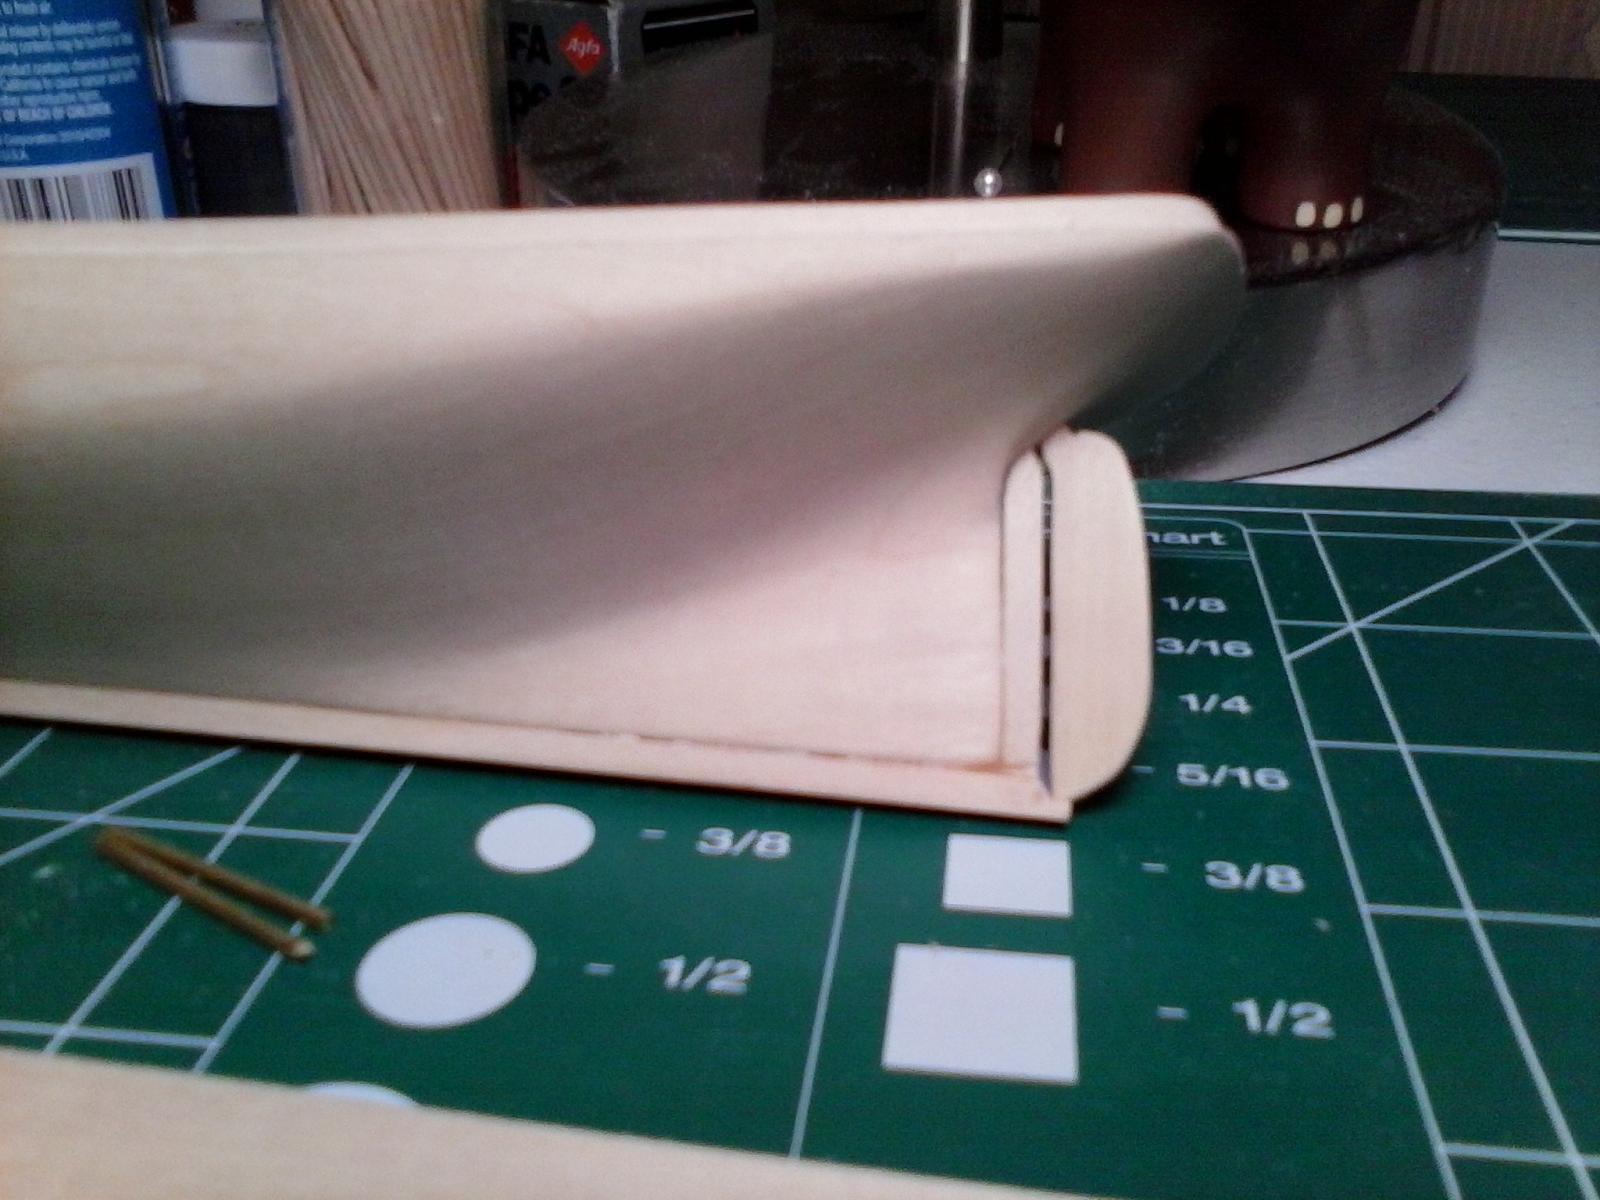
I cut out my scuppers very carefully and I managed not to collapse anything. I feel this is a turning point for a beginner on this project because this is were I think the biggest disaster would have taken place. I know I'm a long way from being done but I'm feeling pretty good at this point.

-
-
I've decided to install the rudder at this point in the build.It fit like a hand in a glove I have no glue holding this thing on I wish everything would fit like that. My method was to insert a pin near the bottom of the rudder.The hard part is creating and mounting the gudgeons and pintles. that was a test of my patience that I'm glade is done.
-
Thank you, The life boat came off of a model ship I have on display in my home. One of my Uncles built it years ago. I was hoping it would be to scale and I could use it on the Phantom. I believe these pilot boats had at least one.on board, at least in the pictures I've seen of similar boats from that period. Unfortunately it isn't to scale so I can't use it.
-
-
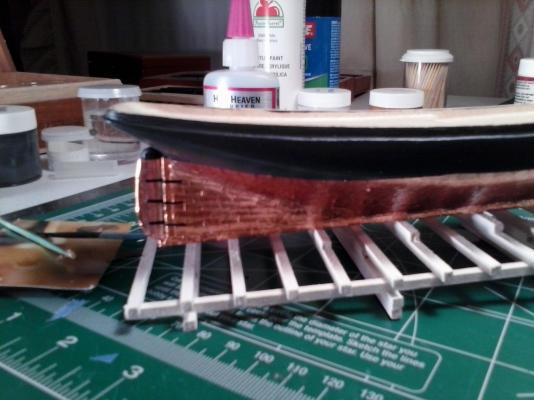
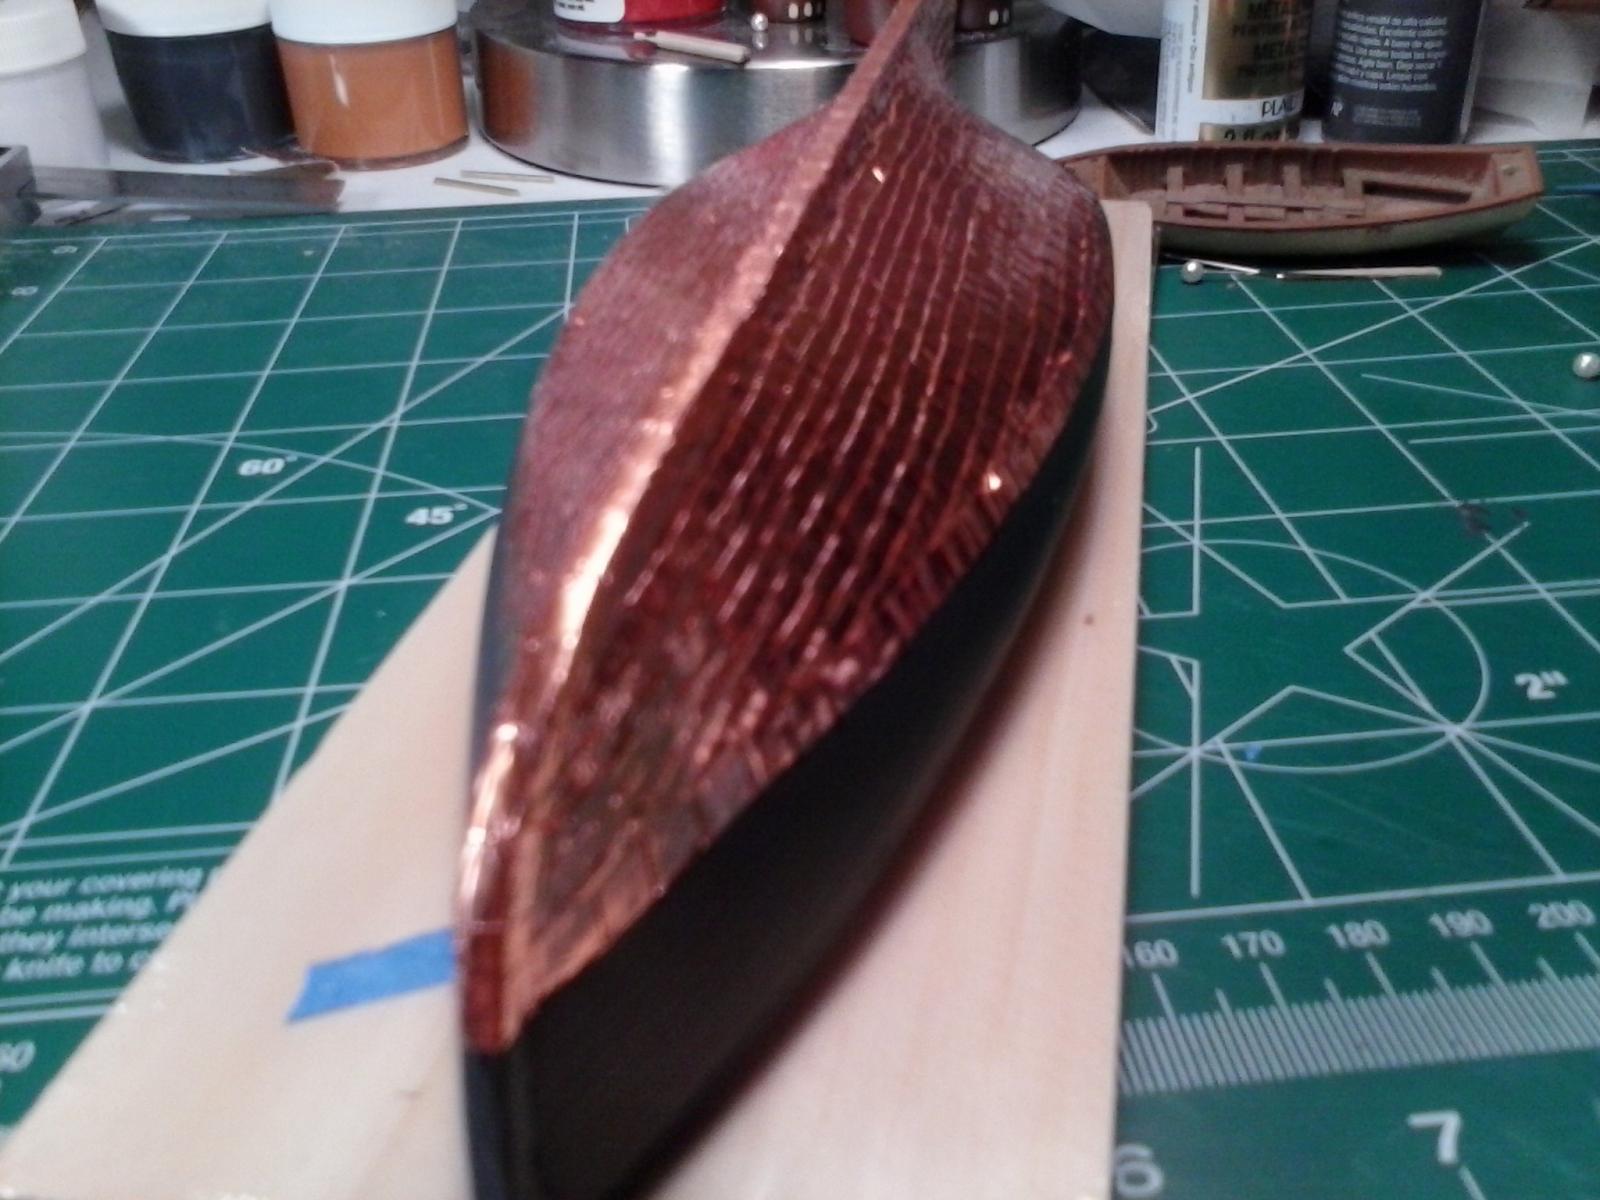
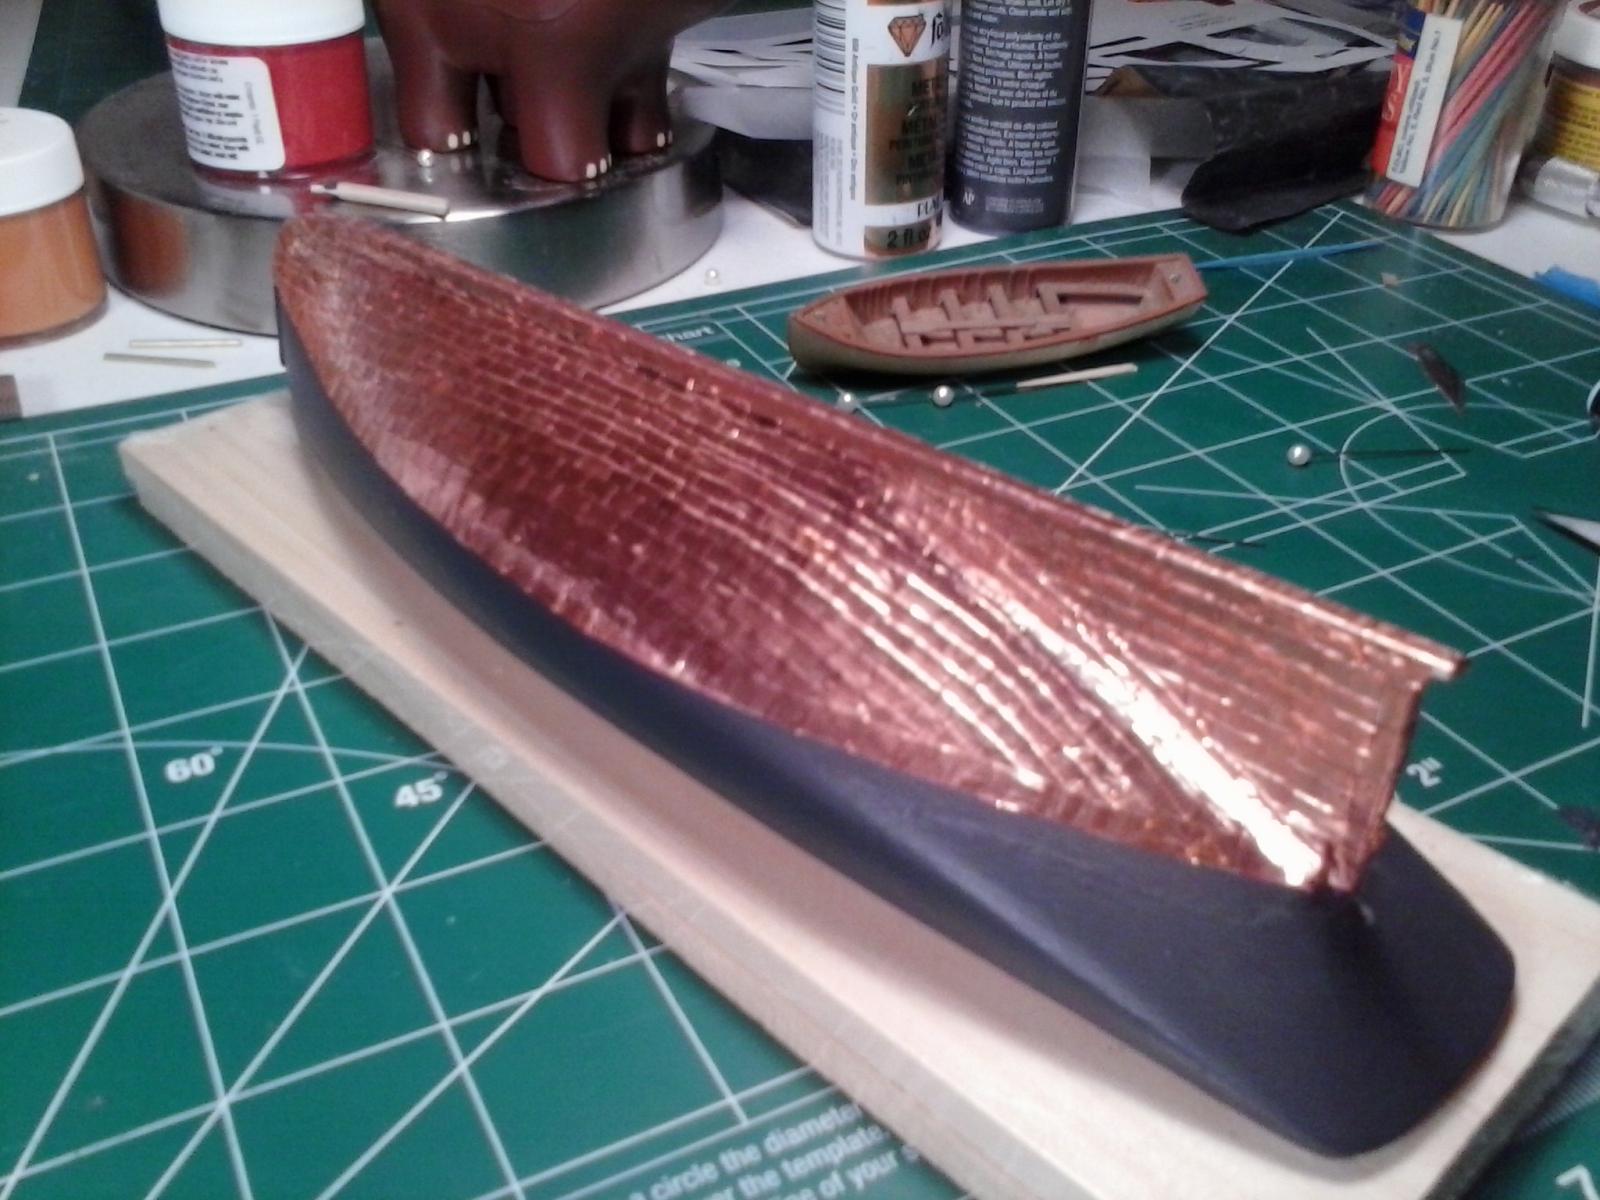
I'm almost finished, in fact I should be done with it tonight. One of the issues with a coppered hull is now when I'm handling it the copper wants to lift. So I've asked in one of the forums if there is some way to protect it from doing that. I got a few answers back. The one that I think will work is a Cellulose Lacquer. Its made to protect metals. But the link where the product is sold is an overseas company. I need to see if I can find it in the US. I don't really want to stop work on my ship while I wait for the product to be delivered.
-
thanks for the info, now is this lacquer only available from overseas or can I find it at Michael's or some other craft store in the US.
-
Can I spray a clear coat of some sort maybe acrylic over the copper plates to harden and protect them from lifting up during construction once the hull is fully coppered. The reason I ask this question is because now that I have my phantom fully coppered I am having a hard time handling the hull without damaging the copper.
-
As I had mentioned, the templates weren't on the money to begin with so I got it as close as possible.It's not perfect that's for sure.
-
would a contact cement work for metal to wood bond?
-
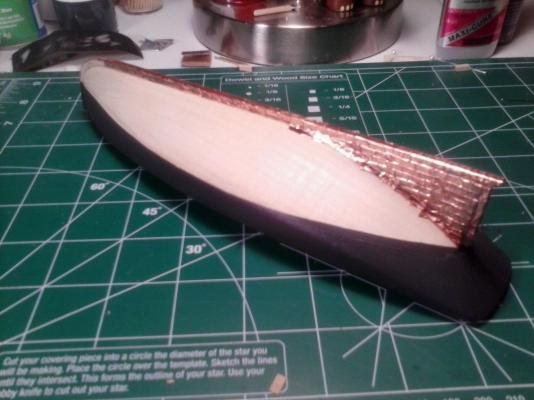
Started coppering the hull today. It's a very time consuming task. I've got about seven and a half hours into it today that includes cutting the copper.I haven't cut all the copper yet. I'll put the plates that I've cut so far on the hull and then finish the rest of them up later.I'm moving along slowly but surely or not so sure but definitely slow,The key is keep moving.
-
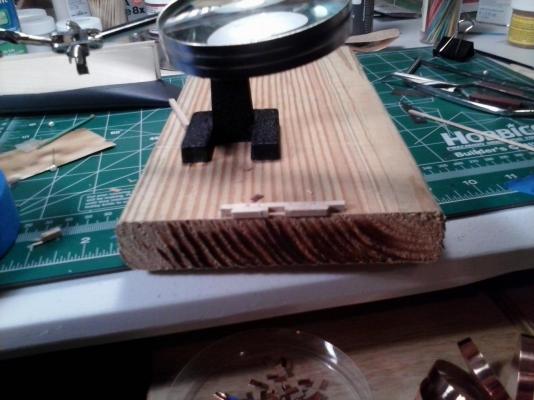
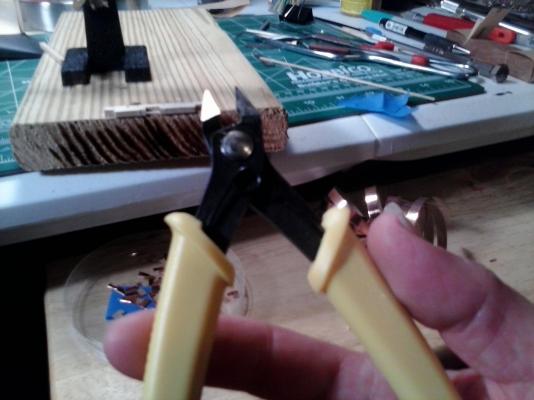
I've found a method for cutting the copper hull plates that works for me. I tried a few different ways to do this and it was pretty frustrating. Finally I jury rigged (pun) this jig and used the cutters that Model Shipways provided, put something below the jig to catch the tiny buggers and now I'm on a mass production line.The greatest satisfaction I'm getting from this hobby is having to find a way to make things work.
-
I've shaped and fitted the rudder to the stern.I was a little nervous about this step because you have to drill a hole, but it was relatively easy. I do recommend creating the rudder before drilling so you can line things up with a physical object rather than guessing if you have it right. Another technique I find helpful is to put a piece of tape on the drill bit leaving only 1/8" exposed so you don't drill to deep.

-
For the tracing paper I cut on the outside of the lines. I don't use the piece I cut out but rather the sheet I cut it from, It's easier to handle the entire sheet rather than a small piece of tracing paper.I'm sure you could do it the opposite way if you prefer but then you'd want to cut on the inside. So now when I transfer the image to the poster board I cut that outside also.the drawings on the plans are measured from the outside lines.
-
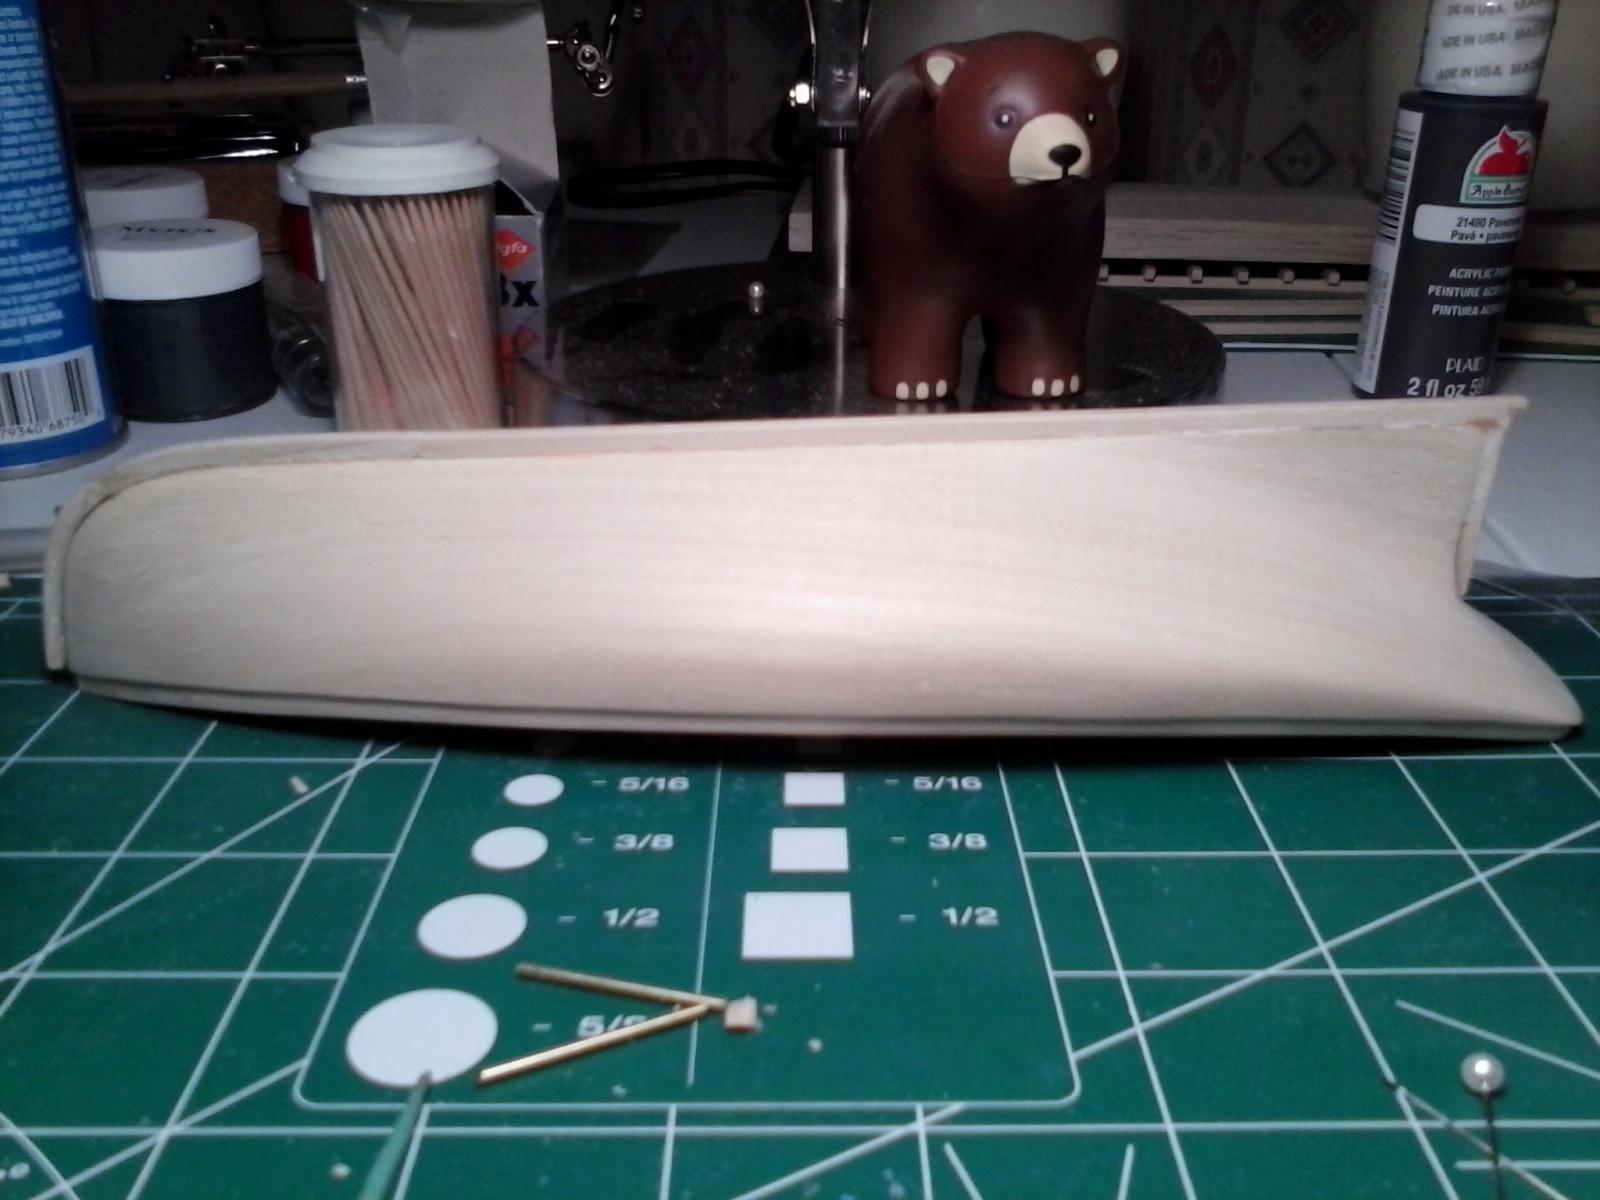
It's taken some time but I've finally shaped the outer hull. It's not perfect but I've got it to a point that I feel satisfied with it.This boat might not turn out to be a museum quality model but I'm pleased to have gotten this far. I also found the way Chuck has you cut the curve of the stem using pieces of 1/8" strip wood has its challenges. I found it next to impossible to get a good bond when you try joining the angled strip to the straight strip.The problem is that there's no way to clamp it. So even though I let the glue try for 24 hours when I attempted to cut the piece out it breaks. The way I ended up resolving it was to glue the two pieces back together again only this time I took a garment pin, stuck it into the stem and cut the pin flush,it worked. So this is my progress thus far.

-
Mike
I am having the same issues and it's taking a lot longer to get my hull completed only thing is I don't know how to make templates from the plans
the best way that I have found is to use tracing paper and carefully trace out each image you'll need from the plans. Then cut each traced image out and transfer it to poster board.Cut the Images from the poster board and you have your templates. It's a little time consuming because you want to take your time and cut the images slowly so that they come out correct but it works. Maybe someone out there has a better way to do it but until I find a better way this is the technique I'll use for any future builds if I go with a solid hull kit.
-
One thing that I have learned if I should do another solid hull. Throw away the templates that they give you in the kit and make your own directly from the drawings. By using their templates I have spent a lot of time trying to fix the mistakes.I will say though not perfect my hull is almost at the point where I can move on to the next step.
-
I'm building my first ship model which is the Phantom,You did an outstanding job I can only hope my boat comes out half as good.


18th Century Longboat question?
in Wood ship model kits
Posted
What makes Model shipways 18th Century Longboat an advanced build. Model Expo is having a really good sale, this boat is only $40. I'm thinking about purchasing this kit.