


MikeB4
-
Posts
320 -
Joined
-
Last visited
Content Type
Profiles
Forums
Gallery
Events
Posts posted by MikeB4
-
-
-
-
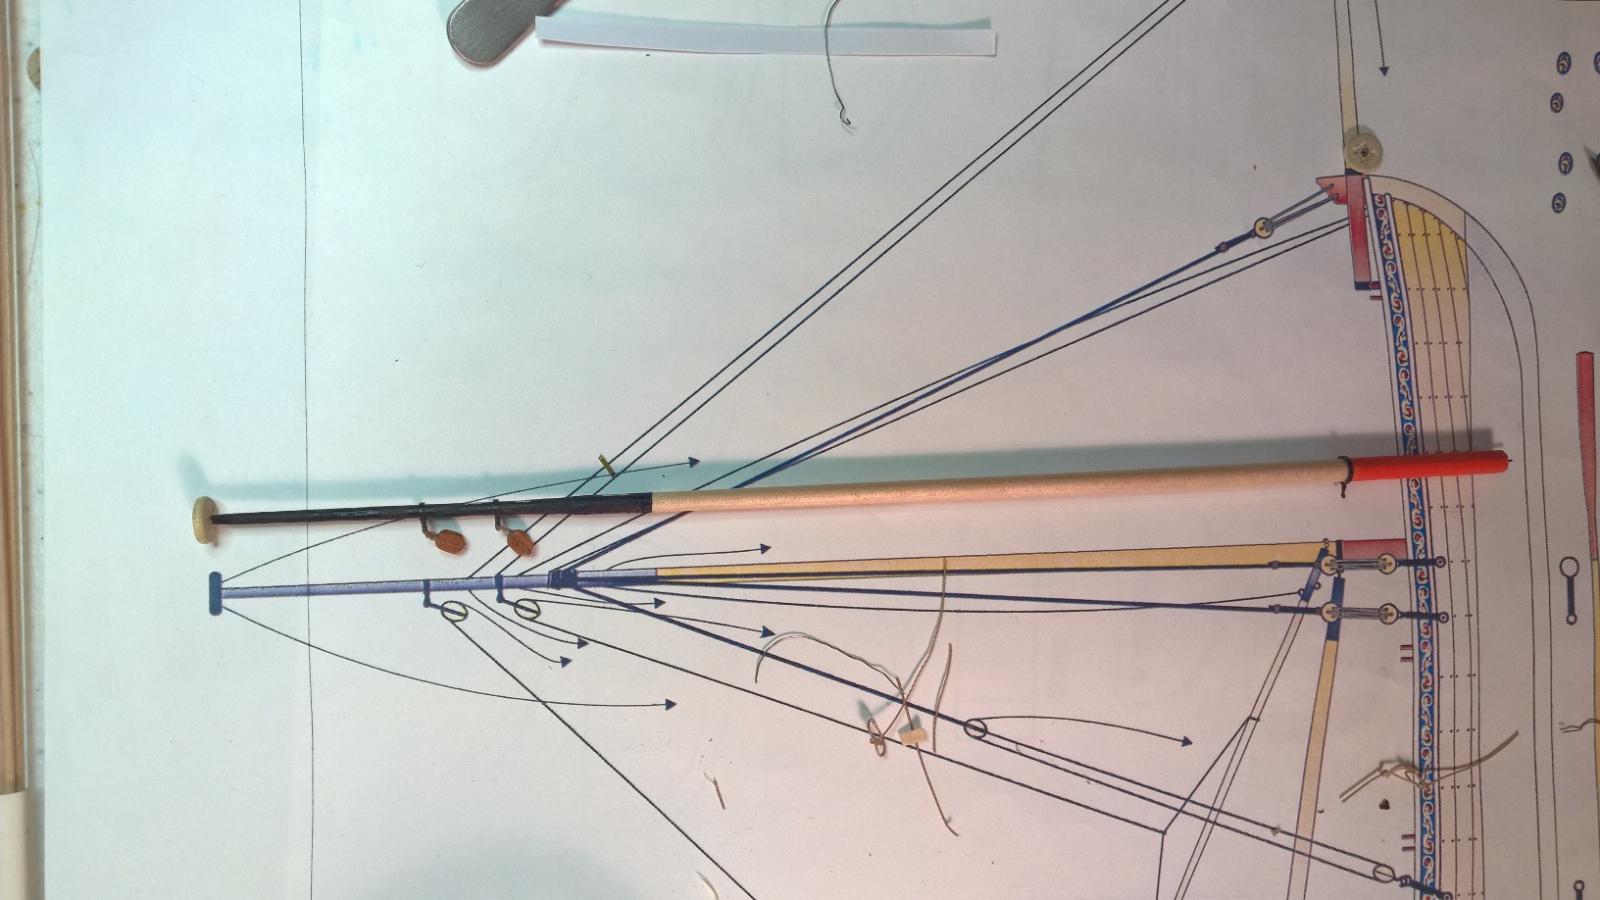
The instructions are a bit ambiguous on the rigging. I don't blame Chuck though, after all this is an advanced model kit and it would be assumed the builder already understands how blocks and rigging are properly tied. Stepping back a moment, I except my model isn't going to be perfect (I wish it where). An analogy would be that If I where making music it's more like jazz than classical, but that's OK it's still music. I just thought I'd throw that in because sometimes this hobby can be so frustrating, but I realize the only real failure is giving up and I also realize that all the talented builders on this website put in many years to learn their craft. With that said I need to learn how to rig this puppy.
-
-
I may stop by to say hi on Saturday. I'm only an hour away from Mystic. You guys are going to love the large selection of nautical books in the gift shop, second to none.
- mtaylor, Ryland Craze and Jack12477
-
 3
3
-
-
-
-
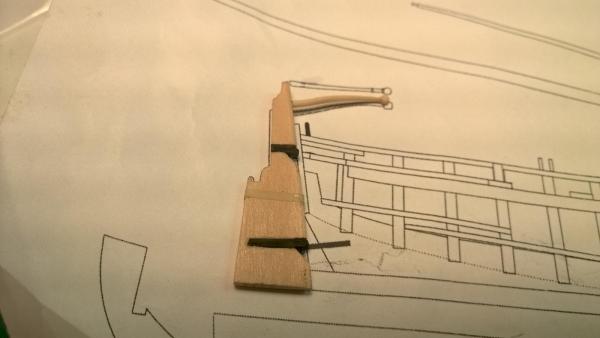
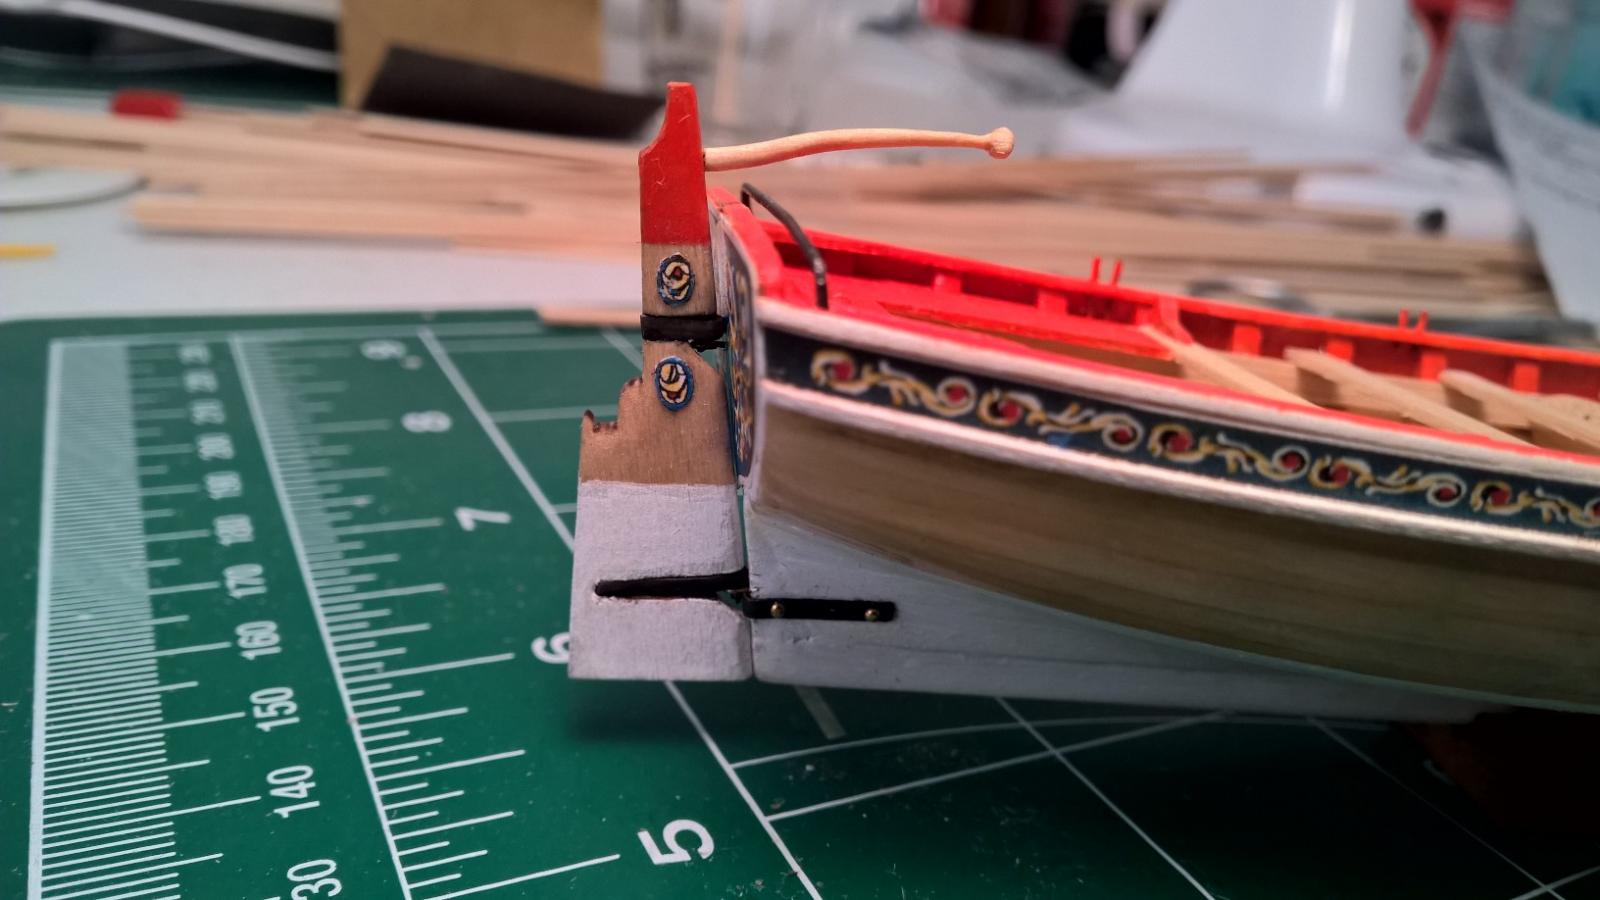
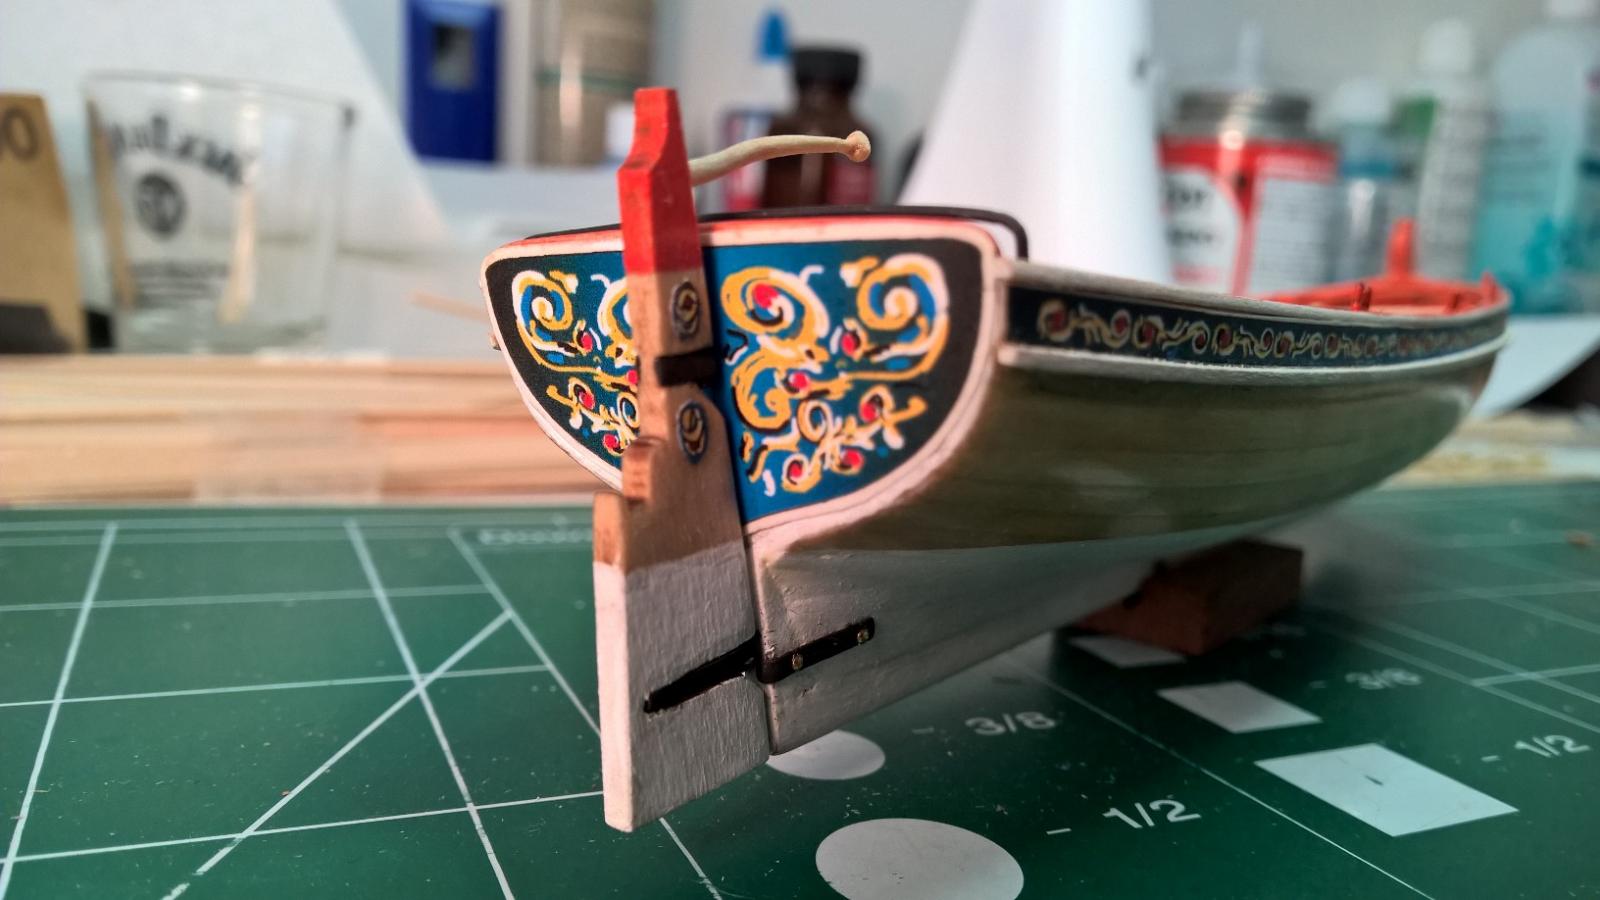
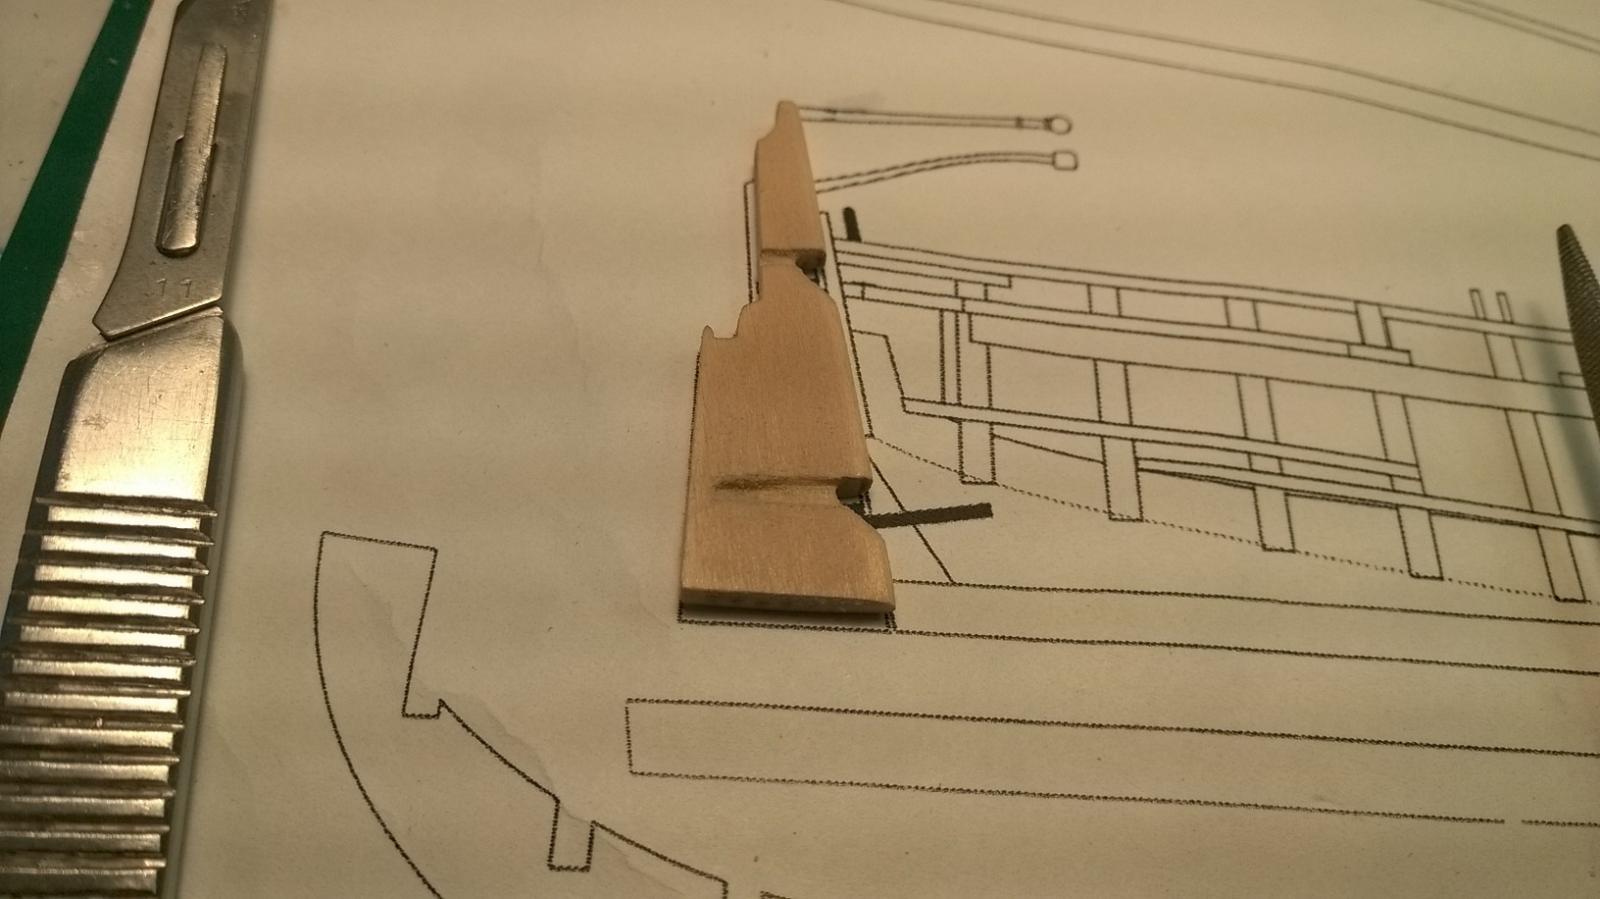
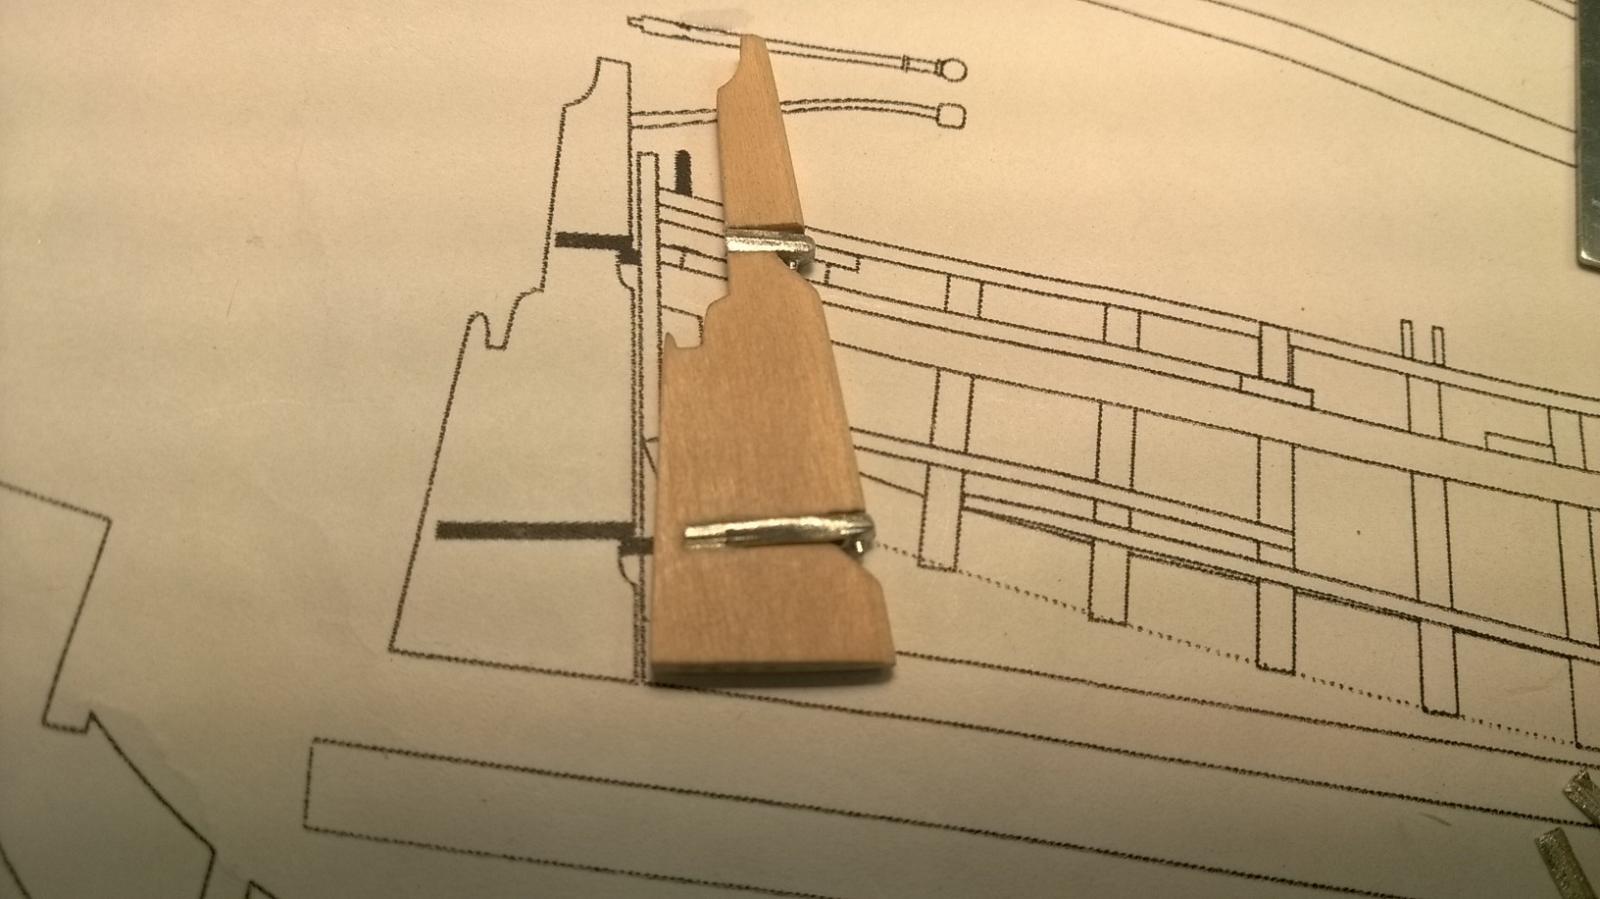
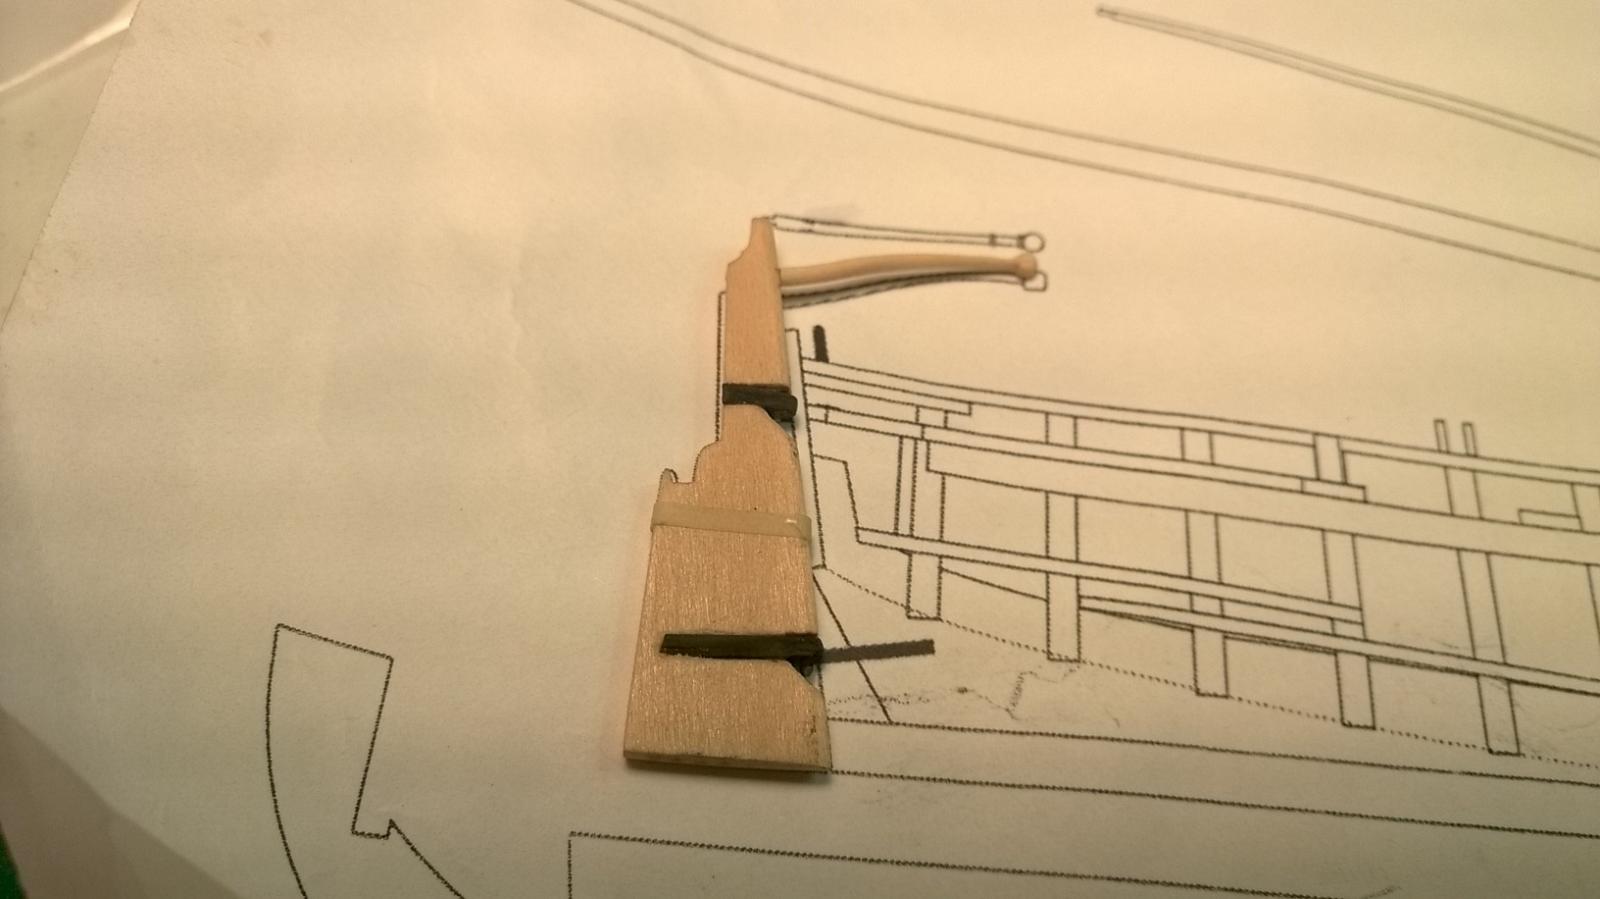
I've carved out the area where the pintles will go on the rudder, this will give a better bond and the pintles are flush with the rudder. I hand carved the tiller with an arch instead of the straight version, this was time consuming but quite satisfying after it was done. now I will proceed with painting the rudder.


-
-
I've completed the windlass. I thought this was going to be much more difficult than it actually was, especially connecting the windlass to risers. If you follow Chuck's advise and take your time, you should have no problems. I actually got it to pivot on the pins which I didn't think it would be possible. I didn't use any glue to assemble this part.

-
-
-
-
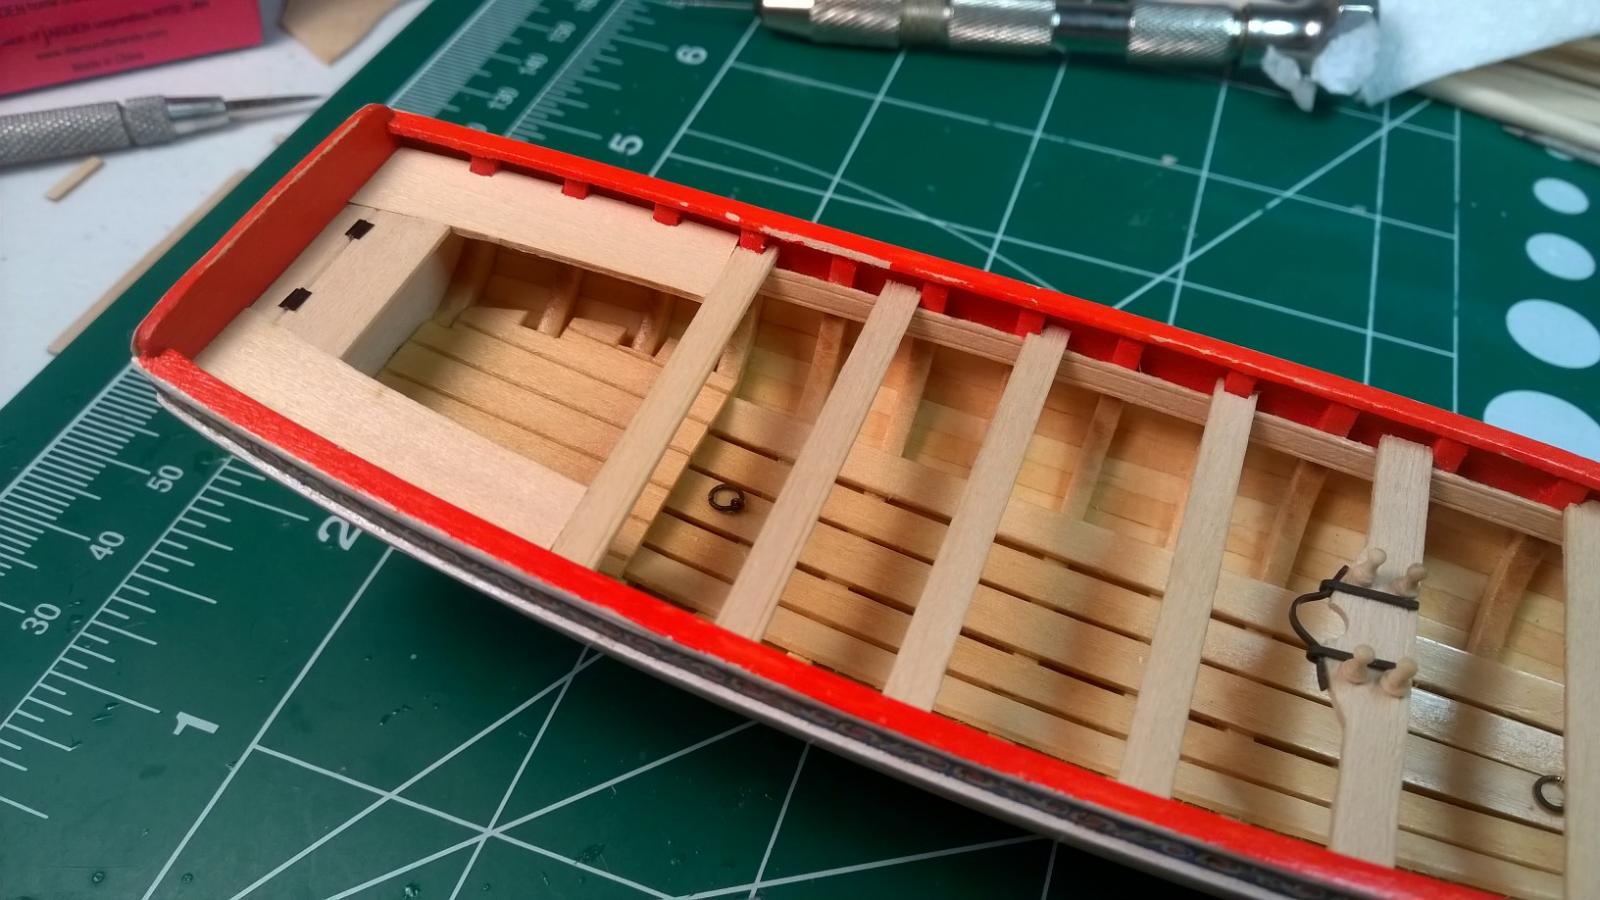
I Put together the cockpit.The hinges where a bit challenging I used 28 gauge wire and a material I bought at a hobby store called Bare-metal. It's an adhesive metal foil that comes on a sheet in various colors. I got the one called black chrome and with a little patience it seems to have worked out pretty good. I'm going to paint the cockpit seats and locker in red. I also need to do some paint touch up on some areas where the paint has chipped off.

-
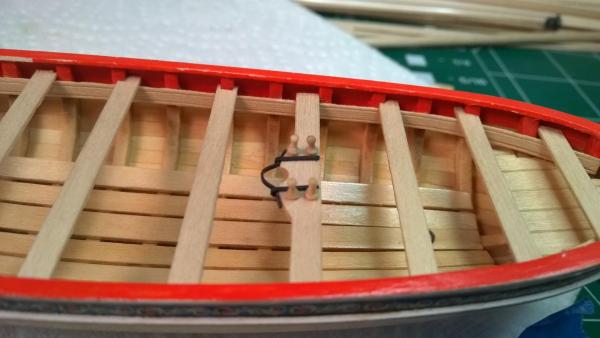
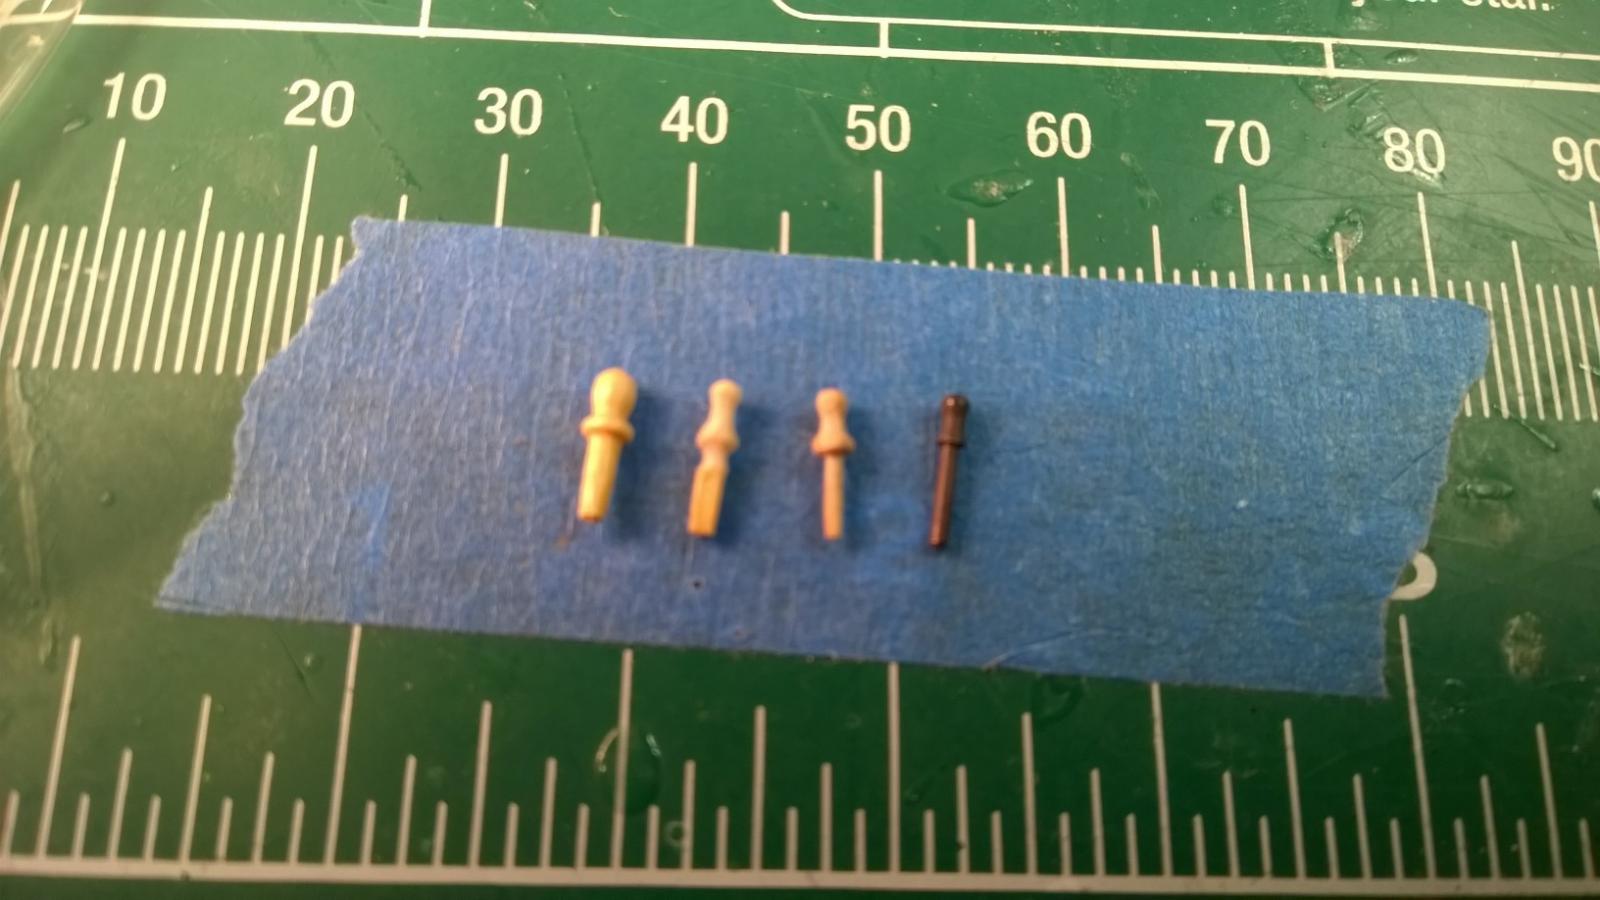
I decided to to try and customize some wooden belaying pins because it will be a little more accurate to the period. The only pins that I could find are the right length but they are much to wide,So I carved them down using my power drill like a lathe. With some practice I could probably get much more accurate but this will do for now.

-
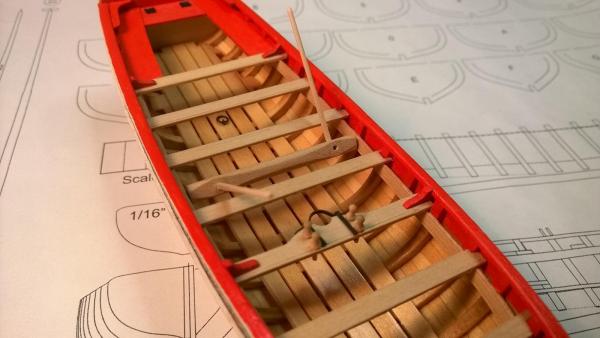
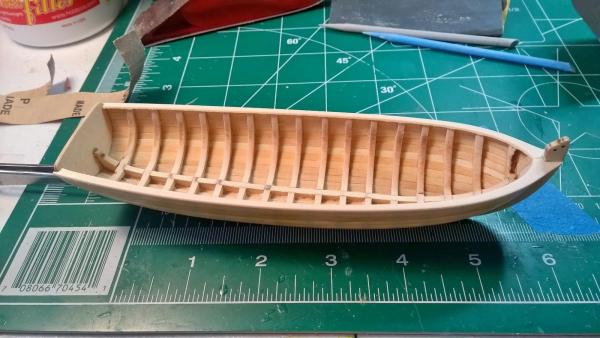
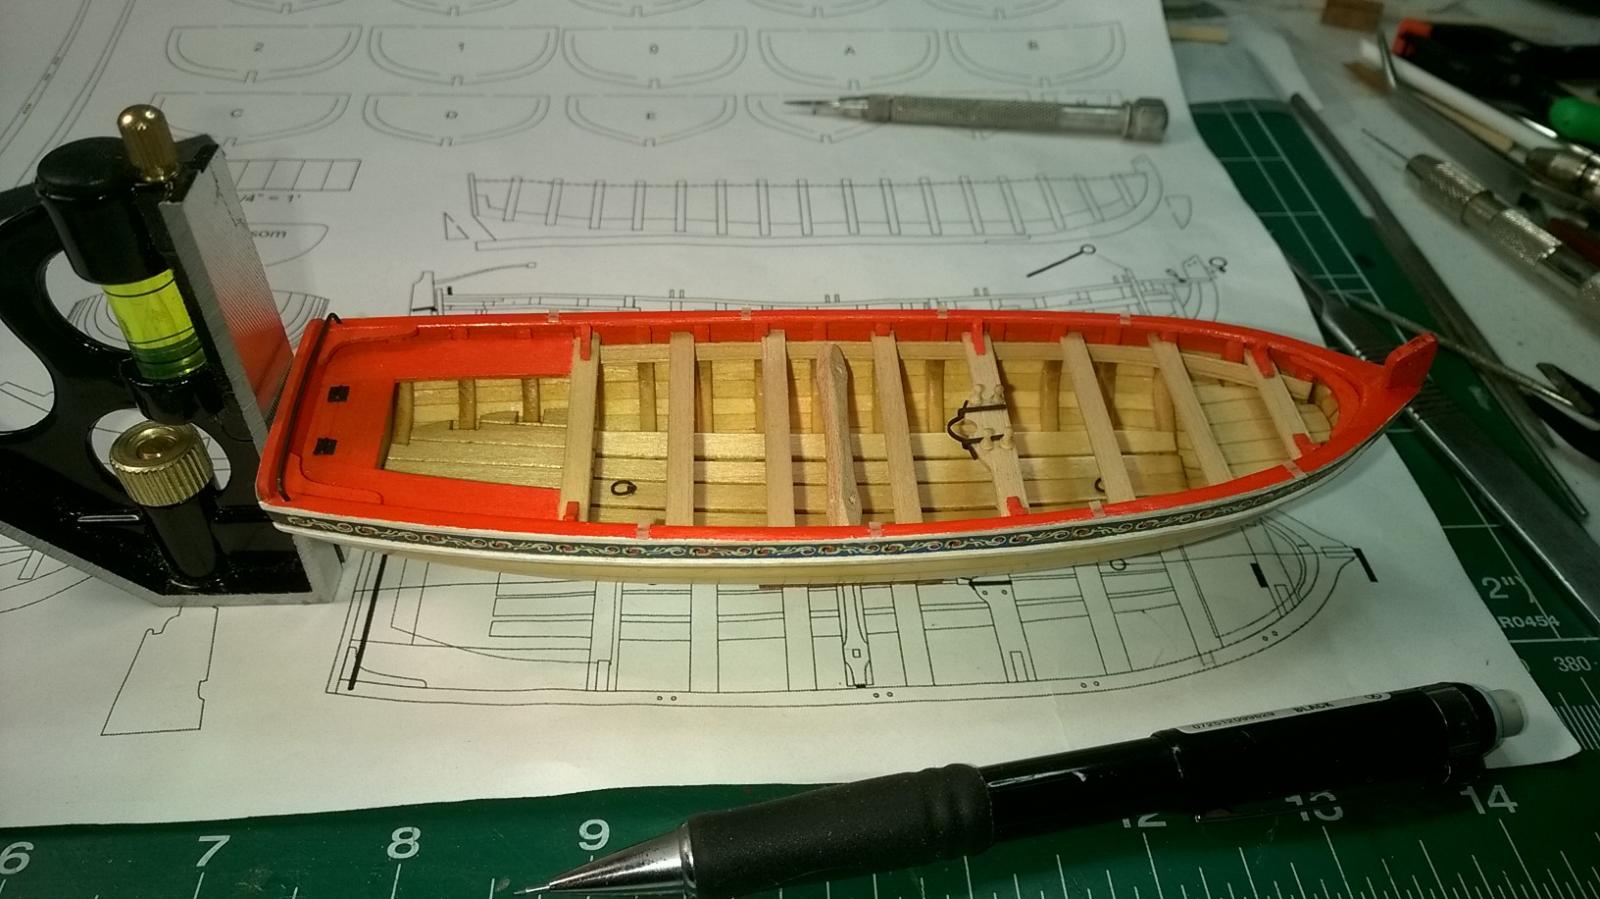
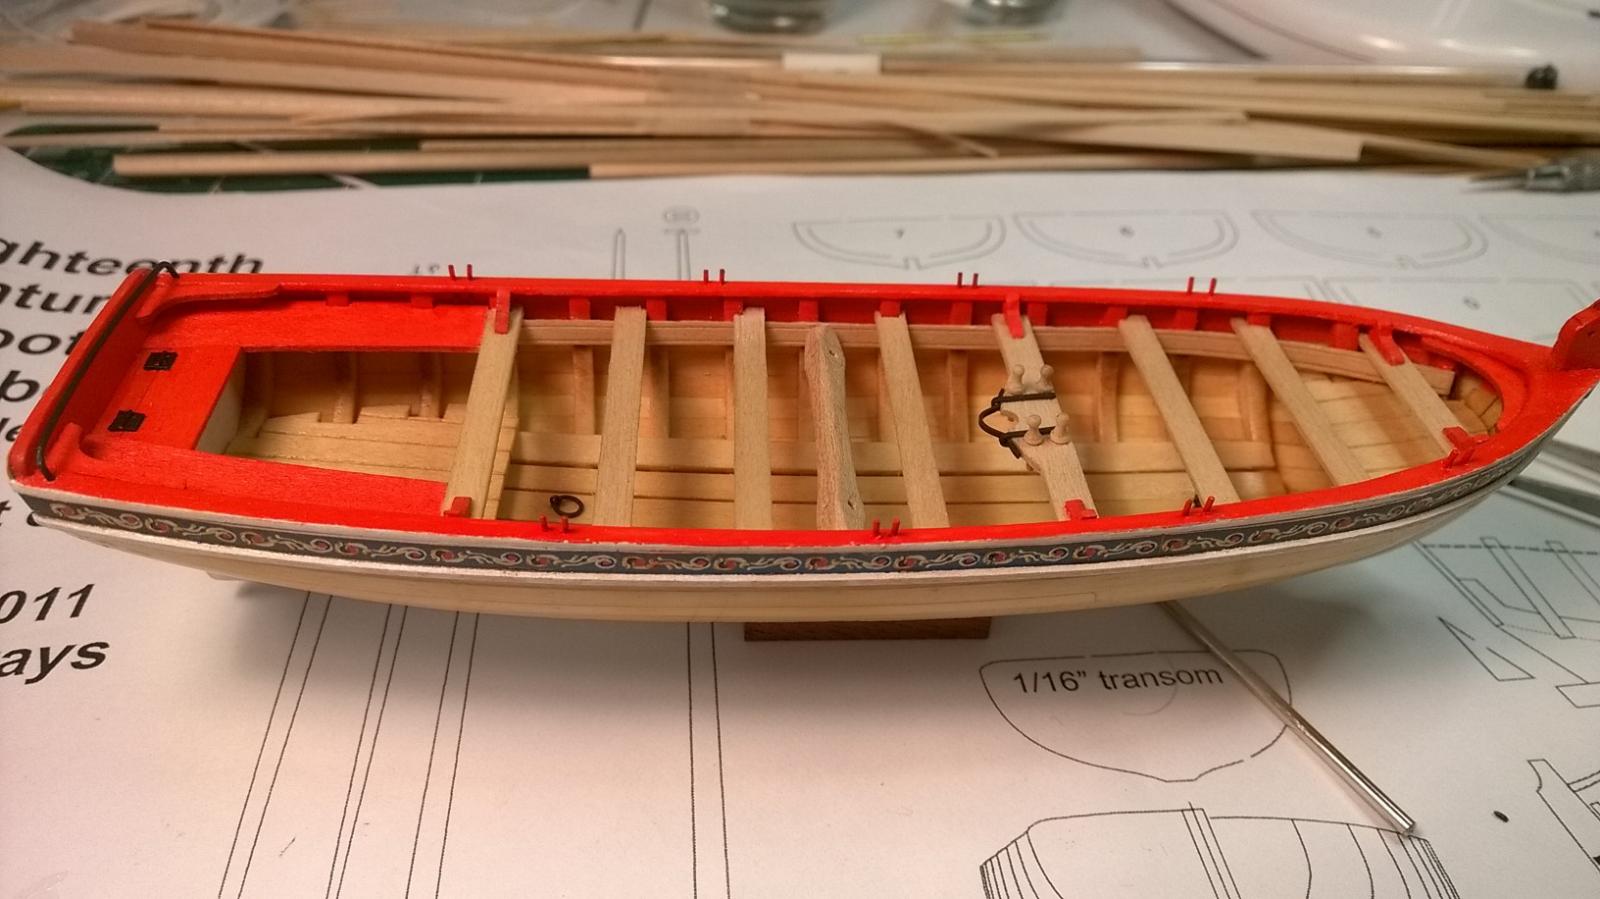
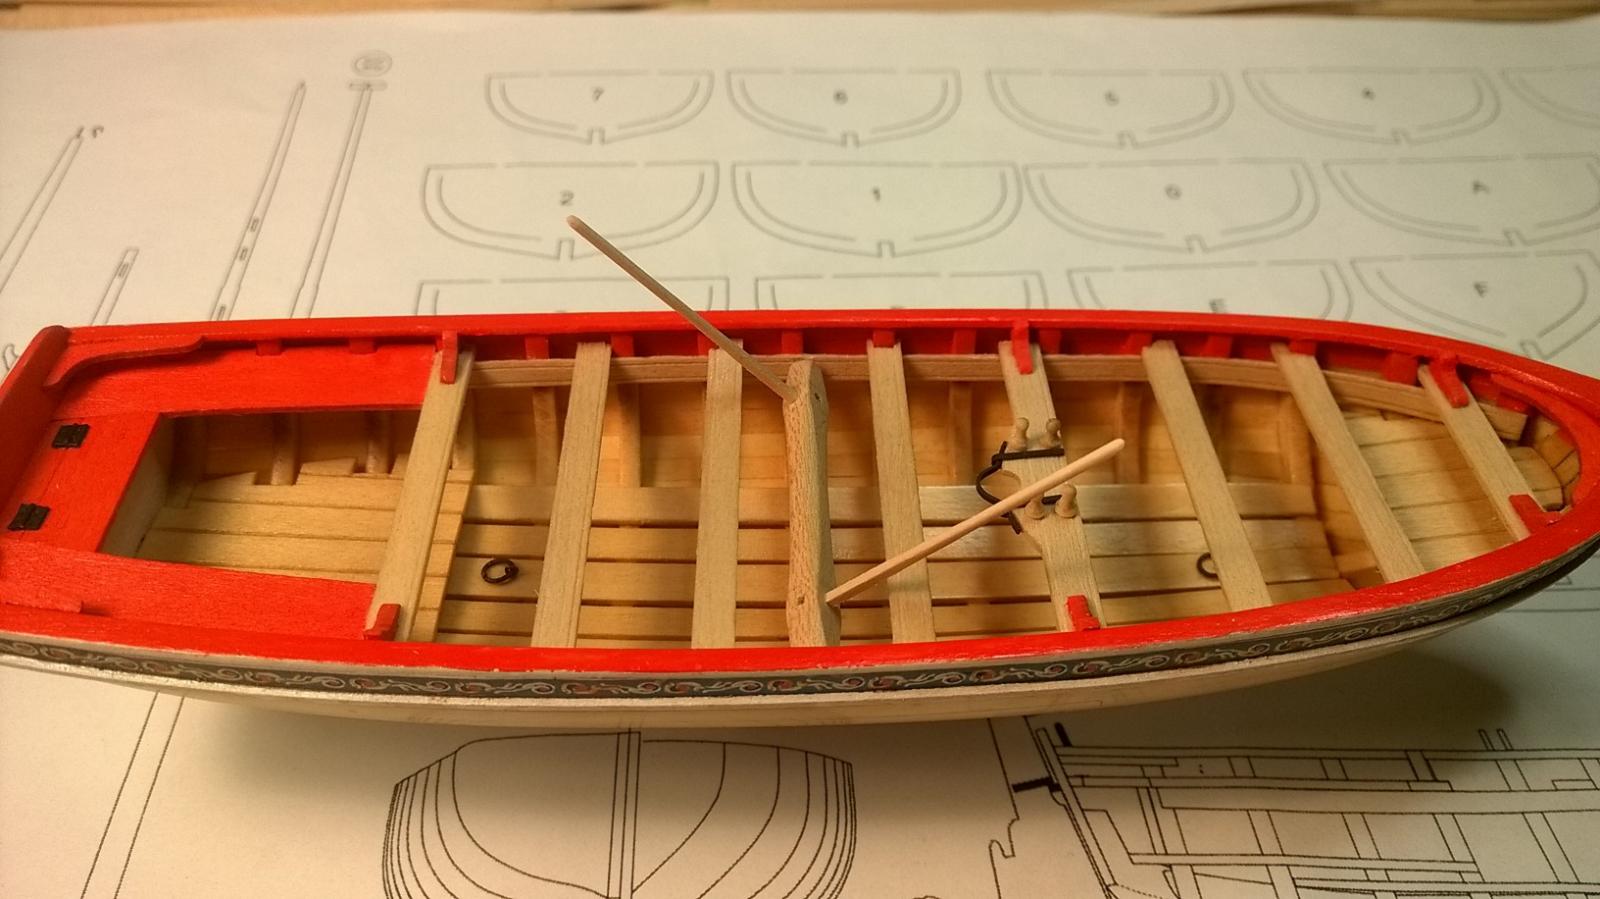
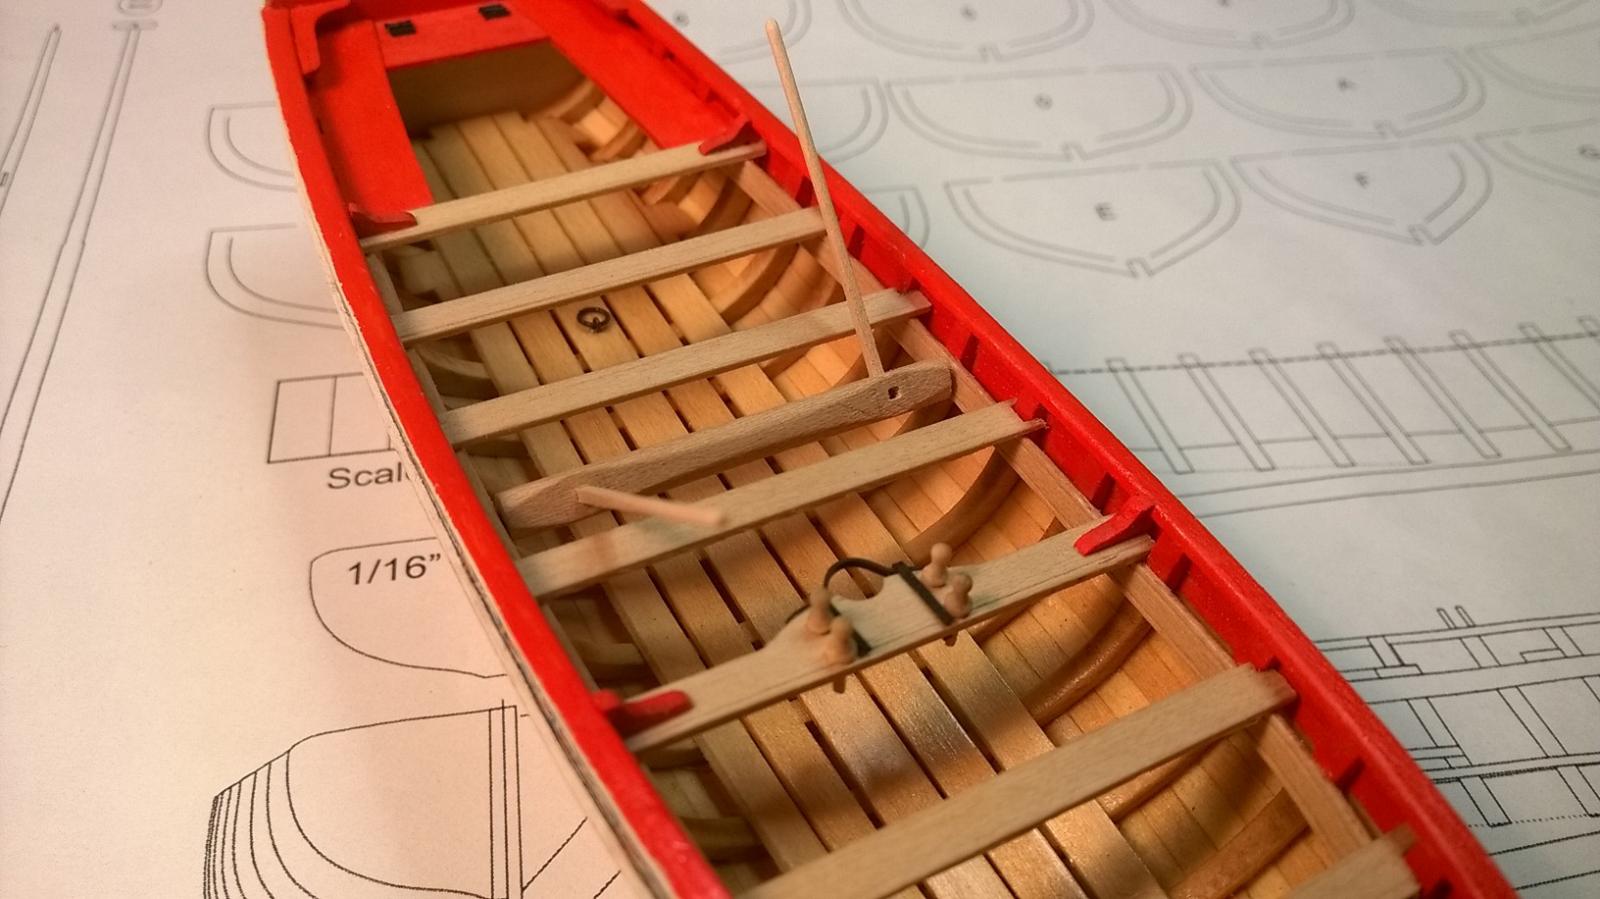
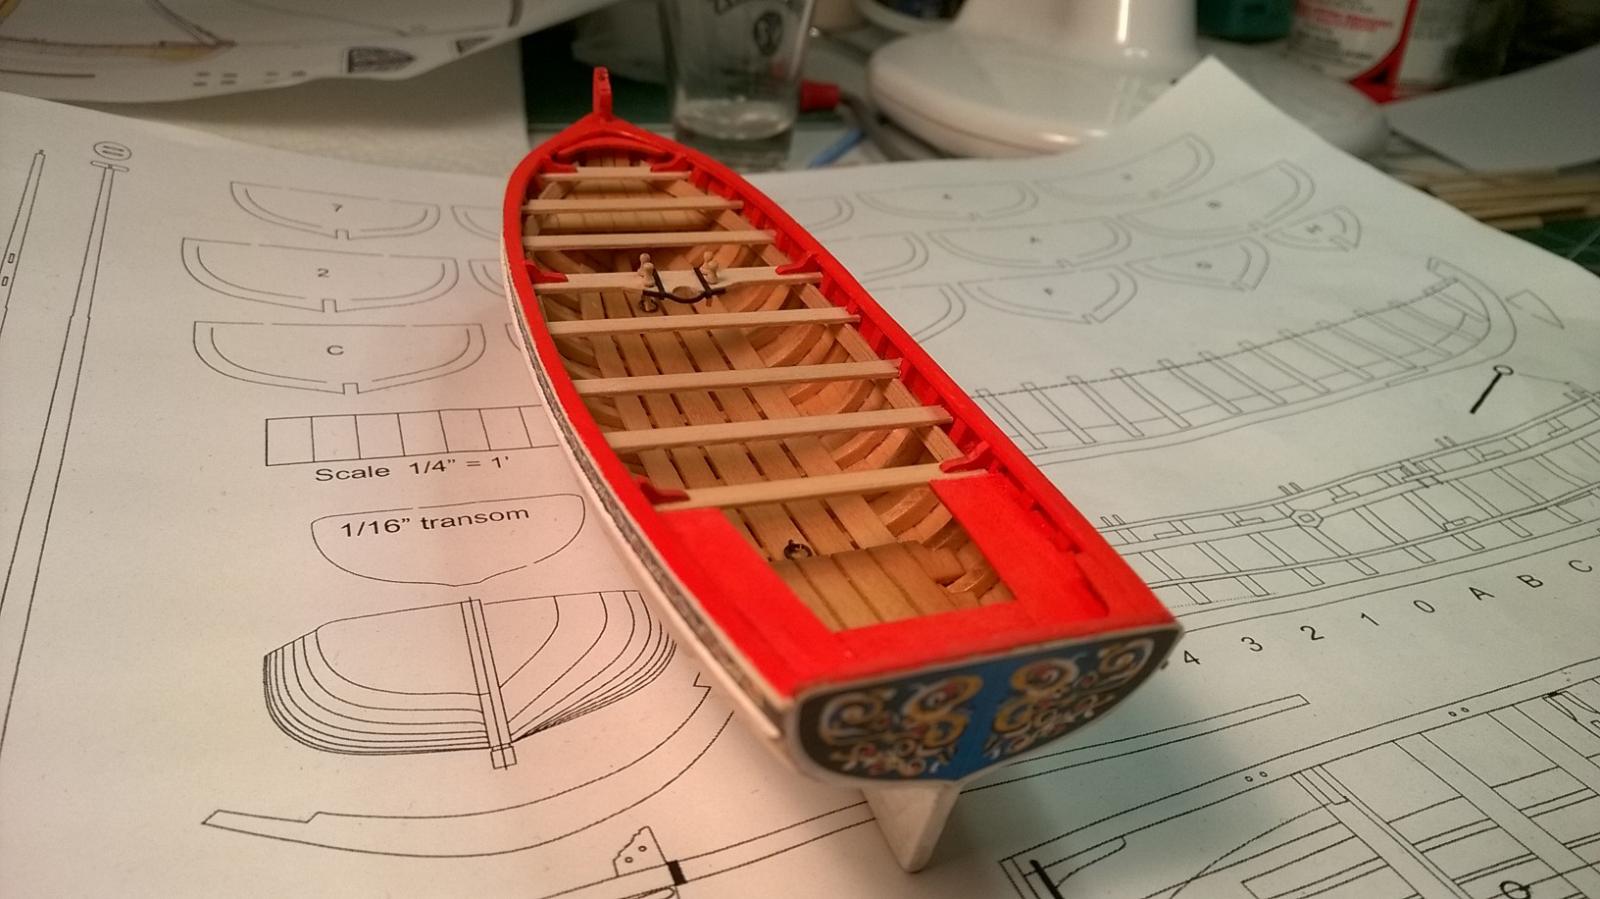
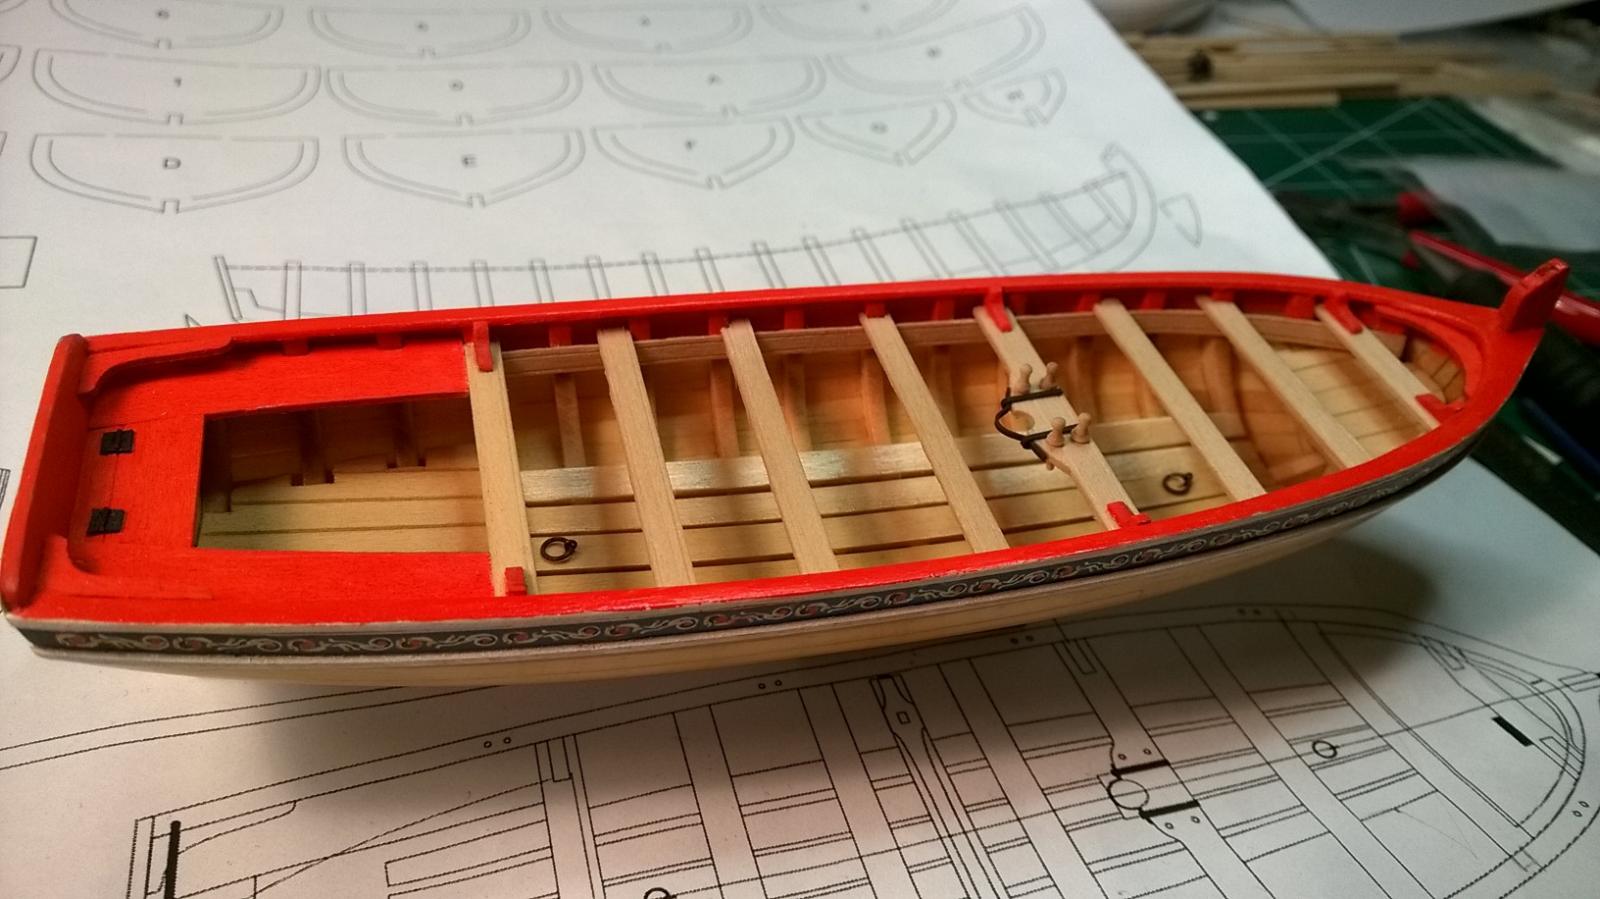
I've installed the thwarts and completed some of the metal work.
- Erik W, Canute, Ryland Craze and 7 others
-
10
-
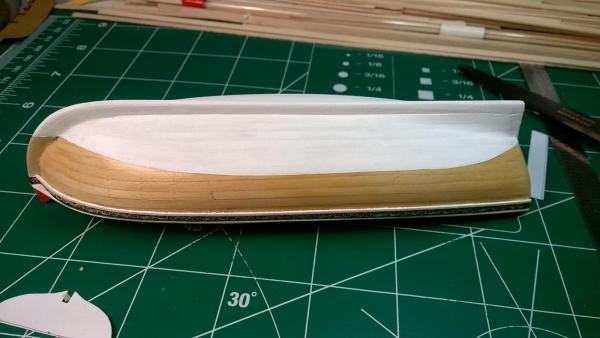
I've hand painted the hull under the water line. Nothing ended up under the masking tape which was a nice surprise when I pulled off the masking tape.I thought for sure something would have seeped under like on the last project I did. In the future I would like to start using an airbrush, but for now I'm doing everything with a brush. I'm going to make sure the paint is fully dry before adding a coat of poly over the white paint..
-
-
Thank you Gentlemen, I really appreciate your comments.
-
-
-
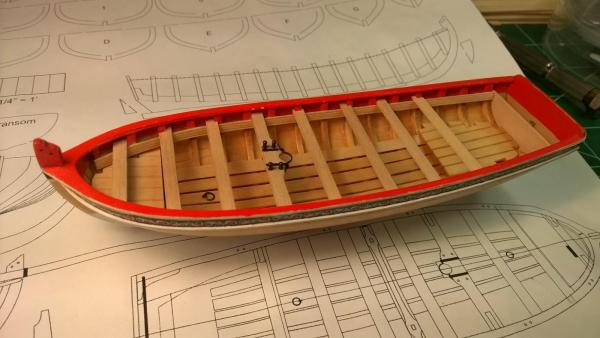
I've installed the cap rail and sanded it to size.
- Mirabell61, dcicero, Canute and 11 others
-
14
-
Thanks, I'm going to sand the frames down some more before I install the cap rail.


18th Century Longboat by PAnderson - FINISHED - Model Shipways
in - Kit build logs for subjects built from 1751 - 1800
Posted
You've done an outstanding job on the planking. the first time I planked my boat I ended up ripping all the strakes back off and starting over.