Old Collingwood
-
Posts
12,104 -
Joined
-
Last visited
Content Type
Profiles
Forums
Gallery
Events
Everything posted by Old Collingwood
-
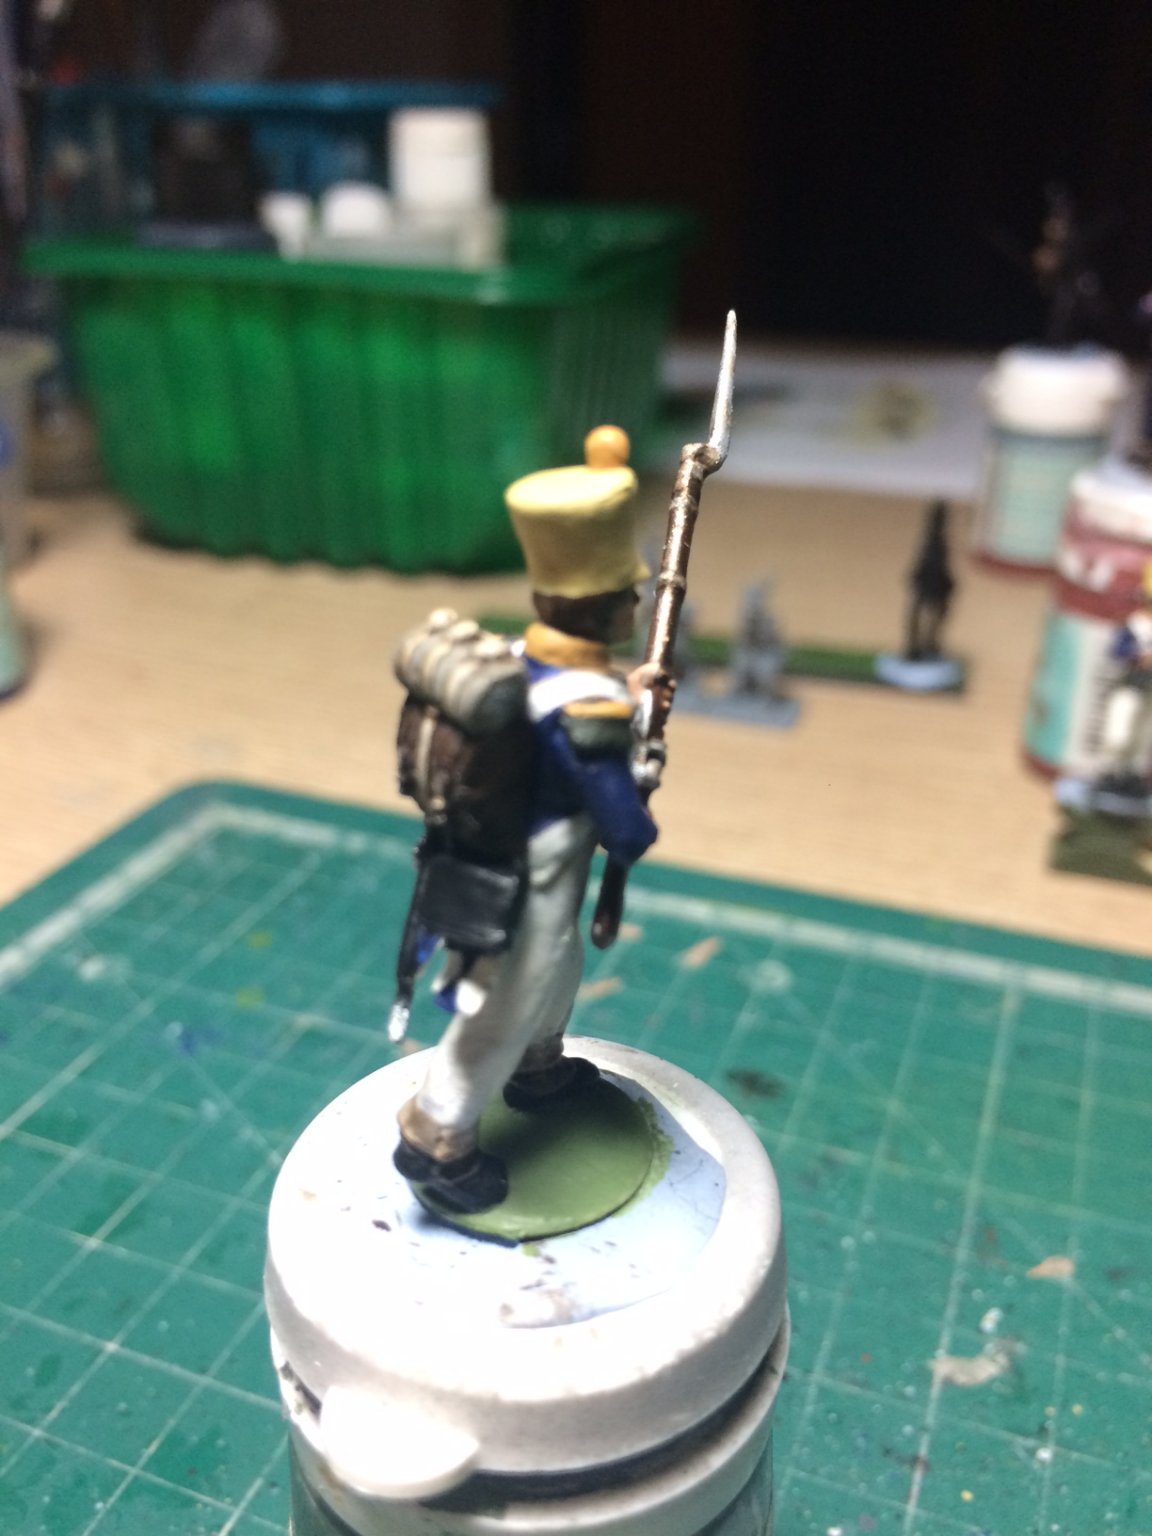
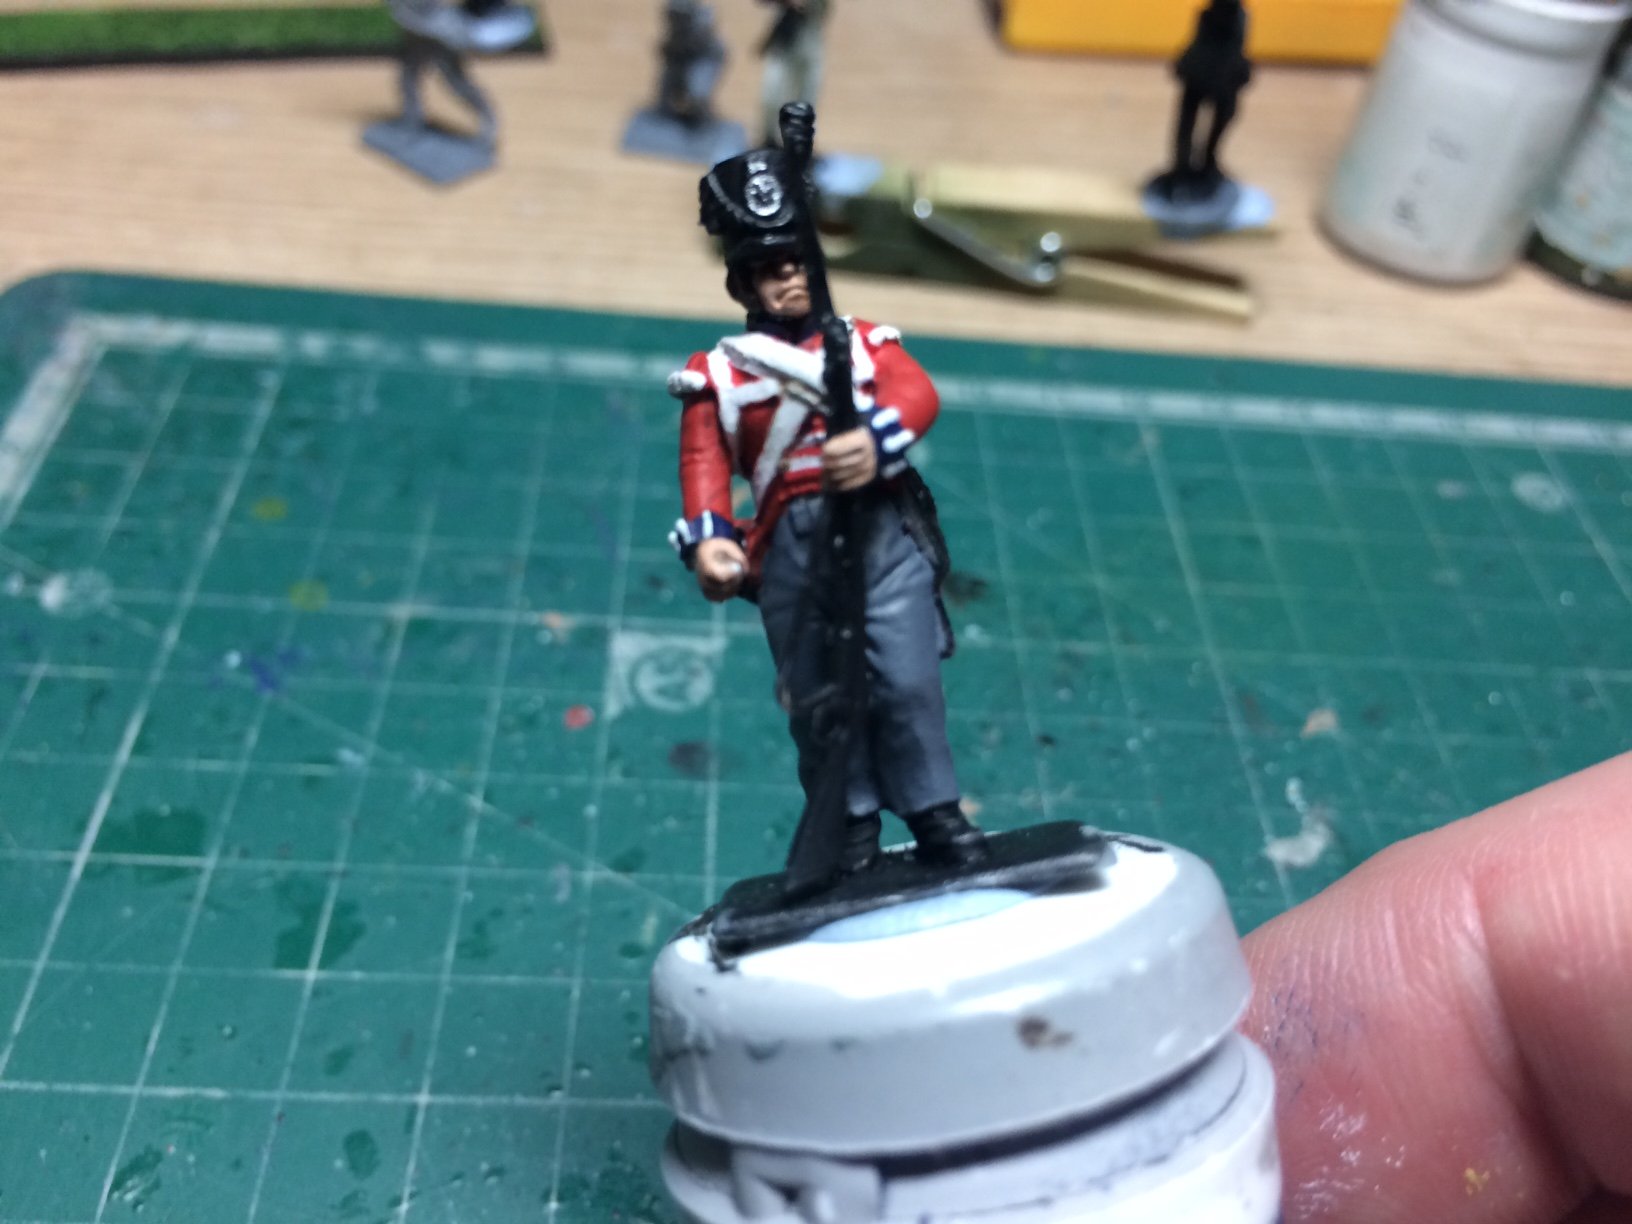
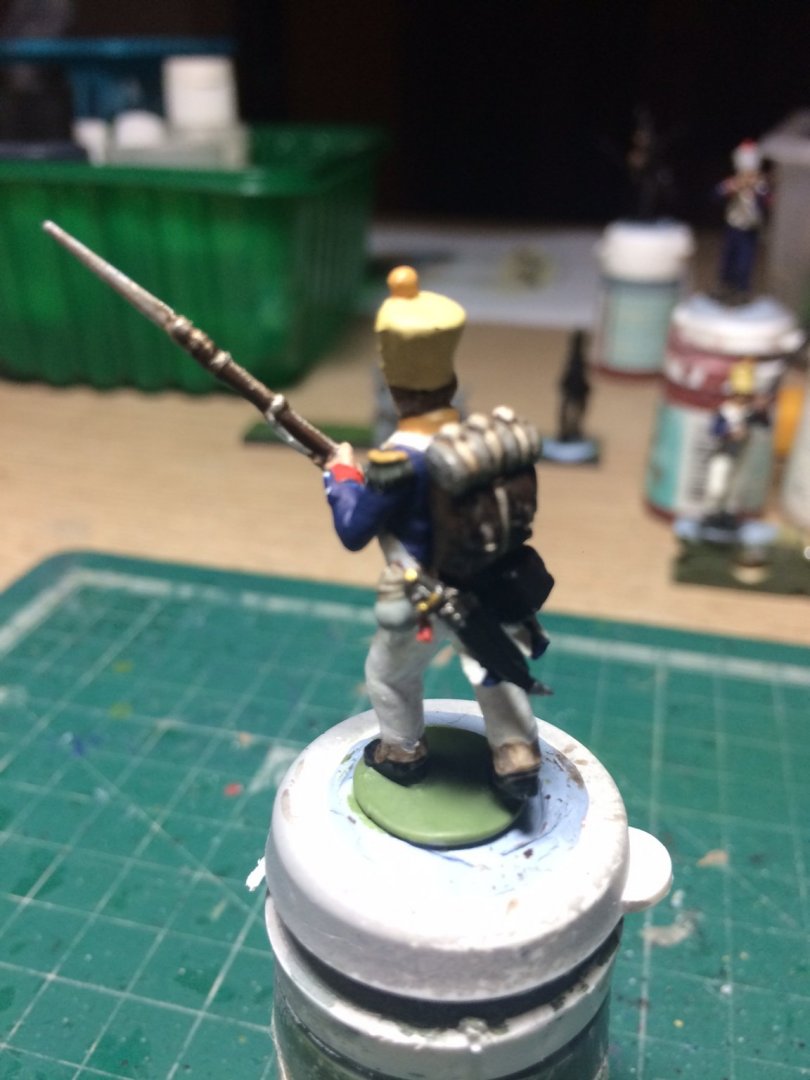
 Evening all, another 55th Voltigeur finished. OC.
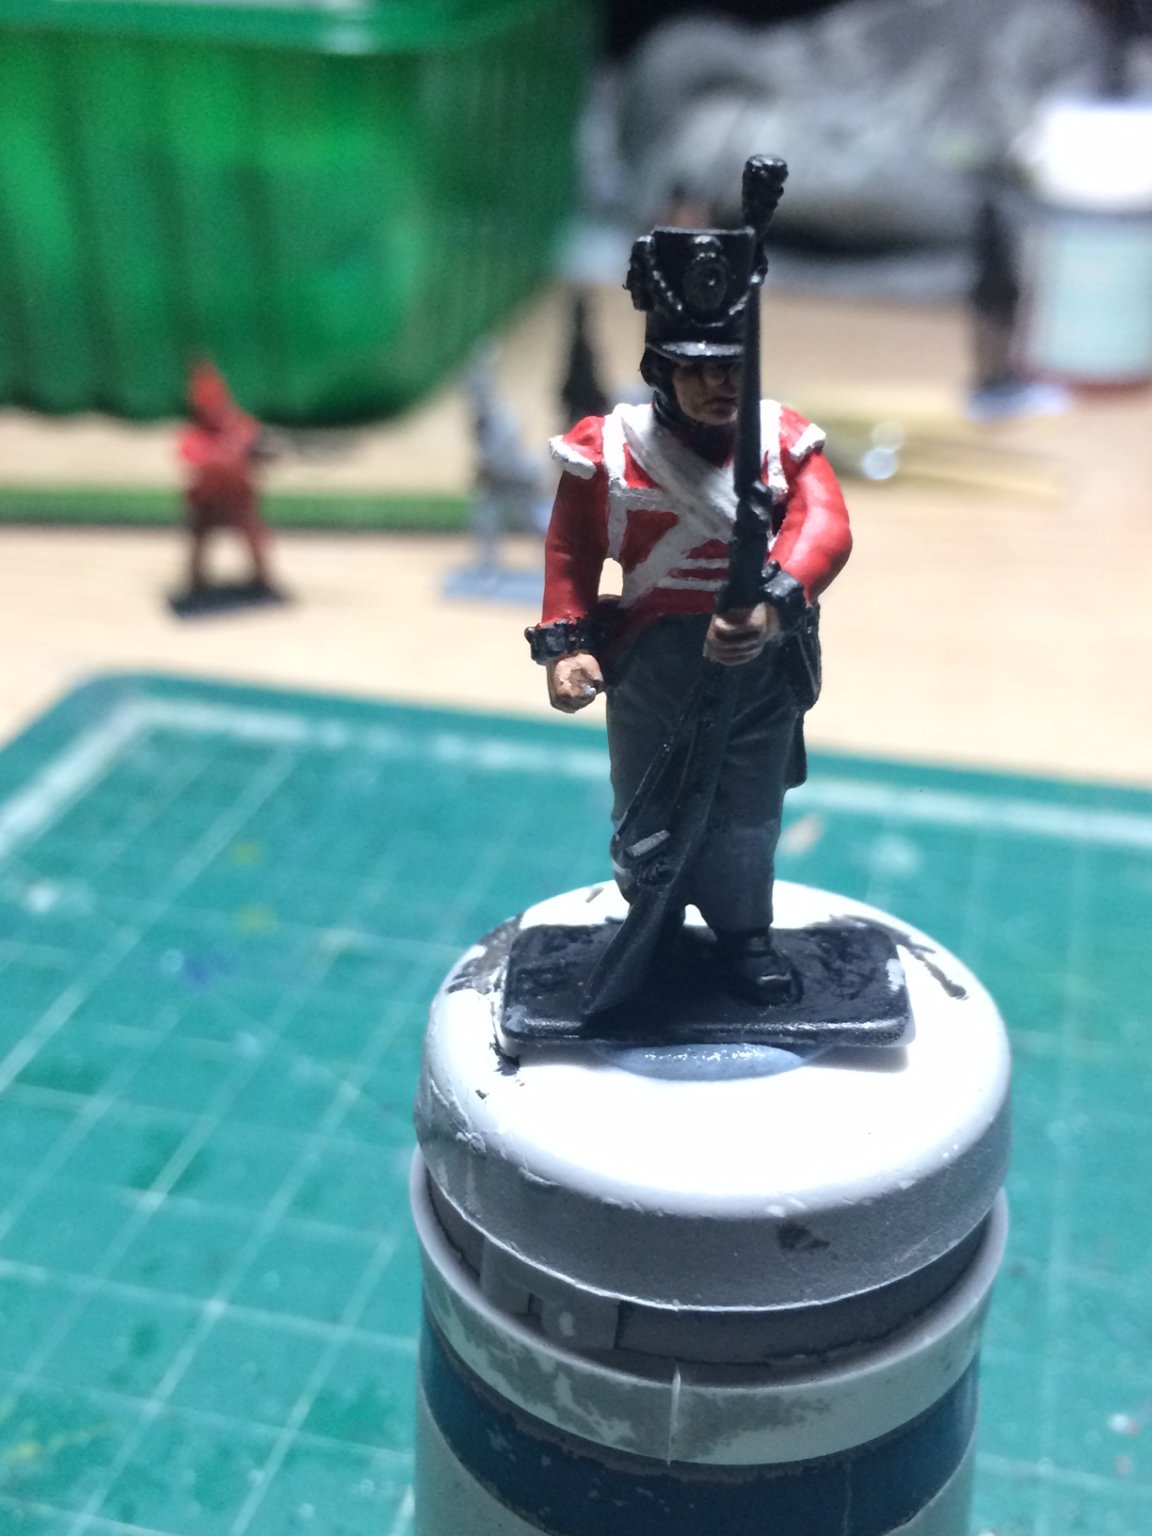
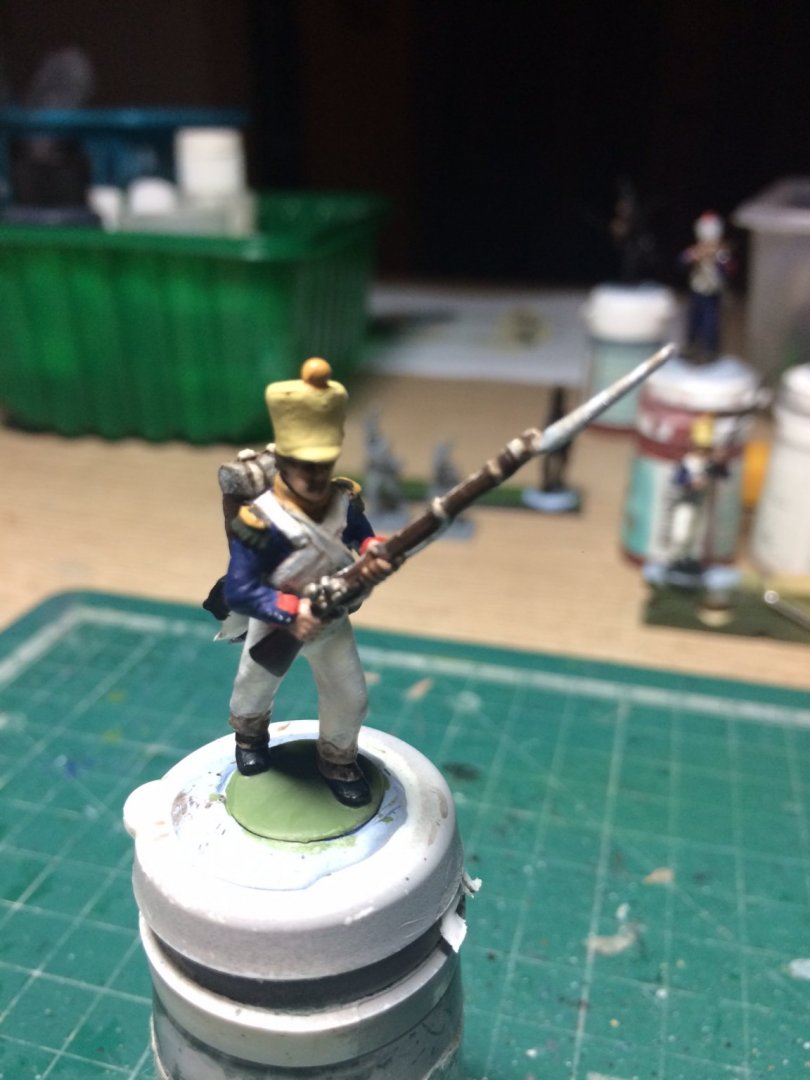
-
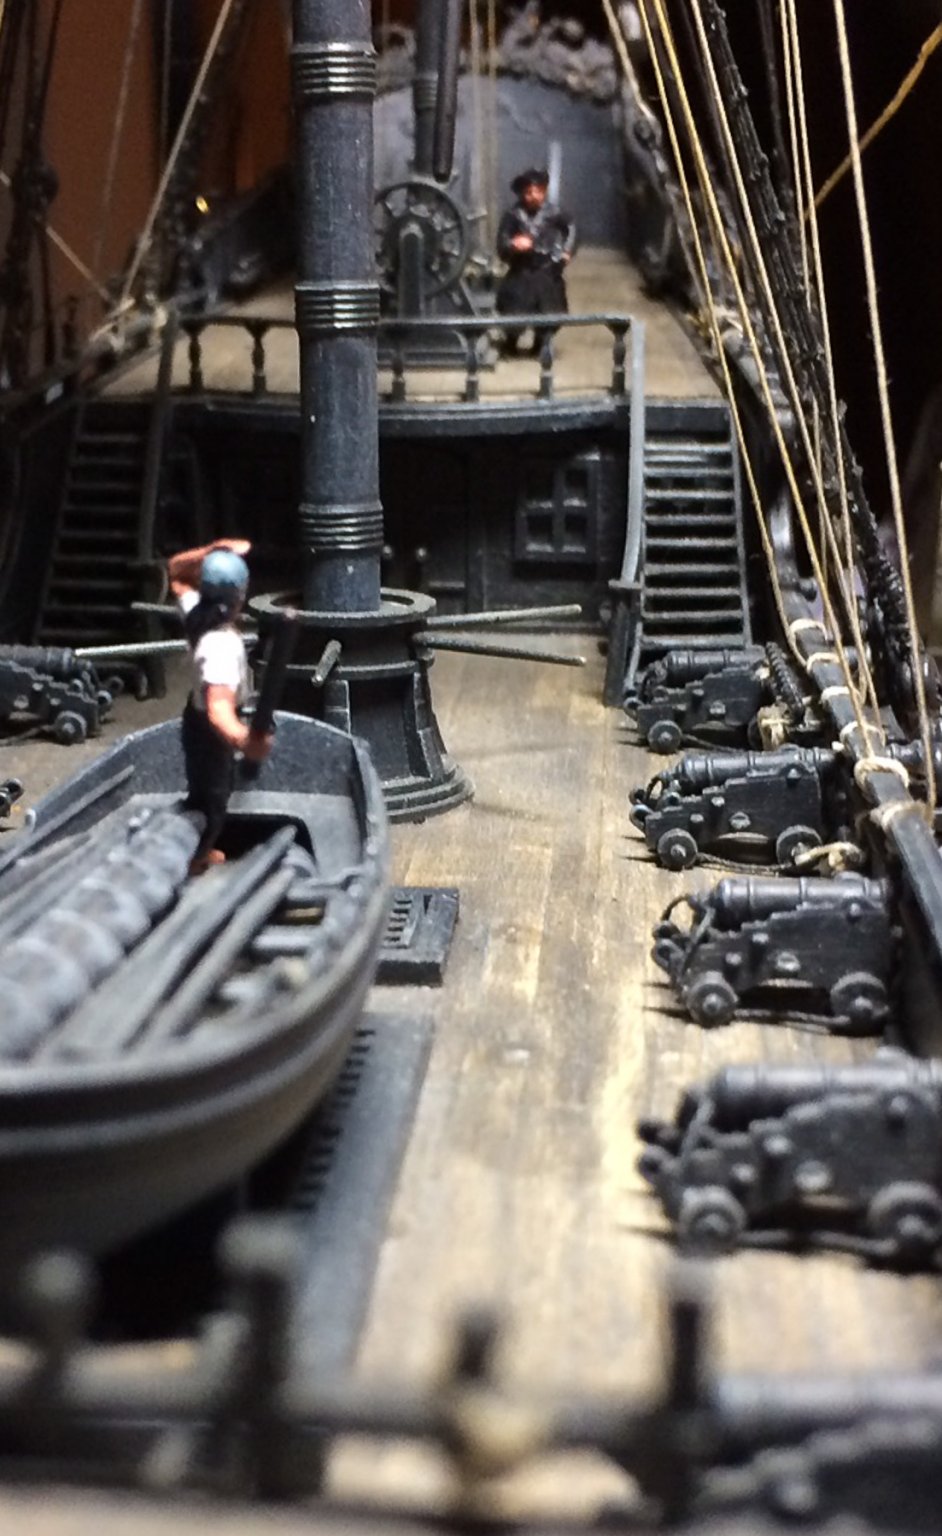
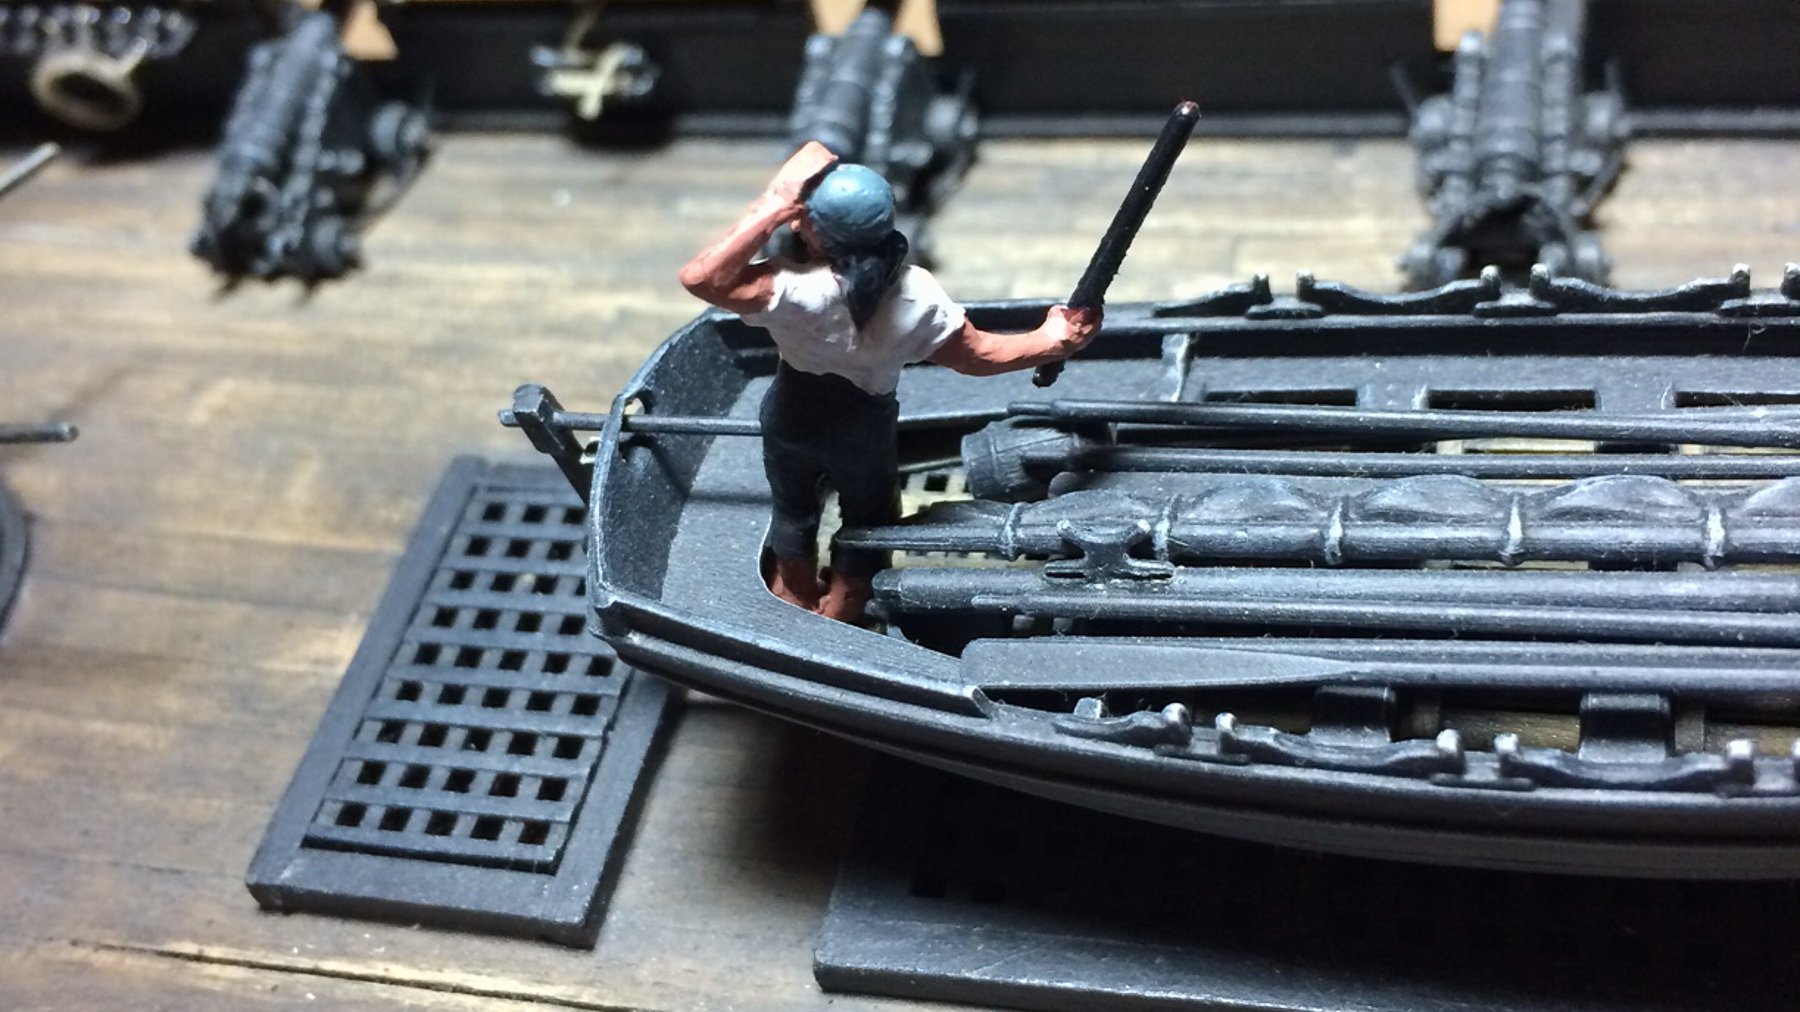
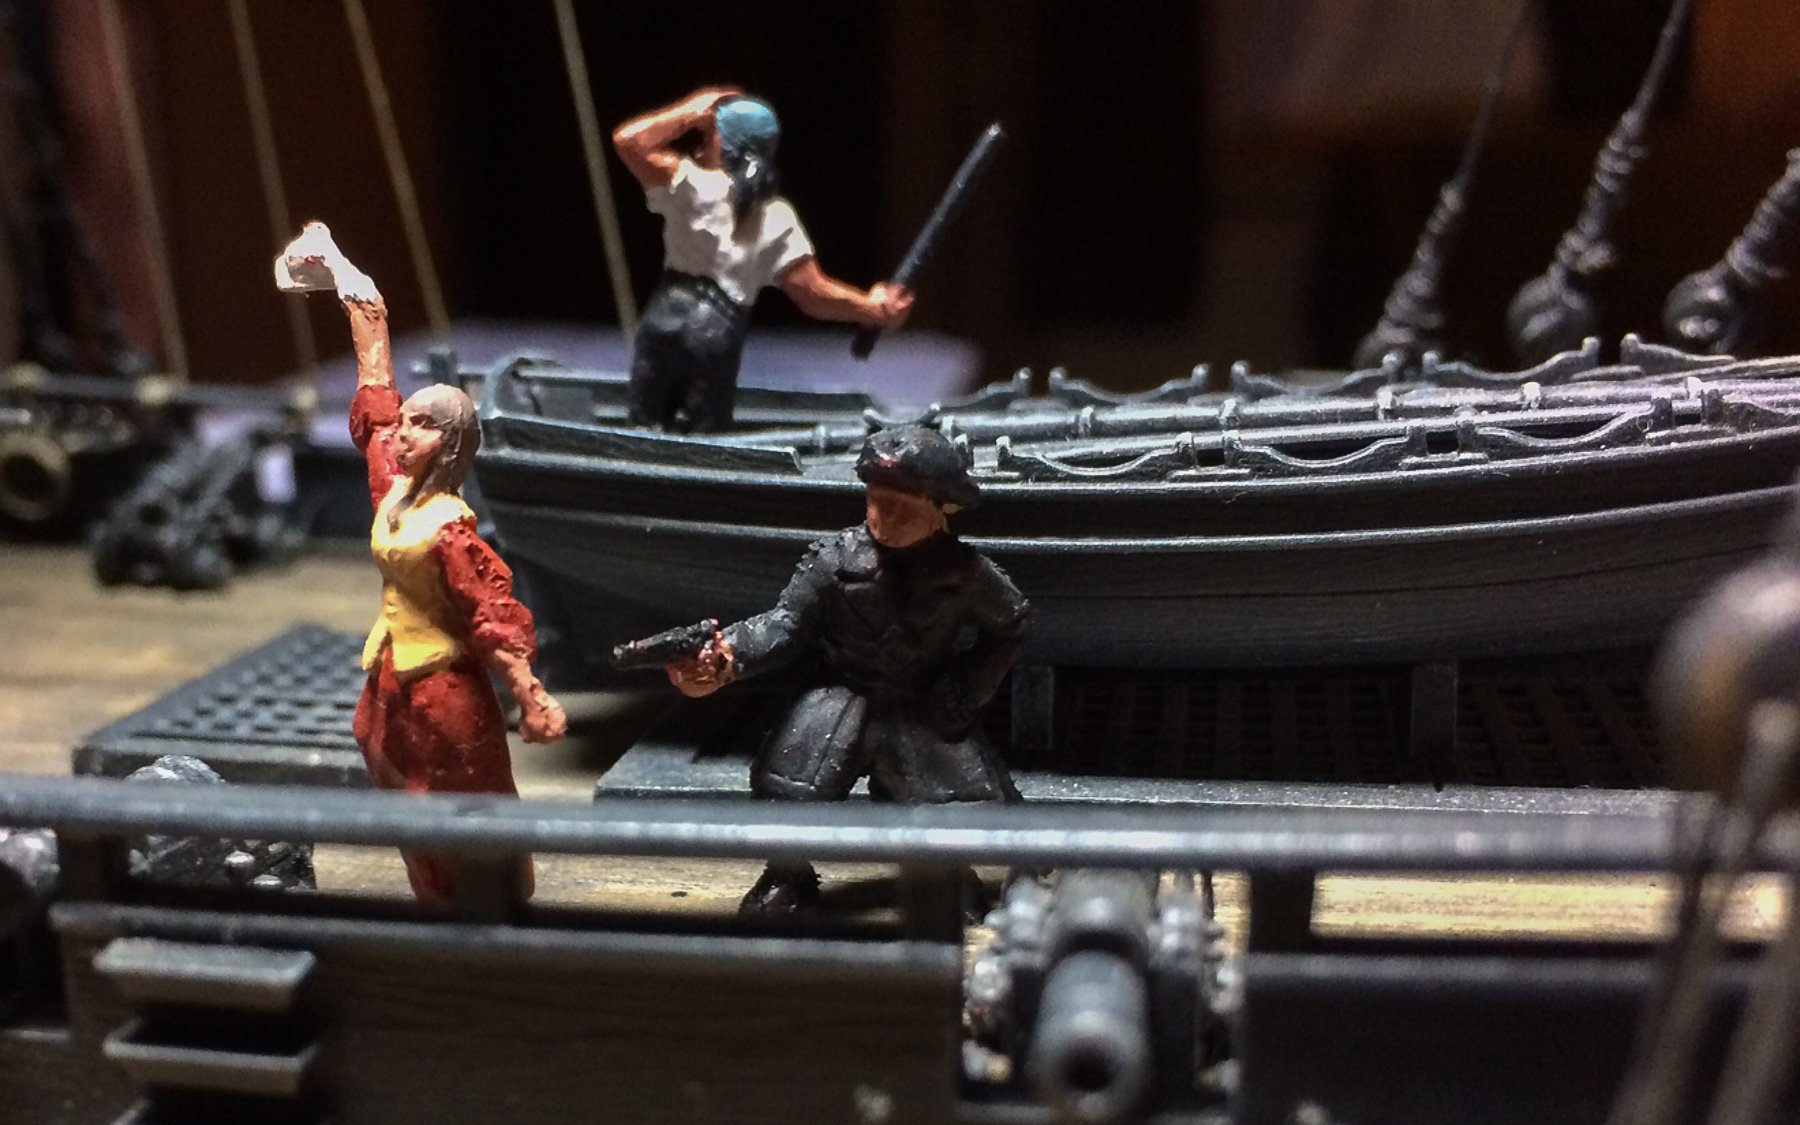
Thats looking super - some times the cannons can look too large for the deck - but not with yours they look really nice, sh eis coming on fine. OC.
- 436 replies
-
- 6
-

-
- vanguard models
- alert
- (and 1 more)
-
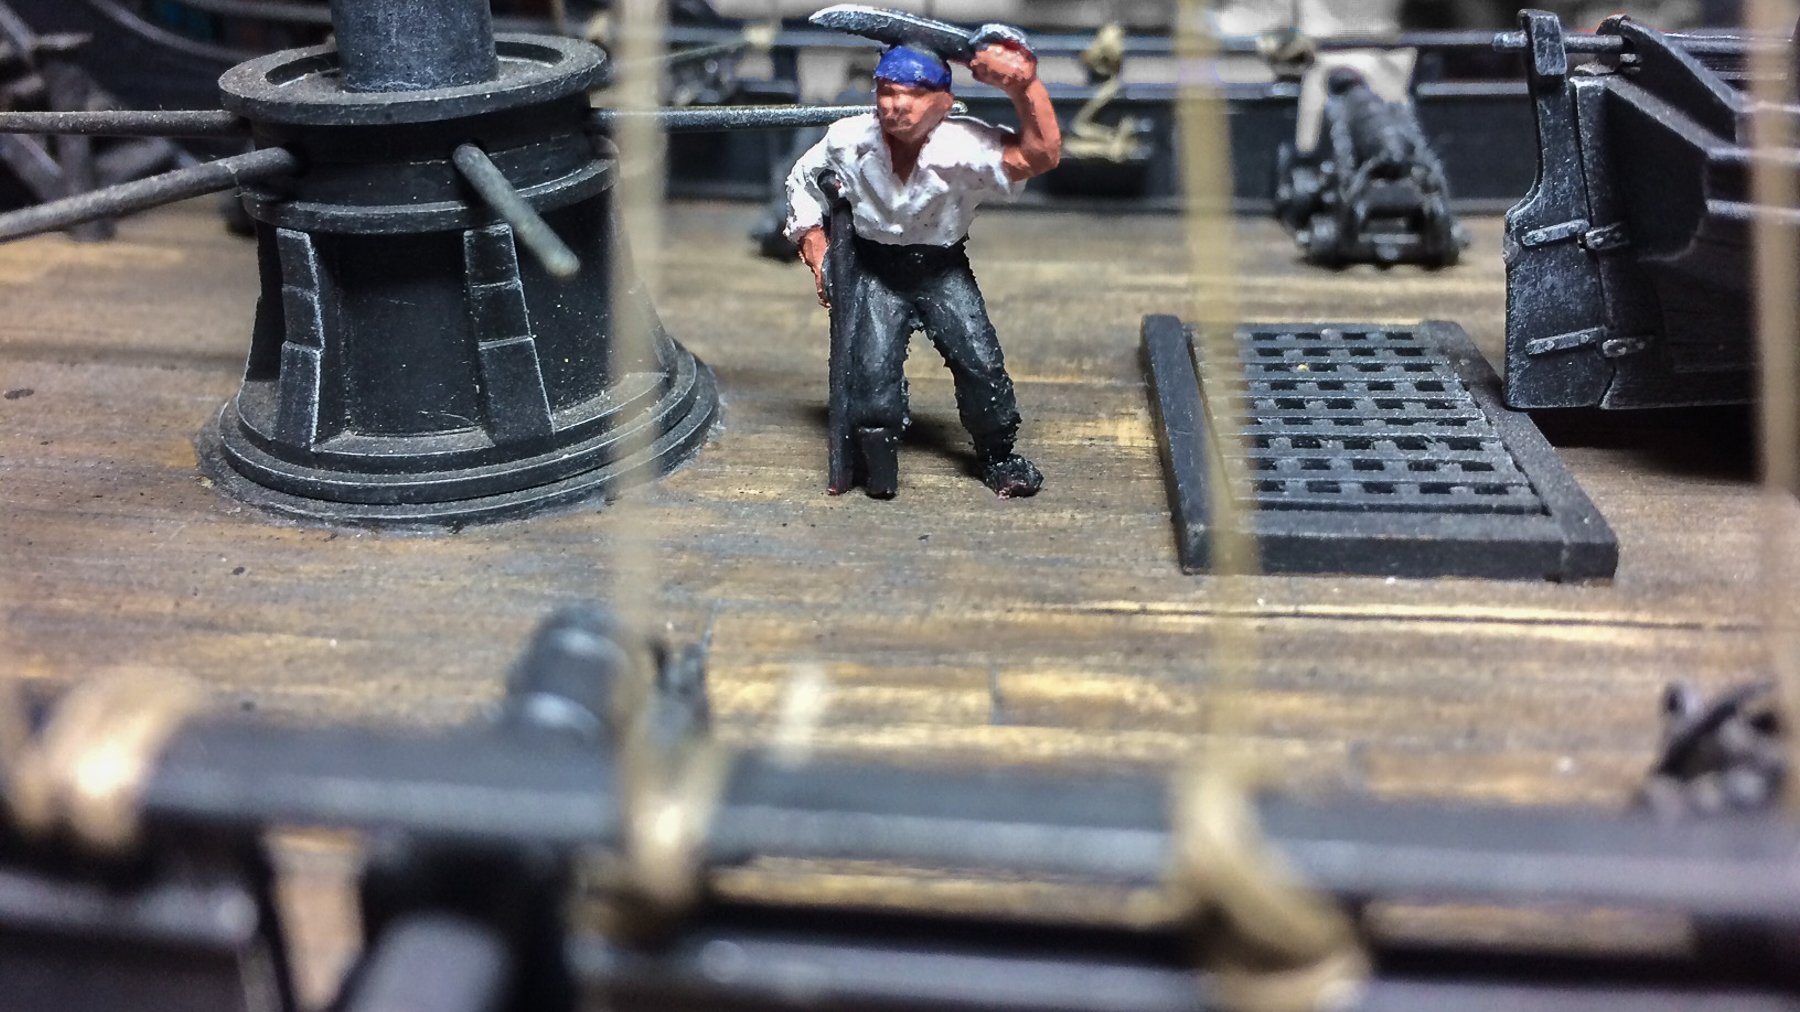
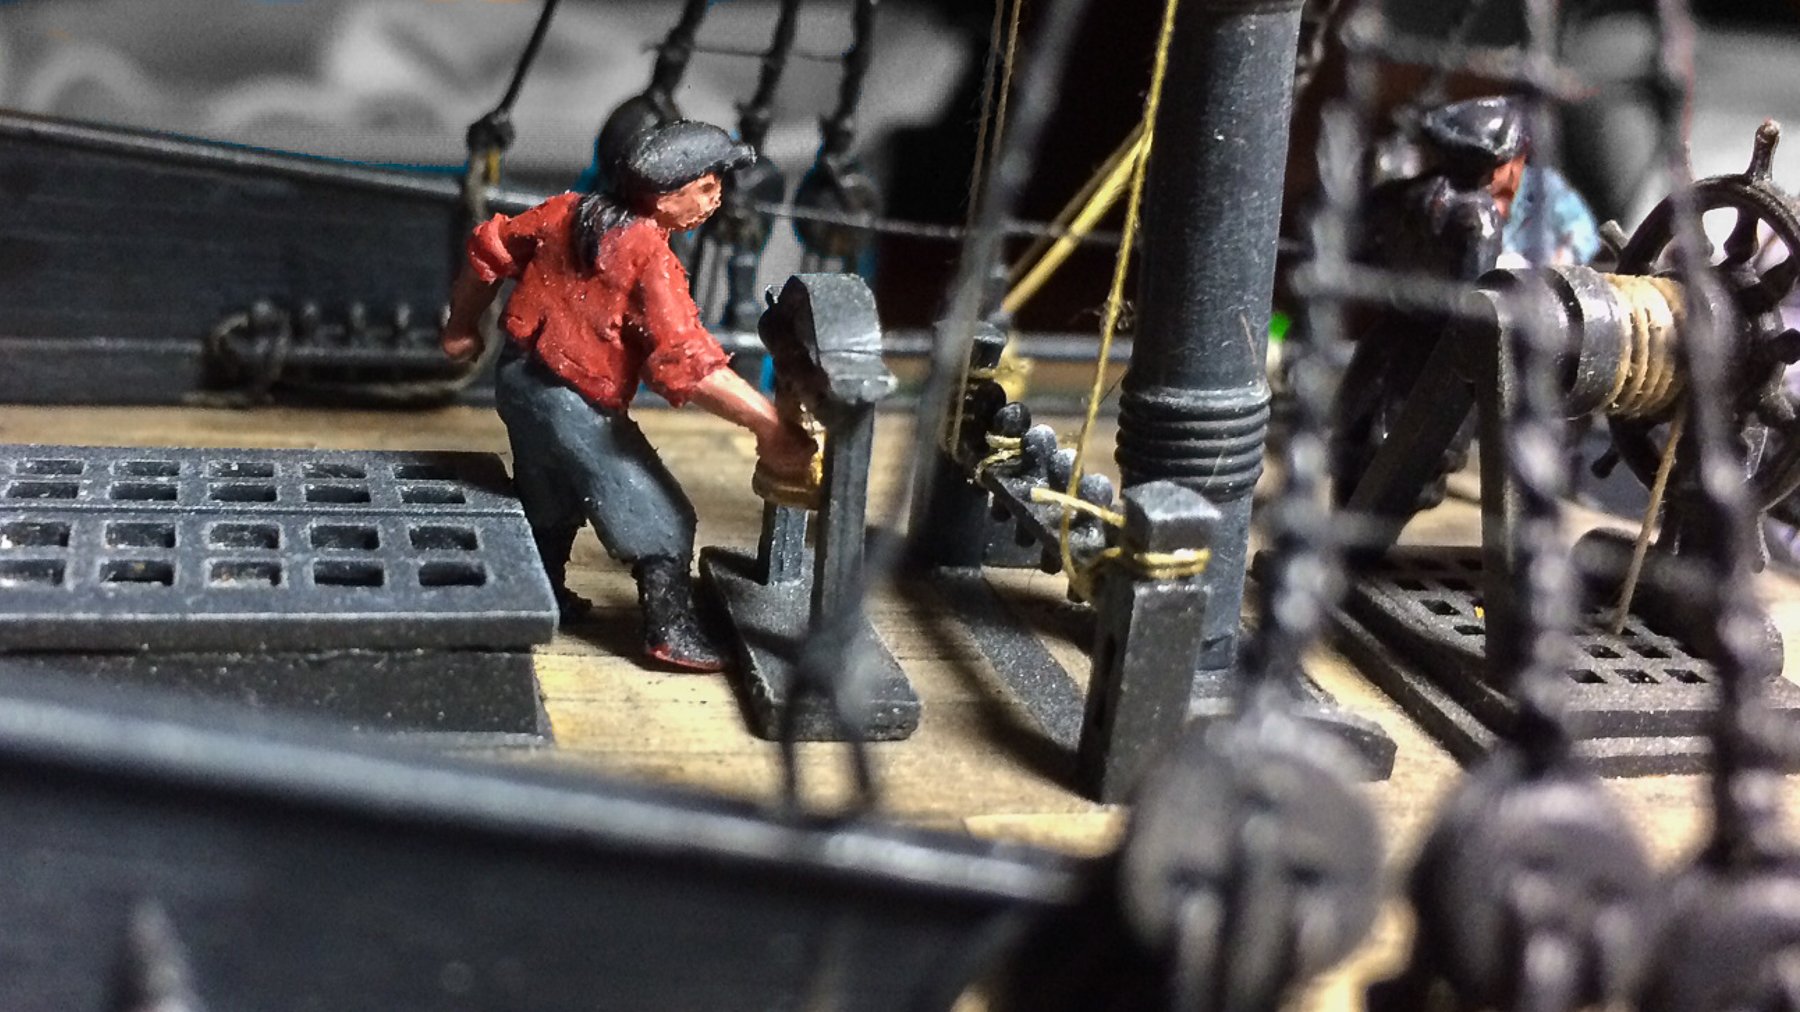
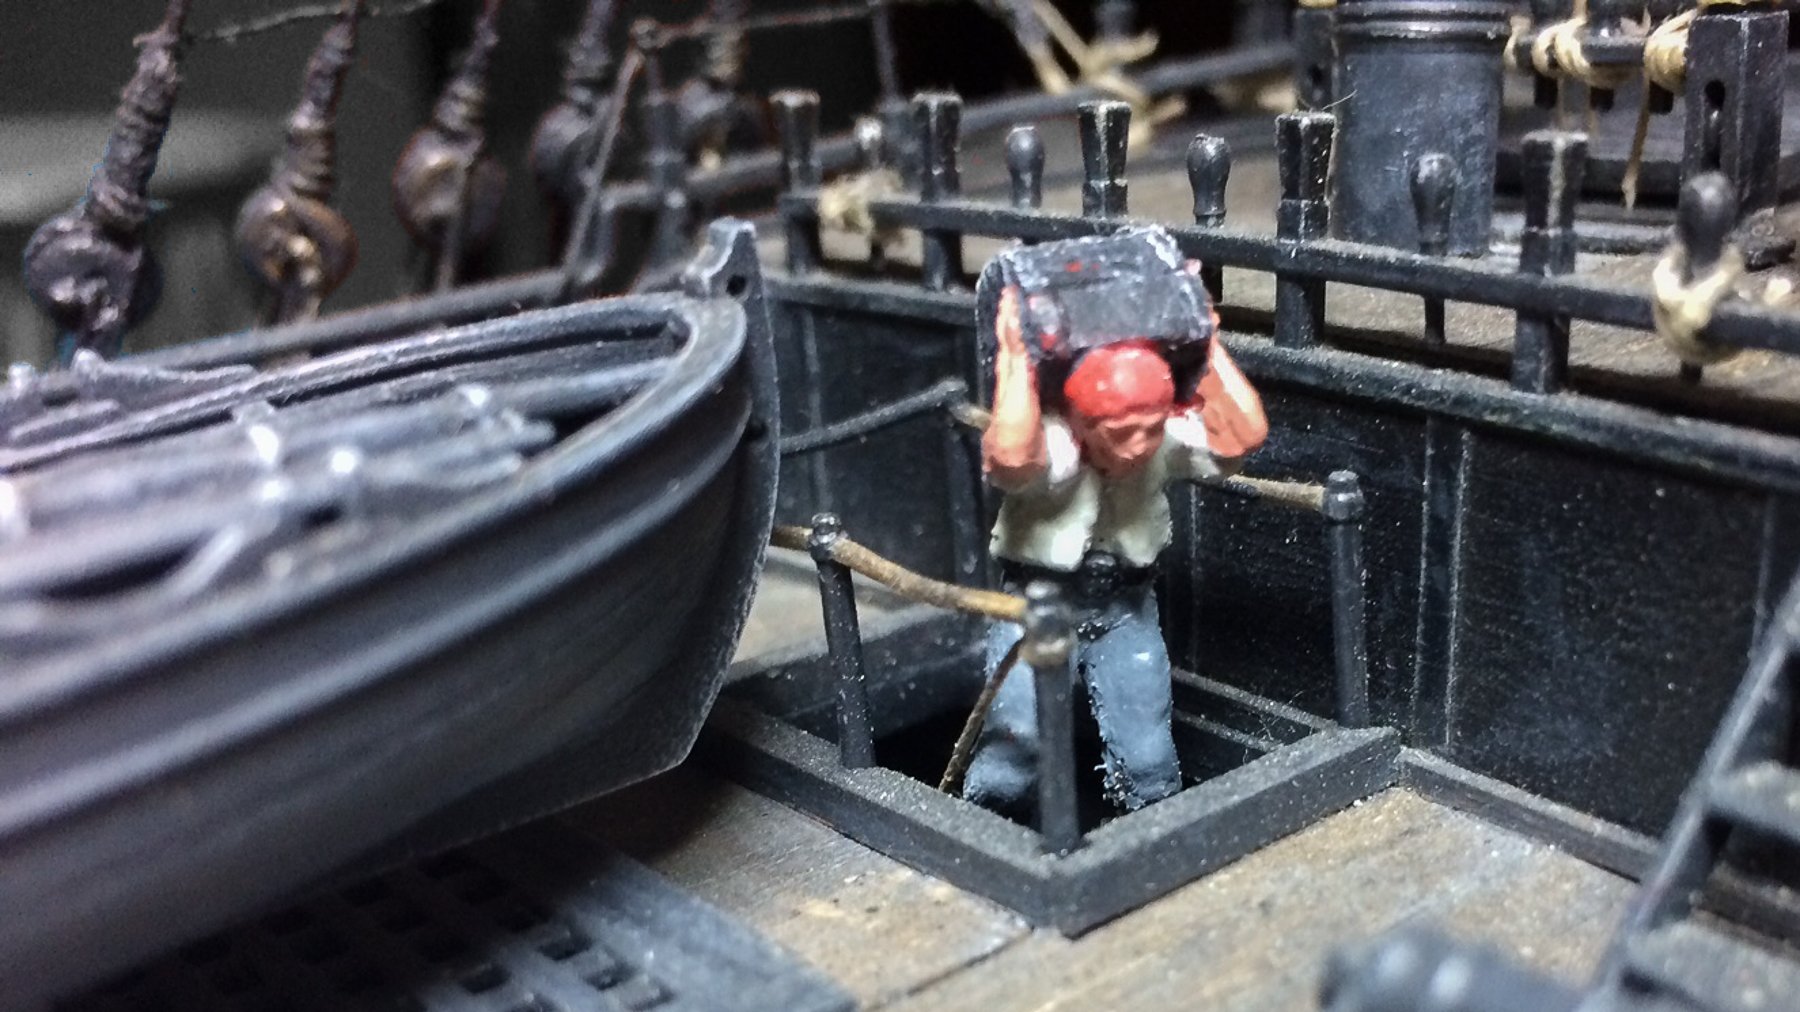
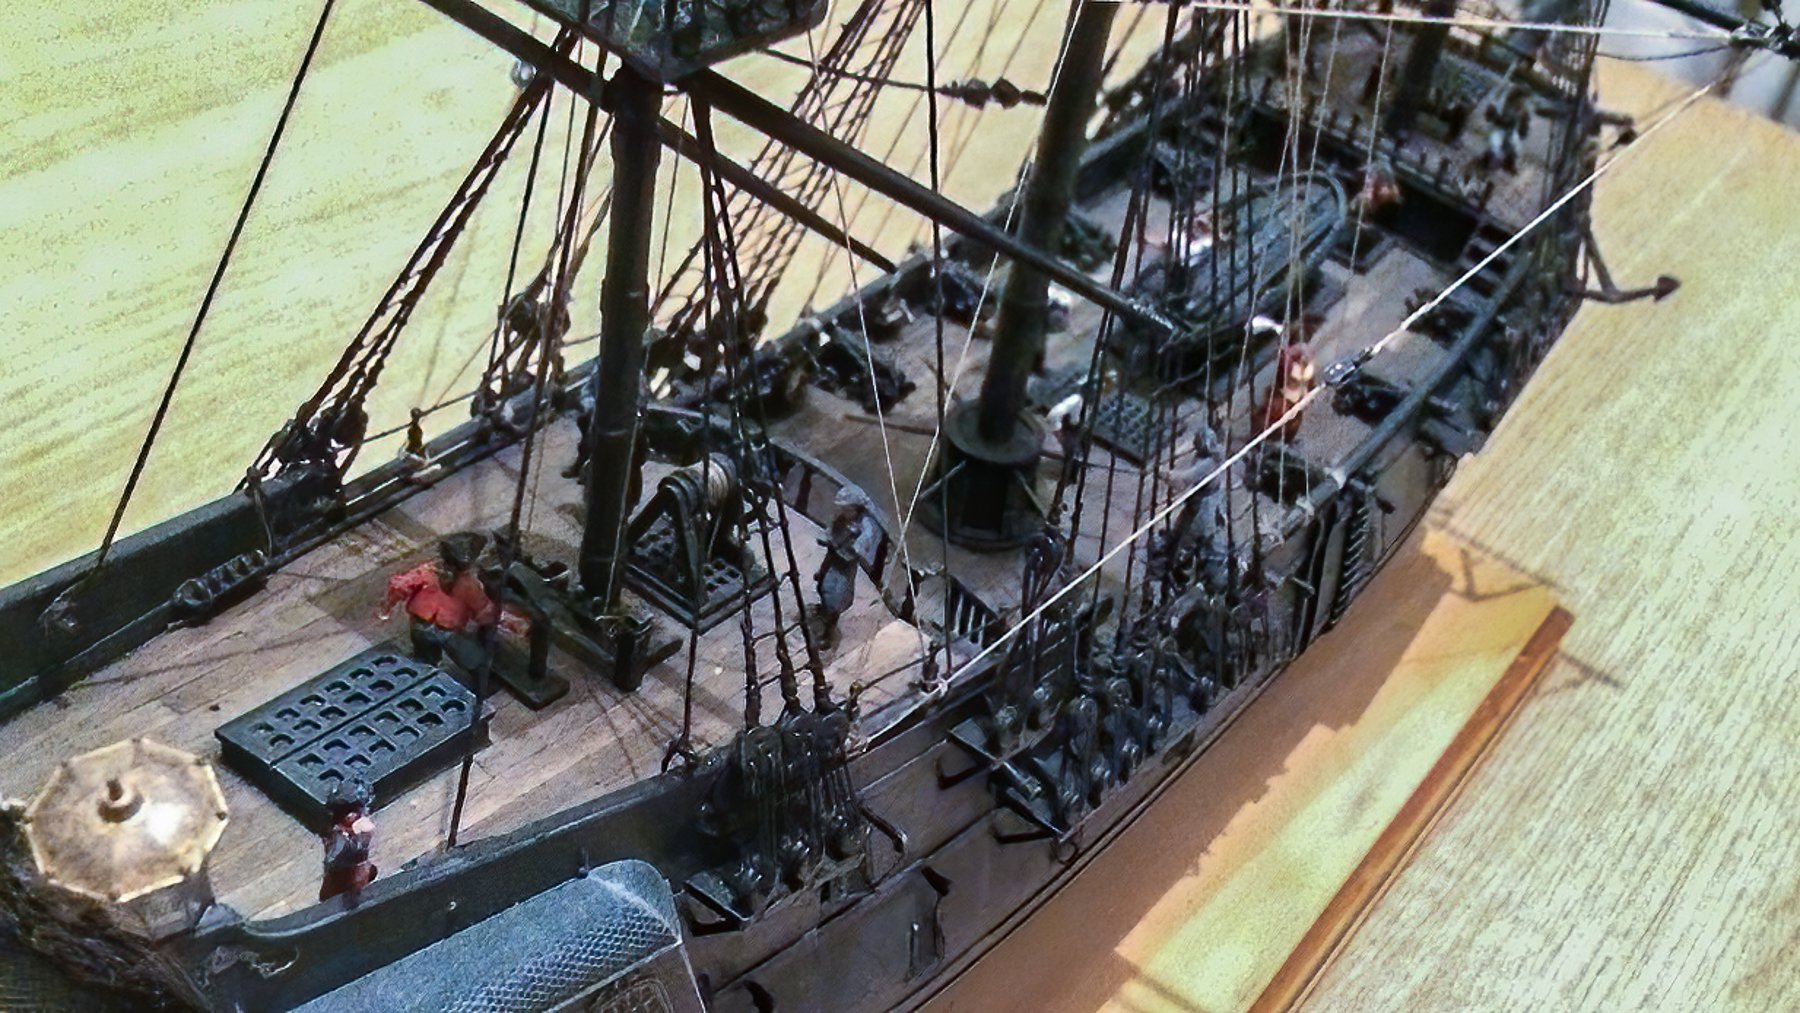
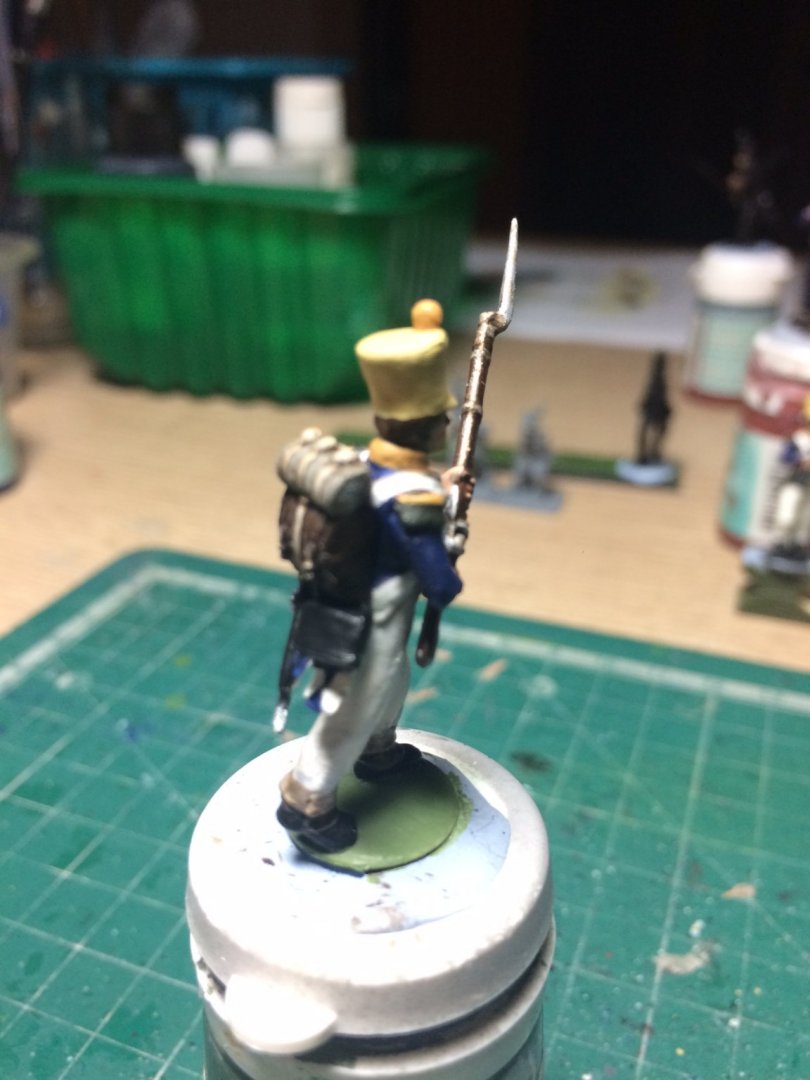
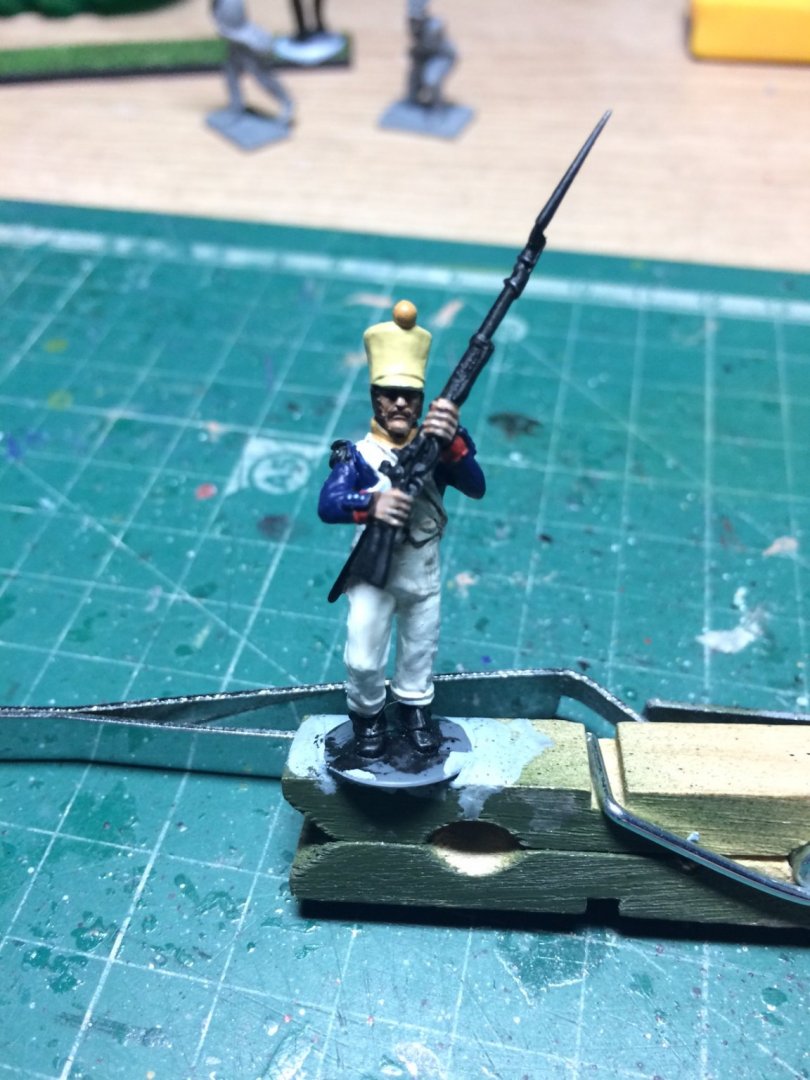
Evening all, a bit more progress continuing with the 5th KGL and another 55th Voltiguer, and a group shot of my latest bunch on the workbench. OC.


-
Thank you kindly Edward. OC.
-
No worries now Roger - problem solved. OC.
-
Evening all, Im back on track laying some paint layers on a 5th KGL. OC.

-
Thank you for popping by Phil and the compliment. OC.
-
You should add some Marines to your build 28mm British marines would look superb when painted😉 OC.
- 322 replies
-
- 2
-
-
- enterprise
- caf
- (and 1 more)
-
Enter embarresed emoji - i used to have Two magnifier glass units - now I have none, my own stupid fault the Superglue I used ran all over the lower lens and ruined it. Anyway with the money back off my clear coat and added a couple more pounds I was able to order a multi optovisor arriving later today. OC.
-
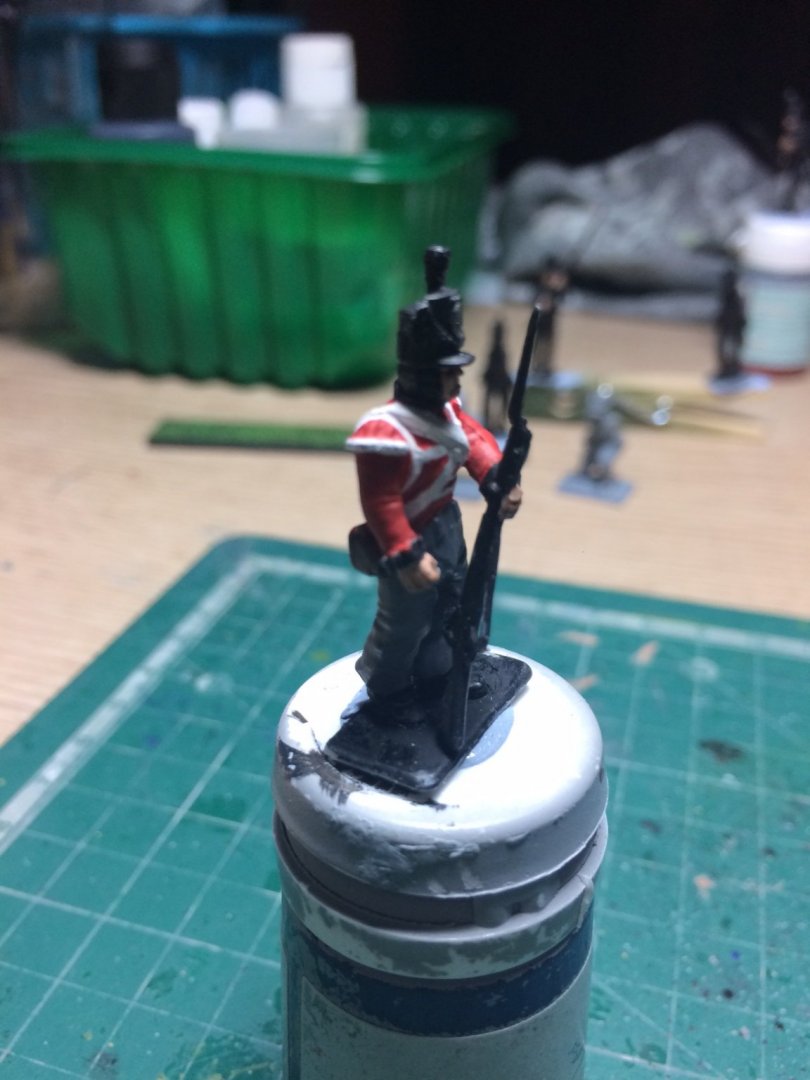
Looking super. OC.
-
Thank you kindly for the compliments ( after looking at them under higher magnification I can see many flaws that will need sorting) its that well know situation - the more you zoom in the more errors we find. I will have to hunt out these reads - to be honest Im mot much of a reader - im ok with technical books - used to love the Janes series of Warship books. OC.
-
I appreciate that bro, I would never have known about that - one just assumes superglue will bond all plastics, and if not superglue then normal Revell plastic glue would have done it (I thought) learn something every day. OC.
-
Yep I hear you Ken, very tiny little loupe so hard to use it by the look of it, I think the combo of the two glasses will be ok as long as I can keep them fixed together - the superglue has kind of tacked them but as the glass ontop is ground glass and quite heavy - I fear if I move the arm at an angle it might break away - hence why i need to create a couple of clips that can be glued to hold the glass. OC.
-
Havn't got any acetone bro. OC.
-
I know, its weird they must use a special glue defence plastic, and I am sure not gonna tape them - dont want to look like that old Duckworth dude off corrie, no way. I may have found a fix - I have two different illluminated magnifiers one is a heavy jobby with a seperate light and glass, the other one is a plastic Halogen(I think) unit with the glass in the middle and one tiny extreme magnifier, I had an idea and had to try it (you know me)😉 I got the Plastic one under some light then got the other glass put them ontop of each other and tested with a figure underneath using my normal glasses I use for my laptop, hey pressto the combination of the two gave me a lot more magnification - I could even see the flaws in my painting (that needs reworking). Anyway I got the superglue out ran some around the edge and pressed down the top glass, it will still need some kind of clips to stop it falling away when I angle the arm. OC.
-
Thanks Ken. OC.
-
Evening all, this evening I was going to carry on with some figures but my modeling glasses decided to break on the bridge corner and the lens fell out - do you think I could repair the break, depsite them being plastic framed neither super glue or my revell plastic glue would repair the break. So I have had to stop till I can sort another pair out or check to see if my other illuminated magnifier is strong enough. I have a 2.00 x mag glasses I use for internet and TV and 3.00 x for my modeling, I thought things where going too well as I got my money back on that top coat (they eventually relented) so I was able to get a couple of jars of Acrylic paint. So will have to wait till the morning to see what happens. OC.
-
Looking really smart - love the detail on the tracks. OC.
-
Yep were ok, I am sure you will make a Superb project out of this - combining all your different build skills - they say we all improve in every new project we take on - learning bits from previous. Really looking forward to it my friend. OC.
- 322 replies
-
- 5
-
-
- enterprise
- caf
- (and 1 more)
-
"WOW" mate this is looking to be a Superb build - so love seeing a proper scale replica come together, something special watching frames fitted and a hull come togther like the ship builder used to build them. Following with kean interest. OC.
- 322 replies
-
- 5
-
-
- enterprise
- caf
- (and 1 more)
-
Looking fine - that glazing looks great. OC.
-
Thats like coming out of the freezer and going straight into the oven. OC.
-
Indeed Ken, I read you mate.😉 OC.