Old Collingwood
-
Posts
12,104 -
Joined
-
Last visited
Content Type
Profiles
Forums
Gallery
Events
Everything posted by Old Collingwood
-
 Here are the packs with everything on them - OC.
.thumb.png.d8c191ecb0cef86c735d1e1a74cf0c3b.png)
-
Yep the packs contain - part of the coat tails, Ammo box, and even the scabbard all moulded together. OC.
-
Its great having you showing us all your work Ray, please continue to its an inspiration and a pleasure to watch. OC.
-
Do you know Mark even the coat tails are moulded onto the packs - so they assume everyone will be fitted. OC.
-
It would have been an excellent idea if they had thought about people not wanting to put the packs on. OC.
-
Trouble with doing that - it will still leave a flat back from how they moulded then to take the packs - even the straps that are moulded onto the front and over the shoulders suddenly stop where the packs go - it would be very noticable. OC.
-
I agree with everyone - its really looking swell and those canons look Superb. OC.
- 436 replies
-
- 2
-

-
- vanguard models
- alert
- (and 1 more)
-
Superb Asto work, I too used to have a dabble at DSO objects managed a few years back to get these Two - Seven Sisters and Jupiter and moons. OC.


-
Yep, I have to steady mine too - I kind off use one hand against the other to steady it, and slow my breathing down a bit (hence why I can't chat with the admiral while Im painting). You do loverly work on your ship build - love what you are doing. OC.
-
Thank you kindly for those kind words, it just having a steady hand - a good magnifyer and small paint brushes, and practice as the more you do and get a feeling for how they go - they do improve. OC.
-
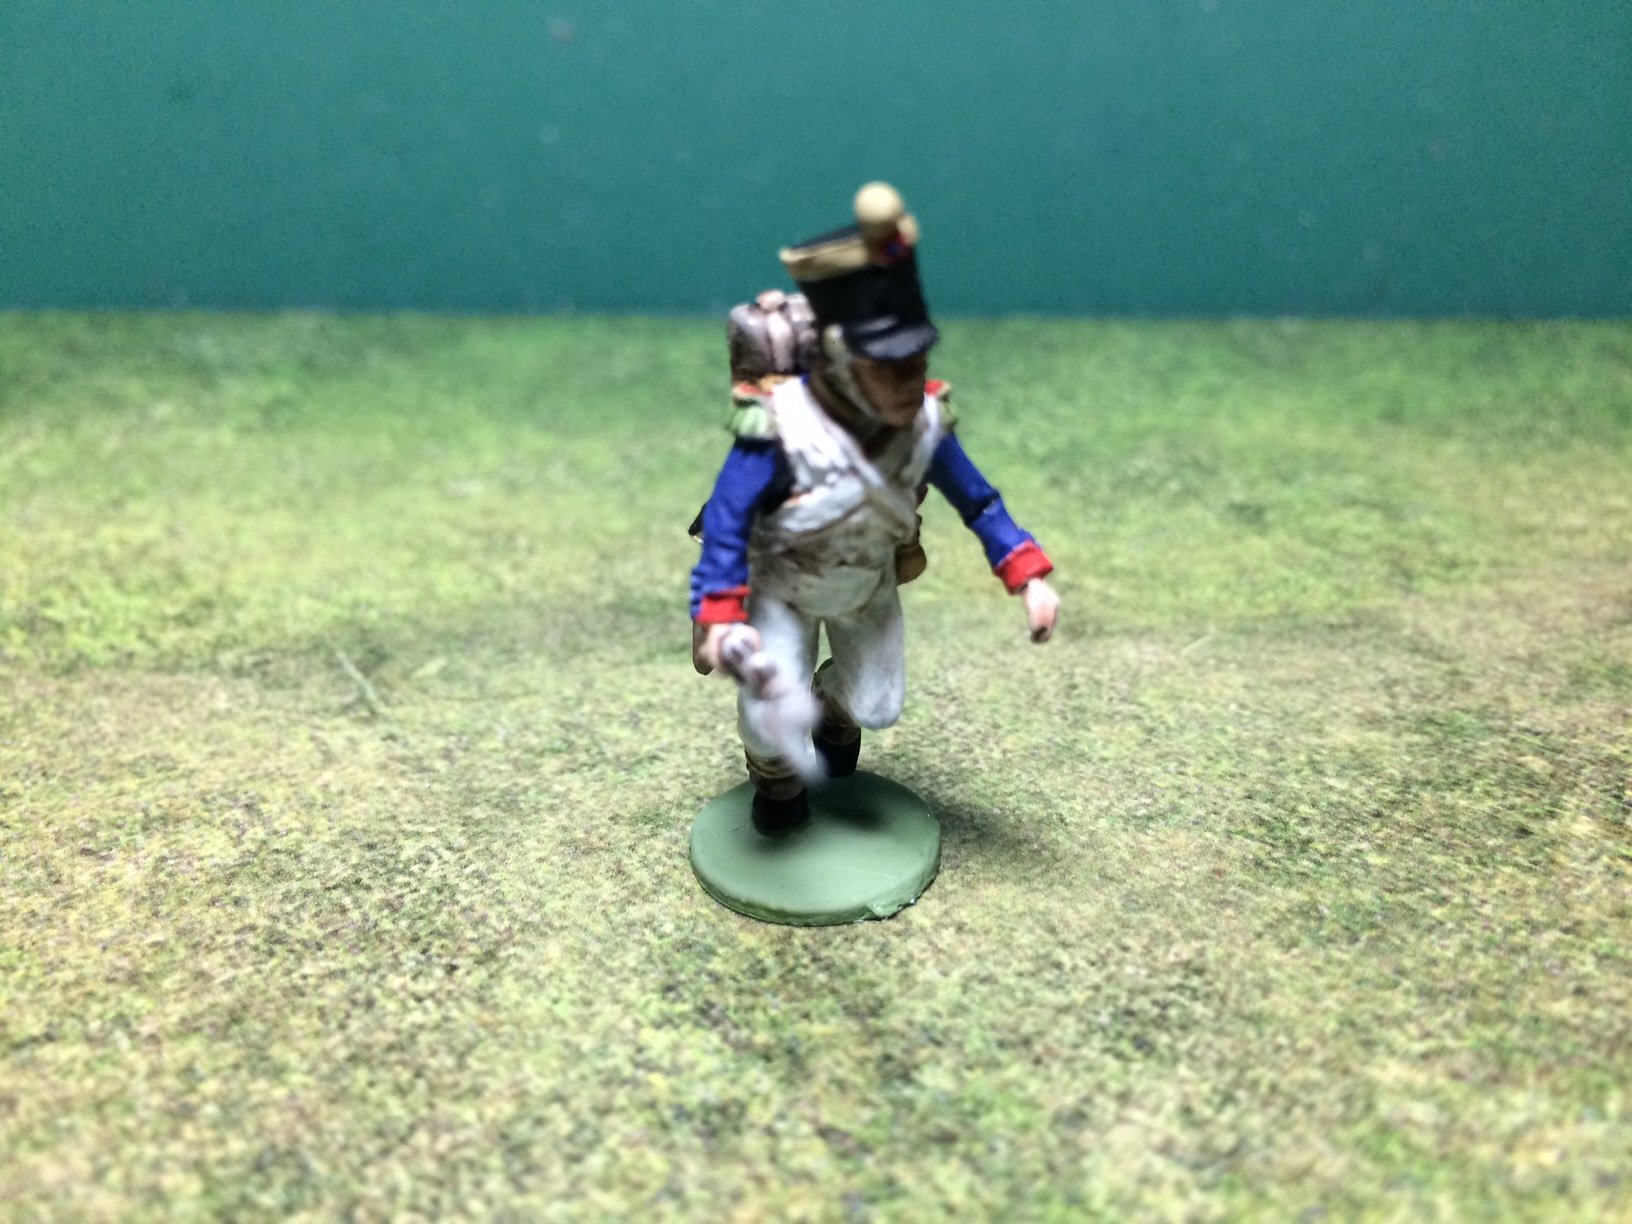
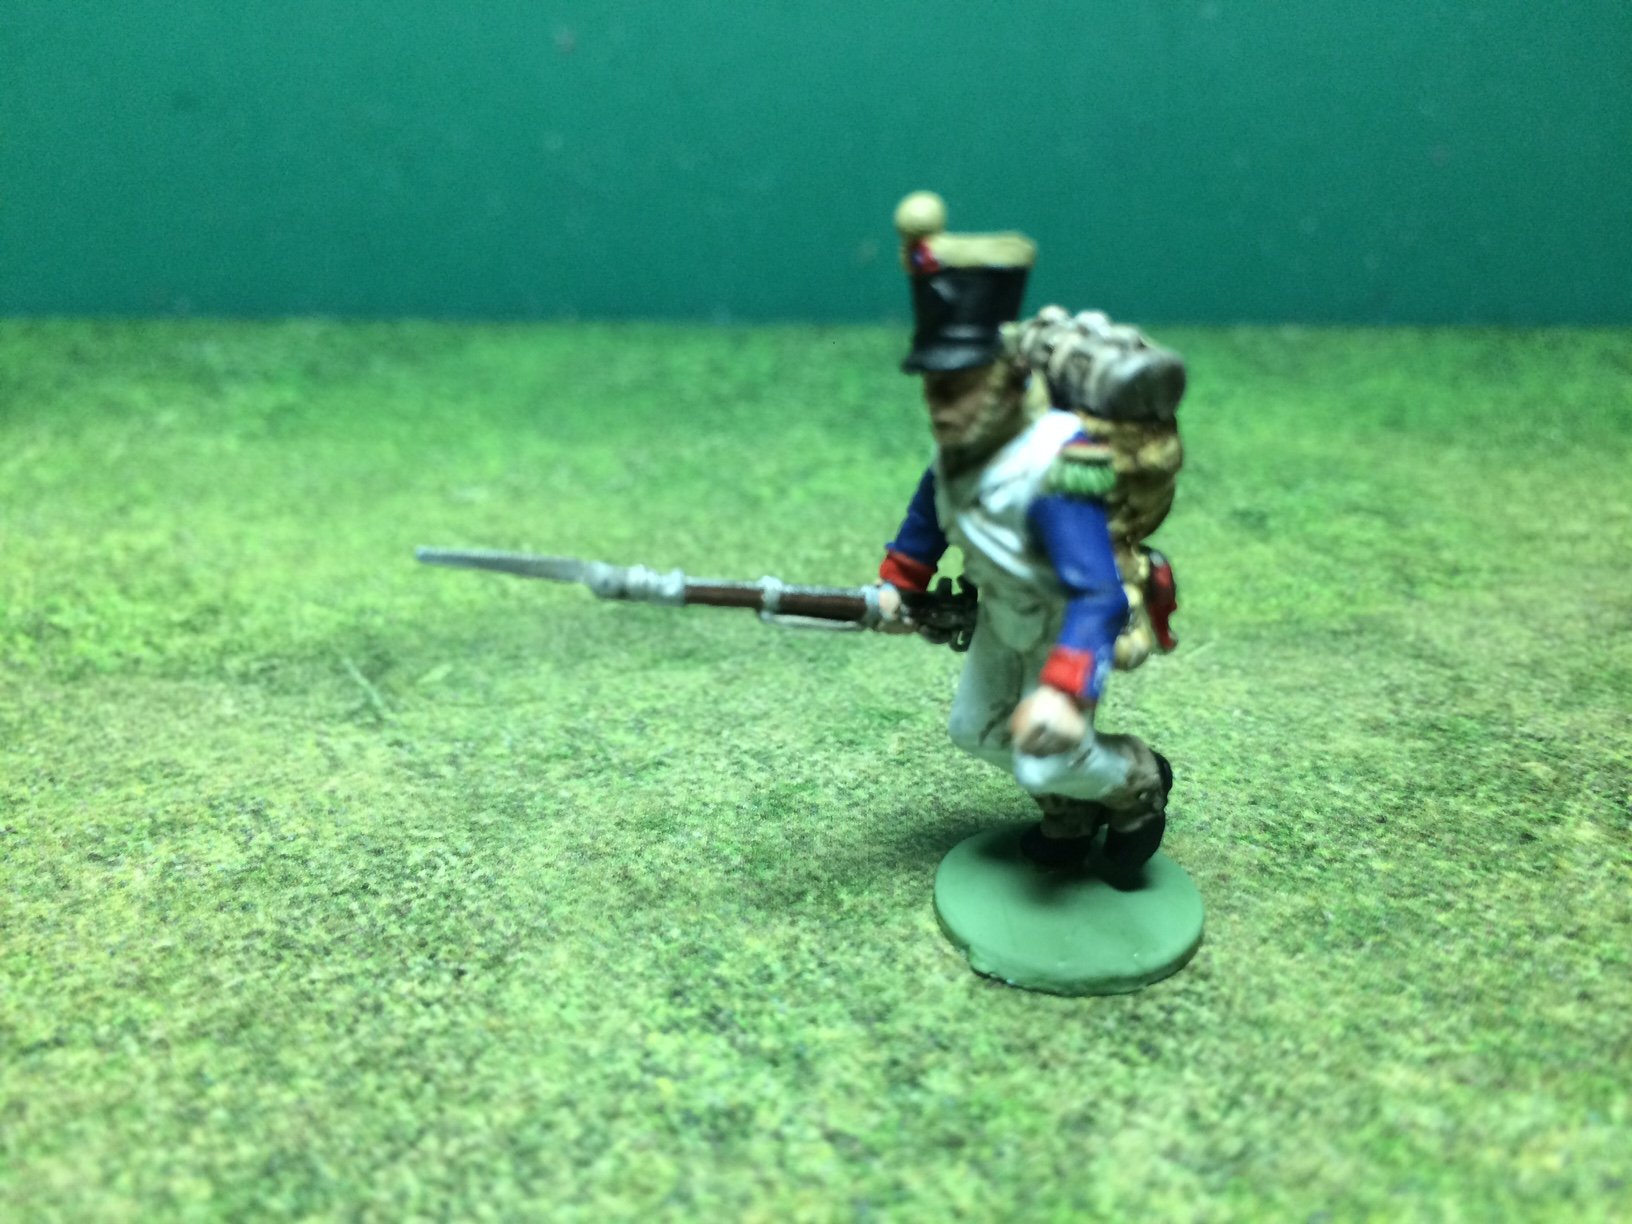
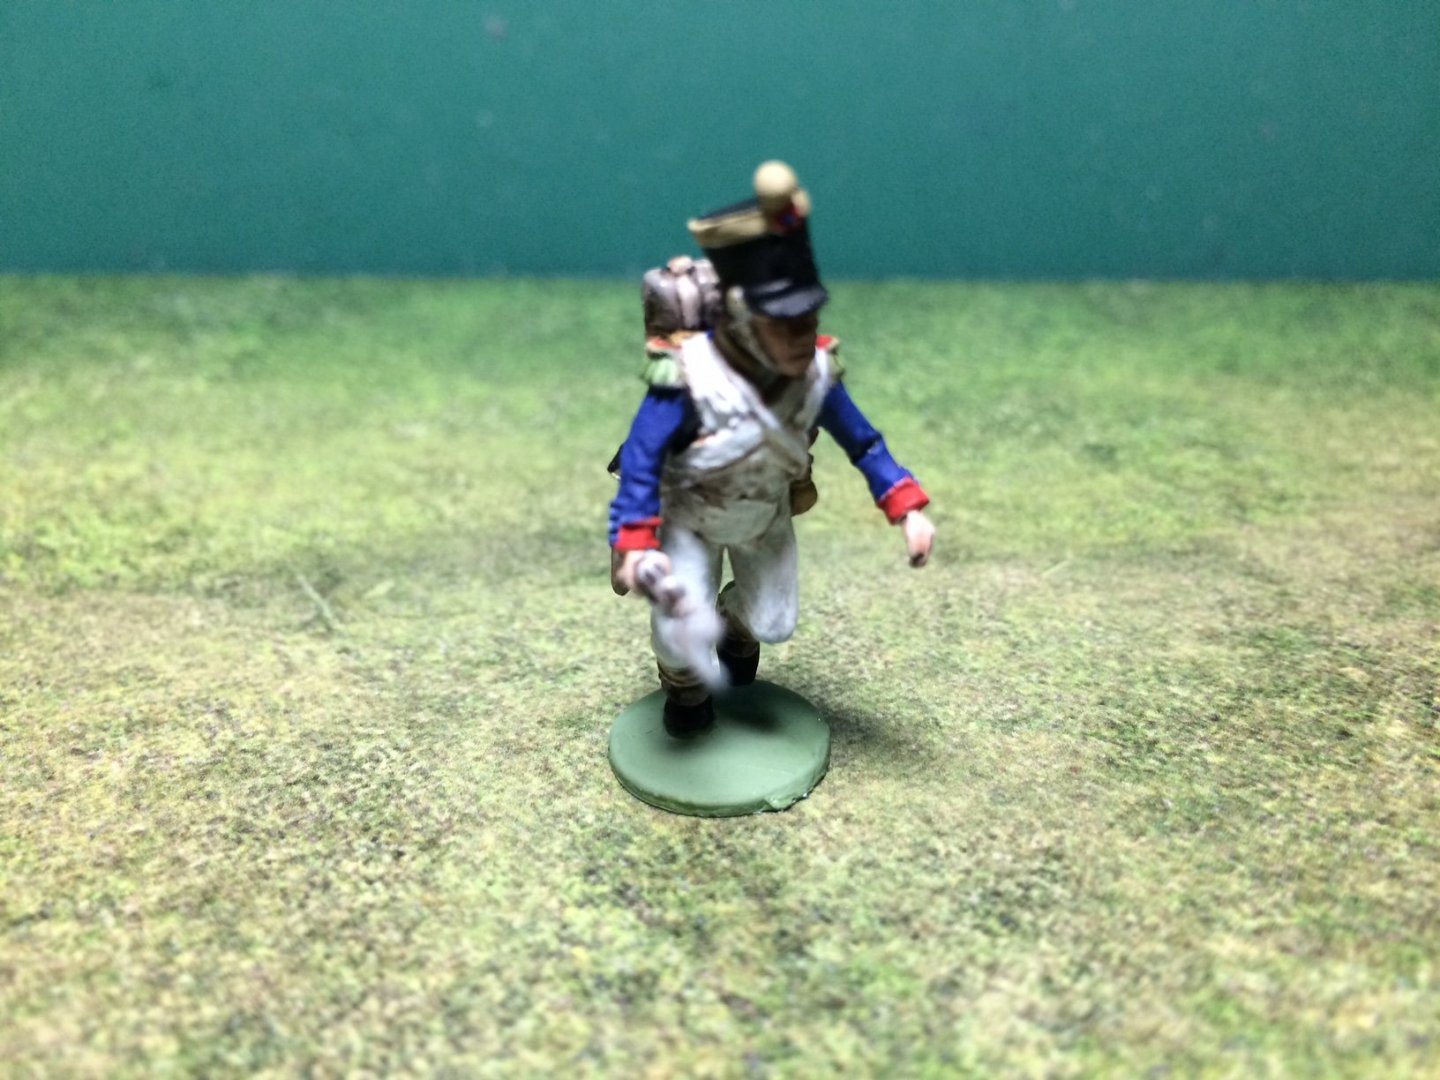
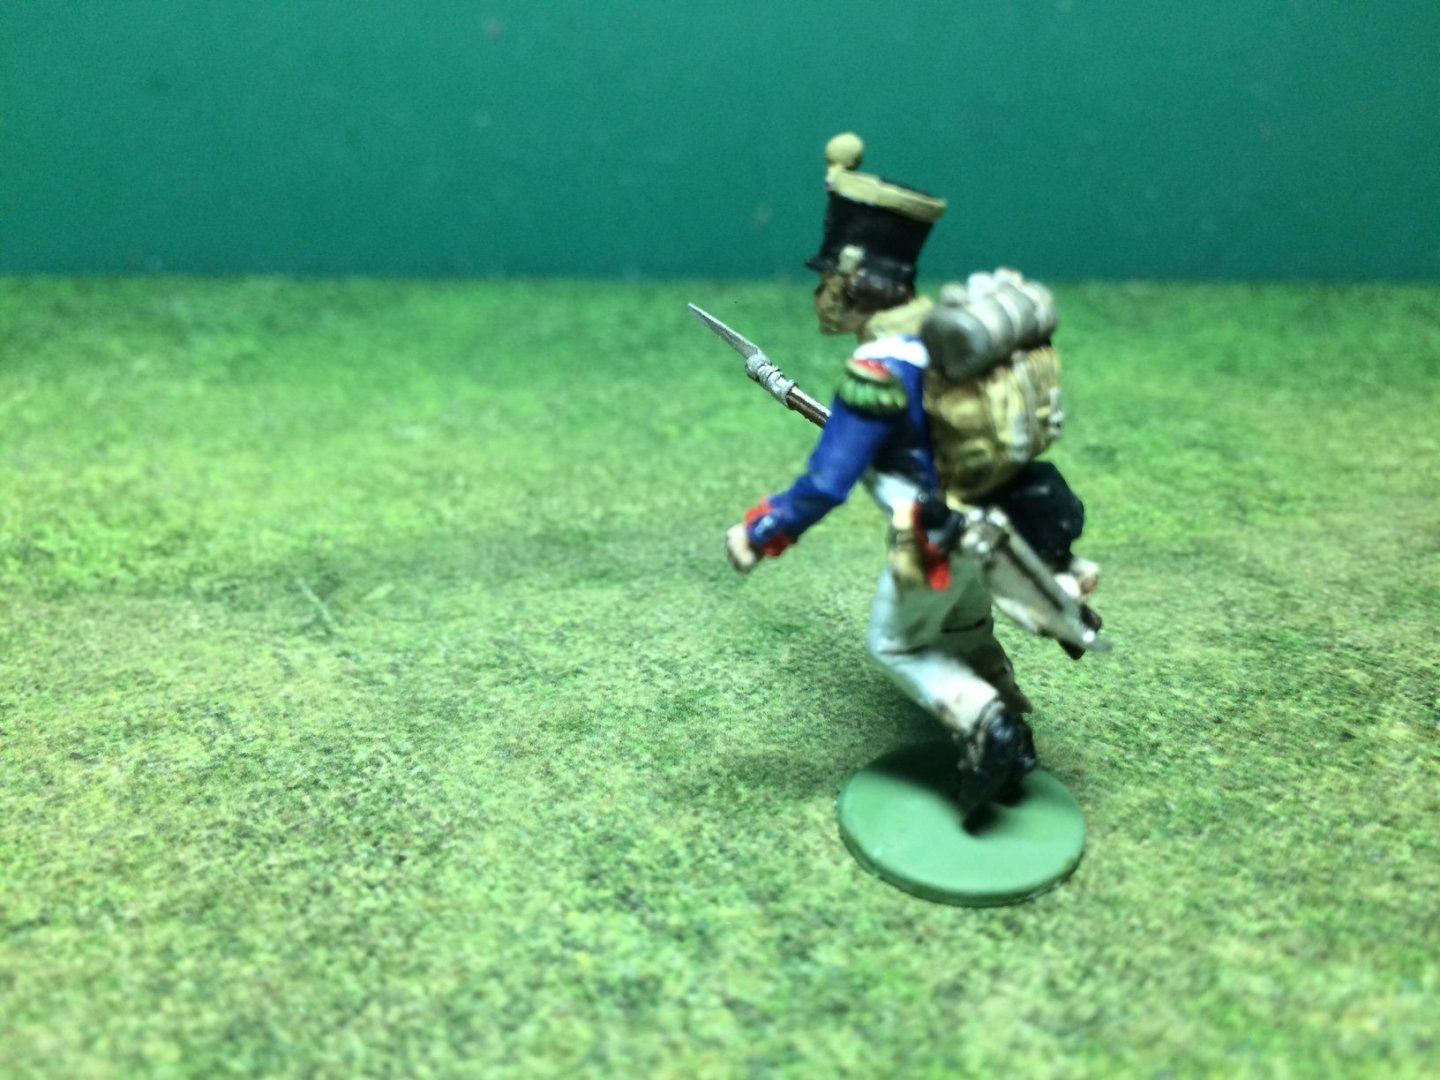
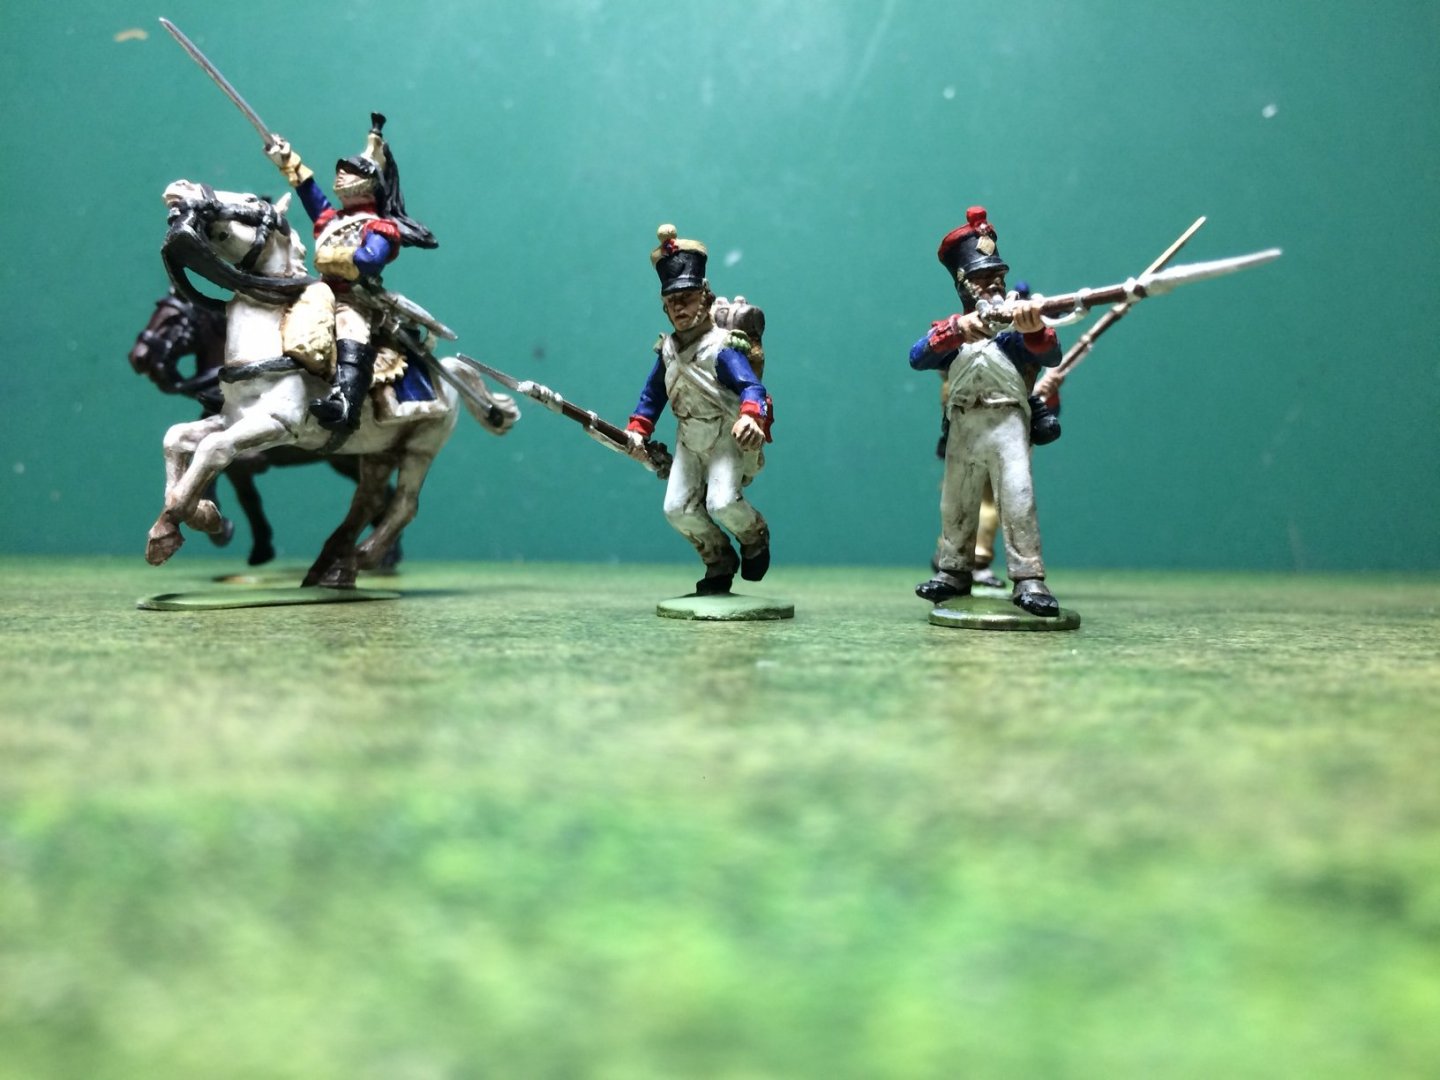
I have finished my 55th Ligne Voltigeur. And another group photoshoot. OC.

-
I havn't found much reading about that online - Just the battle partculars, even the kit makers seem to all fall into the same category of throwing in the packs, would help if they made the torso's complete without the cut outs in the back for the packs and the flat detail less backs wont help trying to keep stuff off thier backs. OC.
-
Thanks Ken. OC.
-
Thease are the colour plates I have been working off - they are not mine but off an excellent artist who designed them (they are accurate I understand) OC.


-
And if you was like me - covering the whole living room floor with them - ok till mum wants to go into the kitchen and walks over them😭 "mum I was winning that battle"...... OC.
-
Welcome Kevin, nice having you along, takes me back to when I was a kid with those Airfix Waterloo sets and box's of terrible soft plastic 1/72 soldiers. OC.
-
Thank you for that Edward, I have to put the back packs on as there is a huge cut out in thier backs for the packs, also the backs of them are flatened for the pack so it would be a lot of work to rectify. OC.
-
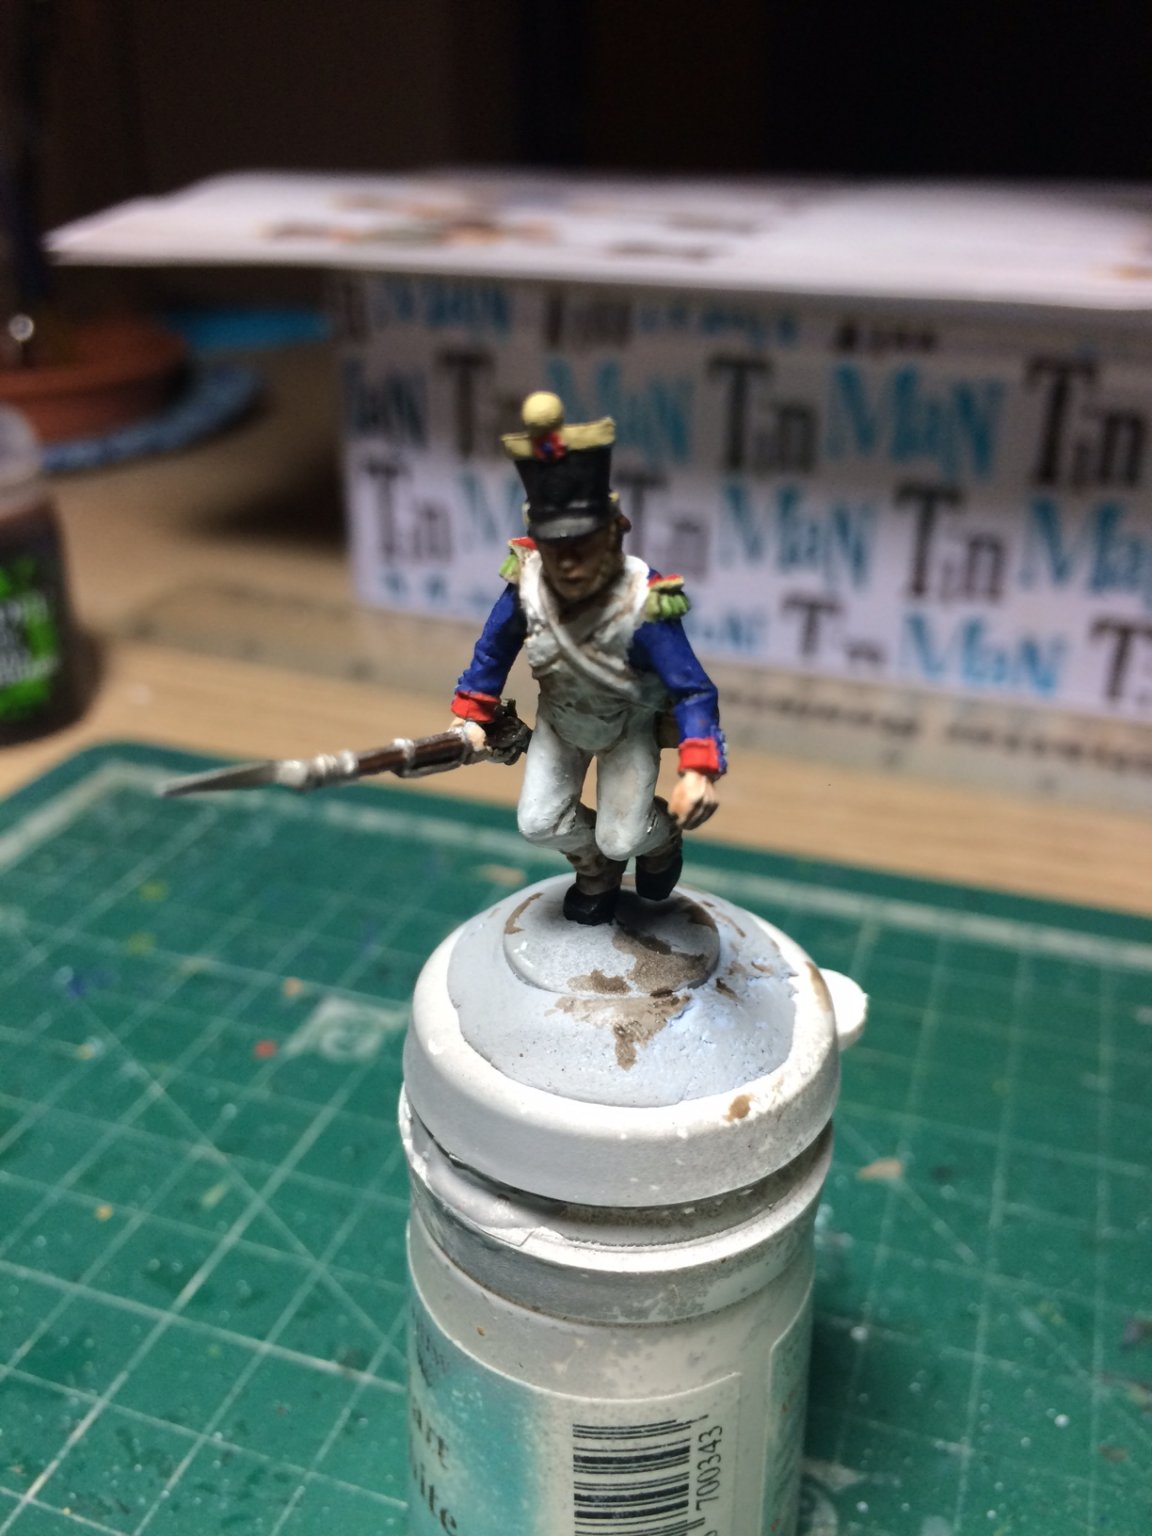
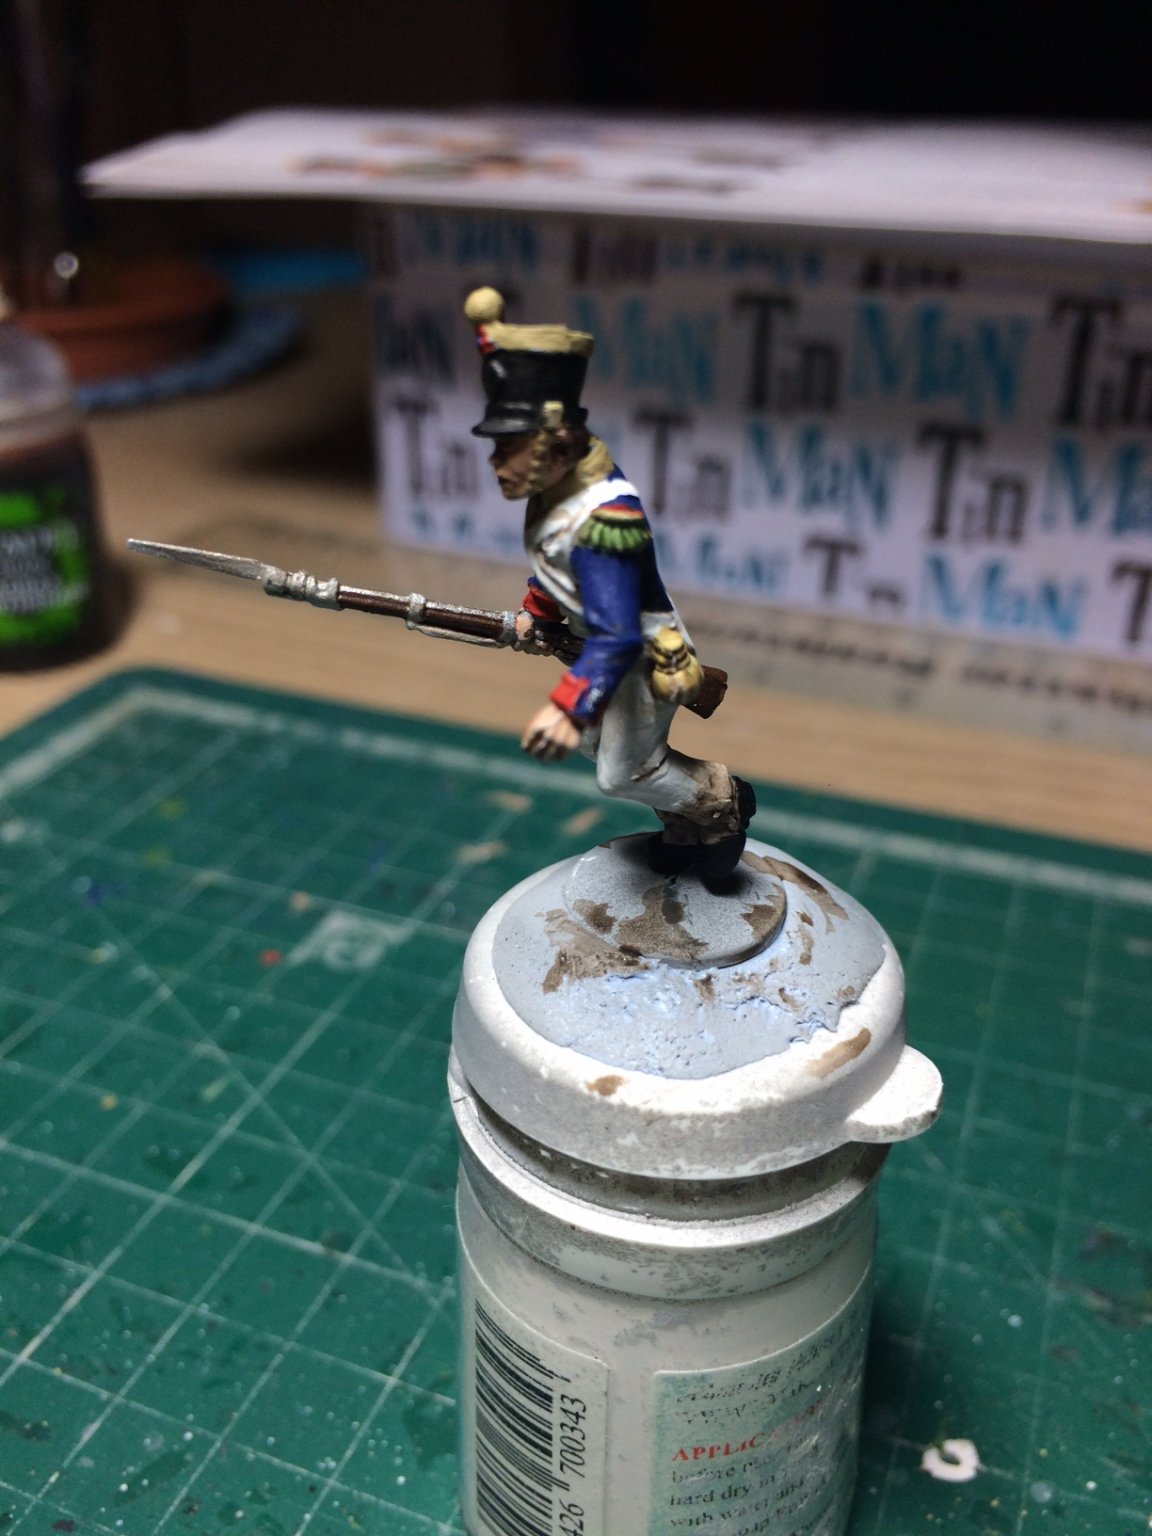
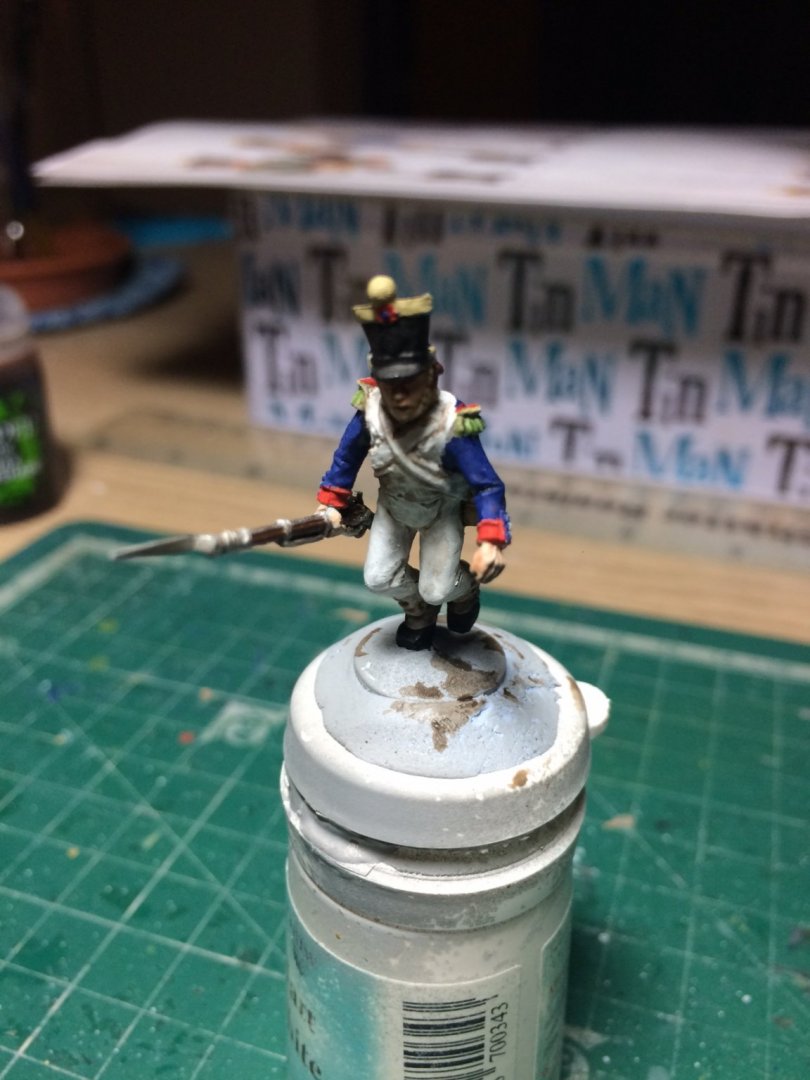
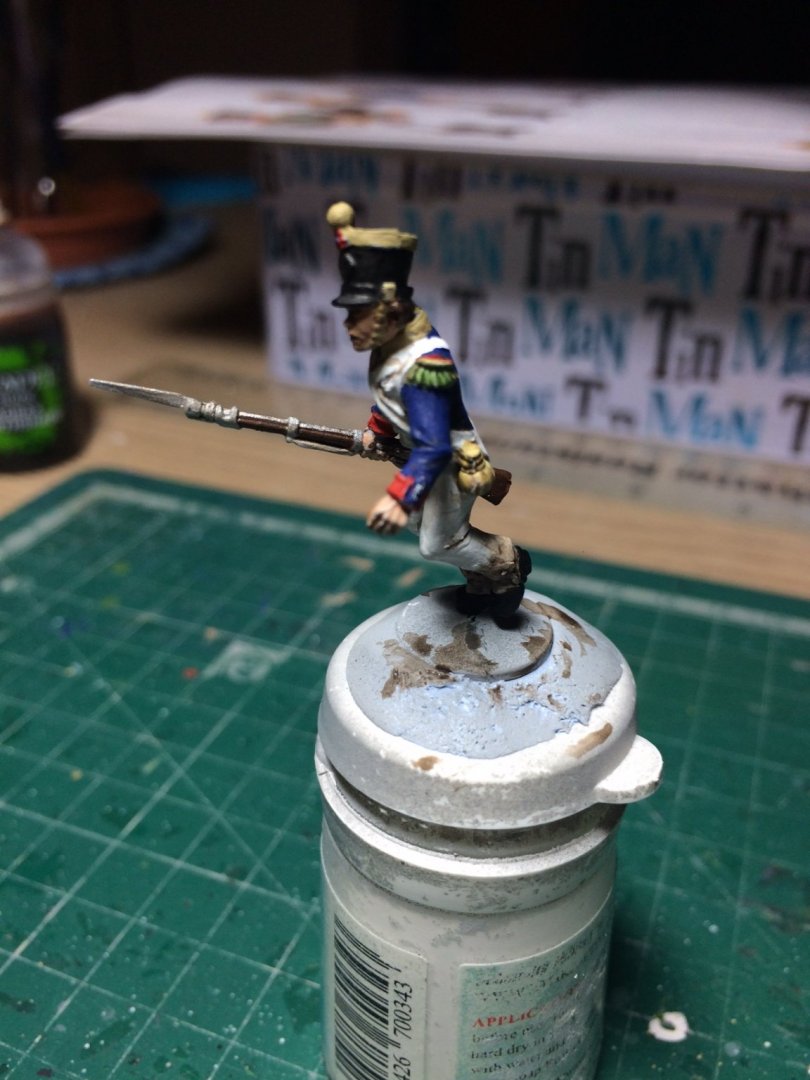
Evening all, more progress this time the 55th Ligne Voltigeurs (the Third section of the 55th Regimant) It's painted minus the back pack that I need to work on. OC.
-
A company do an excellent MDF kit of the farm - you put it together and paint it yourself then add what ever scenary you want. OC.
-
Thanks Ken. OC.
-
No mate, I have to see what santa brings - depends if I have been a good boy, I am getting cheap sets (a few at a time) of figures each week - its a cheap way of doing it that way, for the price of a coffee I can get a sprue with a couple of figures. OC.
-
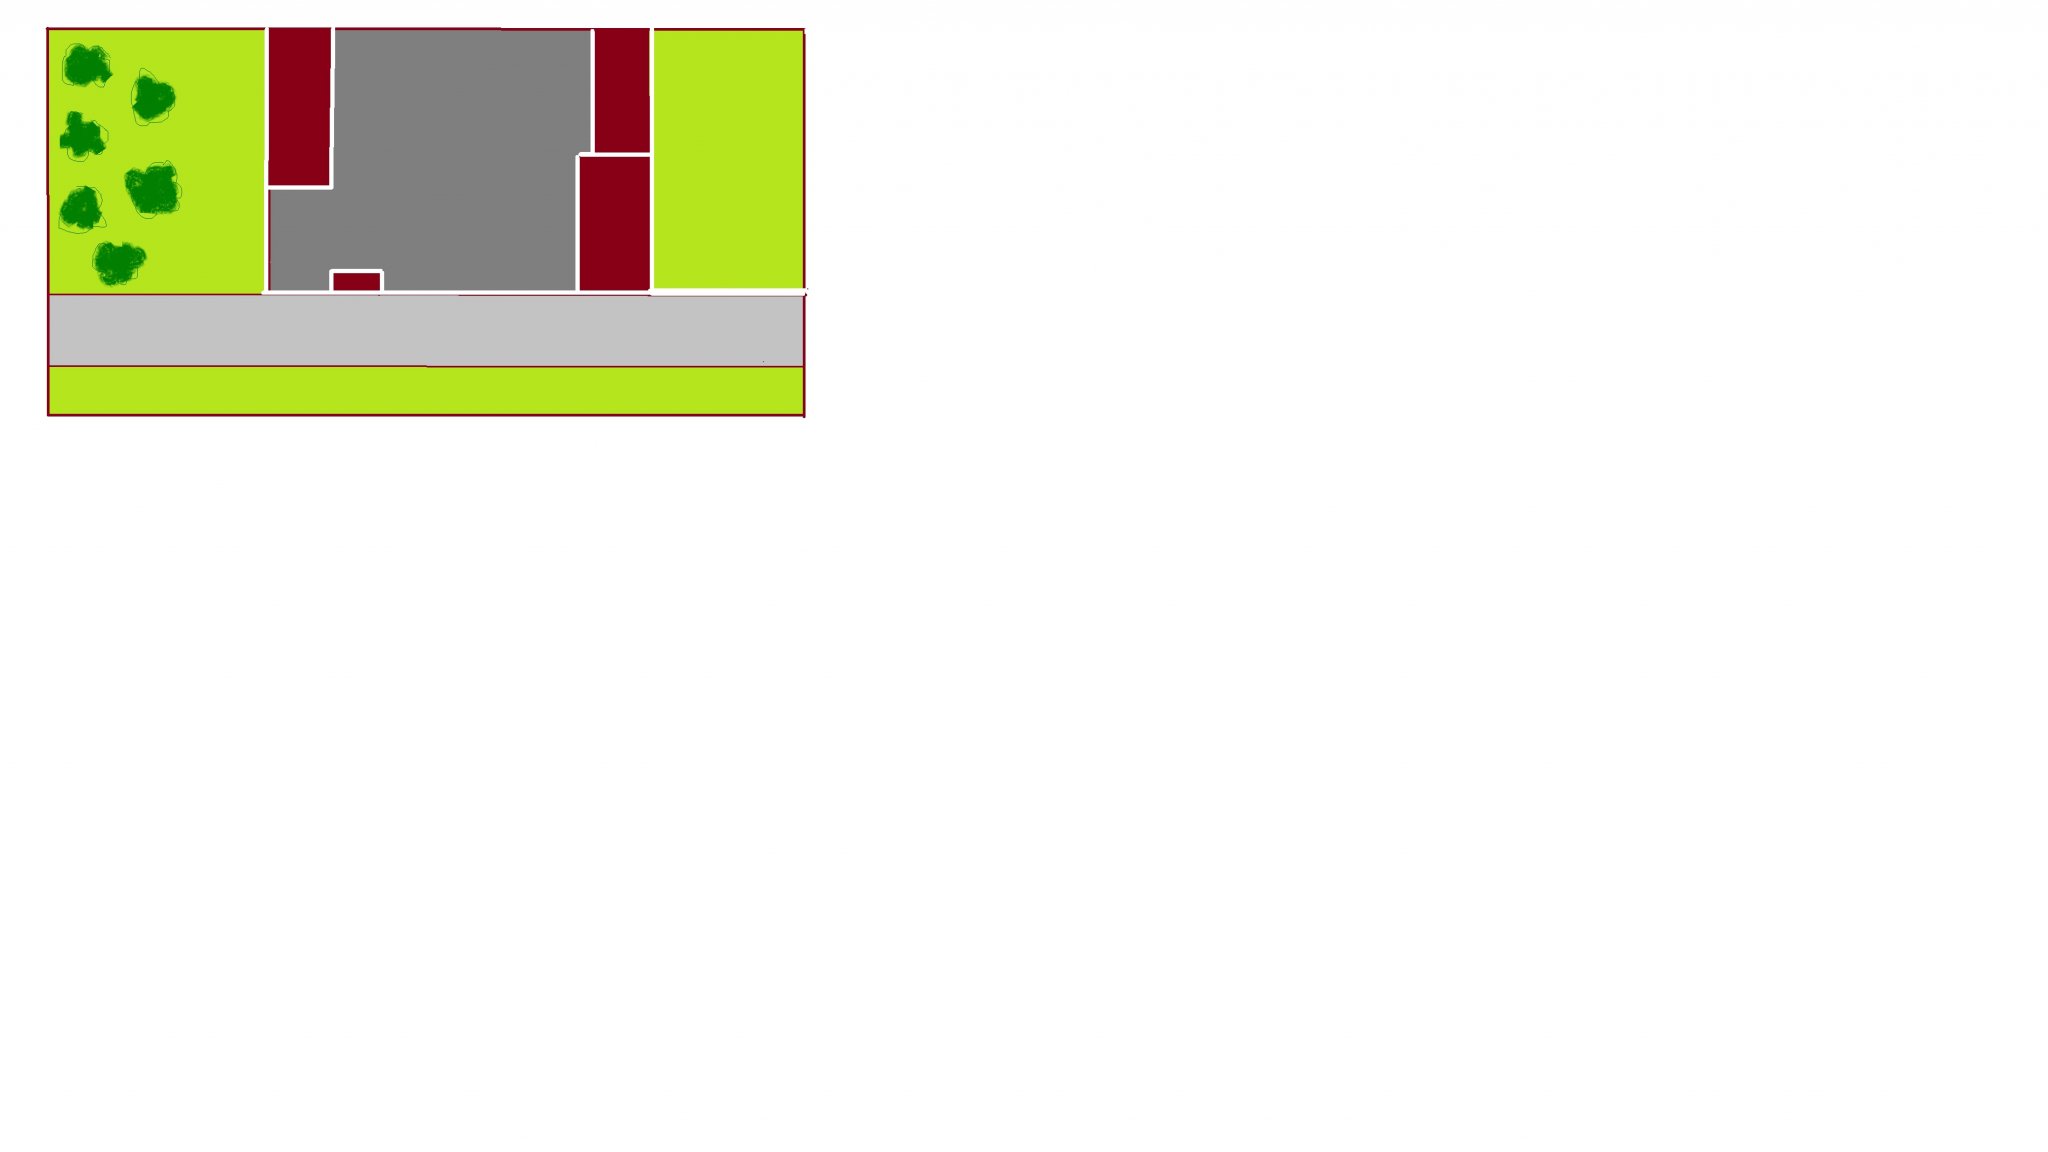
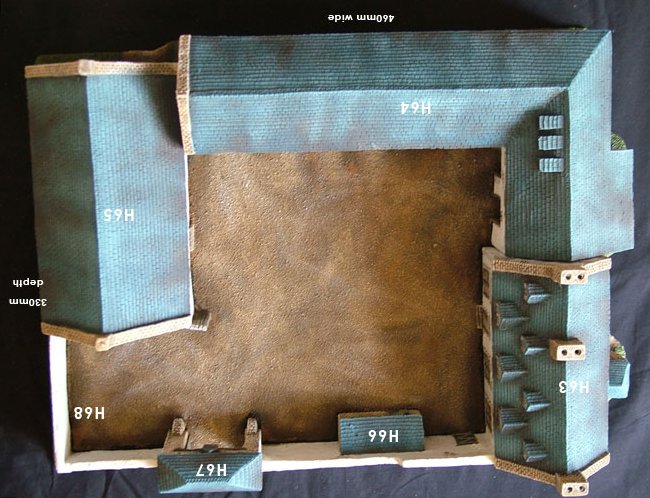
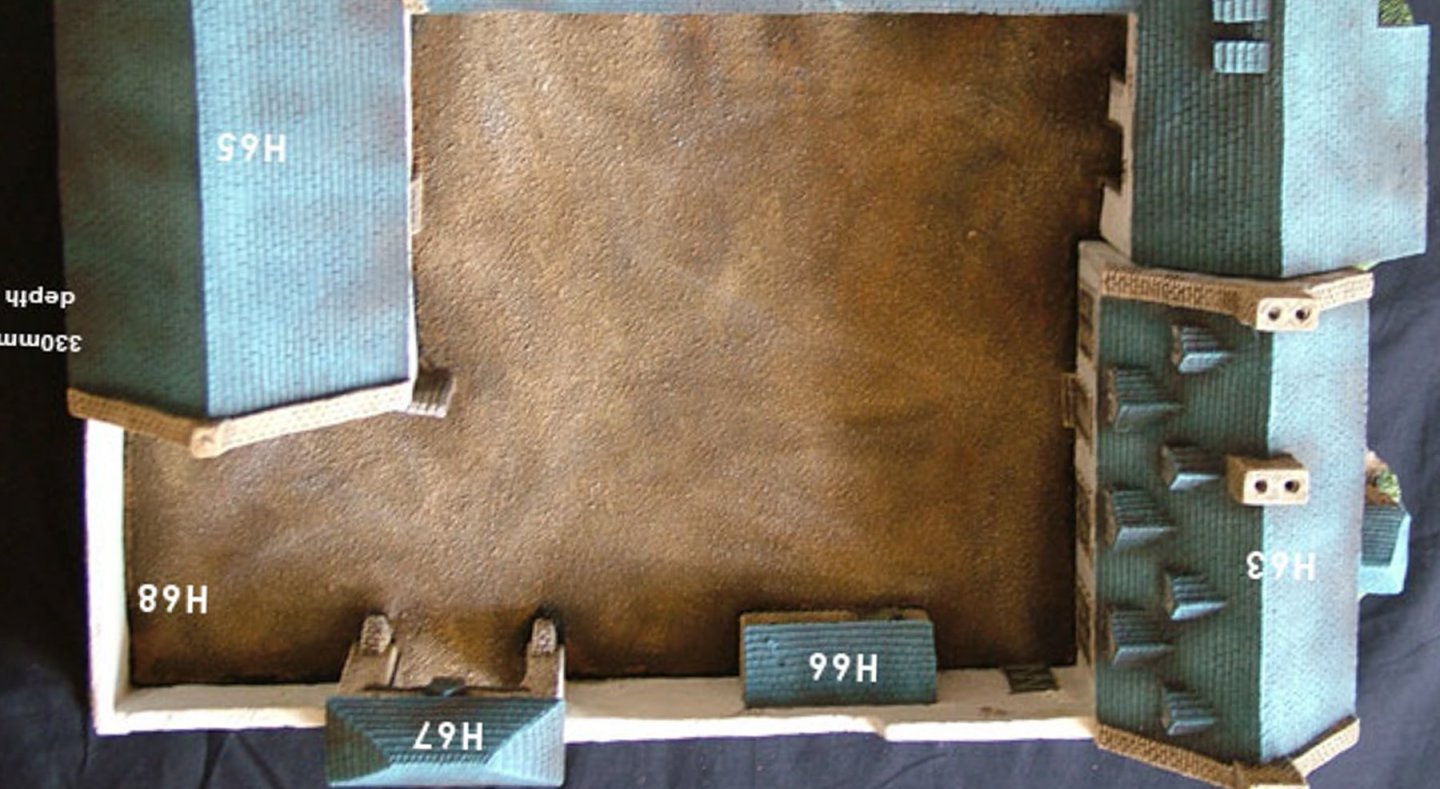
This is my ground plan showing the farm complex in the middle - the road in the front and the space I have at each end and in front for my figures. OC,

-
Thanks Mark, also on the small space I have available ( I measured the unit it will sit on in a case) is 36inches x 18inches, the farm building after being cut down will be 25 x 14inches, but I will have both sides seperate by the building. So - on the inside of the farm and on its roofs will be the KGL units both Light and Line regimants with a combination of rifles and muskets, on the front eadge (about 4inches wide) will be the attacking French including the Four Cuirassiers, and slightly to the Right will be a handful of 95th (Sharpes men) and further to the Left inside the Orchard will be some more French troops. There should just be enough (with a tight sqeeze) to fit about 100 figures. This is the amount of trimming I will need to do - it wont be too bad as I will leave a false wall at the back that would represent the rear cattle sheds. OC.
-
Great work, also nice to see so amny new faces on here. OC.
.png.a7f4b2f15f9dc7bb936f97379088f160.png)