HOLIDAY DONATION DRIVE - SUPPORT MSW - DO YOUR PART TO KEEP THIS GREAT FORUM GOING!
×


RMC
-
Posts
933 -
Joined
-
Last visited
Content Type
Profiles
Forums
Gallery
Events
Everything posted by RMC
-
Allan: that's the one. Arthur: yes, you're right. I probably wouldn't have noticed the wretched things going around the topgallant until it was too late.
-
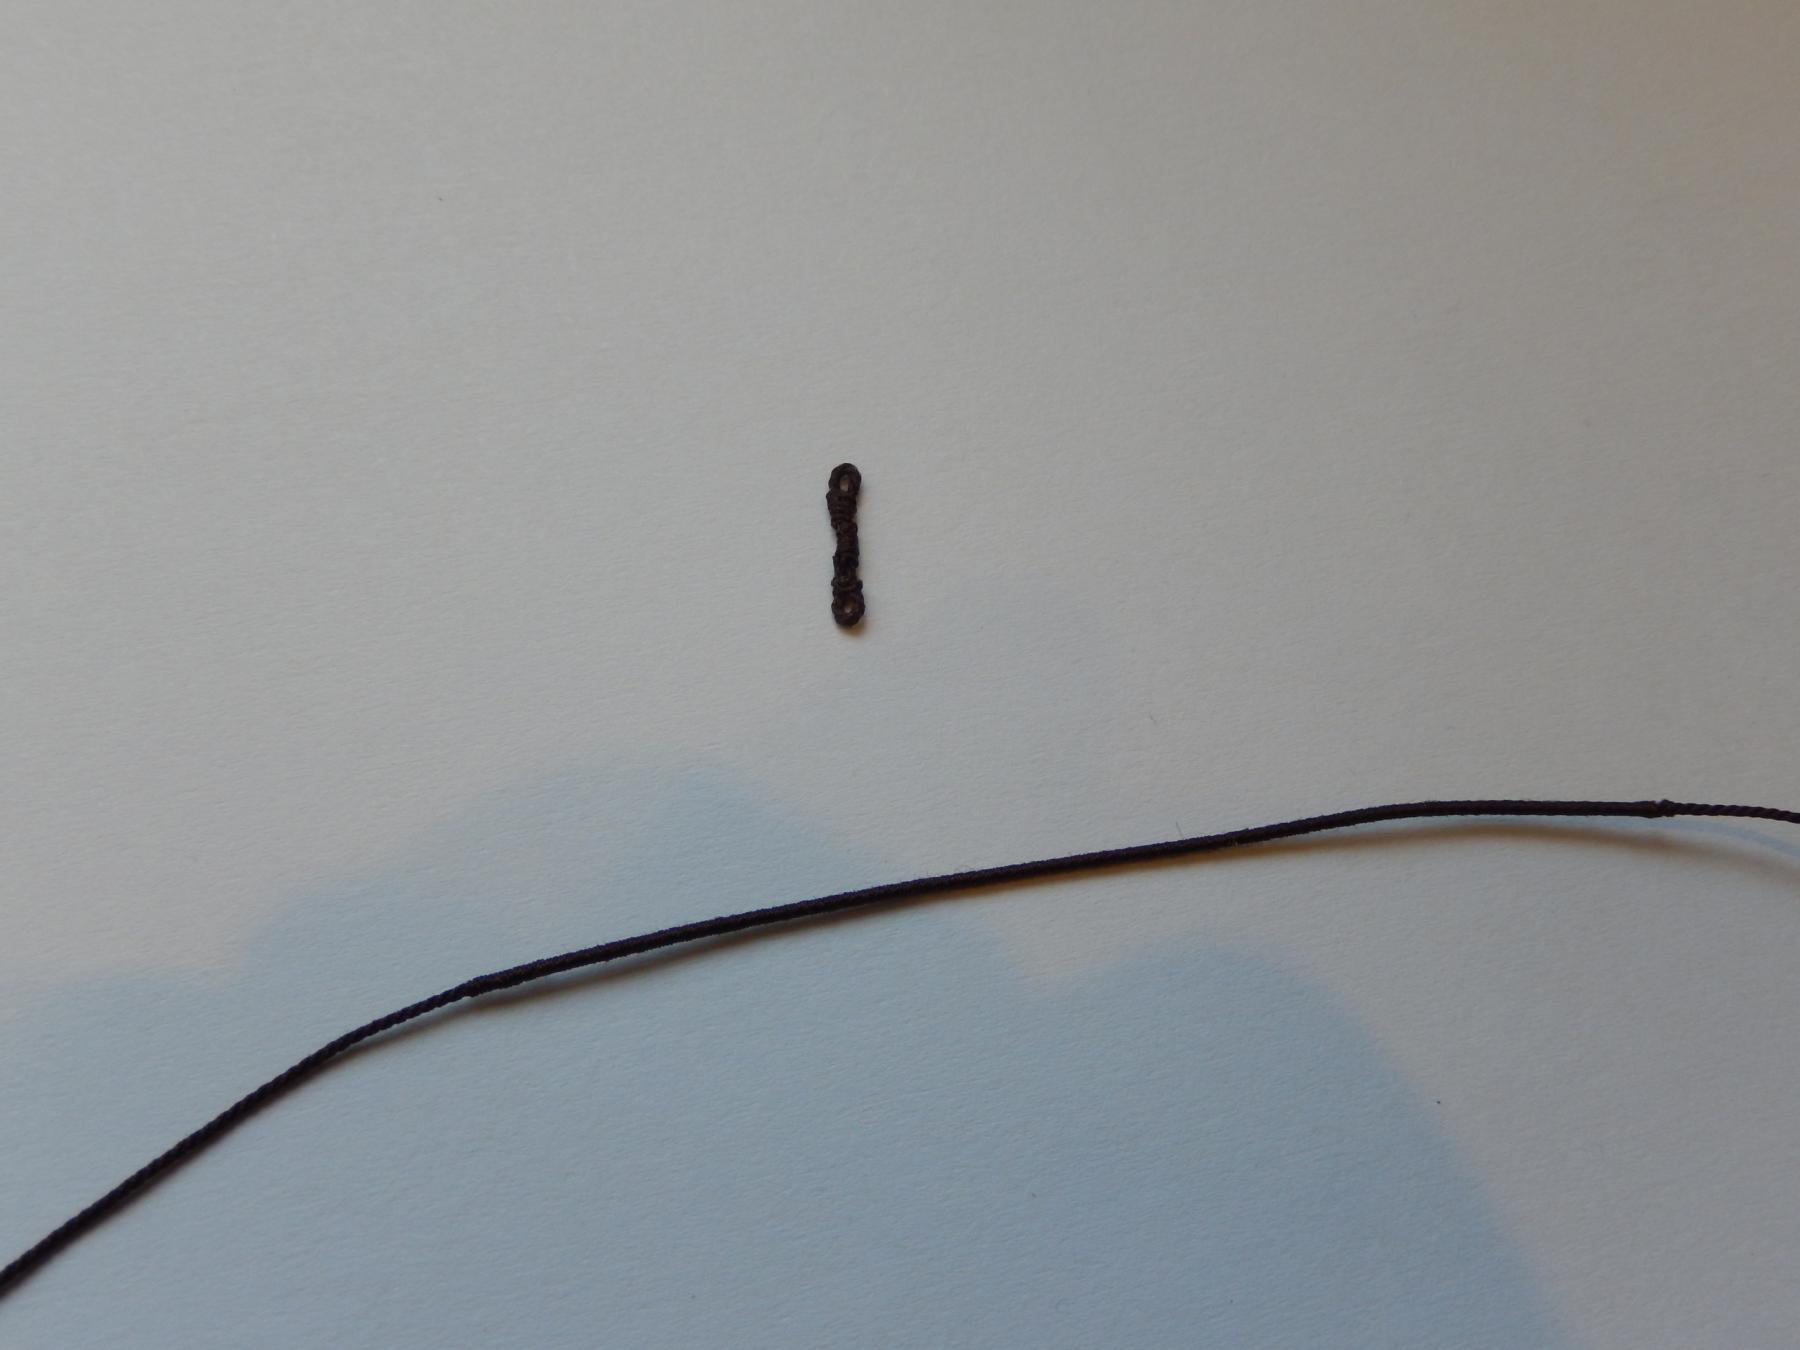
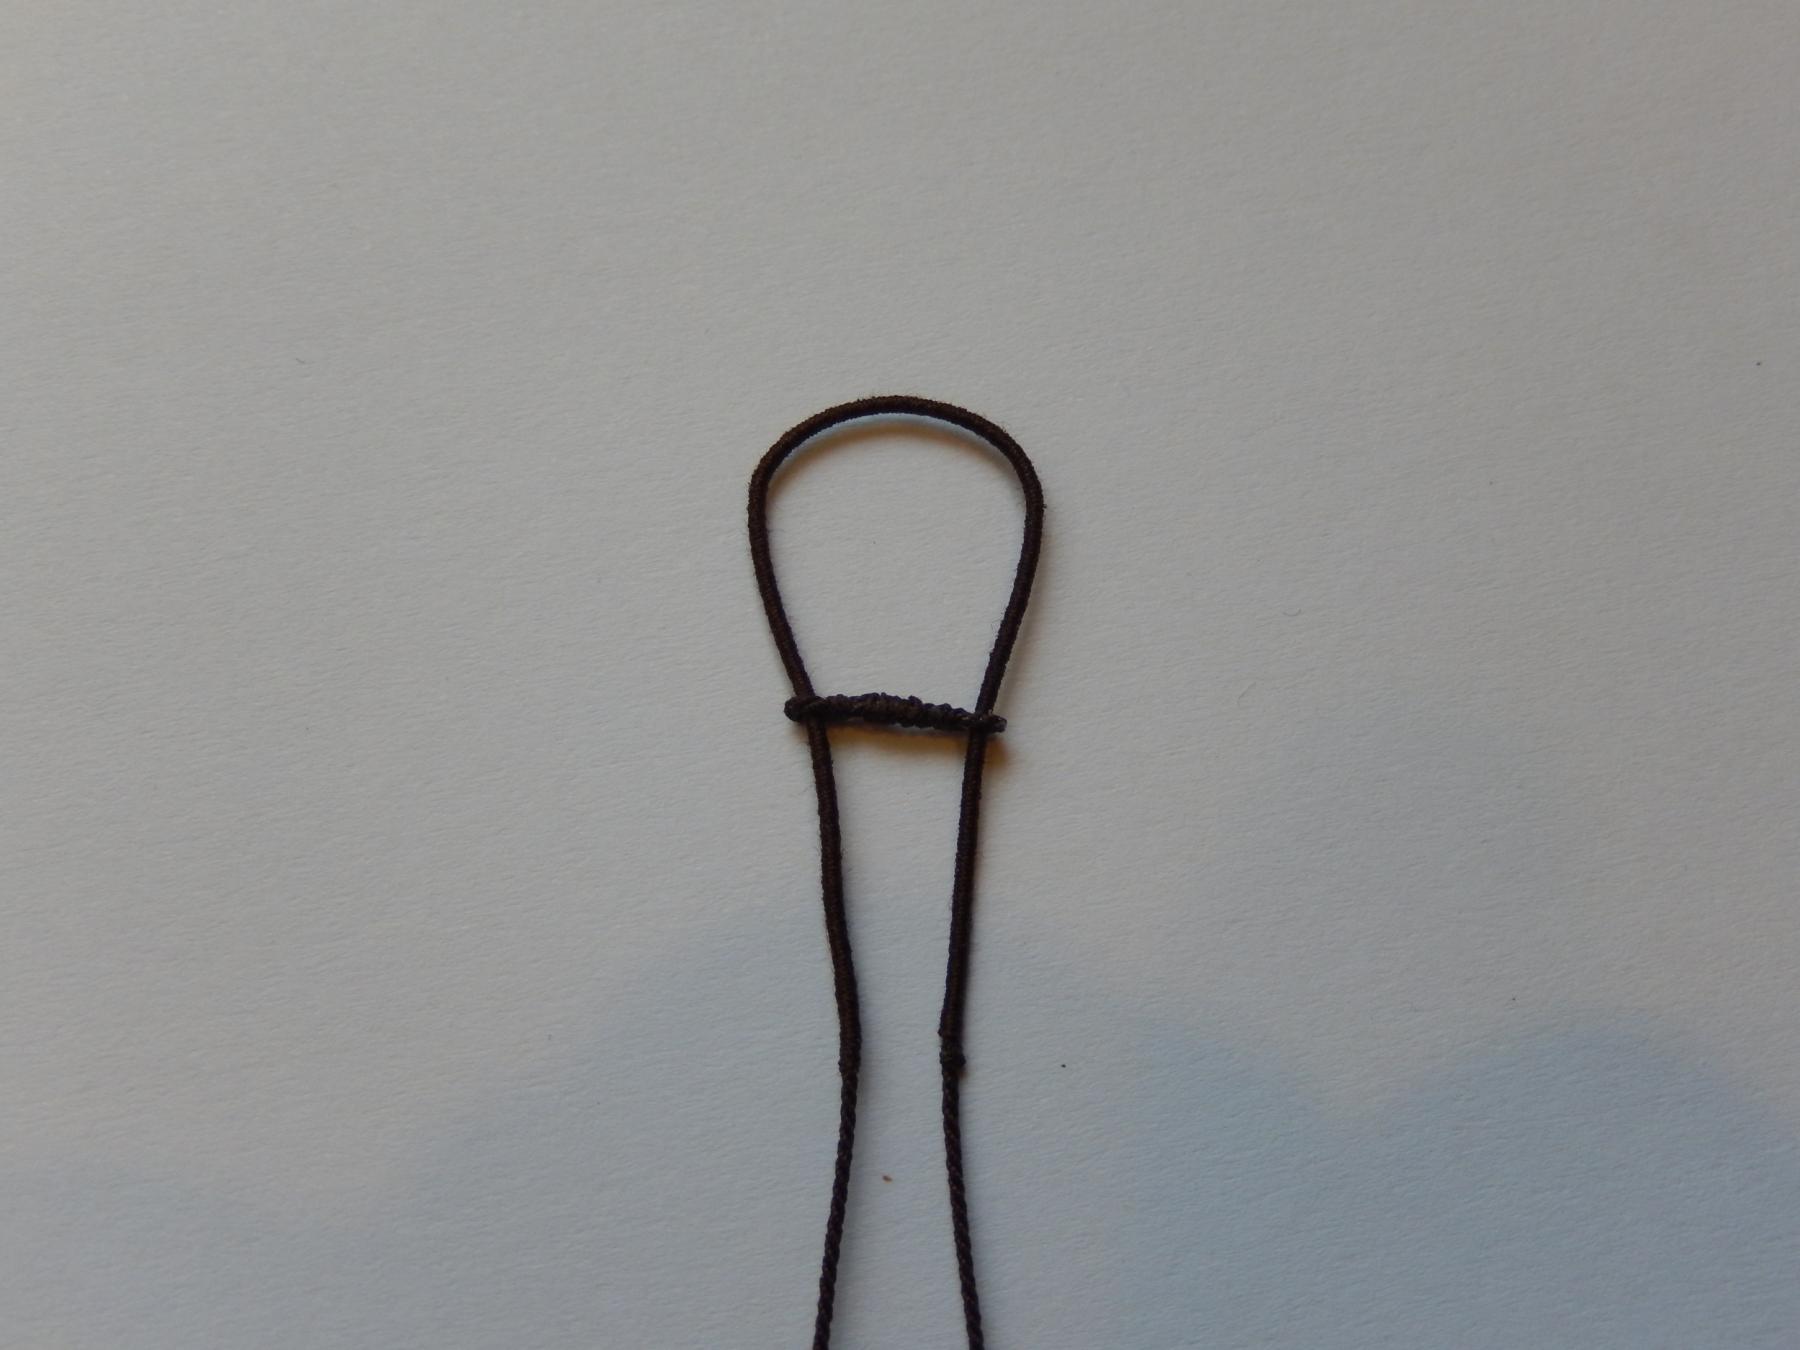
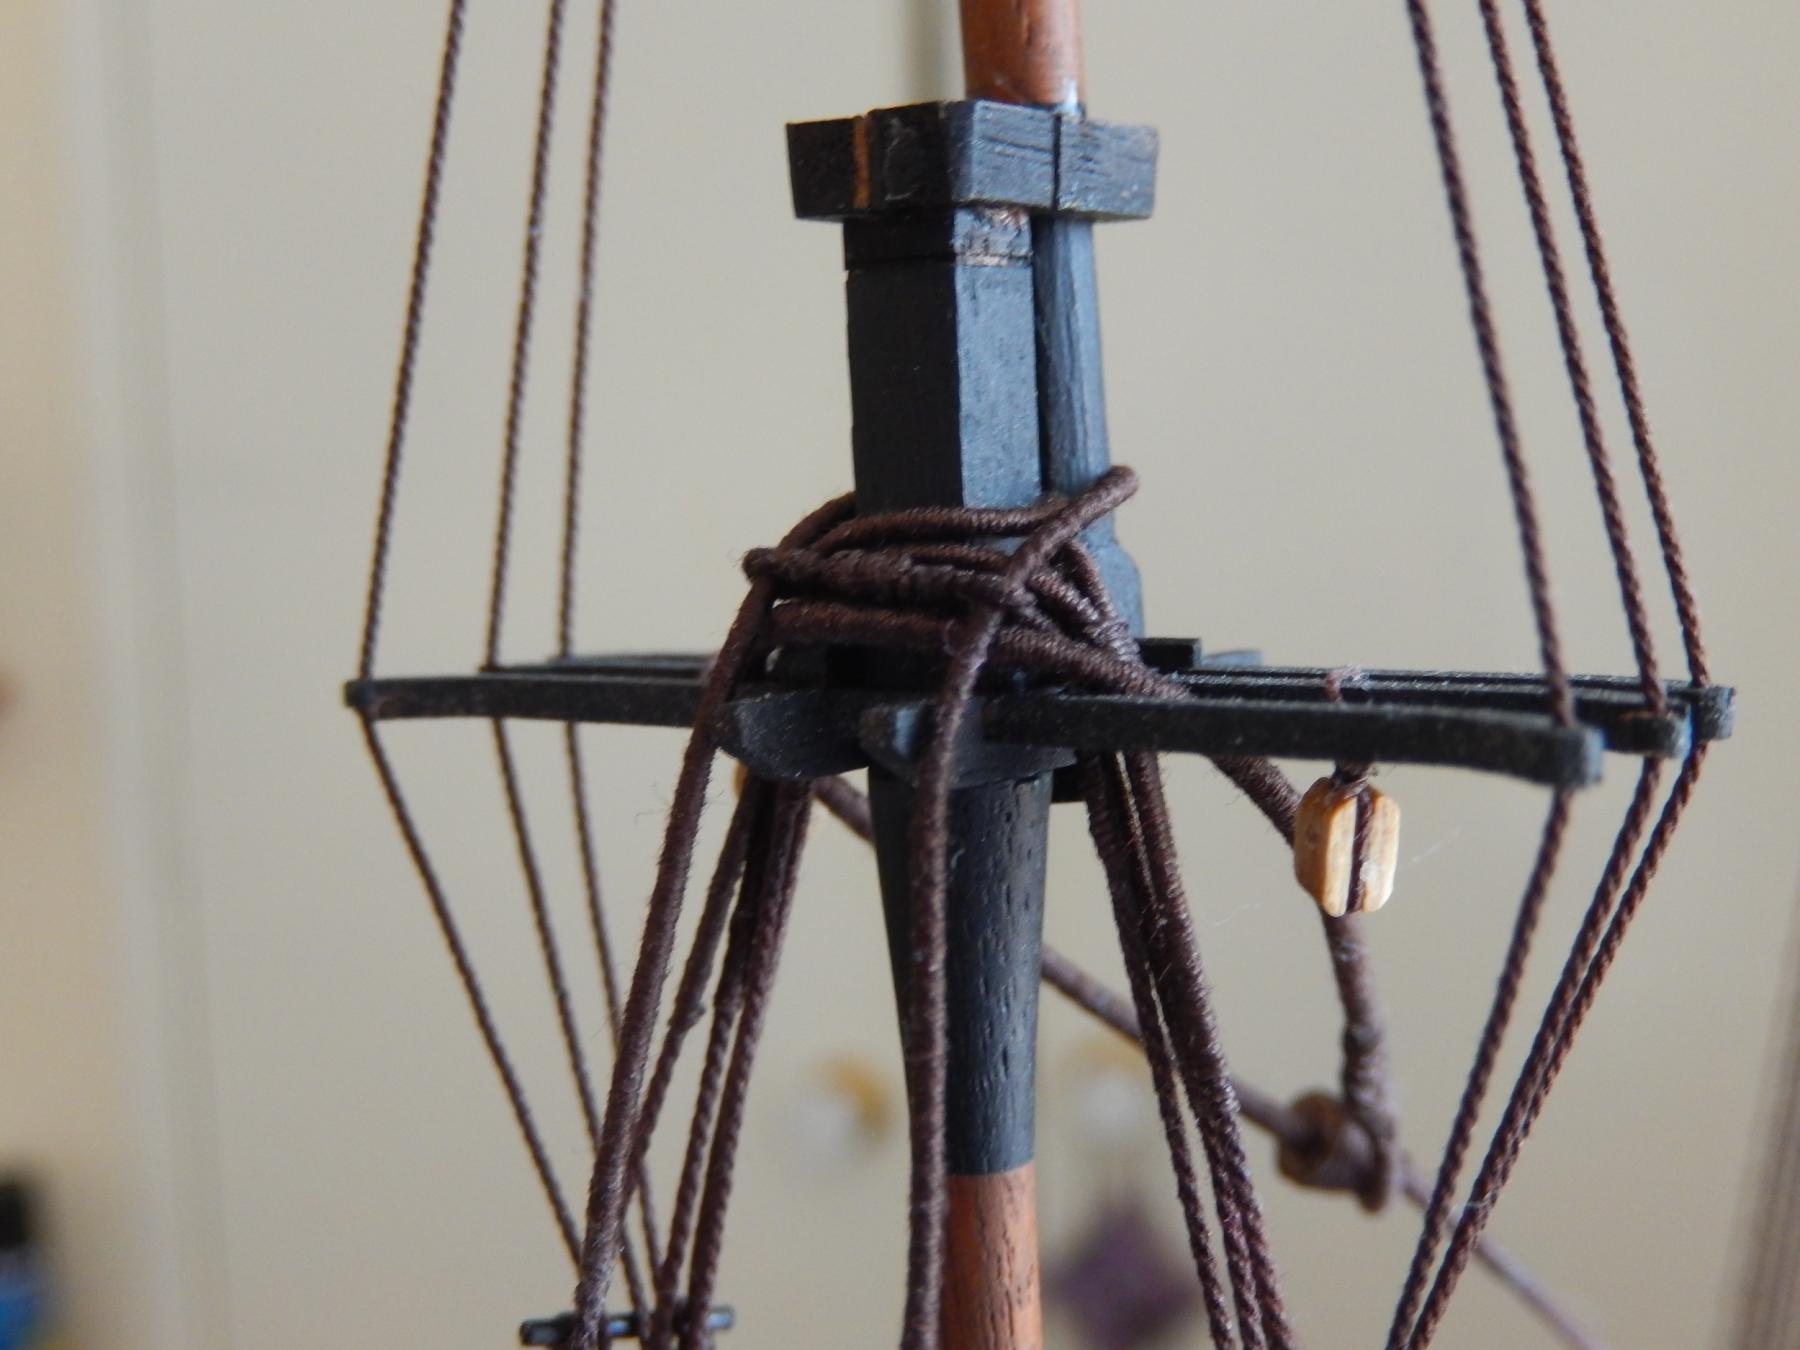
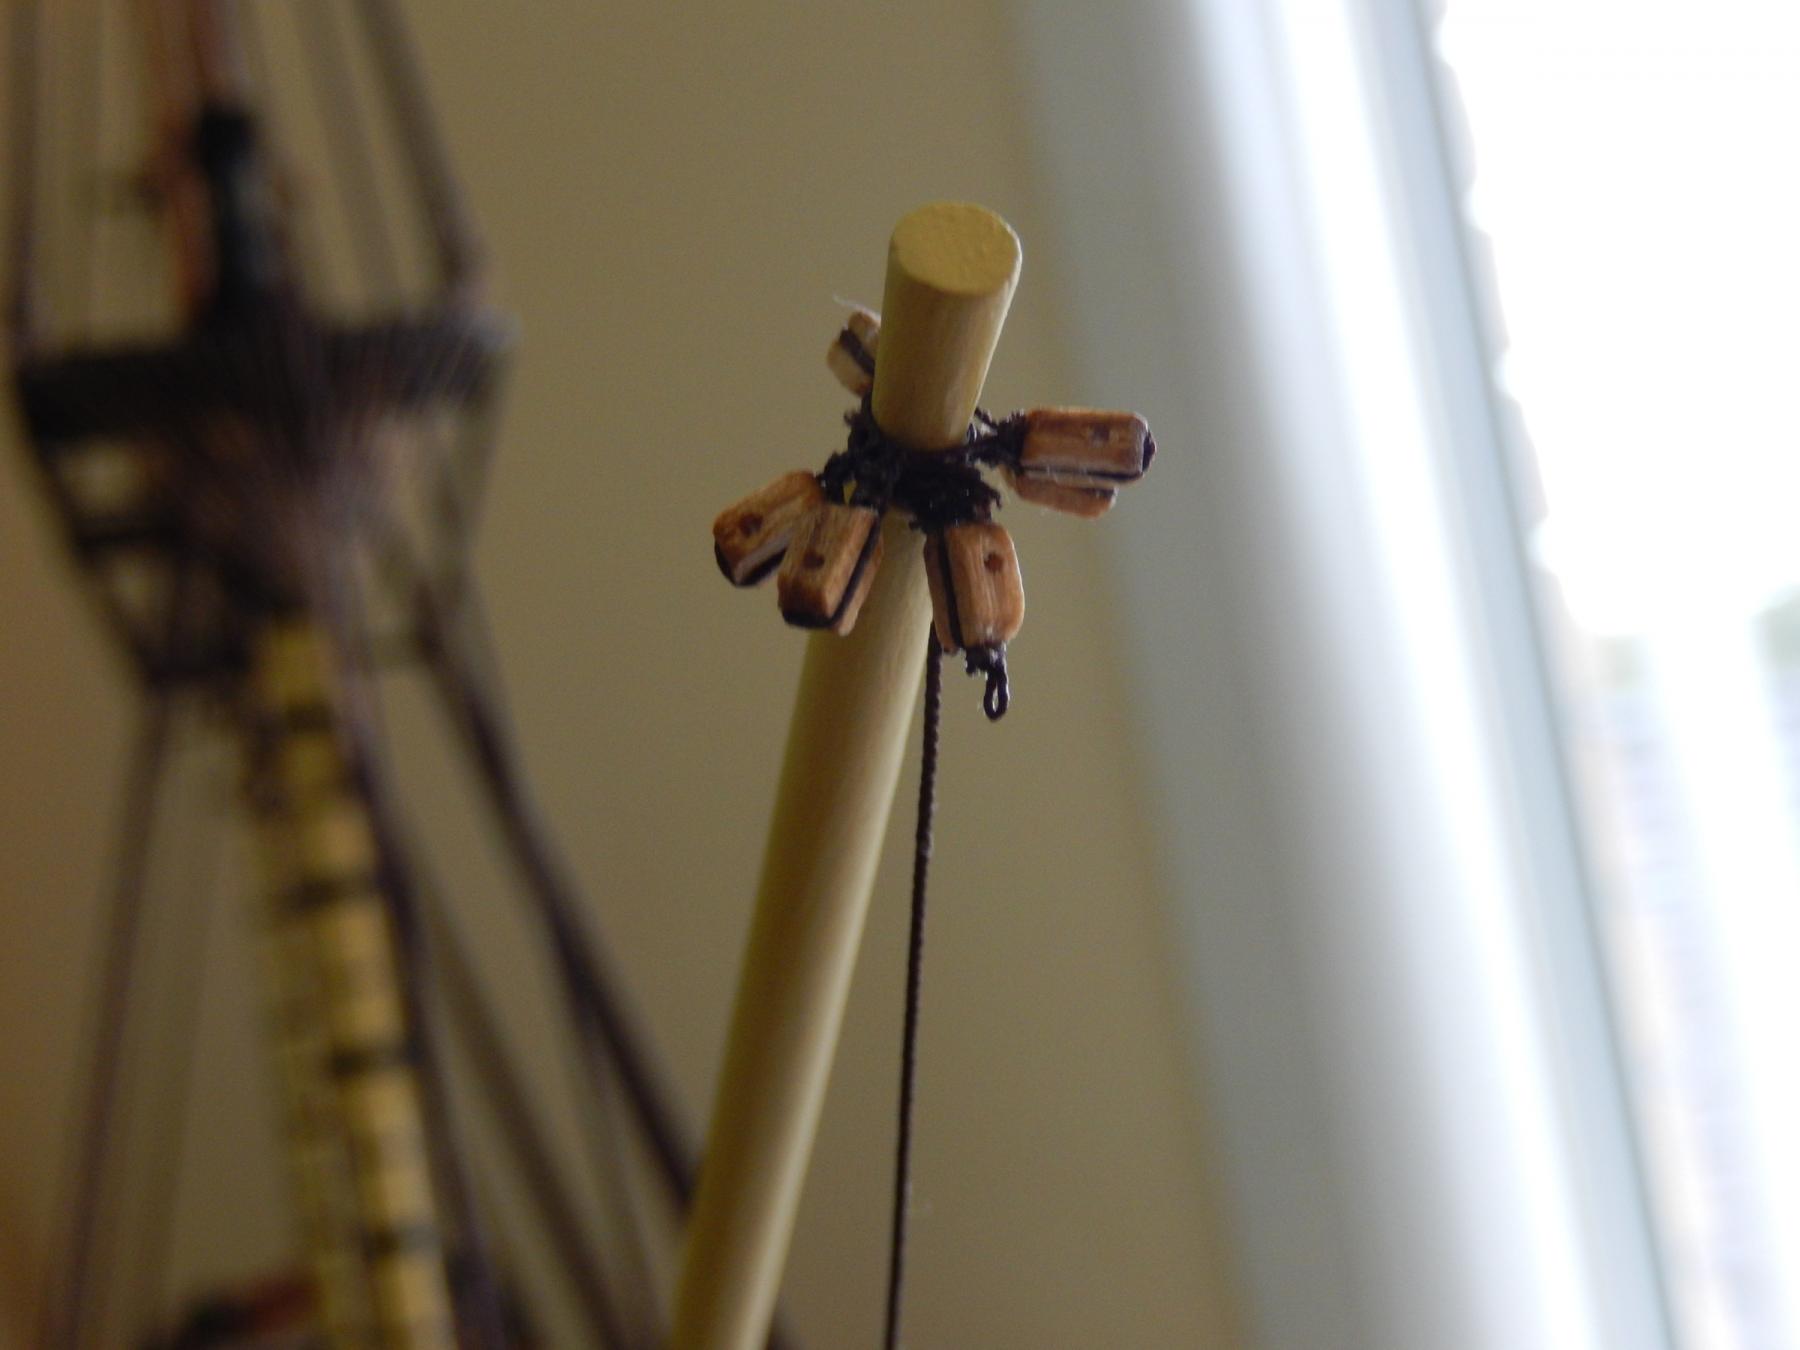
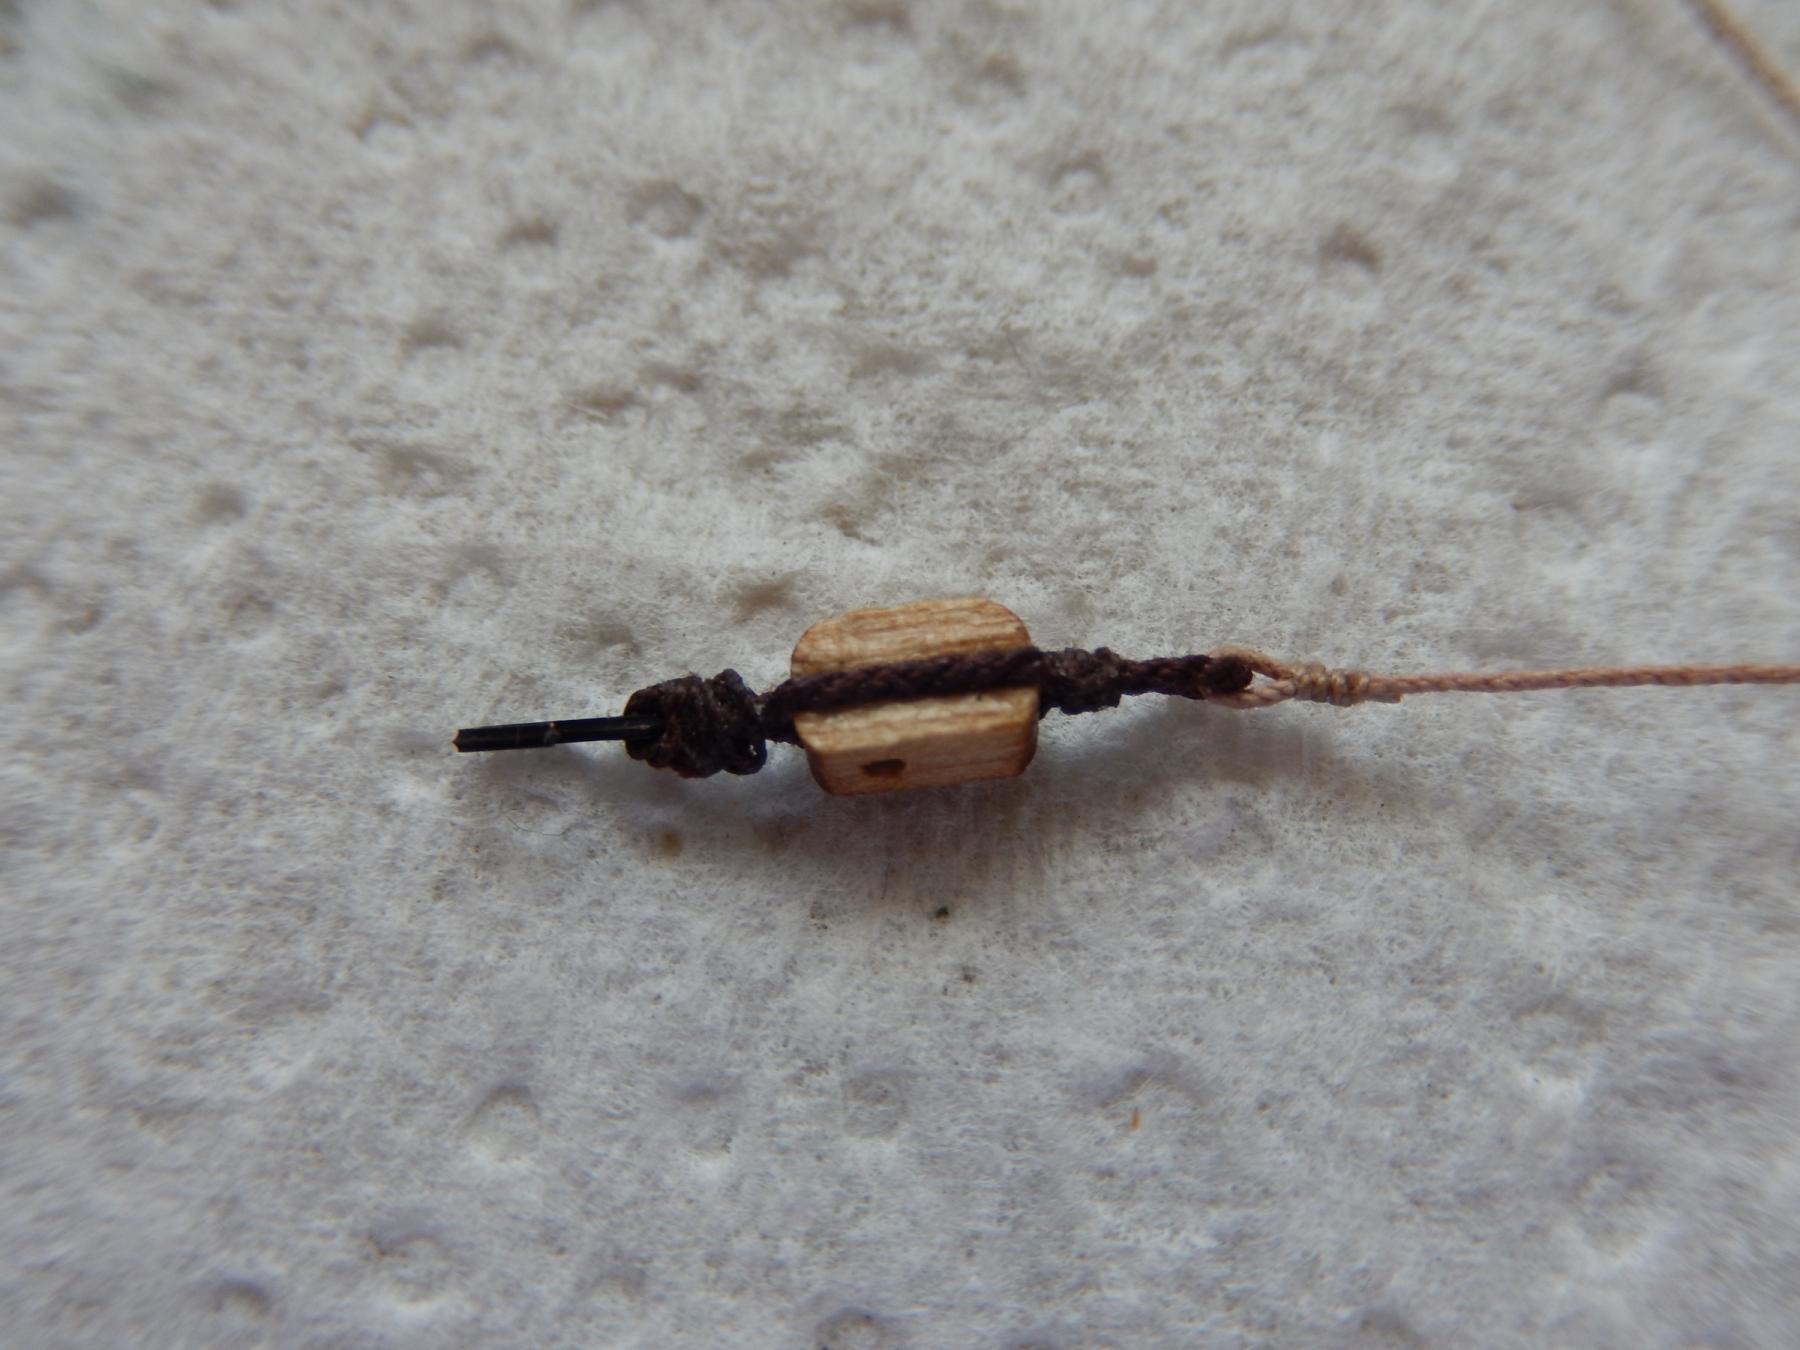
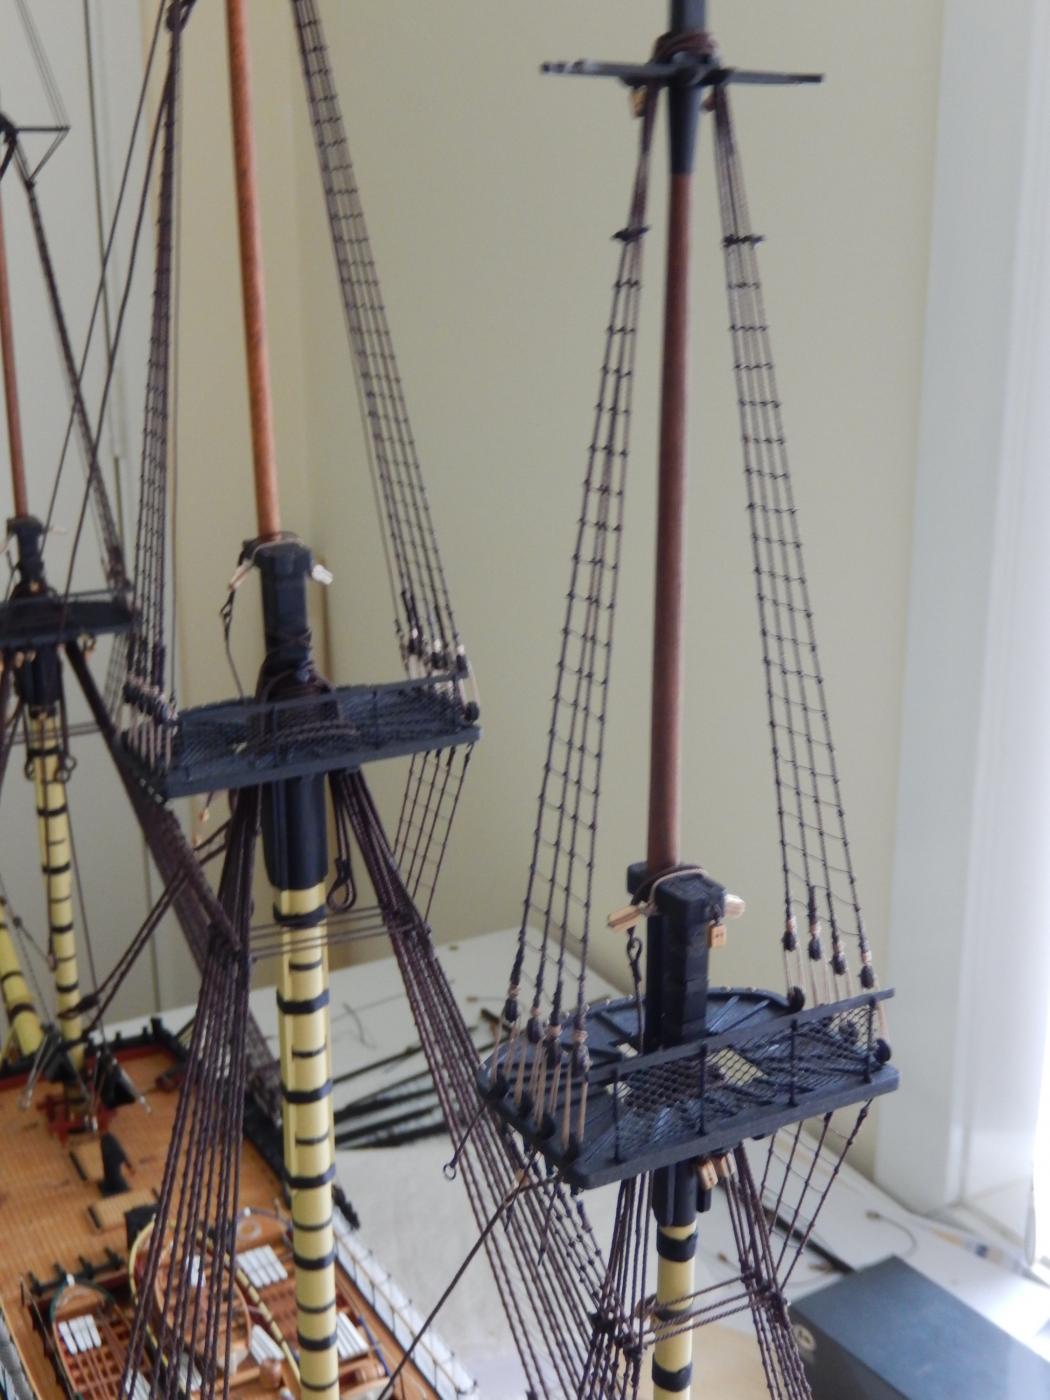
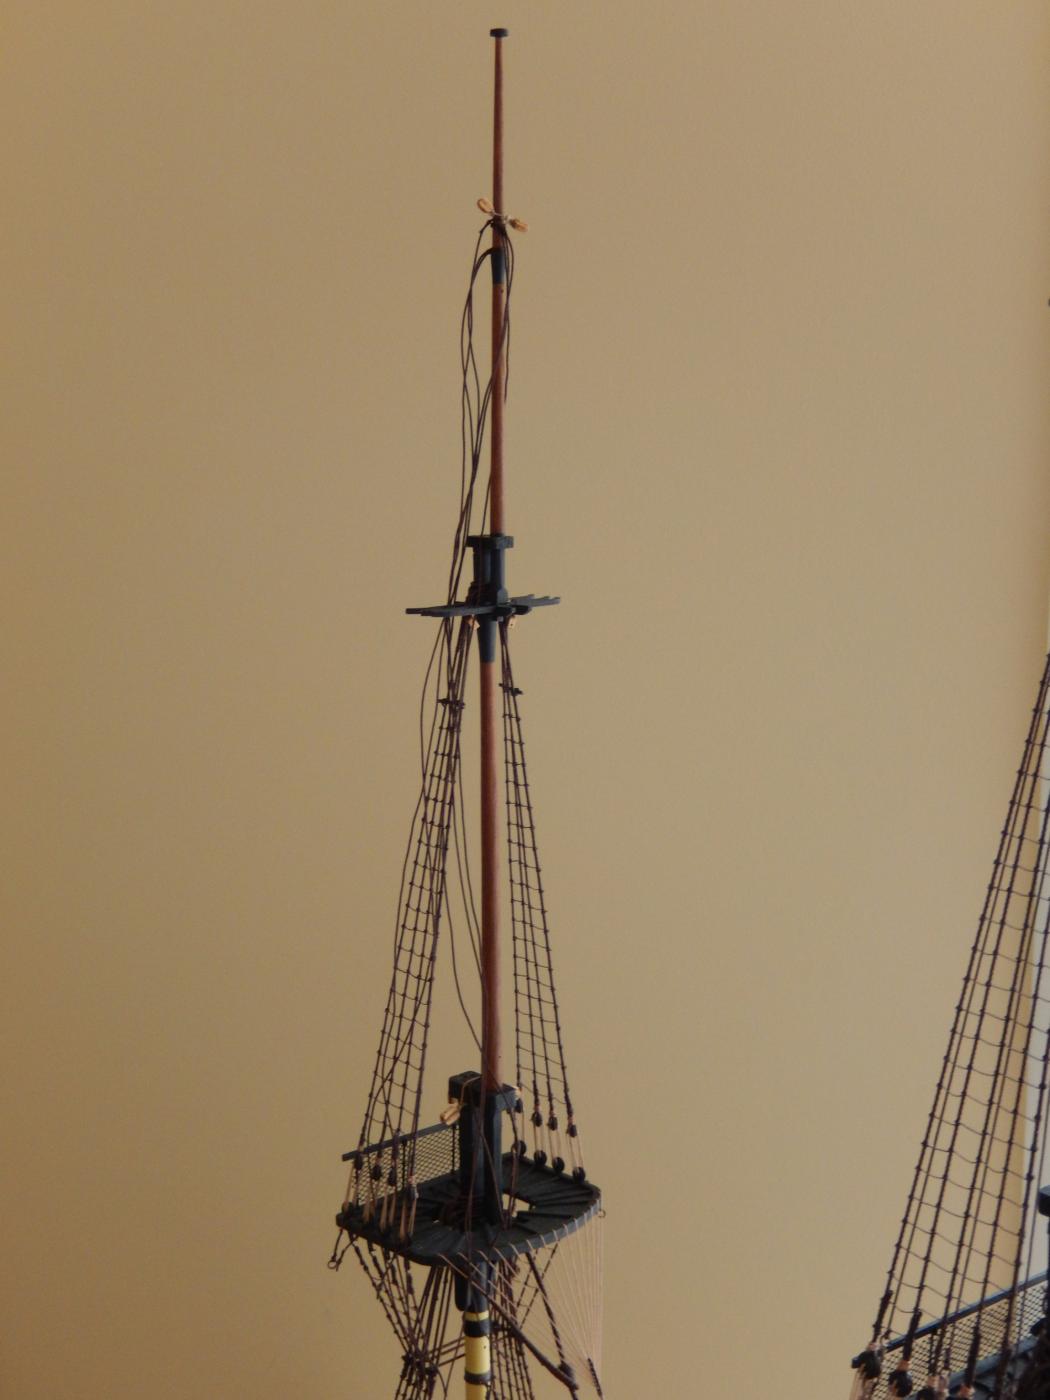
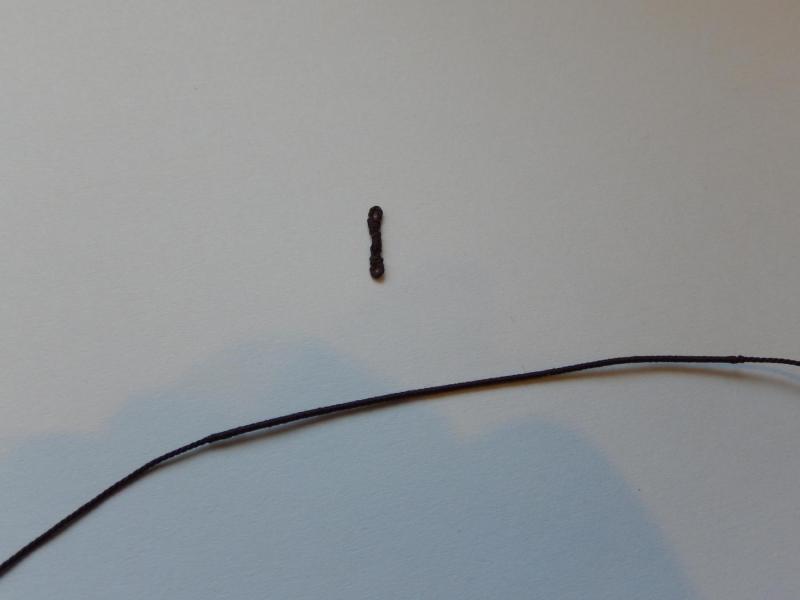
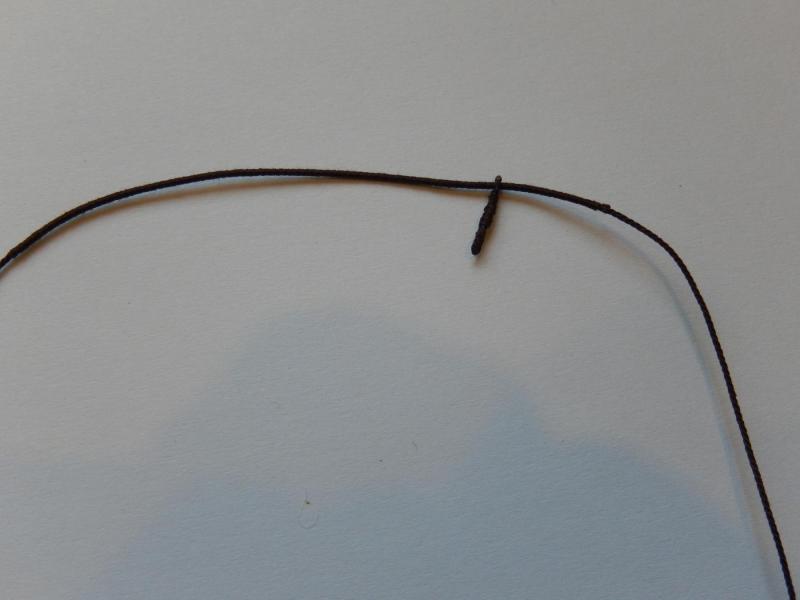
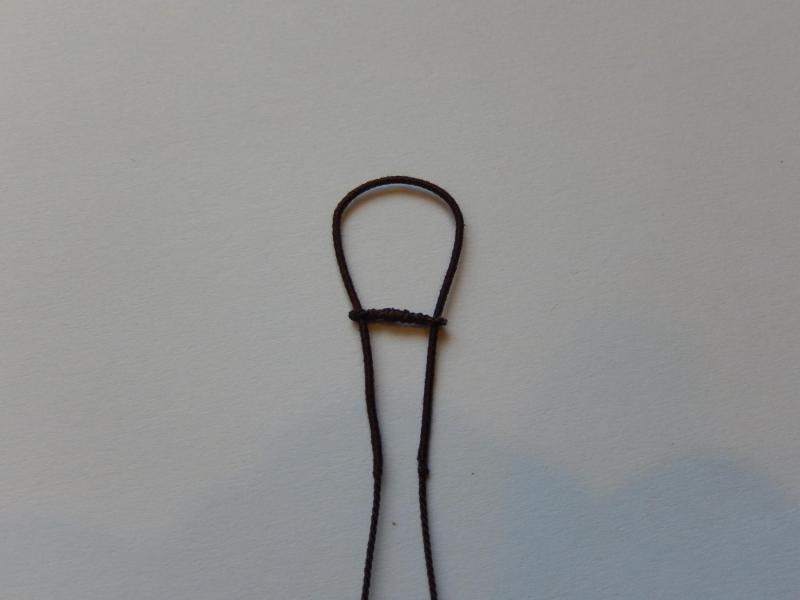
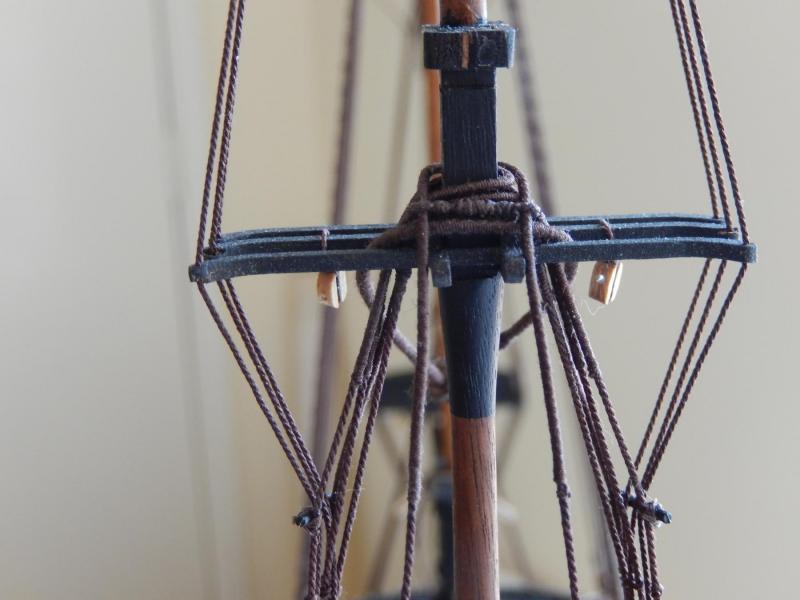
Thanks once again Arthur for all your help. Given the stage I am at, the only way I can see to fit the backstays is an ersatz B.E. solution.The photos below show how I dealt with it - at least on the mizzen. I think it will work as well for the main and fore, though there is some rigging there that may make life difficult. I have served the stays and then, with a bit of scrap thread, made made a couple of loops. The thread between the two loops is served after a fashion. The photo accentuates its flaws, but it actually doesn't look too bad. I hope I can do a better job on the remaining ones. One loop is threaded onto the stay and over the serving. The stay is then taken around the mast and then threaded through the second loop. Here is how it looks. I just noticed the mast and the cap need touching up. At the moment I have no idea how the fit the shifting backstays. I presume they are fitted as a pair in much the same way as the normal stays. If that is the case I guess I will use a variation of the method above.

-
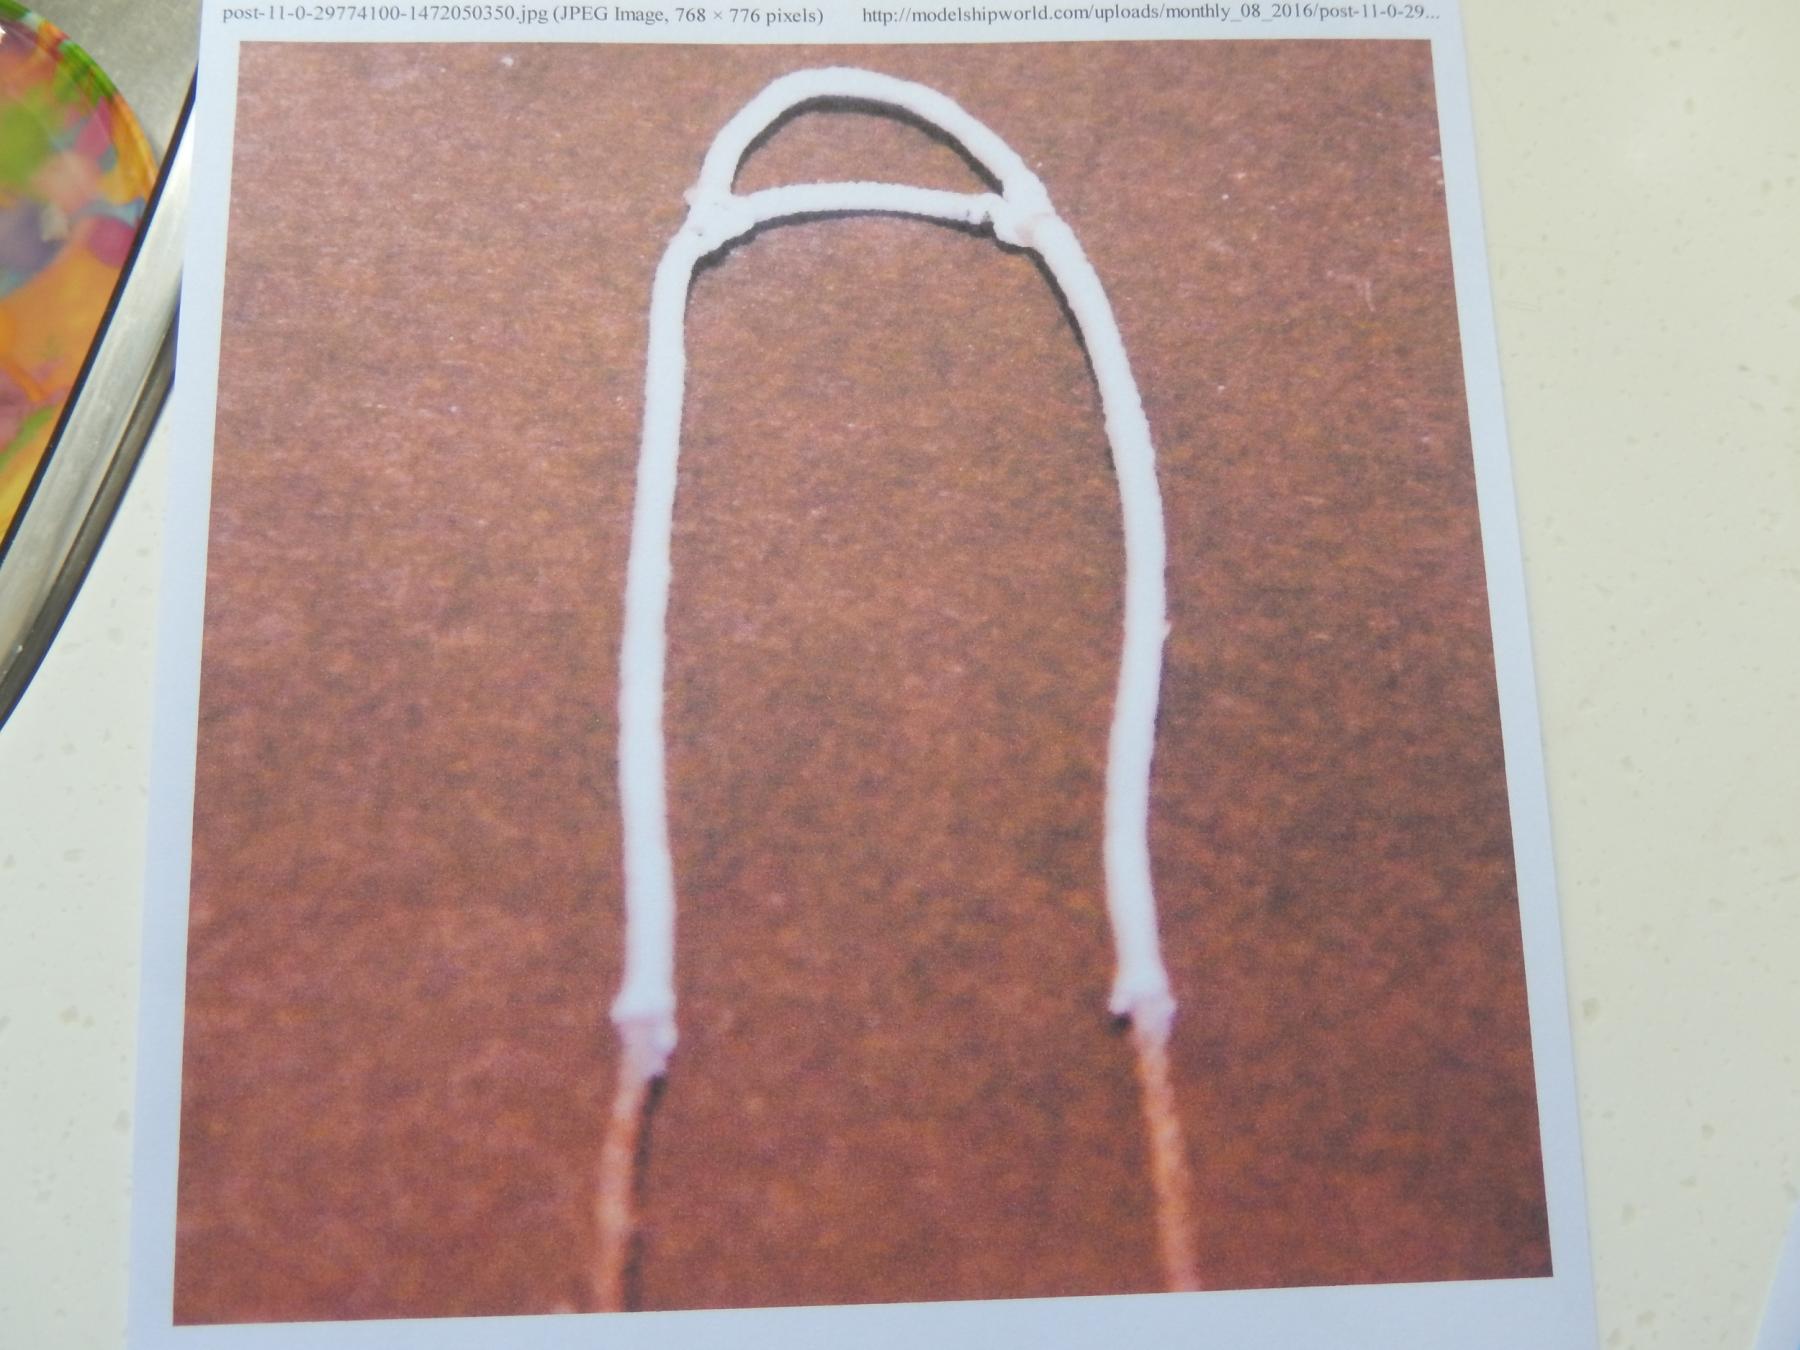
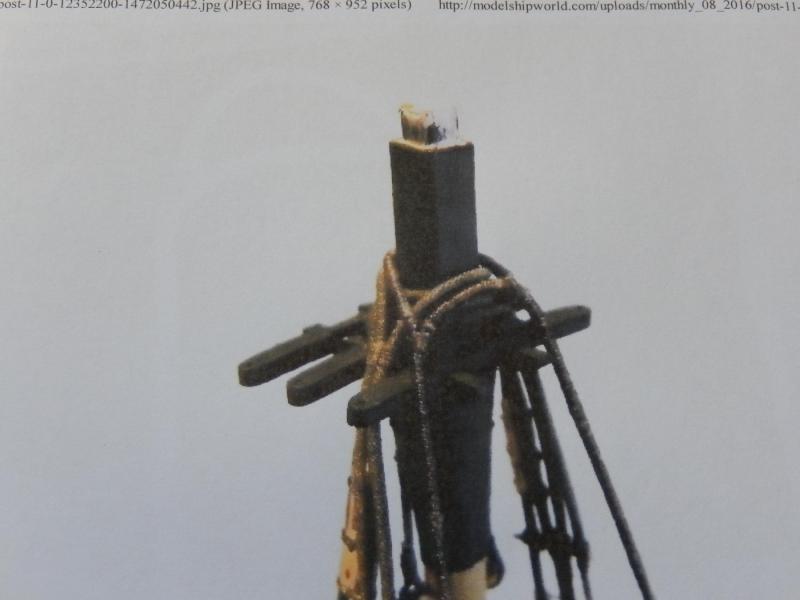
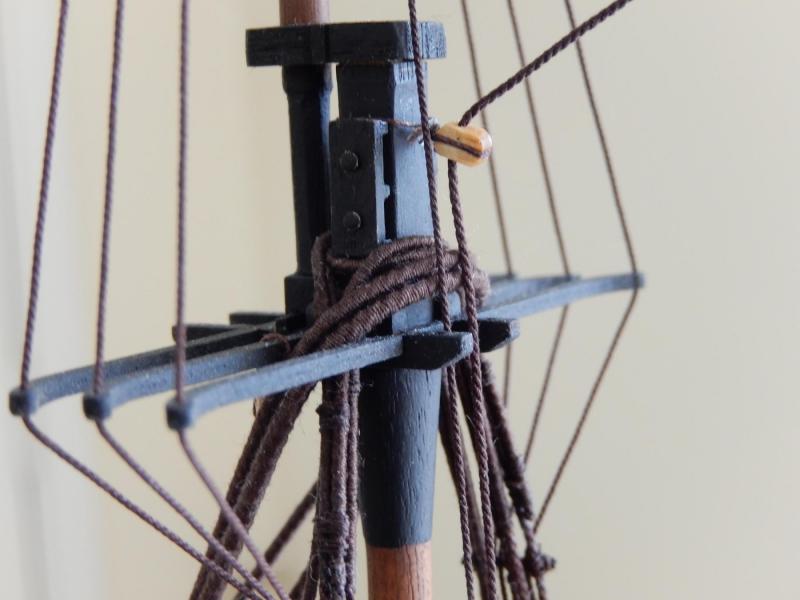
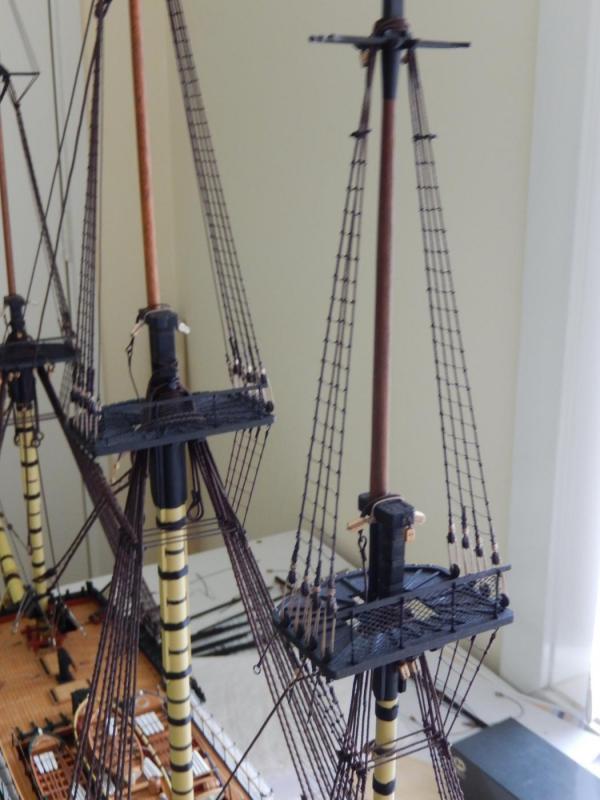
Alan: I think the correct solution to the 'normal' backstay problem is Shown in B.E.'s (Blue Ensign) beautiful Pegasus model. If you search 'backstays', there are very clear photos of how he has done it. At my stage of the build it will be difficult to do. It would be far easier to put them on before the topgallant masts go on. As well, with the shrouds and forestays there is not much room on the masts of my model to fit any more stuff. Here are a couple of photos of BE's photos to give you the idea. Of the backstays, it appears that the 'normal' backstays are fitted first and then the shifting backstays are the very last - at the top of the heap. However just how the shifting backstays are fitted around the mast is not clear to me. Complicating this, apparently the normal backstays should go under the forestays. It's a bit late for me now I guess. If any of this is wrong with any or all of this, would anyone please let me know.

-
Thanks Alan. If I find out anything in the meantime I'll get back to you. Something odd seems to be happening to the editor. There are two copies of the same photo for some reason and I can't get rid of them.
-
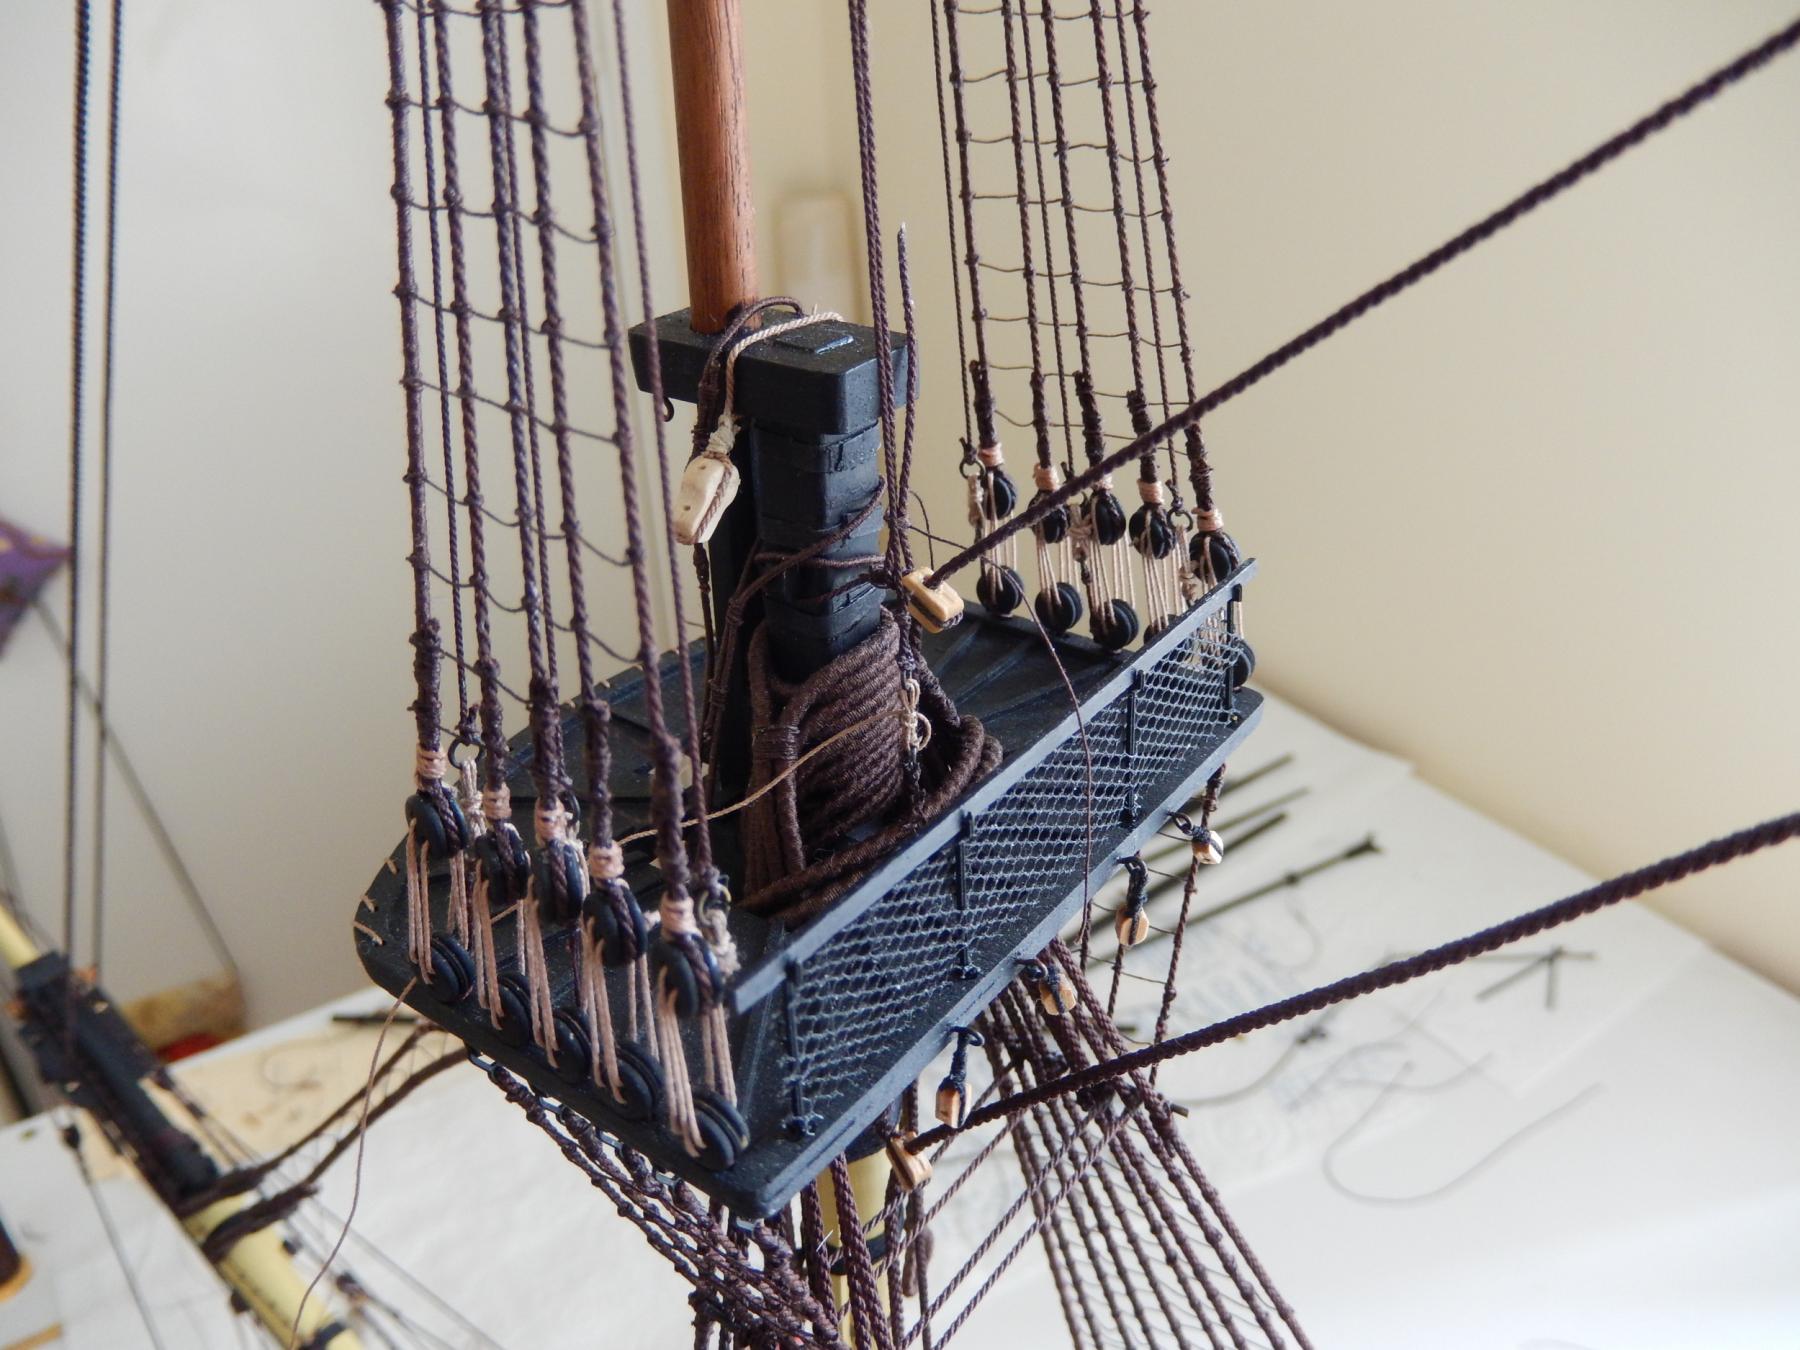
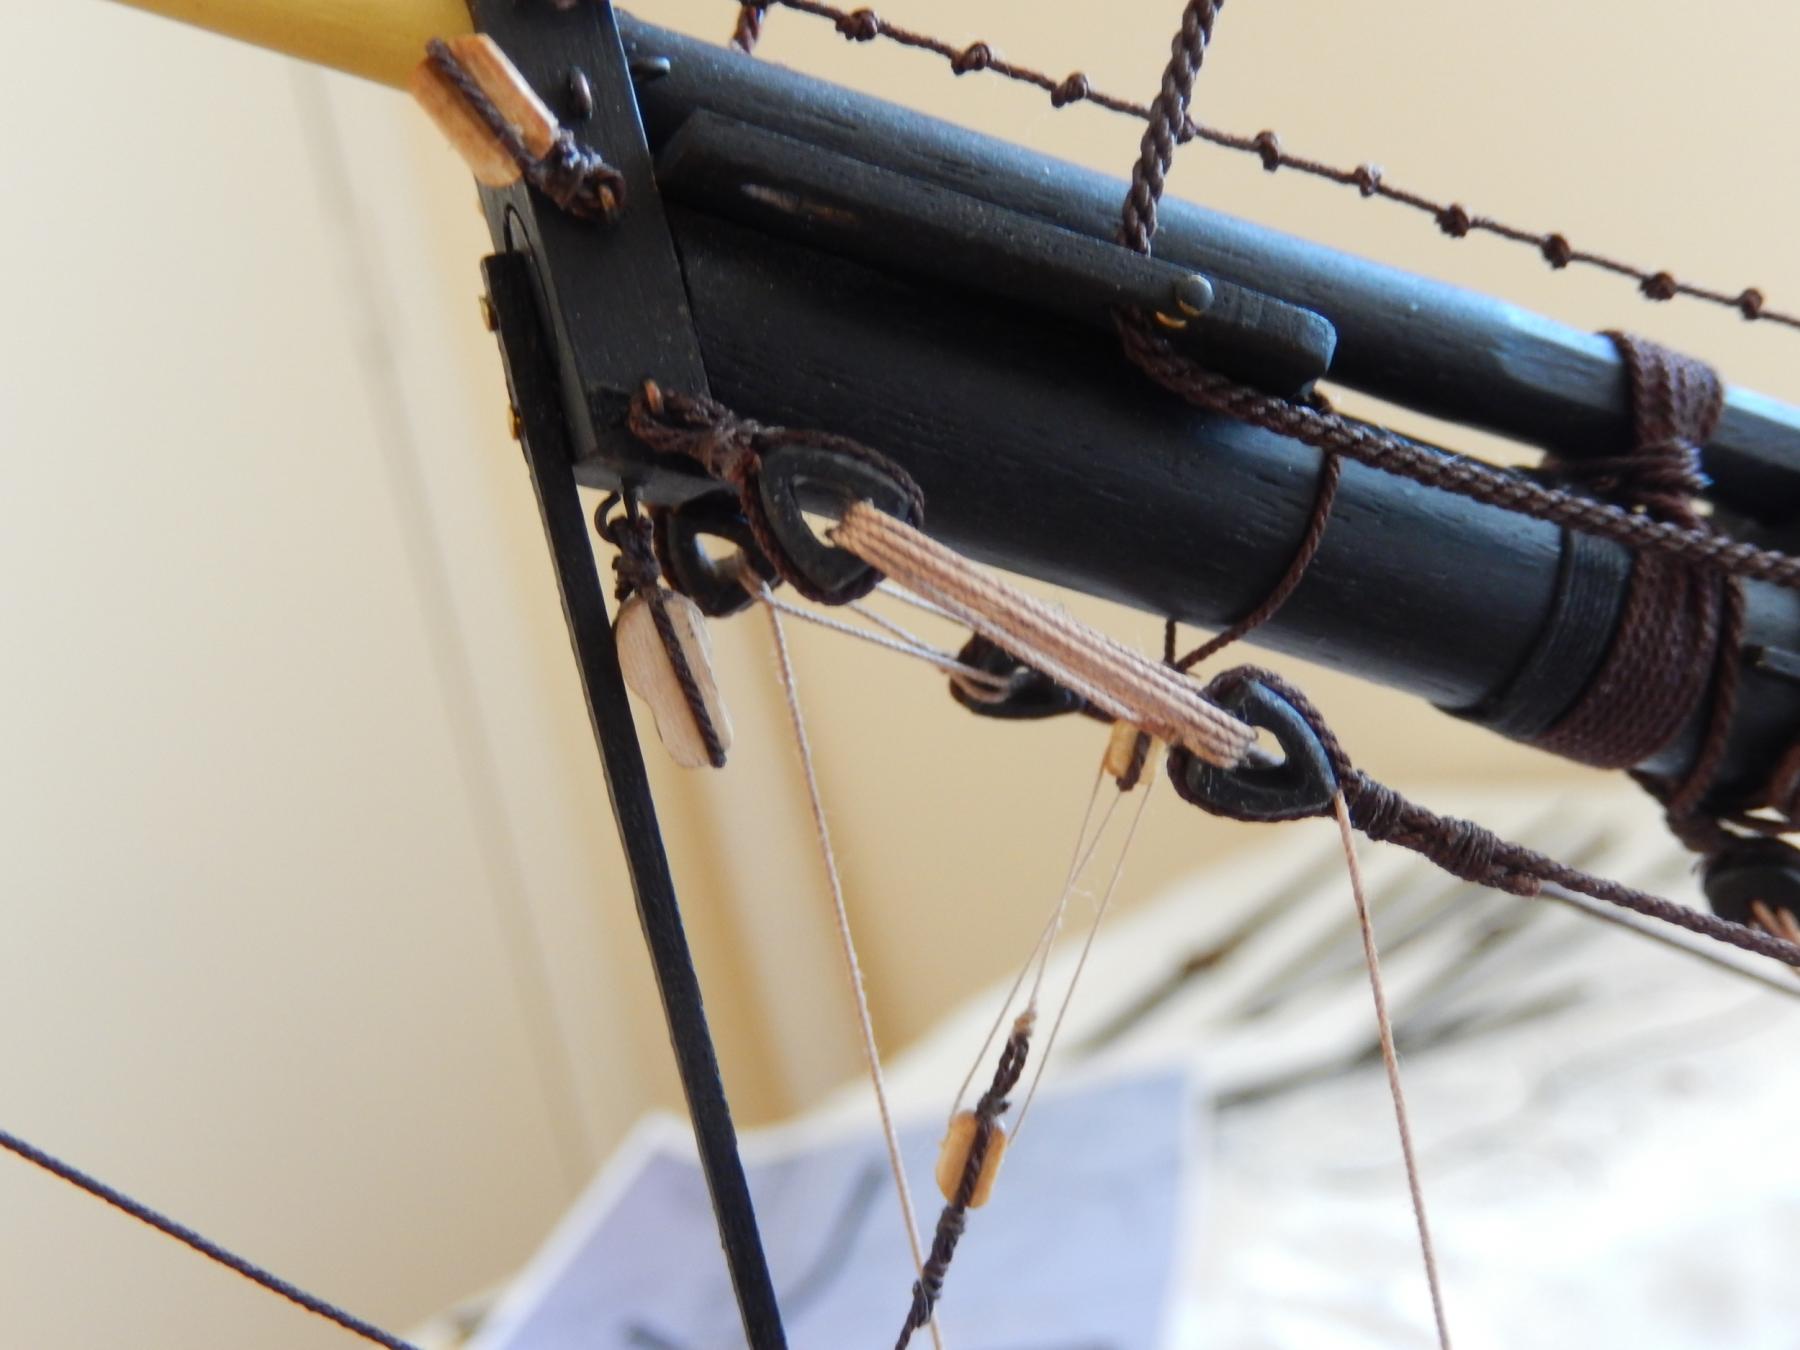
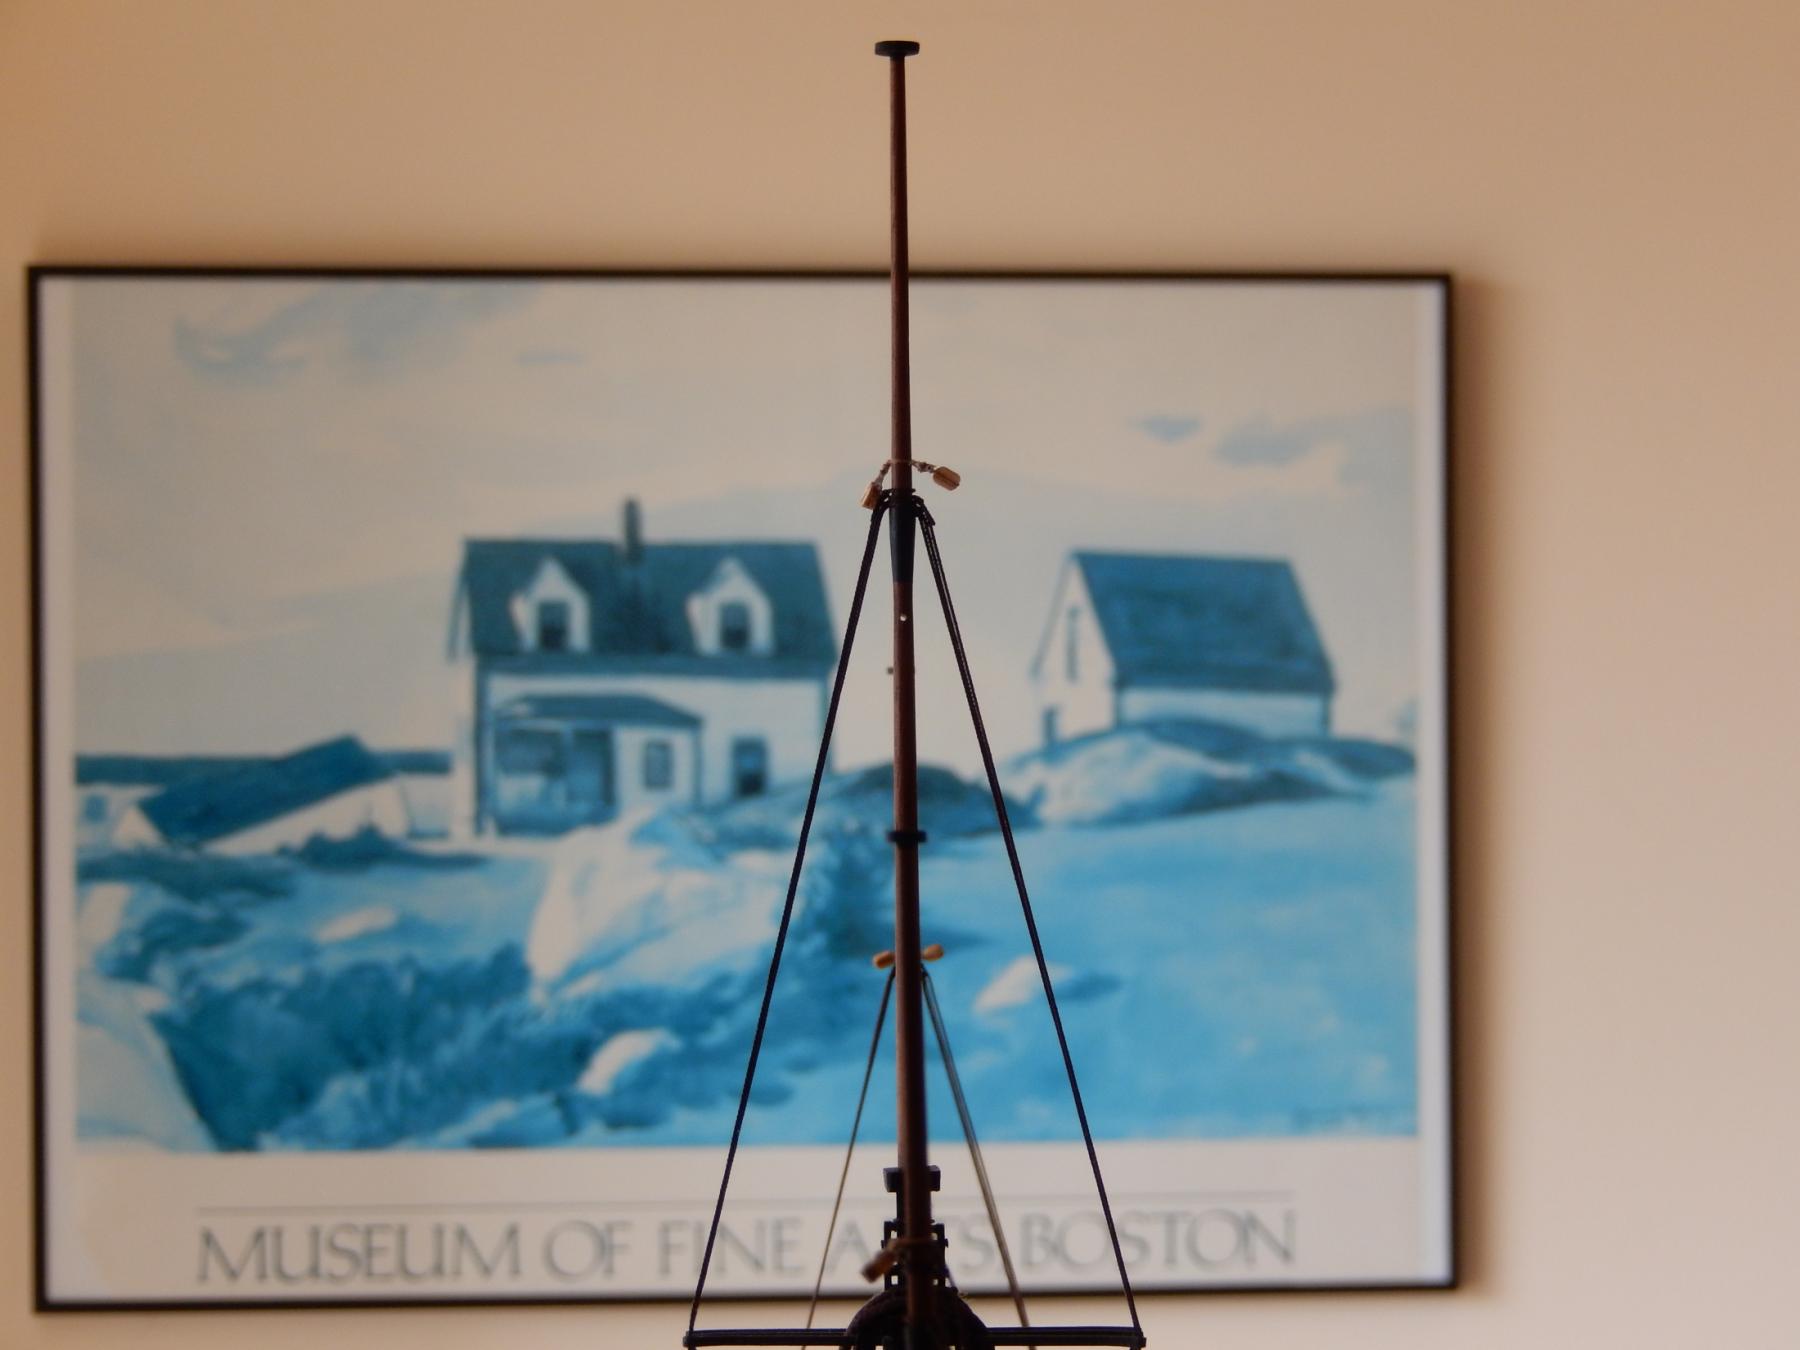
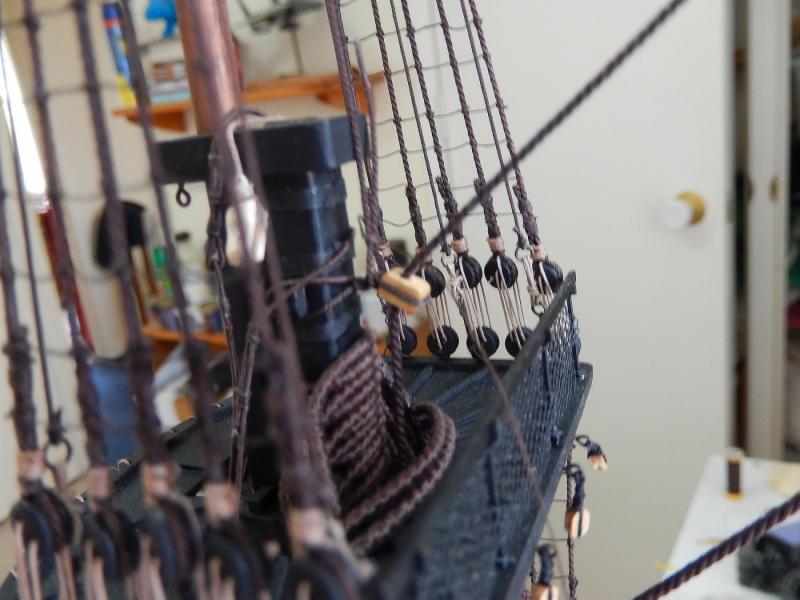
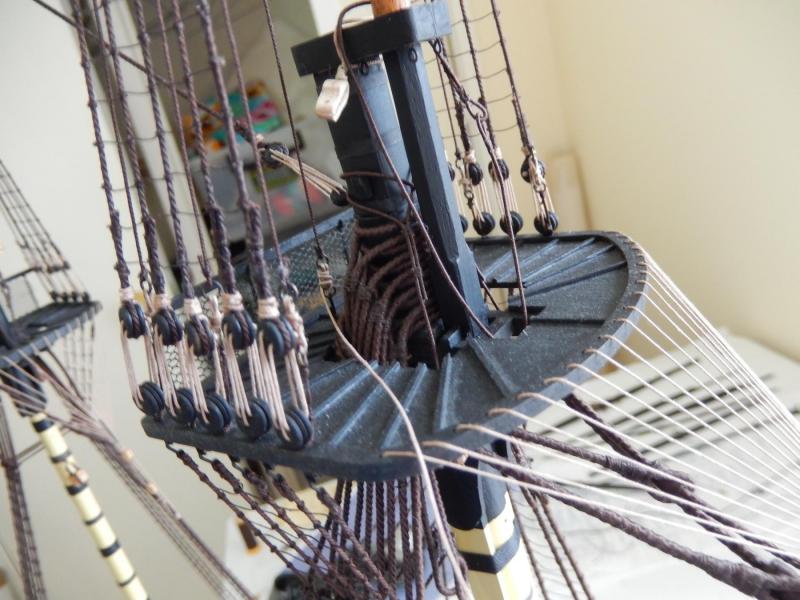
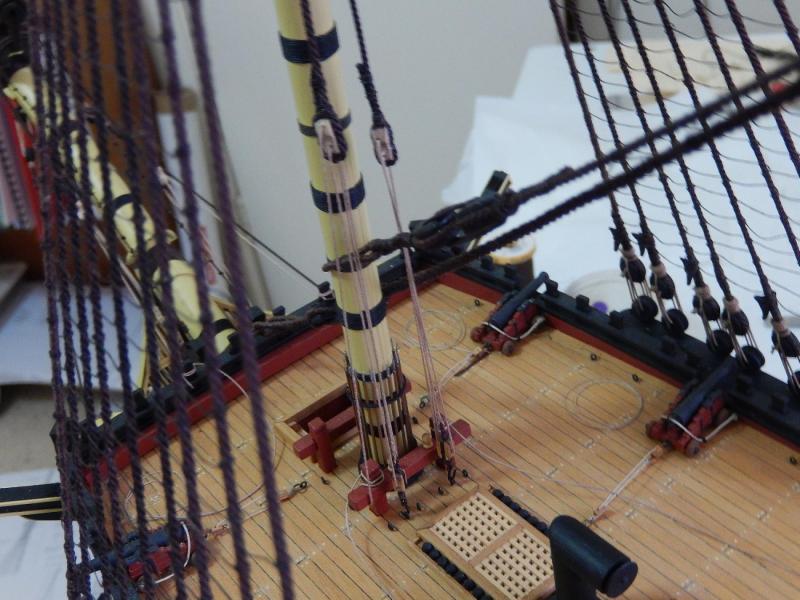
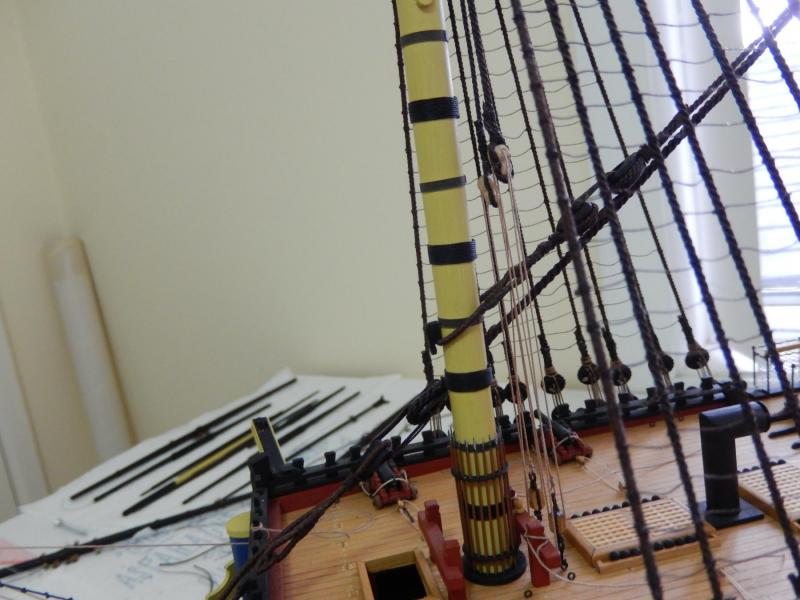
Help needed for backstay questions. I have now come to plan 9 stage 3 which shows the various backstays. It is not clear to me: * the order in which the 'normal' stays and the shifting stays are mounted over the cross trees (the plans seem to show the shifting stays go on first); * whether the backstays are mounted in pairs in the same way as the shrouds; * whether the backstays are served; and * whether the backstays are made off over the cross trees so that they go between the last and second-last cross trees or behind the last one (ie, in the photo below, do they go over the shrouds etc. through the cross trees or behind the last cross tree?) The royal stays are now attached with some misgivings. They have come out quite well, so I will probably keep them. The main royal is made off (temporarily)to the collar of the fore preventer stay. It can just be seen in the photo. I have used two small copper eyes and lashing to enable later adjustment to the tension on the stay. I won't finally make off any of the stays until they are all on. The fore royal stay is made off in the same way as the top gallant stay though to the port side rather than the starboard as was the top gallant stay.


-
Thanks Jose. I think I will tie the extra block ahead of the others and see how it looks. For the belaying points, where did you find 6 and 7? I can't find them on my plans (though I am notorious in our family in not being able to find anything.). In looking at the photo of the Vanguard from Historic ships (this came from the Amati website I think) I think you are right about the Alt belaying points of the boats.
-
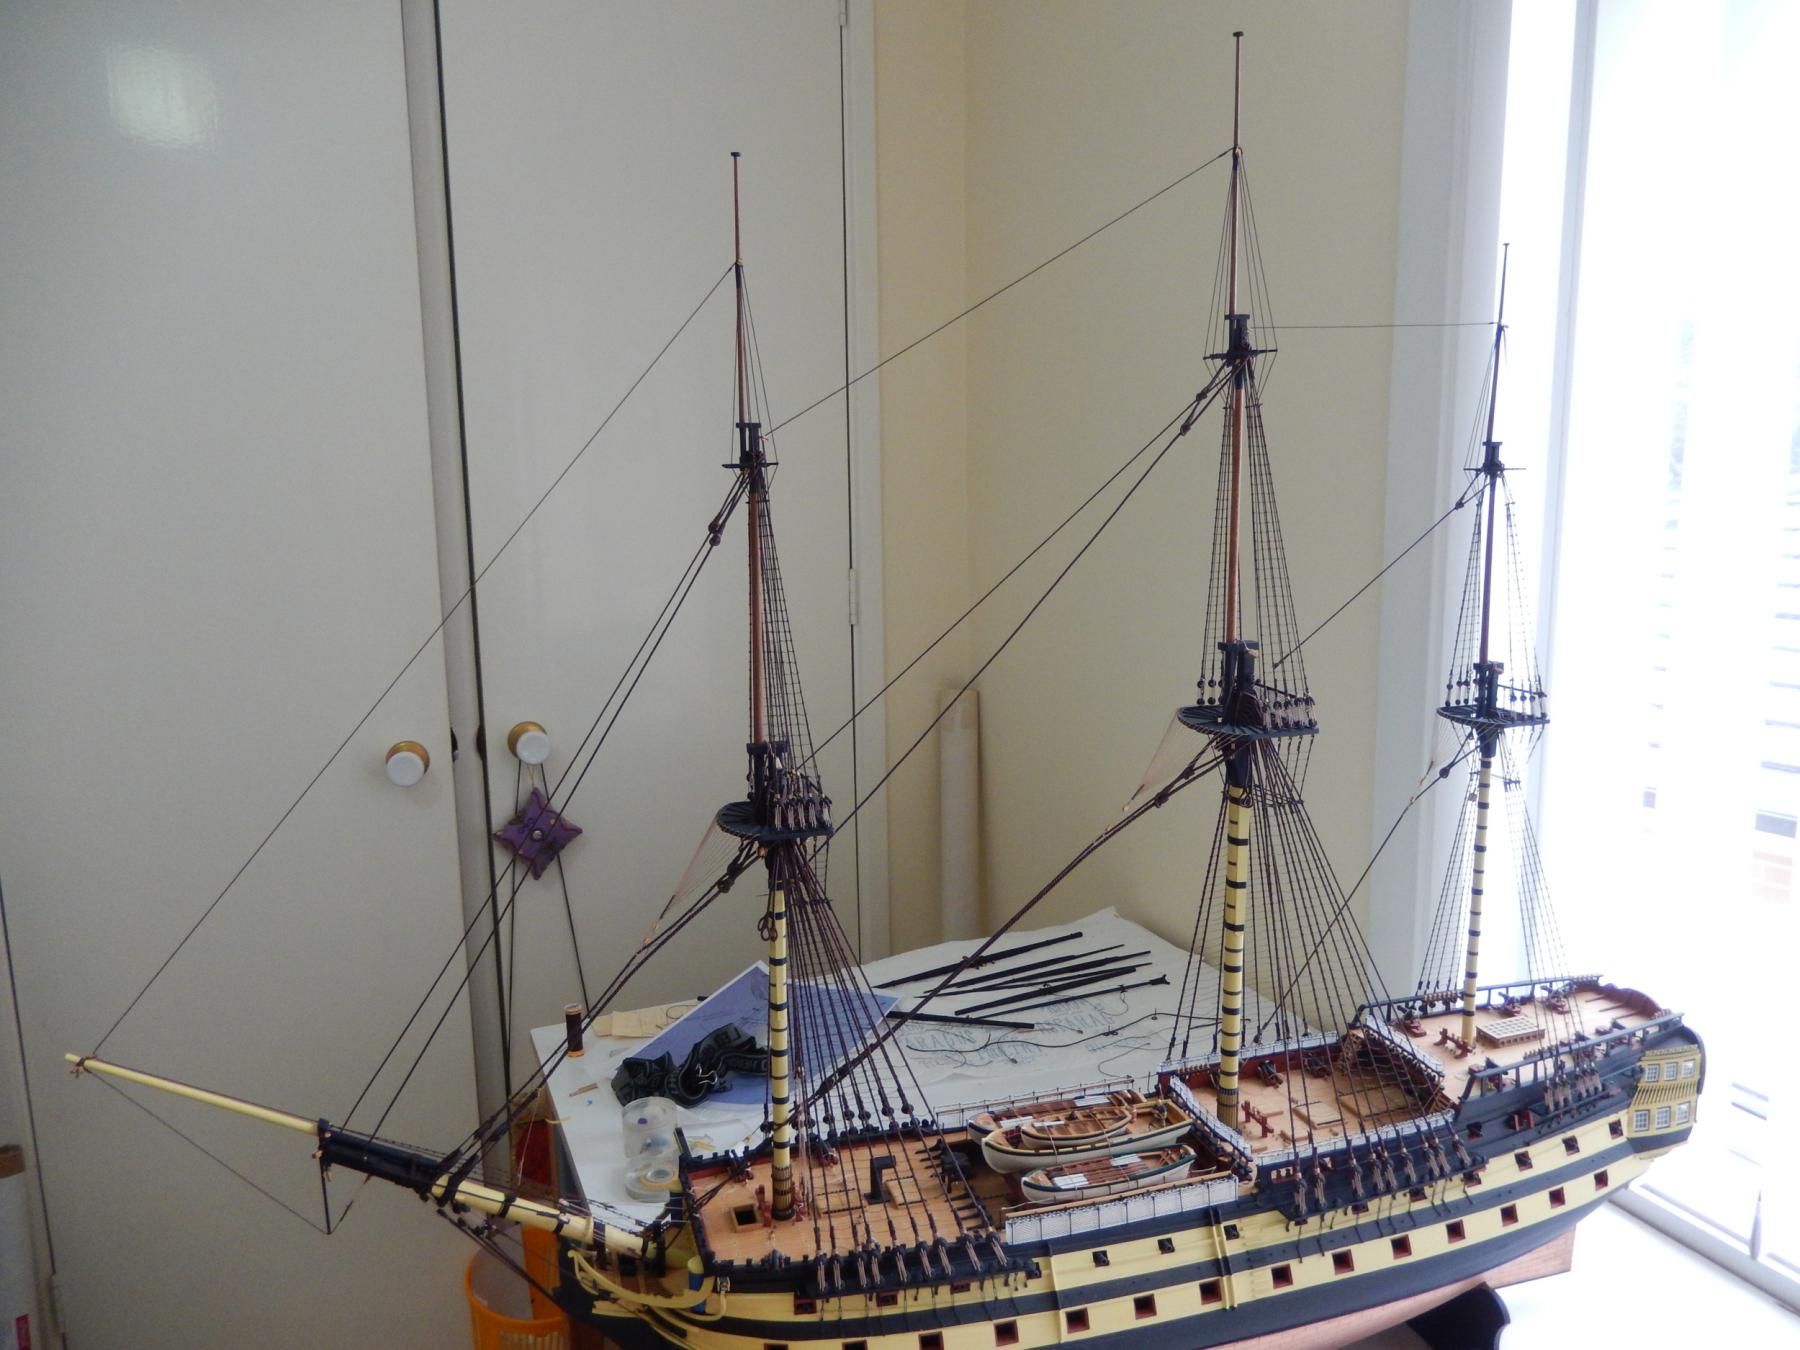
Thanks Glen. The 'pitchfork idea' is really good. I'm now having second thoughts on the royal stays. The six blocks on the end of the jib already look rather crowded. Adding another for the royal forestay may be overdoing it. Does anyone have any views?
-
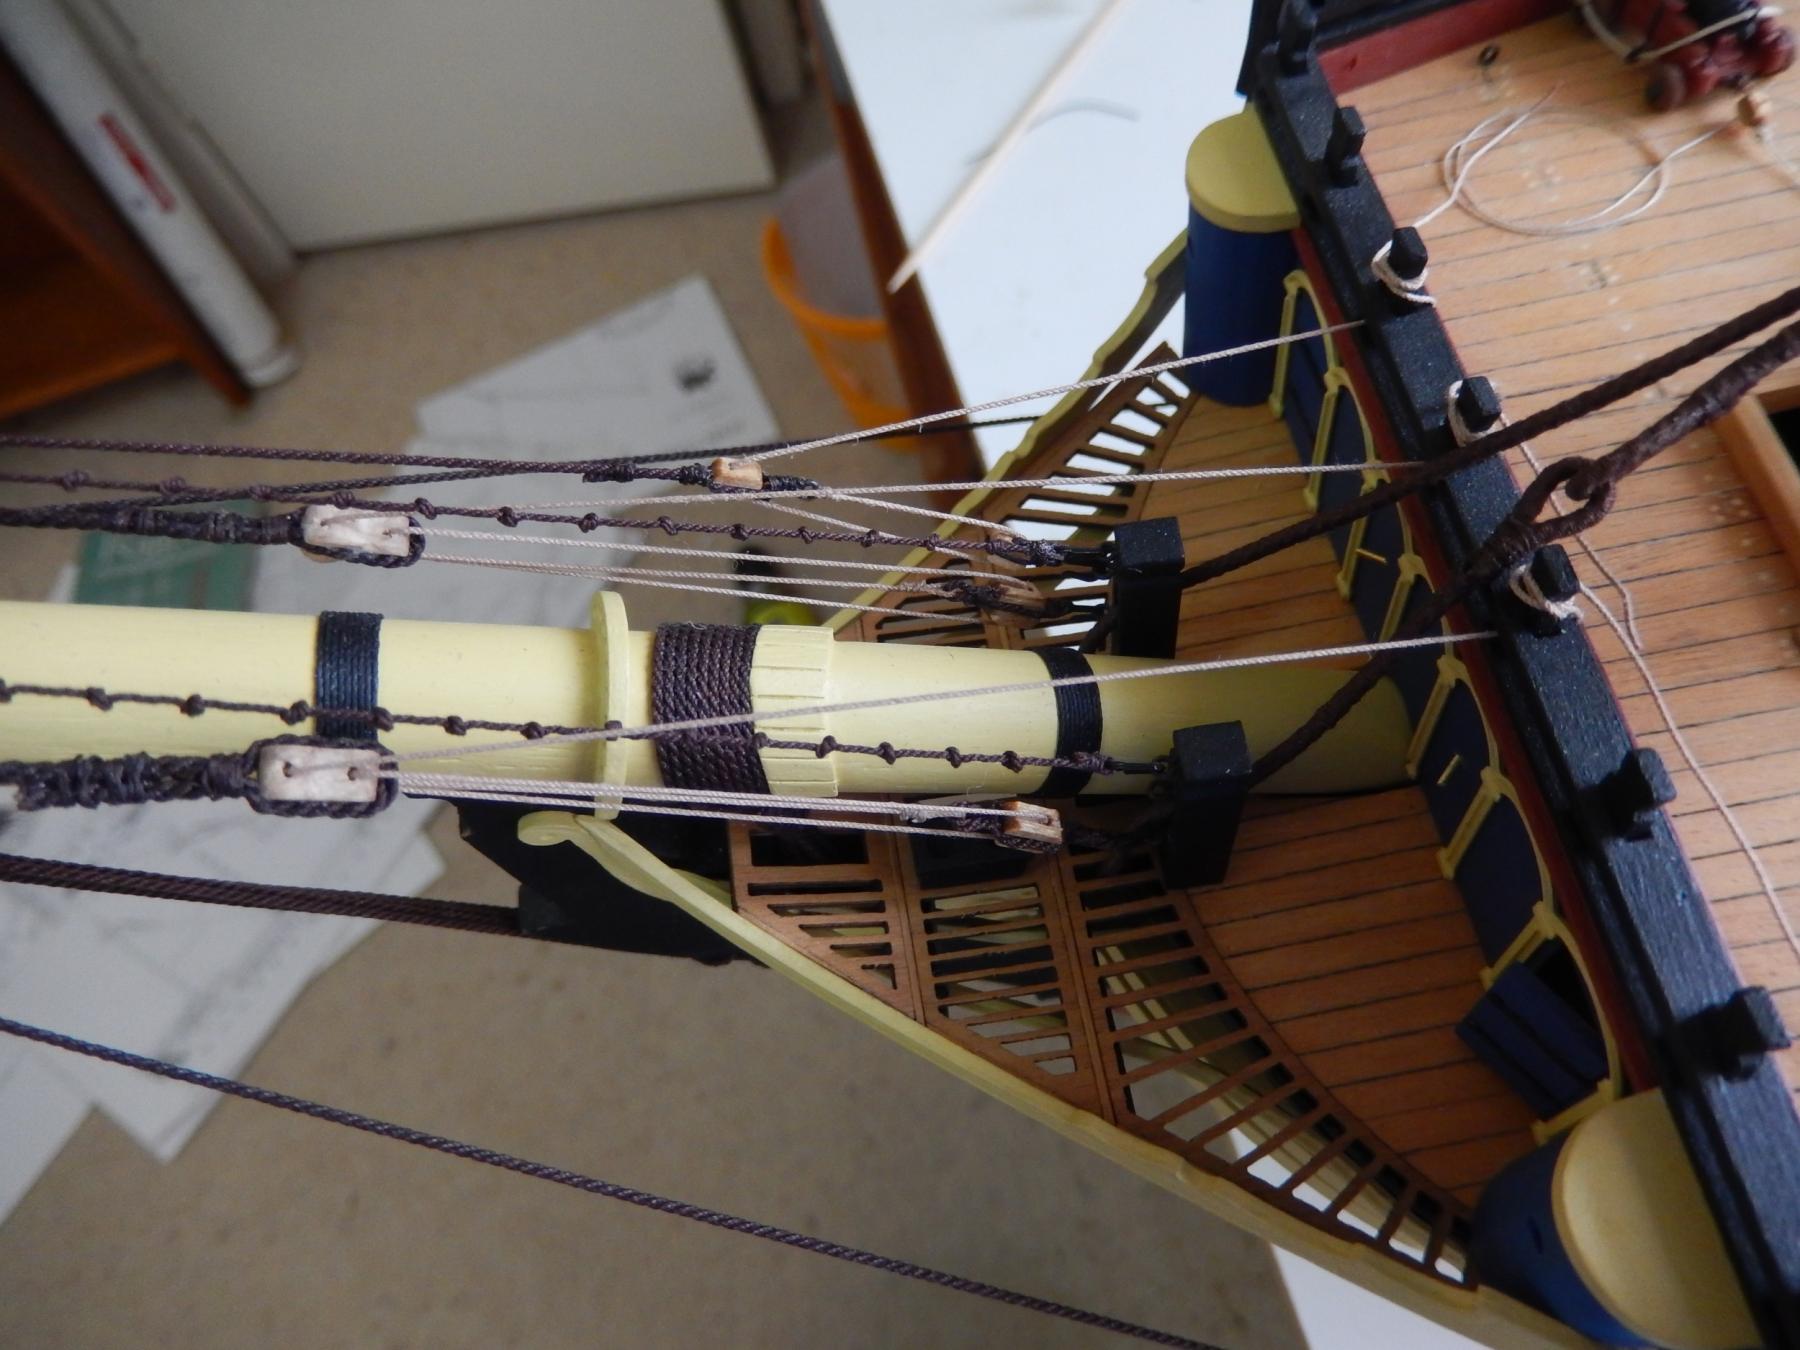
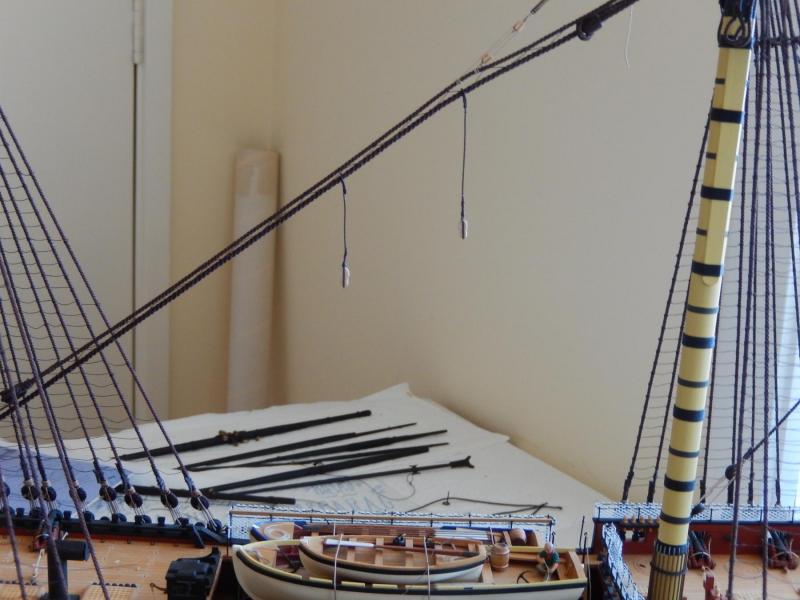
The tasks on Plan 8 iare now complete. The hoists for the ship's boat are attached to the mainstay. I am not all that happy with them as the ties of the boats are a little close together. When the hooks are attached to the boats the drops will be a little out of vertical. If I made the hoists closer together, I think that would look a little odd too. I'll think about it. .. As well, it is not clear to me where the belaying points are for the hoists. It appears that the belaying points for Plan 8 are missing entirely. I have put on the second set of shrouds for the bowsprit. These are not on the plans. They are not finally made off yet, but have turned out quite well. Unfortunately I have a sneaking suspicion that this will come back to bit me later when the spritsail yards need to use the same eyelet. There may not be room. Moving to plan 9 - it suggests, among other things, next installing the backstays. However, Keith Julier in one of his books suggests leaving the backstays as long as possible - to provide readier access for doing other rigging. Is this a good idea? I would be grateful for reaction from others' experiences.

-
I have just PM'd Jose to the effect that it is using the 'wrong' spelling of the website which shows up as a problem. The website with the 'correct' spelling is excellent.
-
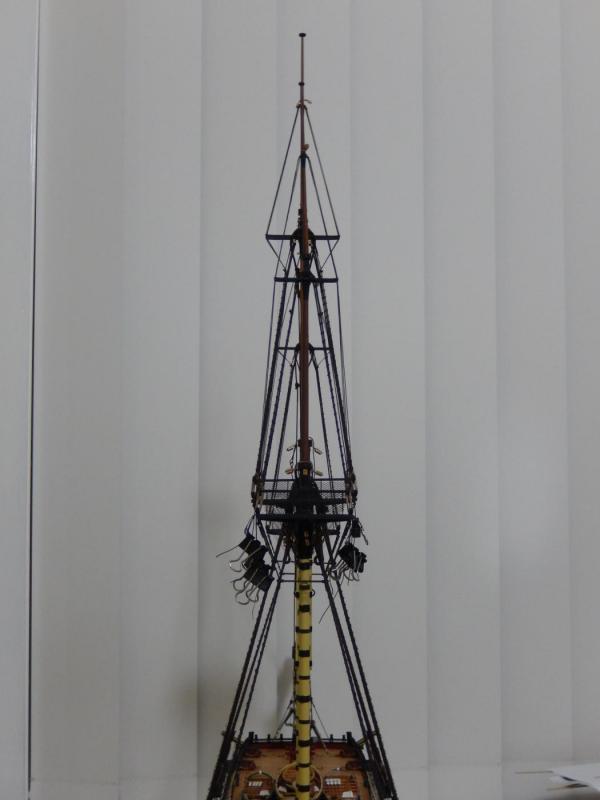
The fore top gallant stay is now settled and done. It seems I got myself into a tizz over not very much. The other top gallant stays are now done as well, but none of the stays are finally tried off. This is how it looks at the moment. Here is the mizzen top gallant tied off to the main top. Not for the first time (nor, I am sure, the last) I have followed Arthur's lead in providing for some tensioning in the stay. Changing the tension in one stay may affect one or more of the others. Here is the main top gallant temporarily made off to a block tied to the fore mast. It can be adjusted later if necessary. I have taken a few photos of the sources of my embarrassment: the fore top gallant stay, the jib boom and the bowsprit. They may save others some angst. To my surprise none of the lines foul each other.


-
My anti virus software (Norton360 Premier) blocked access to the website shown (as spelled) on the photo of Vanguard sent by Jose. I have PM'd him with details which are significant.
-
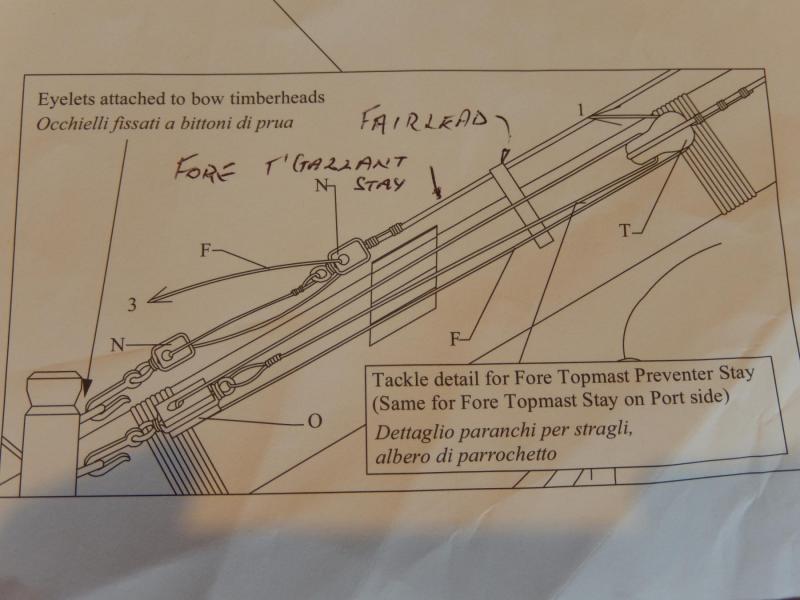
Many thanks Jose. This is all extremely helpful, especially your narration of the plan. You've certainly done a lovely job on your rigging.. You're.right. None of the standing rigging goes through the fairlead. I belatedly looked at plan 13 which I had more or less had ignored, and there it all was. This was not one of my finest efforts. It seems I was reading far too much into the coincidences of the stay seeming to pass through one of the eyelets on the cap (shown on Plan 8) and through the fairlead (shown above in my last post (also Plan 8)). Best wishes Bob
-
I may have come up with the answer to my fore topgallant stay problem (though not my poor putting). A closer examination of plan 8 suggests the stay passes through the fairlead on the bowsprit. If so, this appears to be its only use shown in all the plans. A belated thank you Wackowolf (how did you come up with that one? ) and Jason for your kind comments.
-
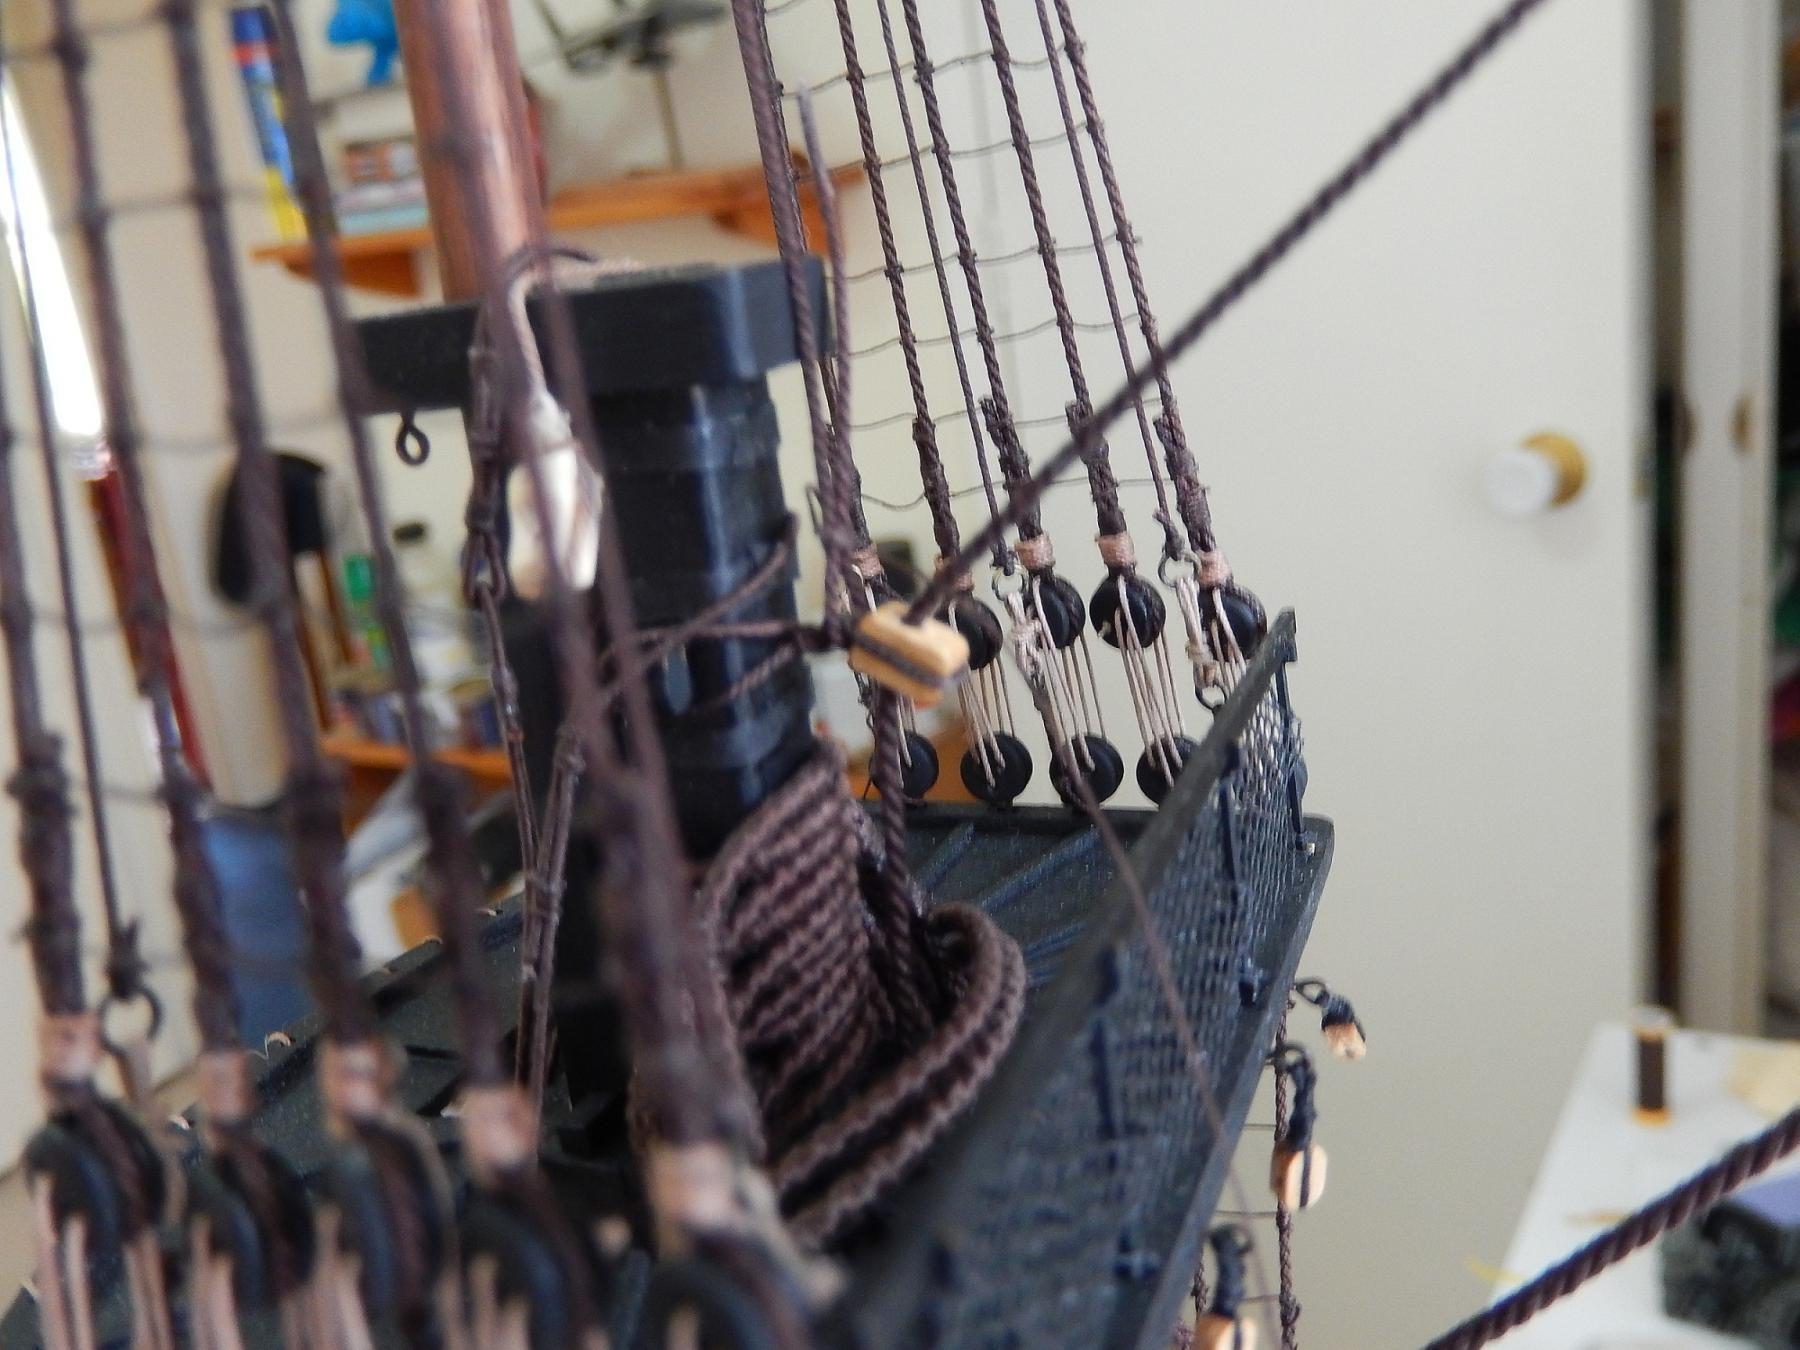
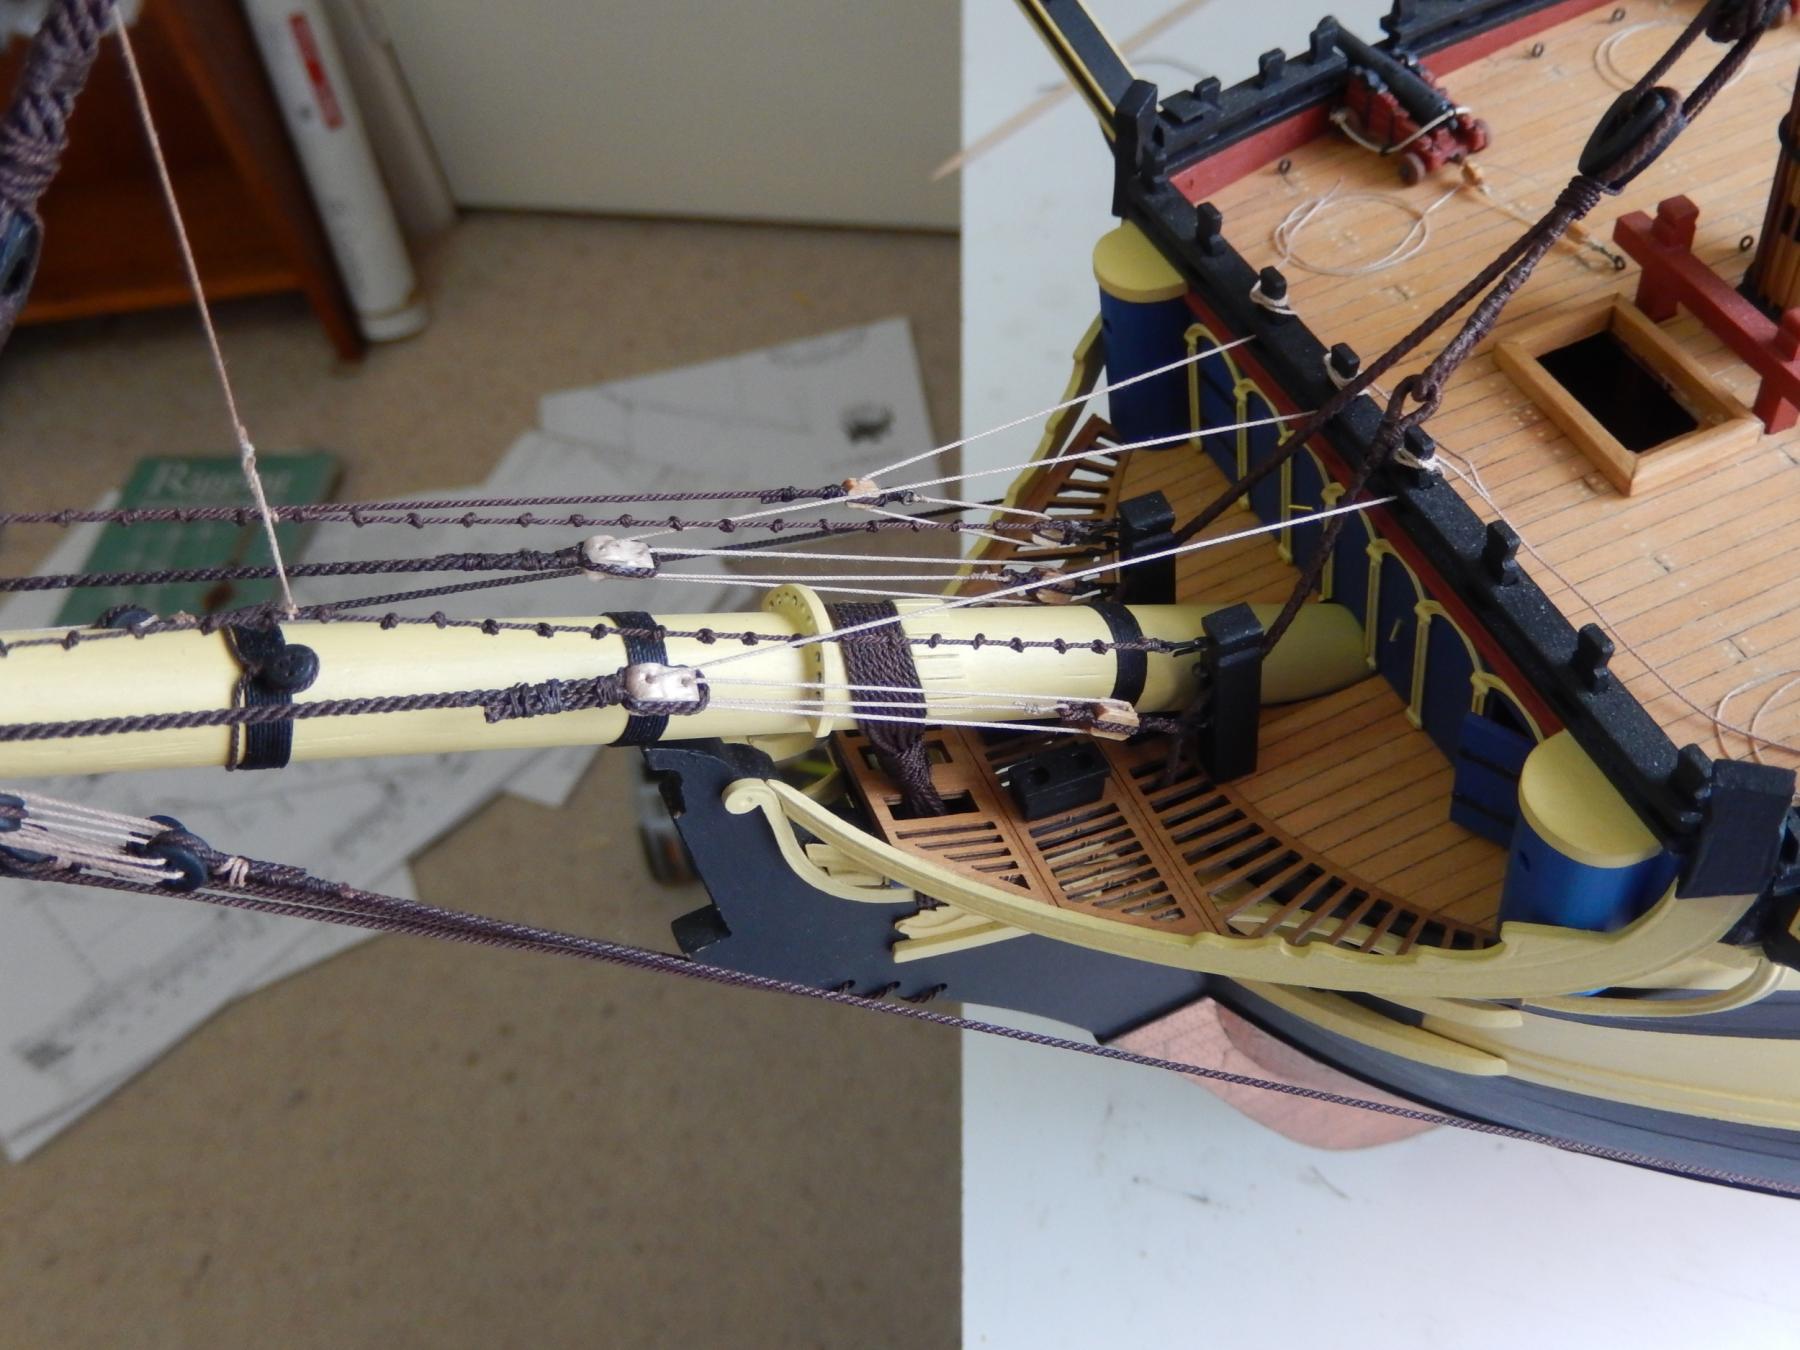
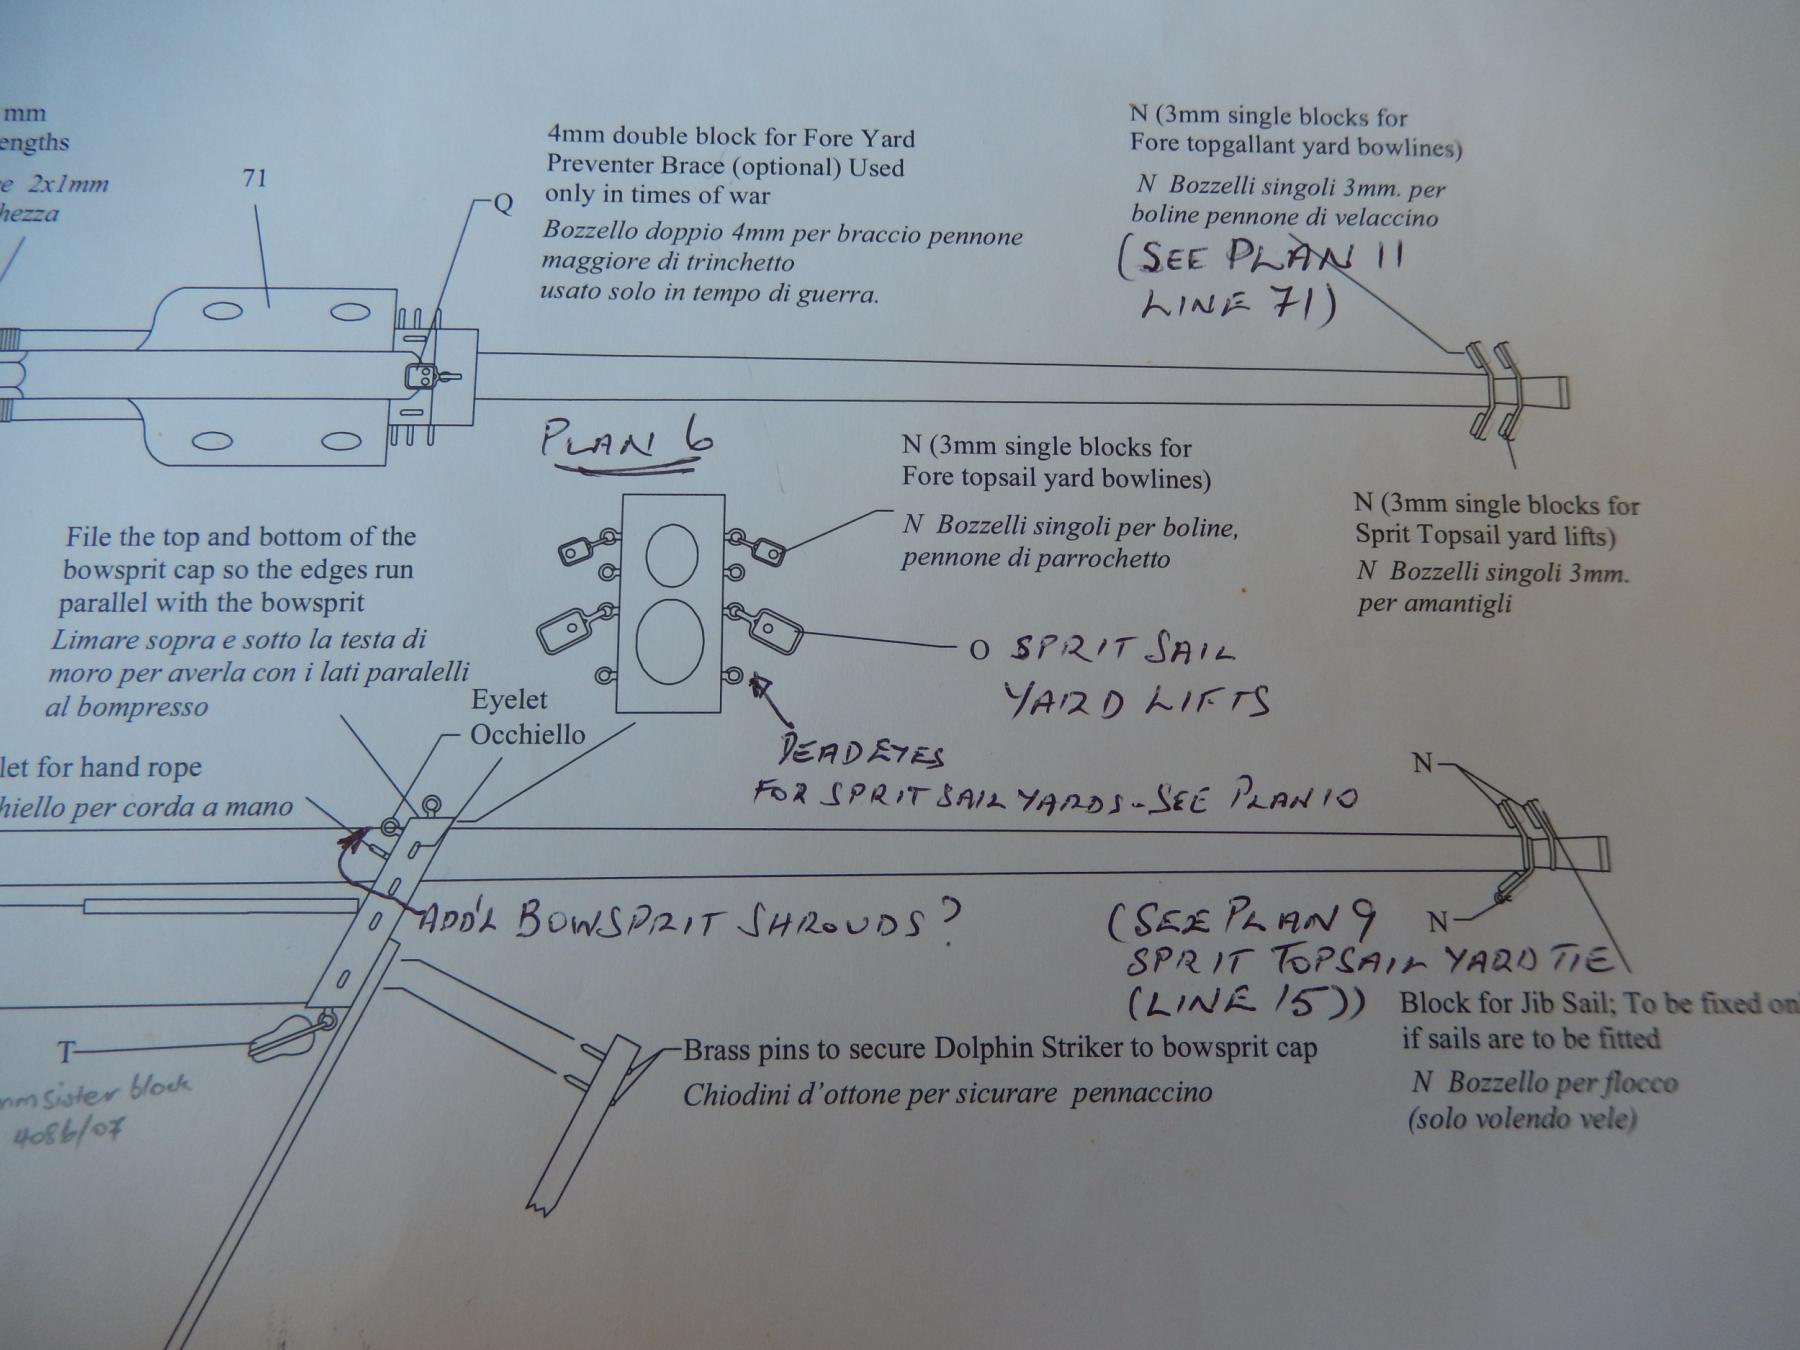
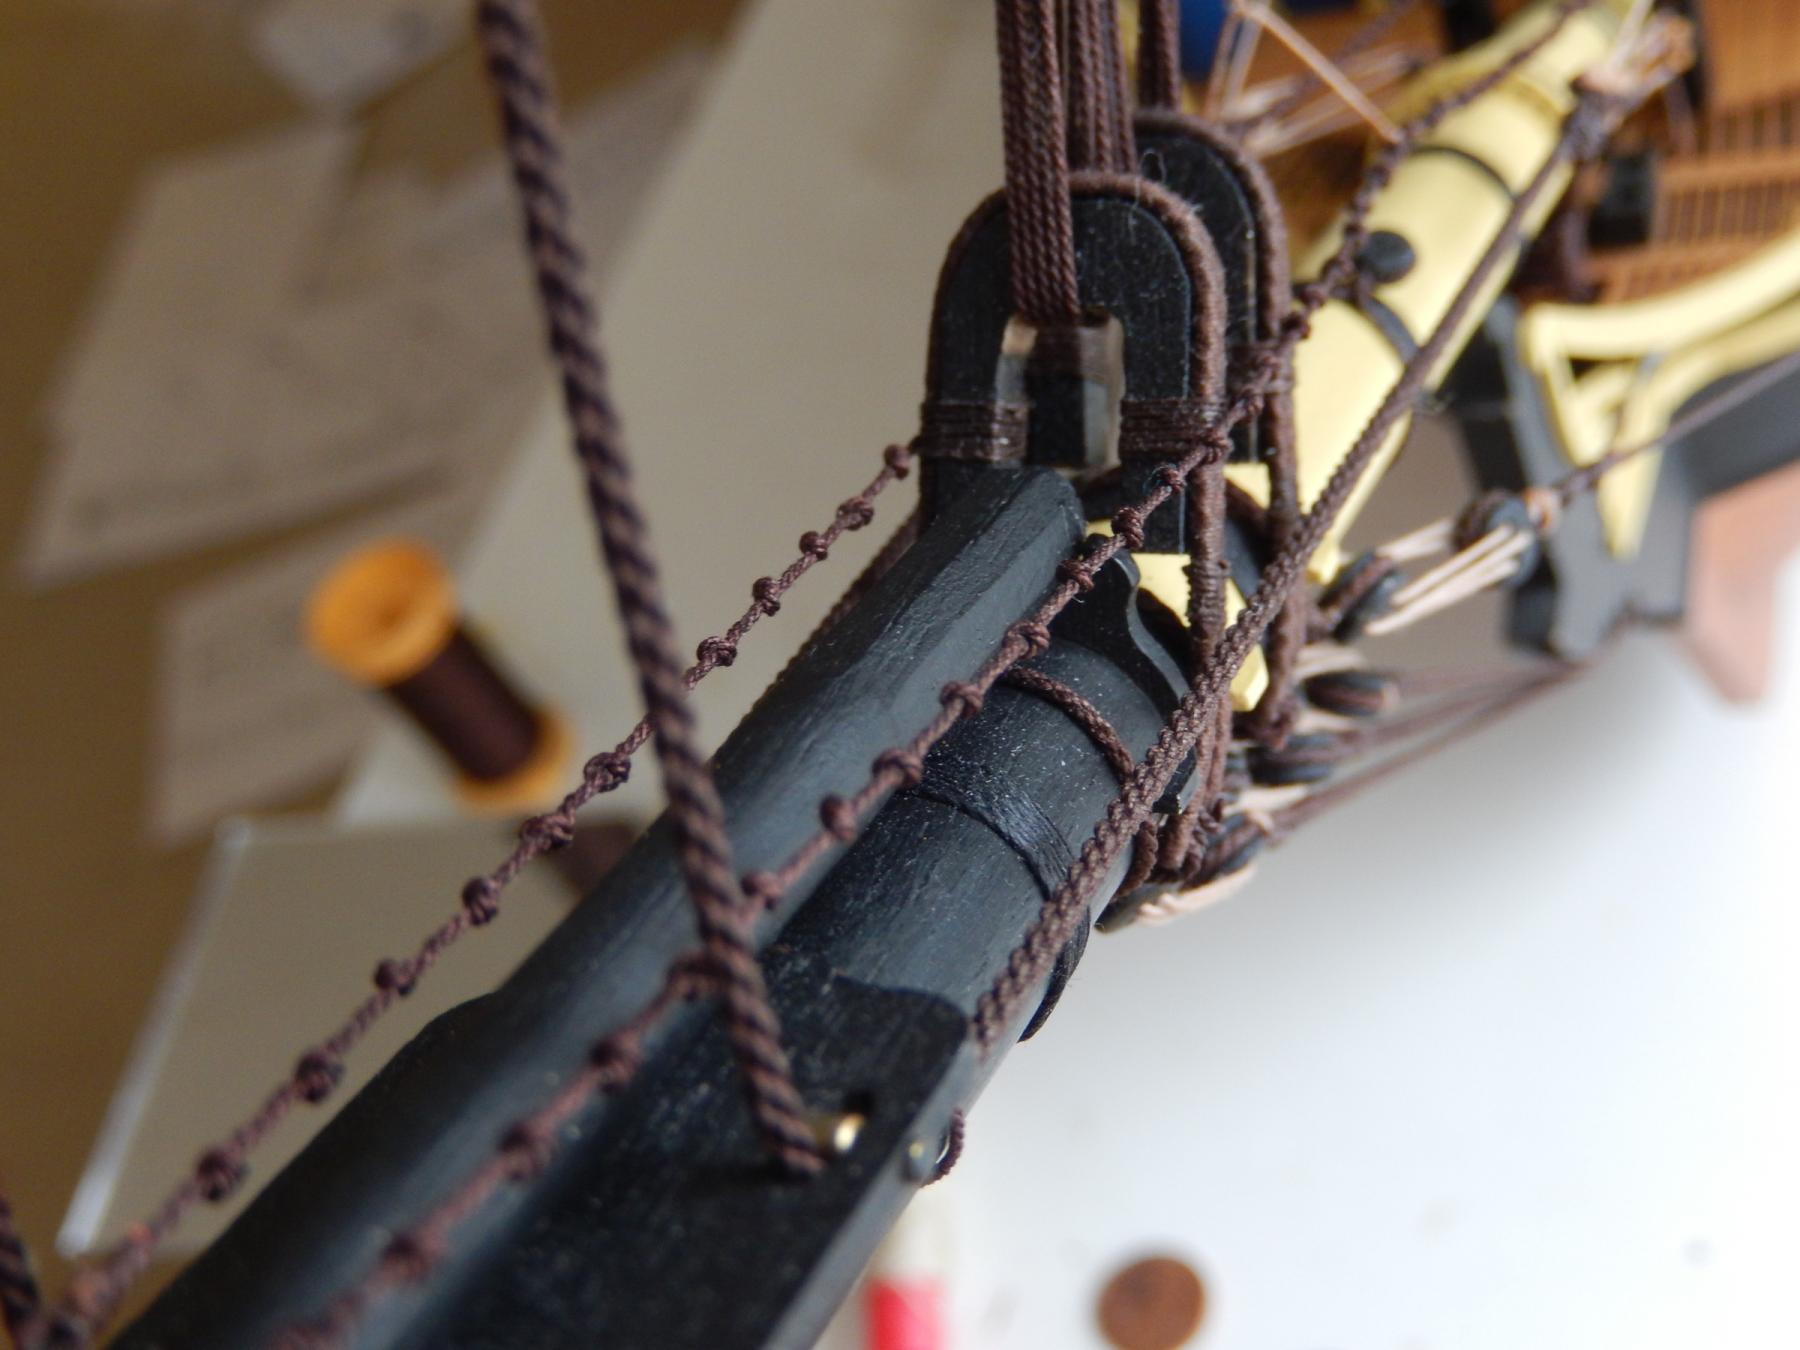
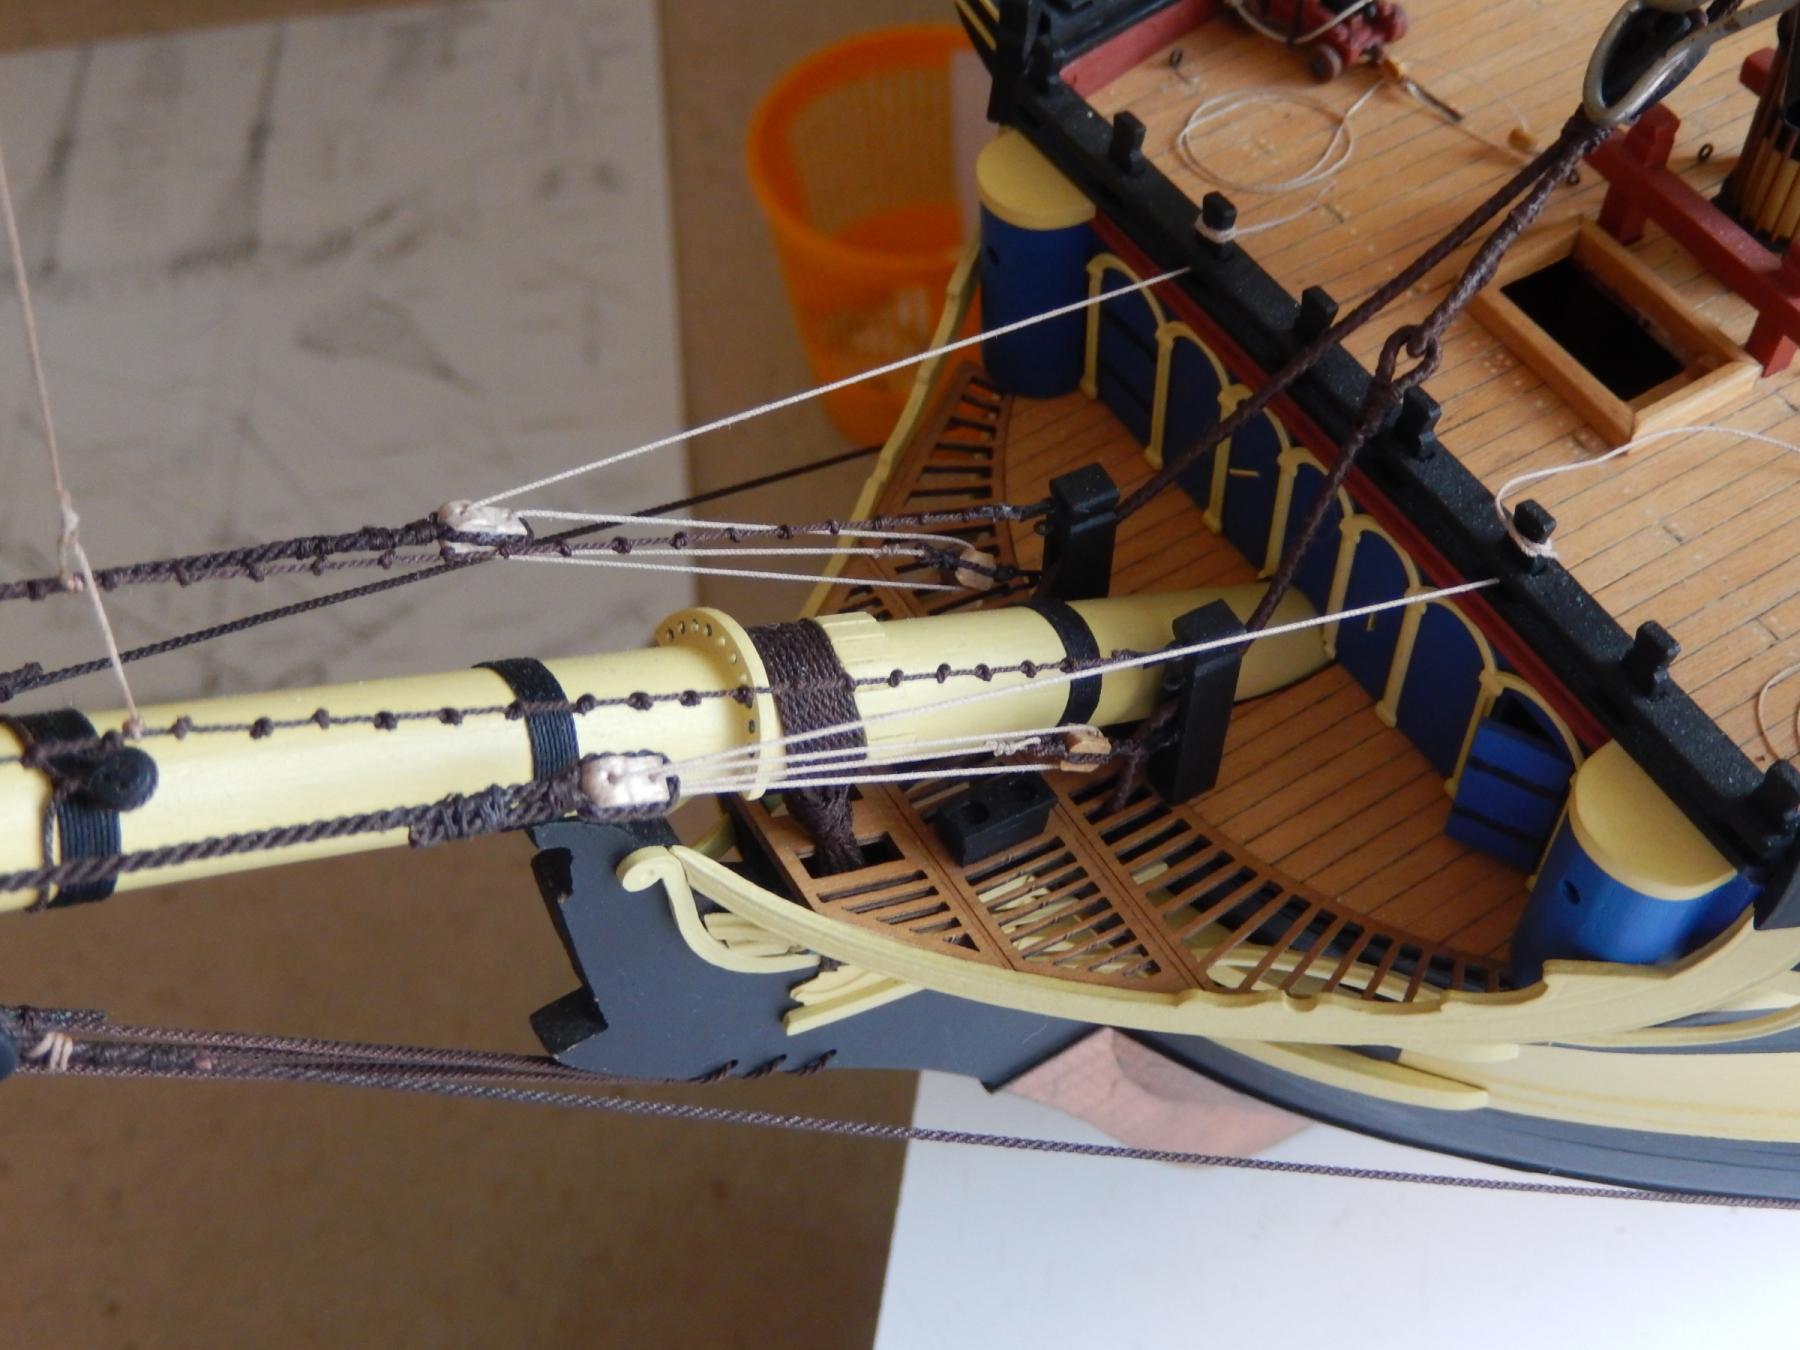
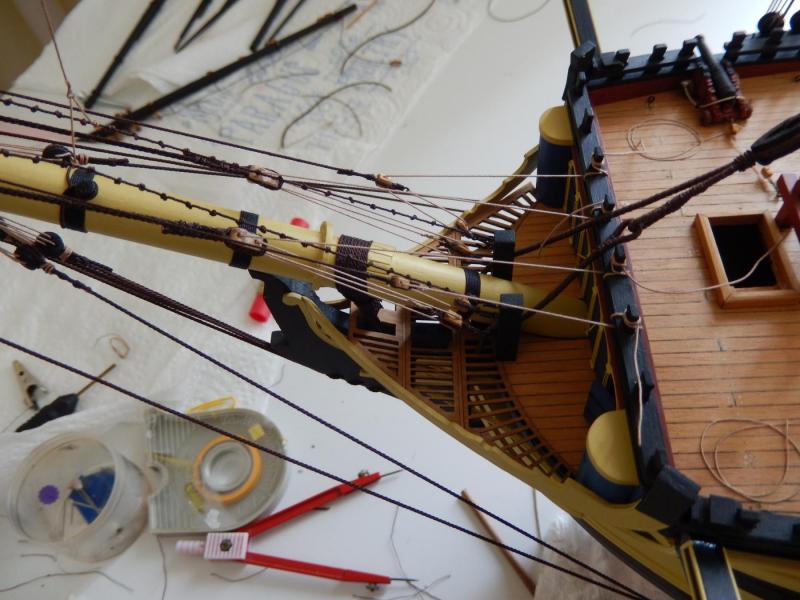
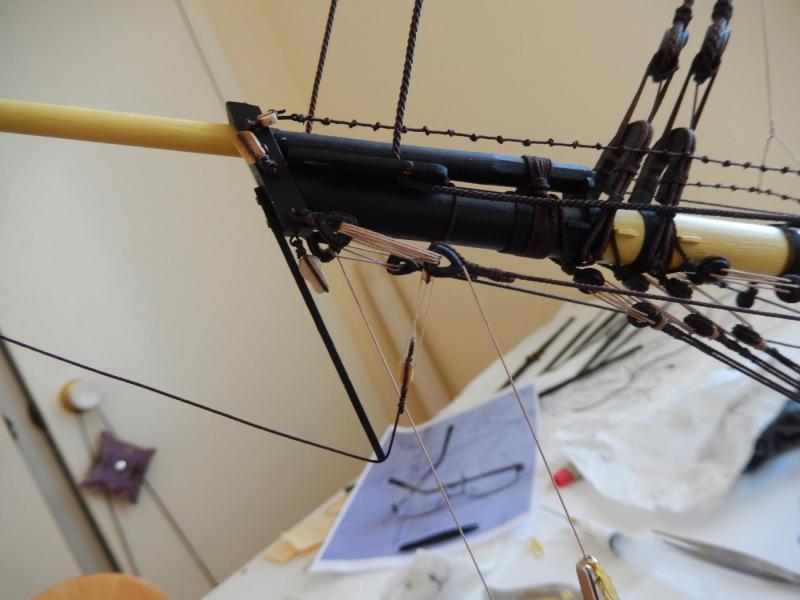
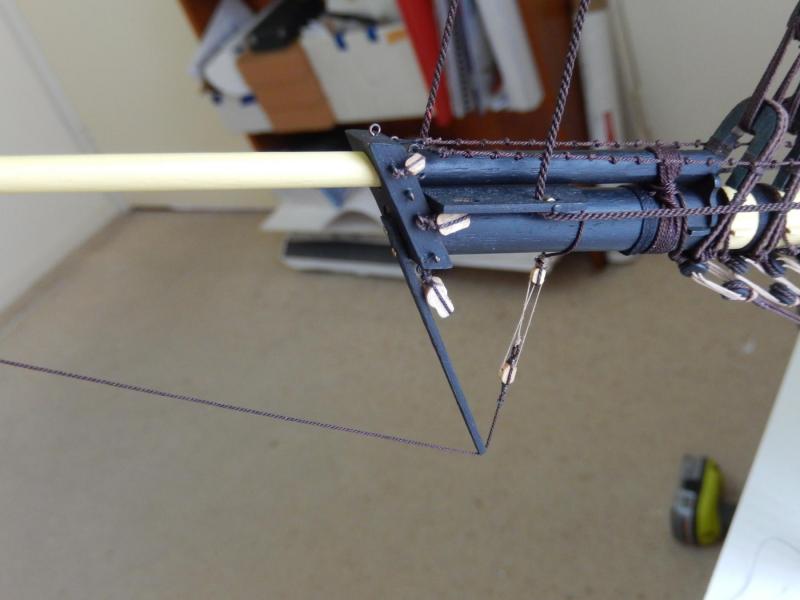
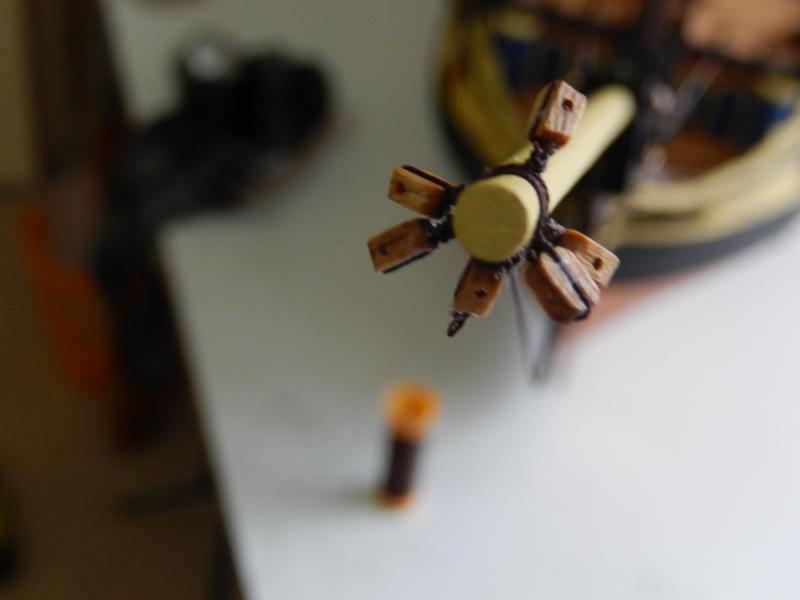
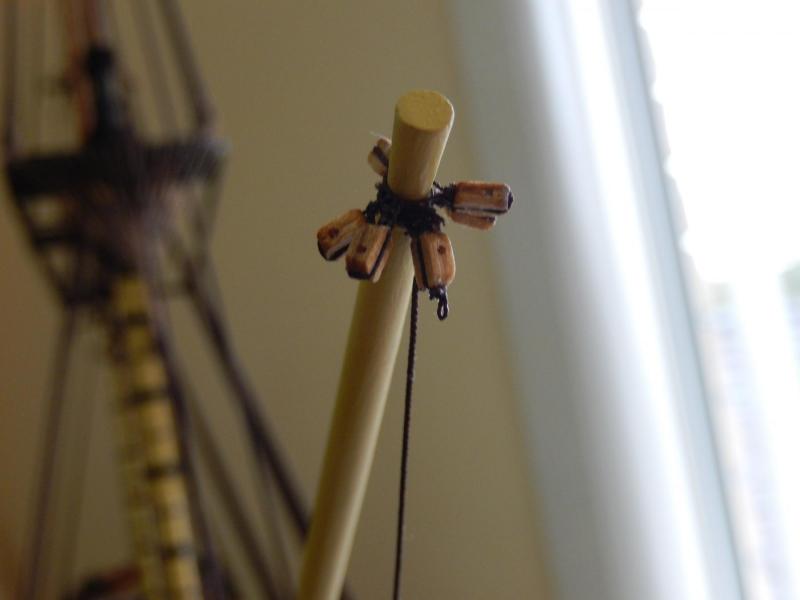
The bowsprit rigging has been quite frustrating. The detail such as it is, is spread over 5 plans. The dolphin striker, the martingale and the blocks are now installed on the jib boom. Here is one of the plans. It shows 6 blocks on the jib boom - which makes it very crowded indeed as some of the later photos show. The plan shows the cap with four vacant eyelets. The lowest are apparently for the spritsail yards. There is no provision for fixing a second pair of bowsprit shrouds, though Arthur (aew) has used these eylets for both the yards and the shrouds. I will follow his lead. This leaves the top vacant pair. One of the plans seems to show the fore top gallant stay going through one of them, ending in a pair of blocks, finally tied off to (I presume) one of the bow timberheads. In fact once the fore top gallant stay goes through one of the blocks on the end of the jib boom, its route to the timberhead is a mystery to me. Anyway here is some progress. (The two brass nails here need a dab of paint.) This photo of the jib boom is not the best, but it is quite a good shot of my drill. Here are the six blocks. I don't know if they are ordered correctly as the plans anticipate mind-reading skills. It all looks rather crowded. It looks a bit like a dog's breakfast, with blocks all over the place. What appears to be residual PVA on some of the blocks doesn't show at all in the flesh. If this log appears to be a whinge, you're right. You're dealing with a man who, just two hours ago, was coming to the 18th hole putting for birdy, and who promptly three-puts. It's almost Friday night -clearly alcohol is the only solution.


-
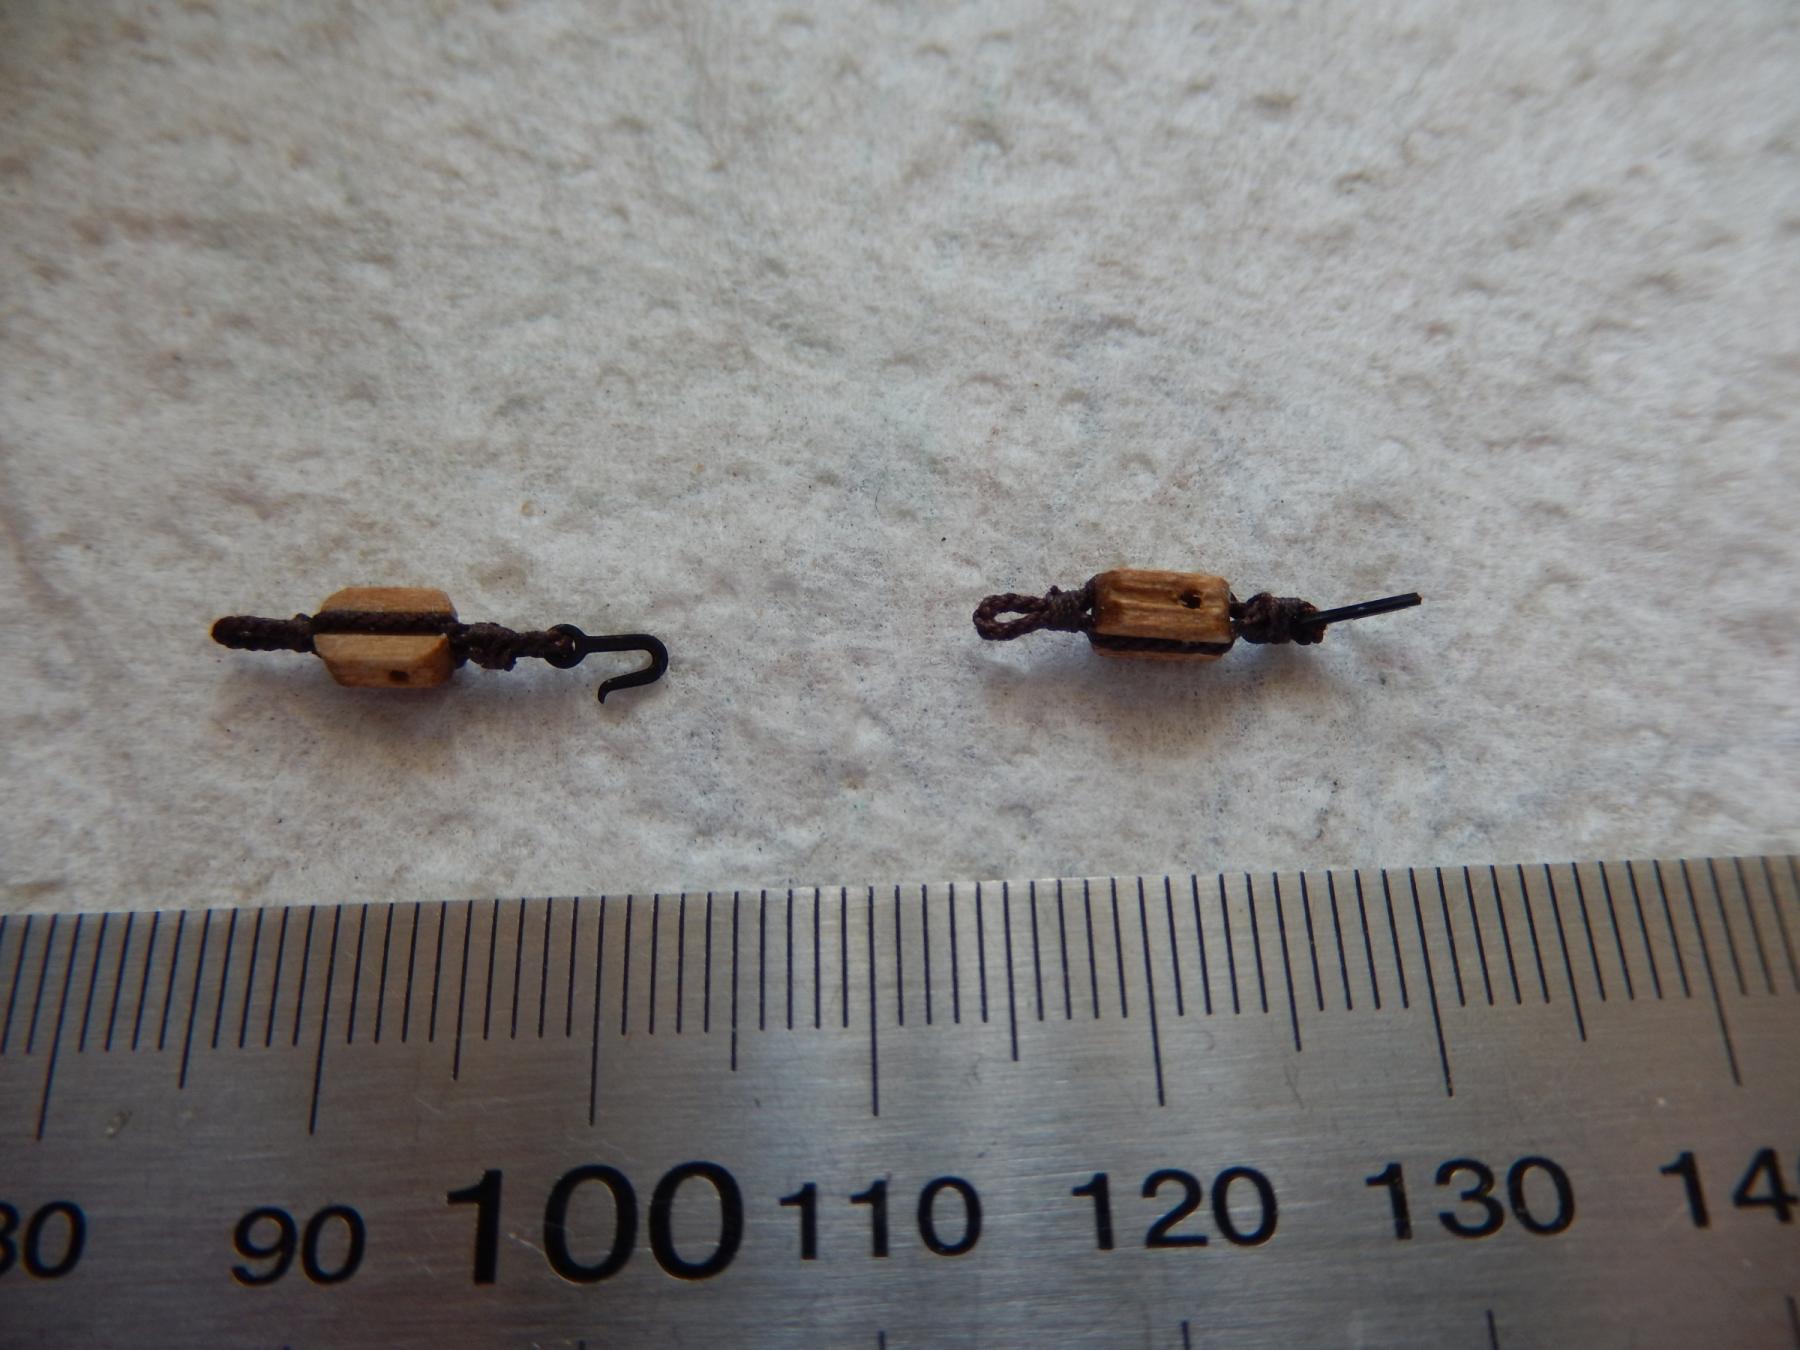
Thanks again Arthur for your help. The timberhead certainly does seem overcrowded, though there doesn't seem to be much alternative. I will definitely try your method of attaching hooks to blocks. I knew there had to be a better way than mine.
-
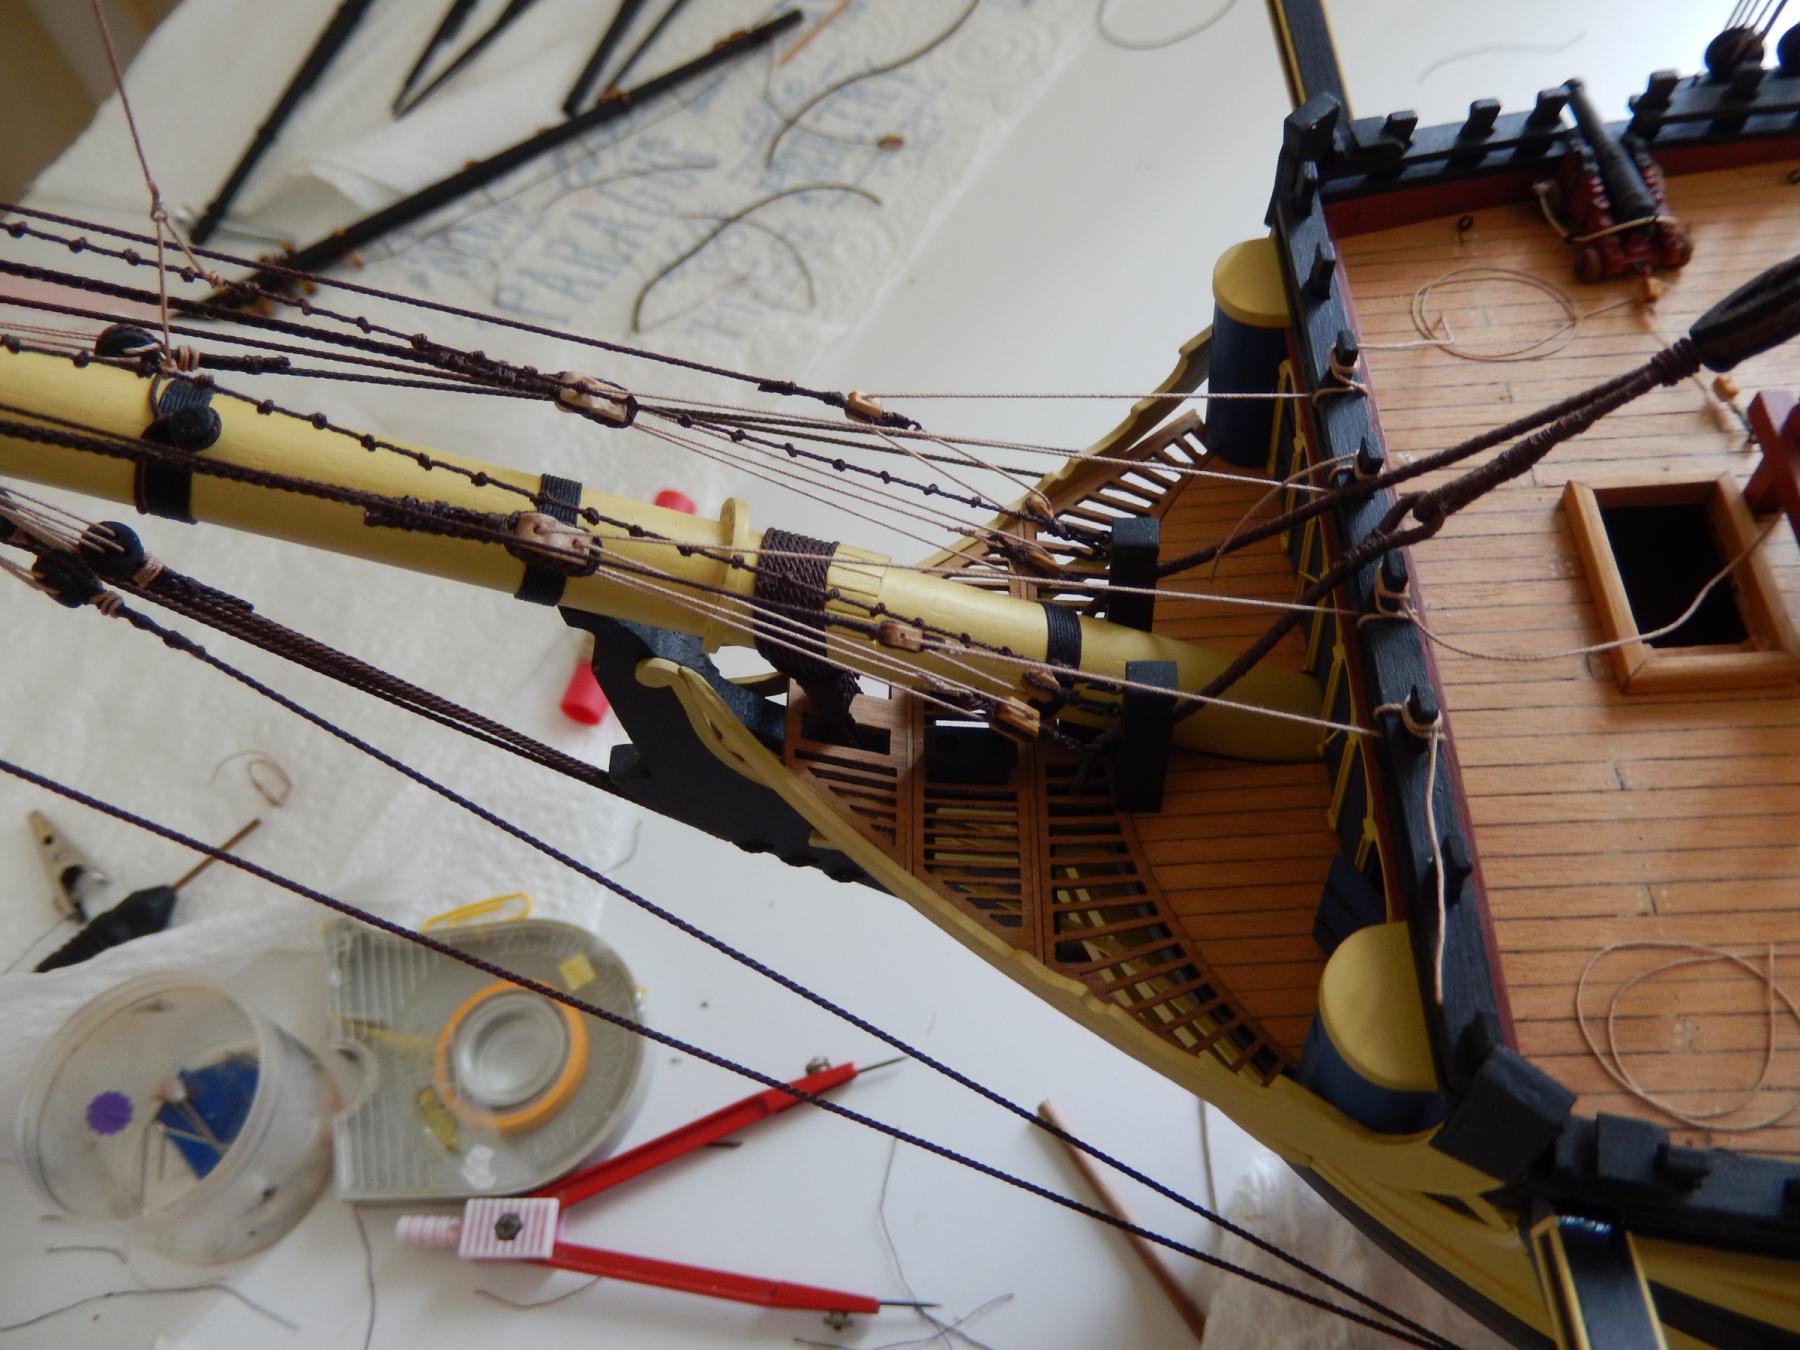
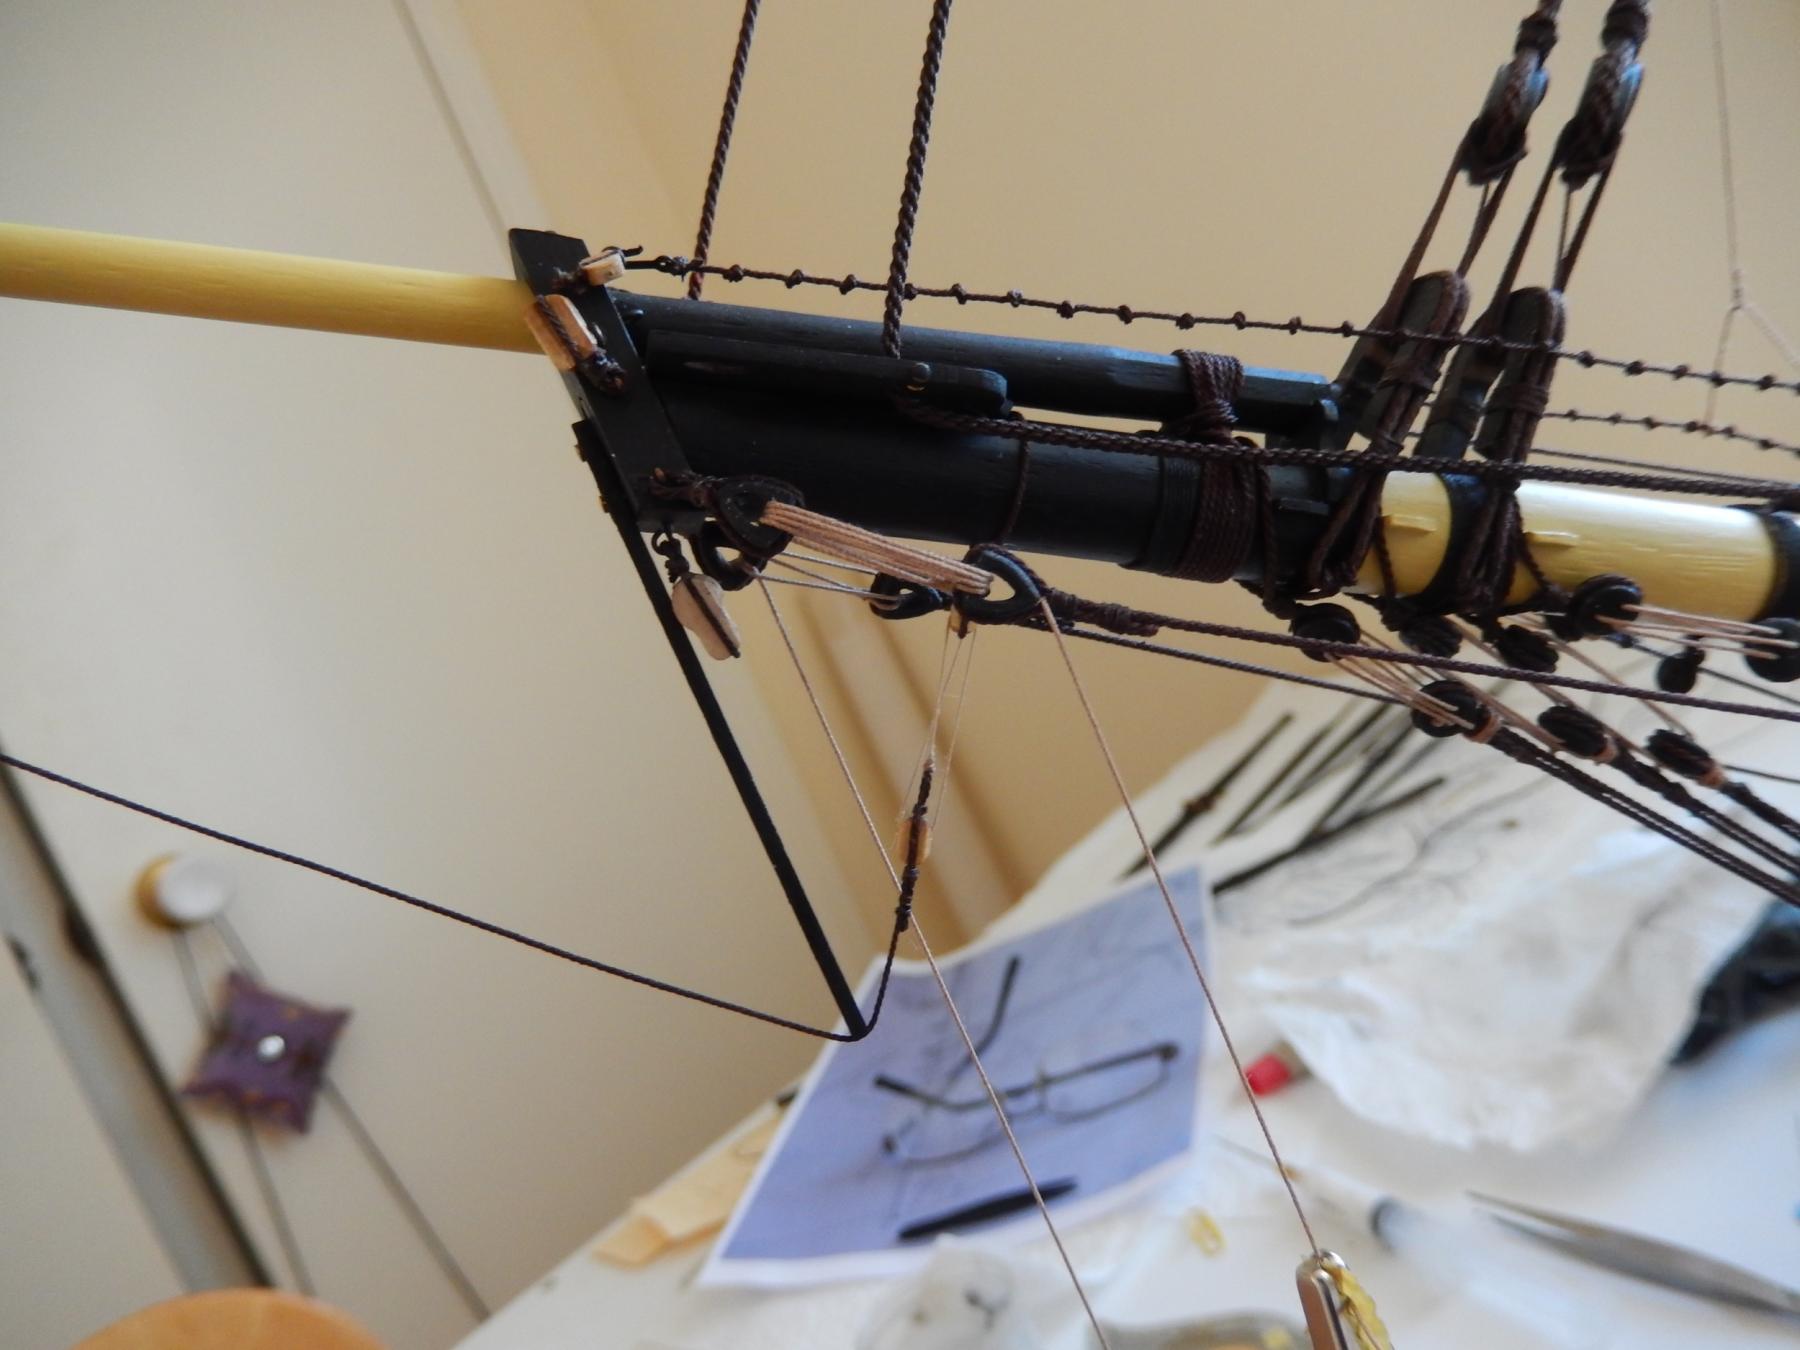
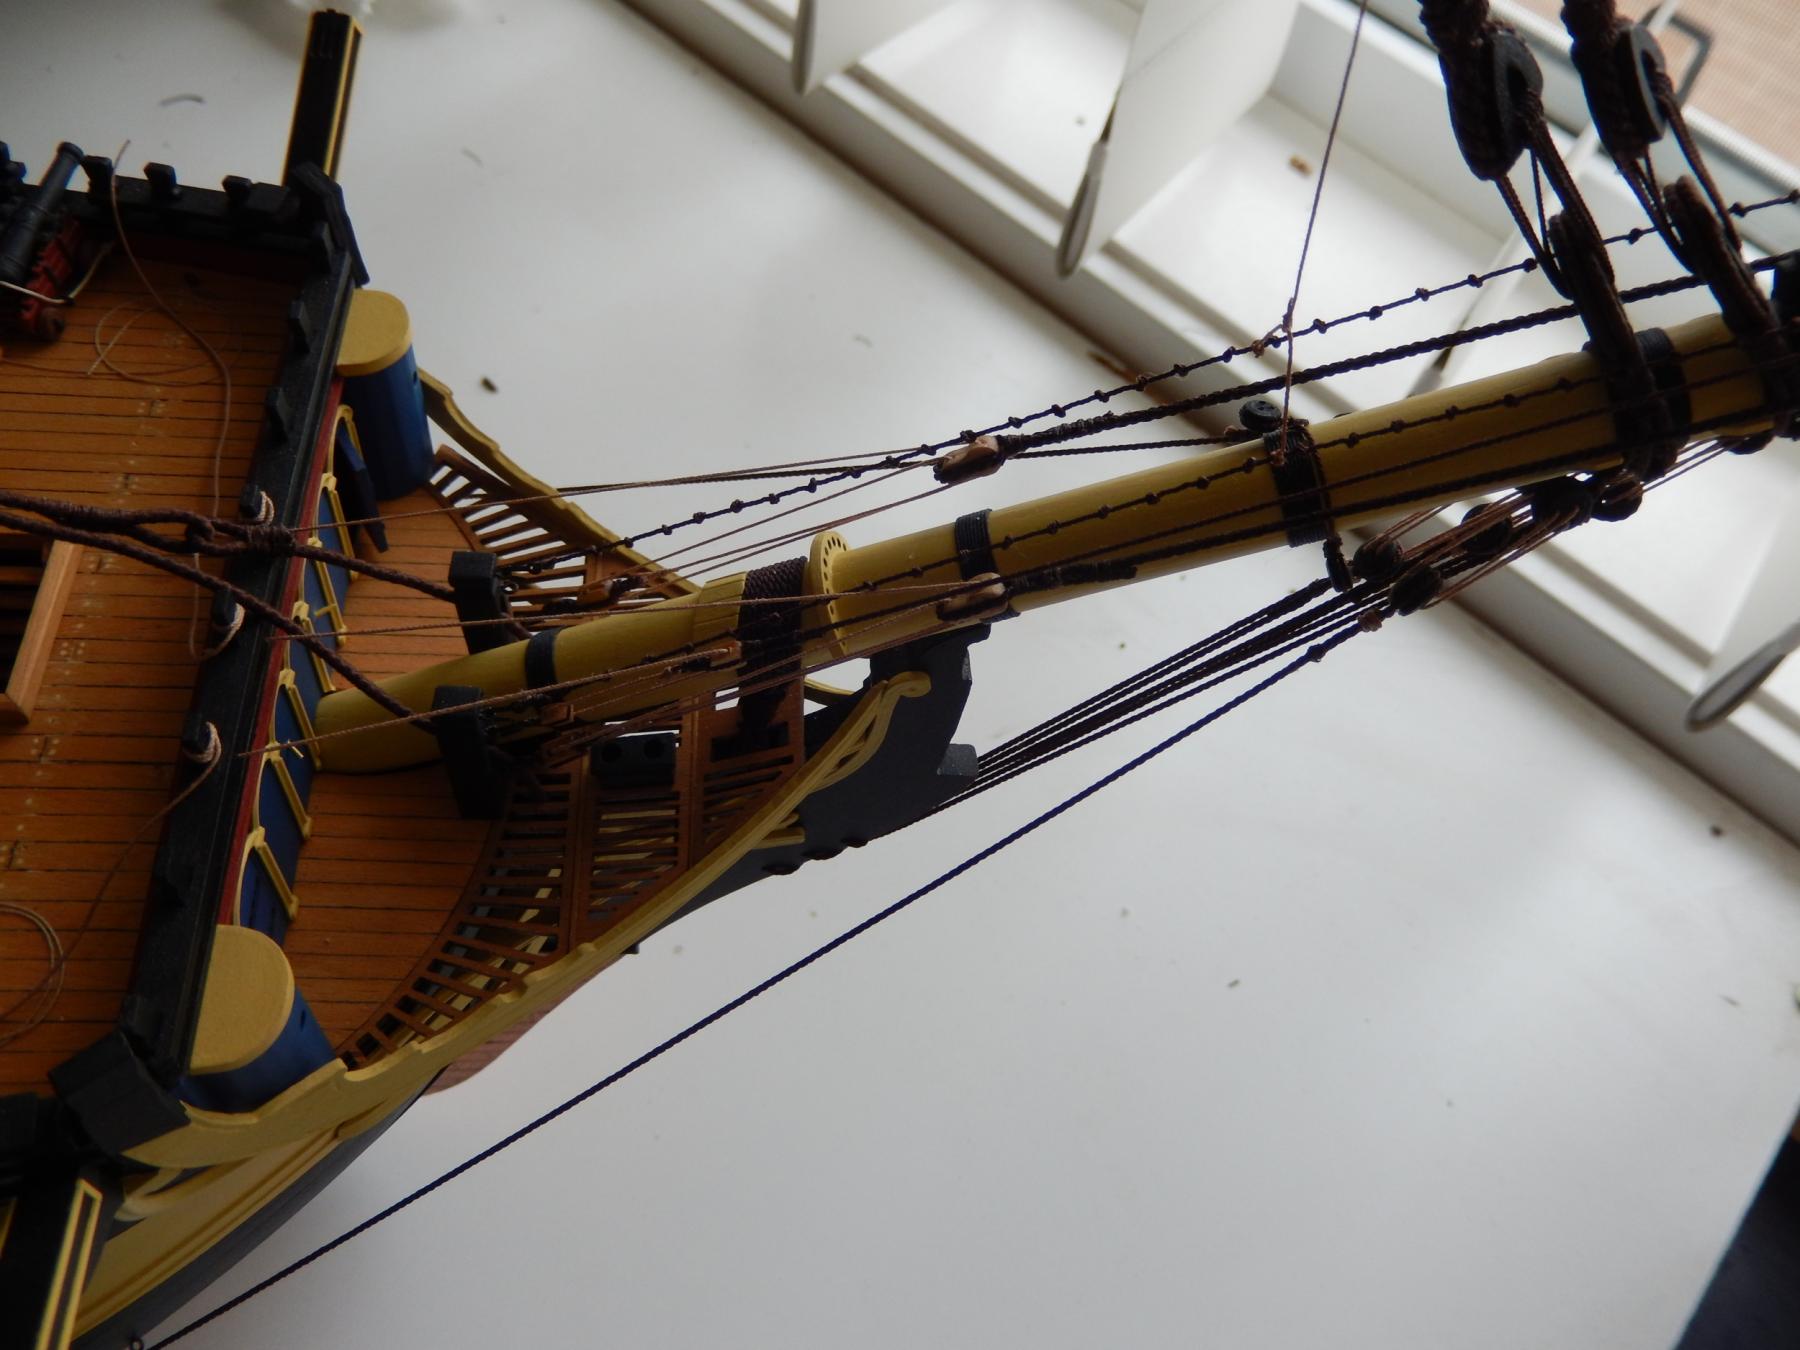
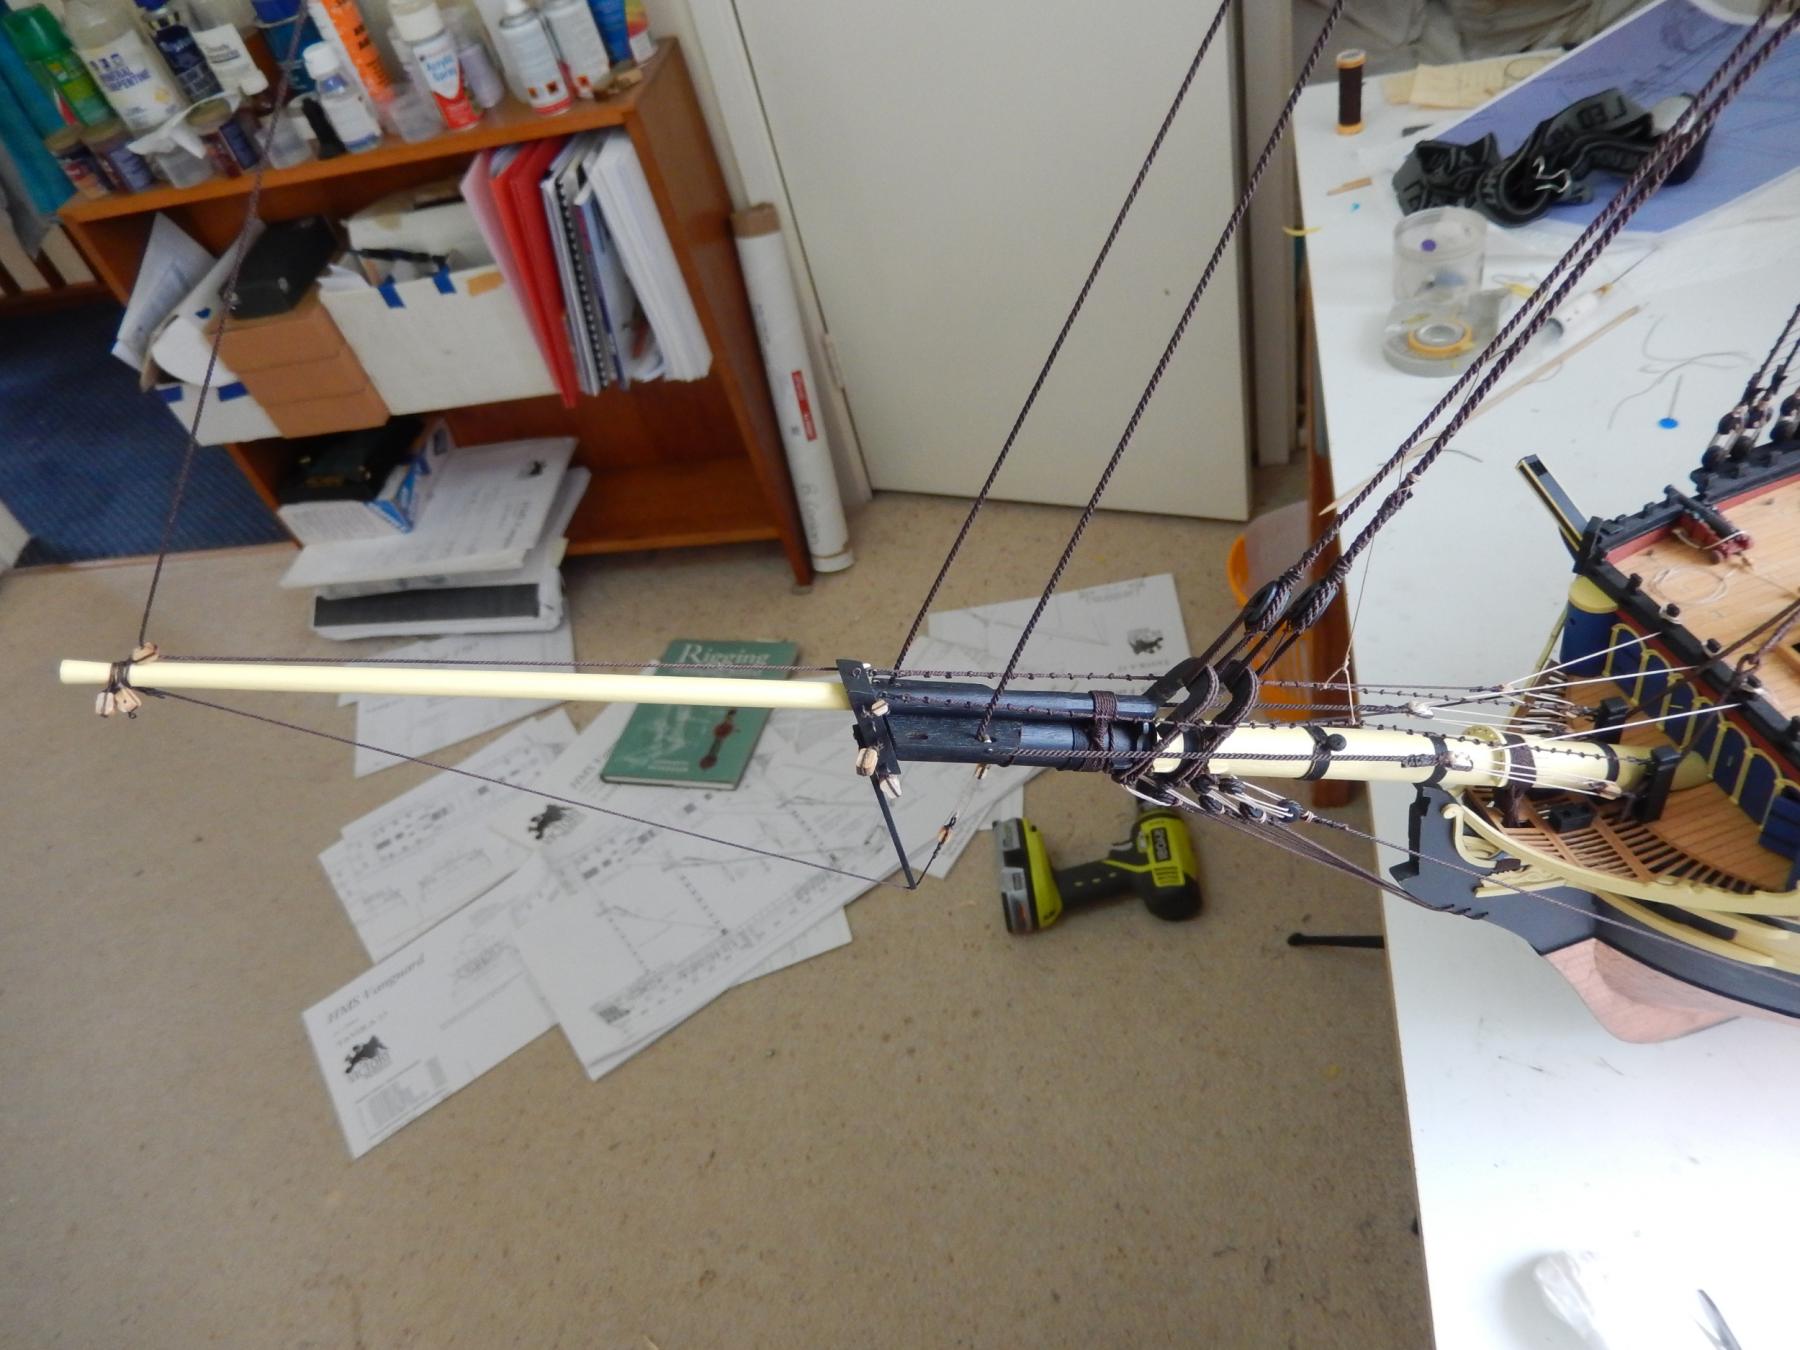
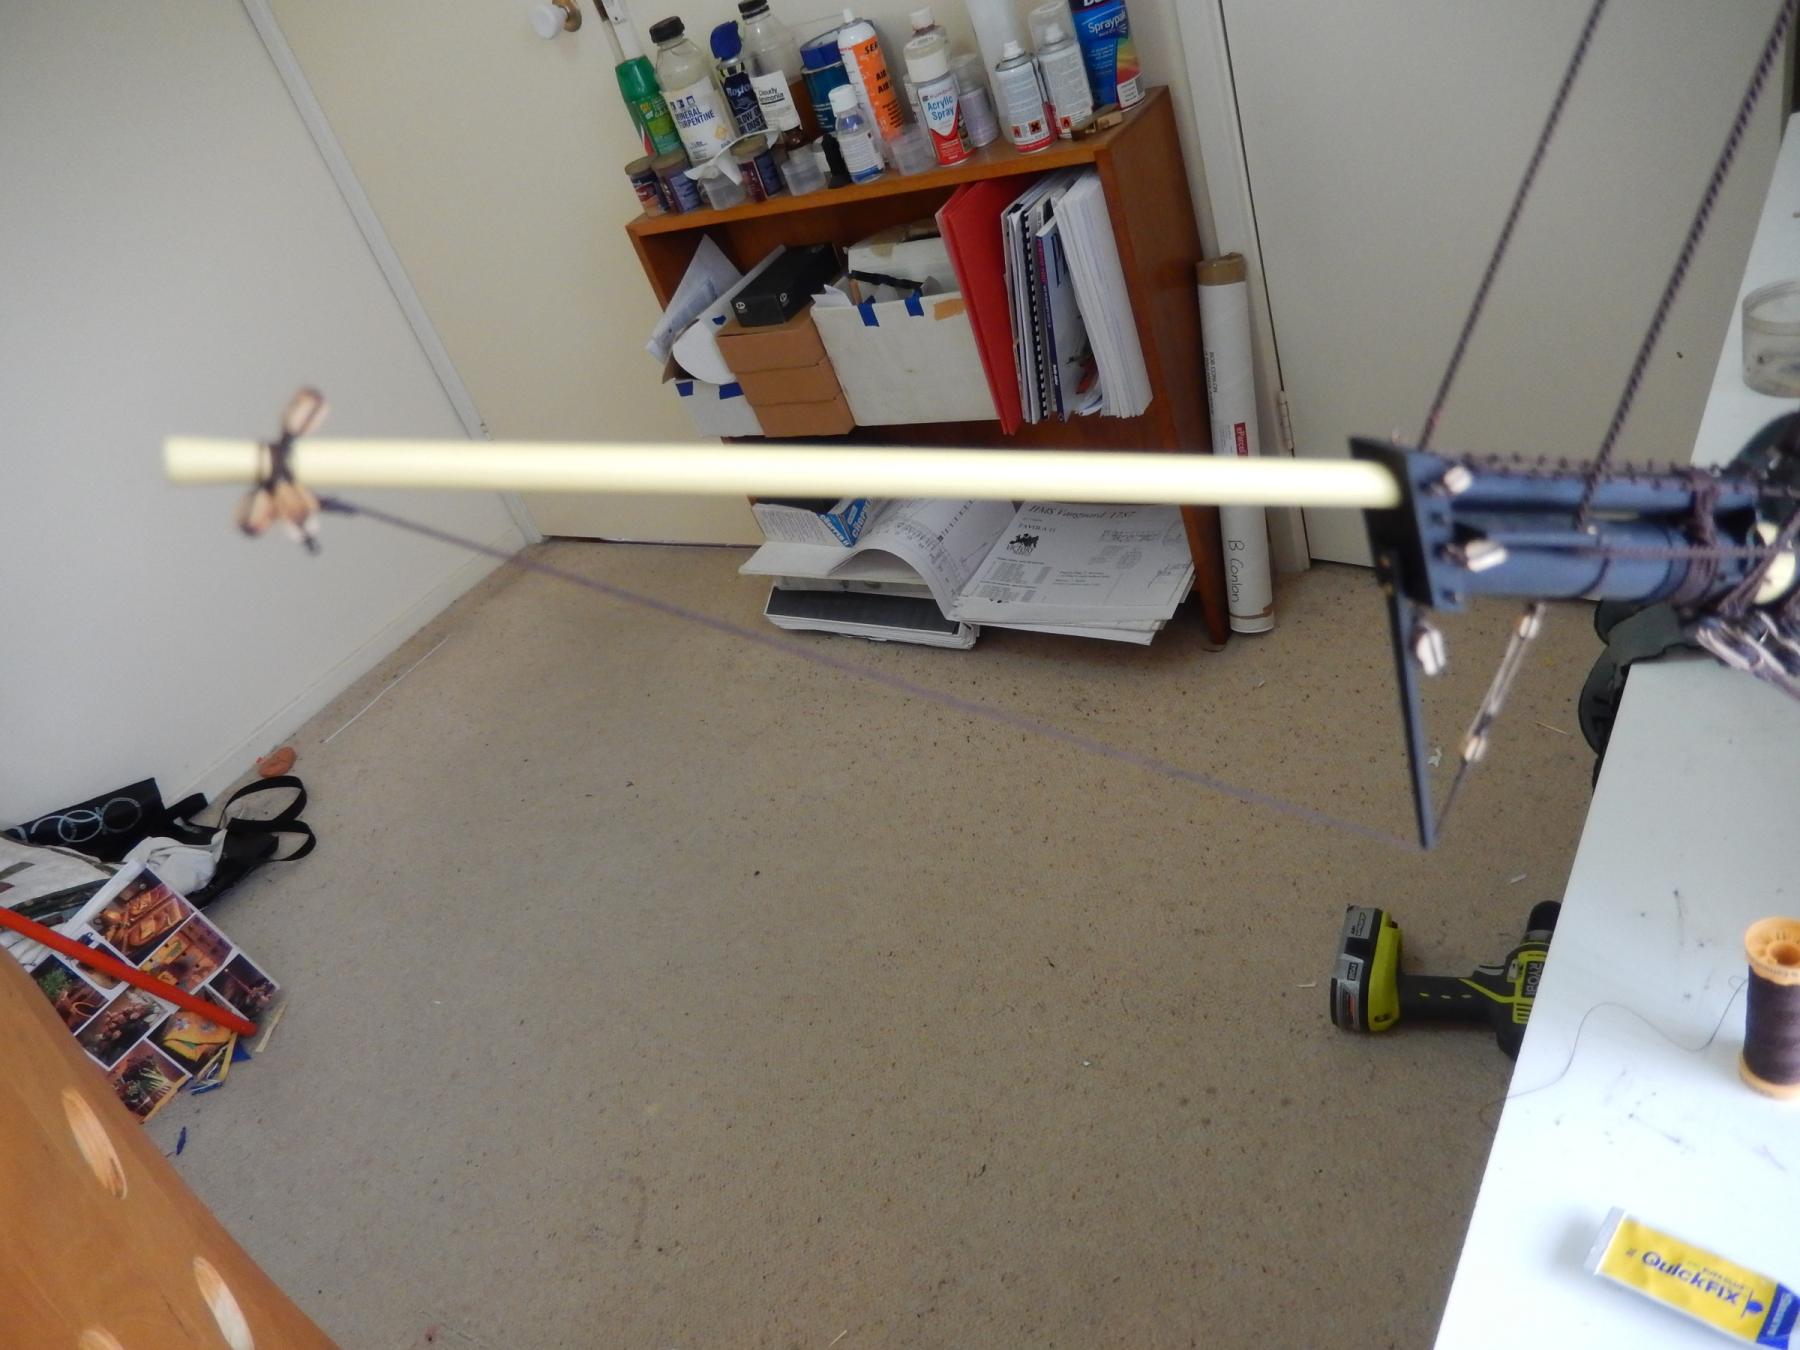
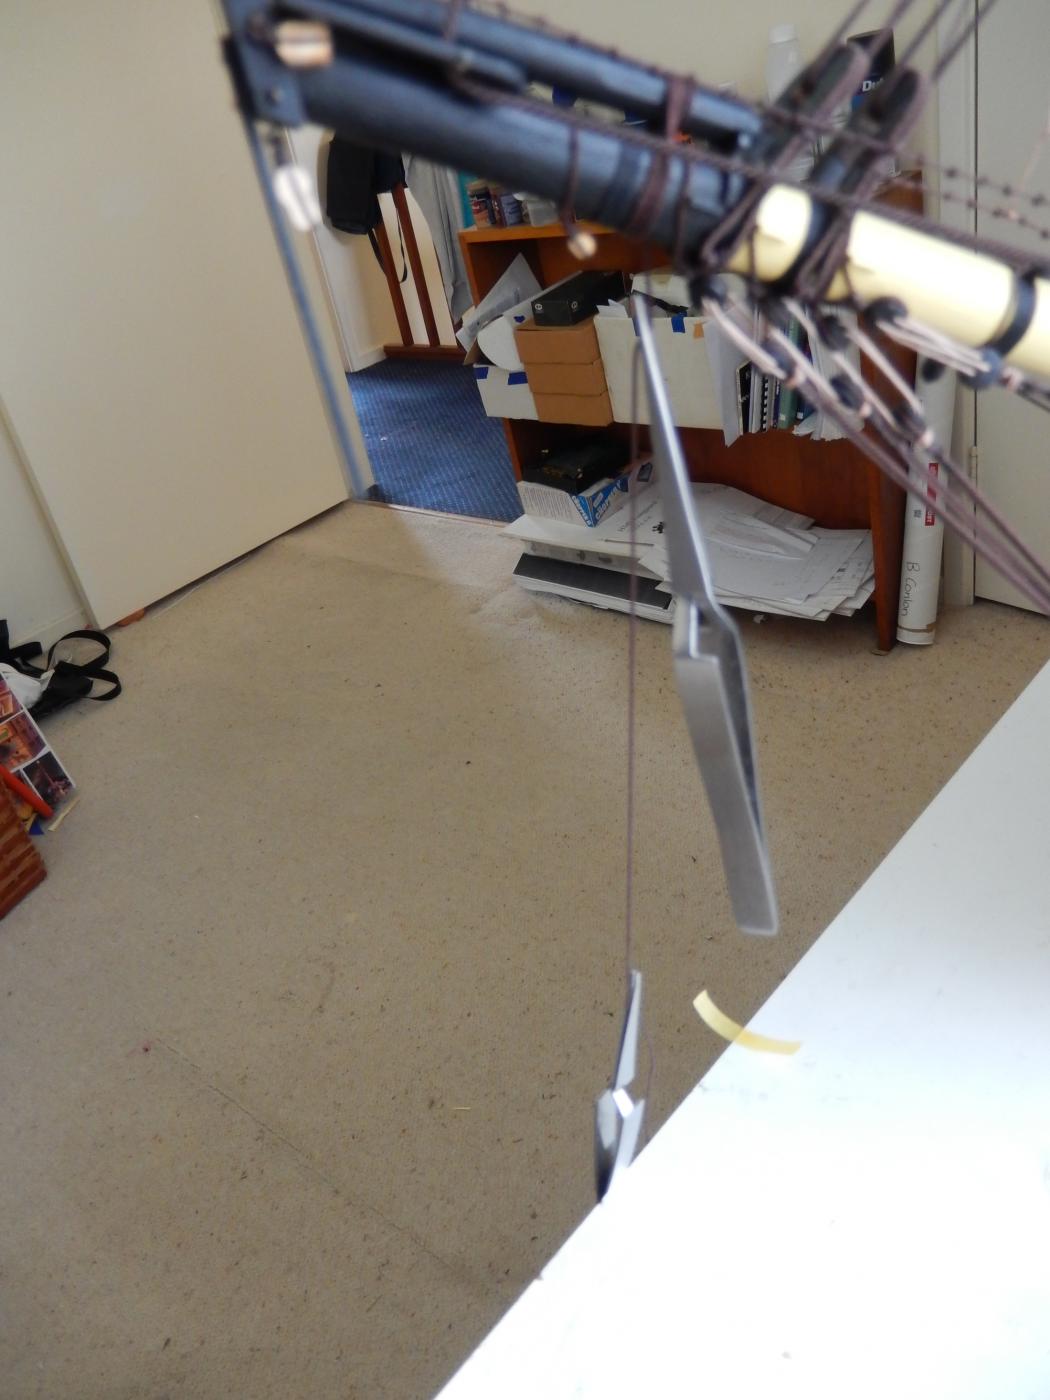
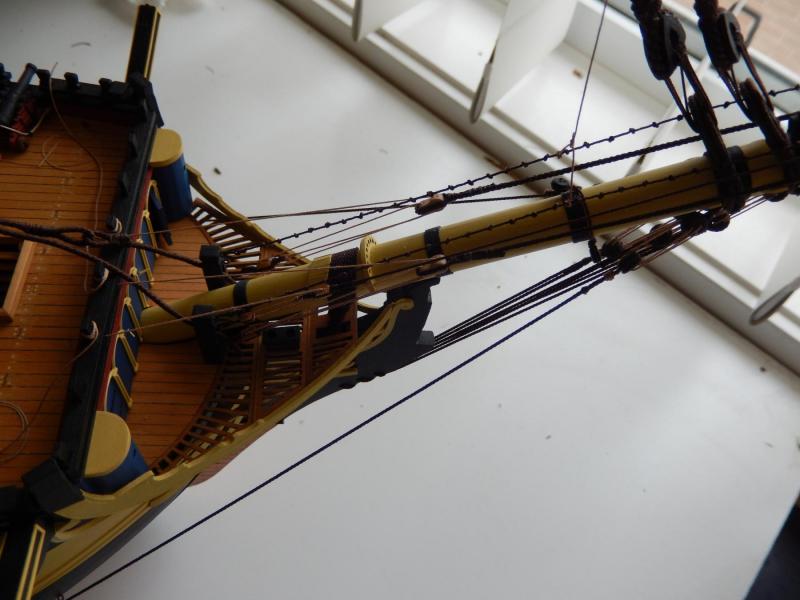
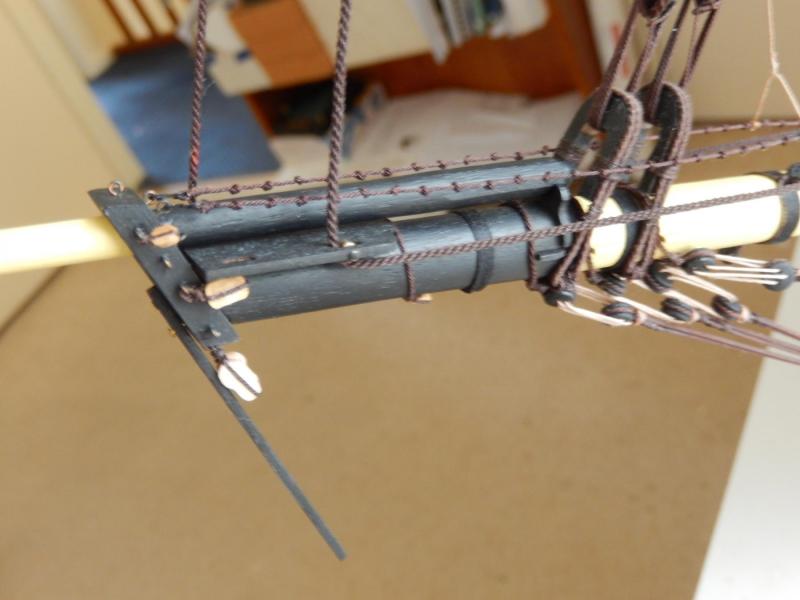
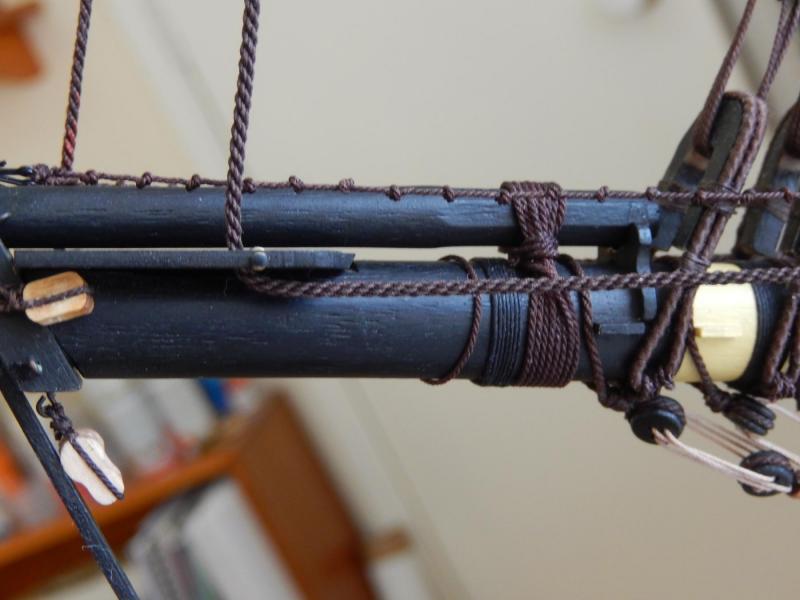
Until now I have resisted mounting the jib boom as, sticking out as it does, it is an invitation to disaster. Having already rigged much of the bowsprit when it came to the jib boom, it then occurred to me that gammoning the jib boom is required - though I can find no mention in the plans. Gammoning at this stage is quite fiddly, with all the rigging around it. In retrospect I probably would have done it earlier, but then there is he risk ...... Anyway here is the jib boom without the gammoning. The dolphin striker is only dry-fitted. It's another potential disaster. This isn't a very good photo, but I was trying to show a method of keeping the thread taut while winding the thread over the two spars. I used spring tweezers as weights, alternating the two as I wound the thread. There was always at least one pair hanging on the thread to keep it tight and in position. (I notice too, the carpet needs a vacuum. ) The result. PS: Thanks Jose. I'll certainly take up your offer.


-
At the moment Jose you would be following the blind. If I were you, I would take a cold shower and forget about redoing anything. There is the danger of making something quite acceptable into a small disaster. I've certainly had to take a few cold showers during my build. Just at the moment I am having all sorts of trouble in figuring out the rigging for the bowsprit and jib boom. I'm getting nowhere remarkably quickly, despite valuable help from Alan (AON) and looking at Arthur's (aew) log.
-
Alan :I spent a couple of hours trying to make a genuine eye splice with 0.75mm thread with very little success. I have now sort solace in a larger- than-fair share of a bottle of quite respectable wine. Things could be worse.I'll fake the eye splice. I am now trying to figure out the rigging for the bowsprit. I have looked at Arthur's log which is very helpful, but there are still some mysteries - to me at least. The complete rigging is shown in bits and pieces over 5 plans. I have photographed each diagram and then tried to put them all together which makes it all a little clearer. Unfortunately I will still need to consult my clairvoyant to fill in some gaps. If you think my photos will help you, let me know.
-
Thanks Alan, I have replied to your PM. Incidentally, you look far too young to be smoking a pipe.
-
Advice needed. Having more or less finished the main and fore stays without too much trouble, I was under the delusion that the remaining stays would be reasonably straight-forward. A close look at plan 8, rigging stage 2 suggests the top gallant stays are attached to the masts by mouses. I made three small mouses in preparation, and then thought to look at Petersson. No mouses - at least that I could see. I then looked at the photos on the kit's box. The photo was too small to see much but again it appeared there probably were no mouses. What did show up were royal stays for the main and fore. Back to the plans: nowhere could I find them. By this time I was smelling a rodent (sorry). Having consulted Petersson again, I am inclined to fit the royal stays. But I would like to know if indeed mouses should be used for the top gallants. It would obviously be easier just to tie a bit of thread around the masts, but I would like to get it as right as I can.
-
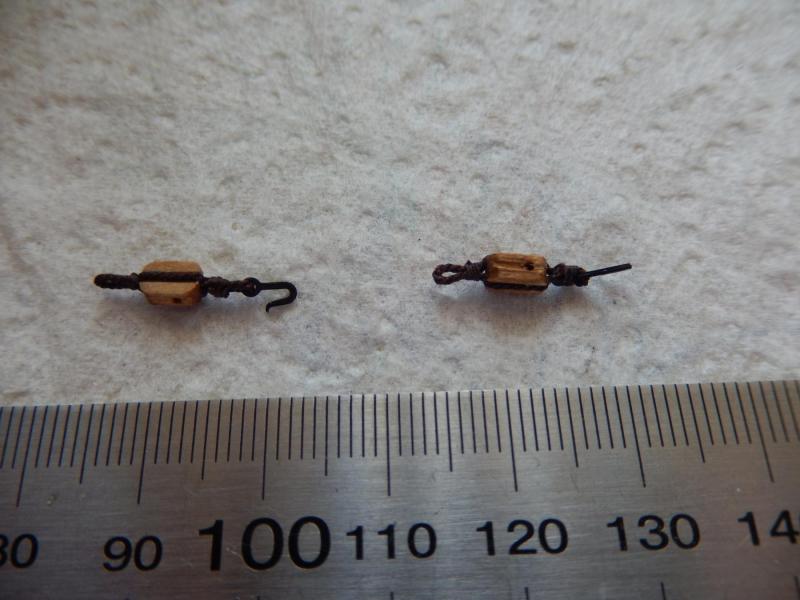
The main and fore stays are now tied off; the main stays temporarily. I won't finally tie them off until all the other stays are complete. I think it best to do all the necessary adjustments at the same time - tying one thing too tight may cause another to sag. I found it difficult to see just where the fore stays should be tied. I ended up tying them to posts on the head rail which seems to be the only place it could be. Looking at this and a couple of other things that will need to be tied off, it would help to be clairvoyant. This is how the fore stays look at the moment. I cut off the thread a little shorter than I would have liked, so when both are finally tied off, a couple of dummy rope coils will be needed to tidy things up. These are two of the blocks used with hooks attached. They came out acceptably (the photos accentuate the poor finish; they look better in the flesh), but I'm sure there are better ways to do it (suggestions welcome). I had meant to show the process I used - there are others to do so another time .... Here are the main stays temporarily tied off. When the time comes to finally tie them, I'm not sure how best to do it. A few dummy rope coils draped over the bitts will probably cover up any short-comings.


-
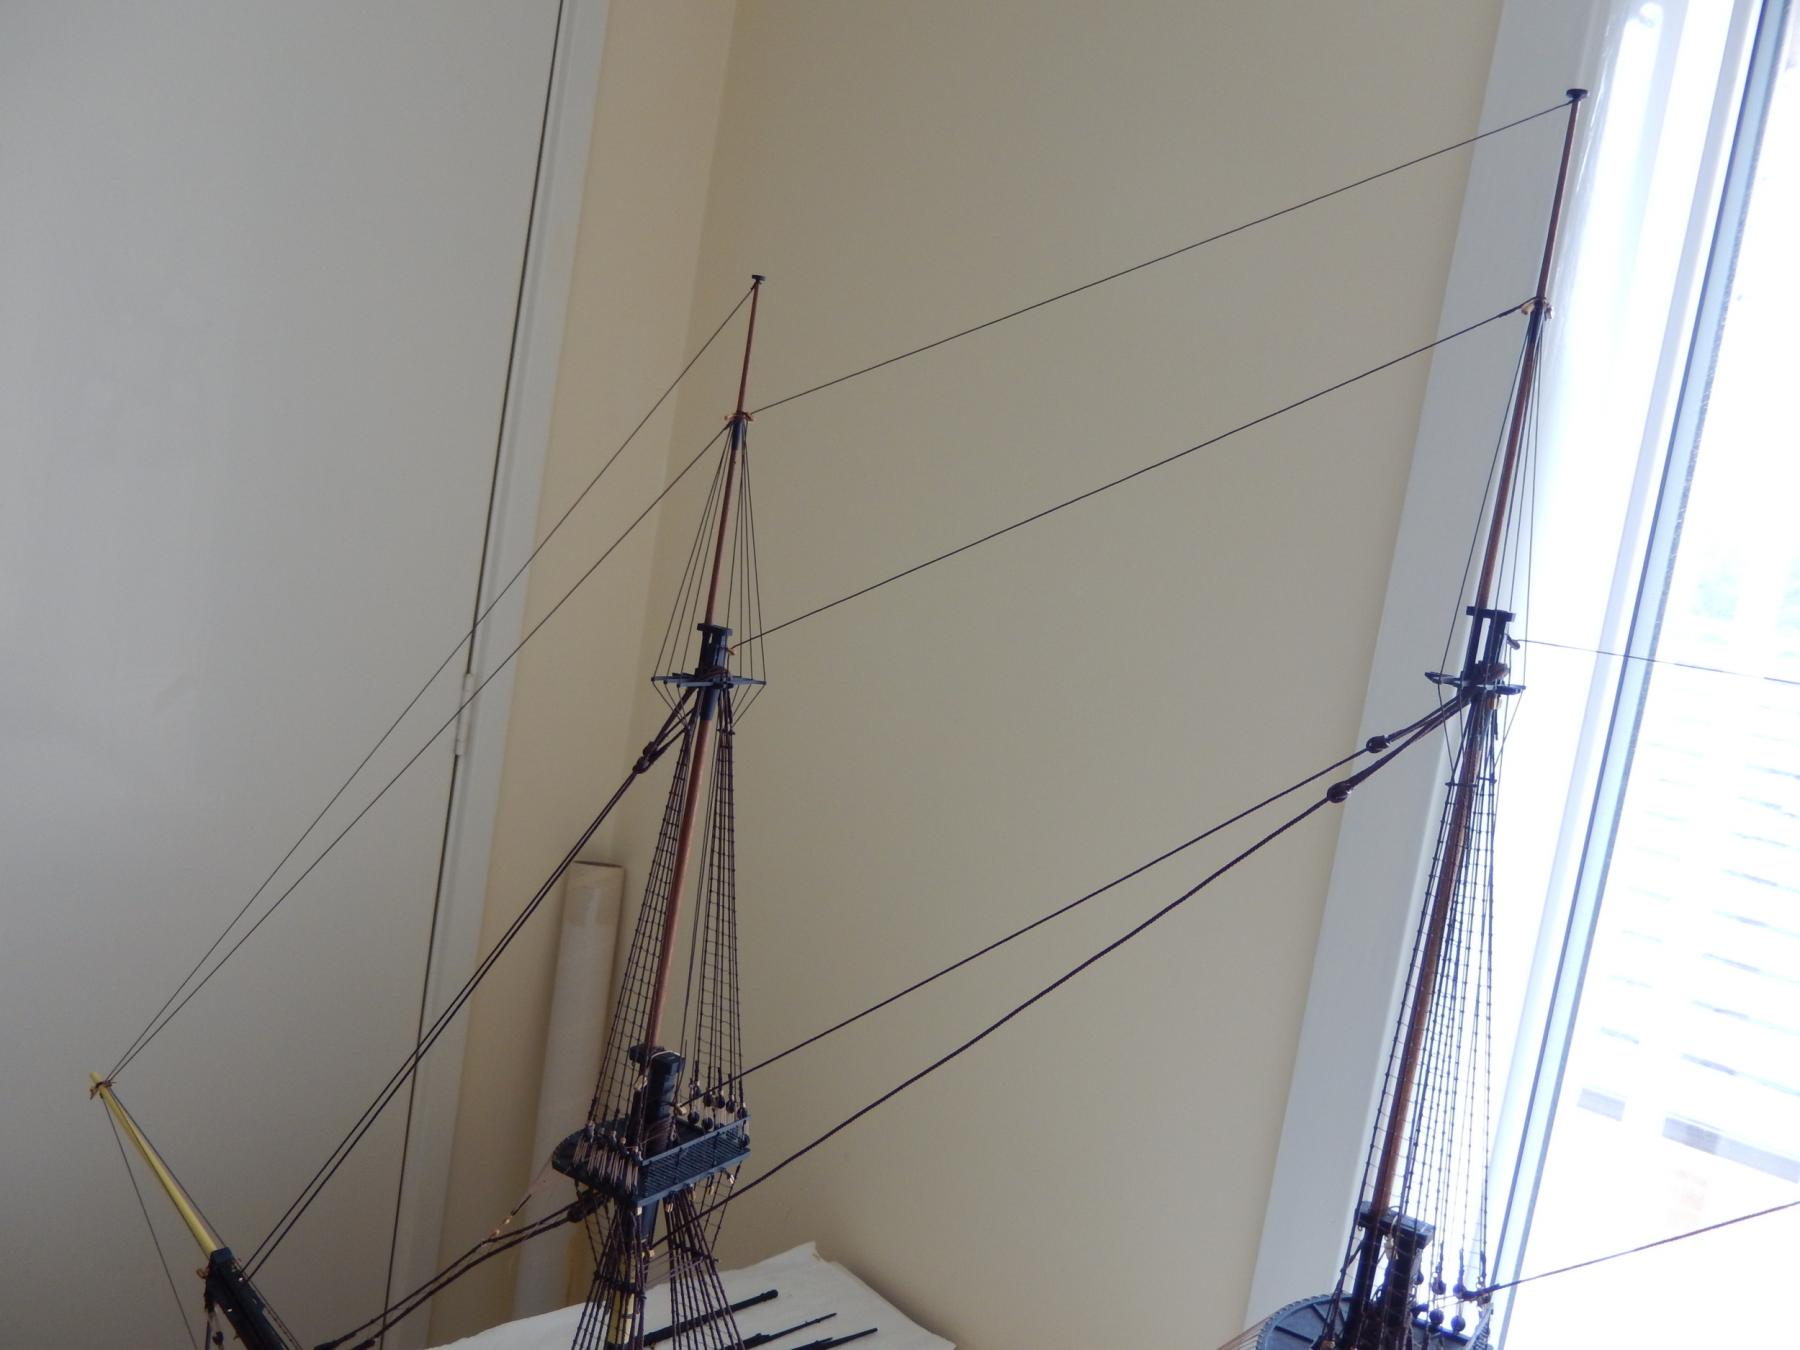
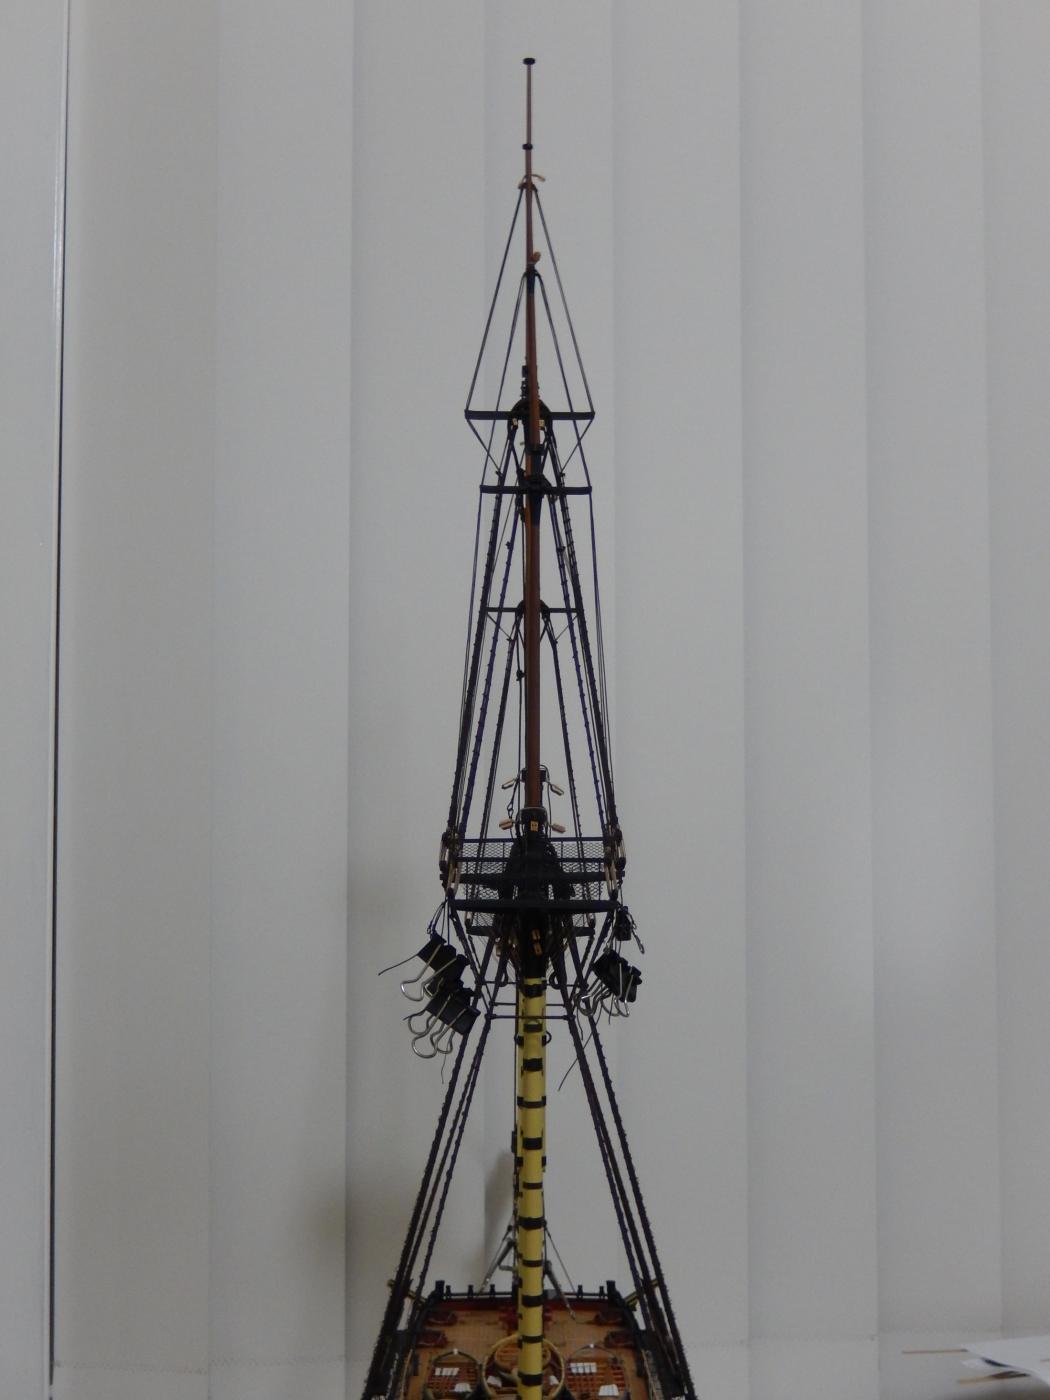
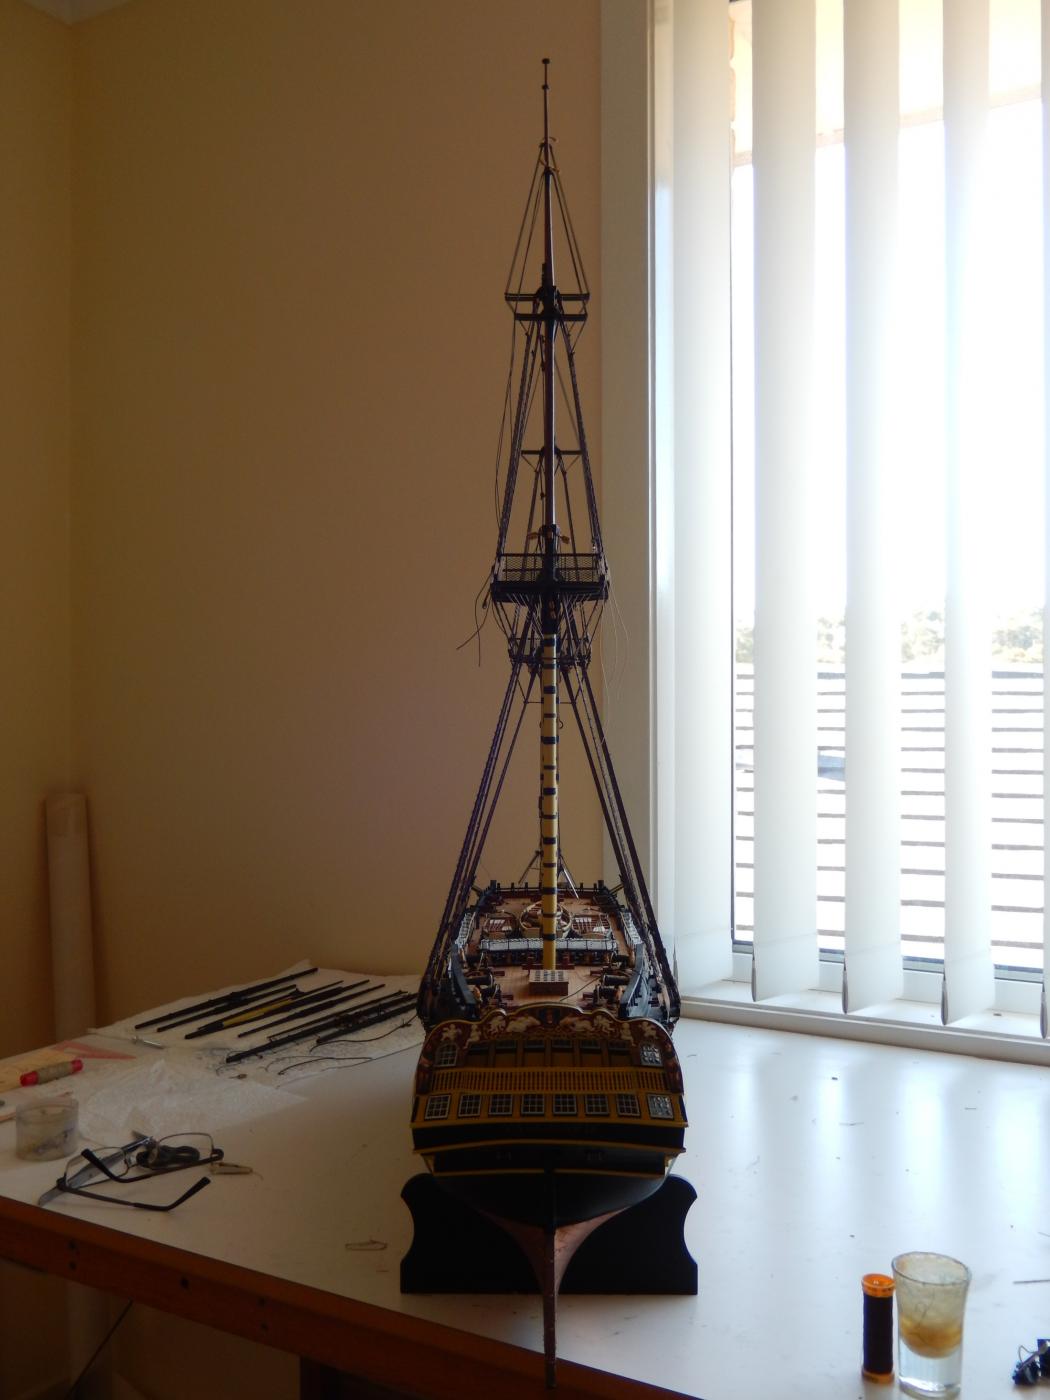
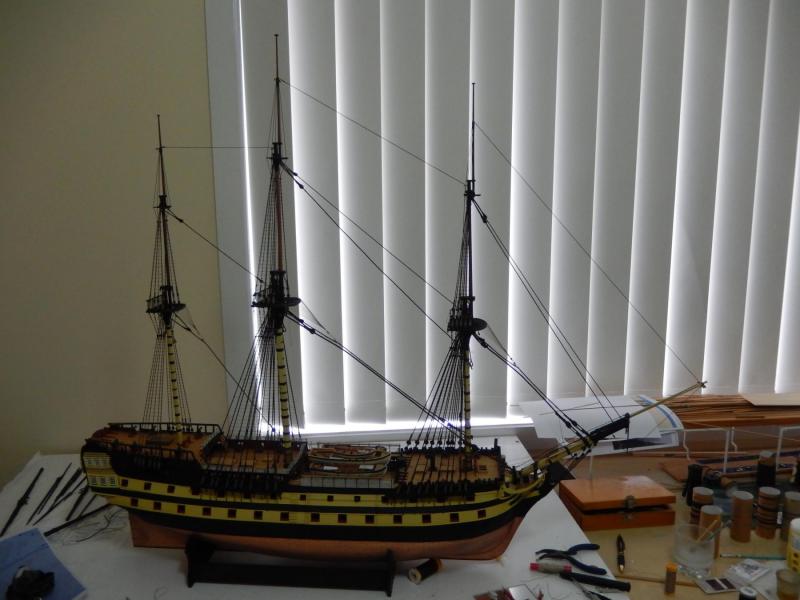
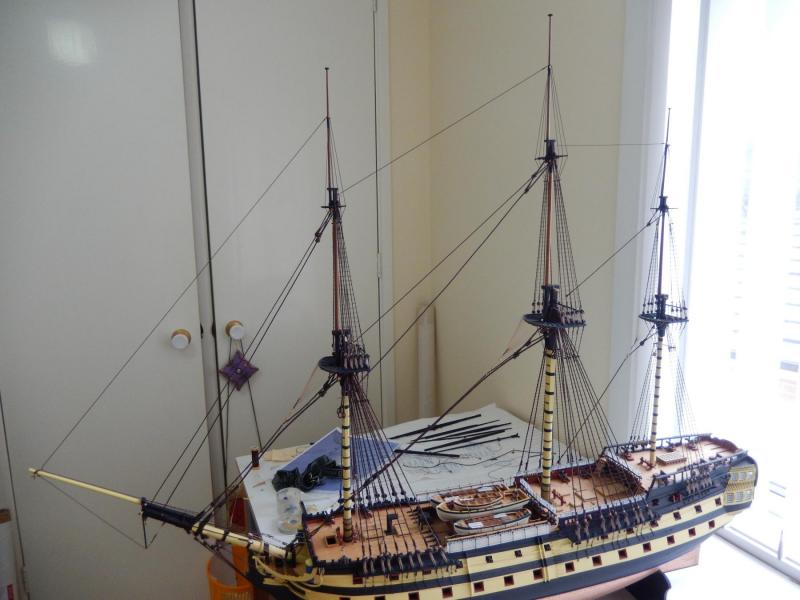
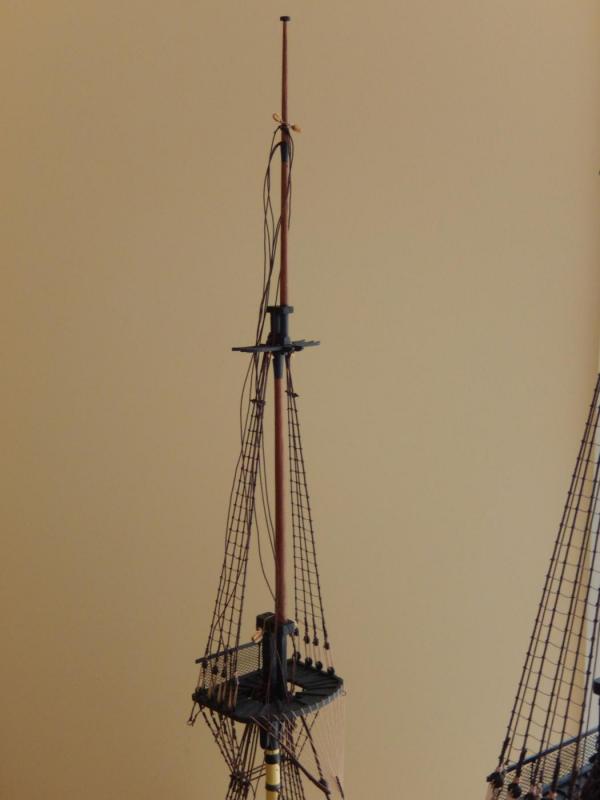
The ratlines are finally complete and the mizzen top gallant mast is now mounted (?). The shrouds are in progress. This is how it looks at the moment. The photo isn't the best, but here are the ratlines for the mizzen topmast complete. The mizzen top gallant mast with shrouds askew. To my relief, the three top gallant masts line up nicely, as do the rest of the masts. The shrouds for the mizzen top gallant mast should be finished this weekend, with the next step, finishing the various stays.


-
Back to finish the ratlines and mow the grass. I should have stayed away. Thank you for the nice comment Joanne.
-
Thanks for the encouragement Jason and to the others for the 'likes'. After yesterday's experiience it's greatly appreciated.