Serapis1779
-
Posts
20 -
Joined
-
Last visited
Recent Profile Visitors
763 profile views


-
I apologize if my question is already answered, but what kind of wood is primarily being used in the hull framing?
-
 nikbud reacted to a post in a topic:
Shoe Polish as Stain and Finish
nikbud reacted to a post in a topic:
Shoe Polish as Stain and Finish
-
Ryland Craze reacted to a post in a topic:
Shoe Polish as Stain and Finish
-
Ryland Craze reacted to a post in a topic:
Shoe Polish as Stain and Finish
-
Ryland Craze reacted to a post in a topic:
Shoe Polish as Stain and Finish
-
RichardG reacted to a post in a topic:
Shoe Polish as Stain and Finish
-
mtaylor reacted to a post in a topic:
Shoe Polish as Stain and Finish
-
mtaylor reacted to a post in a topic:
Shoe Polish as Stain and Finish
-
mtaylor reacted to a post in a topic:
Shoe Polish as Stain and Finish
-
Canute reacted to a post in a topic:
Shoe Polish as Stain and Finish
-
Canute reacted to a post in a topic:
Shoe Polish as Stain and Finish
-
This technique which I am going to continue experimenting with seems promising. And the color "stains" are easy and inexpensive to acquire.

-
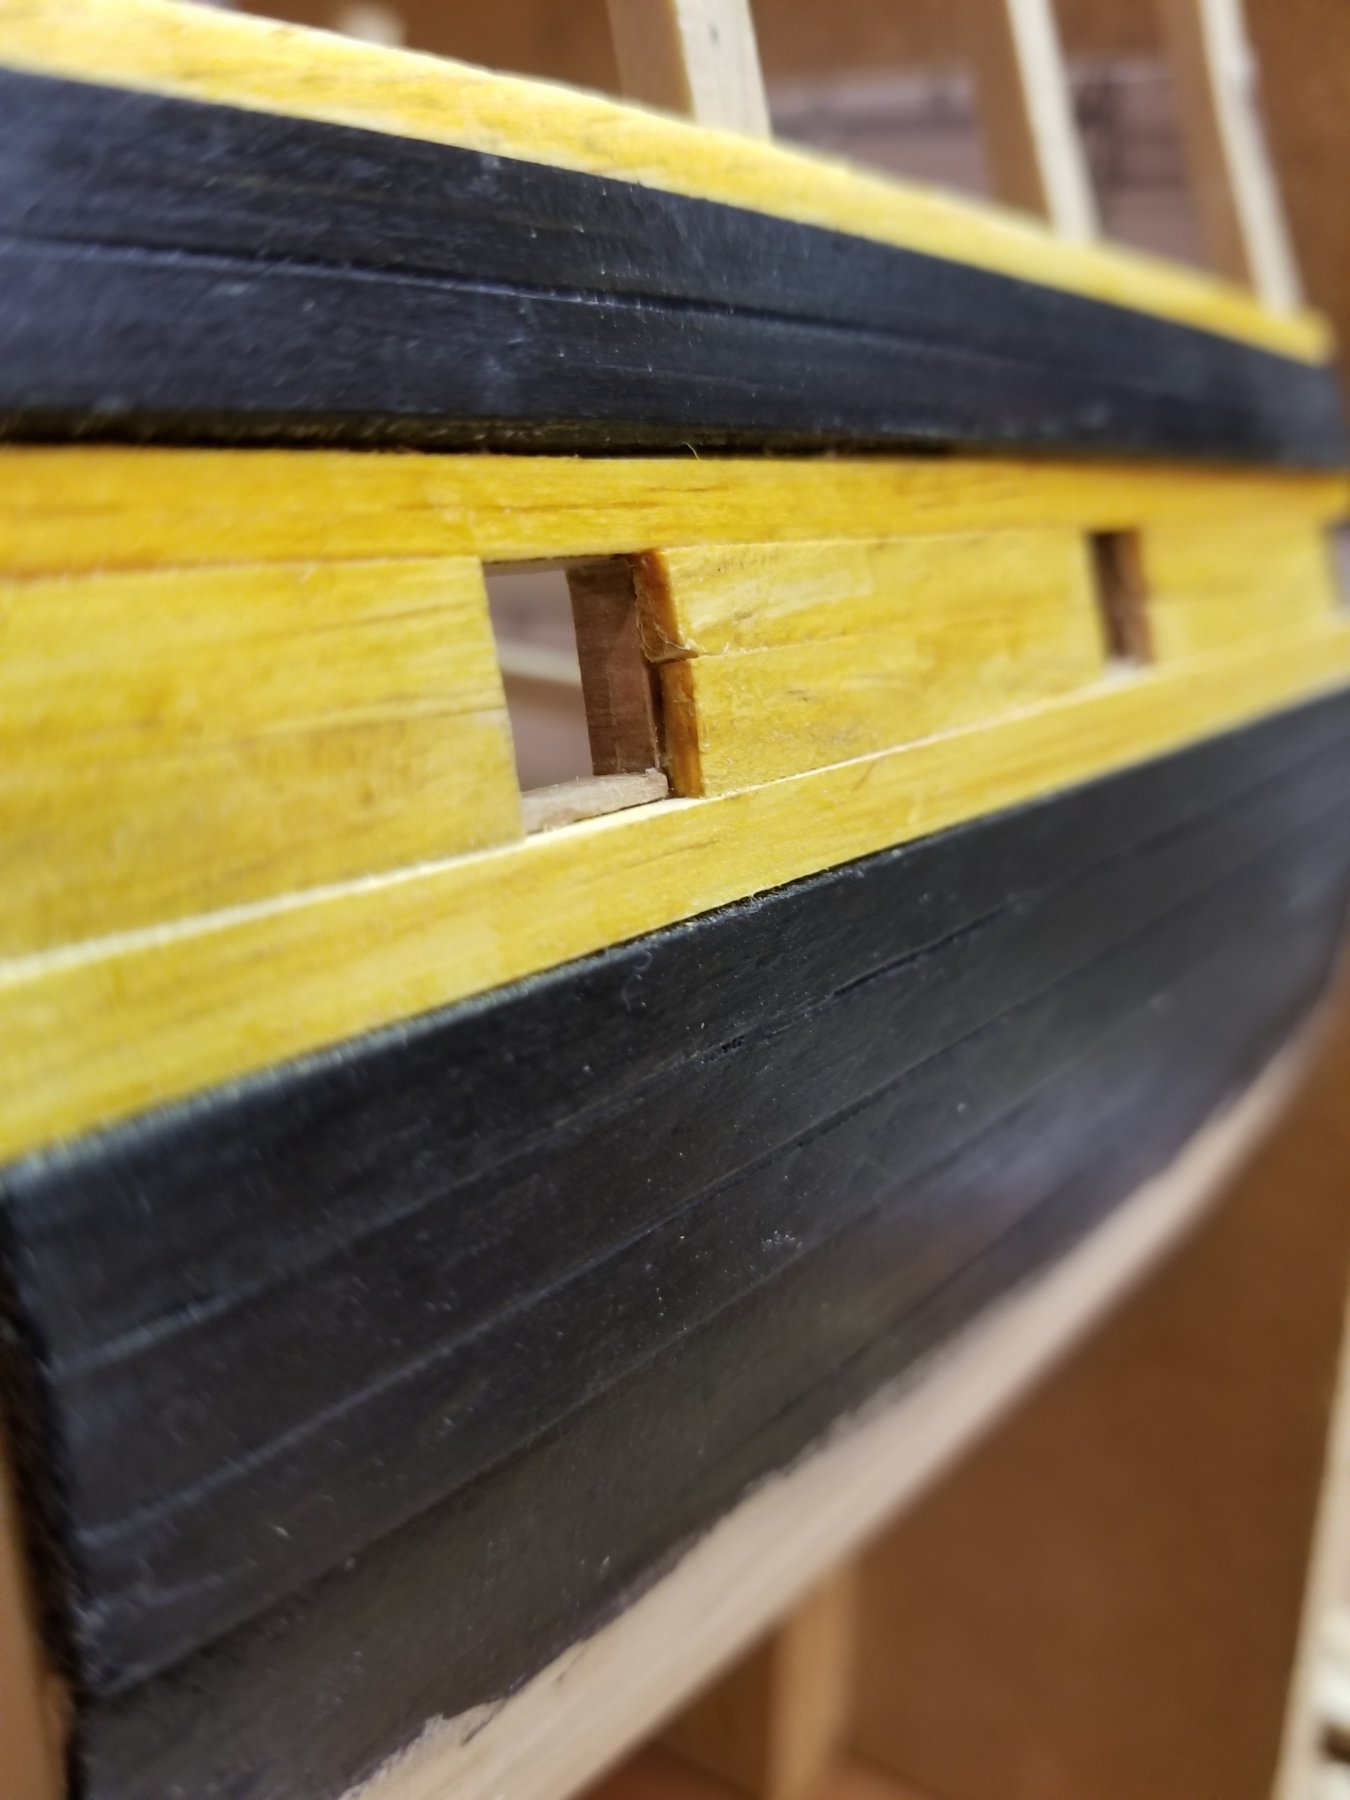
Close up of the black wale

-
I had painted another full sized model of this same ship, airbrushing, brushing, and mixing paint. It looks "just" ok to me. On this model, I bought some stain (Minwax) and tested it on some scraps. Not good, and messy. I also tried a black sharpie (not too bad), and then I began opening my mind to unorthodox and unusual. I used to seek shoes and got familiar with polishes, which are a mixture of wax and oil. The key thing is the stain penetrates. So my first test was on a little square of basswood sanded smooth. The black needed the assist of Kiwi black leather dye to penetrate as a base, then black polish. After it dried, I rubbed it with a paper towel, then cloth. It took just one more coat of polish the same way, and the when I rubbed it I got this effect. The area below the wale has had leather dye applied but not the shoe polish. That will come next.
-
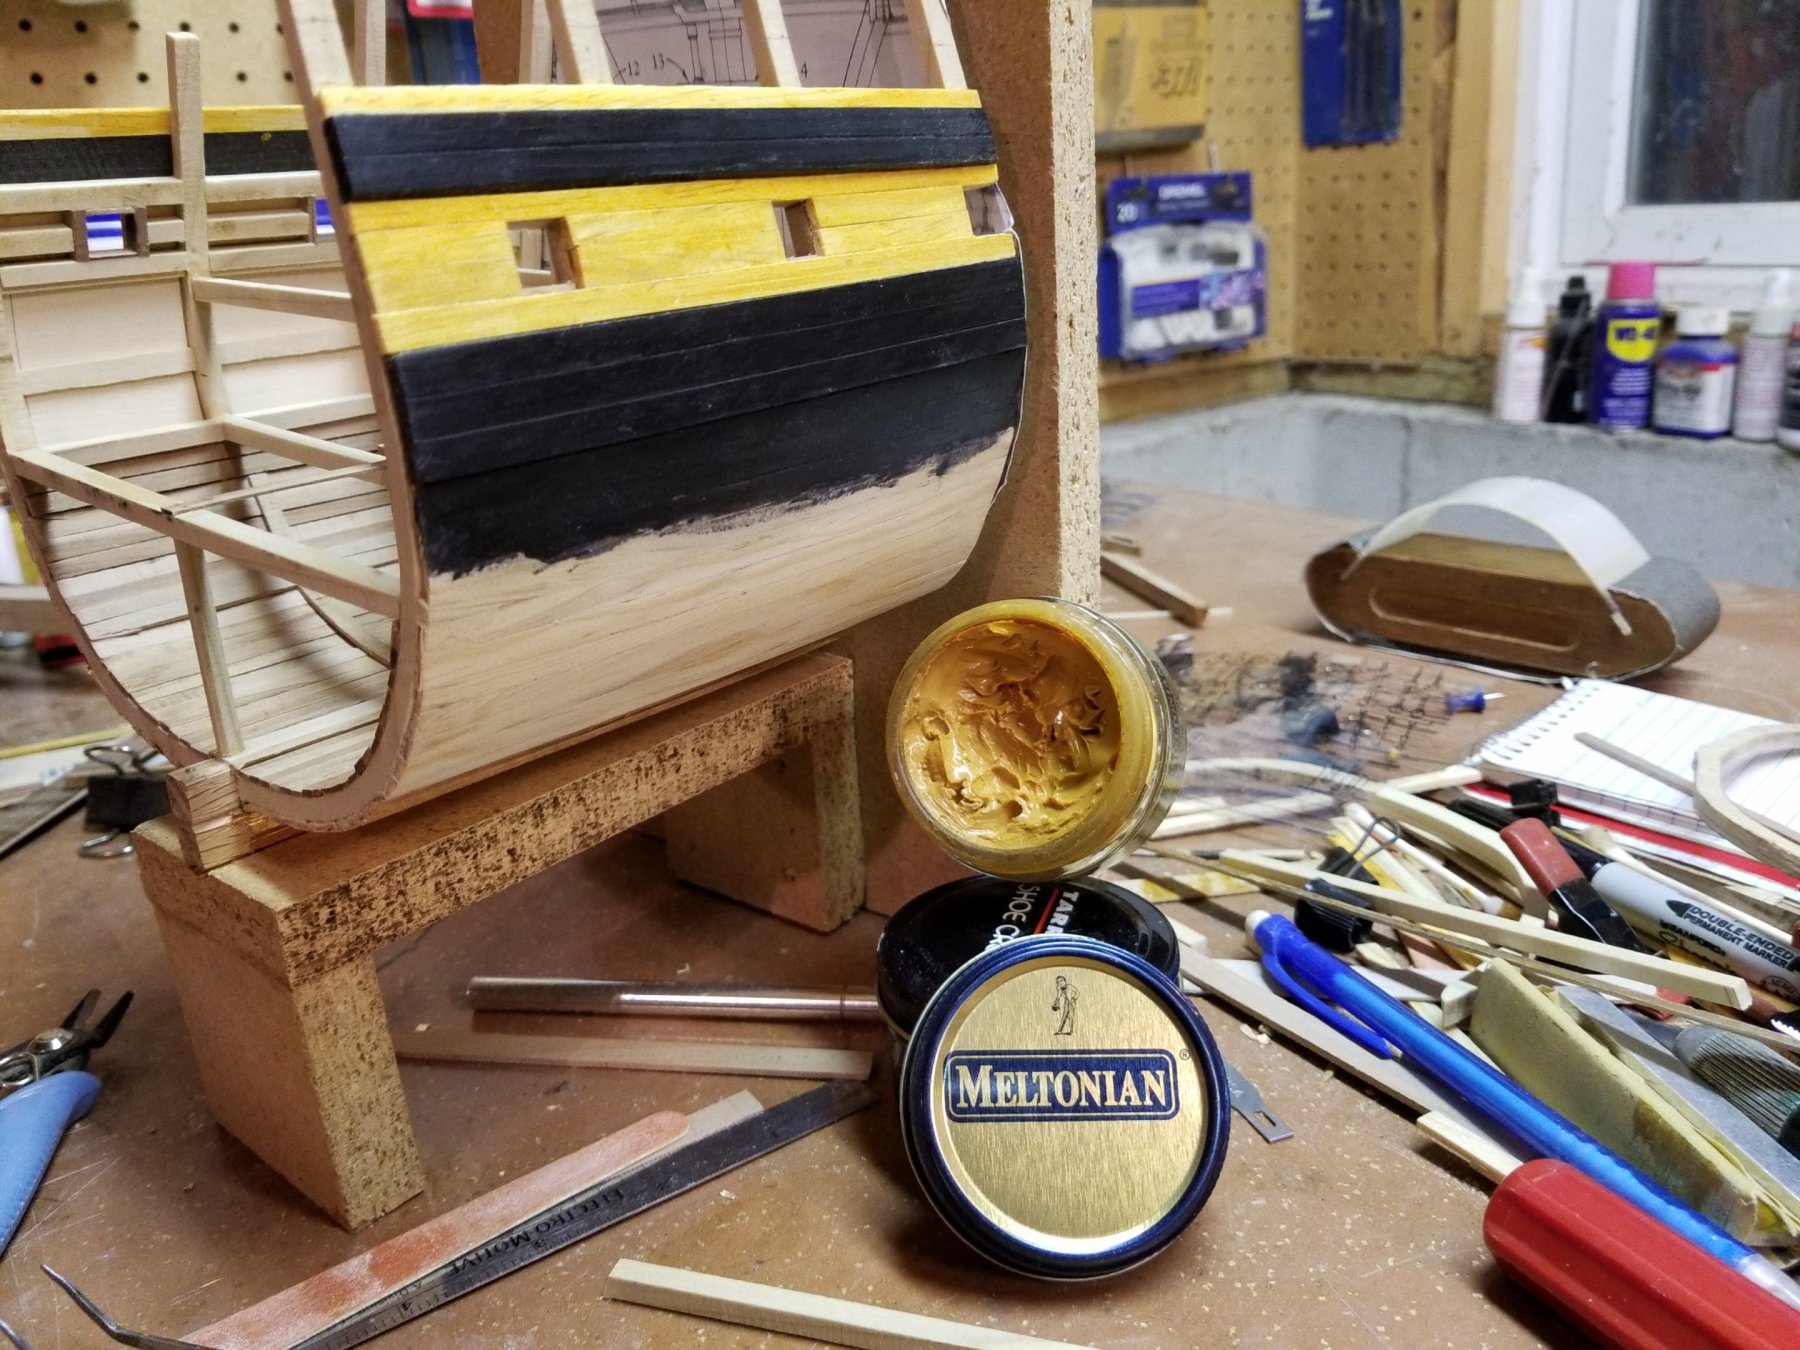
I manually mixed them with my fingers. A little goes quite a ways. I also use Meltonian shoe cream. It is available in many colors. Light brown for example makes a good ochre color that trends towards yellow on light colored wood.

-
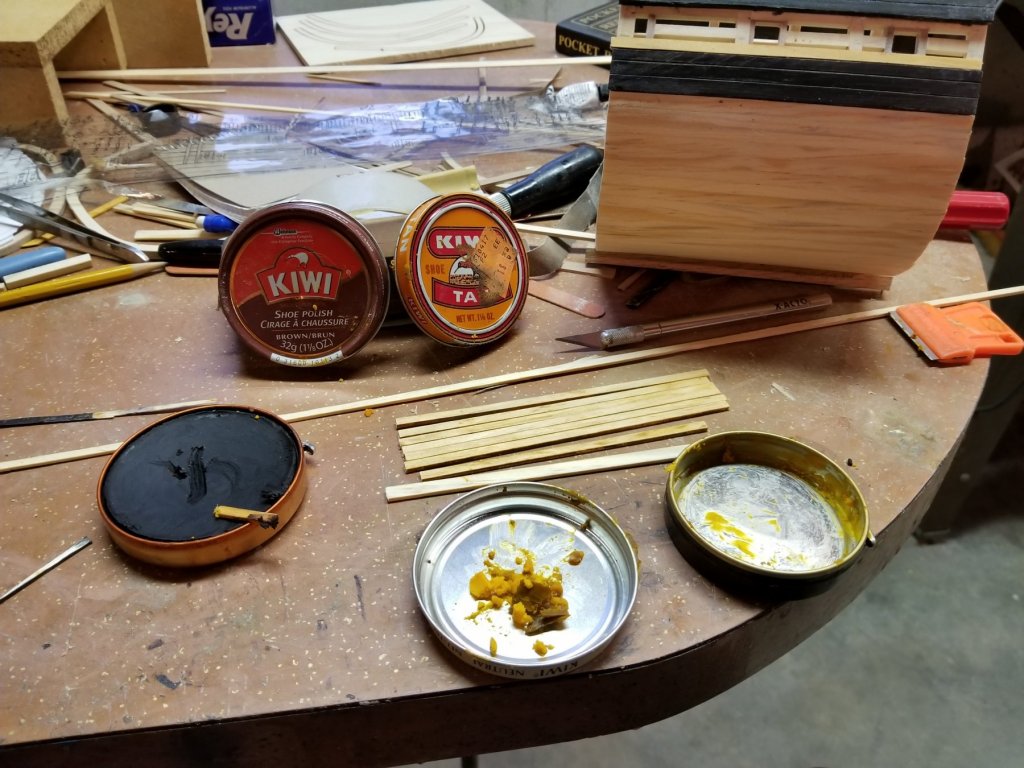
After much thought I have begun using shoe polish to stain wood where appropriate. The advantages are that it looks good. It is not messy. The final sheen is perfect in my opinion. I needed yellow ochre. This color and hue varies a lot. In period paintings it ranges from orange-ish, pumpkin, to yellow-ish. I use Kiwi Brown and Kiwi Tan and mix them to get the desired color, tint, and hue. This is mixing in progress. The black wood on the cross section is Kiwi Black applied over an initial Kiwi Black leather Dye. Once the polish is applied and dried, I rub it with cloth, paper, or q-tip and a certain level of soft, smooth, luster emerges, much like that on polished shoes.
-
I fully intend to share a build log. I have been taking photos at regular intervals, and making notes. I plan and hope to share them at regular intervals when there is enough to show, and not be followed by a months long interval.
-
Sometimes it is hard to fathom. My name is Mark. I sign on as Serapis 1779, because it is that old Aeropiccola kit of HMS Serapis that motivated me to attempt building in wood, almost 40 years ago. As a young adult and kid I built all kinds of plastic models, mainly because that was what was most easily avaible and obtainable. Back in those days there were hobby shops everywhere. I describe myself as a newcomer to this group, but I just checked my profile and see that I joined in 2013. Five years have passed since then, but I resumed work on Serapis, which I bought in 1989, and didn't begin until 1997 or so and have worked on sporadically for 20 year It was not until the first of April that I began working on it ever day. Steady progress is being made. I guess I had a lot of irons in the fire; other similar hobbies, priority projects, adult responsibilities, same as everyone. As mentioned, I work on the Serapis every day, and visit the forum everyday. I appreciate being part of this group and am grateful for all that it is possible to learn here.
-
Thank you. In 1:64 scale that would be within the parameters of what I am cutting. Of course I need to measure the rough stock precisely, but I think my 150×5×1.5 mm planks give me a little more length, with mm to spare.
-
I realize that this question cannot be answered with absolute uniformity, but I am curious how long you cut your planks for the outer layer of the hull. Looking at photos it seems like many who are working in the common scales, 1:48/1:64/1:80 have planks that are about 6 inches in length, with the width about 3/8 inch and the thickness about 1/16 inch; close to 1 x 5 x 150mm. Is this close to what some of you use?
-
Thank you very much. Everyone who is sharing their thoughts are providing me with useful information. The sum total is very helpful to me and also, hopefully, to others.
- 28 replies
-
- 2
-
-
- construction
- models
- (and 3 more)
-
Thank you, thank you. I am a newcomer. I am working on my first wooden shipmodel: An Aeropiccola HMS Serapis. Its attributes, and, shortcomings are very apparent and widely known. It also has nice potential. I am pursuing that by building it first according to the plans and materials (mostly basswood) as much for practice and experience, and fun. Any, and all, mistakes I make on the first model will be lessons learned to build a much better quality second model of the same ship. I have already begun building the second model, using the lines and design and plans to build it as a plank on frame admiralty style model. On this model I am using other wood, fine hardwoods. I am also building a cross-section model of the same ship. I have no concerns about cost or yacht cost. My main concern is my age (64) and finishing this long dormant project. I have built models all my life, just not in wood, so the technique of crafting in wood is the "new", experience for this newcomer. I'm really trying to rev up the learning curve. I have a nice variety of well seasoned hard woods of most popular varieties for ship modeling.
- 28 replies
-
- 3
-
-
- construction
- models
- (and 3 more)
-
Thank you. A very good and informative answer. It covers almost everything I was wondering about. Btw: I am scratch building a British Roebuck cross-section and have started with a keel a false keel, and keelson of oak. I will not use it for any other part of construction, but thought it would be fun to have a heart of oak in this model.
- 28 replies
-
- 2
-
-
- construction
- models
- (and 3 more)