HOLIDAY DONATION DRIVE - SUPPORT MSW - DO YOUR PART TO KEEP THIS GREAT FORUM GOING! (Only 20 donations so far - C'mon guys!)
×

woodrat
-
Posts
835 -
Joined
-
Last visited
Content Type
Profiles
Forums
Gallery
Events
Everything posted by woodrat
-
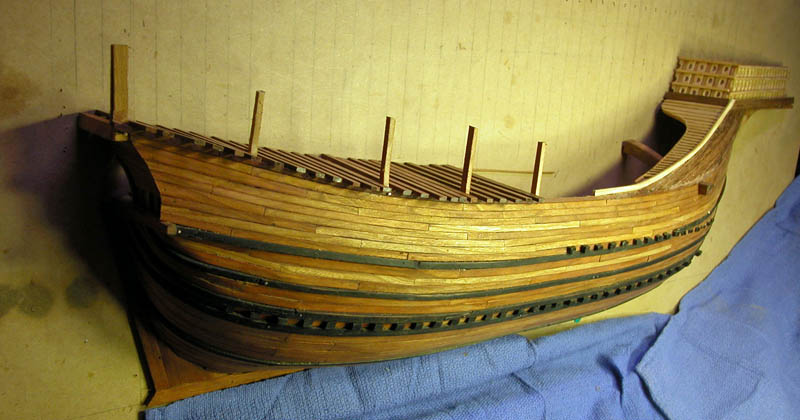
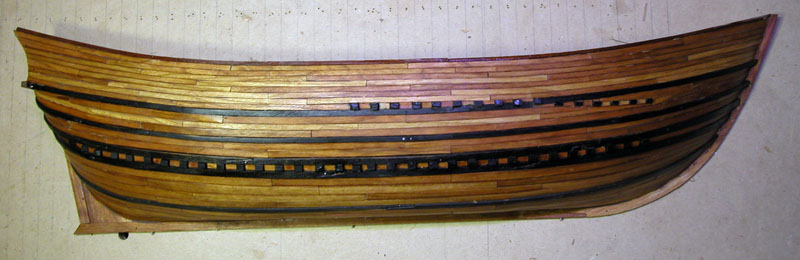
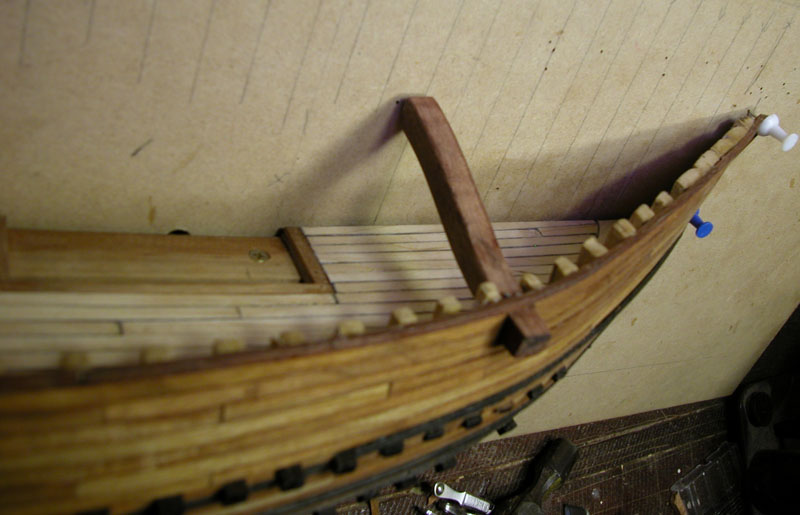
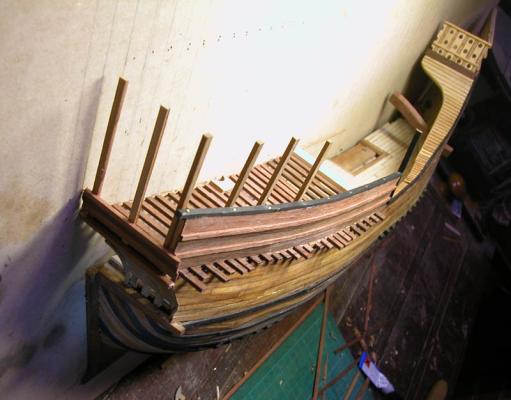
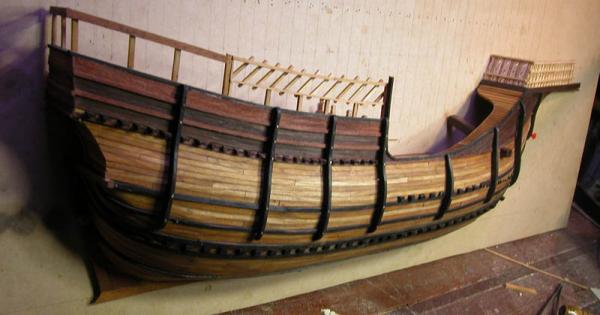
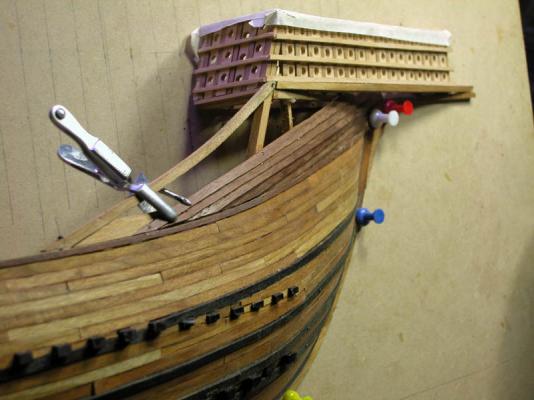
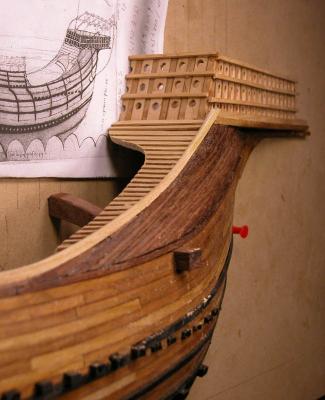
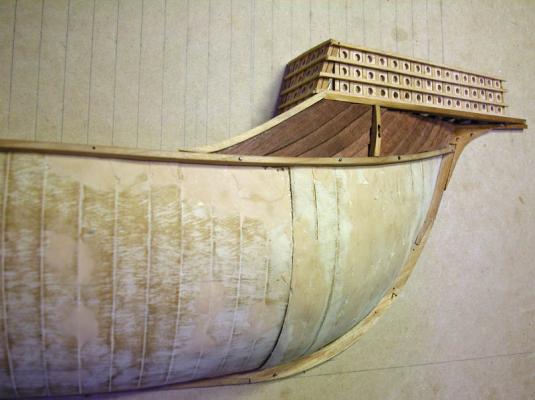
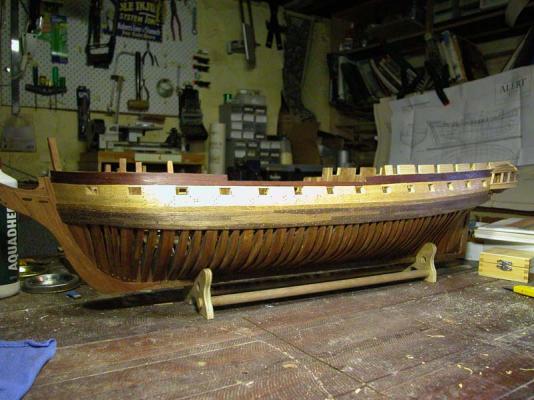
 The quarterdeck beams also project through the side planking Progress on the poop and quarterdeck note the characteristic vertical timbers on the ships hull to give extra rigidity and protection to the hull


- 632 replies
-
- 21
-

-
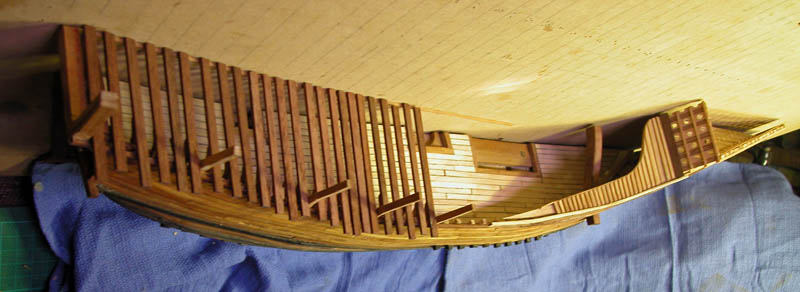
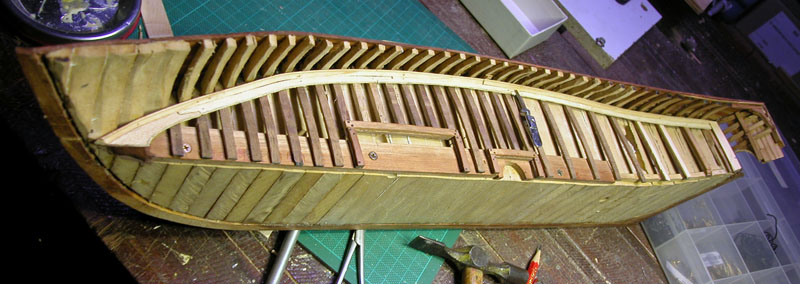
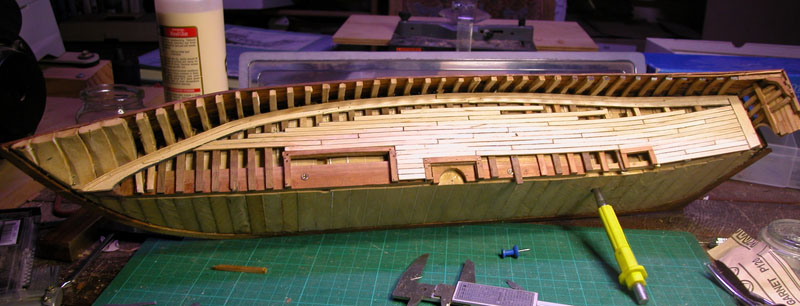
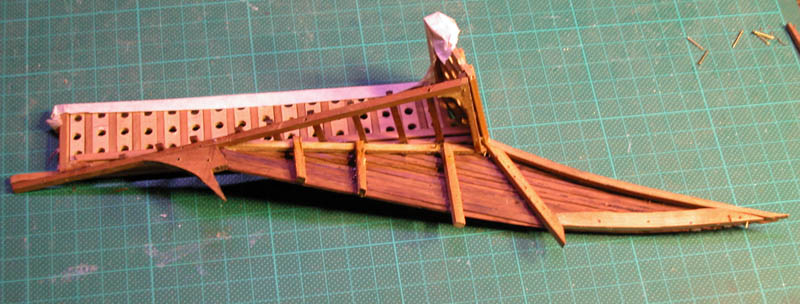
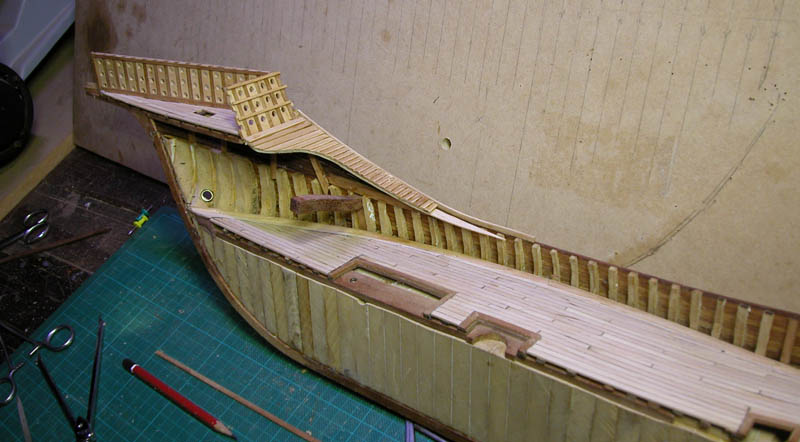
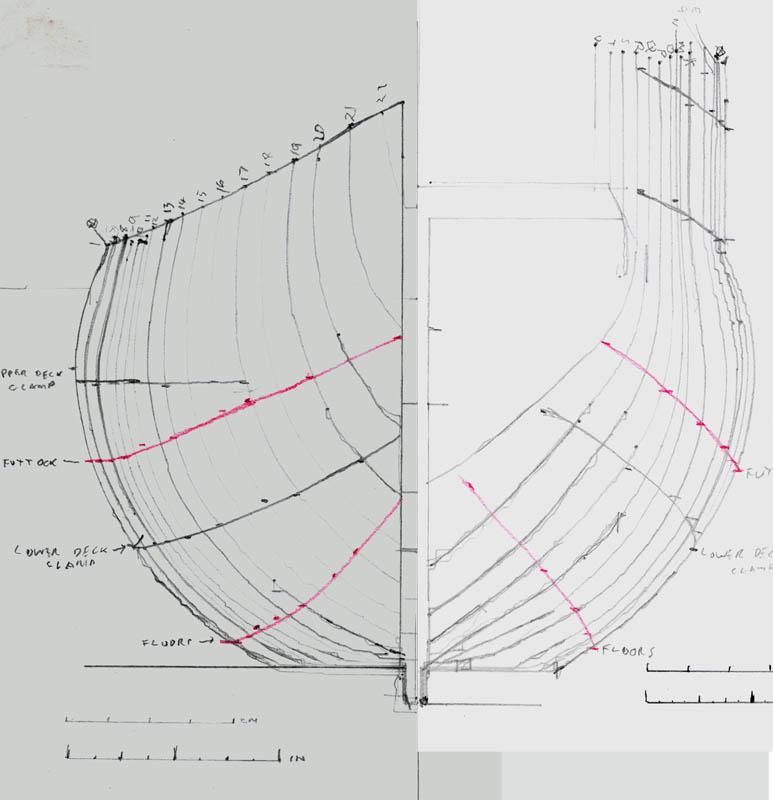
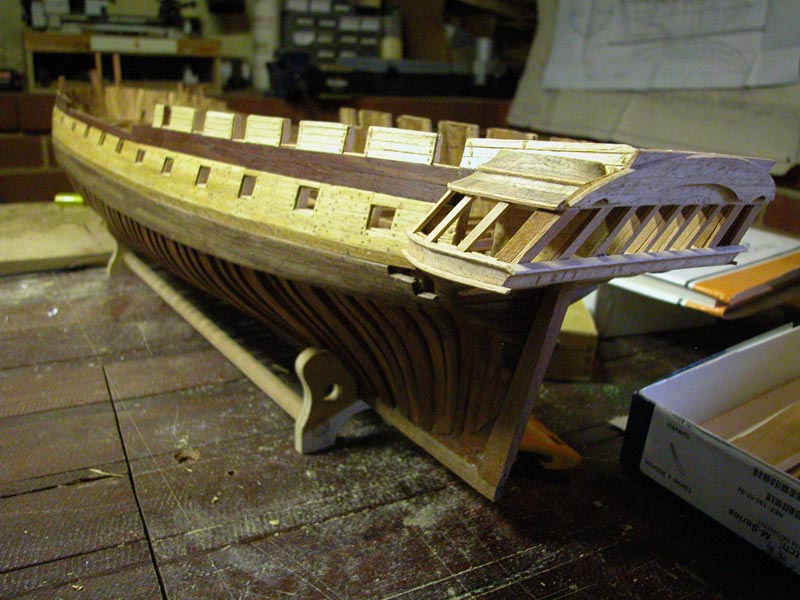
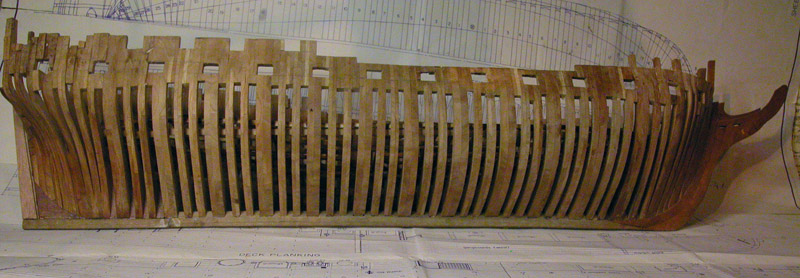
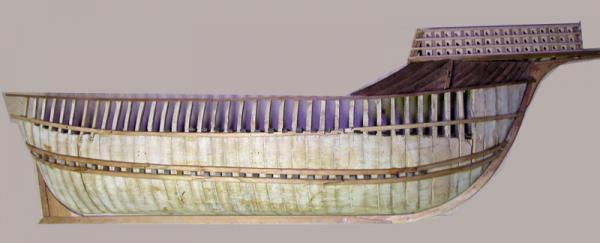
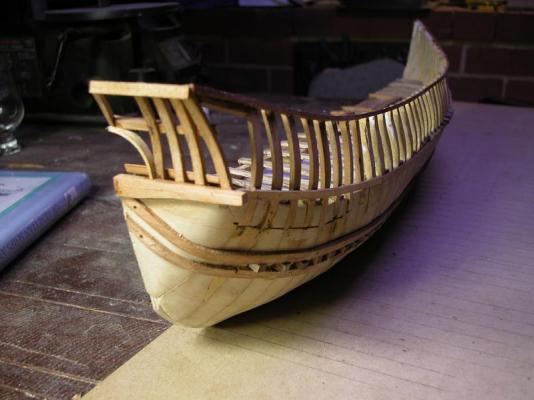
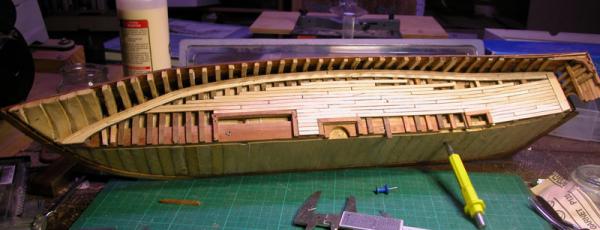
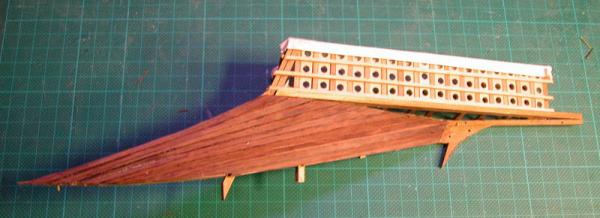
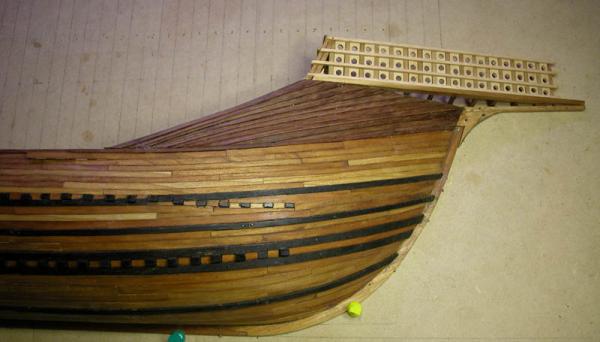
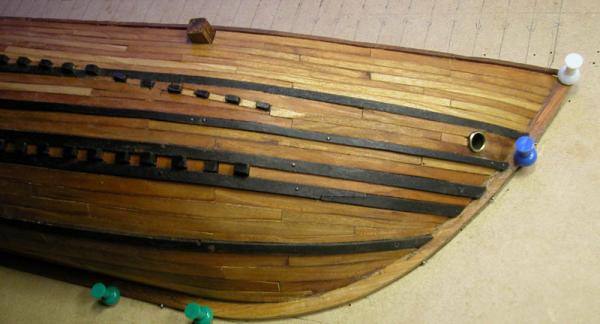
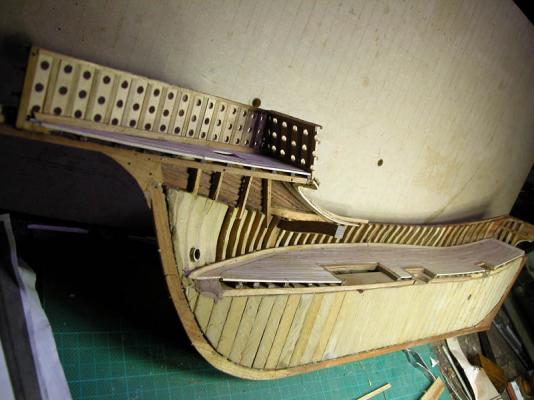
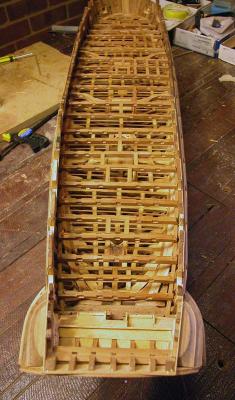
Having taken off the lines the solid half-hull was cut down to main deck level. The side timbers are seen. main wales are seen bracketting the deck beams transom framing is seen The hull was then planked. Note the projectiing deck beams at forward half of main deck and hold The main deck was planked The supporting structure of the forecastle was guessed at and the clinker planking below the forecastle was installed the transversal bitt was installed the horizontal clinker planking was installed to match the original drawing The view from the other side Dick


- 632 replies
-
- 11
-
-
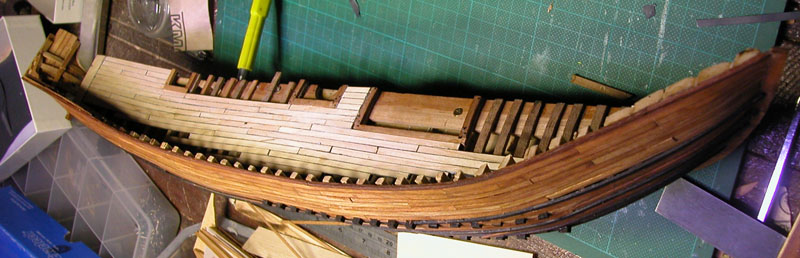
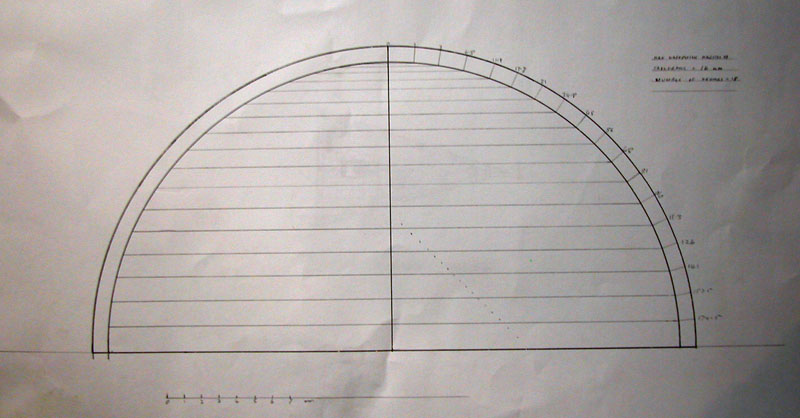
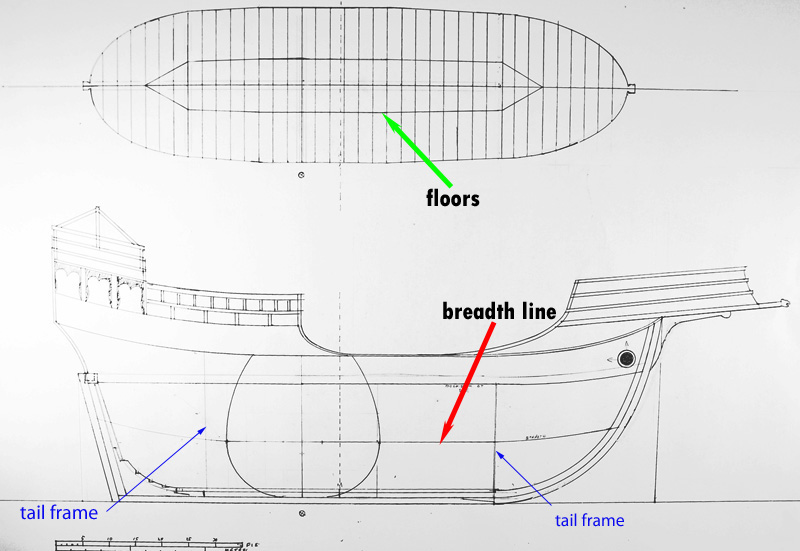
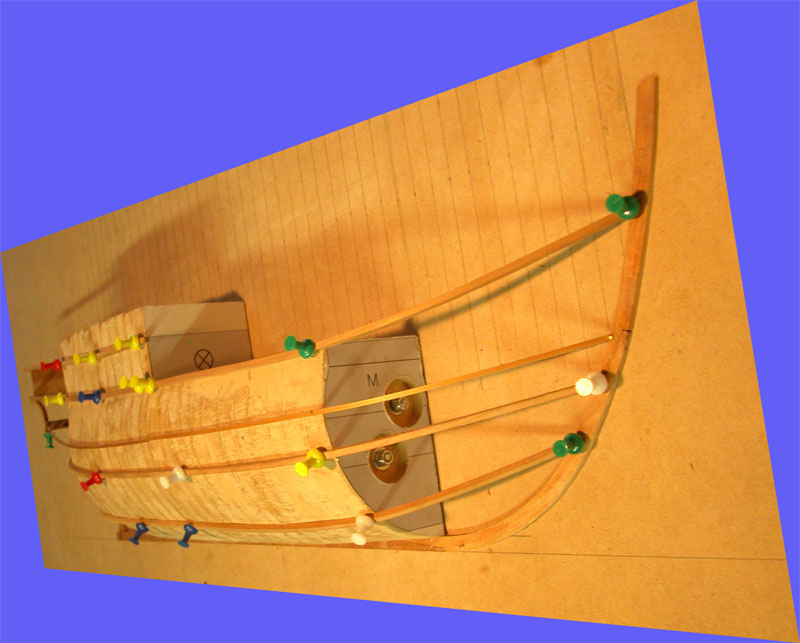
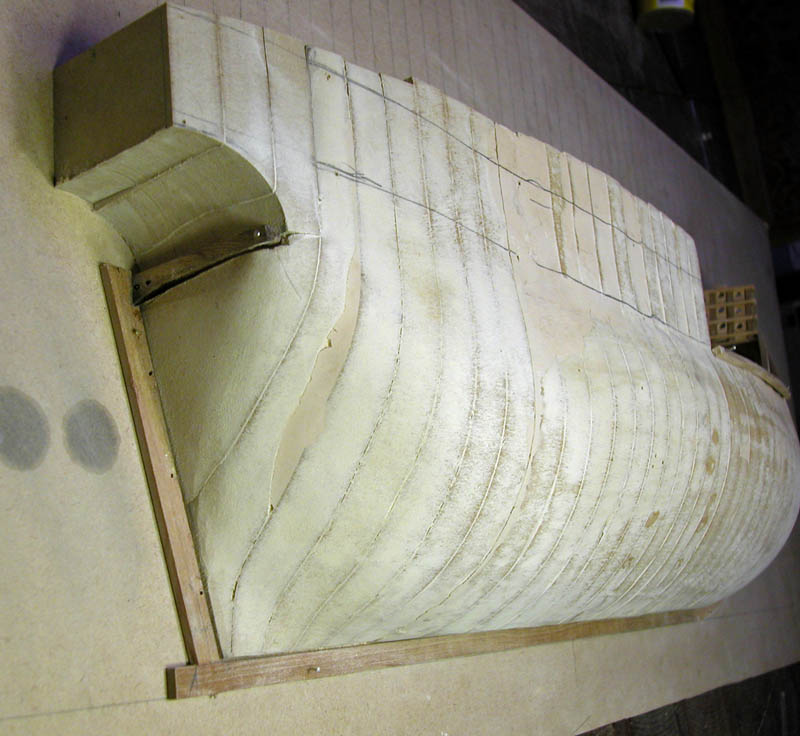
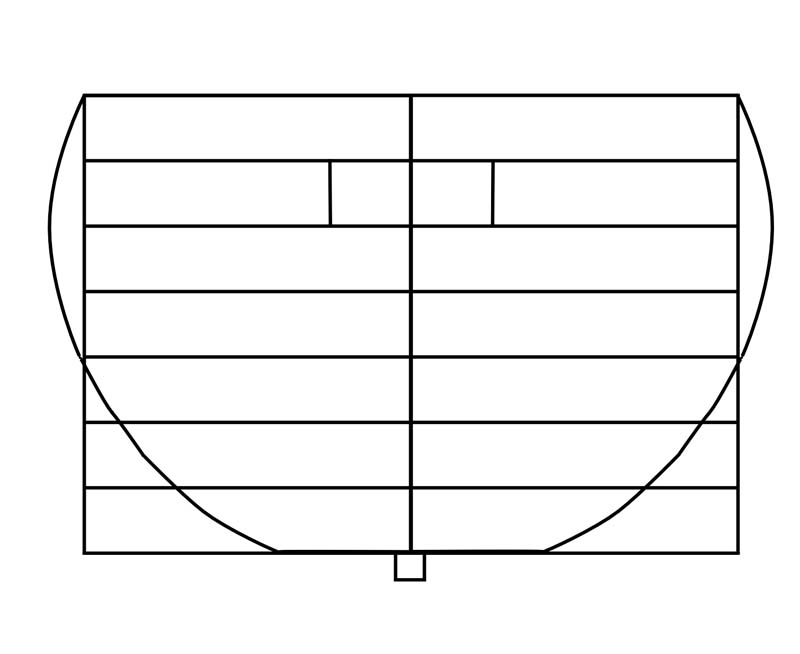
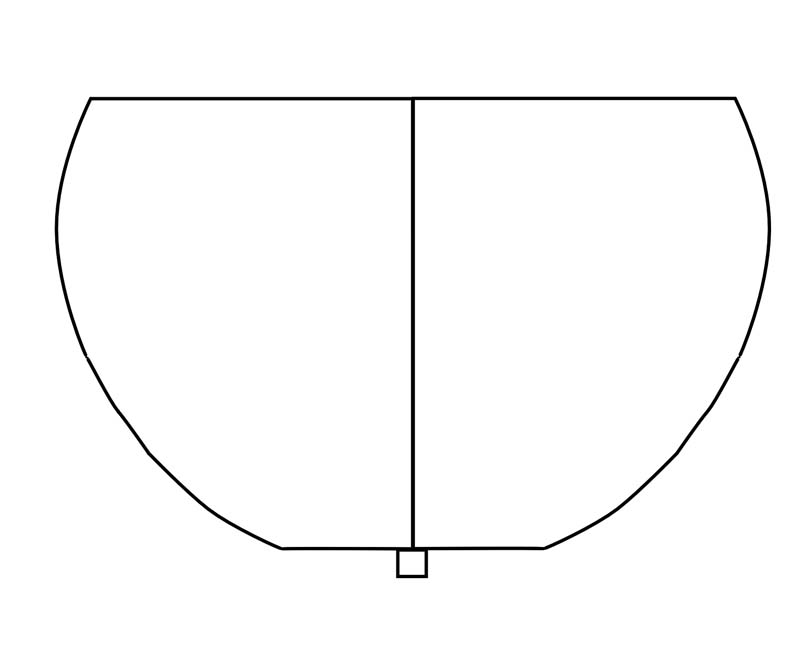
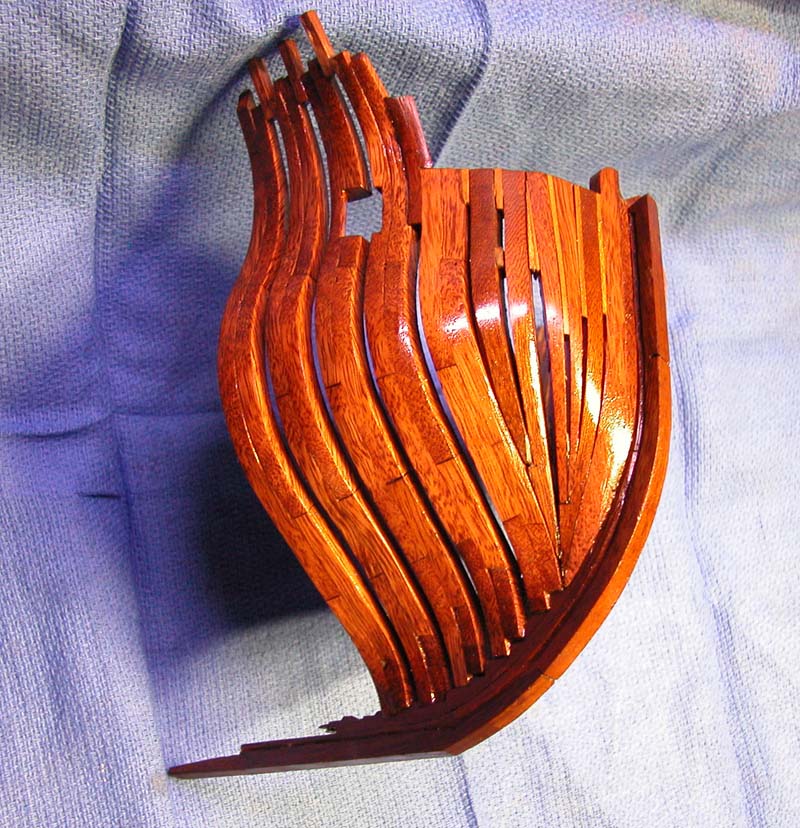
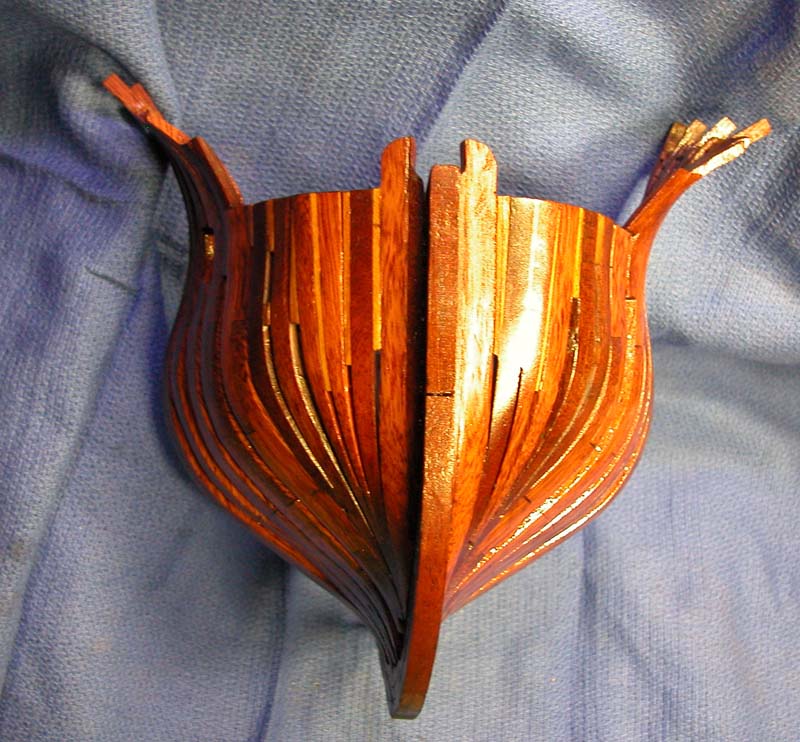
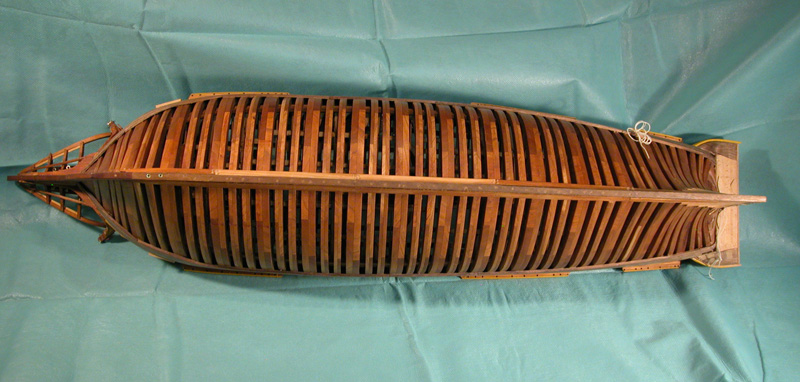
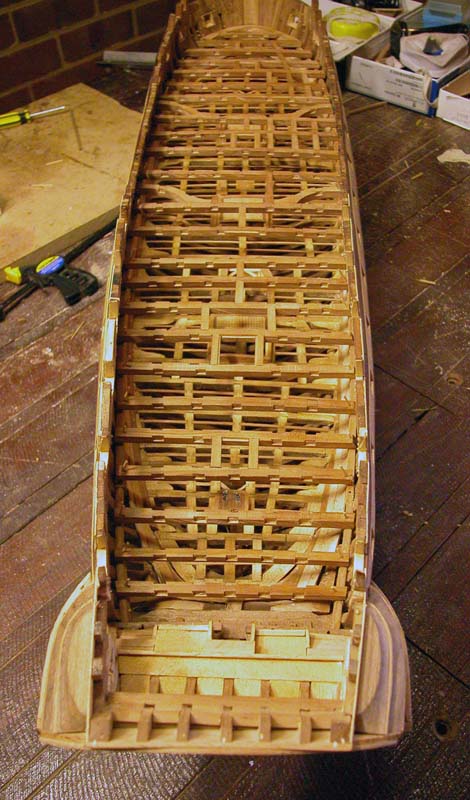
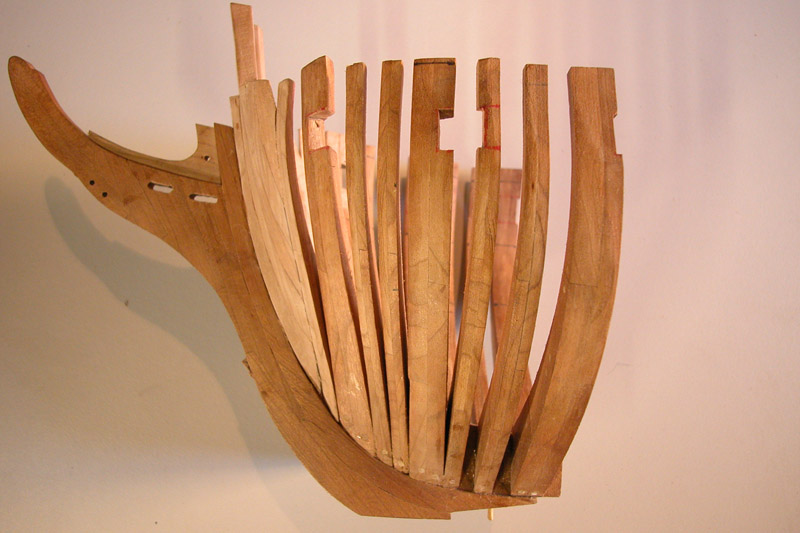
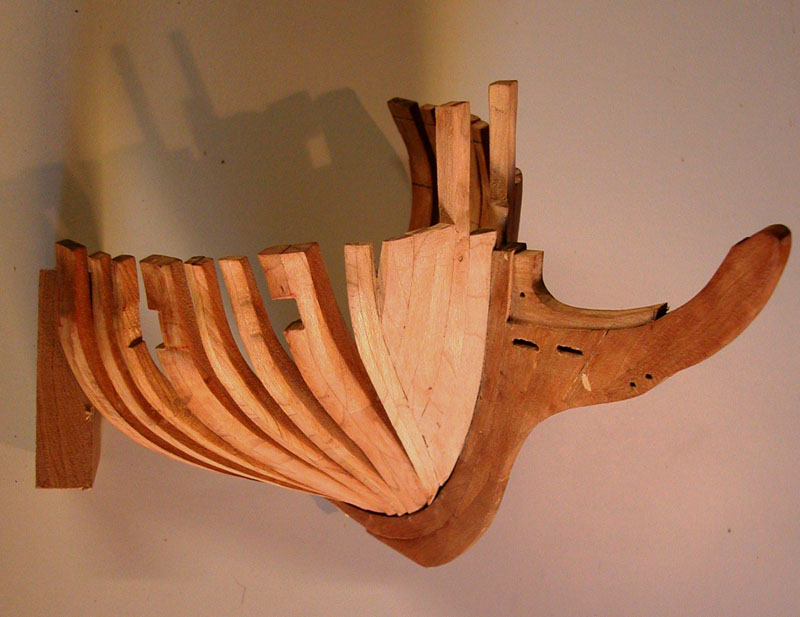
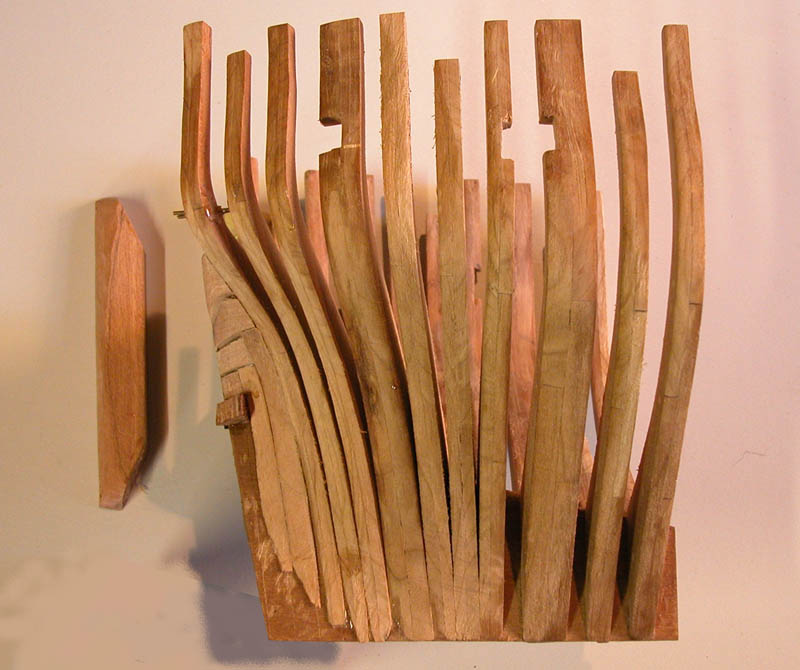
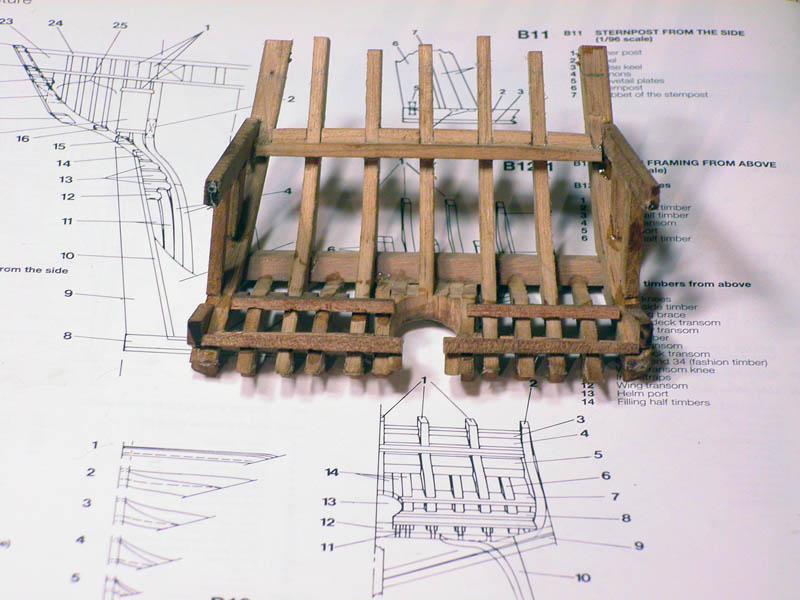
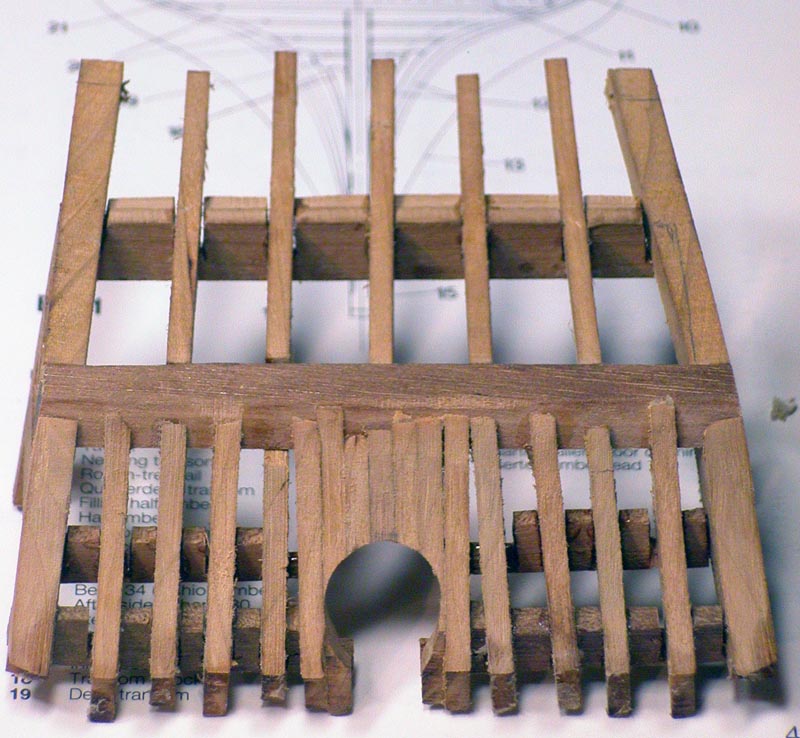
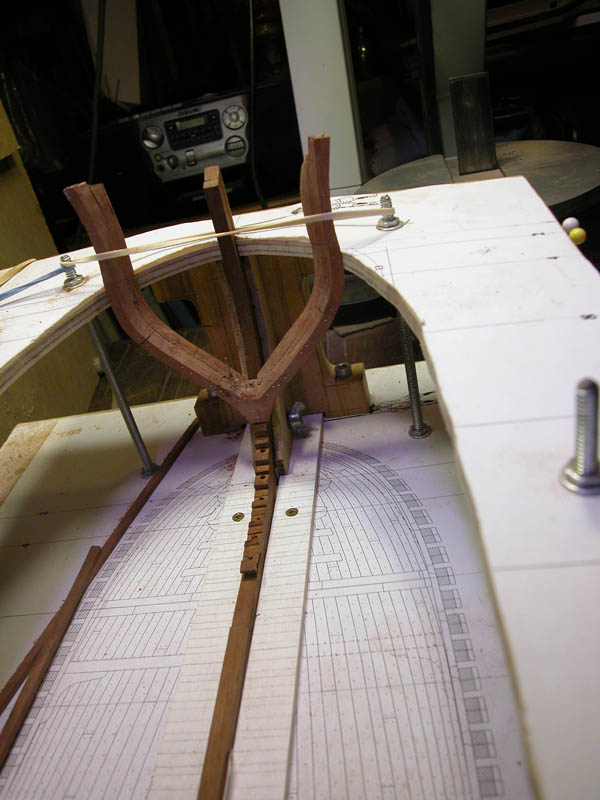
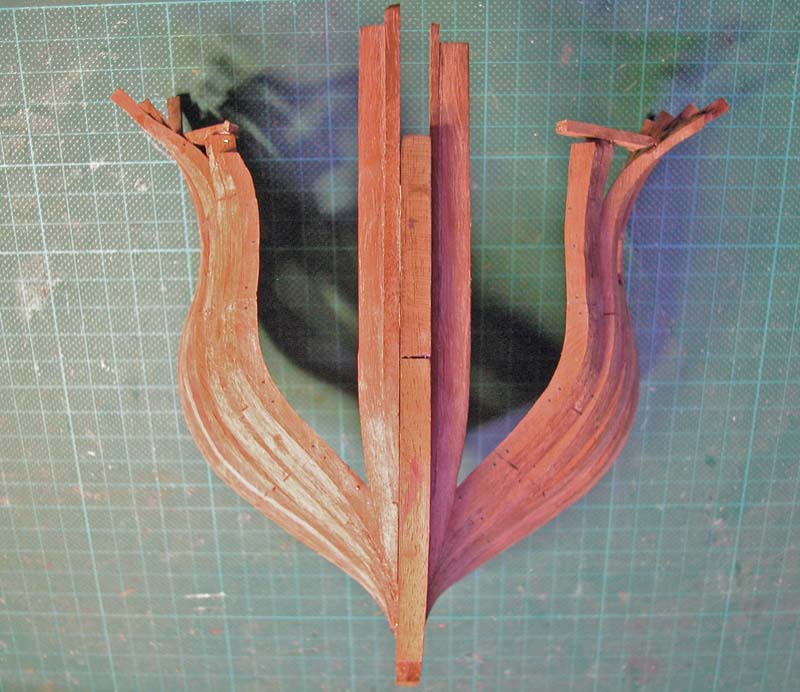
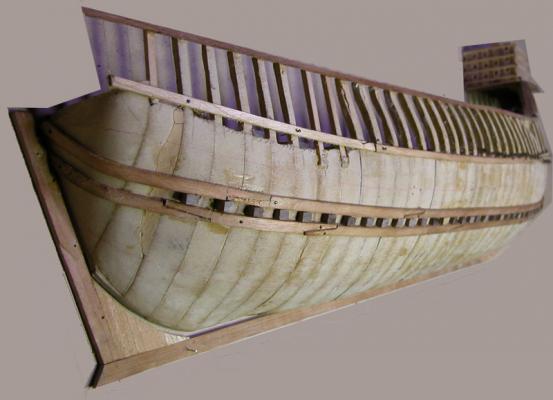
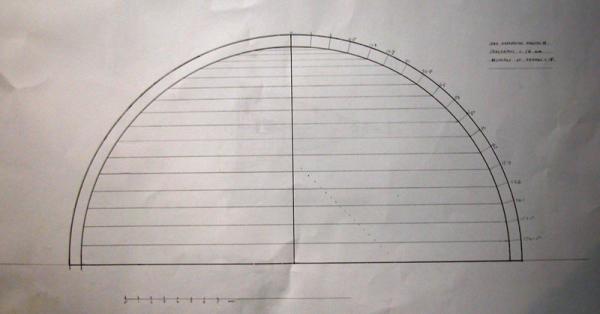
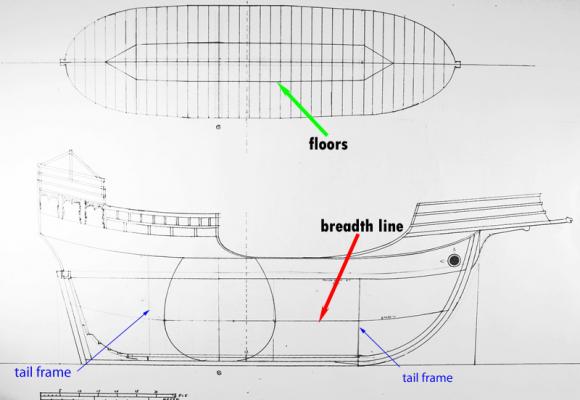
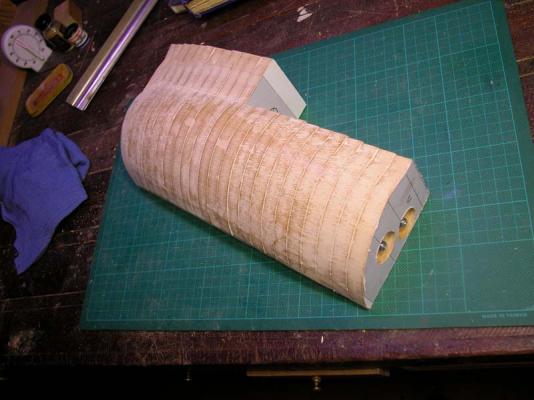
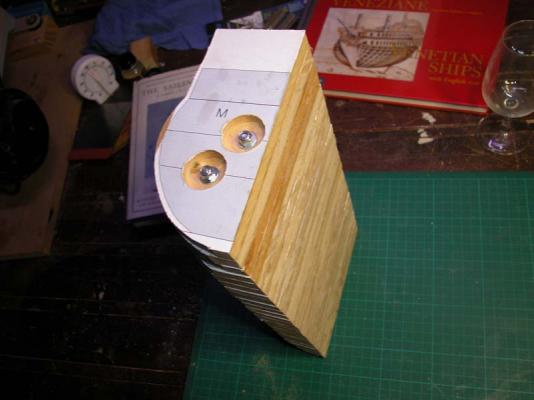
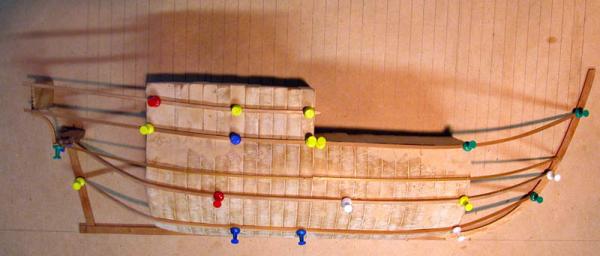
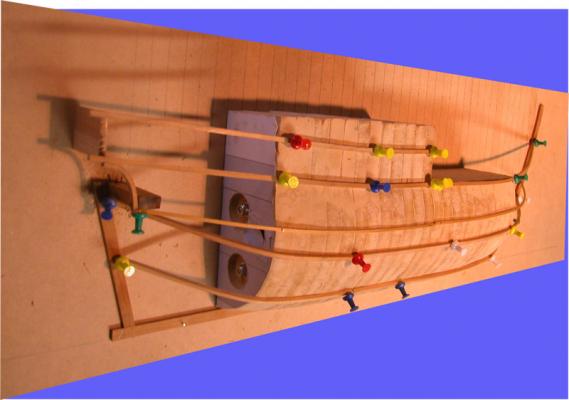
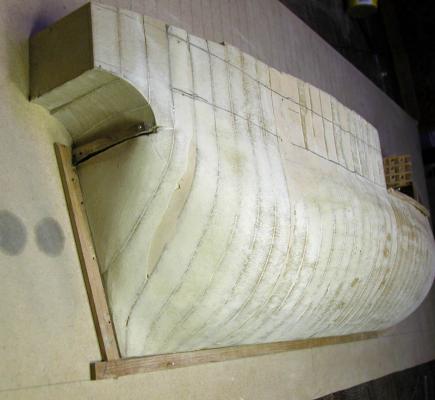
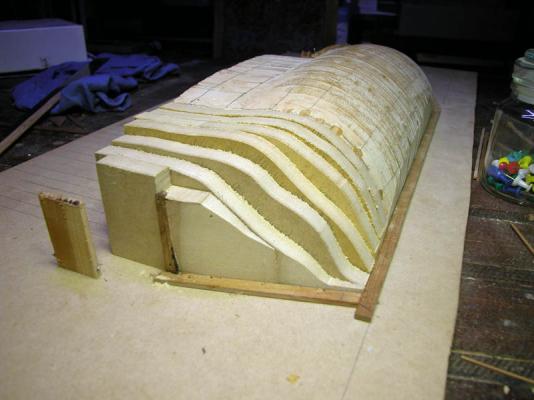
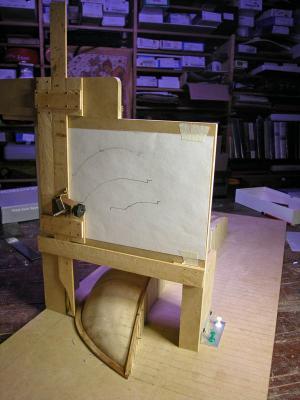
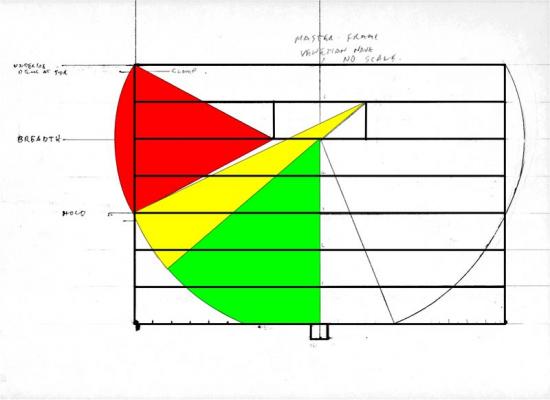
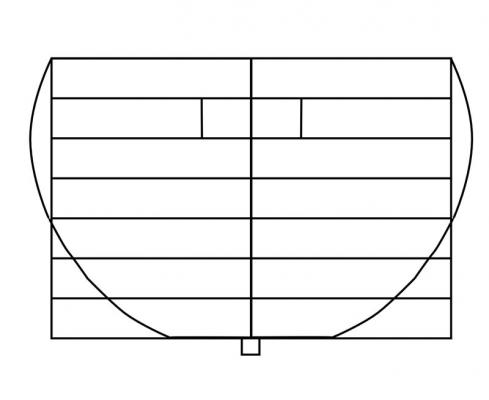
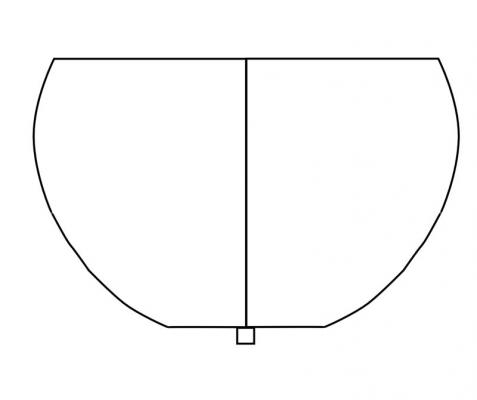
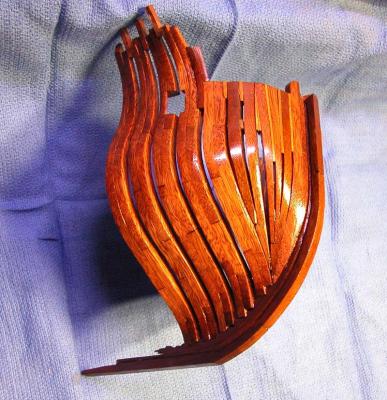
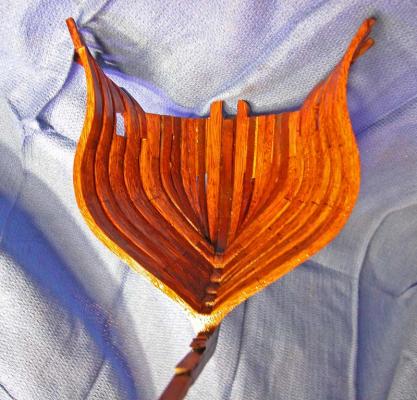
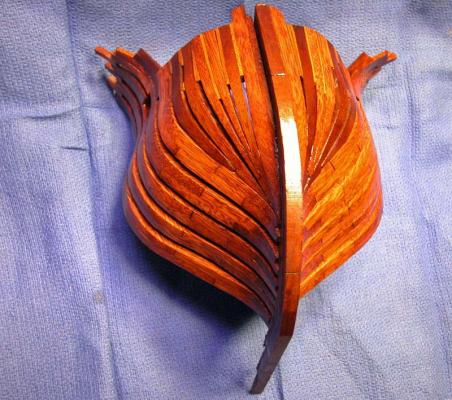
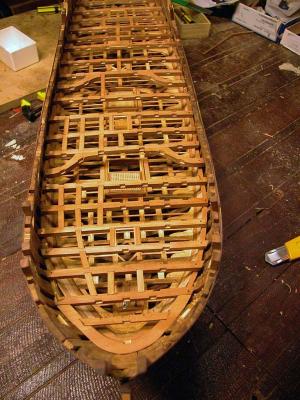
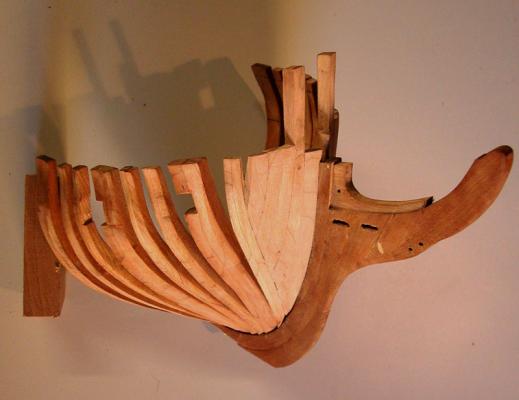
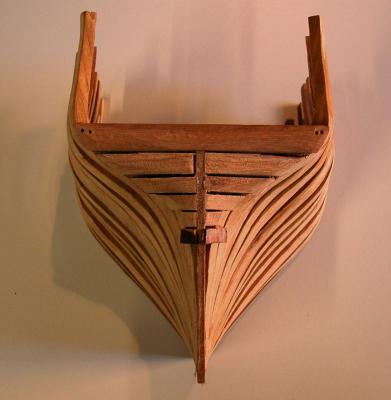
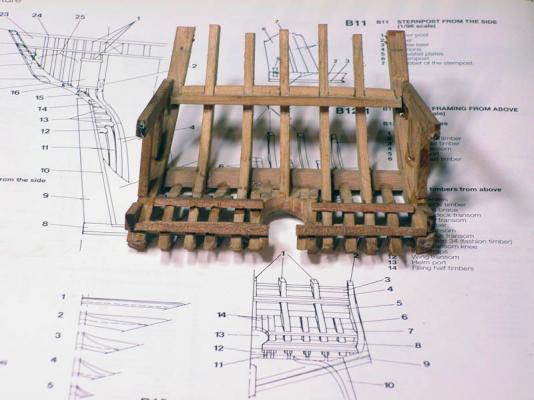
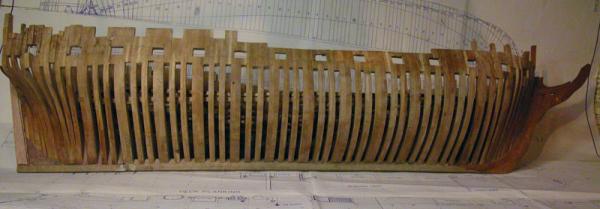
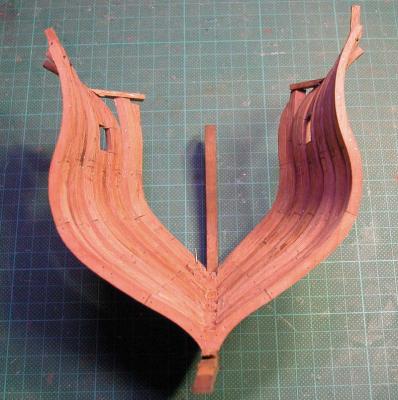
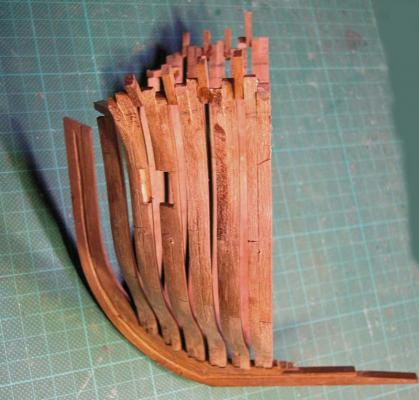
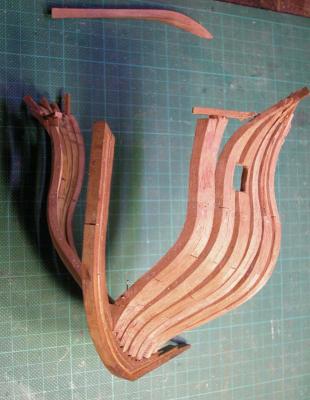
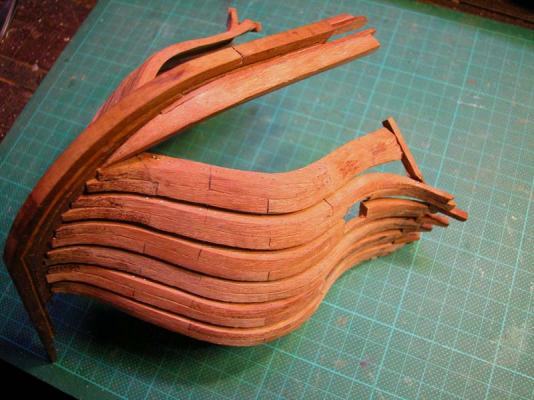
tail frames are positioned at each end of the keel Calculation of the narrowing of the frames between the master frame and the tail frames used the geometric "mezza lune" technique. rising of floors can also be calculated by a geometric technique using these techniques, a half hull block model of the central hull was made and faired As was done by the original shipwrights of the venetian Arsenale, ribbands were then used to make the bow and stern frames. ] lines were taken off at each station


- 632 replies
-
- 13
-
-
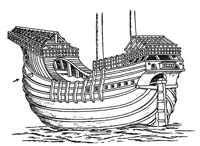
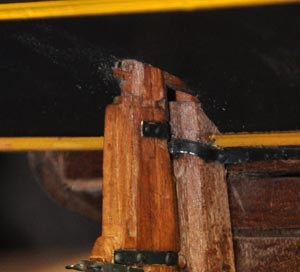
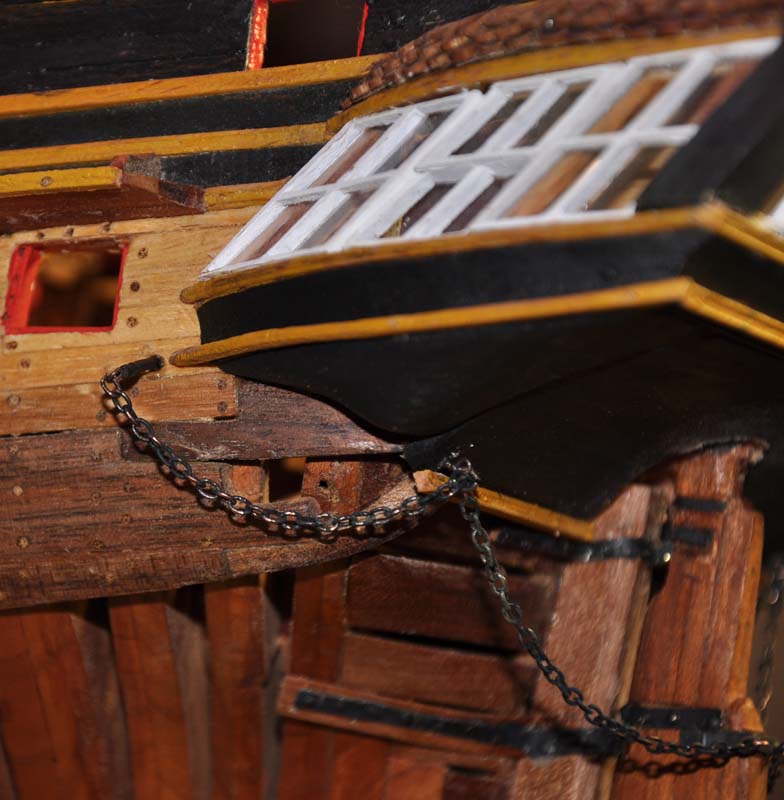
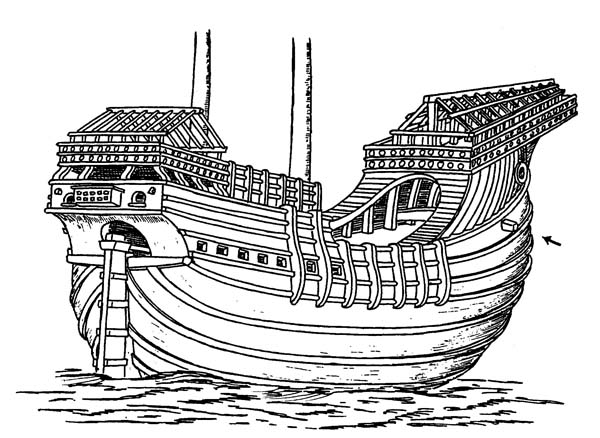
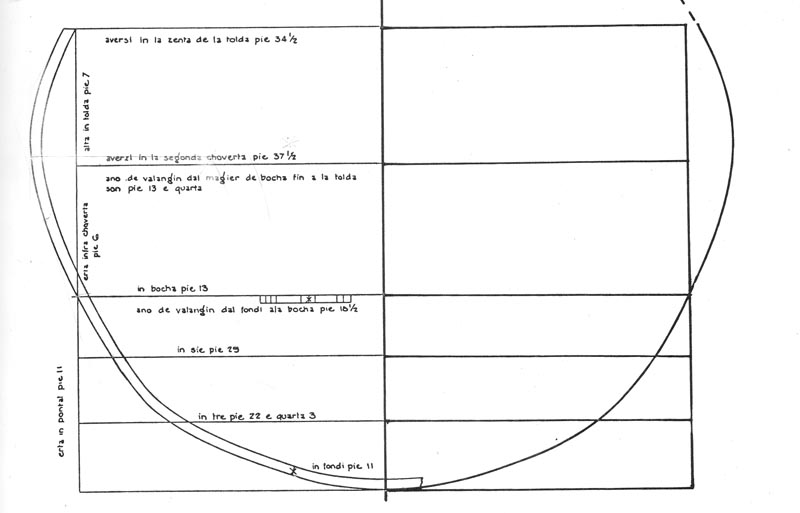
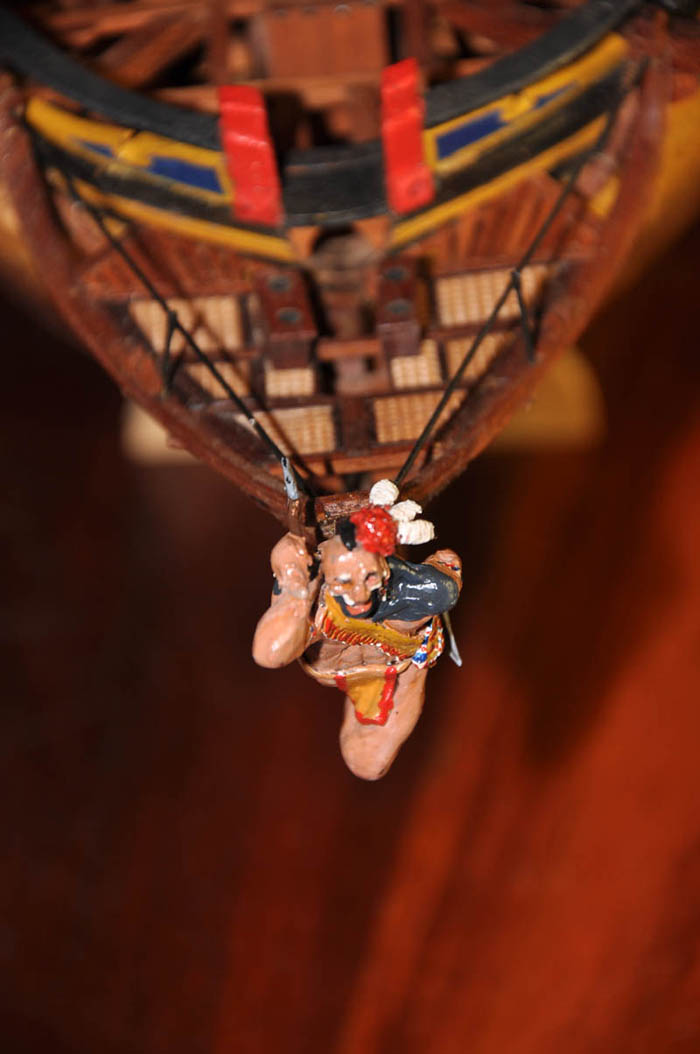
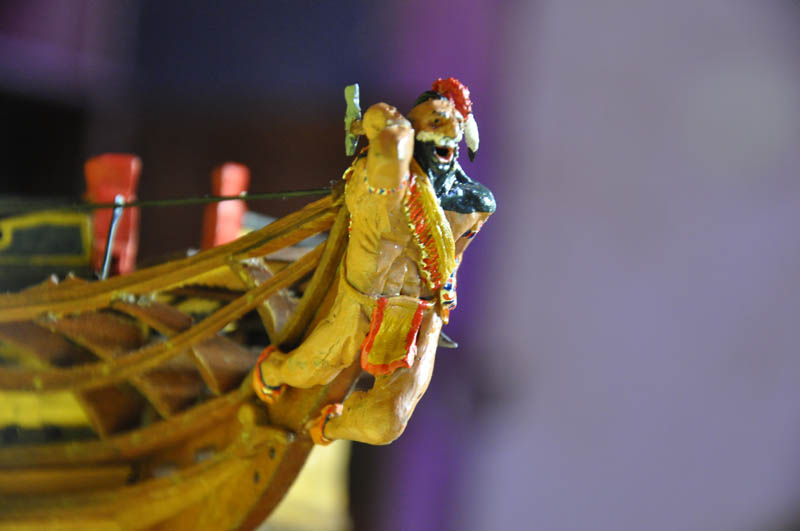
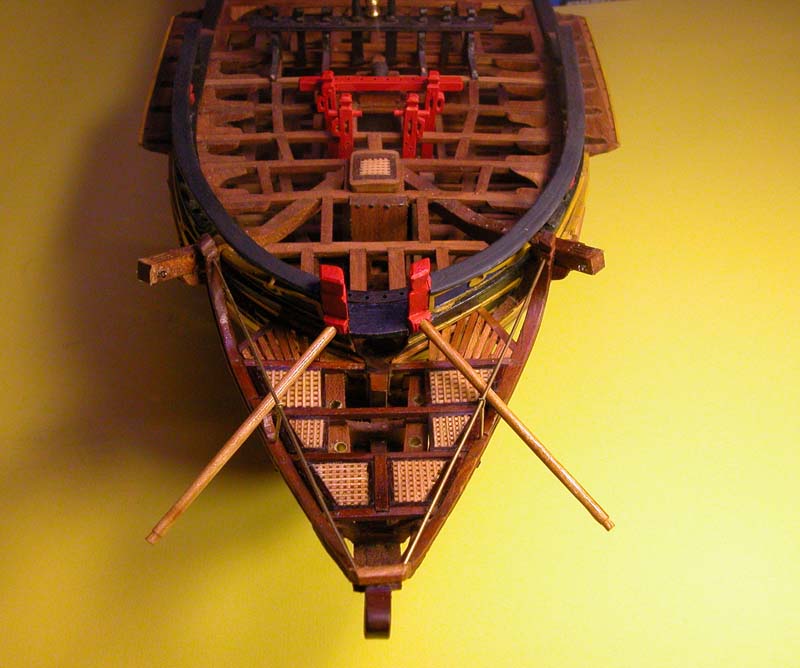
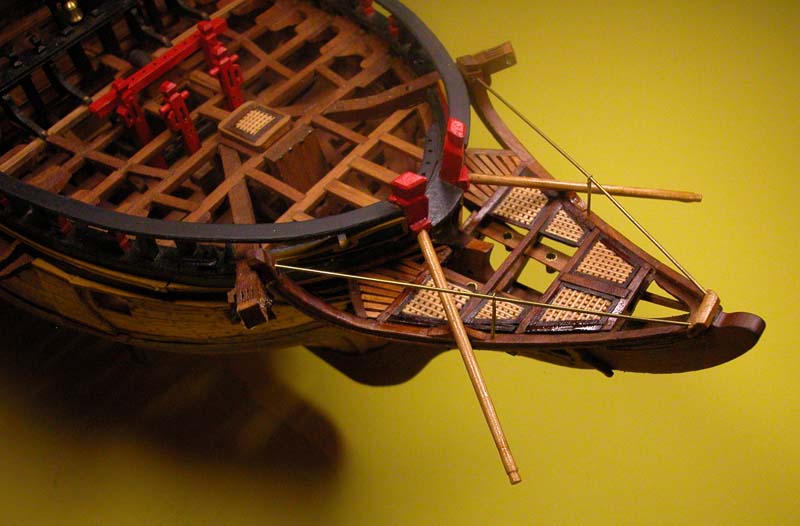
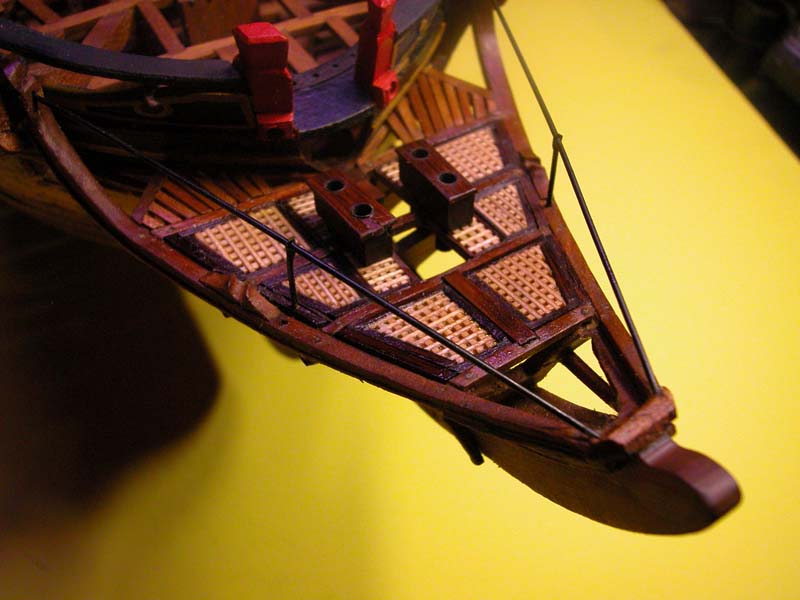
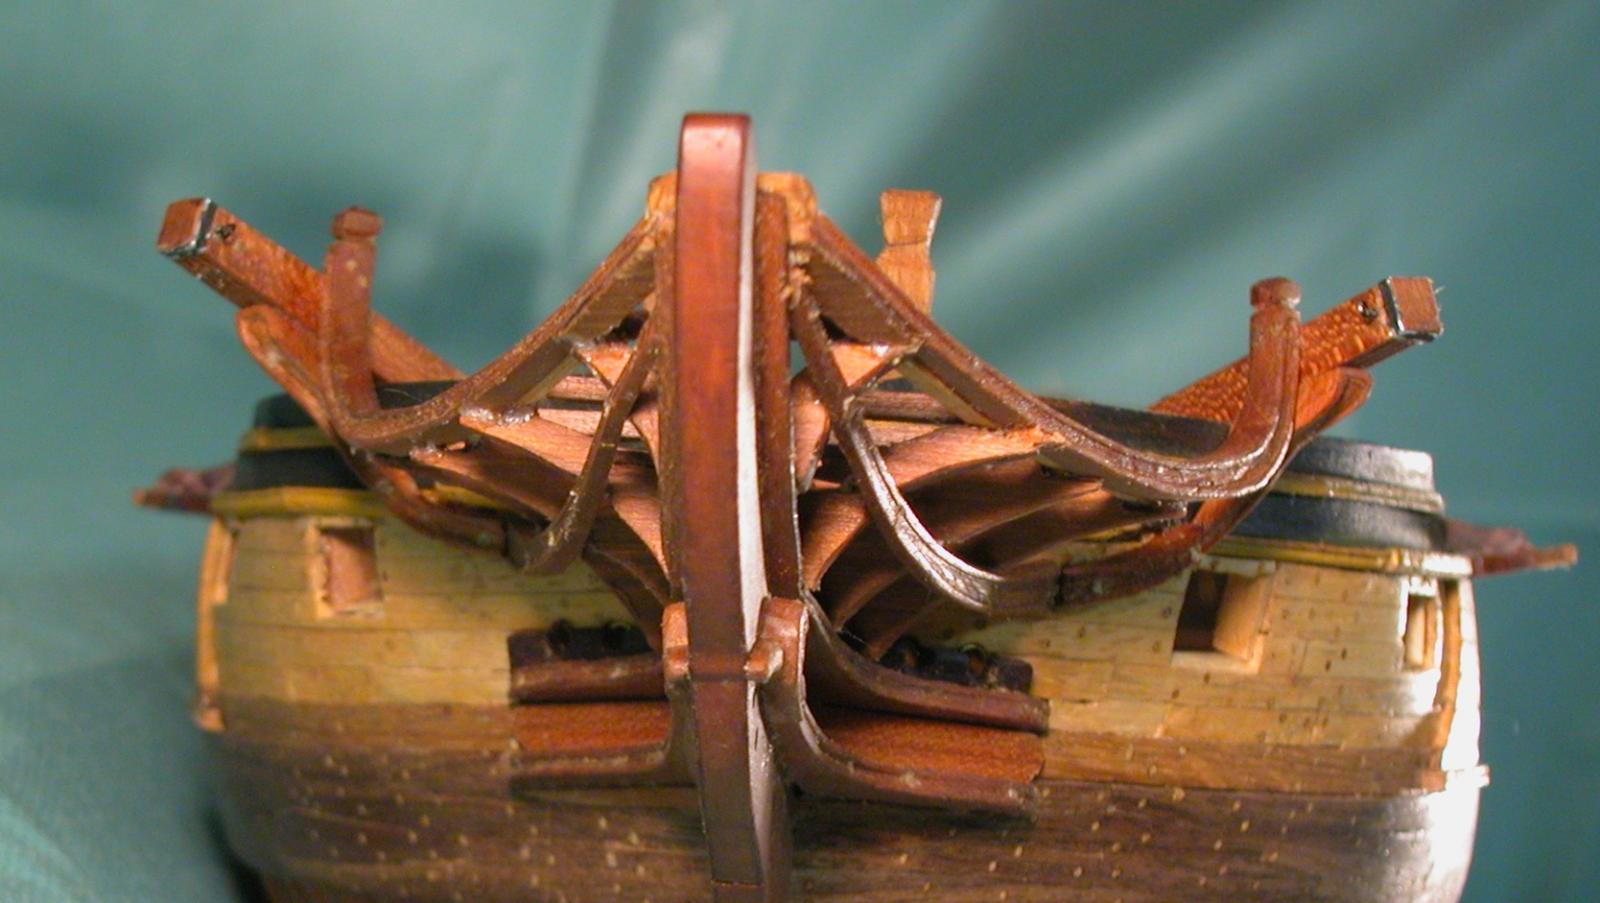
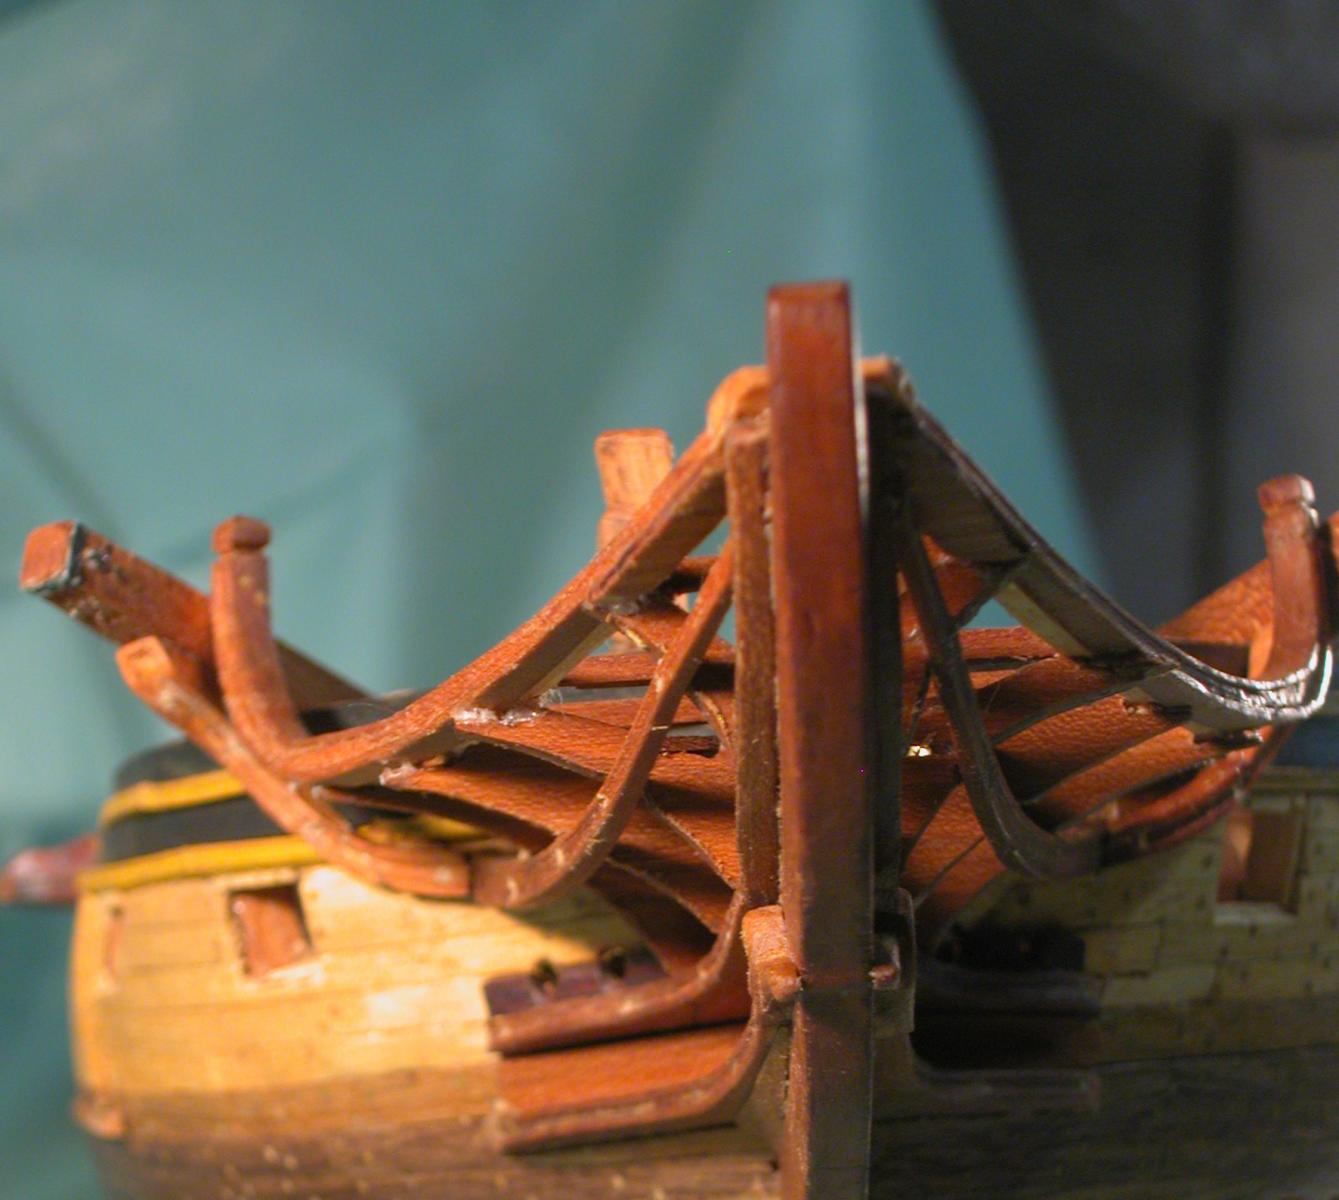
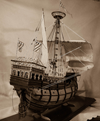
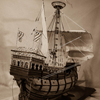
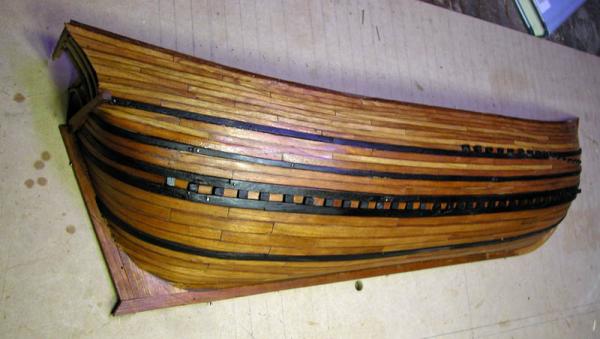
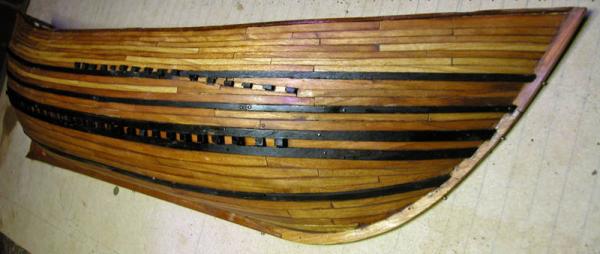
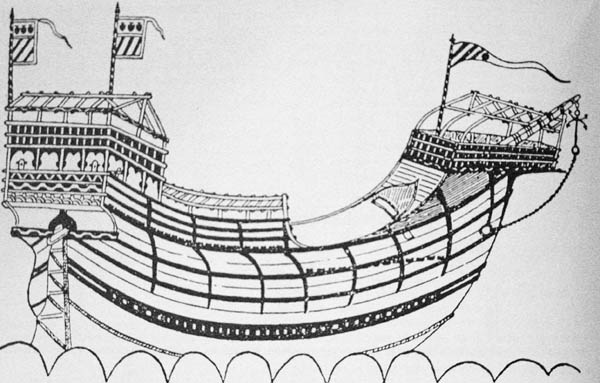
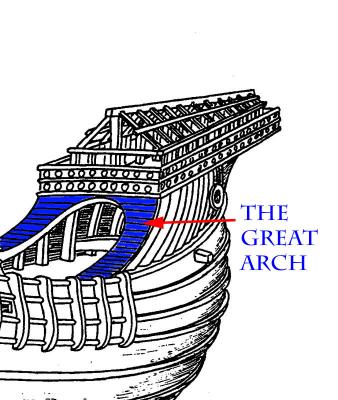
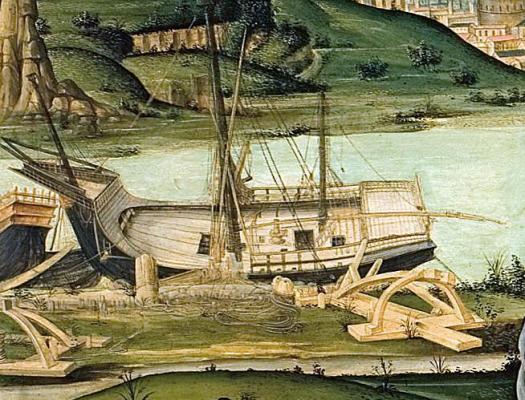
The following is a close reconstruction of the vessel, a carrack or cocha, illustrated in the 1445 document by Zorzi Trombetta da Modone ( also known as Timbotta). Fortunately for us, the dimensions of this hull were recorded on the original drawing of the hull, which enables a fairly close attempt at reconstruction possible. The Trombetta nave circa1445 Venetian Carrack by Woodrat 1/64 Page 1: Index · Overview of Trombetta nave · Design of midship frame · Narrowing with mezza lune · Construction of half-hull model Page 2 · Lines from half-hull · Plan for full hull build plank on bulkhead Page 3 · Keel and posts: the backbone · Bulkheads · Main deck framing · Transversal bitt · Wales · Start planking Page4 · Complete planking · Stern timbers · Scuppers · Main deck planking · Main hatch · Half deck · Accommodation beneath half deck · Steering mechanism Page 5 · Planking half-deck · Knees on half deck and waist · Framing and planking poop deck · Seats of ease · Sterncastle construction · Windlass · Hawse holes · Foremast step · Forecastle framing · Framing Great Arch starts Page 6 · Completion of Great Arch · Clinker planking of forecastle · Planking and completion of forecastle · External hull riders Page 7 https://modelshipworld.com/topic/4915-venetian-carrack-or-cocha-by-woodrat-finished-164/page/7/ · Accommodation on the half deck · Roofing of the half deck accommodation · Knights Page 8 · Figurehead · Sterncastle construction · Forecastle shelter Page 9 · Grapnel · Stern gallery and blinds Page 10 · Capstan · Rudder · Pumps Page 11 · Built-up mainmast · Loading port · Ventilation scuttles · Mast partners and wedges Page 12 · Blocks · Standing rigging: Page 13 · Standing rigging: mainstay · More blocks Page 14 · main shrouds · mainyard page 15 · halyards · mainsail · Crew figures Page 16 https://modelshipworld.com/topic/4915-venetian-carrack-or-cocha-by-woodrat-finished-164/page/16/ · Molding of mainsail and bonnet · Maintop Page 17 · Further details of mainsail · Jacob’s ladder · Running rigging main · Parrels and parrel tackle Page 18 · Mainsail set · Mizzen yard, sail · Page 19 · Mizzen mast standing rigging · Mizzen partners and wedges · Mizzen sail and running rigging · Mizzen parrels, halyards and tackle Page 20 · Final figurehead · Completed ship with flags and pennants Page 21 · Stand We start: The lines for the master frame and sheer were based on the extant material available from contemporary sources note the rounded bow and stern, the projecting deck timbers, the high forecastle with its "great arch" below and the characteristic clinkered planking below the castle. The temporary lashed shelters attached to the fore and stern castles were presumably covered with awnings to show another illustration of the great arch a detail from the arrival of St Ursula at Cologne by Carpaccio. A contemporary view of carracks. a careened carrack by Botticelli showing deck detail a carrack by Bonfigli 1485 showing the transversal bitt projecting below the forecastle whch is also seen on the Trombetta document A roughly contemporary method of constructing a master-frame by Pre Theodoro ]This my attempt at a master-frame. All other hull frames are based on this. Dick


-
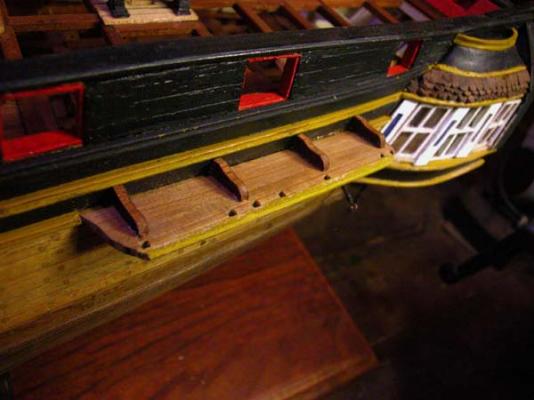
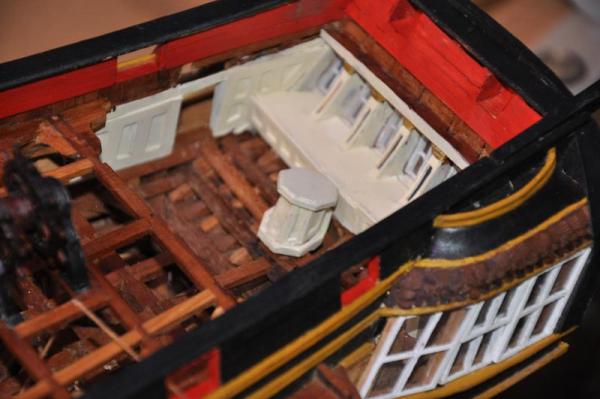
I initally did the seats of ease as per the AOTS drawing but, after ribald comments from various MSW members about wet bums in any sort of sea, I redid them in a more traditional way. the old seats for hardy sailors that's better (and drier!)


-
I wouldn't use those old floorboards, Brian, as the wood will be splintery. I used a leftover sink cutout from our kitchen renovation, which is quite young wood and splintering has not been a problem. A problem has been dust when machining jarrah. A vacuum system and a good filtering facemask is essential. Dick
-
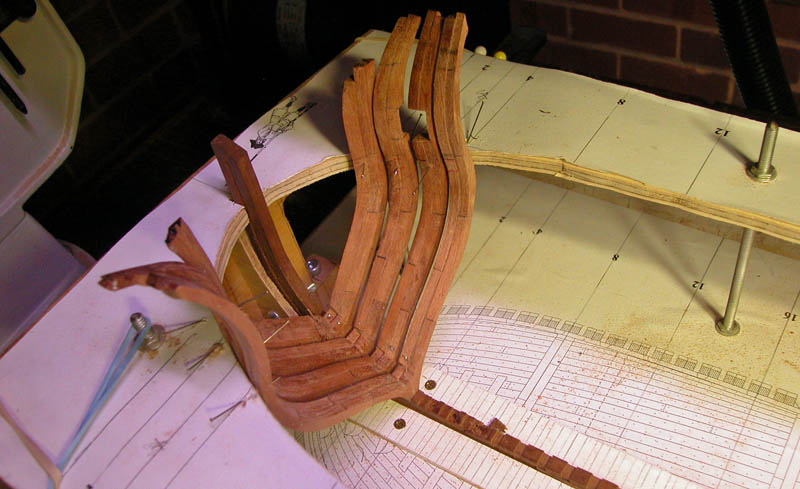
here is the completion of the framing of the bow module. Phew! The jarrah has been oiled to nourish the wood. It wont remain shiny and the wood will darken. hawse holes are yet to be made.

-
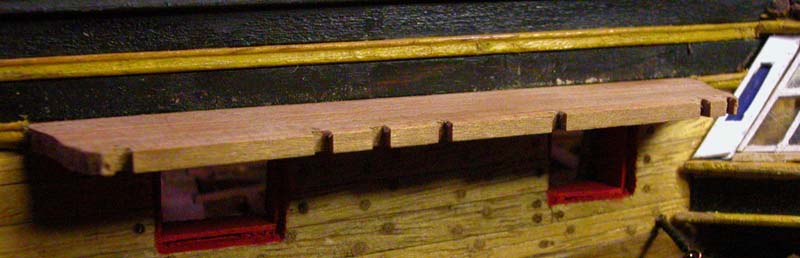
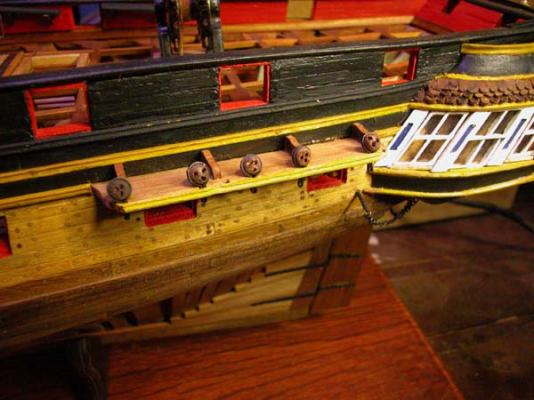
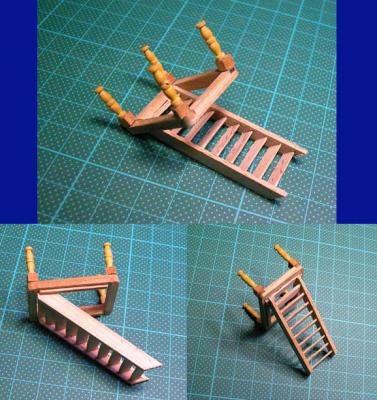
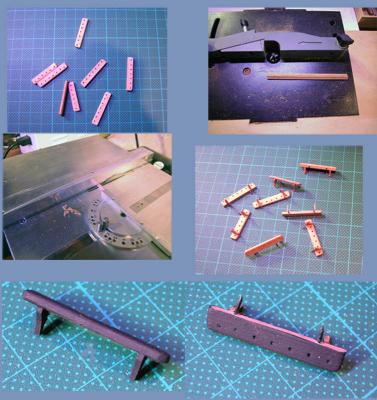
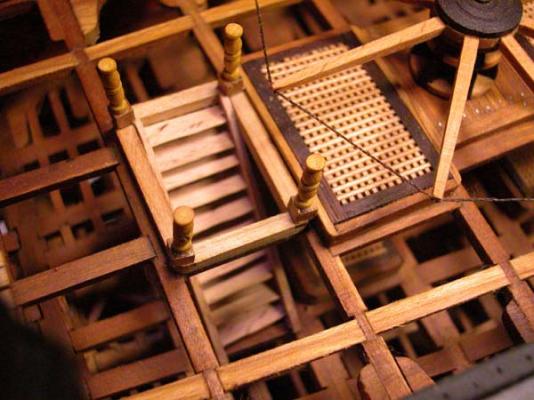
Thank you Christian. Cutting slots with cross-slide deadeyes in place. companionway pinrails


-
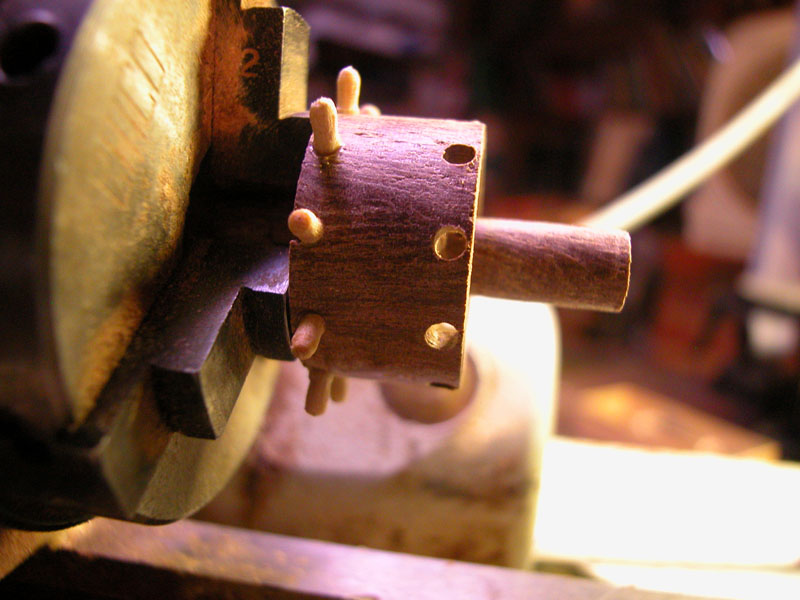
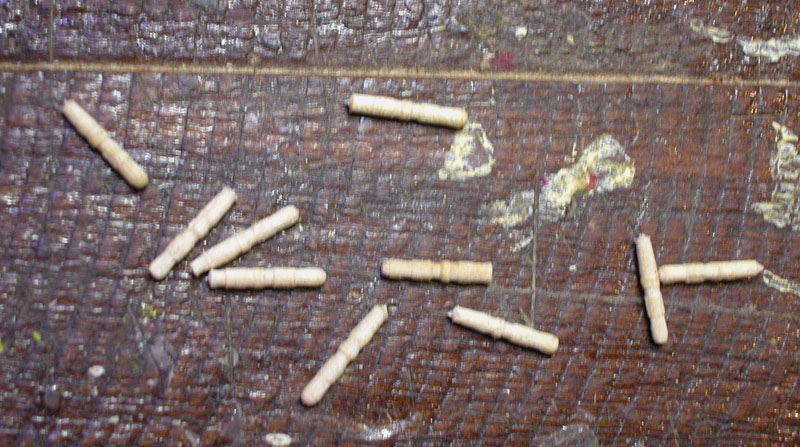
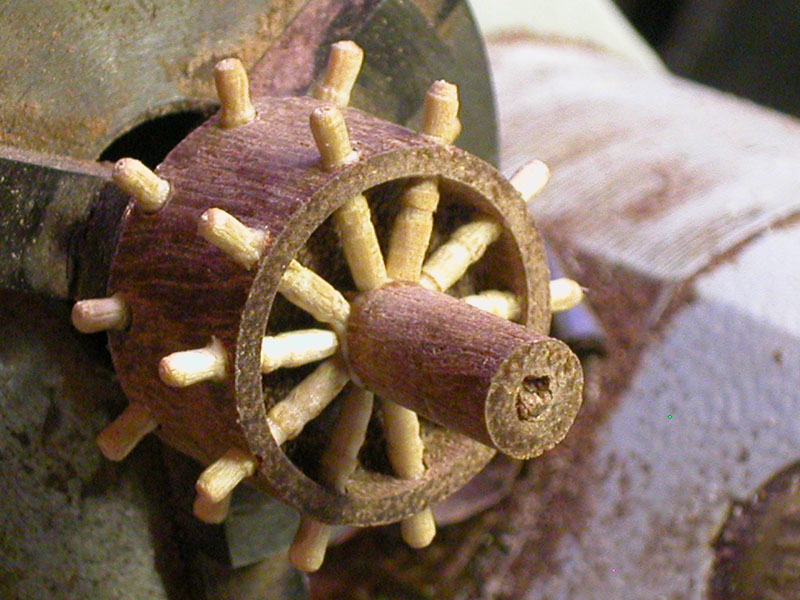
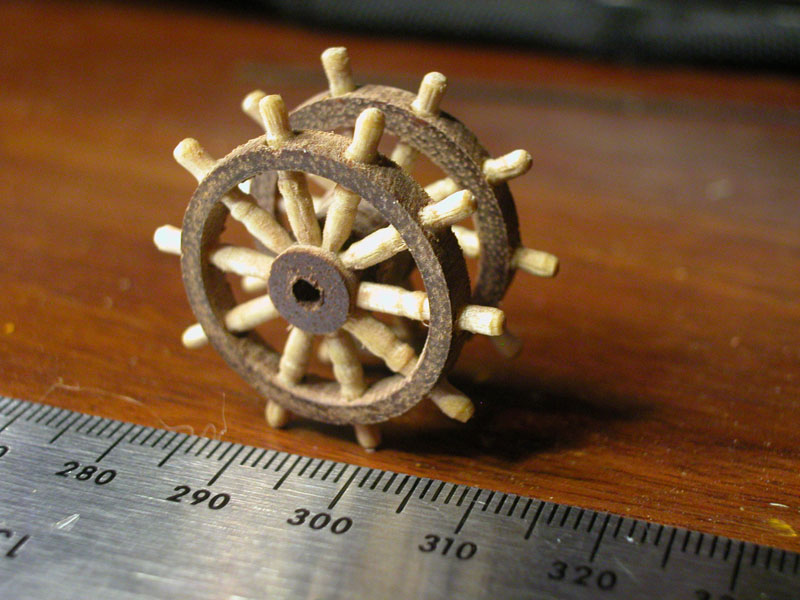
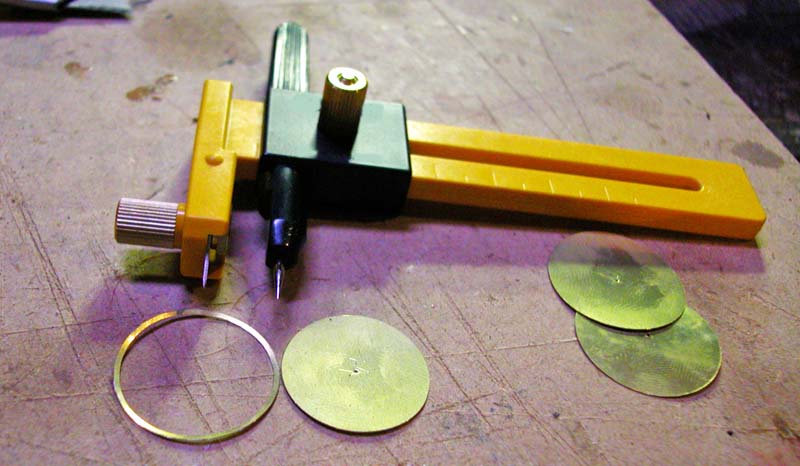
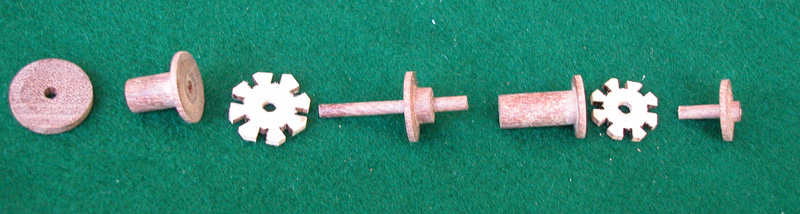
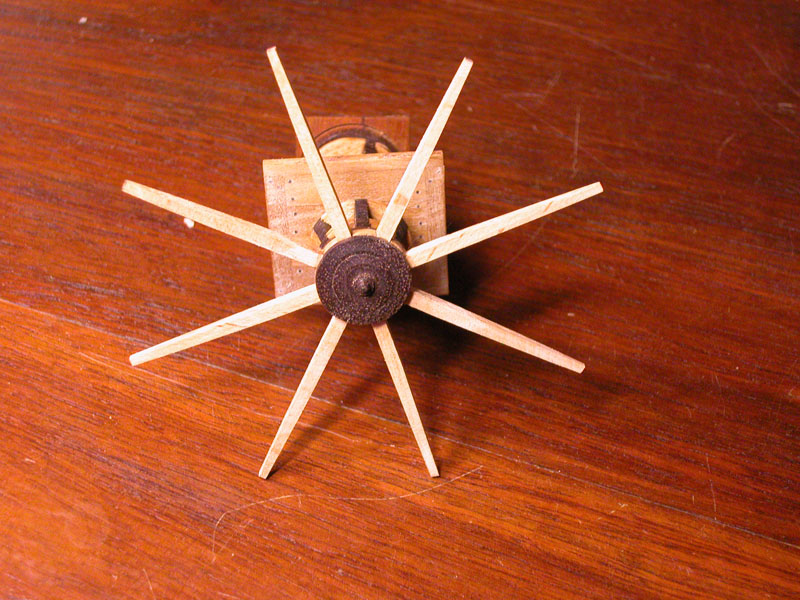
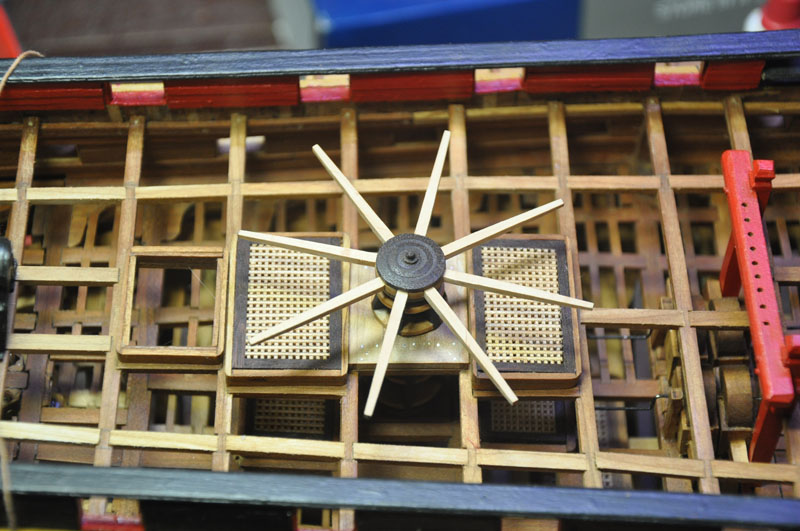
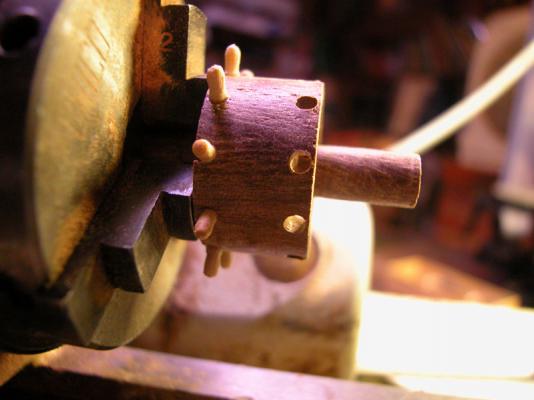
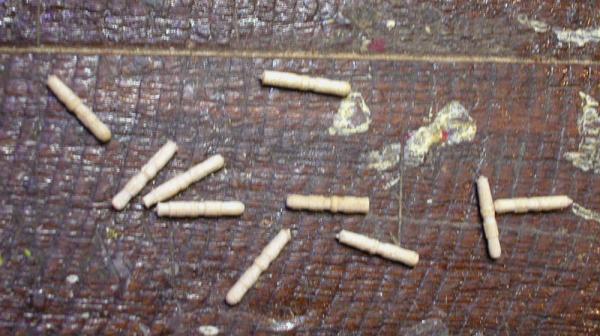
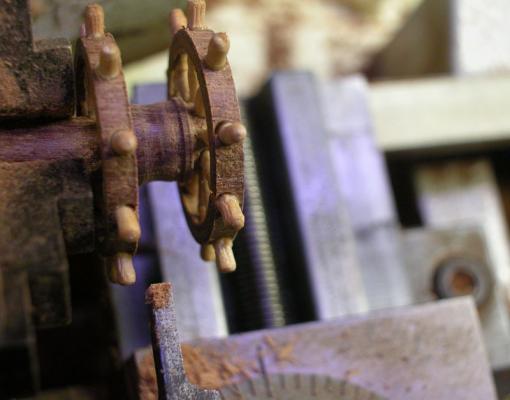
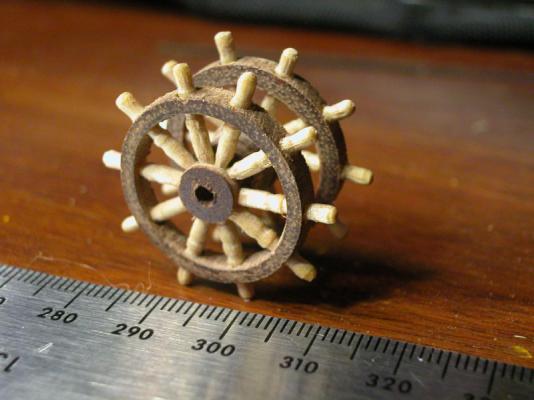
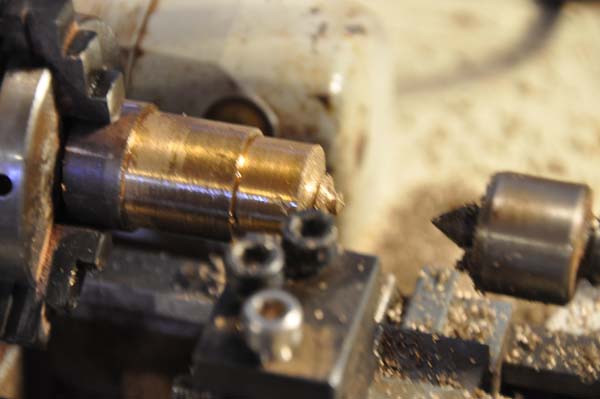
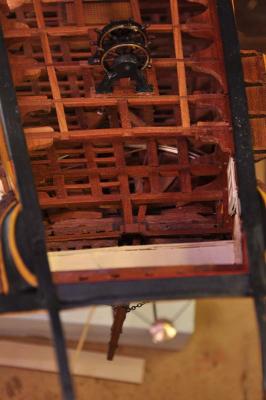
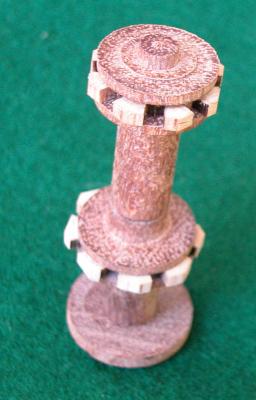
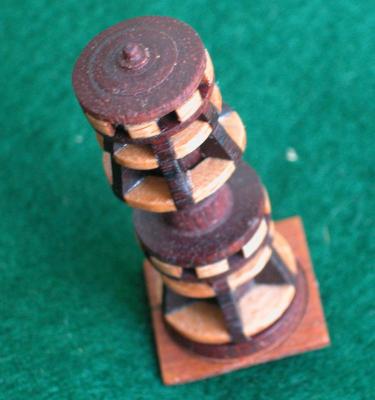
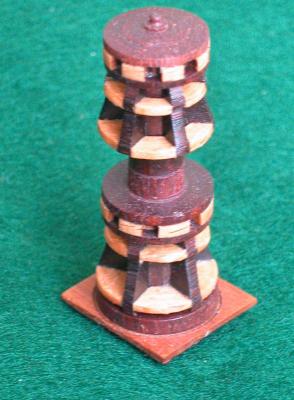
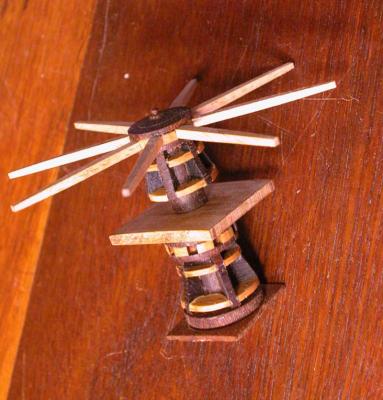
The following shows the steps of the construction of the double wheel. The wood is jarrah. turning the wheel on the Unimat spokes spokes in place drum being machined brass facing cut from sheet brass


-
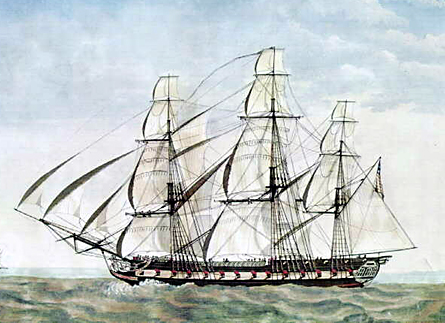
No, Slog. it would seem that the french have a good sense of humour. The name IS Le Gros Ventre and it does mean Fat Belly Dick More bloody hawse pieces!!!


-
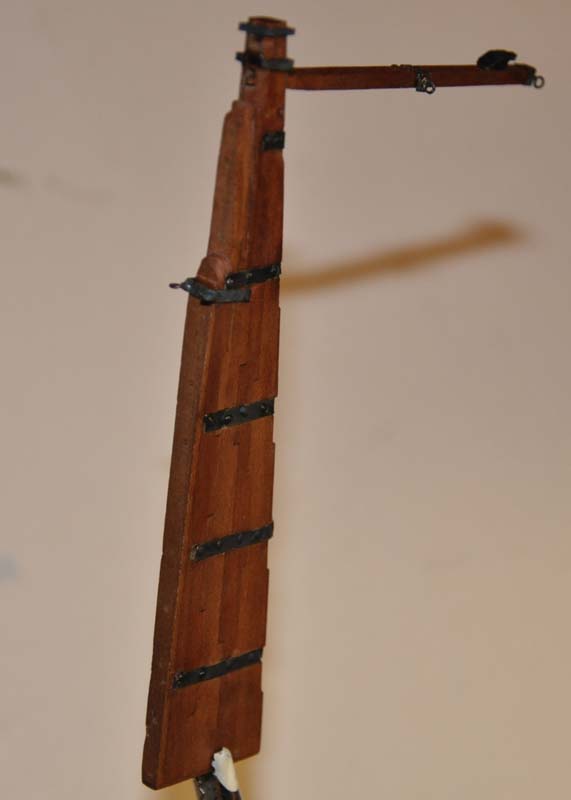
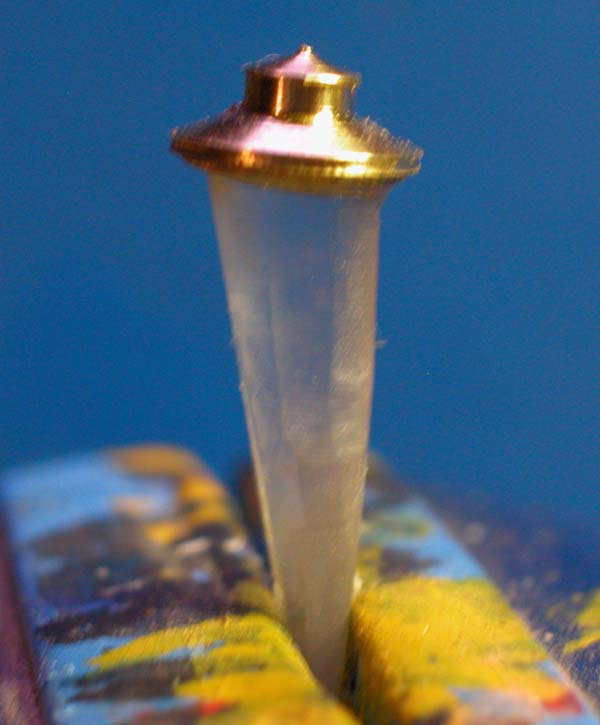
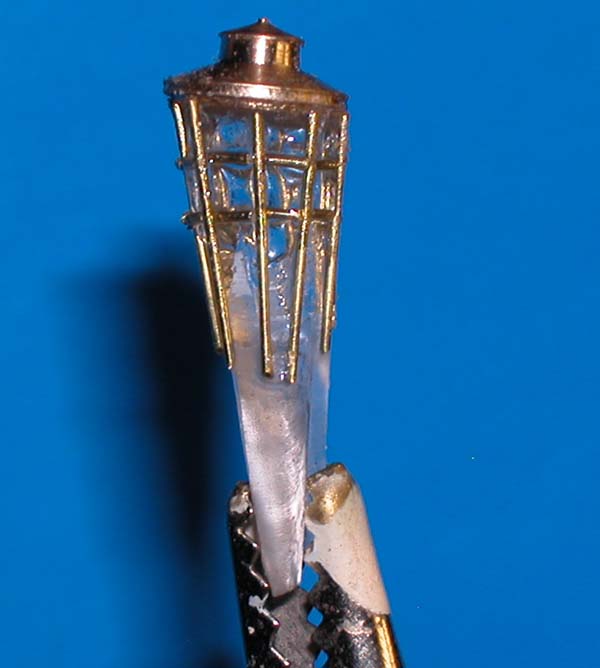
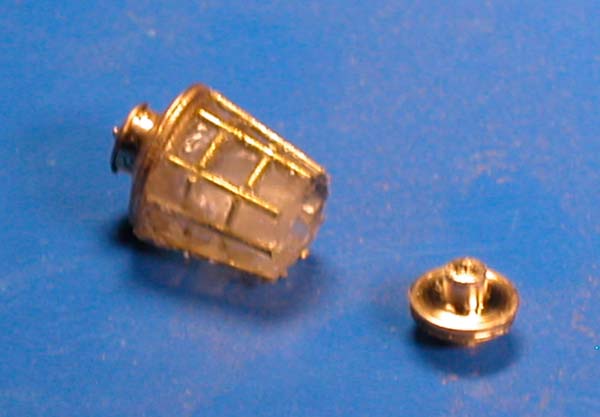
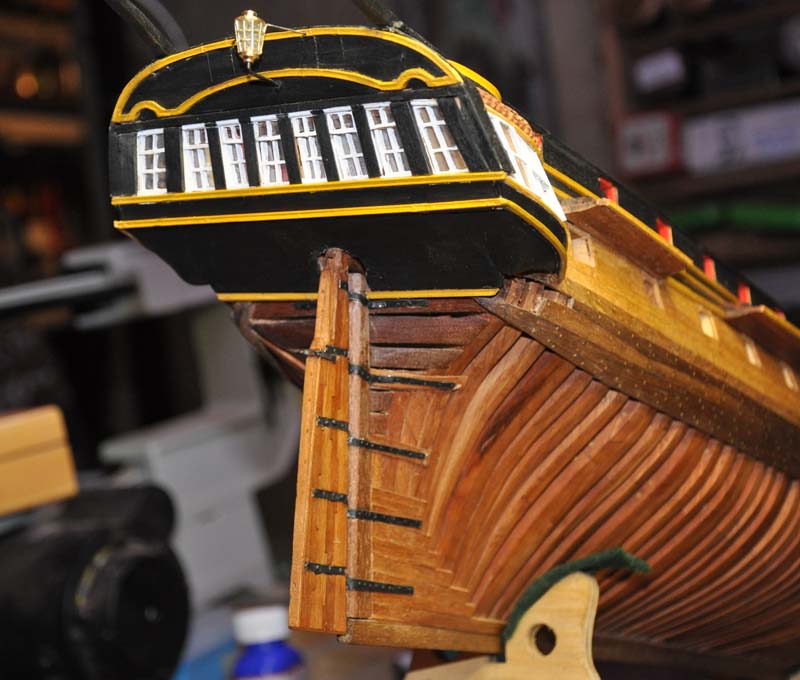
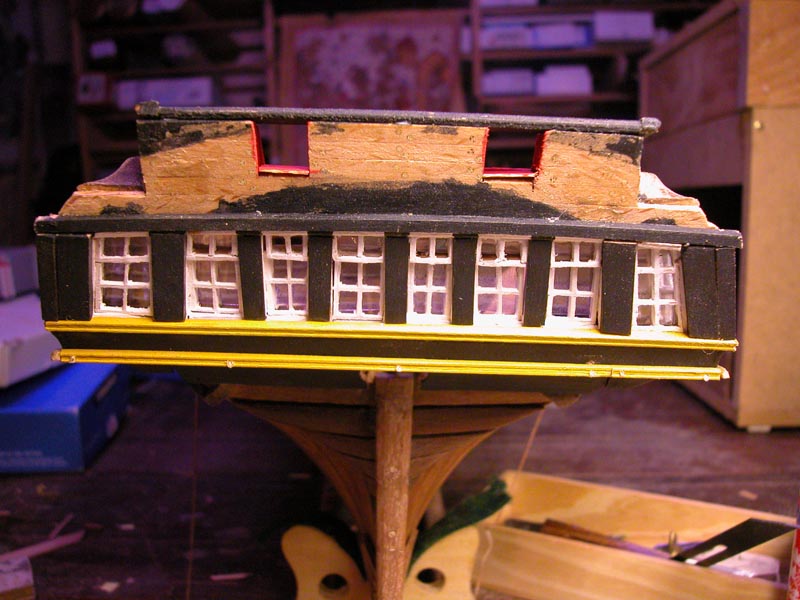
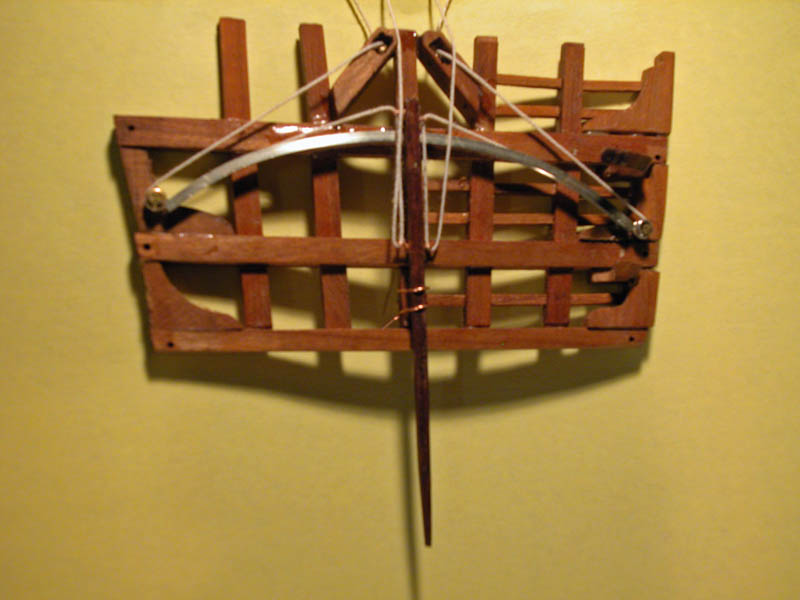
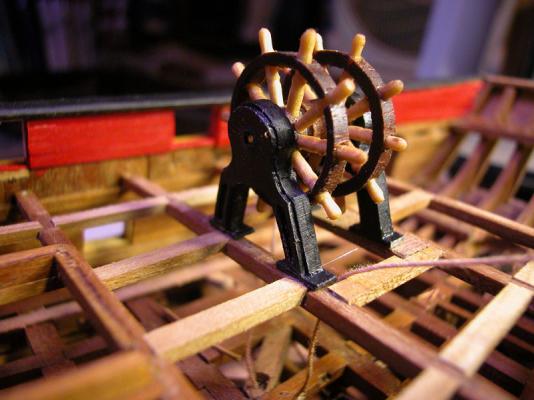
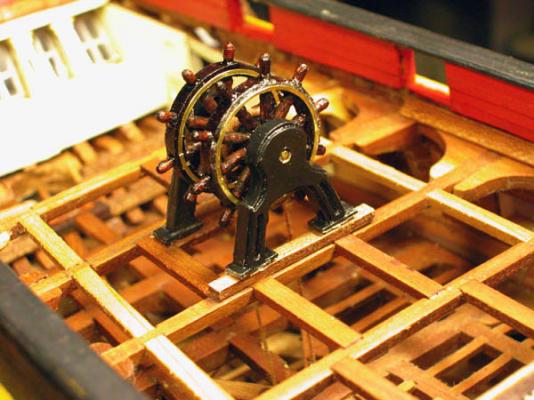
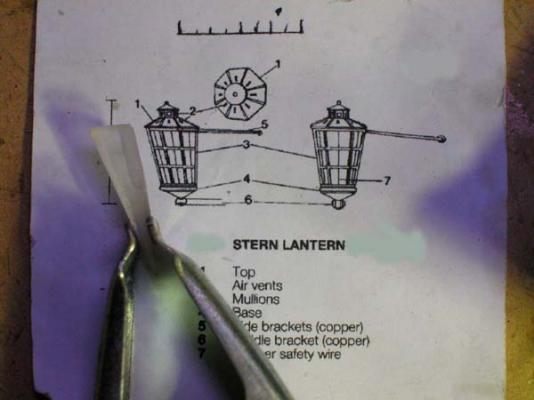
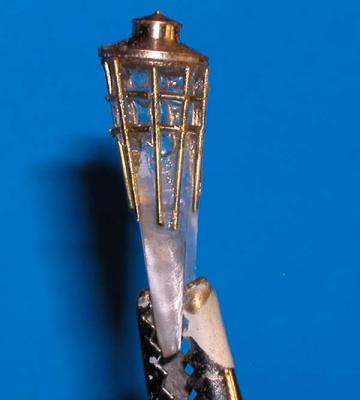
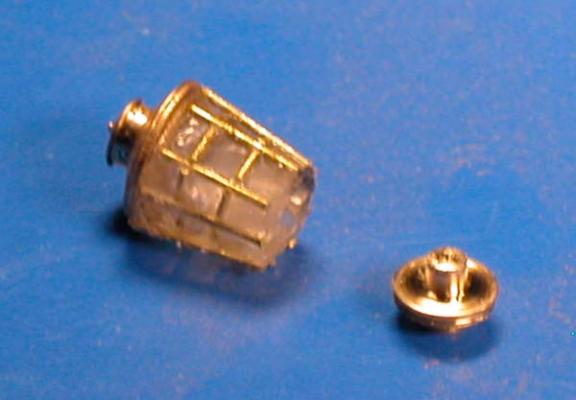
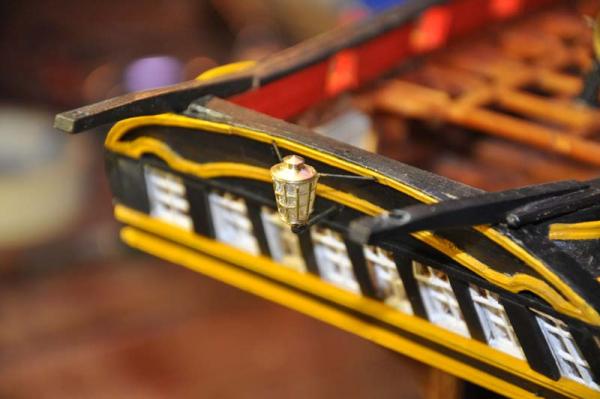
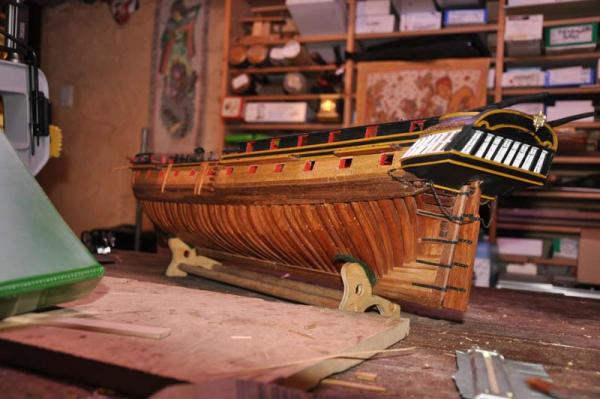
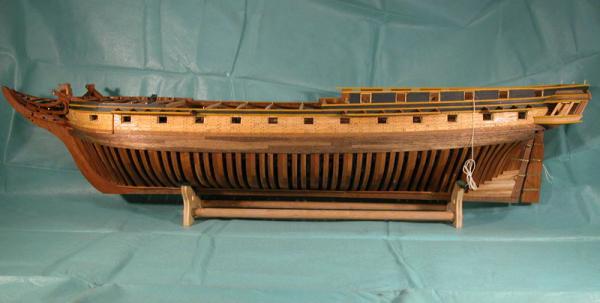
thanks chaps. There is still a ways to go yet after a disastrous first attempt the second version of the lantern was a bit better steering gear connected and functioning the build as at may 2010 Dick


-
Quite an appropriate name for an exploration vessel which needs to carry large amounts of supplies and spare parts for an expedition to the other end of the earth.
-
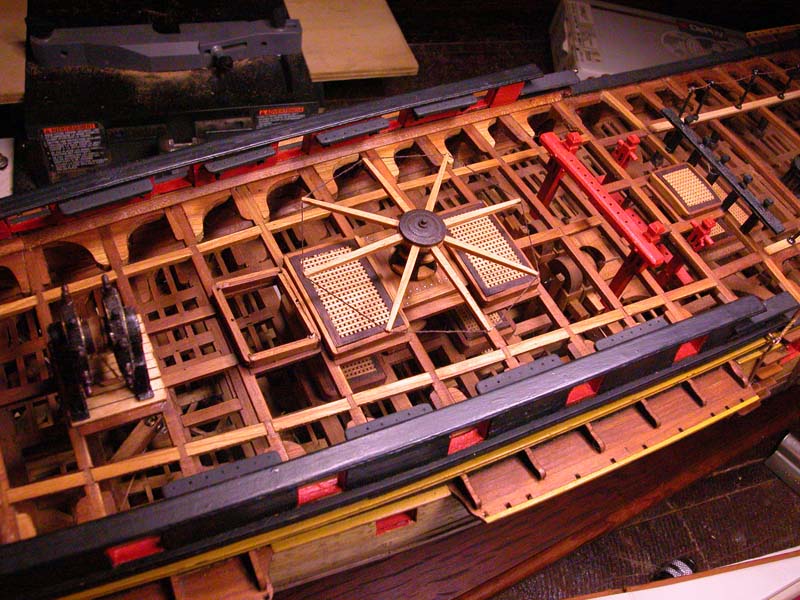
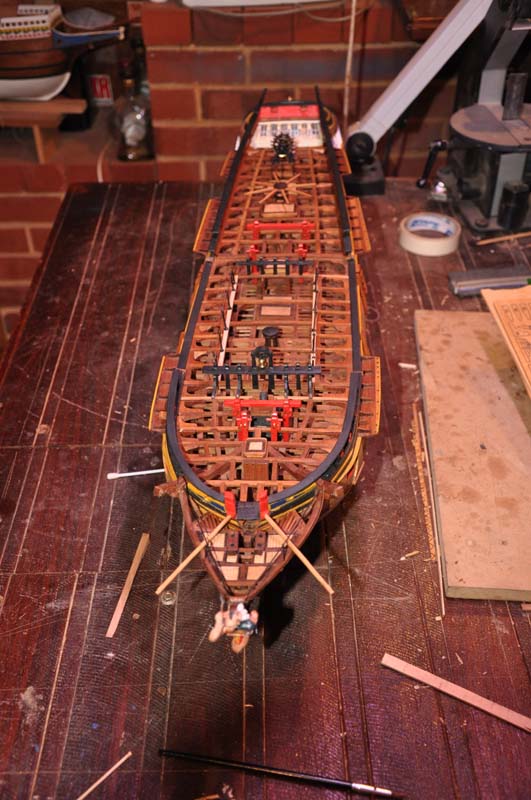
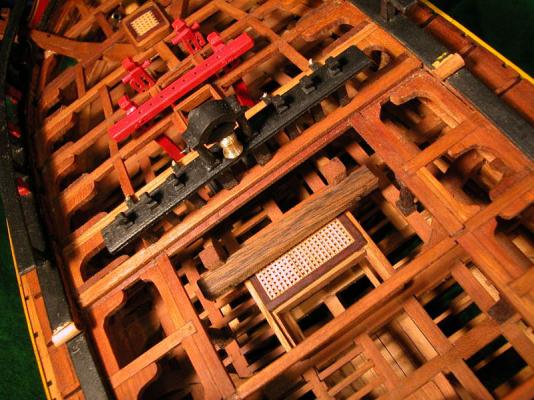
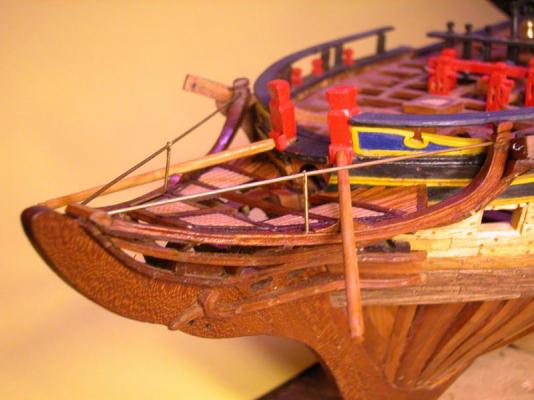
deck framing mostly complete. I used the AOTS layout with some modifications such as the underslung cathead. the belfry components of main capstan the boomkins in place double ship's wheel and main cabin wirh rudder housing


-
Good choice. the plans are very good. Are you going to go POF or POB? Dick
-
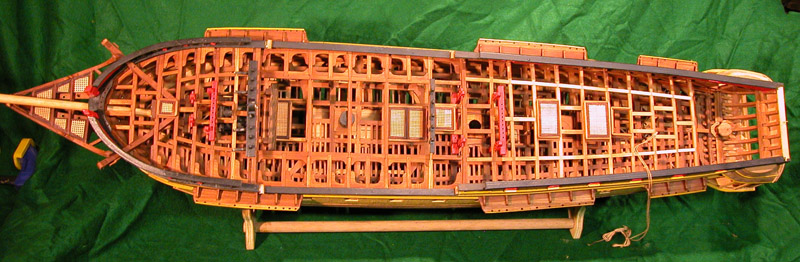
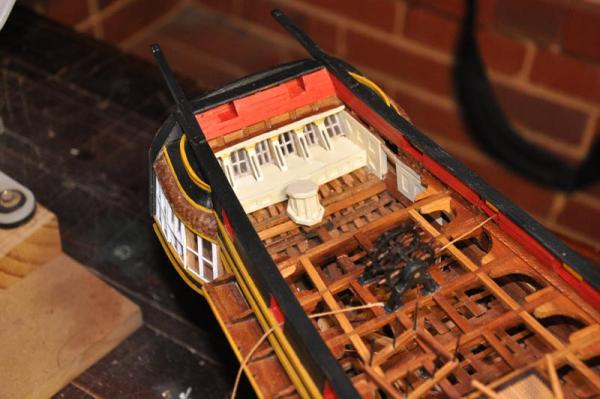
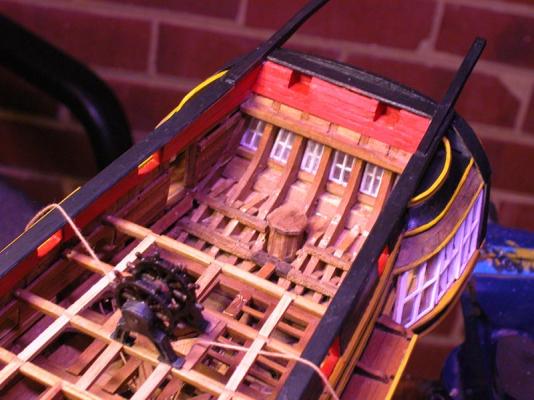
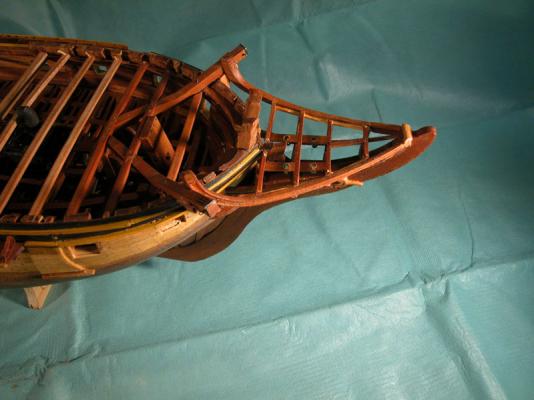
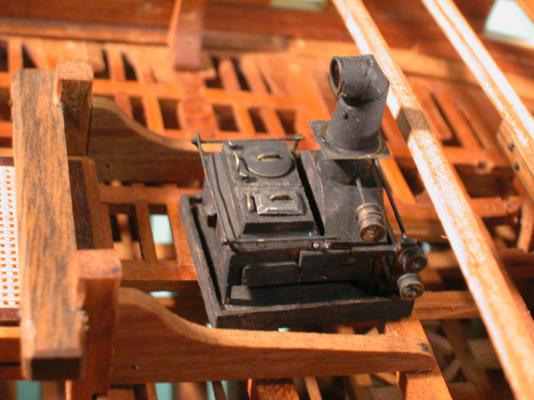
I decided not to plank the decks and leave the hull see-through, for good or ill. the steering gear Brodie stove Cheers. Dick


-
Thanks, Grant and excellent work on the Victory, by the way. Dick
-
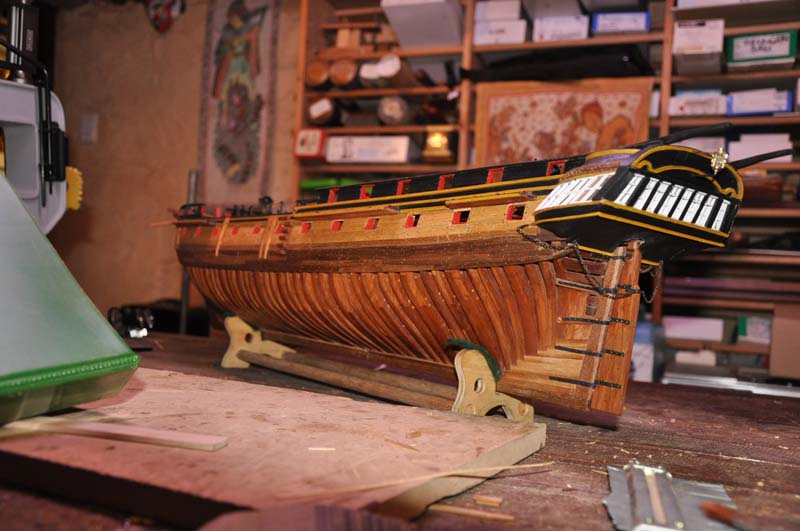
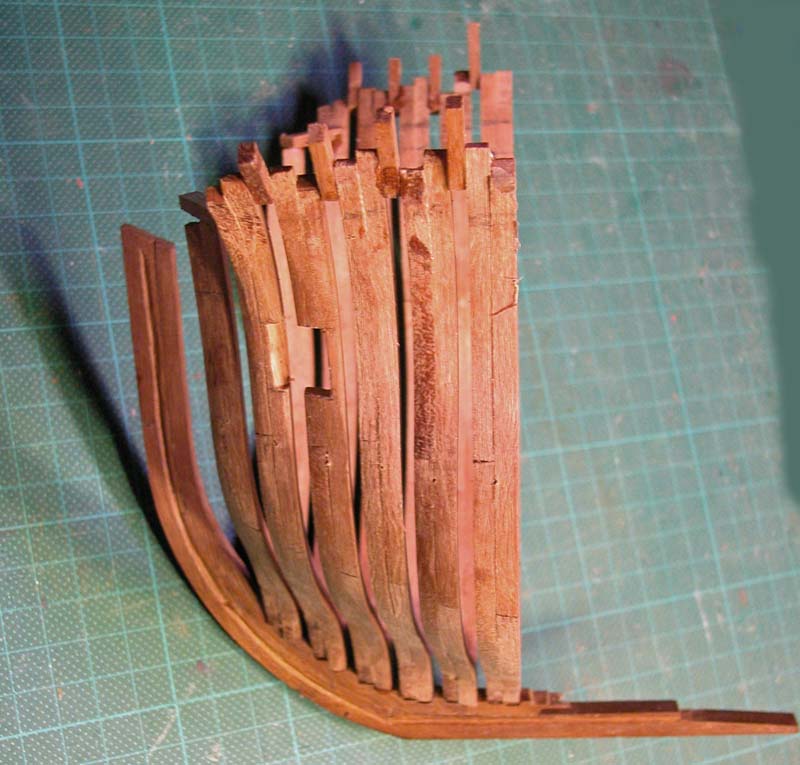
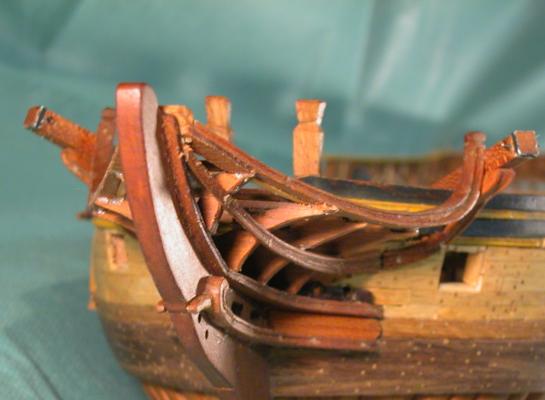
Here are the outer hawse pieces in process of installation. This has got to be the most tedious part of the build! I think it will be worth it Merry Xmas all. Dick


-
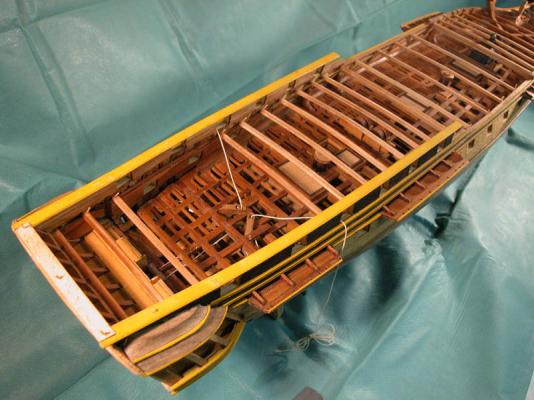
I live in Perth , Western Australia, Andrew. Bit far to go for a casual visit. But maybe someday..... Here are some more progress pics of the build. Merry Xmas. Dick berth deck framing installed gun deck framing the anchor stock planking is in black walnut.

-
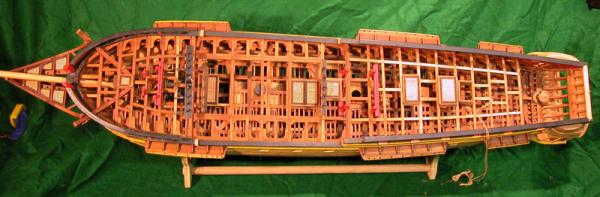
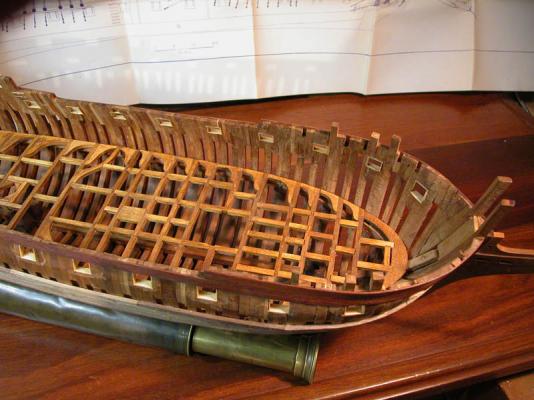
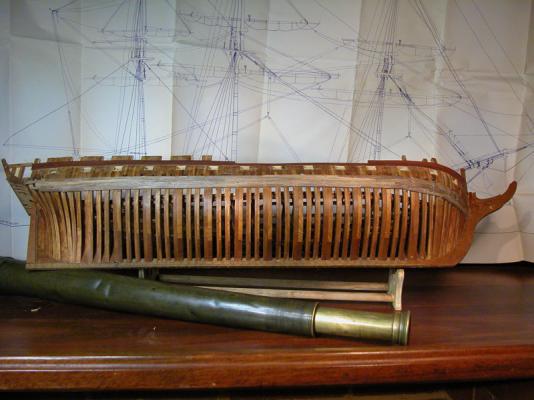
Having lost my build log in the catastrophic crash of 2012, I will try to resurrect an abbreviated version. I used Portia Takakjians plans and referred to both the AOTS book and the POF publication. There were significant differences in the deck framing between the two books. This was my first ship-model and I learnt a lot along the way, especially from MSW members later on. The build took 10 years and was done in american cherry for the structural elements. Hope you like it. Dick a representative midship frame the bow framing completestern module hull framing complete


- 23 replies
-
- 11
-
-
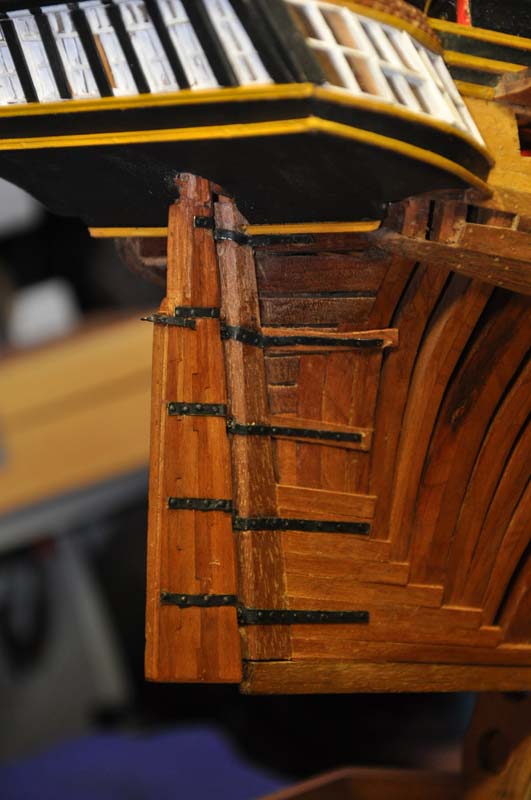
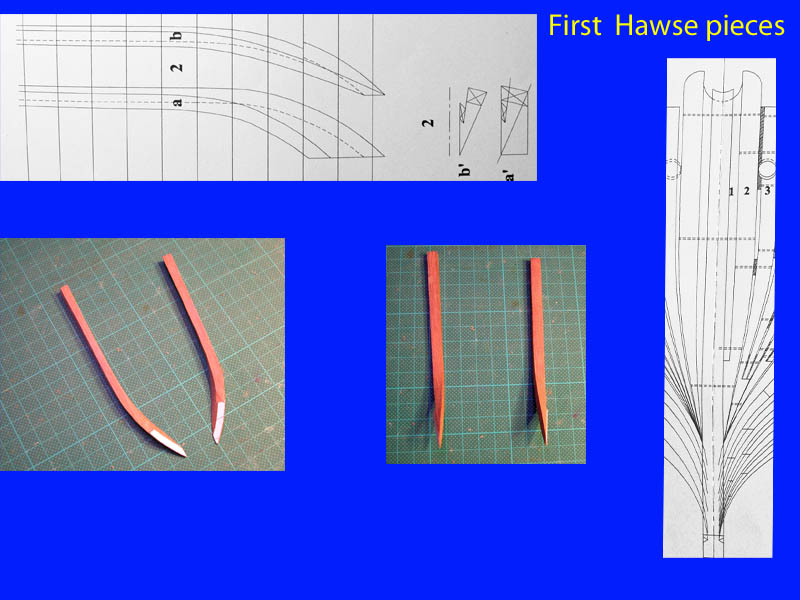
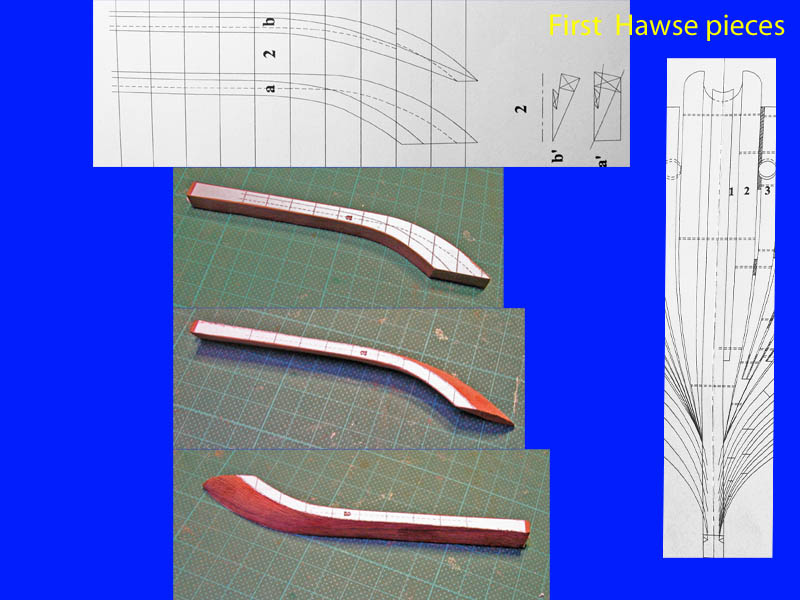
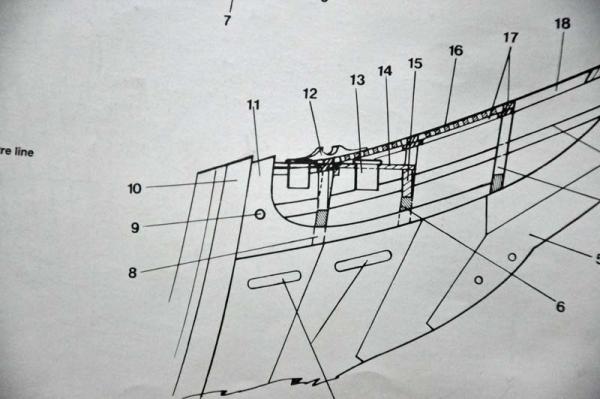
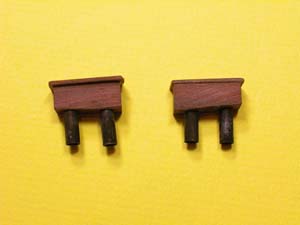
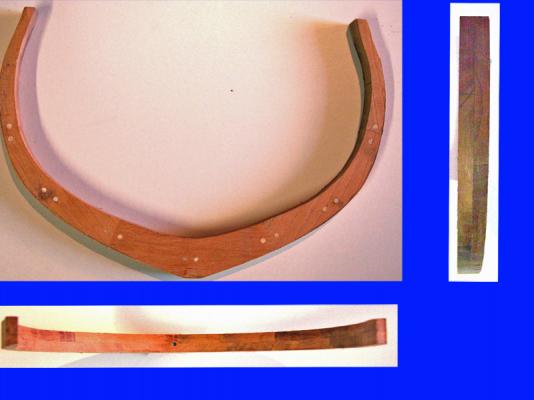
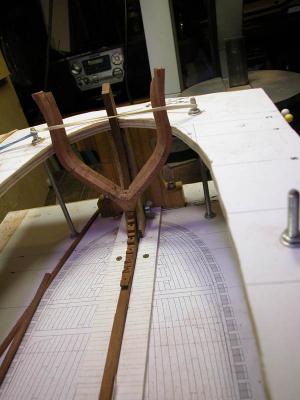
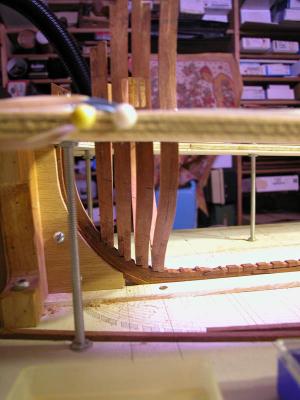
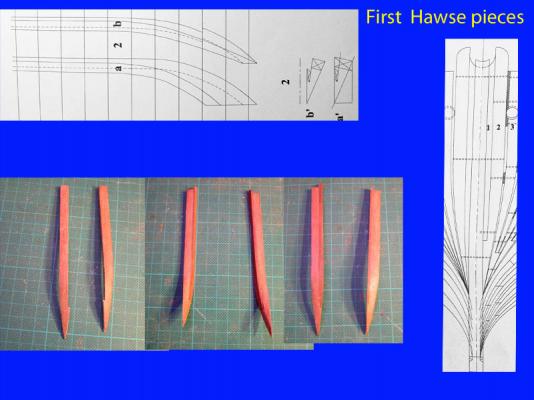
sorry I have been off-line for some time, but not idle. Have now made a start on the bow section. This shows the shaping of the first and second hawse pieces - closest to the stem post The first hawse pieces in place. More to follow soon. Dick


-
Thanks, Druxey. Some of the earlier photos are after application of orange oil, hence the shininess which is temporary. The latest photos are raw timber. The timbers around the transom show darkening from the orange oil. Dick