HOLIDAY DONATION DRIVE - SUPPORT MSW - DO YOUR PART TO KEEP THIS GREAT FORUM GOING! (Only 20 donations so far - C'mon guys!)
×

woodrat
-
Posts
835 -
Joined
-
Last visited
Content Type
Profiles
Forums
Gallery
Events
Everything posted by woodrat
-
 Many thanks, Christiano. At your suggestion I have renamed my log. S. Penzo's nave tonda is magnificent and puts mine in the shade. I have his book. I did try to contact Signor Penzo a couple of years ago but he did not answer the email. Maybe I should try again. One of my ambitions is to work up to a fully framed nave as S. Penzo has done. But it is a massive project. Perhaps I could do the Contarina I ship. At least the plans should be available. I will soldier on with the Trombetta nave tonda. Dick
 -
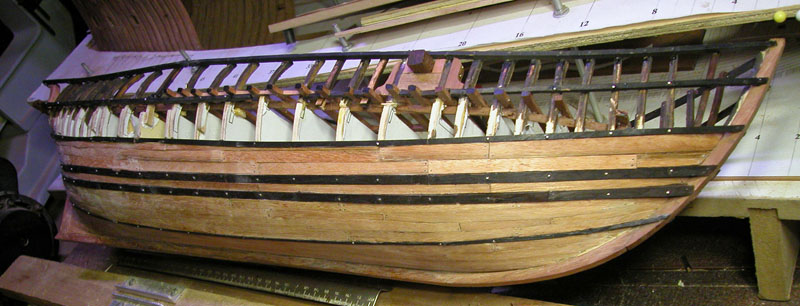
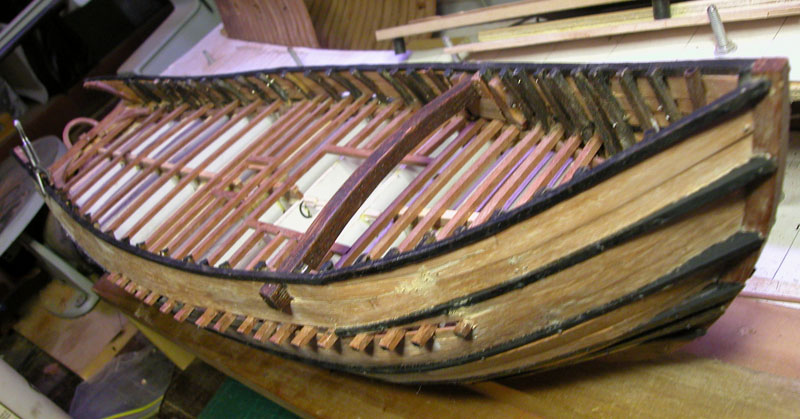
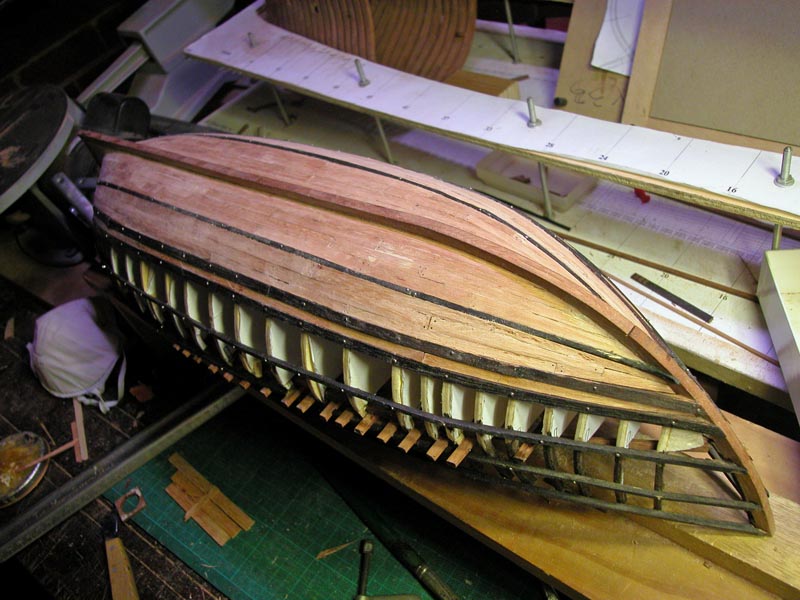
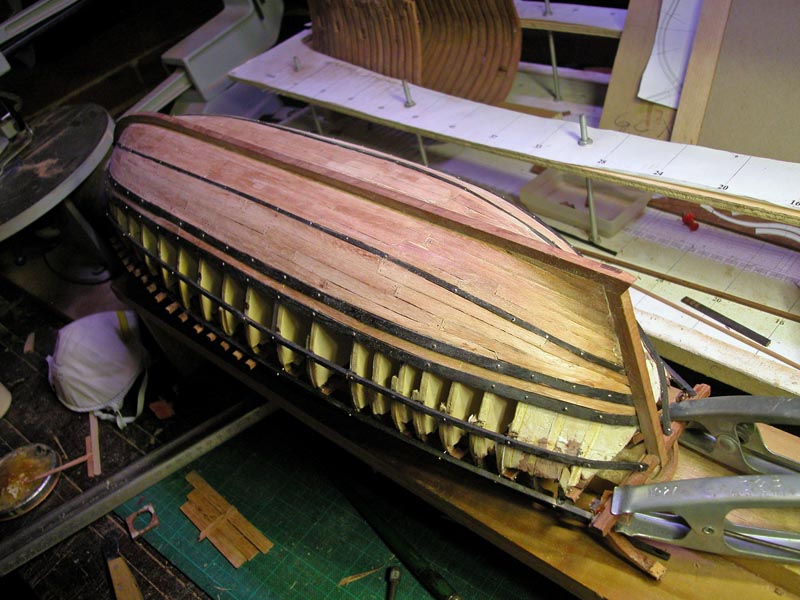
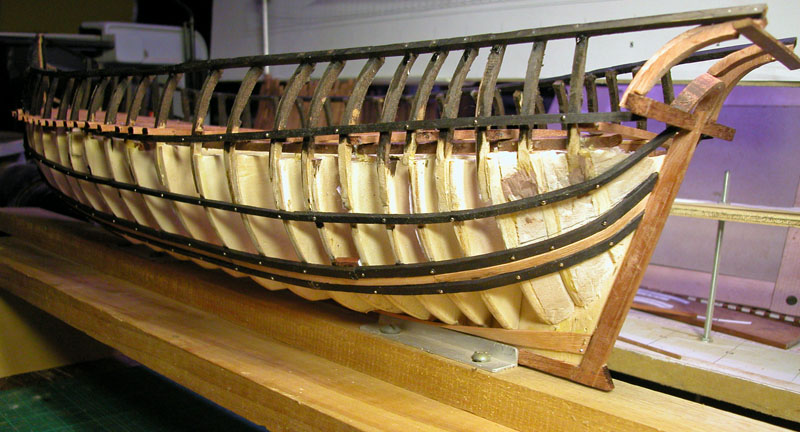
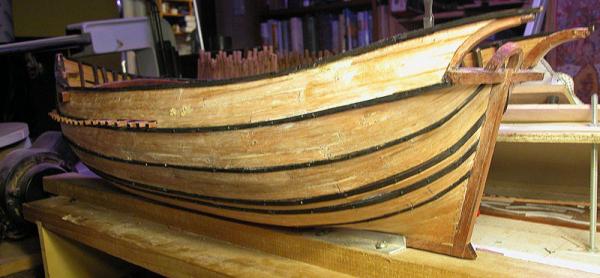
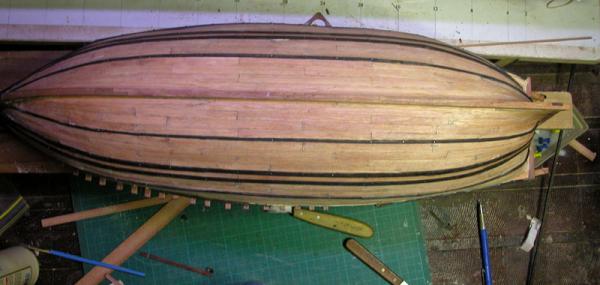
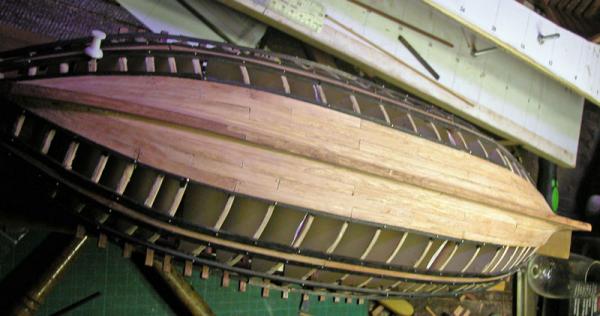
The outside planking of the hull is complete. The next step is the main deck, hawse holes and transom framing The spaces between the protruding main deck beams will become scuppers. I have no idea what form the deck waterways will take yet. Dick


- 632 replies
-
- 13
-

-
Thanks, Tom. I have been sidetracked onto another build but I hope to resume the Gros Ventre soon. There is limited room in the workshop. Dick
-
I will be watching your build with interest. I am halfway through the hull framing on my Gros Ventre. Are you buiding it fully framed? Dick
-
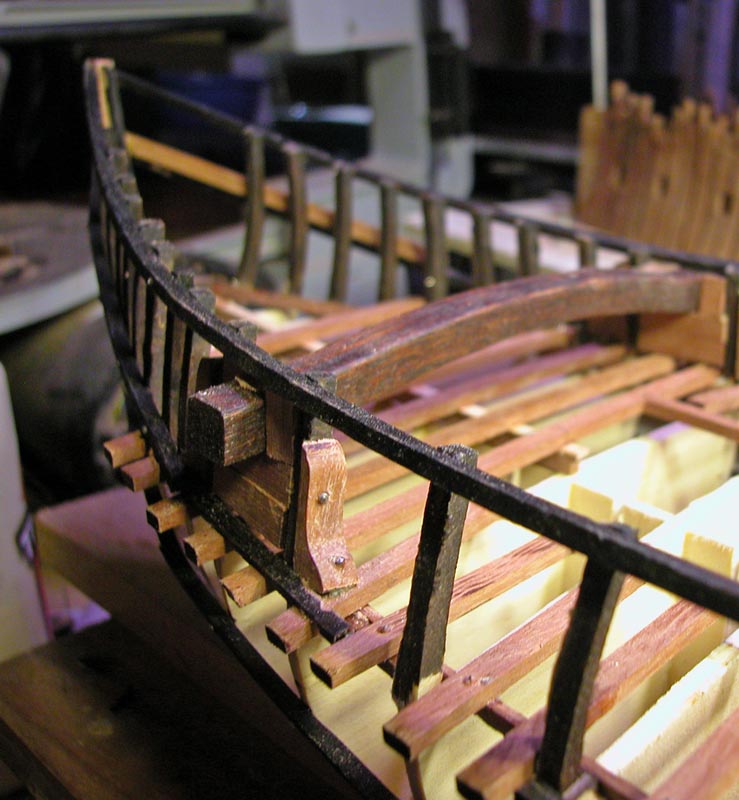
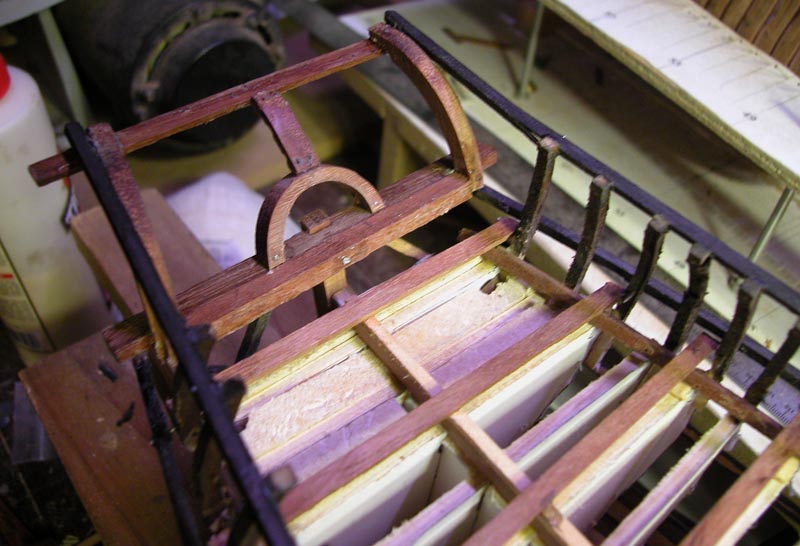
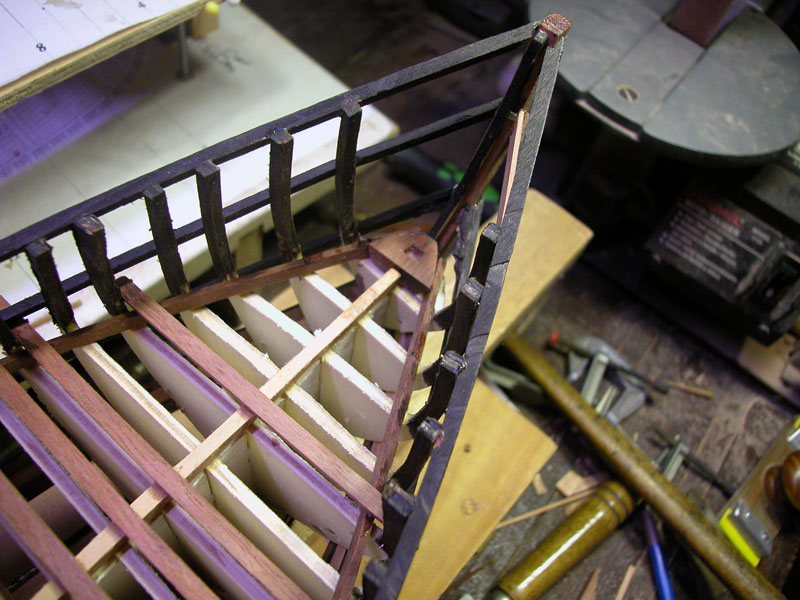
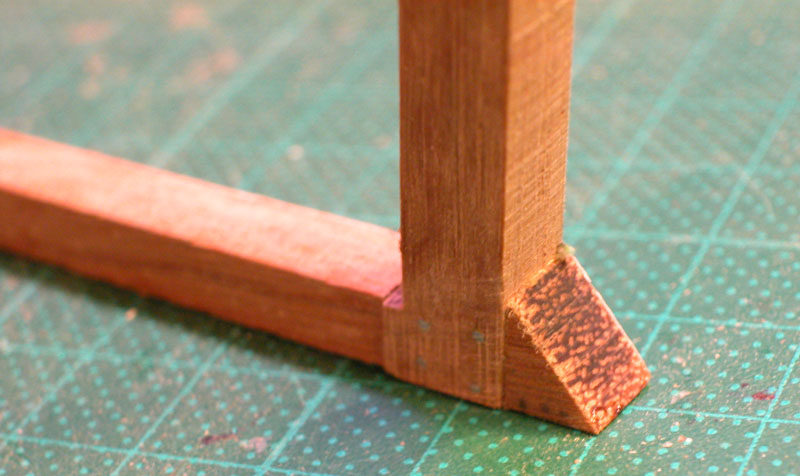
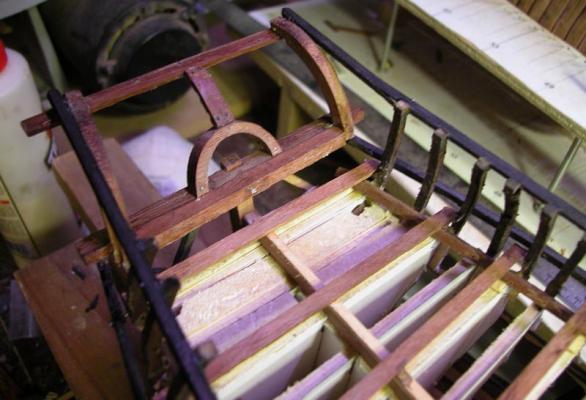
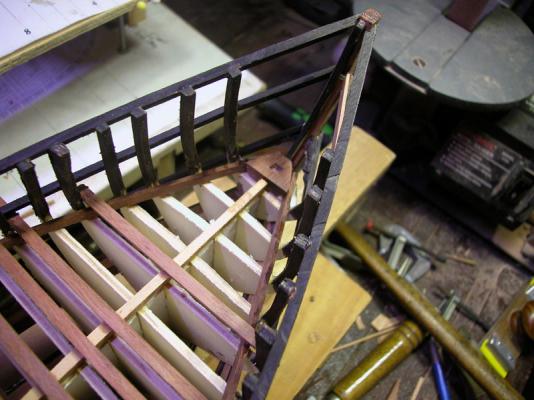
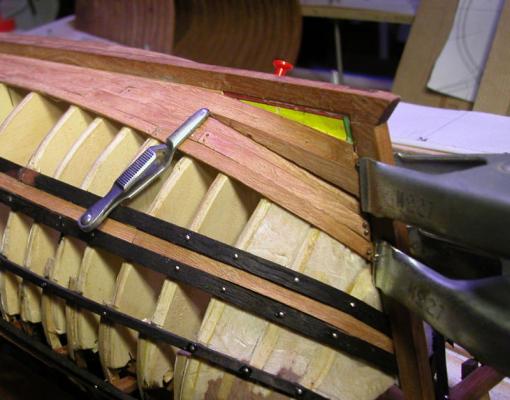
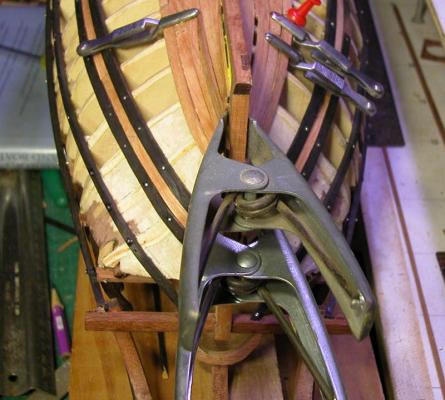
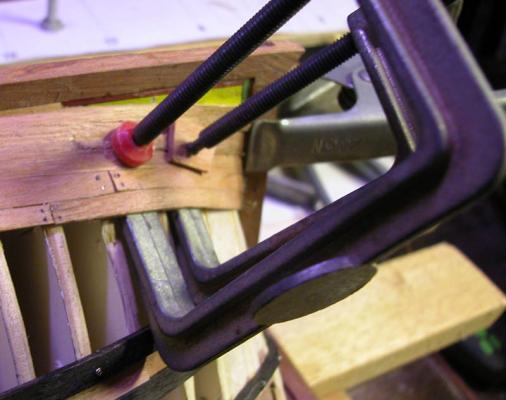
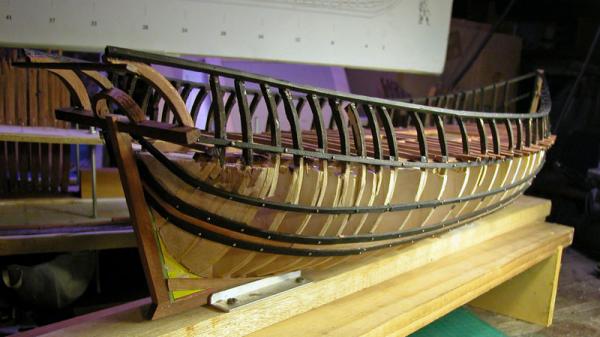
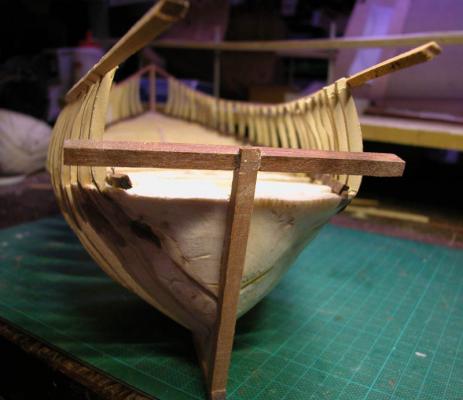
Sorry, Steven. I cant access that link. But I think I know the image referred to. As you allude, many models of carracks underestimate the length of the mainyard which is made of two timbers fished together like lateen yards. Here are some pictures showing the bracing for the transversal bitt. The bitt is not bolted in but is wedged in placed. This allows some slight movement of the bitt which protects the side timbers. It also allows removal of the bitt if required. the stern timbers incomplete Dick


-
It comes from the National Maritime Museum Collection at Greenwich. I have searched their website but cant find it. Here is a better image Dick
-
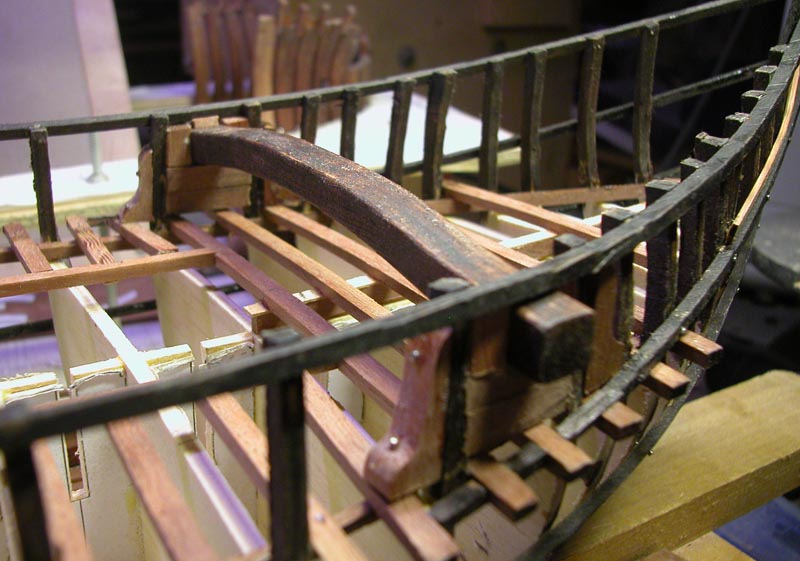
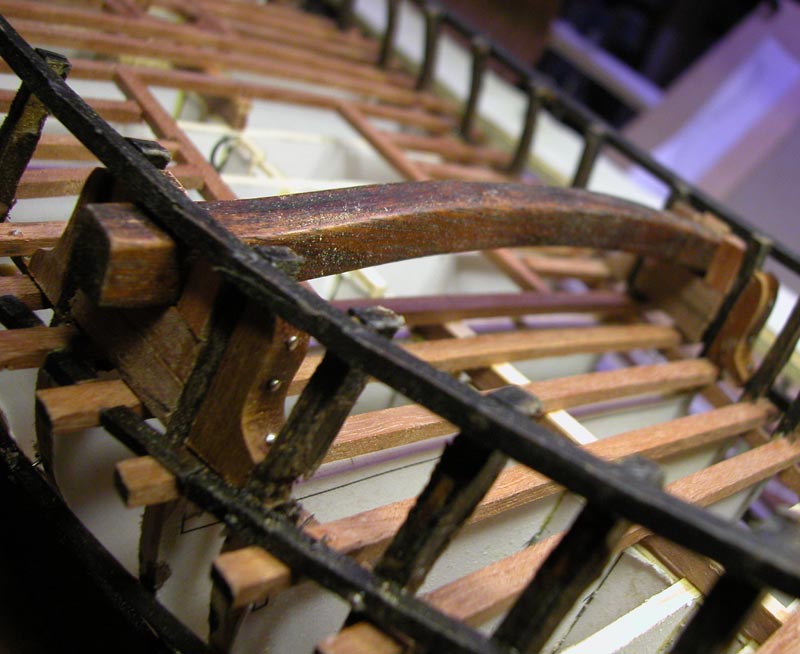
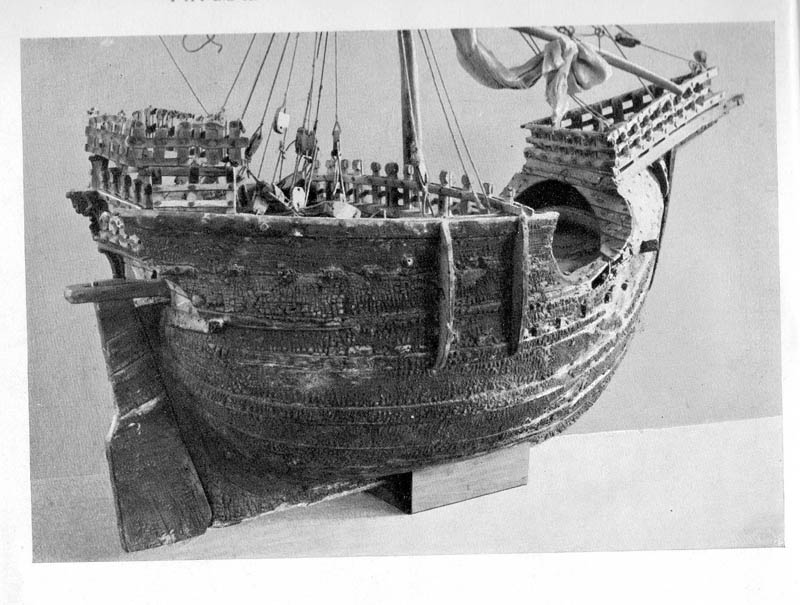
These pictures show the transversal bitt in place although not fixed in place. These bitts were a typical feature of the carrack and were probably not meant to be rigidly fixed to the toptimbers. They were however quite massive. Here is a picture of the Mataro nao showing the transversal bitt. This shows the step for the foremast Dick


-
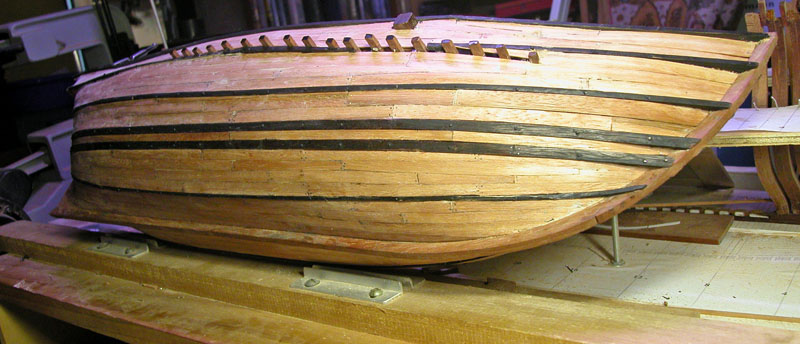
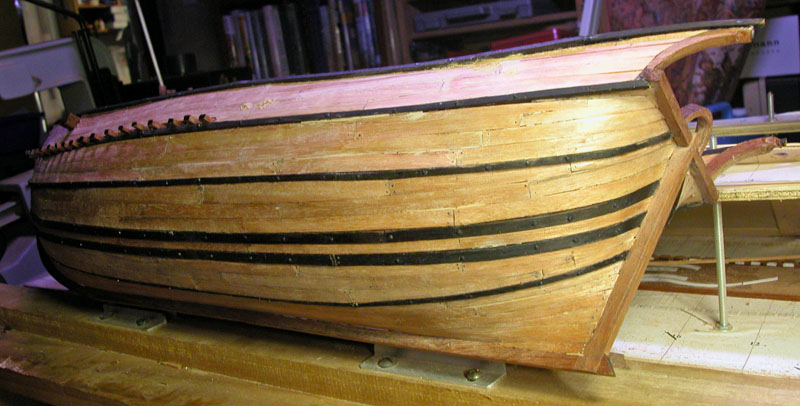
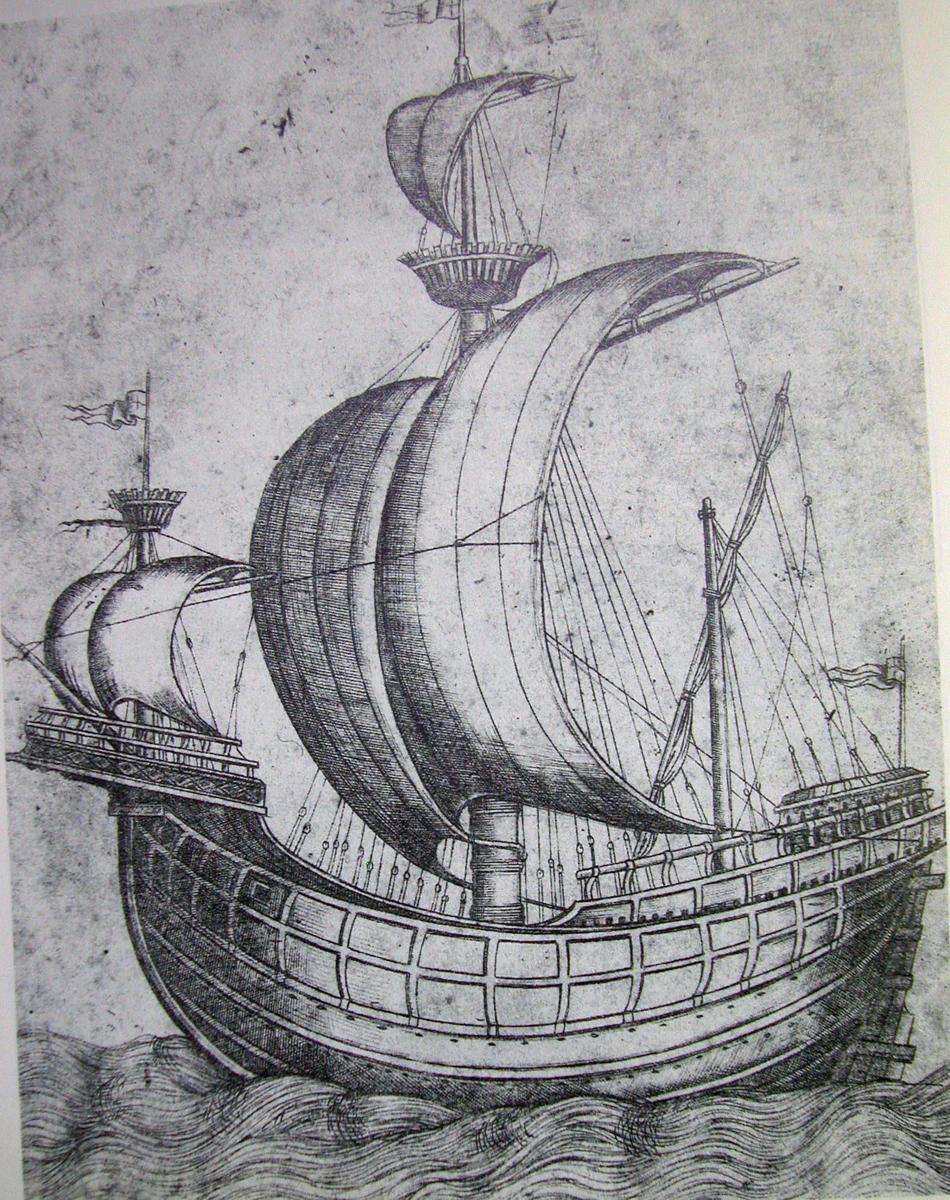
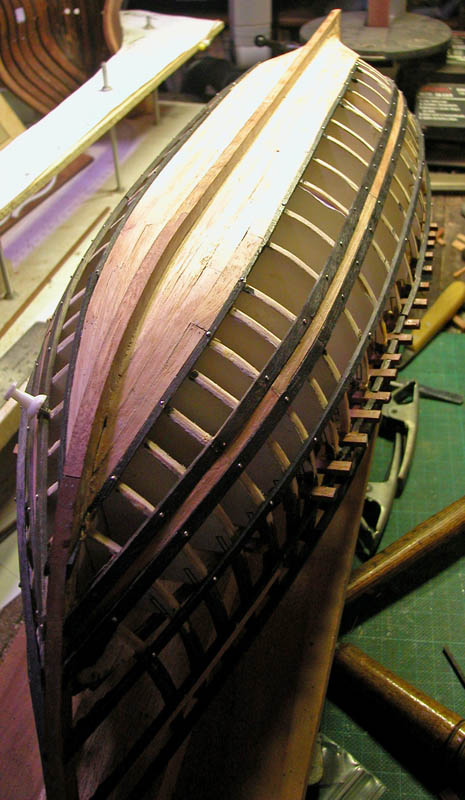
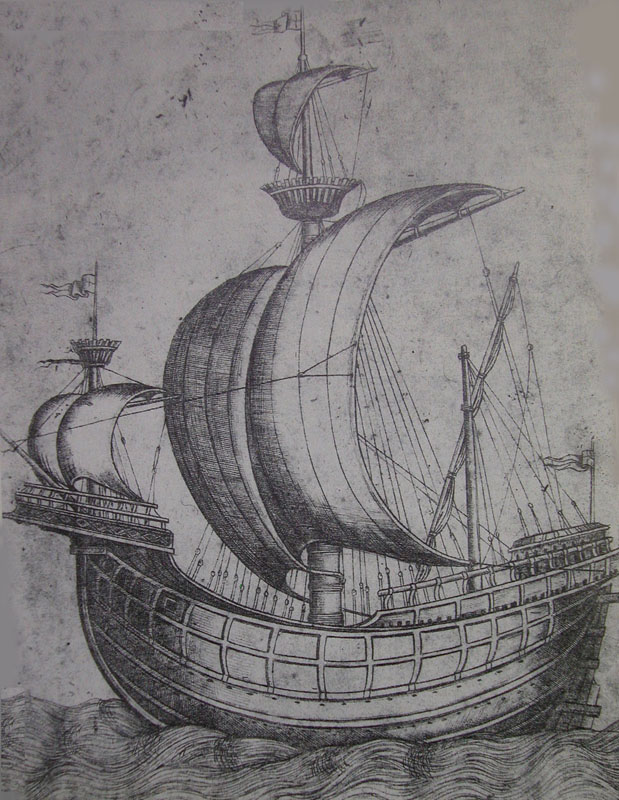
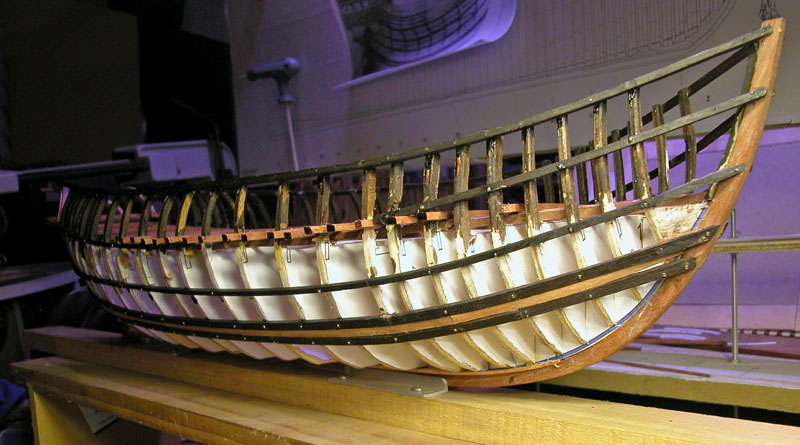
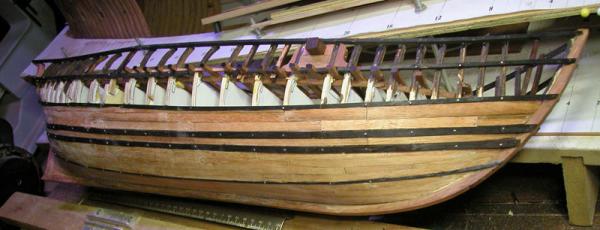
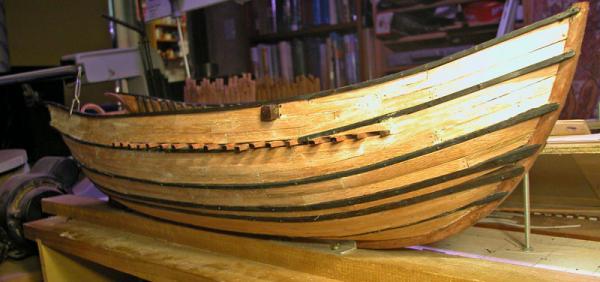
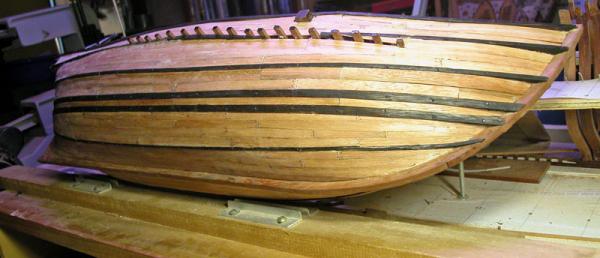
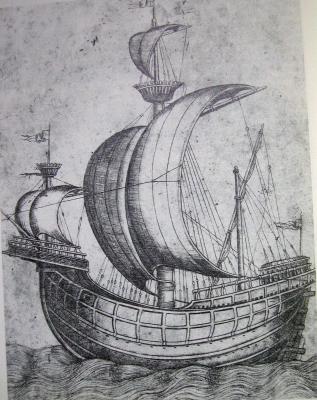
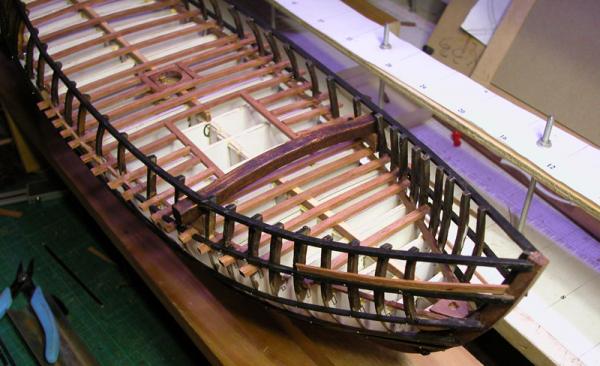
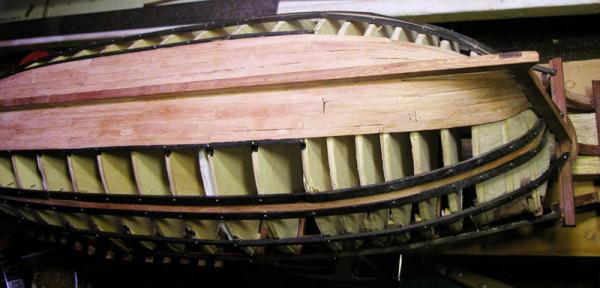
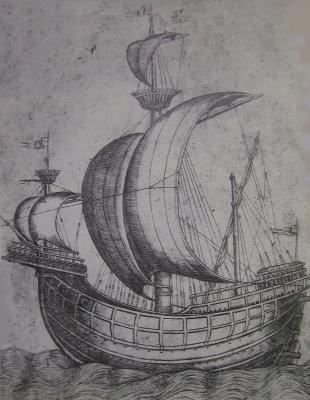
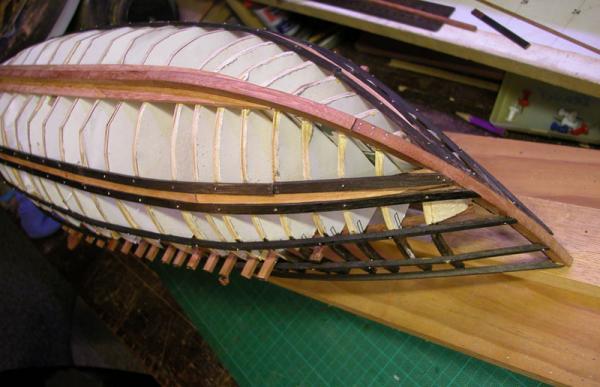
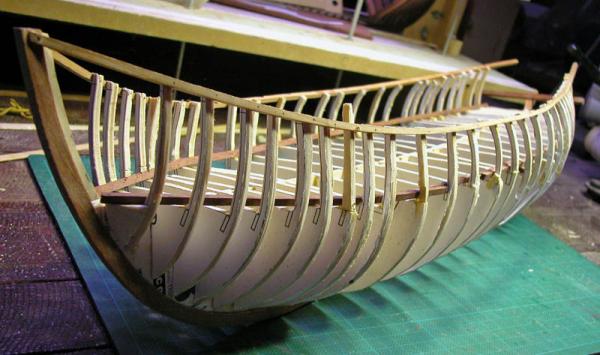
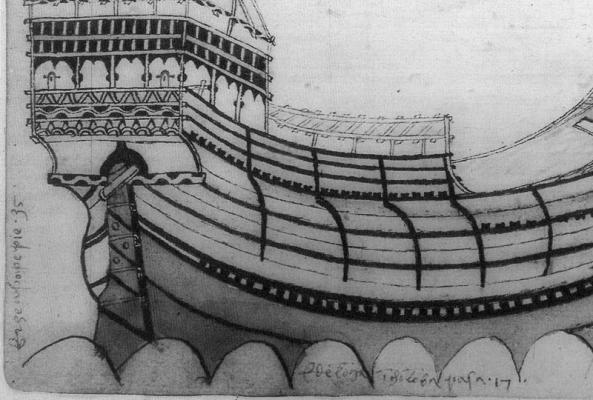
Thanks, Vivian and Steven. Here is the progress of planking to the level of the turn of the stringer at the outer end of the floors Fitting the stealers stealer glued in position planking complete to first stringer Here is another similar carrack. Note the triangular topsail and the forward positioned foremast. I will base my rig upon this illustration Dick

-
Thanks Steven, useful links with good detail. The watermarks dont bother me much The model is moving along. Having done the garboard strake and the various wales, The planking is straight forward.


- 632 replies
-
- 13
-
-
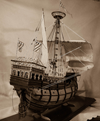
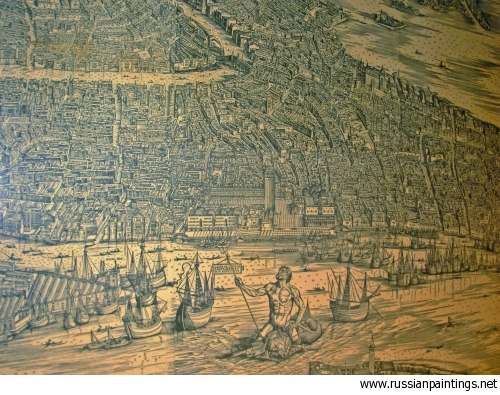
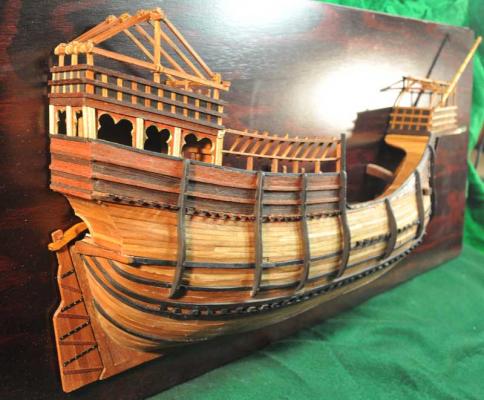
Thank you for the link, Nenad. The model shown is certainly a venetian carrack and is quite old. It looks somewhat like the carracks in Jacopo de Barbari's panorama of Venice. Good idea to get information or pictures of models from Dubrovnik, Split and Rijeka. They, as you say, were on venetian trading routes for centuries. The Trombetta nave certainly would have visited them regularly. Cheers Dick
-
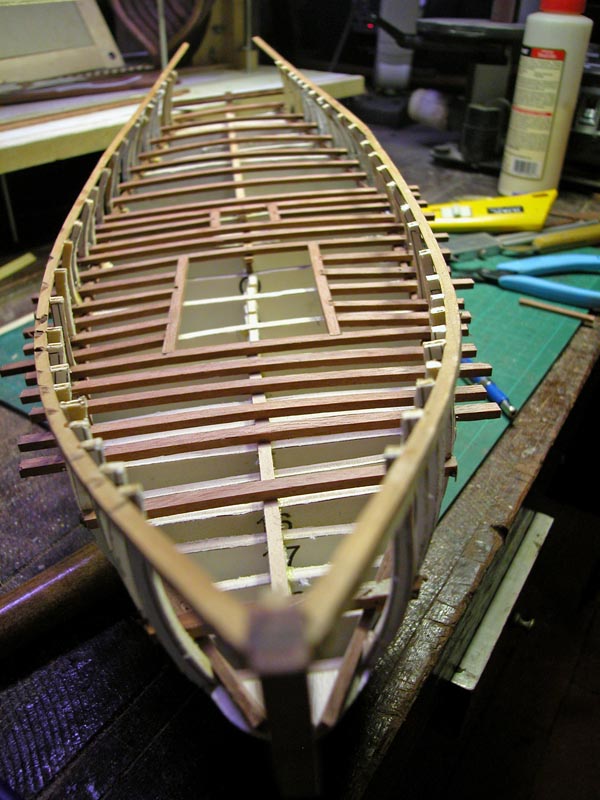
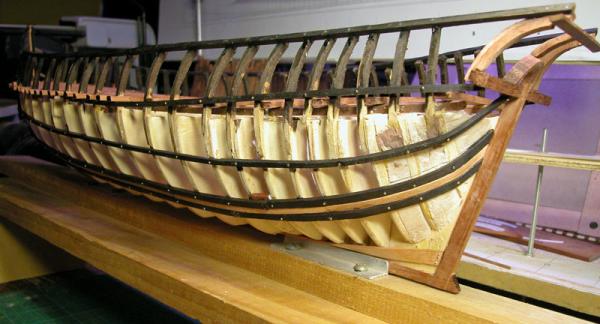
The transverse deeck beams are now fitted. I have a theory that the protruding deck beams seen on carracks were used to house the scuppers as scuppers at deck level arent seen on contemporary illustrations whereas dots or holes are sometimes seen in the end of the protruding deck beams.

-
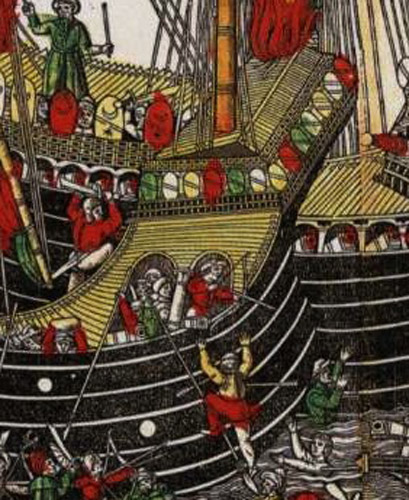
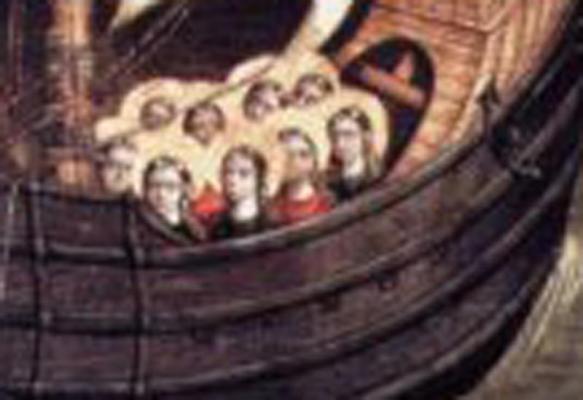
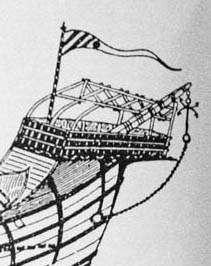
Thanks Tarbrush, Bob and Nenad M. I am learning more and more about carracks. For instance, this carrack forecastle from late 15th century shows how the carpenters built the framework for their awning assymetric to allow for the foremast. This may explain the somewhat bizarre appearance of this framework on the Trombetta drawings. The position of the foremast also forced the positioning of the bowsprit to one side or other of the mast. These were no nonsense working ships and often aesthetics took second place to practicalities. also, as this illustration from the battle of Zonchio shows, round ships were often co-opted as warships in mediaeval times as their high riding hulls gave them a height advantage over galleys. Cheers, Dick


-
Thanks, Michael. Most kind in you. I certainly would recommend doing the longboat for your Wasa. I found the ship's boats a very satisfying part of the build and building it over a mould is easier than you think. Great work on the Wasa too. Dick
-
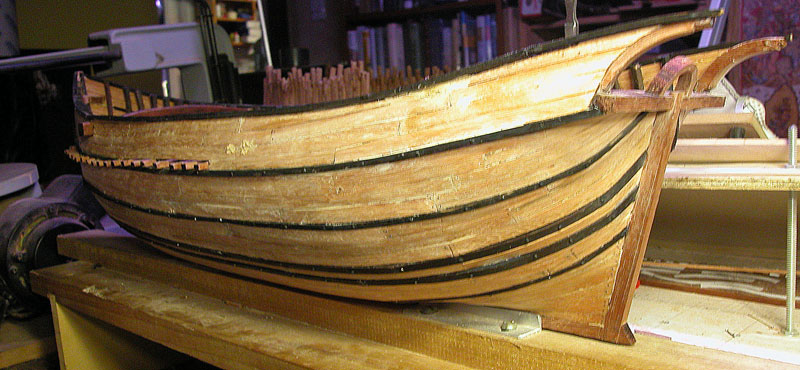
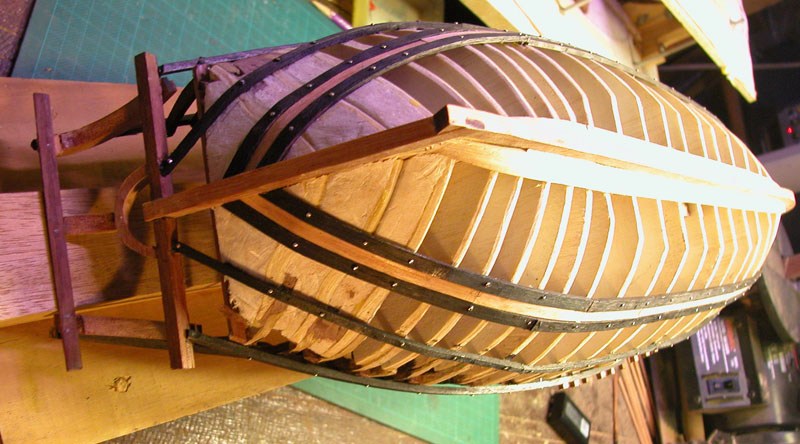
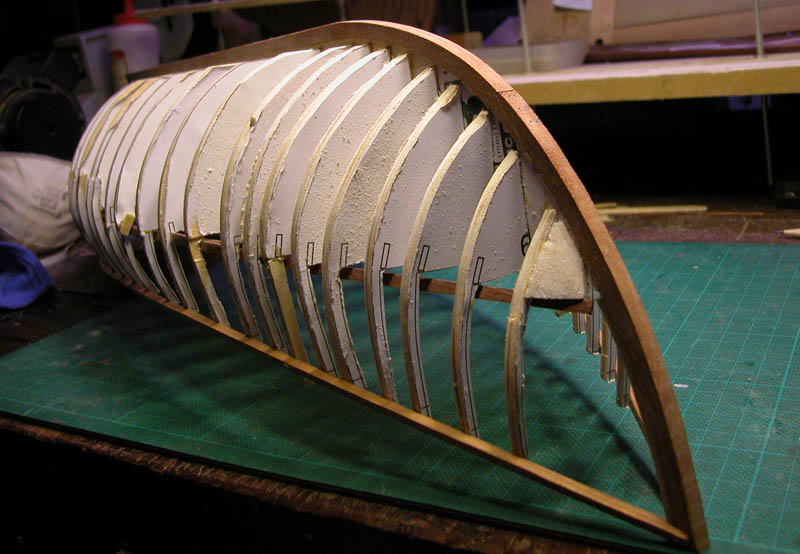
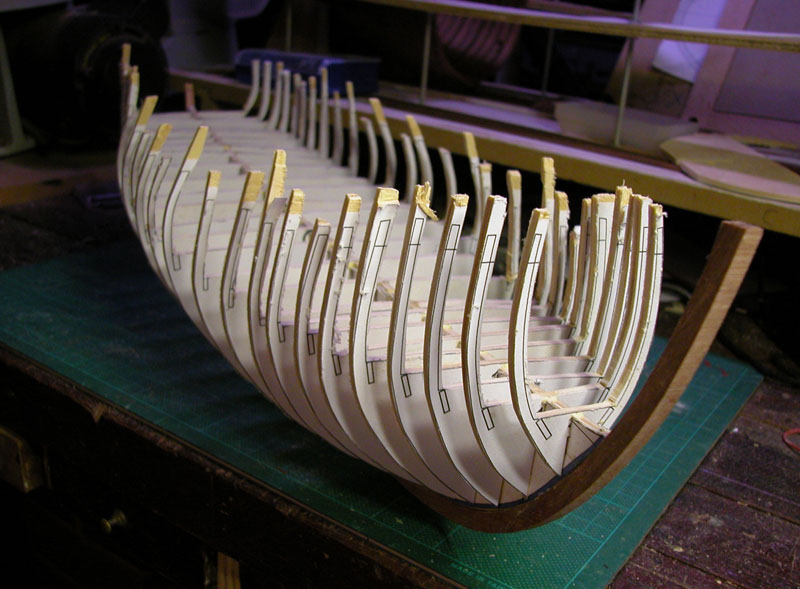
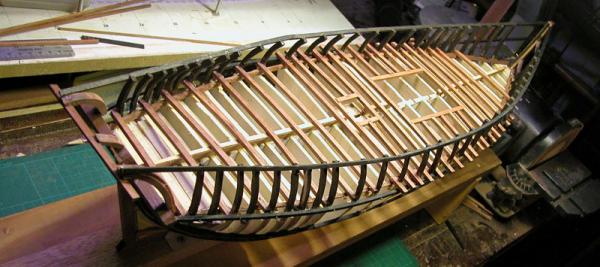
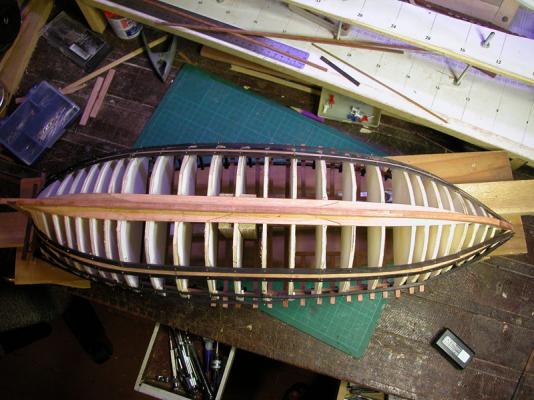
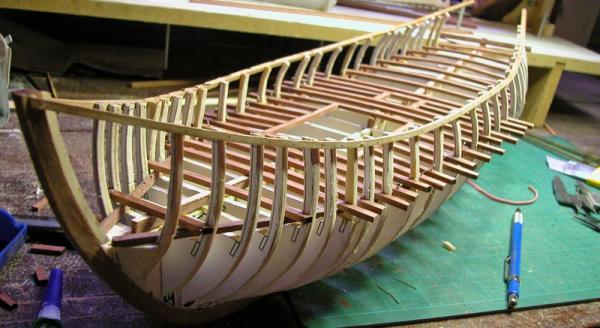
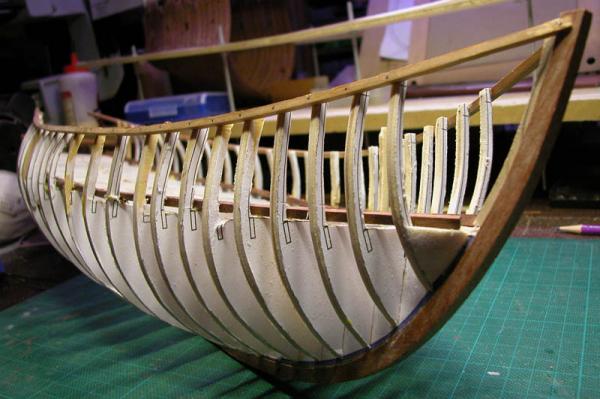
I have finished all the bulkheads and have almost finished fairing them. I am more happy that the shape of the stern matches the original drawing and other illustrations of the period Dick

-
I am unhappy with two things on my previous model: 1. the tumblehome aft of centre is insufficient 2. There is a more horizontal run of planking to the fashion piece and a more vertical run to the sternpost leading to a more complex shape to the stern. I will modify the full hull version accordingly Dick
-
Thanks, Dan. The original book is beyond my price range but there is a softcover reprint. What concerns me is that I am unsure whether my carrack had two or three masts. It was a large vessel so three seems more likely but the fact that the bowsprit is displaced to starboard suggest a foremast. However the framing for the awning on the forecastle suggests otherwise. What do you think?
-
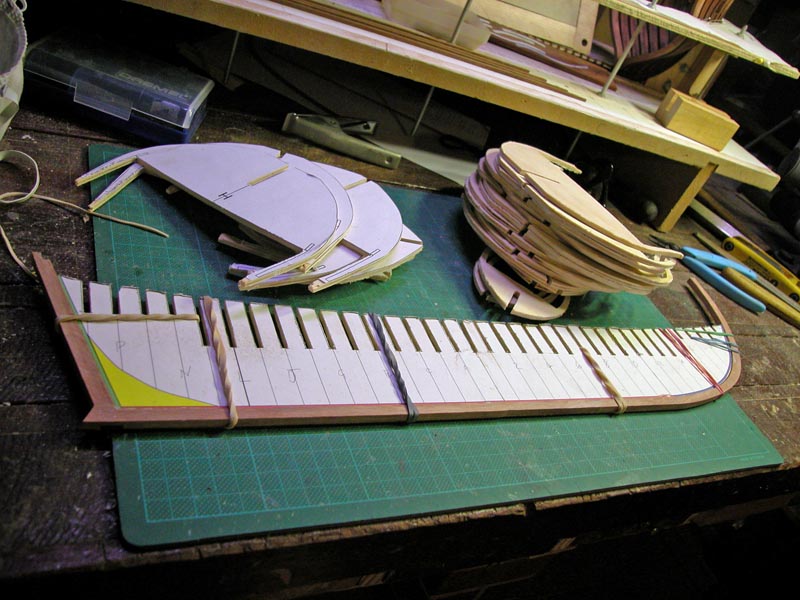
Keel, stem and sternpost elements ready for cutting. The keel will be in two lengths scarfed together as will the stem post but the sternpost will of course be a single timber Bulkheads are cut and ready to go Dick .
-
Steven, you may like this article on Yenikapi: http://woam2013.com/yenikapi-info.pdf
-
Thanks Steven, its a fascinating topic, the dromon. The third volume of the MIT edition of Michael of Rhodes is probably the most useful for the shipmodeller That's why we keep coming back, we're addicted Dick
-
A bespoke manufacturer of ship models seems to have produced an excellent dromon reproduction following John H Pryor 's reconstruction. It is most impressive. I have found a paperback version of his book which is affordable http://www.brill.com/age-dromon-0 Dick
-
If you can locate plans by Ulrich Alertz, they may include his idea of a dromon. Certainly John H Pryor has written extensively and I note this publication which is way too expensive for me but a library might get a copy. http://www.oxbowbooks.com/oxbow/the-age-of-the-dromon.html Crackers' second illustration appears to be the same illustration of a dromon as is in the Conway' "Age of the Galley" p103 by John H Pryor but without the "double horned "stern. It is from John H Pryor's et al. The Age of the Dromon. Dick
-
The dromon, now THERE'S a challenge ! I had a similar experience with a Billings POB "golden HInd" I had finished the hull but made the basic mistake of doing some research and realising that, above the main deck it was just plain wrong so I cast it into the outer darkness and swore never to do another kit. But later I cut it down to the main deck level and have kept the hull and have plans to resurrect it as the Elizabethan Ark Royal. The carrack bulkheads are nearly complete and I am tweaking the lines as I go. Dick
-
Thanks, Crackers, I have done just that and await a reply. Dick I agree, I have delved into a few of these dissertations and they are a goldmine. Courageous decision, by the way, about your Licorne. Sometimes it is better to "screw your courage to the sticking place" and get on with things. Dick