HOLIDAY DONATION DRIVE - SUPPORT MSW - DO YOUR PART TO KEEP THIS GREAT FORUM GOING! (Only 68 donations so far out of 49,000 members - Can we at least get 100? C'mon guys!)
×


DmitriyMarkov
-
Posts
61 -
Joined
-
Last visited
Content Type
Profiles
Forums
Gallery
Events
Everything posted by DmitriyMarkov
-
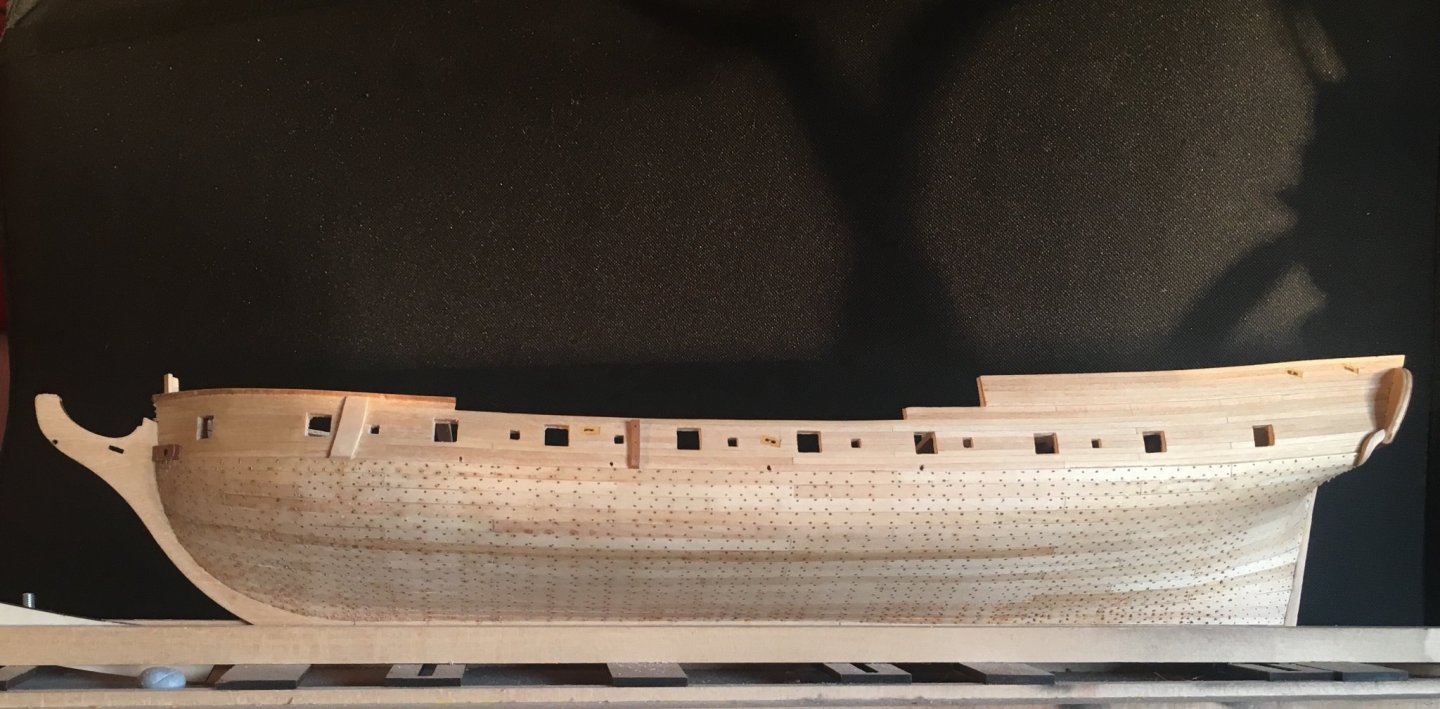
To all colleagues from around the globe - stay safe! That virus thing will end one day - that's for sure! Meanwhile working from home due to anti-virus measures doesn't improve the time I can spend on modelling ( how I hoped it would otherwice... ). So today I have only this photo to share: only one side is nearly finished and that's two months ( okay, there were two long holidays we've spent in a village so let that be a month and a half 😉 ) . So maybe by June I would be closer to paintwork.
-
RGL, you set the bar really high with your works - I never stop to admire them 🙂 Some historical things: armor was low in water 'cause ships were overloaded with coal - they had to travel from Camran' to Vladivostok without a chance to replenish the stores - Port-Arthur was lost and Tsindao was a trap and Germans weren't quite happy to let our fleet in. It wasn't a coastal monitor - without coal overload those ships were quite a sea-going vessels. Service of Tsesarevich ( Grazhdanin) and Slava was definitely adequate. Concerning low quality of these forms - IIRC they are from 90's and their developer was Eastern Express - Zvezda didn't develop Borodino line - only bought those old forms. It's very touching to see a foreign colleague having an interest and building something from our history ( even so painful one). Thank You !
- 173 replies
-
- 10
-

-
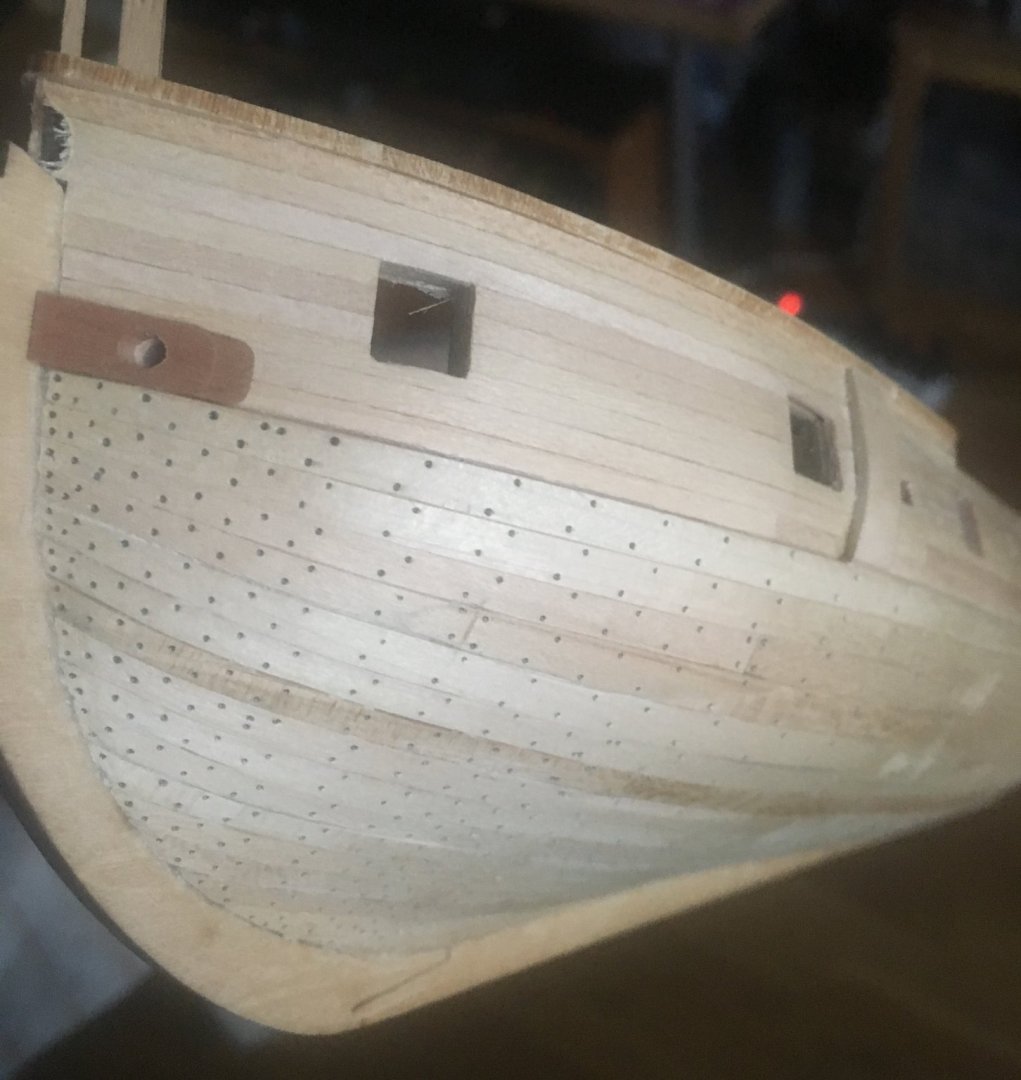
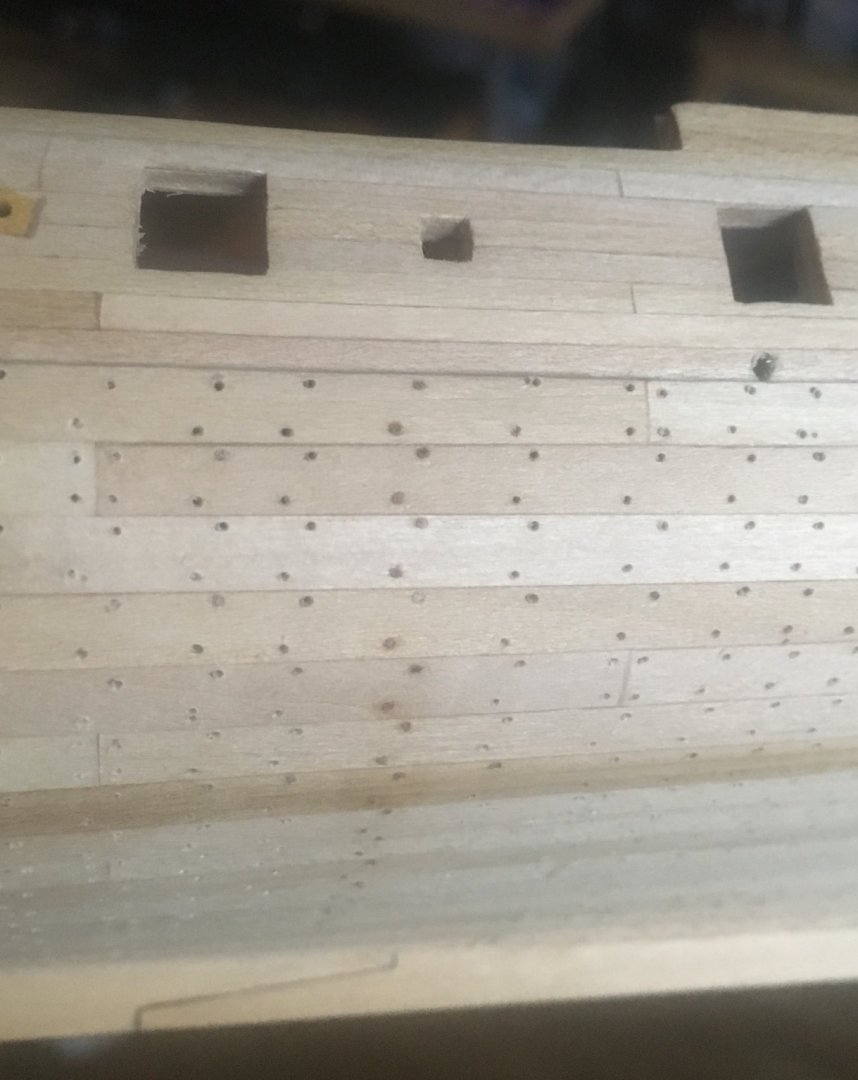
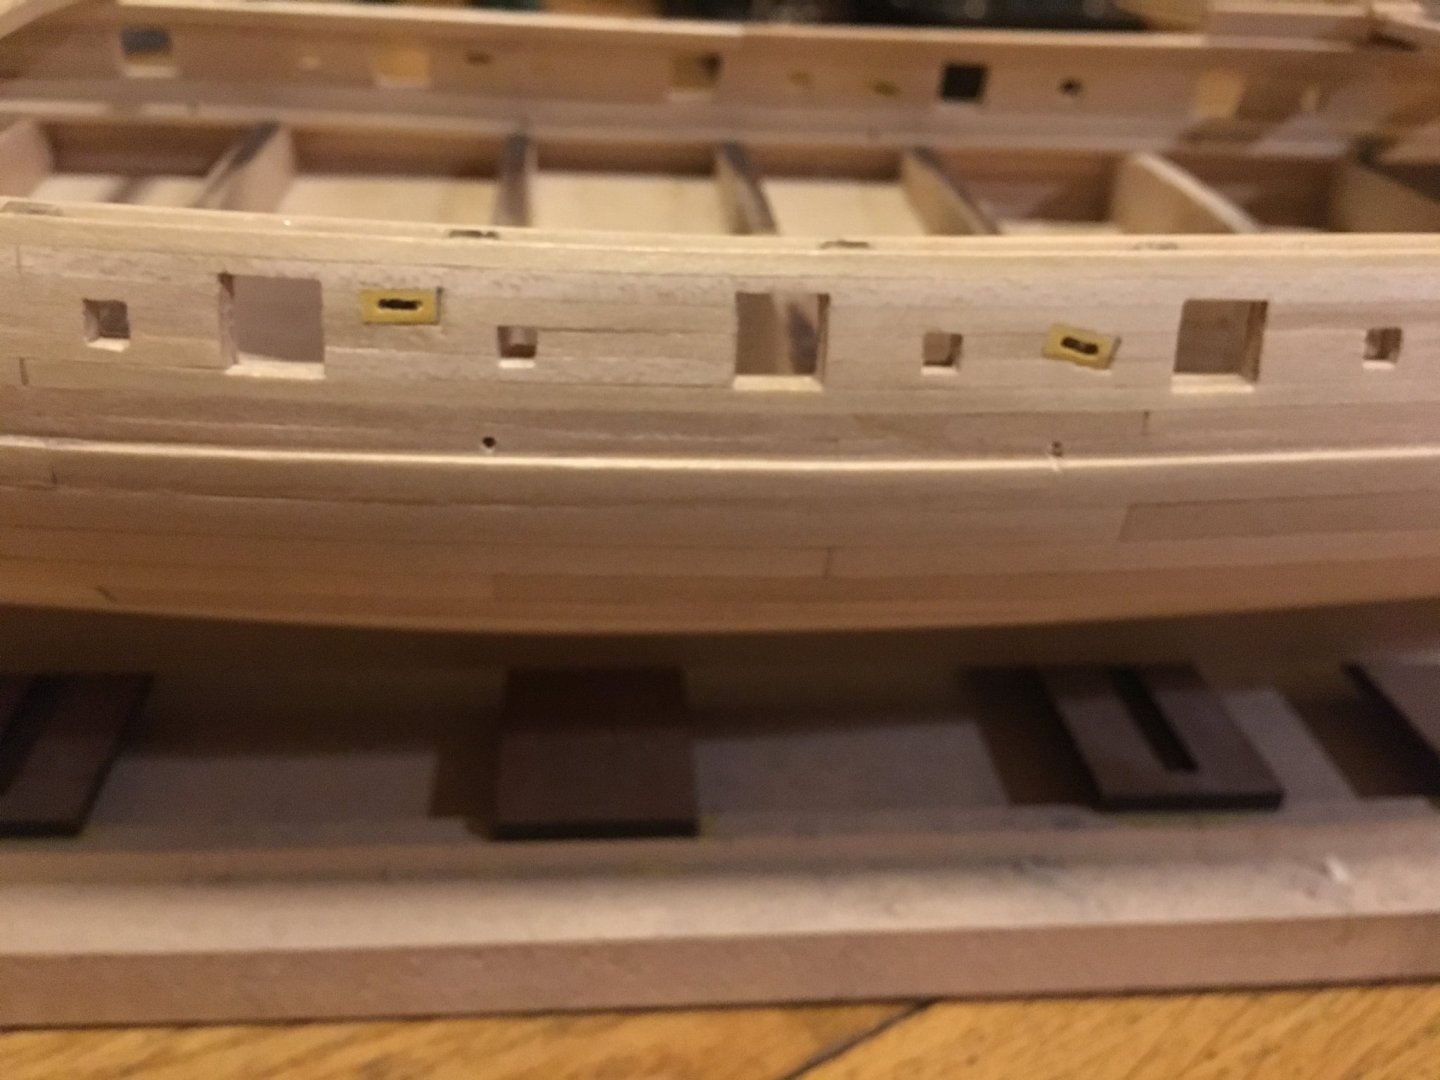
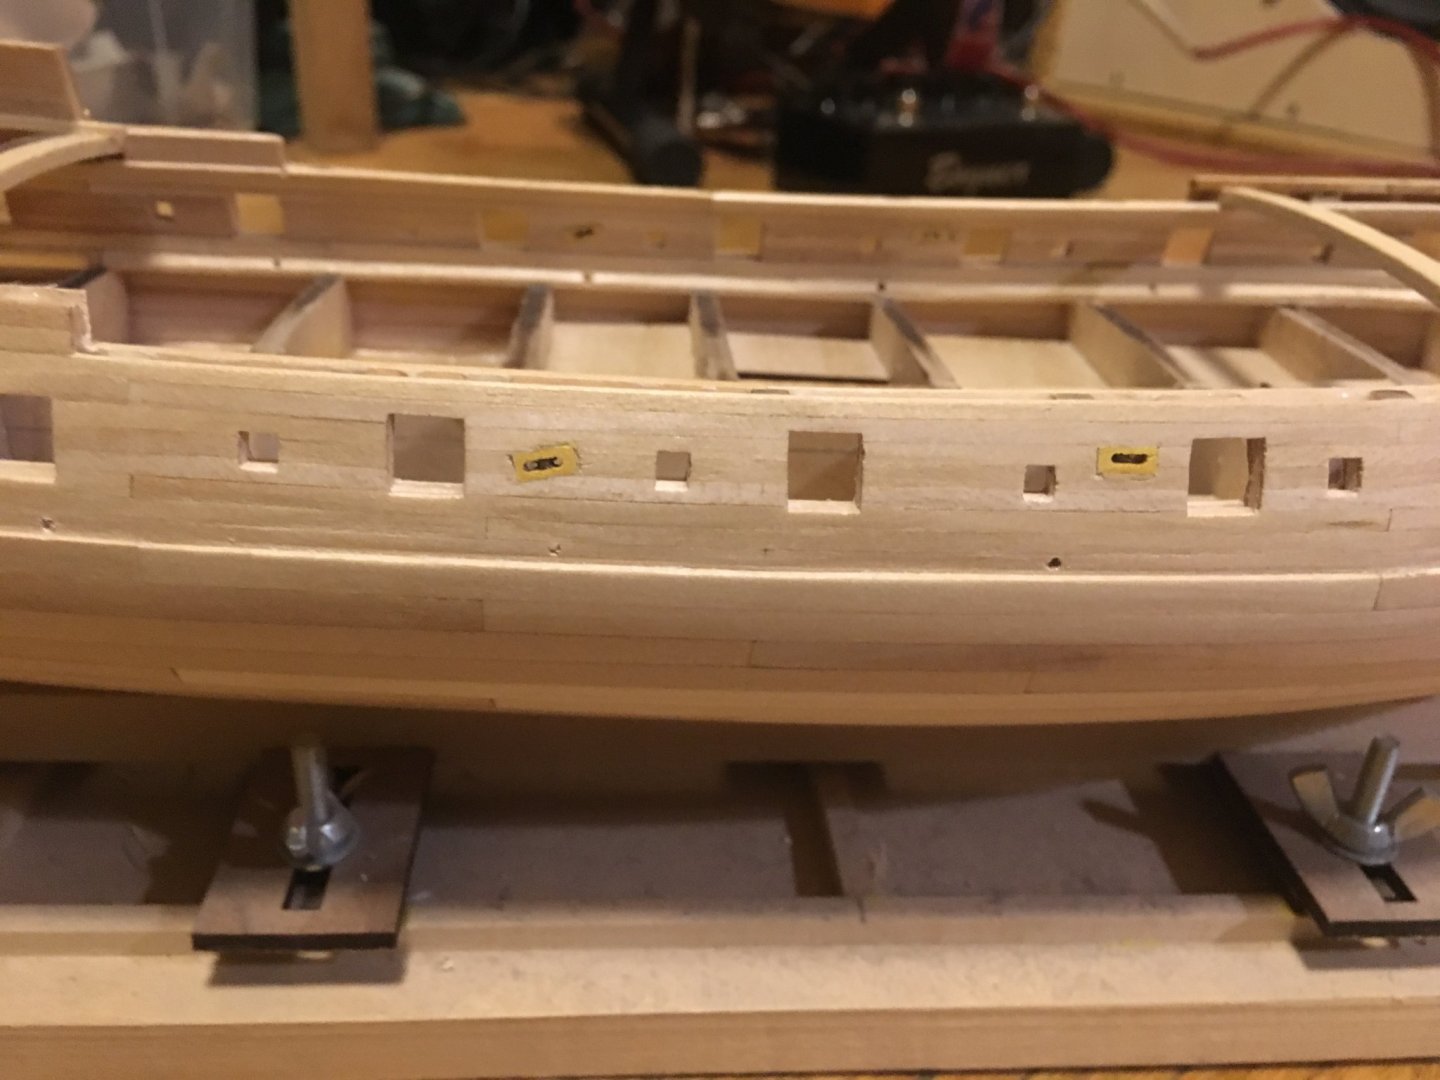
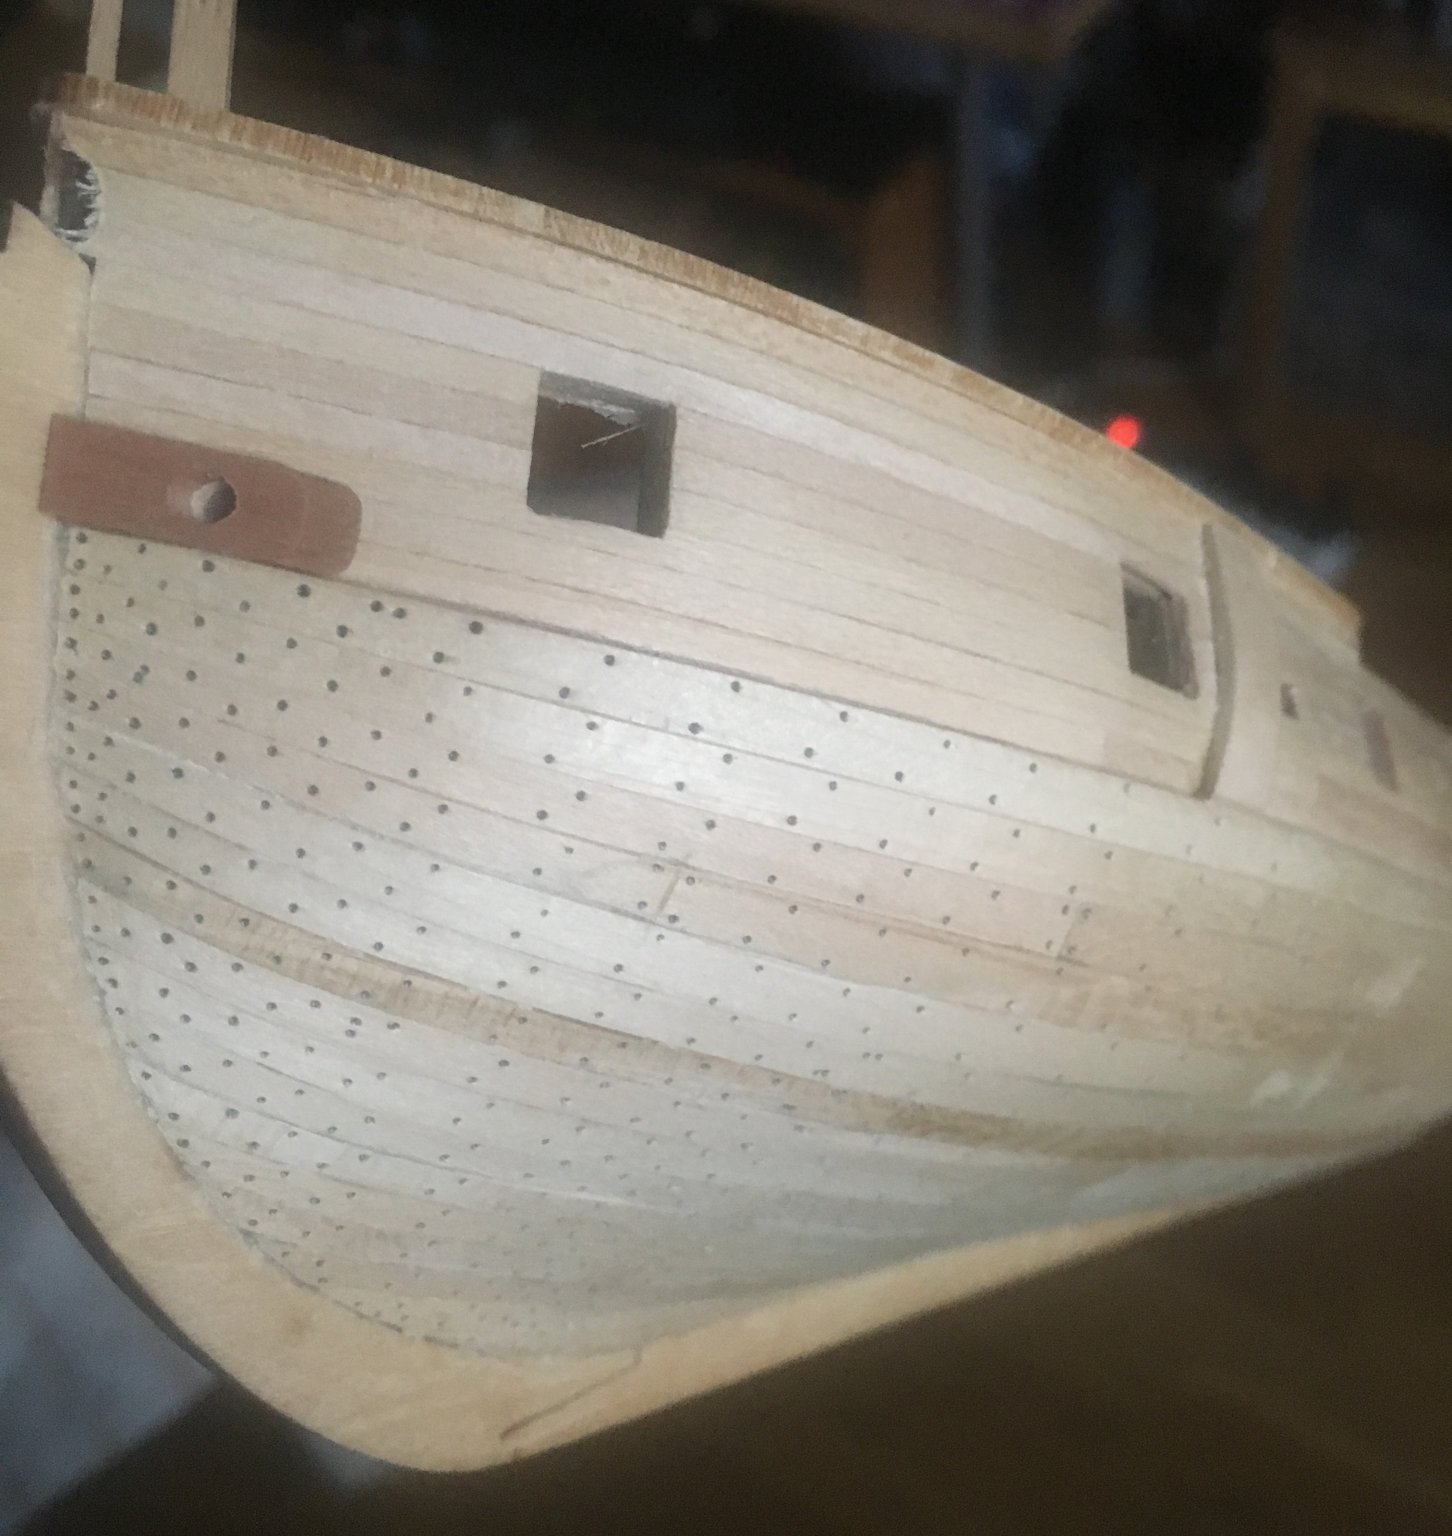
Tree-nailing turns out to be even more repetetive than planking or making of armoured vehicles' running gear and tracks, so a good audio-book or a music concert is essential! Marking of a port-side took me a course of lectures on Franko-Prussian war of 1870 , Joe Bonamassa live from Royal Albert Hall concert and Francois Couperin Les Concerts Royaux 1722 CD 🙂 Now my daughter is watching Guardians of Galaxy and the whole movie length is just a one and a half row of nails )))
-
Edwardkenway, thanks for your kind words, welcome and make yourself comfortable! Although my building pace is not that fast at all I must admit - the keel has been laid three years ago as of now 😉 So it tends to be quite a long - long building log )))
-
Meanwhile I've marked port-side for tree-nailing and made a first attempt with pear amidships:
-
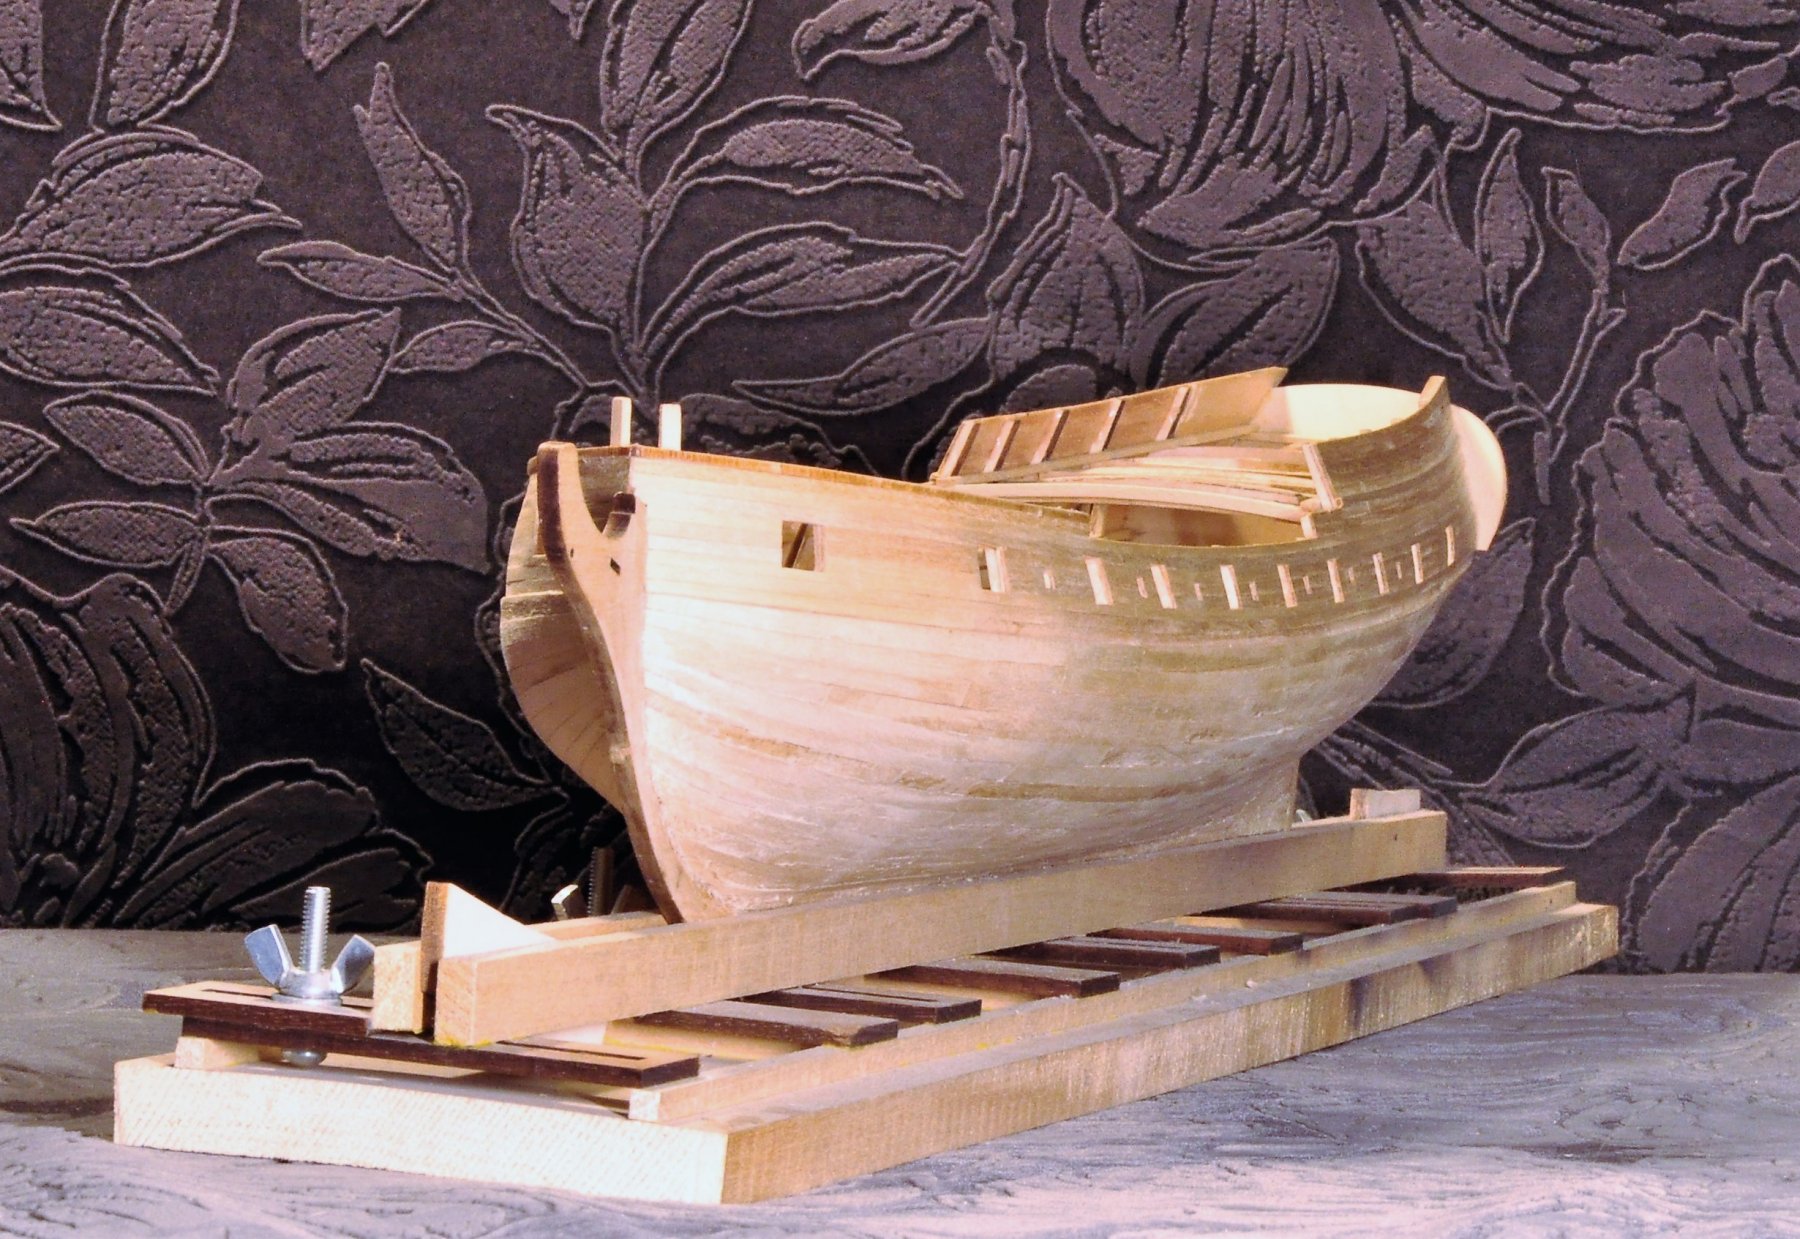
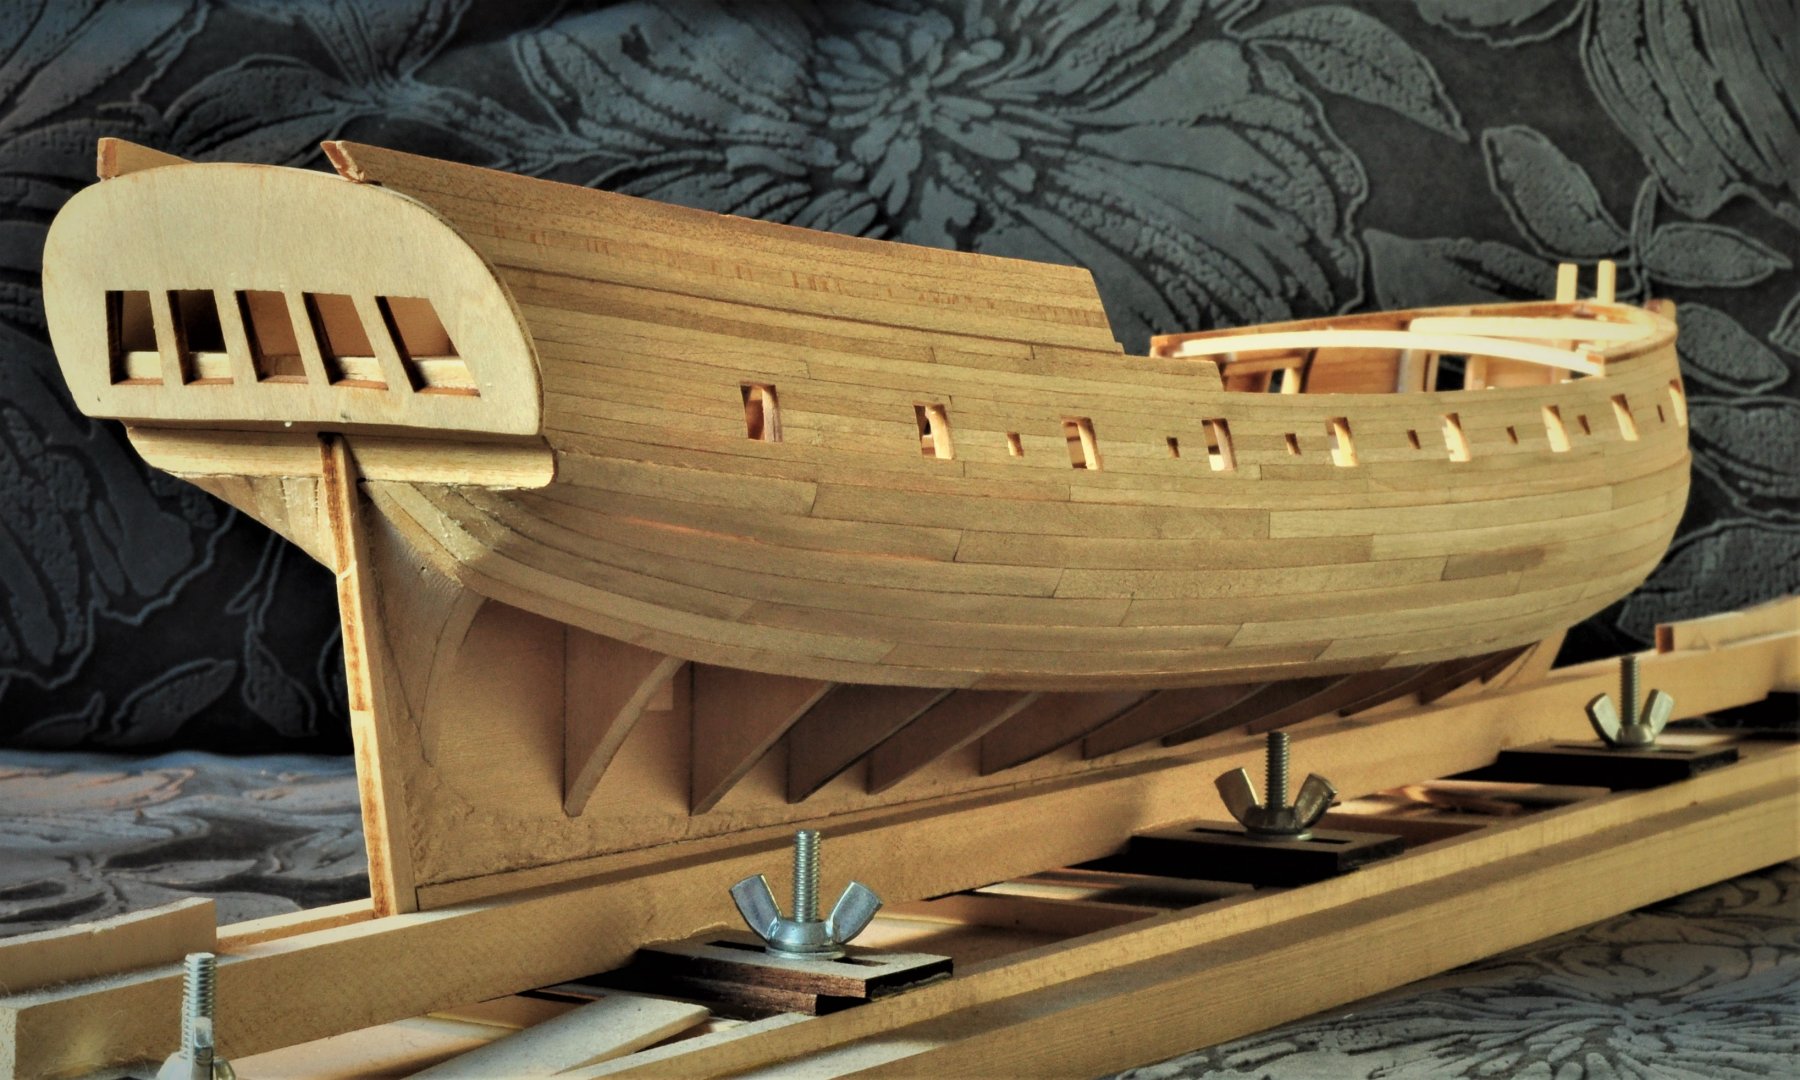
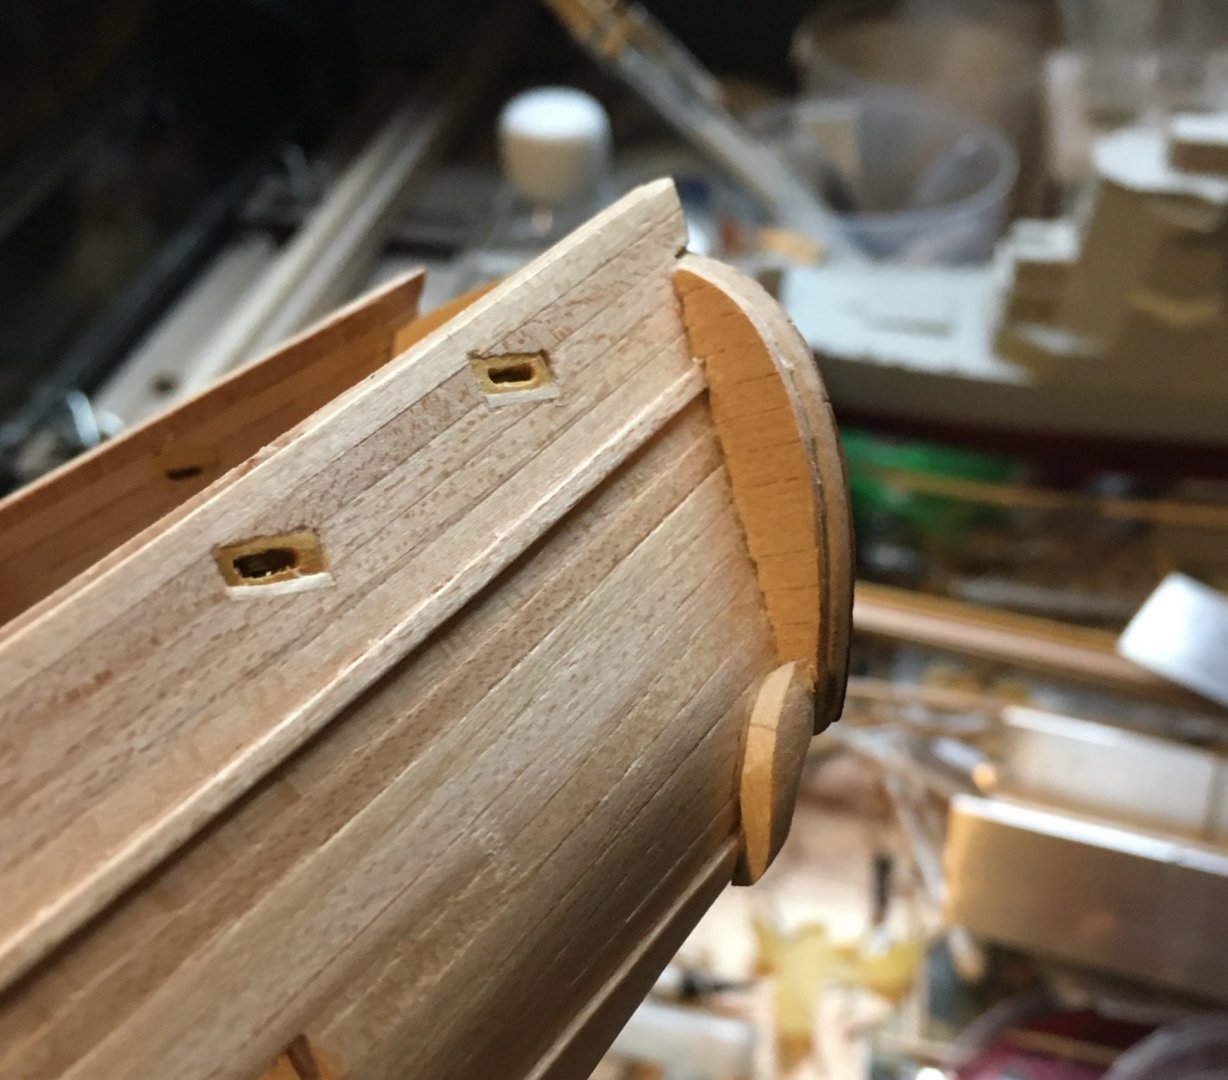
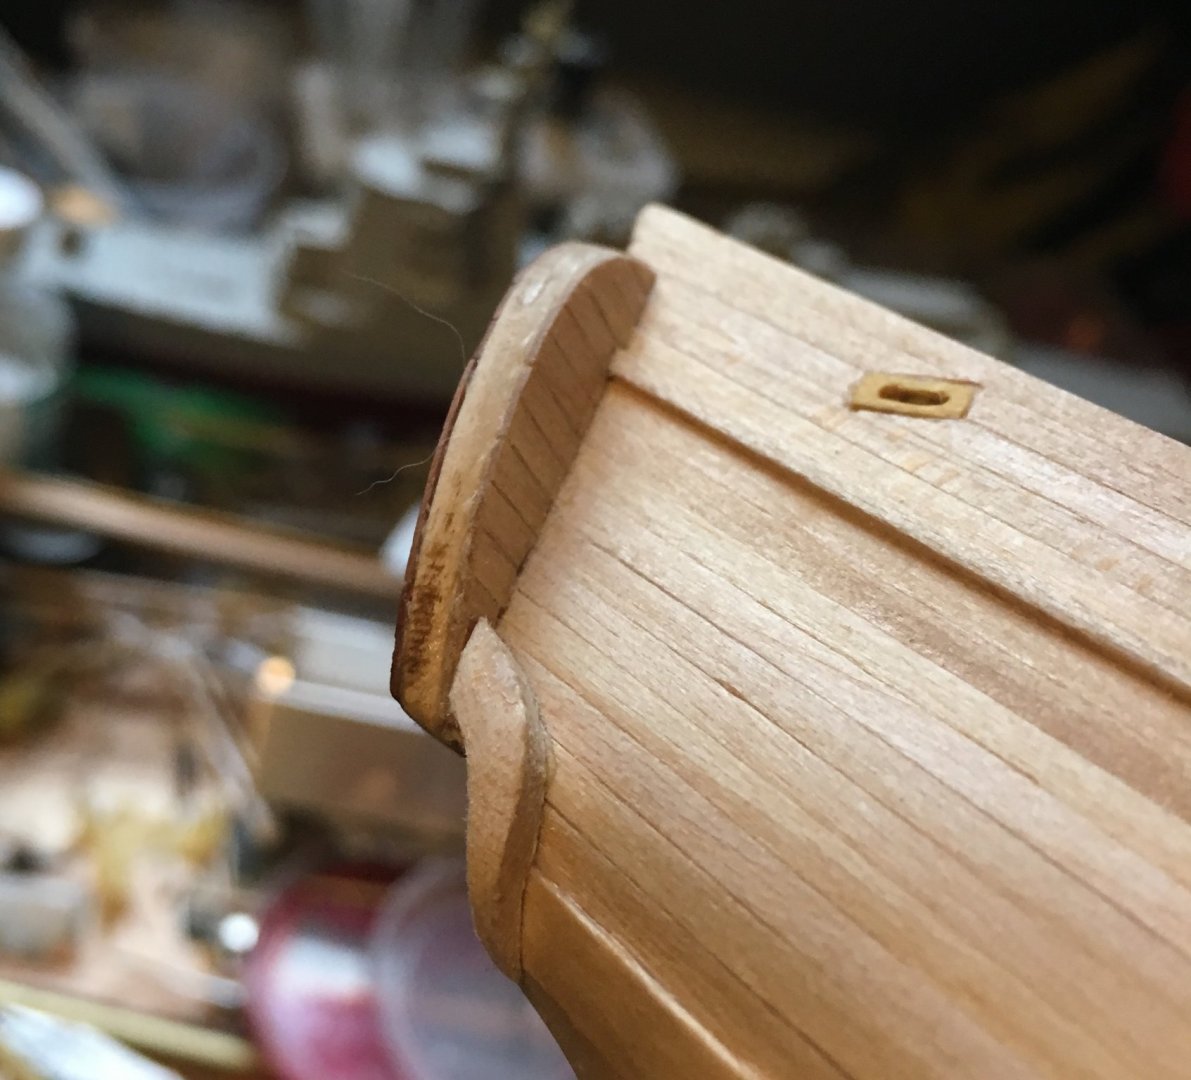
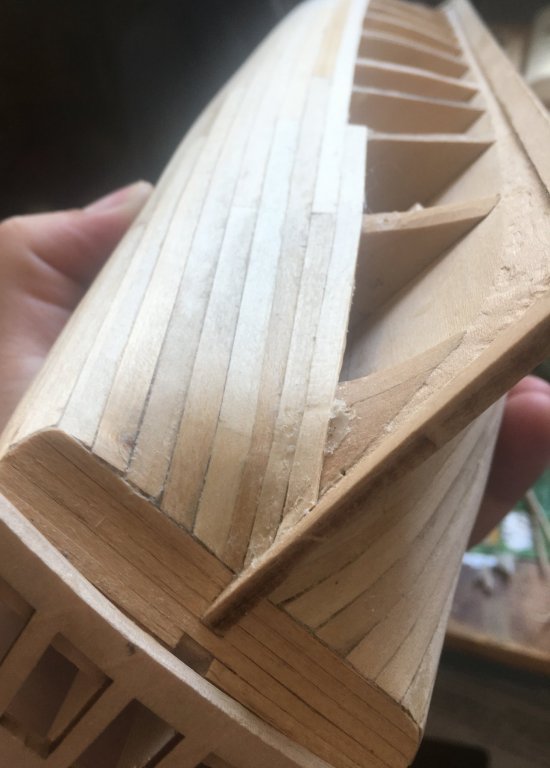
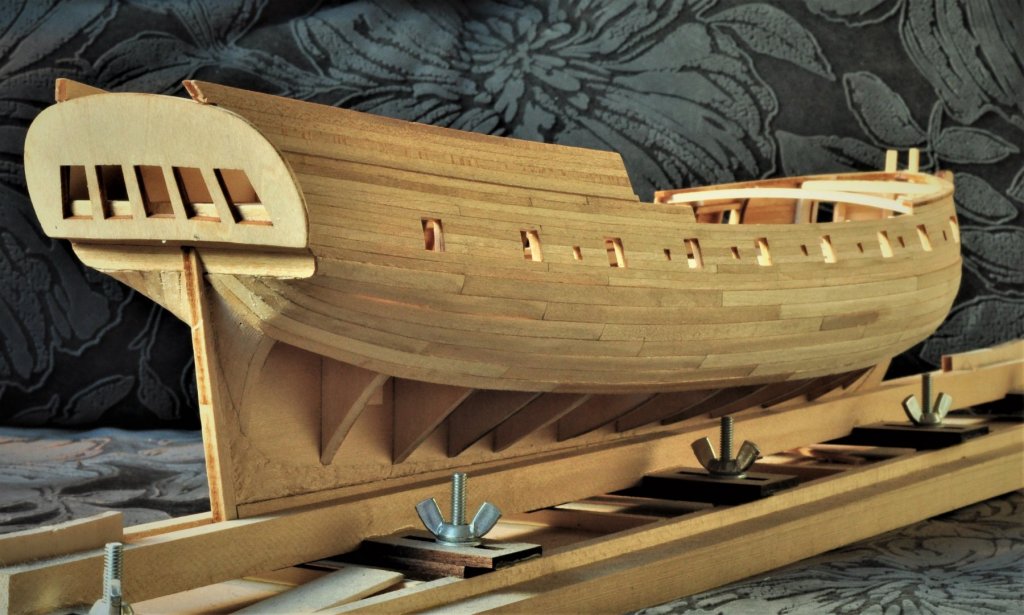
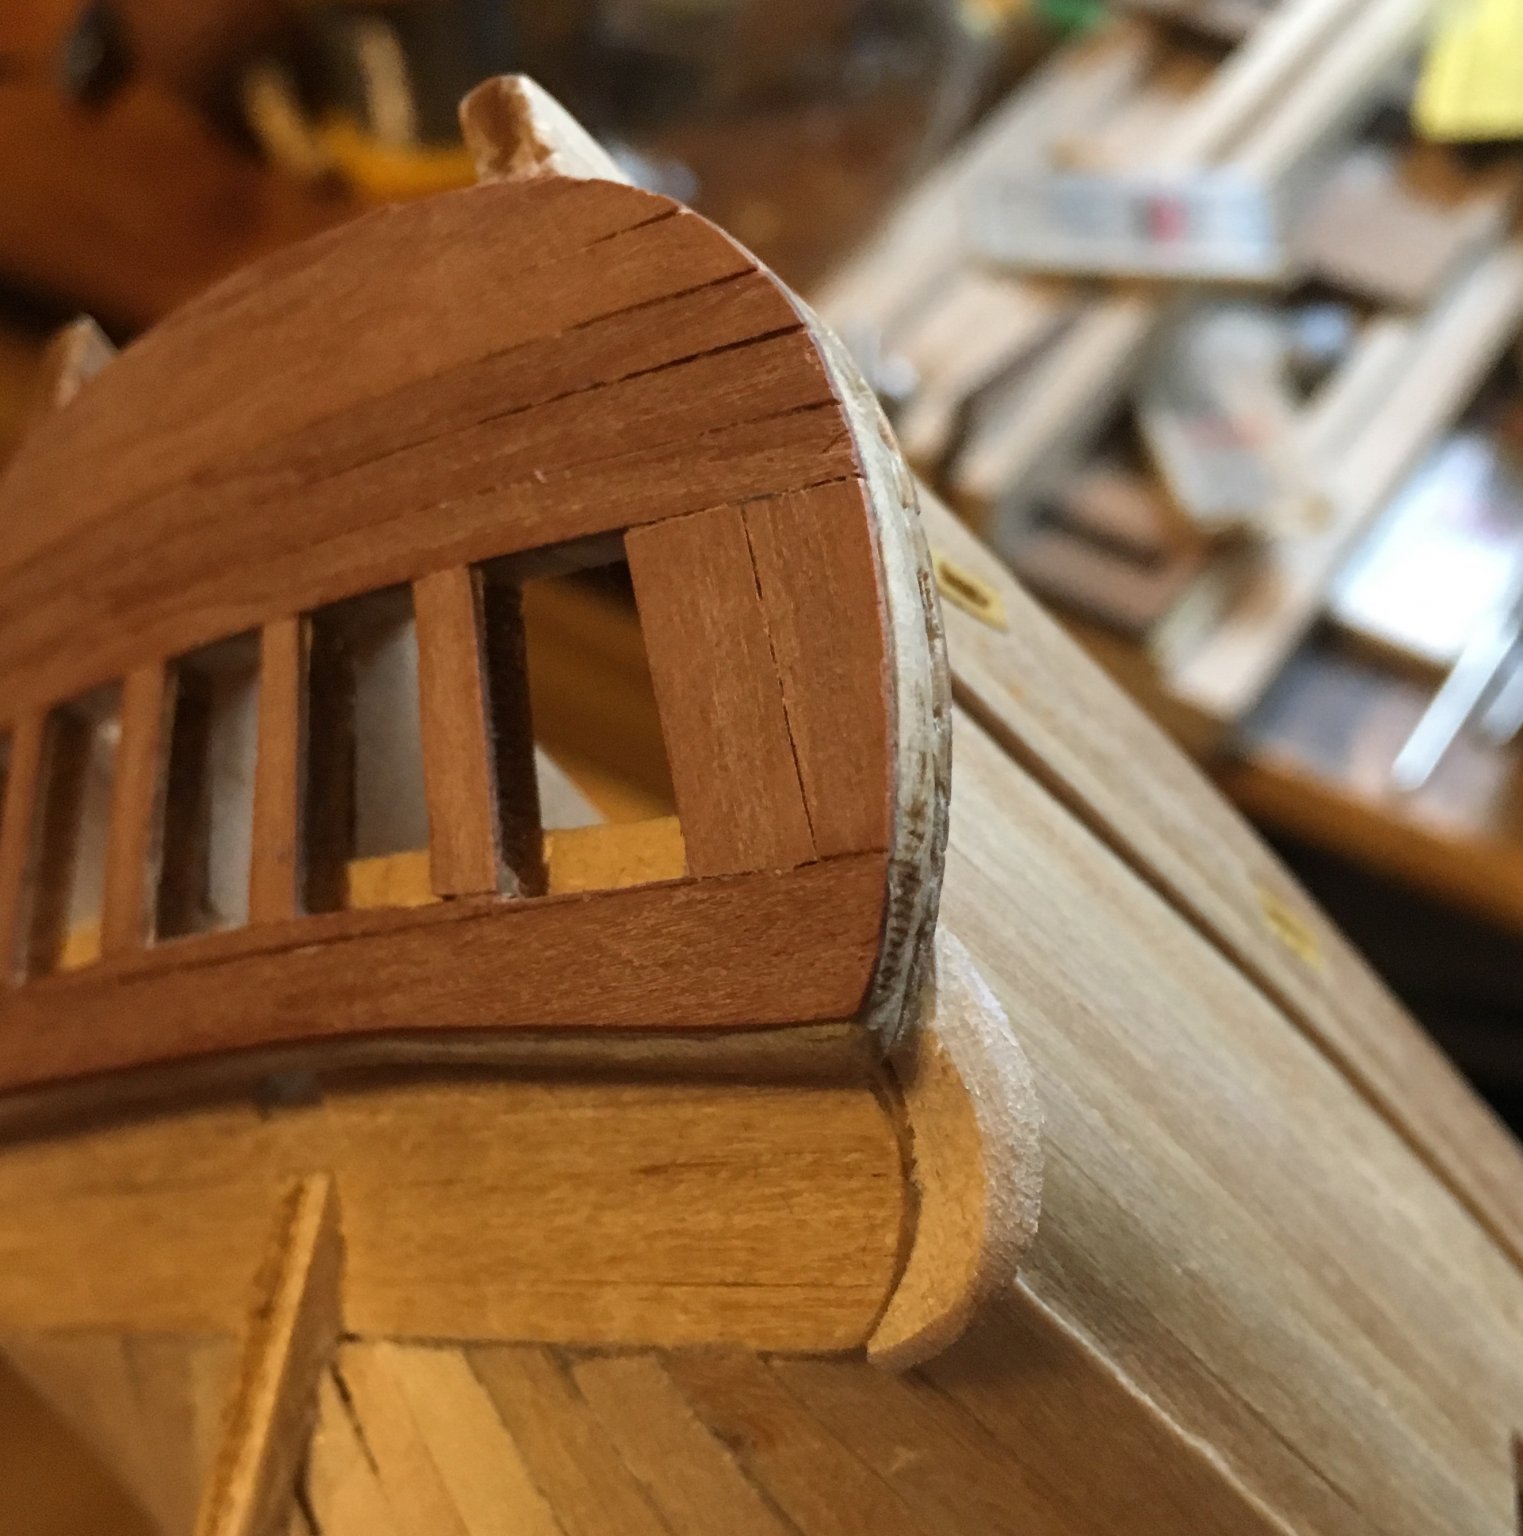
A bit more of a progress: transom planking and fashion pieces some imperfections are "surfacing" on closeups which are not so visible with "unarmed" eye:


-
That's quite different from what is in my kit. Cannot say for sure is it a "bug" or a "feature" though 🙂 Since all these parts are meant to be painted anyway.
-
That's why I chose to use pear and boxwood for every purposes other than hull planking - pear holds edges much better. That's something new - in my kit everything is in basswood and there is no plywood at all - seems MS has made changes into complectation of a kit since those days I've purchased it... Concerning depth of field - for wideshots I also use DSLR time-triggering on the pod, with aperture set to minimum and shutter set to long time, ( please pardon me acting a Captain Obvious 😉 )
-
Hi, Delphic Oracle! Always glad to see someone building Rattlesnake and nice progress ! Concerning bulkheads - it's a good idea to dry fit all of them simultaneously - in my kit their fit was awful and more than that - laser-engraved inscriptions on laser-cut details in some cases didn't correspond with true names of bulkheads on drawings. So I had to change places of some bulkheads and only then it came more or less in order and I could reach some proximity to hull lines. But even then I still had to add some shims/ move vertical slots on bulkheads etc. Getting a MS Rattlesnake's hull to shape is not a quick work and a tricky one as well. So I wish you all the best luck with this project 😉 And by the way - perhaps your camera has WB settings? that could help neutralize "Purple Haze" from plant lamps... Best Regrads Dmitry
-
Happy New Year, everyone! During these holidays I happen to have an hour or two to whittle some details on Rattlesnake. I've become keenly aware of necessity to widen my electric tools park: having a micro-router a chesstrees like the ones I've made are made within minutes - while working with "bare hands" I've spent an hour and a half )))
-
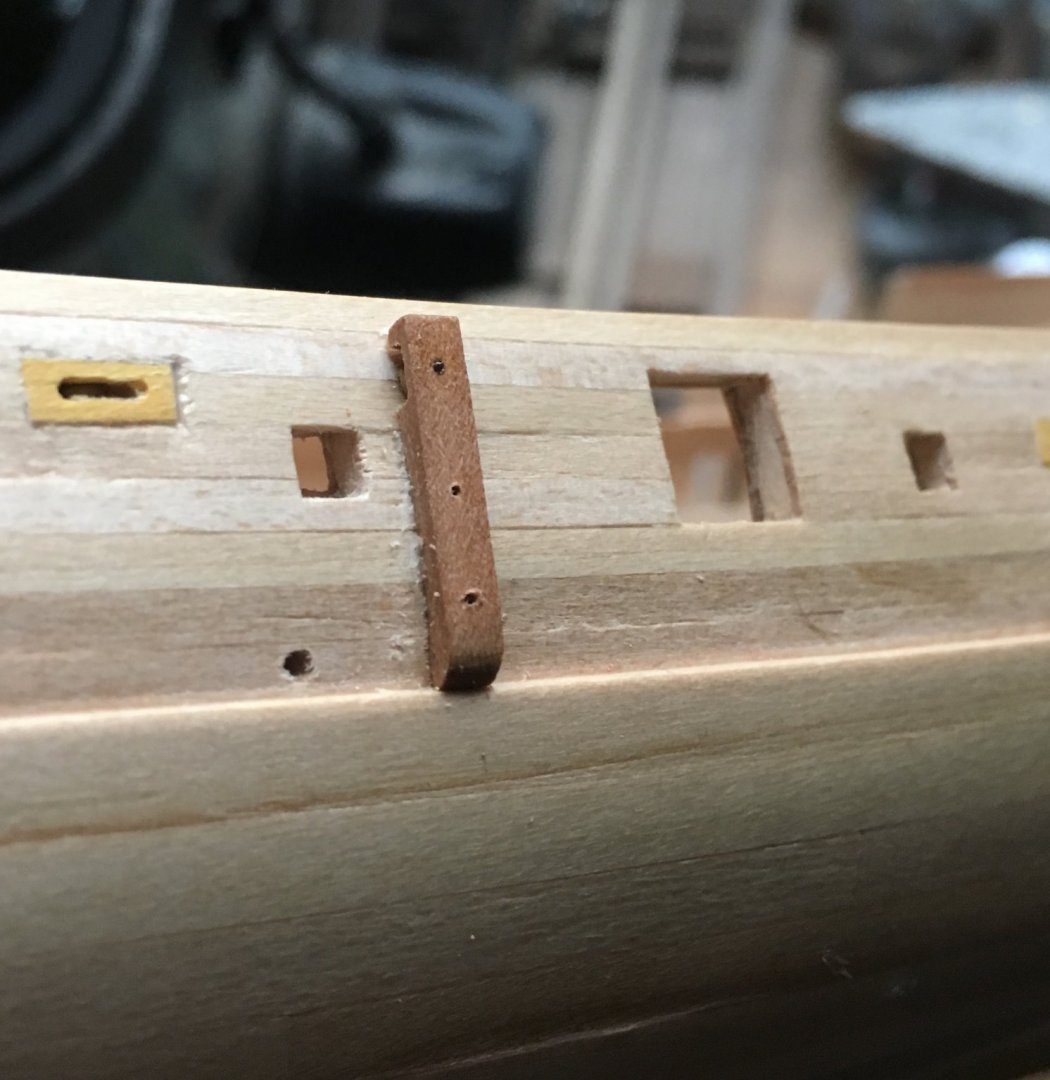
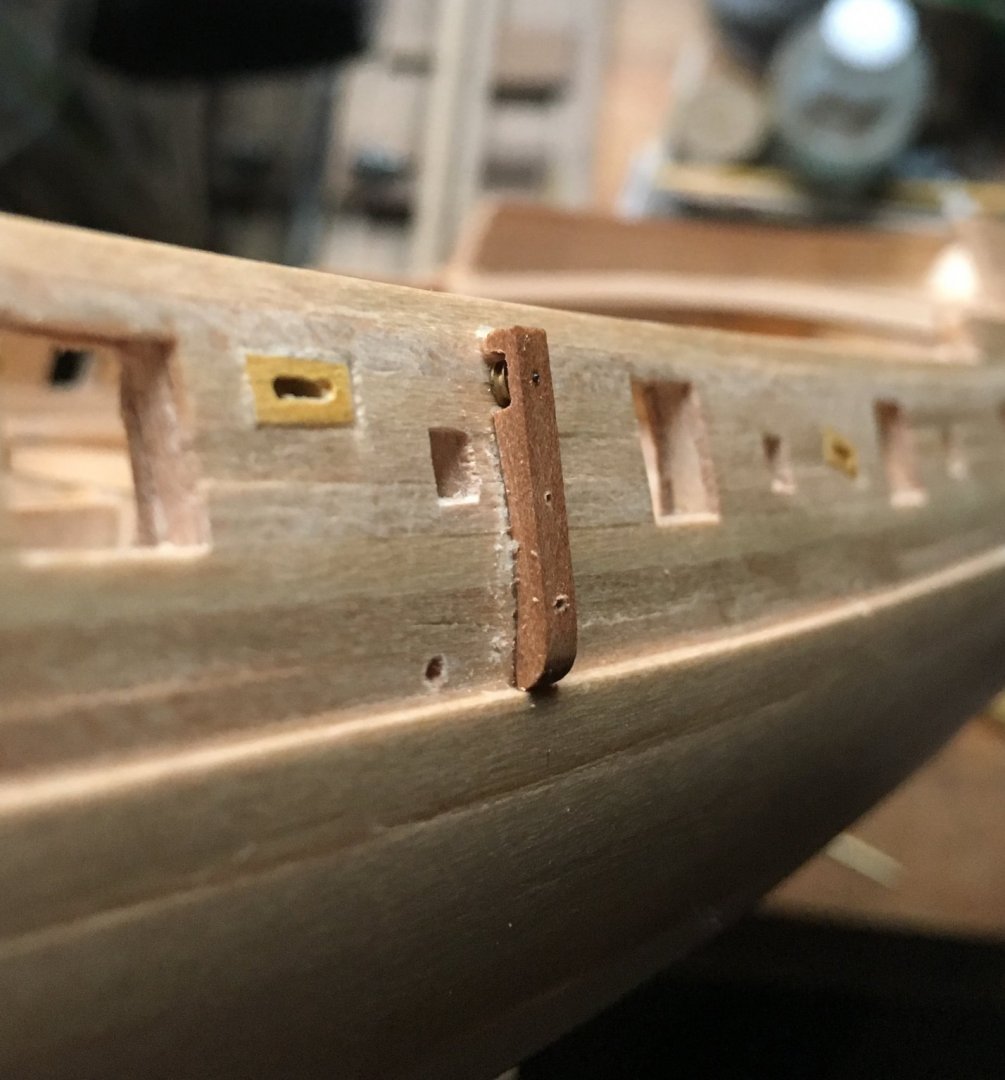
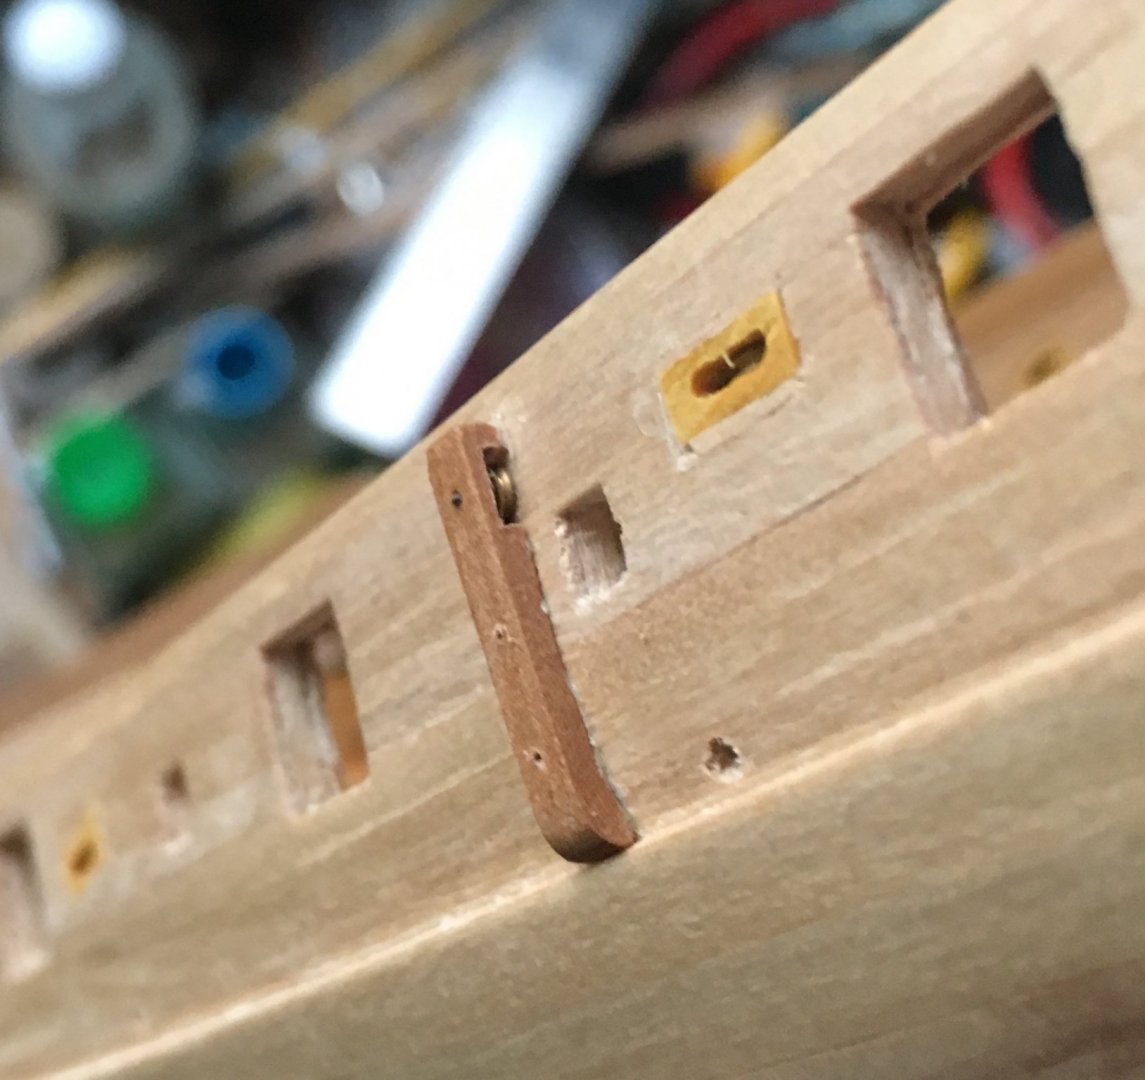
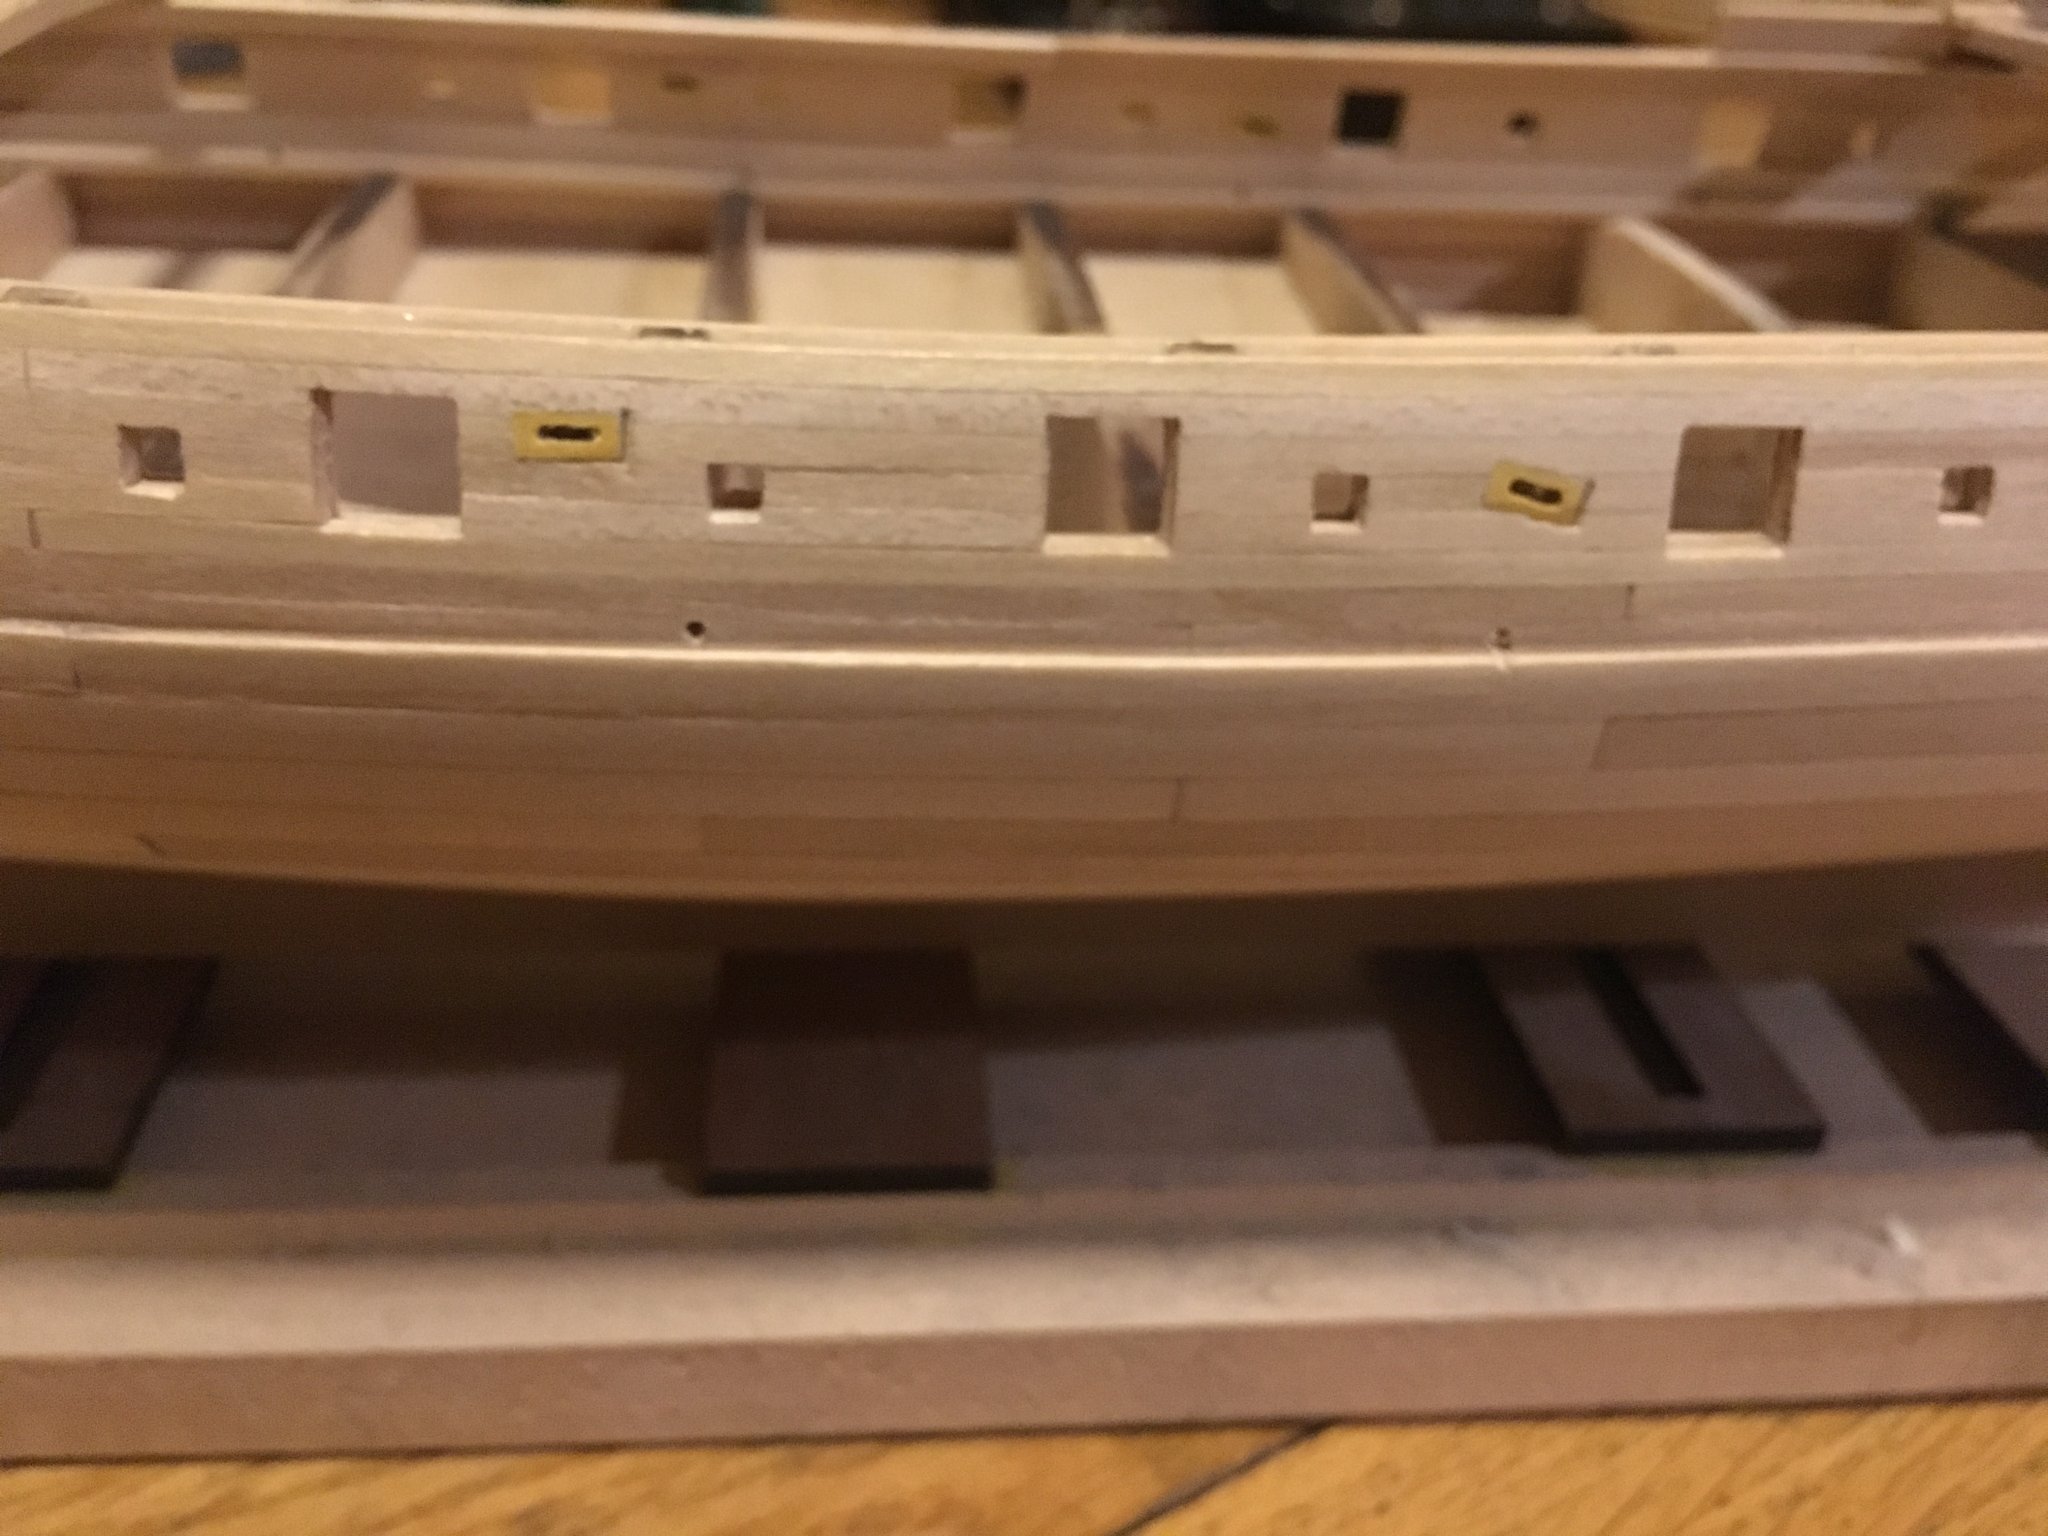
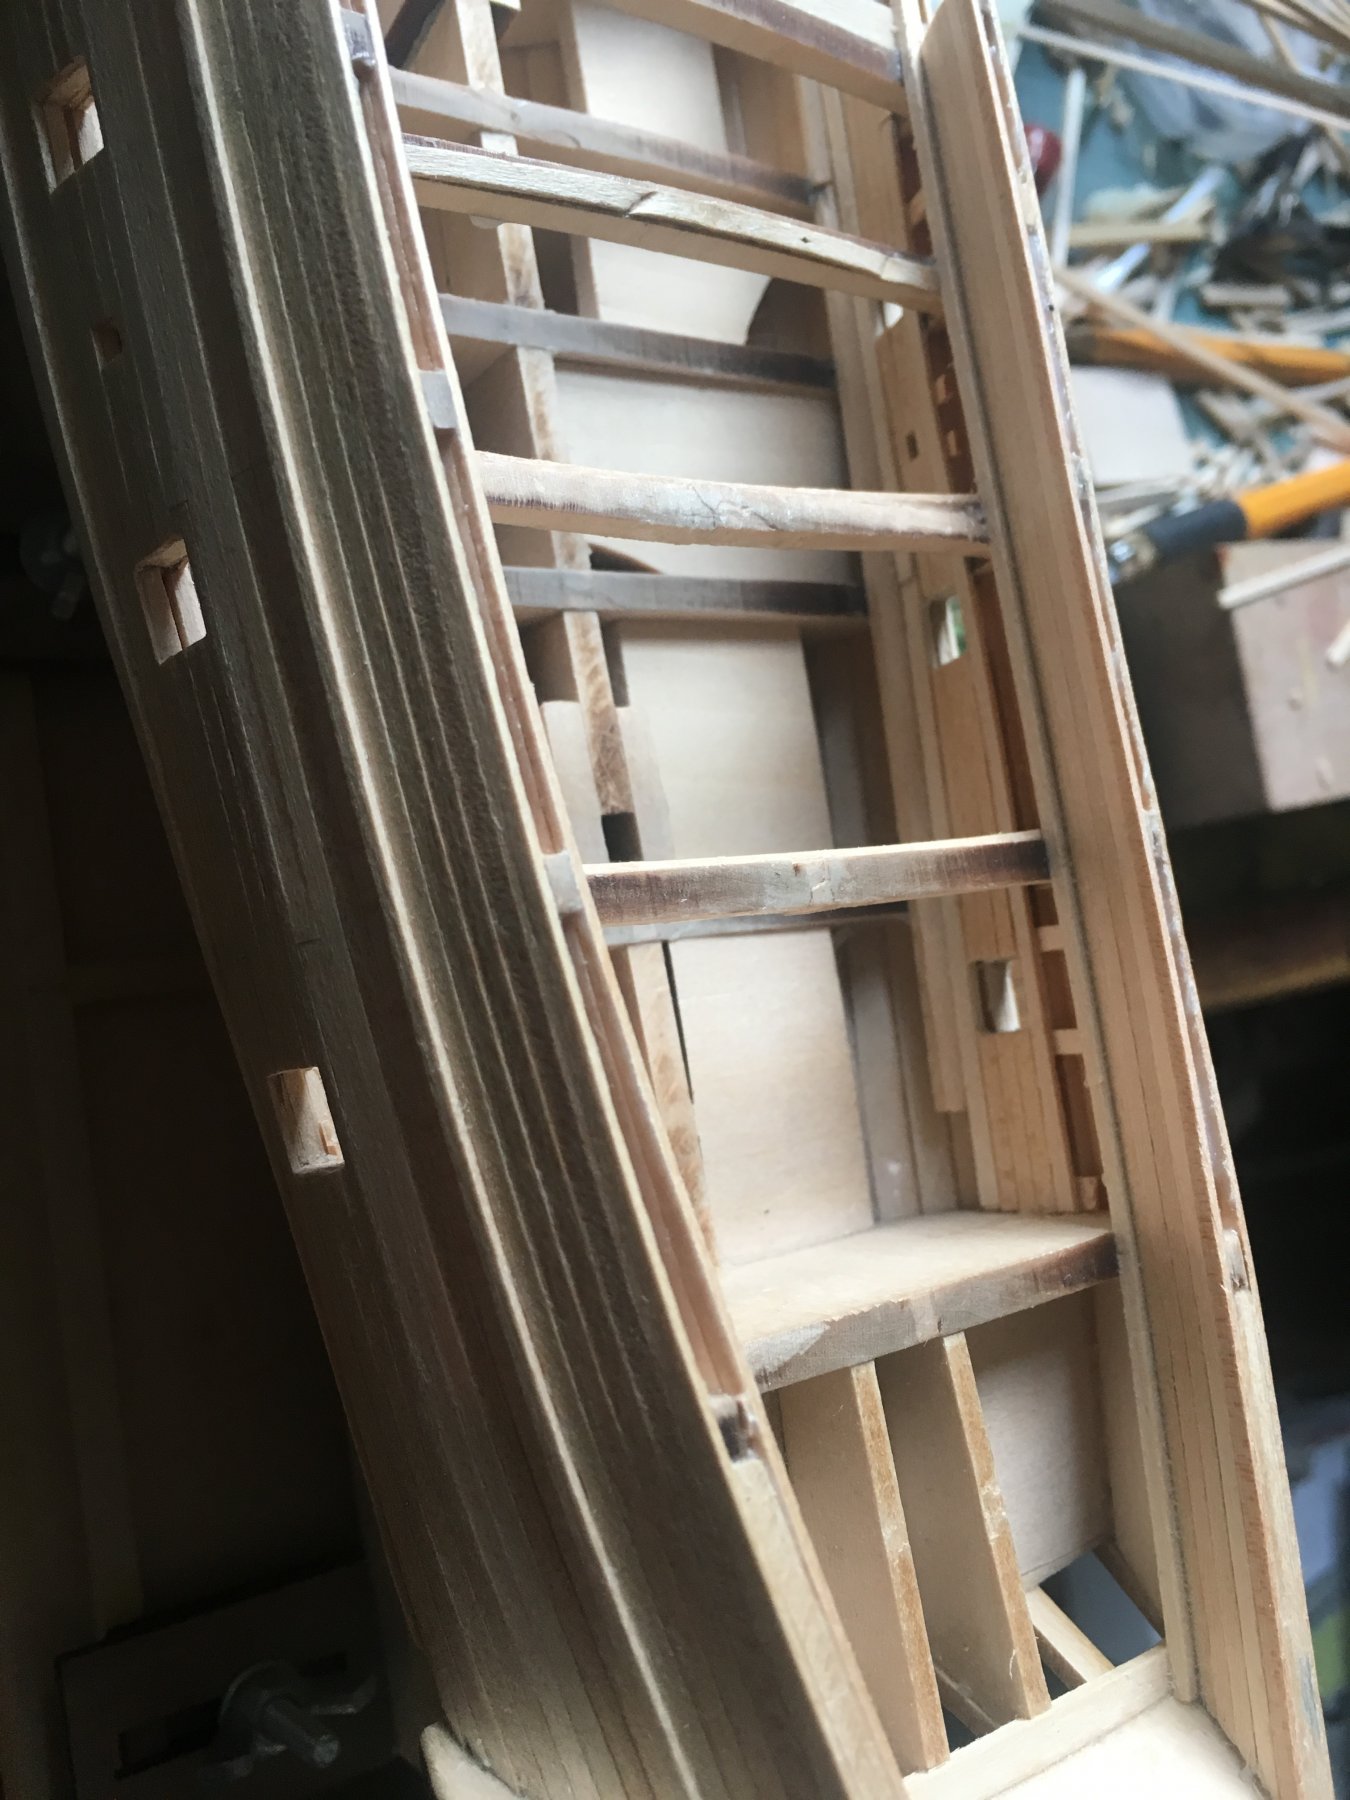
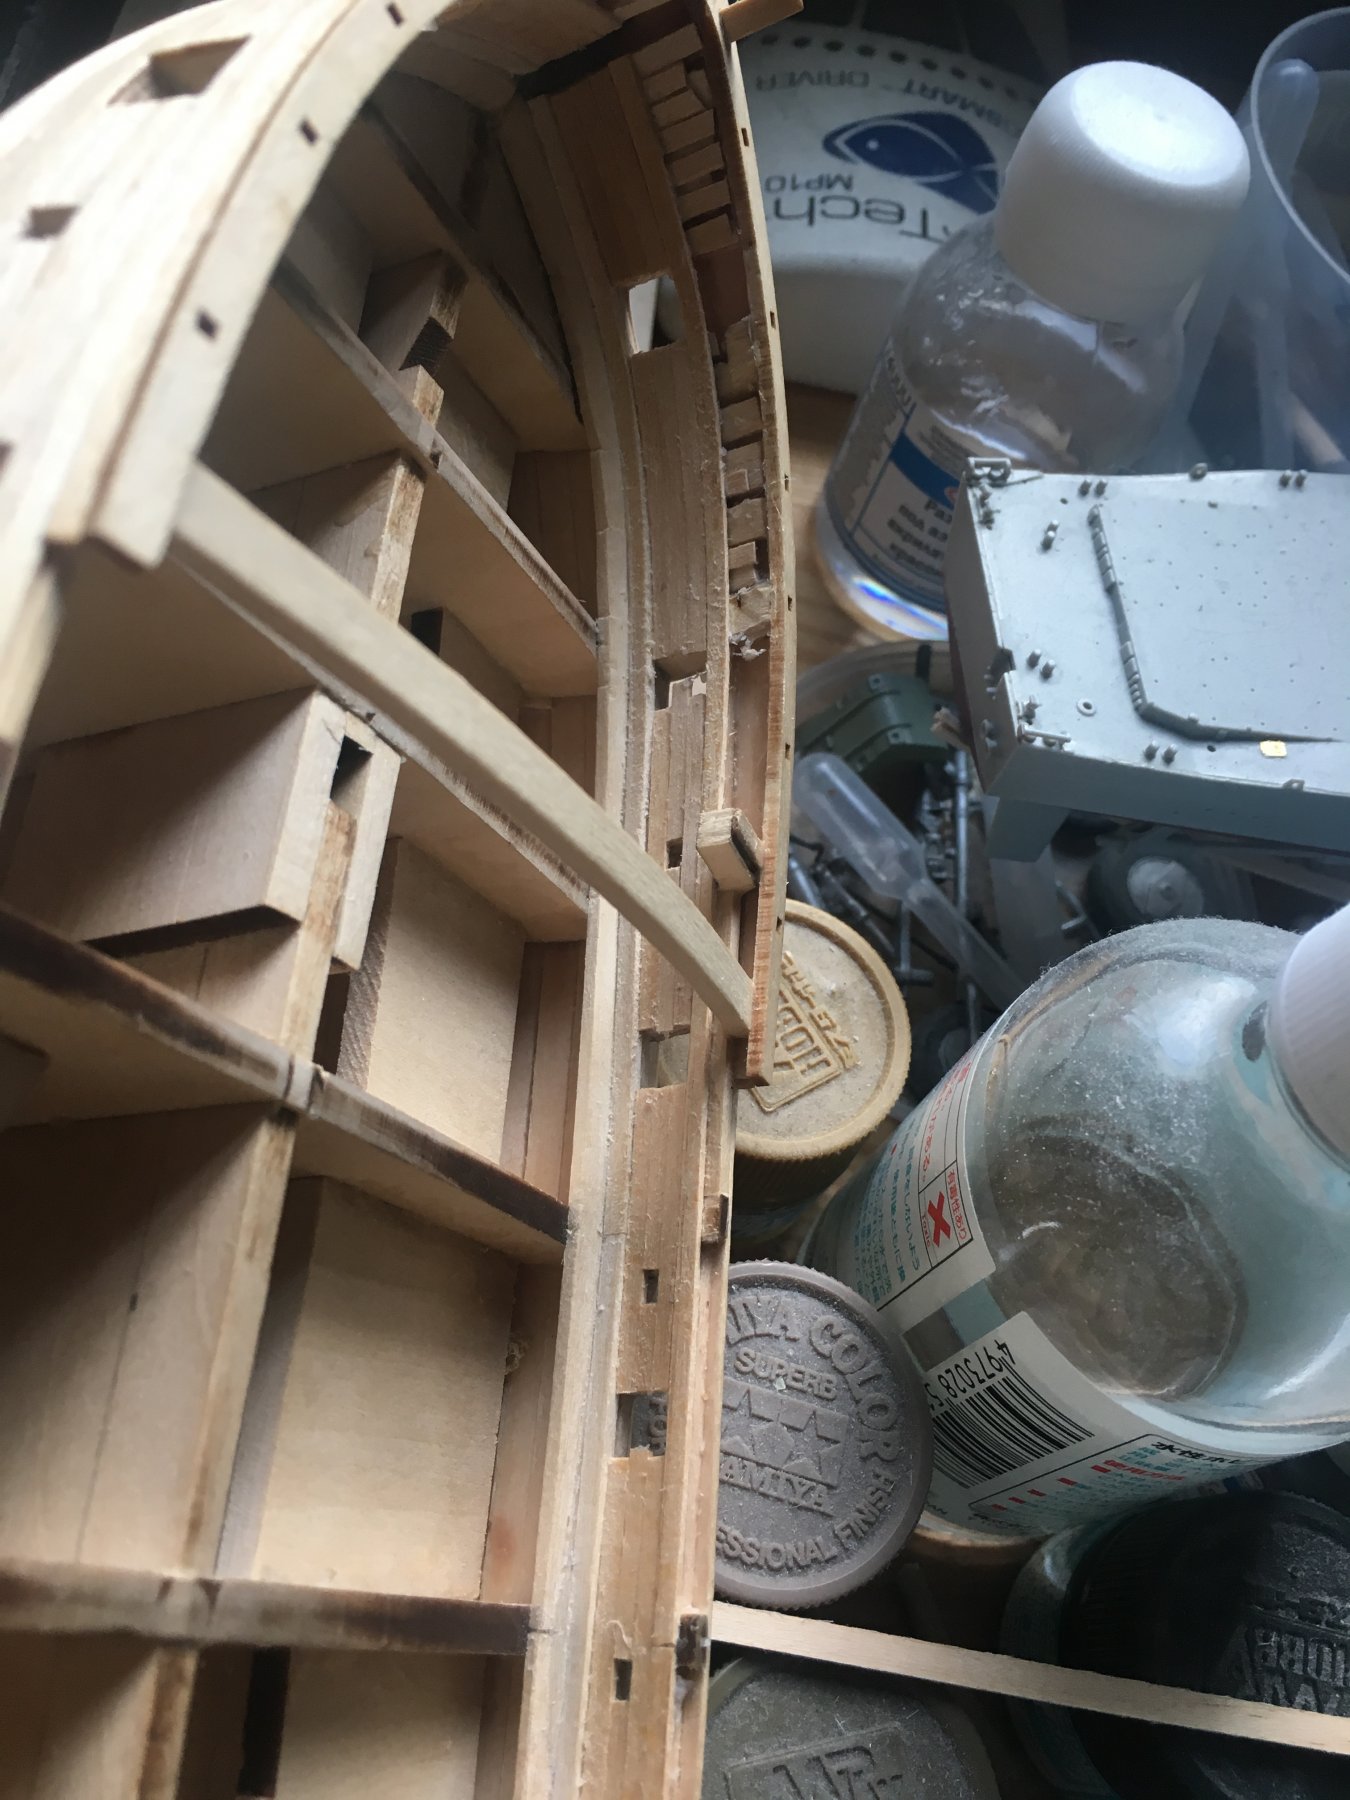
Greetings, dear friends! As some of You may know "Work, work and no joy make Jack a dull guy" 😉 A joke of course! From time to time I happen to find an hour or two to add some bits here and there. So a small progress to present moment: sheaves placed, protection from ancor ( don't know how it's called correct), reinforcement in nose area etc. Still a lot of things to do before painting/ varnishing the hull.


-
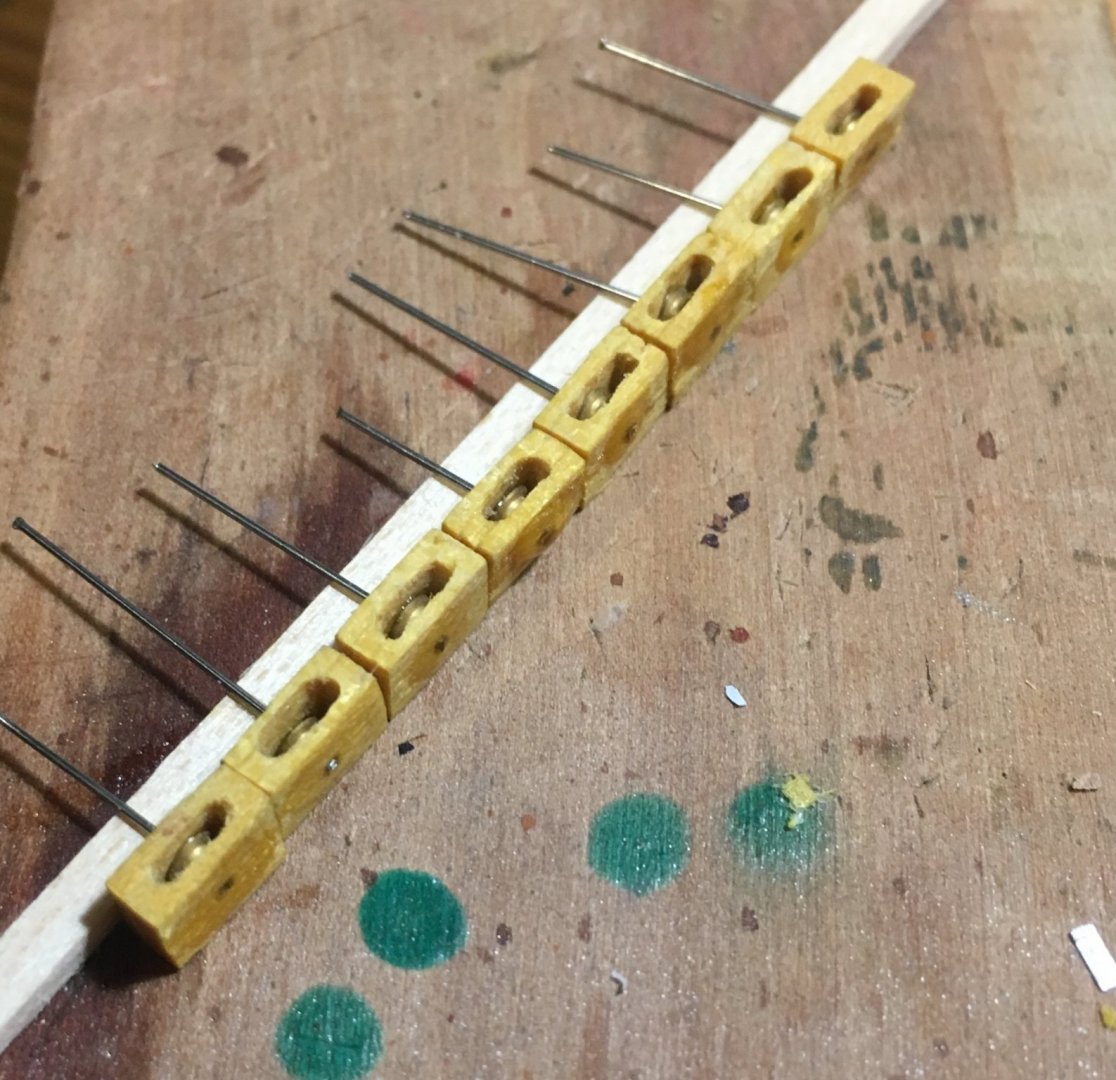
Sheaves' row nearly ready:
-
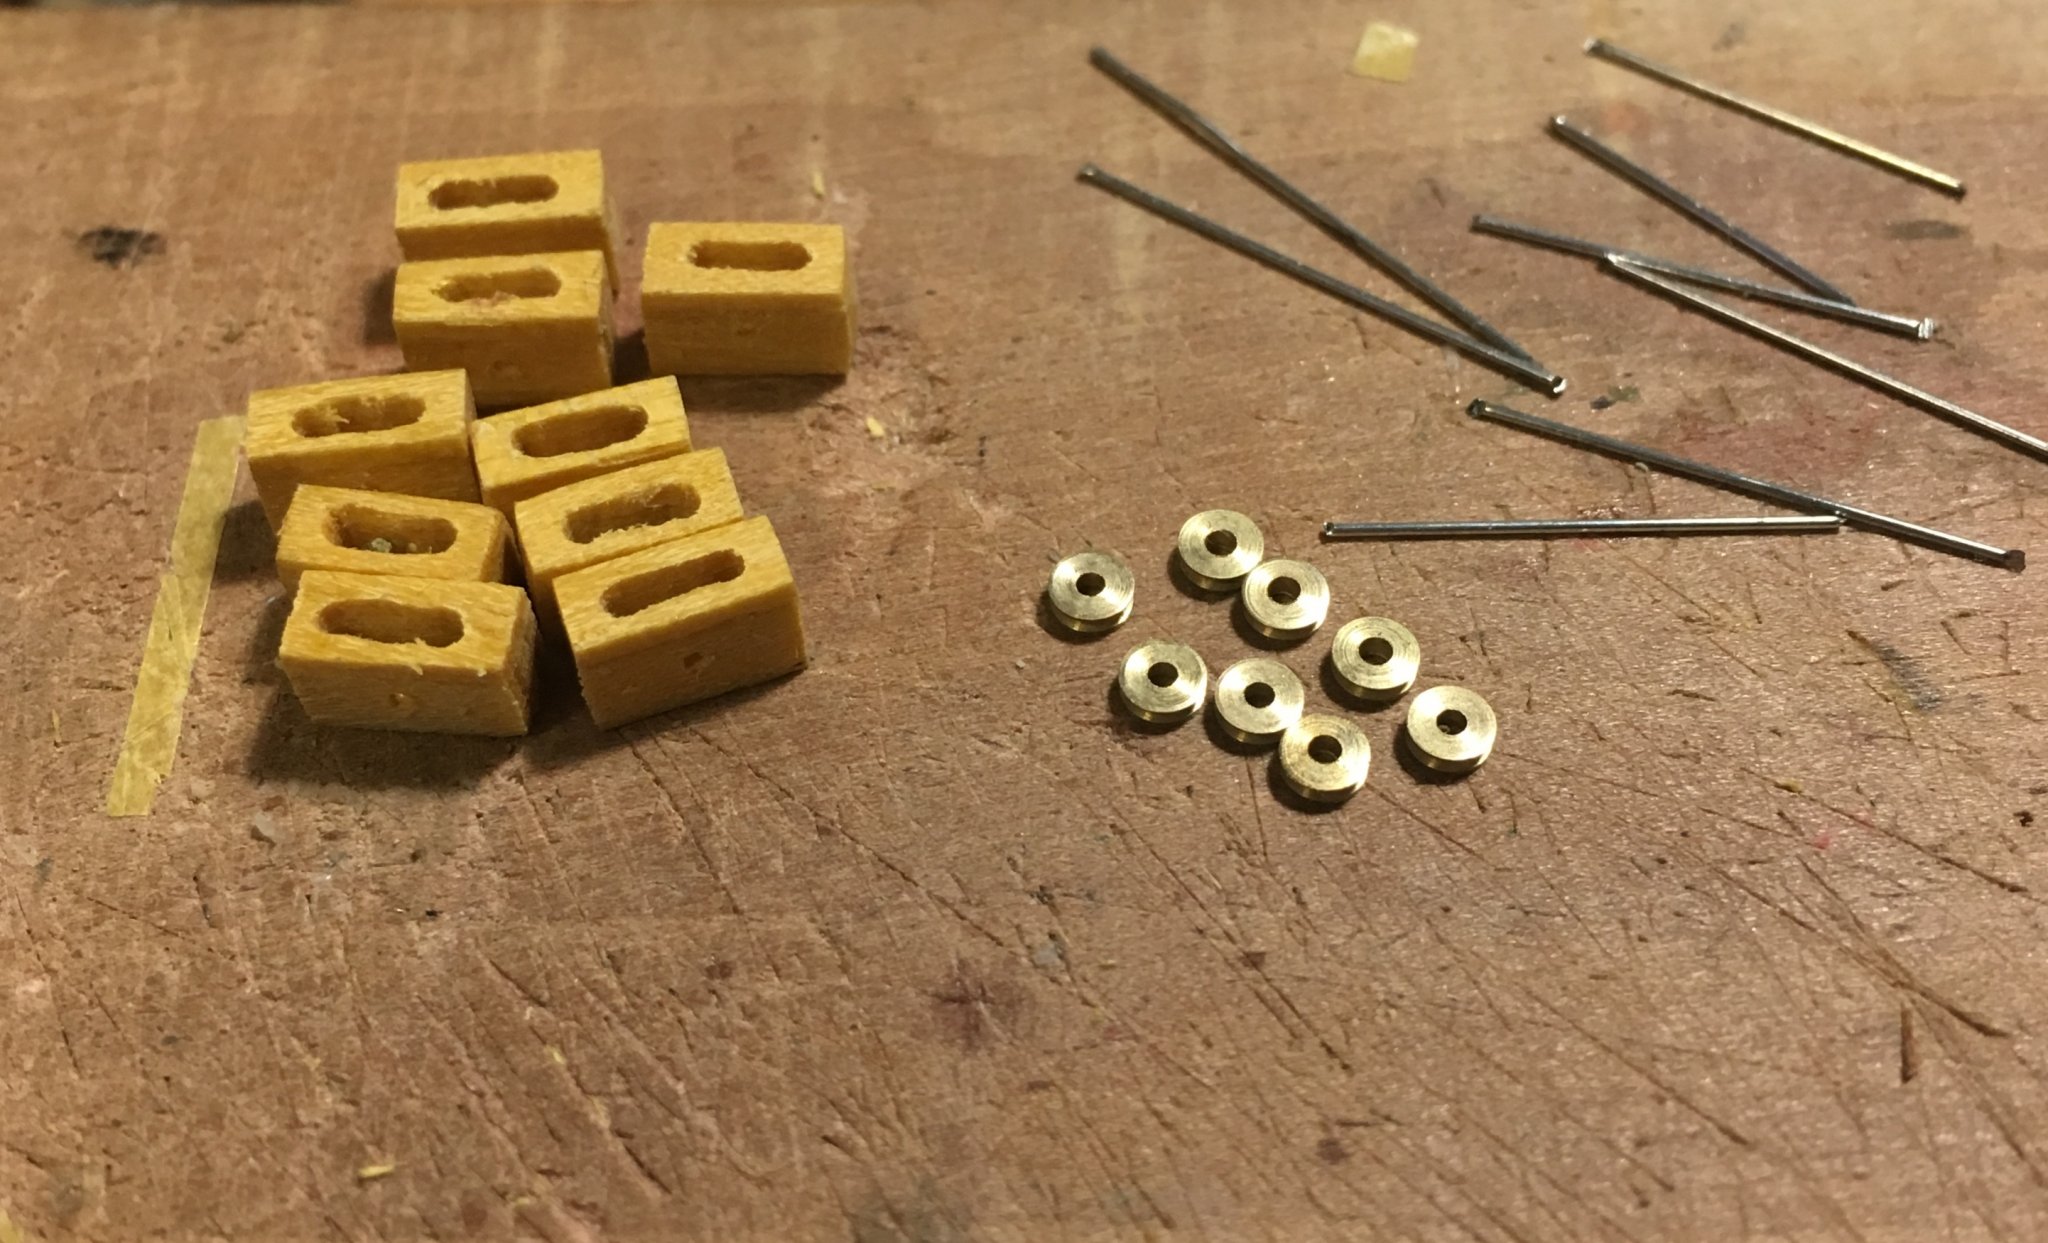
Small update: I've prepared all details for sheaves which would be built in bulwarks. It took some time to find proper 2.5mm turned-brass sheaves and some boxwood strips to make sandwich-style cases. I'm not very happy with cases - but after making about 20 - 25 - that's the best result I can achieve working "on a knee" with only Micromot 50 without a coordinate table. What I've learned is that I definitely need to upgrade my electric tool park: Proxxon Micromot 50 is a fine tool and DB 250 is a fine lathe too, but some operations do require micro-miller like MF-70 and a table saw like KS-230 - so I am looking towards these tools or towards combine kit like Unimat 1.

-
Nice progress! Isn’t that a sheet music on the first pic? What kind of music is that? Strange, but I keep some violin pieces near my building desk too )) For me building of wooden ships has much in common with building musical instruments and classical musicianship. However when I go plastic planes/armor I turn on my guitar setup 😉 Keep up building Rattlesnake! Best Regards)
-
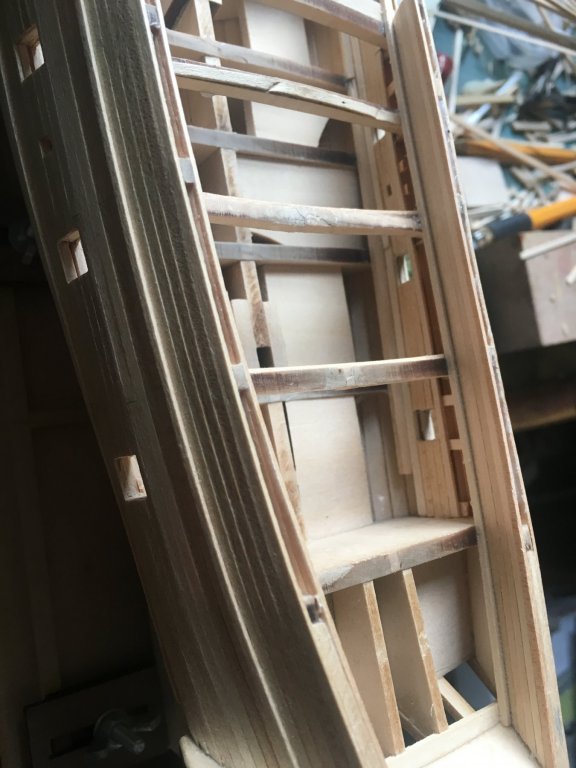
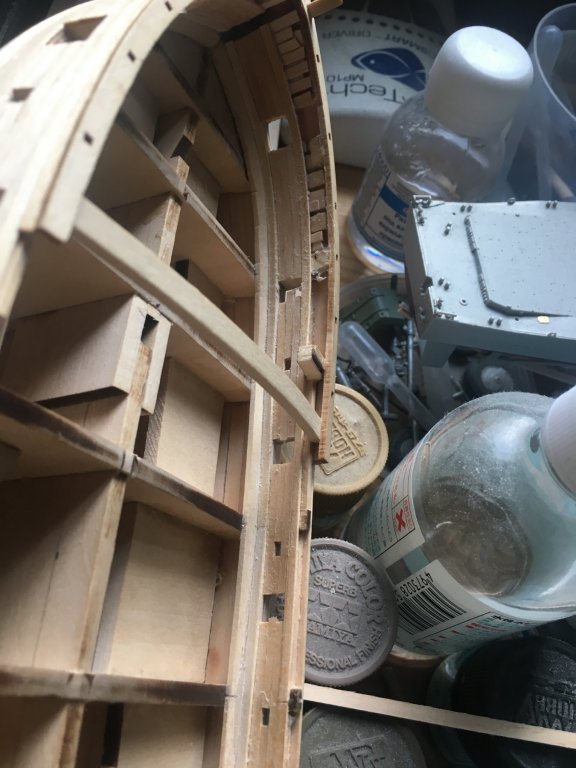
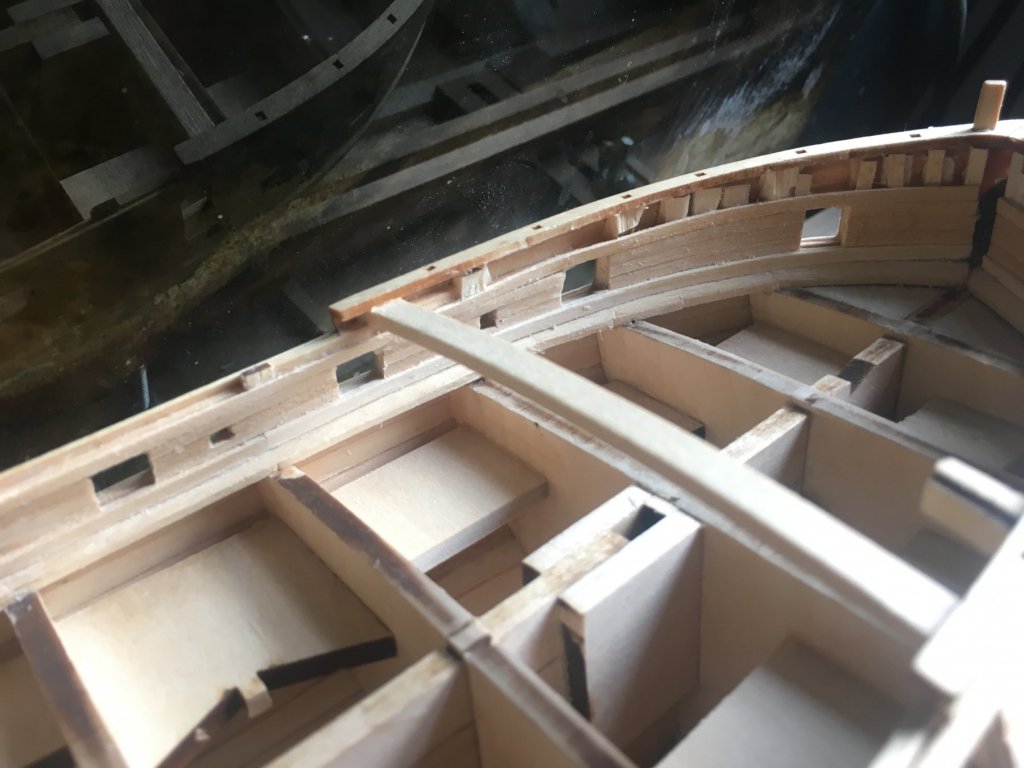
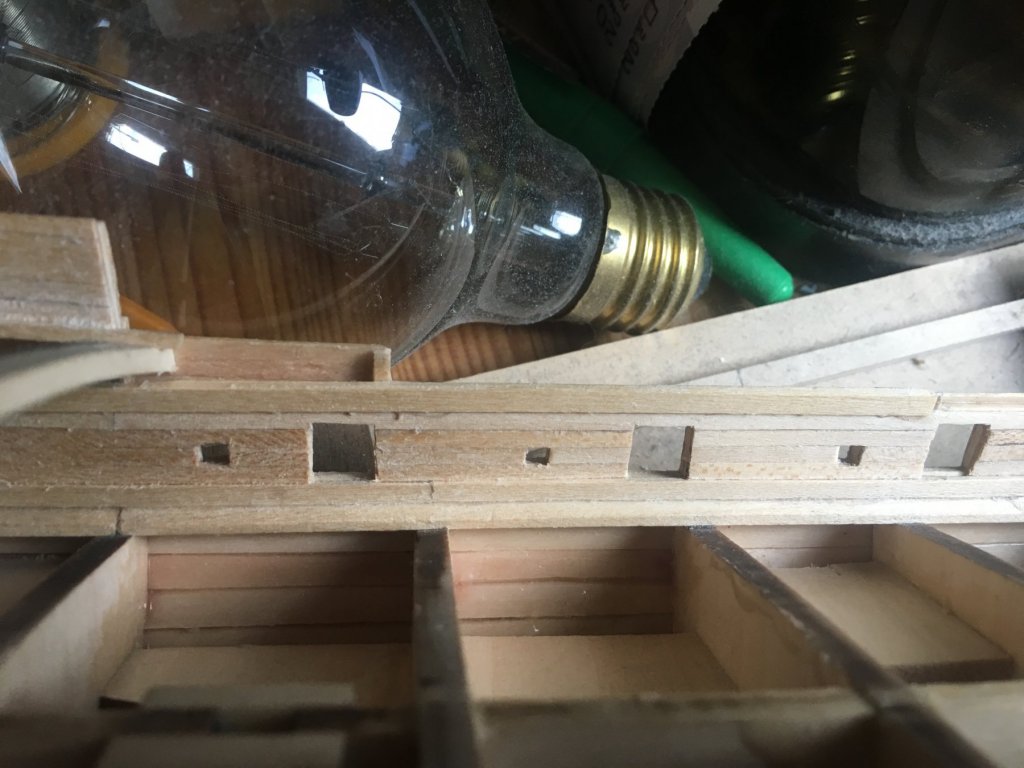
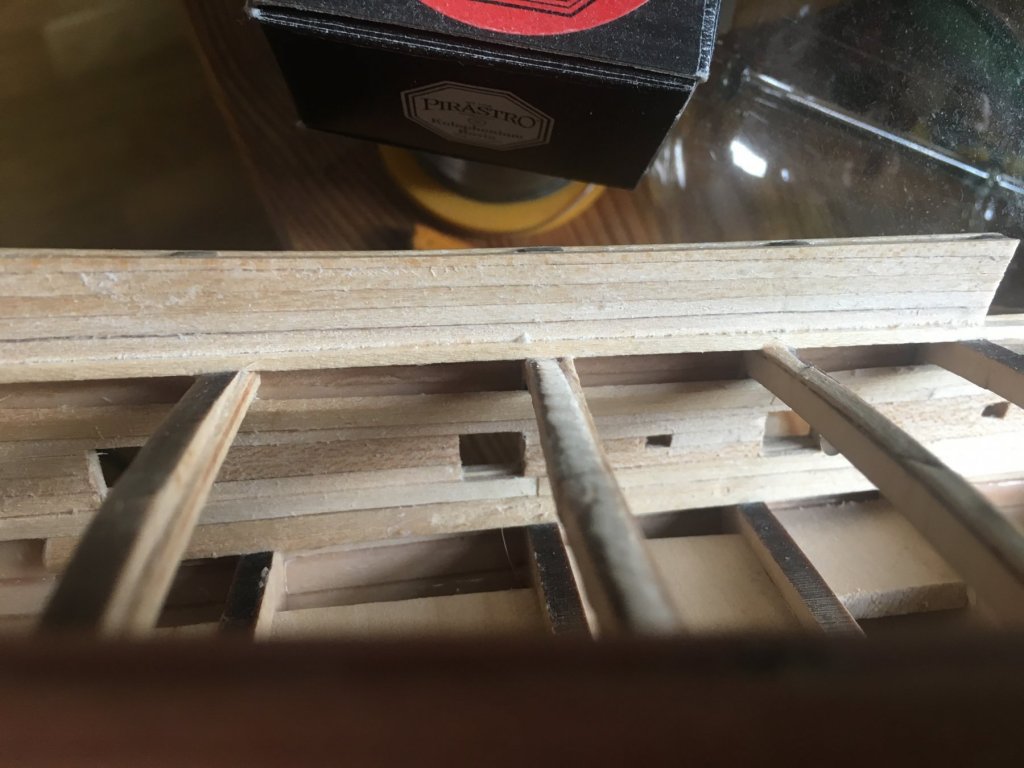
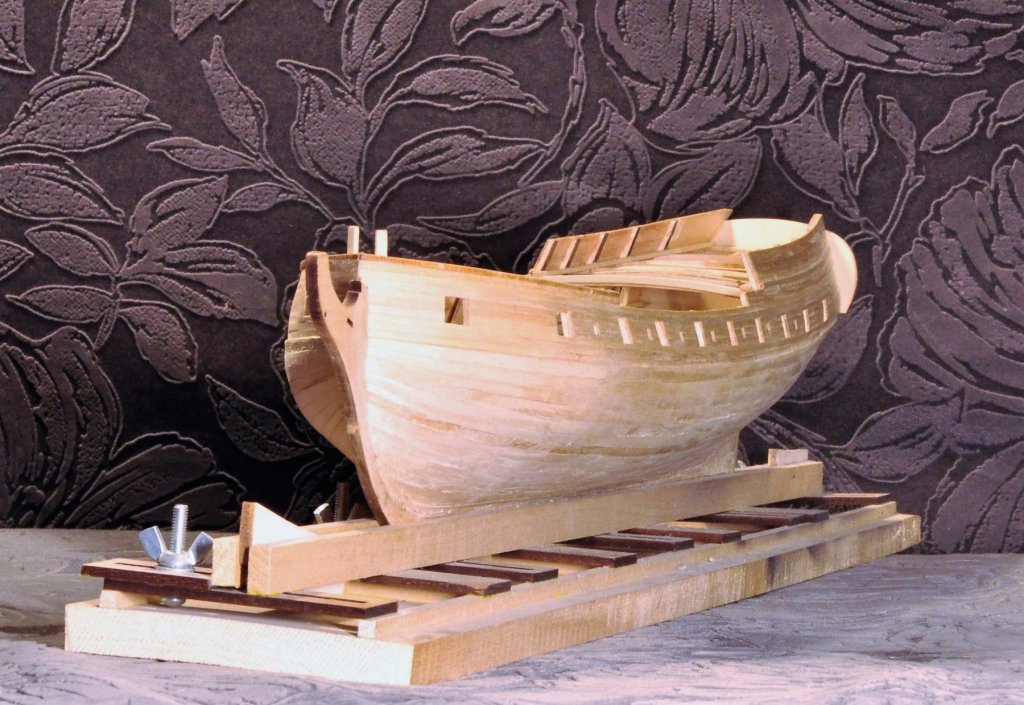
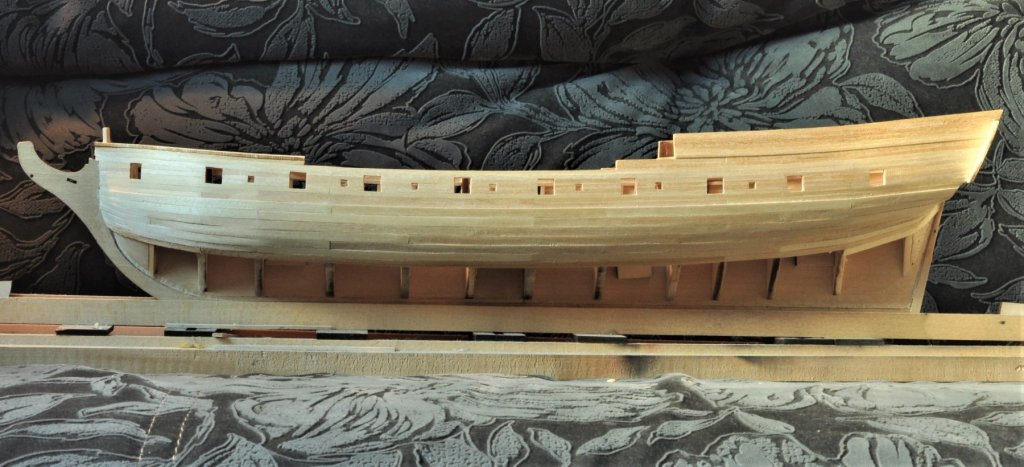
A very quick update just to show how process of ceiling planking goes - sorry for pics quality - took some by mobile on-the-run :-) You may notice that some gunports haven't been faired and of course there's much sanding ahead. But inner sides are beginning to take shape and it warms my heart a bit ) Priming and painting is on the horizon.
-
Henke, thanks for your kind words. It's a single planking - I was just following instructions and plans from the kit.
-
Firedog5213, thank you very much! It does really pour some light on several places and answers some questions here and there. I've also consulted with colleagues here in Russia and decided to make both spirketting and clamps thicker than common ceiling planks on gundeck. I've already planked one side - will make some pics later.
-
I've got a question to community: in MS's drawings I haven't found any hints about spirketting - it is shown like common planks - the same size and thickness as the other ceiling planks. I believe that's not quite right - on most ships I've studied spirketting was made of thicker planks. However, I can assume that 6-pounders weren't considered as too much of a load and it could be desided to use the same size of planks. So the question is what way to choose - to do the thicker spirketting or to plank it with common size ceiling plans? Maybe there are some other plans than MS's which do specify this point?
-
Thank you, colleagues ! firedog5213, I've found that model shipbuilding is a "thorny path" of reflections and hesitations 🙂 And during building process appear more questions than answers. Anyway if you've got any questions I'll be happy to discuss and share my (less than modest) knowledge.
-
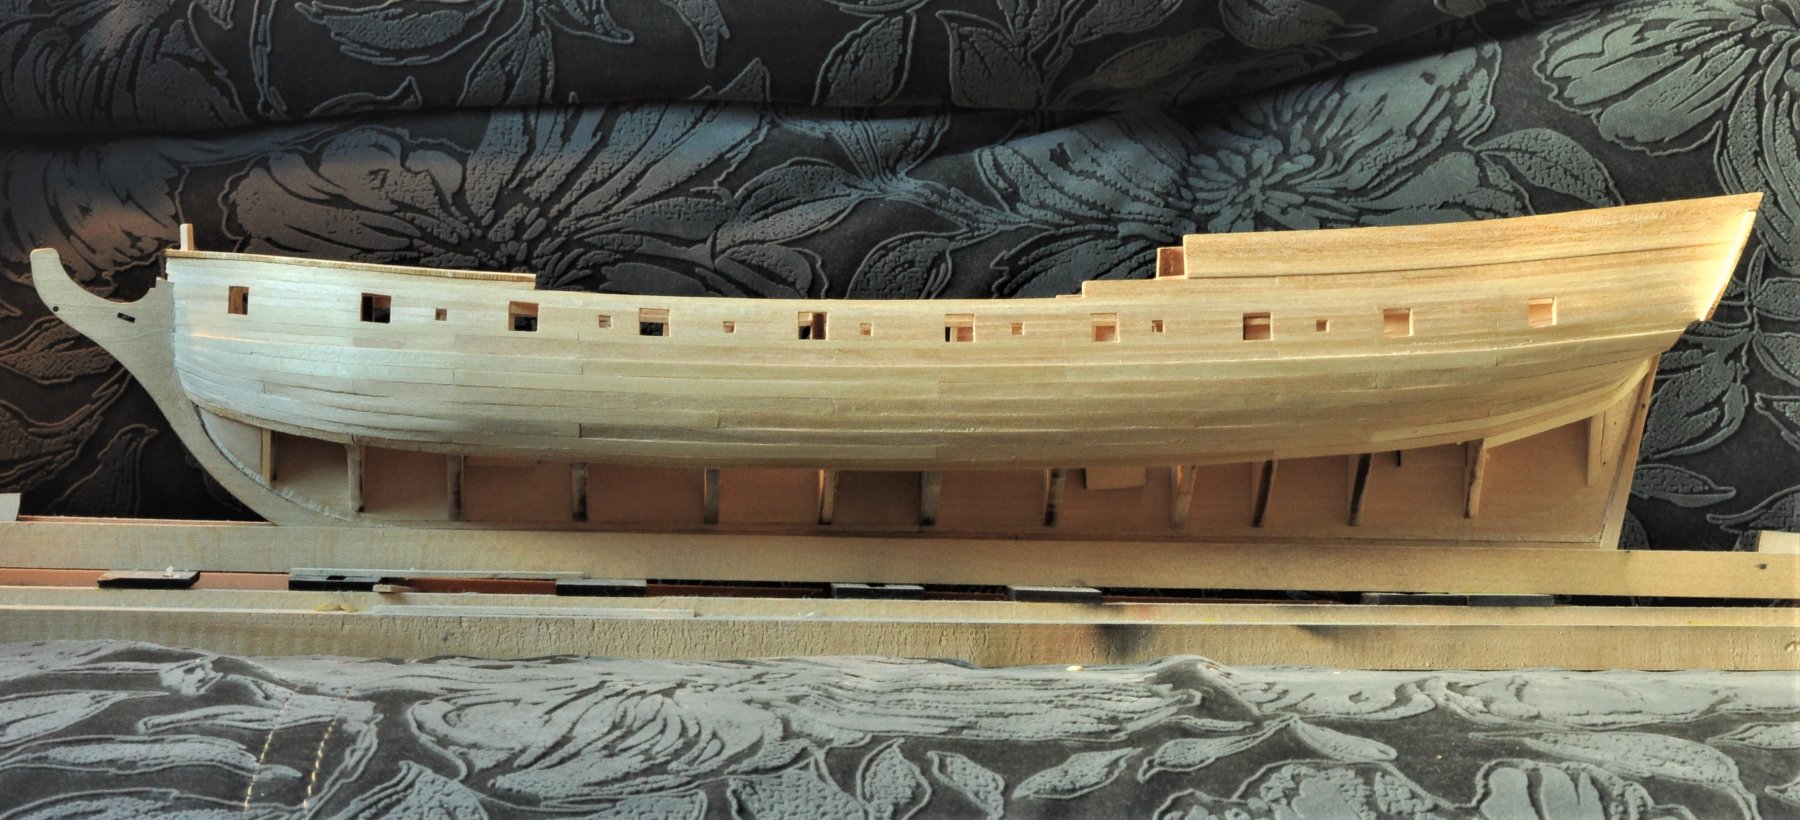
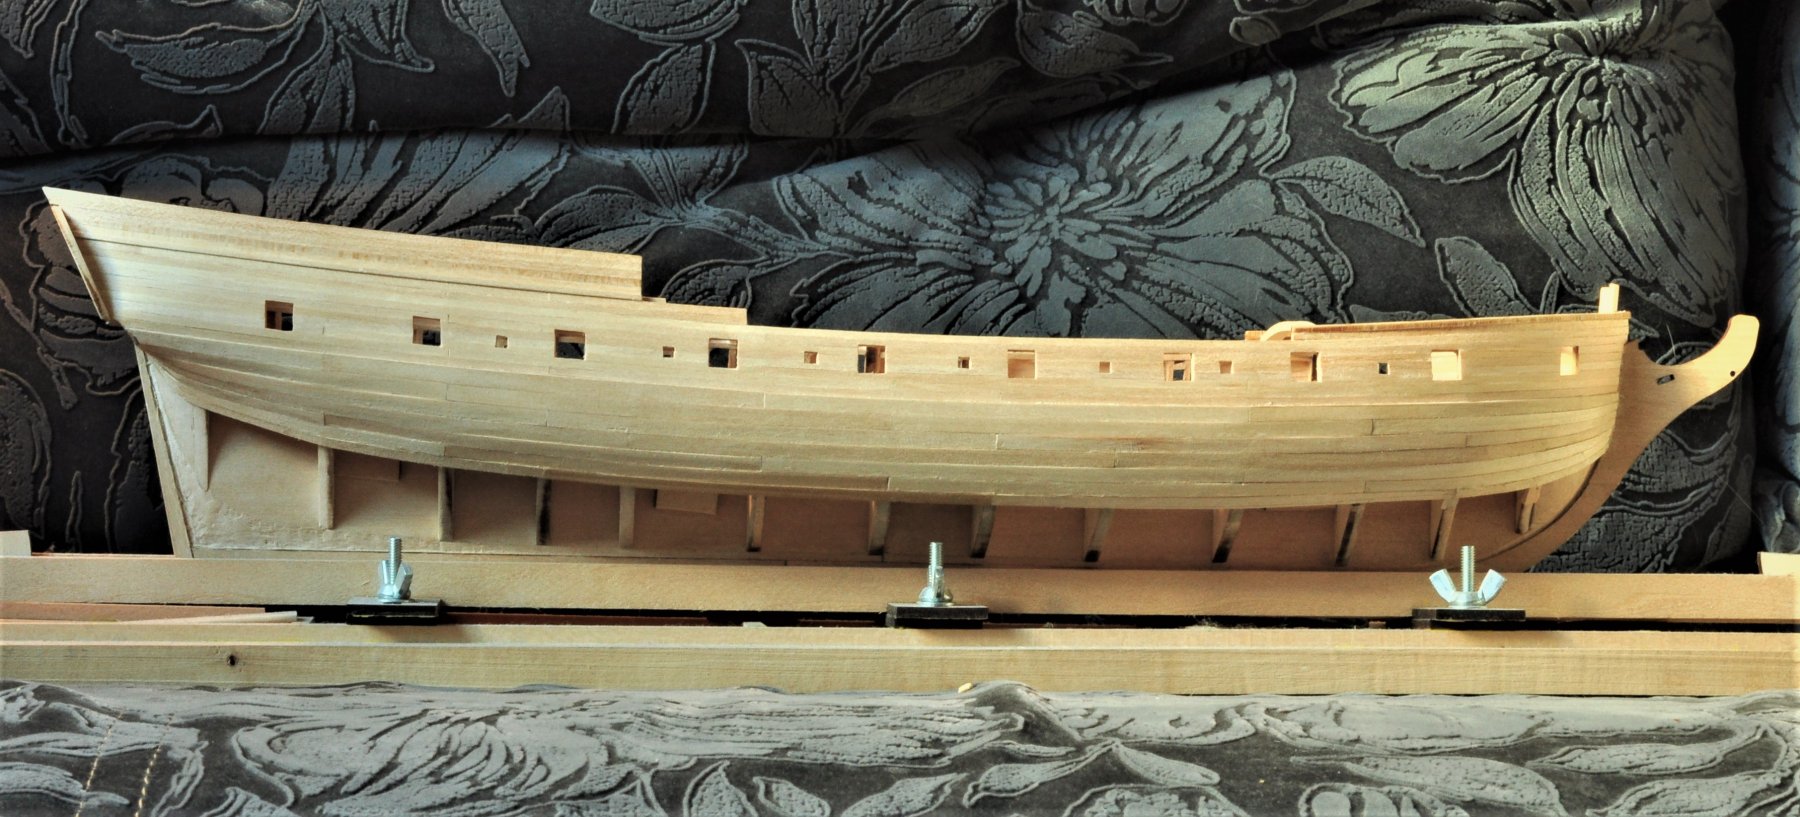
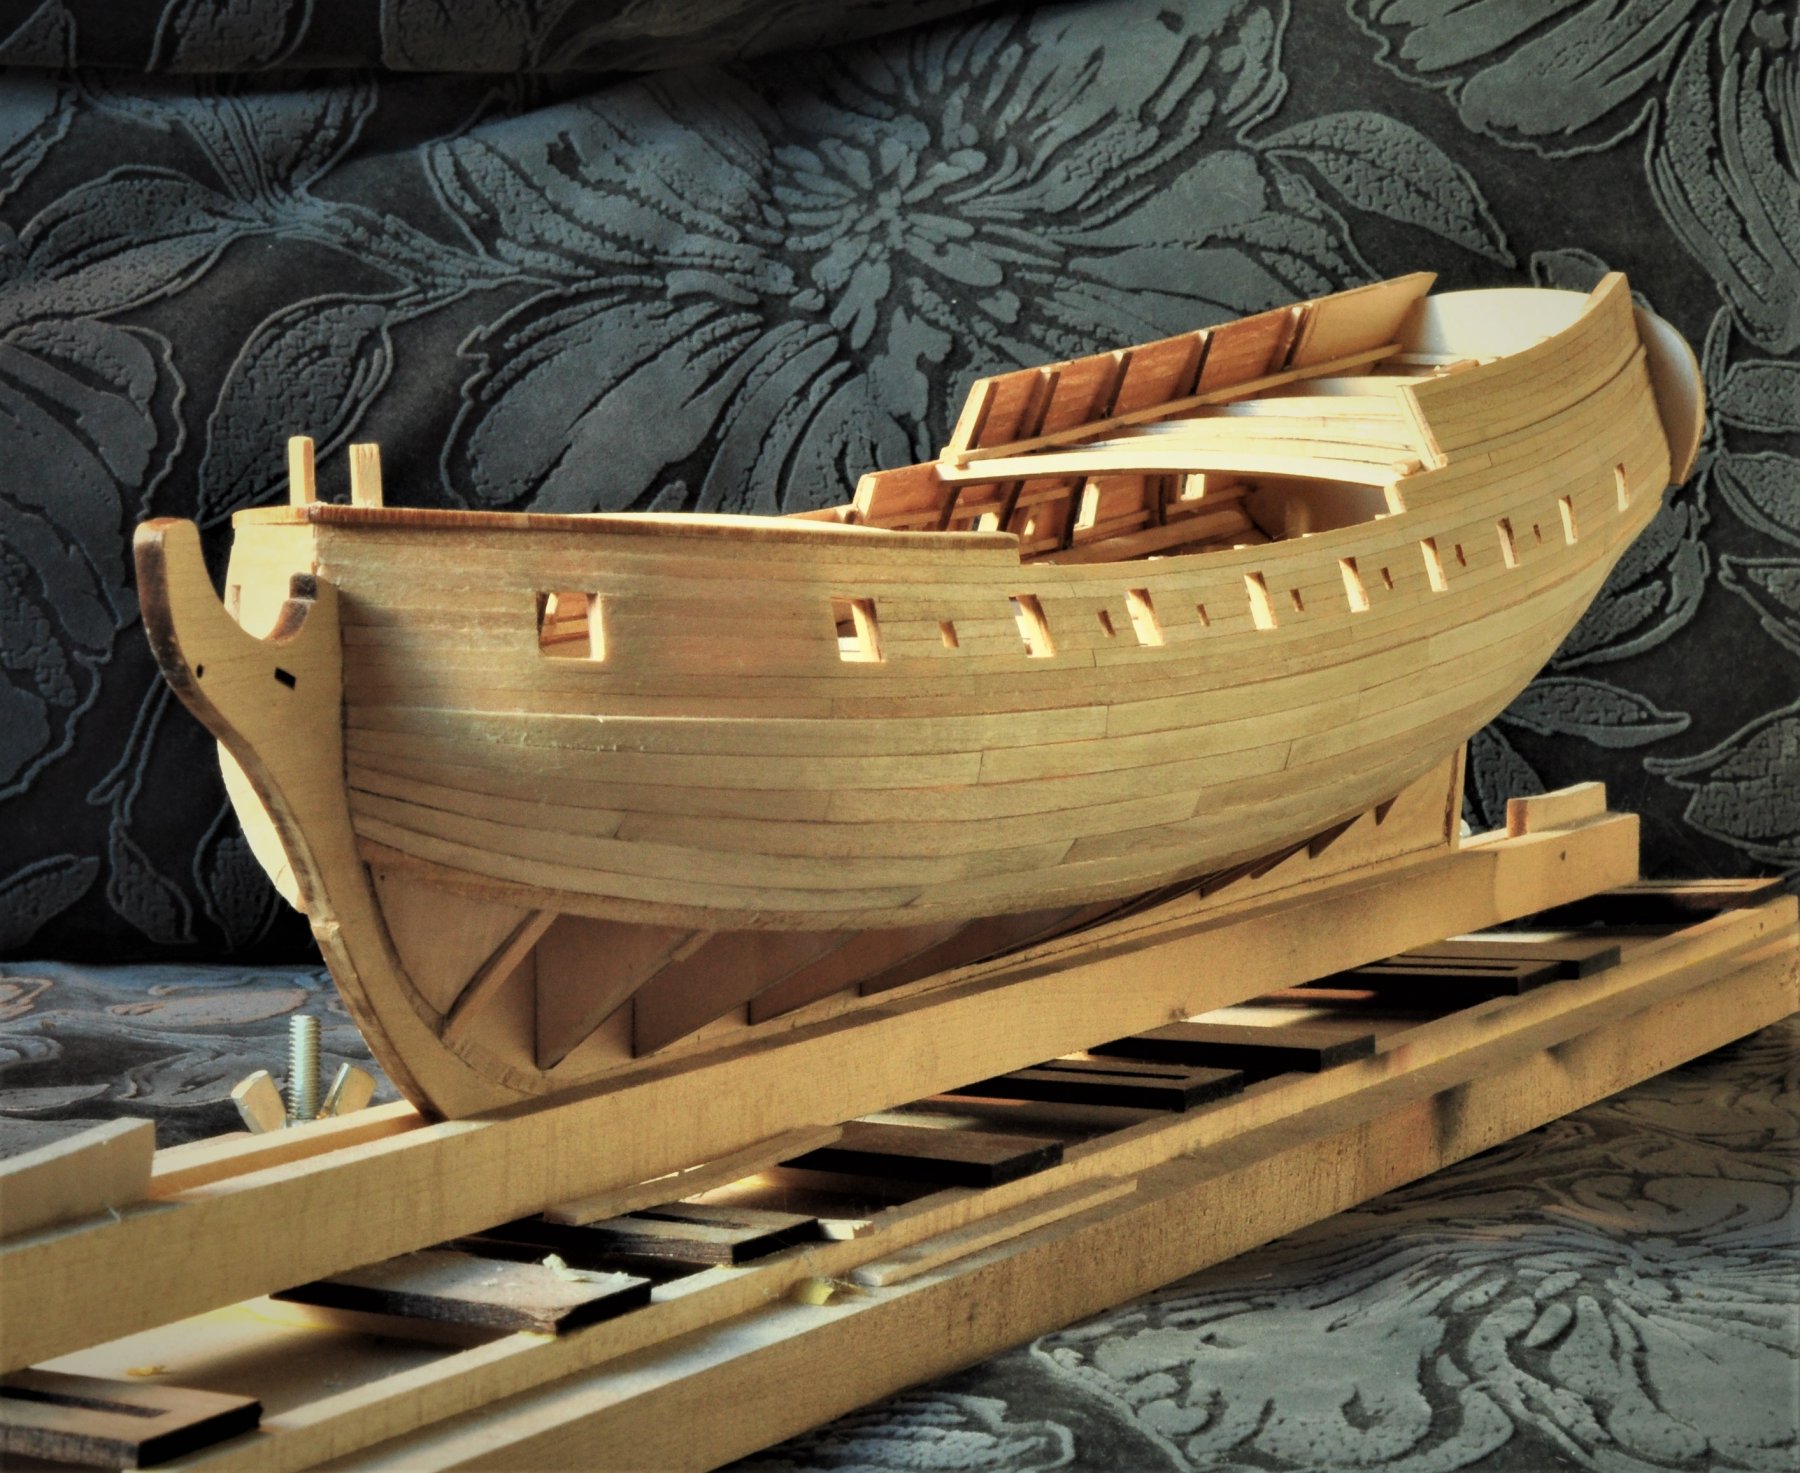
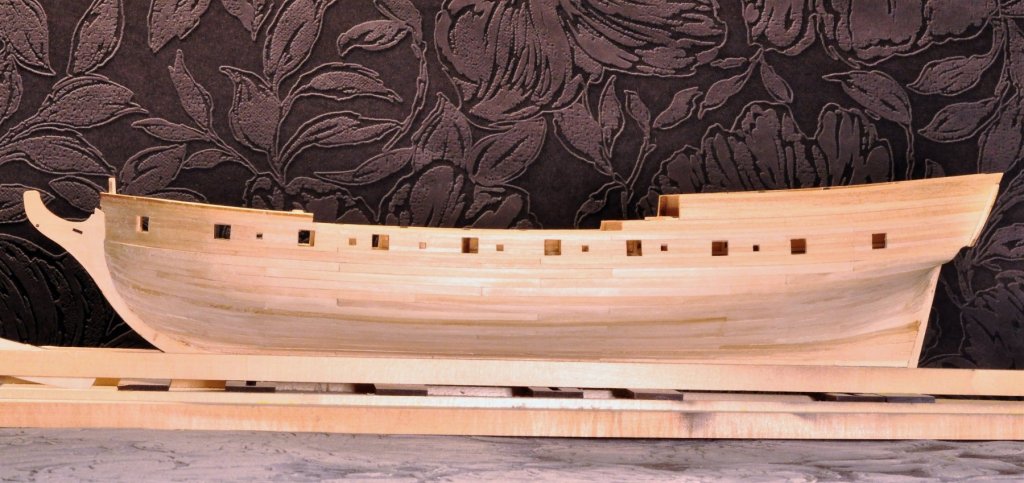
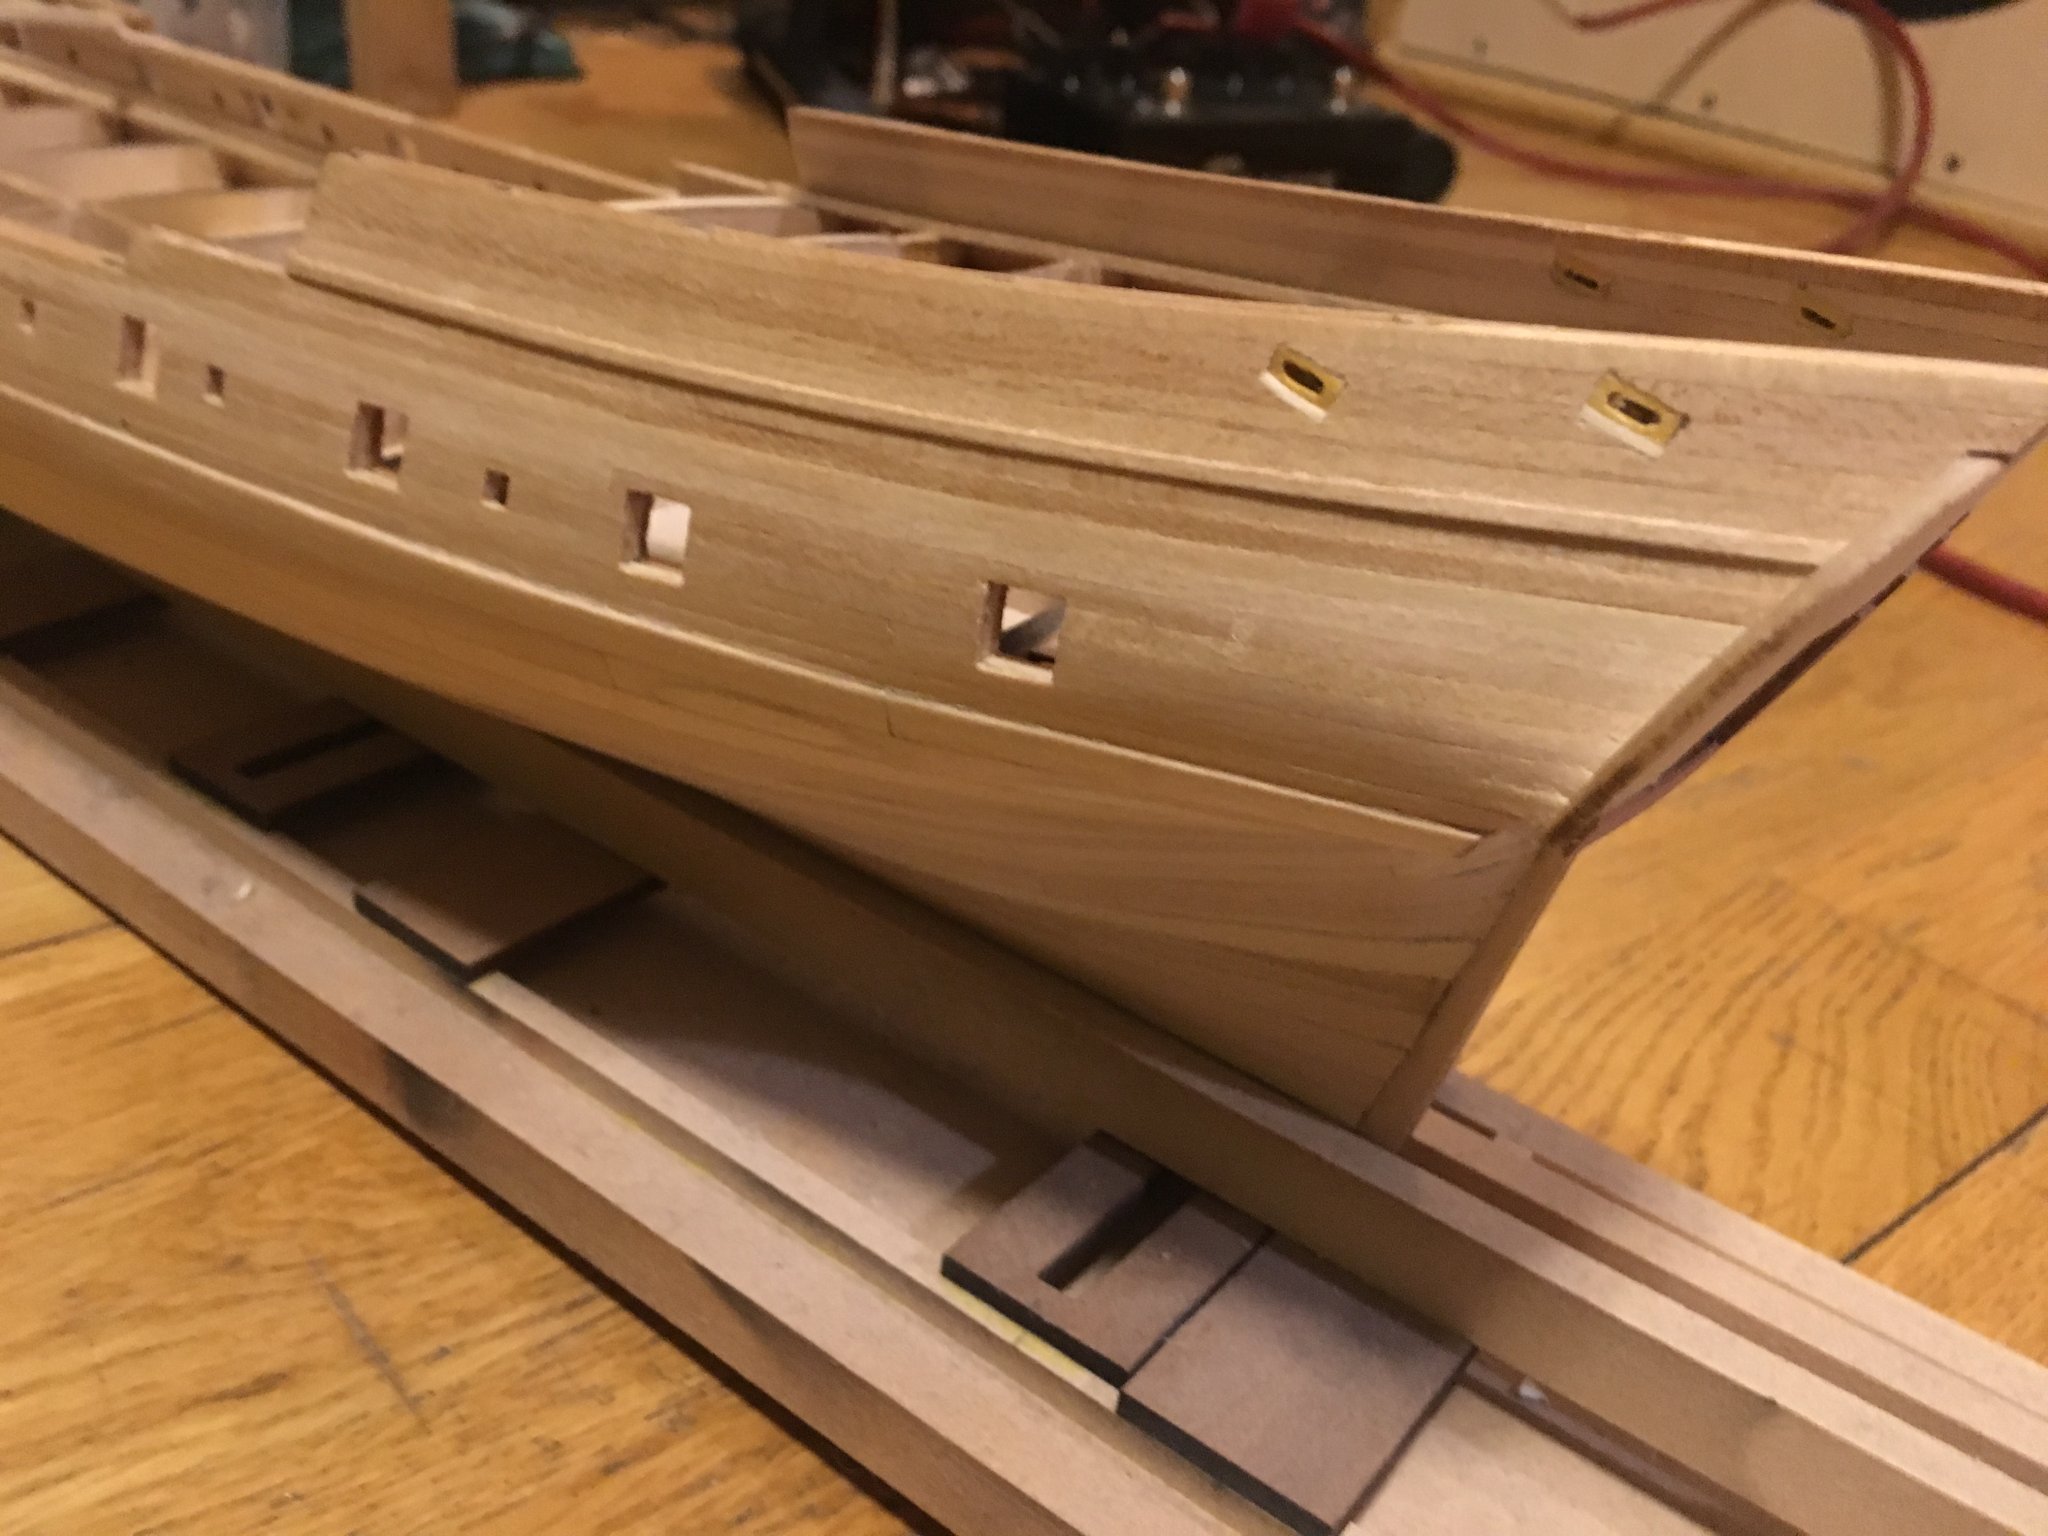
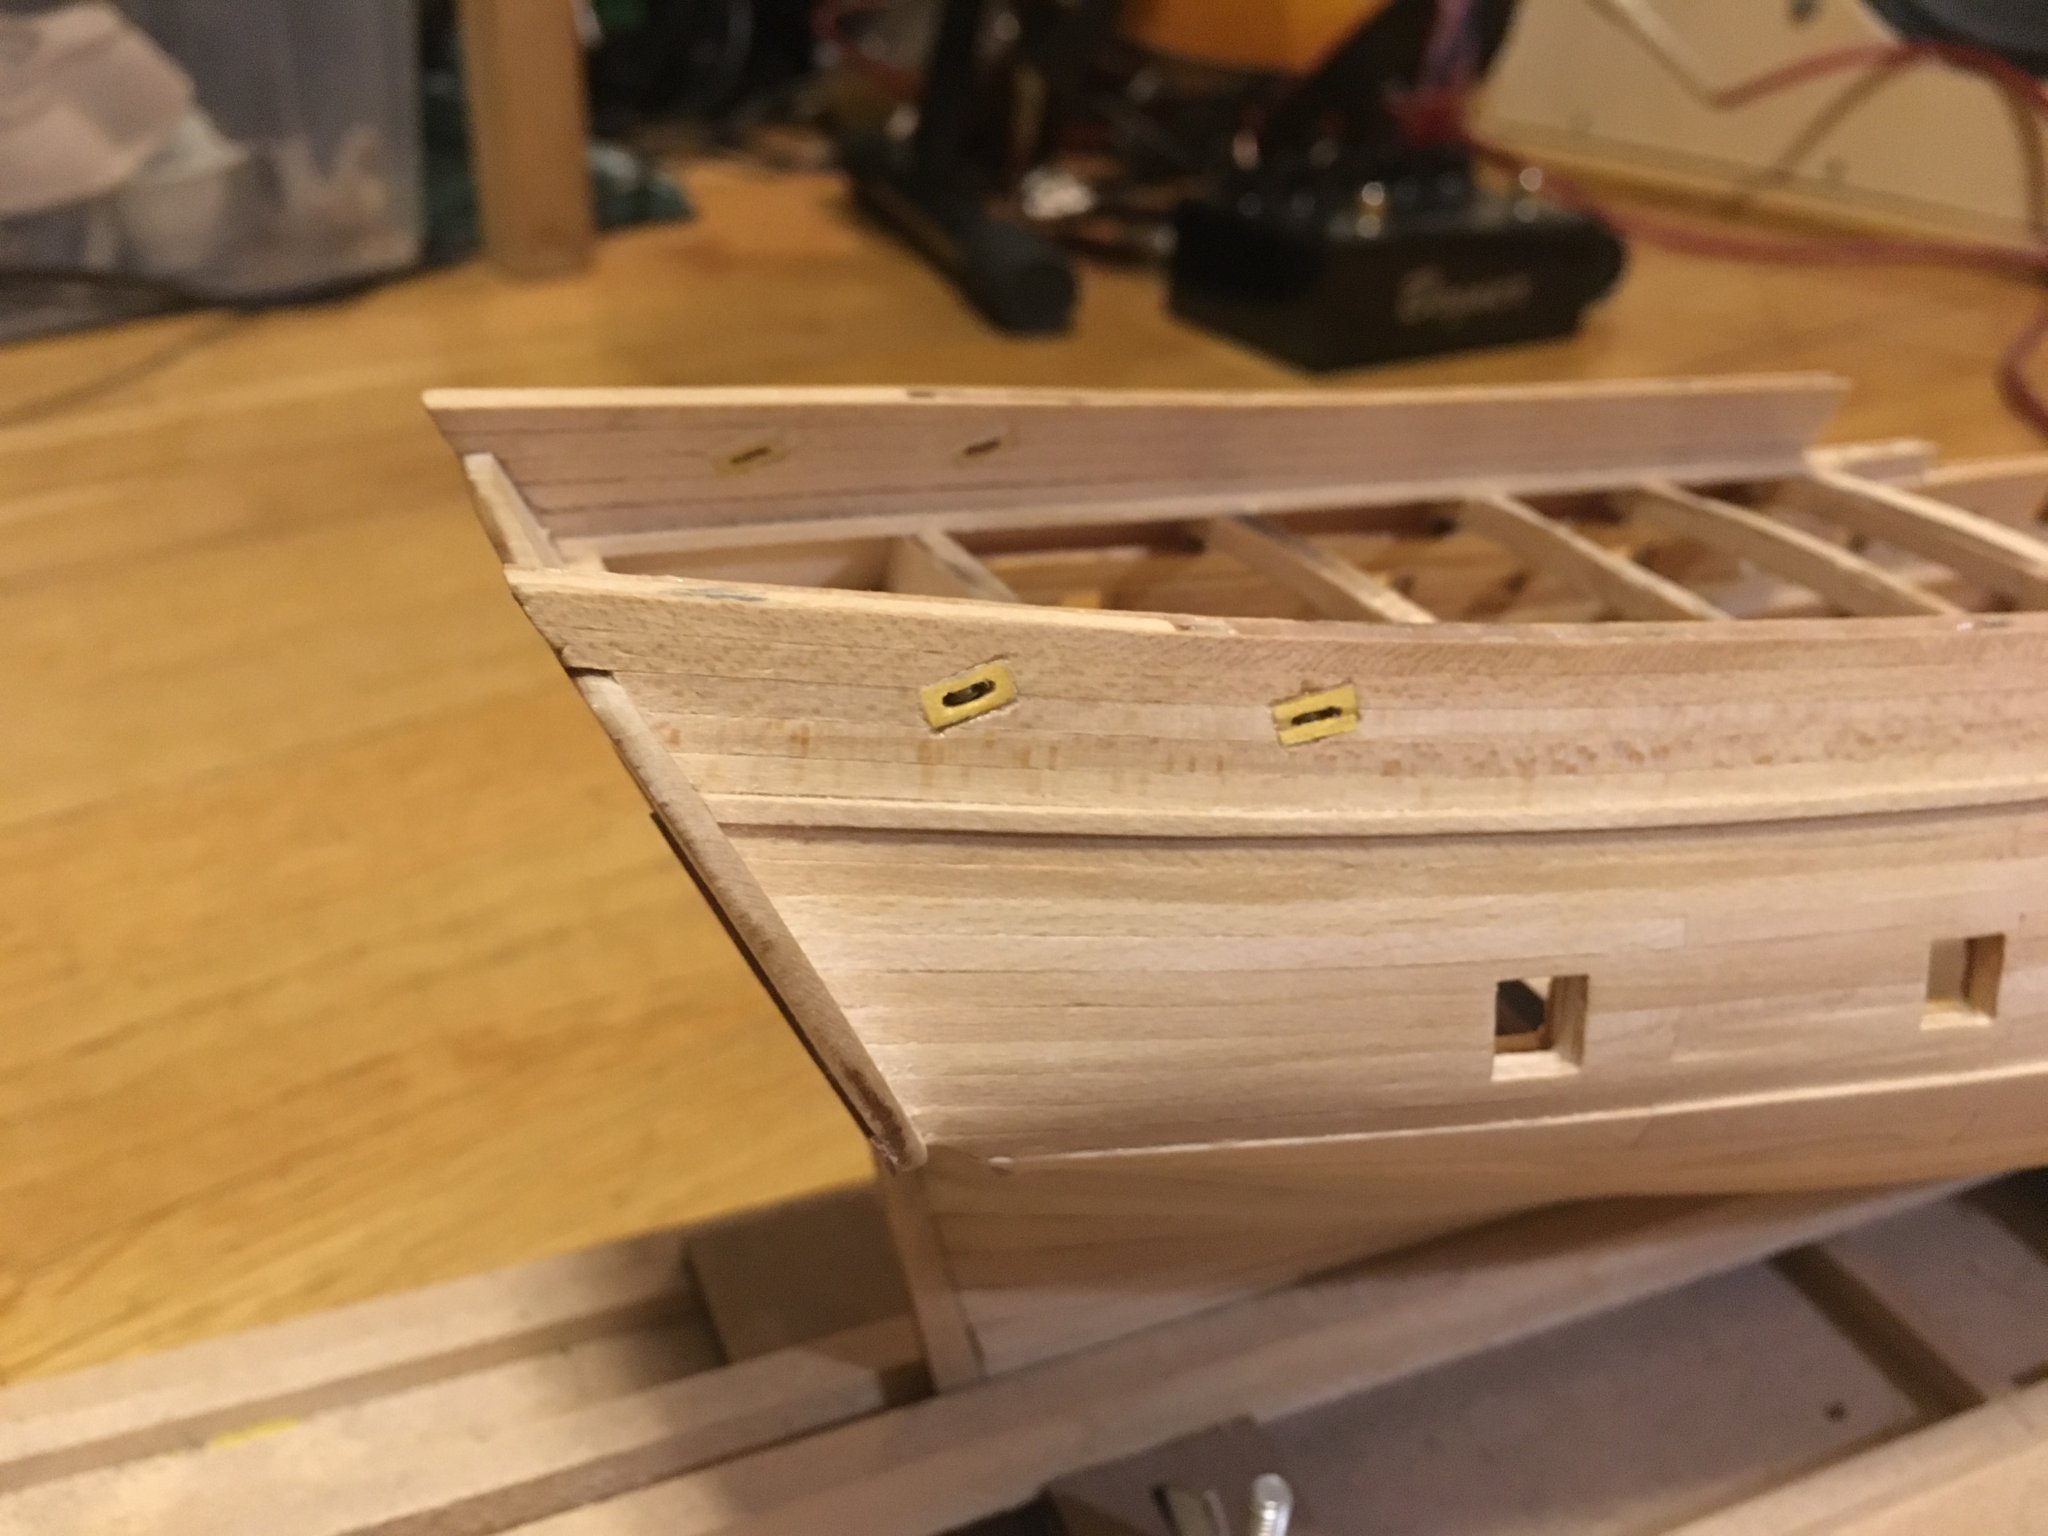
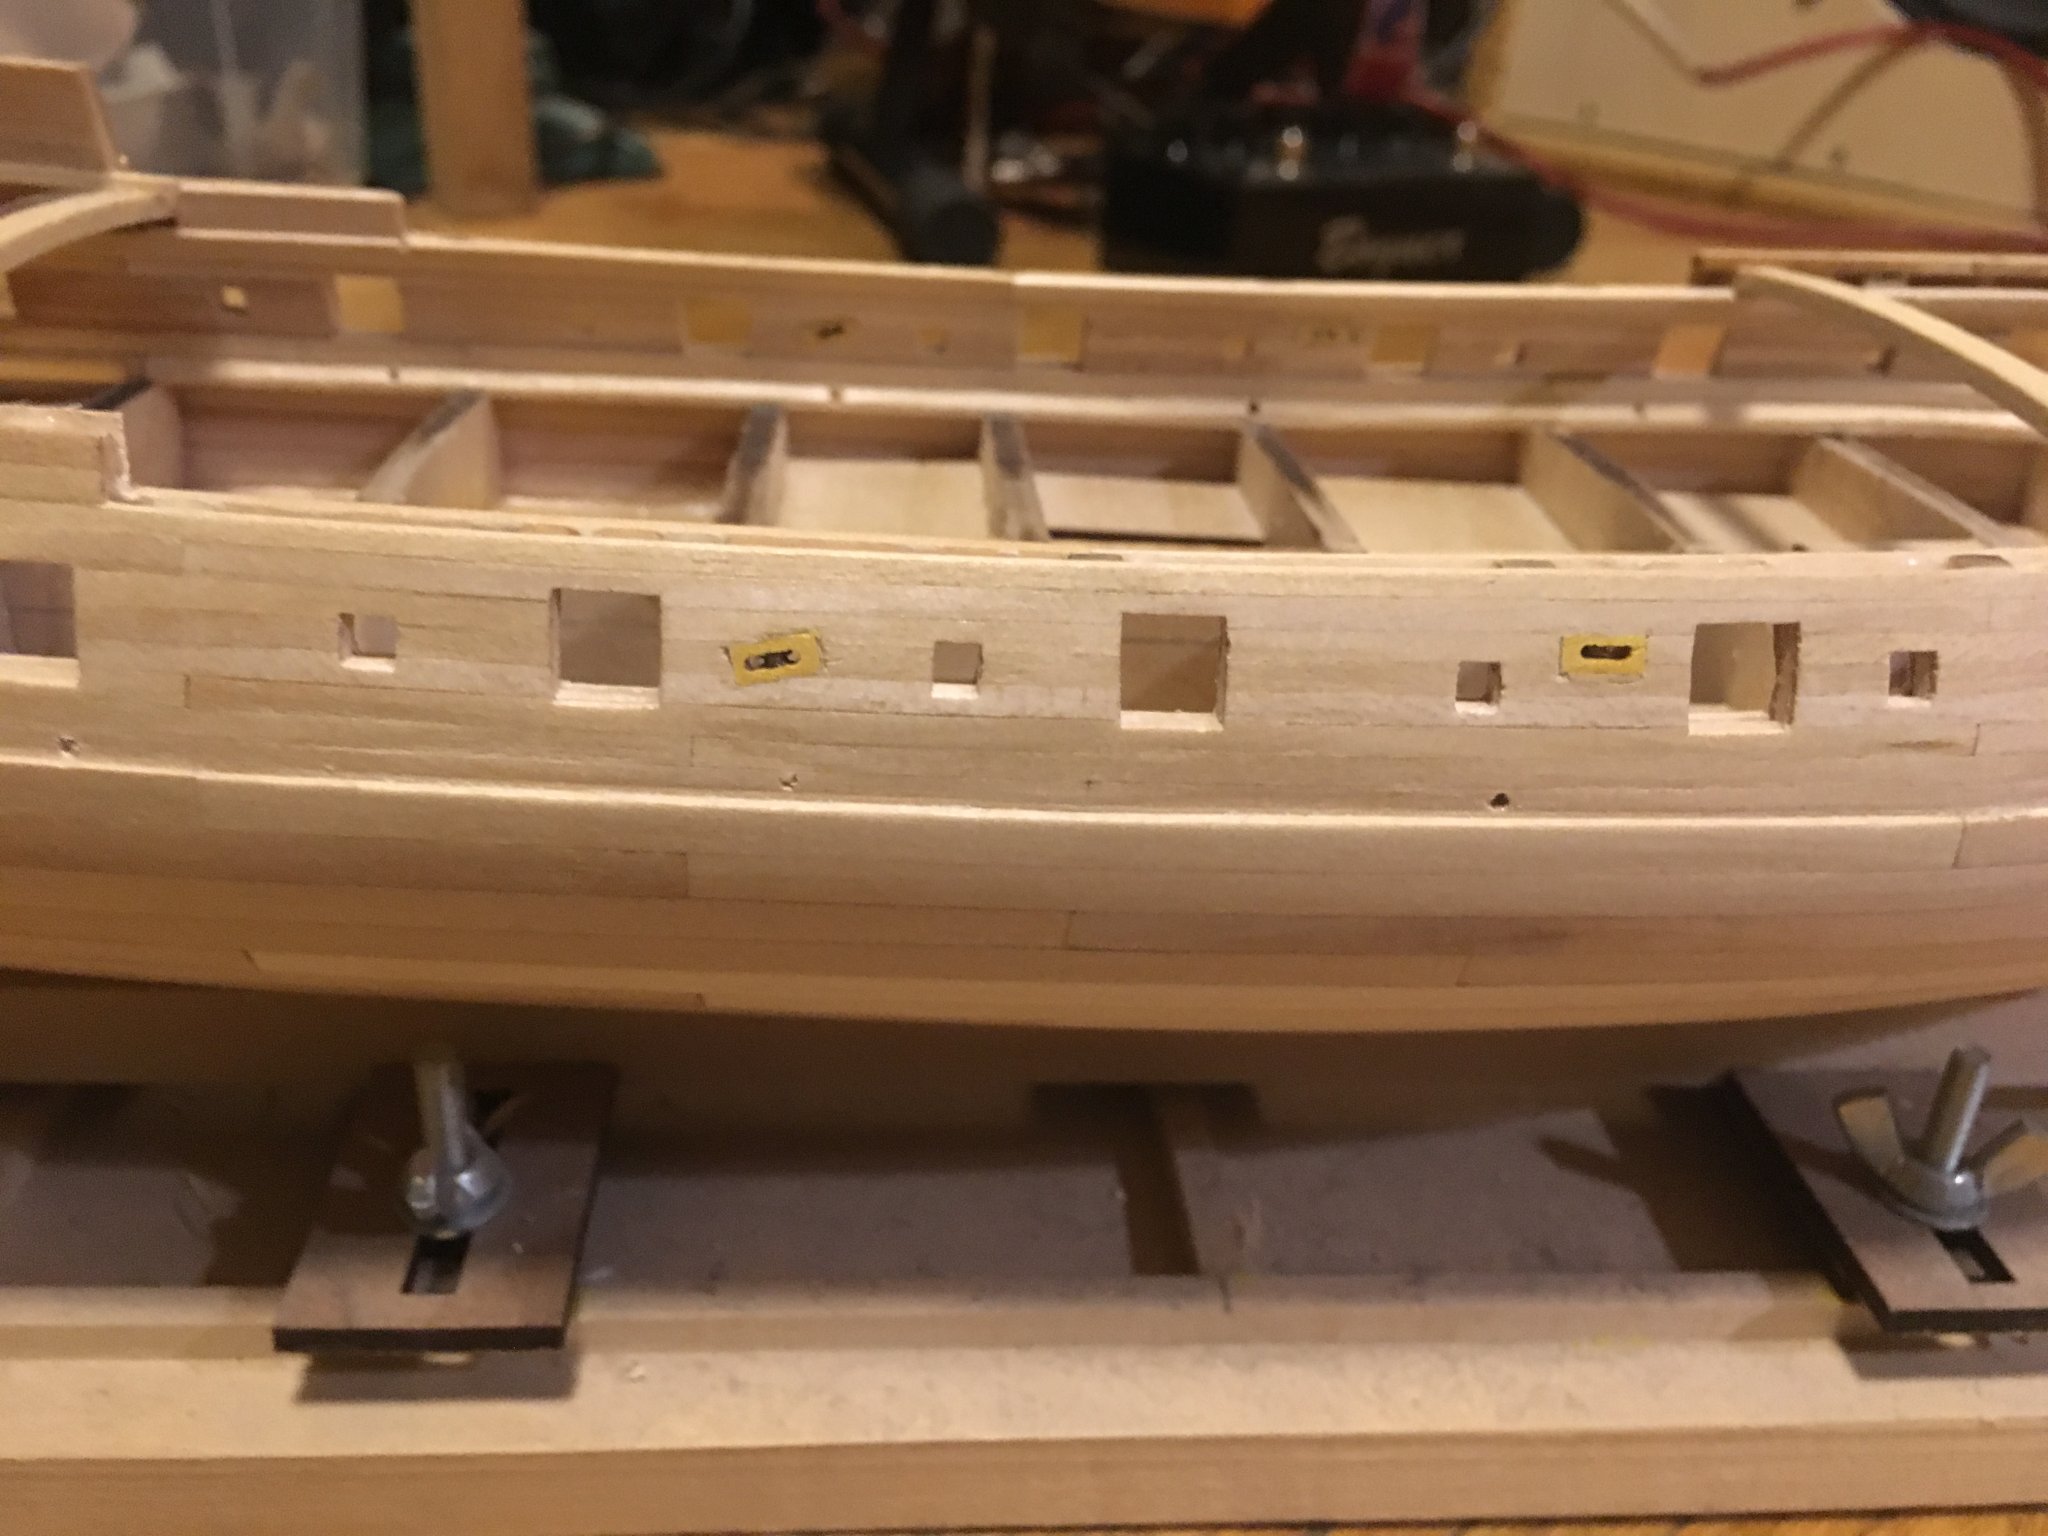
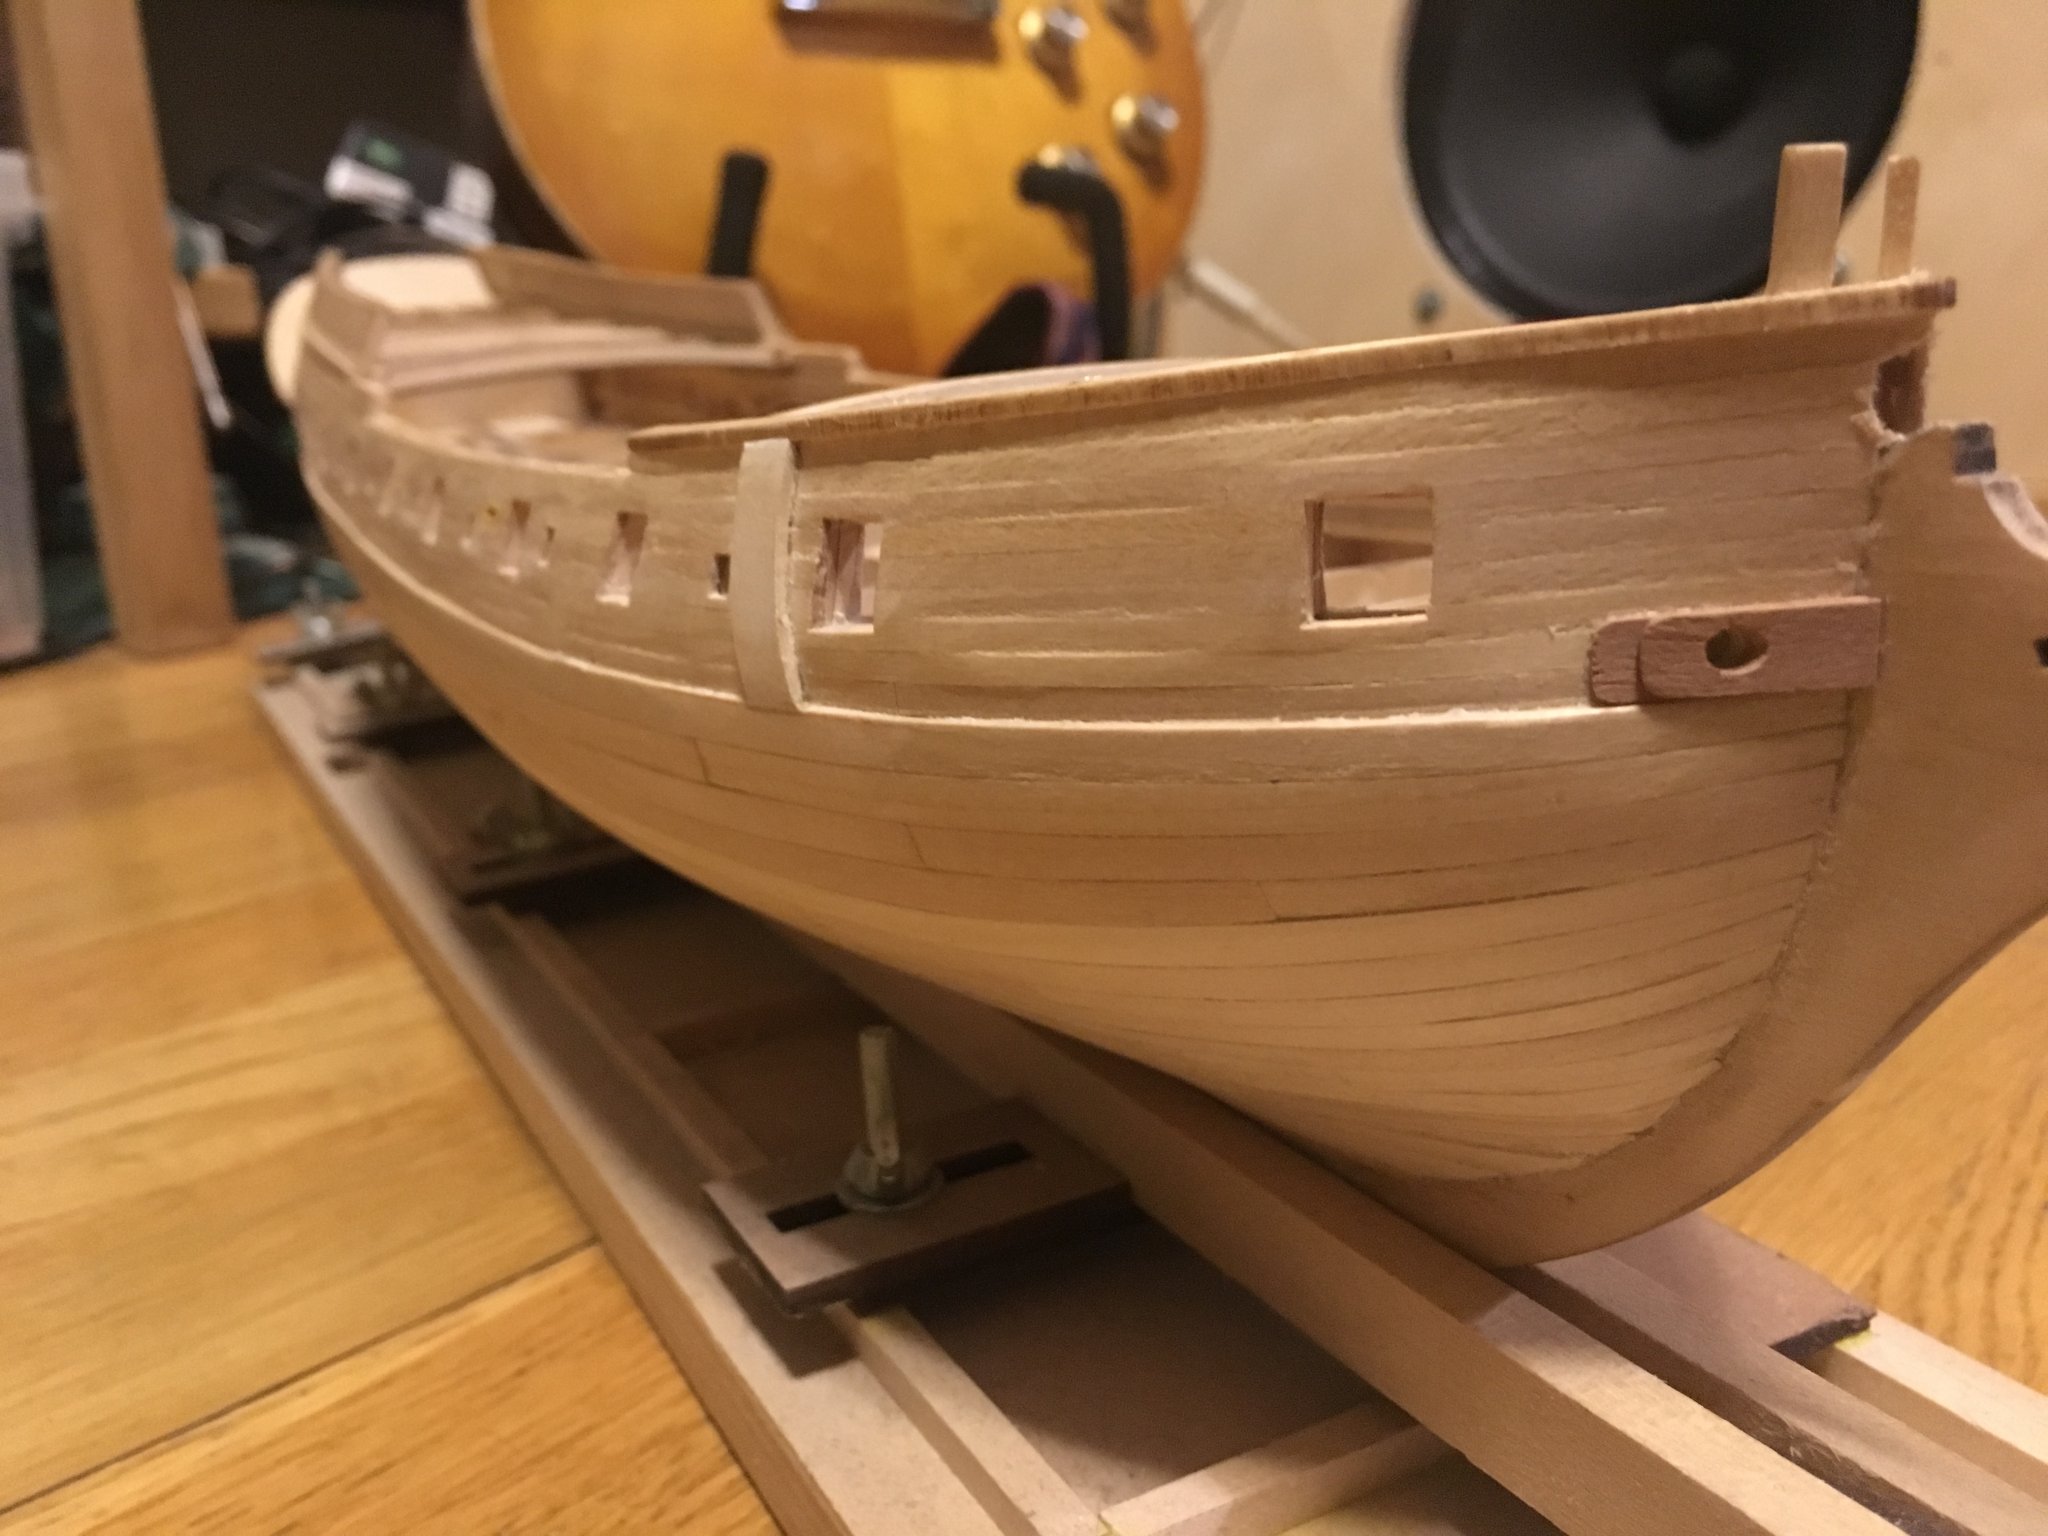
As I've promised, here are some pics with normal light conditions (I'd prefer it were a bit more sunny , but nevertheless). Hope they look a bit more attractive 😉
.thumb.jpg.edd061781b392a744c3055f784aa9939.jpg)
.thumb.jpg.b2fc002d96c8a58abe97ac1e2f369bb8.jpg)
.thumb.jpg.c08221c578f40bc850efc7d7948a84a4.jpg)
.thumb.jpg.11d5a040321799b1c6b84cee091e7cfb.jpg)
.thumb.jpg.a5c0e91638d420d1298fe9787ce584ea.jpg)
-
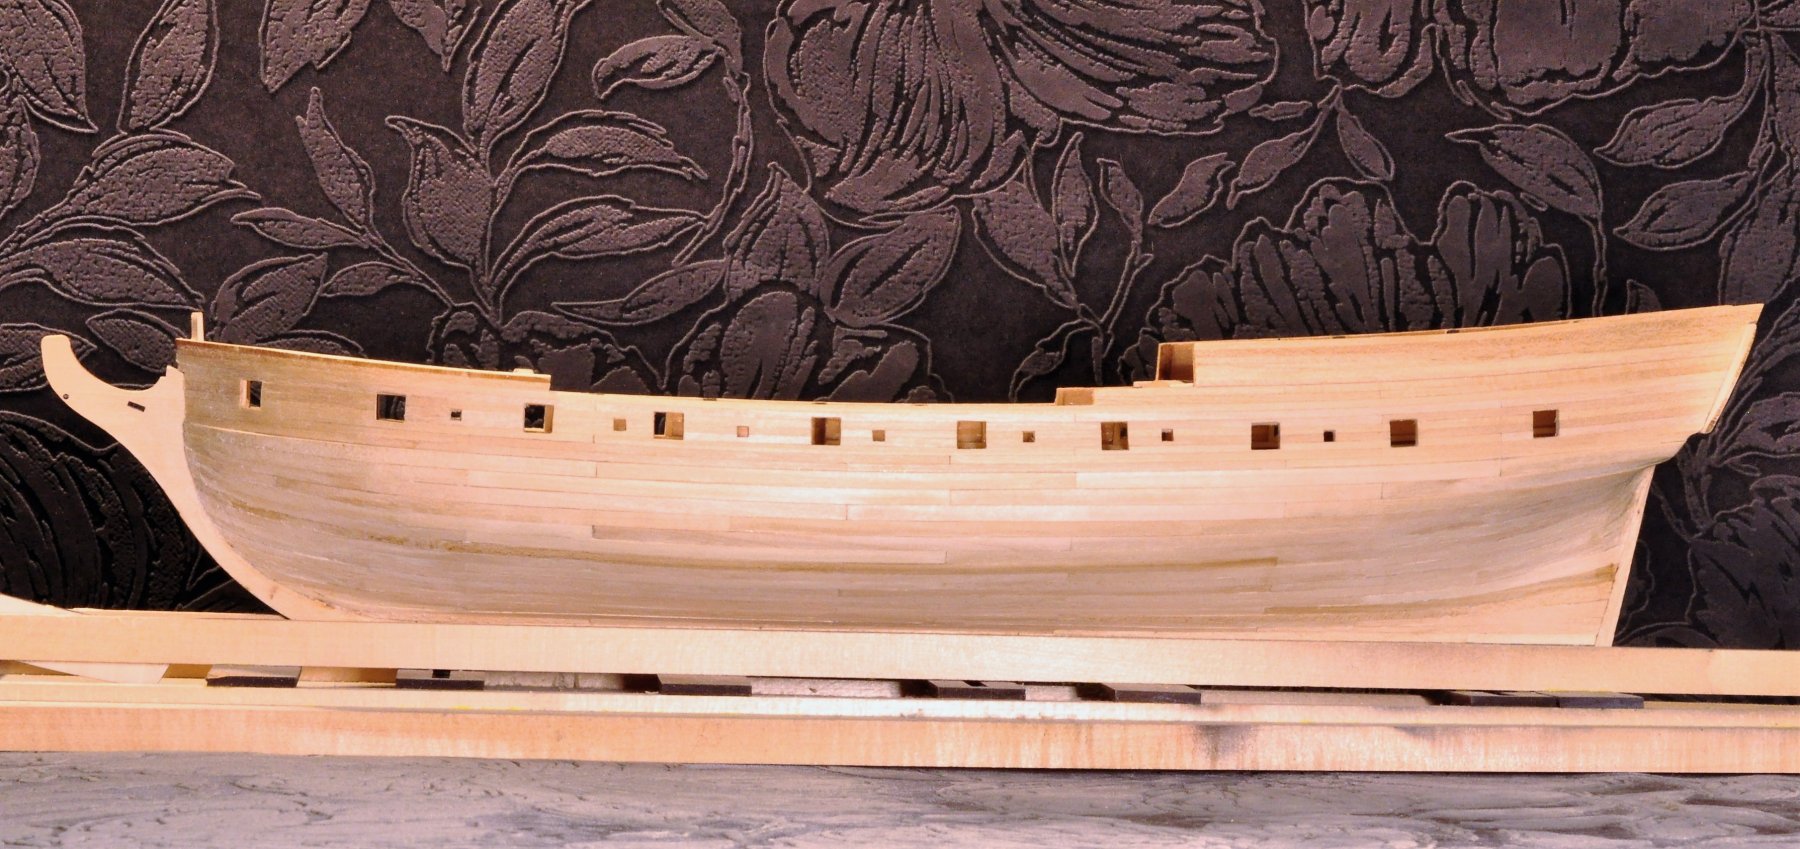
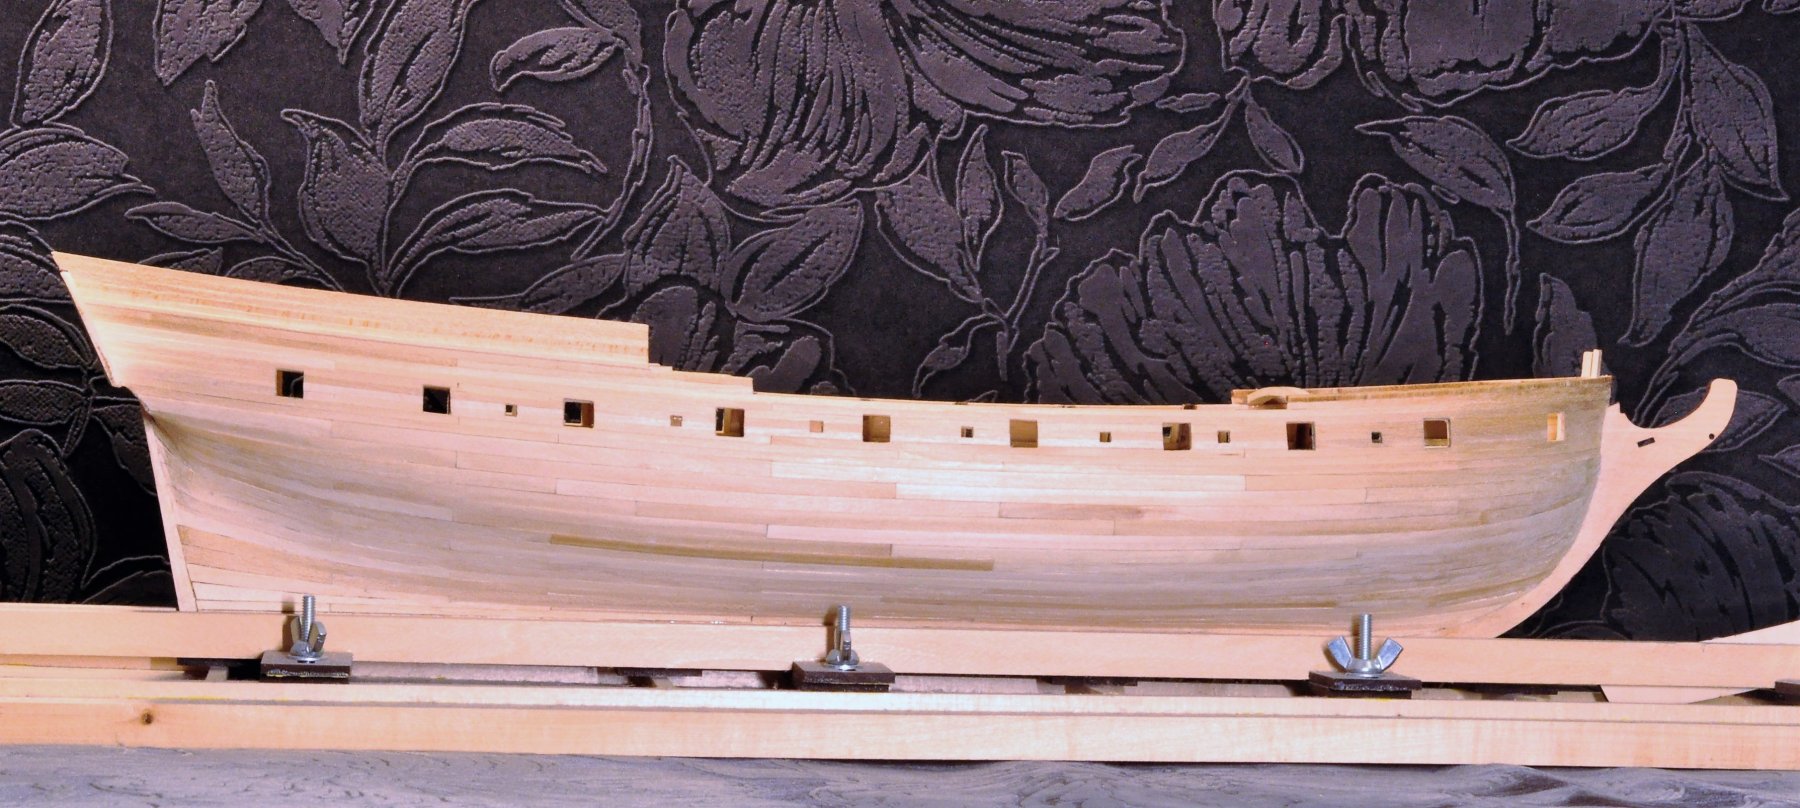
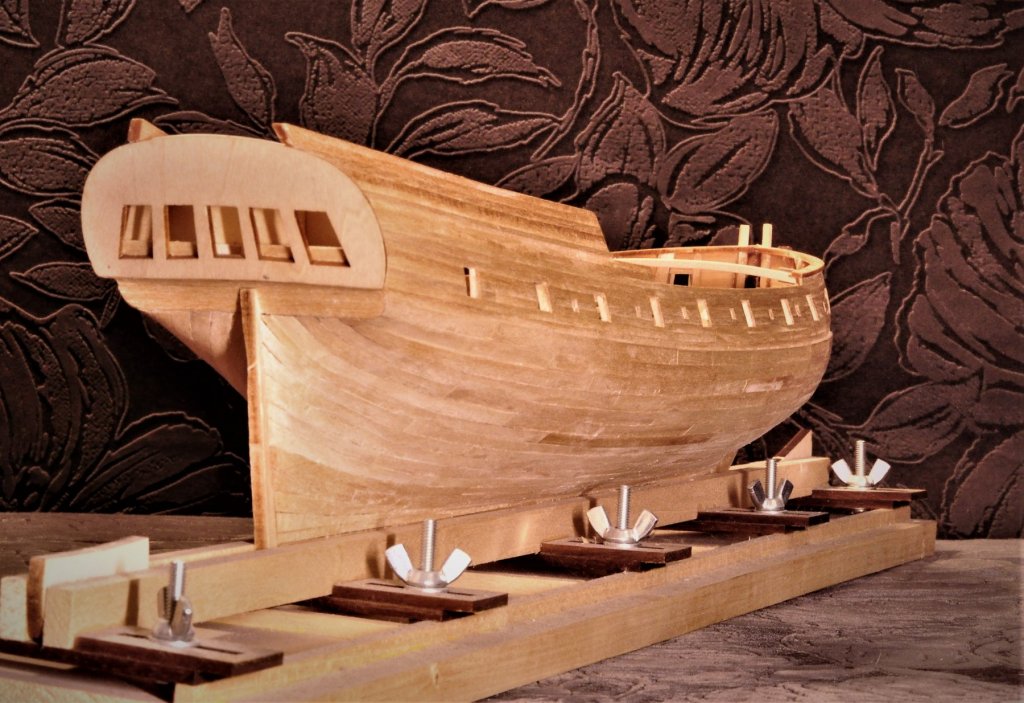
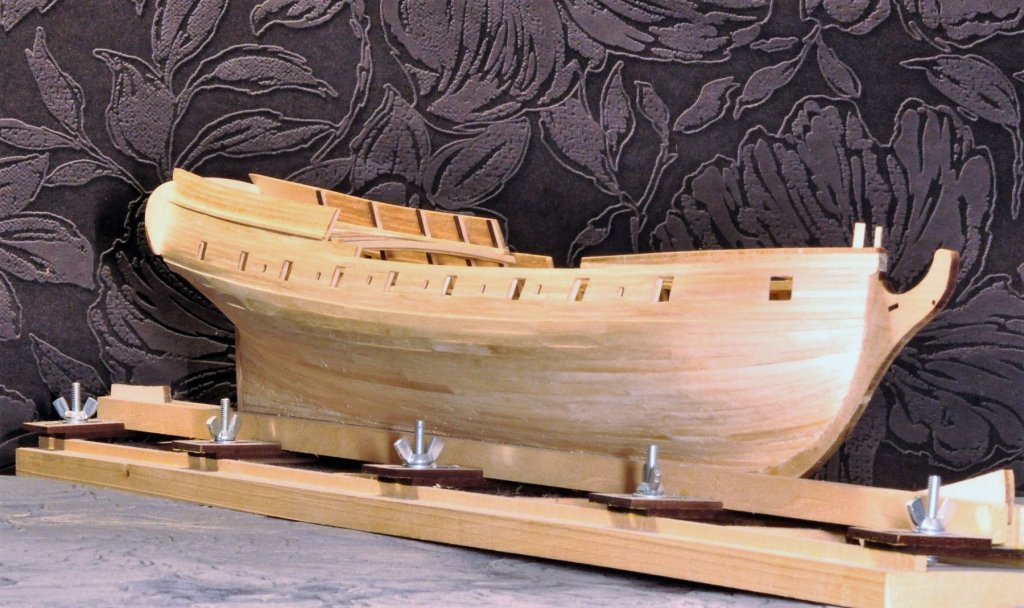
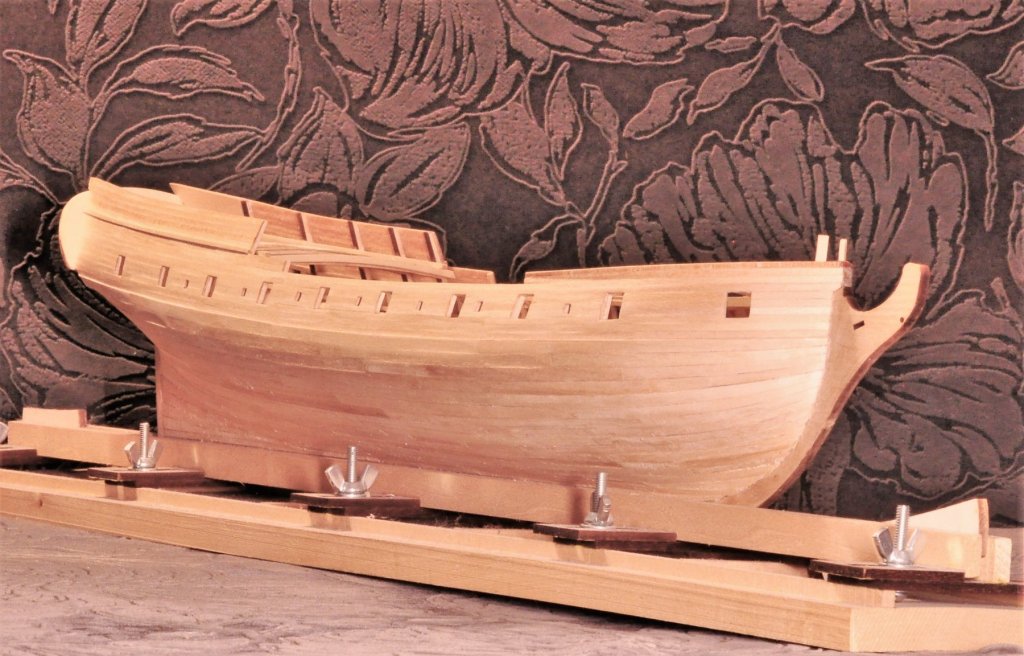
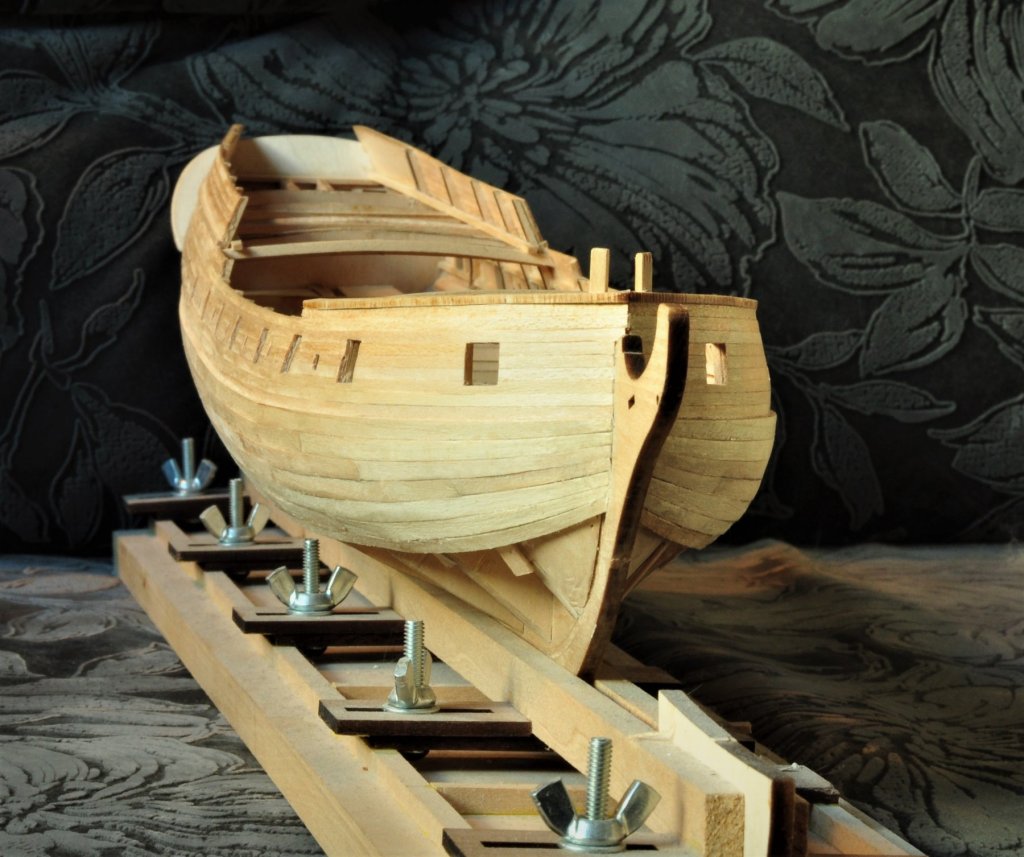
Greetings, ladies and gentlemen! Thanks for your likes and kind words - they are very inspirational and motivating to do my best. A moment of history for me - I've recently finished outer planking. That was quite a step. I'm happy that it's done according to instructions - without stealers. Next steps are thoughtful sanding and then inner planking. Then tree-nailing, primer and painting. And then the most fearsome moment for me on this project - deck planking. I was so keen to share results that couldn't wait until morning to take pics with good light, so pics have a "vampiric" look - sorry for them ;-) Later I'll try to do pics with better light.

-
Peterhudson, your build looks really good. I will definitely follow as I've got Diana in my stash as well. I especially like your choise of boxwood - a very noble-looking material. Do you consider doing tree-nailing on hull and hull planks butt-staggering ?
-
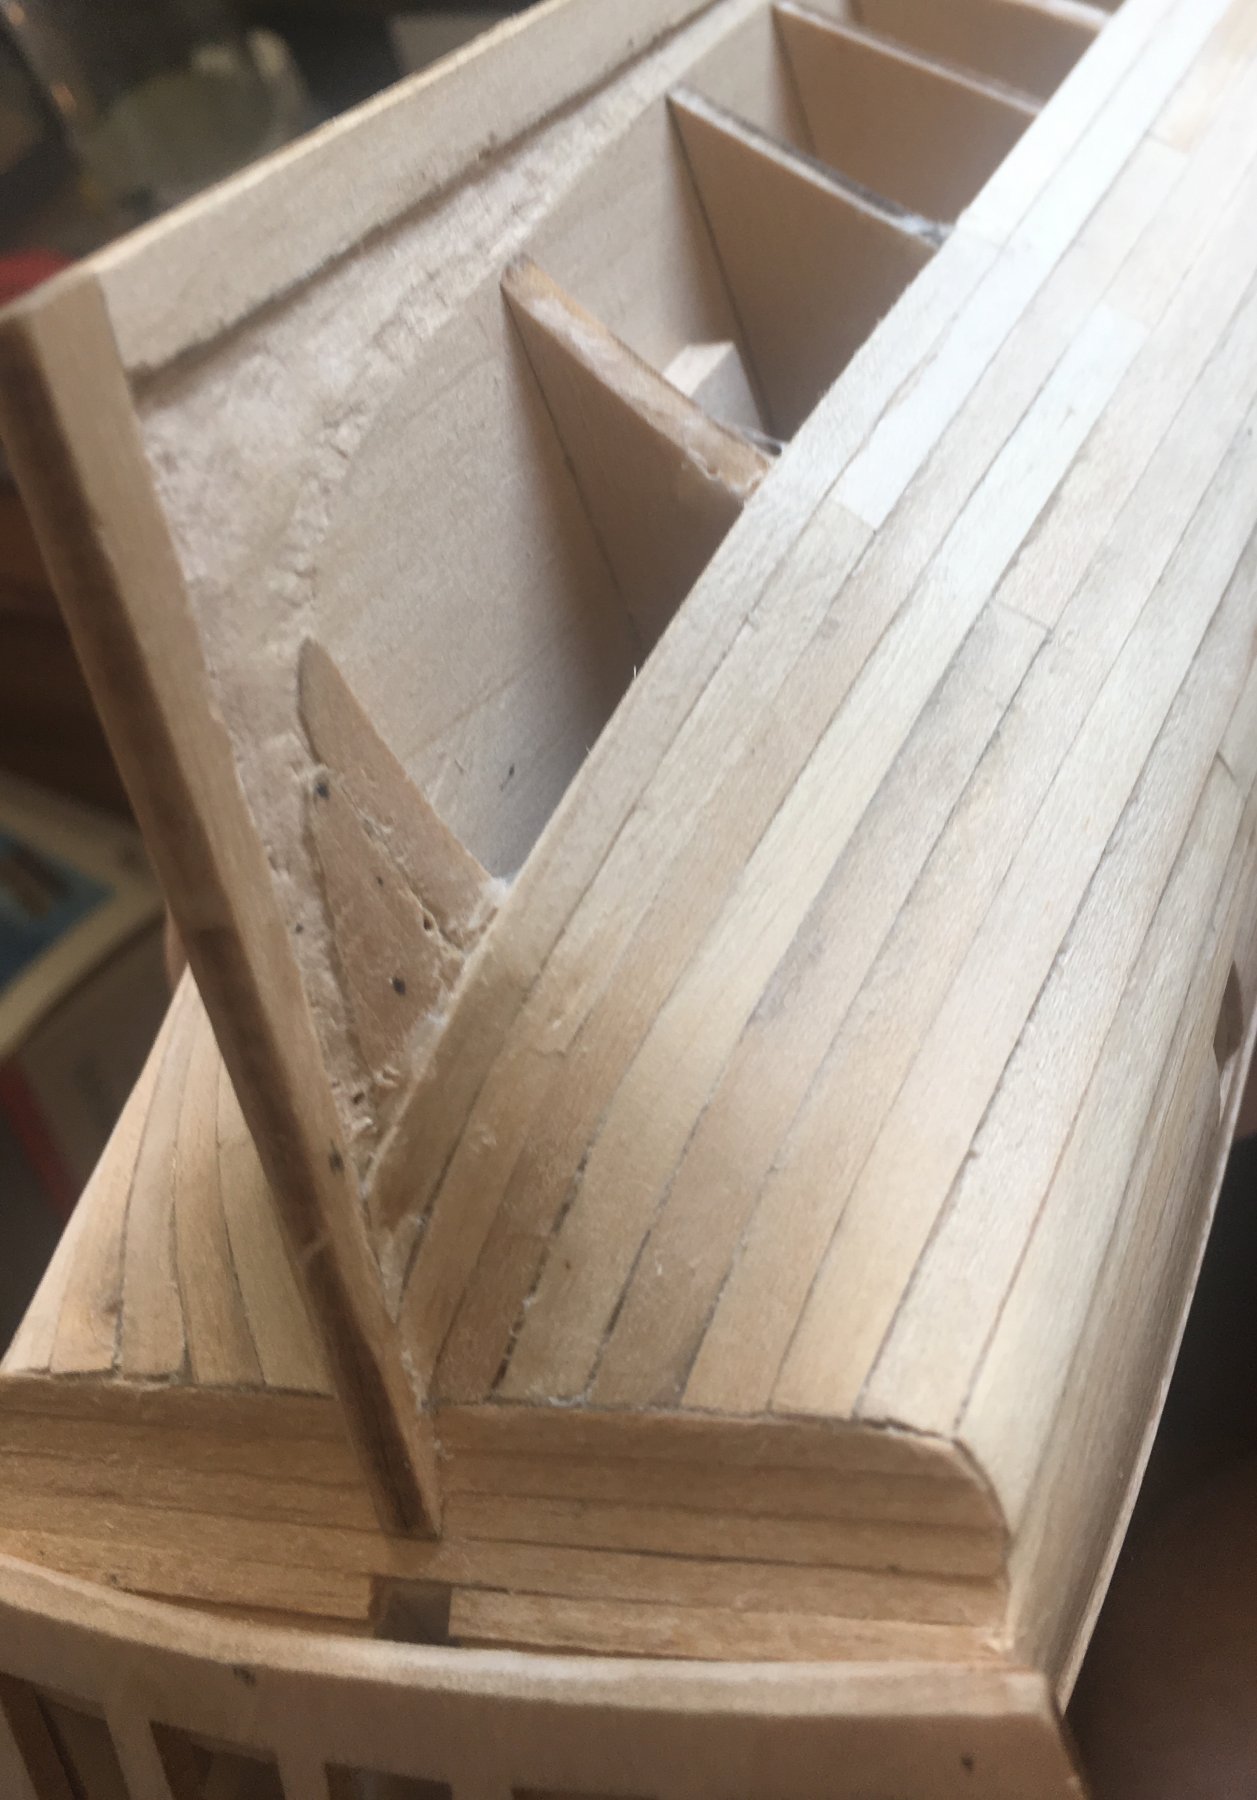
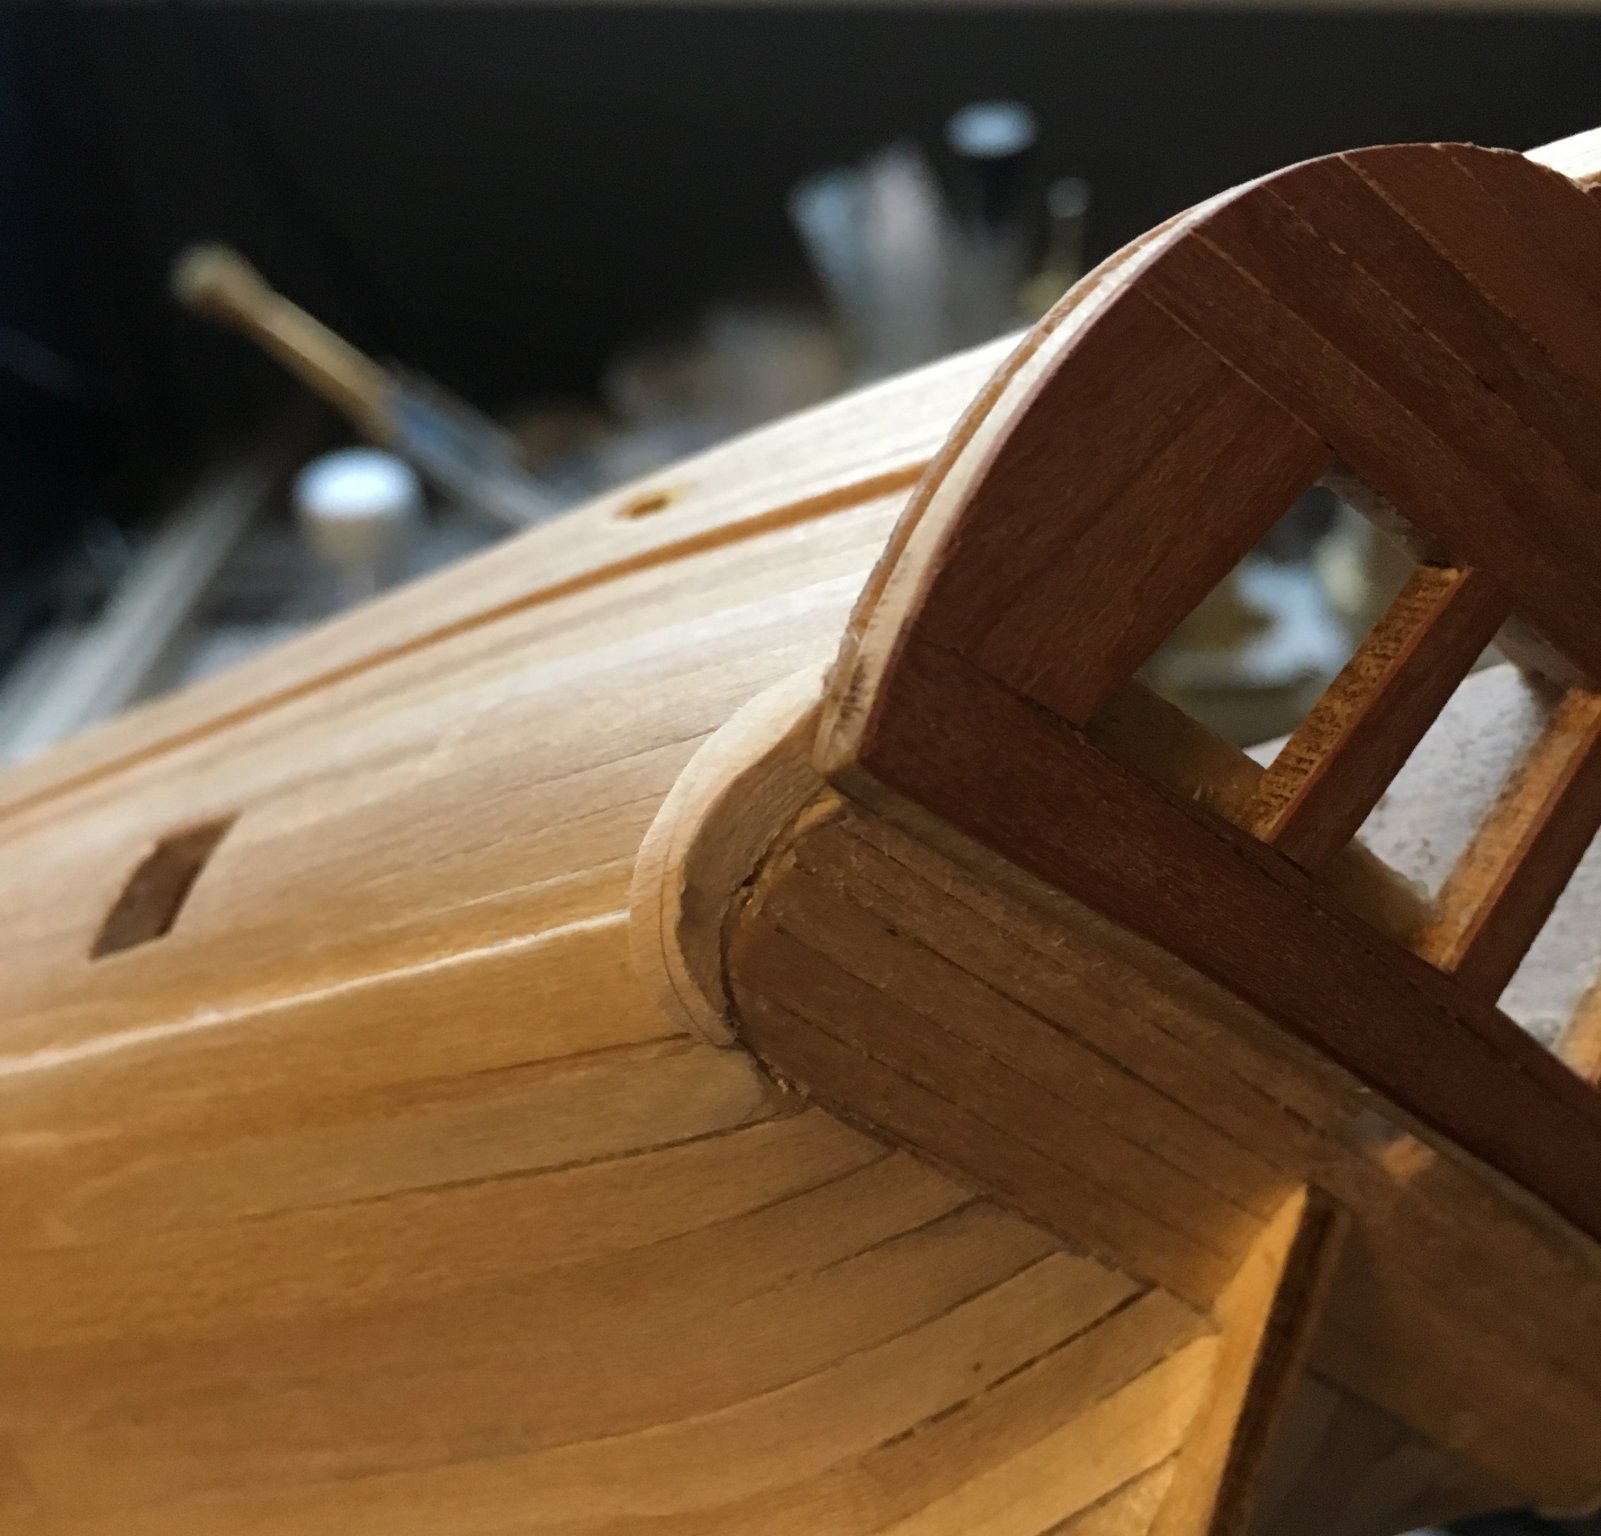
And now pics - some sanding to remove fracture.

-
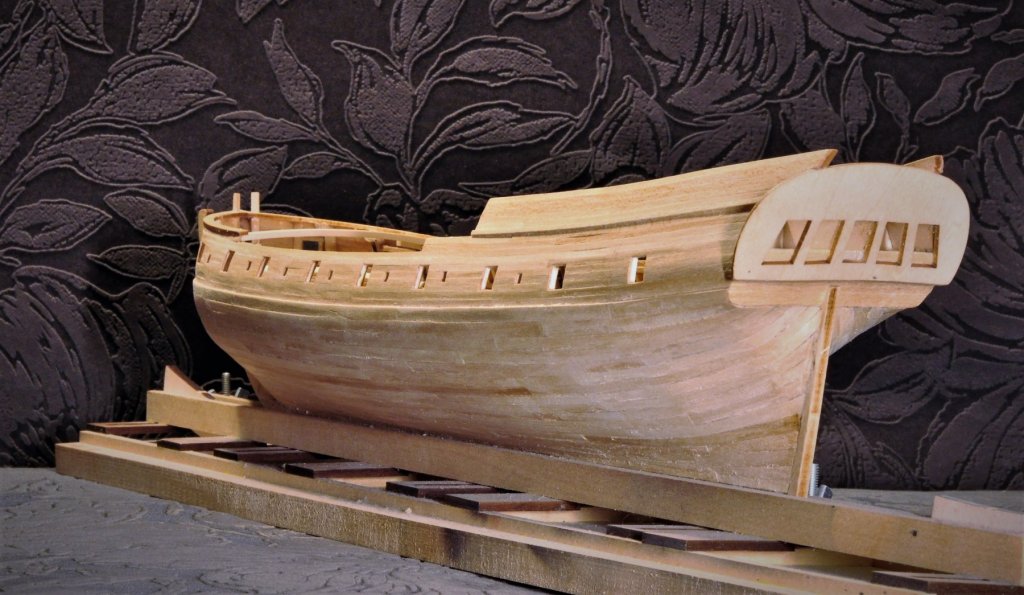
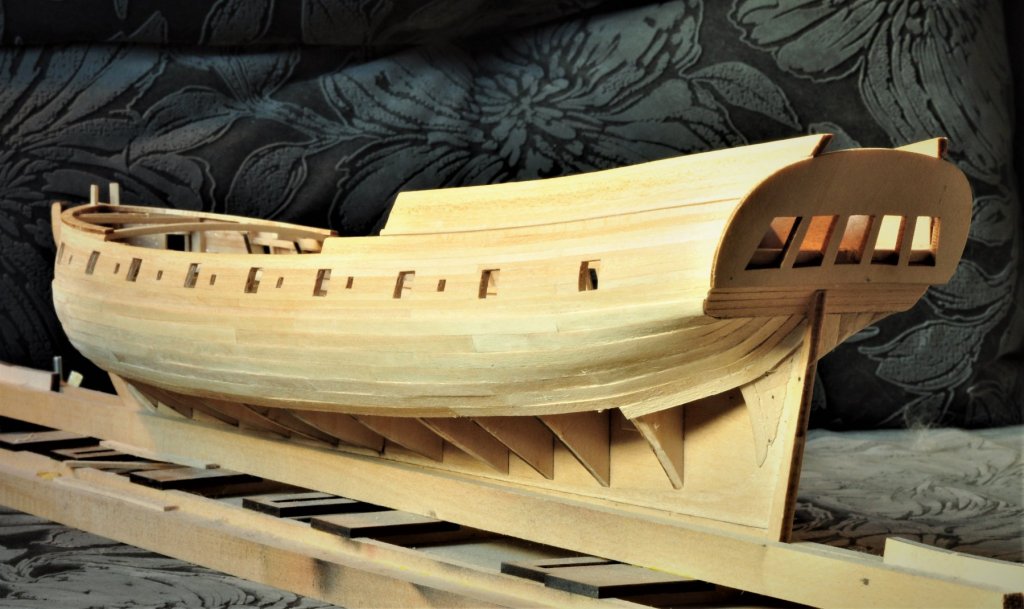
Have spent a fruitful weekend - found the time for everything: walks in a park, visiting newly reconstructed COSMOS pavillion at VDNH with kids and wife, cooking and of course modelling 🙂 Haven't made any pics though. Colleagues in Russia pointed me at the planks fracture under the transom - thing that I've noticed only on the photo. They advise me to dismantle some planks at the aft, make corrections in bulkheads and then attach planks back. I've chosen the other way - sanded carefully that area and added one and a half more strakes. I'll try to make a few pics today to check if sanding was enough and that more severe "surgery" won't be necessary.
-
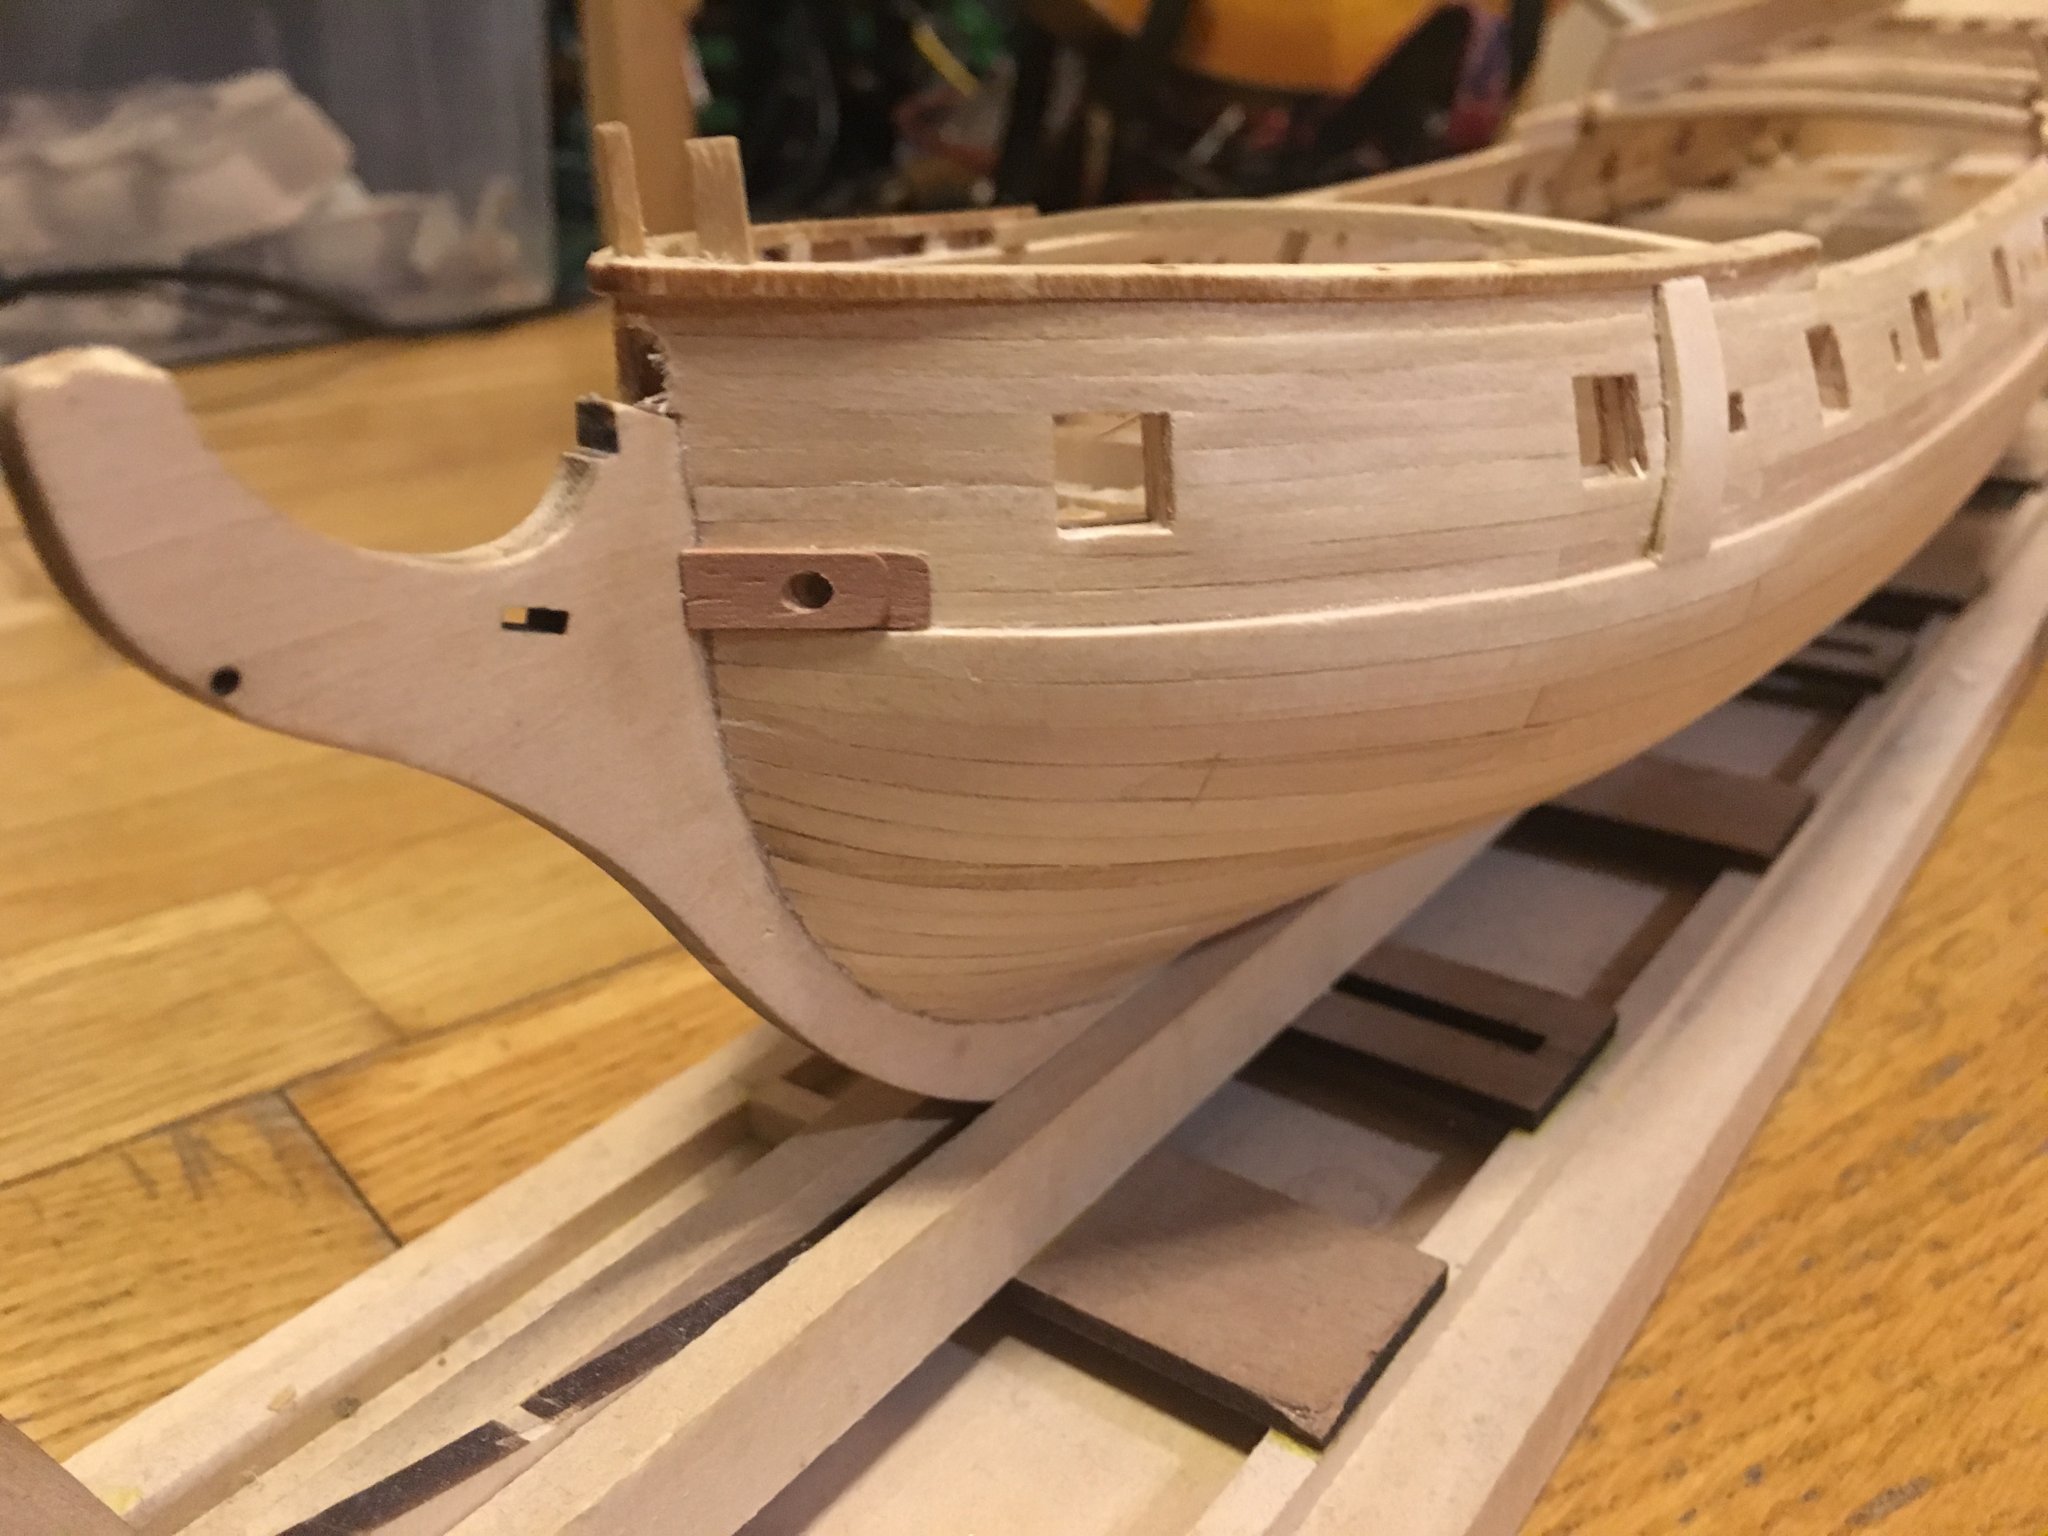
Gregory, thanks a lot )) Here's as I've promised earlier a bit of progress - seven strakes ready, twelve more to go. Not everything goes that smooth - there are some bumps and seams here and there. And not everything corresponds with plans and instructions - for example, plans call that first belt consists of six strakes and the downmost ends in the aft by the intersection of transom and stern. Well, it took me seven strakes to get there 🙂 What I don't care at all is the colour of the wood since I'm going either to paint the hull or to lay second layer with pear ( I hope I wouldn't have to do that). To be continued ))


.jpg.2f5528dce92817f9dcee8d959bae1357.jpg)
.jpg.a93602afc8bb450499aab89e9d4c4ec1.jpg)
.jpg.c1173aa54da1f9b2a62c30ecc74b0e22.jpg)
.jpg.ad5160f4259d9093a8d648886e48a42b.jpg)
.jpg.f8d55b600d2737e9503f1f79baf5d190.jpg)