Peterhudson
-
Posts
97 -
Joined
-
Last visited
Recent Profile Visitors
812 profile views


-
 GrandpaPhil reacted to a post in a topic:
HMS DIANA by Peterhudson - Caldercraft - 1:64 Scale
GrandpaPhil reacted to a post in a topic:
HMS DIANA by Peterhudson - Caldercraft - 1:64 Scale
-
Peterhudson reacted to a post in a topic:
Barque Stefano by robdurant - MarisStella - 1:63
-
Peterhudson reacted to a post in a topic:
HMS Victory 1805 by Robert29 - FINISHED - Caldercraft - Scale 1:72
-
VonHoldinghausen reacted to a post in a topic:
HMS DIANA by Peterhudson - Caldercraft - 1:64 Scale
-
Beef Wellington reacted to a post in a topic:
HMS DIANA by Peterhudson - Caldercraft - 1:64 Scale
-
dunnock reacted to a post in a topic:
HMS DIANA by Peterhudson - Caldercraft - 1:64 Scale
-
dunnock reacted to a post in a topic:
HMS DIANA by Peterhudson - Caldercraft - 1:64 Scale
-
dunnock reacted to a post in a topic:
HMS DIANA by Peterhudson - Caldercraft - 1:64 Scale
-
robdurant reacted to a post in a topic:
HMS DIANA by Peterhudson - Caldercraft - 1:64 Scale
-
robdurant reacted to a post in a topic:
HMS DIANA by Peterhudson - Caldercraft - 1:64 Scale
-
Barbossa reacted to a post in a topic:
HMS DIANA by Peterhudson - Caldercraft - 1:64 Scale
-
Peterhudson reacted to a post in a topic:
Barque Stefano by robdurant - MarisStella - 1:63
-
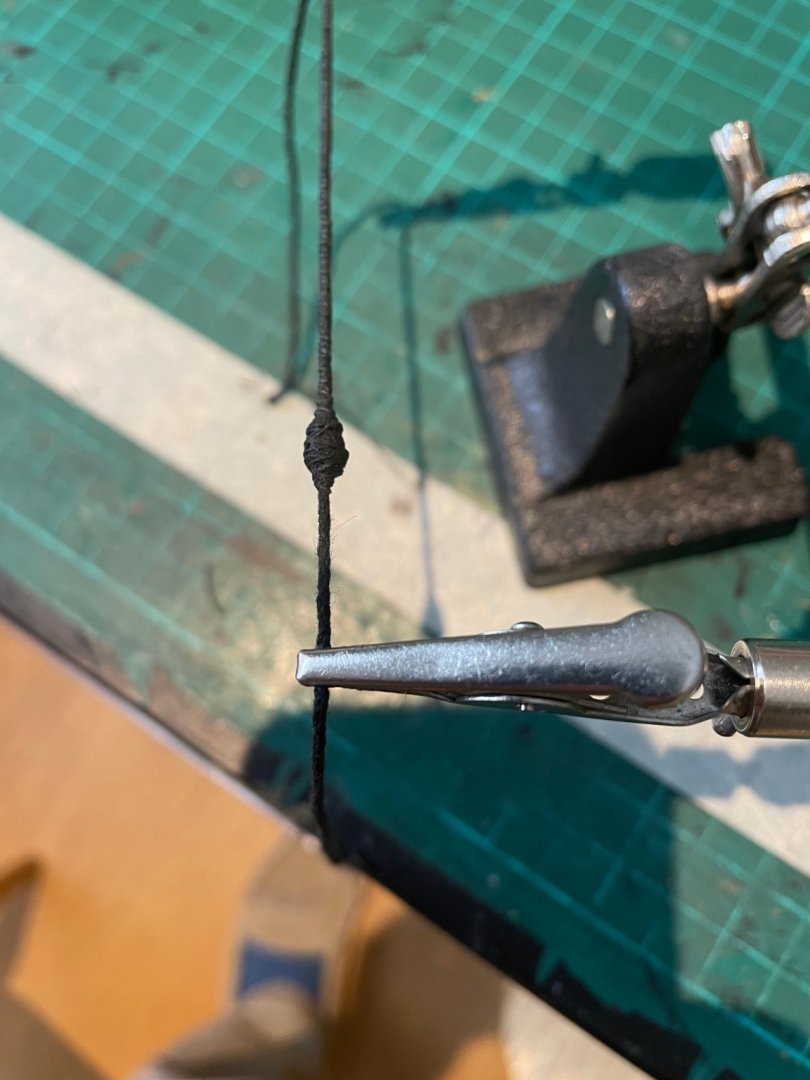
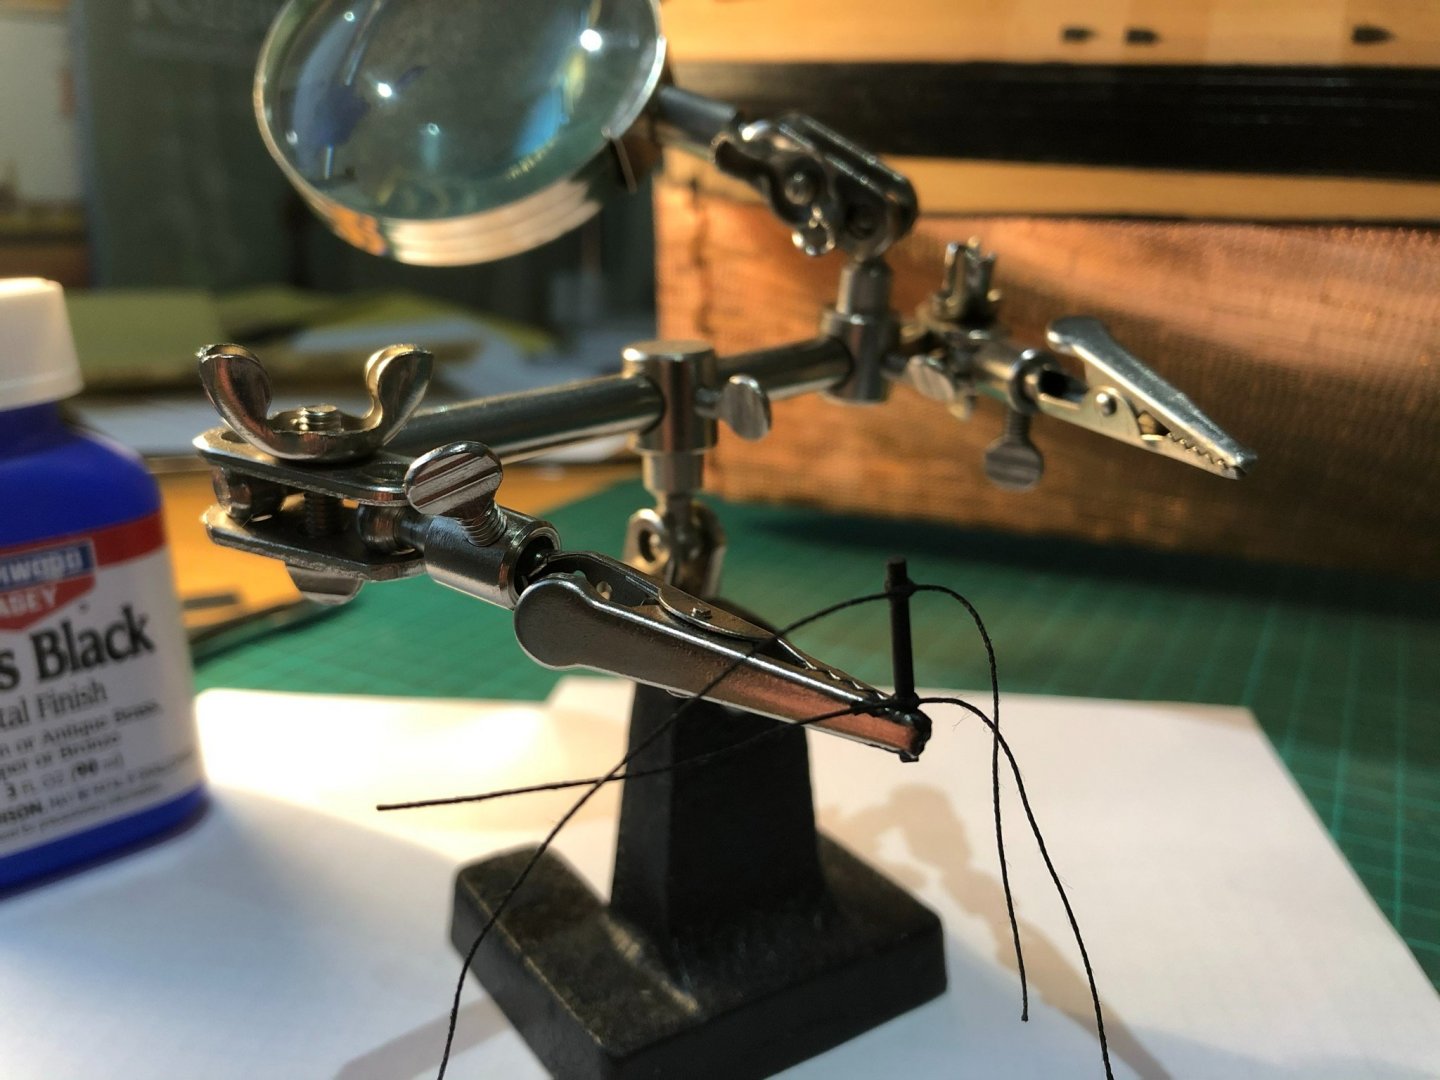
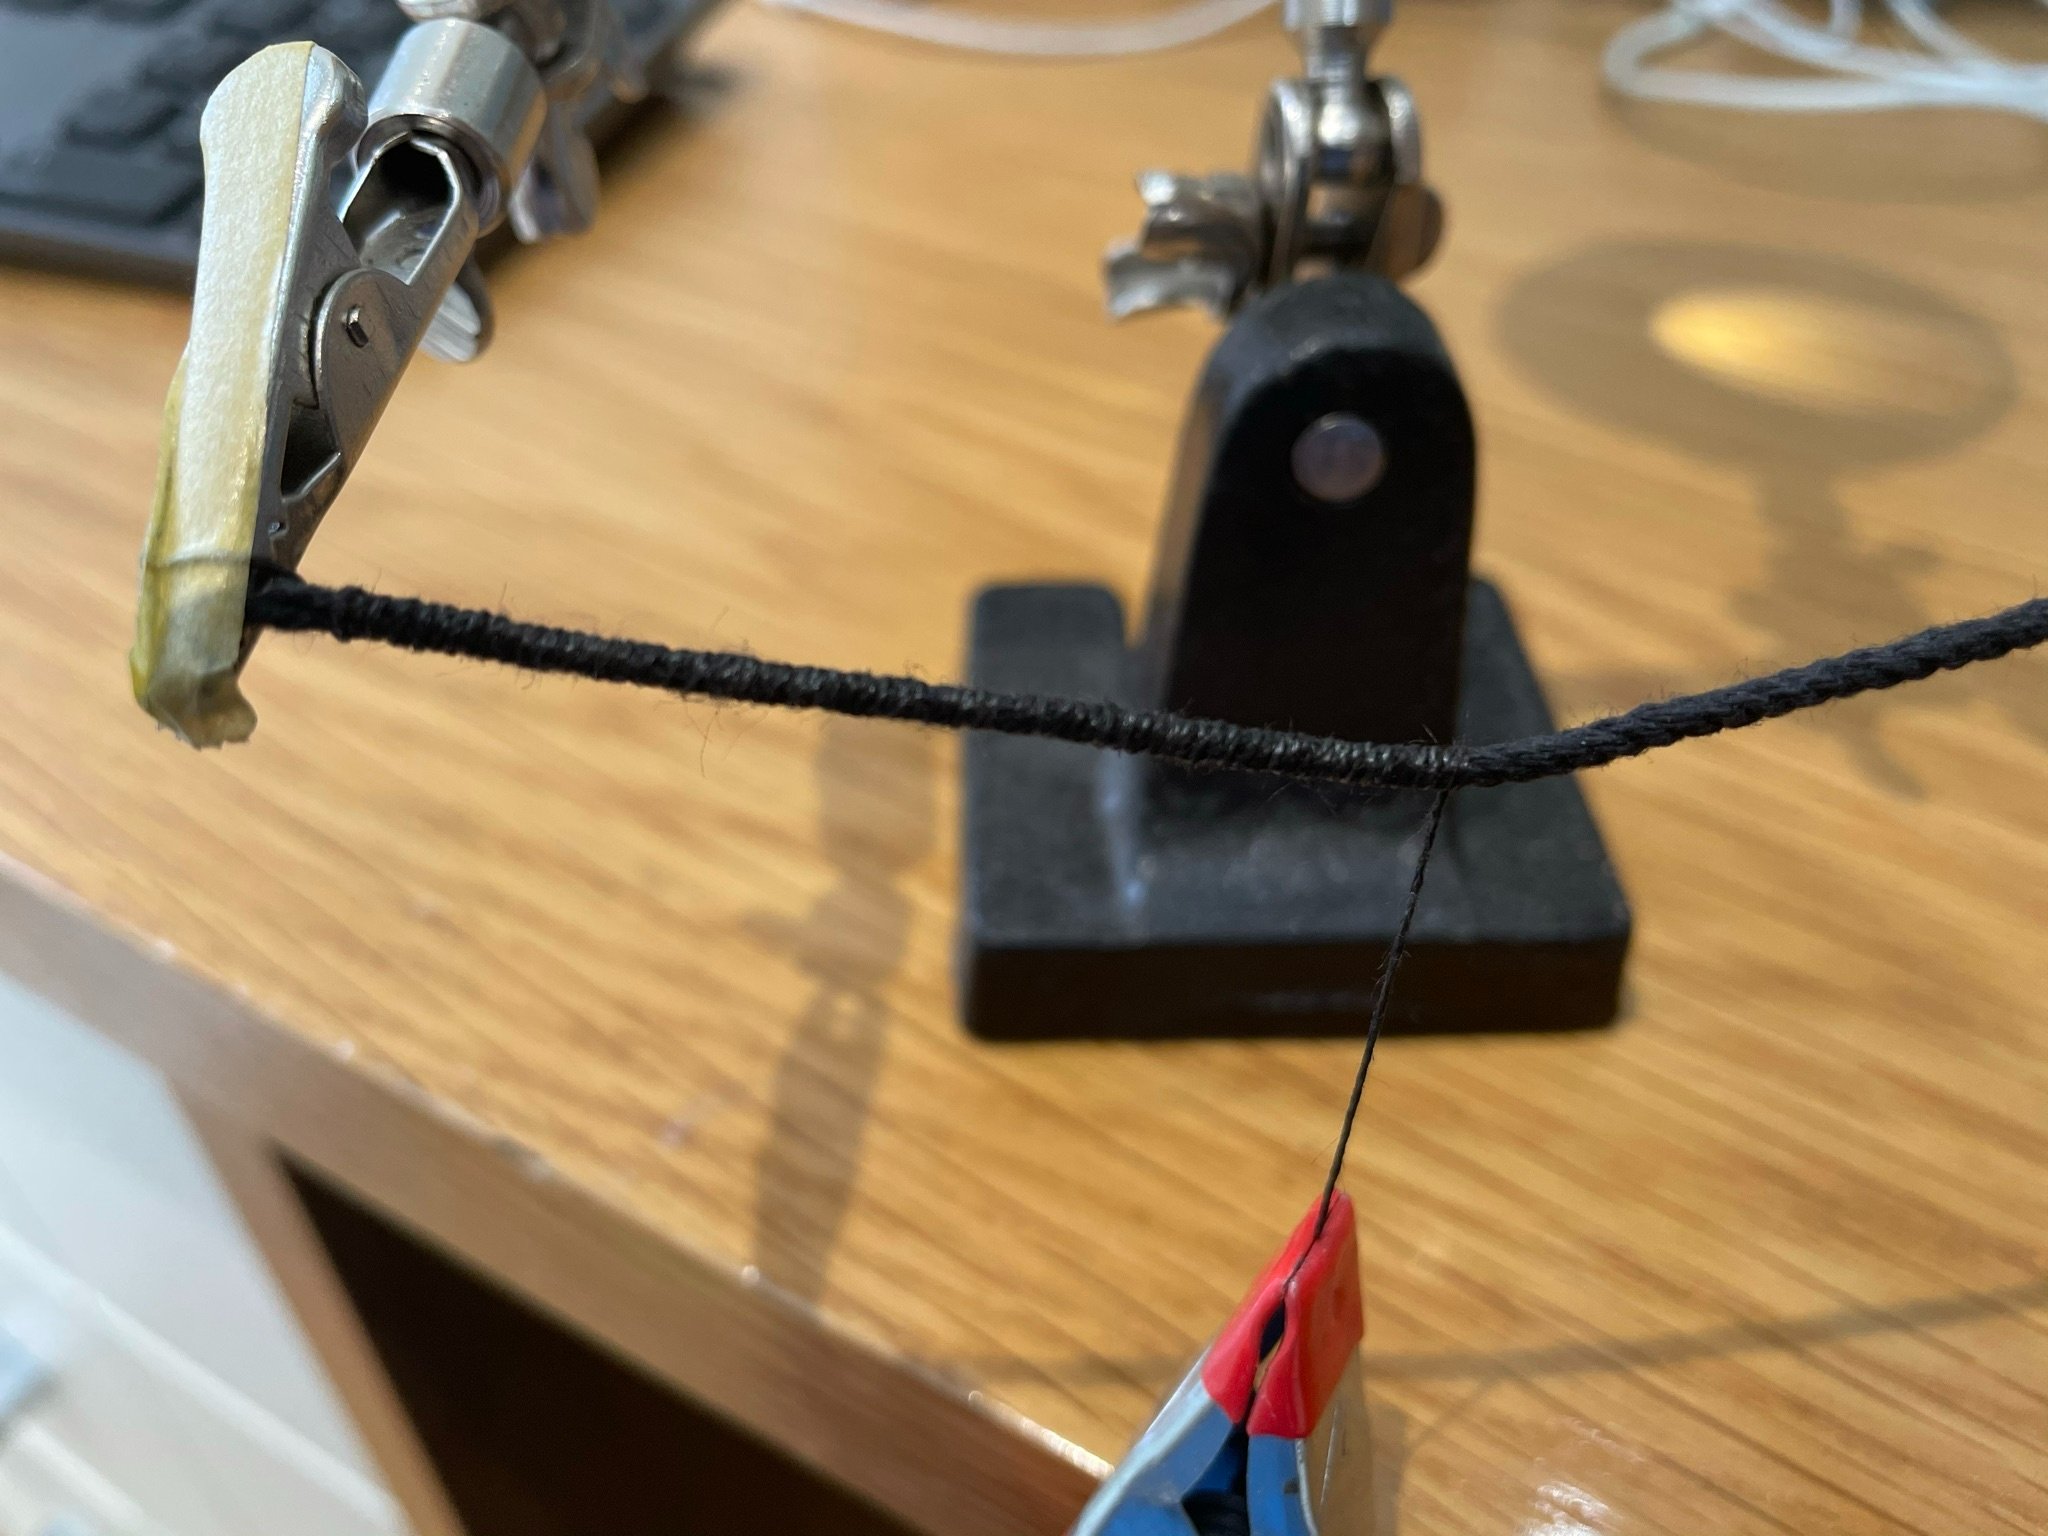
 Hi Jason I have yet to decide what to do with the boats - much will depend on the quality of the final assembly but I will put at least one in the waist. The line is soaked in dilute PVA and then I use a drop (tiny applied by a needle) of CA to affix the rope hank. Fiddly and has resulted in the need to rerun a couple of downhaul lines. P
 -
 Peterhudson reacted to a post in a topic:
HMS Jason by Beef Wellington - Caldercraft - 1:64 - Artois-class frigate modified from HMS Diana 1794
Peterhudson reacted to a post in a topic:
HMS Jason by Beef Wellington - Caldercraft - 1:64 - Artois-class frigate modified from HMS Diana 1794
-
oneslim reacted to a post in a topic:
HMS DIANA by Peterhudson - Caldercraft - 1:64 Scale
-
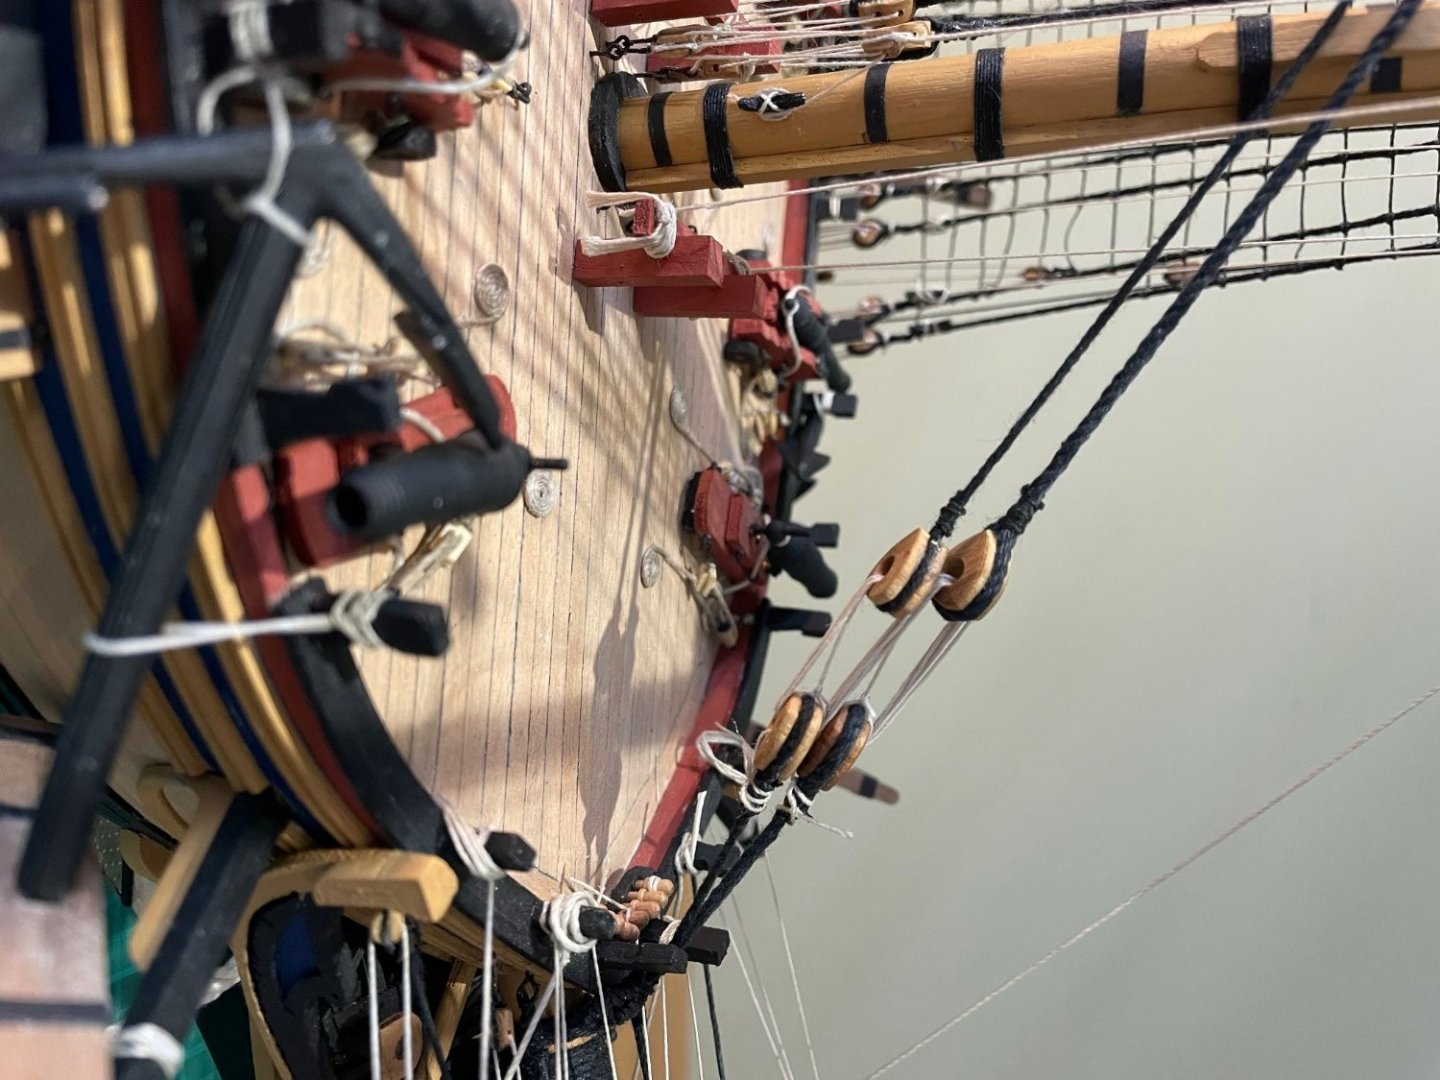
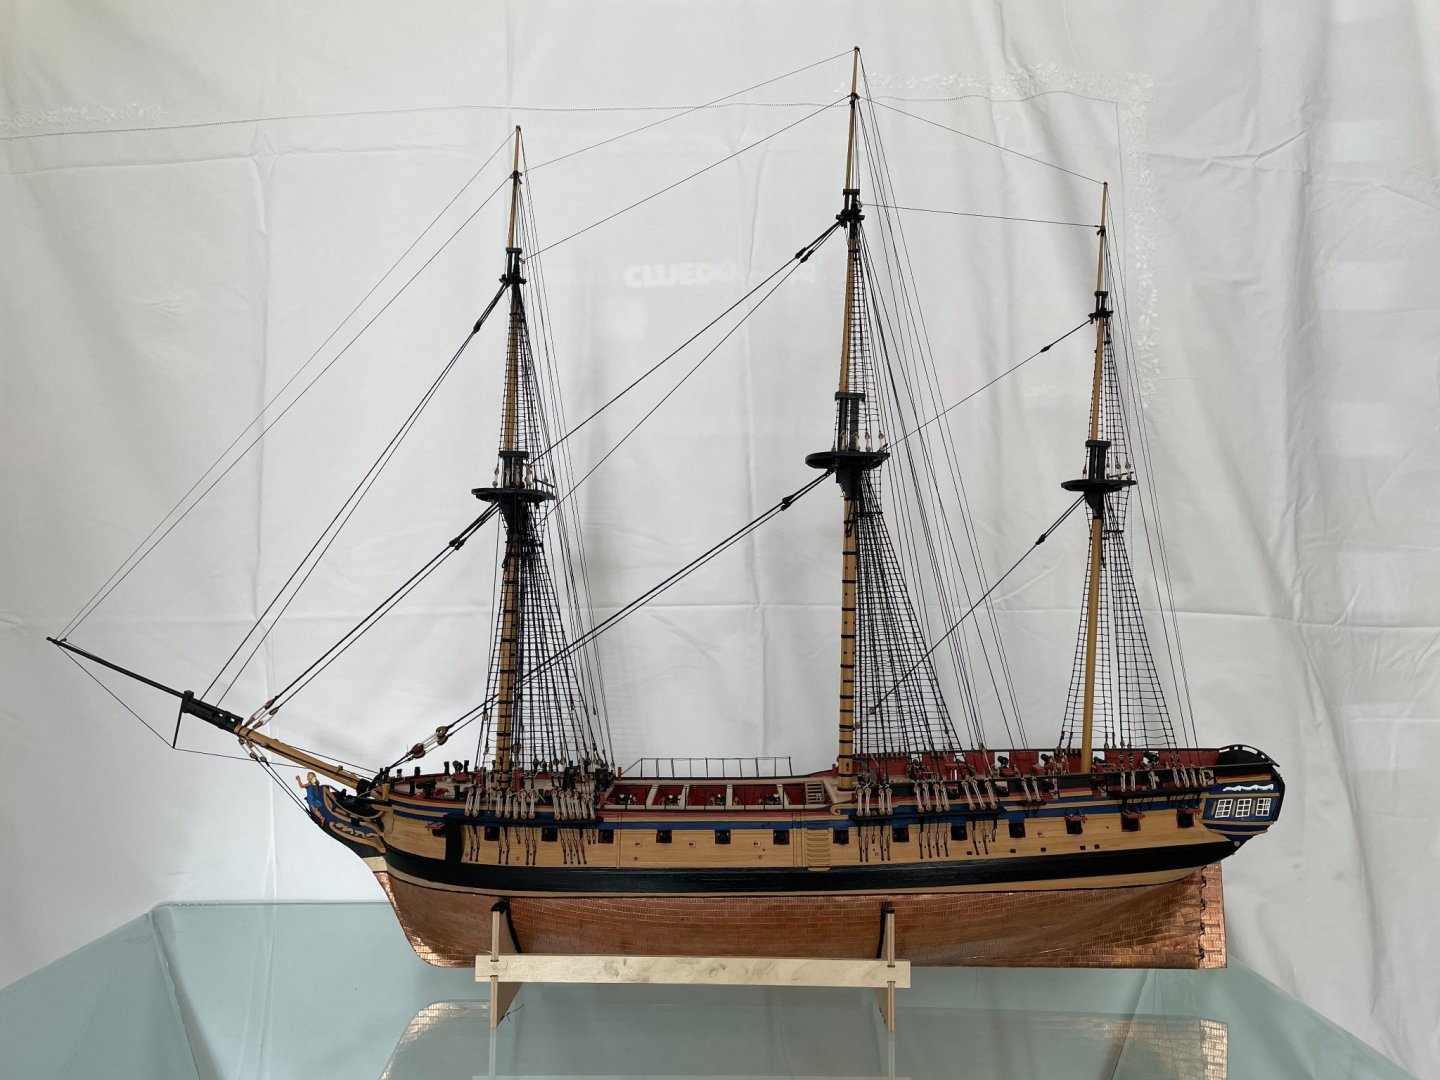
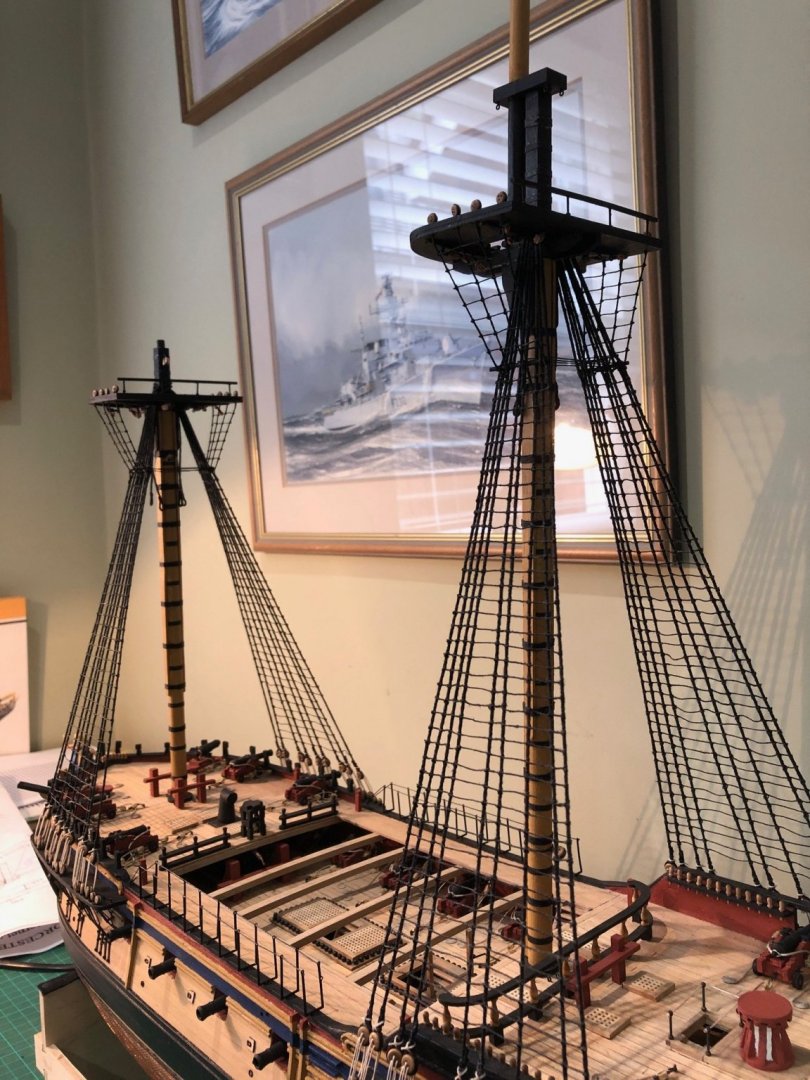
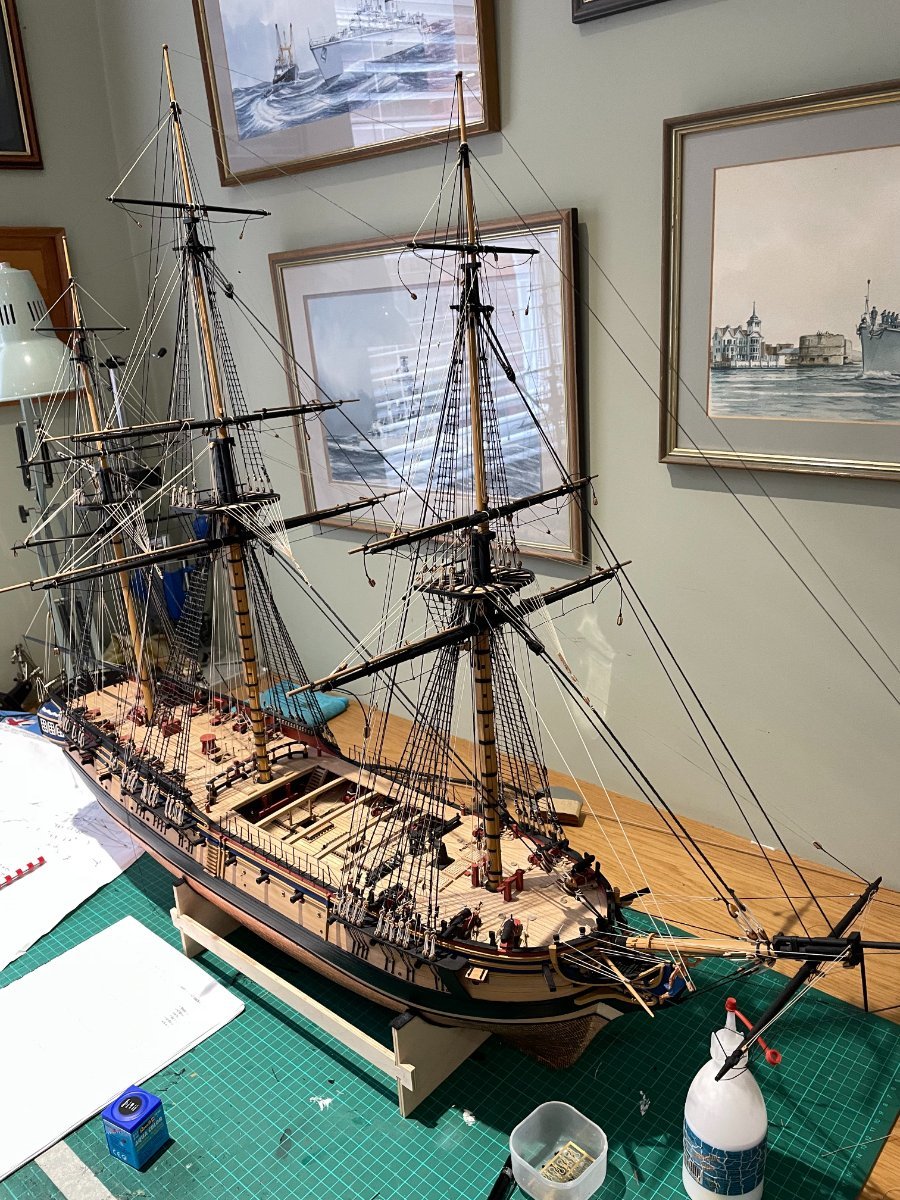
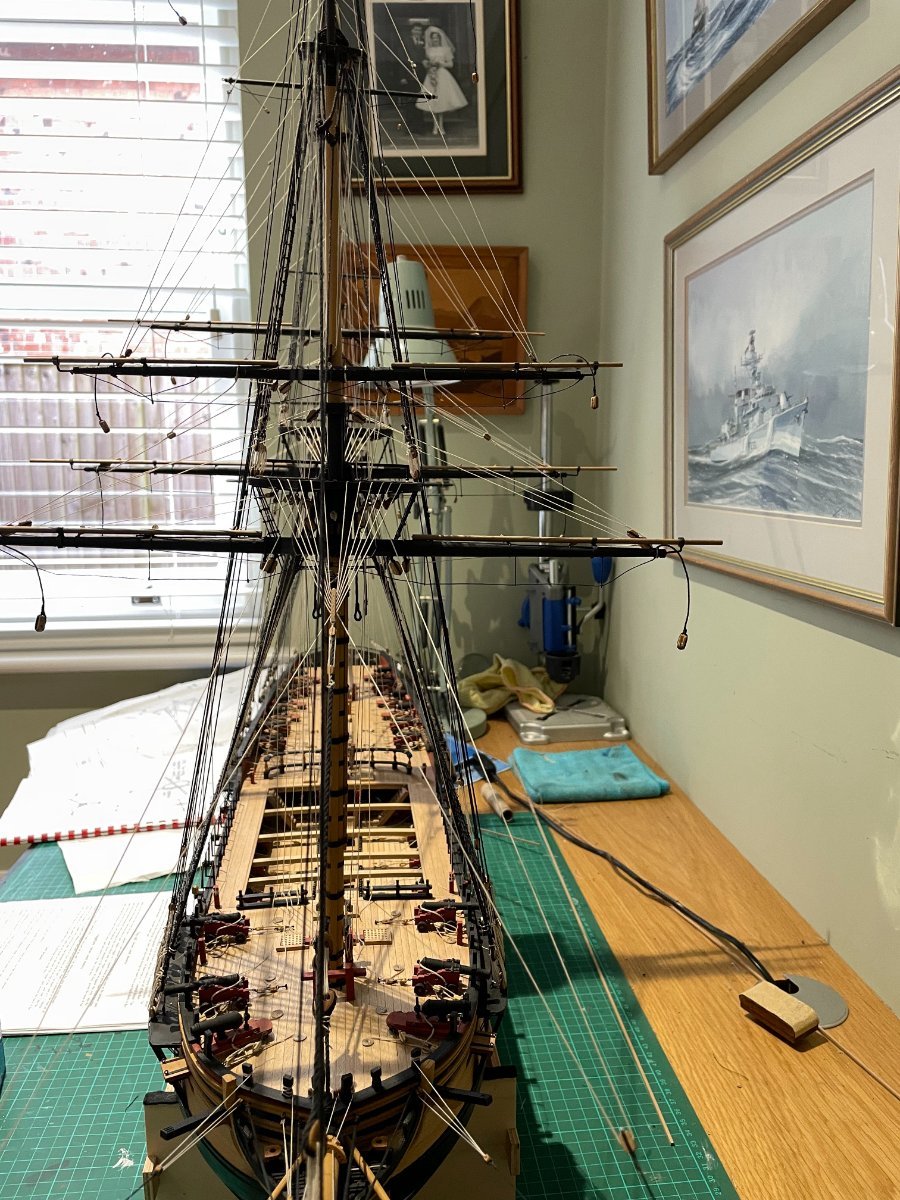
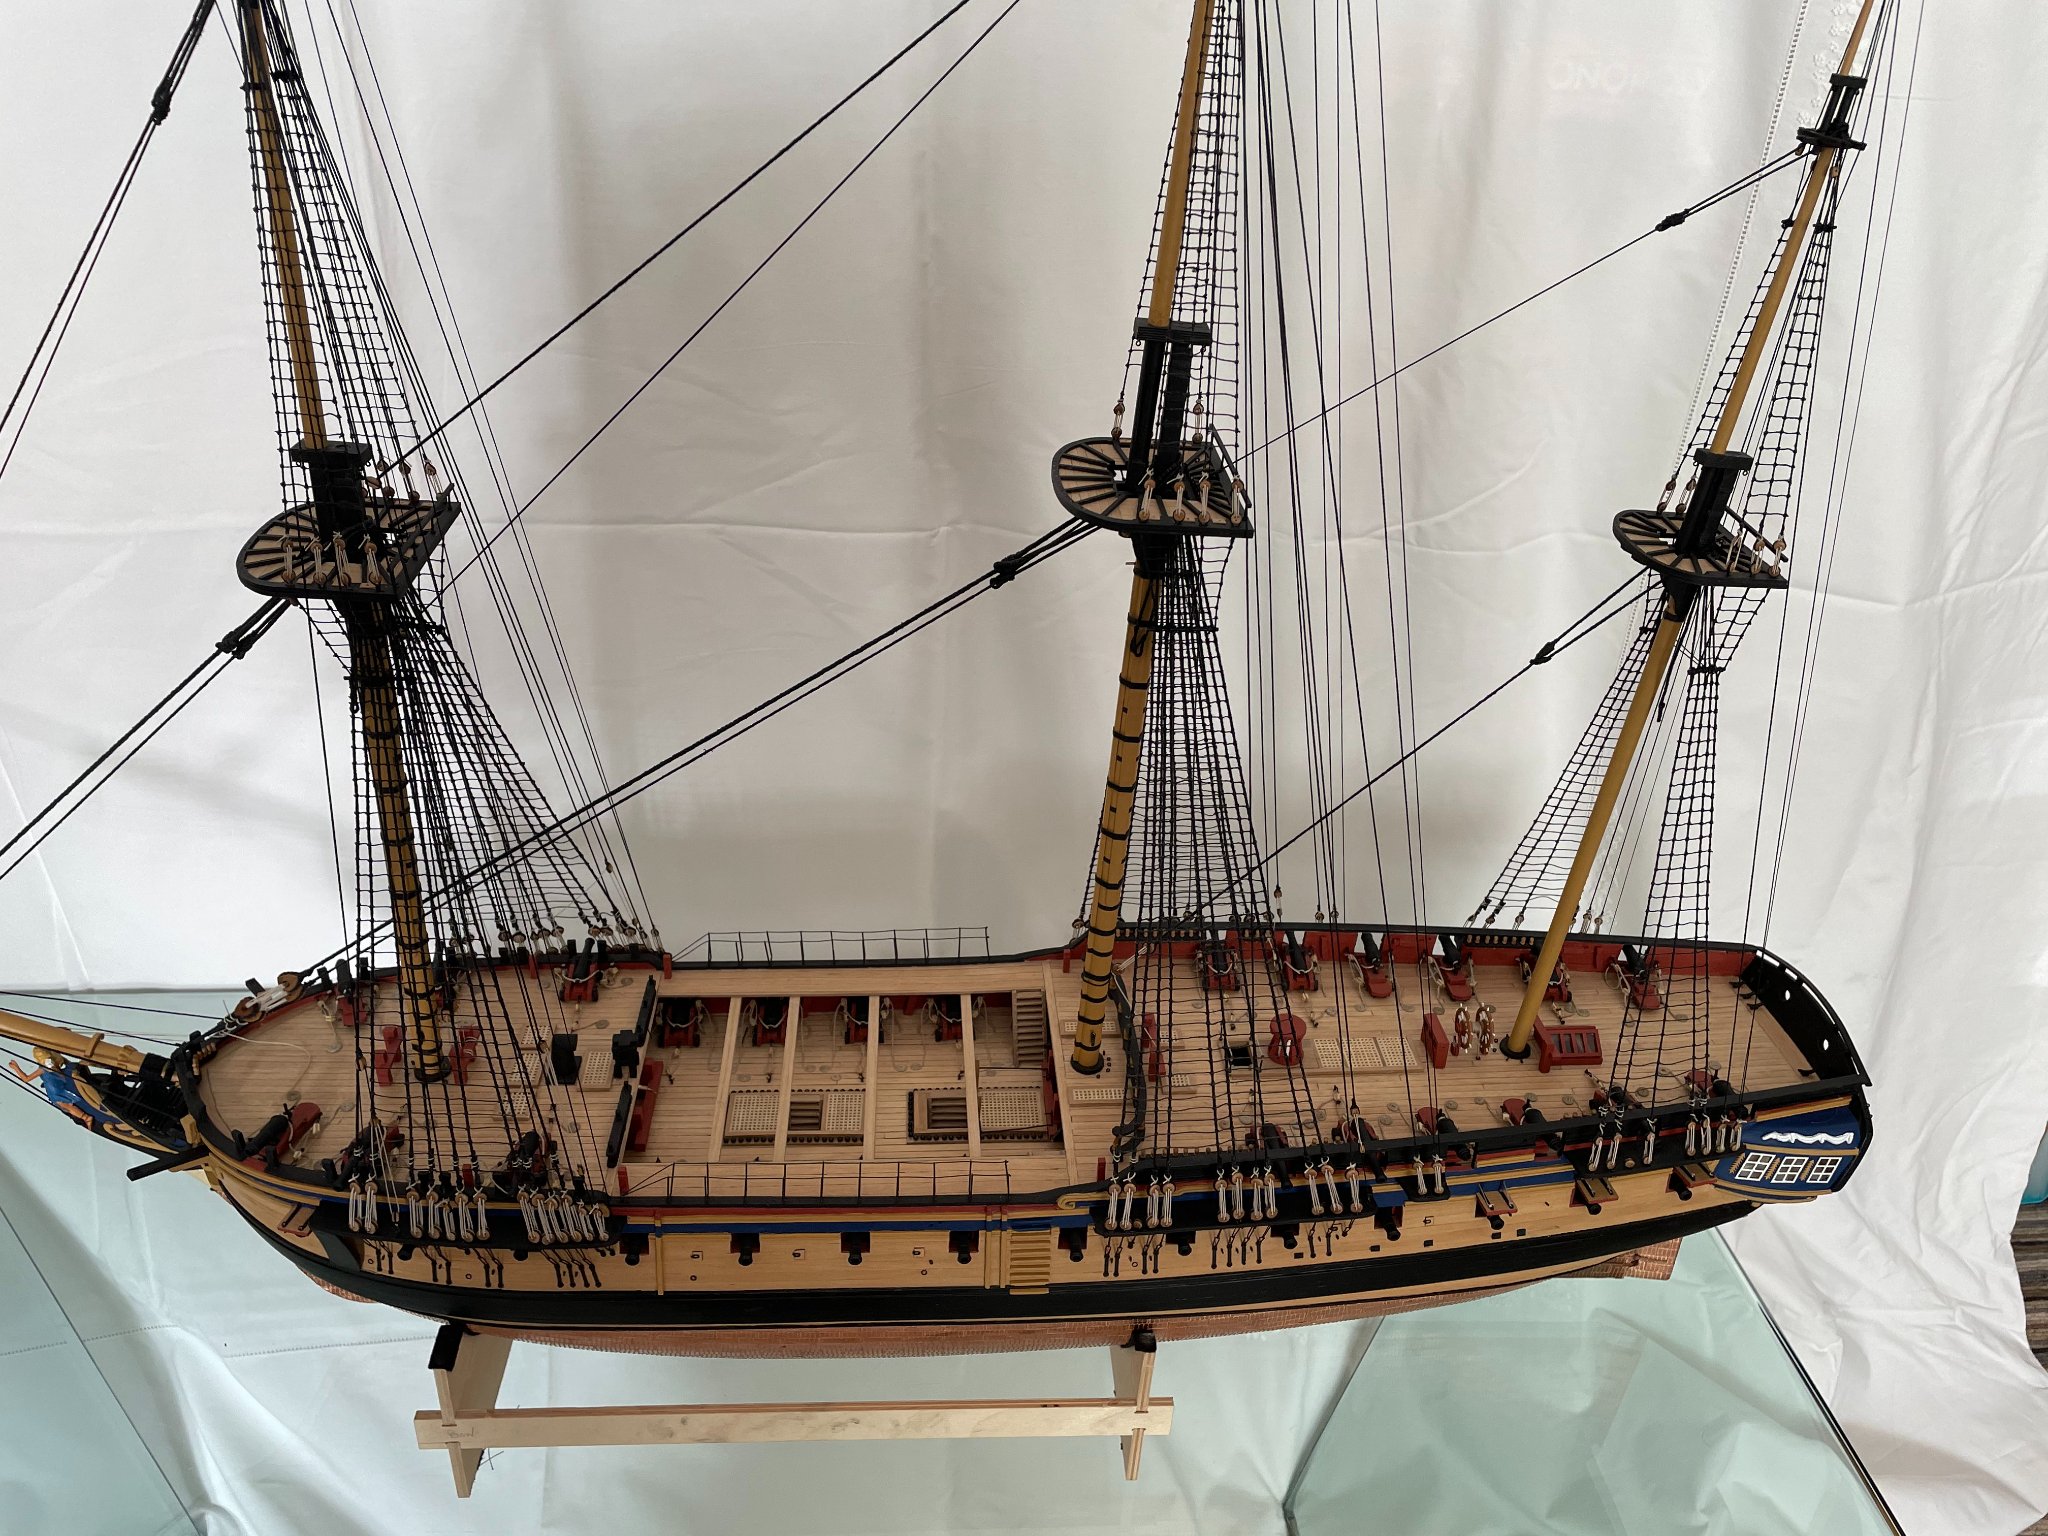
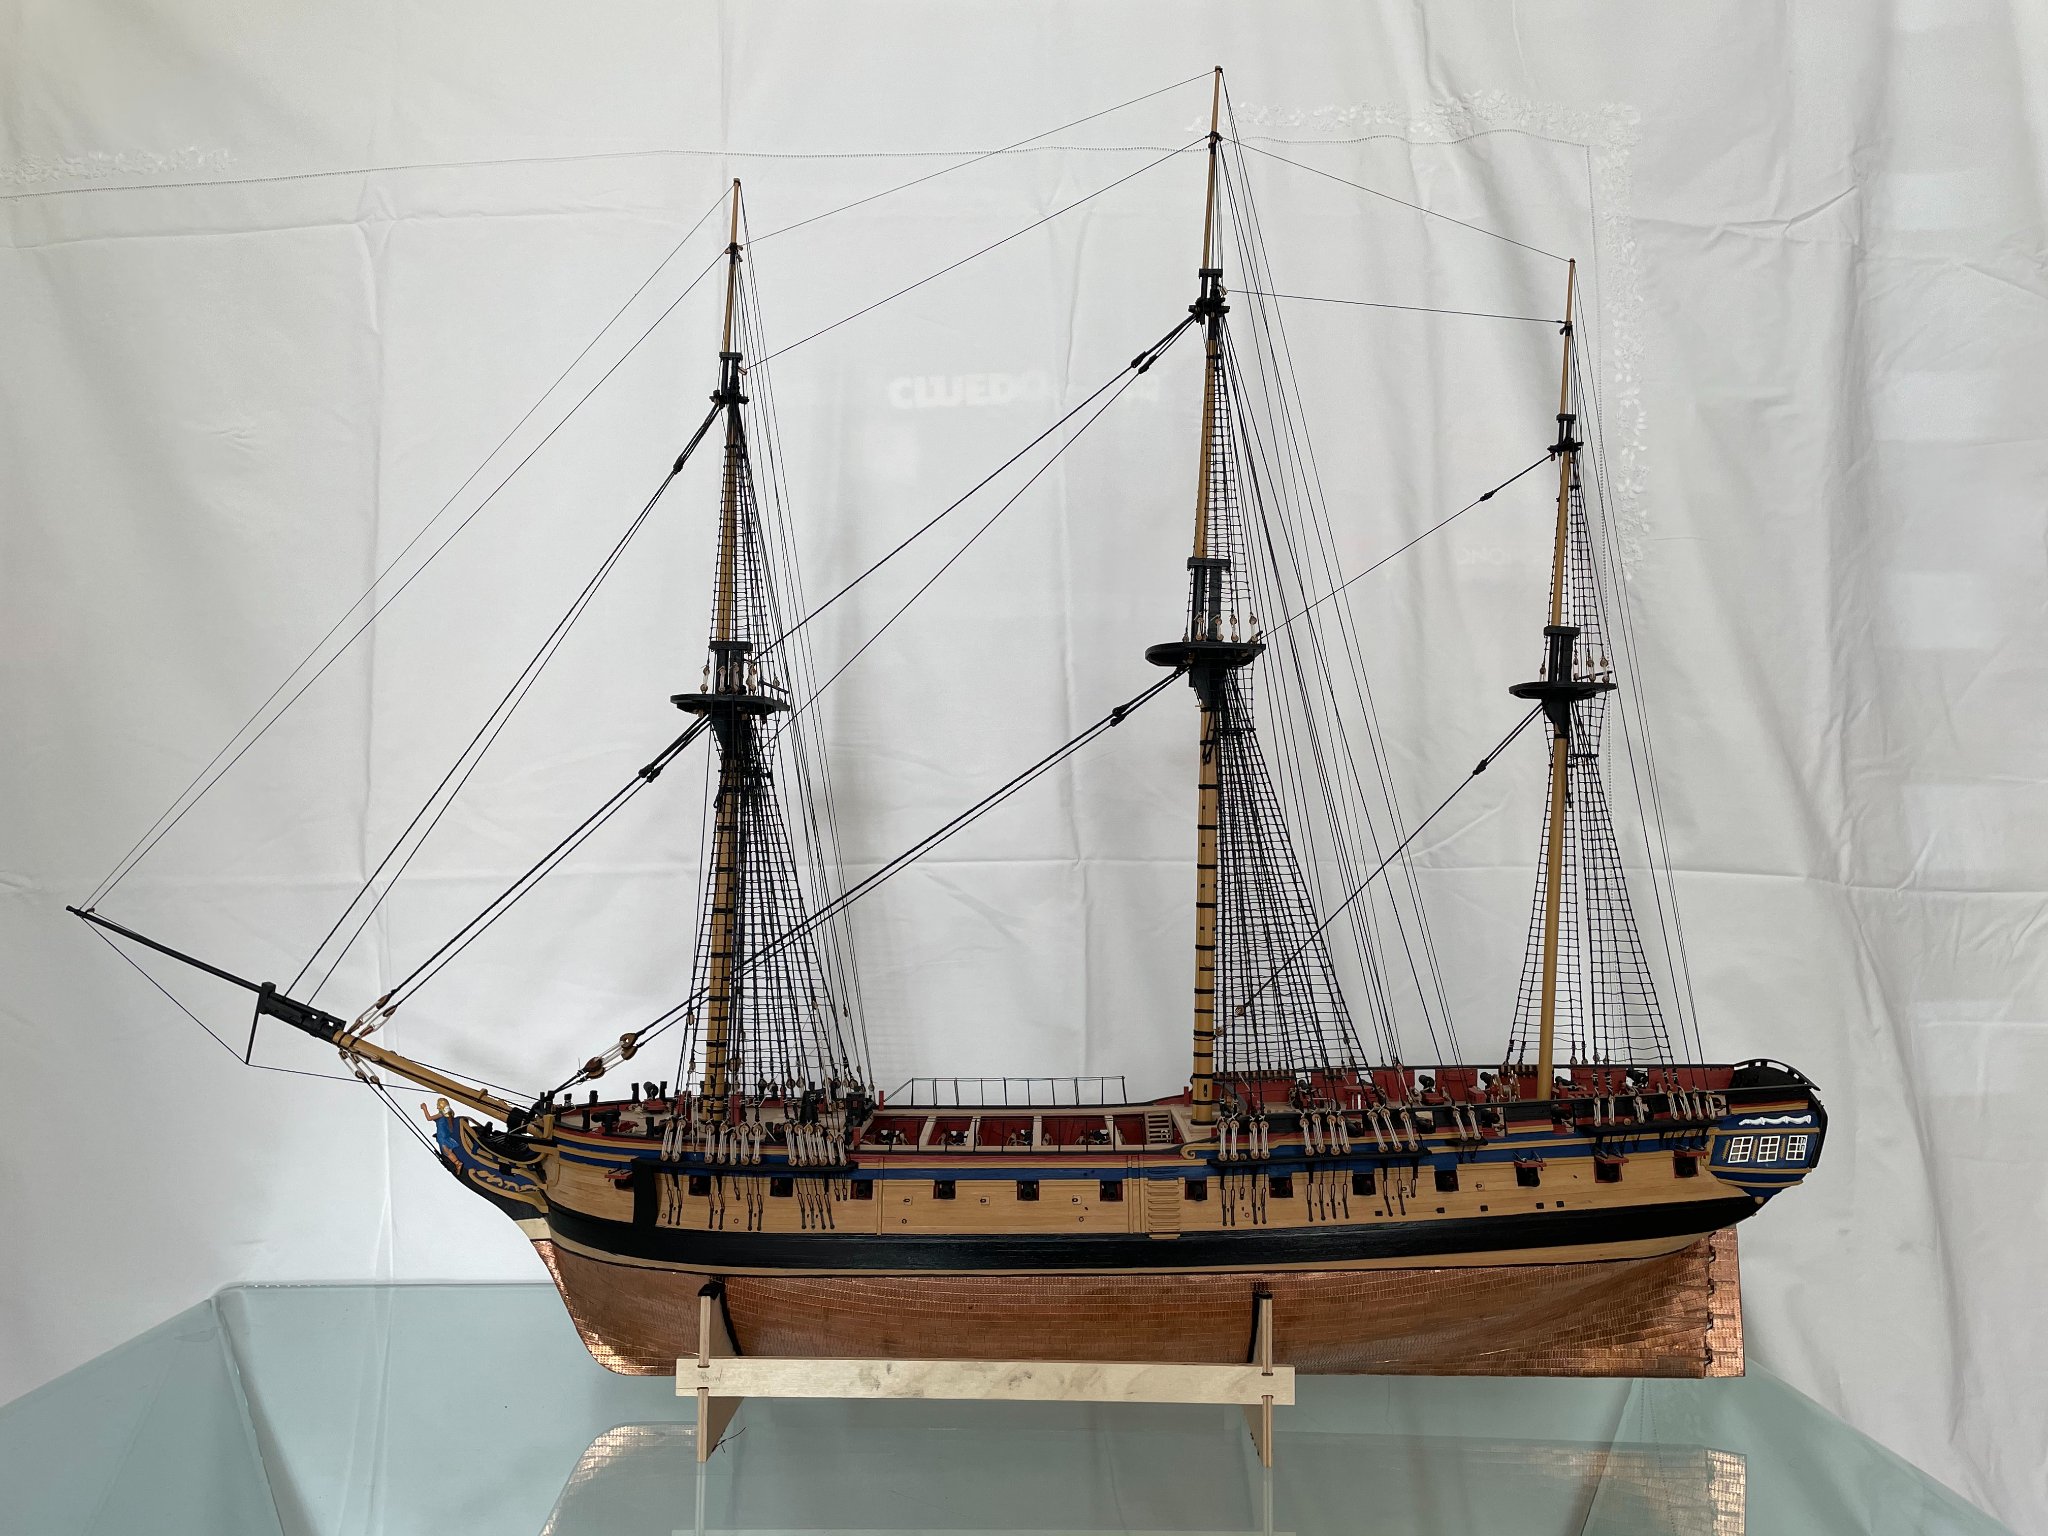
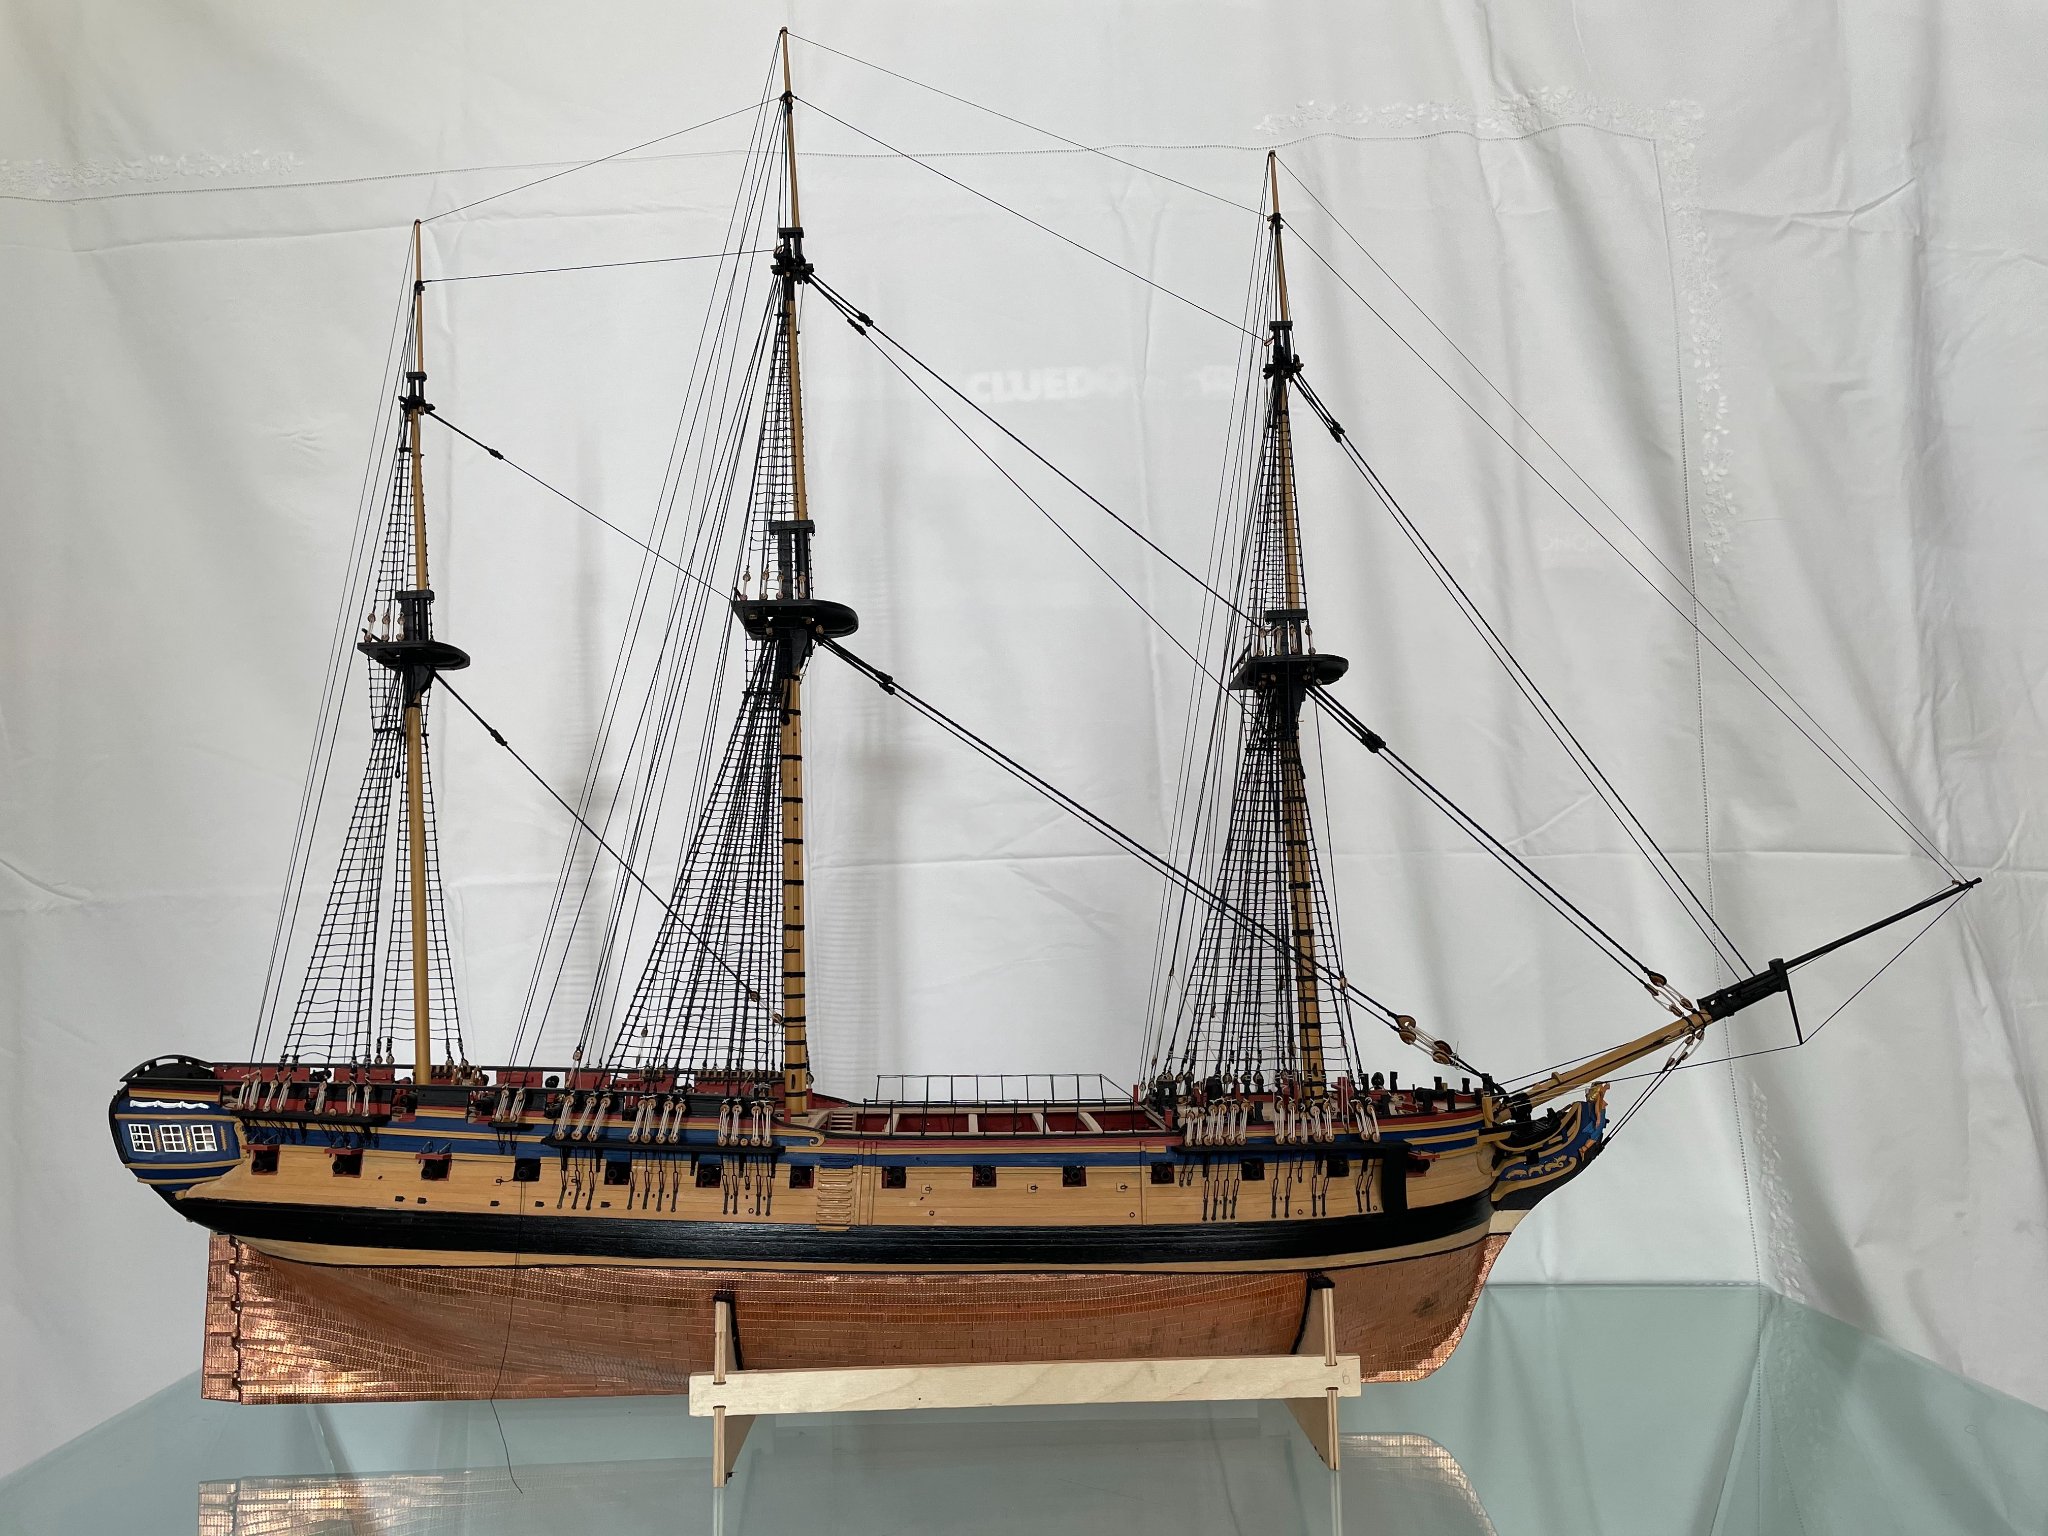
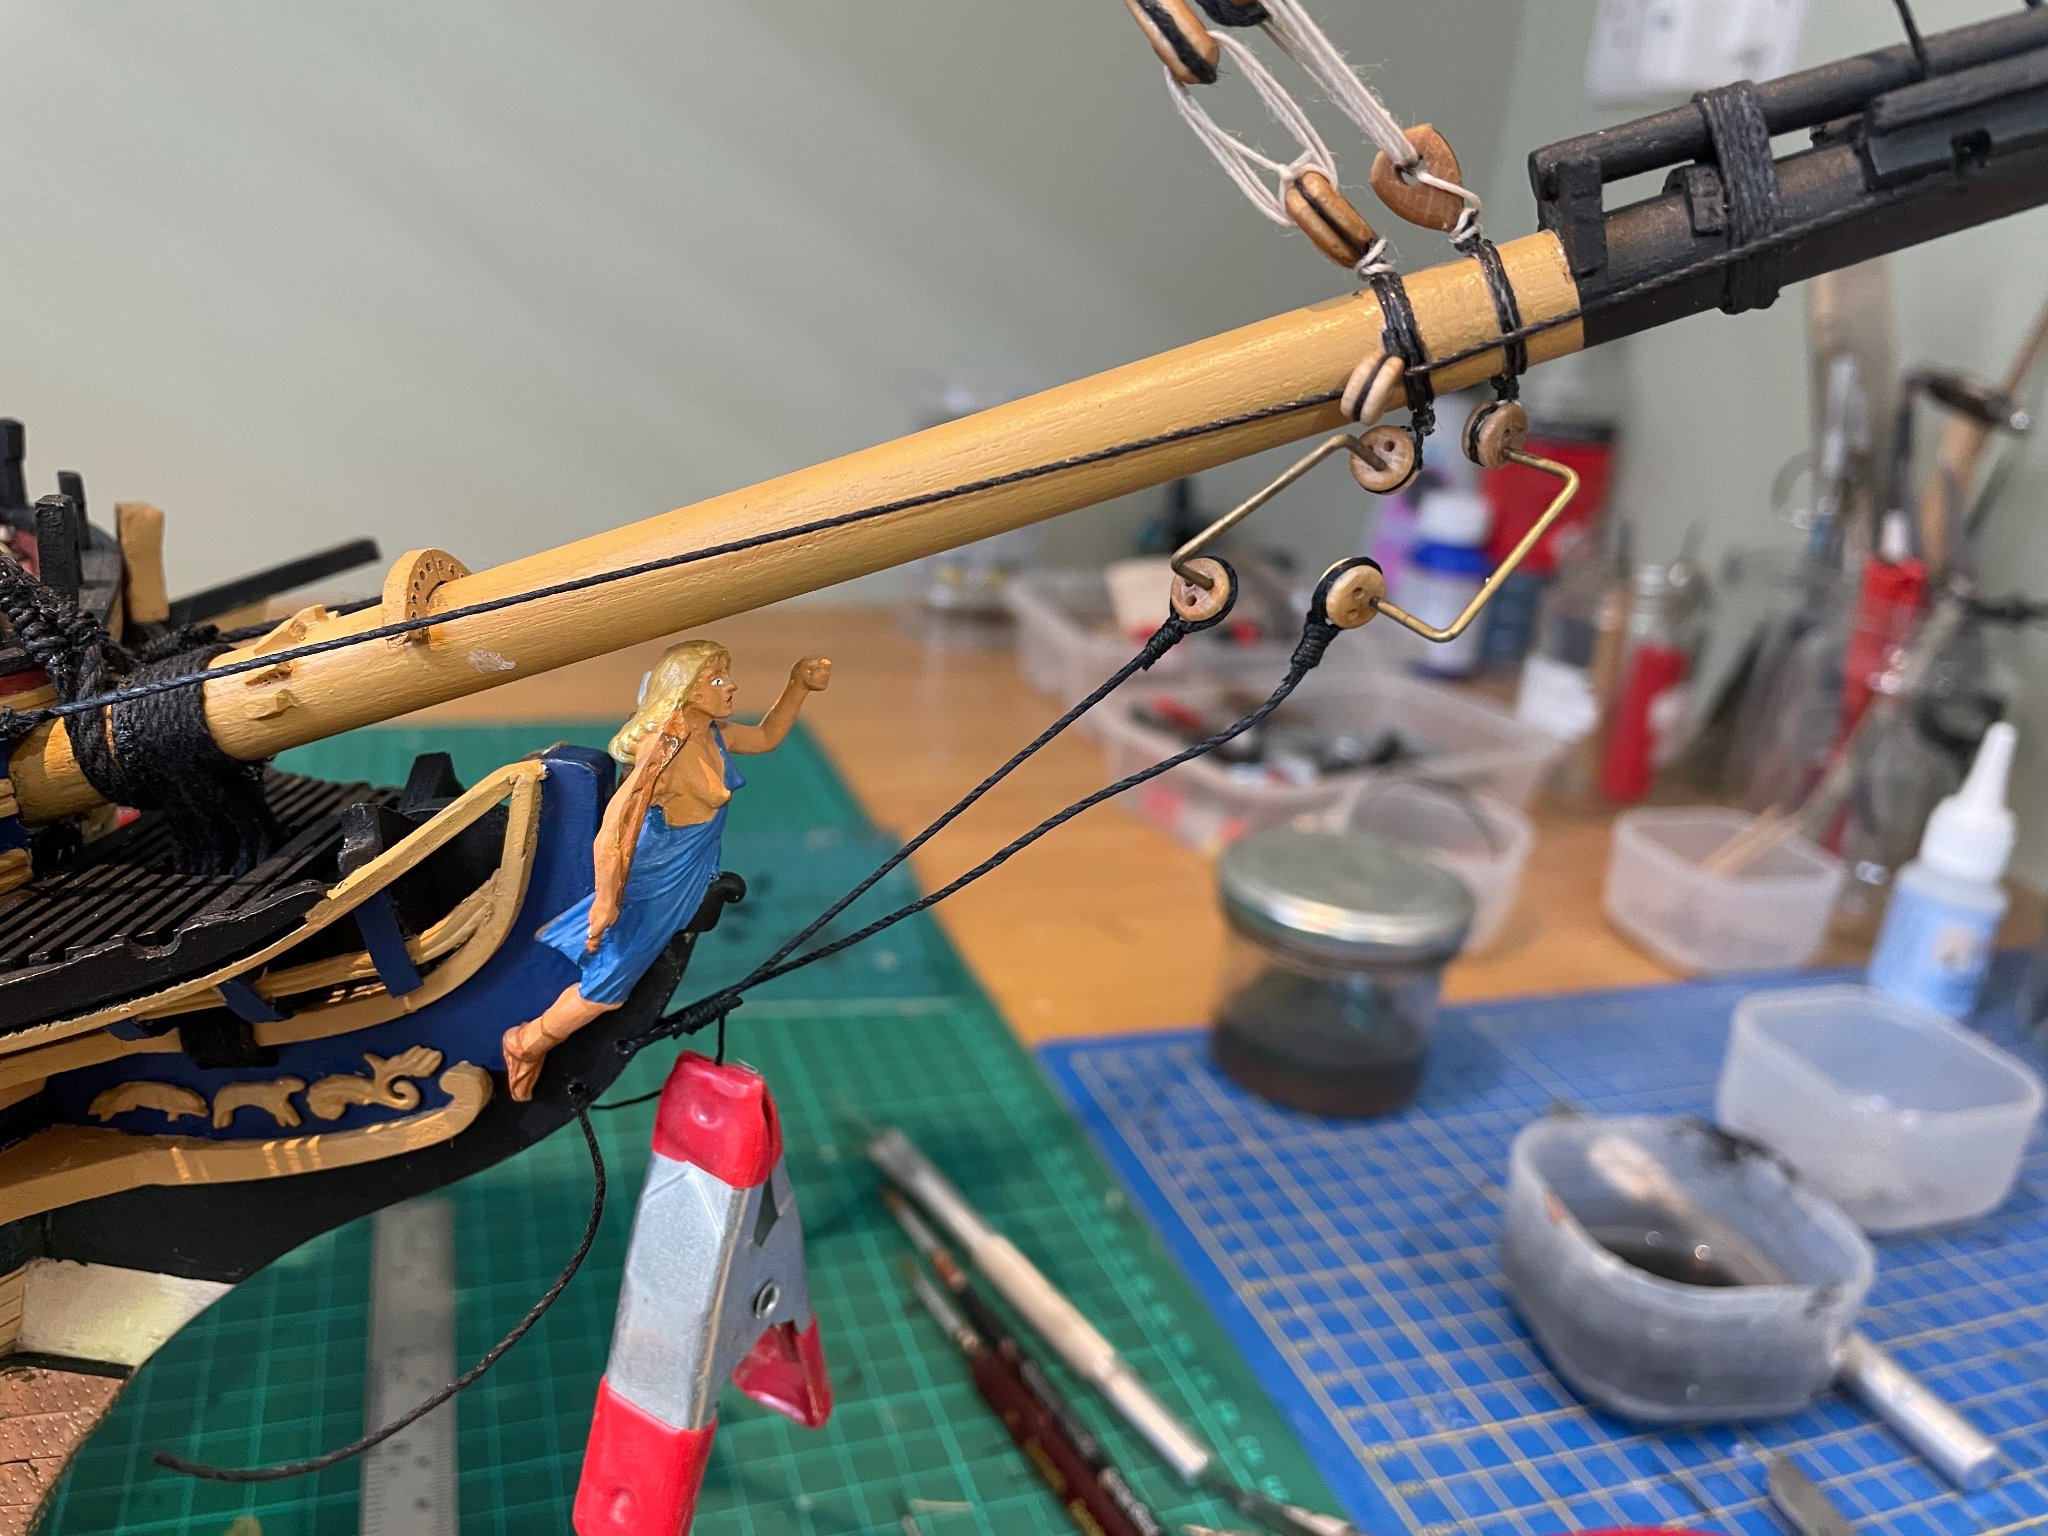
a few more....I'll finish the detail work and then send a few of the whole ship. Peter


-
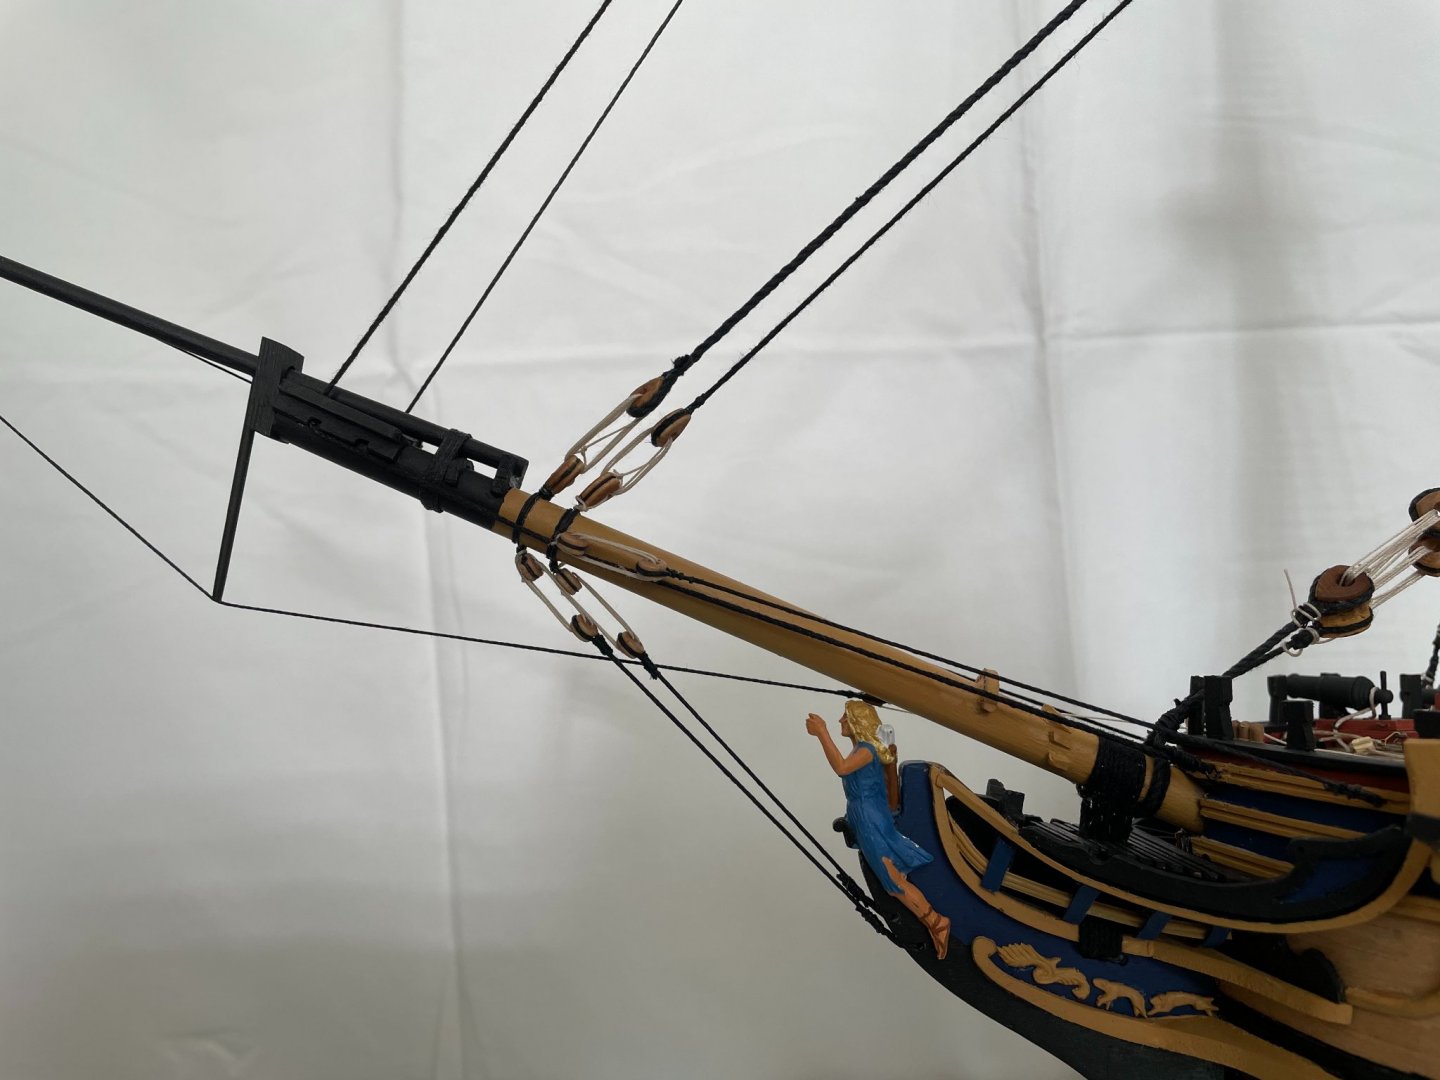
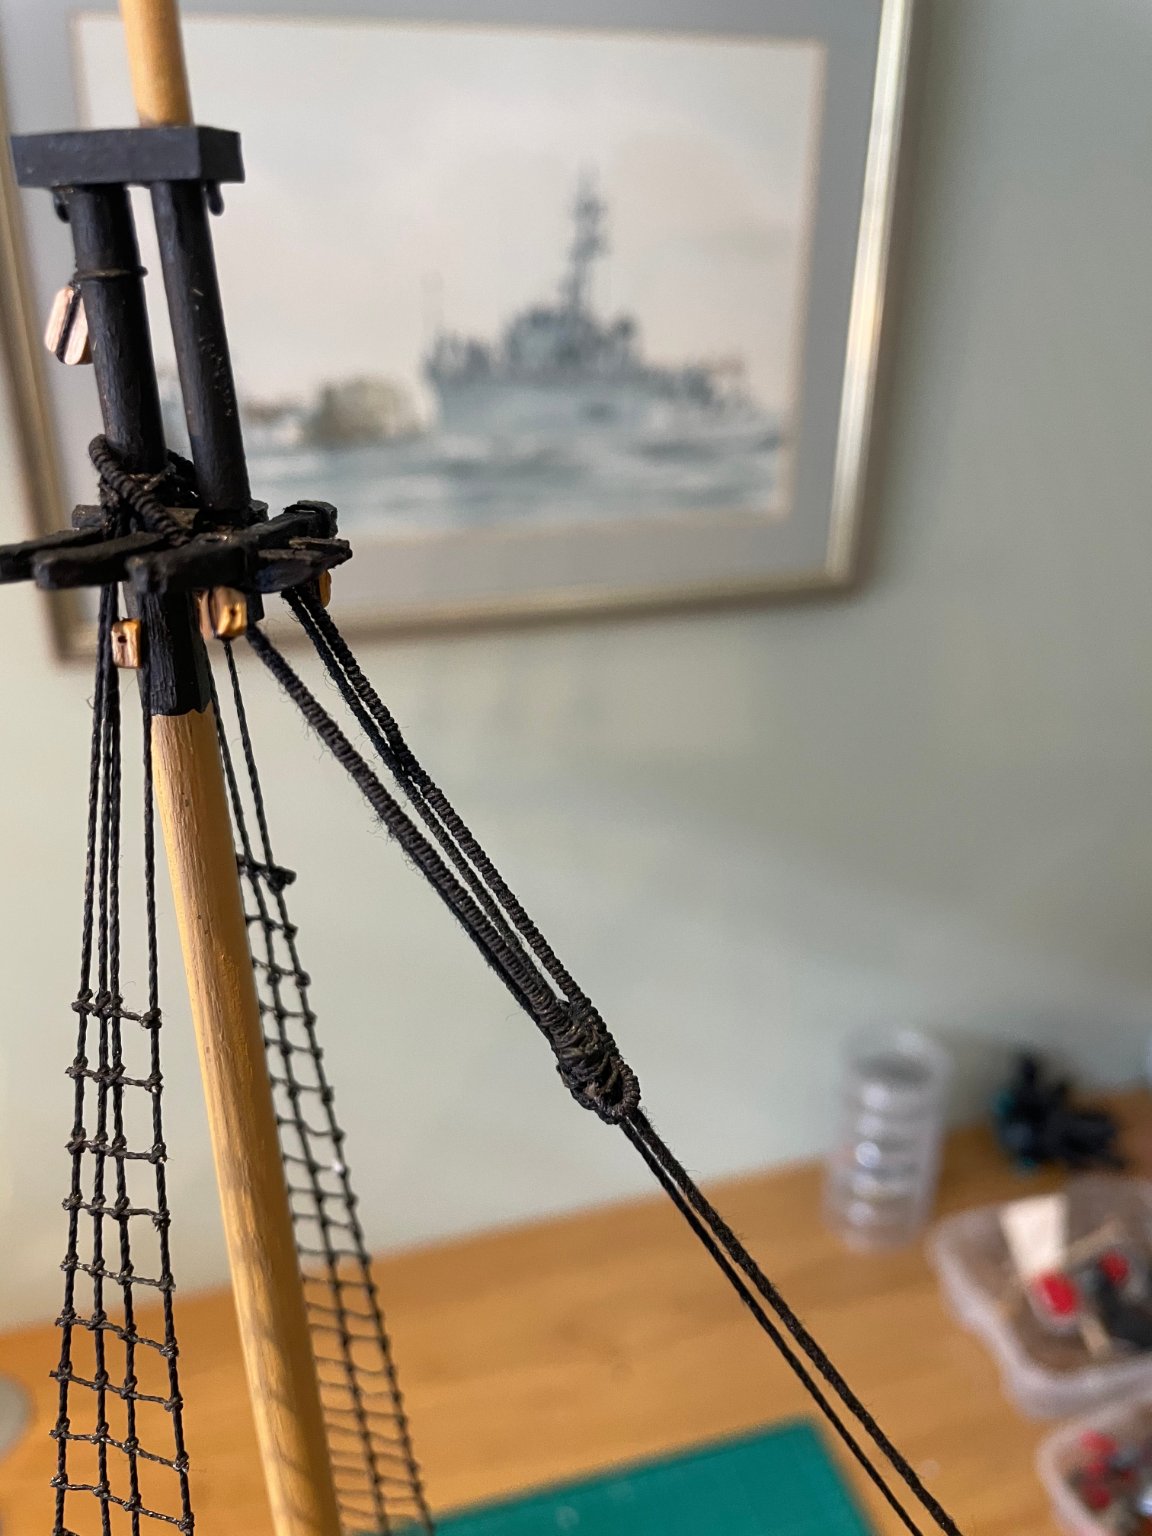
Some more of the running rigging


-
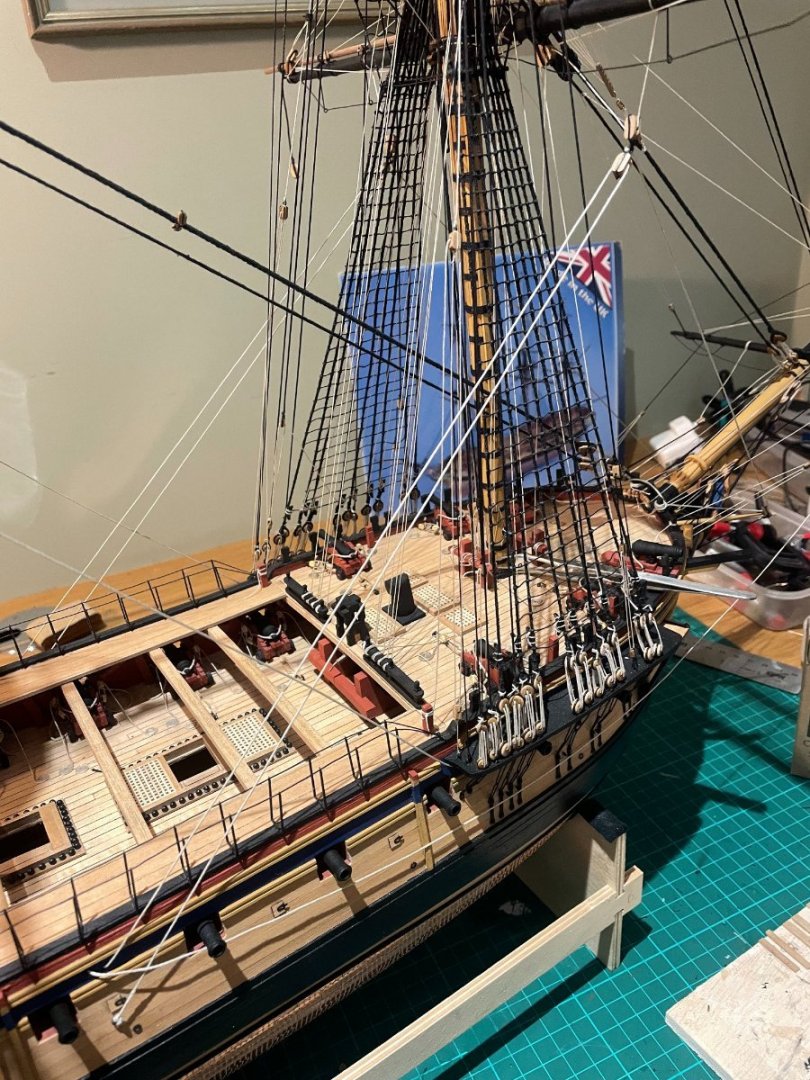
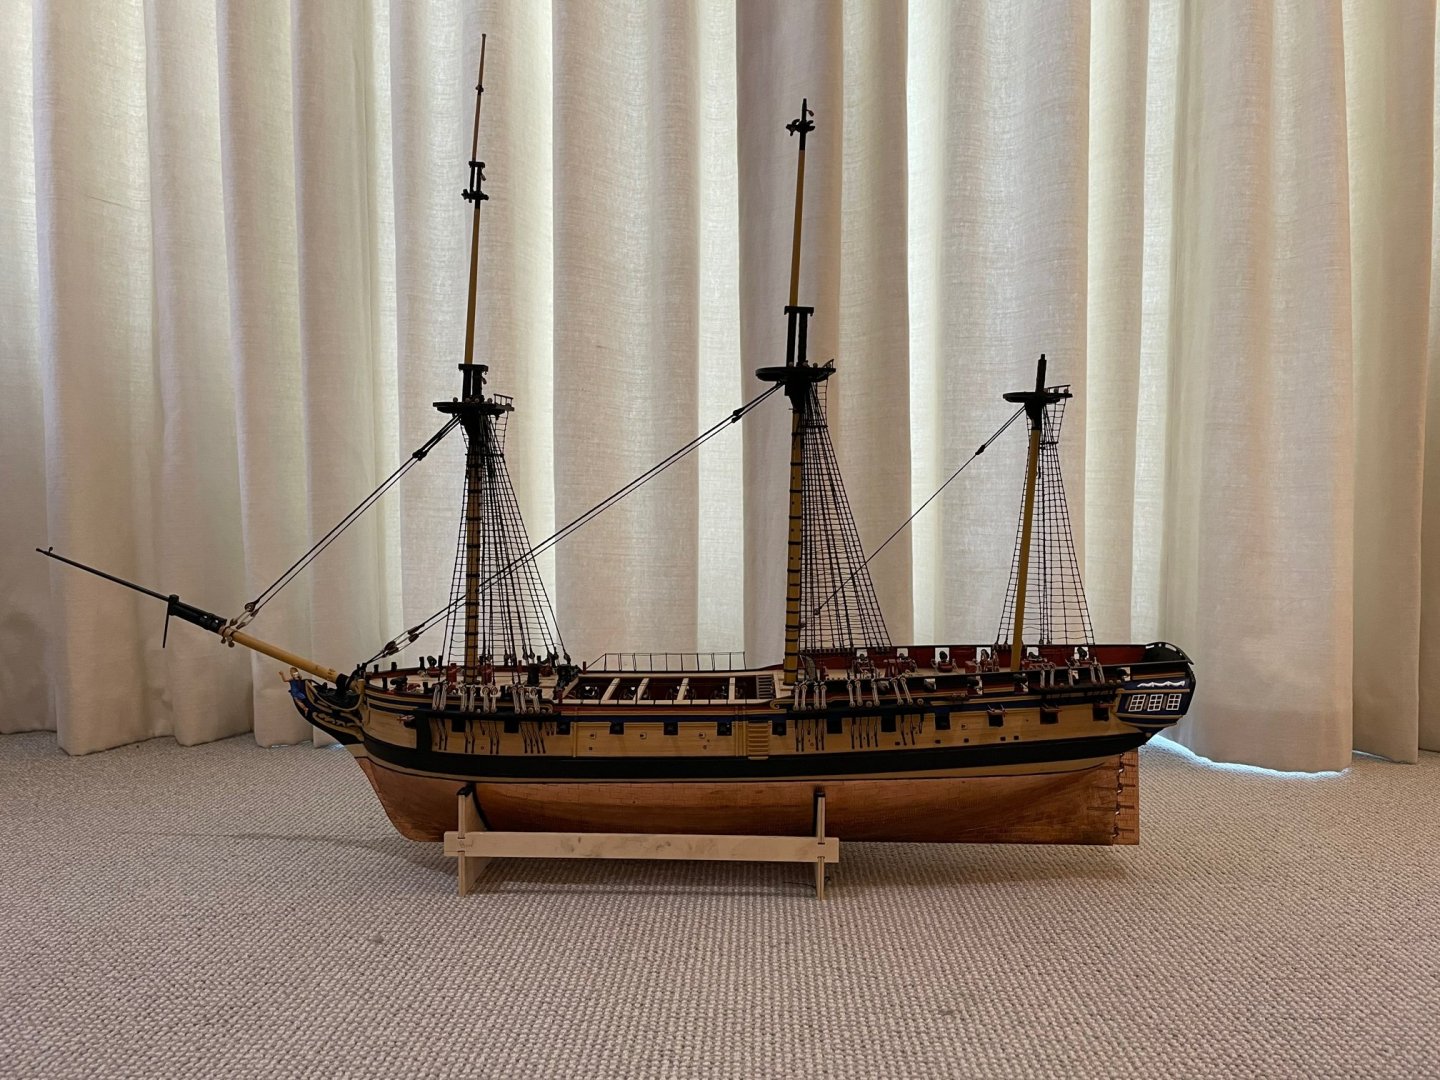
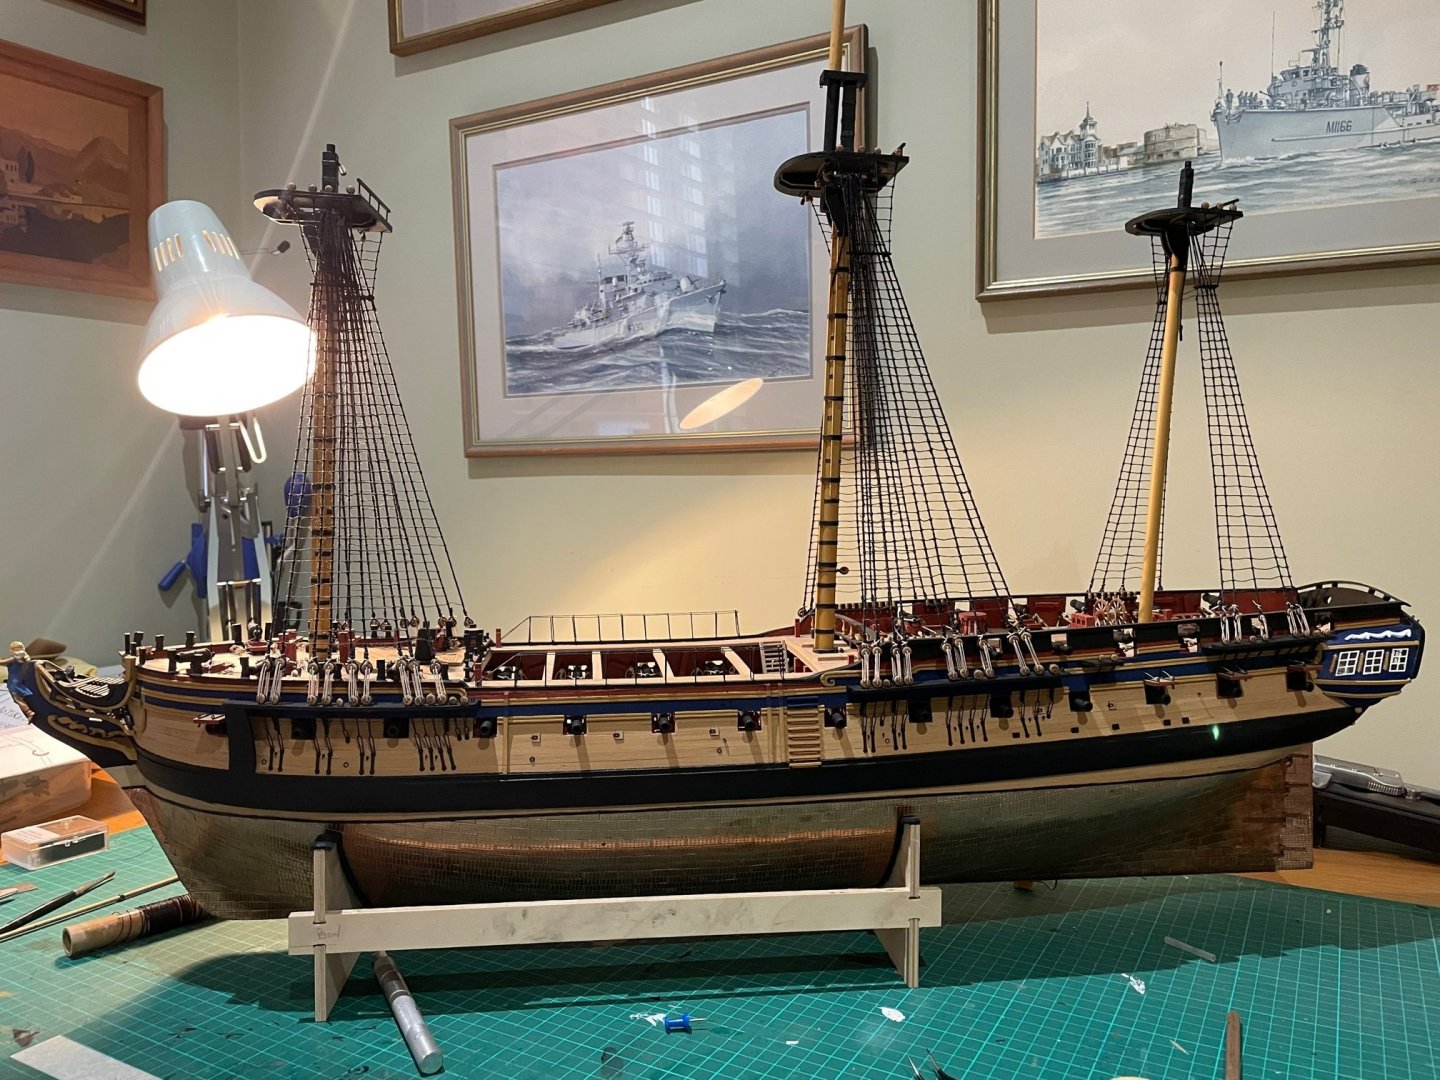
6 months since my last update; I saw Jason's this morning and thought I ought to update as well. Progress continued to be patchy; the combination of working from home all day in my office/workshop, then returning tot he same space after supper to potter on the model really didnt appeal. The work/home balance has been skewed. nevertheless I did the odd hour here and there and I have to say she is nearly finished. Unlike Rob and Jason's my blog is not very comprehensive as I always reverted to their much more skilled reports for guidance and tips - repeating the lines seemed a little superfluous. Anyway - running and standing rigging complete; anchors shipped (I still have to do the buoys); rope hanks largely fitted and everything being tightened to remove the inevitable slack. I'll finish this tiddily stuff in the next few weeks then try to work out how to do the ships boats (Ray and Barbarossa) will be studied carefully. I'm lost - and I have the caldercraft kits! Some snaps to keep you upto date. I'm pretty pleased on how my first serious model has turned out.

-
Peterhudson reacted to a post in a topic:
HMS Jason by Beef Wellington - Caldercraft - 1:64 - Artois-class frigate modified from HMS Diana 1794
-
A few more snaps.


-
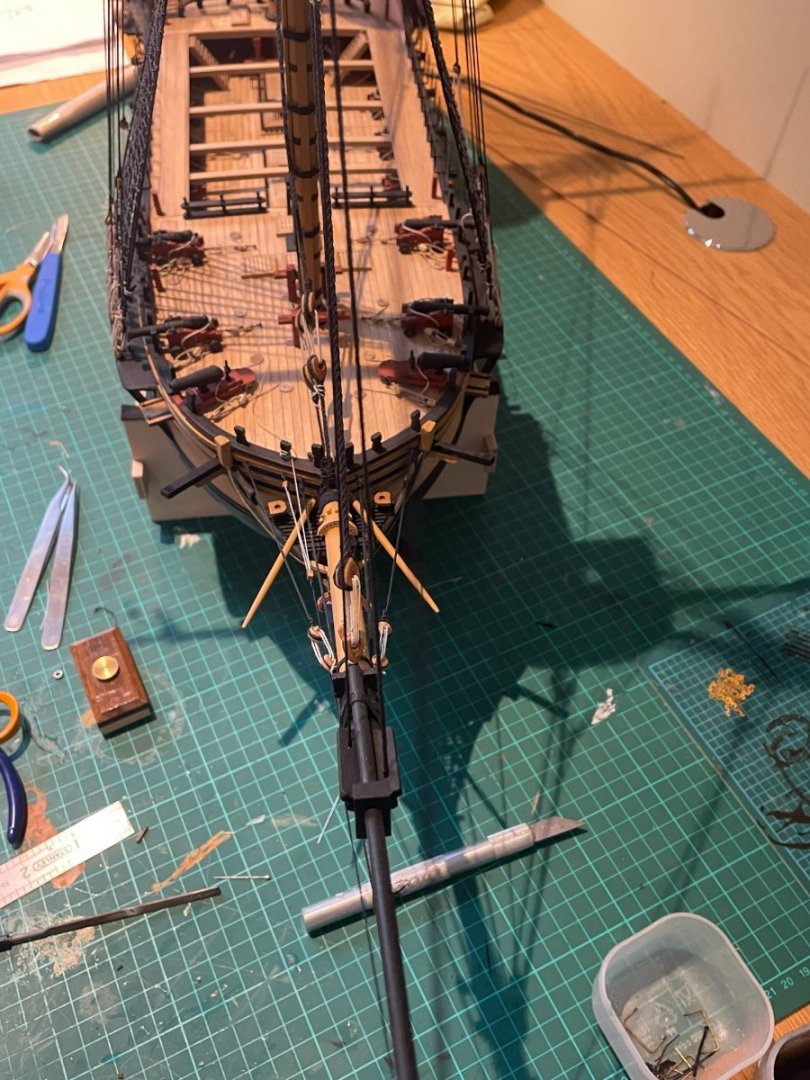
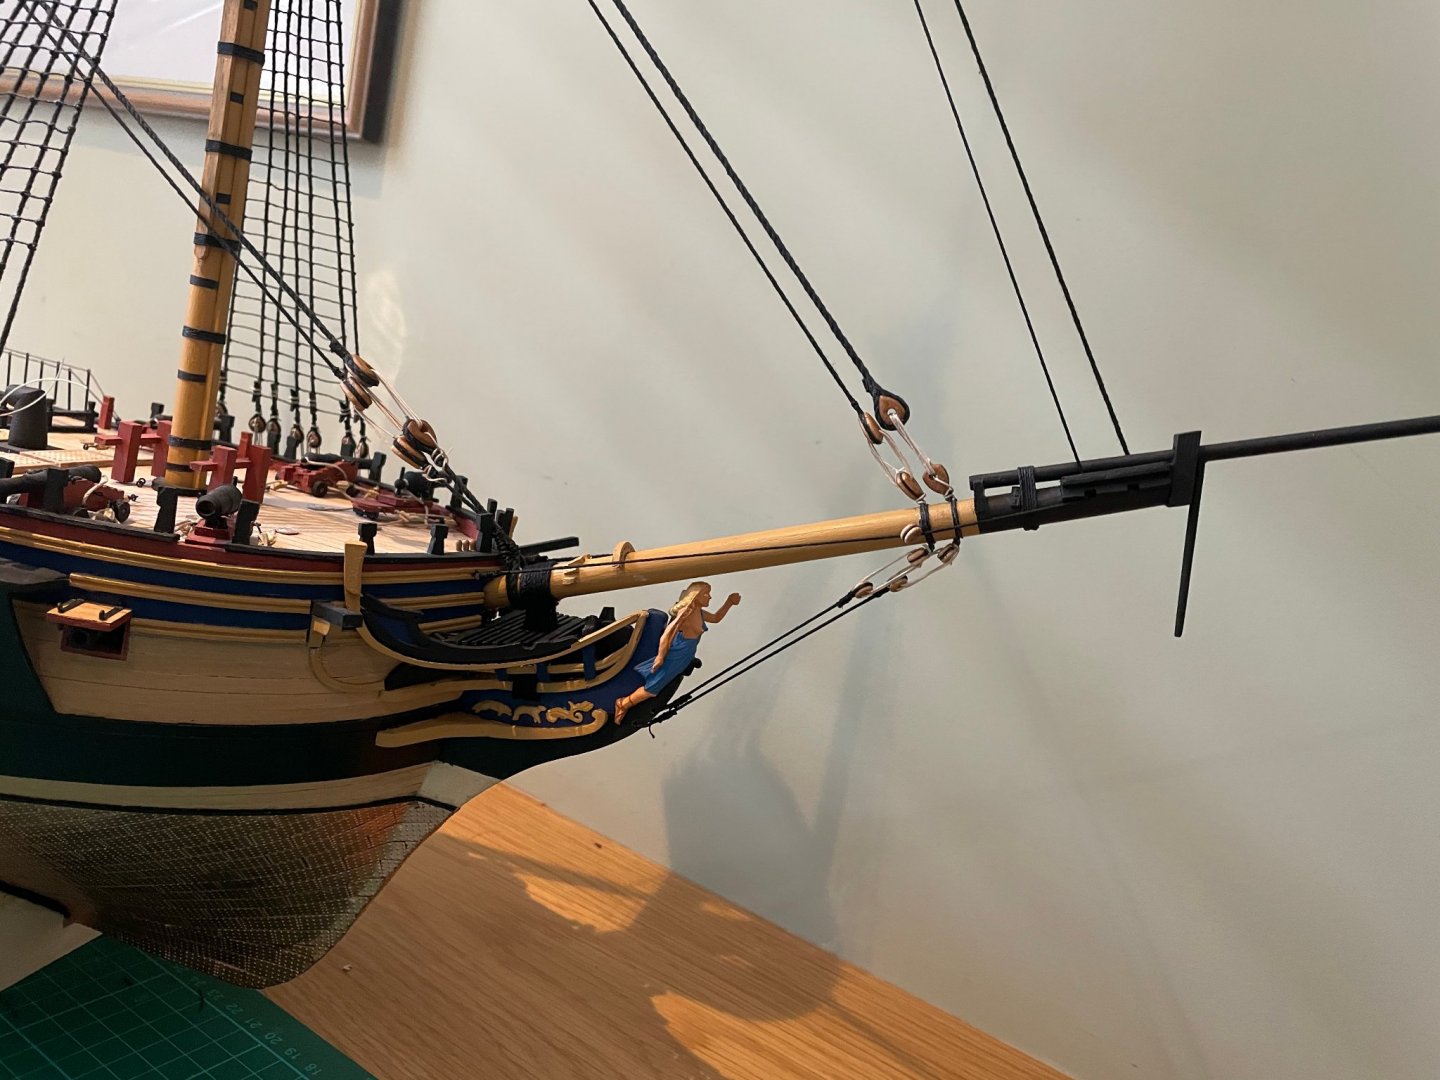
Latest state of play - all the standing rigging is now complete. Aim to finish the bow area next and then start on the spars.


-
Peterhudson changed their profile photo
-
Peterhudson reacted to a post in a topic:
HMS DIANA by Peterhudson - Caldercraft - 1:64 Scale
-
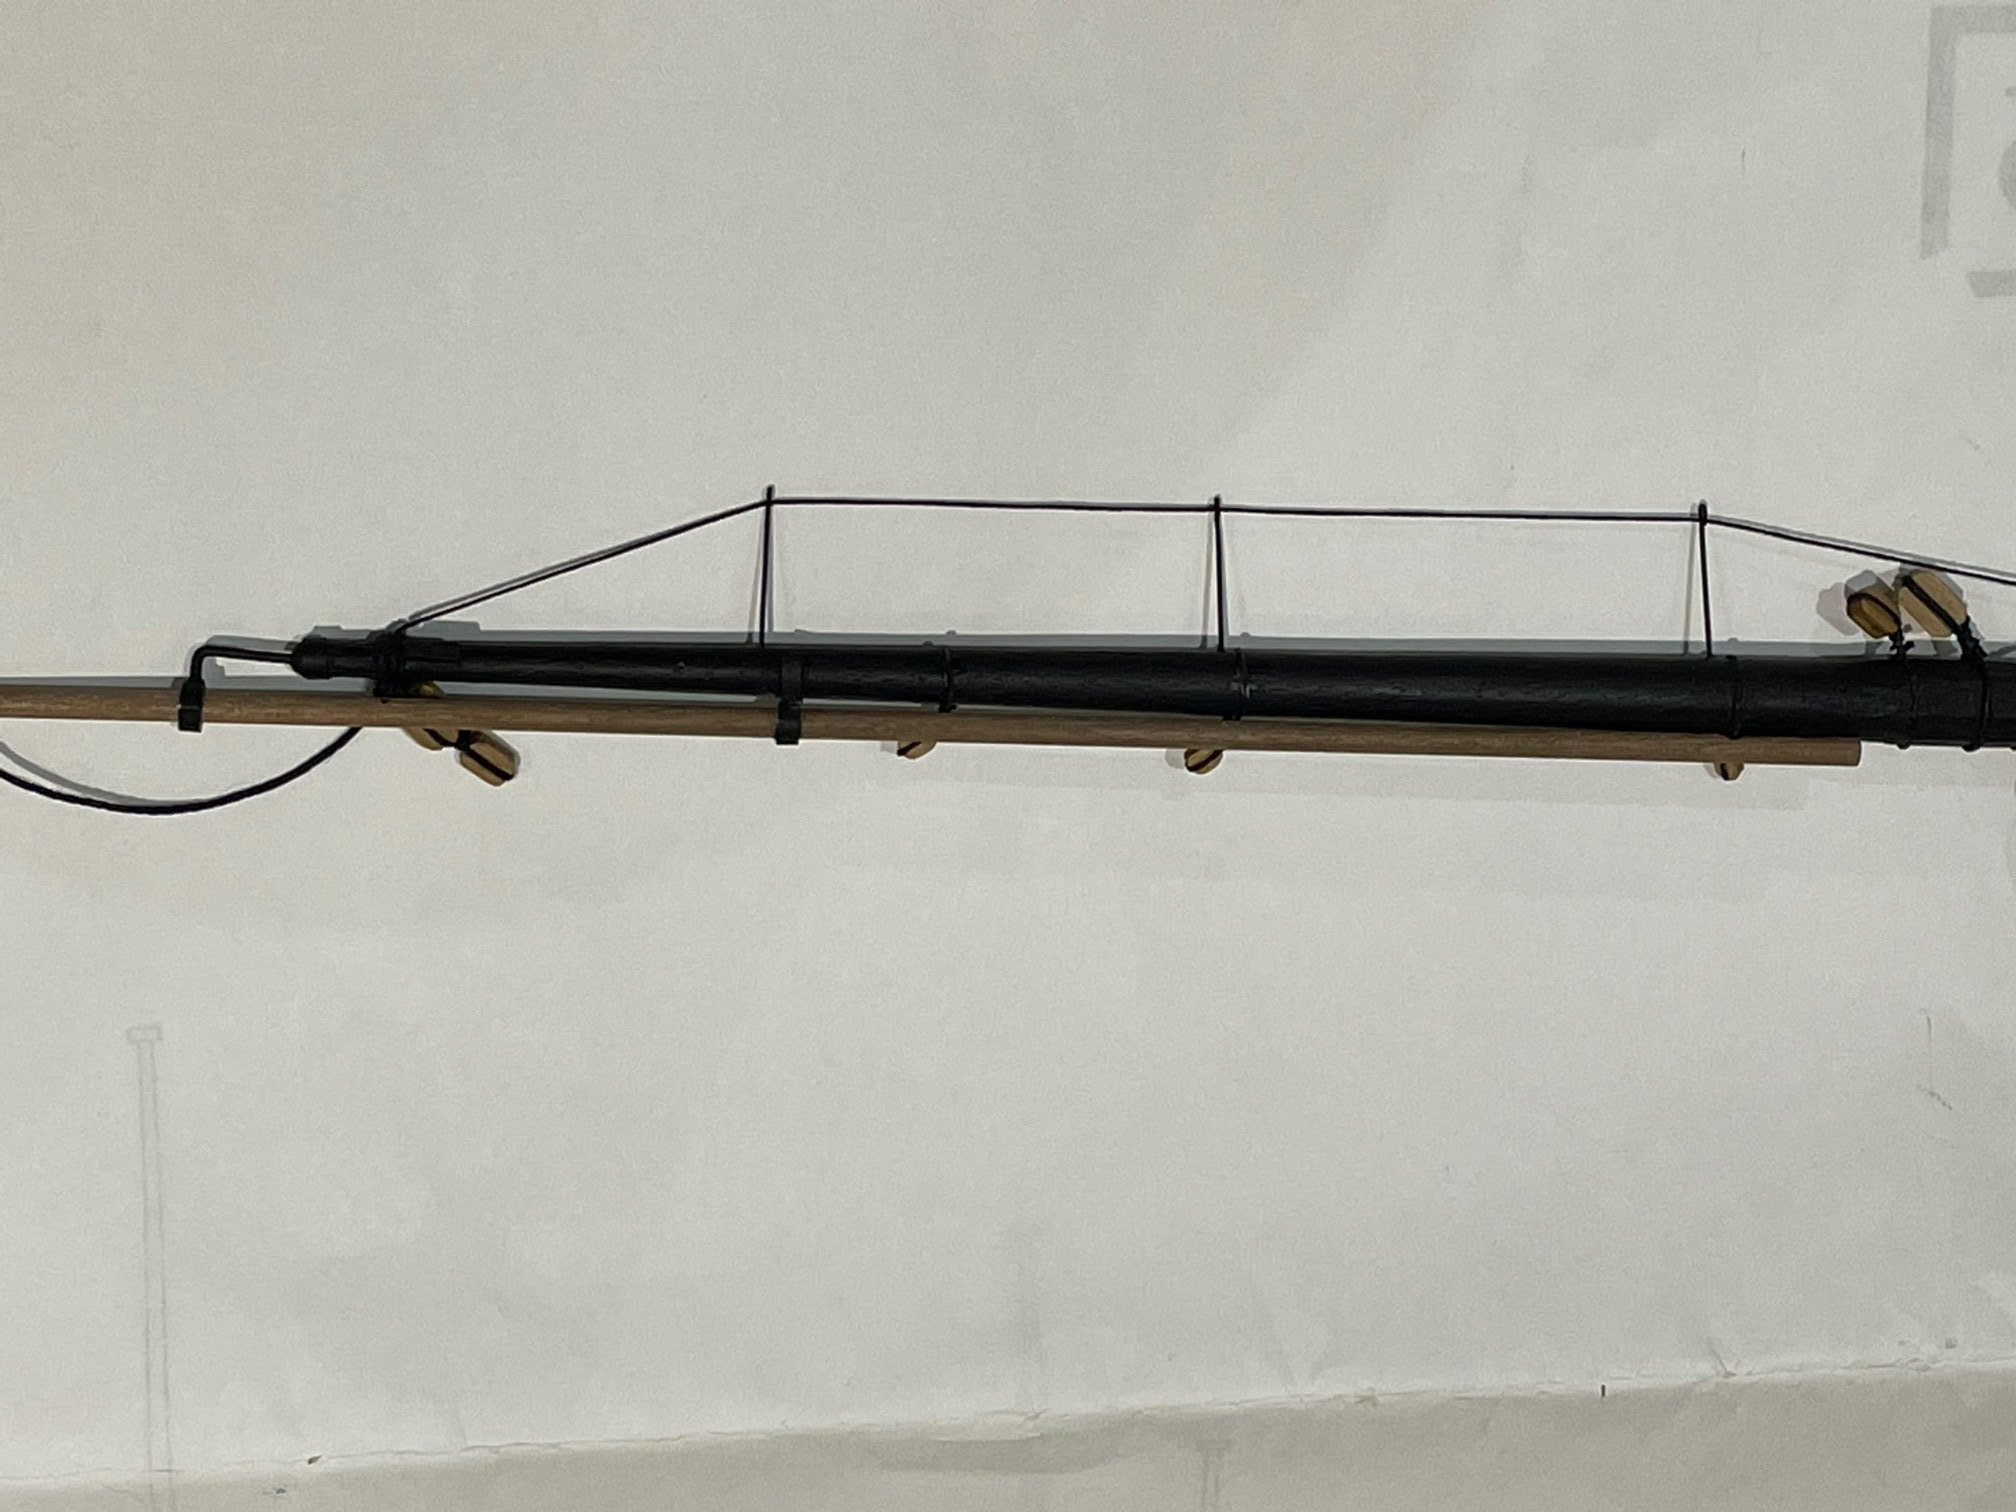
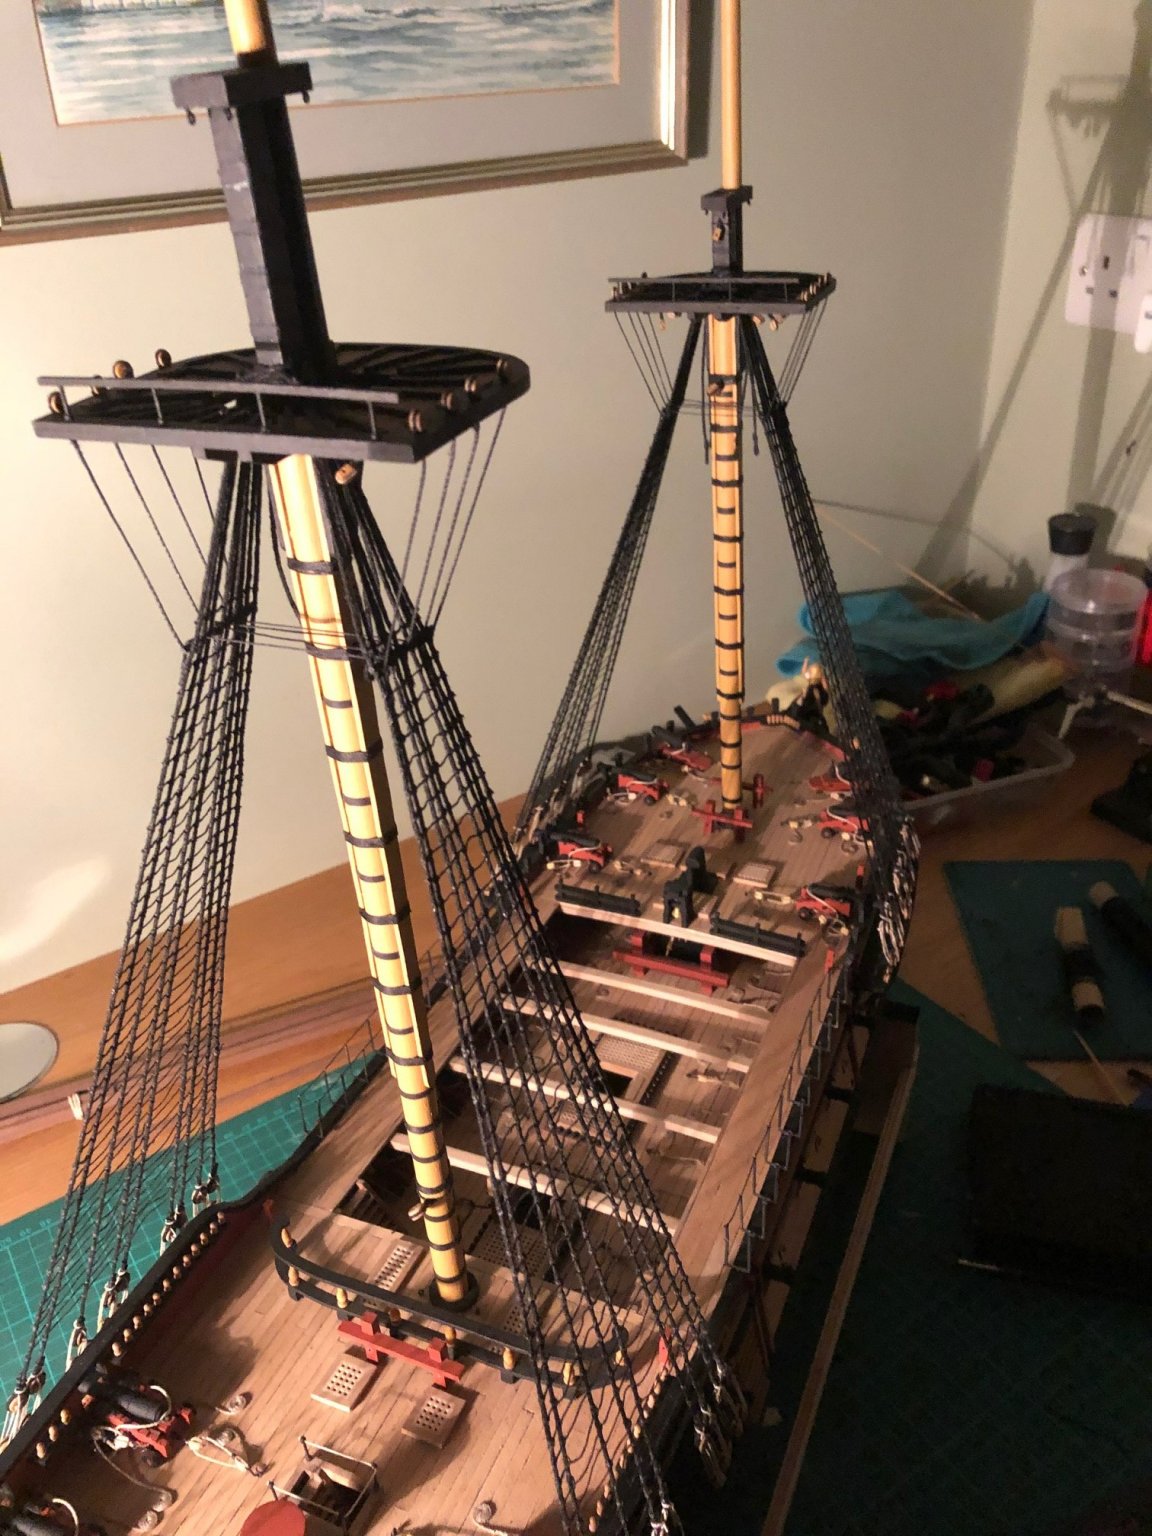
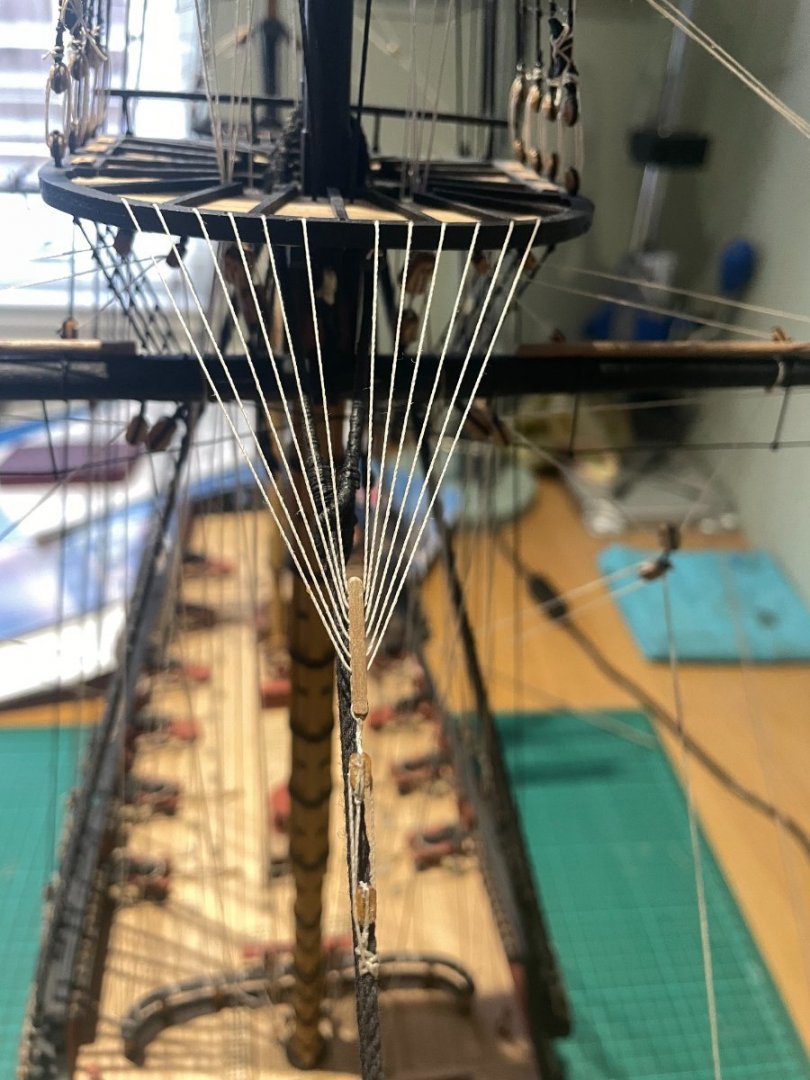
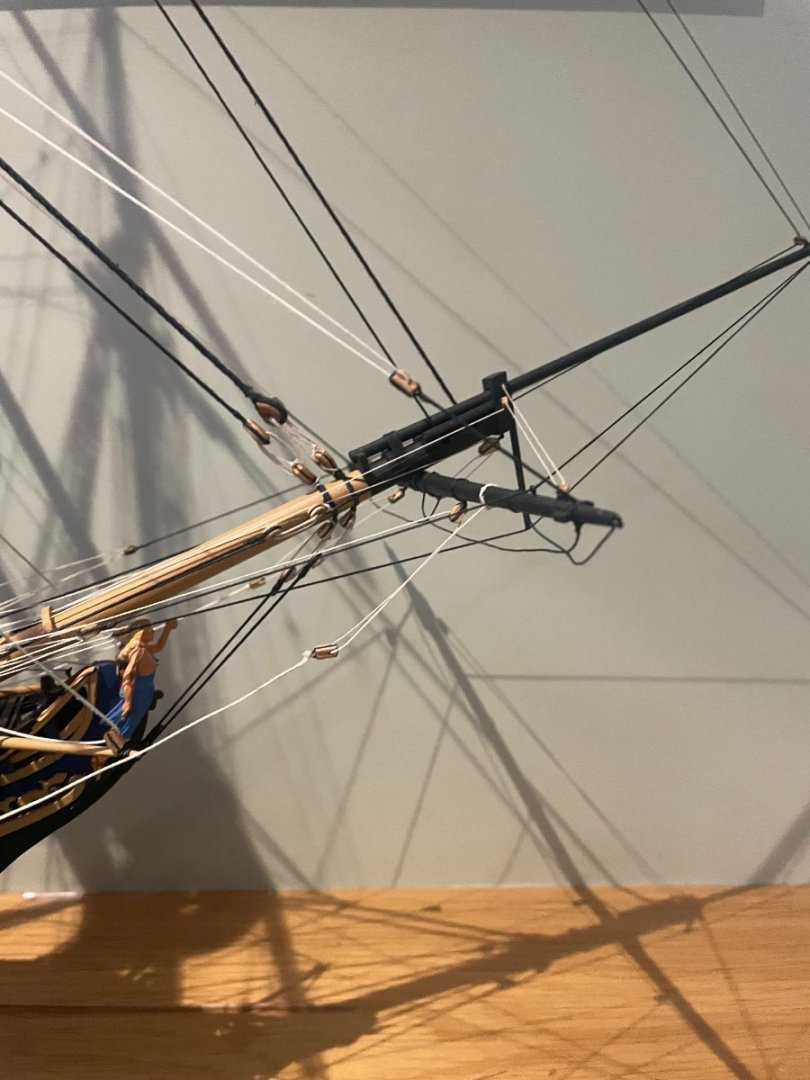
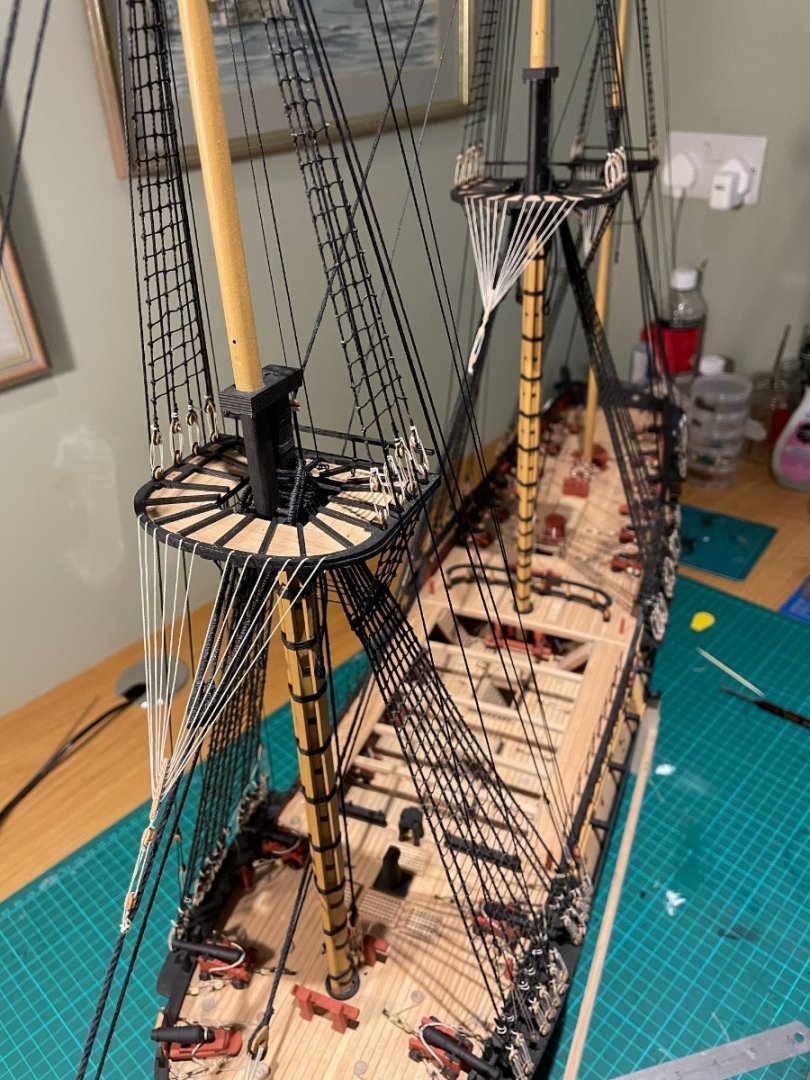
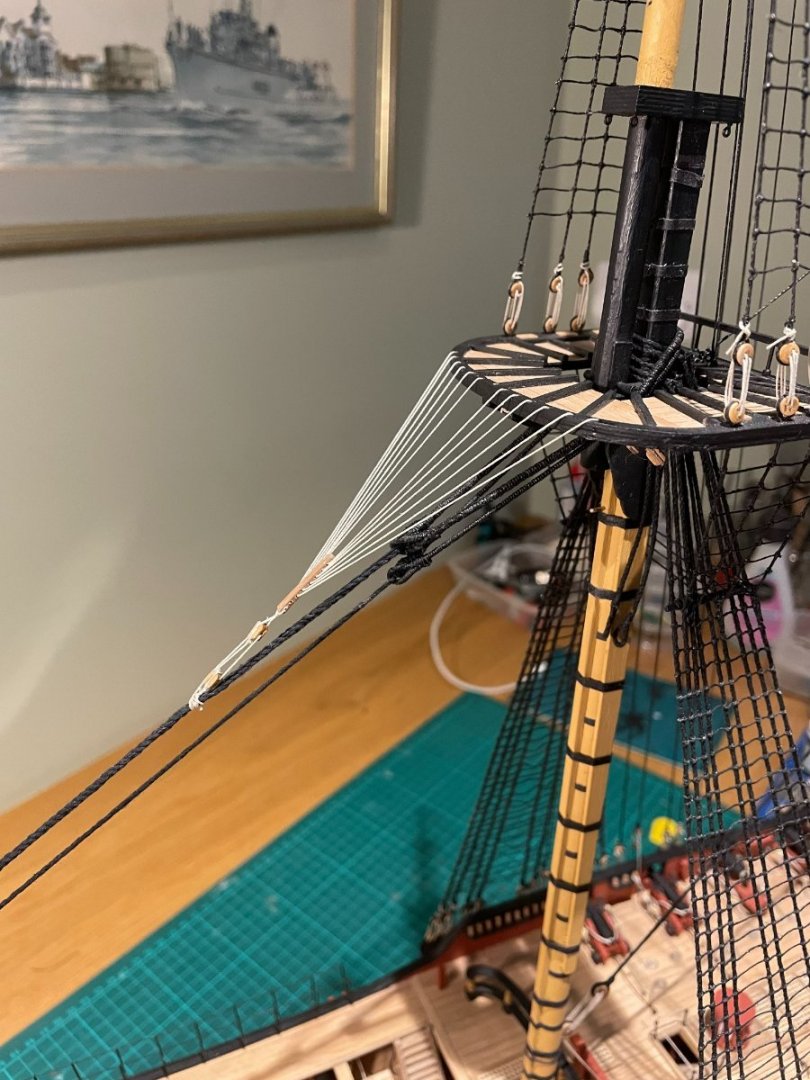
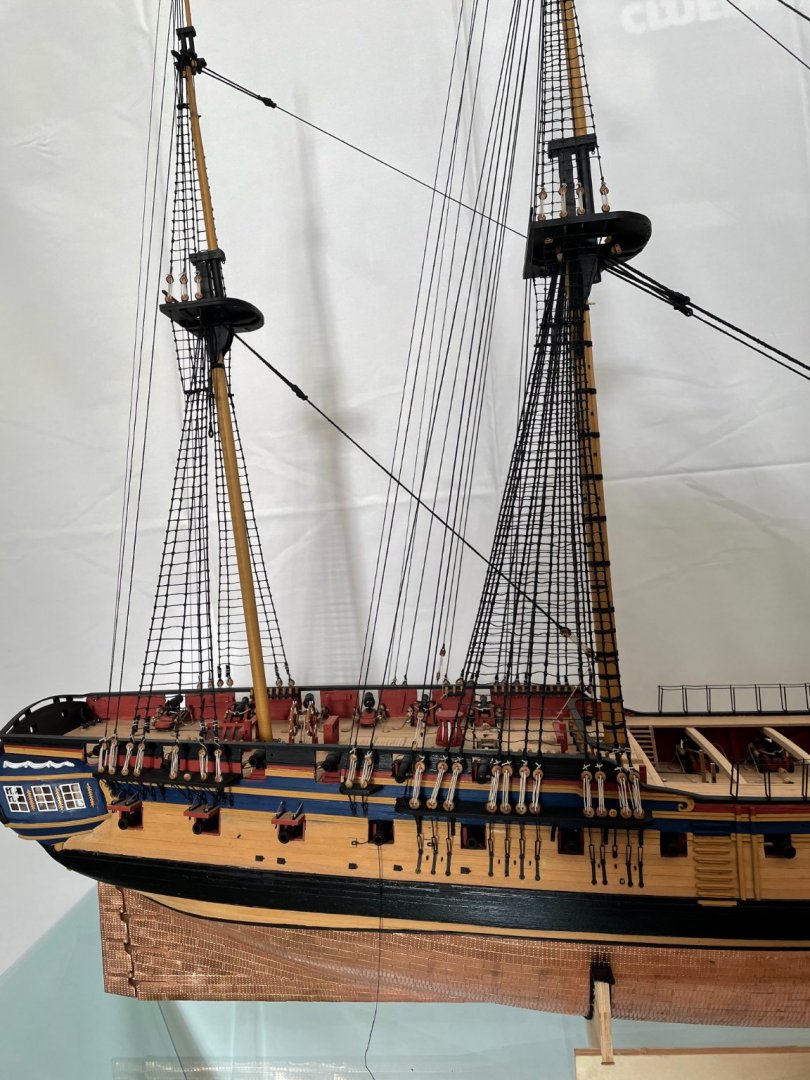
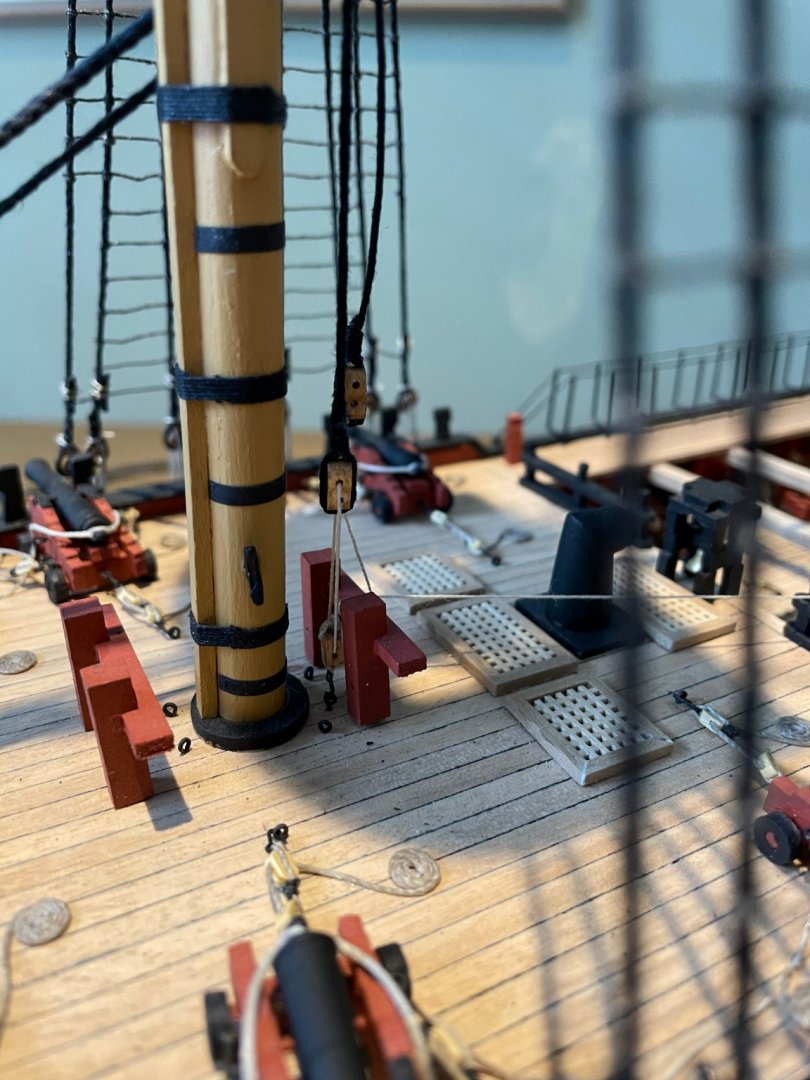
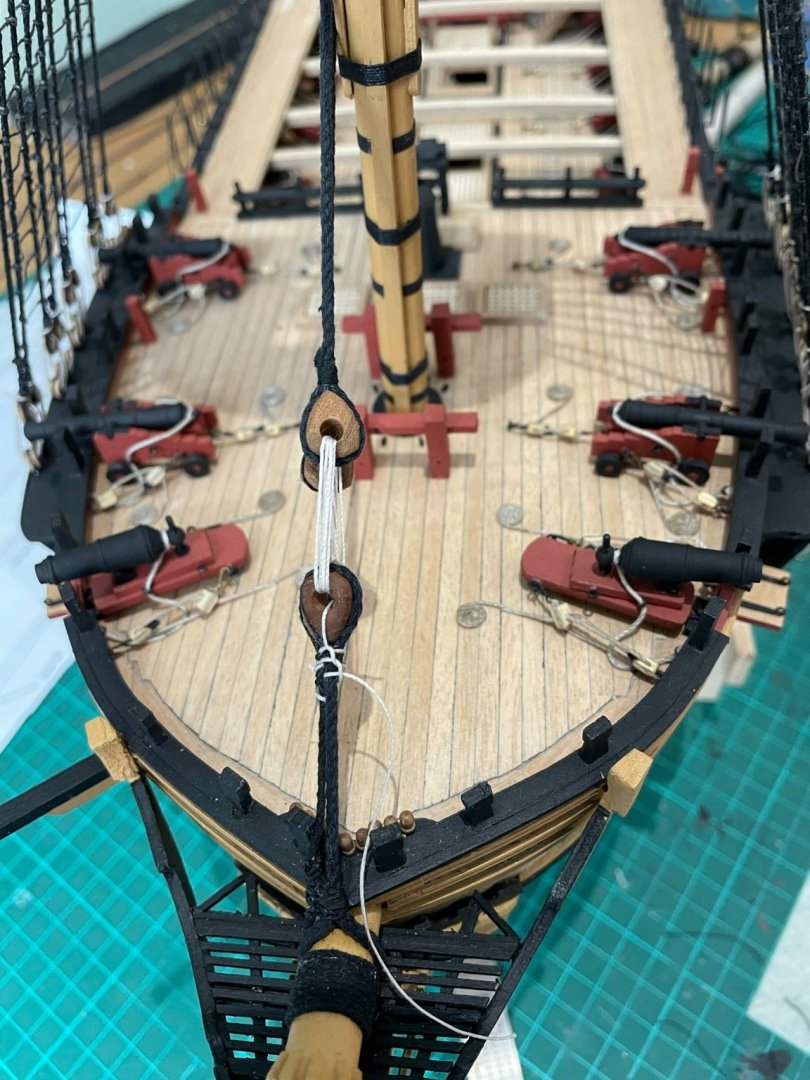
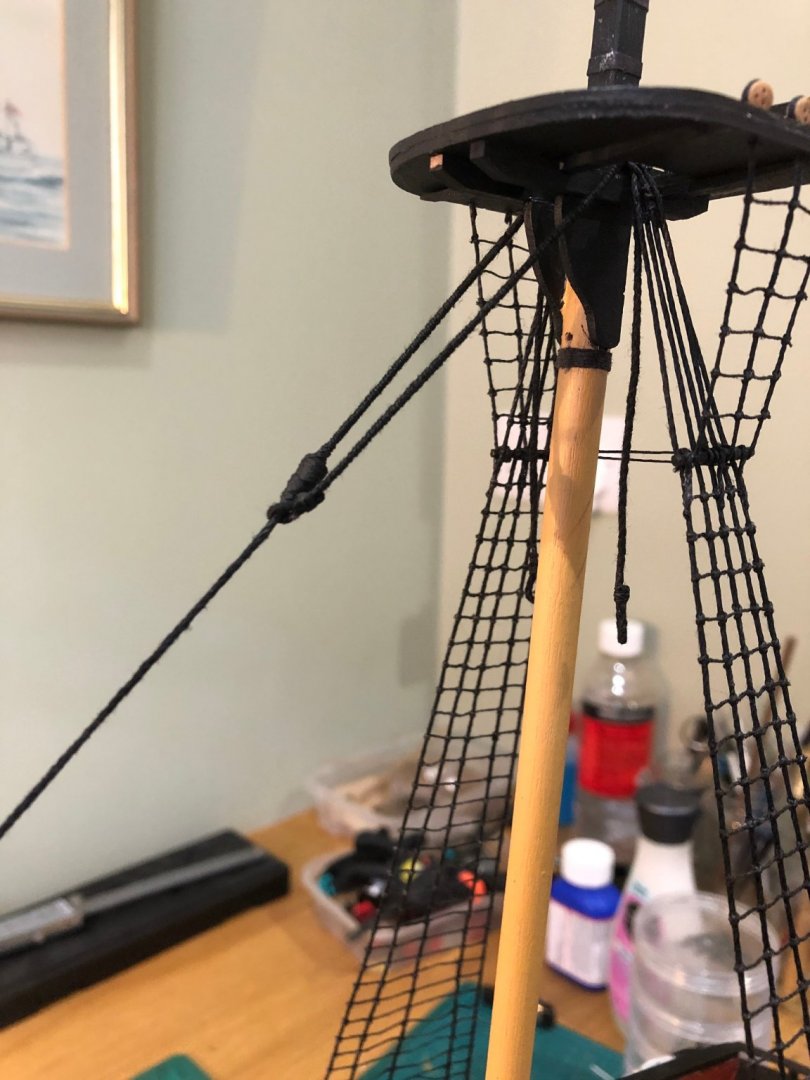
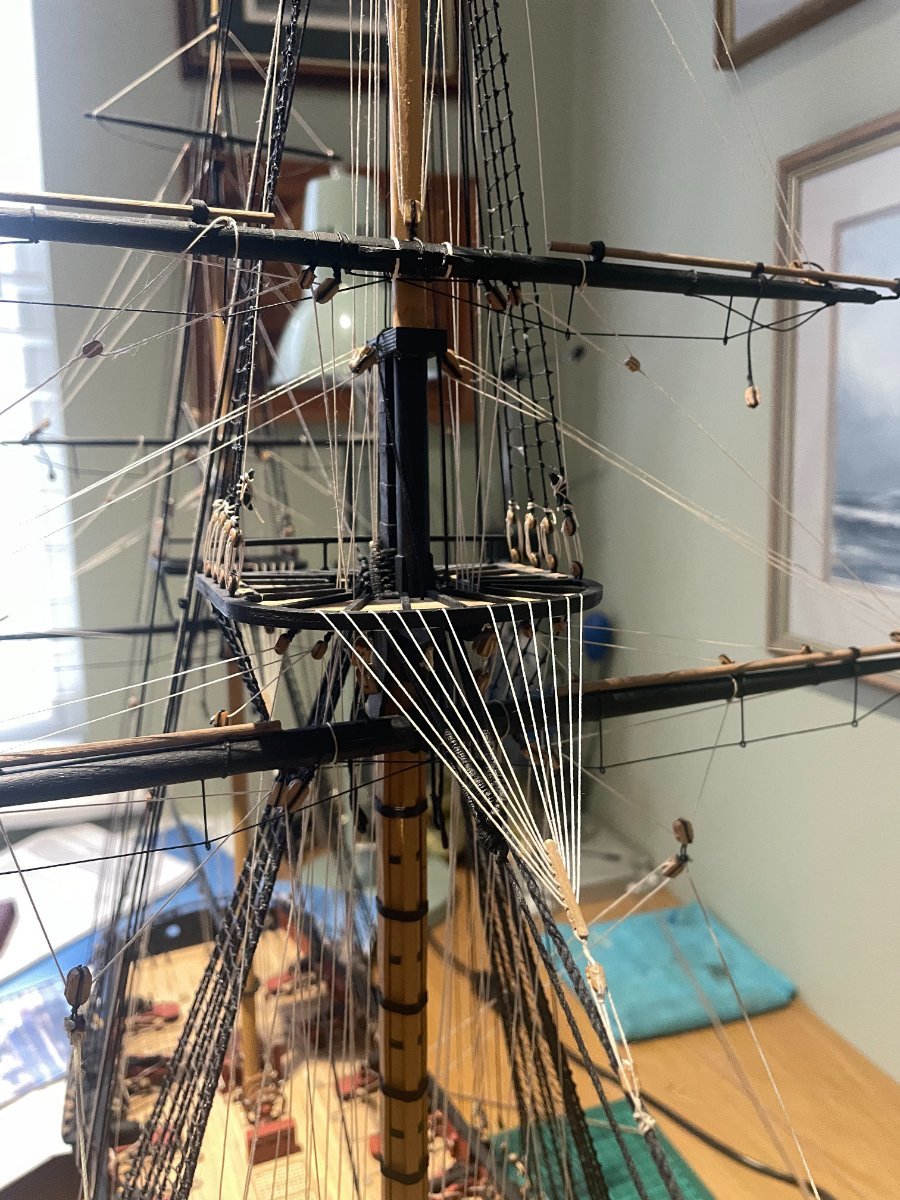
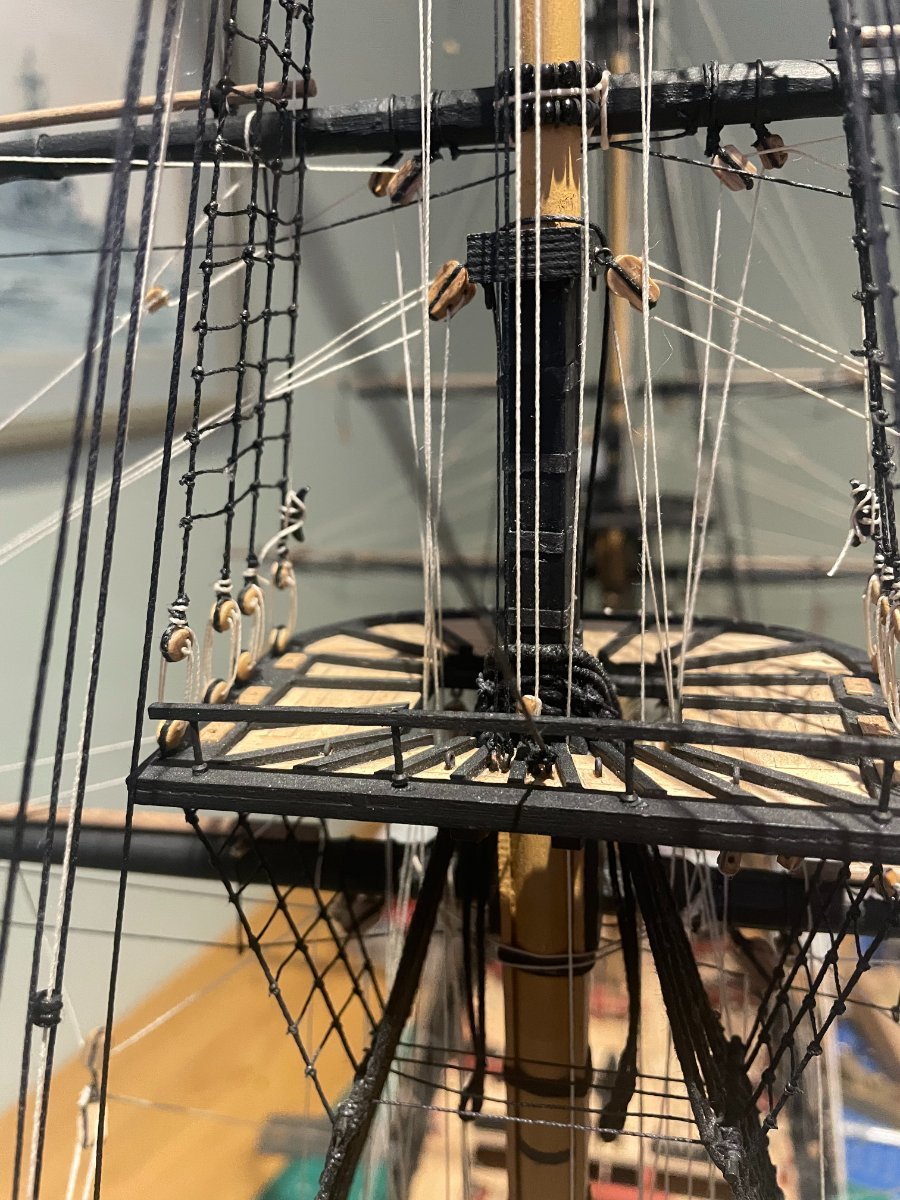
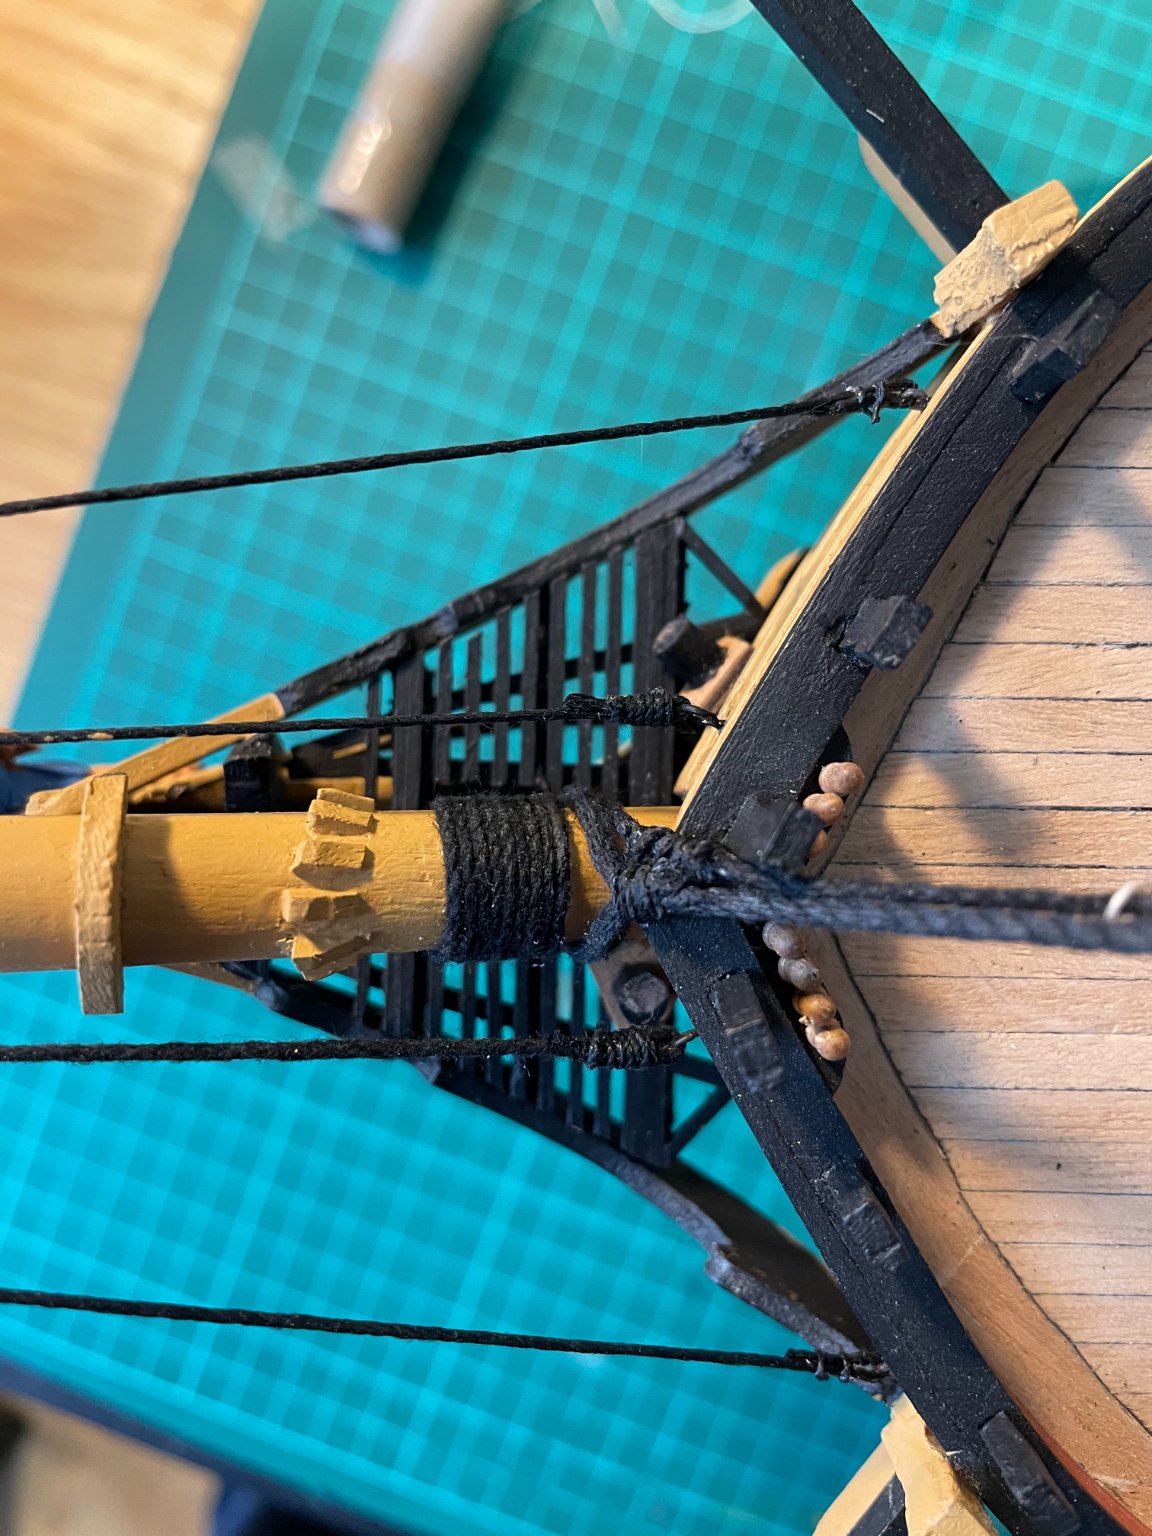
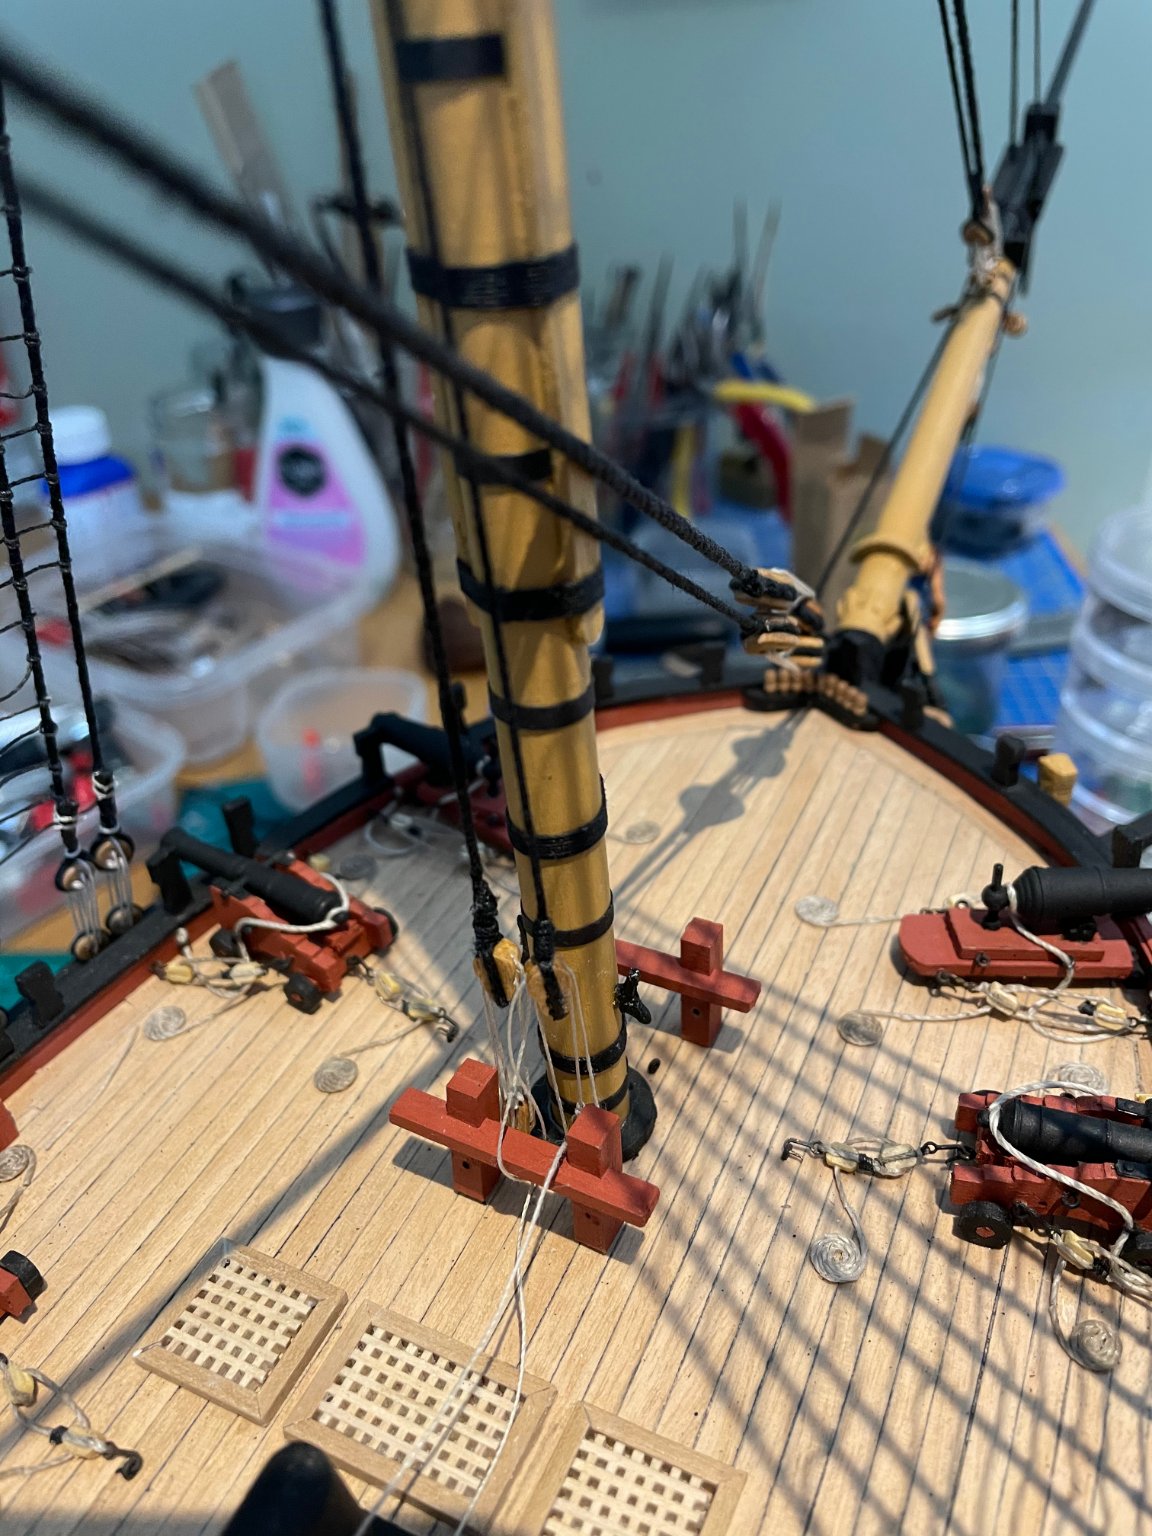
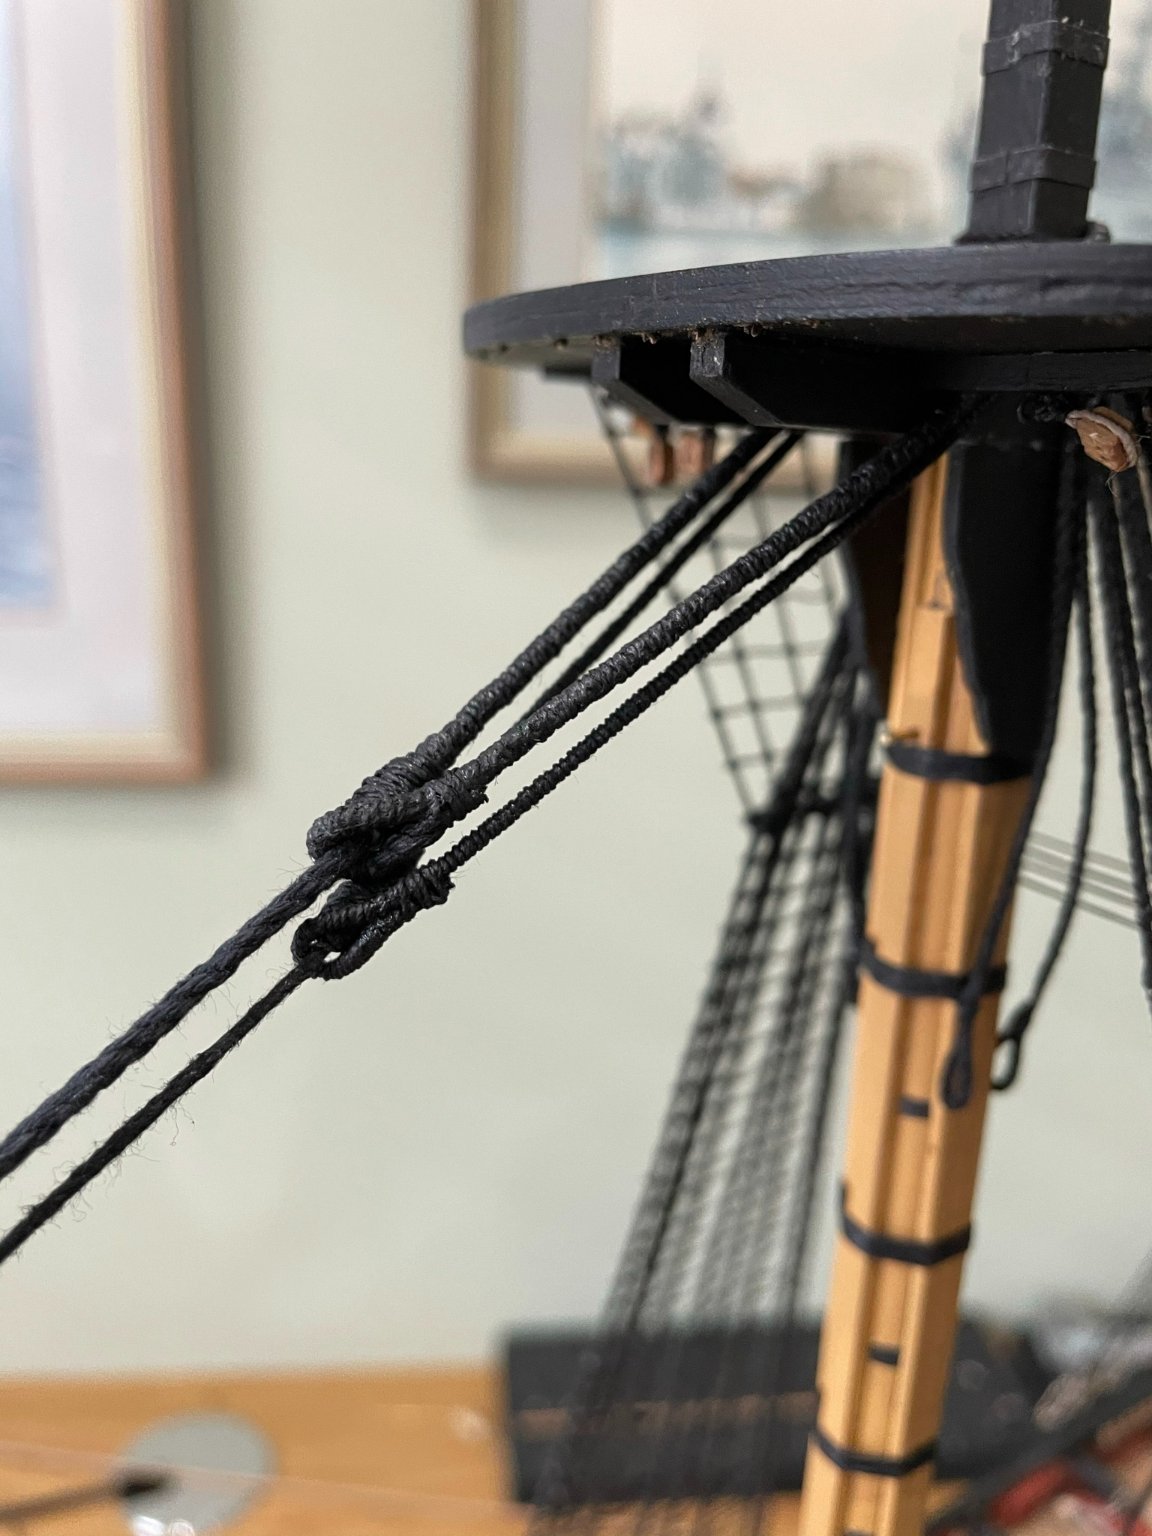
Some further photo's showing the securing arrangements around the bow and the base of the mainmast.

-
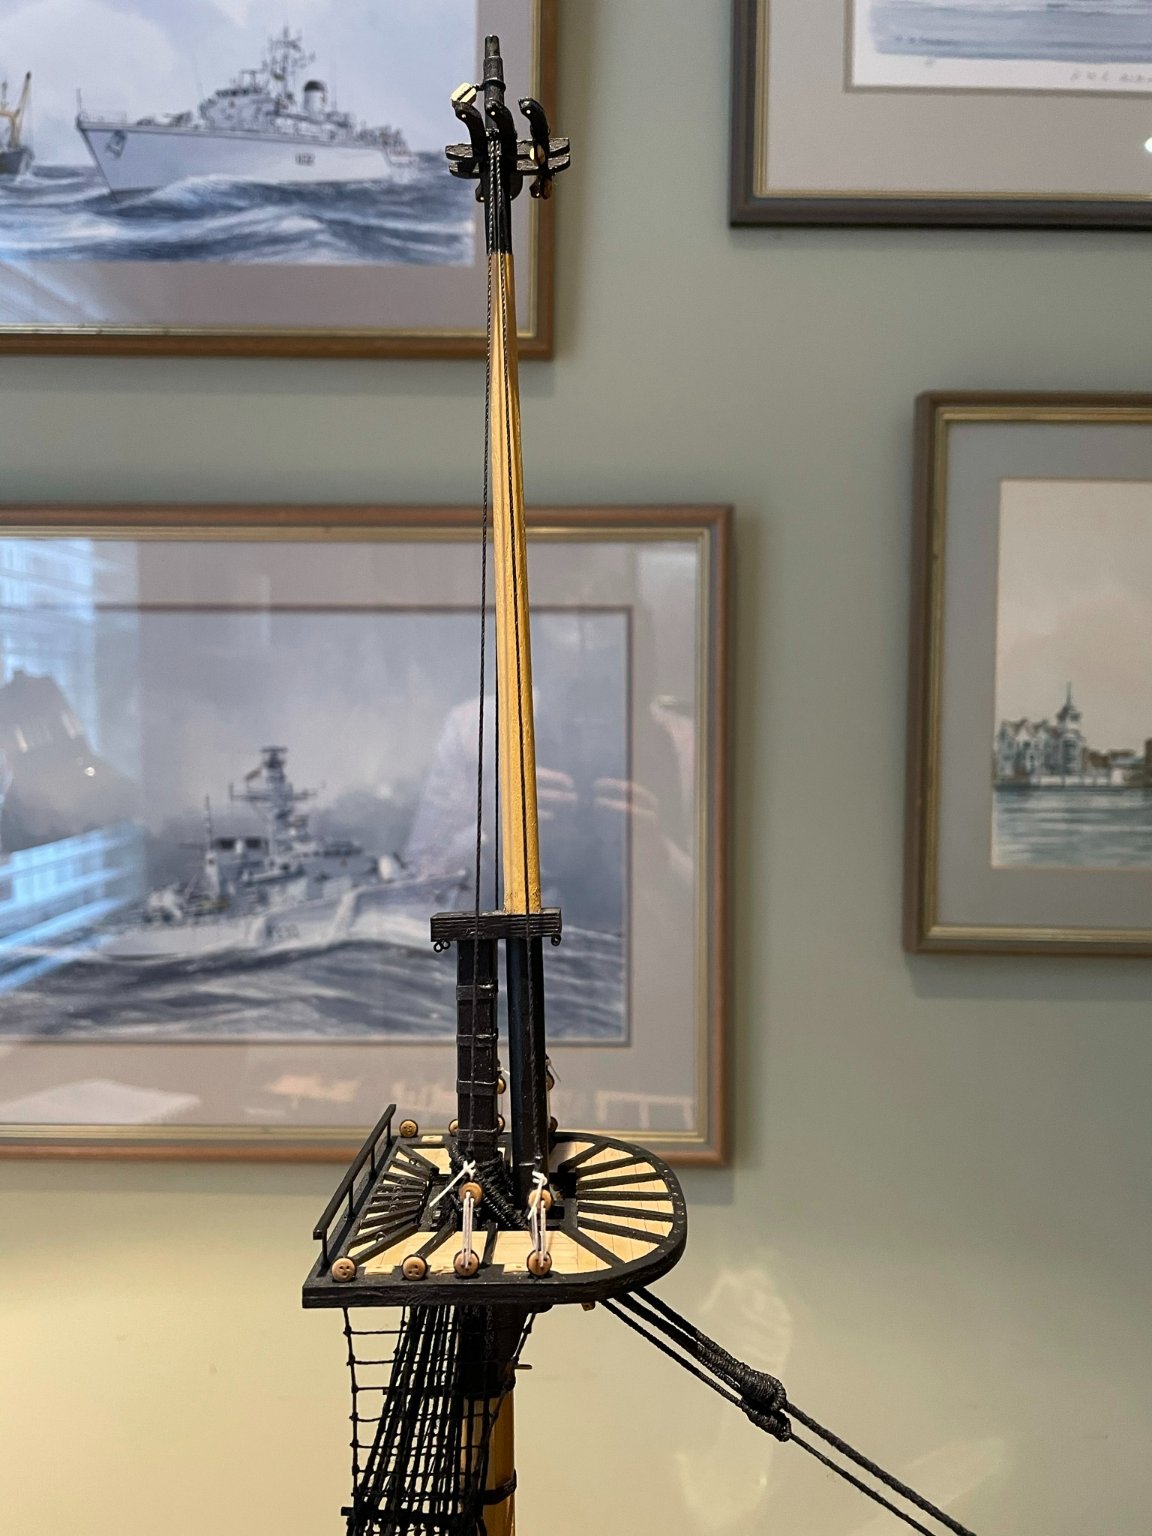
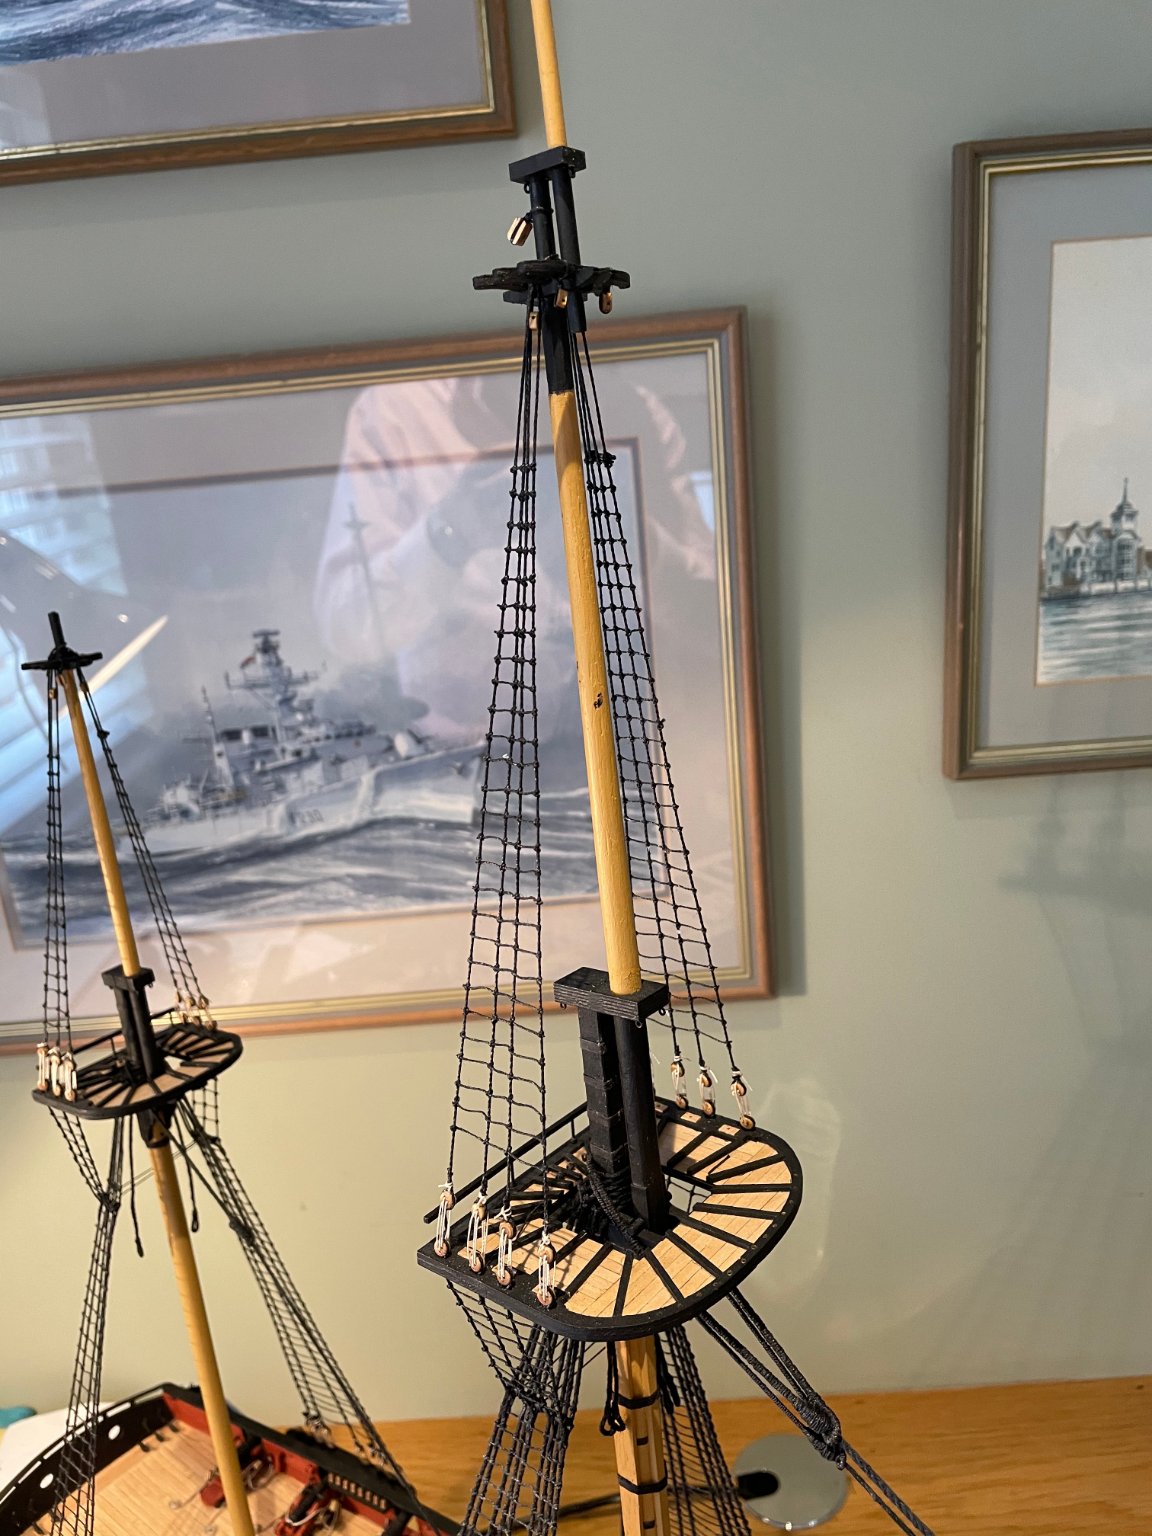
I have continued fixing the stays and finishing the upper shrouds and ratlines. Nearly there!


-
Progress continues and I have now secured the 5 major stays. I spent some time 'worming' by hand which was strangely relaxing and achieved whilst watching/listening to online conference: there are advantages working at home! I put the stays on early as I thought it would be awkward getting in and around the tops with the rest of the standing rigging in place and posed a risk of damage - I am not the most deft handed modeler on the market. The topmasts and top gallant masts are not secured in the picture which is why they look wonky! The upper standing rigging comes next.


-
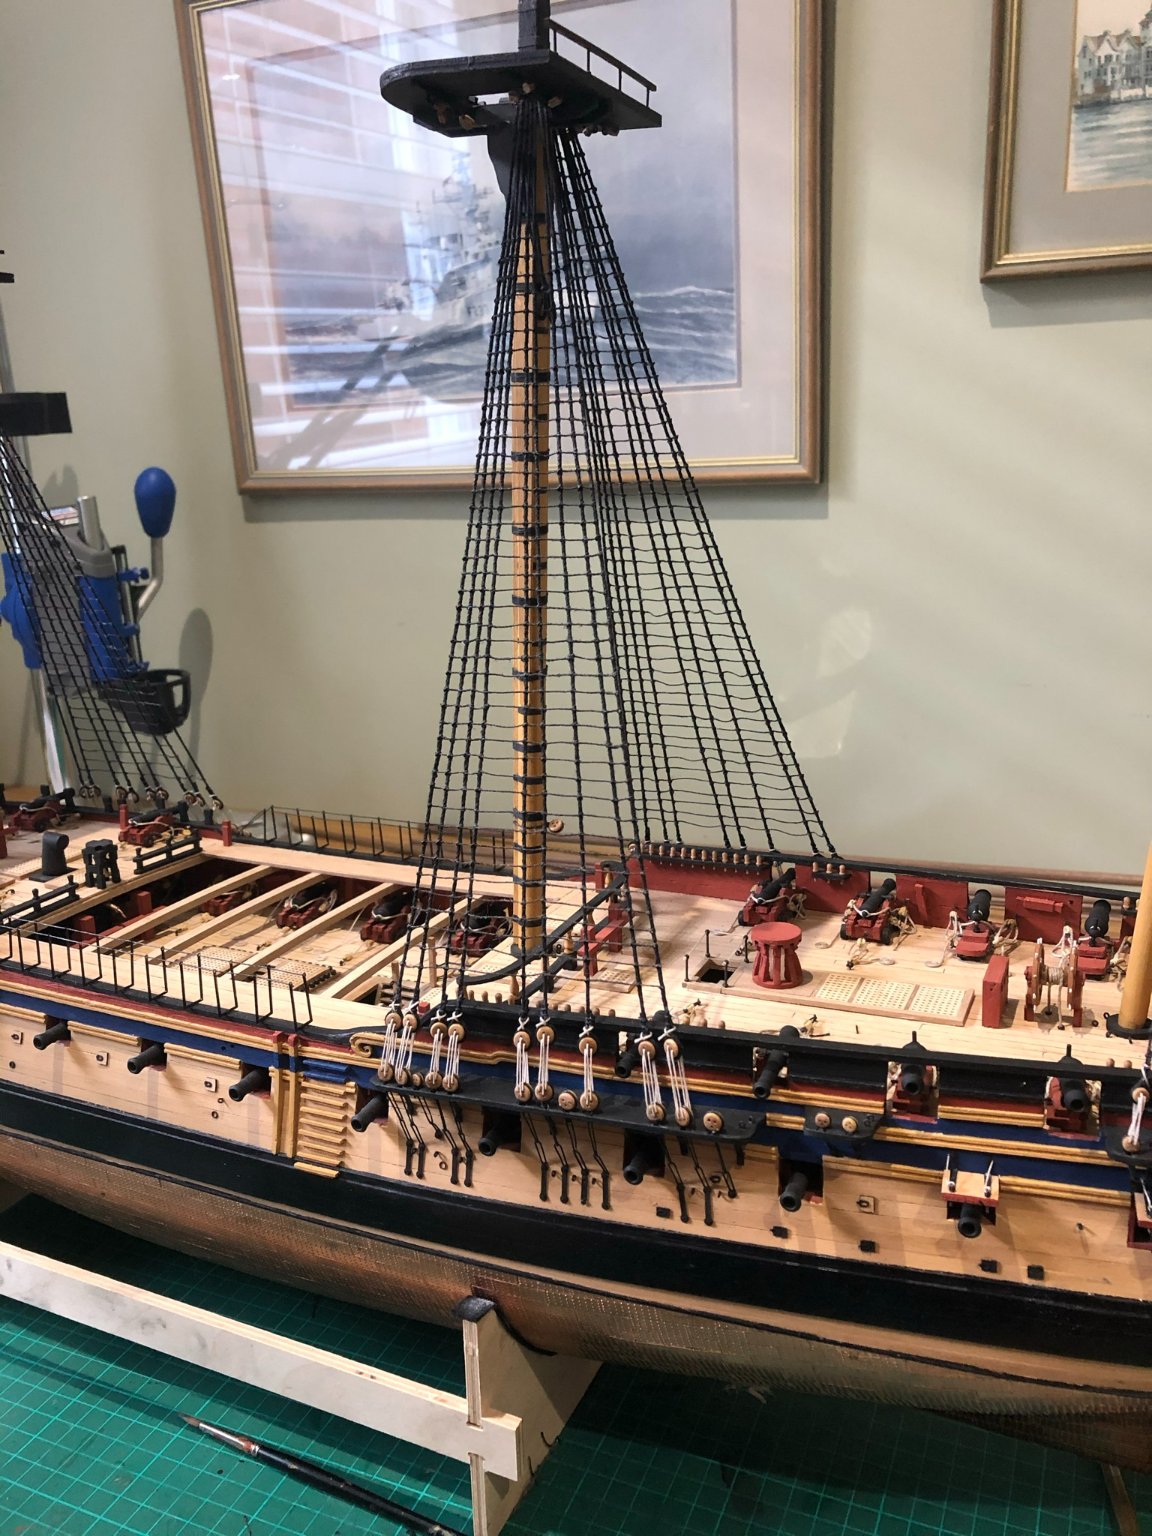
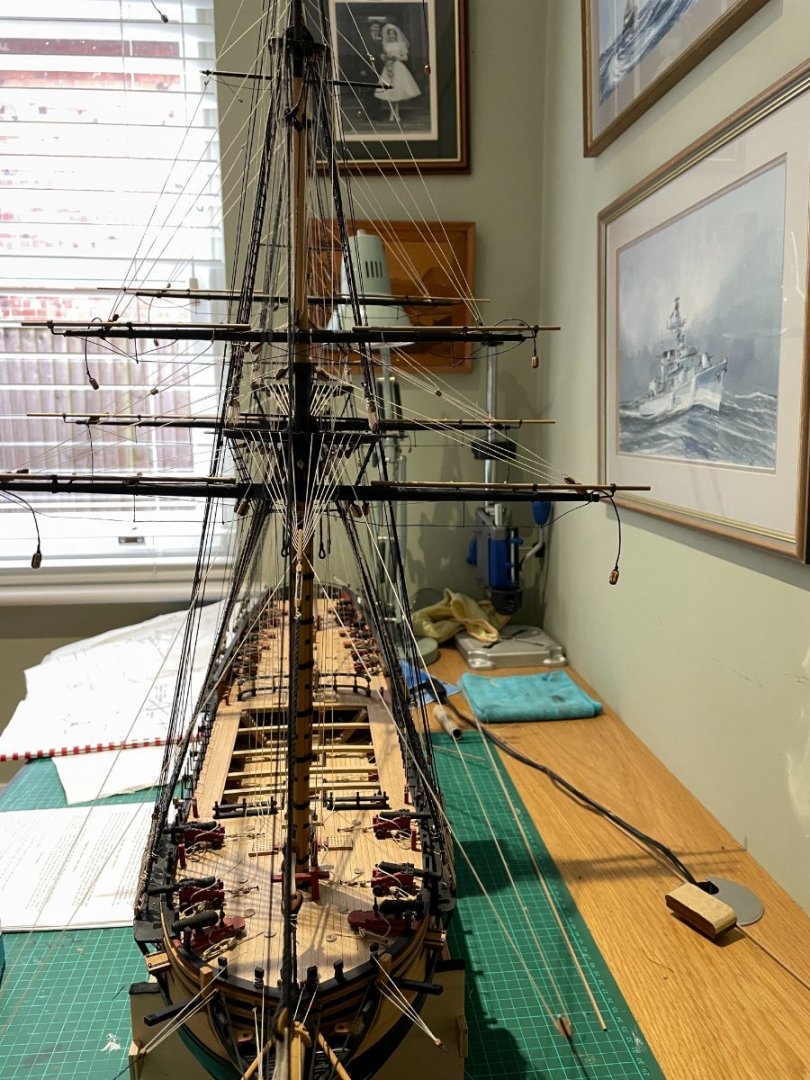
Here she is this evening.
-
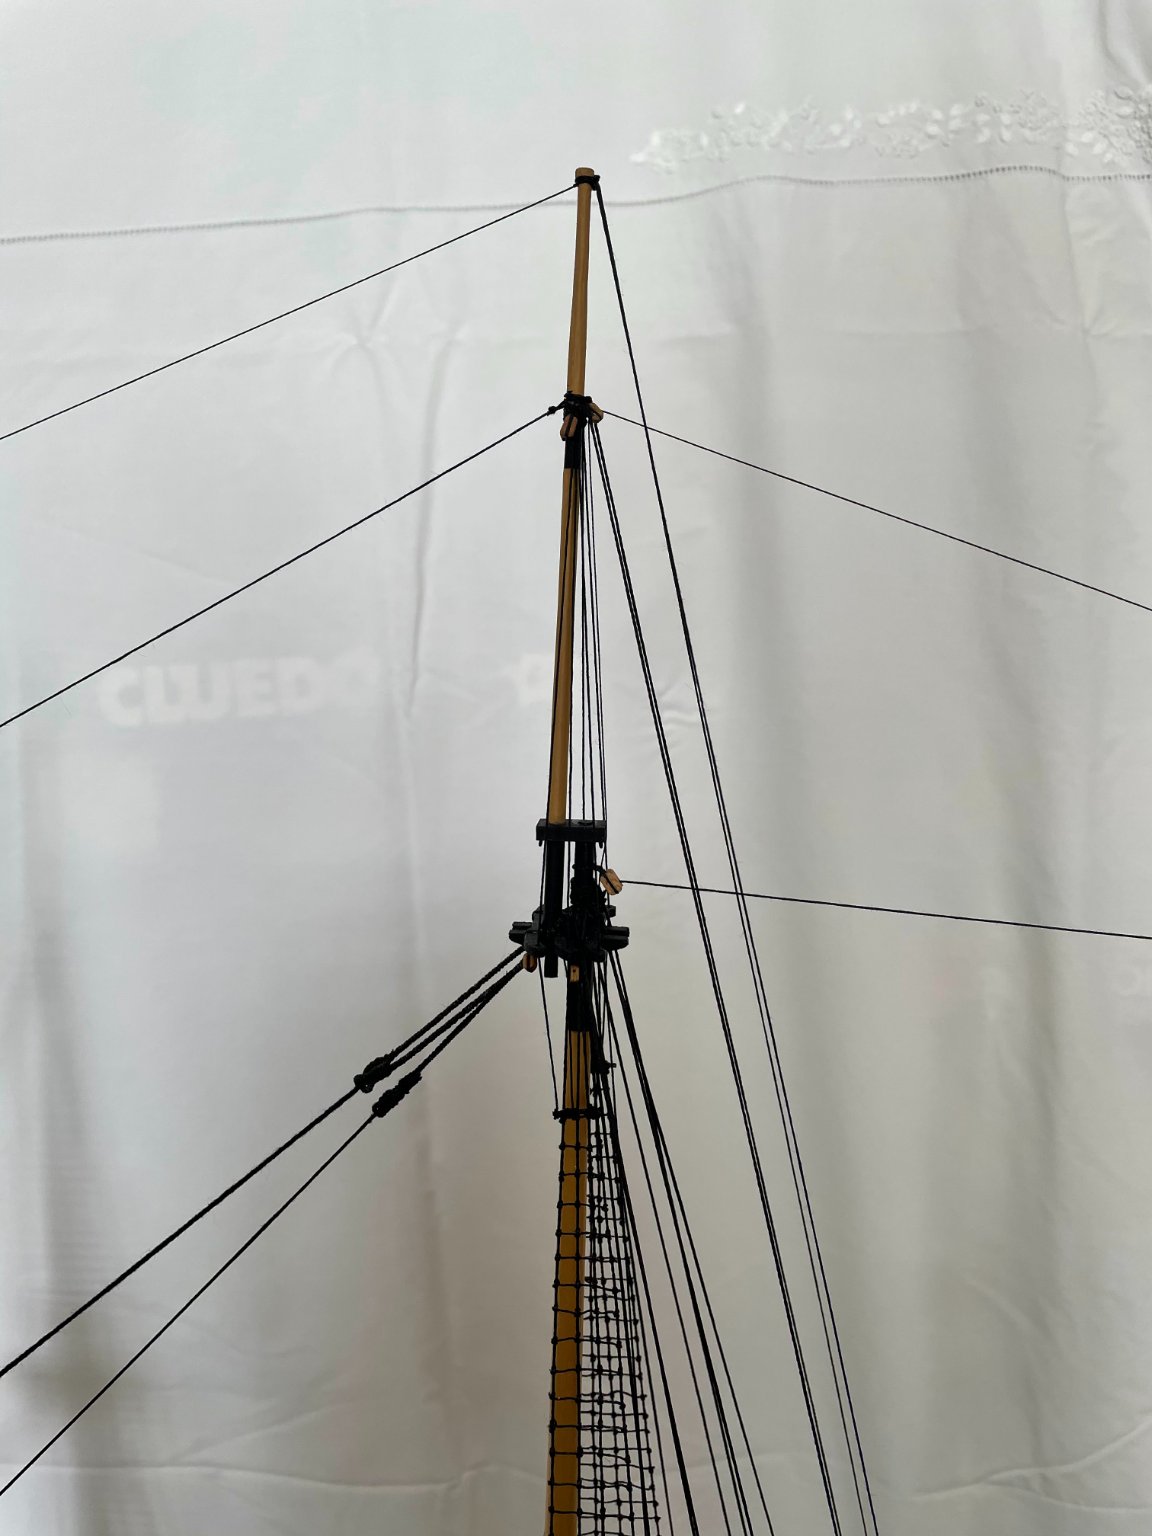
The yards/spars are all done so I think I will attach the stays next - easier to work around the lower tops without the next layer of shrouds to get in the way. The work upwards.
-
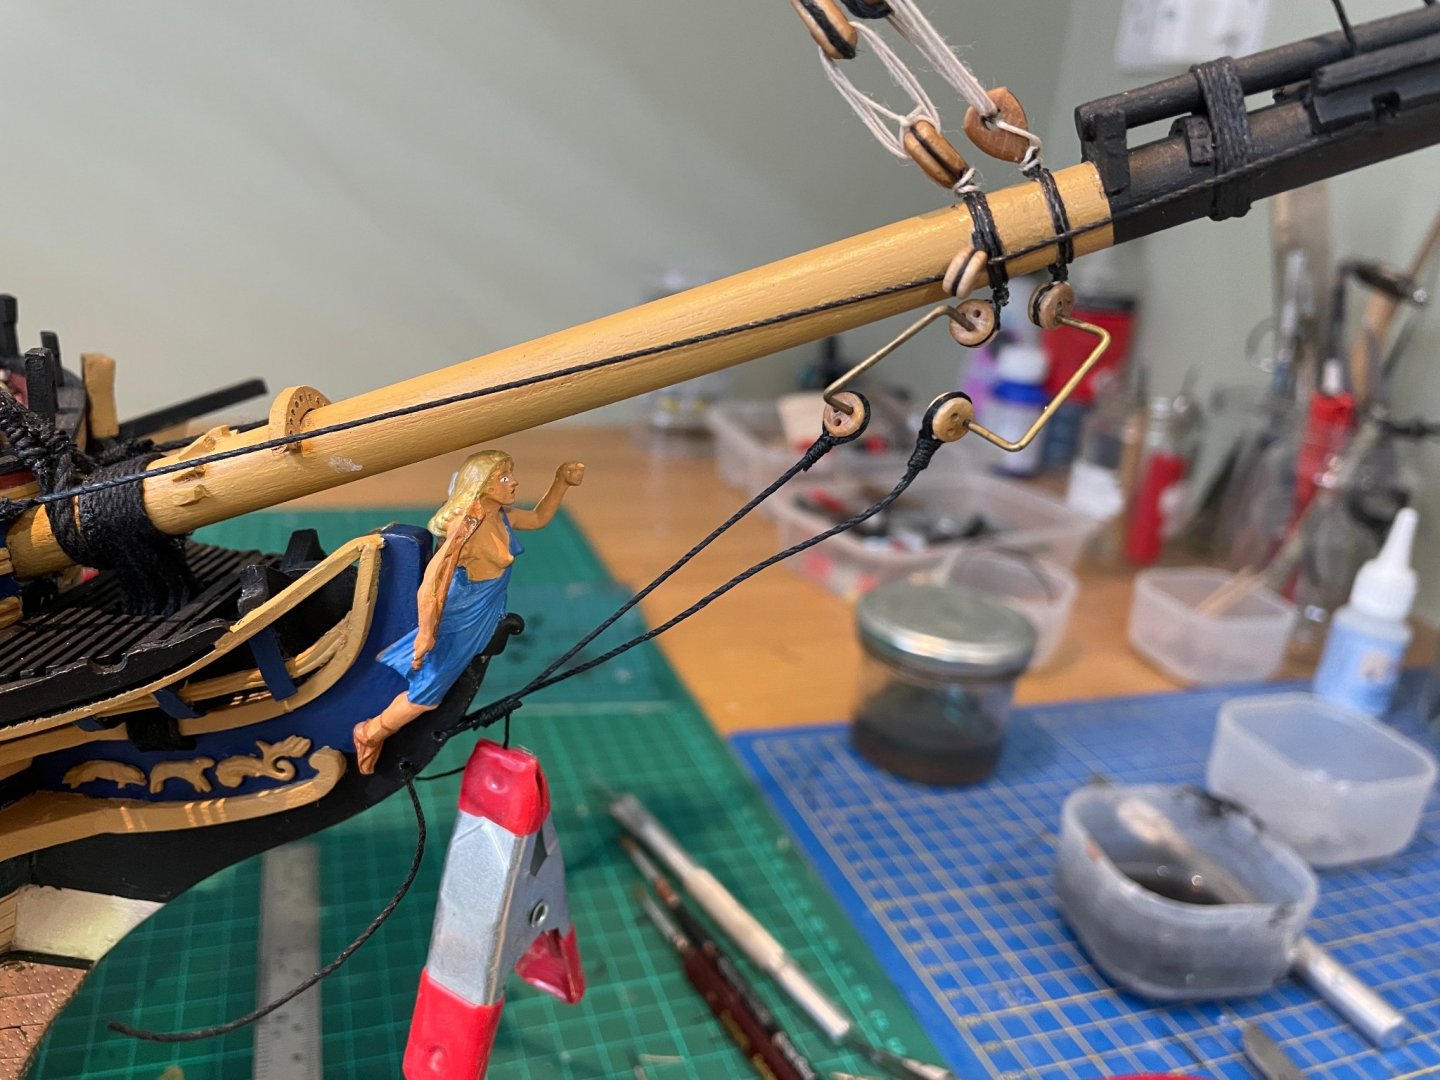
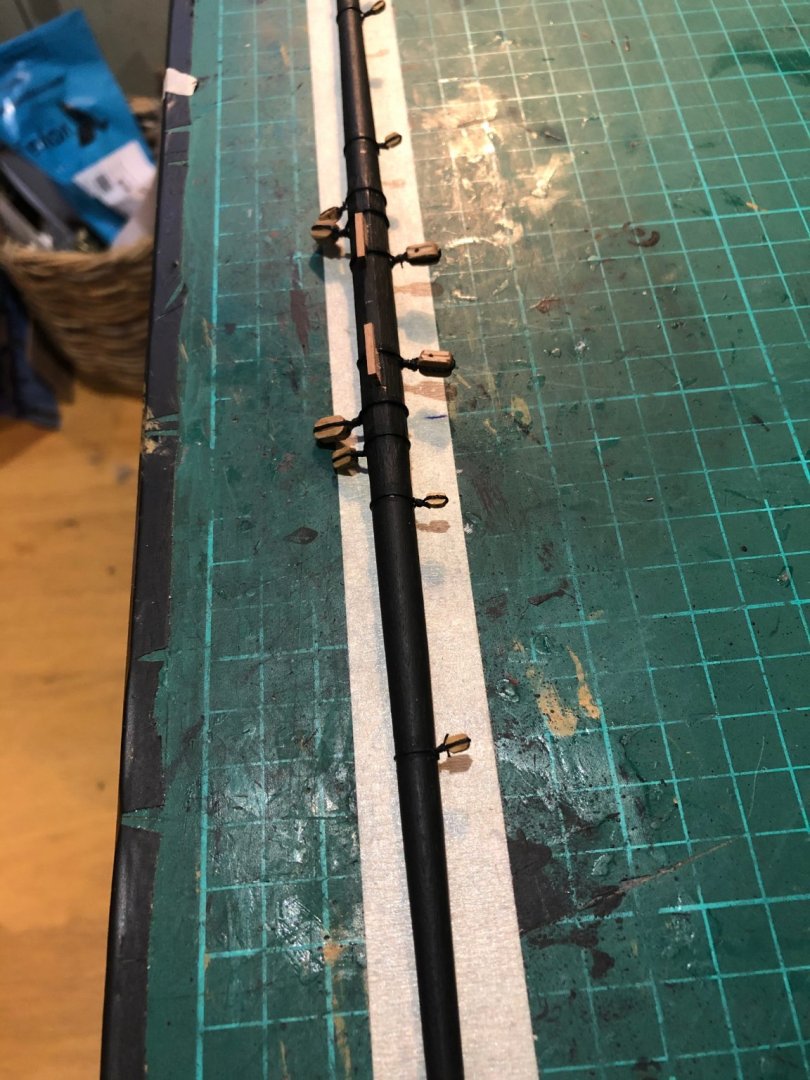
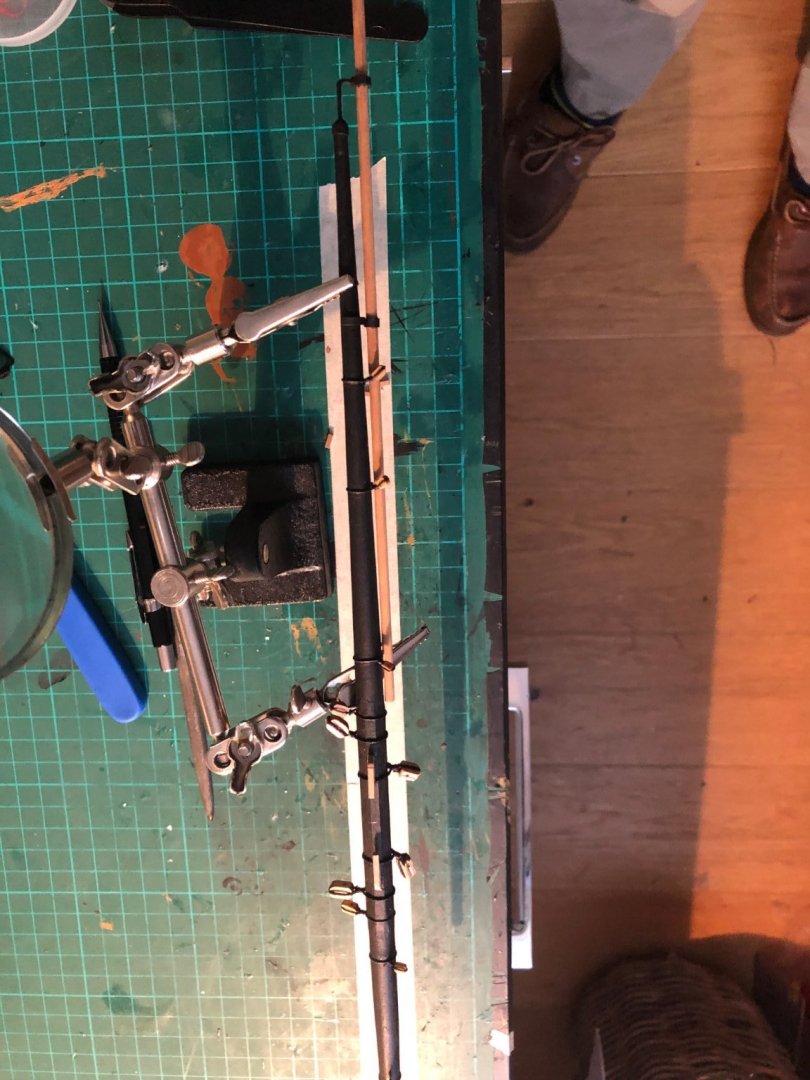
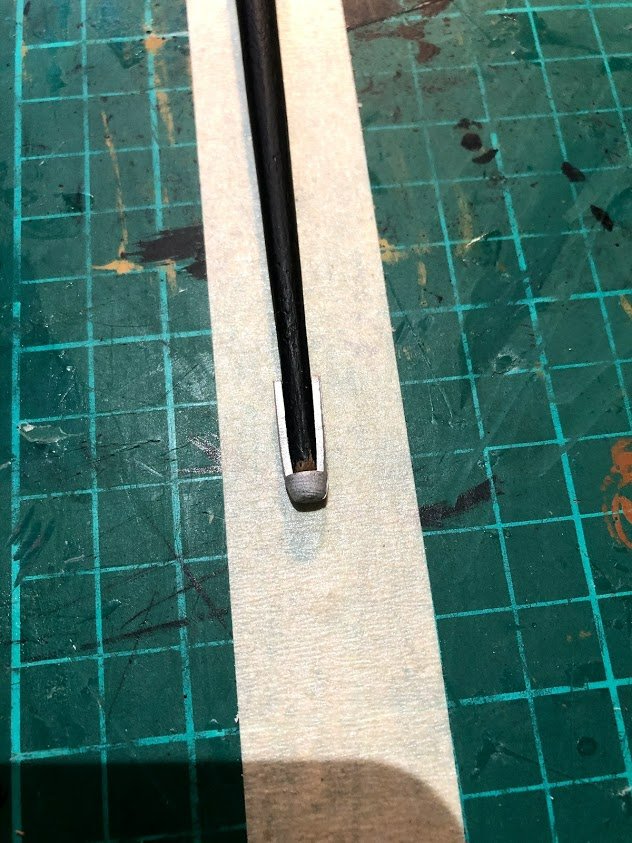
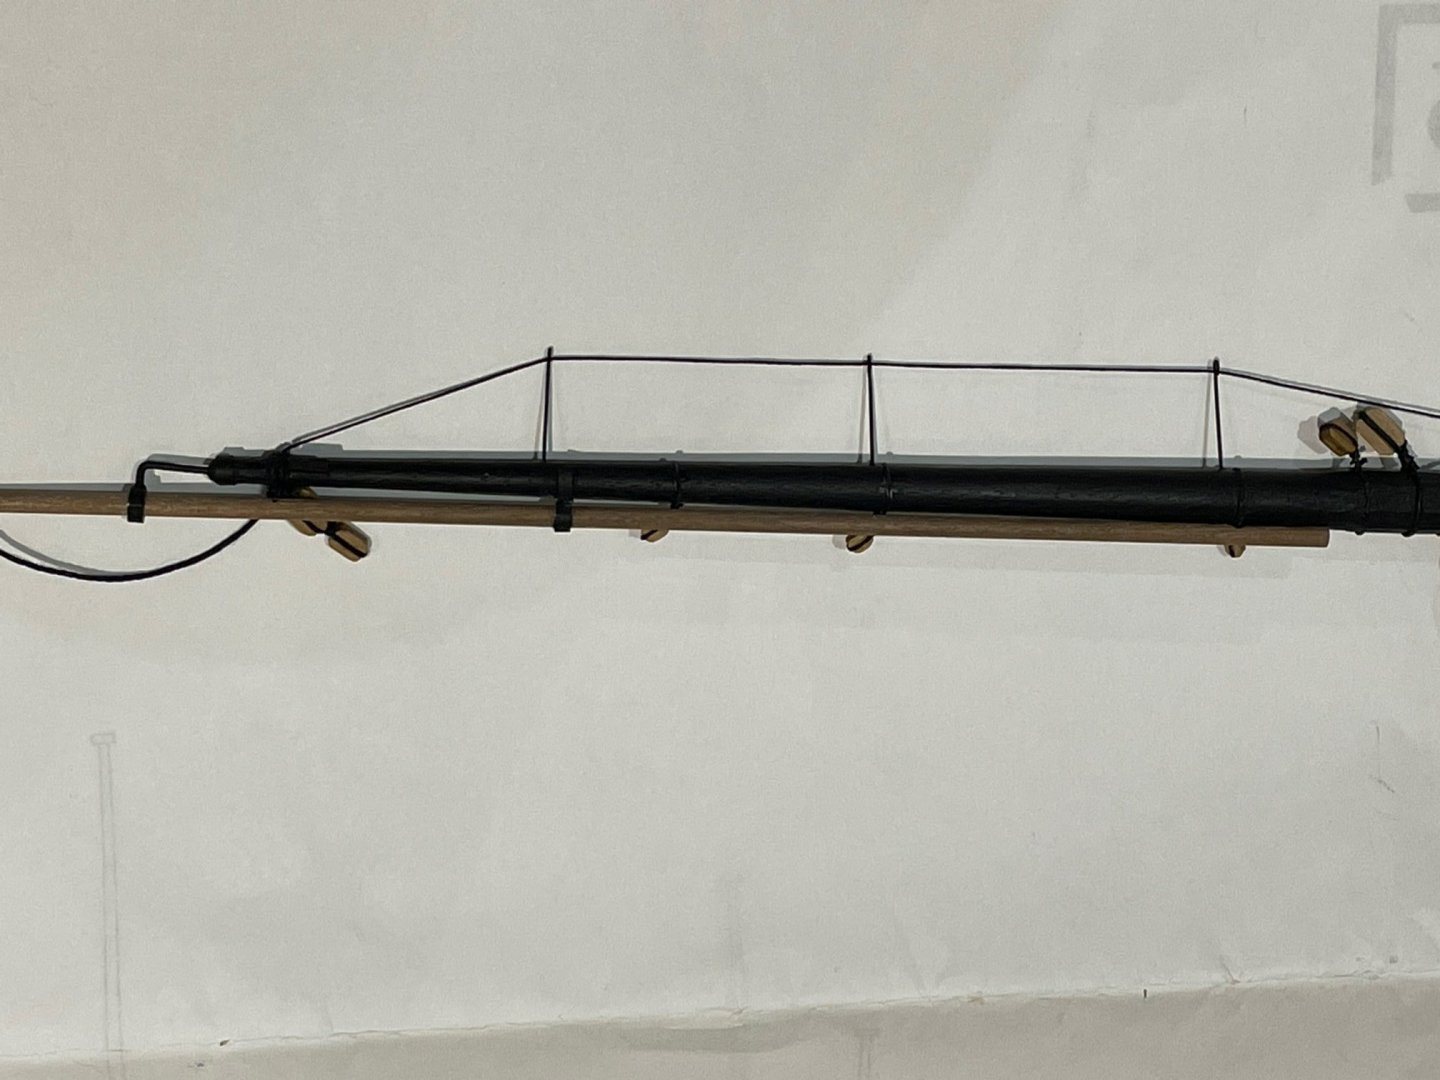
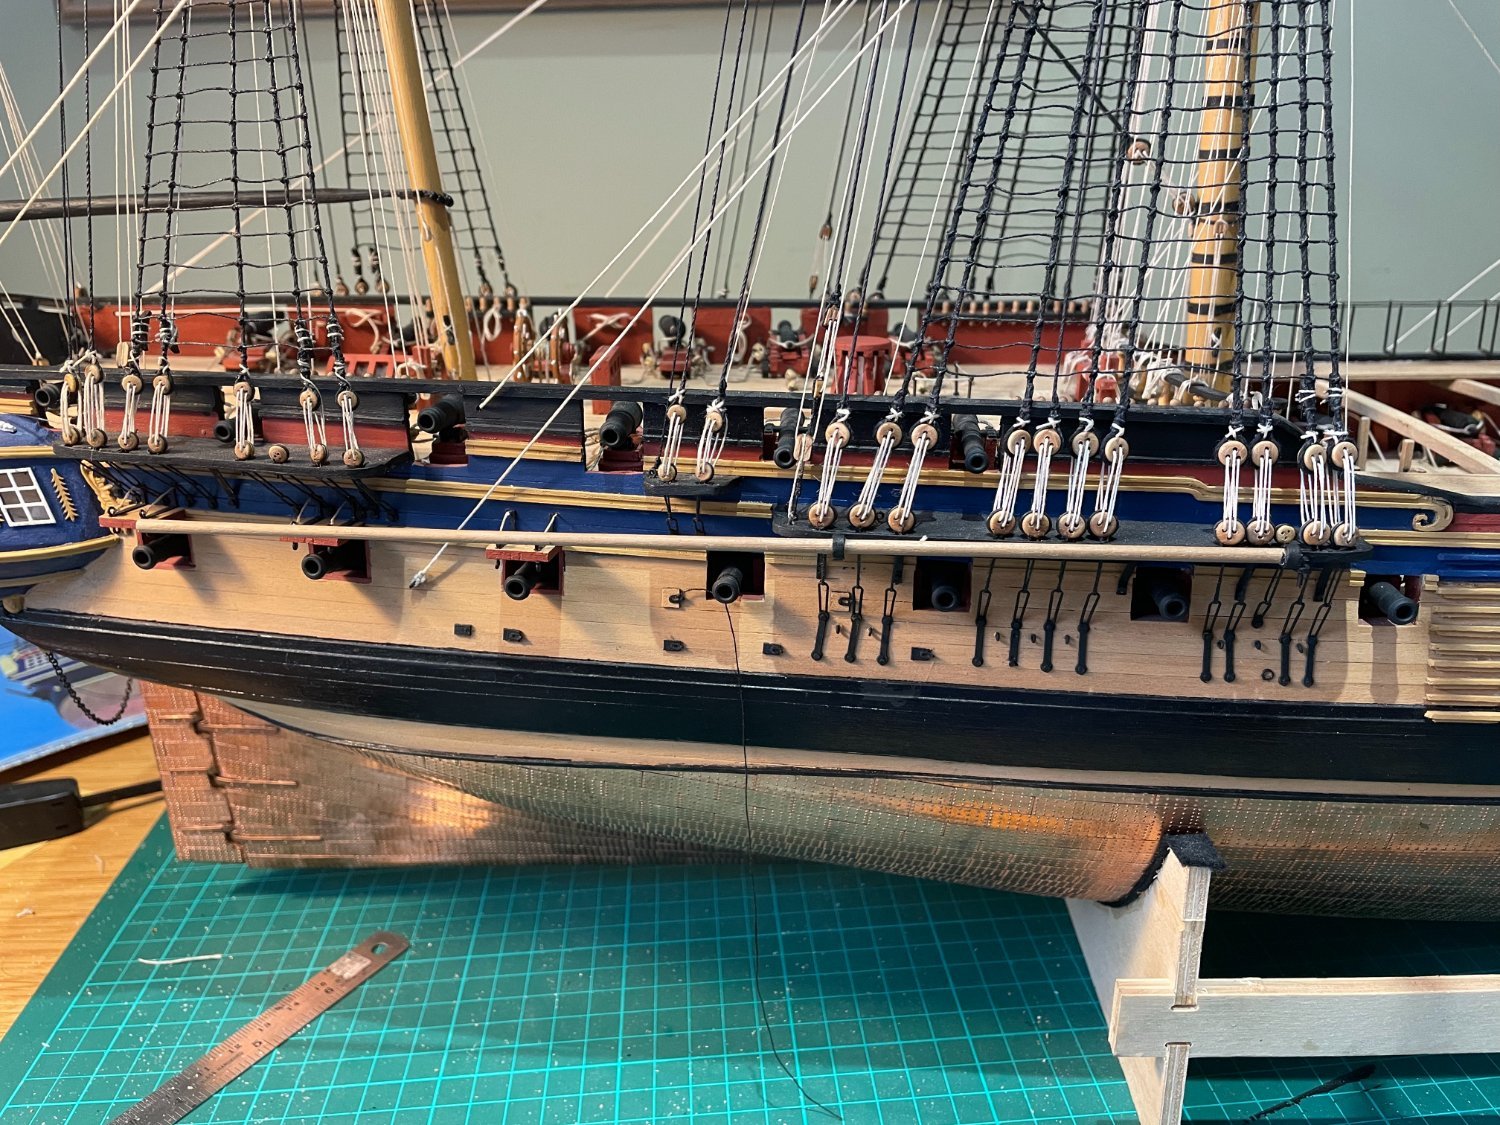
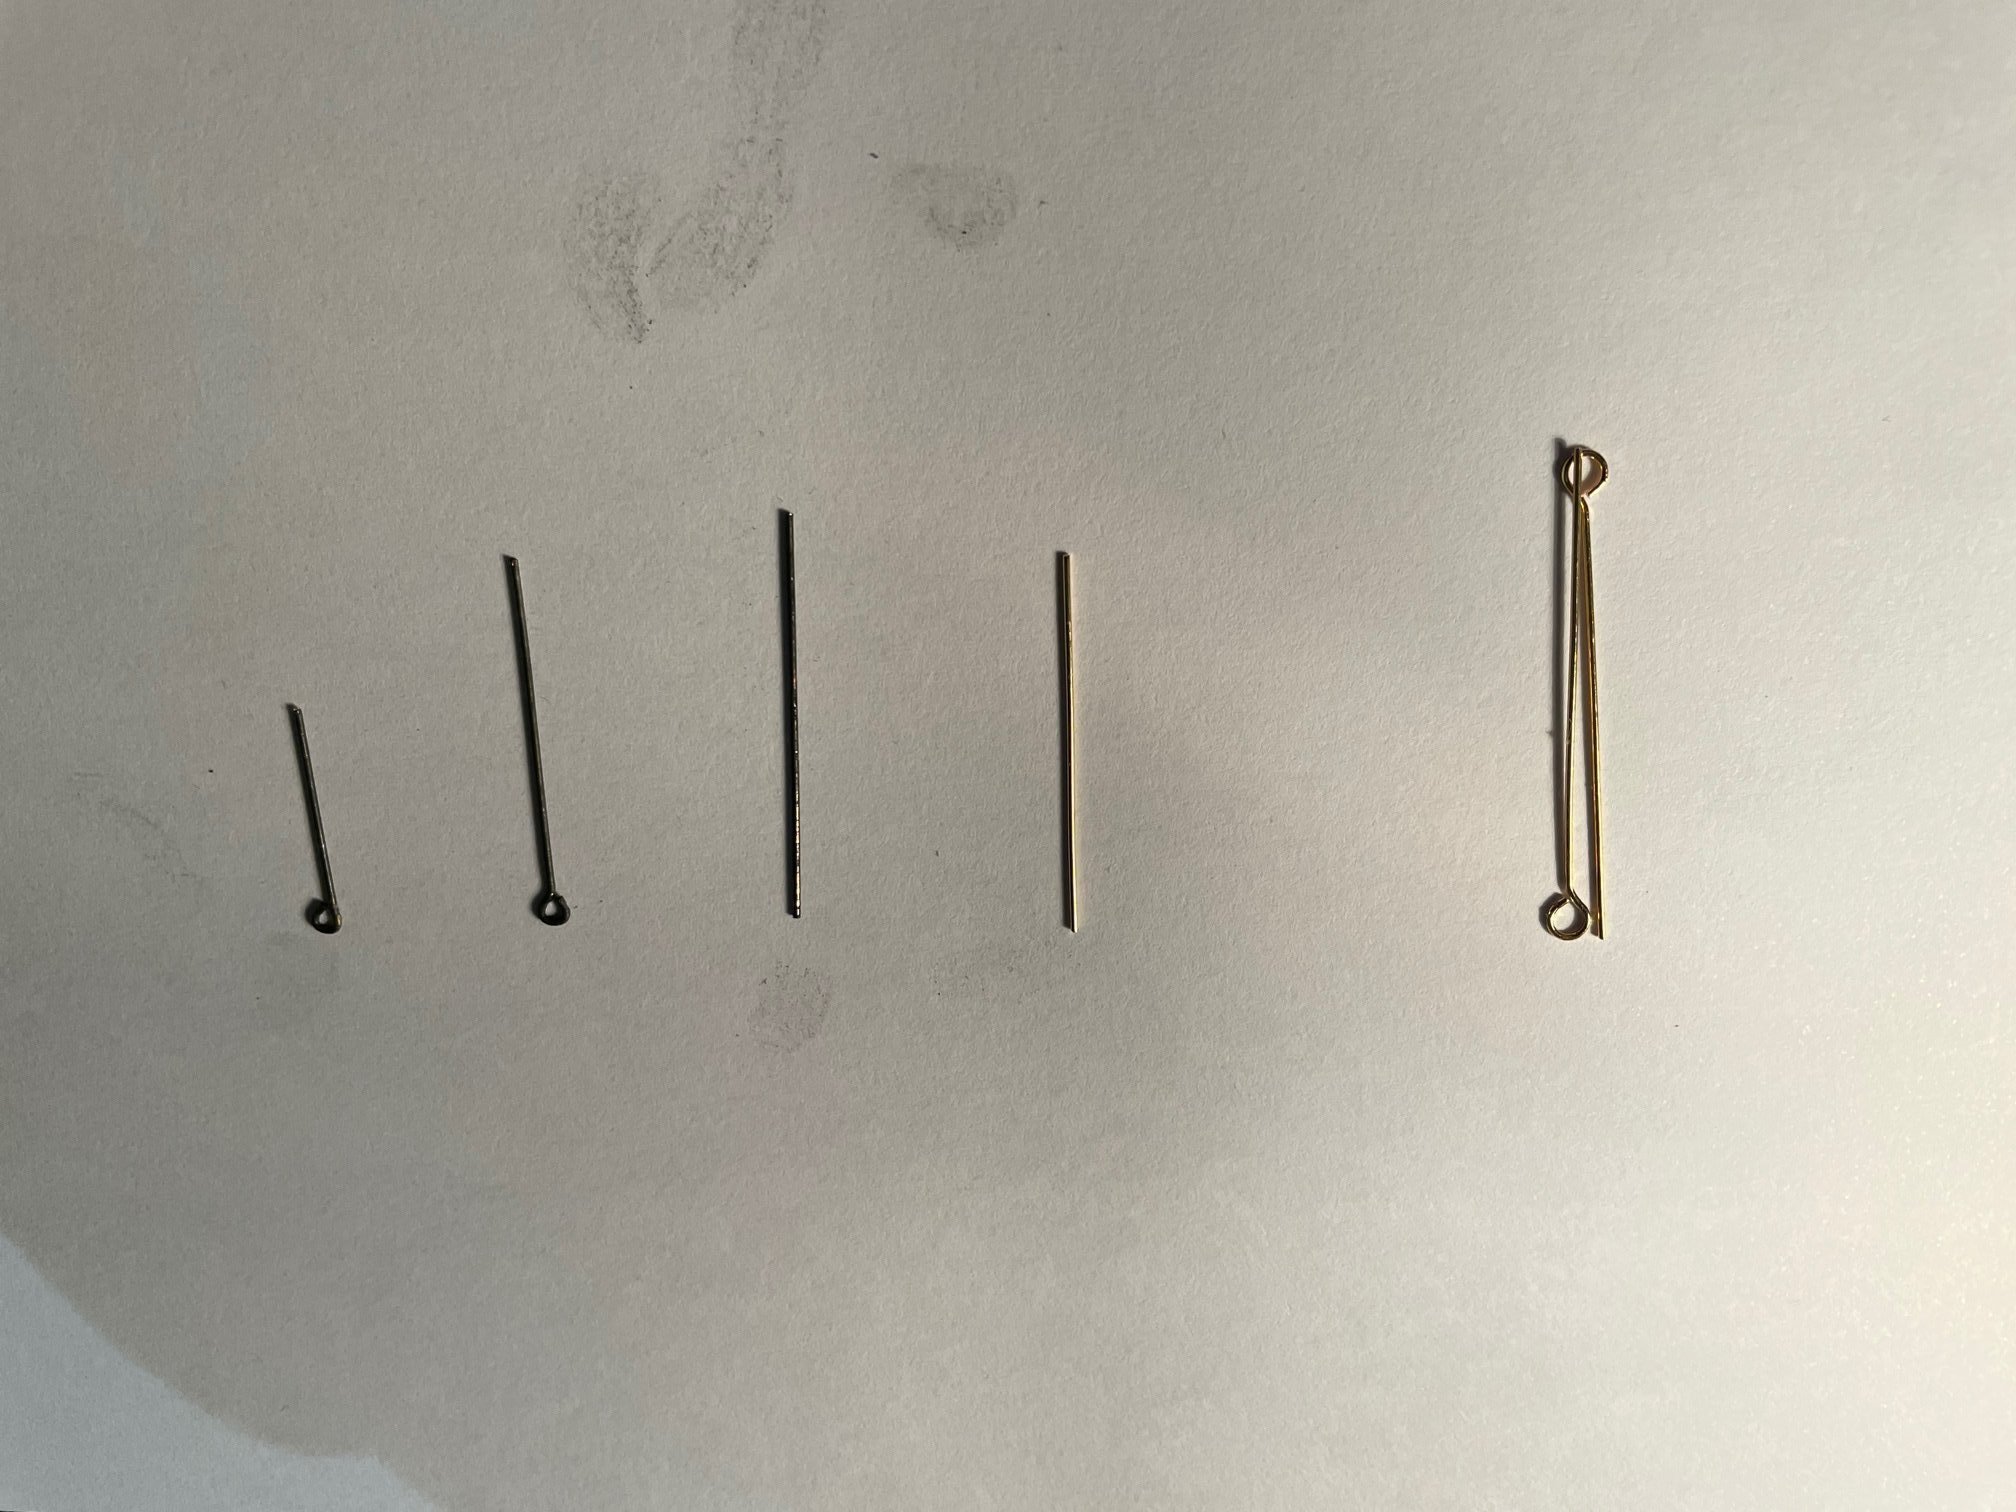
I have also cracked all the spars. Fiddly, fairly straight forward but long winded. The only area of note was the fitting of the stunsail booms. I struggled to get them level and to fit neatly with the mainspars largely because the end of the boom rested on lines securing the blocks to the spars - I couldn't get a neat fit to apply the glue. so i made a little notch at the end of the boom to rest on top of the line which allowed the boom to be fixed - they wont be movable! I found the metal fittings for the boom rings and brackets too clunky, so I replaced some with fittings made out of 0.25m styrene which looked more in proportion. I obtained some jewelry 0.5mm brass eyes which were good quality wire - not very bendy unlike the very soft wire provided in the kit. The eyes were too large so I cut them down to size, made a new eye and blacked them before fitting. Here are a few snaps.


.thumb.jpg.16f095adcd4bd9cdc7b727d1d6ebac44.jpg)
.thumb.jpg.4346d632f43013f8053baf572ad45fd8.jpg)

-
Whow it has been two months since i last posted. In this particular lockdown, I work all day in my home office which is also doubles up as my modelling room so, come the evening, after a day on Zoom etc, I tend to want to vacate the office not return to do modelling - progress has slowed!! Still lockdown is nearly over so perhaps I can spend less time working in here during the day and more time modelling in the evening. We will see. That said work on DIANA hasn't stopped. When last I posted I had completed the lower shrouds and ratlines; I have now secured all the futtock shrouds and catharpins on all the masts. Fiddly and required care tensioning the catharpins to ensure the shrouds were not distorted and pulled into towards the mast. I also used a little diluted black paint to cover any residual superglue which might have marked on the various pieces of rigging. Looks okay!


-
Rob: looks very good - I will be following in your wake. P
-
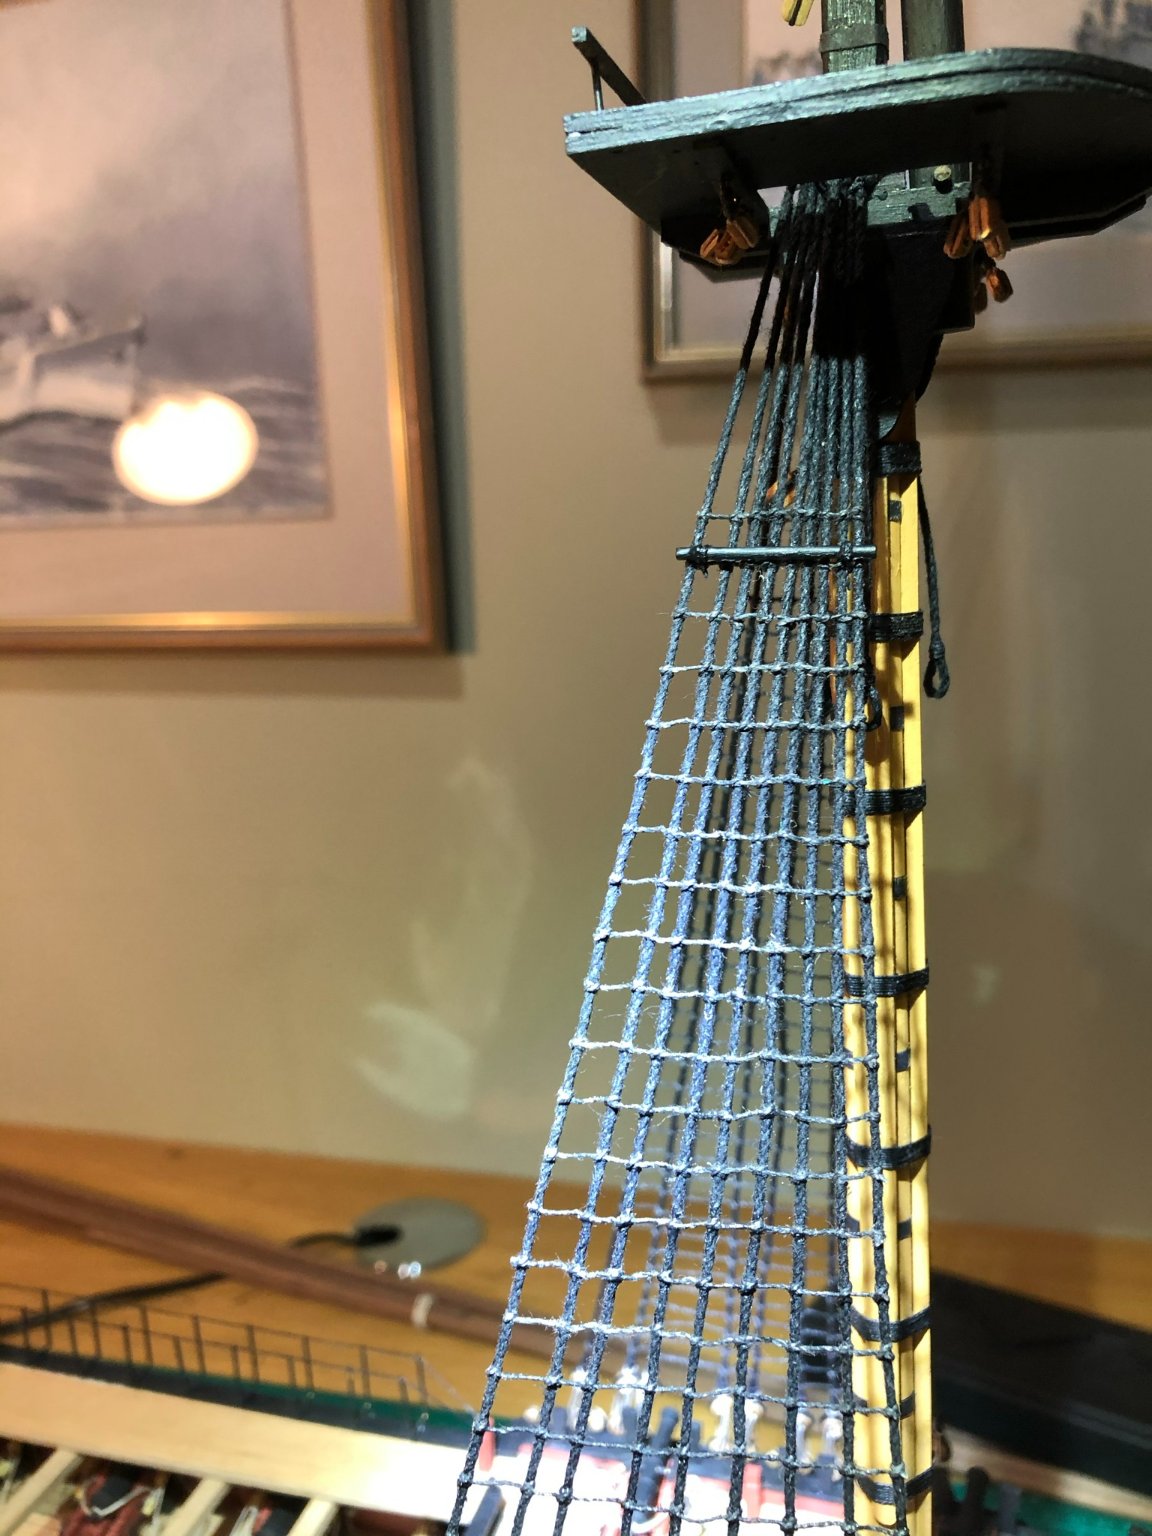
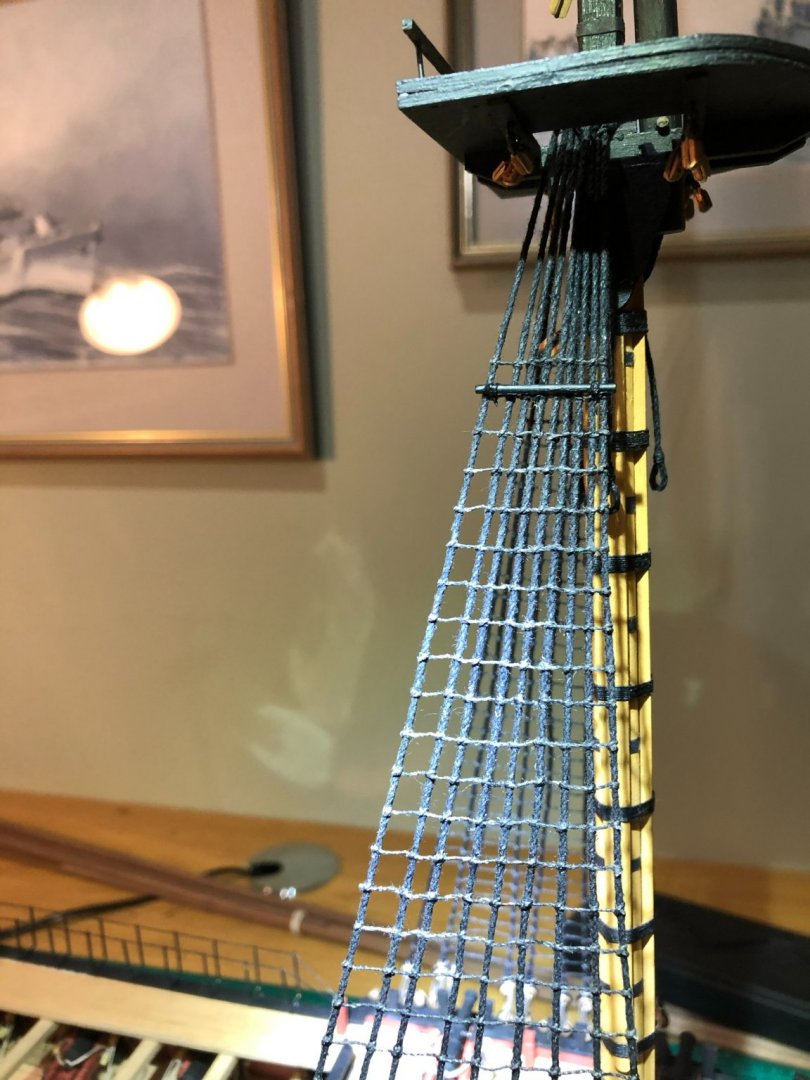
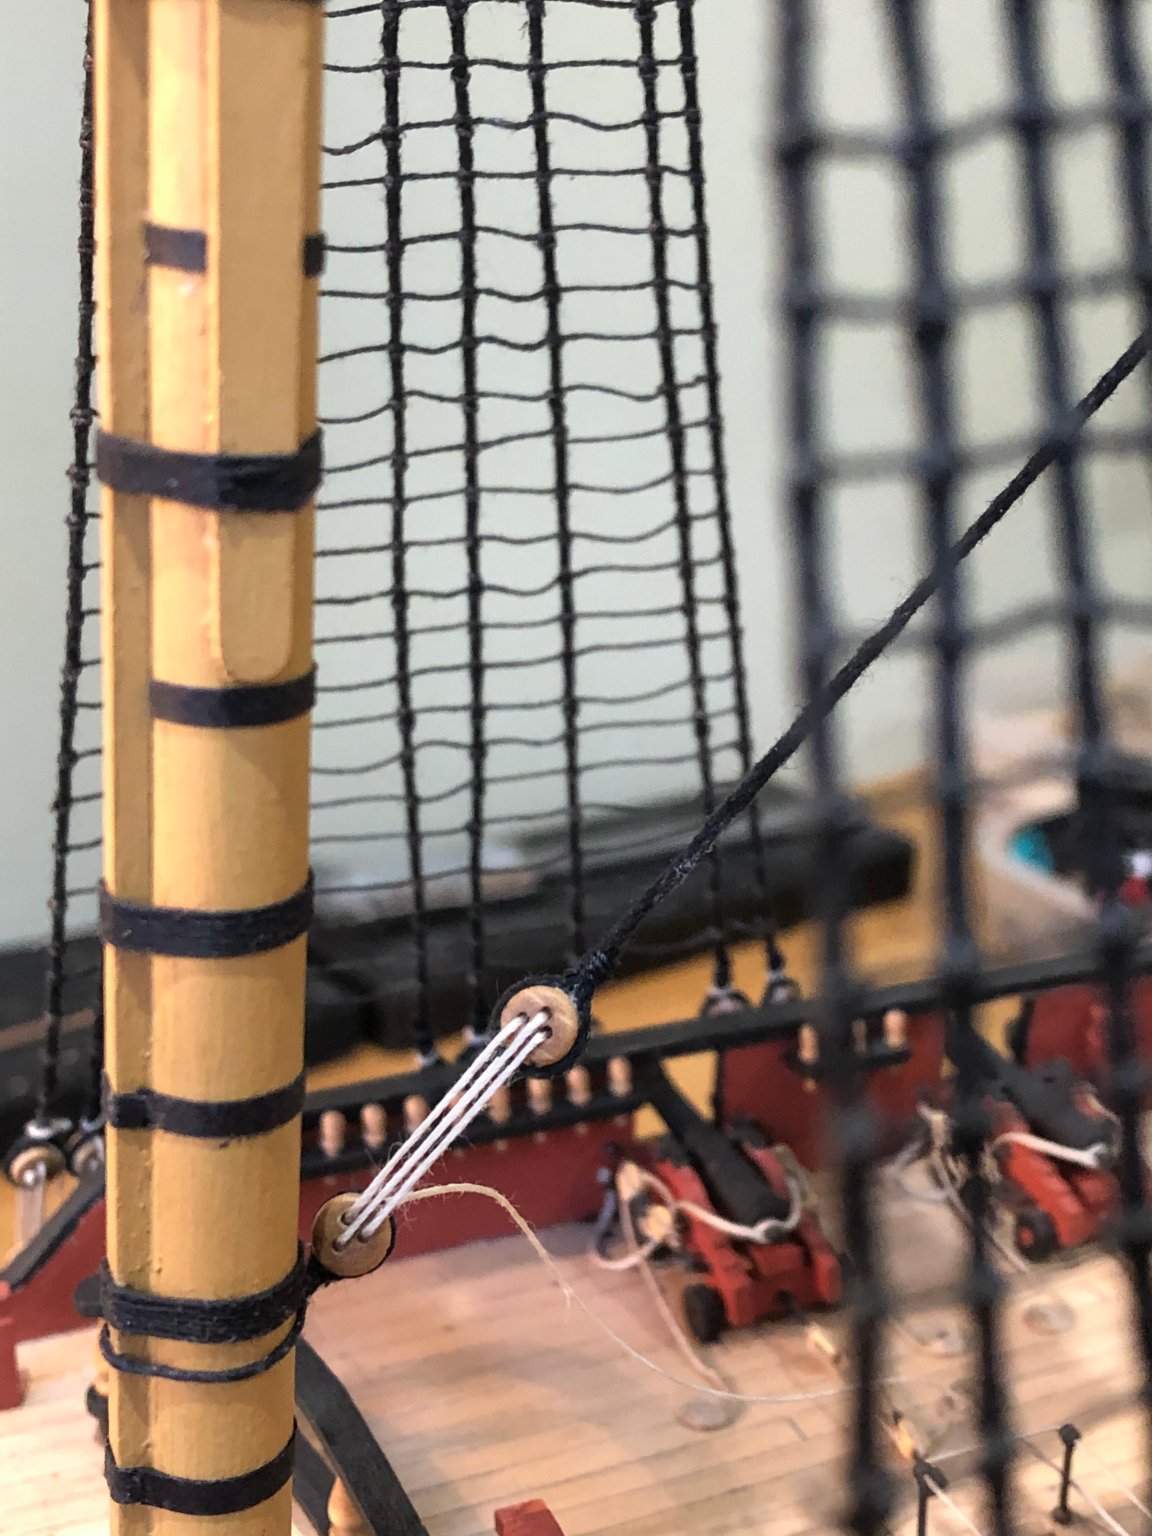
At last...I have finished the ratlines on the lower shrouds. Far from perfect but, for my first attempt at doing ratlines on this scale, it is not too bad. I will now replace several of the ratlines that are too slack which will also improve the appearance. I have cut the futtock staves and attached them to the shrouds using a couple of clove hitches and a small slip knot which tucks out of the way at the back of the shrouds quite neatly. Onwards and upwards to the futtock shroud deadeyes....slow progress here!


.jpg.2c56eb434858357e6b260e17cb4765a2.jpg)
.jpg.cbab364930eb68bde12559f11112bd57.jpg)