harlequin
-
Posts
747 -
Joined
-
Last visited
Content Type
Profiles
Forums
Gallery
Events
Everything posted by harlequin
-
those were the days....i have just dusted Greyhound and looks in fine shape.
-
ah ha yes hamilton....blood......hope you are well....old greyhound was indeed a frustrating build.....glad you were there with me otherwise i think it would never had made it....cheers.
-
just enjoy what you are building.....it doesn't have to be perfect or accurate....in fact all the little mistakes make your build more interesting.....I hate a build that is so perfect....there is no soul to it.....a robot may have well built it....I love the irregularities of a build...the scratches, the knife marks....i love to see these in a build...
-
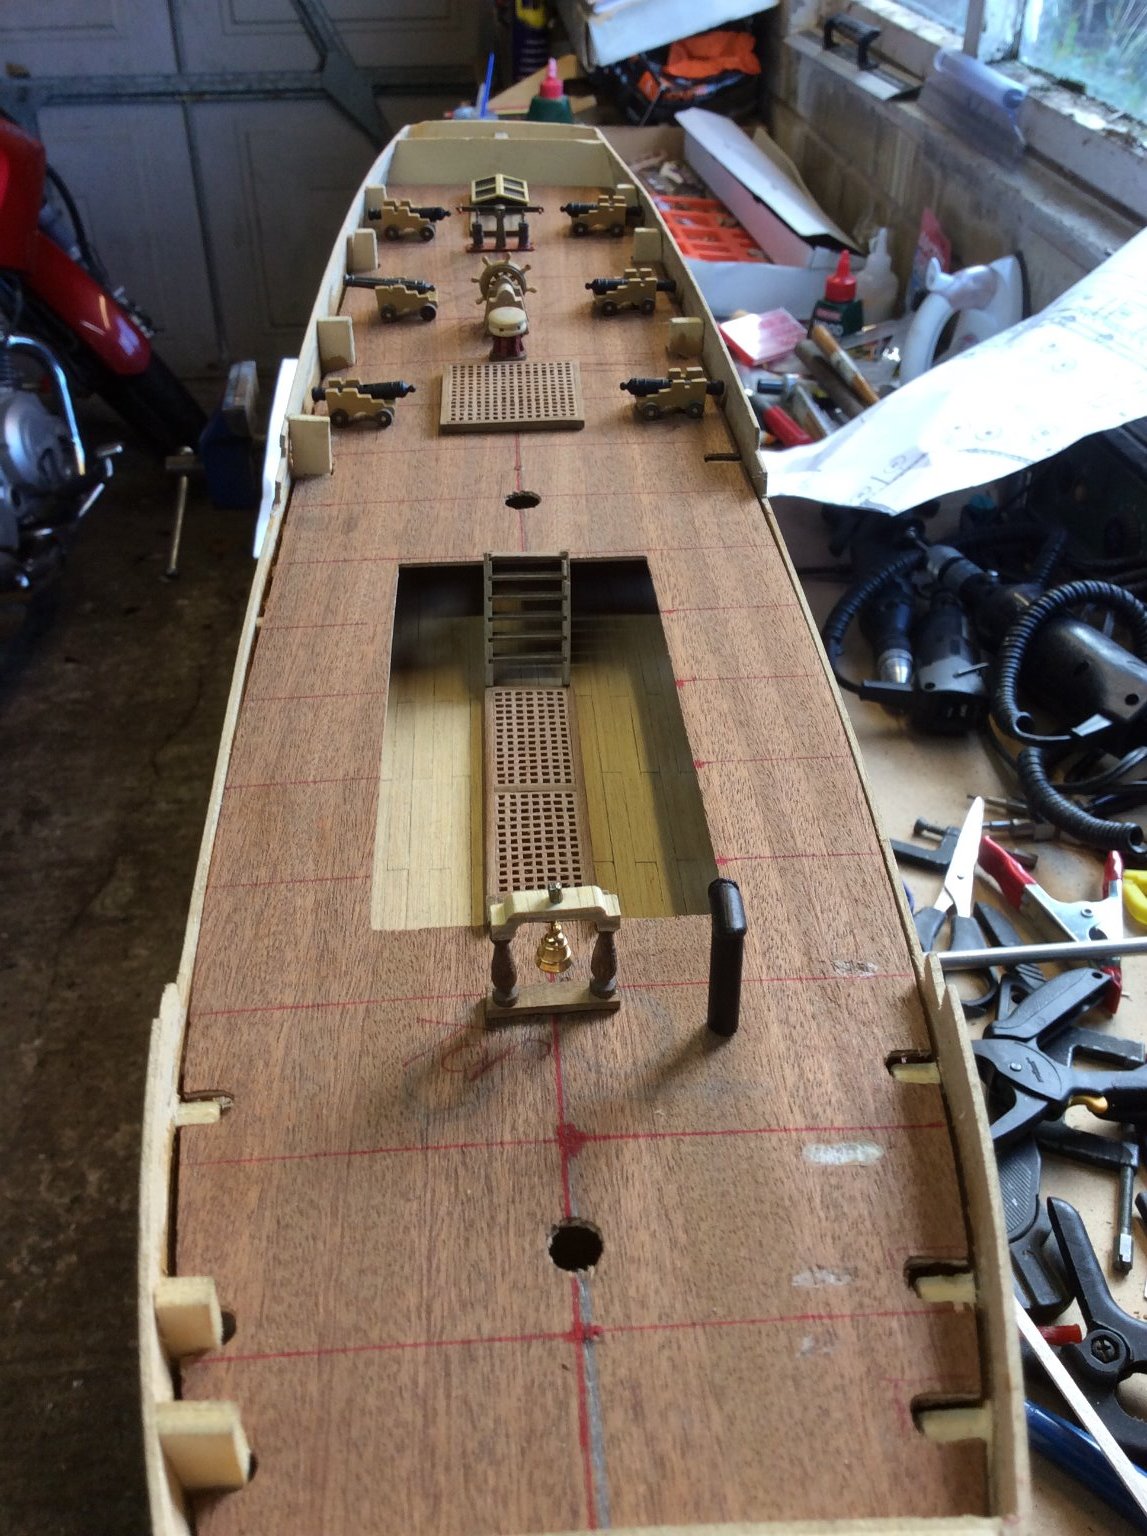
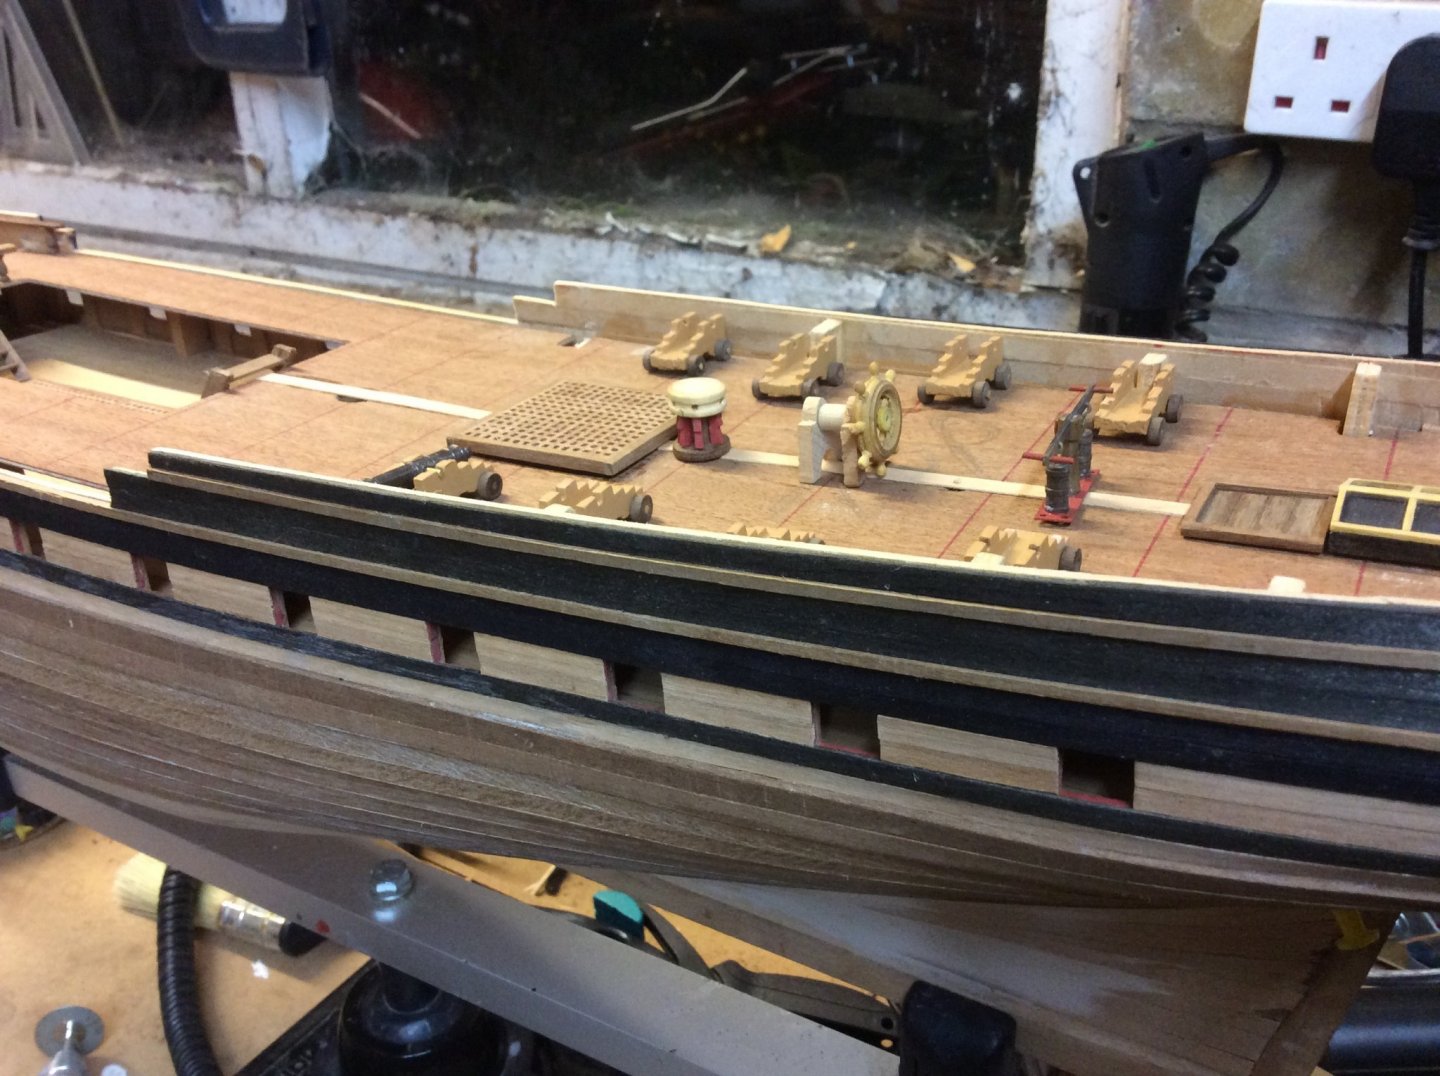
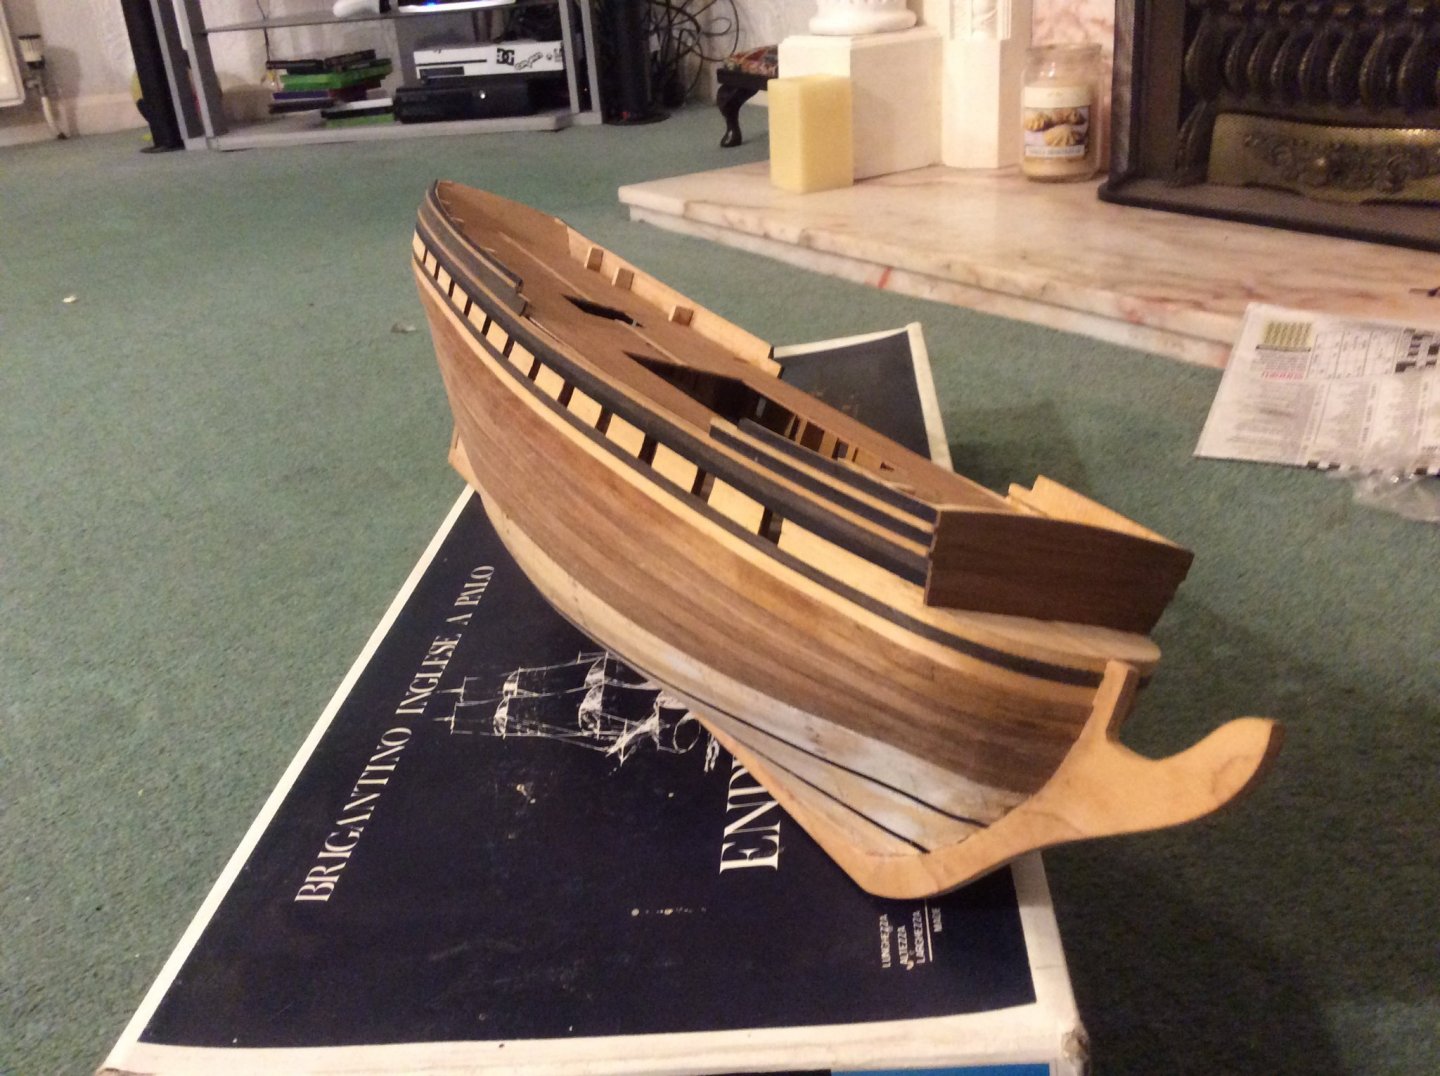
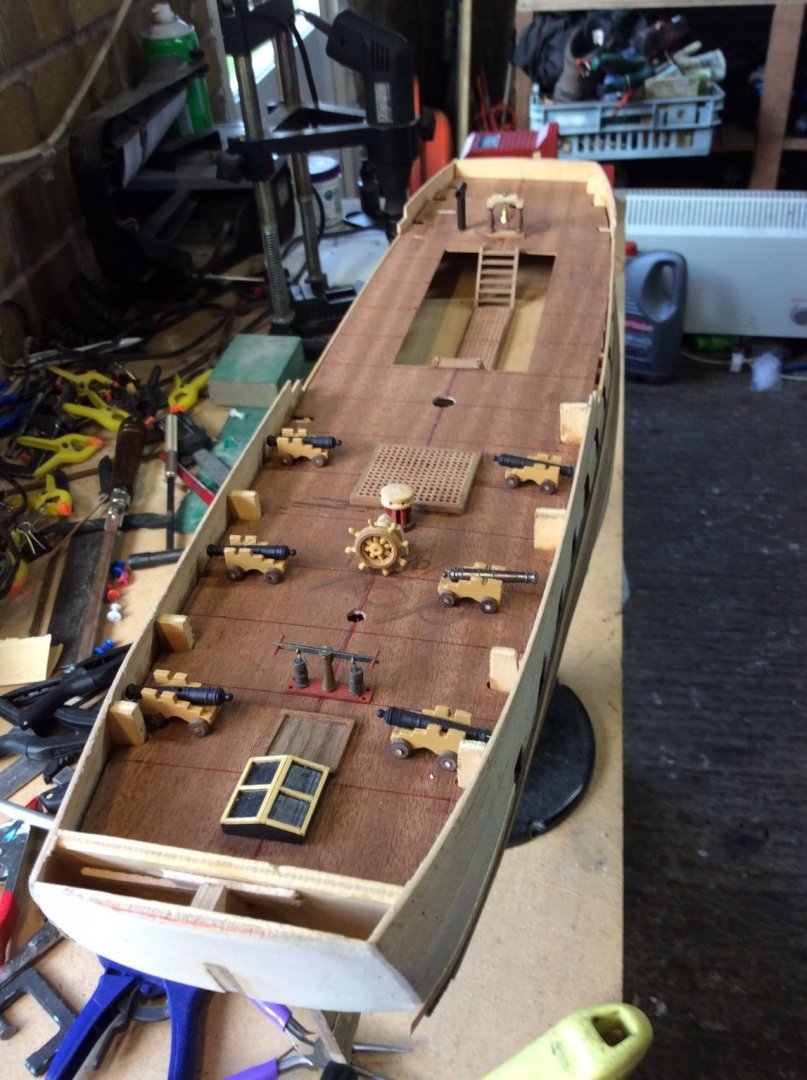
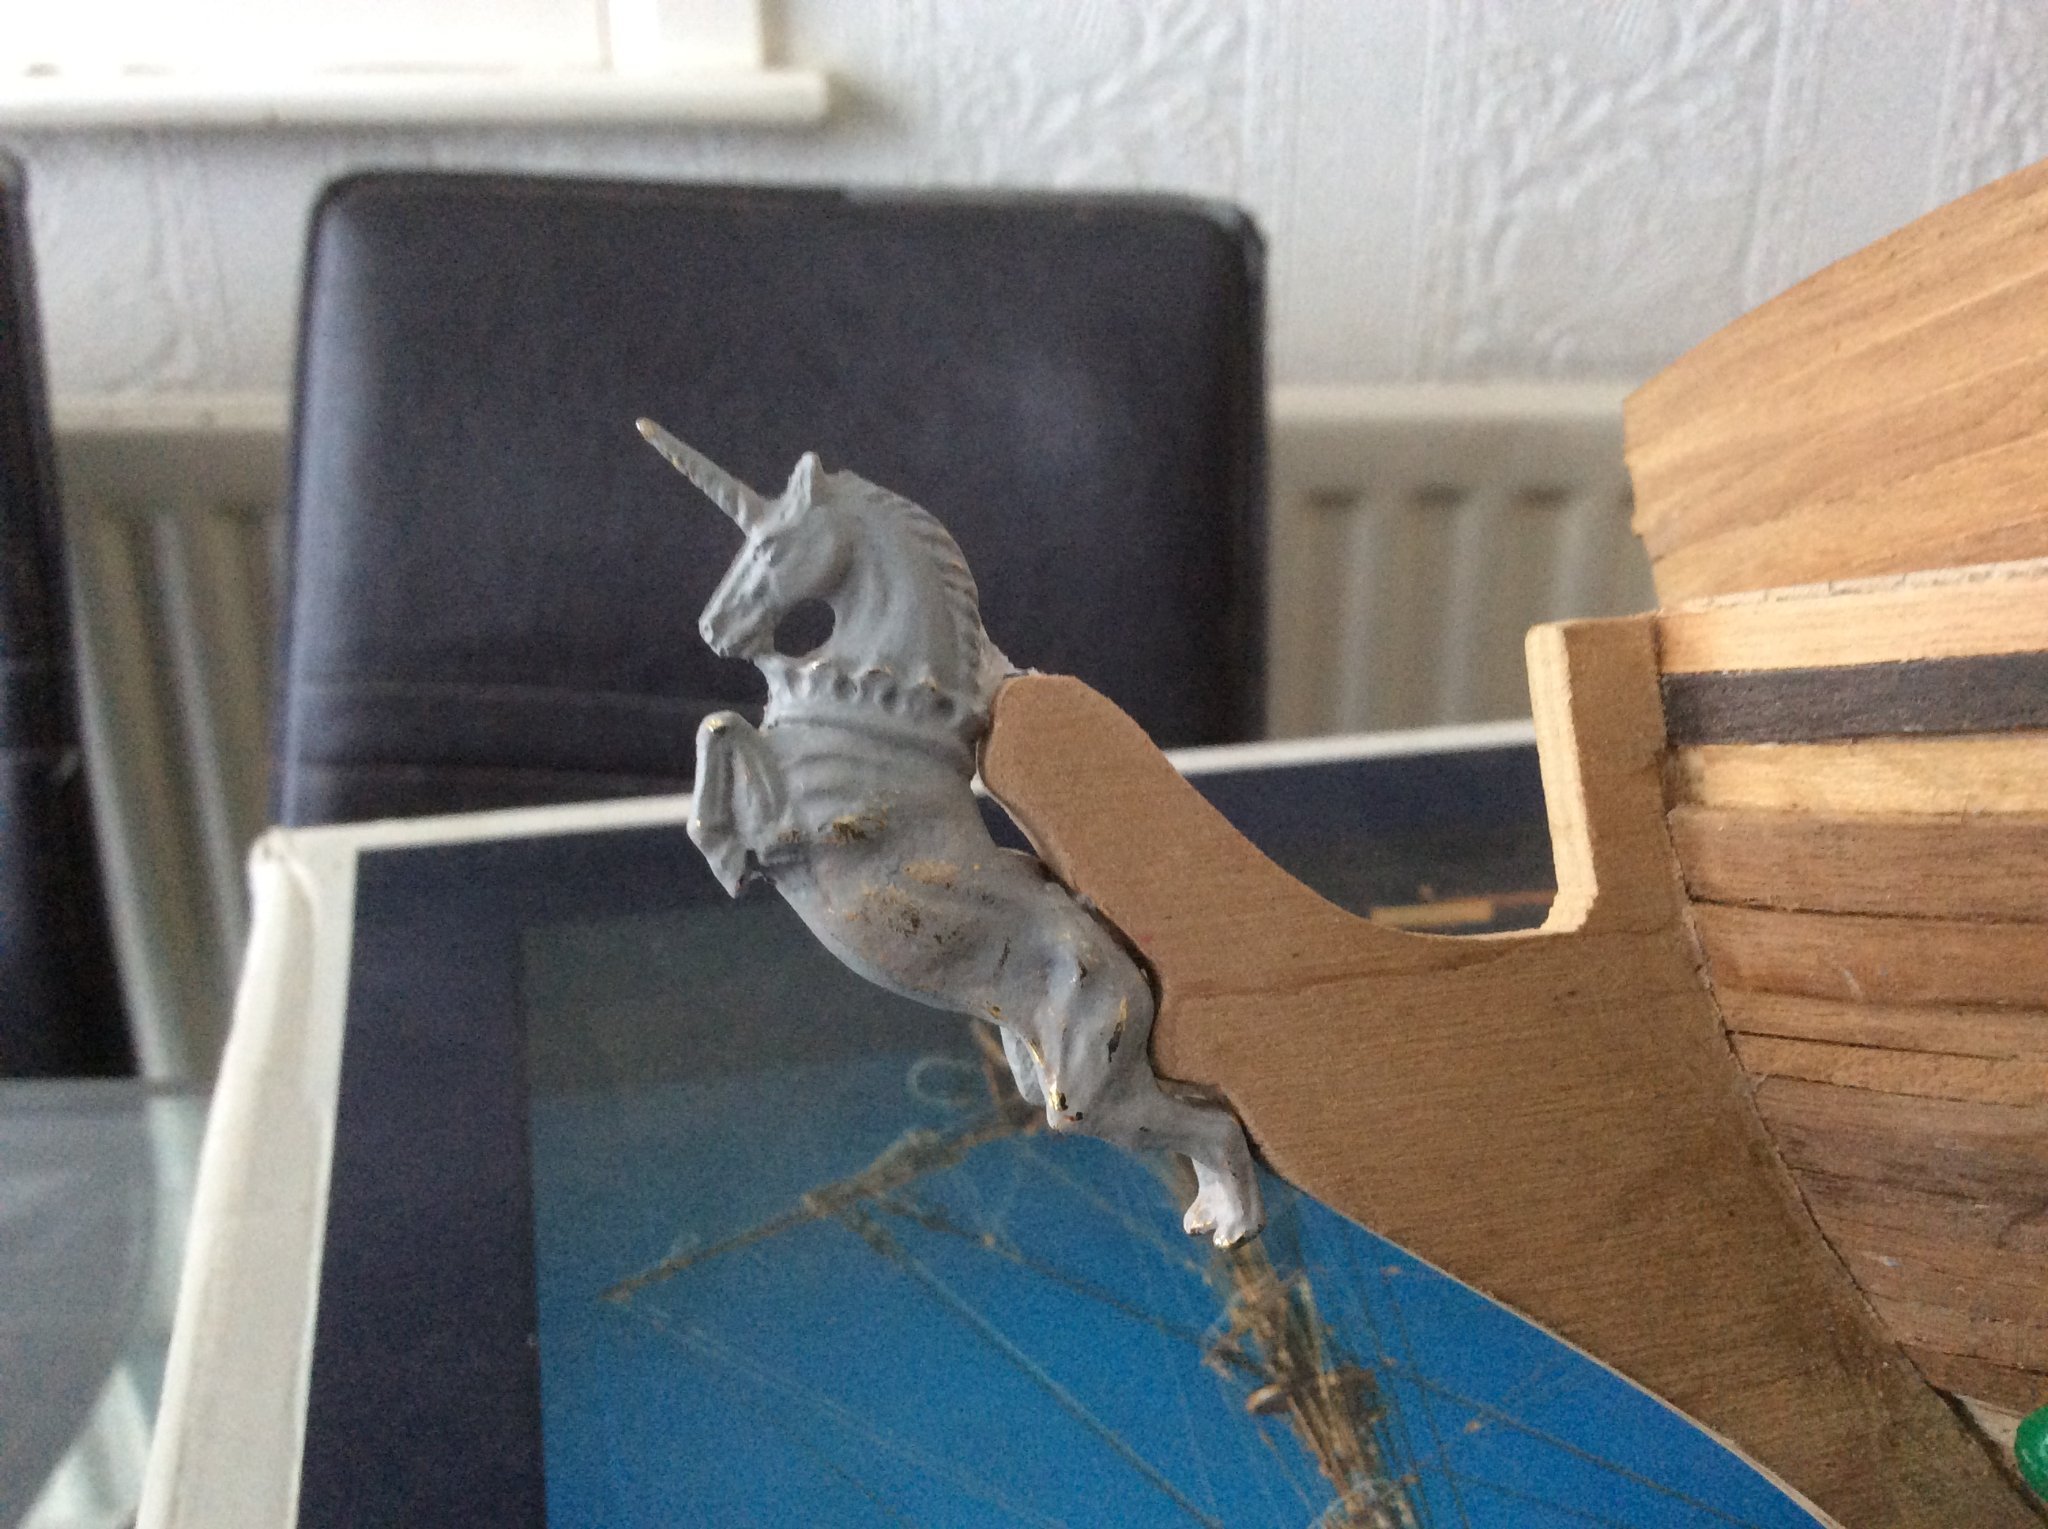
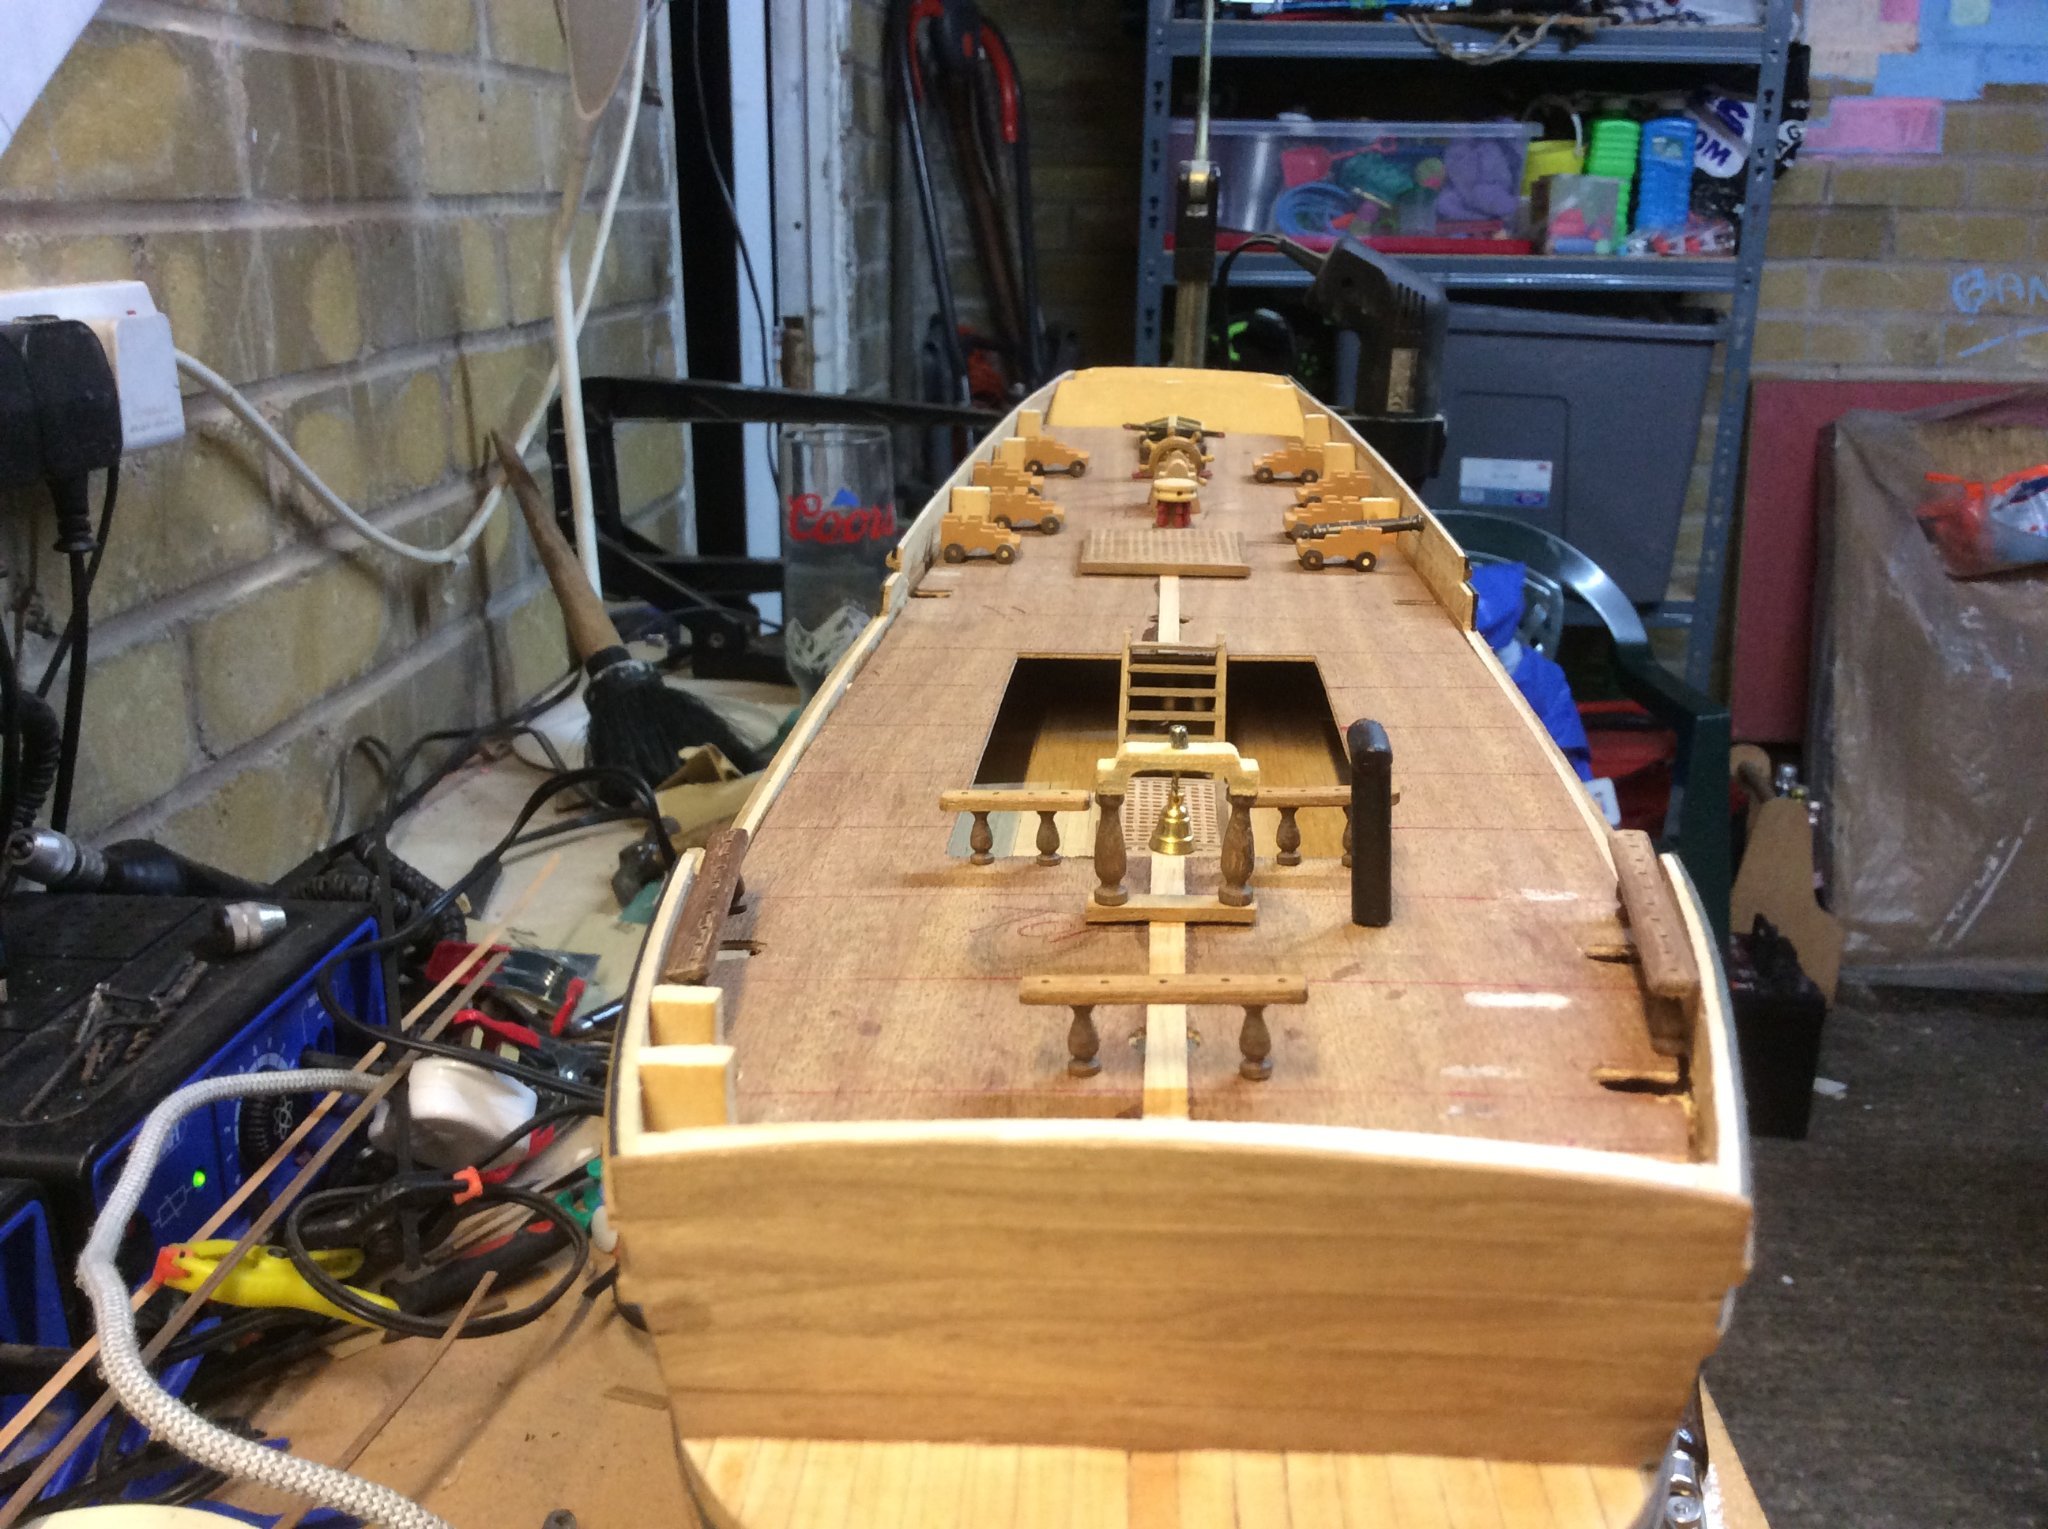
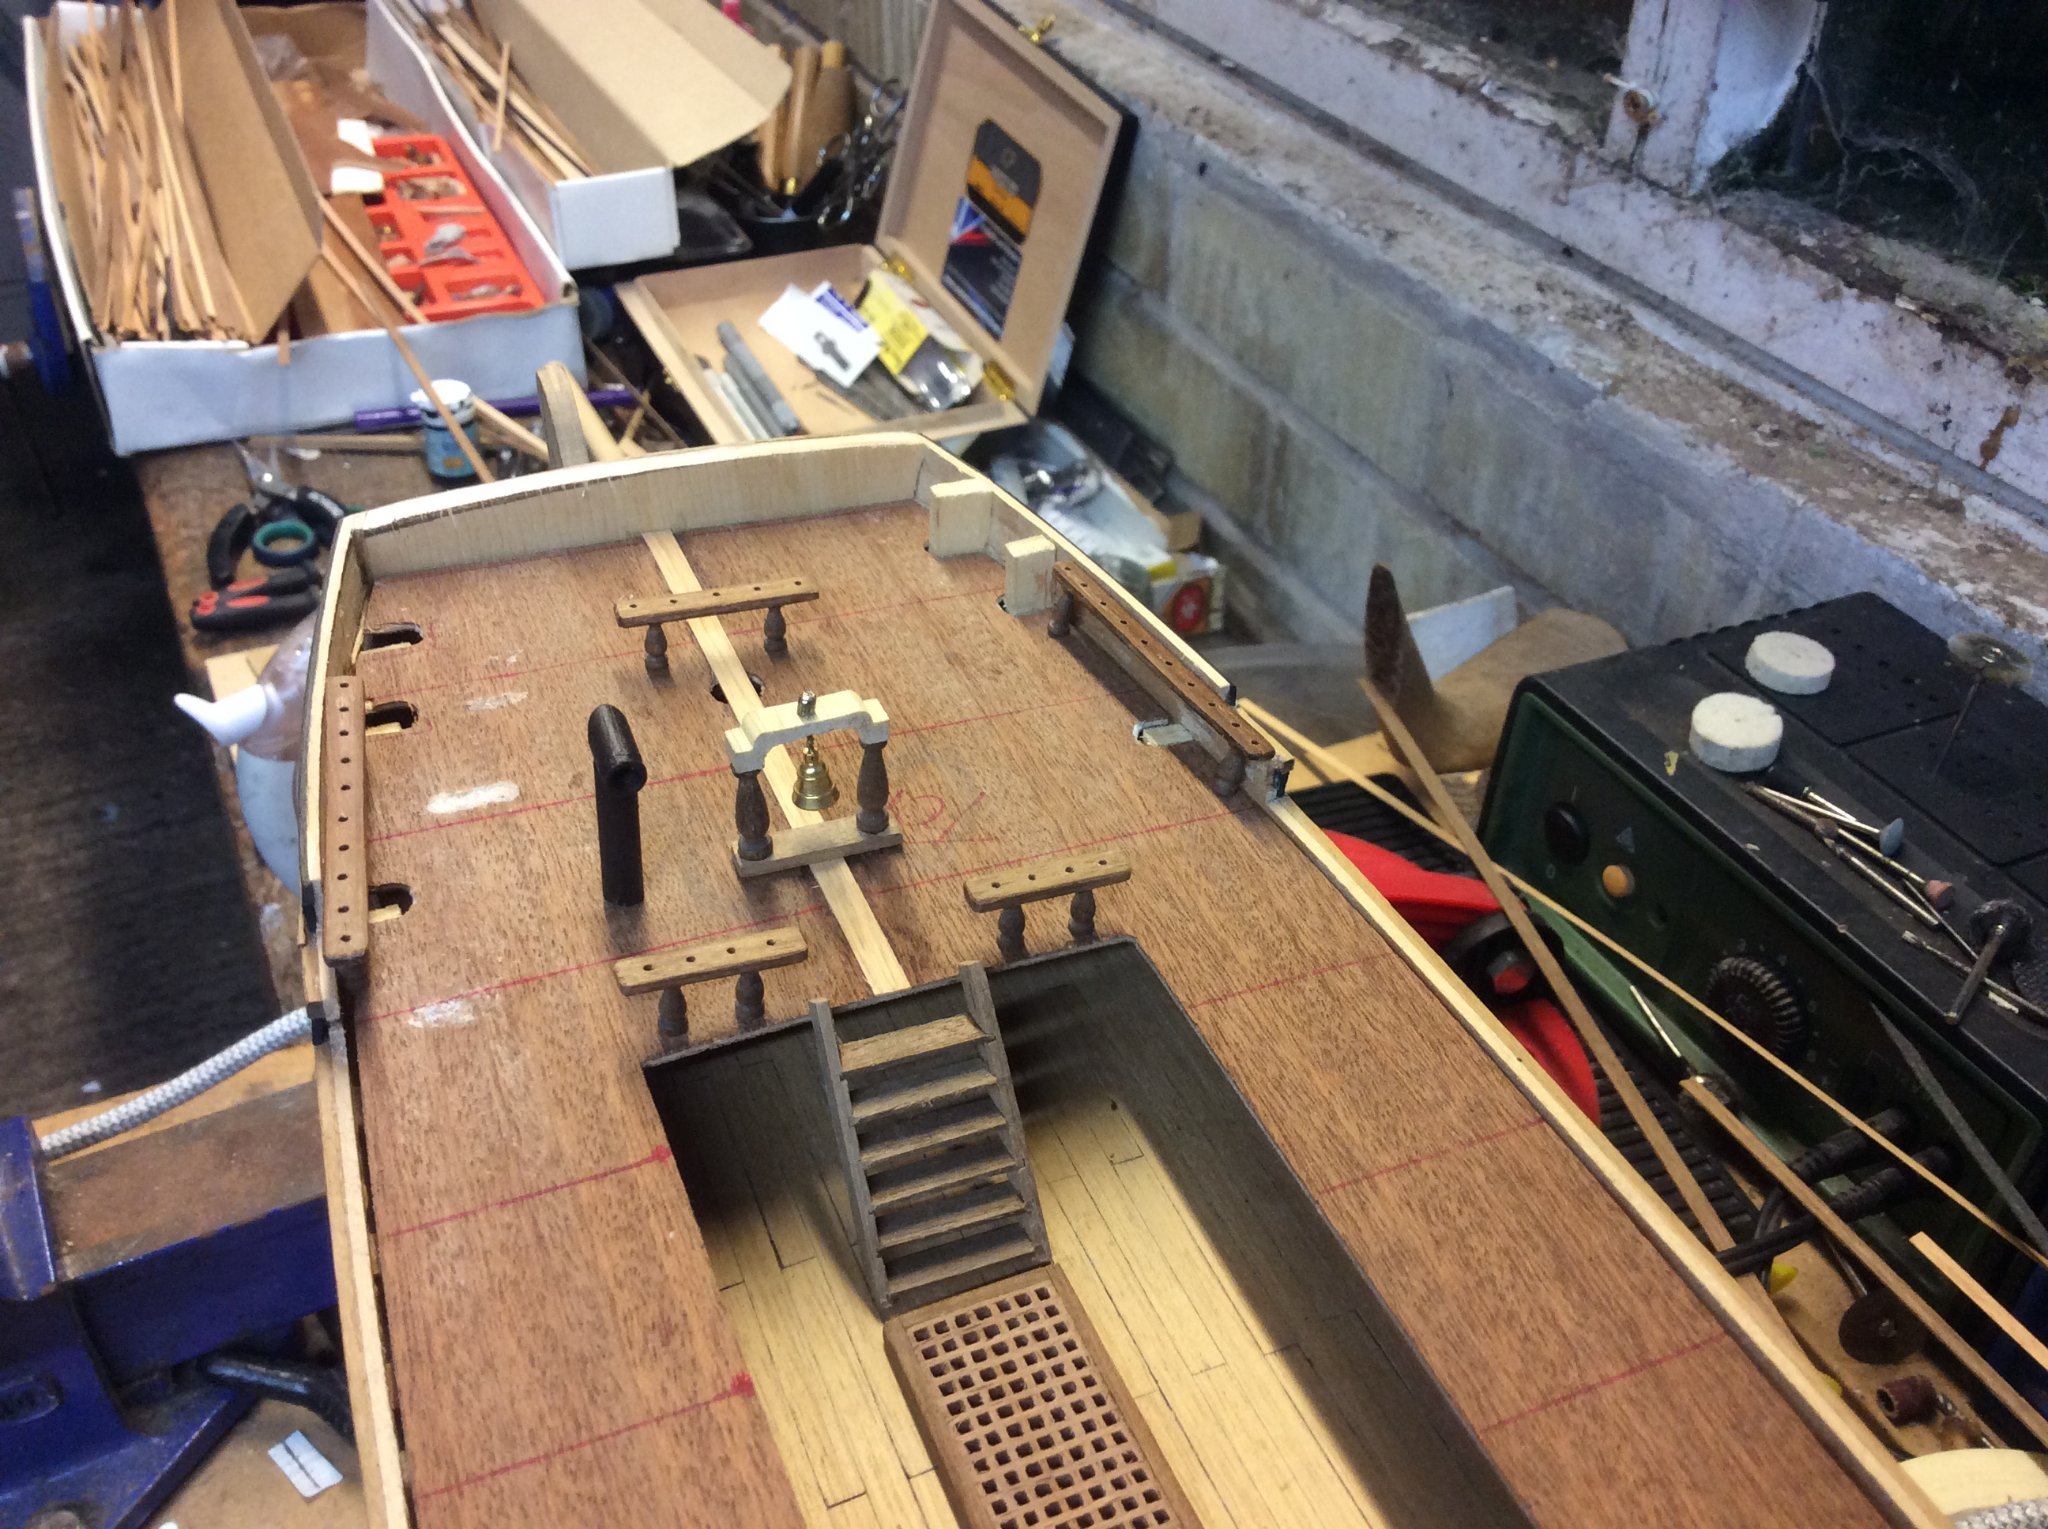
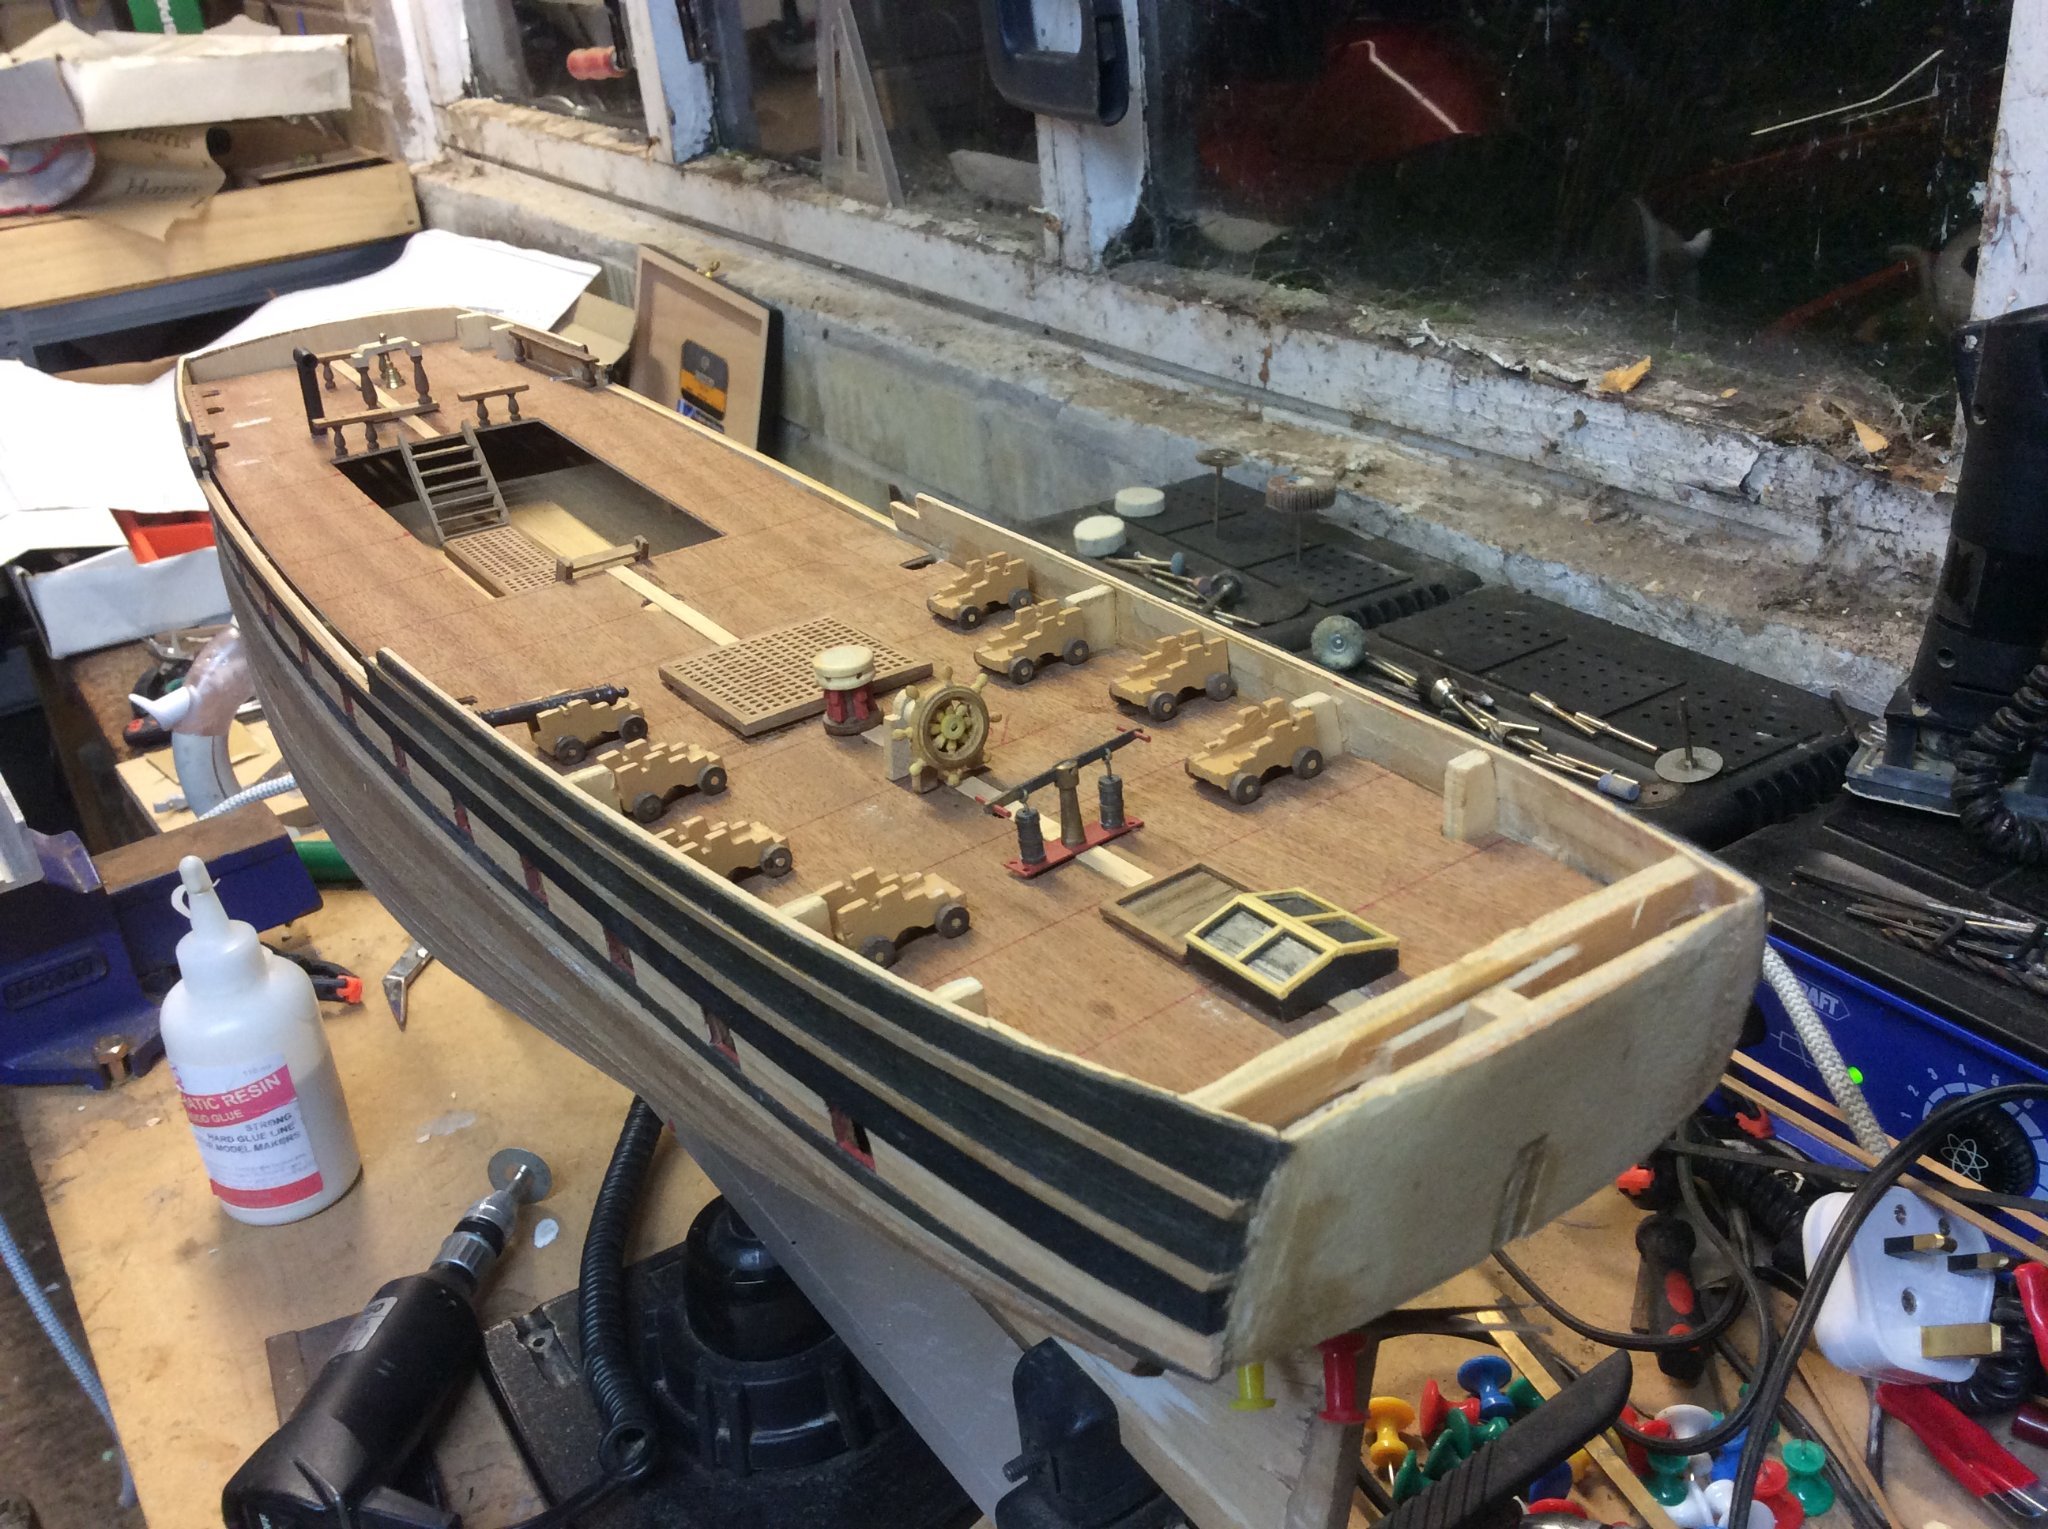
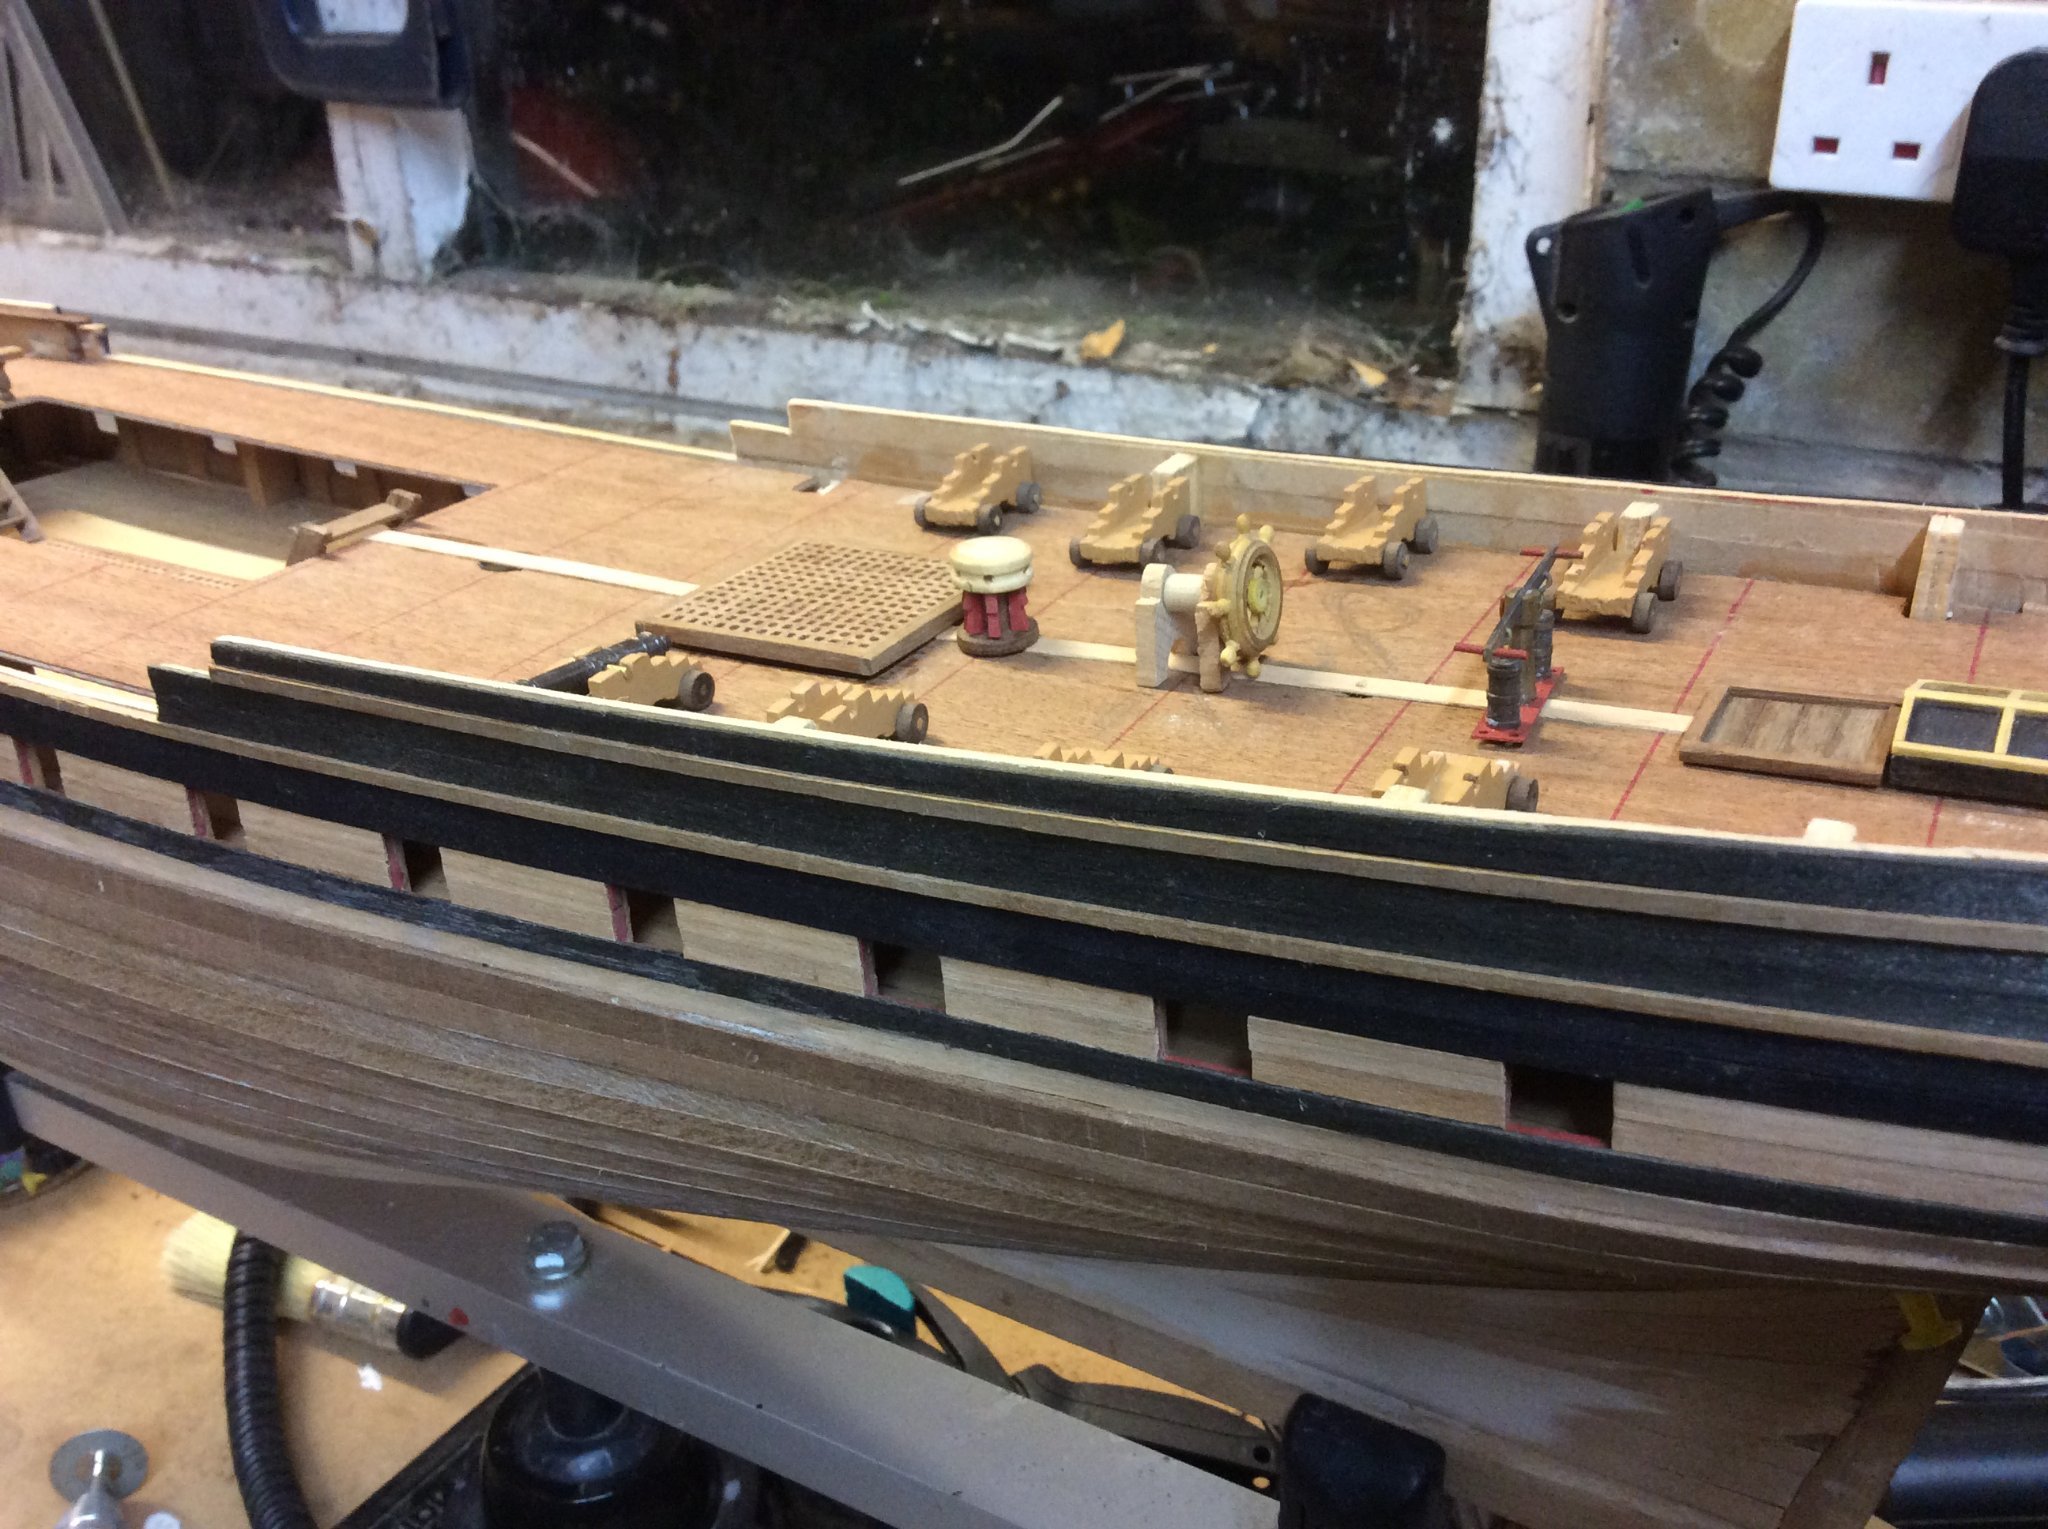
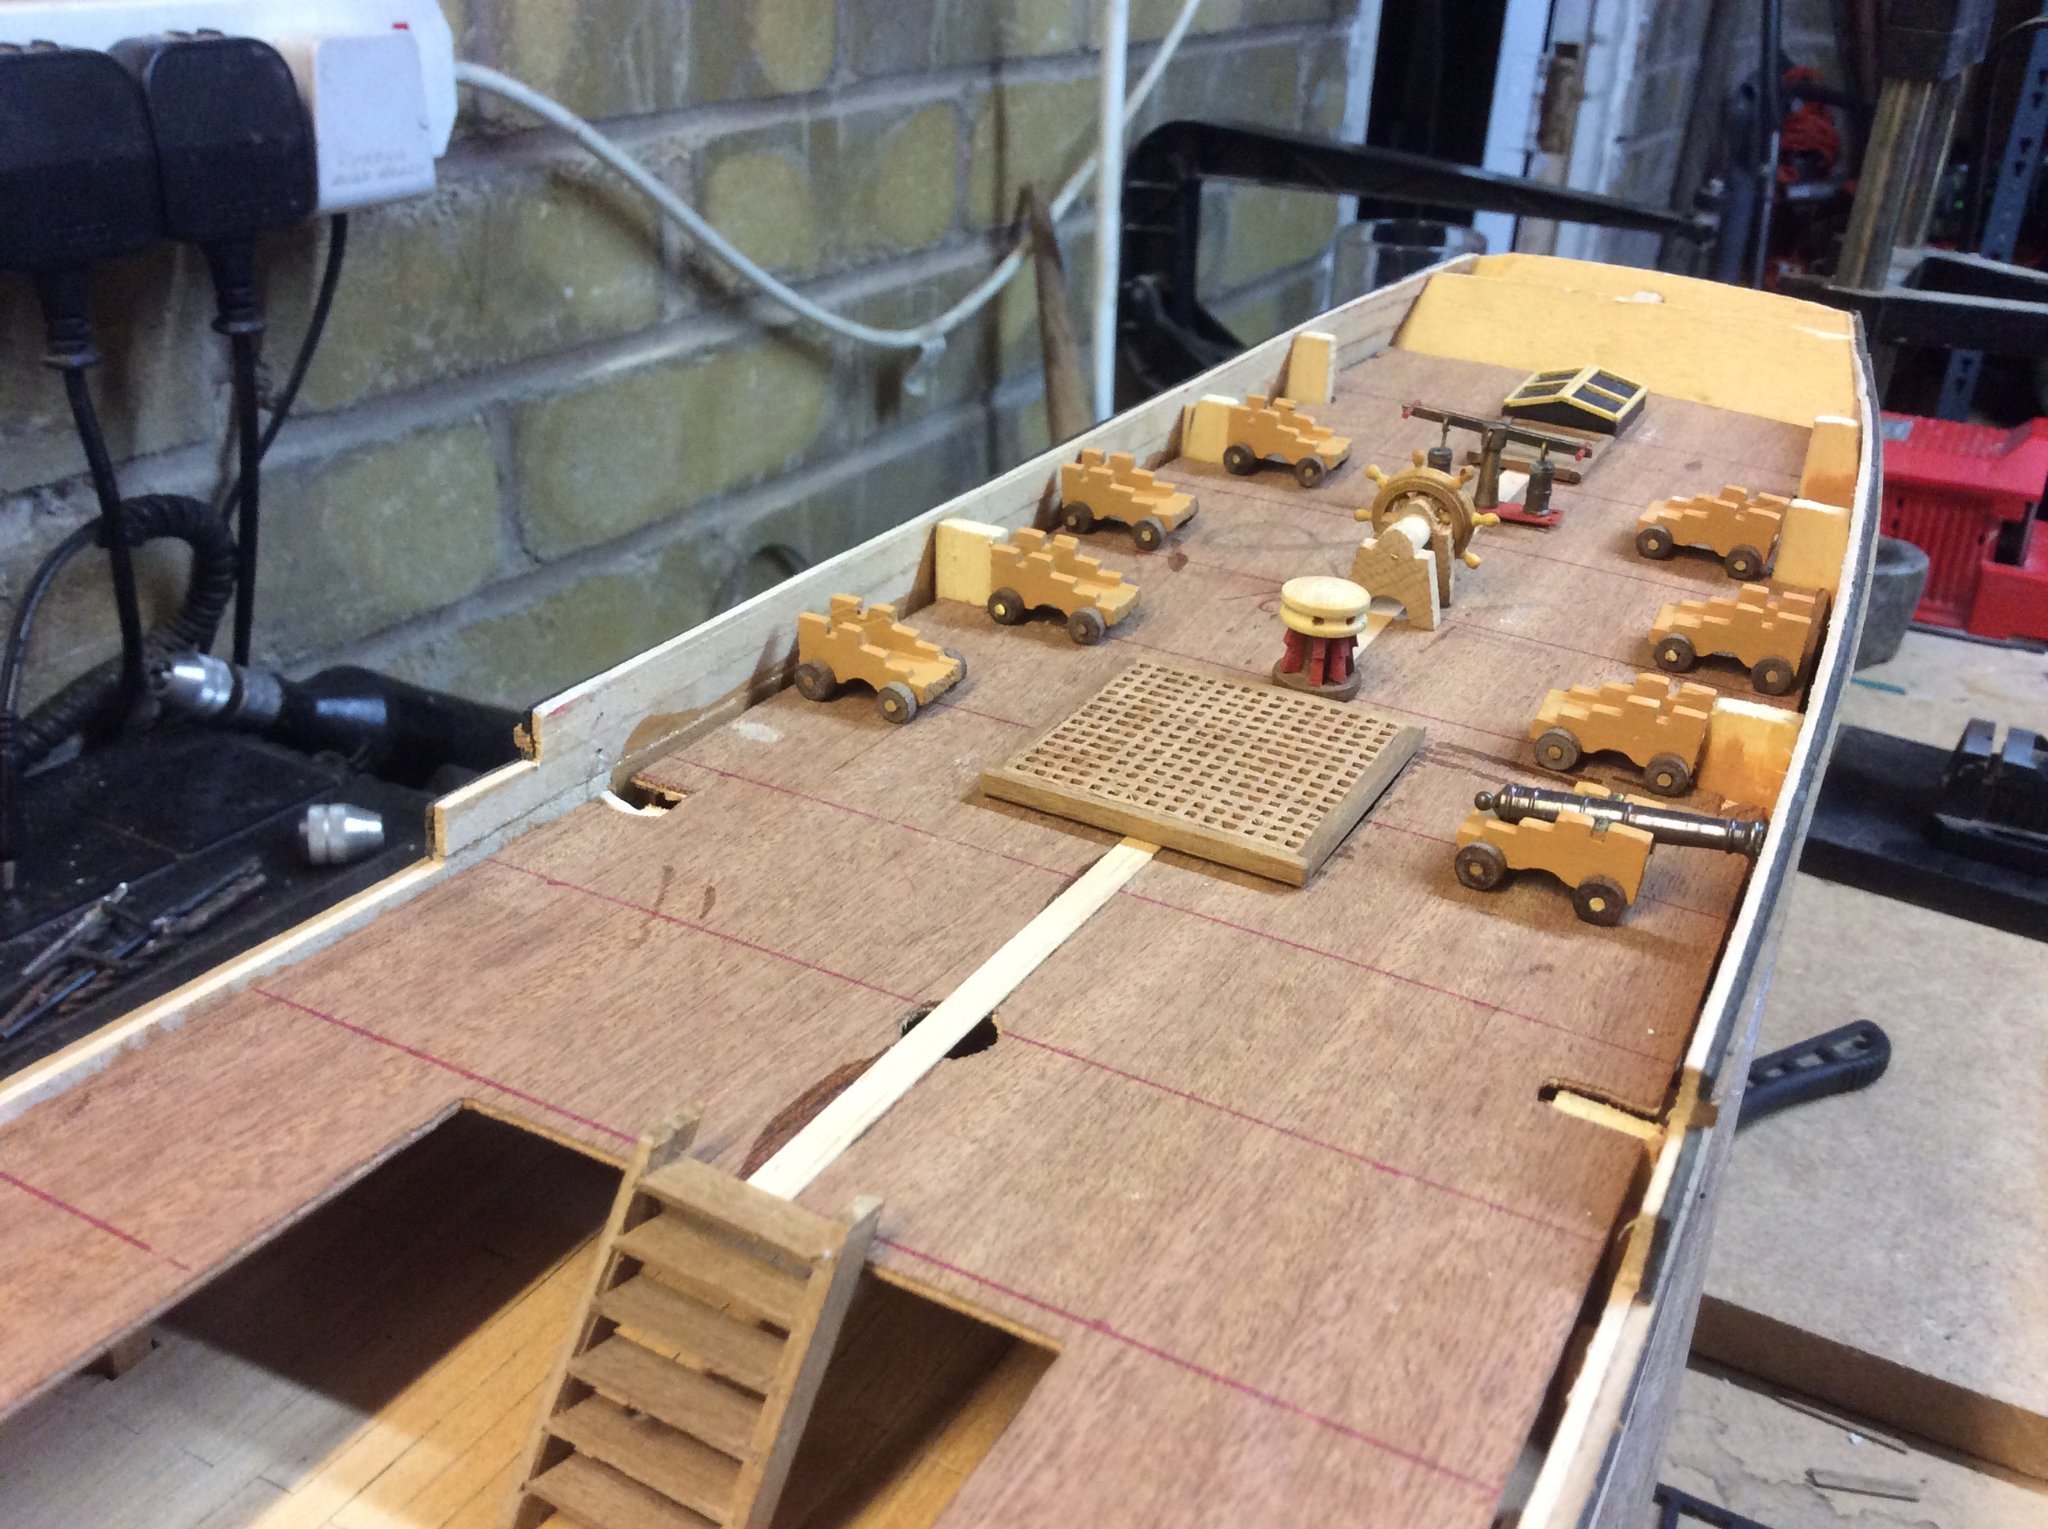
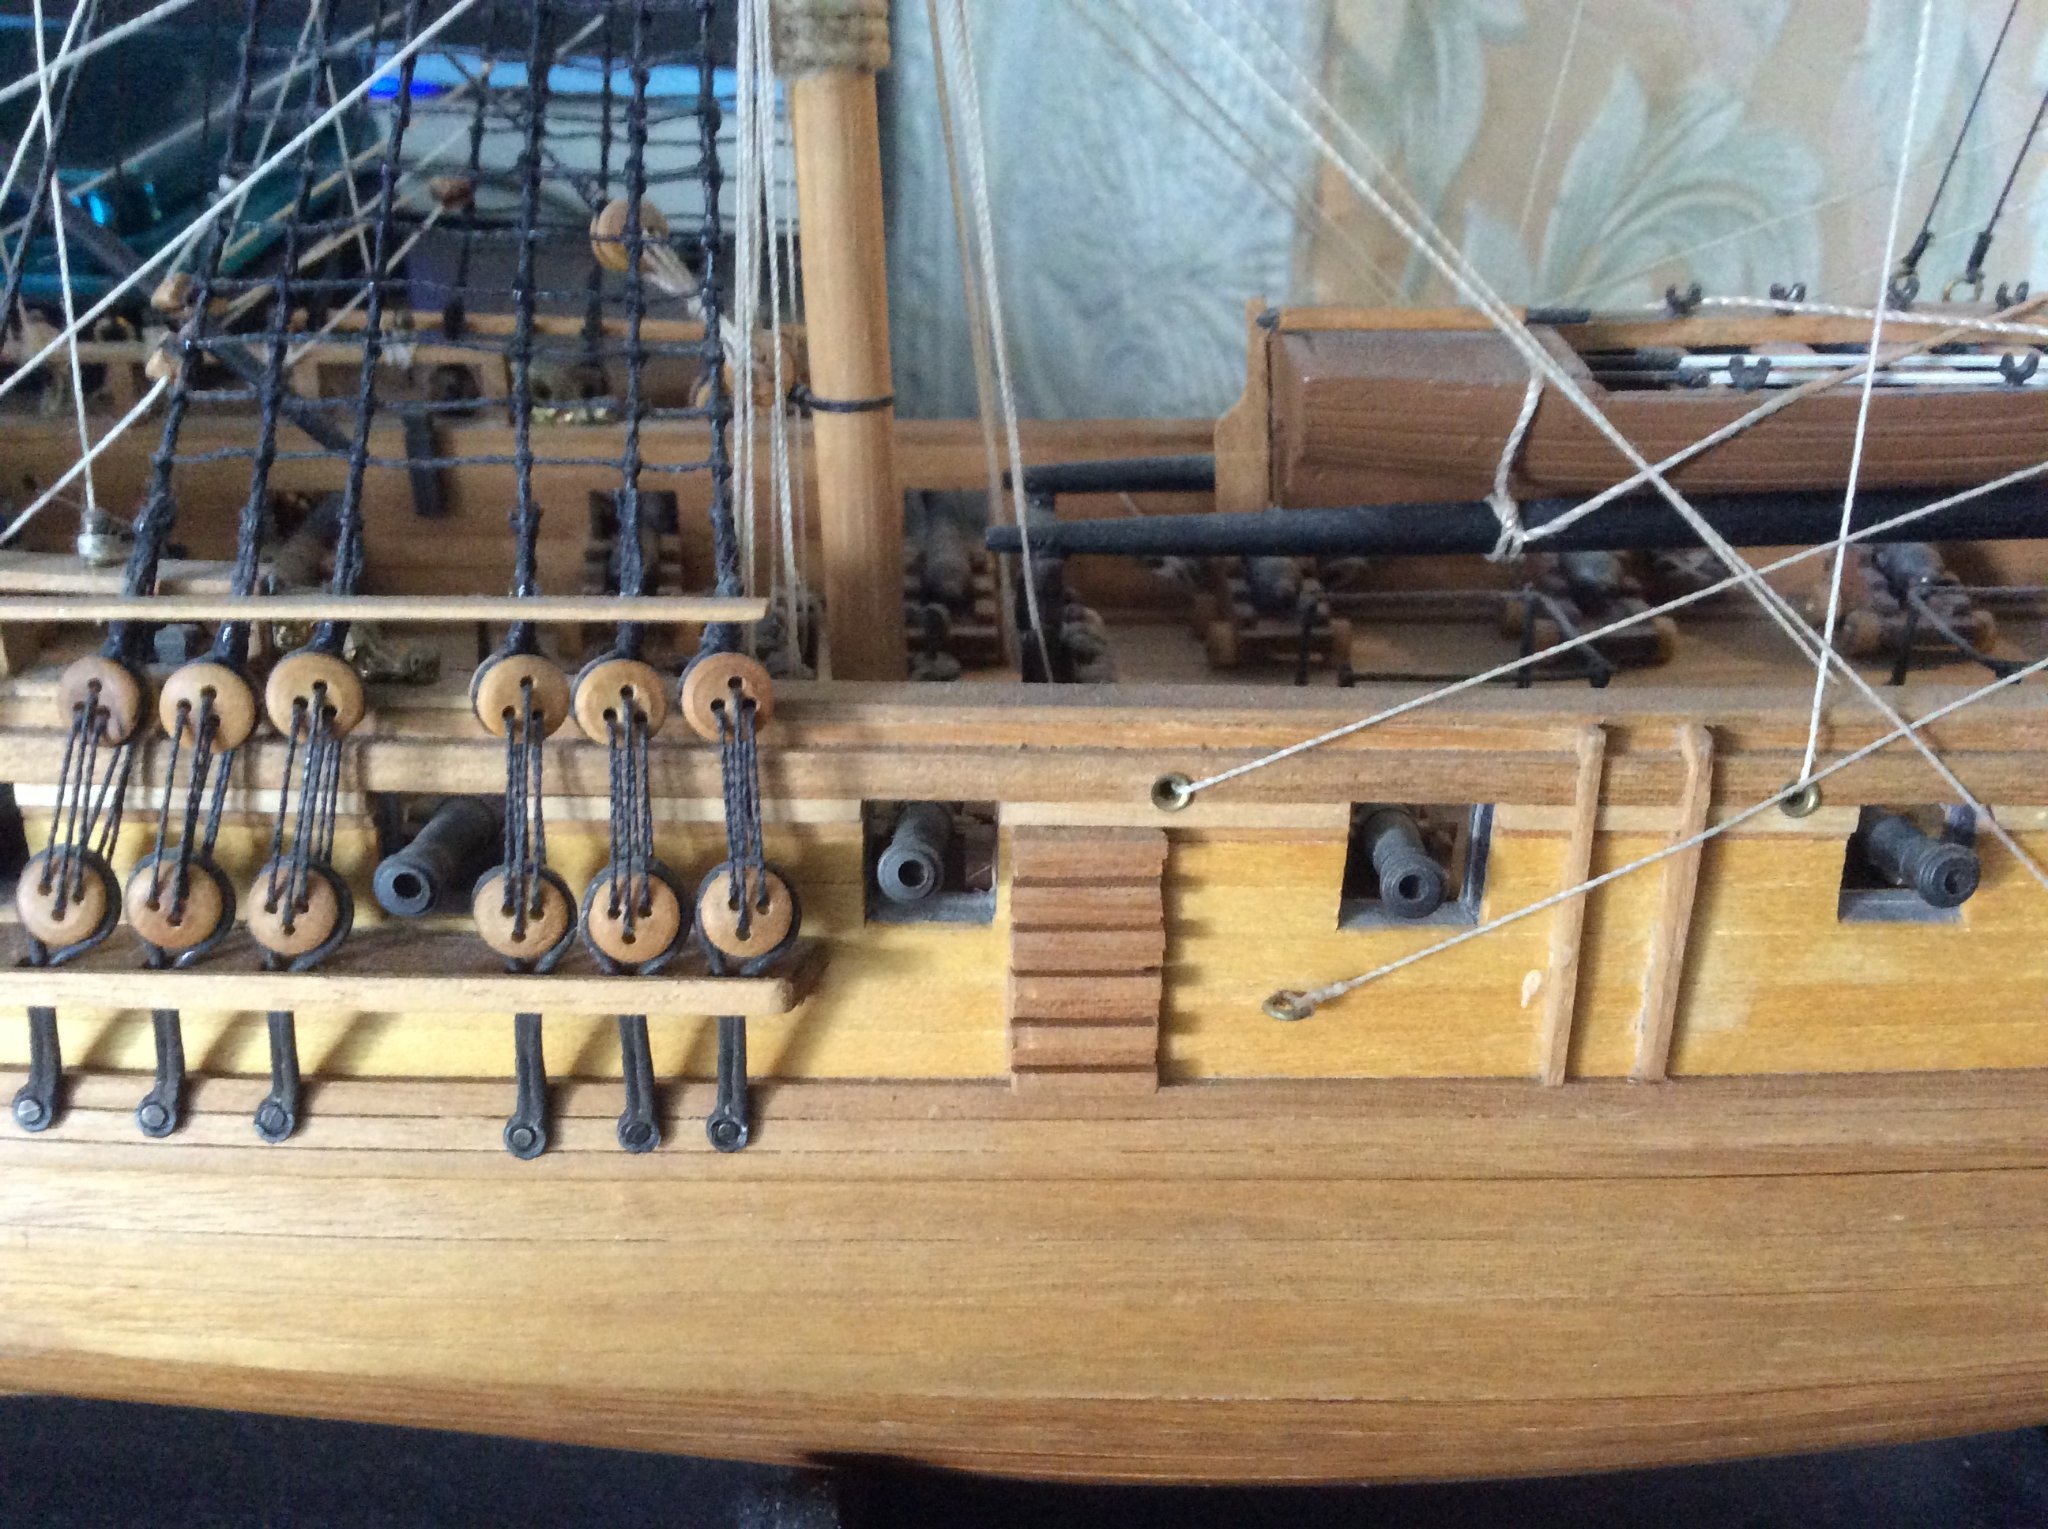
I always like to get a feel for the ship as I progress....for a kit that I only paid £15 for it is going ok.....the deck furniture is placed on Unicorn to give me an overall view further down the line.


-
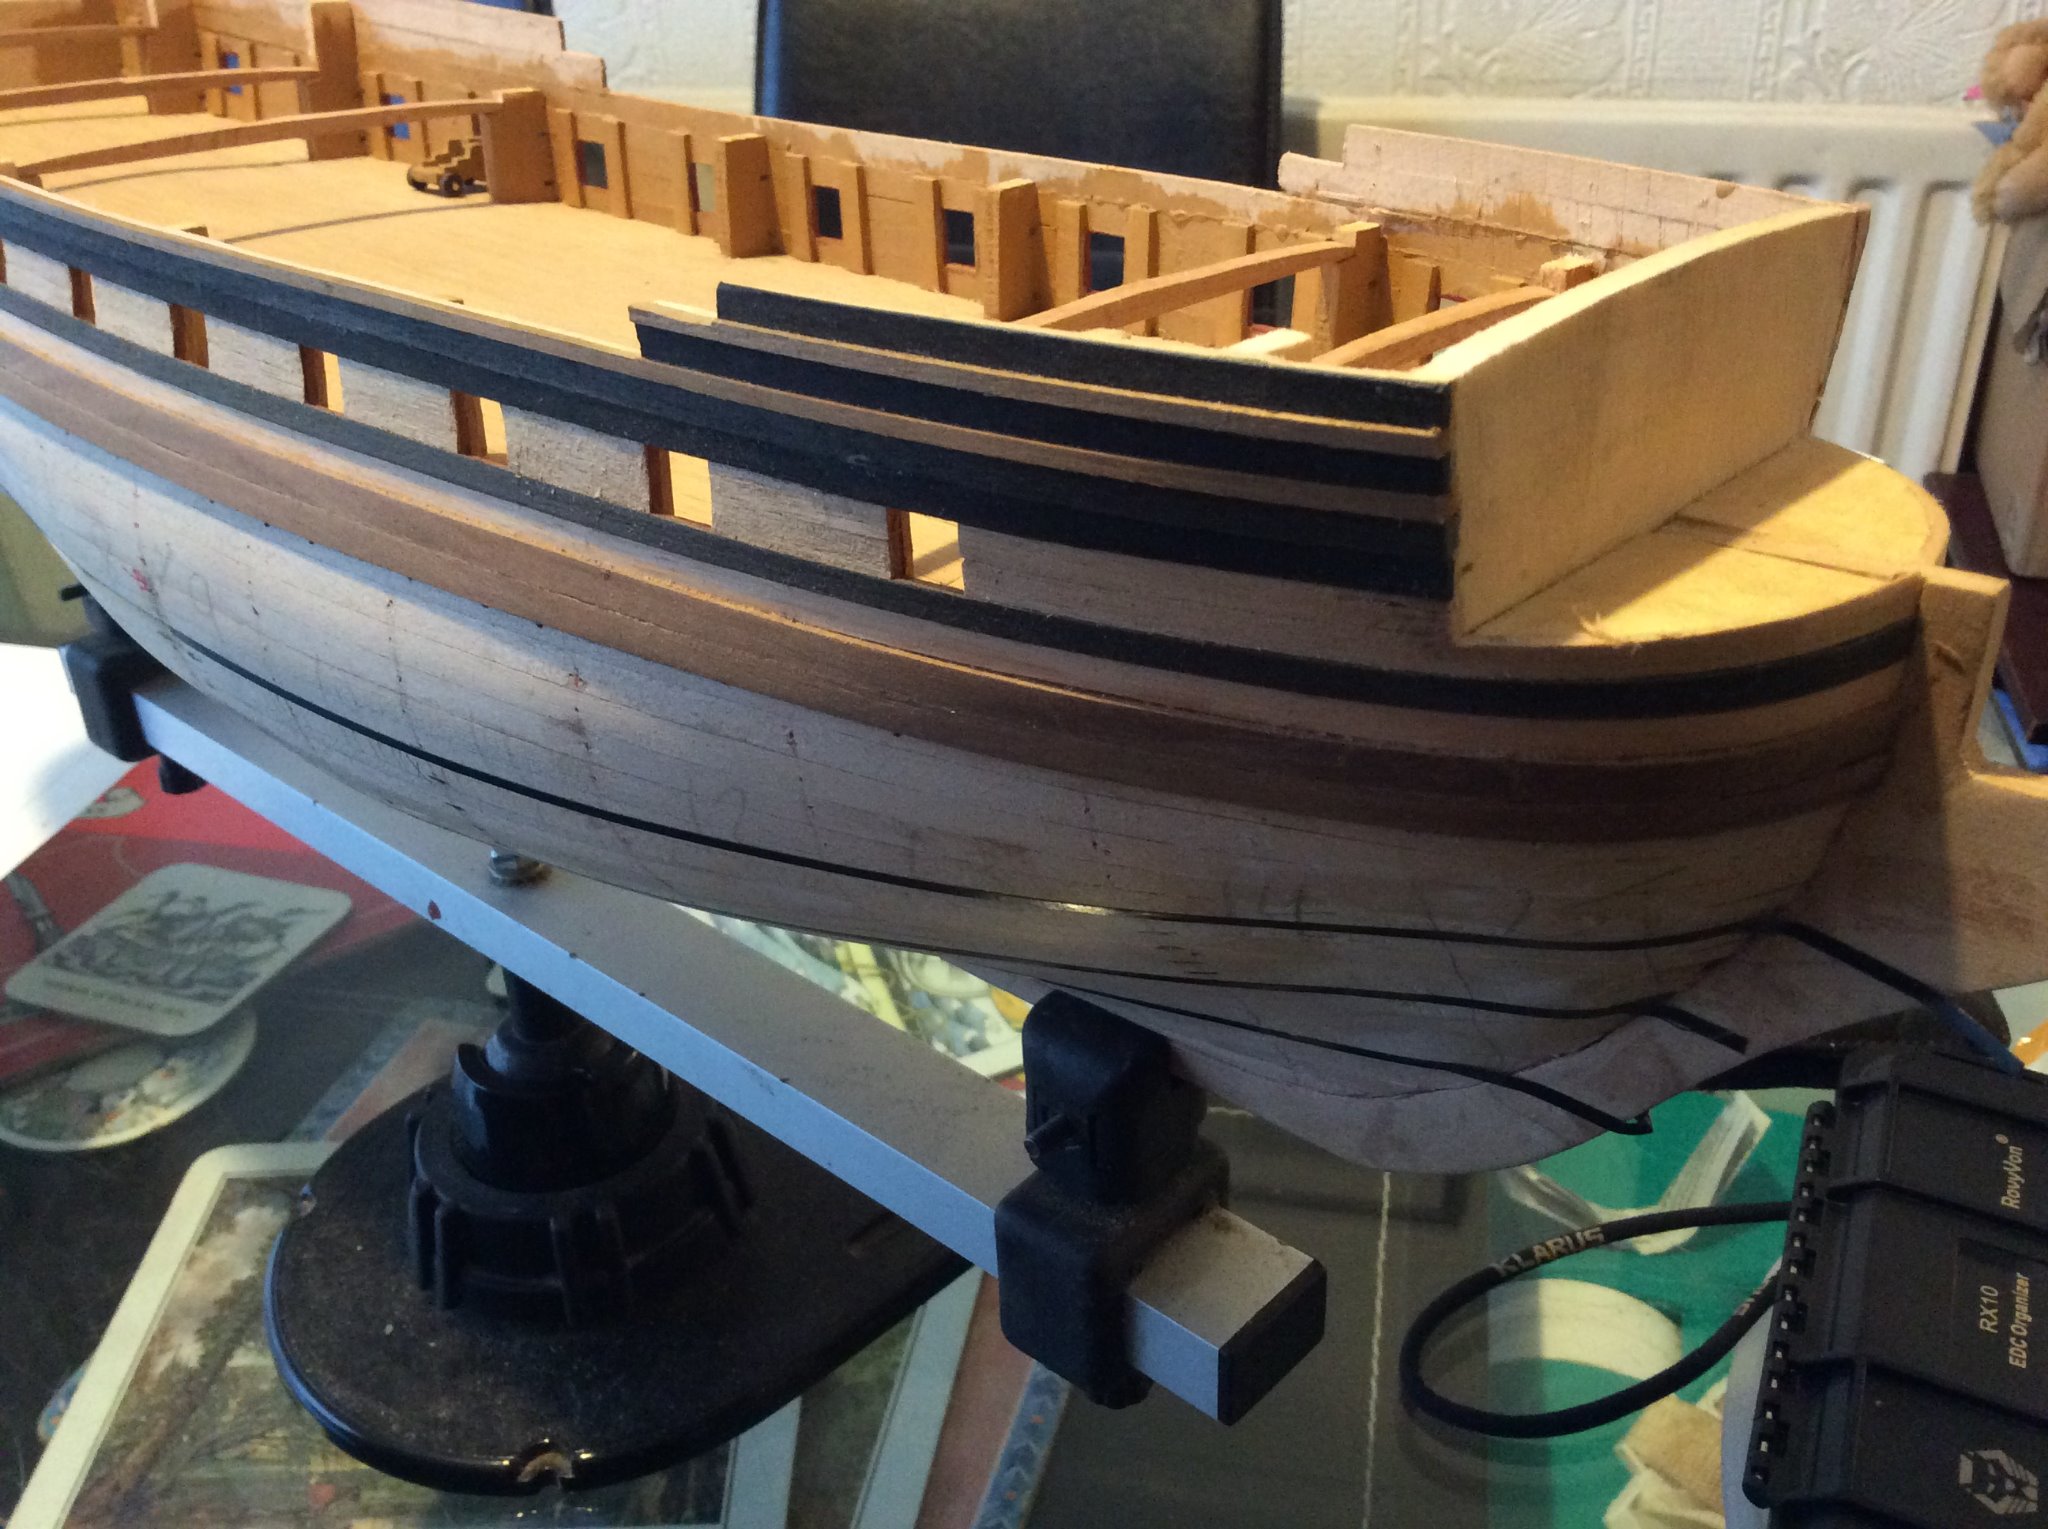
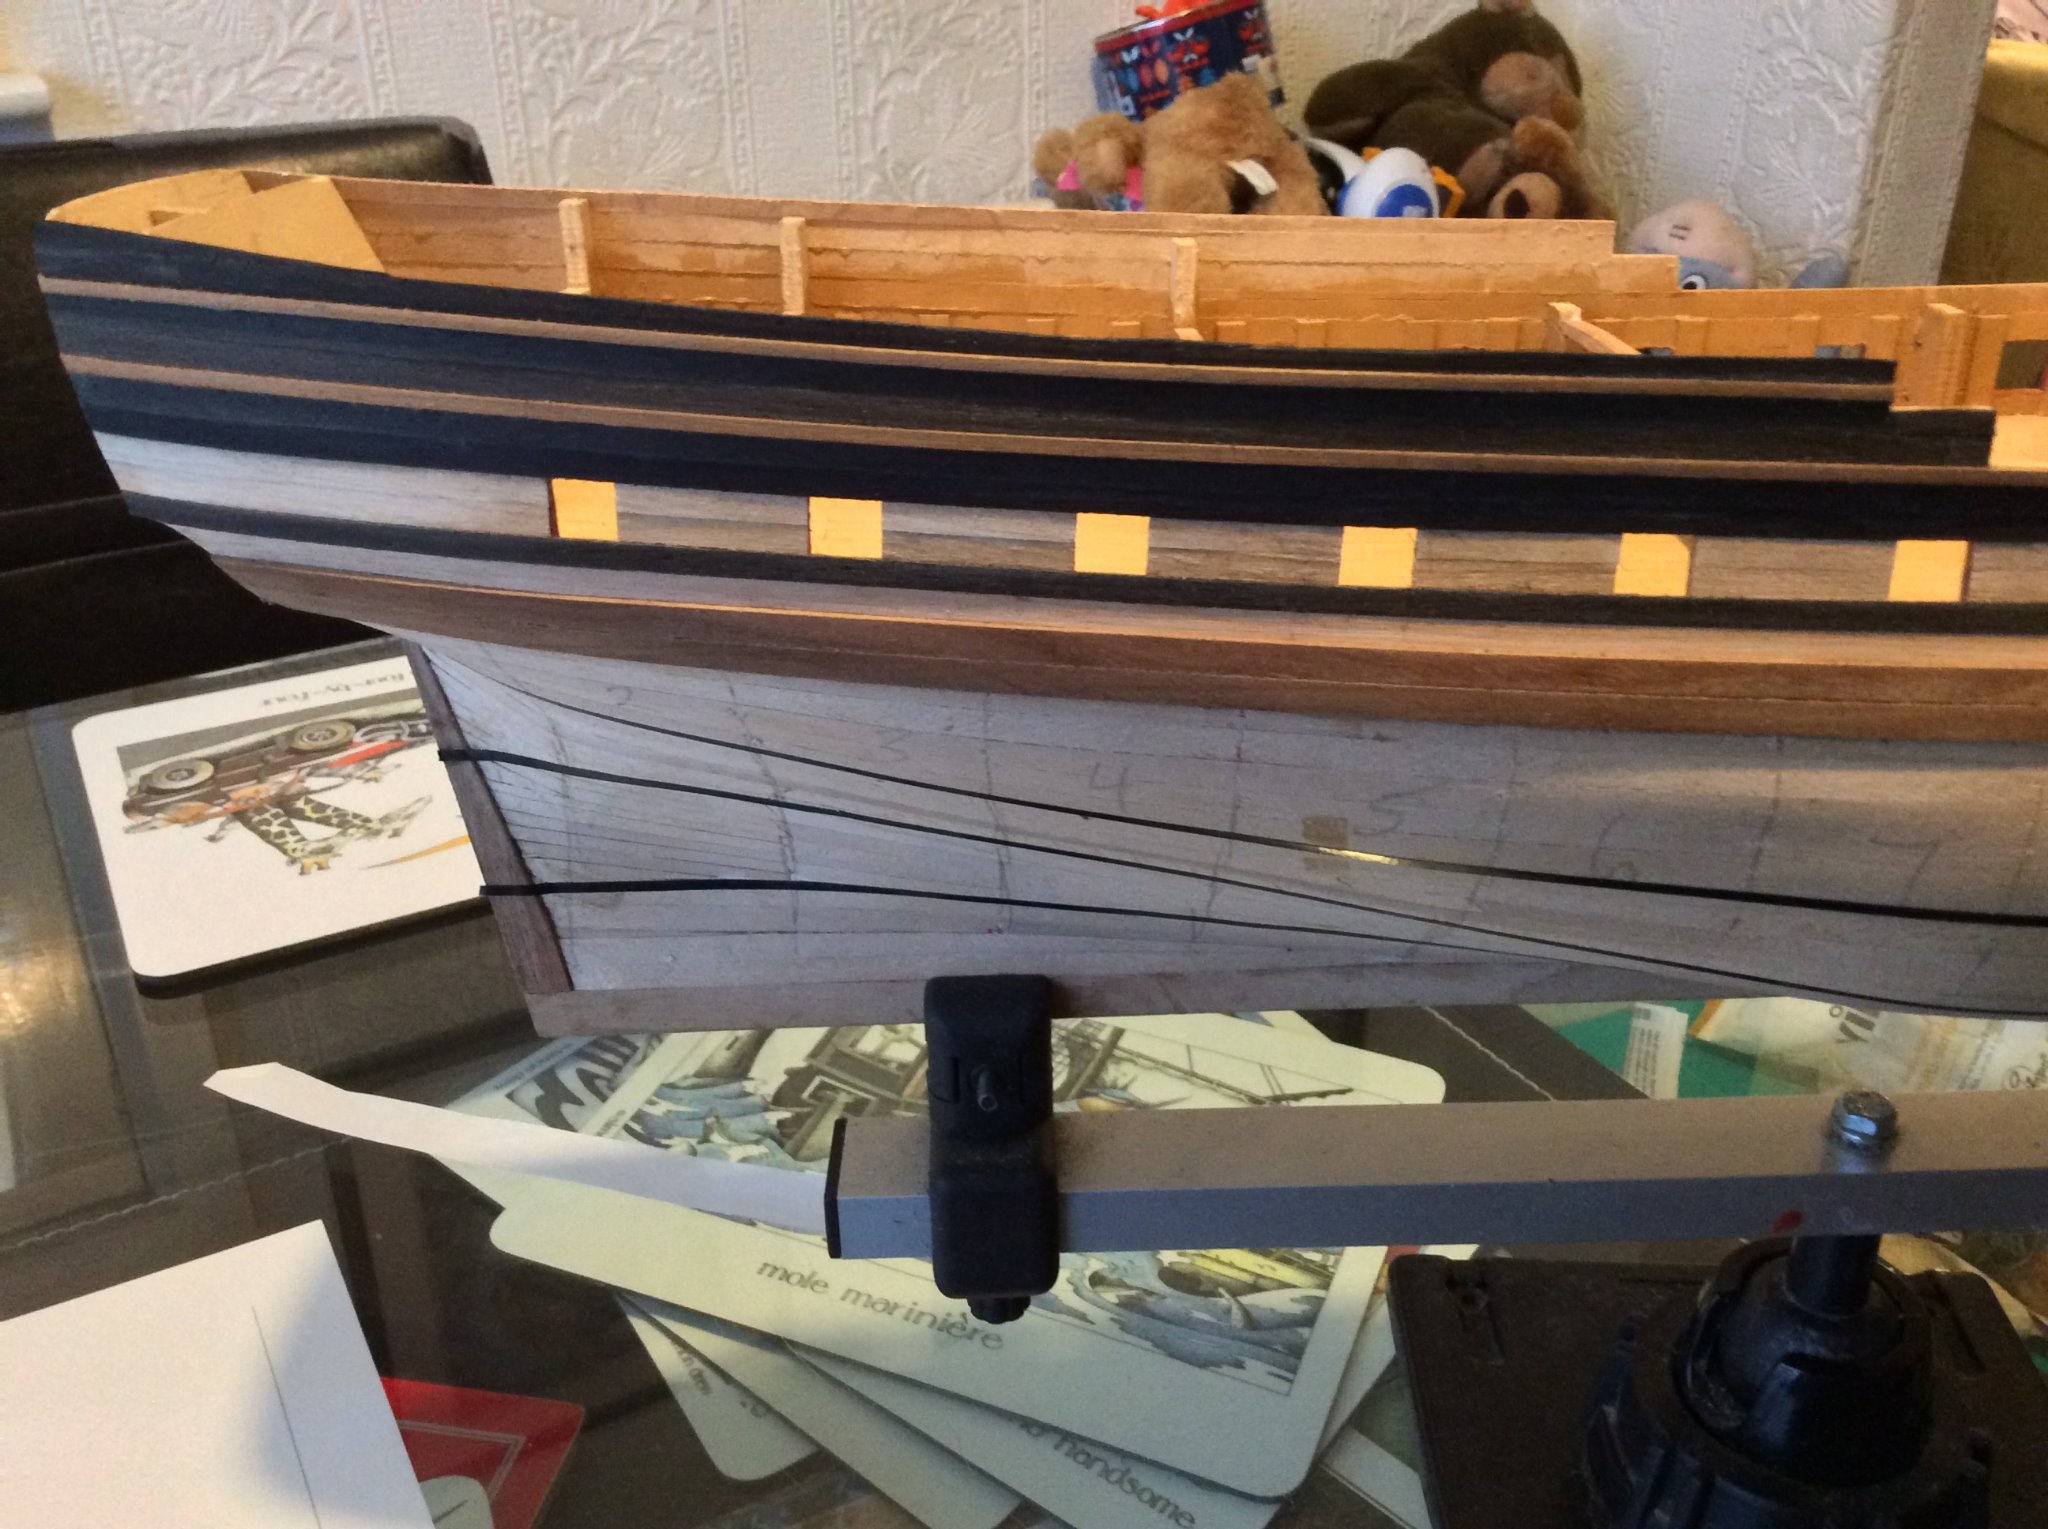
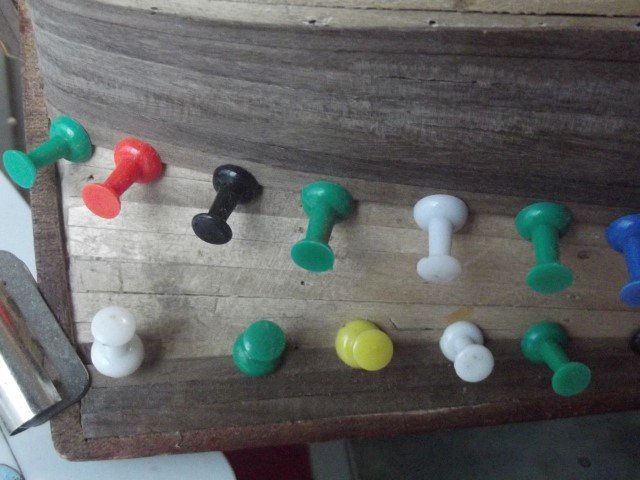
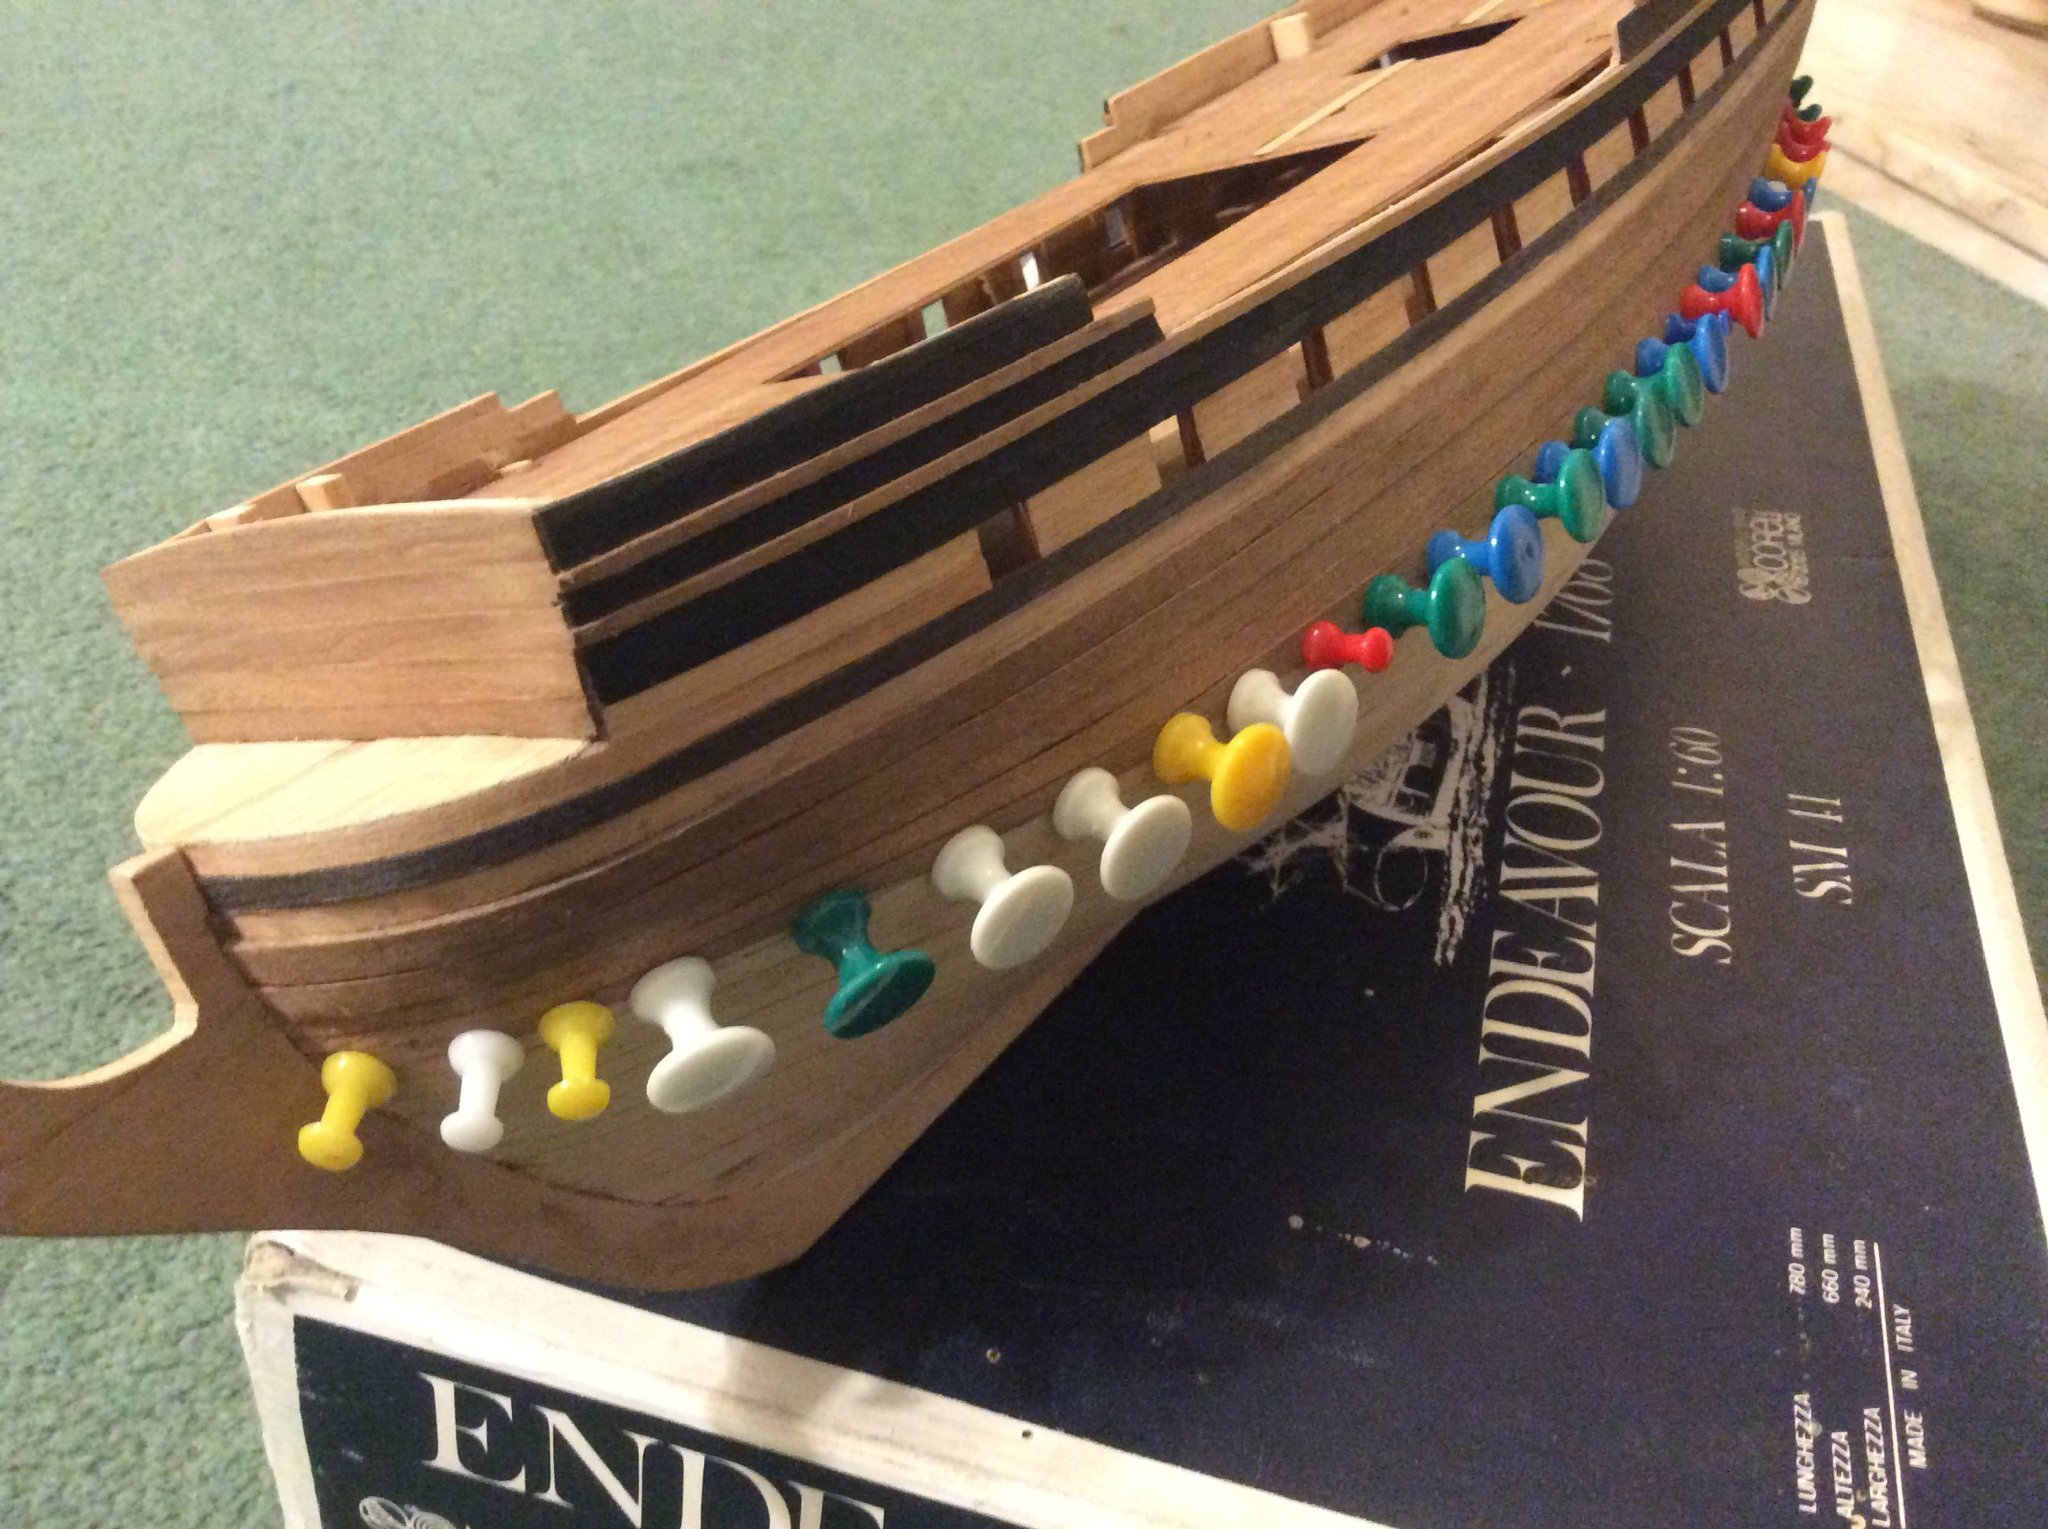
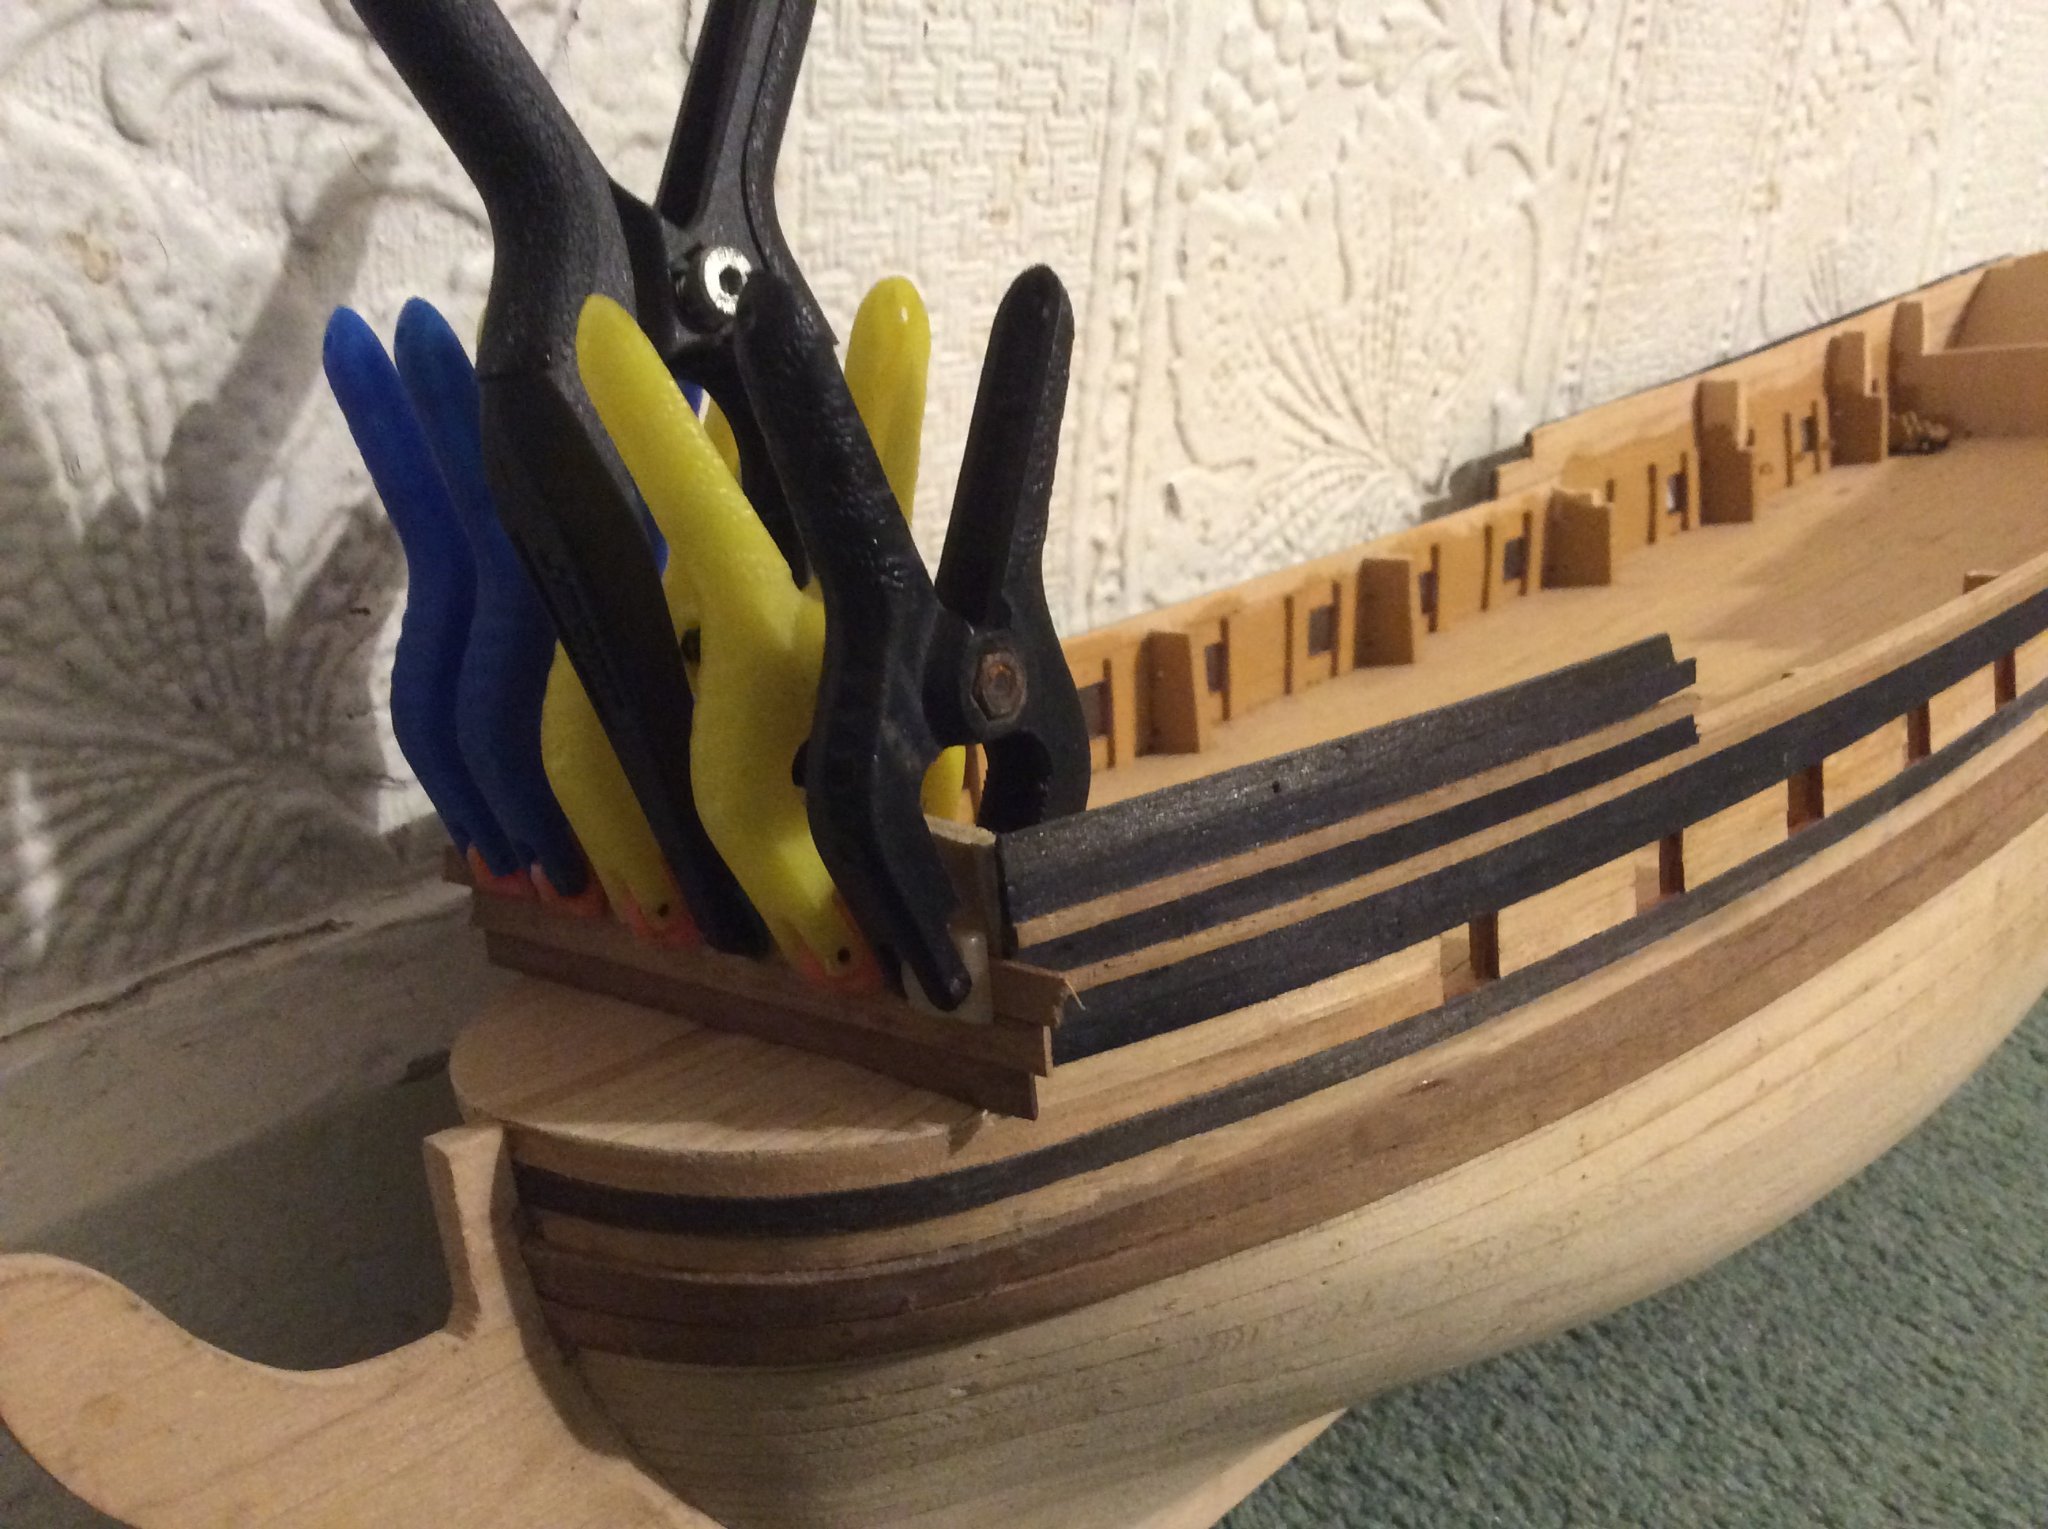
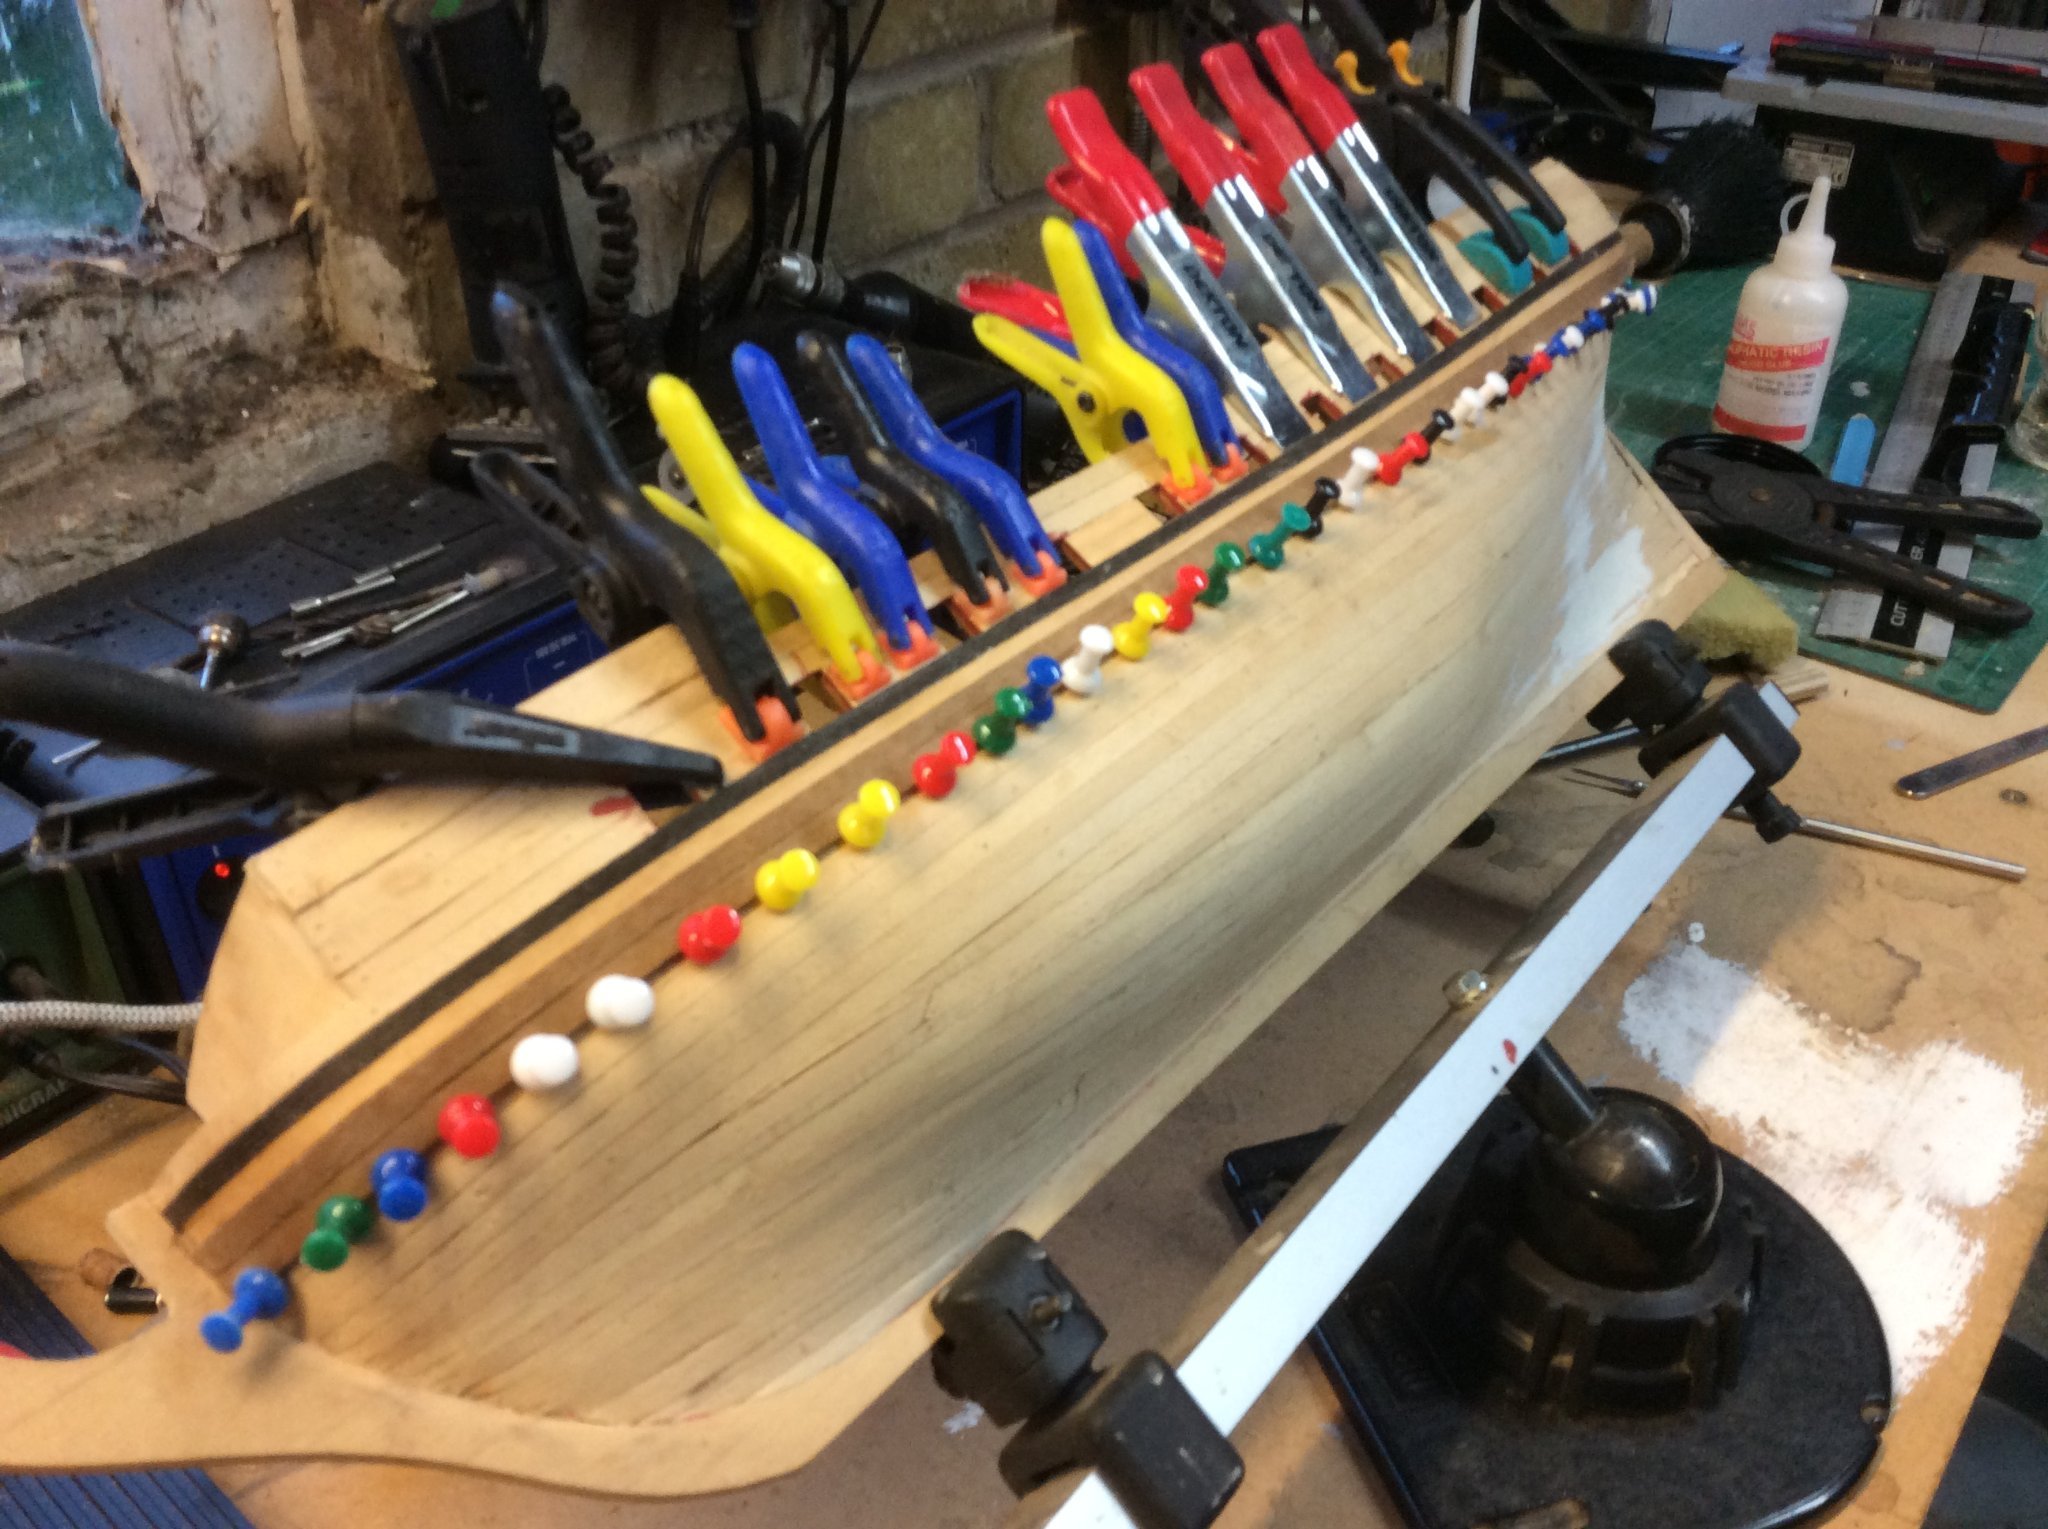
second planking continues at a decent pace. I have also found some bigger push pins which cover the whole width of the plank when applied....very useful...

-
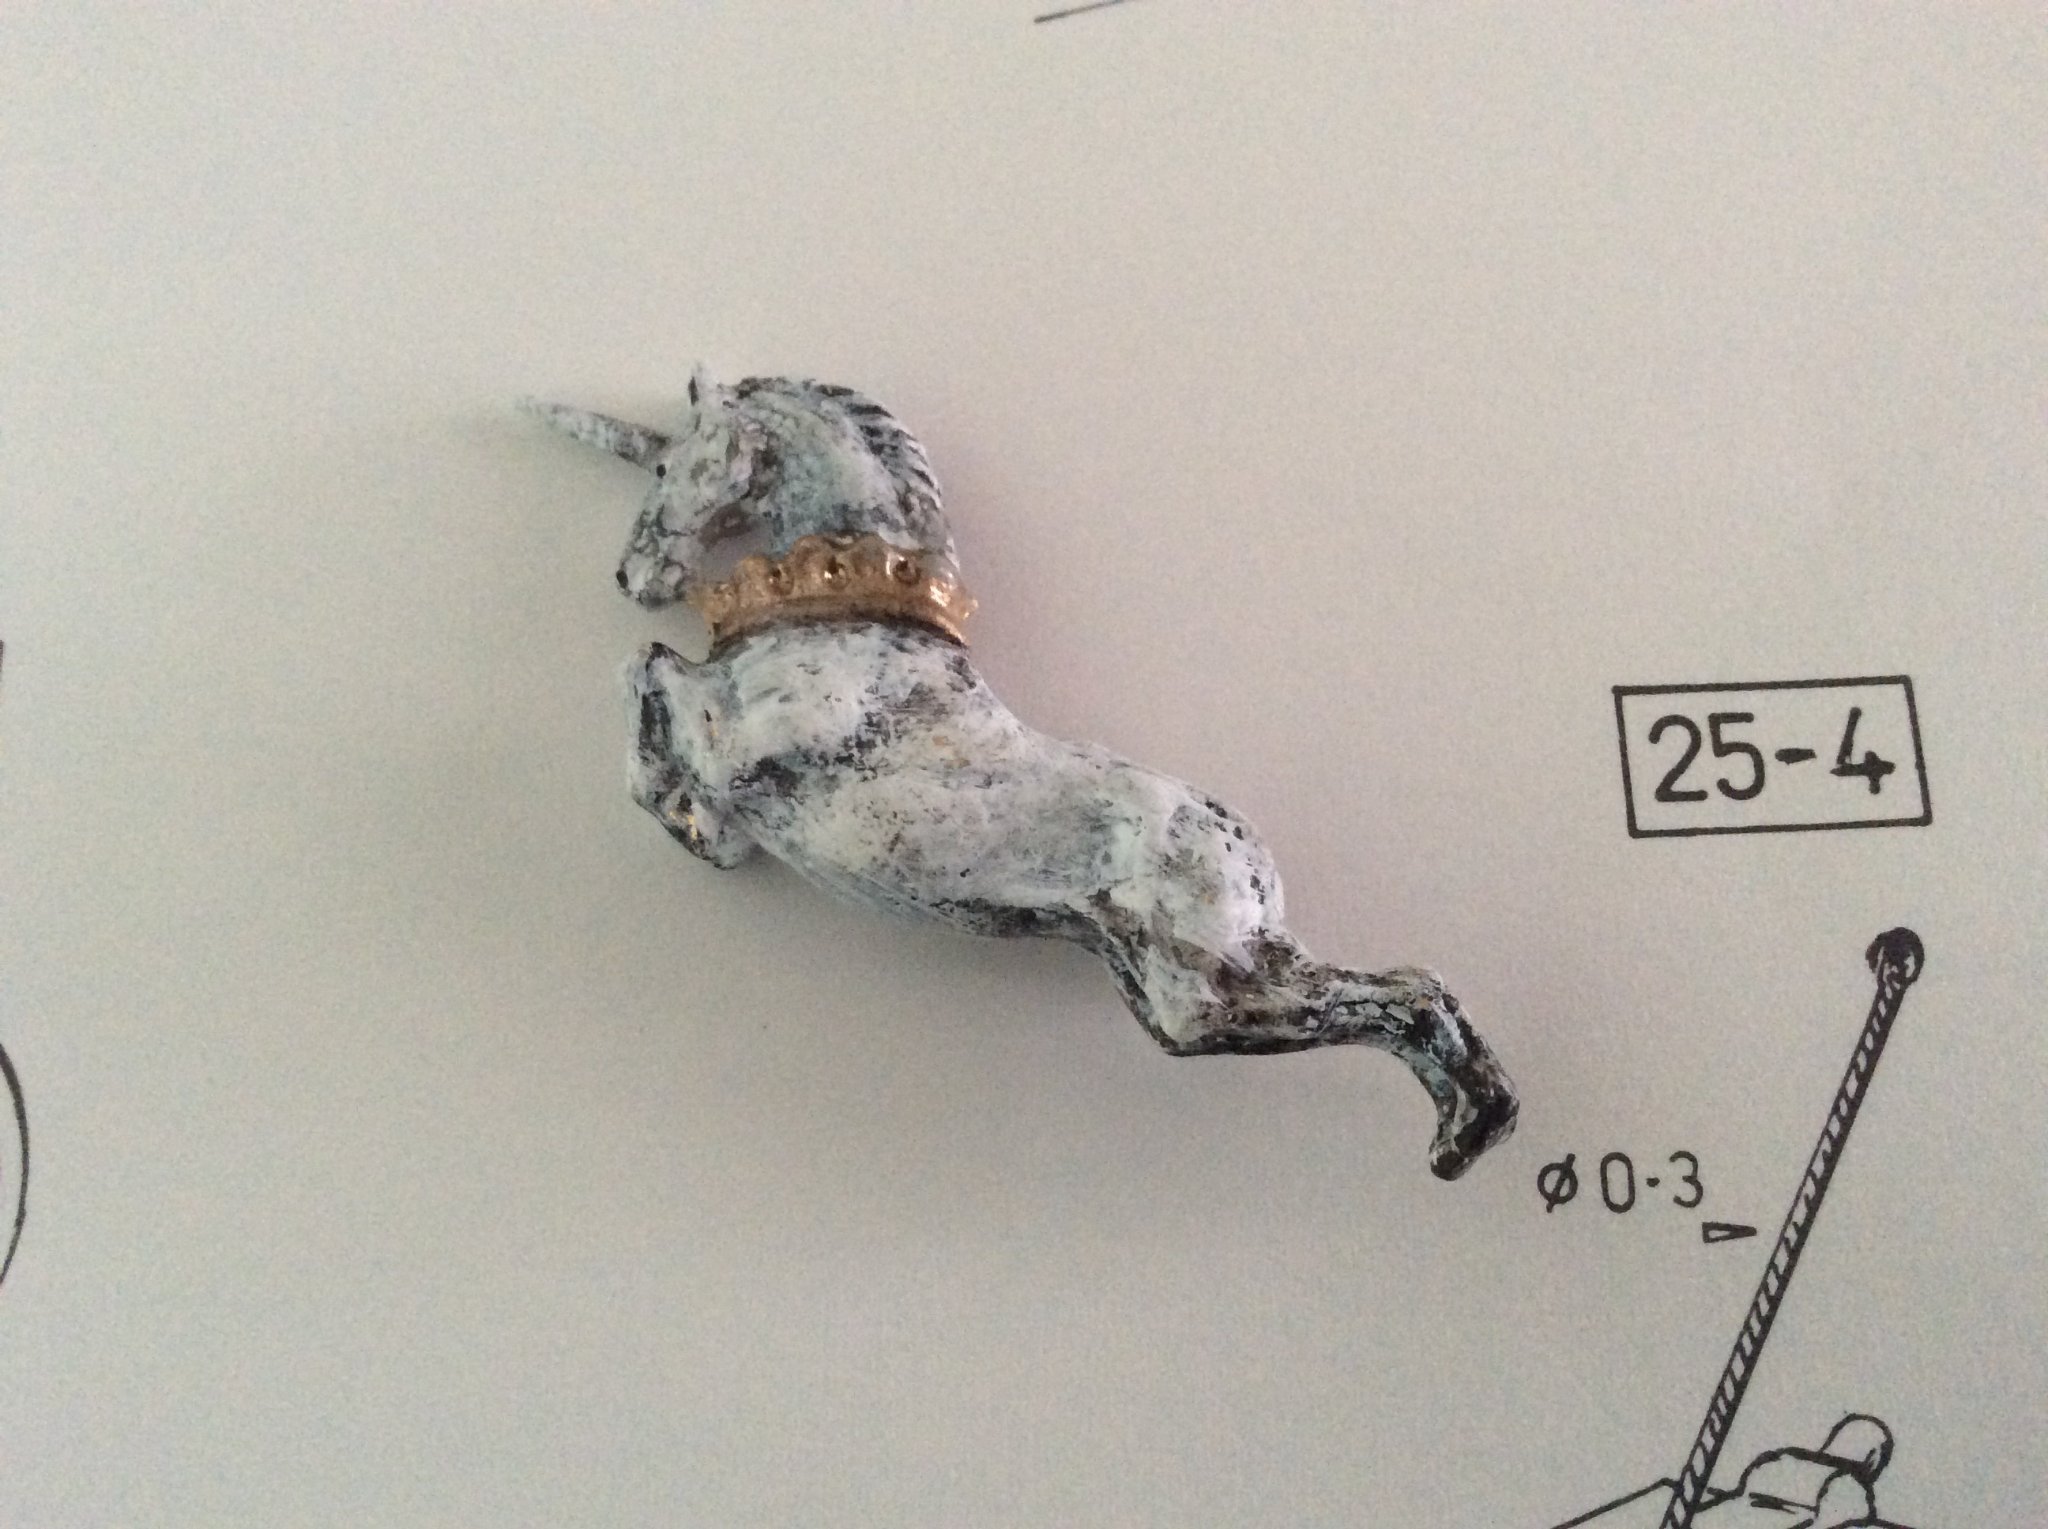
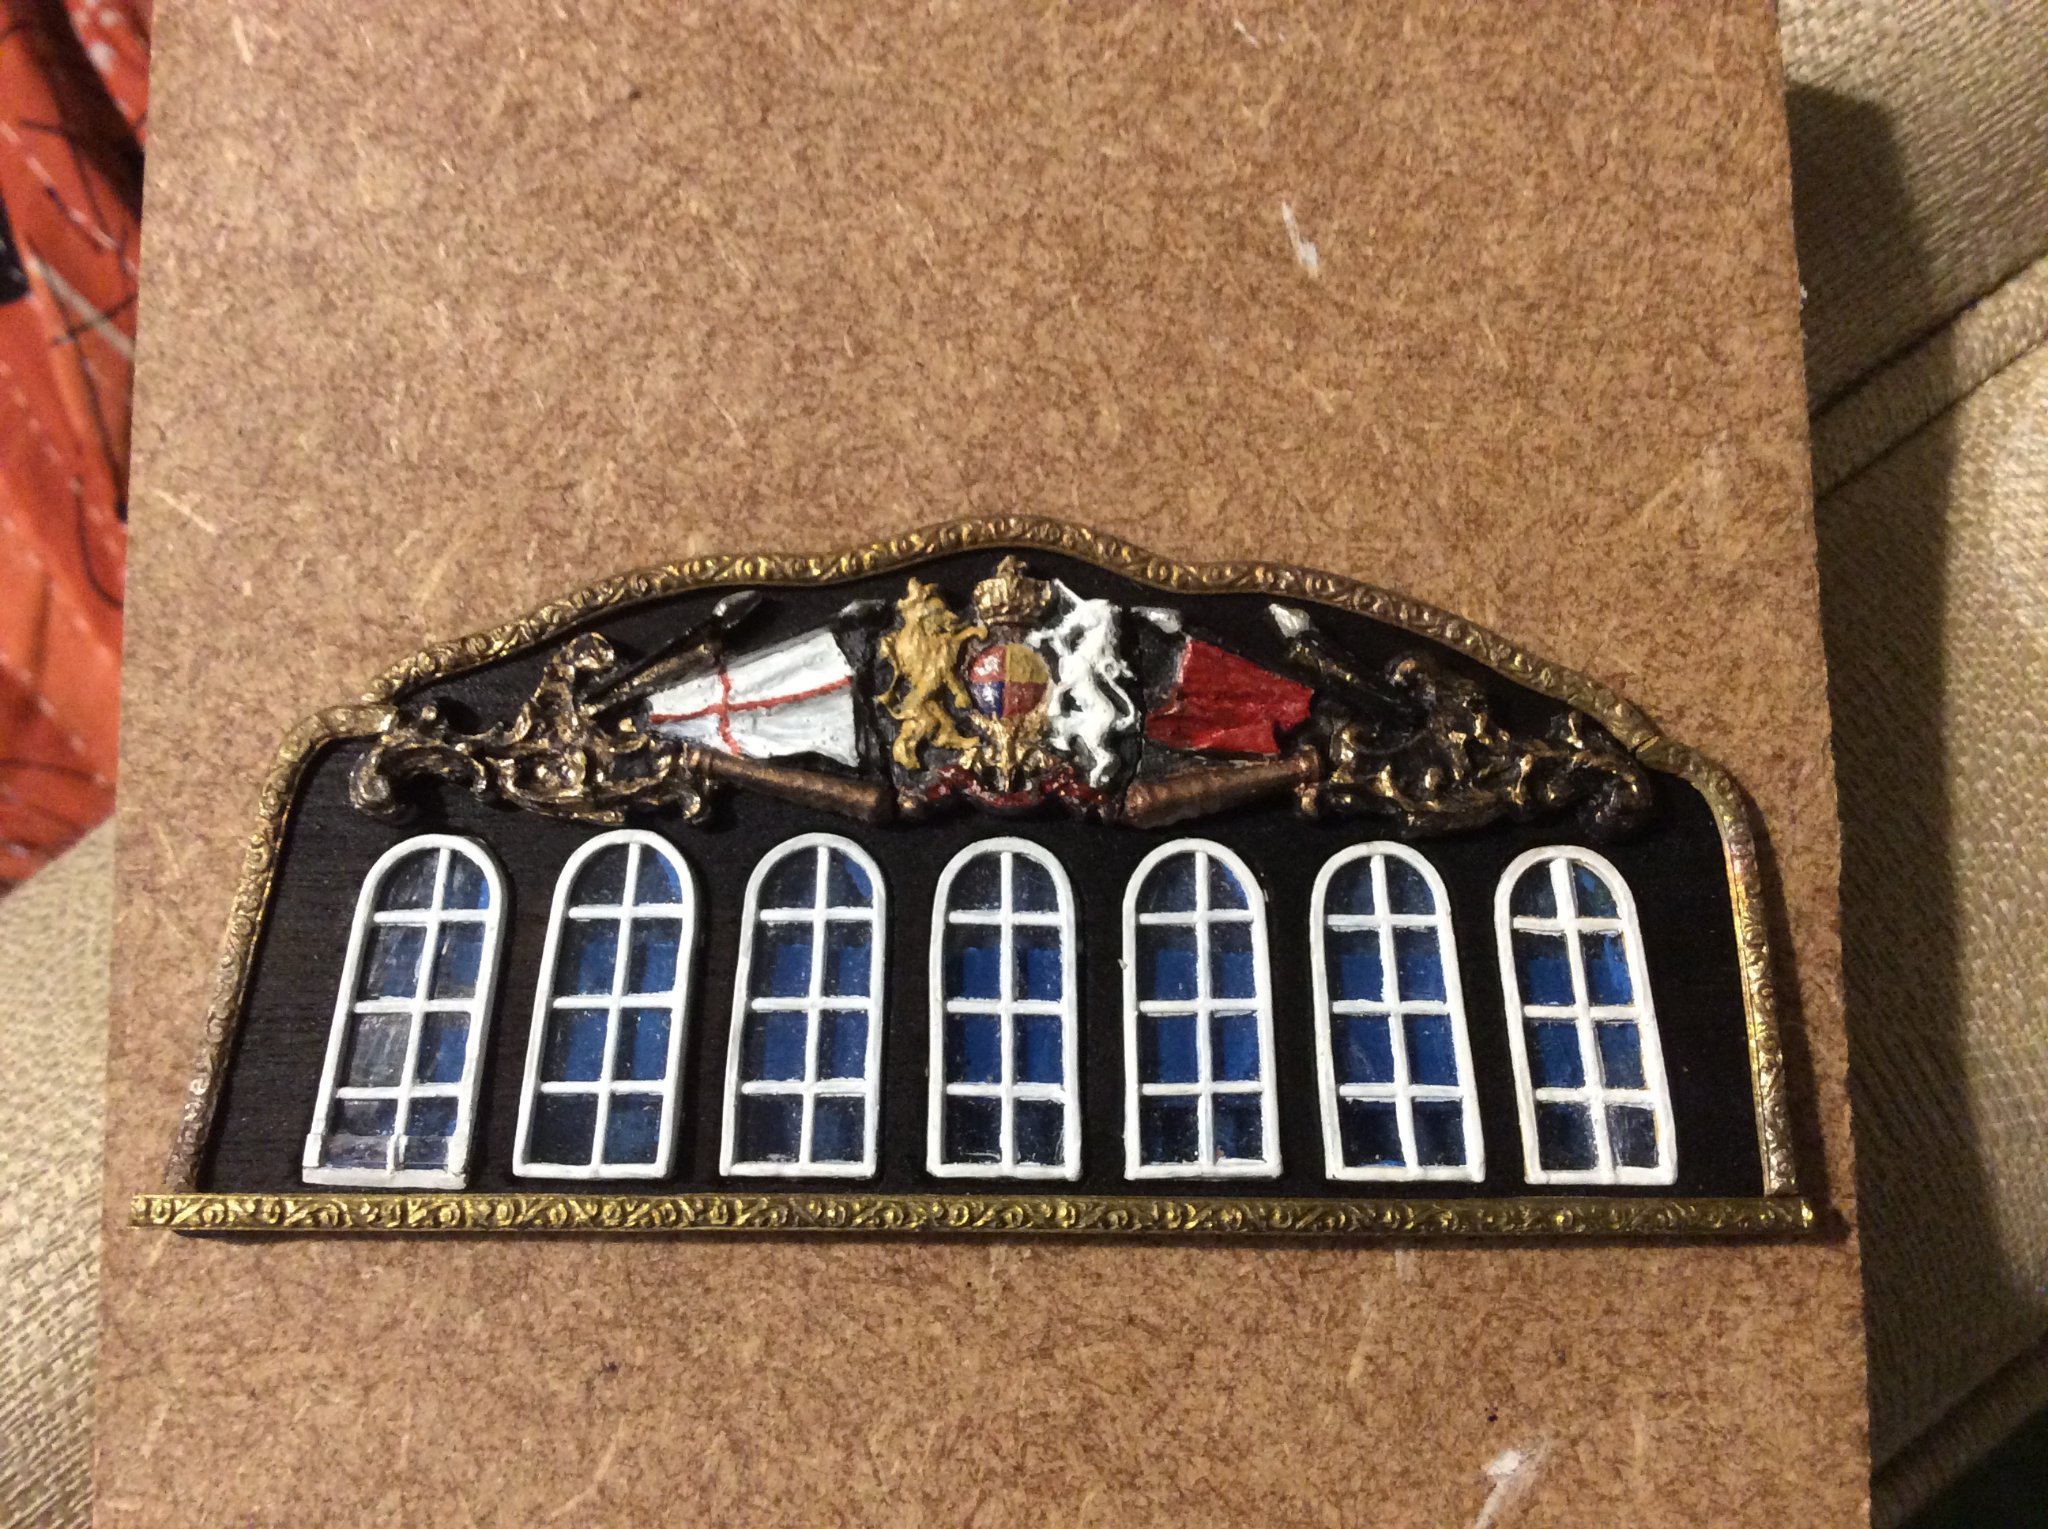
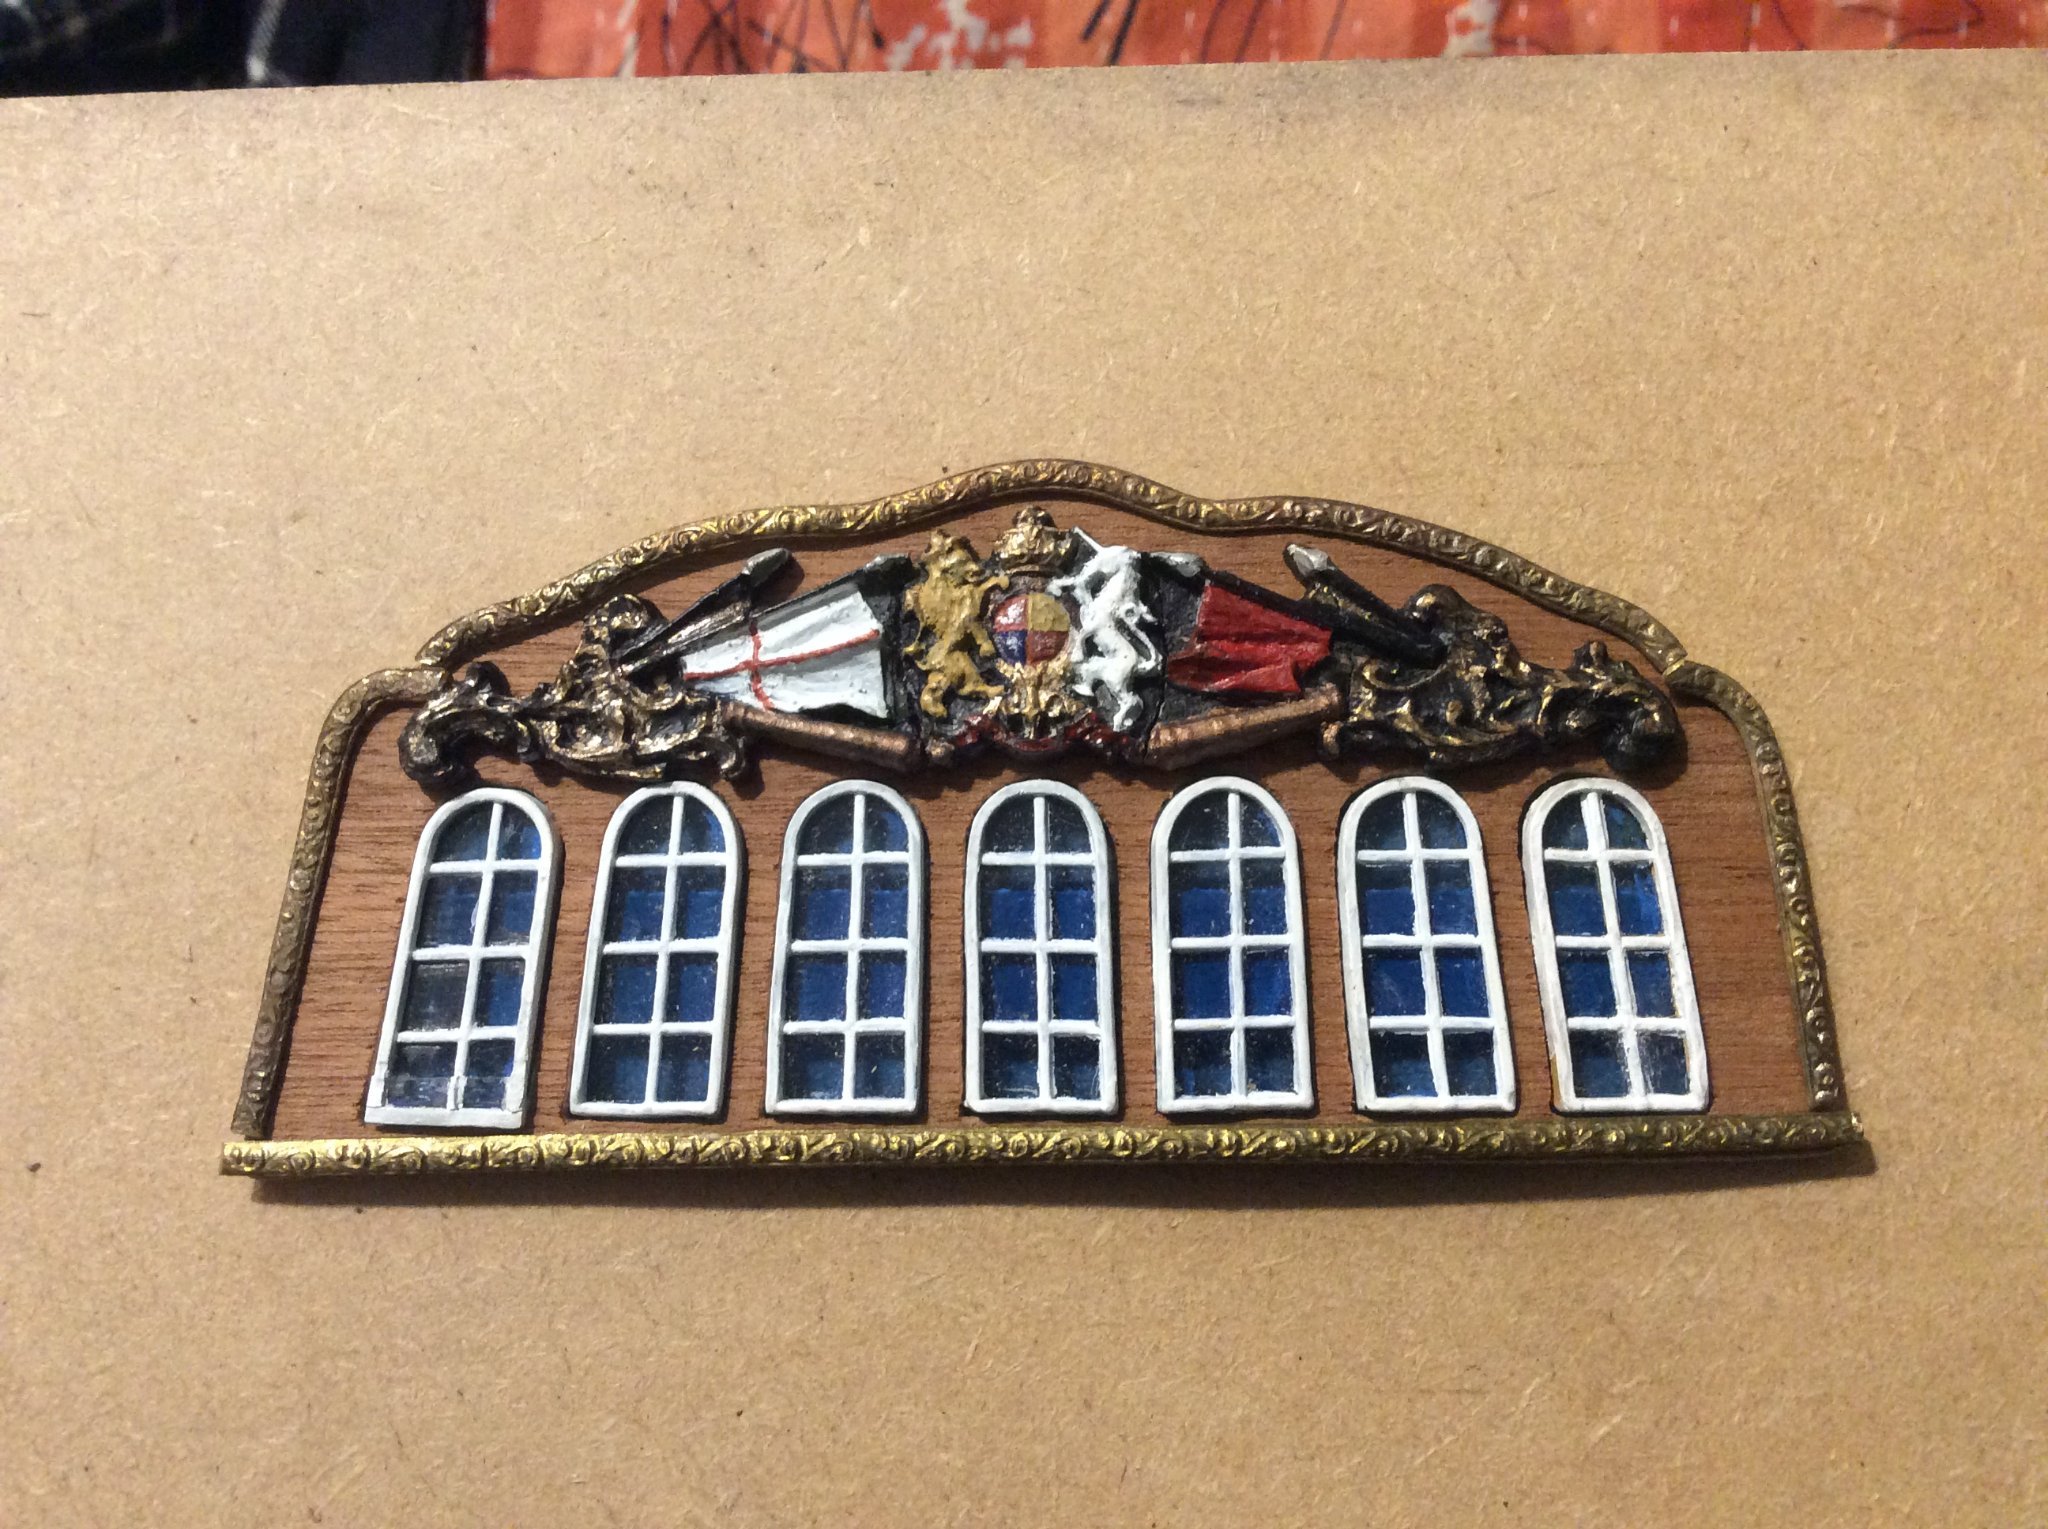
black background painted......decorations not yet fitted, the transom will be fitted to the hull before the bright work is fixed......looks rather good me thinks....

-
this is roughly what the transom will look like when installed. I will probably paint the background black....The outer decoration is a cast metal which i have heated to soften then bent to shape....overall it doesnt look too bad......the new unicorns have a precast transom which makes this stage easier....im happy enough with the result.

-
This one of mine is ancient and to be fair it seems to be going ok....go on give it a go.....you know you want to...
-
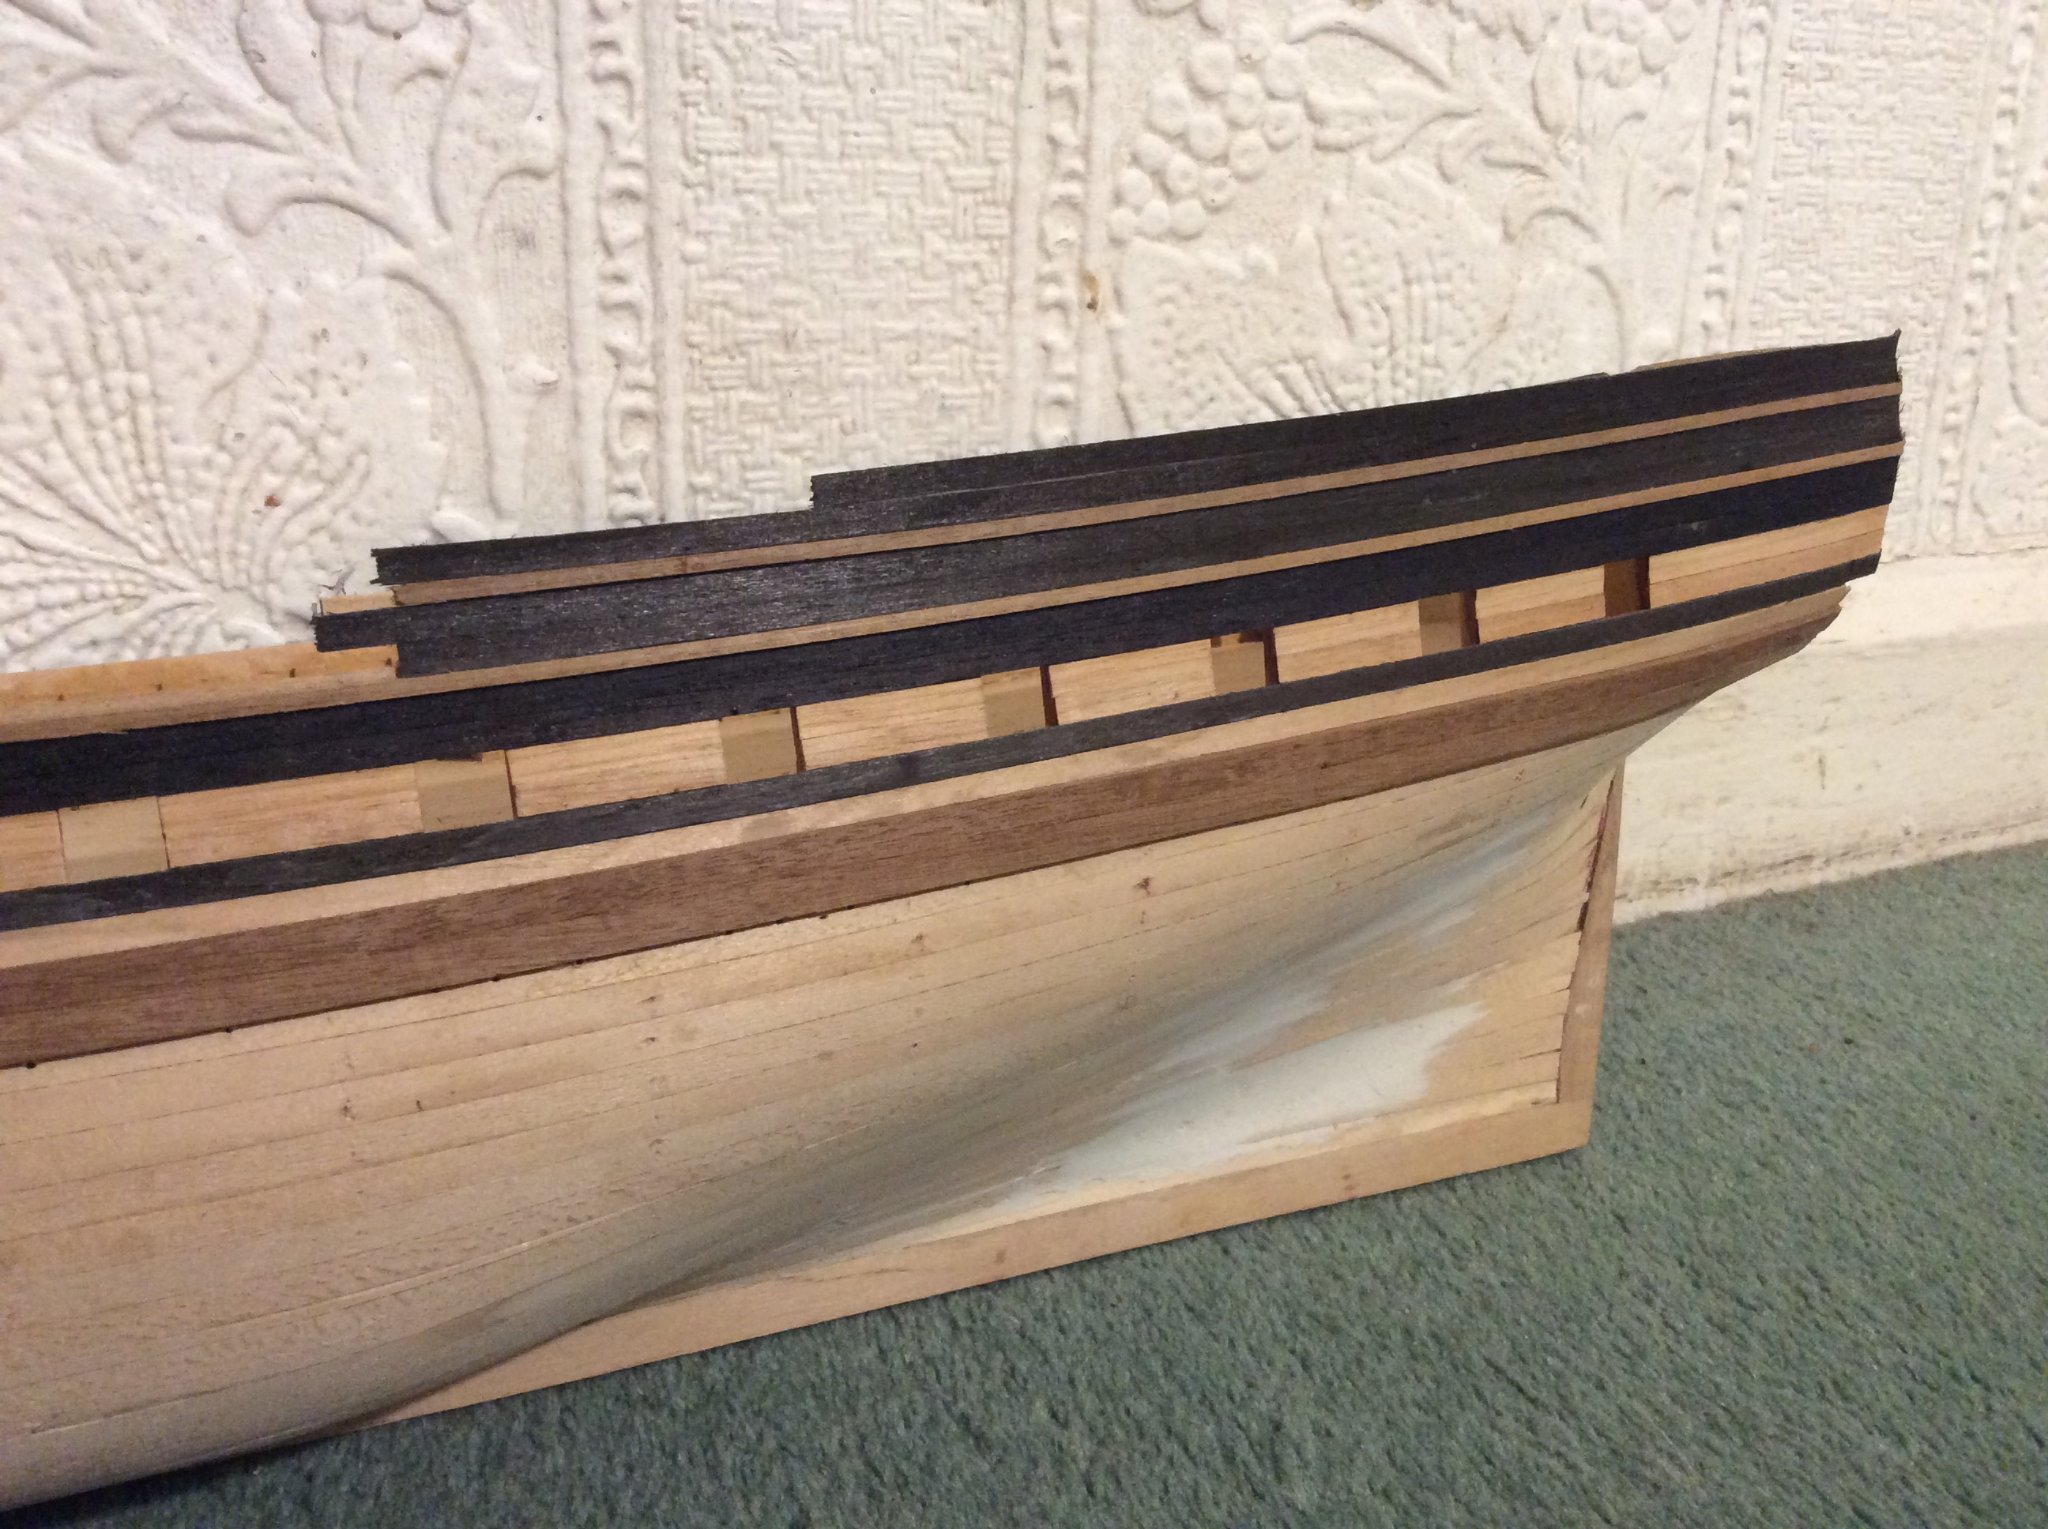
Well, Unicorn has had a few more second planks added...the black boards are a weird sort of material and I am hoping they take a matt varnish without too many problems.....


-
greyhounds instructions are aweful.....keep cross referencing everything .....my greyhound build log was lost when this site crashed a few years back so most of the build isnt shown....keep asking if you need further help and i will try my best......i still think i have my instructions somewhere...
-
right I am with you now.......use these type of pins....they will leave no mark on your second plank as you remove them...push them through the first planking...use enough and let the glue set before removing them...you can see where i have removed them from the top plank...
-
i really must make an attempt to start again...but my Bellona was left alone for over two years before I restarted it.....seems like life repeating itself...
-
i am not really bothered about the accuracy of any model i build....just enjoy the process.
-
you are not a million miles away from me...….Rishton near Blackburn..
-
just getting a feel of the deck furniture for Unicorn....nothing fixed in place yet, but I like to get a feel for things as I progress.

-
through piece 34 by the looks of it on the plans....drill through this and rest the end against bulkhead . it will then be supported by the hole and the bulkhead it butts up to

-
I personally would drill through the bulkhead....smaller than the bowsprit then work it with a file to get the desired opening.
-
as is normal with me, I disappear for a while then pop up again...…..workshop tidy today then will start again on Unicorn......


.JPG.f719e32d131520d04a8165552a7877bd.JPG)