harlequin
-
Posts
746 -
Joined
-
Last visited
Content Type
Profiles
Forums
Gallery
Events
Everything posted by harlequin
-
not smashed to pieces by the looks of things.
-
Endurance.....

- 13 replies
-
- 10
-

-
Hairy/fuzzy rigging thread
harlequin replied to The Gimps Chimp's topic in Masting, rigging and sails
mine appears to be ok.....no extra dust noticed.. -
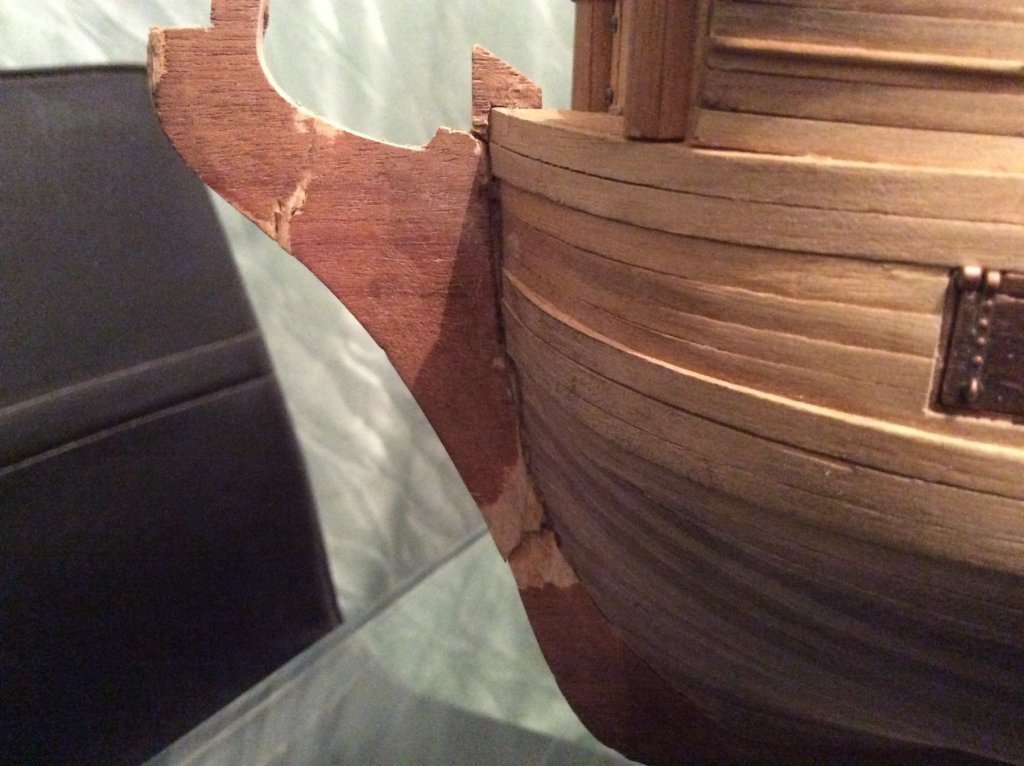
also....talking of snapping things.....dont do what i did and break the bow completely off when i dropped Bellona....
-
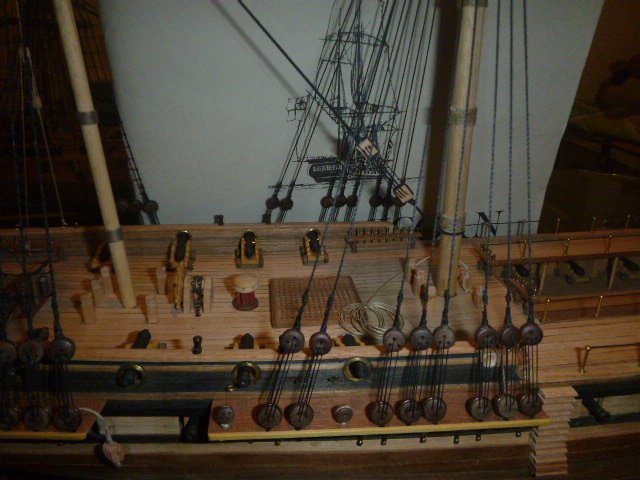
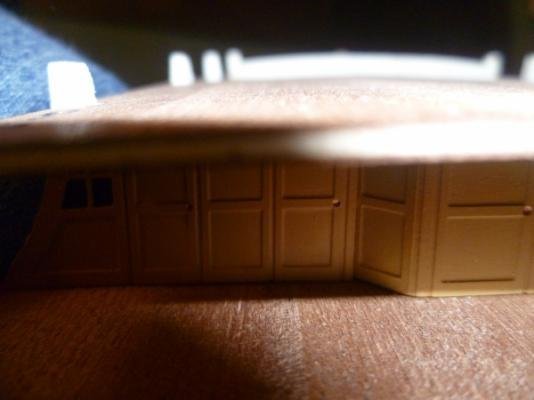
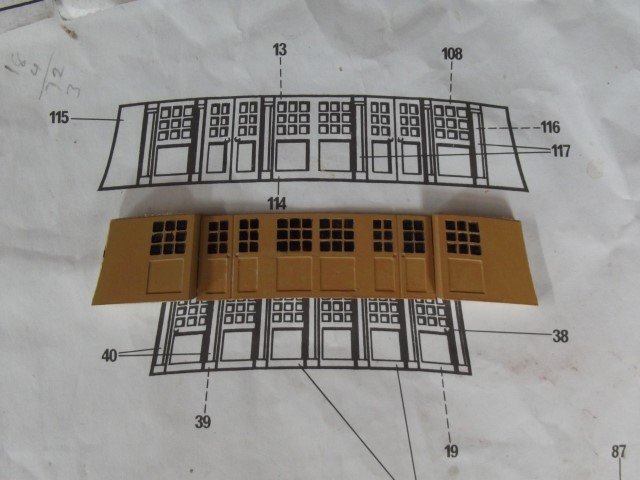
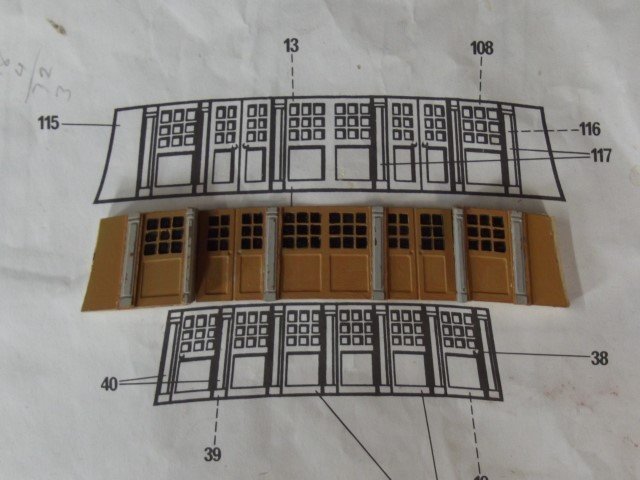
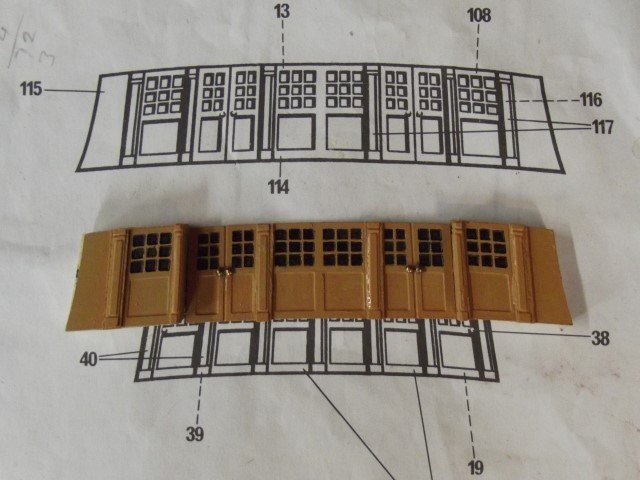
i did the brass for the cabin doors in a primer followed by admiralty paints yellow ochre, same for the quarter gallery windows as well as using brass blackener for the other transom and quarter gallery decorations.
-
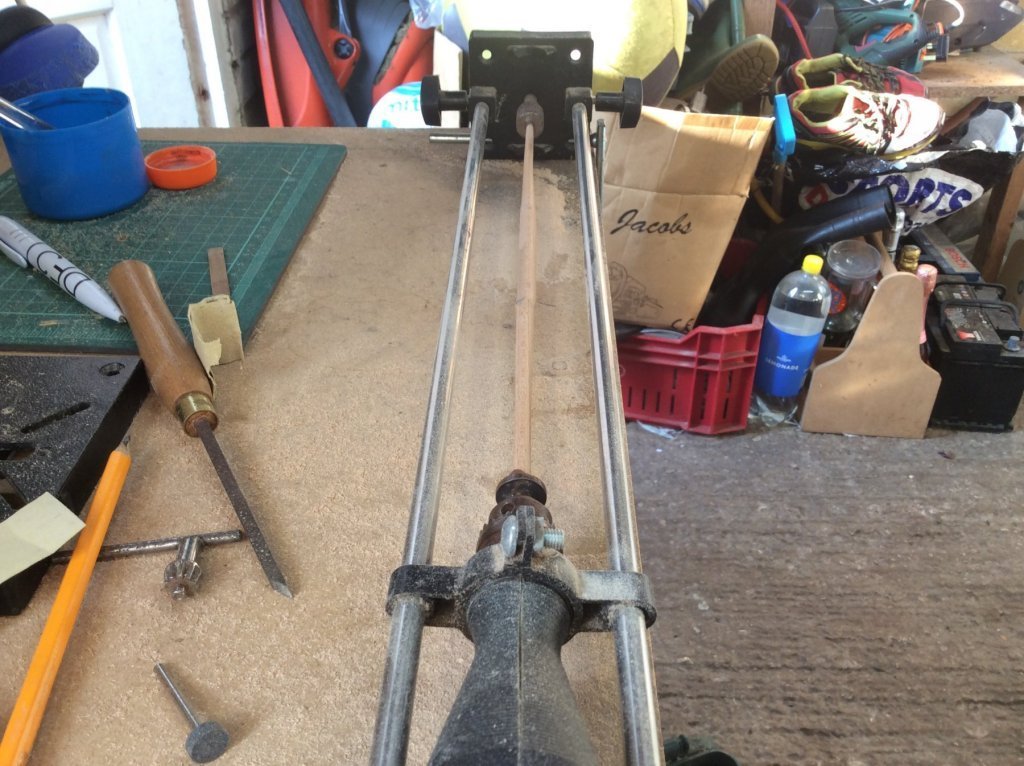
Mini lathe for mast making etc.
harlequin replied to Charlie pal's topic in Masting, rigging and sails
this is what i use....minicraft drill with lathe attachment.....i purchased two extra long stainless steel rods to accommodate larger masts and spars as the standard bars are not long enough....not produced anymore but always to be found on ebay..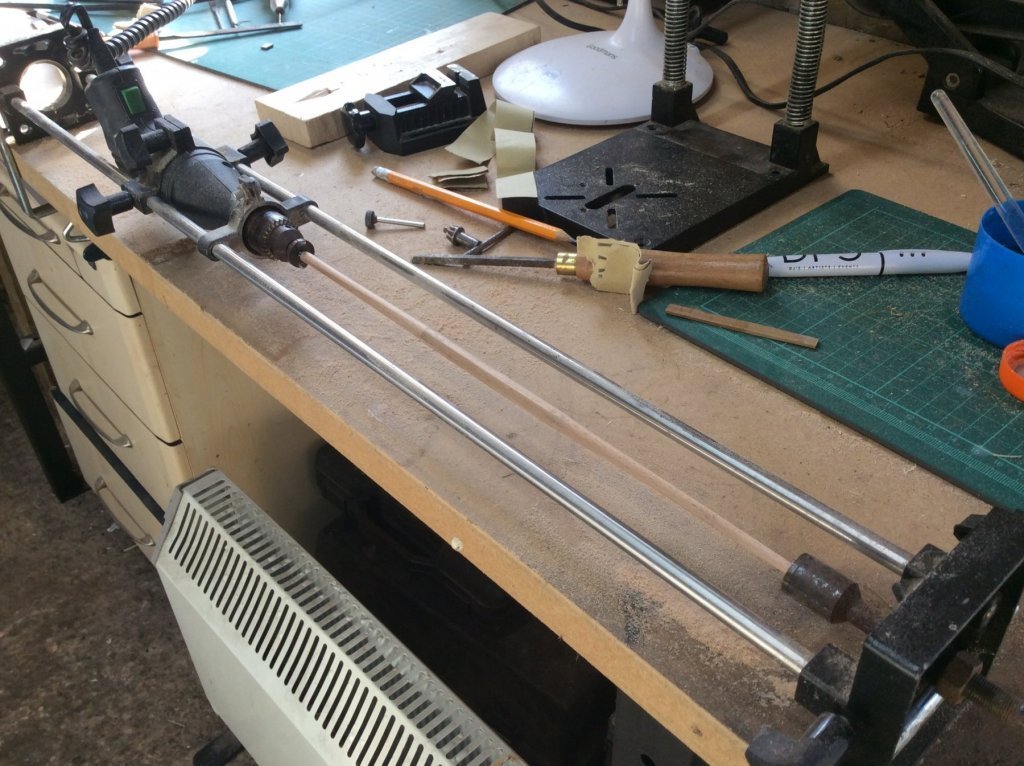
-
Hairy/fuzzy rigging thread
harlequin replied to The Gimps Chimp's topic in Masting, rigging and sails
good luck with it.....i used it on both black and white rigging and it was fine. I suppose a lot depends on how coarse the rigging is.. -
Hairy/fuzzy rigging thread
harlequin replied to The Gimps Chimp's topic in Masting, rigging and sails
i used this stuff on some of my rigging.....passed it through pressing my thumb into the wax then rolling the fuzz flat....worked well for me...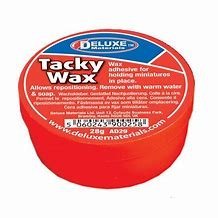
-
cant help you on this one Hamilton as I never build in sequence.....I jump from process to process to eliminate boredom and to see how the model looks later down the line....and yes it has sometimes resulted in disaster but that is just how i build....
-
great to see you and chief williams doing this model.....like i said before Hamilton.....it has every emotion contained in my Bellona....so very nearly got binned but so glad I continued with it....
-
great to see a couple of corels Bellona's being built on here.....i had bad and good times with the kit, but it really is a beauty....looking great so far..
-
I installed the two part deck after the poop deck and cant remember it being difficult or awkward, but it may be easier the other way round....remember the belay rack which is underneath the quarter deck.
-
looking good...
-
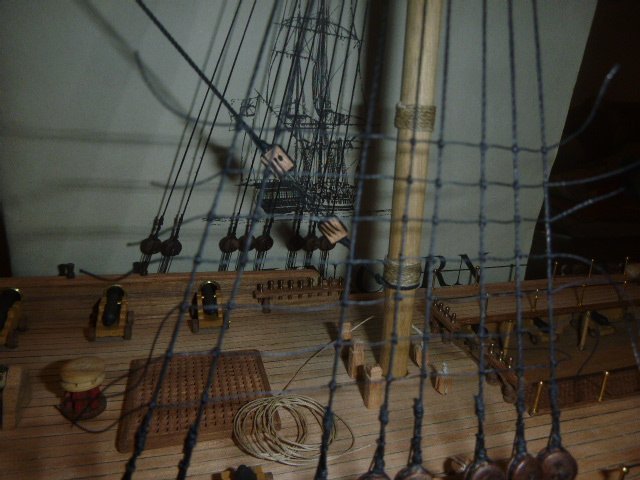
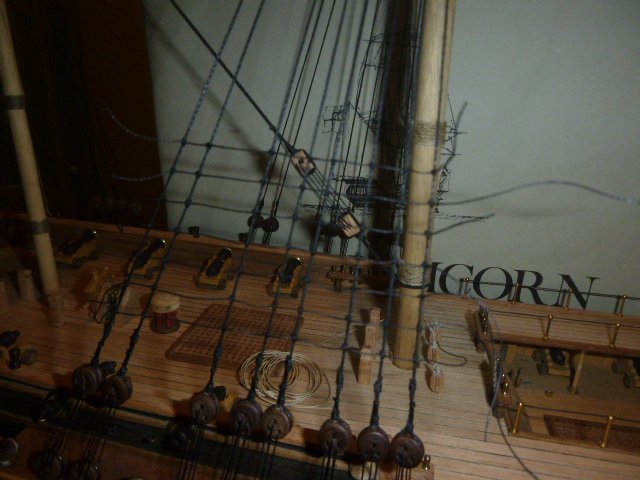
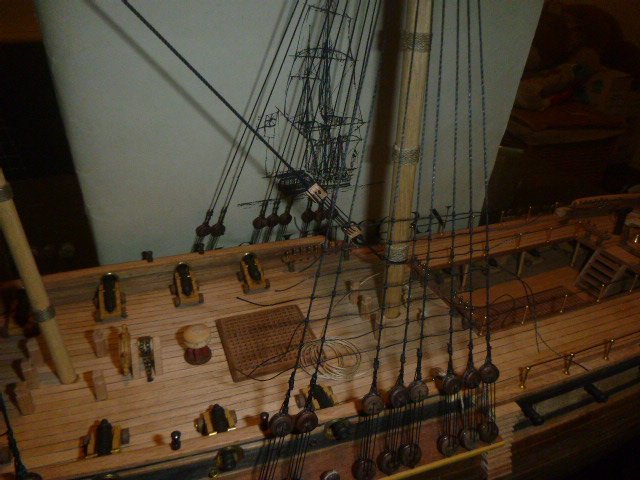
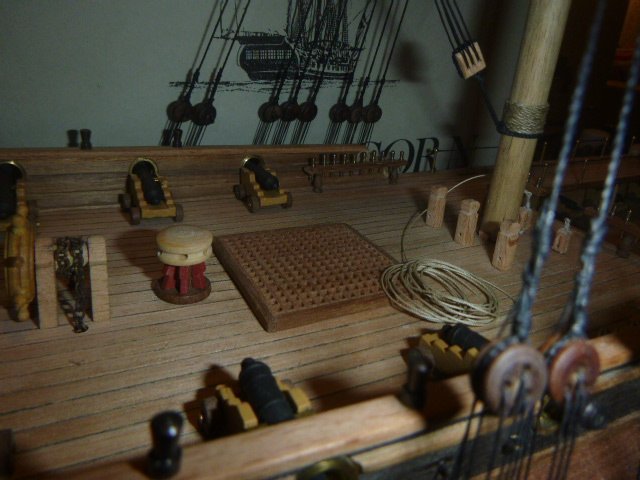
it was always my intention to have the guns run out but because of the breaks i took whilst building bellona and the removal of the planking due to fading of the wood i had to use the gun ports as an alternative because the damage to the frames was too great and to be honest i just did not have the patience to do a complete rebuild of the frames......I actually like the cast gun ports, they provide an eye catching detail. The offer is still there if you decide to use them.......free of charge of course.
-
cheers Bill....that is the ultimate compliment.....as i have said before it is full of mistakes, down right rubbish craftsmanship in parts, but it is also full of character which i think adds to the build. I dont like a perfect looking build....they look too sterile and no soul contained in them. My Bellona contains anger, frustration, angst, and contentment and that is why I love the finished article....enjoy your Bellona...it is a fabulous looking kit...
-
this takes me back...
-
looking great so far
-
sorry for not replying sooner.....i got the ports from cornwall model boats.....i have lots of spares here if you want them..not sure how many but yours if you want them.......i used the ports on bellona as a way of not smashing the boat up as the build was going badly wrong and it was a case of using the ports or binning the model....i think they look ok and are a contrast to the rest of the hull...
-
give it another go Thunder.......not touched it since christmas but starting on rigging again this week...
-
get it in early.....😄
-
hi from the UK........post a few pics of your build if you feel you can....
-
looks like a good start....there was nothing missing from my corel Bellona...as for the bearding line....i did one on mine and was very careful.....untill i dropped Bellona and snapped the bow off....see pics on my build log......