harlequin
-
Posts
747 -
Joined
-
Last visited
Content Type
Profiles
Forums
Gallery
Events
Everything posted by harlequin
-
a friend of mines last job in the Navy was Quartermaster on board HMS Victory.....what a cool job.
-
hello Emmet....I completed this model a long time ago....some pics exist in the completed models section but I didn't do a build log...….it took me about 10 years from start to finish but there were big breaks during that time.....enjoy.
-
this kit is on my hit list because I have an interest in the story of franklins attempt to find the north west passage....looking good so far
-
i'm not an expert but like someone else has said we take great enjoyment doing what we do.....I am rigging Bellona and if an expert cast a critical eye over there would be many faults.....but I don't care.....I enjoy what I do....welcome from the UK
-
deliberately kept like this as a contrast to the skin.....they are not supplied with the kit and painting would in my opinion look worse.
-
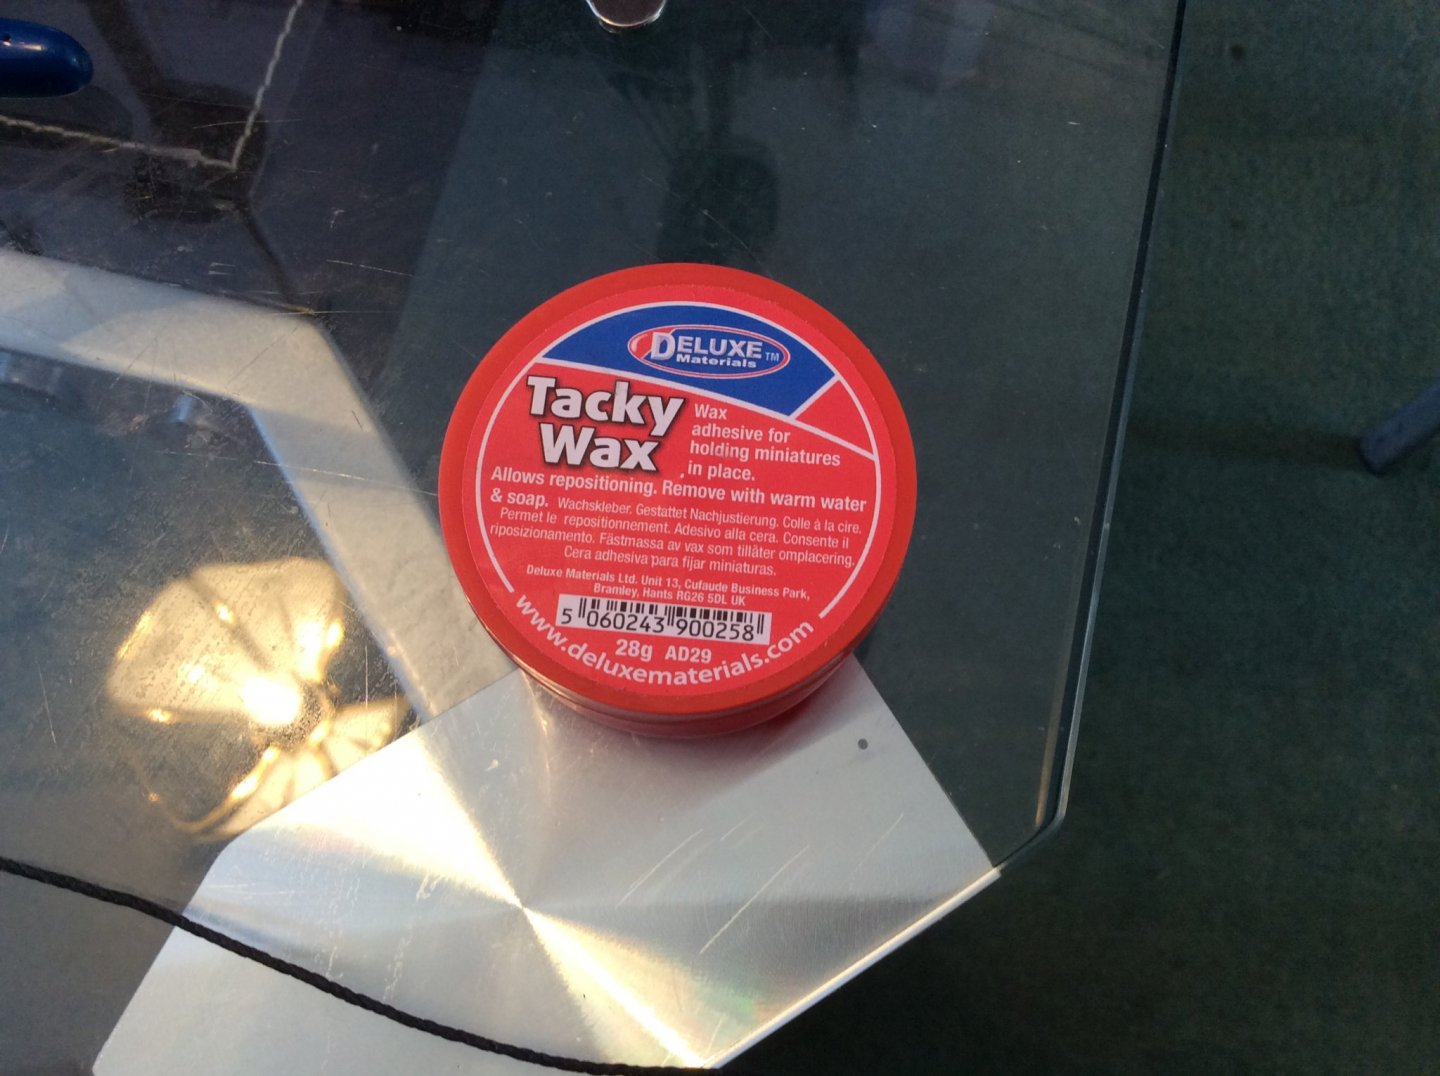
just found this stuff.....applied to the hemp rope before fitting to Bellona.....best stuff I have found for getting rid of the fuzz.....I drag the rope through then roll it with my fingers. It then sets without any residue.
-
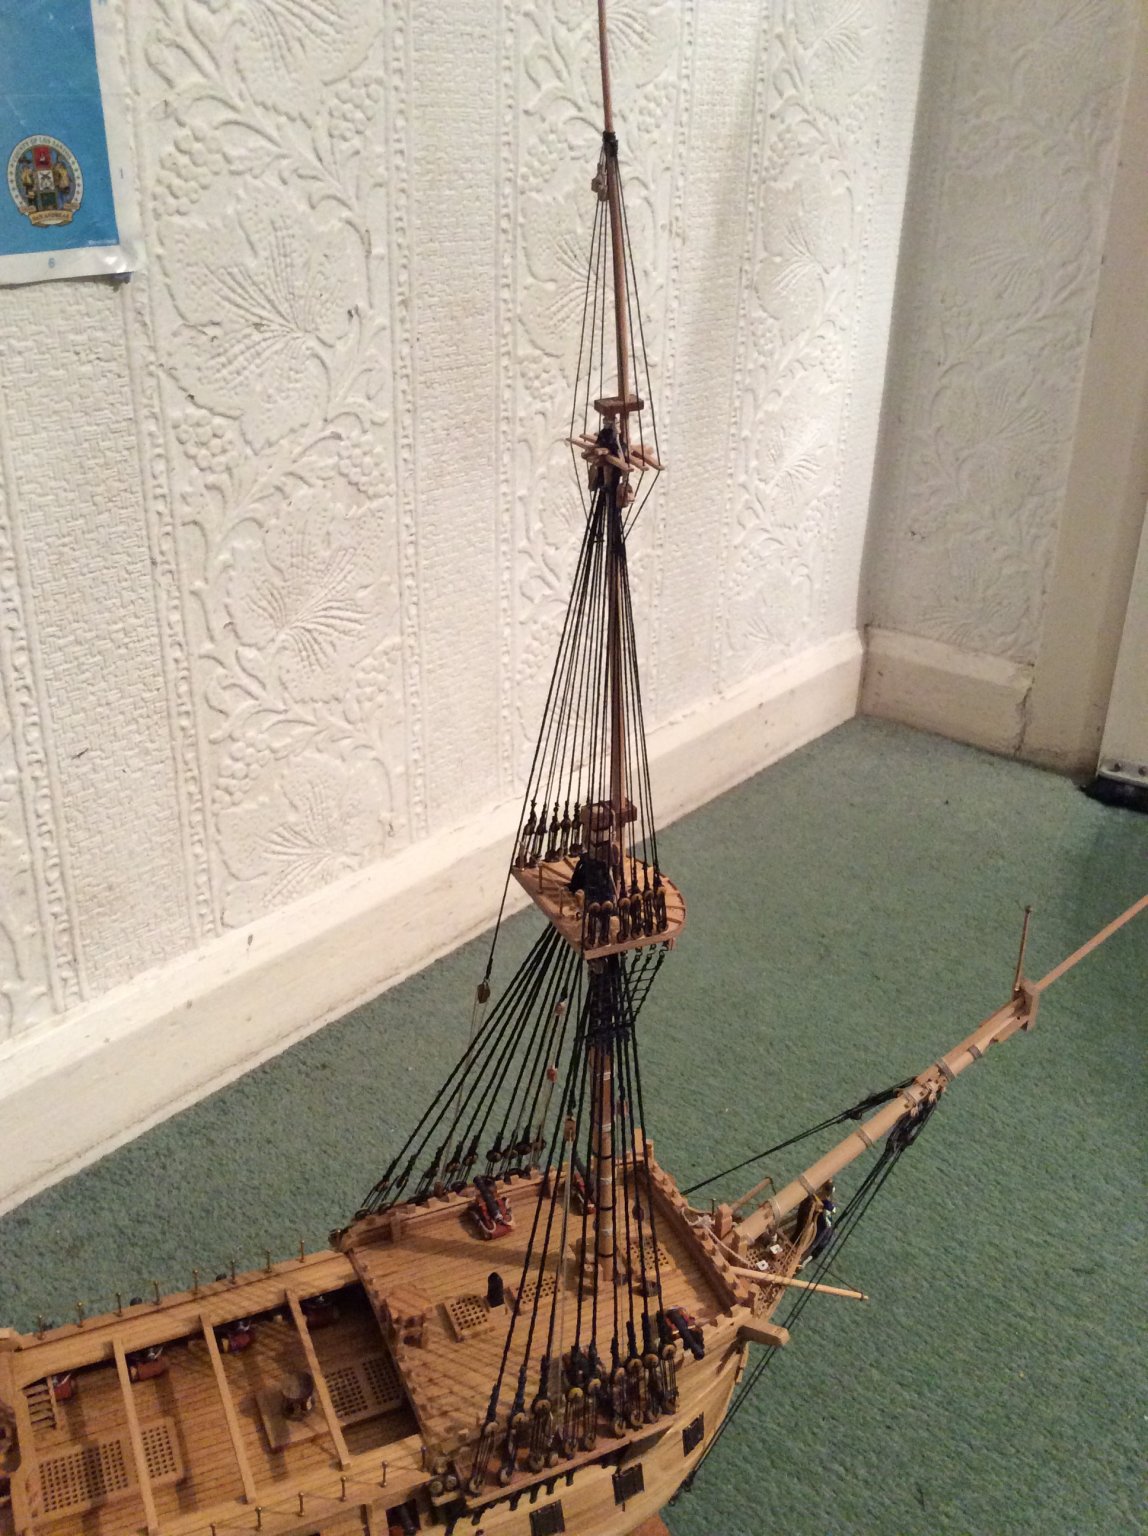
first of the shrouds.....I have dyed the corel rope for the shrouds....this made the rope quite stiff but workable and will probably make the rats easier to cope with.

-
this emergency has seen some speeding up in various builds......great stuff grandpa..
-
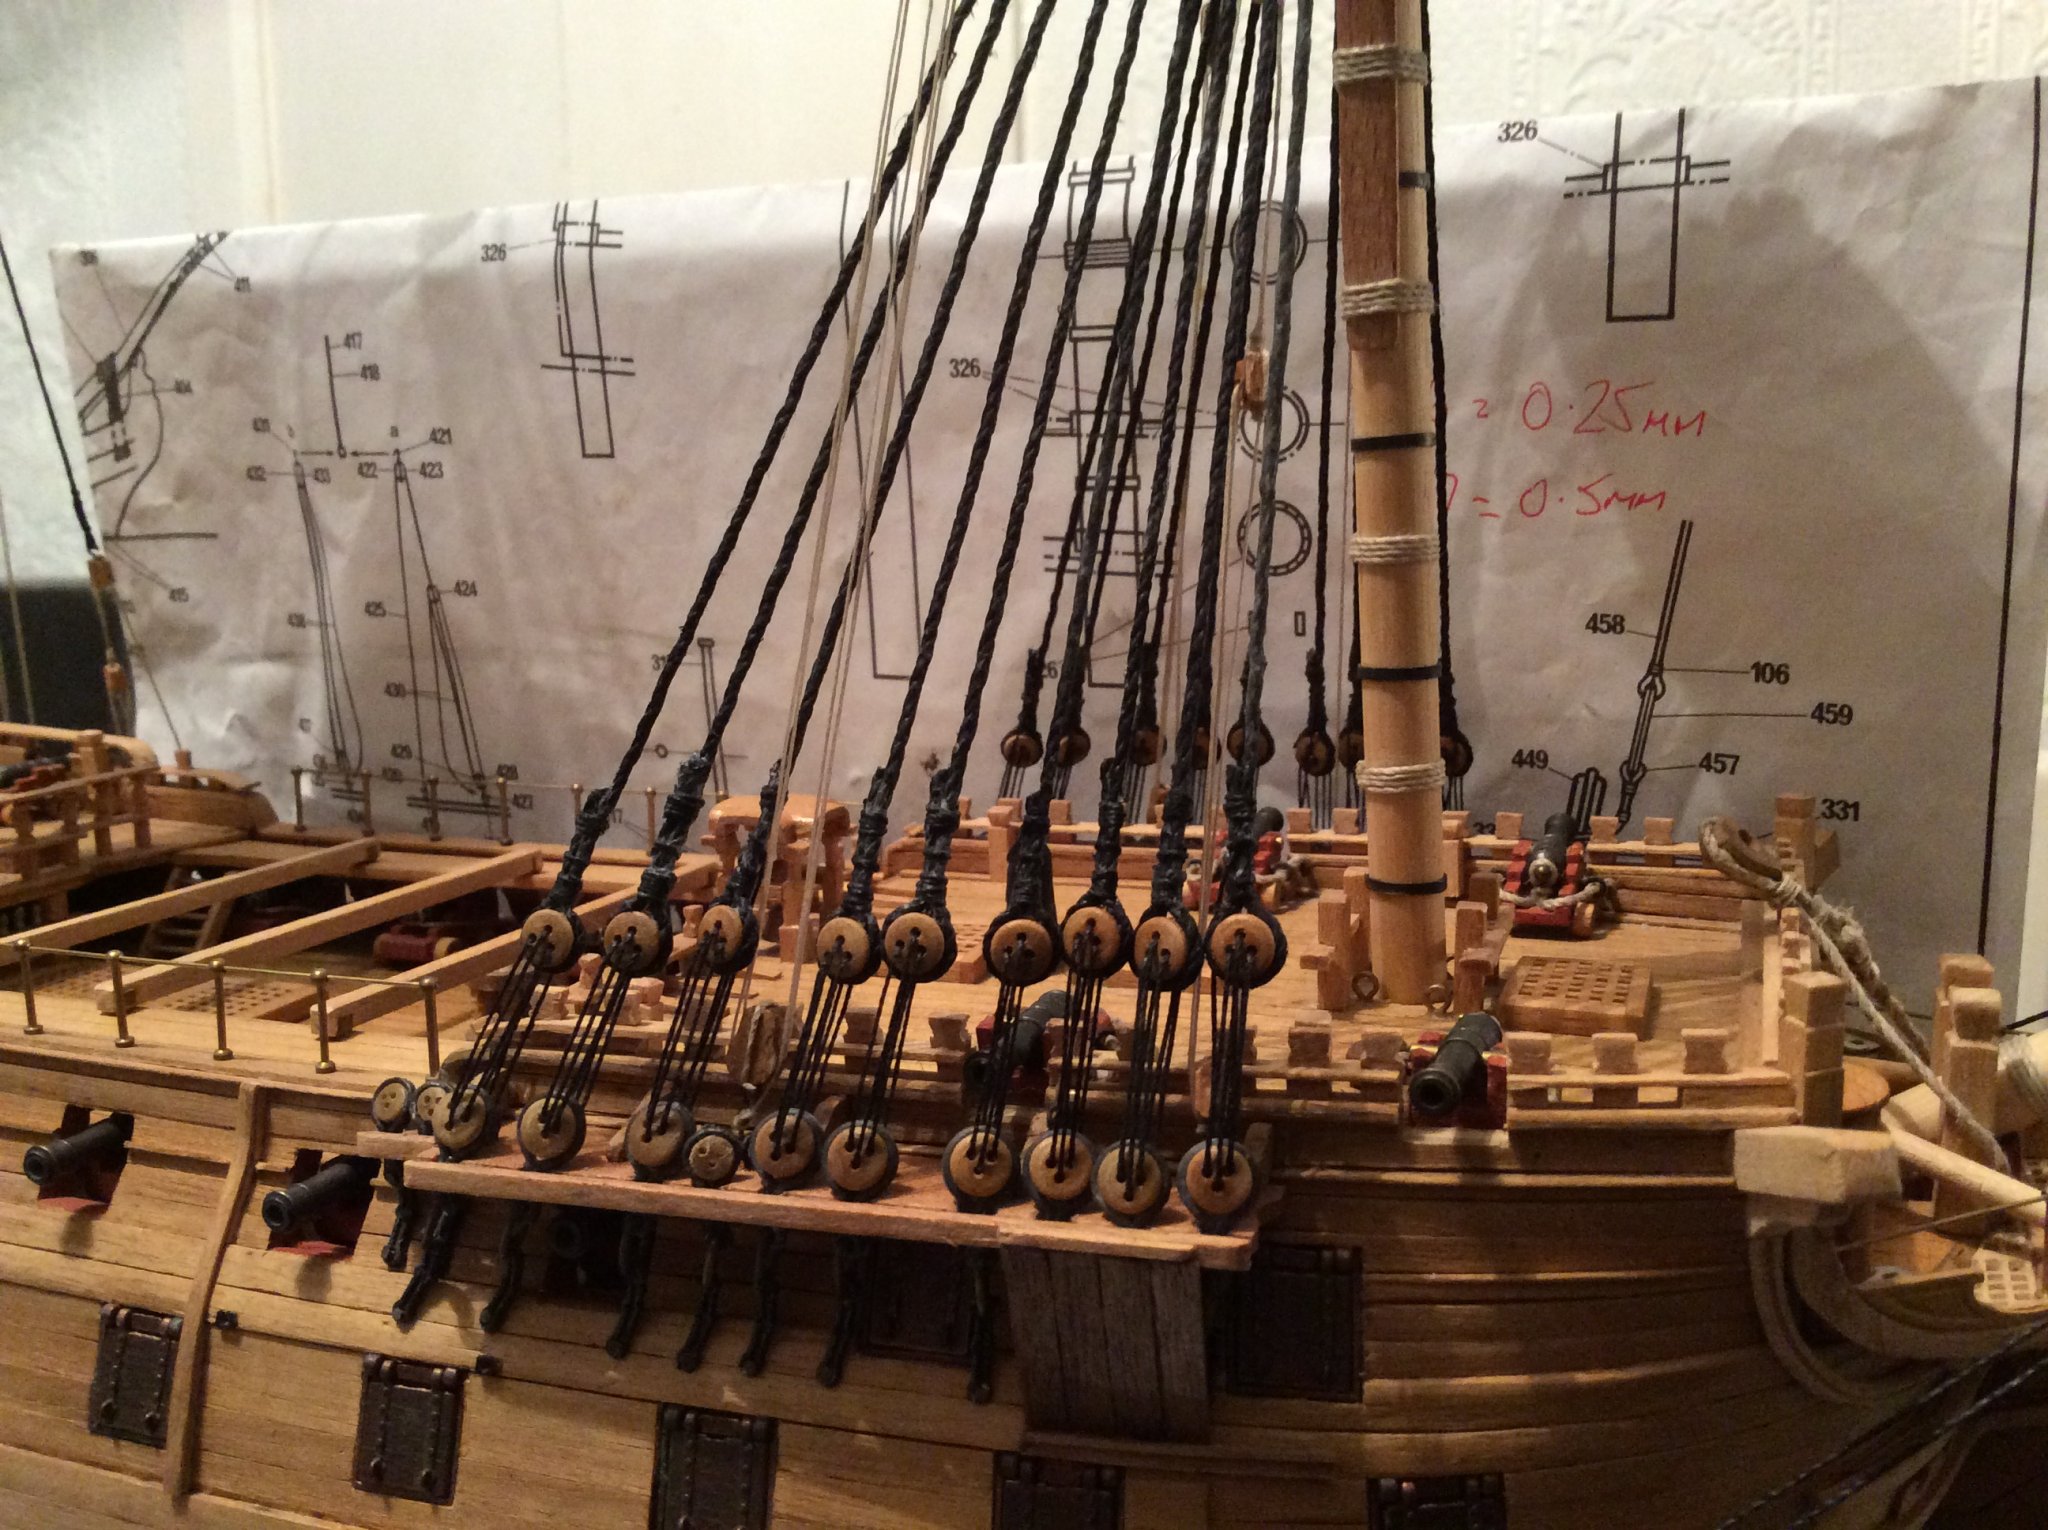
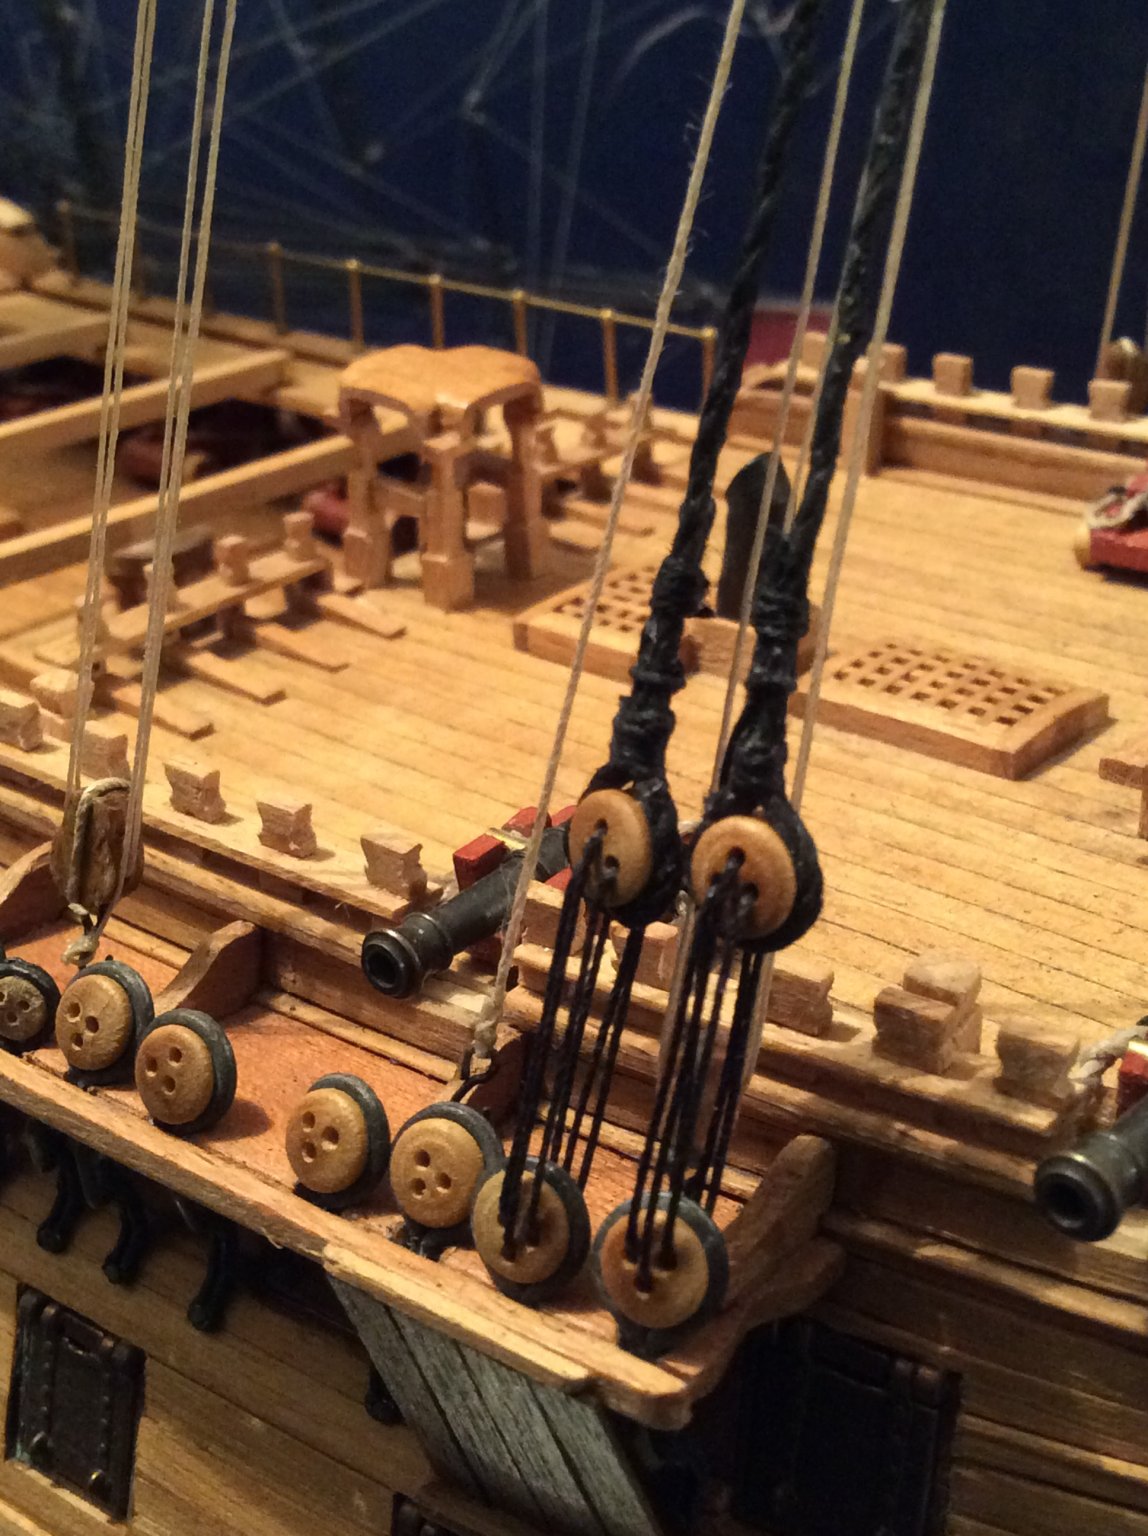
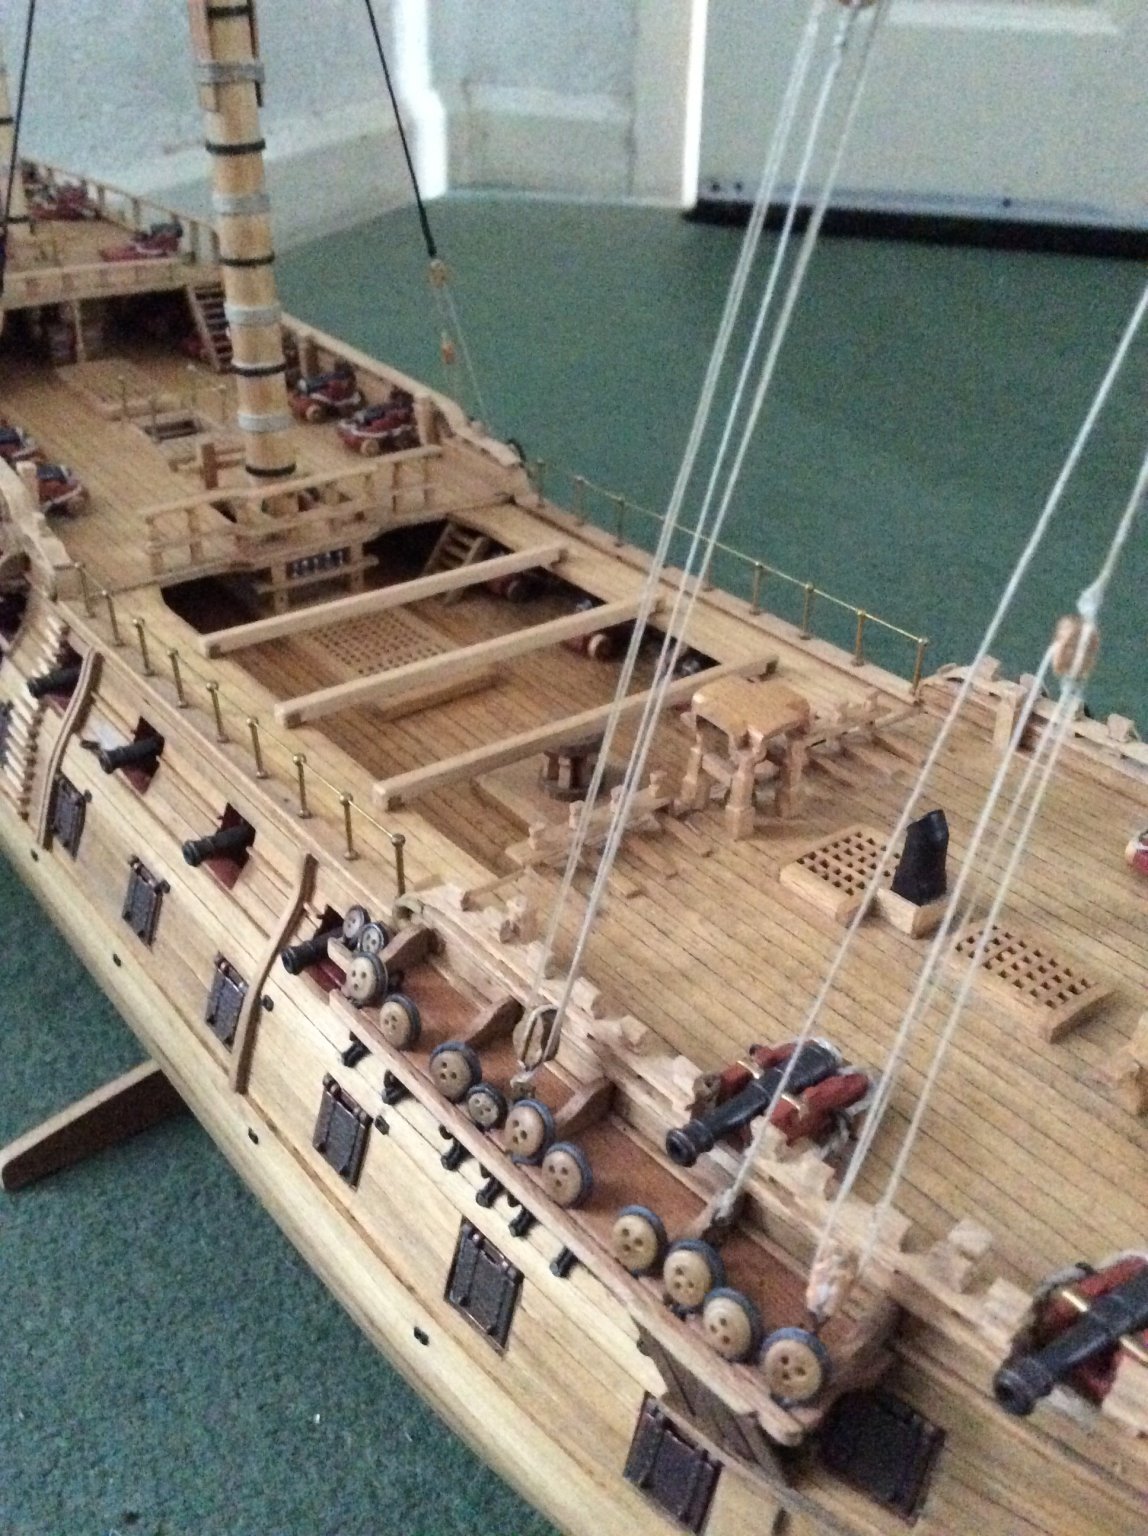
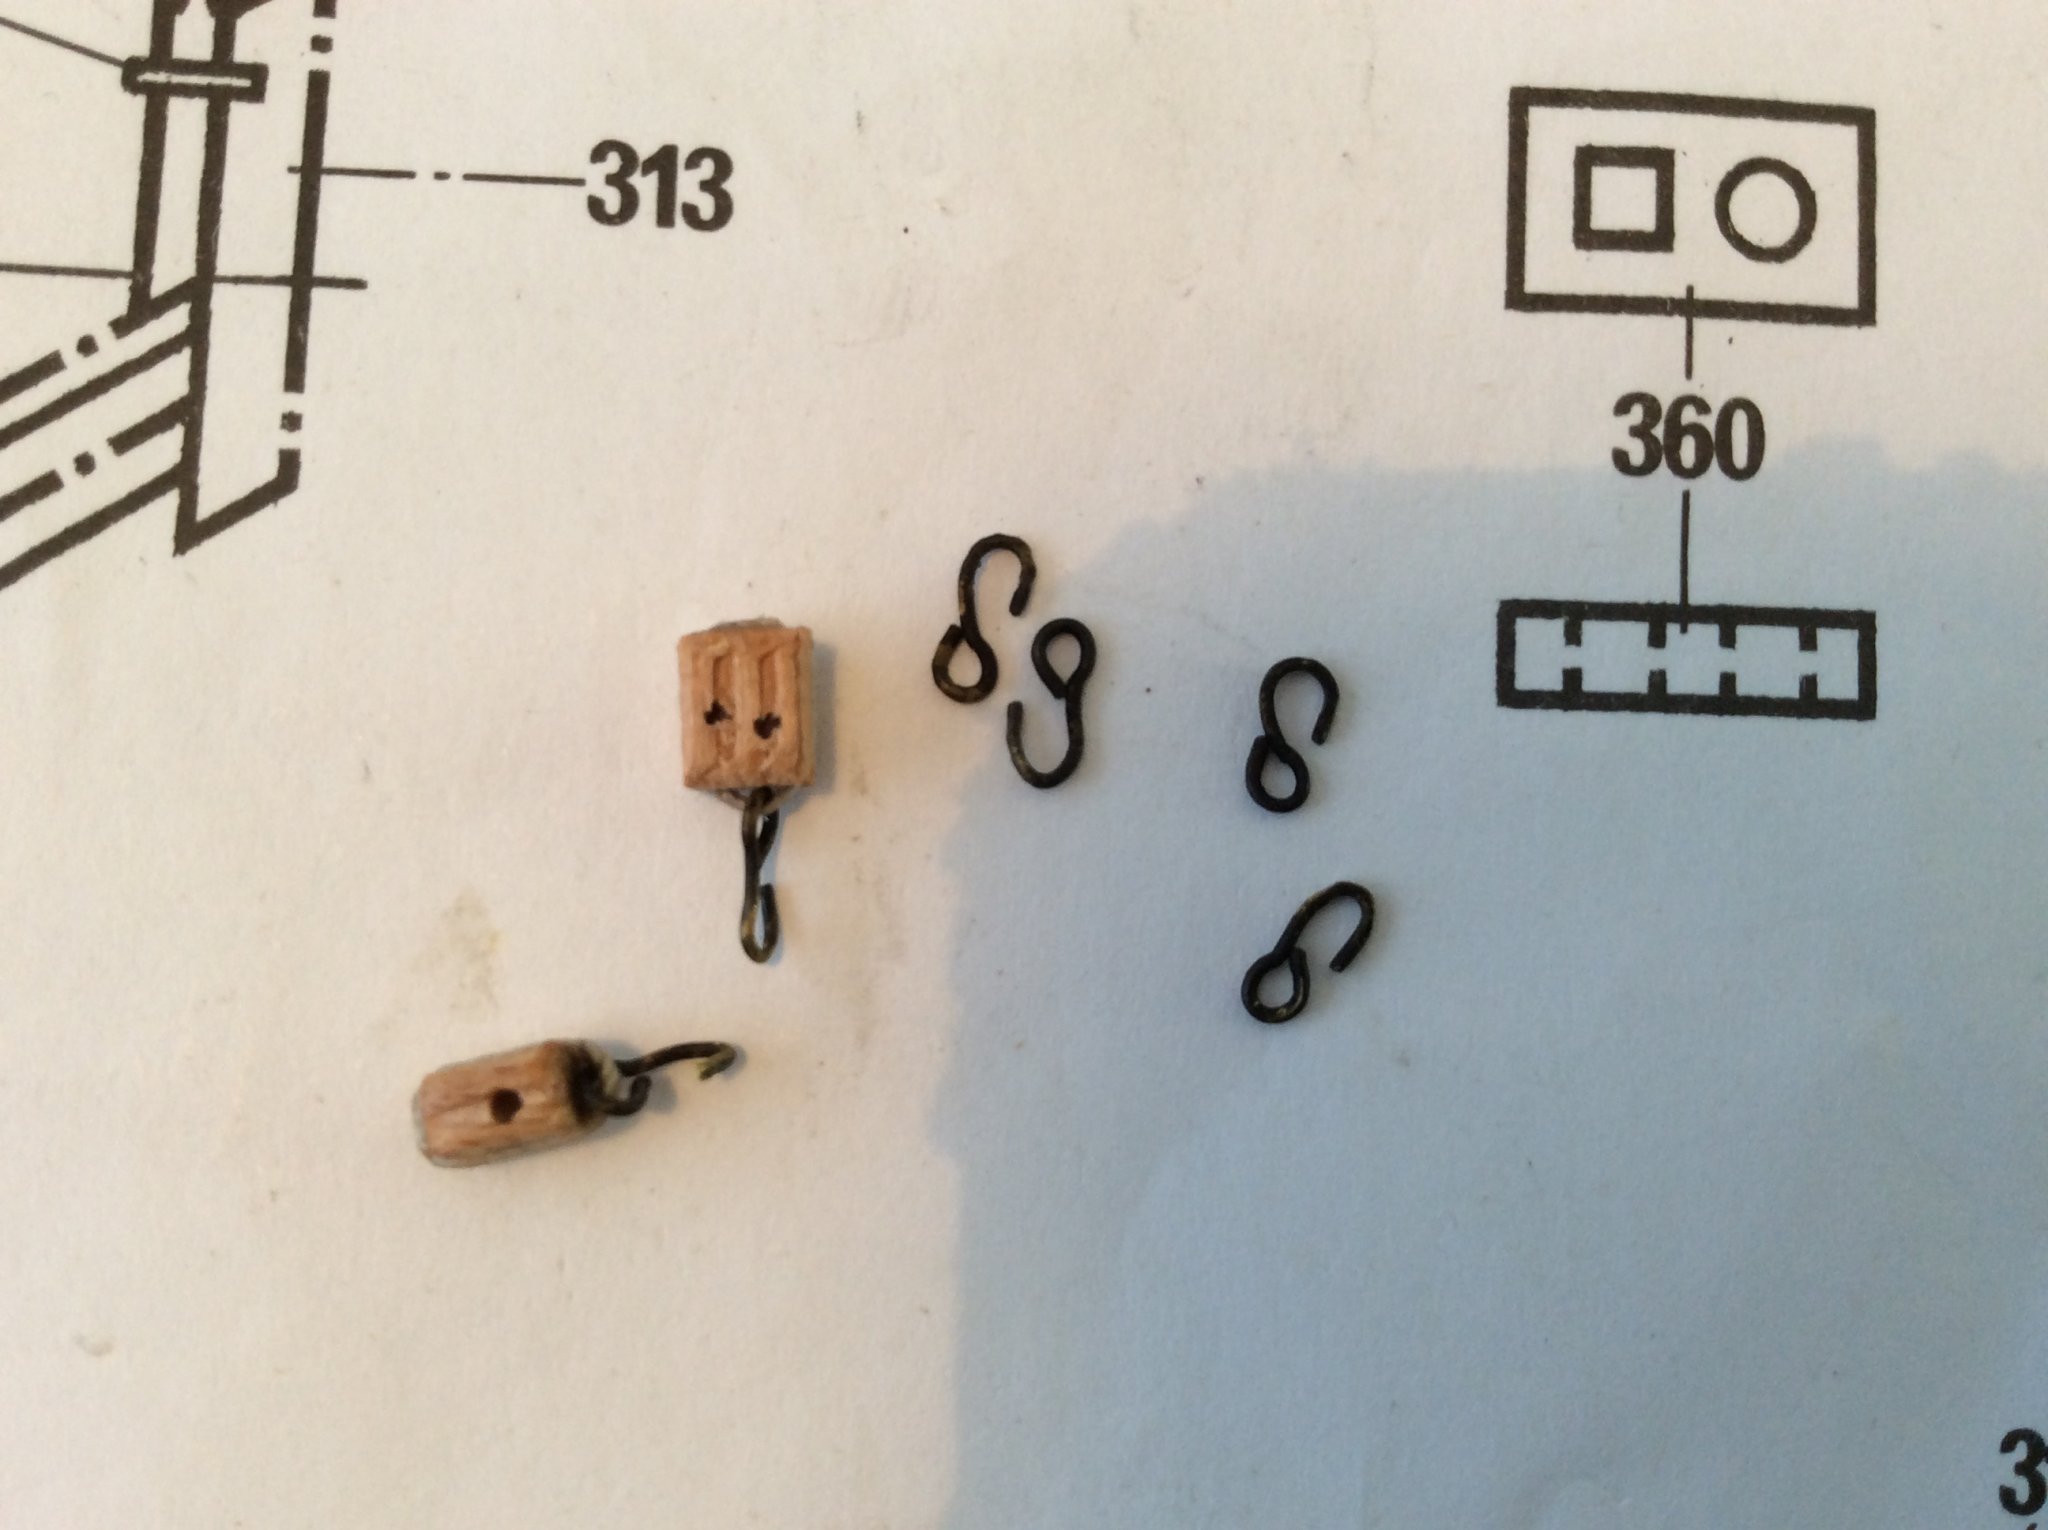
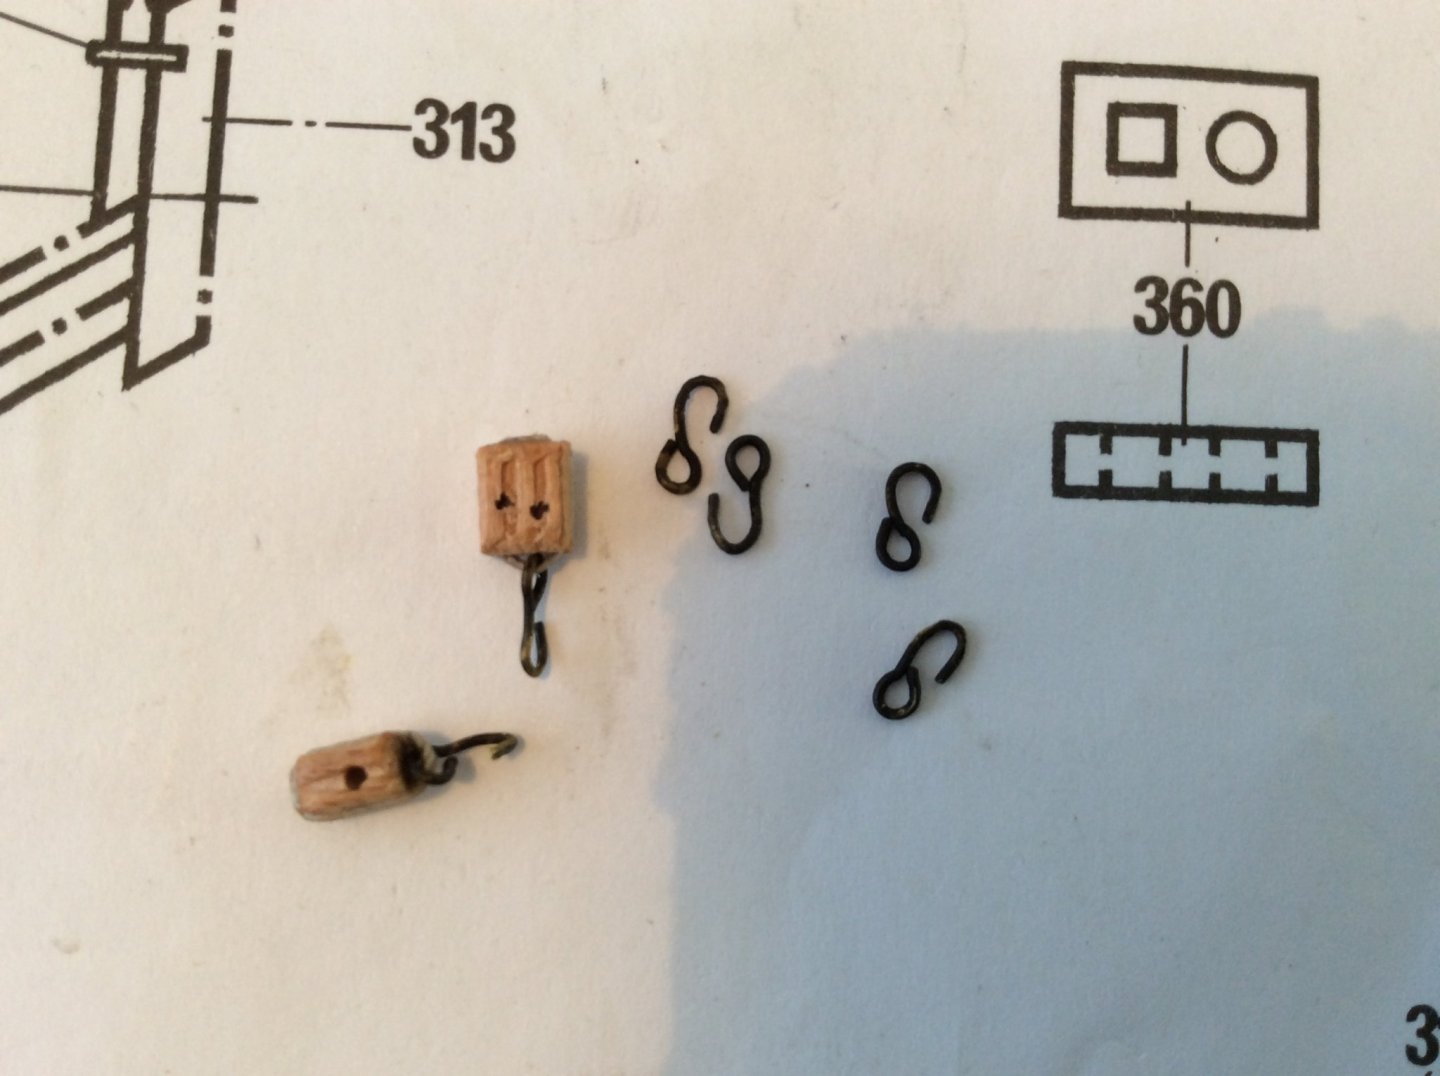
hooks for blocks made from eyebolts, blackened and bent into shape....need lots of them on this model.....probably to big for scale but i'm happy with them.....as you can see corels blocks are not accurately drilled but when the rigging is attached it is not noticeable.
-
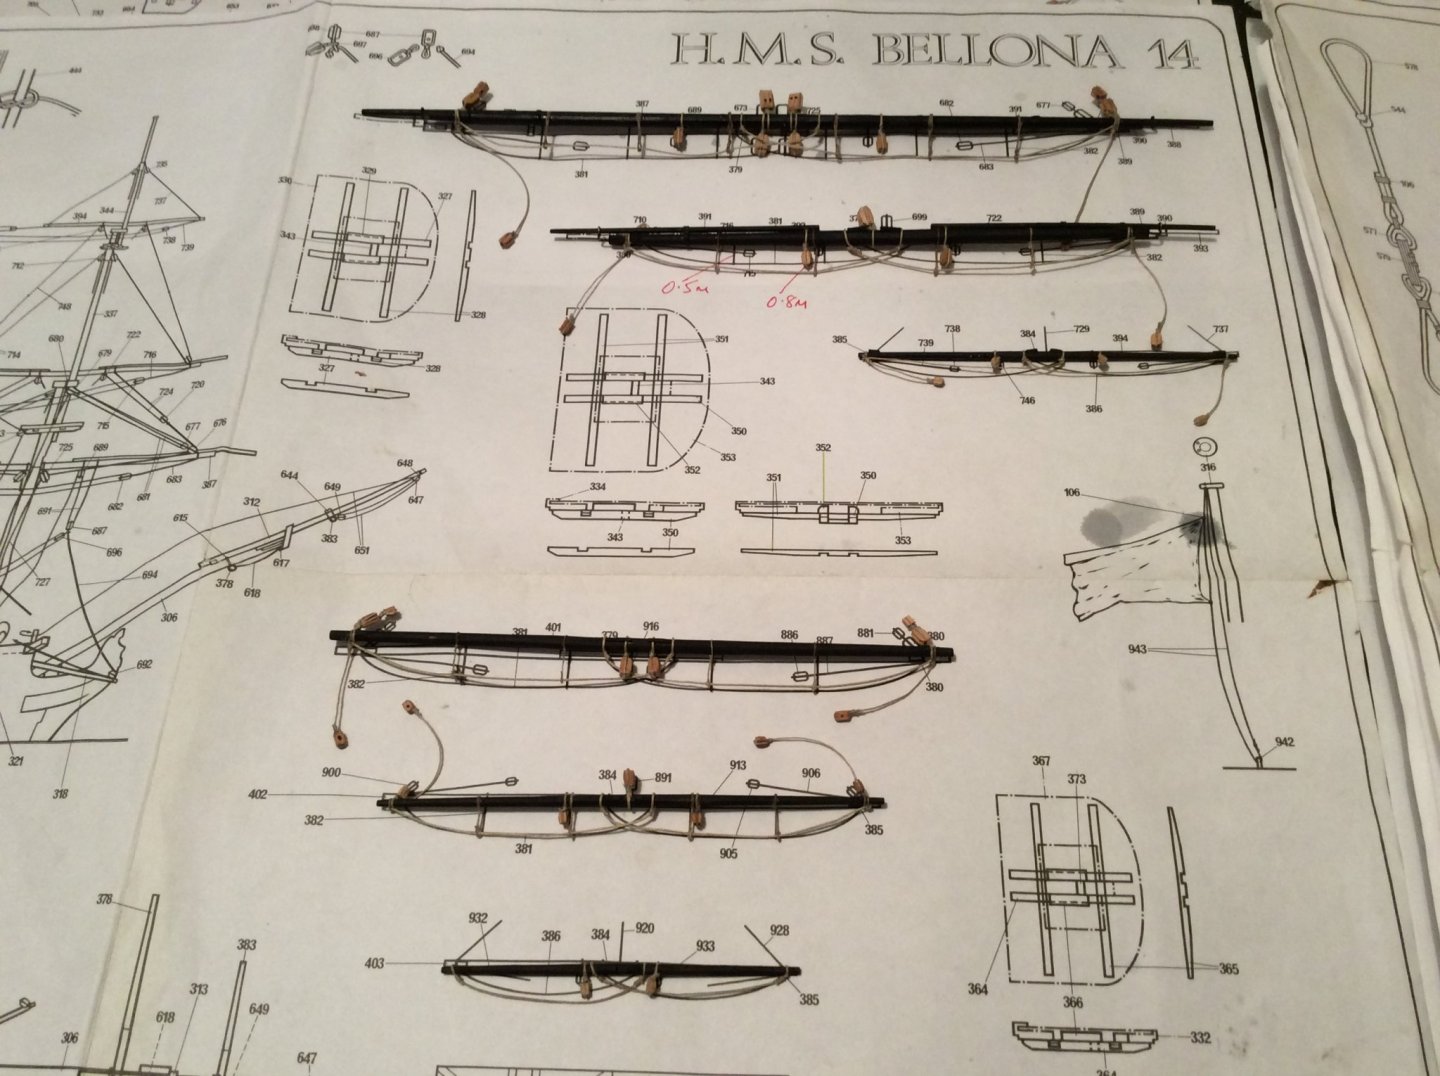
I am using corels supplied rope and caldercrafts black rope....I will as usual get the colours wrong, I will end up mixing the fixed with the running as usual......the blackrope is not too bad just got to work it slightly to get rid of all the fuzz, and it doesn't take to pva as well as the corel but I think all will be well
-
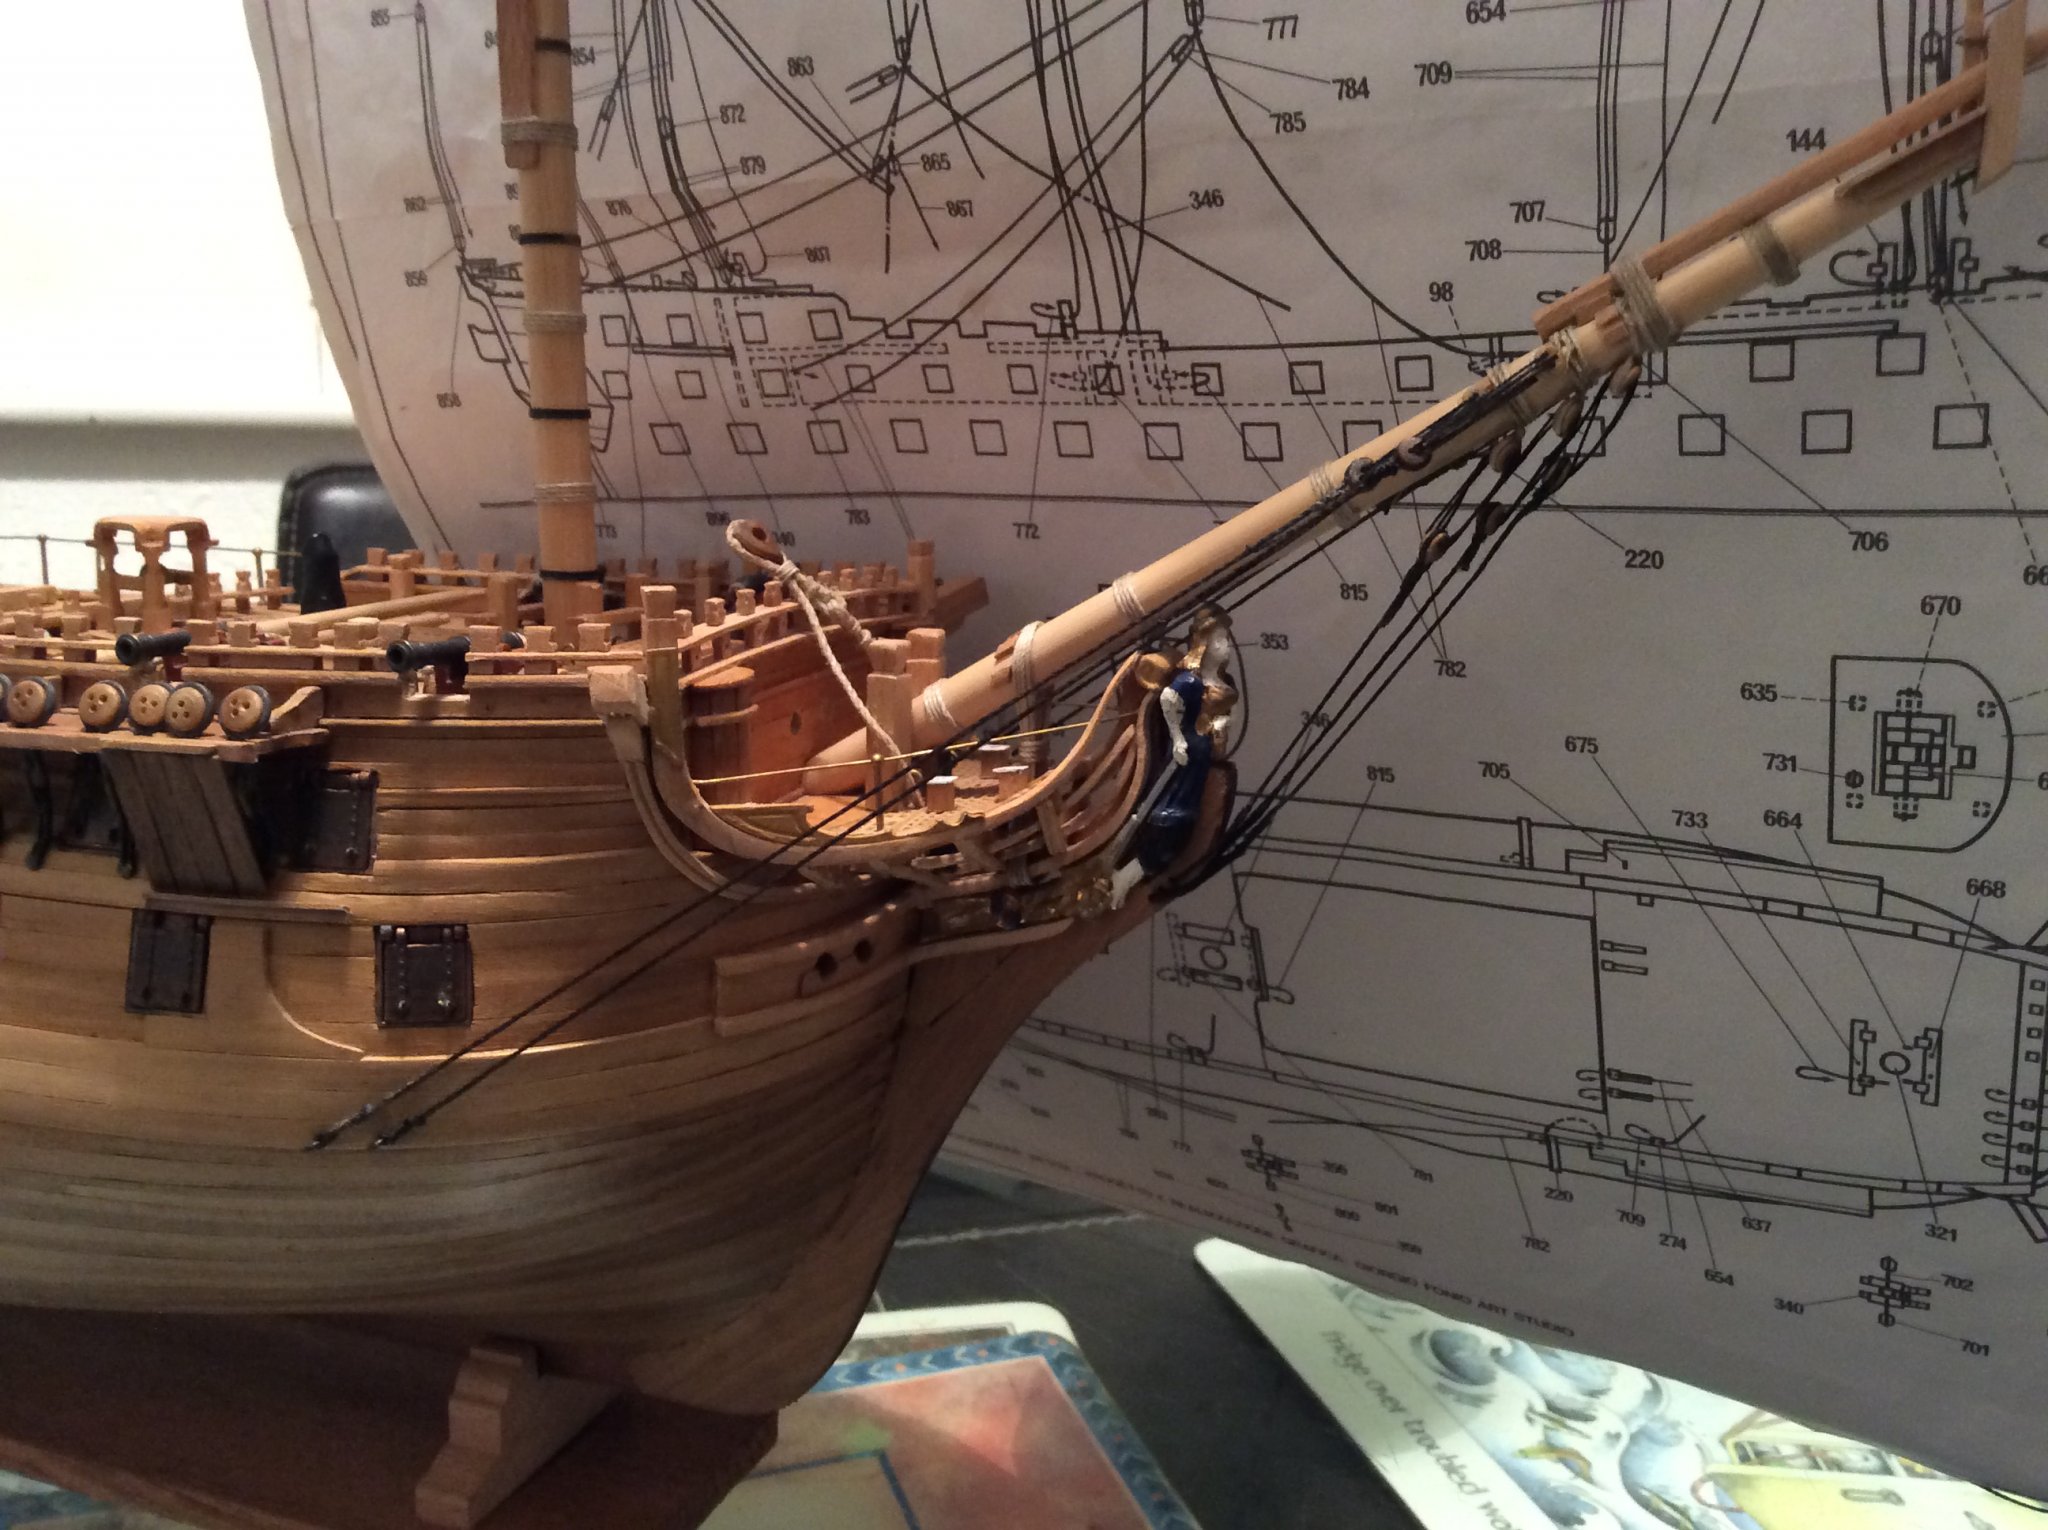
cheers old...…..second only to the ratlines in terms of tediousness.....it is why I had such a long break last time......I reach a time when I say enough and put Bellona into hibernation for a while...….but she is out in the open again and I have moved on rather quickly...…..mast fixing to the hull today.....rack af the eye required so no single malt for a while.
-
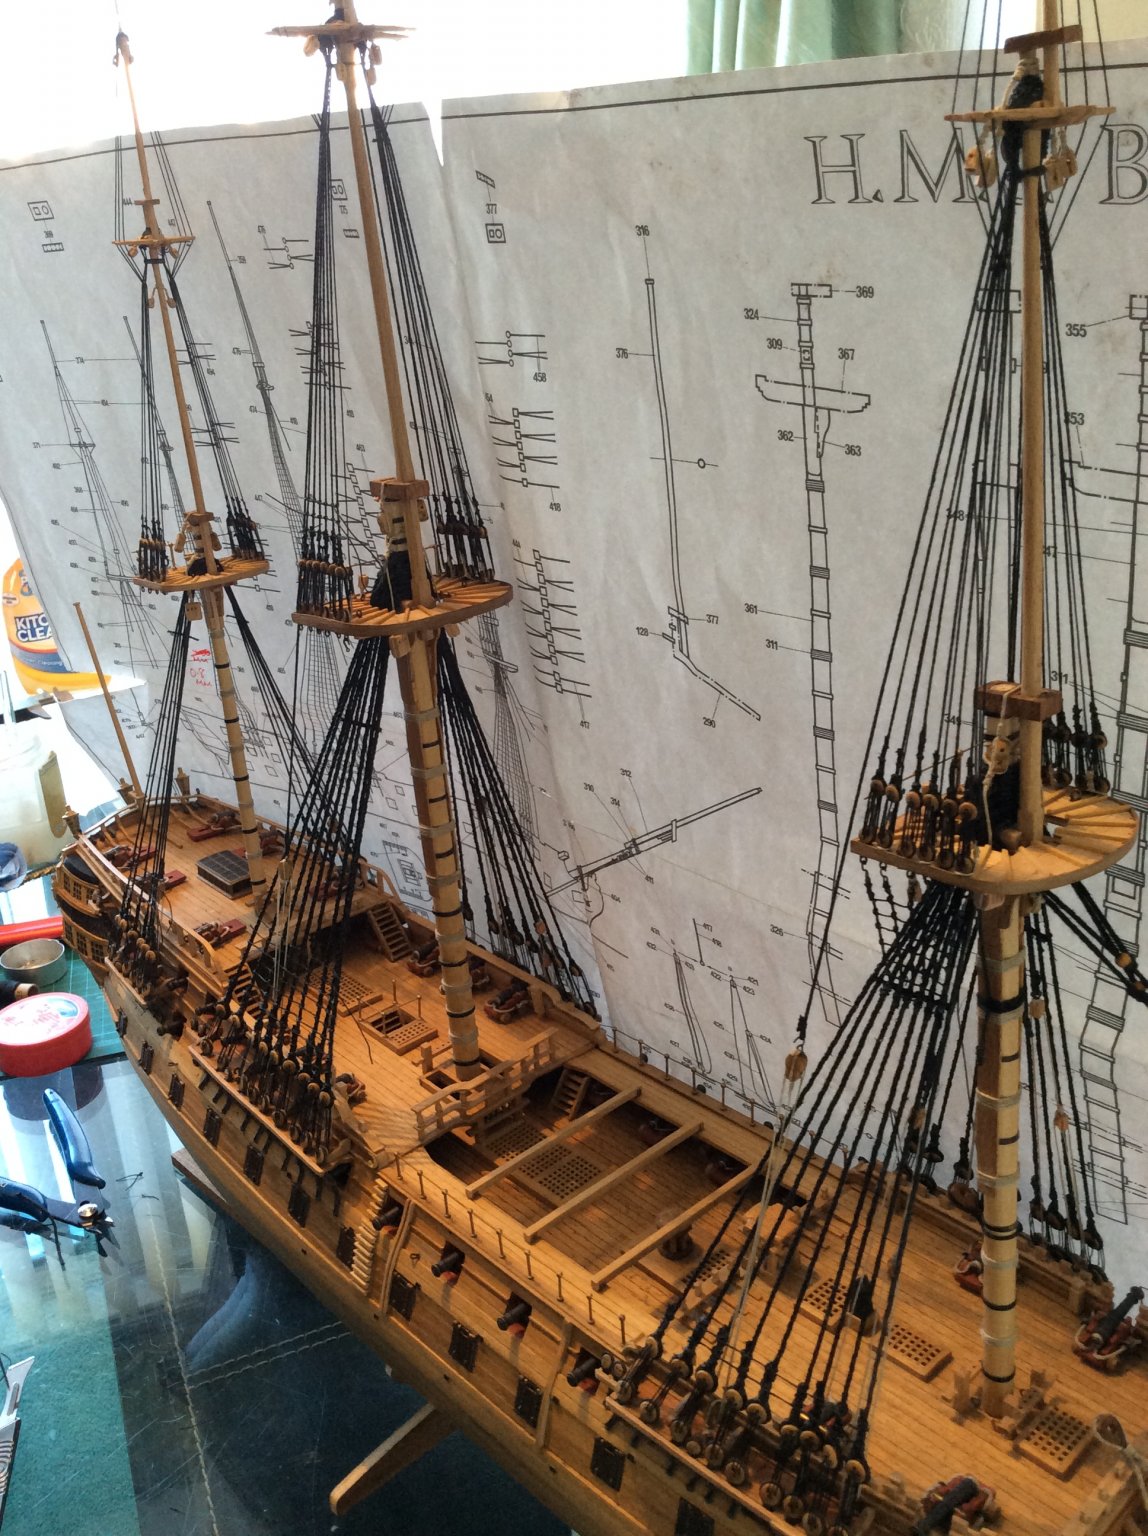
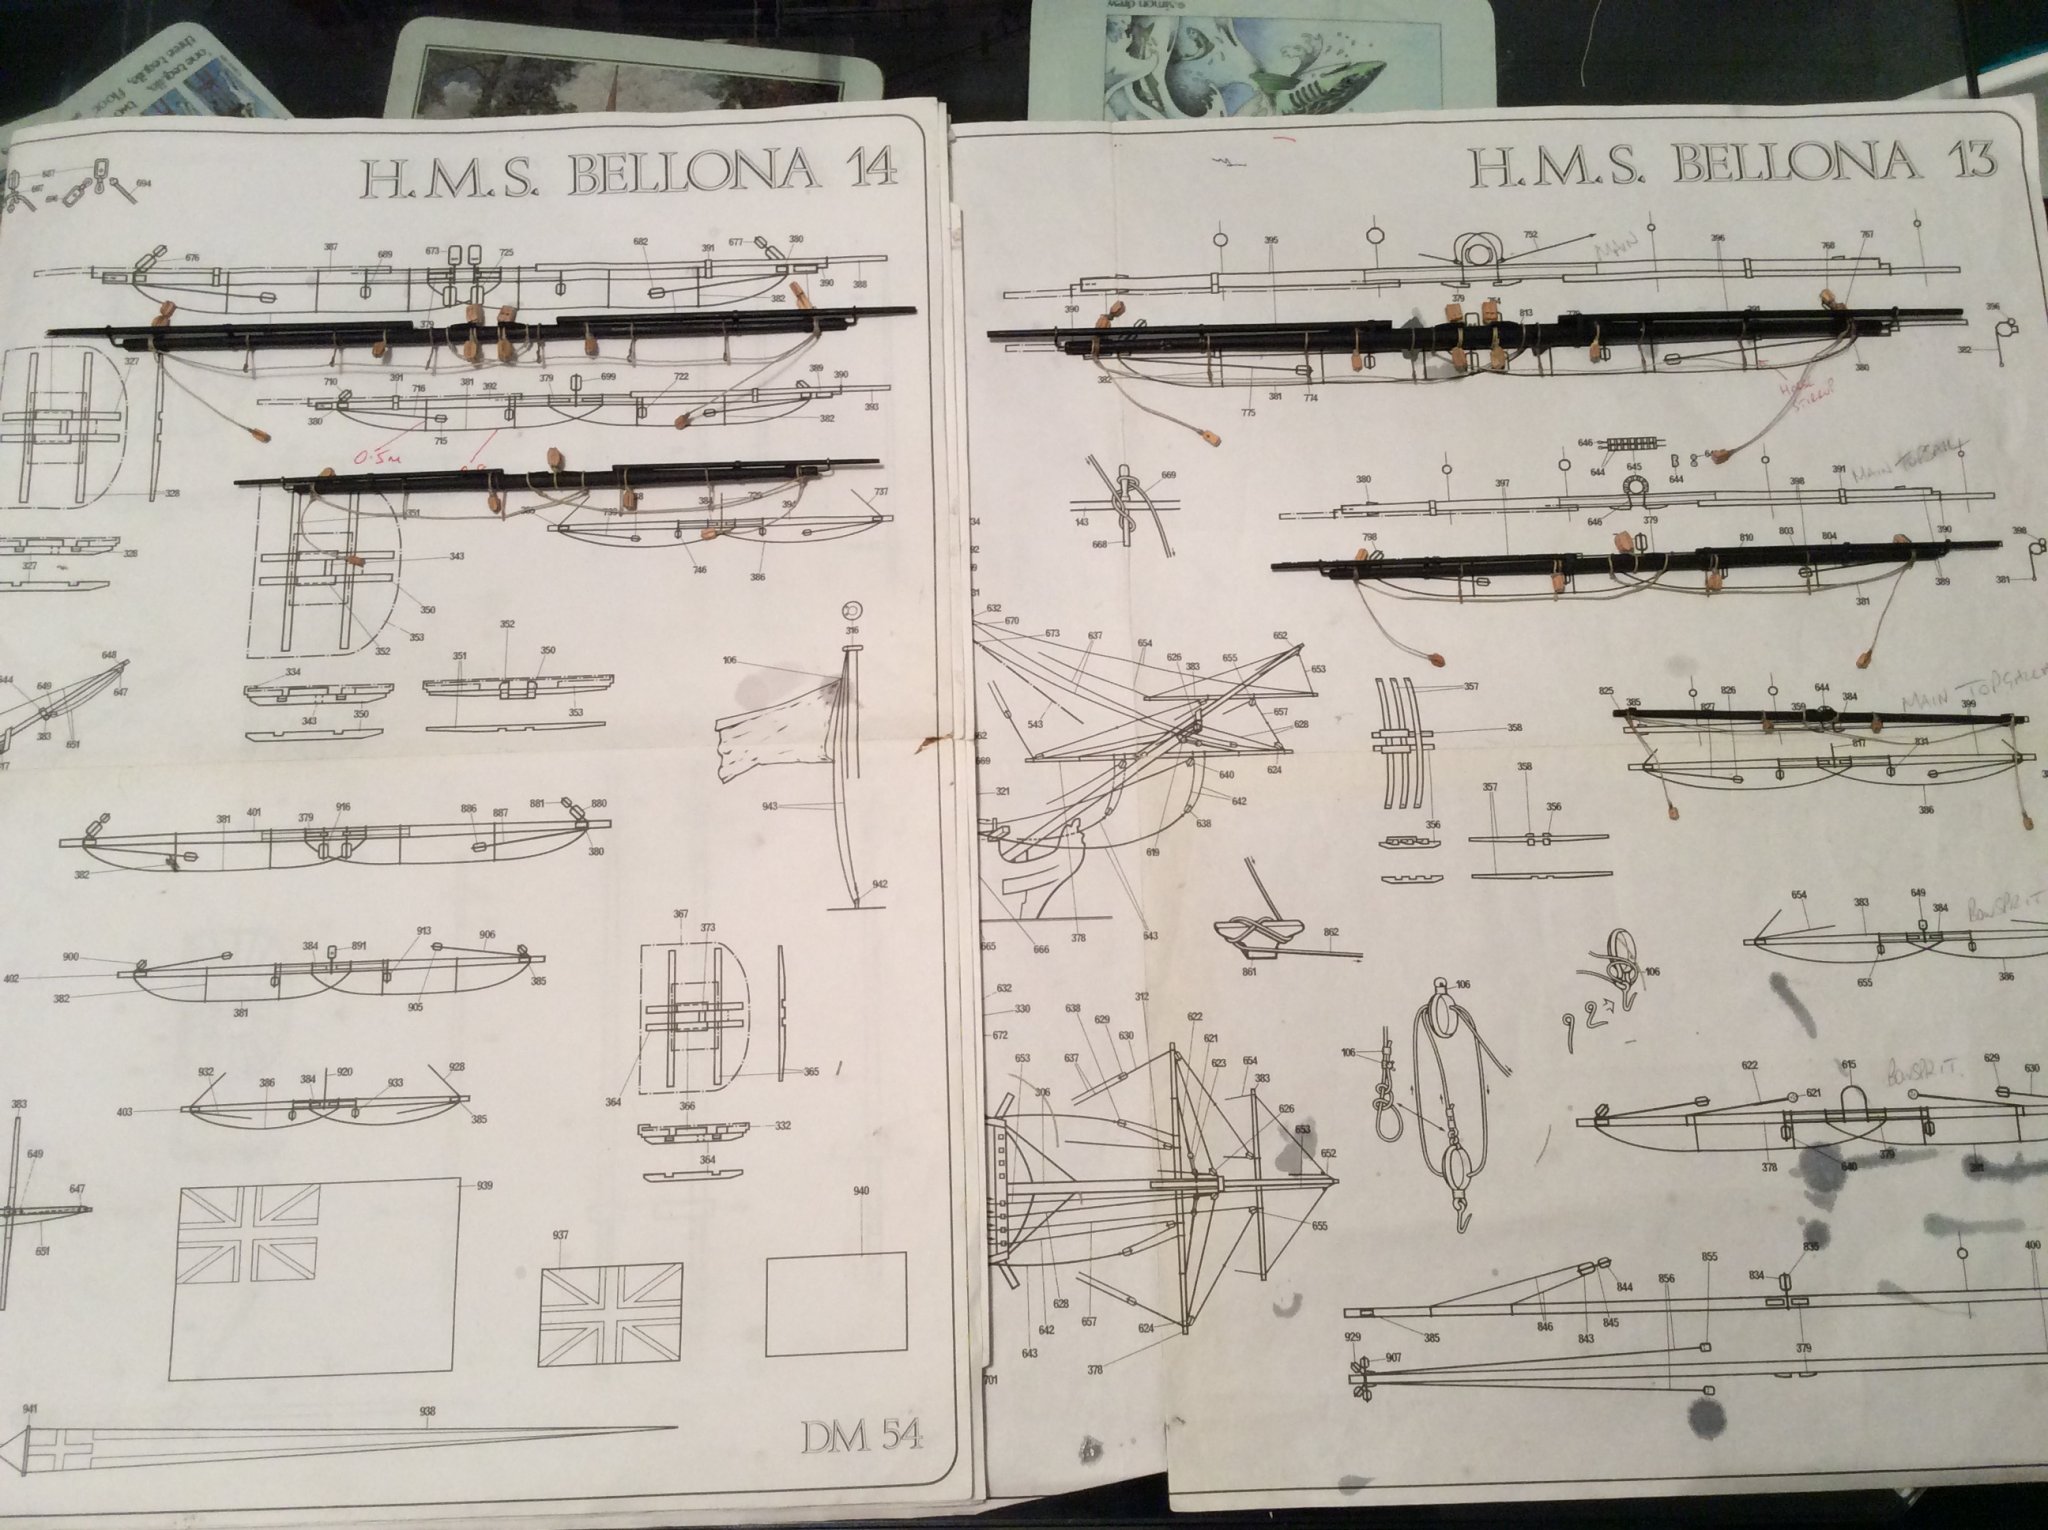
well,... all of the yards and masts have had their preliminary blocks and ropes attached. On to the next stage now with the wonderful glorious magnificent stupendous reatlines to look forward too. Will add the masts tomorrow.....not long ago this build was in serious danger of imminent destruction such was the way things were progressing.....now I don't think the old girls looks to bad.

-
Tony....post some pics and see if anyone can help.....even if it is an embarrassing total disaster no one will give a monkeys but will see if there is a workaround.
-
Hi Tony.....we have all had disasters over the years......don't let it put you off.....my current build came so close to being pulped for various reasons. Keep going and it is never a waste of time even if you scrap the current build you are on because you will have learned from it. Practice on it even if you never display it, you will eventually turn out good stuff.
-
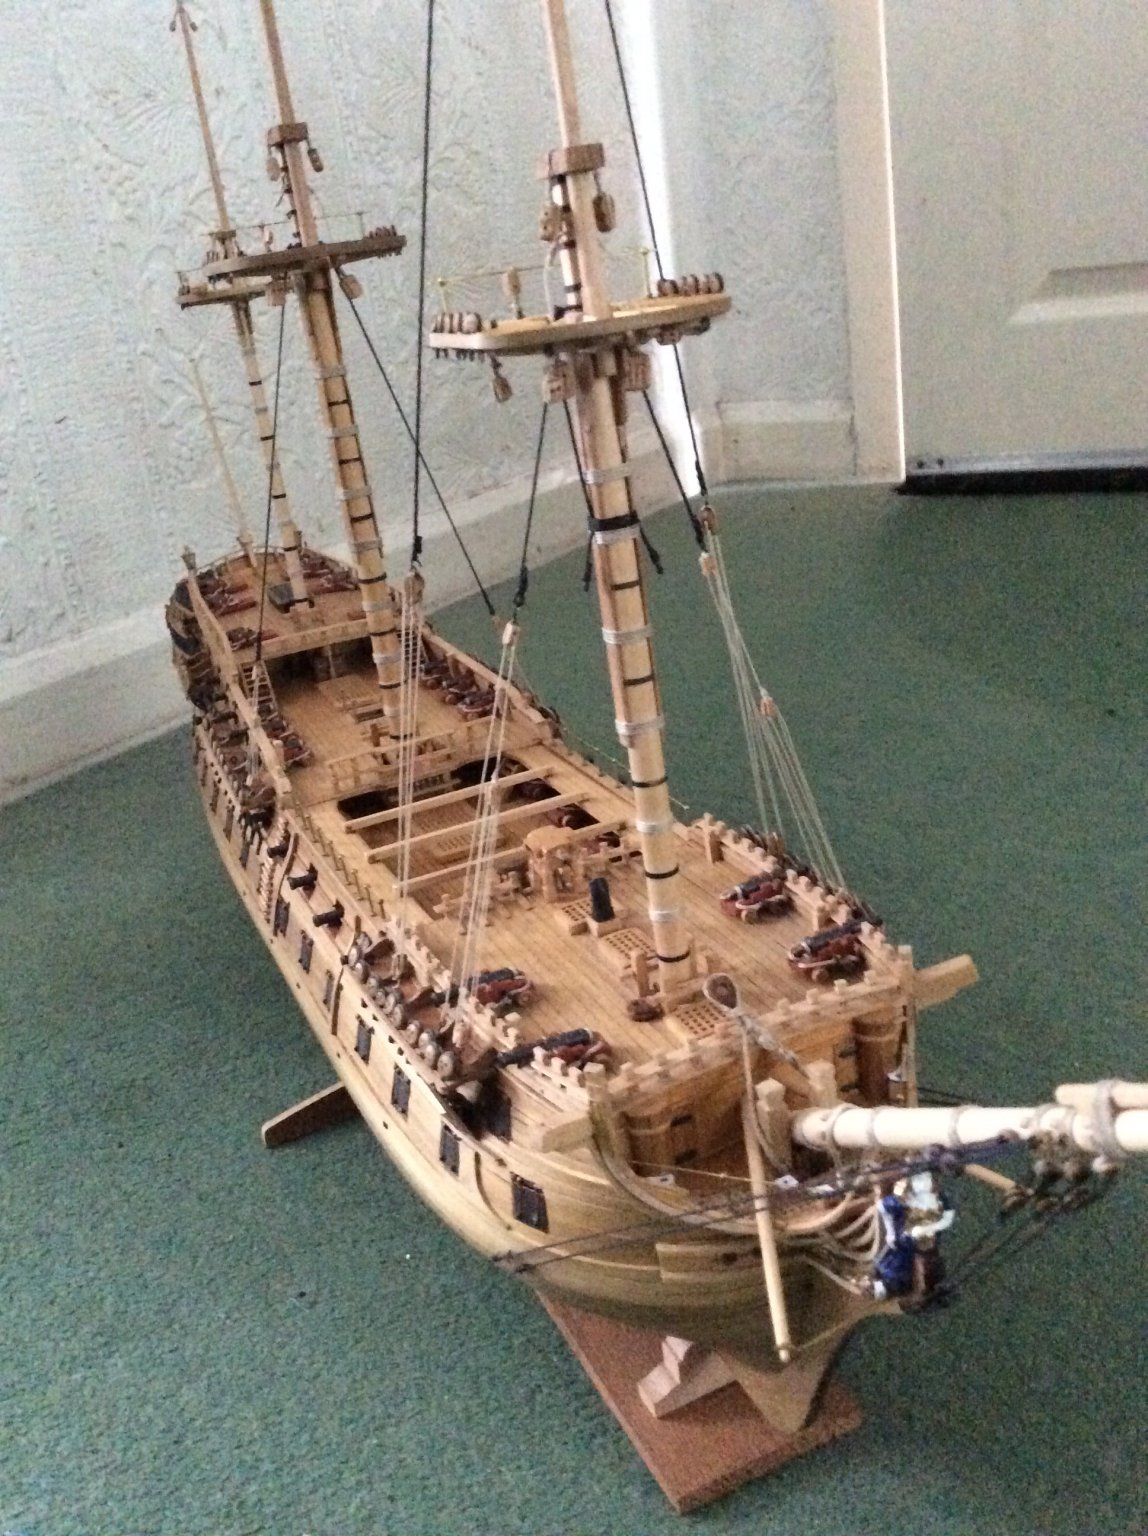
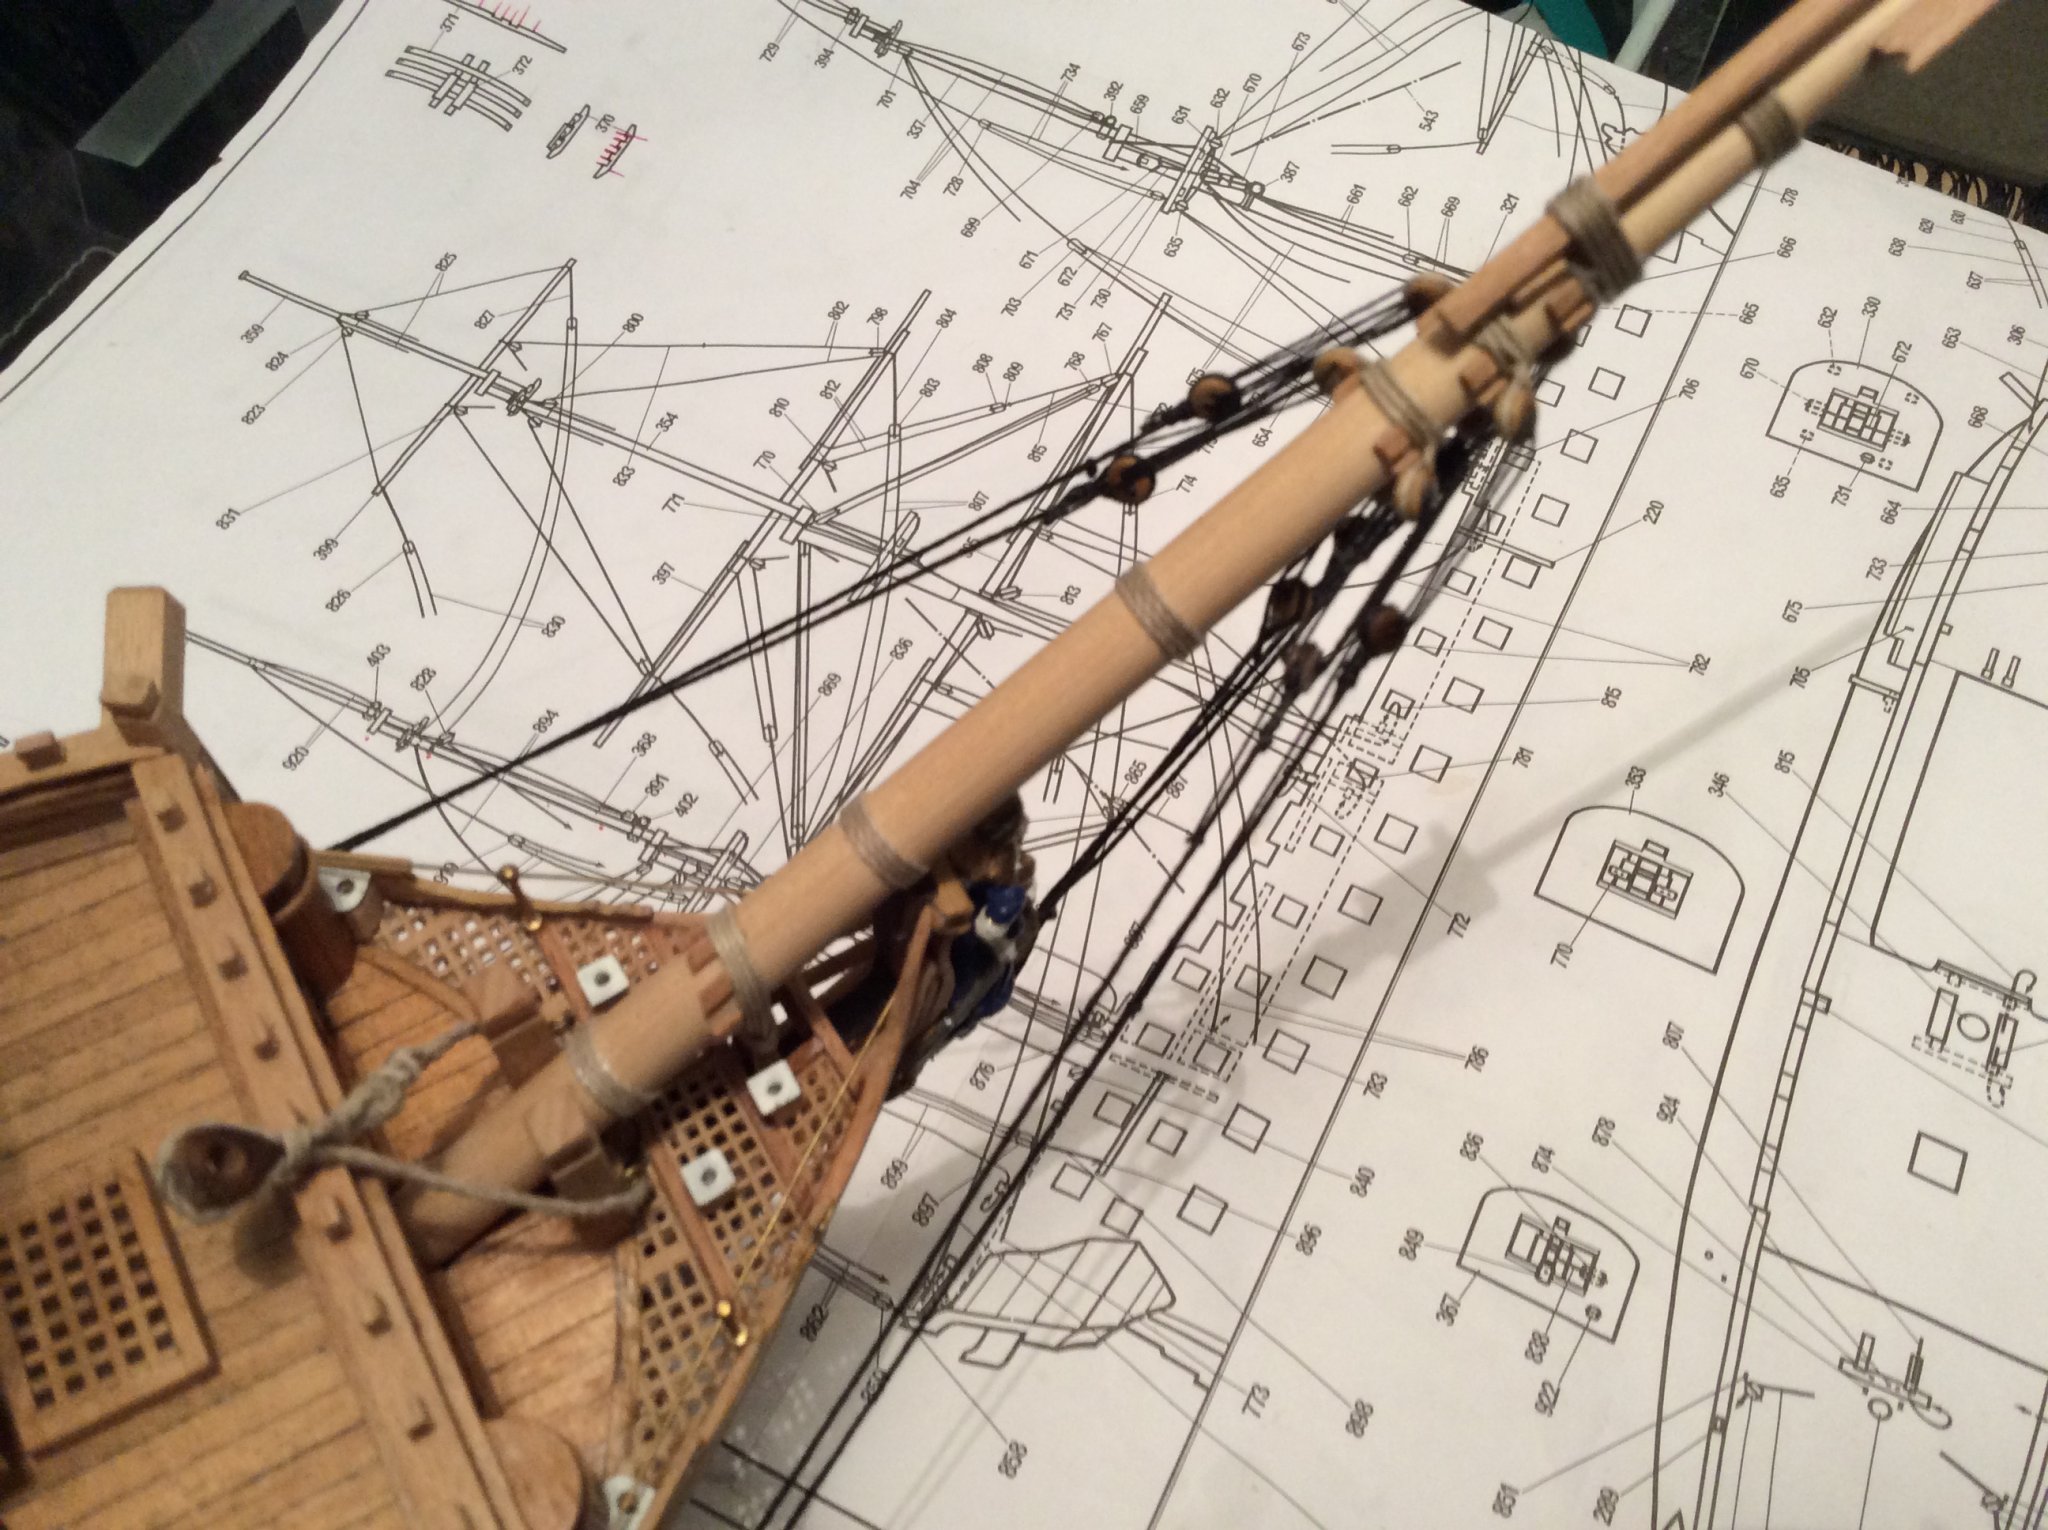
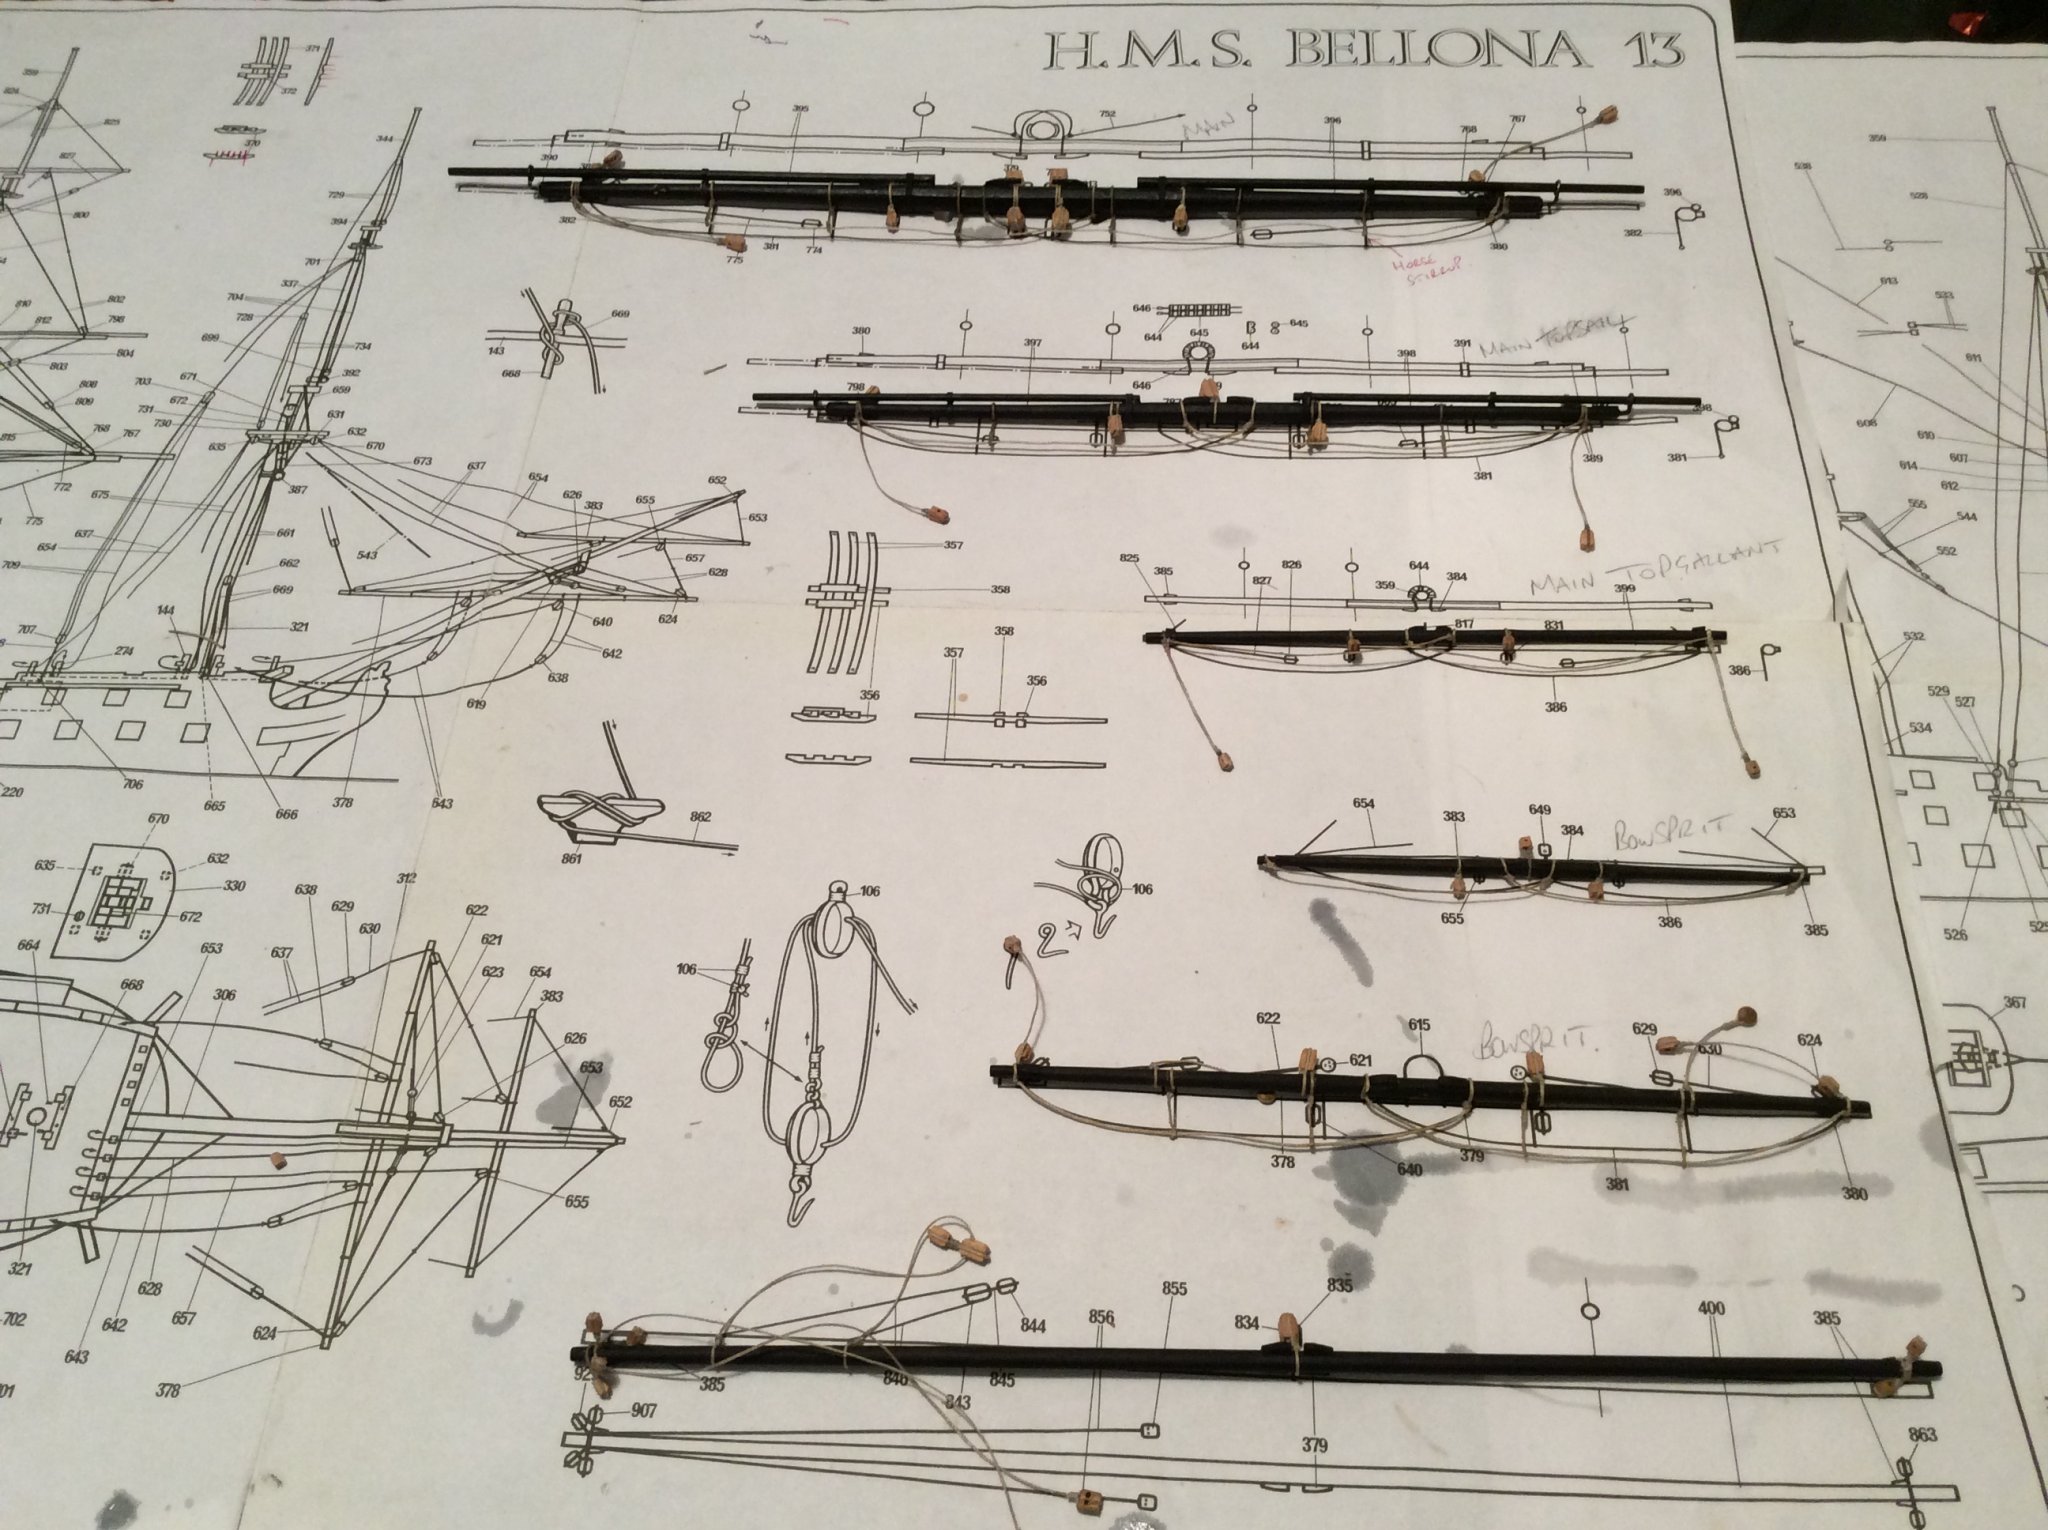
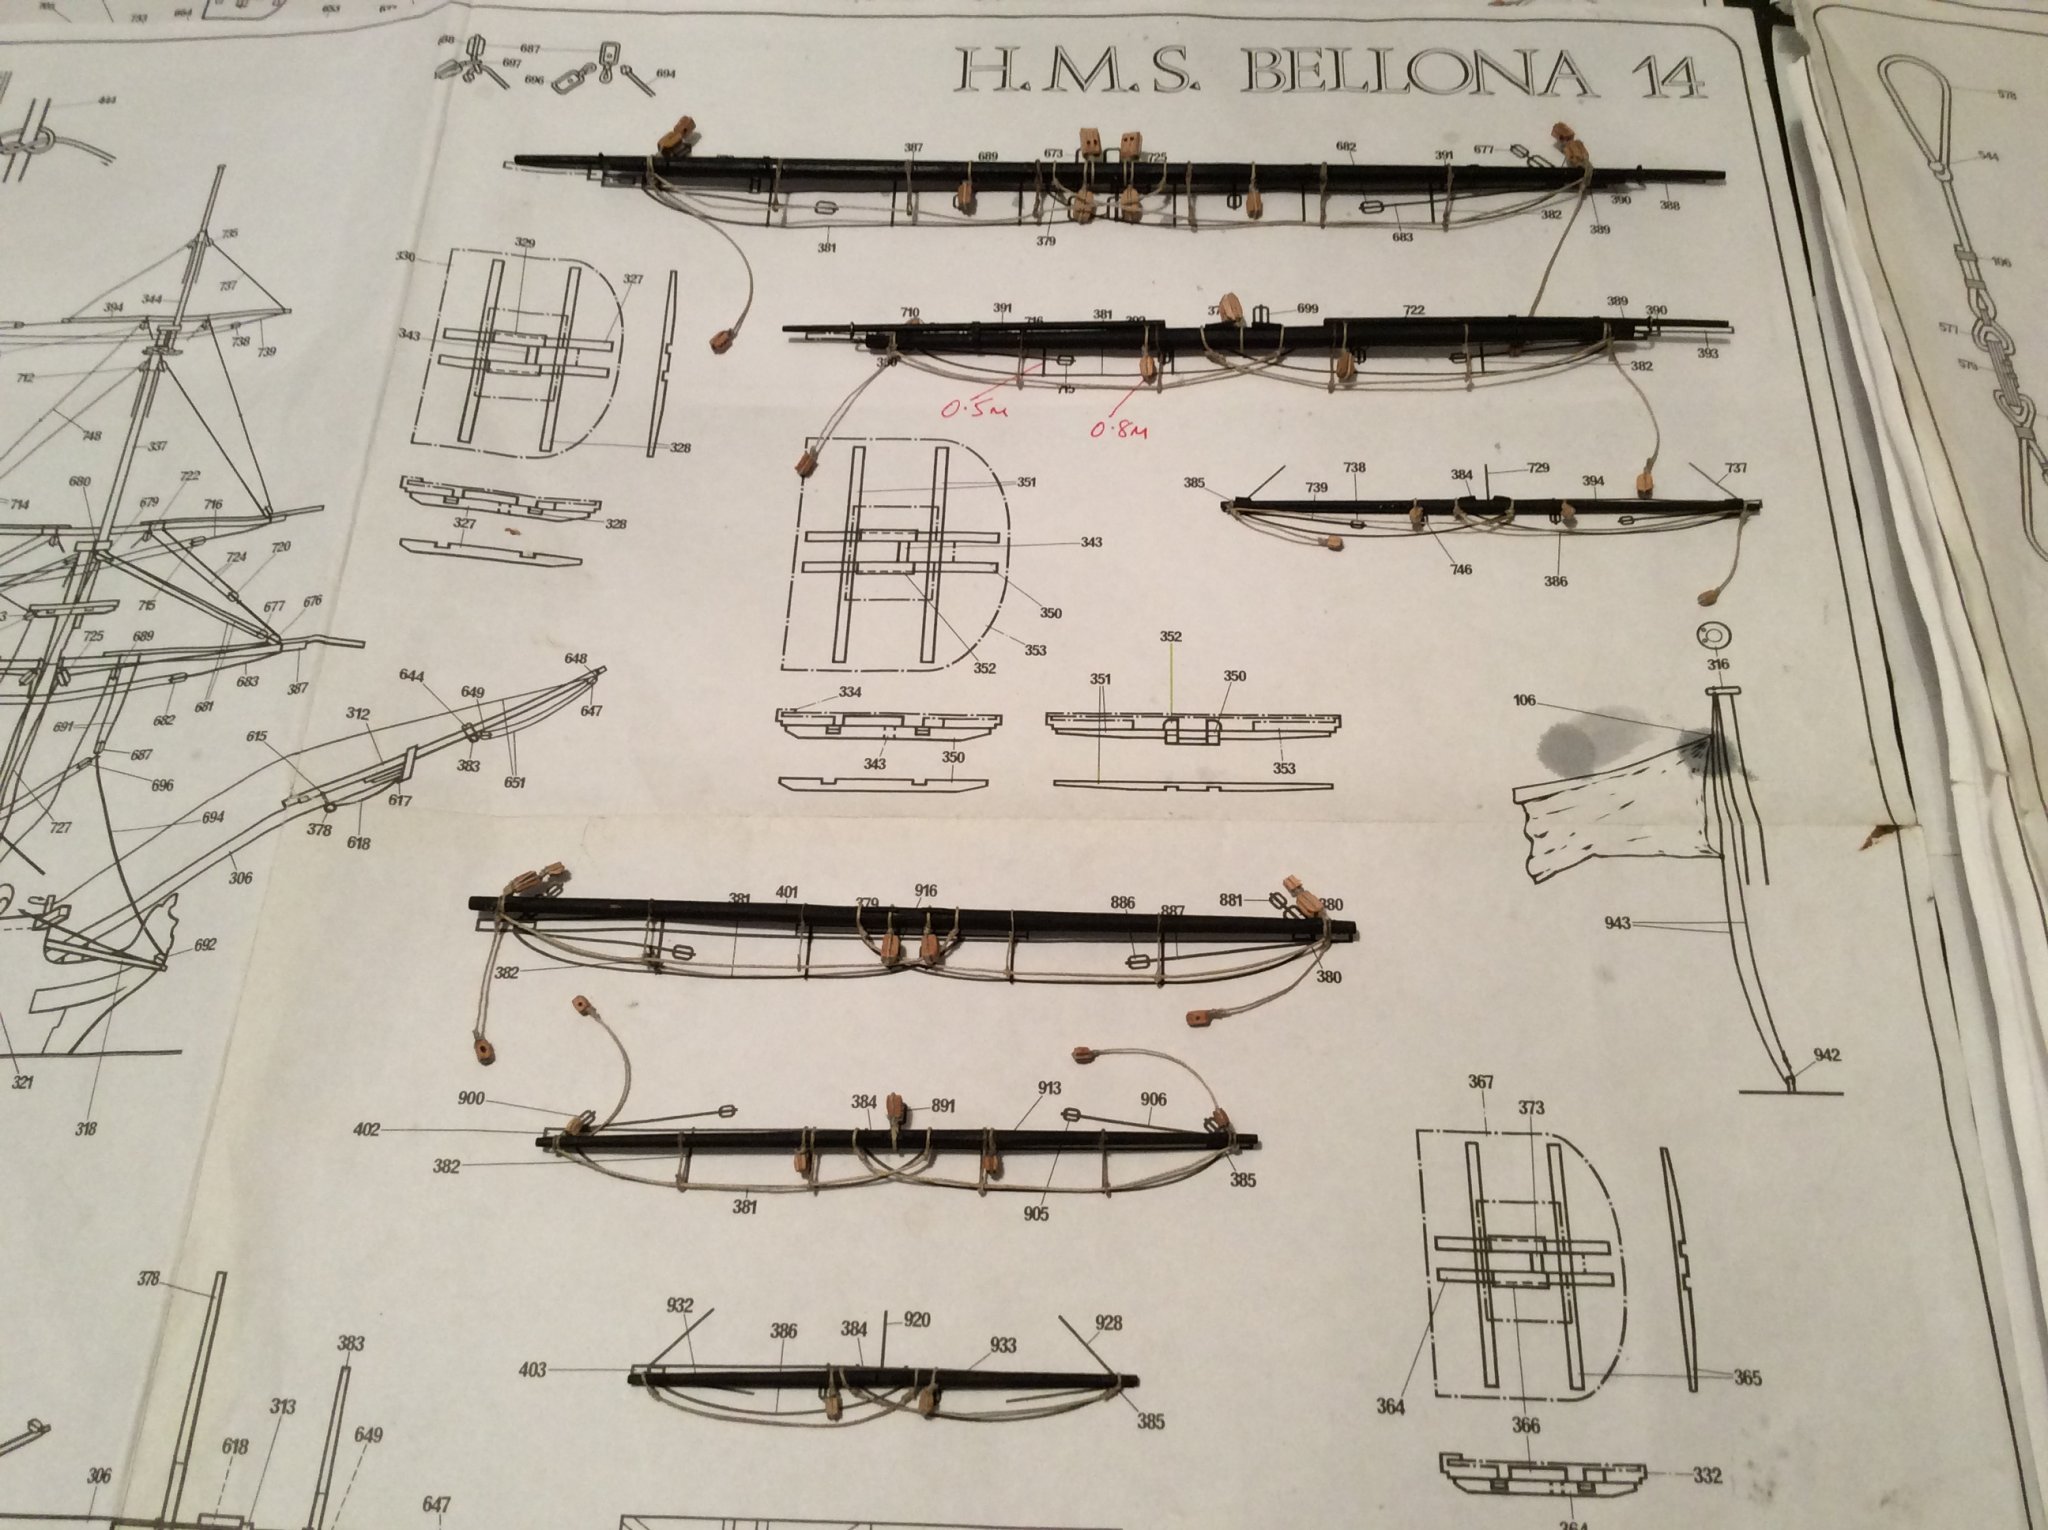
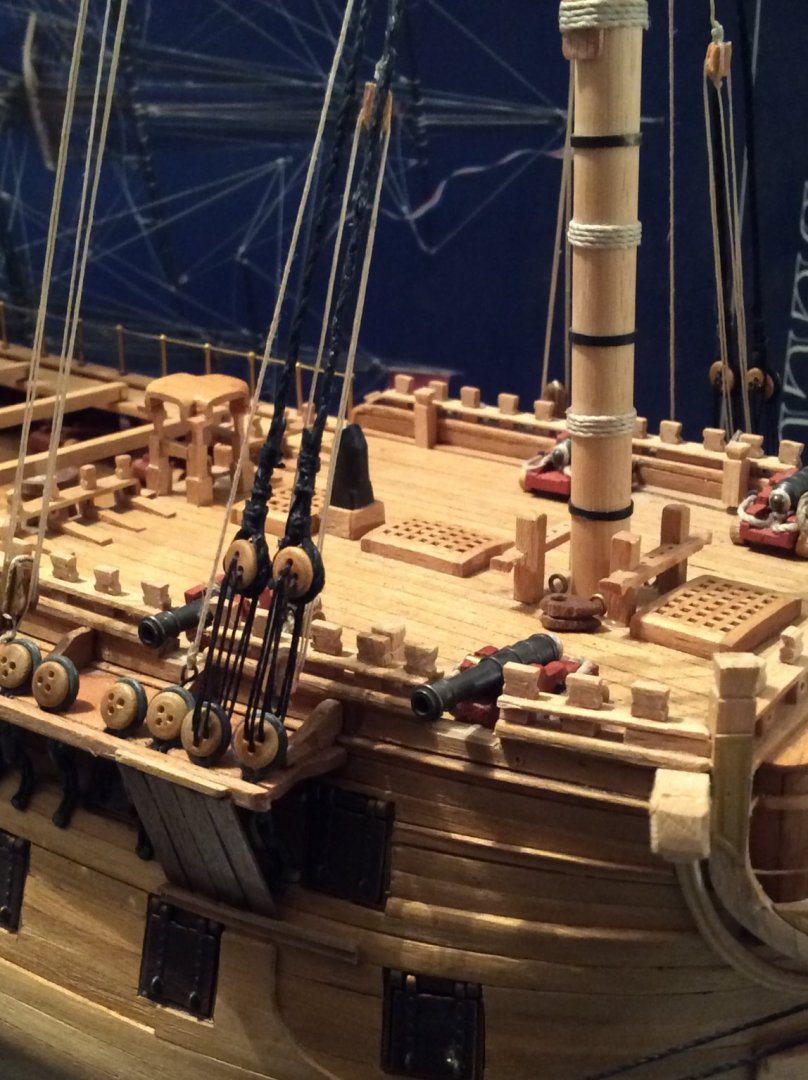
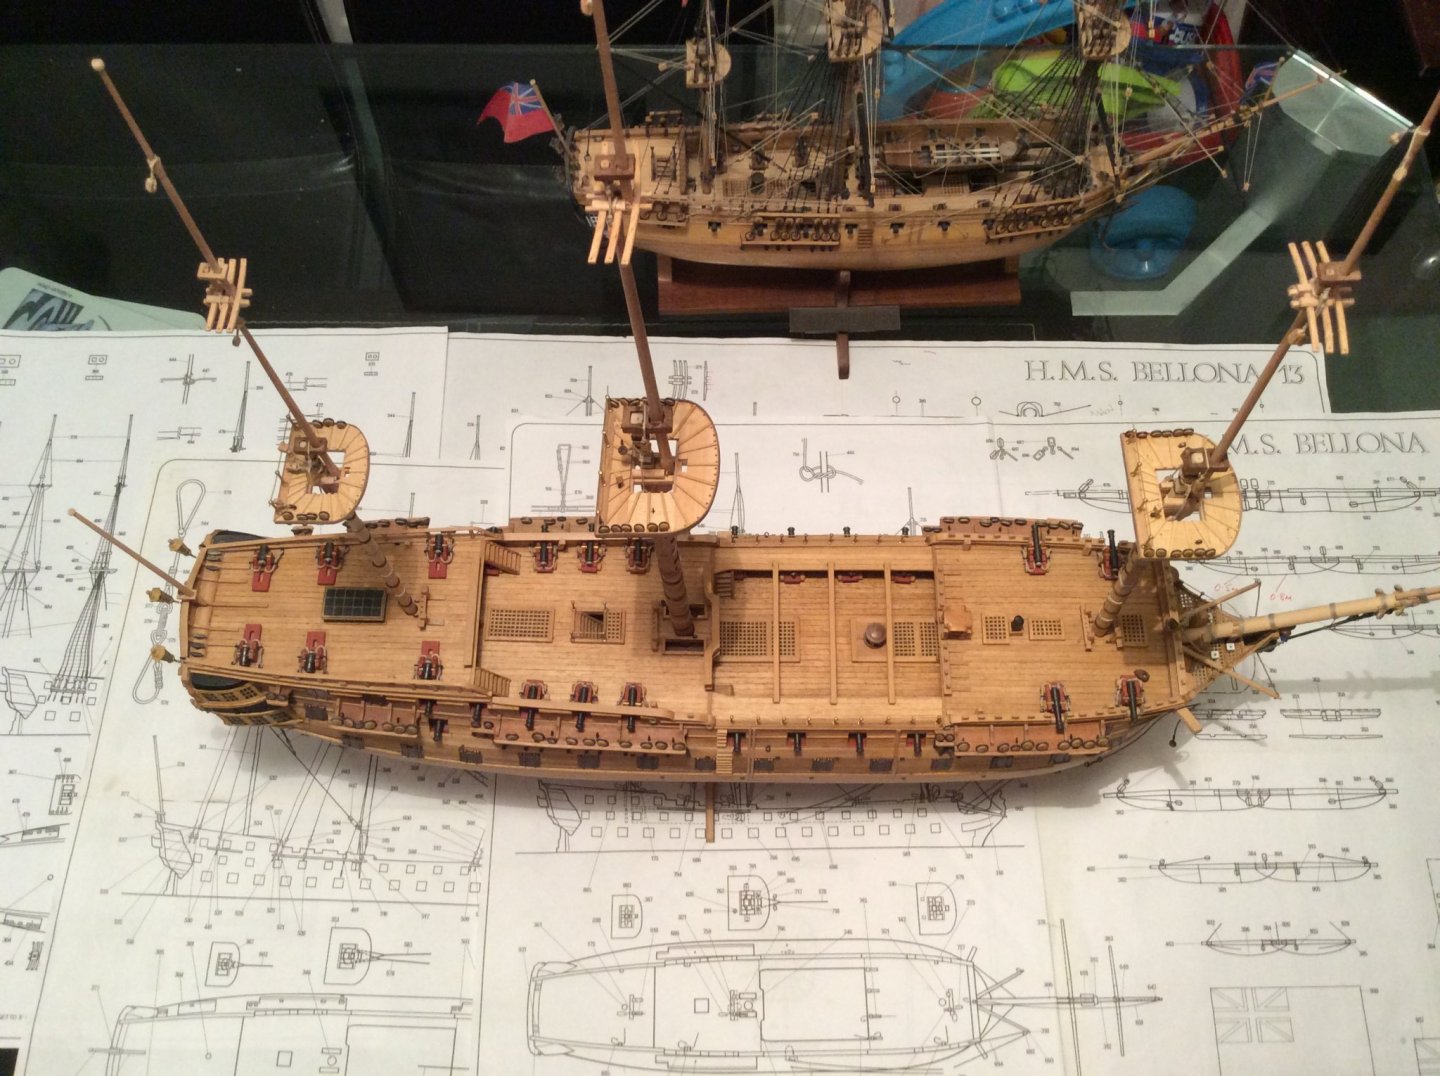
some of the yards completed.....corels blocks are not that good, but I am working with them. I roll them between my finger and thumb to knock any loose bits of wood from them and re drill some of the holes. And just an aerial view of the ship. Masts have not been fixed.

-
jump straight in Nazir......you can pick tools up as and when you need them......I am a why cant I do it rather than can I do it bloke...….go for it is my advice.
-
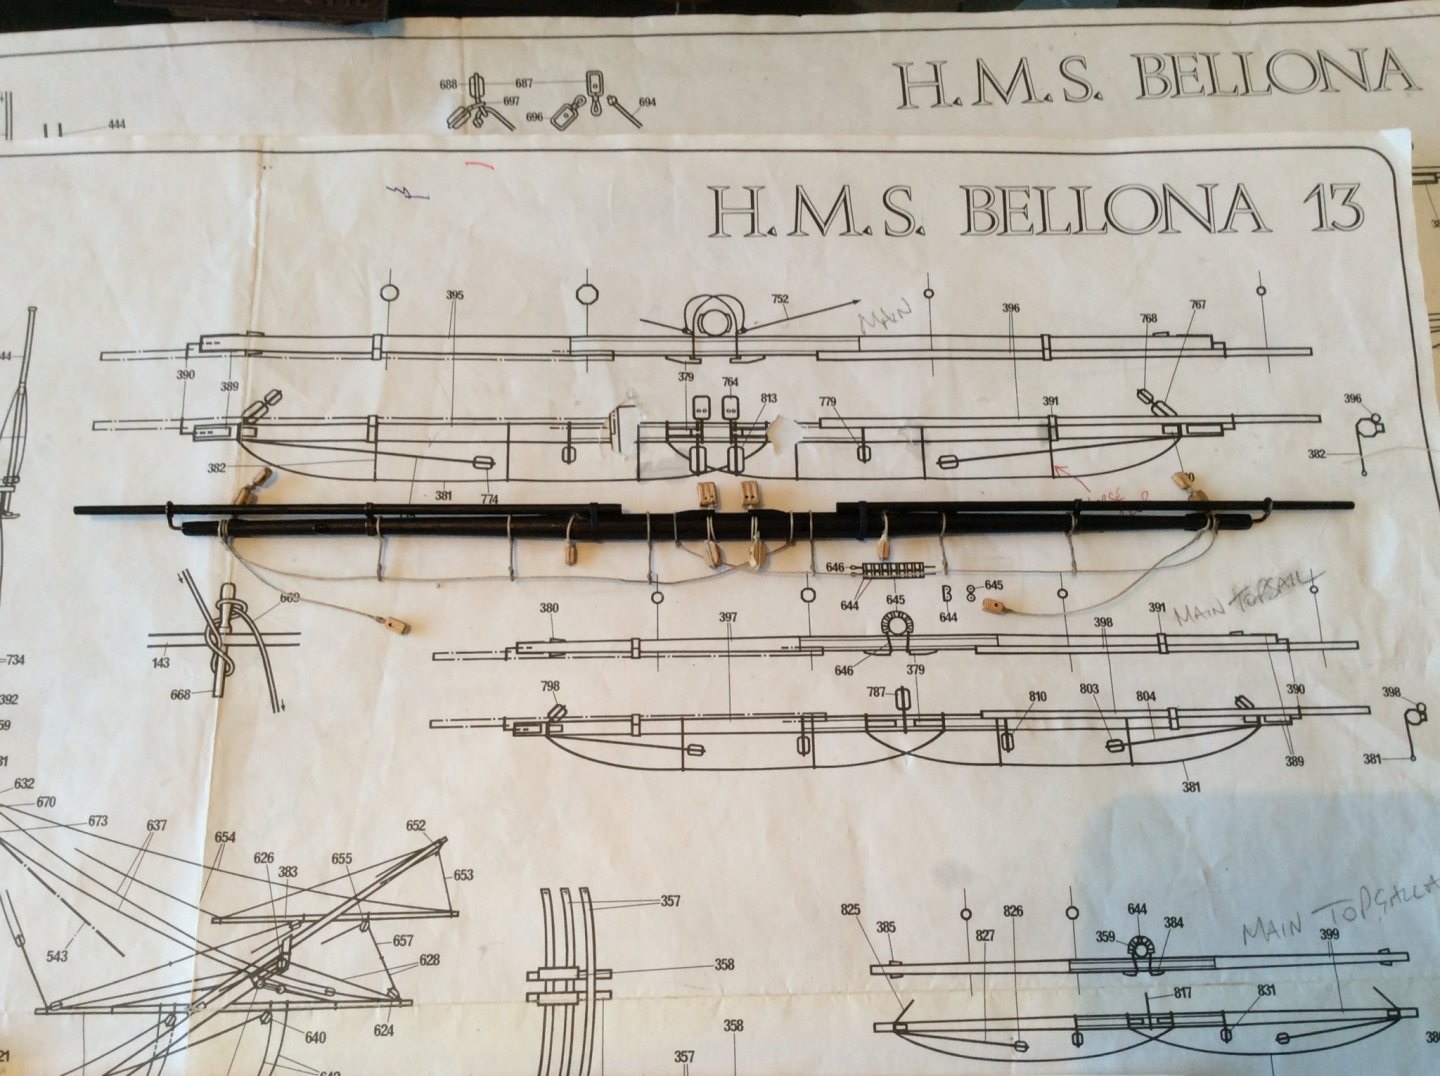
Main yard now completed ….am I beginning to enjoy this rigging business?....been inside for too long.
-
cheers Old...….rigging is one of those things that can enhance or ruin what you have done before as you know, and it is not so easily hidden.....but I grit my remaining teeth and carry on ...