Javlin
-
Posts
1,681 -
Joined
-
Last visited
Content Type
Profiles
Forums
Gallery
Events
Everything posted by Javlin
-
My other Hobby by Javlin - Tabletop/Nightstand - 1/1
Javlin replied to Javlin's topic in Non-ship/categorised builds
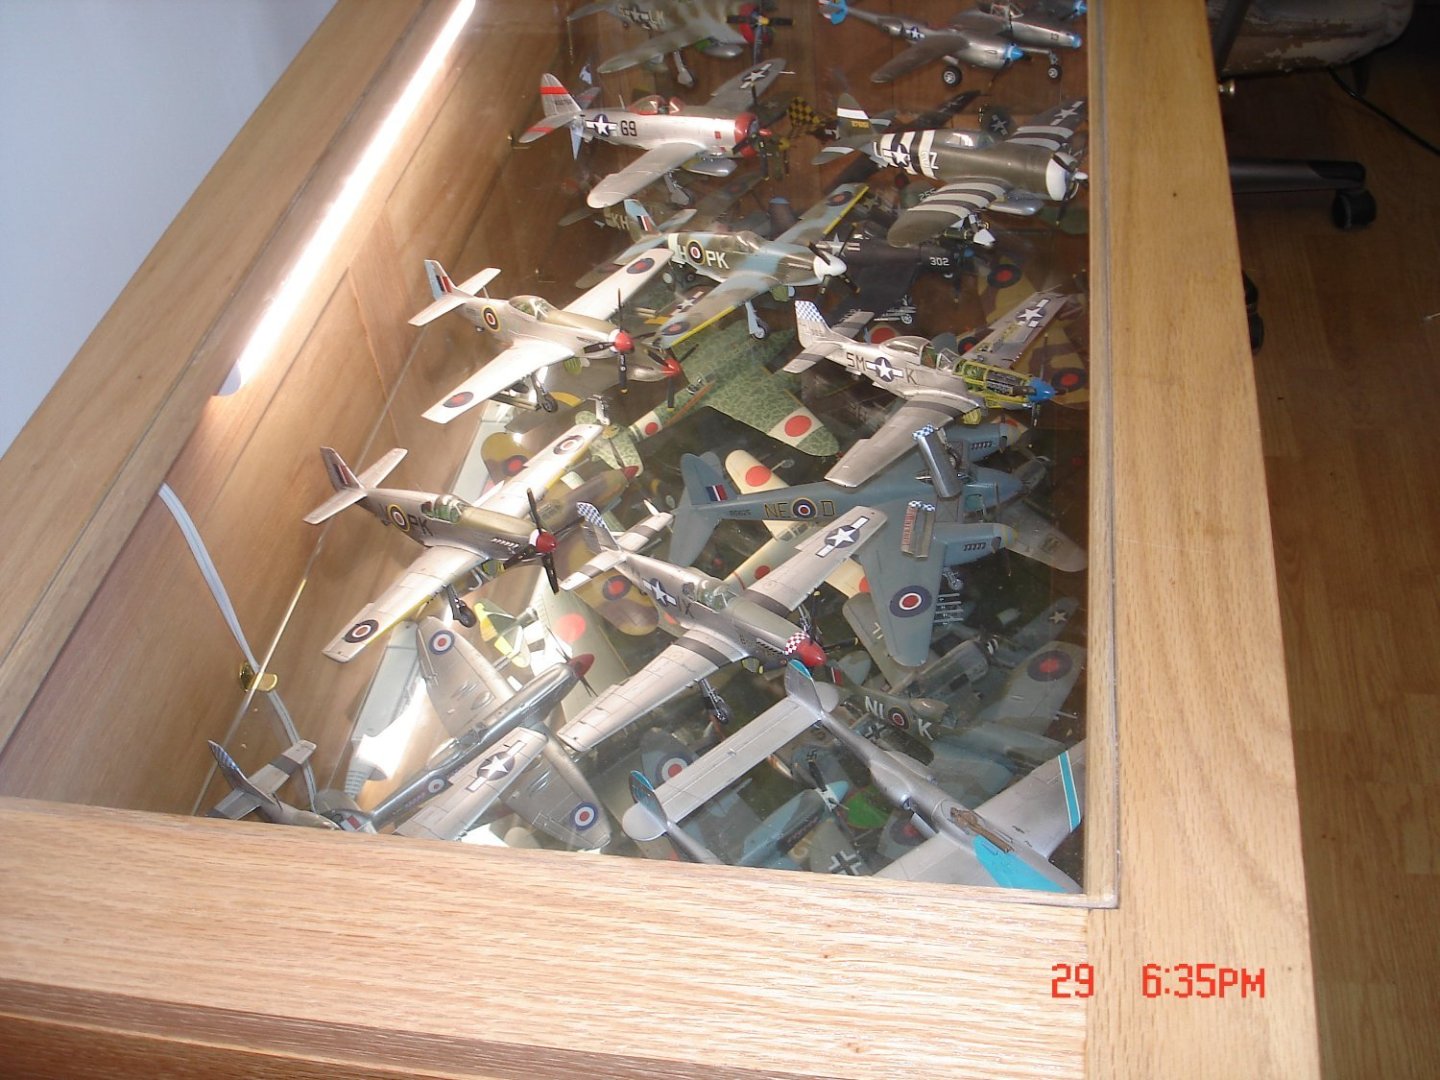
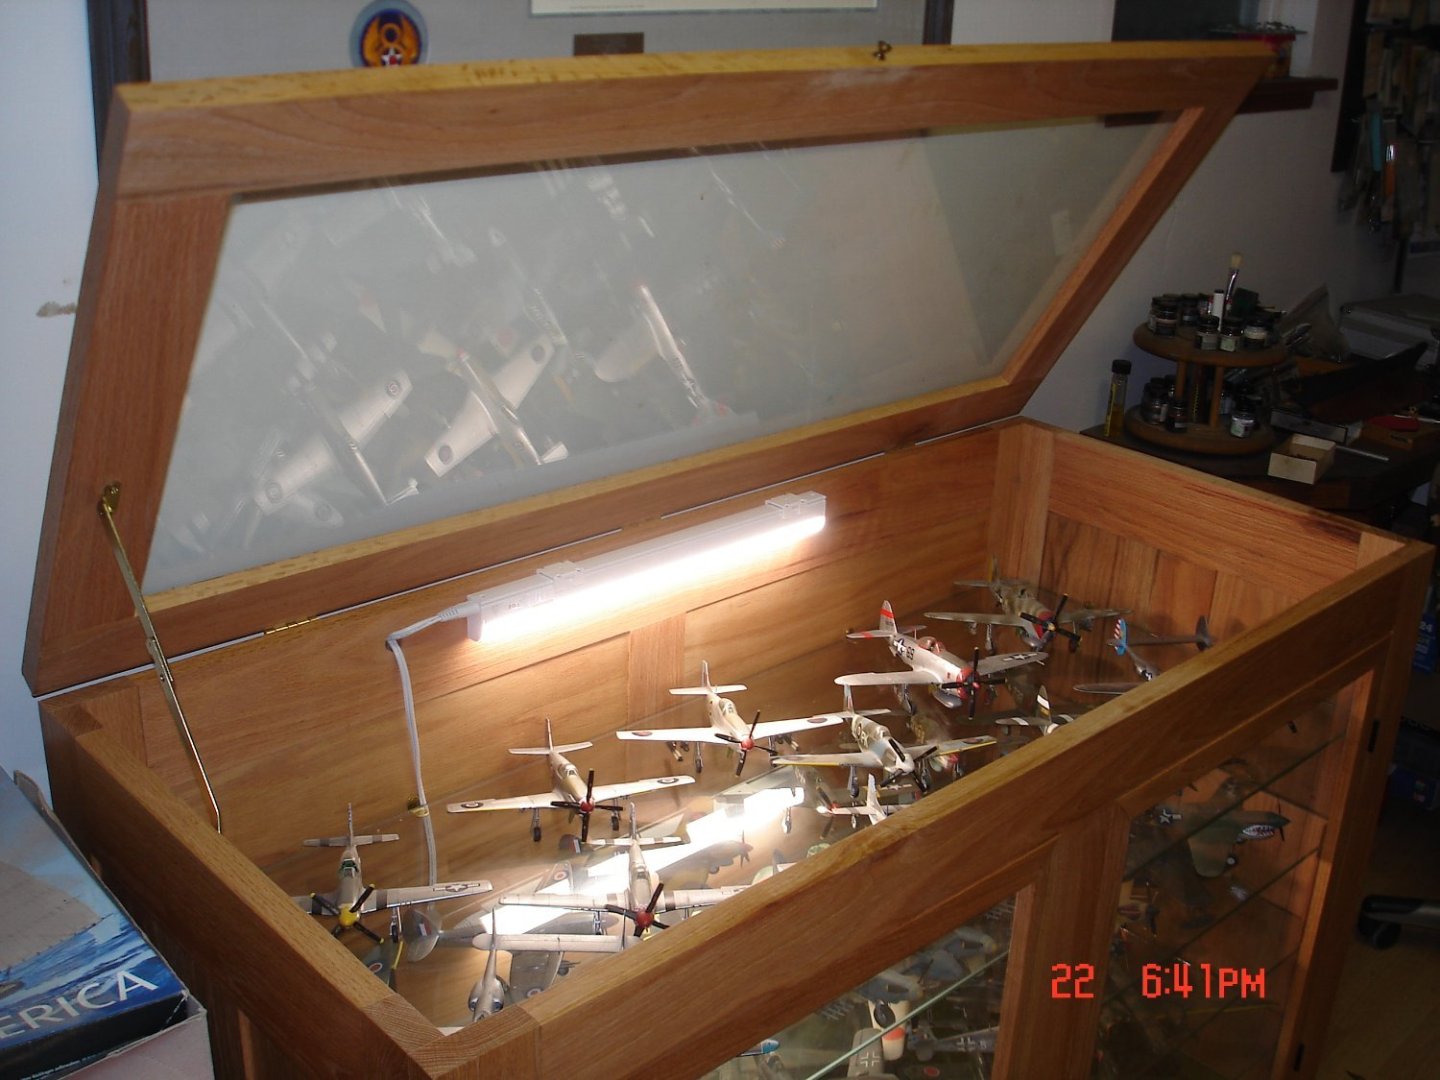
Thanks Denis for all the planes I say 250/300 that cabinet maybe a 100 some 1/72 in also. -
SU-85 WW2 Soviet Tank Destroyer by CDW - MiniArt - 1:35 Scale
Javlin replied to CDW's topic in Non-ship/categorised builds
How many fellas worked in there?2/3? I dare say no one better fart/gas in that room the machine would stop functioning.So it was alot like the Jagdpanzer.The build is coming along very nicely Craig. -
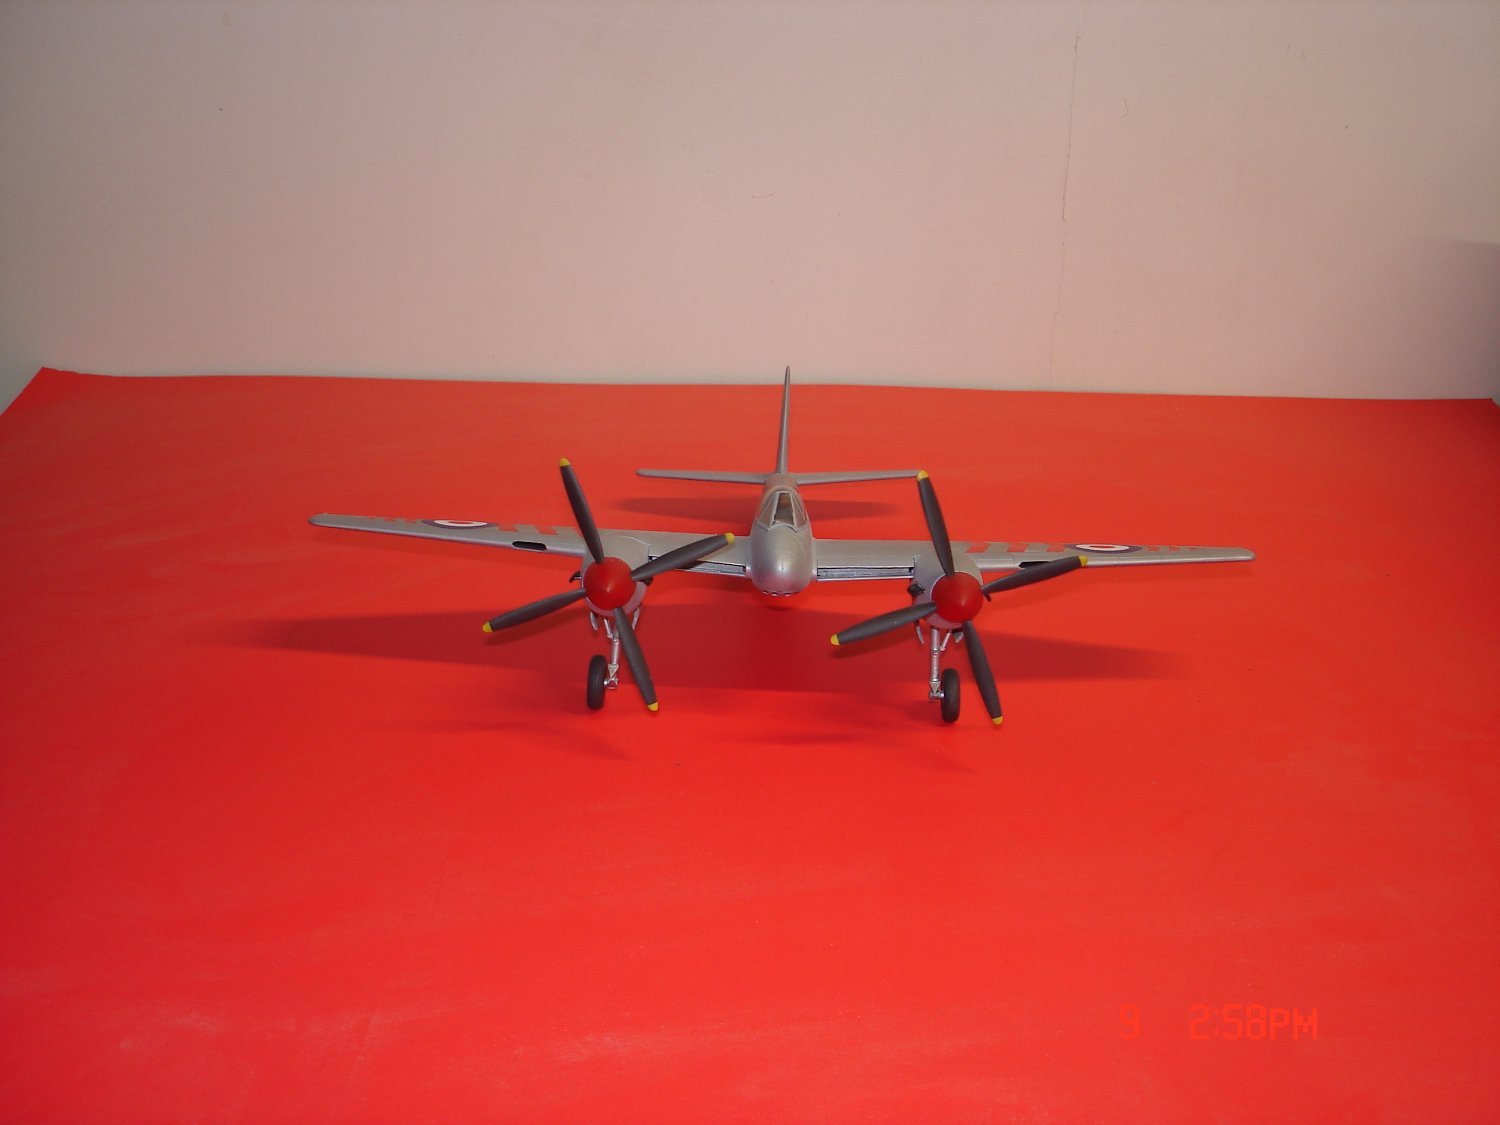
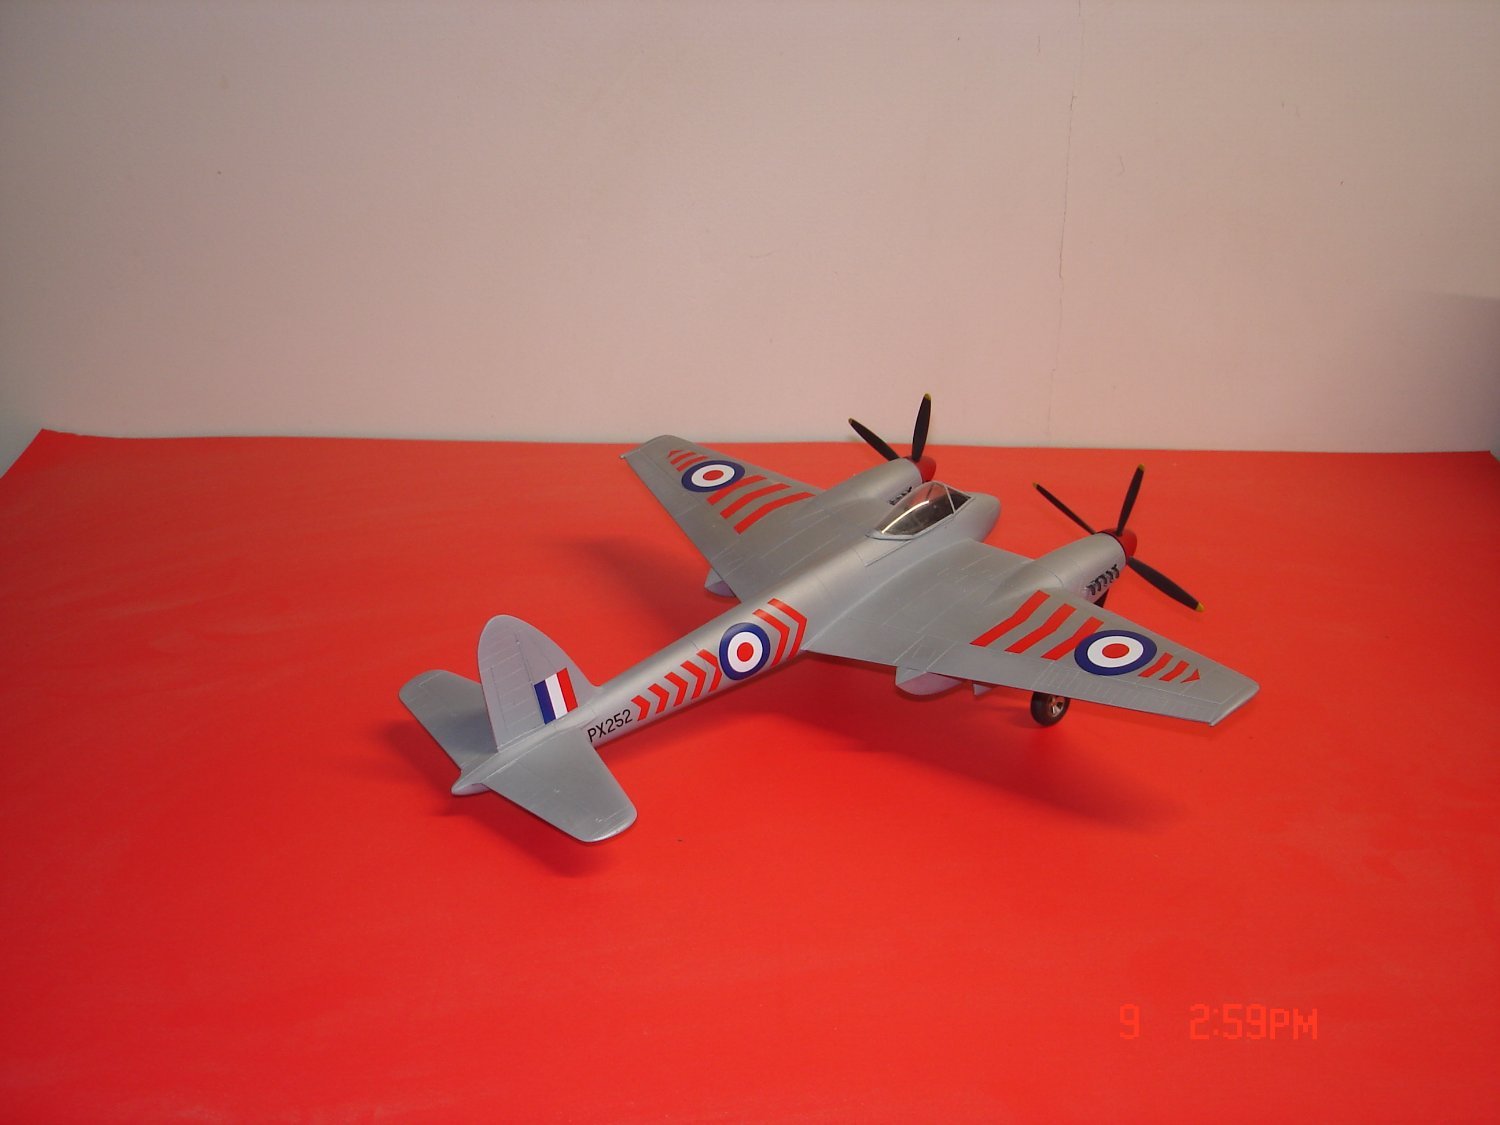
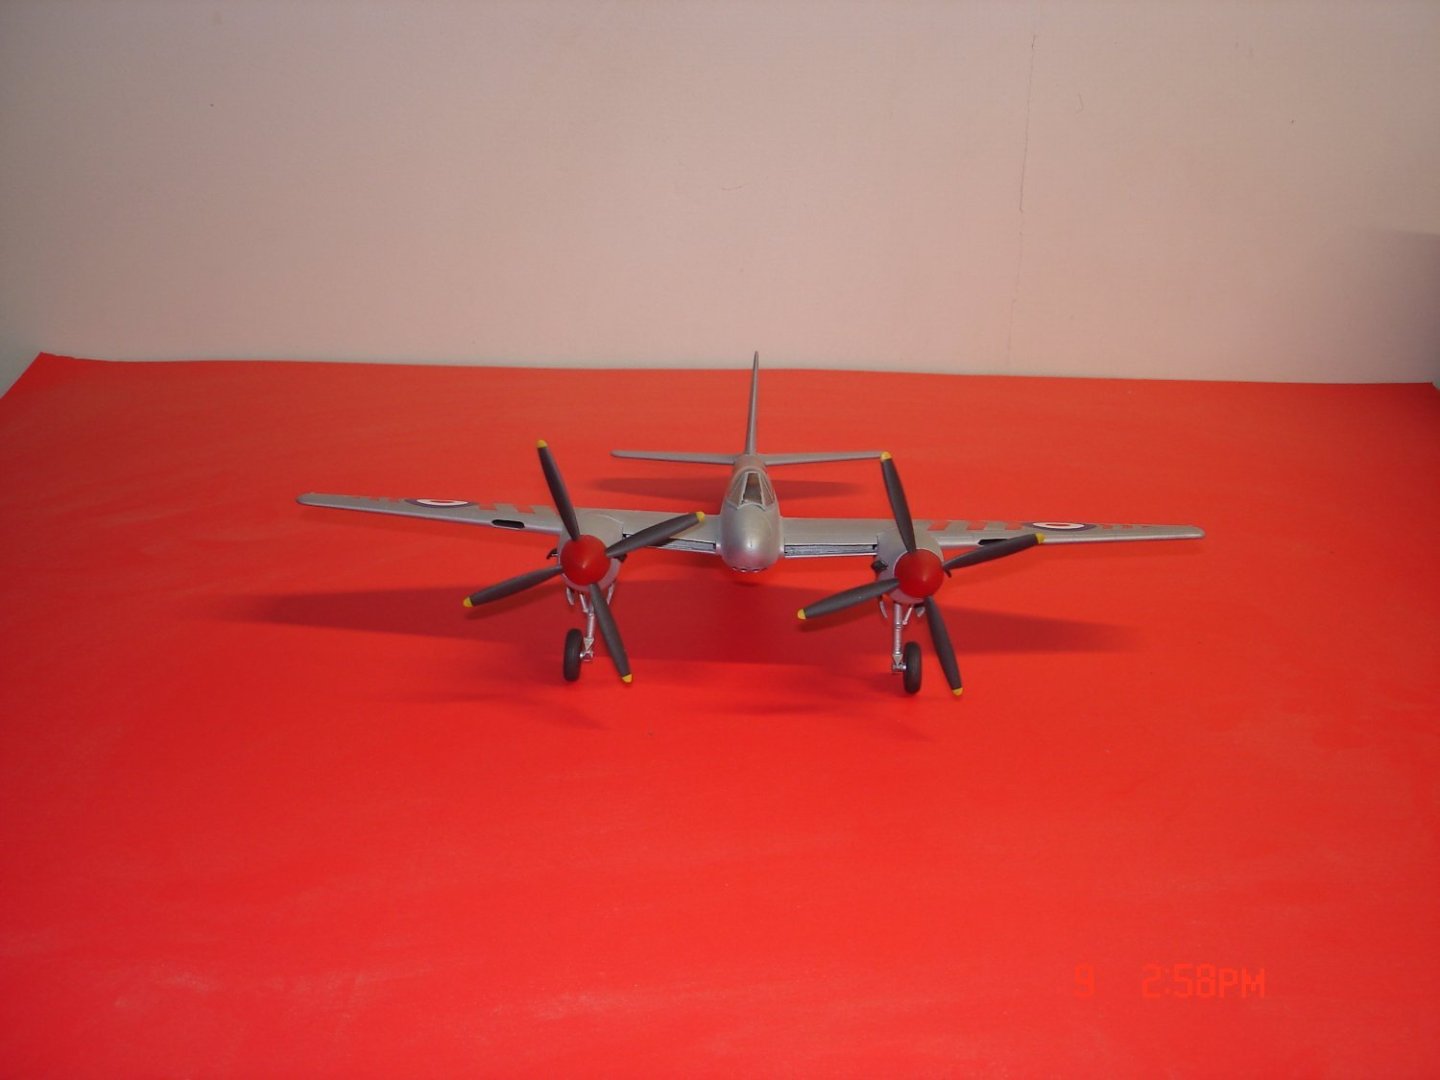
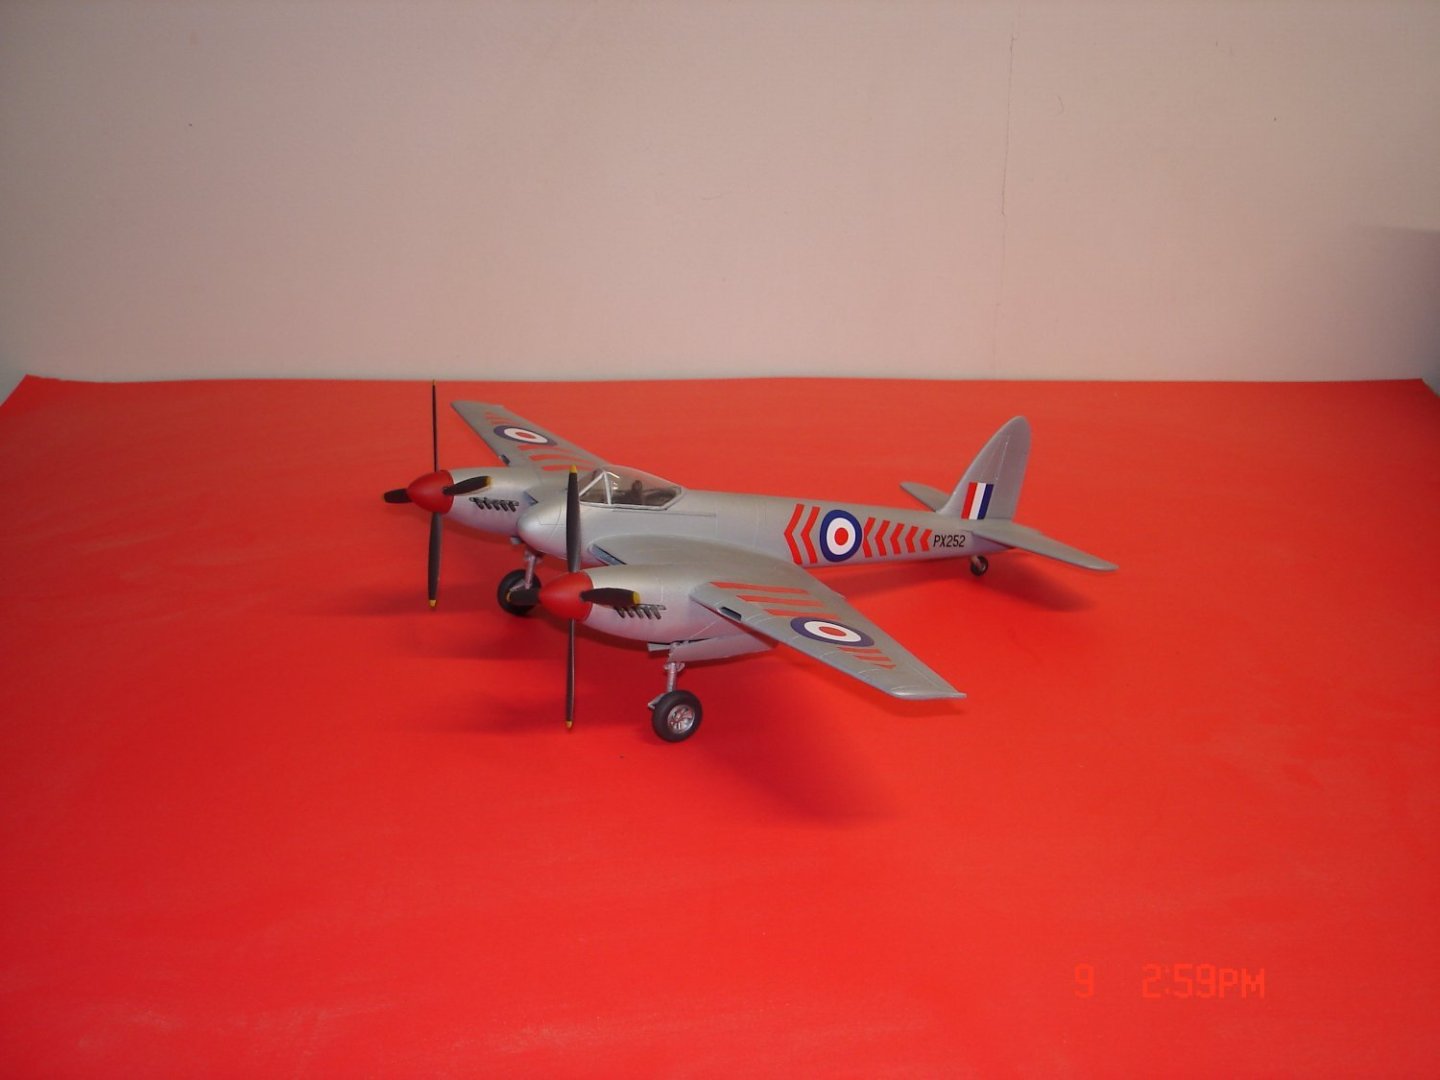
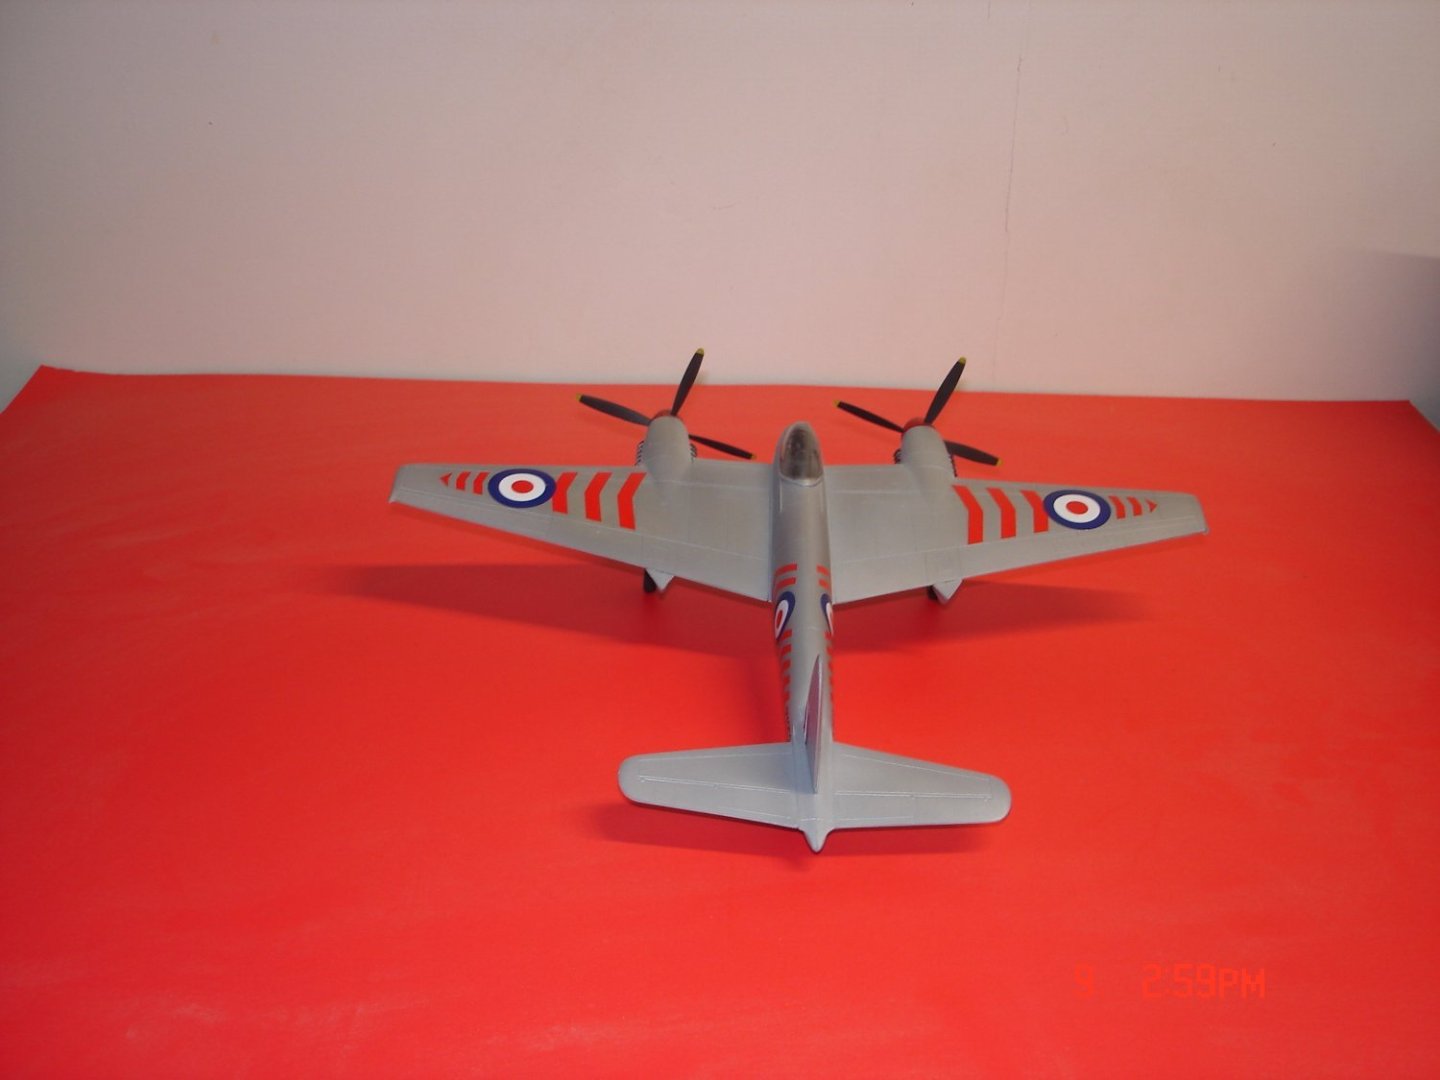
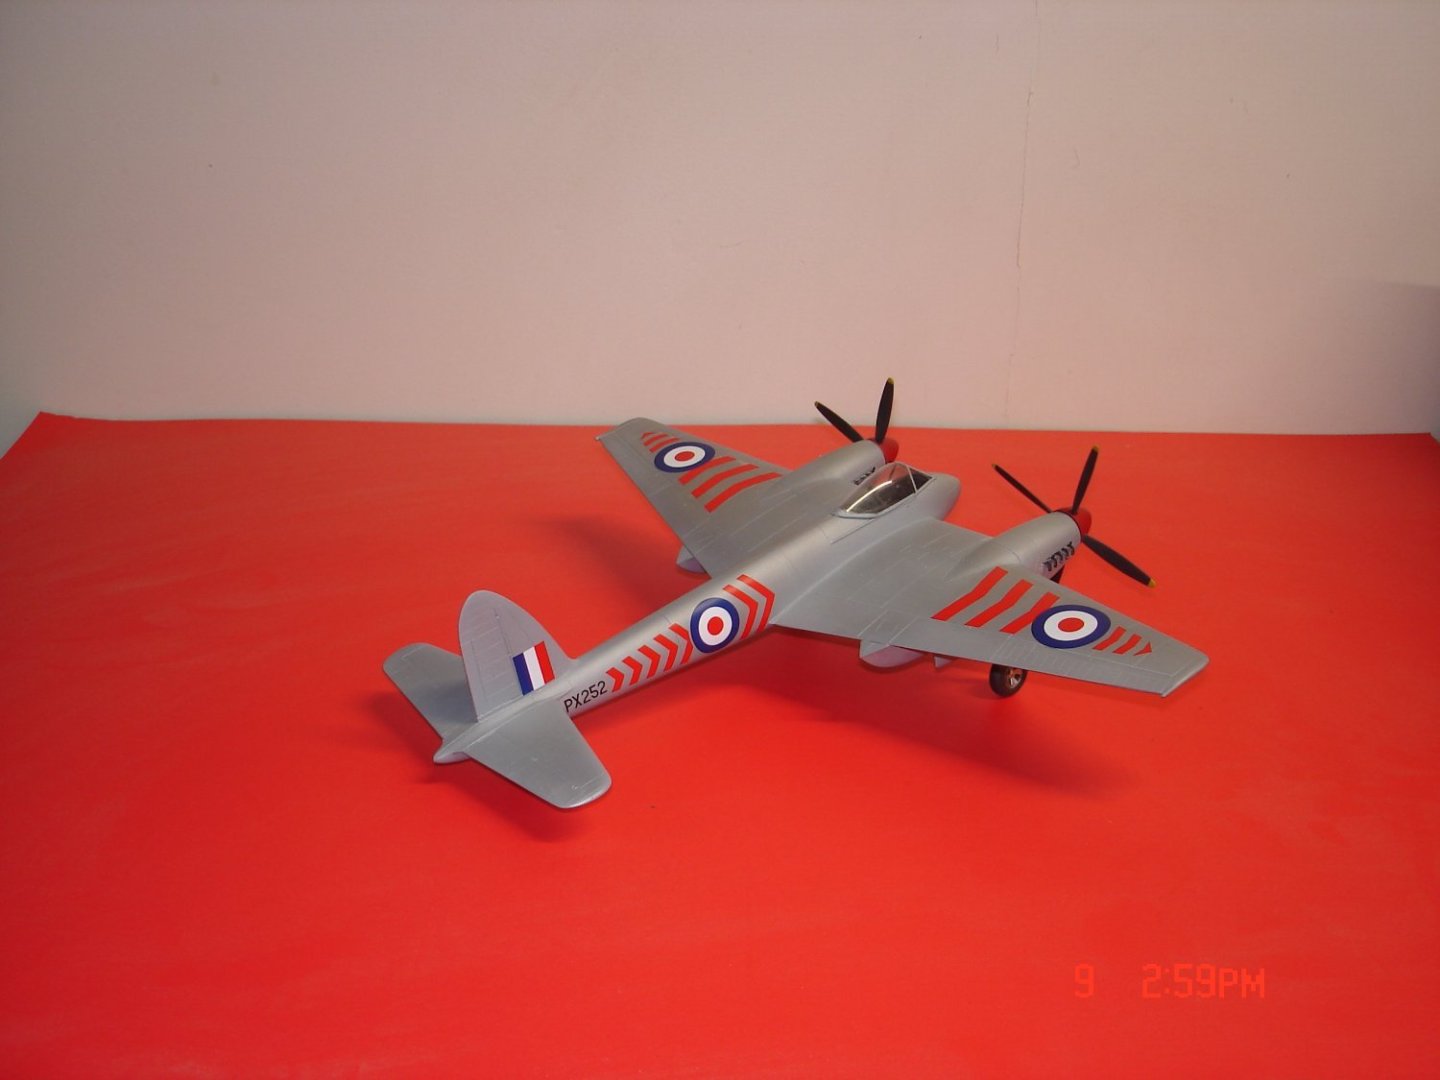
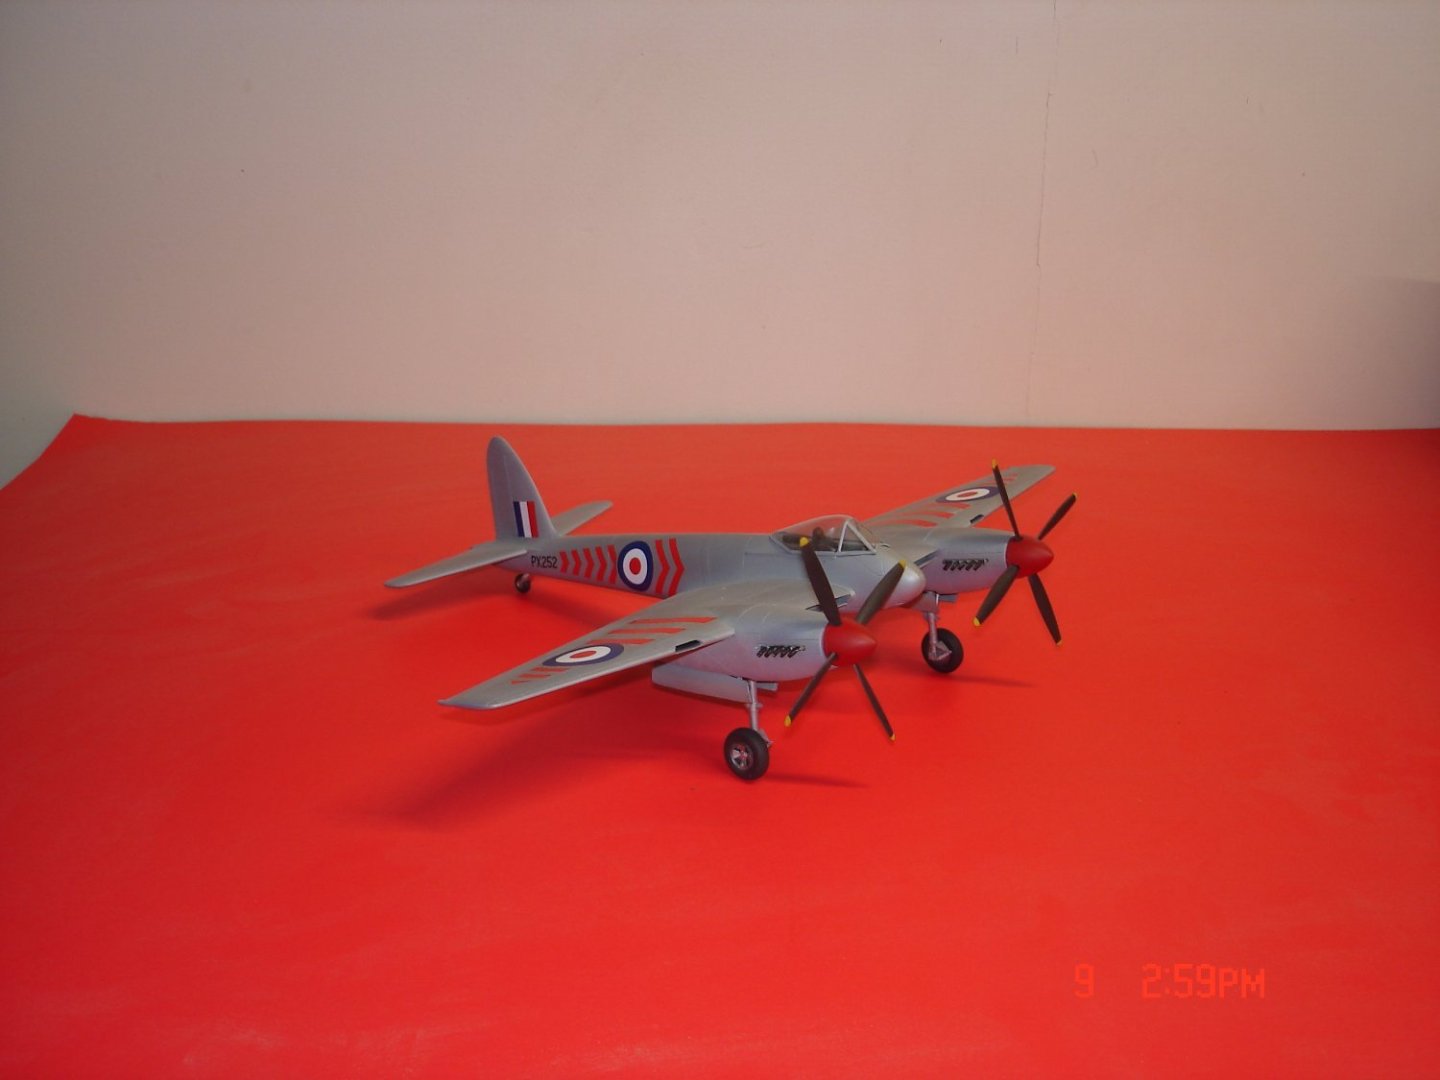
This Classic Airframes the Dehavilland Hornet has resin copit,resin wheels and the dreaded vacuum formed canopy.I say everything seemed good till I got to the canopy only used one but seems that maybe I was to go even further got to be over 20years since I messed with one of those.The reveal after the painting showed frosting both some outside and inside it was crystal clear before hand beautiful.I think I was to bevel the inside ledge ever so slightly to get a better fit. It is what it is at this point.

-
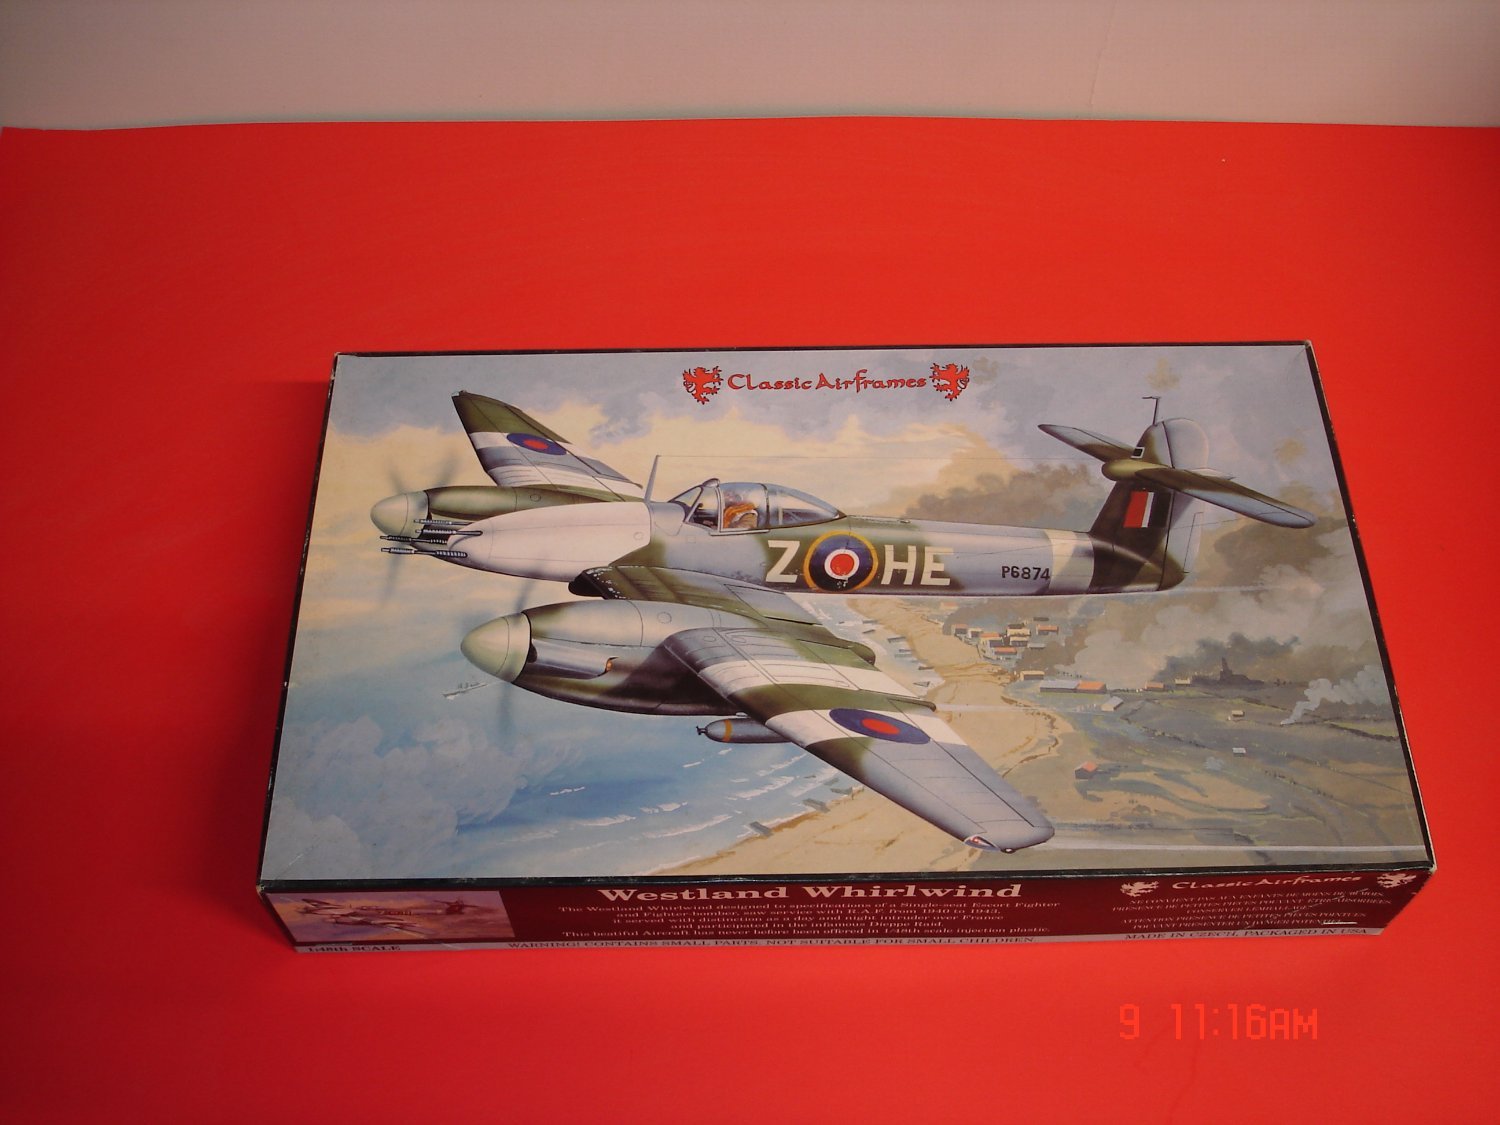
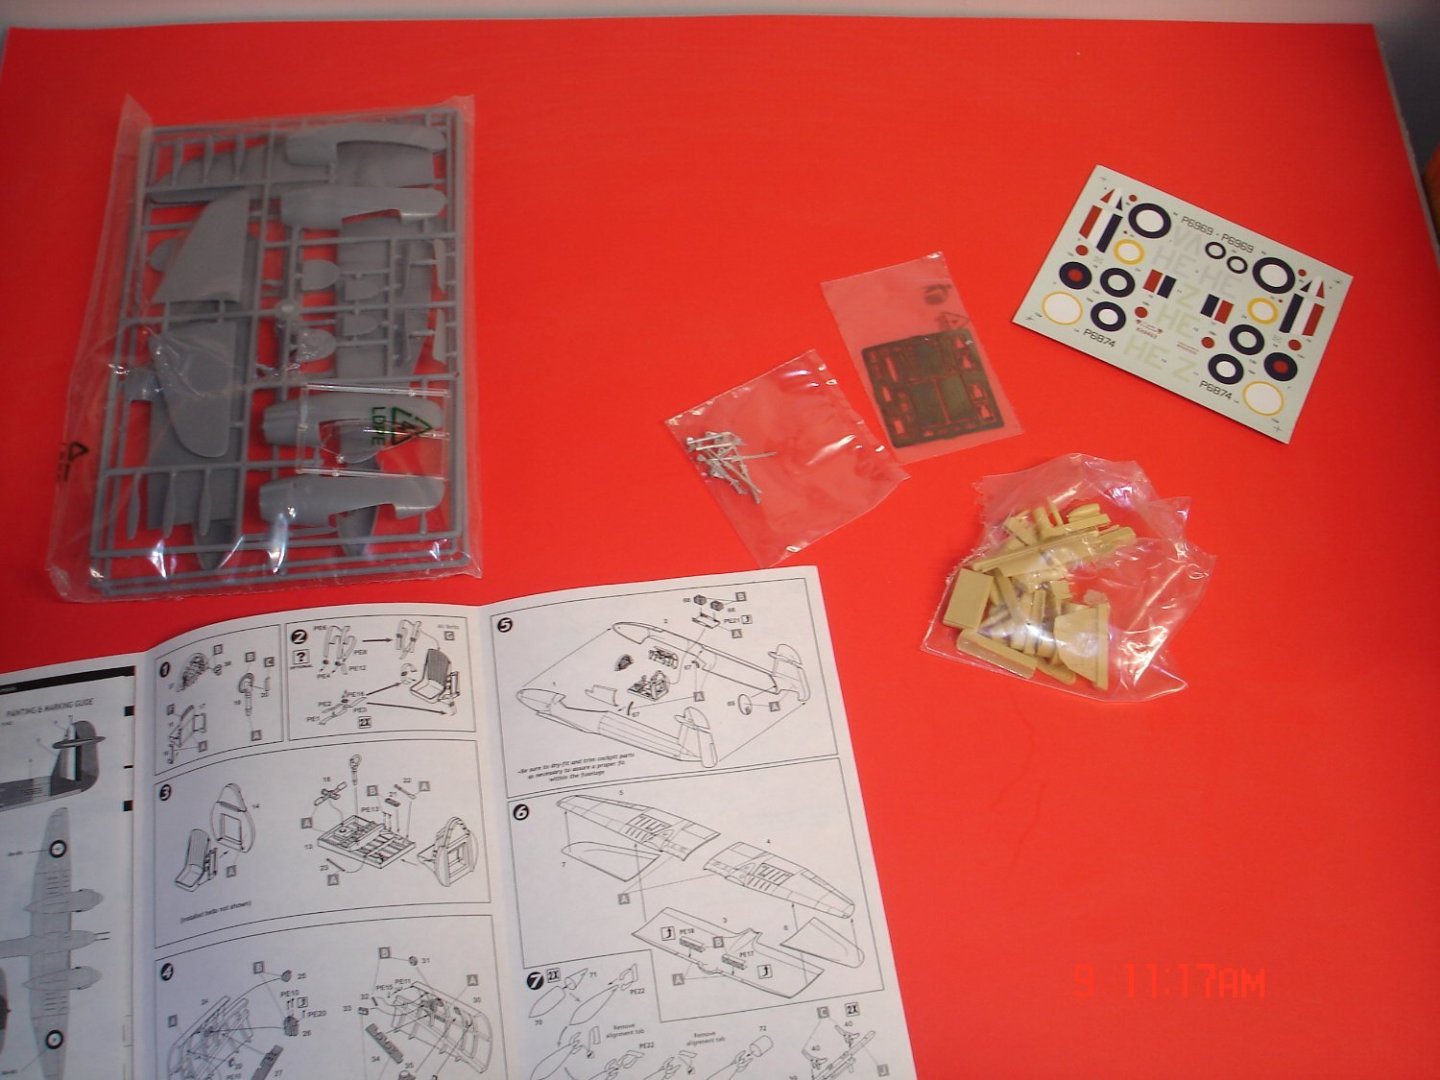
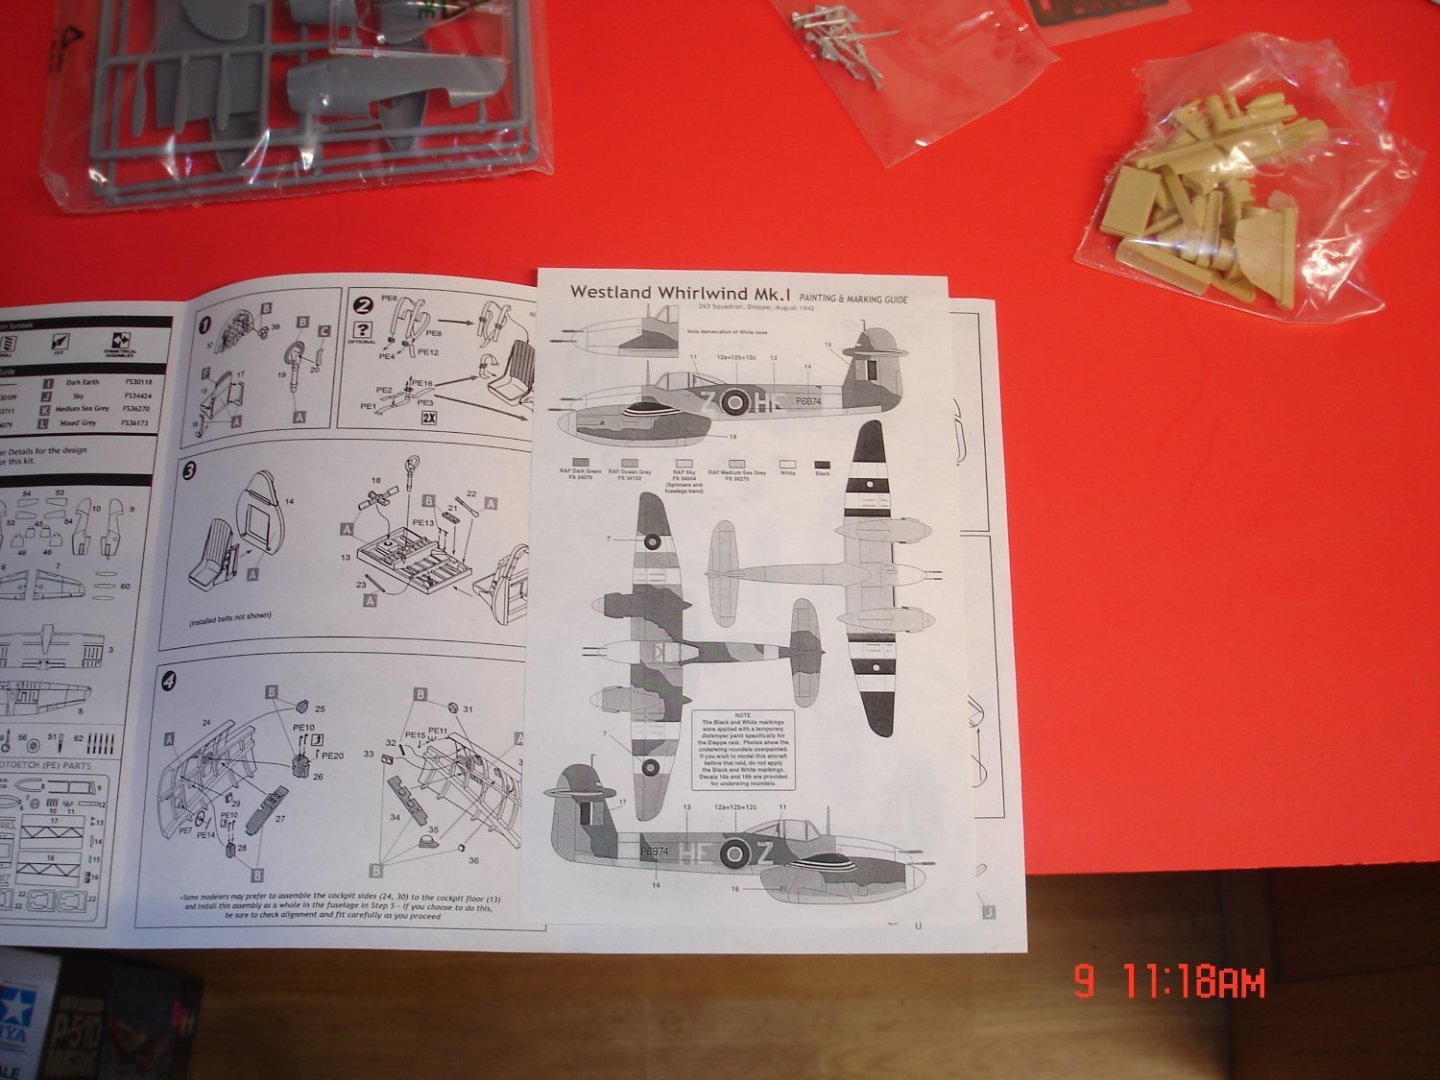
This is a Nice little kit deserving of build log Resin,PE and Metal LG's to boot.I will be doing the AC on the box art I think it said was involved in Dieppe Raid hence the black/white recognition stripes.I probably have maybe another 3/5 CA kits in the stash to which they build up into nice representations of A/C back 15/20years ago none of the other manufactures wanted to bother with.

- 36 replies
-
- 11
-

-
Shes looking good Dan!
-
MiG-3 by Javlin - Trumpter - 1/32 - PLASTIC
Javlin replied to Javlin's topic in Completed non-ship models
Chris I do not throw anything away unless that damaged from a move.I like to see were you where and where you are at now. -
My other Hobby by Javlin - Tabletop/Nightstand - 1/1
Javlin replied to Javlin's topic in Non-ship/categorised builds
Thanks Robert the woes were not something that could not be overcome in the end.I just really did not feel like wasting more Maple for the top it was close enough.The only piece of work I ever drew out plans was for the floor cabinet and it was just dimensions really the rest was adhoc.The stand never met the first piece of paper it started in the mind and developed along the way.I have a paying gig for a sister that will incorporate some I learned here on the ends of the entertainment center the stringers will arch I am calling it "Sunrise".My floor cabinet ....
- 14 replies
-
- 12
-

-
-
That is super cool and so small!You did a great job with that one!
-
My other Hobby by Javlin - Tabletop/Nightstand - 1/1
Javlin replied to Javlin's topic in Non-ship/categorised builds
It's just about complete one more sanding up top and the top was a PIA.This is my second octagon top and the last one came out better the problem is the center everything is heading to the center very hard for me ATTM to get perfect hence the round plug (Symbolizes coming full circle completion) That's my story The other issue was the Diablo blades I use on my 7 1/4" miter saw/radial was flexing the cuts were not fully straight gave me fits last night.I said sleep on it look at it with fresh mind/eyes.I checked the radial smooth and true,then was the blade shaft wobbling no wobble standard front/back motion and then I looked at the blade?The blade is .028" thick I started to wonder went and pulled a cheap 40T Avanti blade down .048" I started cleaning up the remaining pieces of high points on the previously cut pieces and able to save the work.It's not perfect but Momma is happy that's the important part. The other pic is one I did for my Sis she lives in a house over 100 years old and had a vase that sat on the floor>The top is Leopard Wood with Zebra for the inlay with three curved legs of Aromatic Cedar.Well I thought I had a pick of the legs ??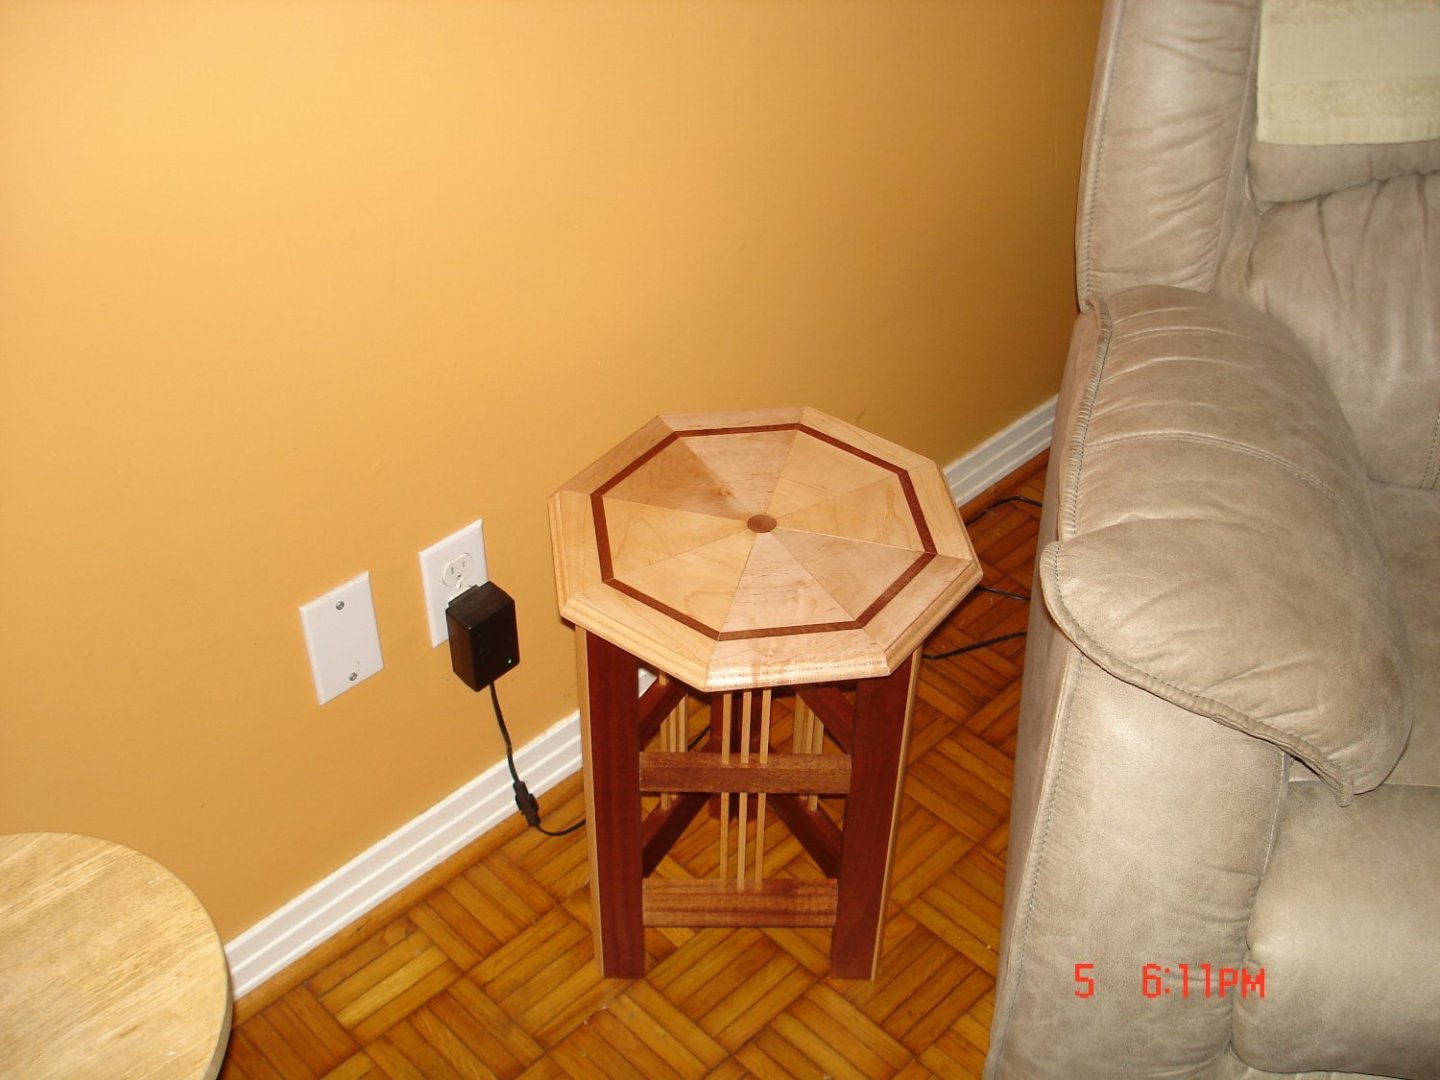

- 14 replies
-
- 14
-
-
-
My other Hobby by Javlin - Tabletop/Nightstand - 1/1
Javlin replied to Javlin's topic in Non-ship/categorised builds
Thanks Craig I am cruising on this subject.Starting the oil process now another 2/3 coats should do the stand.Got to eat some breakfast @1PM steak/eggs then start the top.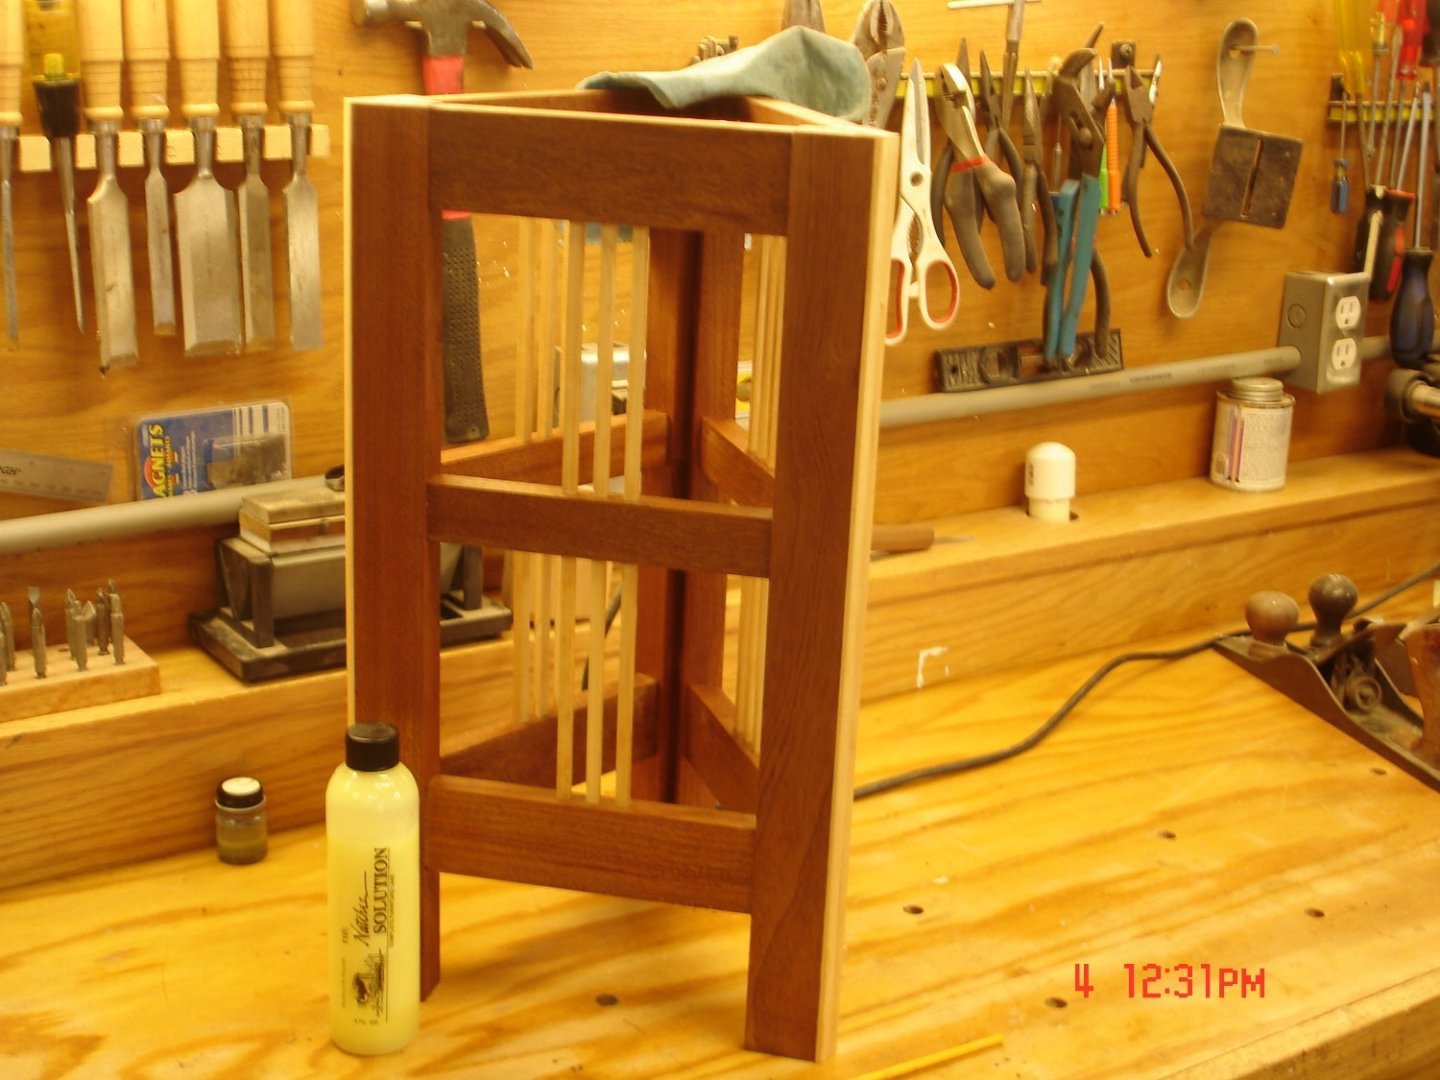
- 14 replies
-
- 12
-
-
My other Hobby by Javlin - Tabletop/Nightstand - 1/1
Javlin replied to Javlin's topic in Non-ship/categorised builds
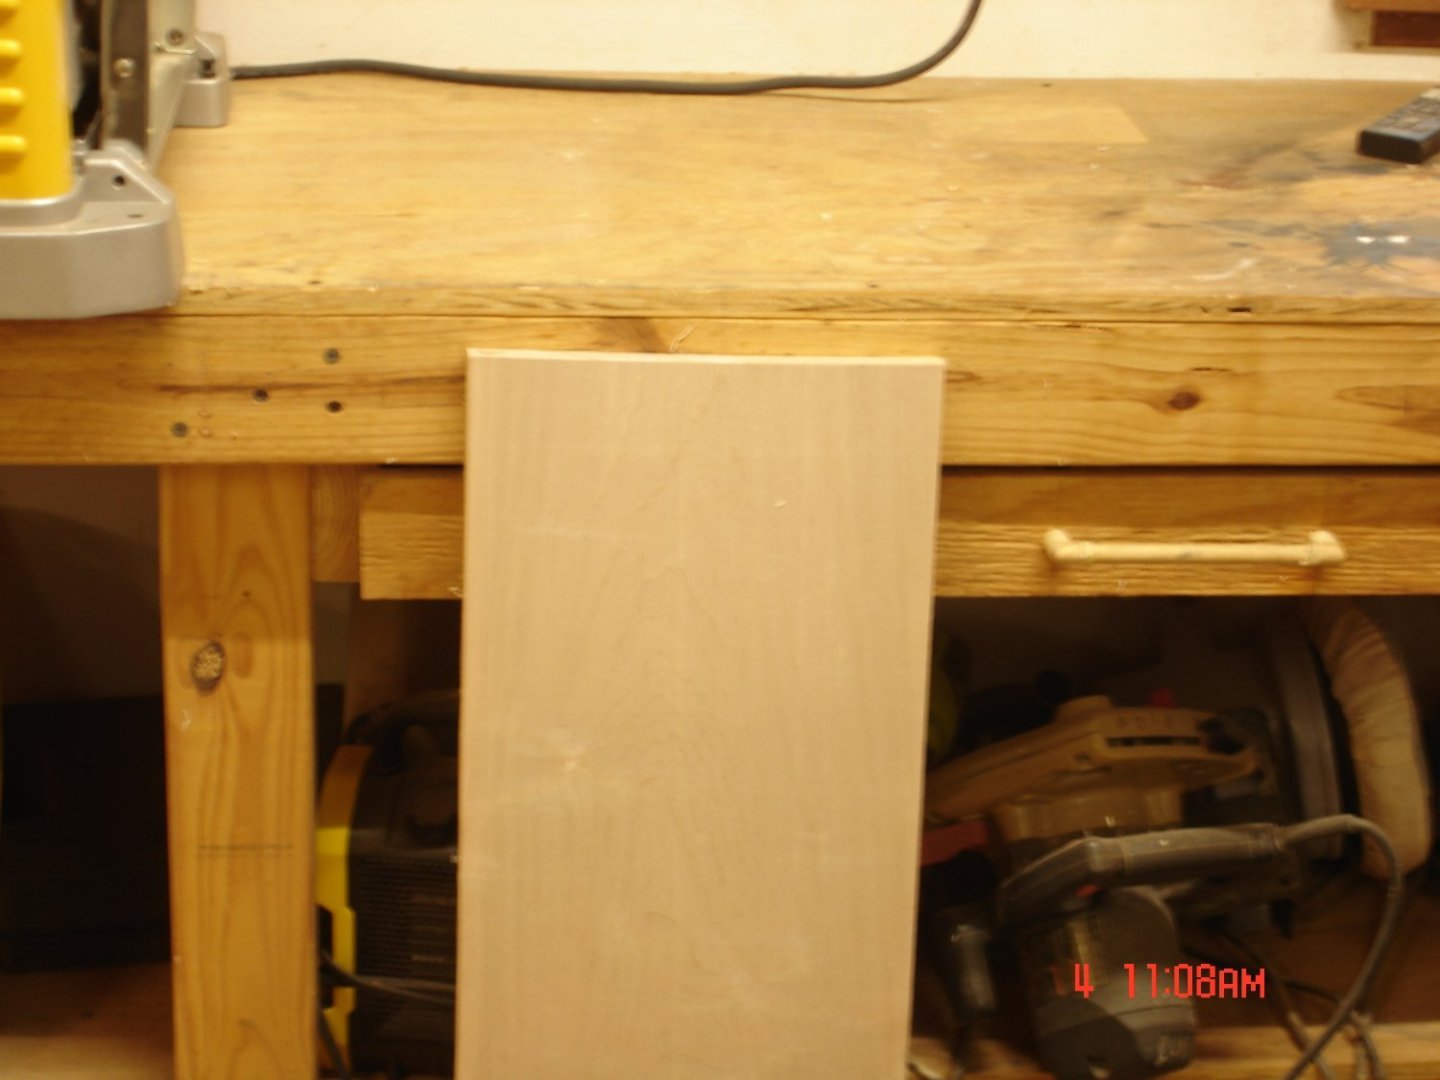
Not really Mike Life is to short even though the Lord tells me I am getting younger everyday so push on.Everything went together just great nothing like a plan in motion working properly.The stand is one of the tightest I have ever built using the mortise/tenons !I have switched gears this morning on the top weras I was going to do Sapele it will now be Maple with 1 maybe 2 inlays of Sapele the color change will break up the monotony.I deplore stains for the most part when you want to change the color change the wood.
-
My other Hobby by Javlin - Tabletop/Nightstand - 1/1
Javlin replied to Javlin's topic in Non-ship/categorised builds
Thanks Alan thought not perfect it's close and so close I hope to be able to hide any imperfections.Today was the very first time in 35years of doing wood work my finger ever touch a blade took some nail and shred some skin but no blood,I lower the blade after that doing 30'angle cuts. -
My other Hobby by Javlin - Tabletop/Nightstand - 1/1
Javlin replied to Javlin's topic in Non-ship/categorised builds
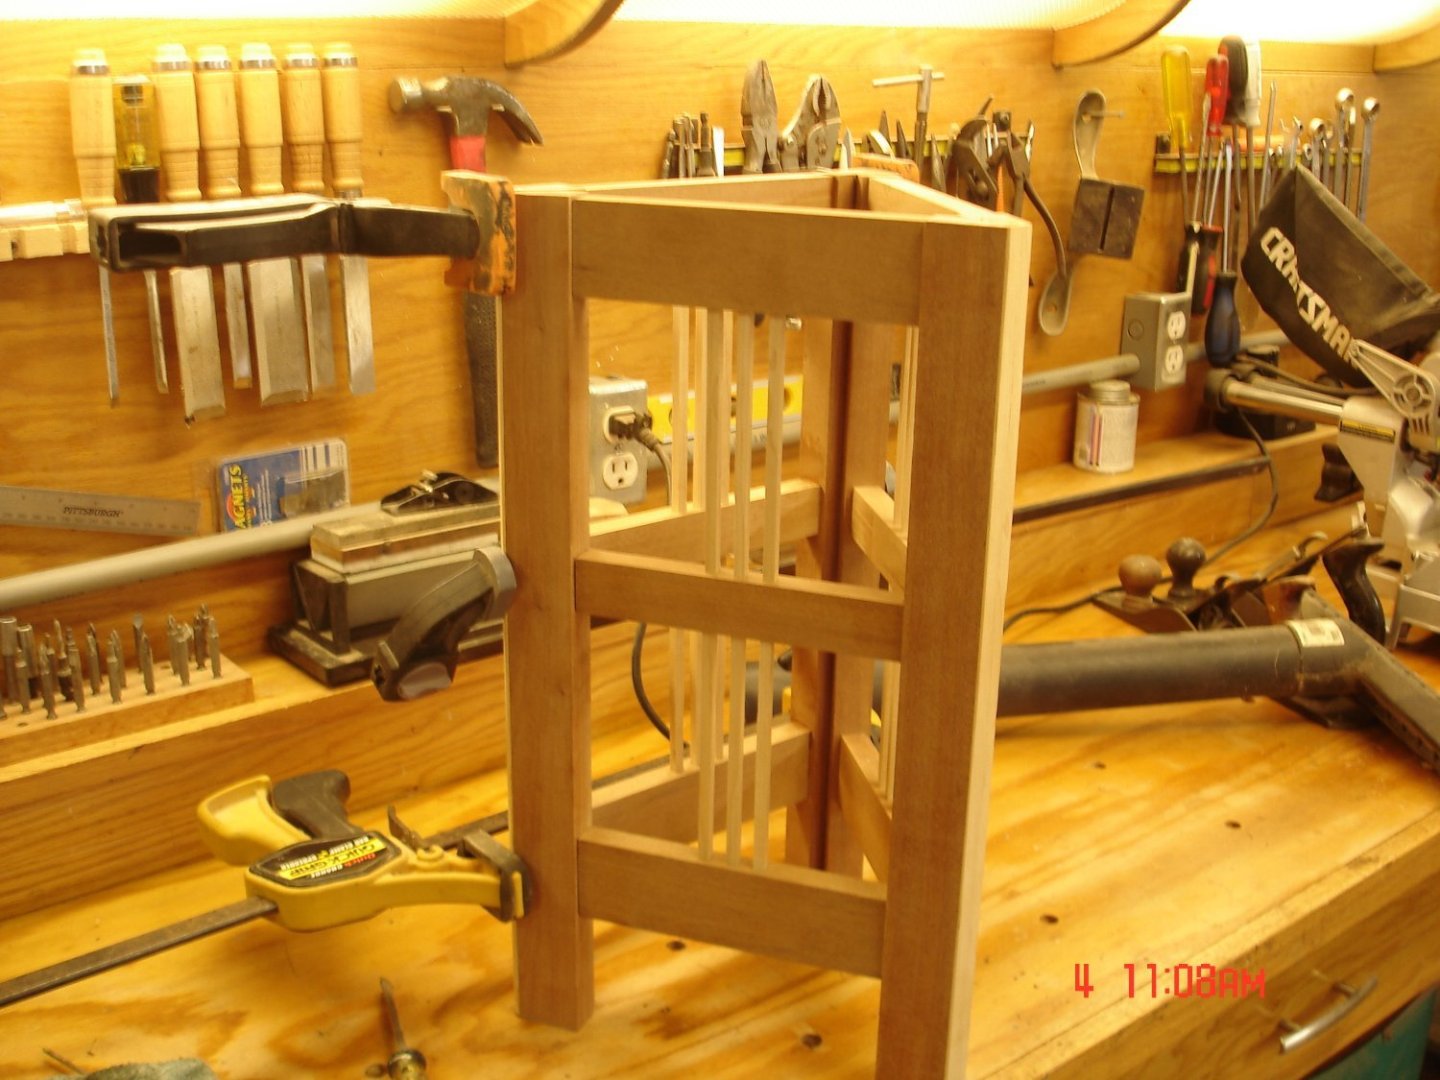
Thanks Robert coming along well thus far had a SNAFU but hid/fixed.The side you see now is not glued together just the mortise/tenon holding it together the middle rung is about .010 to short I hate that I will take it out and see if will fit one of the other sides better other wise I have shimed before.The tablesaw I have set up for box joints and doing tenons in this case(usually do by hand ) the measurements depth of the blade has changed.The wood is going to pop once I apply my oils and I have started on the top yet.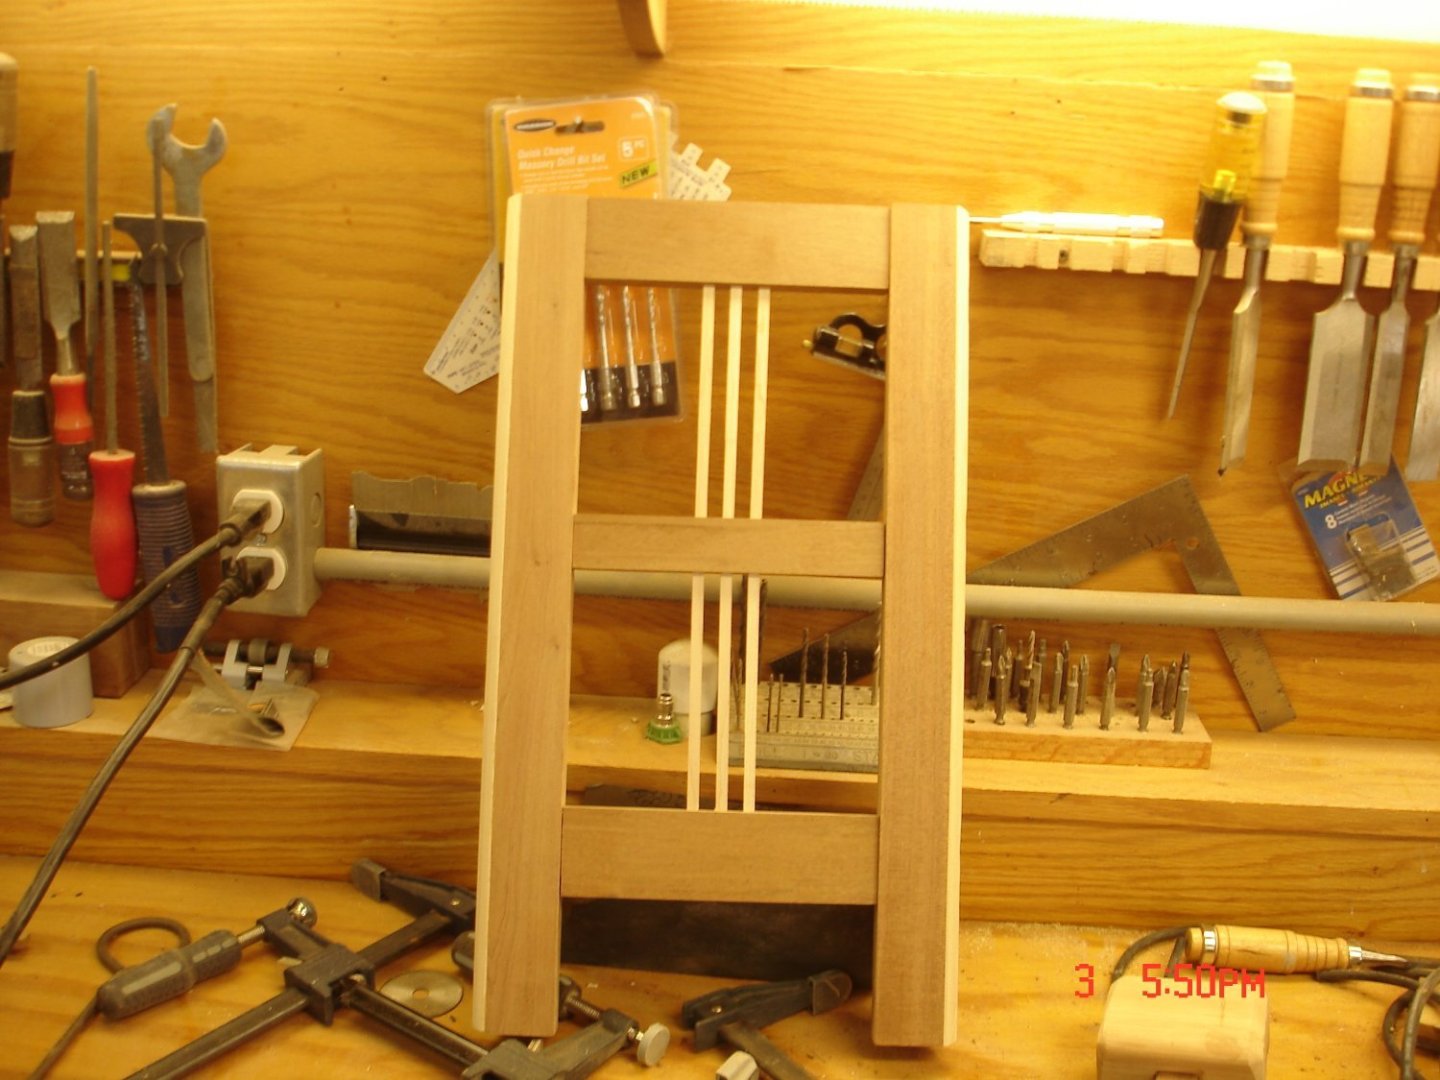
-
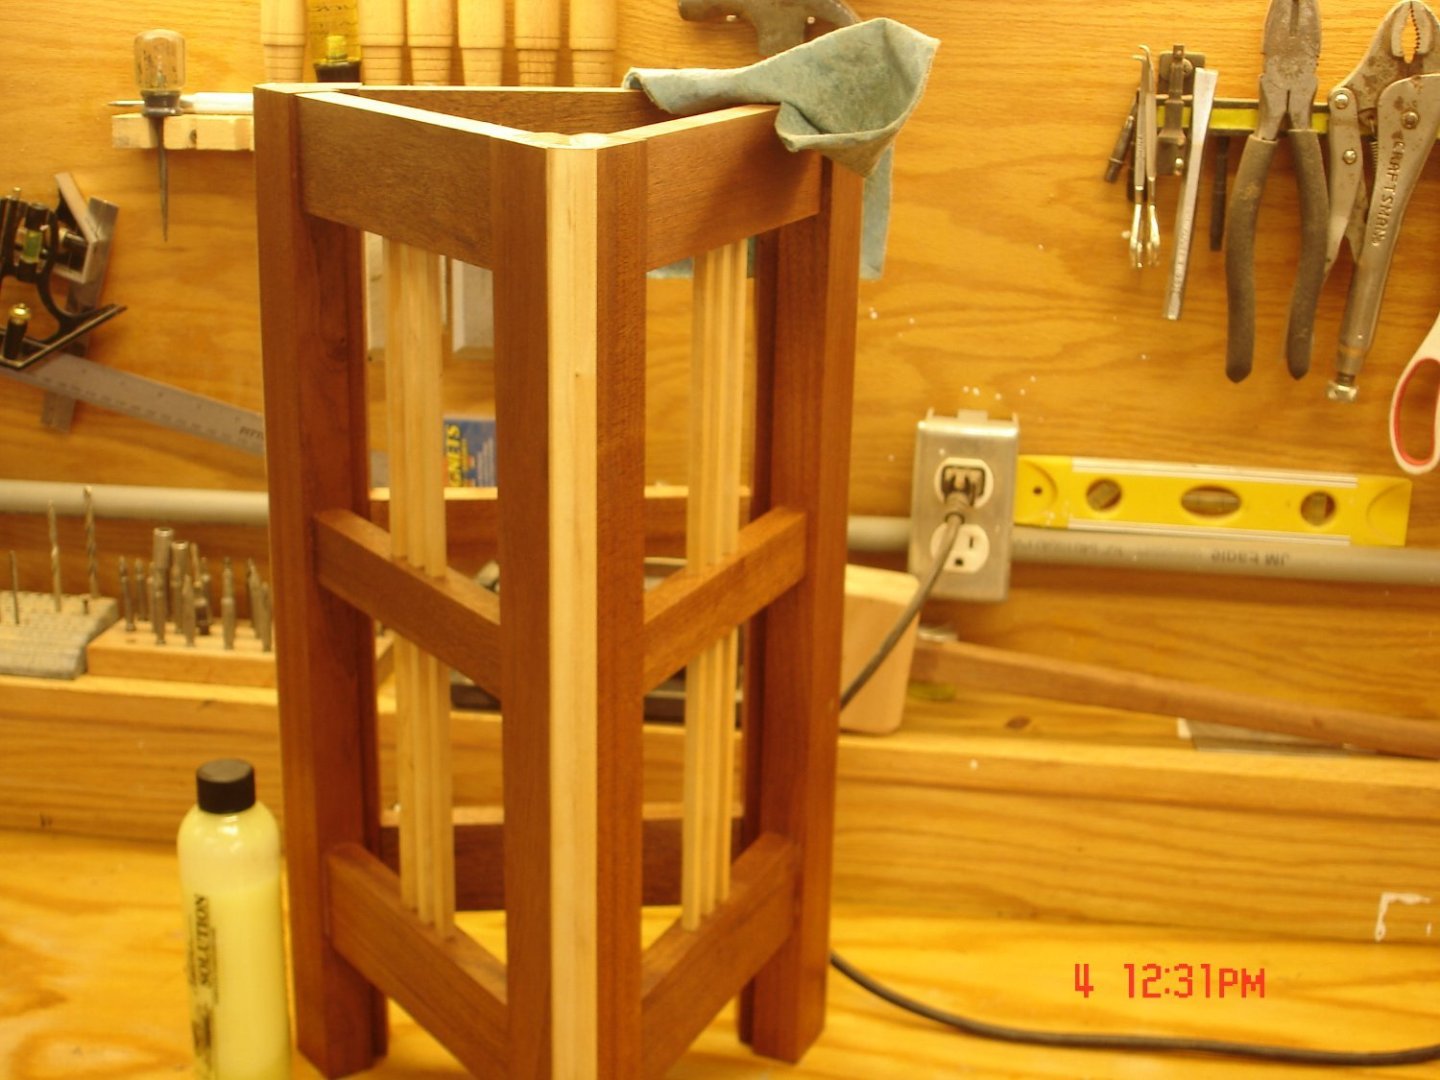
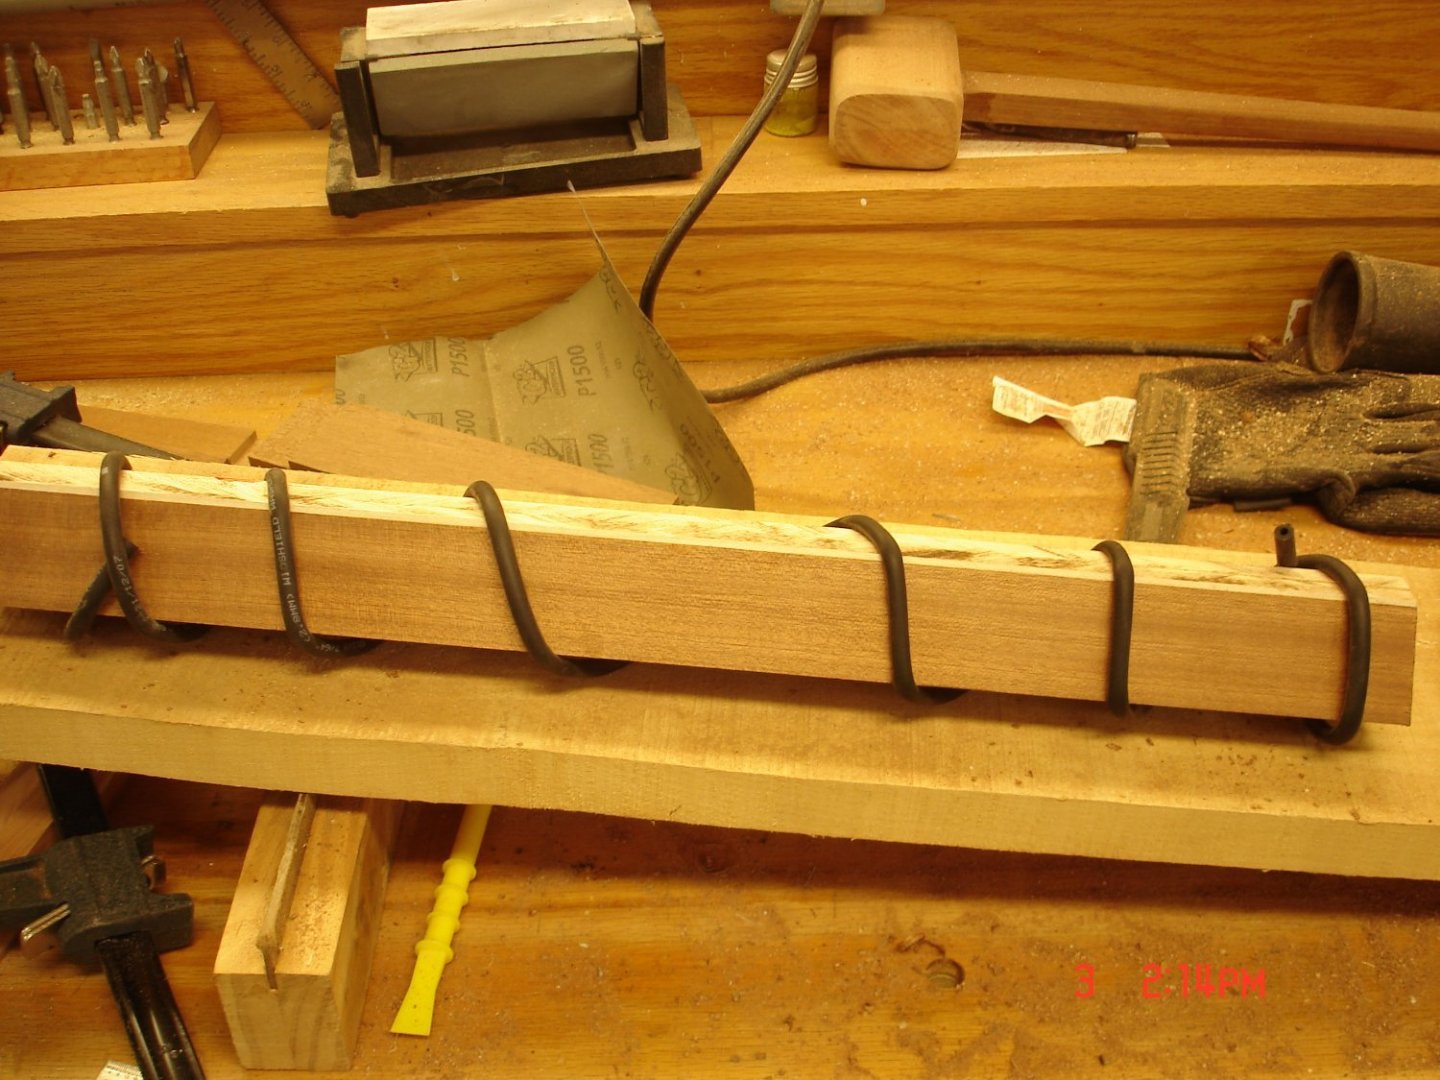
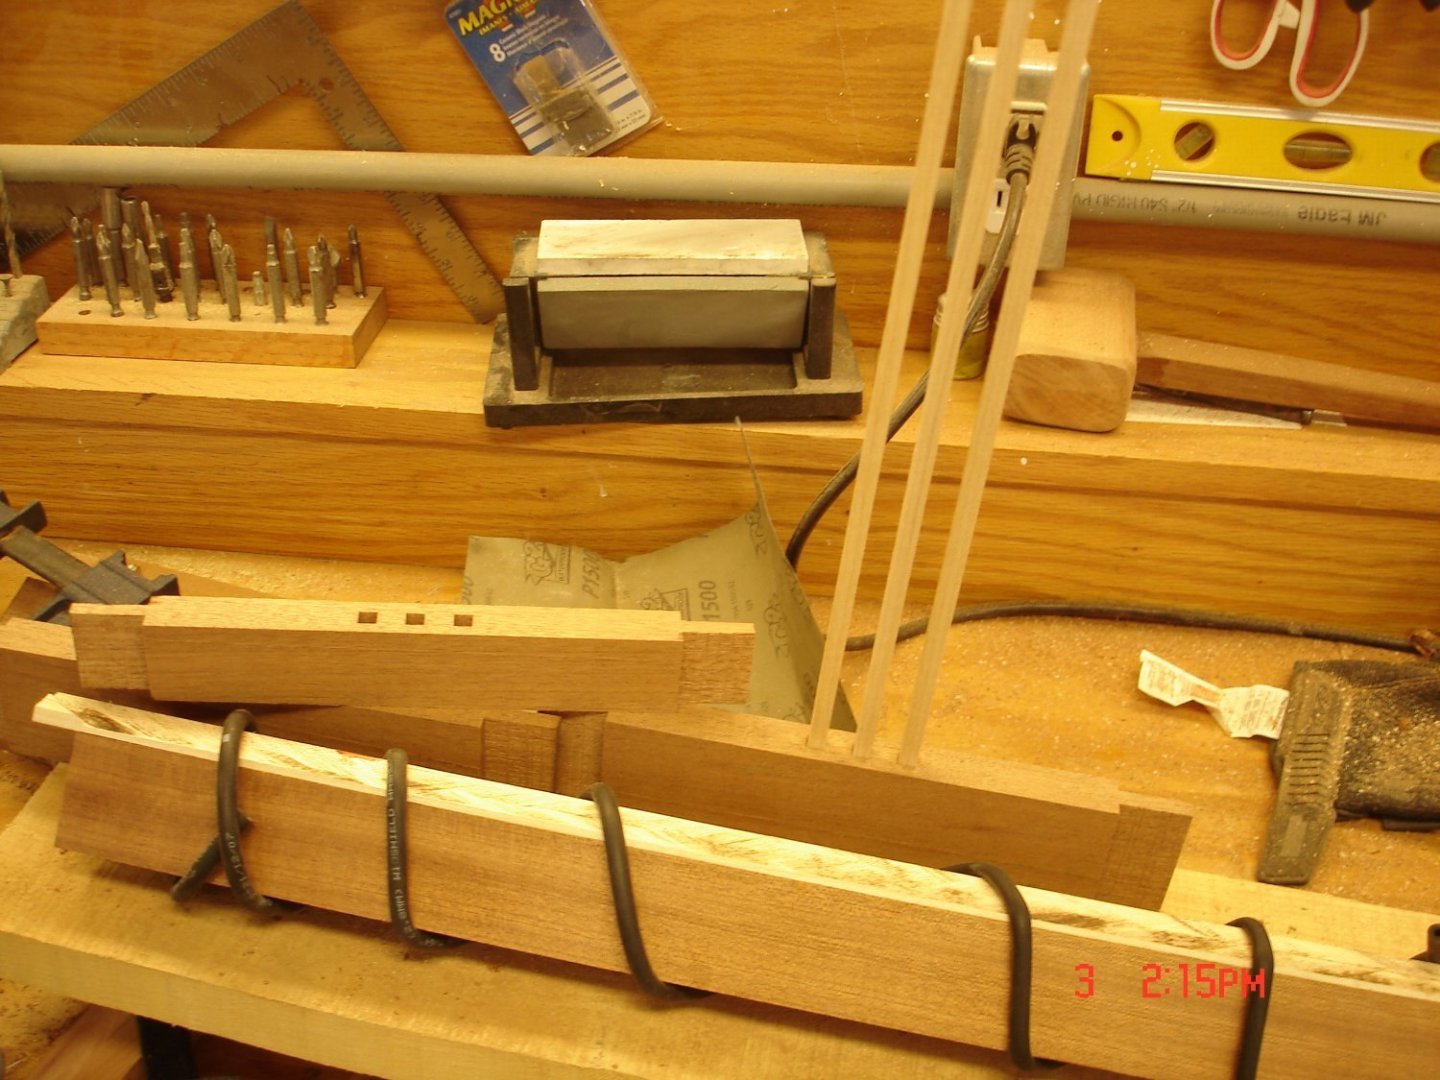
My wife has been pestering me about a new table/nightstand type deal for the living room to go by her Lazy Boy.Well,I decided on a triangle base three corners,three braces(7") with three 1/4" stringers.The top will be an octagon with a basic quarter round.The woods I am using is my favorite Sapele(cheap African mahogany) is the main wood and minor is a Birch.I find my self when building pieces using the numbers of God alot like 3,7,8,10,12 and 13 the 12 tribes,apostles and Jesus.That formula lends itself to small pieces like this one and the last one,my way of honoring God in my work.I am pretty useless otherwise The rubber band method works great for holding together pieces of wood of odd shapes learned it on tour in Lafayette LA one day from an old man maybe 10/12 years ago first time I have used it works better with ole bicycle inner tubes.The angles have been perplexing at times and just had to trust my math from back in the day when going to school for engineering.The Birch up front was somewhat of a Birch knowing all along relative angles exist/abound in the pieces on the table/floor think and one will persevere.I did not want to have to look at a 60' angle up front hence the solution.

-
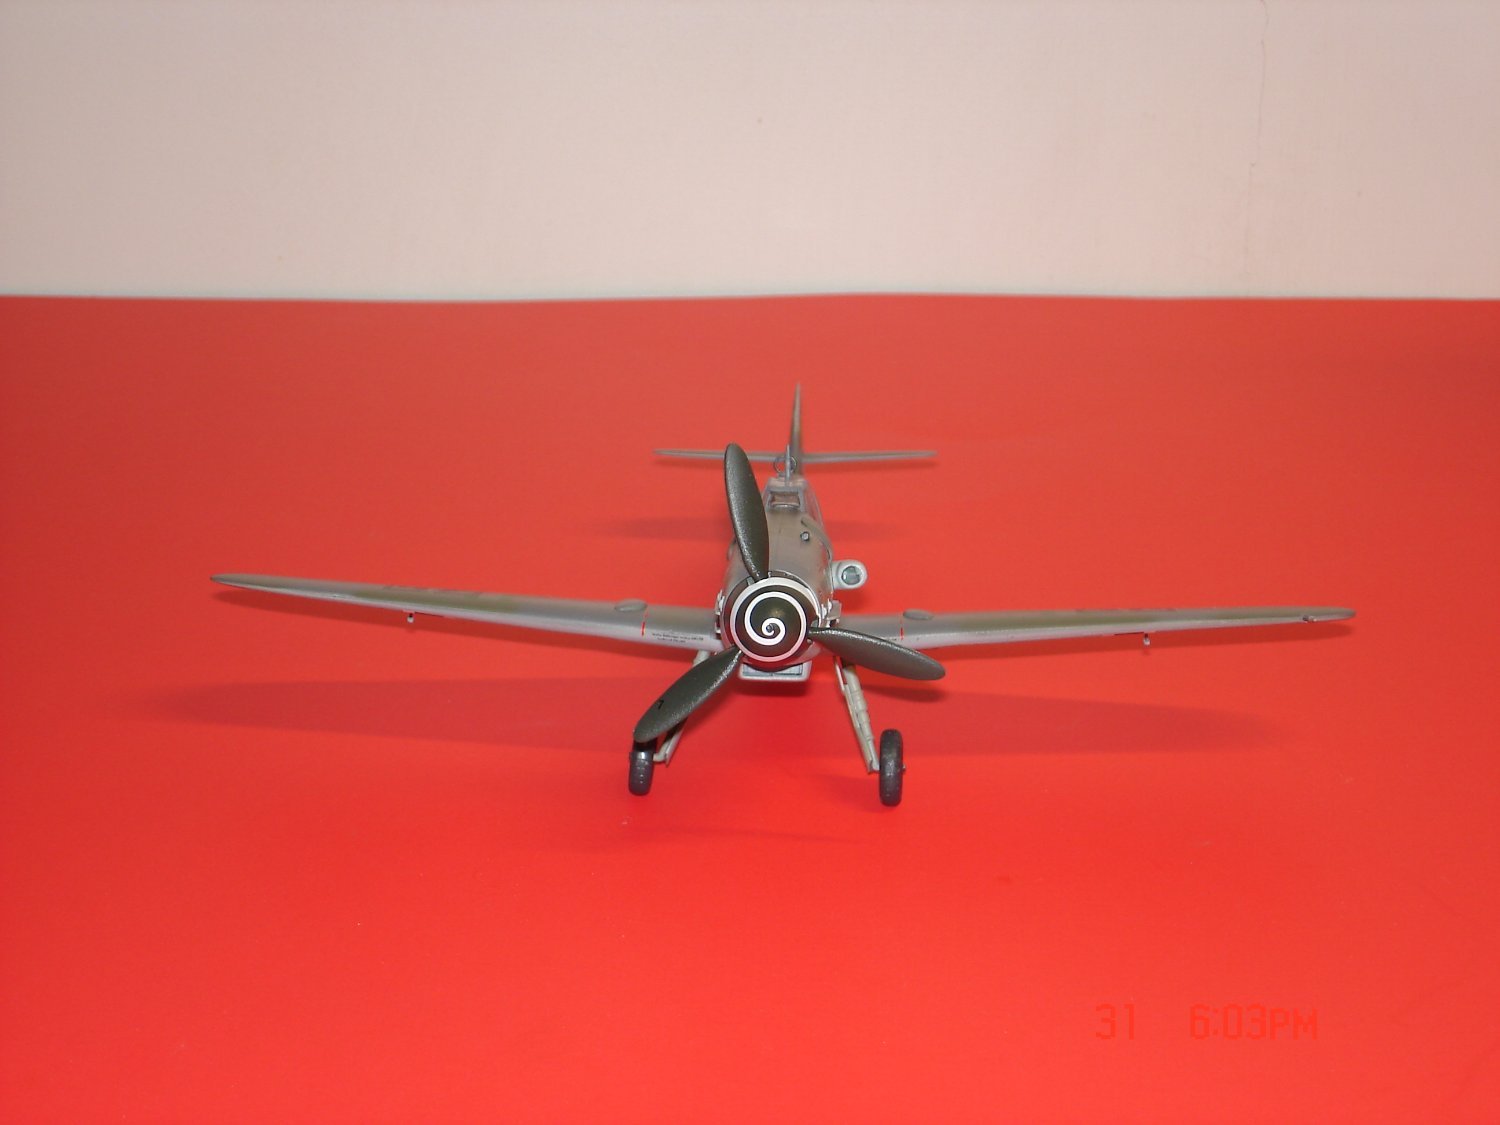
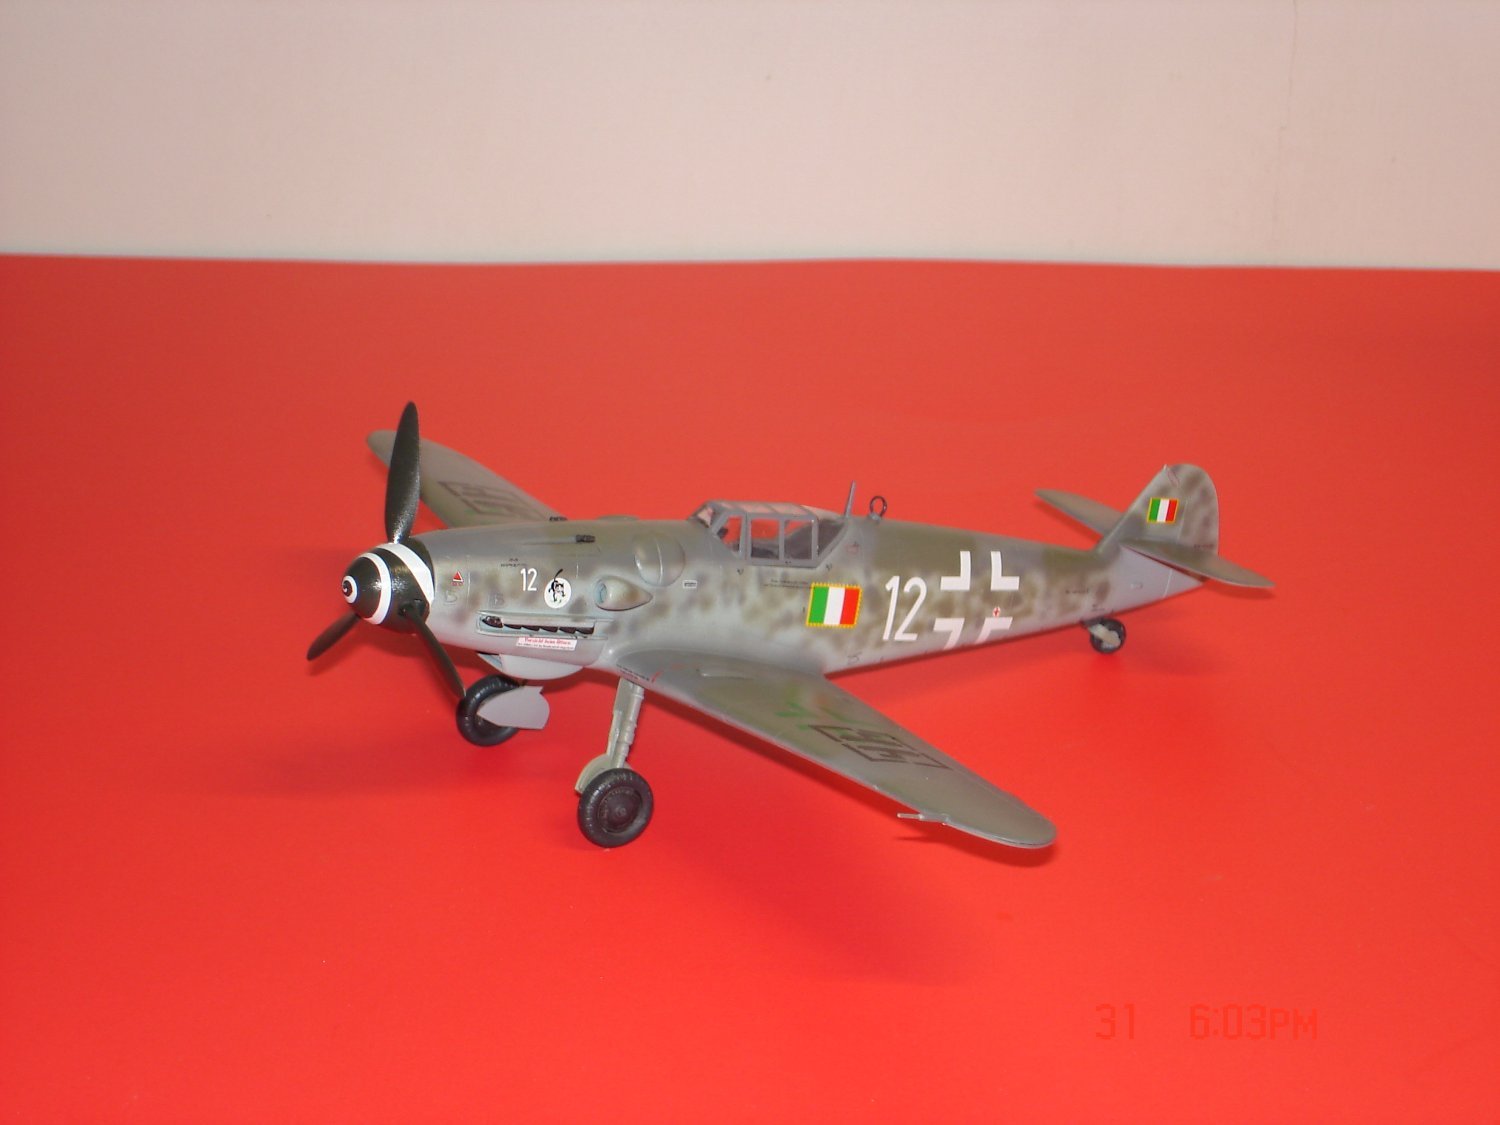
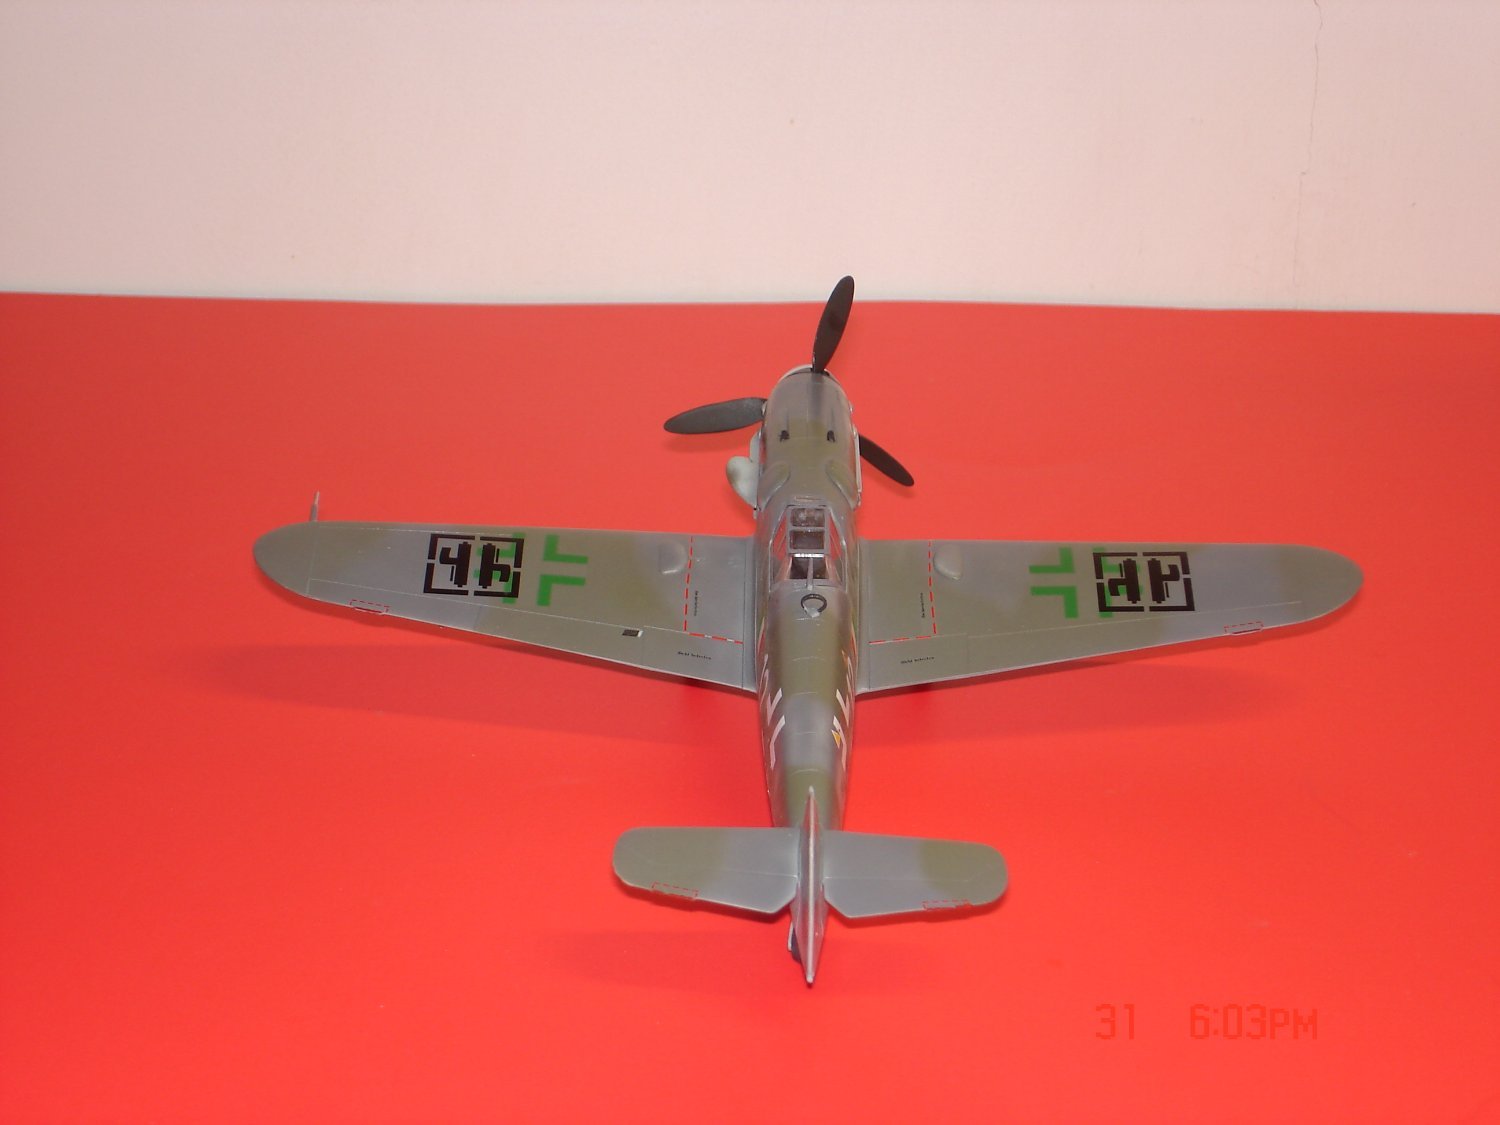
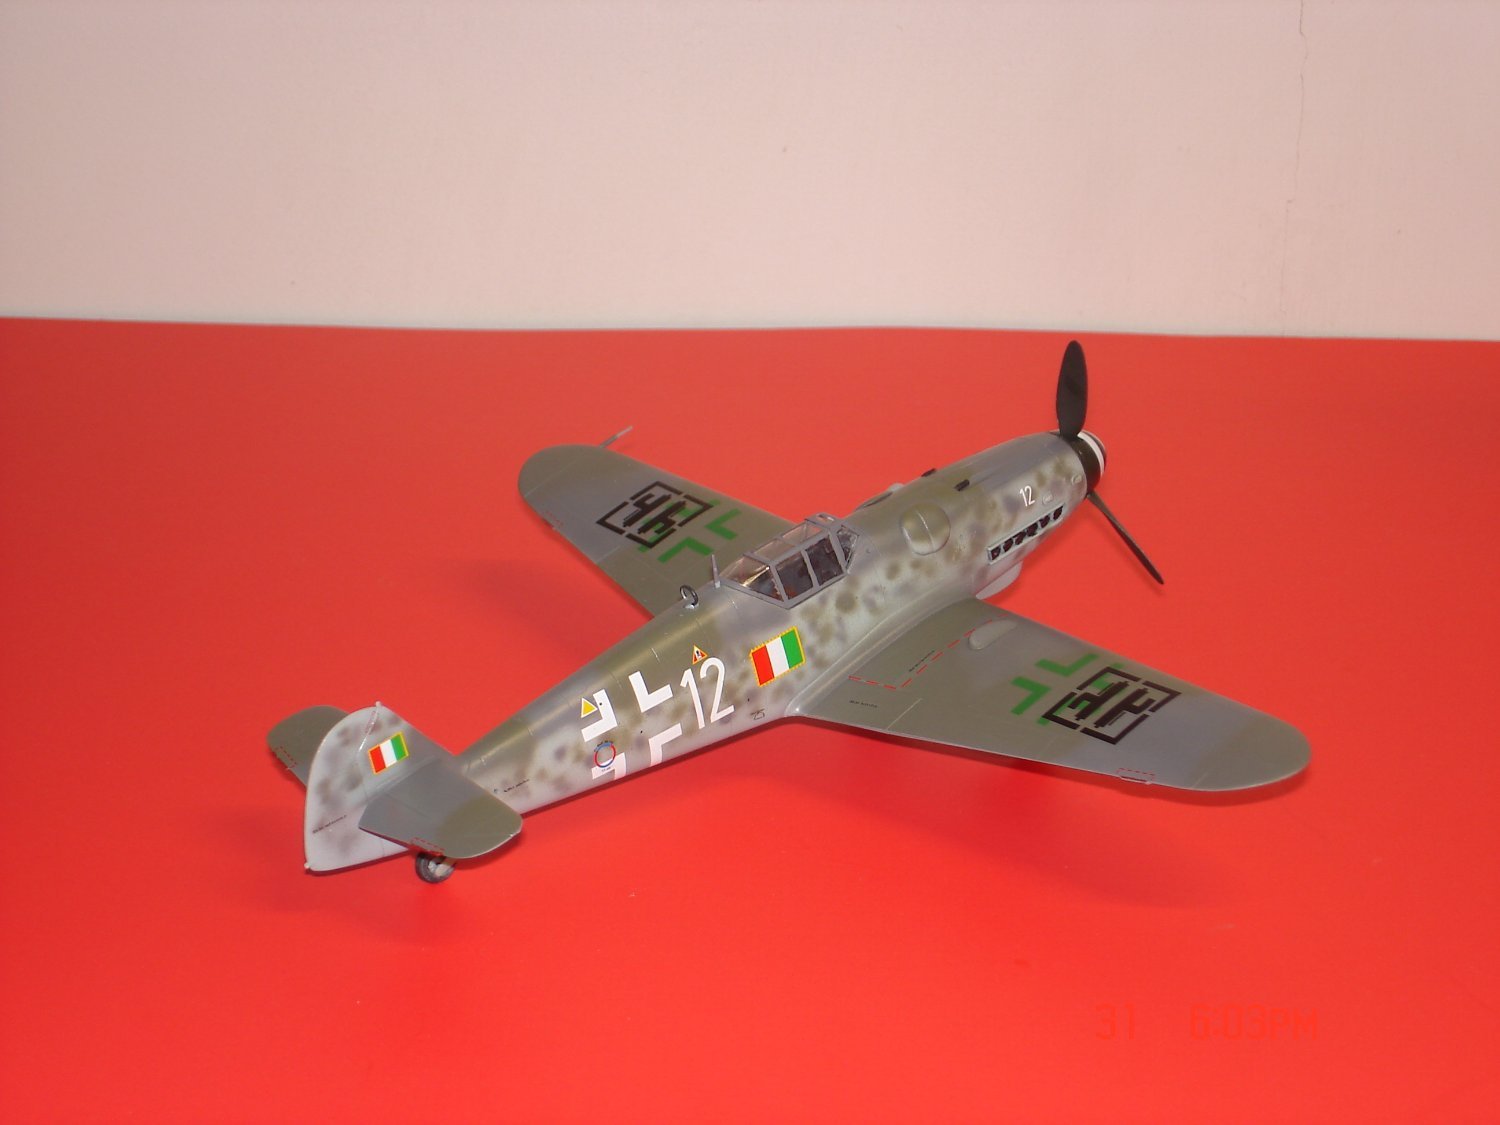
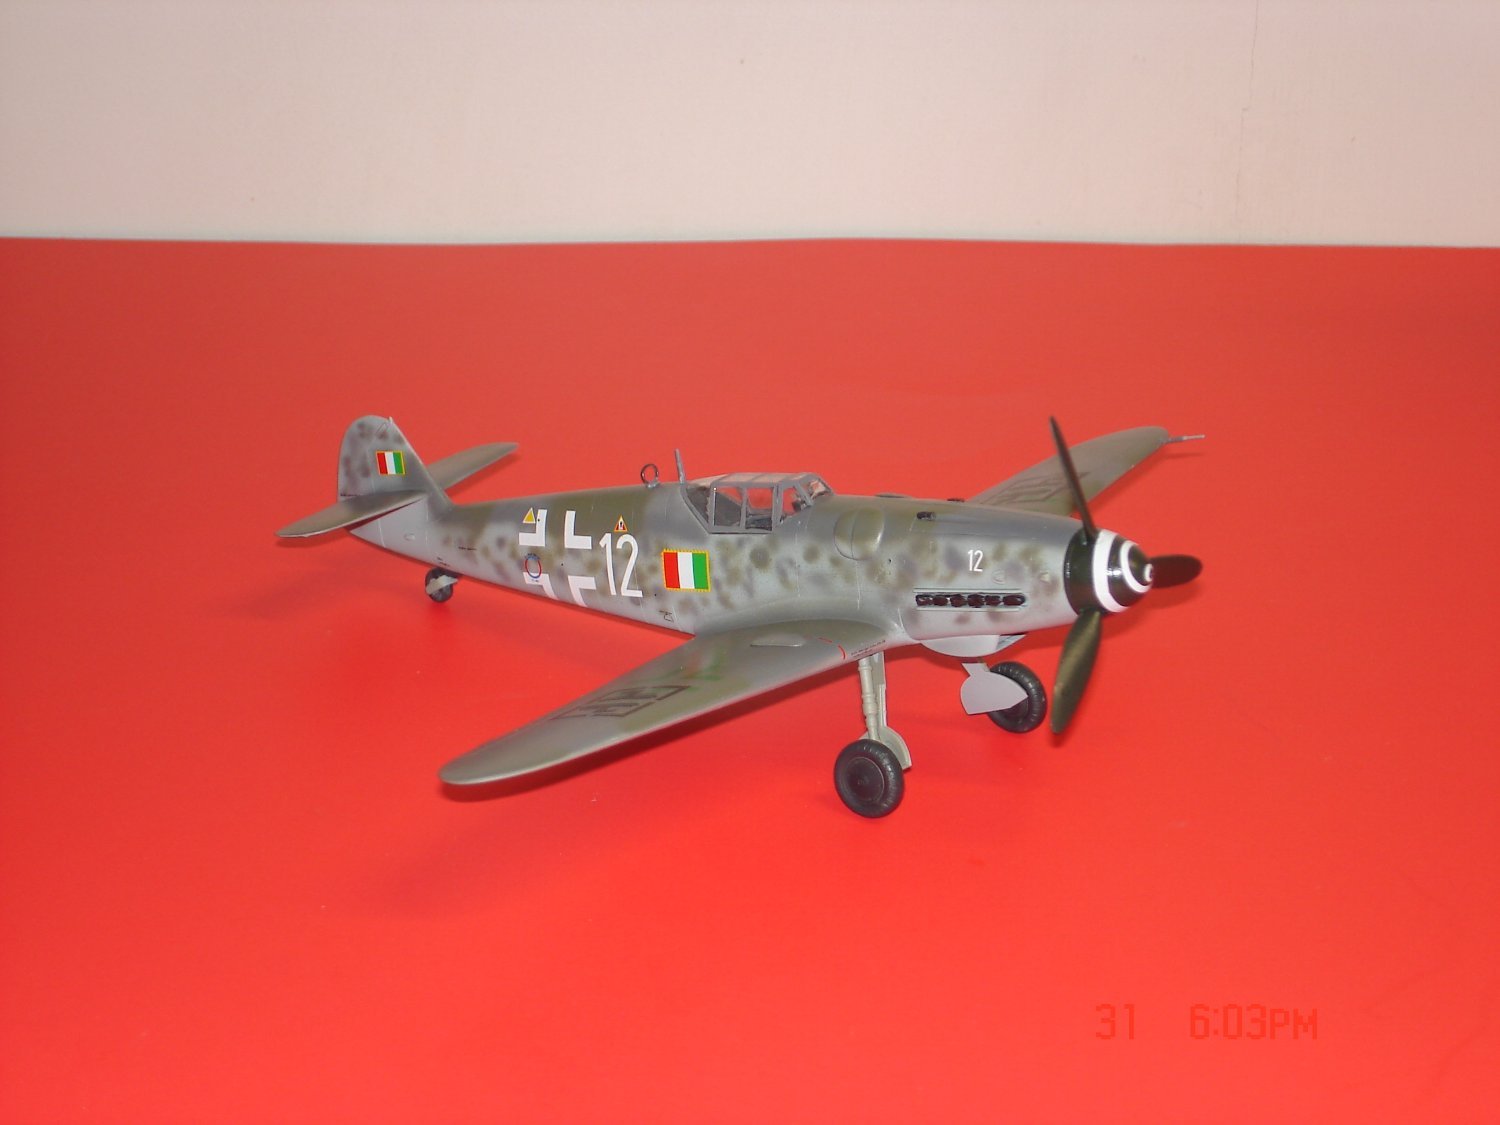
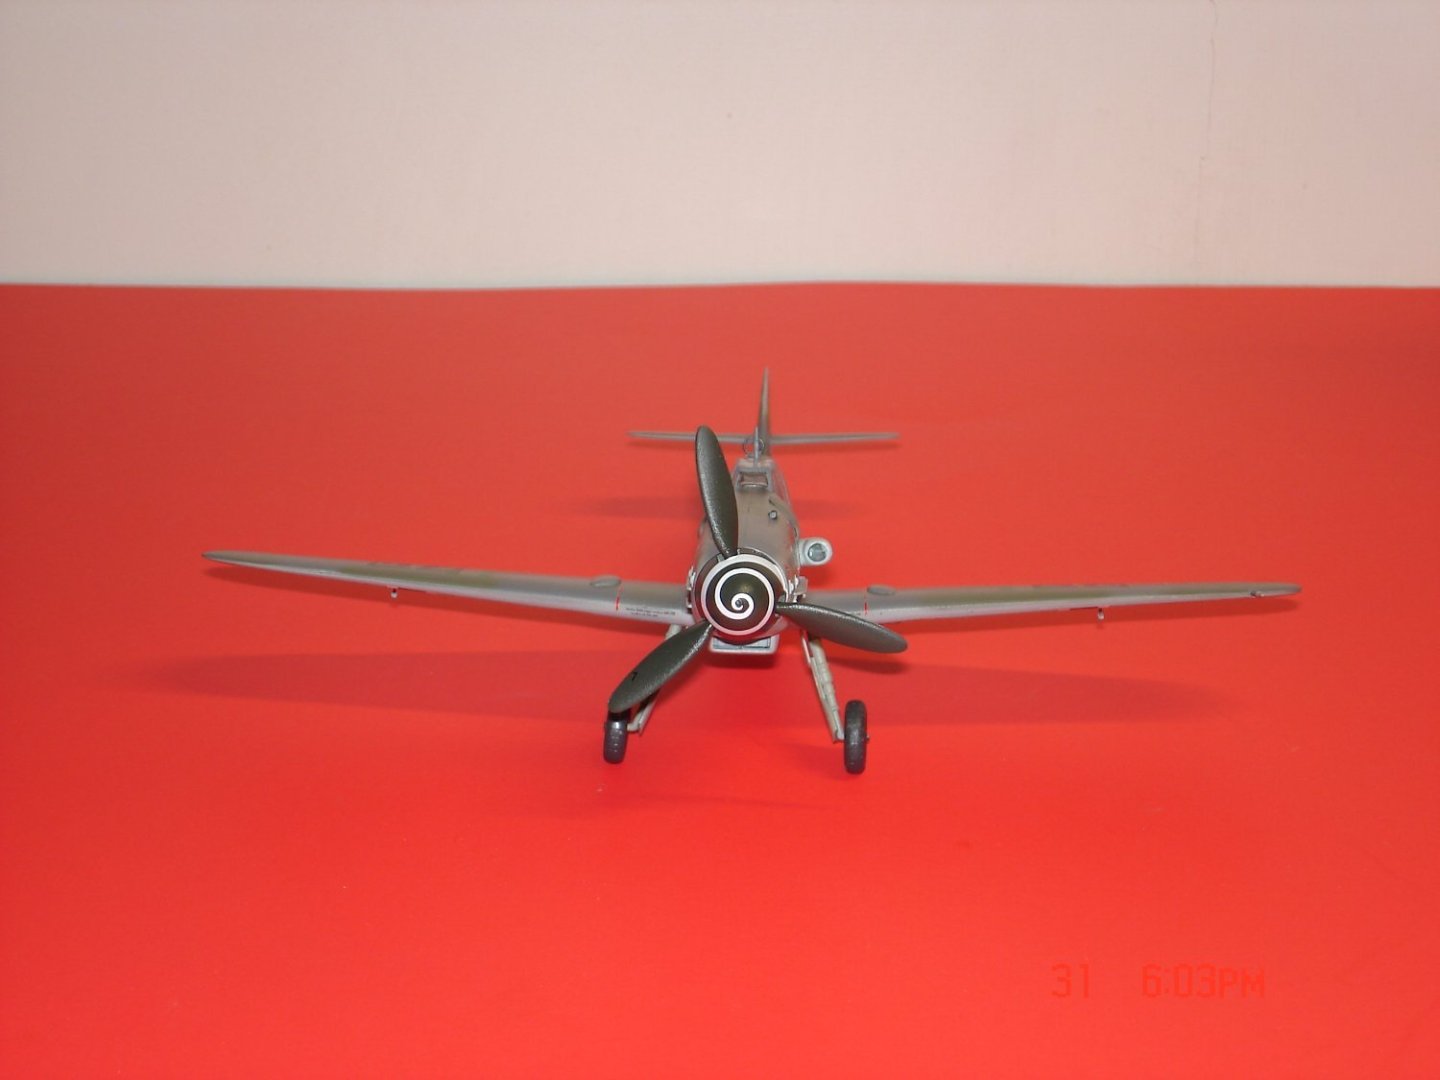
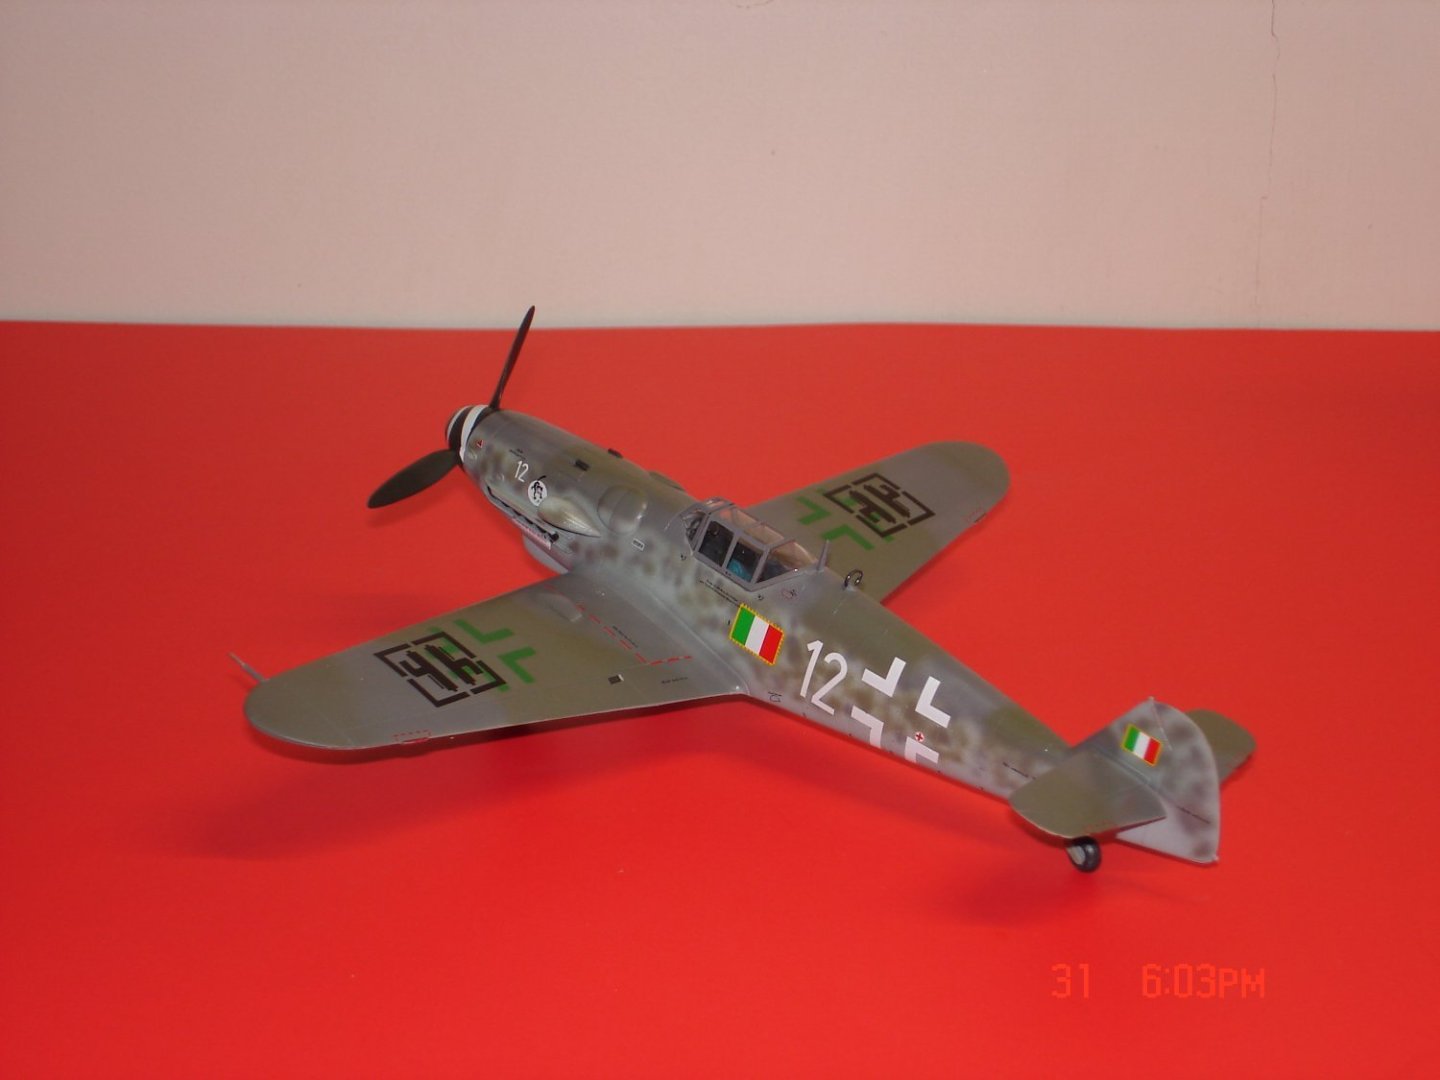
The first presentation is an Italeri Kit 1/48 Me-109 G-6 U-3 ANR,Tenete(Lt) Ermete Ferrero,3 Sq,2nd Gp,VillaFranca N.Italy 1944.I think I went a little heavy on the mottling but I was having fun and the swirl for the propeller well........... Time=8/12hrs=1week most being in paint/decals


- 21 replies
-
- 11
-
-
-
I have been having the sense to build OOB of late like the Mig-3 of late just trying to build something that looks somewhat half way decent to the eye.I will dive into some of the 1/32's that deserve it and do full build logs but here it will be mainly 1/72 and 1/48 that just happen to hit the desk to fill the gaps in-between a full log.
-
SU-85 WW2 Soviet Tank Destroyer by CDW - MiniArt - 1:35 Scale
Javlin replied to CDW's topic in Non-ship/categorised builds
I think he's using .17HMR cases cut down looking good Craig -
P-38J Wicked Woman by DocRob - FINISHED - Tamiya - 1/48
Javlin replied to DocRob's topic in Non-ship/categorised builds
We've gone from raised rivets as a kid to engraved smooth as adults and now seniors/kids sometimes back to raised rivets again In all honesty looks really good Rob I was wondering about the silver so another coat of gloss black?I await the final results. -
MiG-3 by Javlin - Trumpter - 1/32 - PLASTIC
Javlin replied to Javlin's topic in Completed non-ship models
Thanks Craig it was a simple build nothing fancy and what needed to be ordered -
MiG-3 by Javlin - Trumpter - 1/32 - PLASTIC
Javlin replied to Javlin's topic in Completed non-ship models
Shelf of Doom.I have been pulling out old unfinished kits for the last month had to start a new one an easy one. -
1961 Showboat Dragster by xken - 1/8th scale - scratch built
Javlin replied to xken's topic in Non-ship/categorised builds
Holy Cow!!!!!!!!!!!!! NICE!!!!!!- 11 replies
-
- 10
-
-
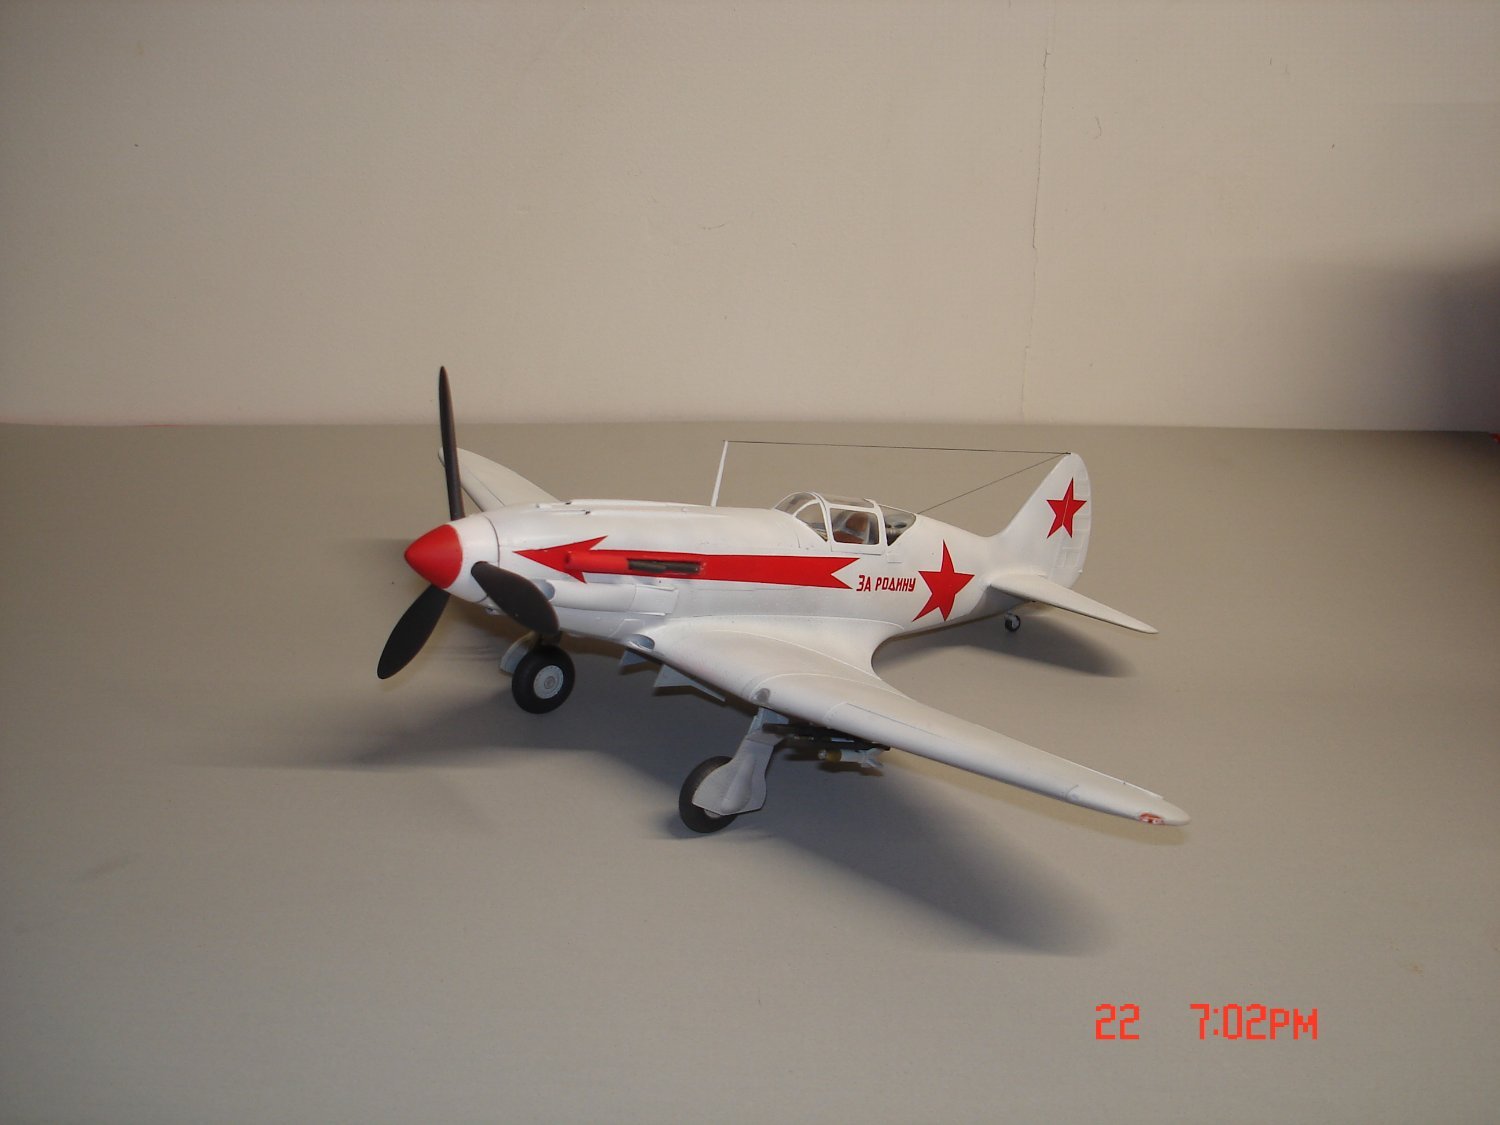
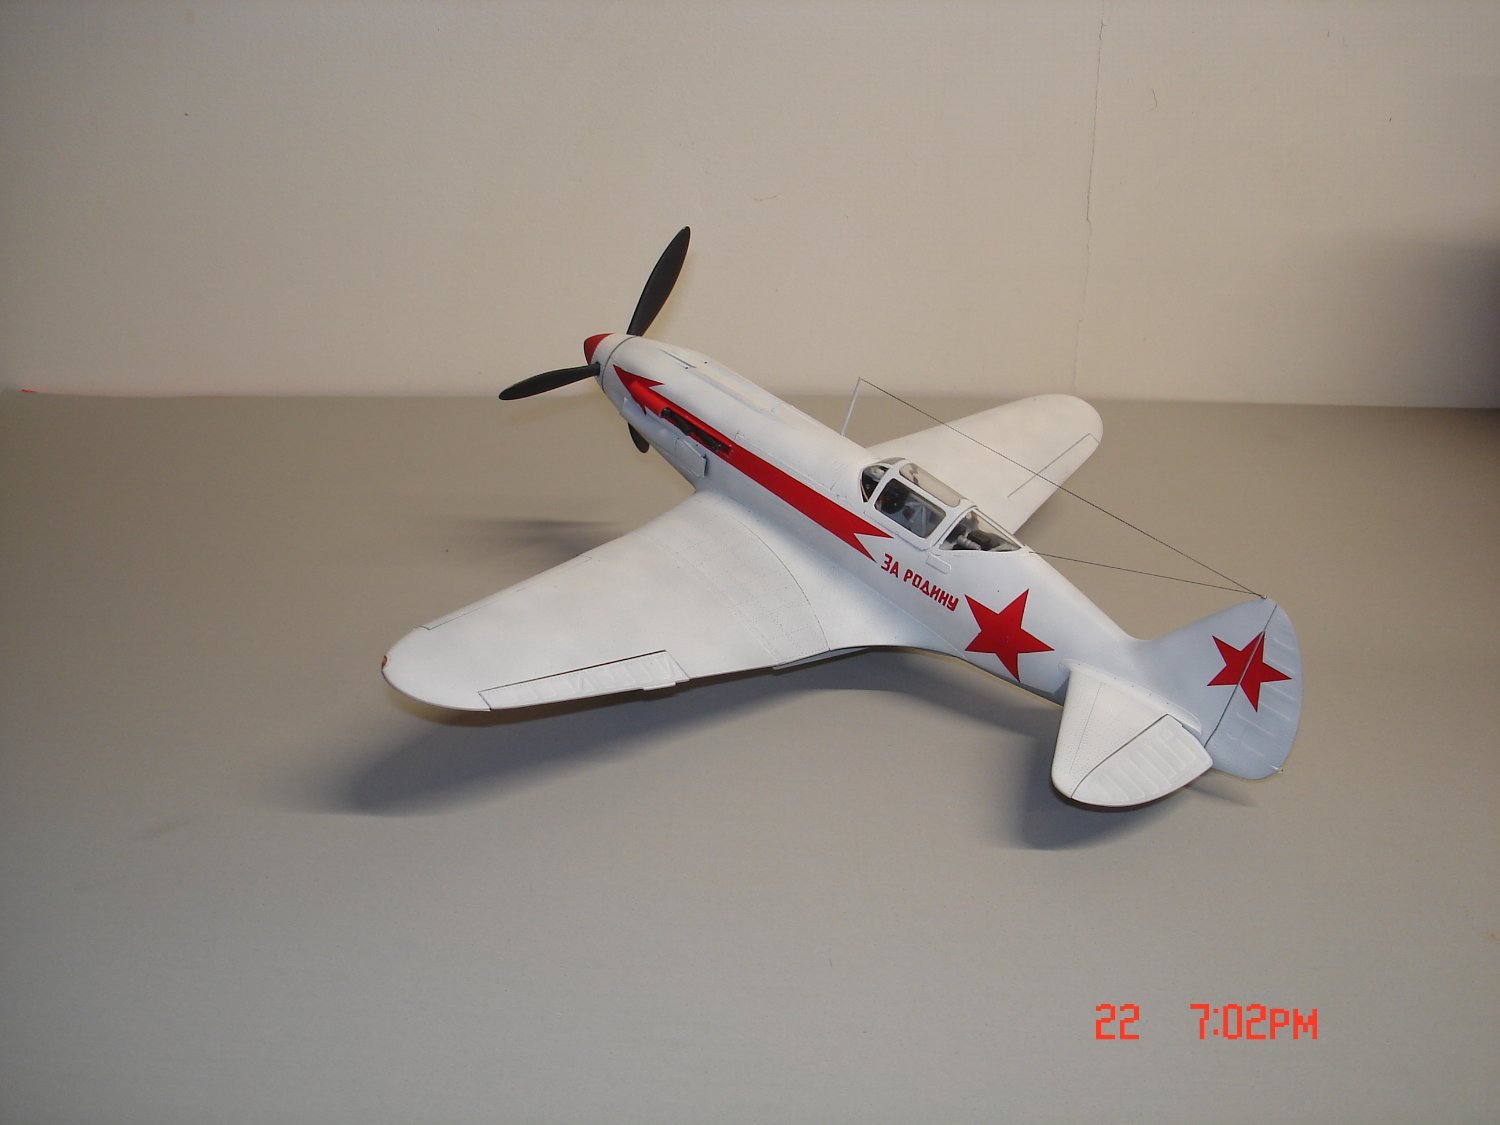
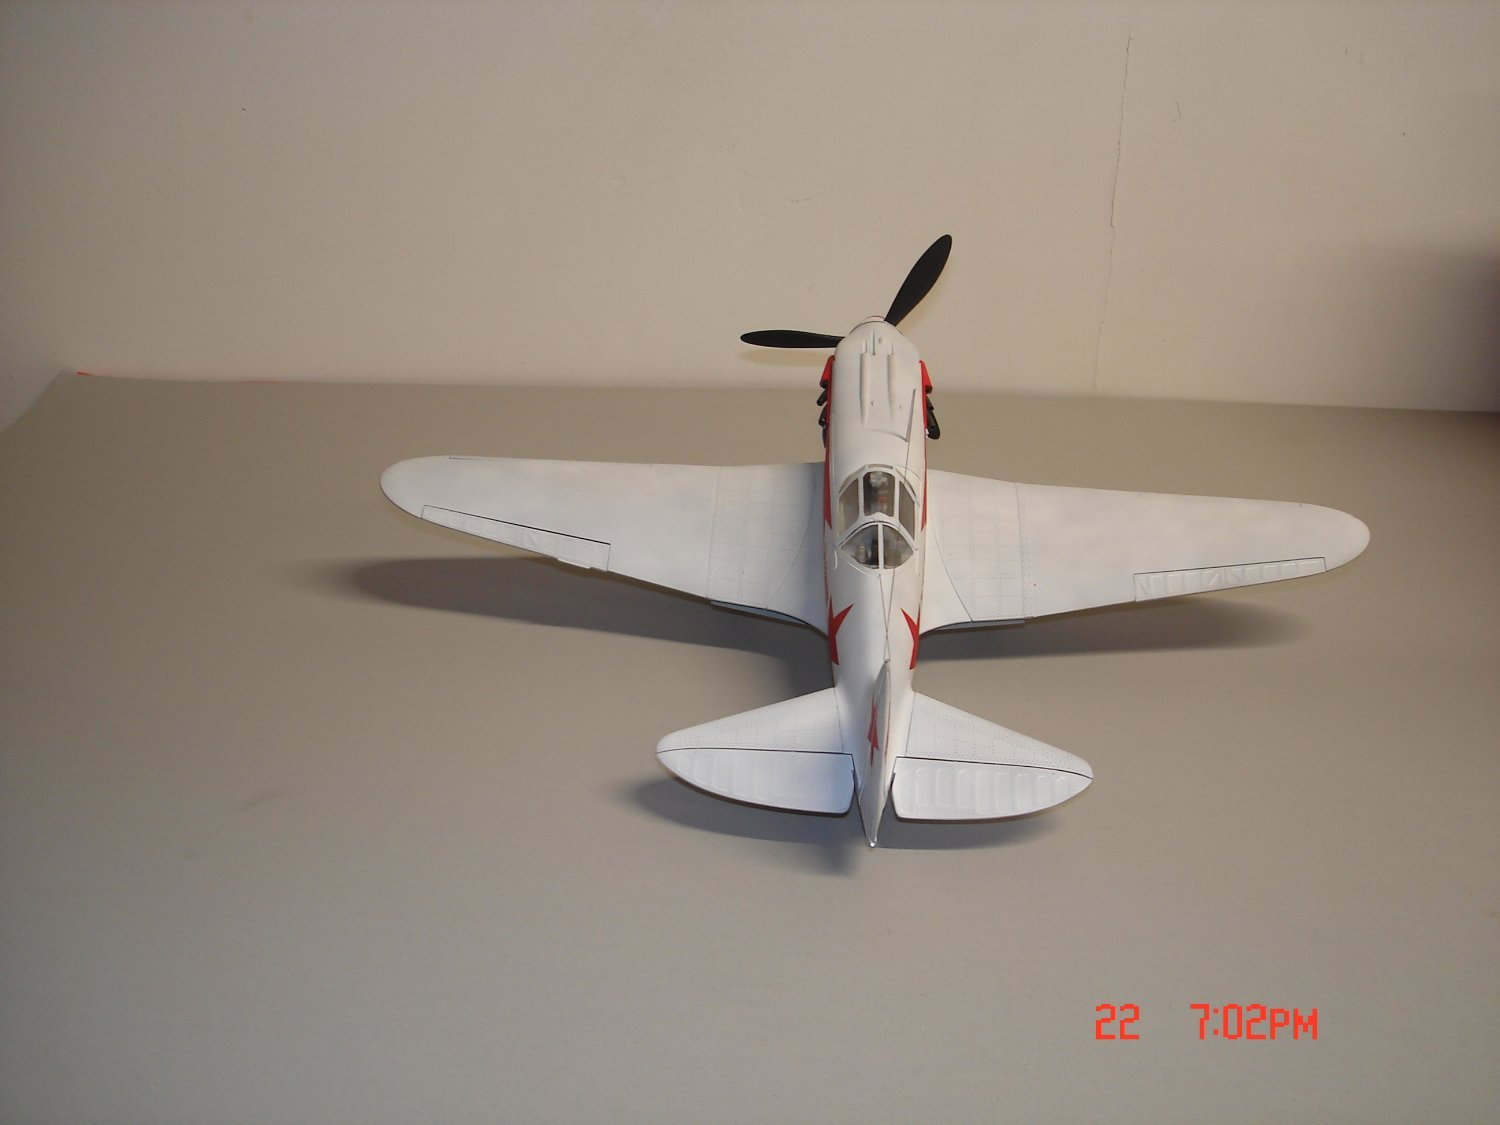
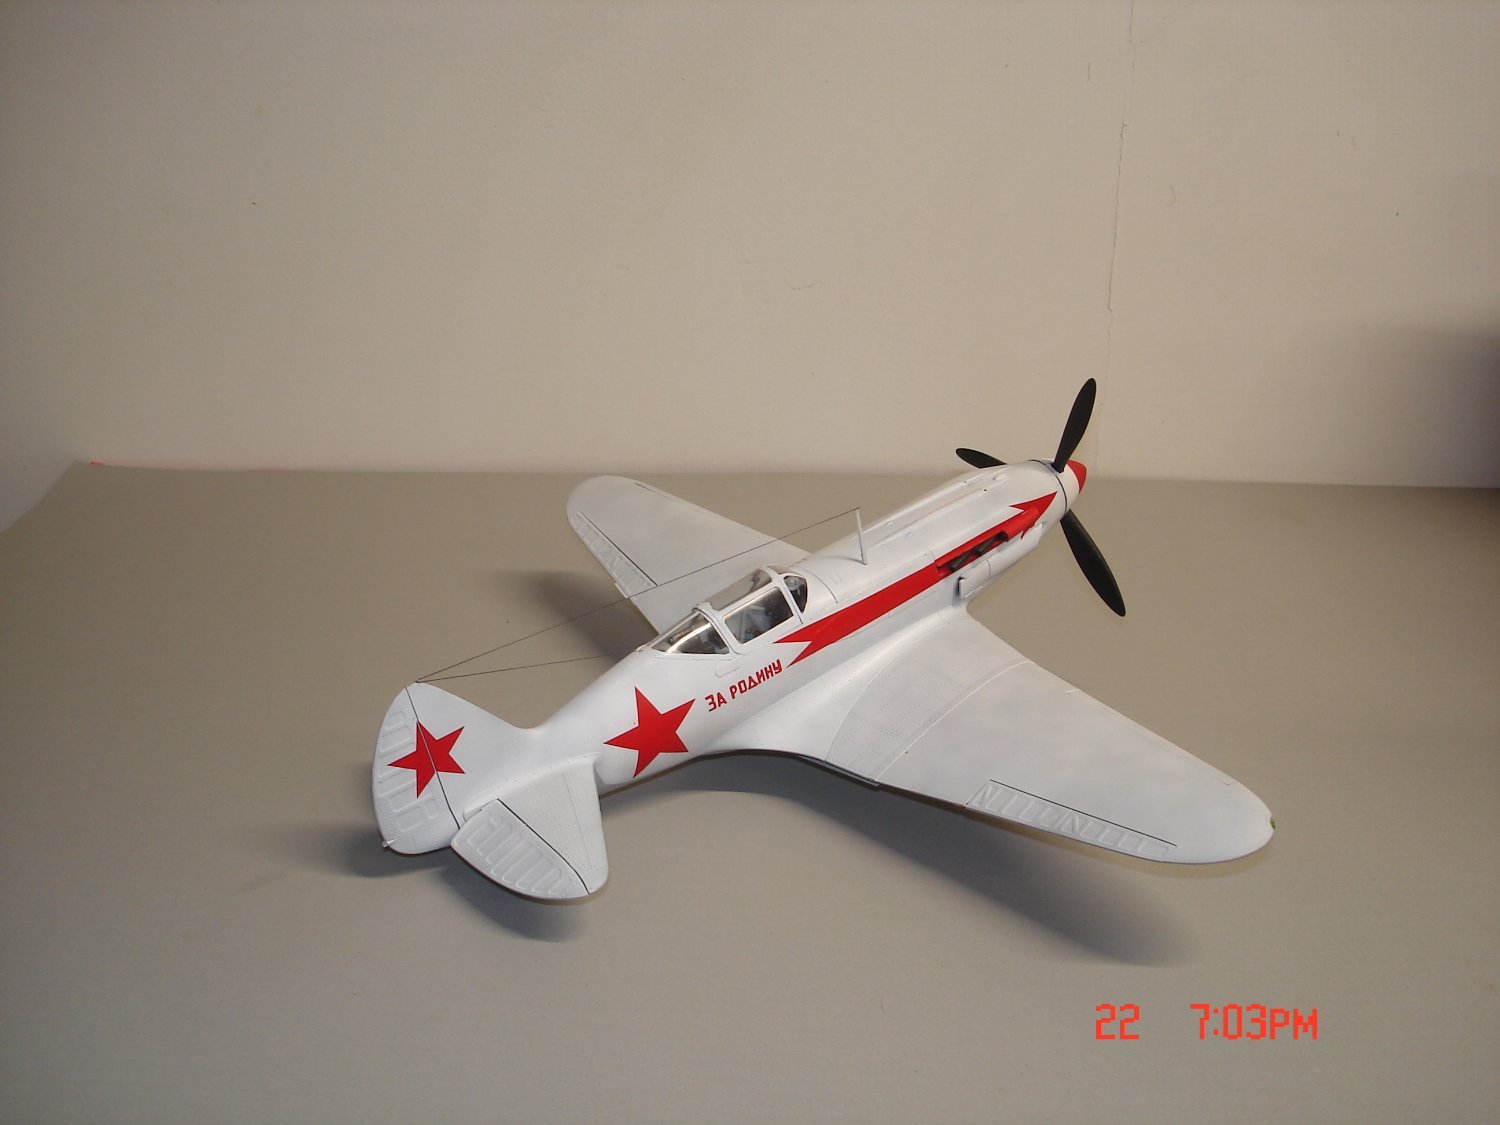
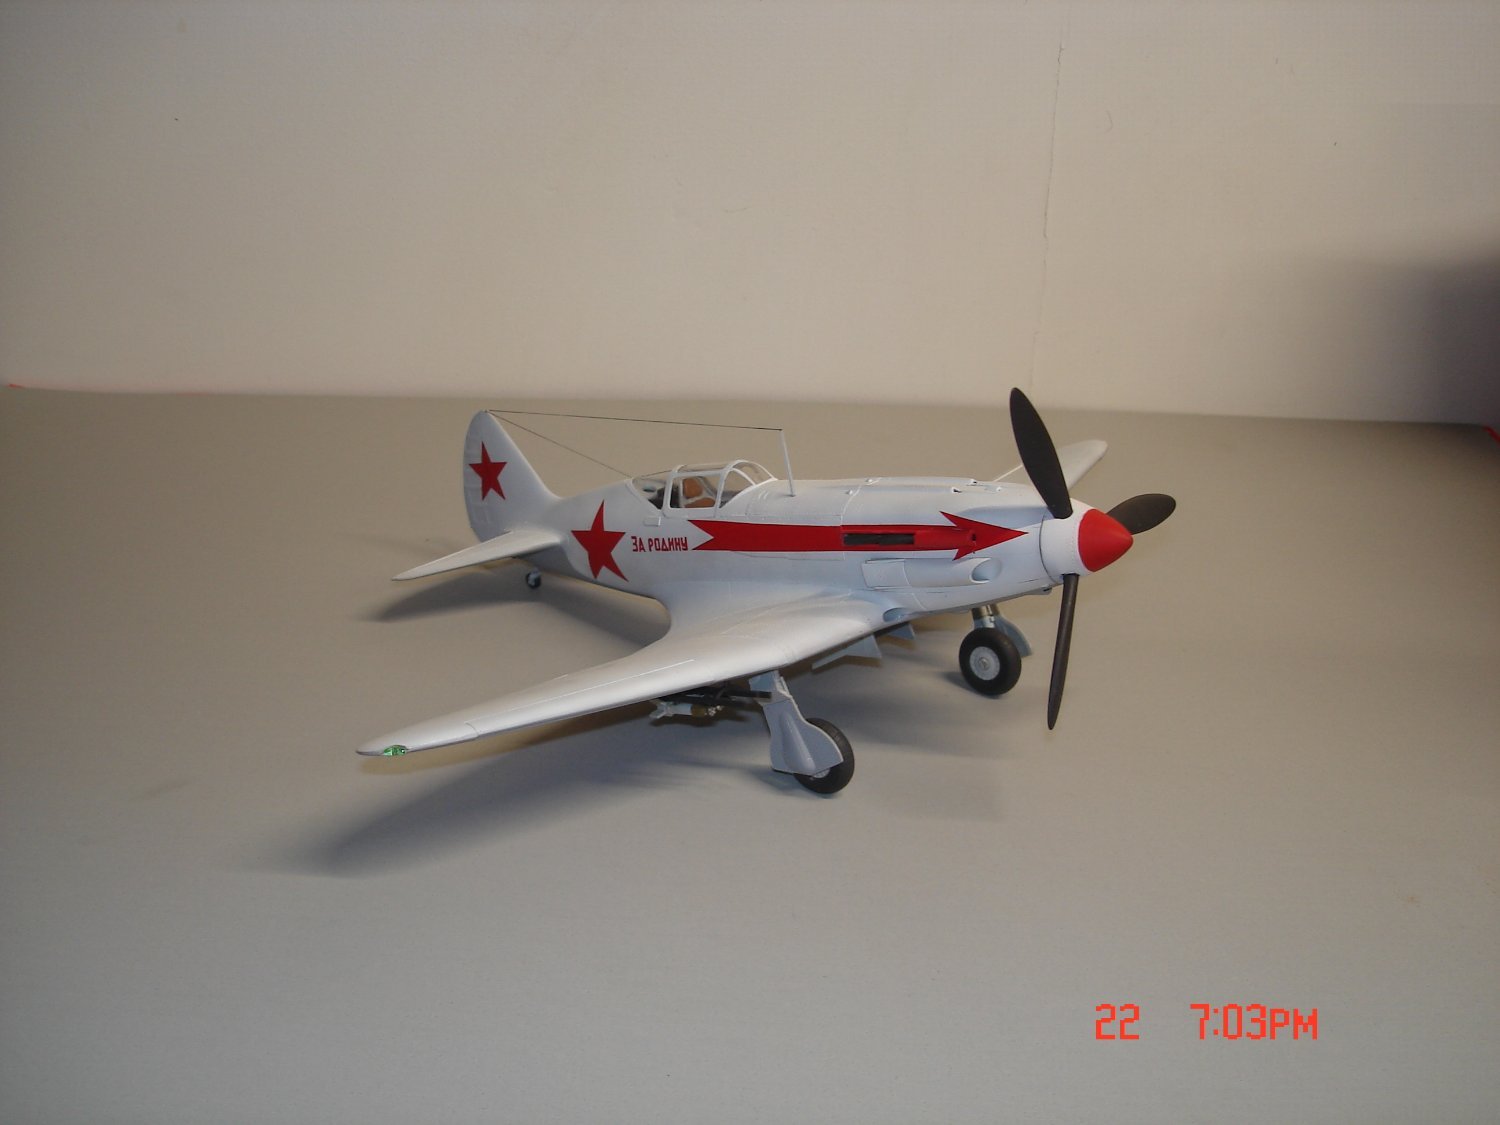
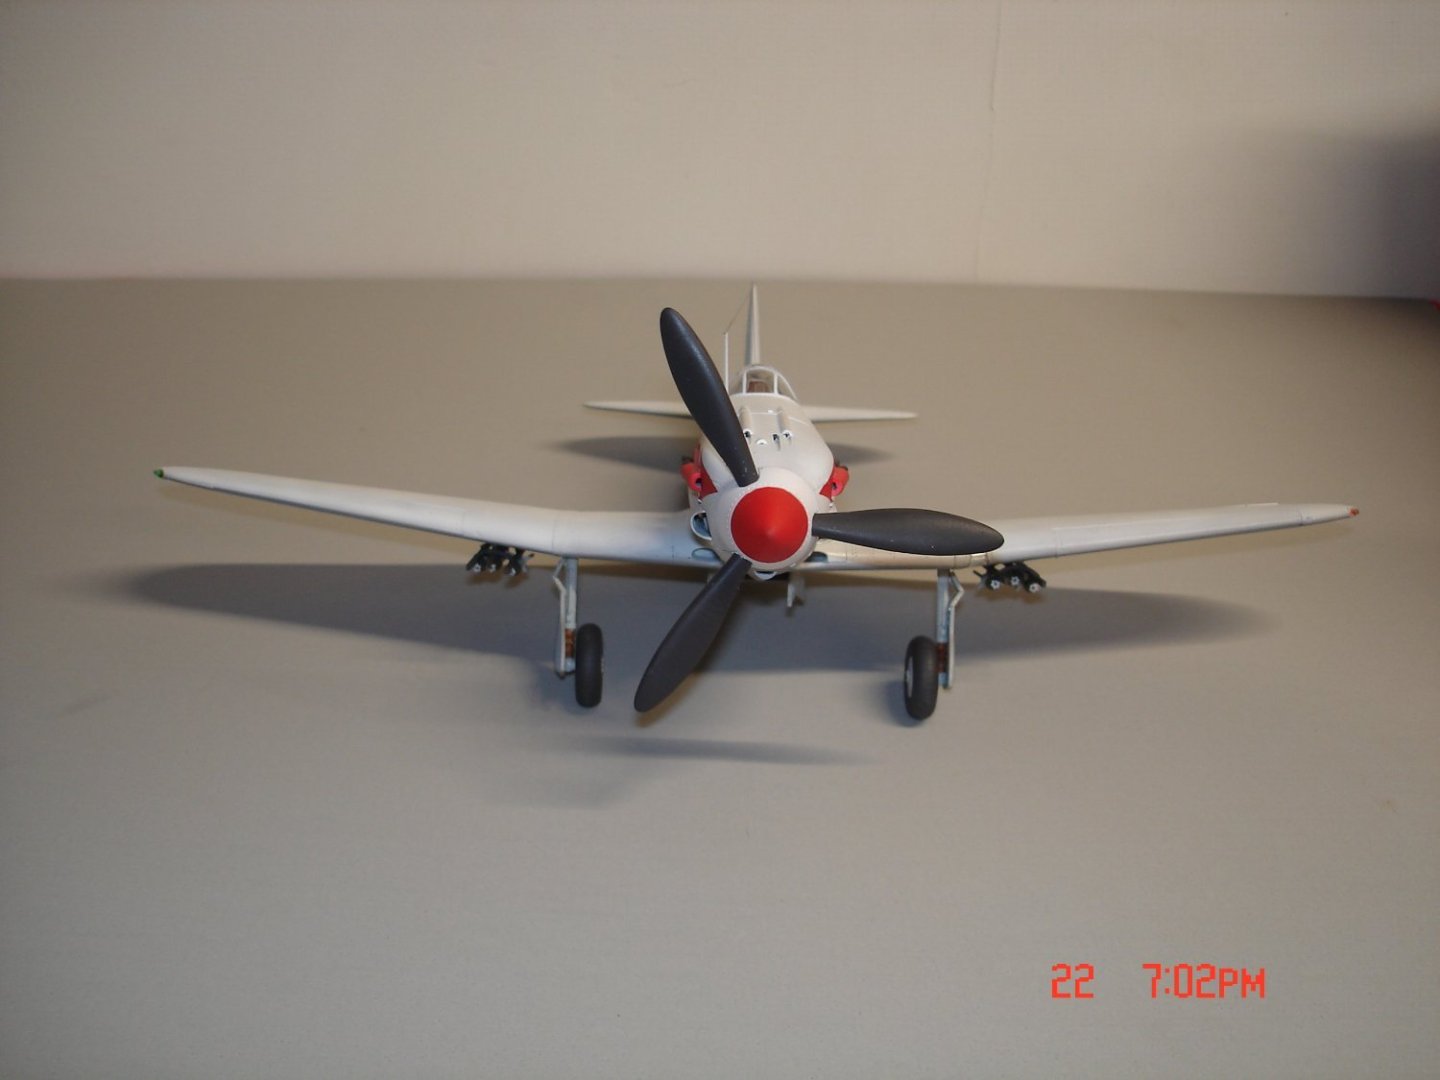
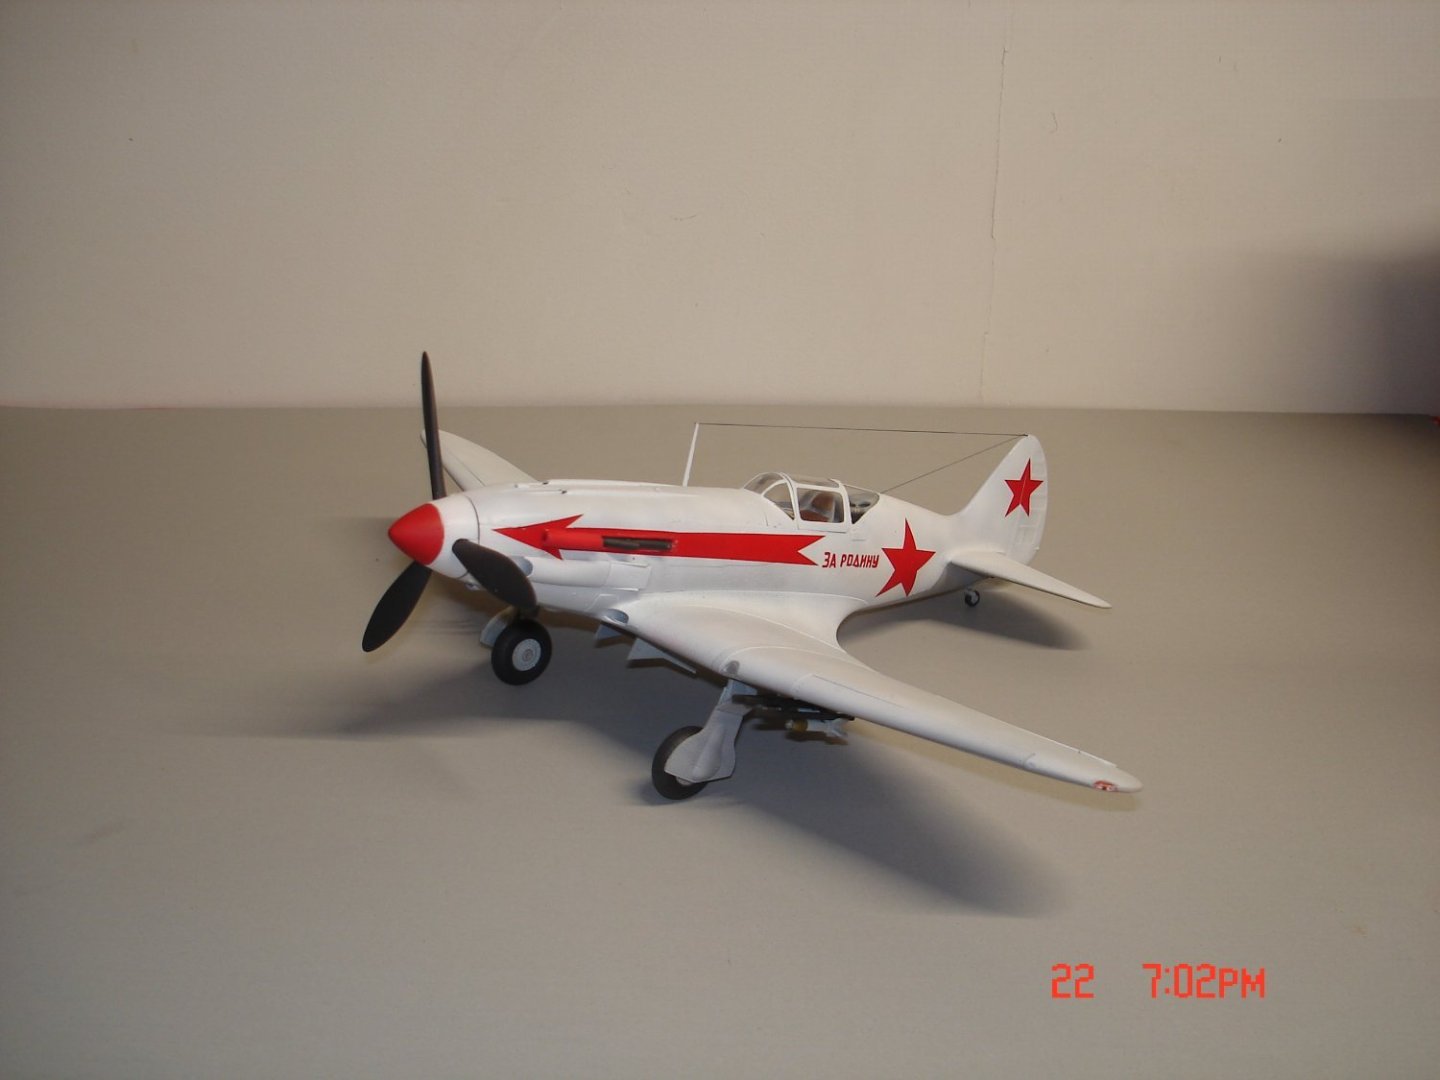
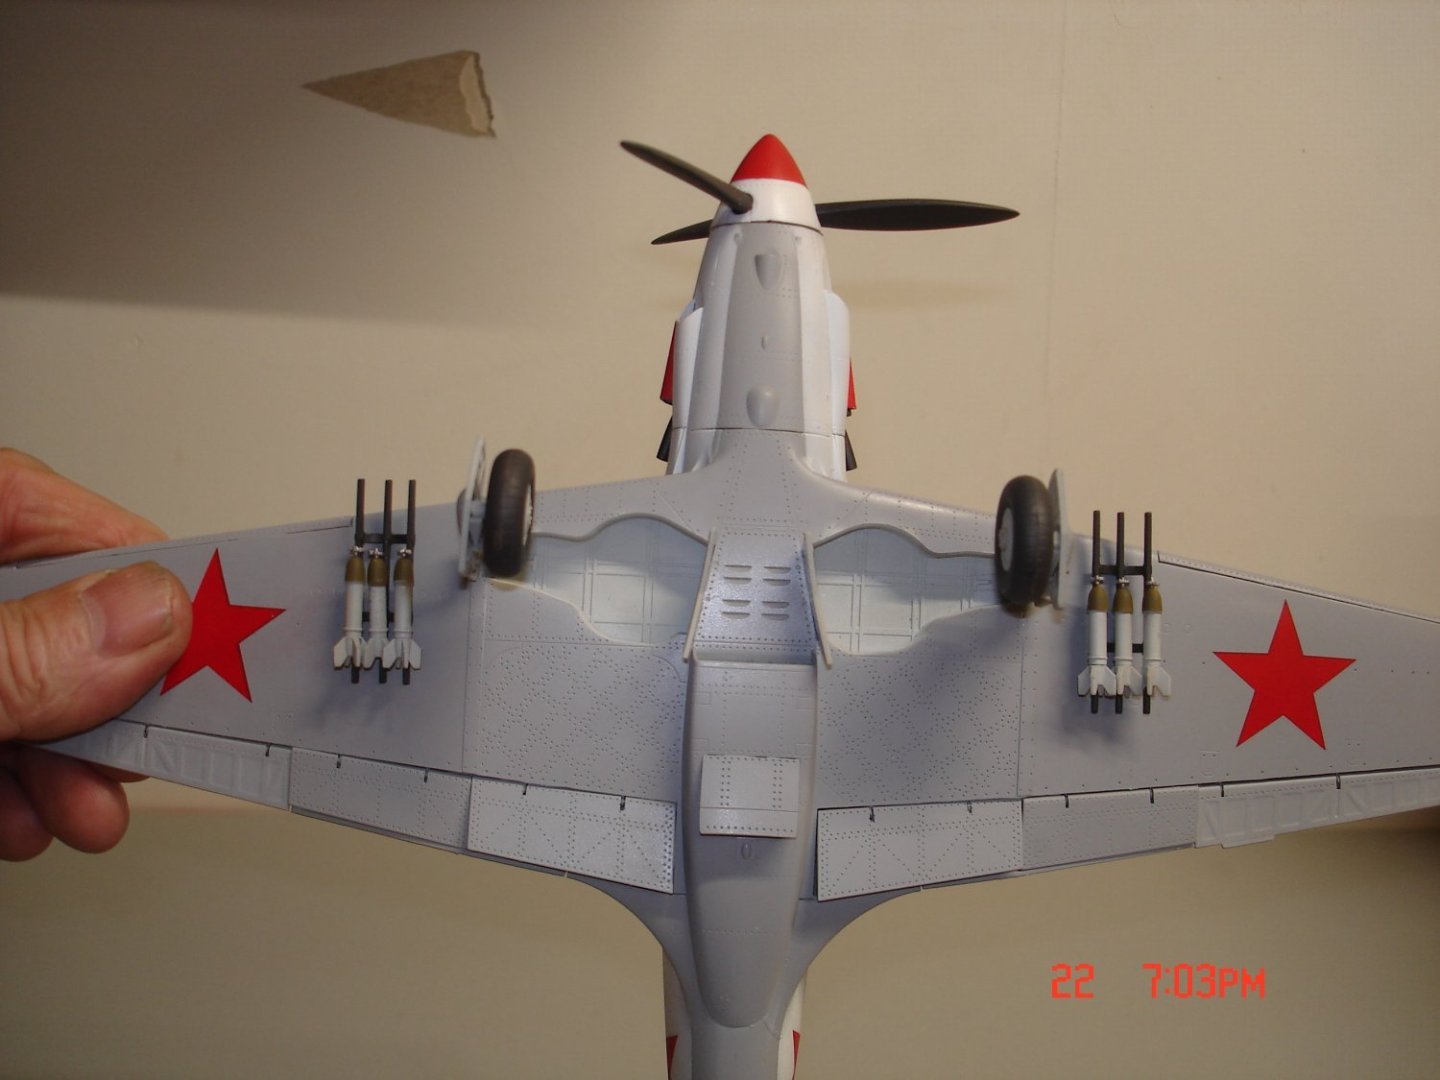
This was no SOD build but a kit I bought at the Covington ,LA meet very simple and basic strictly OOB except for the IP I punch various instruments from the 1/48 ICM He-111 I had left over the kit provided zero(keep learning).As I said nothing special but I have another WWII era Soviet Fighter in the cabinet.//forum.largescalemodeller.com/uploads/emoticons/default_wink.png The kit has maybe 15/20hrs in it.//forum.largescalemodeller.com/uploads/emoticons/default_hsmack.gif


- 9 replies
-
- 14
-
-
-
SU-85 WW2 Soviet Tank Destroyer by CDW - MiniArt - 1:35 Scale
Javlin replied to CDW's topic in Non-ship/categorised builds
The Nazi's underestimated the Russkies and what millions thrown into the fray could do. -
Thanks Alan I am getting more comfortable with it but WWI and "The Wooden Wonder"are perplexing to me .
-
SU-85 WW2 Soviet Tank Destroyer by CDW - MiniArt - 1:35 Scale
Javlin replied to CDW's topic in Non-ship/categorised builds
I have built one MiniArt kit and it was a Nice fitting enjoyable build looking forward to the end result.