HOLIDAY DONATION DRIVE - SUPPORT MSW - DO YOUR PART TO KEEP THIS GREAT FORUM GOING! (Only 24 donations so far out of 49,000 members - C'mon guys!)
×


challenger86
-
Posts
95 -
Joined
-
Last visited
Content Type
Profiles
Forums
Gallery
Events
Everything posted by challenger86
-
 The extra rope is in, from Italy. Not that I'll be doing rigging soon, however was good to verify this before I start. Currently working on the 'yards' for the 3 masts, a little tedious I might add, lots of sanding to 'taper' the dowels into shape. The most tedious work is getting those walnut boards (in the centre of some of the bigger yards) angled properly etc...so they fit all around the dowel. Fun stuff. I use a combination of a file and my dremel tool to 'mitre' the edges to it has a nice fit. Couple of them as shown in the pics.
-
Not yet.
-
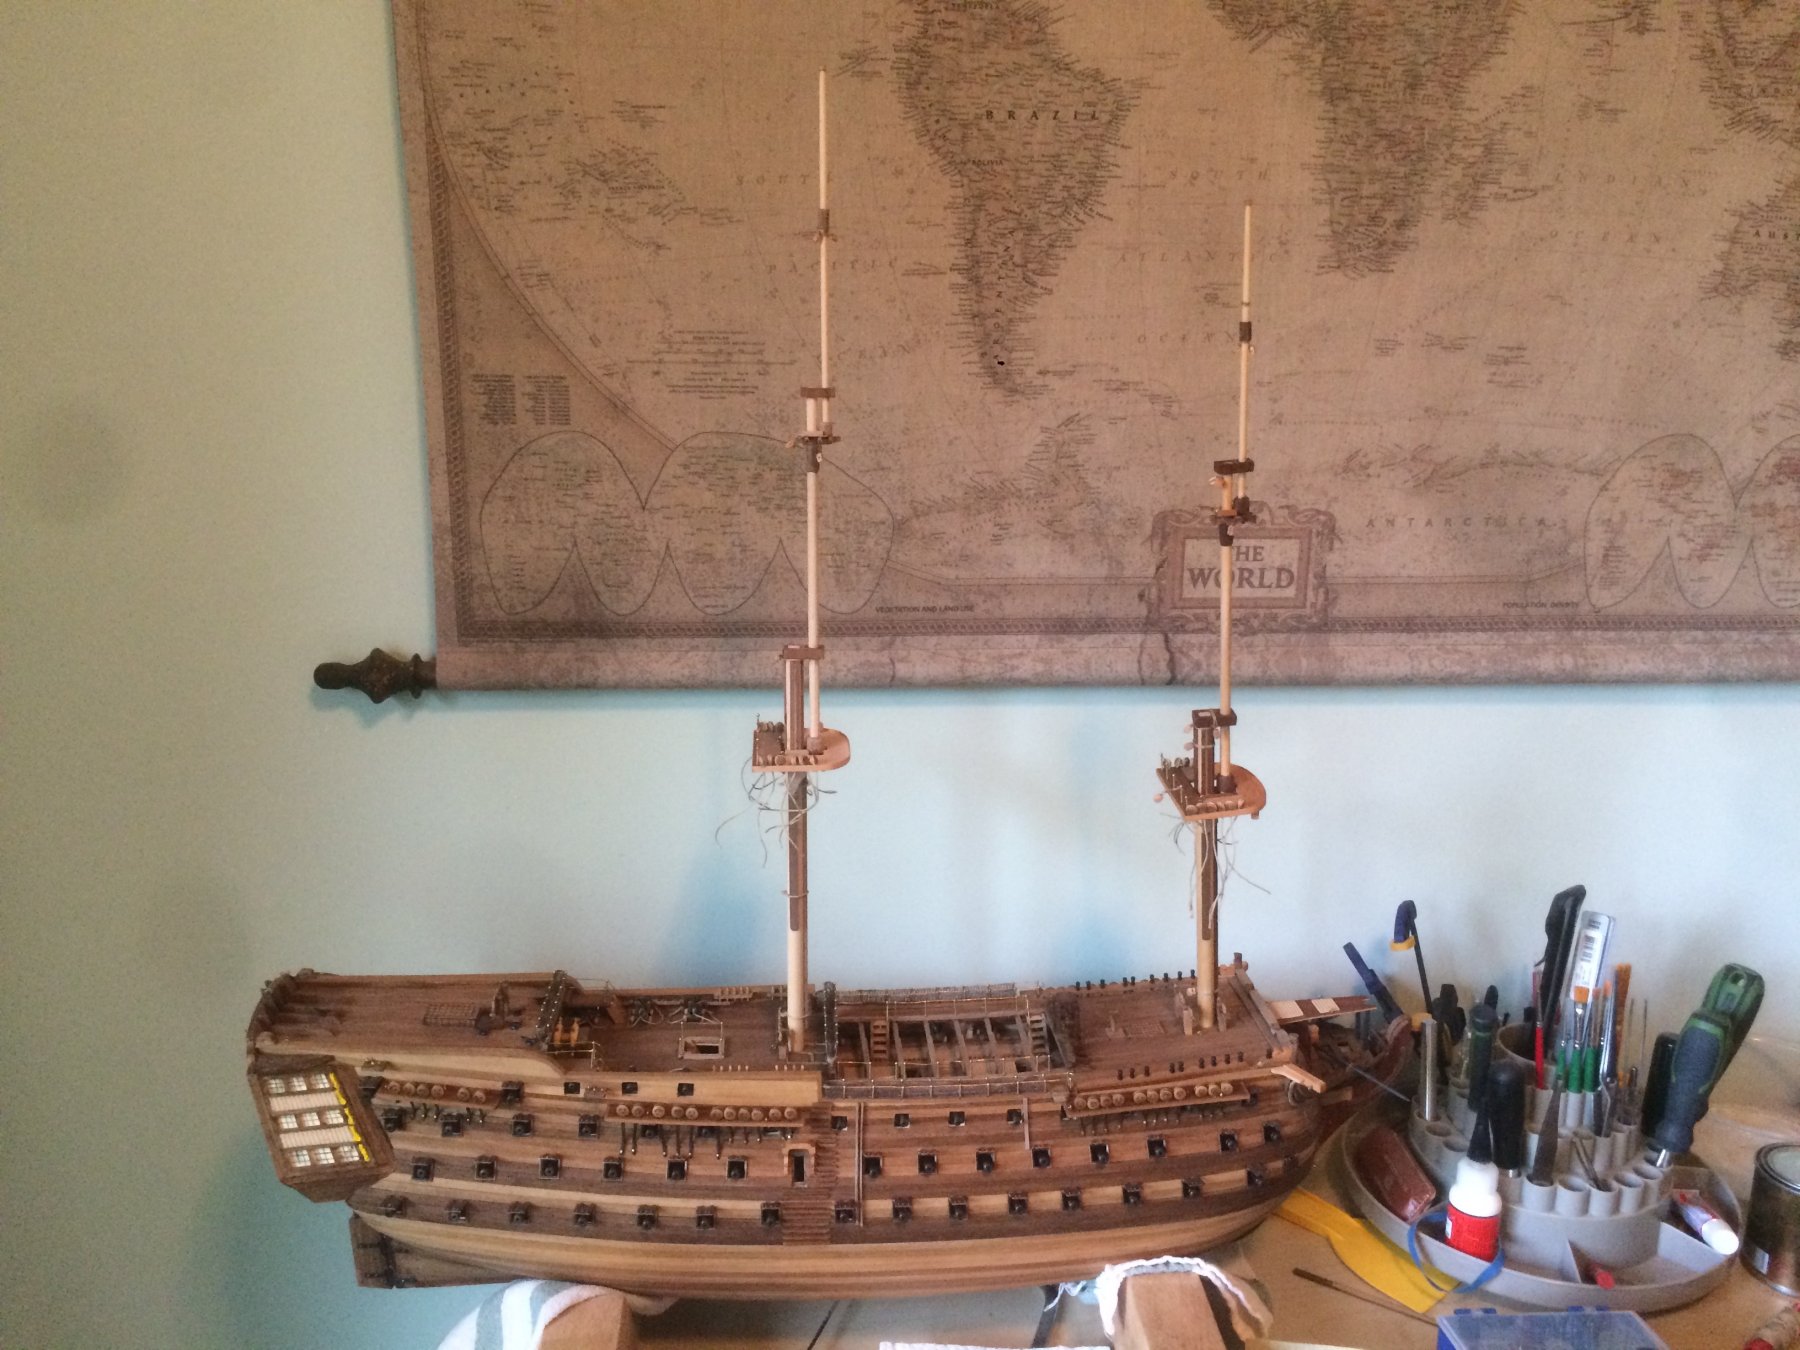
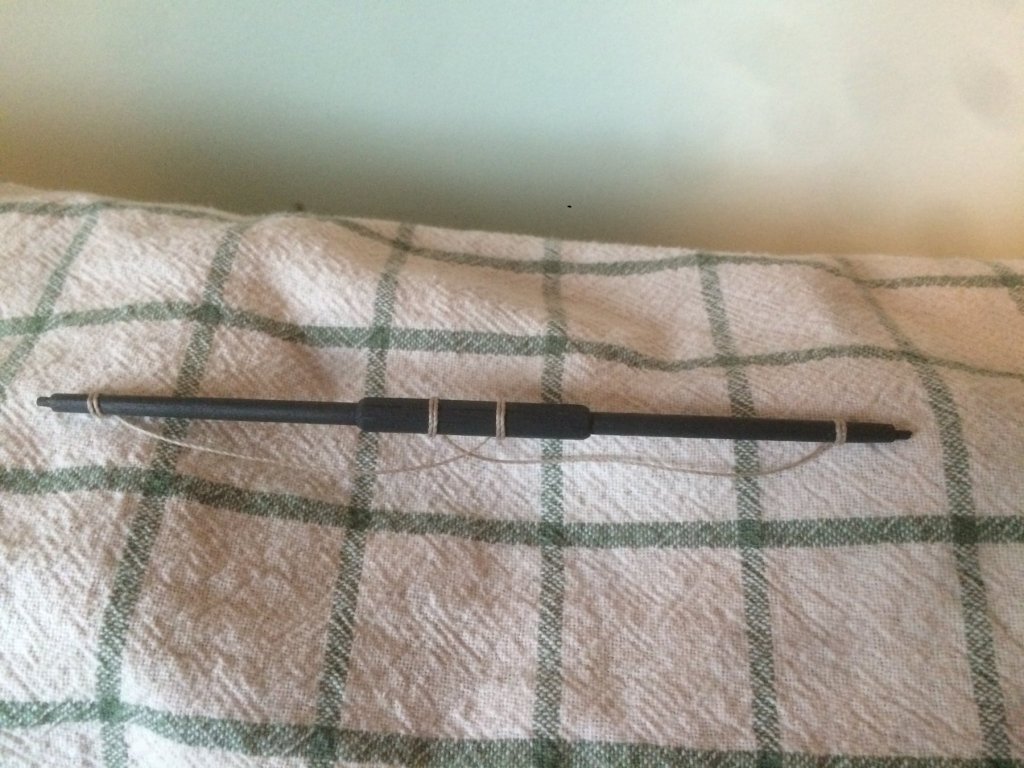
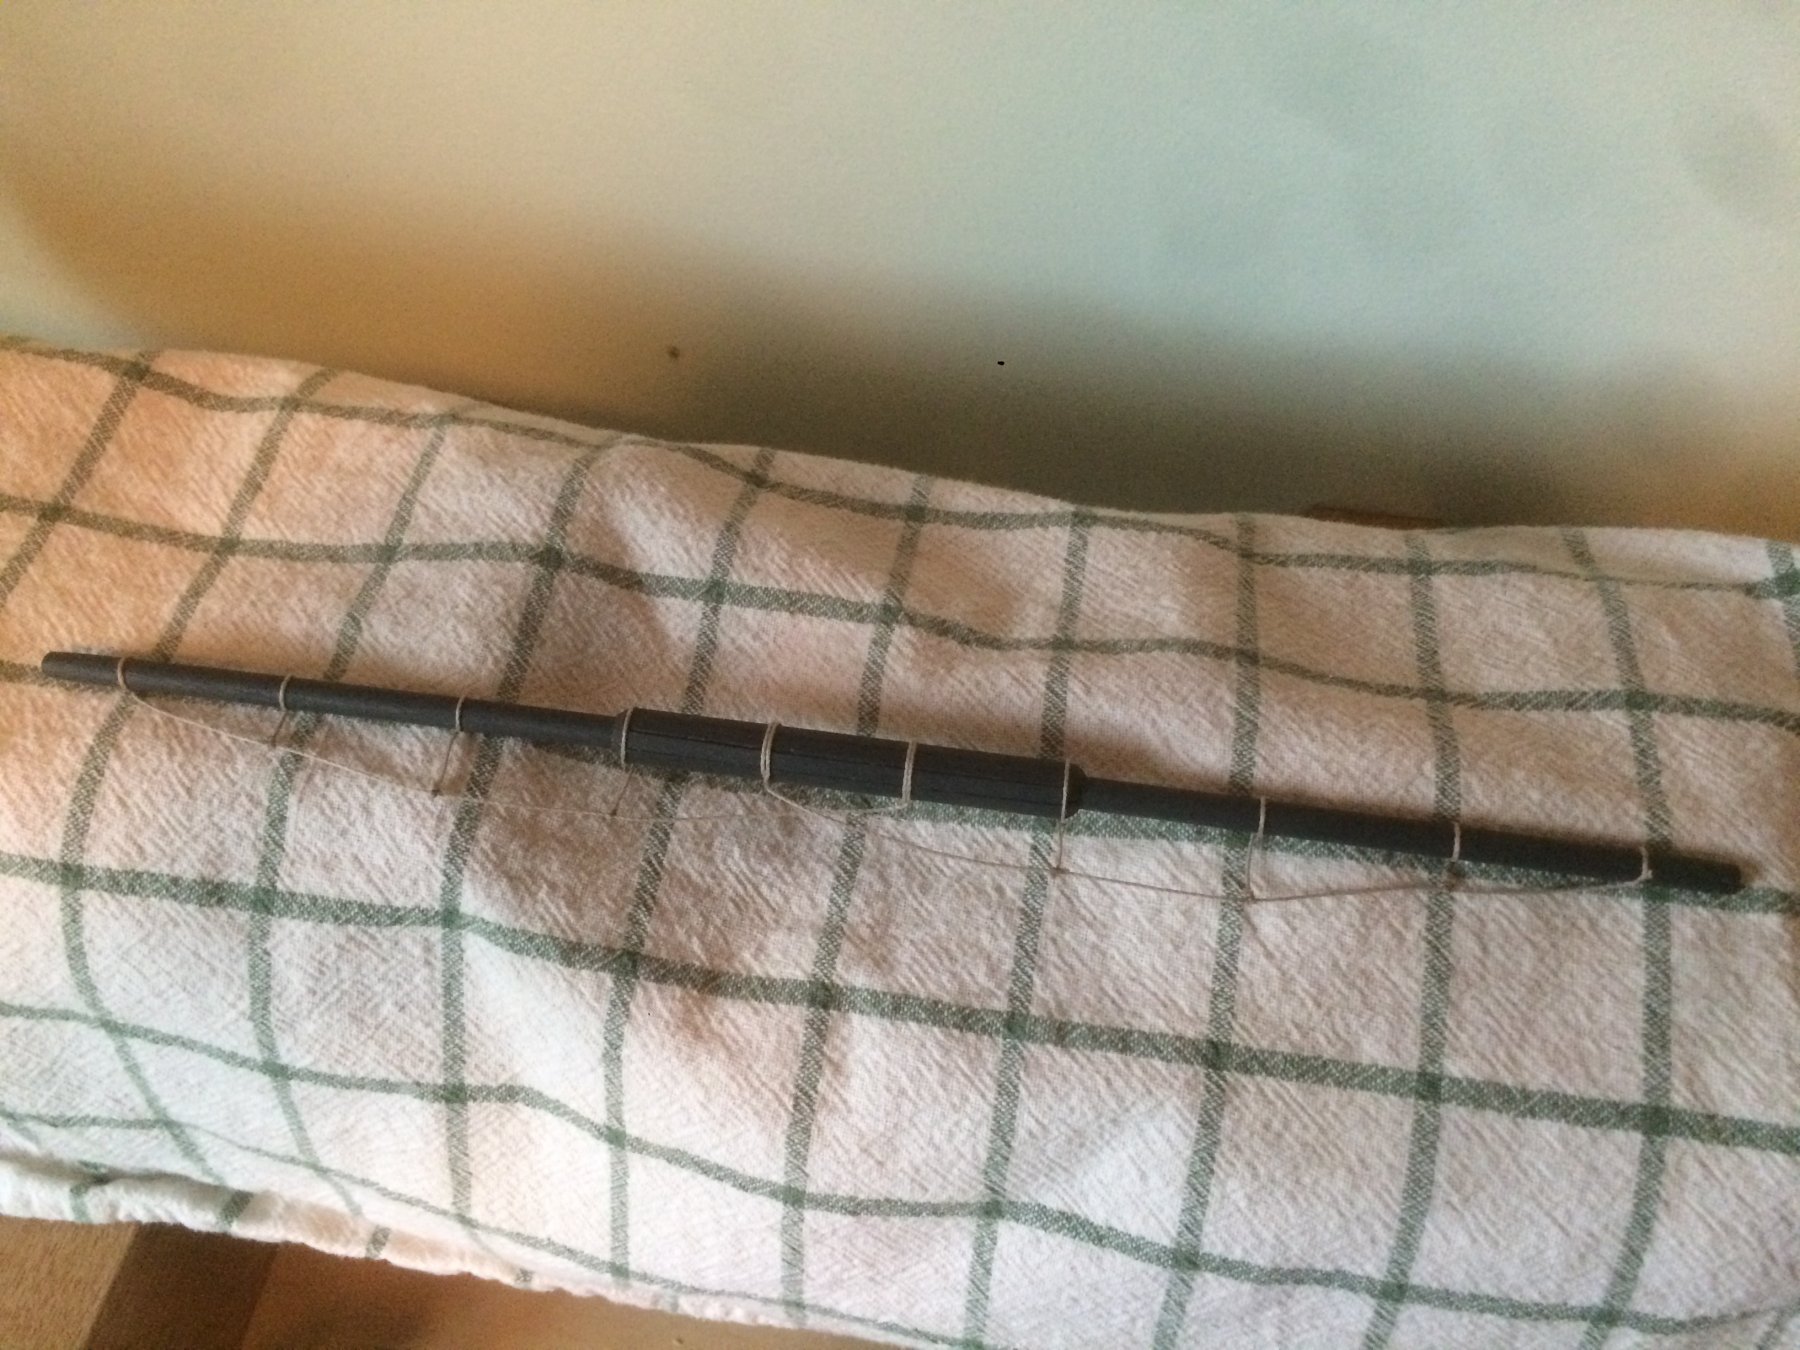
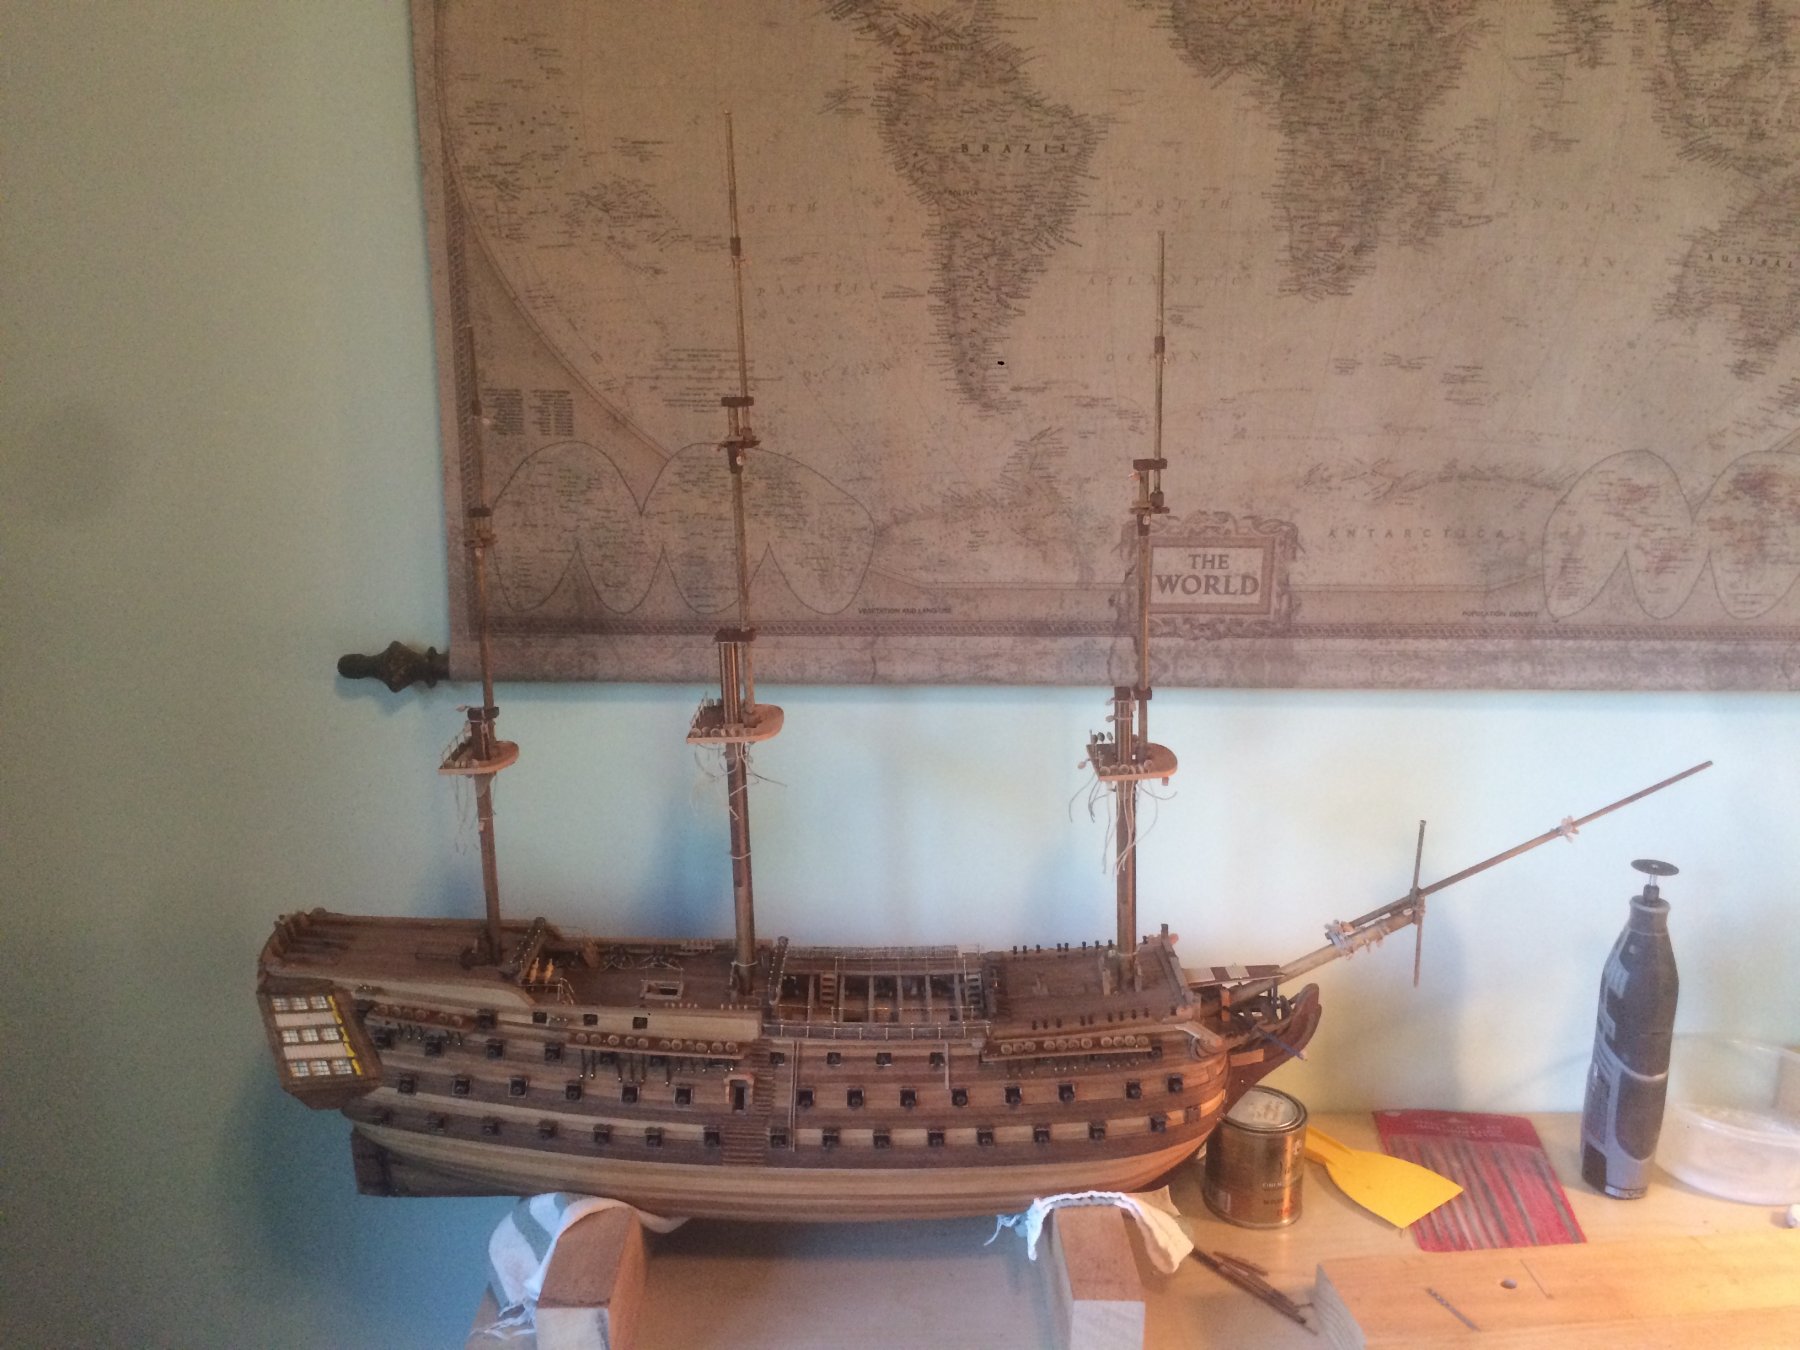
While the three masts basically completed (just sitting dry in their respective locations), I also completed the bowsprit along with it's flying jib boom. Here's a pic.

-
Just a couple of pics of my masts I began a few weeks ago. Started on the fore mast, then the main. I'm now onto the third mast (aft I suppose you'd call it). In one of the pics, both masts are respectively in their spot, not at all glued yet. Once I finish the third, then I'll start placing those cross pieces that would hold up the sails (which I'm not going to put sails on, would take away from the intricacies of the rigging and showing that off). My vision (from all the pics you've come across from my log) is to simply model it and look like the picture from the Corel box, I just love that color of wood. I know she did not look like that, however I couldn't bring myself to paint over this natural looking walnut, etc... A couple of years ago, I visited the UK and went to see this fabulous ship at the dock in Portsmouth, what an awesome adventure it was. If you haven't seen her in person, I suggest GO!! Rob
.thumb.jpg.116e8ef4a561e3e9858811b7a031241a.jpg)
.thumb.jpg.ac78f91f33696f97b1be1f1441847381.jpg)

-
Hi, I've been busy since my last post, last year around The Masters tourney, I have some updates (via photos) of my Victory since then...enjoy

-
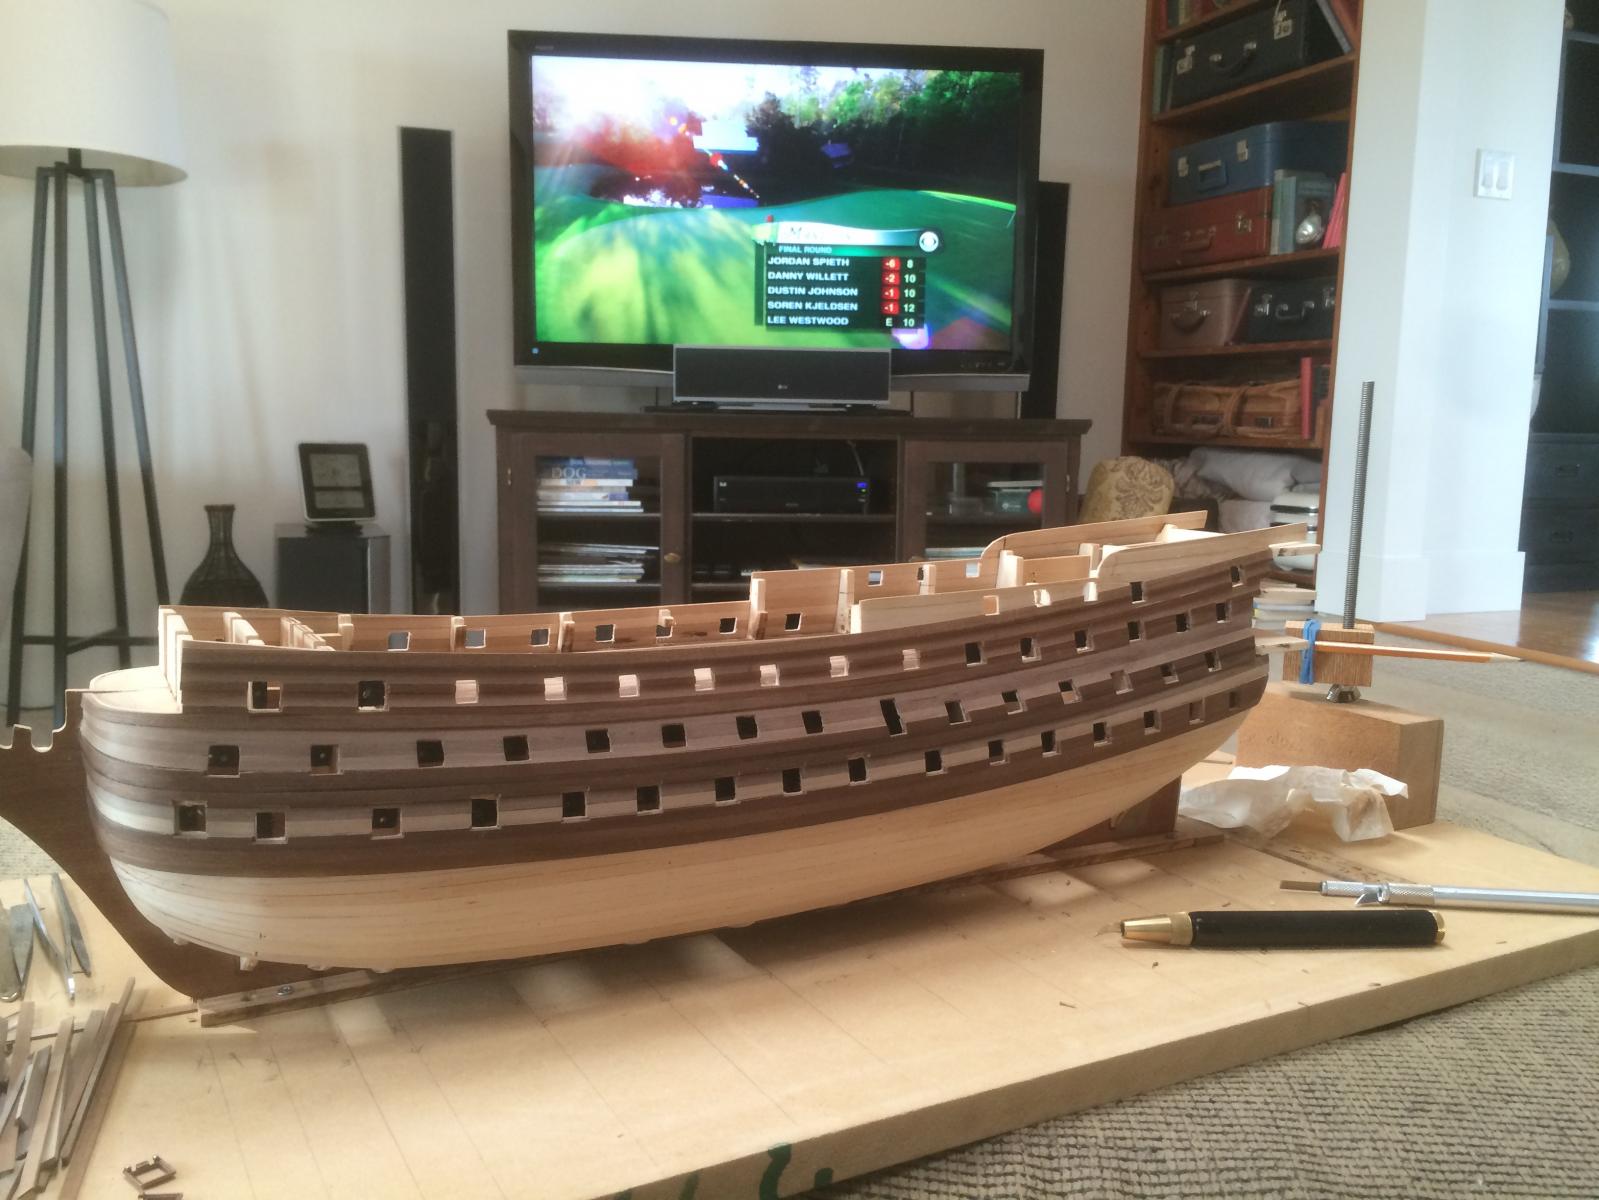
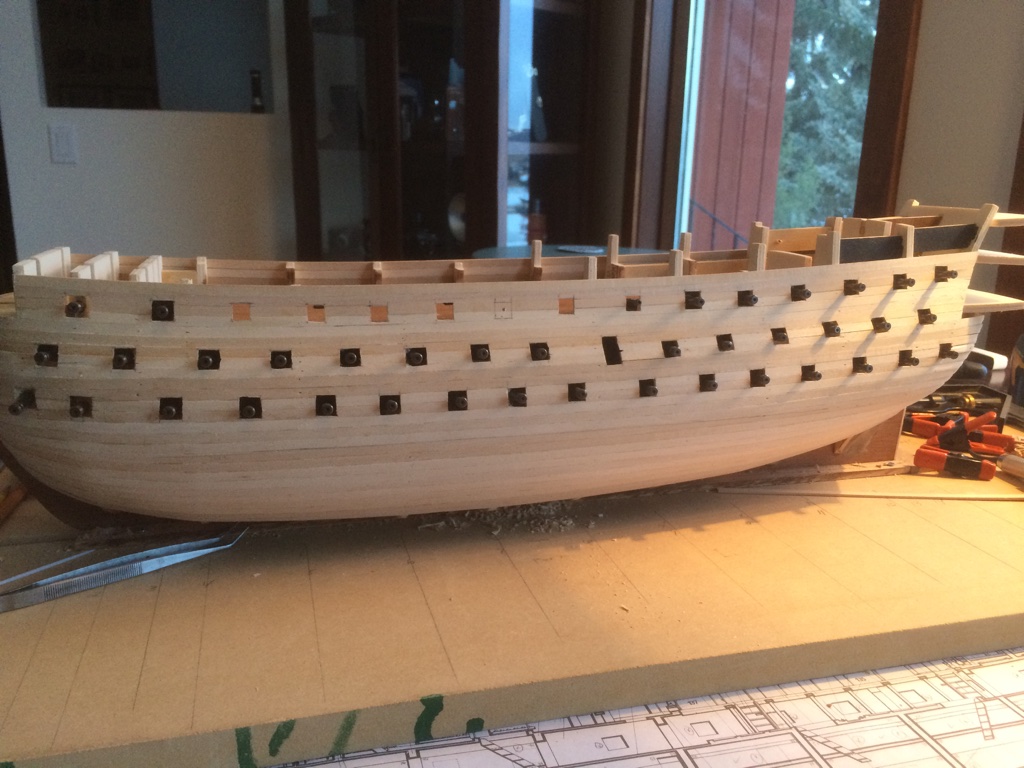
Moved over to the living room to work on the port side while watching The Masters!! Spieth in the lead heading to 9th hole, 2016.

-
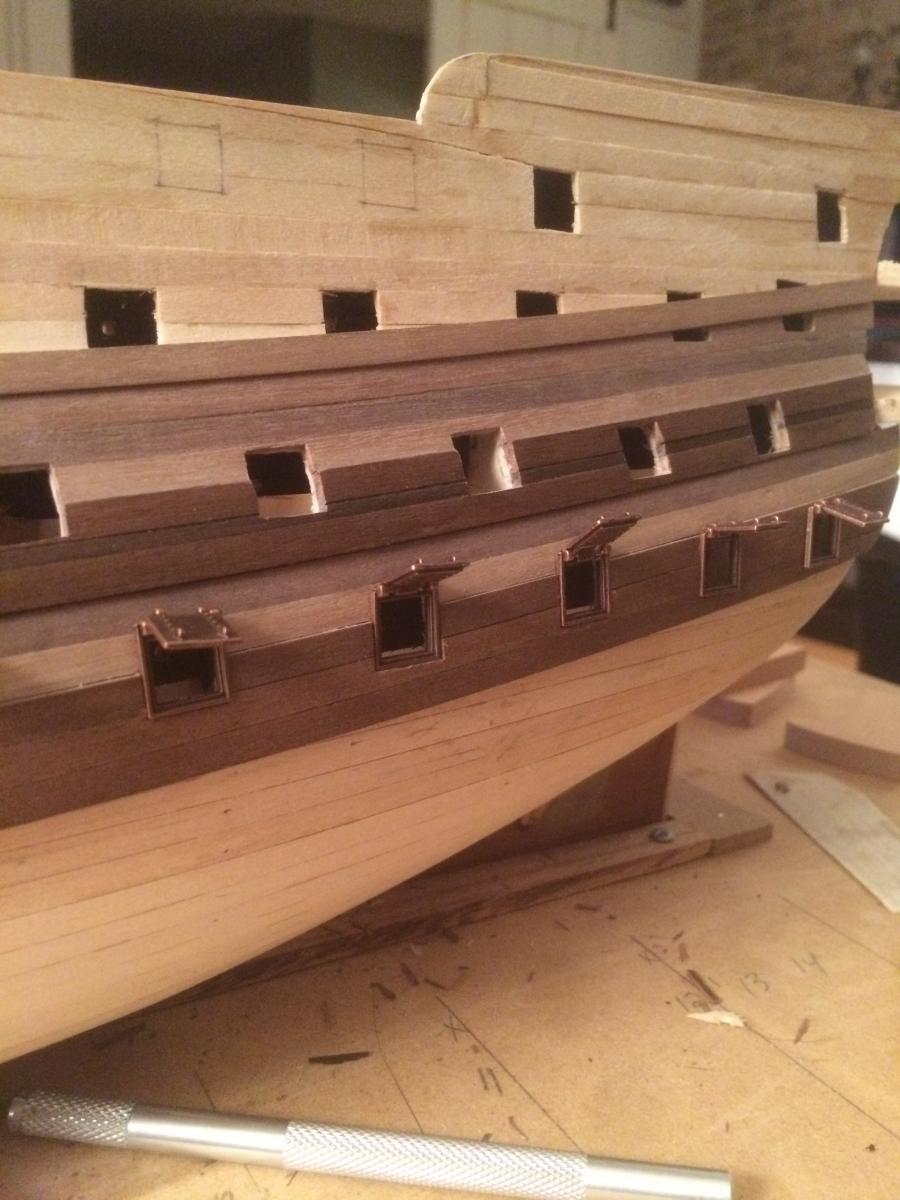
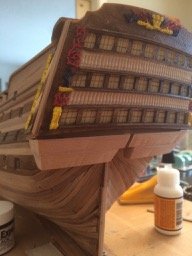
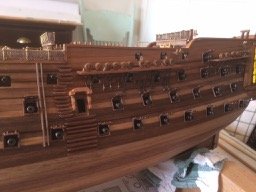
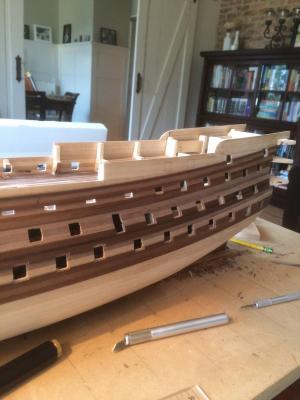
Continuing on the wales, working my way up, dry fitting the gun port frames, tedious but worth it in the end!! The part that is taking the longest is making sure my port frames sit flush with the thicker planks (#34).

-
I mixed up some stain and liked the outcome, here's a pic of my first 3 #34 planks, with stain on. I plan to leave the #33 walnut planks as is, put a coat of varnish to bring out the walnut.

-
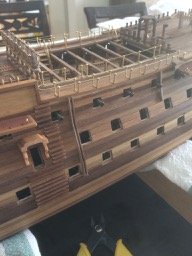
I'm back at it, started with #34 at the lower wale, as you can see from my pics below. Bending #34 is a challenge, but going pretty good. Soaking the wood and using some steam, works fairly well. I decided to follow the plans, asking #34 to start at it's proper location, then moving up accordingly, not going over an extra layer of the second plank. This is the second layer planking, as per plans.
-
Waspy, So what I did on the ones that met up with a rib (I had already cut a notch out before planking, to my correct depth). I know this doesn't help since all your planking is done. However, I had a couple that I didn't notch, so I bored a little further into the rib with the forstner bit, until I liked the depth. Then I drilled the appropriate size hole to fit the false canon, same hole drilled for all the false canons on each backing. Fortunately all my backing boards were in the right place, sorry some of yours were off. That's a tough one to fix, unless you build more backing from where the main one is, all via the port hole, a difficult challenge no doubt.
-
It sure saves some time removing most of the material. Glad you are having success using this method.
-
Ian, nice work on the gun ports. I still have to carve out my starboard side ports, I will use your 'waxing the blade' technique! Thanks Robert
- 191 replies
-
- 3
-

-
- victory
- caldercraft
- (and 1 more)
-
Oh right, I forgot your kit was different than mine. Interesting how they differ in certain areas. Keep up the great work!! Robert
-
Ian, I'm impressed with your 2nd planking on your Vic! Amazing work! I'll hope to achieve the same result on my Vic, once I get to the second layer. Great work !! Cheers, Robert
- 191 replies
-
- 3
-
-
- victory
- caldercraft
- (and 1 more)
-
Also just noticing that you have your top deck in place, built already...what are your plans for the lower deck canons? Or are you modeling your cannon ports shut? Always an option. The build is looking mighty fine though!!
-
Hey Waspy, Check out my Victory build progress, I've mentioned in there about the process of getting those gun ports done. Relatively straight forward and easy. Just need to keep blades sharp for carving out the little bits of the gun ports, after I drilled them out.
-
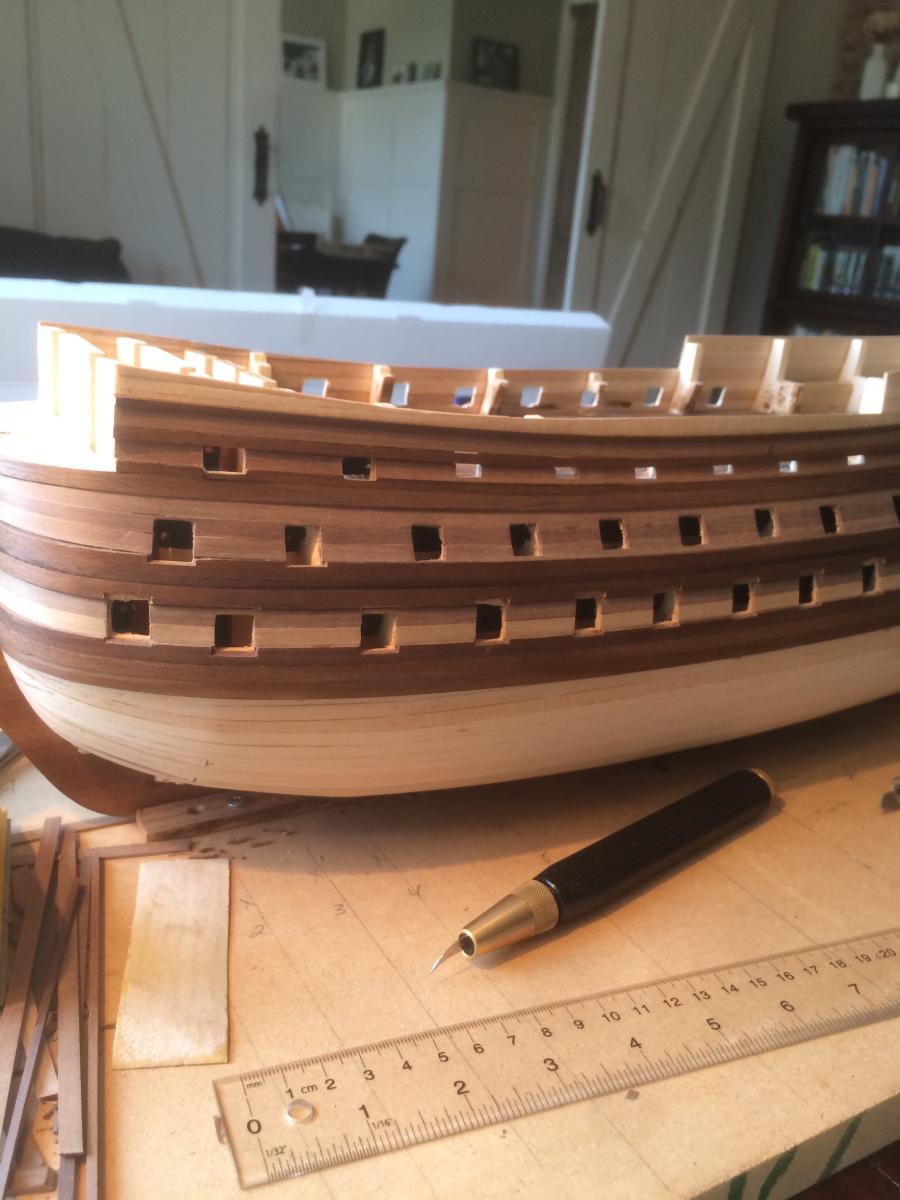
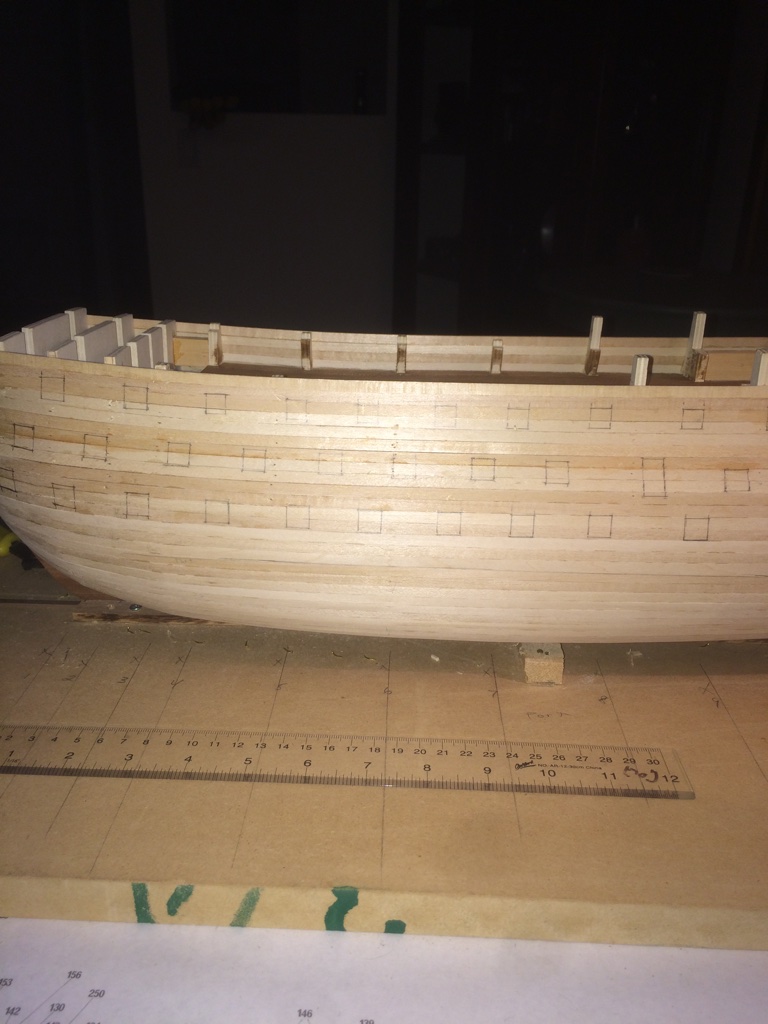
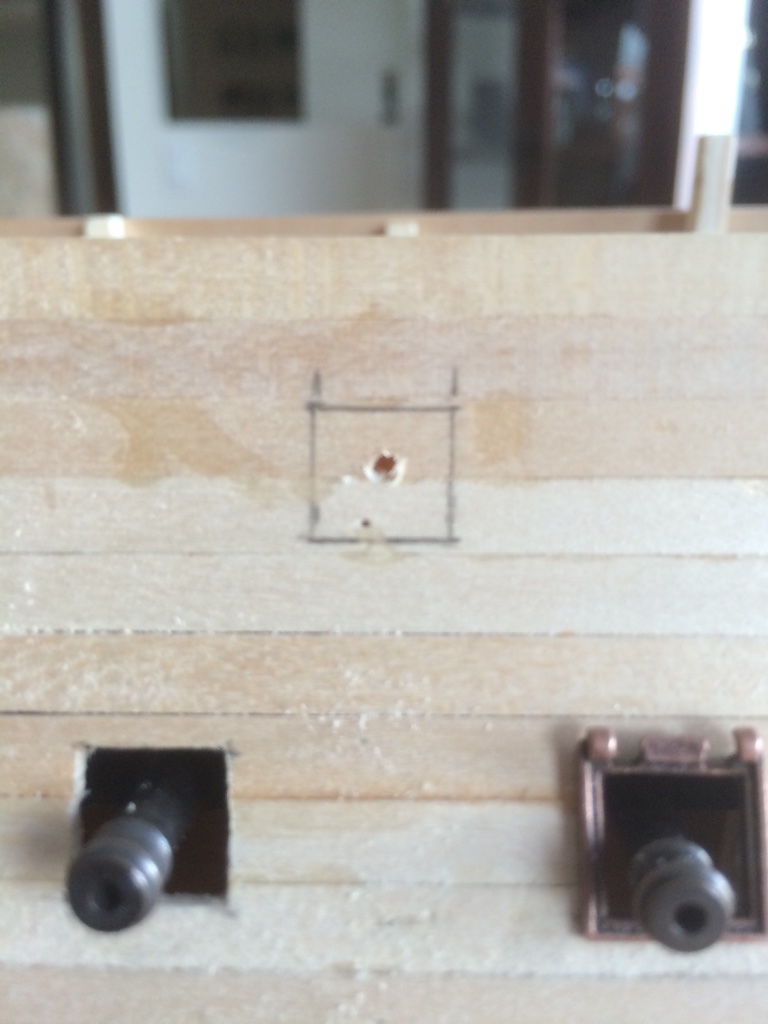
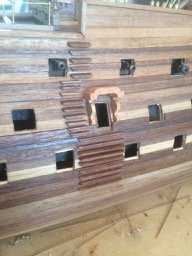
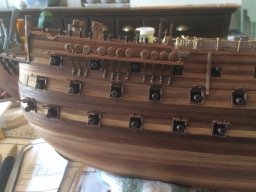
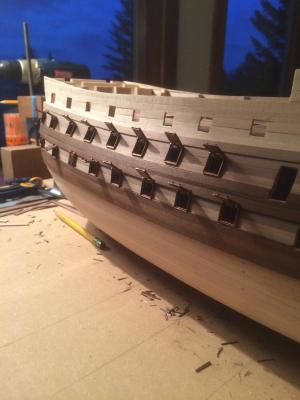
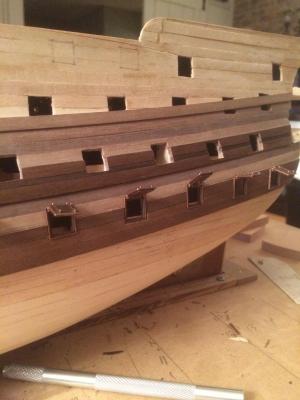
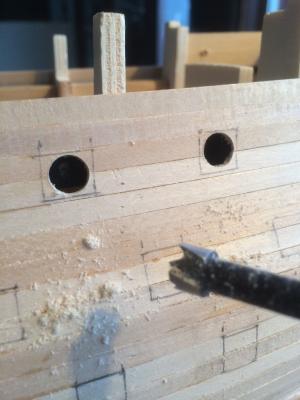
I've managed to mark all Port side gun ports this weekend. Then, I drilled a hole in the centre, all the way to the backing (for the cannons), then using a Forstner drill bit to take out most of the port, then carved out the remaining. Here are a few picks in order of this process....


-
Hello Ian, I'm thinking drilling holes and cutting to the edges with a fine knife or saw.
-
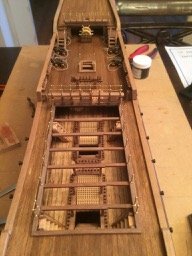
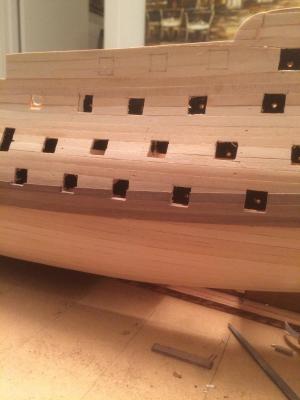
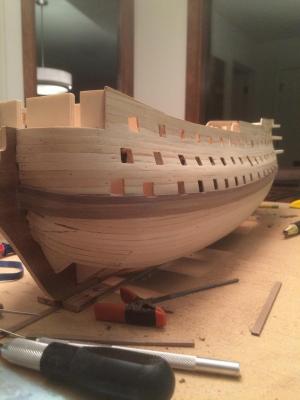
I'm back at it again, here's a quick update to where I'm at. I am not entirely finished the first layer of planking, but here's a photo of my progress. I've begun to transfer the gun ports from the plan to the hull, took me about 3-4 hours to do both sides, next I'll cut them out. Fun stuff...
-
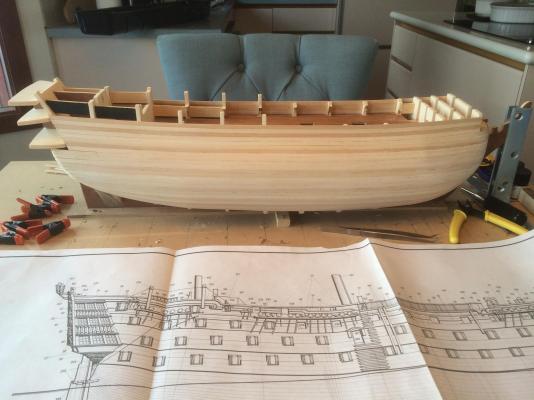
Time of the year where I spend time outdoors rather than in. Doing a little more on my planks, on a rainy snowy day a couple days ago. Here's my latest pics
-
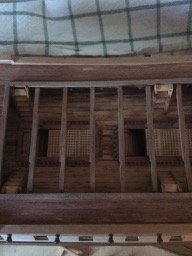
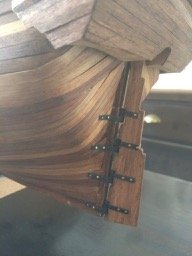
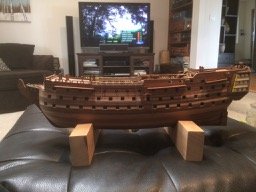
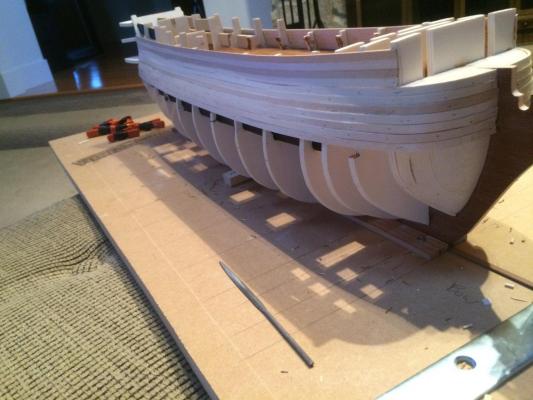
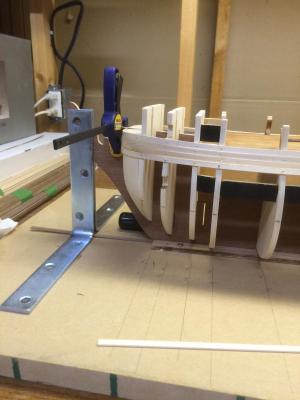
I'm back in the saddle again…. - glued 4 planks, each side. - I've added two angle irons to keep the ship nice and sturdy, as you see from my pic below...
-
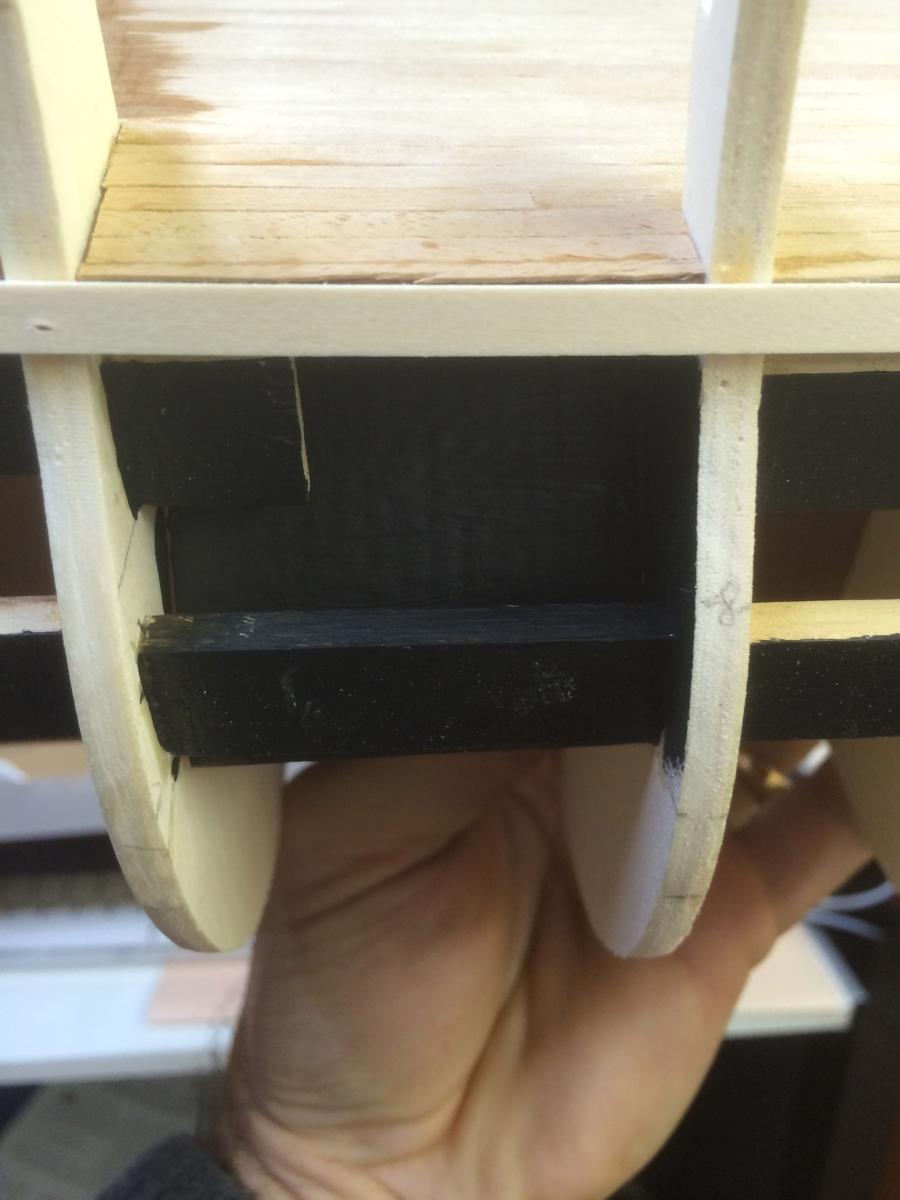
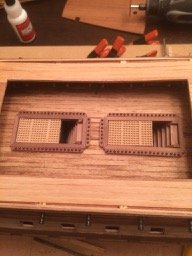
Back at it after a few weeks off, one of them in the Caribbean!! Started on 2 planks, one on each side of the ship, following the lower decking, and glued. Added some backing for the 2 doors on each side of the ship, painted it black, to give the illusion of a dark entrance.

-
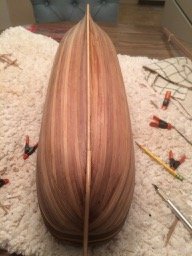
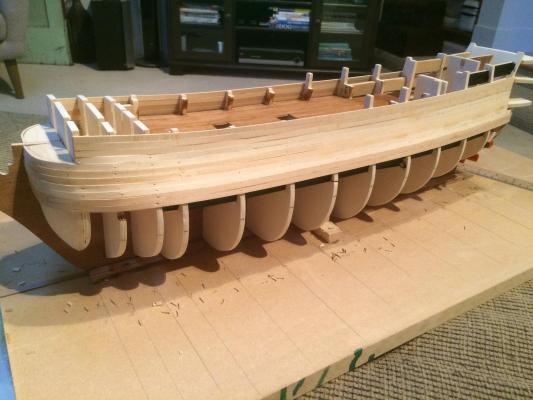
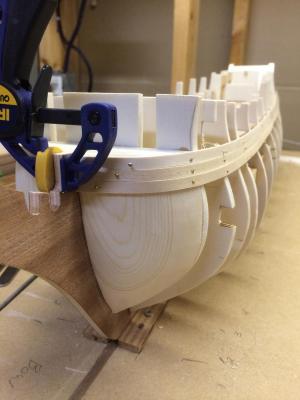
Just testing 3 planks both port and starboard side of the ship to see how the planks would shape over the bow's fillers. Not too bad. Soaking the planks about 20 minutes makes them bend very nicely.

-
Hmmm, interesting. Will you be painting it black? Not sure what I'll do.

.jpg.c4bc5b5143ca80f66207a15672df9b70.jpg)
.jpg.03c958ab6e9a80b590cb521d5825b887.jpg)