Search the Community
Showing results for tags 'lynx'.
Found 9 results
-
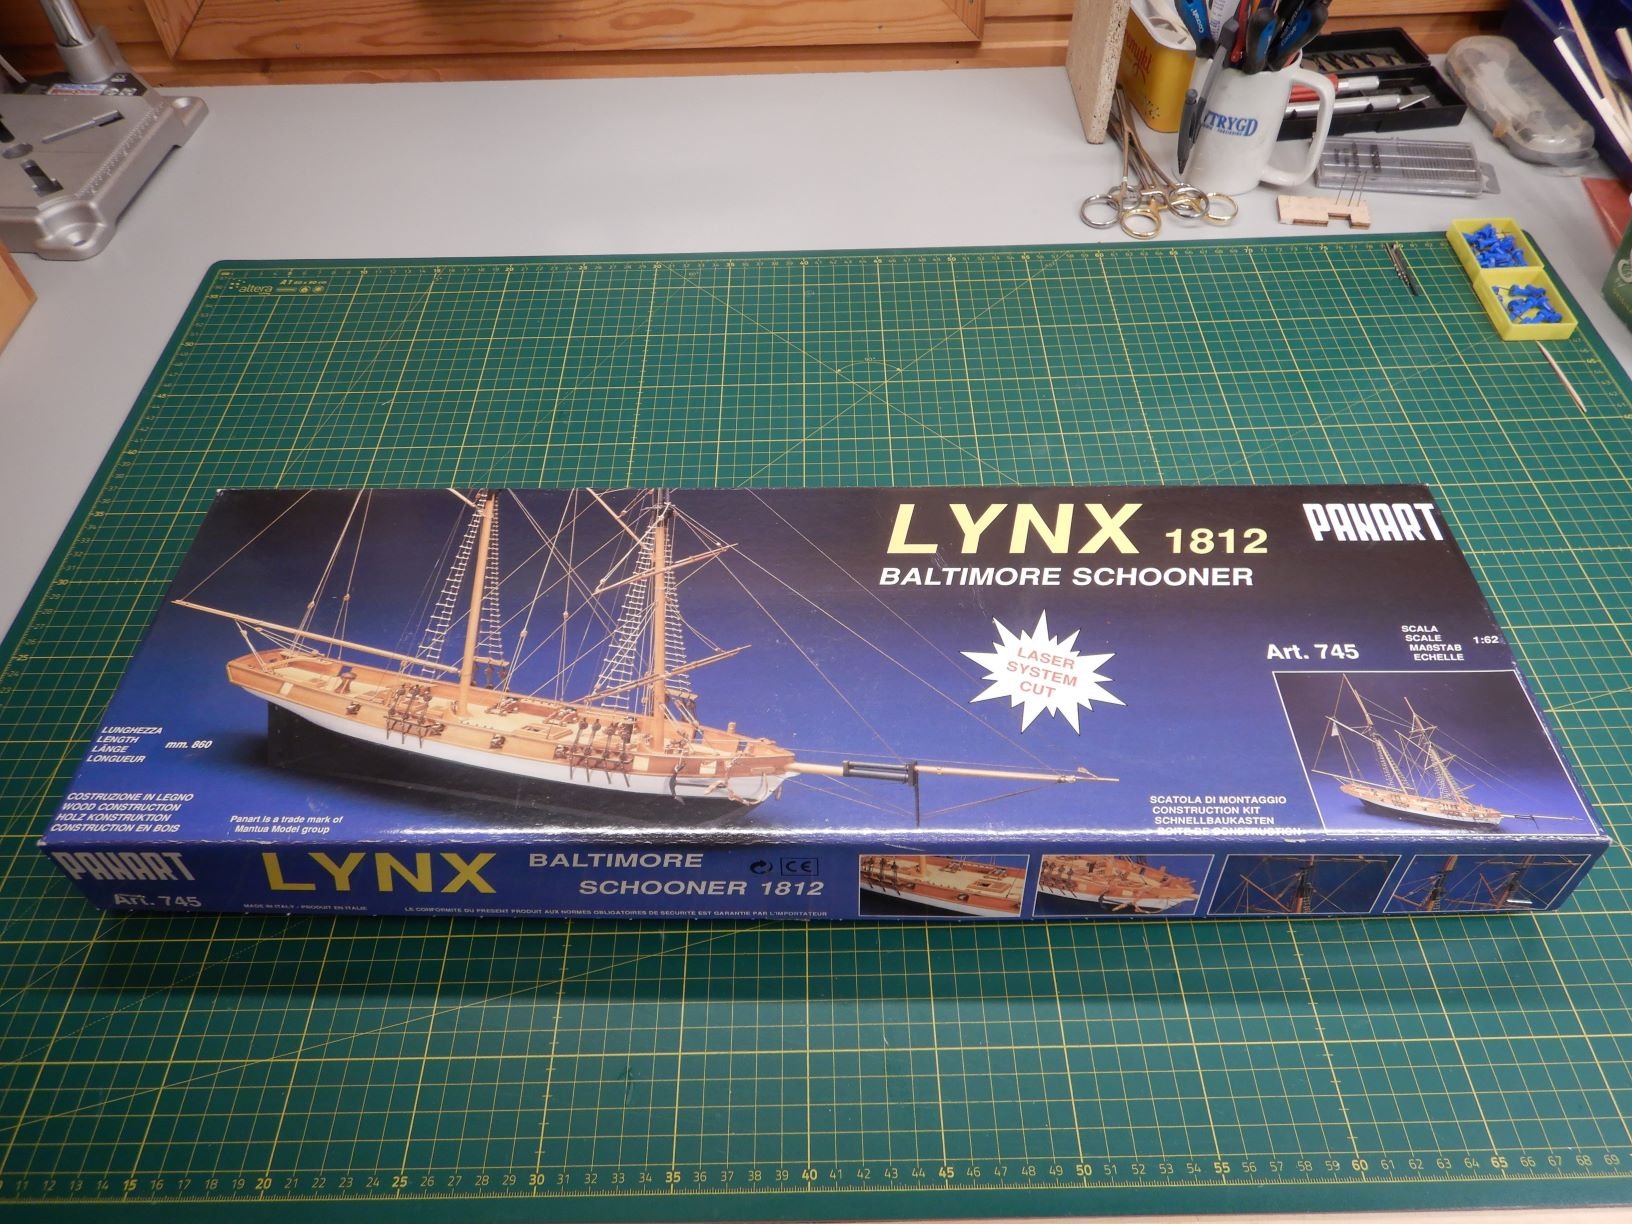
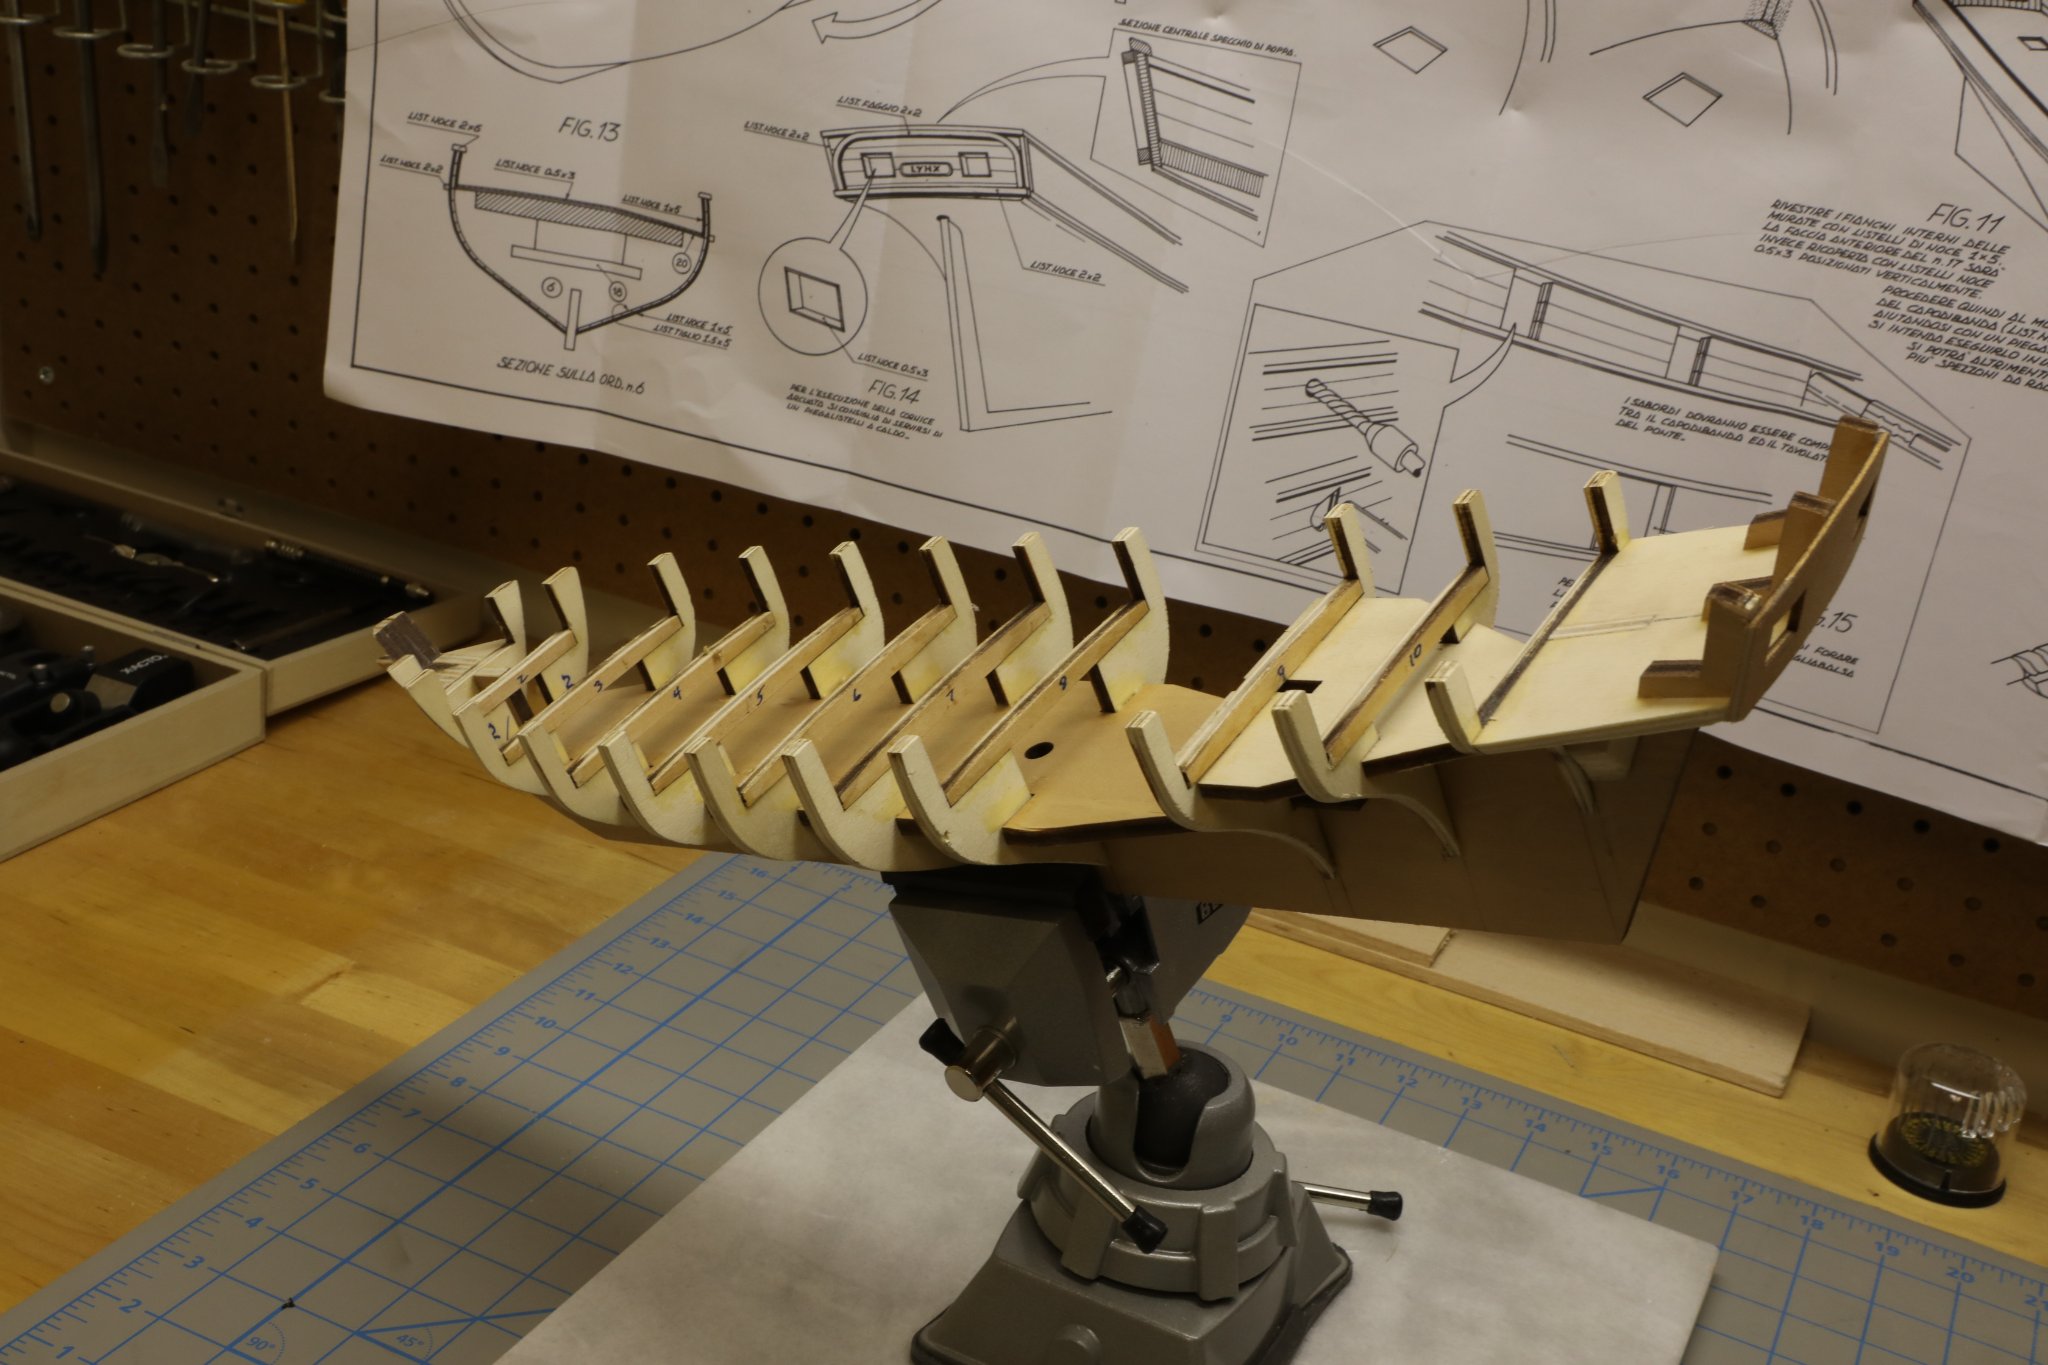
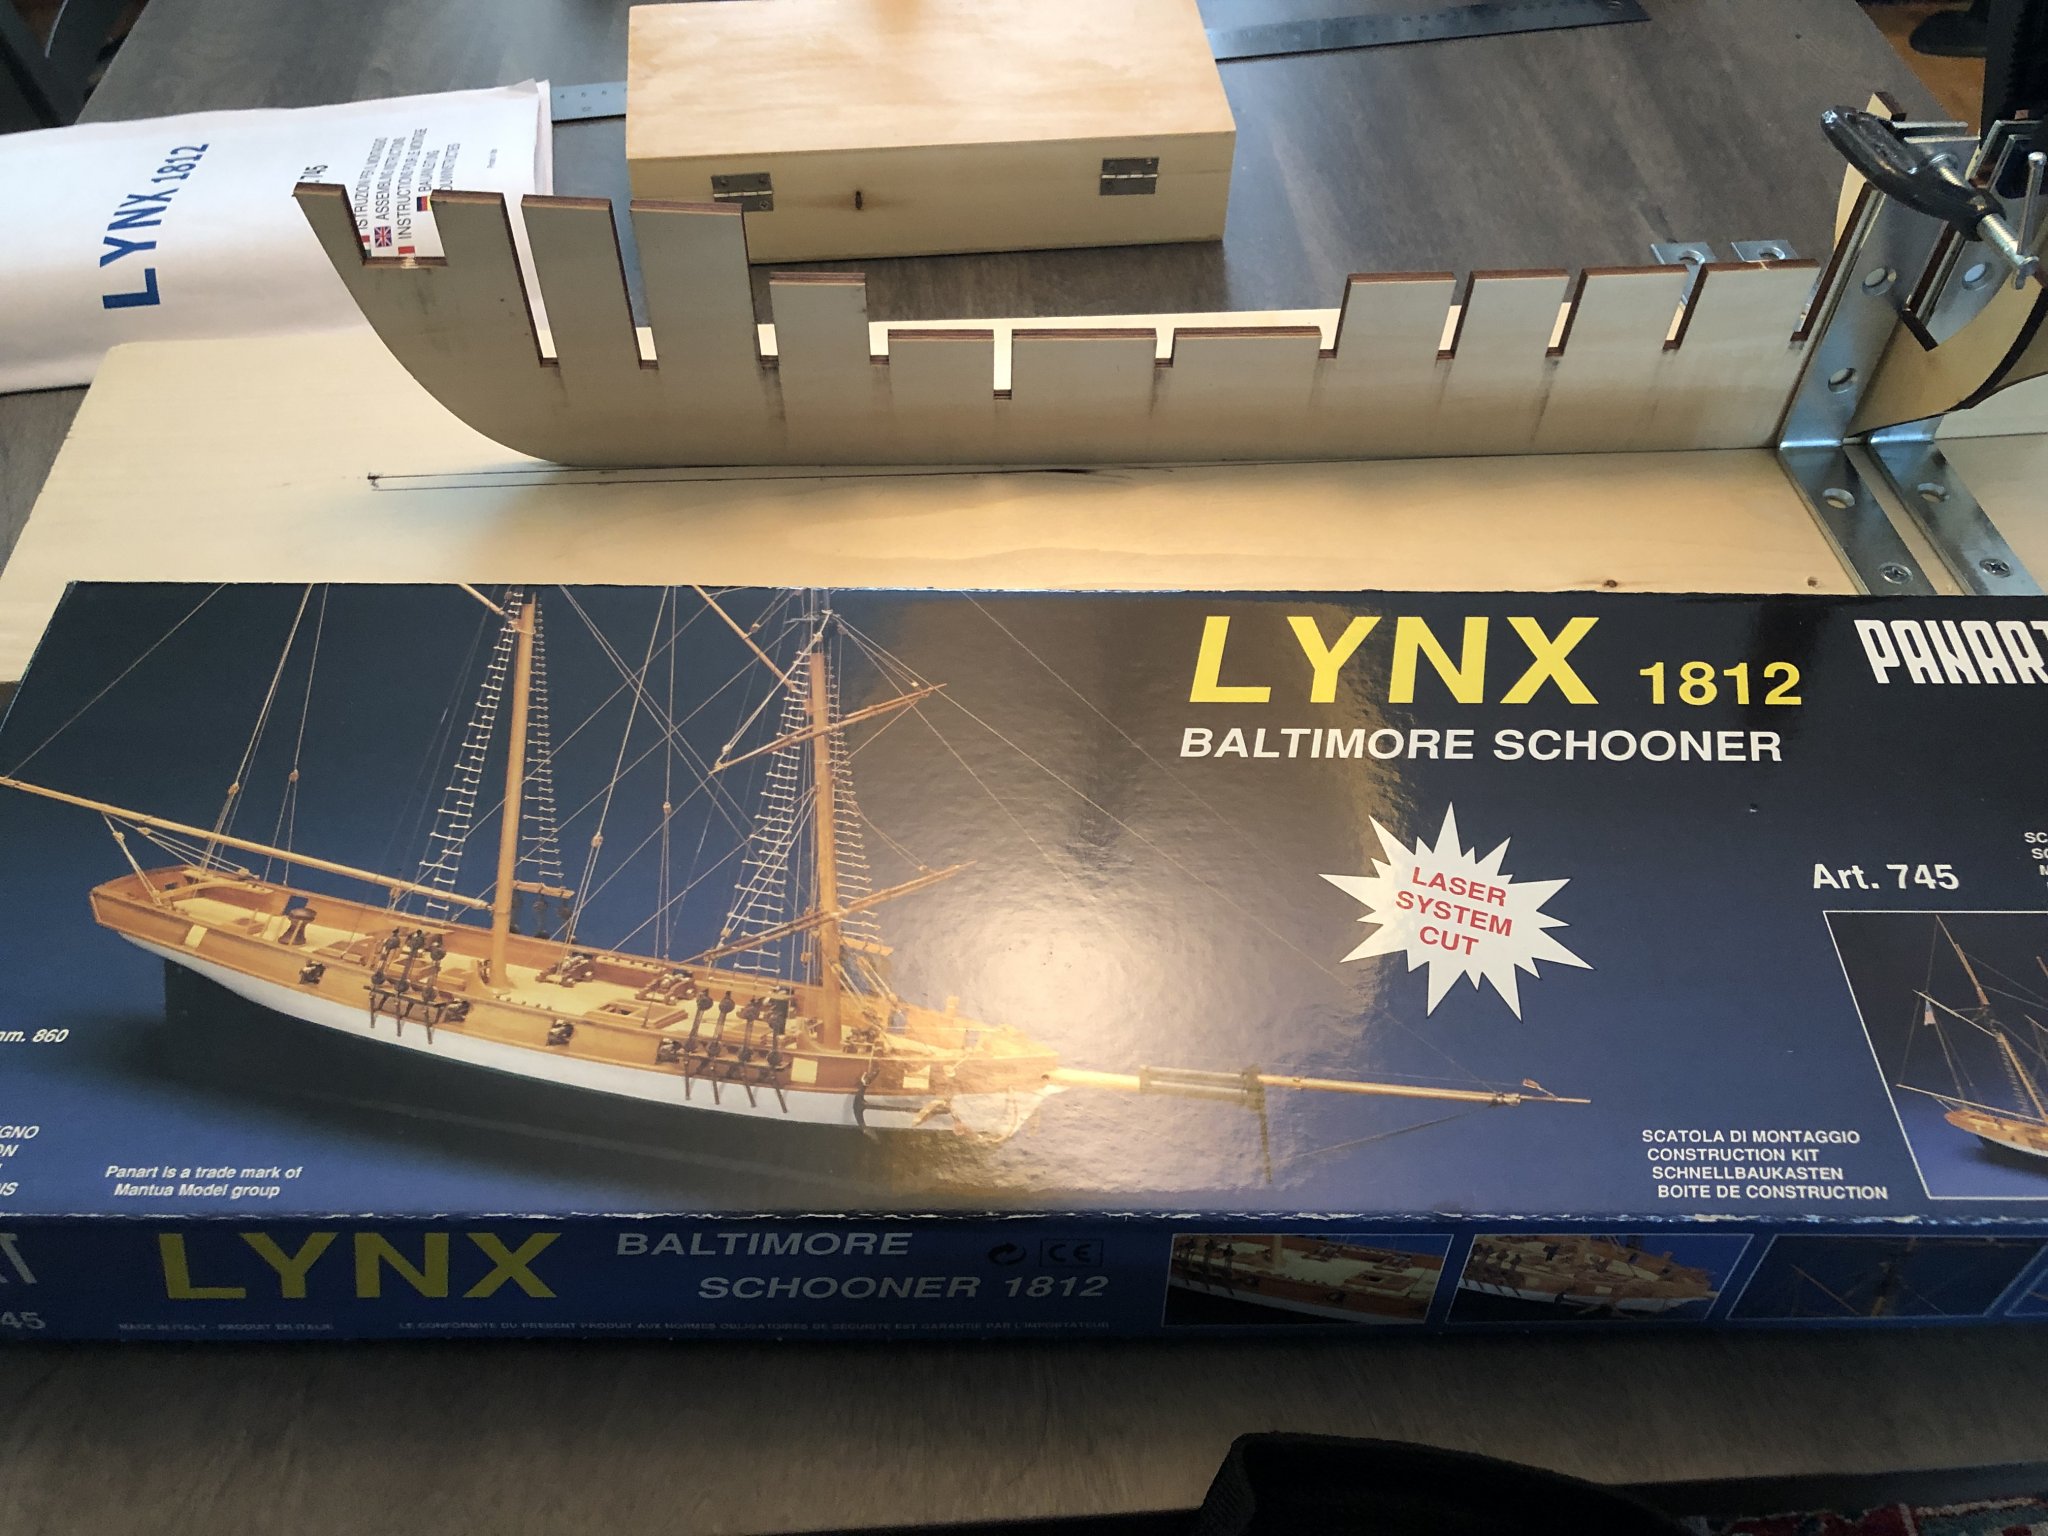
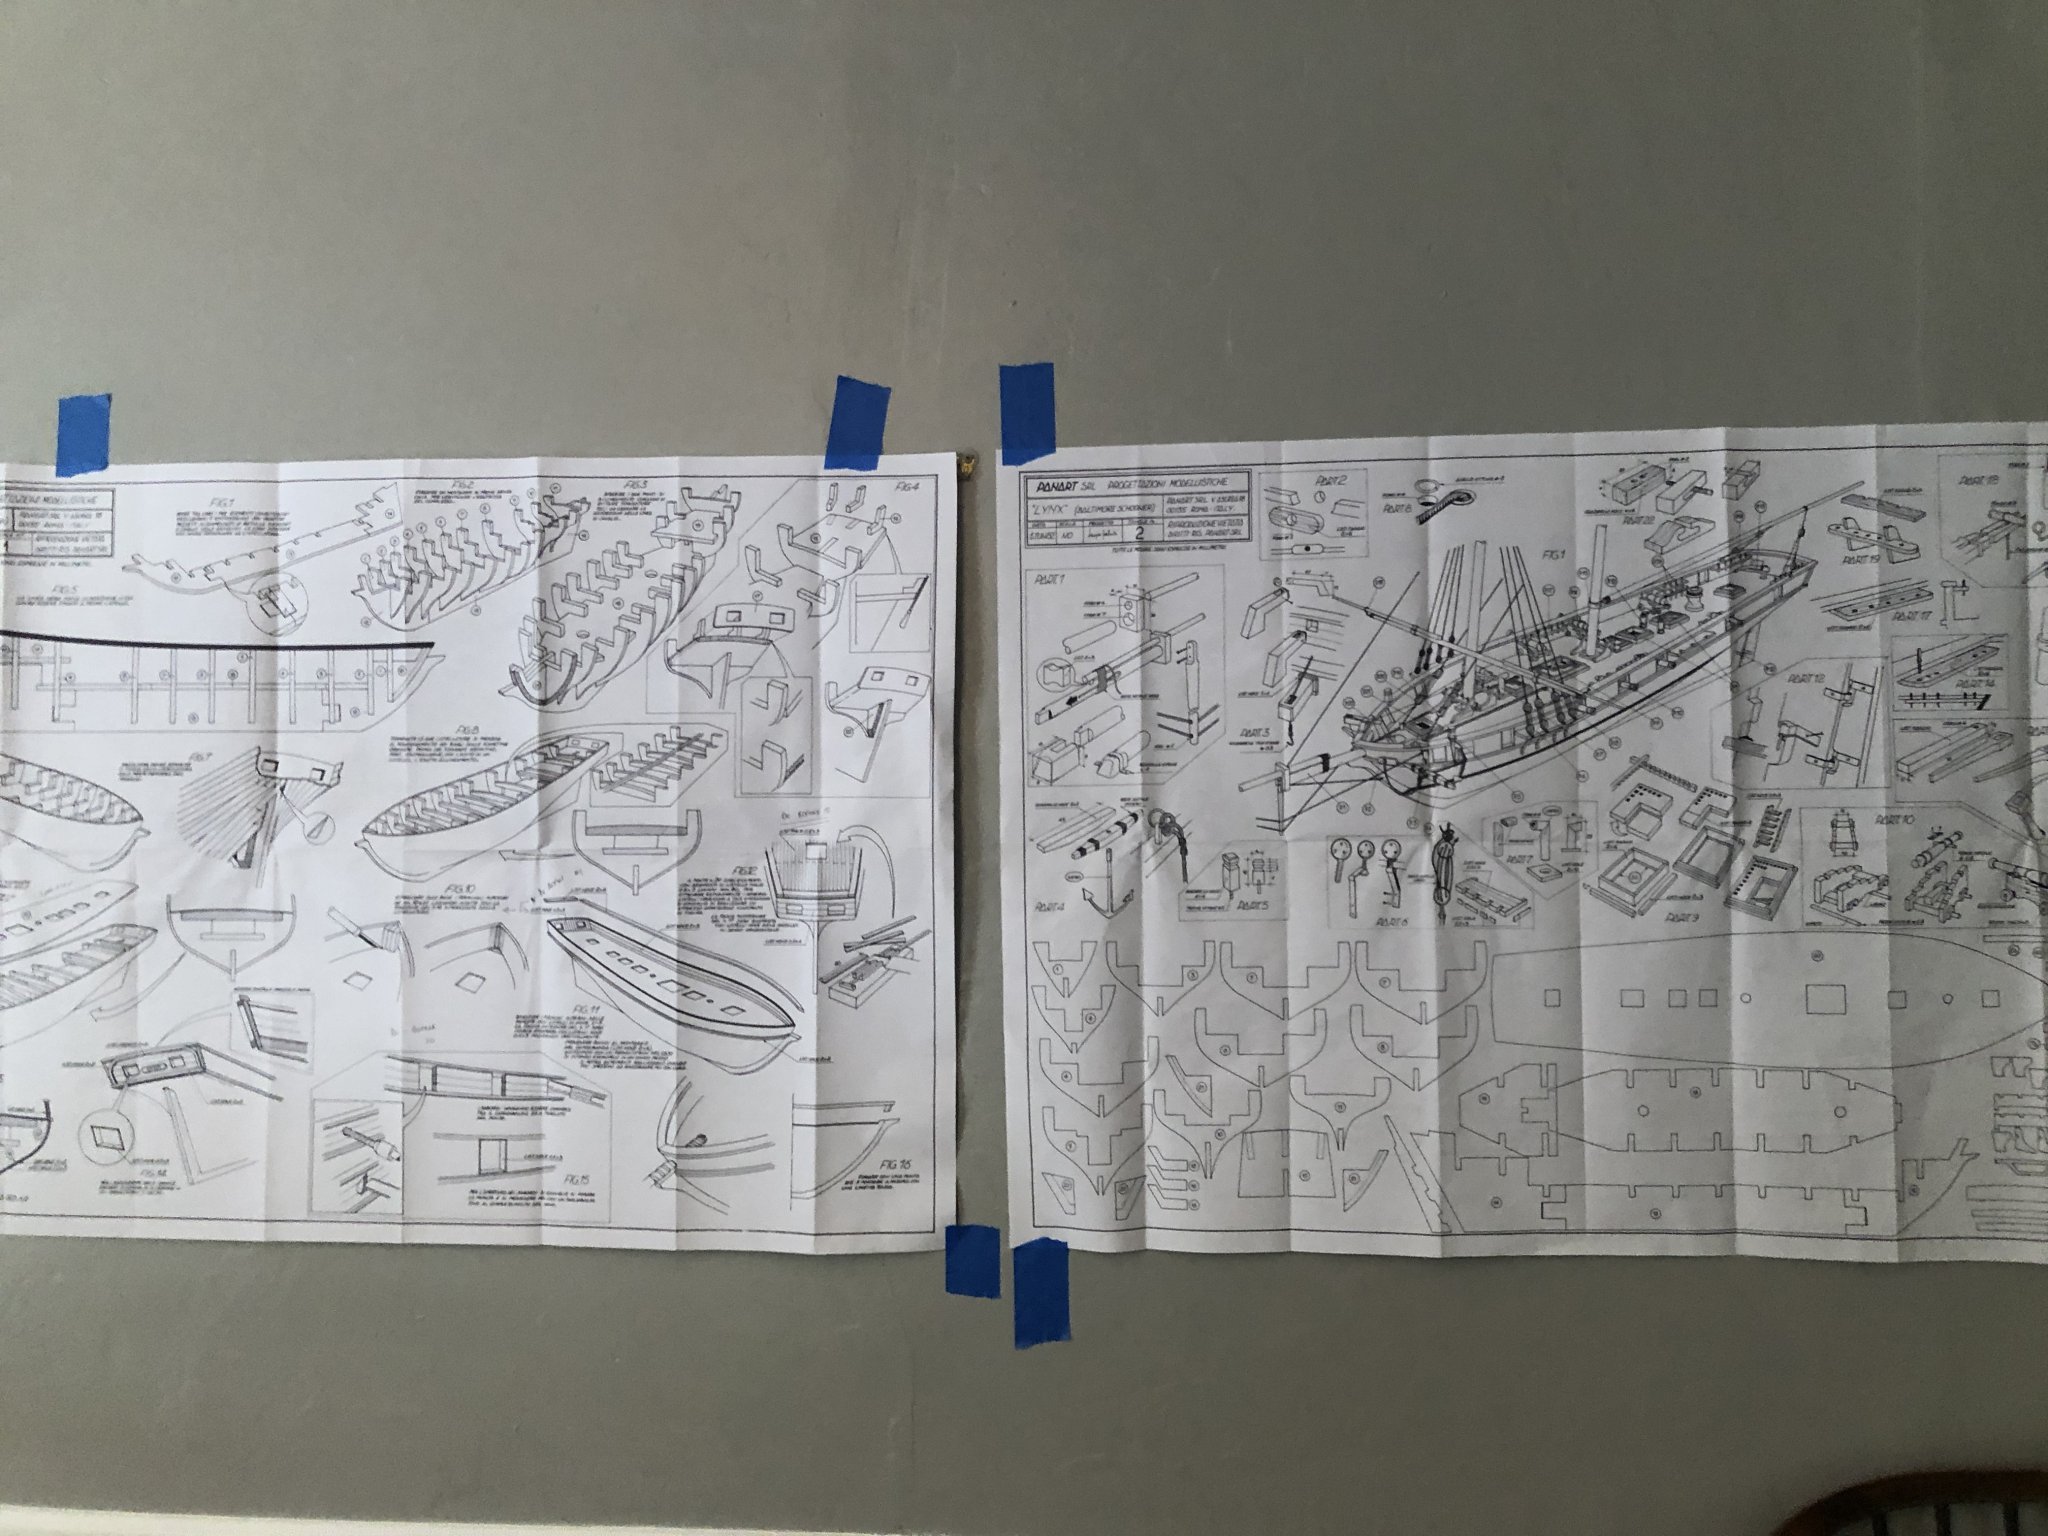
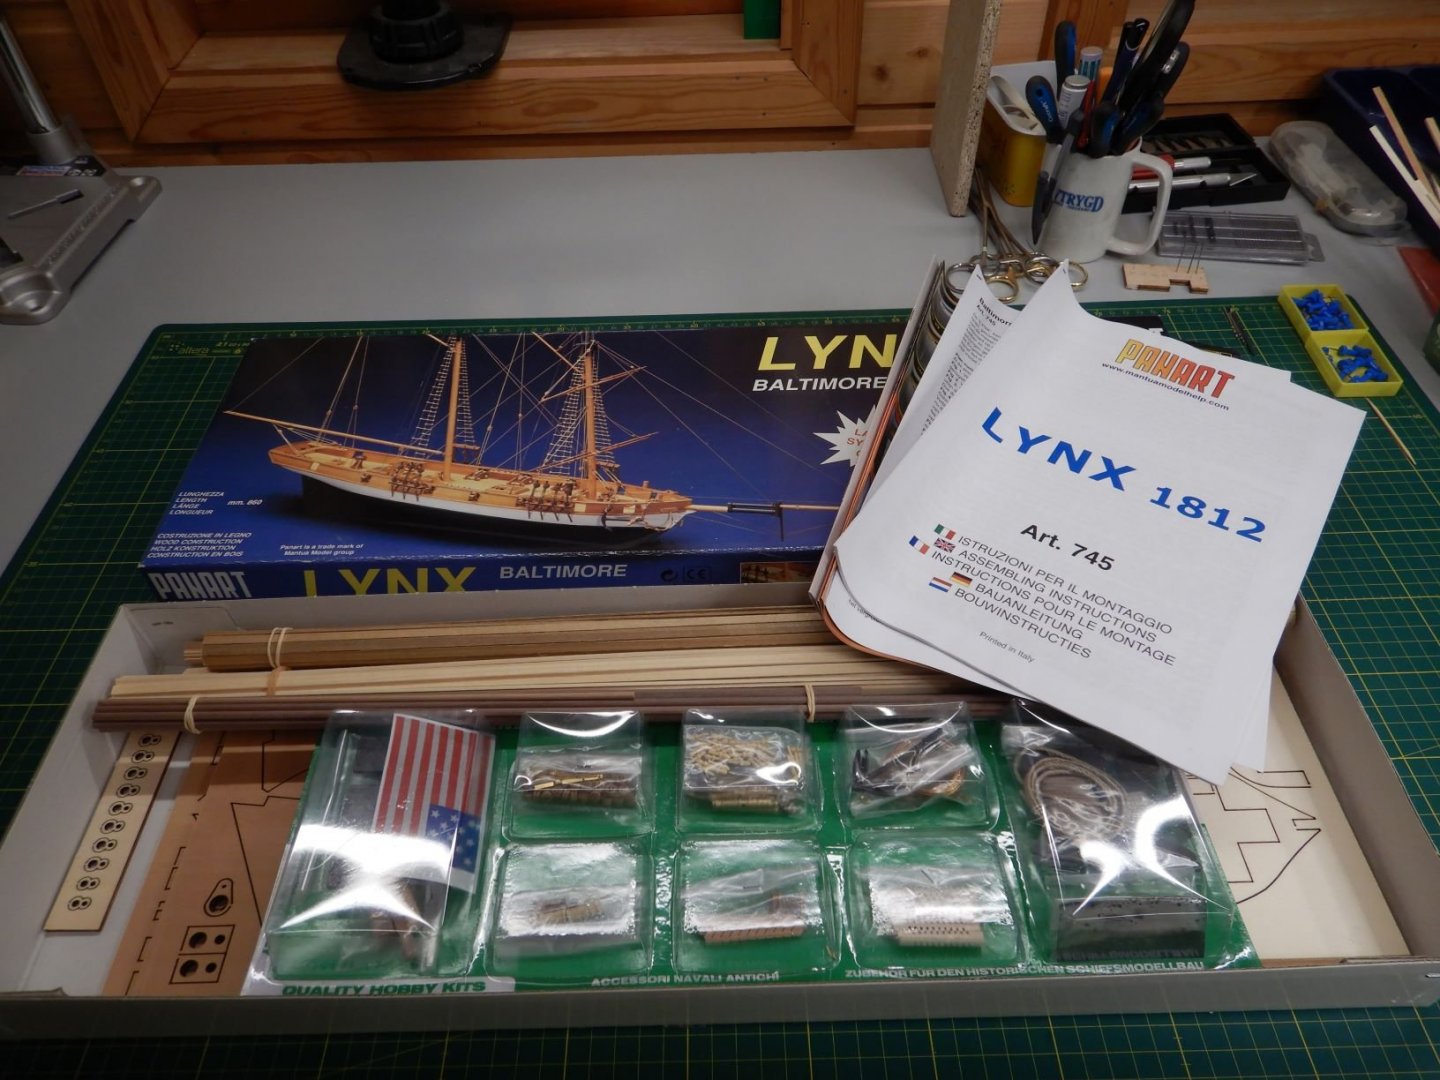
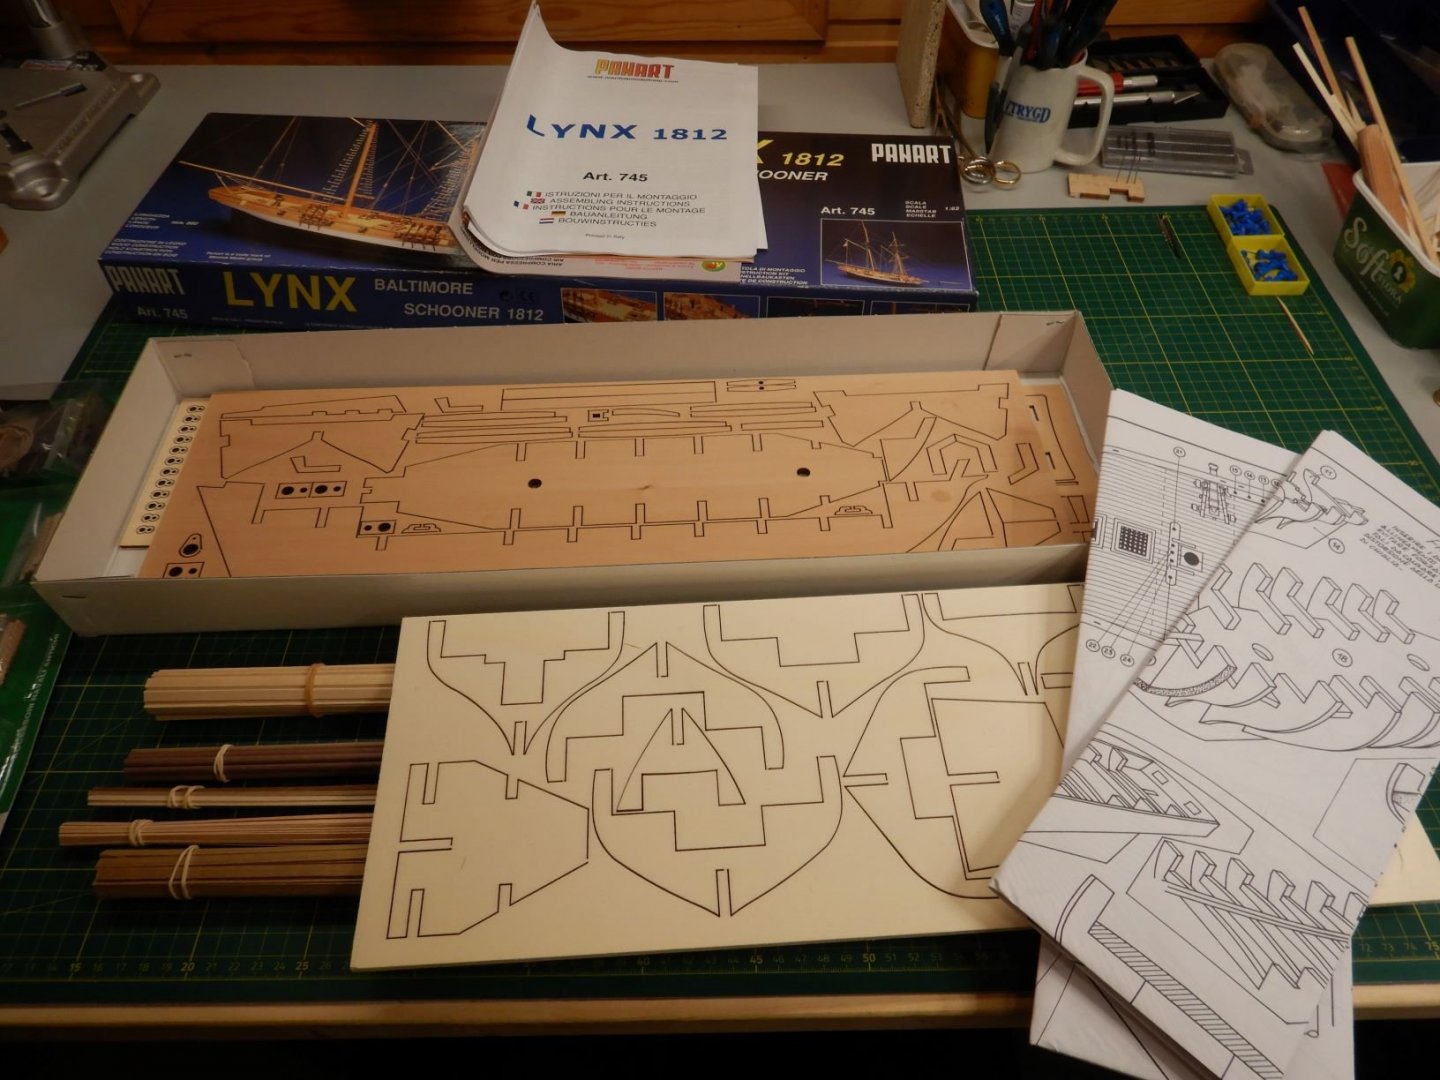
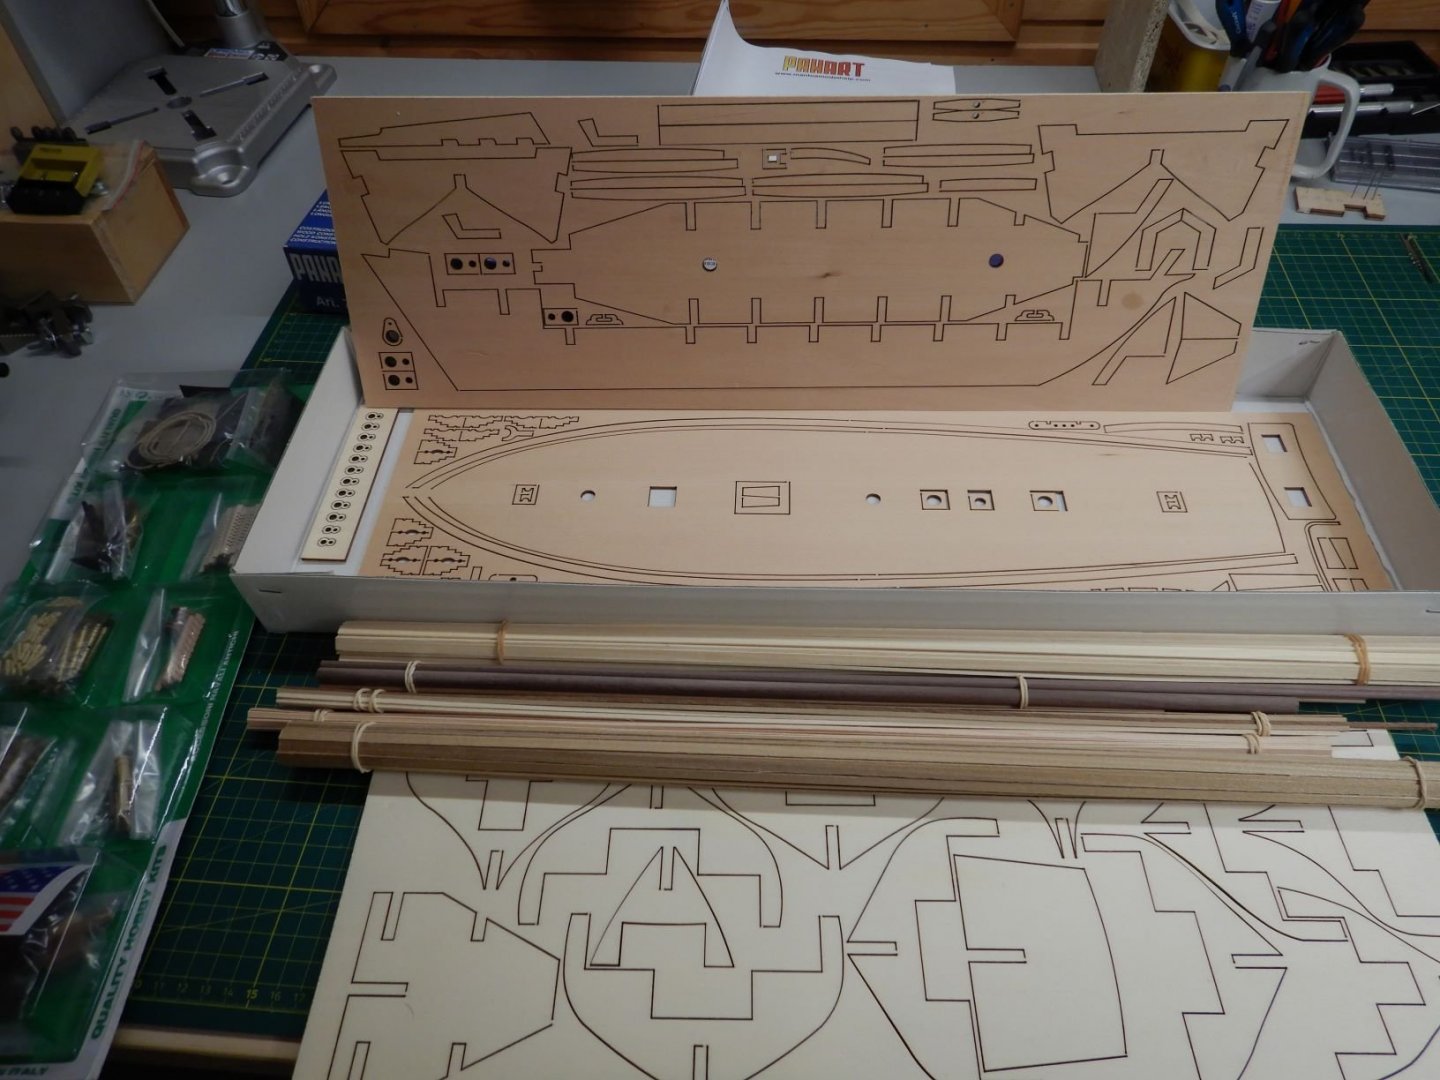
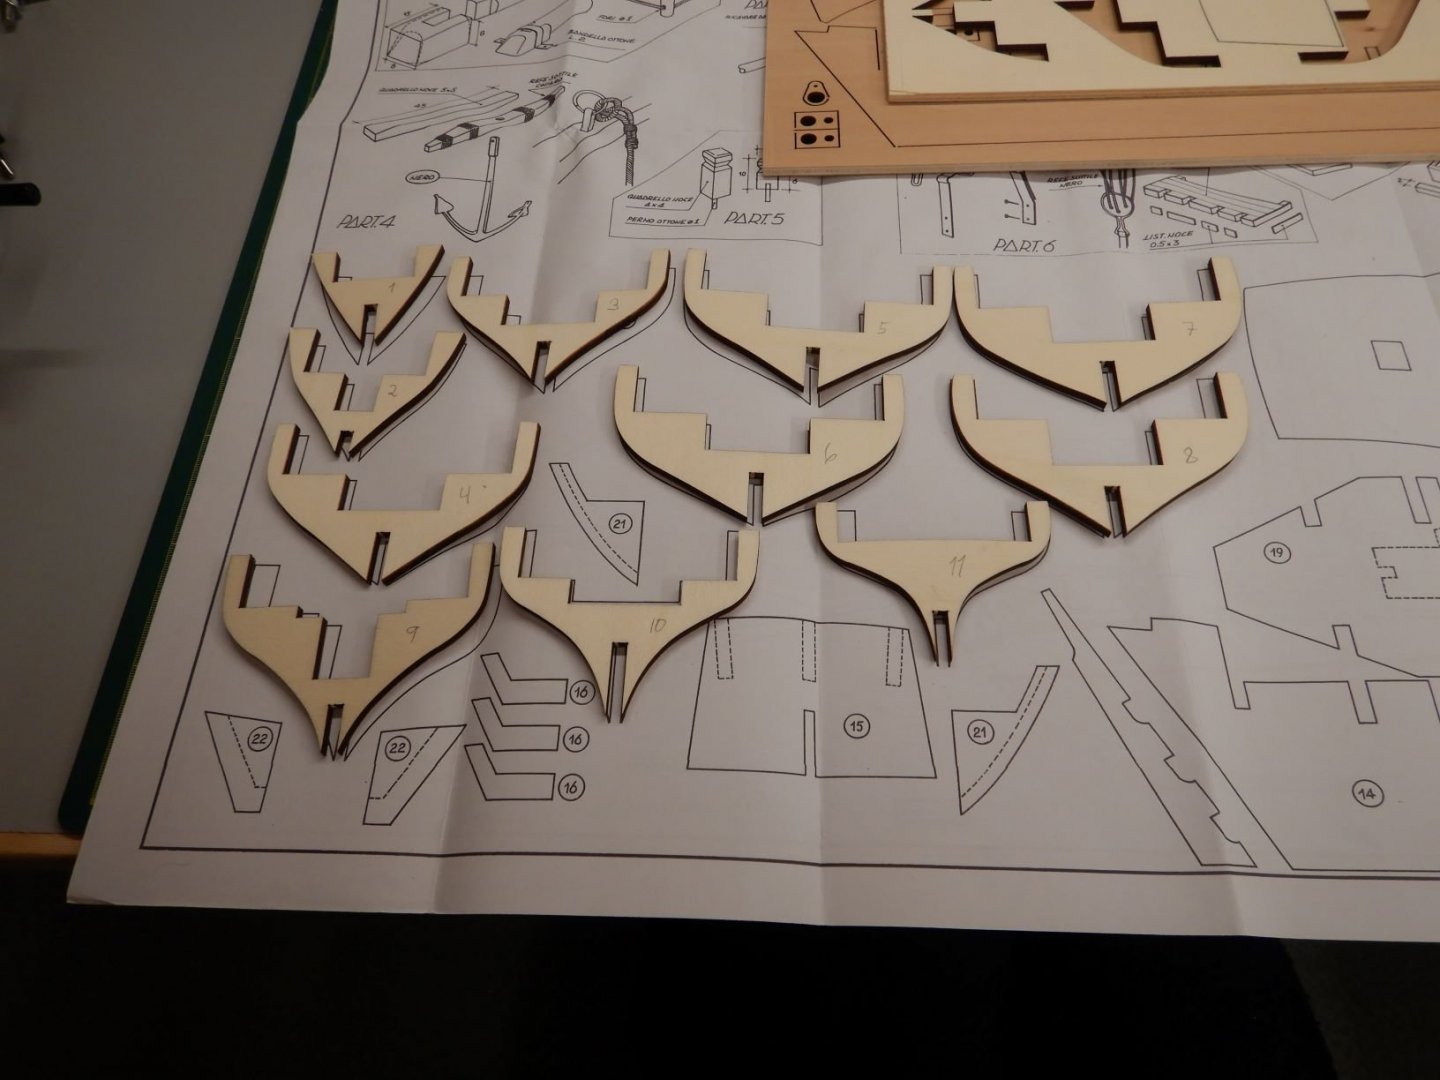
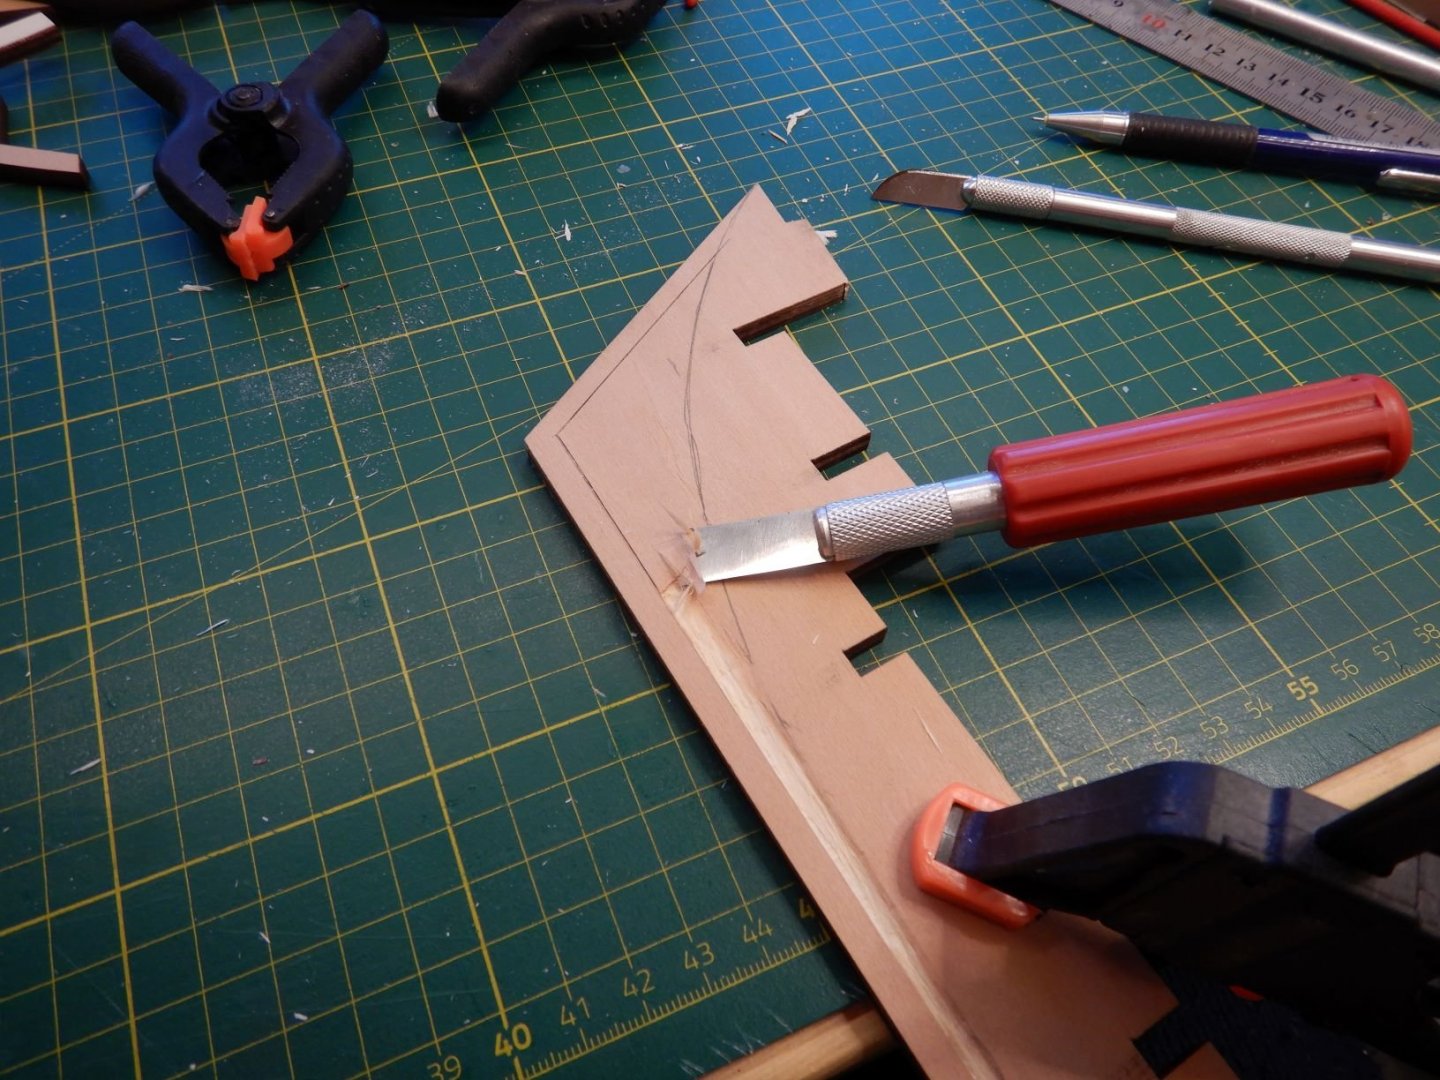
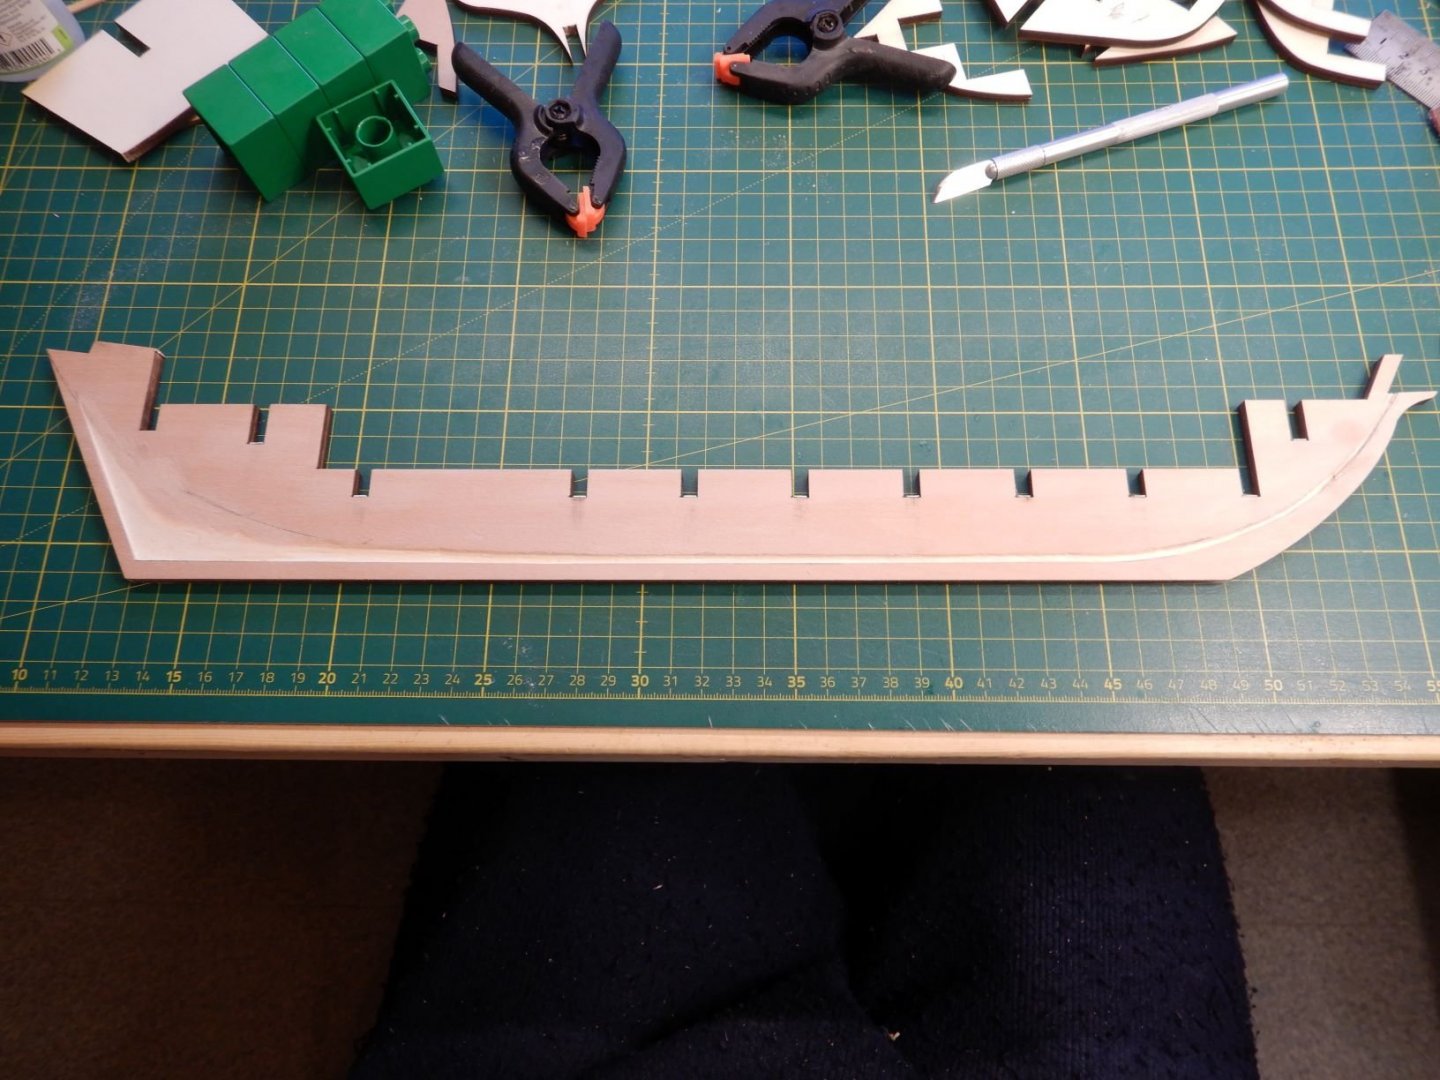
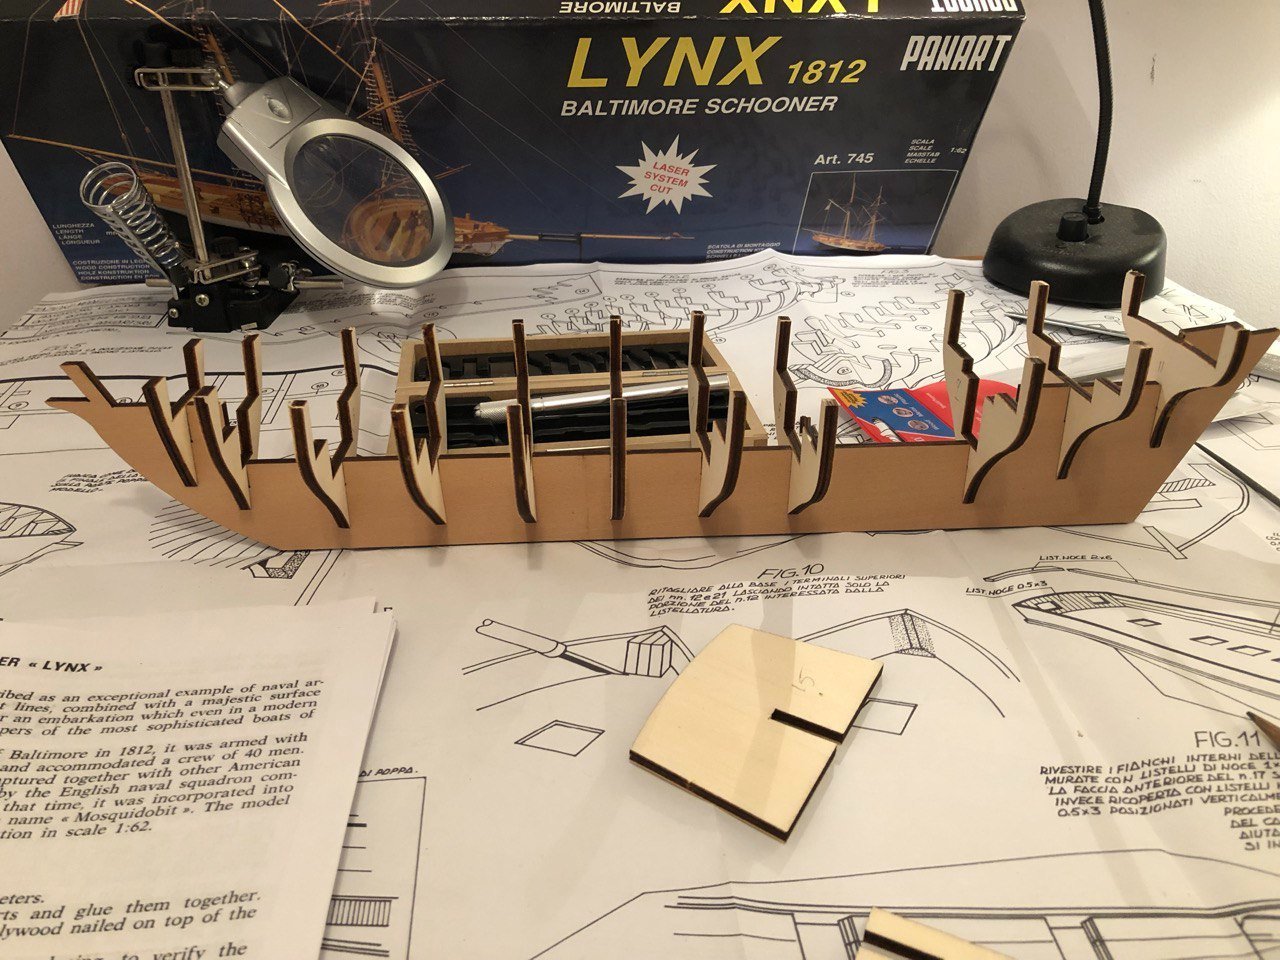
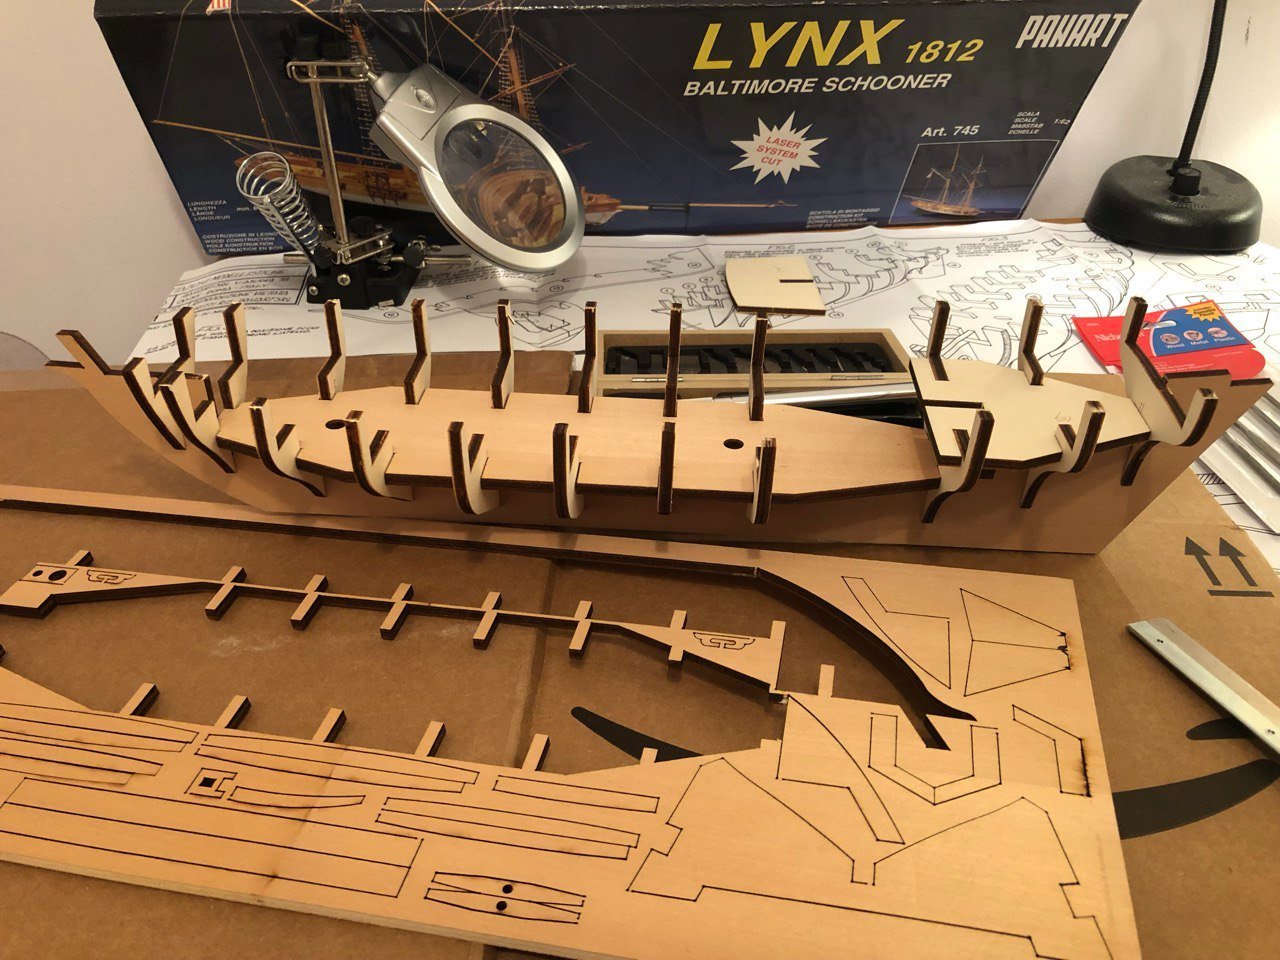
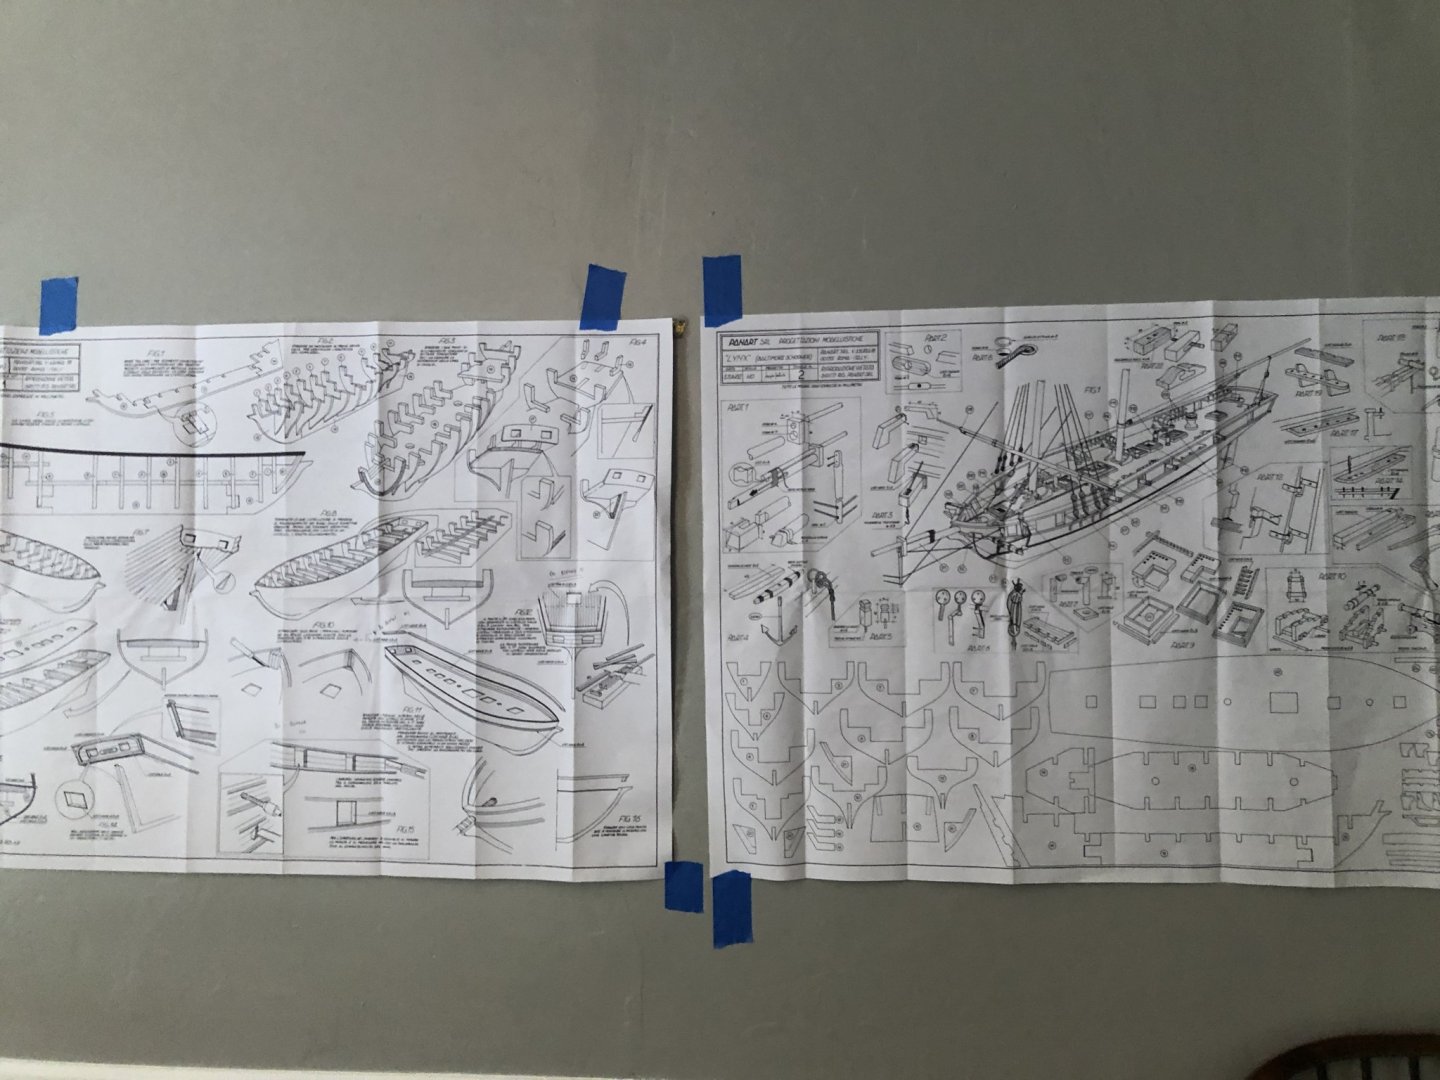
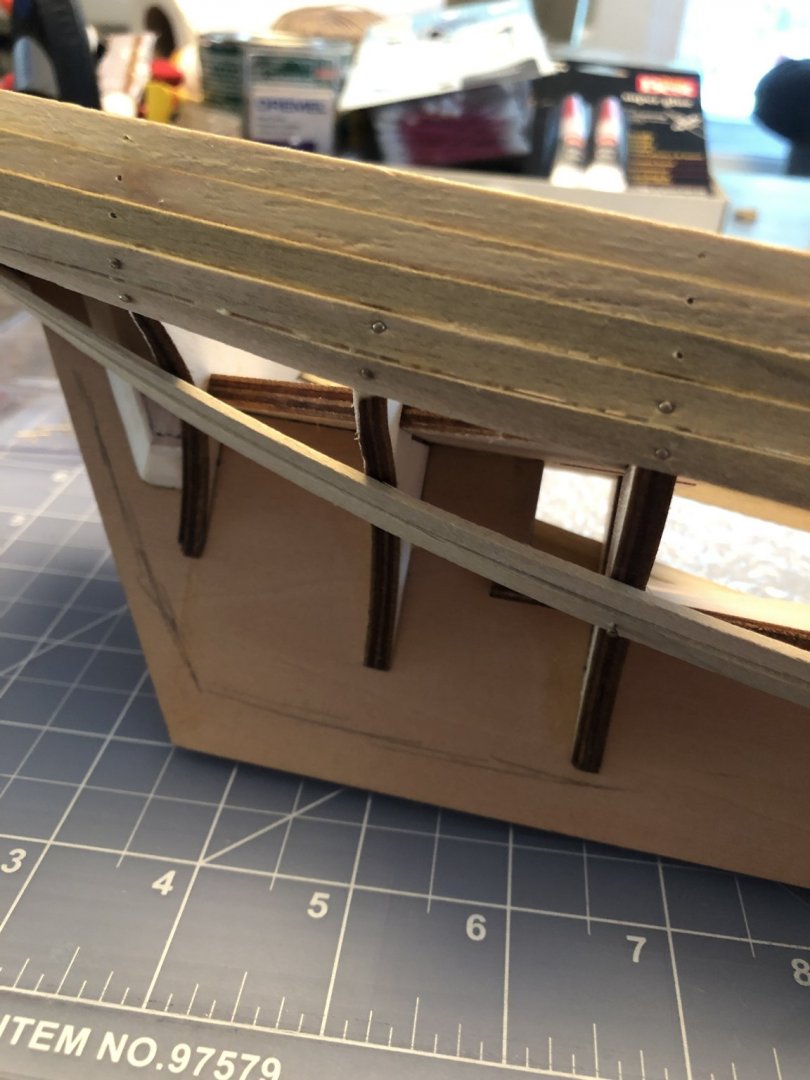
 Hello all! Here we go again! After finishing Le Renard, I have decided to start the build of Panart's kit of the Lynx. I really like the lines of this ship with it's huge rig and raked masts. I will be continuing my Bluenose build, but have found out that I like to have two (or more?) projects at different stages going at the same time. This will be my first model with double planking, so we'll see how that goes! So here is a few photos of the box and it's contents. The quality of the lasercuts look great, with no burn marks, and no warping. The rest of the materials also look good. There is two sheets with plans printed on both sides and a pamphlet of written instructions. Upon starting to look things through and planning the point of attack, I realised that even though the lasercuts look great, they are not numbered in any way.. There is however a full scale drawing of most of the pieces on the plans, so I cut loose the bulkheads and layed them on the plan to figure out which was which. The drawing (or the lasercuts) seems to be inaccurate as none of the bulkheads fit perfectly on the plan. A little bit of guesswork is needed here.. Bulkhead no. 6 and 7 is very similar, but I think I got it figured out. The keel is in one piece, but the plans and instructions say that it is three pieces that need to be joined together. Maybe they have updated the kit and not the instructions? I decided to cut a rabbet in the keel to take the planking. No mention of this in instructions. This is where I am now, more updates to come as work progress. Stay safe! Gaffrig.
-
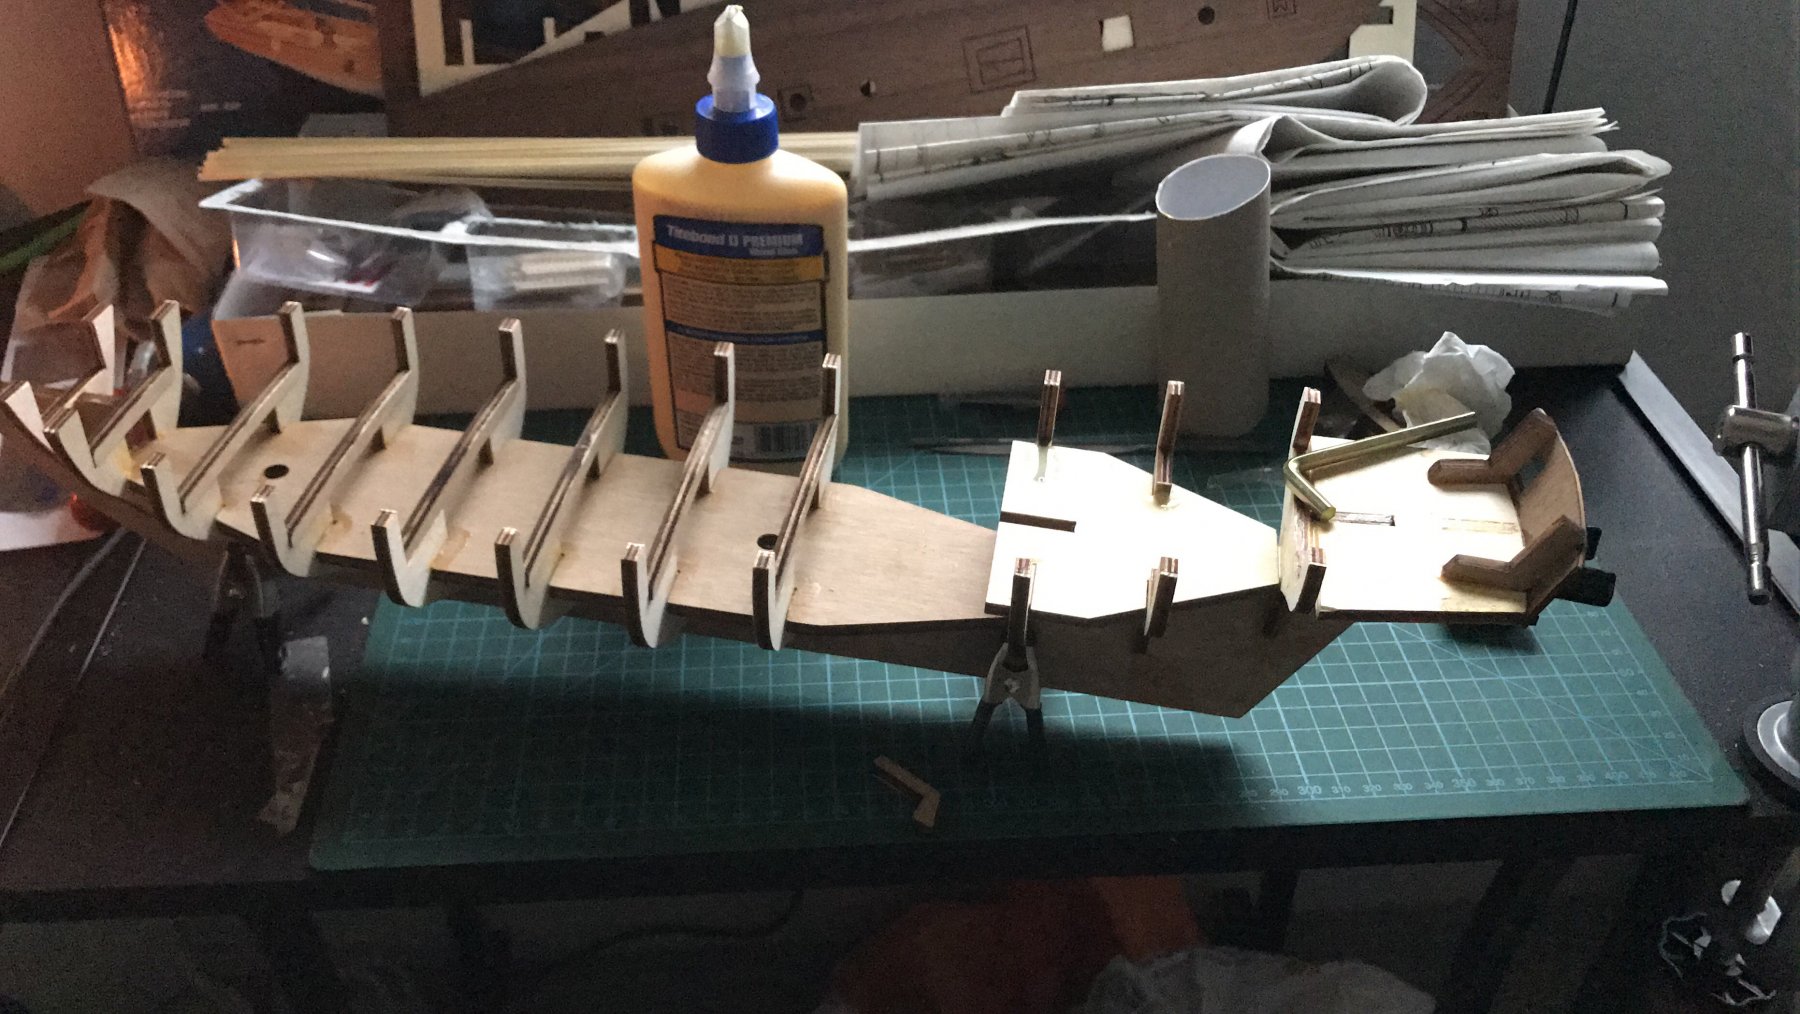
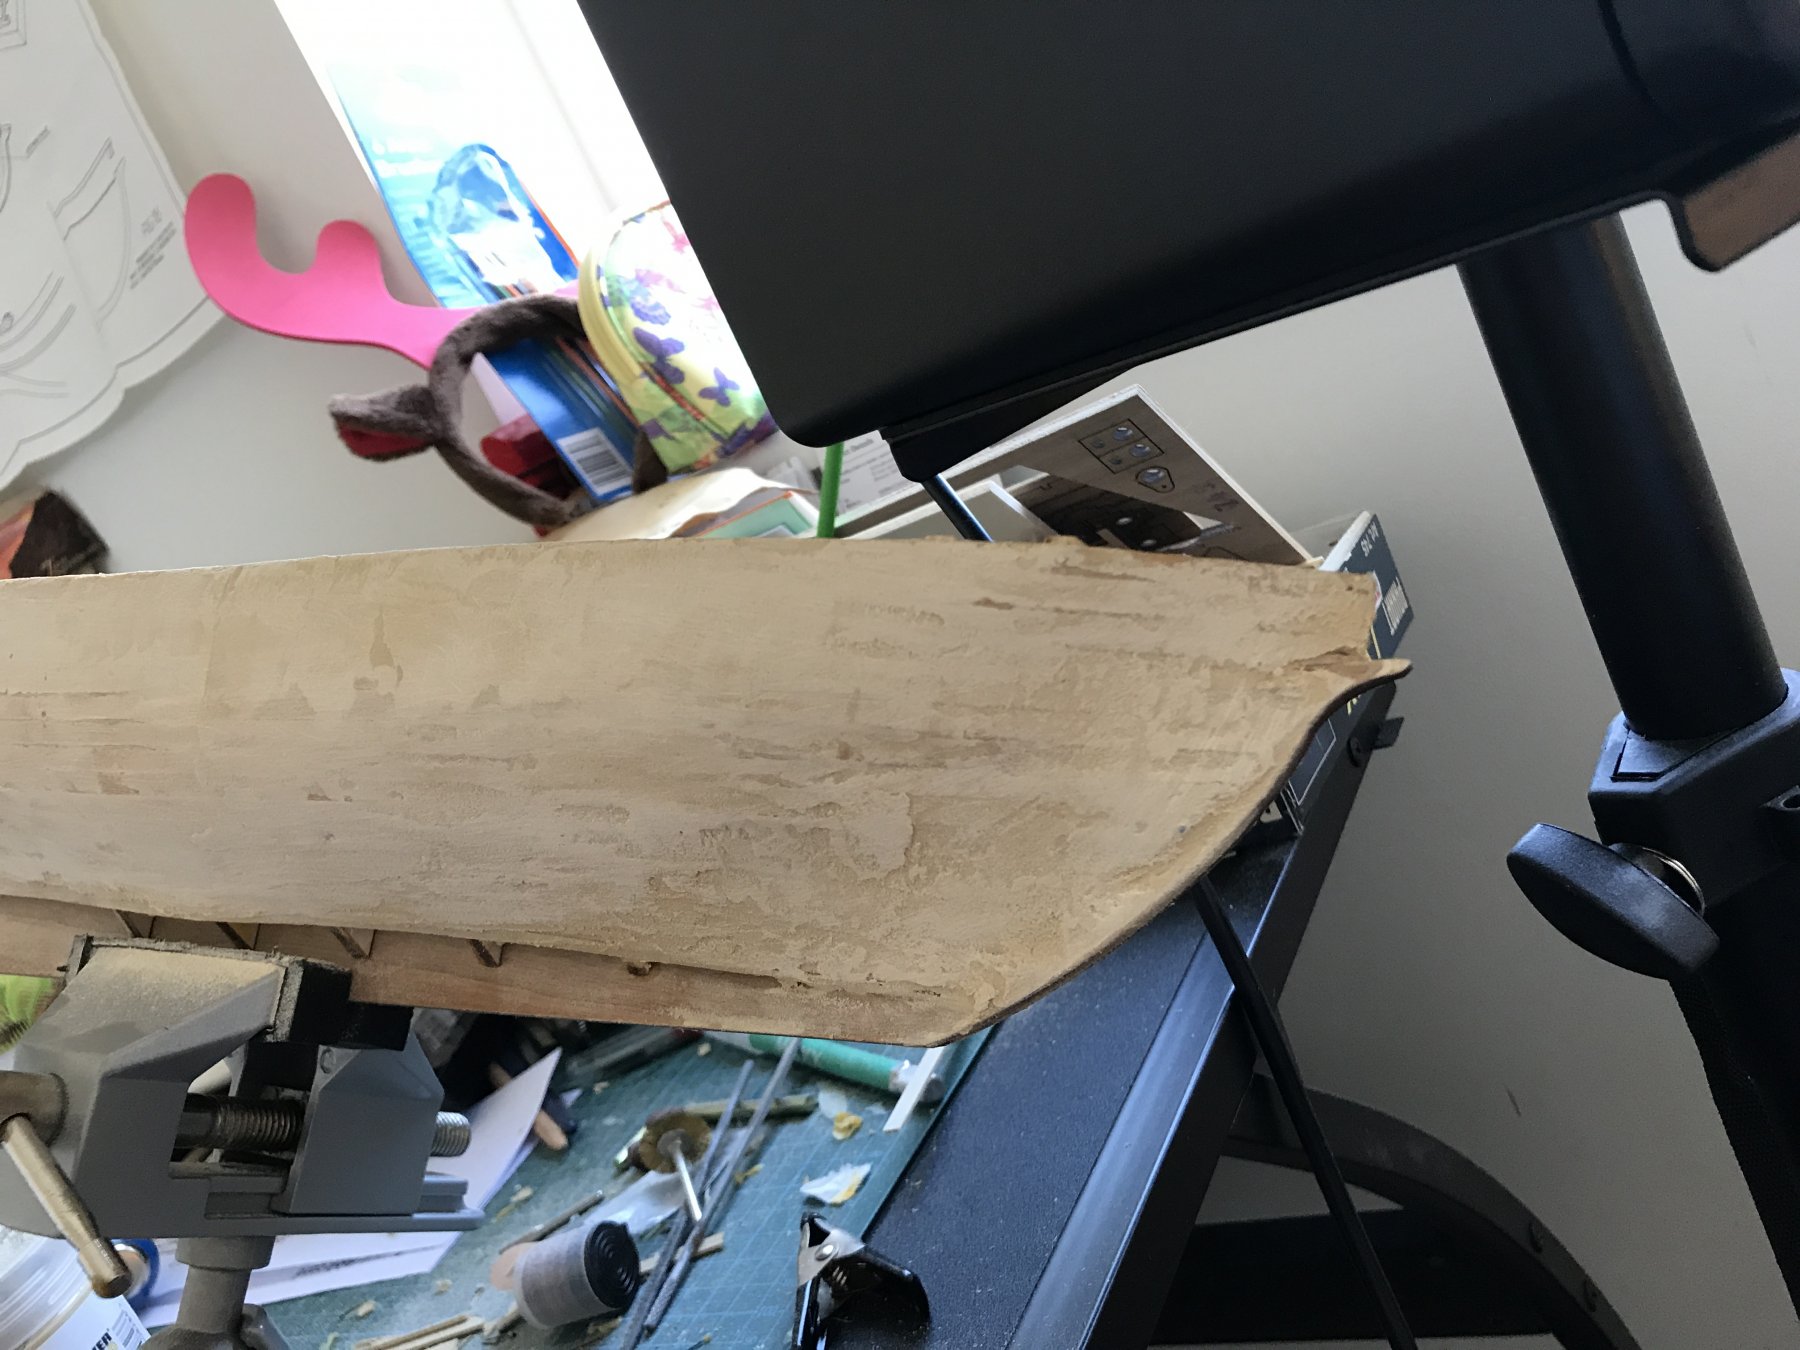
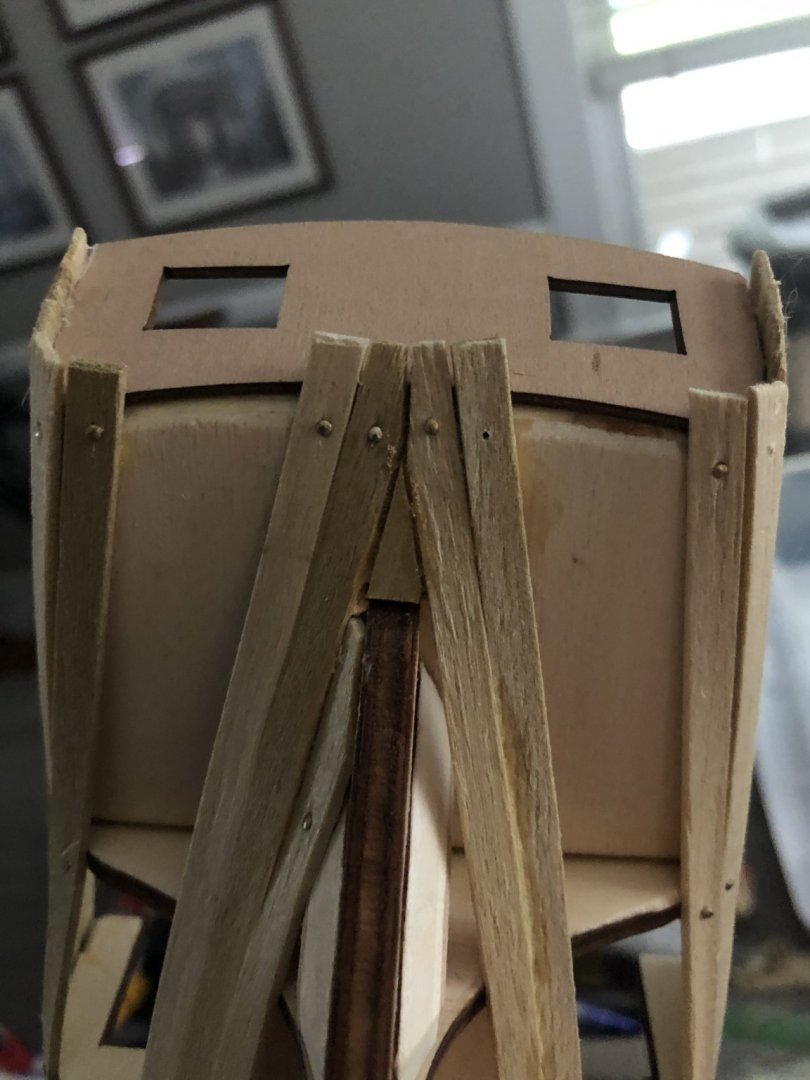
 Background My father was a model ship builder and completed a number through his life so I was always around it. He passed a while ago and I finally got around to trying my hand at it, though I wish I had done so when he was still around. Unfortunately I didn't pay that much attention when he was building as I had what at the time were much more exciting things to do. So the result now is a desire, but not a ton of skill, to carry on my father's tradition. After expressing that desire, I was gifted the above kit in late 2017 and got straight to work, expecting it to be similar to the plastic models I had built as a kid. Boy was I wrong! But I set out nonetheless, determined to complete the model. I didn't know about MSW or many of the online resources and assumed that the plans and instructions would serve to pull me through. After all, Dad didn't have the internet when he started! I quickly started putting the hull together, pictured below (I did take a few pictures through the process, and I was going to document it for the whole few weeks it would take me to build it. However, my illusions were quickly shattered). The hull construction was fairly straightforward, each piece was detailed on the plans and I was able to match them up by number and using that with the plans, put the hull together. After putting the hull together, the instruction was to file down some of the pieces. This was my first mistake. I pulled out my new Dremel and got to work removing way too much material. This error would not be evident for a while. What I should have done is lay some planking and see exactly how much I needed to remove to create the bow shape. (You will all be happy to know I put the Dremel away and haven't used it for this project again) The next instruction was "The first planking has to be done with 1,5 lime-tree laths; the second with 1x5 walnut laths. Proceed from the top towards the bottom alternating every three or fours laths of the flanks to be covered." I was stumped. But that is a tale for the next post.
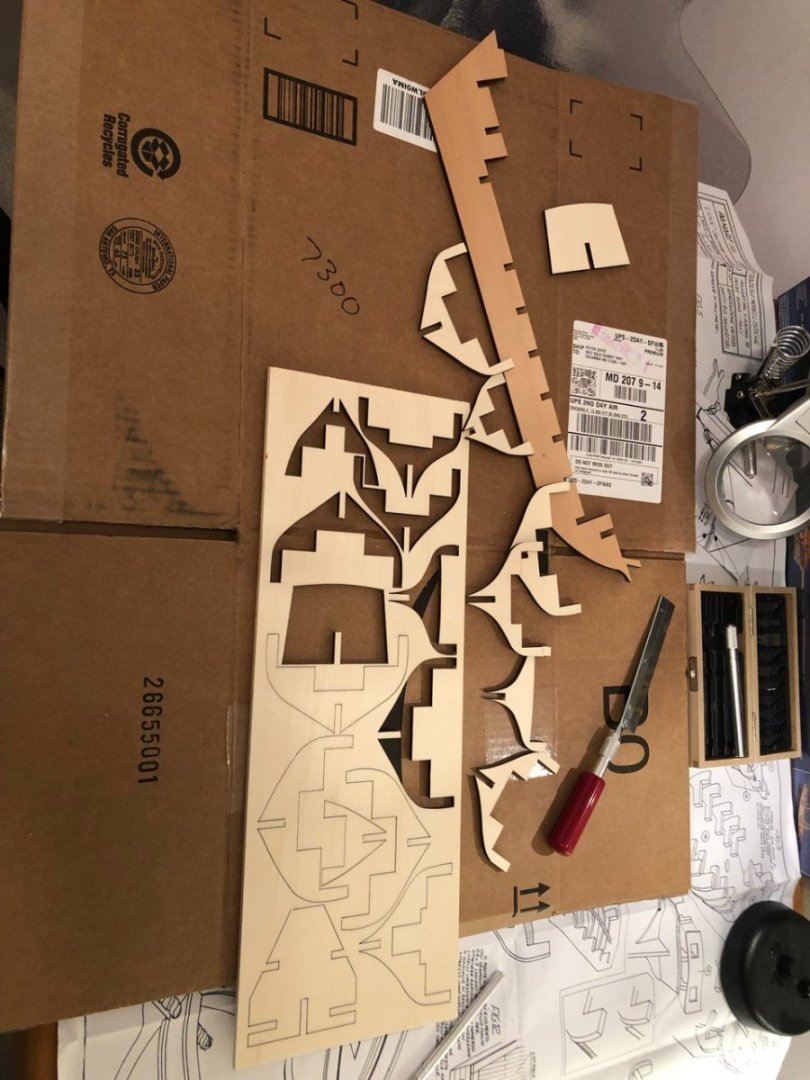
- 25 replies
-
- 4
-

-
- Baltimoe Clipper
- baltimore schooner
- (and 2 more)
-
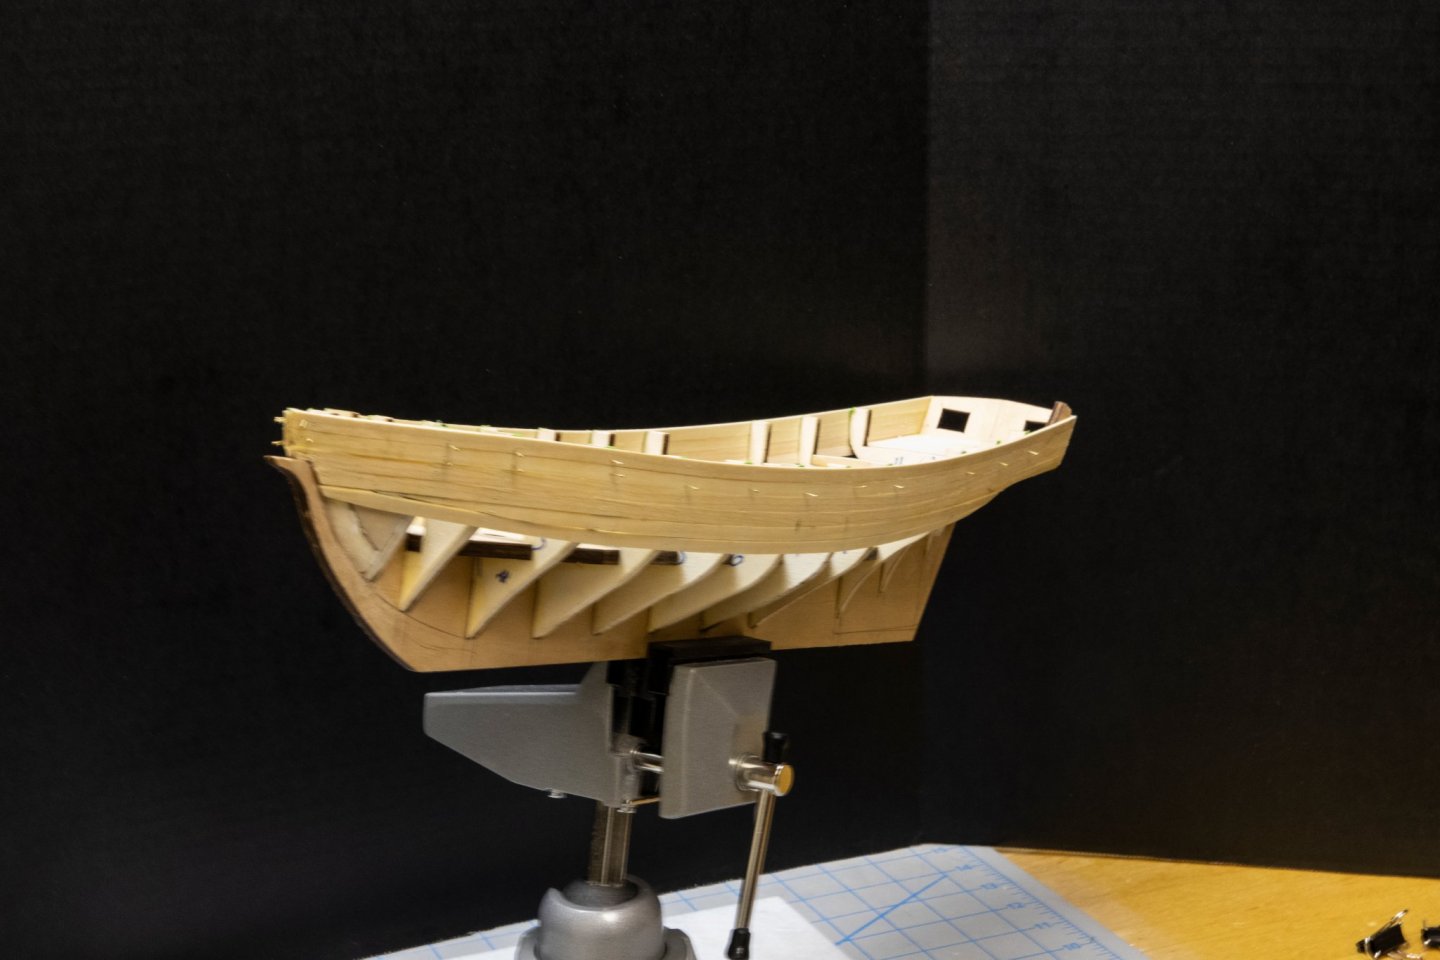
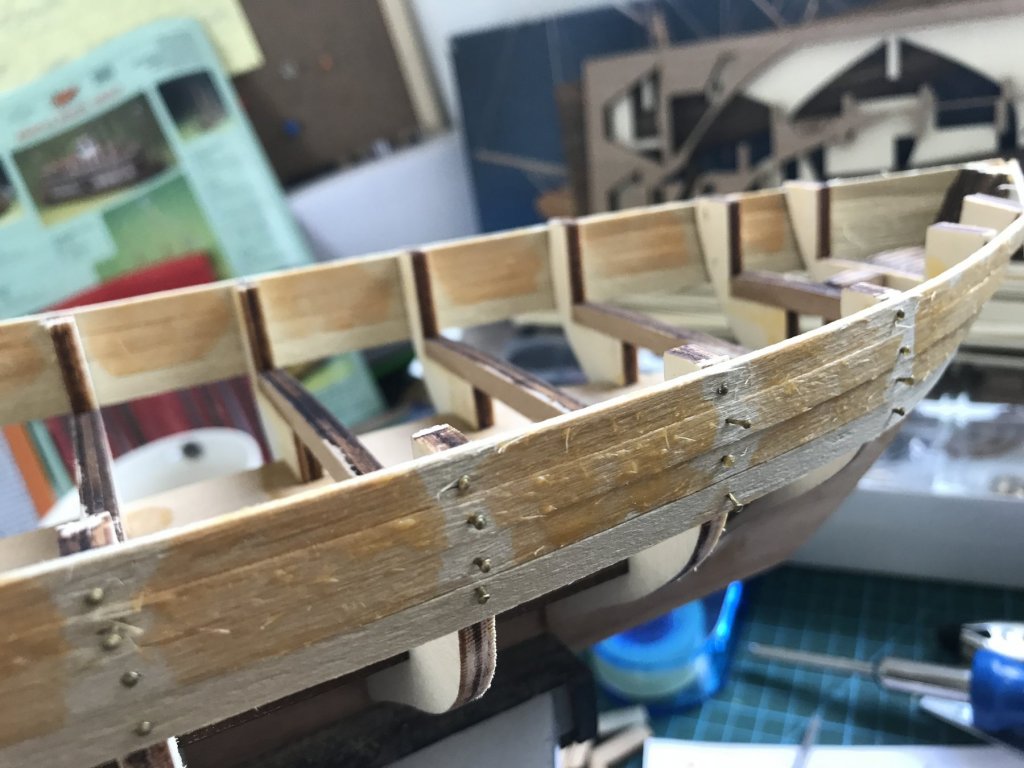
 Greetings All, Where to begin...? I had intended to start posting my progress, but life got in the way. However I first must acknowledge all other building blogs for the Lynx - they did help steer me in the right direction. Shortly after I started, I had the bulkheads aligned with the keel; and had begun planking:
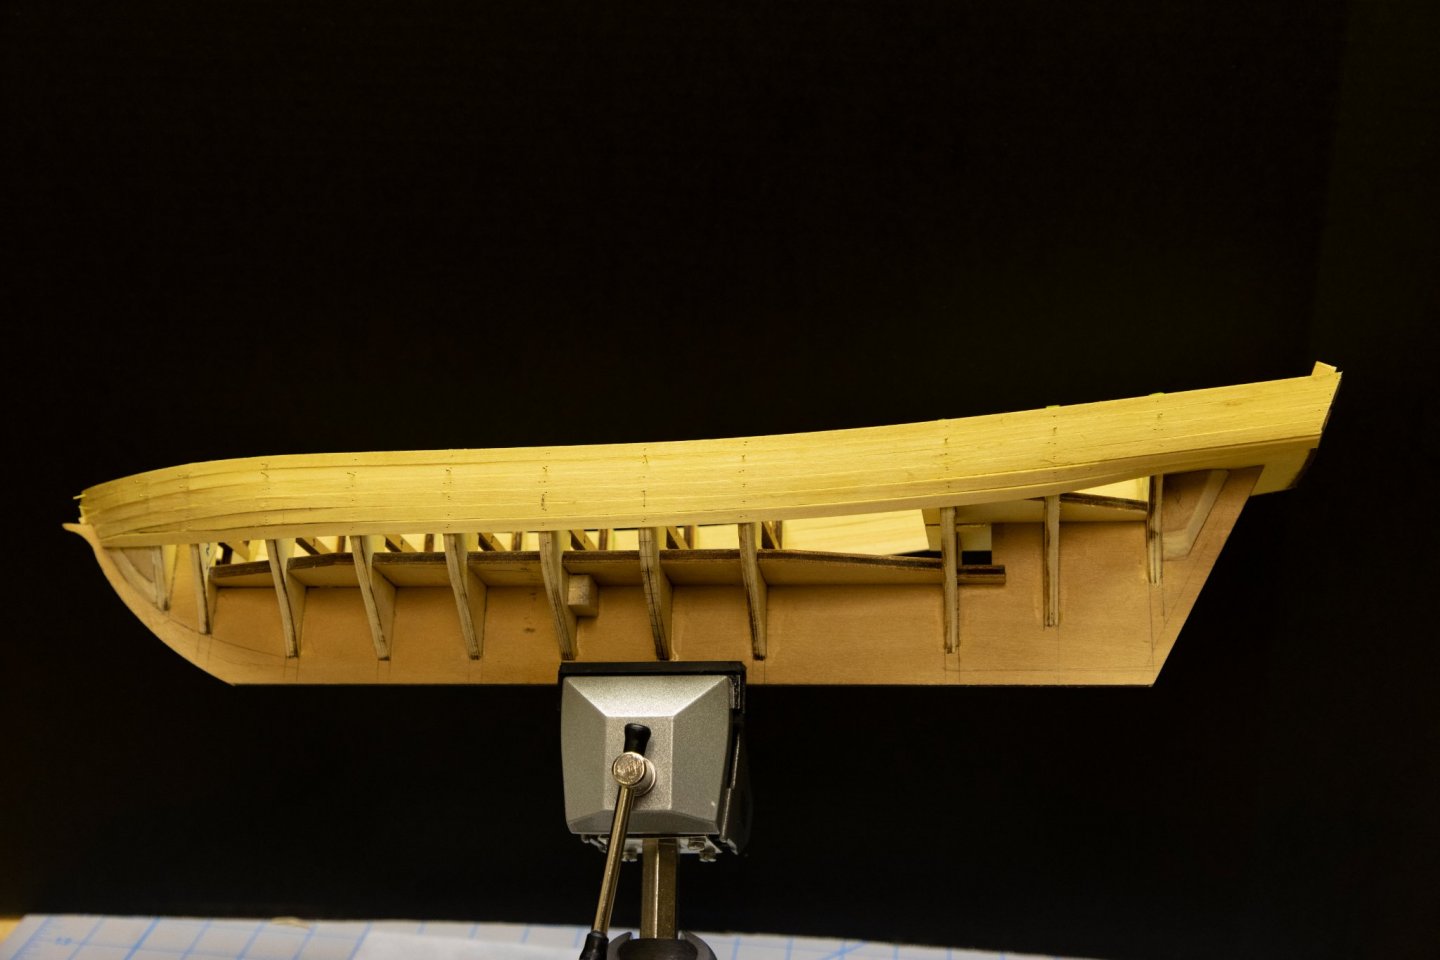
-
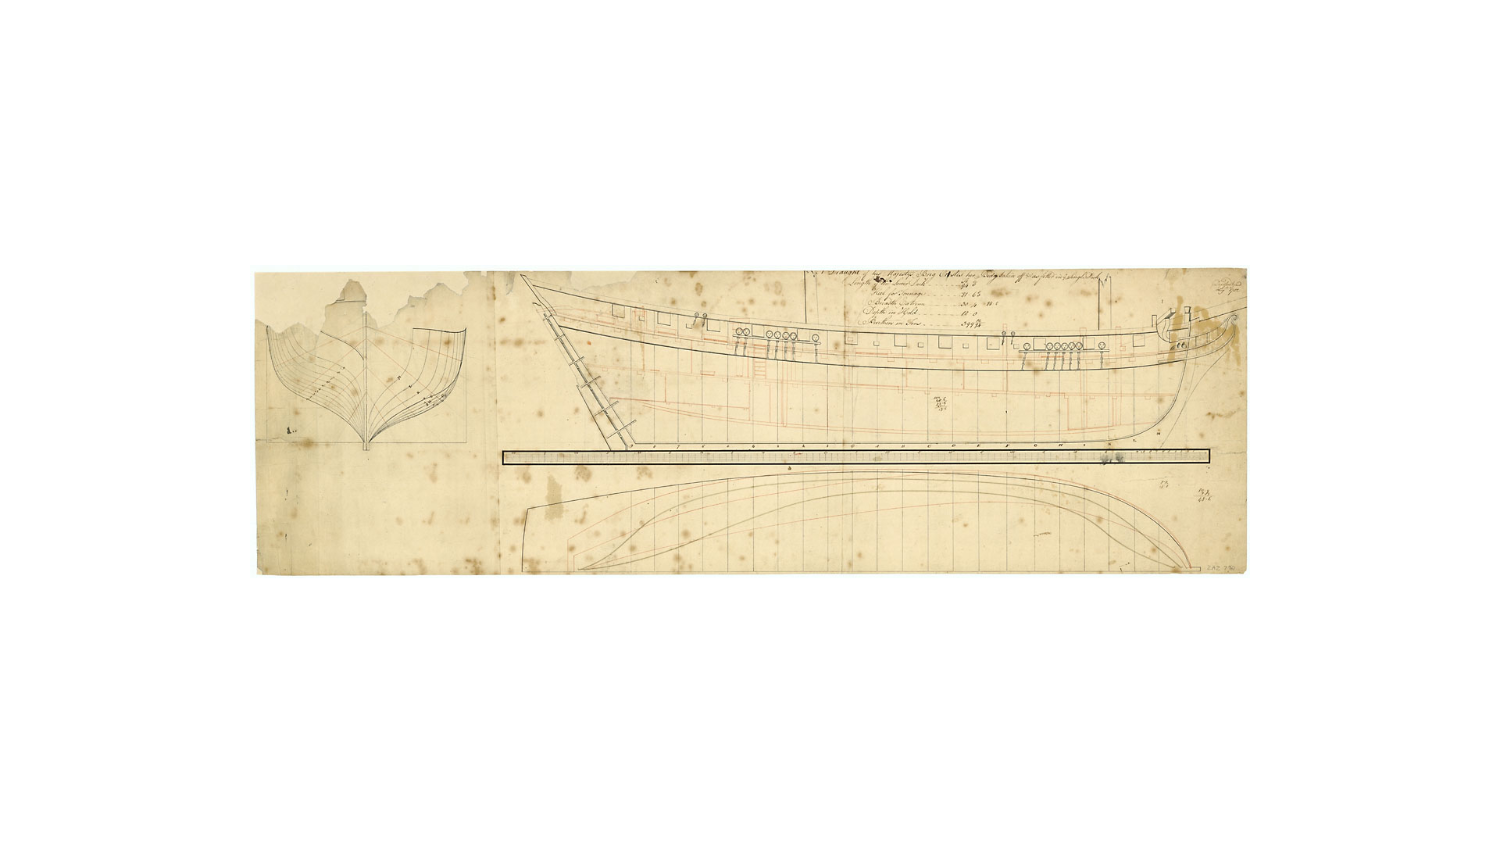
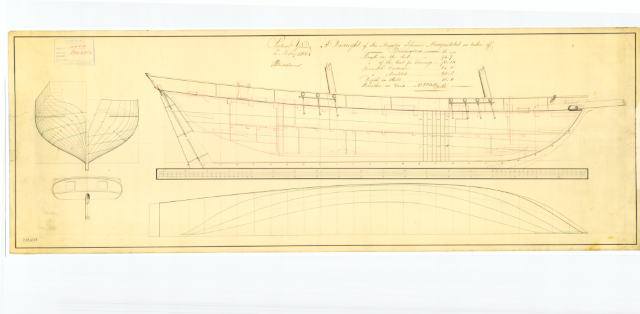
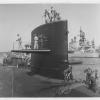 Good day. I am starting the POF build of the 1816 Musquidobit. Tons burthen 22392⁄94 (bm) Length 97 ft 7 in (29.7 m) (overall); 73 ft 1+1⁄4 in (22.3 m) (keel) Beam 24 ft 0 in (7.3 m) Depth of hold 10 ft 3 in (3.1 m) Propulsion Sail Complement Lynx: 40 Musquidobit: 50 Armament Lynx: 6 x 12-pounder guns Musquidobit: 8 x 18-pounder carronades + 2 x 6-pounder guns The Drawings are ZAZ6139 Lines https://www.rmg.co.uk/collections/objects/rmgc-object-85930 ZAZ6140 upper and lower decks https://www.rmg.co.uk/collections/objects/rmgc-object-85931 The lines drawing ZAZ6139 at RMG is slightly damaged now. I have attached an image. My line drawing gotten from RMG years ago is not damaged. (attached) I also received 2 nice copies from a friend on MSW of both the lines and decks. Notes: I will be manually drafting the frames and re-drawing lines. Reason, manually drawing helps the brain heal and develop new connections. I had 2 right cerebral strokes. Some initial discussions were held here: Lynx-Musquidobit-construction methods Set up frames per discussion and learn. This will take me a bit of time. I will use my camera to share the drawings with you as well as any manually drawn things to understand how this was done. I will be updating this with some historic information too. I live just off the upper Rappahannock river where lower down where the US Lynx was captured. MAP Thanks to all (especially friends made here) PS. If things seem a bit terse. Please bear with me. Guy
-
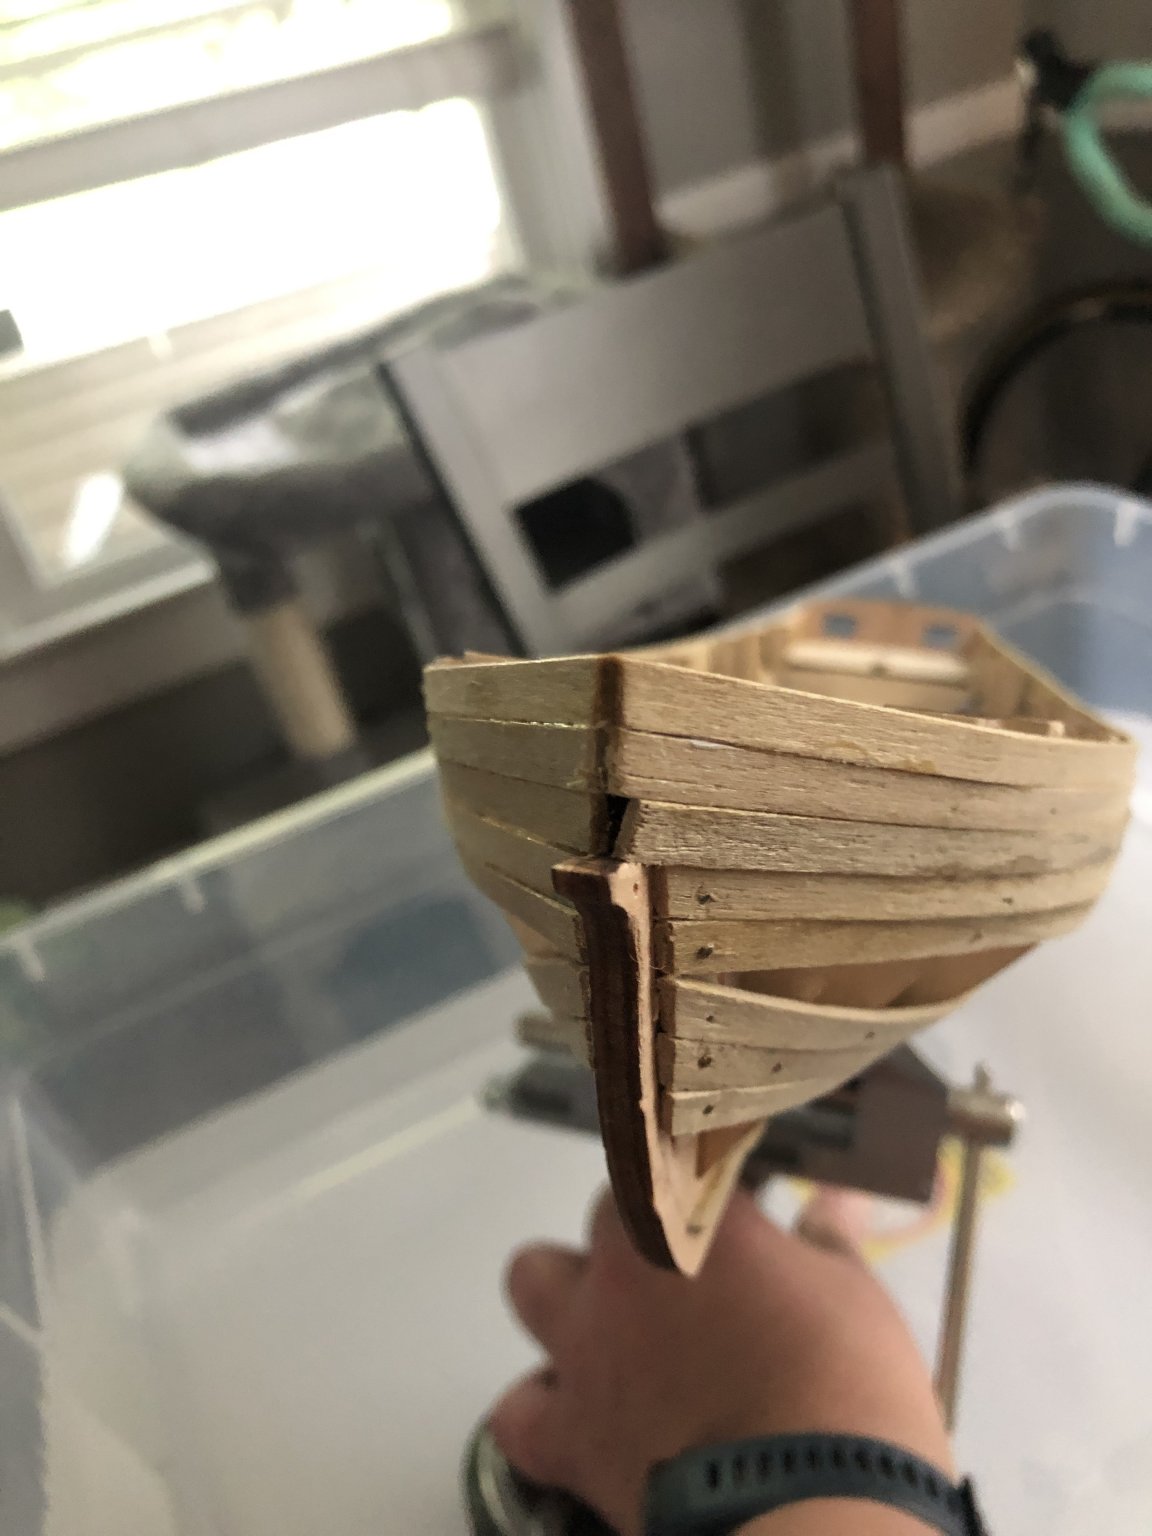
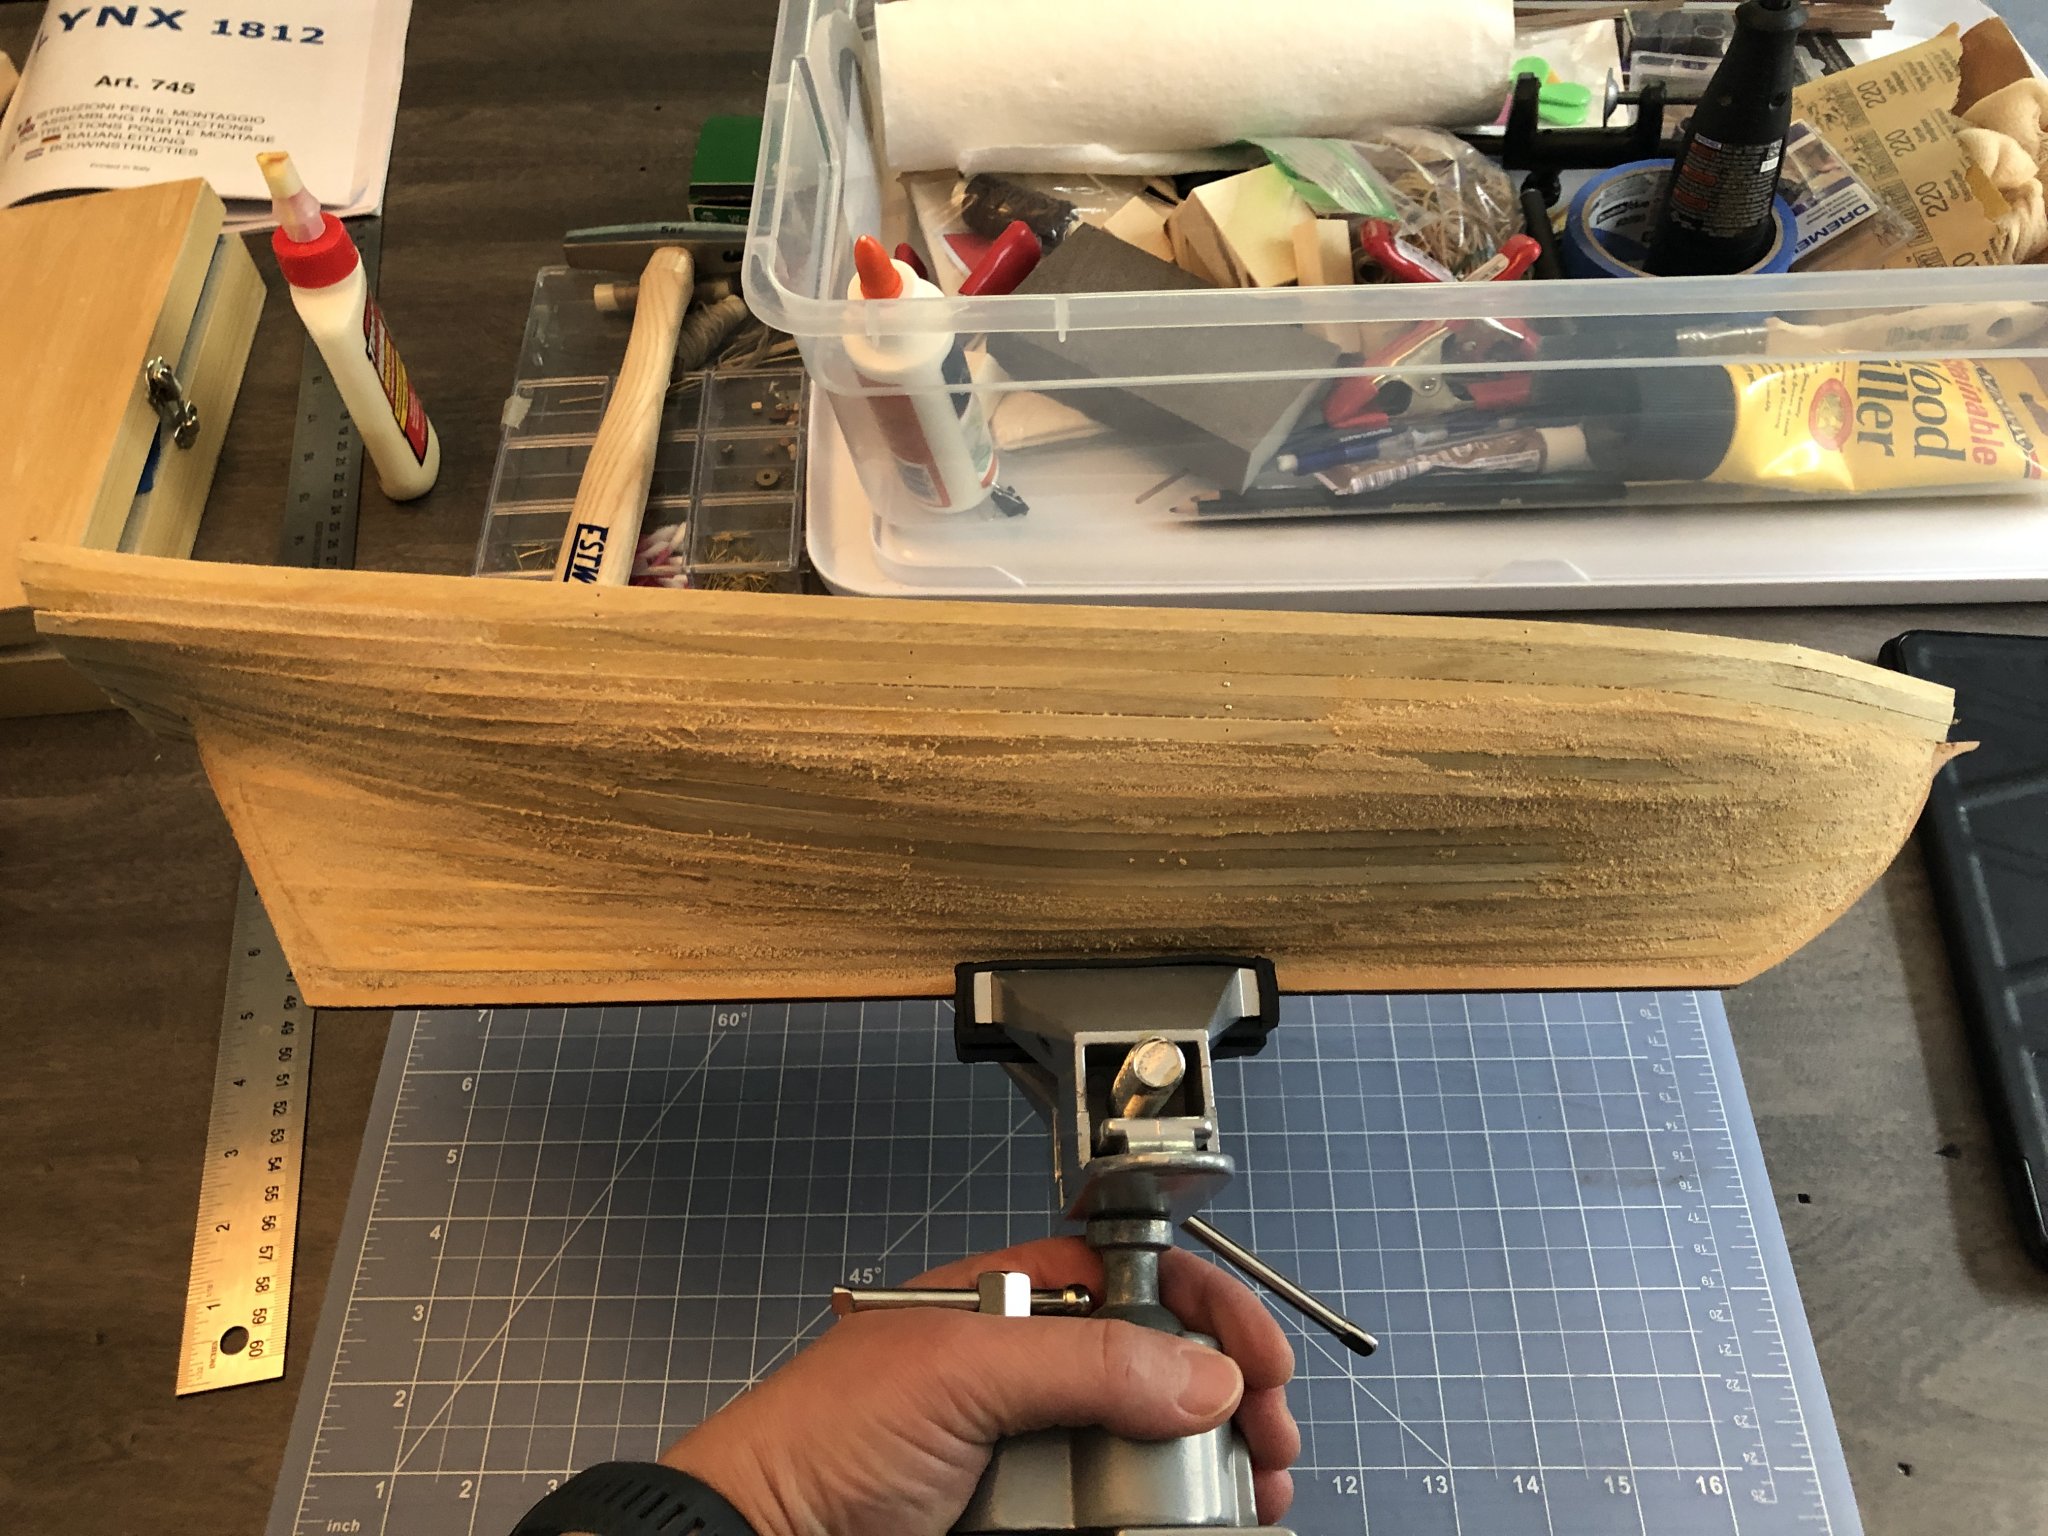
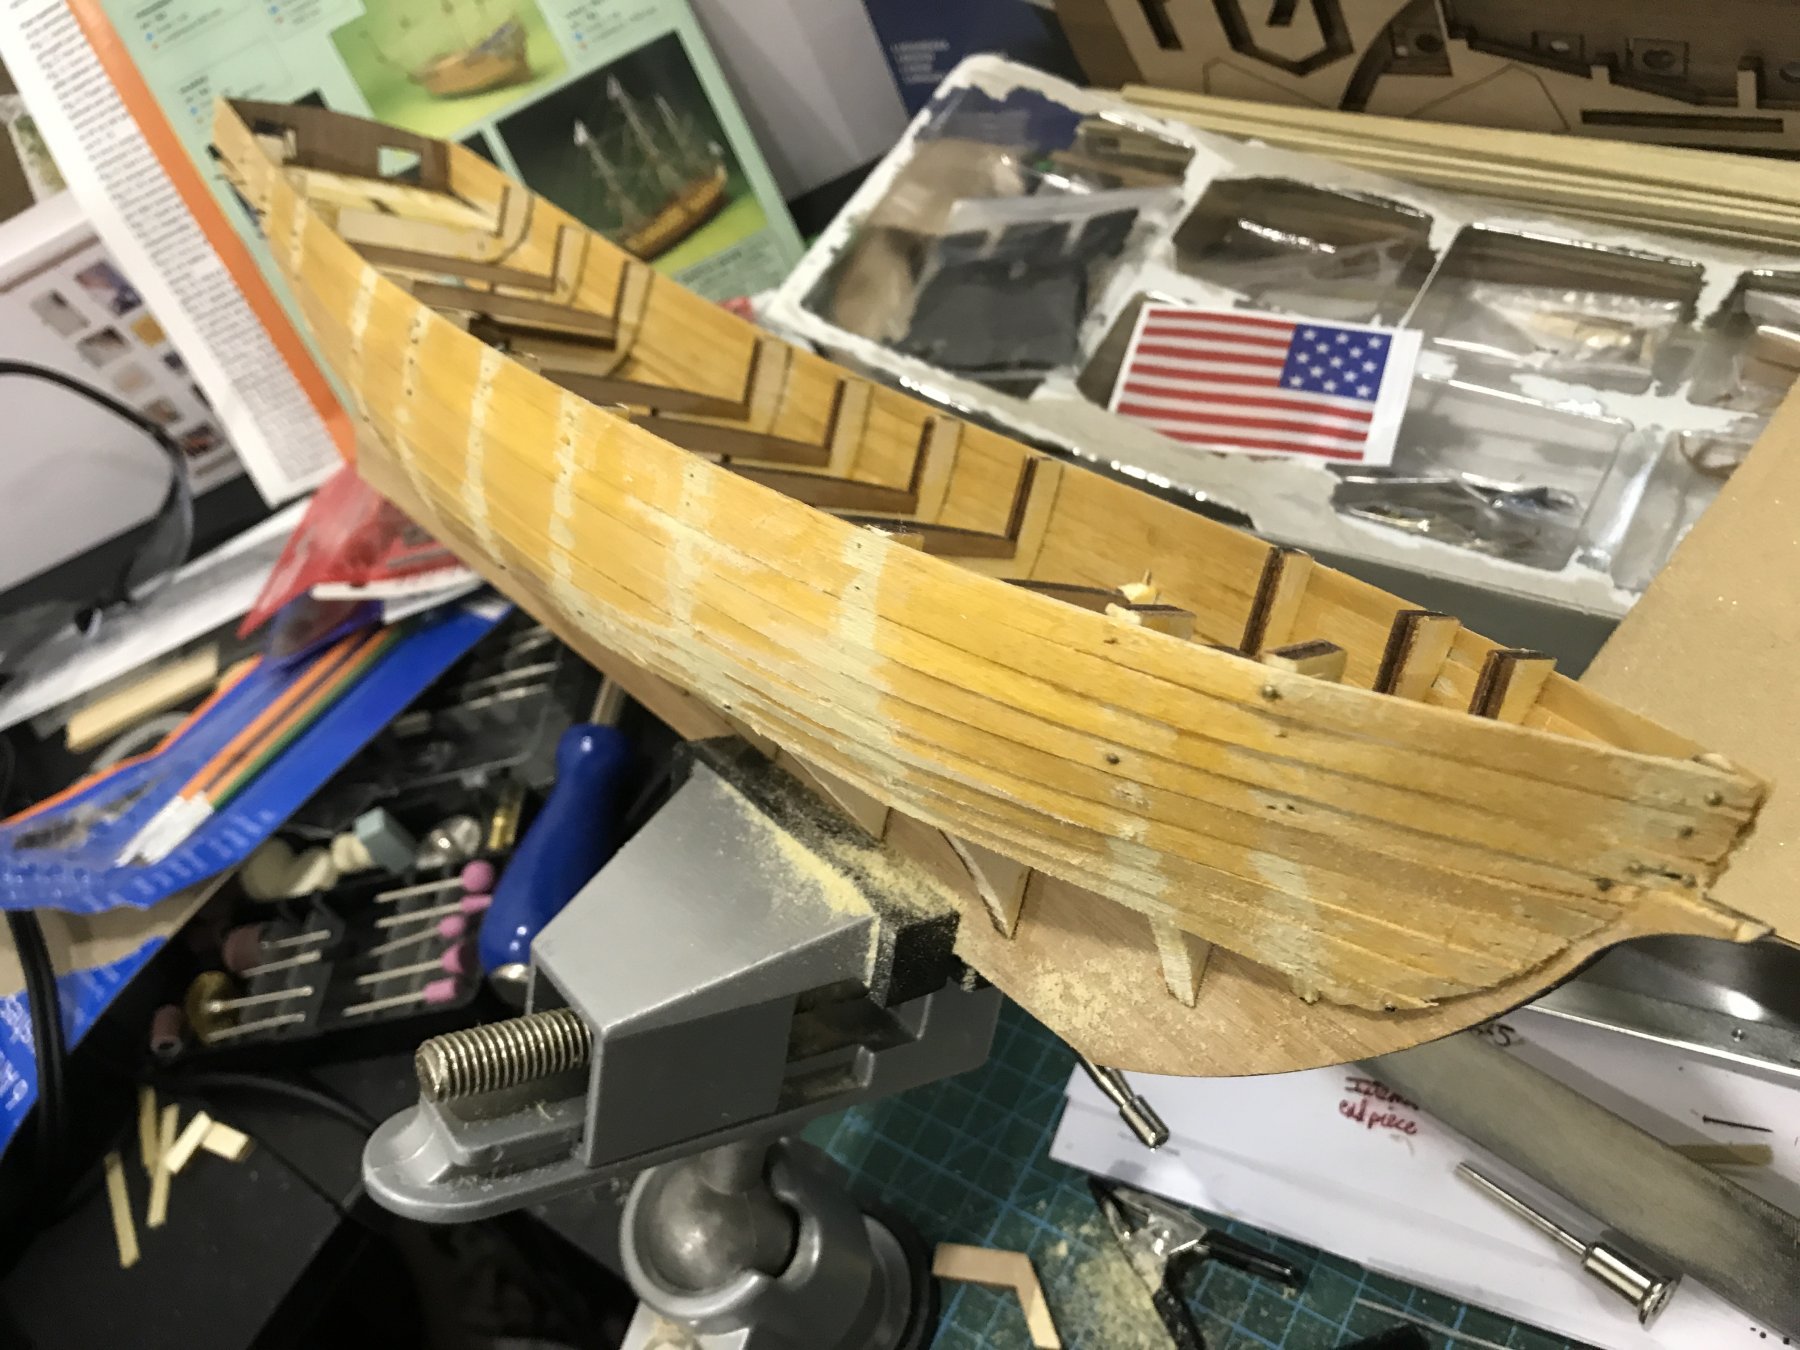
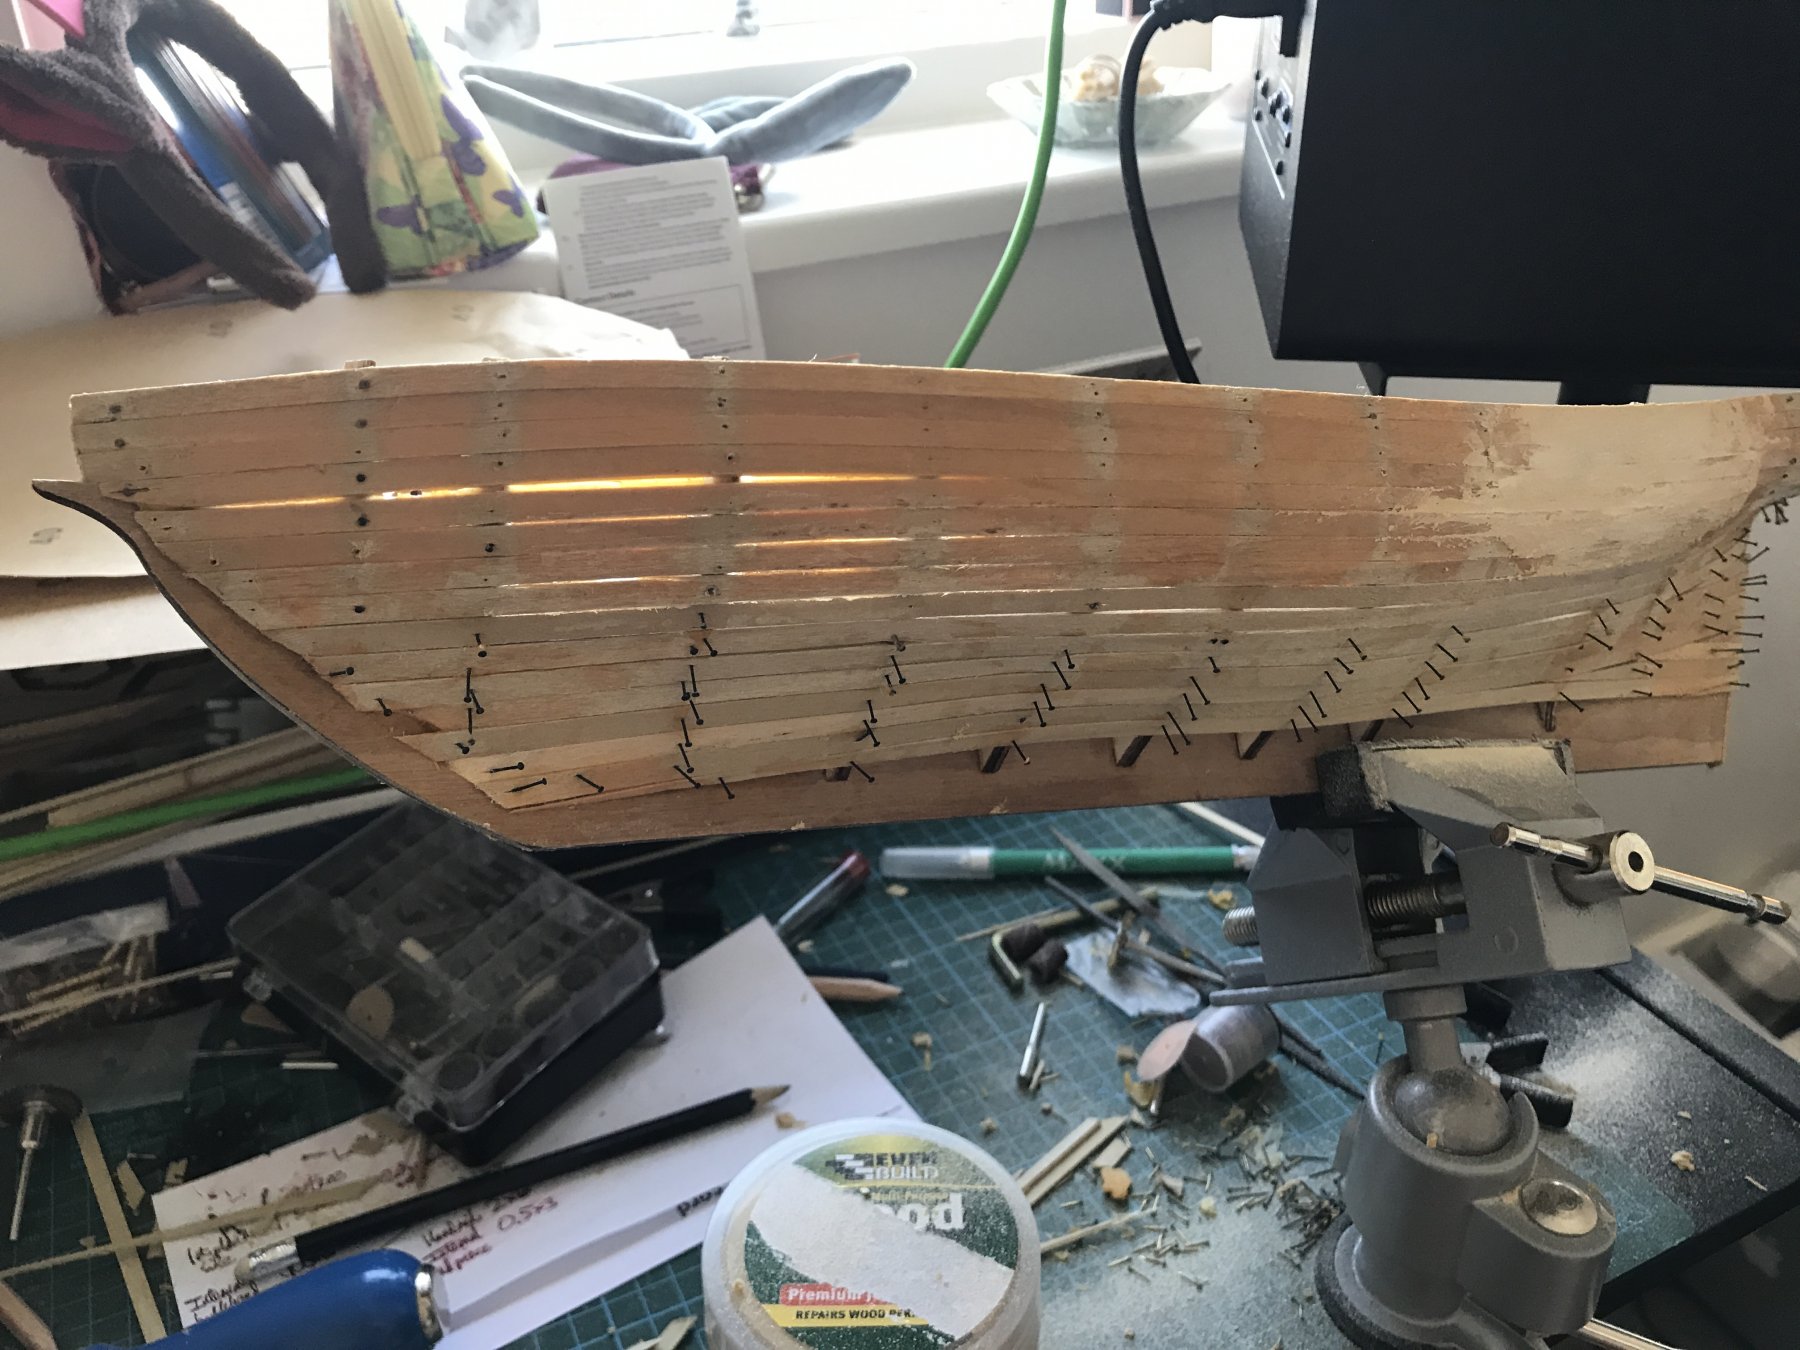
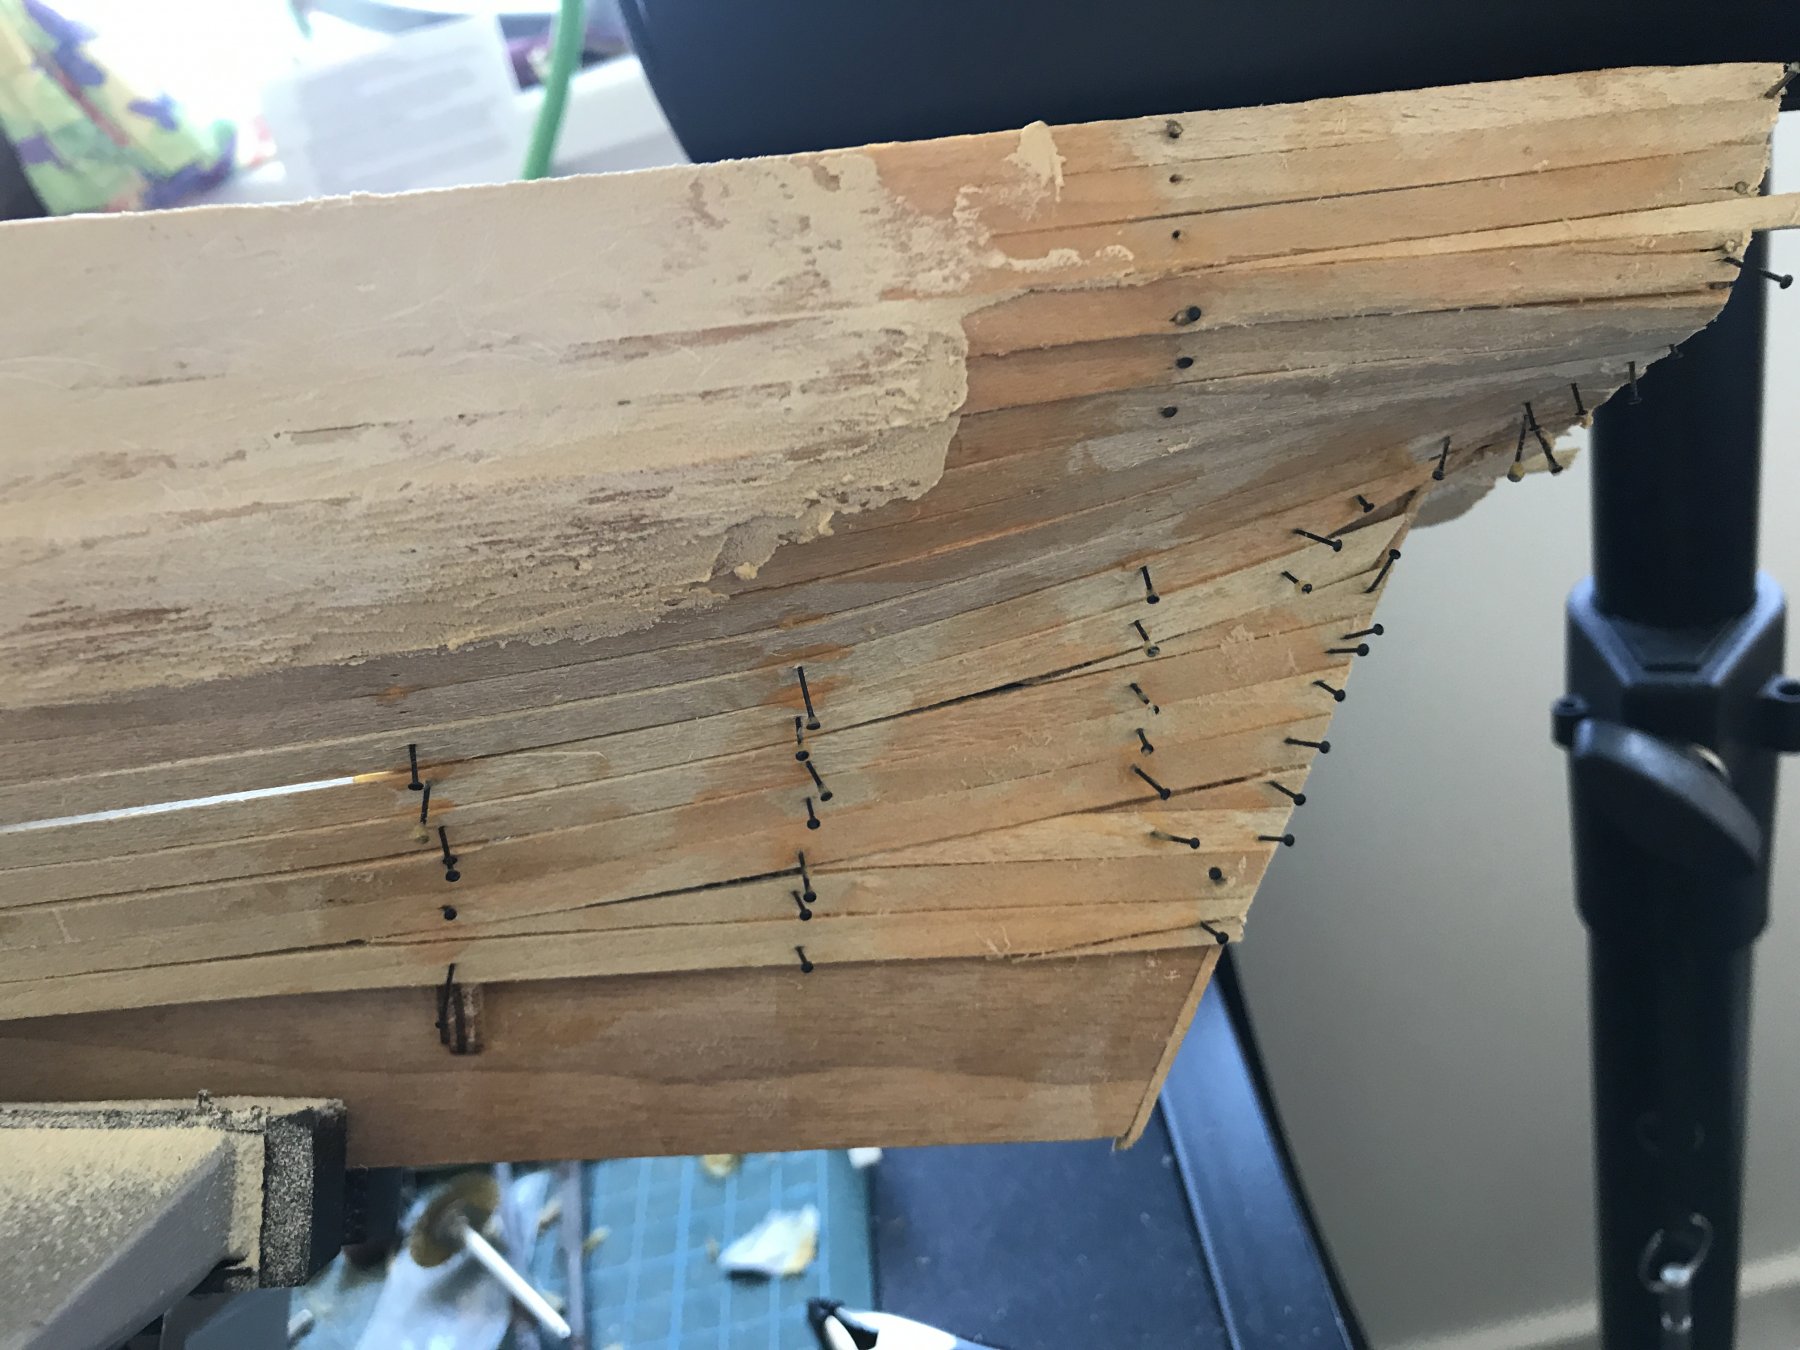
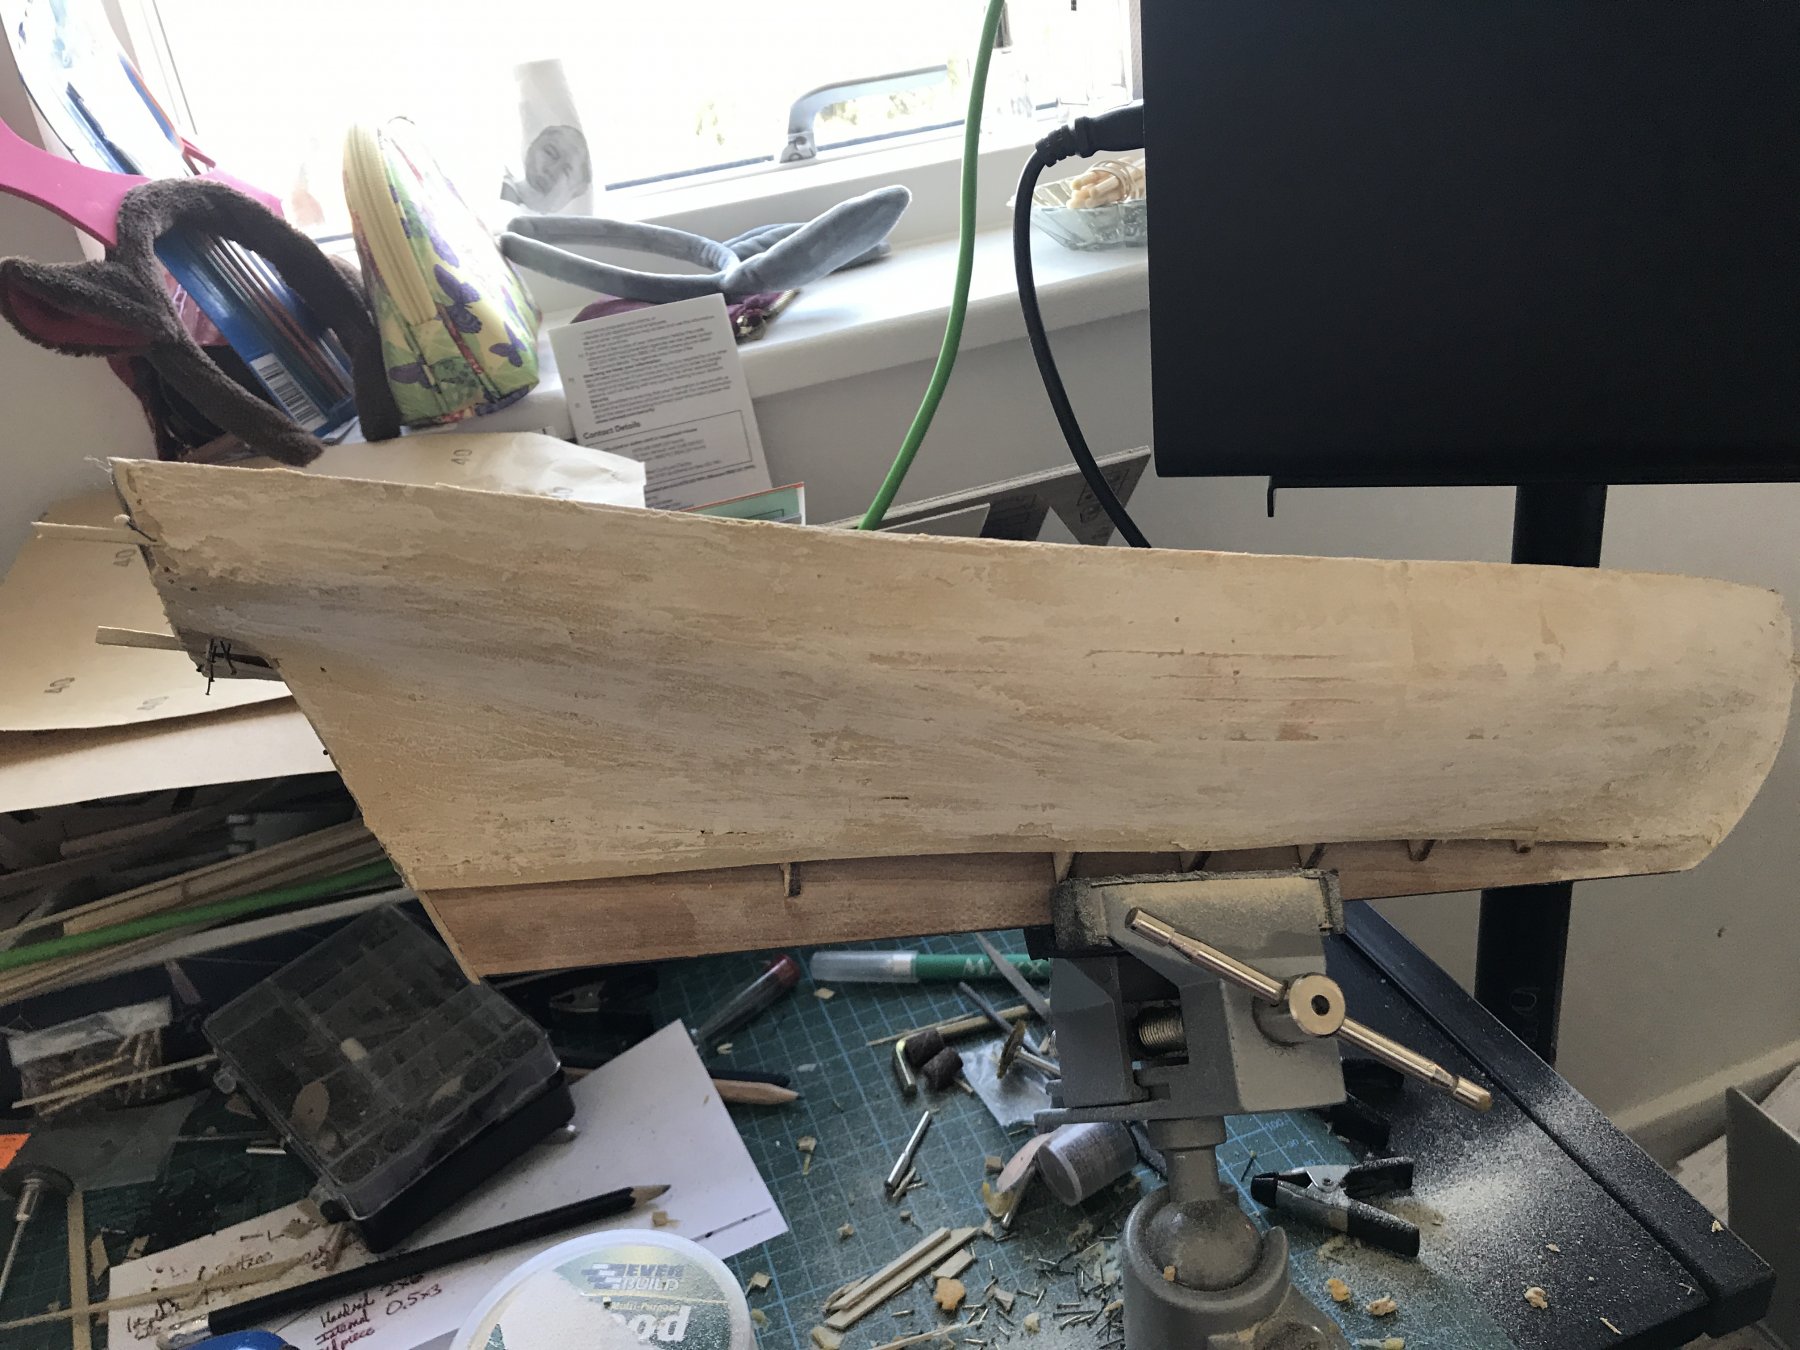
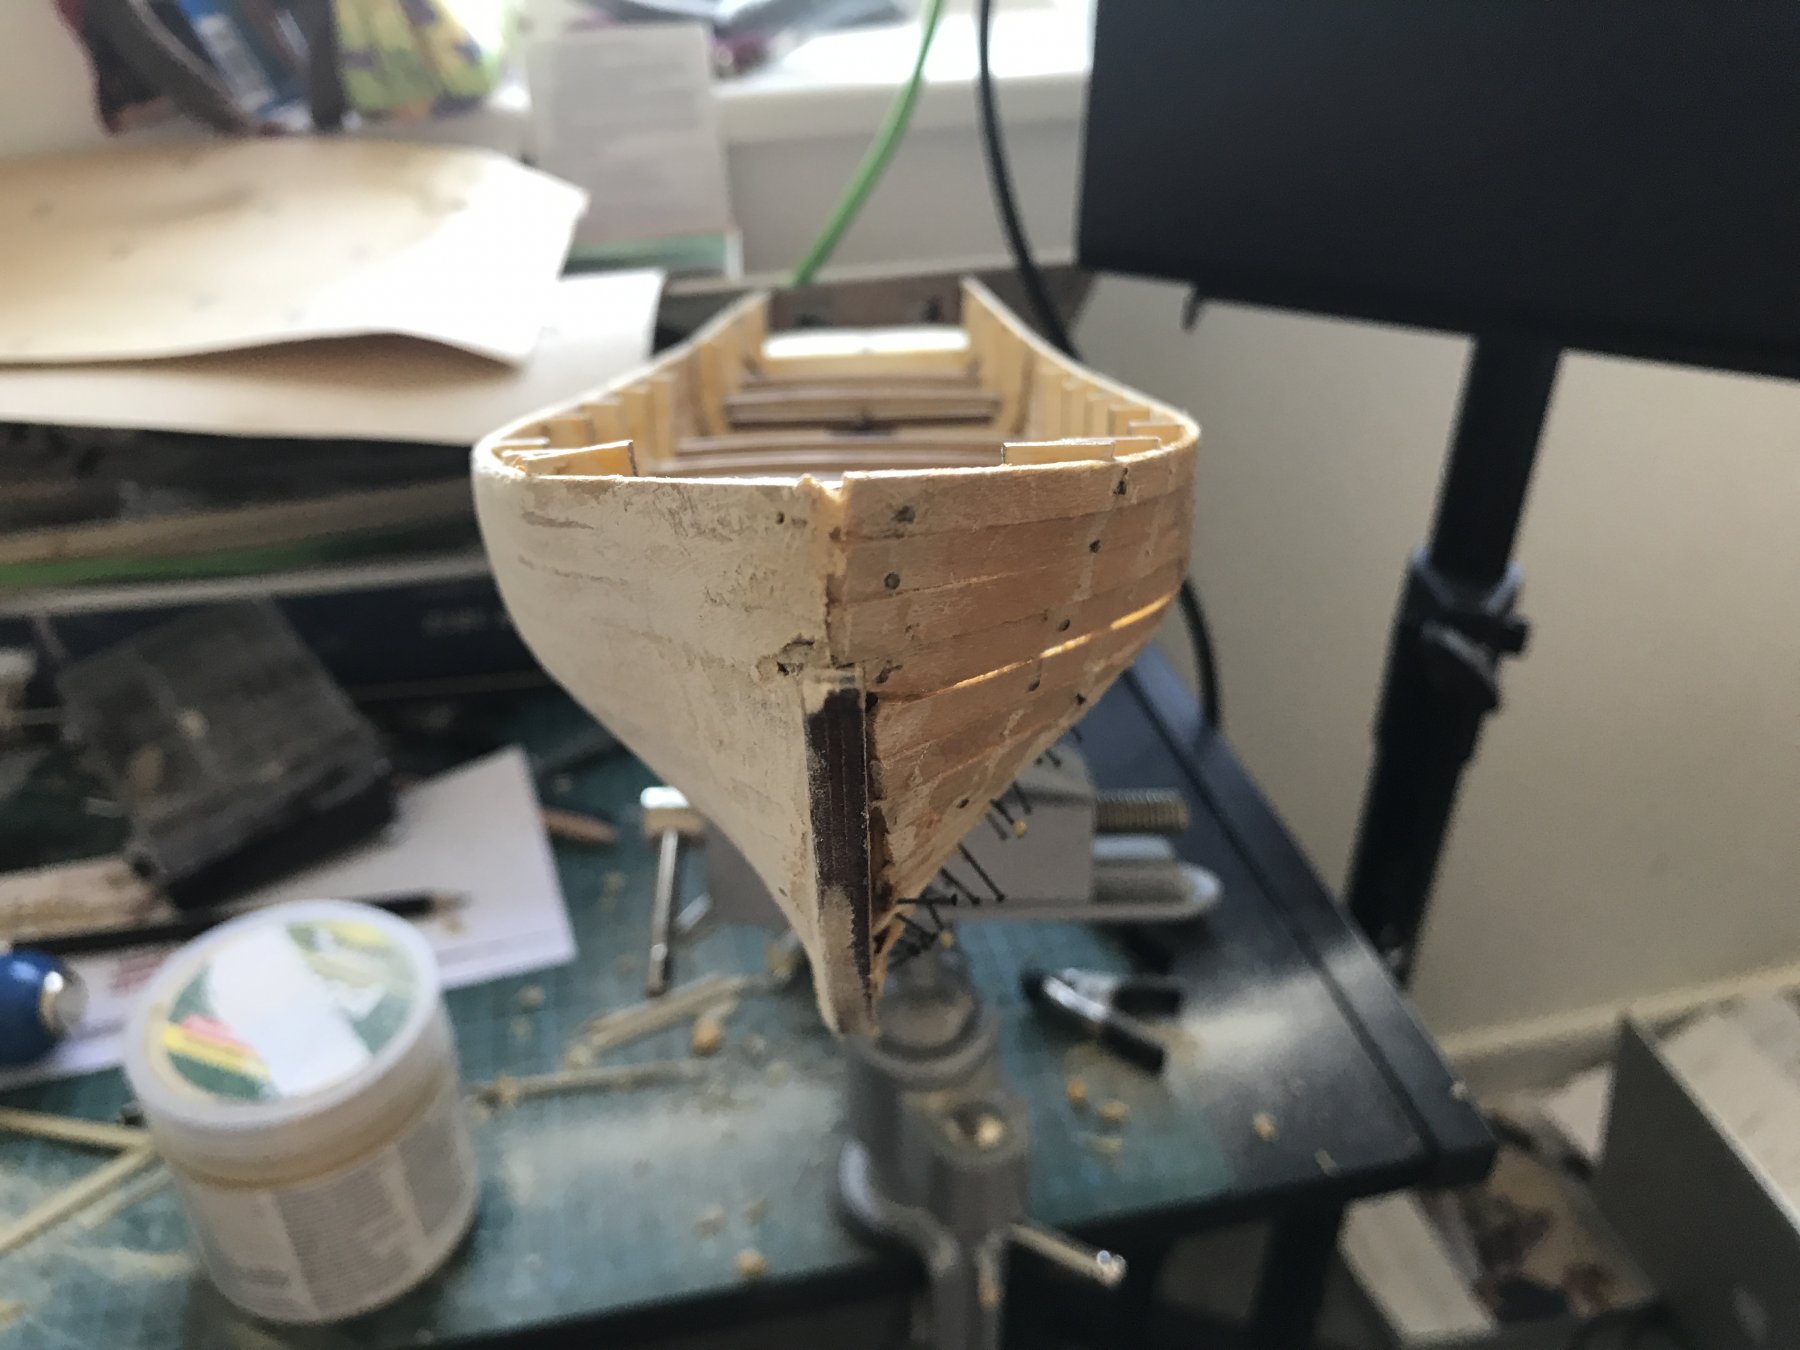
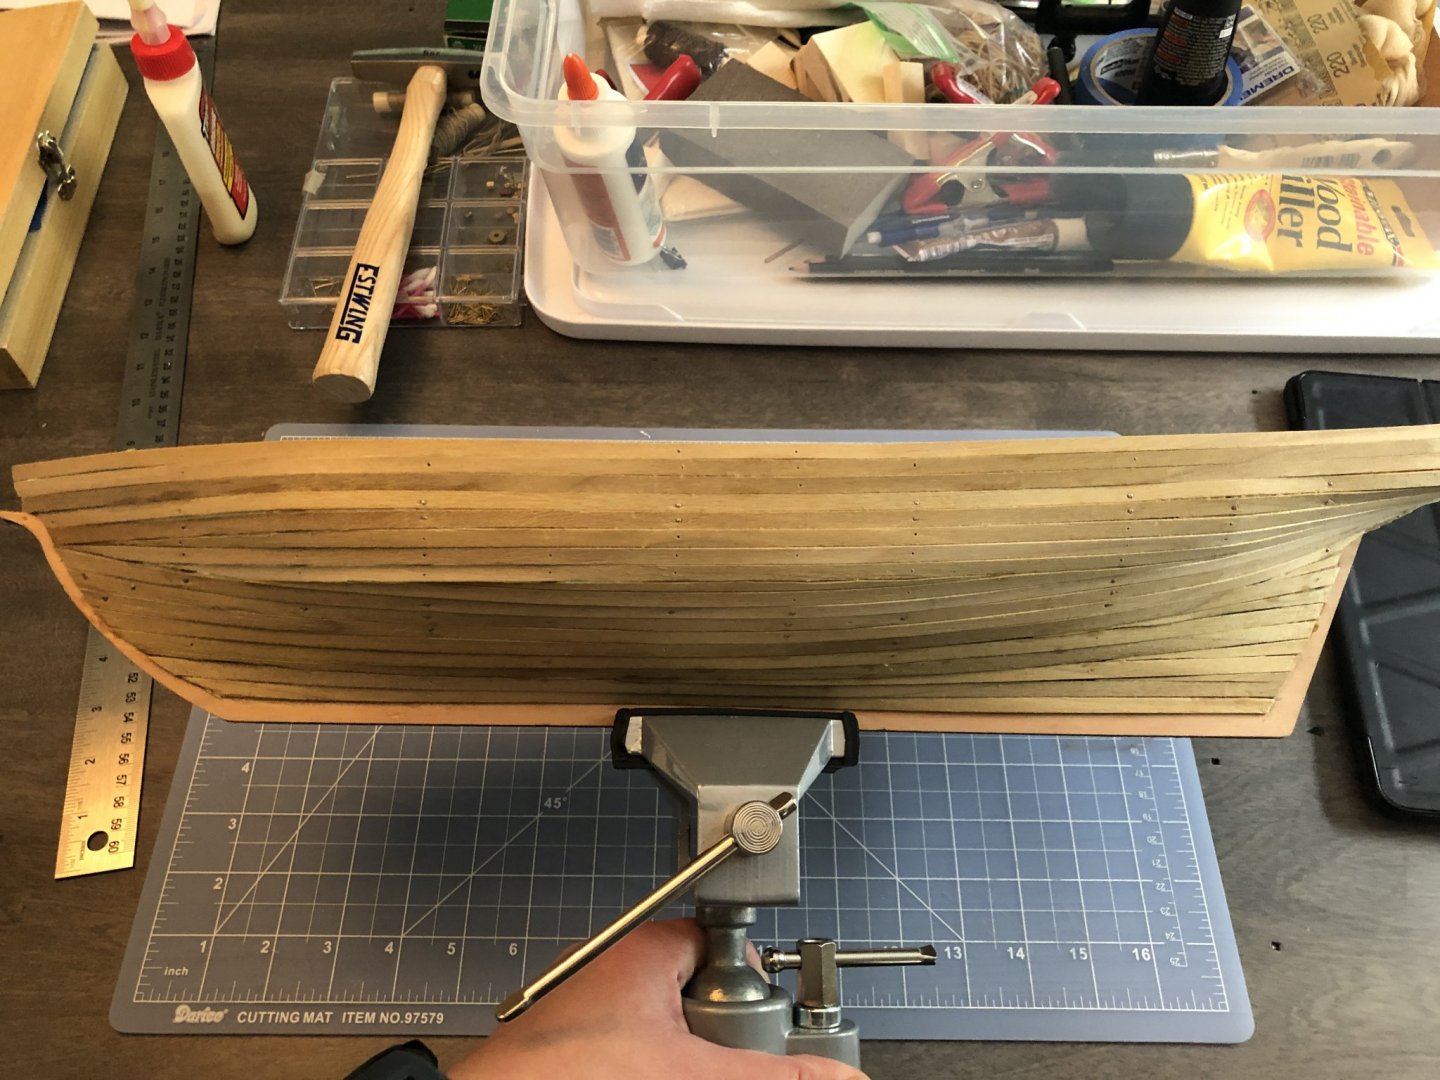
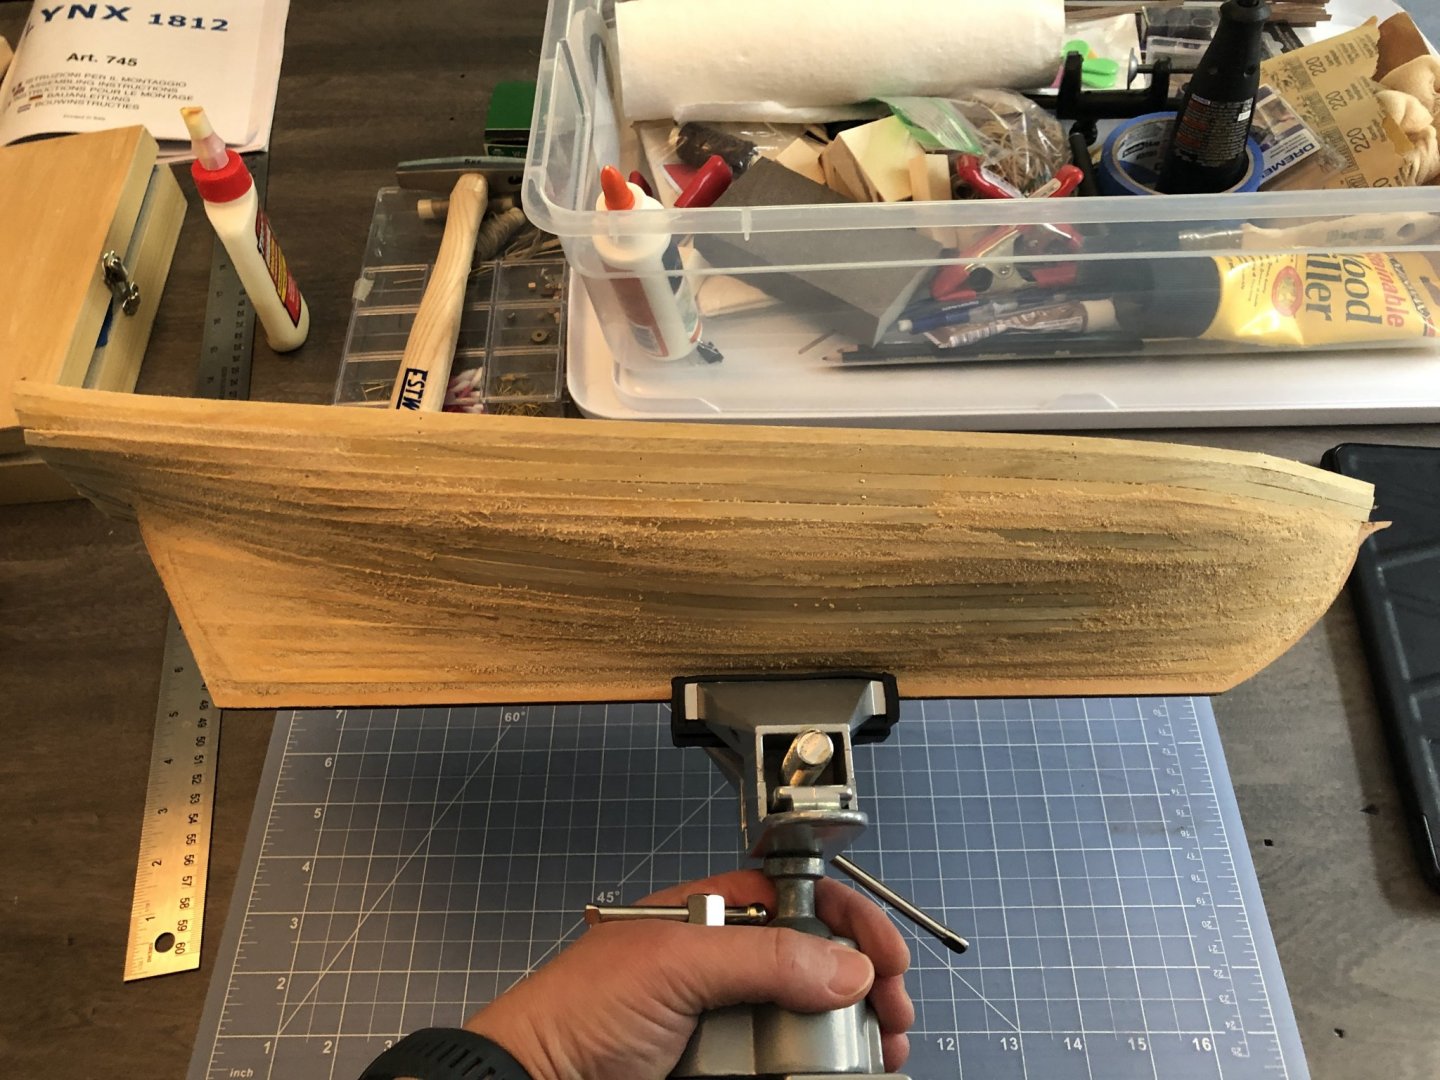
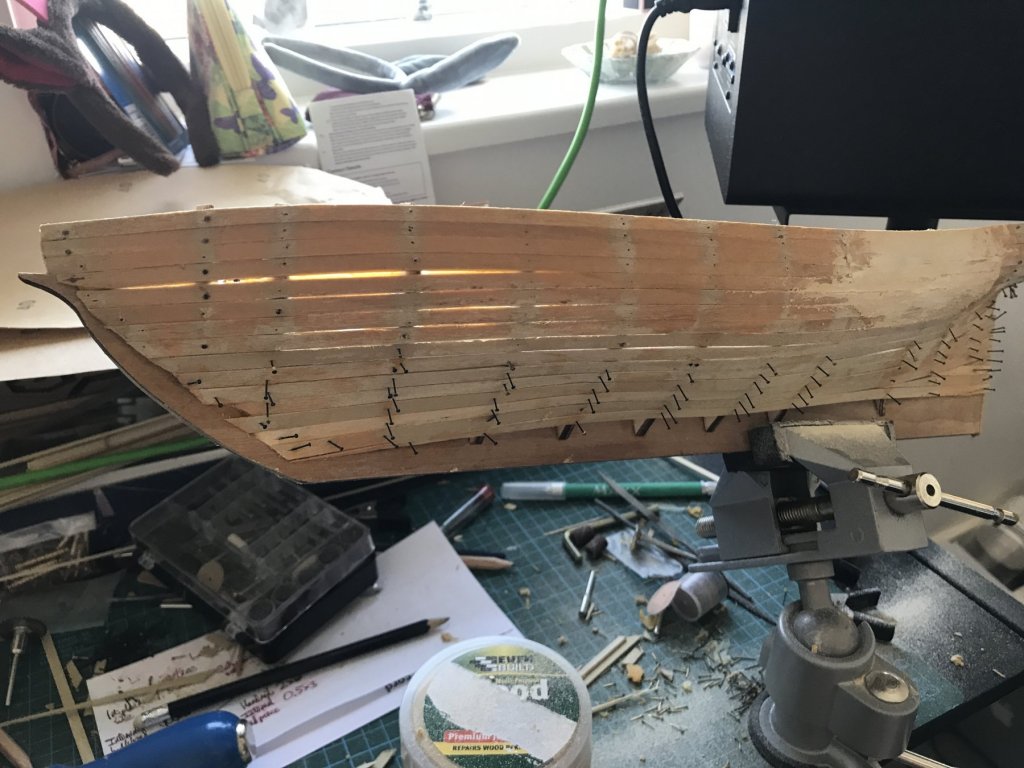
 I started working on this model about a month ago. My dad and I FaceTime when we find a few hours to work on our respective models. I don’t have too many pics of it from the beginning and have finished the first planking. This is my second kit/build, my first being the AL Scottish maid. Mantua seems to not use as high of quality materials and I didn’t think that there could be any possibly worse instructions than AL, but here we are. I’ll be filling both sides in with wood filler today and sanding the hull down to start second planking this week.


-


-
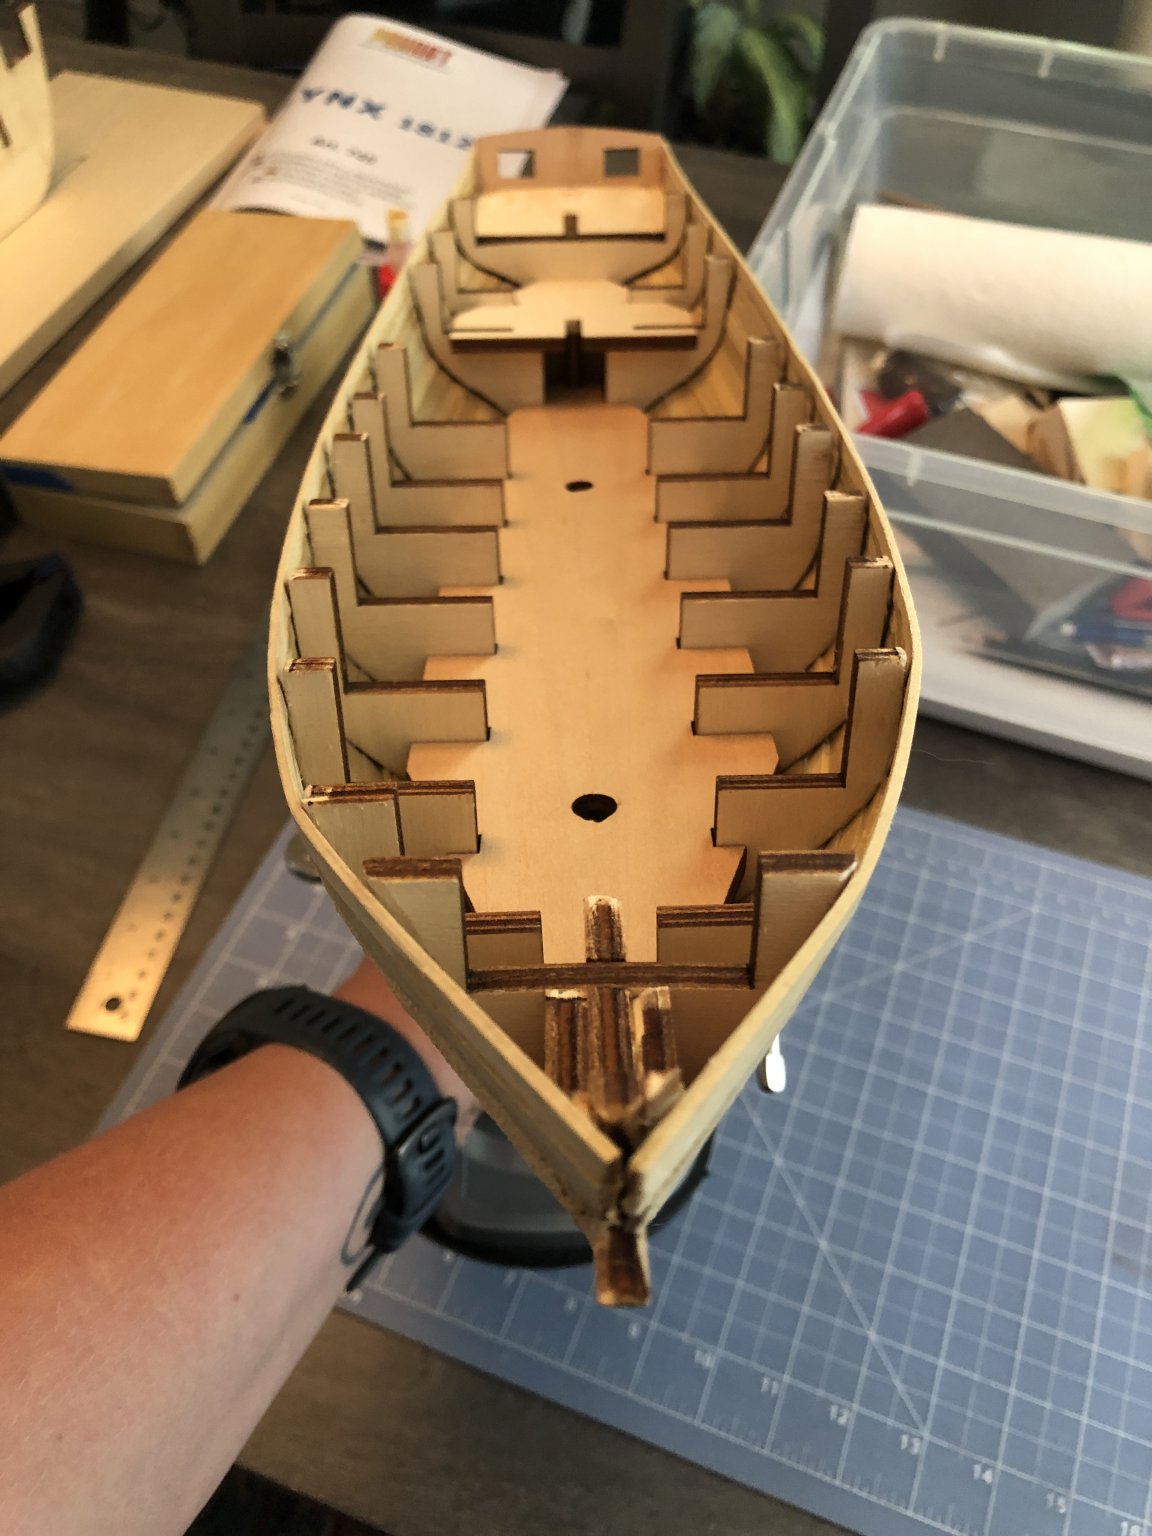
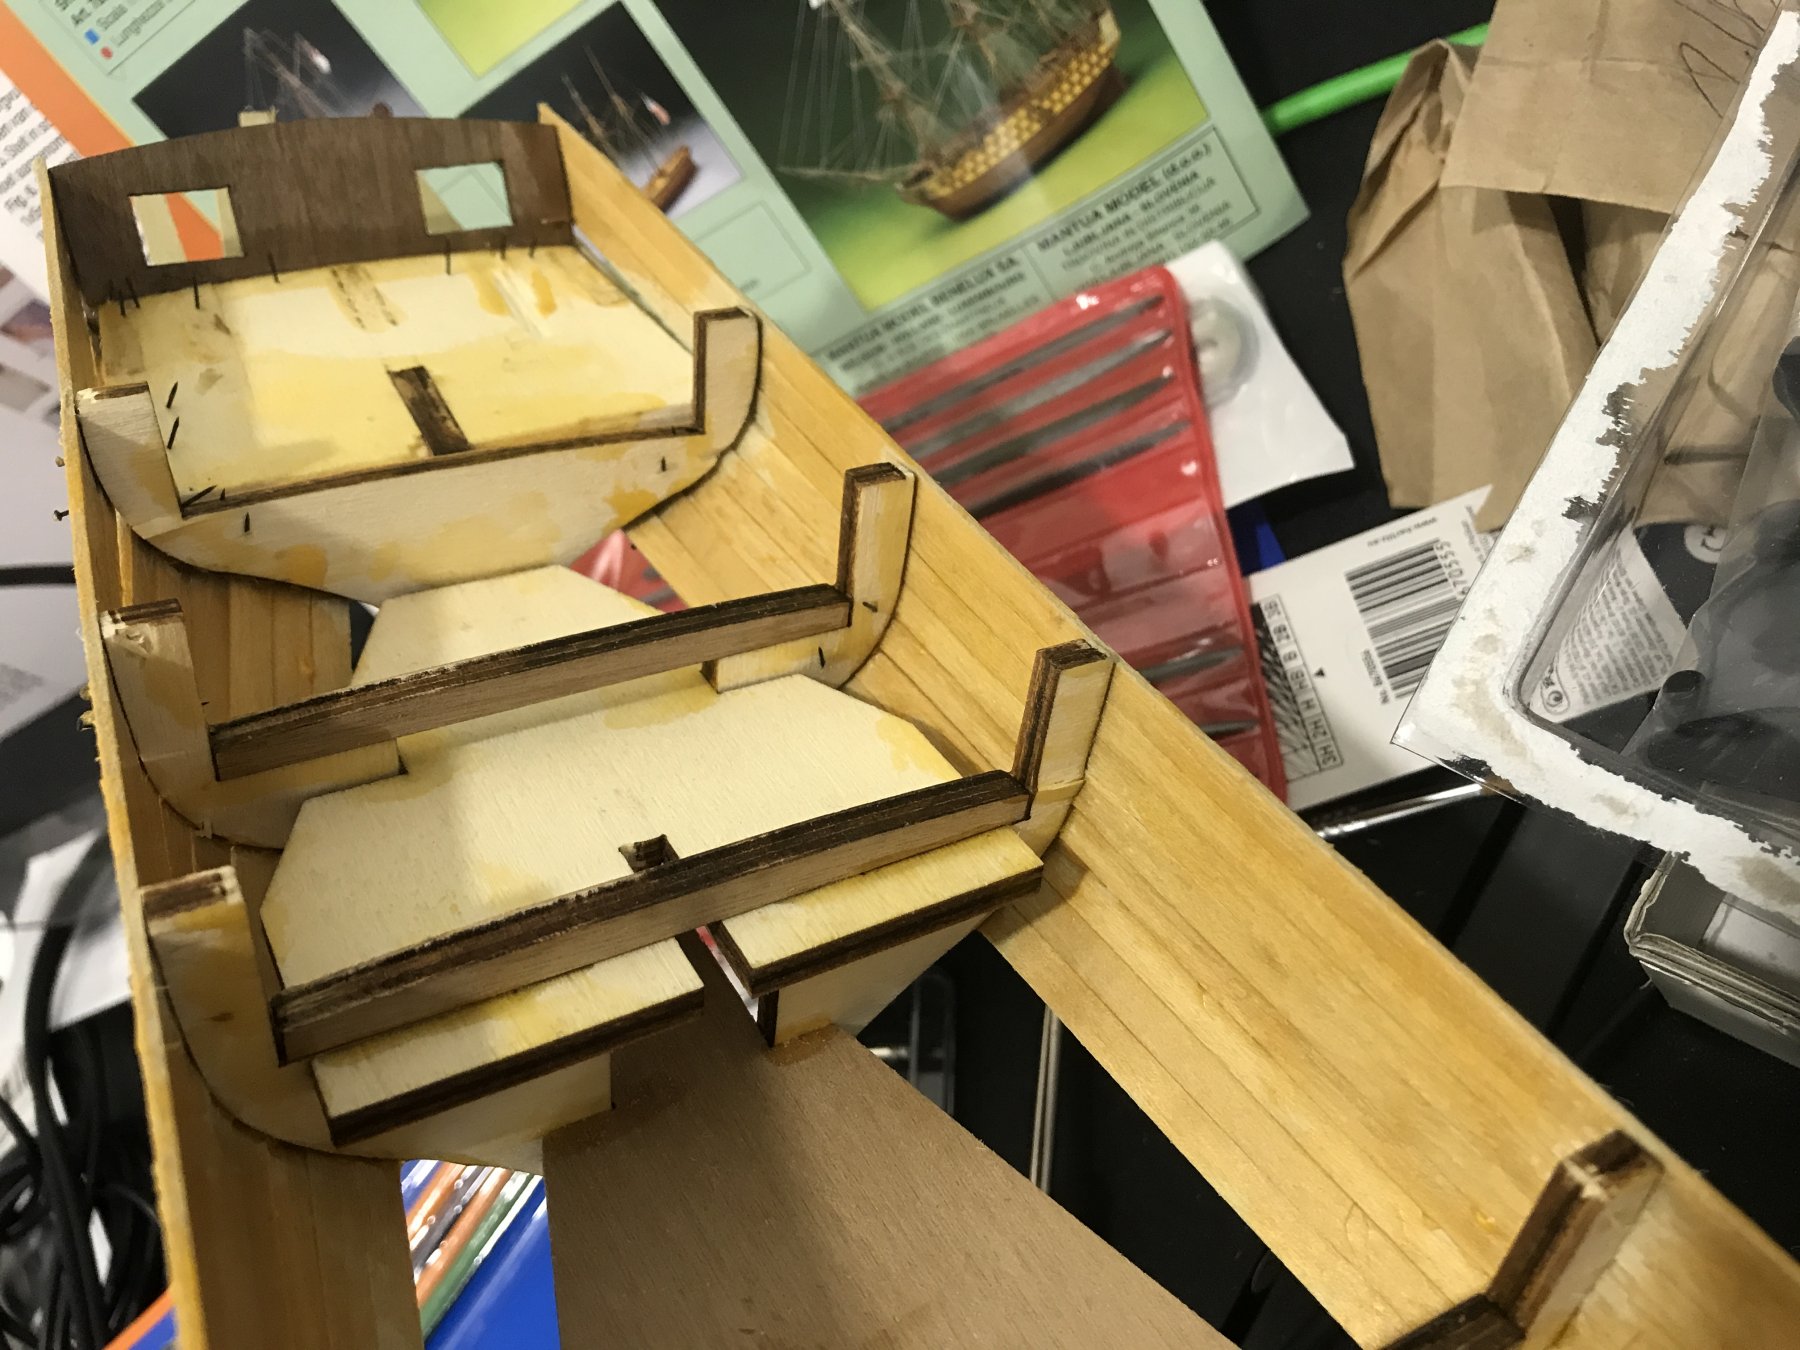
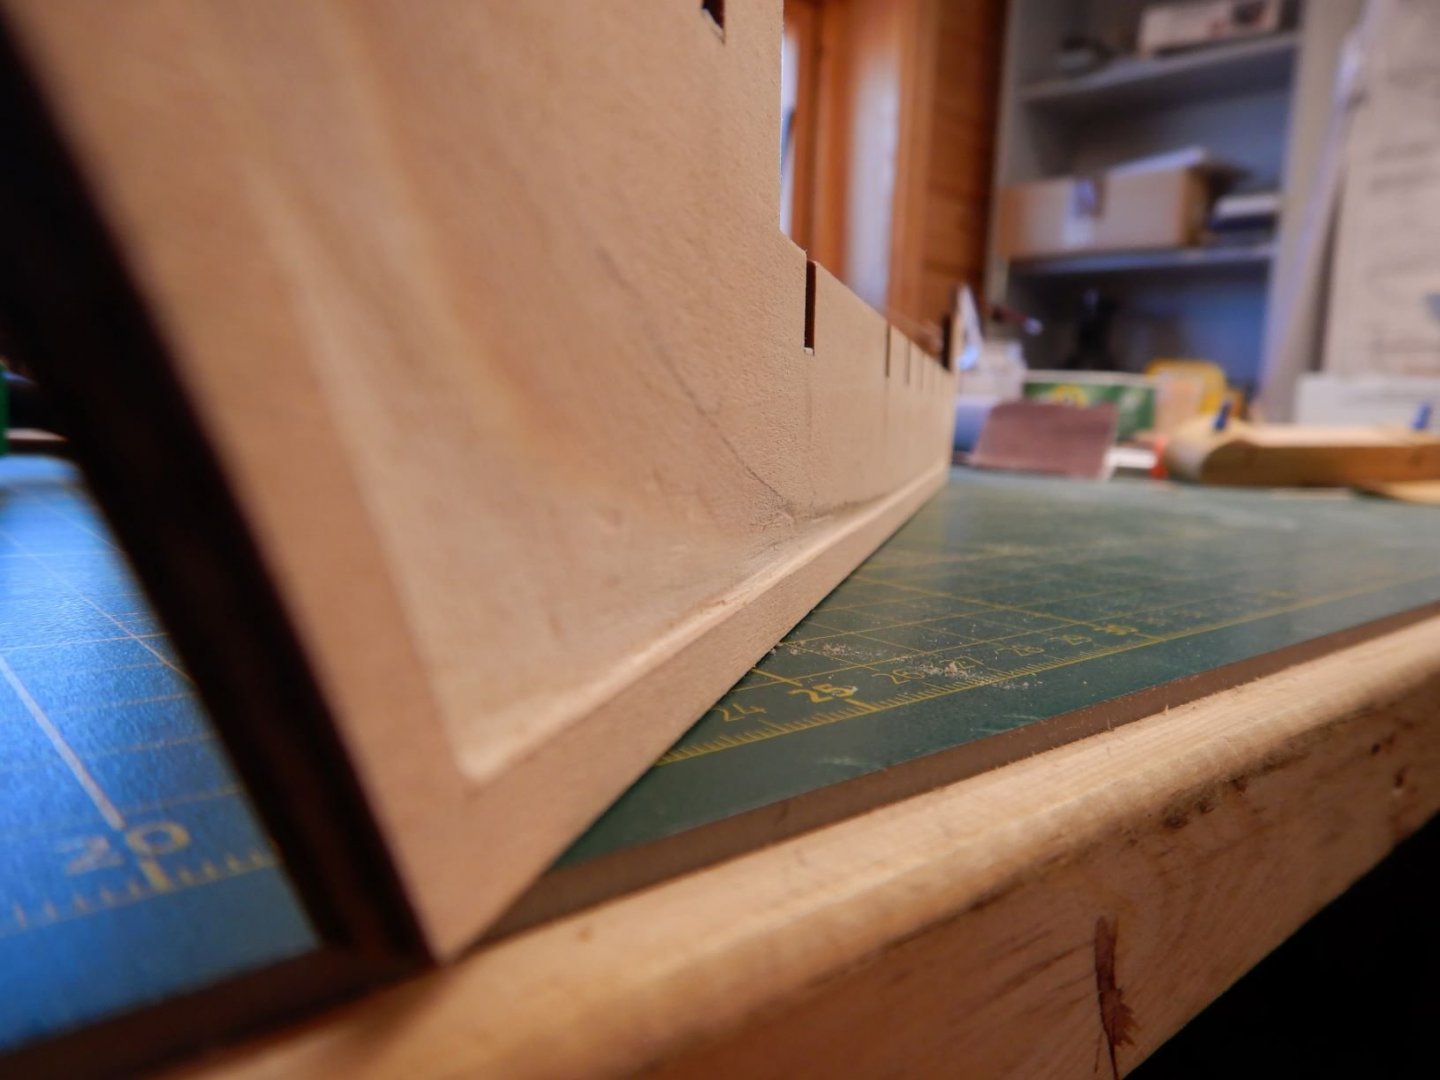
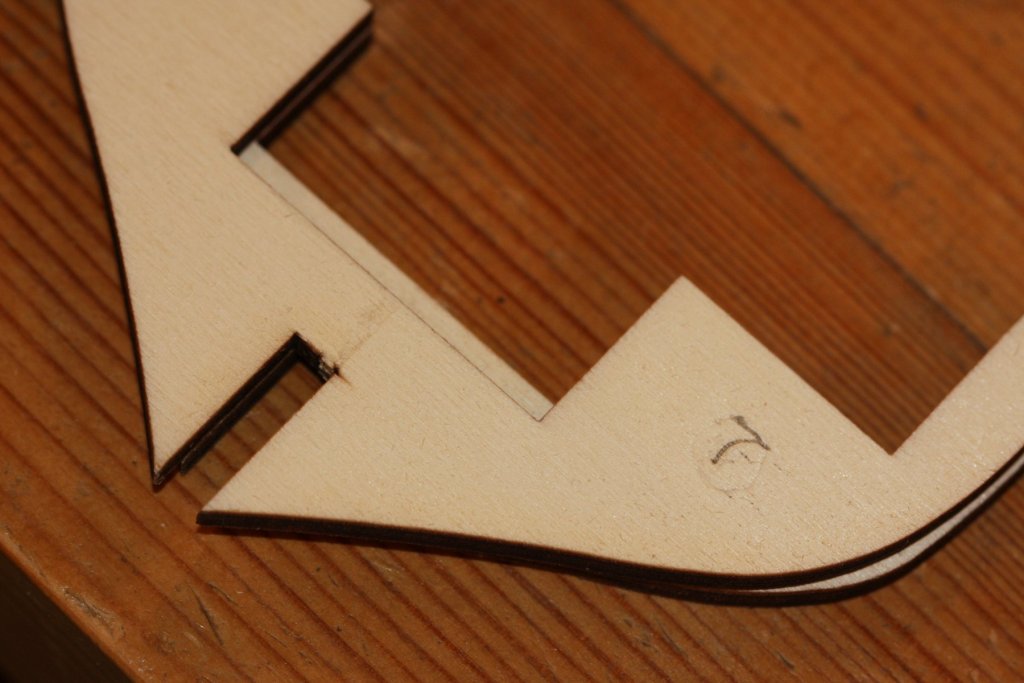
 Initial dry fitting of bulkheads Bulkheads 7 & 8. The actual difference between these two bulkheads is smaller than the degree of (in)accuracy of the plans. In the following two images you will see the comparison between them
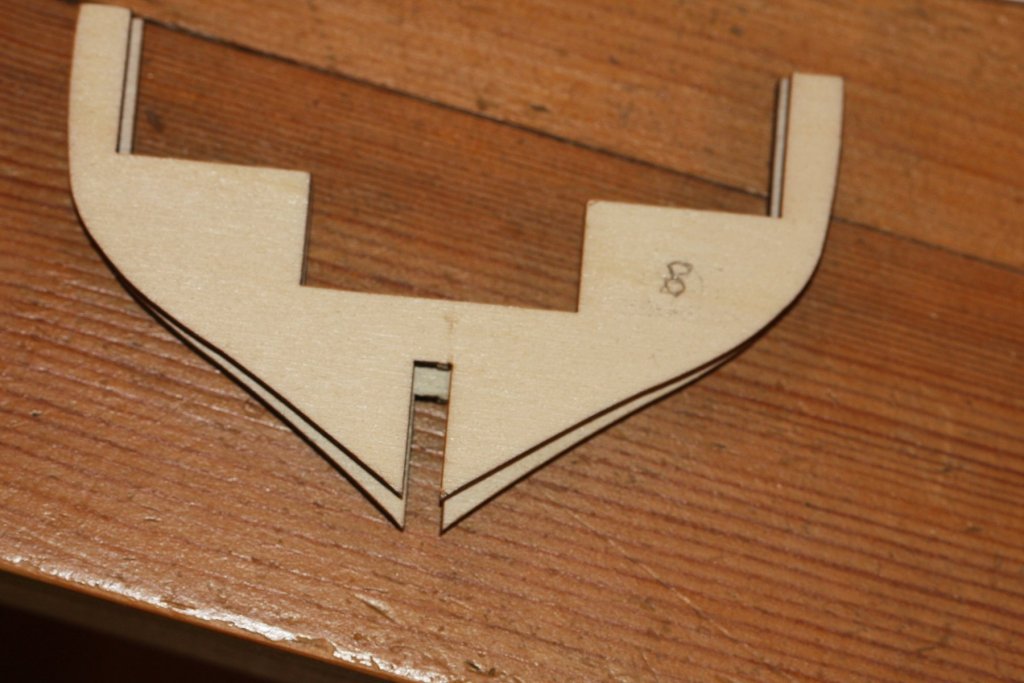
-
Hi there folks Does any one know what kind of wood is best for the outer skin of planking if I want a slightly exaggerated (raised) surface grain. I intend painting my model (Lynx) black above the water but don't want it too smooth. The Lynx was hiding in the Chesapeake waterways when she was captured and I doubt she was done up like a show boat. Perhaps there might be ways of raising the grain a little after sanding??? Thanking you all in anticipation Don
-
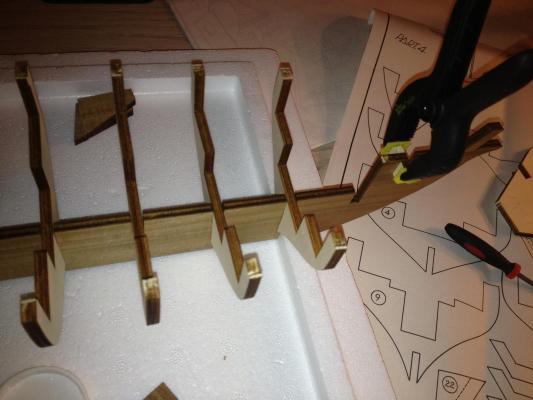
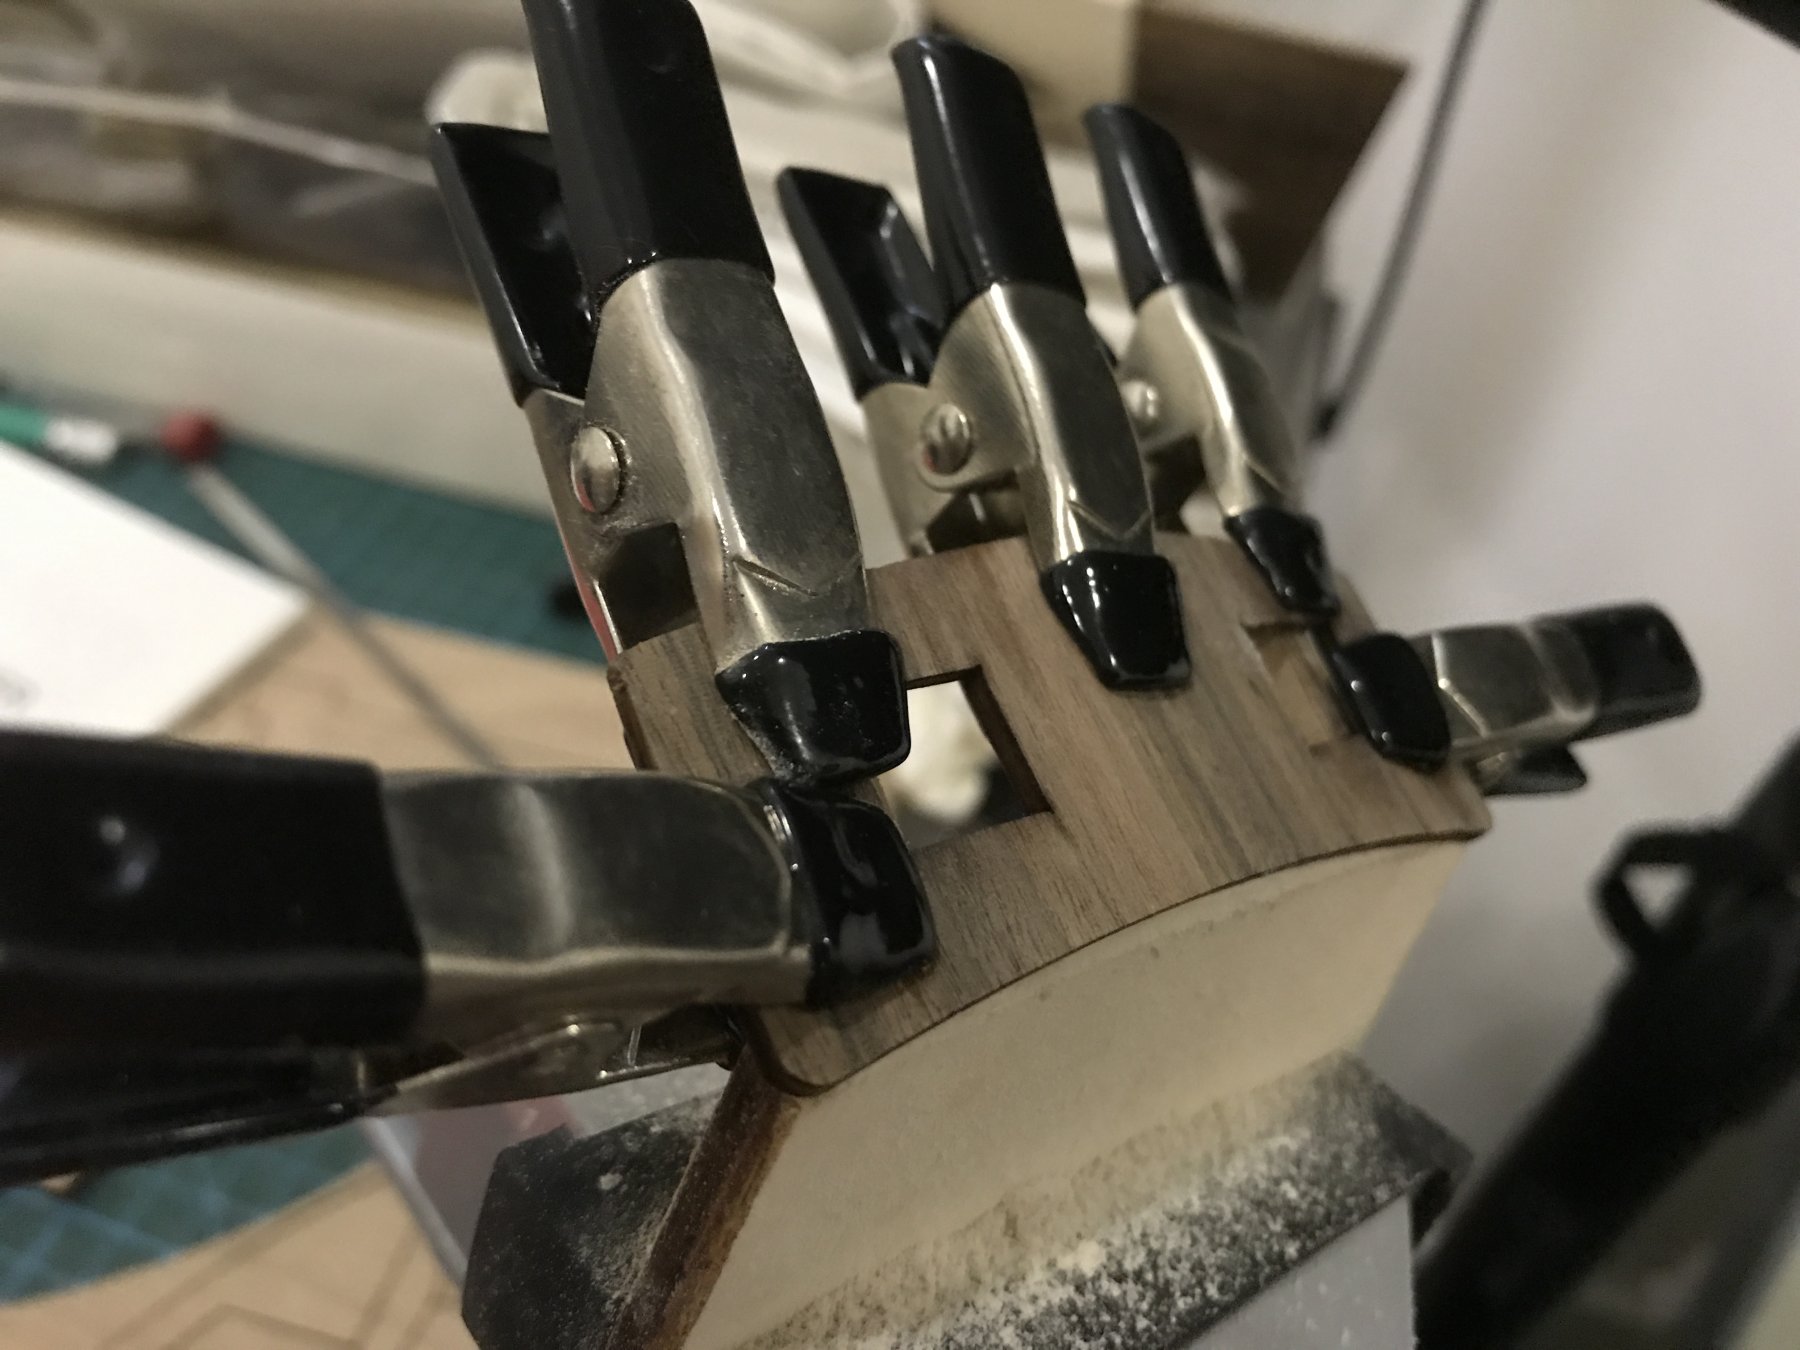
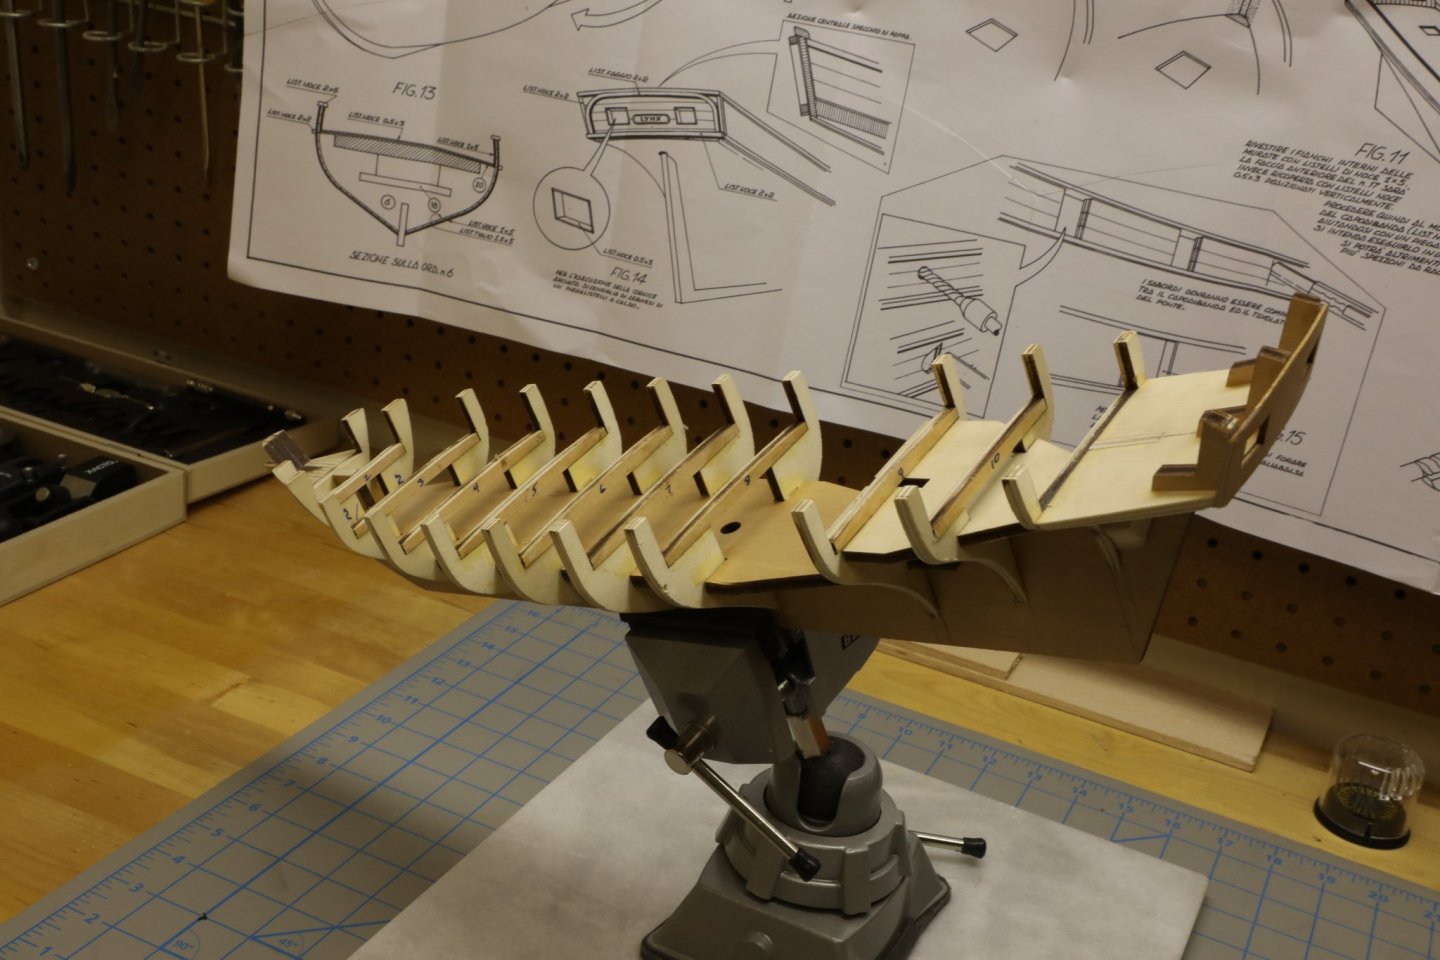
My first foray into these foreign waters, a Build Log by Basic. After much thought and research, I finally decided to jump head first into the hobby and buy my first kit. (Hoorah!) To begin my selection, I spent quite a good deal of time going over reference materials, posts on these forums and advice given by some of the more experienced members of MSW (Thanks ladies and gents, you know who you are!). I came to the conclusion that the single, most important factor in selecting that all important first kit is this: It MUST be a kit that you find personally interesting in some way, which will significantly help you through the first build. I chose the Lynx in part because I find her rather elegant and graceful, and also because I really like the schooner class of ships. I picked her up off an eBay auction, and within a few days she was sitting on my desk, waiting for the build to start. The first thing I must mention is that I was pretty intimidated when I first opened the box; there were so many pieces and it all seemed rather daunting at the time. After a few deep breaths I plunged in, and started going through the parts, instruction manual and schematics. The first thing I noticed was that all the schematics were in Italian, a language that I am not very familiar with. My saving grace, a small instructions manual, was quickly discovered at the bottom of the box and I breathed a sigh of relief. After going through all the documents, I came to realize that the one thing that was hindering my ability to discern if all the parts were included was that I had very little working knowledge of the terminology of the ship building world. After a bit of research, I managed to piece it together well enough to be fairly confident that all the parts are accounted for. I managed to work around the sheer number of pieces by picking up a small cubby box, one of the ones commonly used to store small nails, screws, etc, and set it up on my desk. This helped me organize all the small parts into their own compartments and greatly relieved the clutter on my work surface. Unfortunately, as was explained in my introduction post to MSW, I have not yet managed to liberate my basement from the snooker table which currently lurks down there, so my work surface is not ideal at the moment, but I’m working on that. The work has started off rather slowly, considering that I am constantly checking and rechecking each task, and quite frankly I’m okay with this. I want to make sure that I avoid the common mistakes by thinking and planning ahead, which I’m sure will help save me a few headaches down the road. So far, I have dry fit all the bulkheads to the keel, as well as the sub-deck and the aft platform. I have begun to glue shims to the bulkheads to correct for the play that these parts have within their slots on the keel, and glue the bulkheads into place. I have also glued a set of reinforcing blocks to each side of the keel by each bulkhead slot, to ensure that the bulkheads are correctly positioned and have more surface area to create a strong adhesion. In the photo below, you can see the dry fitting of the bulkheads to the keel, as well as the first set of reinforcement blocks being glued & clamped to the keel. Excuse the poor lighting, I have yet to properly set up my work area!