Racer2000
-
Posts
25 -
Joined
-
Last visited


-
 hexnut reacted to a post in a topic:
USS Constitution by Racer2000 - Revell - PLASTIC - unbashed build more or less
hexnut reacted to a post in a topic:
USS Constitution by Racer2000 - Revell - PLASTIC - unbashed build more or less
-
hexnut reacted to a post in a topic:
USS Constitution by Racer2000 - Revell - PLASTIC - unbashed build more or less
-
 Yes that center tab is for the name plate. I haven'the installed it yet as I haven't decided which side I'm going to face outward as I plan on putting it on a shelf. I also haven't decided if I'm going to use the mounts supplied or get some brass pedestals and mount it on a board.
 -
husky1943 reacted to a post in a topic:
USS Constitution by Racer2000 - Revell - PLASTIC - unbashed build more or less
-
husky1943 reacted to a post in a topic:
USS Constitution by Racer2000 - Revell - PLASTIC - unbashed build more or less
-
Fright reacted to a post in a topic:
USS Constitution by Racer2000 - Revell - PLASTIC - unbashed build more or less
-
Thank you for the idea. If I find something close to the size of those handles on the steering wheel I may have to replace them all in order for them to match is something I hadn't considered. That may do the trick.
- 30 replies
-
- 1
-
-
- constitution
- revell
- (and 1 more)
-
CaptainSteve reacted to a post in a topic:
USS Constitution by Racer2000 - Revell - PLASTIC - unbashed build more or less
-
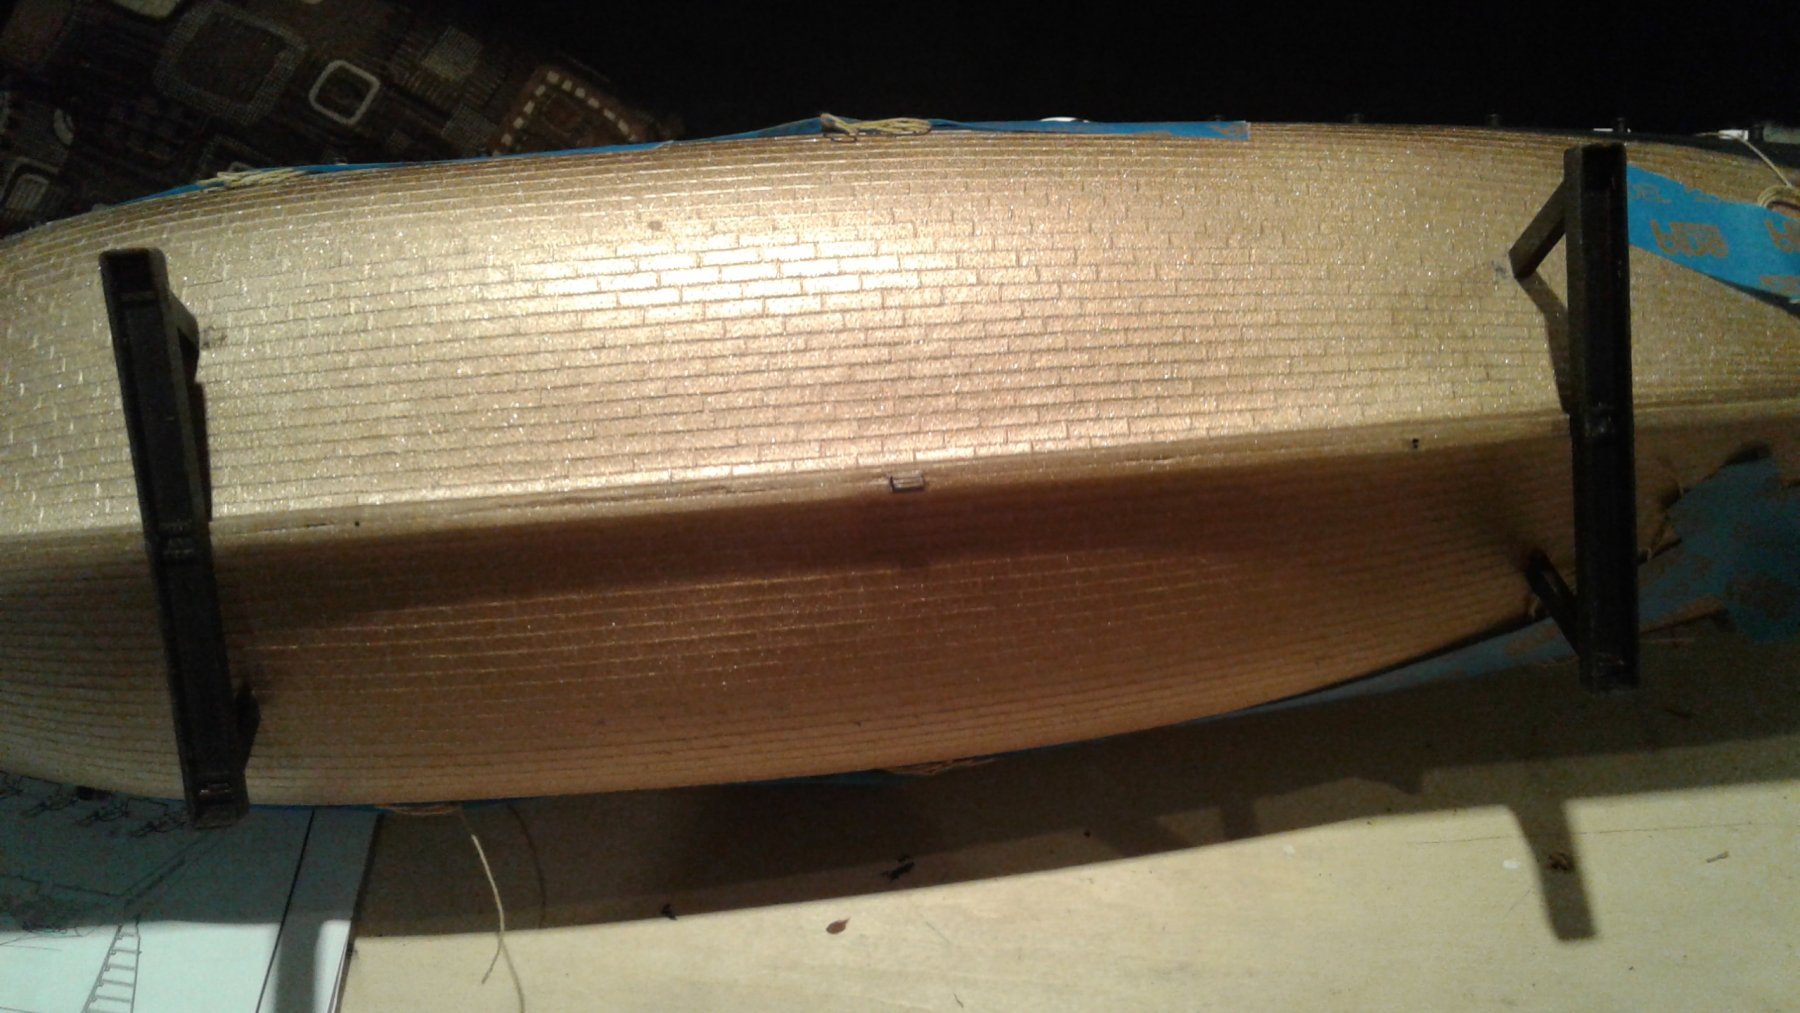
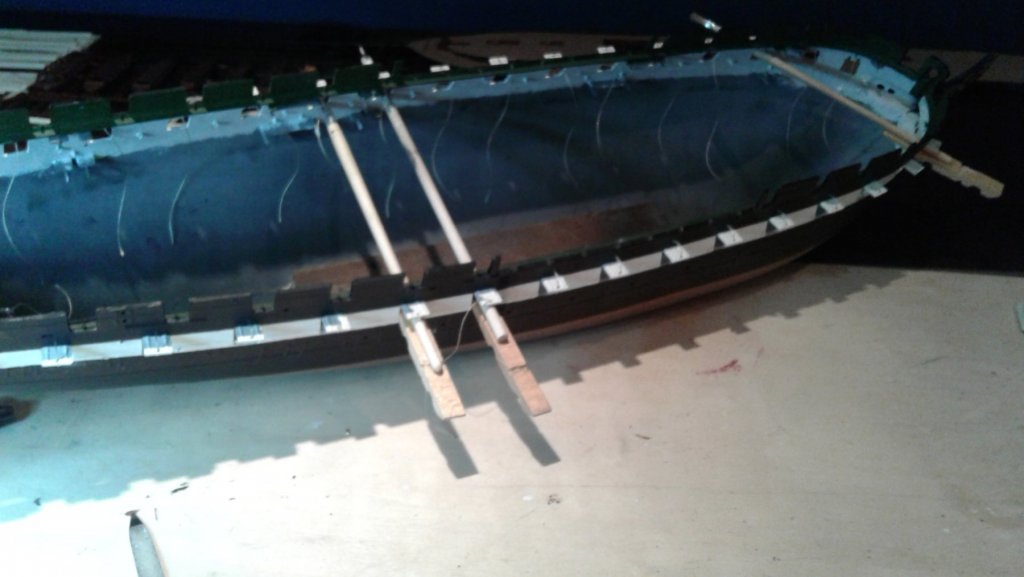
Good idea Fright. I'll look into if toothpicks are the right size. Fright this is how I squeezed the sides in in order to glue the deck in place to remove the gaps. If you're going to glue a piece of wood inside in order to have something to screw a pedestal mount to, make sure you drill a couple of tiny tiny holes in the hull in order to know where to place the mounts. I know there is no waterway at the stern, but I thought trying to extend the coloration of the deck would be too hard.


- 30 replies
-
- 4
-
-
- constitution
- revell
- (and 1 more)
-
Fright reacted to a post in a topic:
USS Constitution by Racer2000 - Revell - PLASTIC - unbashed build more or less
-
Fright reacted to a post in a topic:
USS Constitution by Racer2000 - Revell - PLASTIC - unbashed build more or less
-
Fright reacted to a post in a topic:
USS Constitution by Racer2000 - Revell - PLASTIC - unbashed build more or less
-
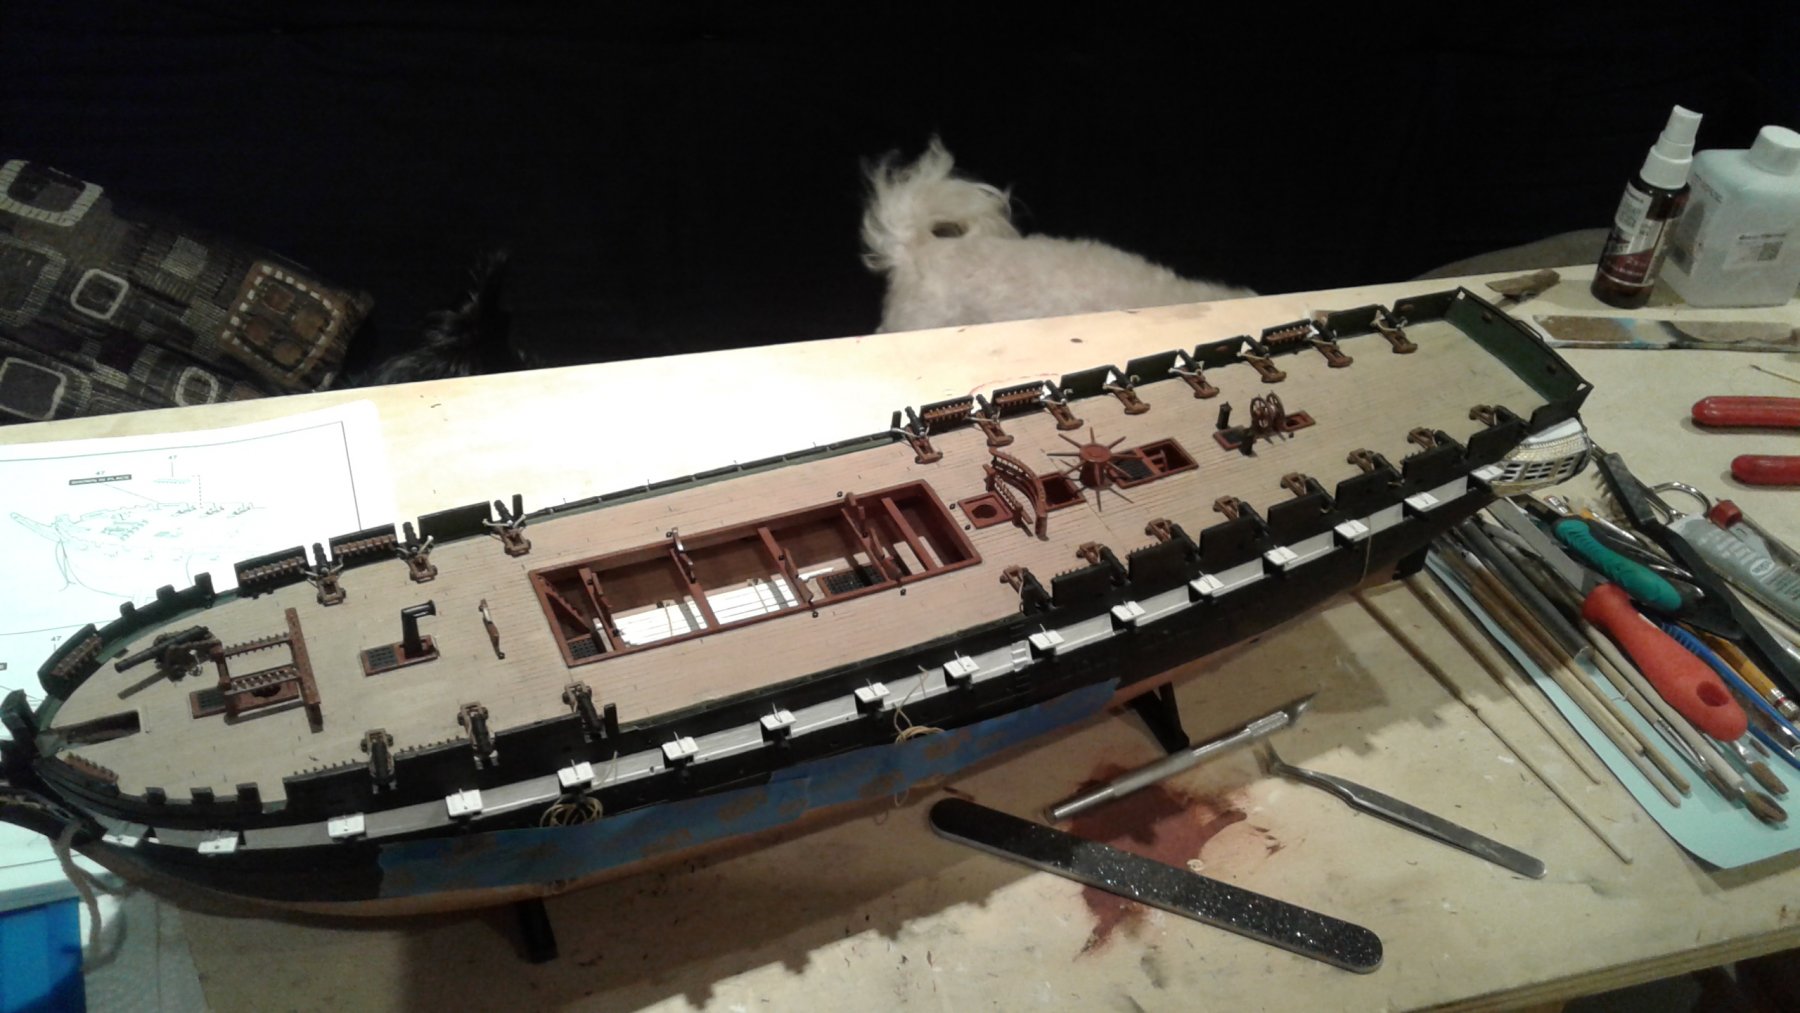
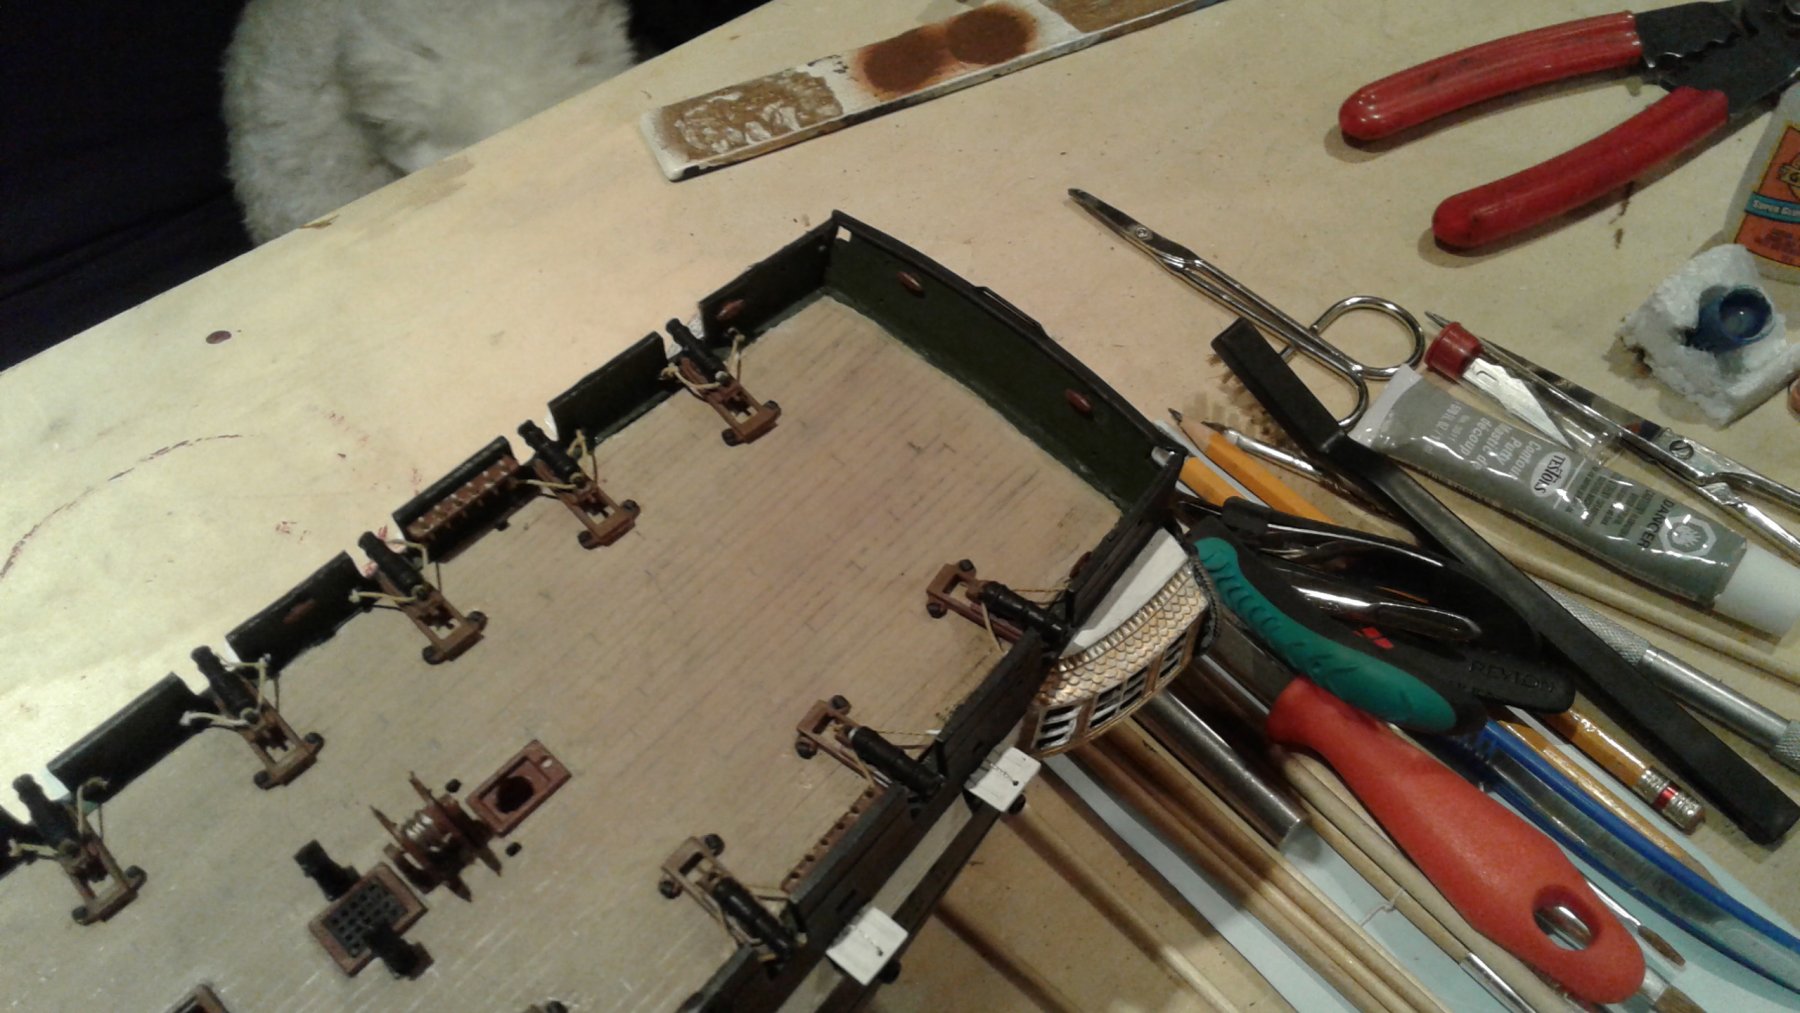
Sorry for the delay in posting. Went to put the top deck in and it wouldn't sit on all of it's supports, so I took out the top deck and used gap filling CA on all the gun deck supports, I then clamped it in my workmate bench to squeeze the sides together. Unfortunately I had already lashed in all the cannons to the bulkheads and squeezing the sides in made all the lashings go very limp, so I sat there with a pair of tweezers pulling each lashing taught and gluing using a CA kicker for quick set. Putting the top deck back in there was some gaps between the deck and the bulkhead sides so I again glued it to the sides but had to use about 6 pieces of cord to wrap around the ship to squeeze the bulkheads into the top deck. I also had about a quarter inch gap at the stern which I filled in with model putty. I ended up snapping some of the tiny handles on the ships wheel with one of these cords. Anyone have an idea of how to repair this? If not I'll just set the wheel with that portion of missing handles facing downward. (I'll add some pictures later when I'm on my tablet)
- 30 replies
-
- 1
-
-
- constitution
- revell
- (and 1 more)
-
husky1943 reacted to a post in a topic:
USS Constitution by Racer2000 - Revell - PLASTIC - unbashed build more or less
-
If it is a visible issue once I get the top deck in then I'll squeeze the sides inward and go in through one of the gun ports on each side with a paint brush and thick gap filling CA gluing the bottom deck to the sides.
- 30 replies
-
- 1
-
-
- constitution
- revell
- (and 1 more)
-
I do have some of a gap between the deck and the hull on the sides. The deck is still sitting on its supports, barely. I'm going to wait till I put the top deck in before I make a decision if something needs to be done.
- 30 replies
-
- 2
-
-
- constitution
- revell
- (and 1 more)
-
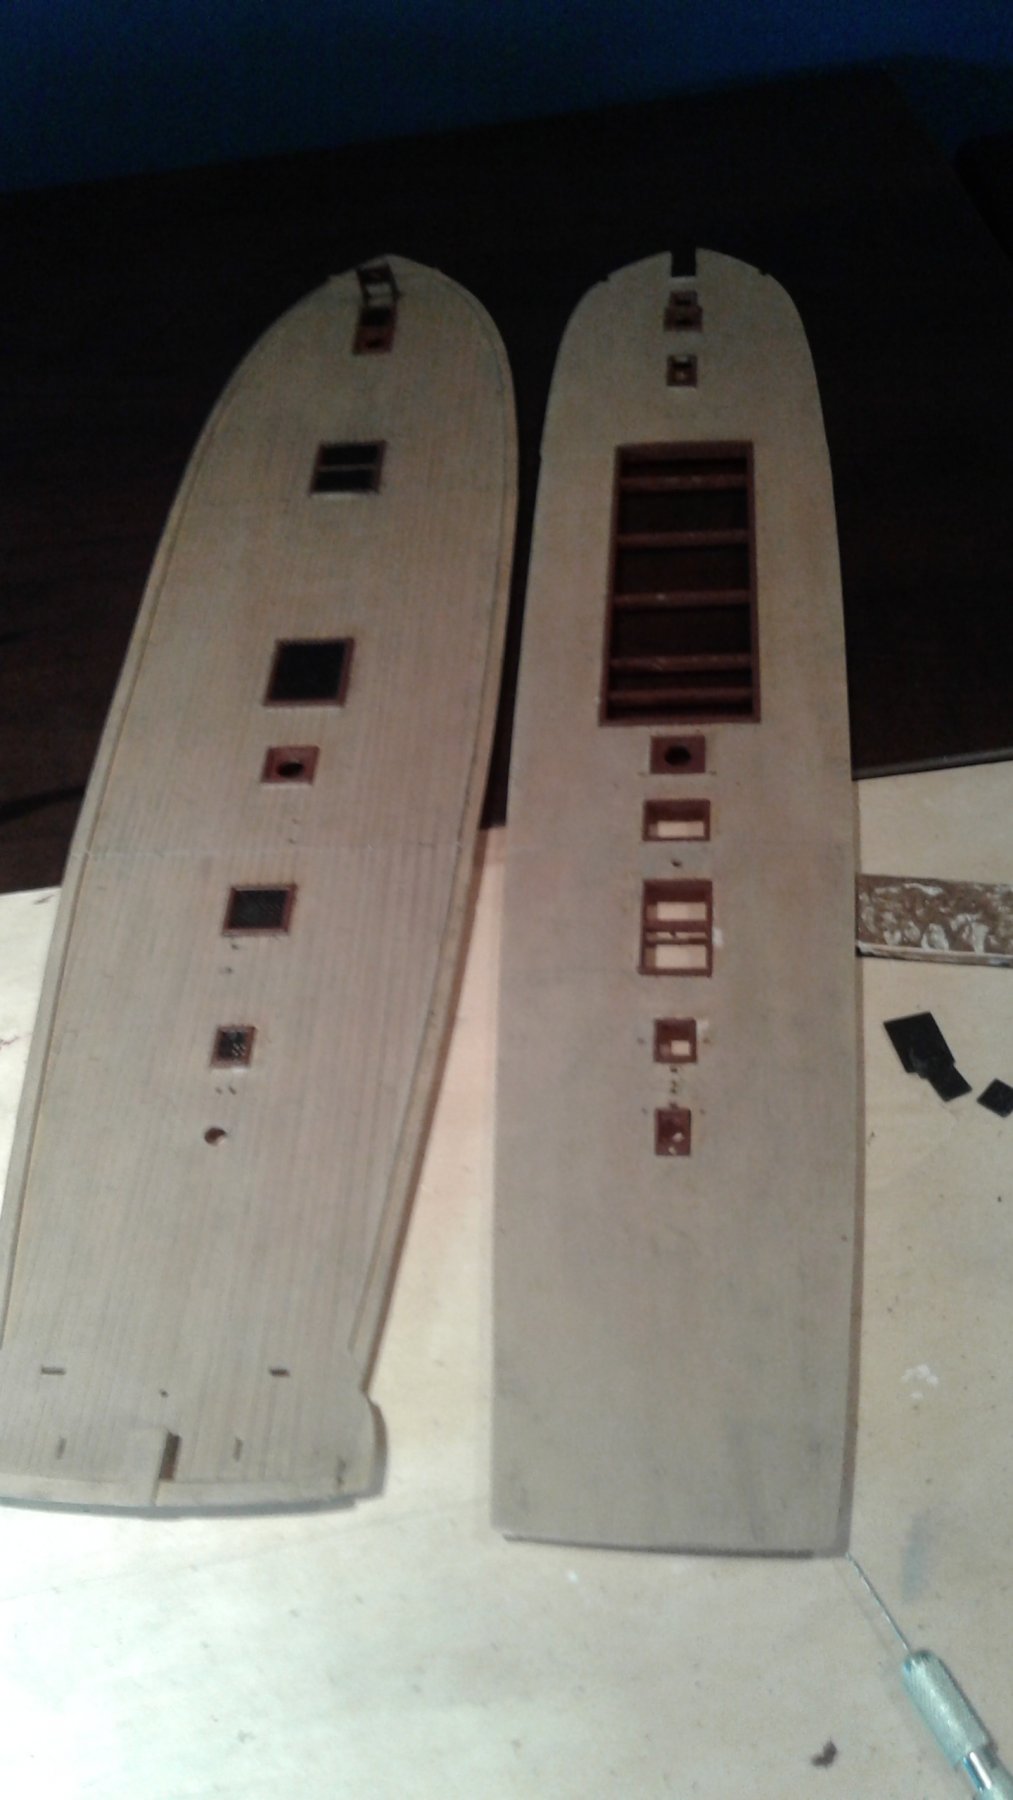
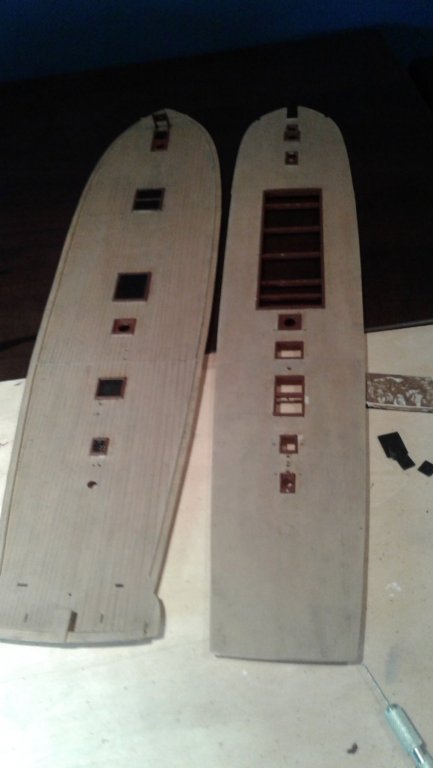
Yes I did Robert, used styrene I got from the model railroad store. On the decks I drew in the board lines on the lower deck but haven't done the top deck. Looking for an opinion if drawing the board lines in is worth the Effort?


- 30 replies
-
- 3
-
-
- constitution
- revell
- (and 1 more)
-
It's the only explanation I could come up with. I don't think they would go out of their way to carve them out in a mold unless there was a use for them. They're the same size as the small eyelets on the smallest blocks so that's what I'm using them for. I used clothes pins as weights to hold the door ropes knots flush to the doors wile the glue dried. Still can't find a description or procedure on how to tie the two ropes taughtly together on the inside of the gunnels.
- 30 replies
-
- 2
-
-
- constitution
- revell
- (and 1 more)
-
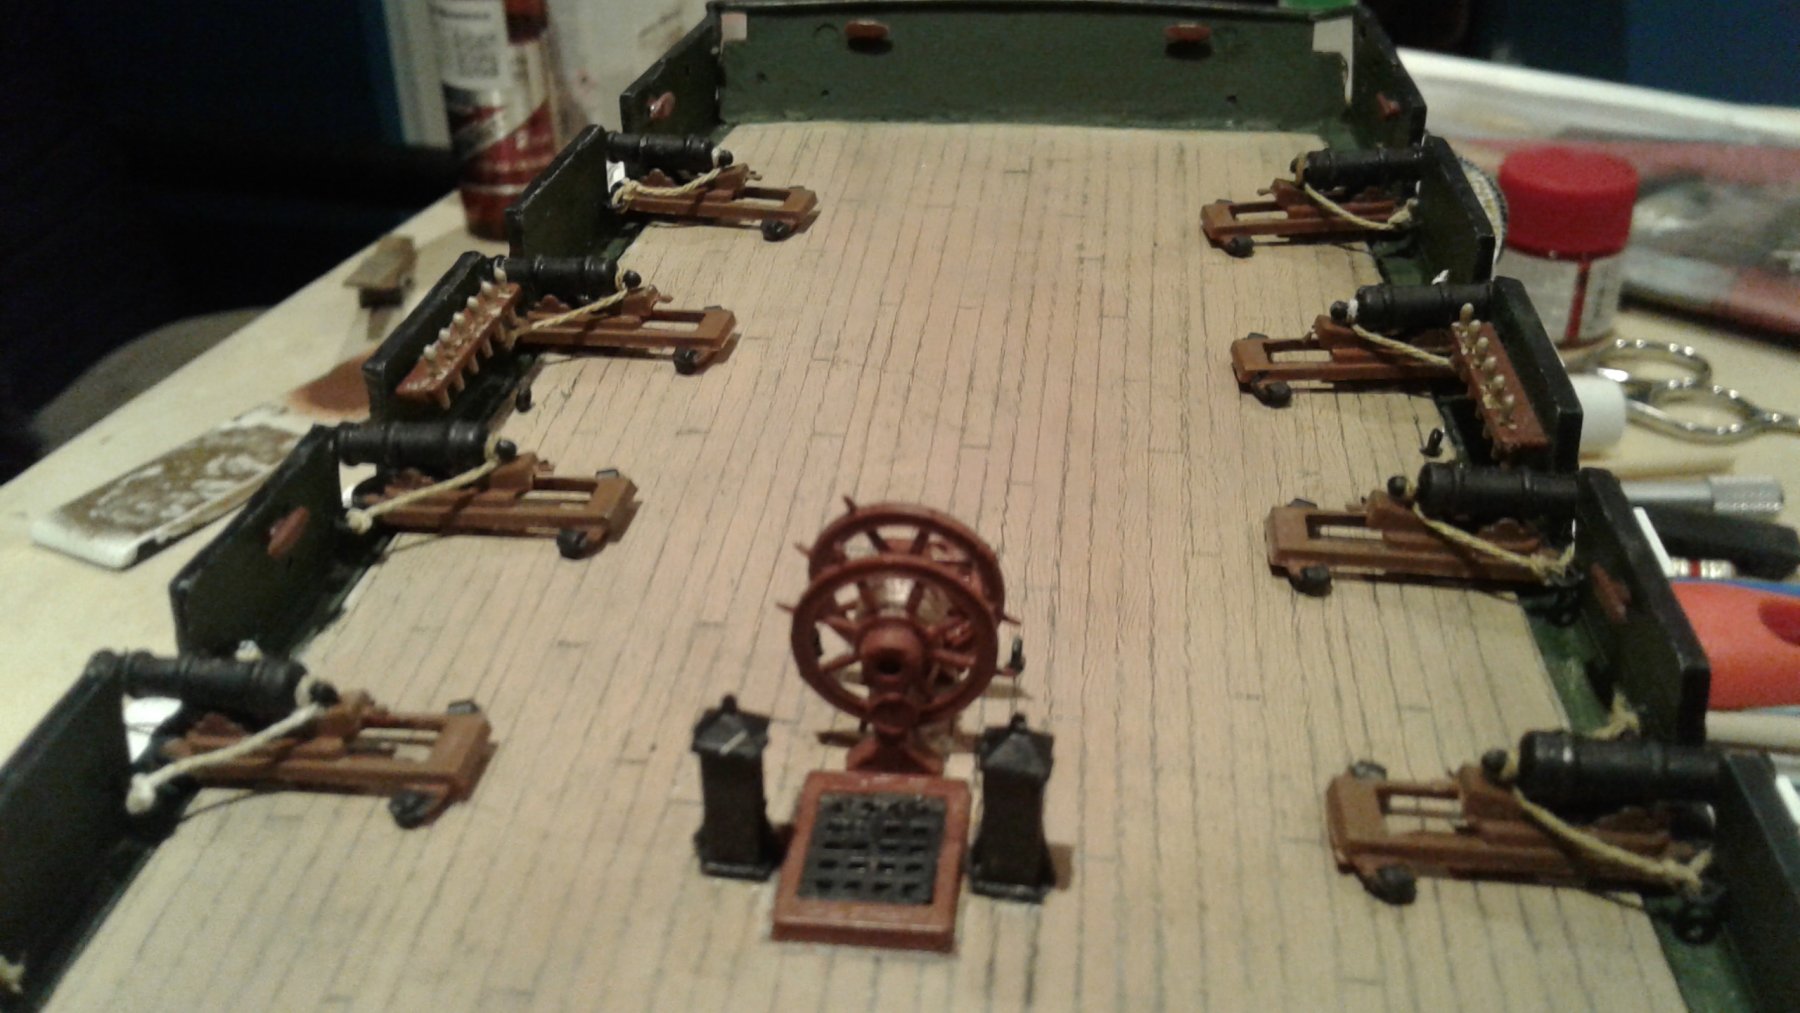
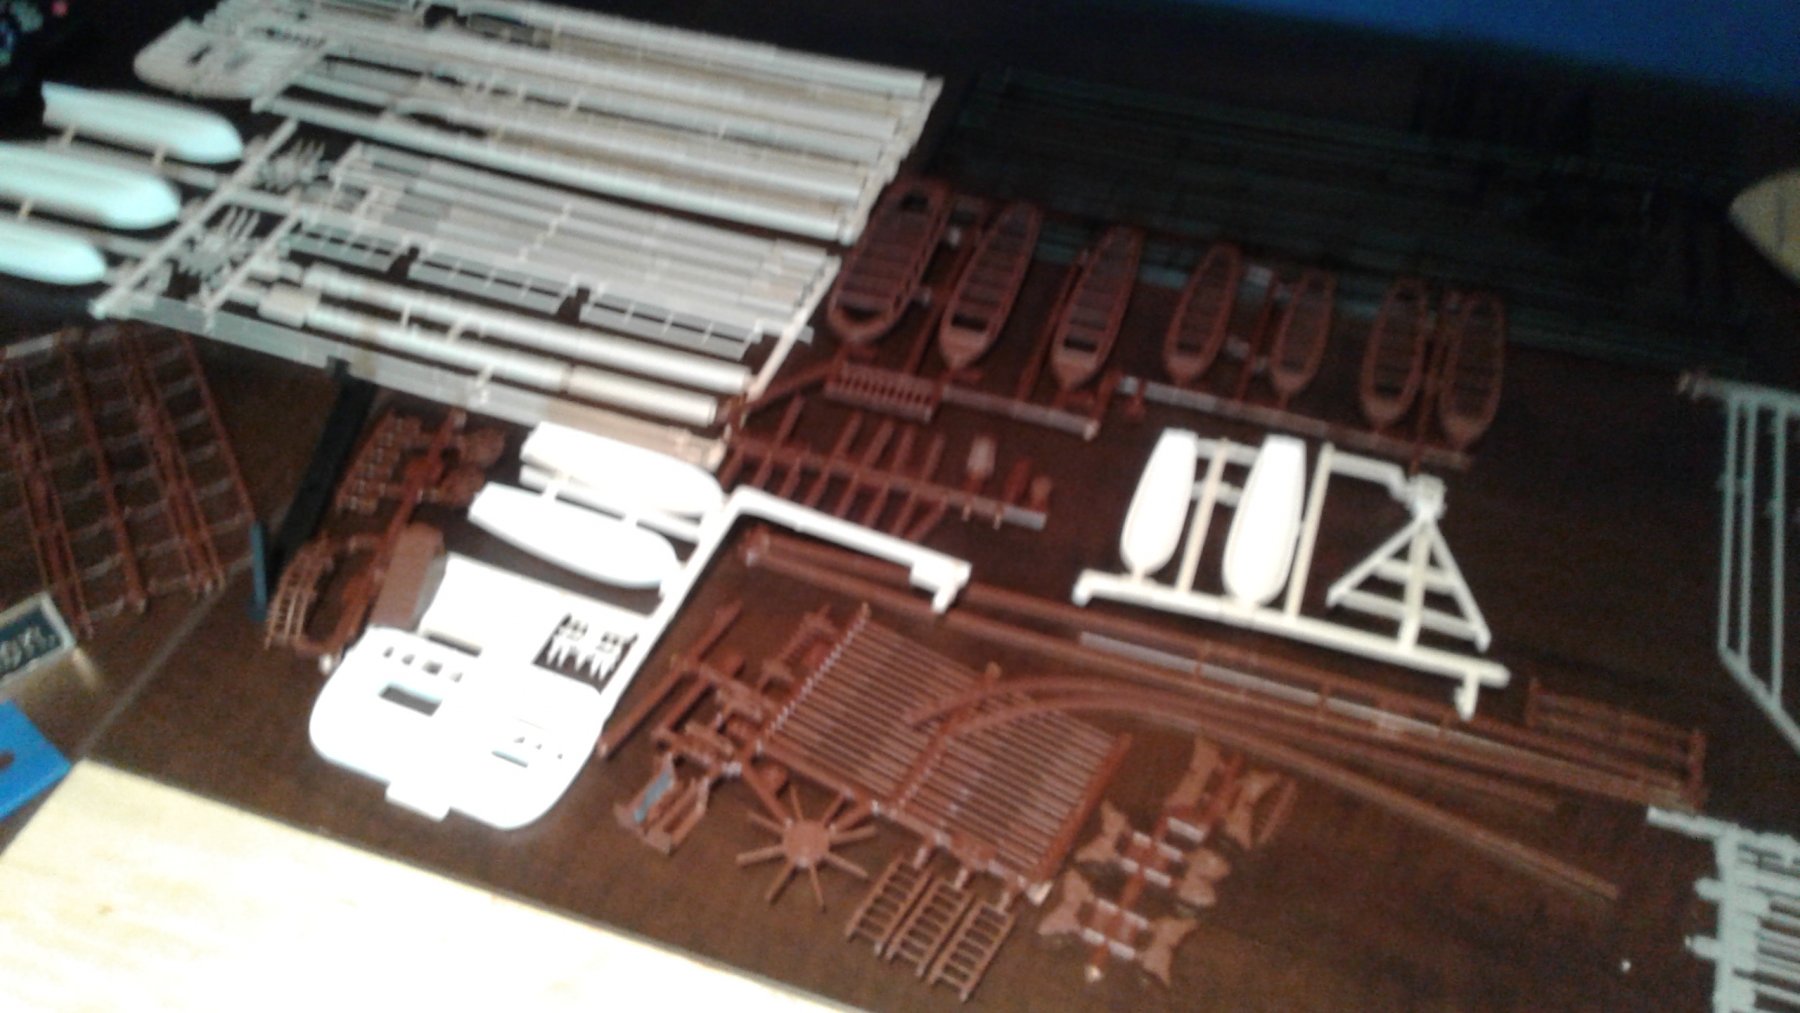
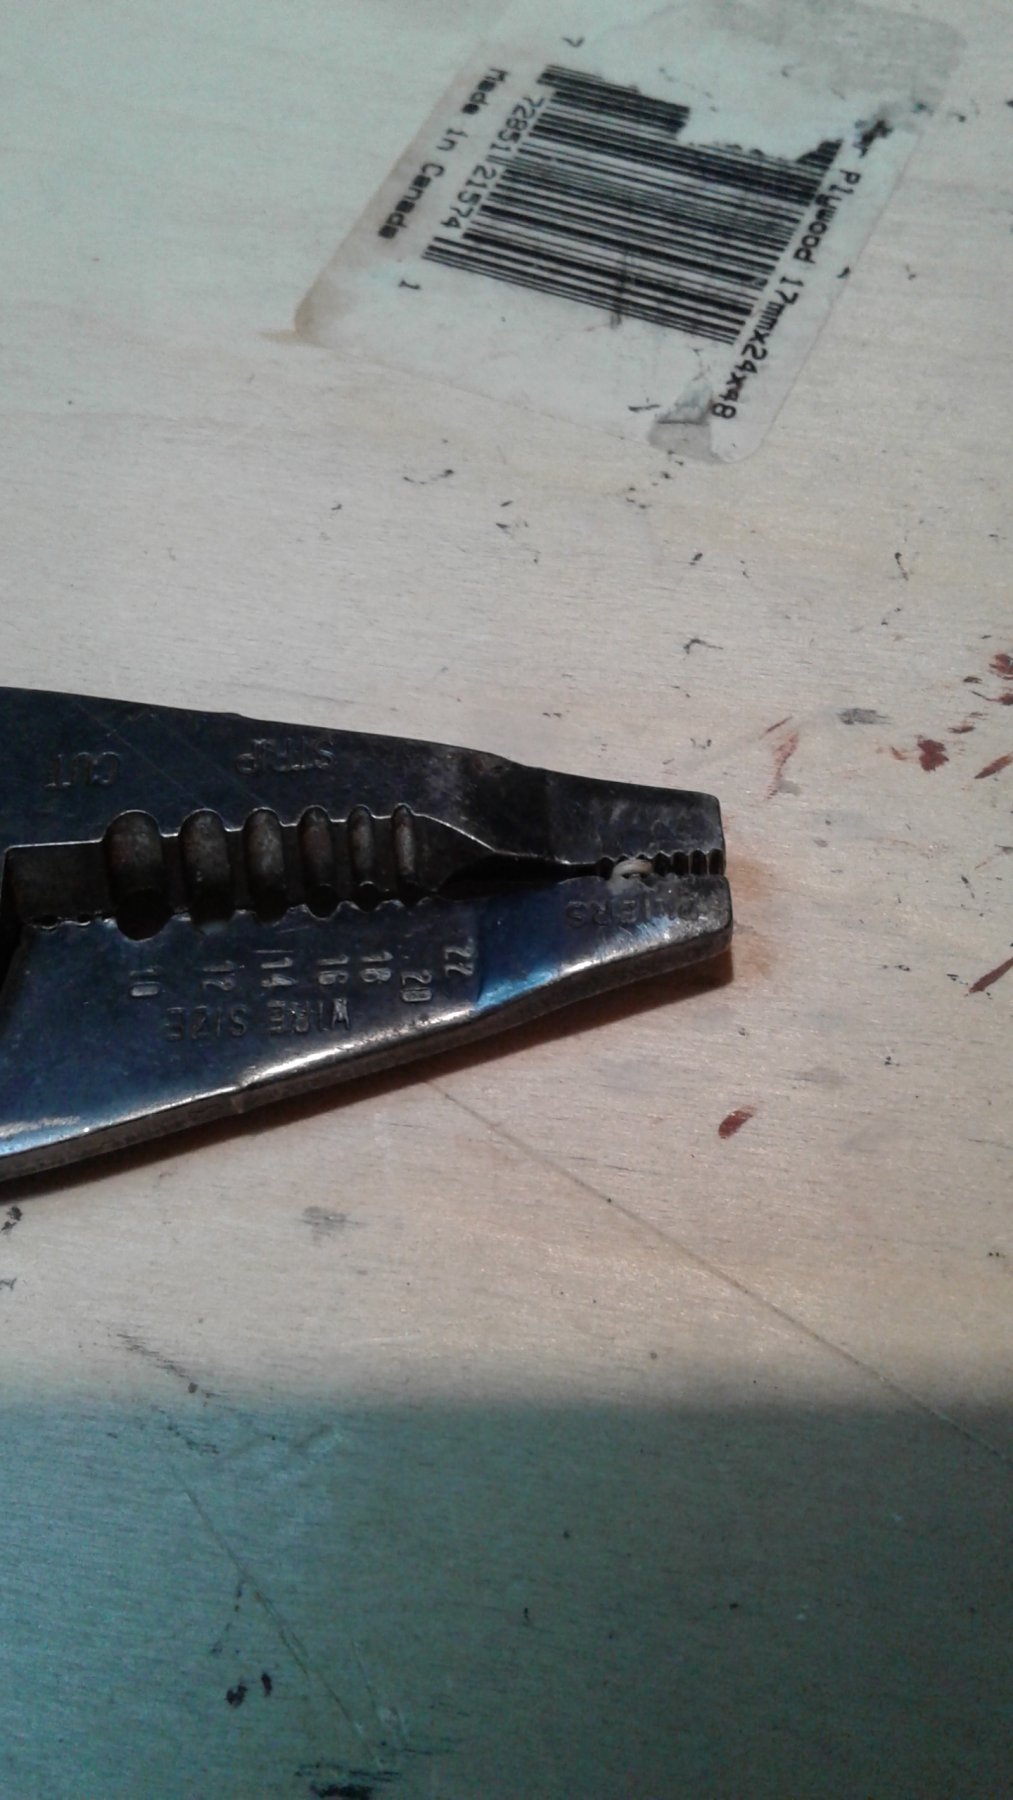
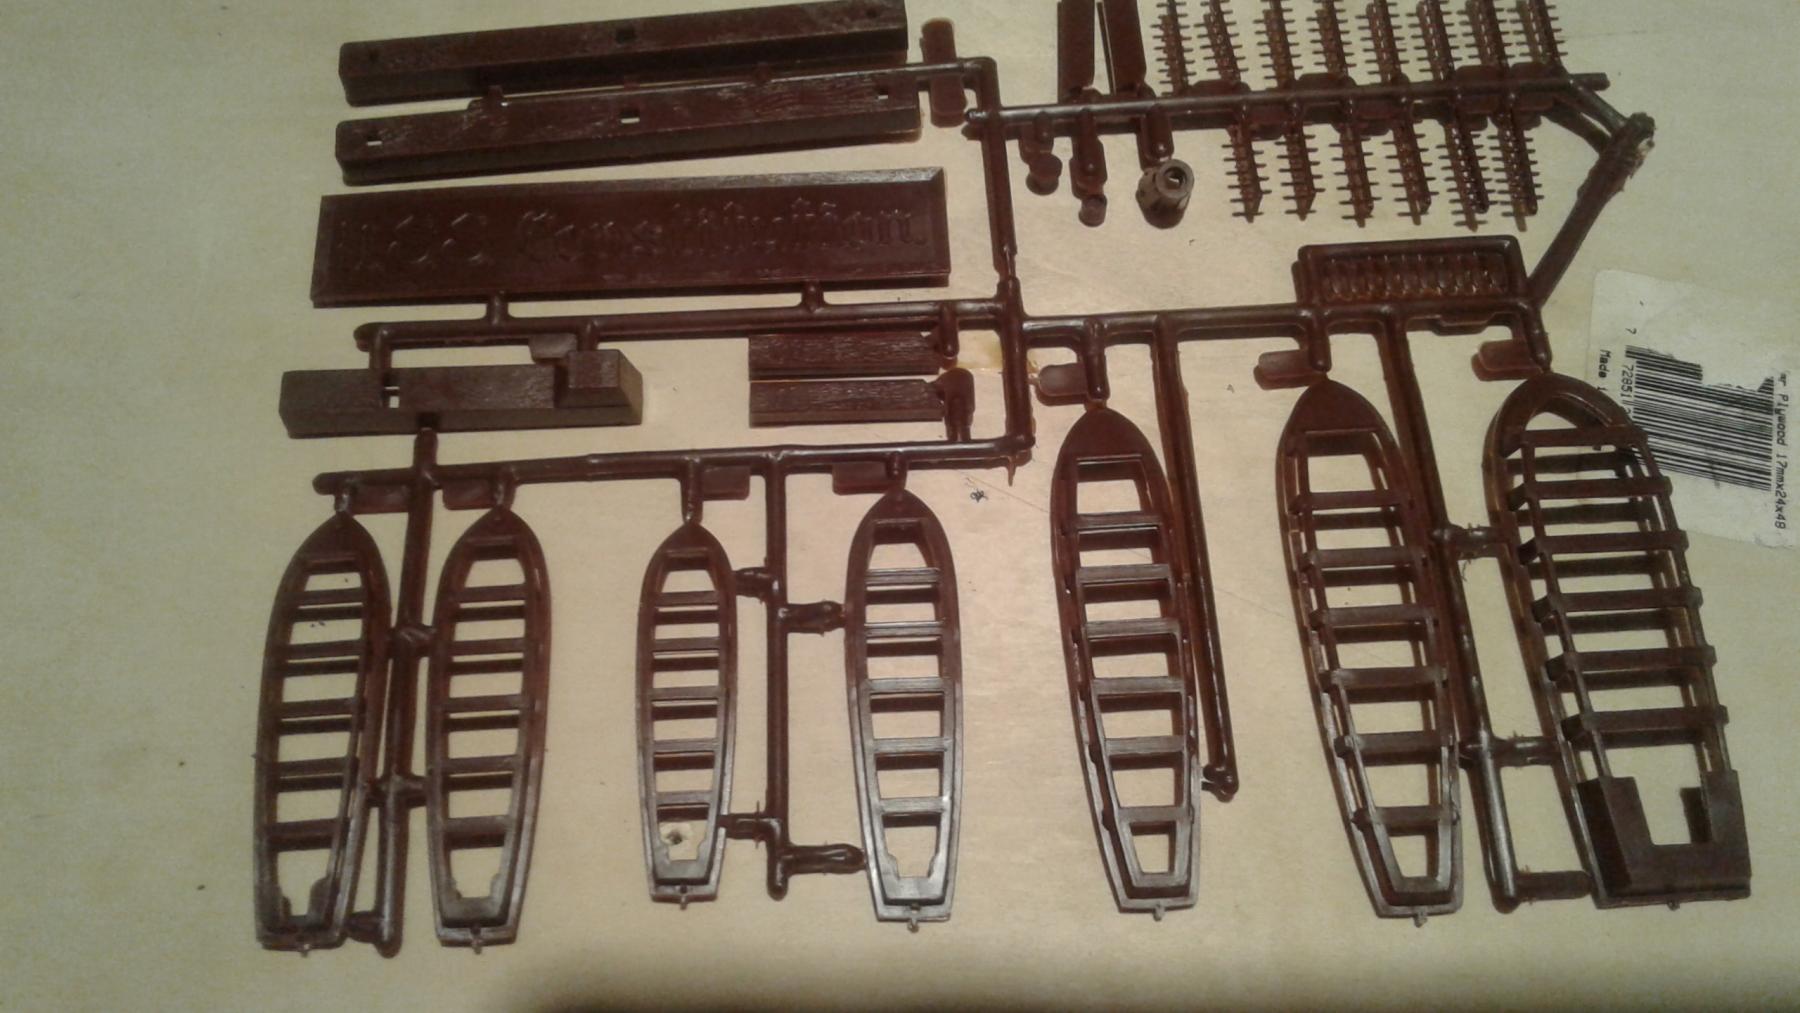
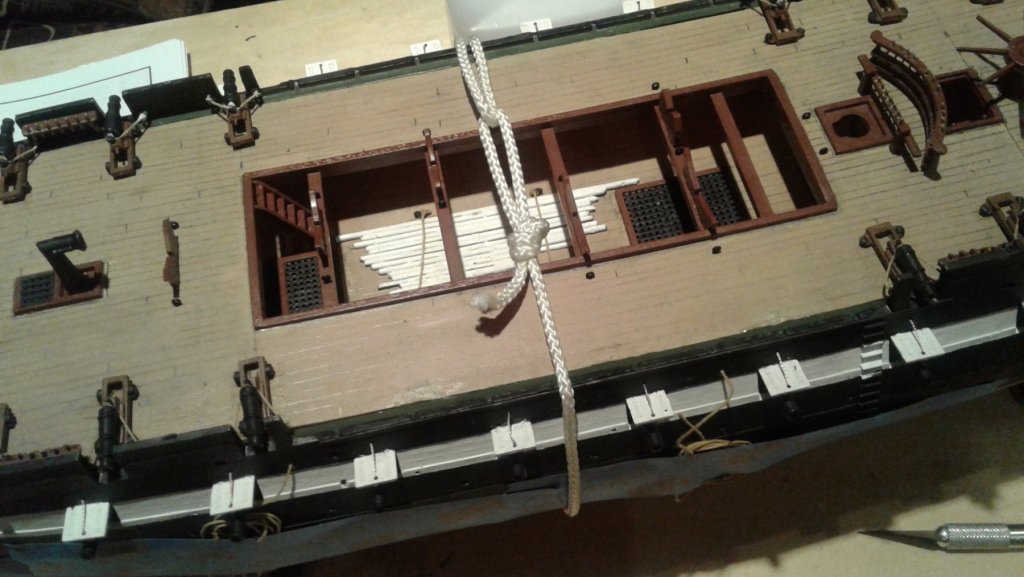
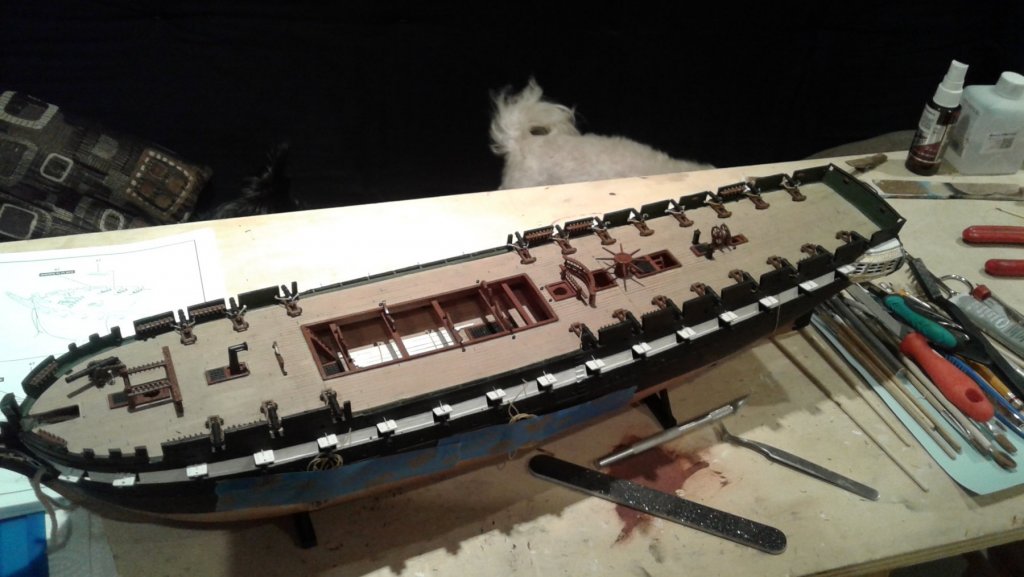
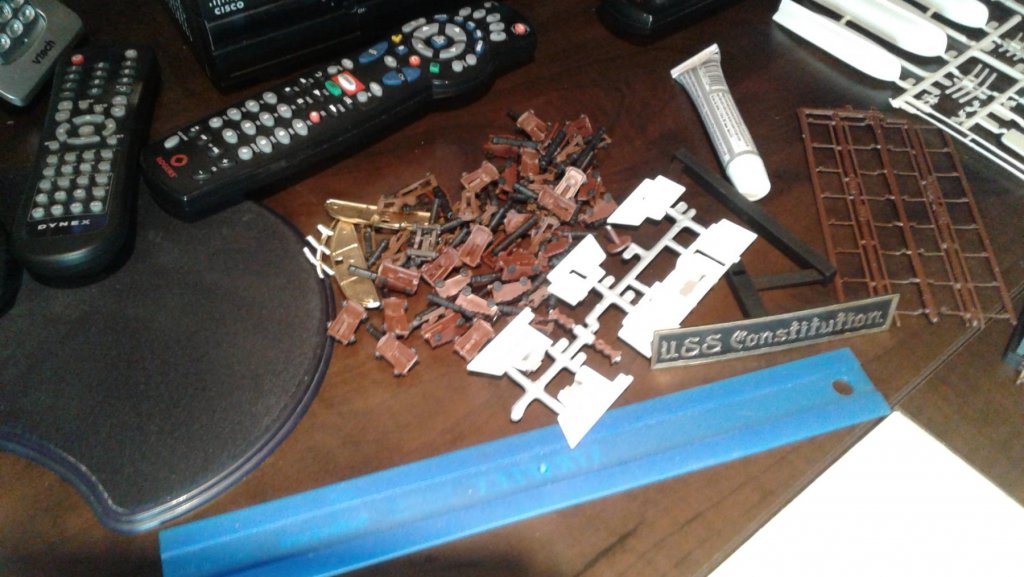
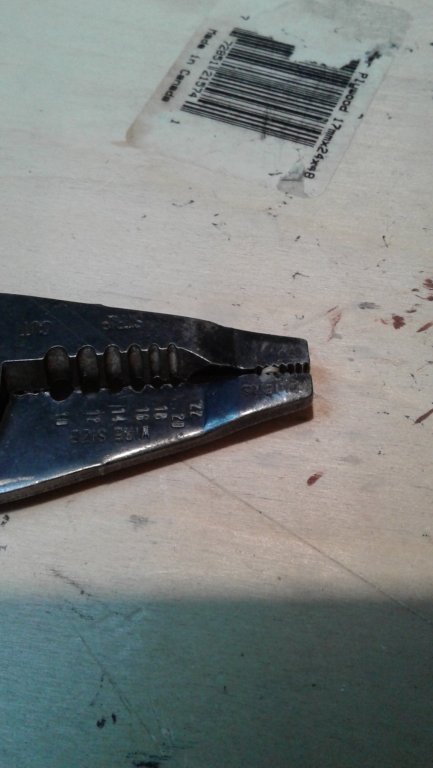
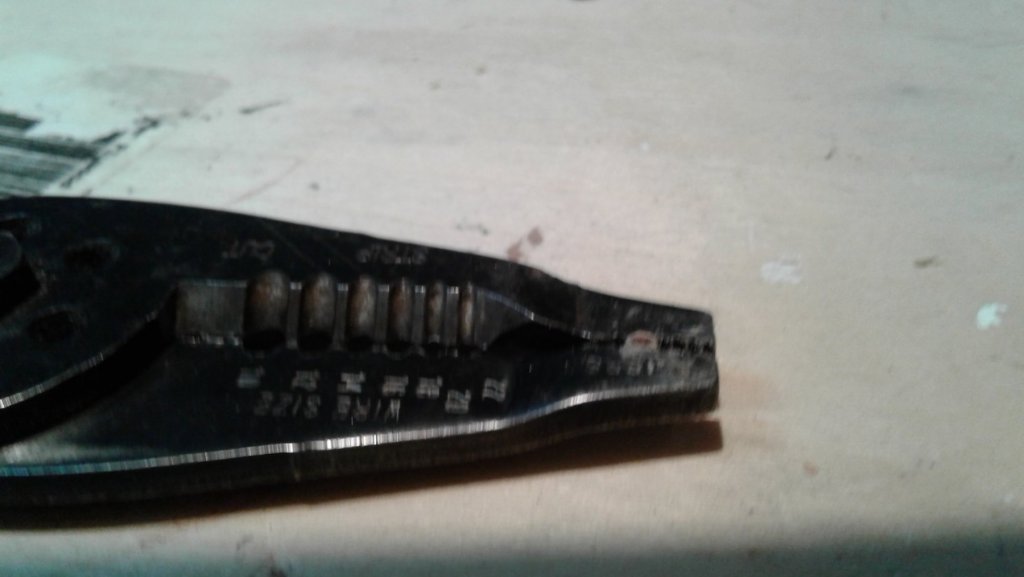
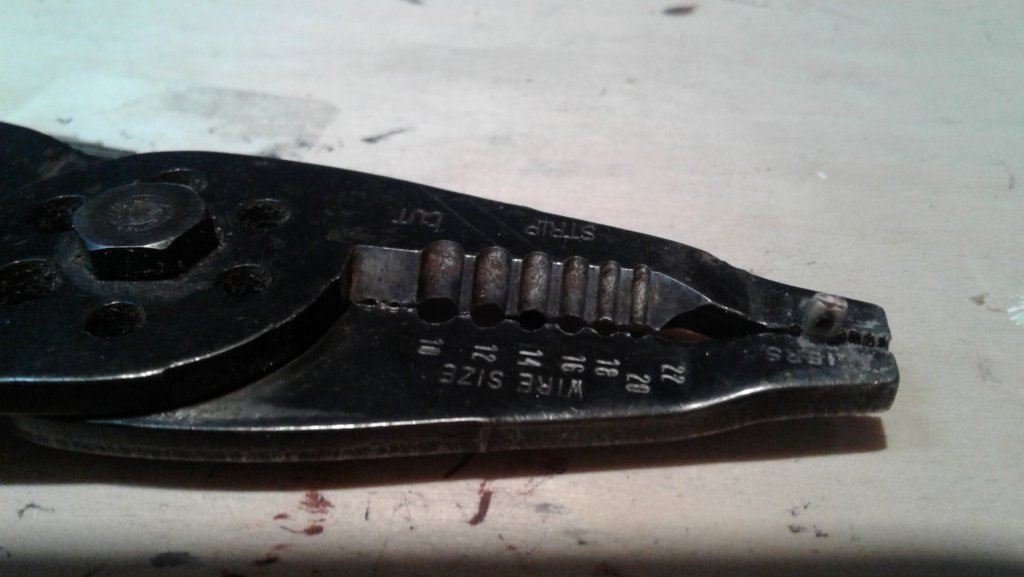
An update on how I'm progressing. Been painting everything I can. I put a long piece of wood across the mounting holes in the bottom. (you can just make it out in the picture below) Used pencils and paint brushes to support the gun doors (read that somewhere in here) but I used disassembled wooden clothes pins as a wedge, just had to shave the edge a little bit to get them to slide through the gun ports to hold the pencils/paint brushes up against the top. Cut, tied and threaded the gun door ropes. Is there a trick to tieing the 2 strings together on the inside of the boat so that the strings are taught? (I've left the bottom deck out until I get these door strings tied - more room to work.) I painted and then started to remove the rigging blocks from their sprues. While cleaning up the blocks with a pin vise I noticed a bunch of small plastic rings also on the sprues and was wondering why they went out of their way to create these. Well I didn't have to remove many of the smallest blocks to realize these rings are for repairing/replacing the eyelets that broke. I held the small rings in a pair of pliers with a rubber band around the handles to apply pressure. I left just enough of the ring exposed above the jaws to file off flat and even with the jaws, than glued the block to the ring. The block is larger than the width of the ring so the block was sitting on the pliers jaws giving it a flat surface to rest upon.

- 30 replies
-
- 2
-
-
- constitution
- revell
- (and 1 more)
-
Racer2000 reacted to a post in a topic:
USS Constitution by Racer2000 - Revell - PLASTIC - unbashed build more or less
-
Racer2000 reacted to a post in a topic:
USS Constitution by Racer2000 - Revell - PLASTIC - unbashed build more or less
-
I believe those holes are for the masts. I forgot about the bow chaser gun, I'll have a closer look
- 30 replies
-
- 1
-
-
- constitution
- revell
- (and 1 more)
-
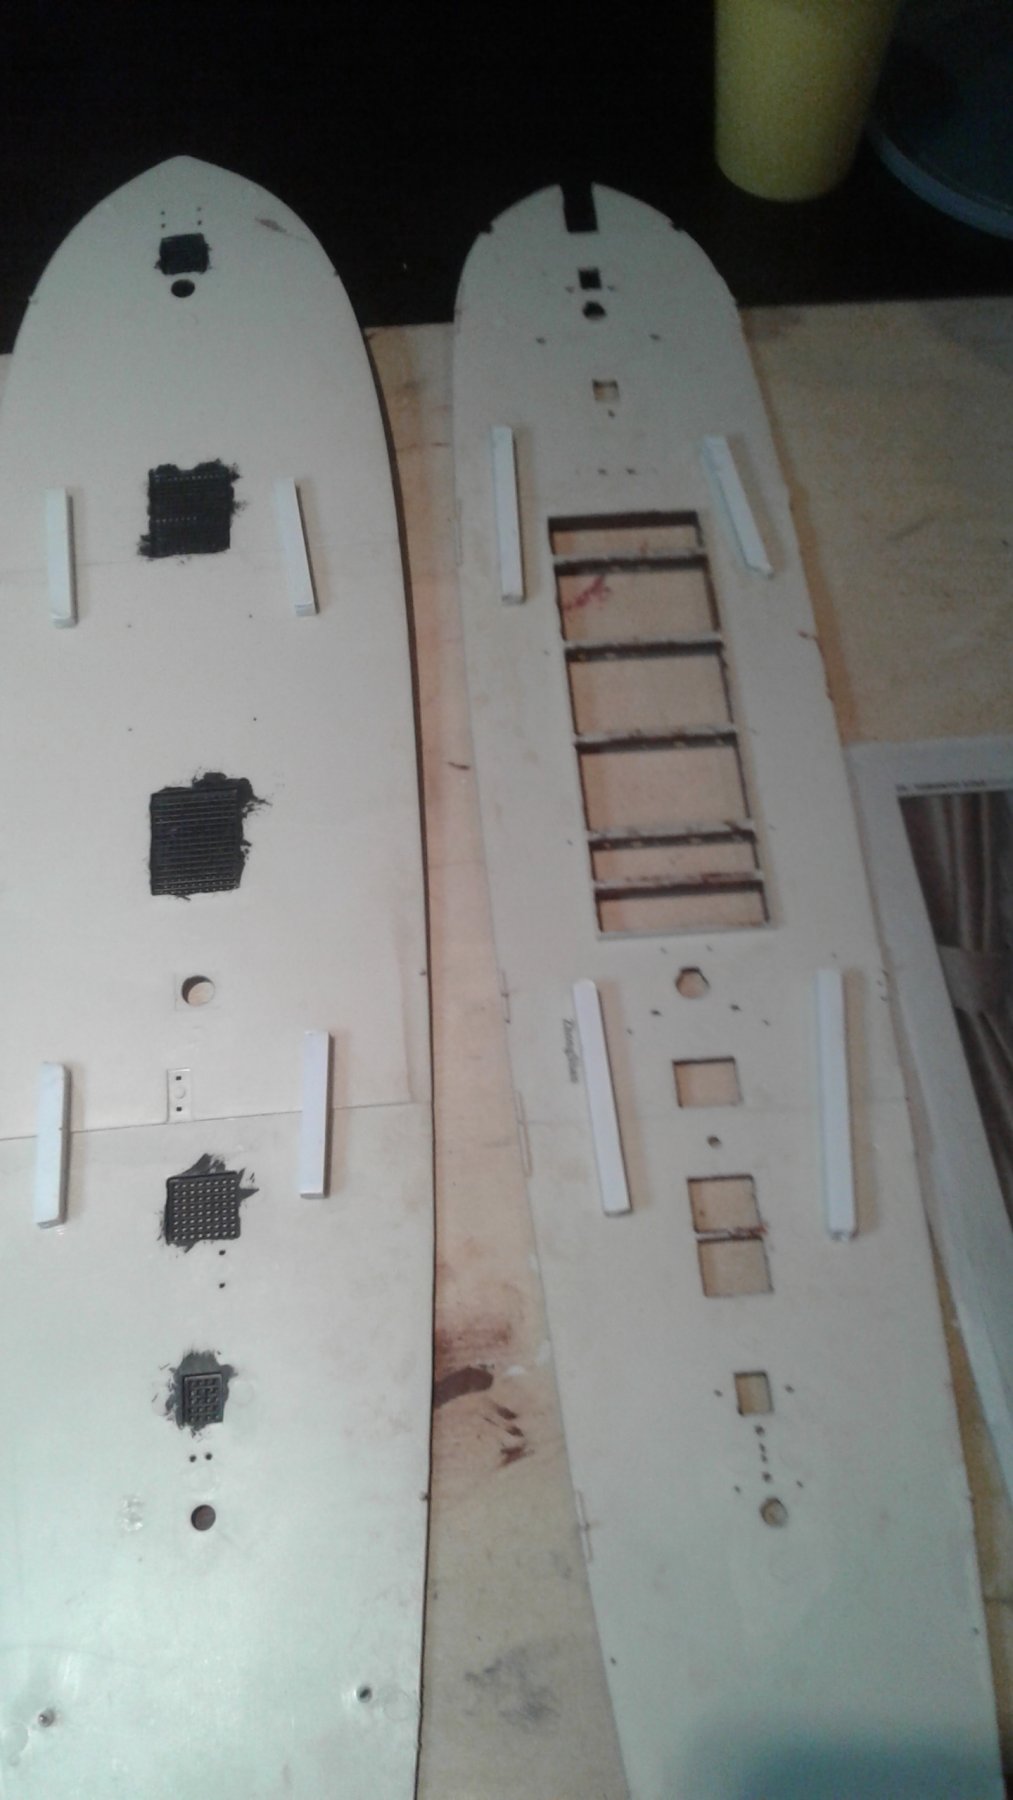
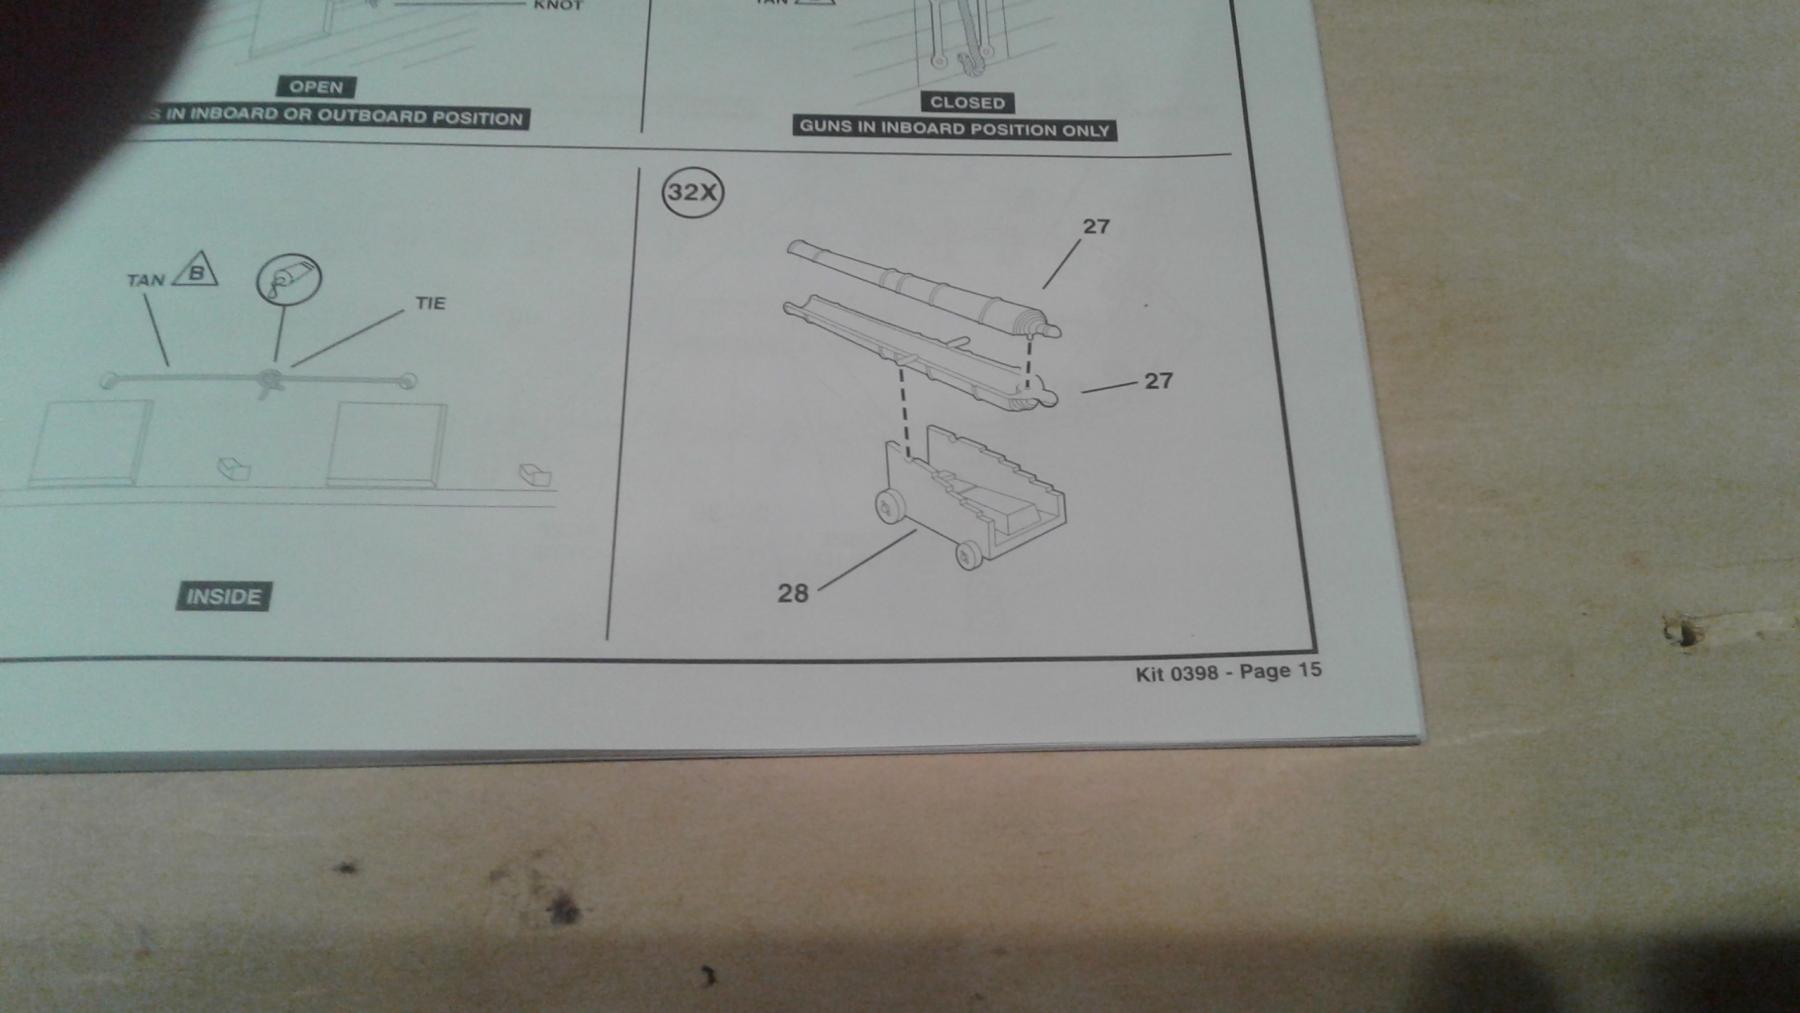
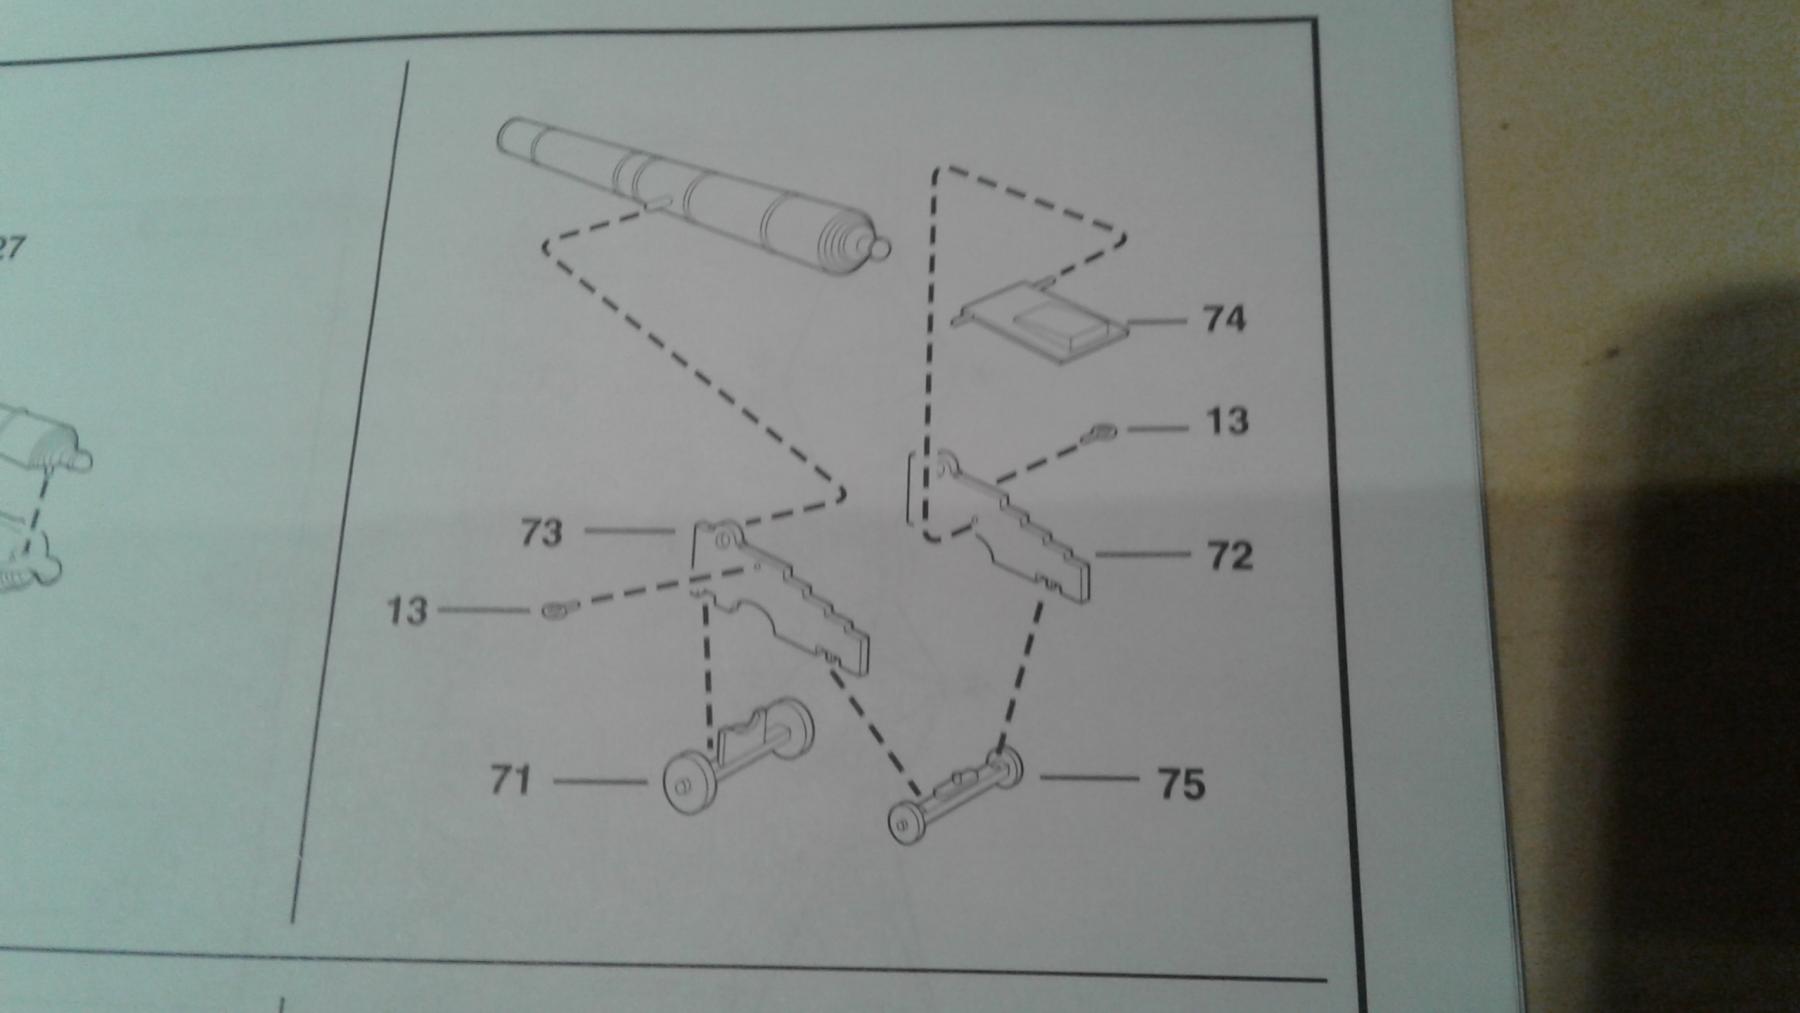
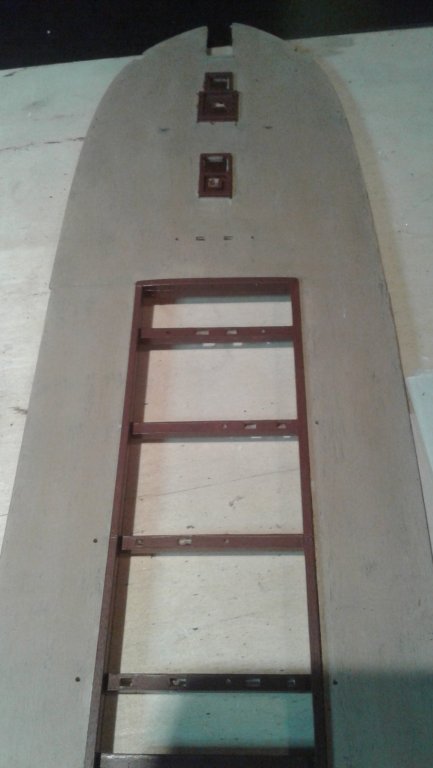
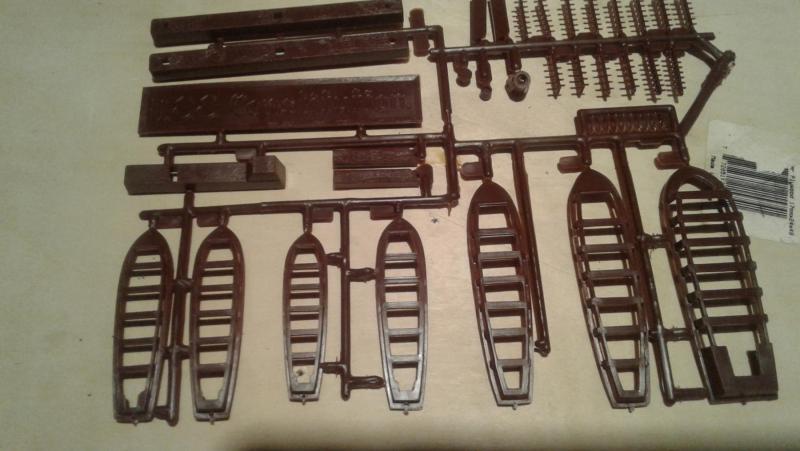
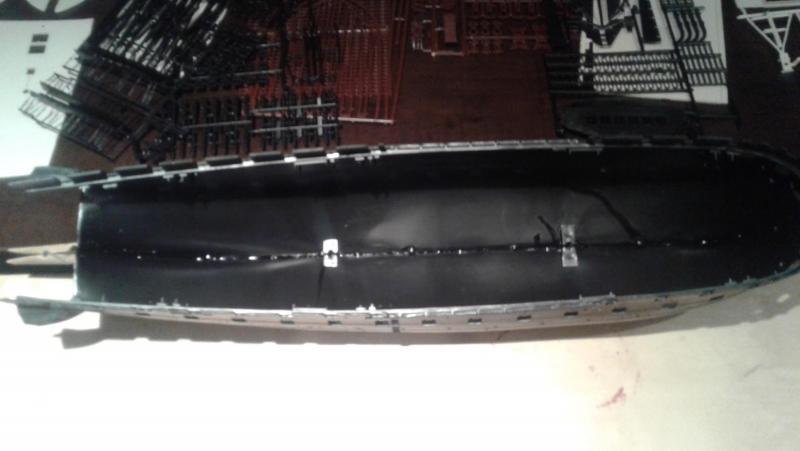
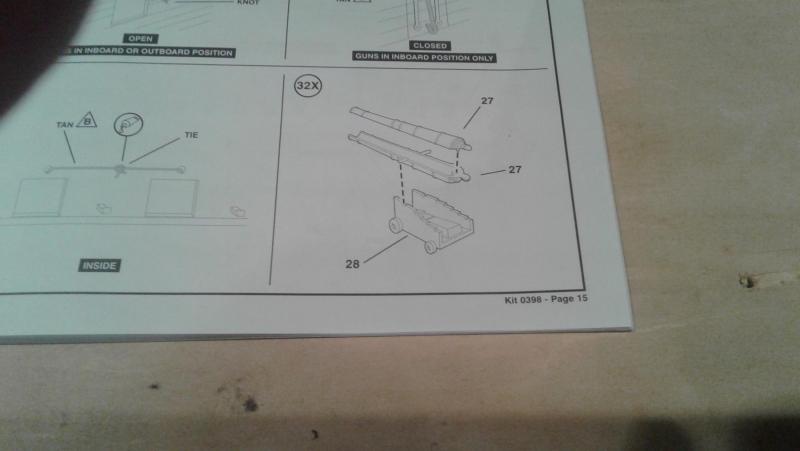
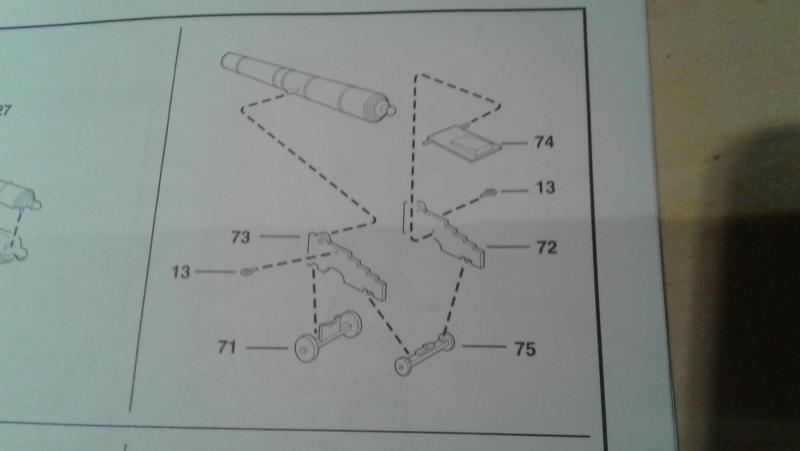
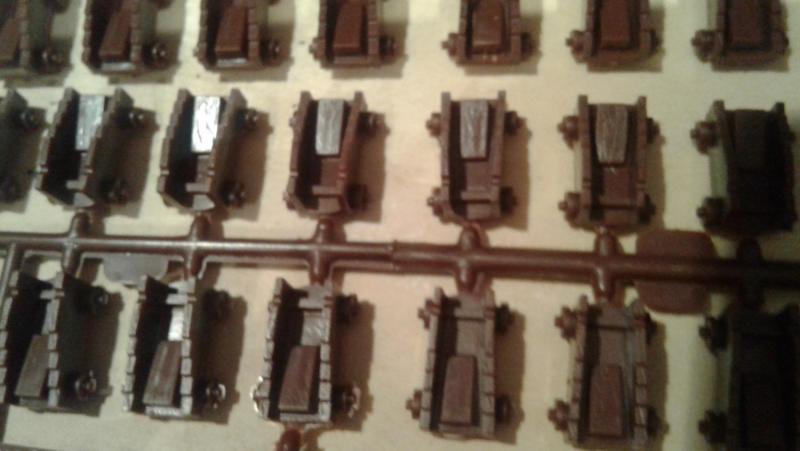
Started this kit today, some things I noticed about this kit: - very very little flash - instructions were printed in 2014. - no twist in the hull halves - shroud/rat lines are no longer prefabricated from thread, they are made from a soft plastic but look pretty good. o I read somewhere to glue a couple of pieces of scrap wood in the bottom of the hull in case I want to use a different mounting method. Where would they Go? (see picture below) edit note: I used a long piece of wood that extended to ether side of those two mount holes, but first I drilled a tiny hole through the middle so I would know where they are located once the model is built. (see photo further down in this post) I probably won't use the preformed plastic sails, but I have a couple of questions. Here in the instructions it shows the cannon is to be mounted in a preformed carriage: Yet further in the instructions it shows that the carriages need to be assembled: I don't have any of the parts to build these carriages. Also the cannons and carriages are not labeled to be painted. The cannons are already black and the carriages are brown. Should I leave them unpainted?
- 30 replies
-
- 6
-
-
- constitution
- revell
- (and 1 more)
-
Welcome Dan I look forward to reading your build log on the Phantom as it was something I considered doing myself. Good luck!
-
Thank you one and all for your suggestions and input. It is greatly appreciated.
-
Well once I added up what it's going to cost to get a kit, basic tools, paint etc I checked with the Admiral. She asked if there was a way to start into this for less money. Soooo I started researching plastic instead of wood as it will be about half the price. I know I'll learn nothing about planking or other skills needed to produce a wooden ship, it will expose me to doing the rigging if I choose a large enough of a model. (which is the area that concerns me the most)
-
I was originally going to try and build a pob model of the Bluenose. After pricing out the model, paints, tools, shipping, taxes etc I came out with a price of around $400Cdn. I passed it by the Admiral and got the 100 yard death stare, then she asked is there something a little less in cost to start out with first to make sure it's something you'll enjoy. So I'm looking at plastic now instead of wood for my first build. Was looking at Revell's Constitution in 1/96 scale. Your thoughts and suggestions would be greatly appreciated. Thanks, Bruce