


Von_Kossa
-
Posts
181 -
Joined
-
Last visited
Content Type
Profiles
Forums
Gallery
Events
Posts posted by Von_Kossa
-
-
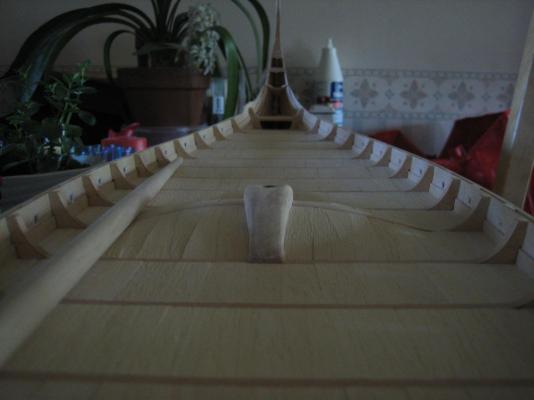
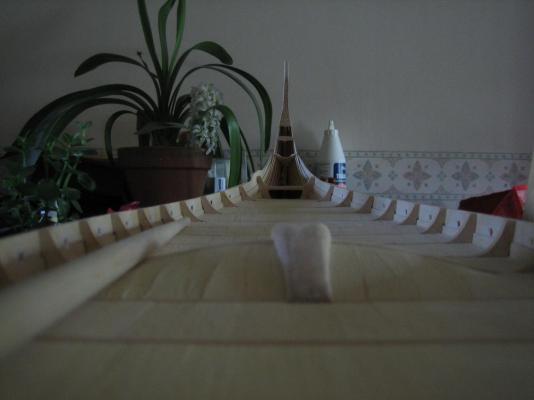
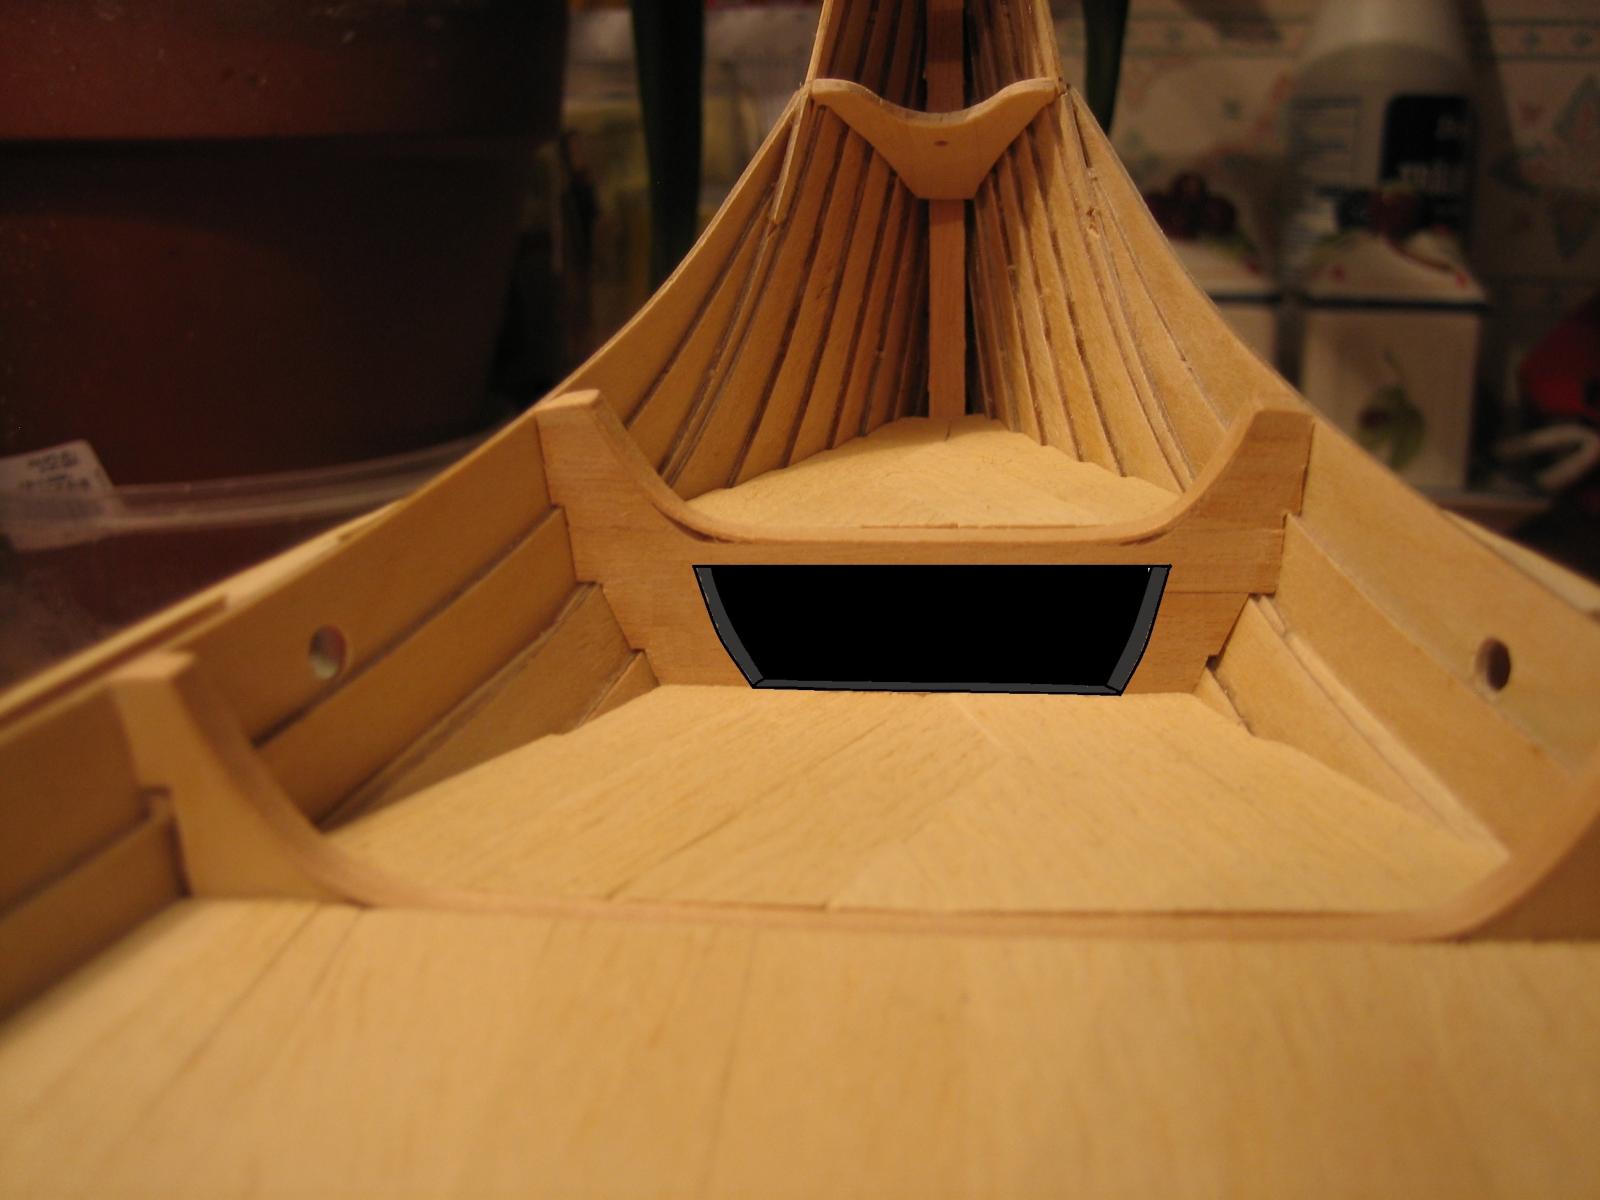
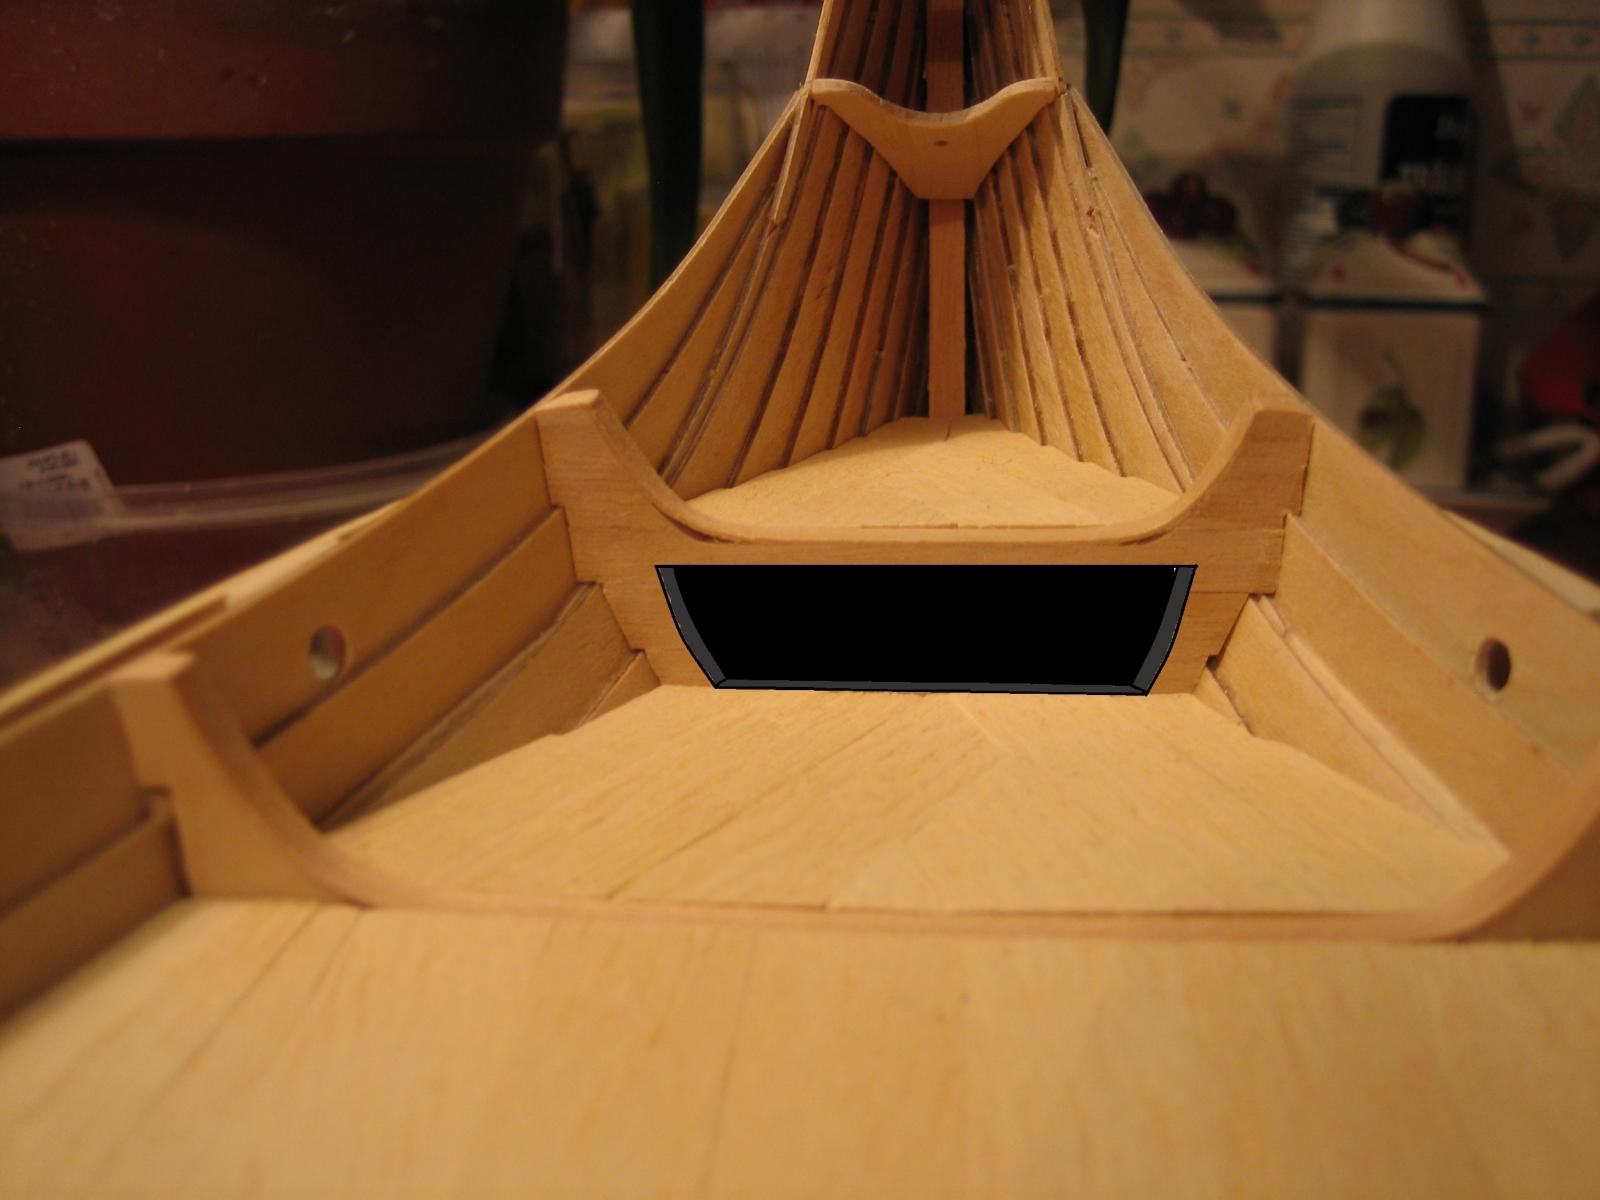
That´s some good advice, regarding the oar hole.
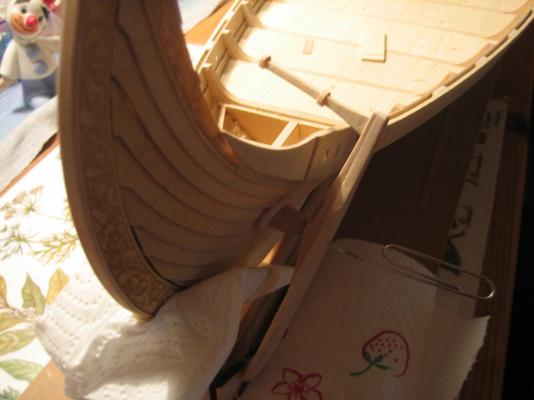
Thanks. Some pictures just for the sake of it.
-
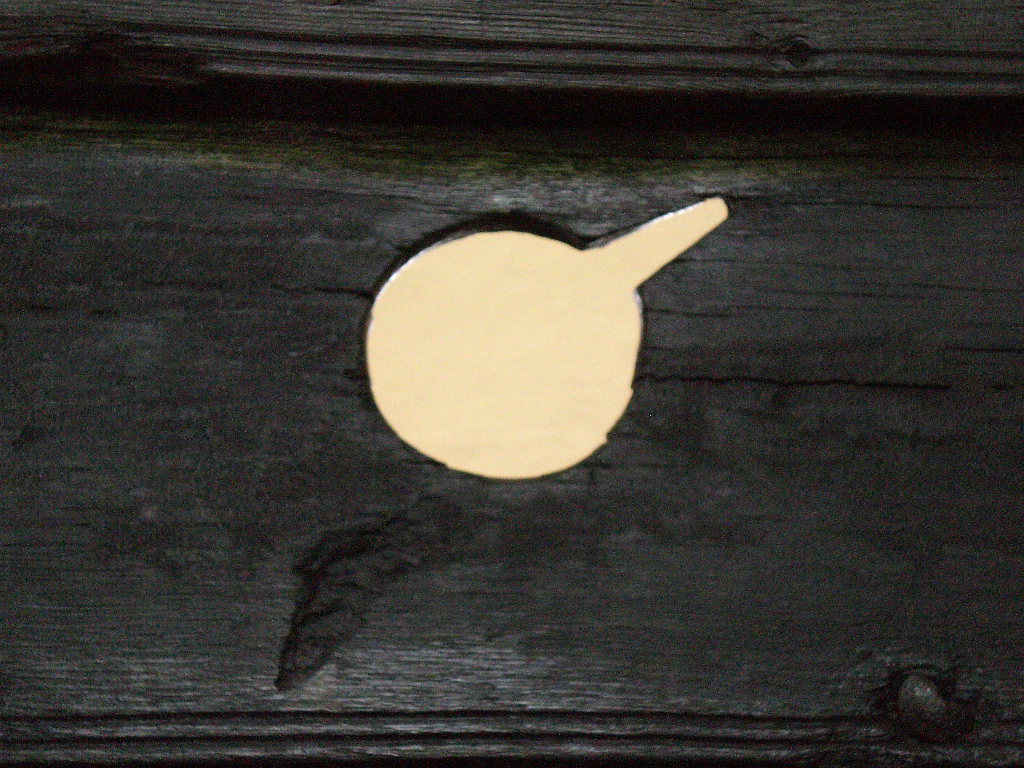
The oar holes of the Oseberg ship had cuts in them so the sailors could attach the oar from the inside without risking falling into the ocean or dropping the oar into the ocean.
Byt the way, for others researching this, on some sites it is claimed that the oar holes had shutters to prevent water from leaking in. It is correct but this was found on the Gokstad ship, it had the oar holes much lower than the Oseberg.
I have finished this, will post results later, one of the things which i could have done better was the shape of the cuts, mine became triangular because of the tool i used but the cuts are more rektangular.
-
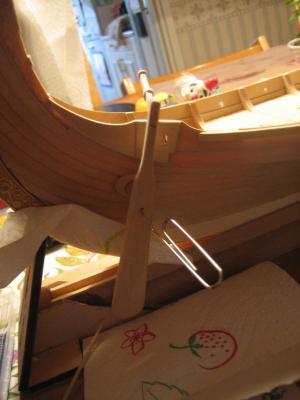
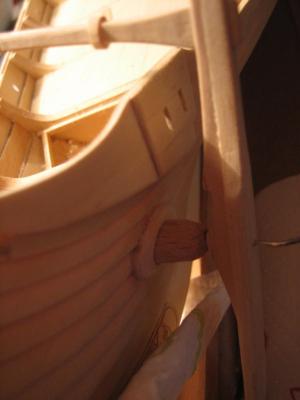
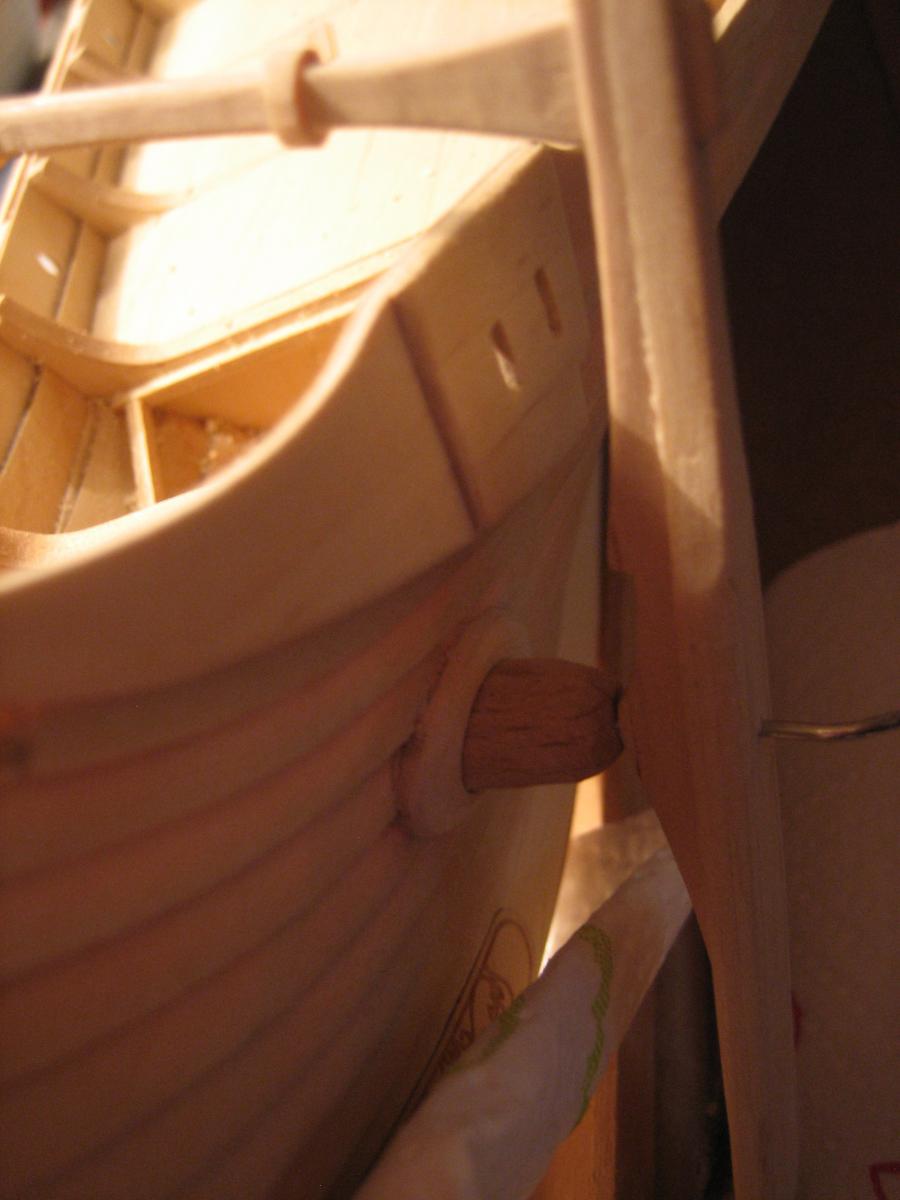
Some tests with the rudder attachement.
- Aussie048, WackoWolf, Salty Sea Dog and 1 other
-
 4
4
-
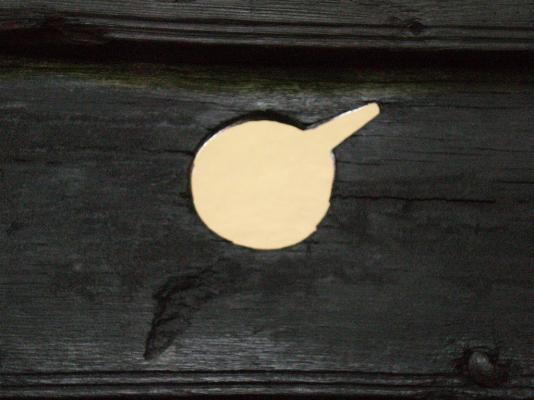
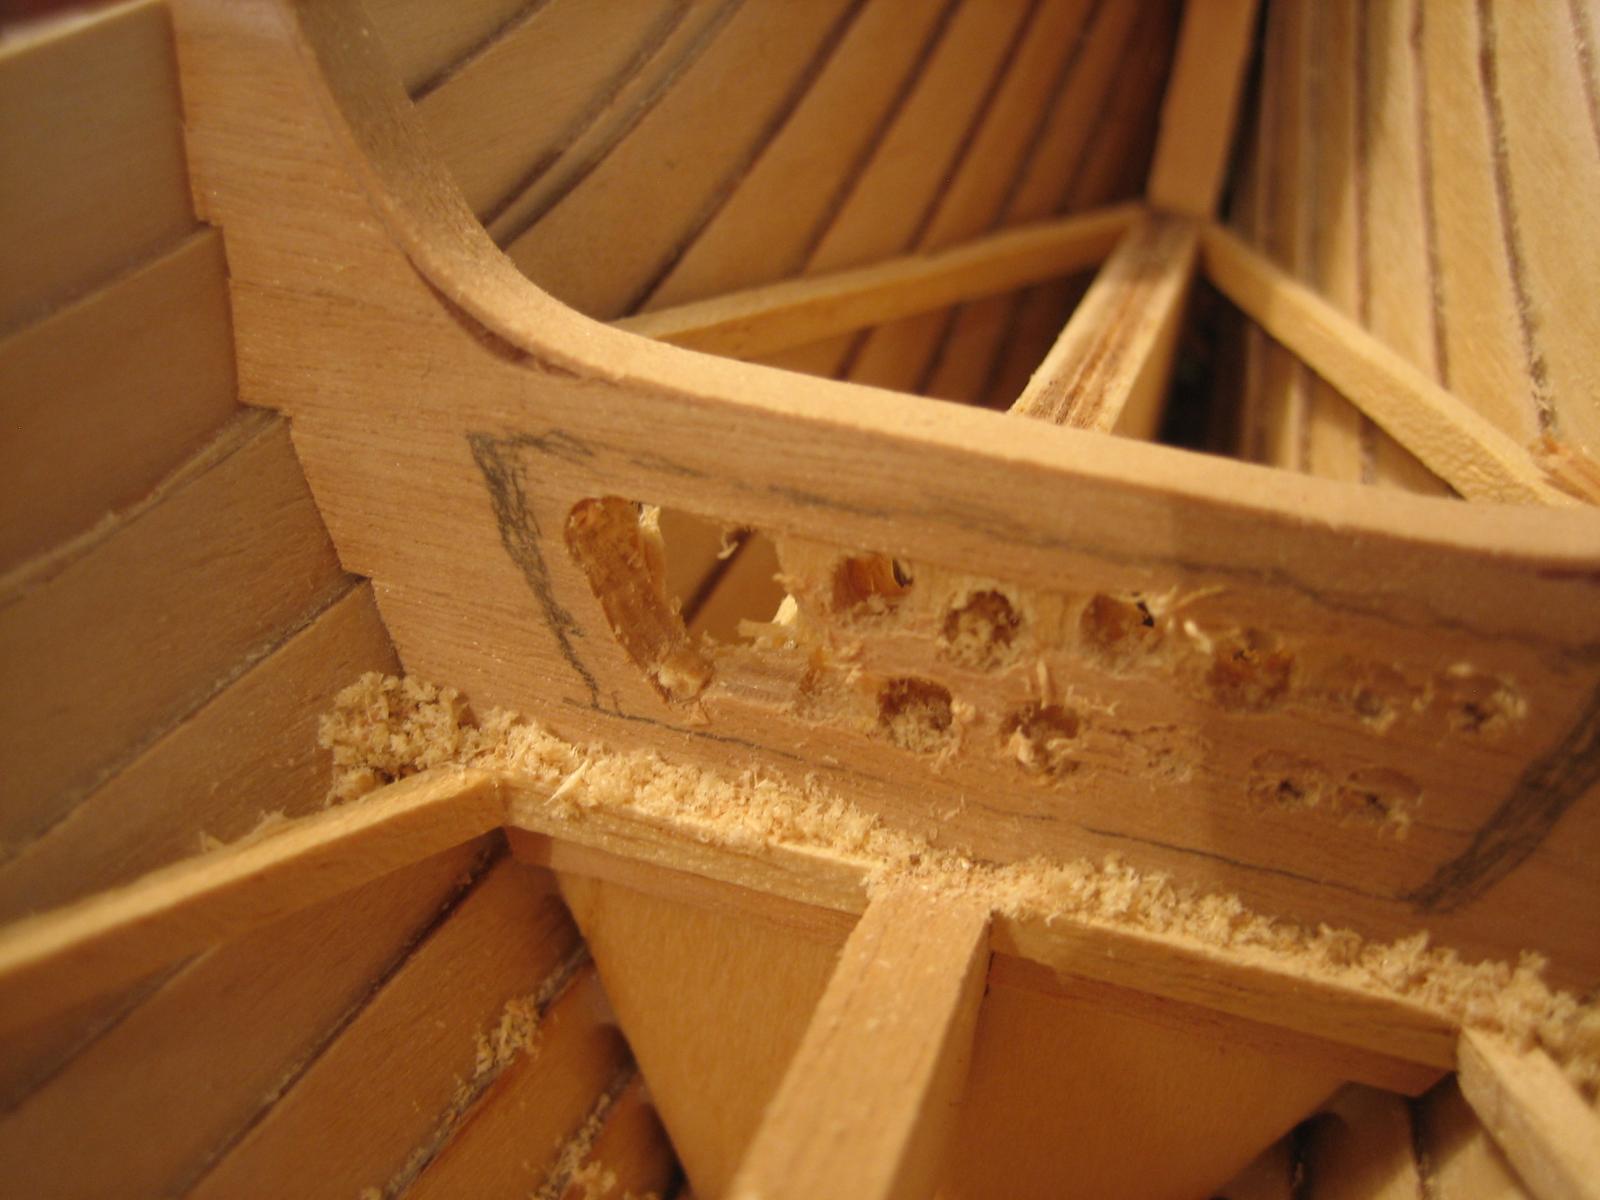
Update, finally finished with the "holes".


-
It is oil based stain and I finished with a coat of Minwax Wipe On Poly. The stain I used is General Finishes "Spiced Walnut".
I did have a difficult time getting it to stain evenly. I ended up thinning the stain 50/50 with mineral spirits.
Thank you. I have not even decided if i want the ship light or dark yet.
This, Wipe on Poly, what is it? Some sort of plastic cover?
-
Hi!
Did you use water based or oil based stain?
After the staining process, should you protect it with enamel paint?
And finally, what stain did you decide for in the end?
I am running out of things to hide behind, soon i must stain the ship. Scary.

-
Hi Von_Kossa,
I tried to make them myself using the technique that Alexi Domanoff, a MSW sponsor, posted on Utube.
Here is the link:
.I was not very successful and finally abandoned the attempt. I was not able to get a consistent size head.
Take a look and give it a try you may master it better than I did.
But is this really a problem? The nail types and sizes on the oseberg are really varied sizes. Oh well, i will find out, I guess.

I am having a big problem constructing or finding a wide angle knife, how did you solve this?
-
Yes probably.
The amount of nails will be the same as Jack but if i want the nails in correct scale i will have to make them myself, and that will take some time. If i can figure out how to make them.
-
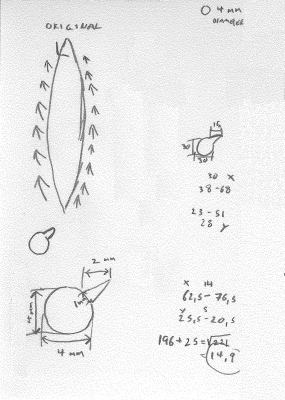
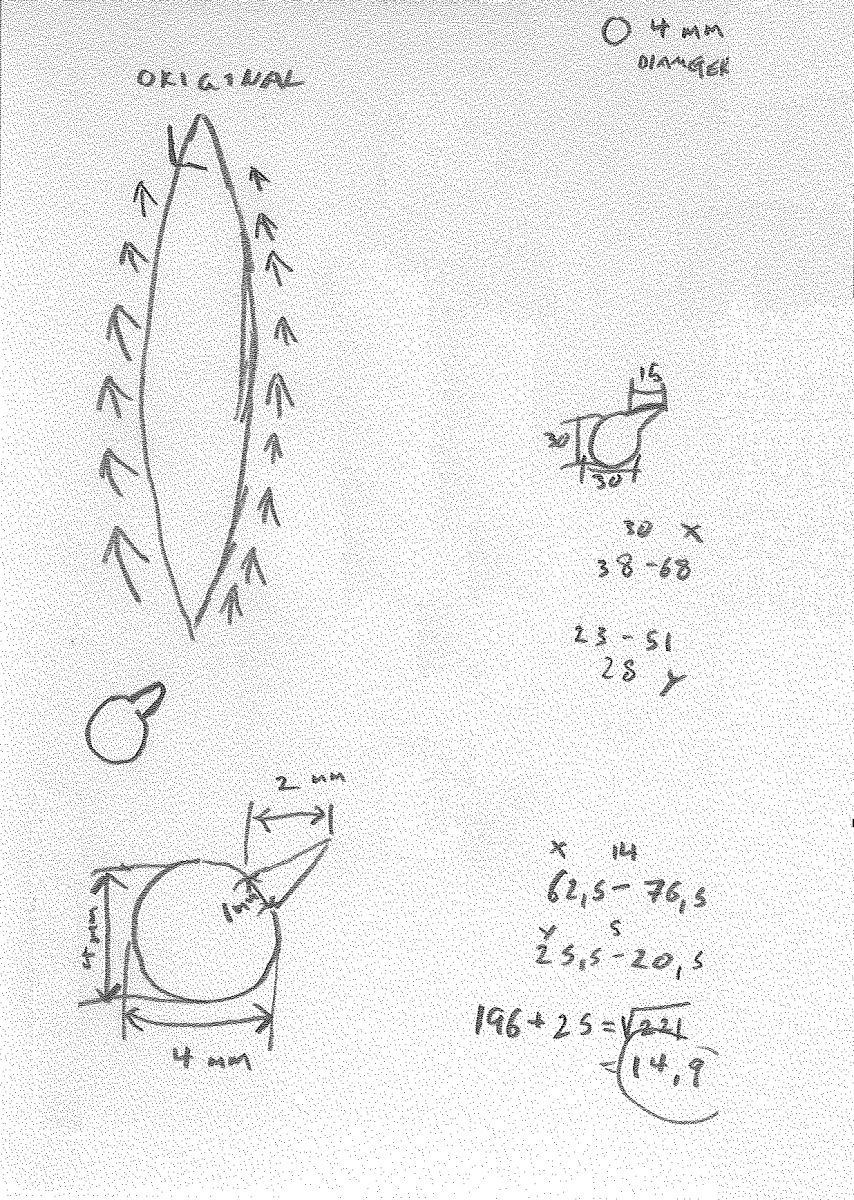
This is a reminder mostly for myself.
After some non sciencetifically measuring i think that the nail head size diameter in 1:1 is ~25 mm.
That would make the head size around 1 mm in size.
-
Regarding nails.
Looked into the distance between the nails on the oseberg, besides being very chaotic in placement, the type varies between square rivets or nails with rounded heads, i guess they took what they had when it was built.
There exists threads and loose information about the scale 1:1 ship has a ~20 cm space between the nails. If it is correct it would make the spacing in the BB kit to 8 mm between the nails assusming you have the correct scale on the nails.
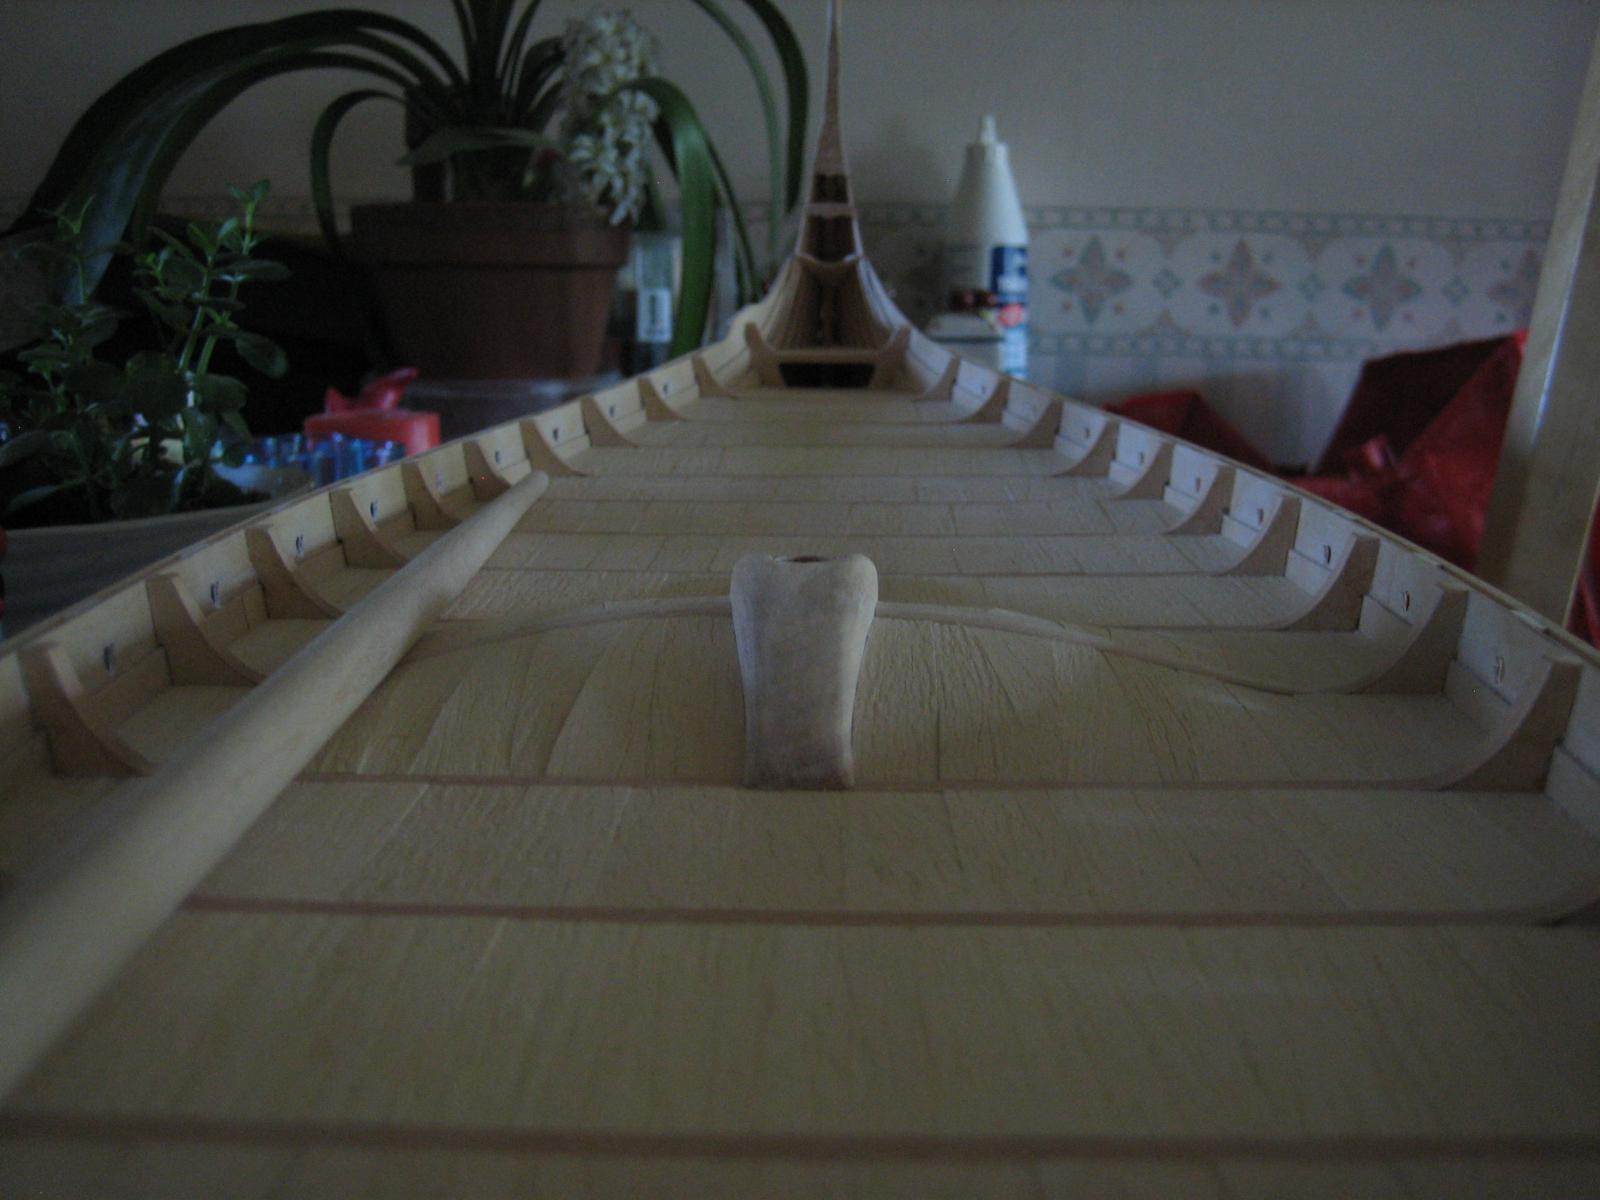
I tried to make out the spacing by comparing this picture with the model.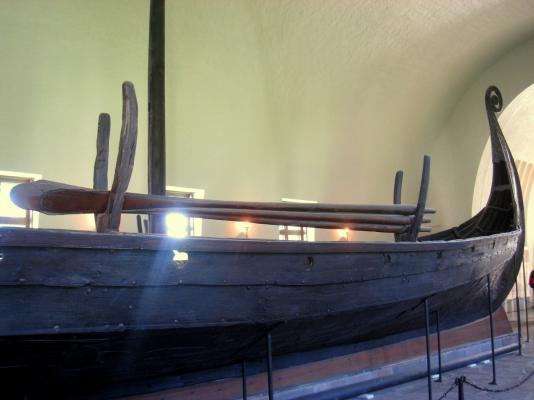
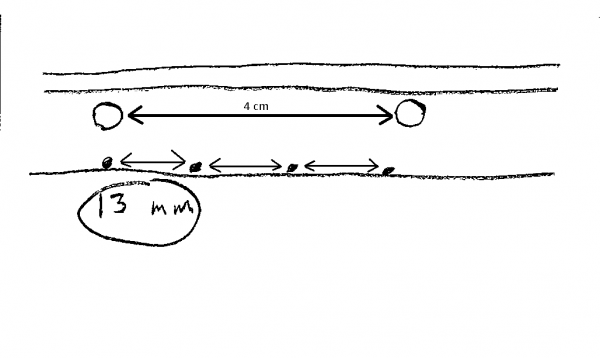
In this case it would make the spacing 13 mm. But then i discovered that this only seems to be true with the rail (the two upper plank rows).
Study this picture and you can see that the spacing is smaller on the other rows.
To conclude this ranting i think i will be doing the following if i decide to join the nail circus:
1. Make the spacing on the two rail rows 12 mm.
2. Make the spacing on the the rest of the ship 10 mm like Jack Panzeca.
- Aussie048, mtaylor and Jack Panzeca
-
3
-
Hi!
H
Hi Von_Kossa,
Sorry about the oops! I have had my share of mistakes and re-dos, I just fix it and forget it as soon as possible.
In my case it is not soon enough, i have a tendency to get stuck.
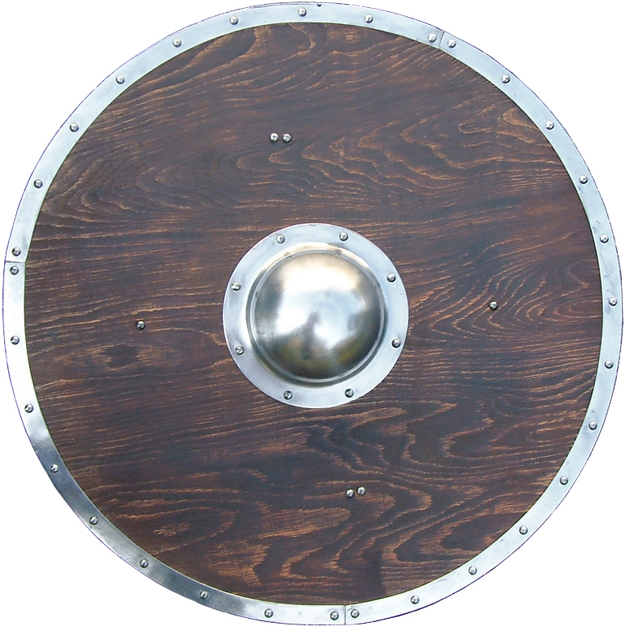
I was not planning to use nails on the shields. I really like the look of your shields (post #23 and 25 of your log). What did you use for the center ornament?
Viking shields had a very distinct look. As you are probably aware by now. A typical shield buckle looked like this:
So i ordered this and this, i took the photos this morning with my mobile before going to work, looks like sh*t but it works.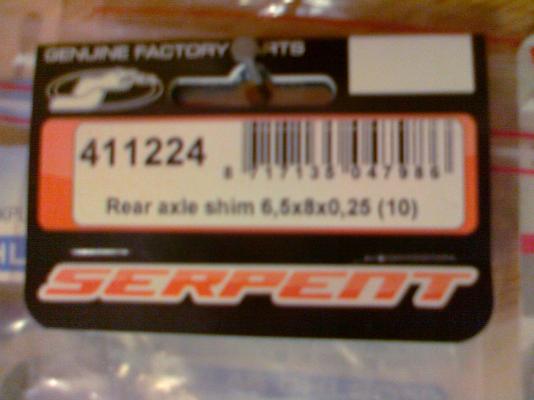

As you can see i first bought a furniture nail with a diameter of 6,5 mm, bought here in Sweden in Bauhaus.
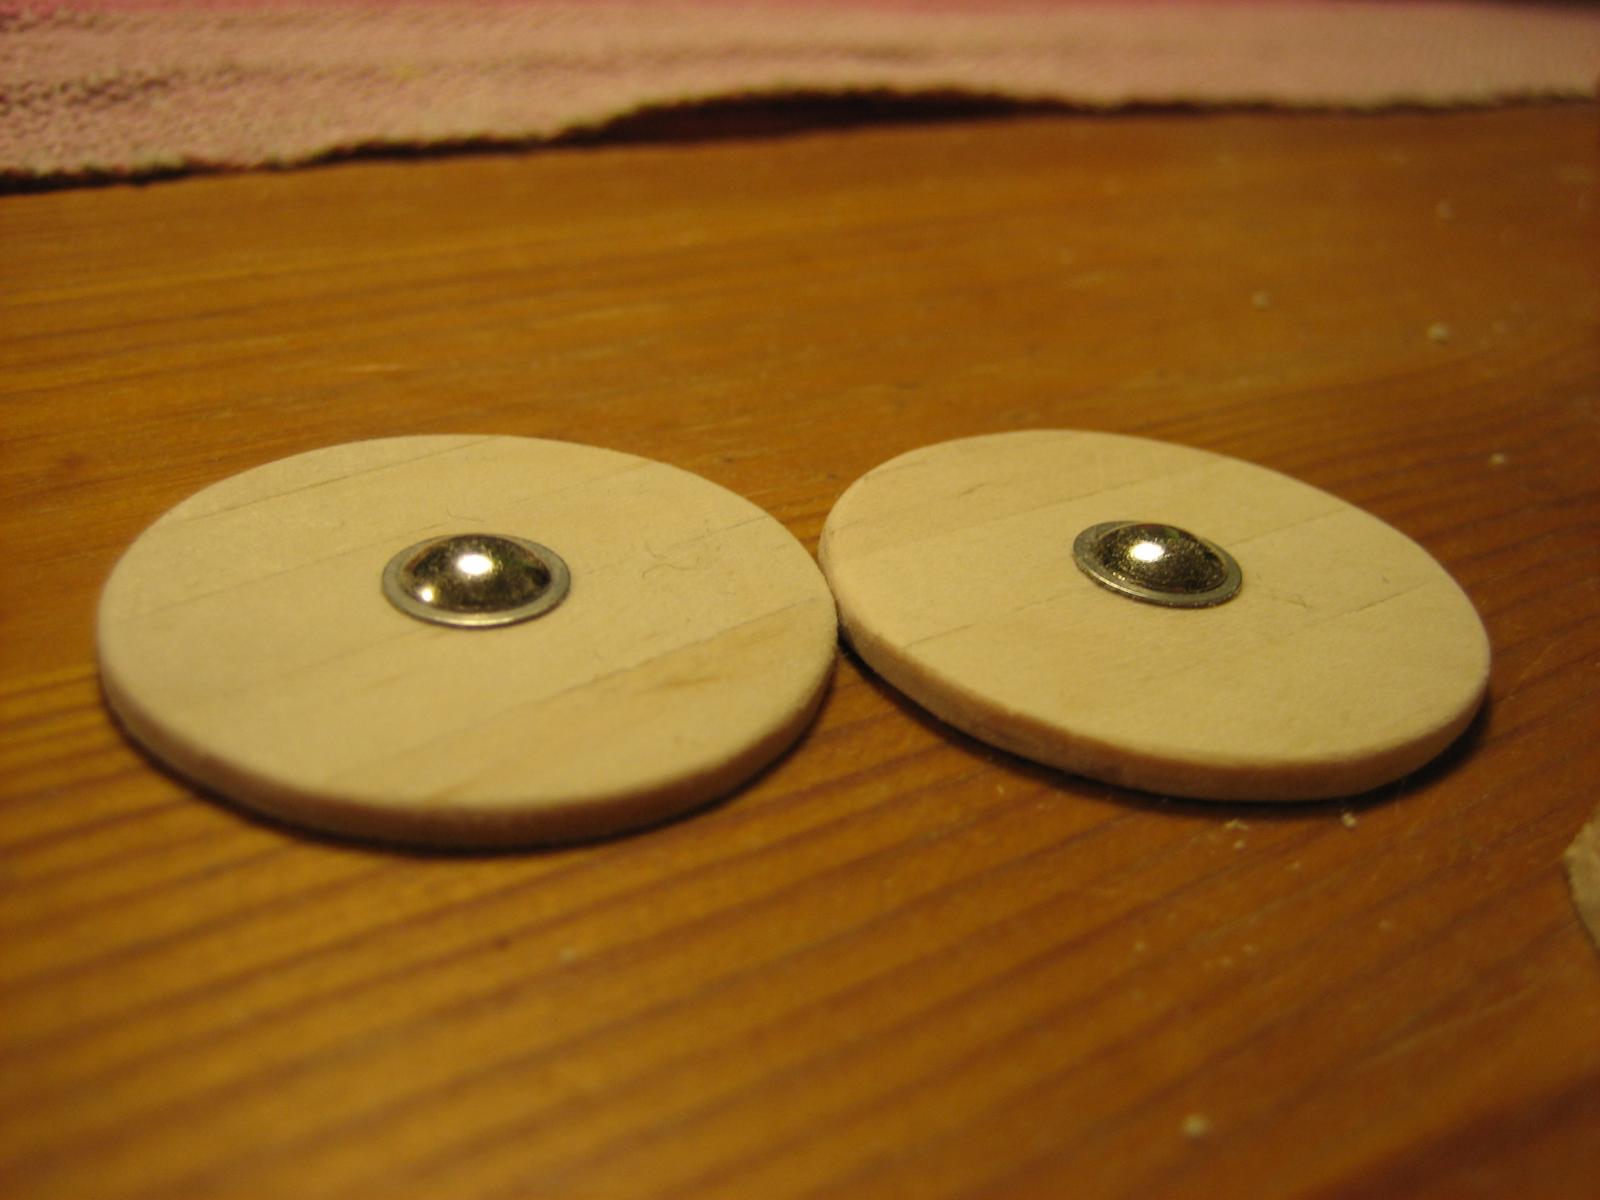
But the ring around it was still missing. So after some serious digging i finally found my ring in a german hobby webstore.
It was very difficult to find a shim that would fit and have the correct scale.
But finally i found Manufacturer: Serpent, Article number: 411224, Rear Axle Shim, 6,5x,8,0,25.
And the result looked like this:
The nail head diameter for the plank nails is 1.62 mm. They could be a little smaller but they really look good the way they are.
Thanks.
To blacken brass I use a product called Blacken It from Micro Mark. It is similar to the acid mix used to blacken guns. Take a look at this link http://modelshipworld.com/index.php/topic/1167-using-blacken-it/.
Thanks again.
I got the spacing of the plank nails from two places. I have used two books and numerous internet locations to research the Oseberg. The books are:
 Oseberg -04-19-2014 124.jpgOseberg -08-18-2014 320.jpgOseberg -08-18-2014 321.jpg
I got 18 cm from the second book here and I got 8 inches (about 20 cm) from a web site. I was unable to find it again. I did a test to see if the 20 cm or if 40 cm looked better at this scale and the results are below.
Oseberg -07-16-2014 312.jpgOseberg -07-16-2014 313.jpg
Oseberg -07-16-2014 310.jpgOseberg -07-16-2014 311.jpg
Everyone who looked at the test agreed that the closer spacing looked best. I did increase the spacing from 8 mm to 10 mm just to compromise a little and save a few holes. The references in both the book and the website were not Oseberg specific but general to shipbuilding of the time and place. You may be right about the Oseberg.
Please let me know if I can help.I will have to look into this...
-
Brilliant! Thanks so much.
-
Hello Von_Kossa: How are you my friend? Happy to have you back in action. The nails are Constructo 80022 12mm long and 0.59 mm diameter. What did you use for your shield center ornament? I have been scouring the craft shops but nothing that looks as nice as yours.
Up and down as with everything in life.
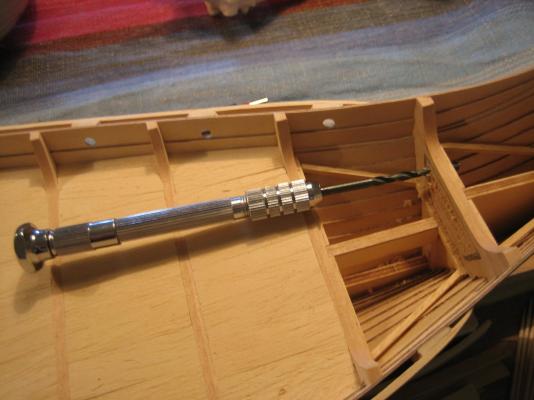
My one action so far is one drilled hole for the rudder, and i did it wrong, so it took over a hour to correct it. I suck at this.
Nails for the shield? Amati 4134/57, they had a diameter of 0.8 mm and therefore had horribly large heads, totally unusable. I didn´t know that you could blacken brass, so maybe i will try this nail thing again. How exactly did you do the blackening? I have found four billion different ways on the Internet, rather confusing... You did good by the way.
The spacing between the nails you name on the original ship to be 20 cm, were did you find this information? I have a vague memory about it being 40 cm, but i am probably wrong.
The head size of your nails, they are usually not printed, do you know it? 1mm or something like that?
Lots of questions, i hope i am not pestering you too much.
-
Time for another update.
The kit makes no mention of the iron nails that hold the overlapping planks together. I felt that the ship would really be incomplete without them so I decided to spend a few weeks and do it.
Oseberg -04-19-2014 124.jpgOseberg Rudder.jpgThe nails are about 200 mm apart on the Oseberg but do show some randomness. That scales out to 8 mm. I did a couple of test planks 1 at 8 mm and 1 at 16 mm. I was hoping that the 16 mm spacing would look great and save me about 700 nails. Oh well, no luck. I did widen the spacing to 10 mm.
Oseberg -07-16-2014 315.jpg Oseberg -07-16-2014 316.jpgI bought the smallest brass nails that I could find and blackened them using the method sited in various places on MSW but I specifically read it in Augie"s Confederacy log (great log by the way!). I marked the holes with dividers and patiently drilled the 720, ½ mm holes. It took over a week to mark and drill and insert all those nails. I broke several bits in the process. I forgot to mention that this is only the port side.
Good day,
May I ask, exactly what brand, article number, lenghth, and diameter the nails are?
A wild guess, Amati, 4134/10 brass, 10 mm, 0,7 mm in diameter?
First time i log in here in 2 months, i can see you have been busy lika a bee. Good work, good progress. I hope everything is well with you.
I have not touched the boat since beginning of june, thinking about starting again.
-
Now you have REALLY given me something to think about
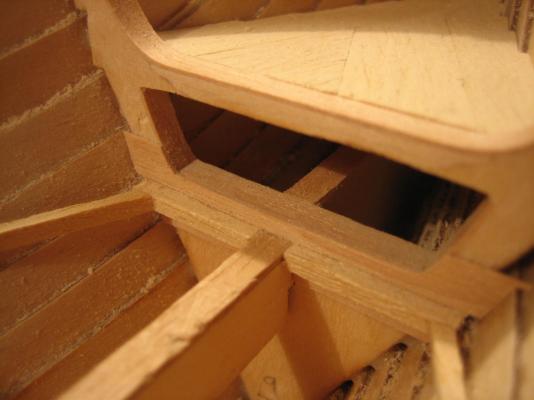
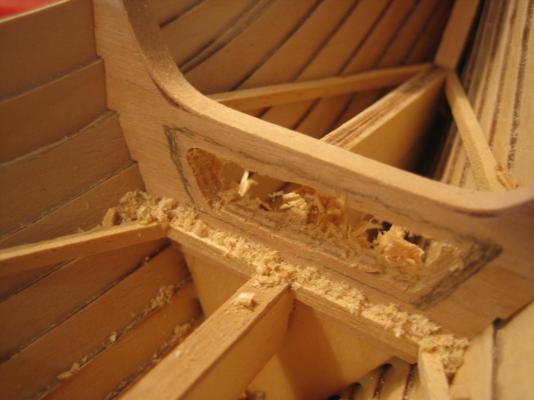
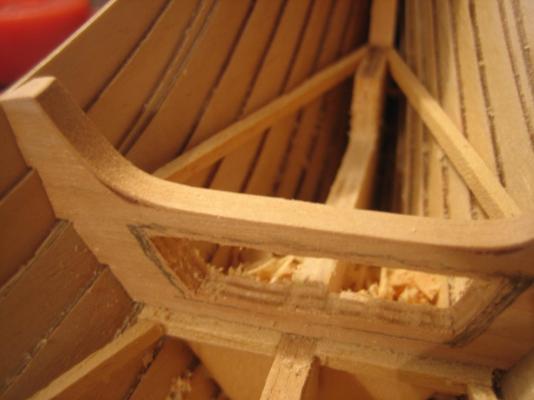
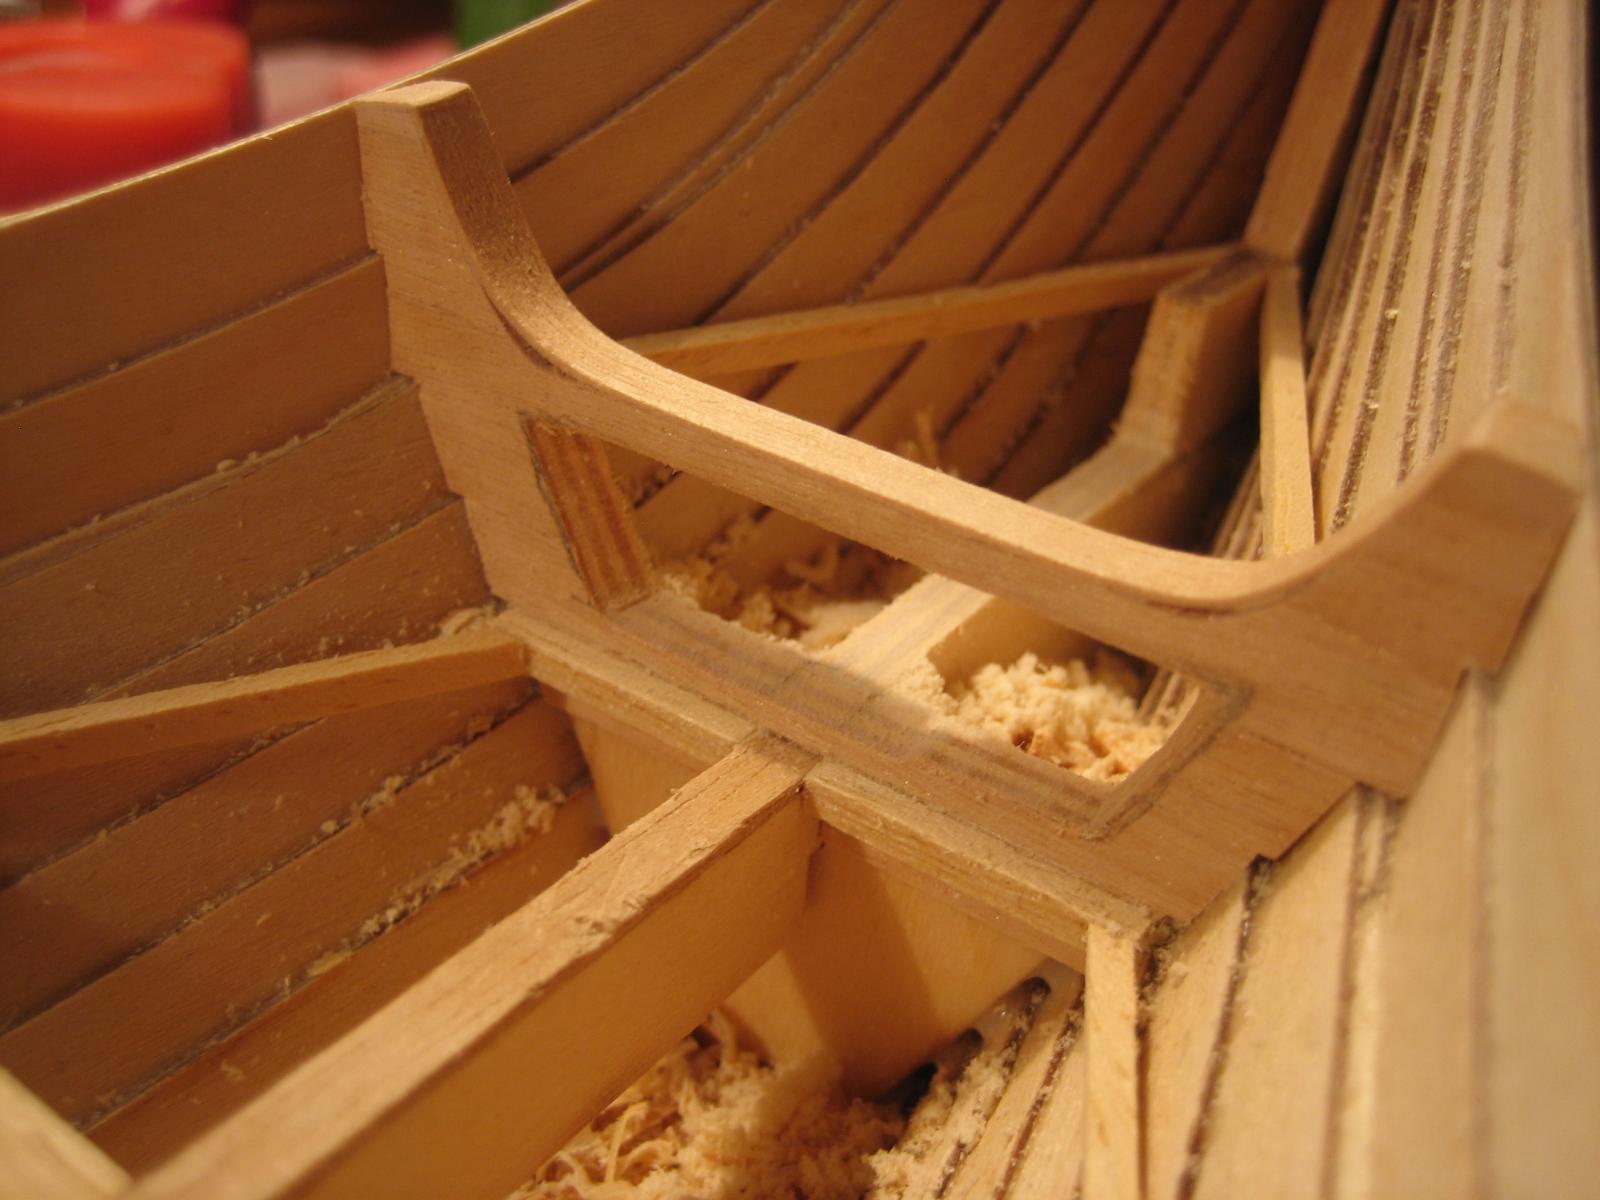
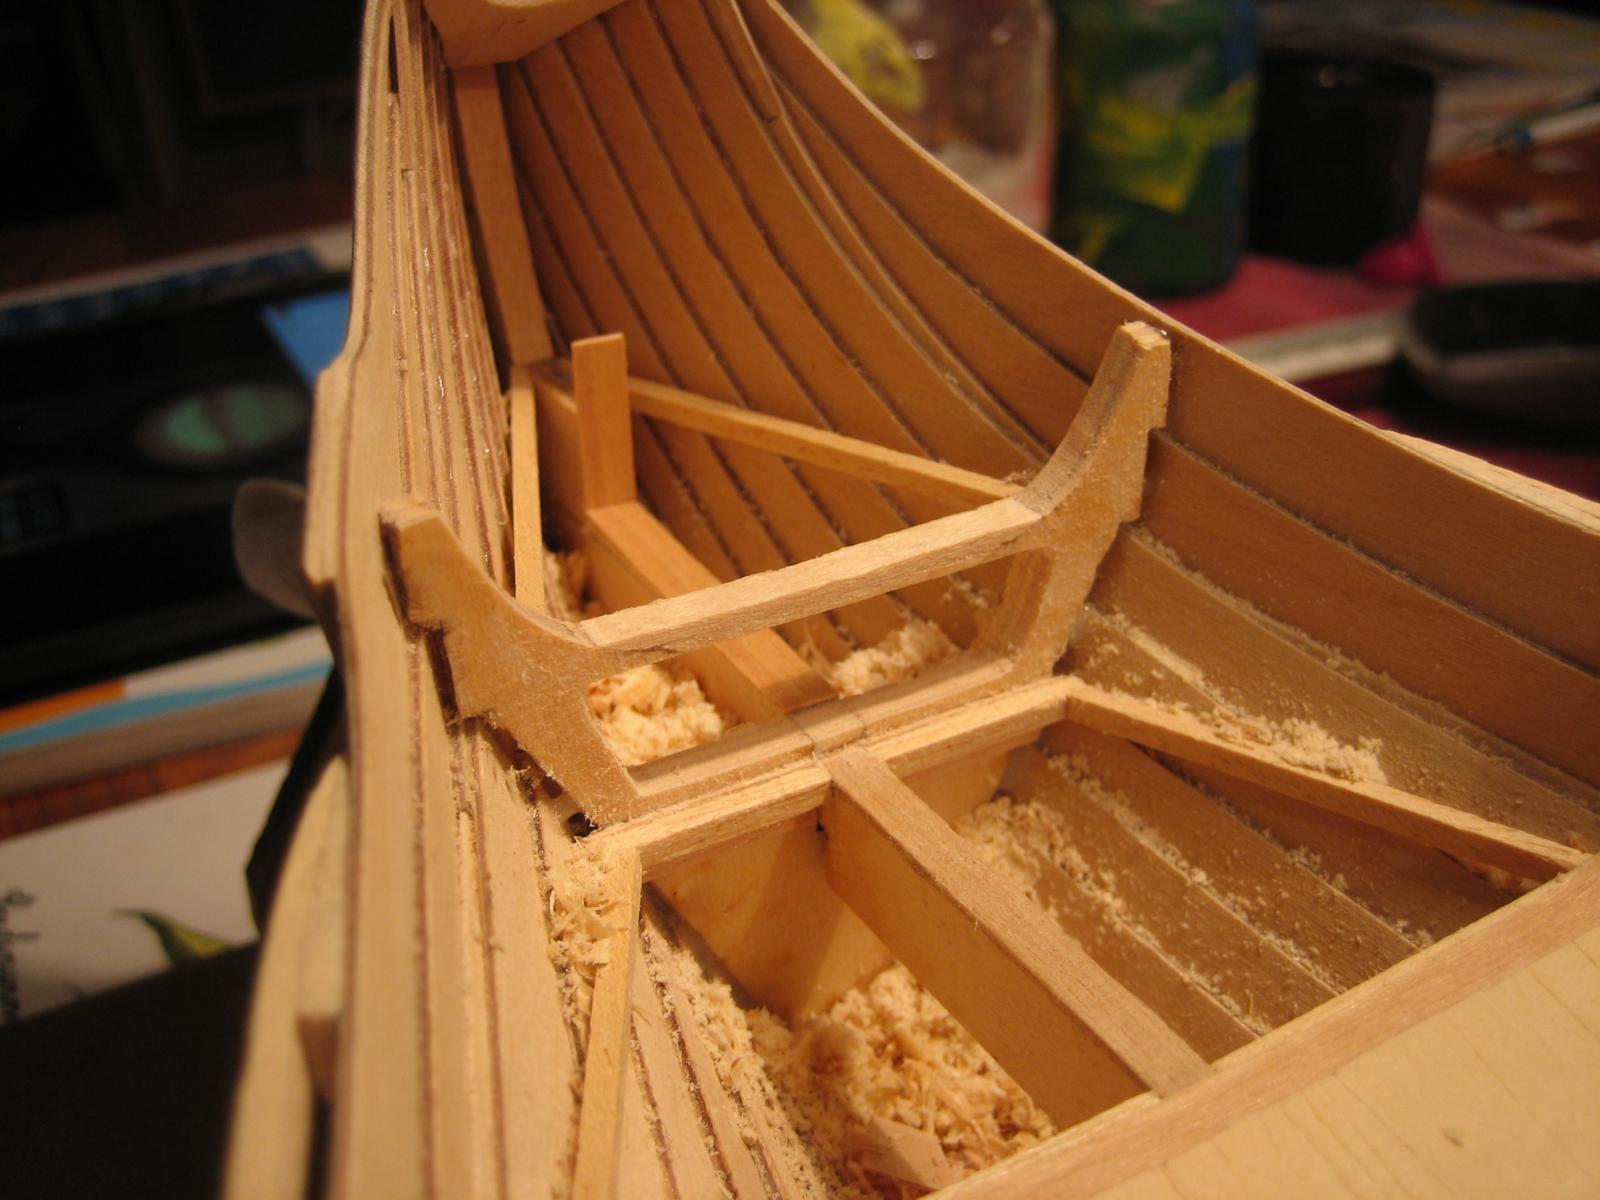
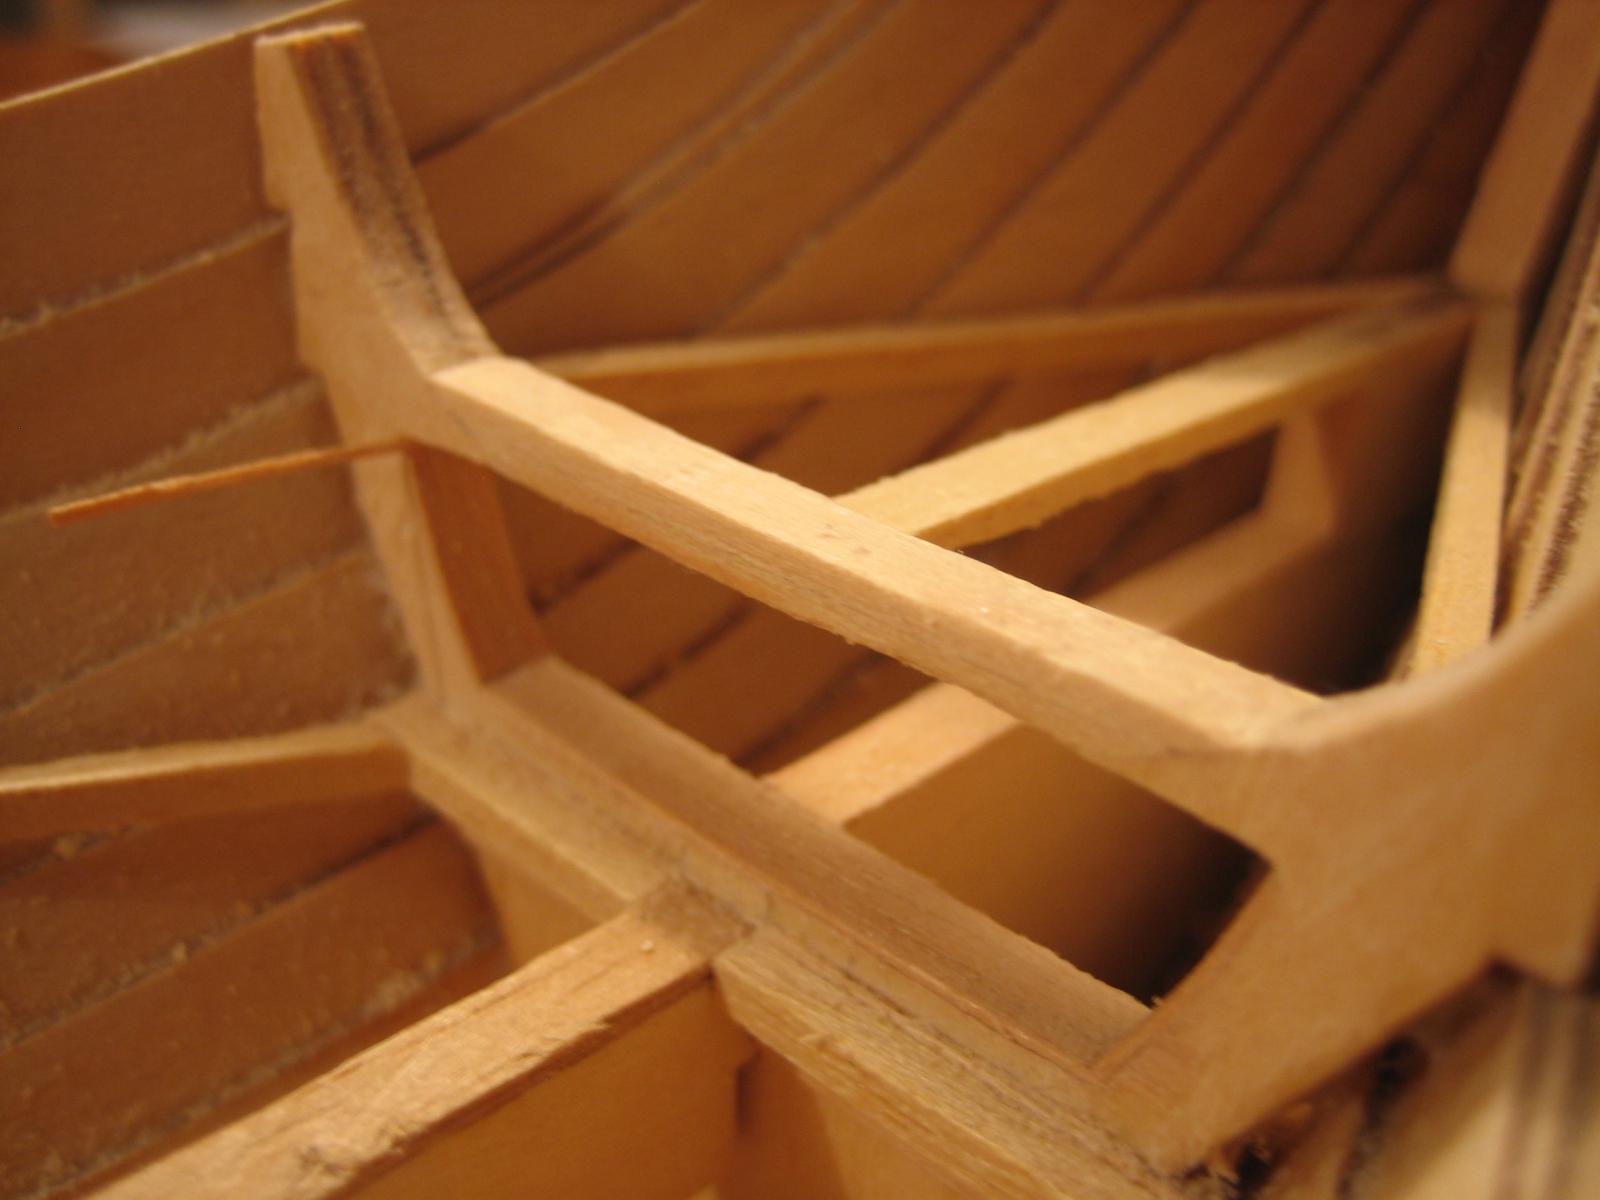
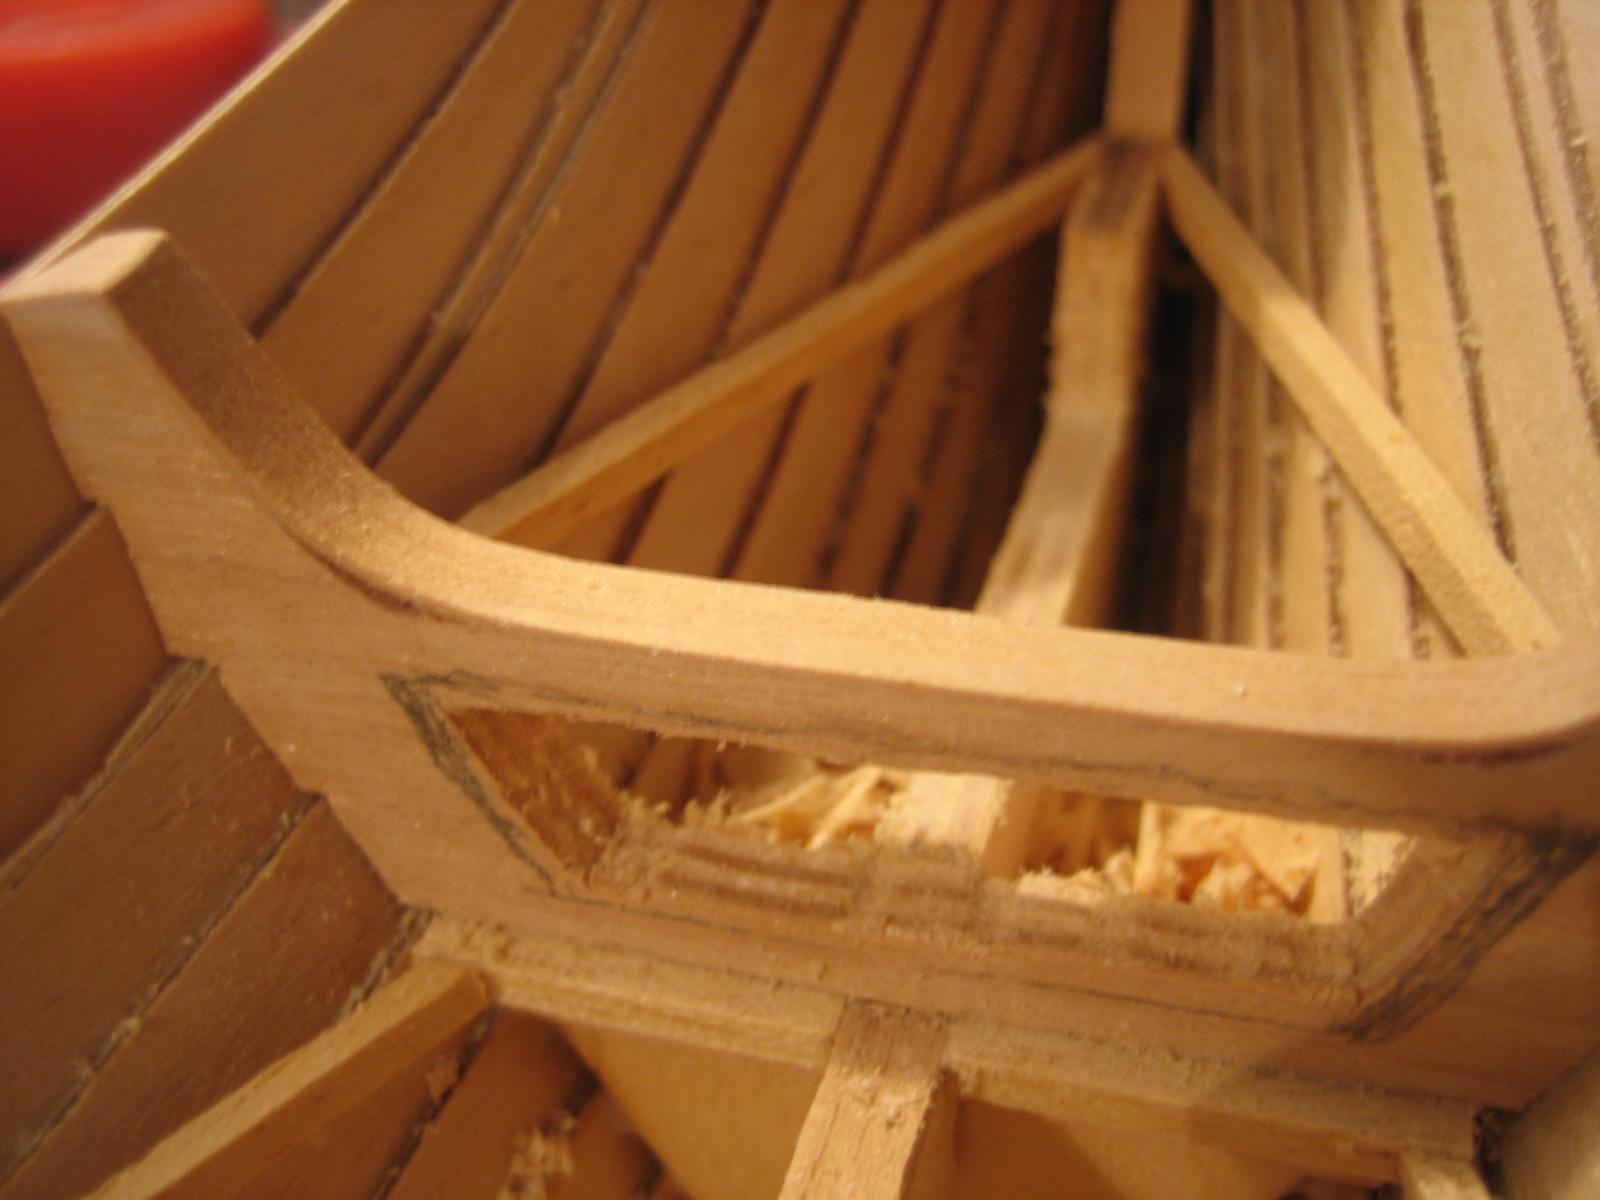
 !!! How did you cut the inside portion of the frame?
Another thought: how did the Vikings keep water out of this hole on the open sea?
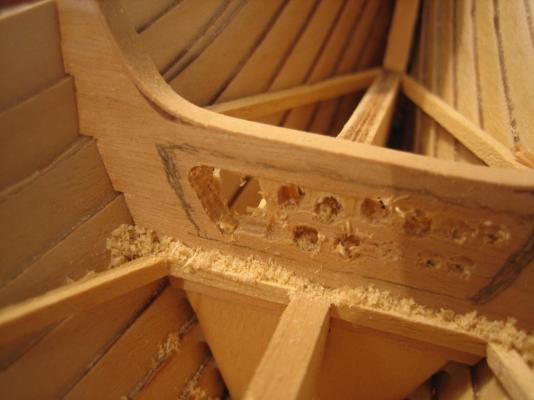
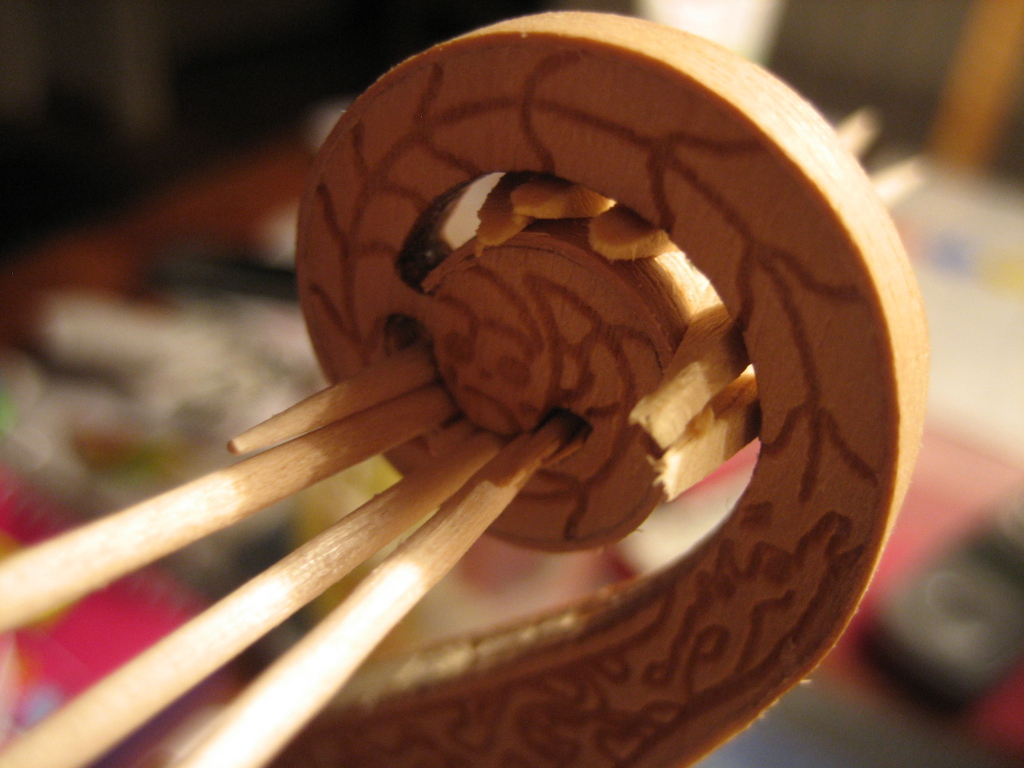
That was the tricky part, first i tried to drill down into the plywood from the top, did not work very well. Then i. Took the. Razor and grinded the plywood to pieces.finally i used sandpaper and a funny looking razor which is shaped like the ones you clean windows with but much thinner.
The. Vikings?
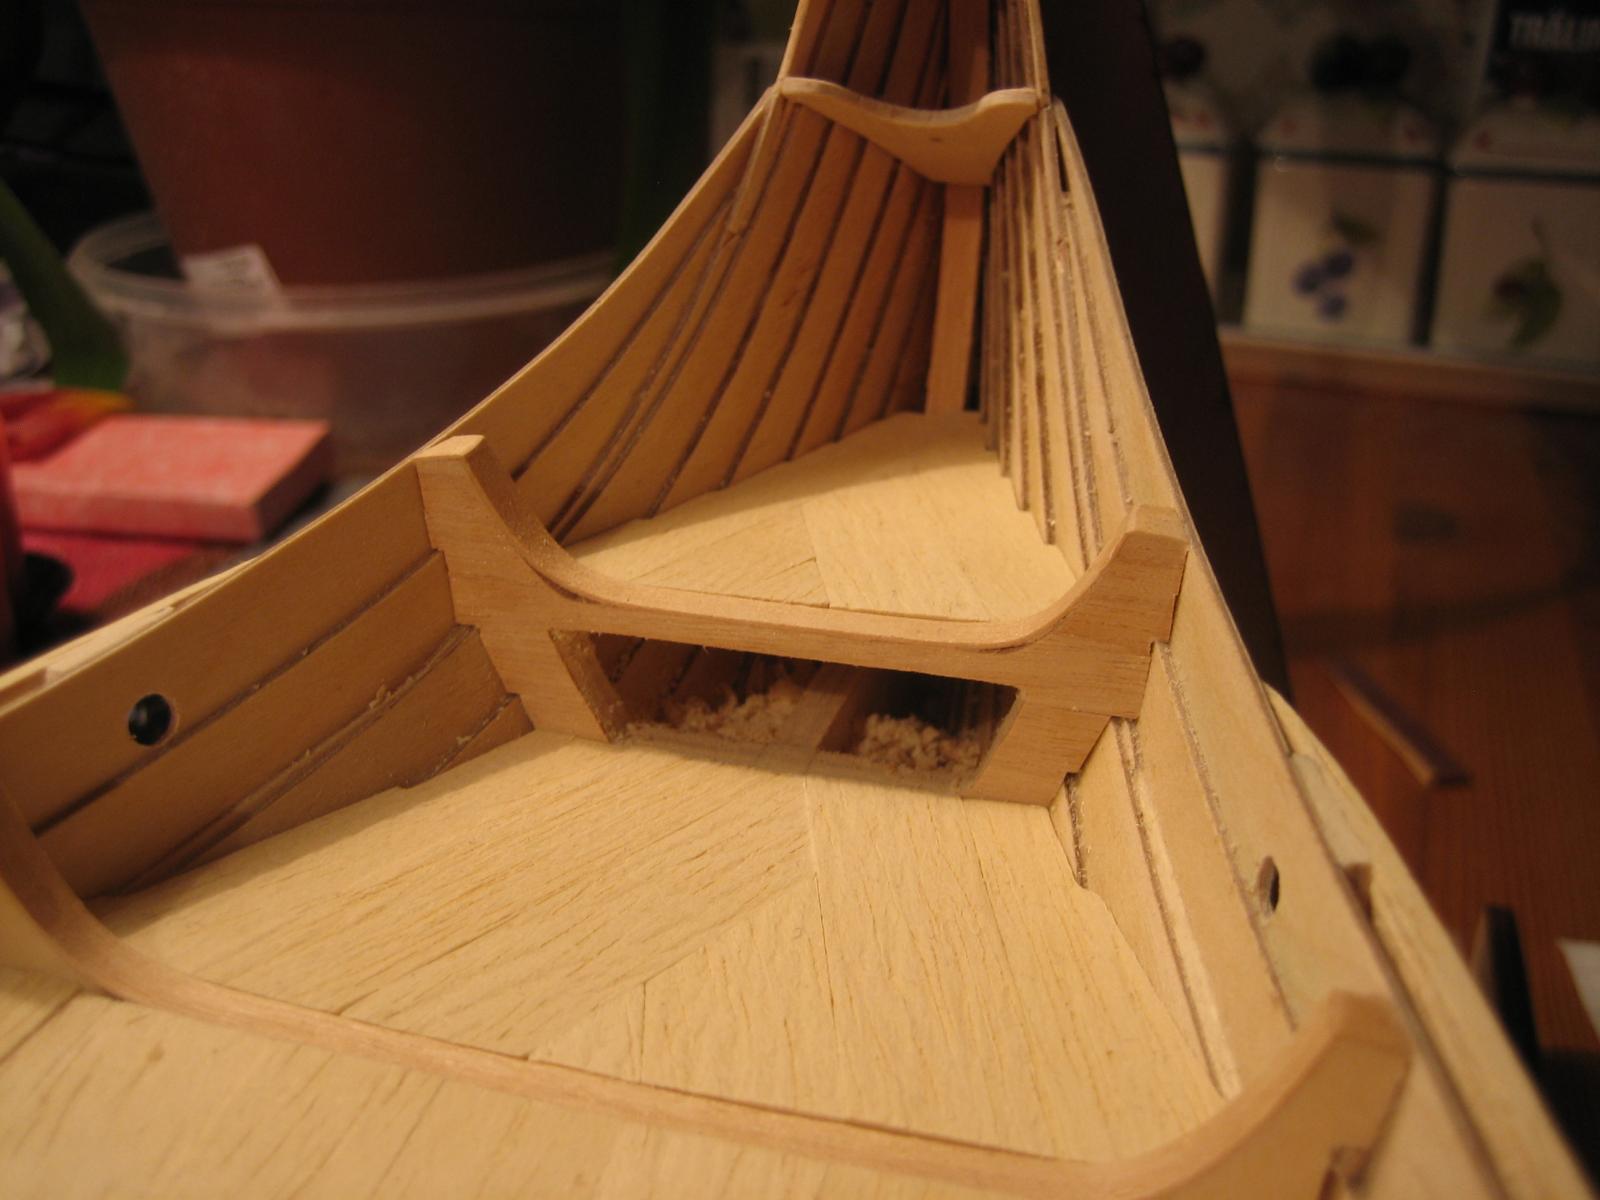
The floor tiles are loose on the real ship, propably used the space for storage, but it should also be easy to scope out the water if you have access to the lower compartment.
-
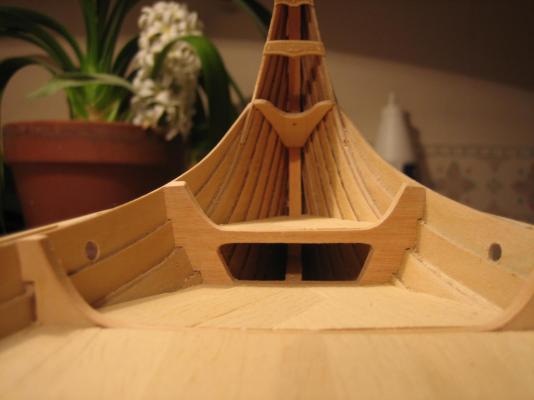
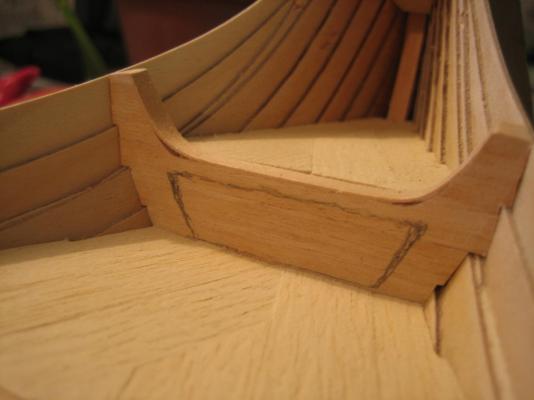
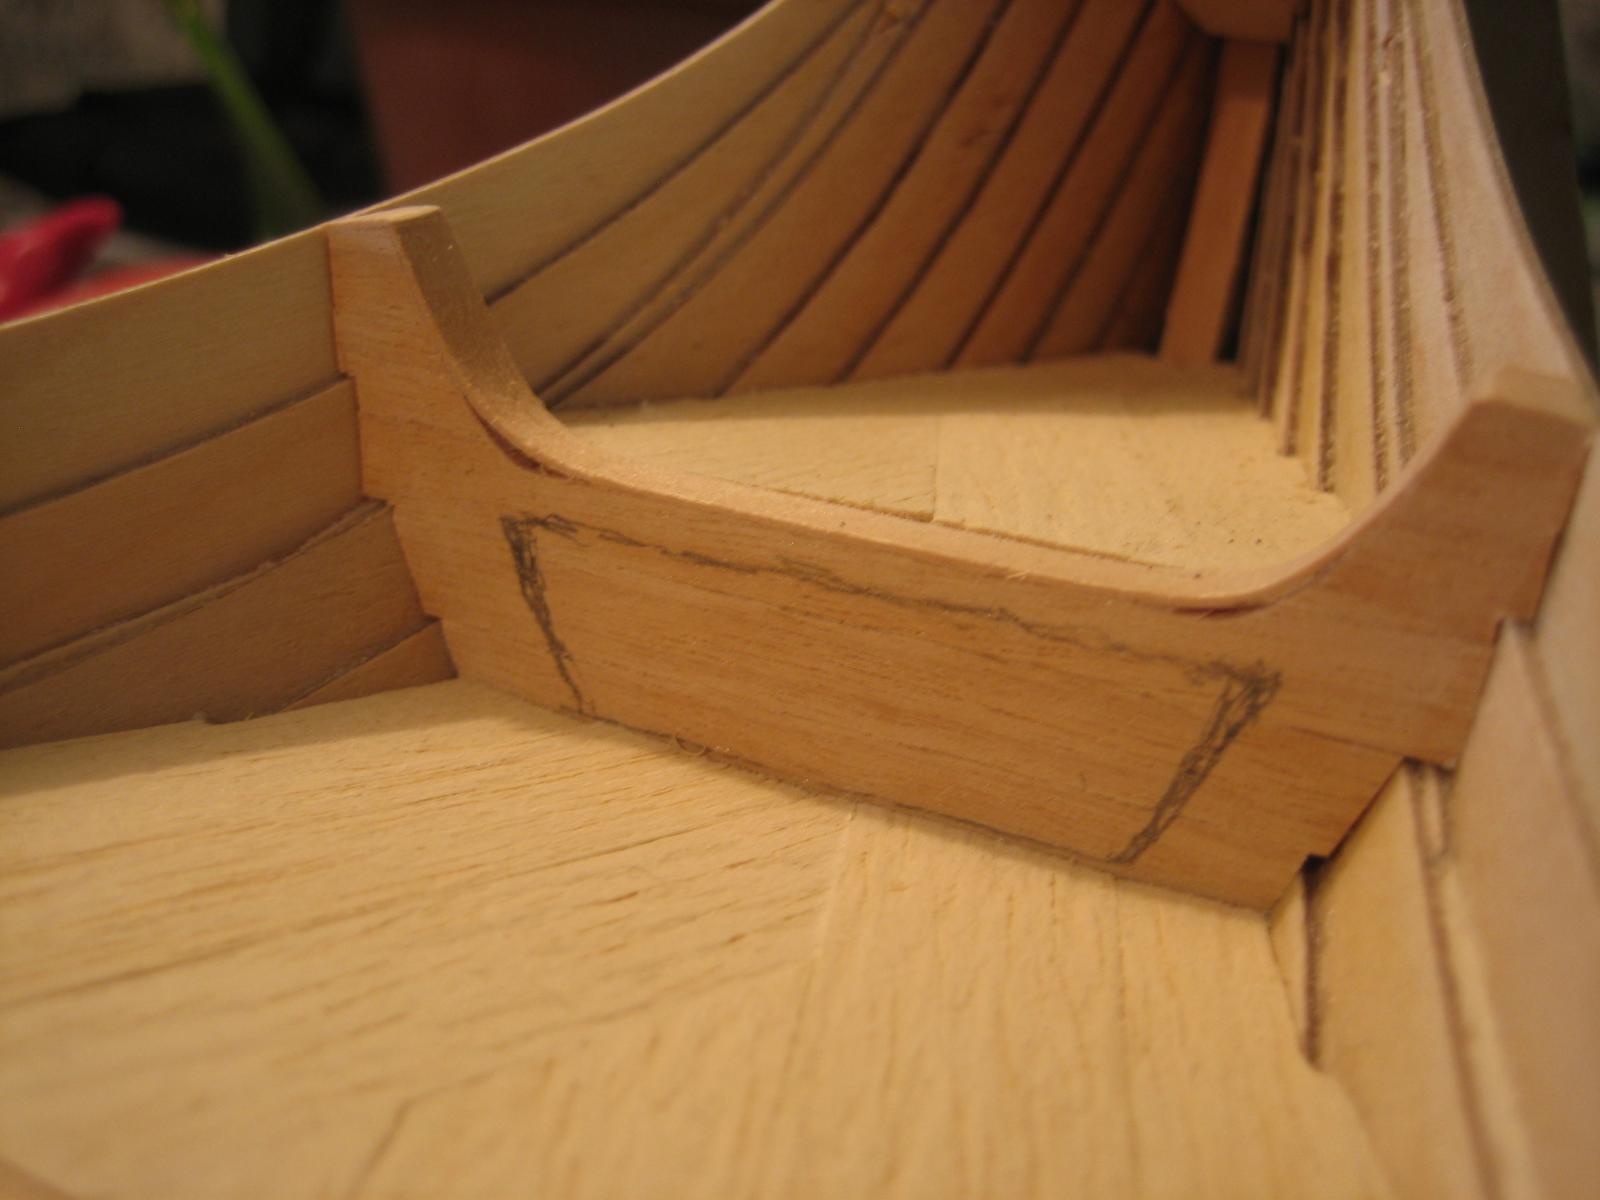
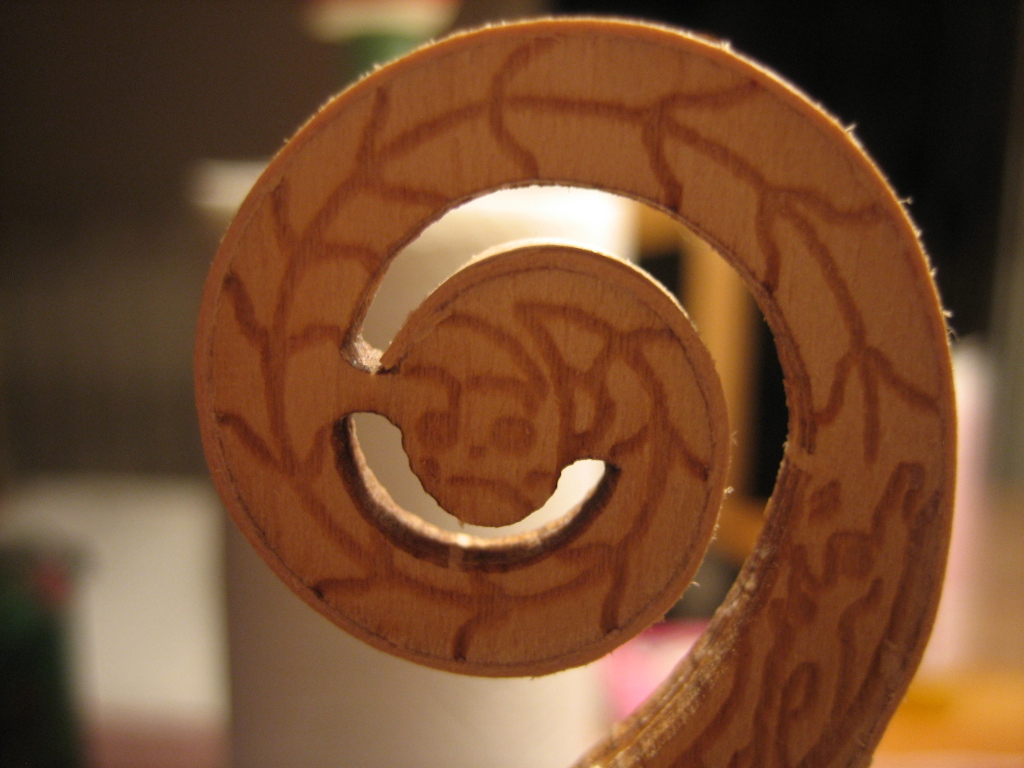
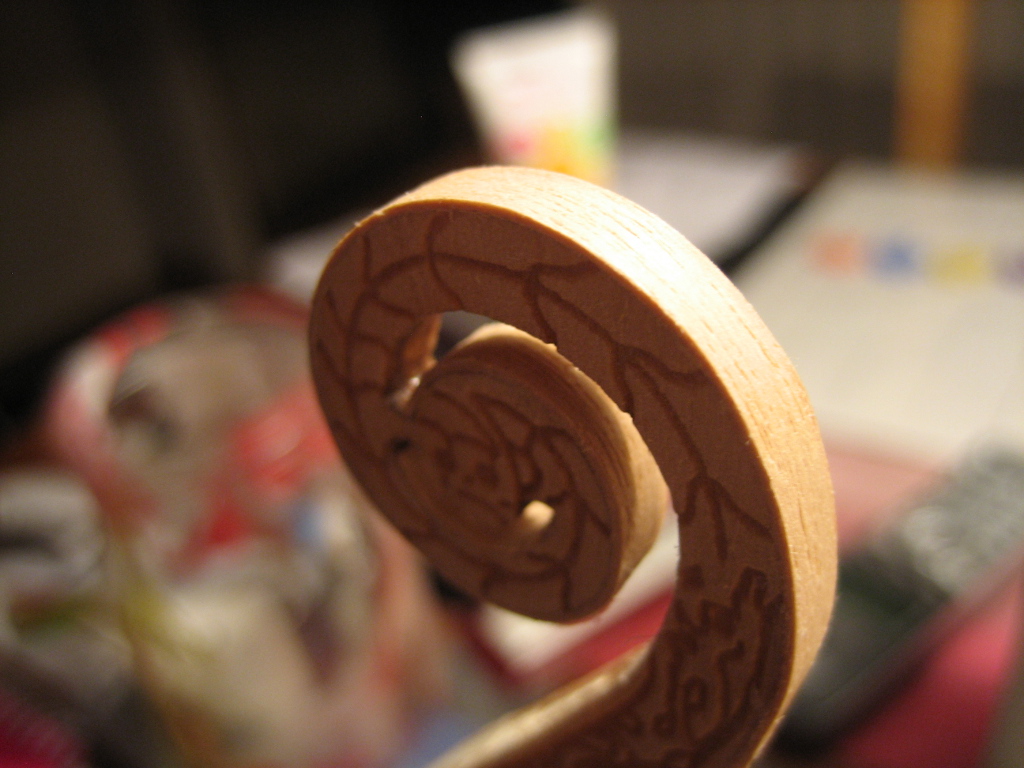
First work with the hole in the front. Feels like i am completely destroying the boat.
Children, do not try this at home!

- mtaylor, Vivian Galad, WackoWolf and 1 other
-
4
-
My photography mentor used to say that the nicest thing that you could say about another photographer is "you are killing me". Well, your planking is killing me. Very nice.
Hehe sounds like you are having real fun with the planking.
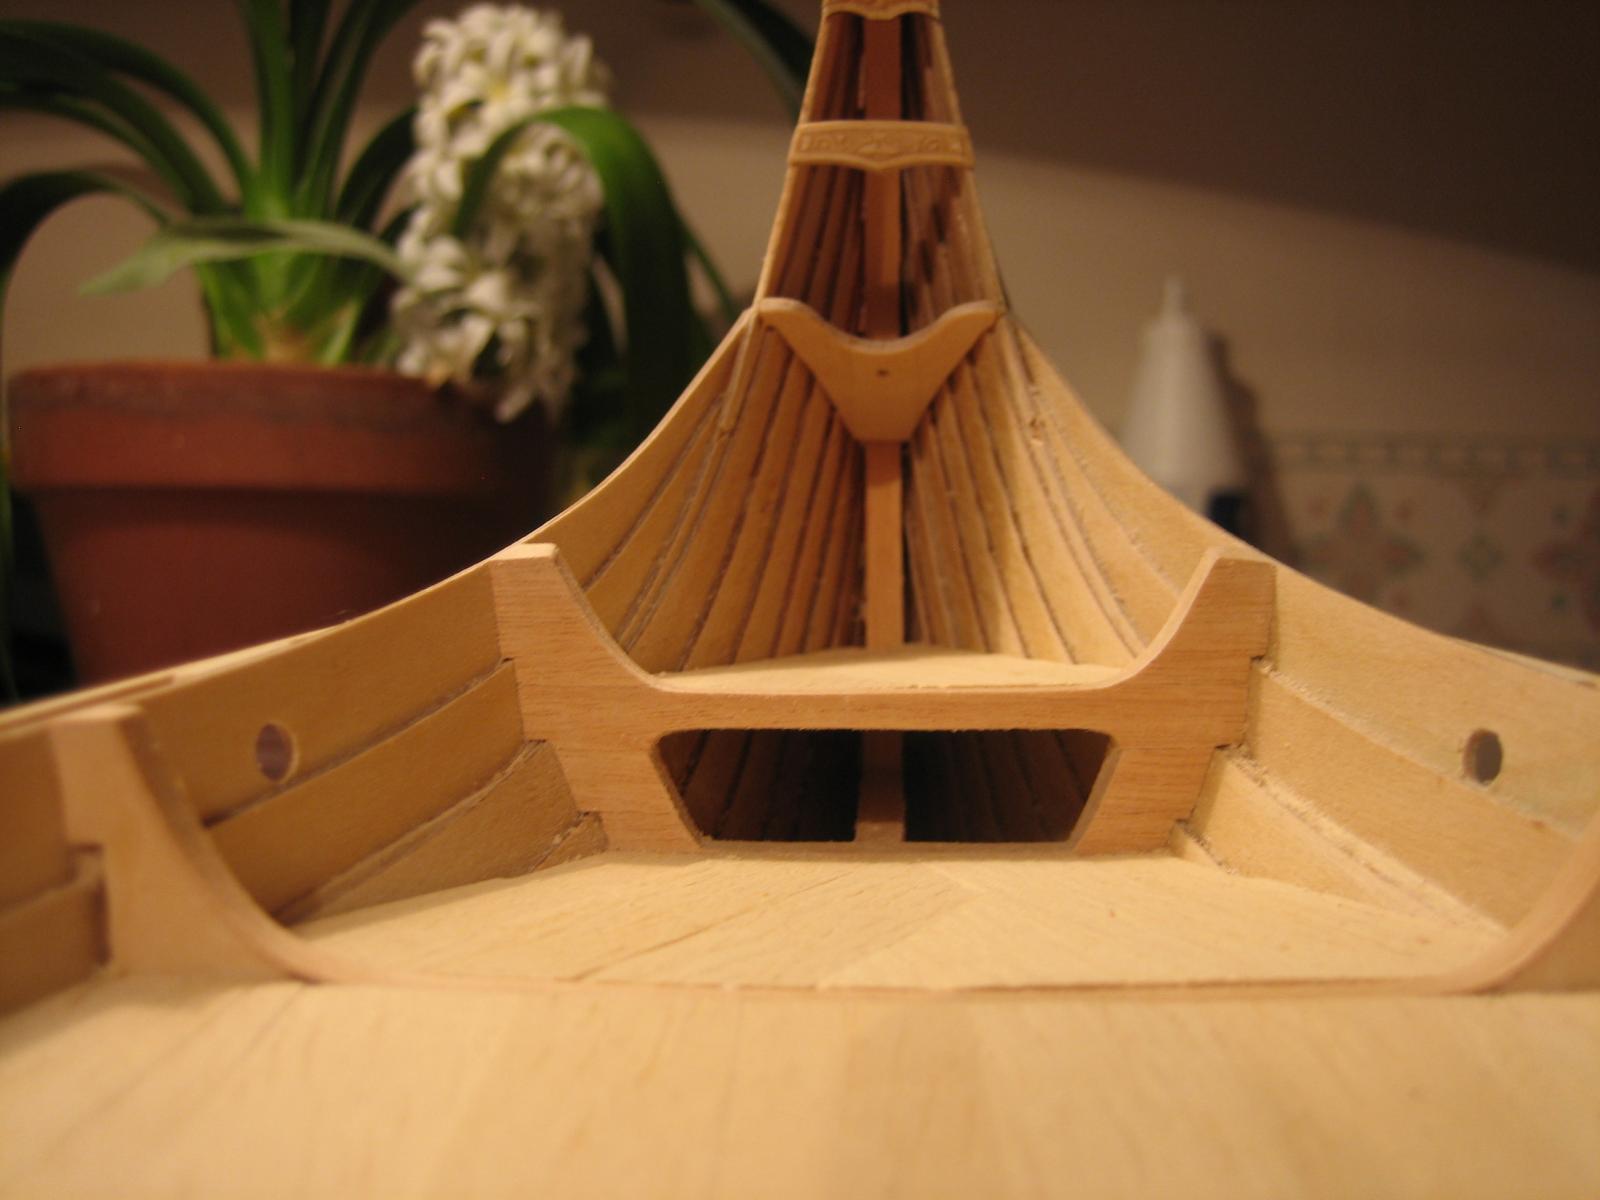
You are not forgetting to look real close on the interesting mast fish construction and it's planking while you are at it, are you?
-
-
Von, that´s something to think when building the kit. ^^
Yes, but not for me... That is, if not Jack does something about this, then i will have to reconsider.

-
Hi Vivian, I was about to start the Amati kit of the Oseberg when I found Von_Kossa's build. I put it in the closet and bought the Billing kit. His work is wonderful. The Billing Boats kit is larger than most Viking boat models and it is the only one I could find with the scroll at both ends like the actual ship. I love the toys (tools) too. My other hobby (photography) lends itself to large collections of gadgets as well.
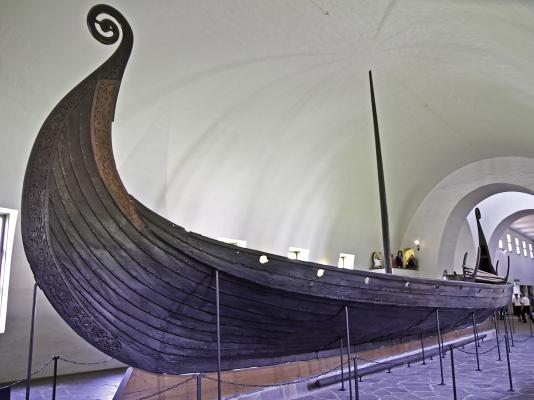
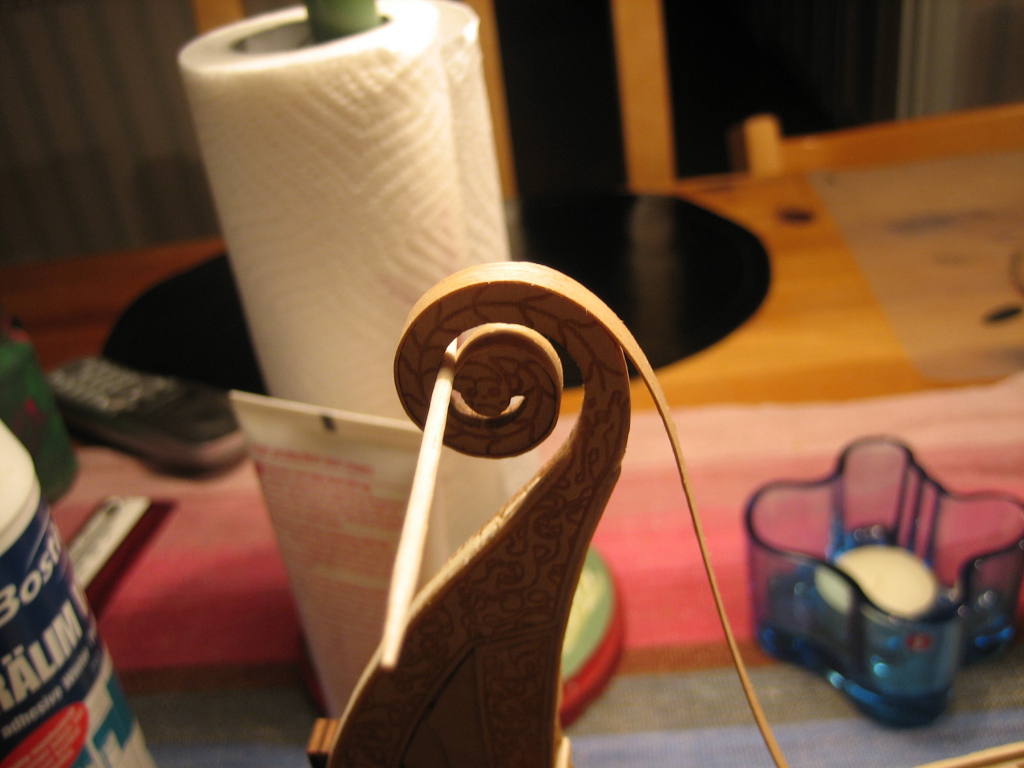
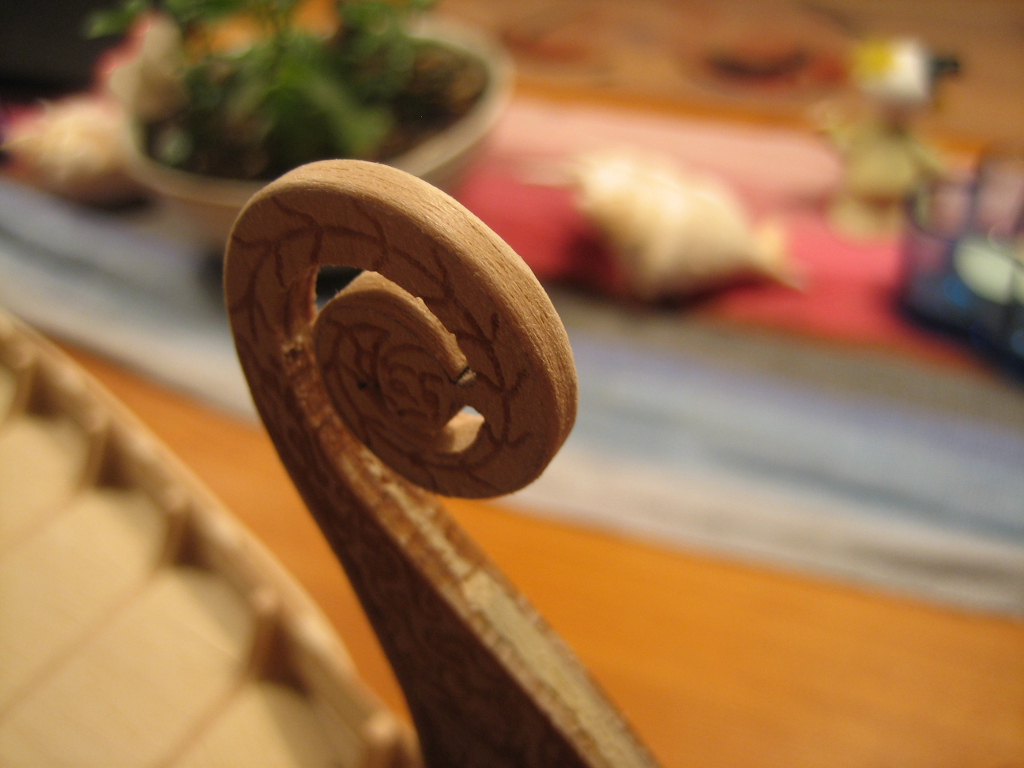
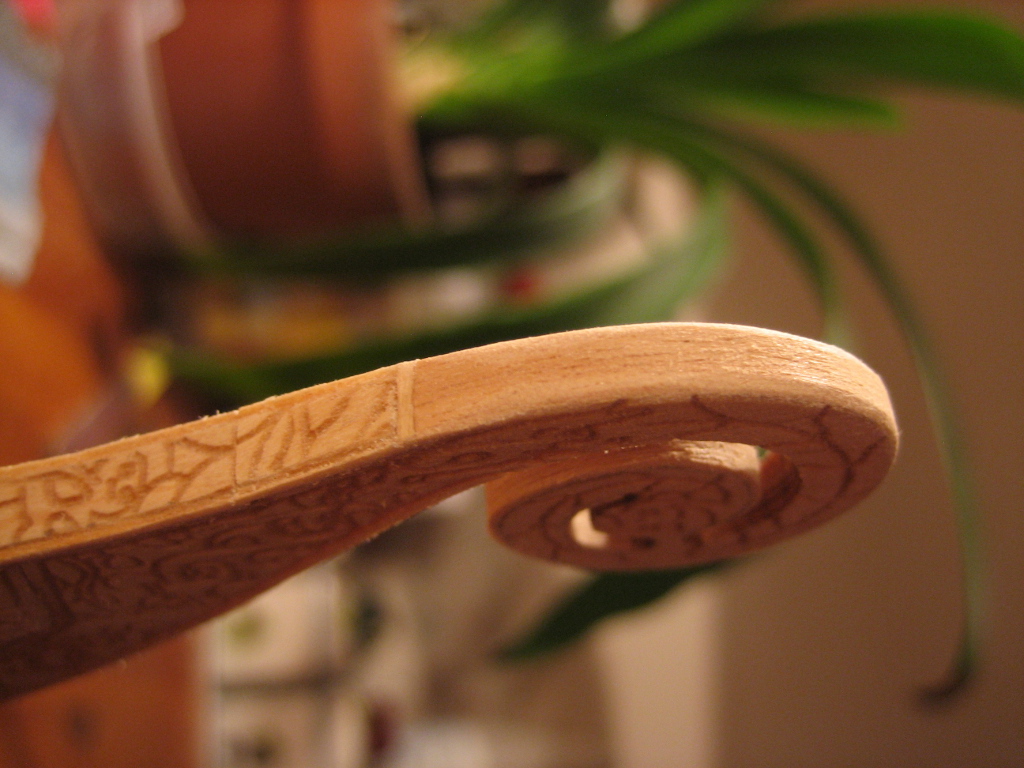
Regarding the scroll work i found a little detail on the real ship i had not noticed before, on the front scroll work it is a dragon snakes head like on our model, but on the rear scroll work it is only the dragon snakes tail, but on our model we instead have to dragon heads. it is to hard to change the rear head into a tail so i will let it be, but it is an interesting detail.
-
-
Hi von Kossa,
I just had a look into your viking boat...
It Looks fantastic eapecially in Details like sail, clinker planking, bow decoration, all Framework, bow decoration, rudder, mastfoot, and , and..
It is amazing how much love and authentic Fitting out you are putting on top of what the kit provides, a real Little treasure, love it..
Nils
Thank you very much Nils.
After watching your own builds i can only say that i stand in the shadows of a true master. Most impressive.
-
-
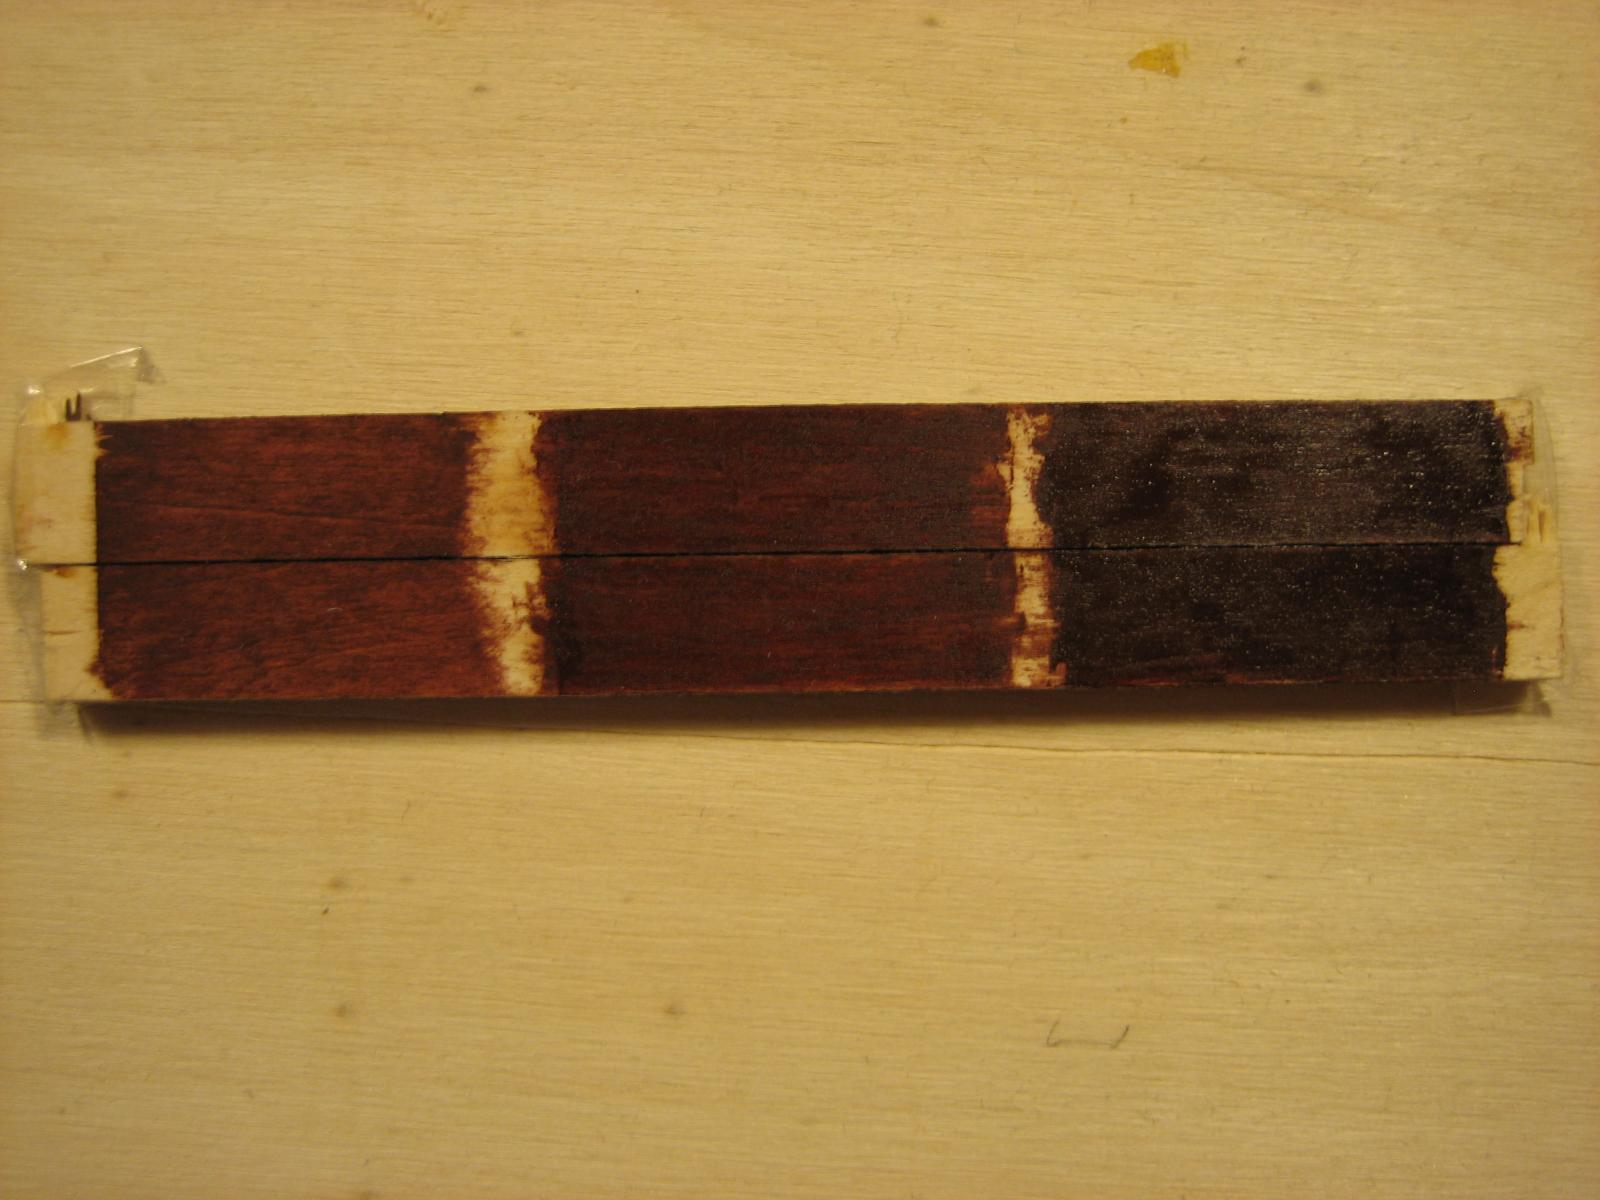
Wood often differs in color when cut from different lots. I studied your deck pictures and the most I could see was a very slight difference. The stain should certainly even out the difference. Are you planning to use a dark stain like the actual ship? That would certainly do the trick. If you have a little of each batch of wood you can put them side by side and stain them with both a medium oak and a dark walnut and get an idea of how they would look together.
This is a test piece i made with 3 layers of the same stain. I´m thinking about the one in the middle, two layers.


Oseberg ship by Von_Kossa - Billing Boats - Scale 1:25, 800 A.D (First wooden ship build)
in - Kit subjects built Up to and including 1500 AD
Posted
The oarholes...