HOLIDAY DONATION DRIVE - SUPPORT MSW - DO YOUR PART TO KEEP THIS GREAT FORUM GOING!
×


Mike Dowling
-
Posts
1,234 -
Joined
-
Last visited
Content Type
Profiles
Forums
Gallery
Events
Everything posted by Mike Dowling
-
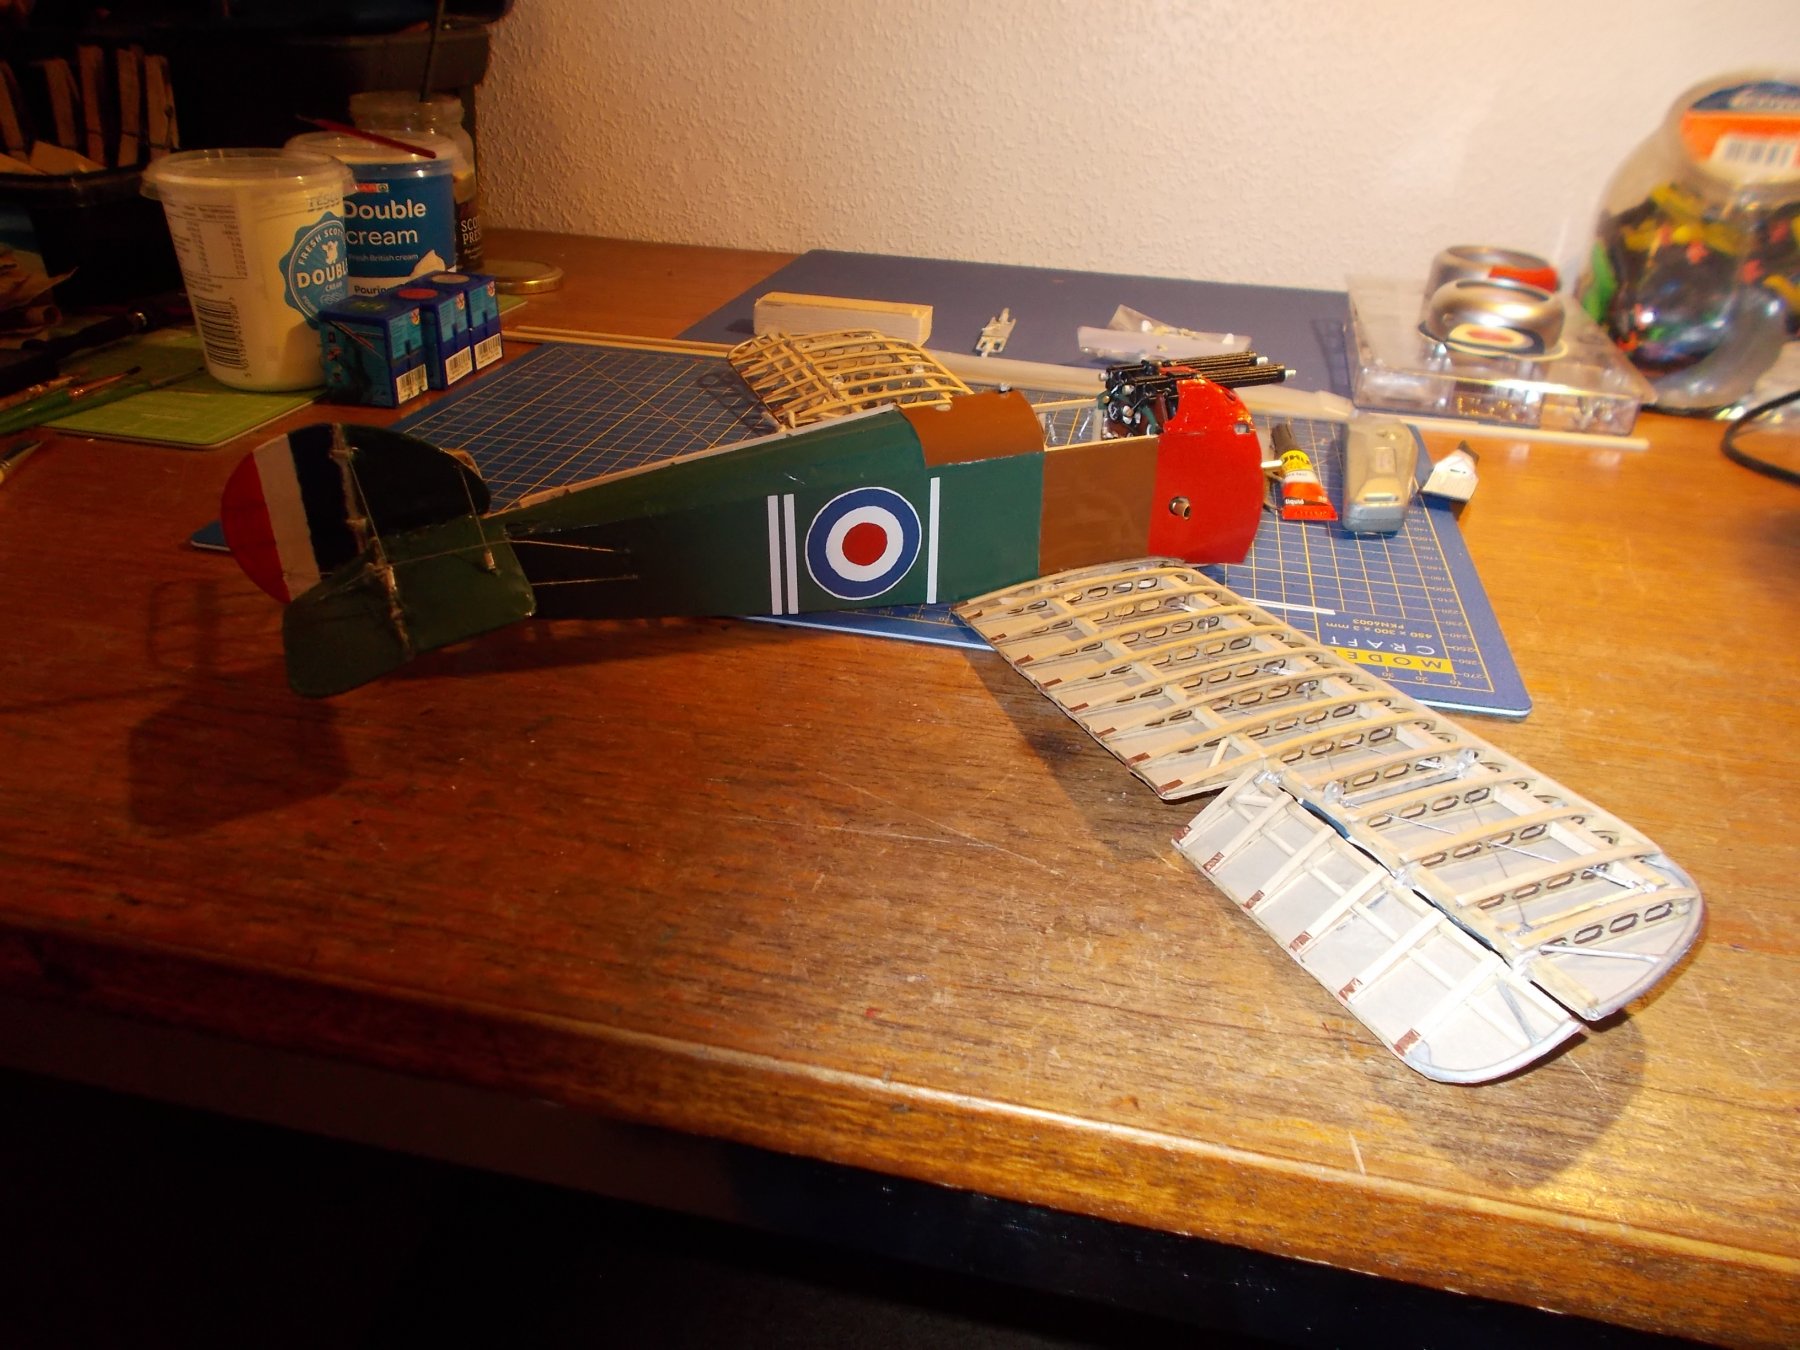
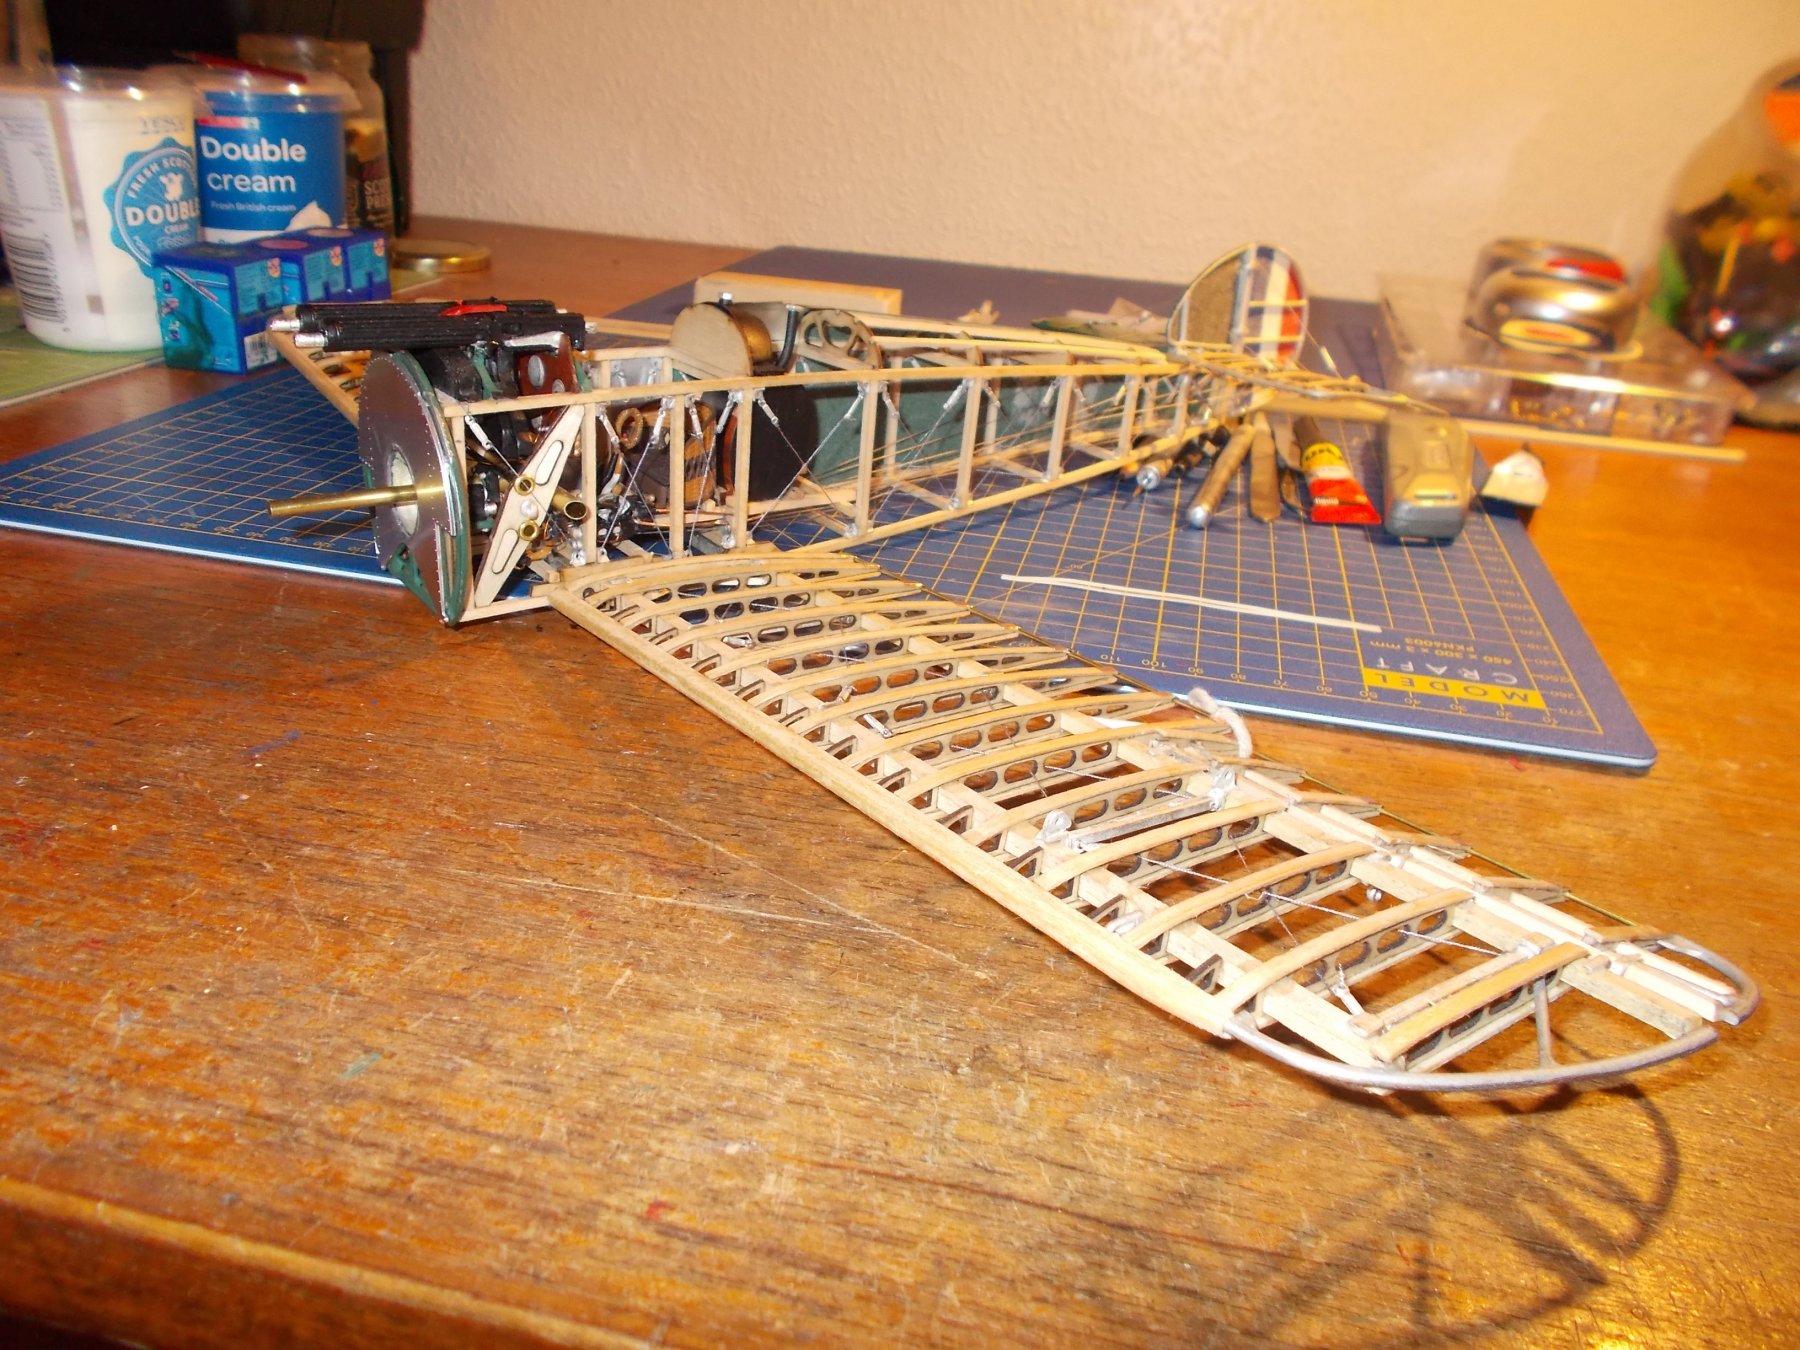
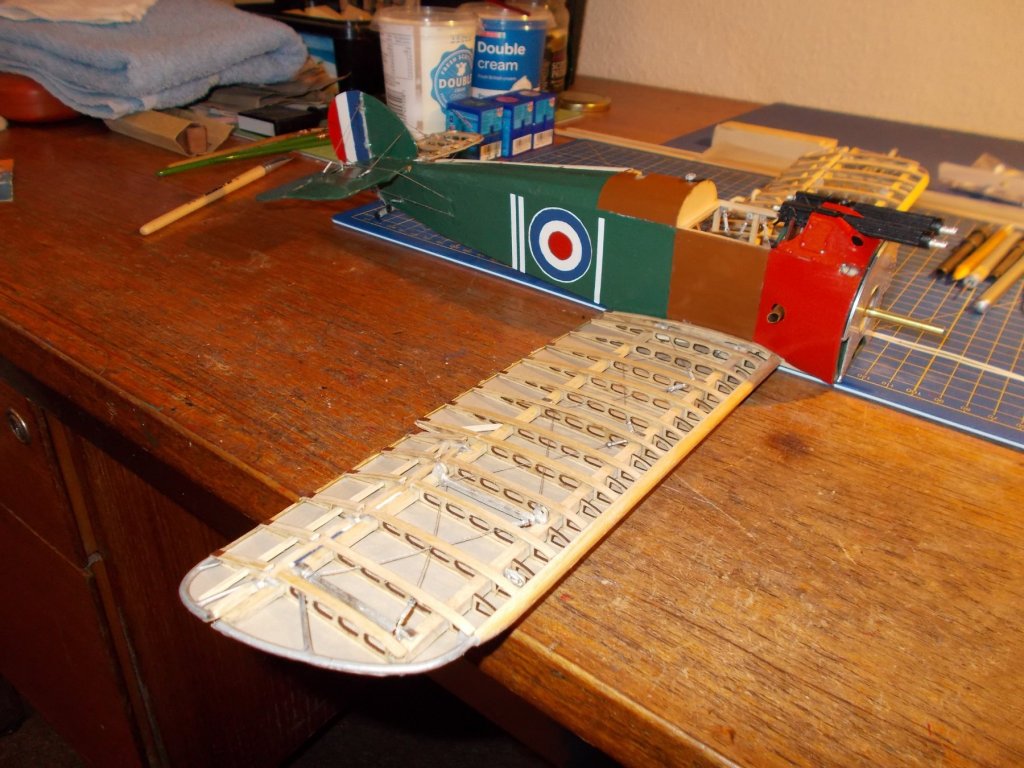
I am still waiting for the parts I need from model airways but, in the meantime I have made a start on my 'half' covering of the plane. I can only do so much because otherwise I will not be able to do the cabling that runs though the wings for the ailerons. Anyway I thought you might like to see how far I have got. he final colour scheme is going to that of 209 squadron RAF from WW1 as flown by Arthur Roy Brown who was credited to an extent with shooting down the Red Baron !


- 138 replies
-
- 13
-

-
Sorry for the late reply, I have only just found your question. I did only soak the wood but it was a difficult job. If it helps I find sometimes if you soak the wood, then let it dry and then soak it again it bends better and more easily.
-
Thanks John. Not heard from Model Expo yet. I thought soldering would be a problem. I also thought I could at least get on with the wing struts but from what you say, since I don't have the right cabane struts I can't do that either so I really am stuck!
-
John, when you made your wooden wing struts, did you take your measurements from the plans or the instructions ? There is quite a big discrepancy between the two.
-
Well now I have a problem !! The undercarriage struts require left and right parts and I have two the same !! The cabane struts have 4 struts and I only have 3. So, I am stuck. I have emailed modelexpo but as yet no reply. What to do? I wonder with the undercarriage struts whether I can cut the tops off, turn them round and stick them back on. Does anyone know if you can solder brittania metal or does it just melt? I might be able to use epoxy but it won't make a very strong joint. Ideas people, ideas ?
-
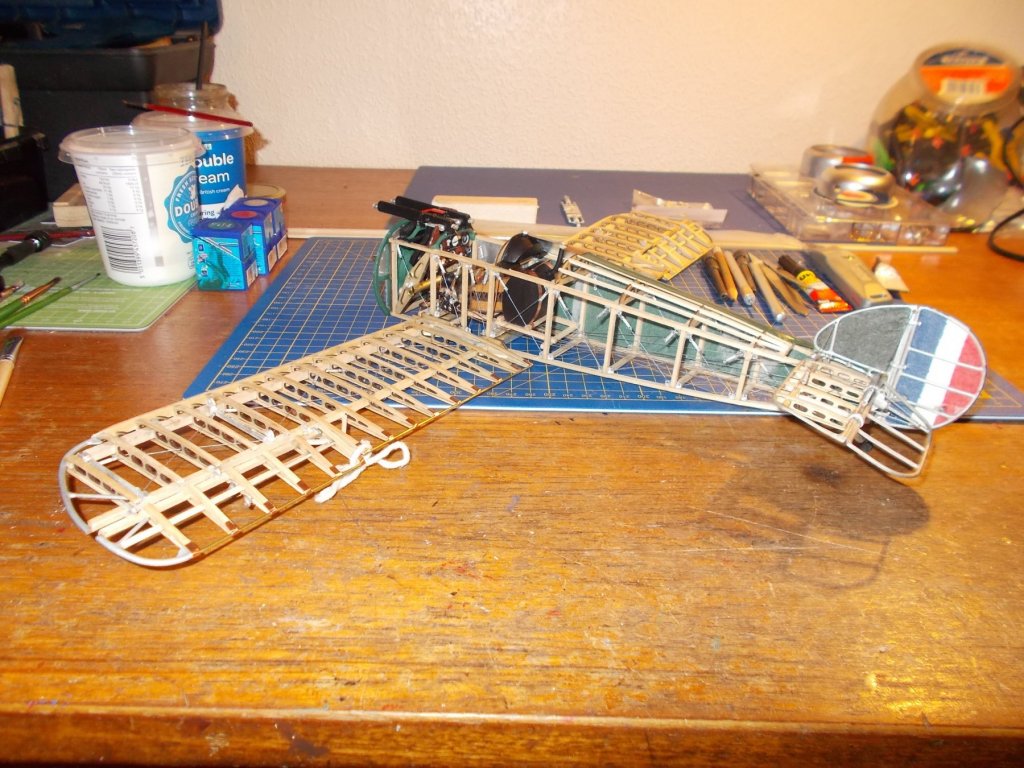
I have been a busy boy ! I did try gluing just one place on the cables but alas it didn't work. I think I know what the problem is - where the cables wrap round the rudder bar they just get stuck so there is nowhere for the rest of the cable to go. Never mind, I tried. Anyway I tried to take some pics of the cables but the poor camera didn't know what it was supposed to focus on but at least it shows that I did put them on. I have also cut my lower wing in half (nervous or what?) then rejoined it with the necessary angle and finally glued it on. The beasty is really beginning to look like an aeroplane at last.


-
Thanks for that, seems I need the gap so I will stick to the instructions.
-
John - another question! The instructions say that the gap between the lower wings should be 1&13/16th inch. This will leave a small gap each side of the fuselage. It looks on your log as though you had the lower wing spars really close together in the metal joiners which would make the wings quite snug. Which should I do ? Go with the measurement or the snug fit?
-
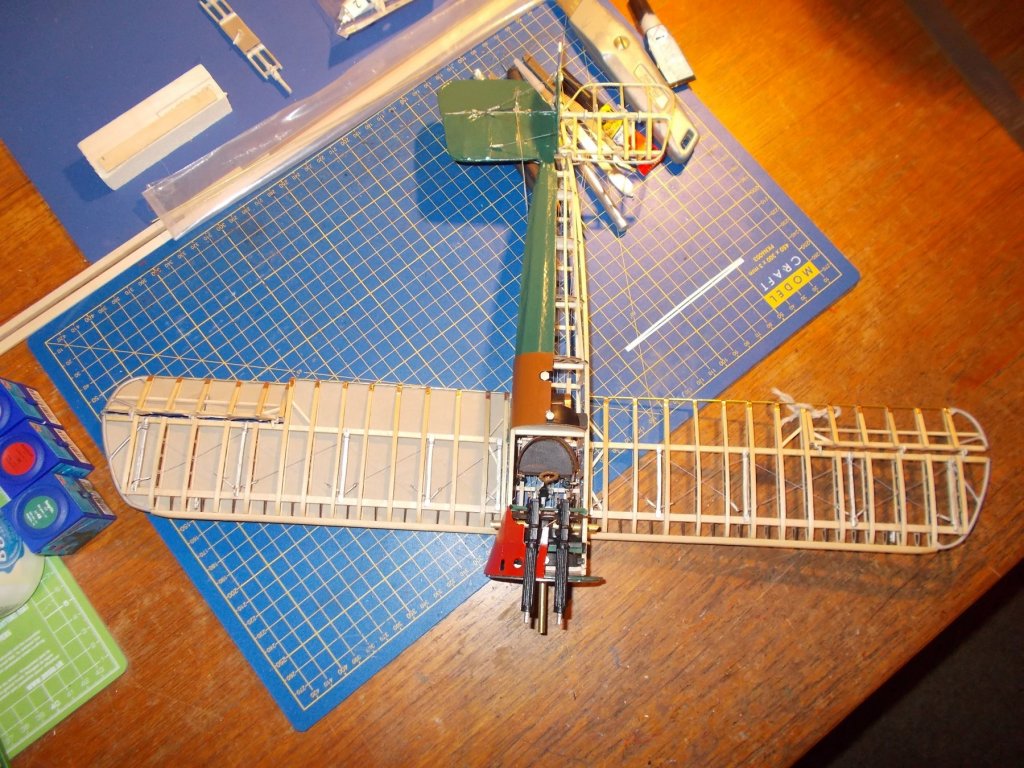
Thanks again Slainte, maybe I will try that tomorrow but to be honest I am not expecting much. I must keep telling myself that this is a non-flying model !! I can't try it tonight because I managed to knock one of the machine guns off during my labour and that is now drying !! It does surprise me, not being a 'flyer' that the cables actually leave the fuselage at the rear. I thought they would all be enclosed but I suppose - thinking ahead - that they will also be exposed between the upper and lower wings so maybe not so strange. It will make my idea of covering the plane on one side much more difficult.
-
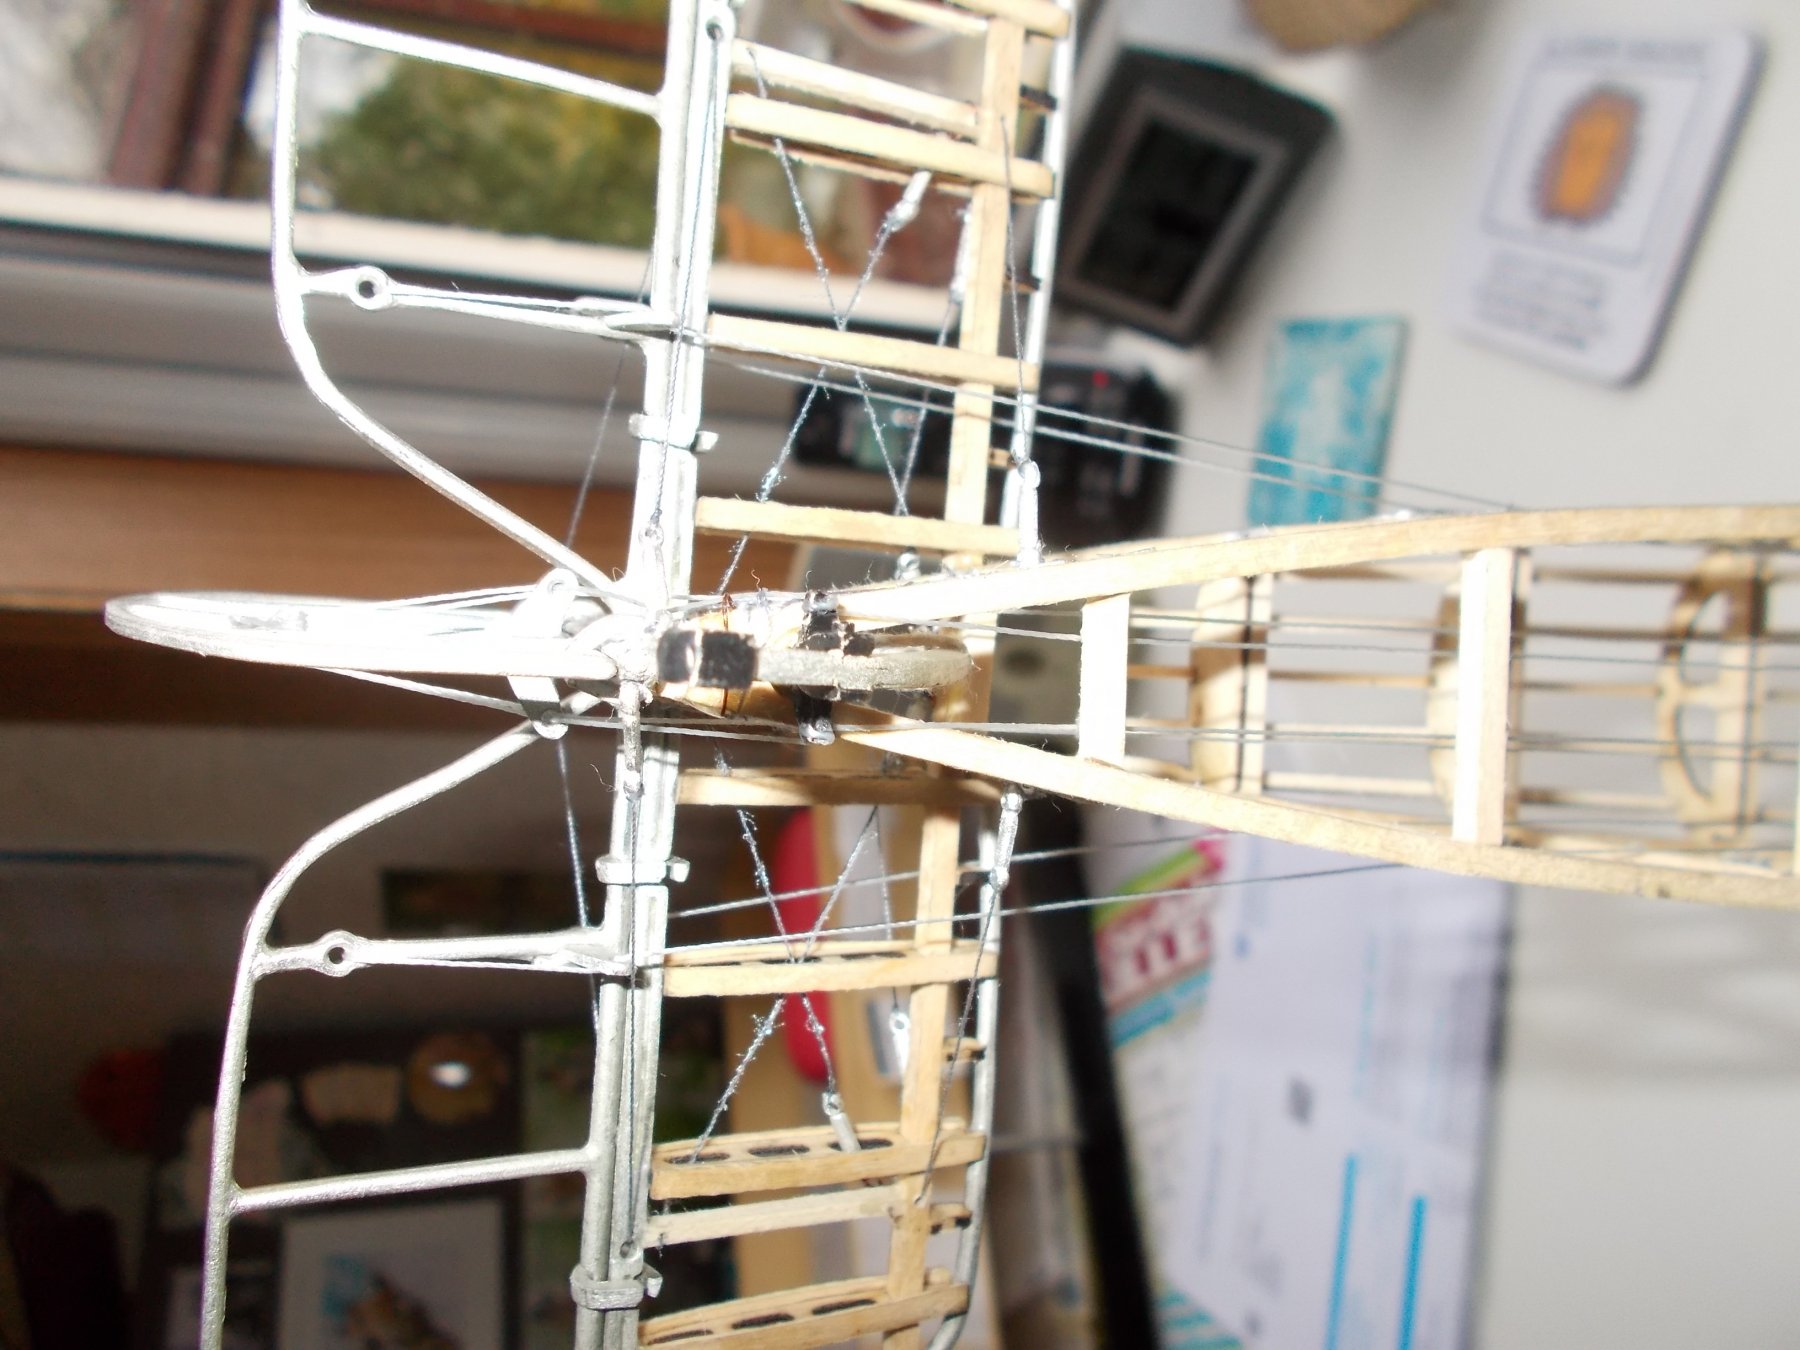
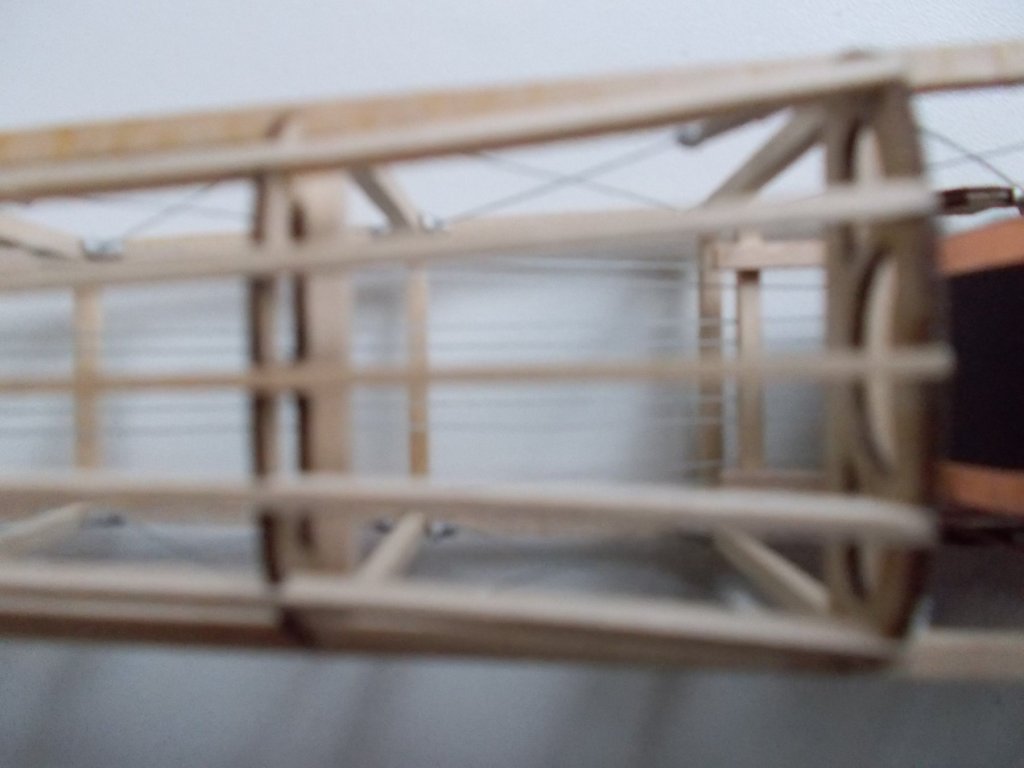
After a whole afternoon of struggling I managed to get all the control wires to and from the elevator (I stand corrected). Sadly despite my efforts it hardly moves at all with the stick. I did add a couple of tiny metal pieces to the bottom pulleys to stop the cables coming off (John) in case it made a difference but it didn't. I think there is just too much flex or maybe stretch in the thread provided or just too many places the cable can manage to move between the stick and all the places the cables pass through. The only thing I could think might help is if I glued the thread in the elevator horns instead of letting them run free so that at least part of the cable is fixed somewhere else. Any thoughts people ?
-
Wonderful ! I think your summary is correct. On the model those pulleys are just imitations on the rudder bar but do not move. On the restoration you have found the pulleys are free to rotate which I guess would not really interfere with the rudder bar as such. I suppose such is the limitation of a 1/16 model which isn't really supposed to work anyway but just look the part. Thank you though for your labours - a useful piece of research which has helped my simple brain !
-
Slainte, although rather complicated I understand - thank you. I am still not sure why the tail aileron should connect to the rudder pedal though. Unless it's just for stability ?
-
OK John, I know which bits you mean. Now, questions for anyone !! I have no idea how to fly a plane because I don't know how the controls work but, I can work a rudder out without trouble. It attaches to a foot operated bar which turns the rudder (and in this case the tail skid) left and right depending on which foot you press. Nice simple mechanics. How the control stick works seems to be a whole different ball game. Why should the tail aileron be attached to the stick and the rudder bar ? I know when you push it forward and back the aileron should go up and down but why connect it to the rudder pedal. Presumably when wings are attached the stick works the wing ailerons up and down as well but then what is the side to side motion for ? All contributions to my dense brain are welcome !!
-
Thanks John, that is a great help especially regarding this silly idea of standing the fuselage on it's nose - it's just so unstable. I didn't think of using the engine mounting hole - brilliant! Don't quite understand about the protrusions on the stick. Do you mean the bits they call pulleys? As for how far I go with this thing I'm not sure. I have done the control leads for the rudder but don't know if they work yet - waiting for them to dry ! If they do then I will keep trying with more but as you say - who on earth is going to play with the controls once done ? !
-
John, I have done the same with PVA but I expect you found as well that fast grab is needed in places. As the thread is nylon (I think) it may be OK. I know cotton thread becomes very brittle. Can you give any help on 'bracing' the control stick and, when you did the elevators did you start at the stick as per instructions or did you start at the back ?
-
Another question John - did you find that CA glue fixed the control line thread easily ?
-
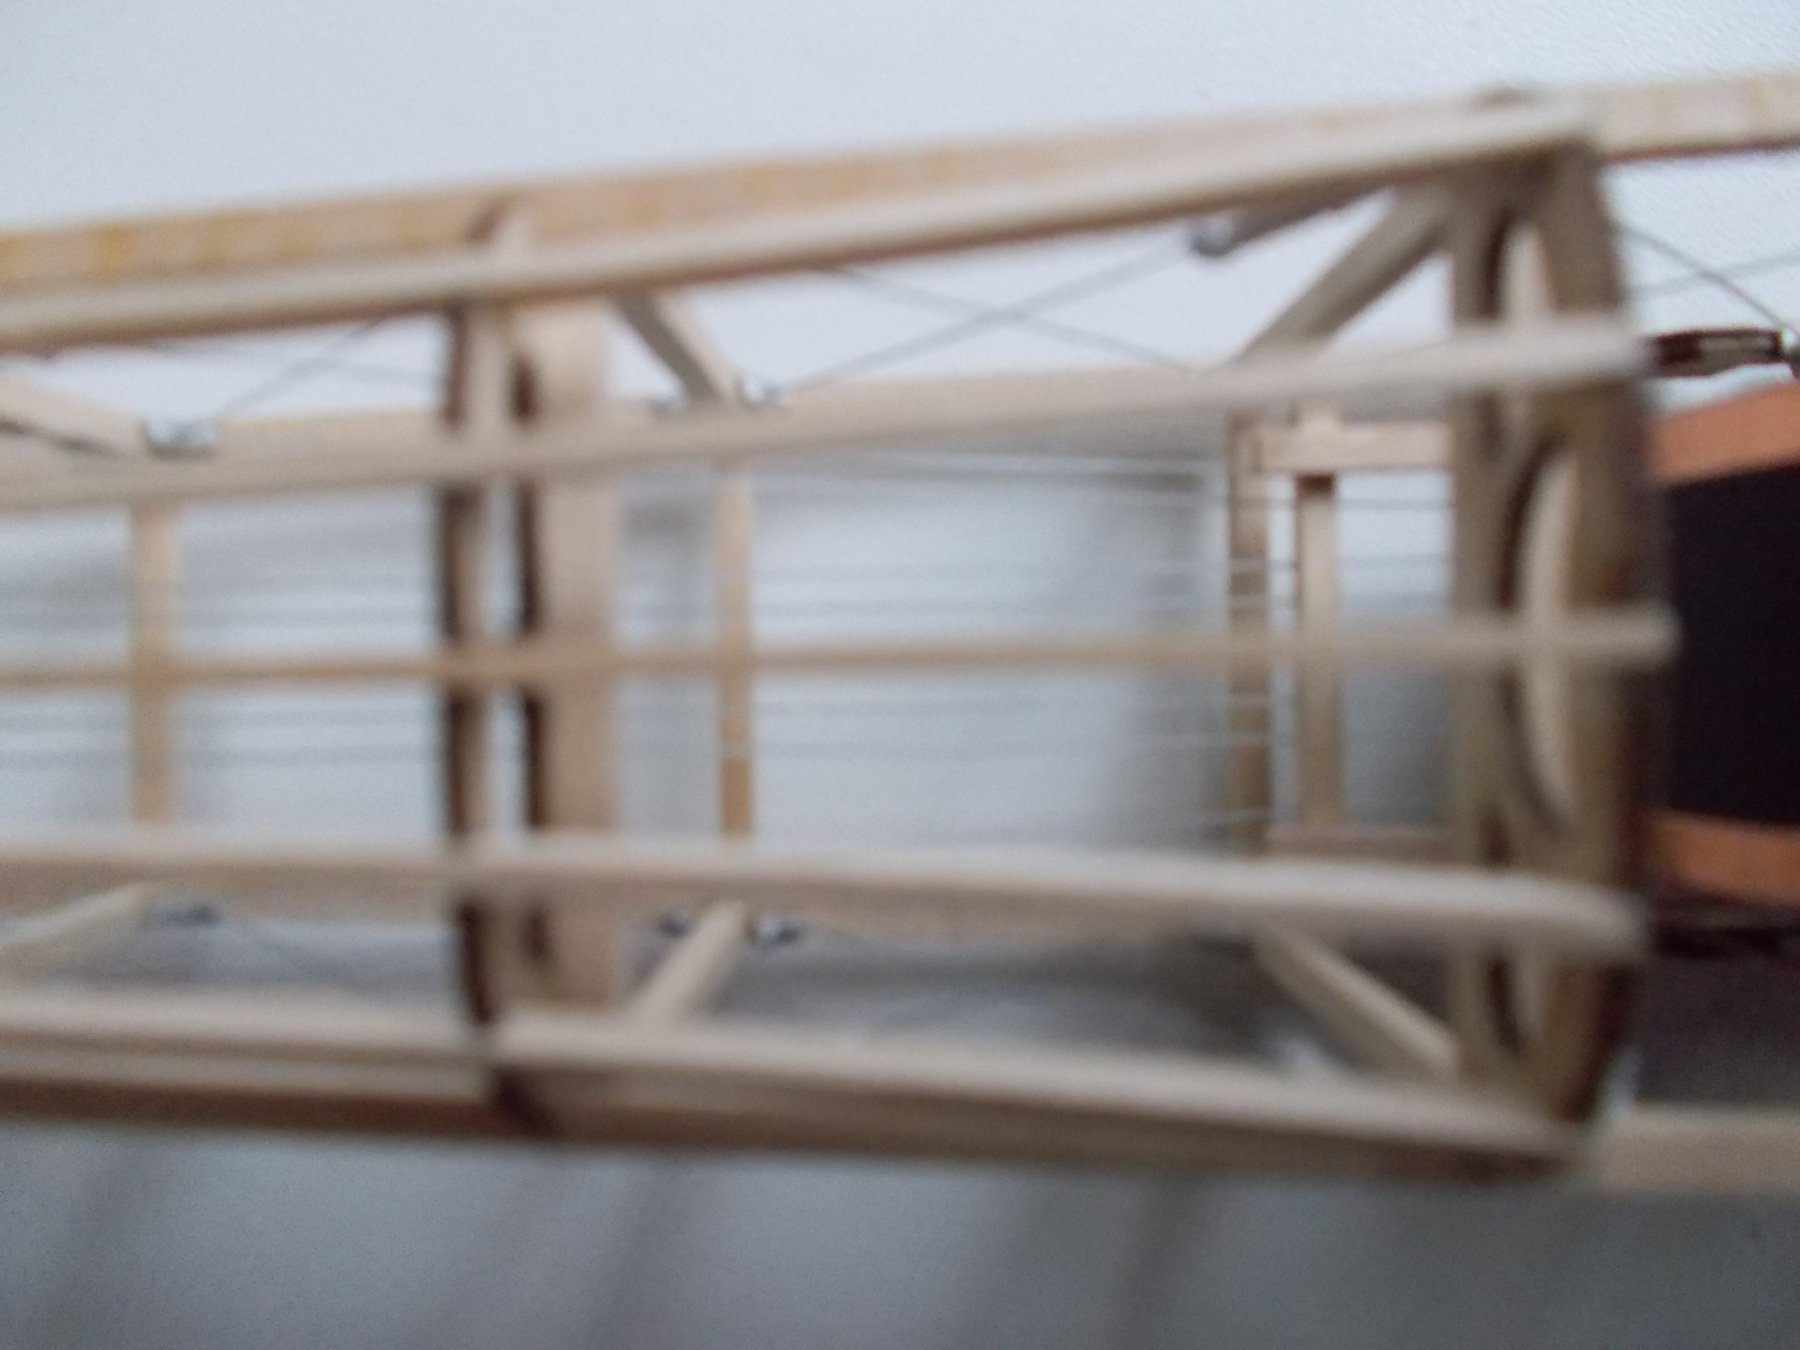
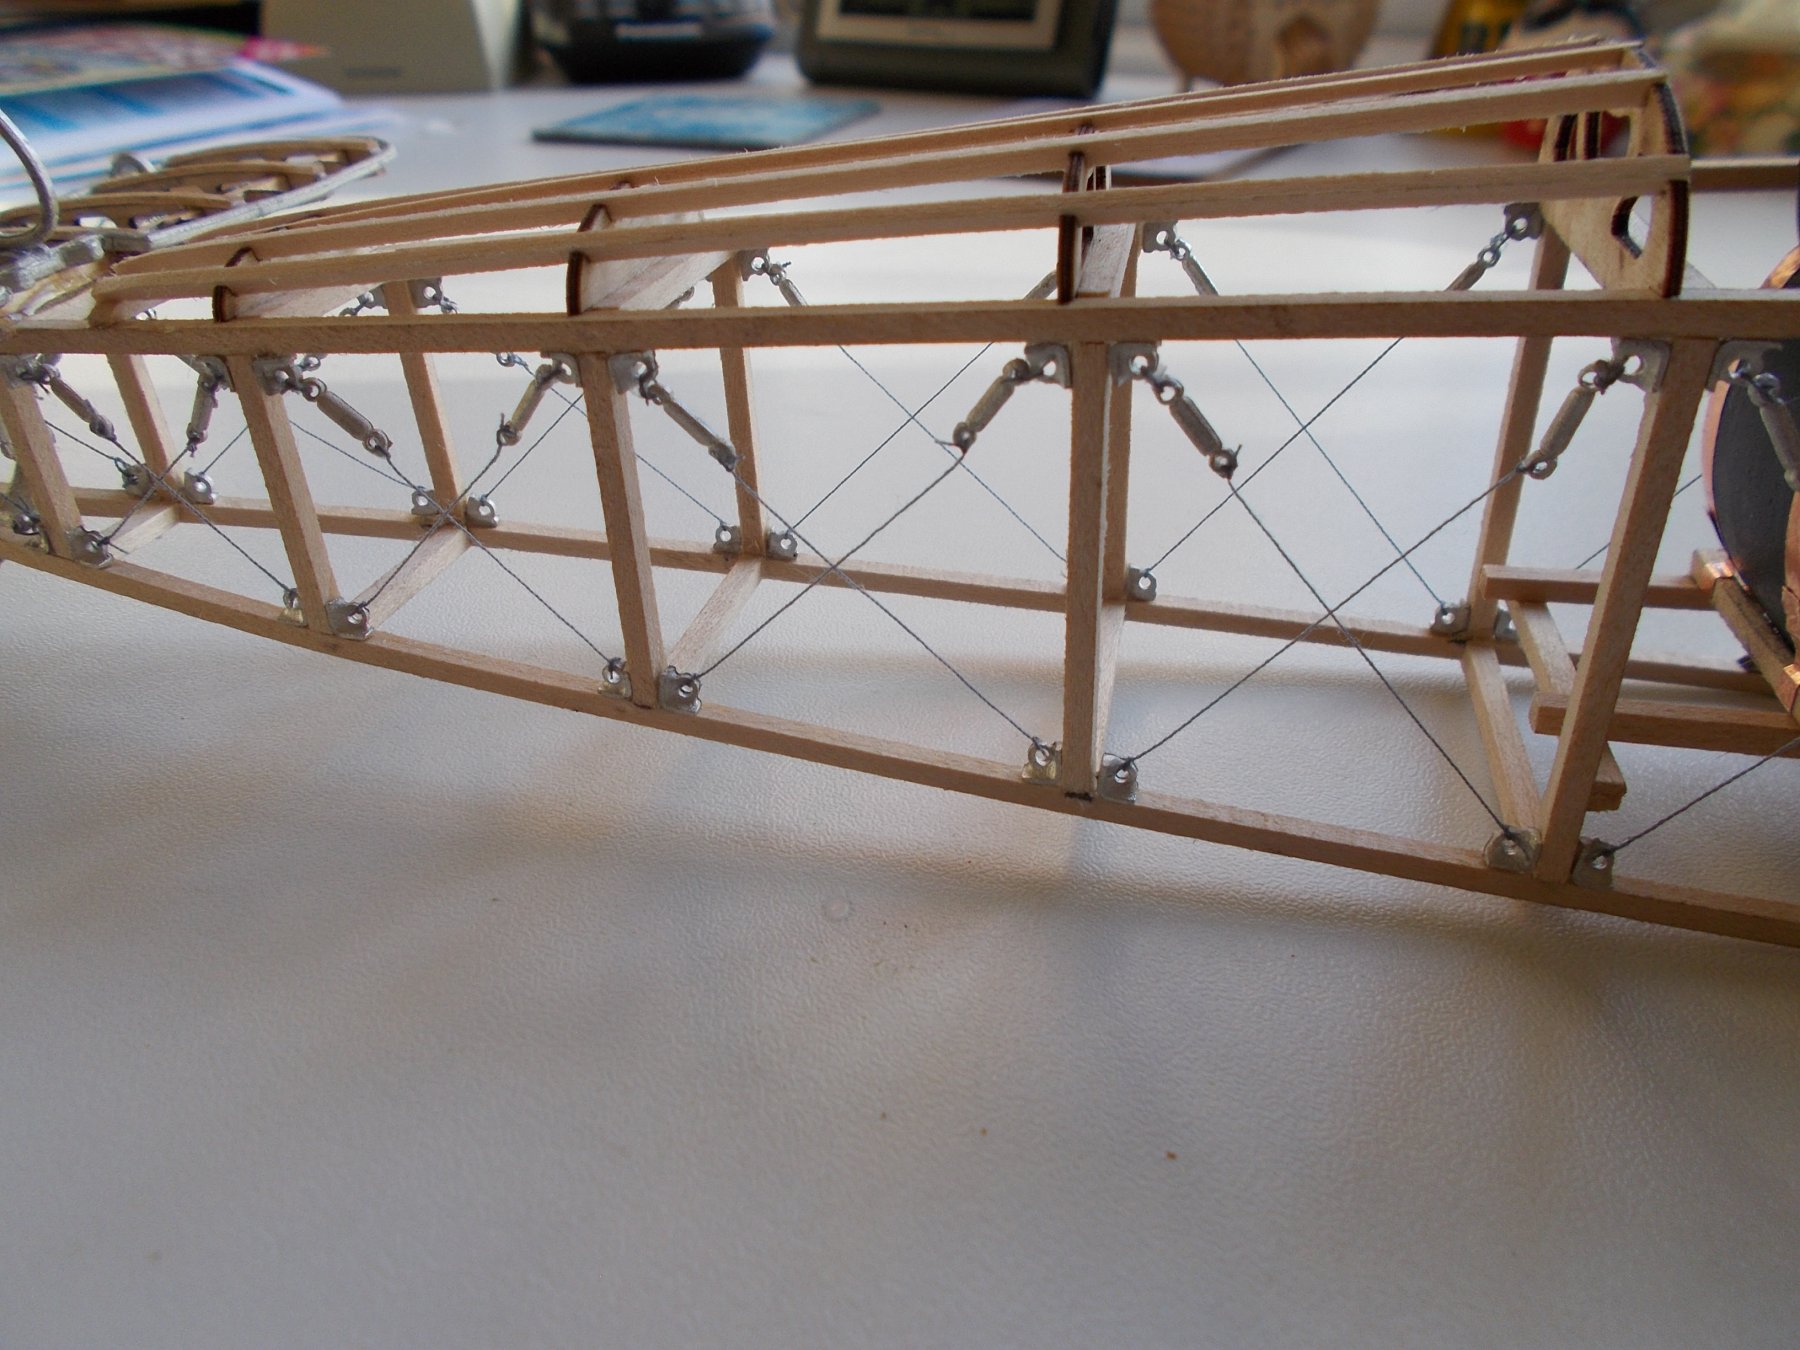
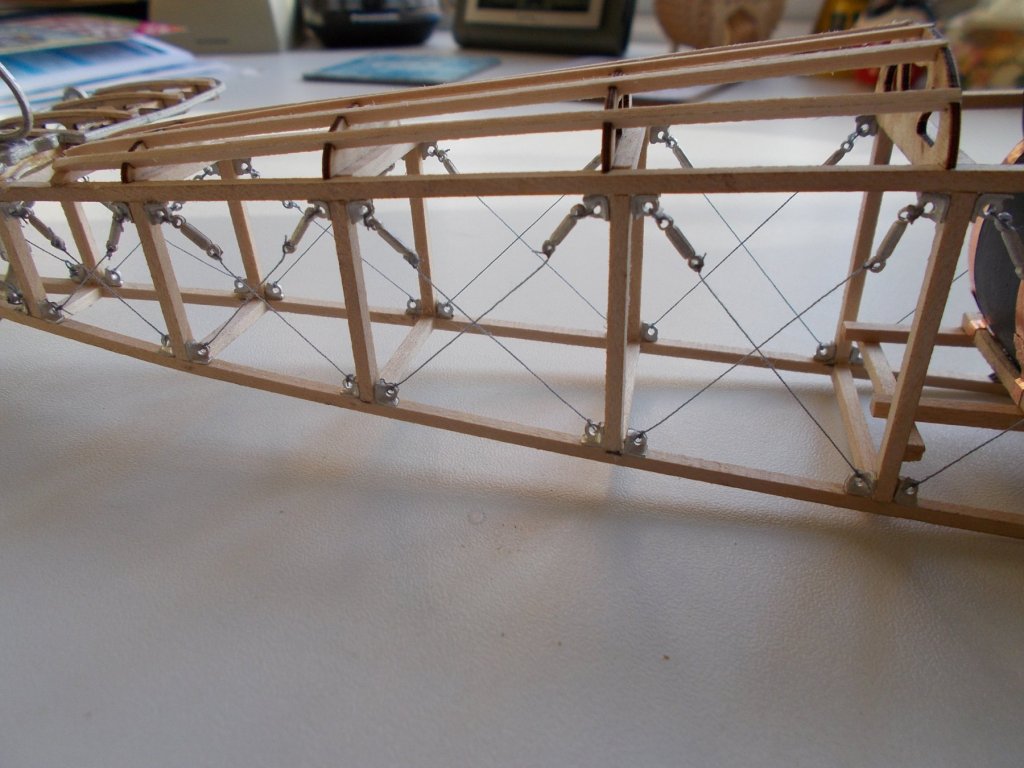
Side bracing complete. I have decided to leave the under fuselage bracing until after I have done the control wires, I think it will give me more space. I have also attached the tailplane and hope to rig it later today. I kep't knocking the tail skid off so I have sneakily attached a wire to the pin it rotates on which I hope will keep it in place. A question for you John. The instructions say you have to brace the control stick to do the wires. How on earth did you do that ?


- 138 replies
-
- 11
-
-
I think that looks great Carl, I think the thickness is fairly critical but less than 1cm rather than more. Max width 1.1cm. Good luck !
-
Wow, what a guy !! I await your efforts with keen anticipation !!
-
Are you going to sell it to me when finished ?
-
Carl, the propeller is 17cm long and 1cm thick in the centre. It is a peculiar shape which didn't help my efforts at all. I think if it was a normal shape I might have managed better. Thanks for the comment anyway.
-
I forgot to take pictures underneath !!
-
Thanks John, I did indeed mean the control cabling. I'm not sure about the jigs either. I didn't use the twirly one at all!
-
John, with hindsight, would it have been easier to do all the tailplane rigging before adding the side braces ? I know the instructions don't say to do that but I wondered what you thought.
-
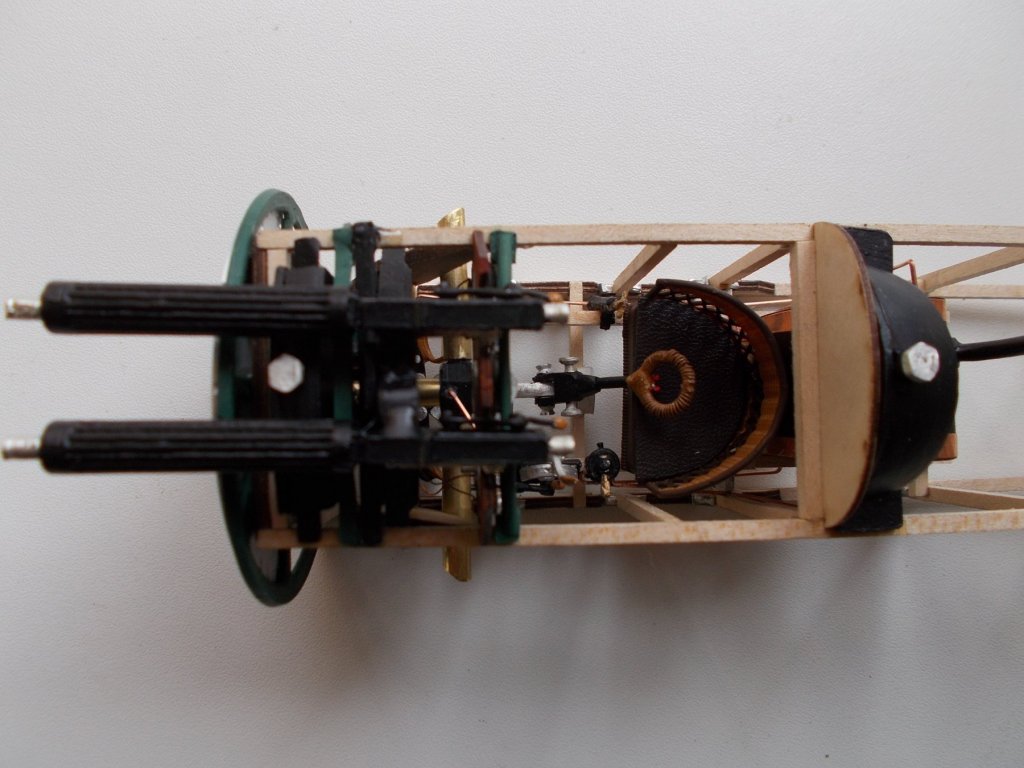
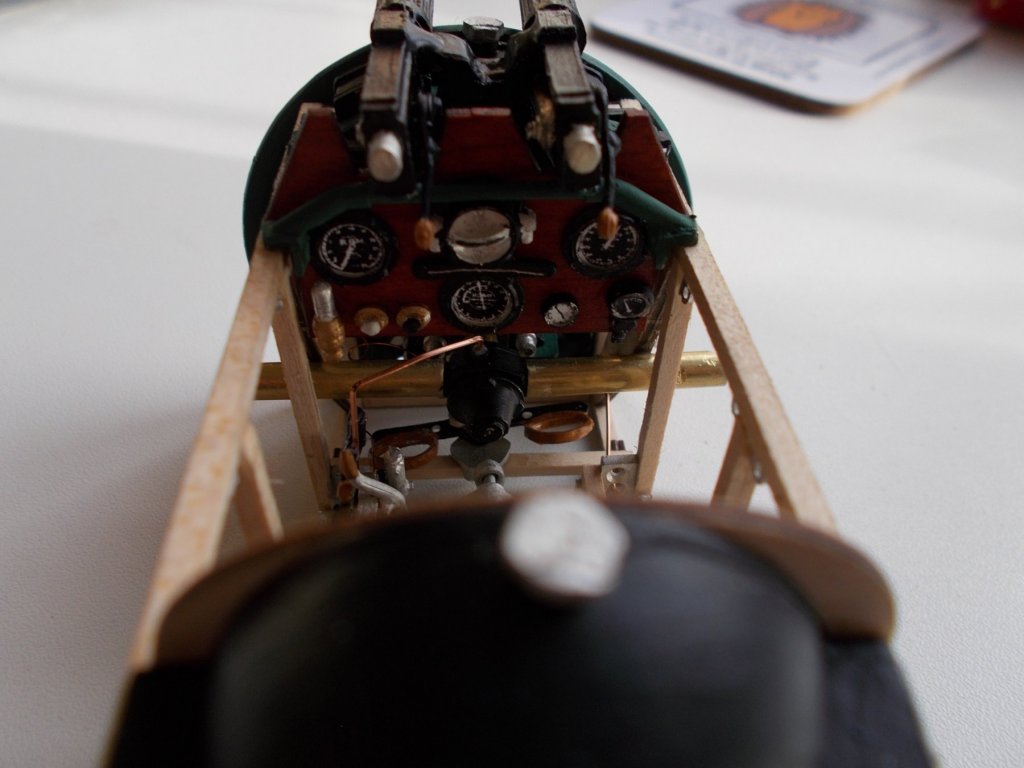
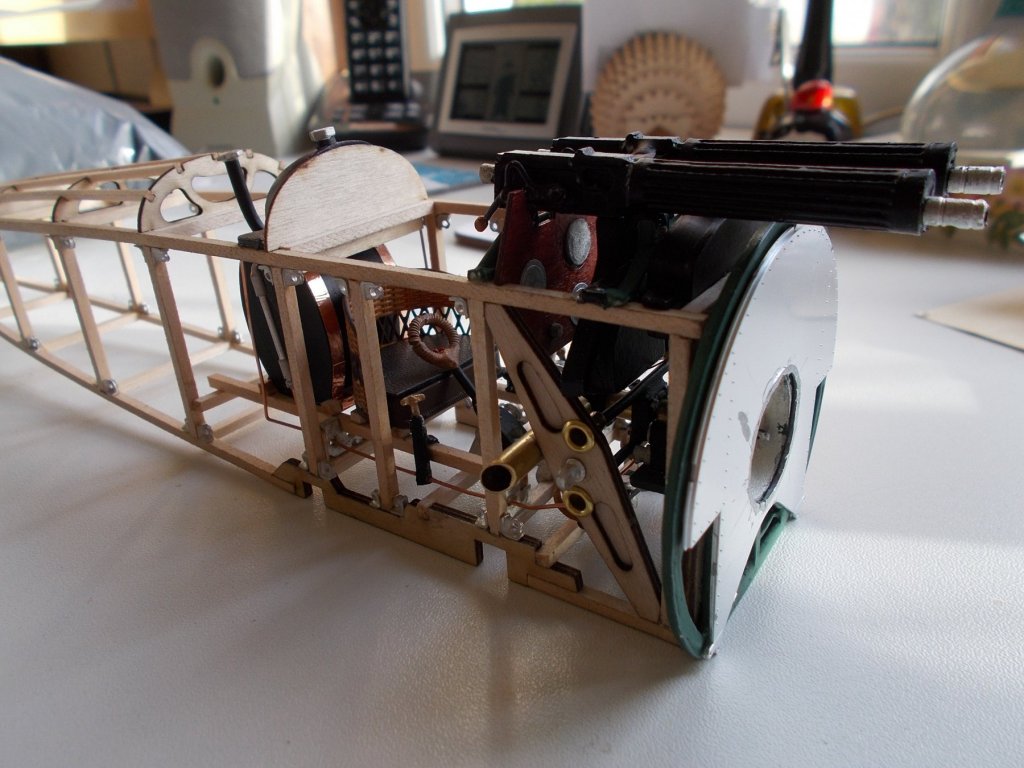
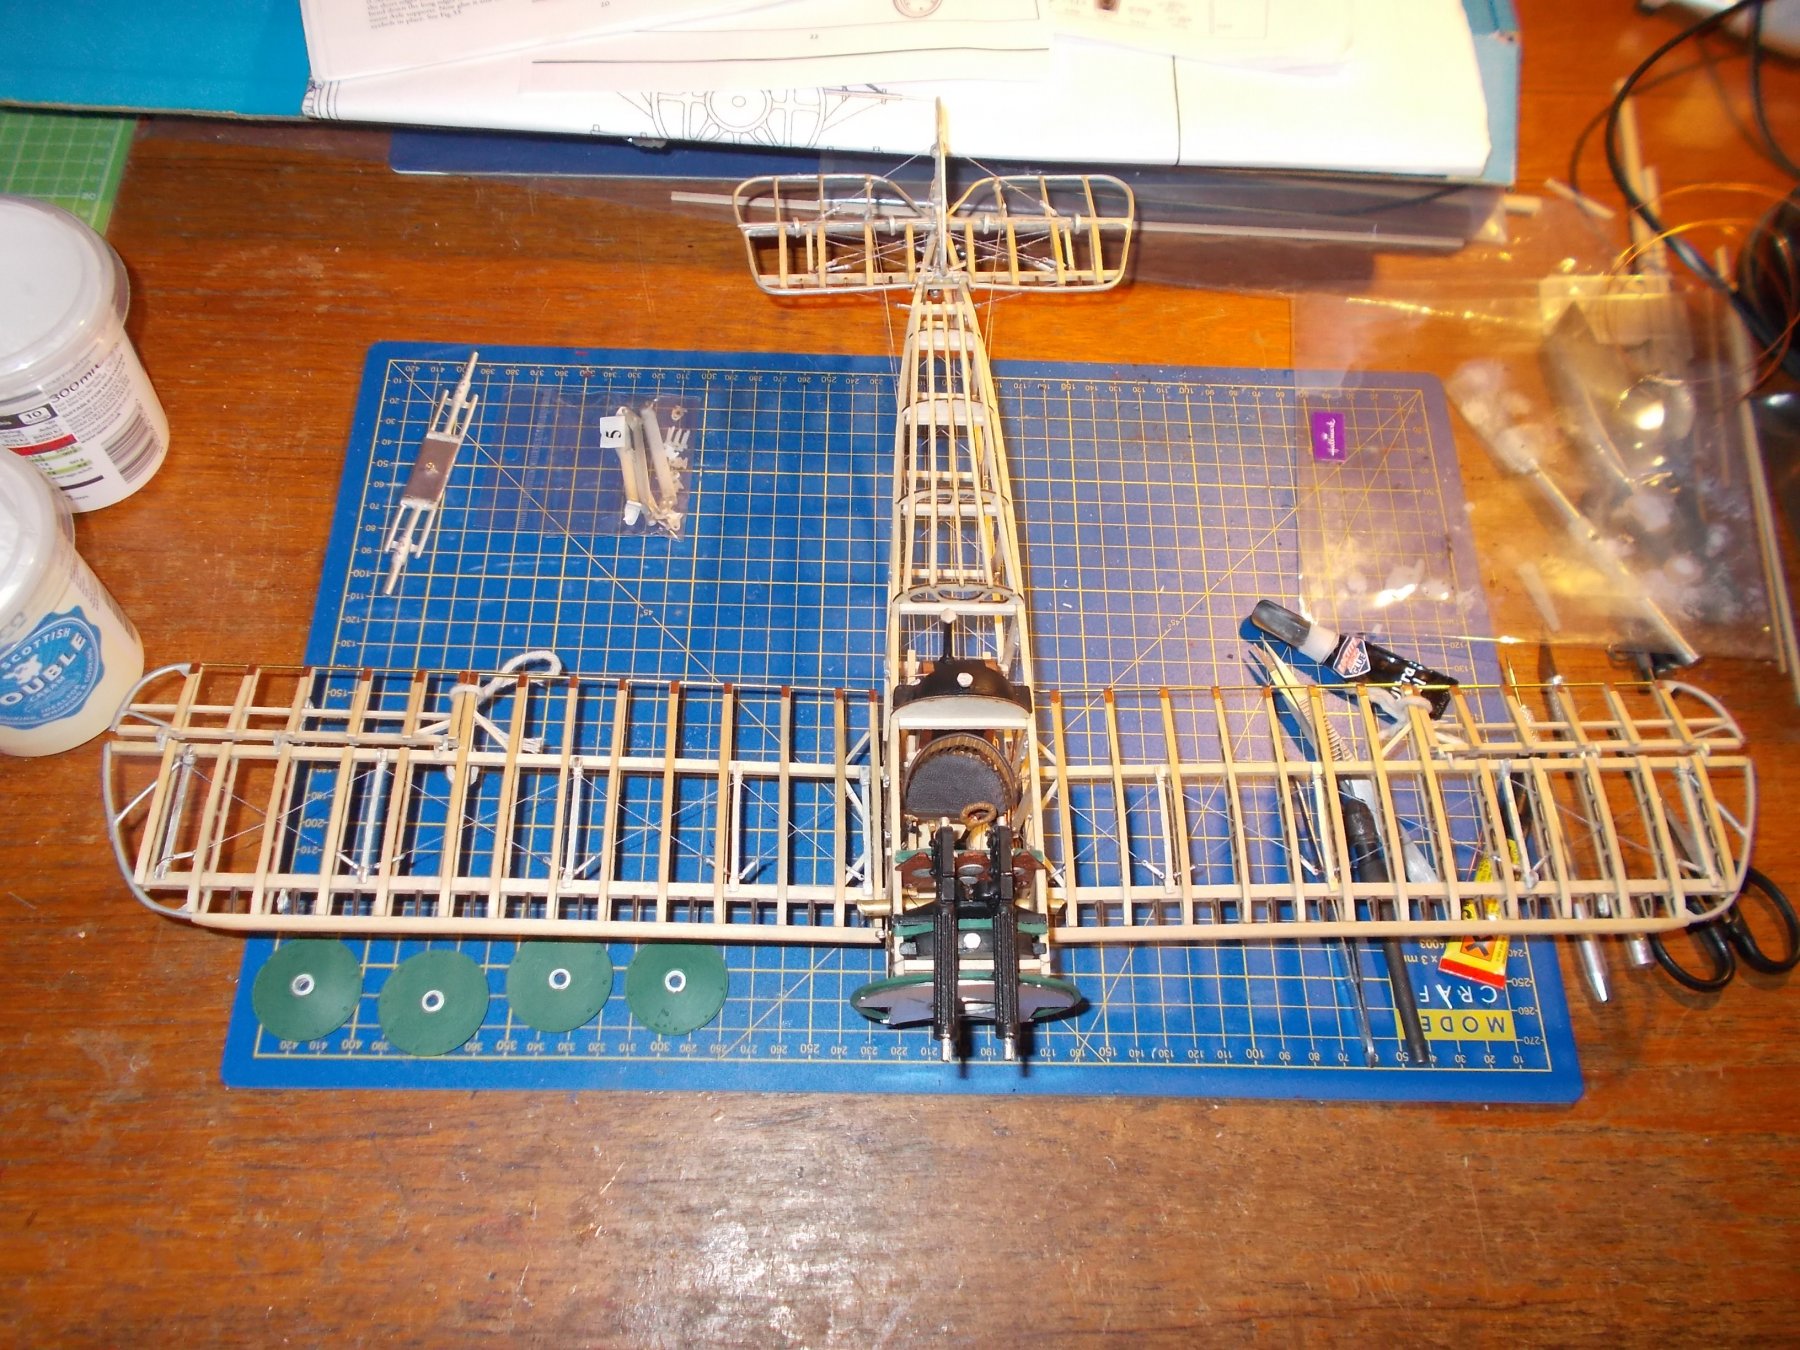
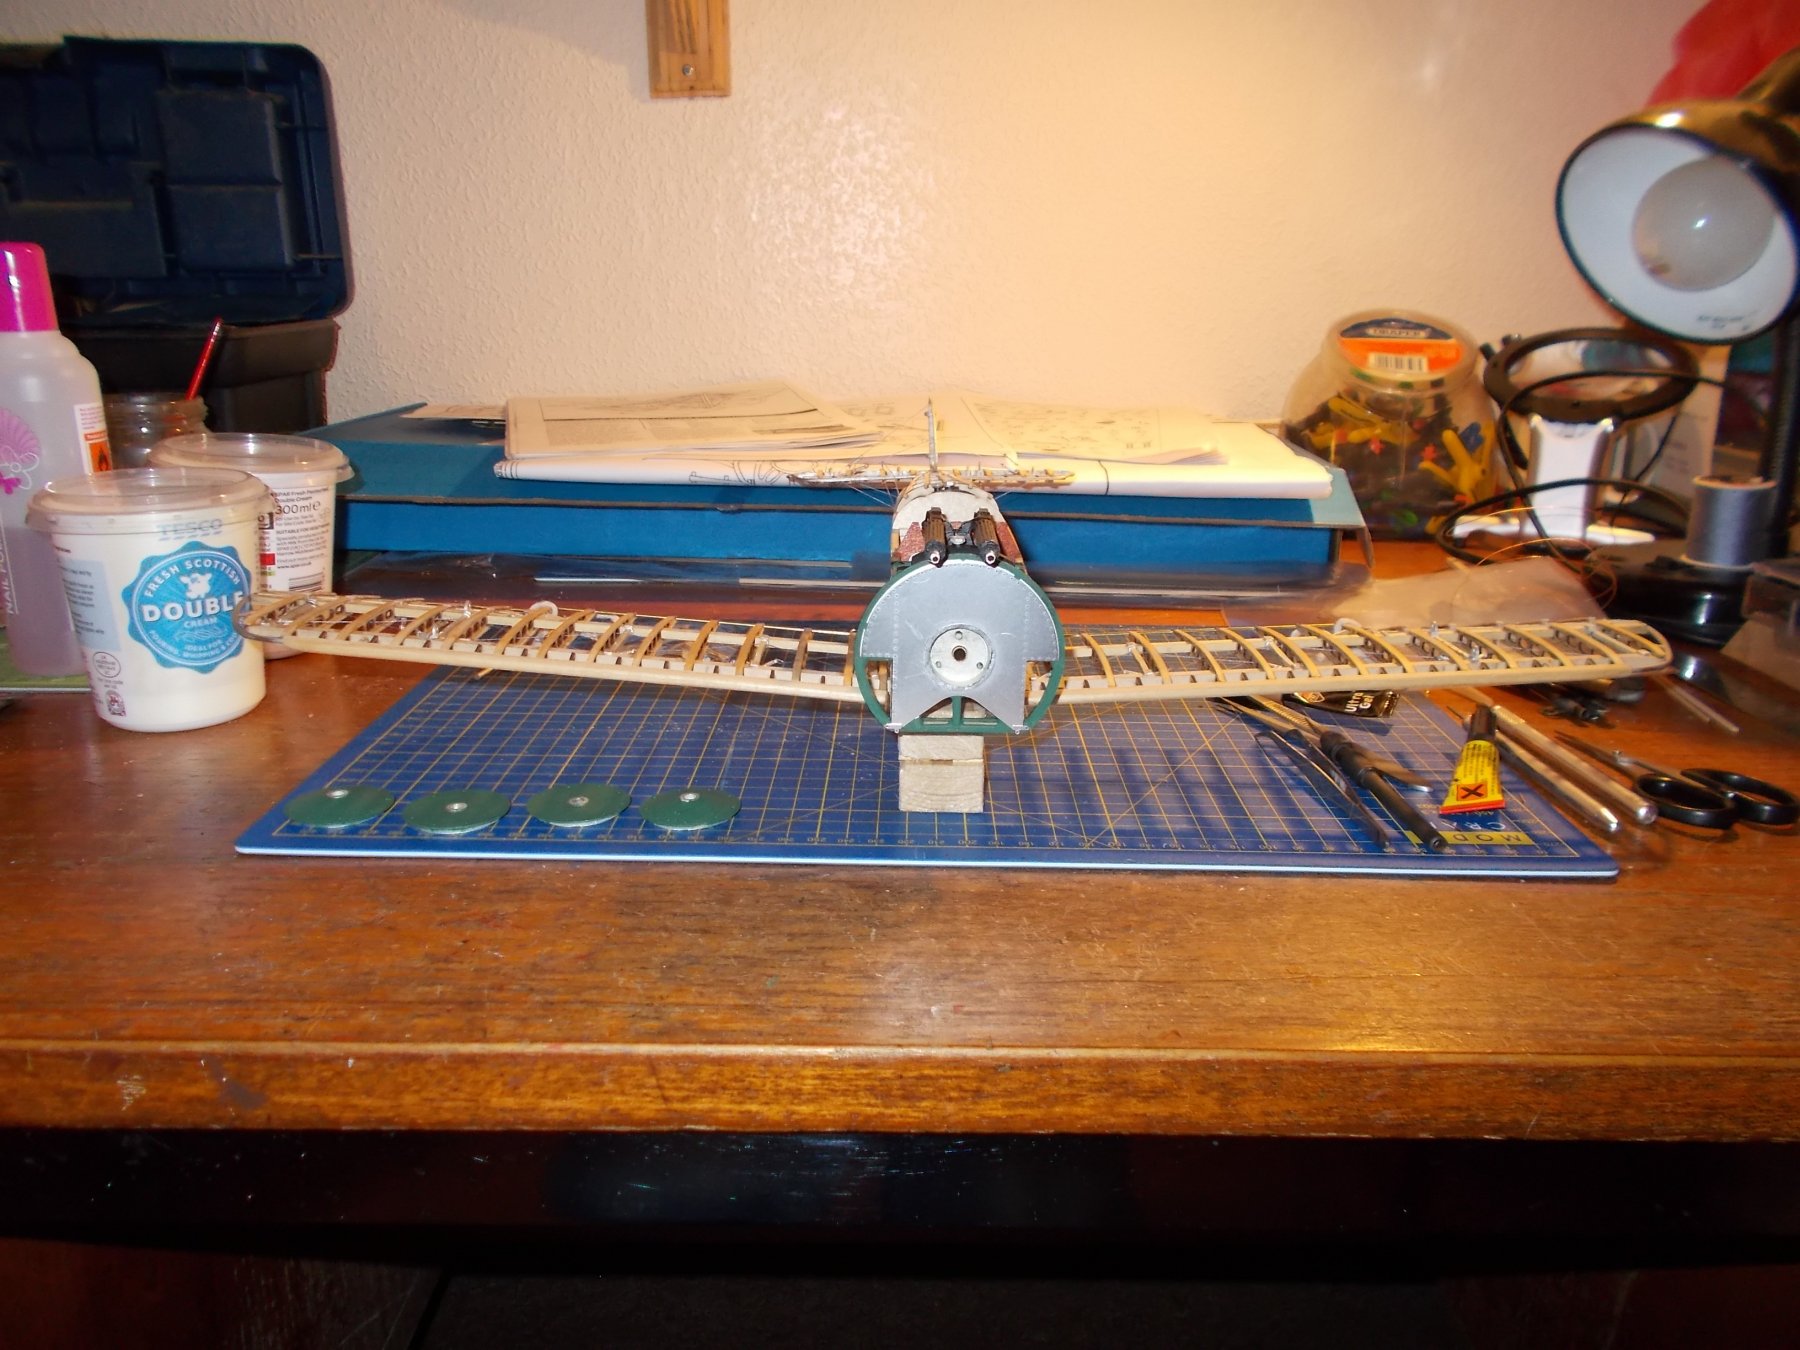
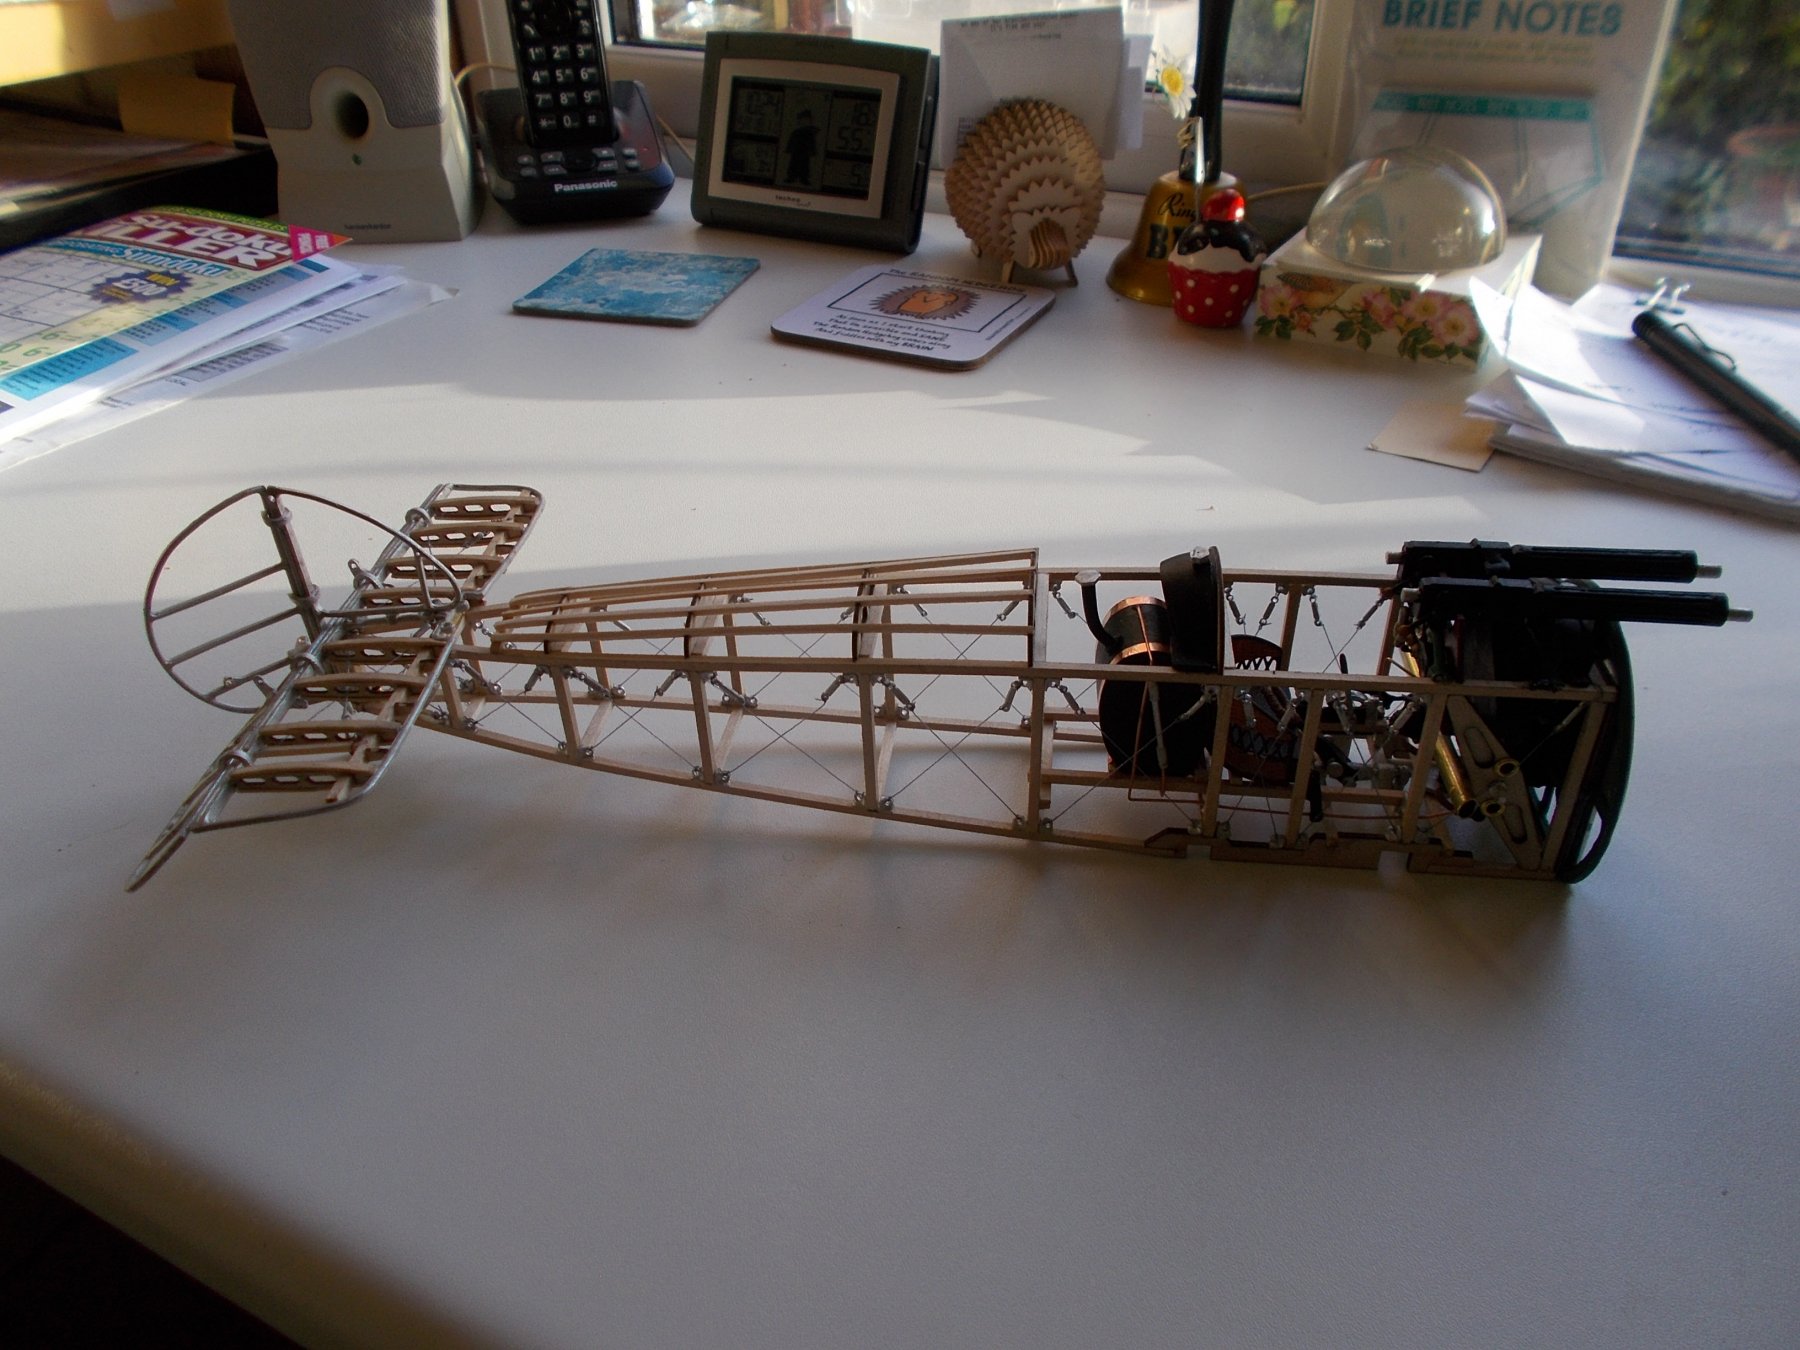
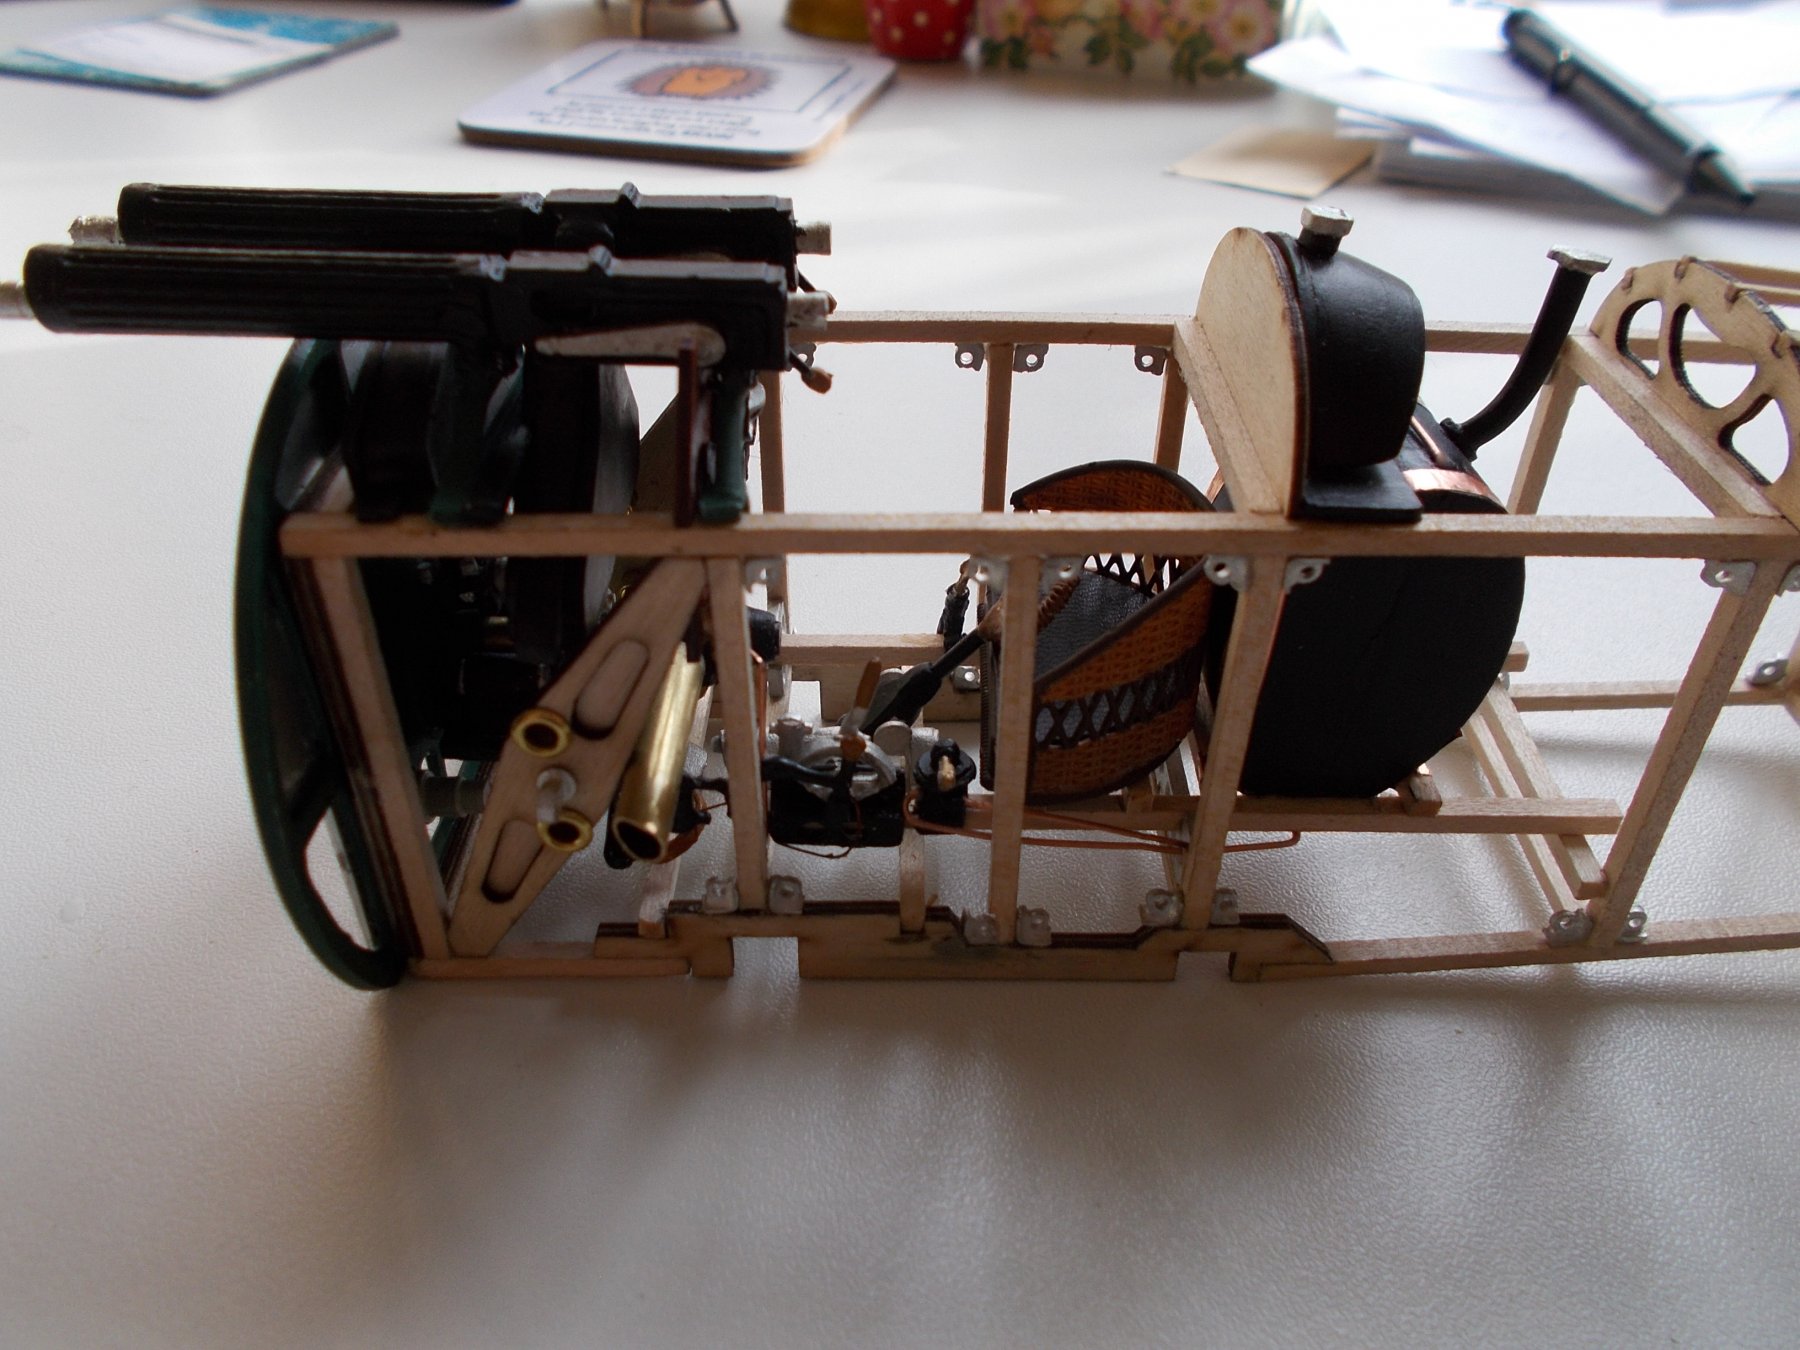
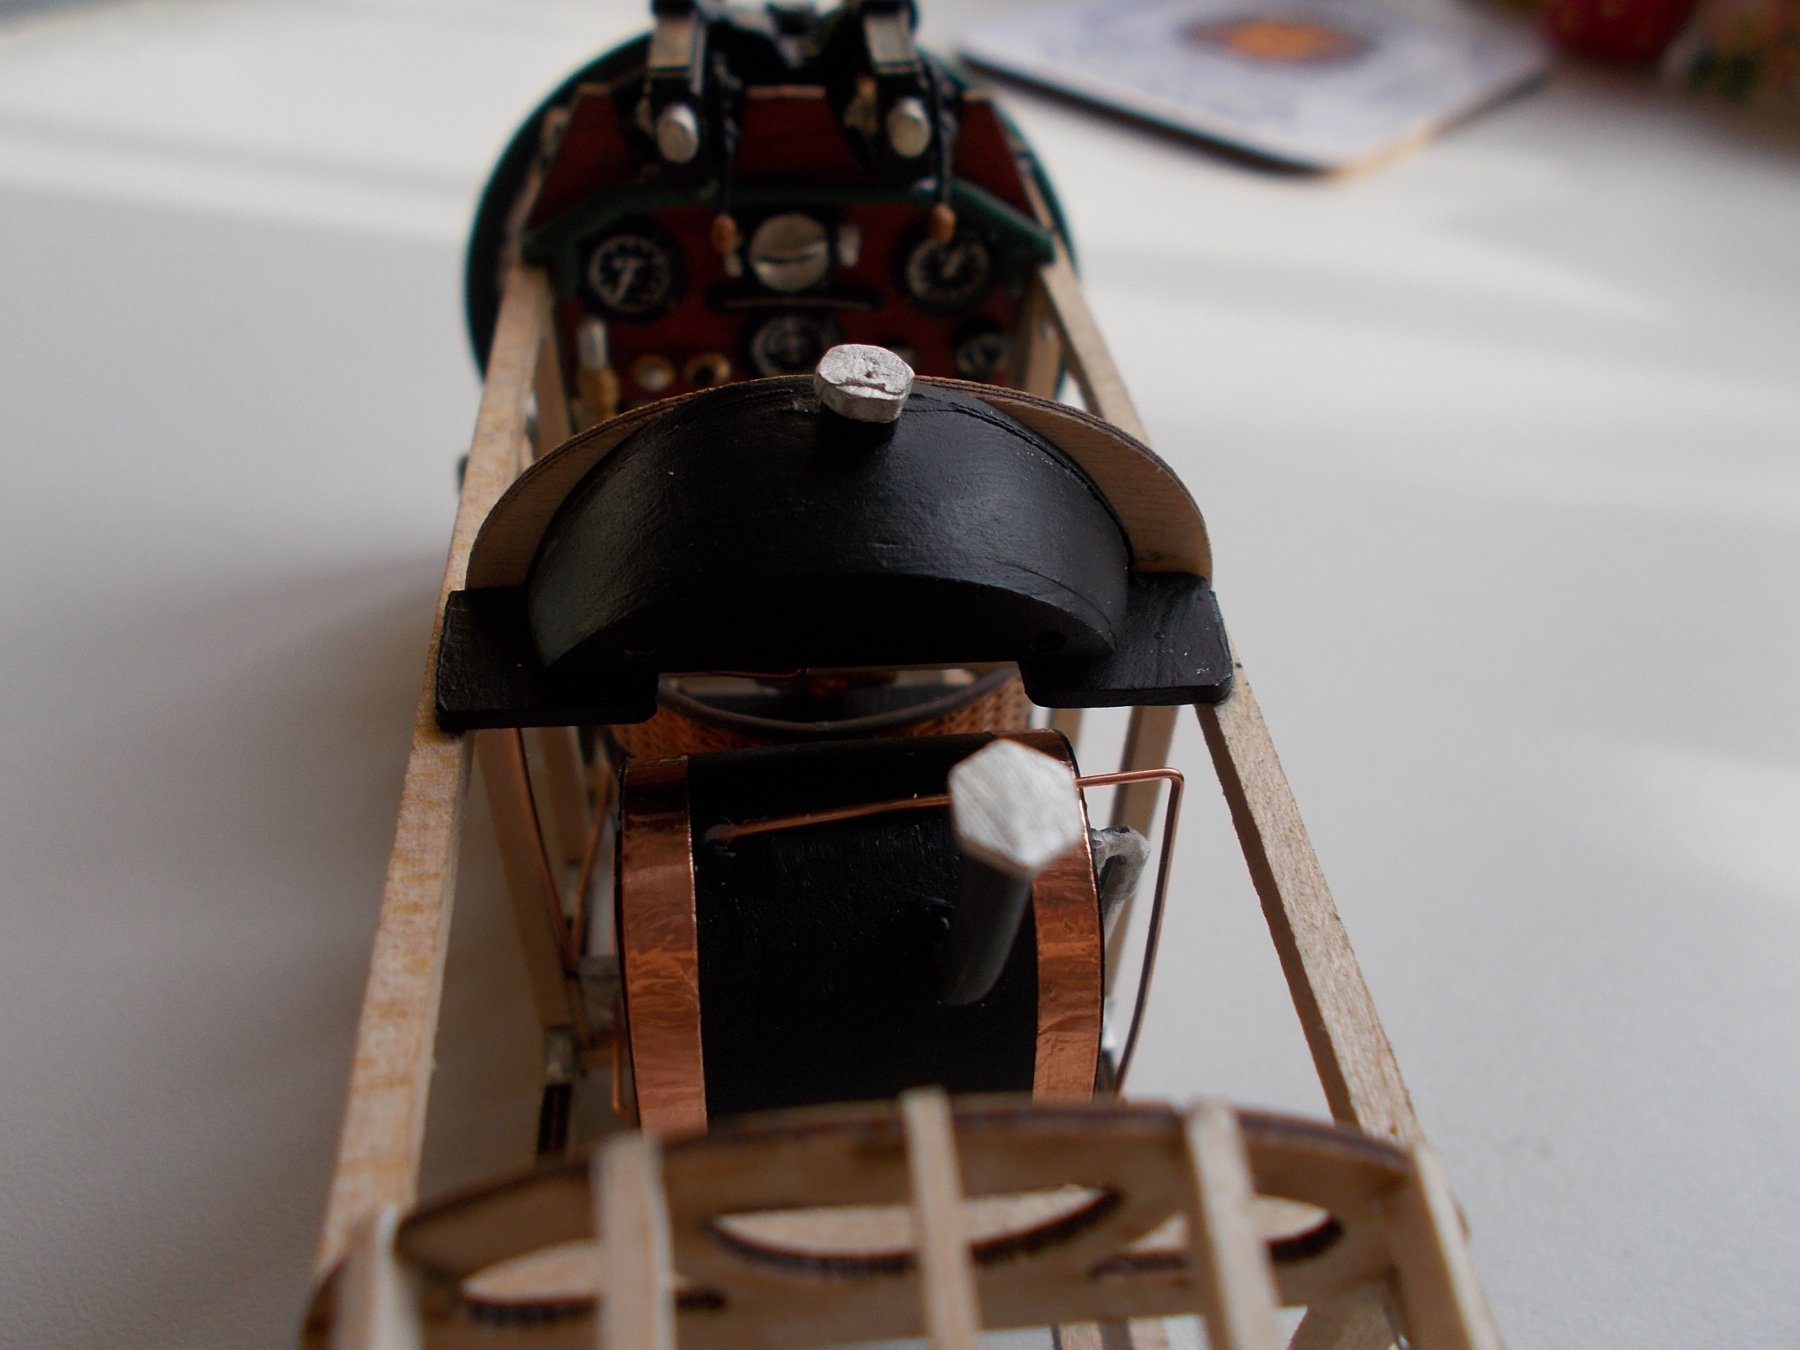
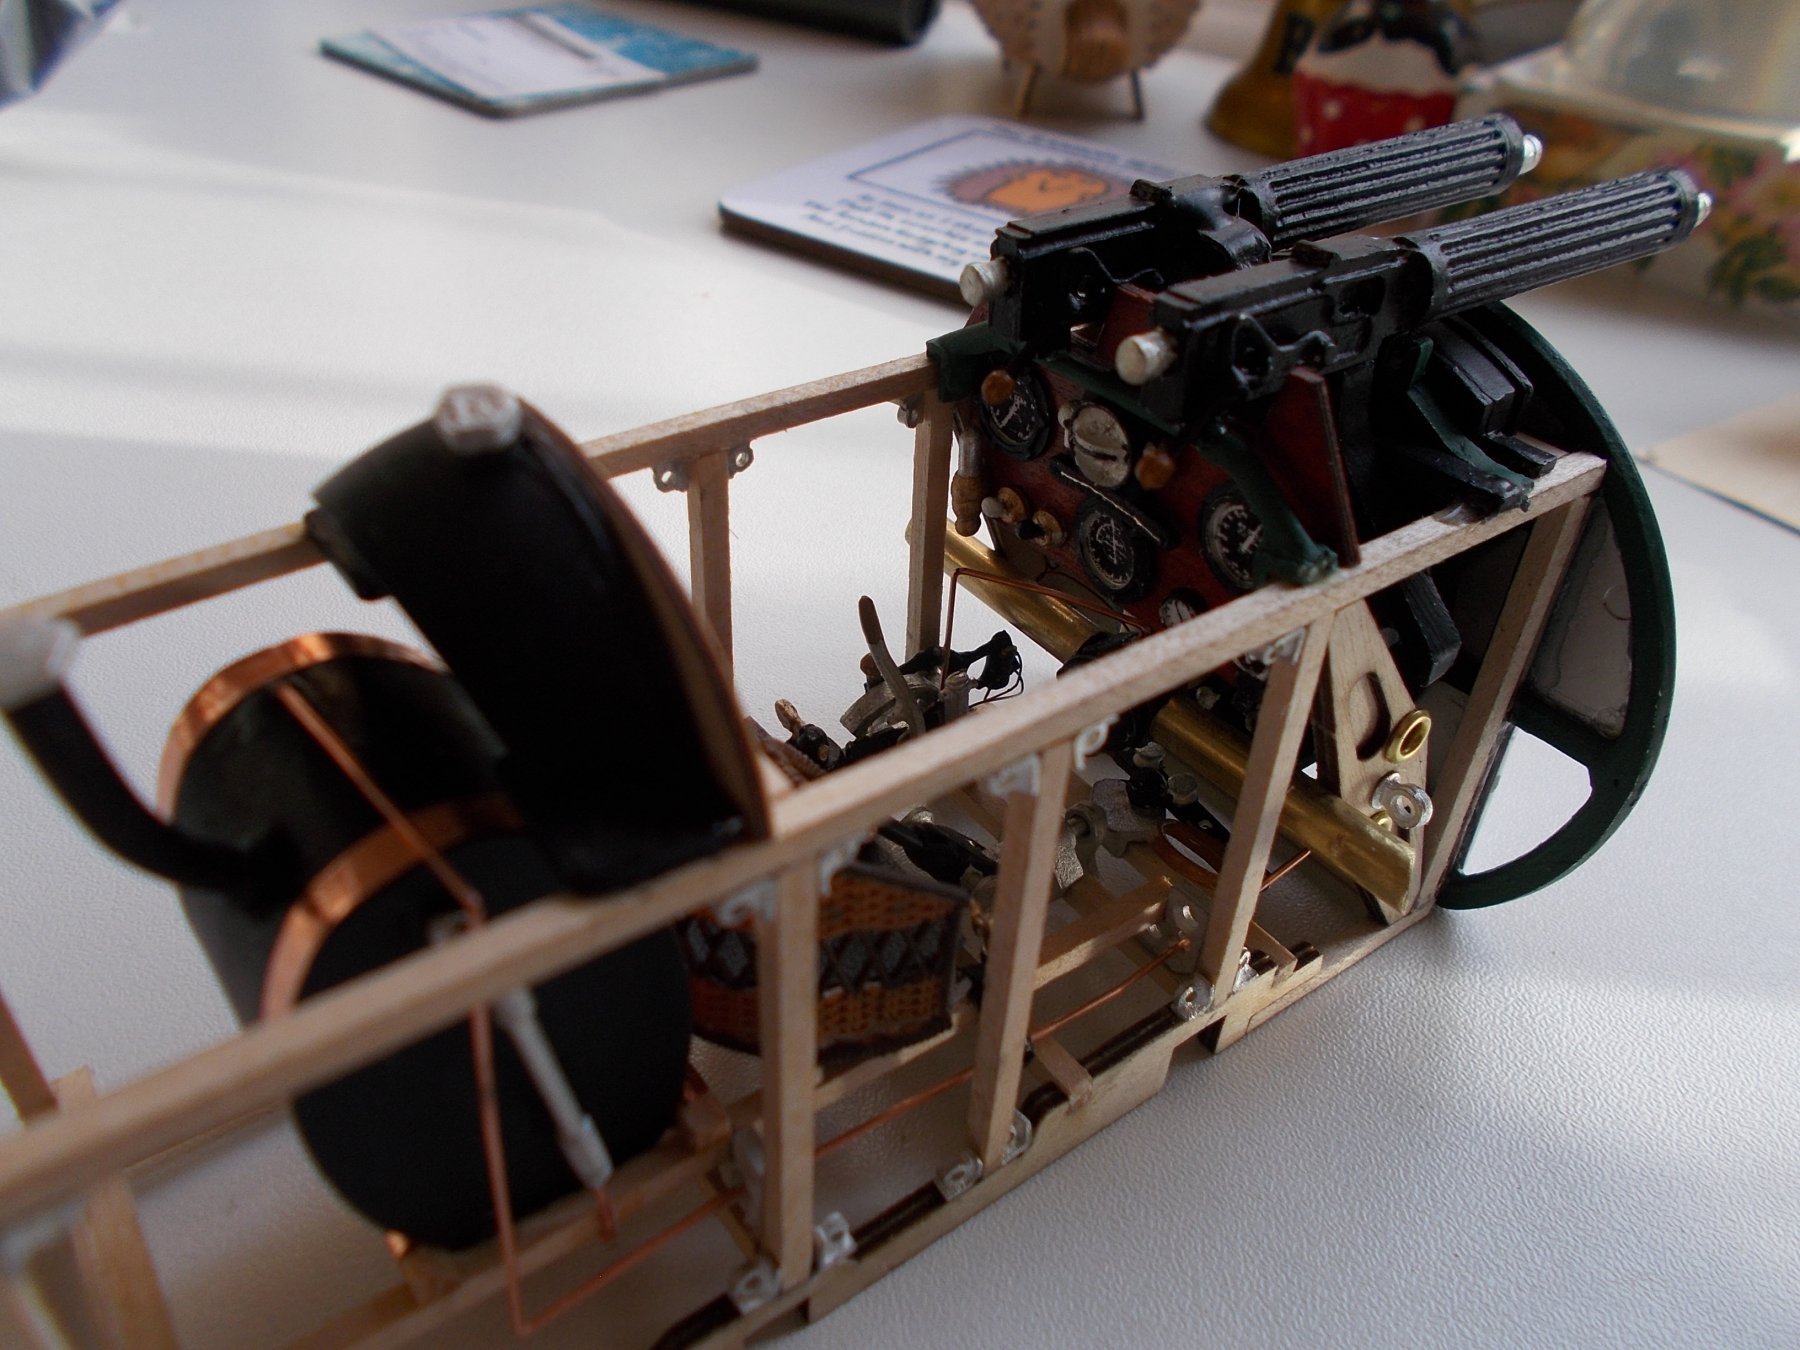
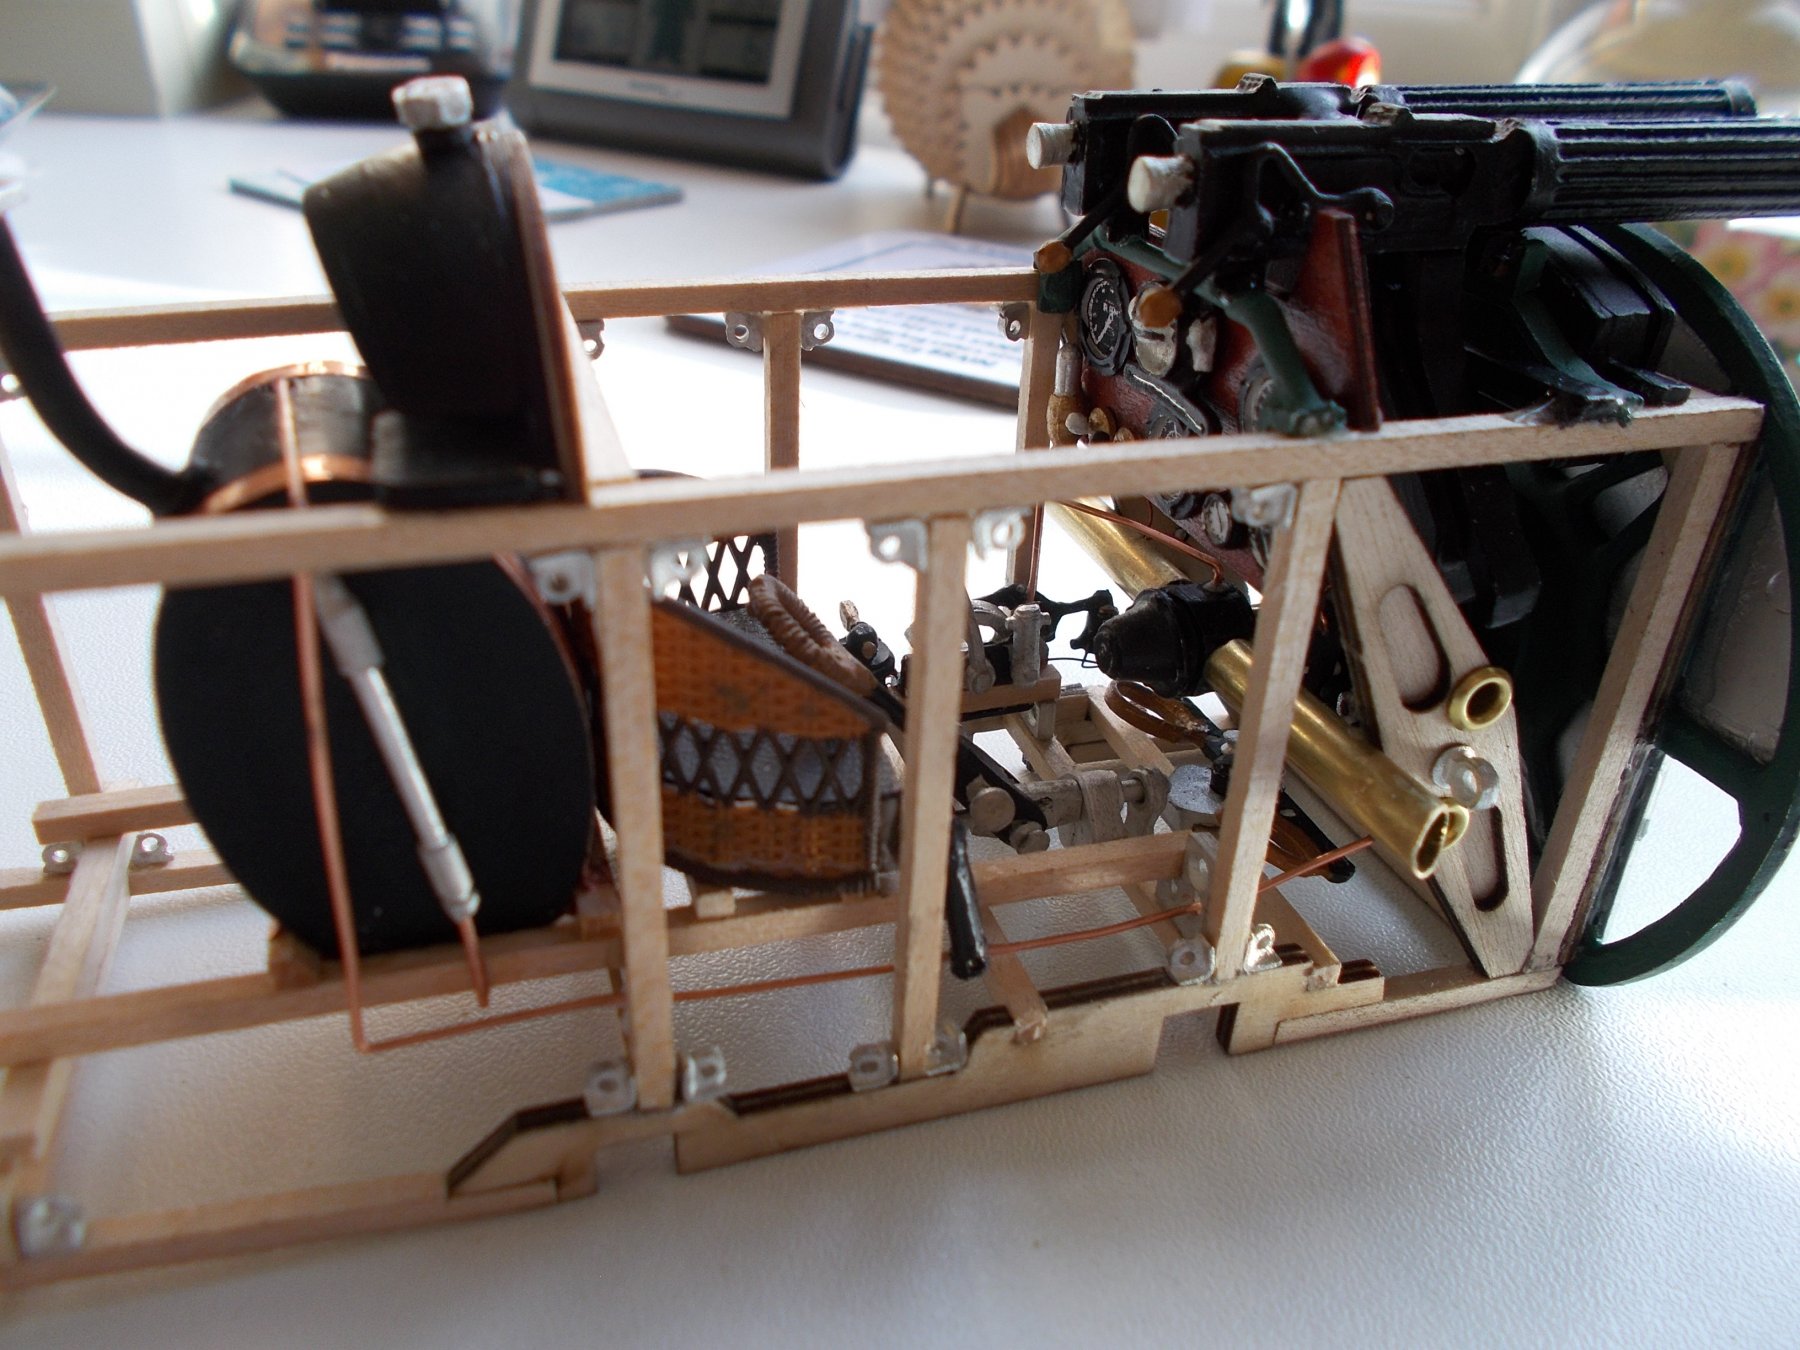
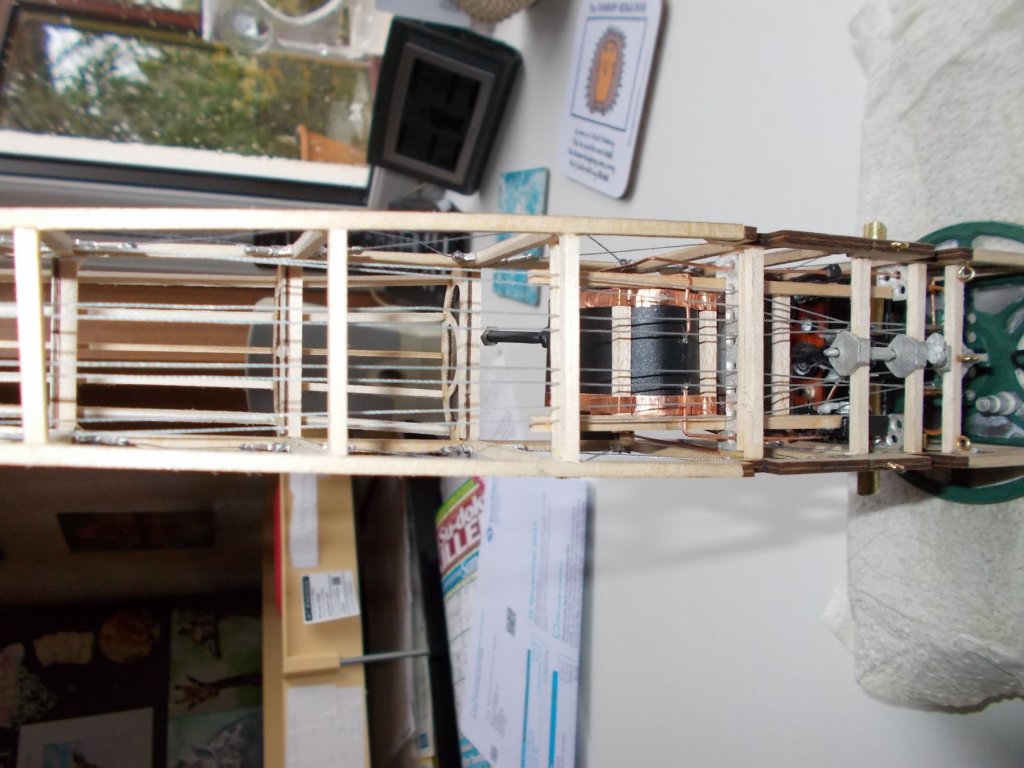
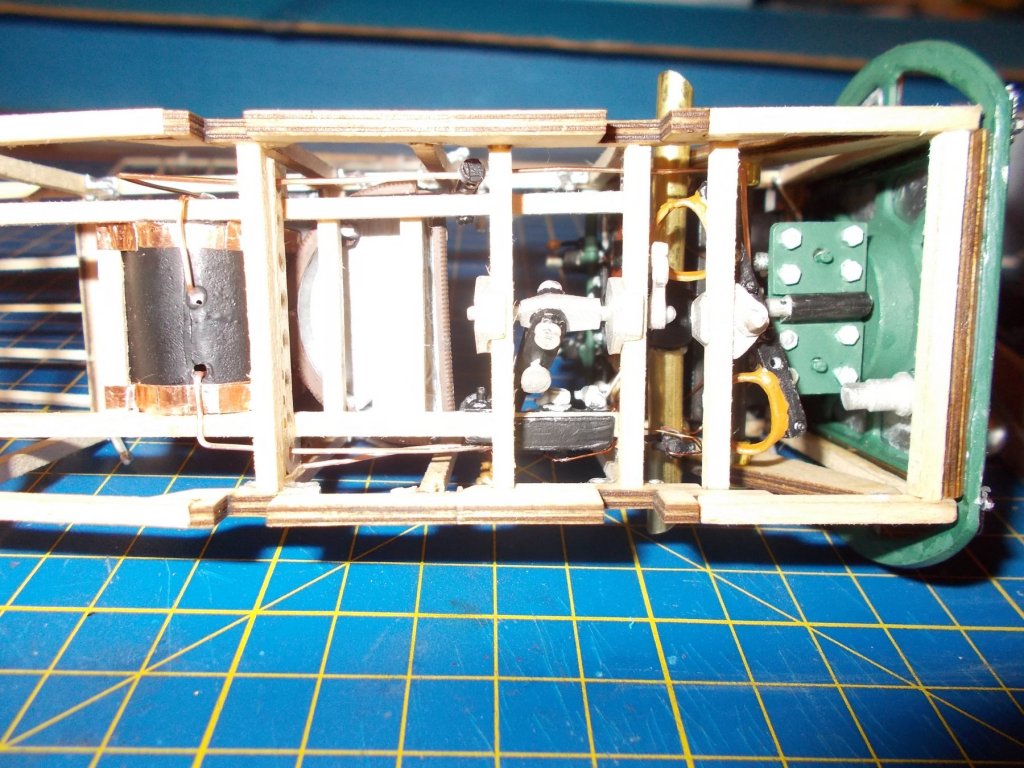
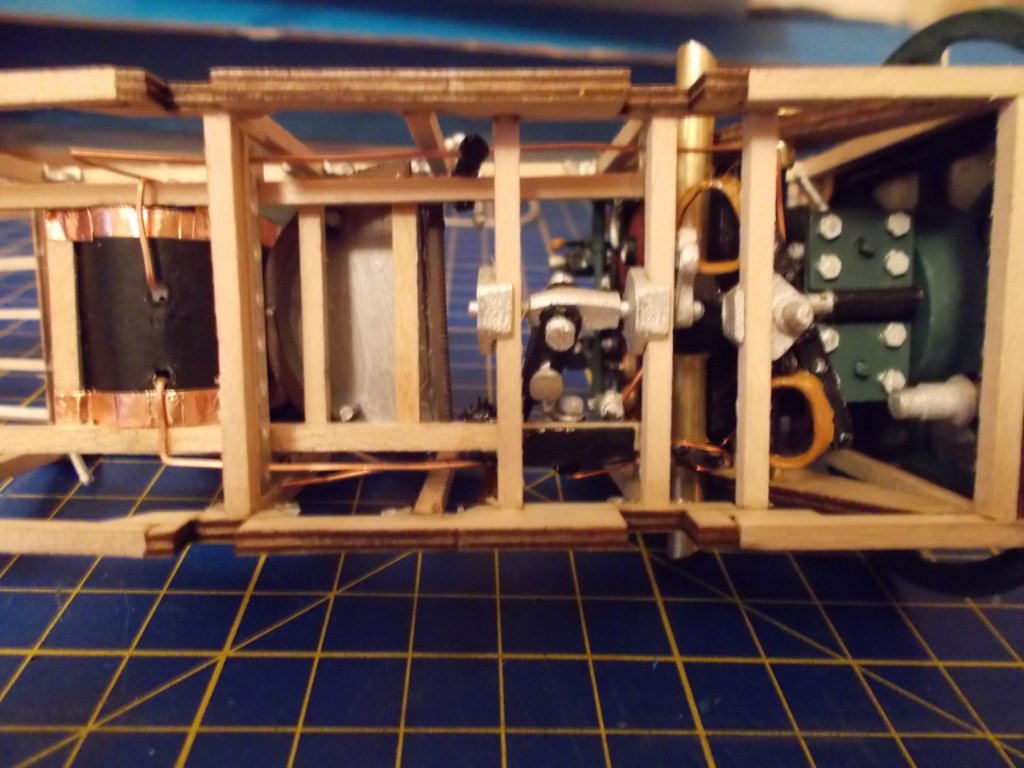
Update folks, The cockpit is more or less finished. There is the surround to do (I think it's called combing) and a few more pipes which have to be done later. I had a huge fight with the machine guns which took me ages to fit but got there in the end. I hated the seat which came with the kit so have customised one which I think looks a lot better. Also added a firewall that wasn't included in the kit. Next stage is to tie loads of turnbuckles onto the sides before doing the fuselage cross bracing.