HOLIDAY DONATION DRIVE - SUPPORT MSW - DO YOUR PART TO KEEP THIS GREAT FORUM GOING!
×


Mike Dowling
-
Posts
1,234 -
Joined
-
Last visited
Content Type
Profiles
Forums
Gallery
Events
Everything posted by Mike Dowling
-
Hi Brian - great to have you along ! You know I am rubbish at planking. Stick your oar in as often as you like. I can't for the life of me remember but did you know that someone has bought Mamoli and is producing a lot of their kits again. Someone on here will know who it is. The false keel and bulkheads are incredibly pale - perhaps they have been unwell - but they are definitely not plastic.
-
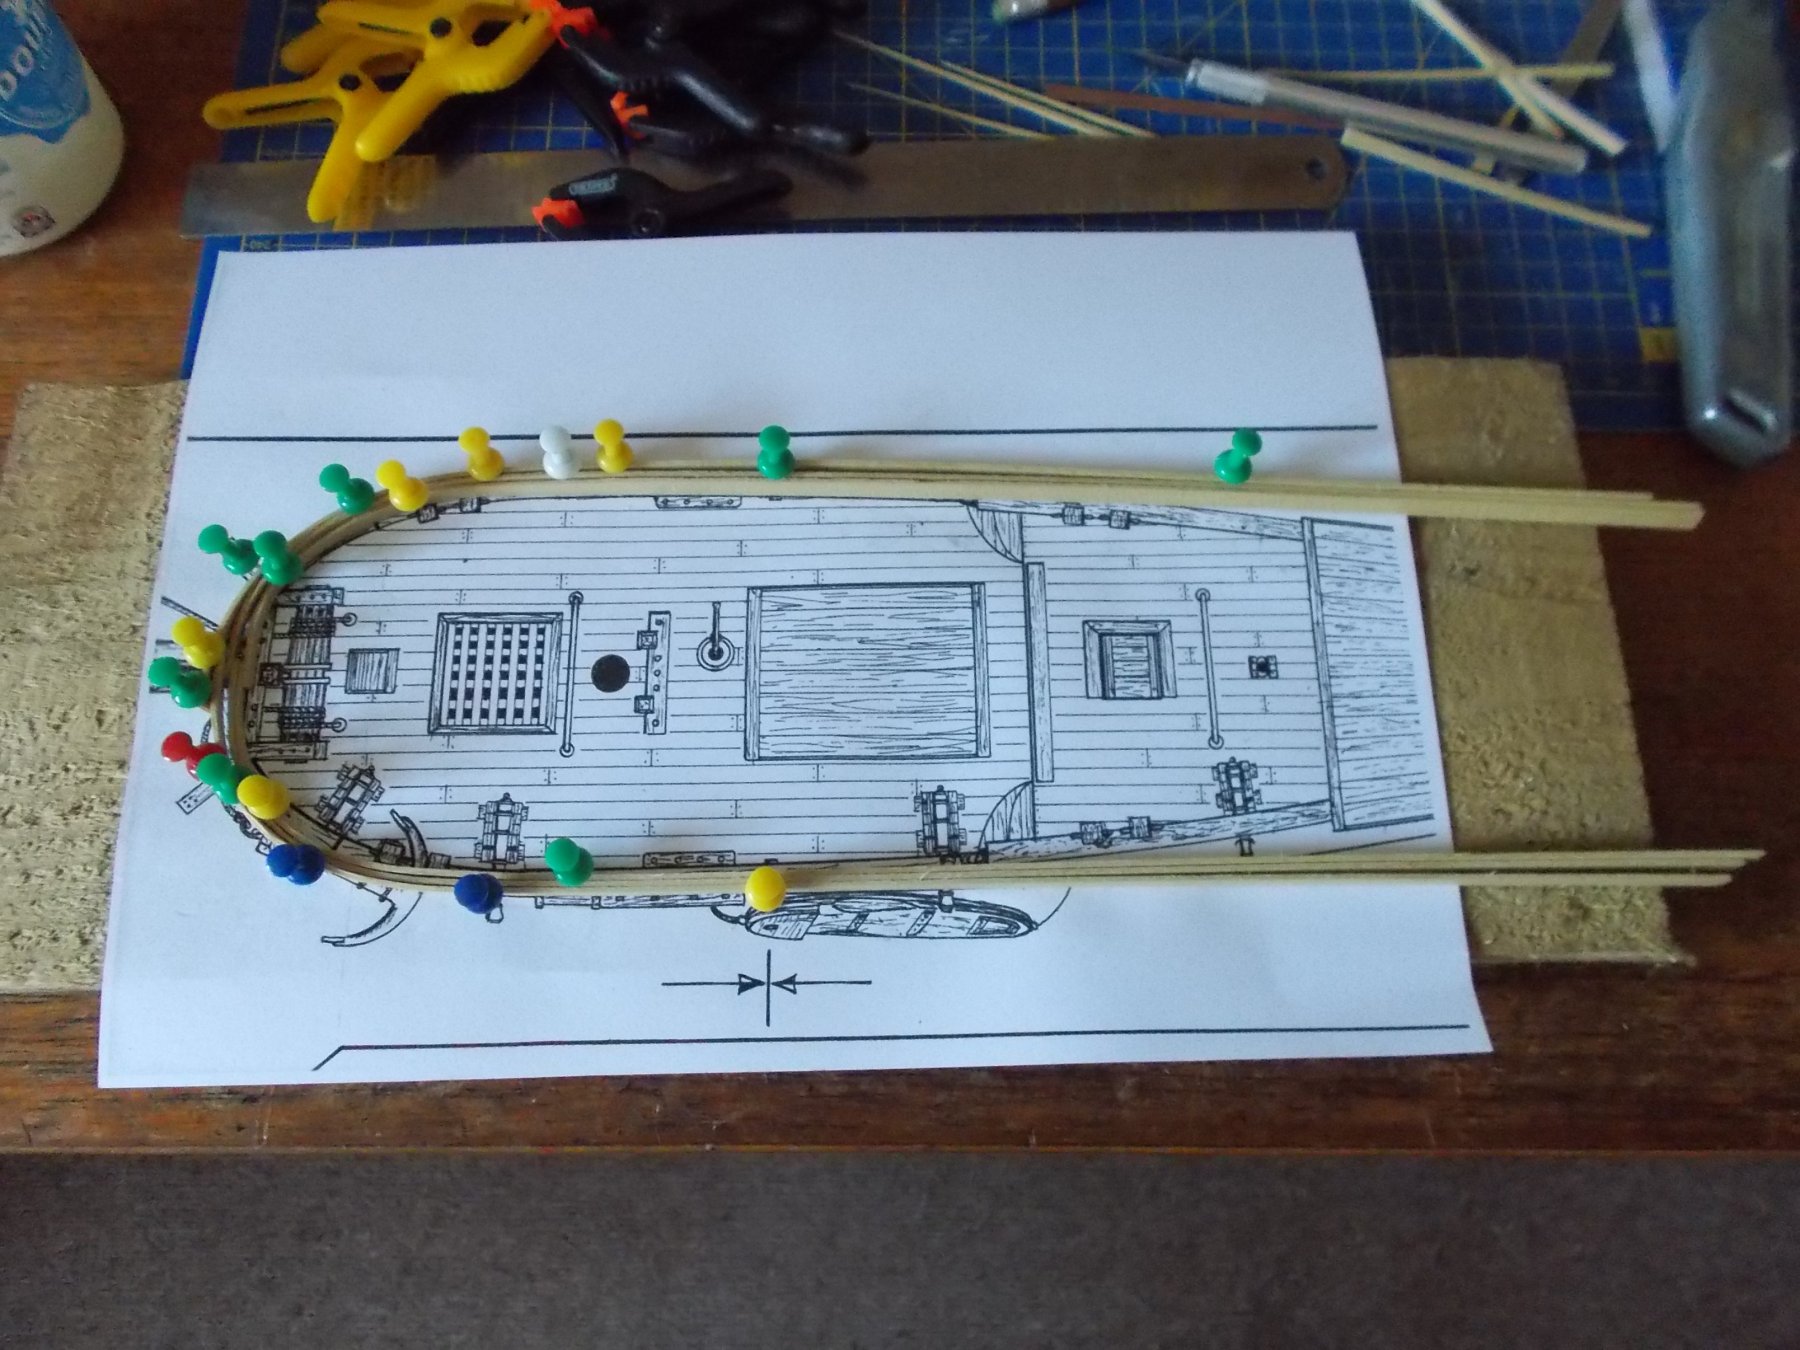
Thank you for that. I thought you had some crafty method of getting the taper right and you progress down the hull. My method with the pins is OK for the top planks but I think I will just have to guess the lower and back ones. Lots of folk have tried to explain the 'fan' method and tick strips but I just can't get my head around them at all.
-
Your scheme sounds intriguing ! Can you post a couple of pics on here of your pine board technique ? The frame tops against the bulwarks get cut off this model once the planking is done so I know I will have a lot to remove and carefully at that but I hope it will work.
-
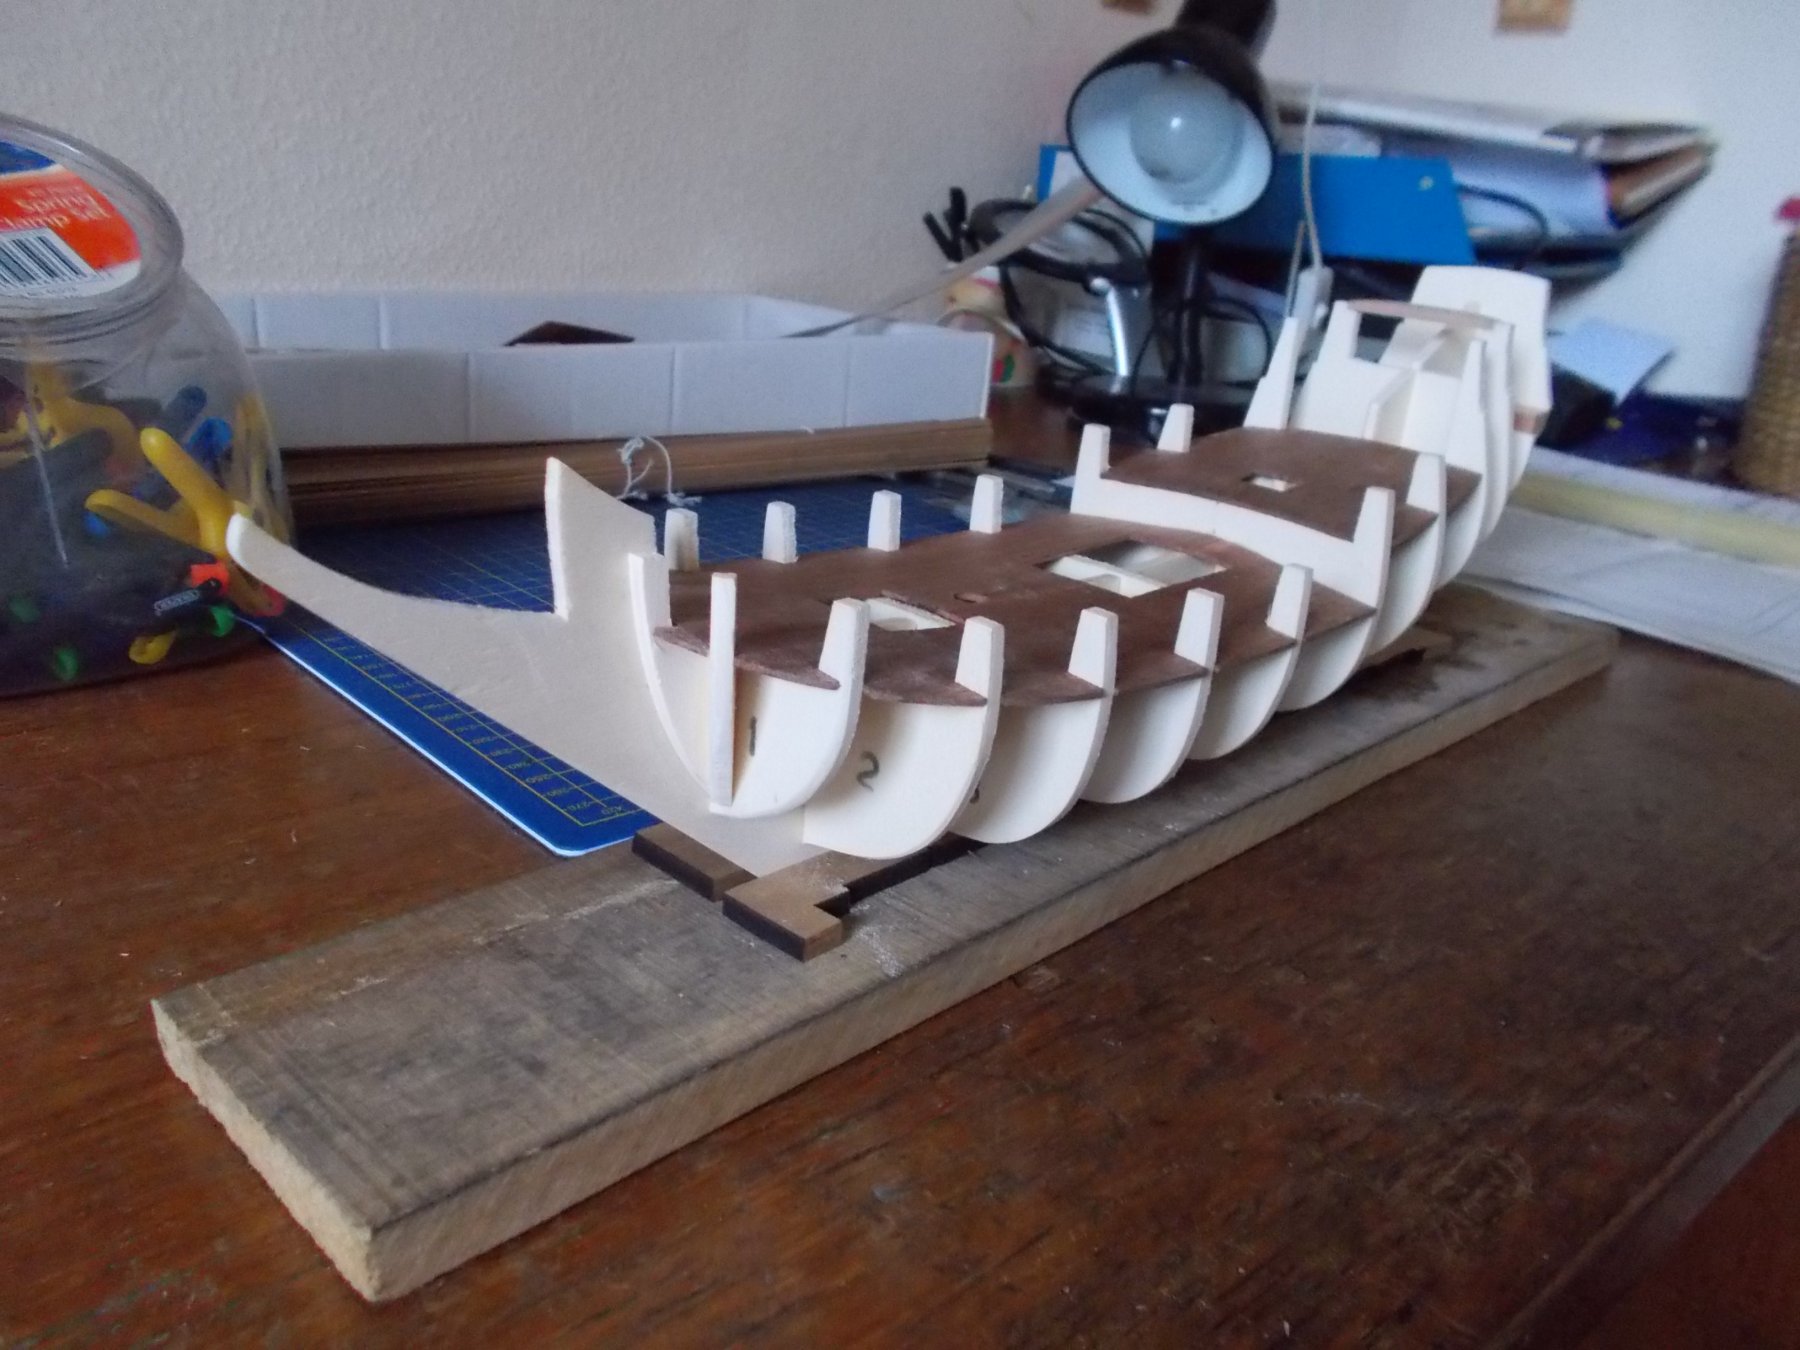
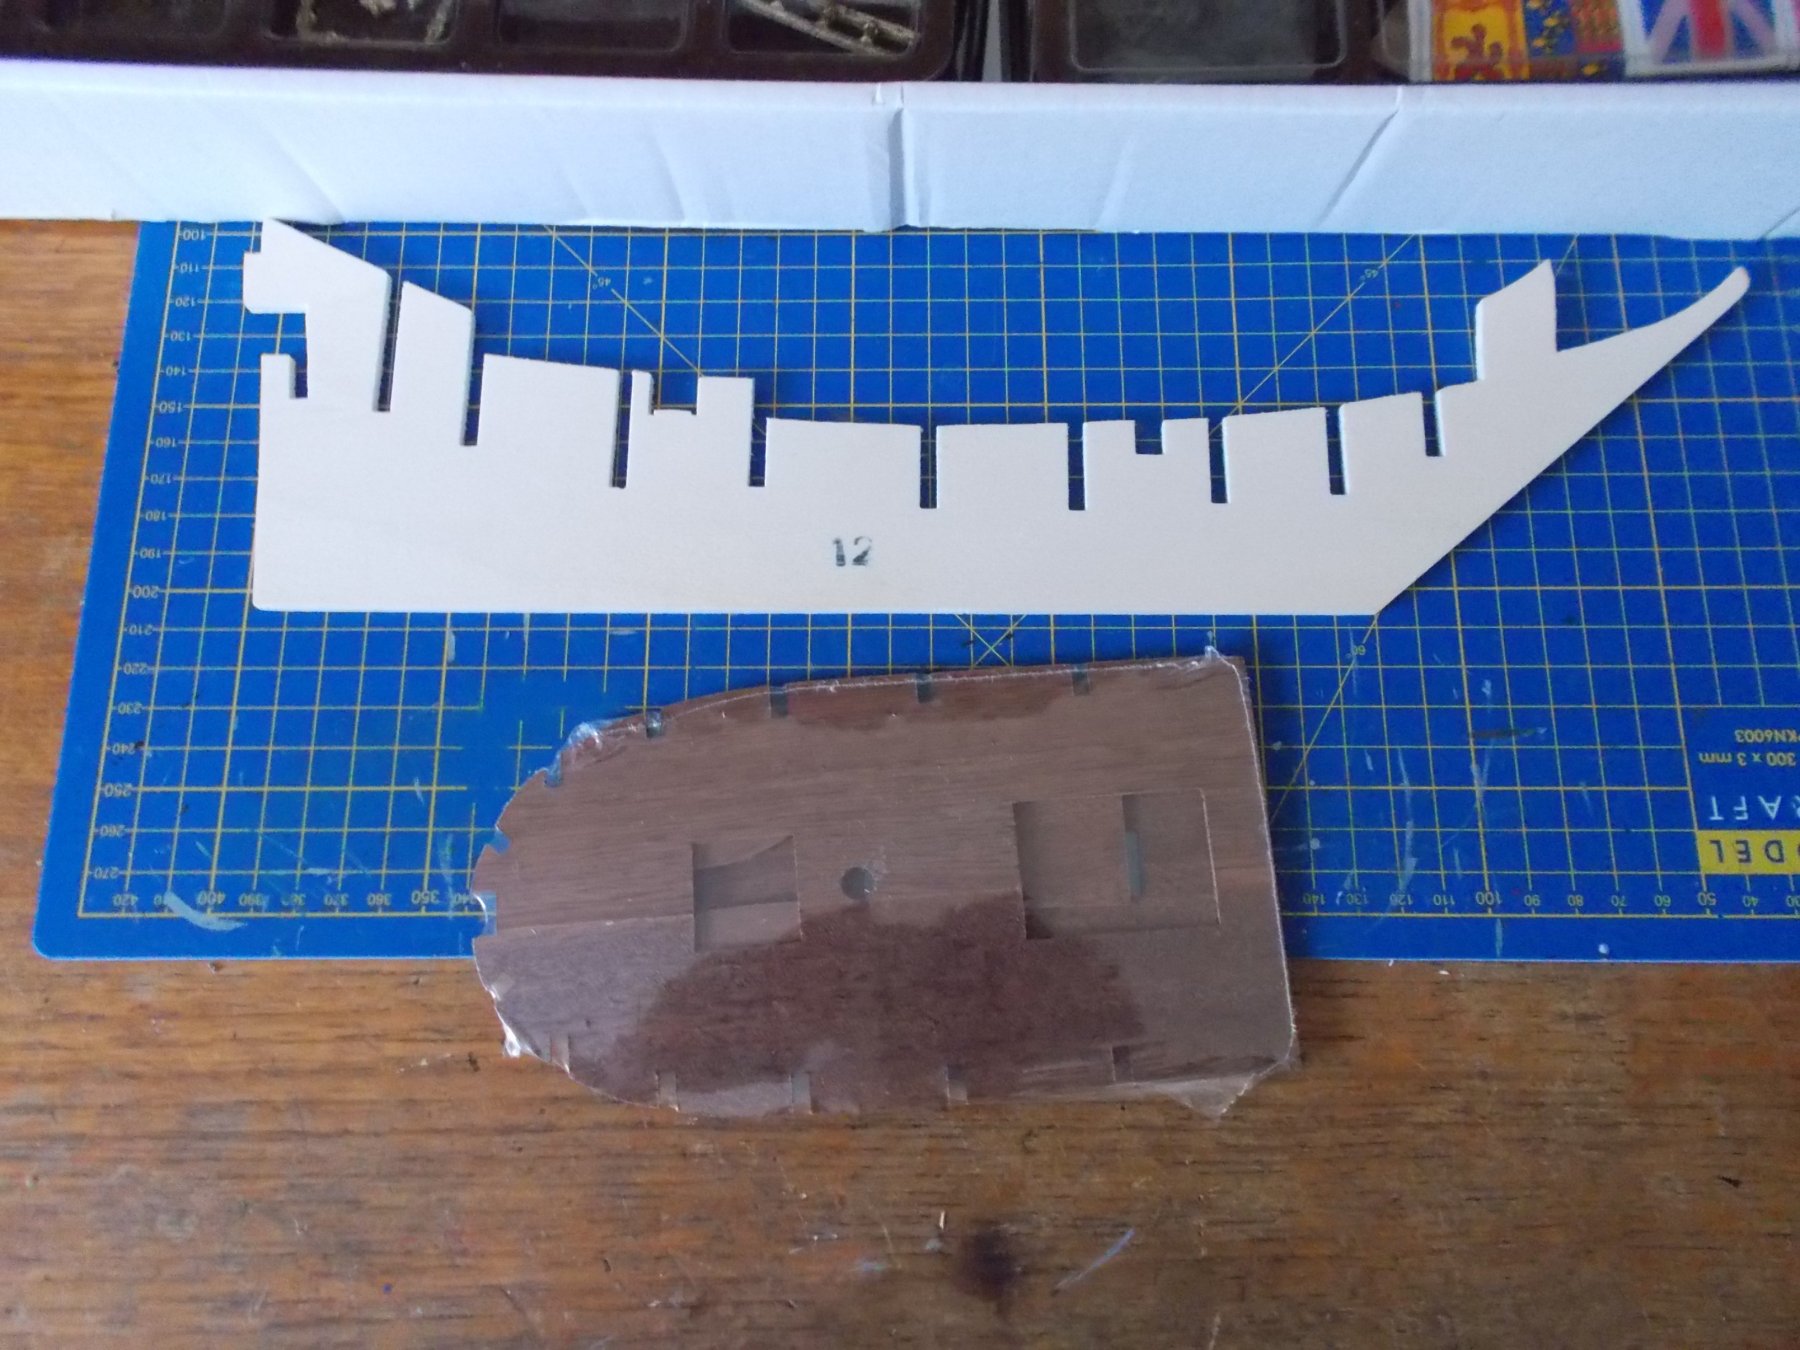
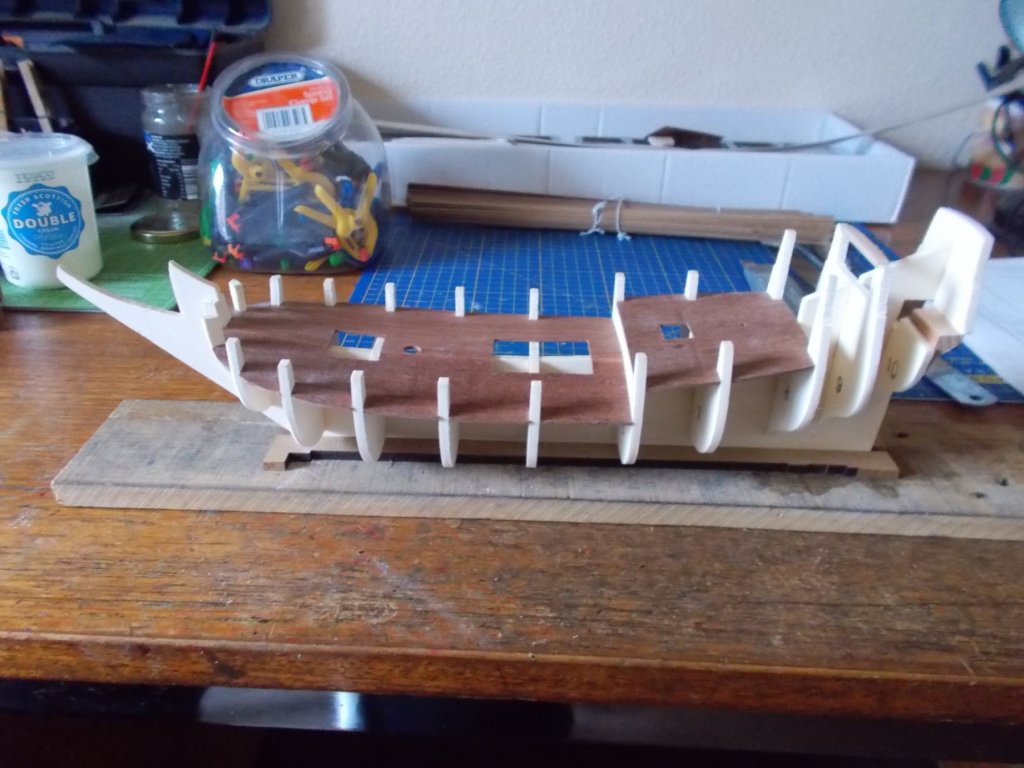
Here's my attempt at a solution to my very curvy deck. Planking is not my best subject so I am deliberately starting very high(thanks Popeye) and working down. I am pre-soaking and bending the wood in a jig allowing it to dry over night before gluing it on. Let's see how I get on.


-
I'll join the cue and watch as well if you don't mind. I love the paddle steamers as well.
-
It's interesting actually. The main deck on that other log is MUCH flatter than mine and would be much more forgiving !
-
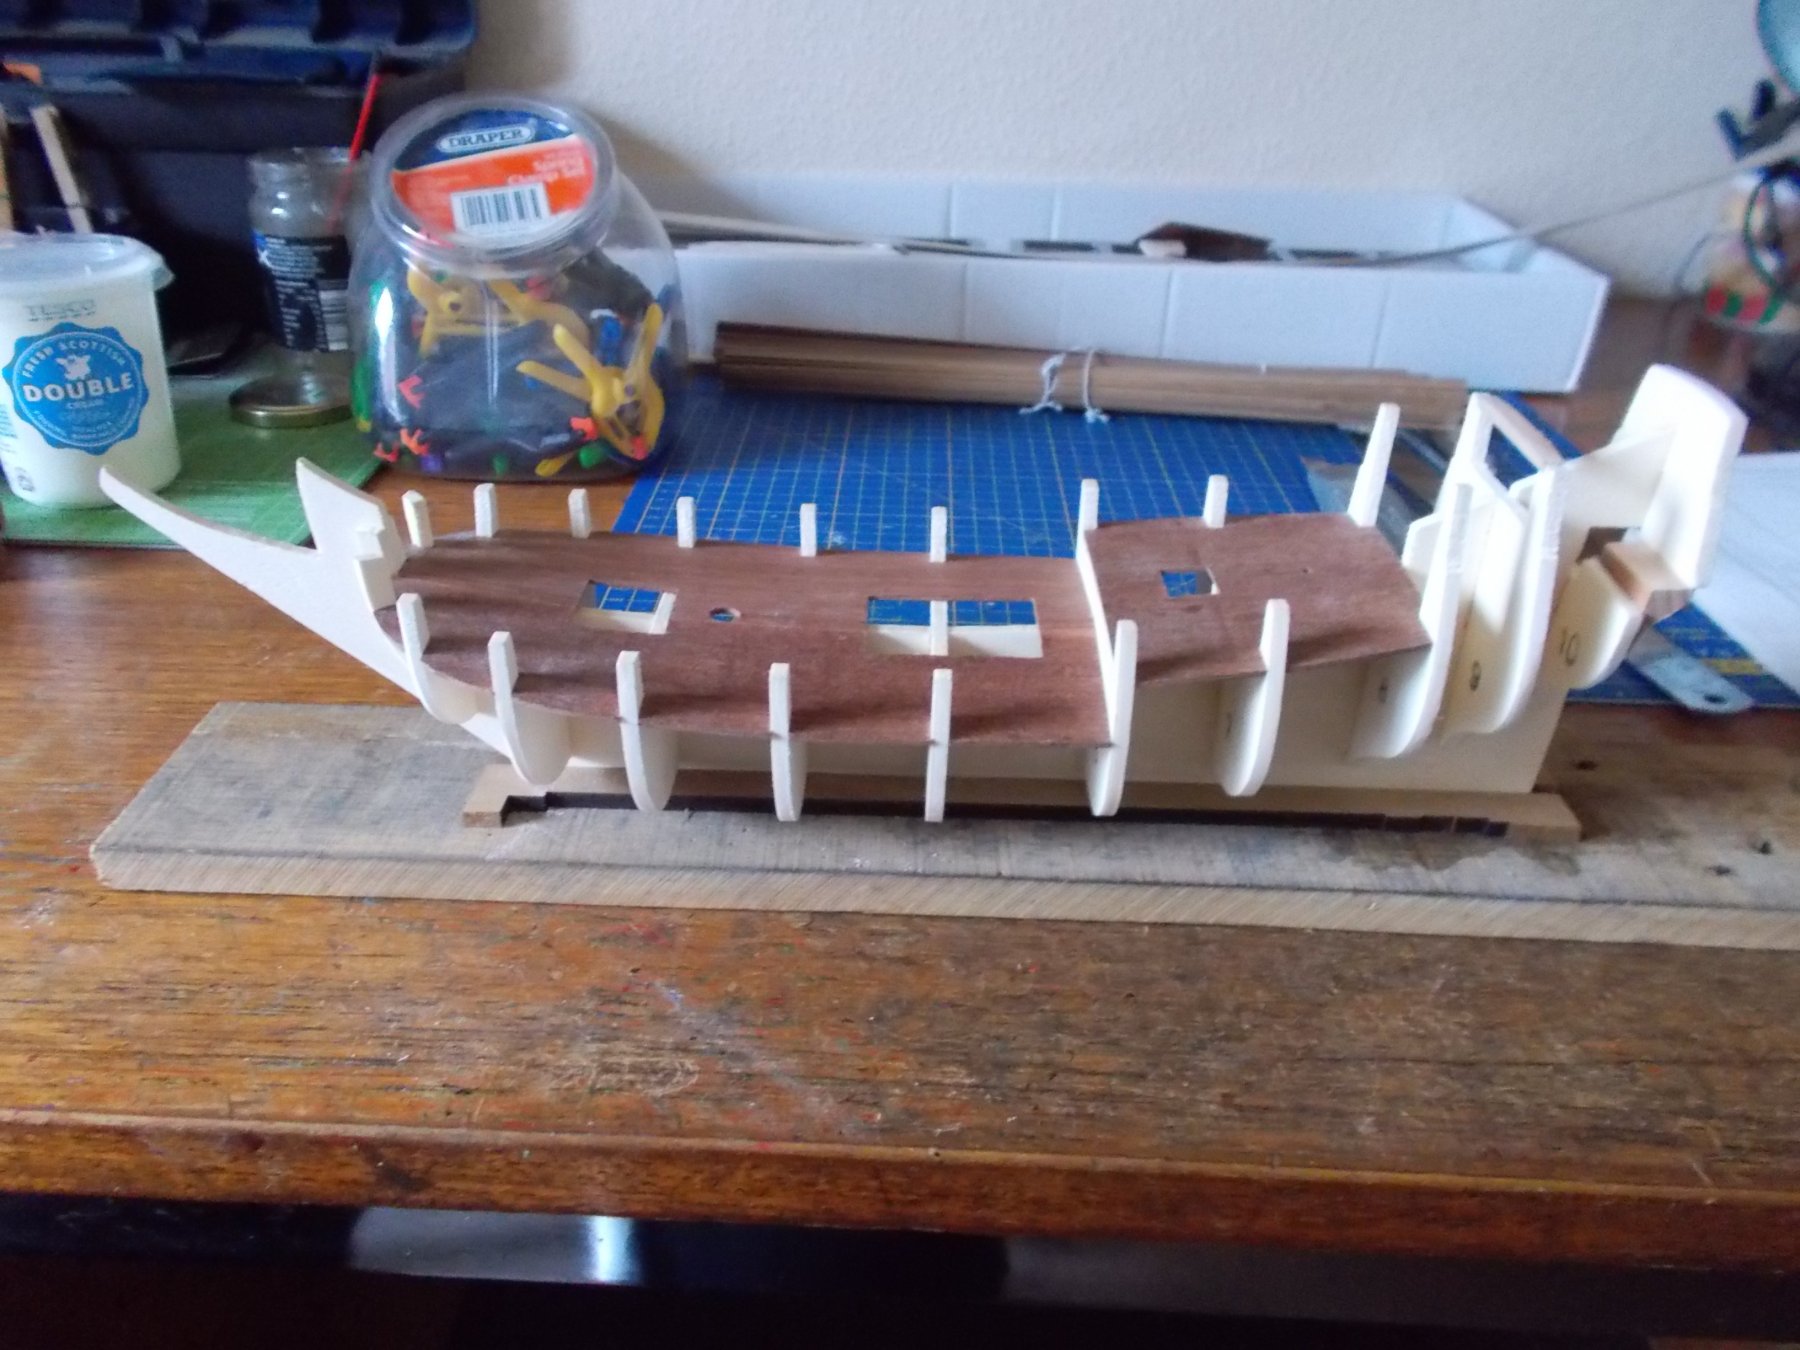
Thanks for that. Yes I have had a look and see what you meant about the almost straight top. I had decided following your suggestion to do something similar. I know I will have a lot of wood to remove later to get the shape right but I think it might work. The supplied wood is supposed to be lime but it is a very strange colour. Very yellow ! I had soaked it for ages but it just wants to fall apart and split along the grain, it's not a problem I have had before. I have found lime to be quite obliging in the past. This is due to be double planked so I am just going to aim to get the hull covered for starters!
-
The only problem I have so far is that the wood I have must be very old. It is incredibly brittle and doesn't like being tapered at all. I have had to order some new wood, otherwise this vessel is going nowhere! Which log is it ? I can only find an old one.
-
Thanks Popeye, that makes sense to me. No ply panels for the bulwarks - in fact both they and the toprails are pretty complicated.
-
I know it is a while ago but please can you tell me how you started with the planking from the first strake to go on ?
-
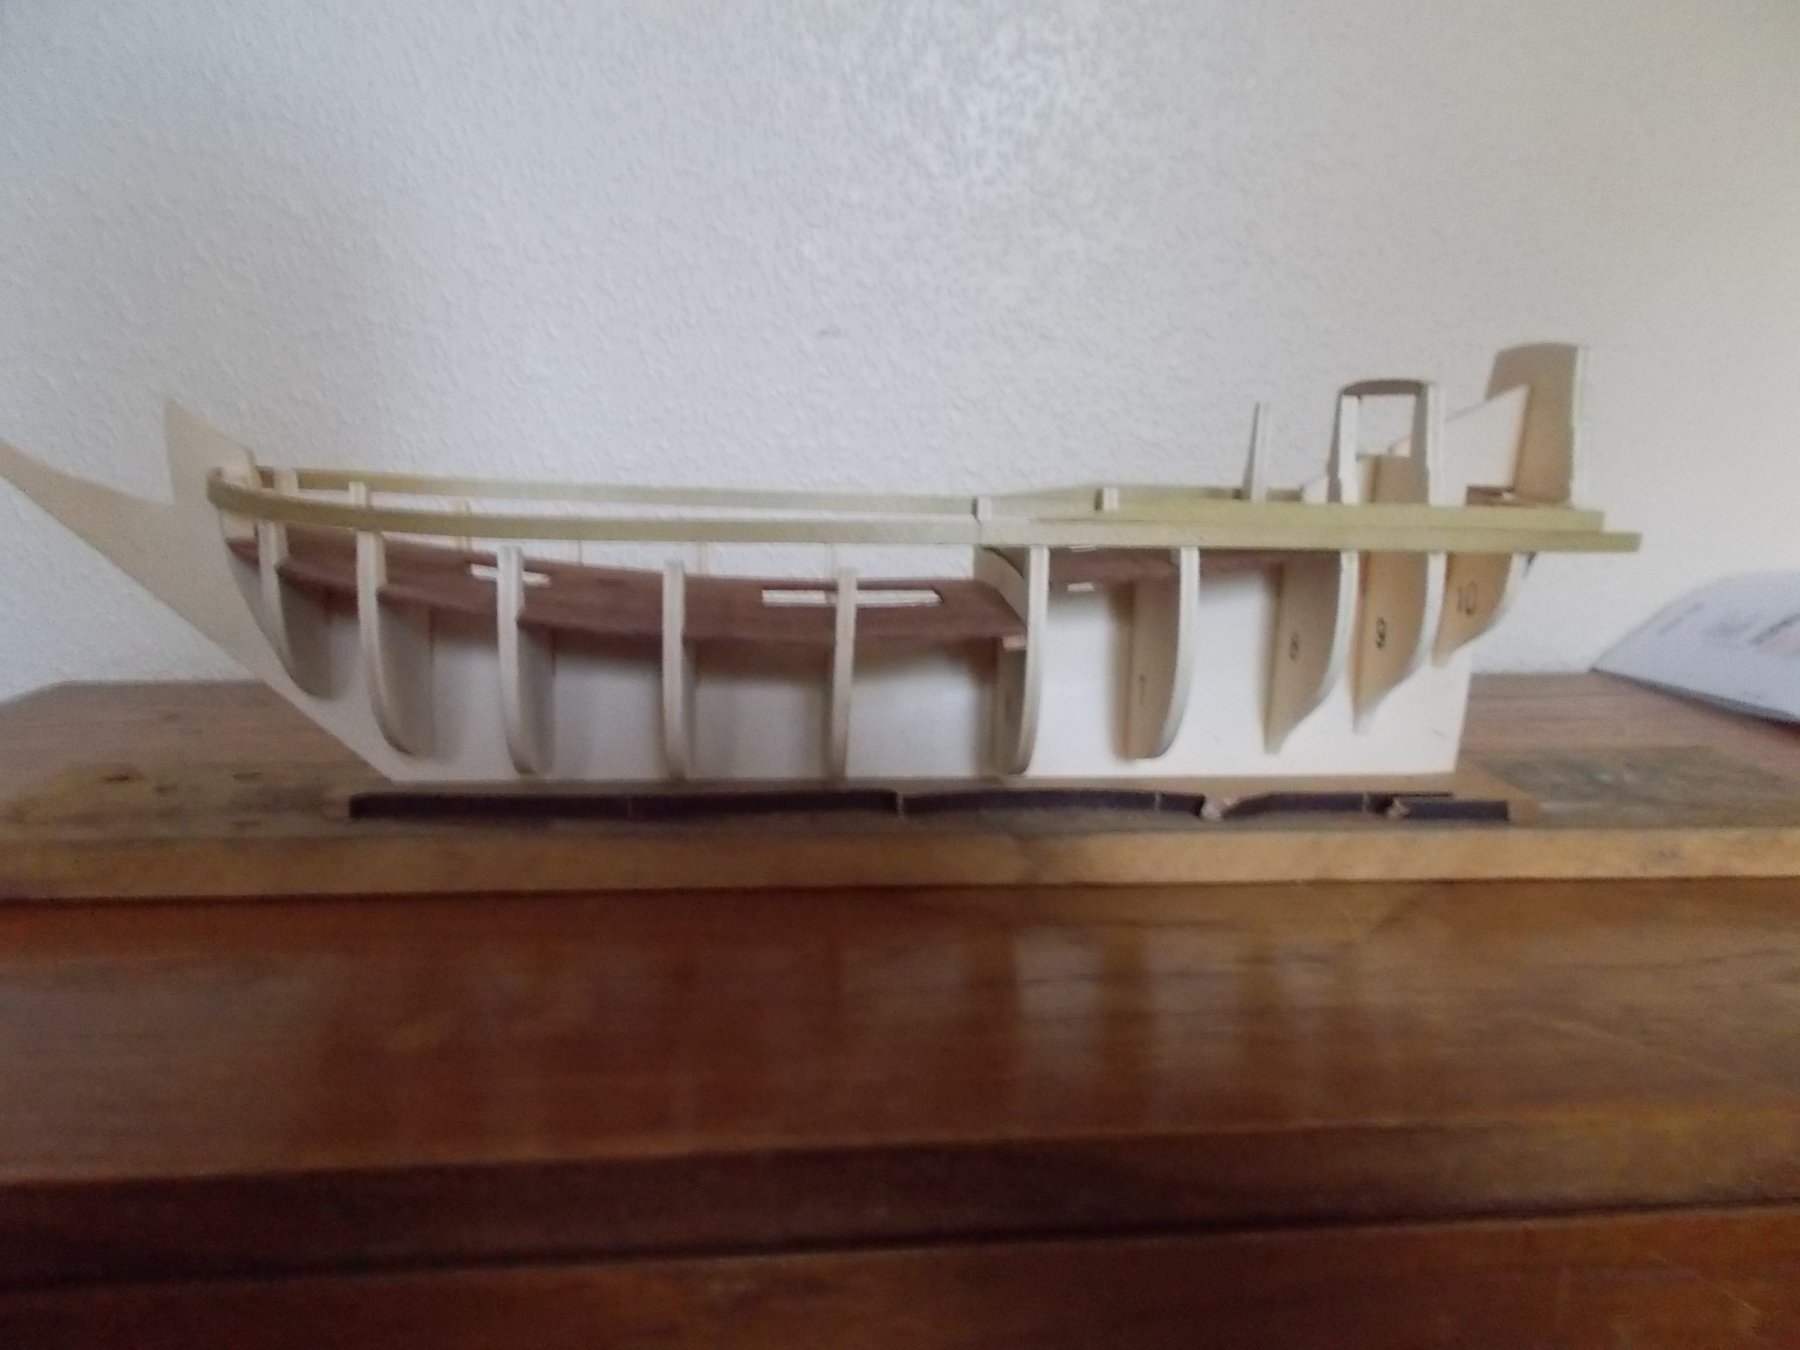
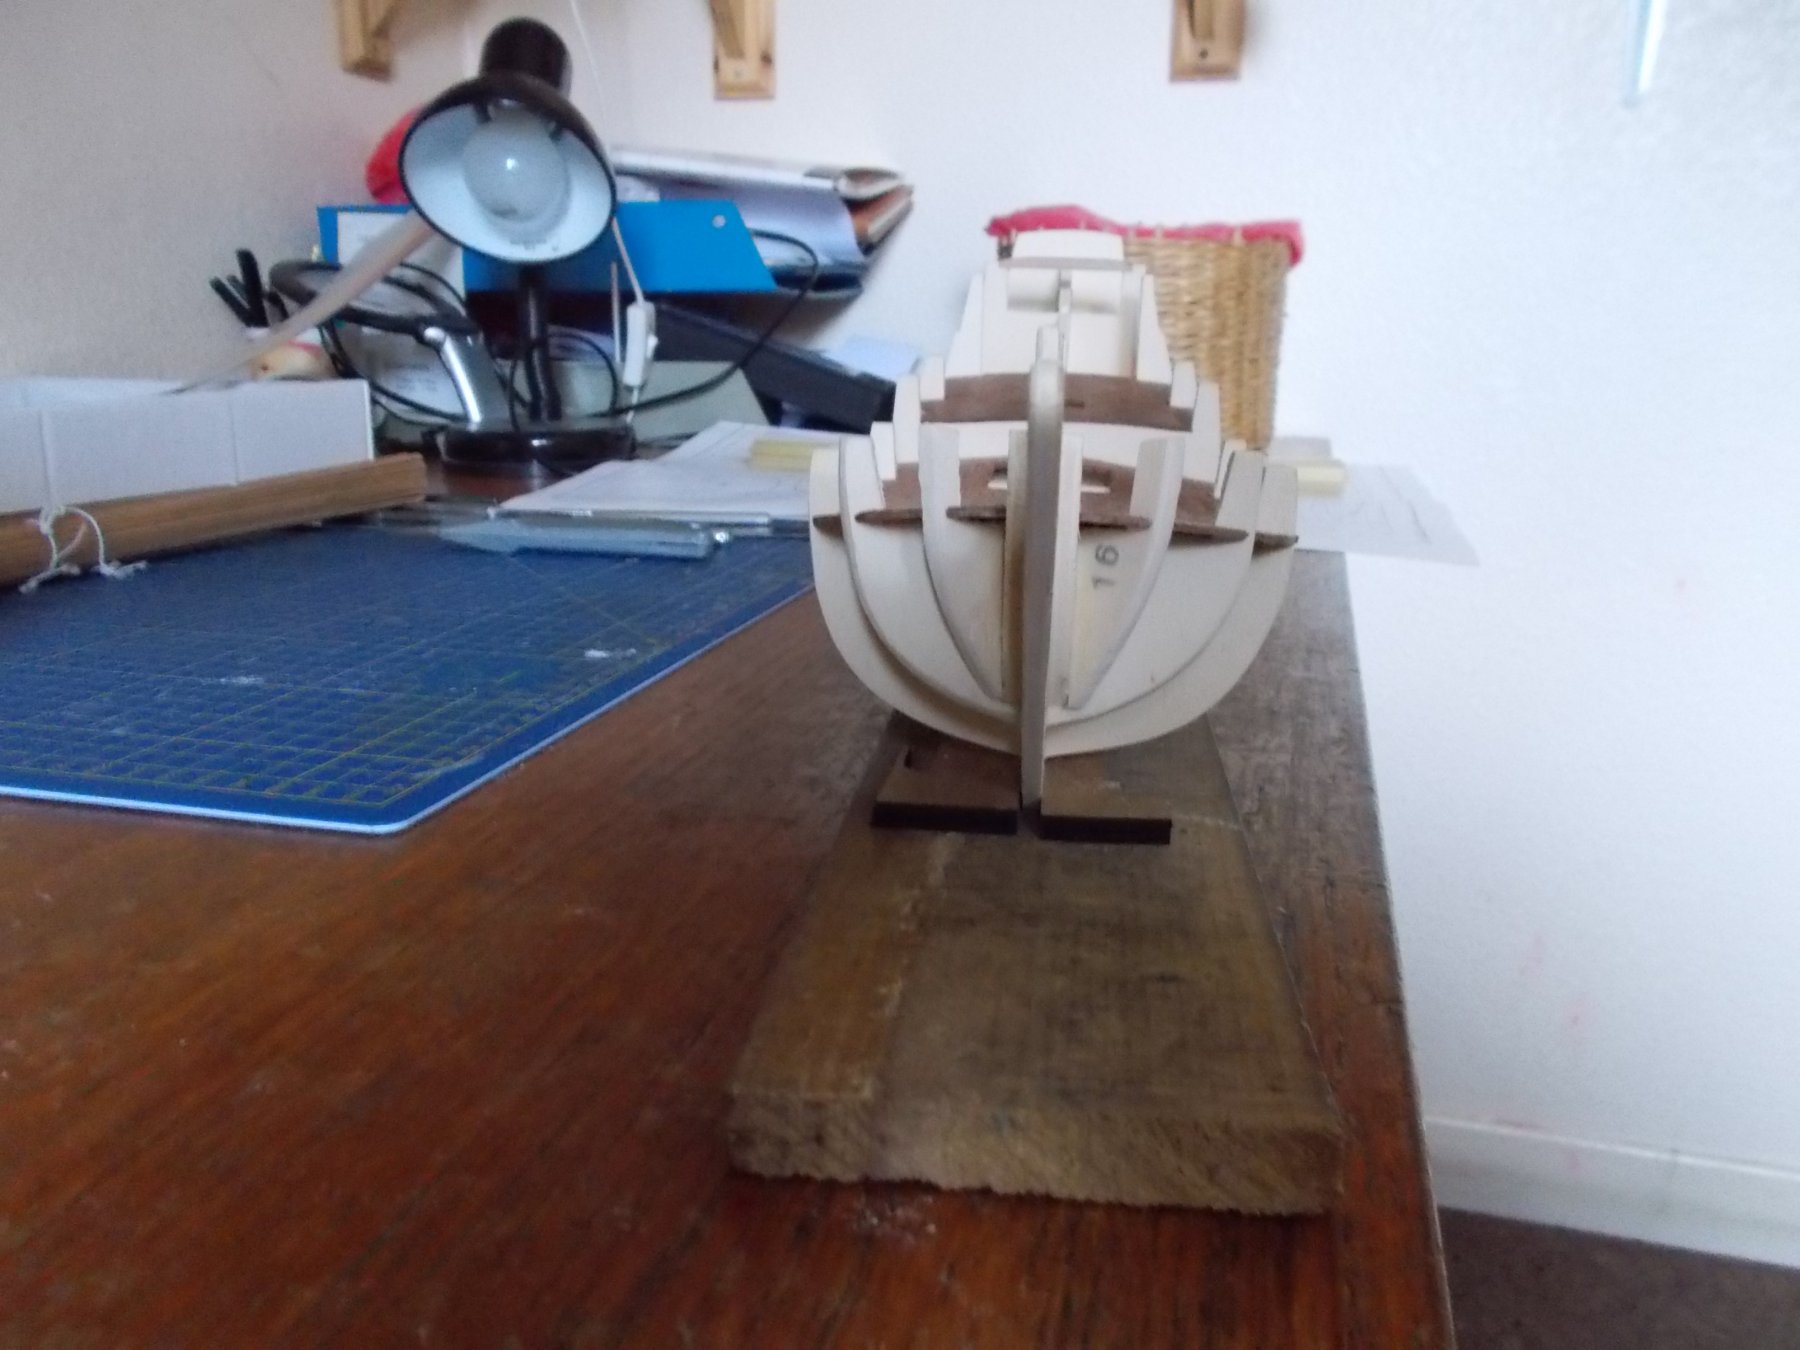
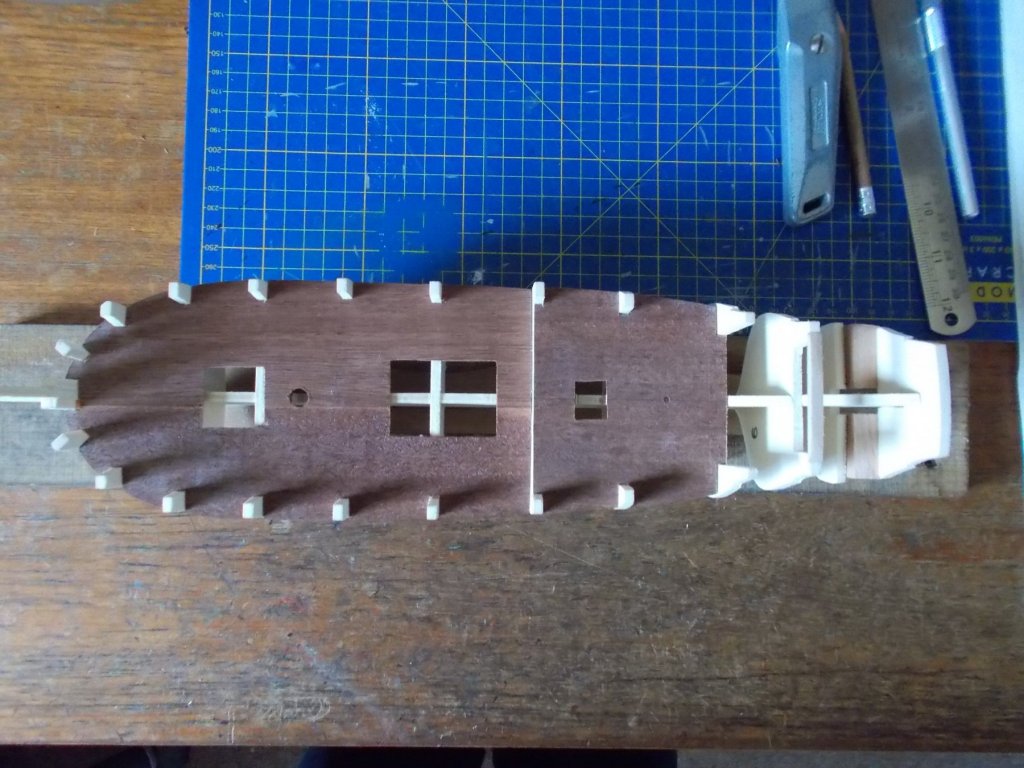
Frames on, decks on and frames faired. Now, can someone please tell me how to put on the first strake. I always have a problem with this. The instructions say it should go on level with the deck (presumably the main deck ?) and follow the curve of it. This makes for a huge lateral bend apart from the lengthwise bend on that strake so please, someone guide me. I always have a problem with planking.


-
Thank you for that Ben, I'm not trying to steal your build log I promise.
- 74 replies
-
- 1
-

-
- queen anne barge
- Syren Ship Model Company
- (and 1 more)
-
Thanks Chuck, it probably means I do too much. I will try not too be so bold with my new build !
- 74 replies
-
- 1
-
-
- queen anne barge
- Syren Ship Model Company
- (and 1 more)
-
What's happened to your build Eddie ? Did you see the Sopwith ?
-
It doesn't look as though you have done much fairing at all. Is that the norm and if so I do far too much ?
- 74 replies
-
- 1
-
-
- queen anne barge
- Syren Ship Model Company
- (and 1 more)
-
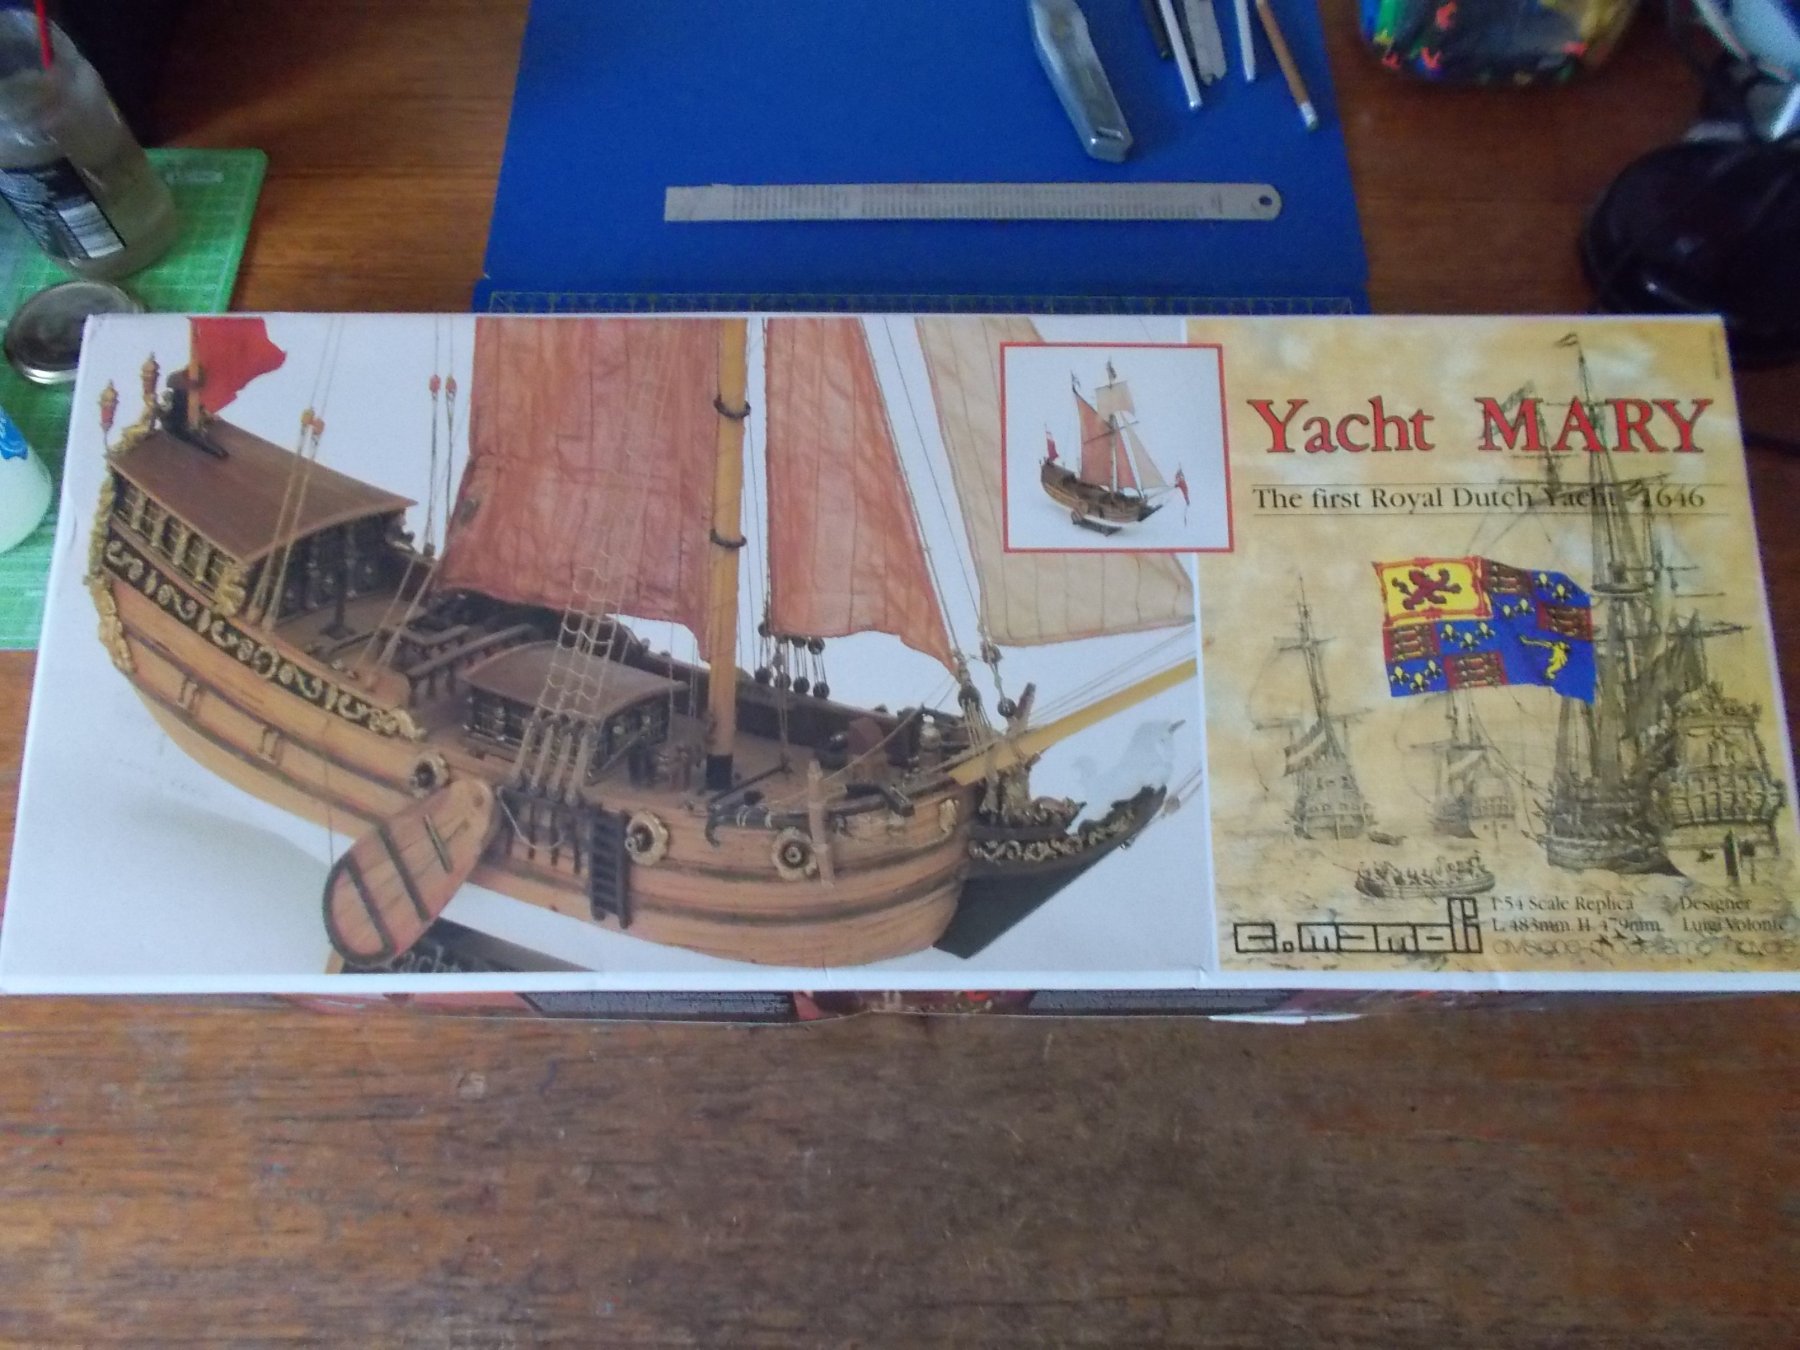
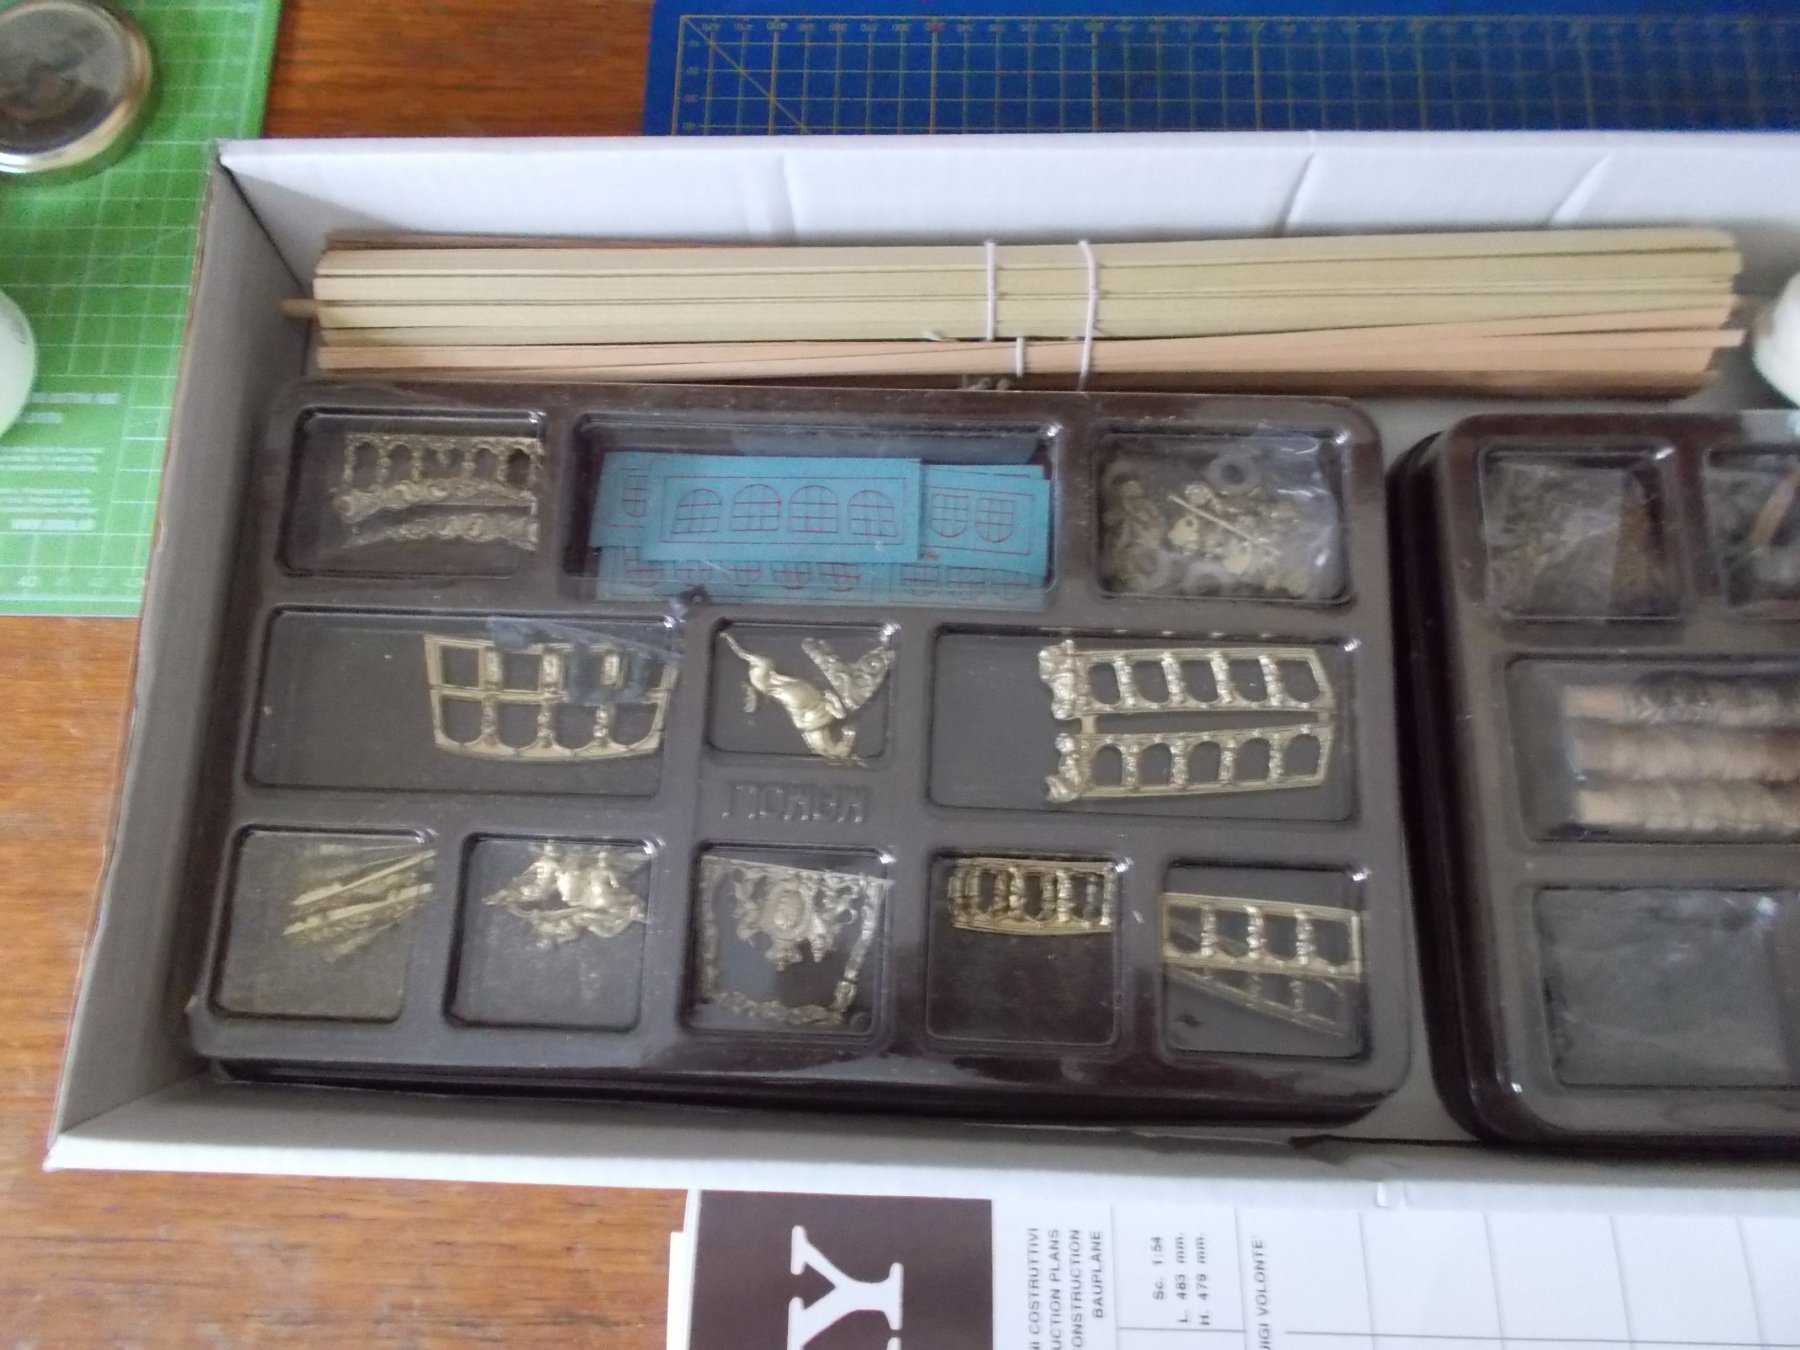
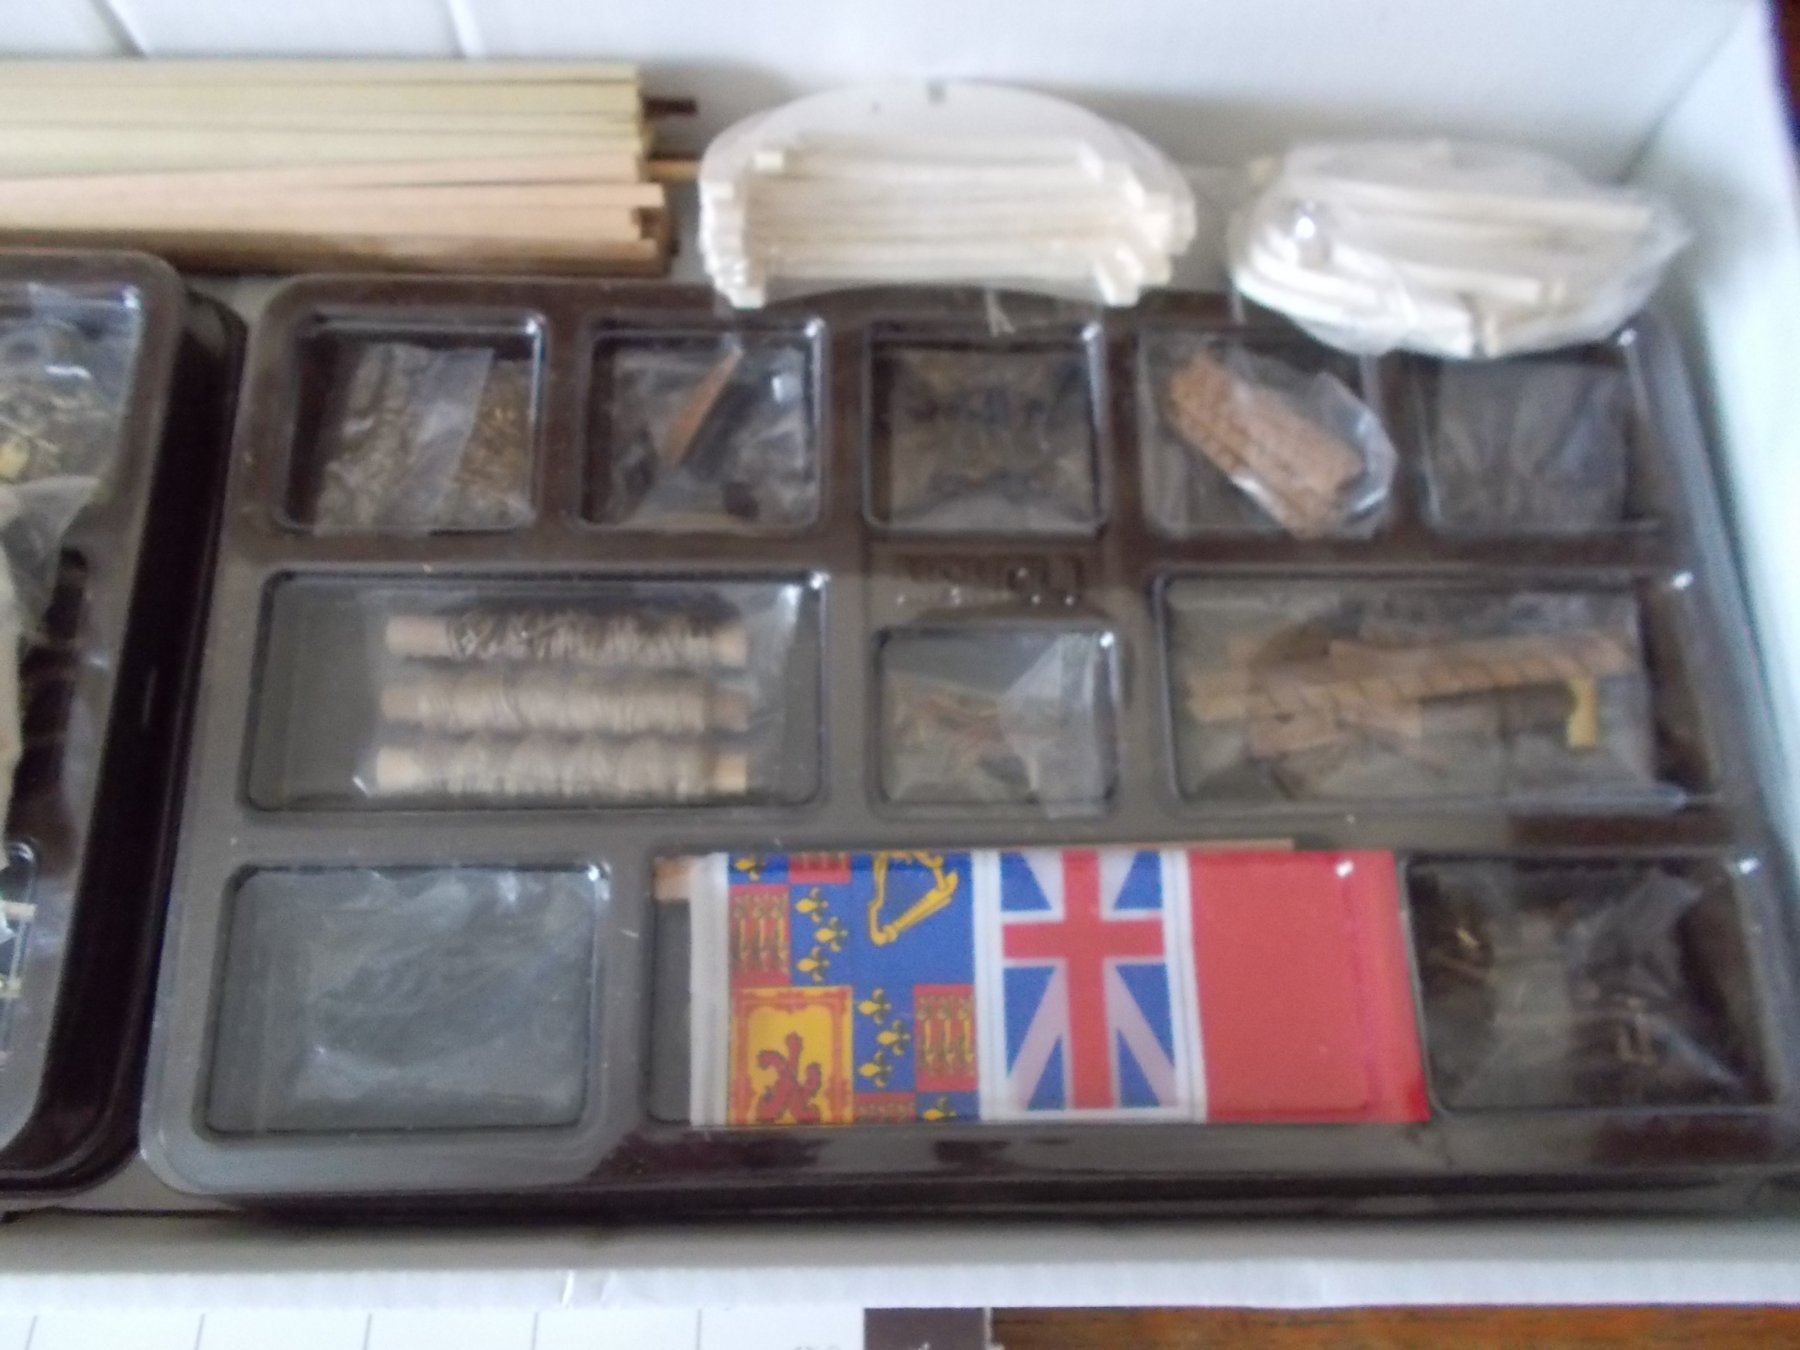
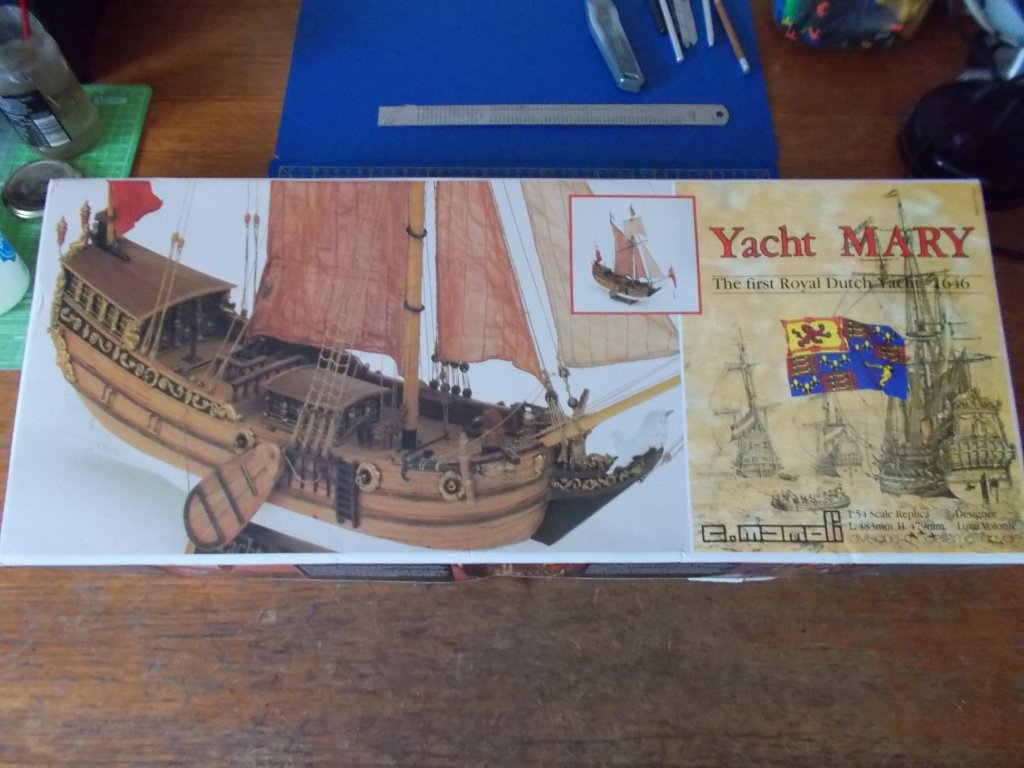
Hi all ! I am back with a new boat having had a break from them for a while. I picked this kit up on ebay for a fairly reasonable price. I had been looking for one for a while but only found Chinese copies so I was pleased when this came up. It is the first Mamoli kit I have tried. First impressions - nicely packed but looks a bit minimal on wood. I am ok with that as I have some spares and I am always careful with usage. There are 7 sheets of plans which look ok but the instructions for the build, such as they are are on the plans. The plans are two sided but the instructions only on one side so a lot of turning required. Otherwise castings and wood quality look good.


-
Thanks John for you comment and also for your invaluable help without which I don't think I could have done it.
-
Thank you John, I also have the Albatross in my stash waiting and am thinking of getting the triplane. Did you do the model expo or the Artesania Fokker ?
-
Lovely model, you should be proud.
- 104 replies
-
- 2
-
-
- king of the mississippi
- artesania latina
- (and 1 more)
-
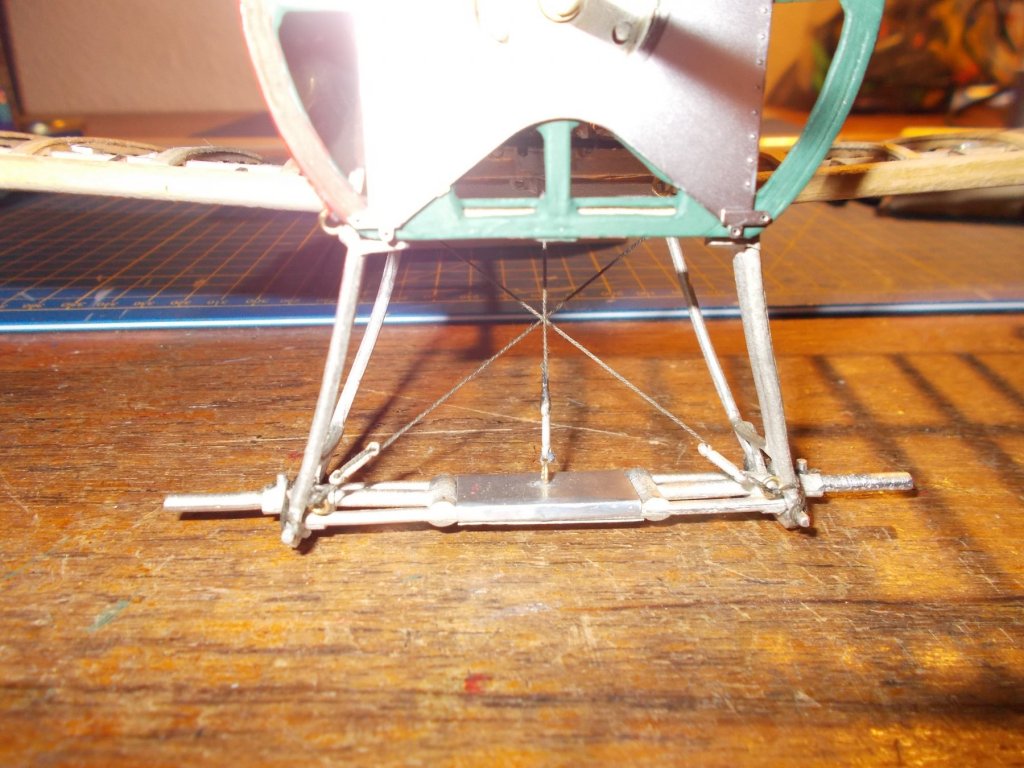
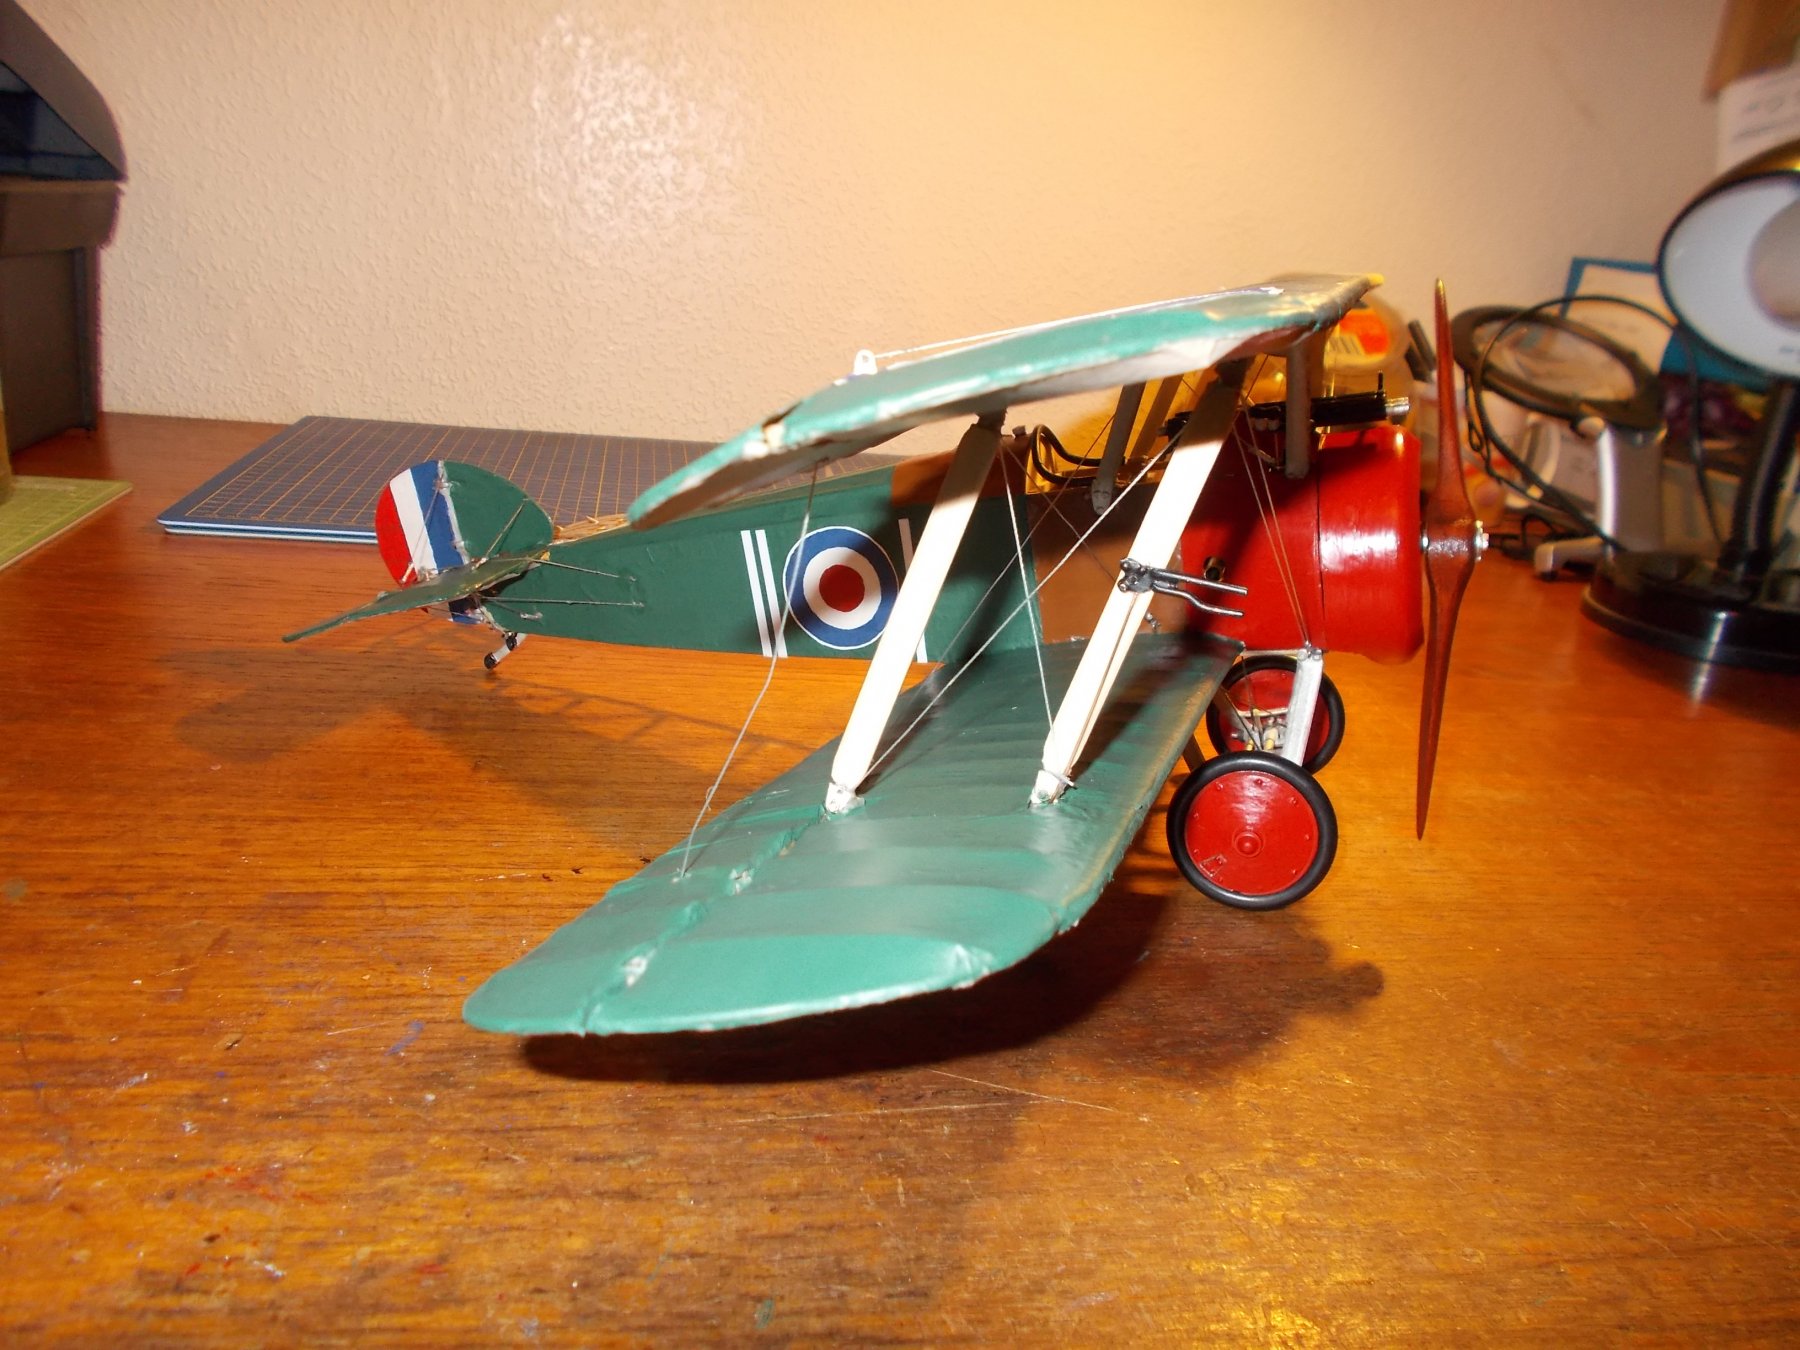
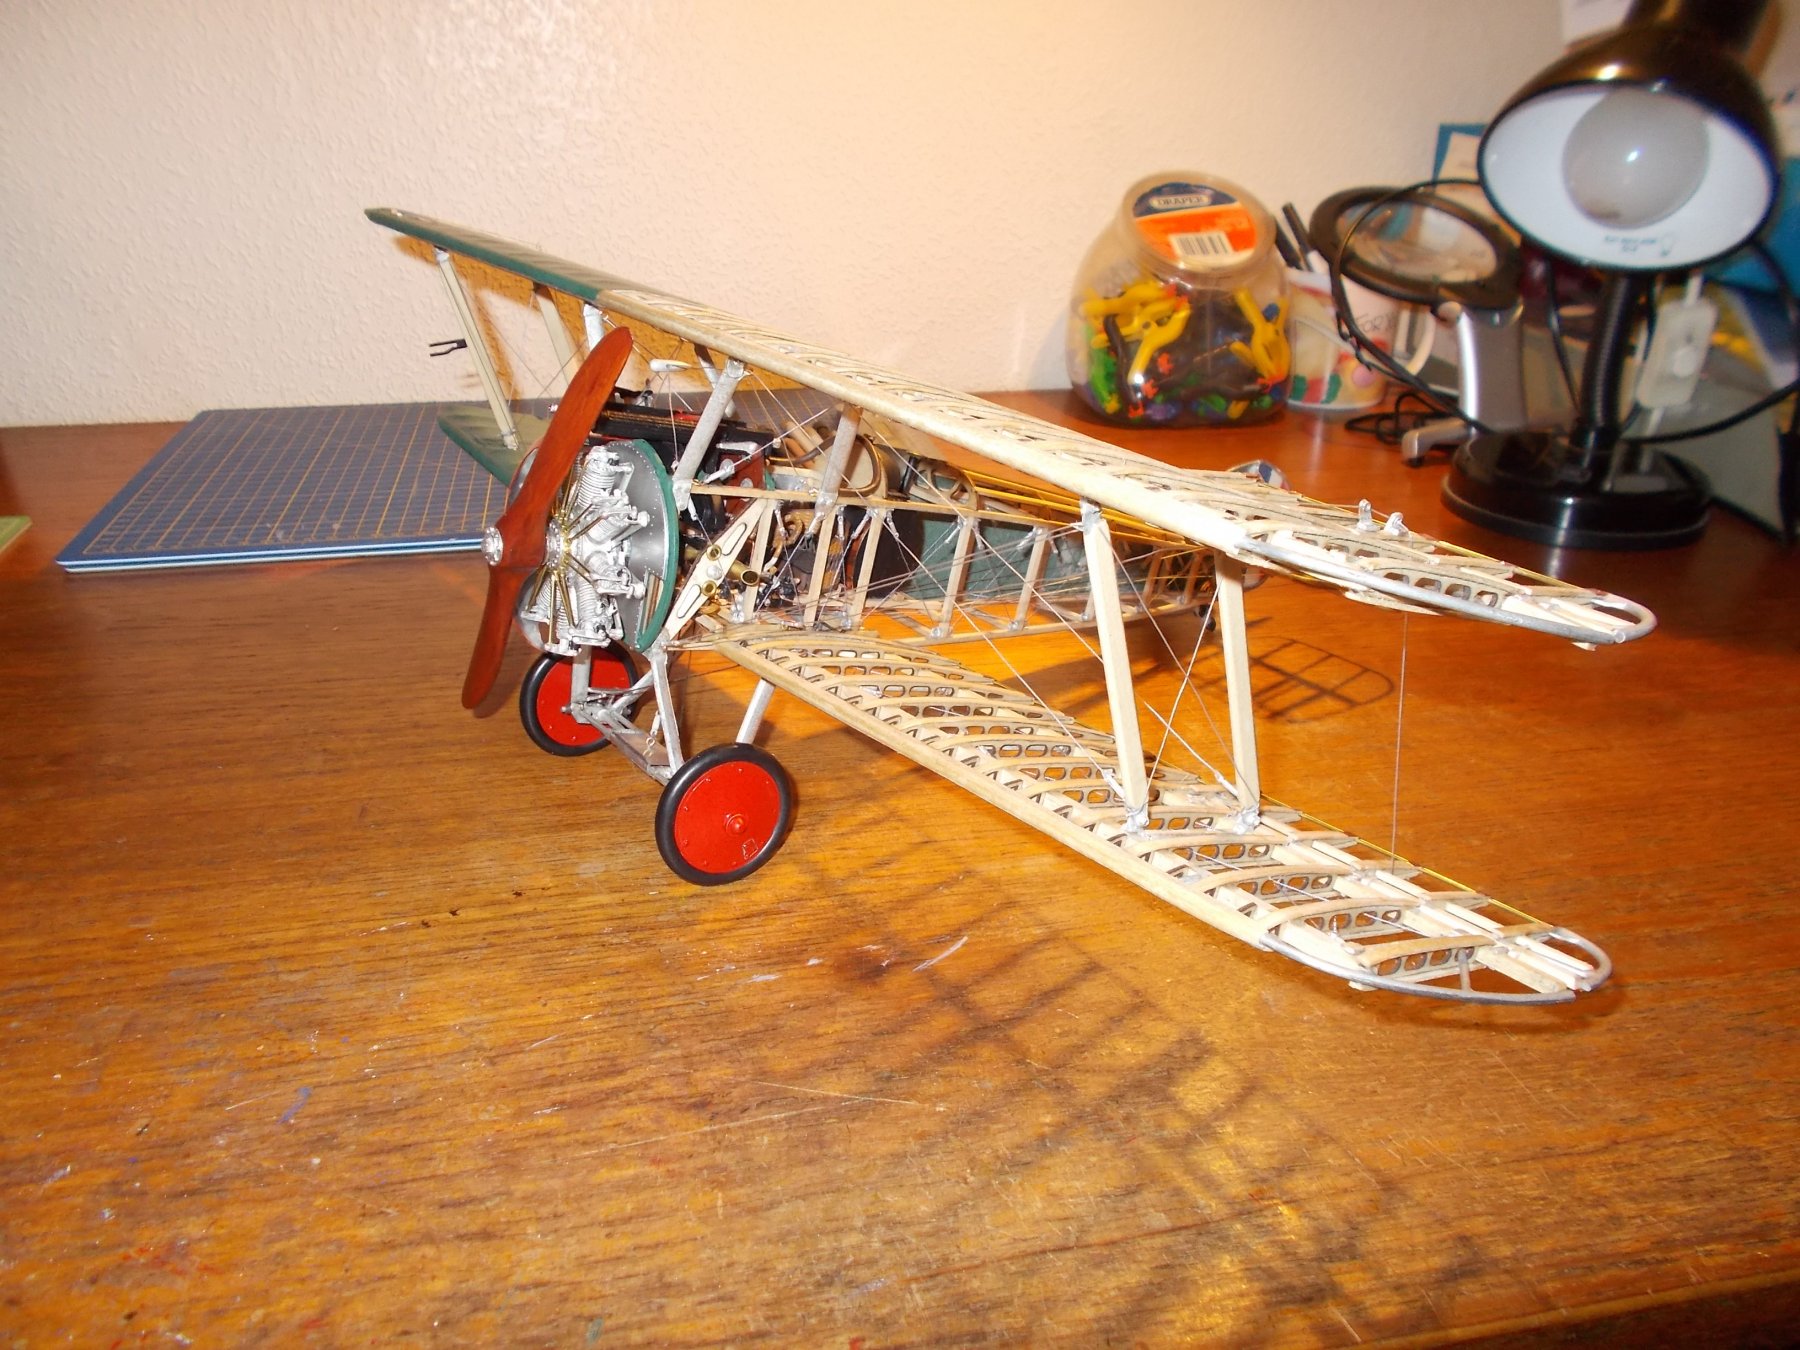
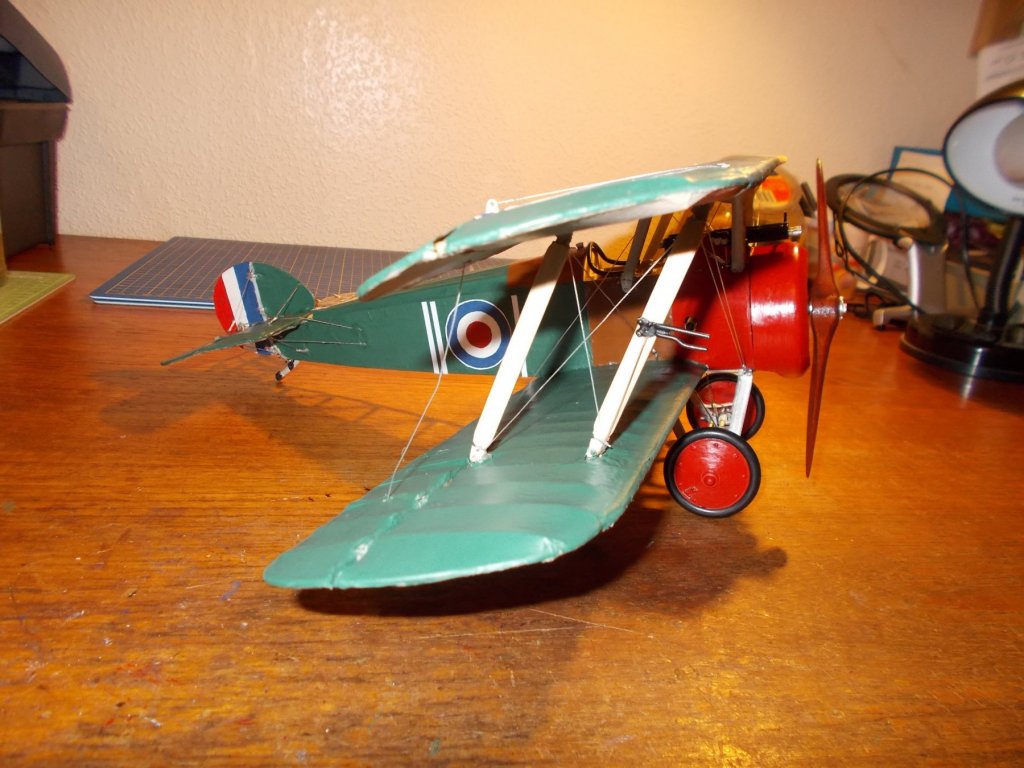
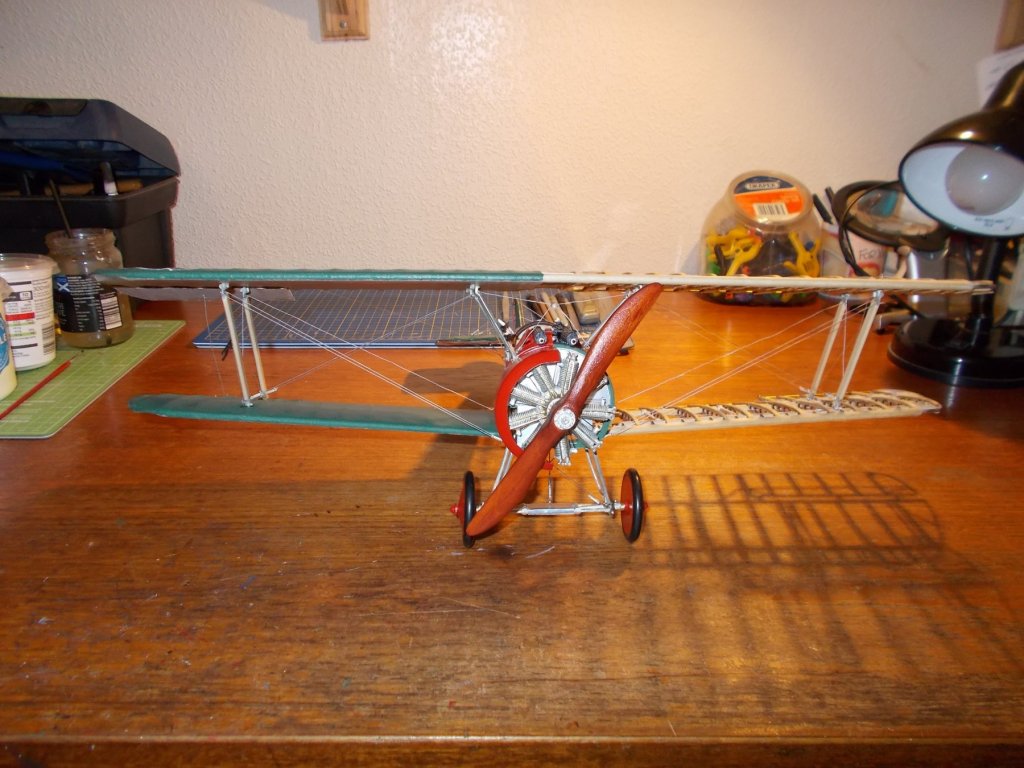
Well folks, the beast is finished ! The ailerons have proved to be a disaster as somewhere my tensioning went wrong despite triple checking it. Never mind, who is going to fly it anyway and as long as it stays still it will be fine. I have put my excuse for a propeller on for the time being in the absence of a better one. Whilst the cabling hasn't worked out at all well it is all there and I must admit I have enjoyed making this a lot more than some models. So, view for yourselves. Next build for me is another tram. Much easier !!


- 138 replies
-
- 13
-
-
John, how did you tie off your aileron cables after tensioning ?
-
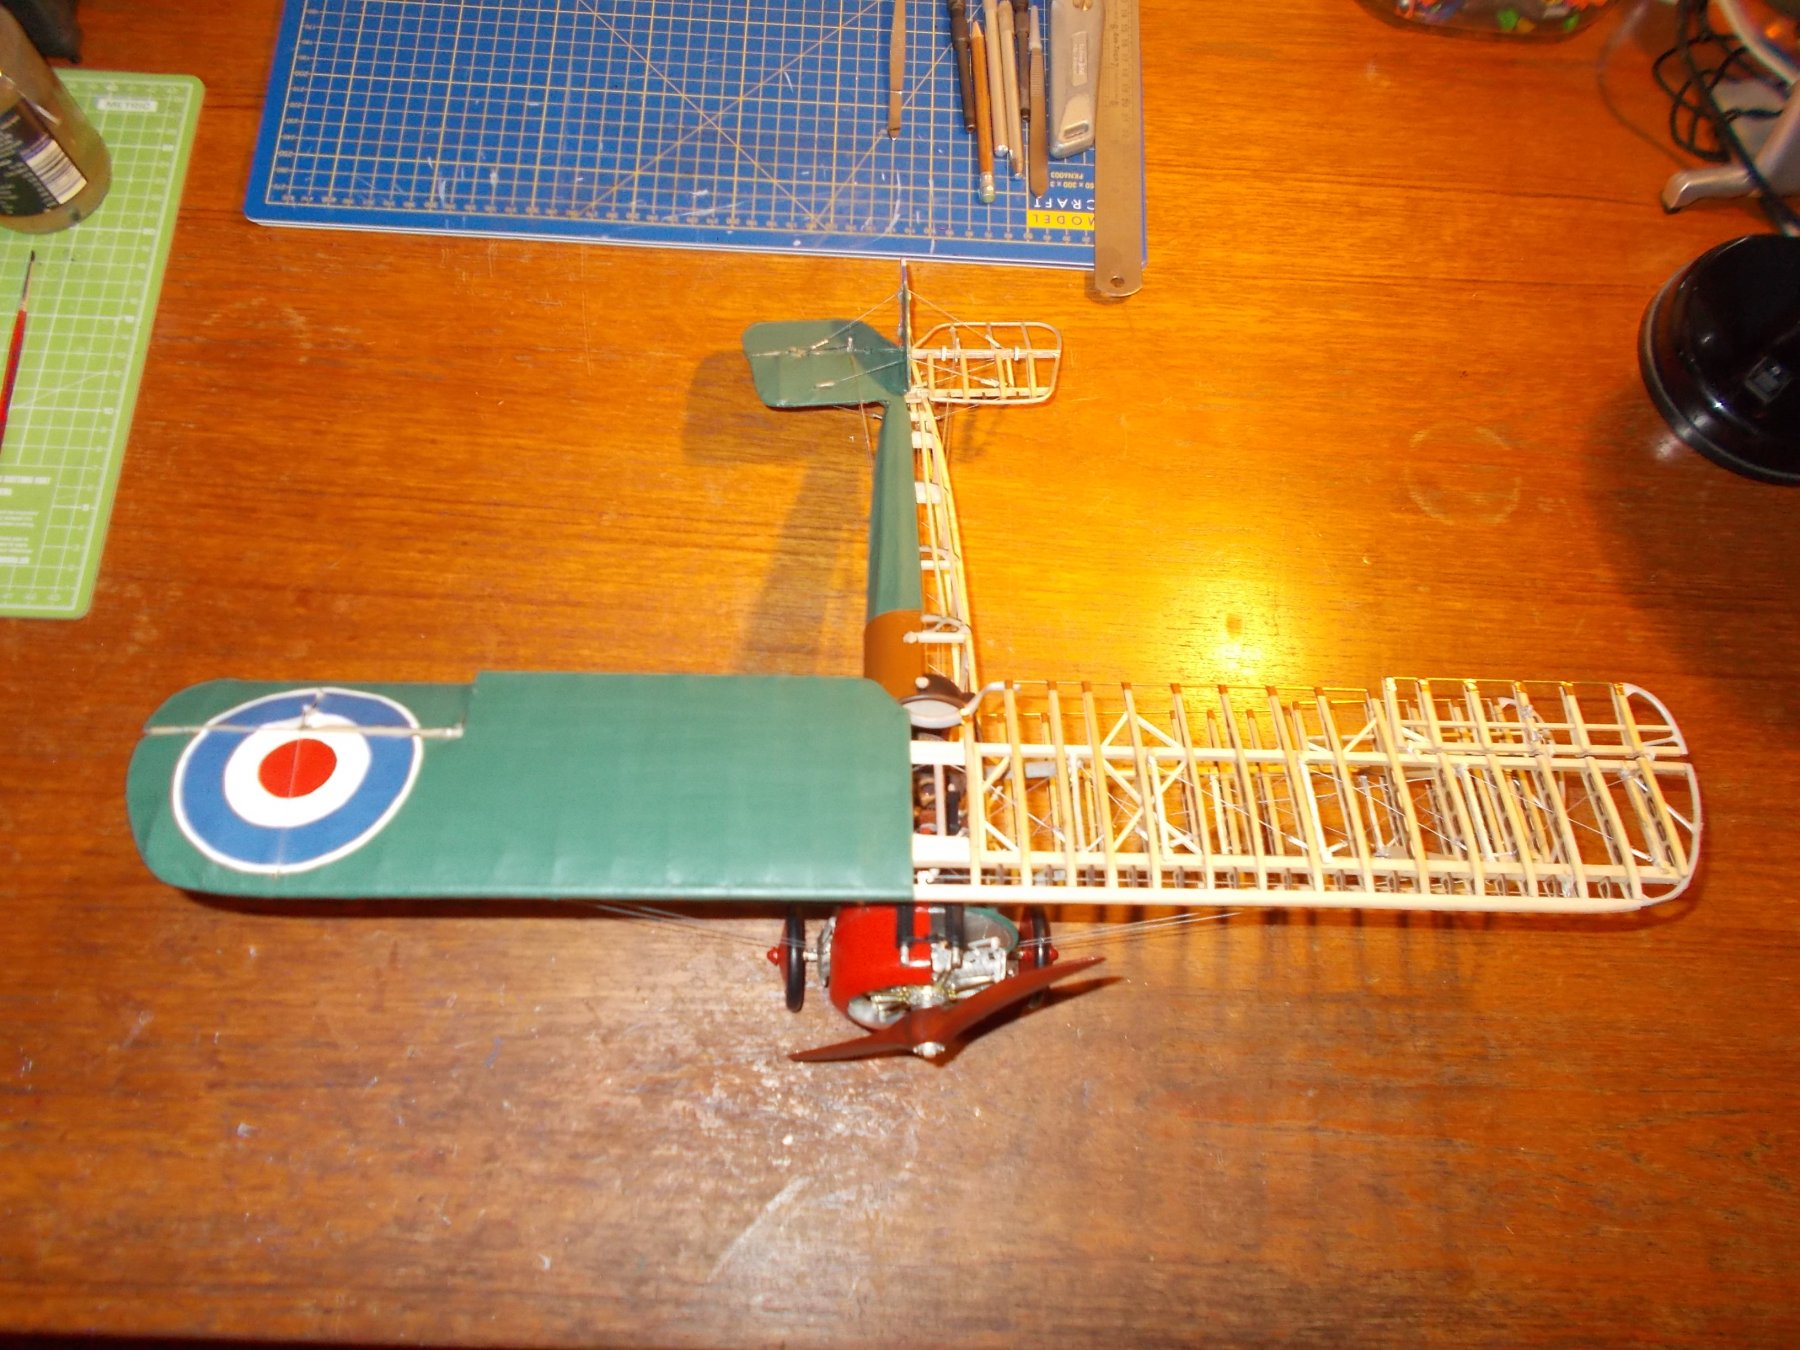
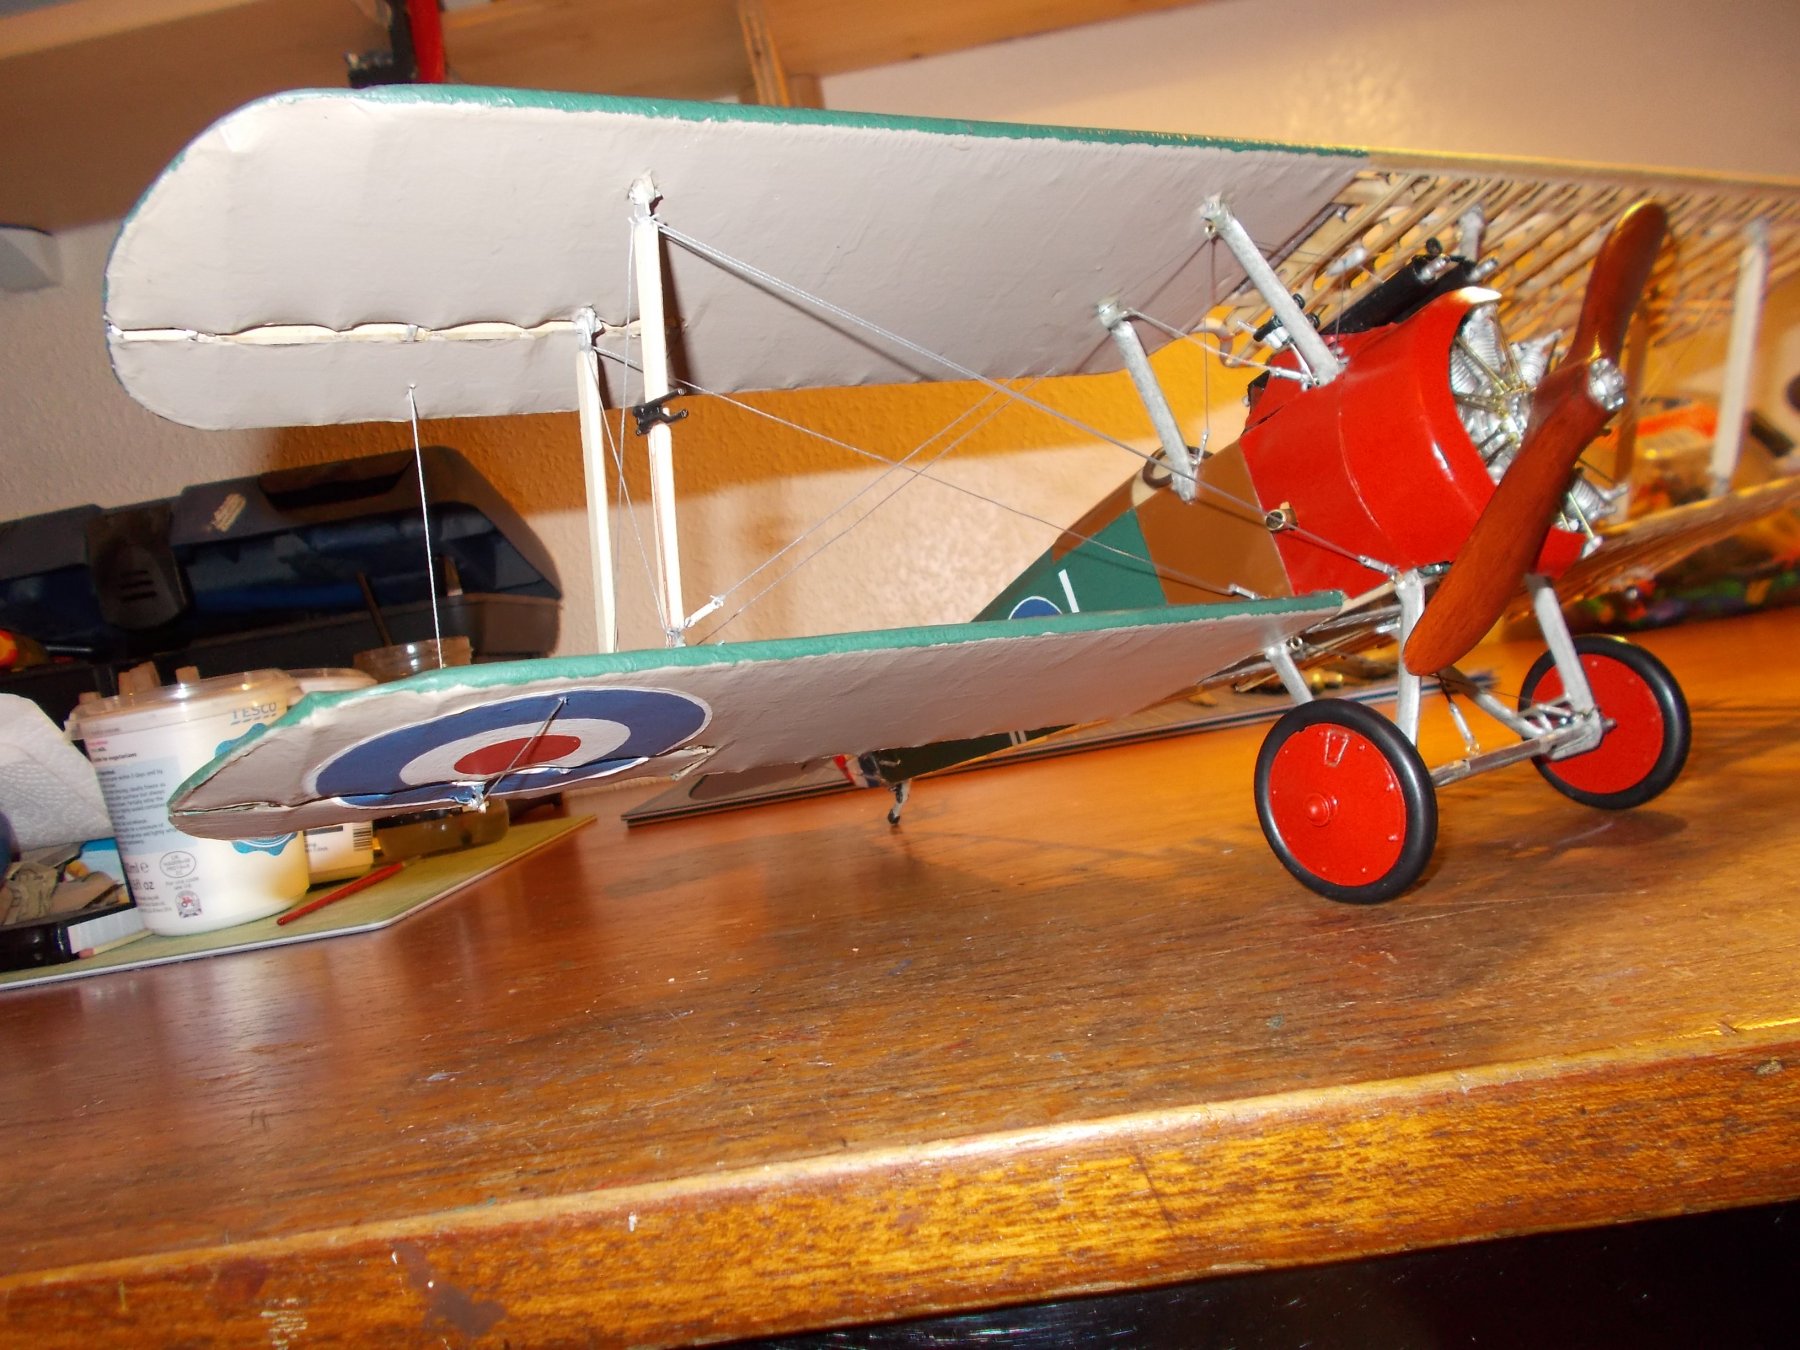
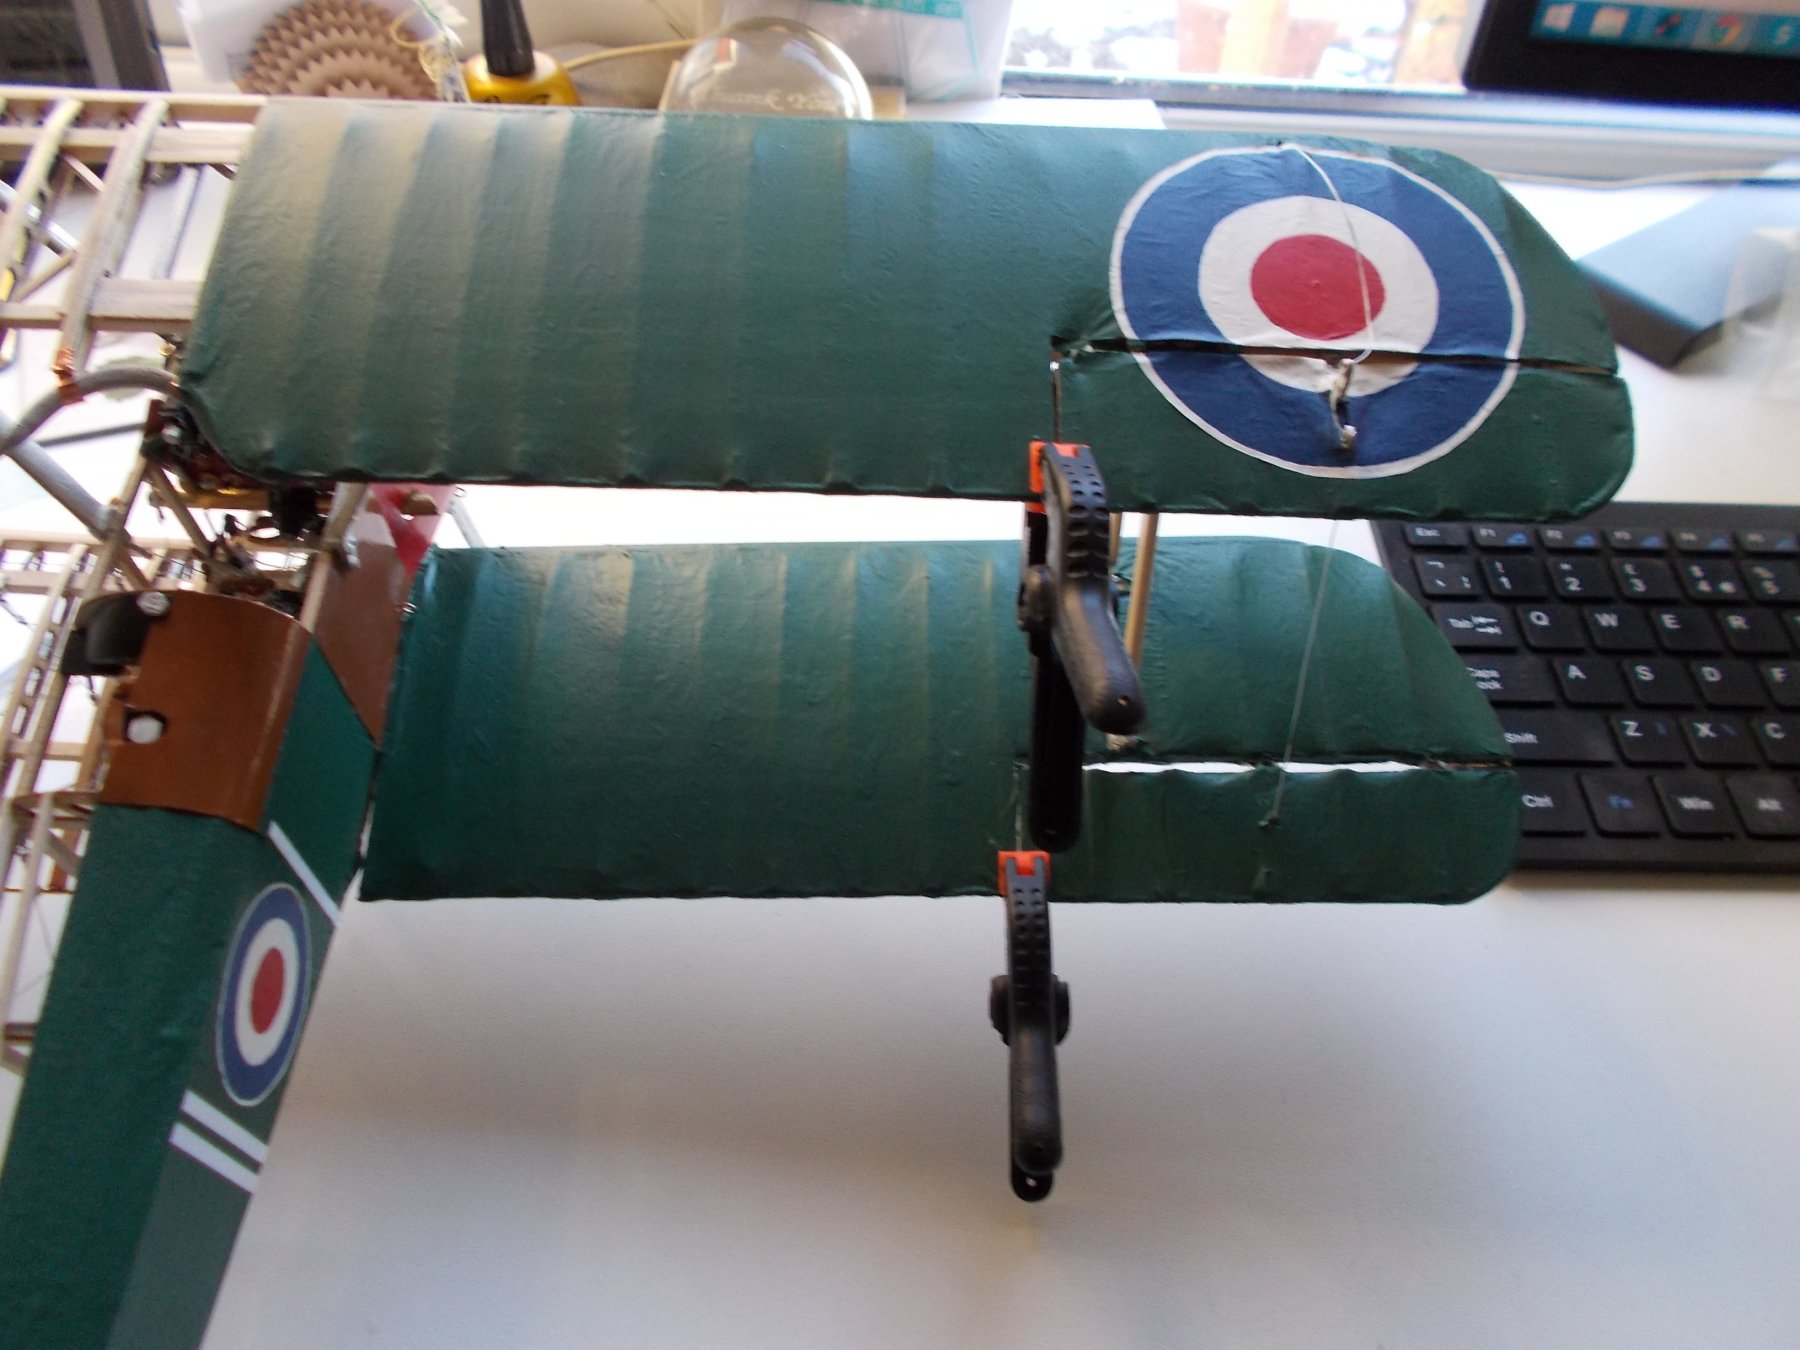
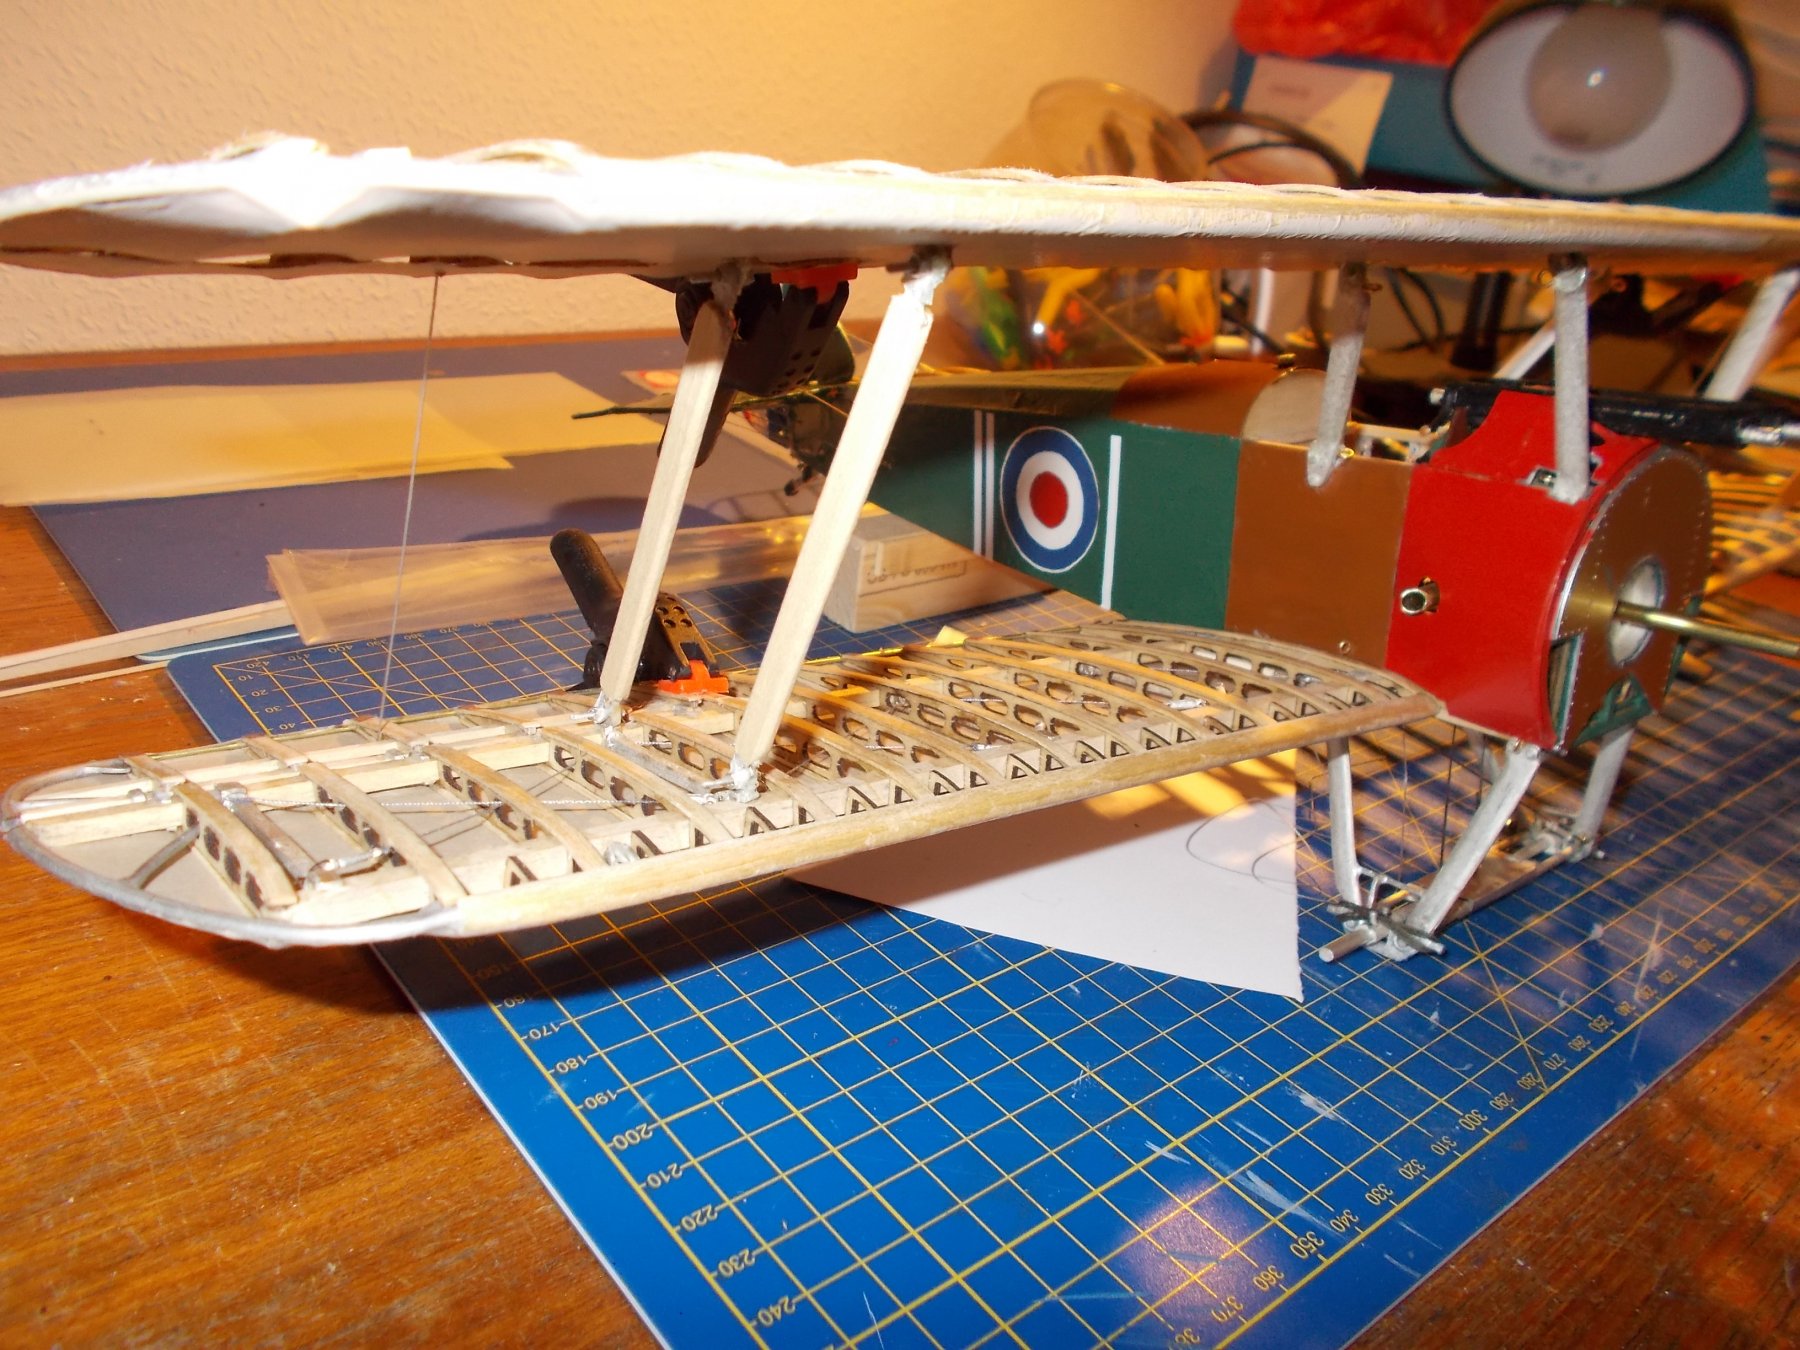
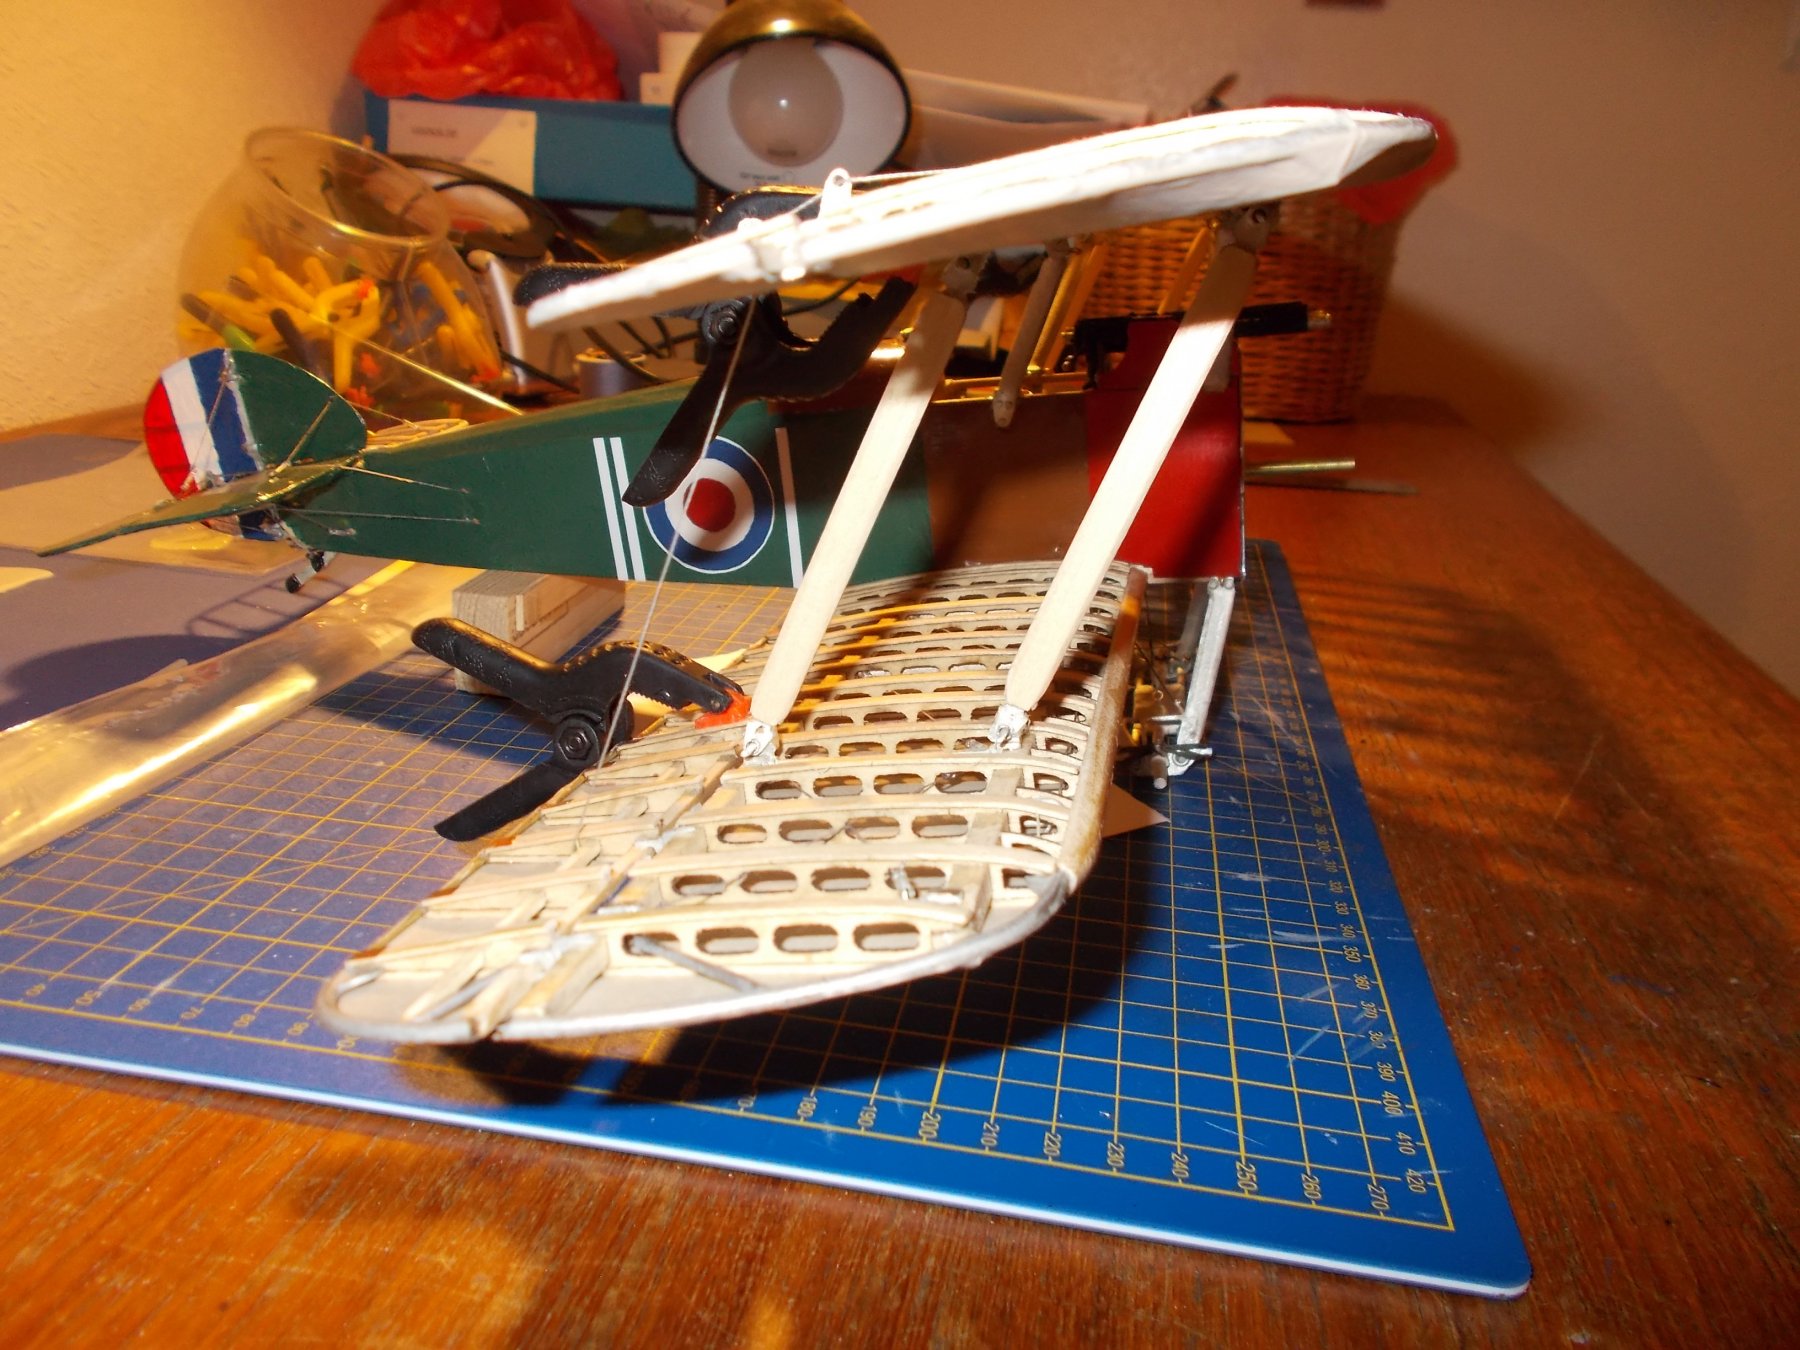
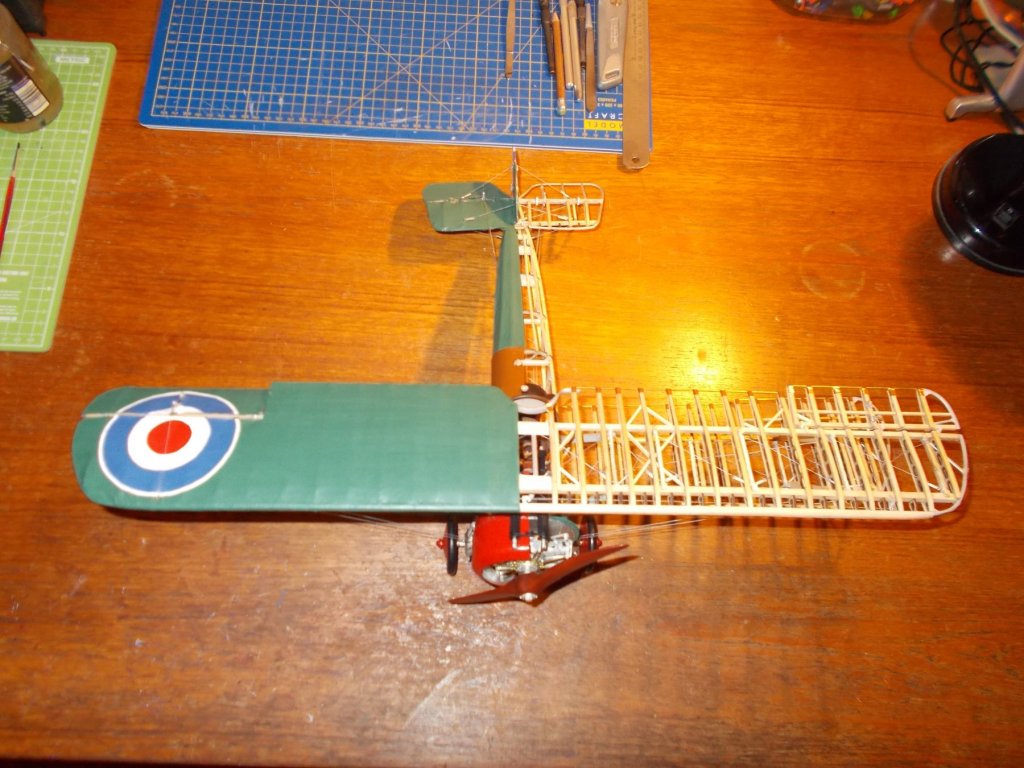
The half of the wings that I was going to cover are now covered, painted and varnished. Tricky enough dodging the aileron cables so I am really glad I did it before the strut bracing which is the next thing to do.


-
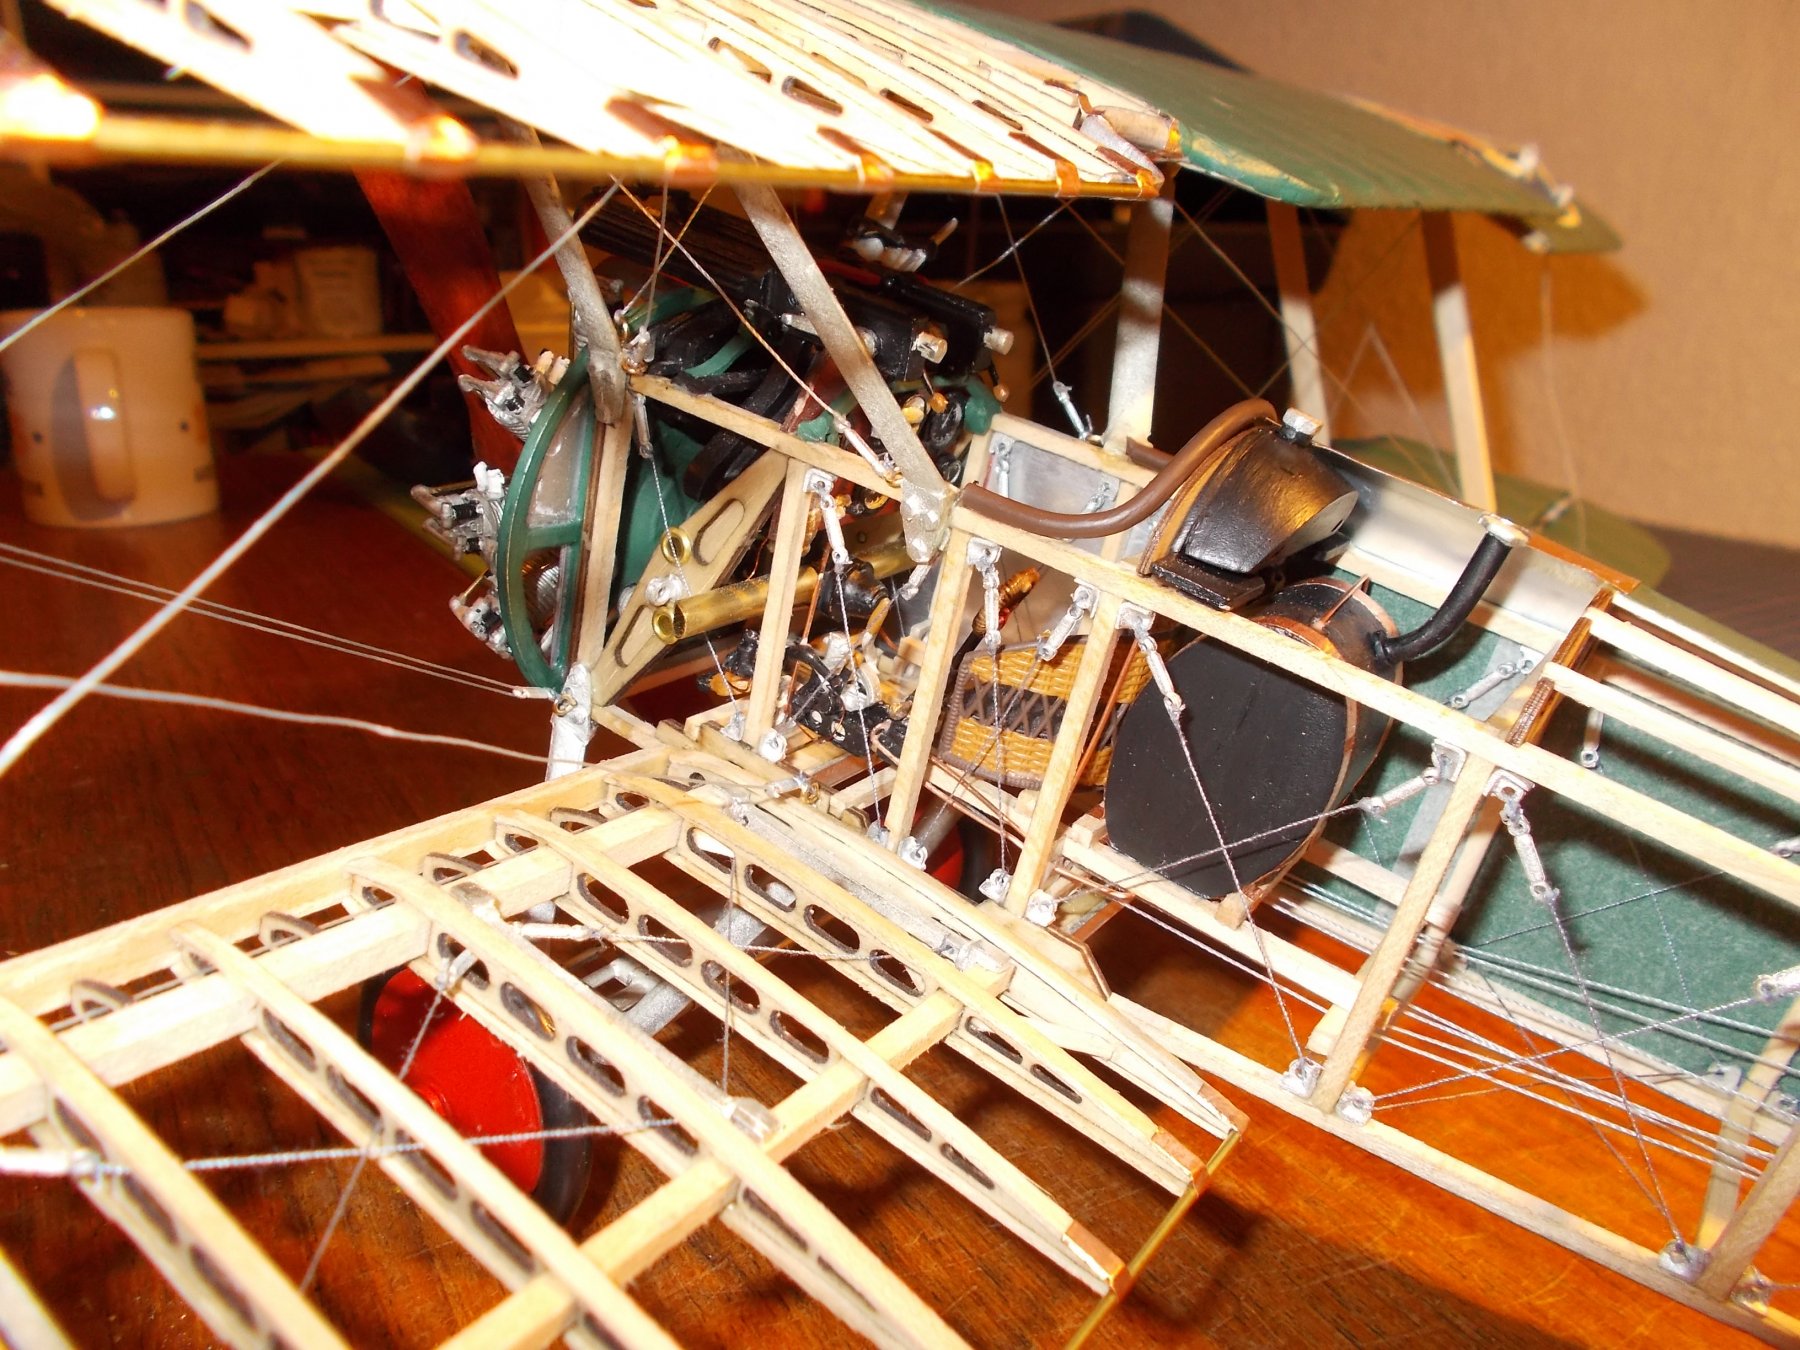
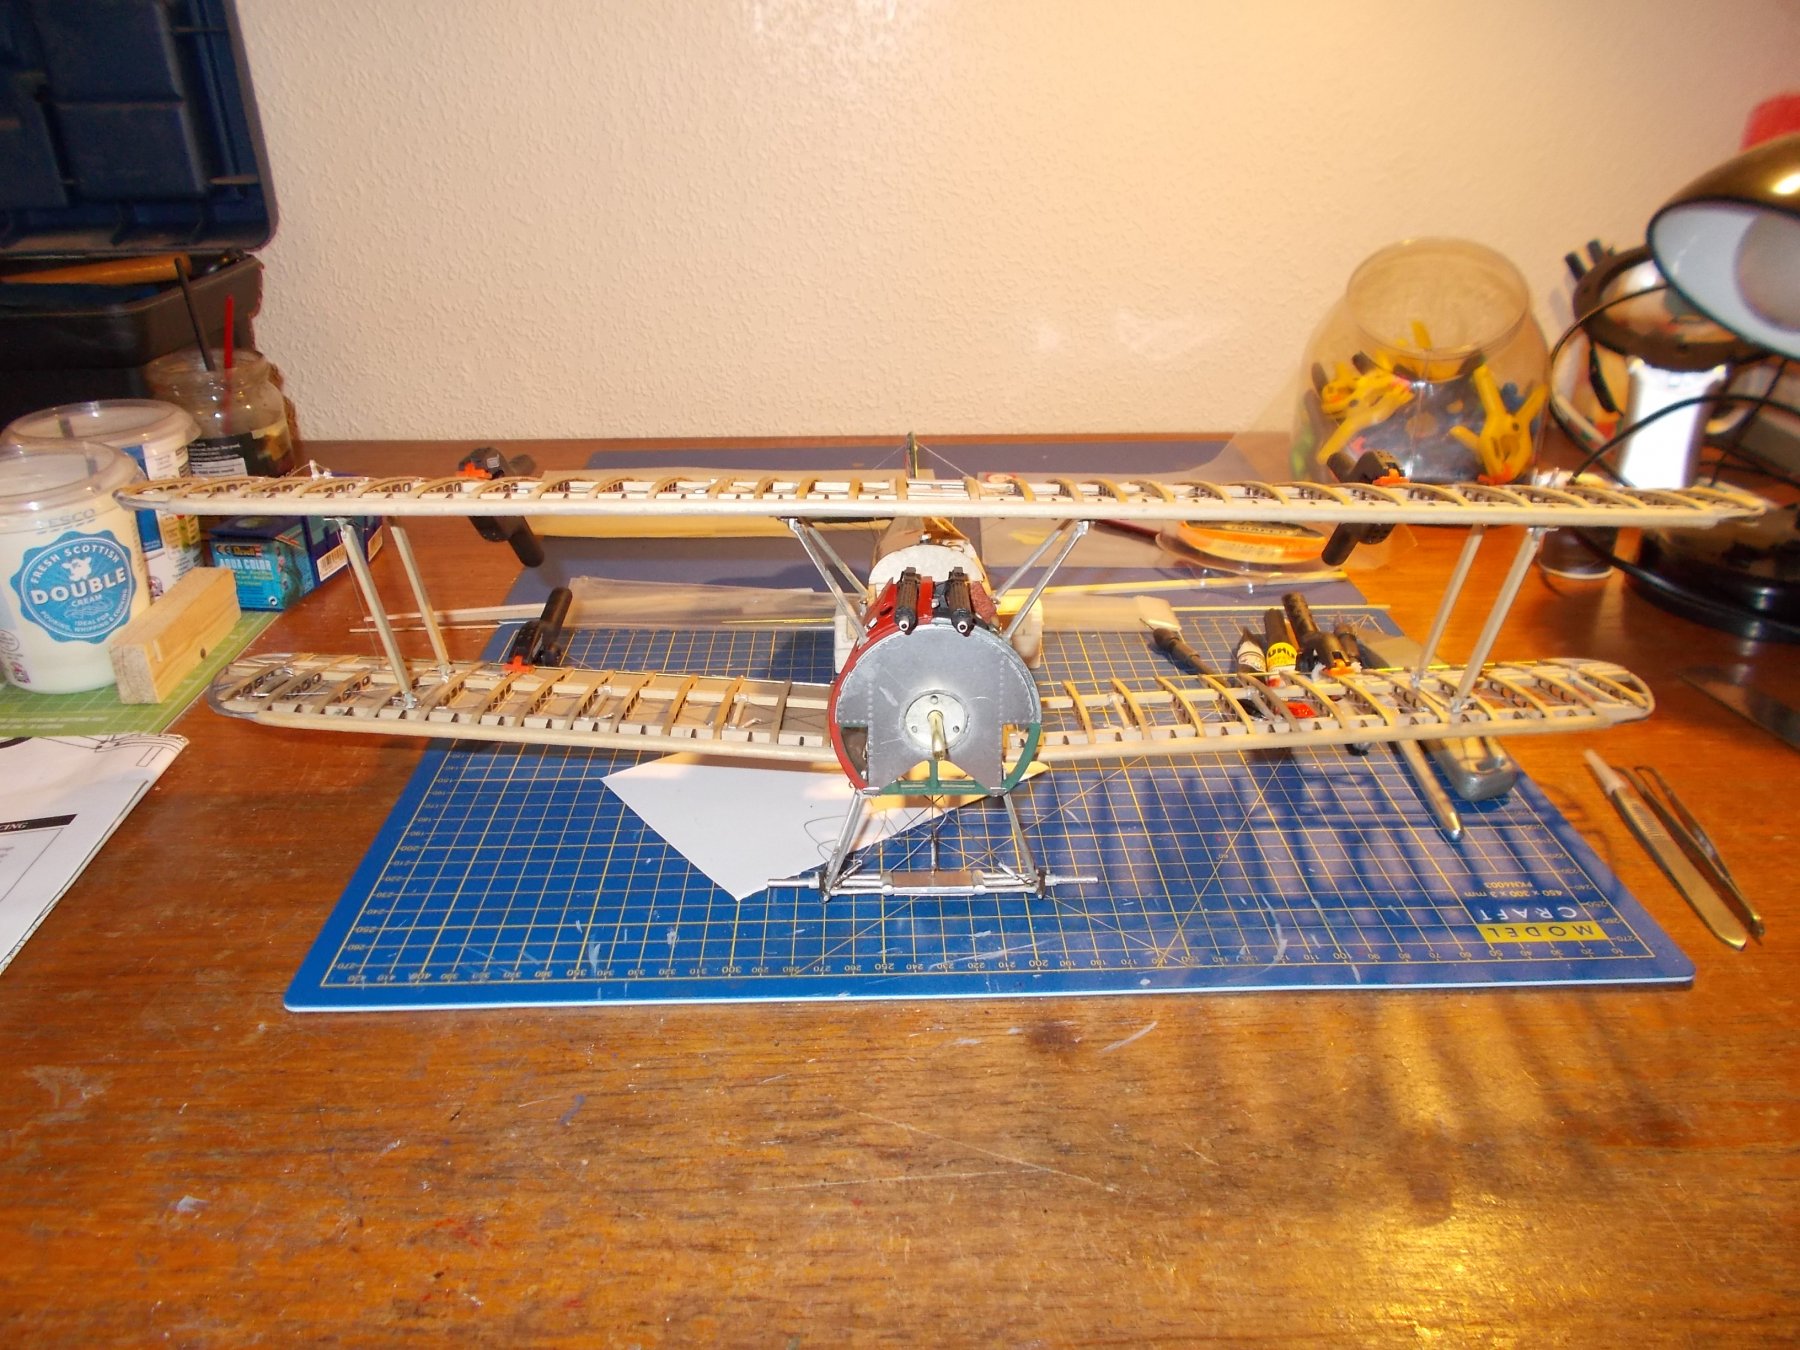
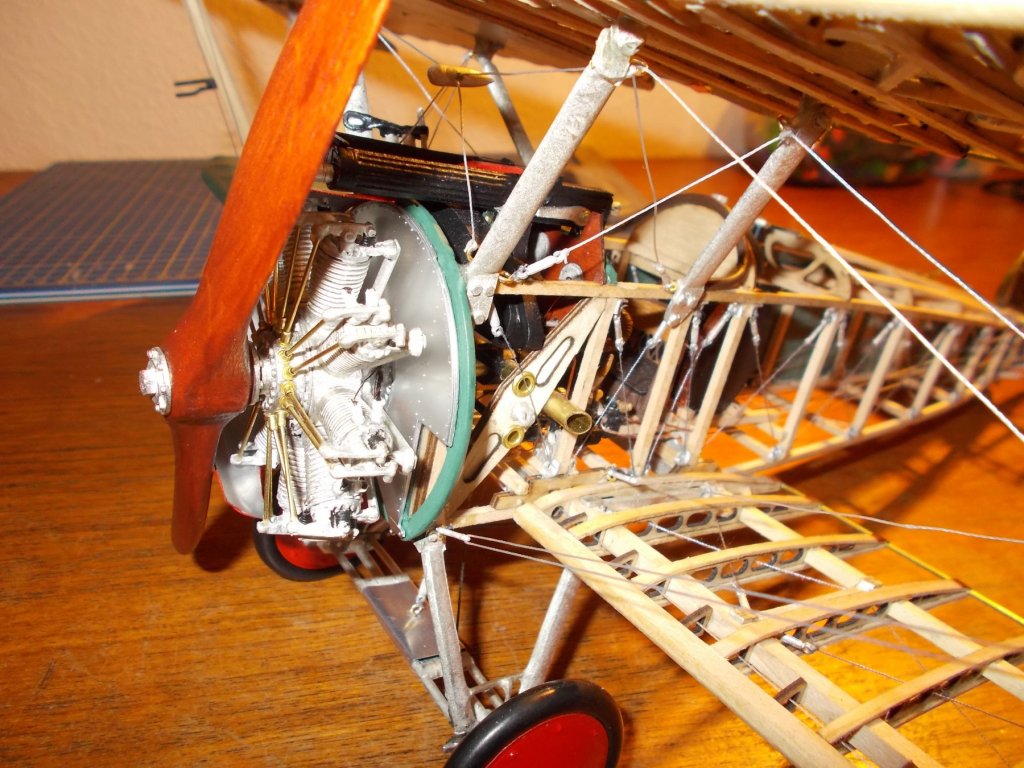
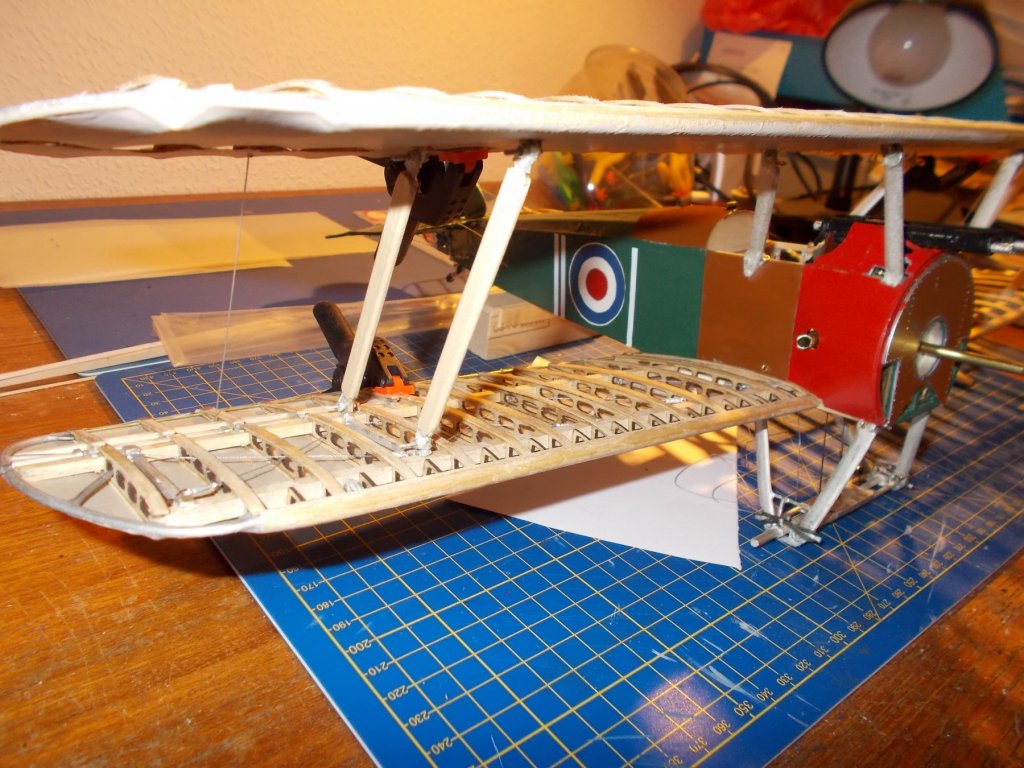
The cabane struts are on and I have made and fixed the inter-wing struts as well. I did use epoxy in the end as the CA was just not strong enough. The rigging for the ailerons is also done though it hardly shows. I have not tied it off yet as, like John, the thread needs time to settle and stretch. Having said that there is no way that anyone could get to the control stick now unless they happen to be a micropilot !!! Therefore, whether the ailerons actually work or not with their very complicated and fiddly rigging is fairly pointless. Why do we do this stuff to ourselves ?! Because I am covering half the plane I figure that will be my next job as it will be easier to do before I put on the strut bracing so I am getting there and it does now look like a proper bi-plane. Nice to have you along Popeye. Some pics for all.


-
Smashing little model. I hope mine looks a bit like that in the end !
-
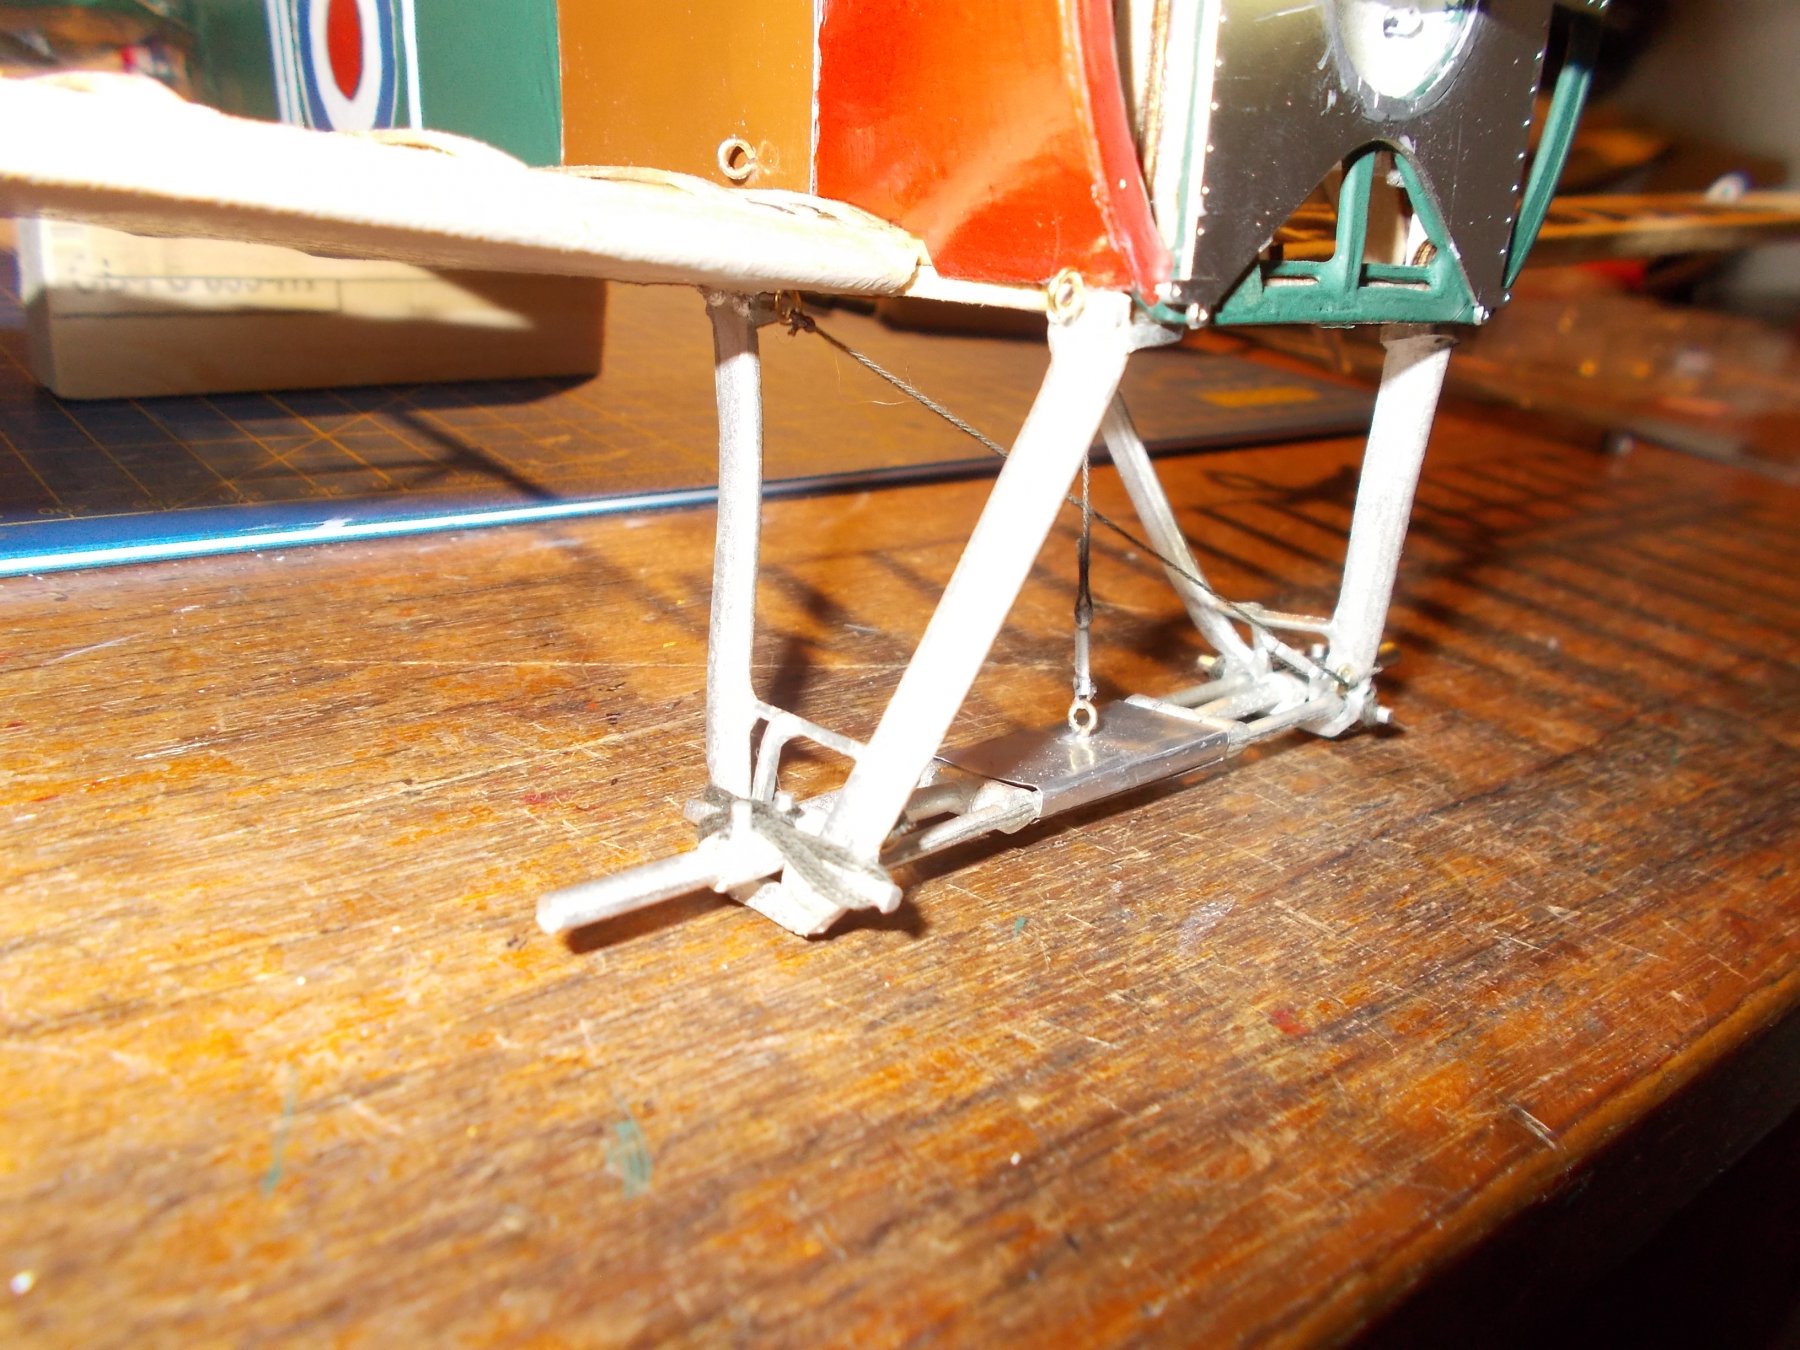
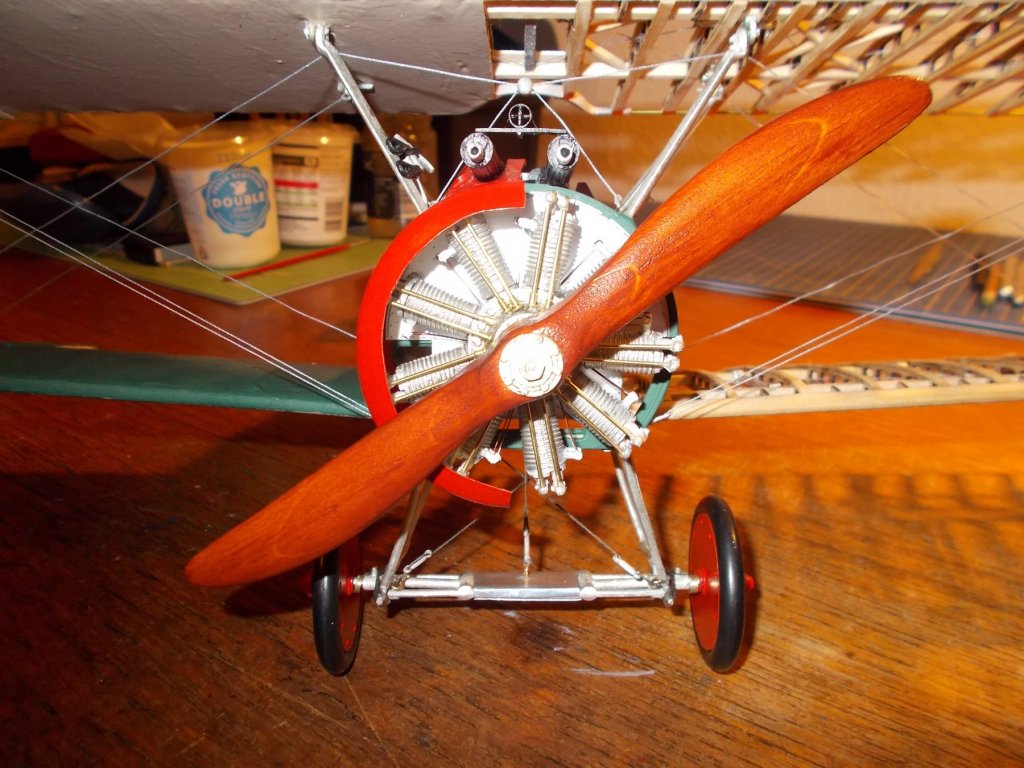
Hooray, my bits have arrived from Model Airways so on we go I have done the undercarriage framework although I have to admit to doing the rigging three times because I was being a numpty ! I have also drilled the holes and fitted the eye bolts to the cabane struts. I am very glad I am lucky enough to have a proxxon drill press as drilling those holes would have been a real headache by hand. Now of course I have to try and fit them on !! John - did you use epoxy for the struts ?