HOLIDAY DONATION DRIVE - SUPPORT MSW - DO YOUR PART TO KEEP THIS GREAT FORUM GOING!
×


Mike Dowling
-
Posts
1,234 -
Joined
-
Last visited
Content Type
Profiles
Forums
Gallery
Events
Everything posted by Mike Dowling
-
Don't be such a scaredy !! If I can do it anyone can. The rigging on the fuselage of this is much more complicated than the Sopwith but conversely the wings on this are much easier - if ever get to them - just wrestling with the tailplane at the moment.
-
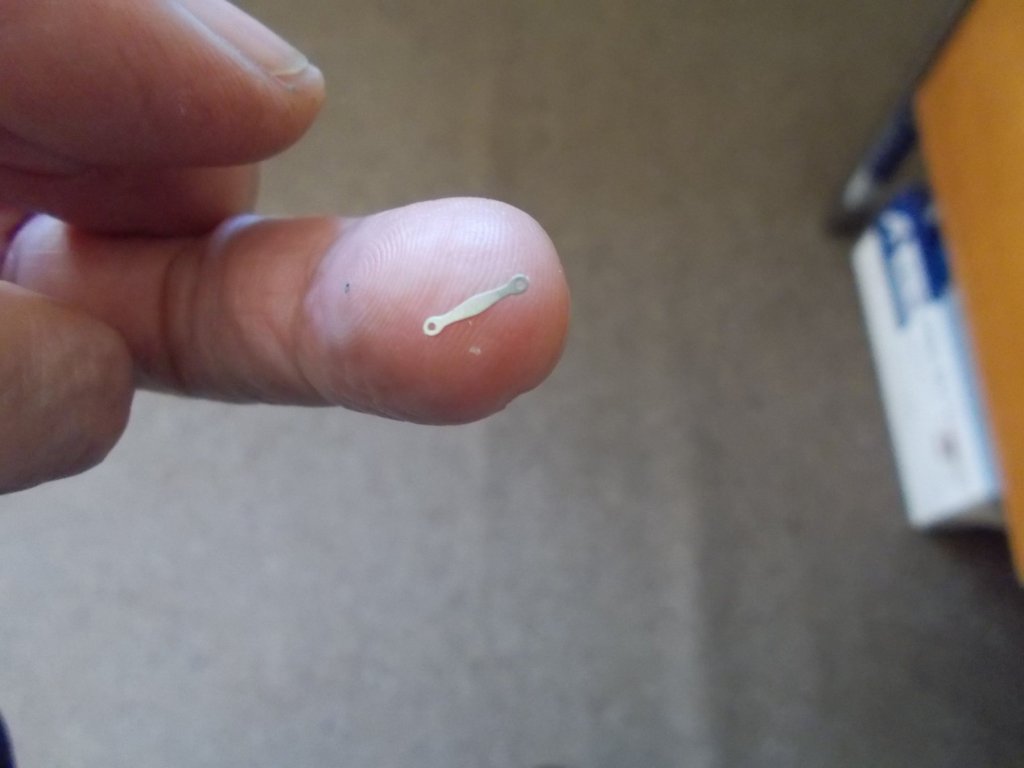
Firstly a big thank you to all who are watching and liking what they see. Its great to be able to share the log. Now, here is a turnbuckle. After 36 of them and a lot of string (!!!) here is what it looks like now.
-
There are a lot of pieces of brass tube that hold the metal sections together and small indents in various places where bits have to attach. If that's not what you mean Popeye then I didn't clean the edges well enough with filing. I thought I had done OK. Now, joking apart guys, the Sopwith I made which was a model airways kit did have the correct articulations to make everything move in theory. What let the situation down was two things. Firstly the thread supplied for the cabling was quite stretchy and secondly a couple of what should have been pulleys in the wings and rudder bar were not smooth enough to allow the thread to move freely across them. The end result was that everything did move as it should but not enough. John Blackwell who also did the Sopwith had I think similar problems. Obviously the AL kit was never intended to have moving parts. I don't know if the model airways version of the fokker does but I do know that the Albatross I have in my stash should !! In the end who is going to move them anyway ? I can't find 1/16 pilots anywhere although I spent ages looking.
-
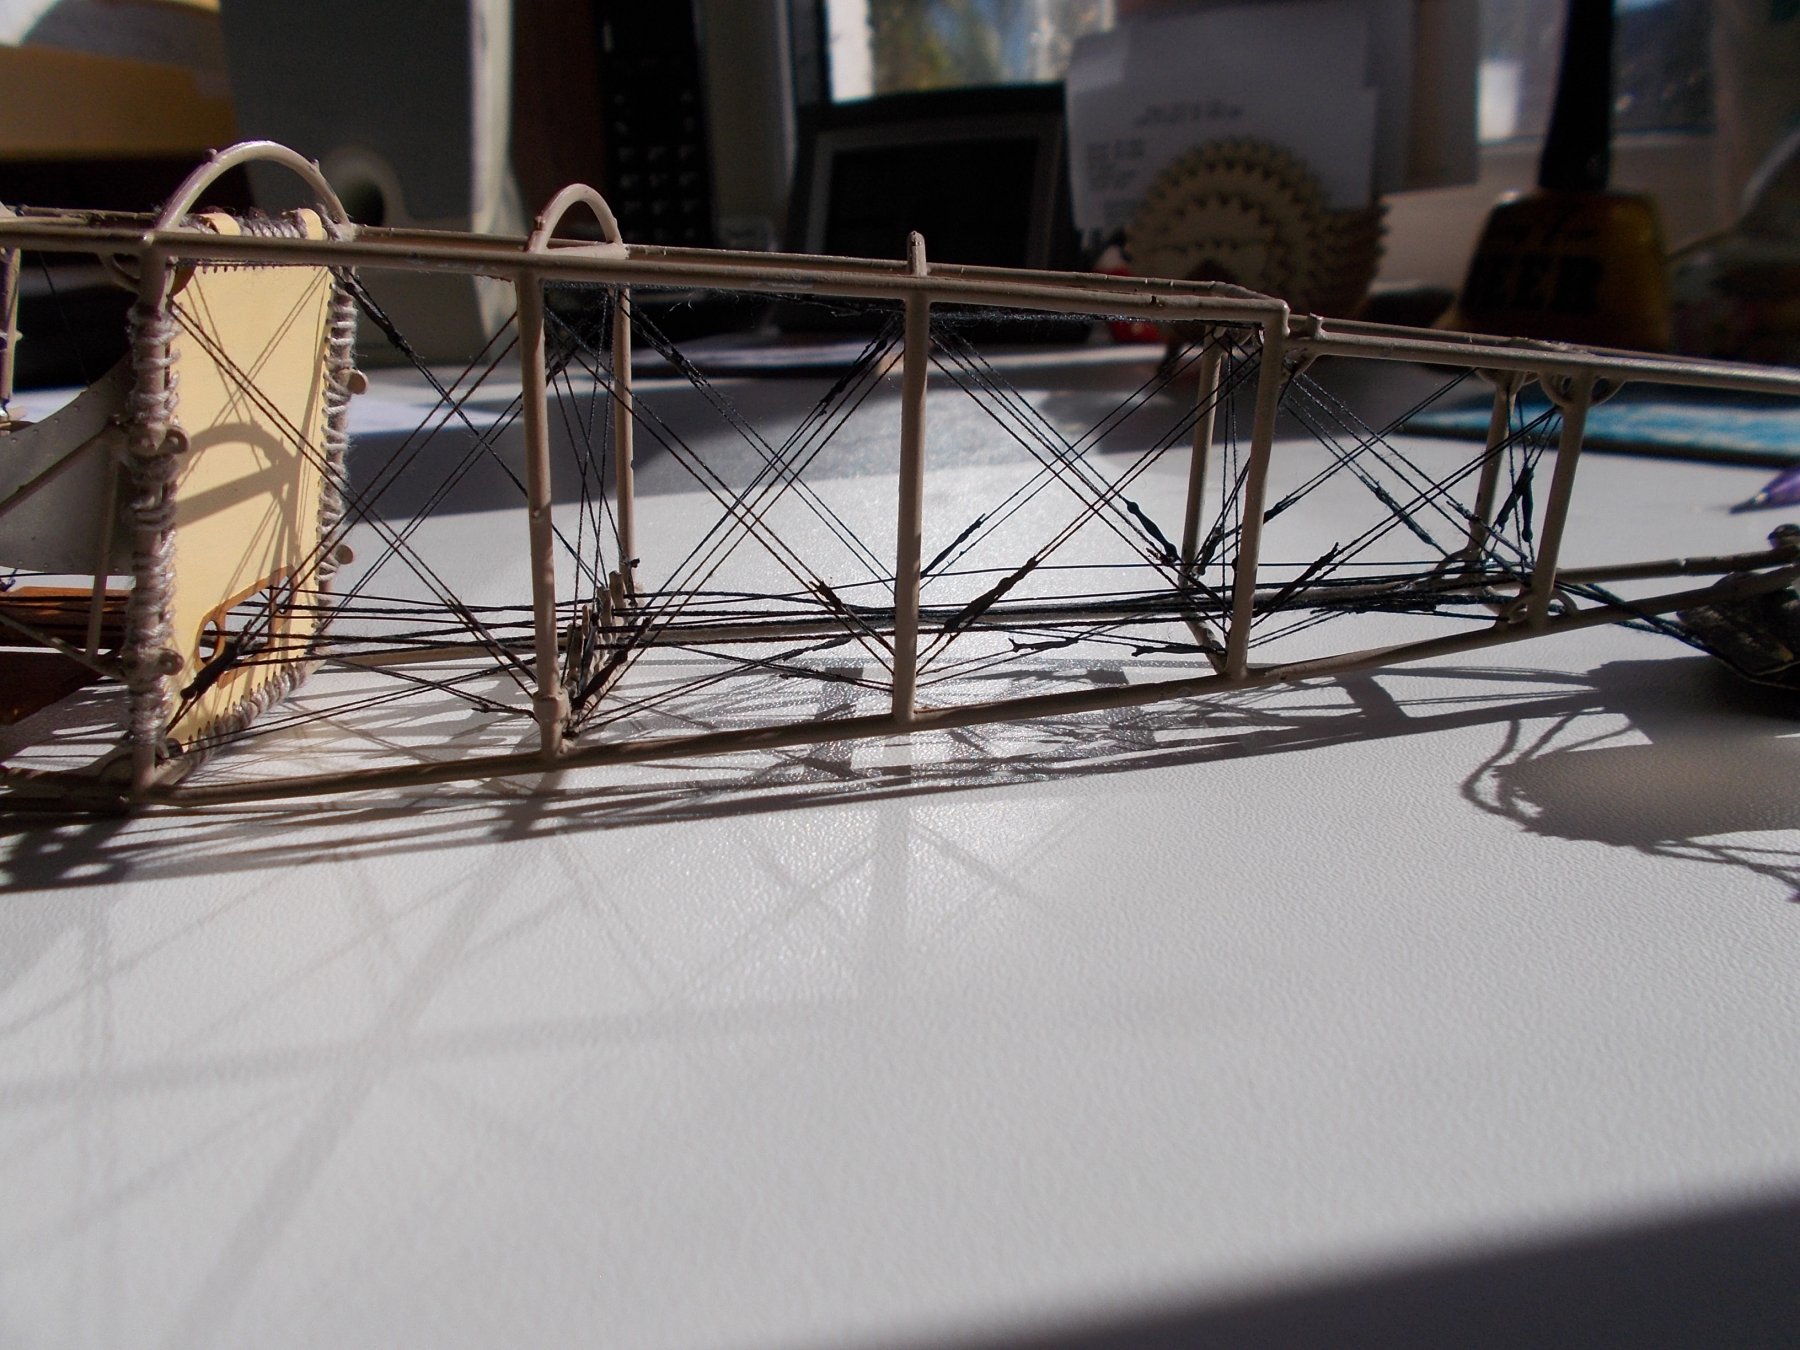
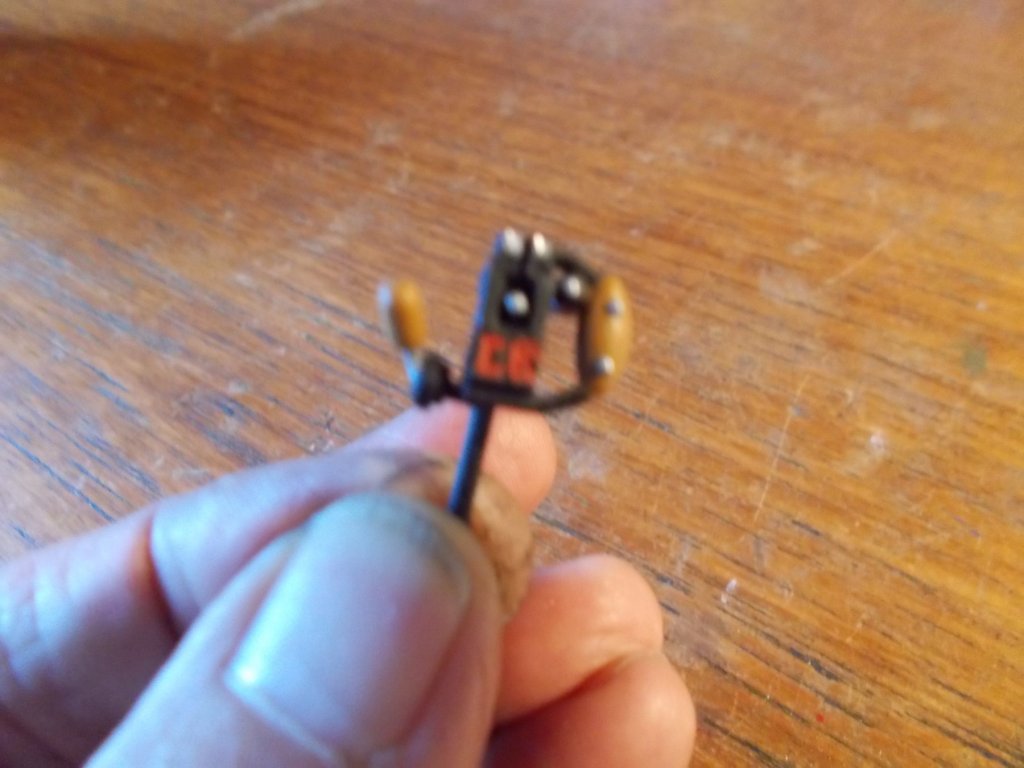
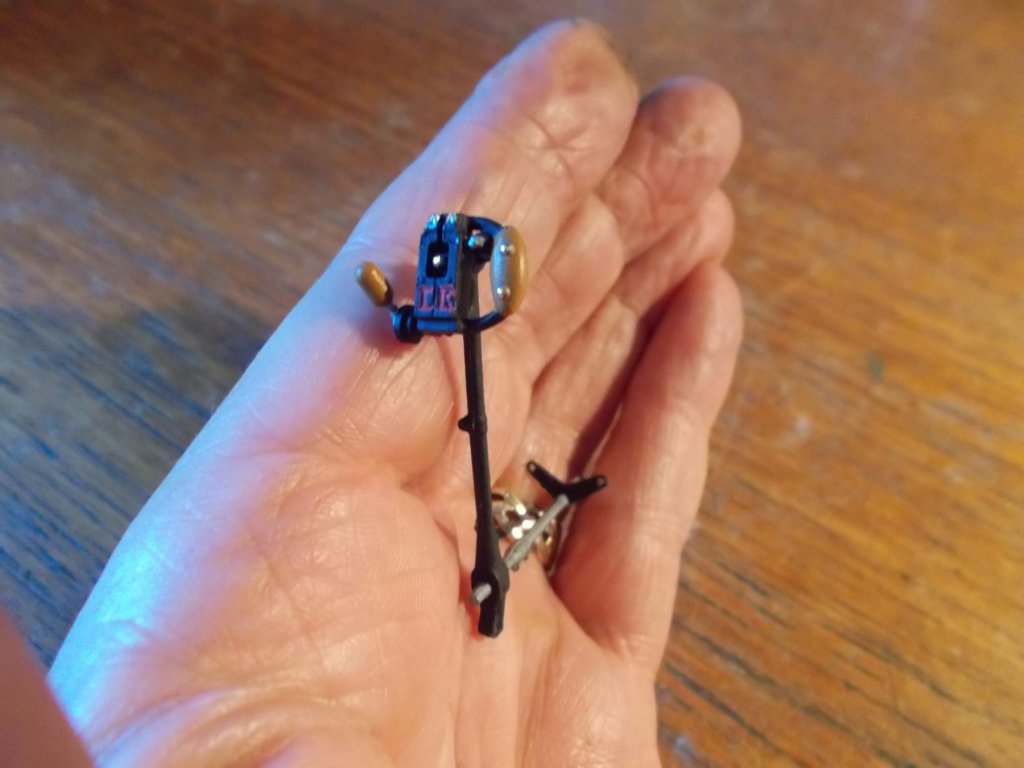
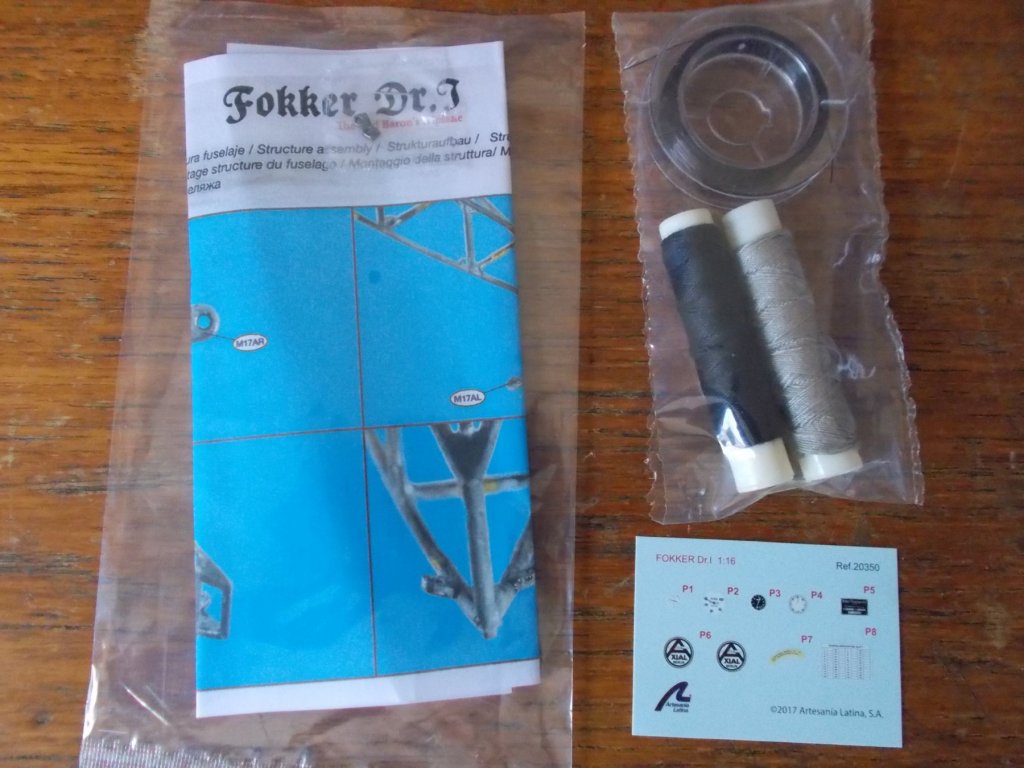
Popeye, everything you see is metal, no plastic at all on this kit except for the plastic thread provided for the tensioning wires which, by the way, doesn't work. Despite the video instructions on how to do it the thread will not stick to the deadeyes. I have had to resort to black polyester thread instead and sofar have done about half of them. I know what you are thinking Carl and you can stop it !! This plane is going to be for'static display' definately. I only discovered this when I put in the control stick which has no articulations at all and my skills are not up to scratch building one that has especially at this tiny scale. Neither does the rudder pedal so the same applies. You will be wanting me to build one with a working engine next.
-
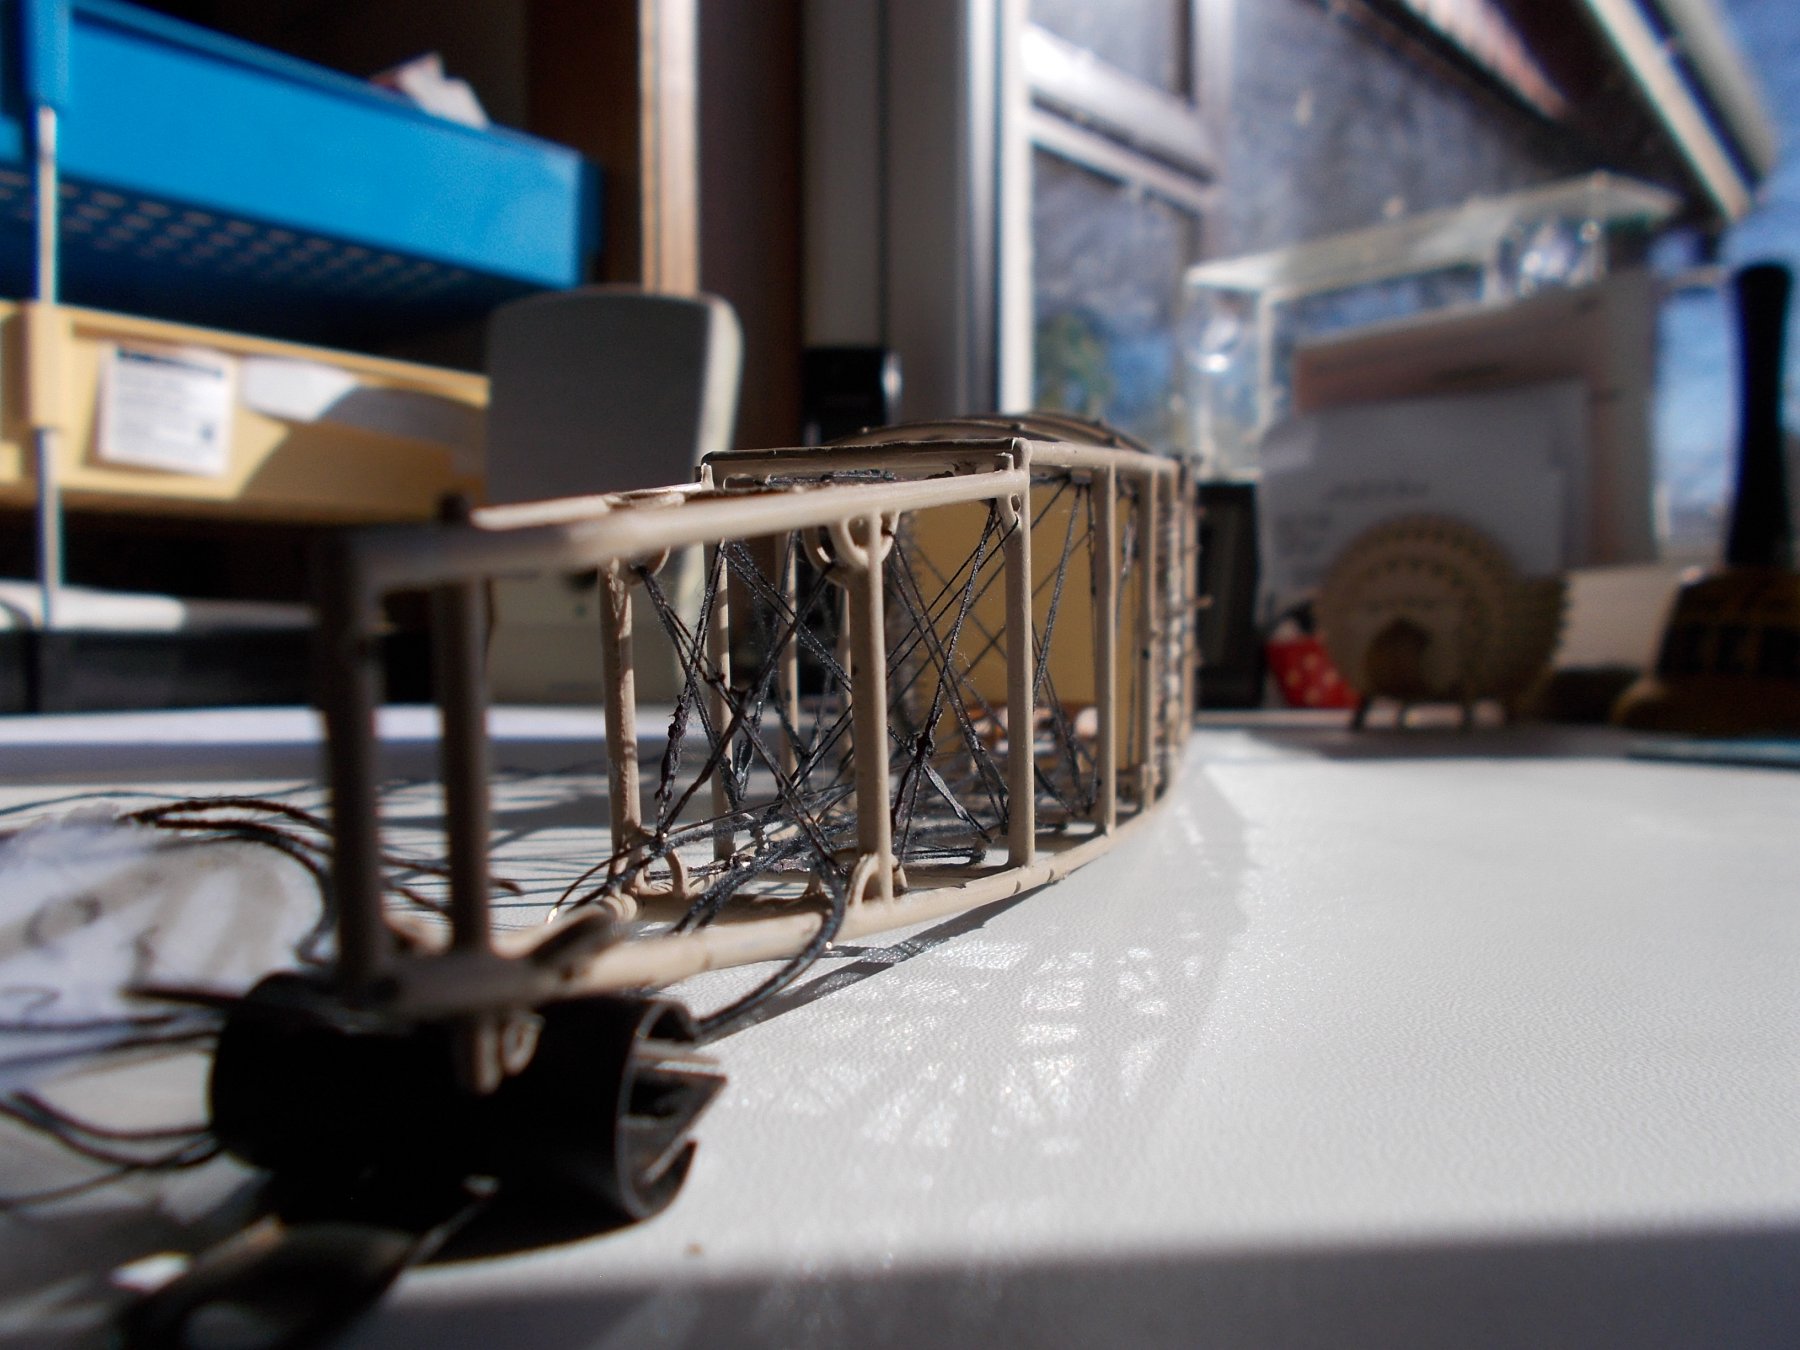
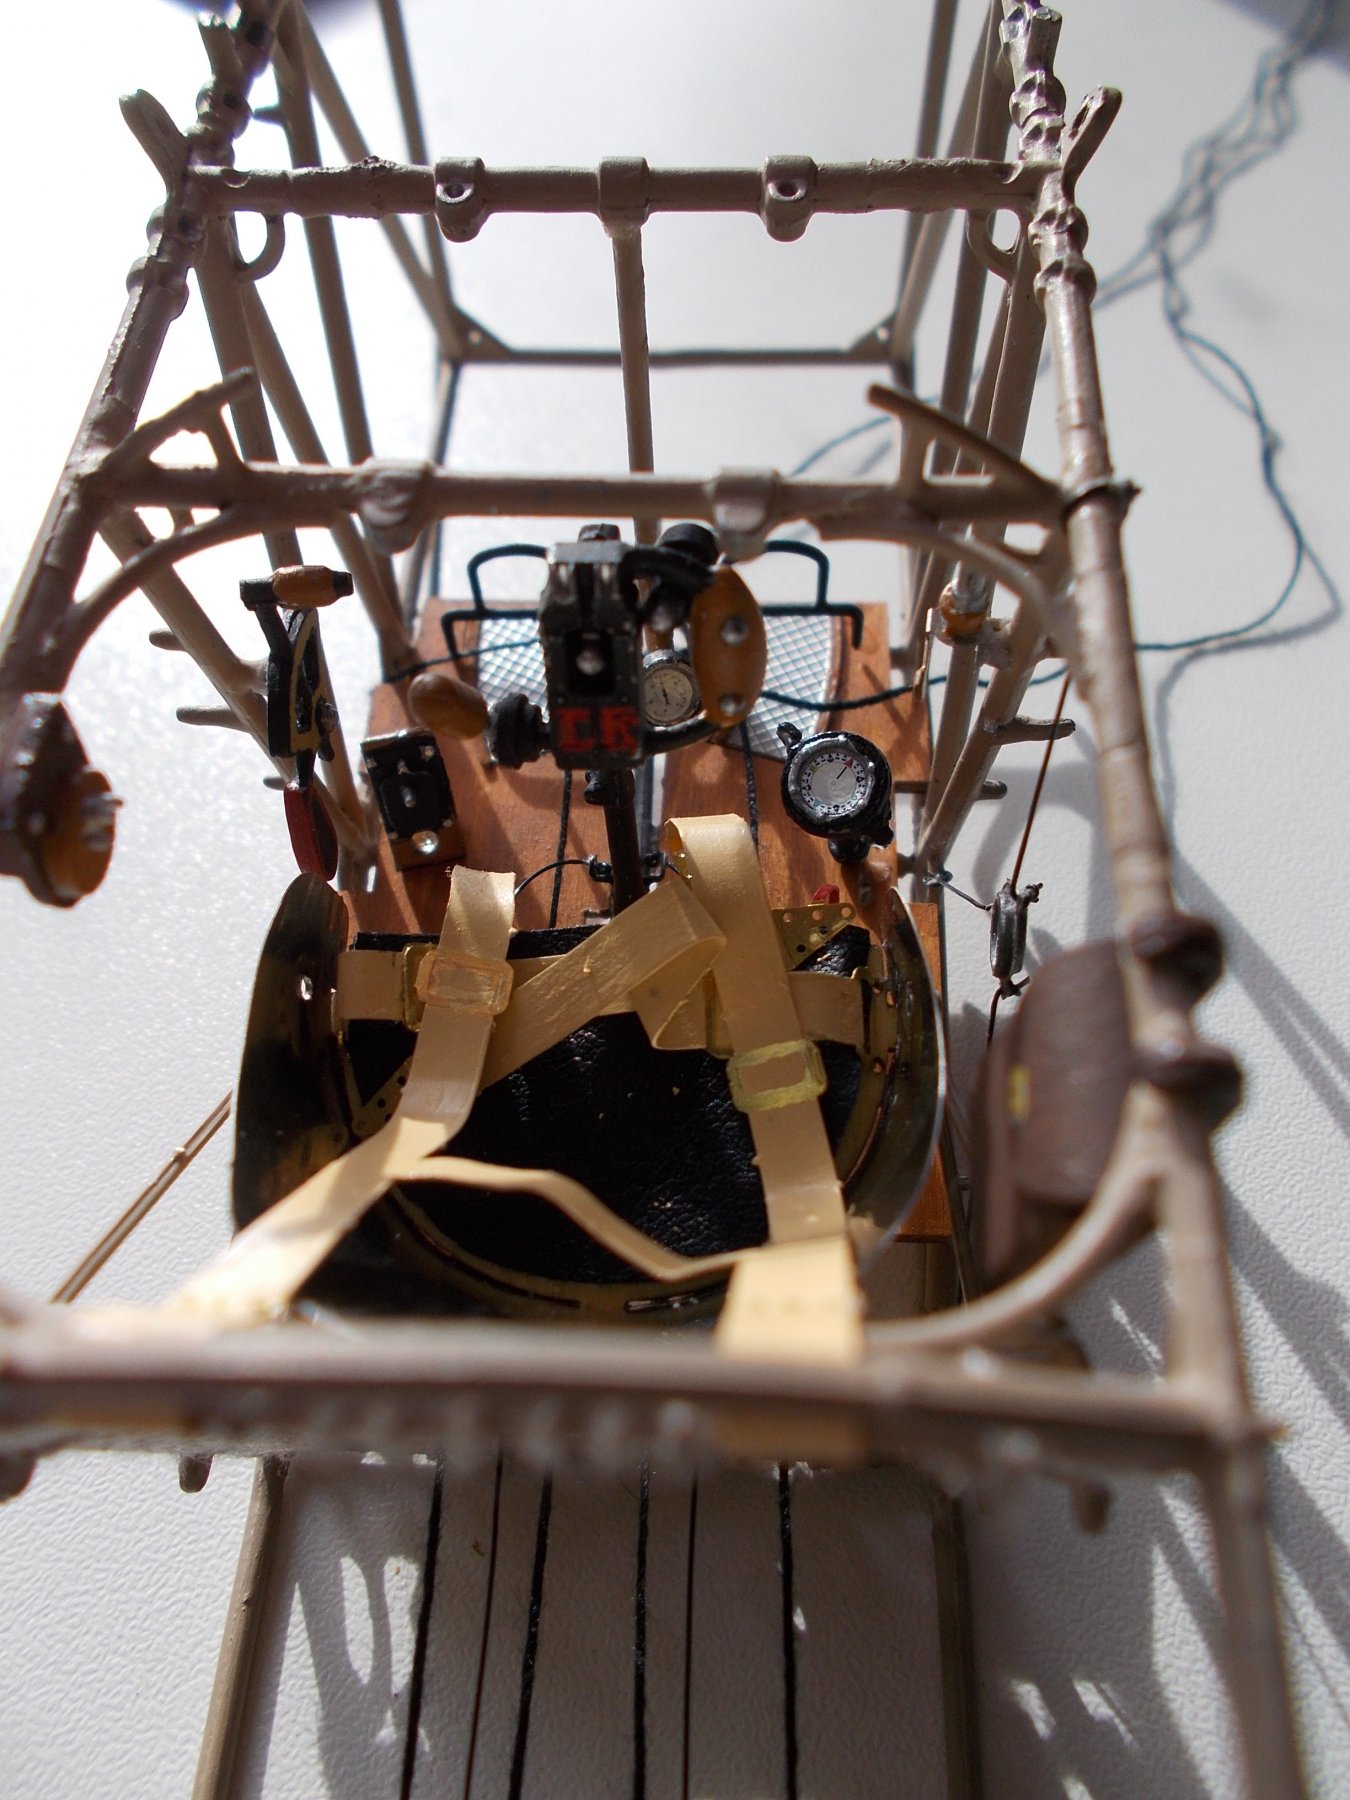
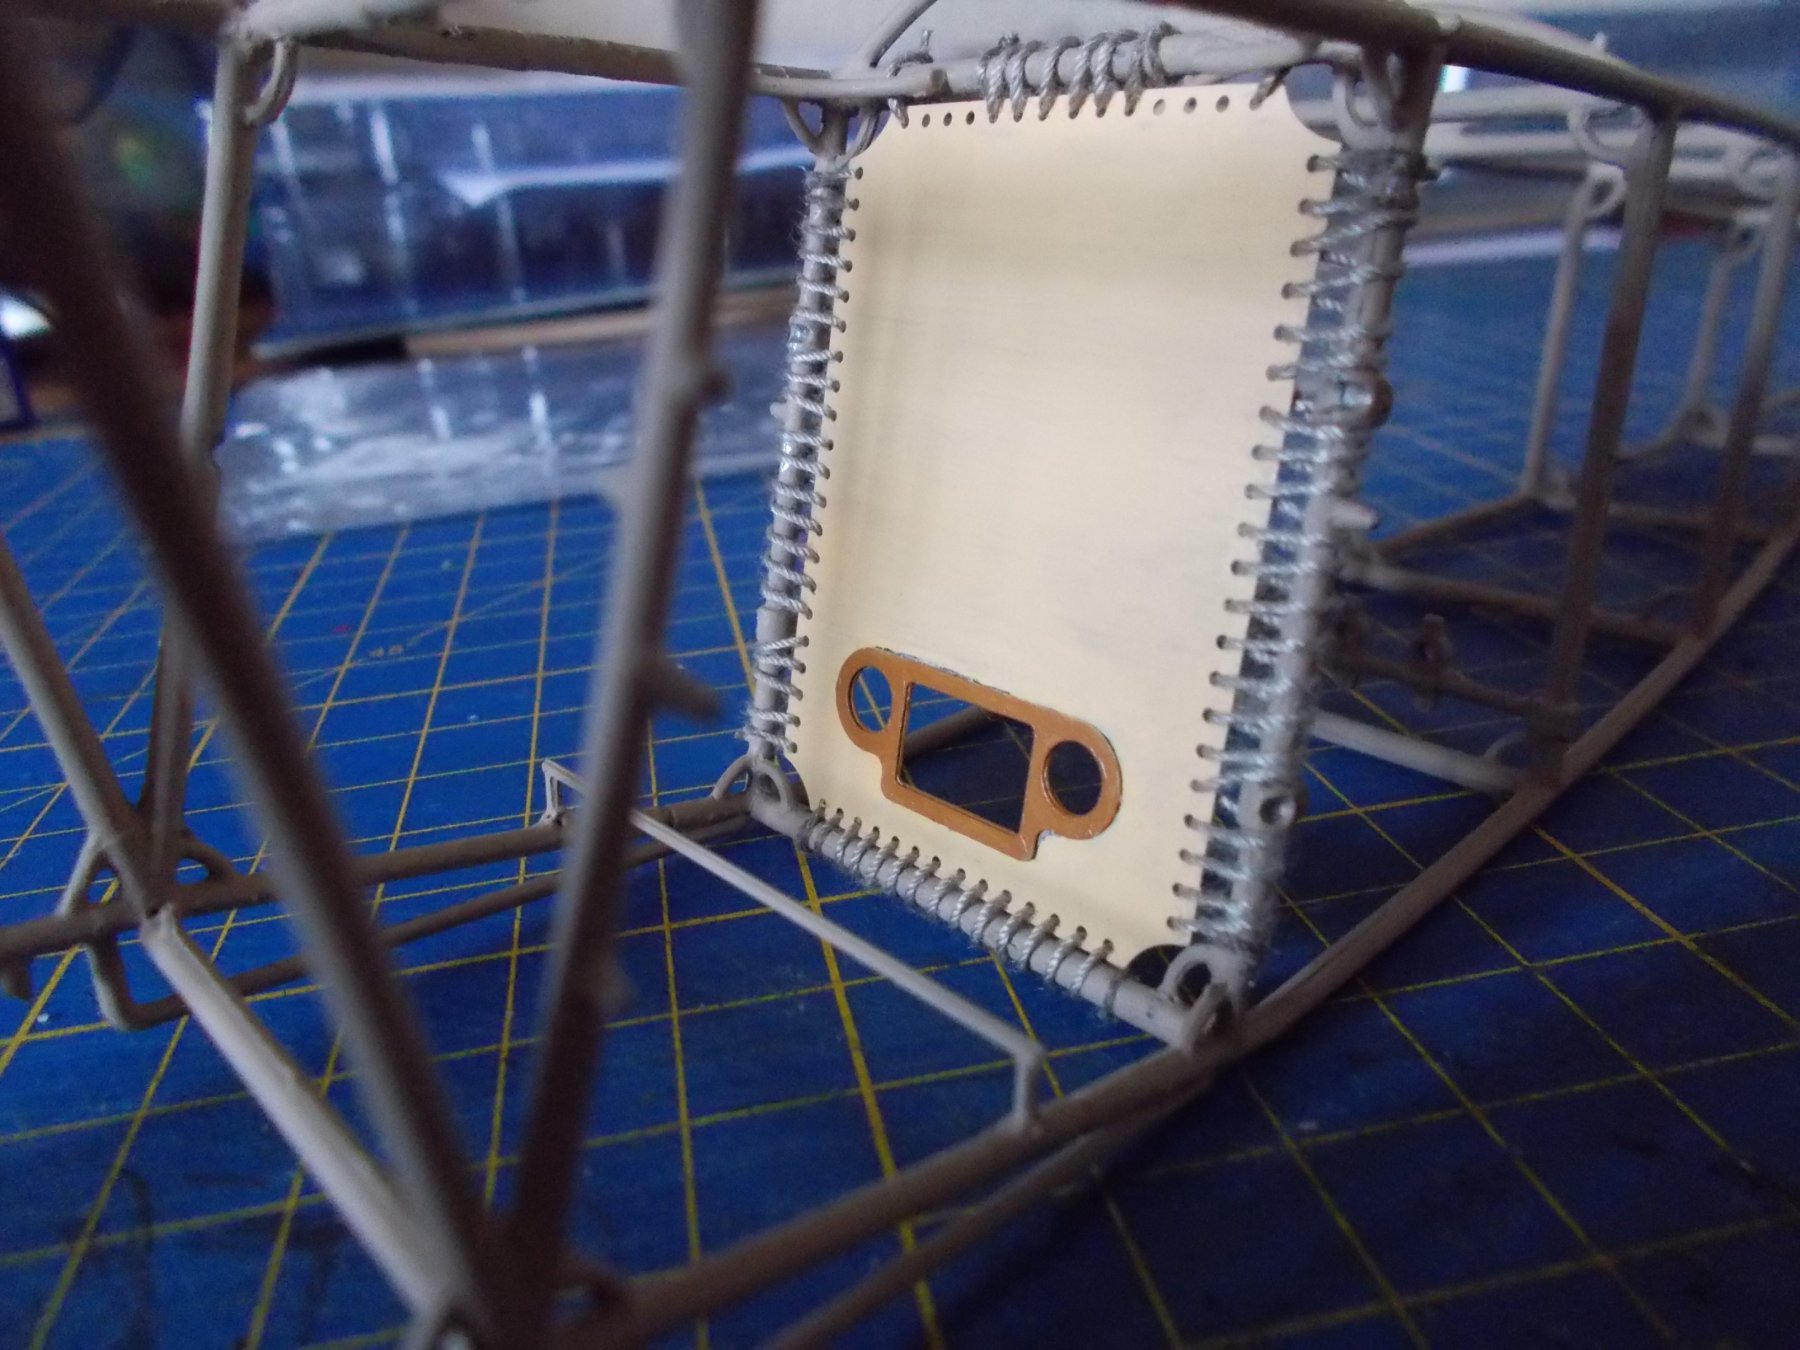
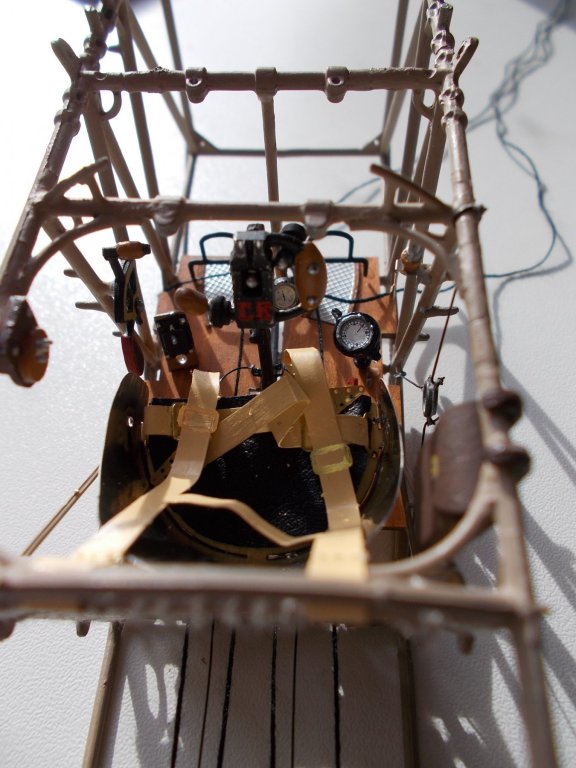
All the cockpit instruments are now installed. I took the precaution of laying in the cables before putting the seat in and am glad of it. I don't think I could have threaded them through some of the tiny holes afterwards. Next step is to install all the cross brace tensioning cables and there are quite a few!!


- 141 replies
-
- 17
-

-
Not quite my friend. What might sway your choice is that the rudder, ailerons etc on the Sopwith were supposed (!!!) to move when the model was finished. On this one, despite the appropriate cables, they are not supposed to function.
-
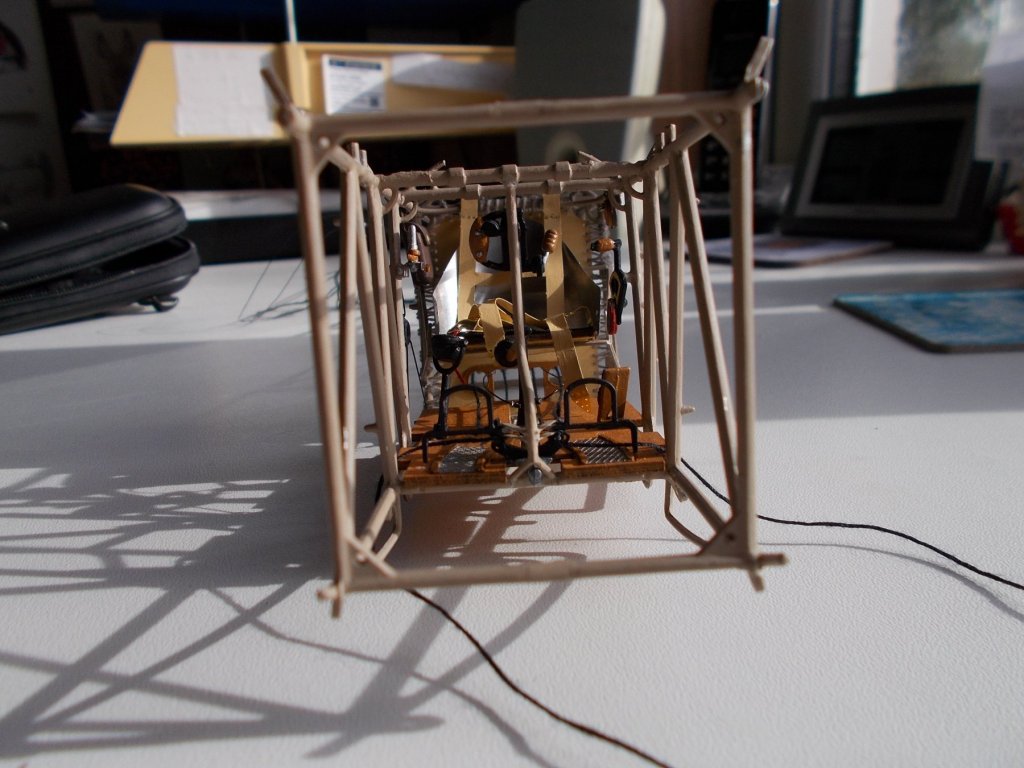
I also discover that the piece behind the pilots seat is called a bulkhead though it doesn't really compare to that on a boat. Anyway, I have 'rigged' it on !

- 141 replies
-
- 11
-
-
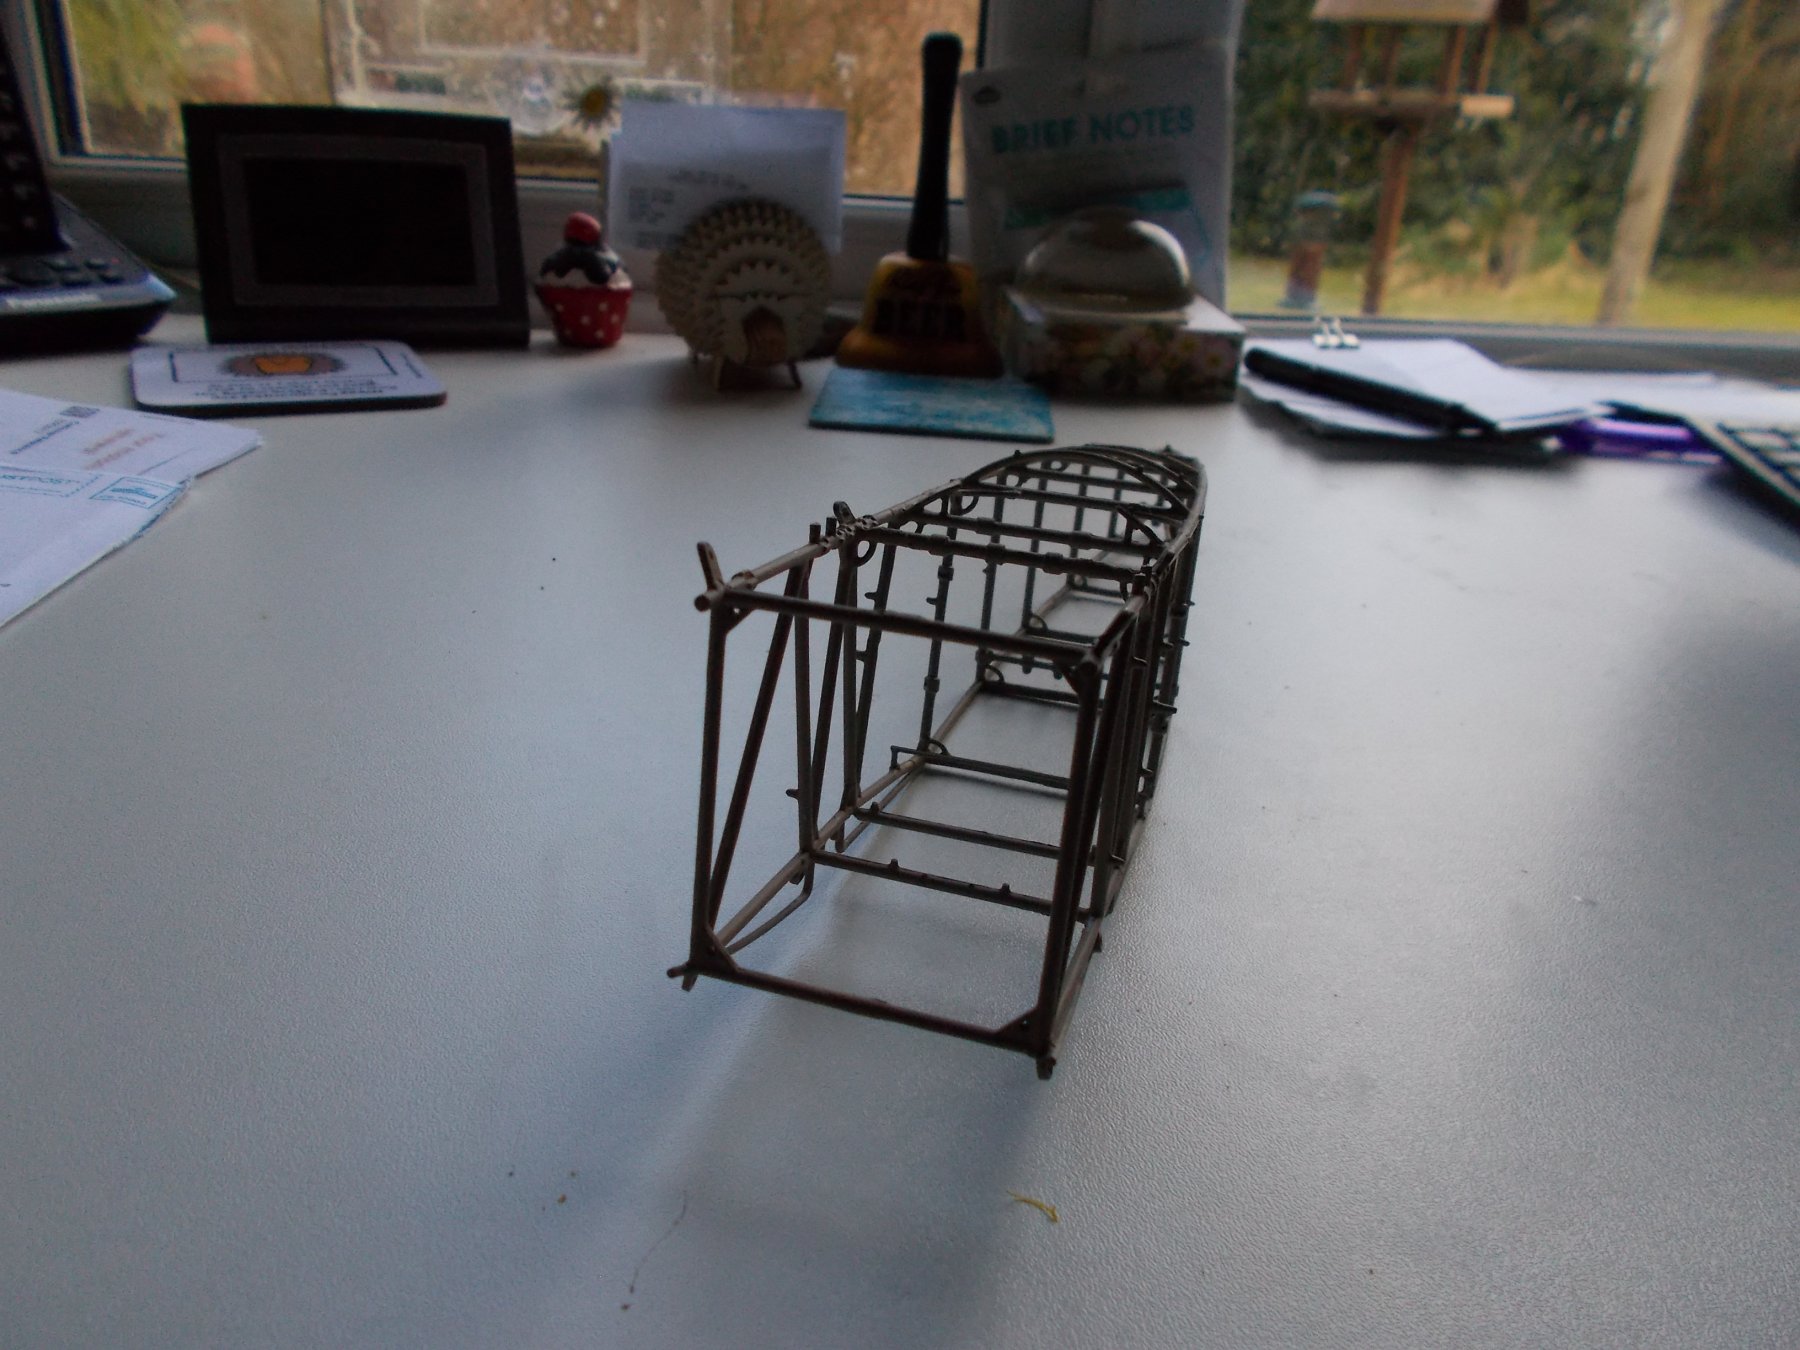
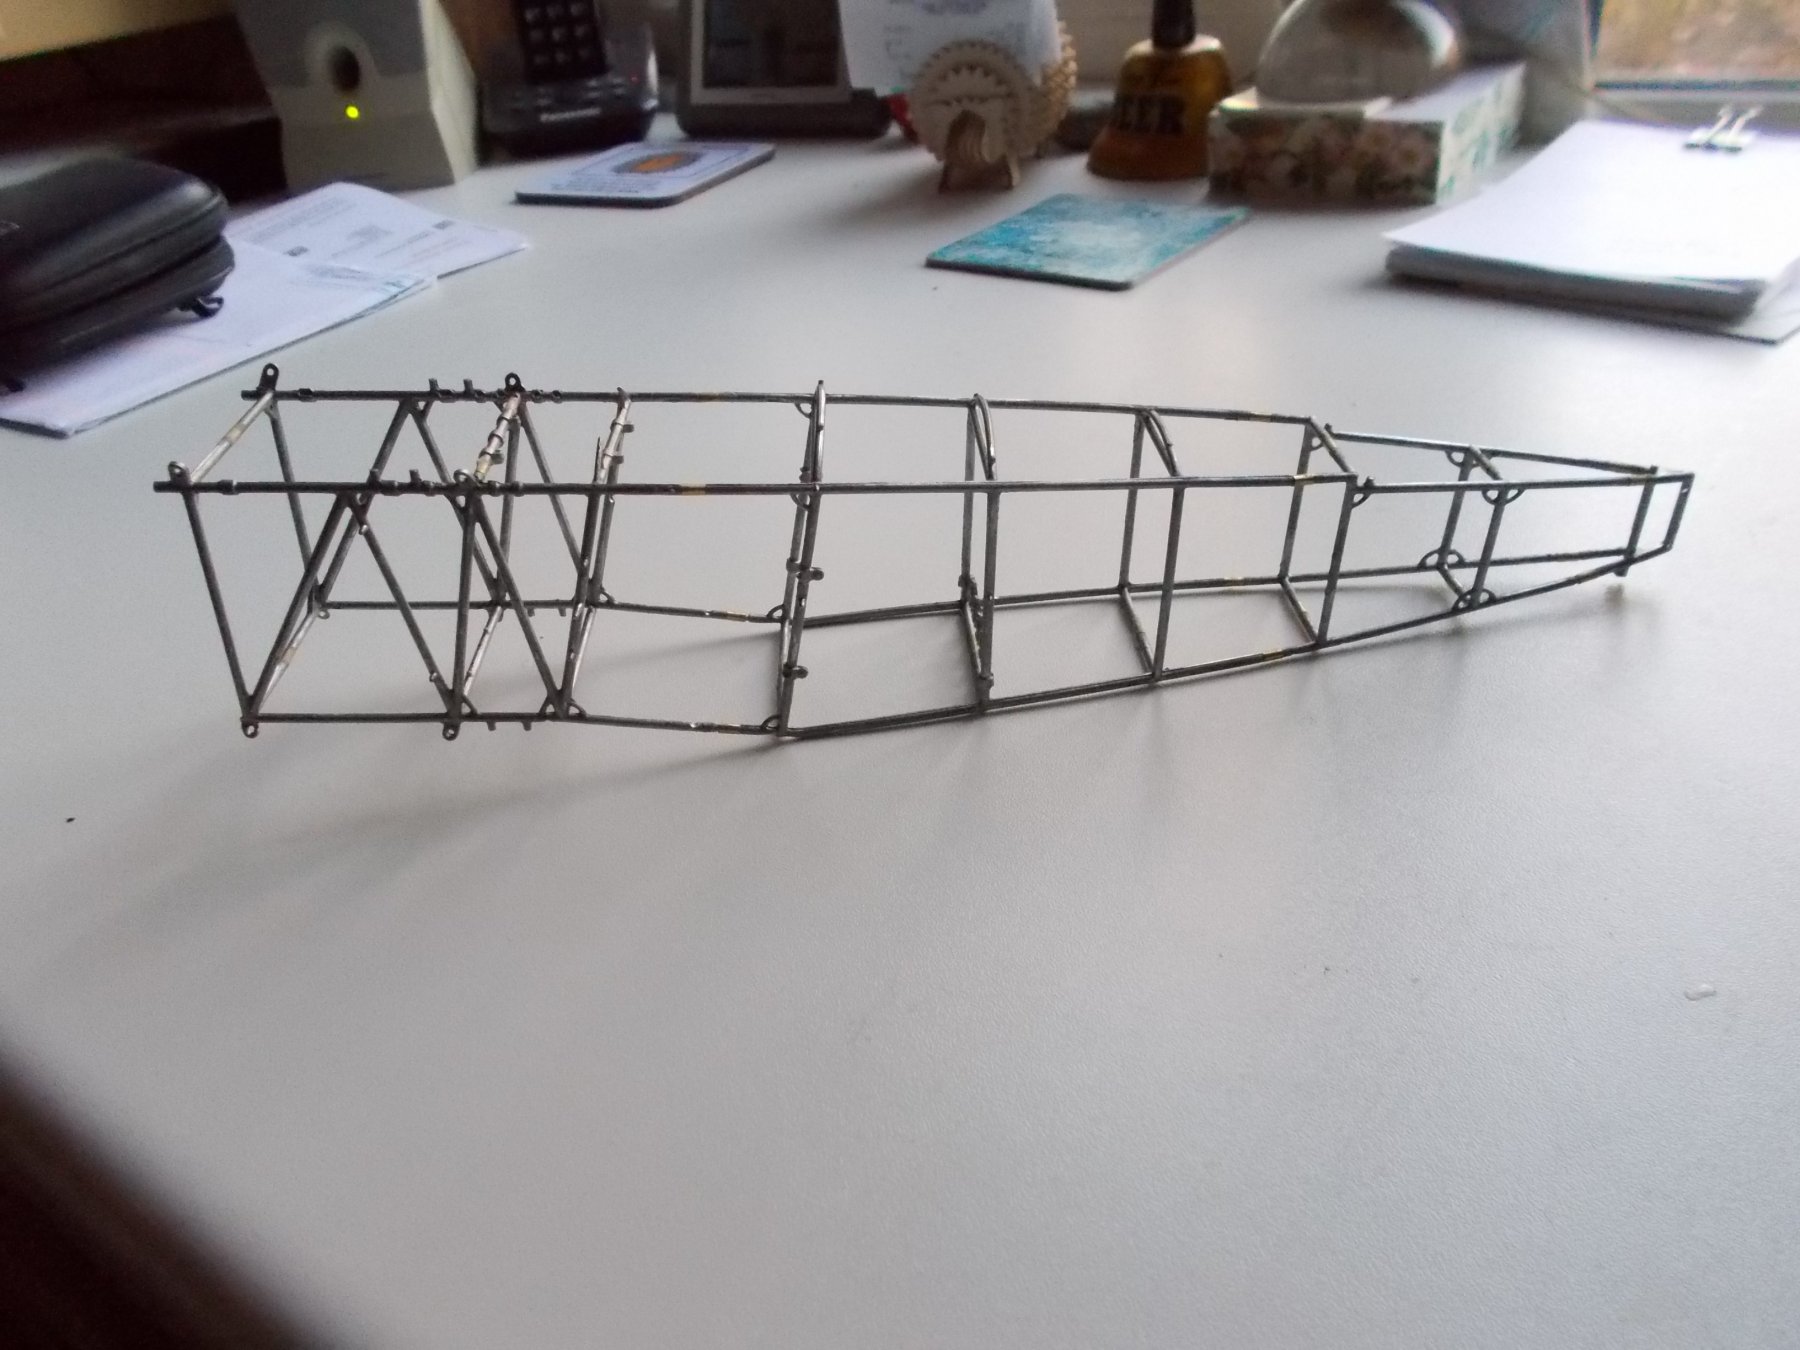
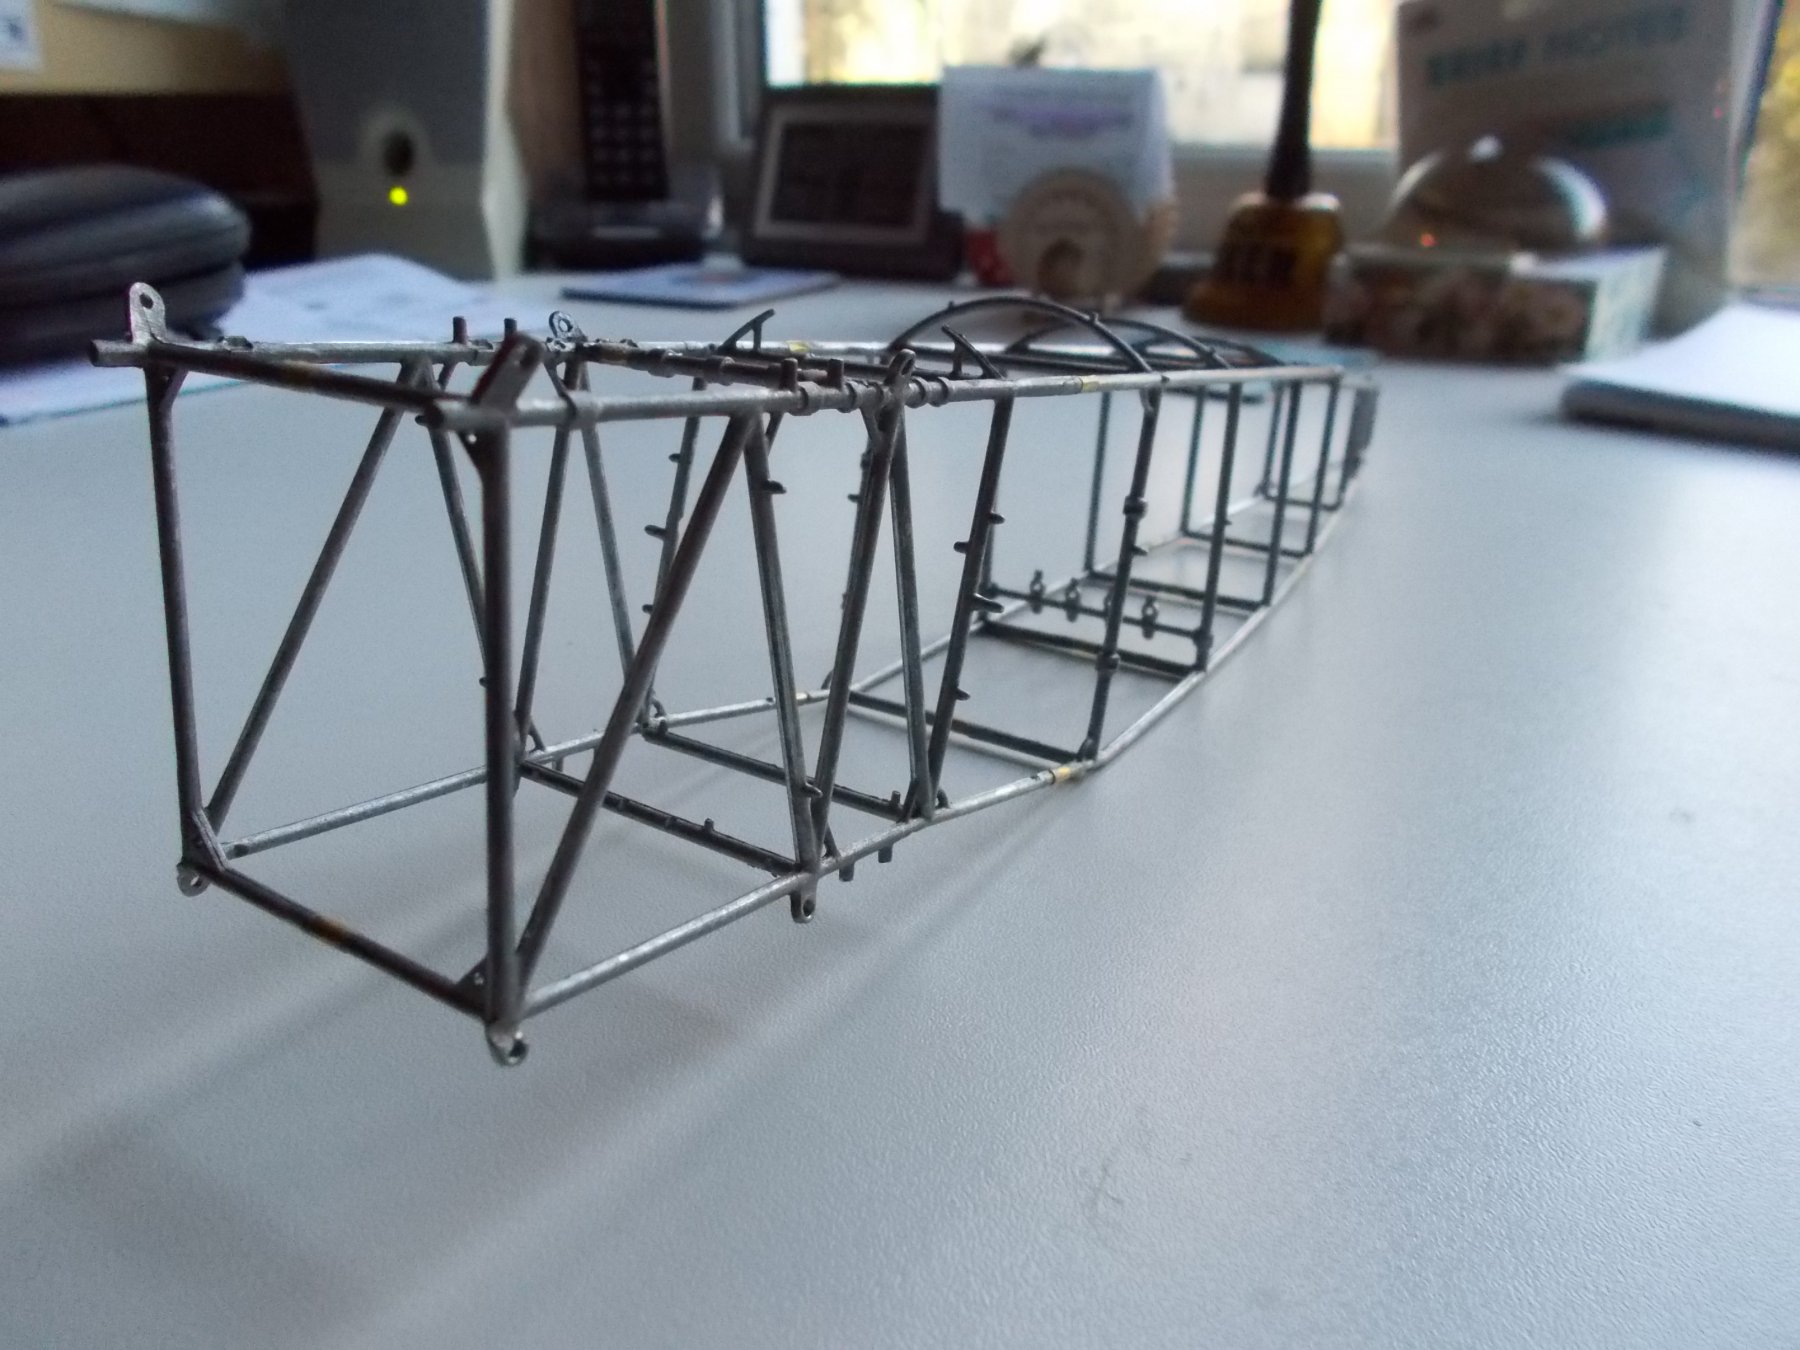
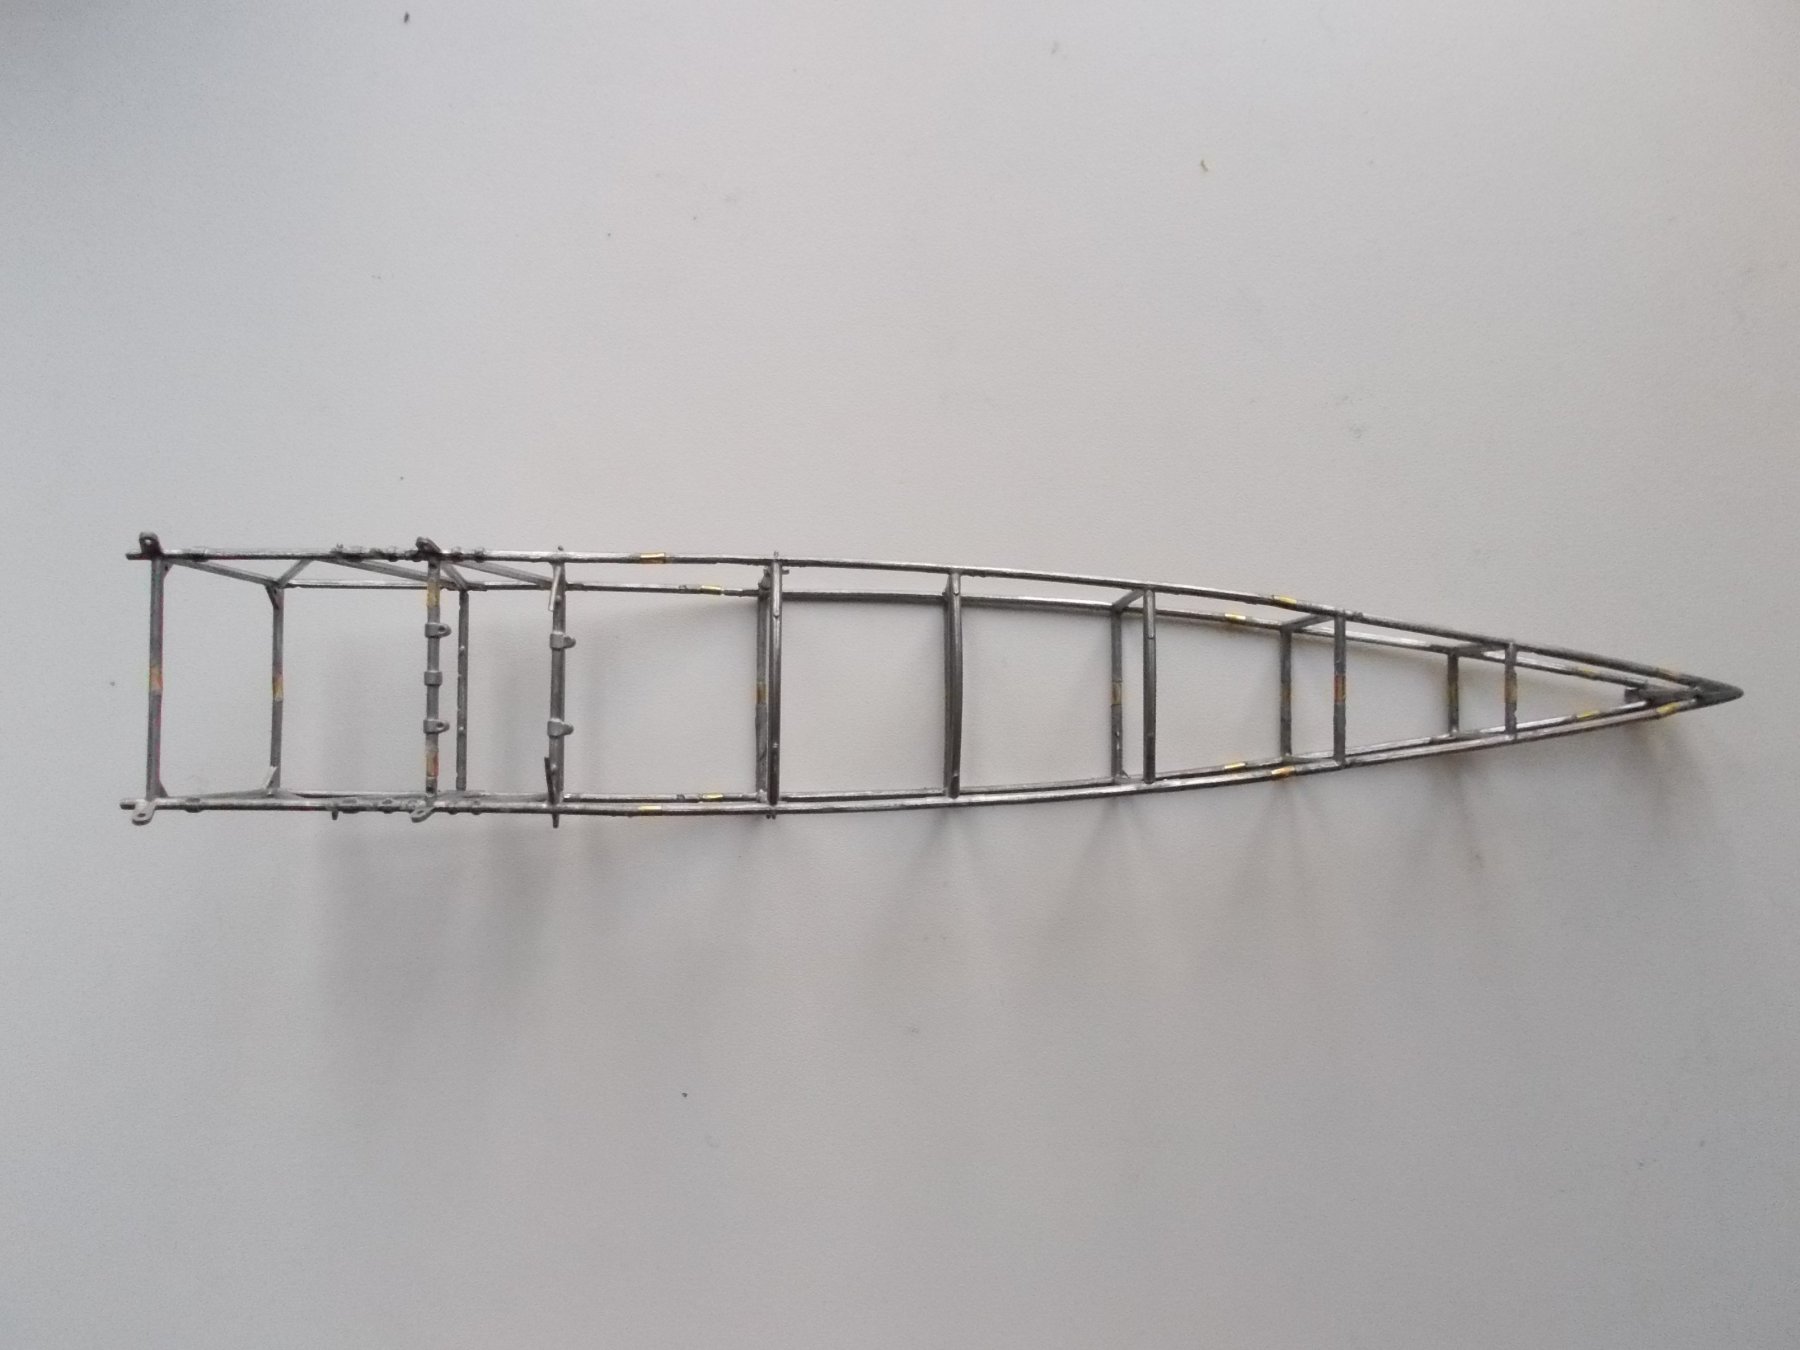
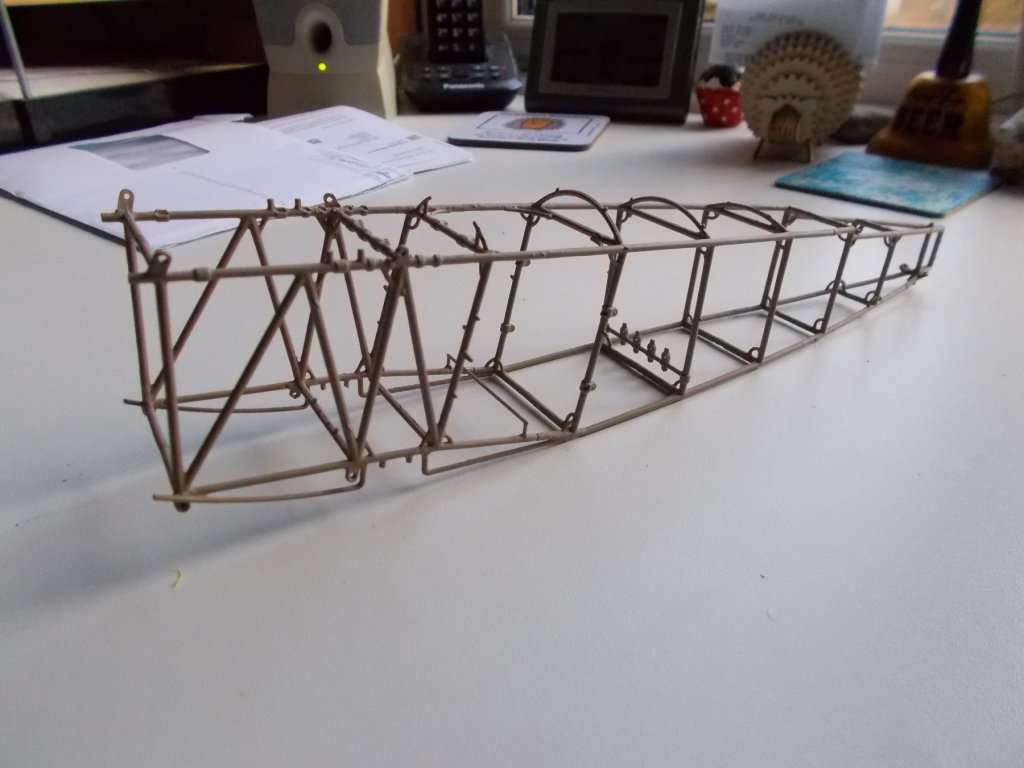
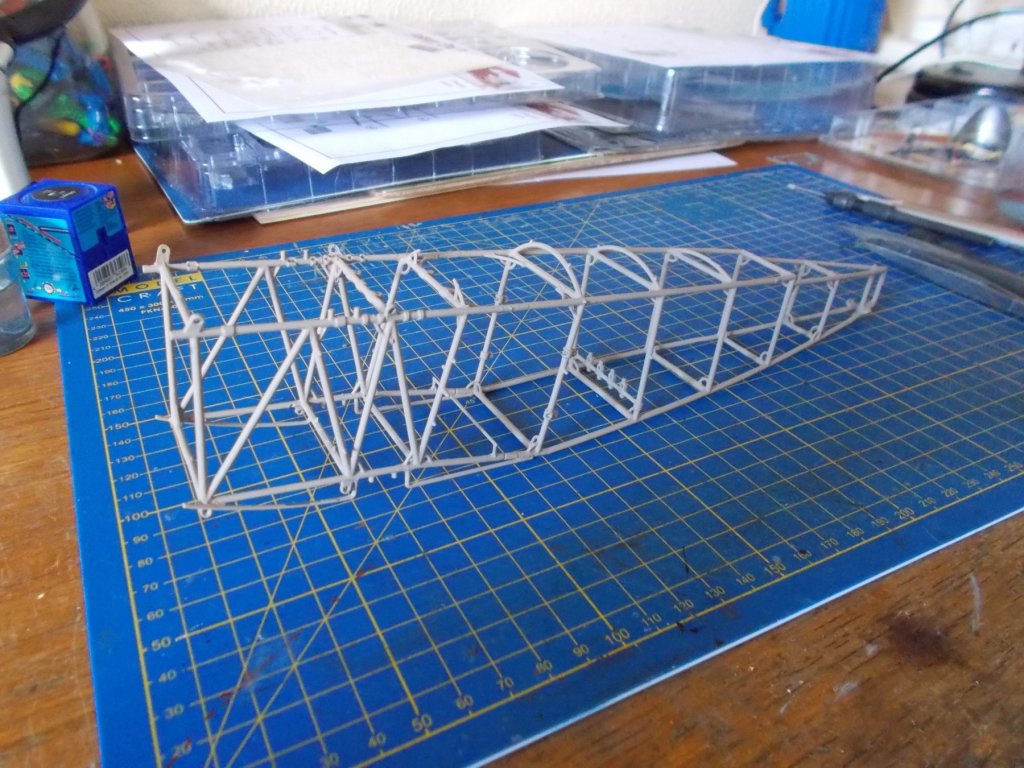
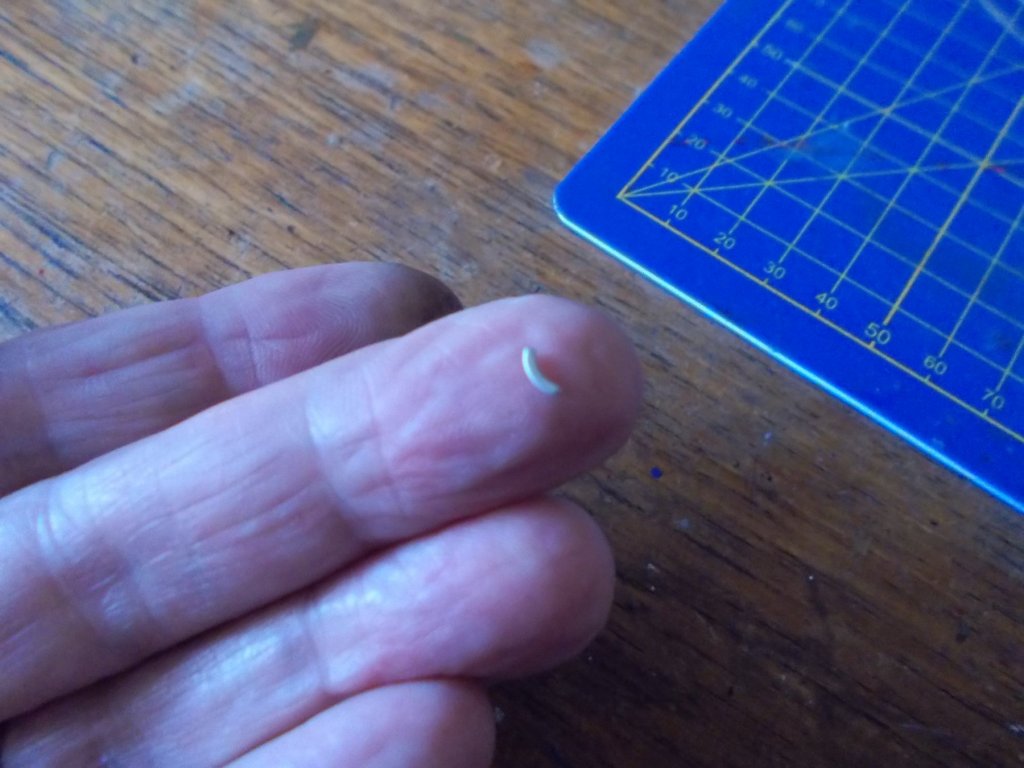
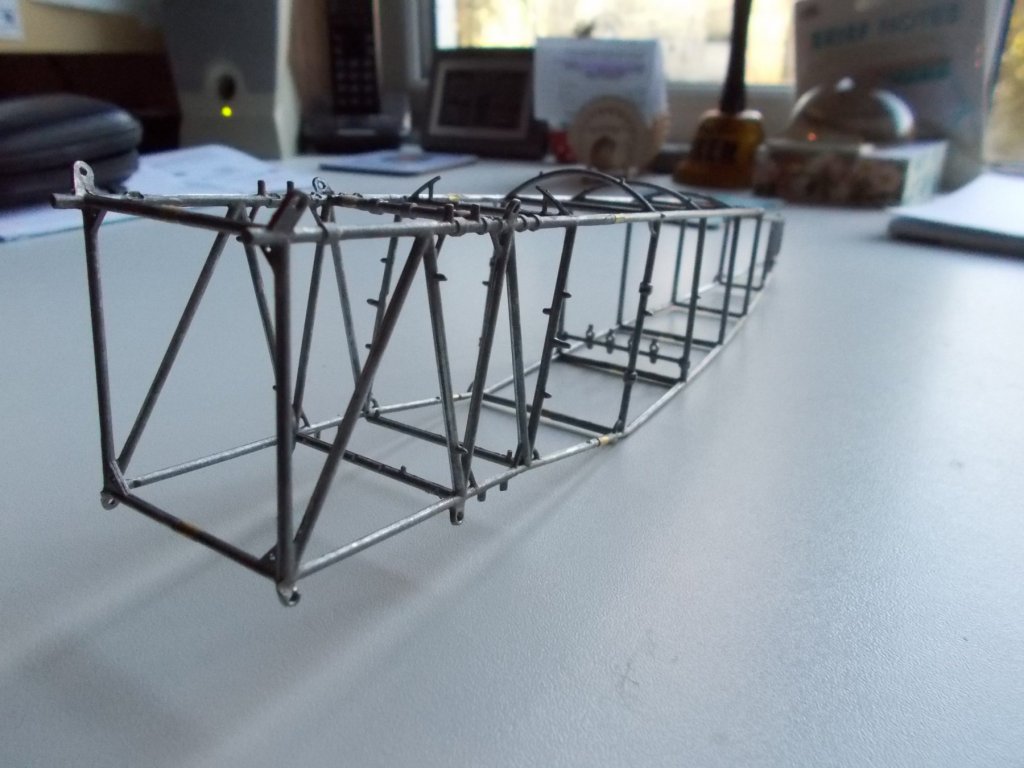
It will not look as though I have done very much but, all the required 'c' shaped pieces are on. I think I fitted about 28 although loads more were supplied. Each one had to be filed down after removing from the sheet - that was fun!Maybe that is why there were so many allowing for the fact that you were going to 'lose' some! I thought you might like to see one! It'son the end of my finger. I have also added some other parts on the fuselage frame. I have also painted it all ready for the next step which is fitting the cockpit accessories that I have already made up.

- 141 replies
-
- 10
-
-
Thank you for the question and I understand why you ask it. However, not at all easy to answer. Historically the Fokker and the Sopwith were built in completely different ways I discover. The Sopwith had a wooden frame whereas the Fokker had a metal one etc etc. So this kit is proving to be true to the real thing but a totally different build technique. I find the lack of written instructions and no plan sheets quite difficult as that would be our normal way of working but conversely the Fokker instructions have far more photos and the video clips are proving invaluable. It can be very difficult knowing which way up, round, pieces should go and there is not always an obvious answer. So really I think I have to reserve judgement for now which I realize is not a great deal of help to you.
-
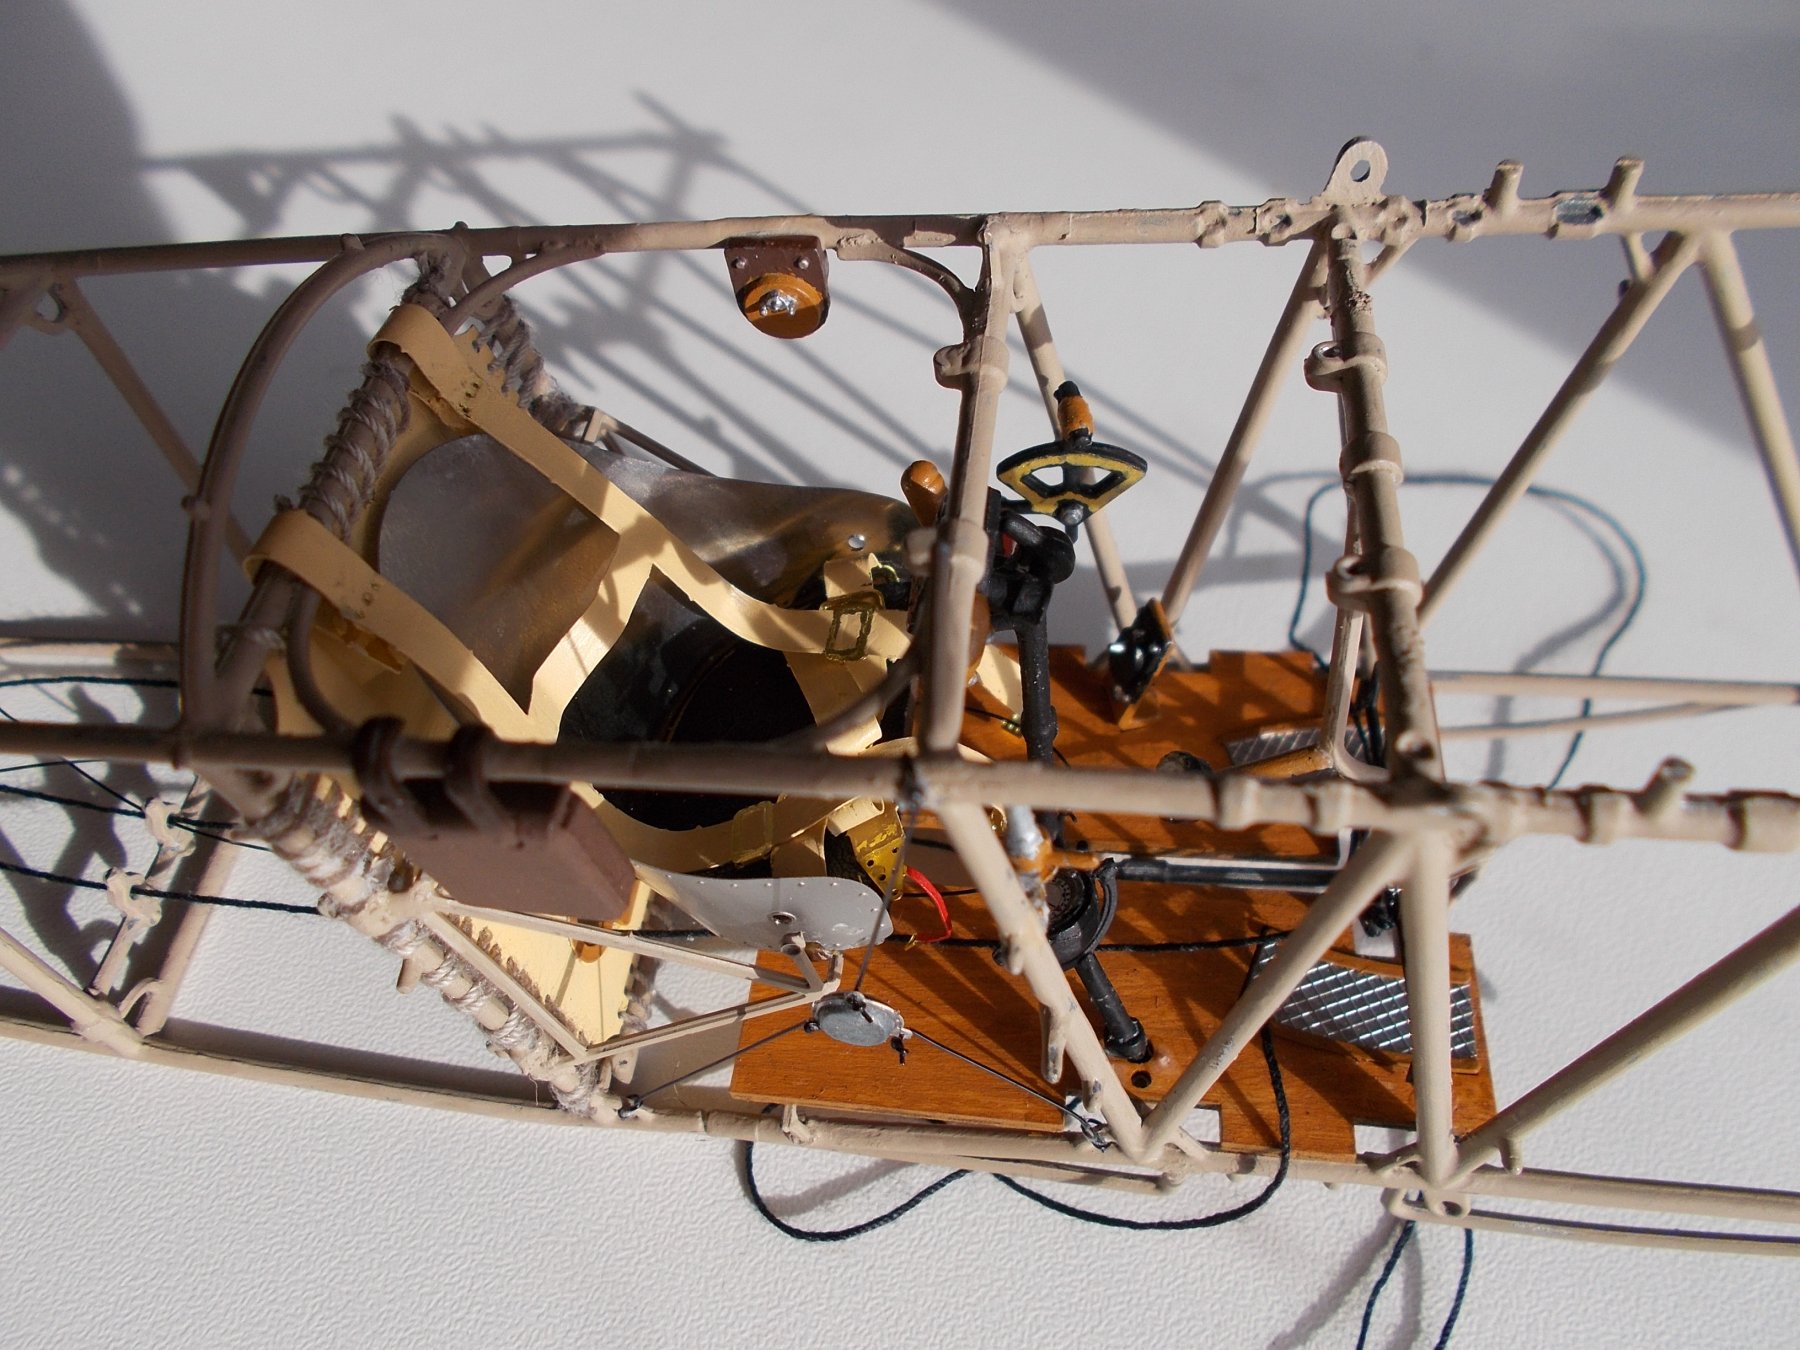
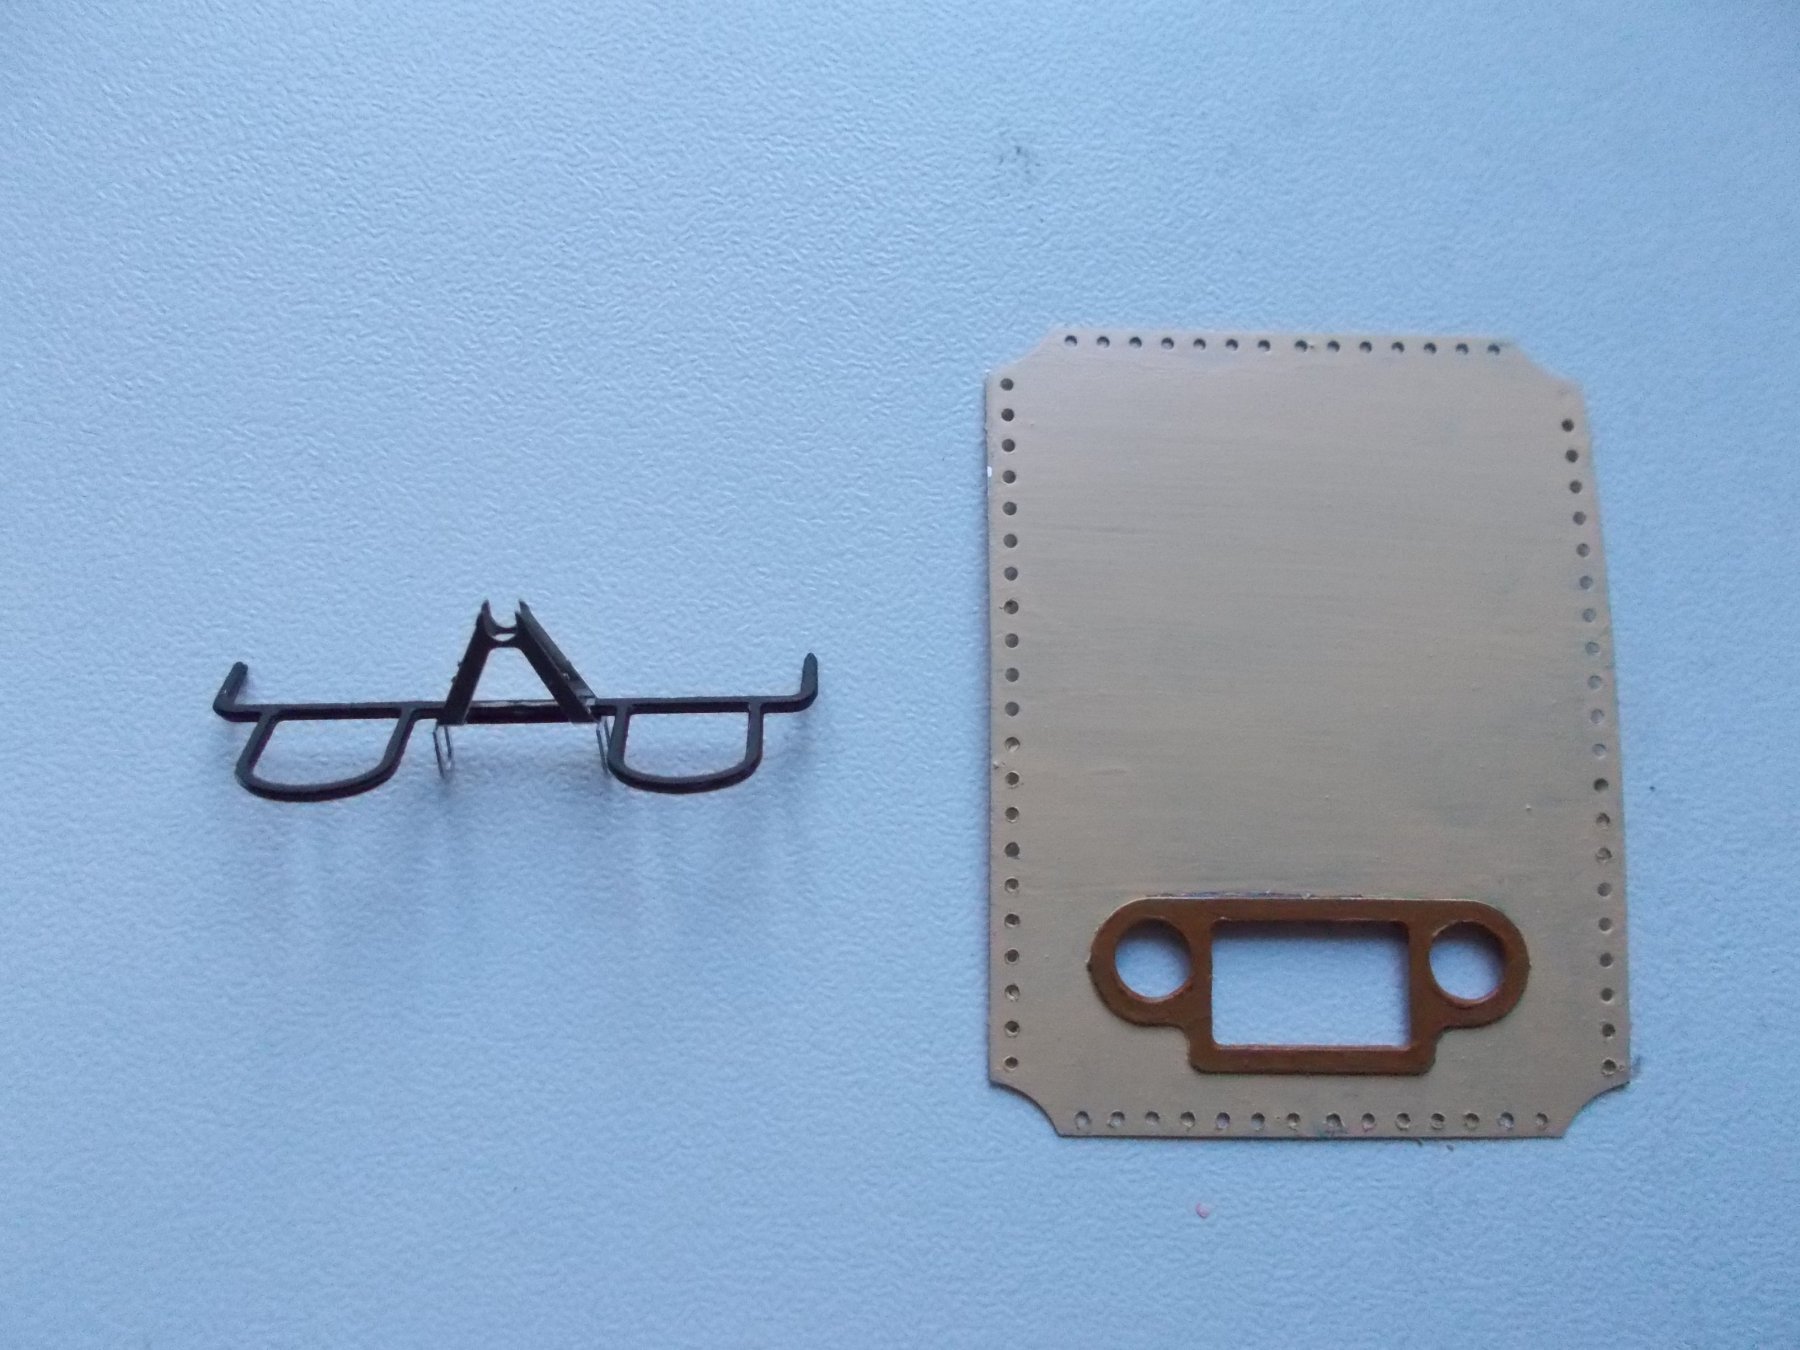
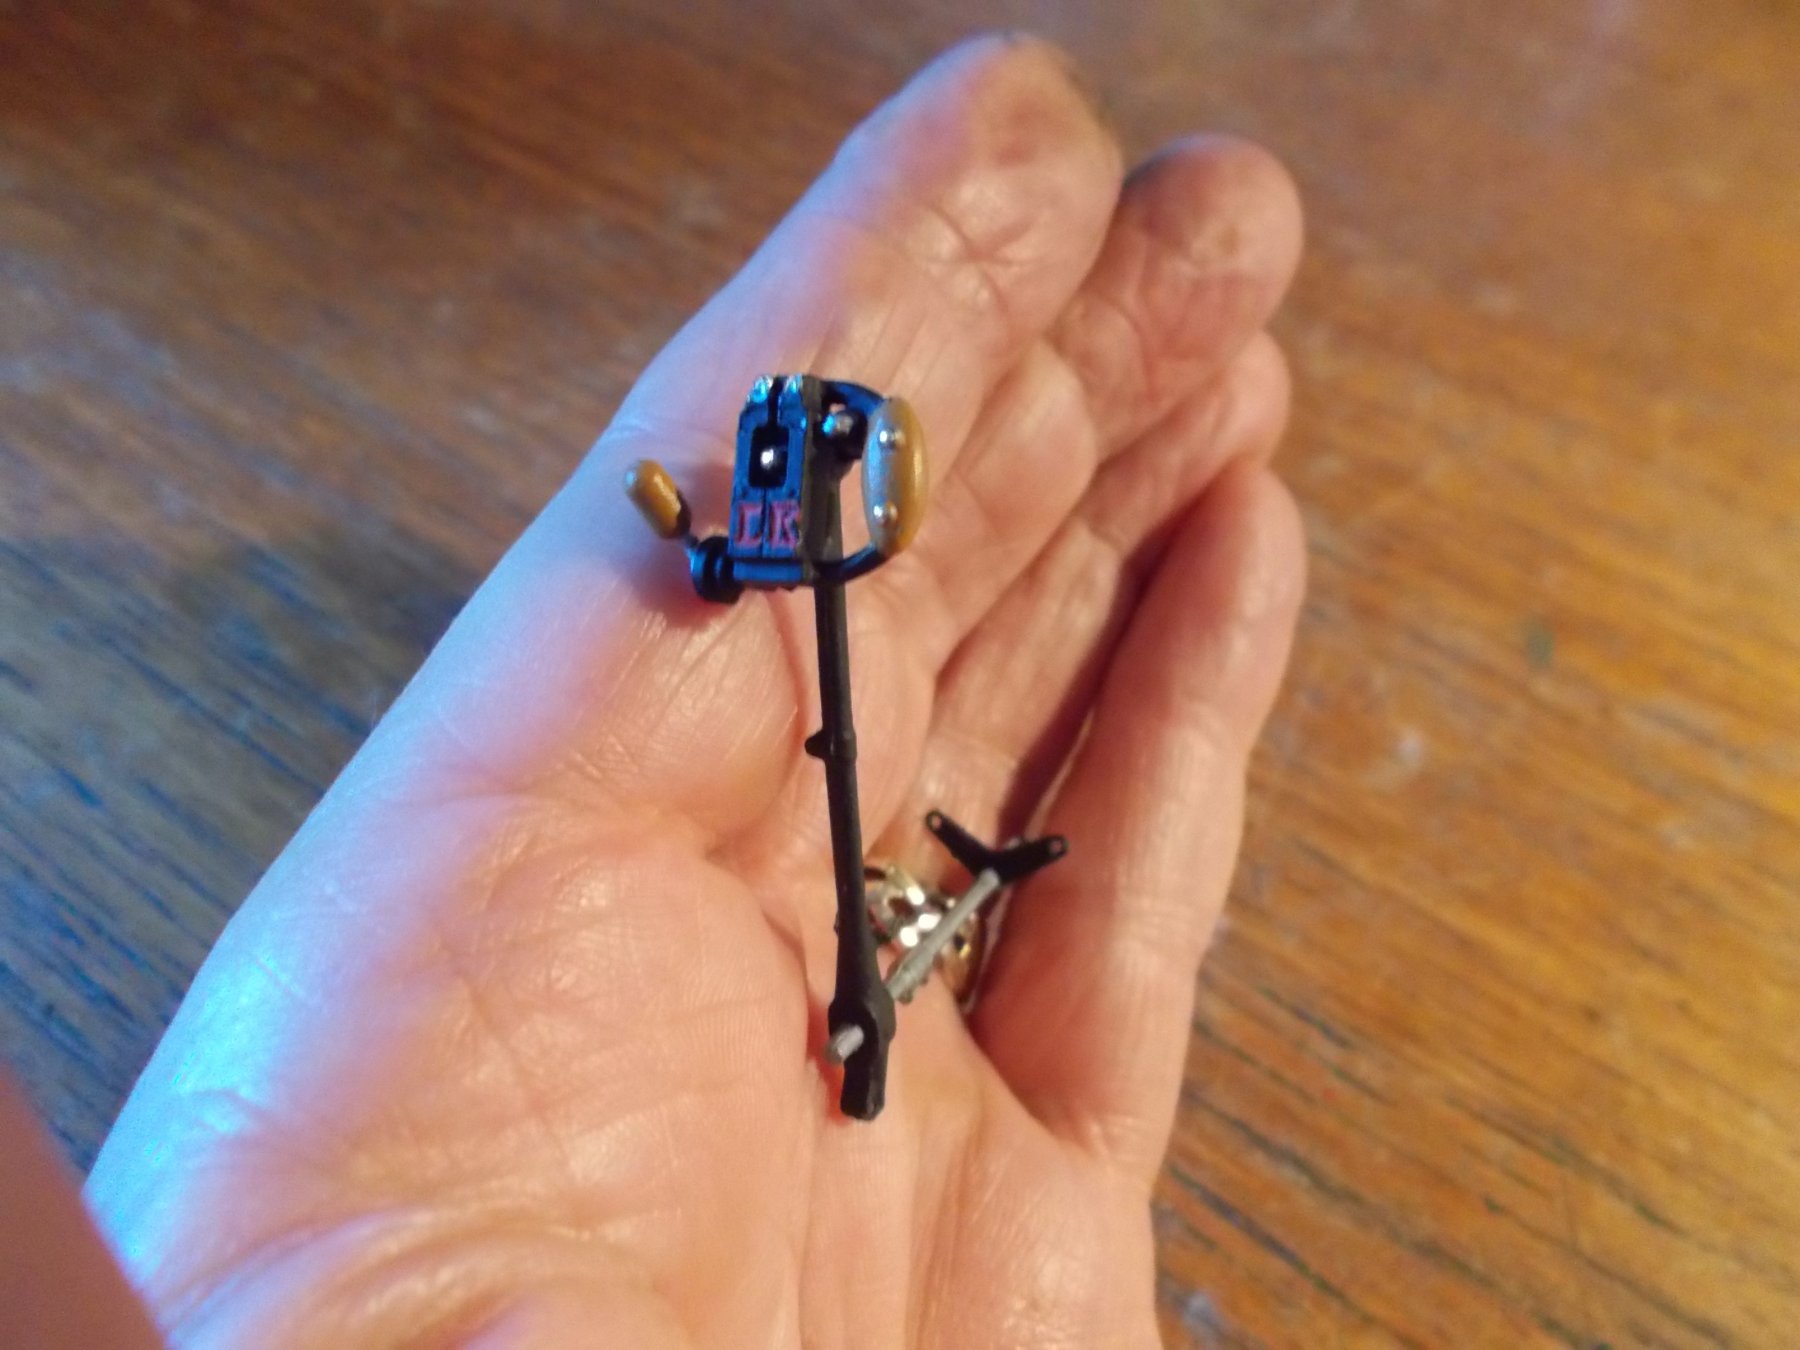
I have made up the rudder bar, the control stick and the 'thing' that will go behind the pilots seat. I have also started the fuselage frame. You need a really good magnifying glass and a degree in manual dexterity for this kit. I cannot believe how small some of the parts you have to stick on are. That control stick has six separate pieces. The frame requires loads of 'c' shaped pieces at the angles which will eventually take the tensioning wires. That will have to wait until another day. My eyes have gone on strike for today!


- 141 replies
-
- 11
-
-
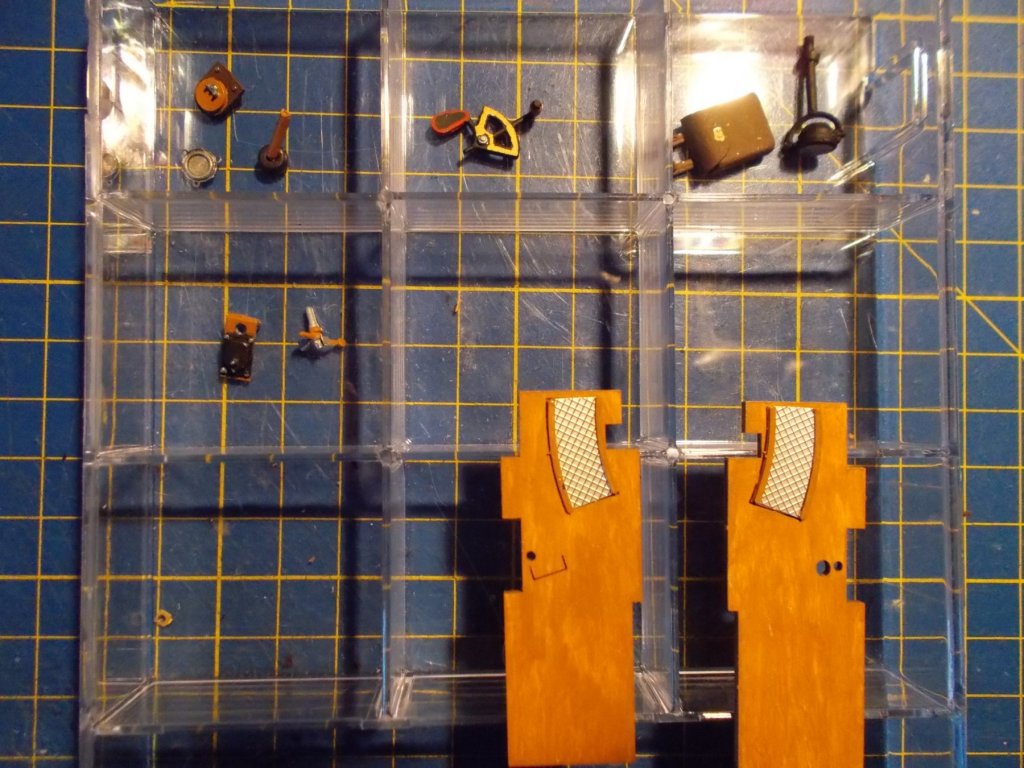
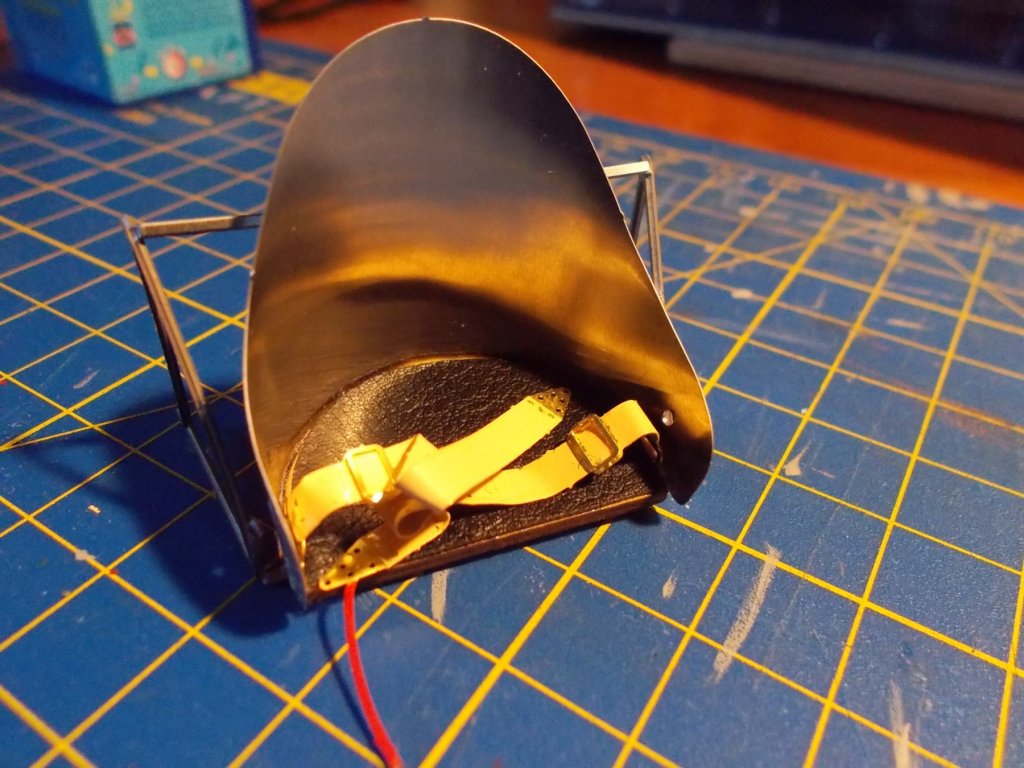
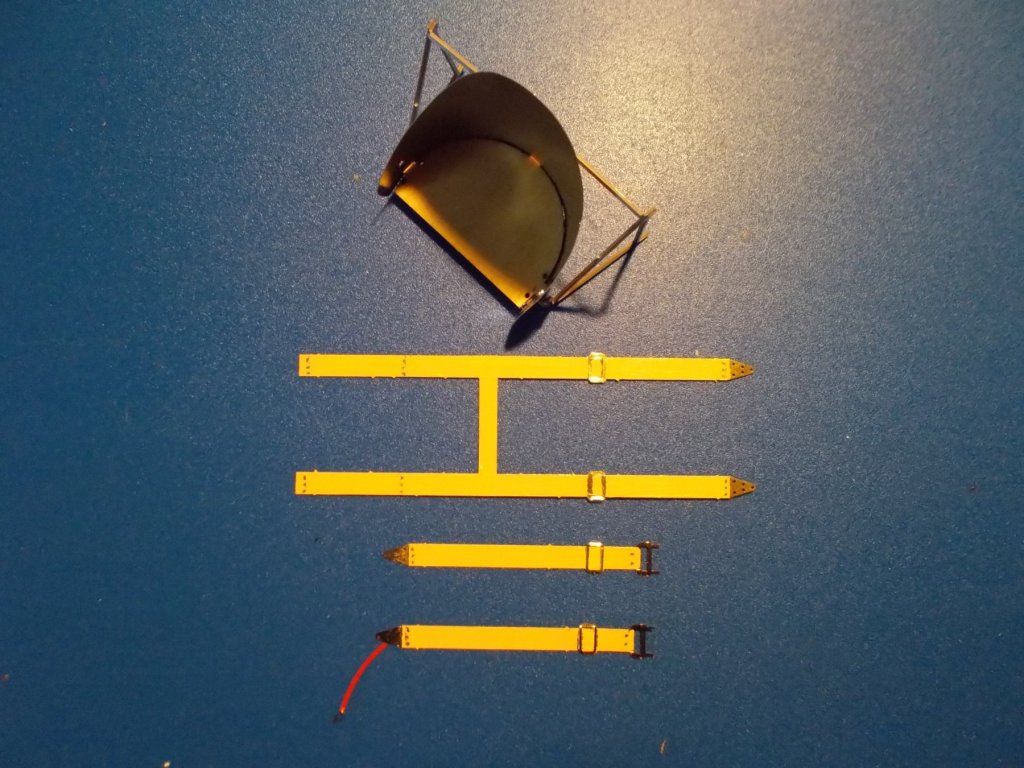
So, an afternoons work, 26 pieces assembled and painted, the lower seat belts bent and put on and I decided to be kind to the pilot and give him a leather set. Only another 730 something pieces to go !! By the way, the belts are actually a beige colour but they have come out yellow on the camera. Sorry.
-
I don't think it does but definitely, definitely don't get it wrong like I just did because if you have to bend them back - they break !!!!!!!
-
Those could be conflicting views but I wonder now - does it really matter ?
-
I did my paddle wheels with ordinary brush on enamel. They came out OK.
-
Hey John, brilliant to see you ! You are most welcome. What's the answer to my bending dilemma, I am sure you know.
-
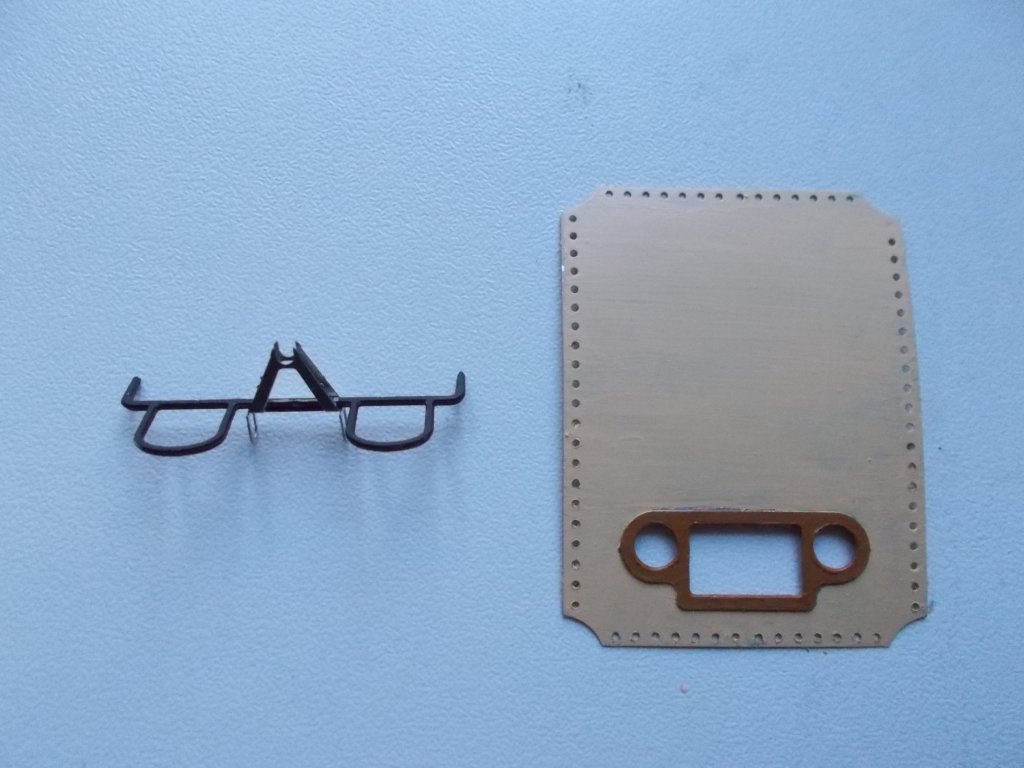
Fellow modelers, I should know the answer to this having done so many but, if a piece of metal is pre scribed for bending, do you bend into the groove or away from it ? Anyway, a start has been made !! One seat and safety harness painted. The harness is brass and has to be bent to look like straps later. And, just to confirm that my Sopwith does indeed fly from the ceiling .....
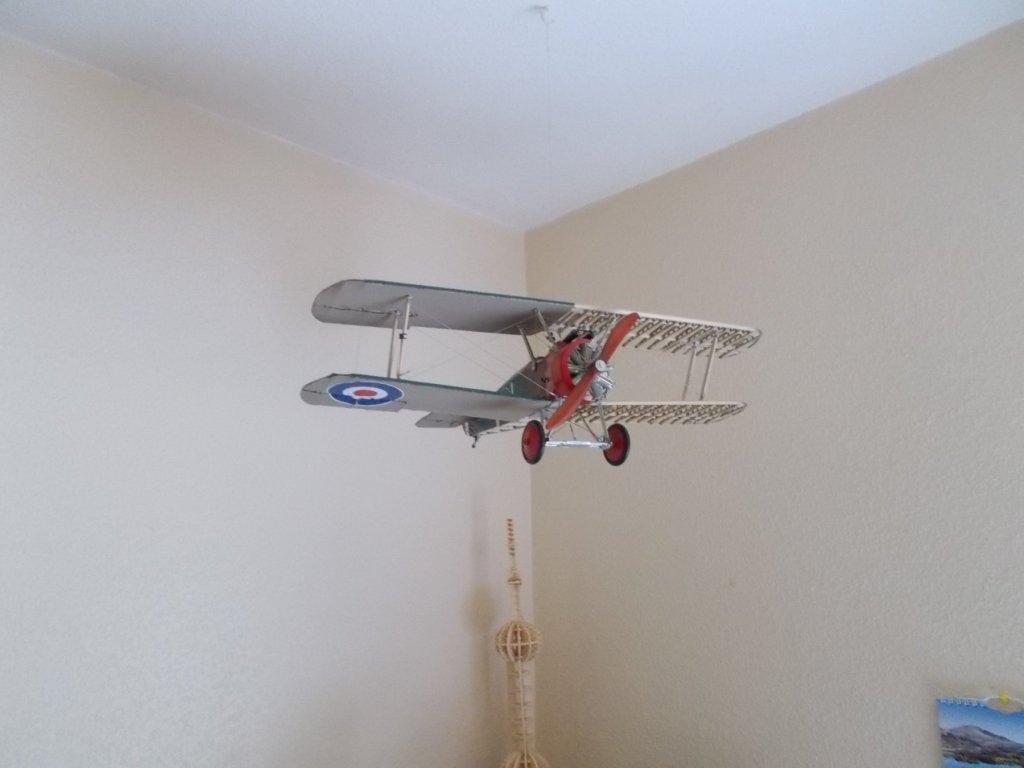
-
Gary is right Peter, that video is crazy ! The thing is it is too quick to pick up some of the techniques and won't help with the rigging. Very nice of you to post it though, thank you.
-
How great to have you all along - thank you. The 'simple to build' bit on the box is only for the IQ of Stephen Hawking and above. There is going to be nothing simple about this build. You are quite right Gary about the rigging. It should be simpler than the Sopwith I built but heavy emphasis on the 'should'. I am also thinking of half covering the plane as I did before, the Sopwith looks quite good flying that way.
-
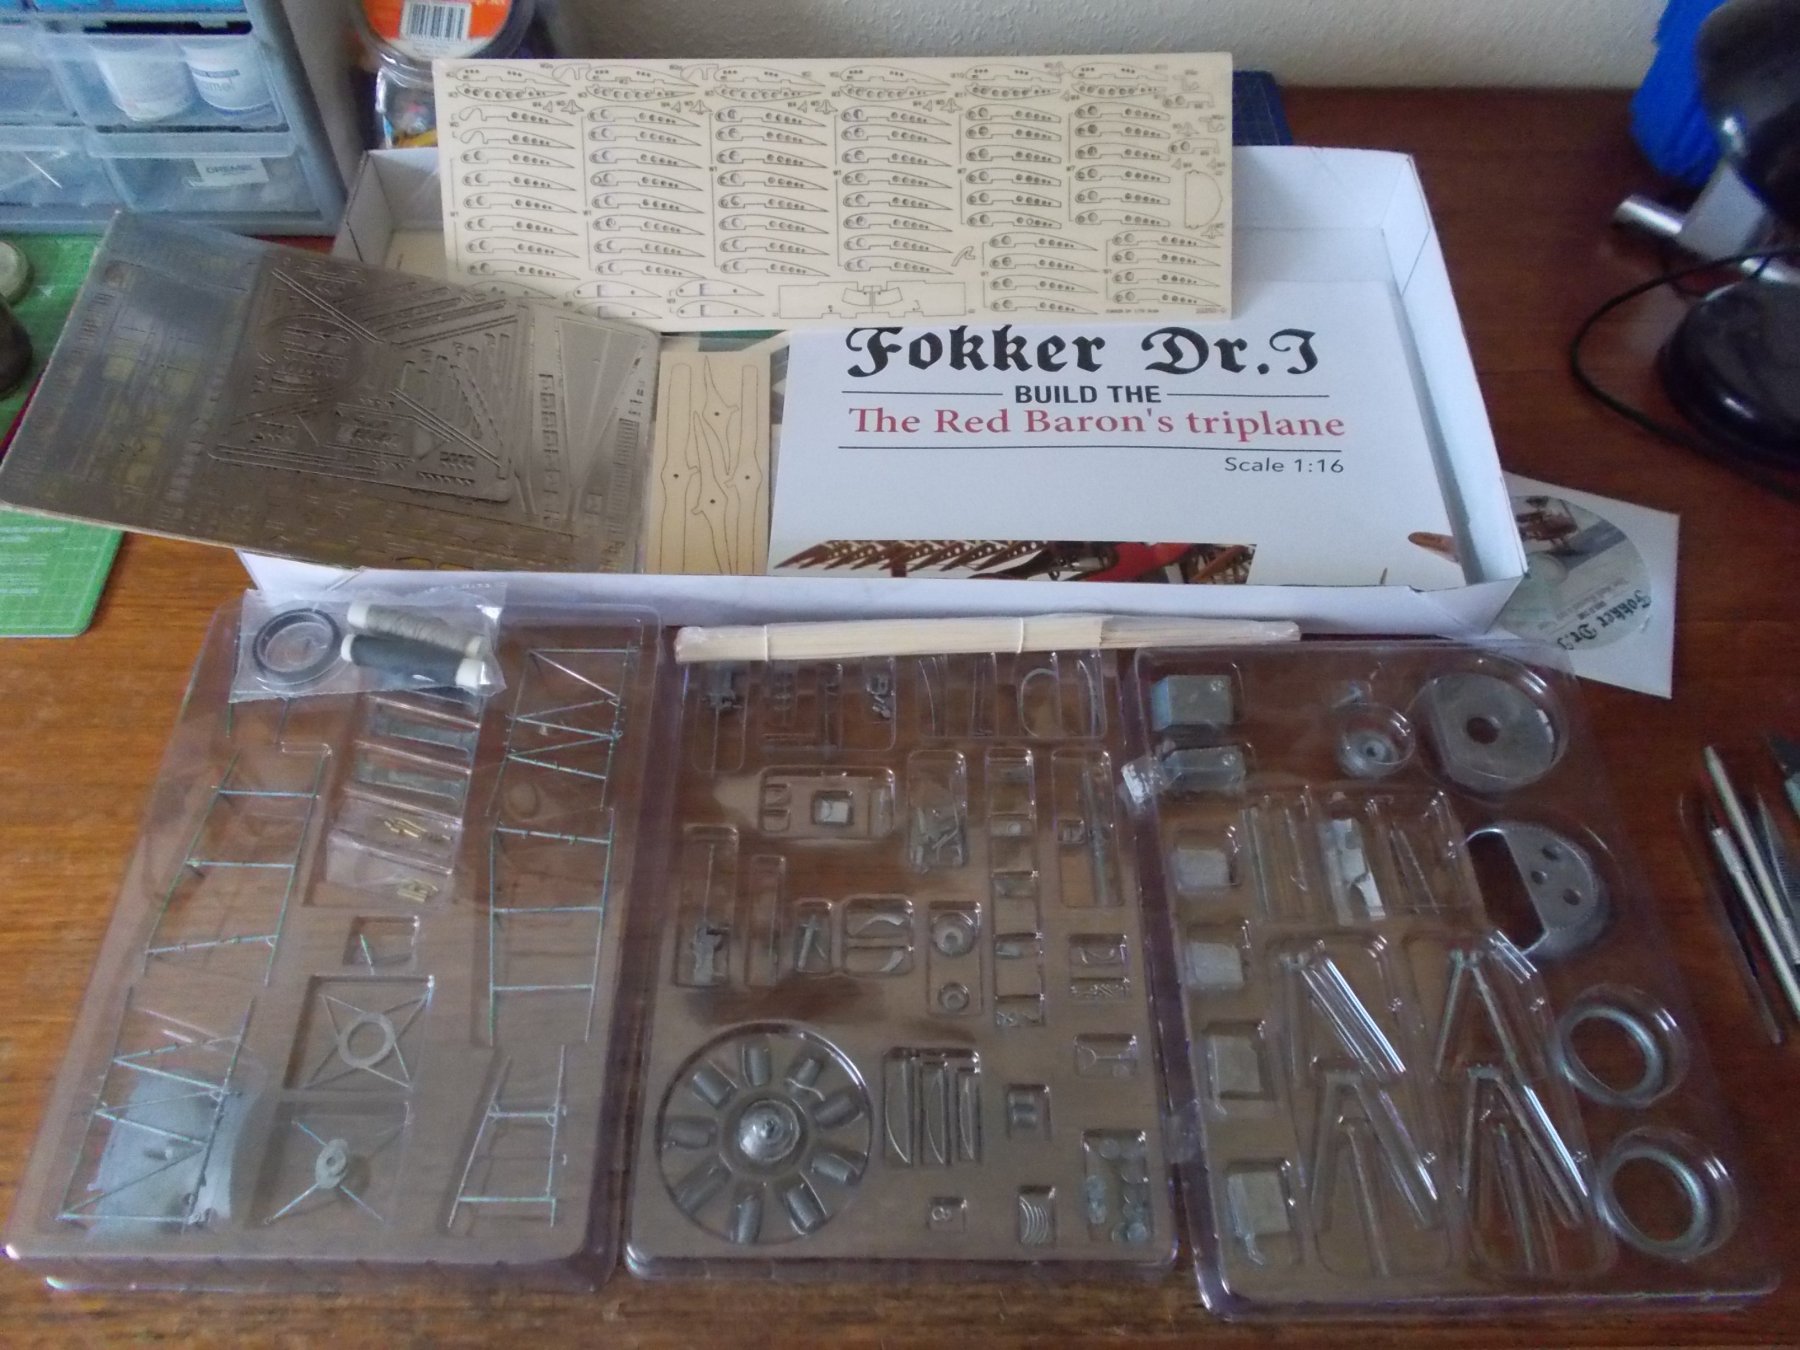
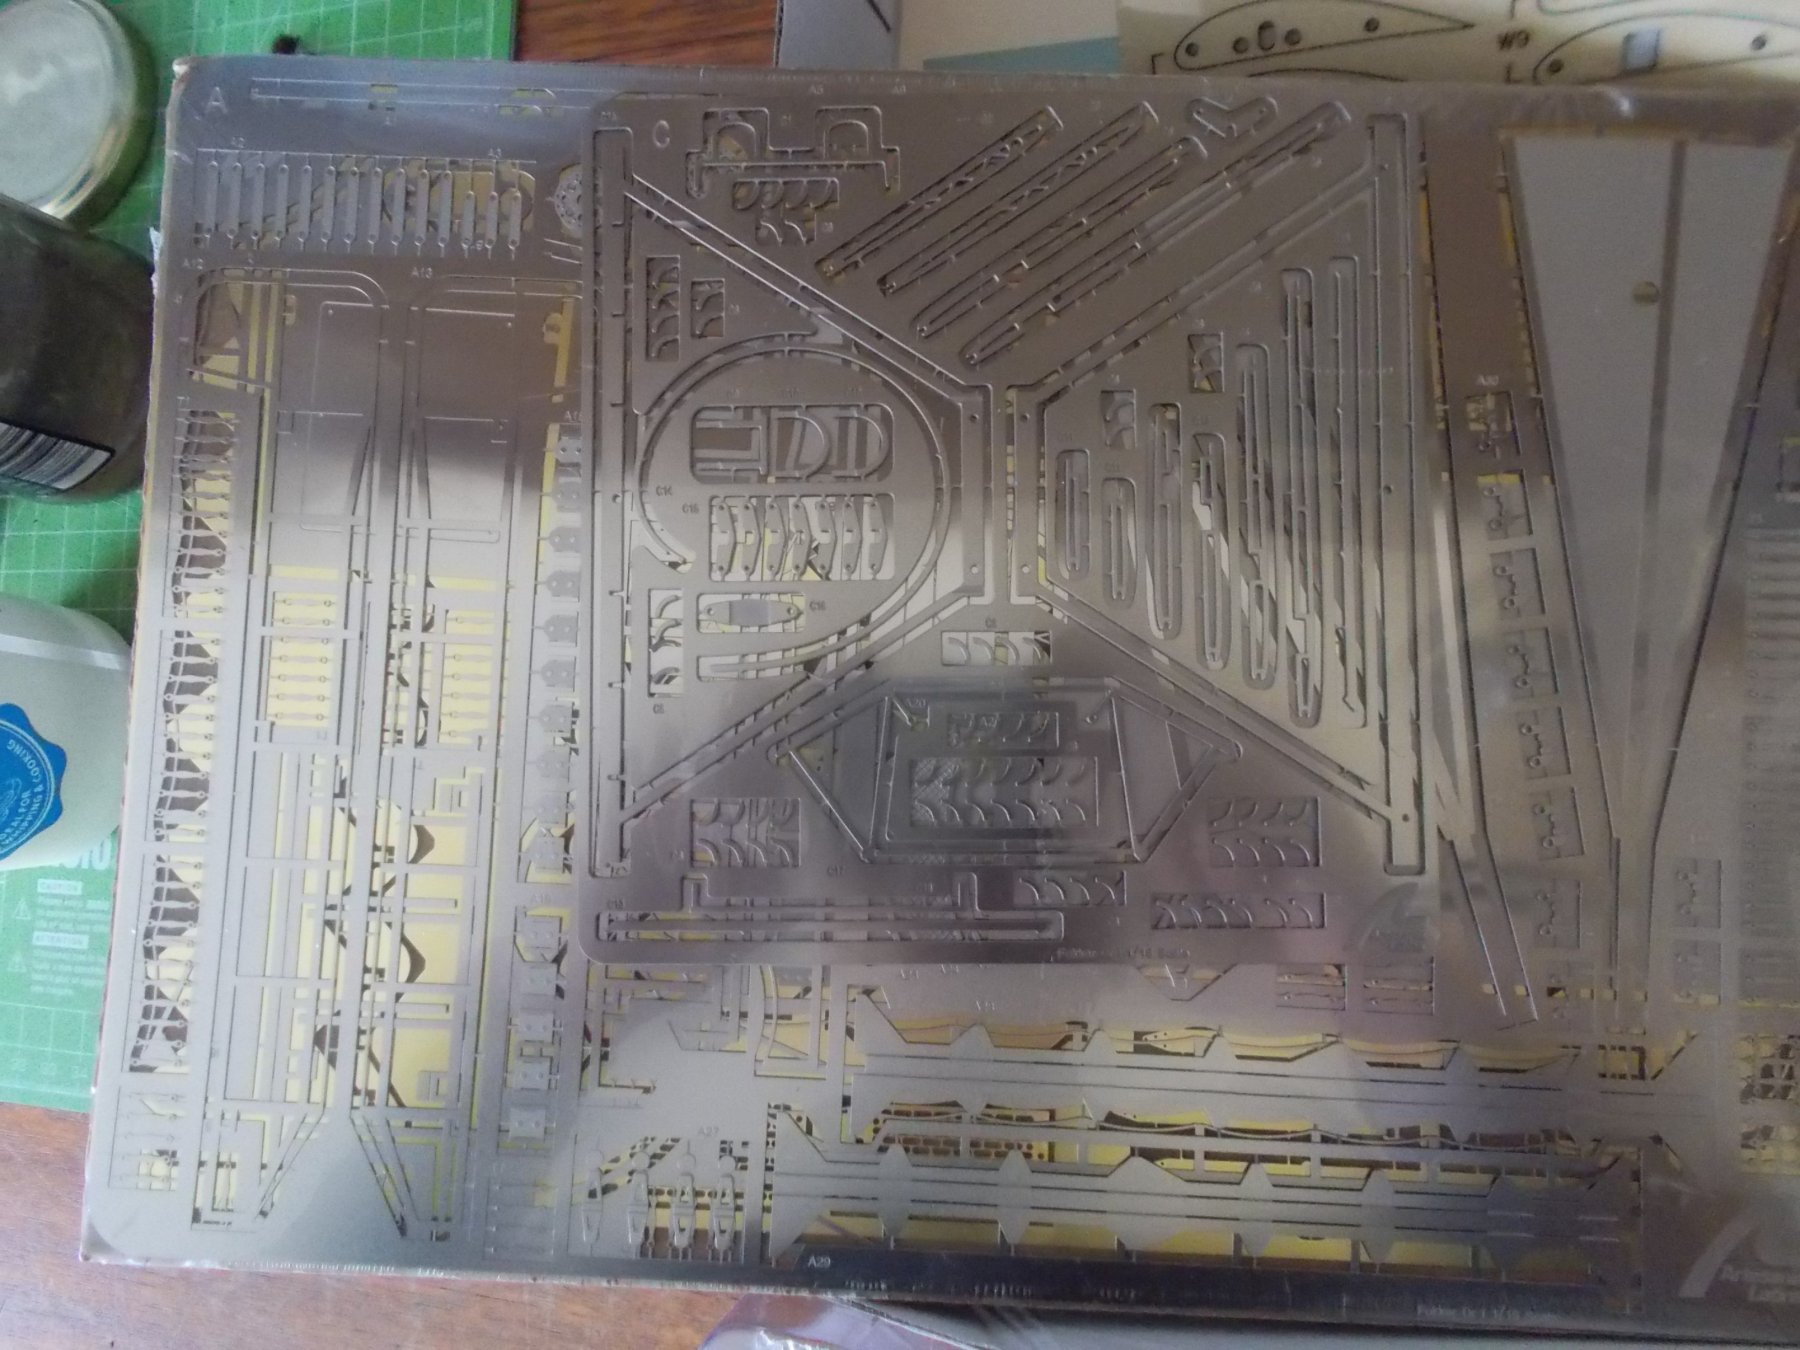
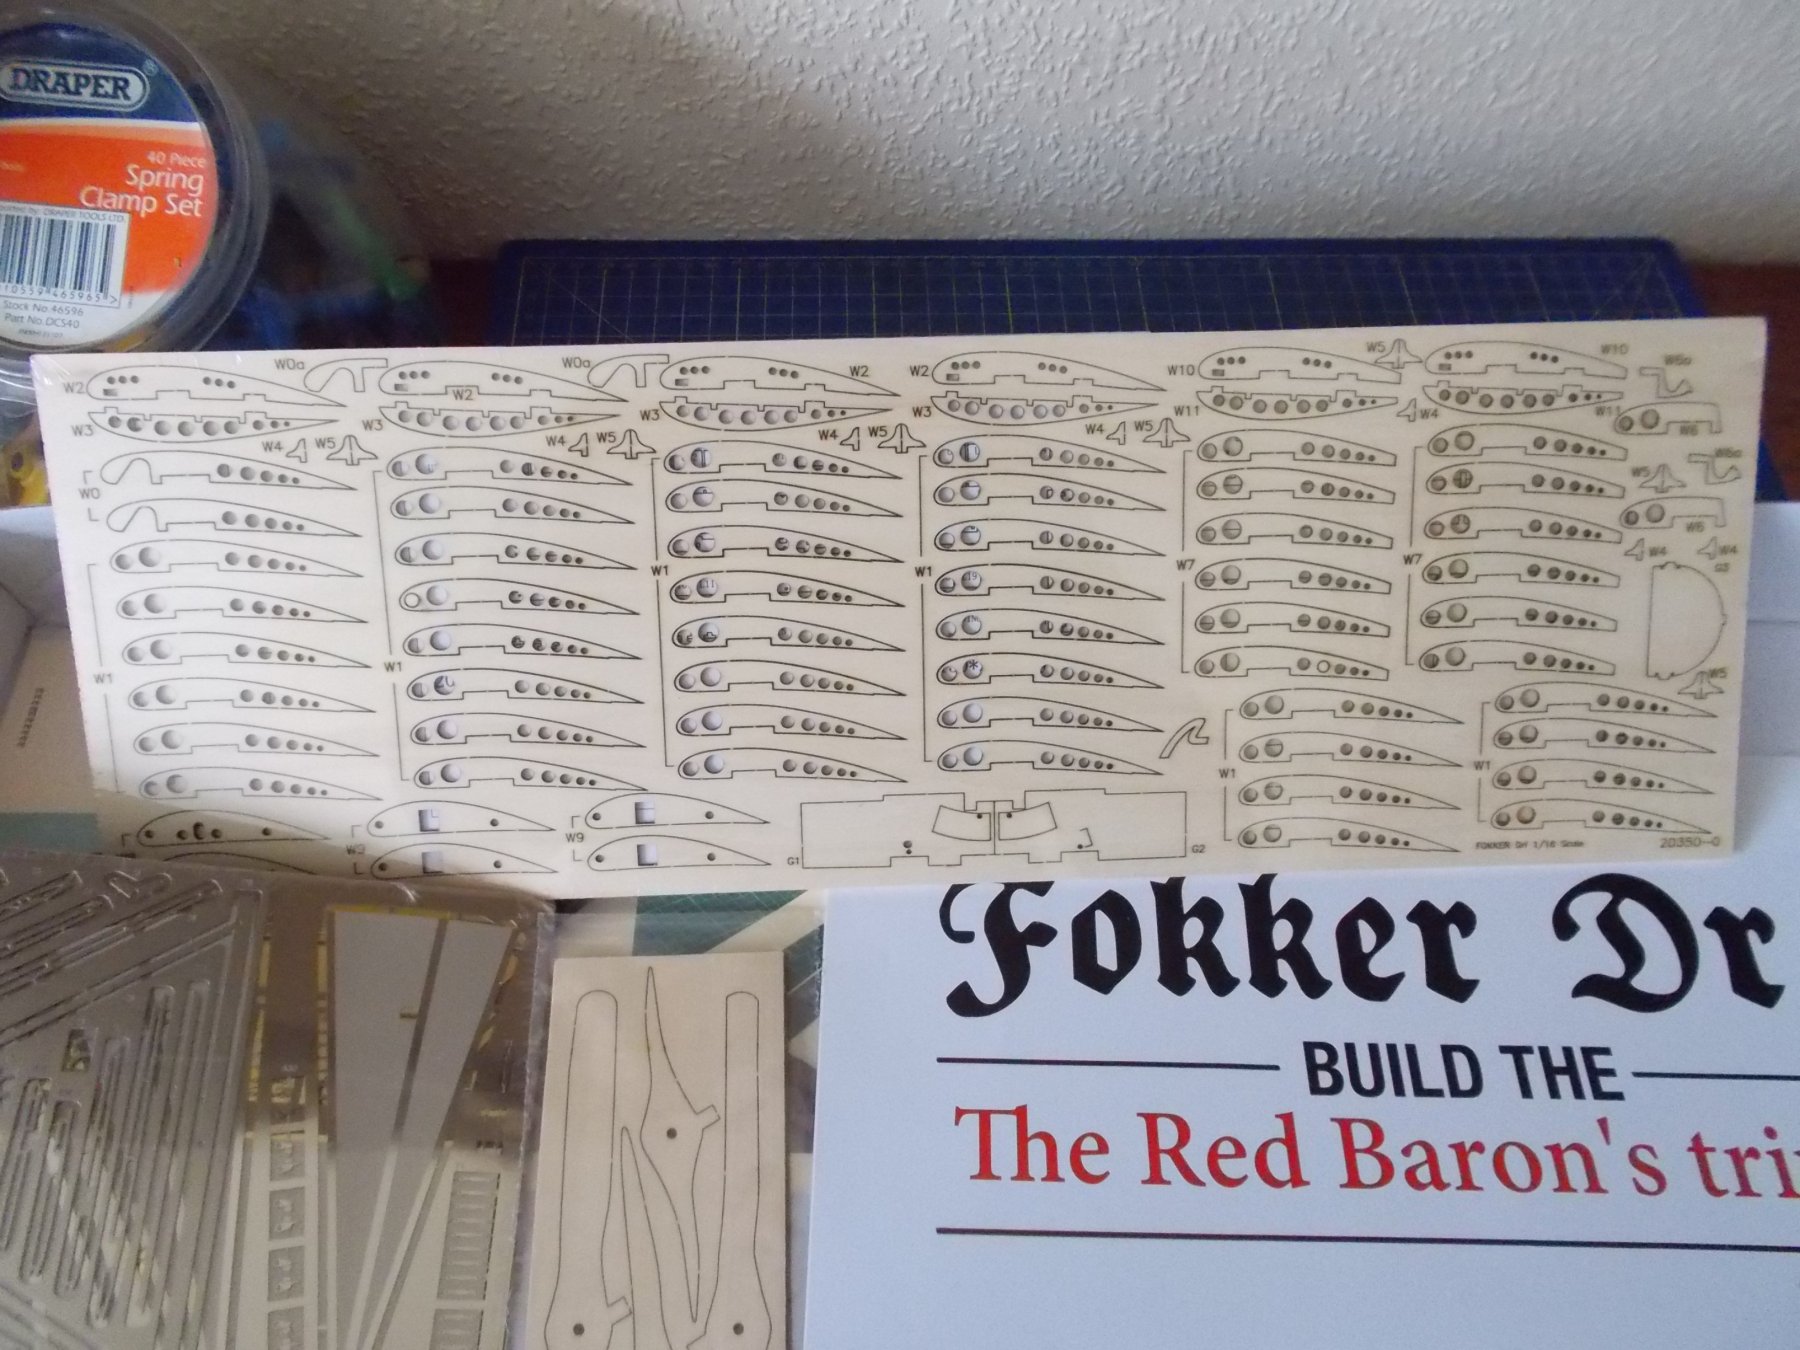
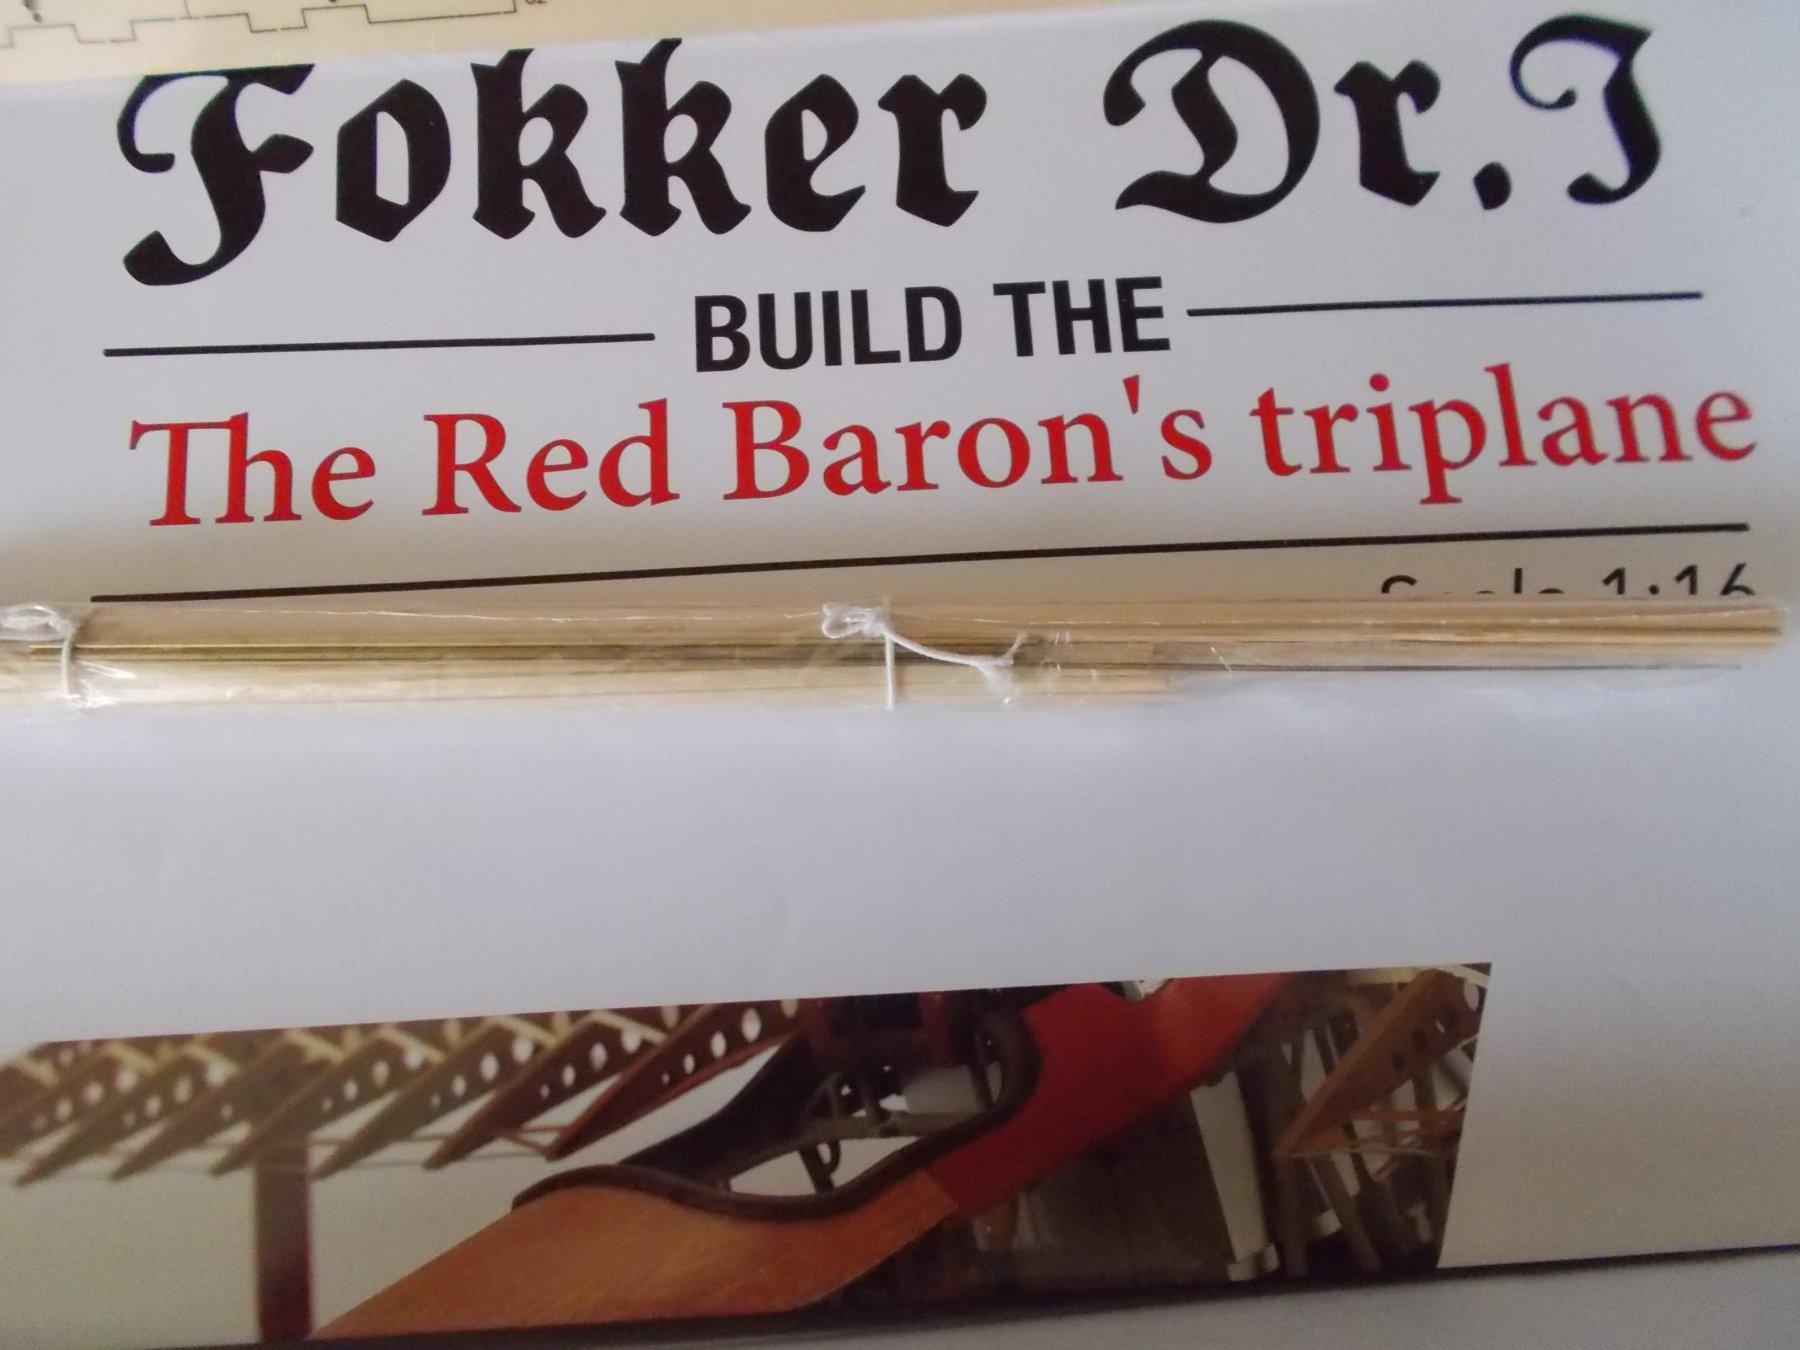
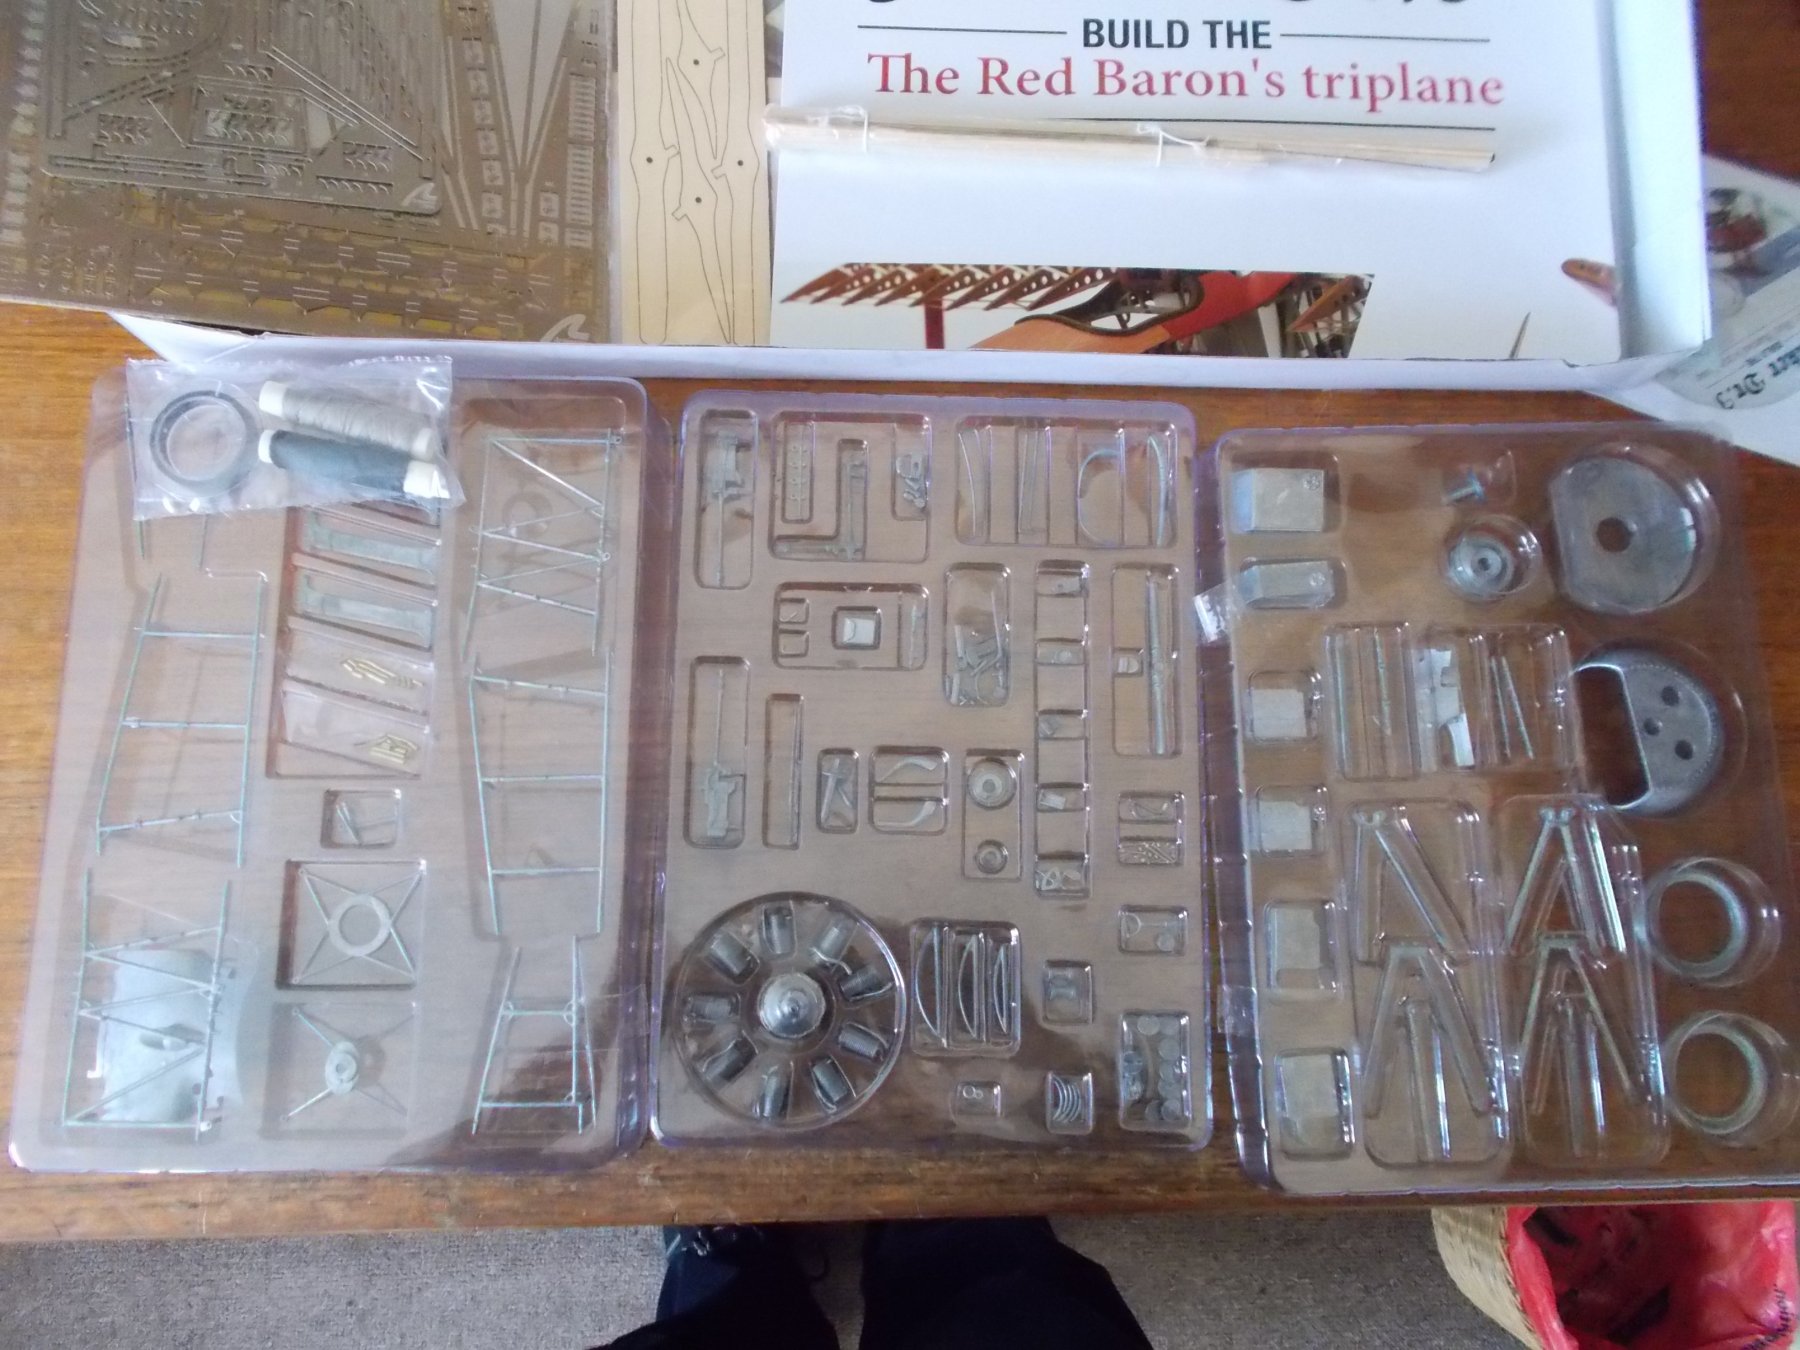
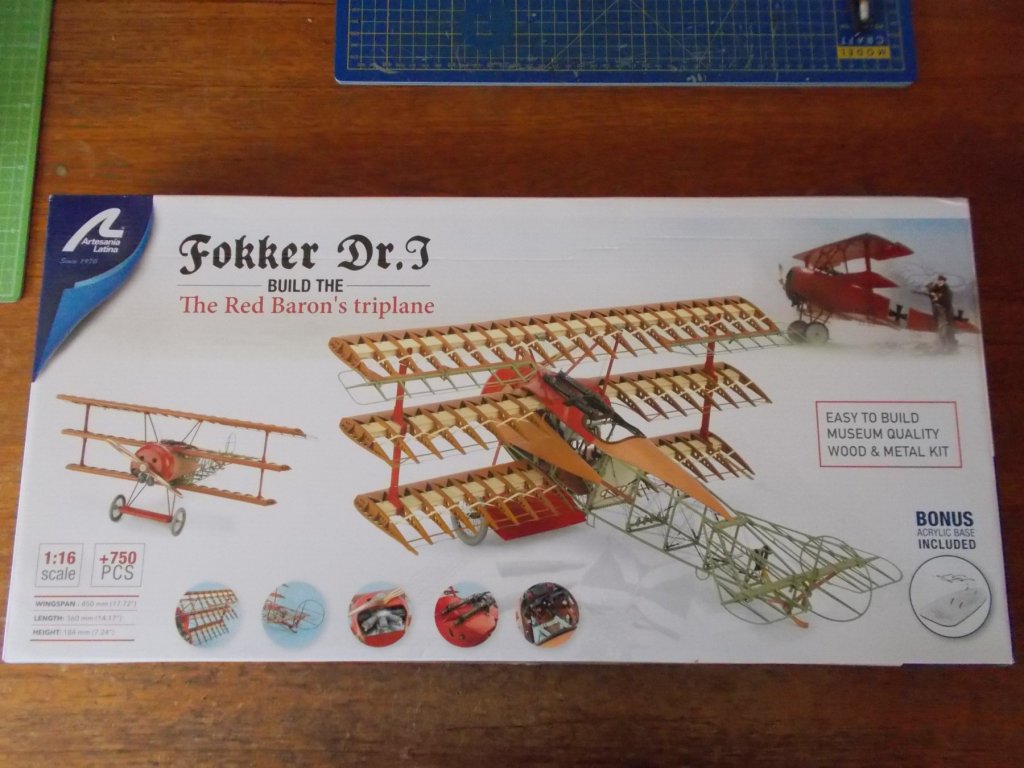
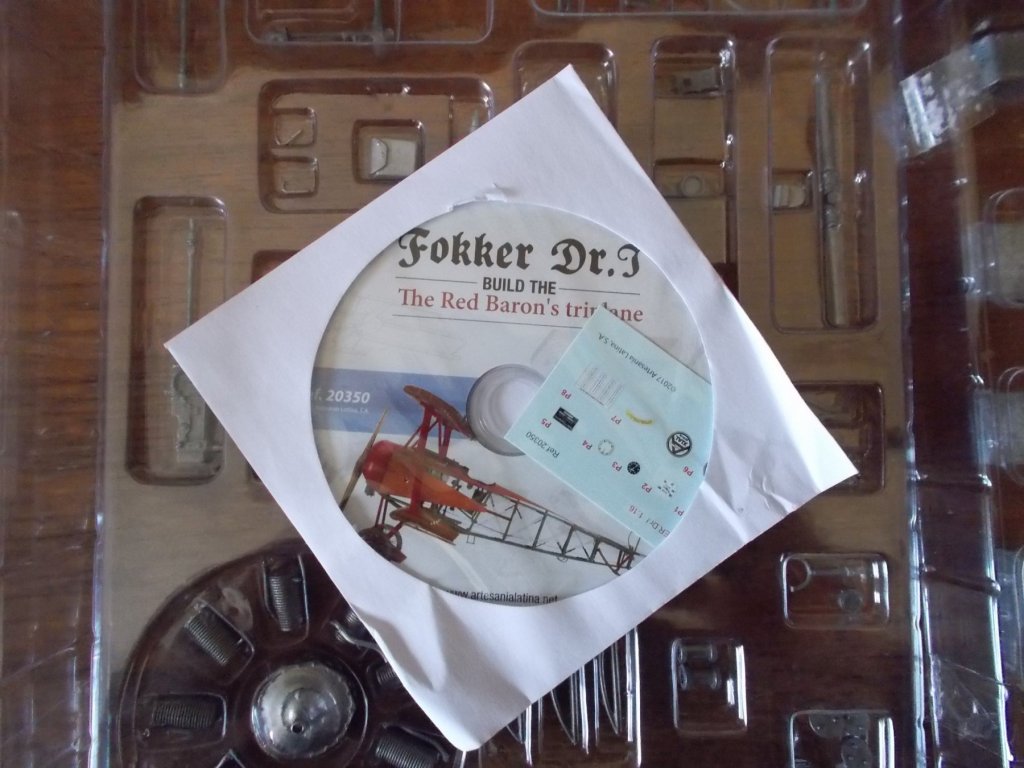
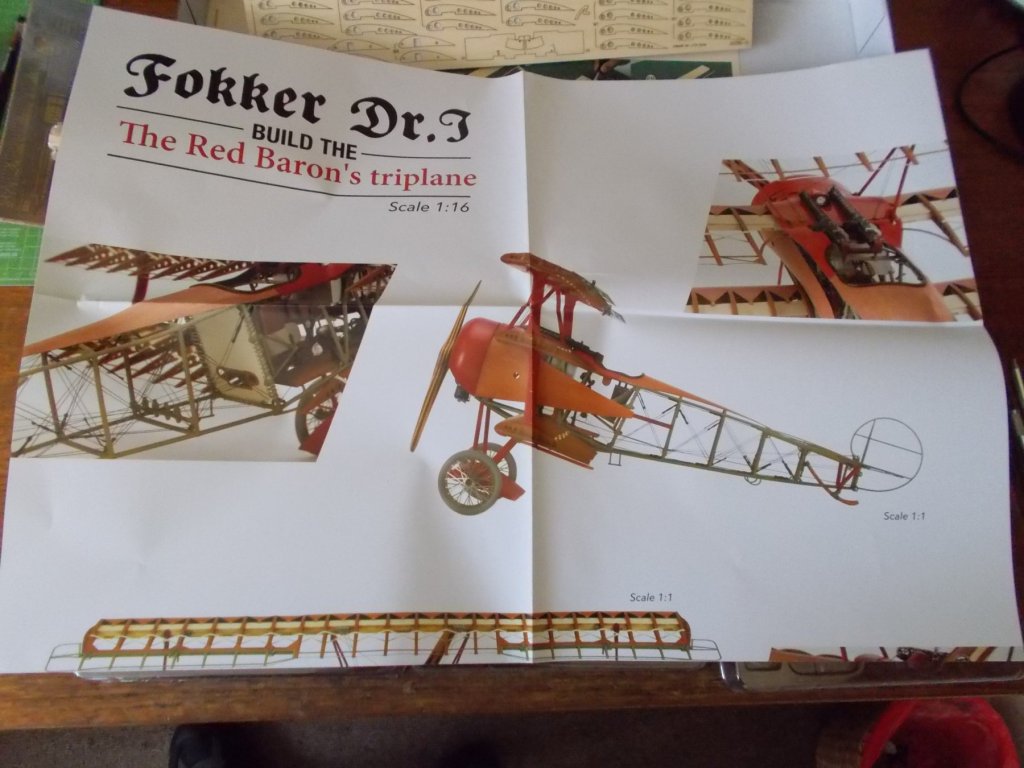
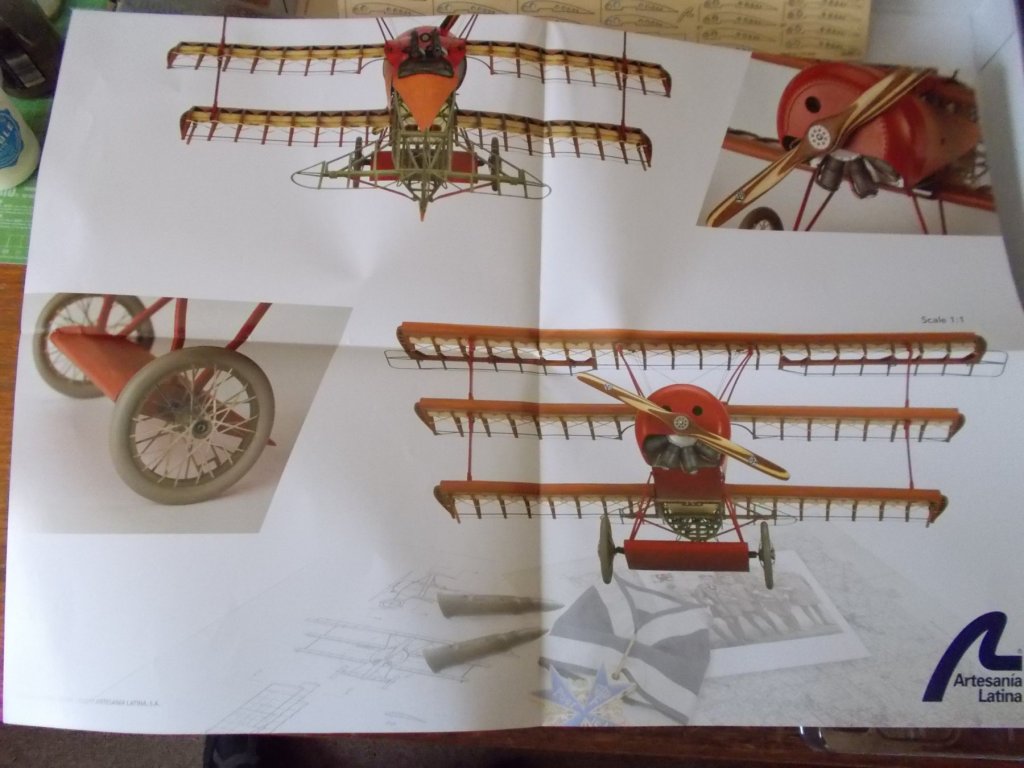
Hello. So, my next challenge, and I think it' going to be - The Artsania Latina version of the Fokker Dr 1 Tri plane 1/16 scale. I think this kit is a collaboration with Model Airways. According to the box there are over 750 pieces which I can well believe. I had to rearrange the contents as they had been well shuffled by the delivery service. The first and maybe most noticeable feature of this kit is that there are no written instructions at all !!! A cd is provided which has the parts list, 340 pages of step by step photos and six 'helpful' video clips. The metal castings in the plastic boxes have no numbers but there are charts for them on the cd which enabled me to put the pieces back in the right places and make sure they were all there. They are all present and a really good standard. There is a very small wood bundle and two sheets of laser cut ply for the wing parts, all numbered. There are 4 sheets of metal parts etched and partially cut with 'millions' of pieces which all appear to be numbered. There is some thread for the rigging (although I can find no instructions for that !!) a tiny sheet of a few waterslide decals and a huge colour poster of what it should look like in the end with front, back and side 1/1 views and some enlarged areas. The majority of the kit is metal and the cd indicates that shares in ca glue might be useful. I am glad I have a lot !! The build looks as though it starts with the cockpit area but I will spend more time looking through the contents before I start anything. Anyway, some pictures of the box and contents to grab your interest I hope.


- 141 replies
-
- 13
-
-
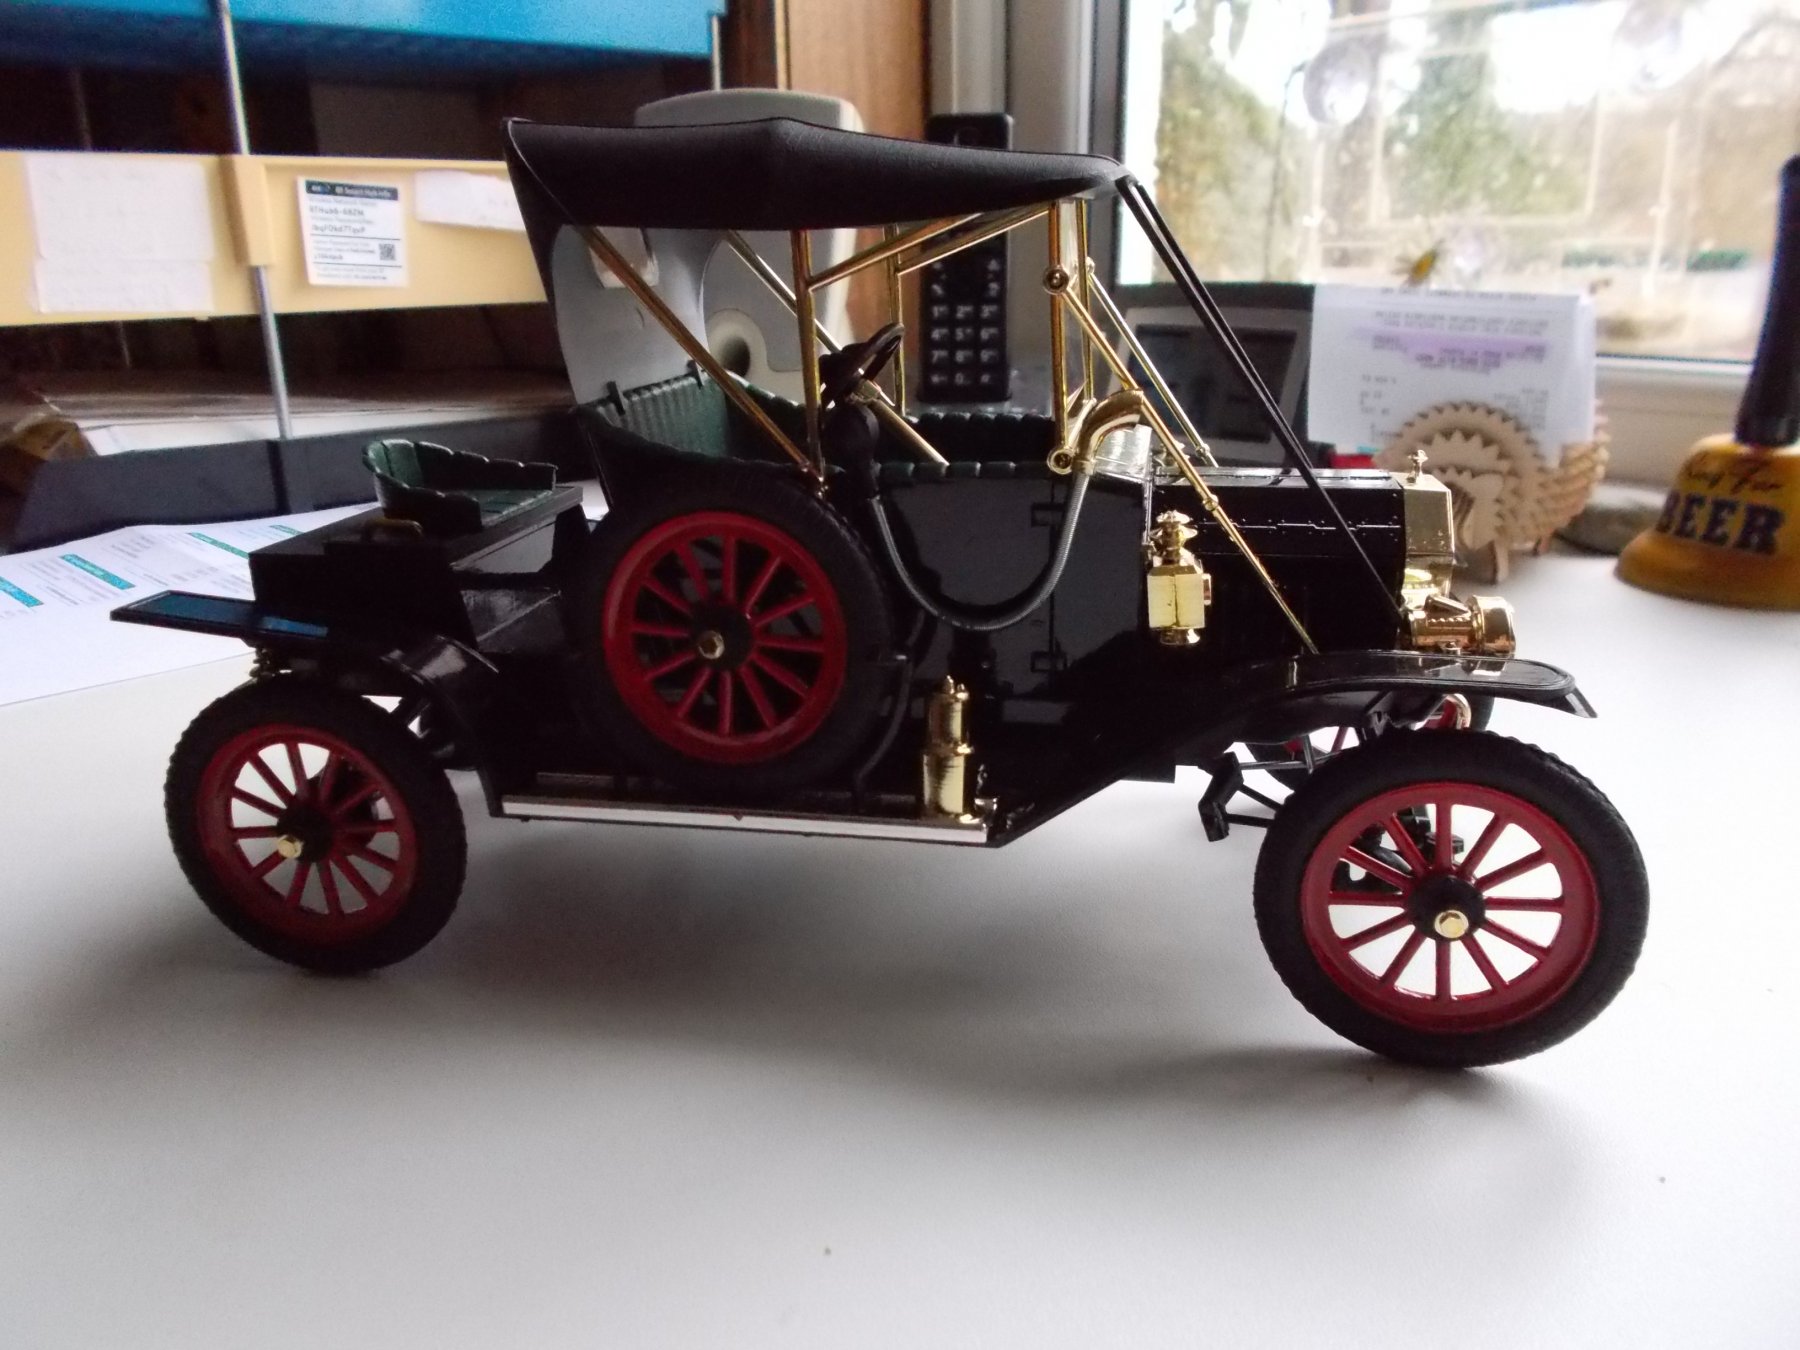
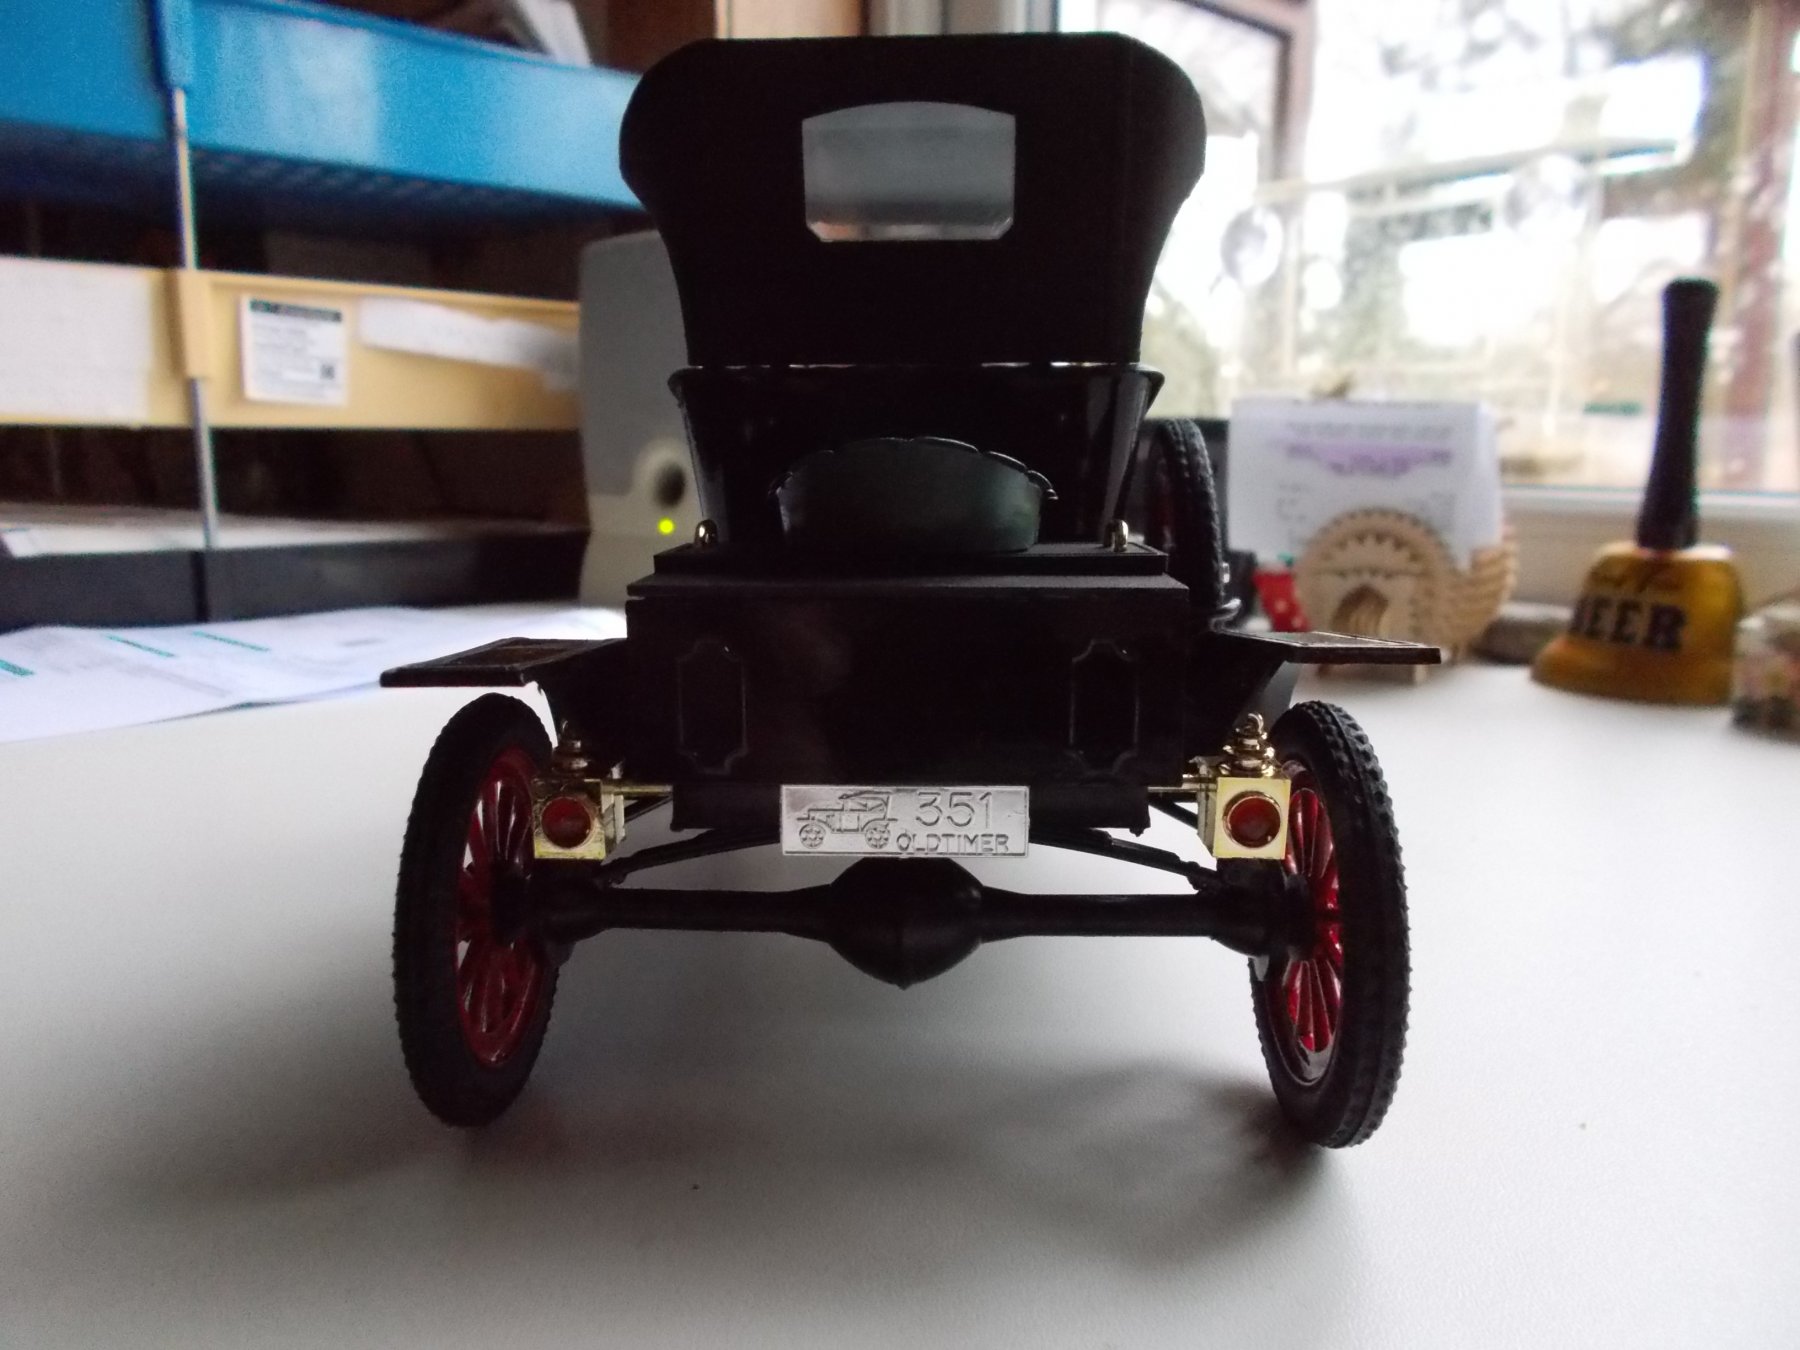
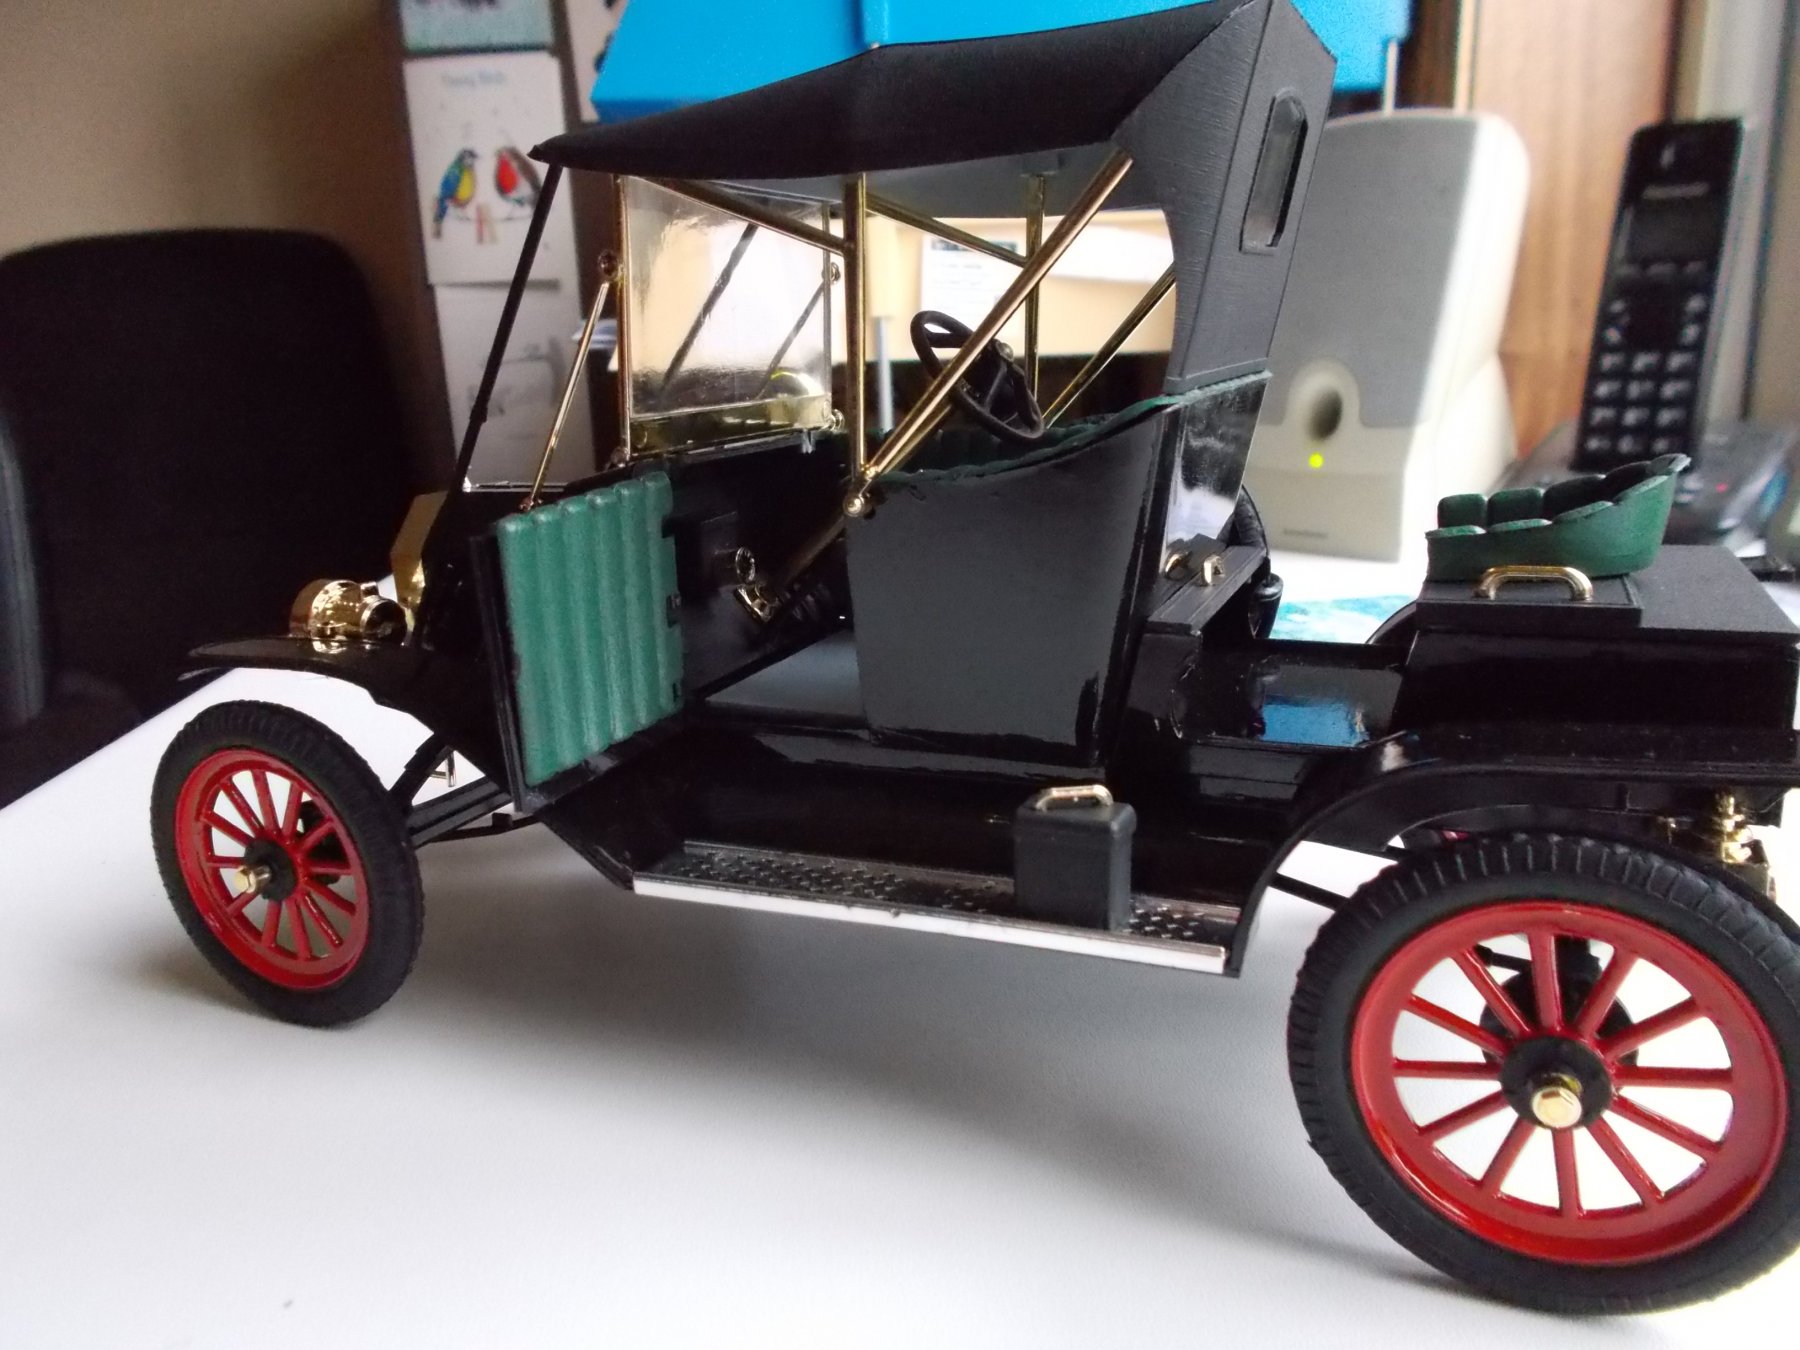
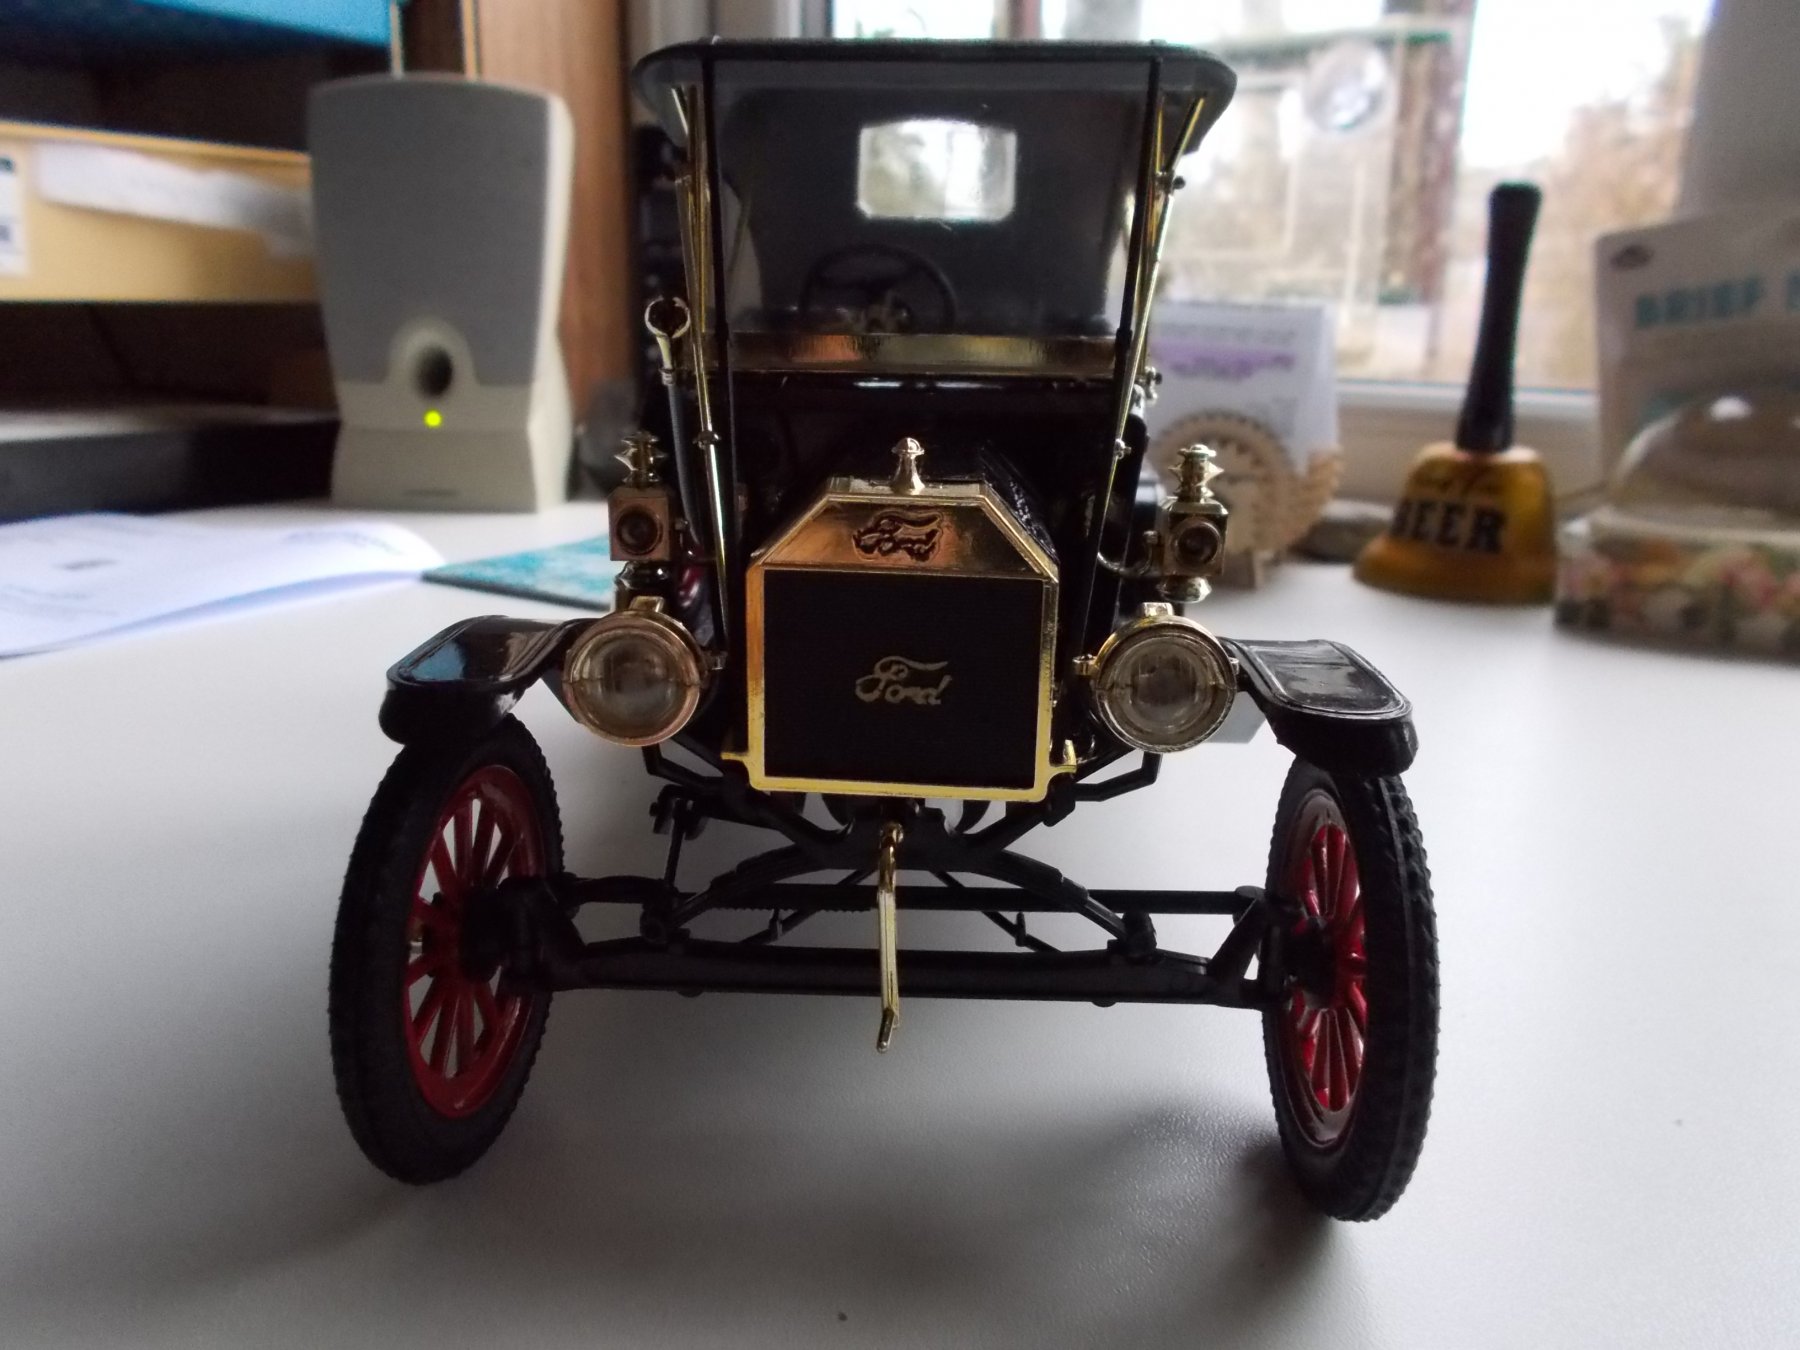
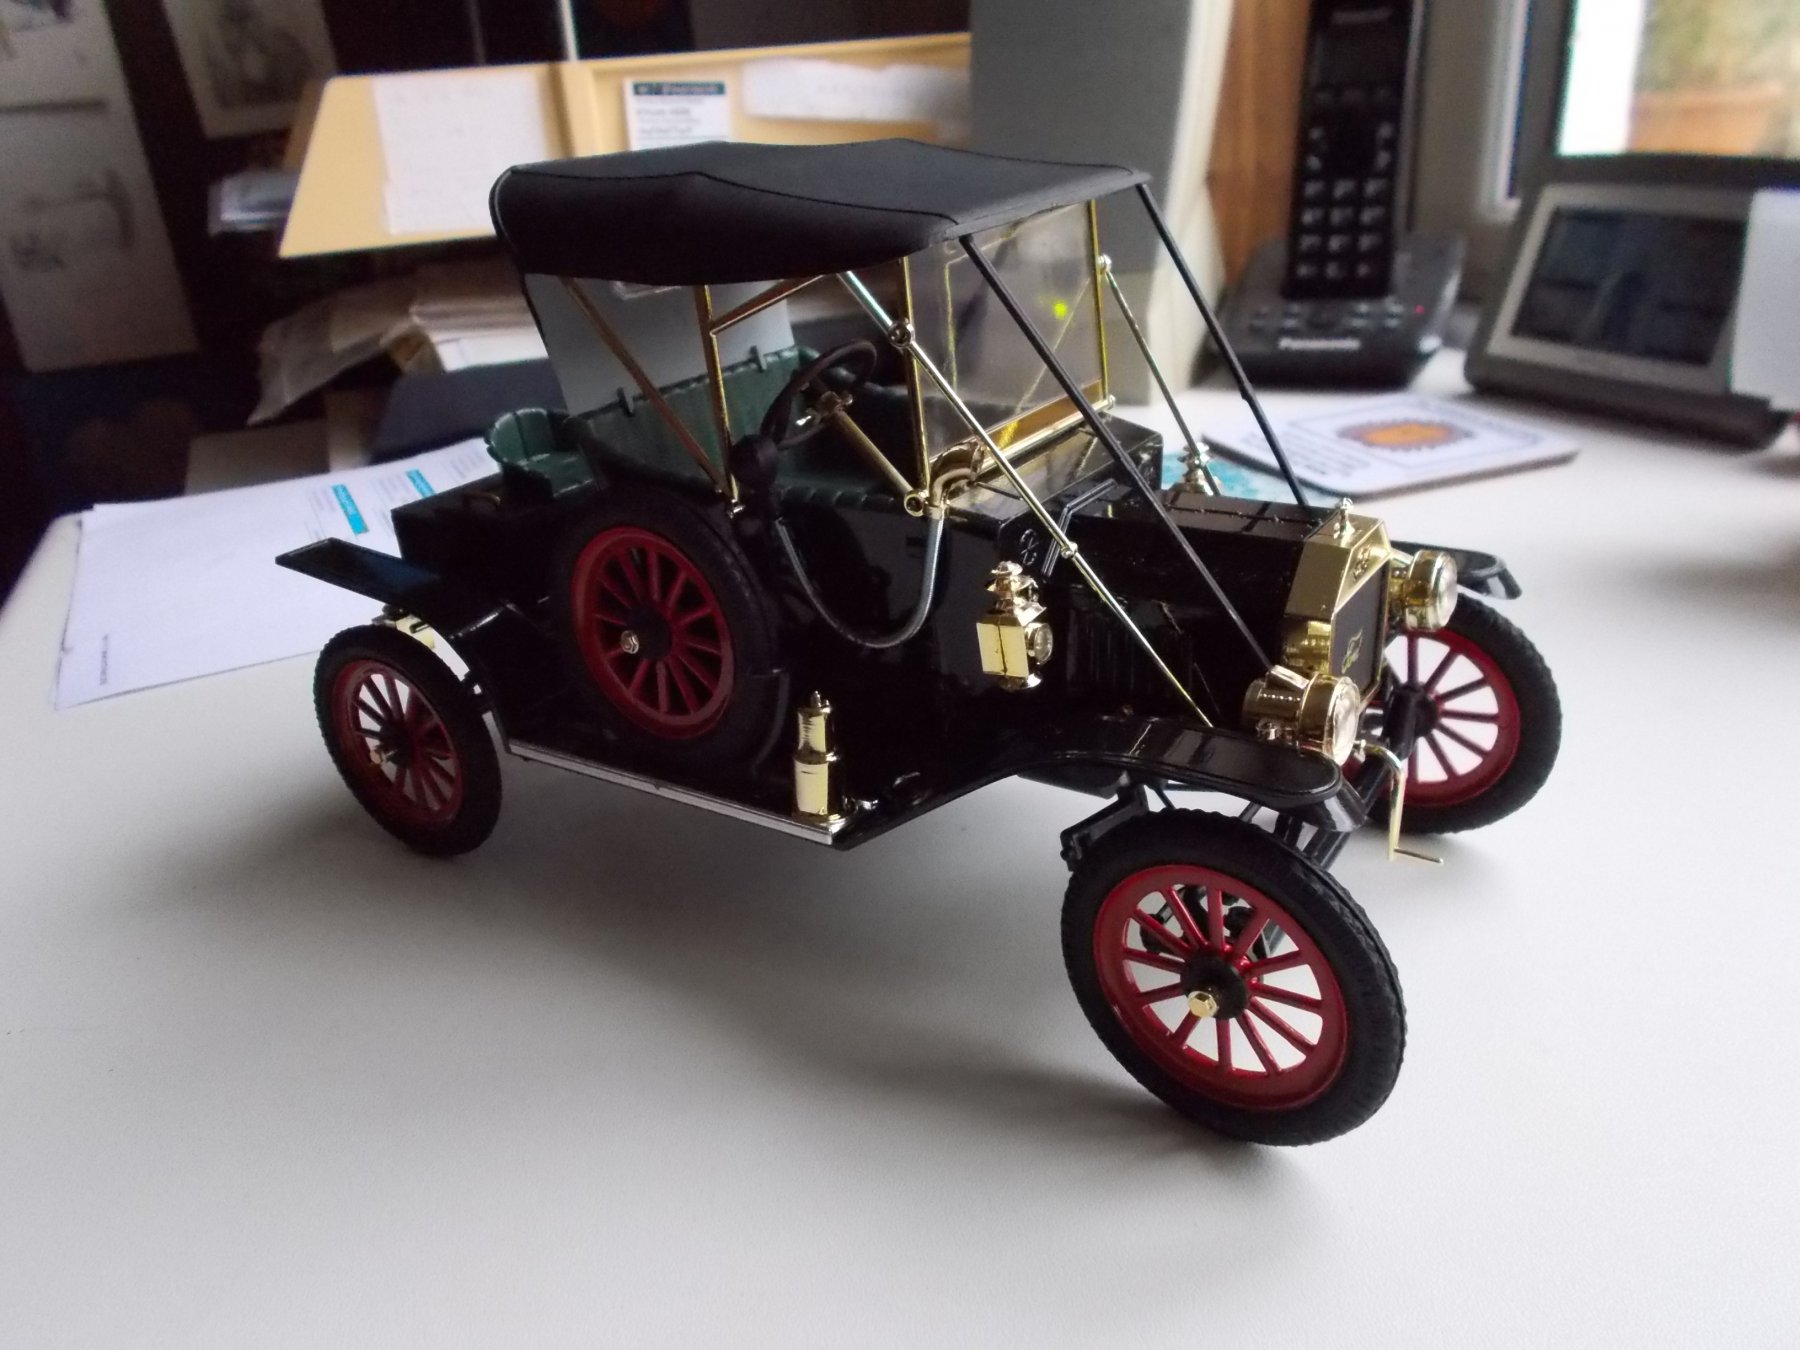
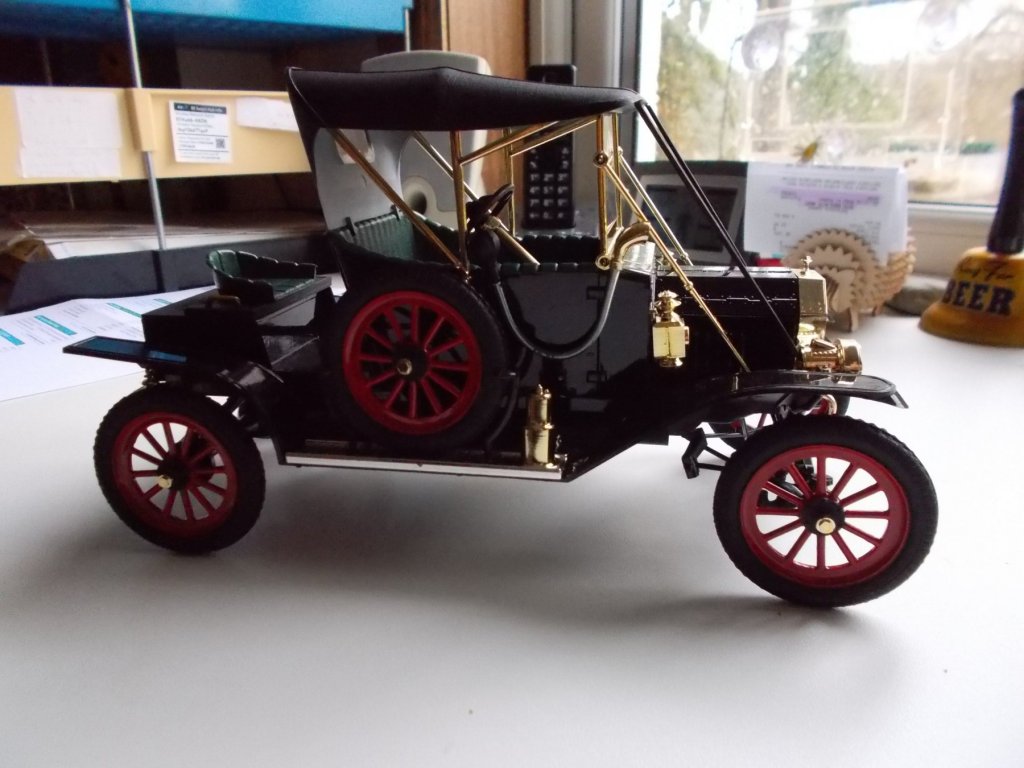
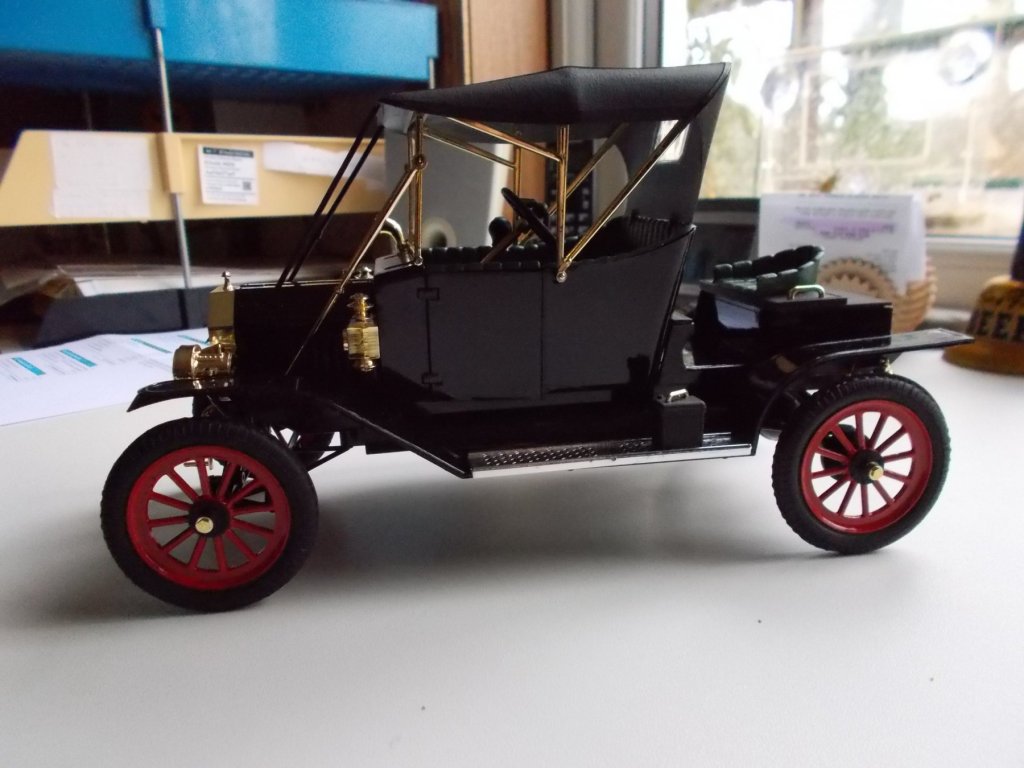
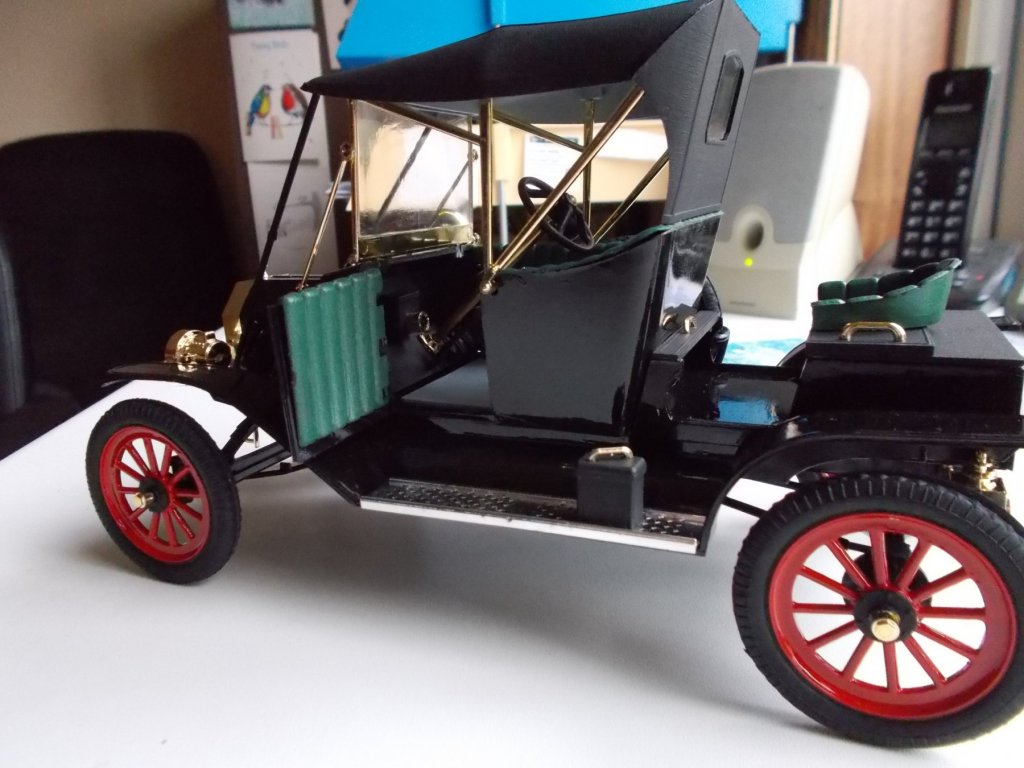
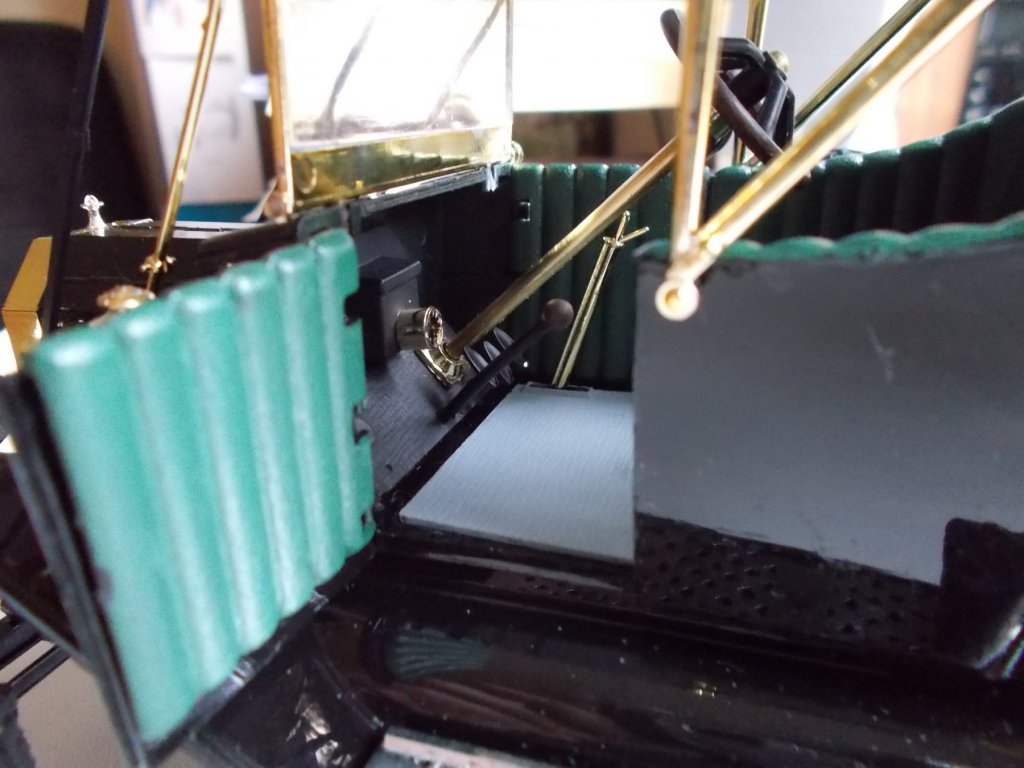
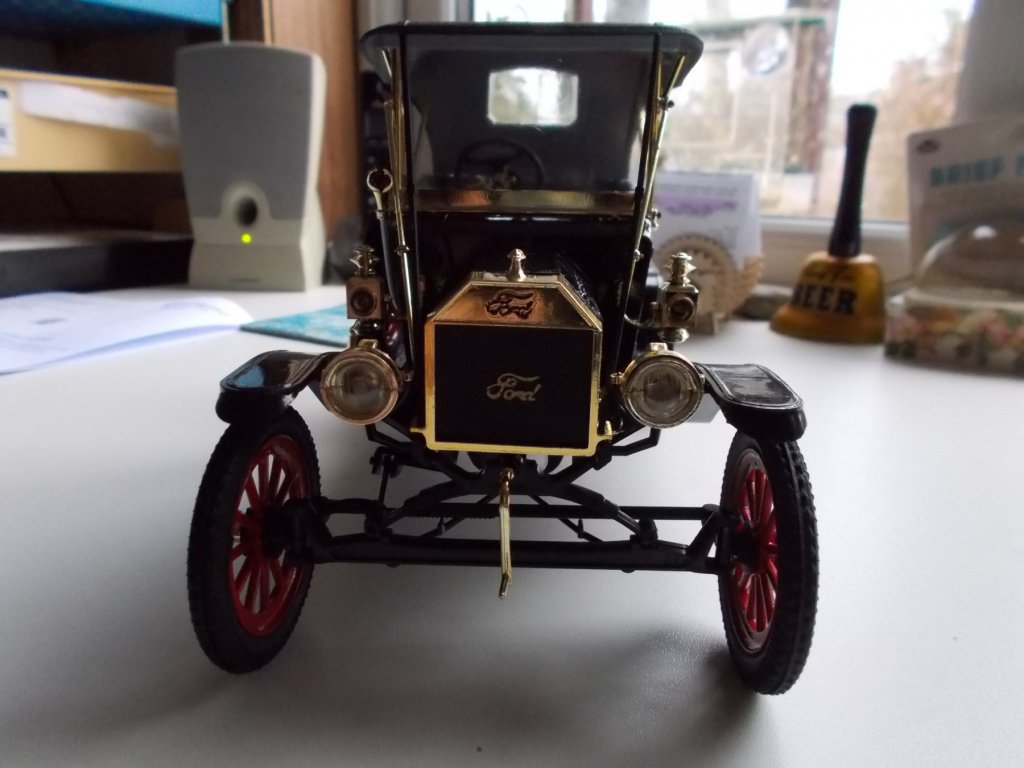
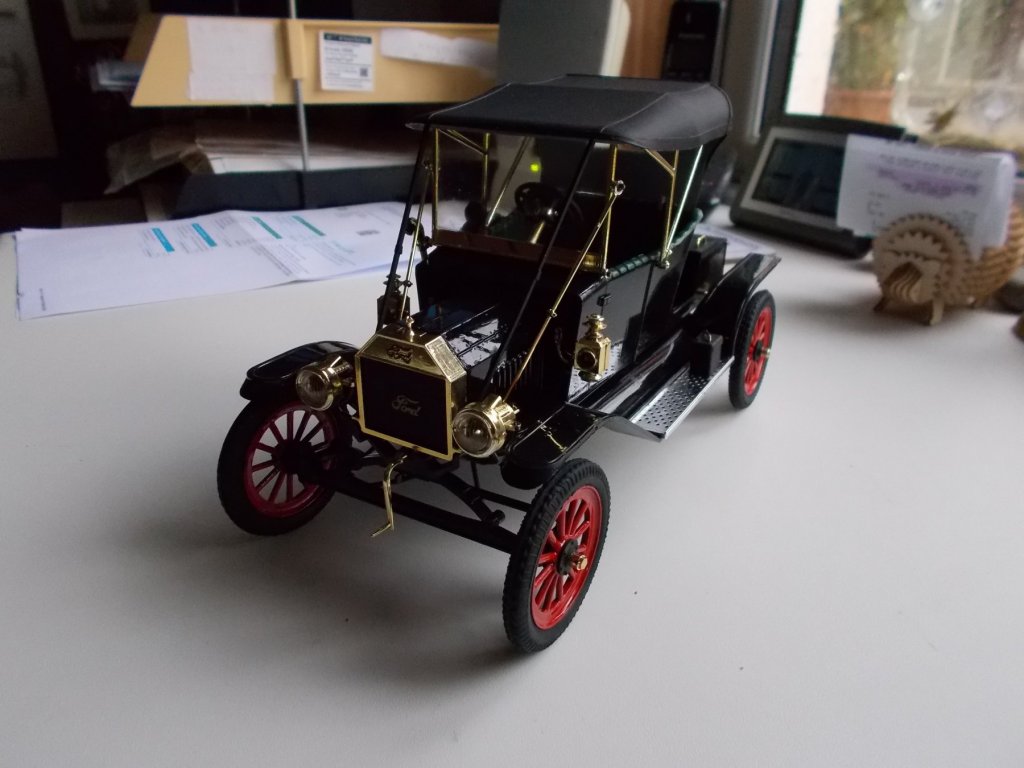
OK folks I will start a build log under Fokker Dr 1 by Mike Dowling in shore leave. Sorry I have no idea how to do links or anything flashy. I can't even manage links with my previous builds. Anyway, whilst waiting for my brain to make a decision about which build to do I wacked off a 'plastic' car 1/16 scale to go with the planes. A few pictures for you ( please excuse them moderators!) I hope to see you all on the log.


-
OK thanks for that. Meanwhile a decision has been made! My next build will be the AL Fokker triplane to go with my Sopwith Camel. Both to fly from the ceiling in combat !! Shall I do a build log in shore leave or don't you think anyone would be interested ?
-
Are those Guillows kits any good ? I was thinking about getting their Catalina- you know - half boat and half plane. Thought it might make a change ?
-
Shihawk, I got some wagons from model expo when they had a sale so the kits were cheap but the shipping, import duties and additional postage fees made them very expensive. I won't be doing that again. Thanks for the comments Marcus, much appreciated.
-
I bought a Fokker triplane from Amazon - they had a special deal and I bought the Sopwith and an Albatross from ebay. I know Cornwall do them but they are a bit pricey.