Mike Dowling
-
Posts
1,234 -
Joined
-
Last visited
Content Type
Profiles
Forums
Gallery
Events
Everything posted by Mike Dowling
-
Sorry John, I don't want to pinch your log but what is Pinking ? I thought it was a problem of not having lead in your petrol!
-
Thanks John, I hope I can do as good a job as you have. I was planning in using what is probably an ancient method of covering but one I used in my youth when I last made model planes - good old tissue and dope!! I have also managed to aquire (!!!) some bits of the Hasegawa 1/16 kit as I wanted to be able to half the bit that goes round the engine, the cowl I guess to cover that and some of the fuselage pieces, same idea. Could be interesting?
-
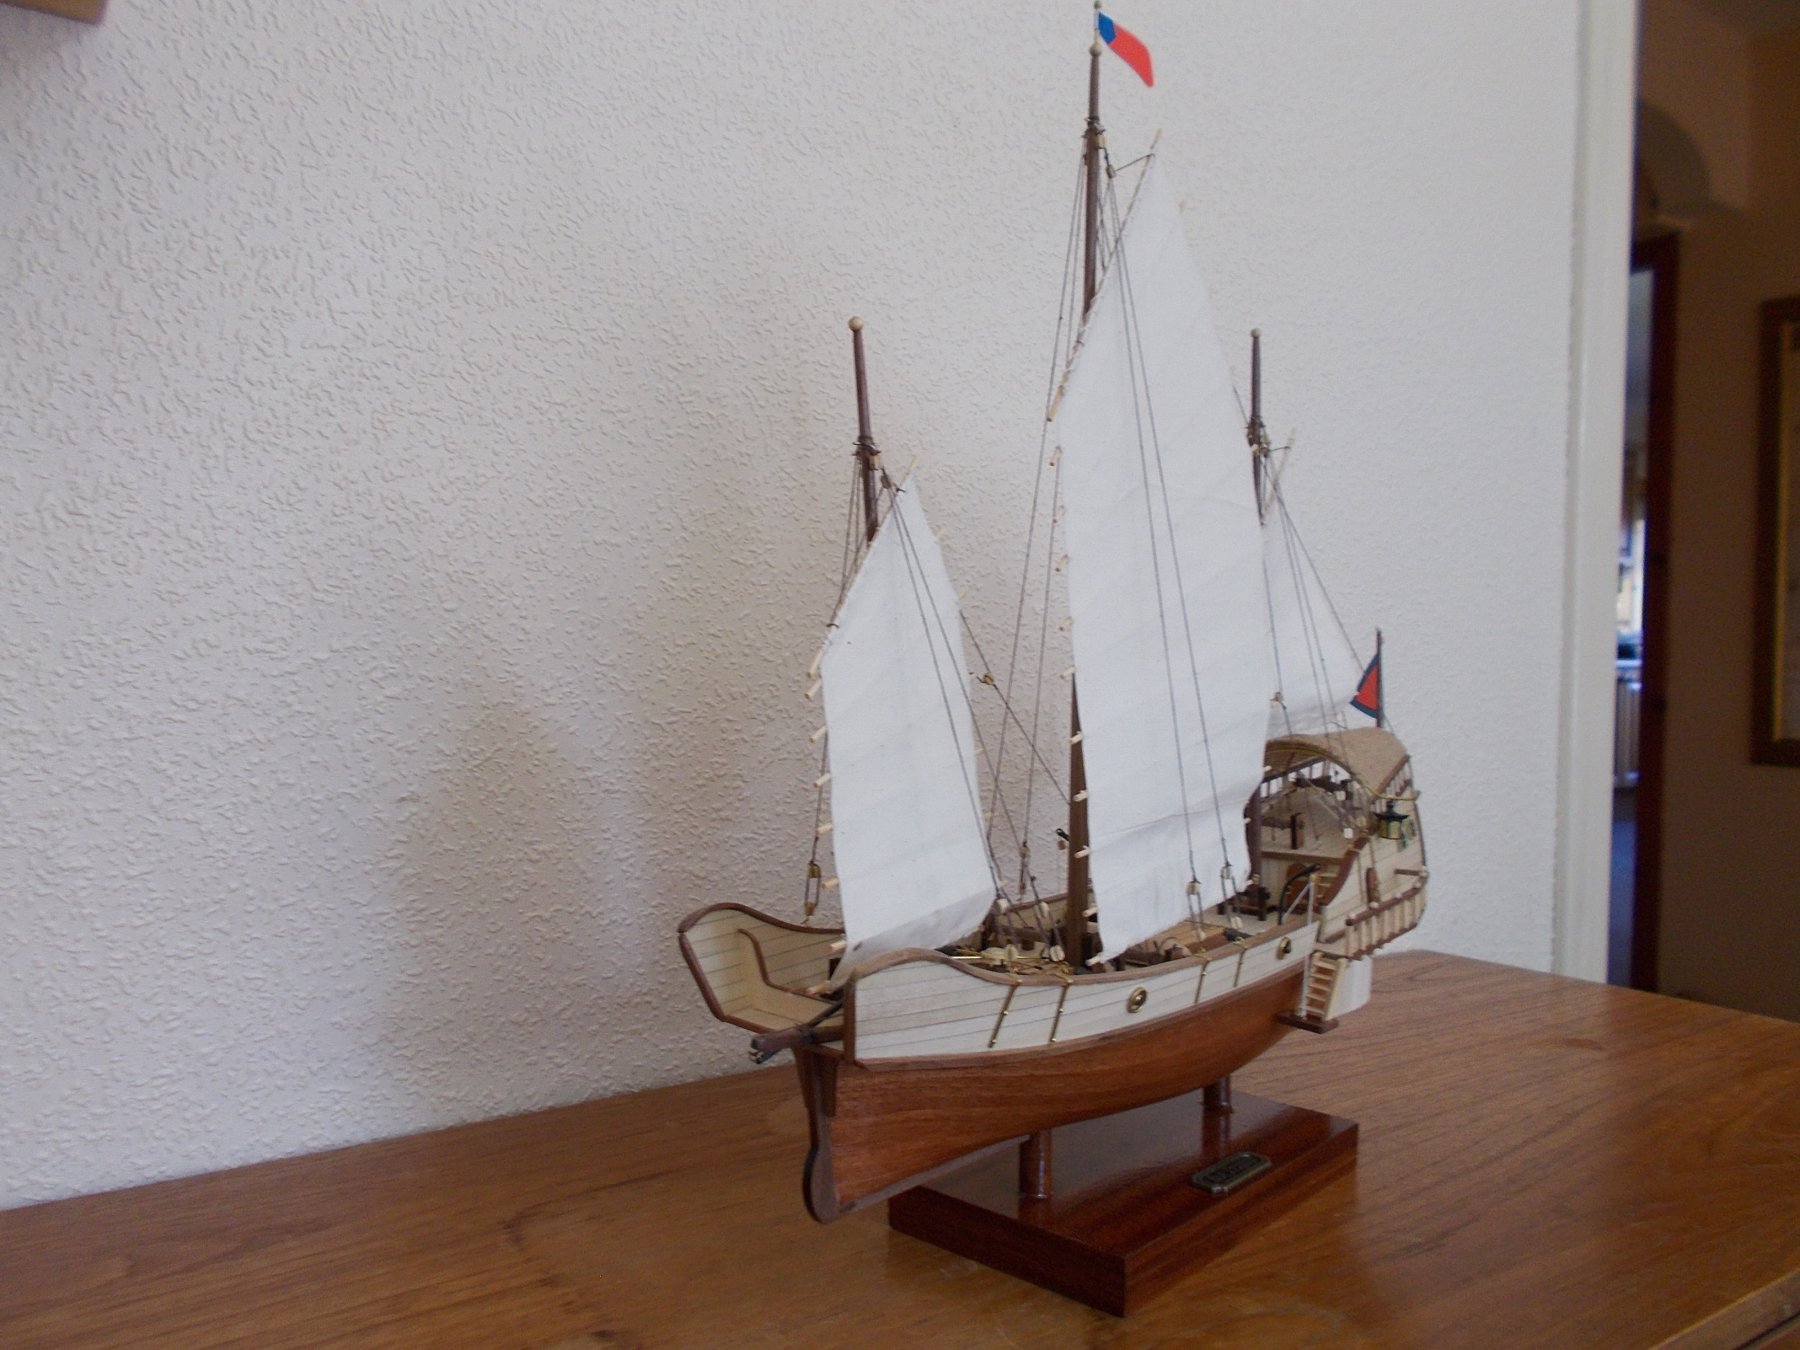
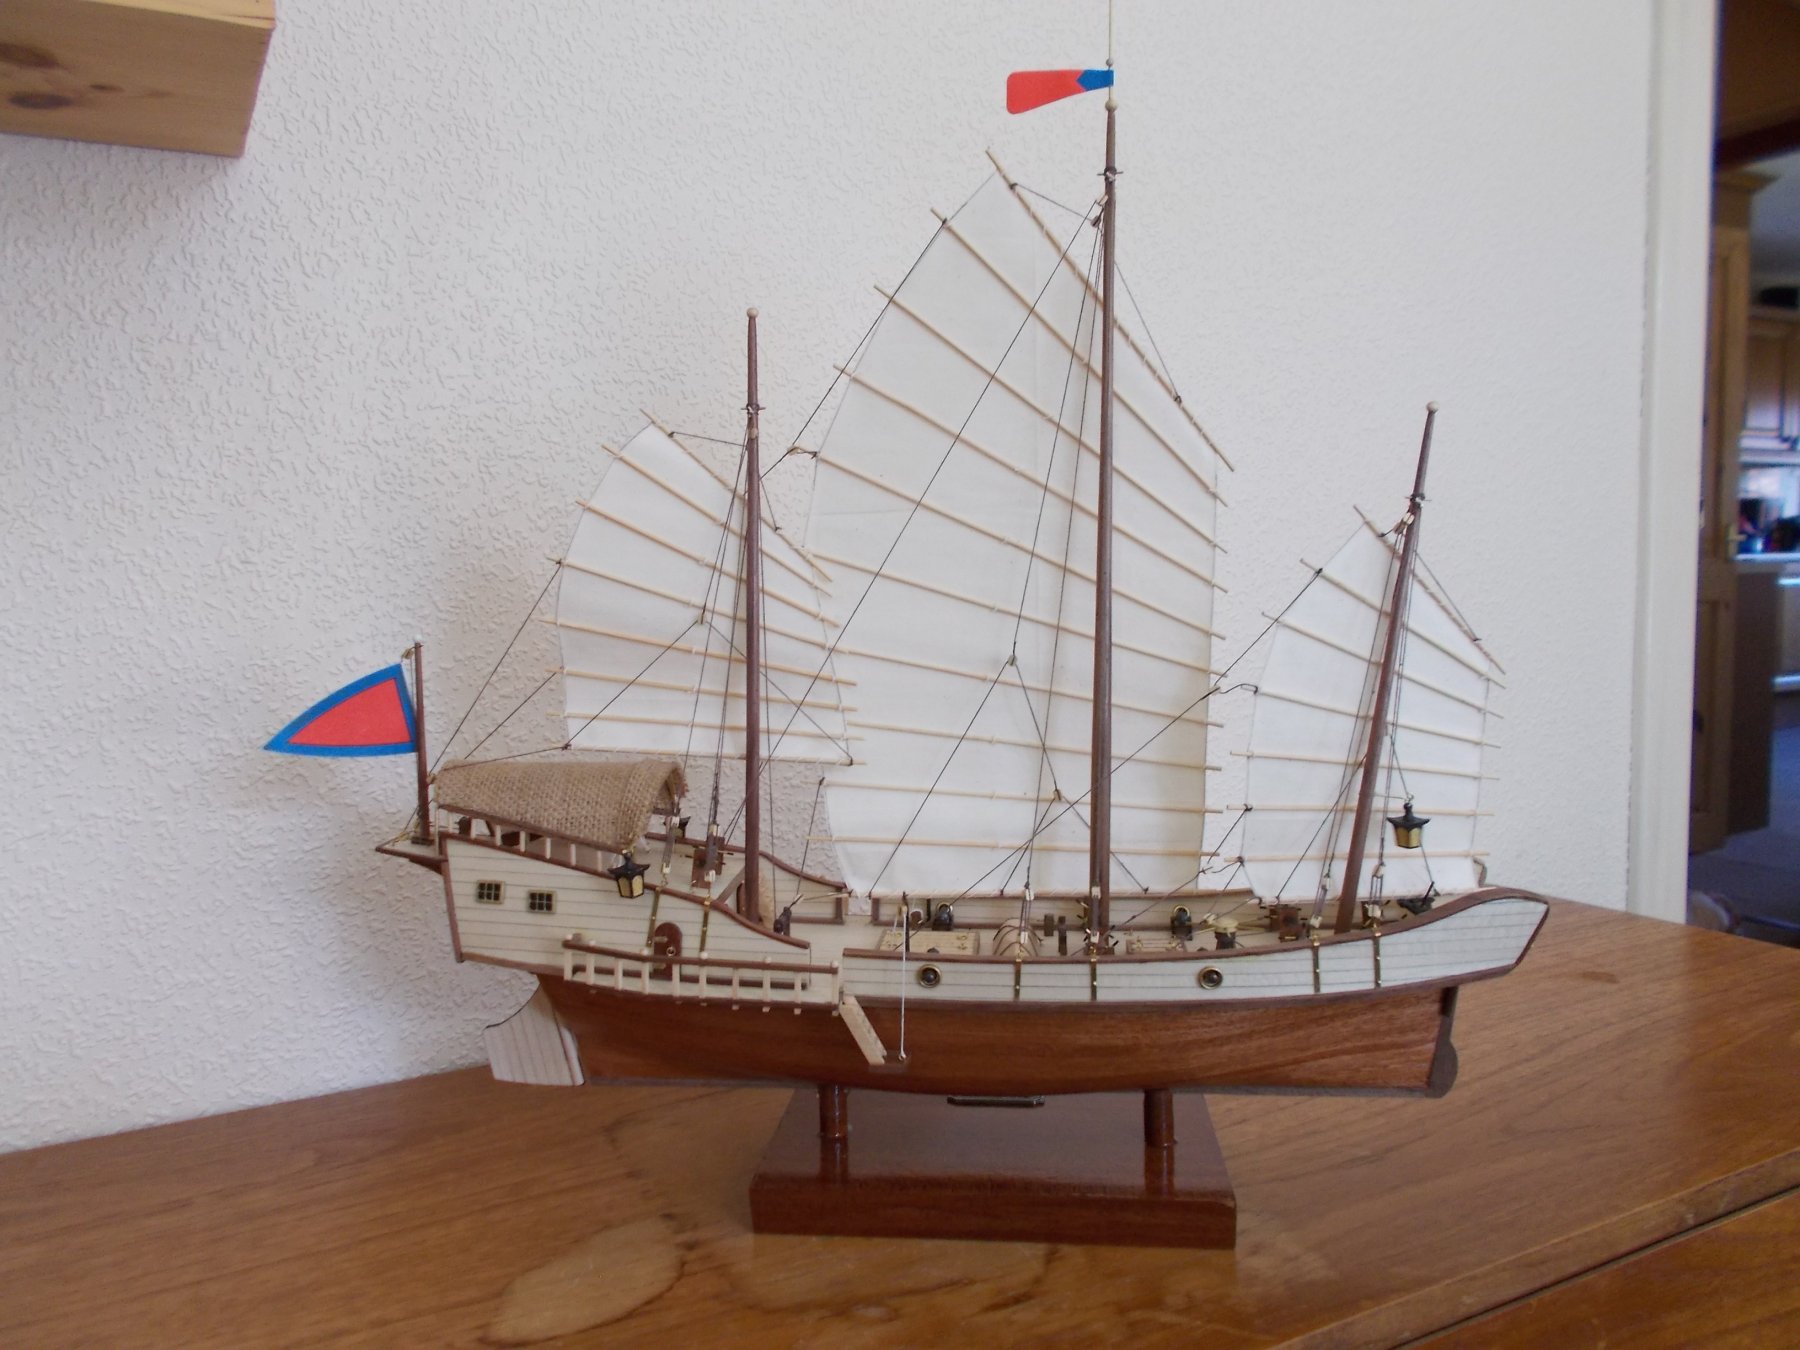
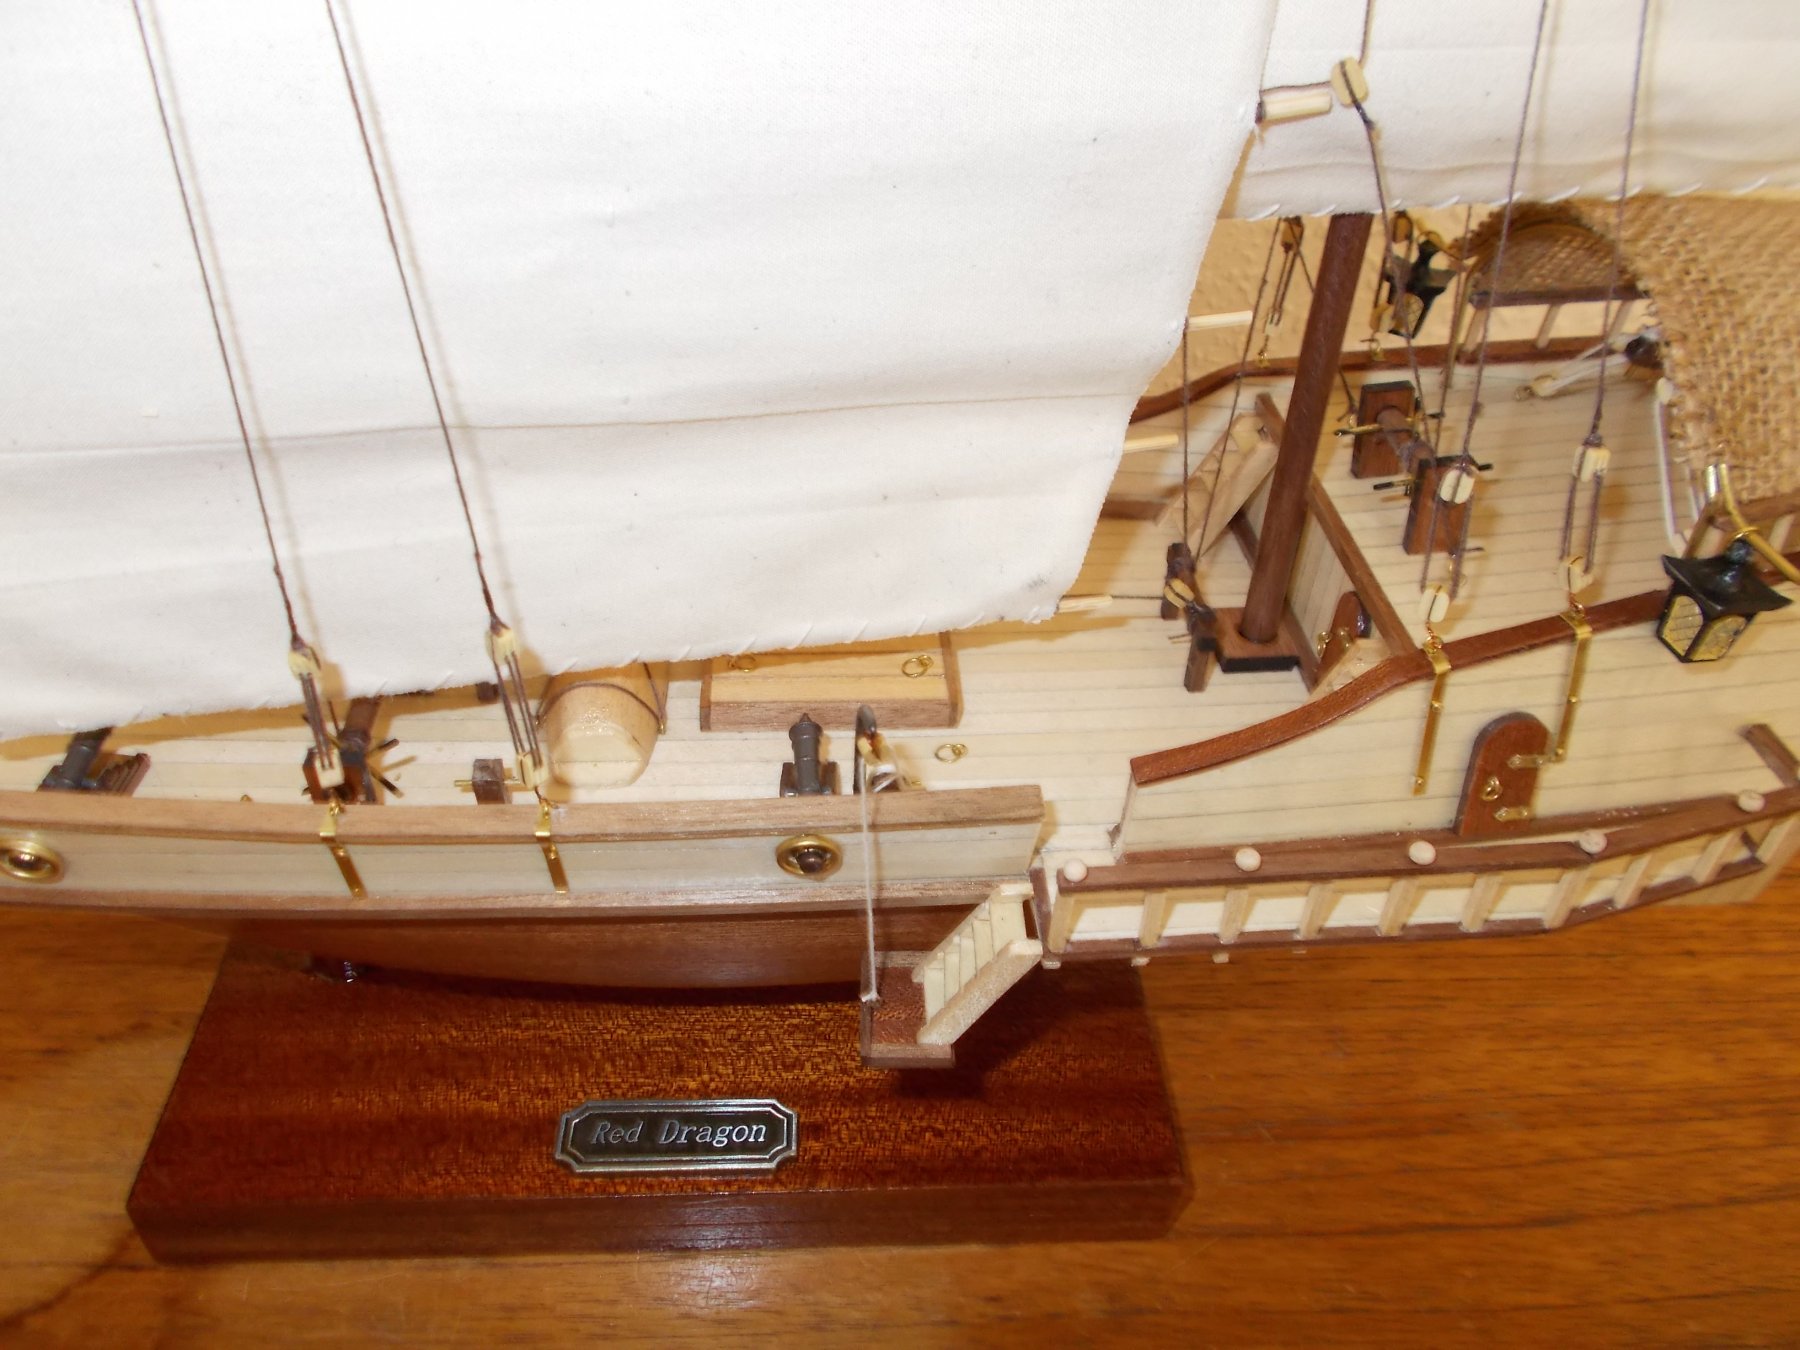
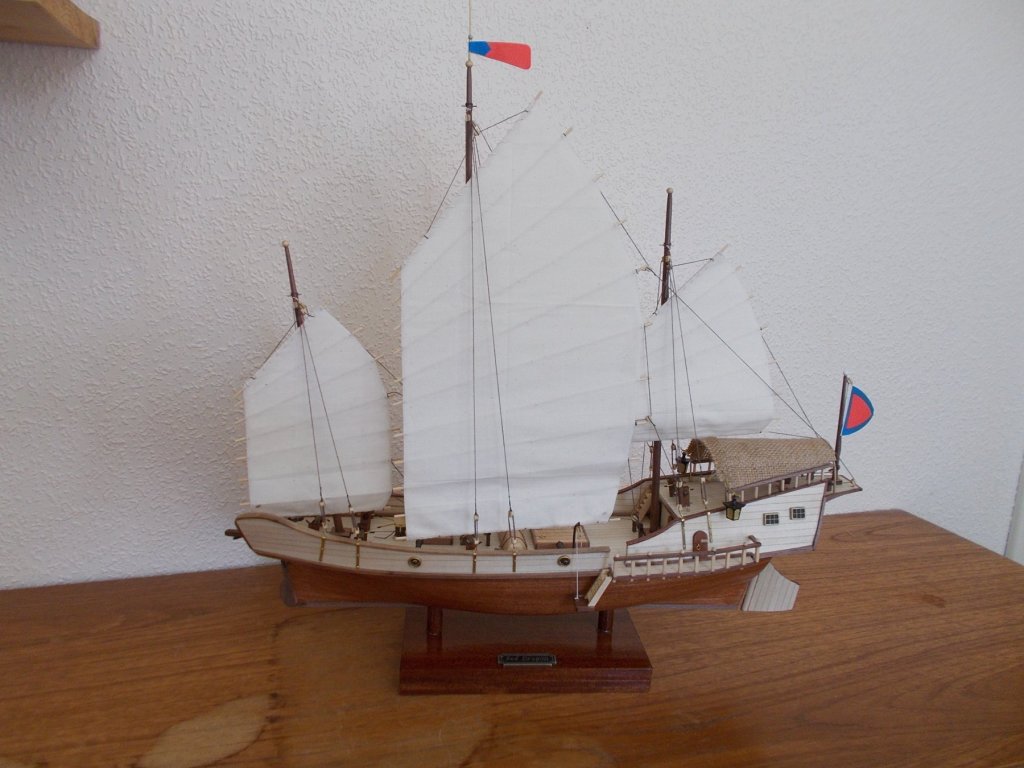
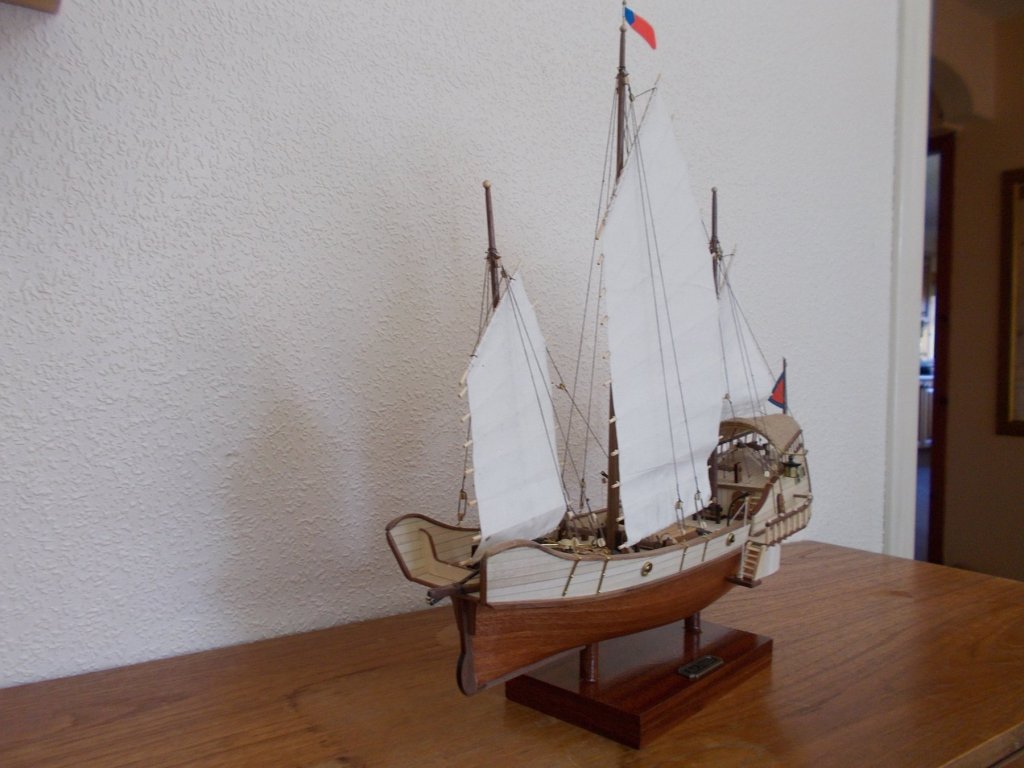
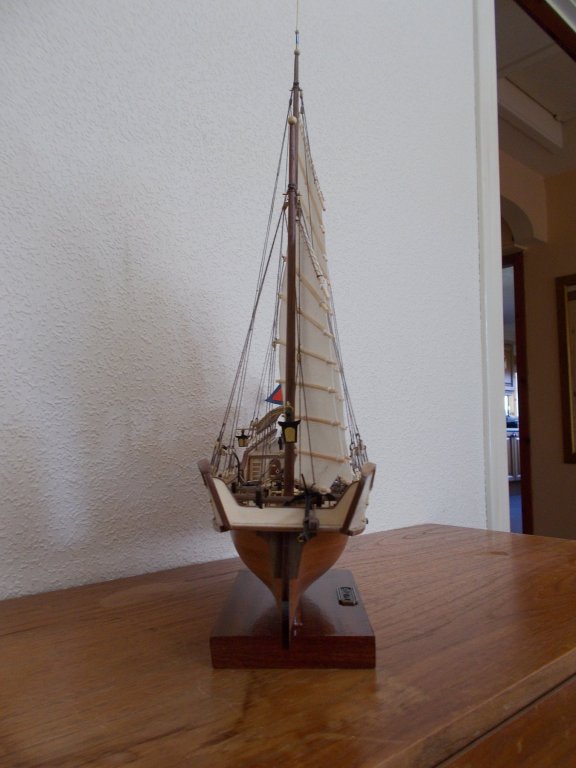
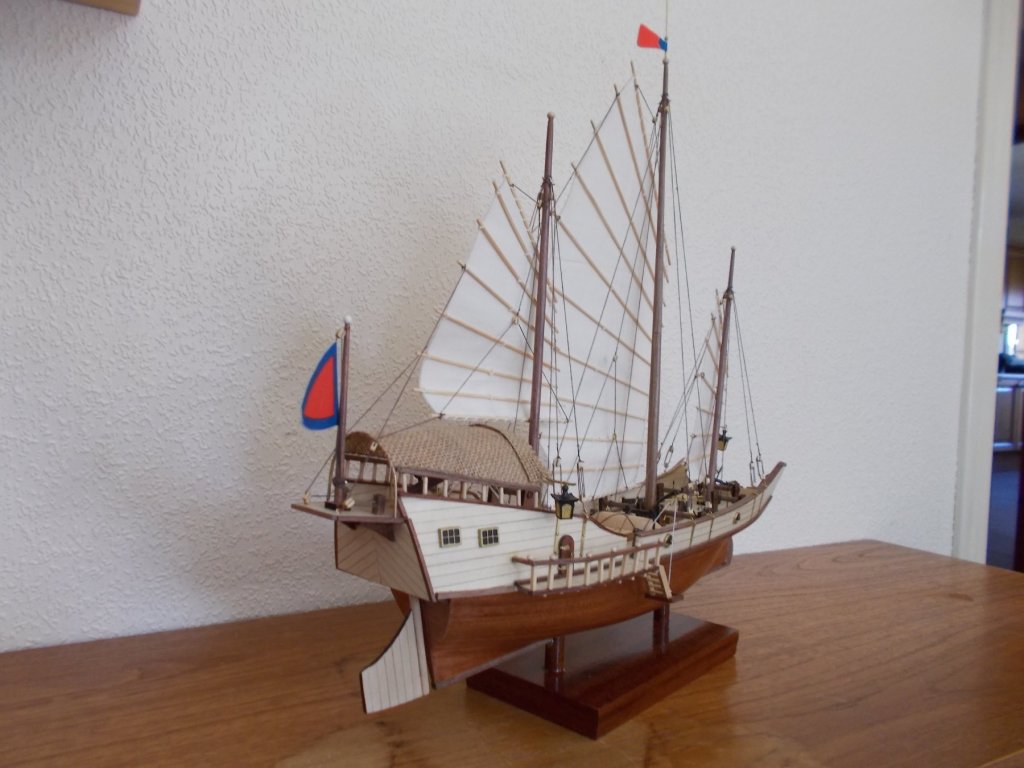
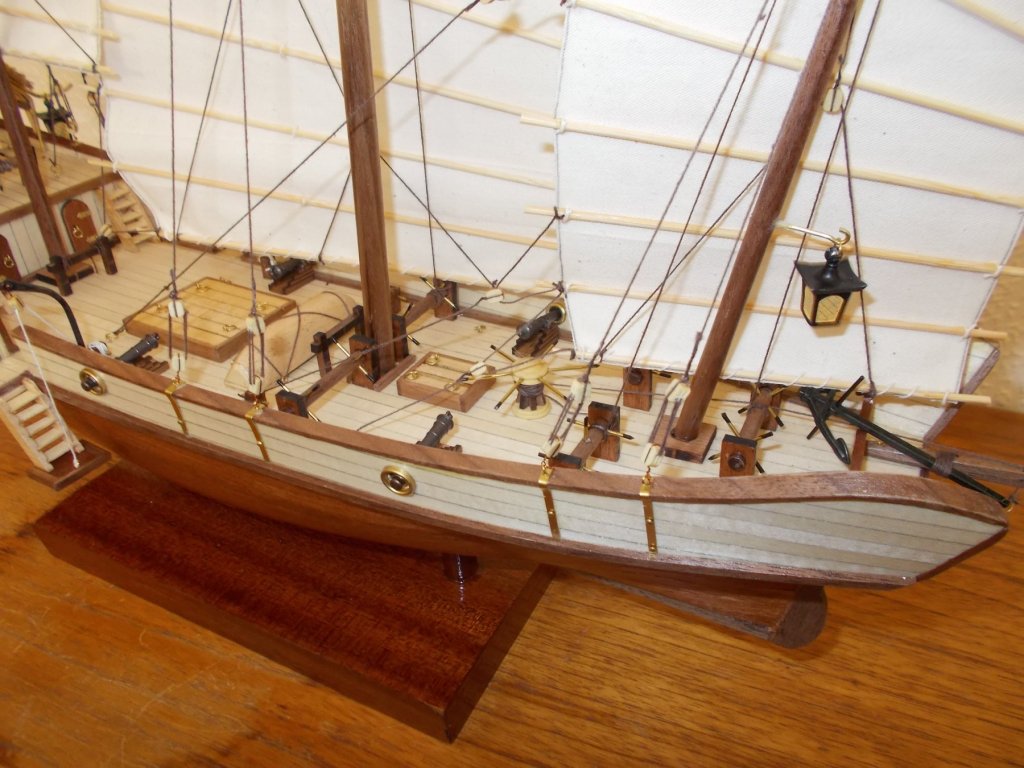
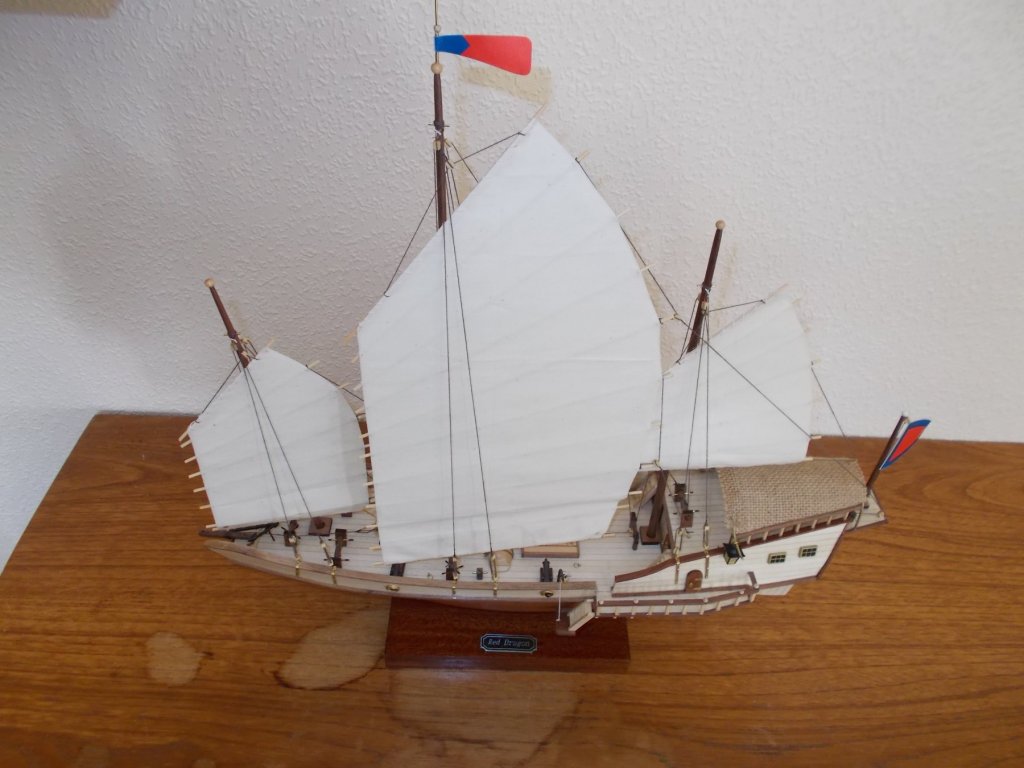
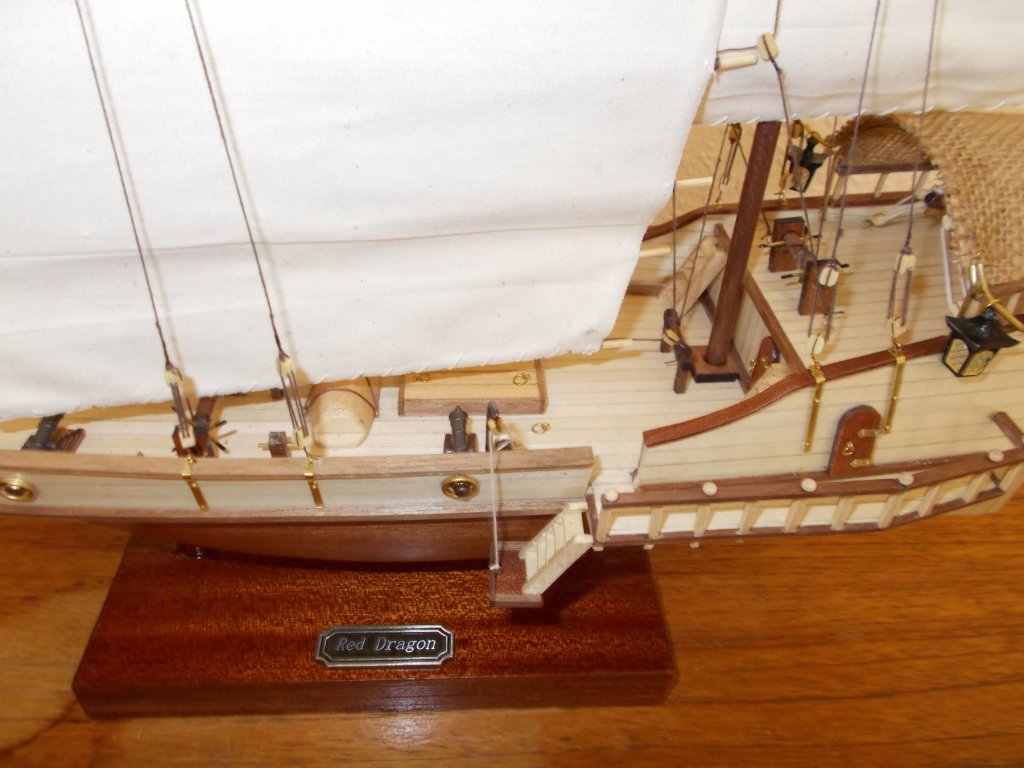
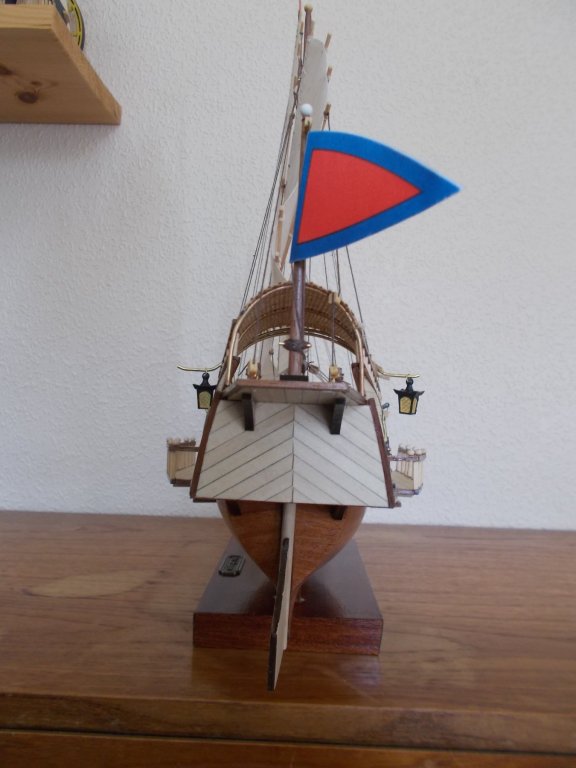
I am cheating a bit as this isn't so much a build log as a final result. After finishing my Dennis Bus I went back to a boat to see if I remembered how to do it!! I have to say I really was quite pleased with my hull and the planking this time. The kit came with horrid stick on decorations which I deliberately left off but I did line the bulwarks which the kit did not allow for. It would have looked dreadful if I hadn't. My next build is going to be a non boat plane. Yes, another Sopwith Camel 1/16 but this time I will do a log because I think I am going to need a lot of help with it ! Watch this space folks.


- 4 replies
-
- 6
-

-
- red dragon
- artesania latina
- (and 1 more)
-
What a wonderful mode John and beautiful build. I have the kit and it is indeed going to be my next build. My plan is to cover half and leave half exposed so that should be interesting. I shall start a build log soon but I fear I may be asking you a lot of questions along the way of that's OK.
-
Dennis Bus by Mike Dowling - FINISHED - OcCre
Mike Dowling replied to Mike Dowling's topic in Non-ship/categorised builds
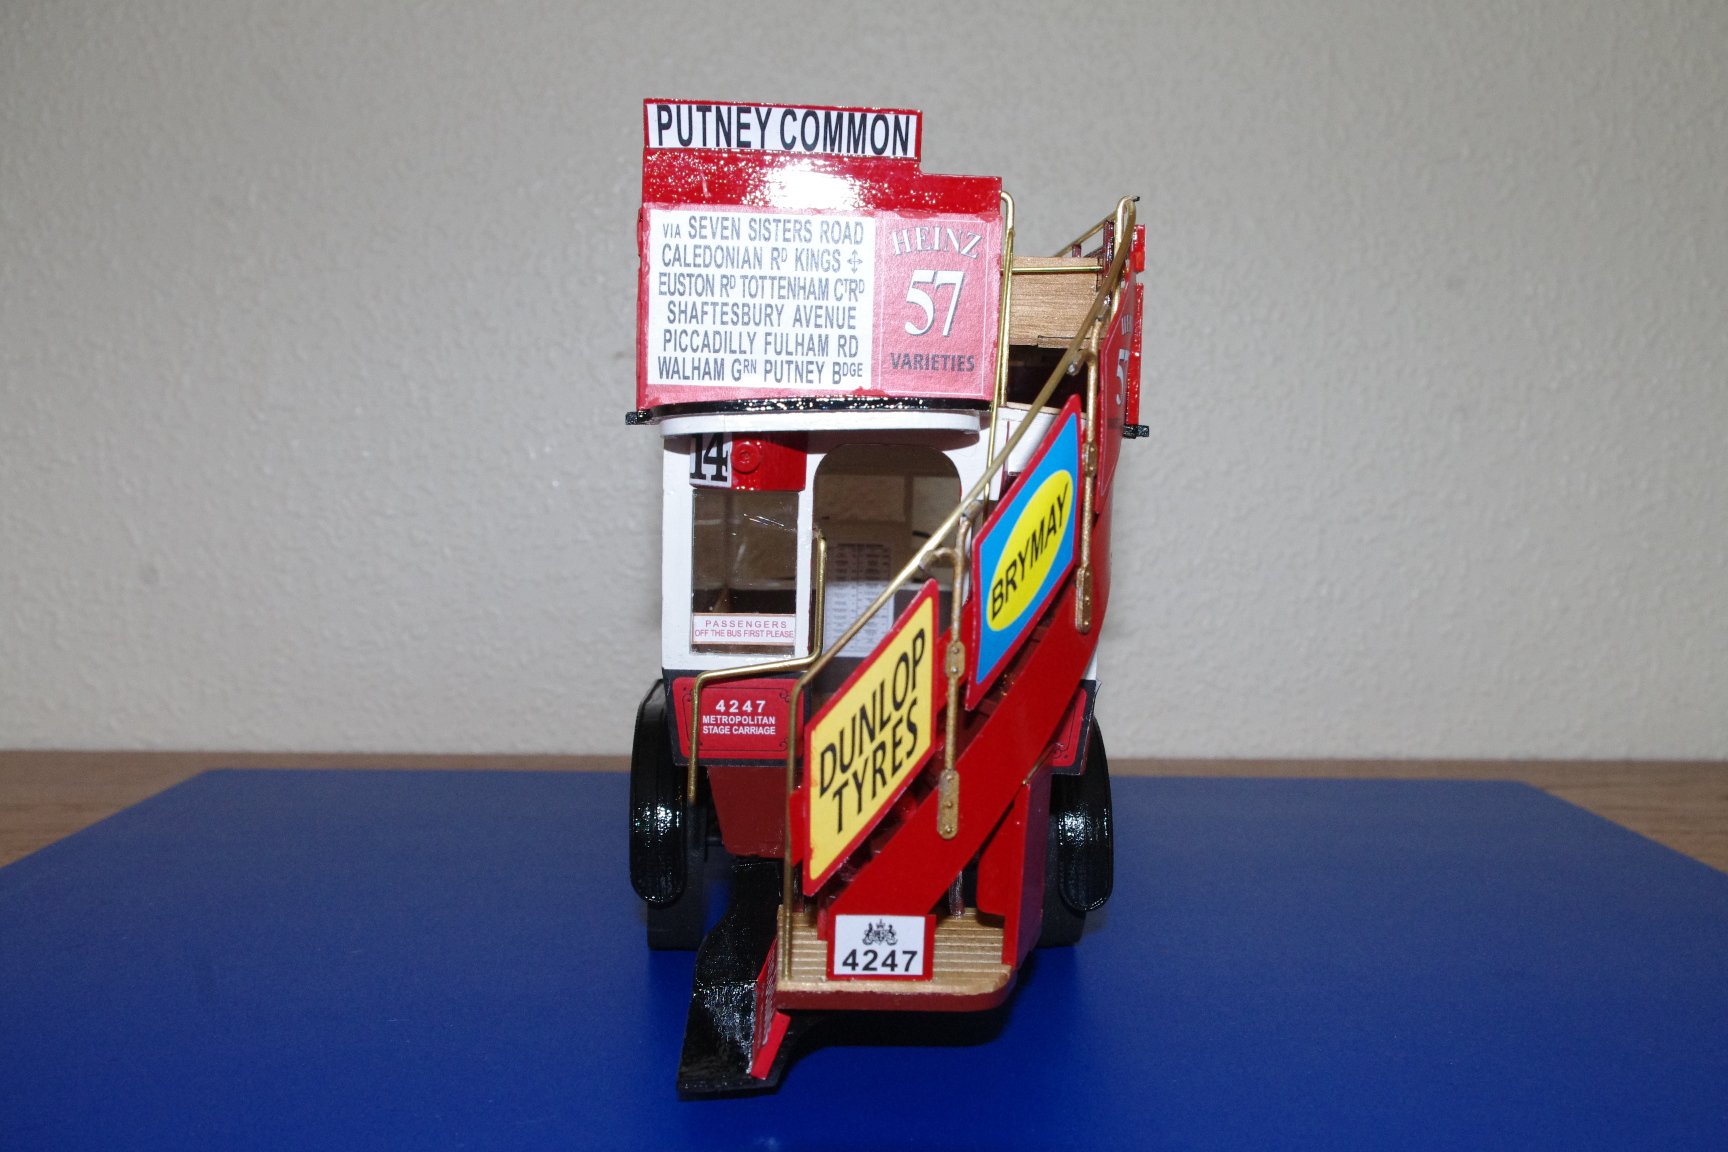
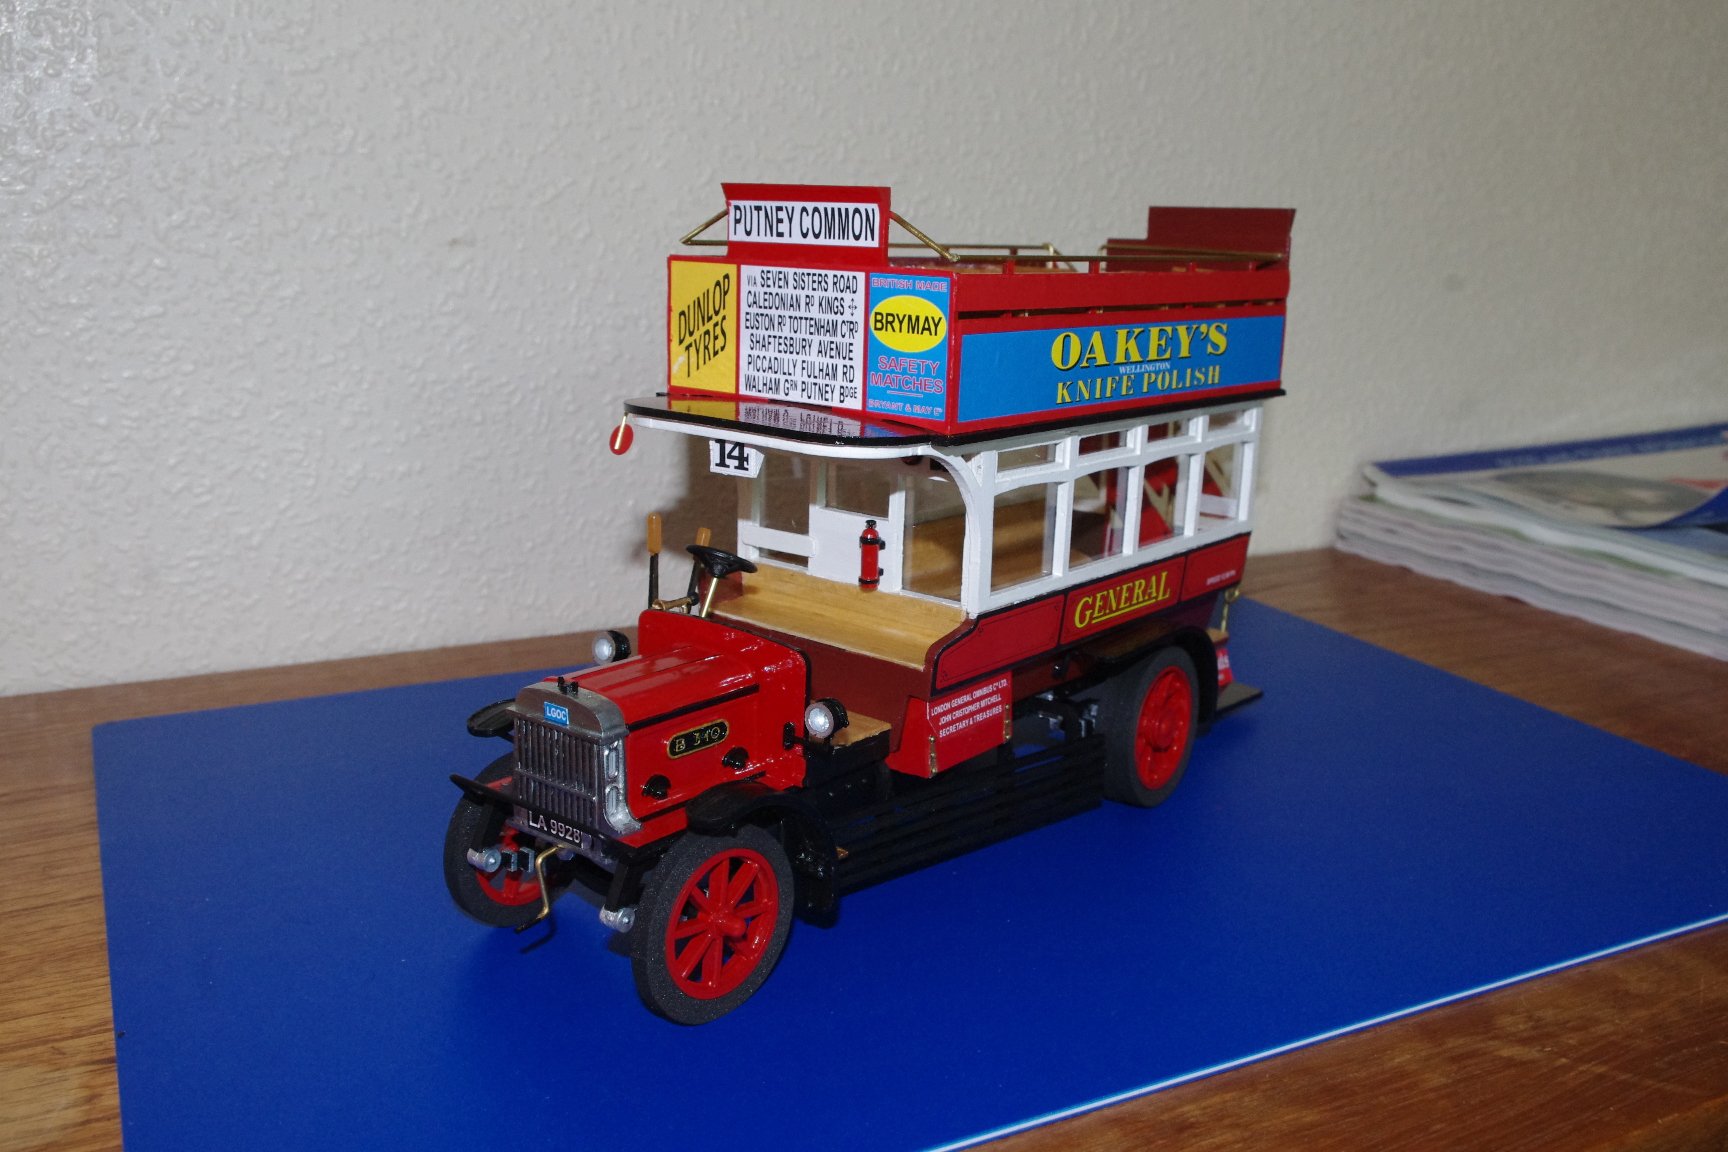
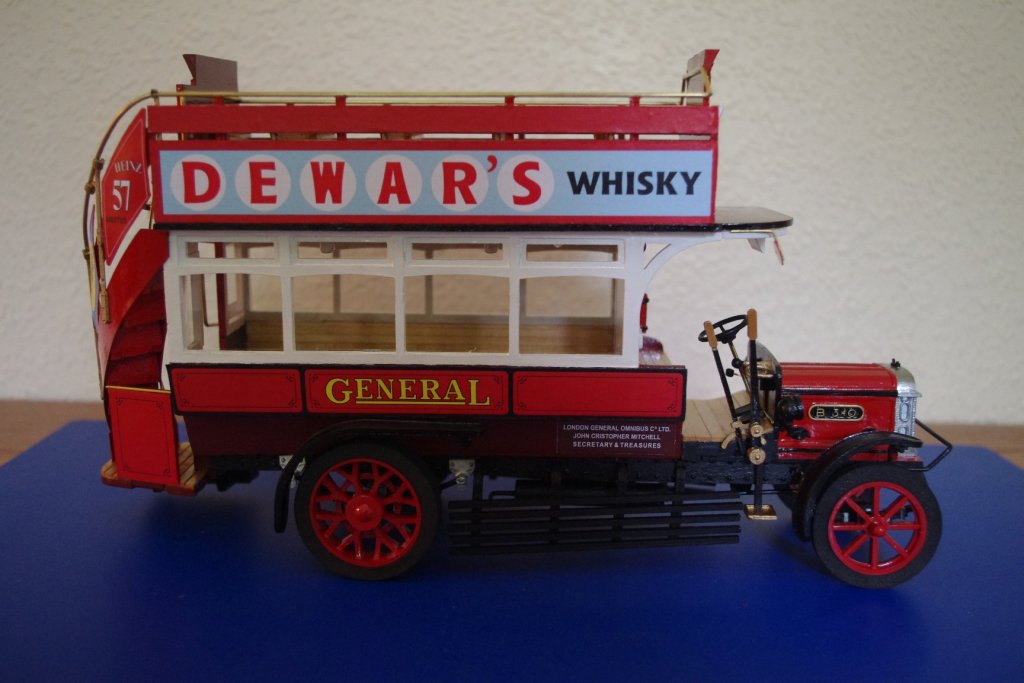
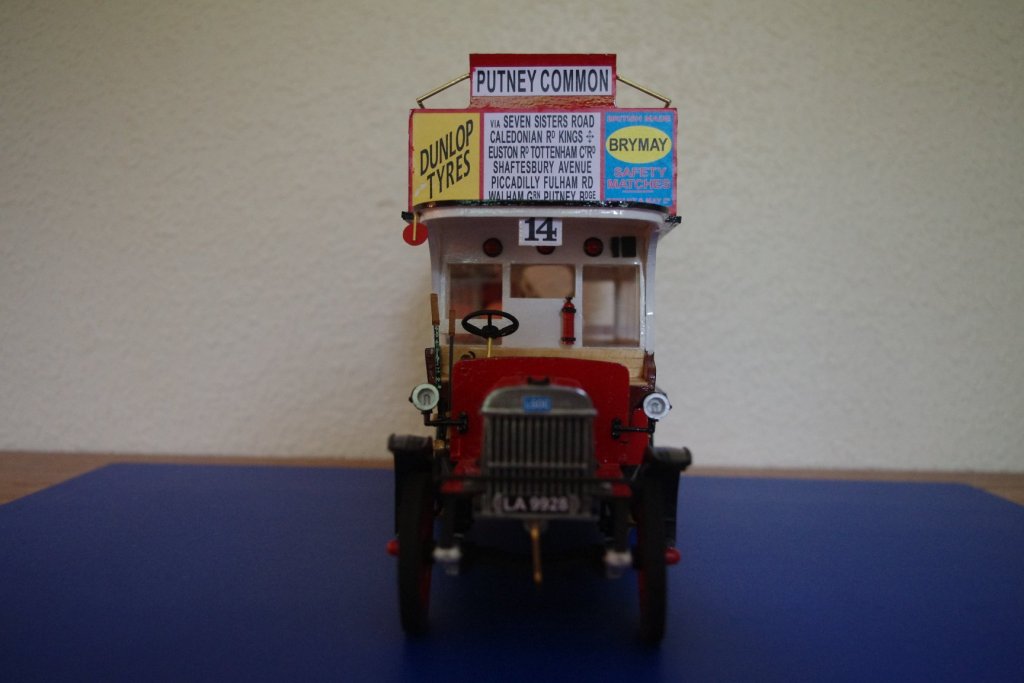
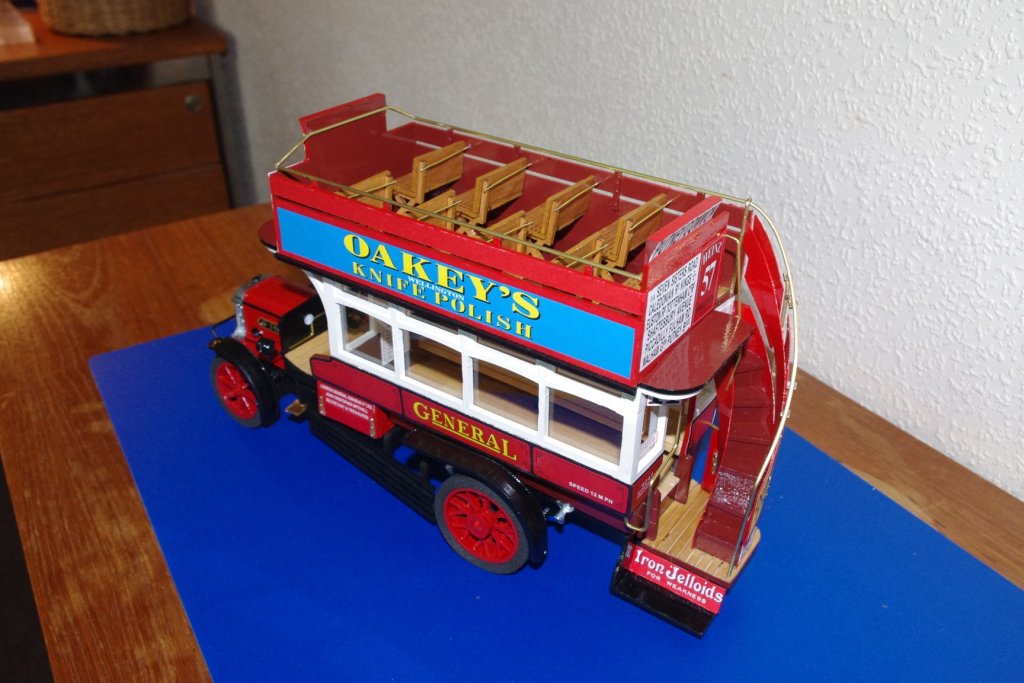
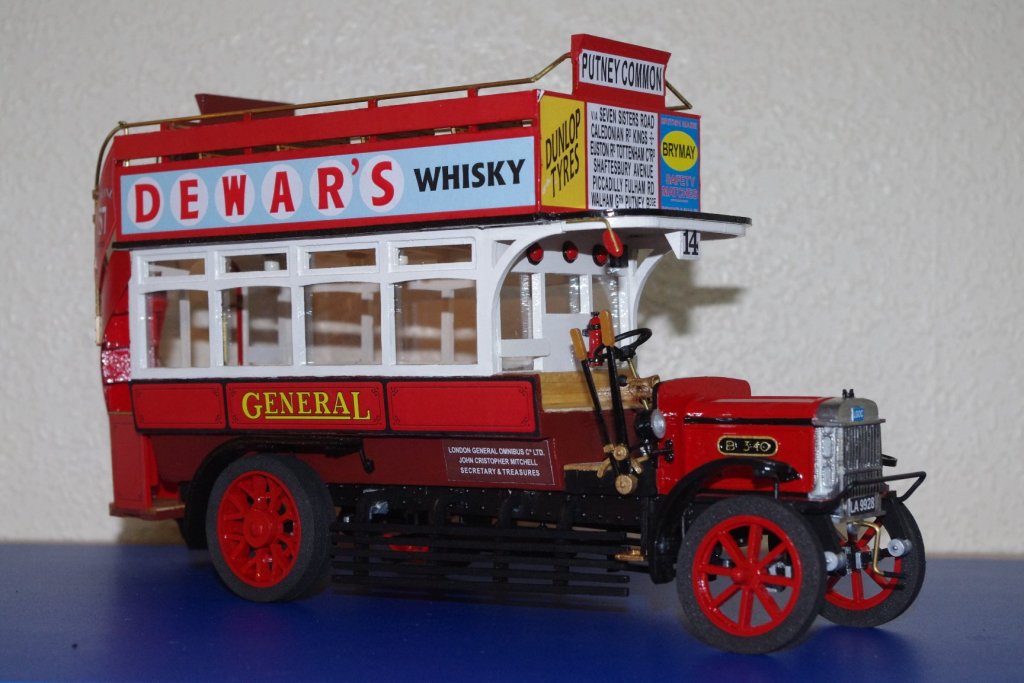
The beasty is finished! Made up into a nice little model I think, 1/24 scale. More of a kit than some where you would have to make up more parts yourself. OcCre castings up to there usual high standard. I have noted that their brittania metal is really quite hard and very strong unlike model trailways which is very soft and easily broken. OcCre's instruction books are brilliant with step by step instructions and excellent photos. I have done a lot of their models and this is amongst the best. Certainly a bit different from boat building. Anyway, I hope you like the end result.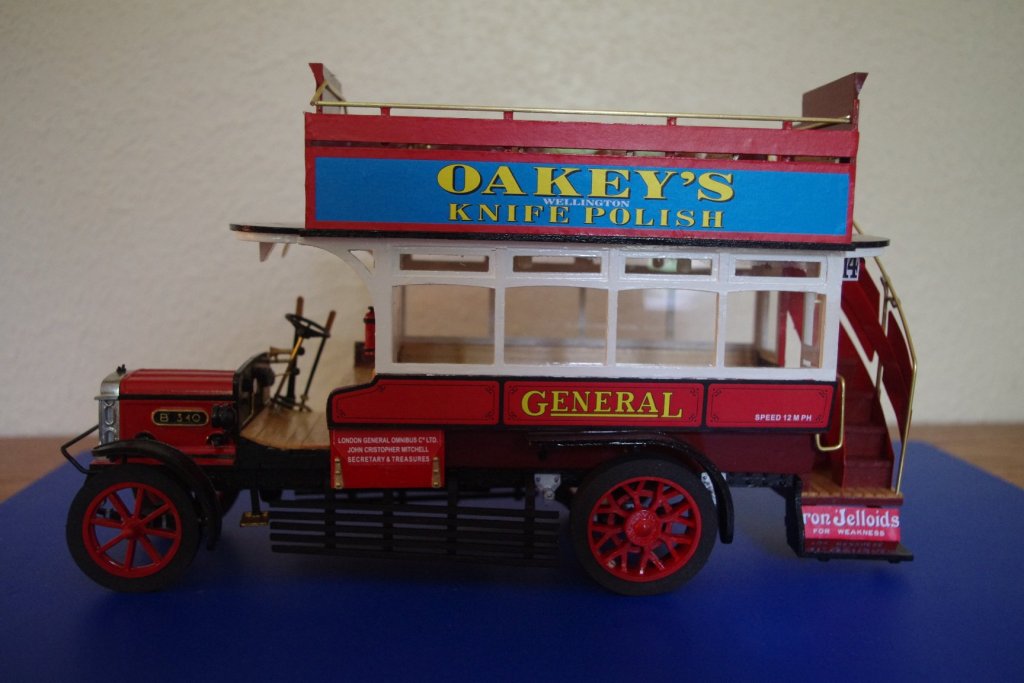

- 23 replies
-
- 16
-
-
Dennis Bus by Mike Dowling - FINISHED - OcCre
Mike Dowling replied to Mike Dowling's topic in Non-ship/categorised builds
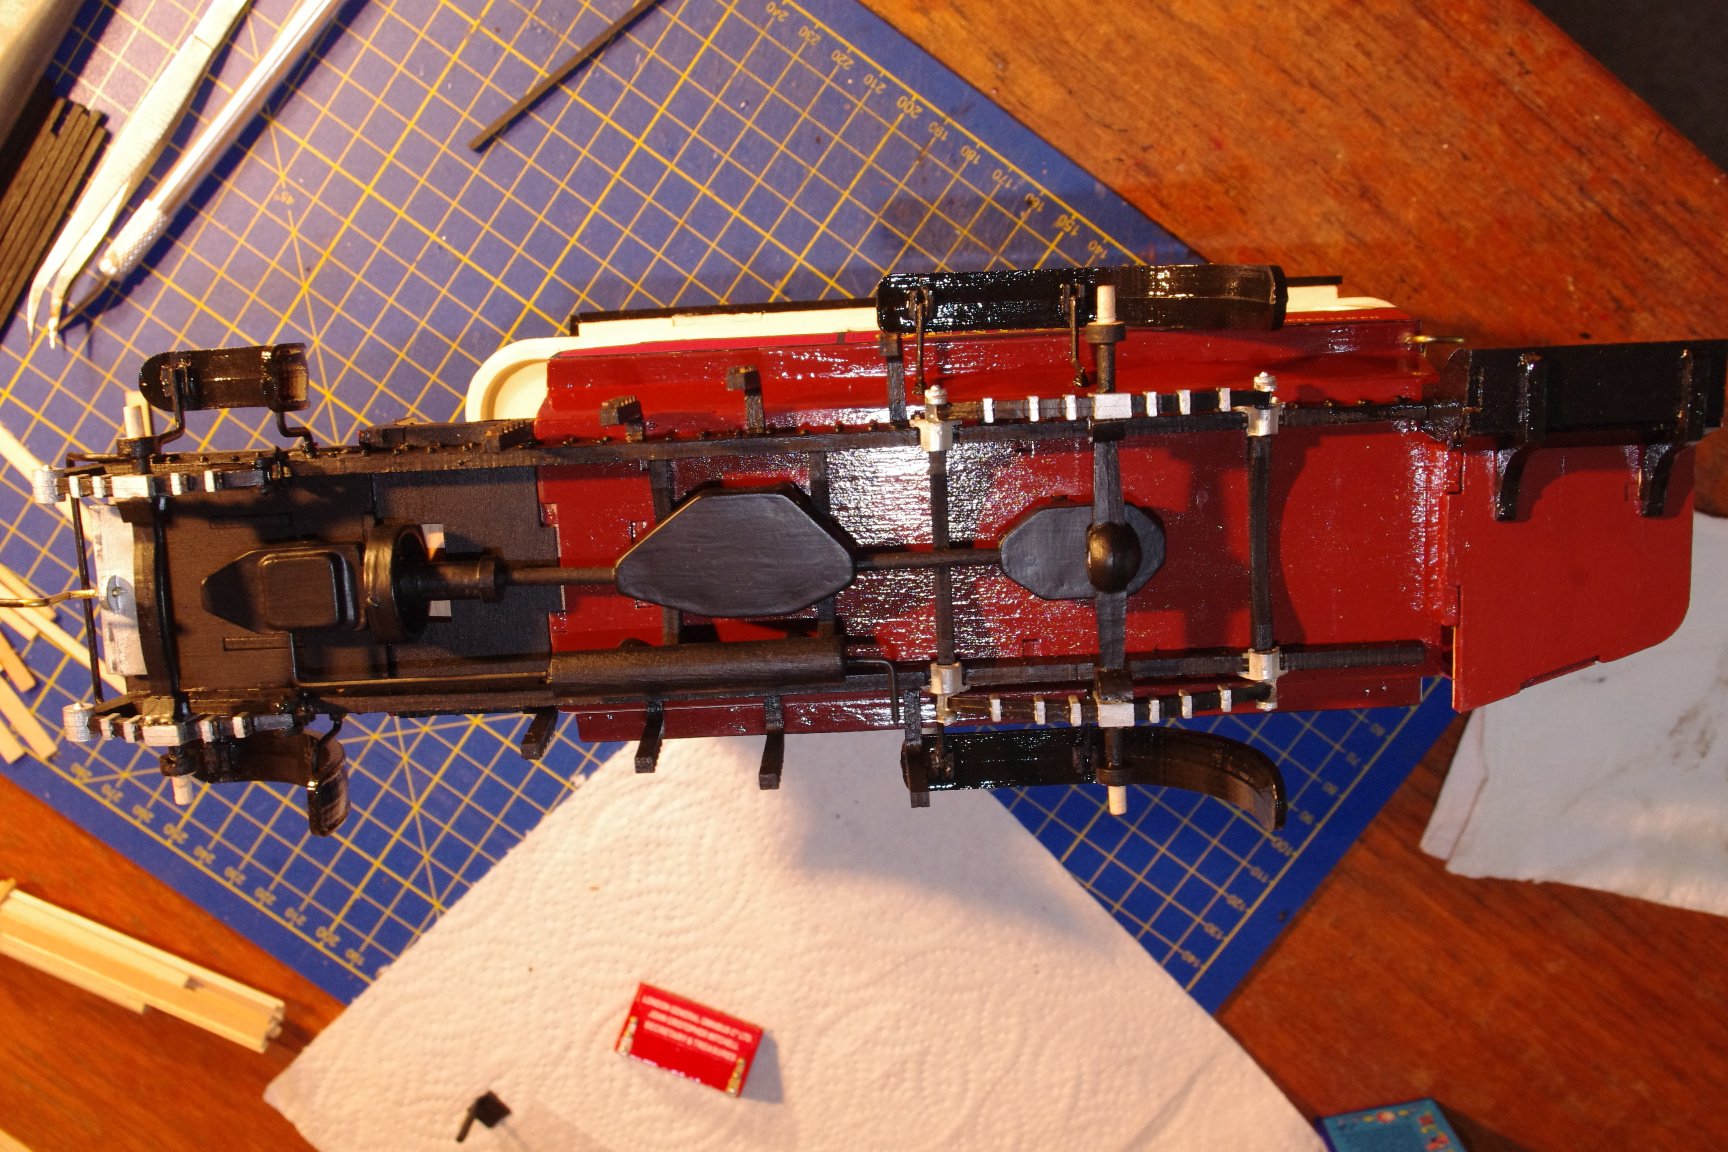
On the final furlong now. The undercarriage is finished, mudguards on and the settings for the safety grills each side.
- 23 replies
-
- 10
-
-
Dennis Bus by Mike Dowling - FINISHED - OcCre
Mike Dowling replied to Mike Dowling's topic in Non-ship/categorised builds
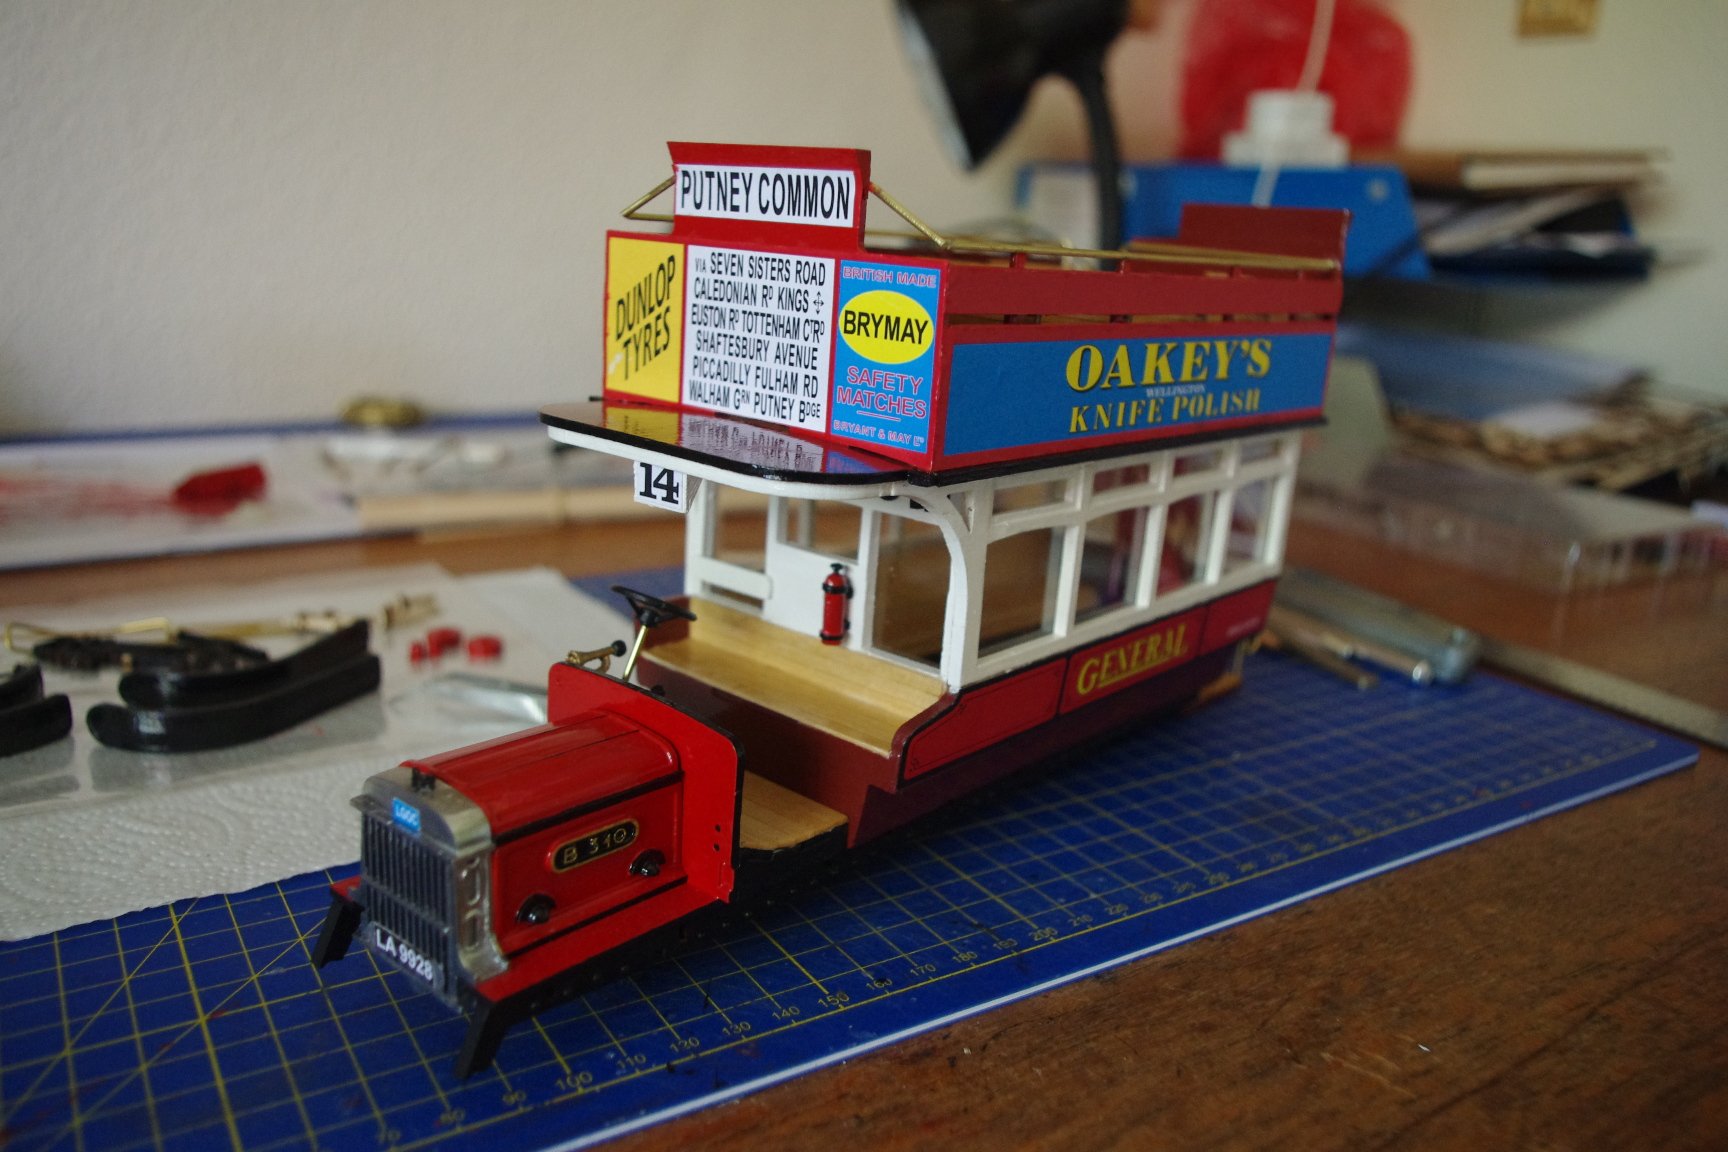
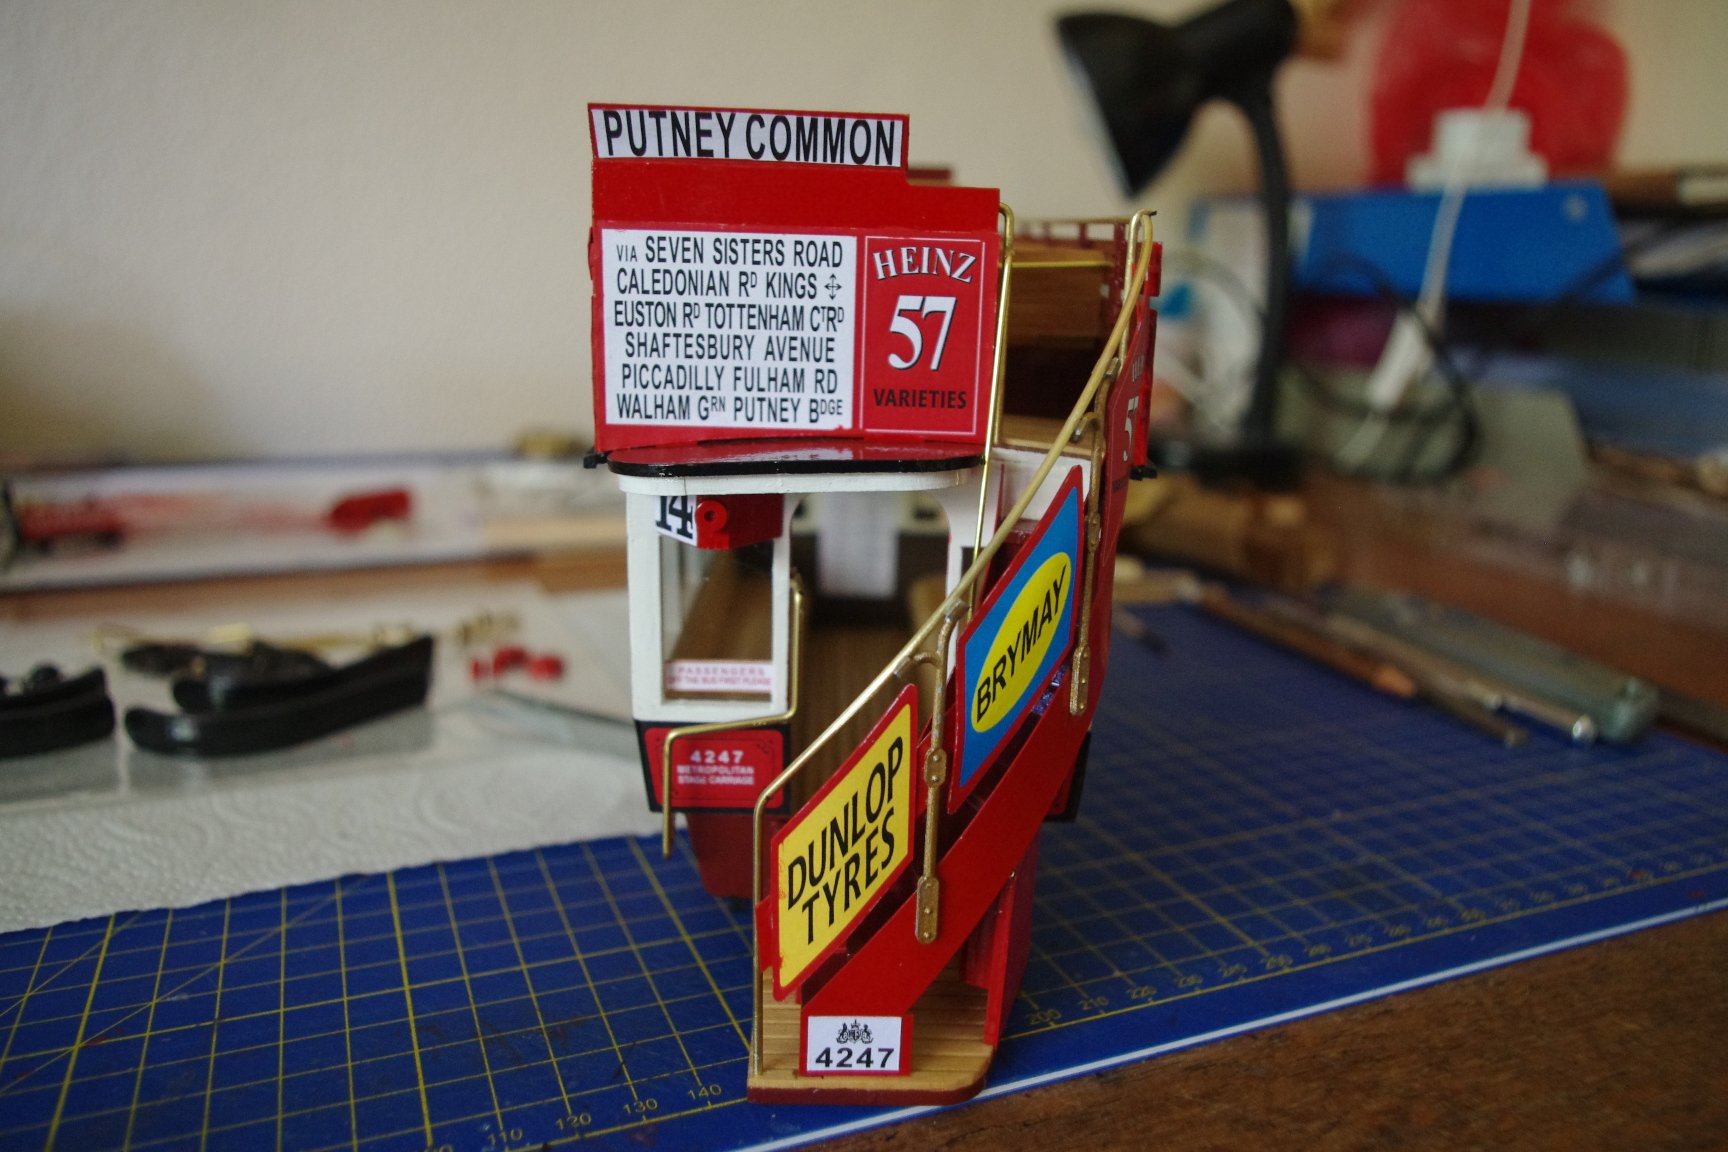
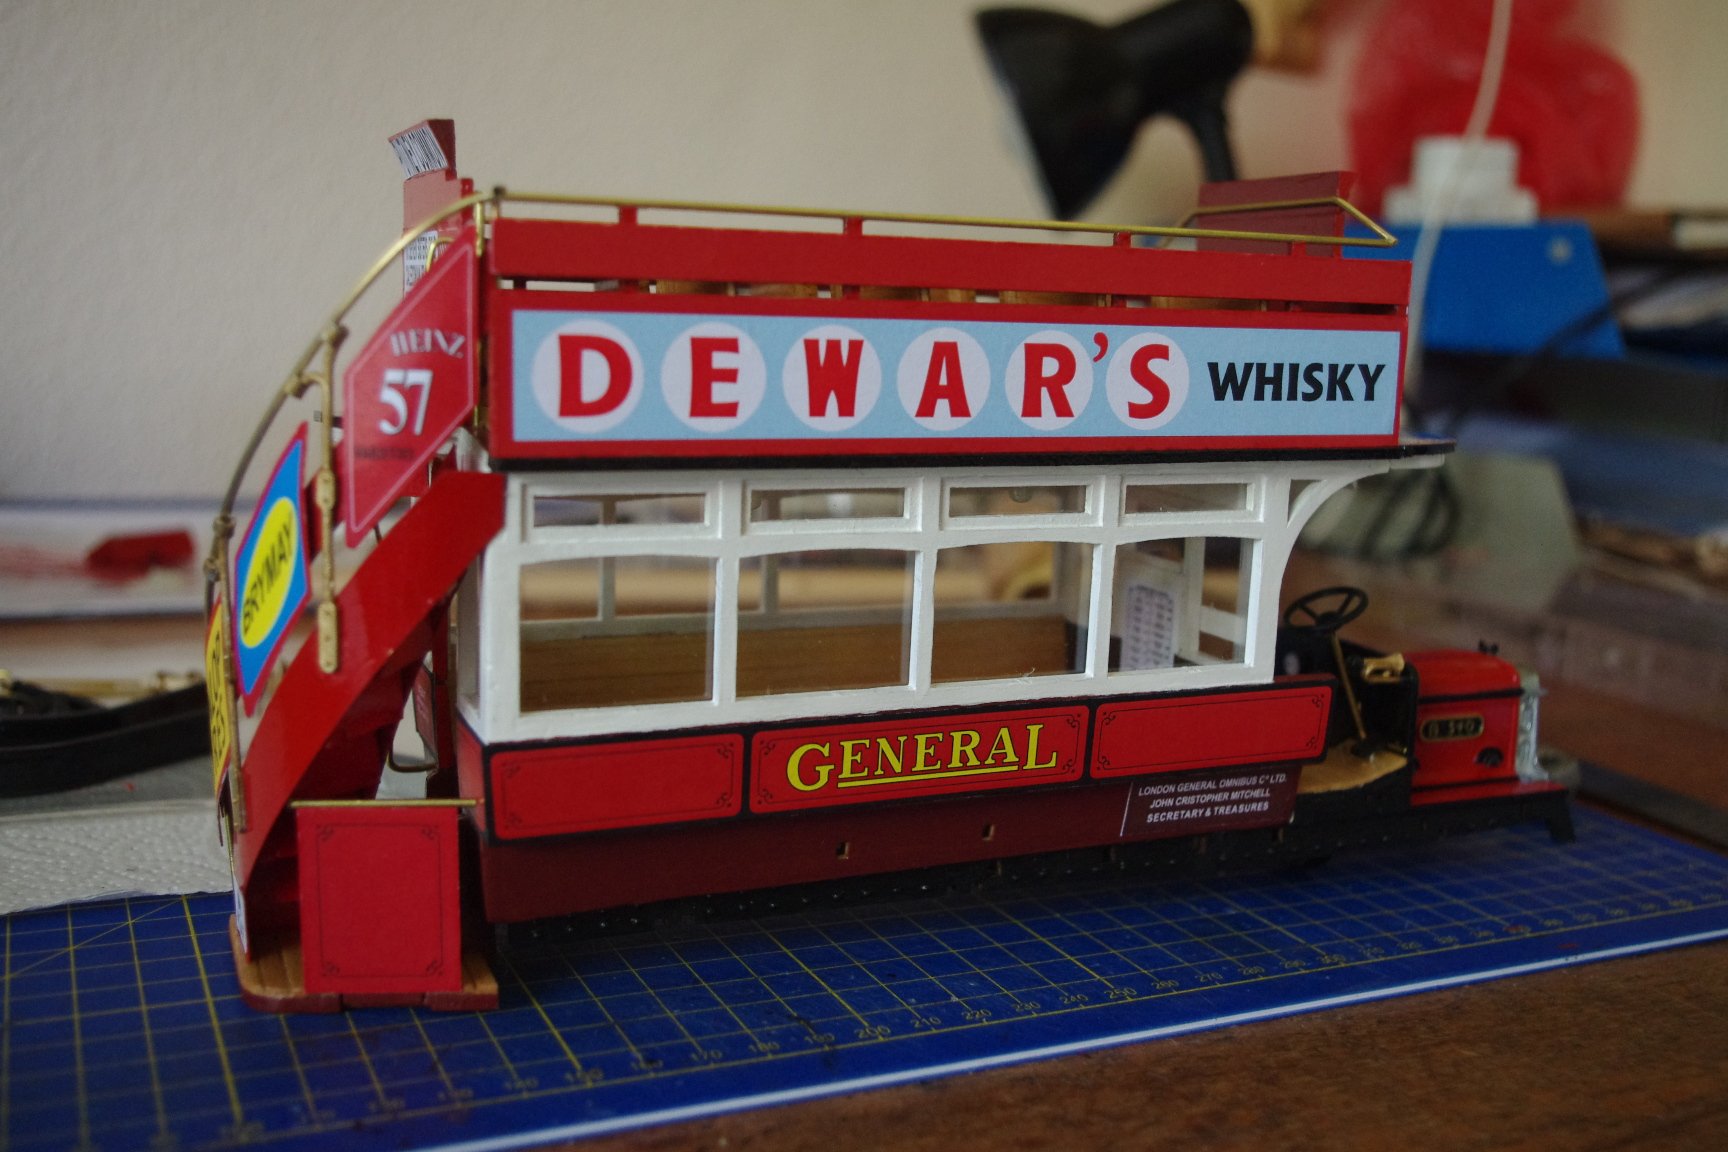
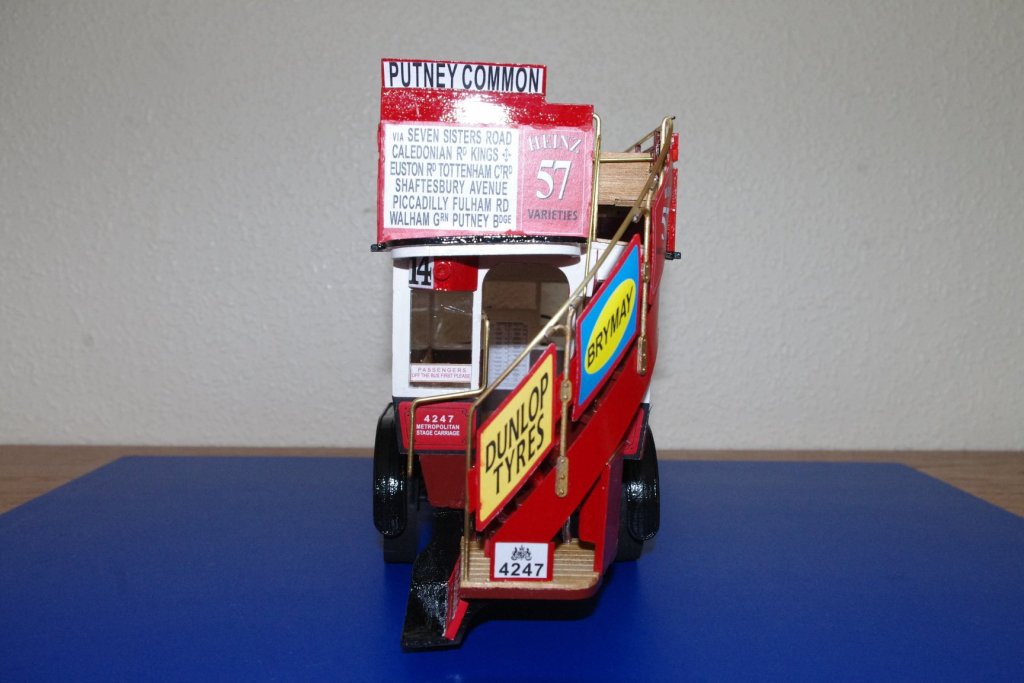
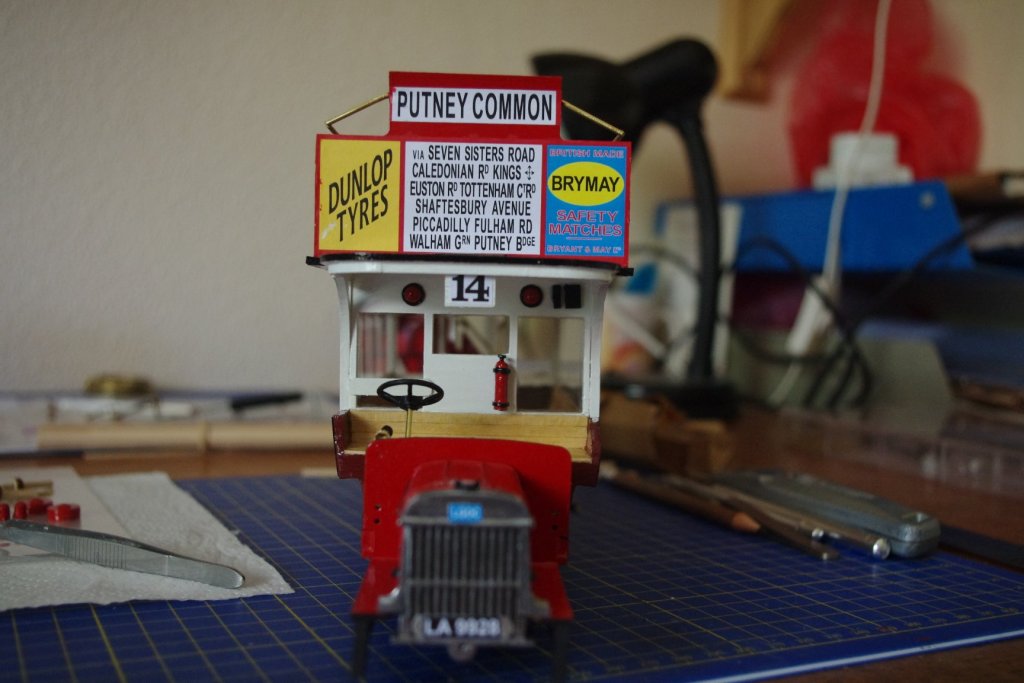
Making the hand rails for the stairs was a real labour of love ! Gradually bending the wire bit by bit until it was right took me a whole afternoon. Adding the rhombus shaped pieces and finishing the stairway another day. Before I put all the signs on, each one had to have the very edge of the paper painted to avoid white lines showing around each. It really is beginning to look like a bus now, and an English one at that Eddie! There I is still quite a bit to do underneath yet but I am pleased with the way it is coming together.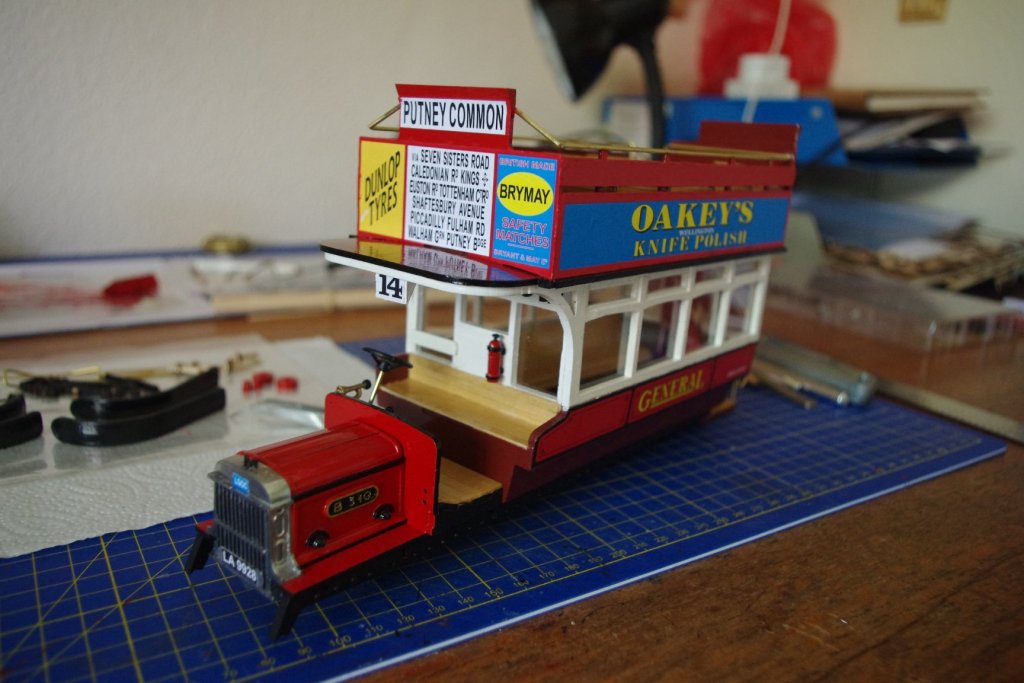


- 23 replies
-
- 11
-
-
Dennis Bus by Mike Dowling - FINISHED - OcCre
Mike Dowling replied to Mike Dowling's topic in Non-ship/categorised builds
Er ... would you believe England Eddie ? I guess it will be more obvious when the signs are on! -
Dennis Bus by Mike Dowling - FINISHED - OcCre
Mike Dowling replied to Mike Dowling's topic in Non-ship/categorised builds
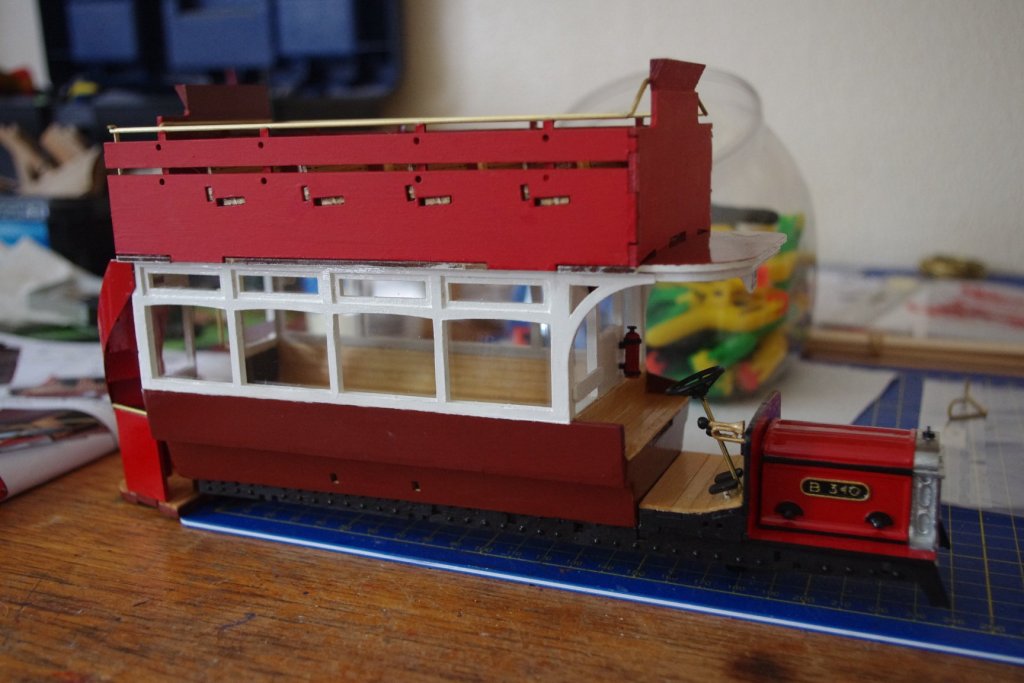
A progress update. The seats are done complete with handrails. The sides of the upper deck are on and the handrails done. I have put the body on the chassis a bit earlier than the instructions suggest as I think it would have been easy to knock off the rails later. At least it is beginning to look like a bus now.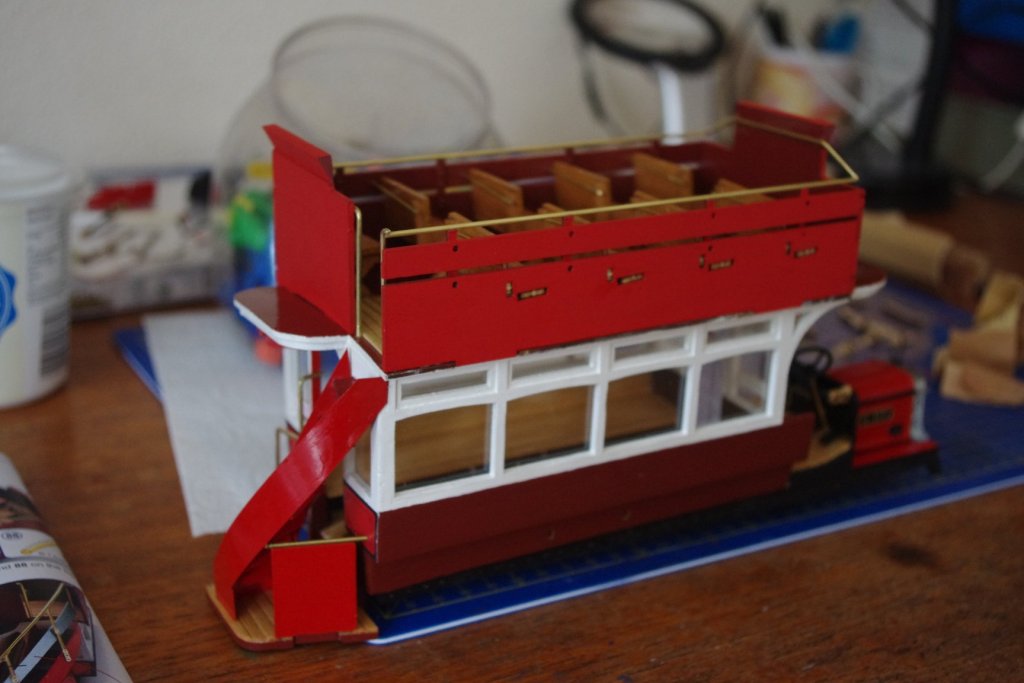
- 23 replies
-
- 12
-
-
Dennis Bus by Mike Dowling - FINISHED - OcCre
Mike Dowling replied to Mike Dowling's topic in Non-ship/categorised builds
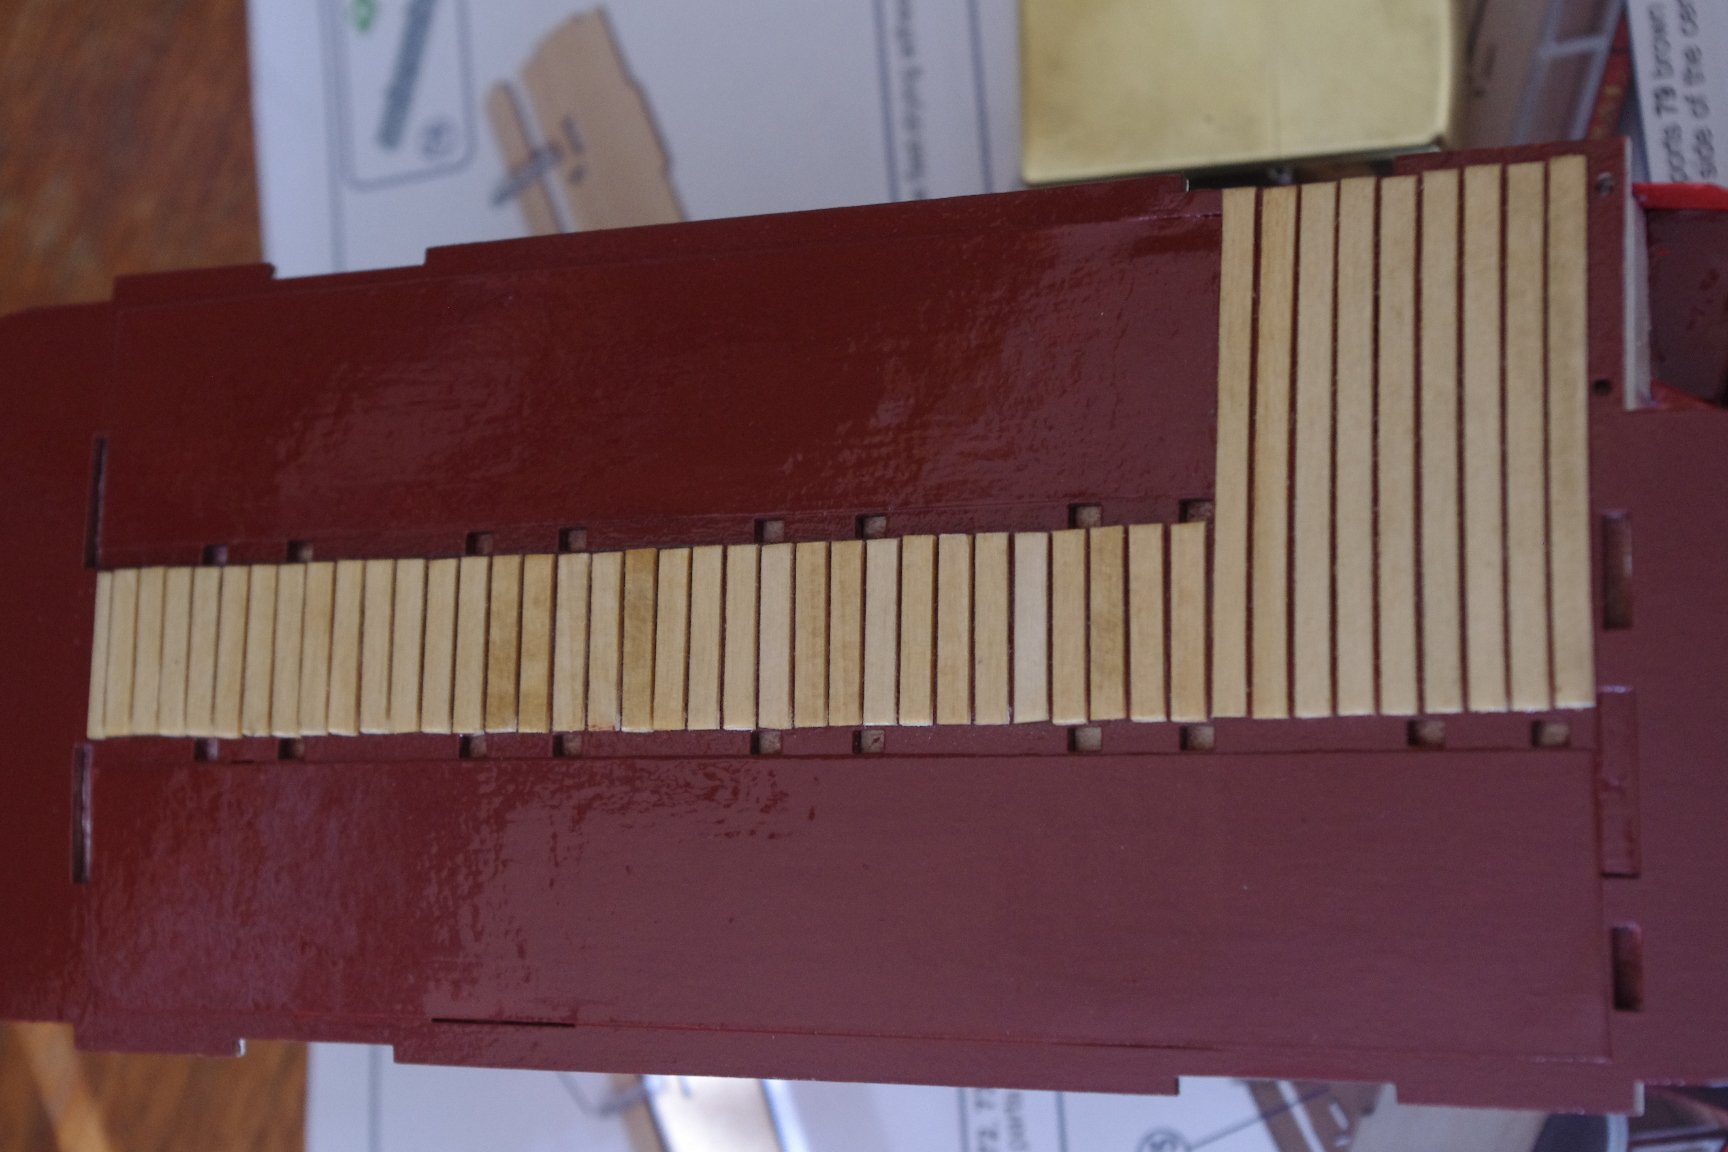
Bill, I should imagine the wheels were cast in some kind of metal. Stairs on, fiddly little things they were and quite difficult doing the sides. Also planked the walkway for the top deck.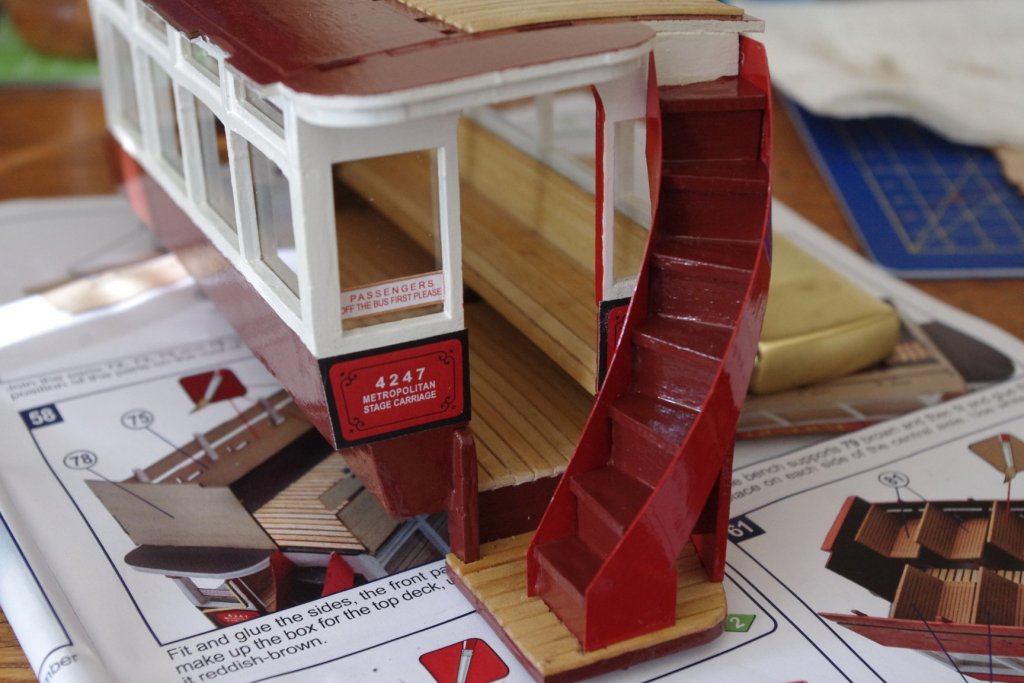


- 23 replies
-
- 12
-
-
Thank John, now I understand. I actually made my rings out of paper but the heat shrink tube looks great.
-
Hey Danny, I know what heat shrink tubing is. Believe it or not my stepfather actually invented the stuff and has his name on the patent to prove it. My question really is how can you use that to make flat tyres?
-
Dennis Bus by Mike Dowling - FINISHED - OcCre
Mike Dowling replied to Mike Dowling's topic in Non-ship/categorised builds
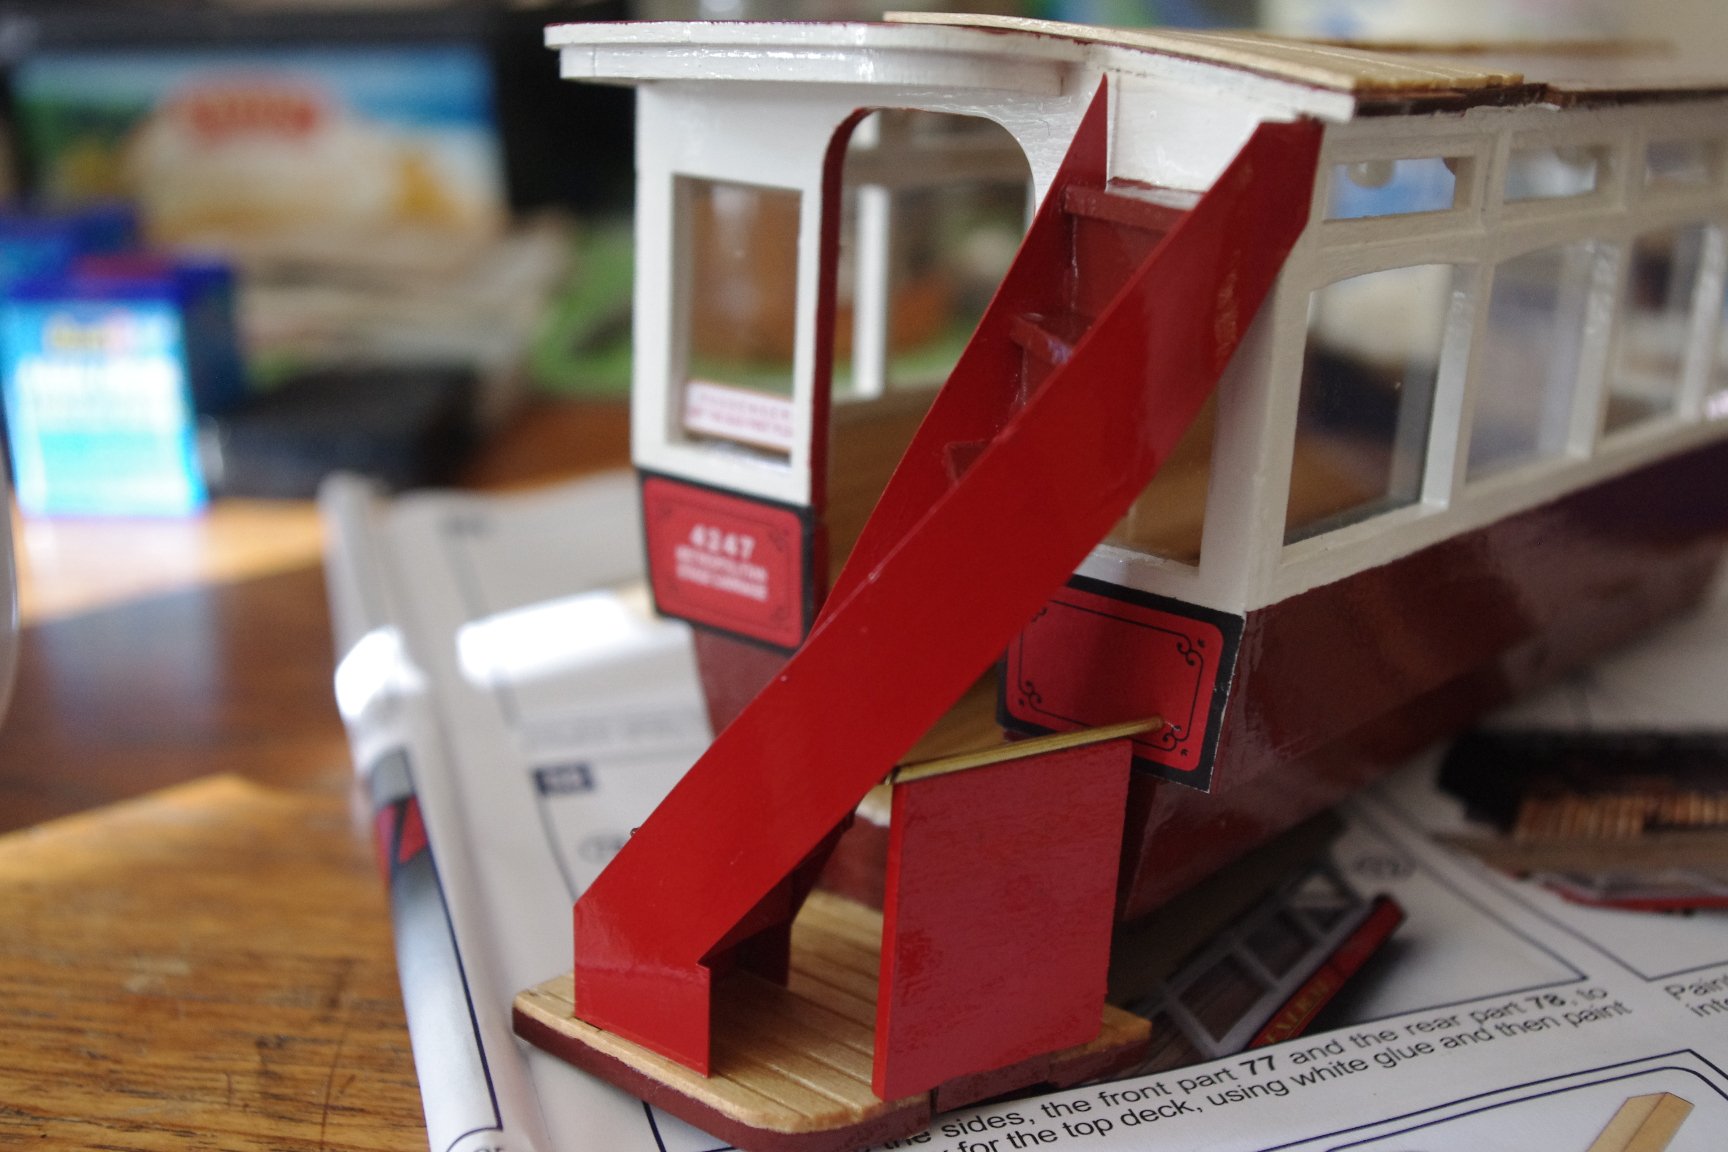
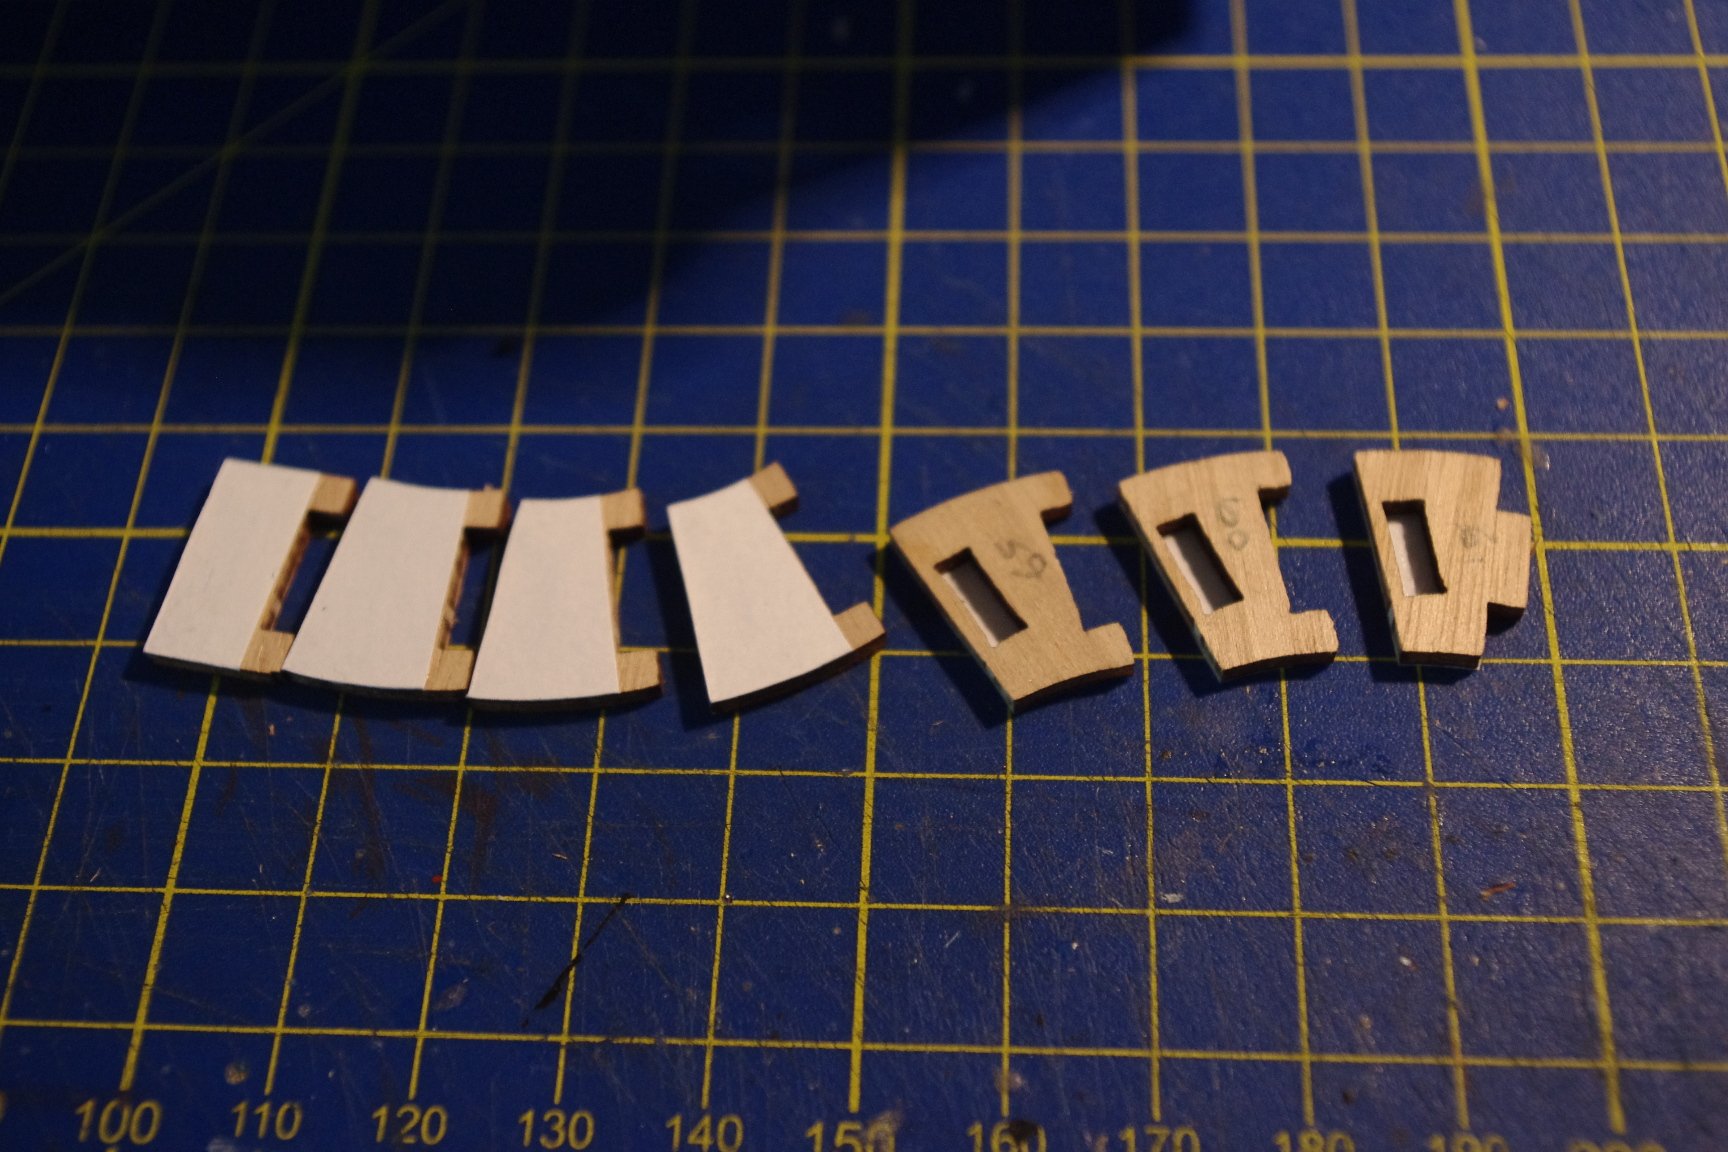
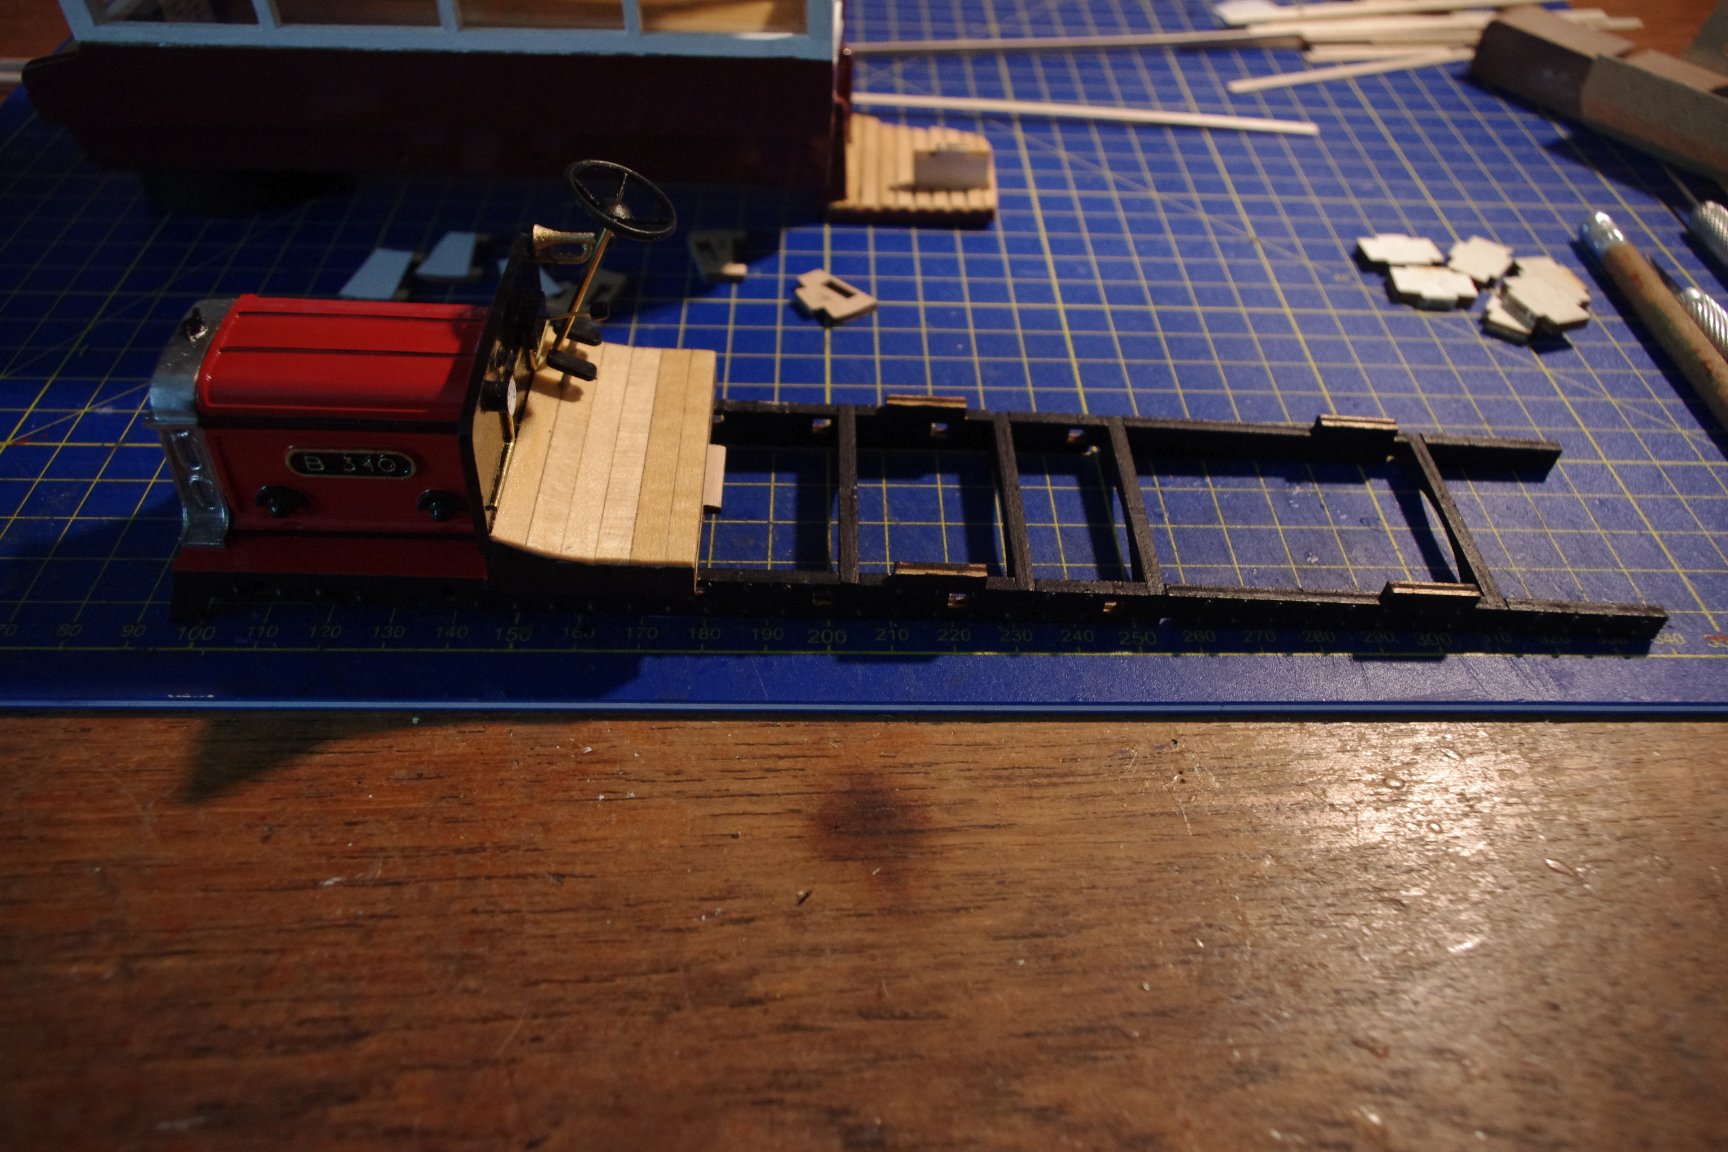
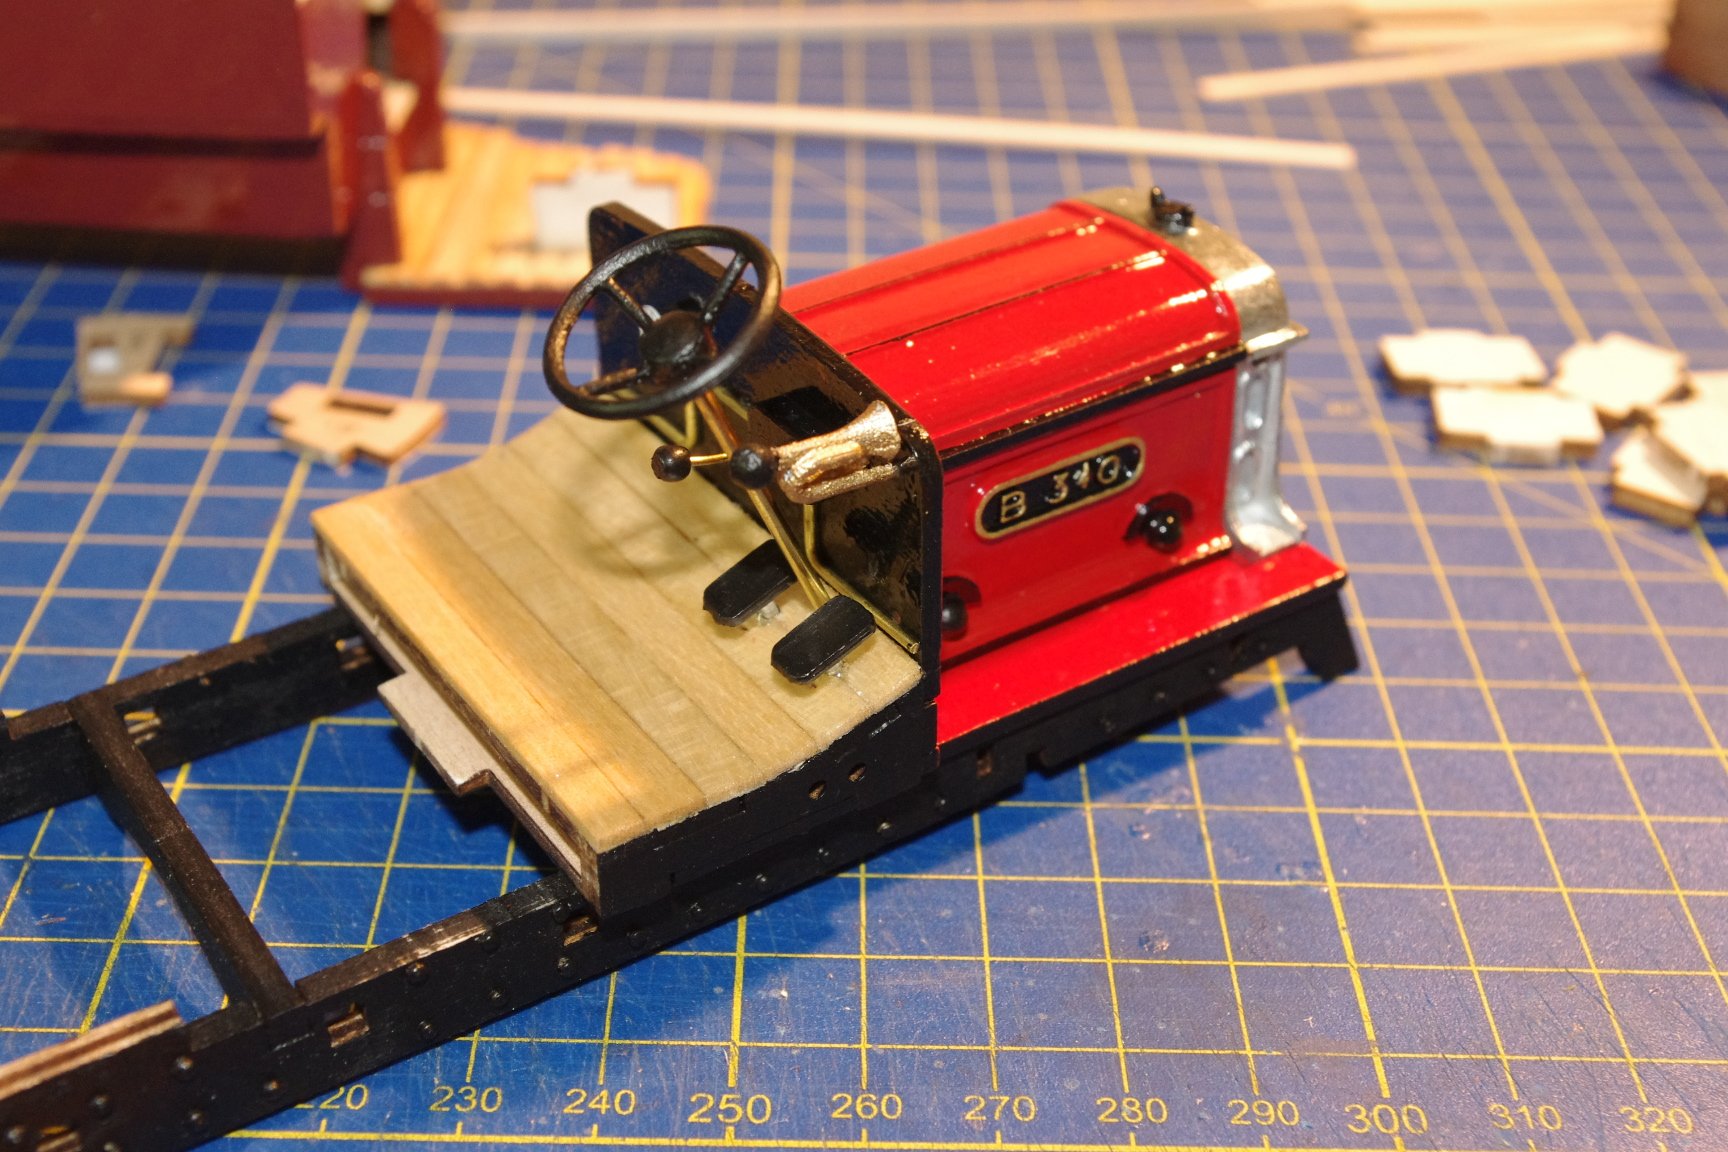
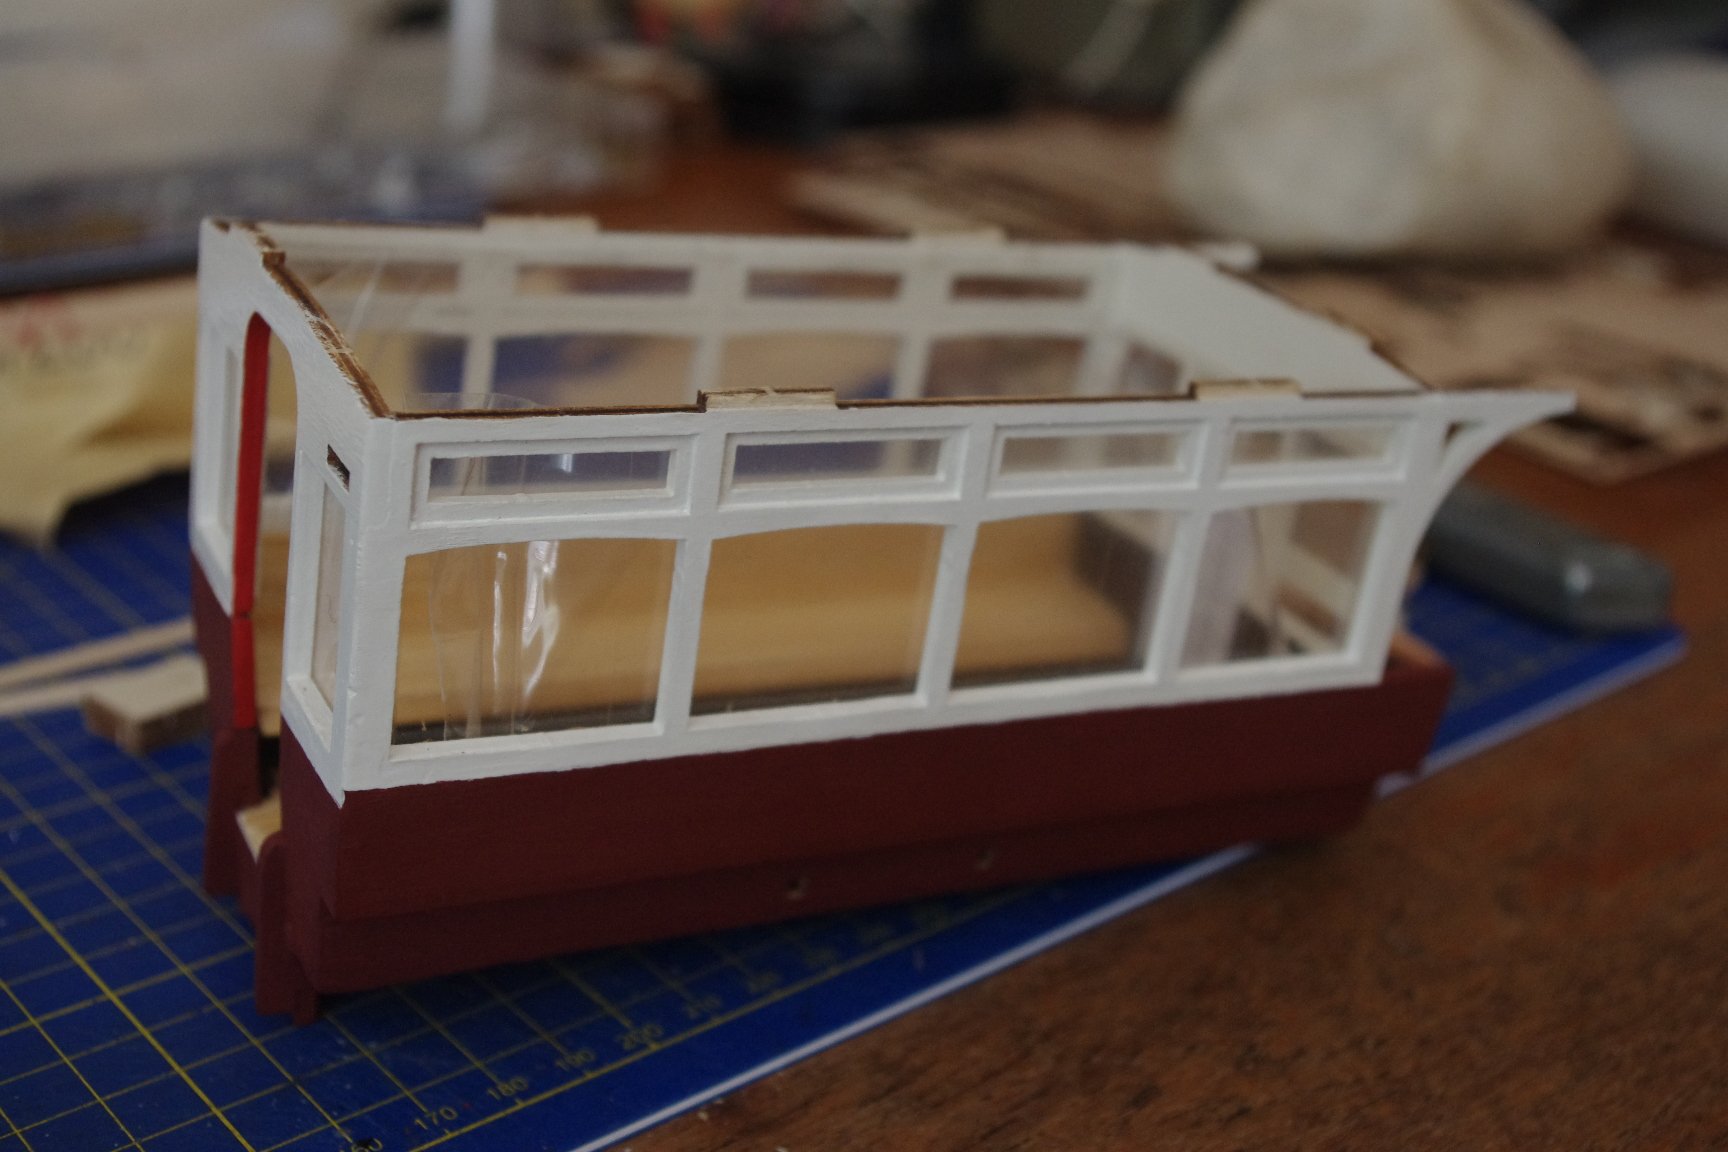
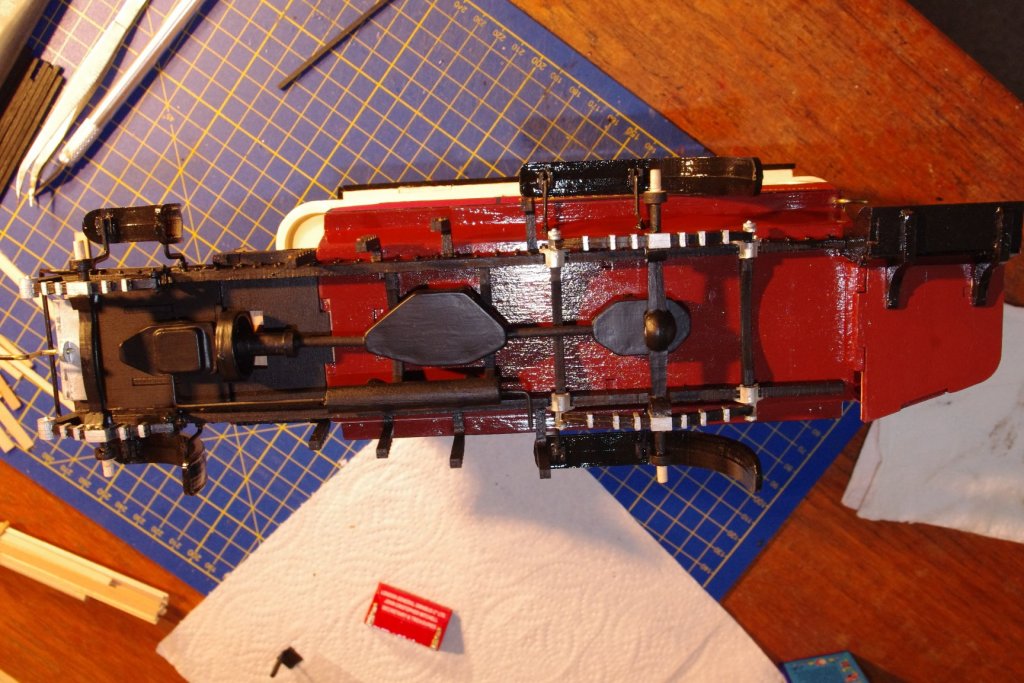
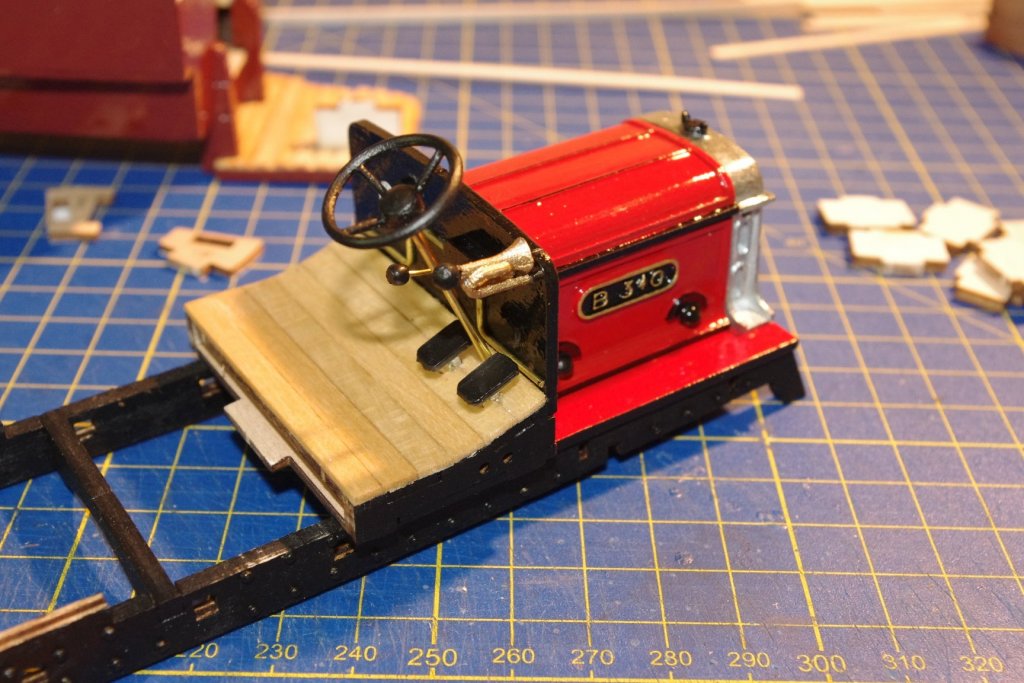
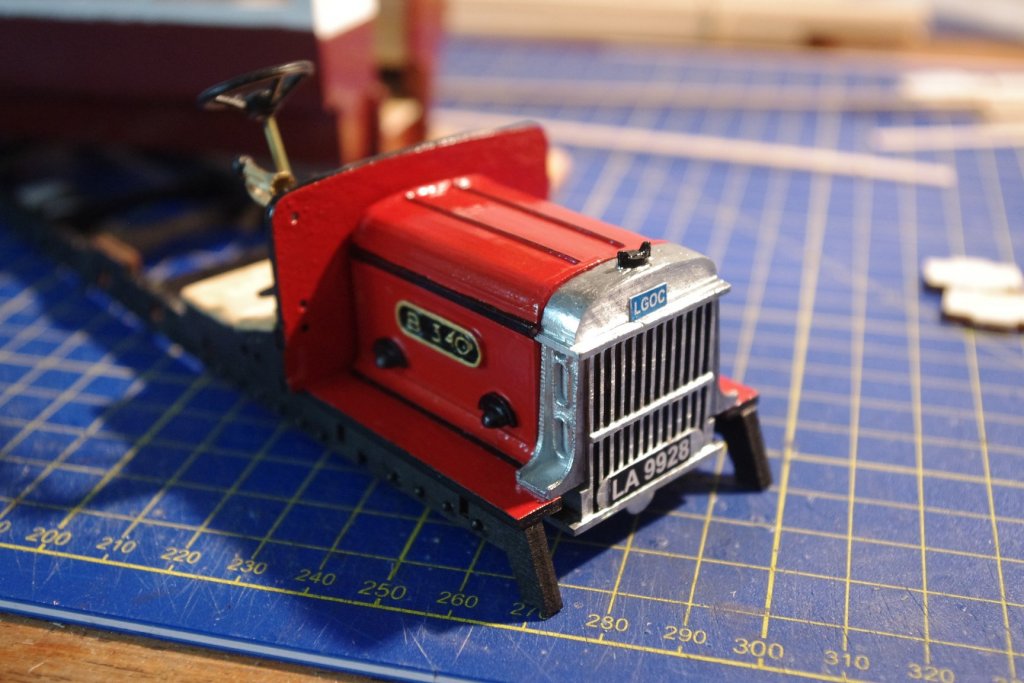
Time for an update. The roof stayed on! The cabin is basically finished now except for pretty signs and various accessories. A point that might be useful to some. OcCre have loads of very nicely laser cut pieces but, when joining them together the locating holes often show and look horrid. So, I cover them in paper either before or after assembly depending on where they are. The roof over the cab seat was done after construction and hides two big and I have papered the stairs prior to construction to show you what I mean. These locating holes do not fill well with normal filler and still show hence the paper. Whilst waiting for things to dry I started work on the chassis. Loads of little nails to insert and cut off to simulate rivets. There were a few wood breakages involved in this process but nothing that couldn't be repaired with glue and some paint. Also done the bonnet, side, radiator. Still done driving controls to go on the side but not until near the end.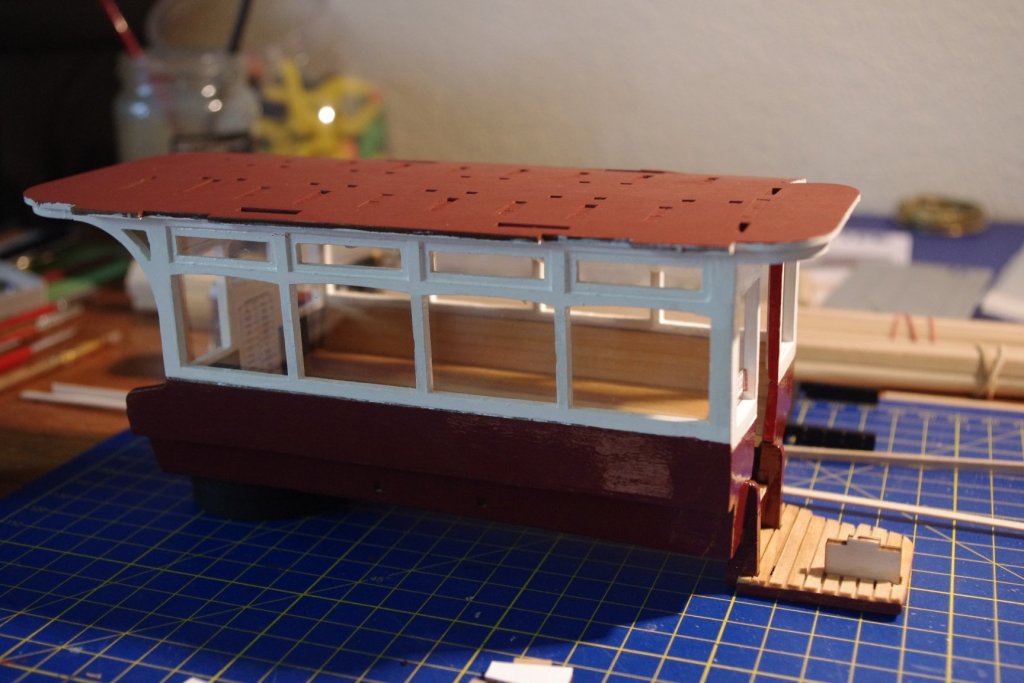


- 23 replies
-
- 11
-
-
A lovely looking chassis, Dan is right about the wheels, don't put them on yet they will definitely be in the way. Love the wheel rims but can you give a bit more information about how you did it. I can't see any resemblance to a tube of shrink wrap stuff.
-
Dennis Bus by Mike Dowling - FINISHED - OcCre
Mike Dowling replied to Mike Dowling's topic in Non-ship/categorised builds
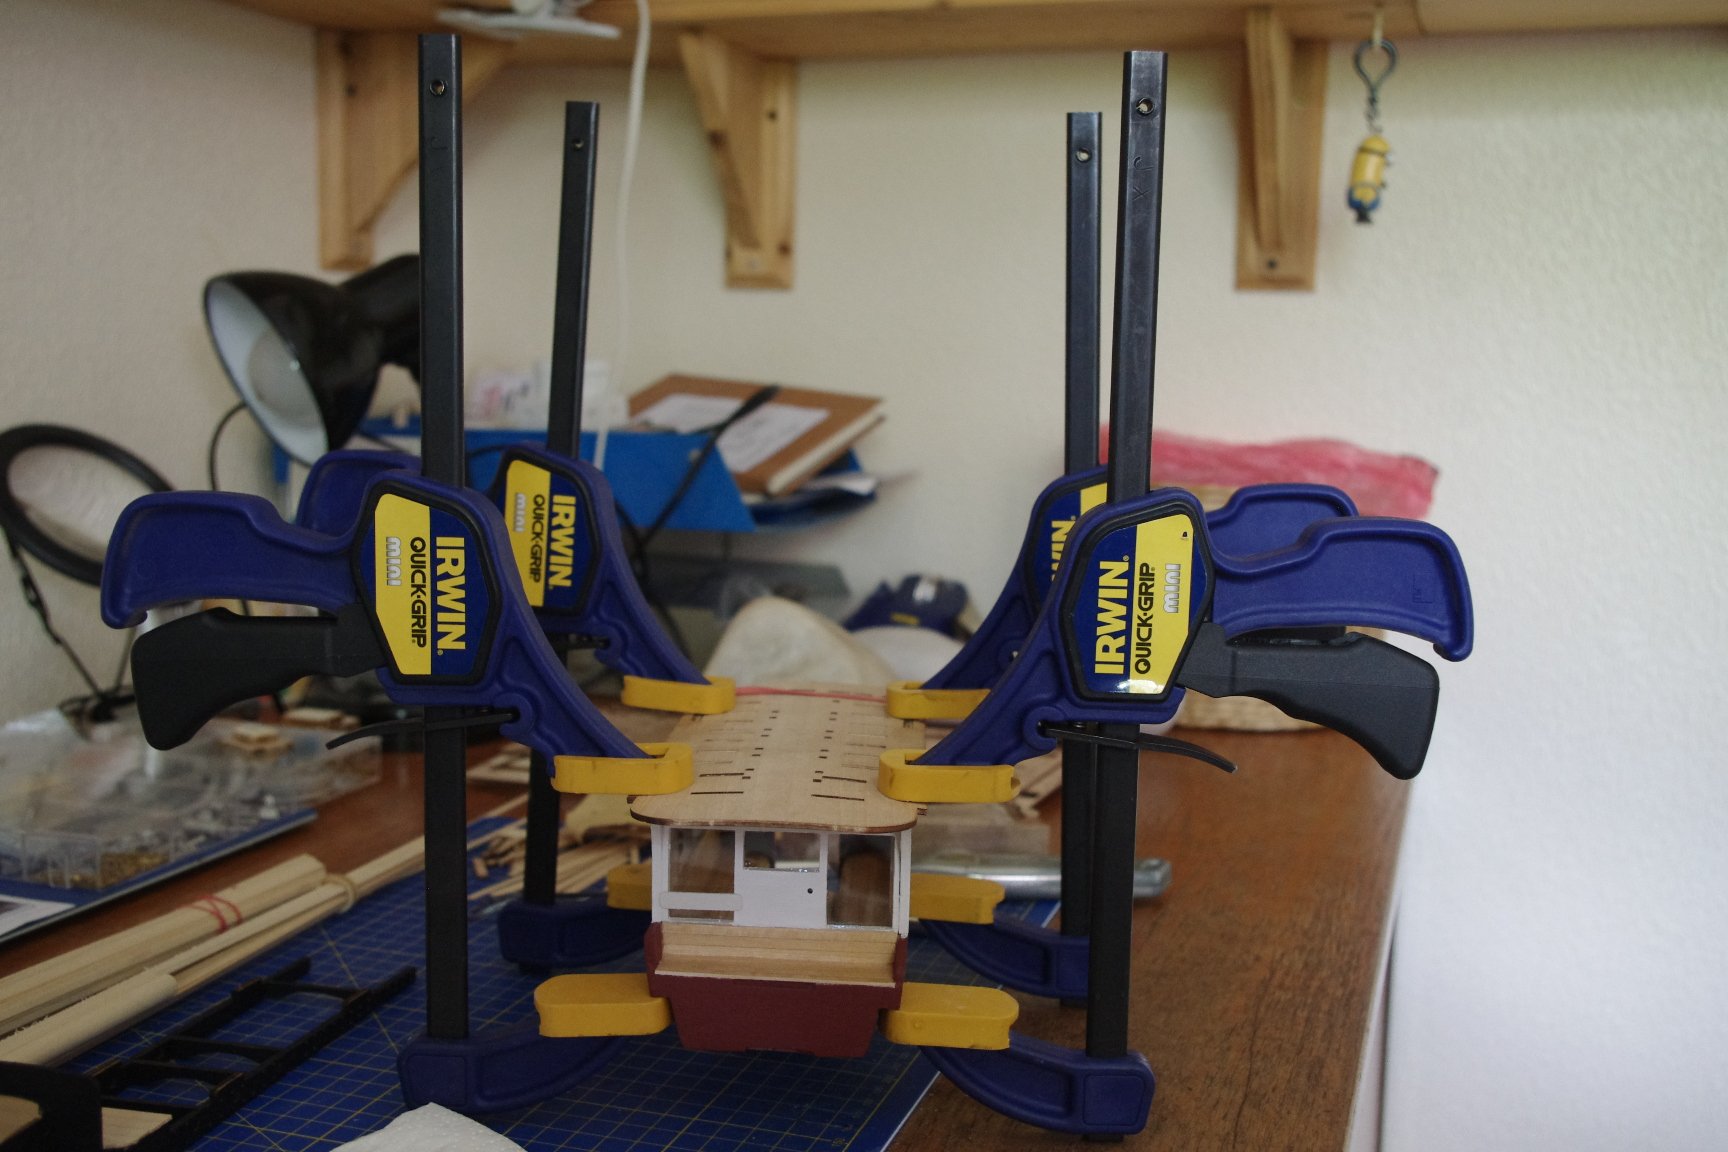
See, I told you it would need some serious clamping!!
-
Dennis Bus by Mike Dowling - FINISHED - OcCre
Mike Dowling replied to Mike Dowling's topic in Non-ship/categorised builds
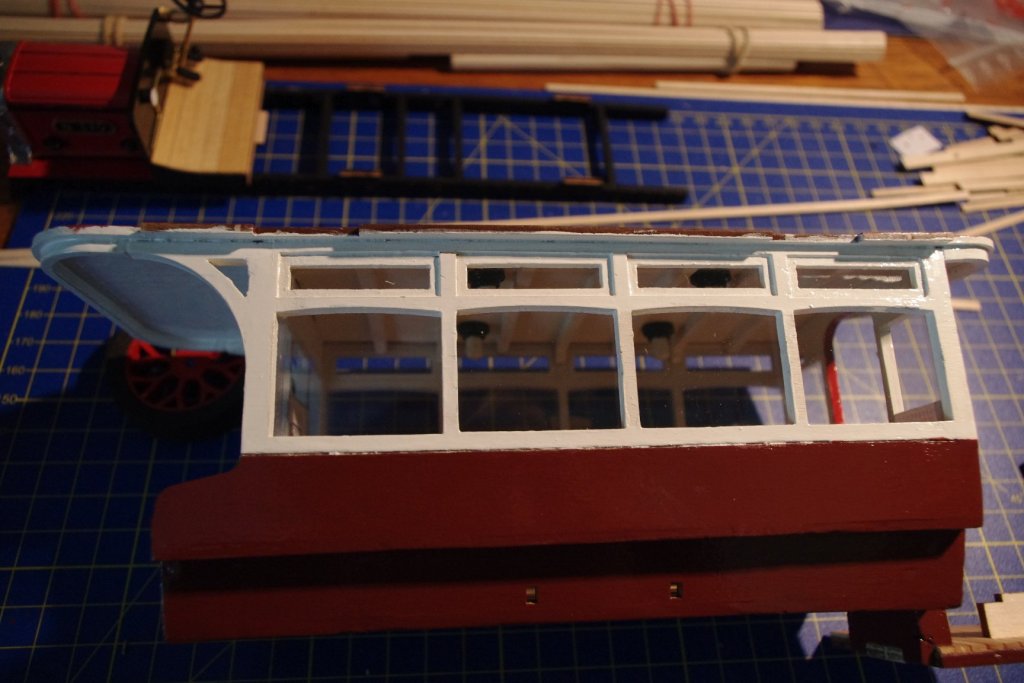
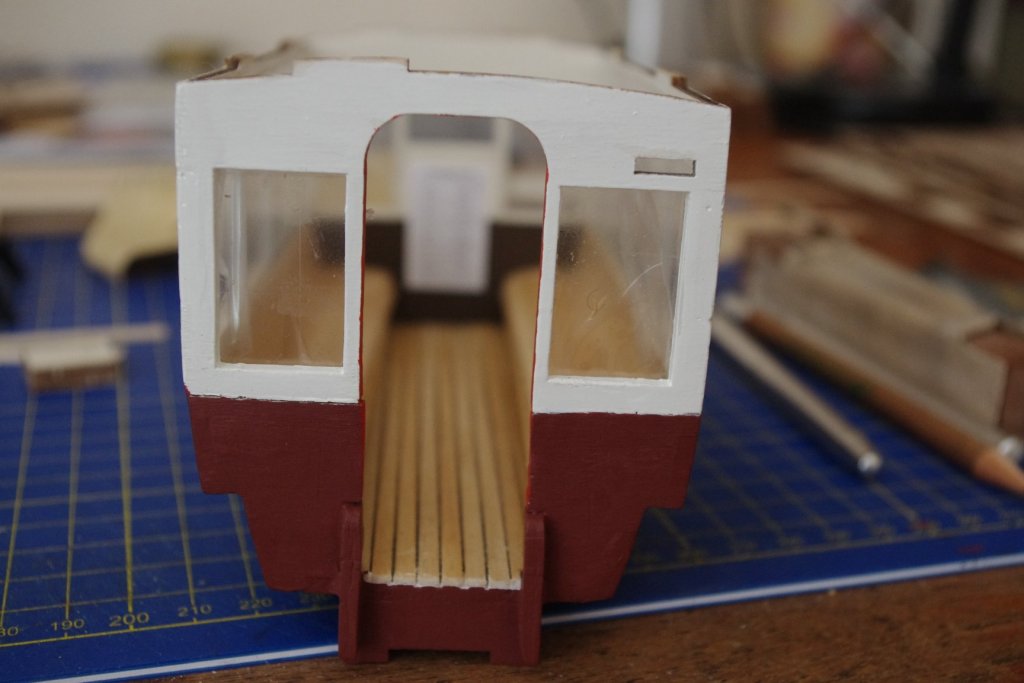
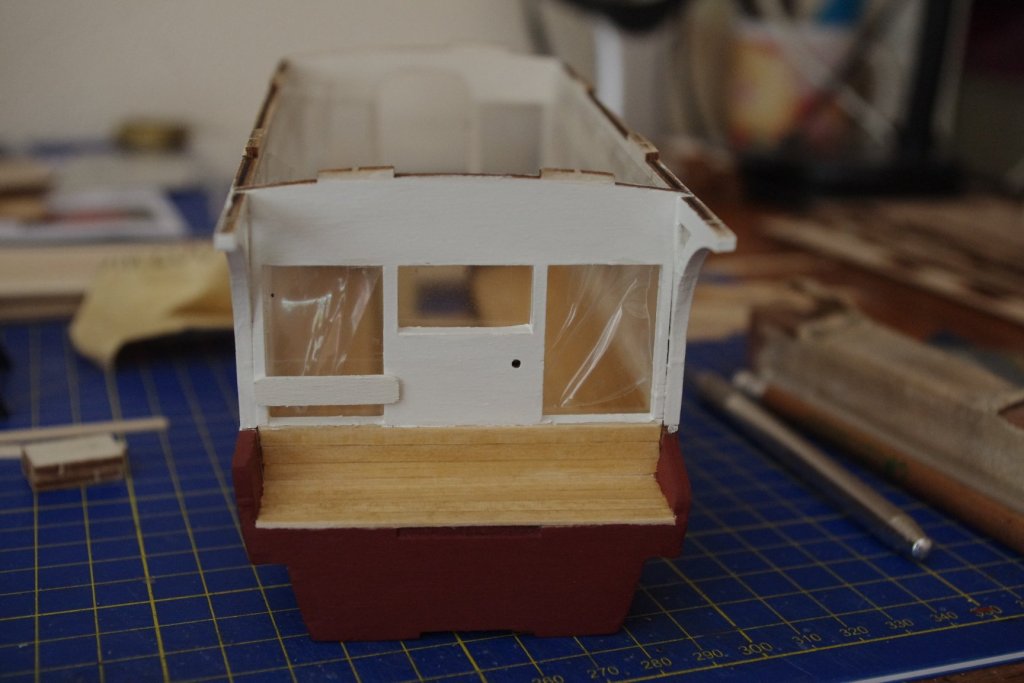
With apologies for the dreadful photographs the lower box (!!!) is now painted and glazed and the ceiling is ready to be fitted. Unfortunately the glazing had to be done first and for those that have used acrylic glass before you will know how much static is generated when removing the protective film which then attracts every bit of dust! Still, it has to be done and I will remove it to glue the lid on. I tried to pre-bend the ceiling a bit but there is quite a curve and I foresee some serious clamping to get it to hold done whilst the glue dries.
-
OK matey, I can see what you are doing now. Sorry to be thick!
-
I really hate myself for doing this but, are you sure that the base should not be on the outside? I mean on top of the sides not between them?
-
Neat idea that. I take it you are going to twin wire the lights then ?
-
Well done Danny, another one toad to your tally of brilliant builds.
-
Looks good so far.
-
Dennis Bus by Mike Dowling - FINISHED - OcCre
Mike Dowling replied to Mike Dowling's topic in Non-ship/categorised builds
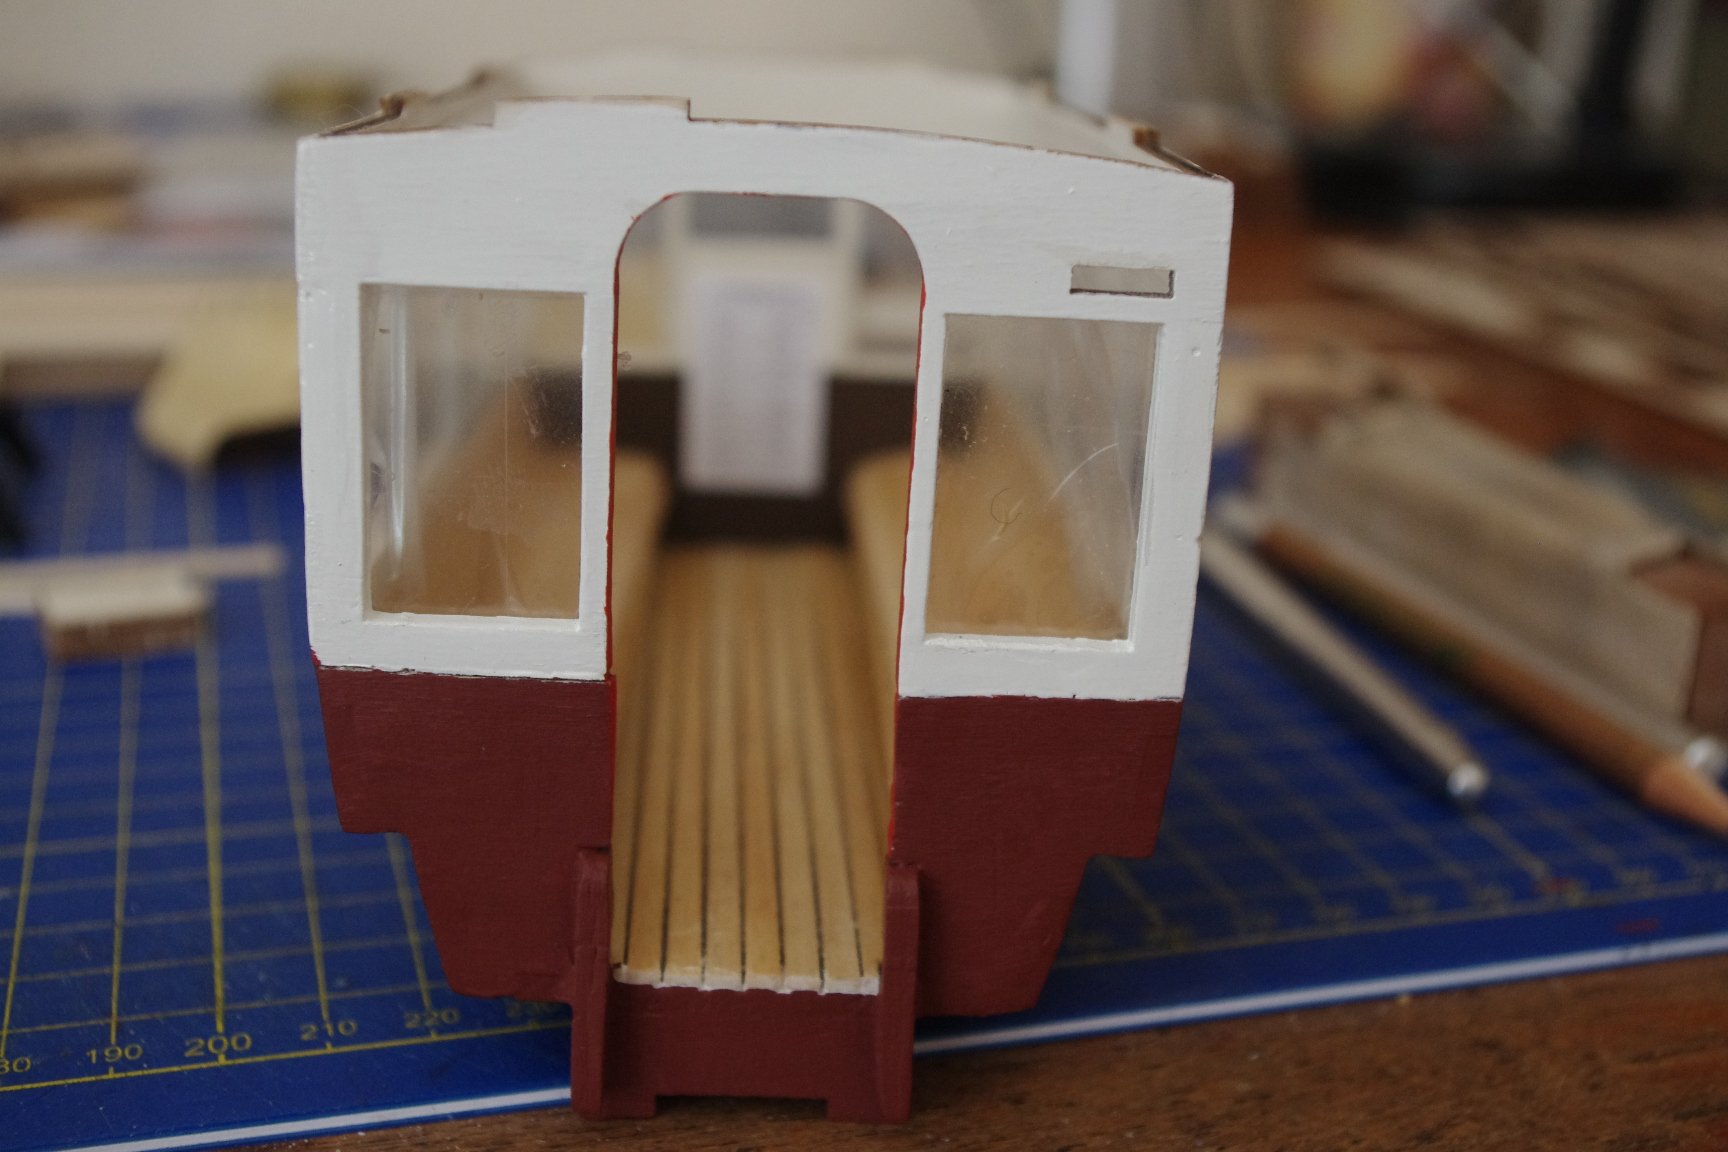
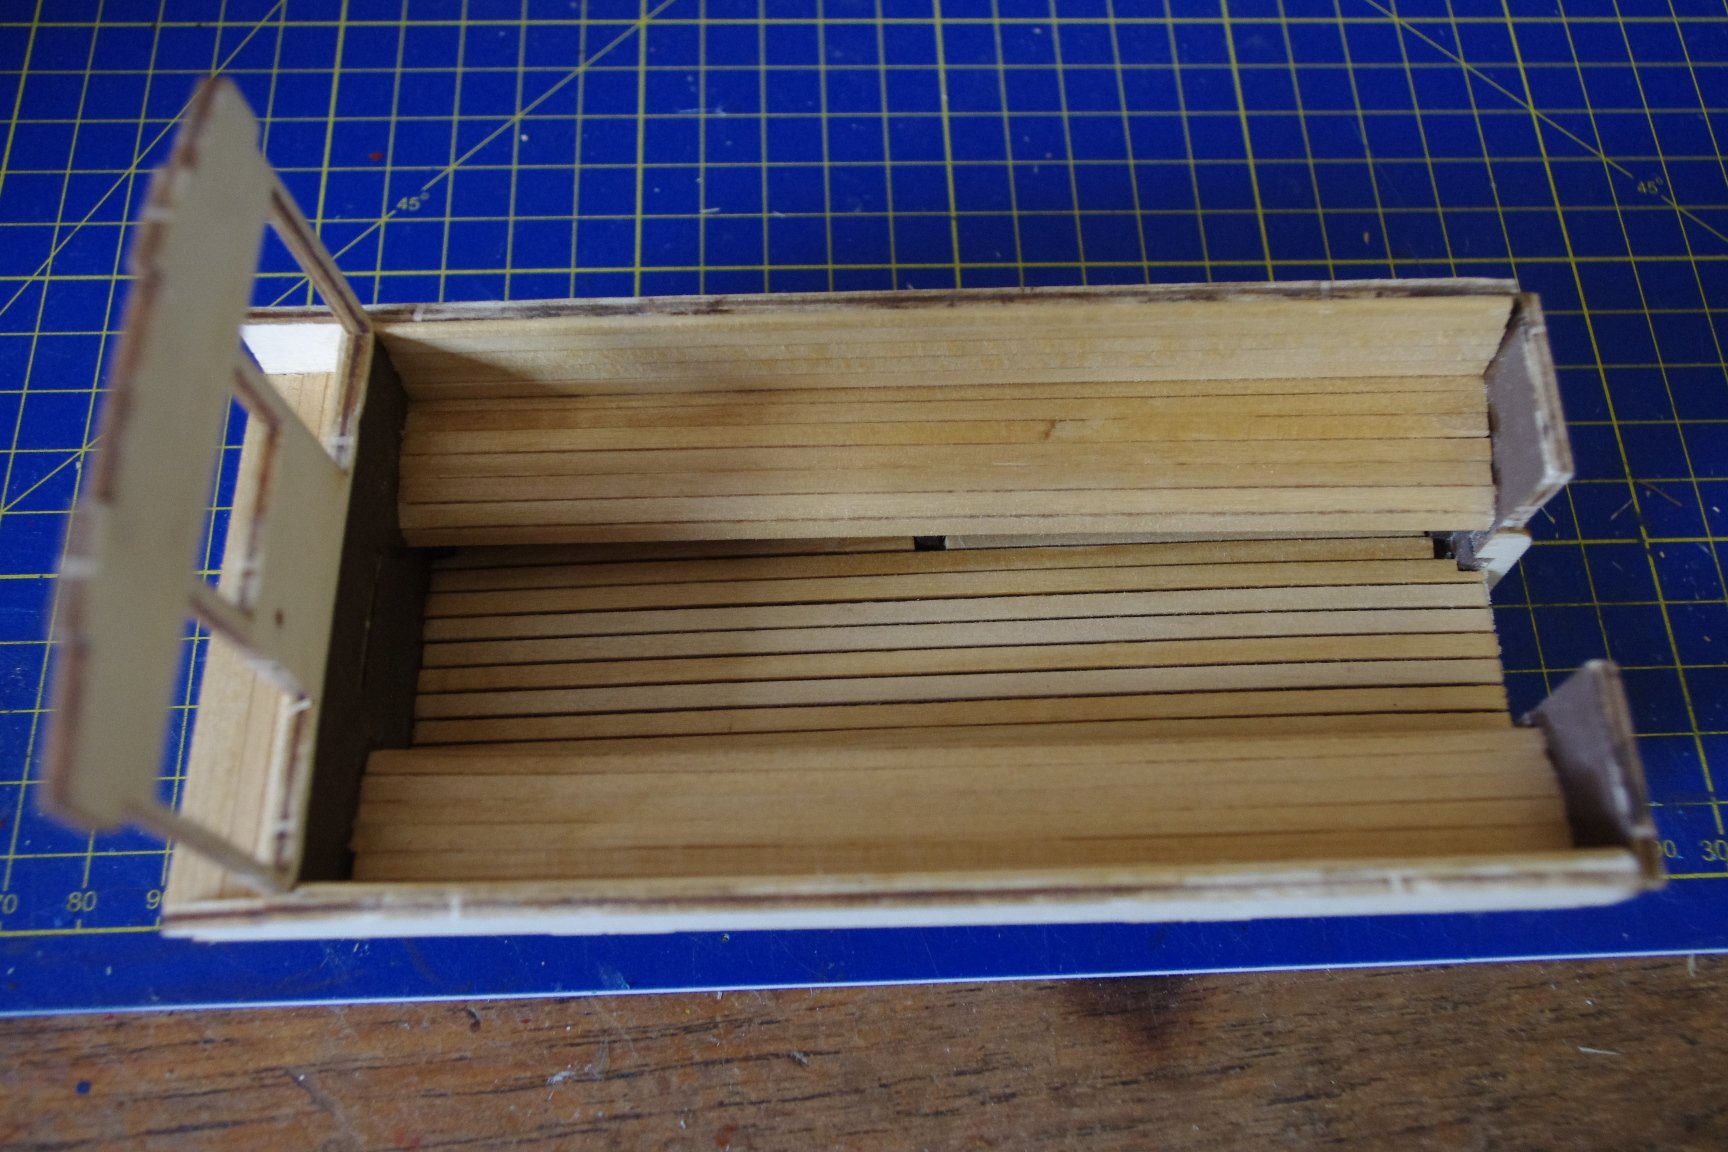
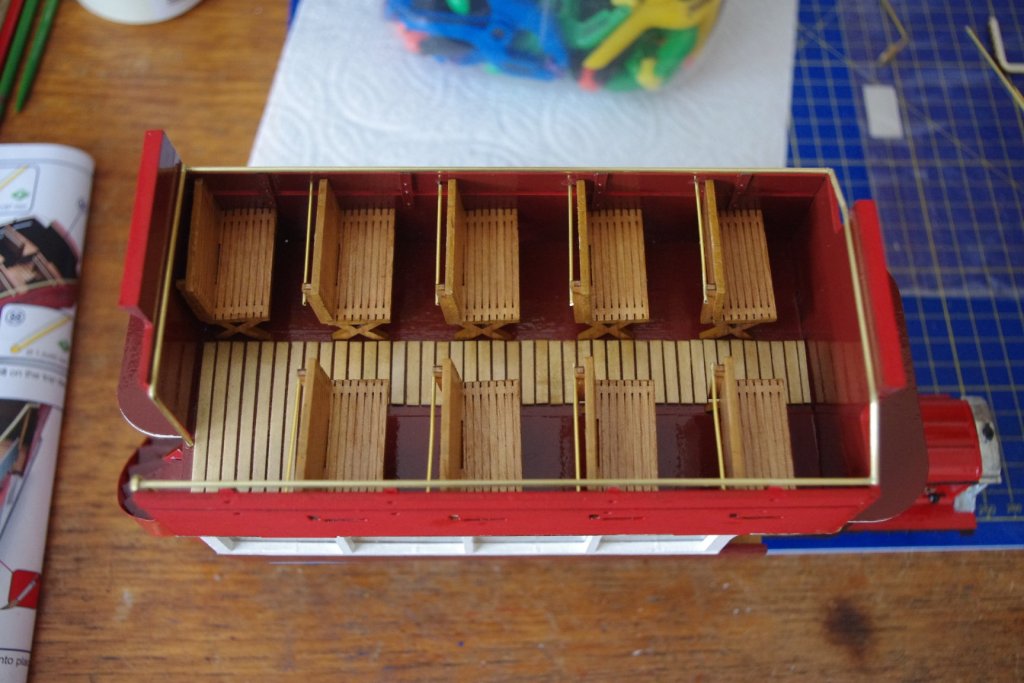
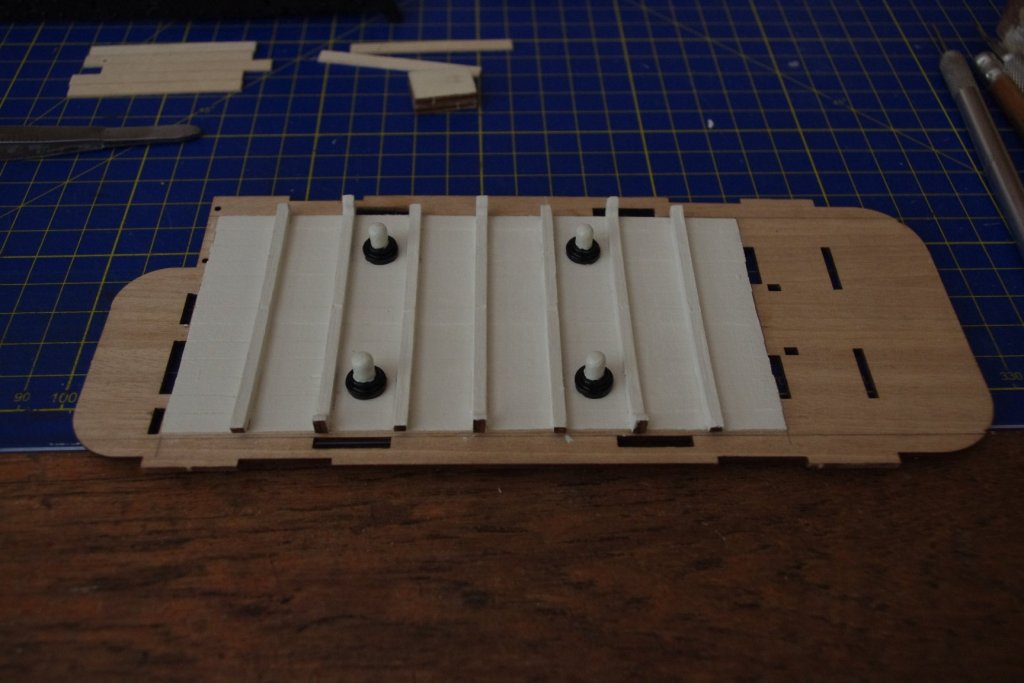
What will be the interior of the bus has been given floor lining and seats and the drivers seat has been 'planked'.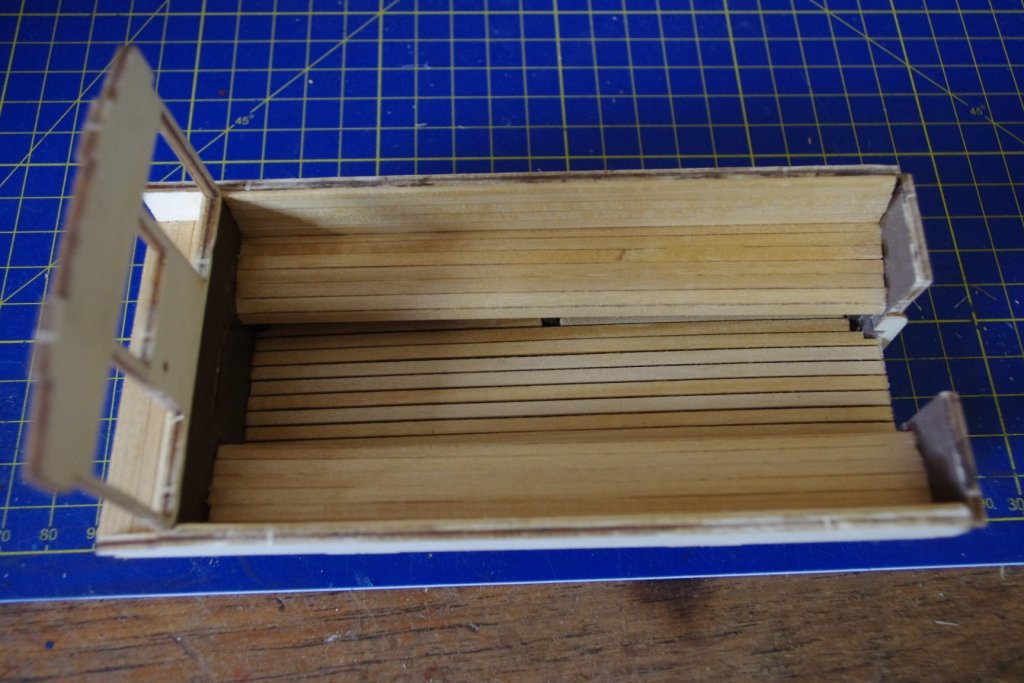

- 23 replies
-
- 12
-
-
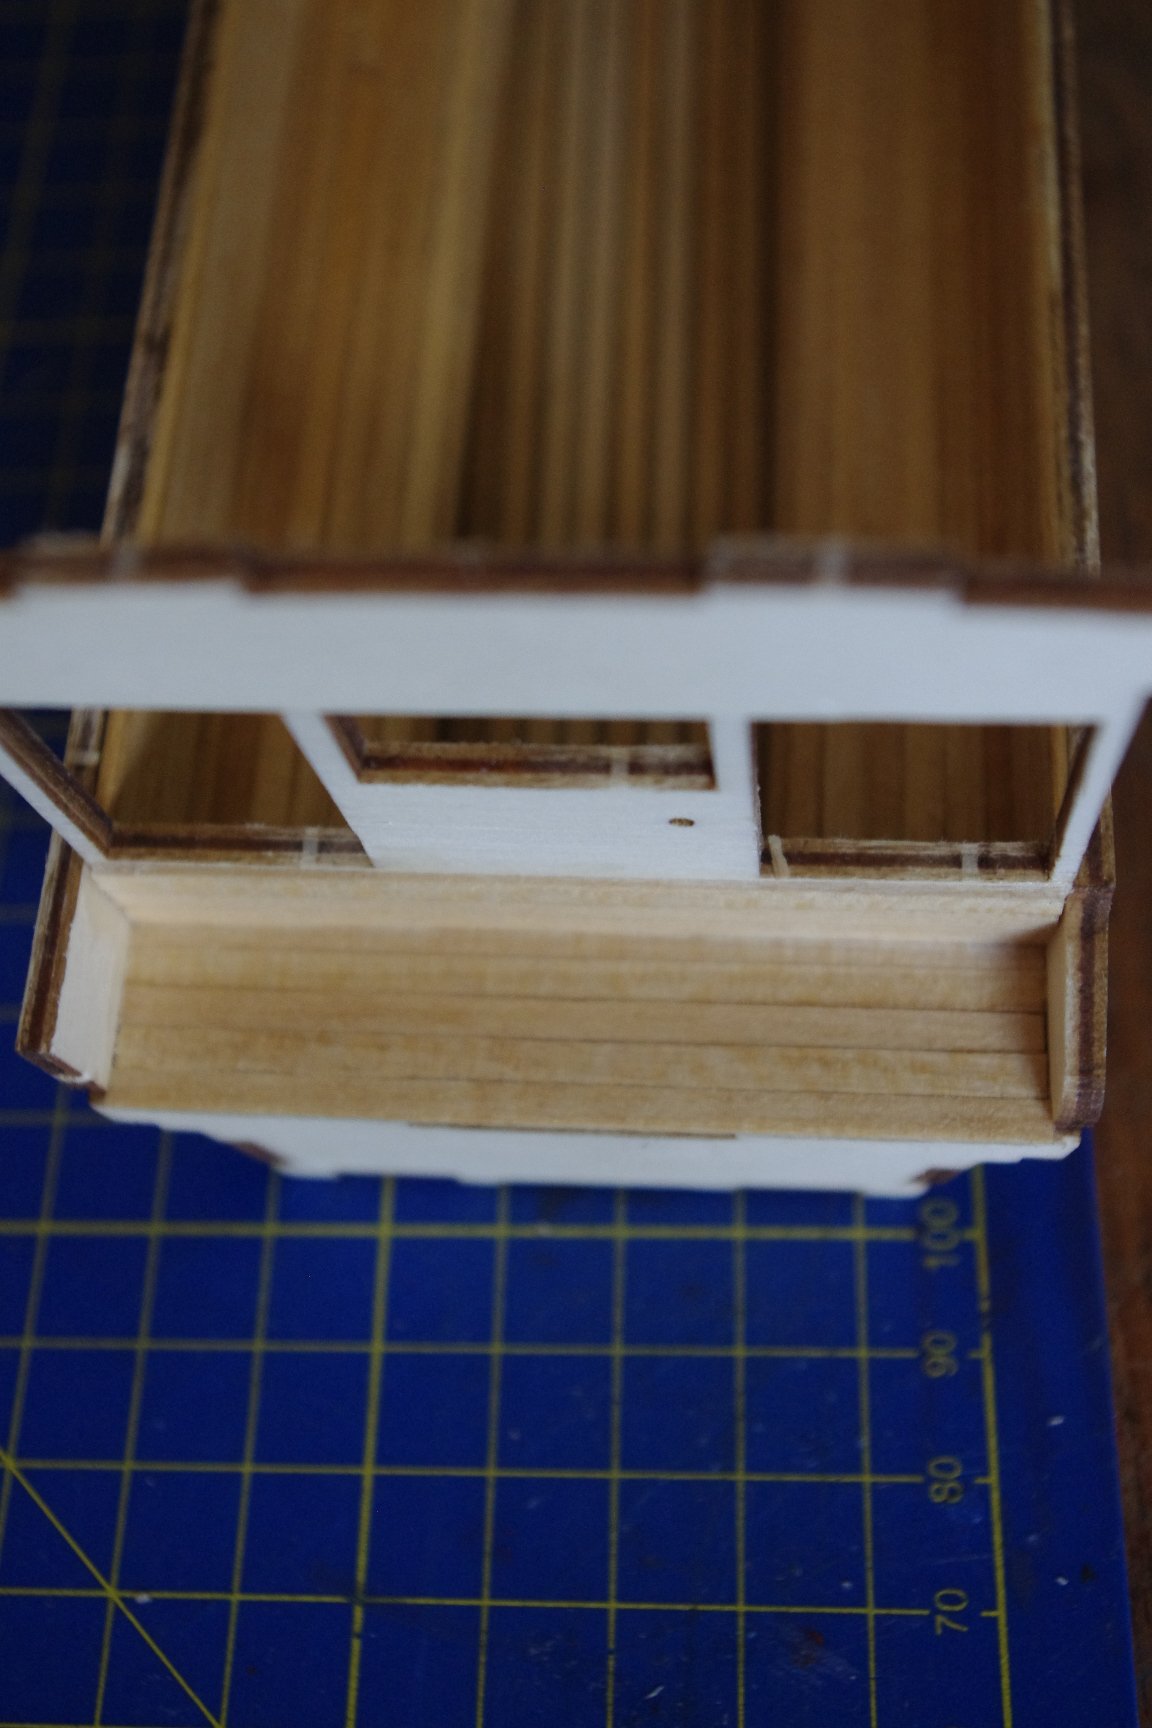
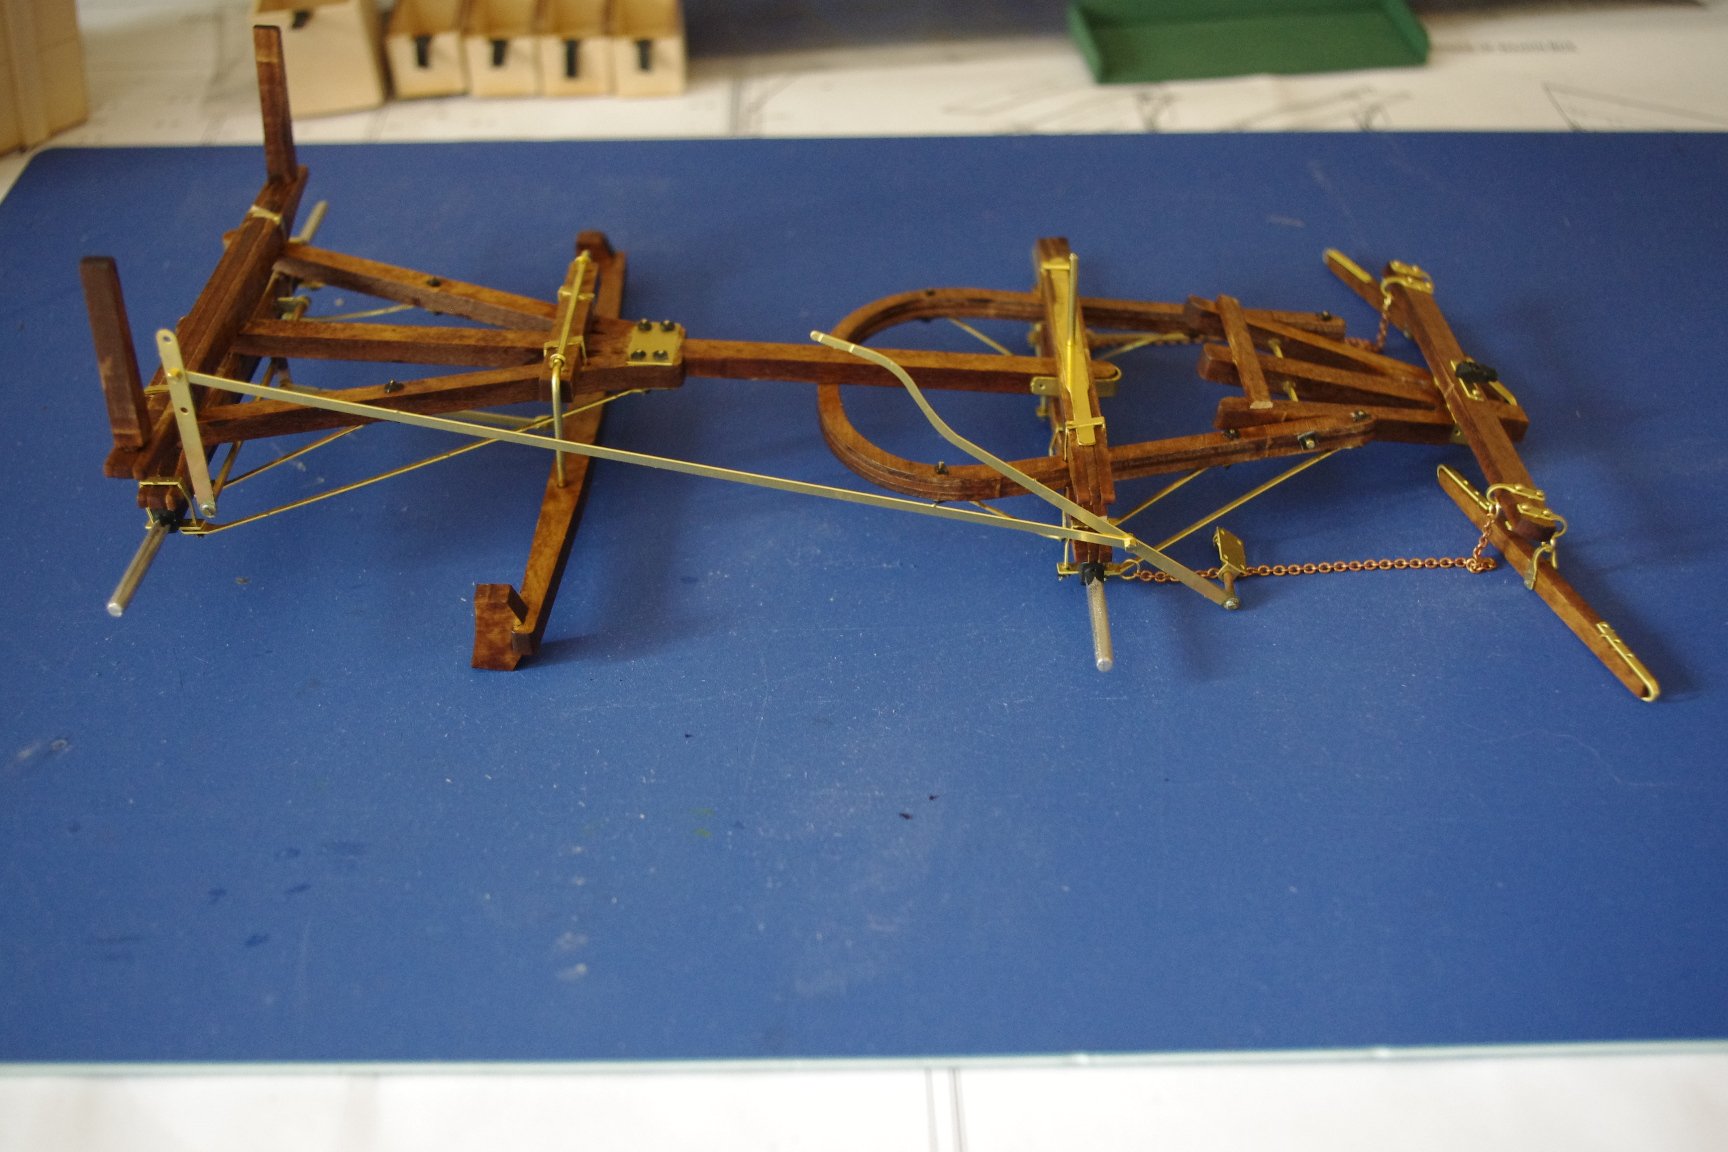
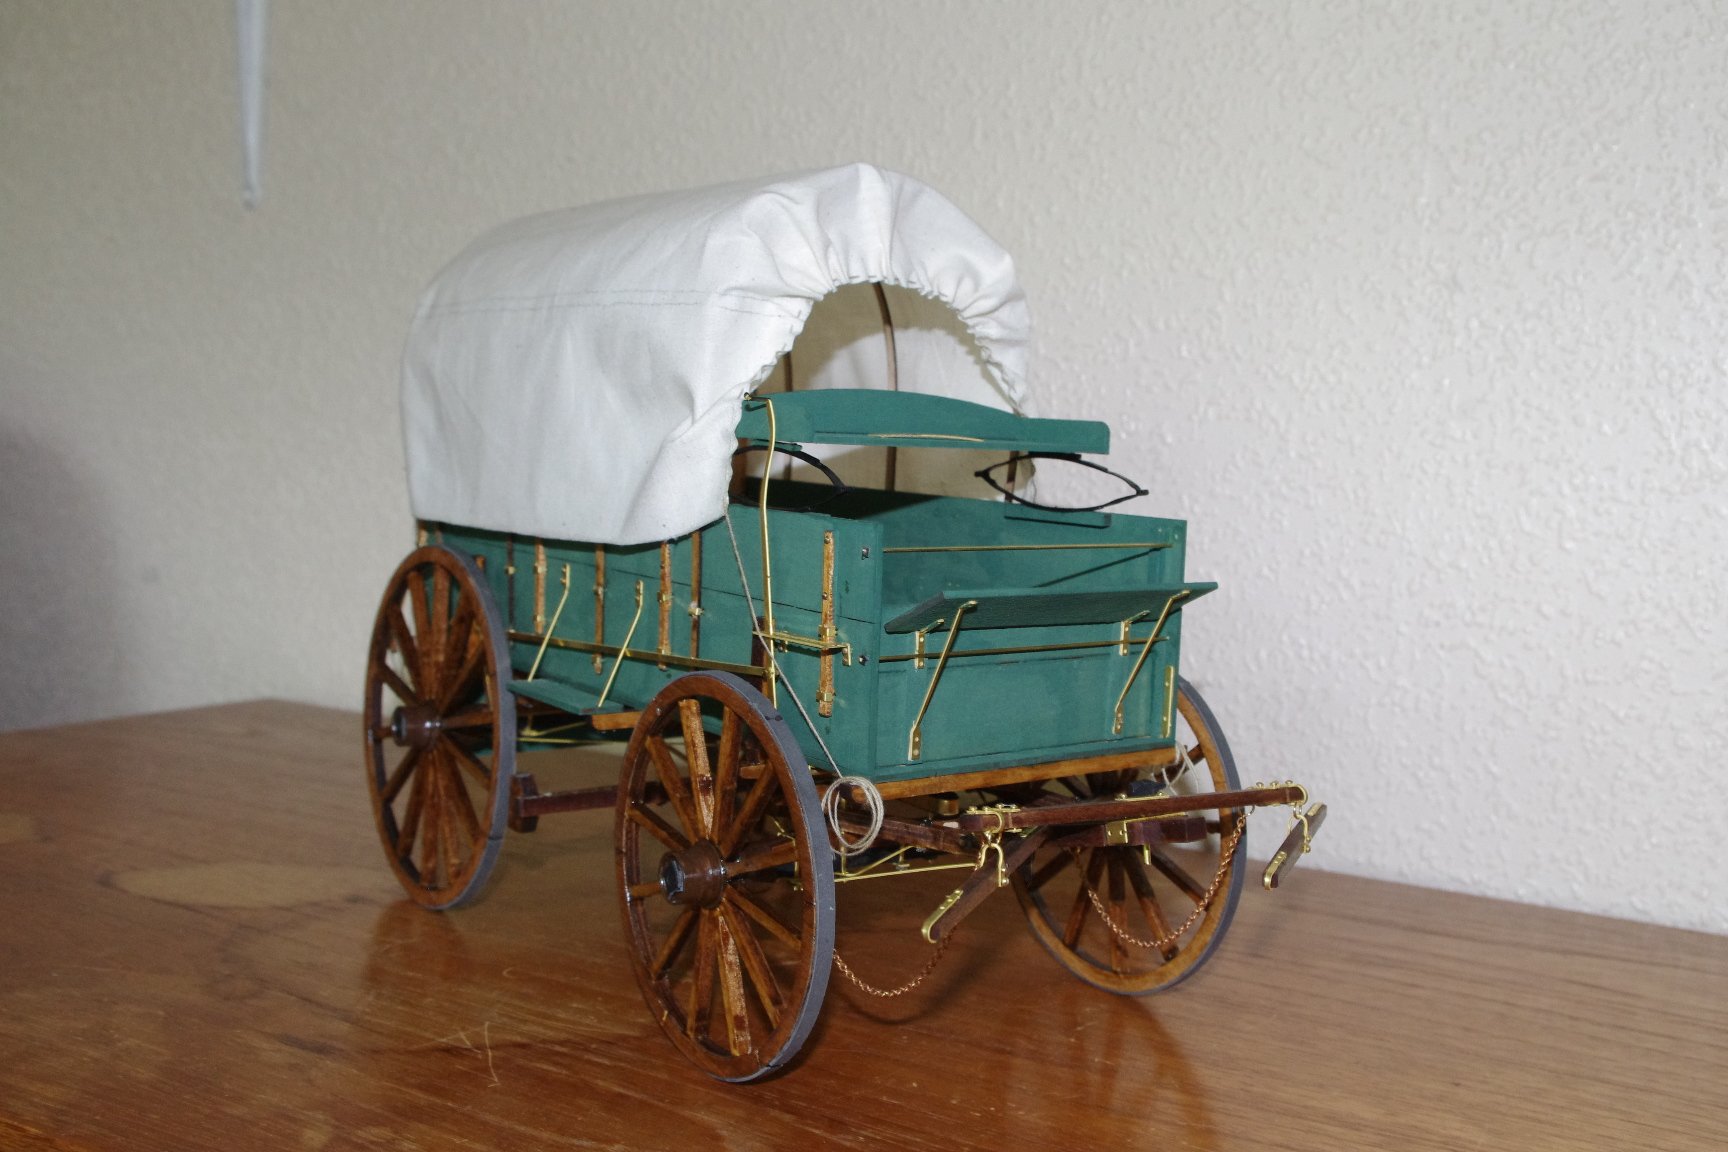
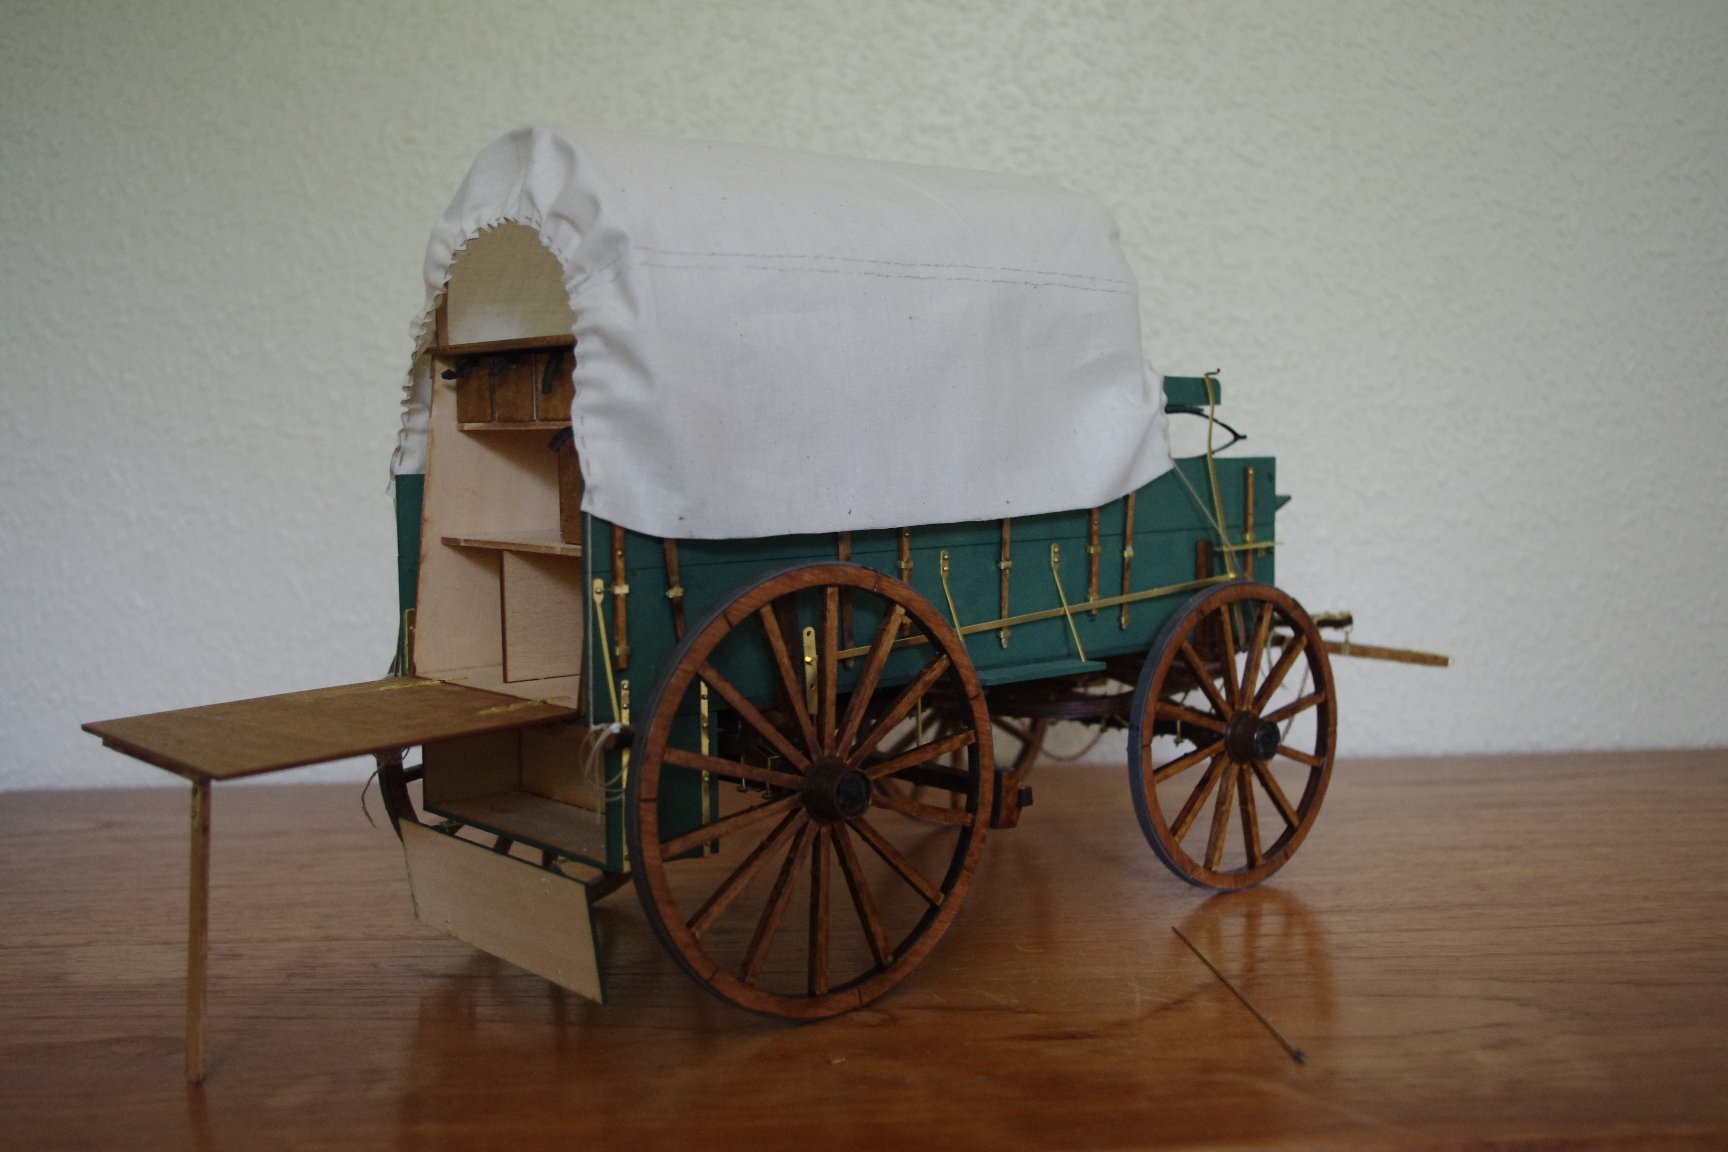
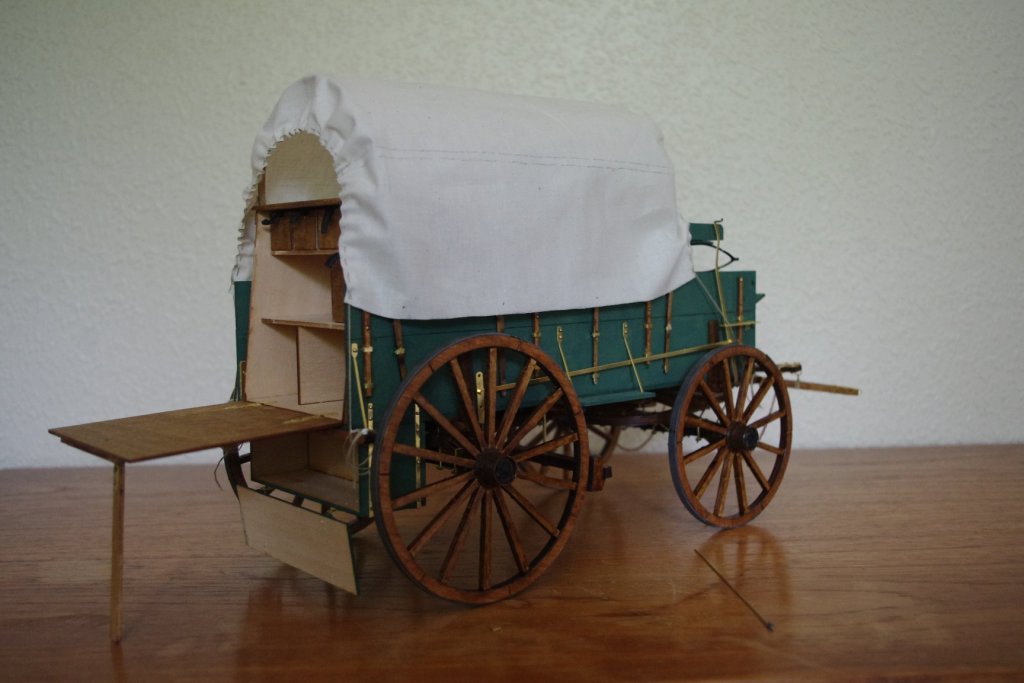
Hi there, I will watch as well if you don't mind. I have done this chuck wagon myself and it was good fun. I left mine natural wood for the wheels and chassis rather than paint and, whilst I know they are supposed to be black I love to leave bits brass against the wood. anyway, you have made a great start.


- 29 replies
-
- 14
-
-
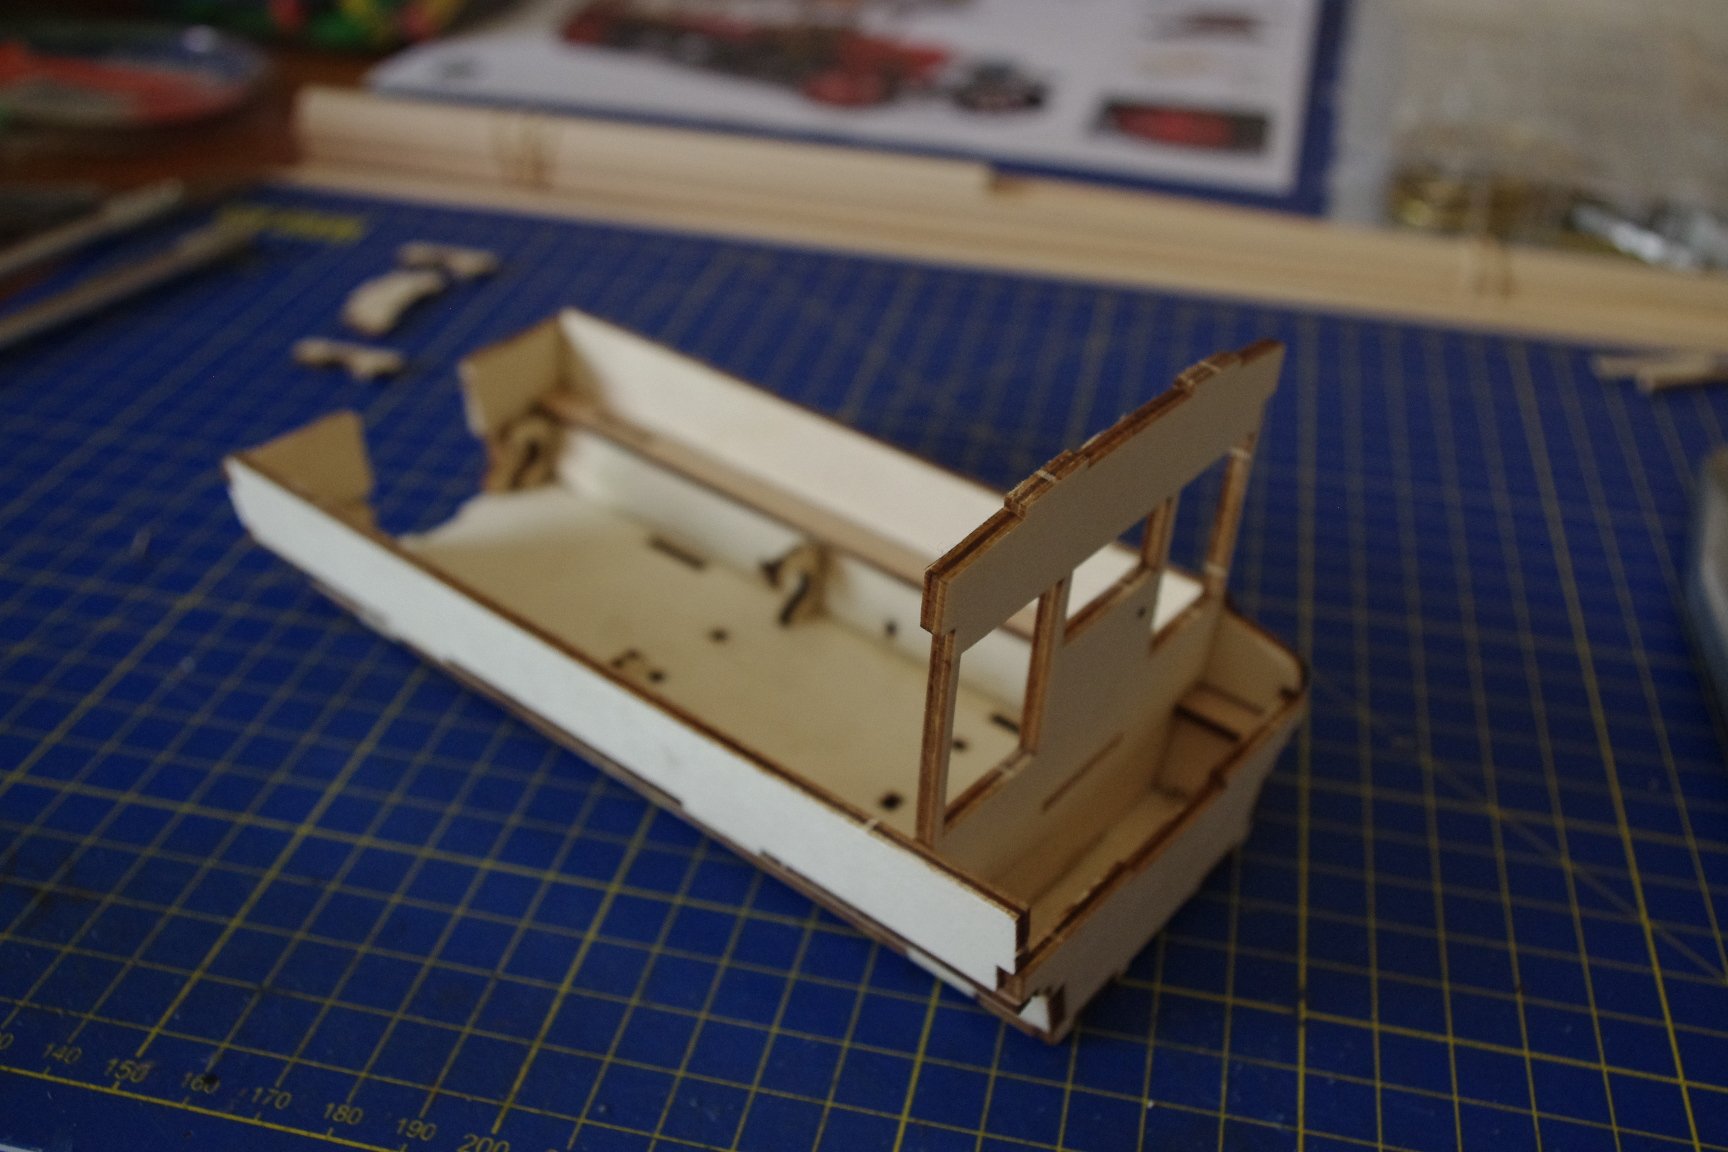
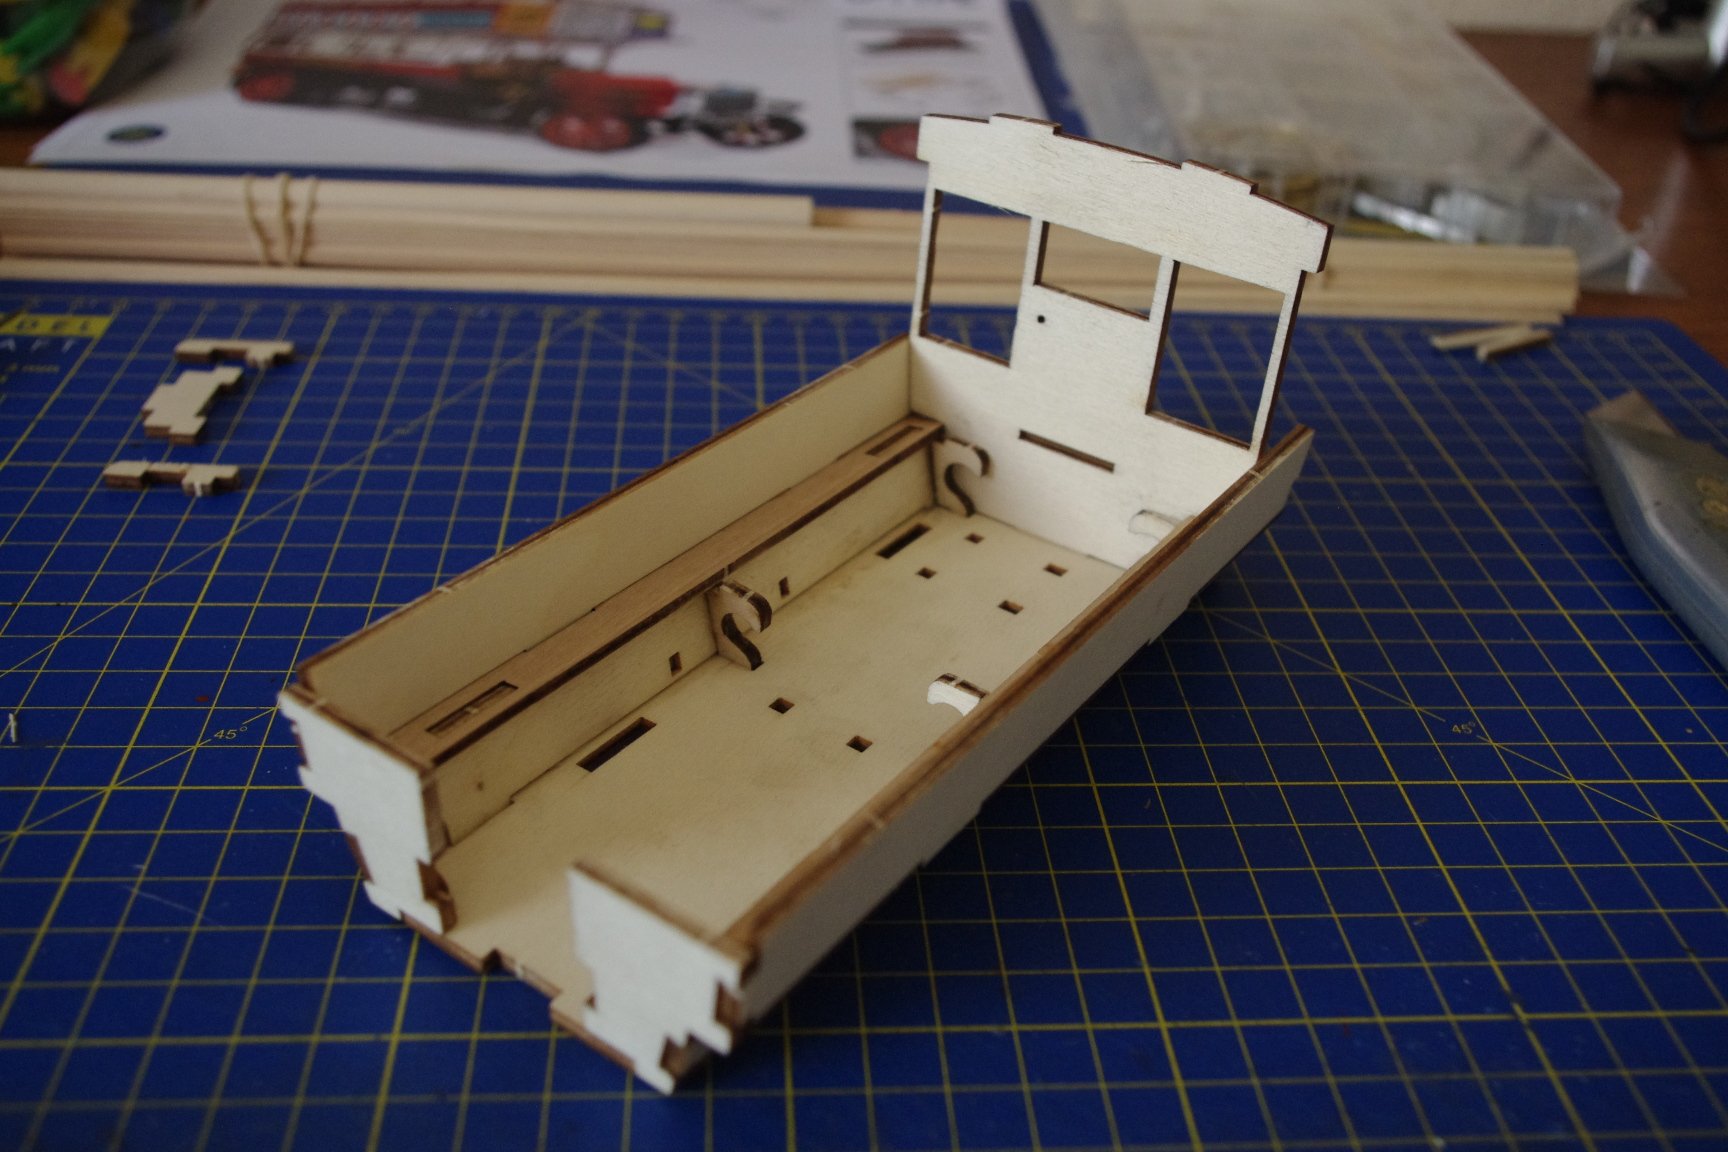
Dennis Bus by Mike Dowling - FINISHED - OcCre
Mike Dowling replied to Mike Dowling's topic in Non-ship/categorised builds
Not a lot to show yet but this is the beginning of the lower 'deck'! Much to my surprise for an OcCre kit one sheet of laser cut pieces has a very nasty warp. I have managed to flatten it but a quick email to OcCre and replacements are on their way. Pretty good I reckon and they always have been when a fault occurred.

- 23 replies
-
- 10
-
-
Lovely brass work Danny.