HOLIDAY DONATION DRIVE - SUPPORT MSW - DO YOUR PART TO KEEP THIS GREAT FORUM GOING!
×


Mike Dowling
-
Posts
1,234 -
Joined
-
Last visited
Content Type
Profiles
Forums
Gallery
Events
Everything posted by Mike Dowling
-
Who's a clever boy then ! Don't you just hate it when people point out your deliberate mistakes !!
-
I'm not wild about rigging either !! We have about 1ft snow if you don't count the drifts !
-
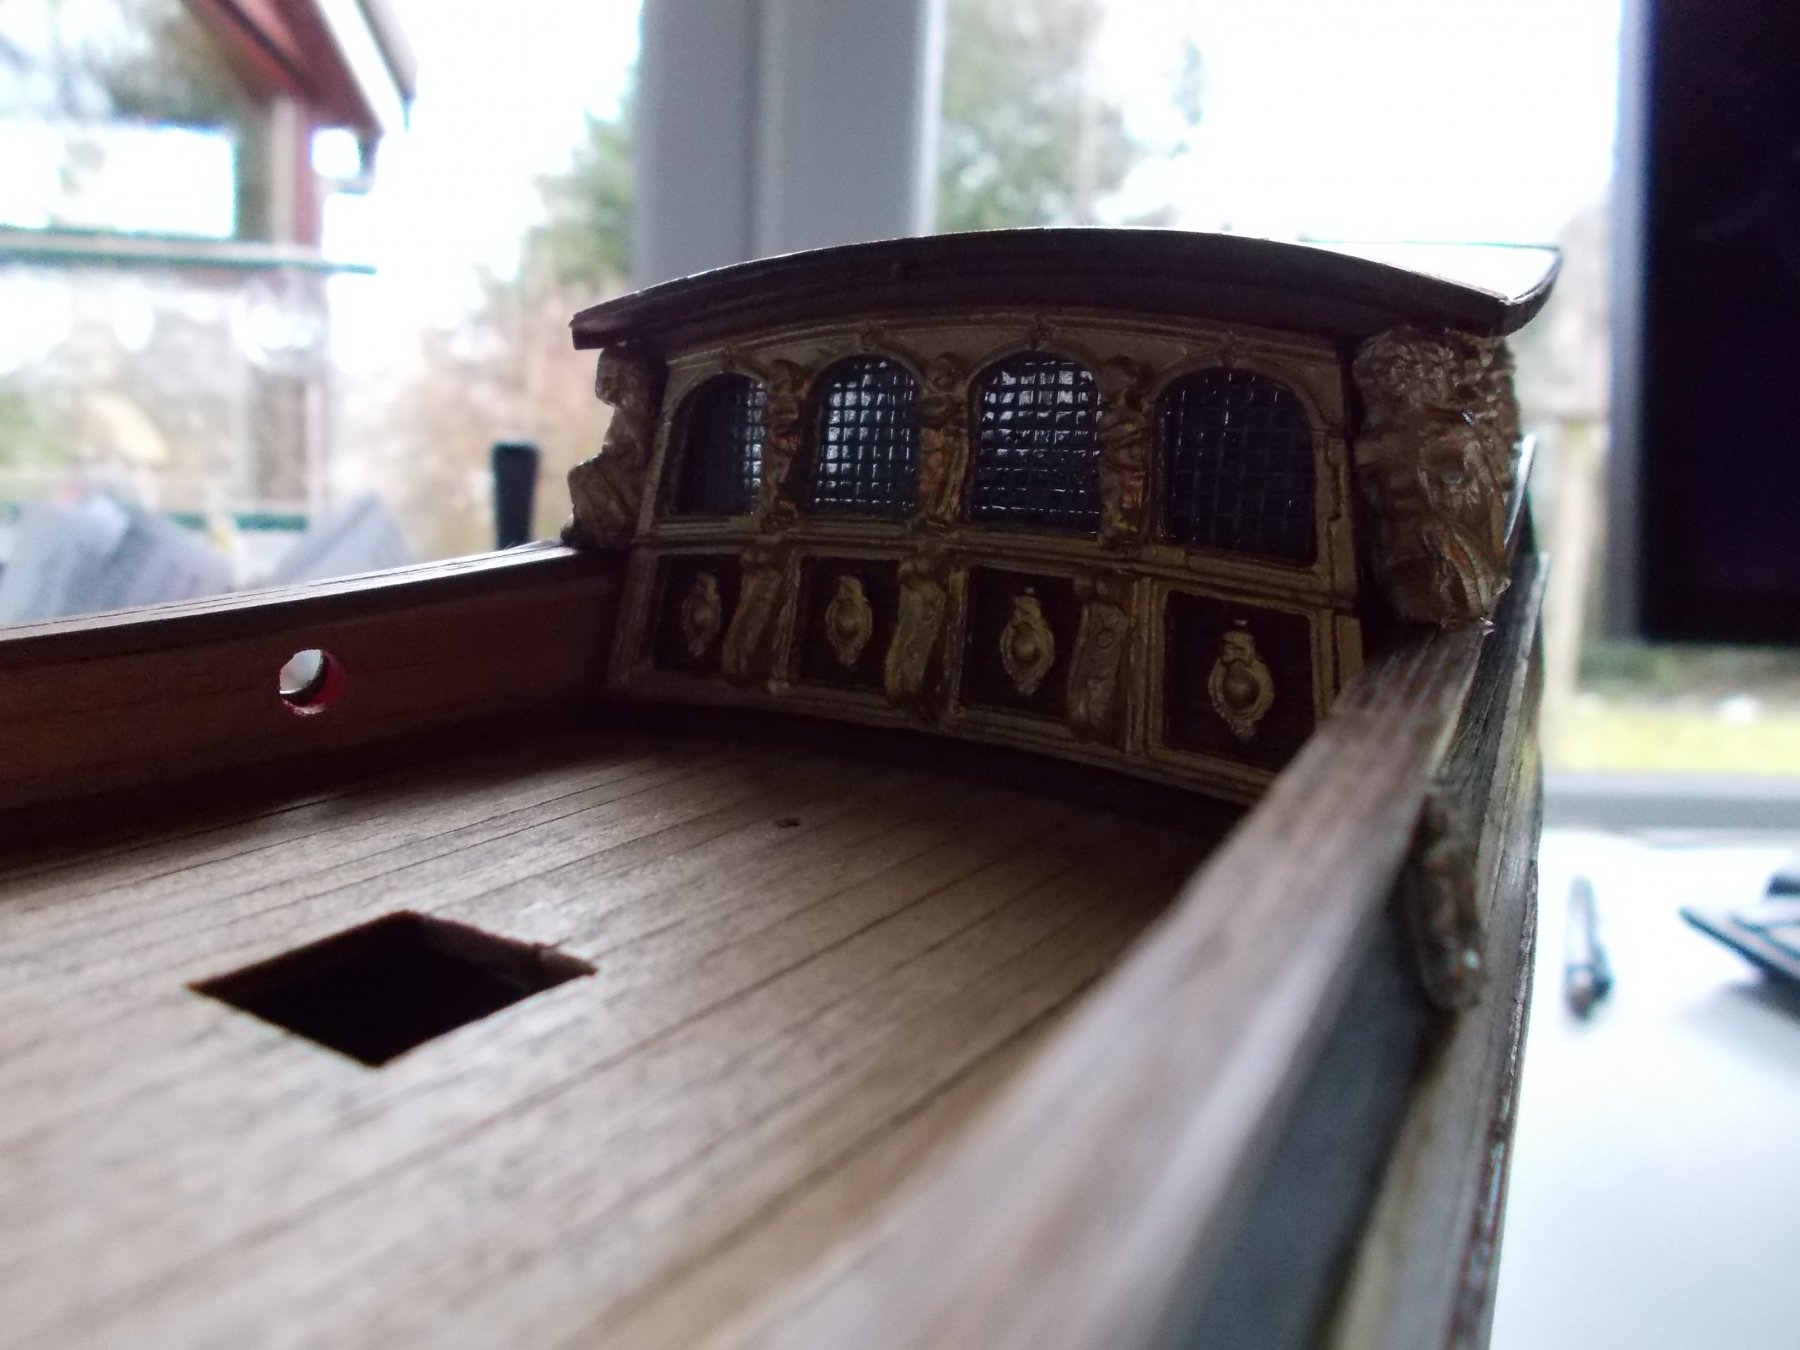
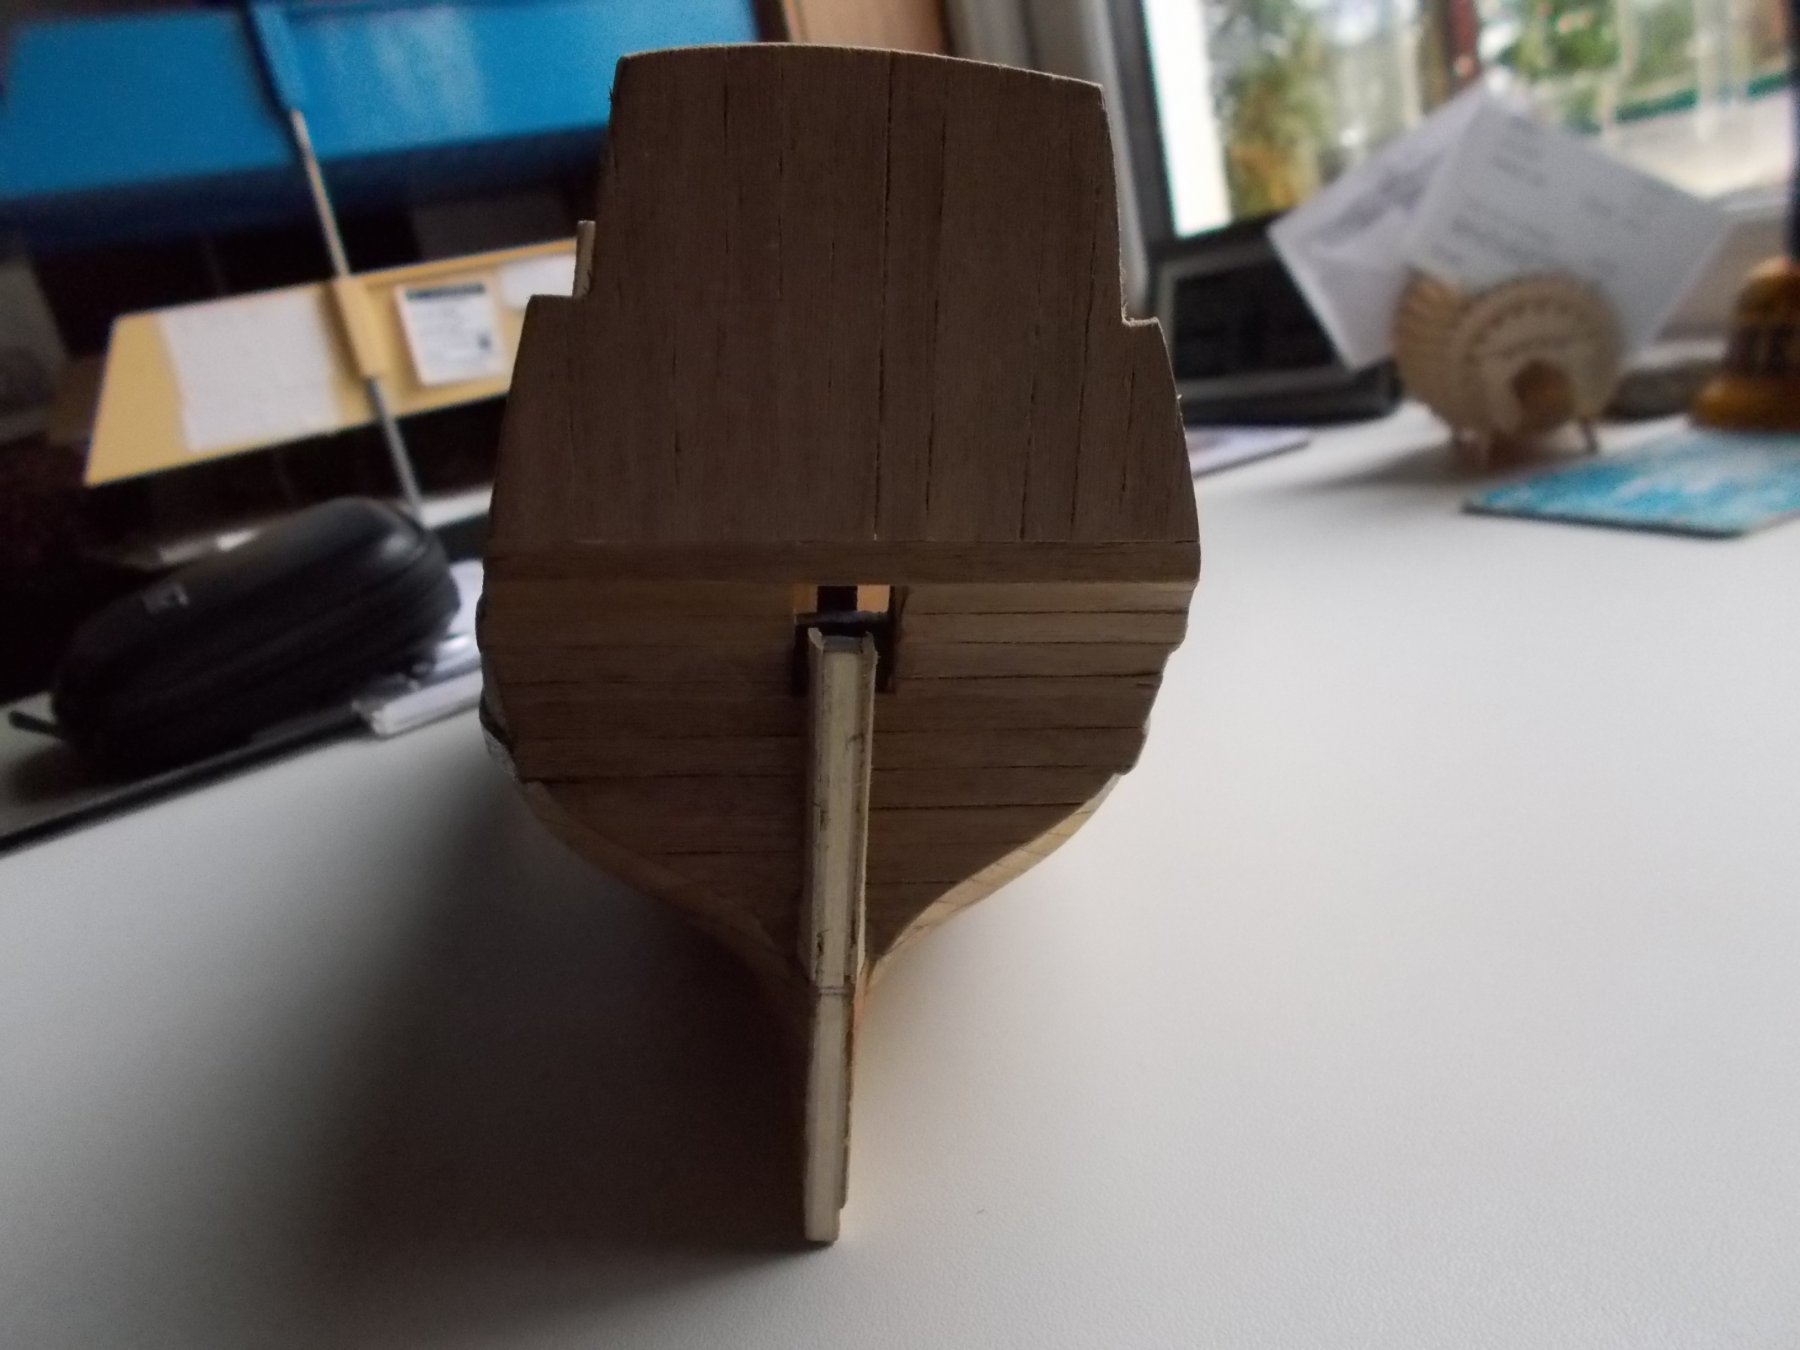
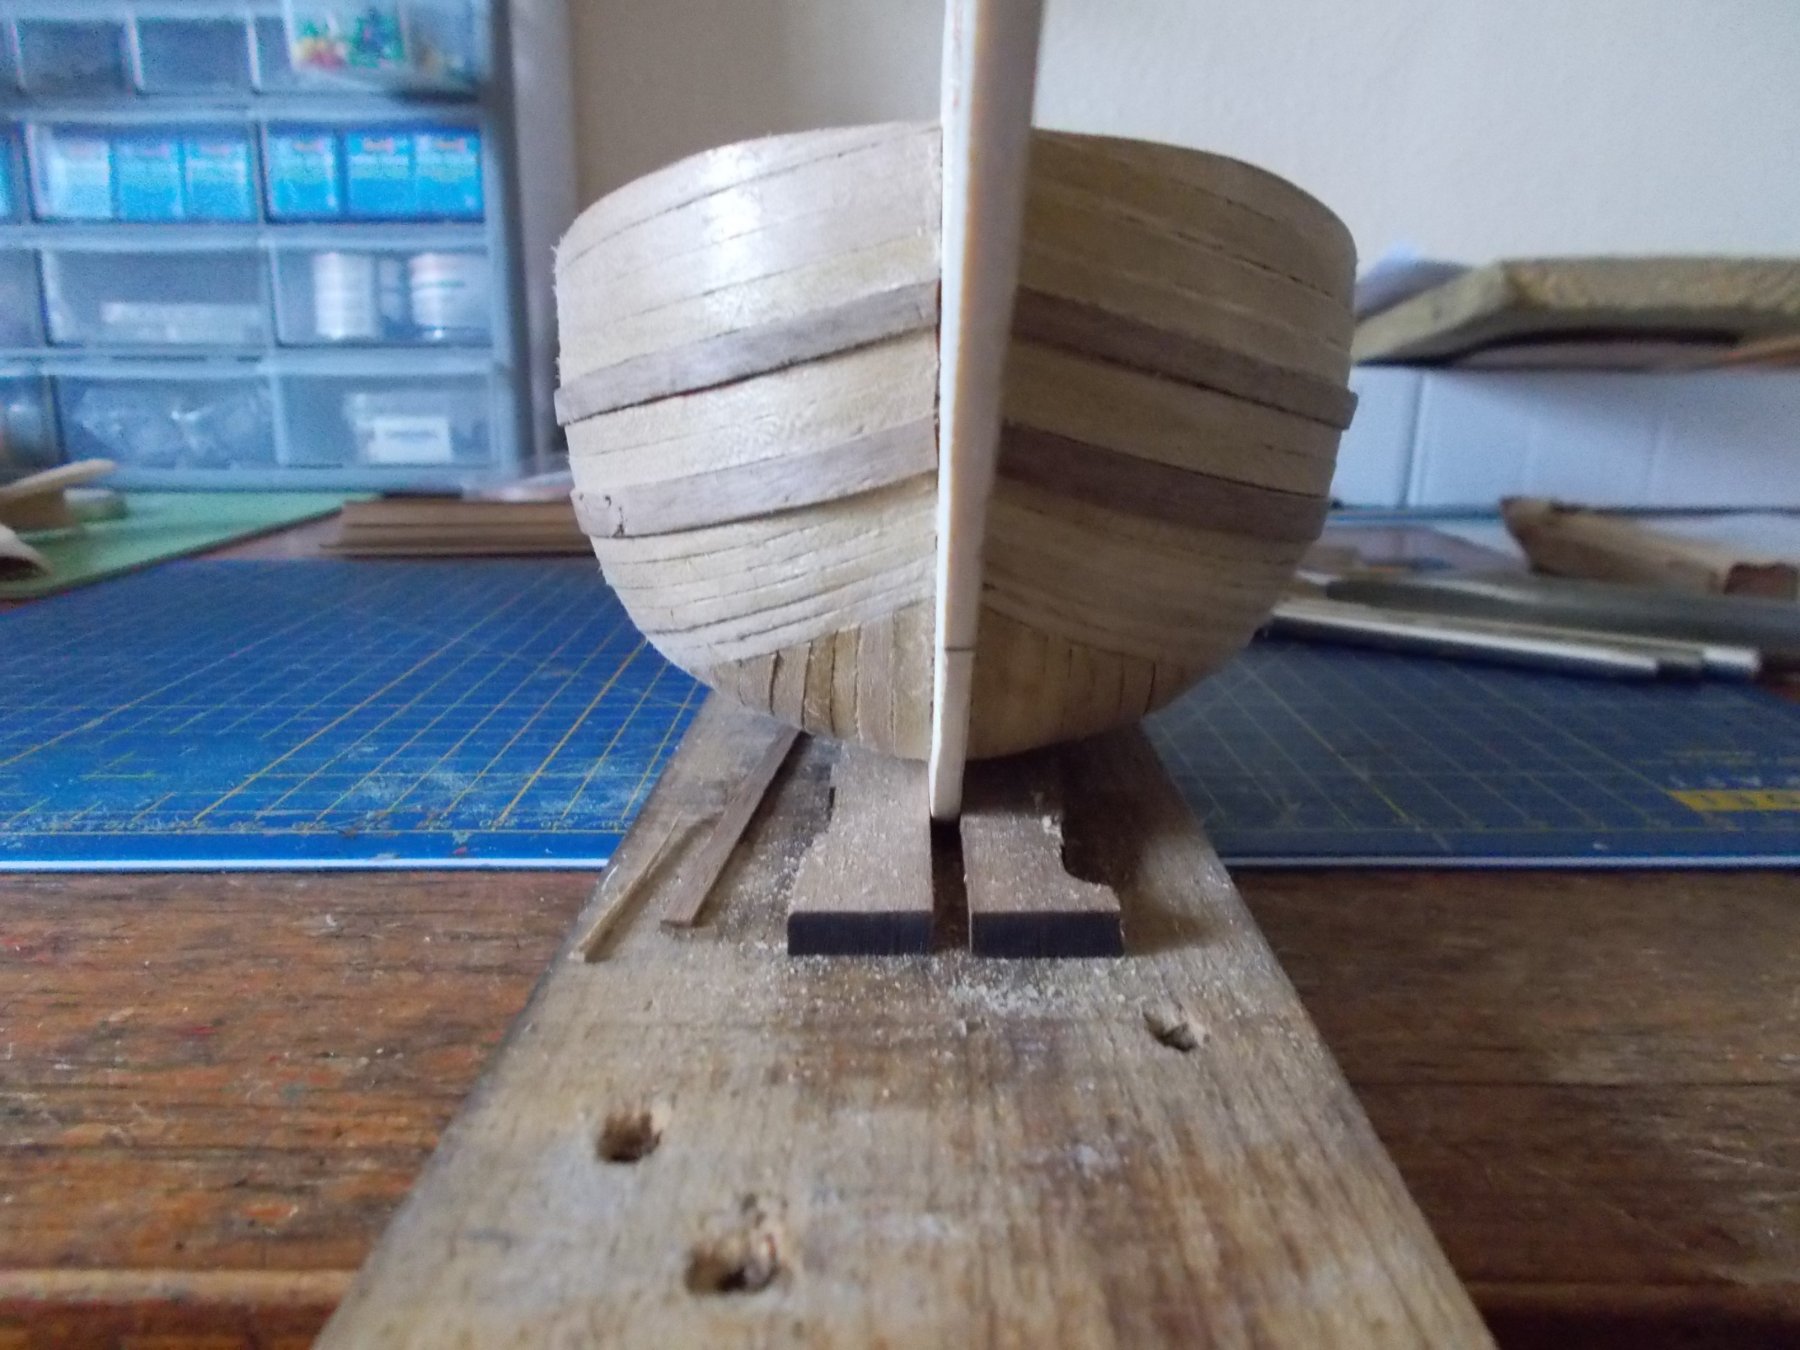
The gap is for a piece of wood which needs drilling to take the rear lanterns - I haven't done it yet but there is still loads of rear bling to come.
-
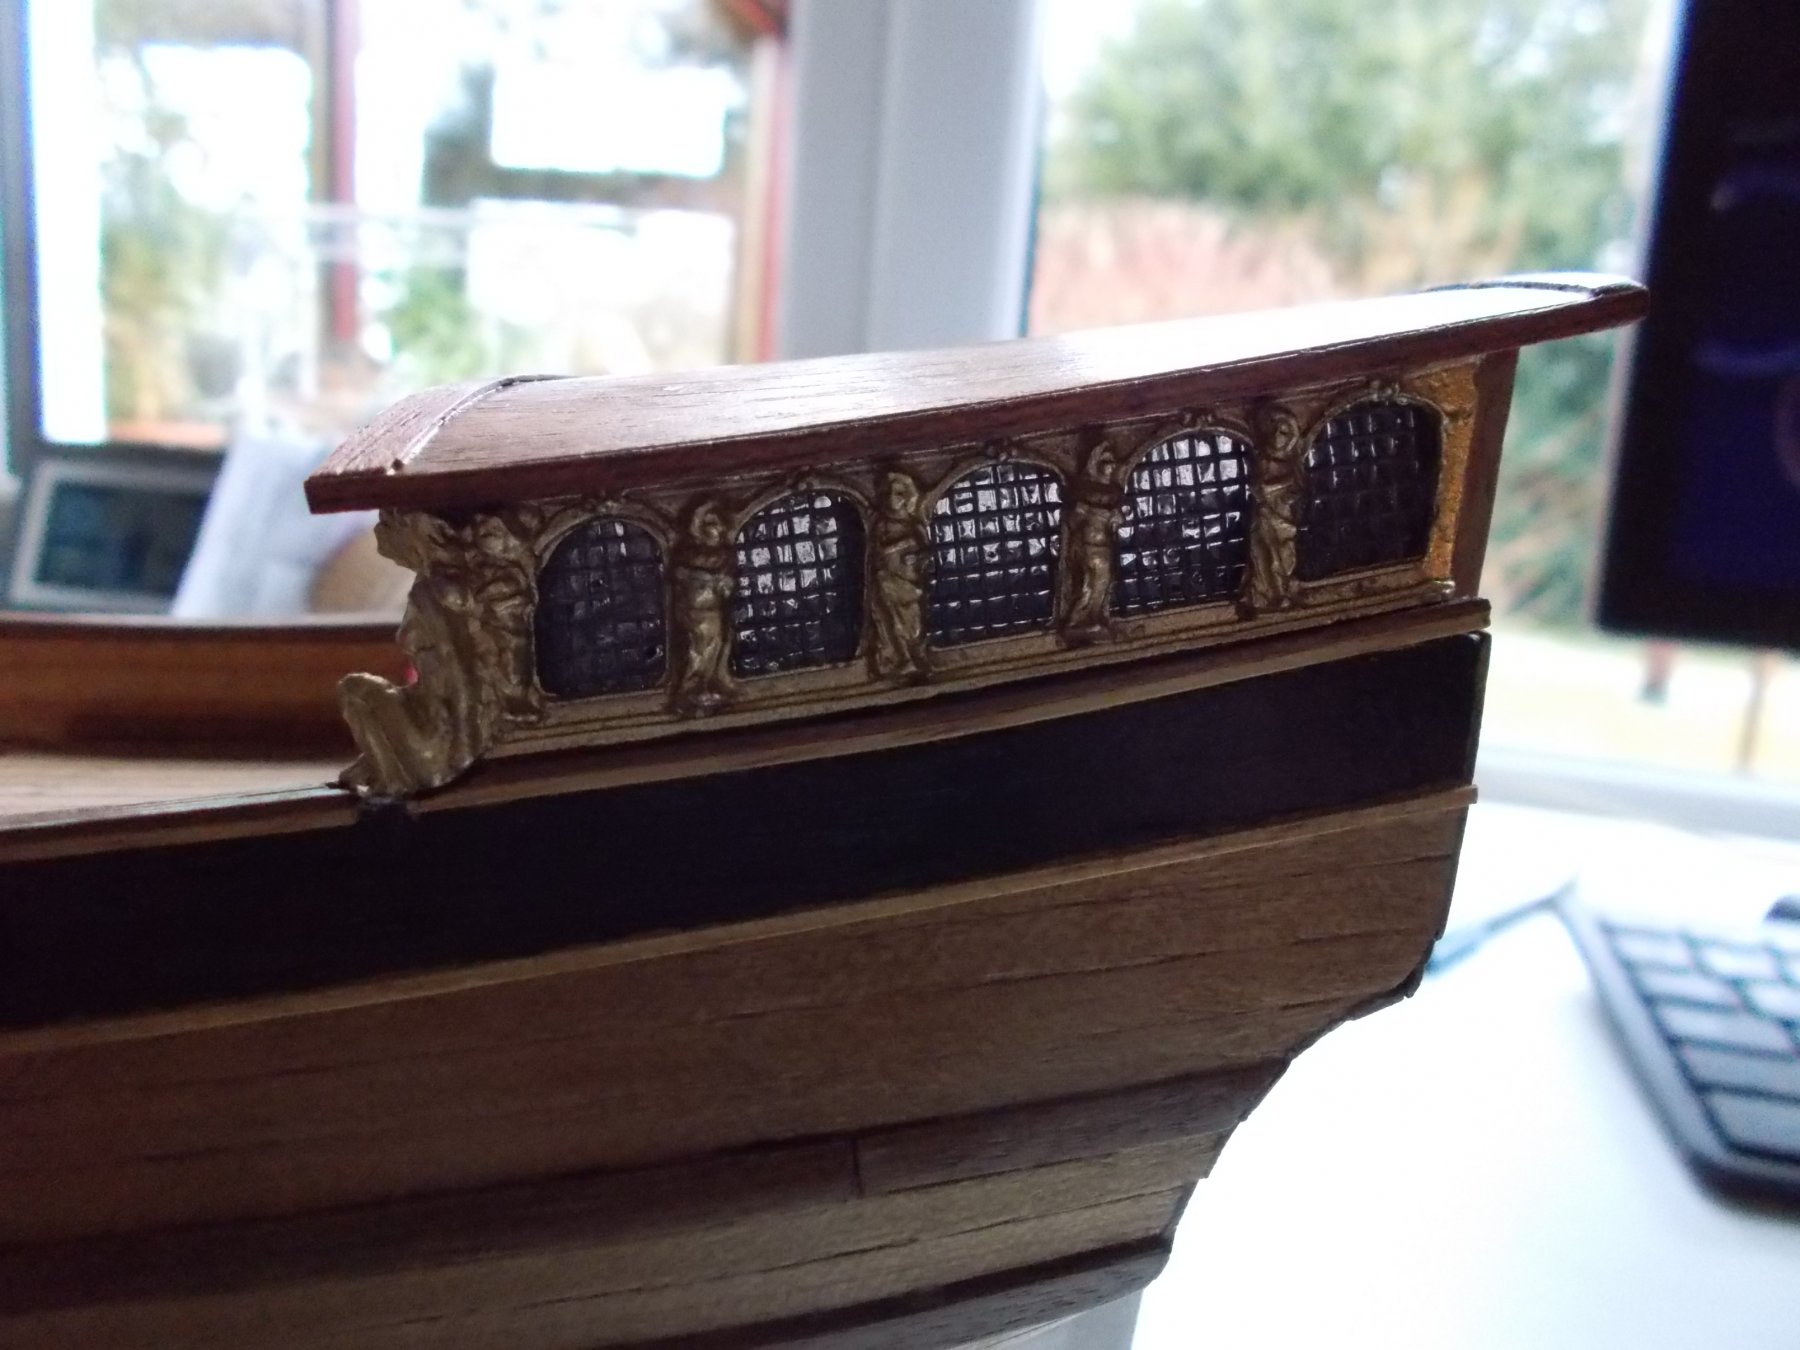
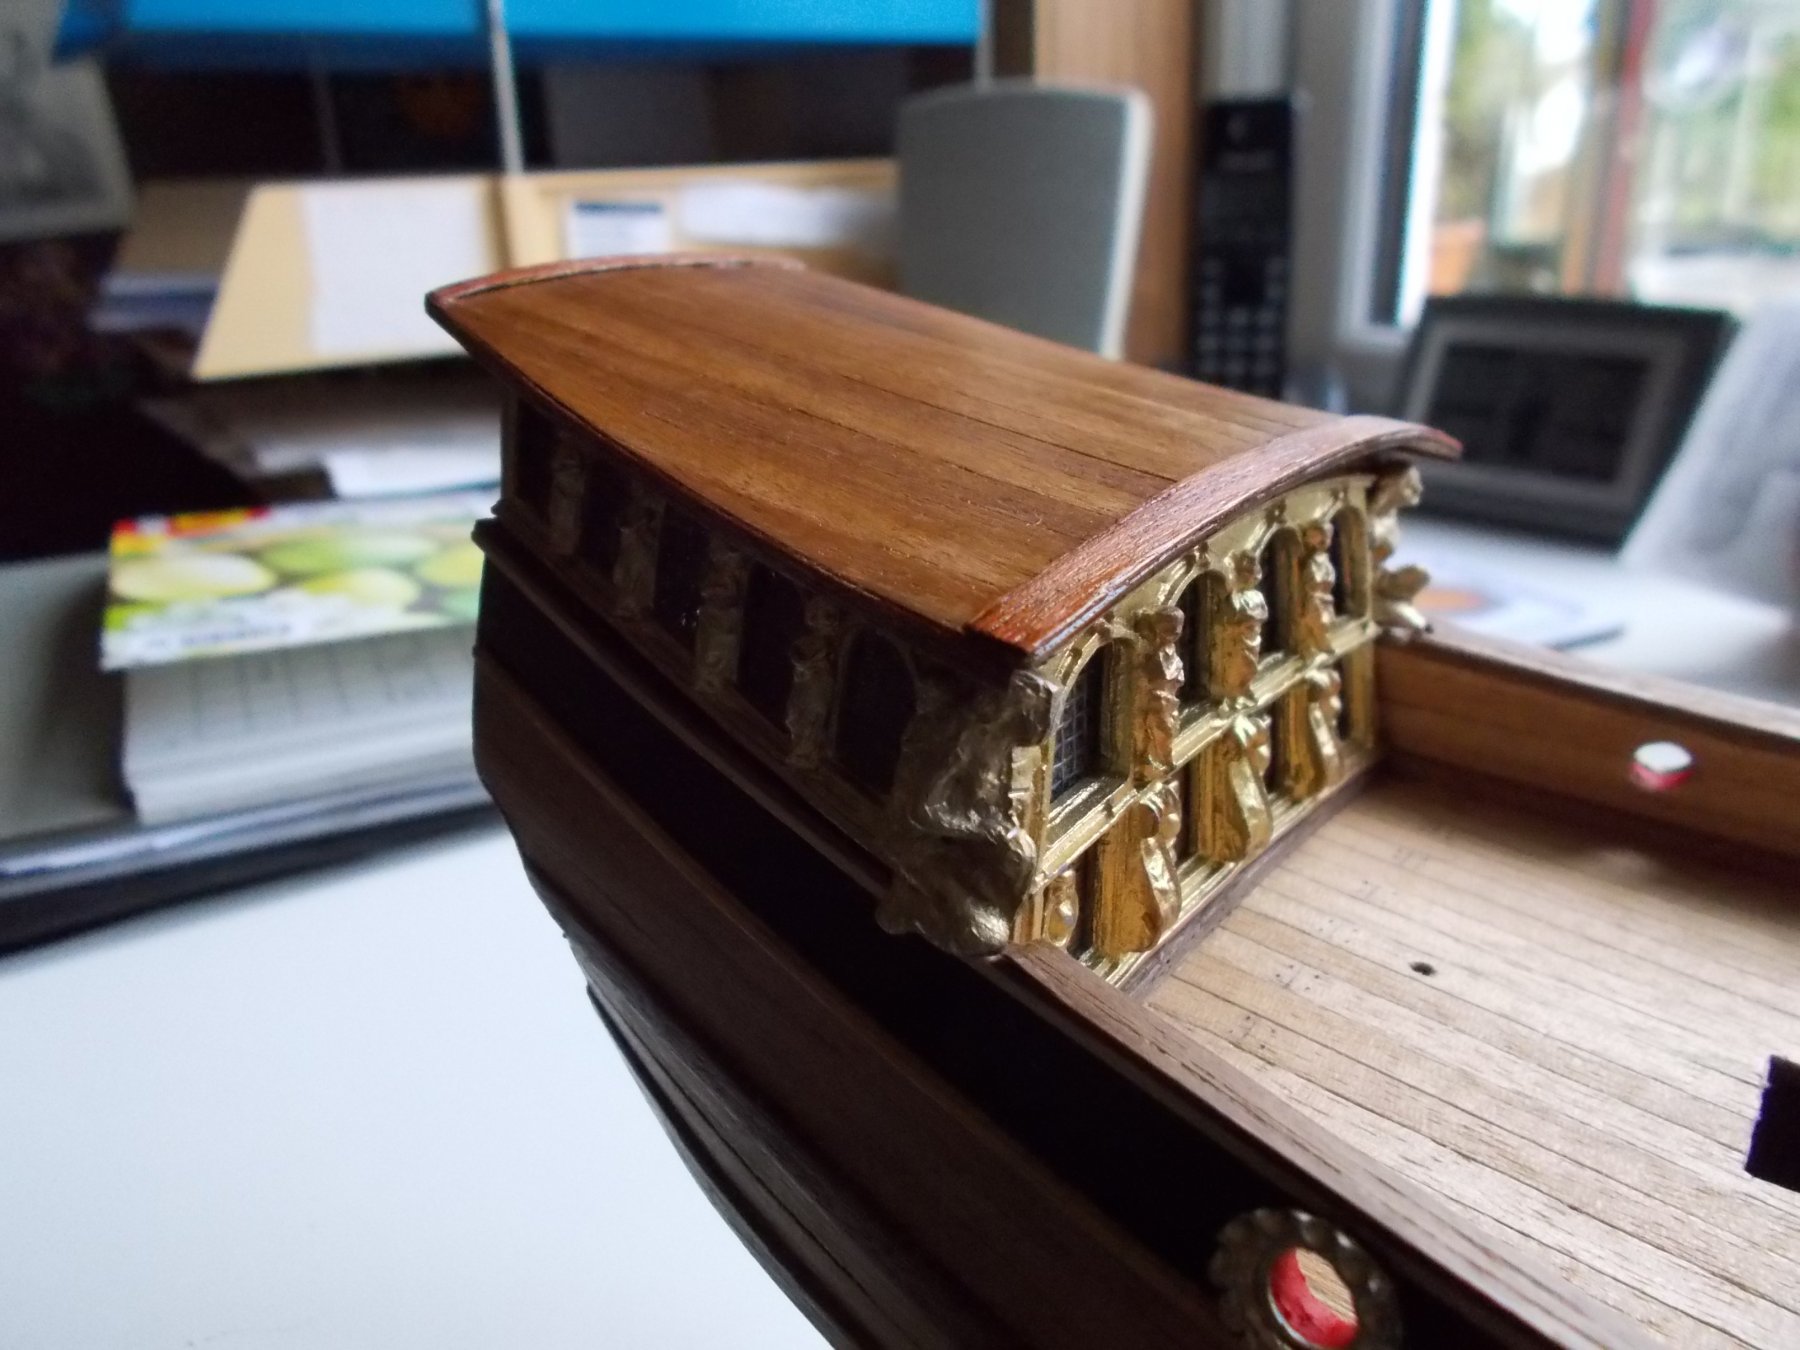
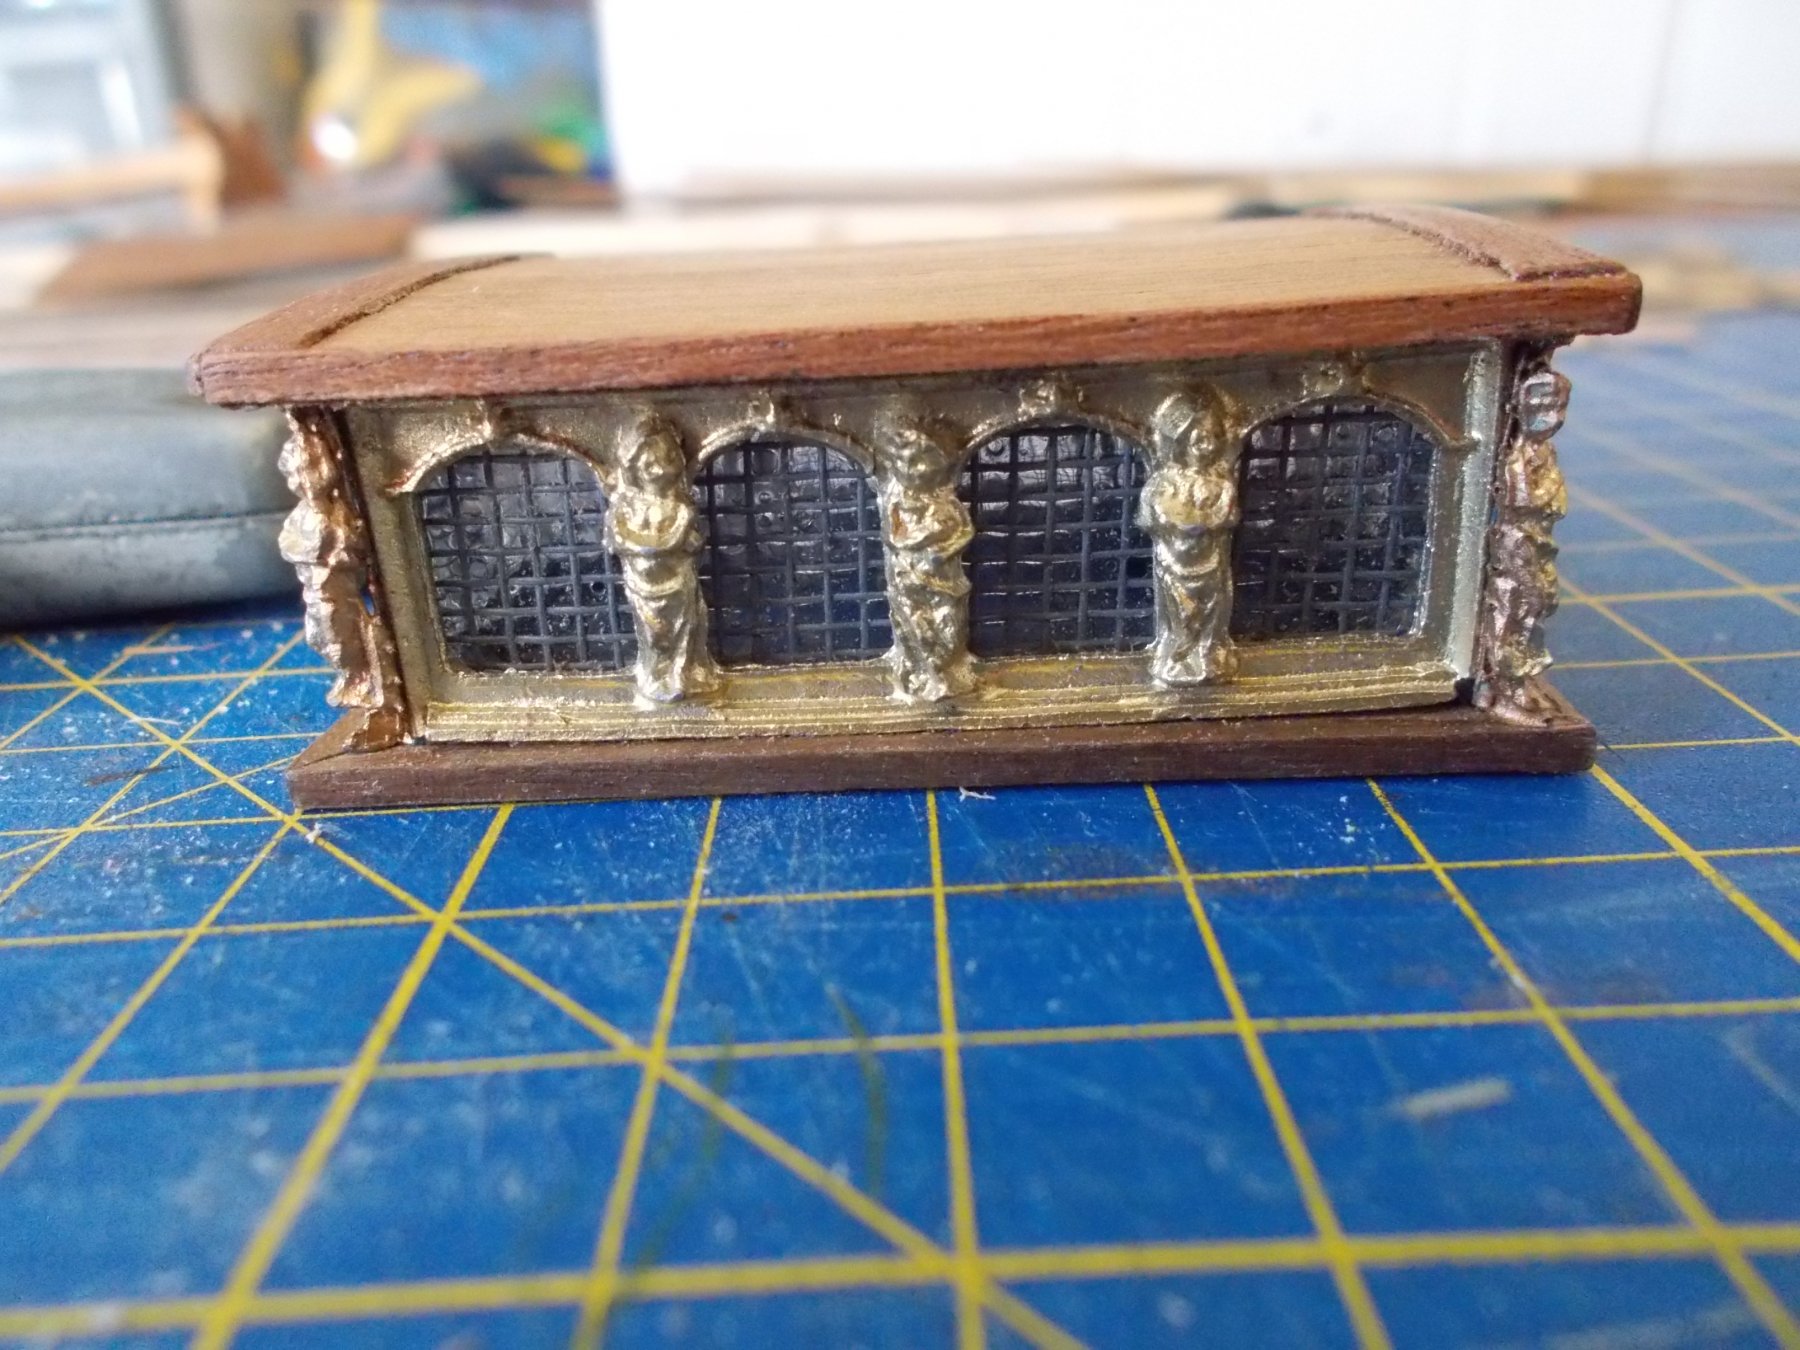
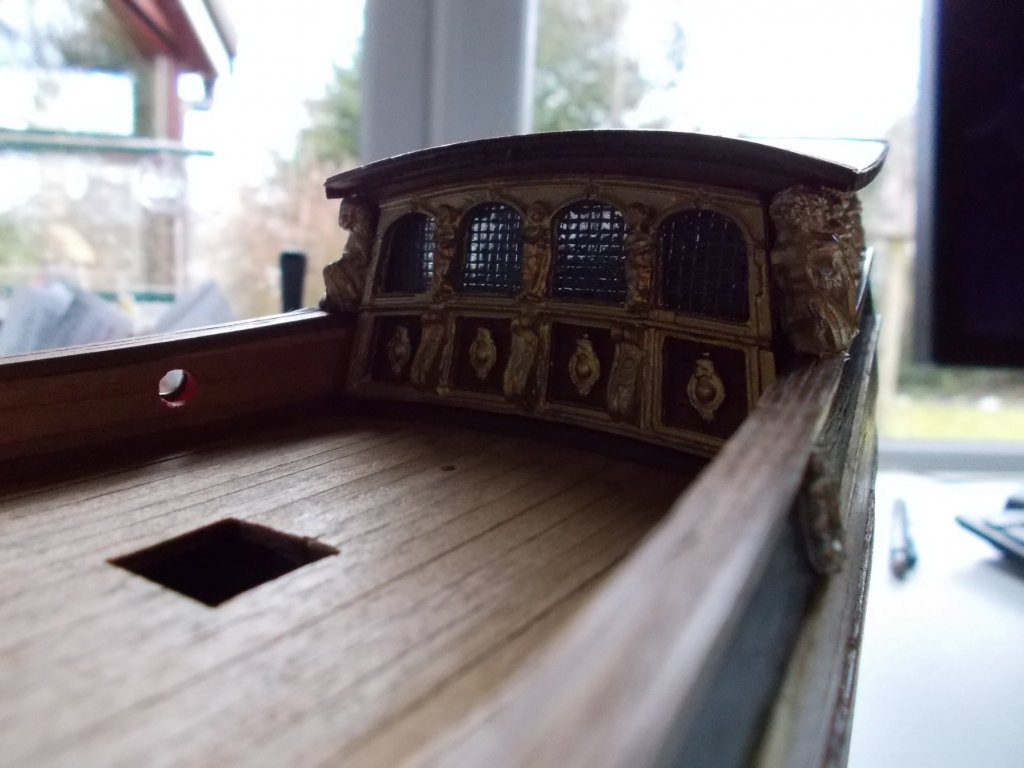
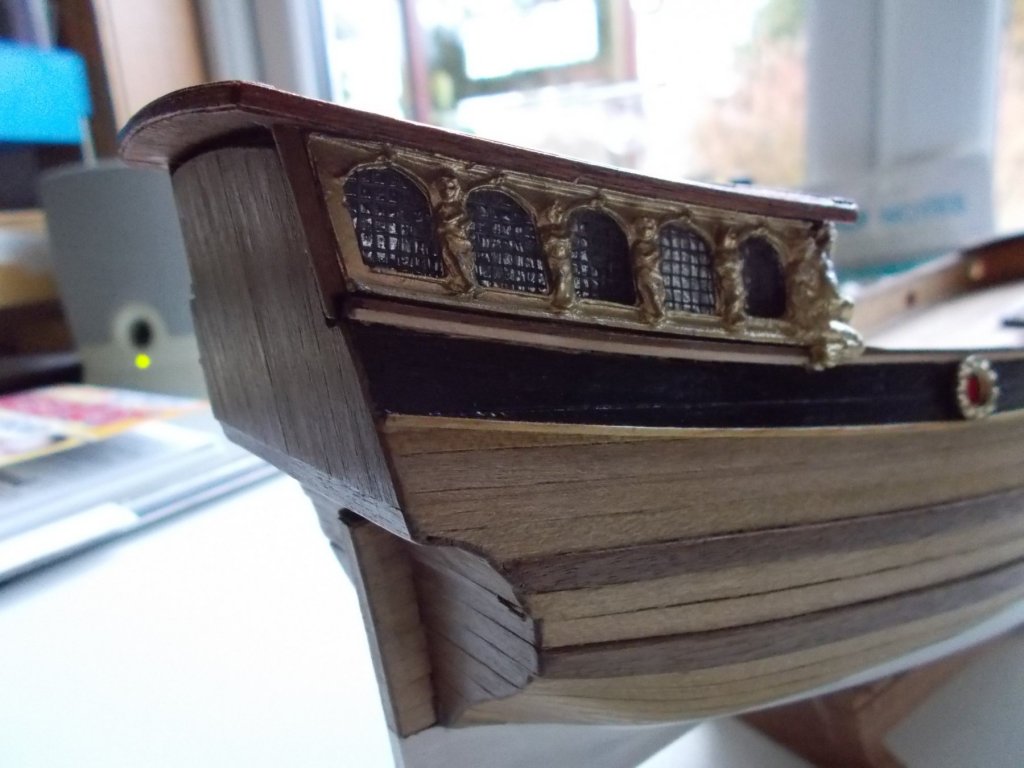
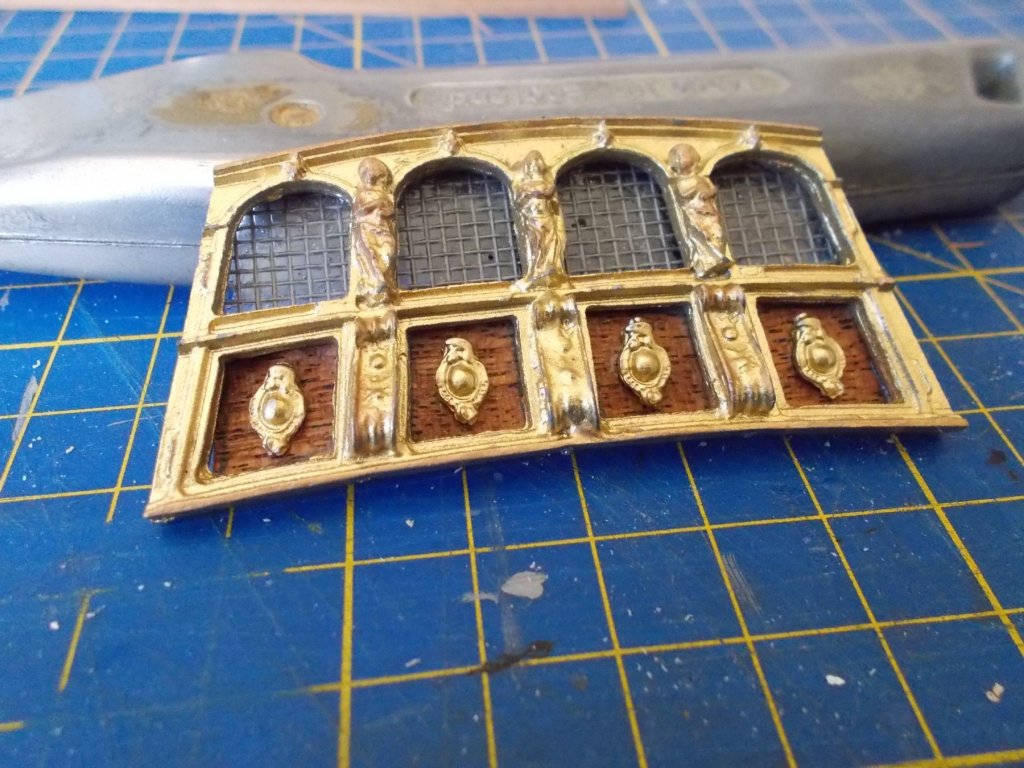
Well, it took a lot of filing, some very careful whittling, a few minor modifications to the plans and now I have the front and sides of the rear cabin windows and all. There is still loads more bling to put on yet!! Sorry Gregory, my impatience got the better of me. I don't think it shows on these pictures but I have been very brave and drilled out and decorated the gun ports as well.


-
I have only just found this Eric but I will follow along if it's OK.
- 599 replies
-
- 4
-

-
- sidewheeler
- arabia
- (and 4 more)
-
Good work Popeye. Eric, you simply have to make another paddle steamer available - I am getting withdrawal symptoms!!
-
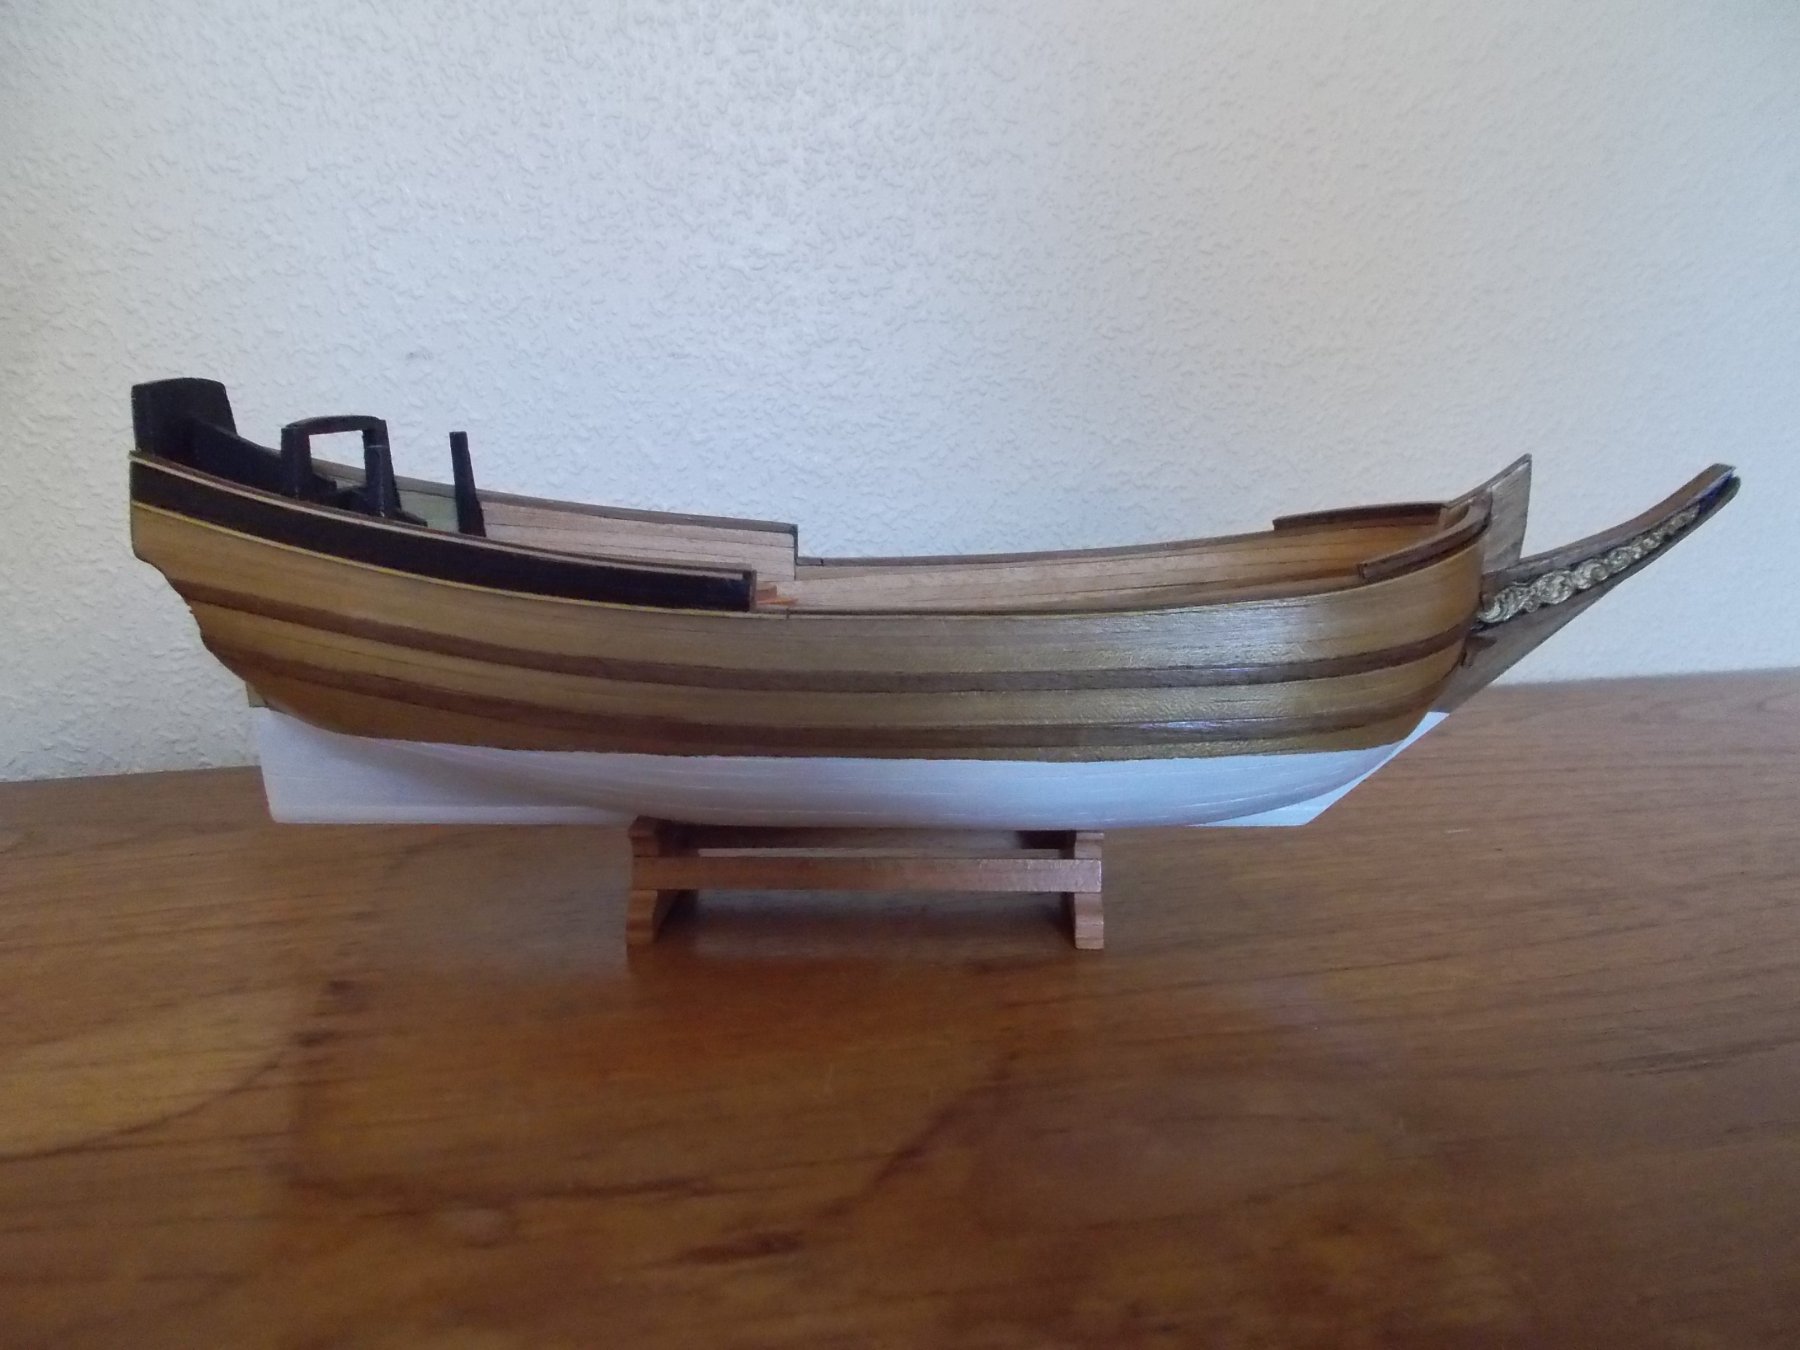
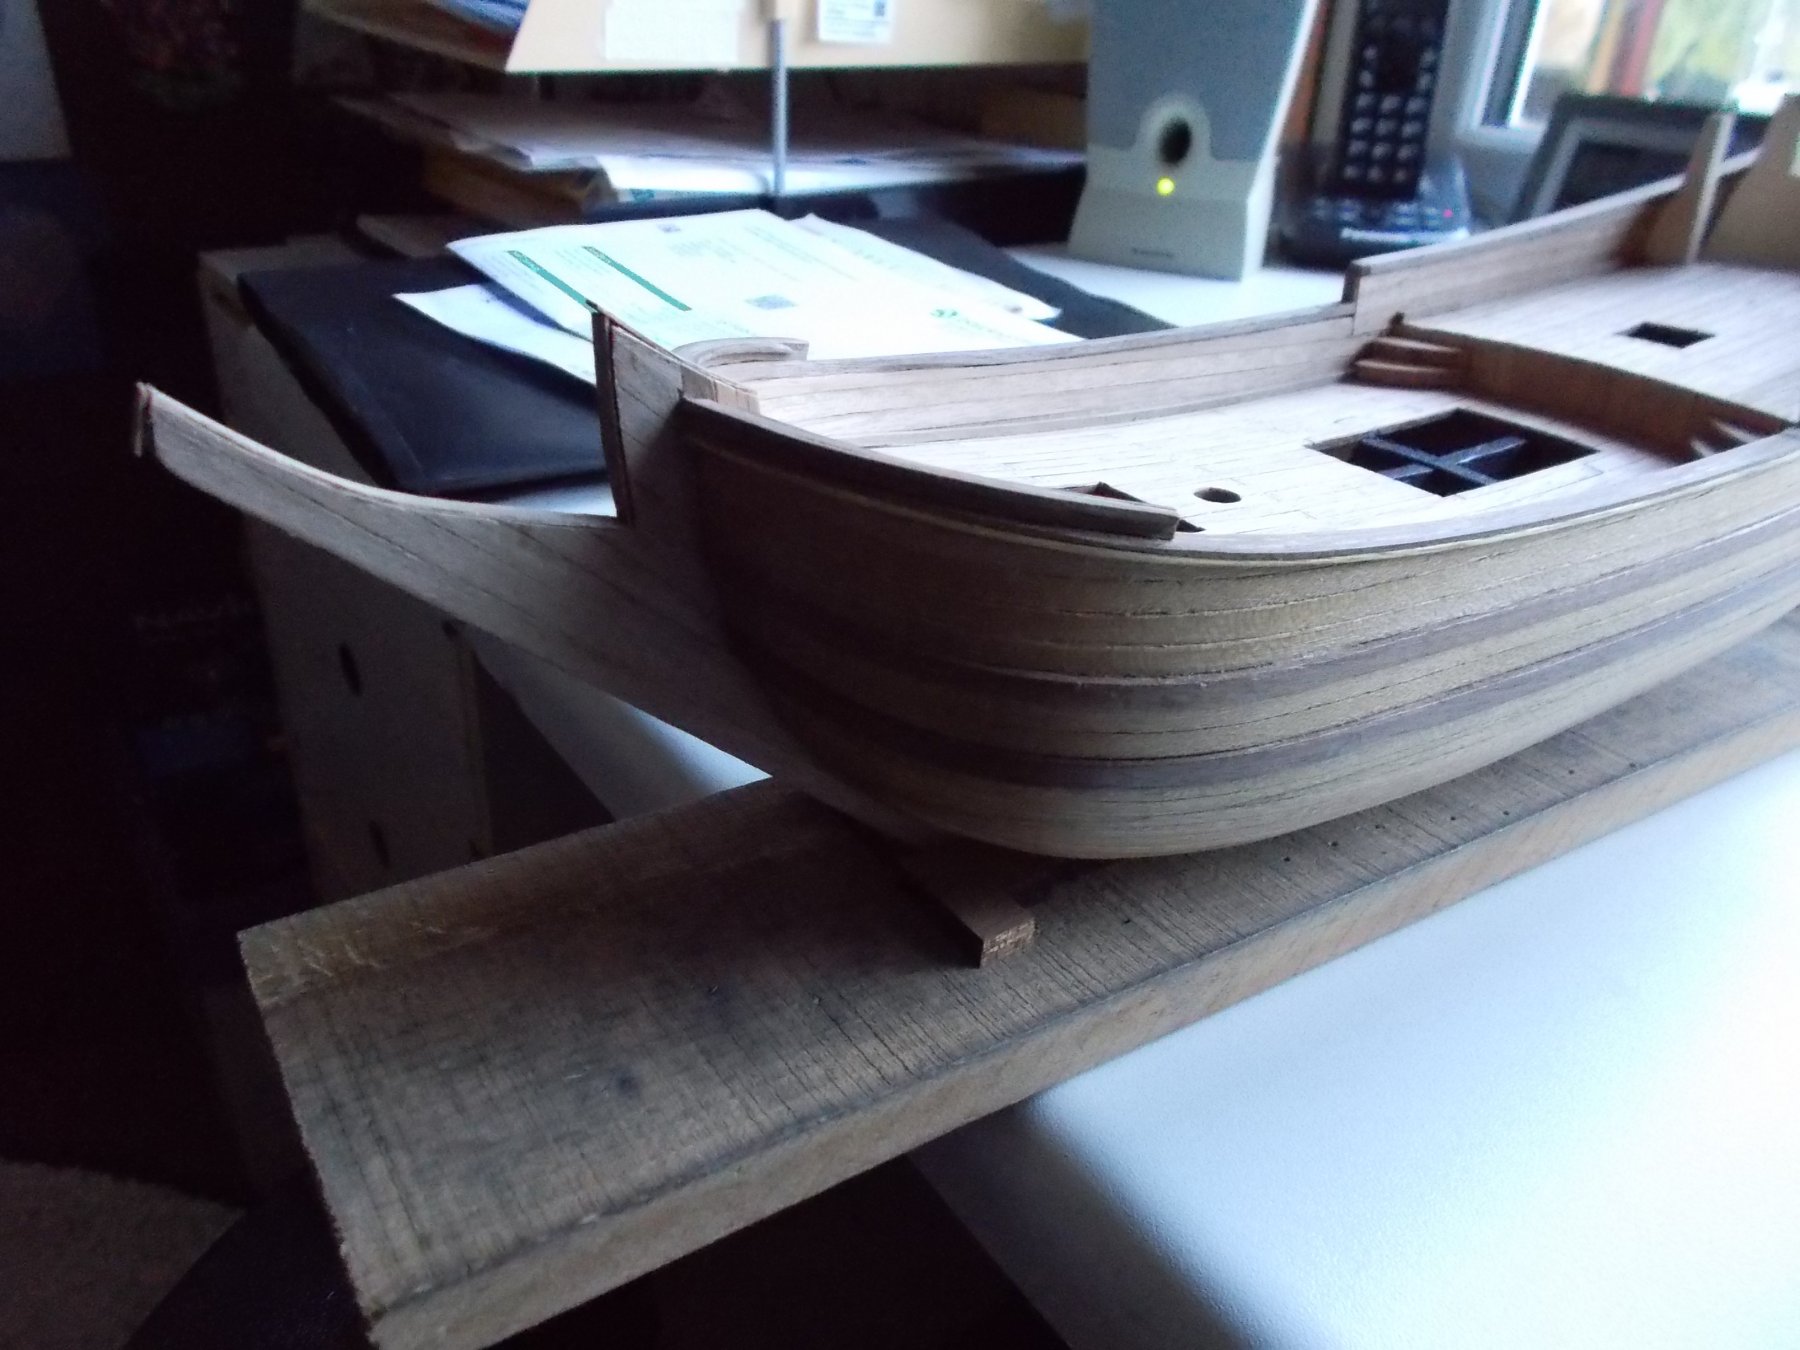
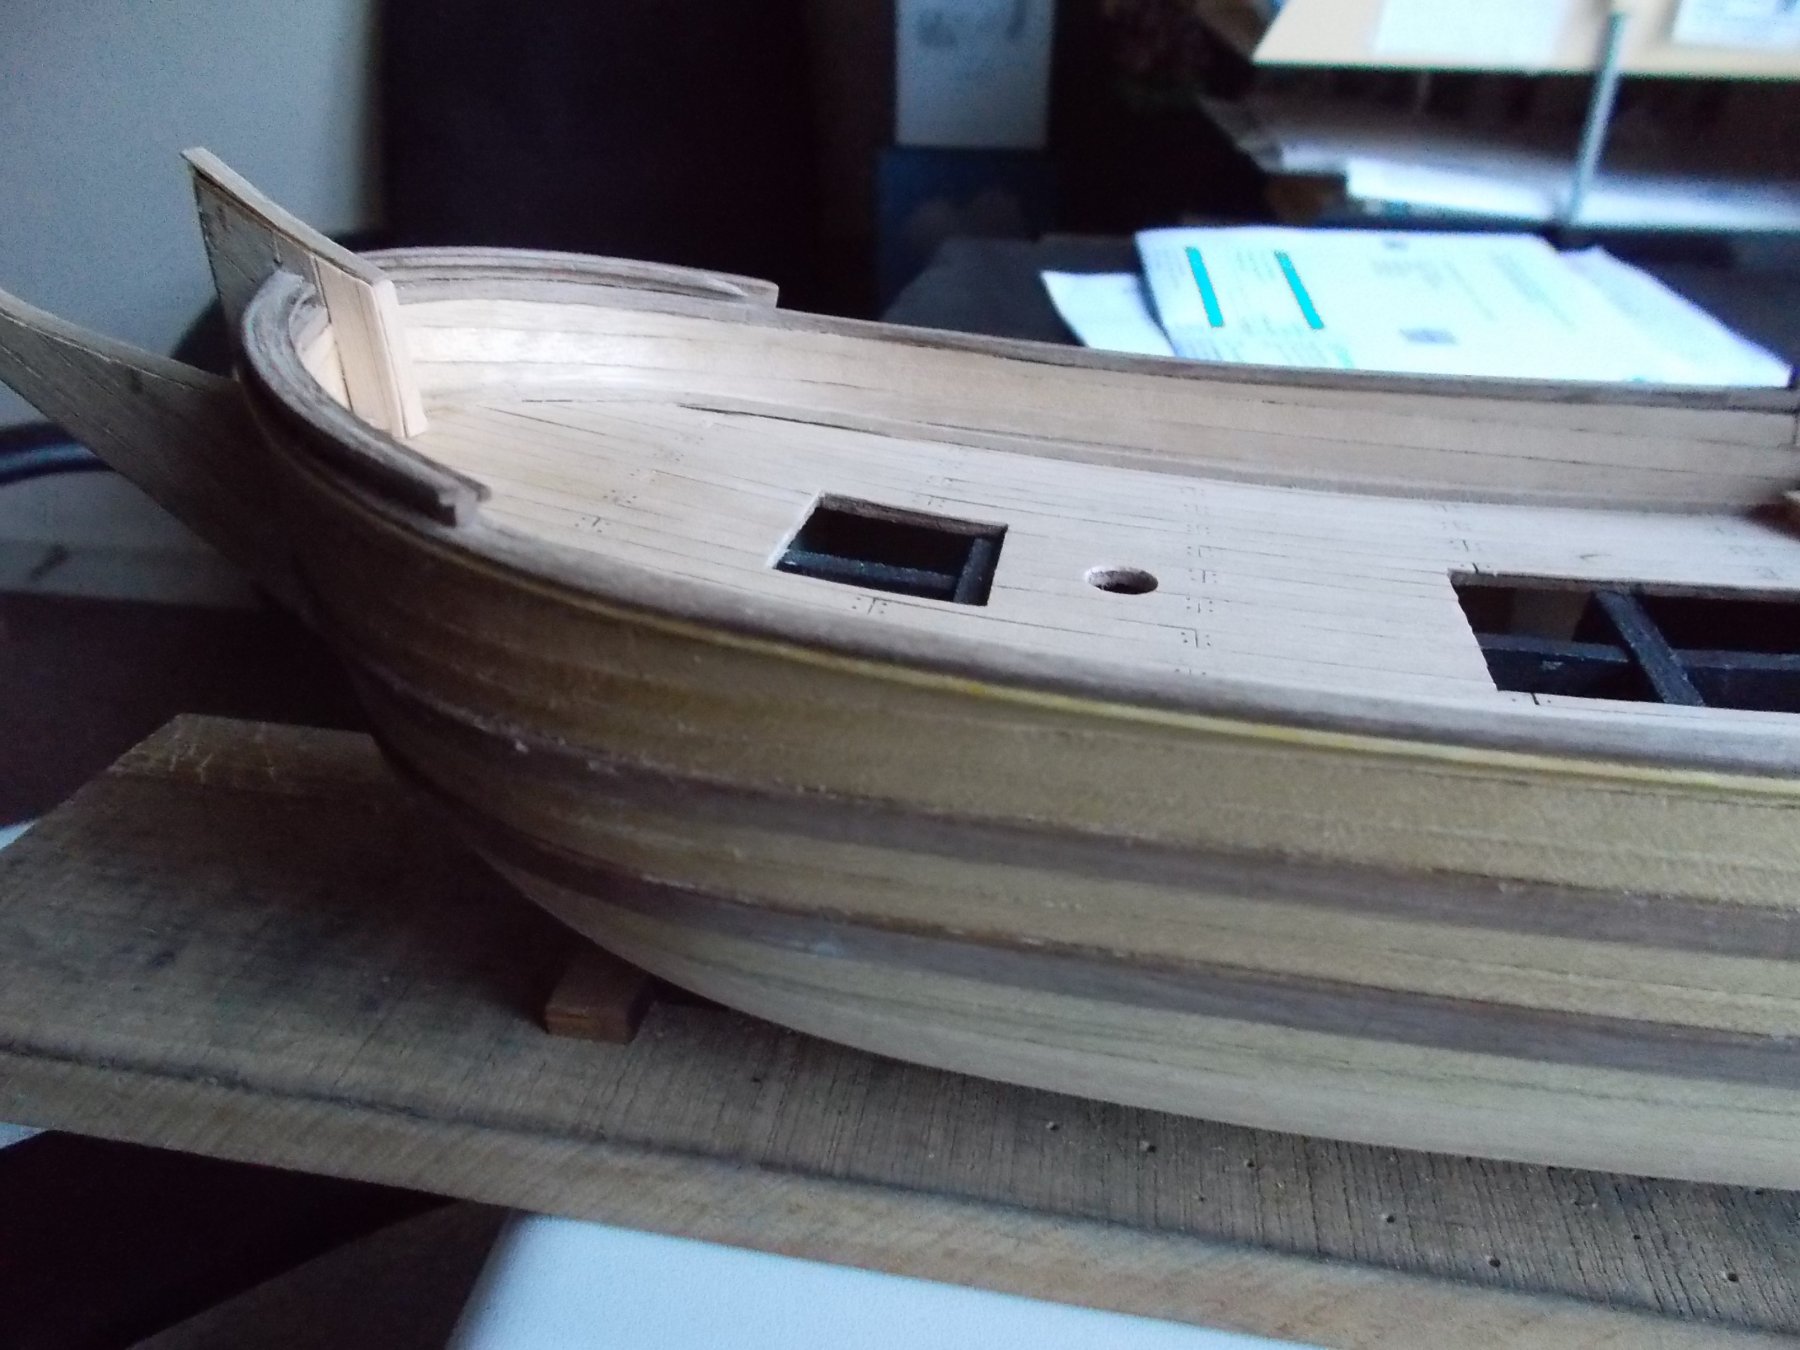
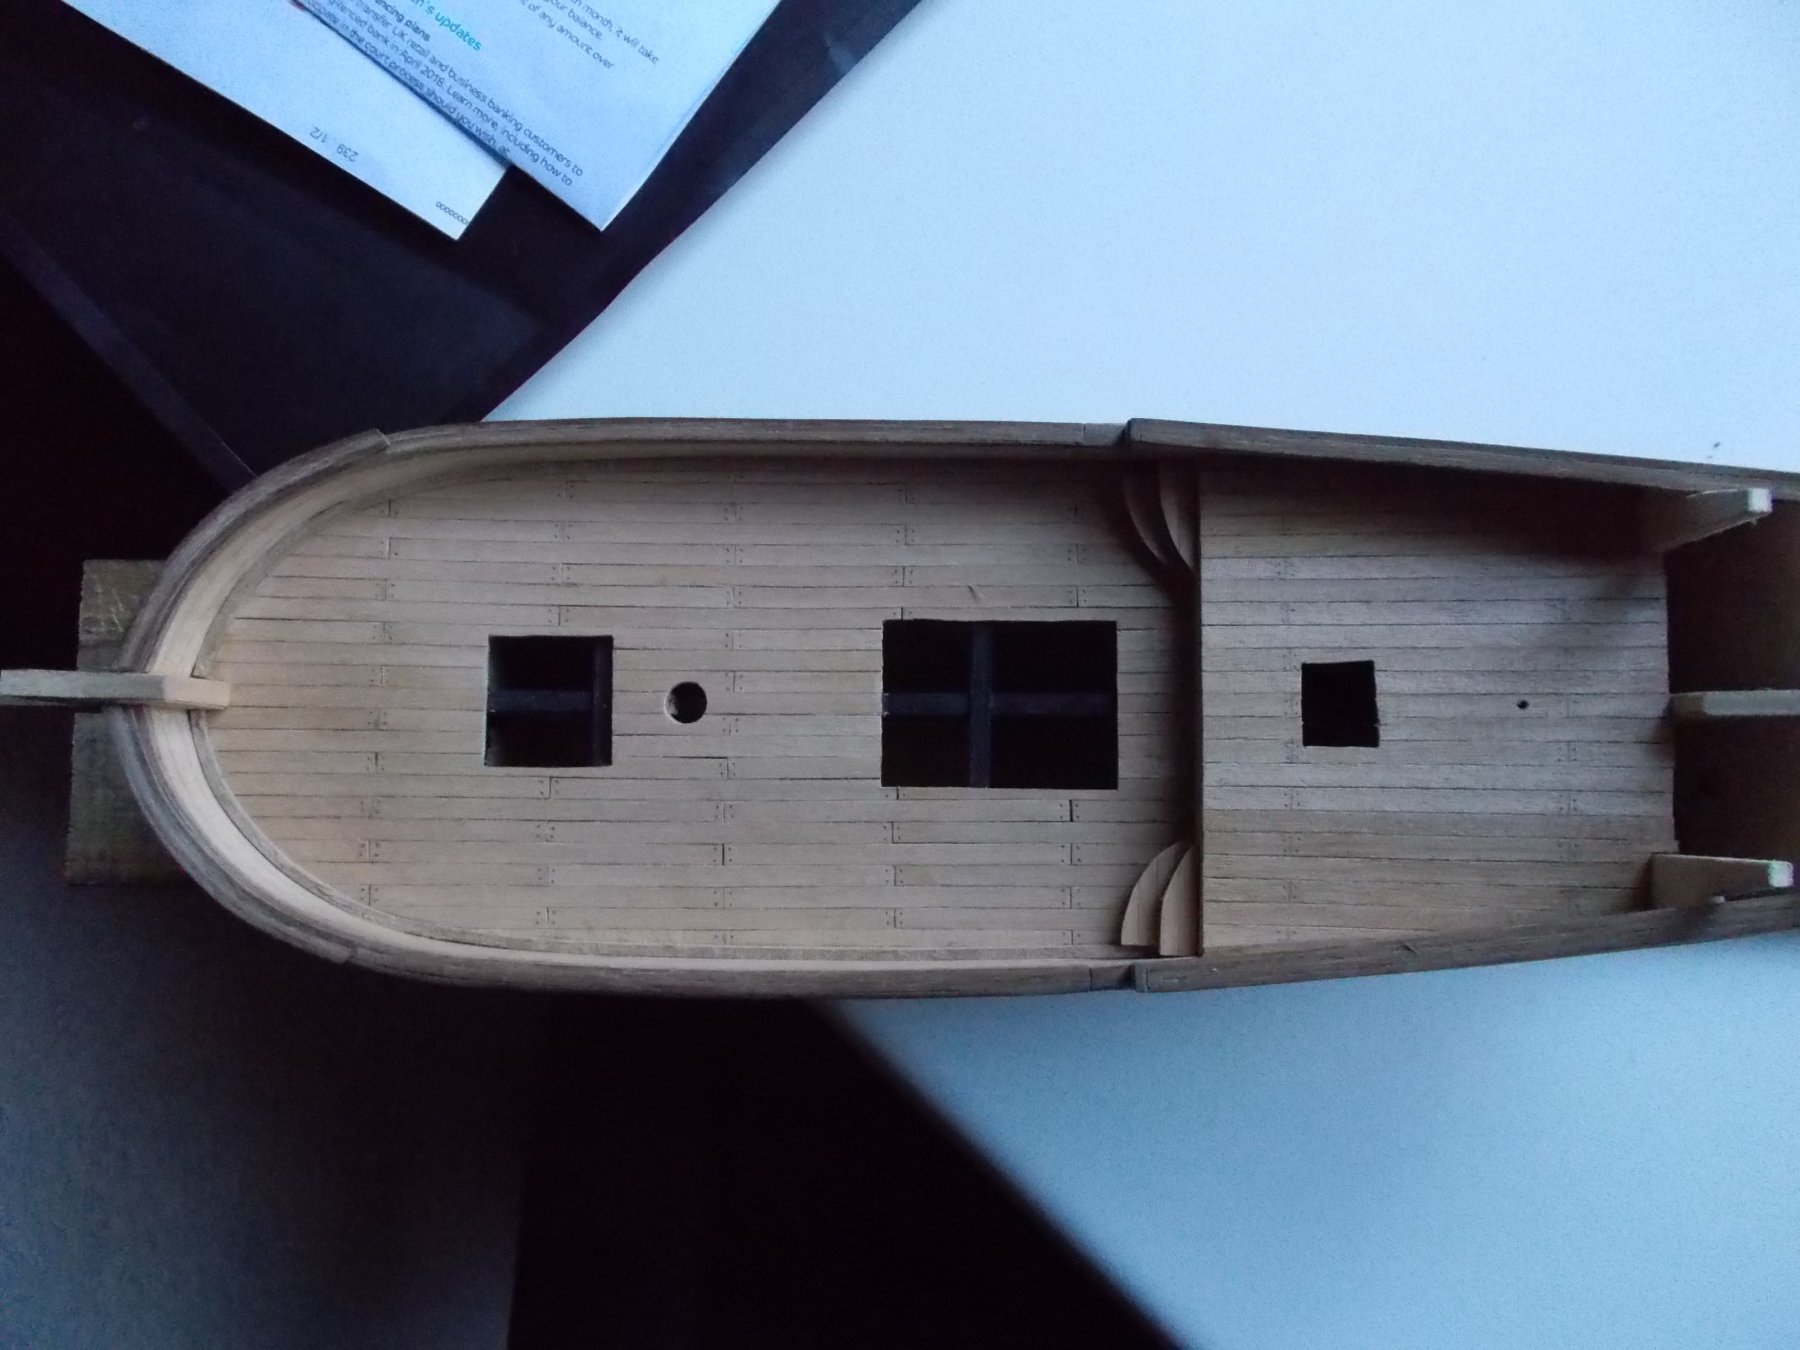
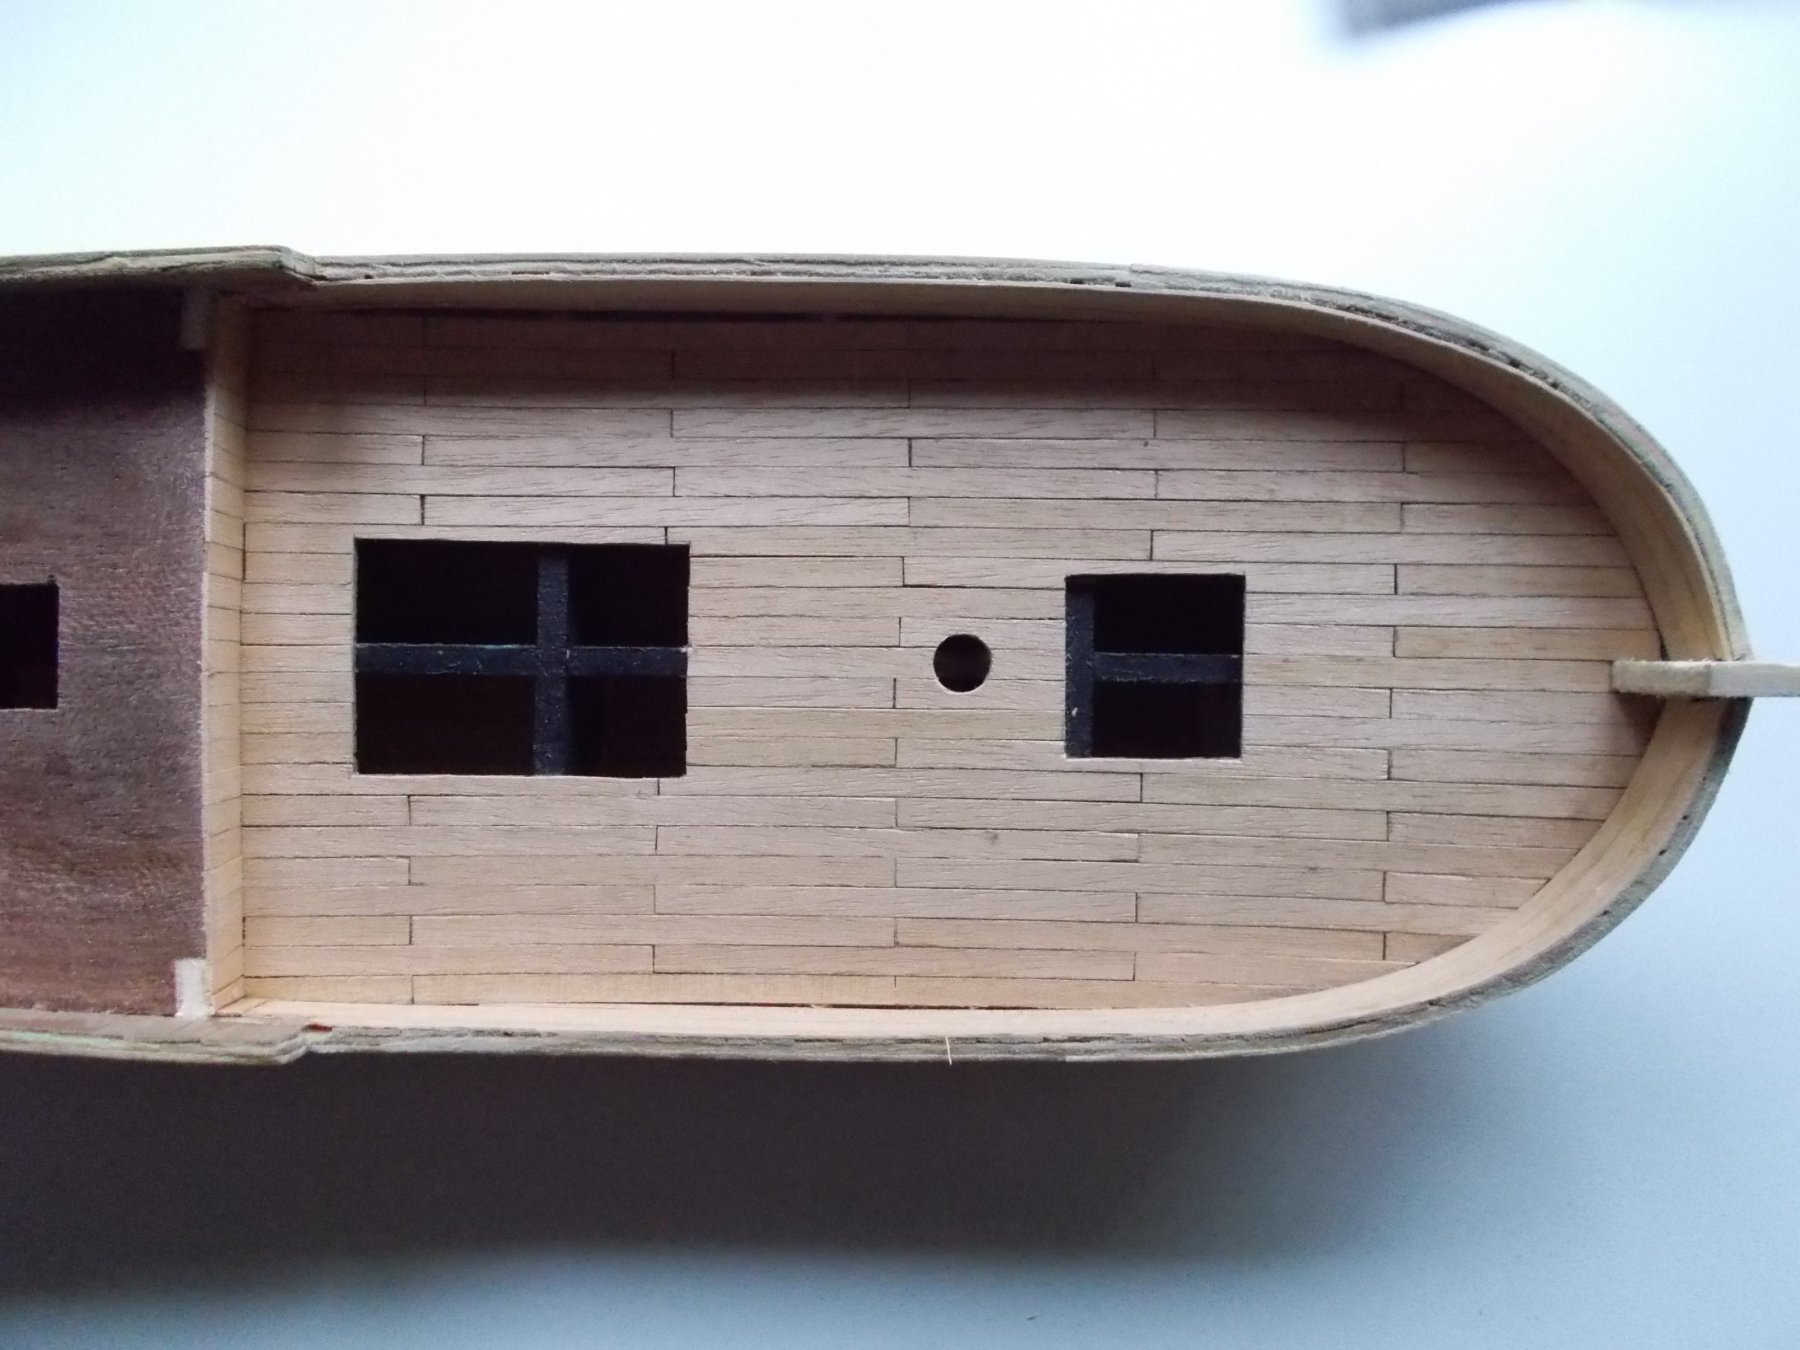
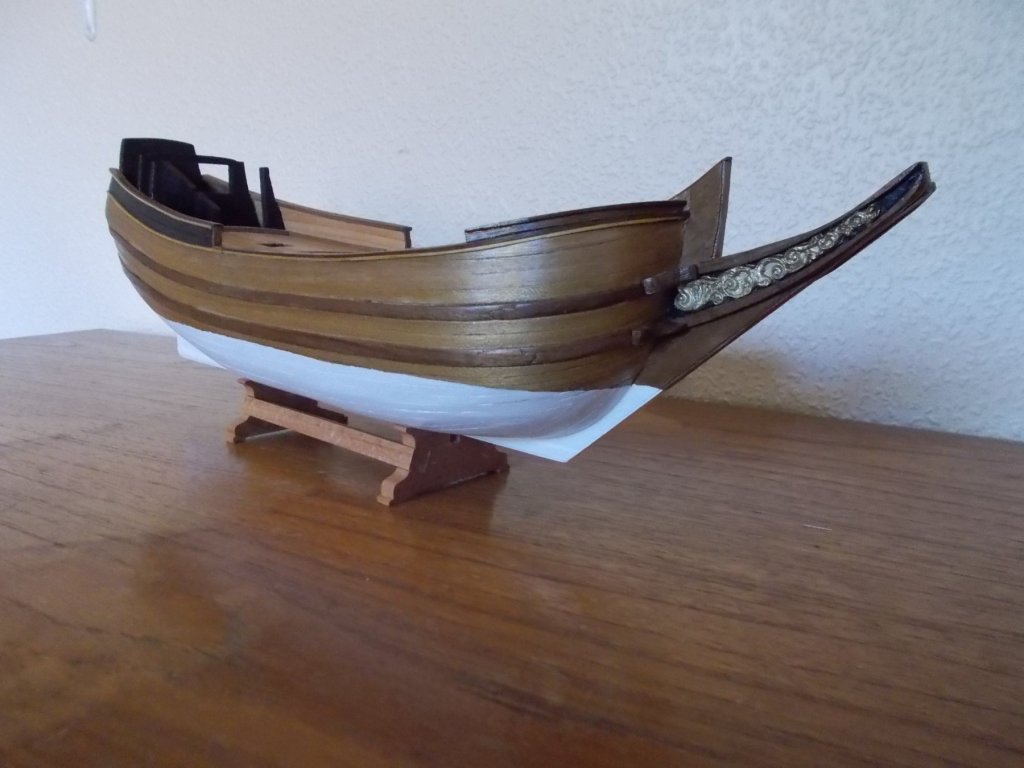
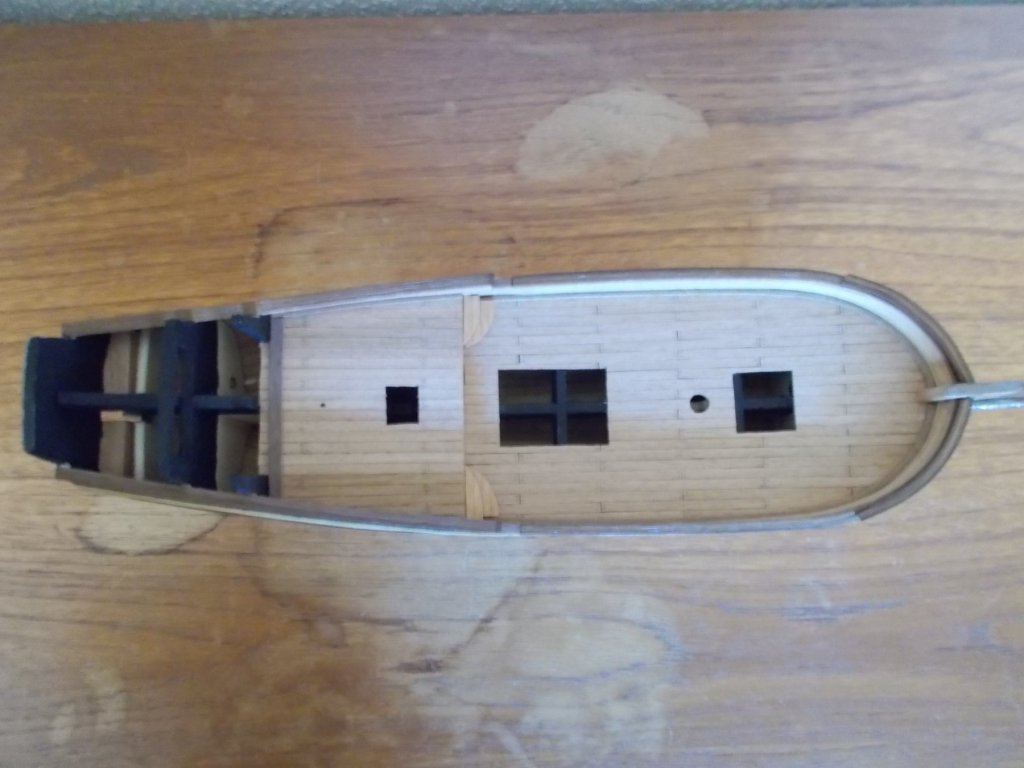
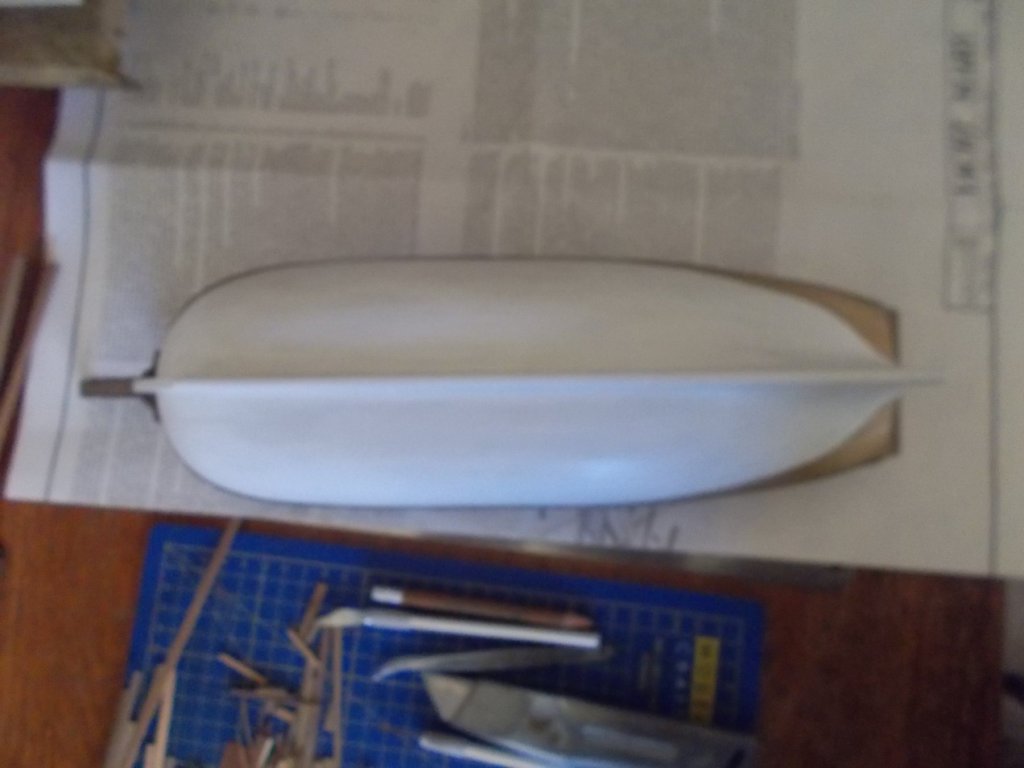
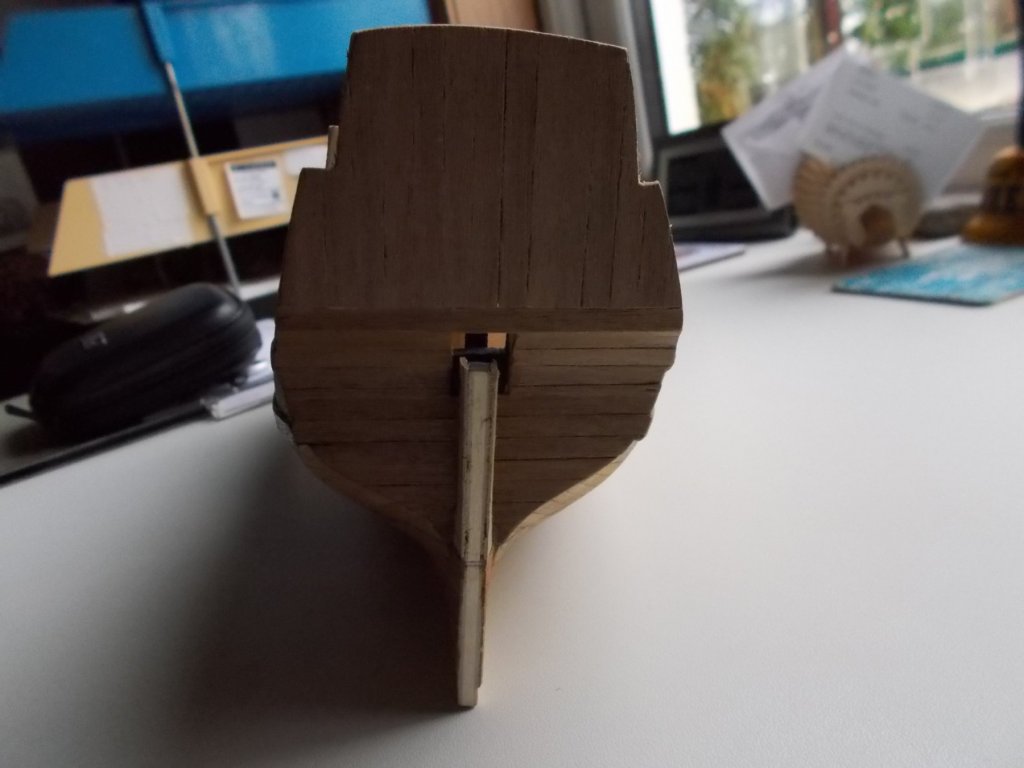
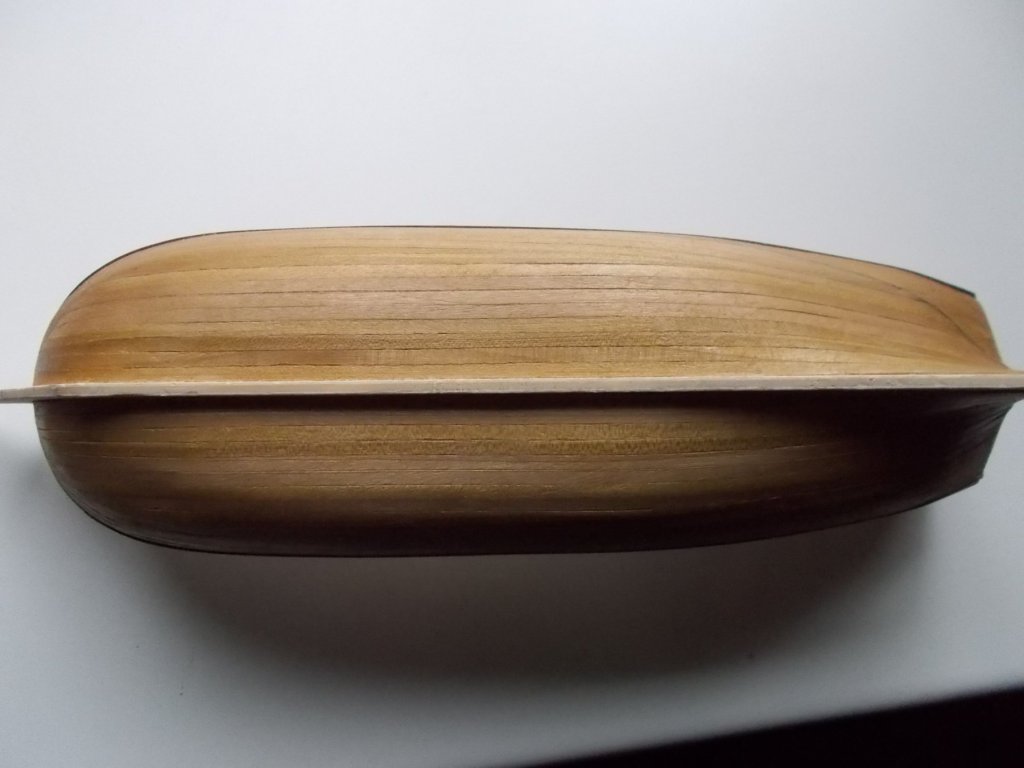
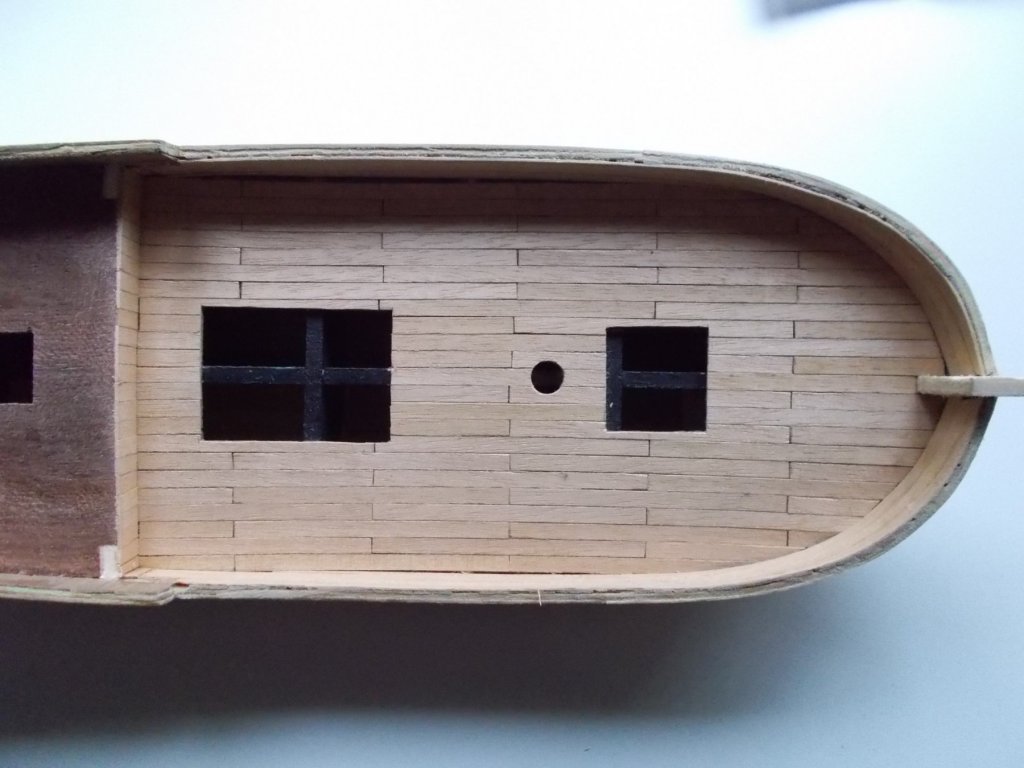
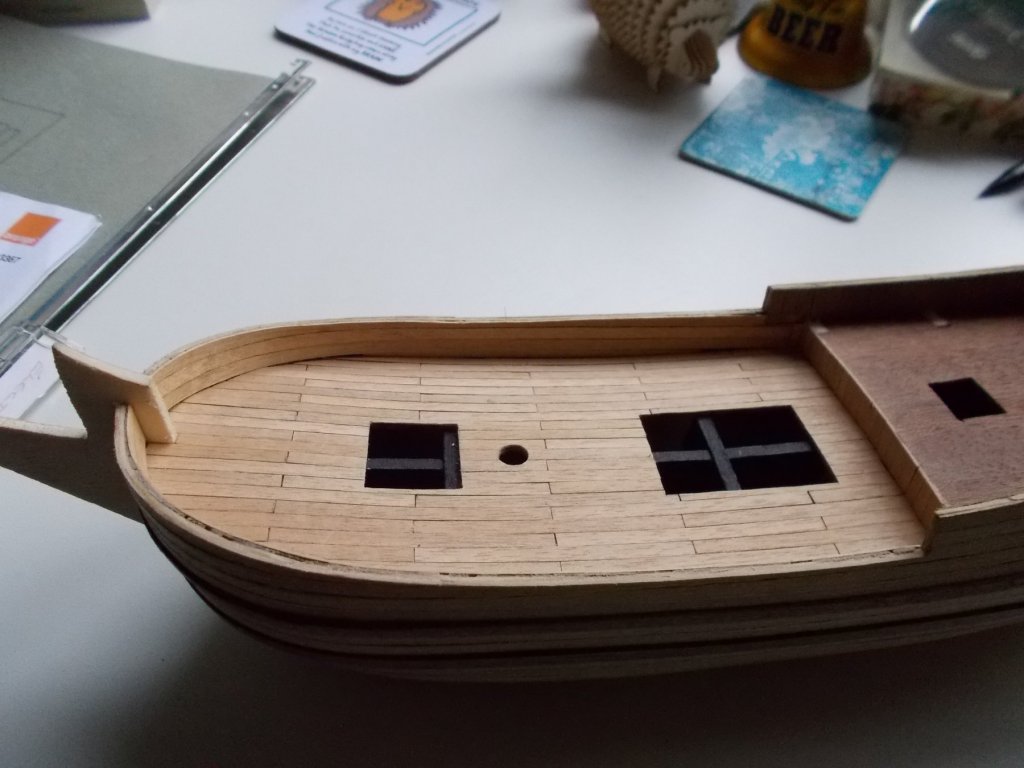
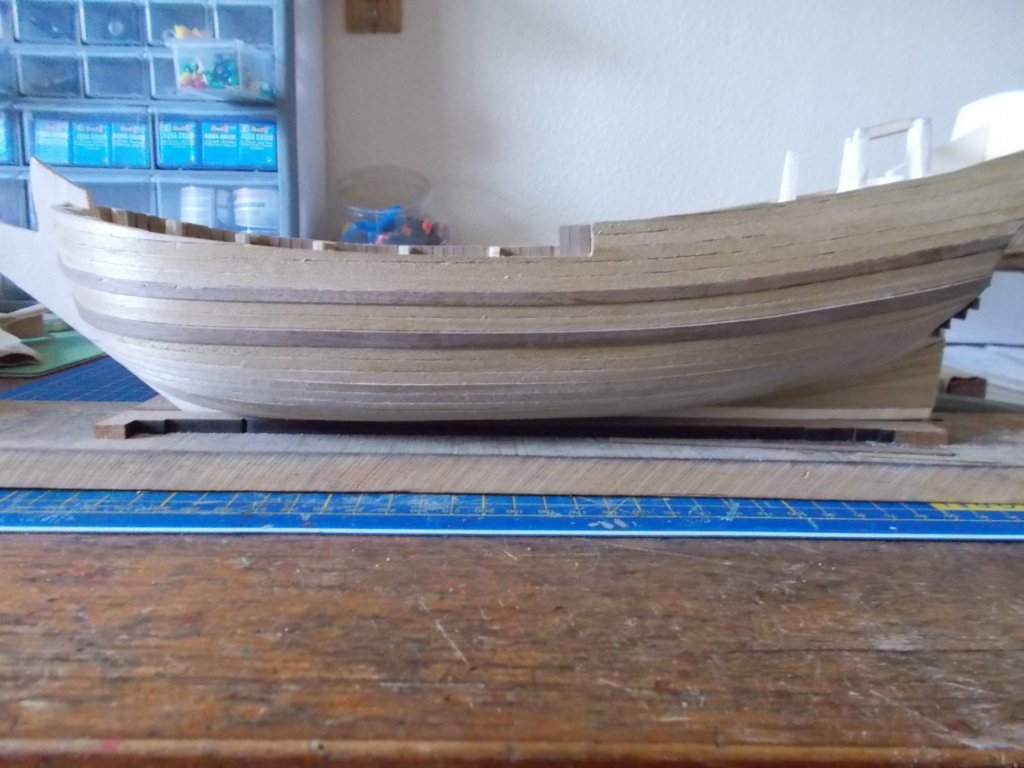
Here is the hull to date. Three coats of white paint sanded in between each and another coat of dope for the wood. The deck has just had one coat so far. Any more will stop all the additional stuff sticking. Oh by the way, I painted the insides of the holes and the frames at the stern black so that they will look hollow when the rest goes on. So now for the bling !!!

-
I haven't done the victory at all. Not me honest!! The Sopwith was good fun and I have the fokker tri plane in my stash waiting probably after I have finished Mary. Planes make a change so I reckon you would enjoy them.
-
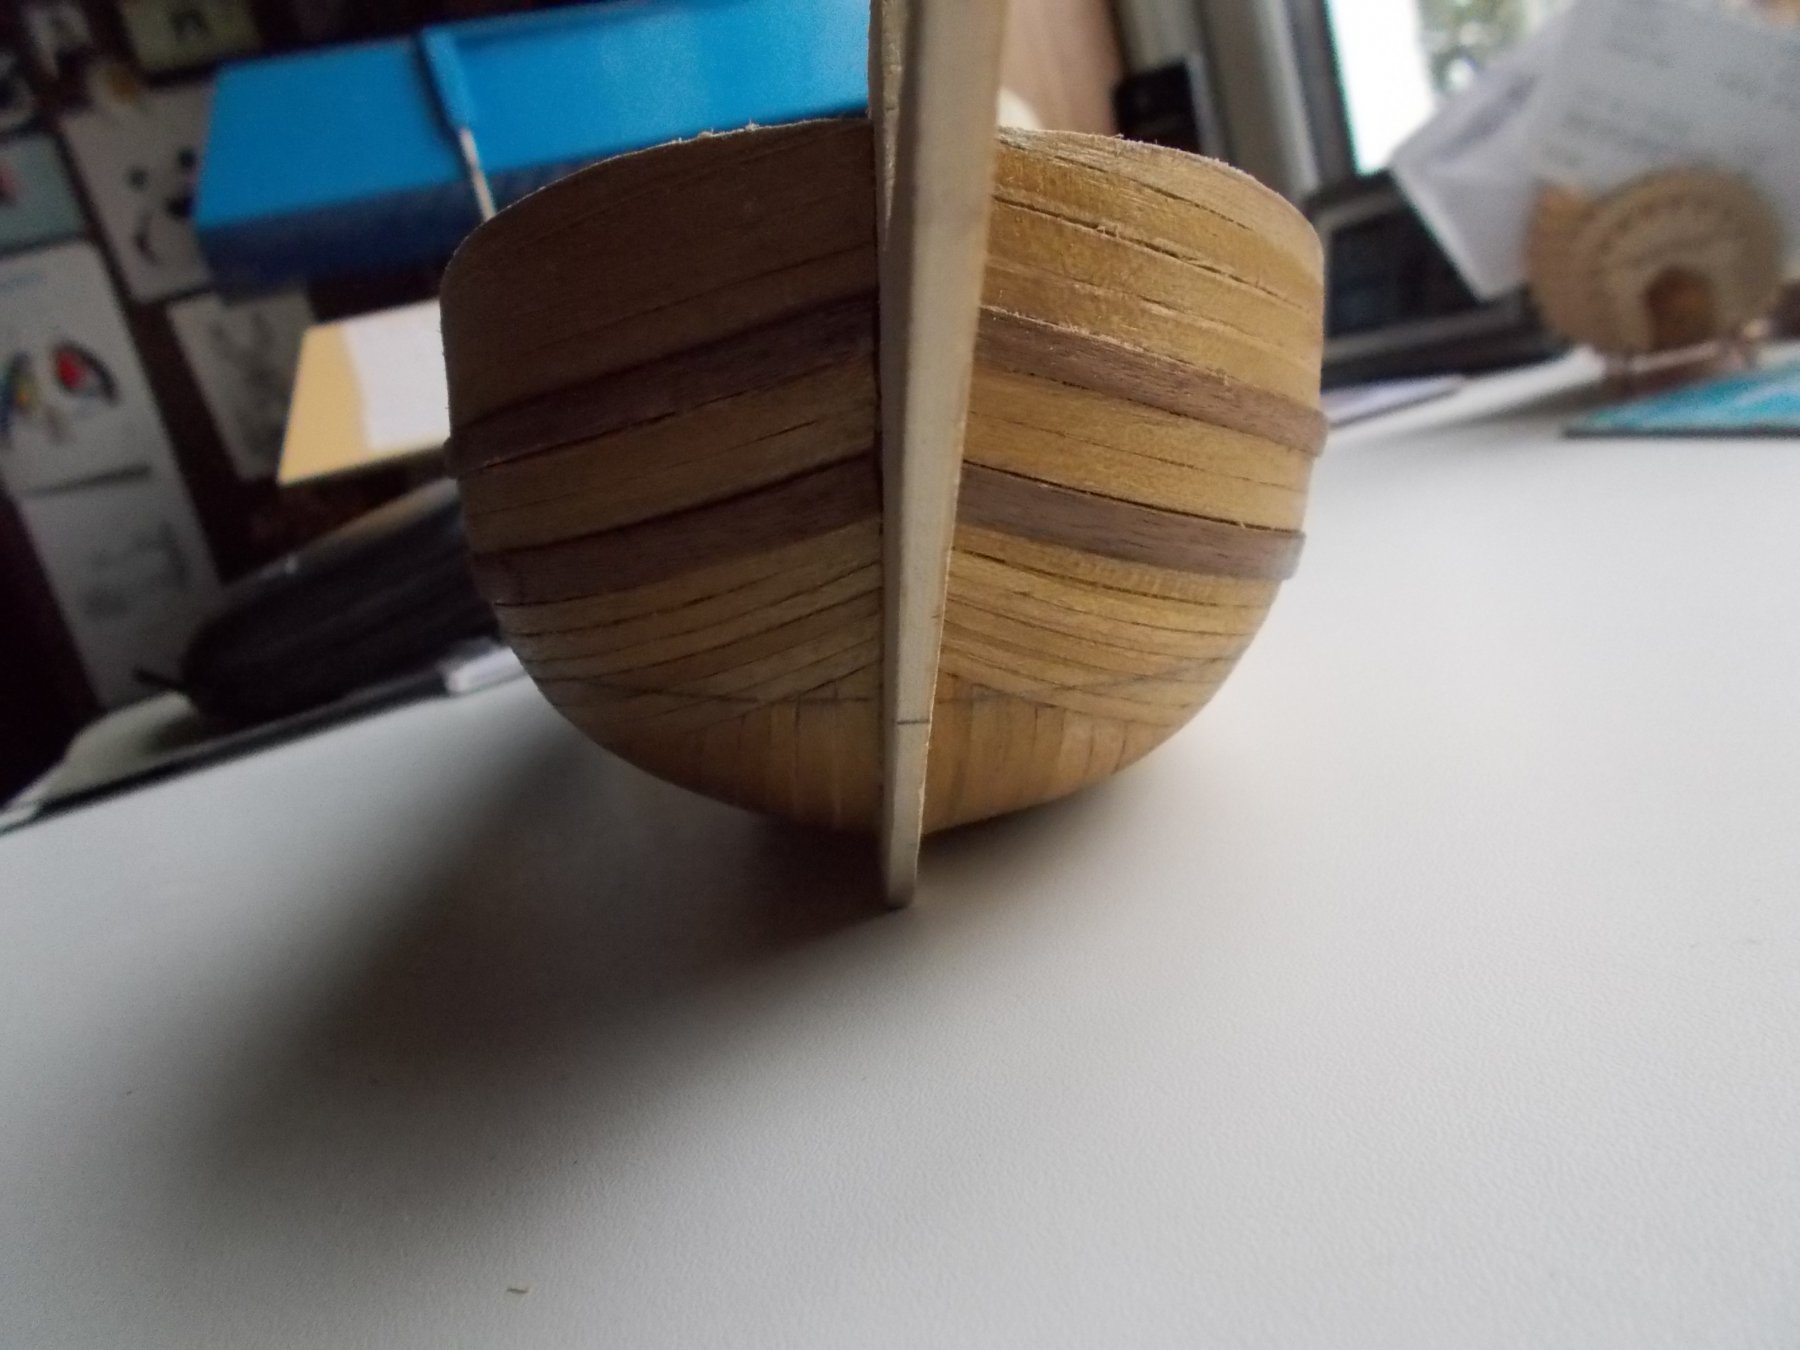
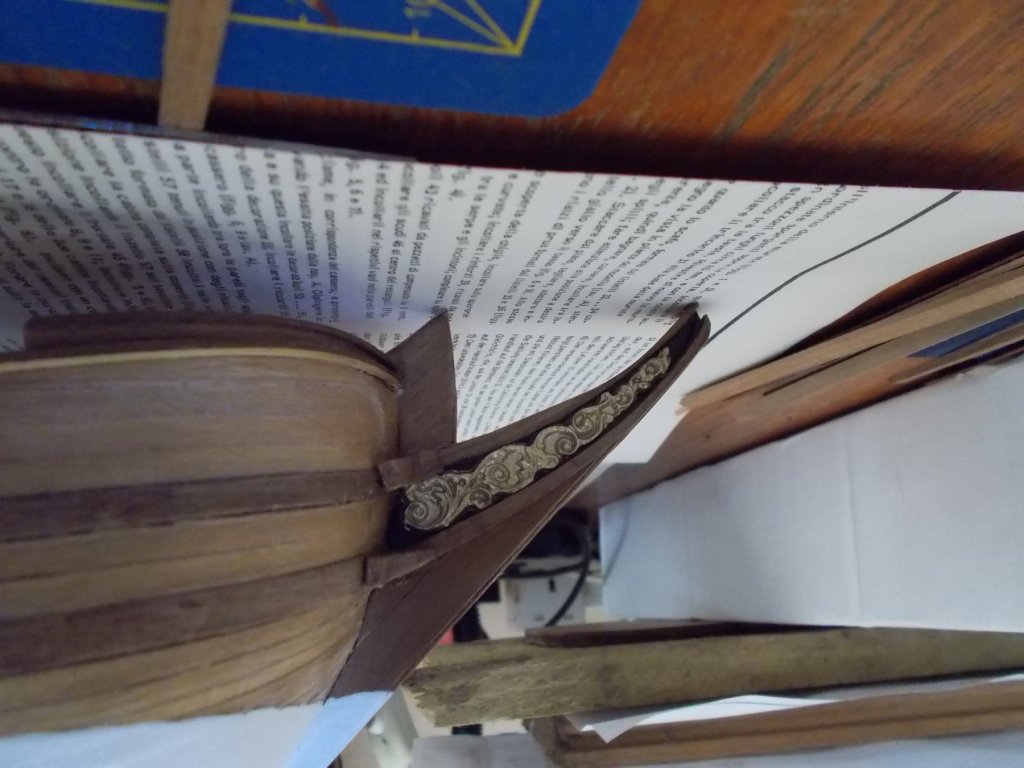
I have painted my bottom white !!! It was quite brave of me actually because I rather liked the wood but, in view of the fact that the boat is going to have so much decoration I decided to stick with the real colour scheme. I have done a bit of decorating. I had to put the pieces on the bow stem or ram in order to get the surrounding wood in the right place and thickness. I have also made the main deck cabin. I hated the nasty windows provided. They were just printed outlines on thin blue plastic so I decided to make my own with some left over net and stuff called 'kristal klear' which is a glue really but dries transparent. I'm afraid my pictures don't show the result very well at the moment but they should look ok when in position and light shines through them.

-
Rather than enlarging the holes, couldn't you just cut the tabs off ? Just a thought.
-
I did the constructo version of the Robert - it turned out quite nicely.
-
Well thank you very much- I have learned something I never knew about. Could well be useful for future builds.
-
Actually Popeye I have just worked out your query. Yes there are windows in the sides that make up the transom. It's all going to be very frilly !!
-
I don't know what he's on about either Gregory but, while you are here so to speak - did you have to cut part of the rear decoration out to allow for the rudder ?
-
How right you are ! What a lovely paddle steamer. Anyway - how do you make what you call decals ? Are they like water slide decals or something completely different ?
-
Thank you very much Gregory.
-
Well we just have to watch now don't we ?!!!! I thought you had done a paddle steamer before but apparently not. I think they are great fun which is why I have done three !! I shall indeed watch with interest. At least you don't have loads of bending to do !
-
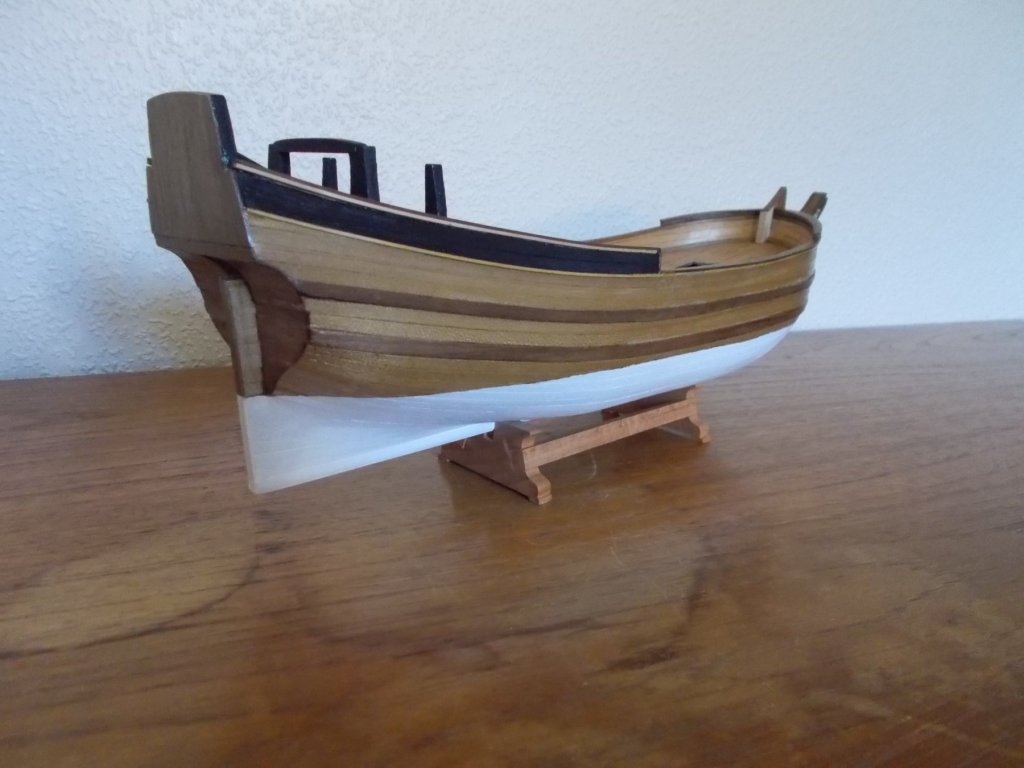
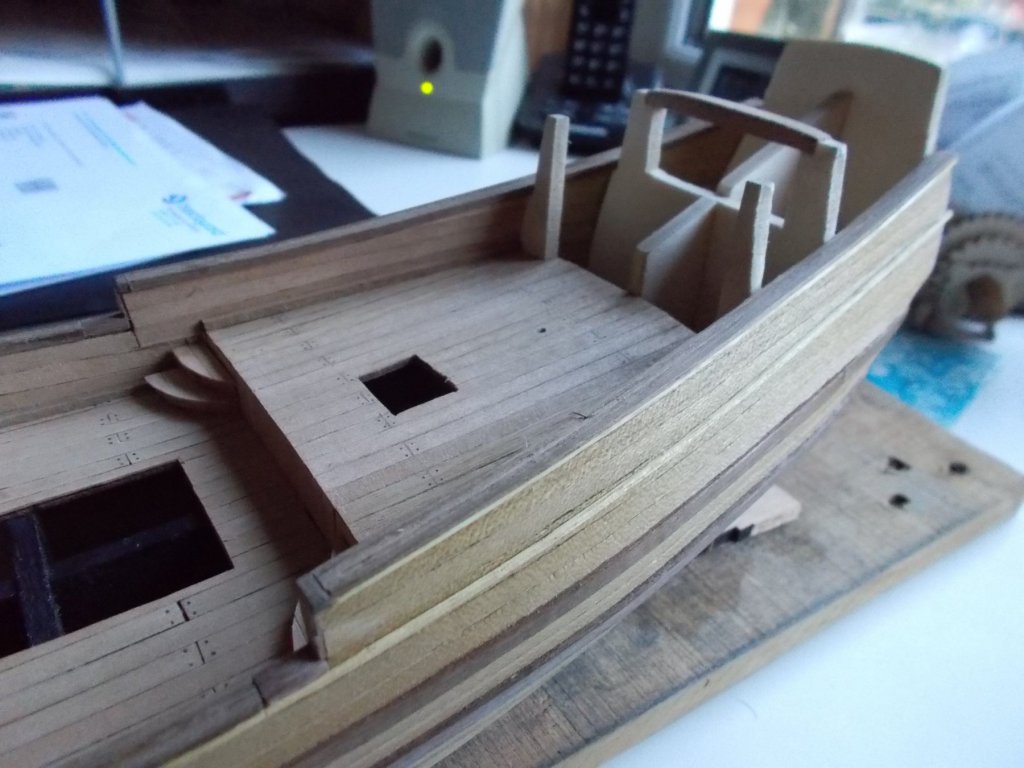
The toprails on the bulwarks had to be made with 2x1mm strip laminated 4 wide and then on the outside edges 1mm square of walnut and 1mm square of boxwood all of which had to be bent to fit the bow and stern !! Is it surprising that I was about 5mm short on the front rails !! I think my patch up job is OK. I have now planked what I think is the poop deck, put on the waterways (more bending), the bulwark rails and the two rear boxwood strips and added the steps. I finished covering the stern and the bow piece. Nearly all the bending done thank goodness except for the ram edges which are drying as I type !!


-
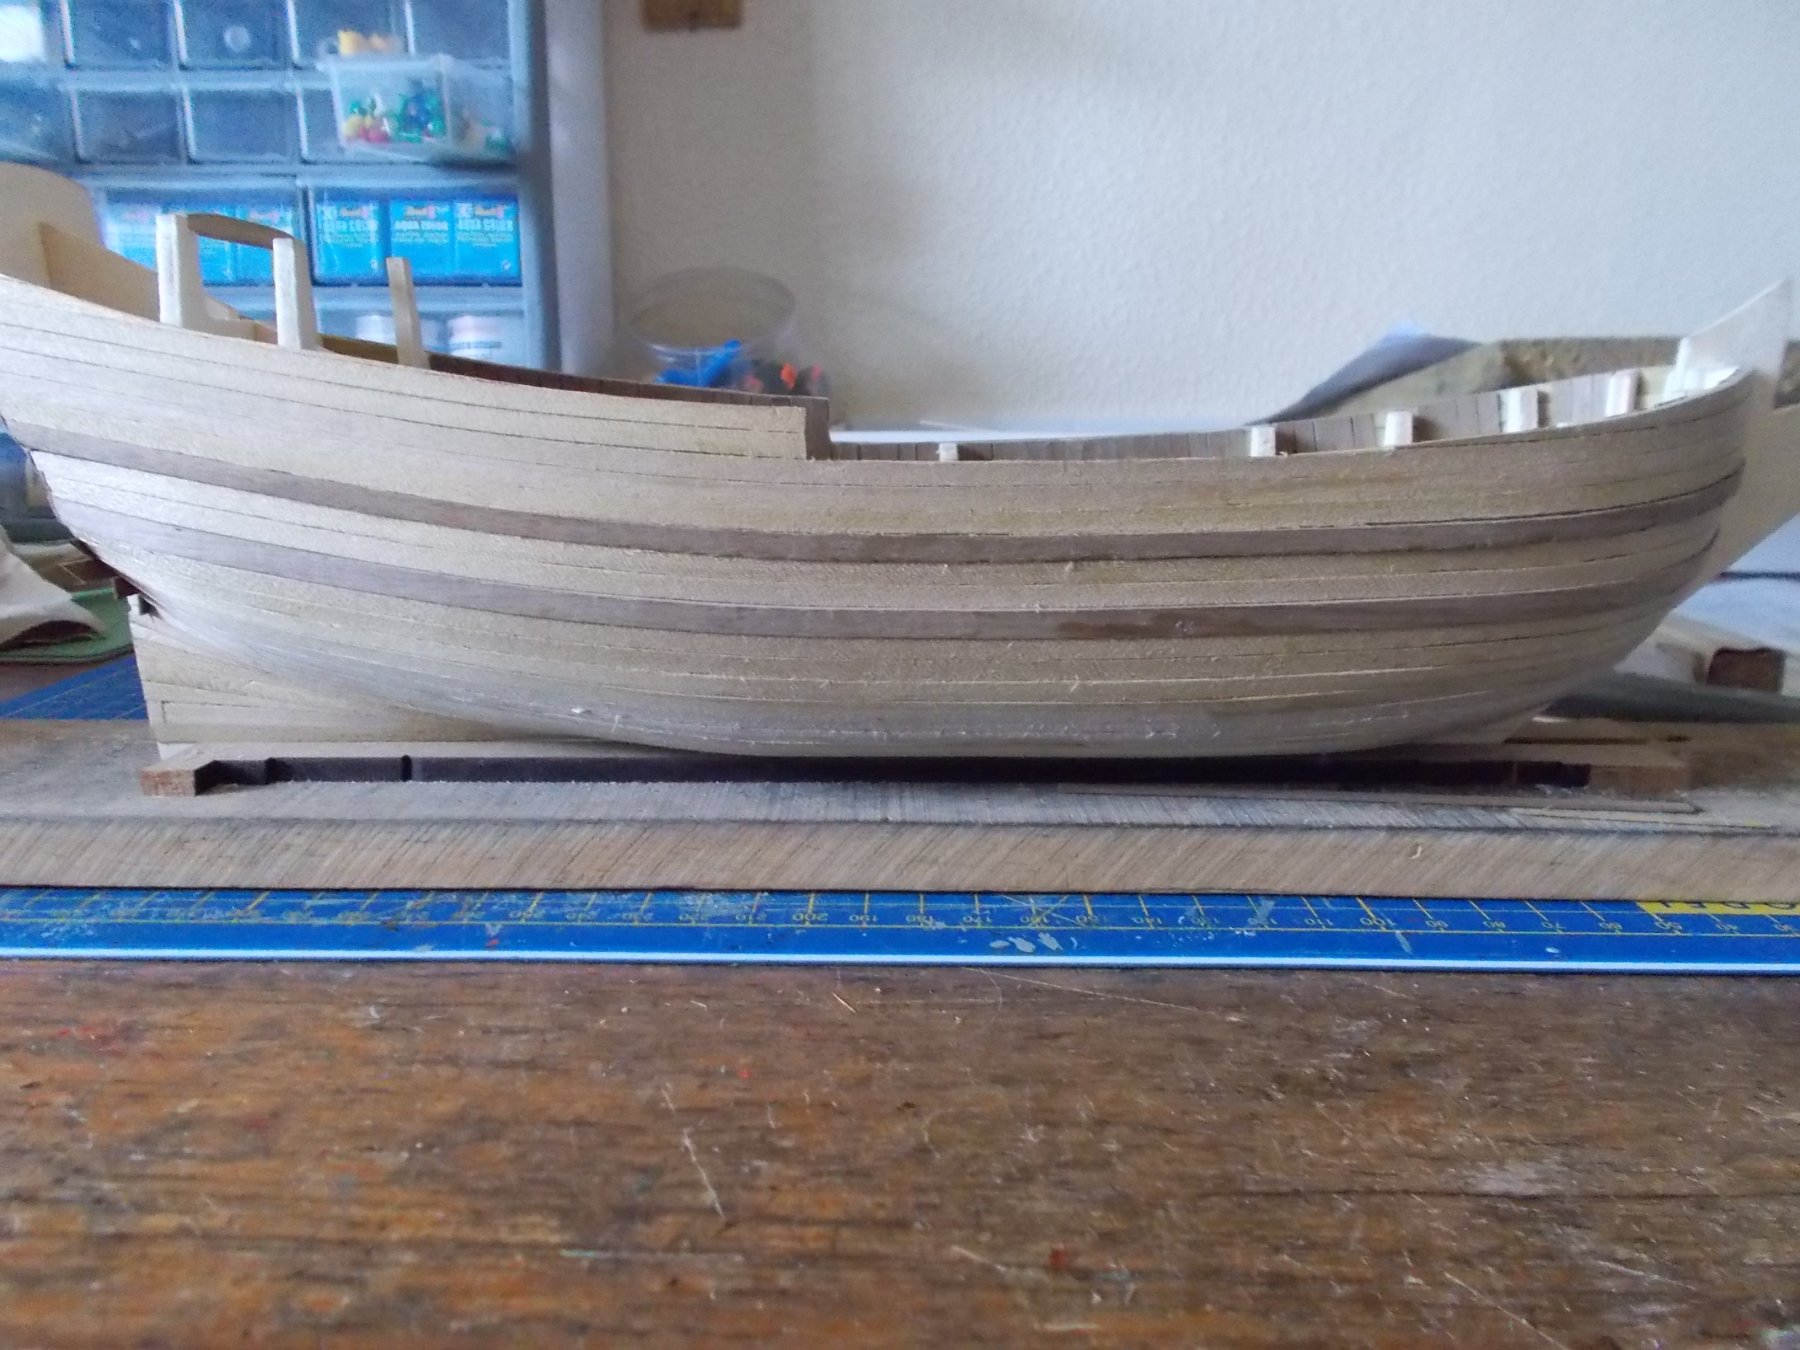
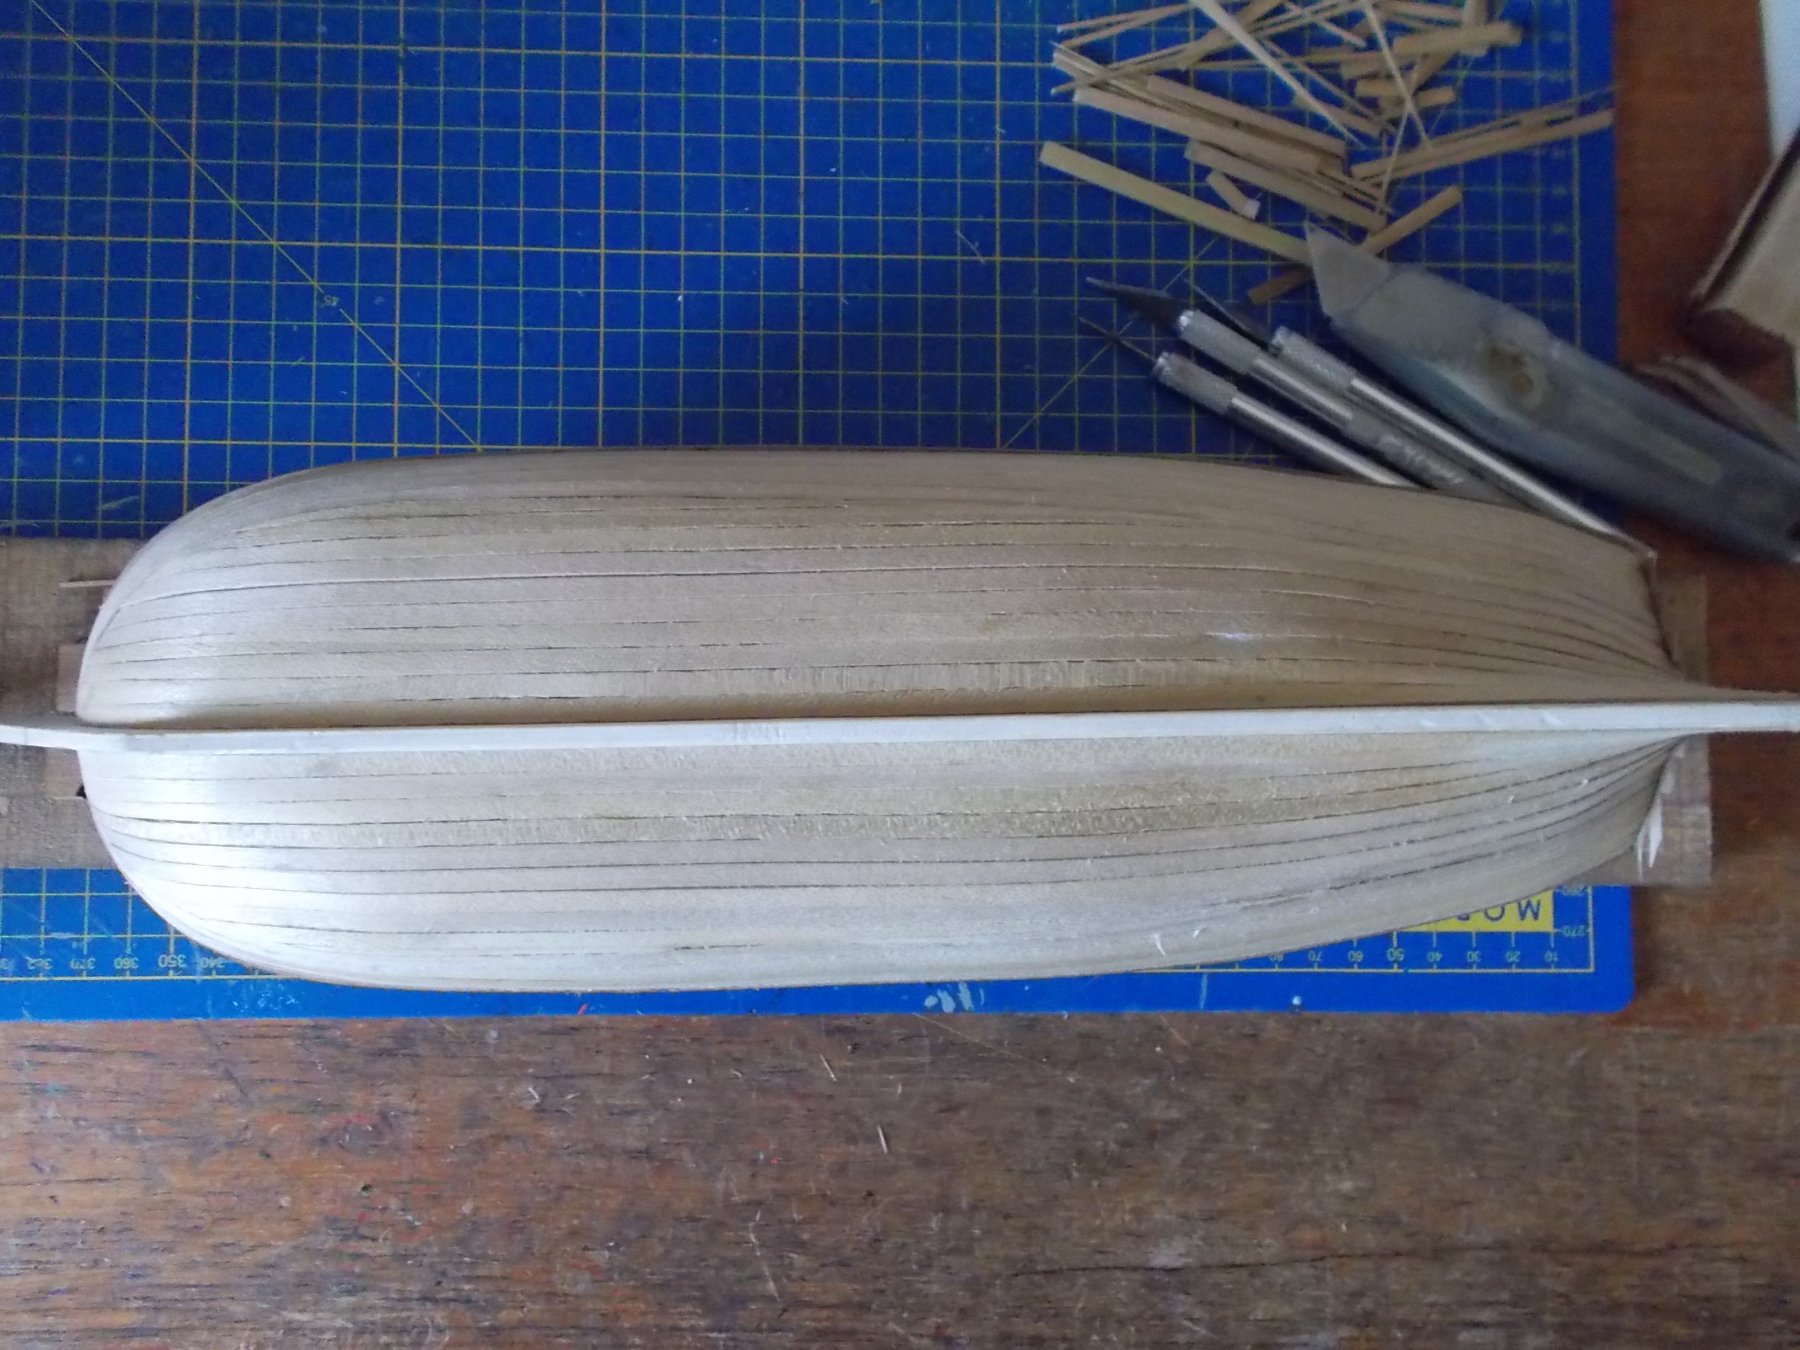
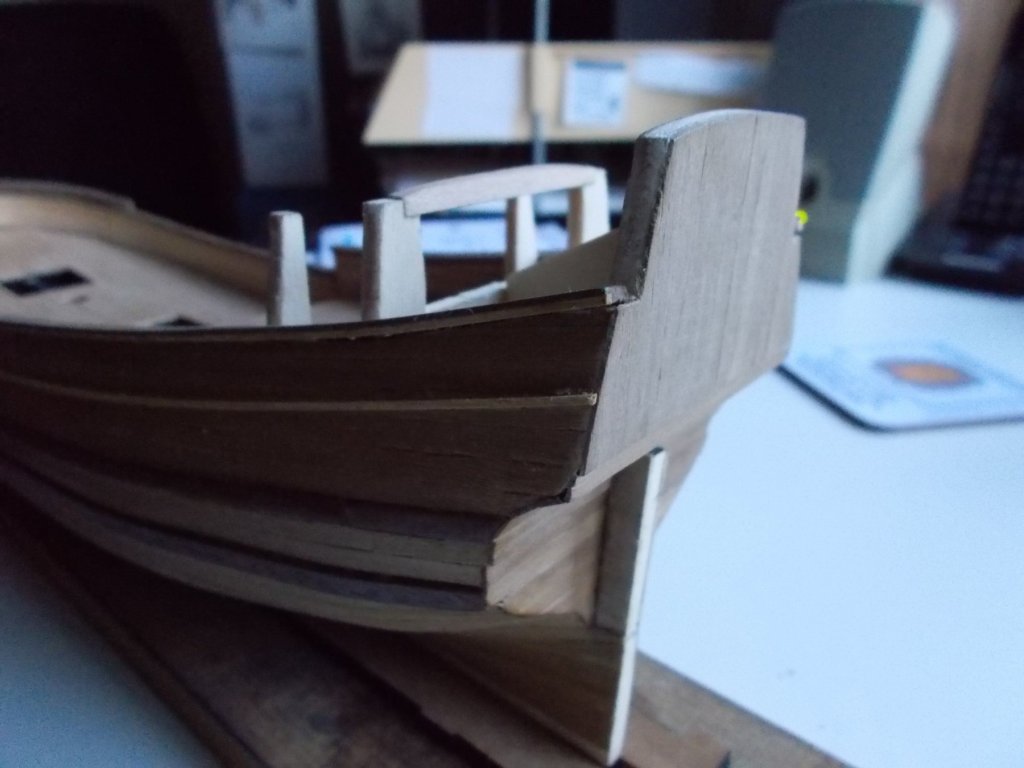
The hull has been sanded and sealed. It still needs sanding again before final finishing. I have marked the waterline and am very surprised to see just how much of the boat would have been in the water. I have also cut the tops off all the frames. I am very glad I was careful with the glue when I did the bulwarks. I just used the frames as a guide and avoided gluing them.They would have been a nightmare to get off otherwise. They were then smoothed flat level with the deck. The inside of the bulwarks then had to be covered with loads of little vertical strips before planking to give extra thickness. I have planked the lower deck and bulwark sides and I have what I think is called the poop deck to plank.
-
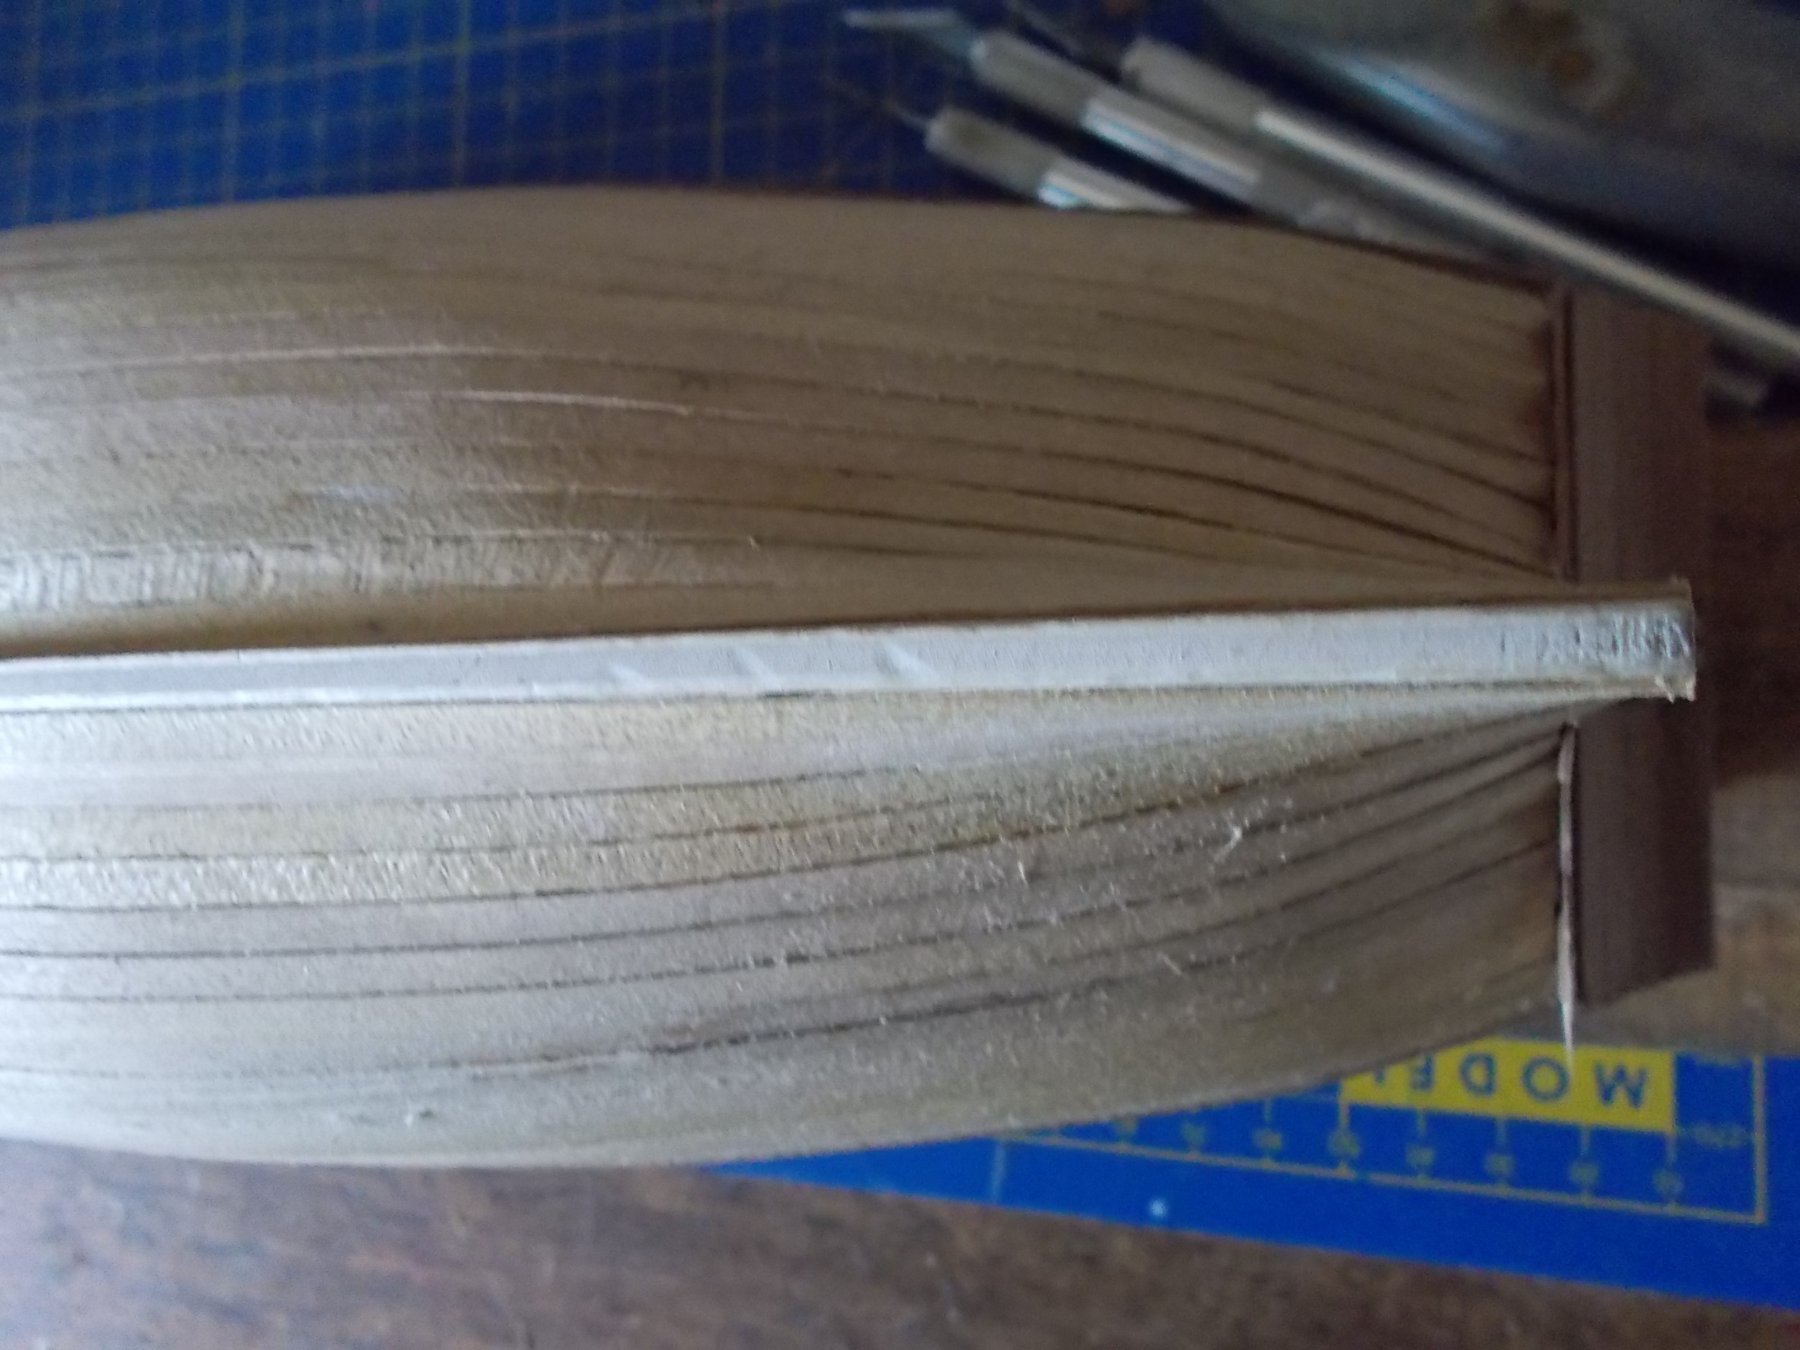
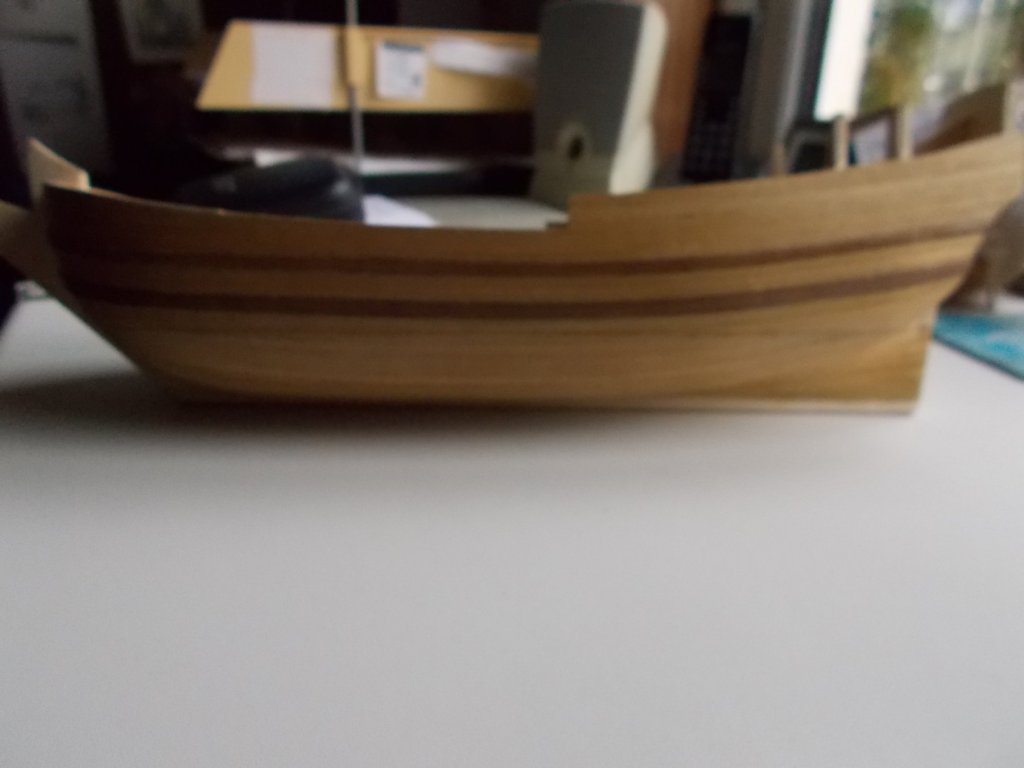
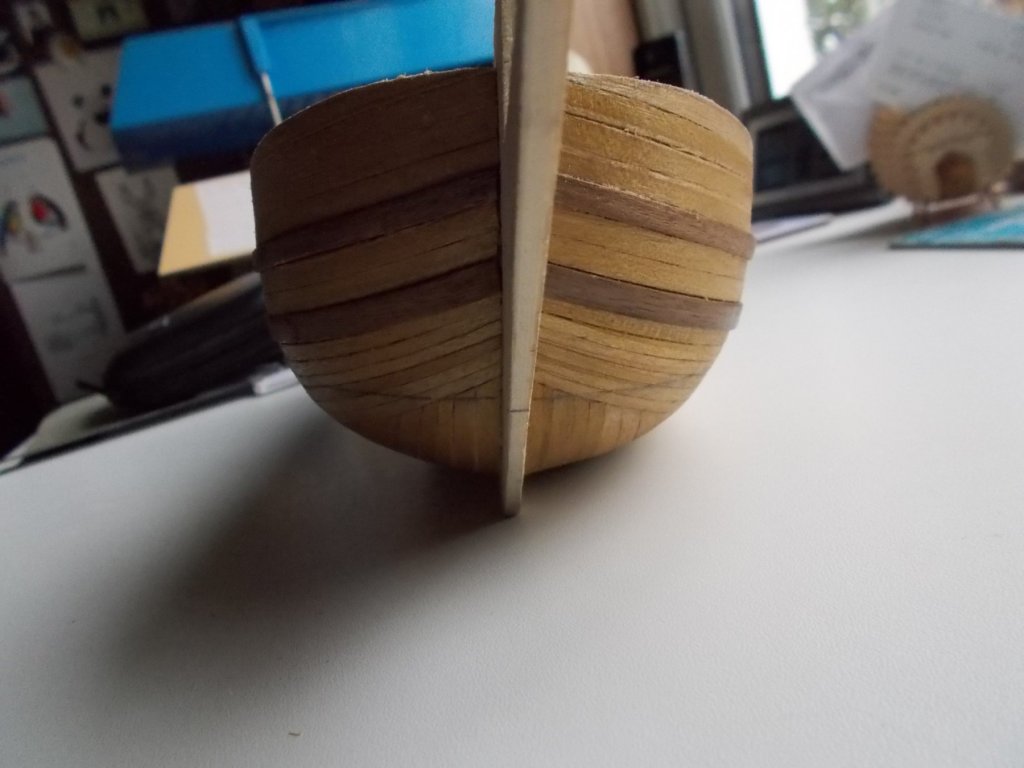
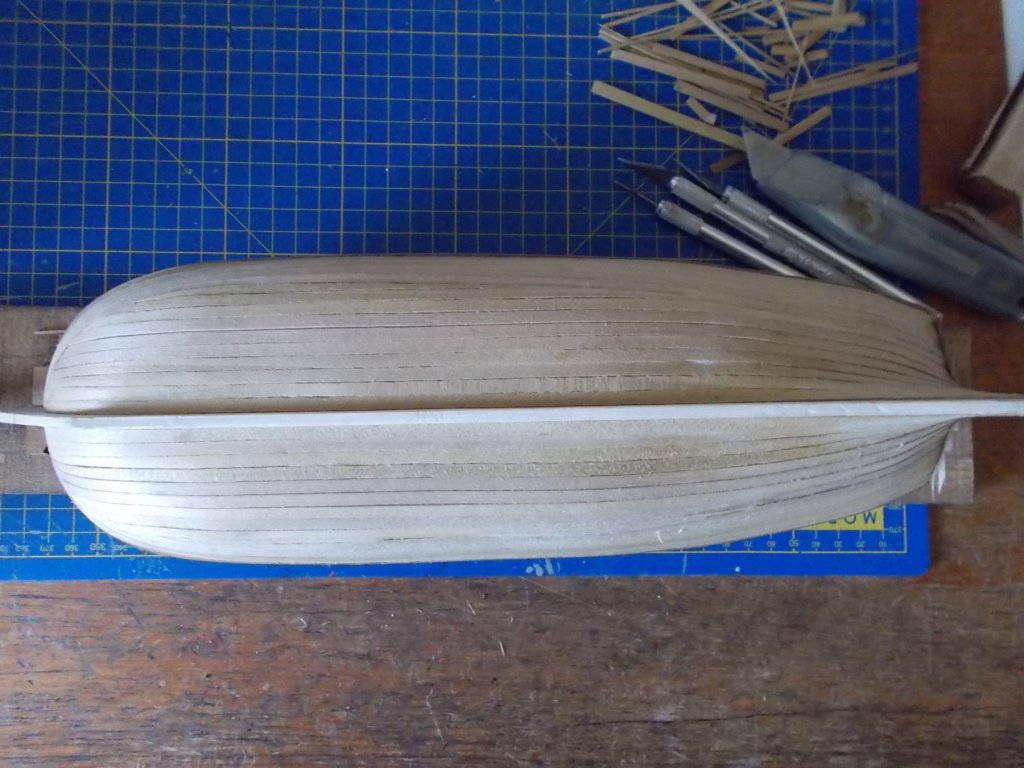
Well here it is folks warts and all ! Finally covered although I must give up my dream of exhibiting in a museum !!! The clinkering looks worse than it is in the photos I promise. I have to cover the false keel at the bow and stern and will then give it all a proper sanding and a coat of sealer. I think it will look OK then.


-
Nice advise Marcus but, as you say, a bit late for me. I have nearly finished the second planking now. It will look OK above the waterline !!
-
Where's your link popeye ?
-
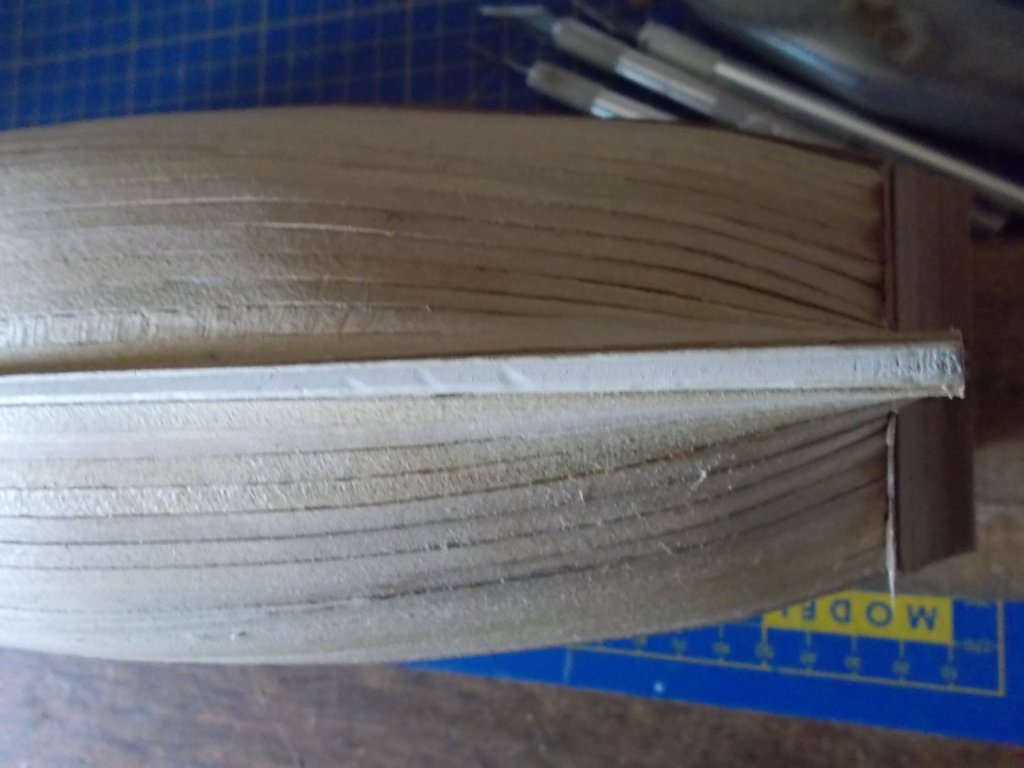
Sorry Carl, I hoped you might turn up. Hope all is OK with you. For those following along I am still trying to finish the gap in my planking from the bottom up. I think just maybe I was over ambitious with my working down layers and should have stopped a bit before. As a result, no matter how hard I try not to I am going to have some very pointy pieces. I realise this is a complete no no but within my planking capabilities it will be the best I can do. The saving grace will be that as the mess will be below the waterline and eventually painted white I reckon it will be hard to spot ! Watch this space !!
-
Hi Boyd, lovely to have you back and thank you for the comments. As you will have gathered, Mary is proving a bit of a struggle but I won't be beaten !!