Mike Dowling
-
Posts
1,235 -
Joined
-
Last visited
Content Type
Profiles
Forums
Gallery
Events
Everything posted by Mike Dowling
-
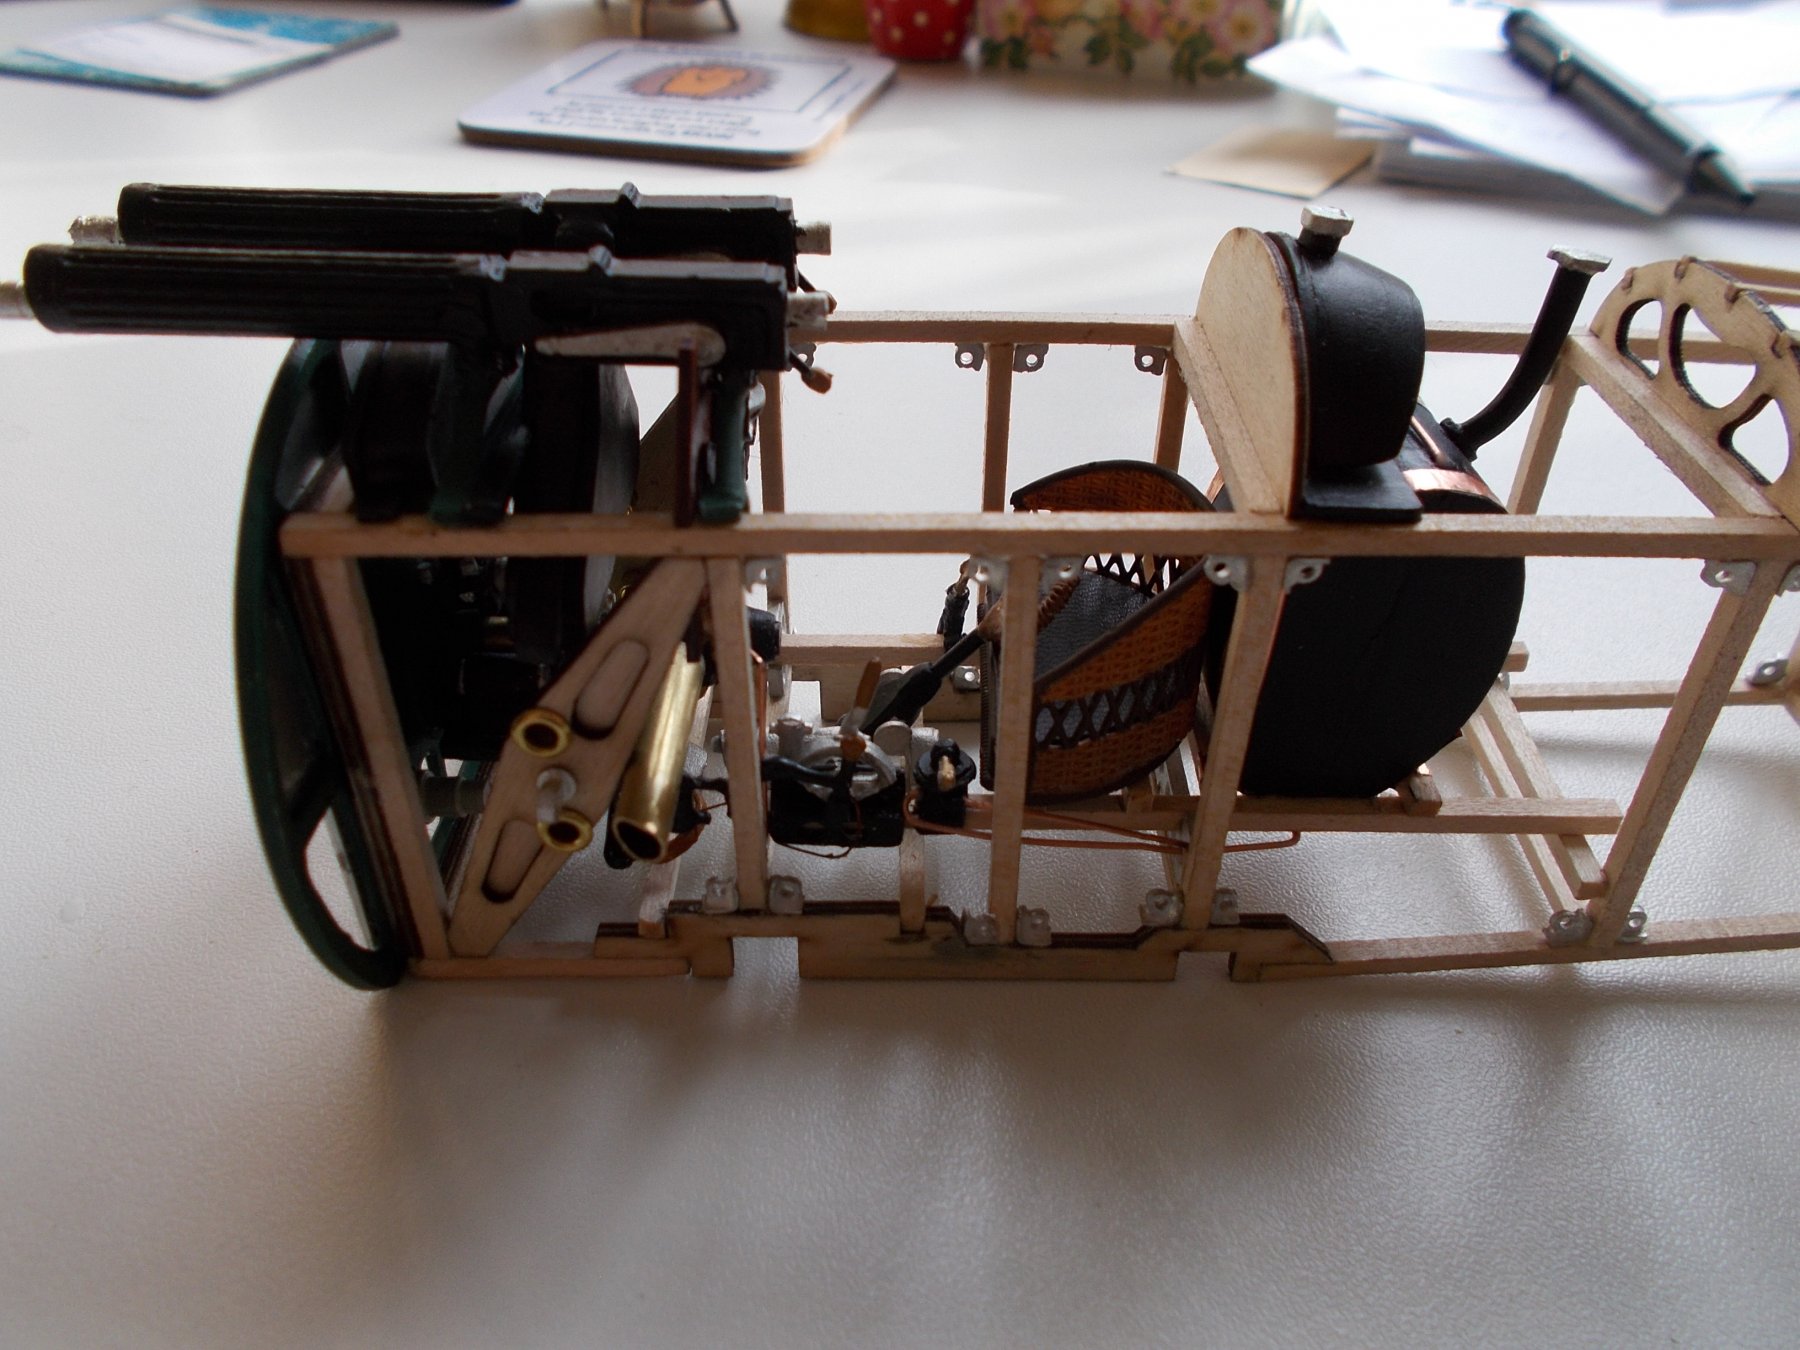
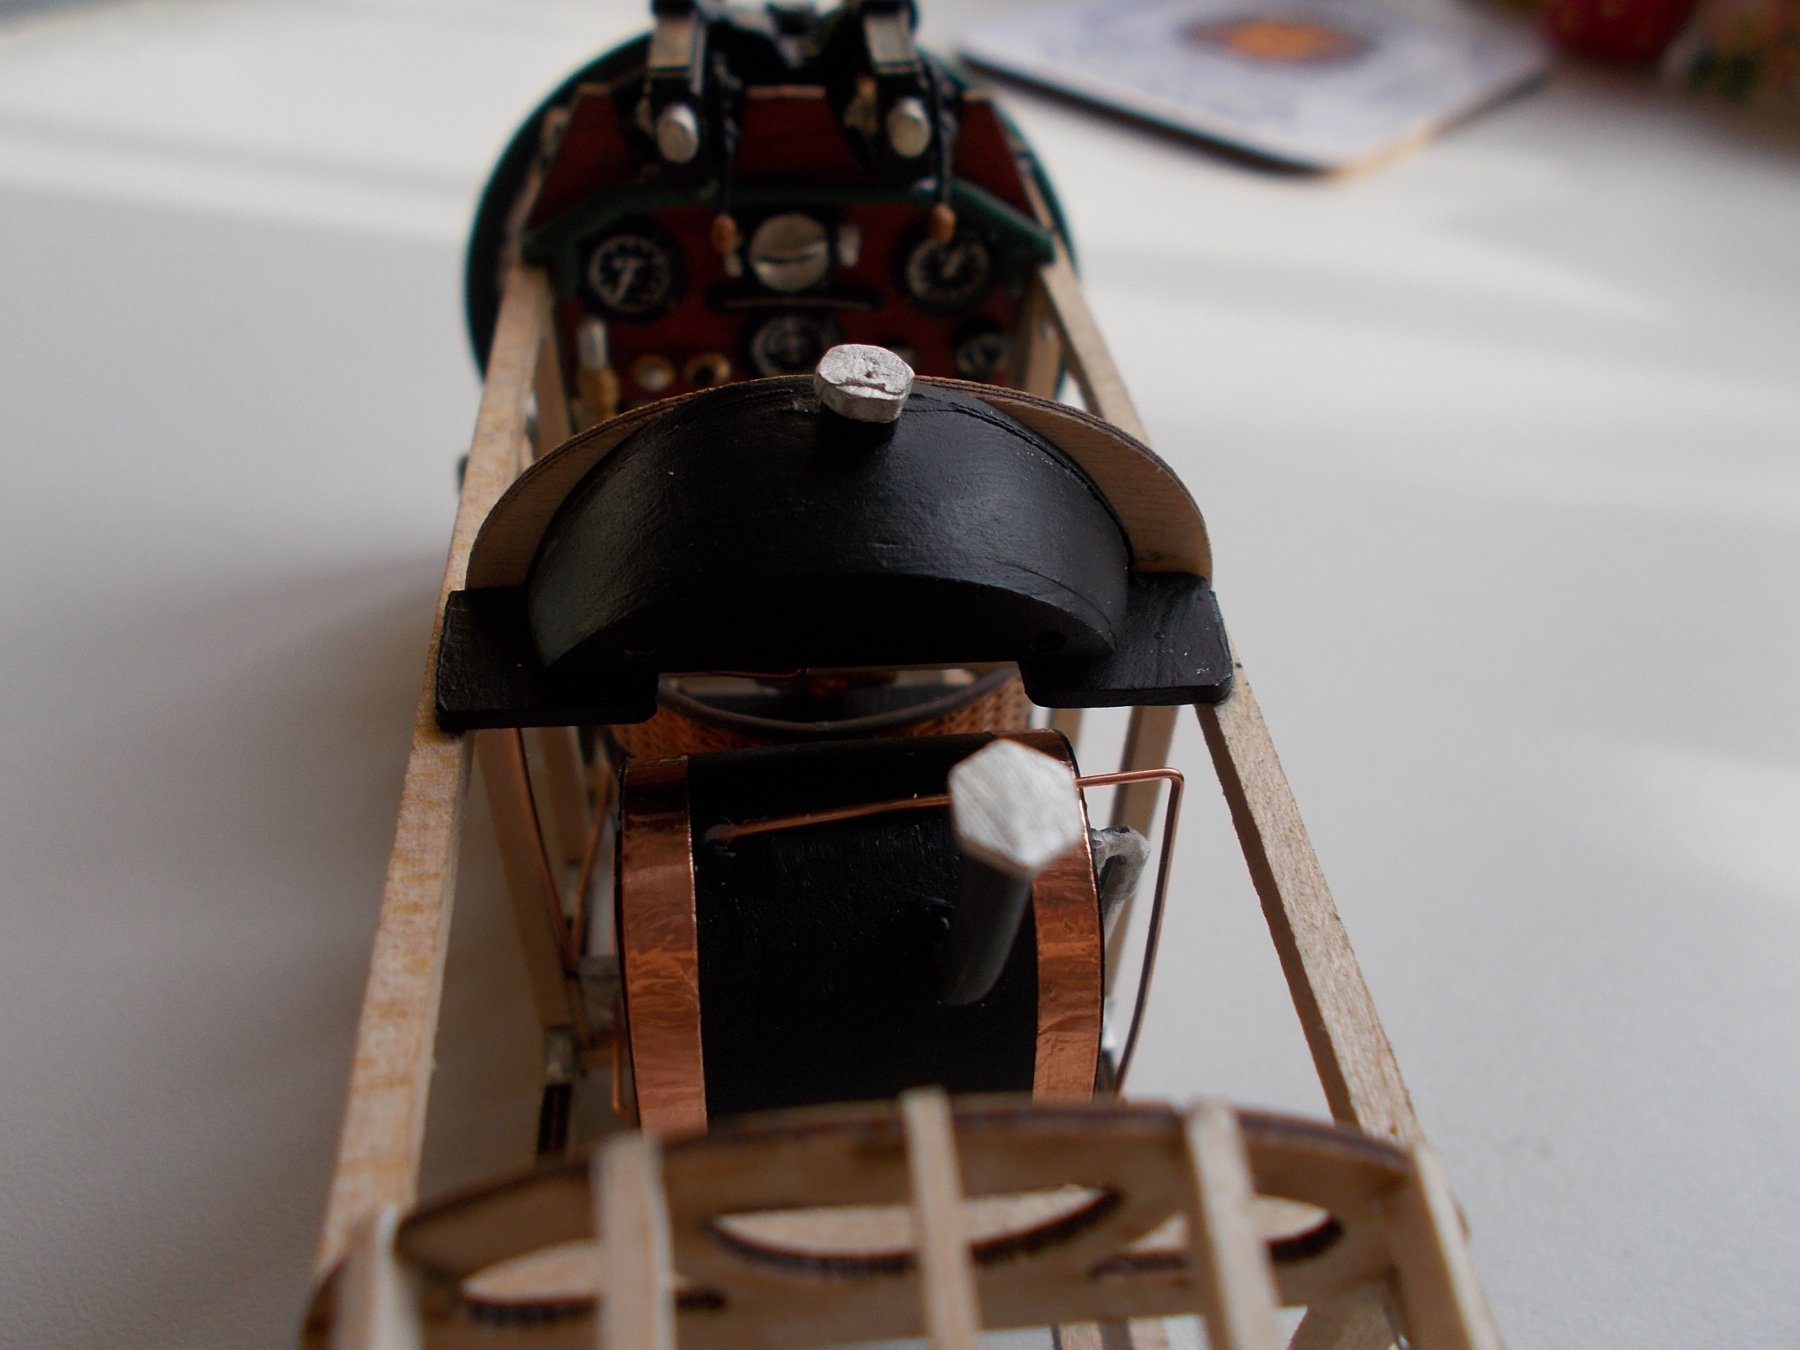
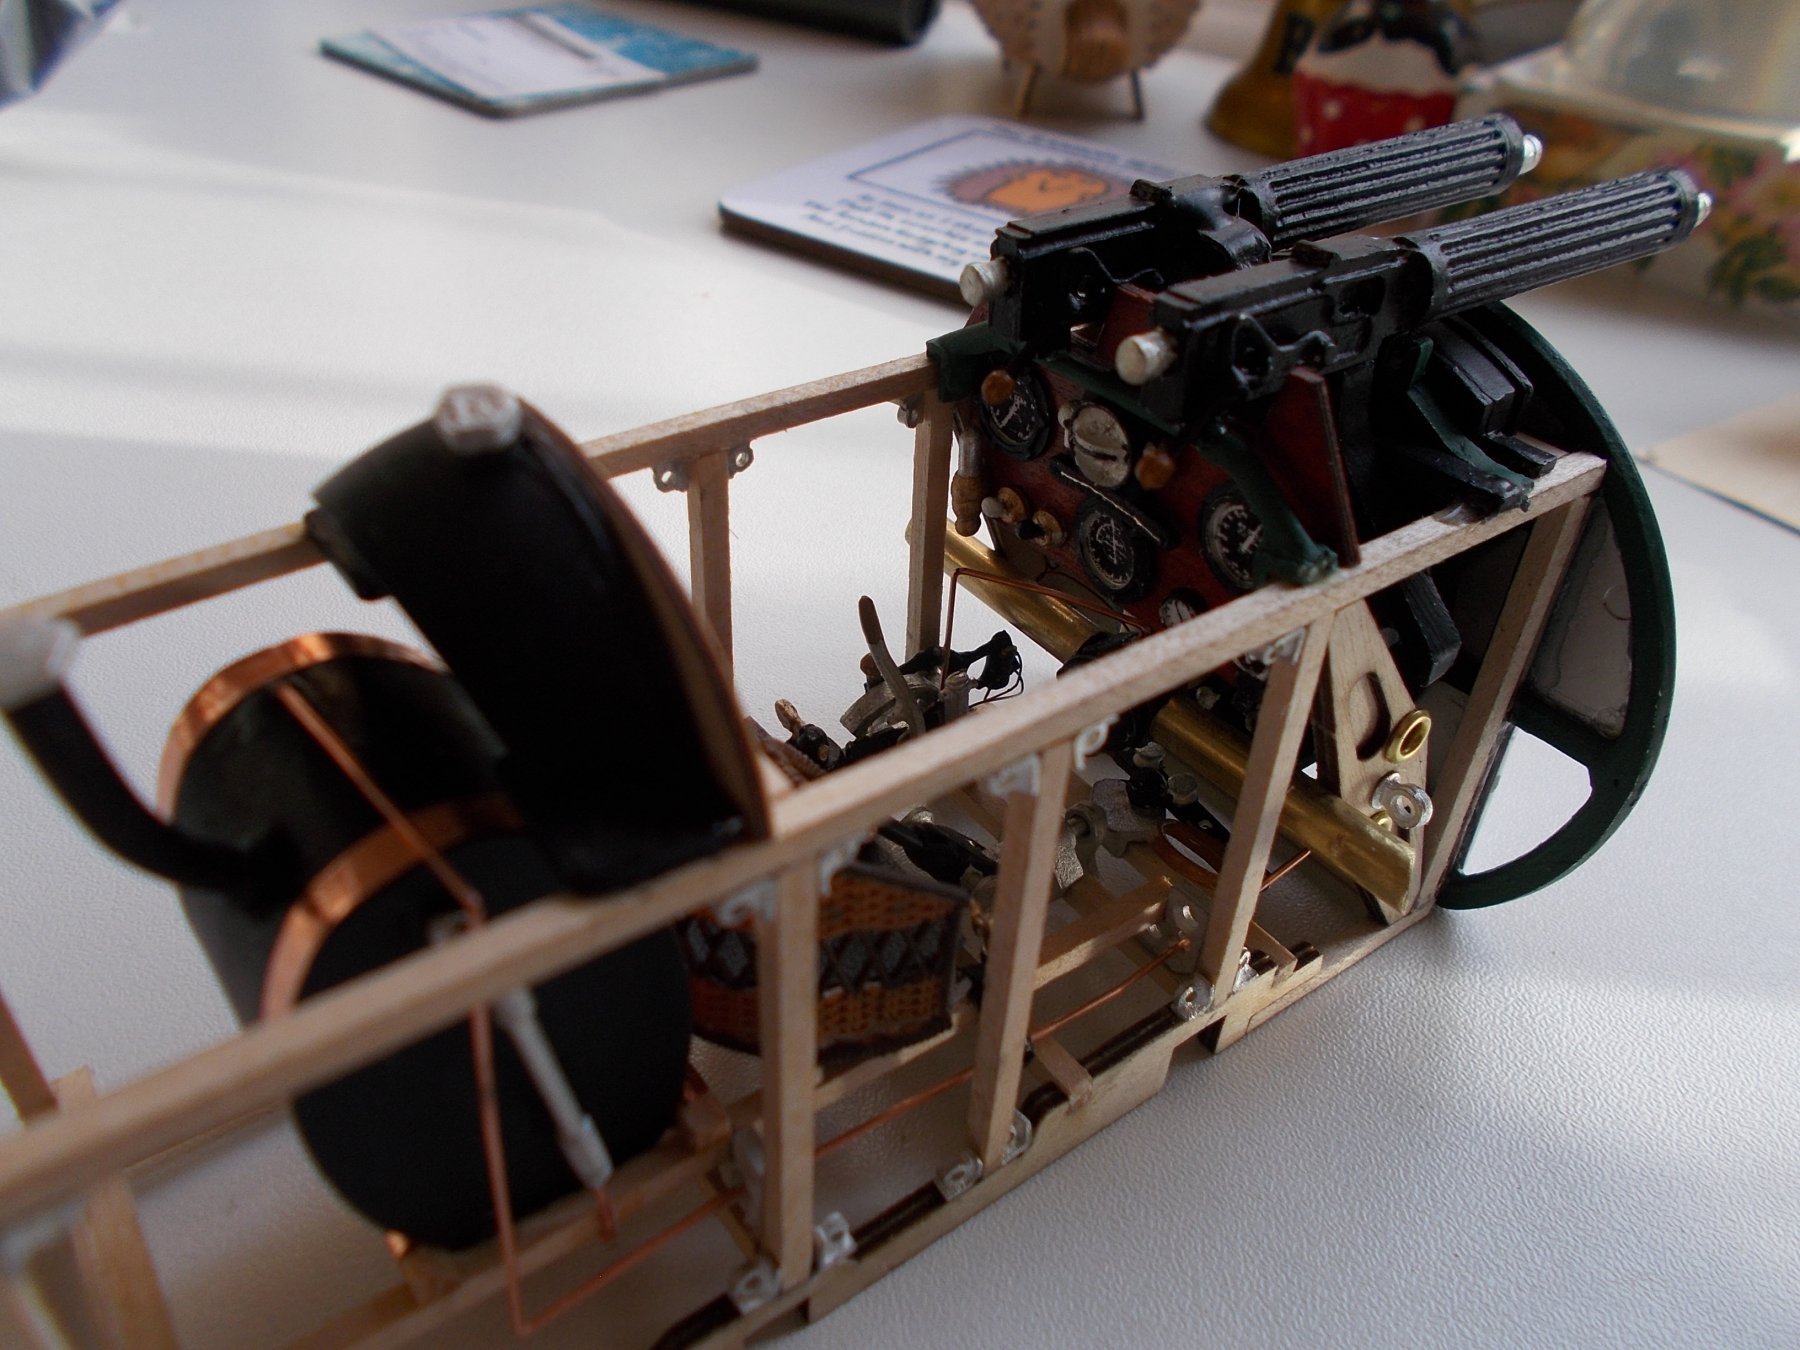
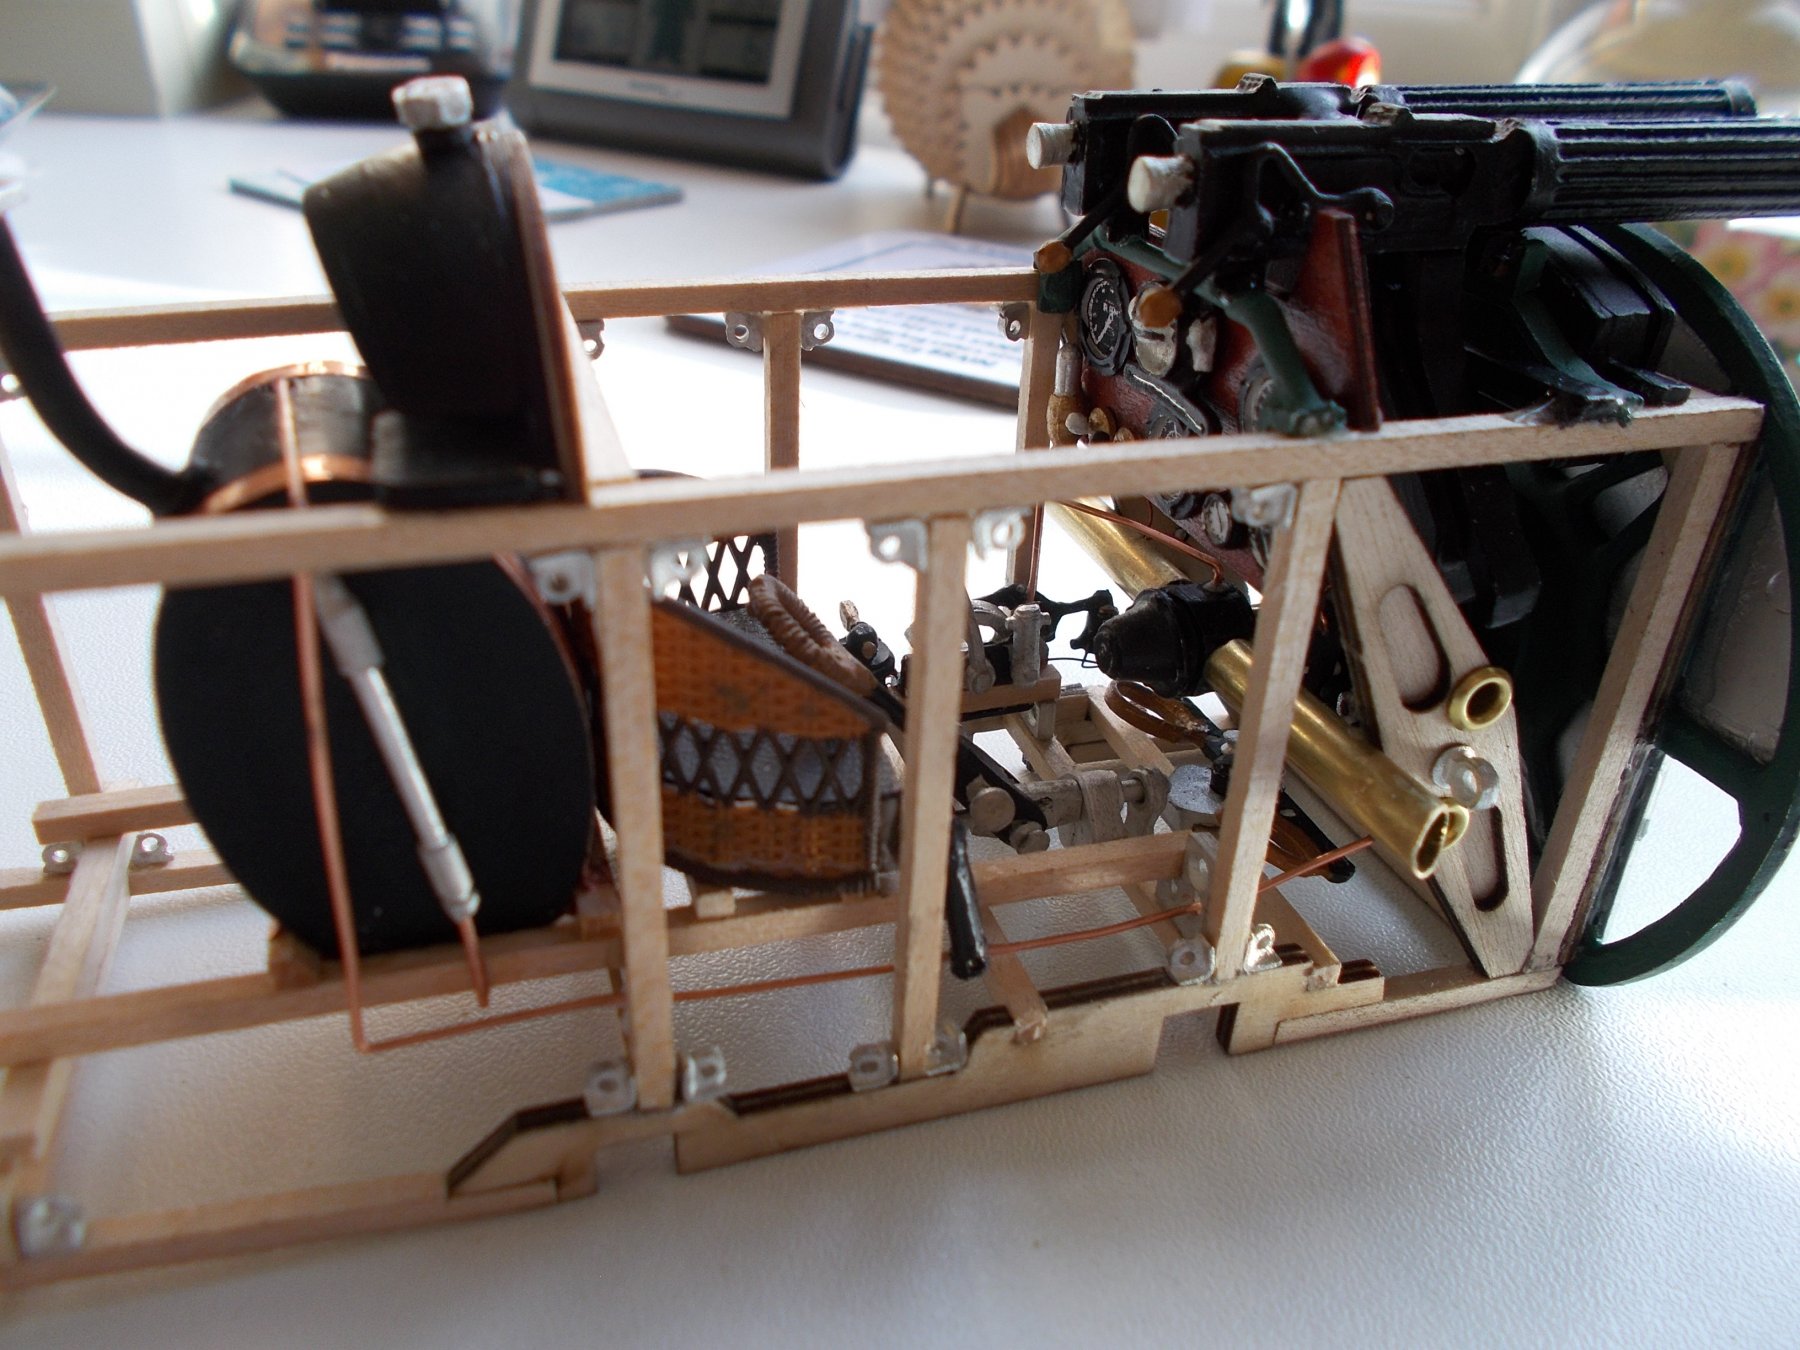
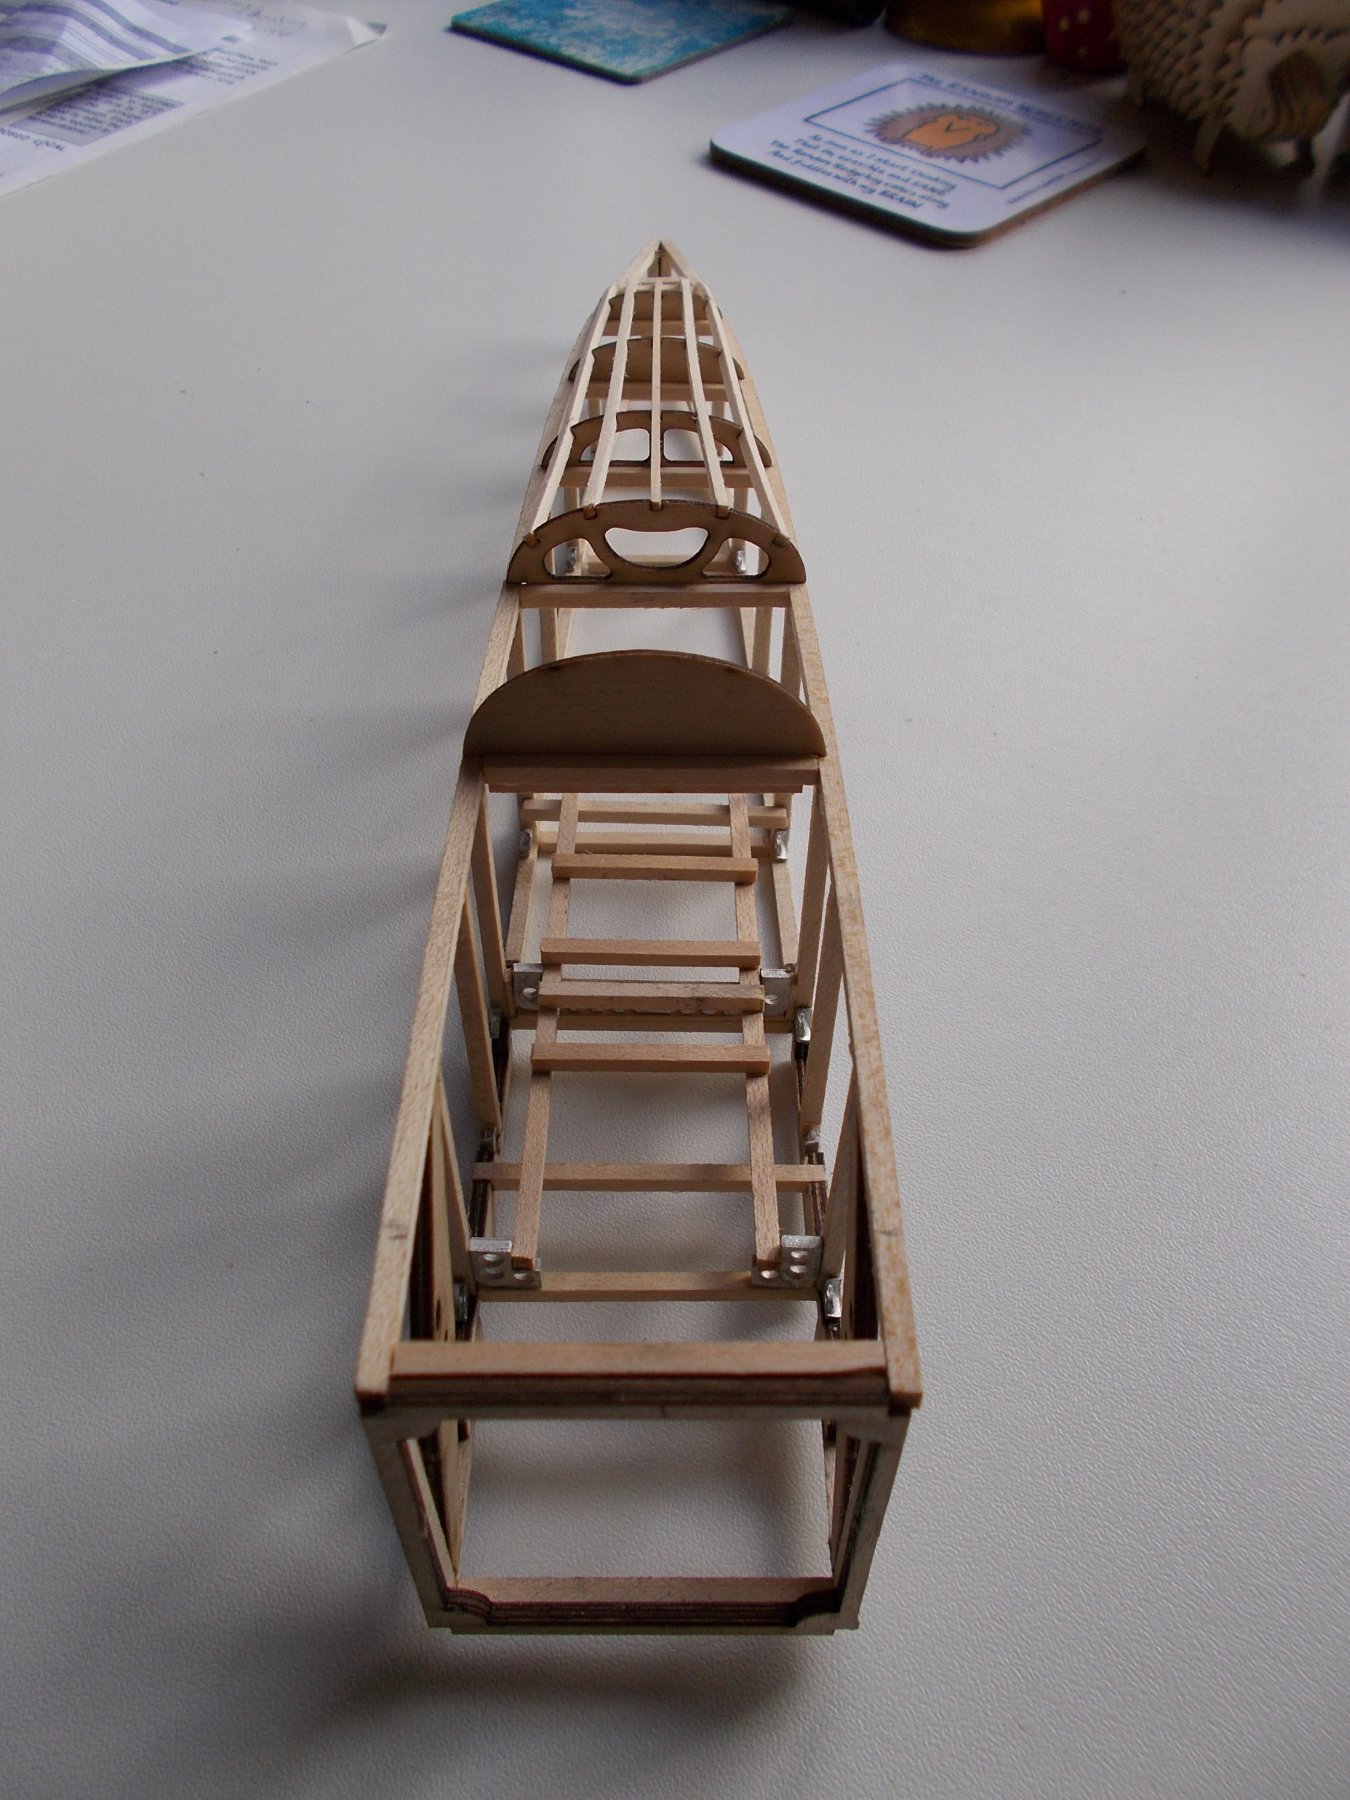
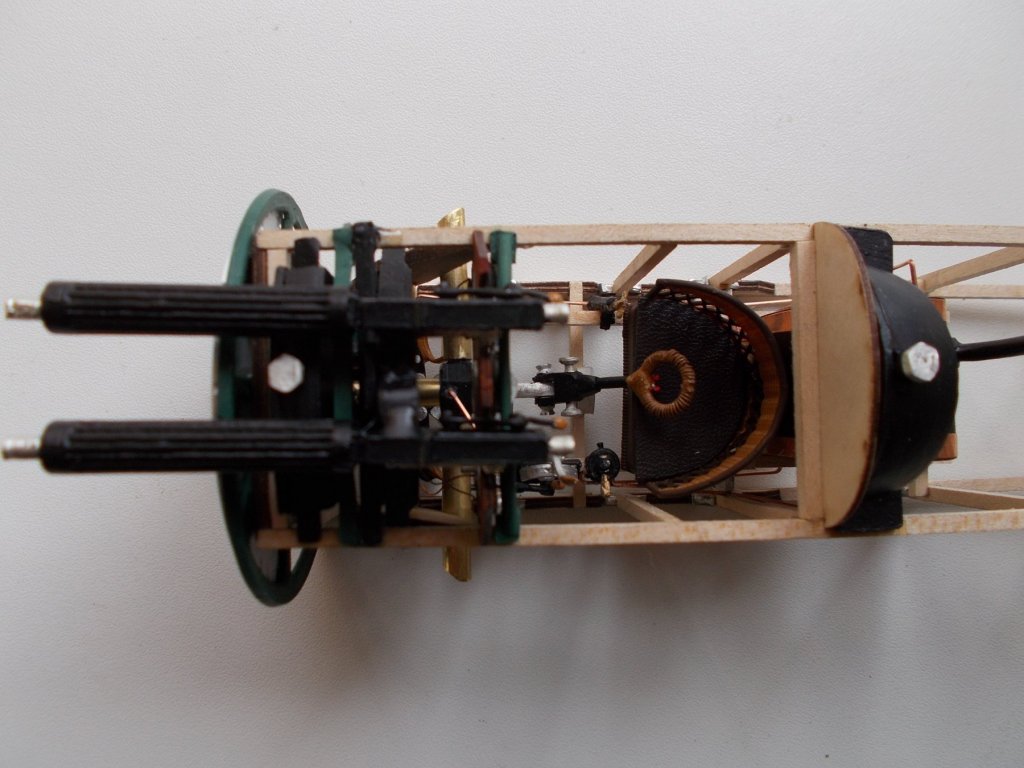
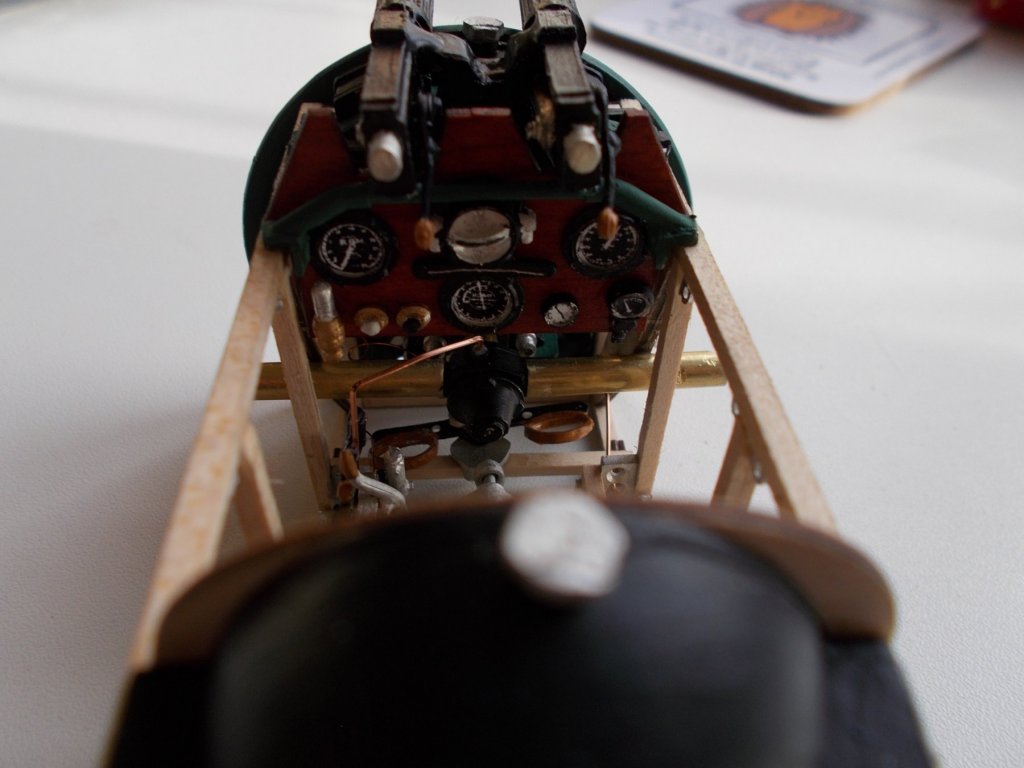
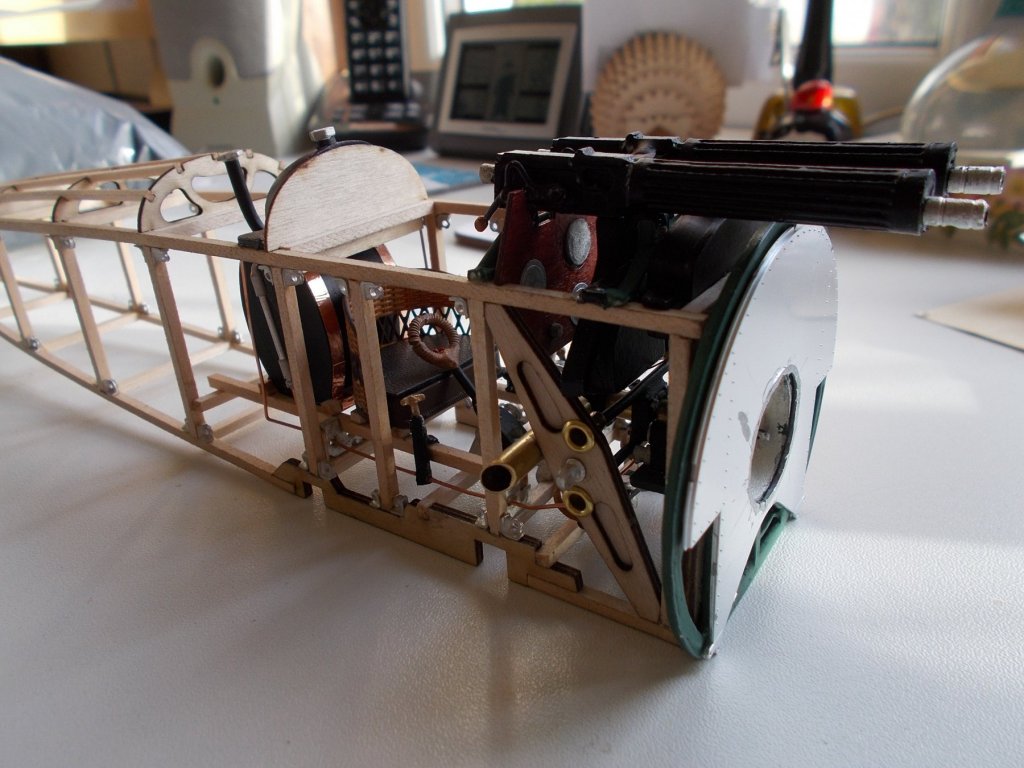
Update folks, The cockpit is more or less finished. There is the surround to do (I think it's called combing) and a few more pipes which have to be done later. I had a huge fight with the machine guns which took me ages to fit but got there in the end. I hated the seat which came with the kit so have customised one which I think looks a lot better. Also added a firewall that wasn't included in the kit. Next stage is to tie loads of turnbuckles onto the sides before doing the fuselage cross bracing.


-
Thanks for that John. I have found several sites including the one I 'accidentally' ordered from but they are all far too big. I will keep hunting but I can see my pathetic attempt going on the front after all.
-
Carl, any luck with the prop ? I have been looking everywhere and can't find one. John, if it's not too cheeky - how much of the pipe plumbing did you actually mange to do ?
-
Carl, amazingly enough no one seems to make propellers that small in wood - only plastic and not many of those. I may try and scale it down though.
-
Popeye, I have sort of given up on my prop for now after all I won't need it until the end. The one I ordered came today ! Teensy problem is that it is 17 inches long not 17cm !!
-
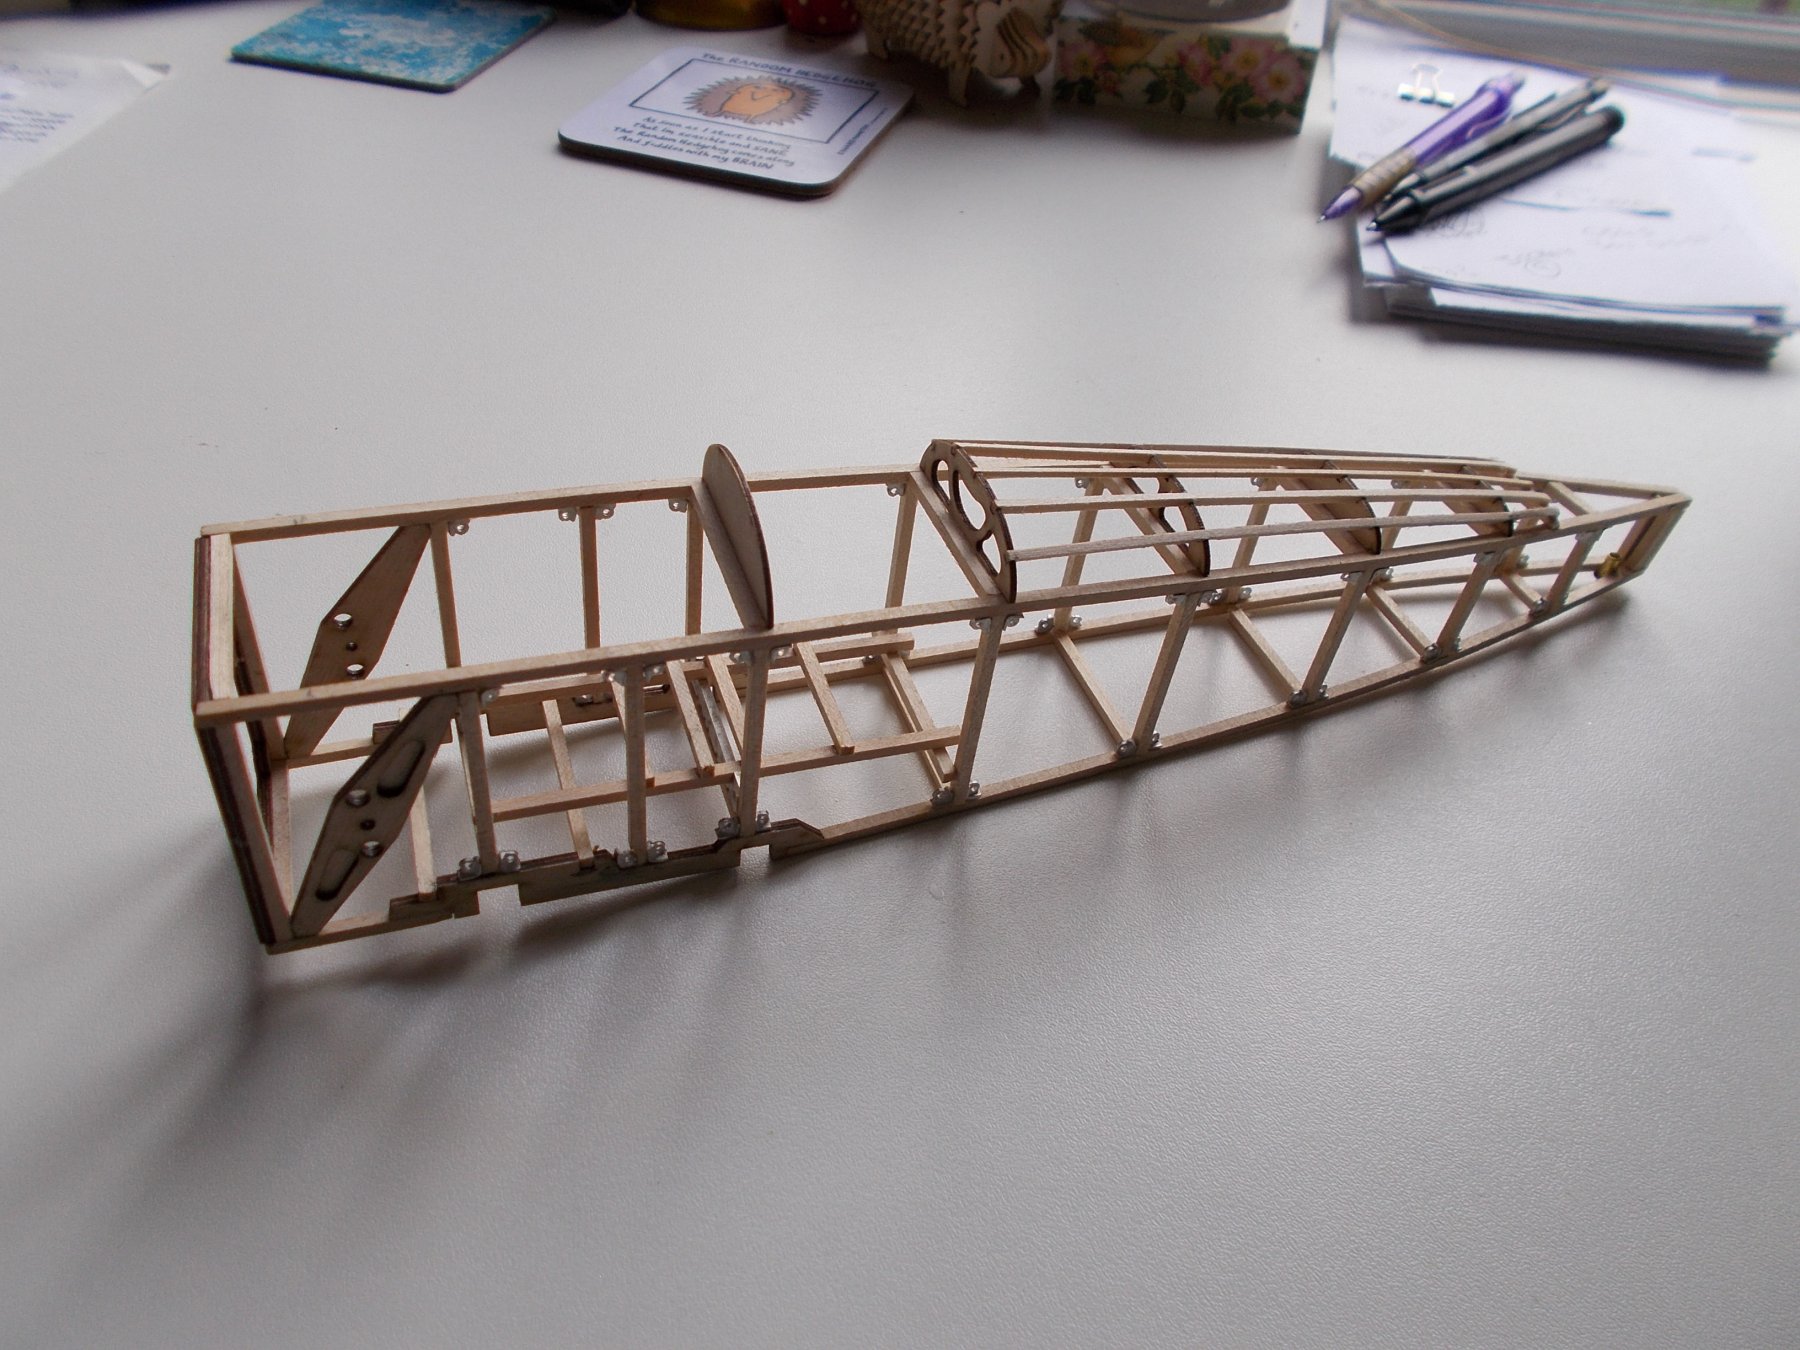
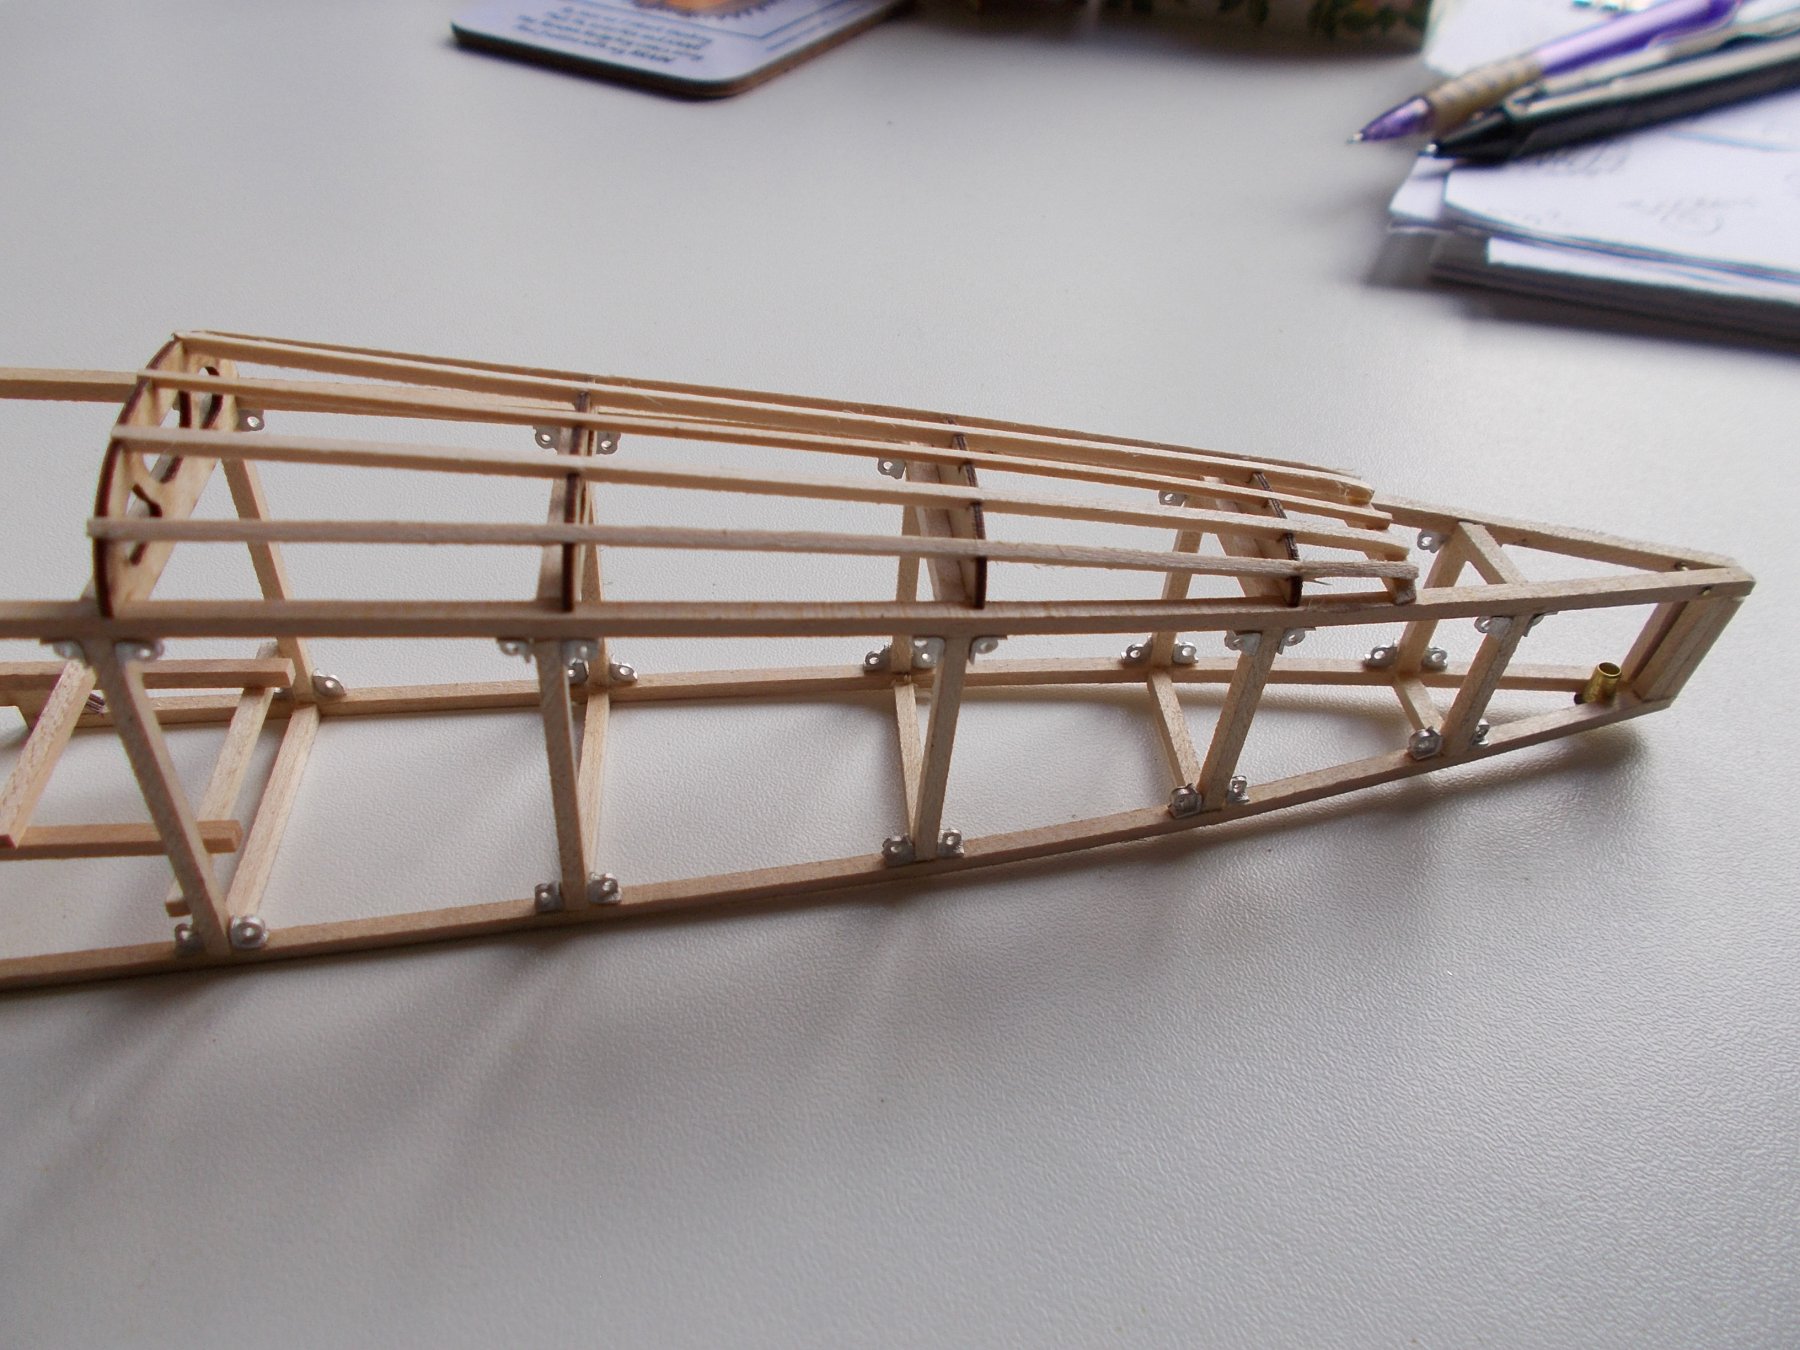
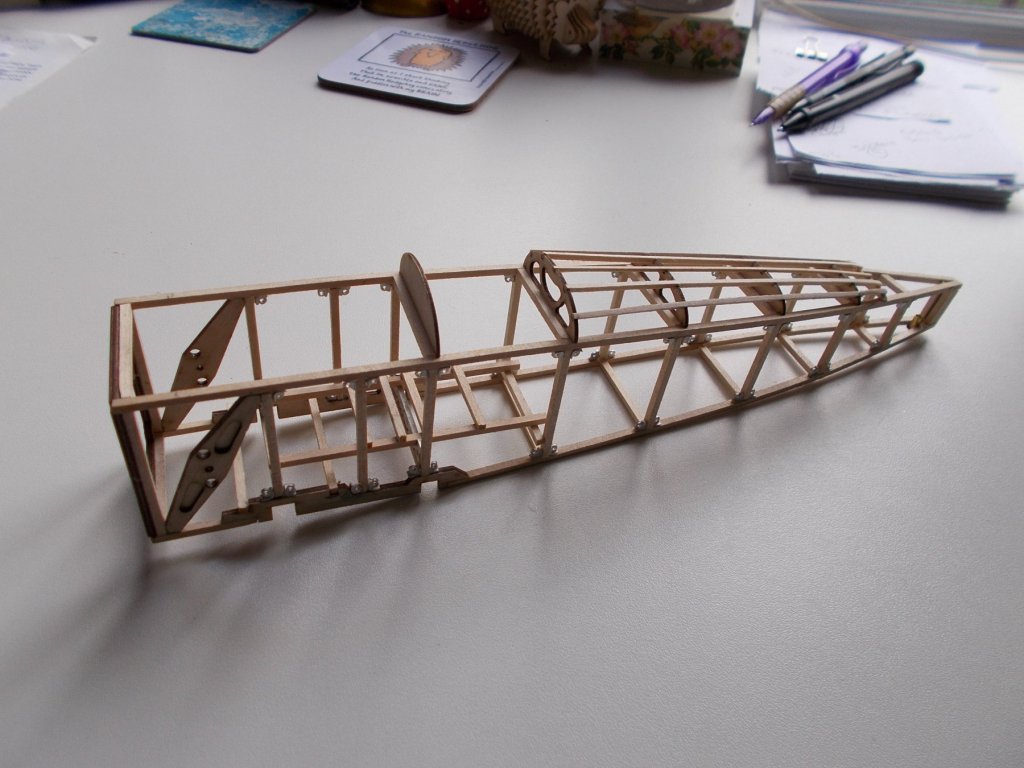
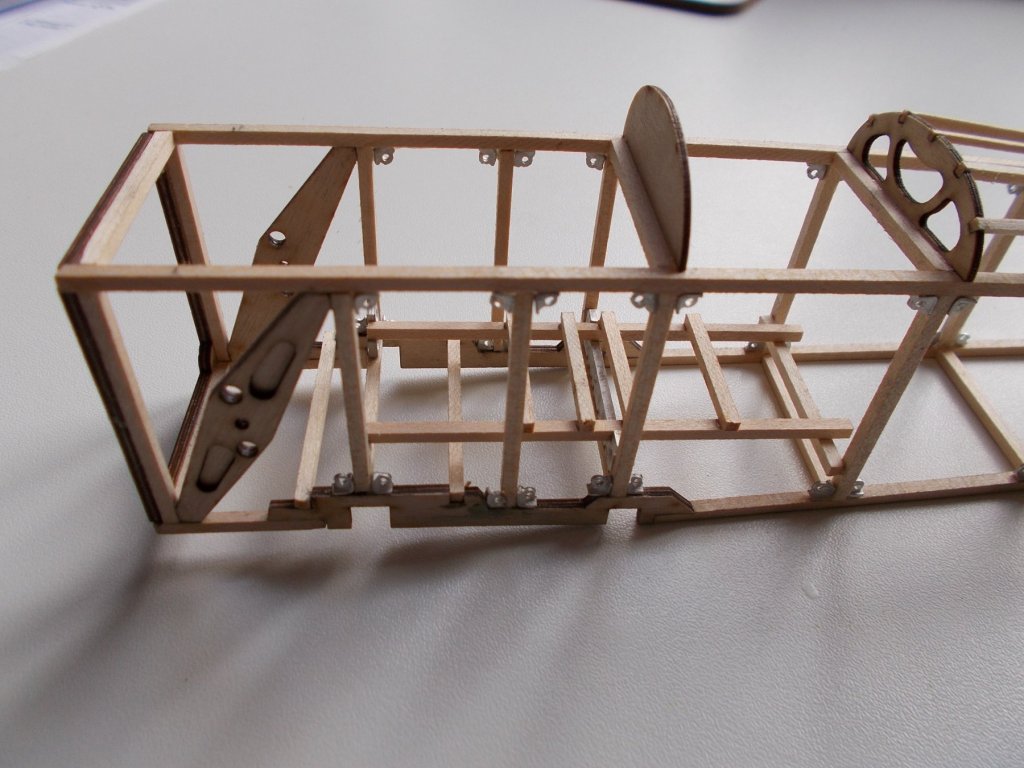
I really do find the instructions for this build confusing. The five plan sheets all vary slightly in their measurements so trying to get sizes right is a real challenge. Also I realised when I started that the 'supplies' to build the plane with are less than generous and in some cases simply not enough. I have had to add some spare wood from other builds in order to make up the shortfall. Anyway, enough of my whingeing, the fuselage is done and next it is on the really fiddly bits !!


-
Brilliant, thanks John - the diagrams are very confusing, one seems to show it above and one below so your help is much appreciated.
-
Hey John, a really tricky question for you ! Fuselage, horizontal formers, position 'D' on the plans. Should the bottom former attach to the bottom of the side uprights or should it attach on the pre-cut ply frame above the square cutout ? I know it is only 3/32 lower if that is the case but piece CAF13 the fairleads frame has to sit on top of it by the looks so the small height difference will be crucial .
-
Good tip John, thanks for that. When you built your fuselage did you use the recommended jig ? It looks from your log a if you didn't.
-
I love your doors with the bars, looks really good and I would leave them brass as well. I gave up using the silly coils of brass that come with kits ages ago and splashed out for various sizes of rod. Not cheap but well worth it for me, I have never had success with straightening coiled wire.
- 104 replies
-
- 3
-

-
- king of the mississippi
- artesania latina
- (and 1 more)
-
I was really brave and cut them off !! Not too bad actually with a razor saw. Sanded them down and then put them back together again !!! This time with hinges ! I have to say I nearly had a complete sense of humour failure doing those hinges - very tricky but they even go up and down. I'm impressed anyway ! I started the fuselage sides the other day but I have had to take them apart three times because of the stupid 'various scale' plans that I seem to have. Just when you get something spot on anther plan looks miles out ! Hey ho, we love modelling really. I have put in the corner pieces which get deadeyes and rigging attached later.

- 138 replies
-
- 10
-
-
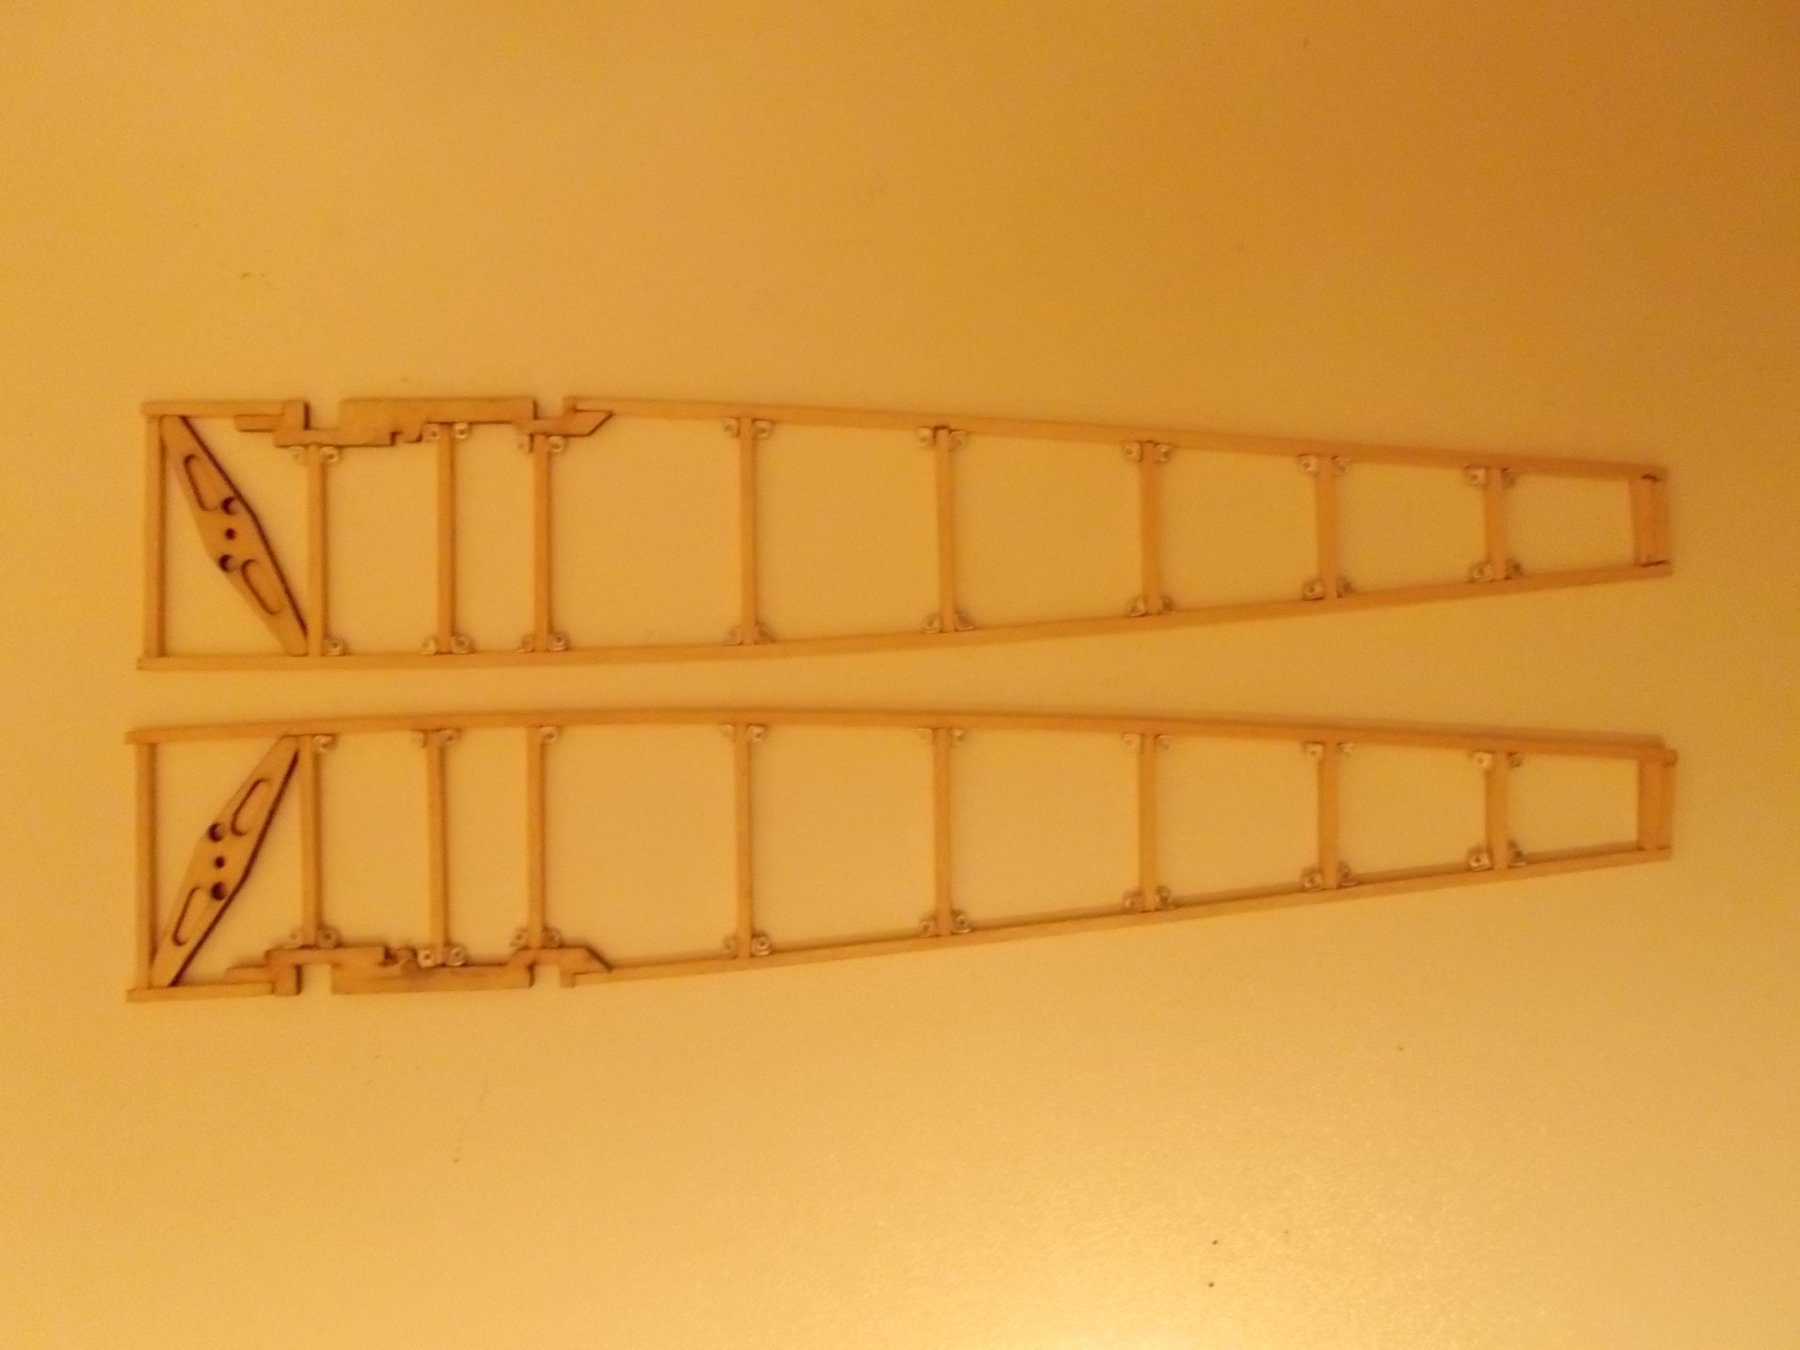
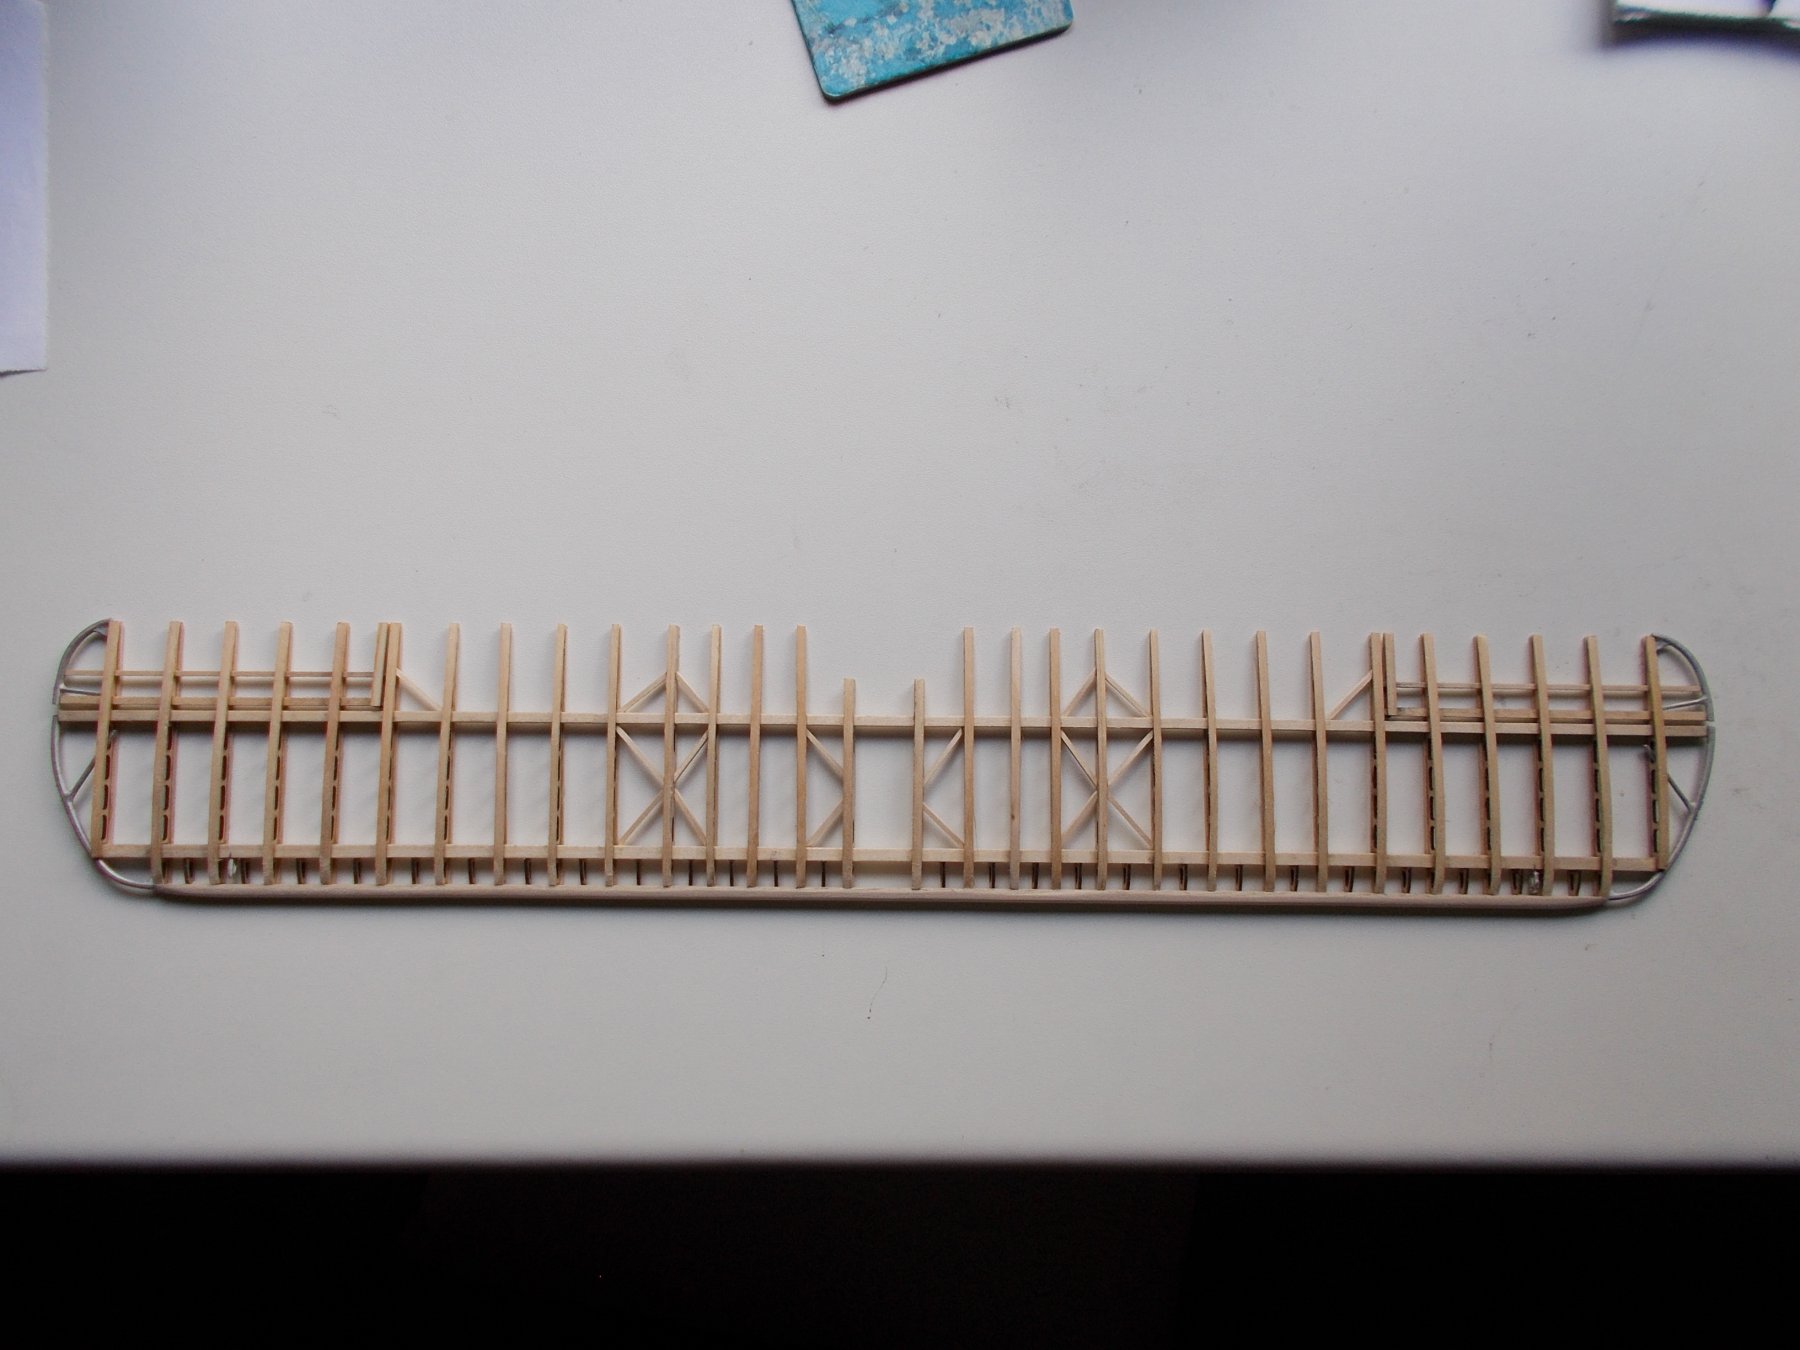
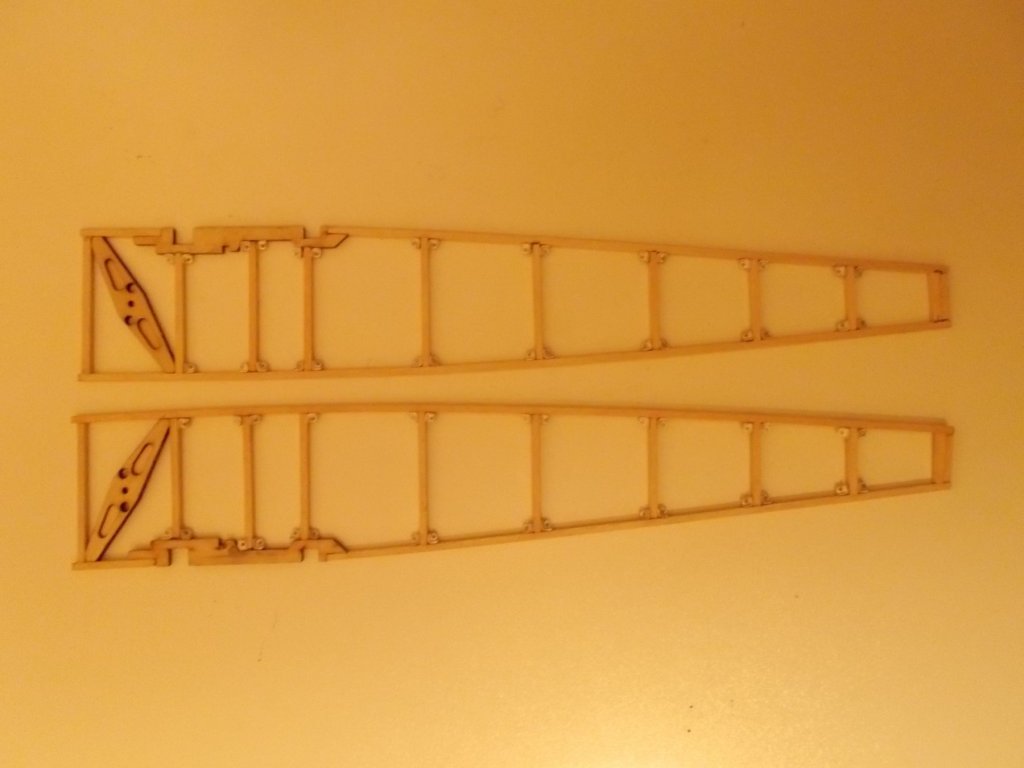
The wings are nearly finished now. I just have to be really brave and cut off the ailerons (!!!) before hinging them, doing the dihedral for the lower wings (blocks drying) and putting on the aileron horns.

-
Oh silly me !! Thank you John.
-
Yet another question John ! Regarding splitting and re-joining the bottom wing - I don't find the instructions for this to be very good. I understand about blocking up both wing tips to the correct height and I assume the metal joining bits are the gutter shaped pieces with holes in them, one for each spar. However the instructions state that 'the spars should lie flat in the cast joints and the underside of the outermost ribs will be elevated'. How can the spars lie flat if there is an angle on the wings ? Thanks also Ken for the diagrams, I can see that as long as symmetry is maintained it should be OK.
-
John B, I have a teensy little problem and I wonder of you had it ! My plans sheets 3 and 5 for the wings do not match up at all ! I have double and even triple checked my wings against plan 3 and they are perfect, but plan 5 which has the compression bars and rigging do not match. Do you think it matters ? I guess I just have to bite the bullet and press on and hope it all works out in the end.
-
I have raided the bosses sewing box and swiped some grey thread !! It will do just fine !
-
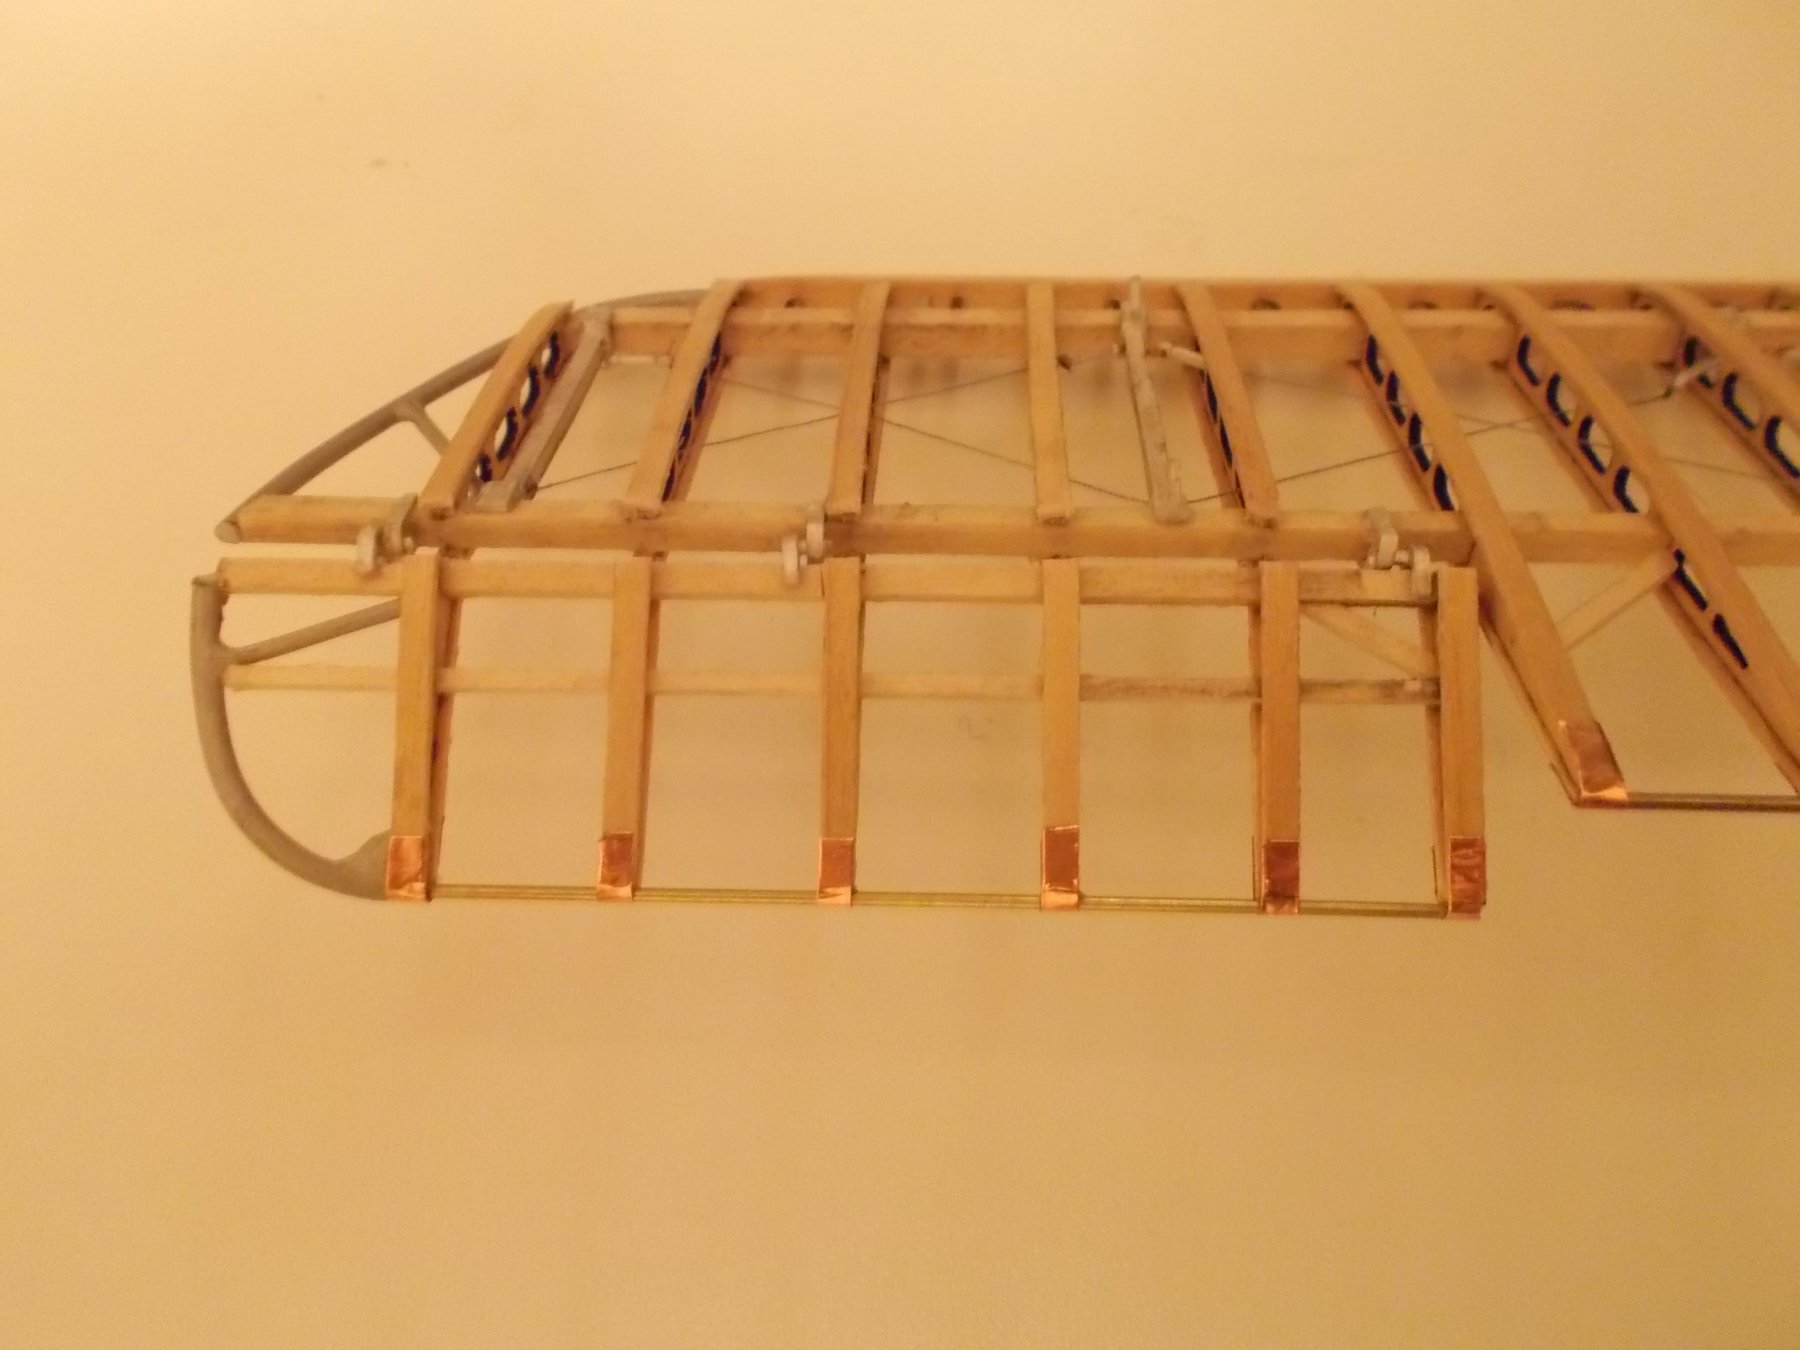
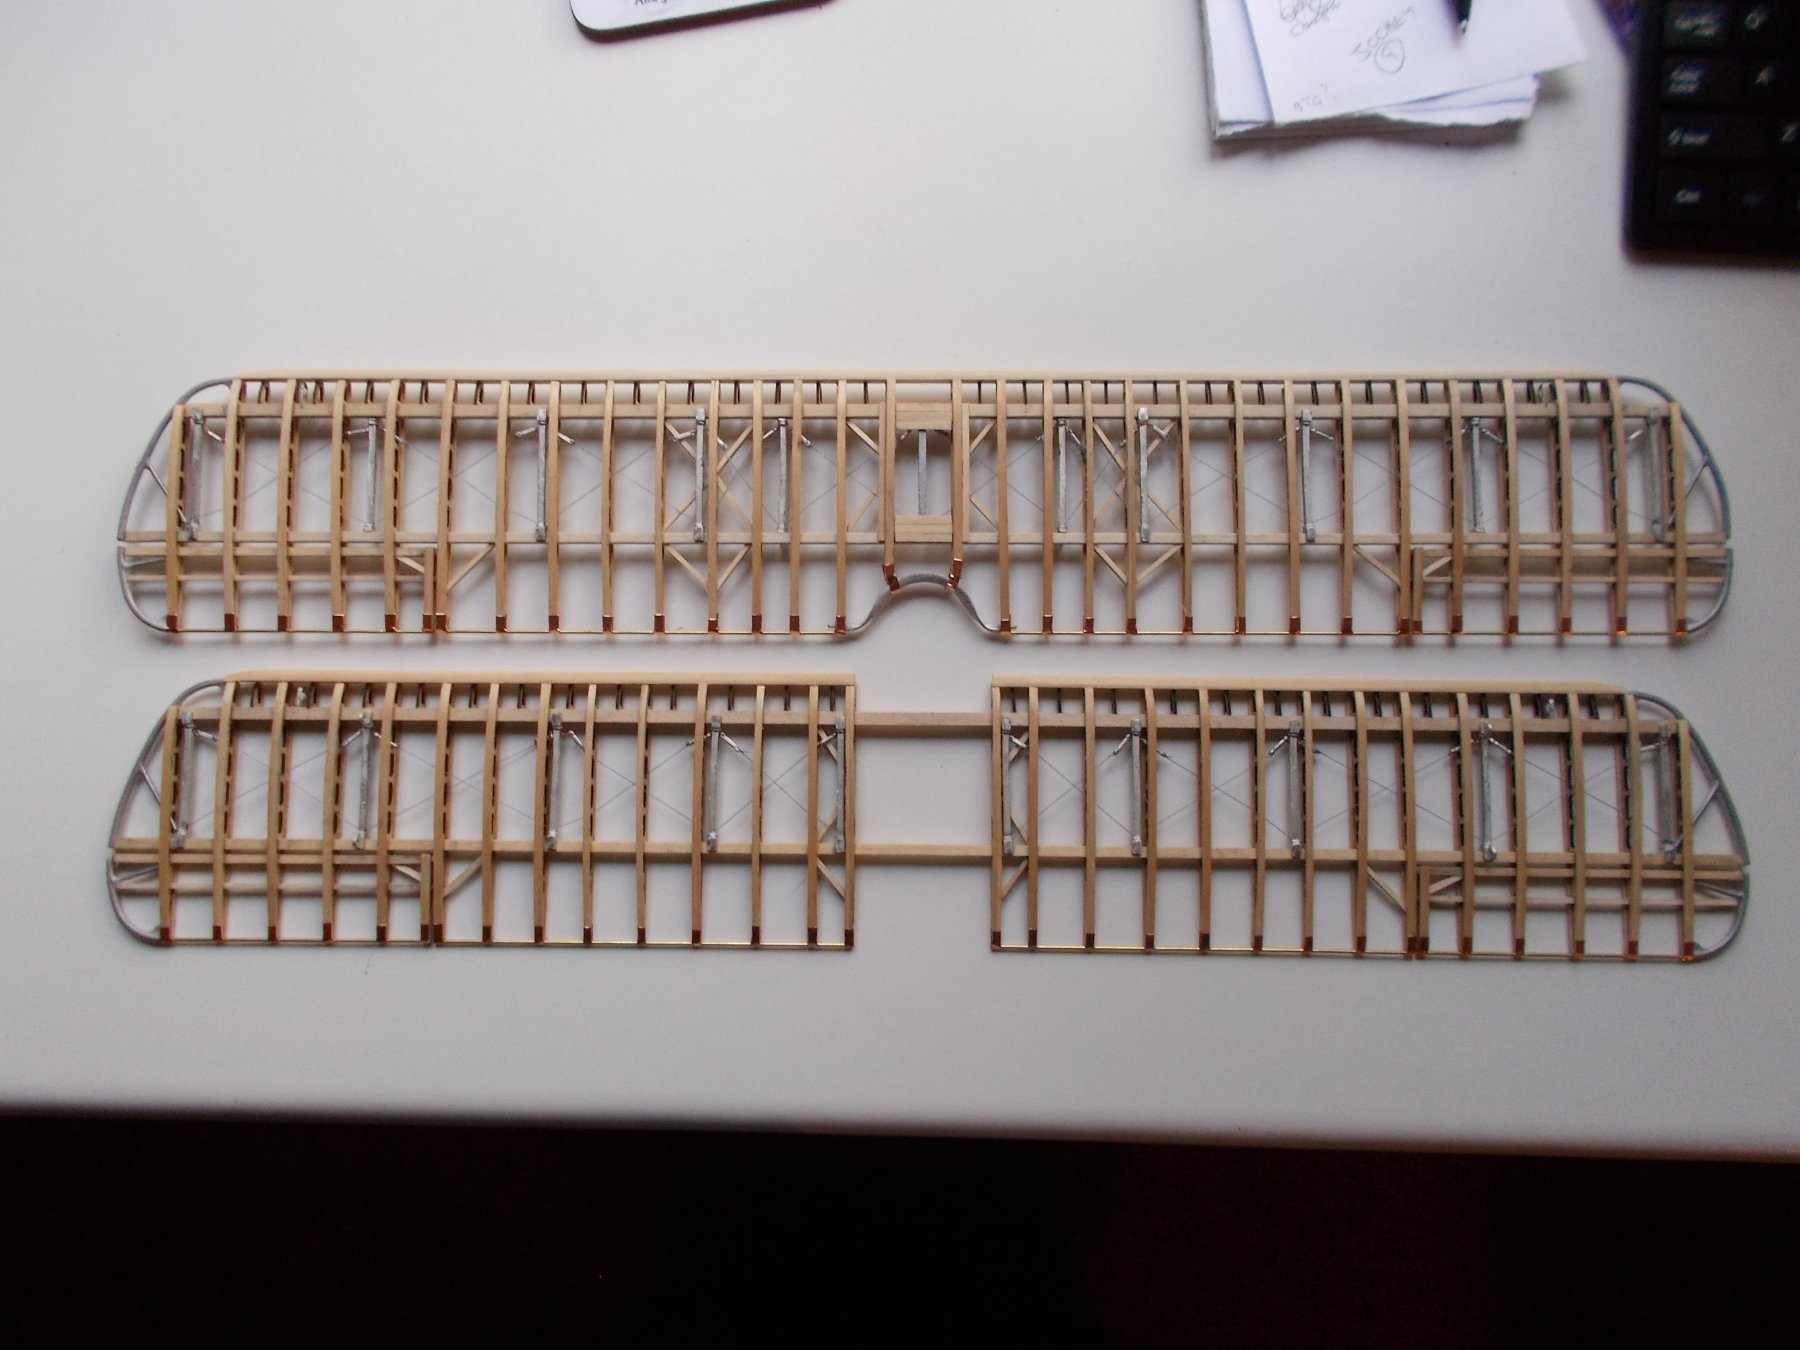
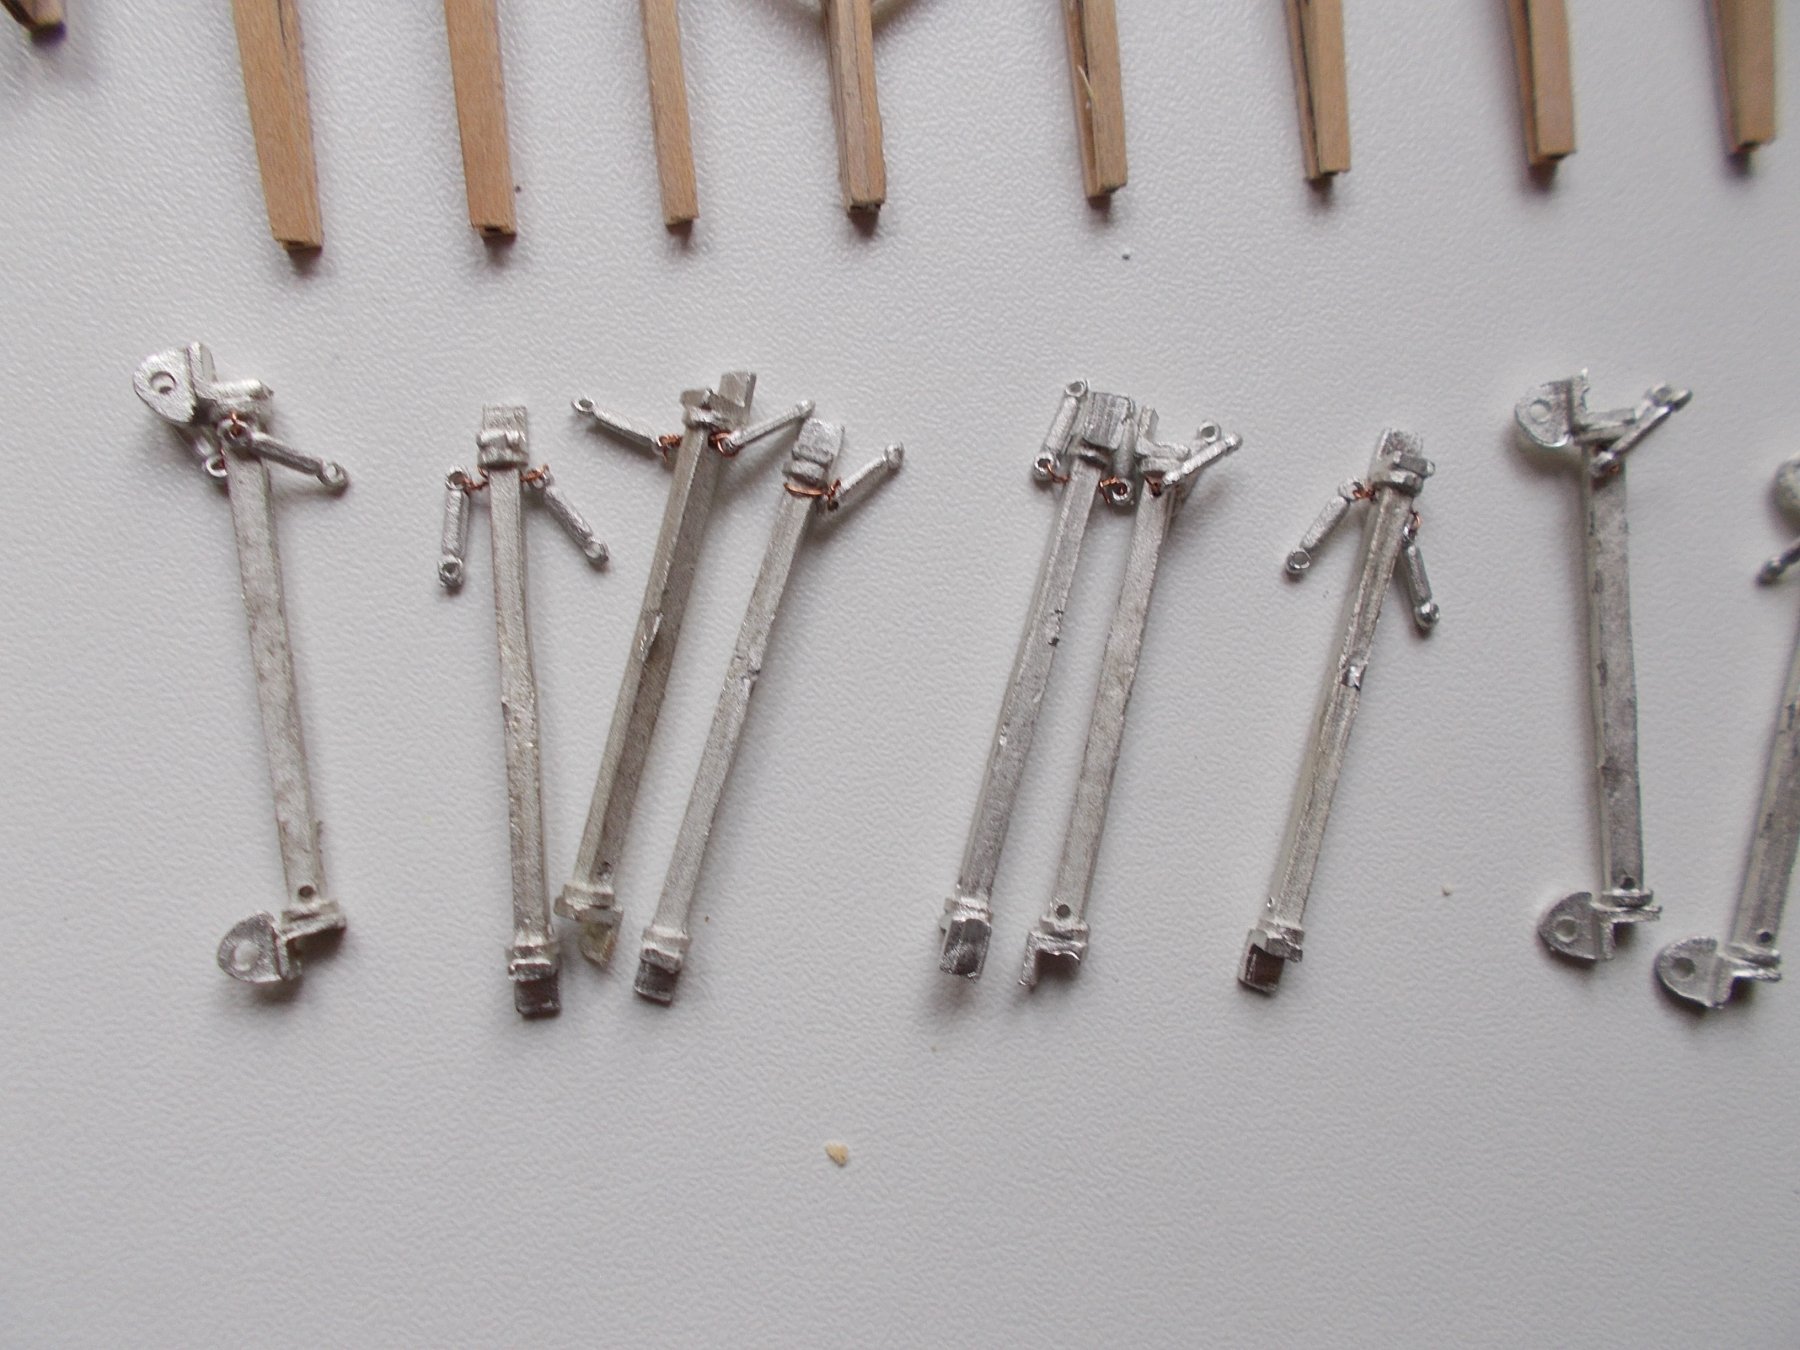
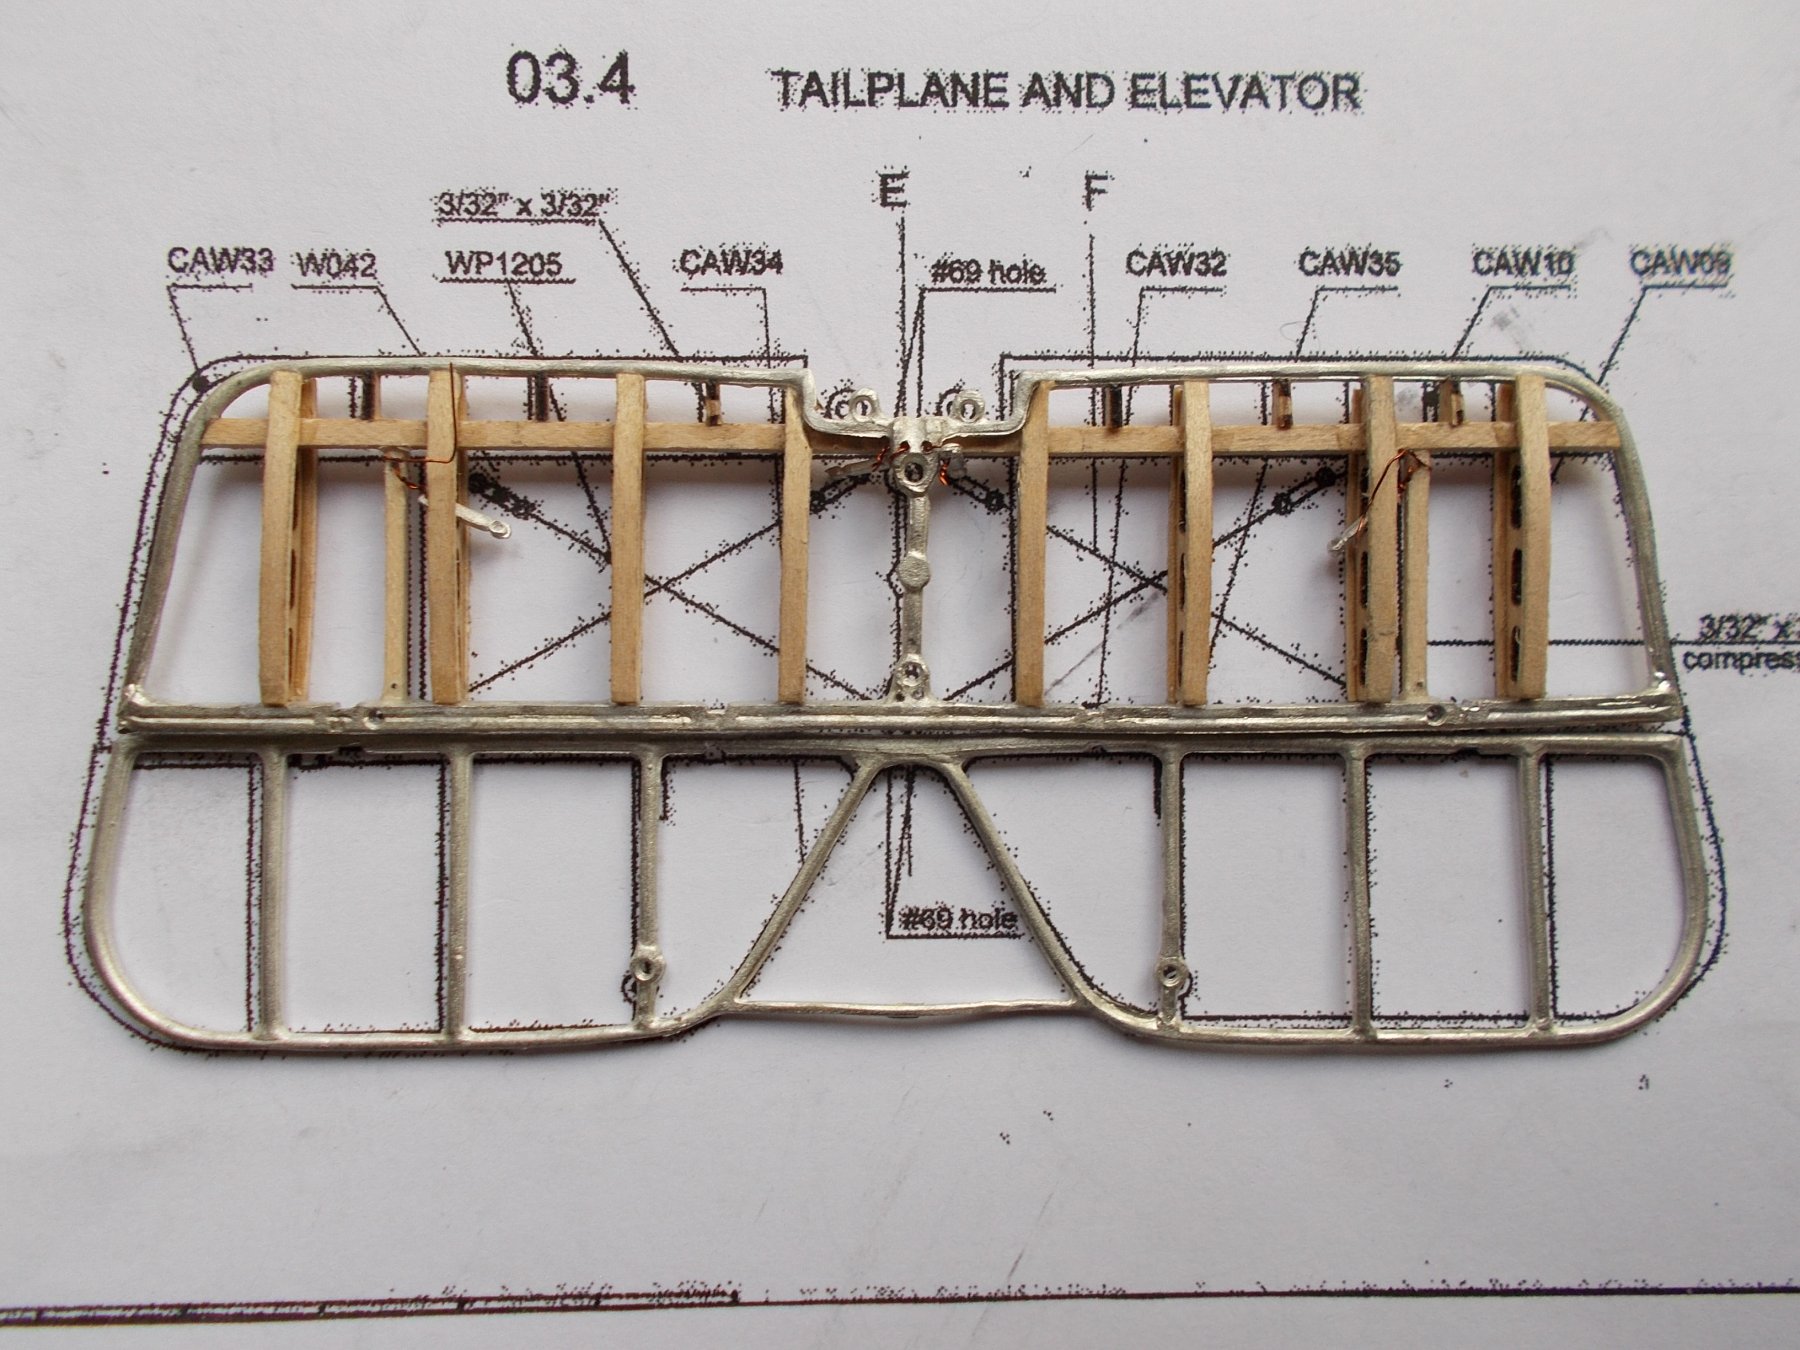
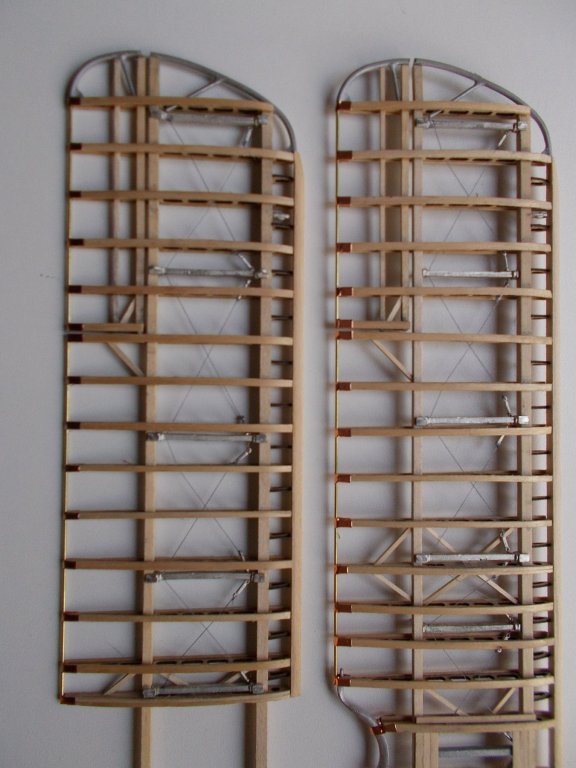
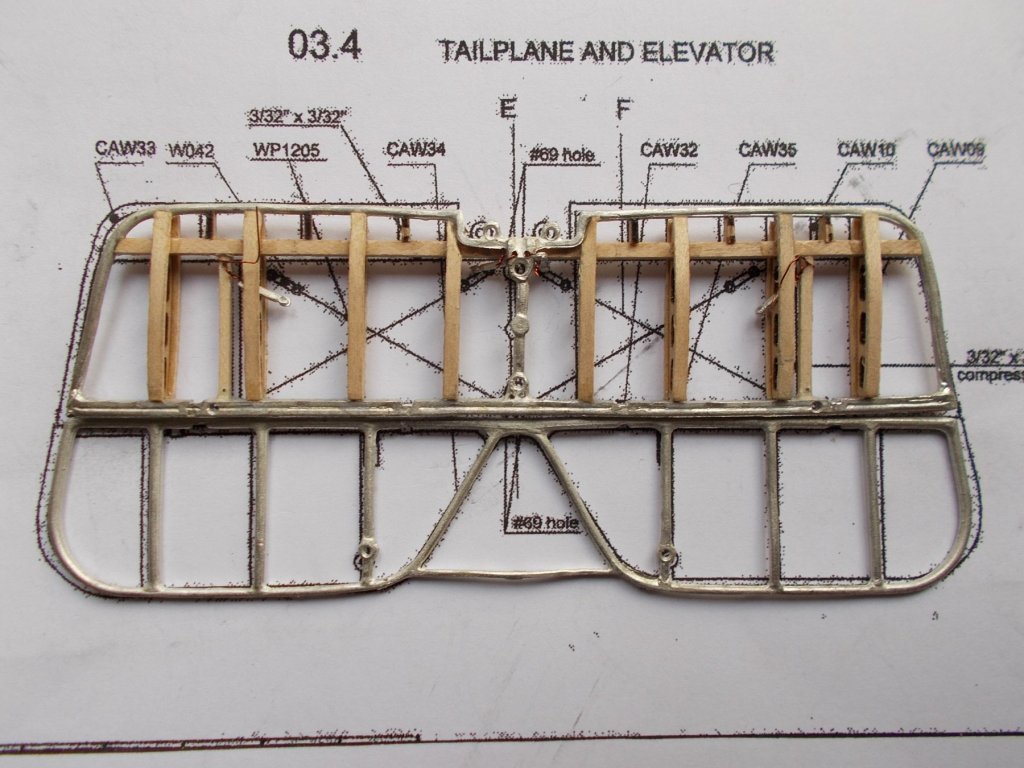
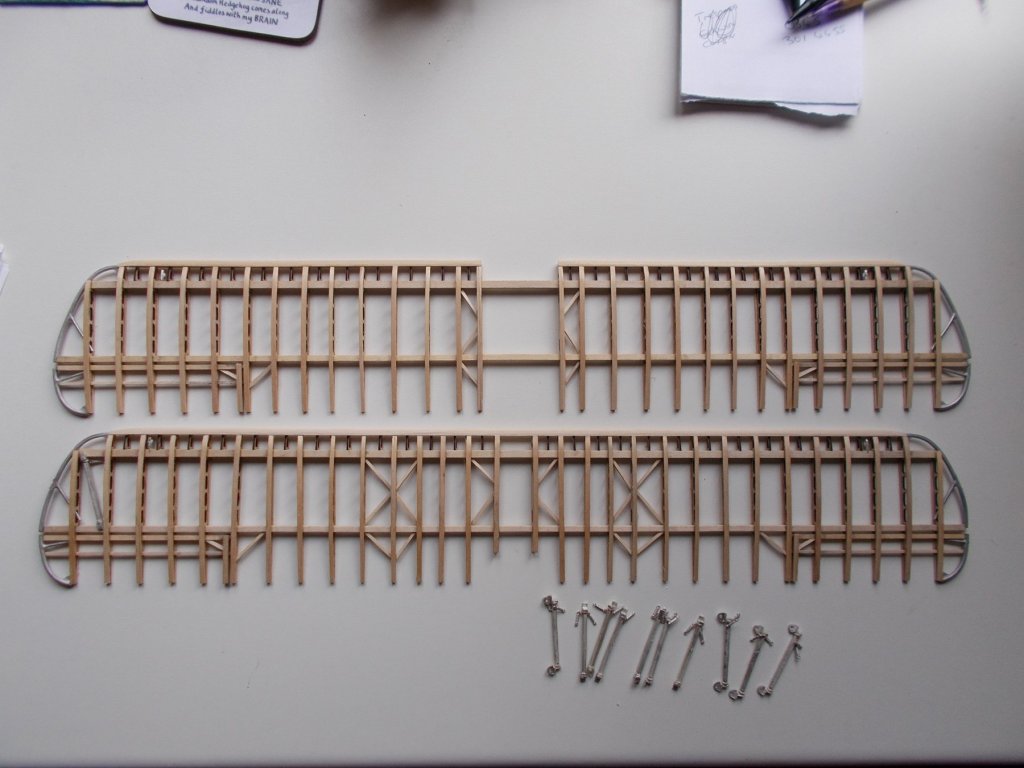
Oh dear ! A whole update I put in seems to have vanished so I will do it again. Oops, I may have put it in John B's log by accident ! Sorry John. Anyway I have finished both wings up to the varnishing stage and am awaiting the order for my spray varnish. So, meanwhile I have drilled all the tiny holes required in the compression bars and wired in turnbuckles in advance of fitting them where required. I figured it would be easier to put them on first. Any way I have shown a few (not all !) for your interest. I have also started the empennage (!) although what is wrong with tailplane and elevator ? The brittania metal castings were far too small and a lot of adjustment of the ribs, rib caps etc was needed to get them in


- 138 replies
-
- 10
-
-
John B, when you did your model and used the silver coloured thread, was there plenty for the build or was it tight ? It doesn't look like they have been over generous to me, in fact they don't seem to have been over generous with anything ! I think with hindsight trying to use wire may not be such a good idea.
-
I love the natural wood look as well so I know how you feel. I have now done 3 paddlers but not this one and I have to say I like the wood best having painted one. I shall keep an interested eye on your build but looks good so far.
- 104 replies
-
- 2
-
-
- king of the mississippi
- artesania latina
- (and 1 more)
-
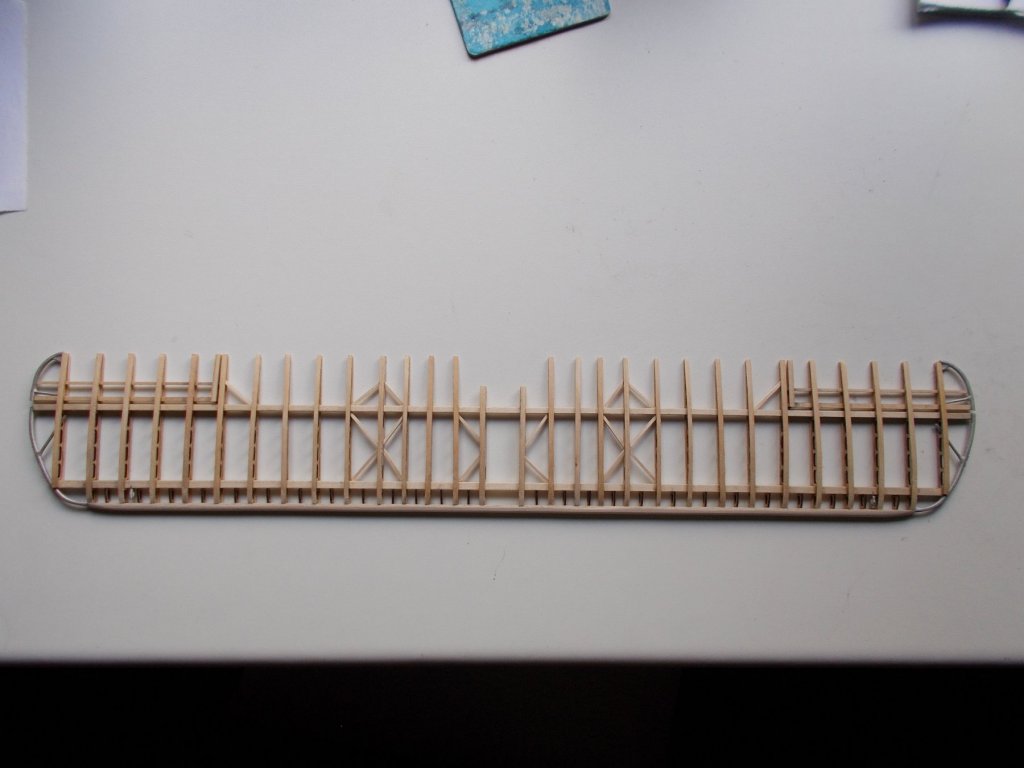
Well I will be content to build just the one ! Progress so far : Both wings complete to the varnishing stage. I am awaiting the spray varnish I have ordered. So whilst waiting I drilled all the tiny holes in the compression bars and have wired in the turnbuckles prior to gluing. I have only shown a few so you get the idea. I reckoned it would be easier to put them on off the wings. I have also started on the empennage although why it can't just be called tailplane and elevator is beyond me. The brittania metal castings were way off, far too small so serious adjustments were needed to all the wing ribs, nose caps etc to get them to fit in.


-
Thanks for that John. I am thinking of using very fine wire instead if thread. That would be easier with the 'continuous' method. What fun drilling all those holes in the compression bars !! And I thought the cappings were difficult !
-
Another question for you John ! When you did the wing bracing wires, did you do the continuous run method described in the instructions or did you do the 'separate' method ?
-
The thing is John, Carl, I remember having problems especially with boats before - getting CA to stick on a varnished surface. Anyway, I have been bold and ordered some spray on satin poly varnish for the wings etc. Got to be easier than trying to paint all those bits !
-
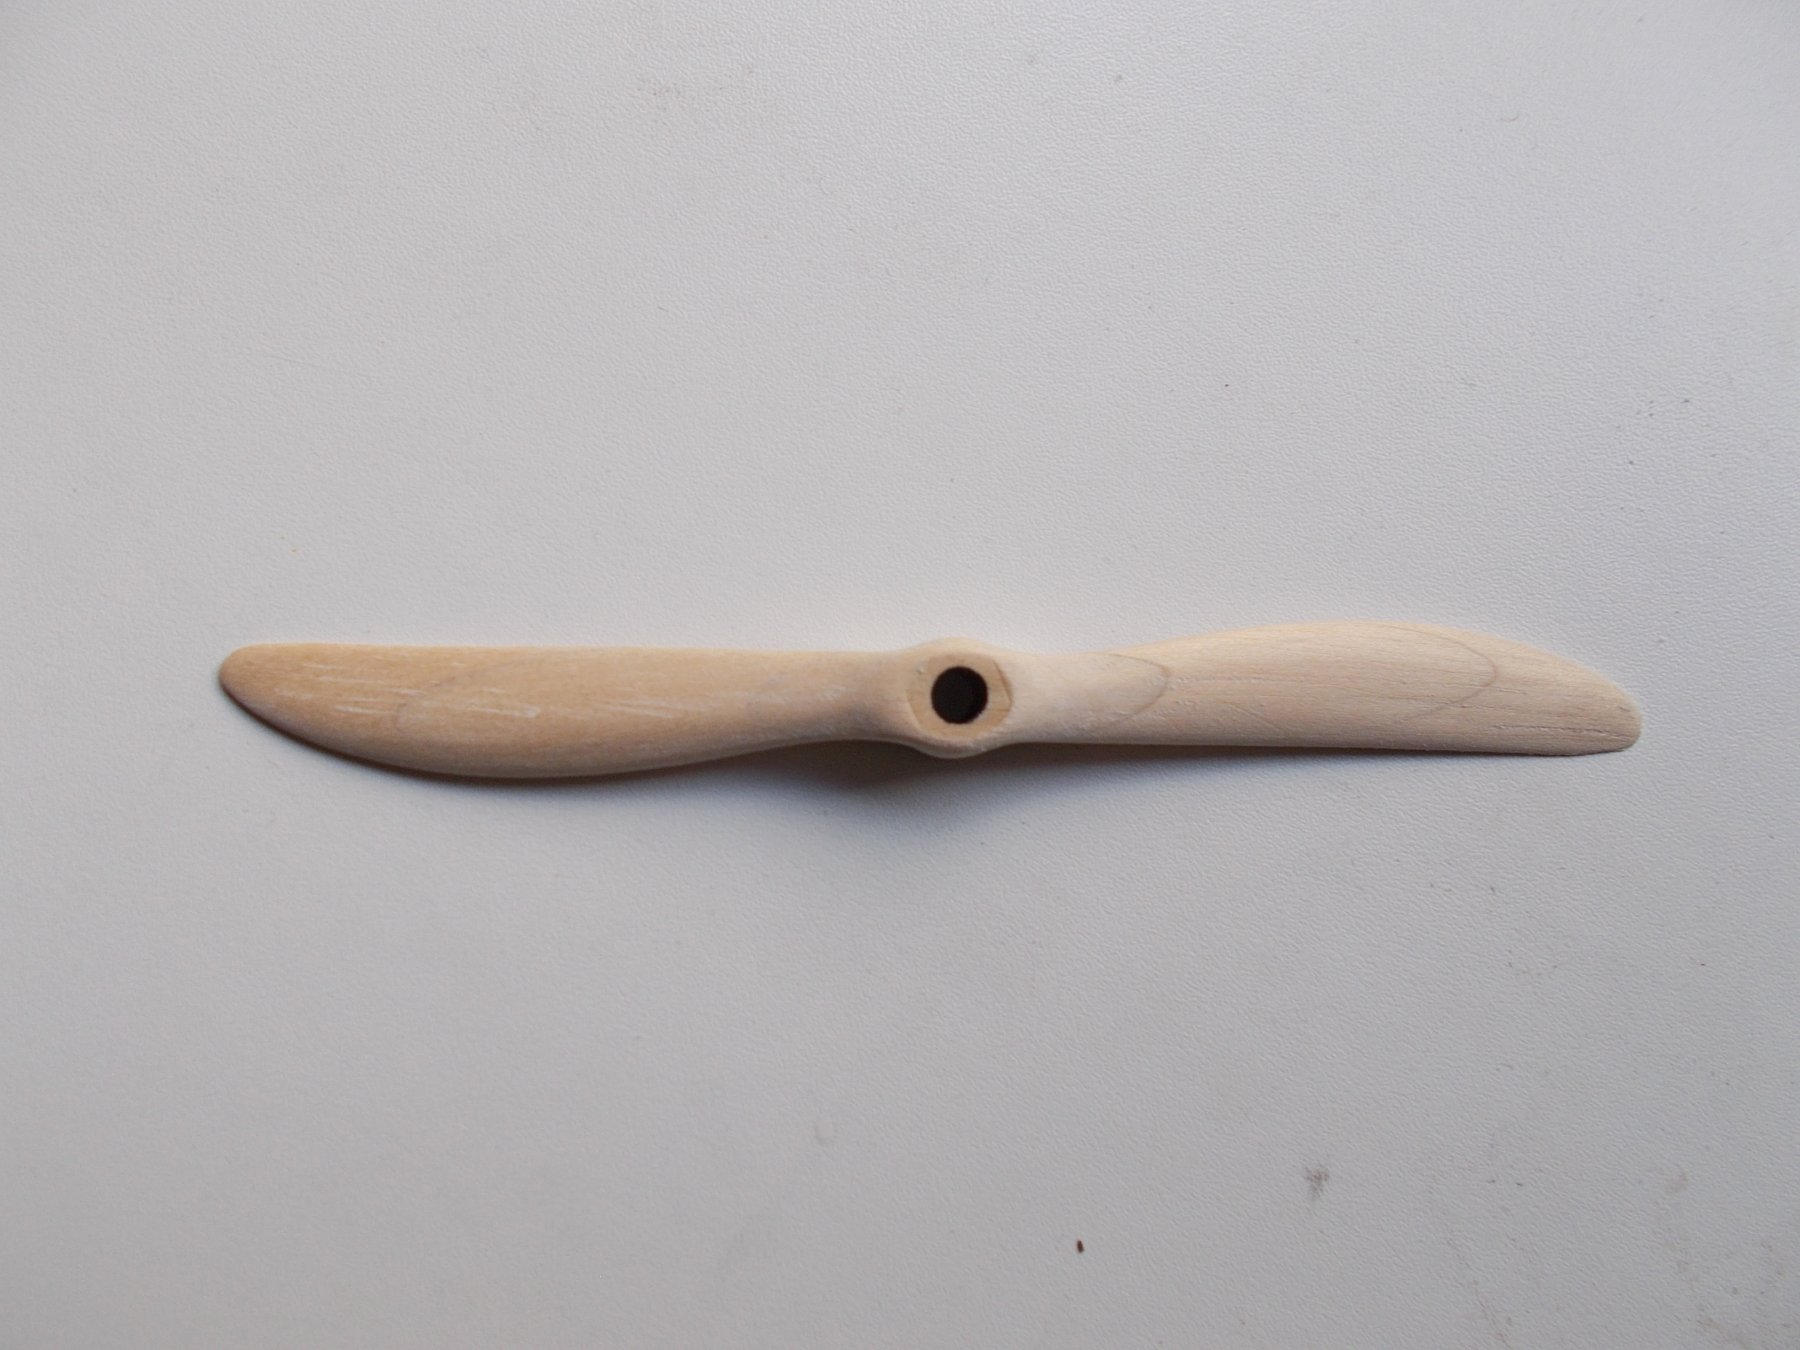
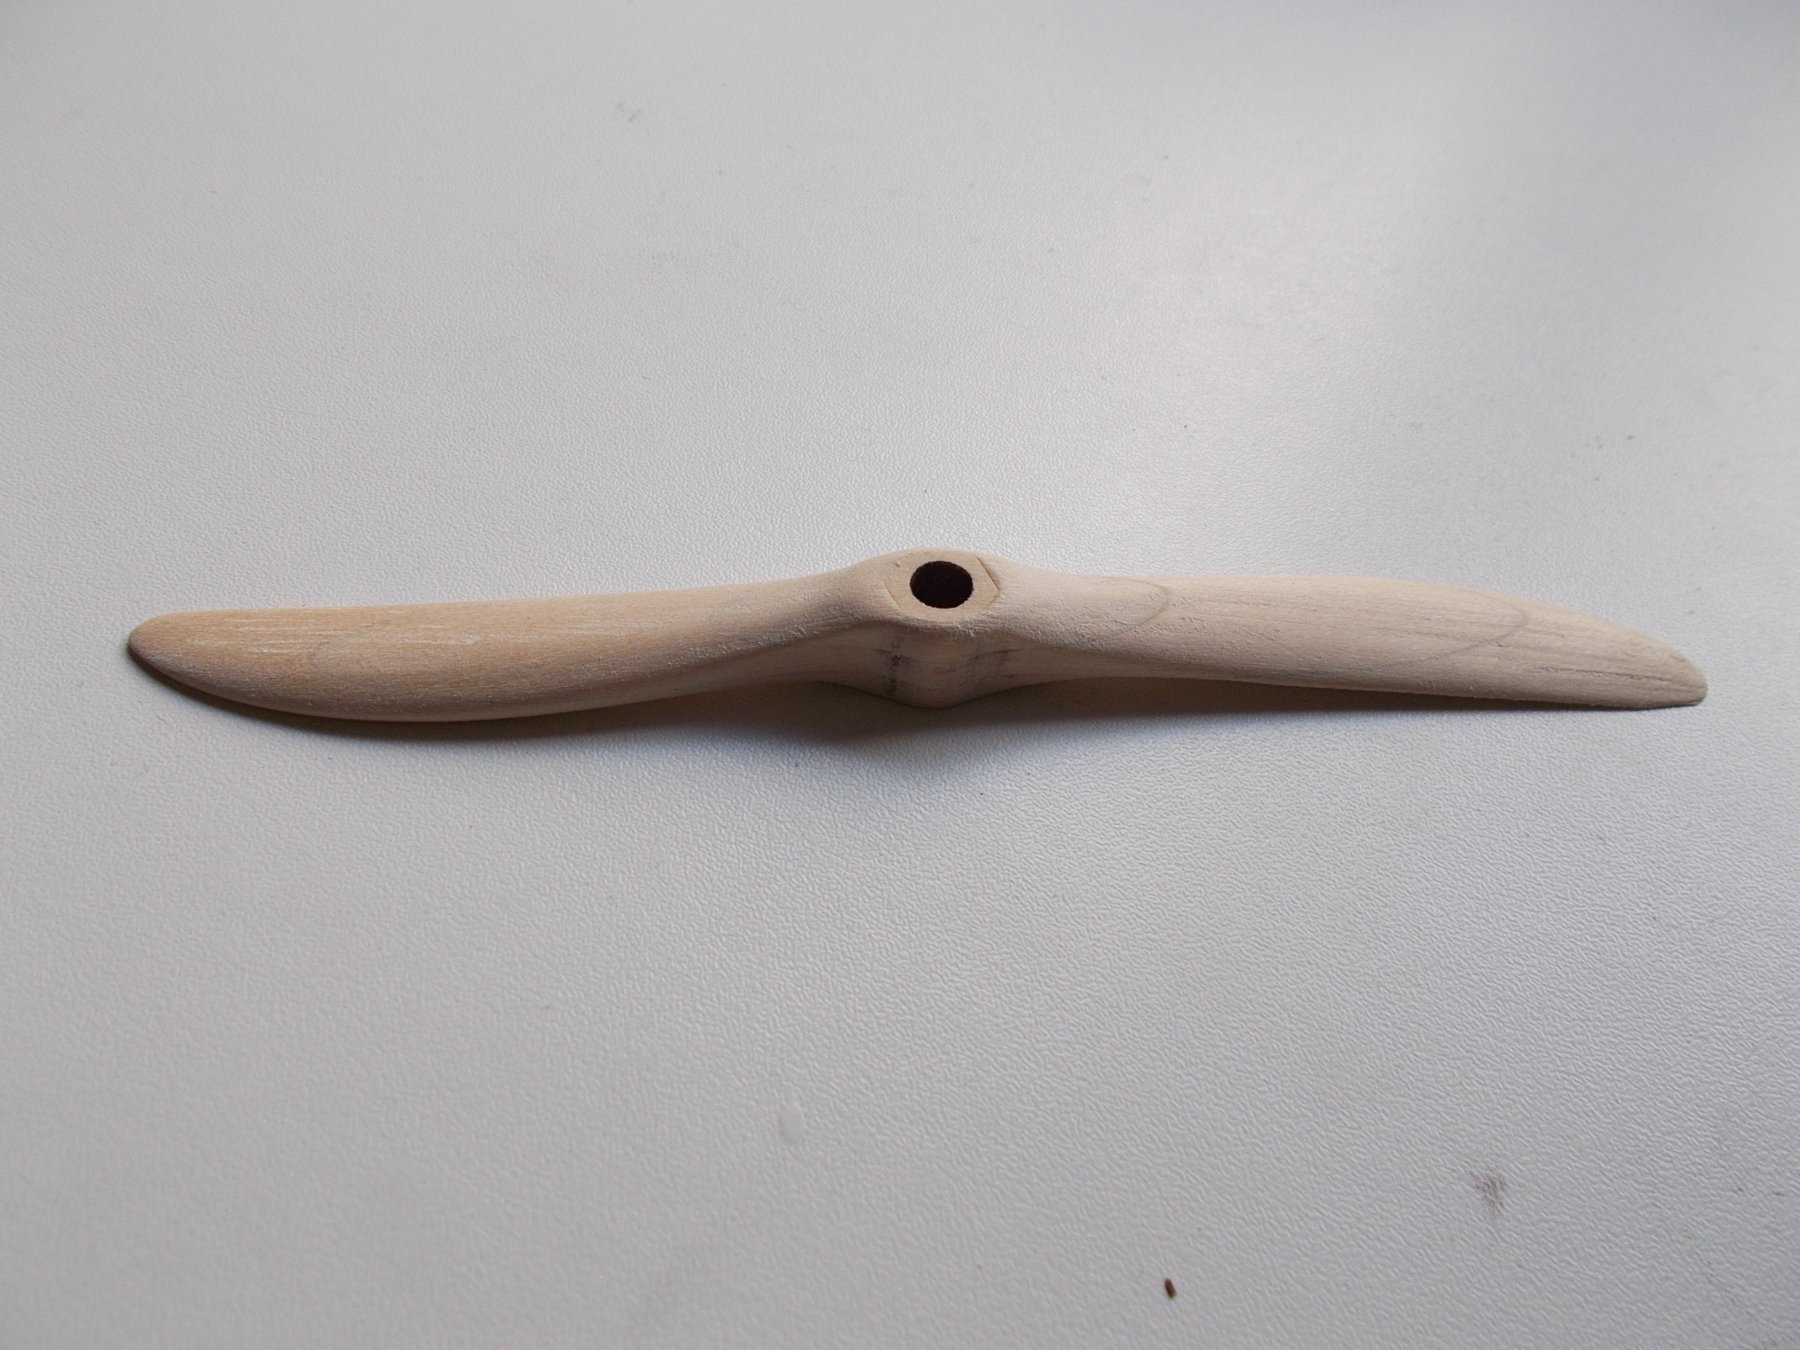
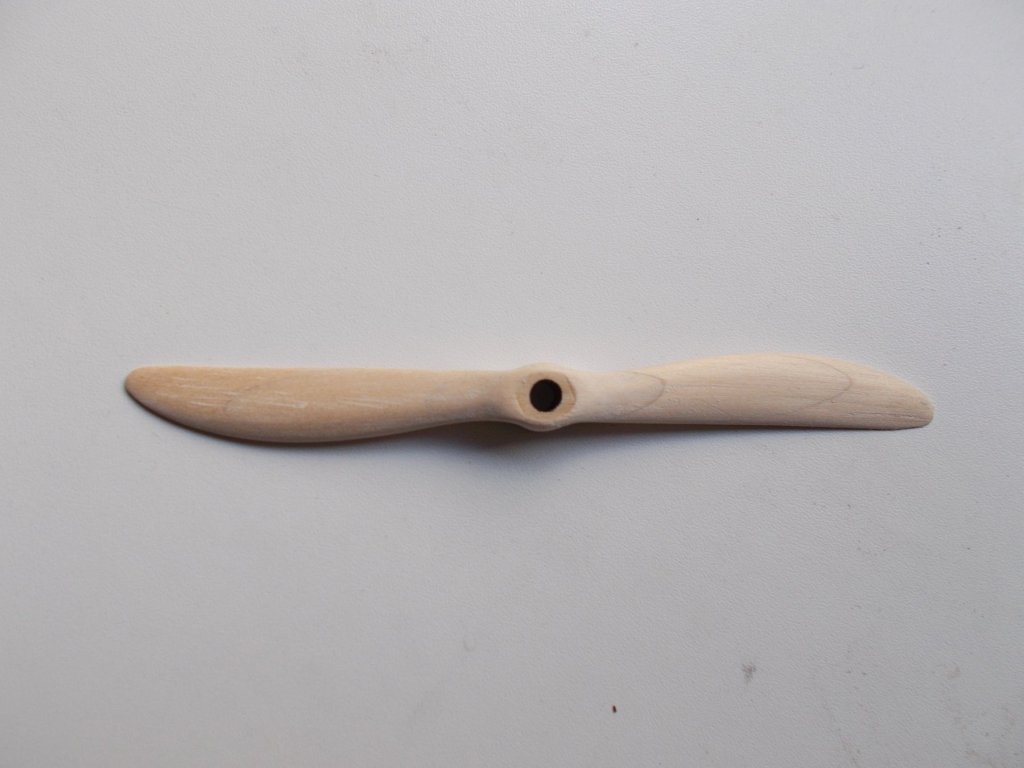
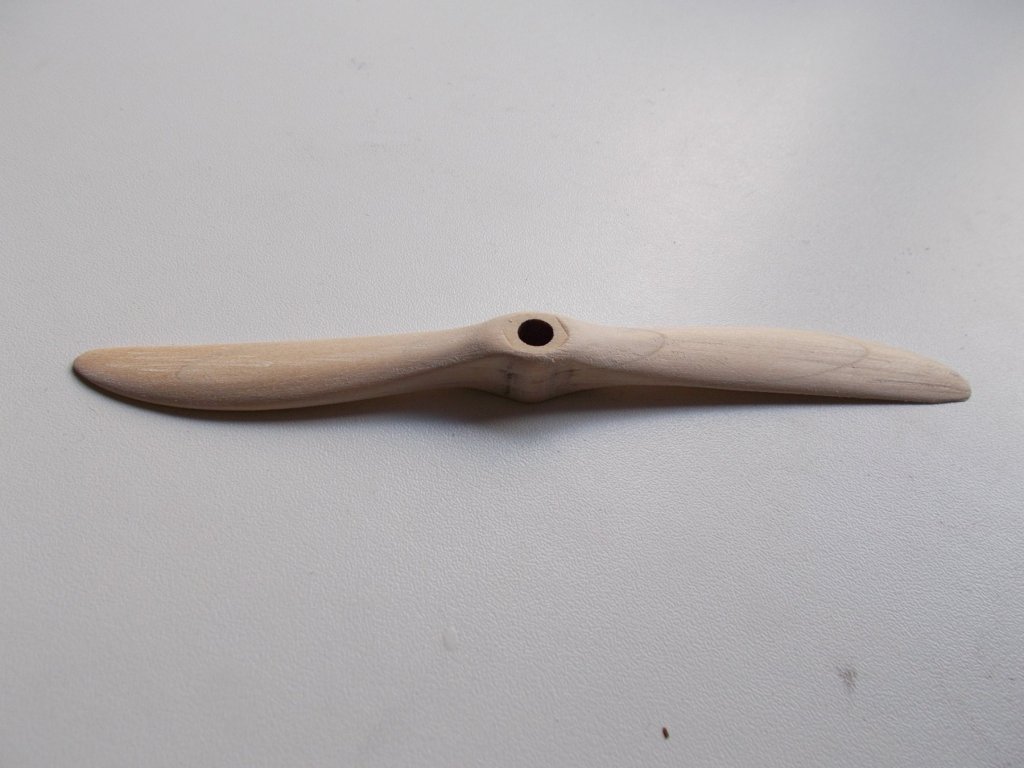
Great ! So no one likes my propeller huh !! Good thing I ordered a pre-made one then !
-
Well folks, just to show you that I have not been idle, the top wing is at a 'stage' waiting, according to the destructions to be varnished. This leads to a question John, how did you get all the metal bits that have yet to go on to stick after you had varnished yours ? I know that CA and varnish don't go well together. After all the help, advice etc and now, because I don't mind showing my efforts warts and all, here is something that could be a propeller. I don't say it is but it looks a bit like one and I think it's the best I can do without starting all over again. One edge is rounded and the other really sharp but it doesn't show very well on the photo. I reckon it might look OK when it goes on ! Maybe!
- 138 replies
-
- 10
-