HOLIDAY DONATION DRIVE - SUPPORT MSW - DO YOUR PART TO KEEP THIS GREAT FORUM GOING!
×


Mike Dowling
-
Posts
1,234 -
Joined
-
Last visited
Content Type
Profiles
Forums
Gallery
Events
Everything posted by Mike Dowling
-
John, I know I am getting boring but, I looked back at you log and the second picture of your prop build held over the plan looks exactly the same as mine. Your third photo looks almost finished. What I simply can't figure out is what you did after the second picture but before the third.
-
Carl, it is indeed supposed to spin counter clockwise which I think is weird for a start. John, have you changed your mind and think I have done it wrong so far or are you suggesting an insurance policy in case ?
-
Thanks Ken. Checked your pictures again and it still looks to me as though I have started sanding the wrong side
-
Thanks LR. I know I am just being really thick ! I love the paper analogy and can visualize that quite easily in my thick head. That however is two dimensional and what I can't quite see is how to make that with the wood in three dimensions ! I will sleep on it and maybe, just maybe it will come to me in one of those flashes !!! Anyway, great to have you along for the ride. I was beginning to think no one was interested after John's brilliant build. So, where in the Highlands one wonders being another Highland dweller ?
-
Now I think I get it ! Like a plane wing so it will be slightly convex on the outside and slightly convex on the inside ? If that sounds OK I will get on with some more sanding (!!!) on Tuesday. I guess, worst case scenario, if I muck it up I can buy one ready done albeit not for a Sopwith !
-
Great to see you Cog, thanks so much for watching. Don't all models need sanding, maybe not quite so much !
-
John, am I right about the concave bit ? Should it be concave not convex ?
-
so have I done anything wrong yet ? apart from ( I think ) sanding convex instead of concave ?
-
It just looks to me as though I have started the shaping from the wrong side ?
-
Oh I am sorry to be a pain. The photos are great but, at the moment , with my prop lying on its back, I have shaped sloping ends each end on one side only as per the diagram in the instructions. If I thin from the front I will lose that sloping end shape. Do you see what I mean ?
-
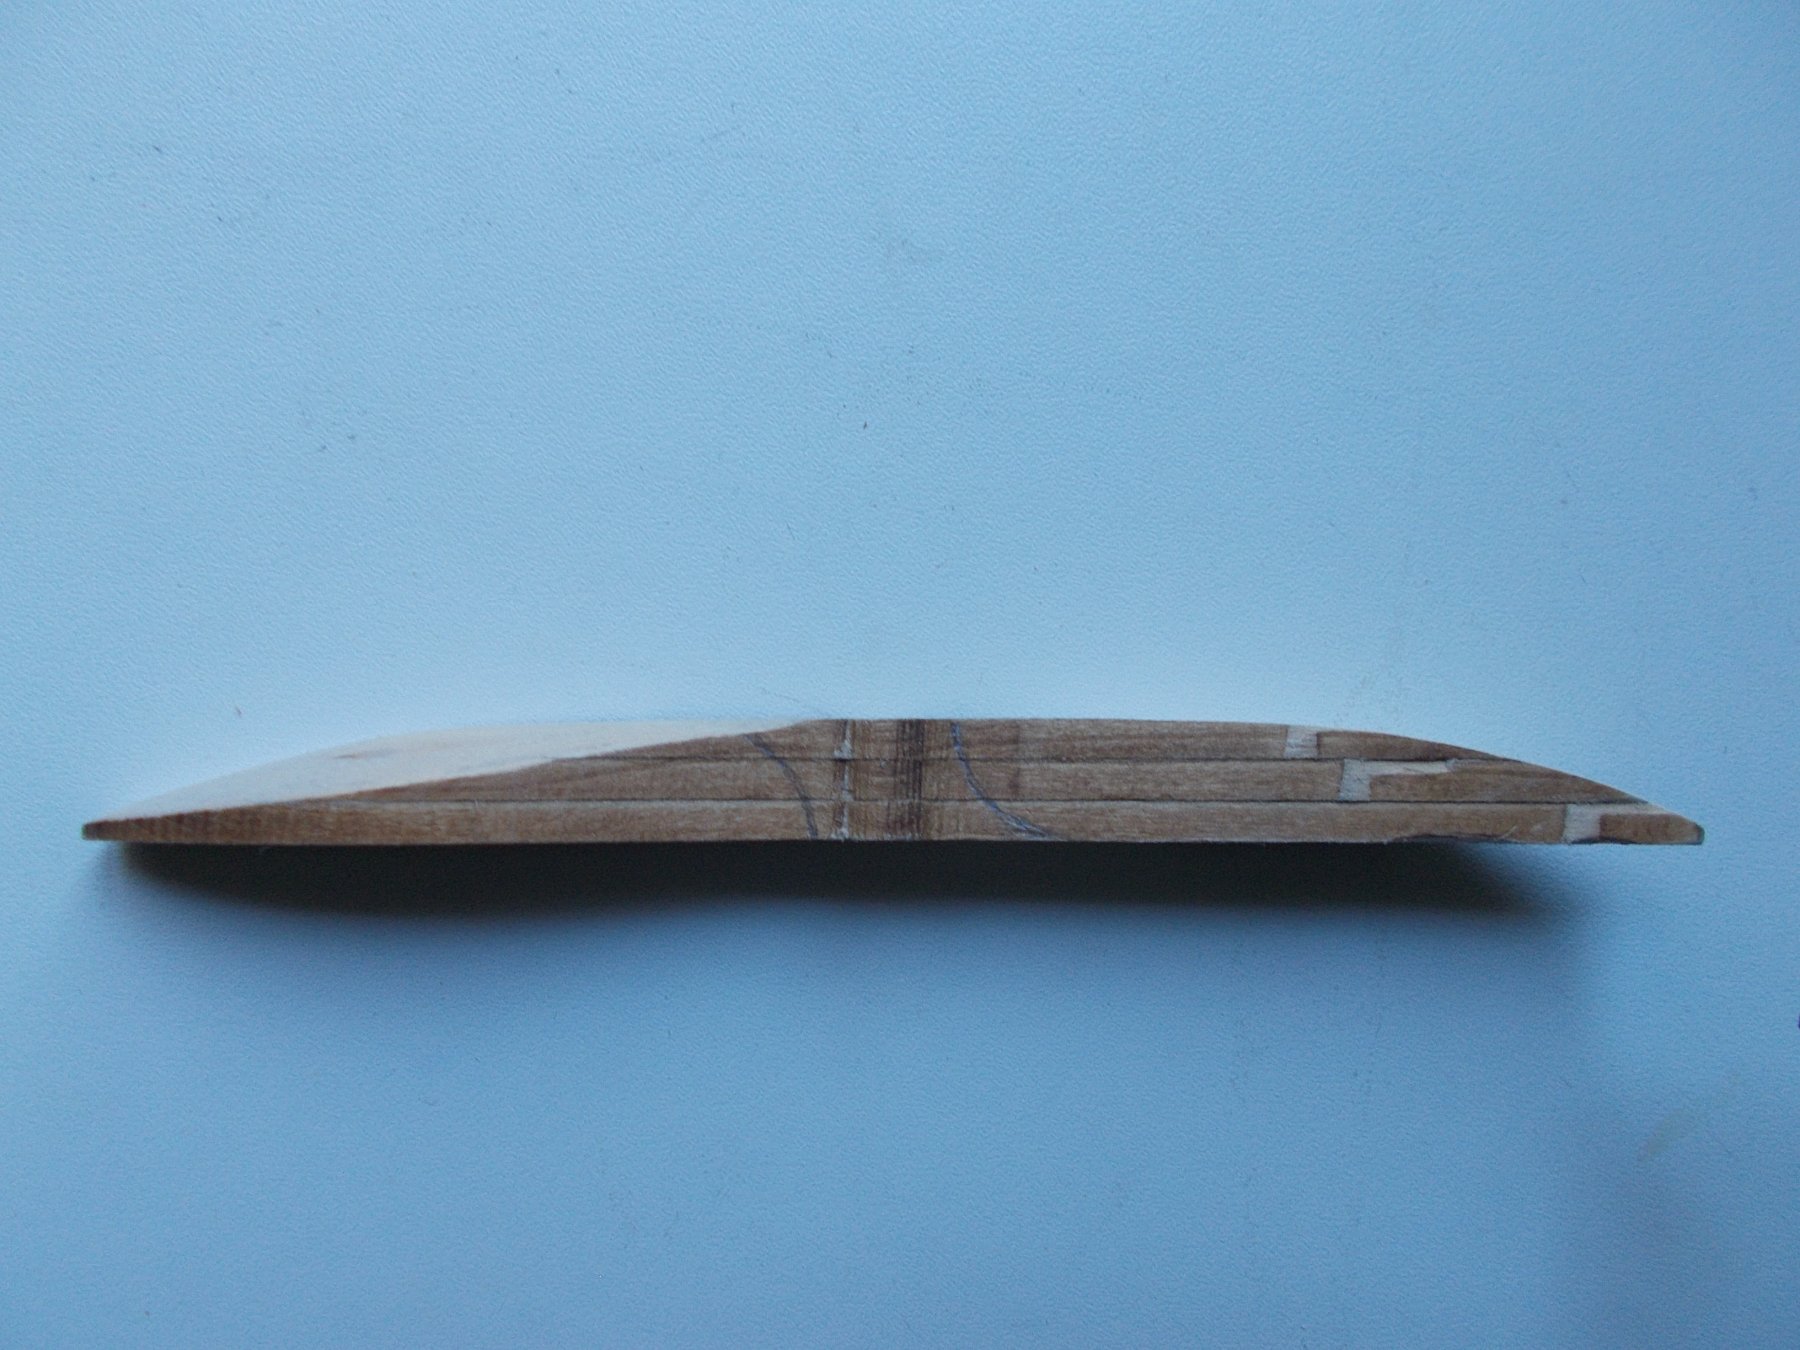
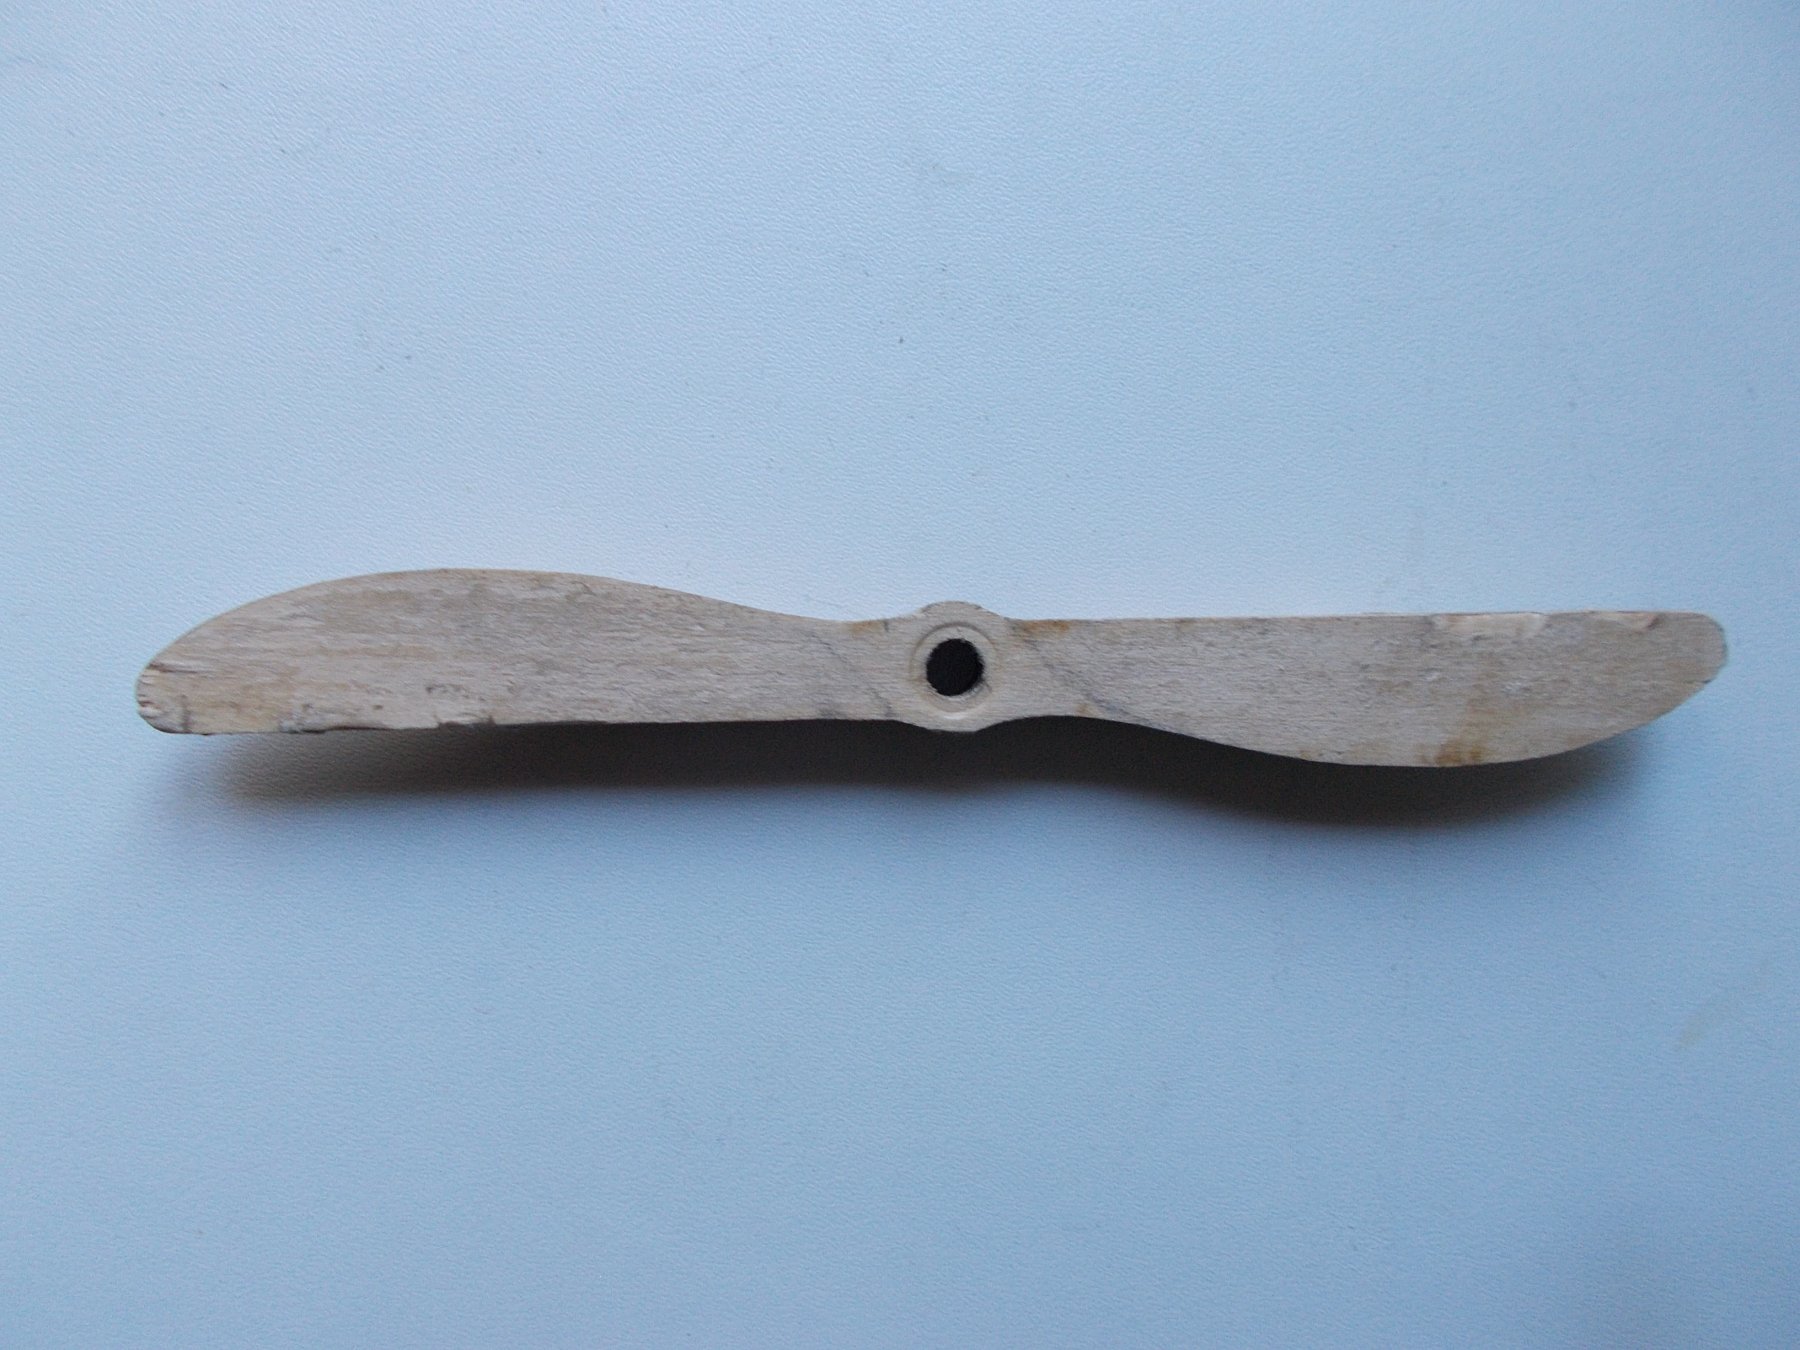
Yes.I wish that as well. I also wish I had an old propeller around to give me the right 3d look and feel. You say the trailing edge should be as thin as poss but is that the straight edge ? If I take a lot more wood off, won't I lose the profile as I have it at the moment ? Or is it just me and I can't see the 2d drawing in 3d ?
-
Thanks John, you are quite right, it is very difficult to explain in words and the pictures only help a small amount, but I do understand the physics if you see what I mean. Ken, your pictures are wonderful but the Sopwith propeller is not quite the same as the ends are not 'tapered' on both sides, only one. Do you both think that I need to take away more wood from the angles I have already started and then turn the prop over and remove wood from the straight side ? That would sort of be the same as I have done on the front but in reverse ? Am I getting this right yet ?
-
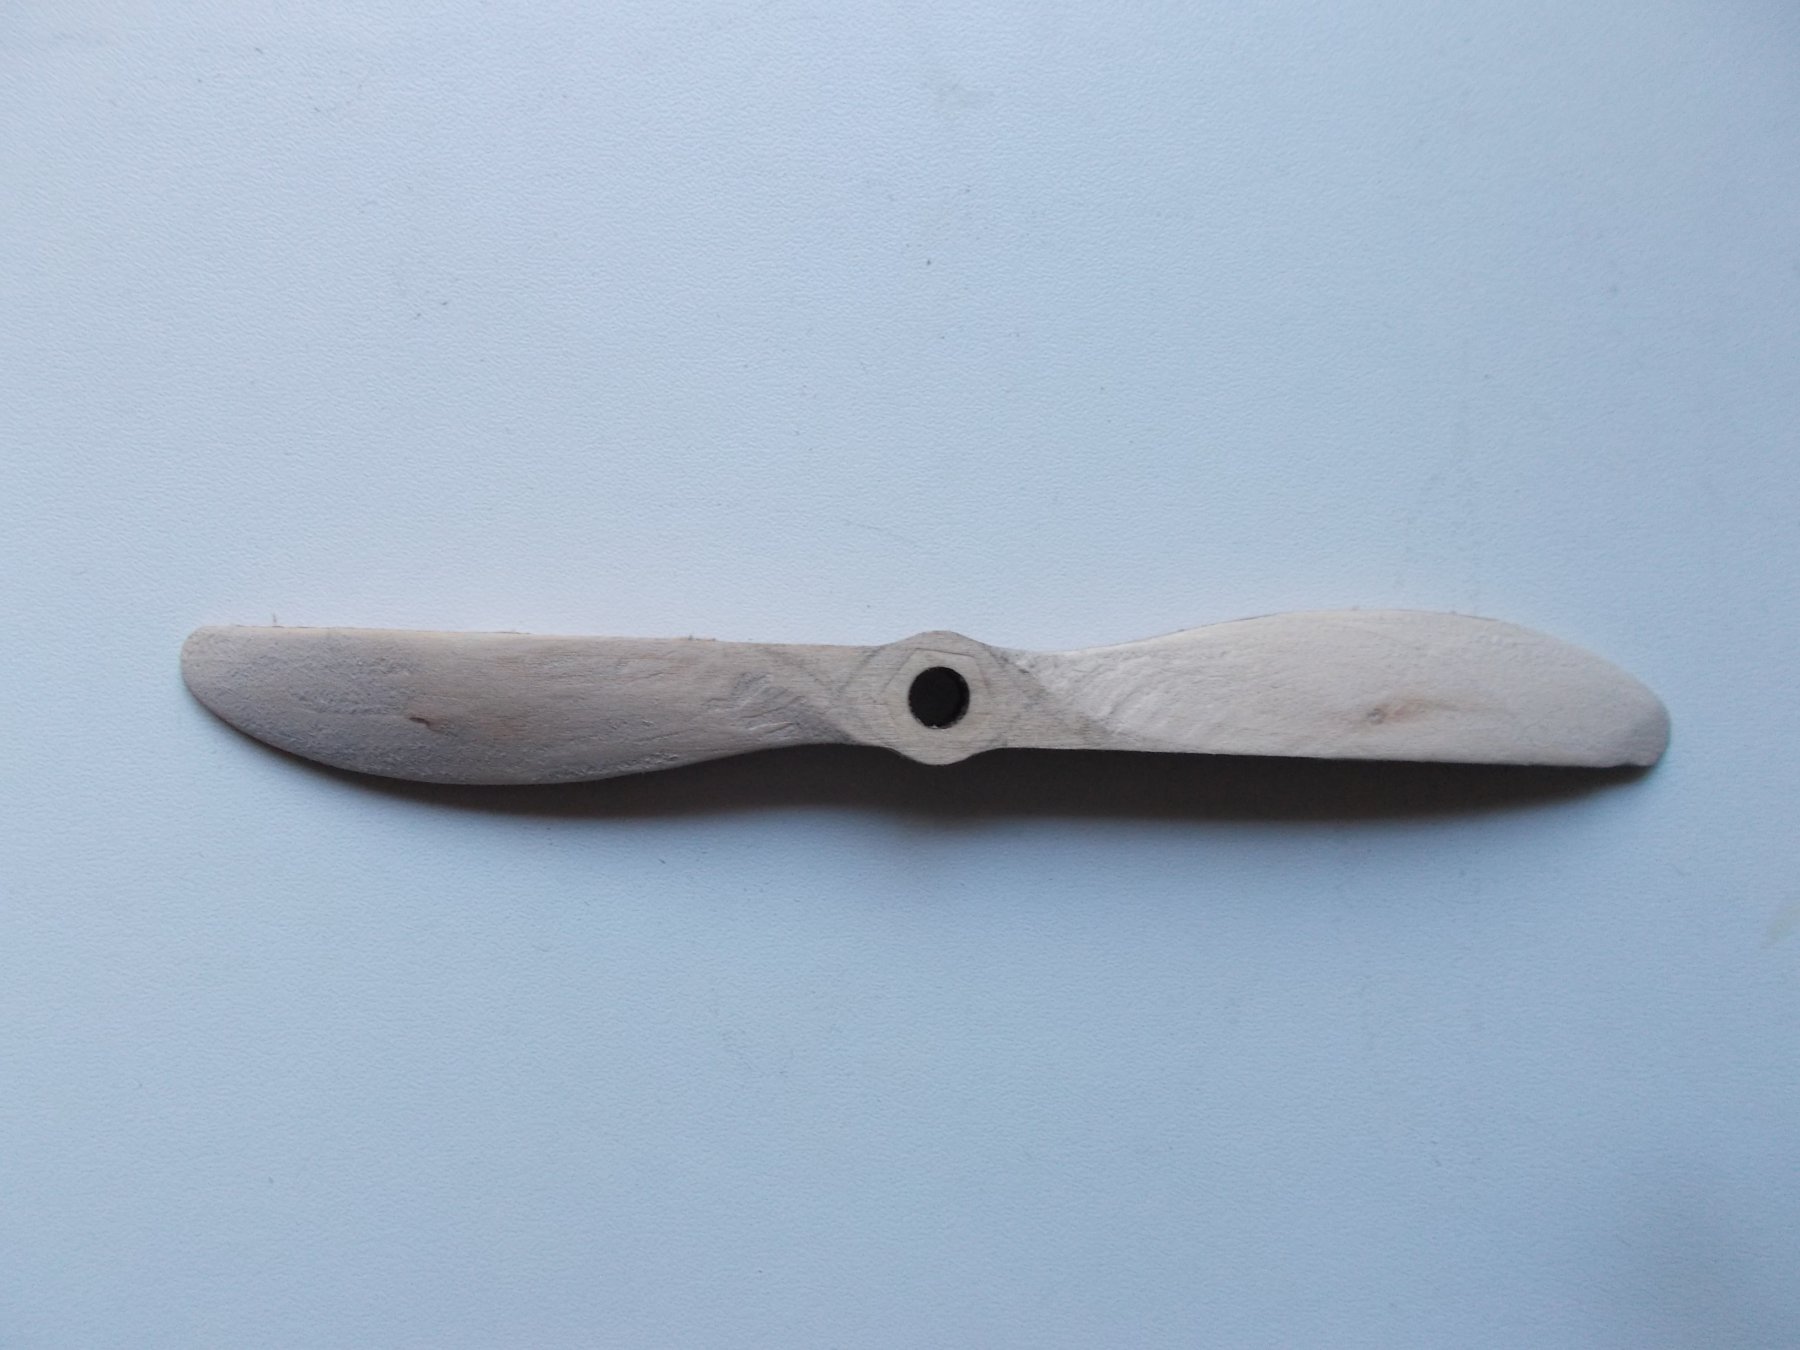
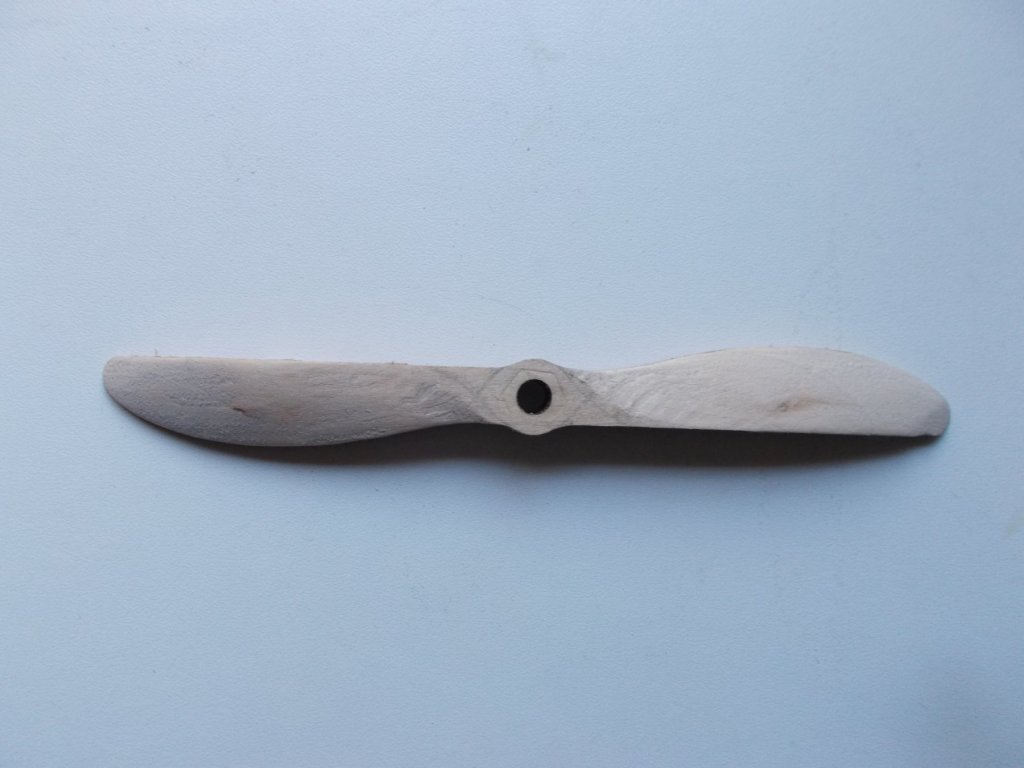
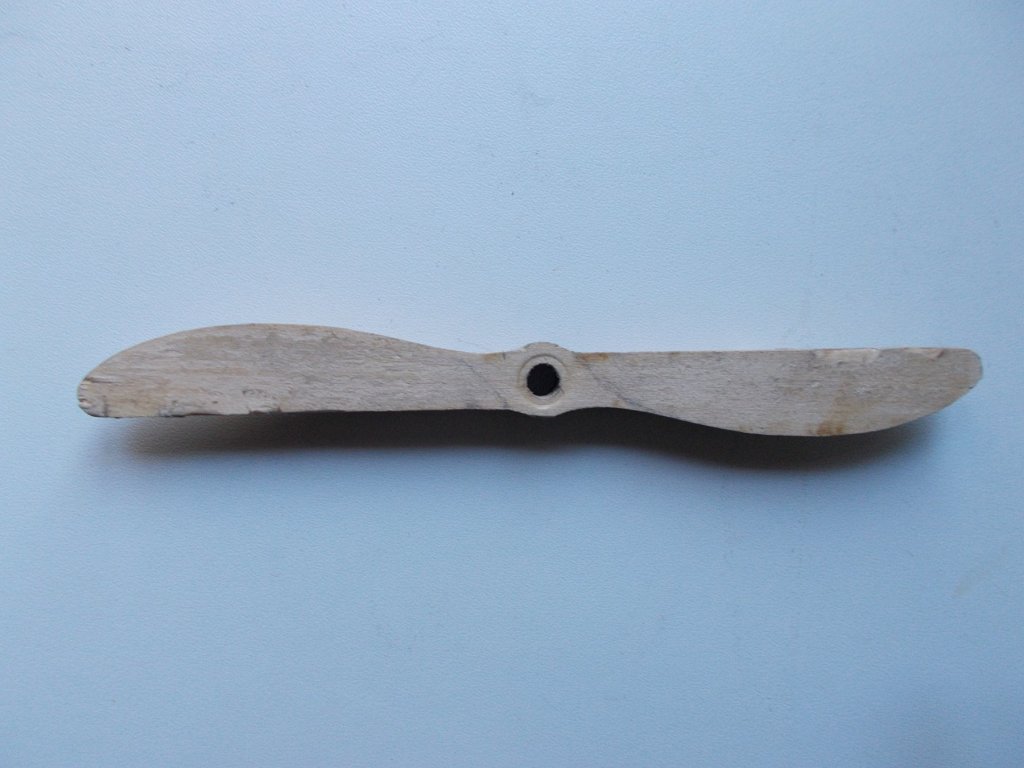
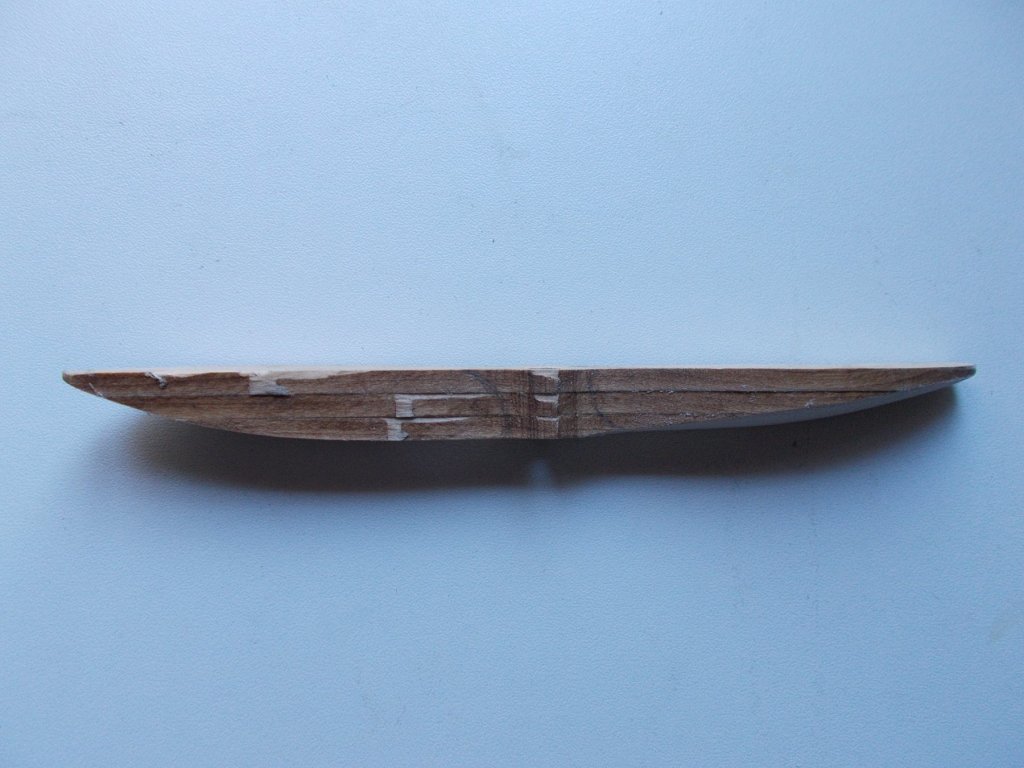
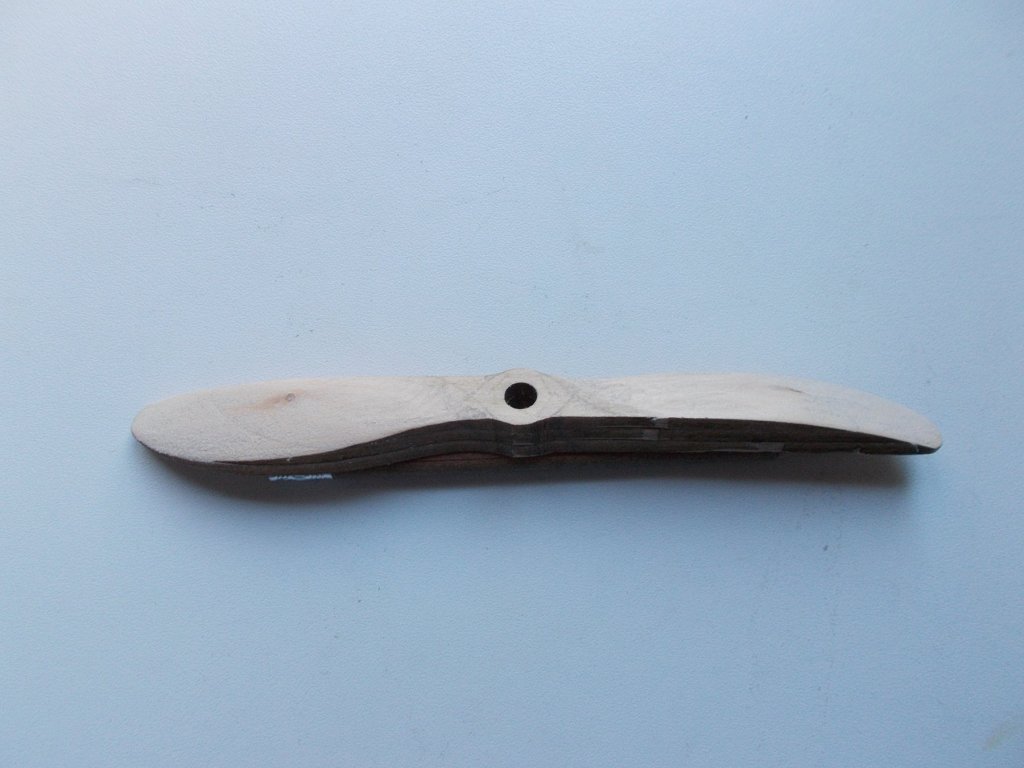
Help !! I have looked at propeller pictures until blue in the face and I still can't figure it out. This is what I have sanded off so far - it is so difficult to show in pics. I have taken one from the front, one side, the back and then the other side and lastly one sort of sideways. Can someone please tell me what I should do next ? Ignore my pencil marks as they are probably wrong.

-
I know what you mean John, and I thought ships were difficult !!
-
After a while (!!!!) all the spars have been capped. What a job !! And I didn't break any.

- 138 replies
-
- 11
-

-
Thank you so much John - a great help.
-
John, Could you be a real pal and send me some pics of your propeller from the front and both sides ? I glued mine together wrong first time and had to soak it for ages before I could get it apart to do again !!
-
Thanks again, I thought you might have done that !
-
That's great John - thank you. I will see what I can manage. One other thought -when you did your rib caps - did you use PVA or CA ? I realise it is a real labour doing all those, I'll bet you were glad to finish them !!!
-
John, Any tips on how to get the propeller propeller shaped ? The view from above I can do but how on earth did you do the sides ? Did you have another one to work from ?
-
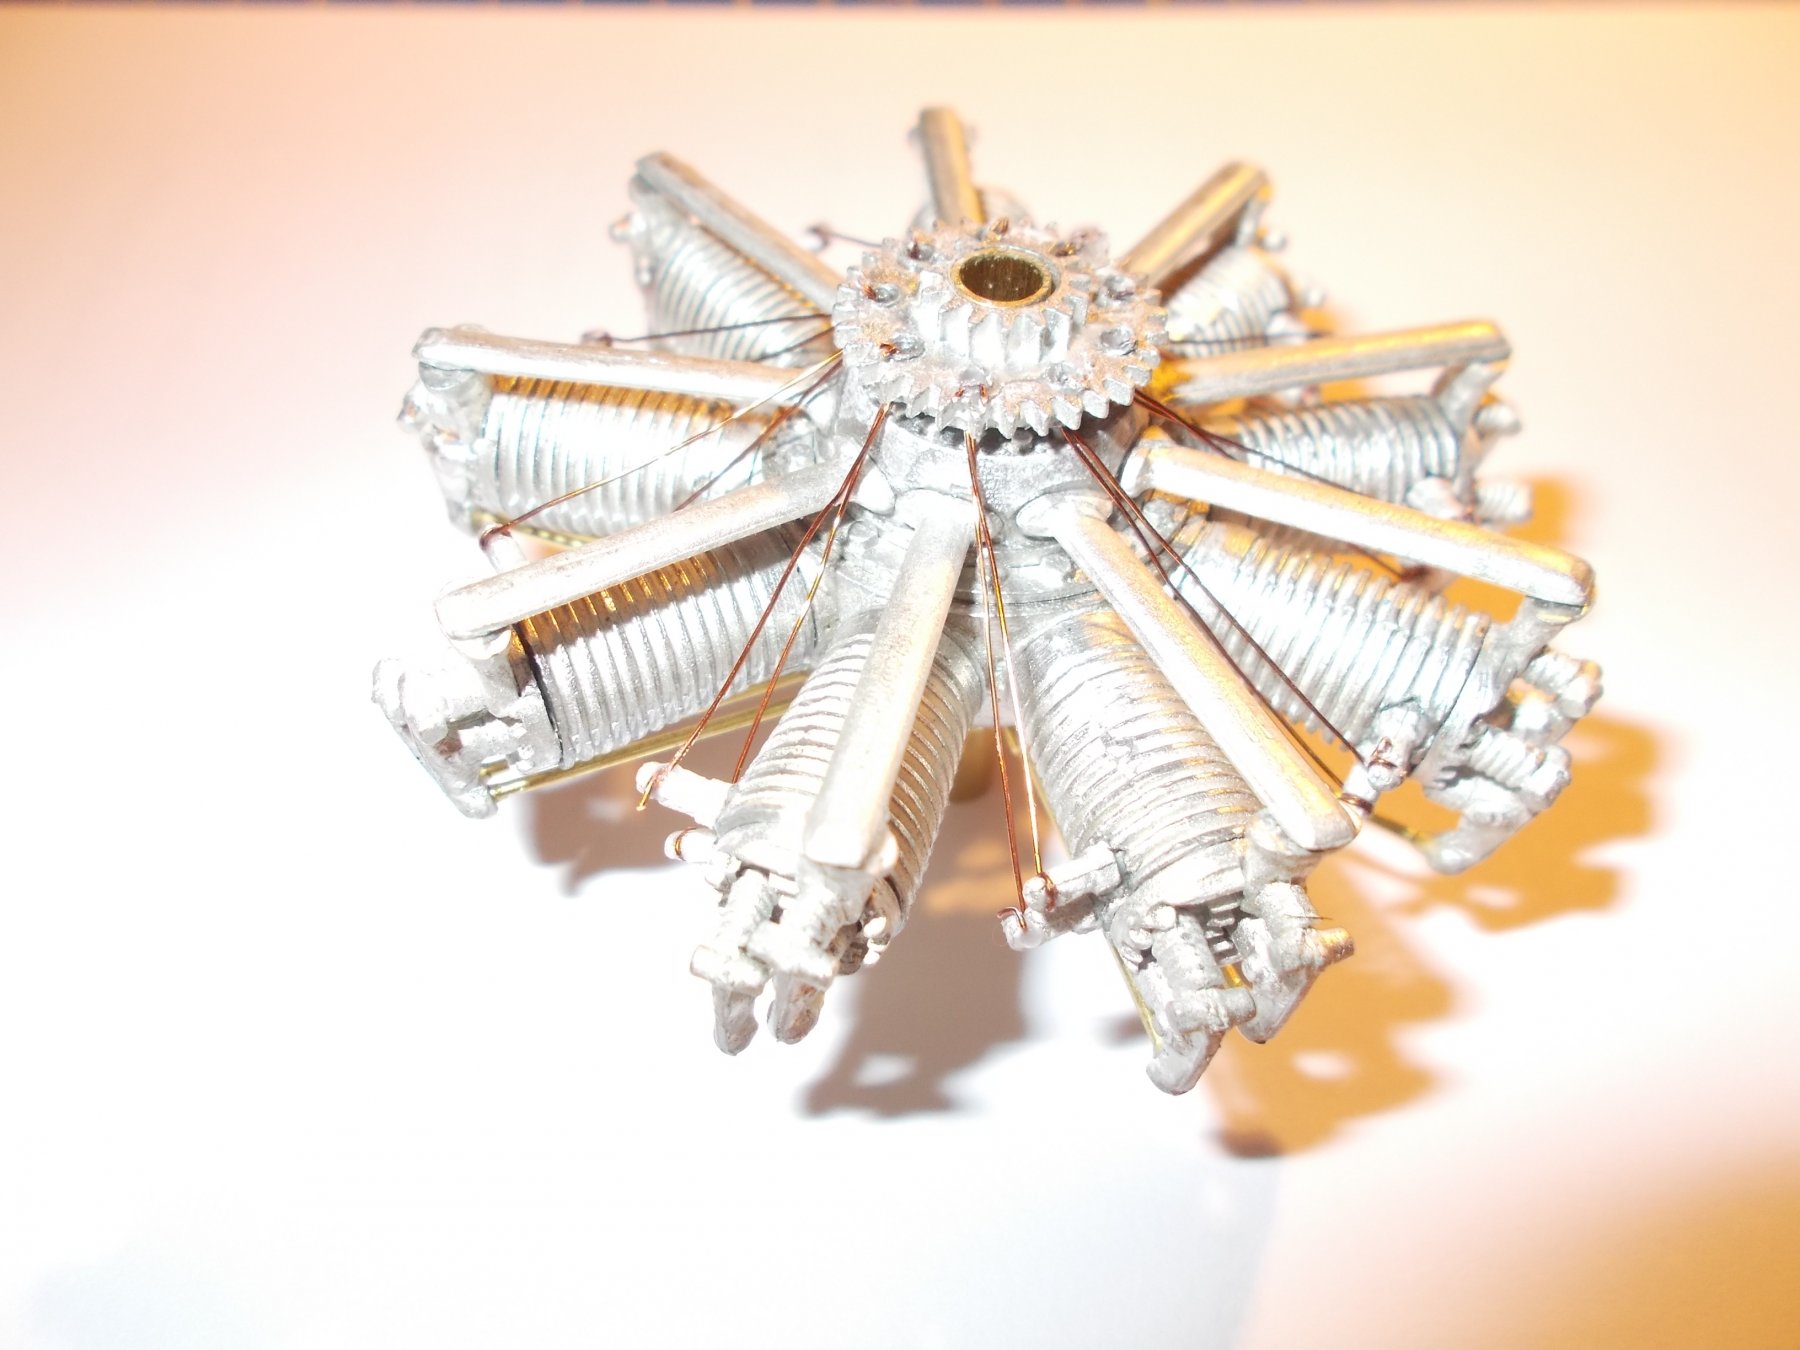
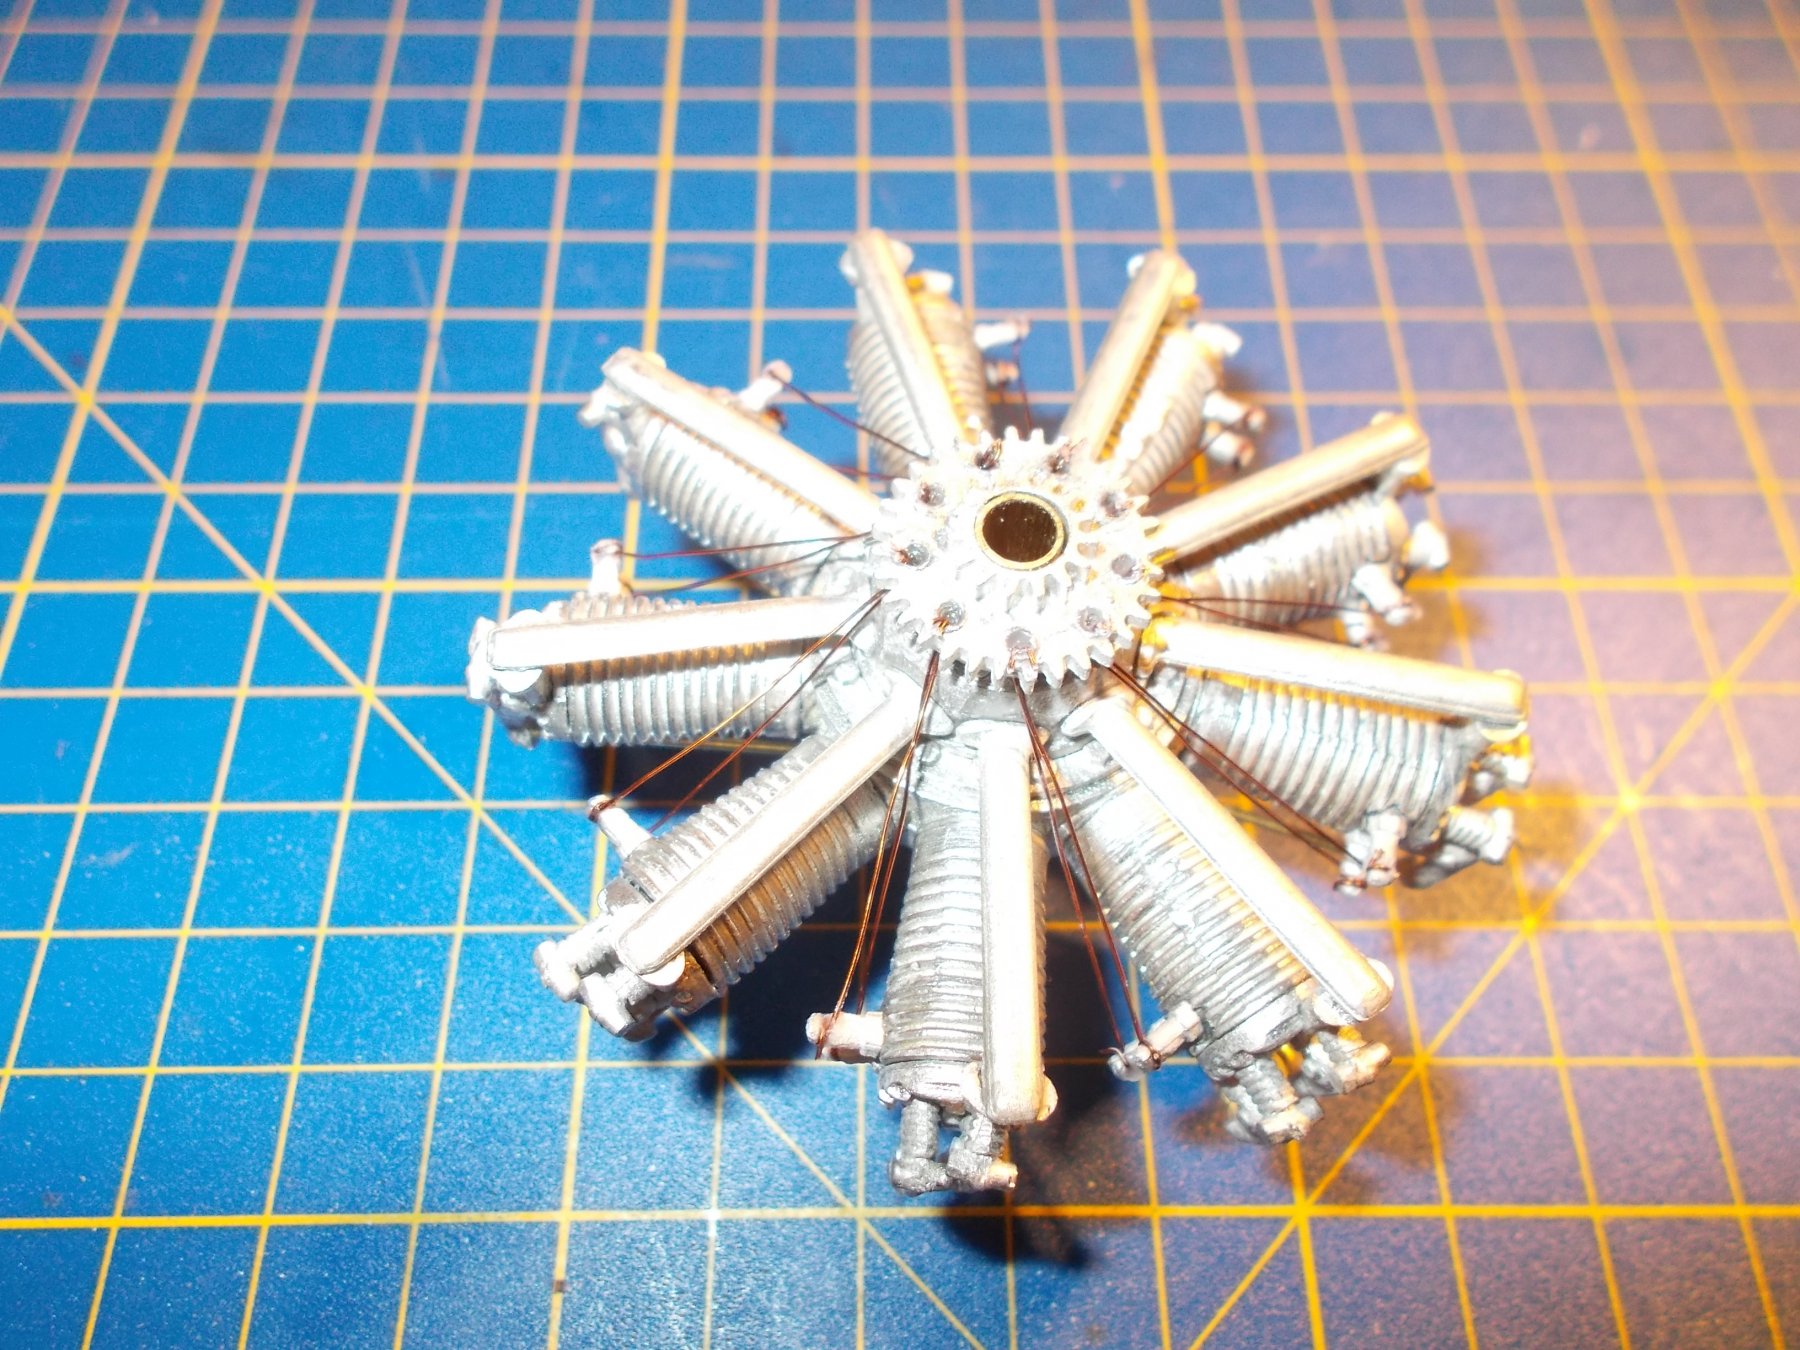
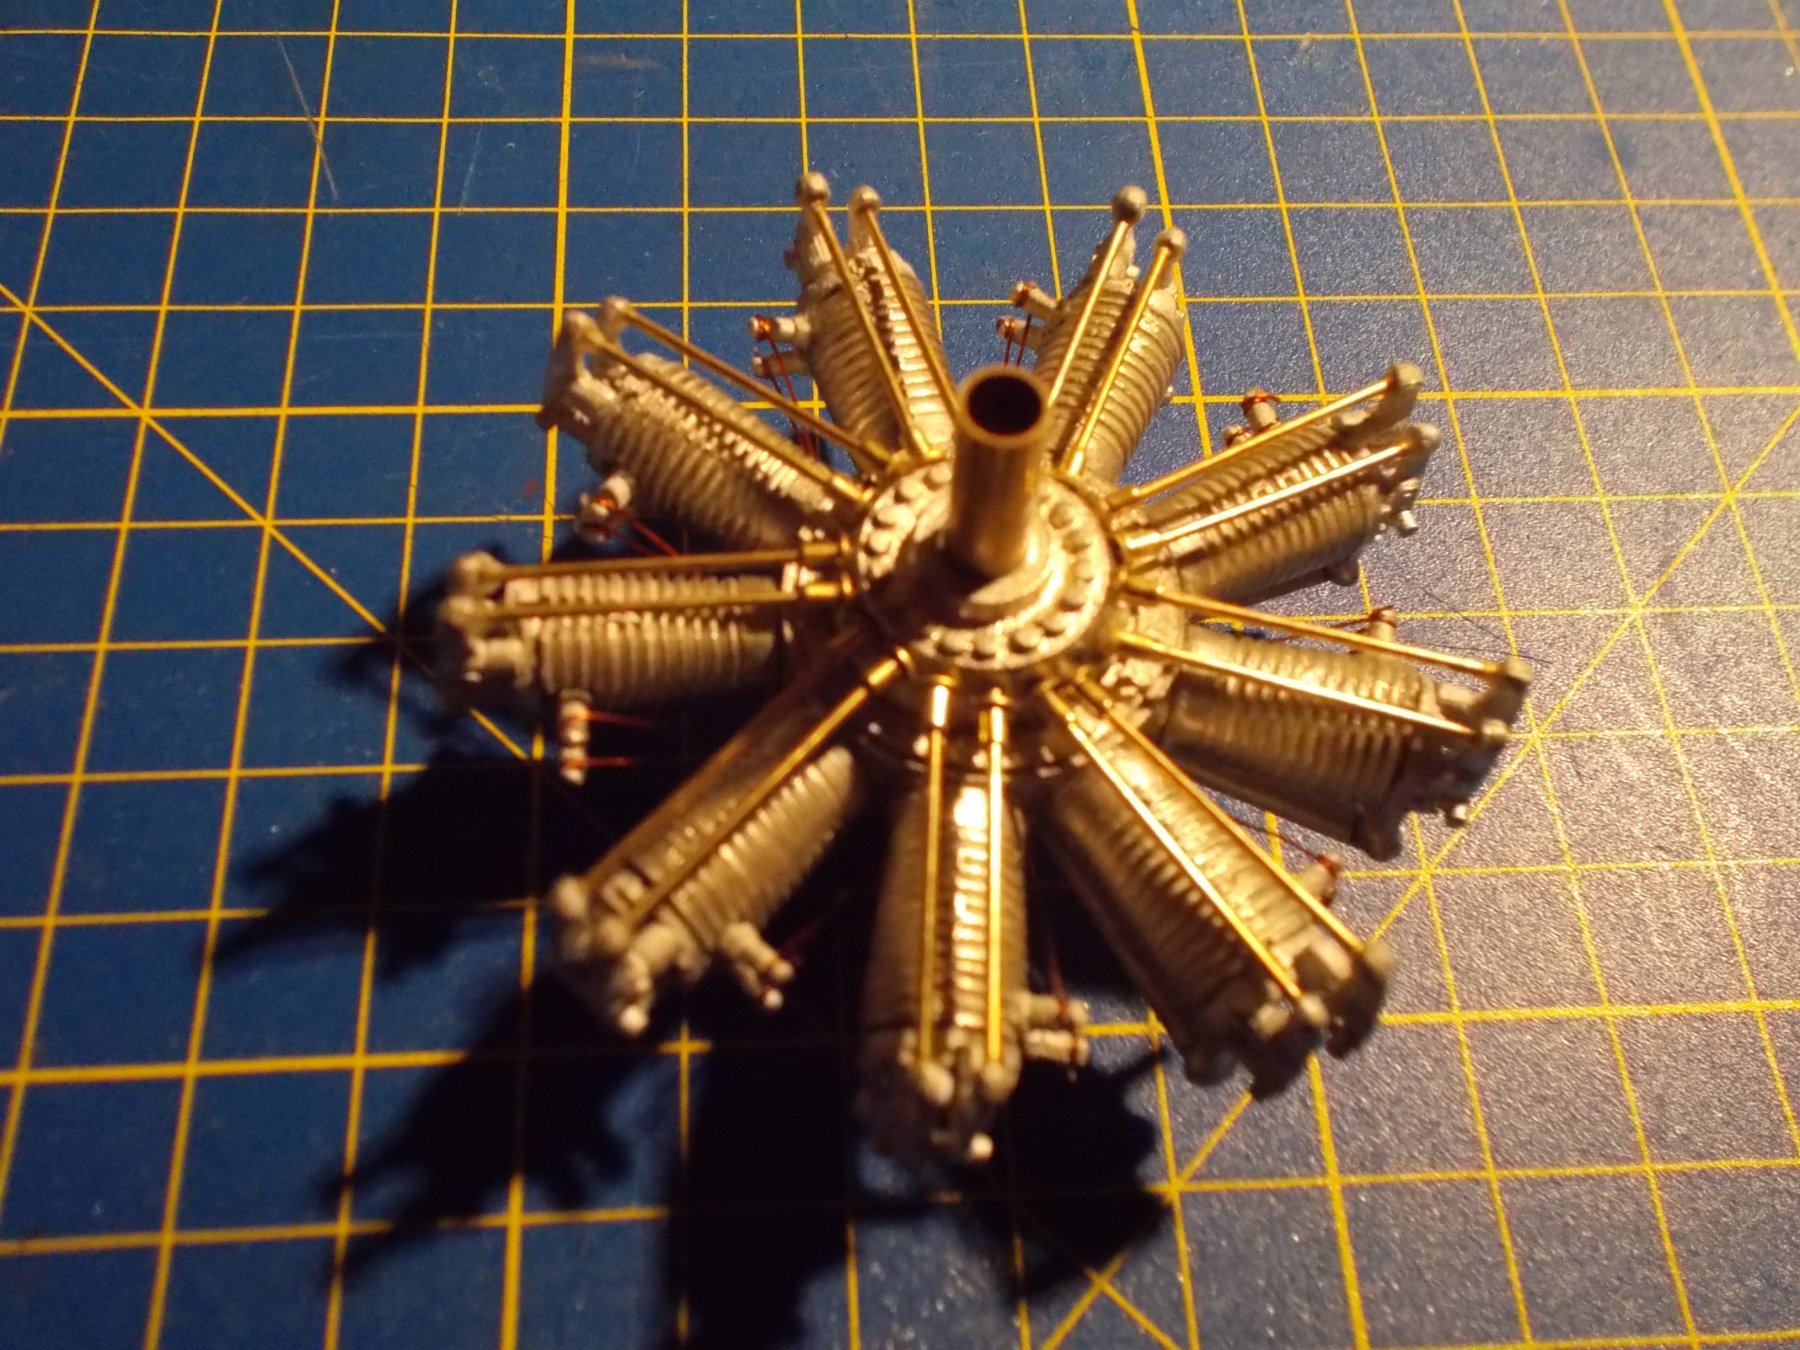
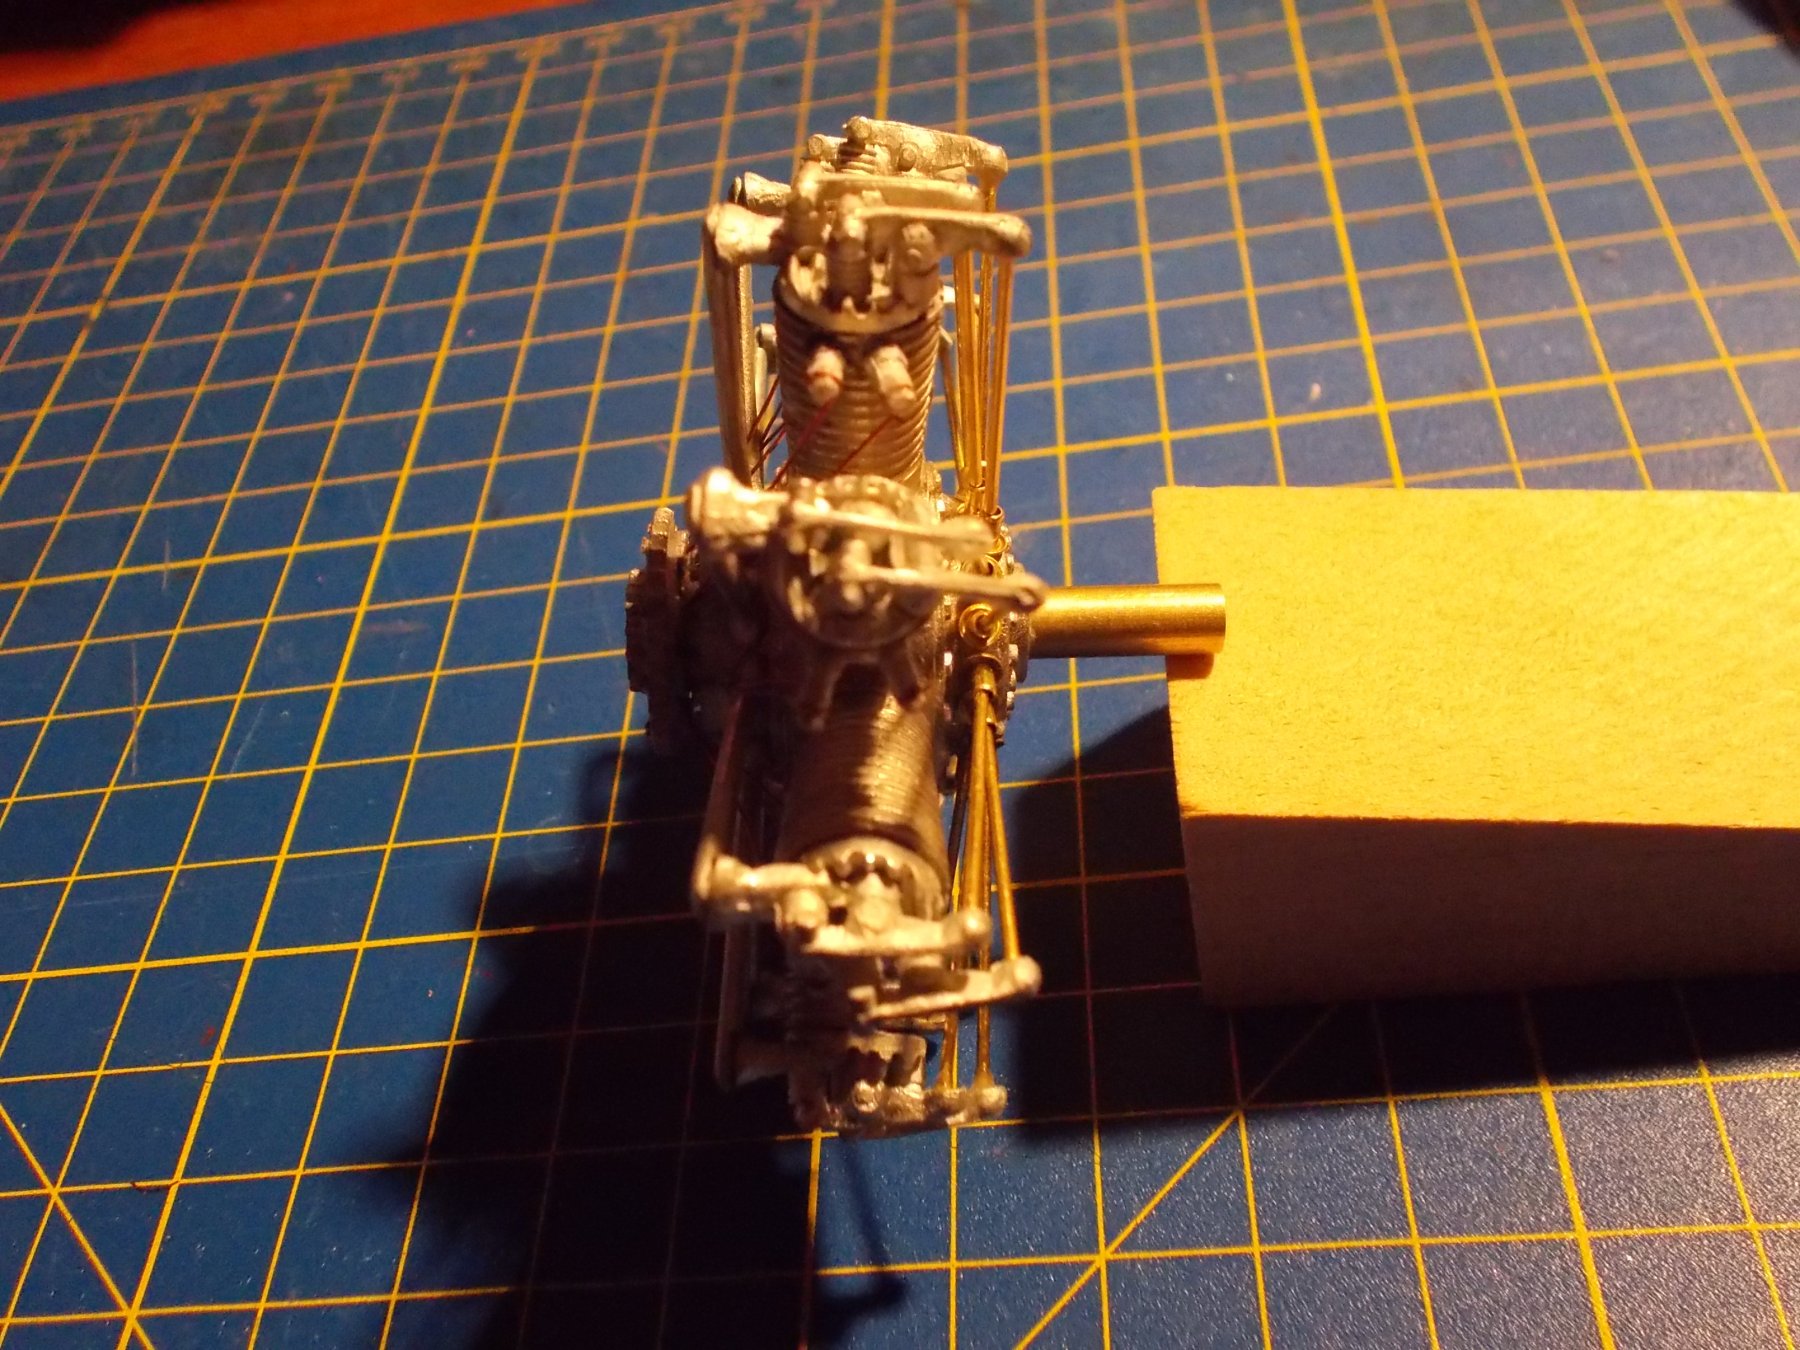
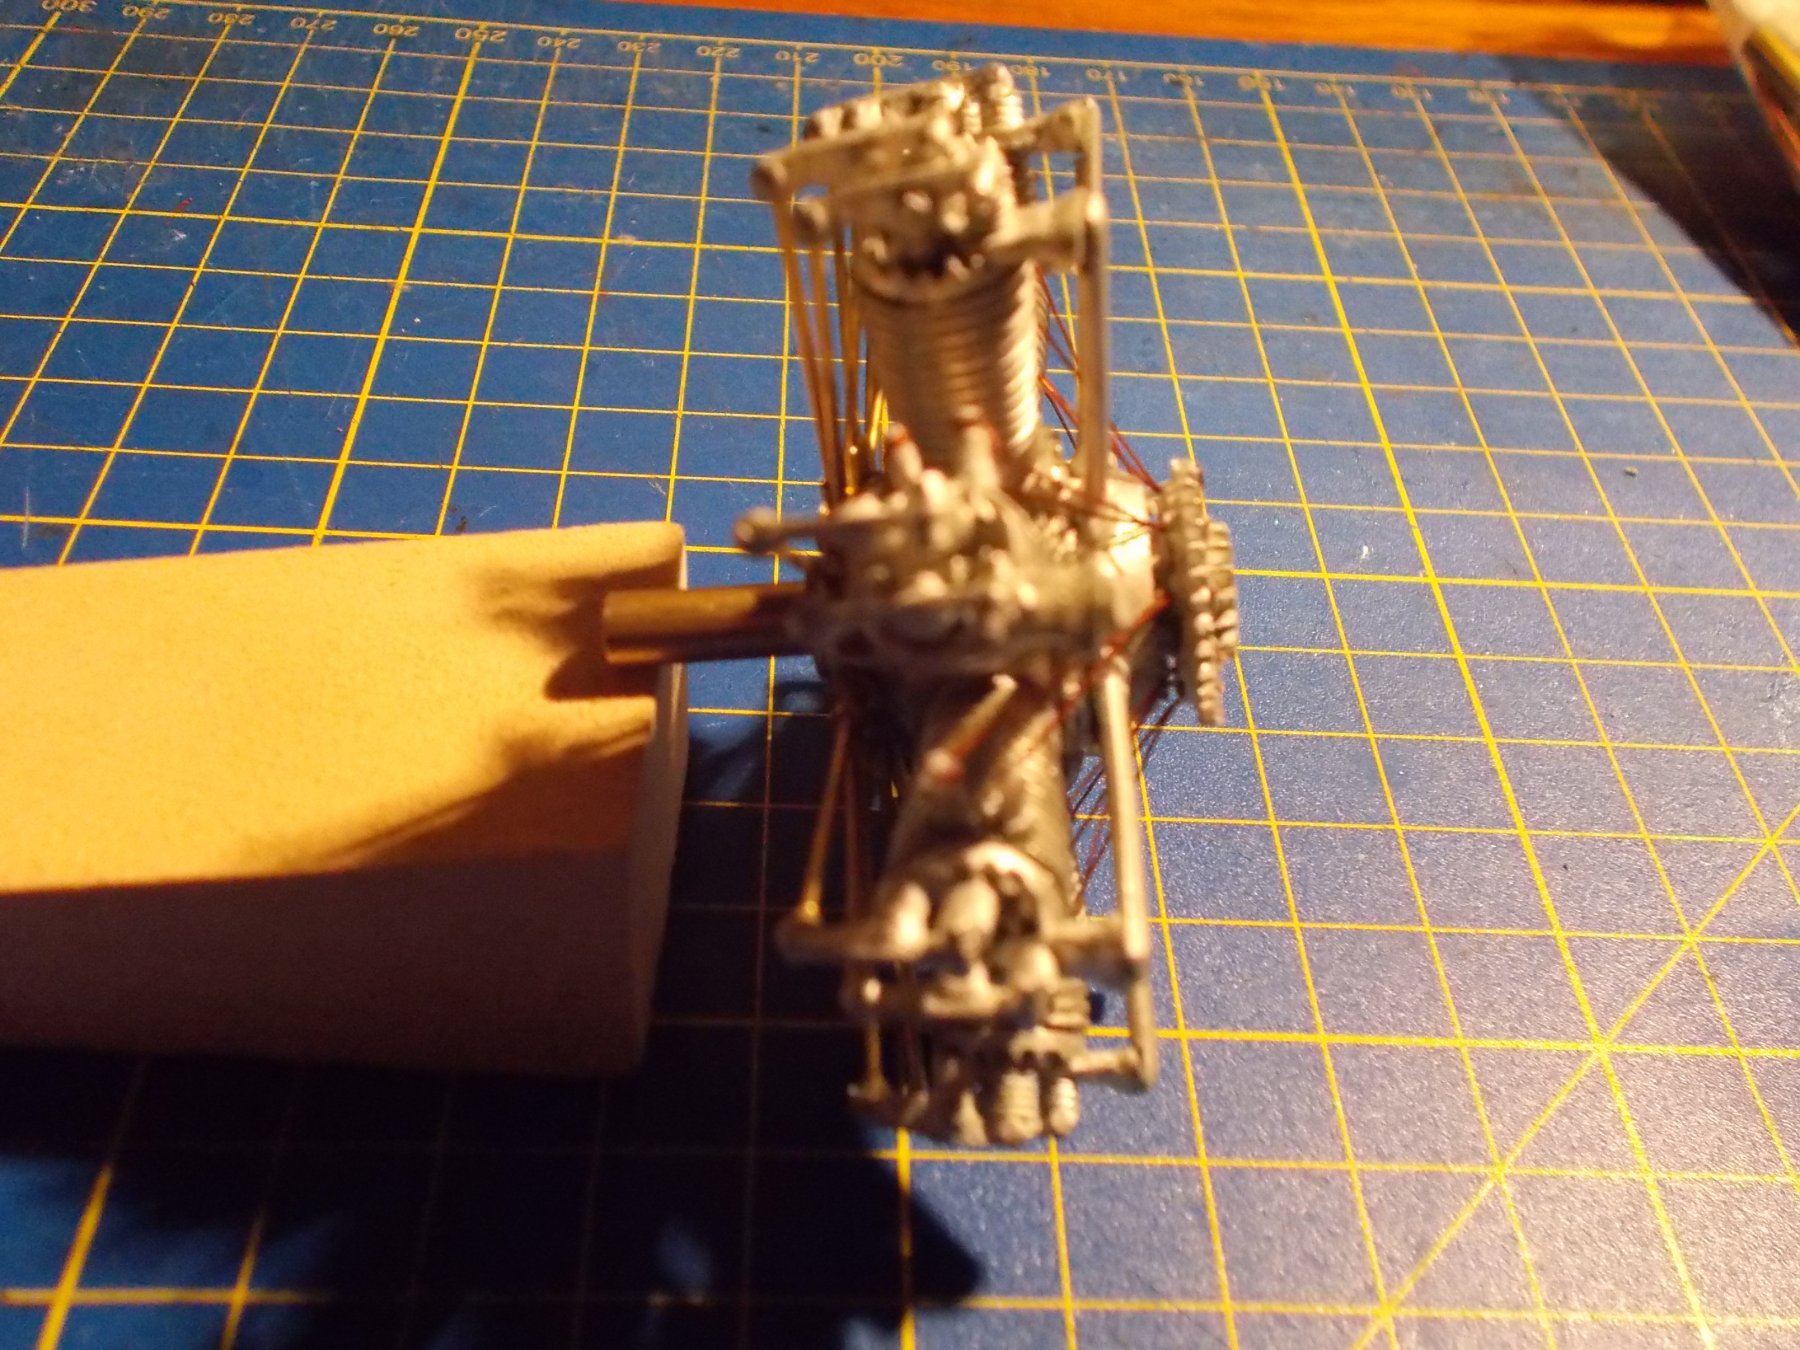
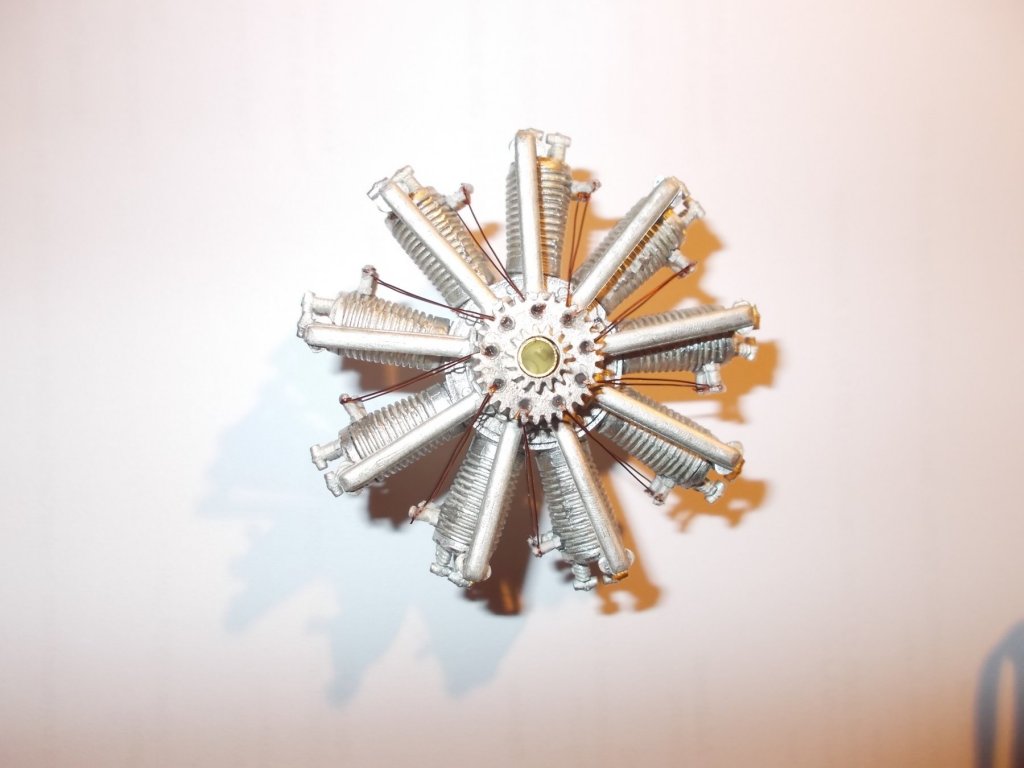
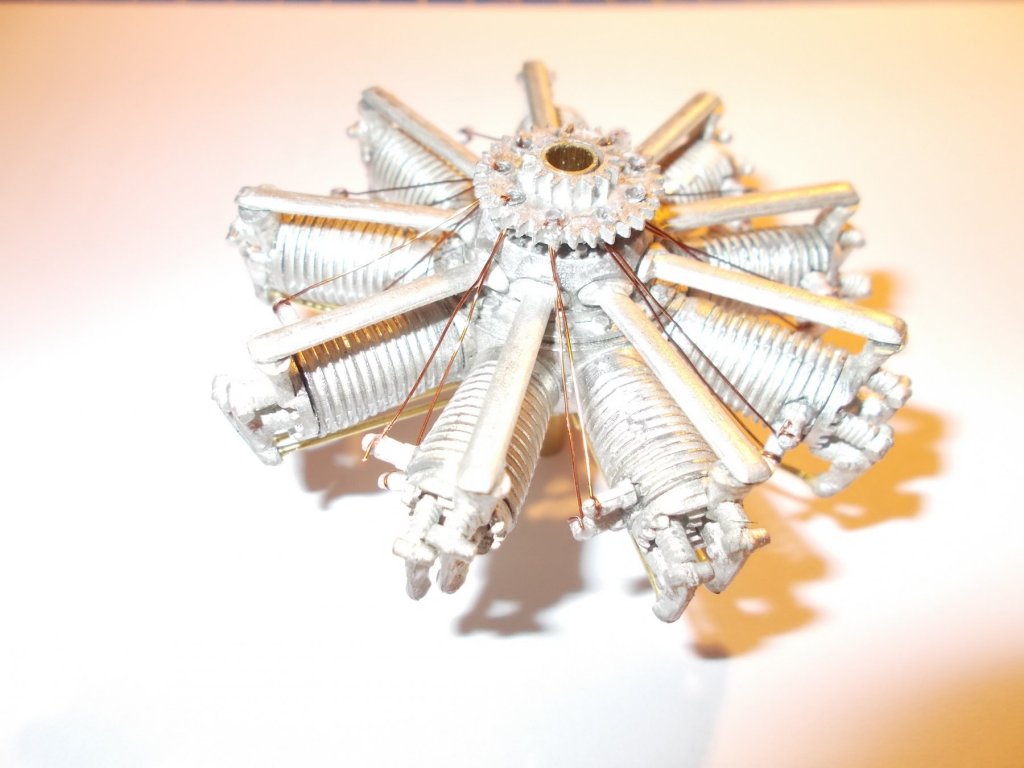
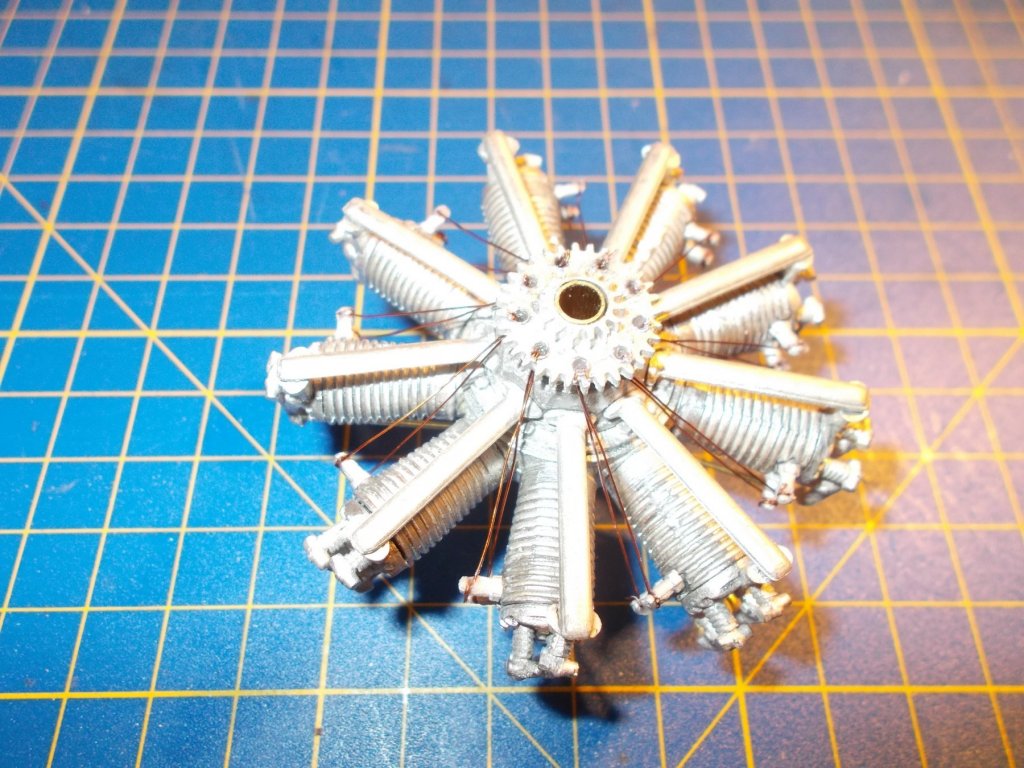
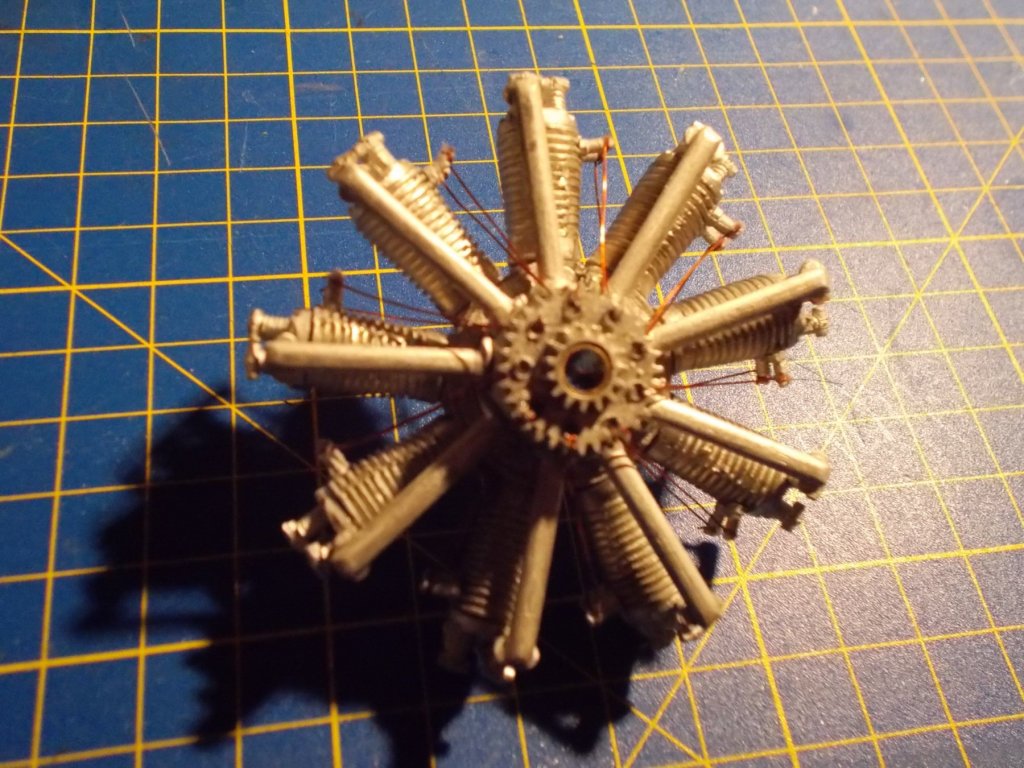
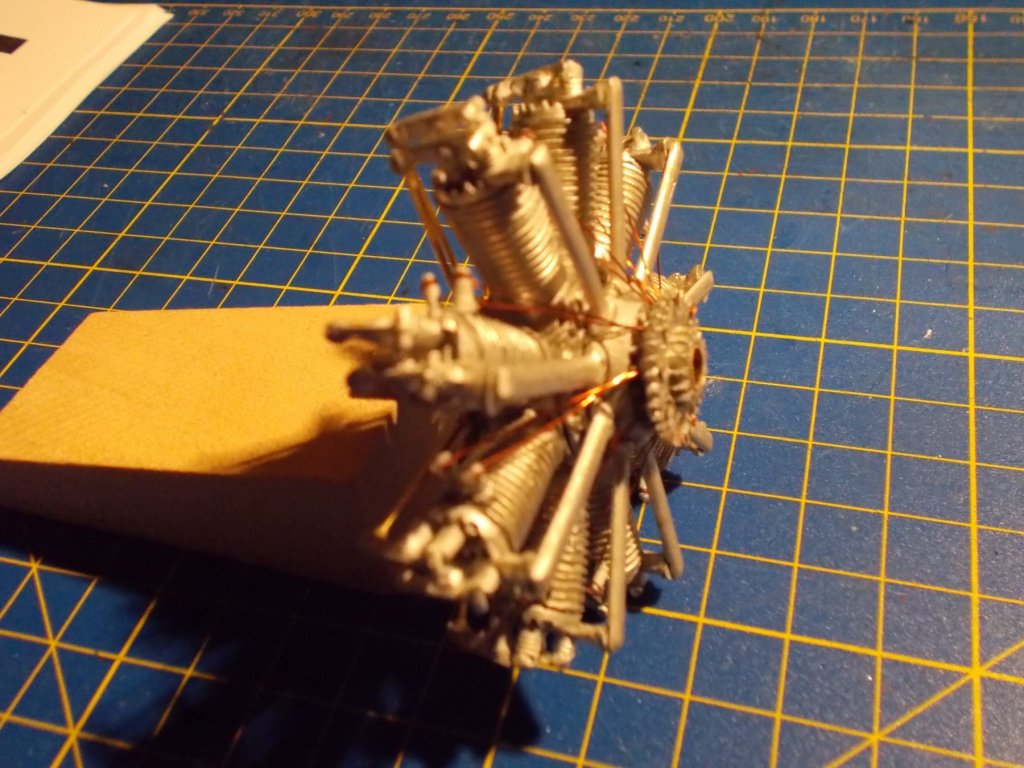
Well folks, I have completed stage one and built the engine. I can't believe something so small is made up of 114 pieces ! Yes I am truly sad and counted them ! I did decide not to use thread for the spark plug leads but used thin wire instead. Whether it was a good idea or not I don't know. I am puzzled, not knowing anything about aircraft engines, as to how the beast ran at all. I thought tappets etc on an engine had to be bathed in oil but these would have been exposed. Amazing. Anyway, some pictures for you, sorry they are not very good but you should get the idea.


- 138 replies
-
- 10
-
-
Hi John, thanks so much for joining in - I am going to need you !!! I have spent the afternoon cleaning up all the swarf etc from the engine pieces, they are not the most brilliant castings I have seen. I have also polished them to remove the coating on them so that I hope they will glue OK. I will have a go with CA as otherwise I can see myself mixing epoxy batches forever. Good start - my new Dremel packed up just after I started, lucky I have a silverline version as well !
-
Thanks John about the glue, I would send you a link to my log but I don't know how to do it.
-
Hey John, I have started a build log of my own if you are interested but I have a question for you already !! Starting on the engine, did you manage to glue most of the parts with CA or did you have to use epoxy ? I can't think that you managed to do the small bits with epoxy ?
-
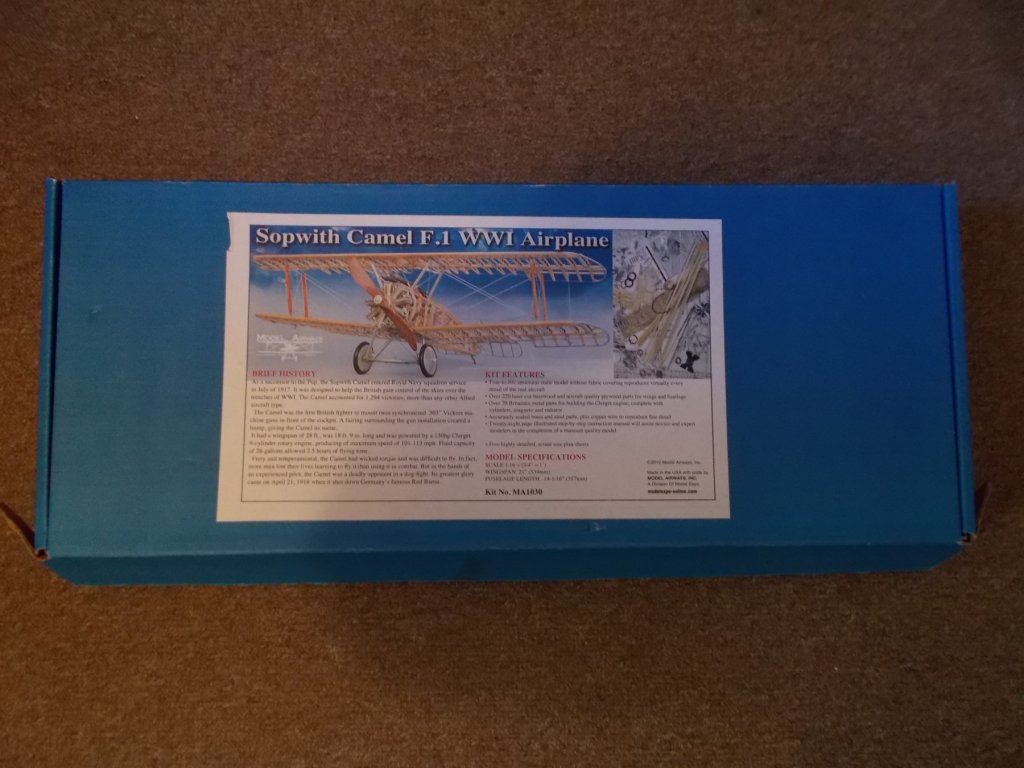
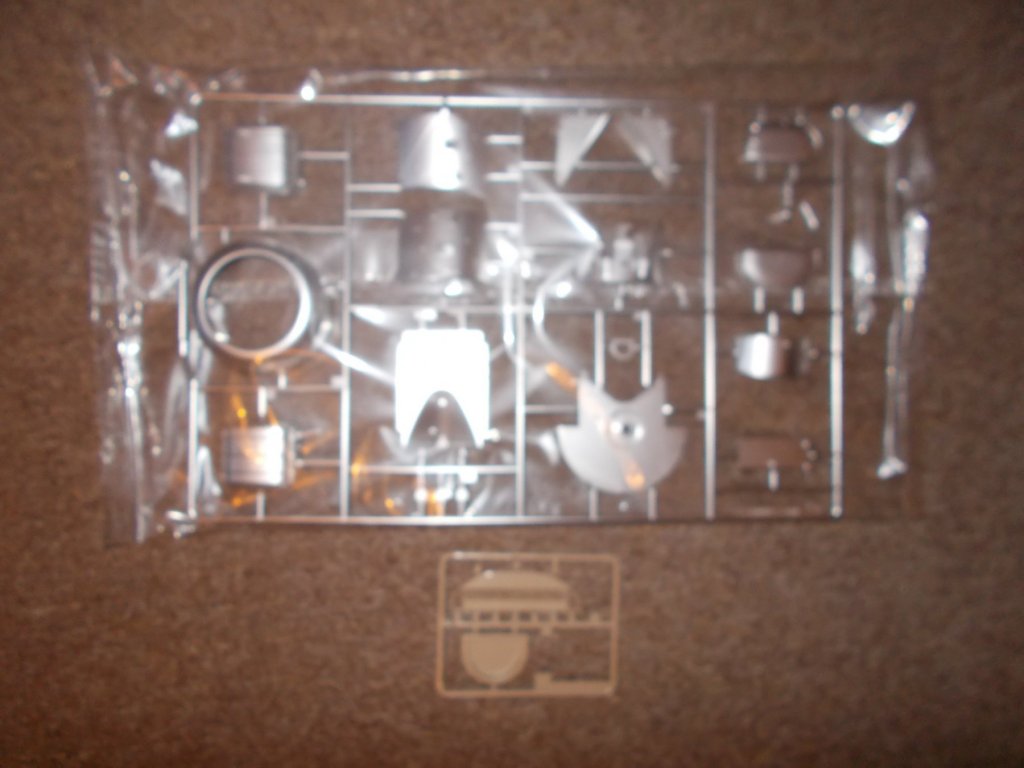
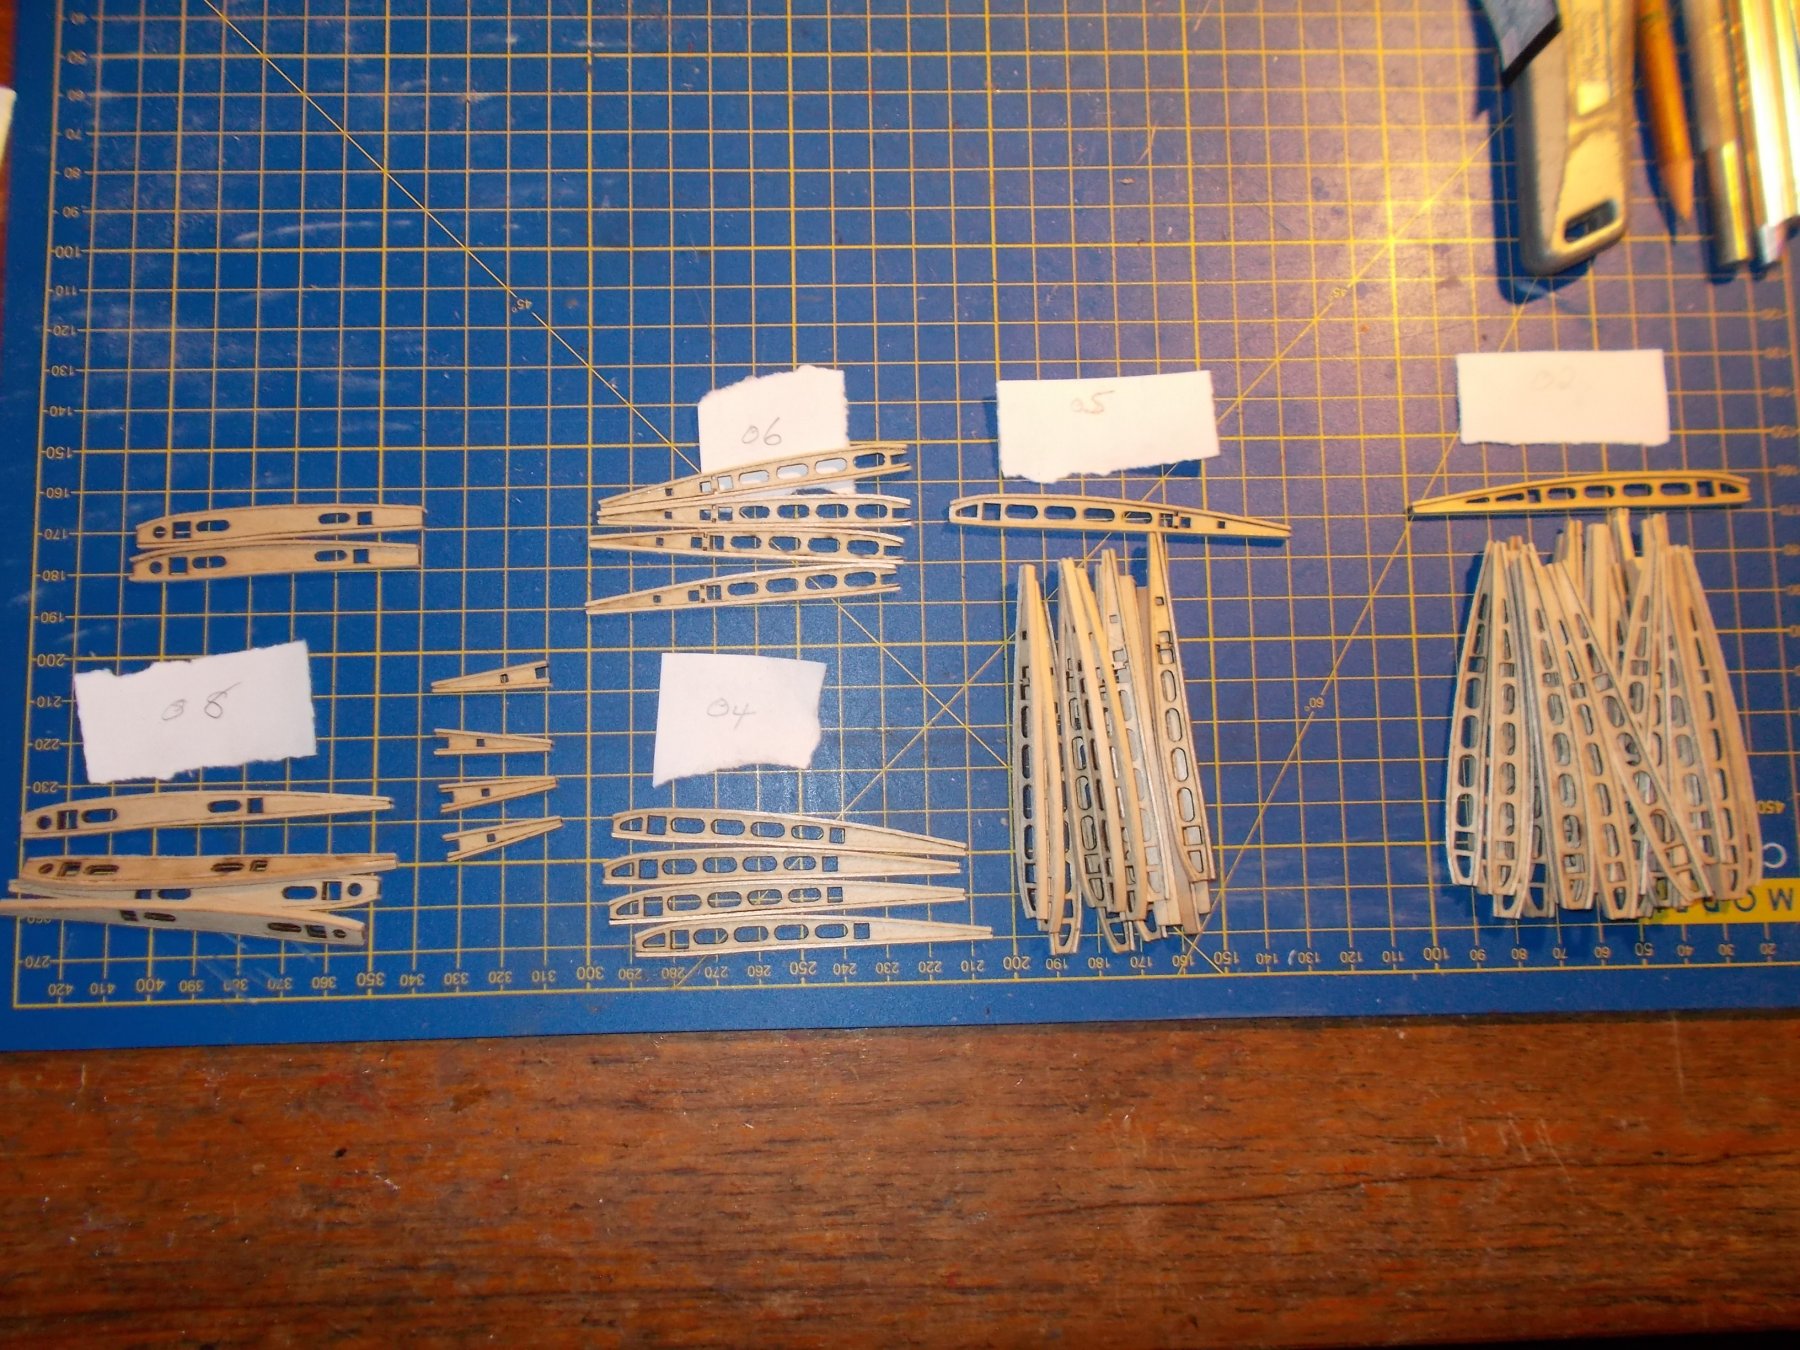
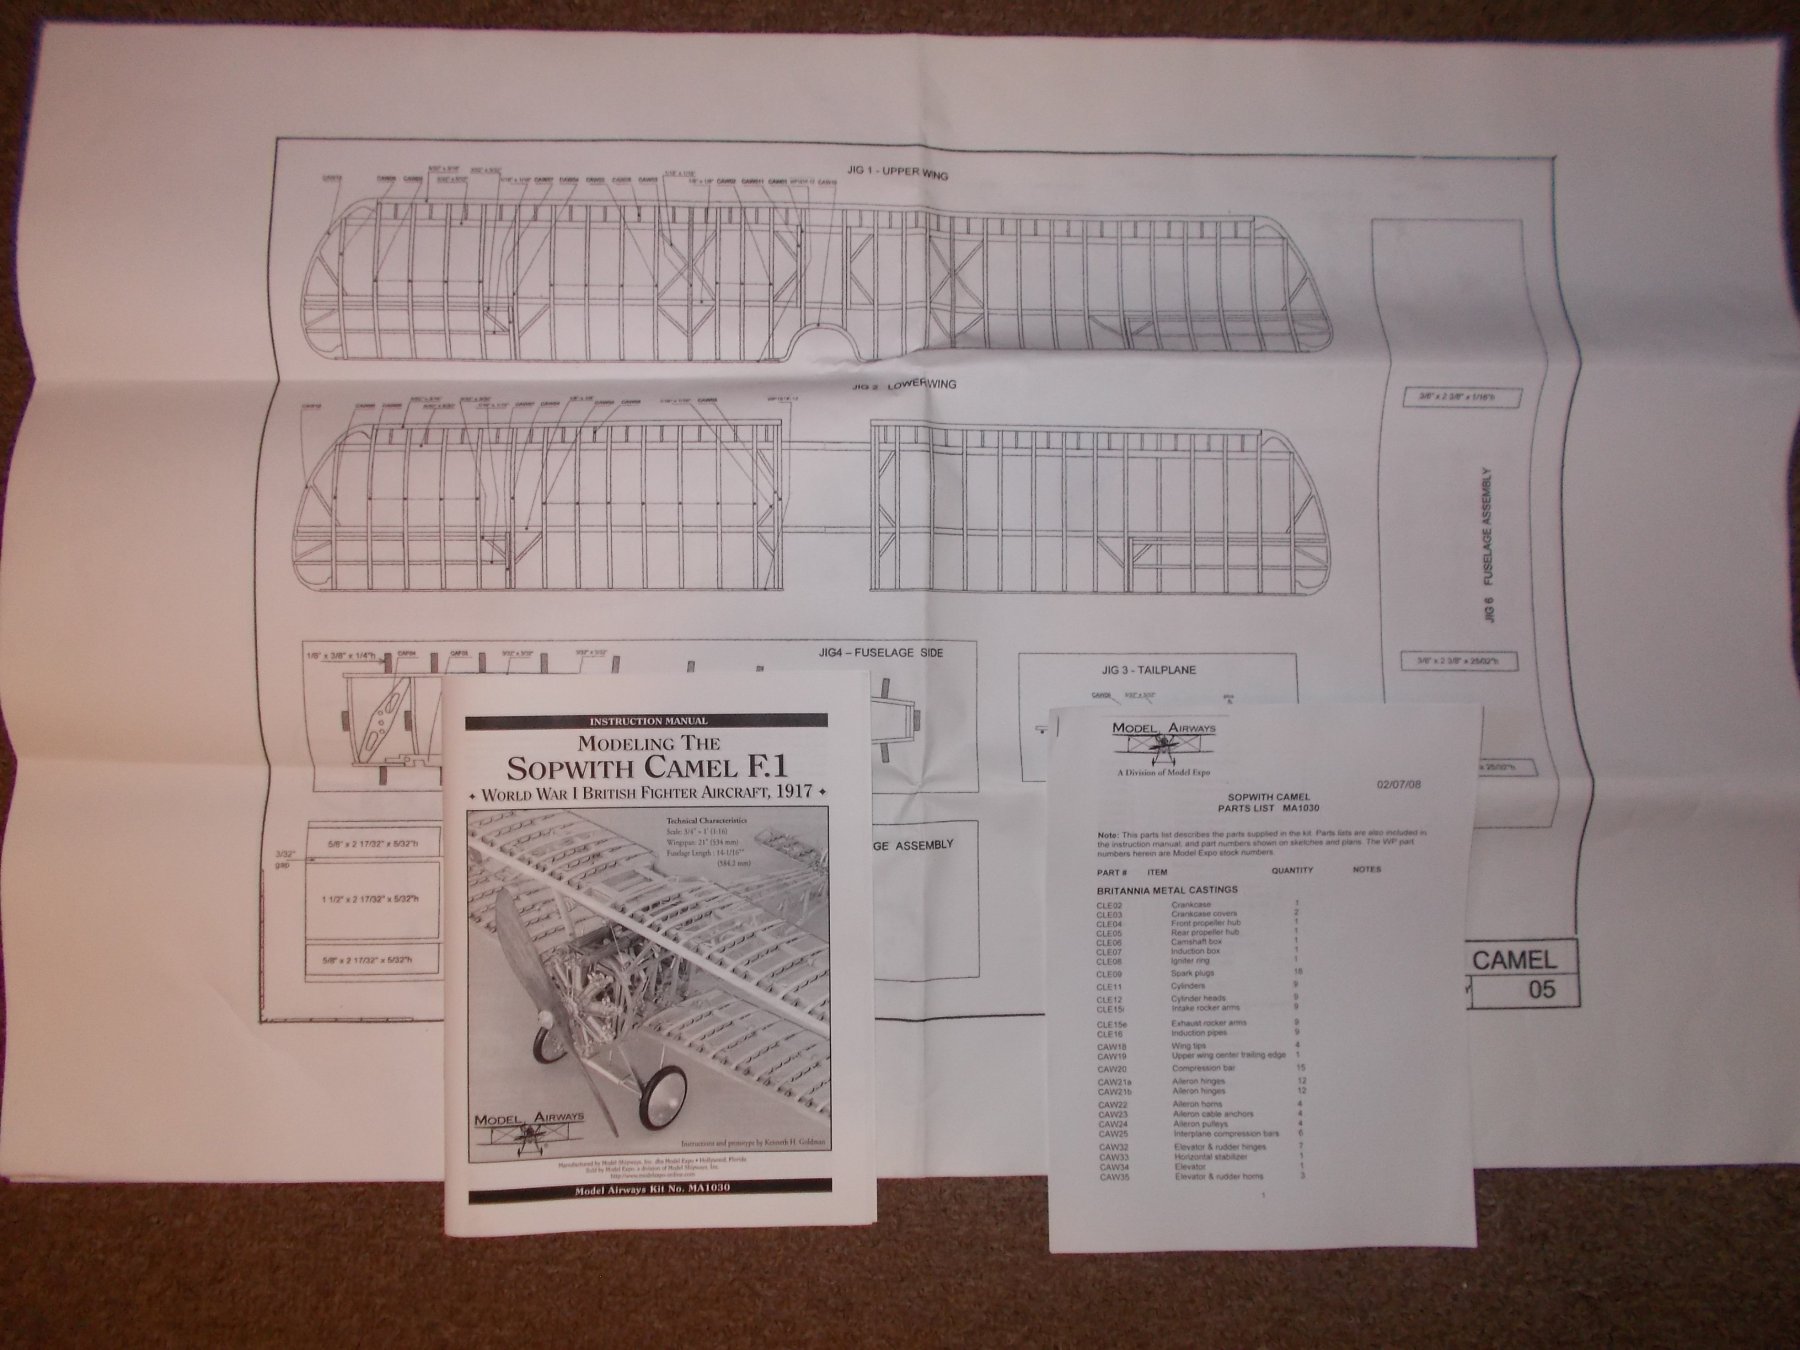
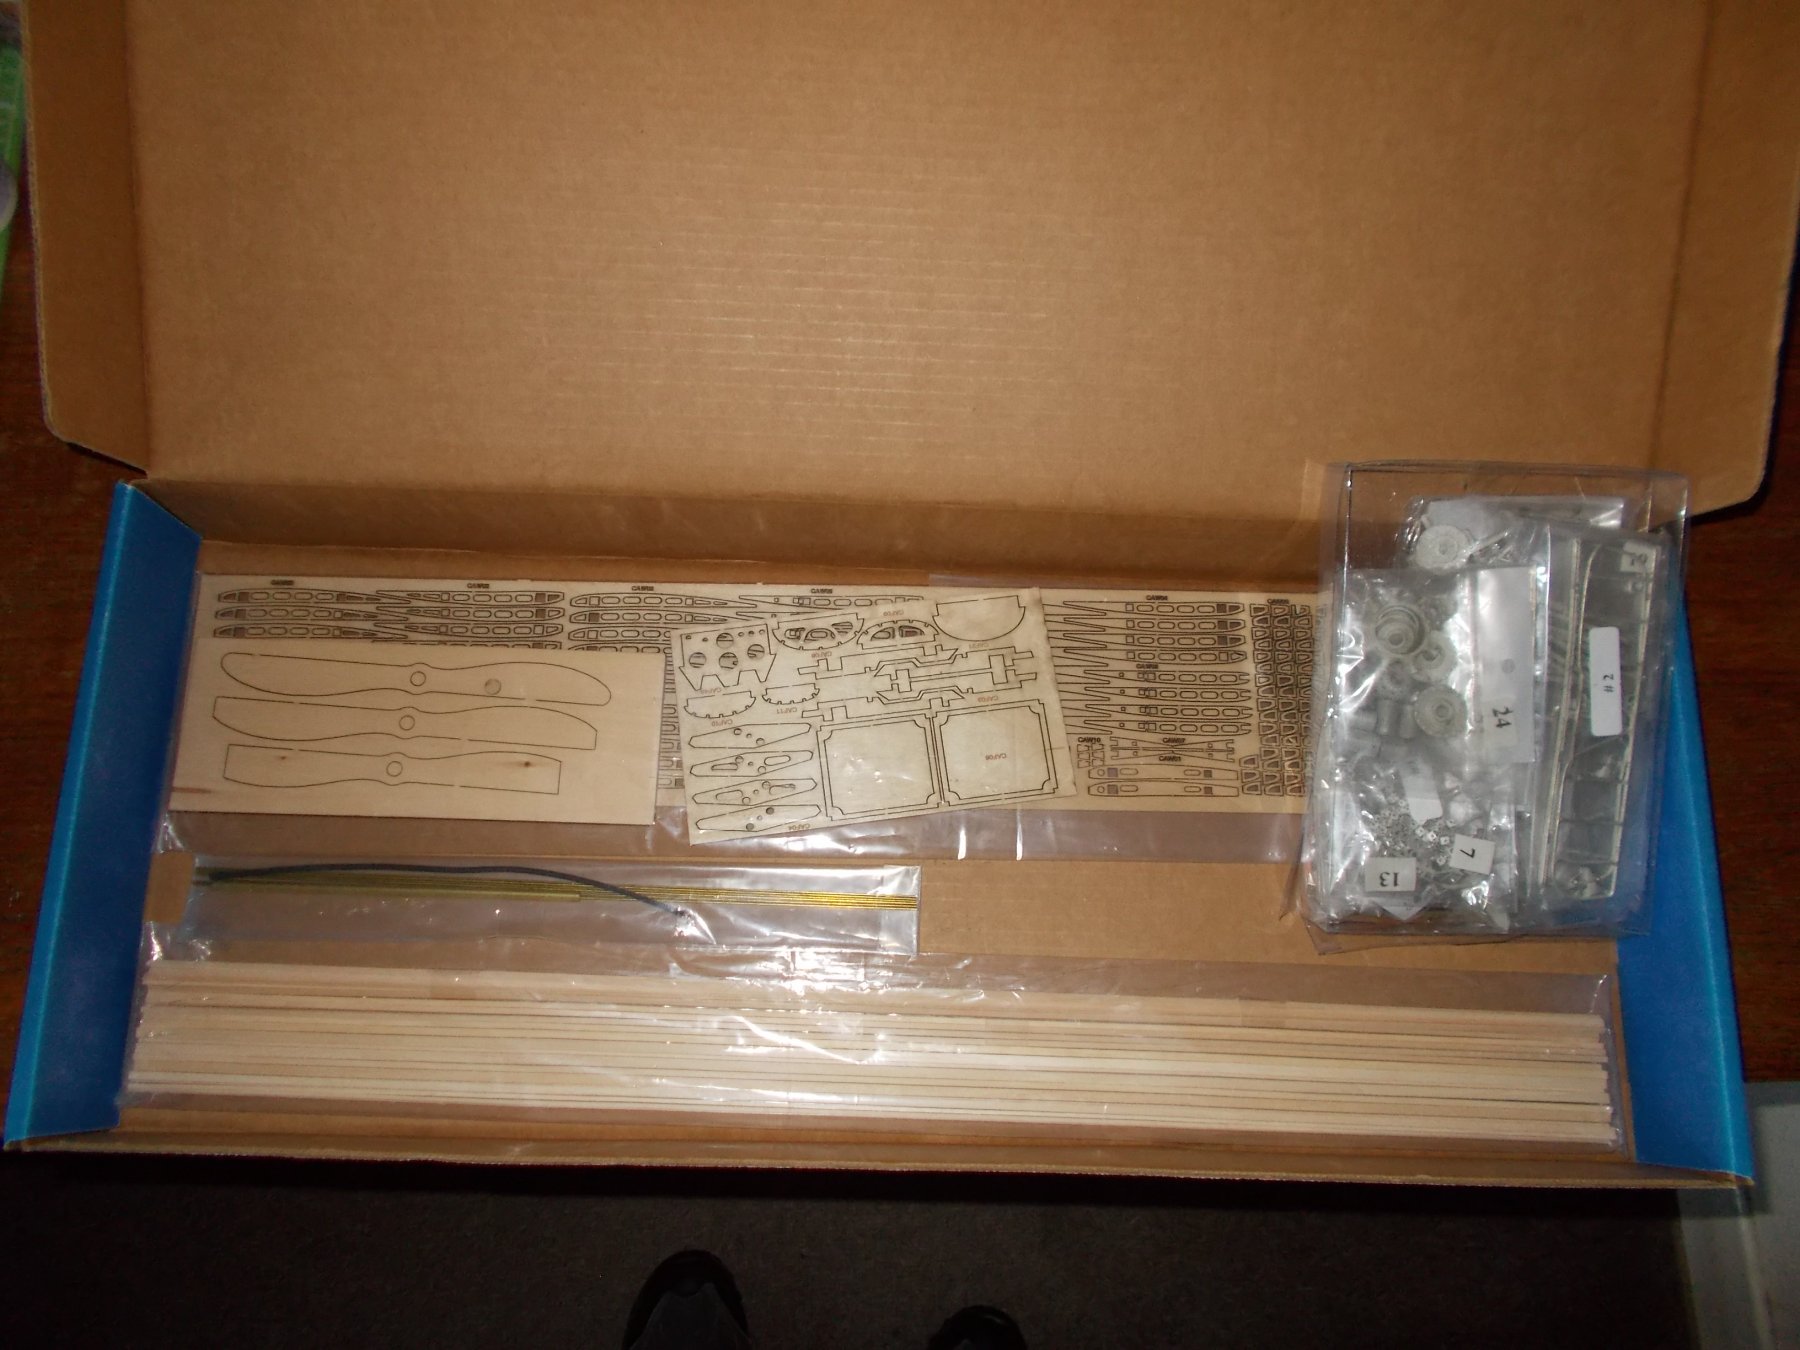
Hello Folks and welcome to a new build. I know it's not a boat but there do seem to be an increasing number of us widening the horizons so to speak !! Whilst this is supposed to be a kit build from Model Expo (Model Airways), if it wasn't for the huge number of cast metal pieces I reckon it would rate as a scratch build !! You will see what I mean when you look at the box contents. Not a lot for what is a pretty pricey model. Included are some laser cut parts, mostly the wing ribs, A big bag of metal pieces, some separate wood, 5 sheets of 1/1 plans, a parts list 28 page instruction manual. Oh and the box of course !! I have also included a picture of some Hasegawa 1/16 Camel bits that I acquired !! My reason for acquiring same was for my cunning plan (!!!) which is to half cover the model and leave half as a skeleton so I needed some bits like the engine cowl to cut in half later. I also got the Hasegawa seat as it looks so much better than the supplied effort. So, here we go. I reckon I am going to need a lot of help so the more watchers the better.