HOLIDAY DONATION DRIVE - SUPPORT MSW - DO YOUR PART TO KEEP THIS GREAT FORUM GOING!
×


Mike Dowling
-
Posts
1,234 -
Joined
-
Last visited
Content Type
Profiles
Forums
Gallery
Events
Everything posted by Mike Dowling
-
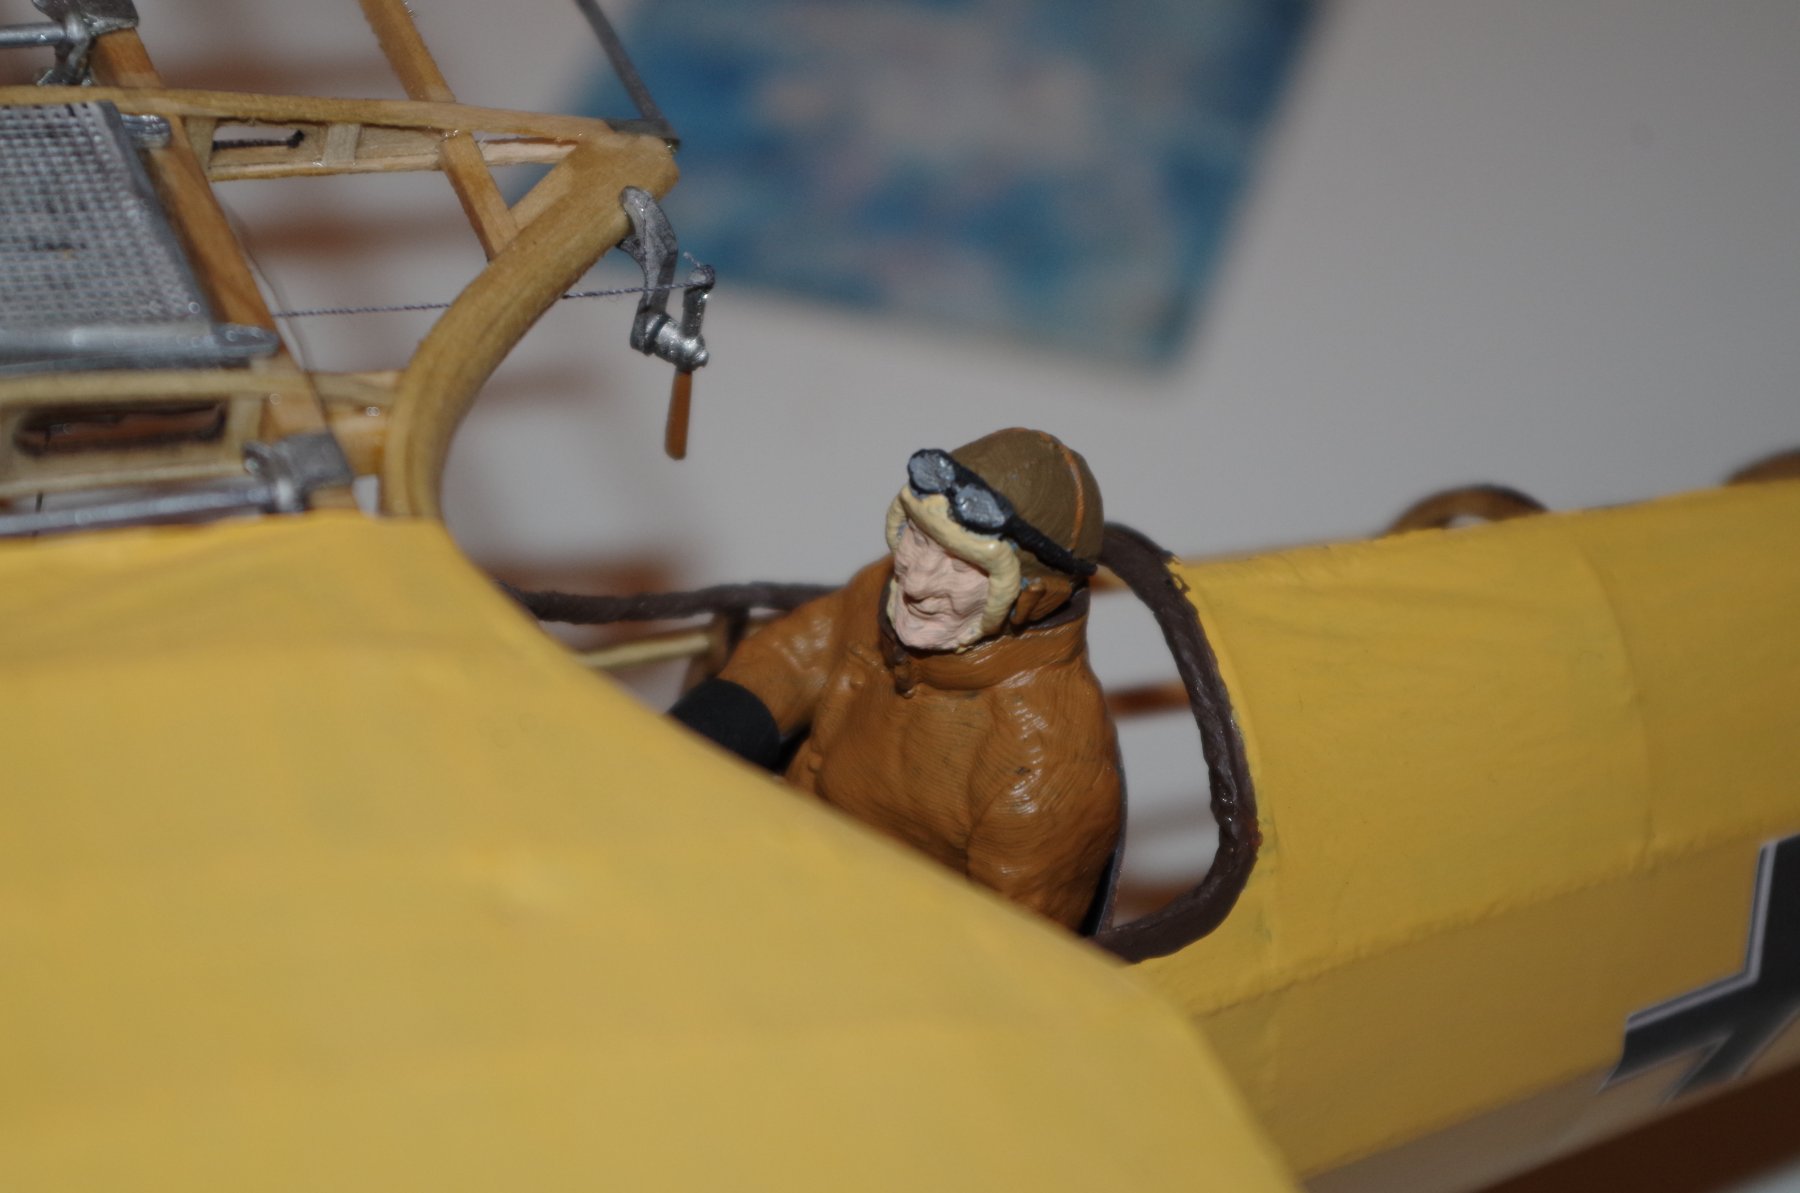
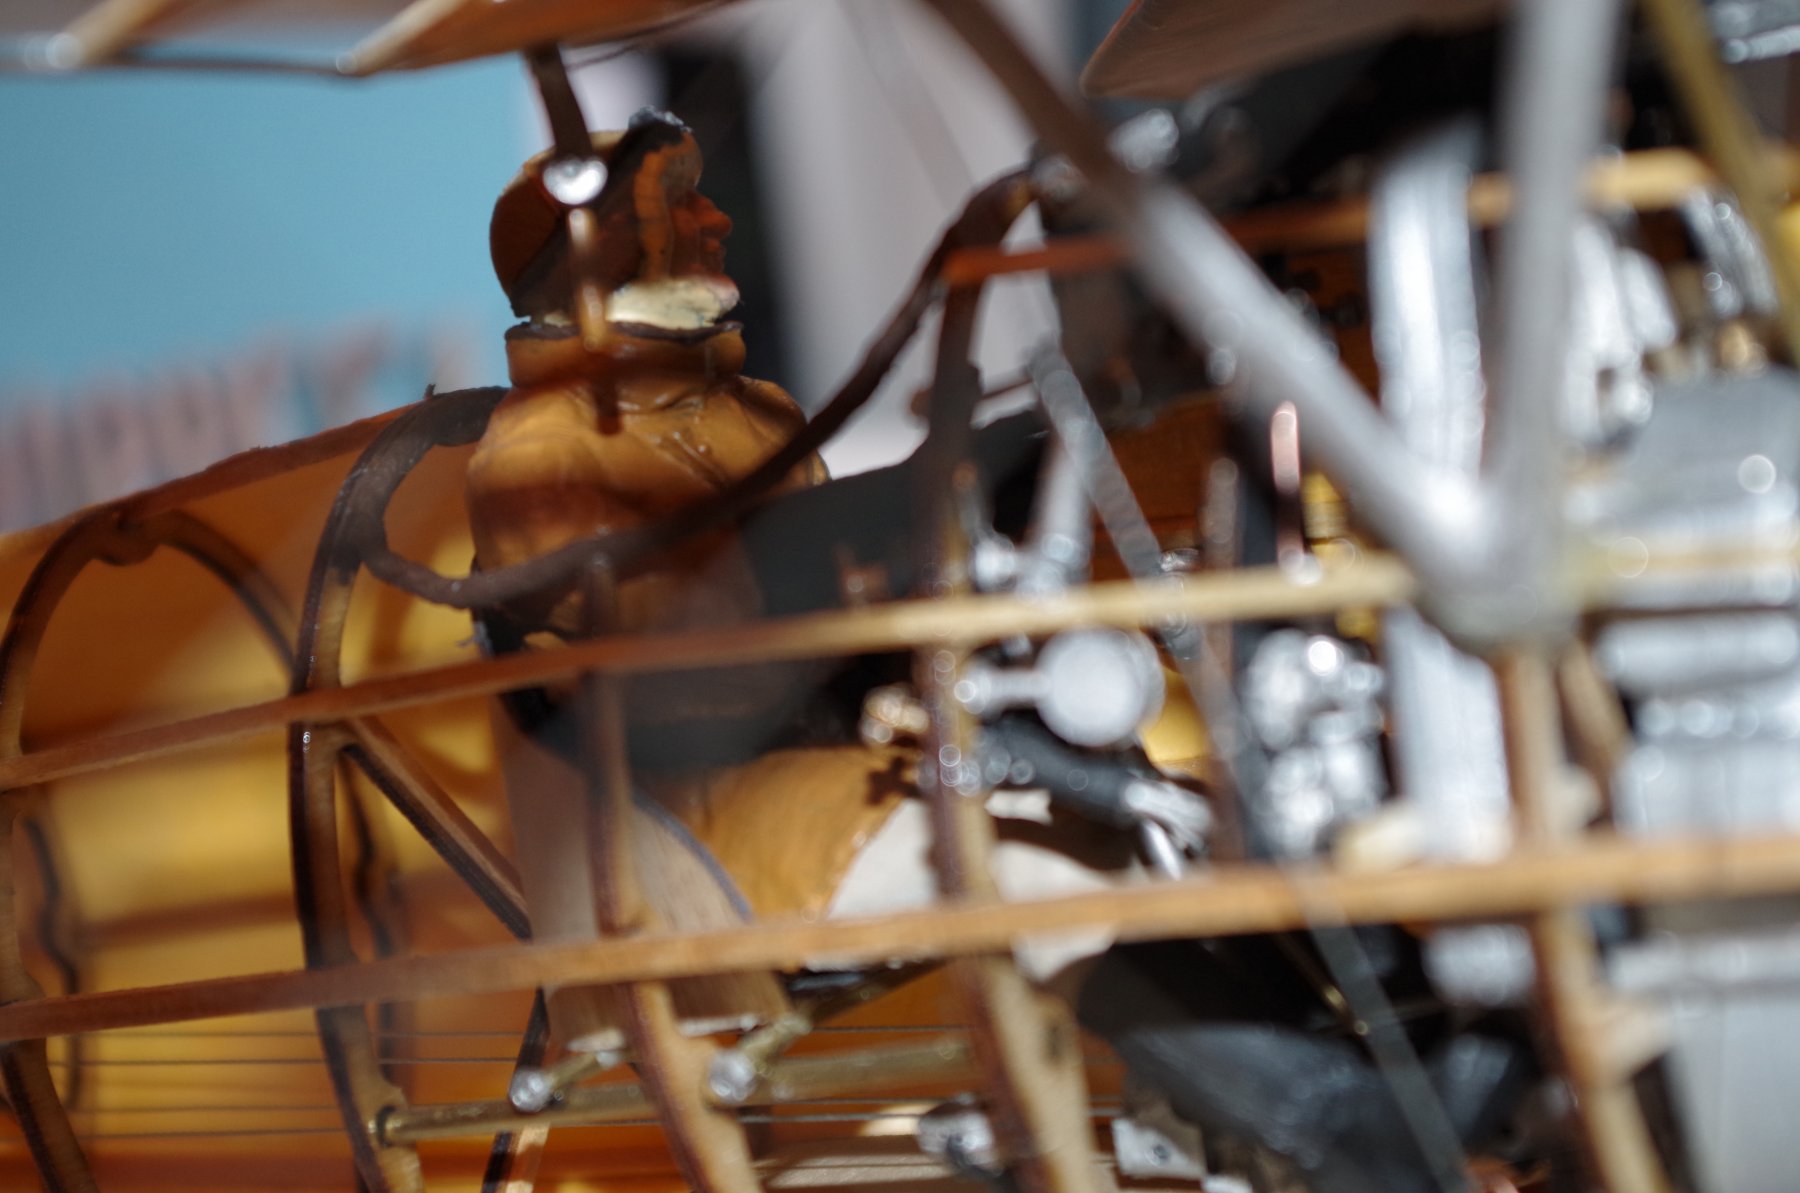
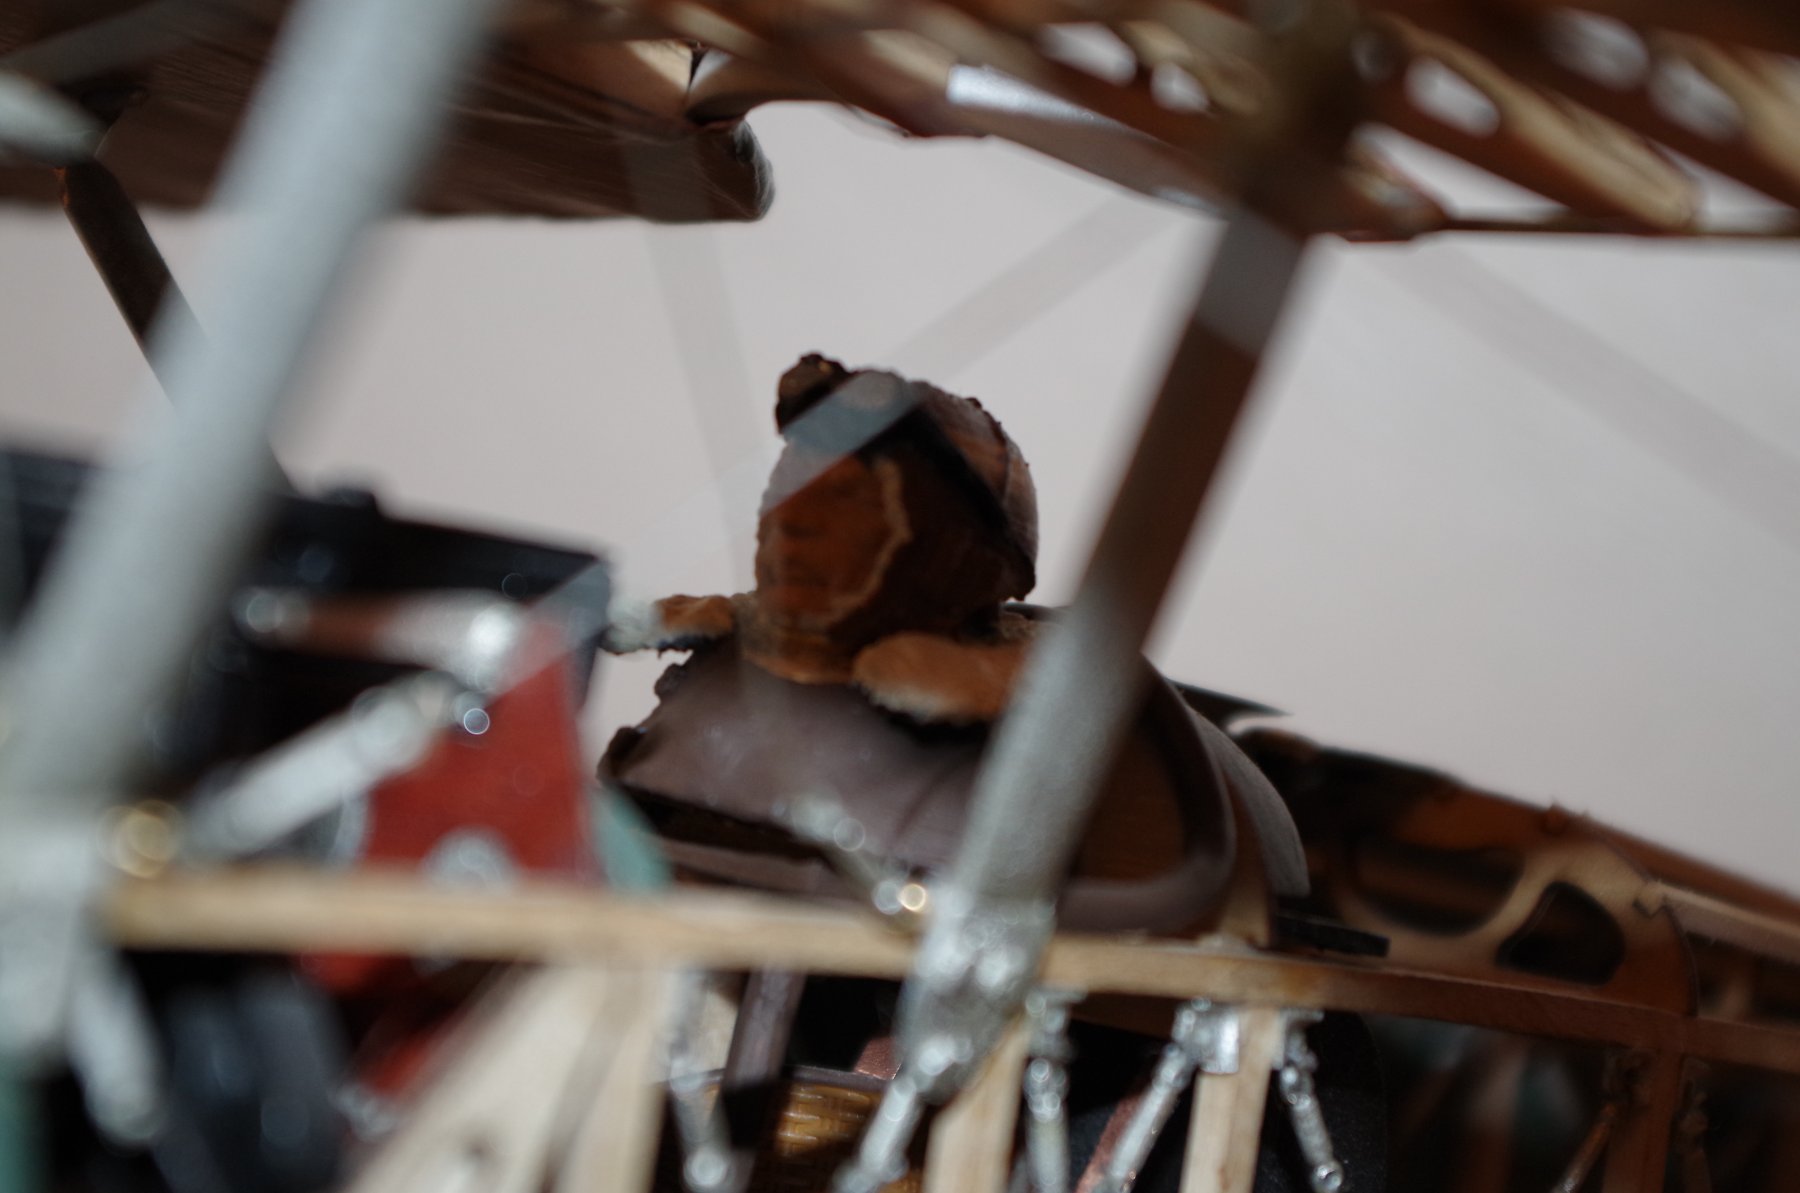
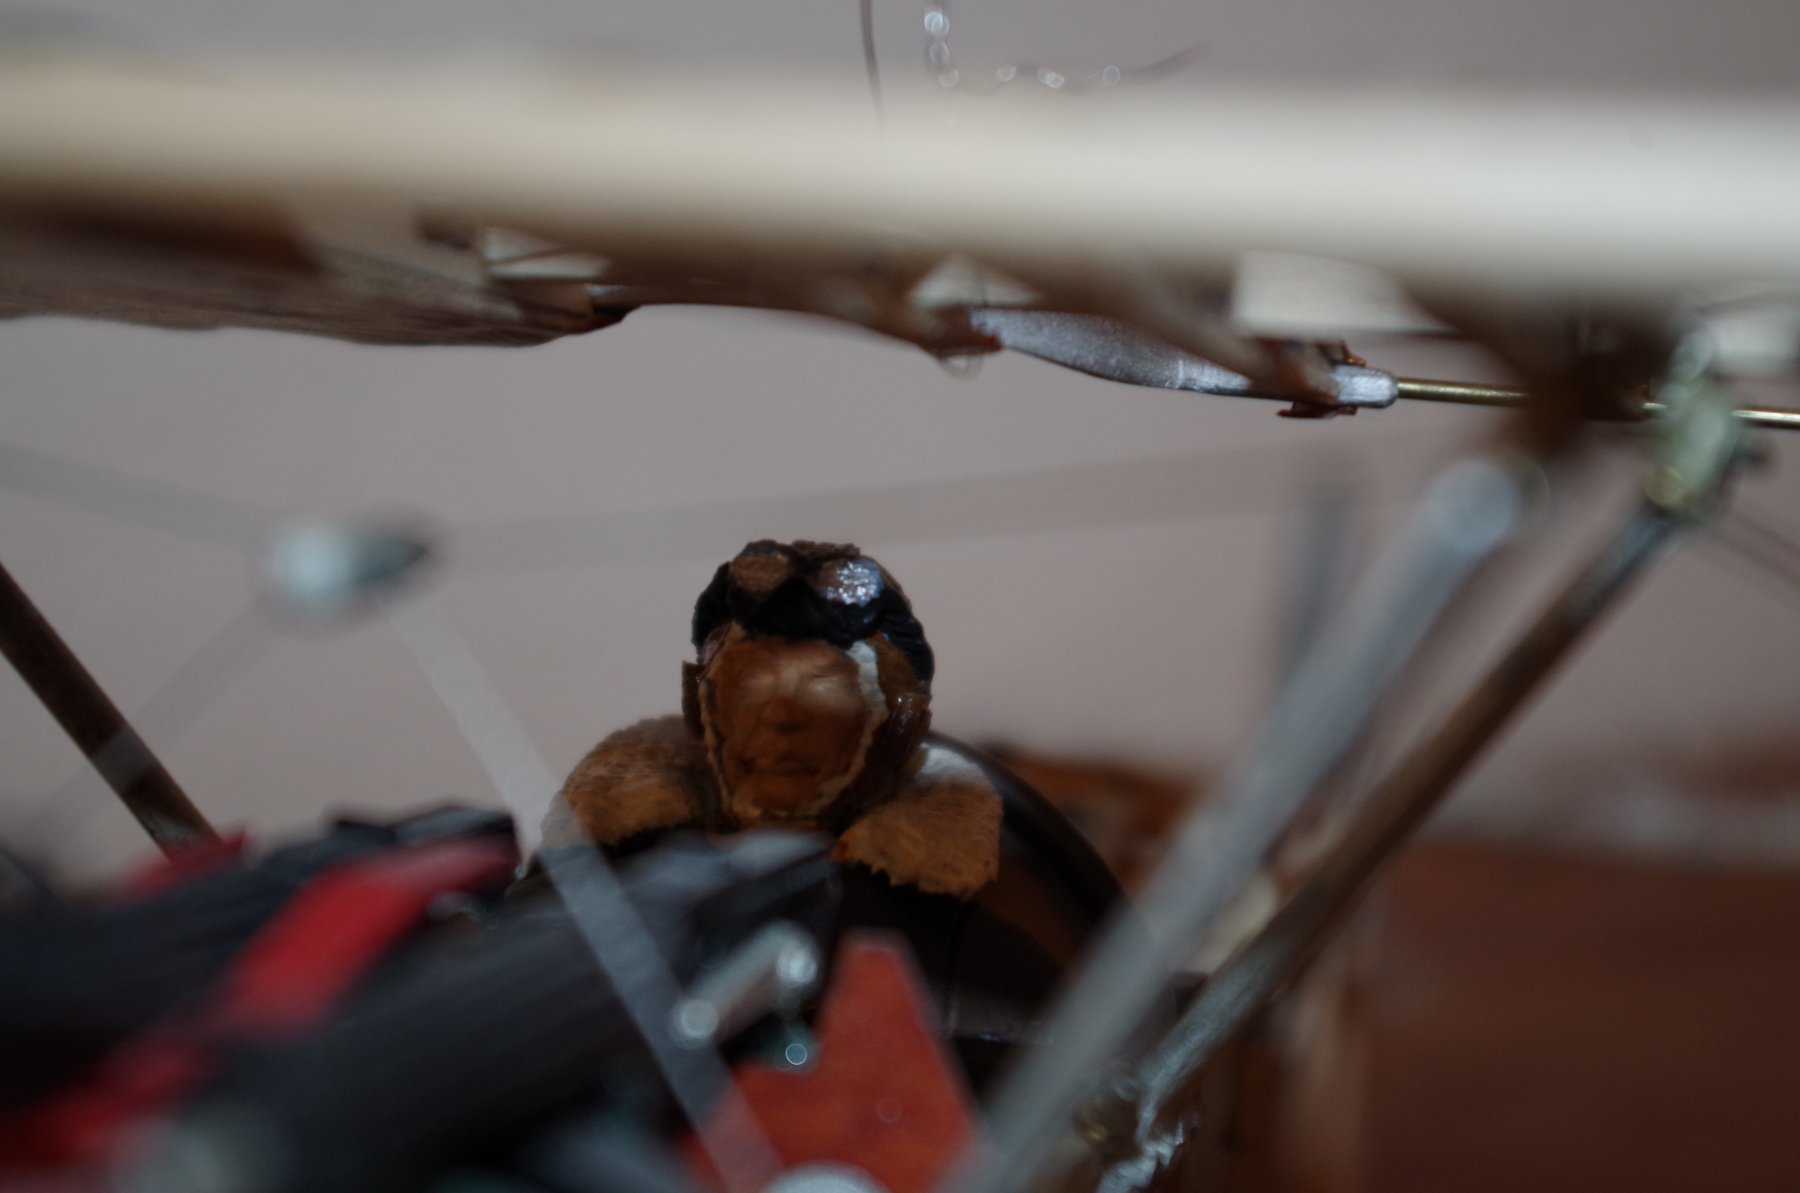
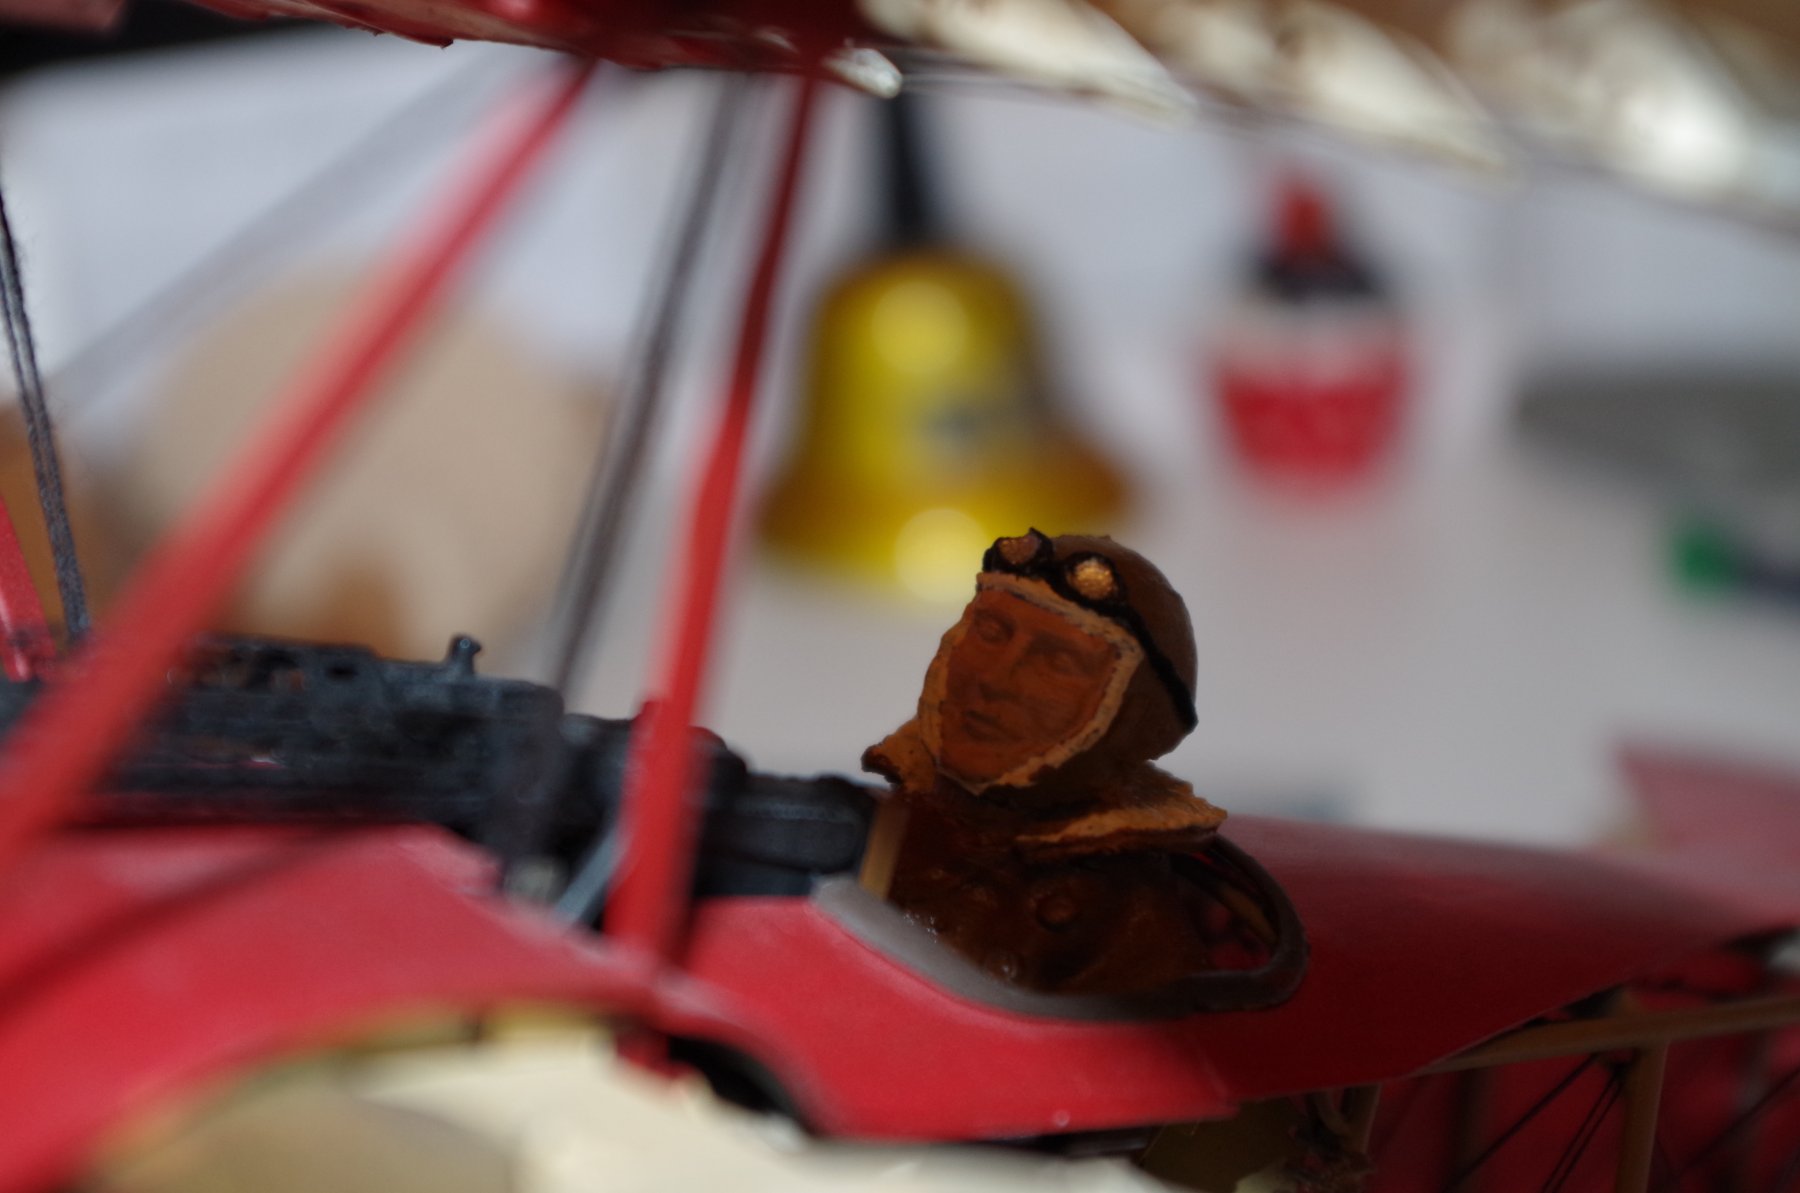
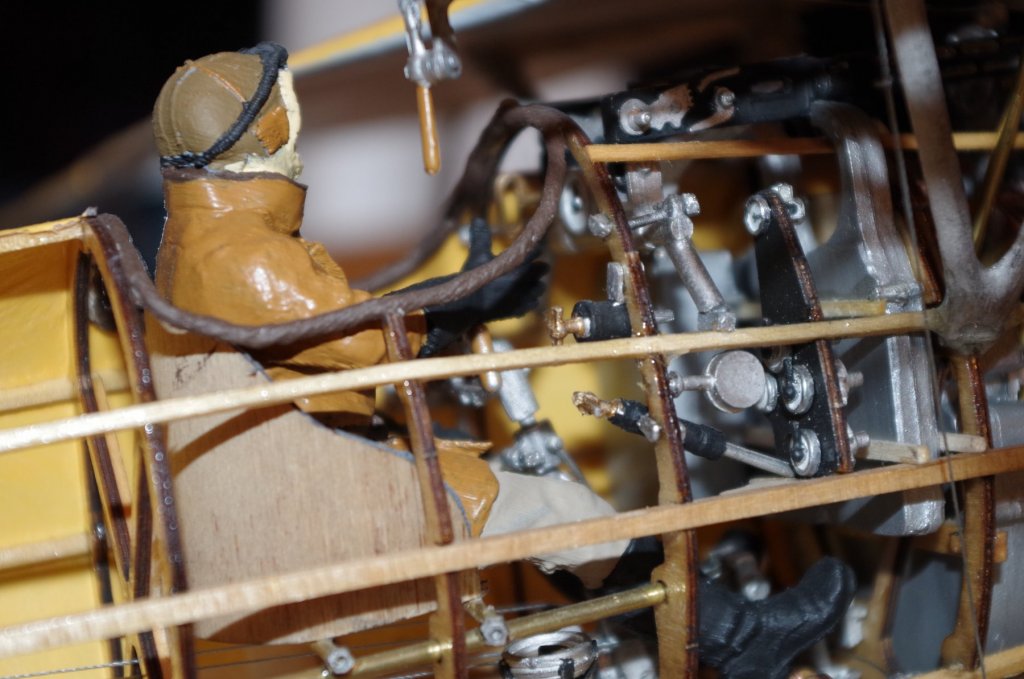
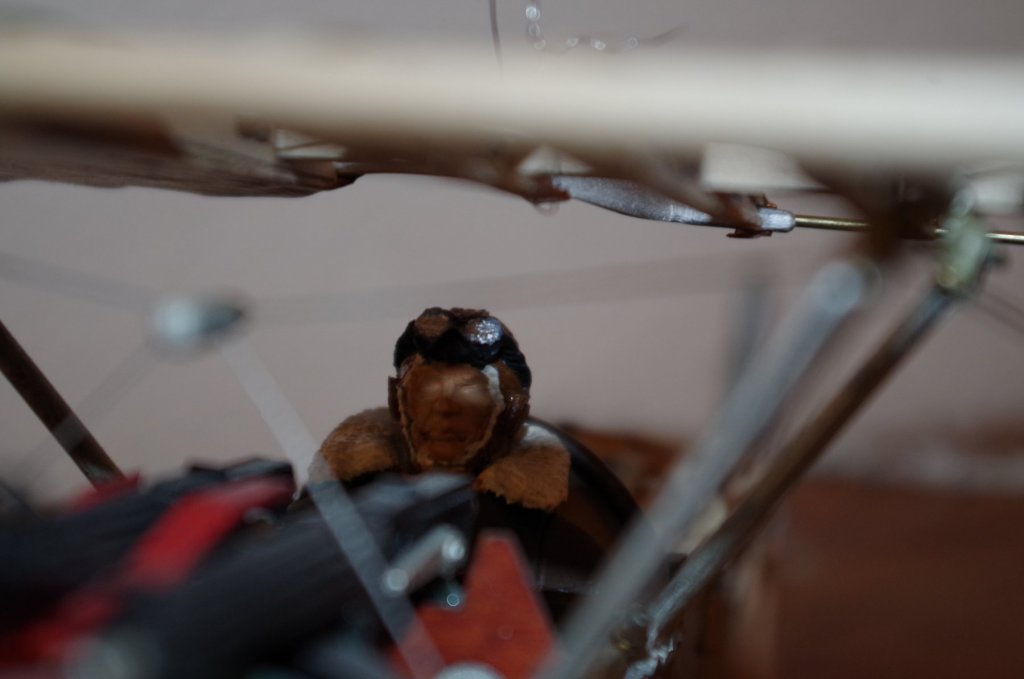
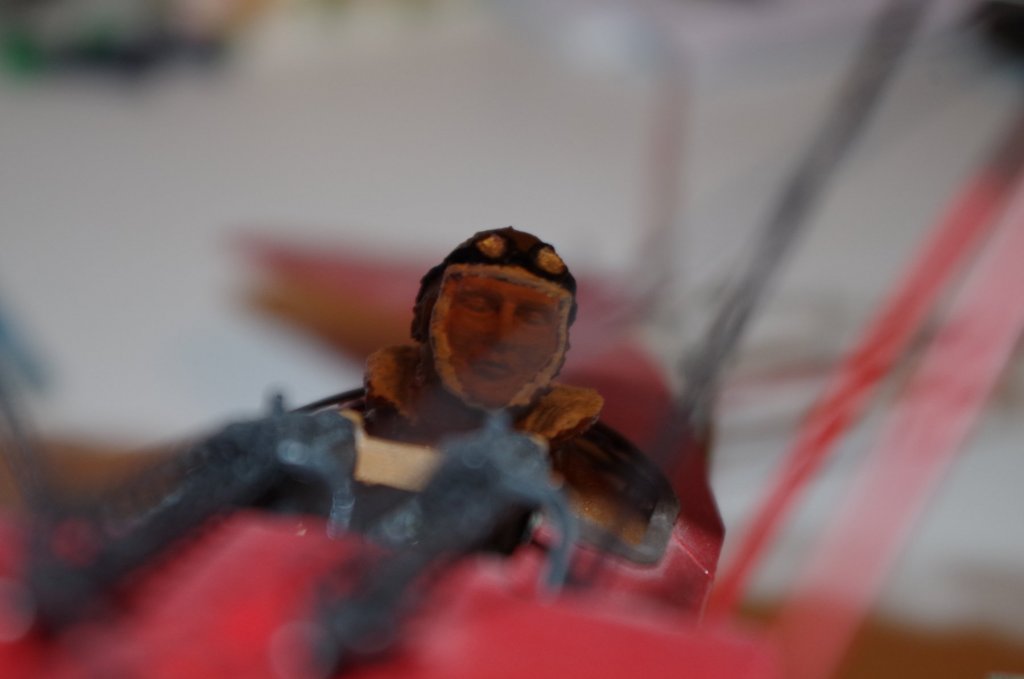
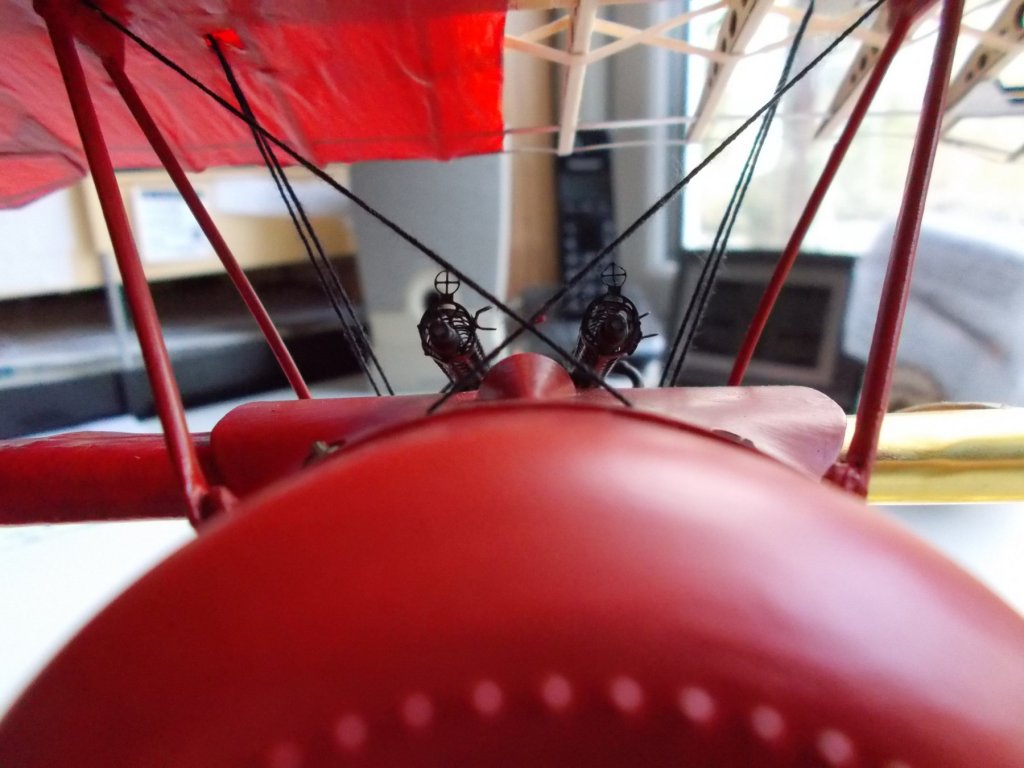
John, I thought you would ask. It's a new setup called Real Model Pilots. They have some designs but will do bespoke as well. They are all done bu 3d printer and whilst they look a bit rough out of the box they paint up nicely. They will paint them for you at a price !!!!Have a look at their website www.realmodelpilots.co.uk Good luck.
-
Just in case anyone out there is still interested I did manage to source some 1/16 scale pilots to go with my models. Horrible price but for me they just make things complete and well worth it. They are WW1 pilots and were purchased unpainted.


- 141 replies
-
- 14
-

-
So, what is the best Vic Kit available out there ?
-
Do you get a fleet? Maybe a flock or a herd ? Or even a swarm !!!
-
Just to let you all know I have now completed the Albatros as well complete this time with a fully working control stick. Practice makes perfect don't you know ! I still have the Curtis Jenny in my stash to do and have been trying to find a Nieuport at a reasonable price but no luck so far. Sometimes I wish I lived in the US - so much cheaper there. Anyway, a few pics for you.

- 141 replies
-
- 12
-
-
Brian, go for the Occre kit. It's great fun especially with the interior detail.
-
Love it !
-
The posts I mean, not the railings.
-
Looks good but why did you paint them white ? They looked so good dark.
-
I would stick a covering on the 'clipped' roof in fact I would plank it then plank the other one as well. You will never know the difference.
- 171 replies
-
- 8
-
-
- krabbenkutter
- authentic models
- (and 1 more)
-
Thank you Nils, with your wonderful models I really appreciate the compliment.
-
Carl, would an Albatross do ? Ken, there is just no pleasing some people !! Boyd, I love you !!
-
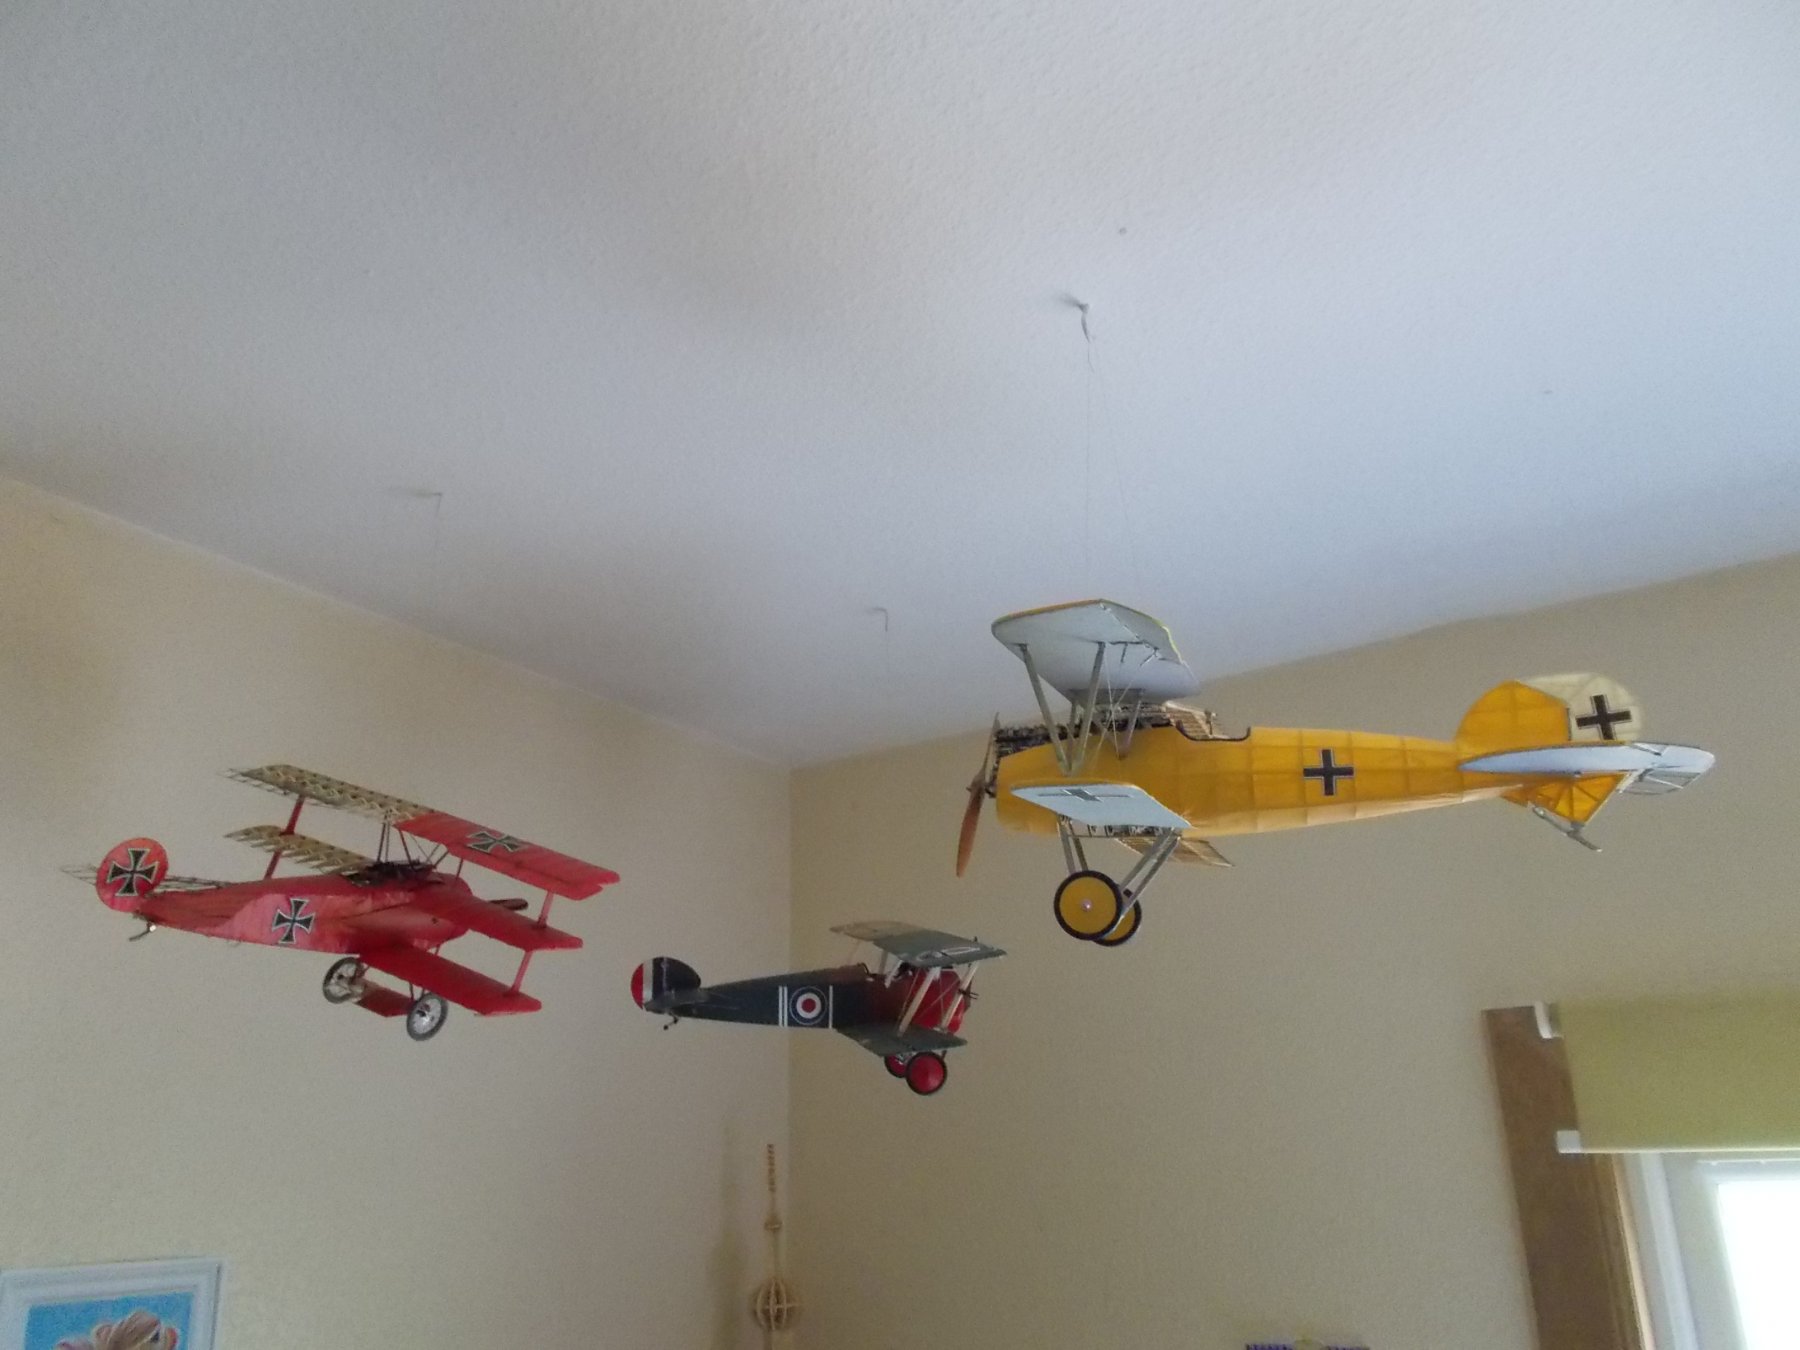
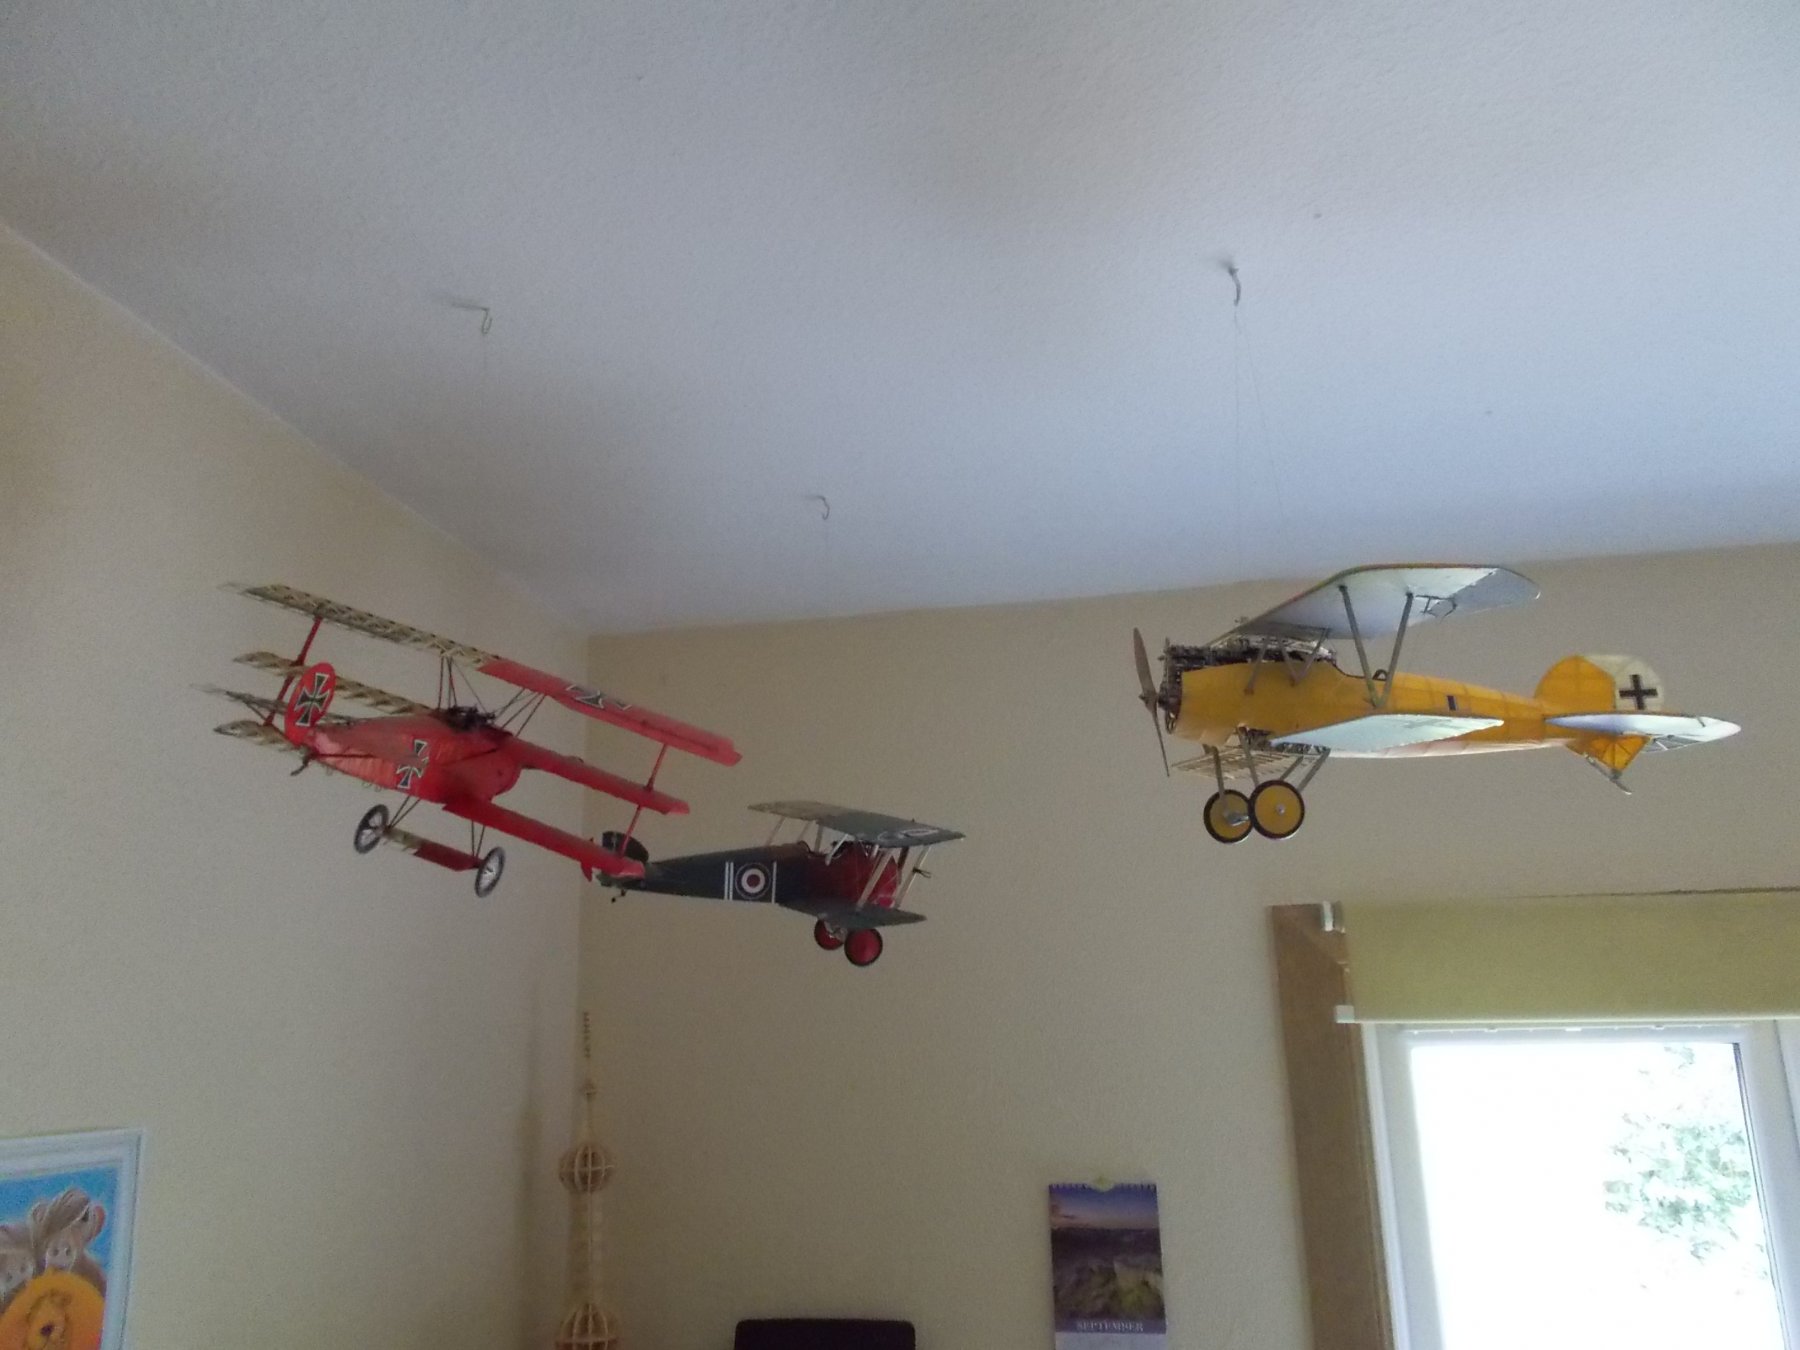
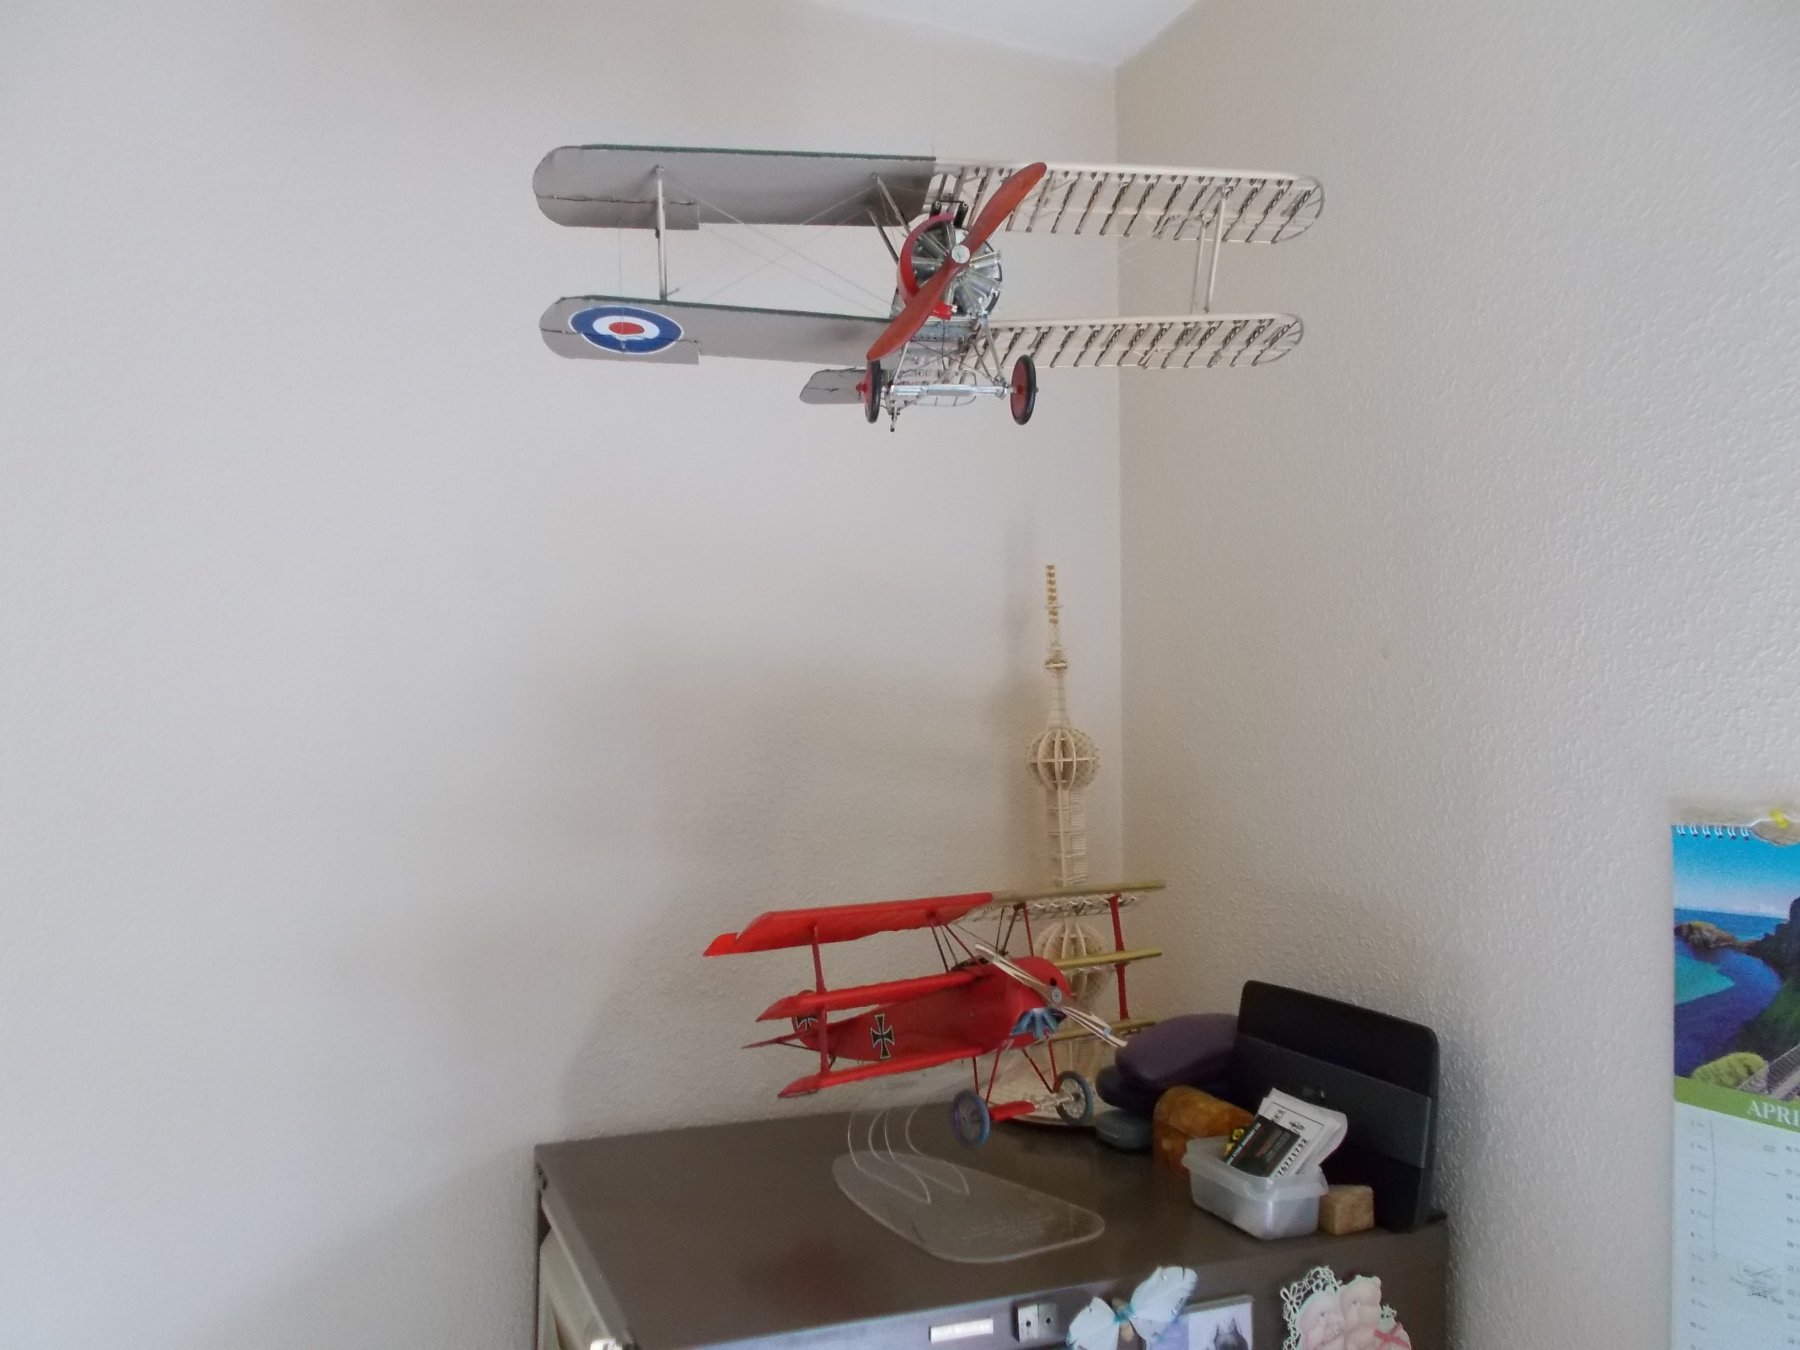
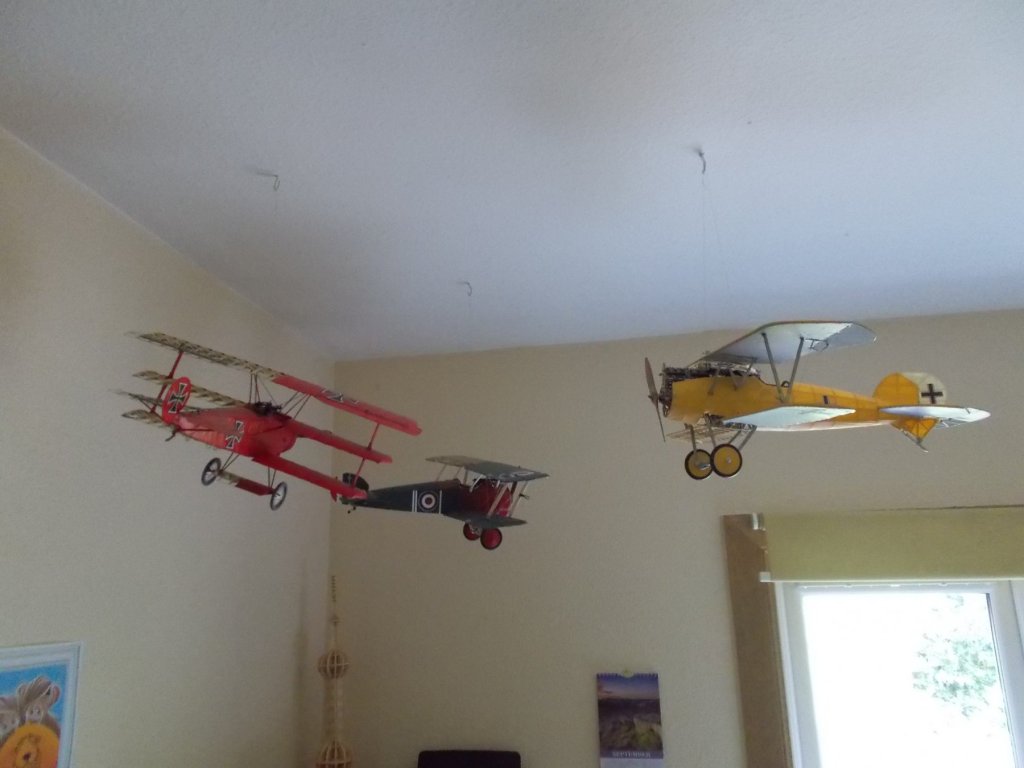
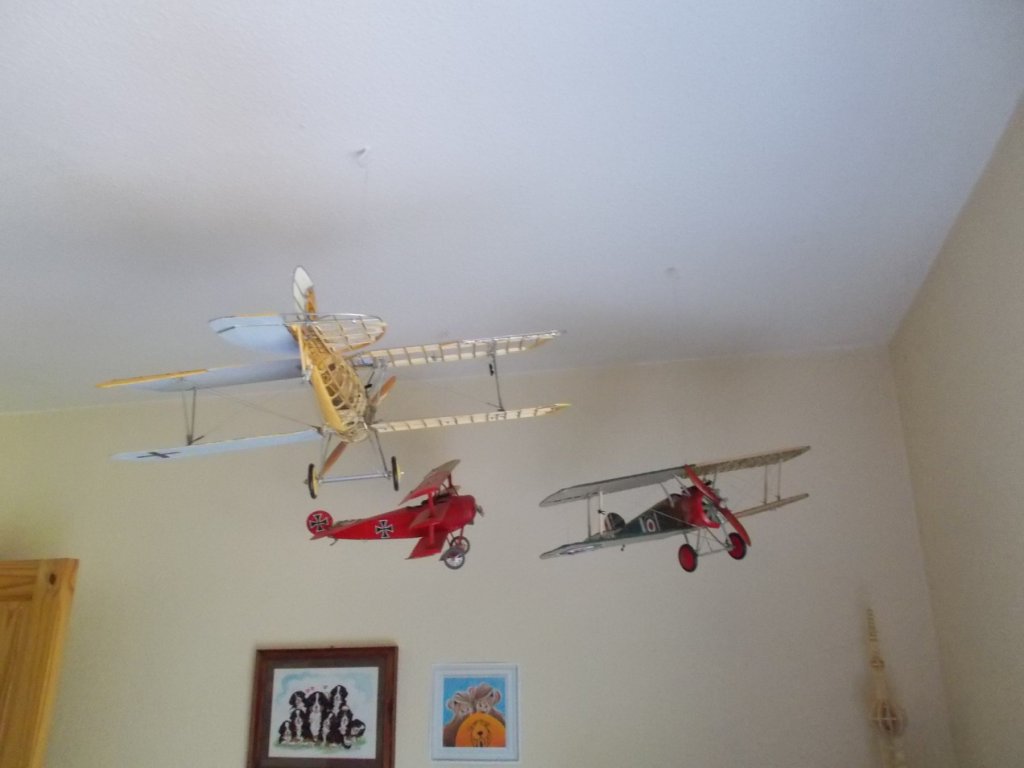
And finally, finally, I didn't like the stand much. It was too low and so now we have the dogfight from the ceiling !!
- 141 replies
-
- 17
-
-
I don't know why, it just happened that way and I think you are right - another hole in the ceiling !!!
-
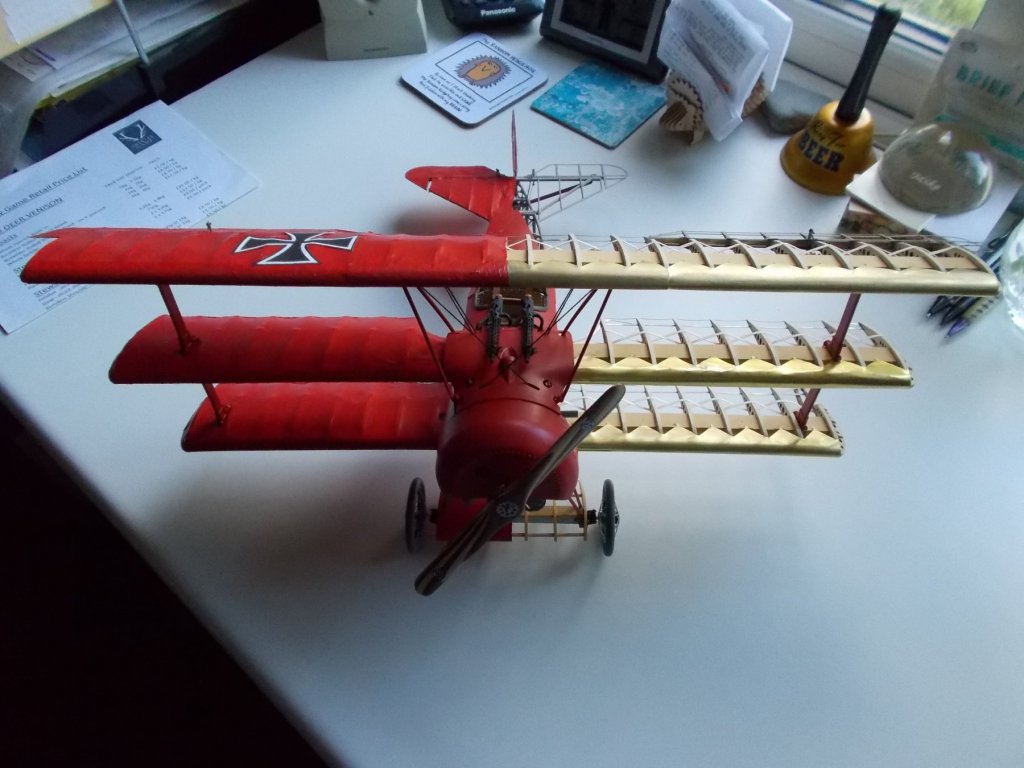
And finally ........... on it's provided stand and appropriately, under the Sopwith Camel !! (I still might fly it from the ceiling.)


- 141 replies
-
- 16
-
-
I hope it was a joke. I'm sure it was meant to be. Your comments are valid though but not maybe as a reply.
-
I am so sorry Boyd that I was so slow !! No ship in a bottle for me. My next project is actually a plastic Bandai kit of a traction engine. I built it many years ago and gave it away but I really want to do it again as I remember it making up into a super model. After that I now have two more planes in my stash, the Albatross and the Curtiss Jenny, a Dennis fire engine and a London tram which again I have built before but very badly so I want to do it properly next time. so no boats for a while.
-
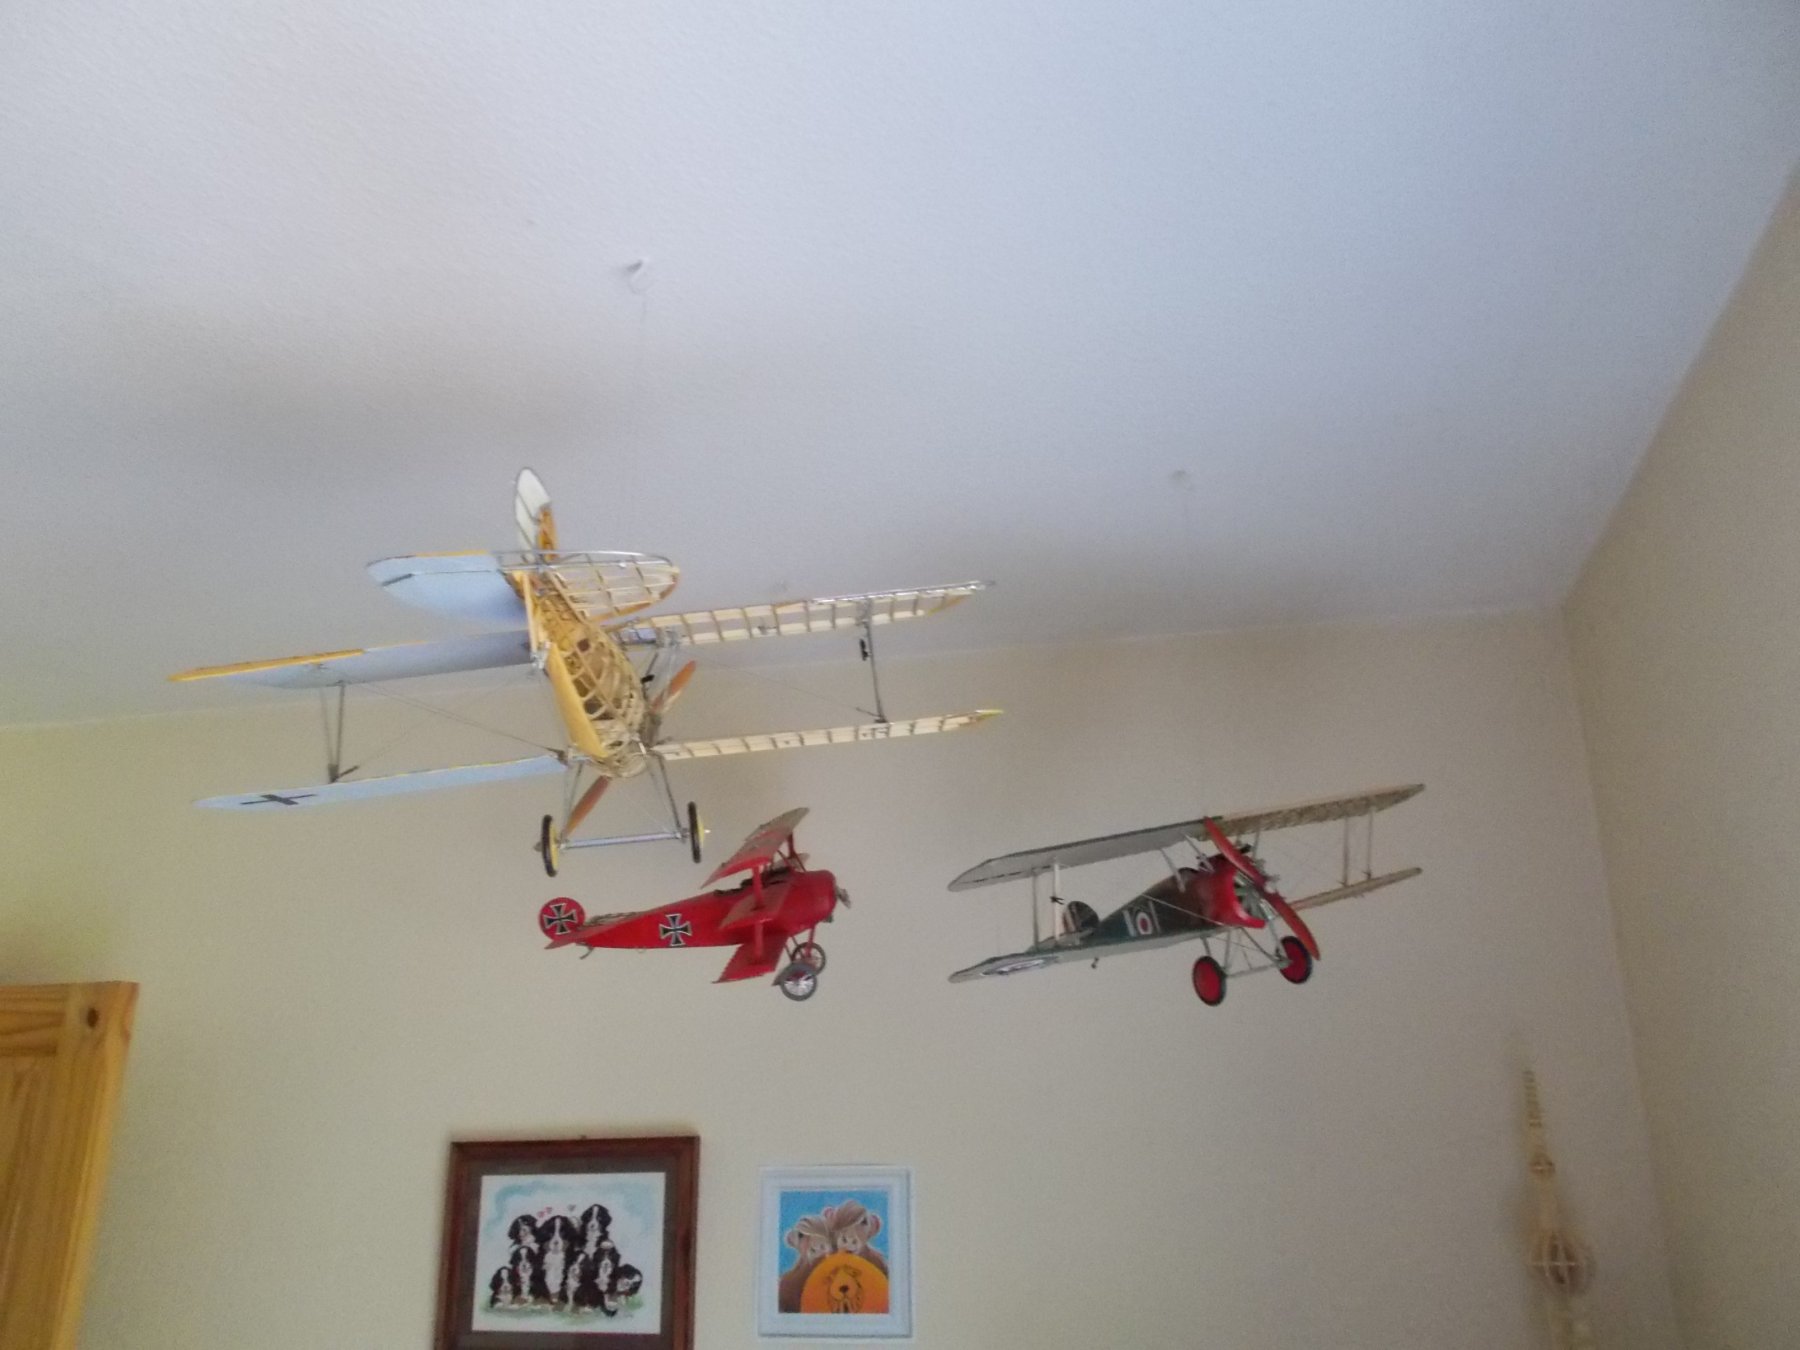
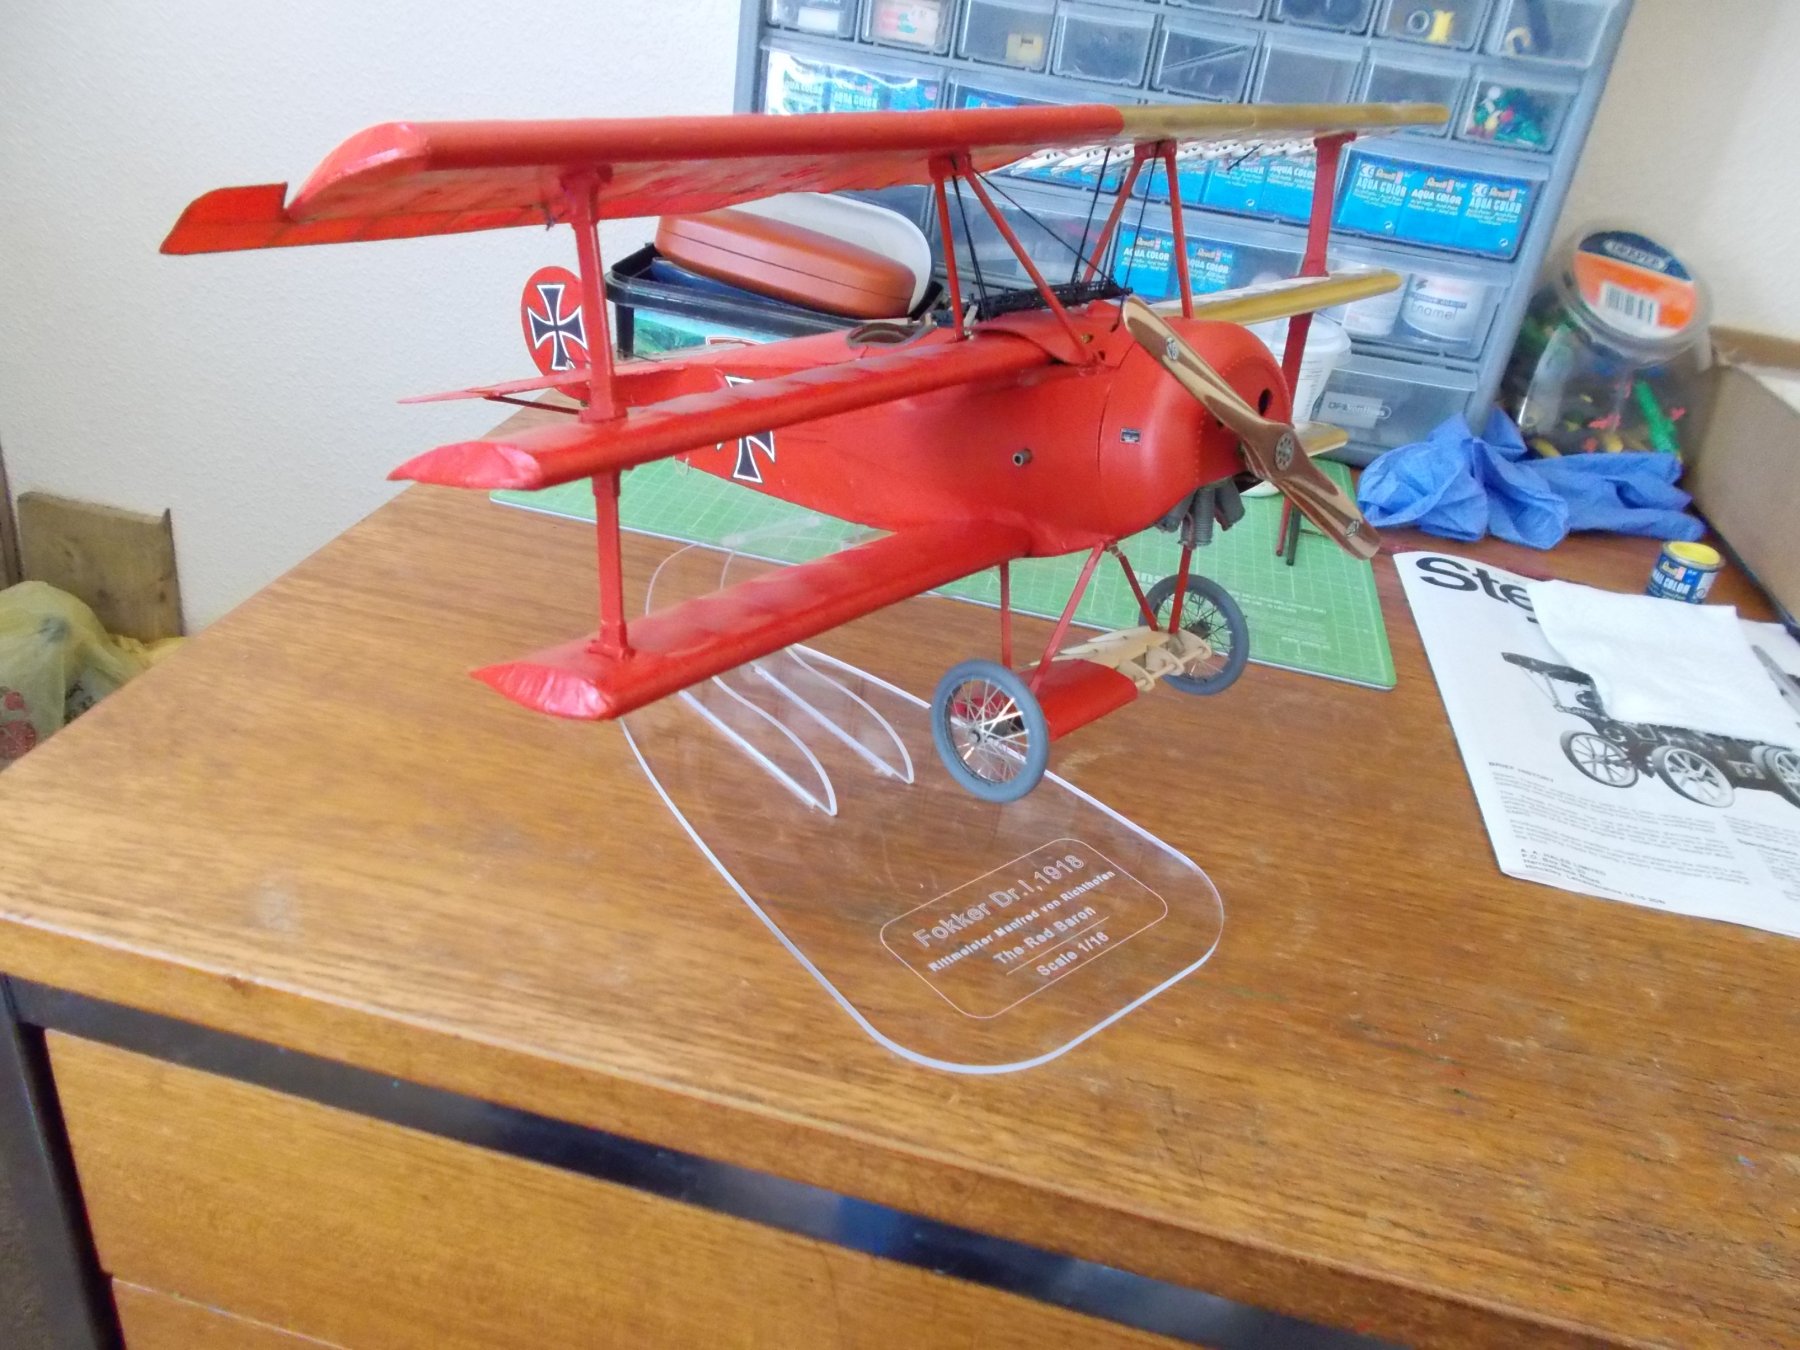
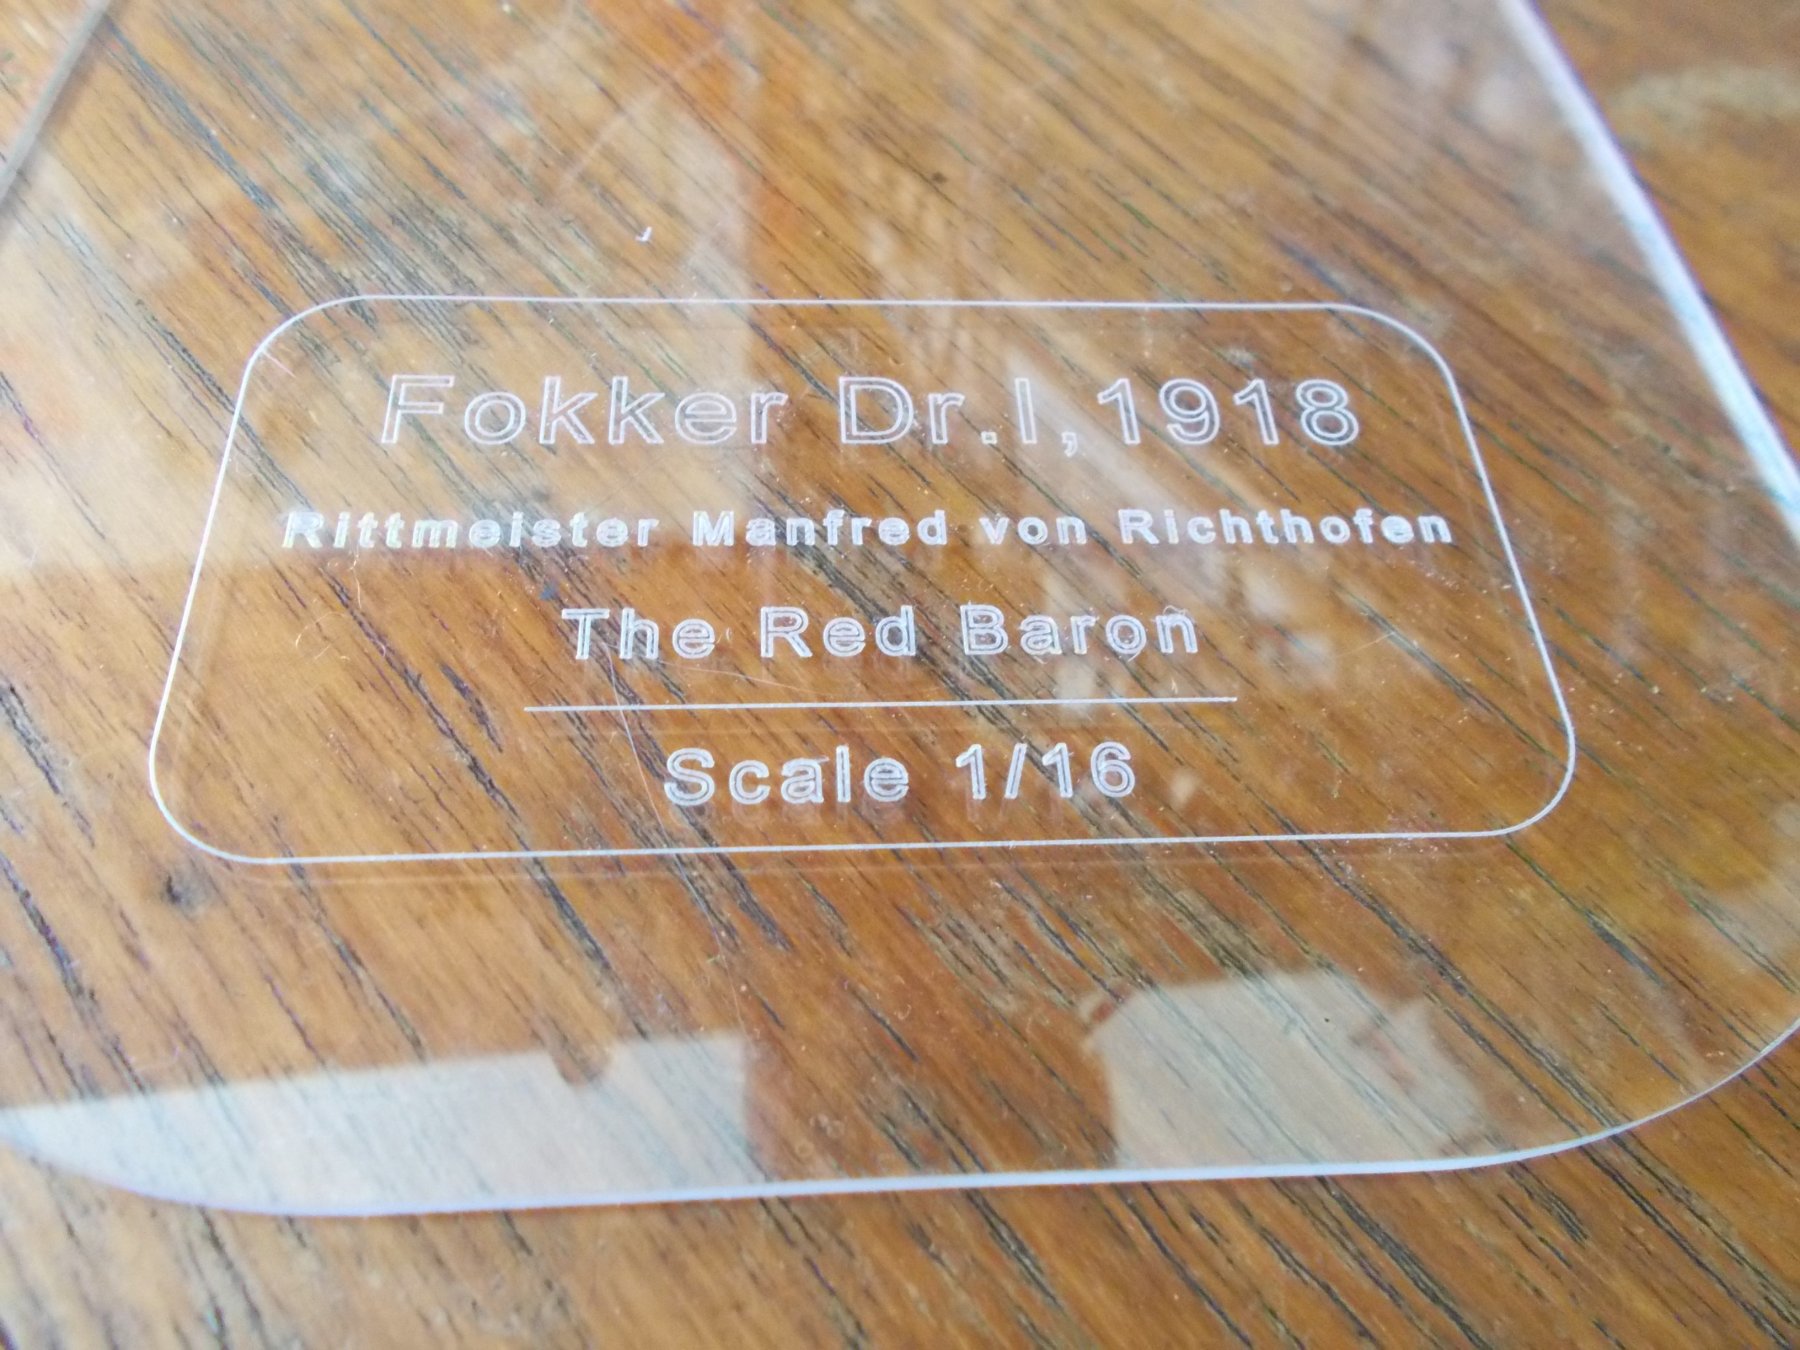
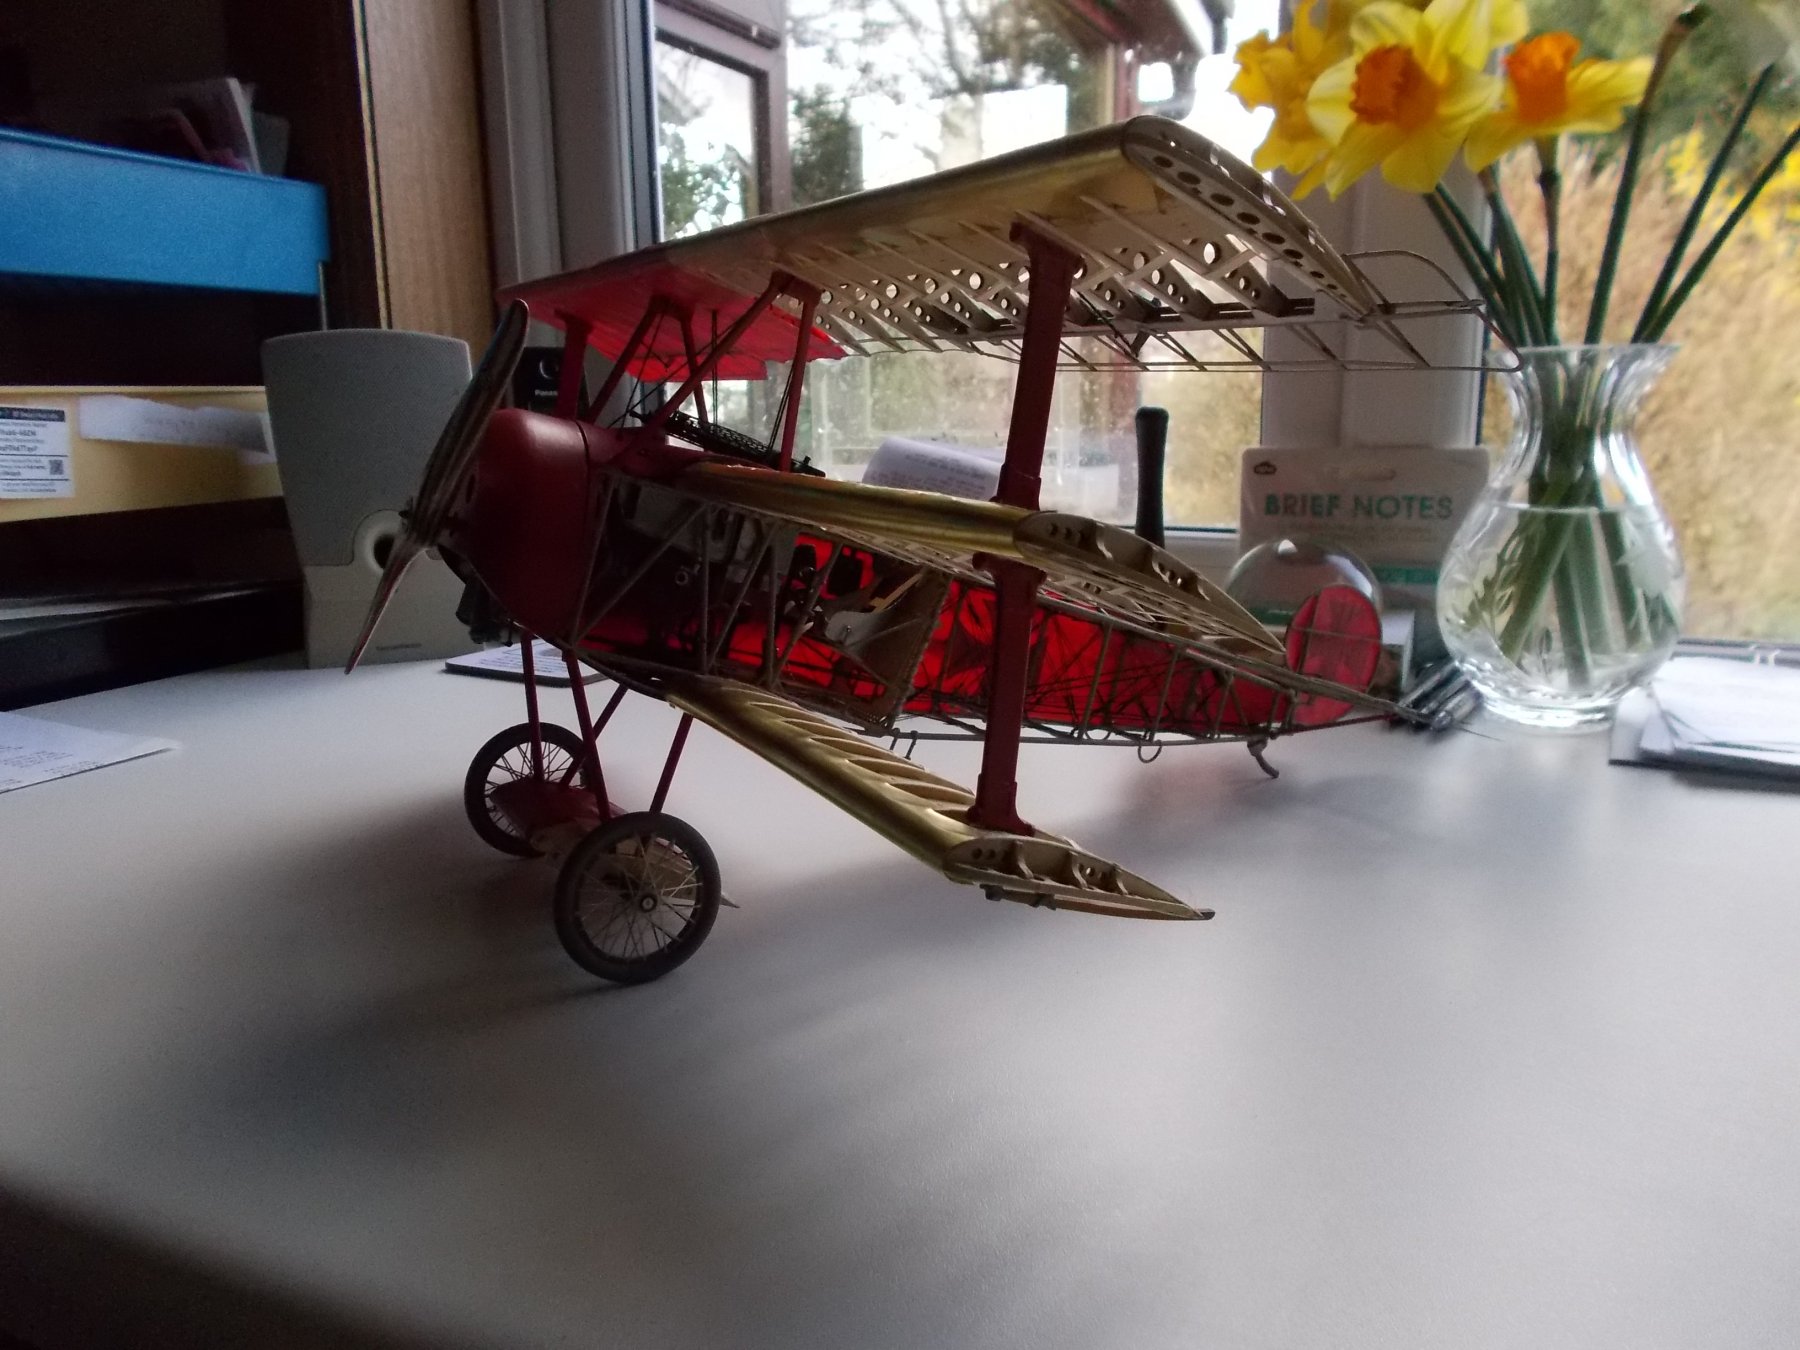
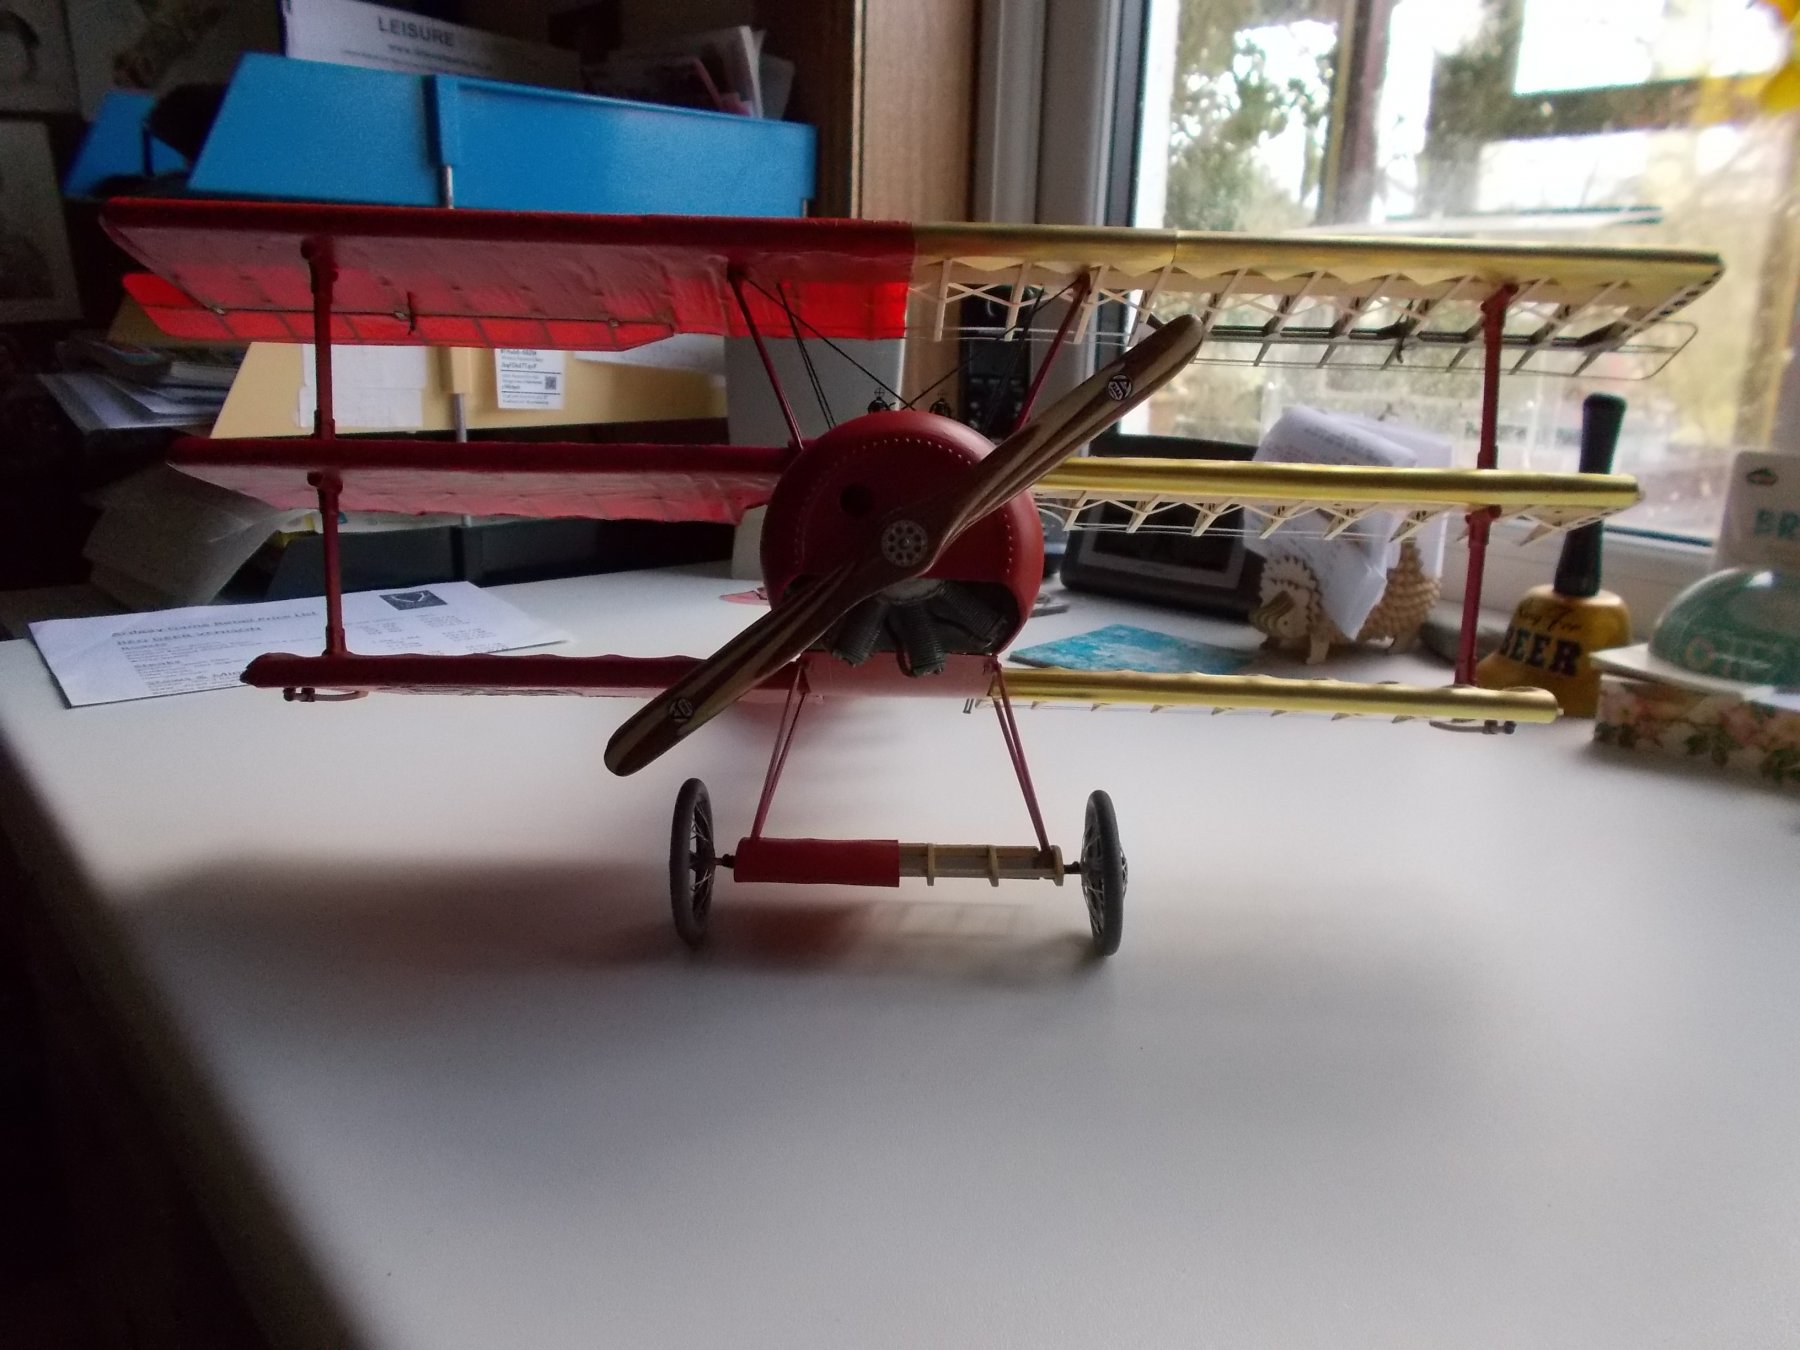
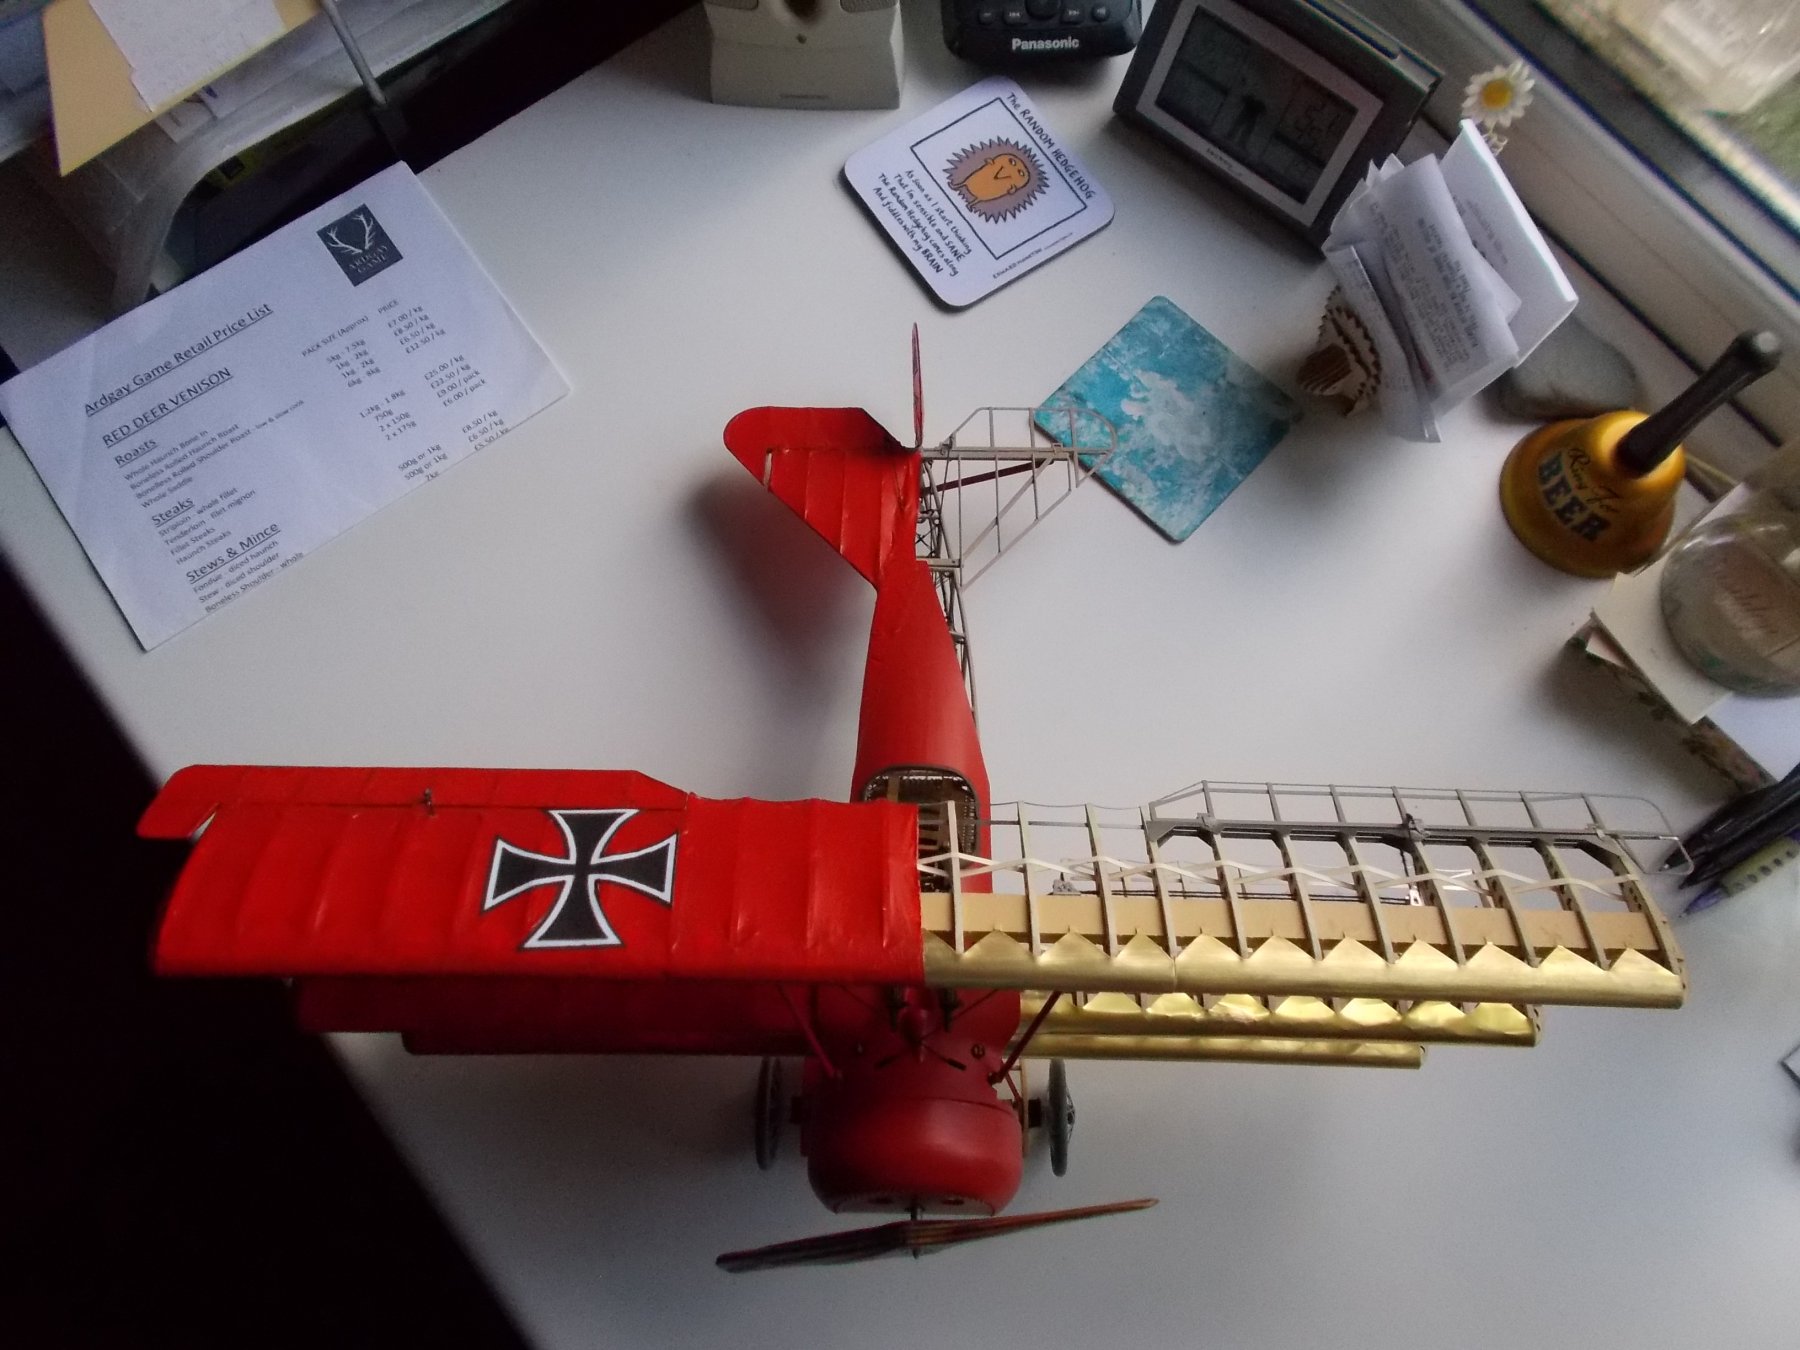
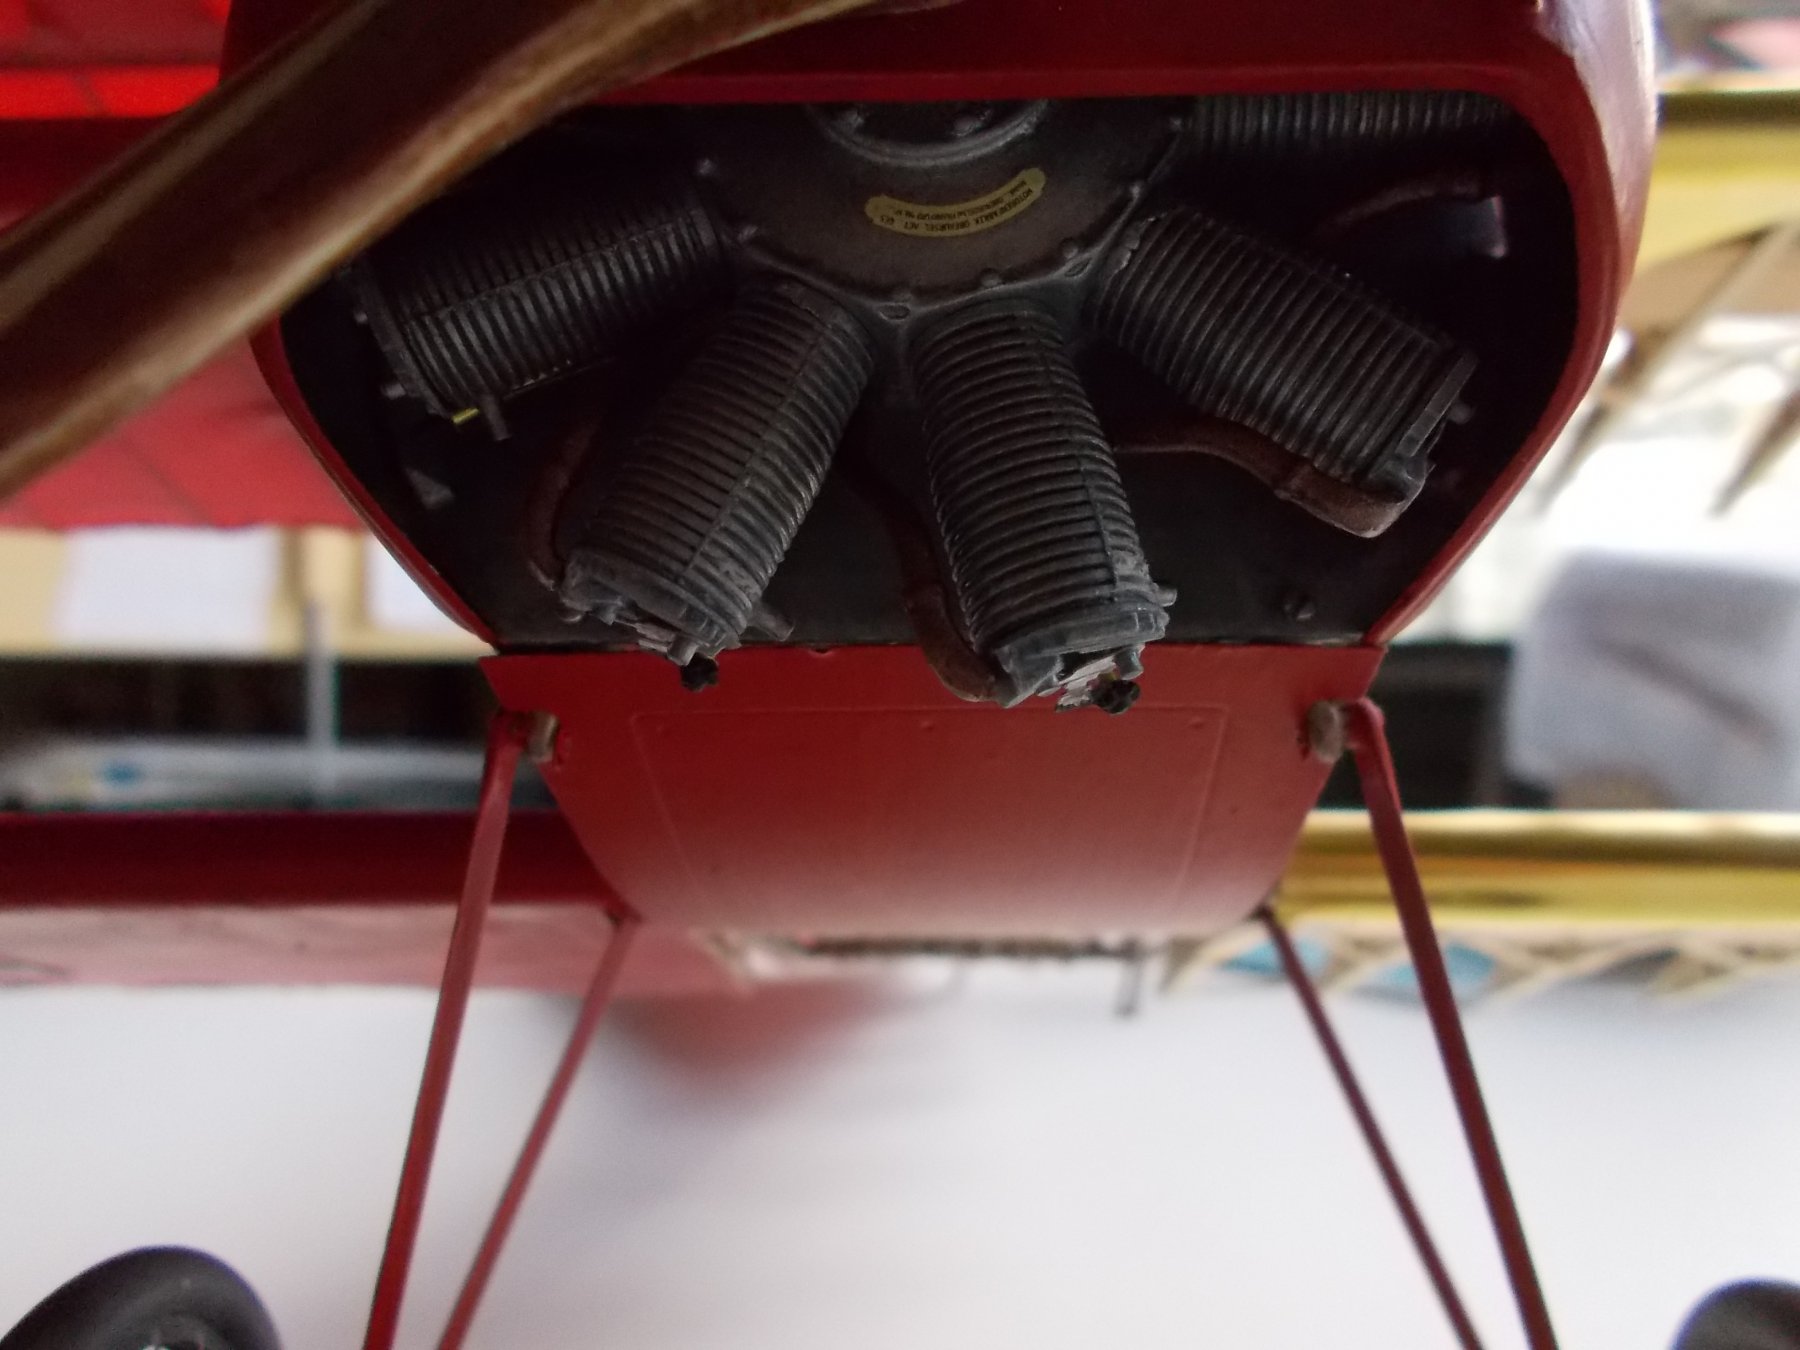
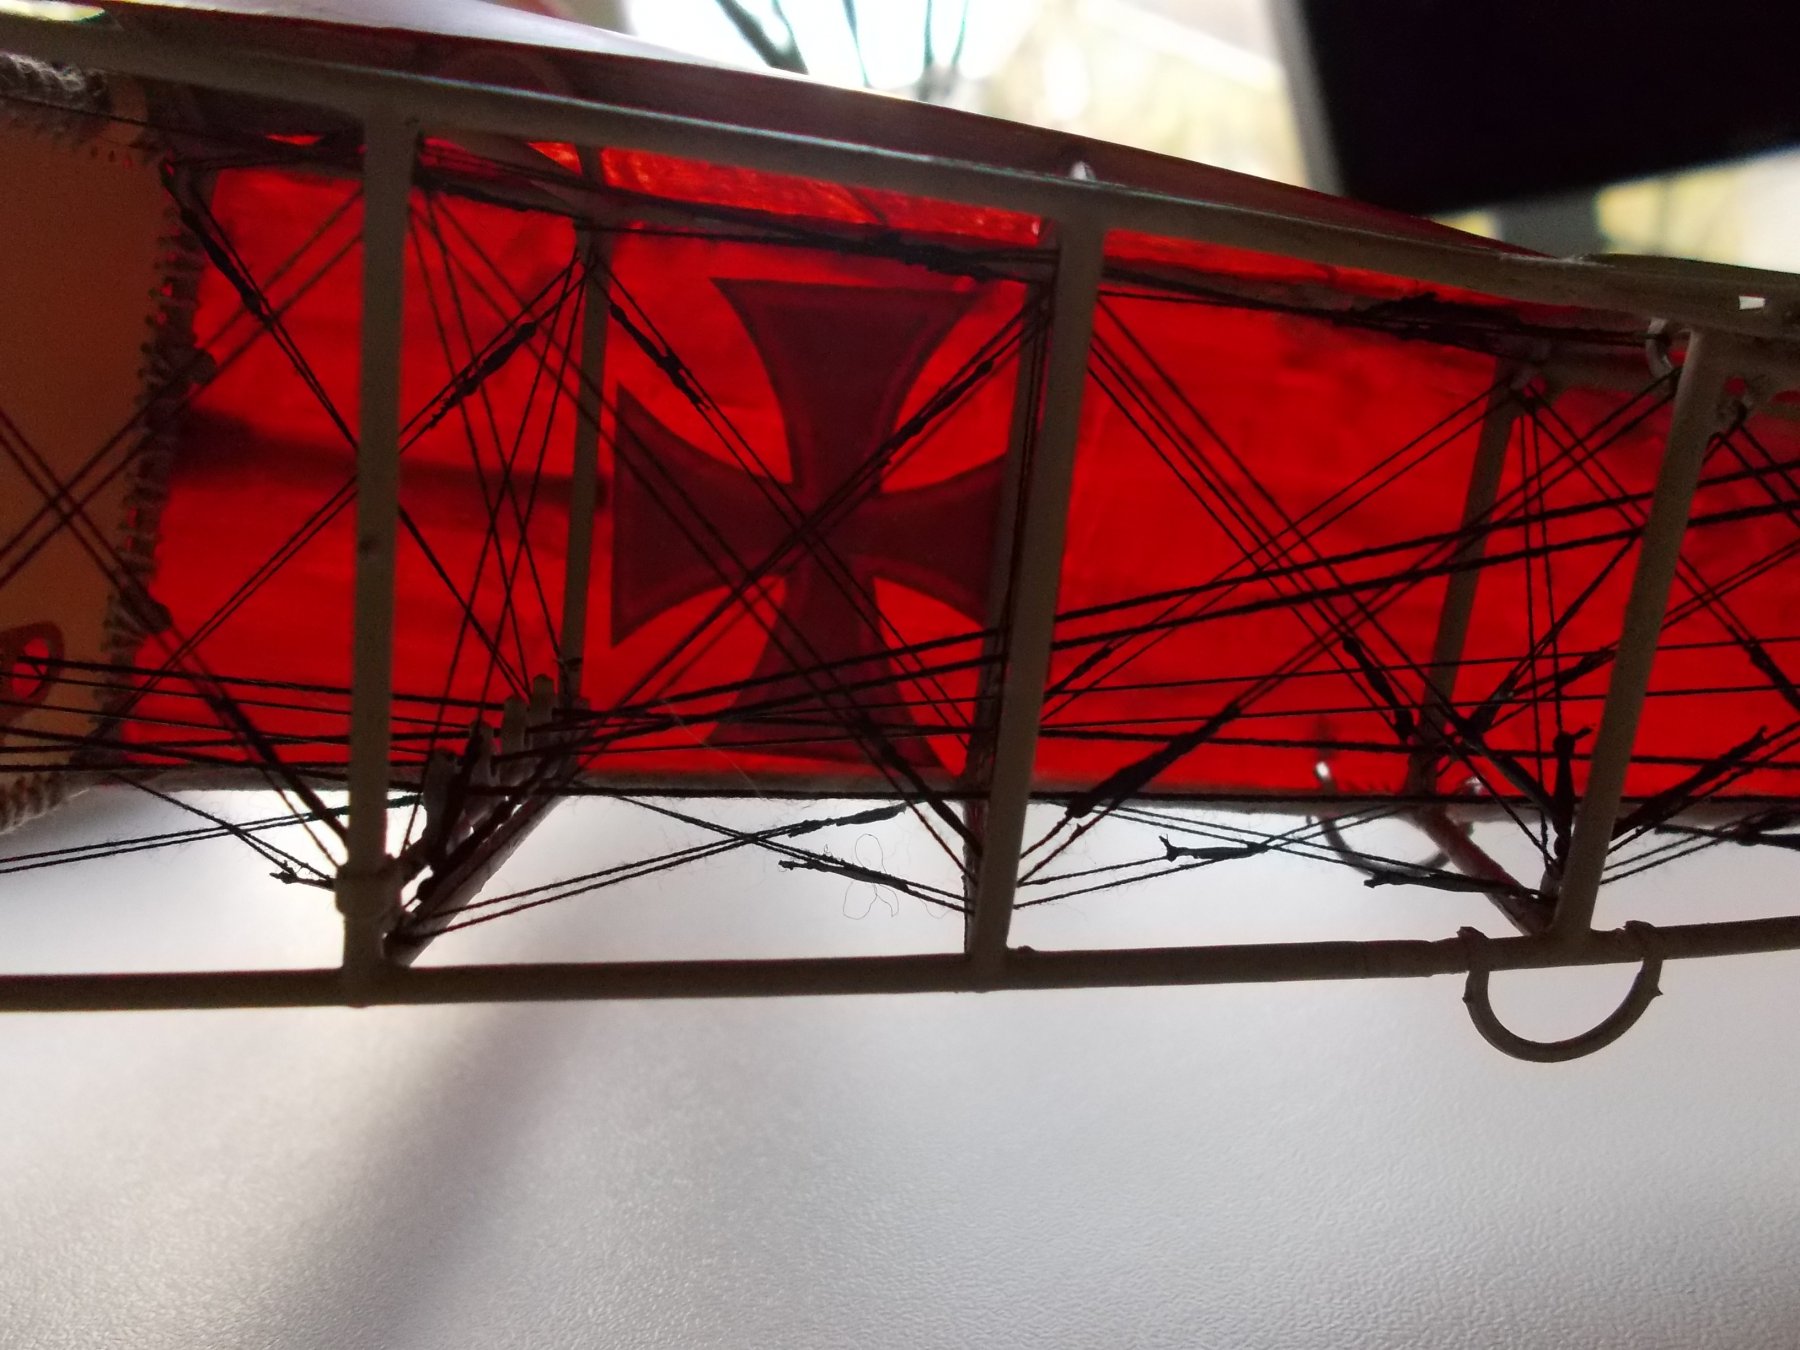
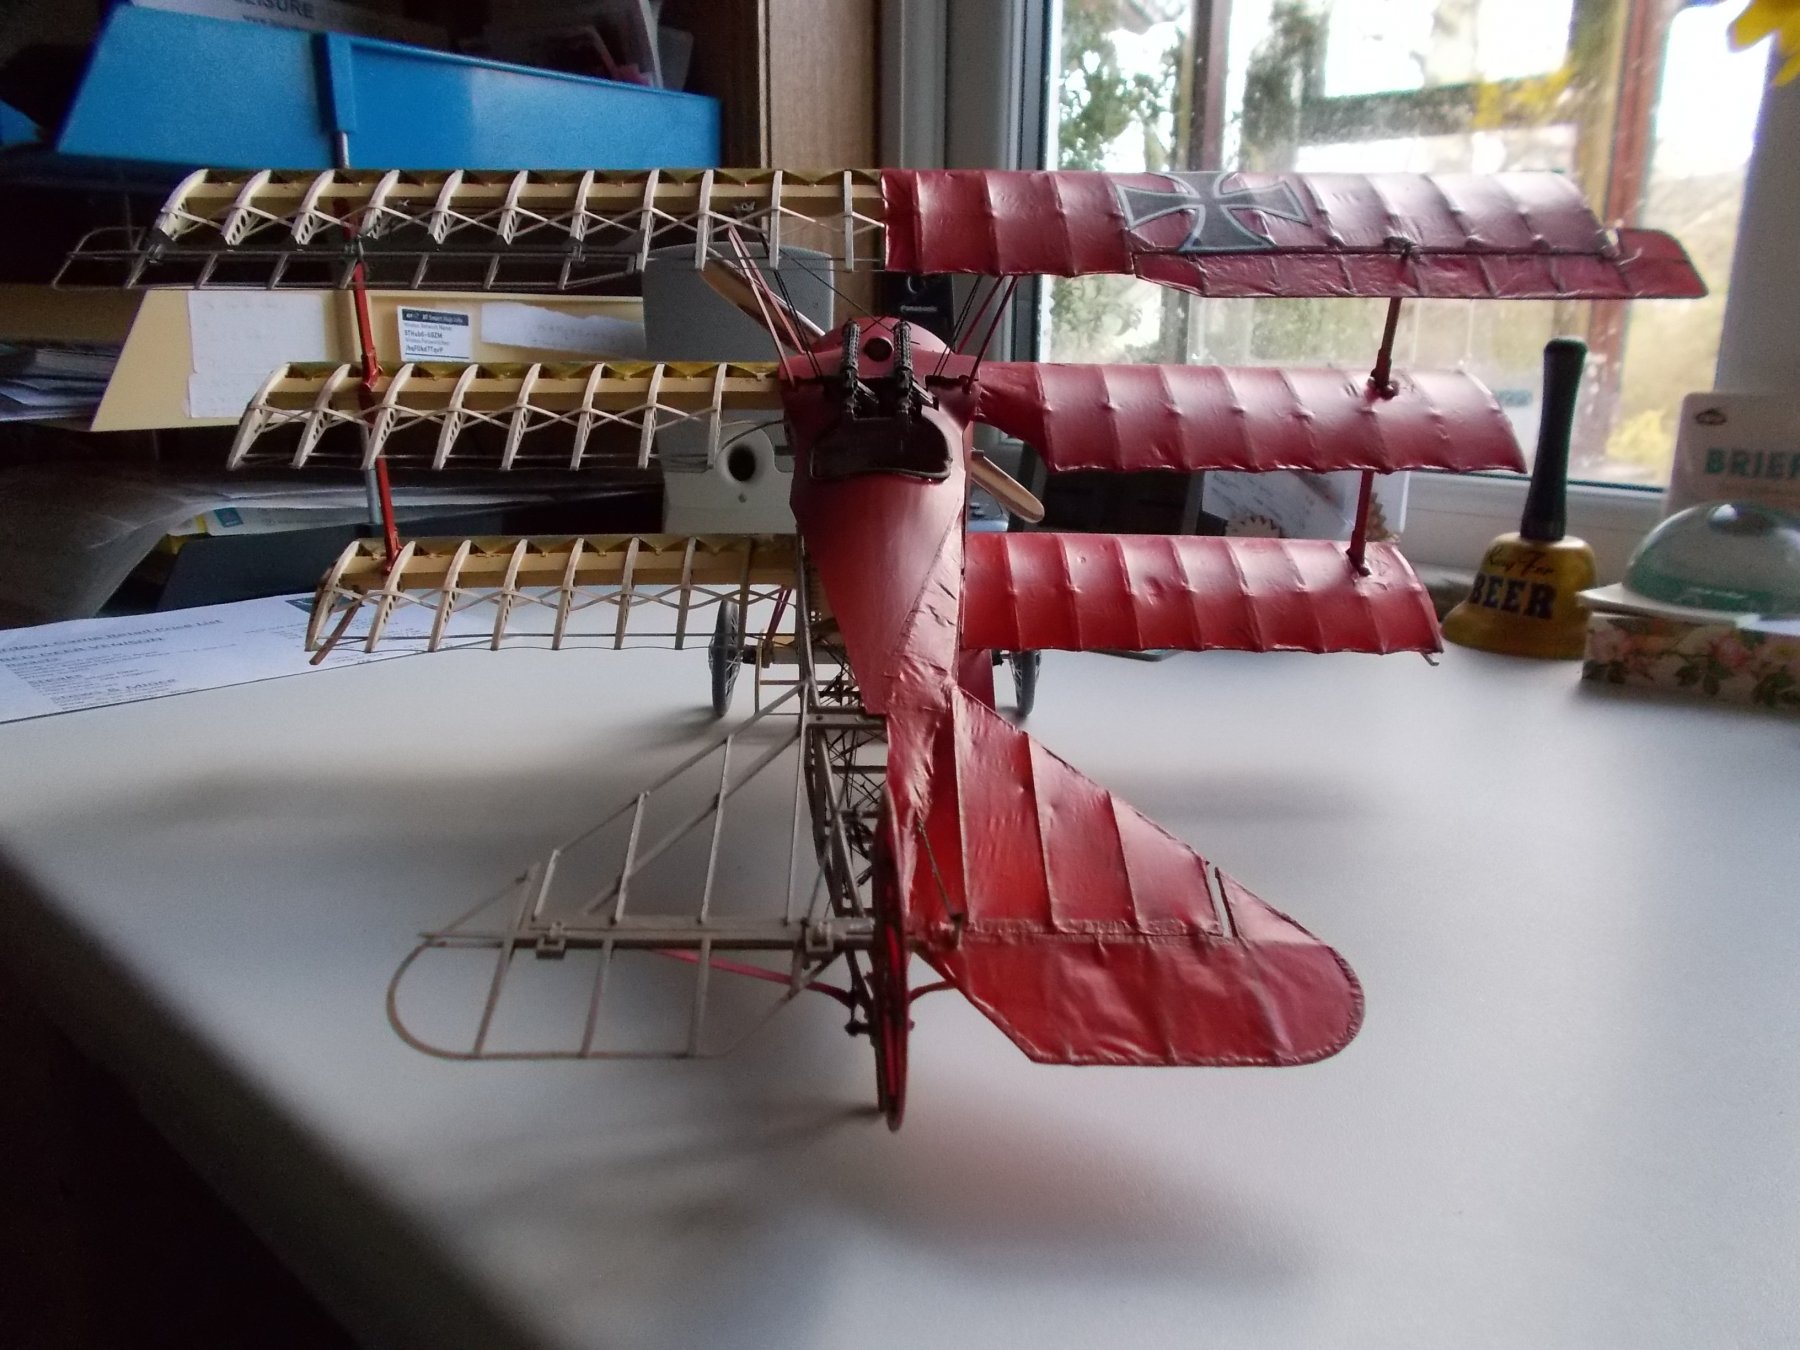
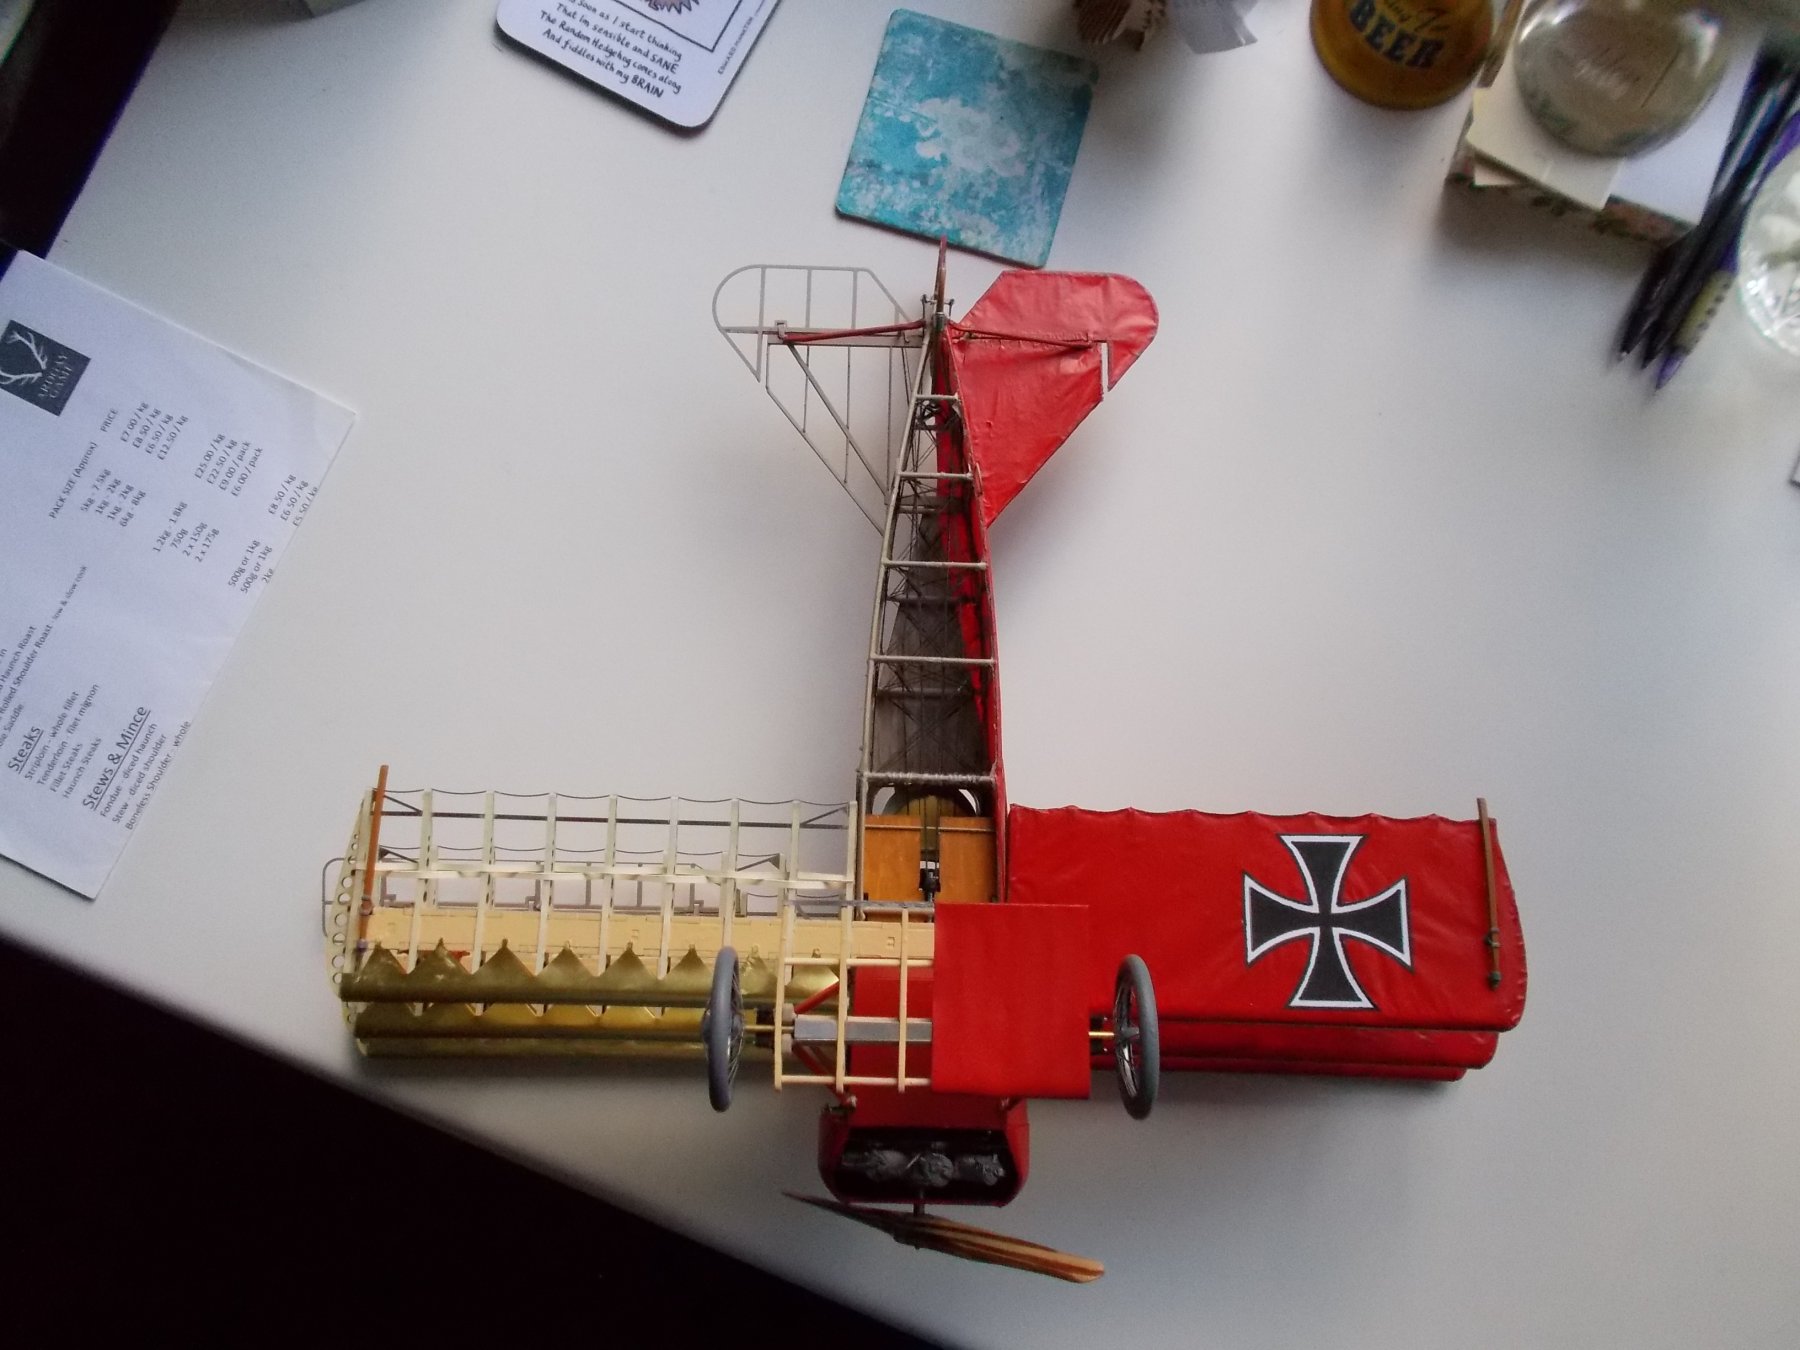
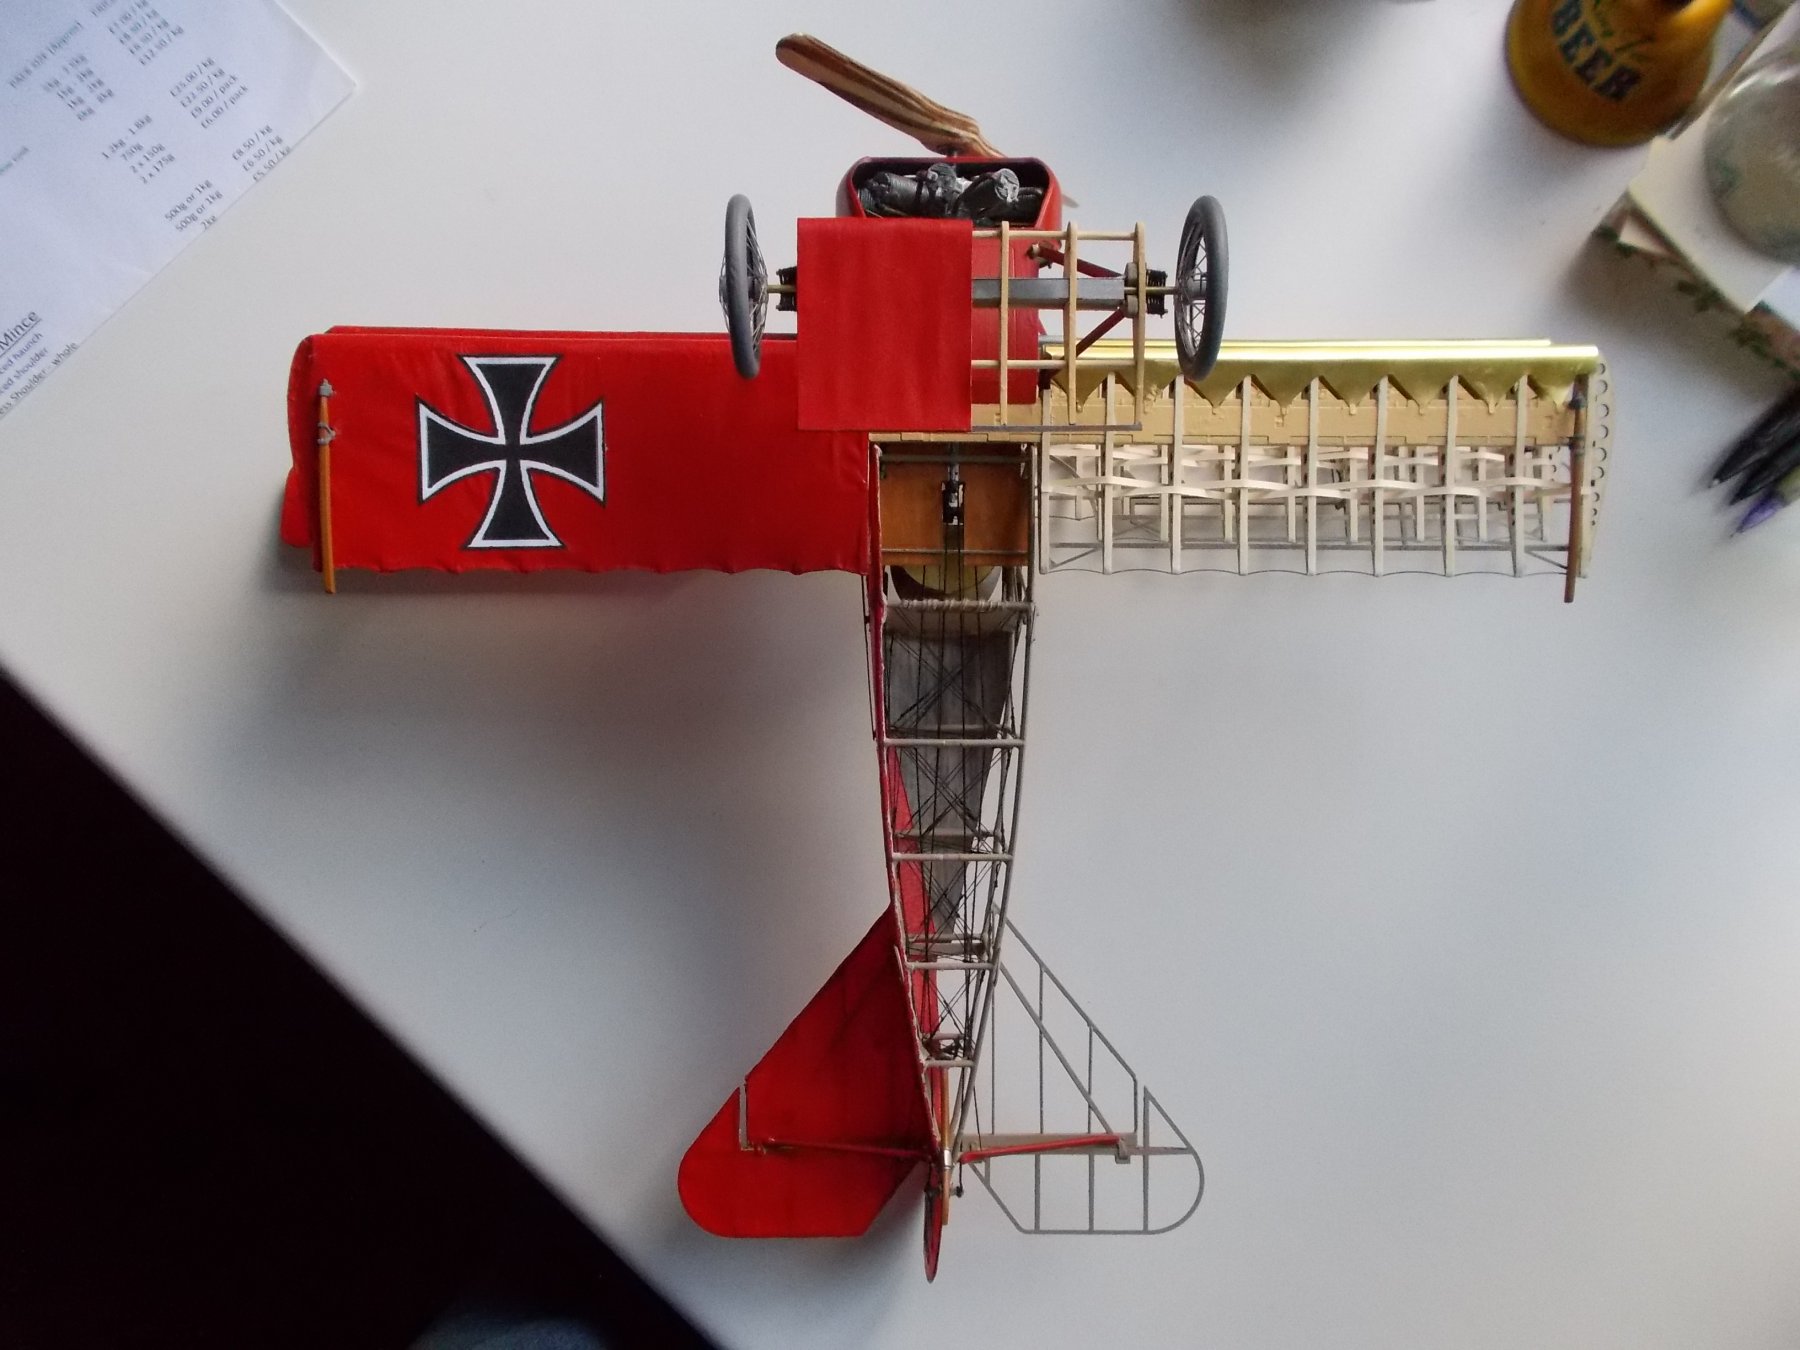
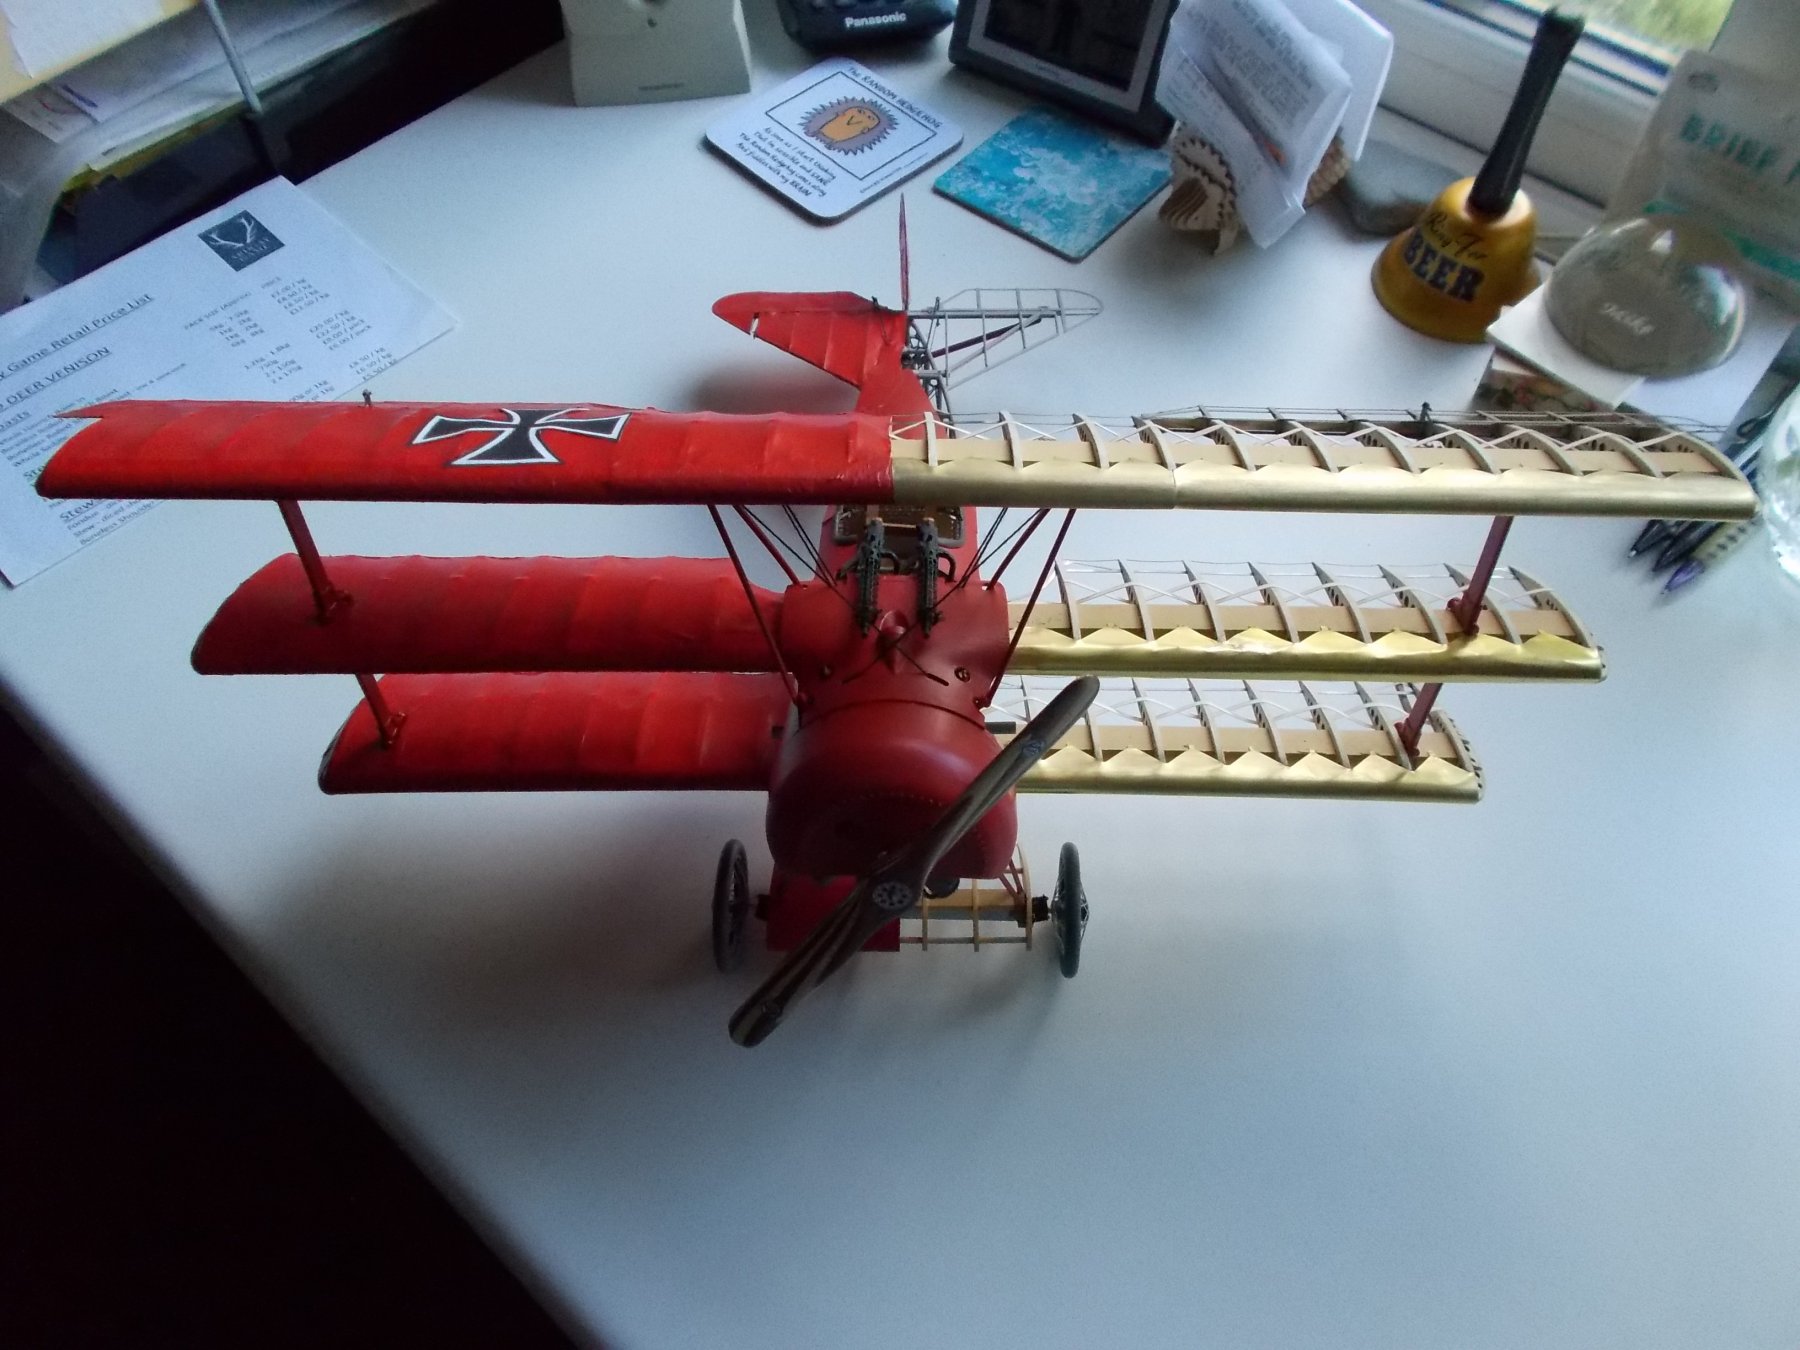
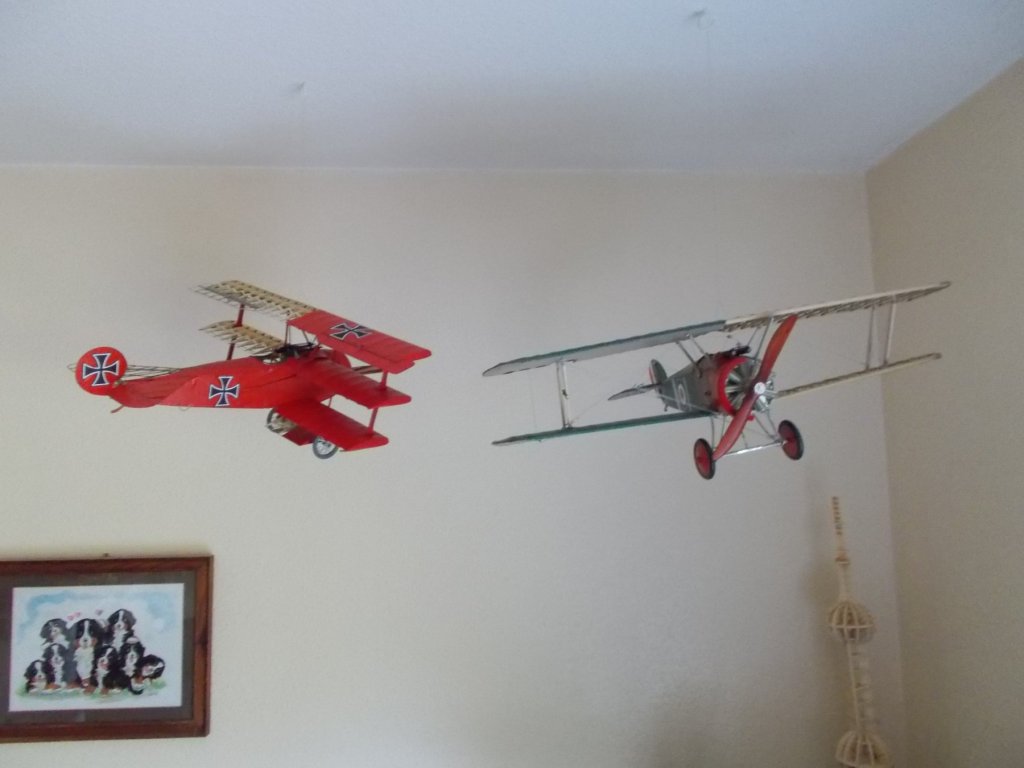
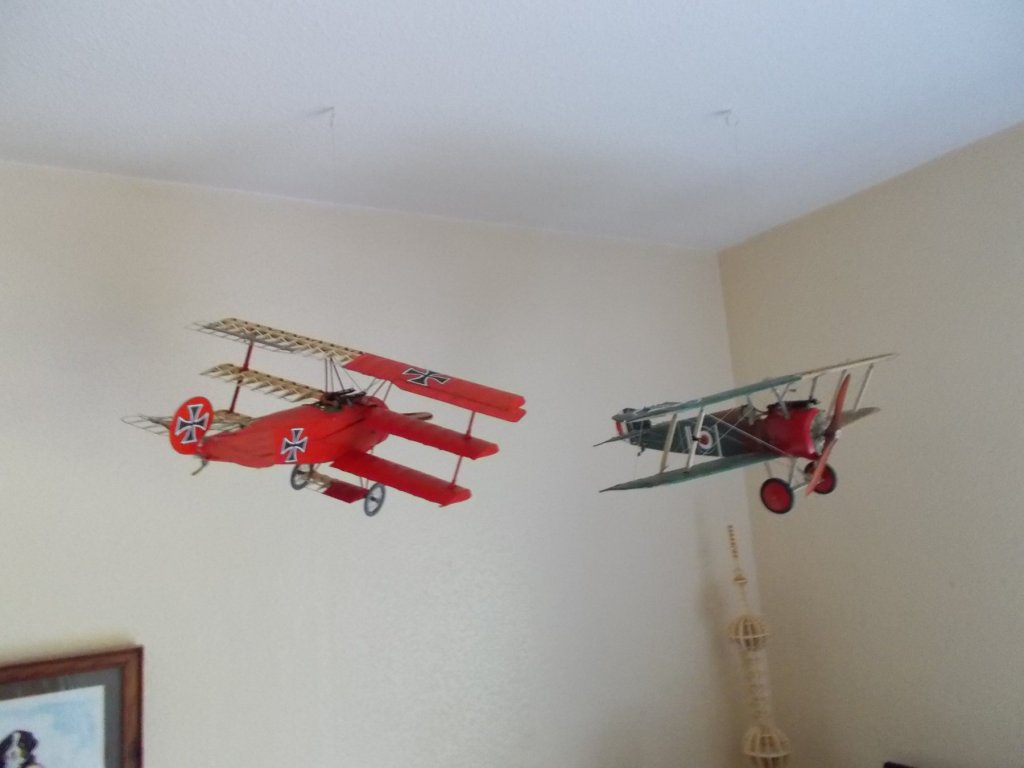
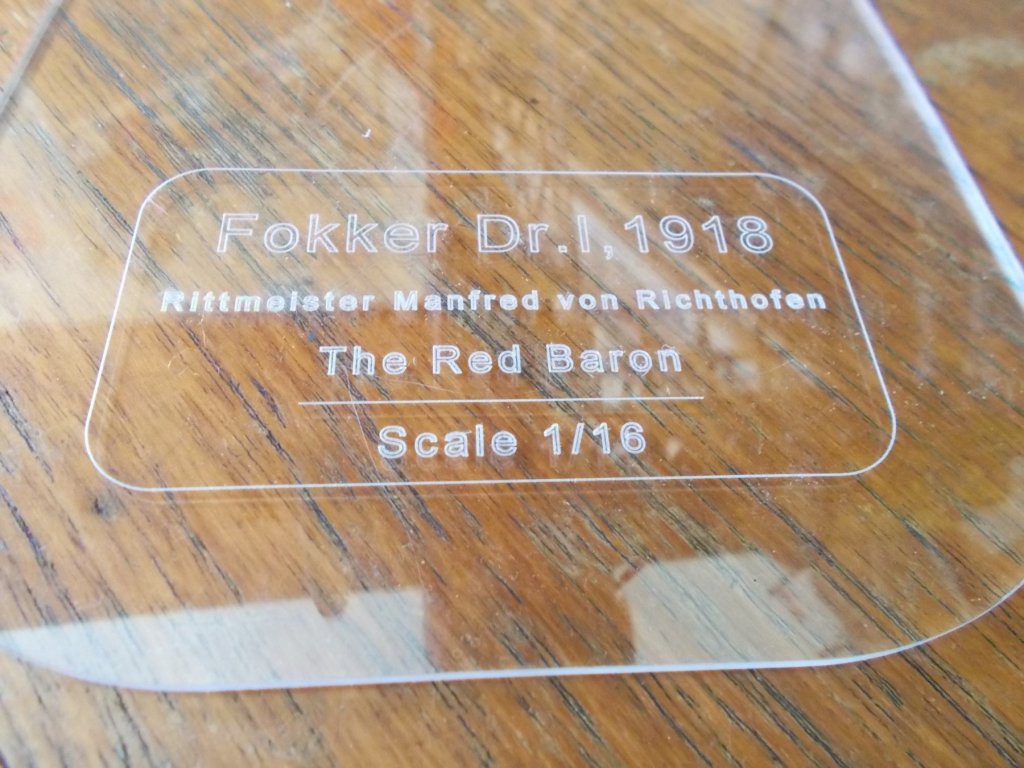
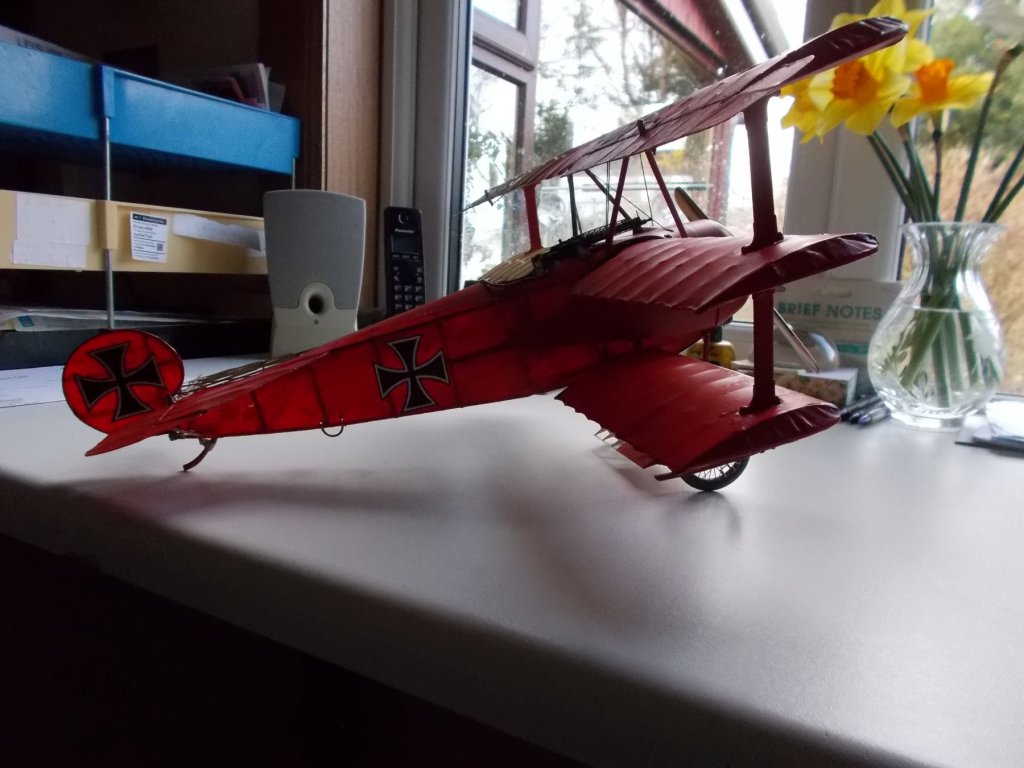
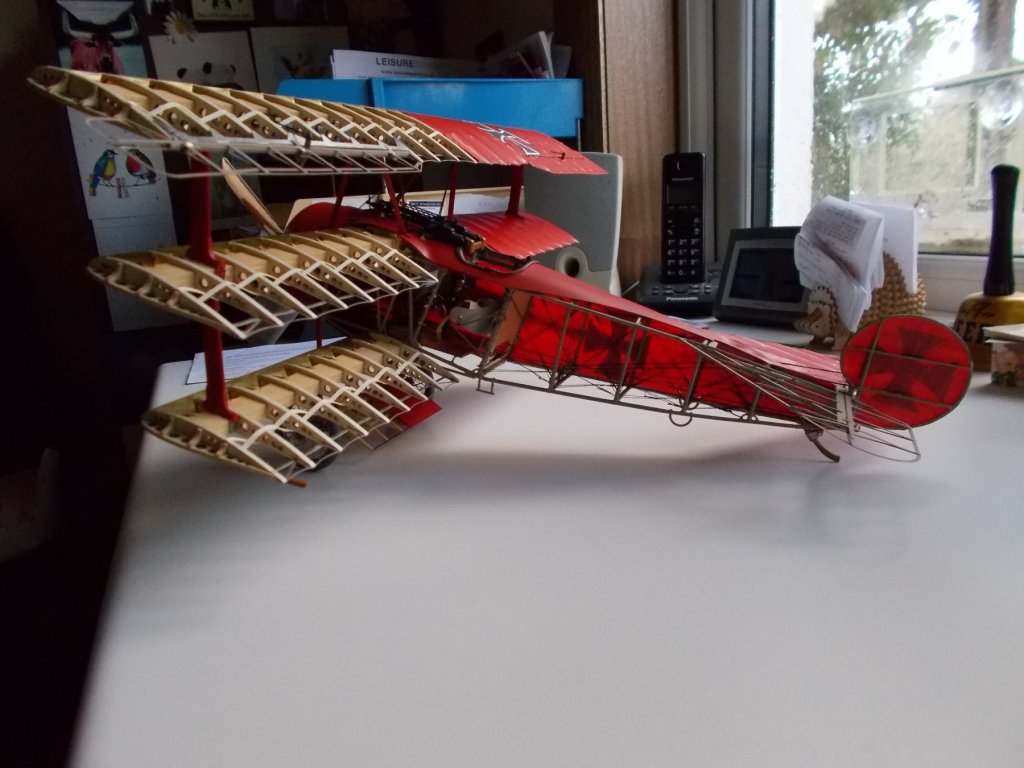
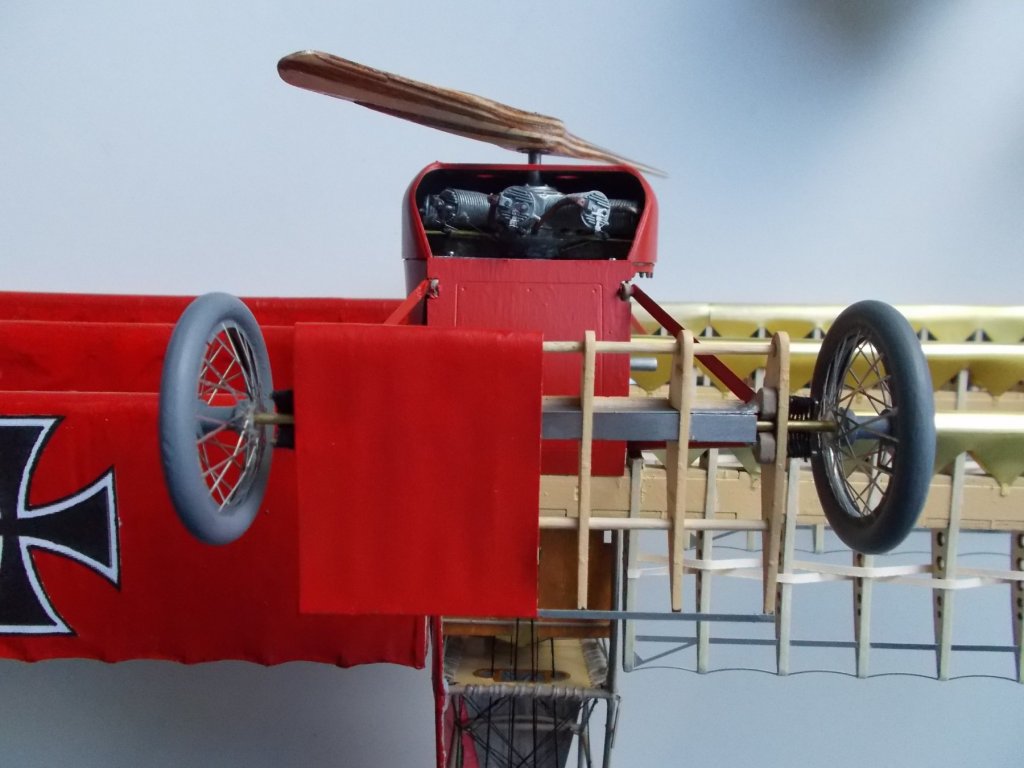
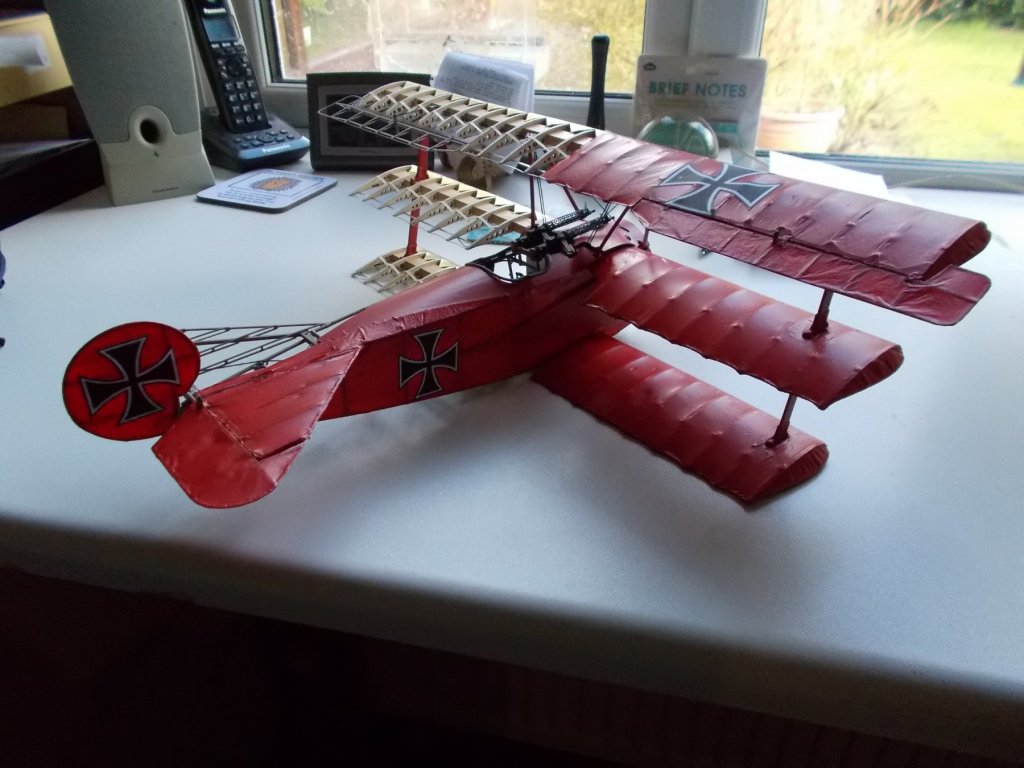
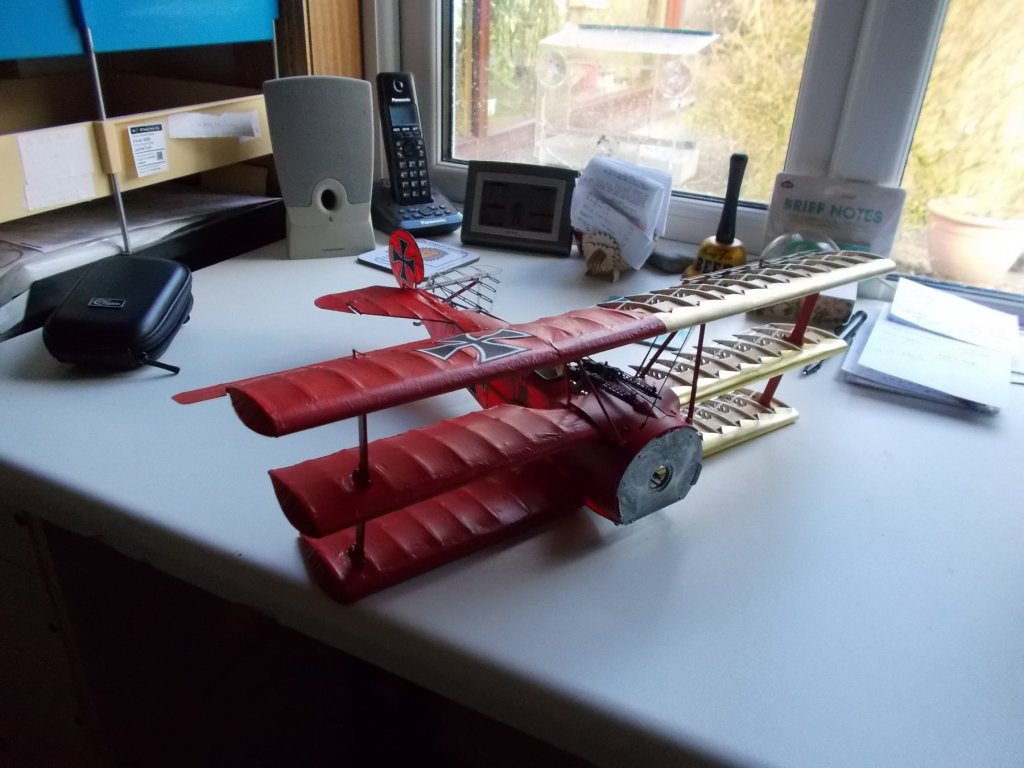
Well folks, another project bites the dust ! The Fokker is complete except for the stand. I am waiting for some acrylic glue to make it up with unless I decide to fly it from the ceiling as planned alongside the Sopwith. Thank you all for watching, showing interest and all your comments. They make the build more fun for me. Anyway, some pictures for you which hopefully you will enjoy.


- 141 replies
-
- 22
-
-
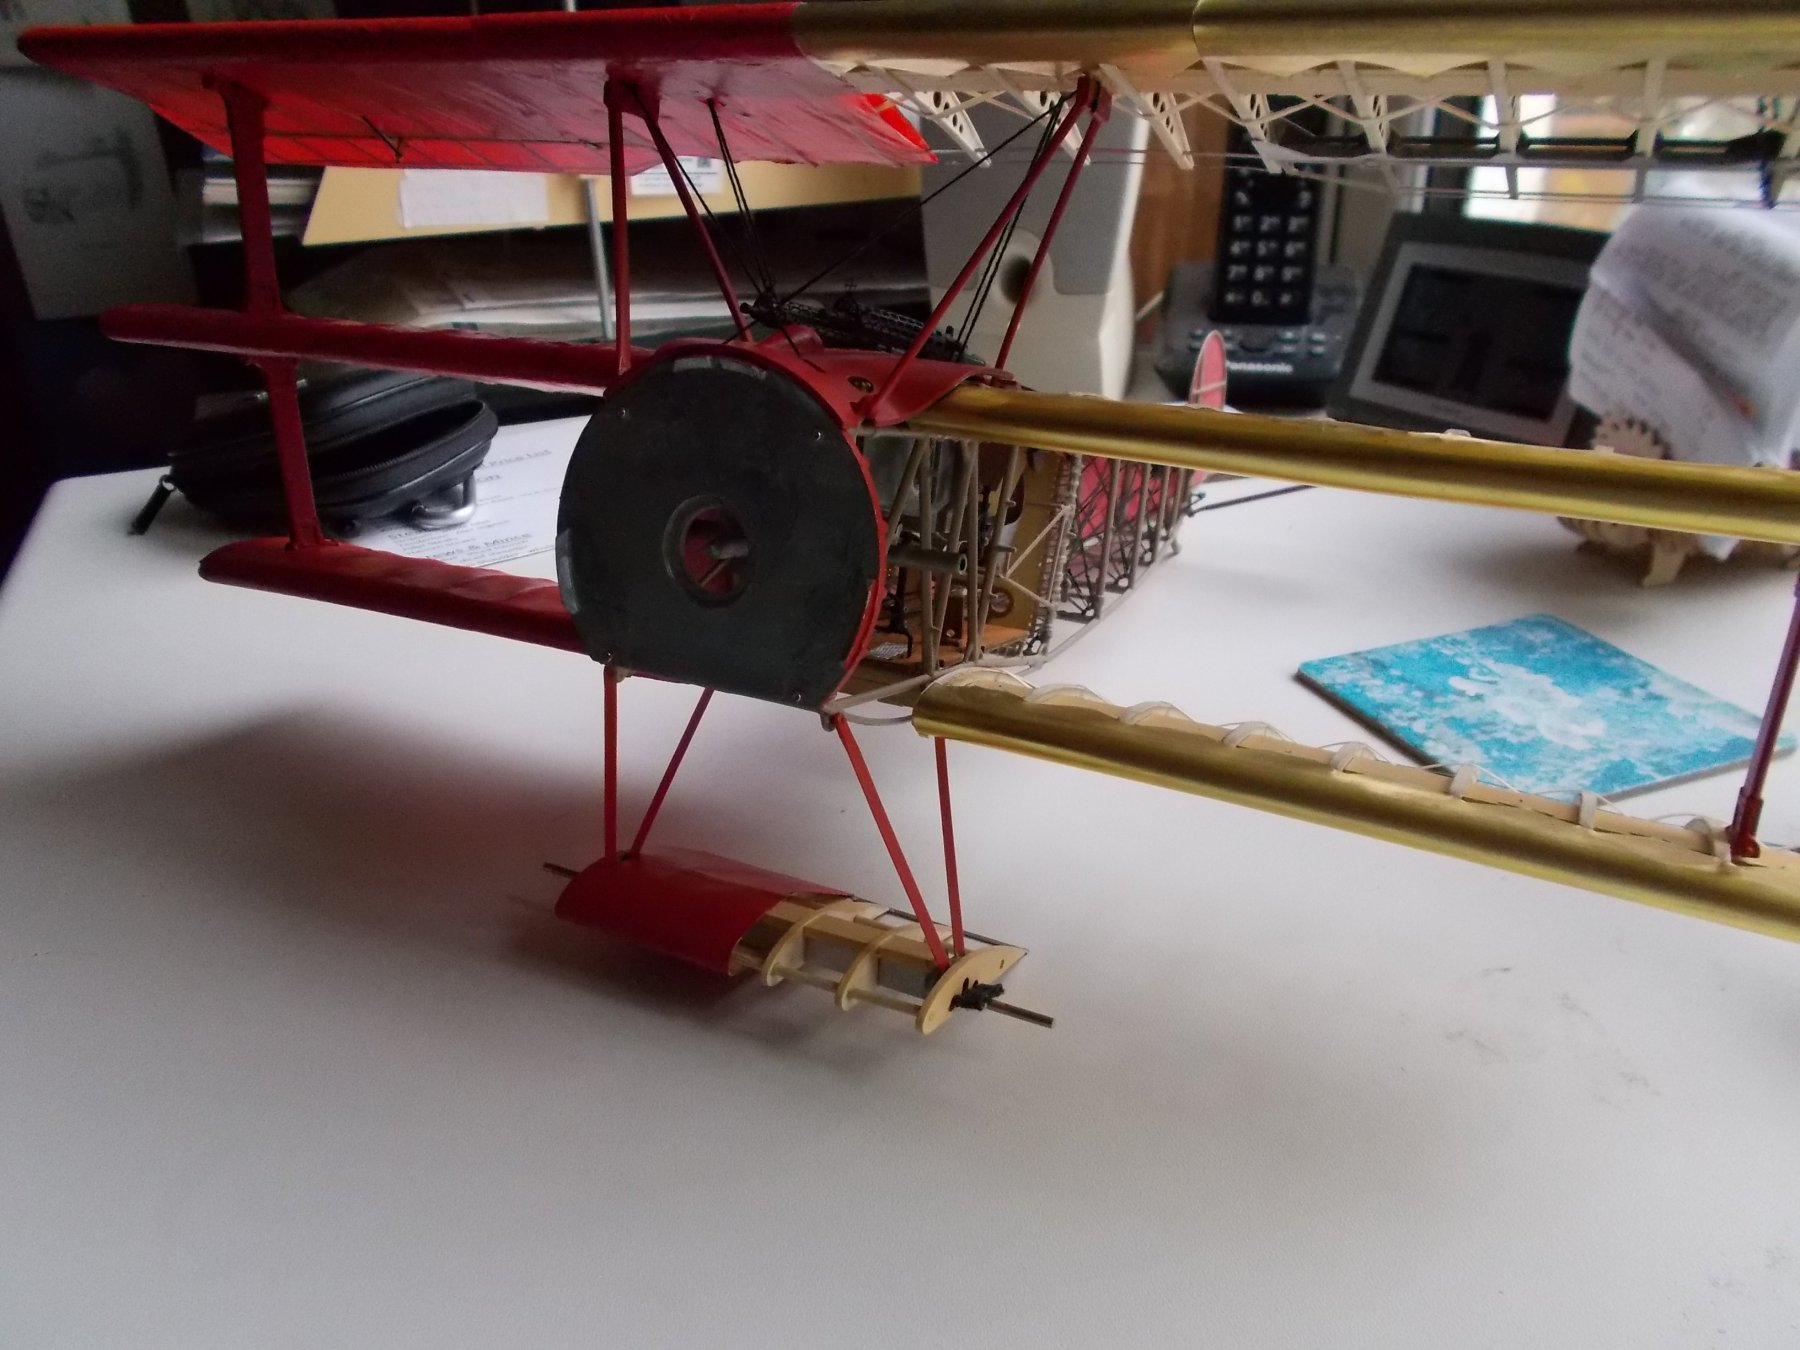
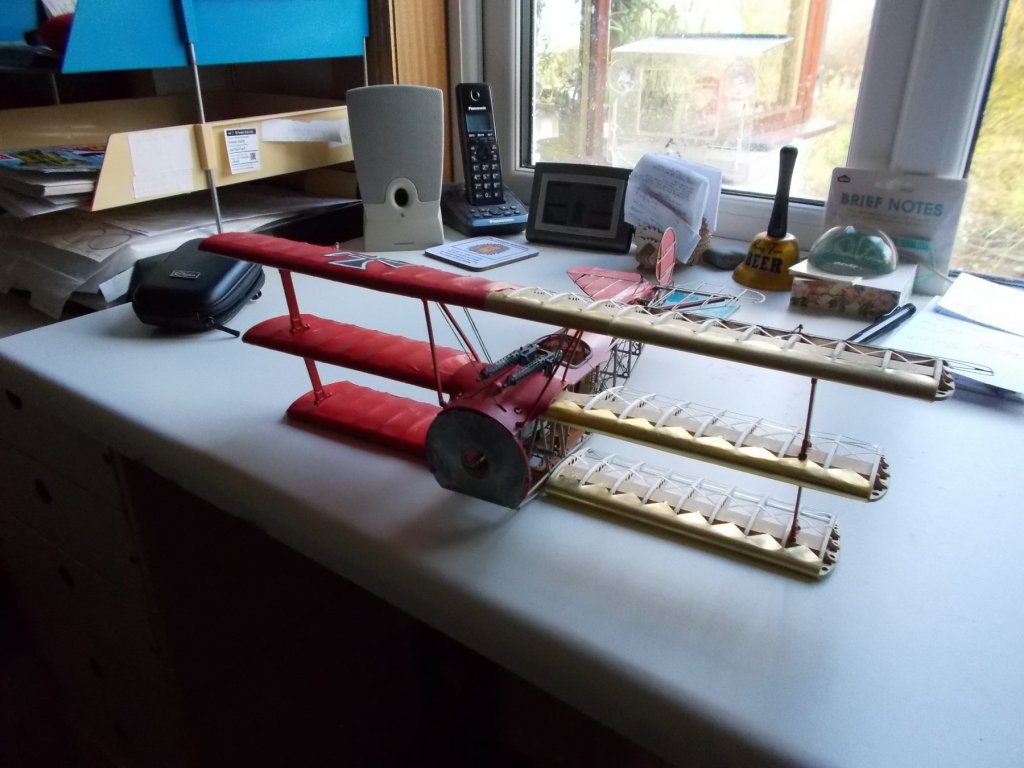
Yes Danny, too late for holes. As you can see I did decide on the half cover option in the end, as much as anything to keep the theme Mark.

- 141 replies
-
- 11
-
-
Another thought! I have some plastic mesh left over from another build. I used it to make the windows in my yacht Mary. It would be just right for your grills. Do you have any ?
-
Excellent stairs, well done Sir !! I think the hinges look fine and I personally would stick with them as they are.
-
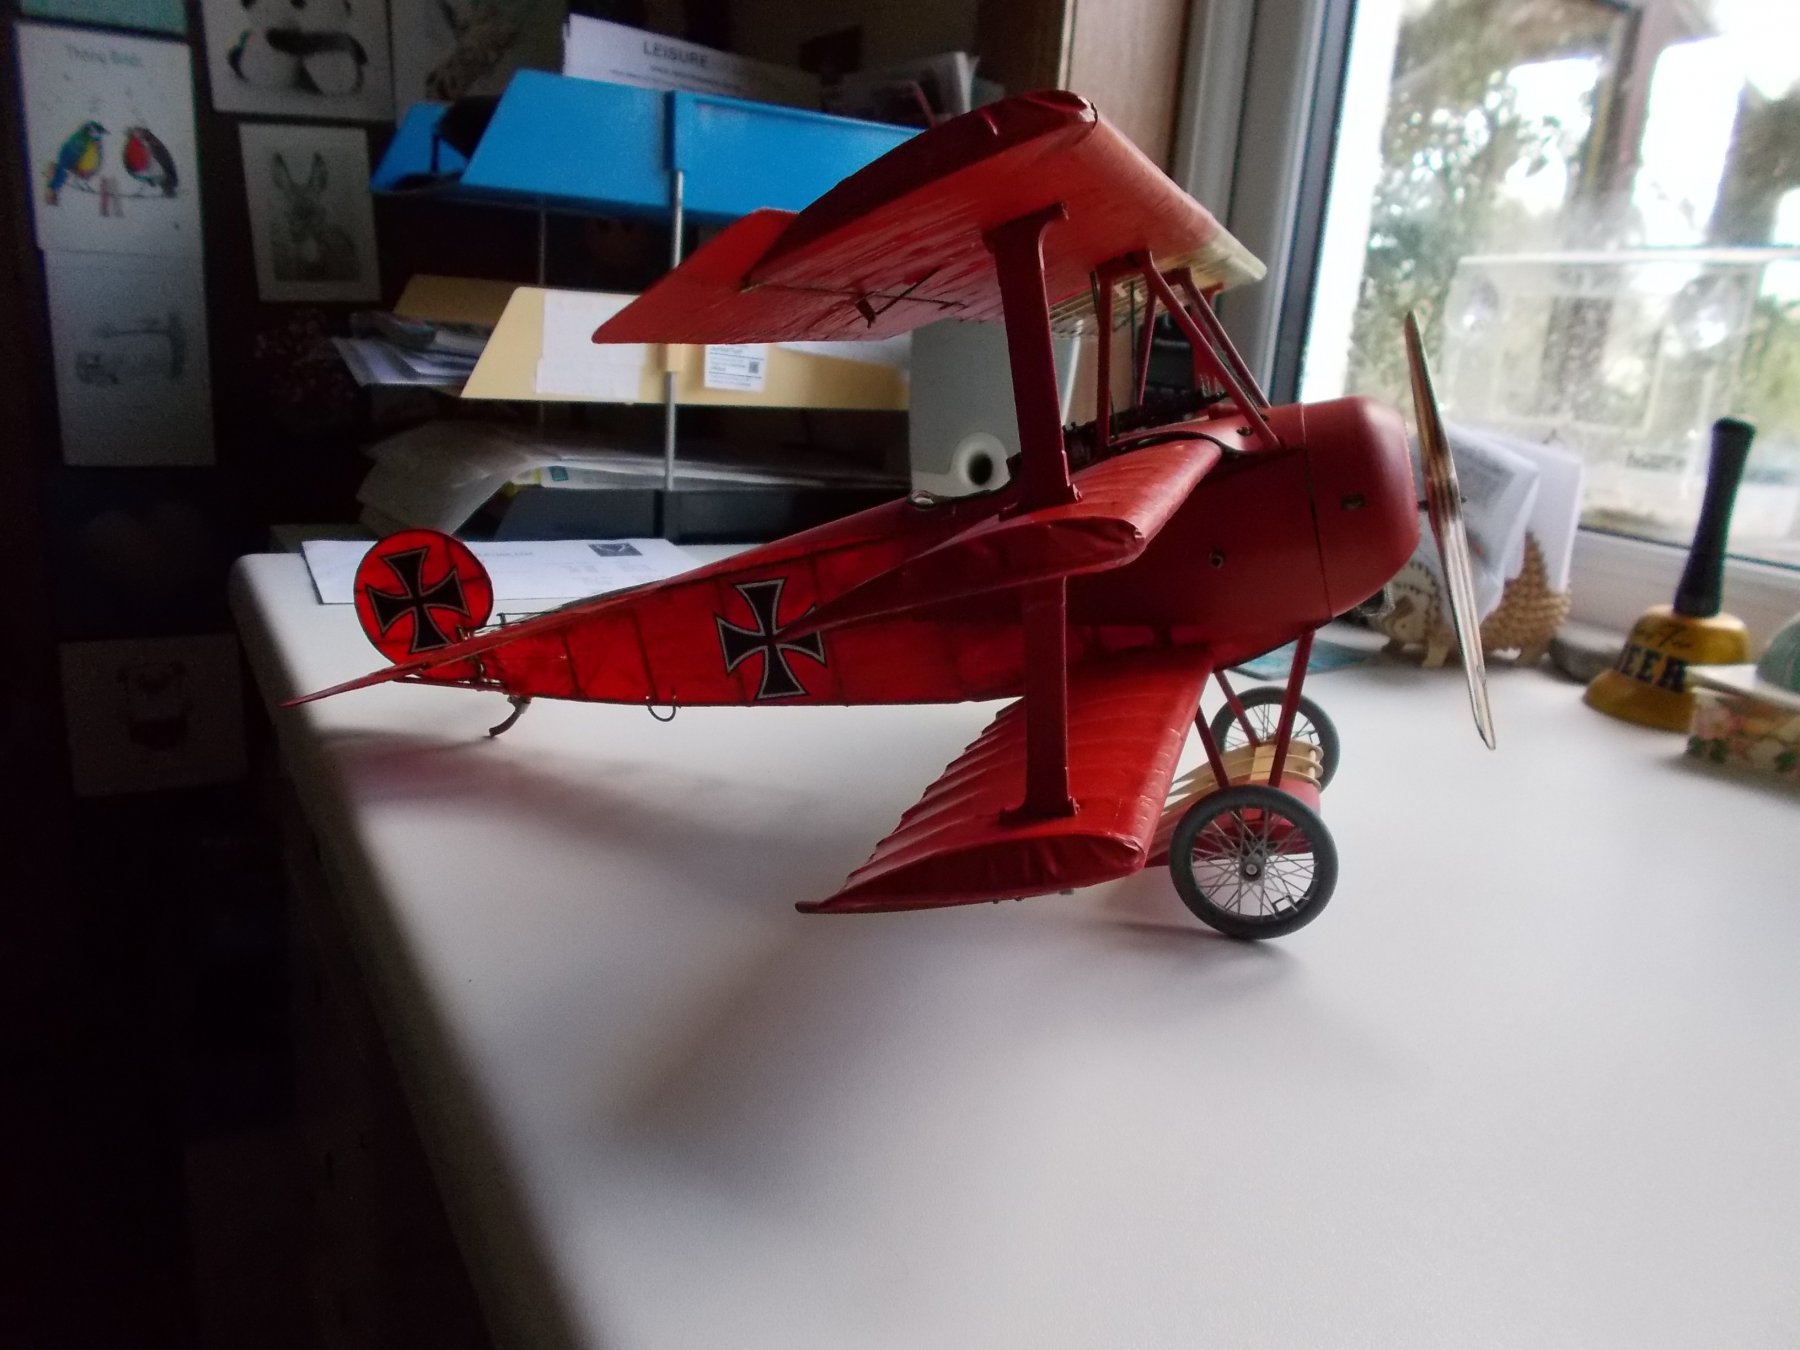
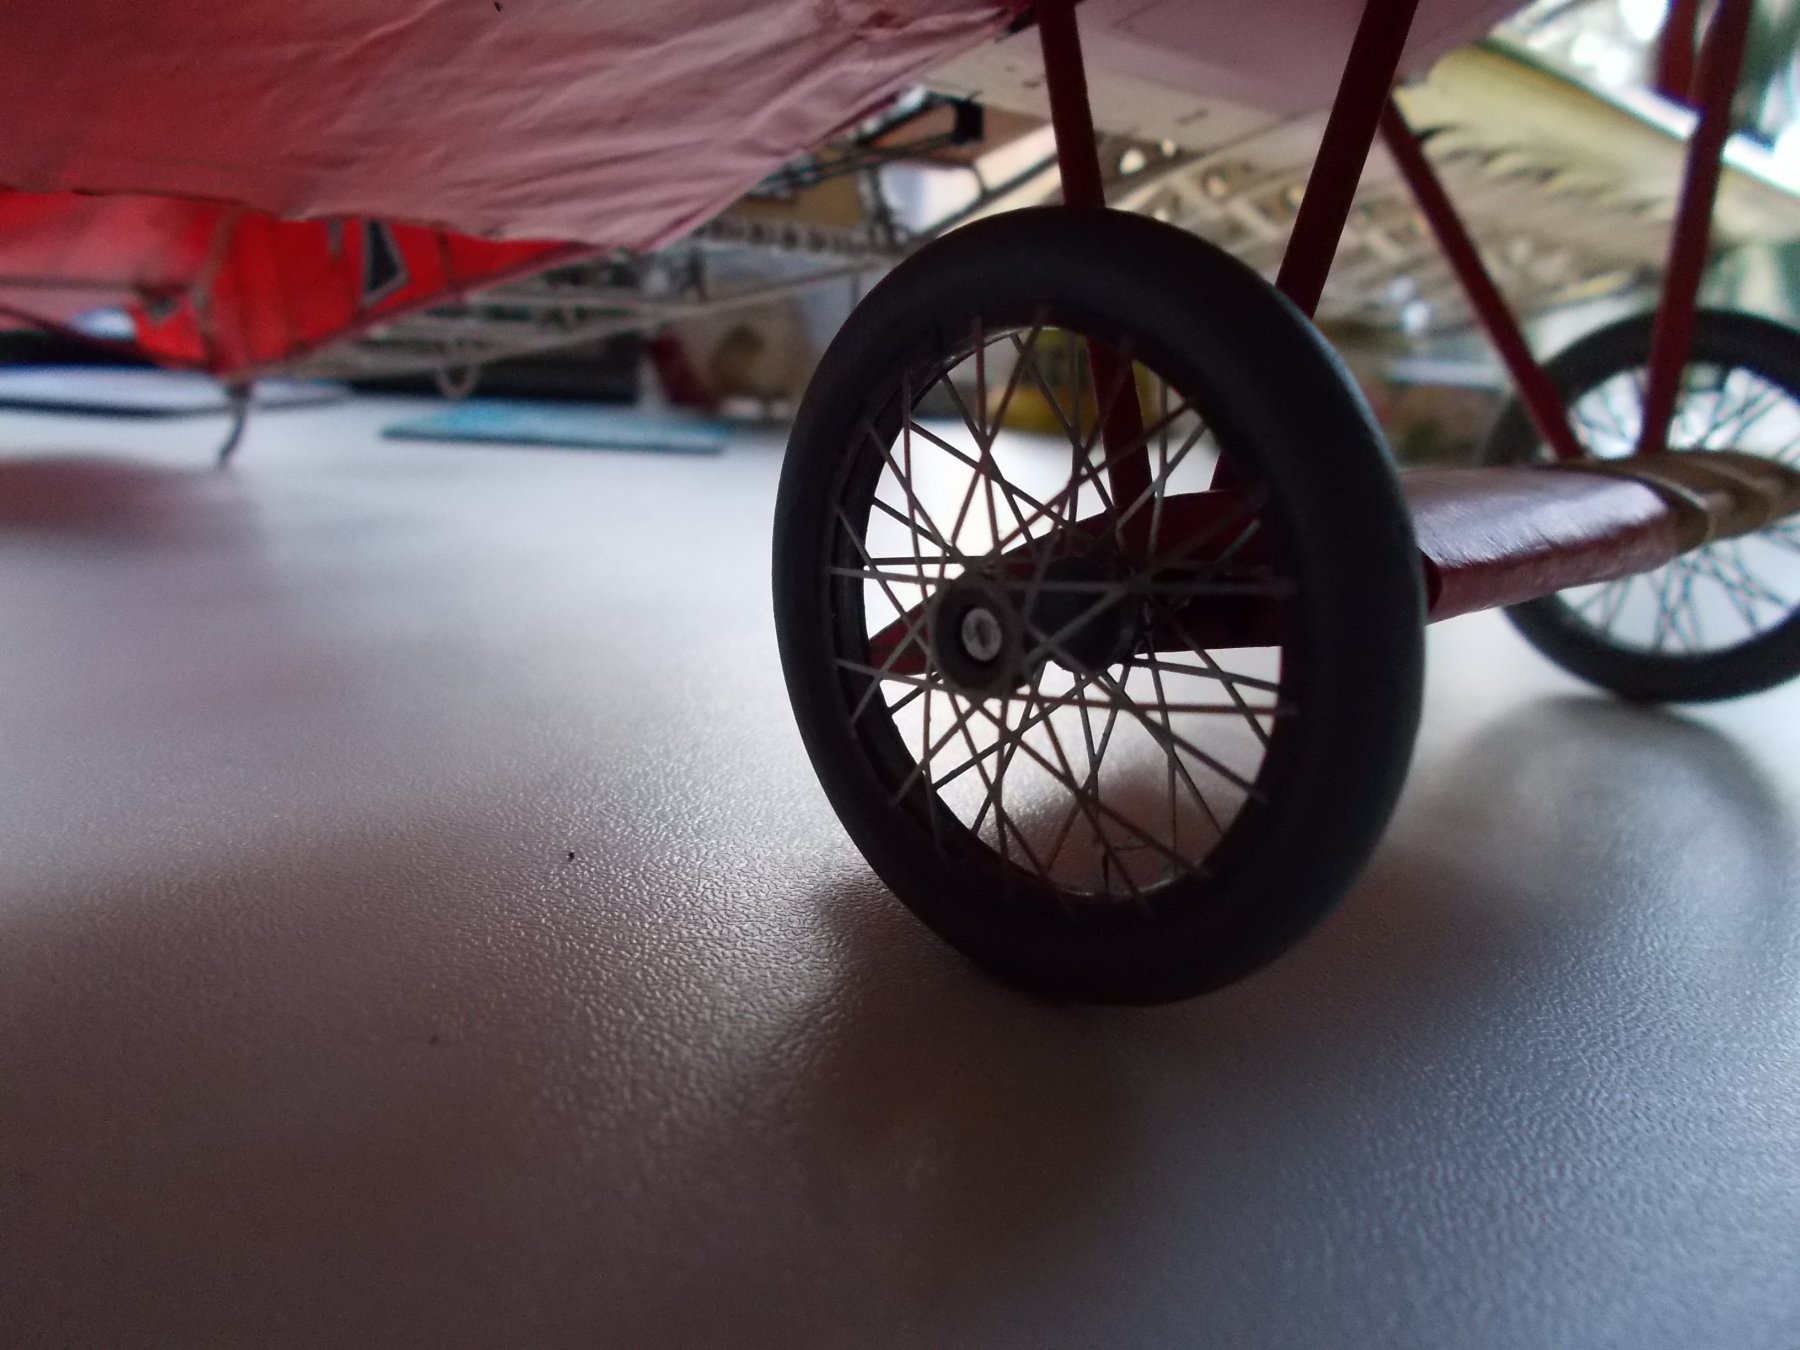
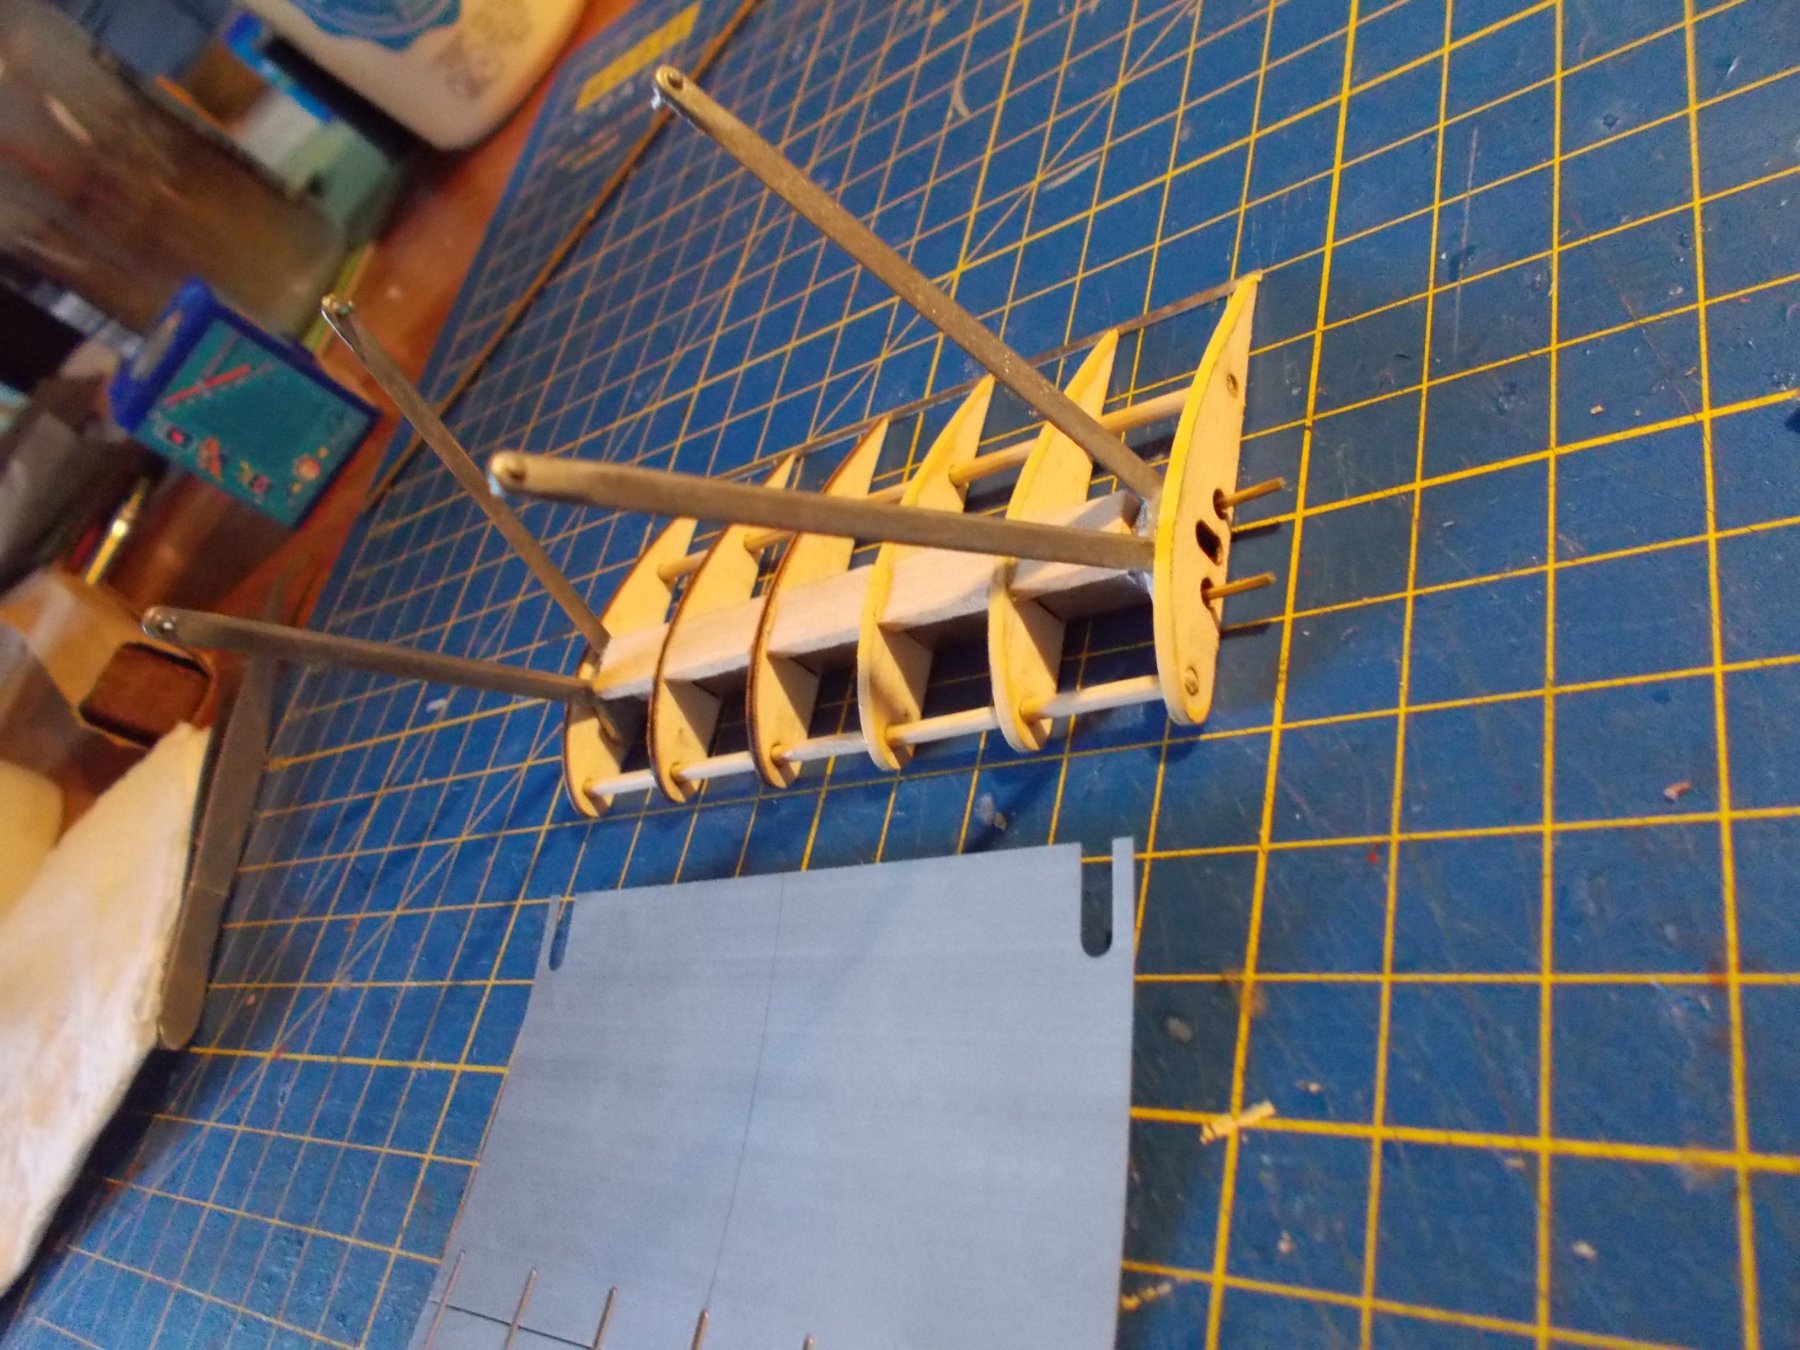
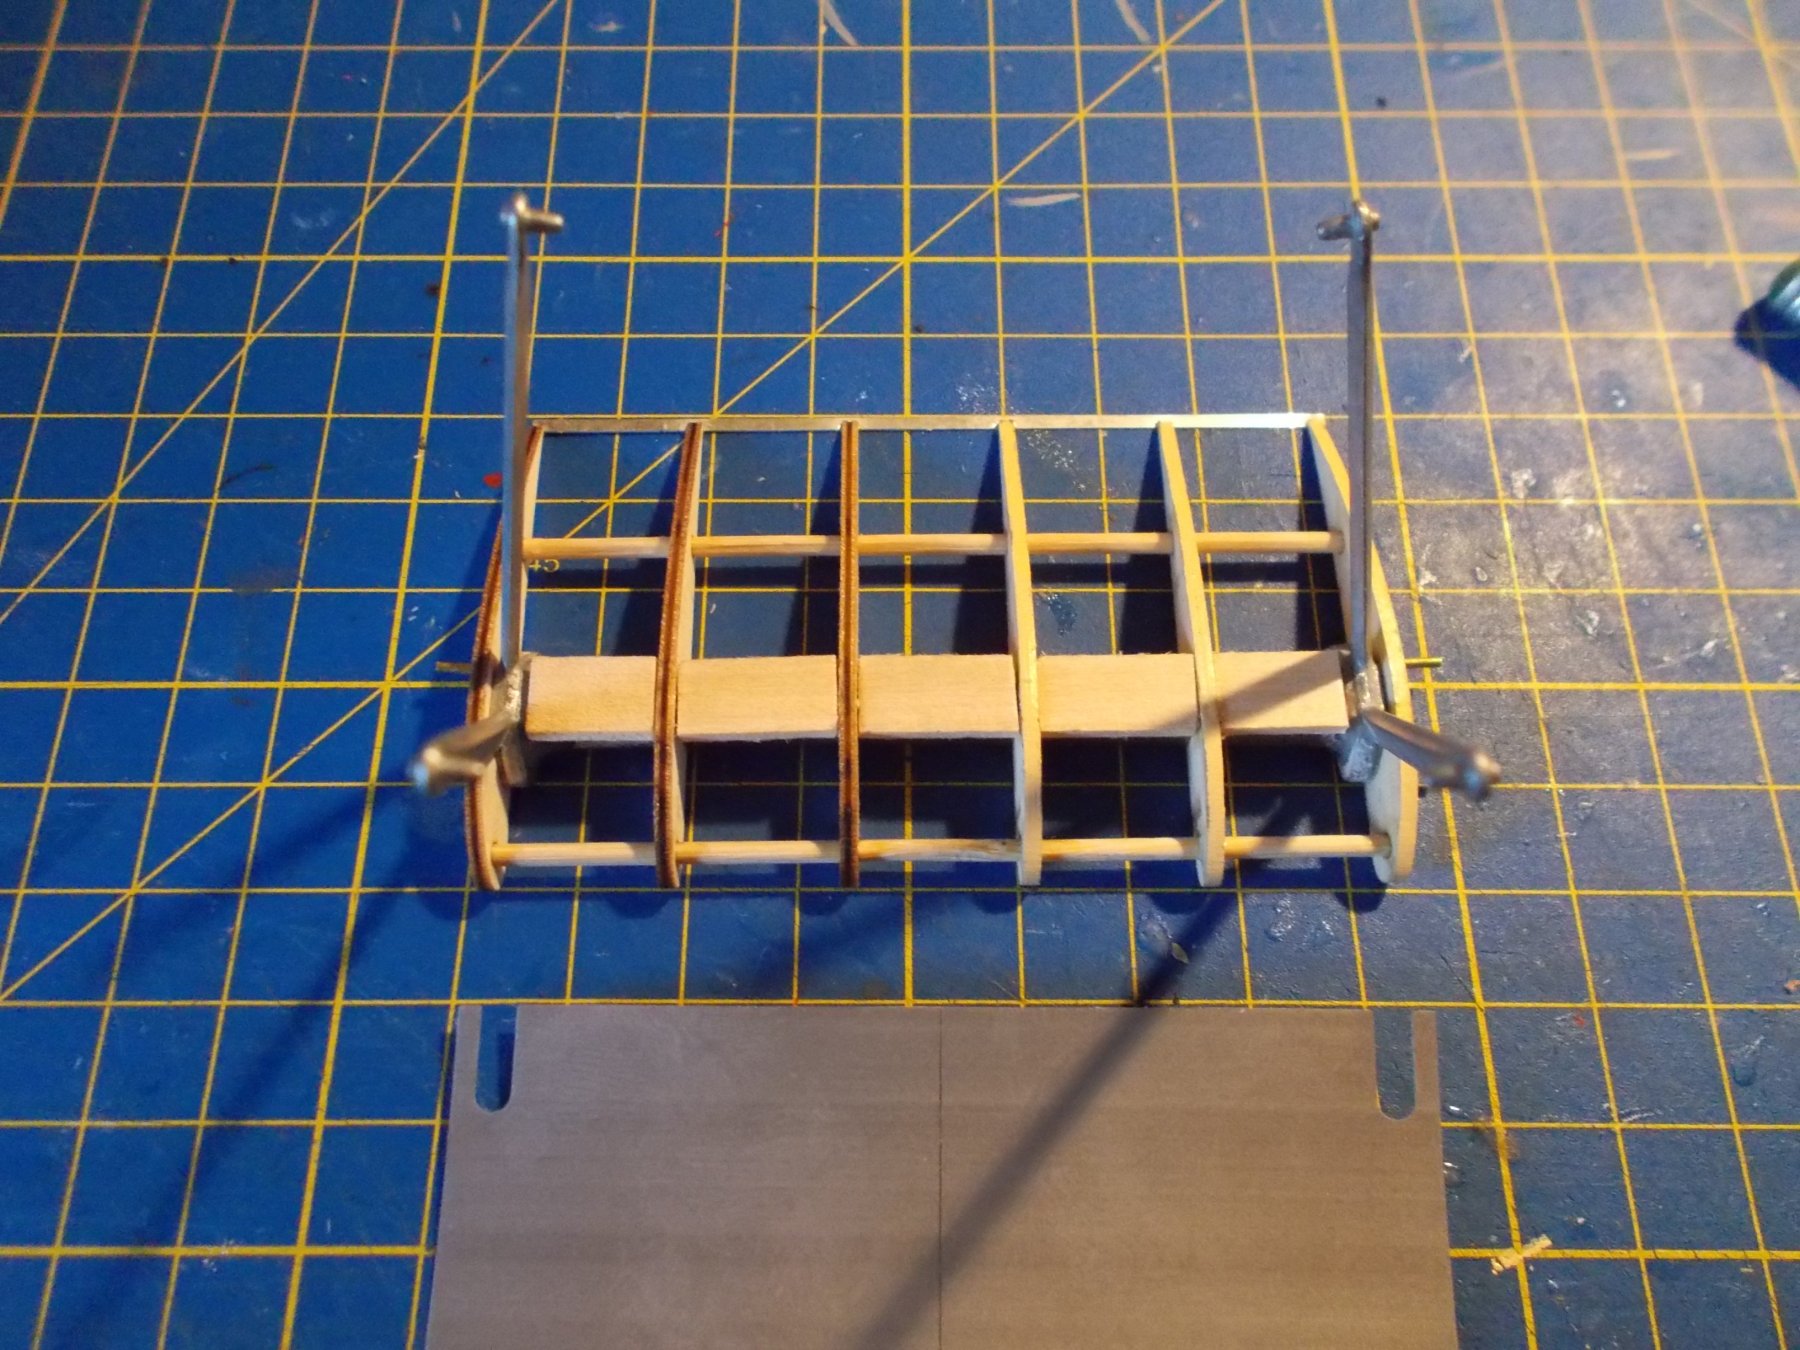
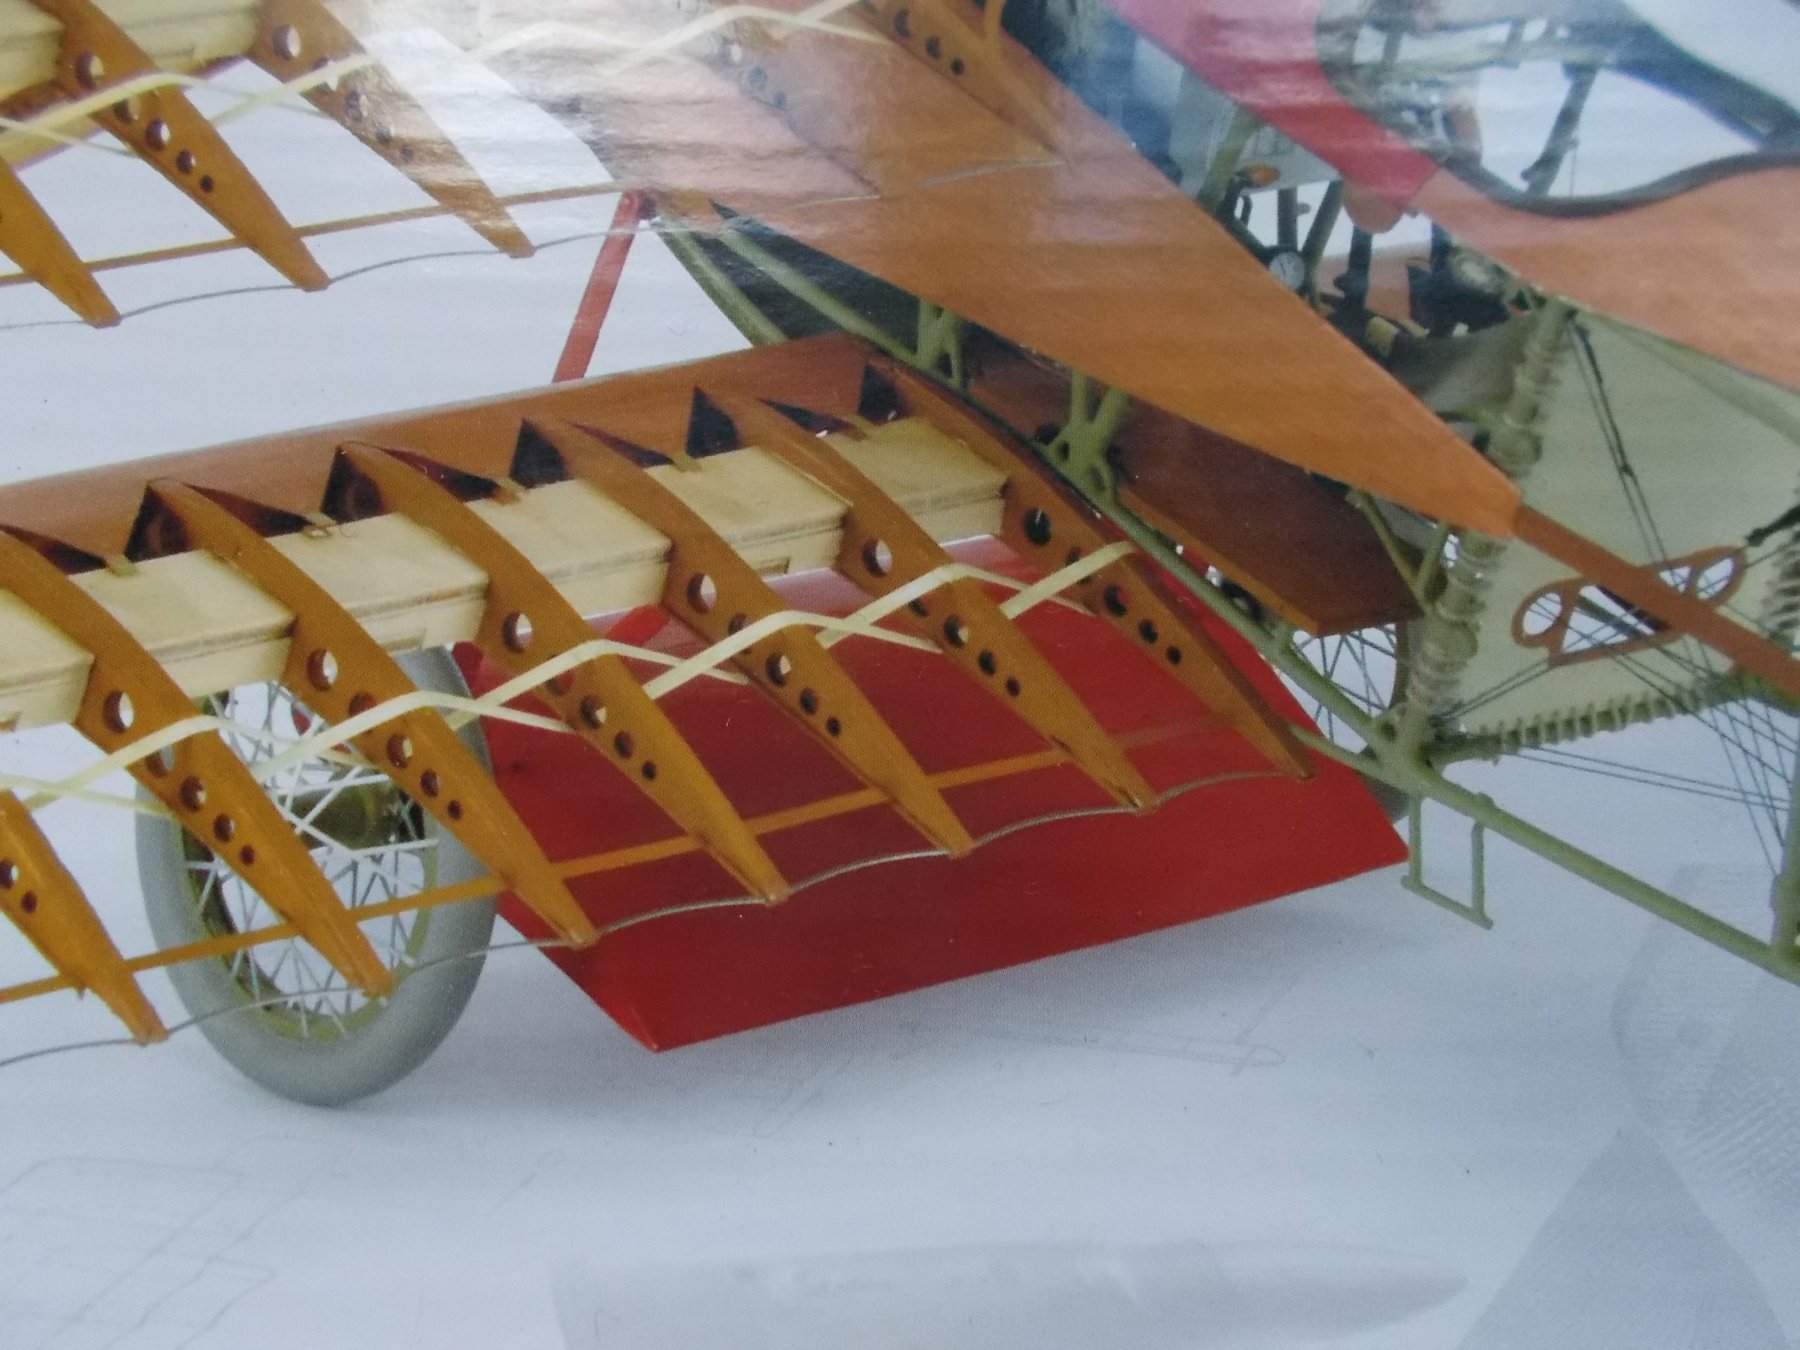
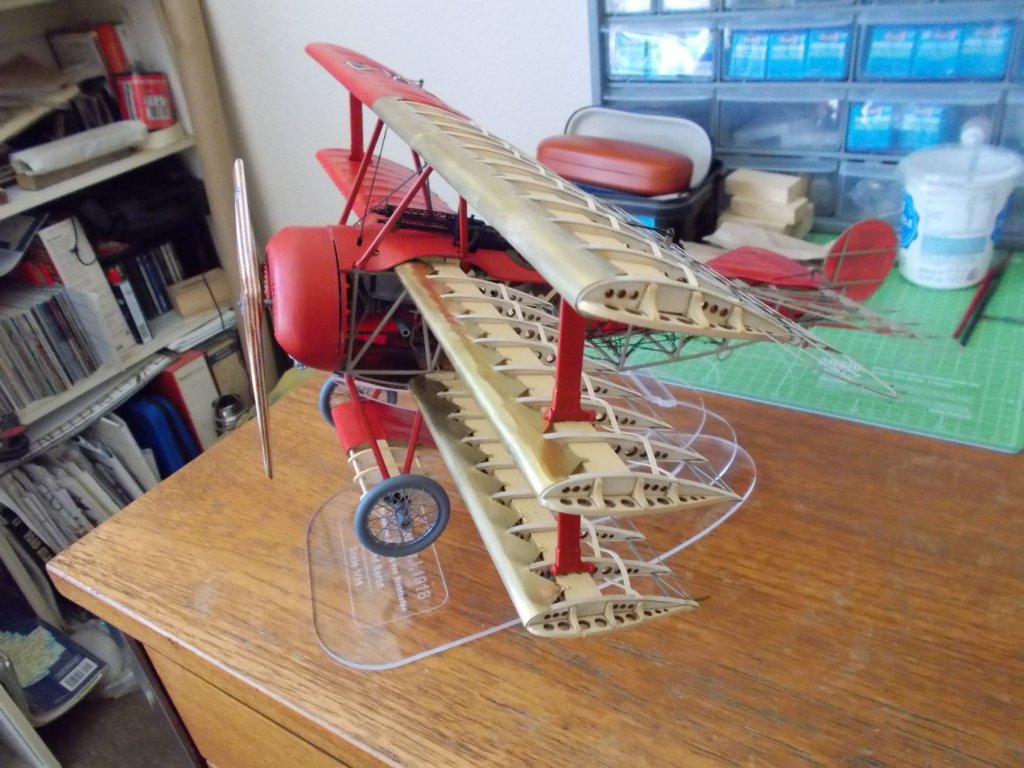
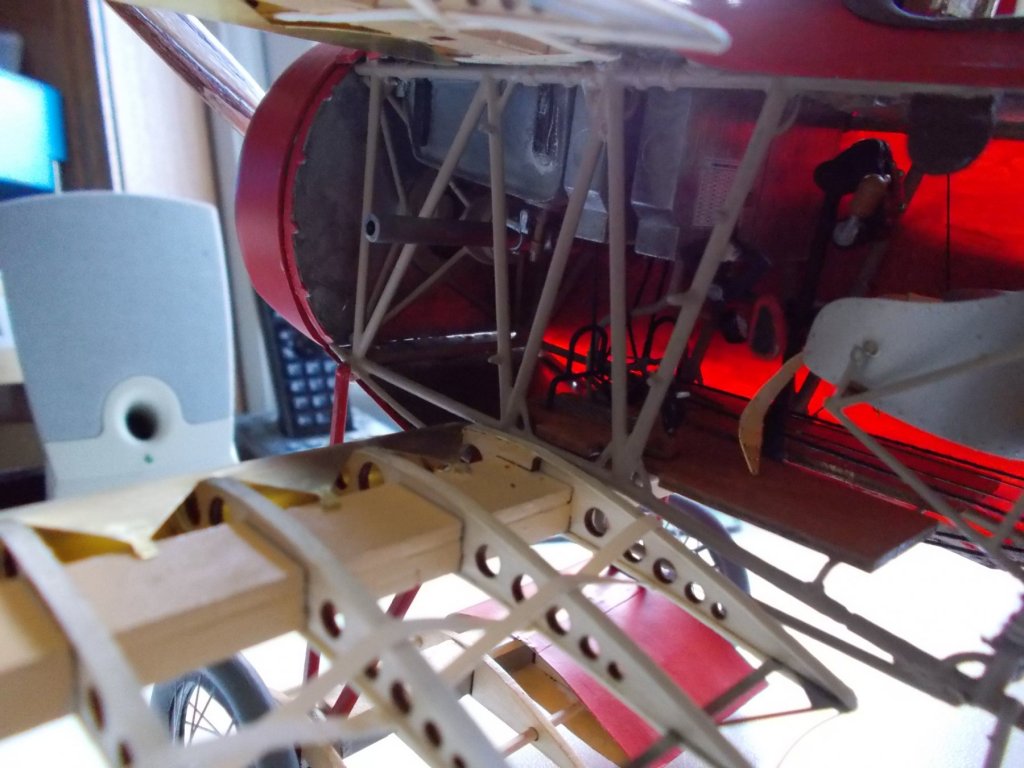
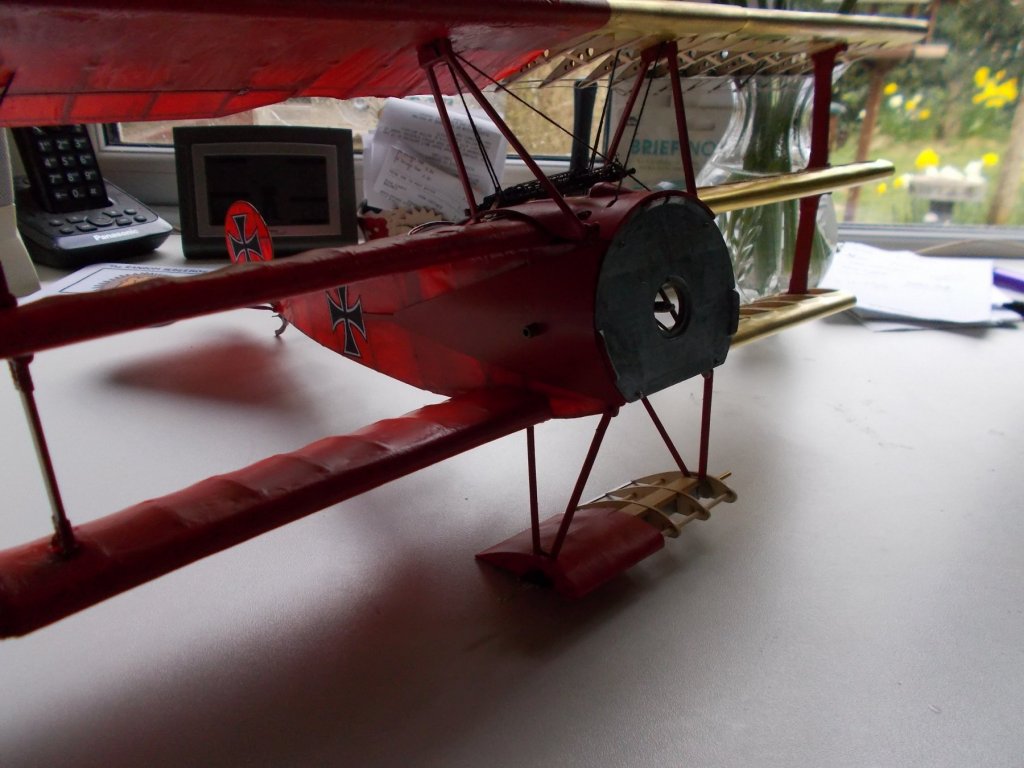
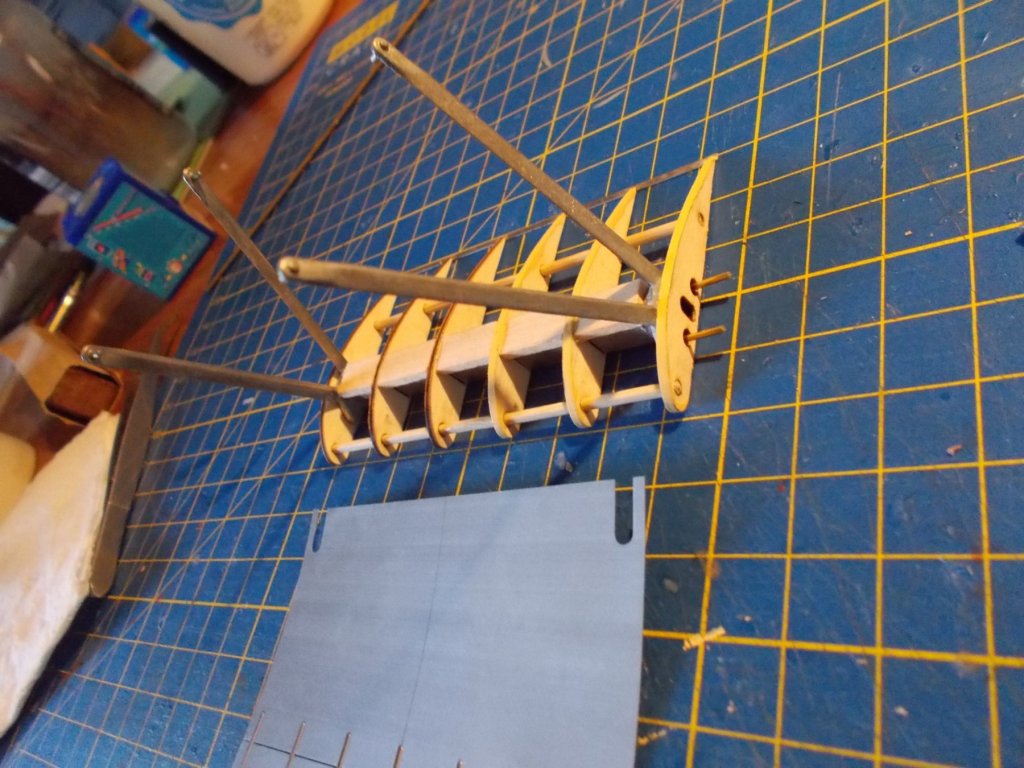
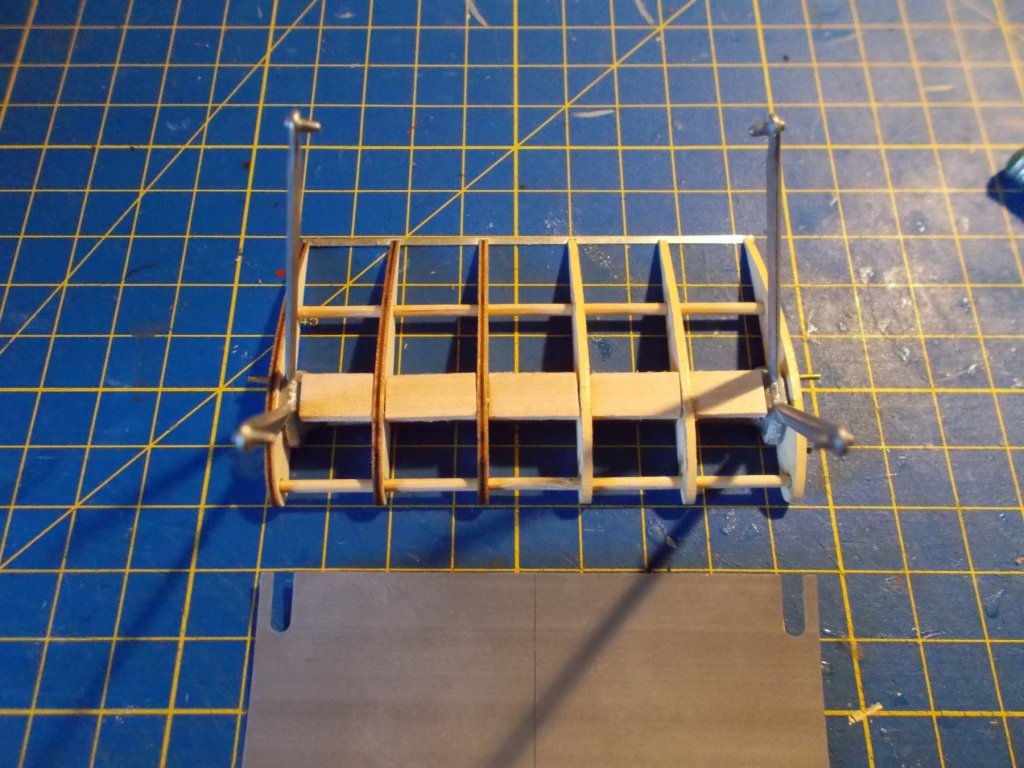
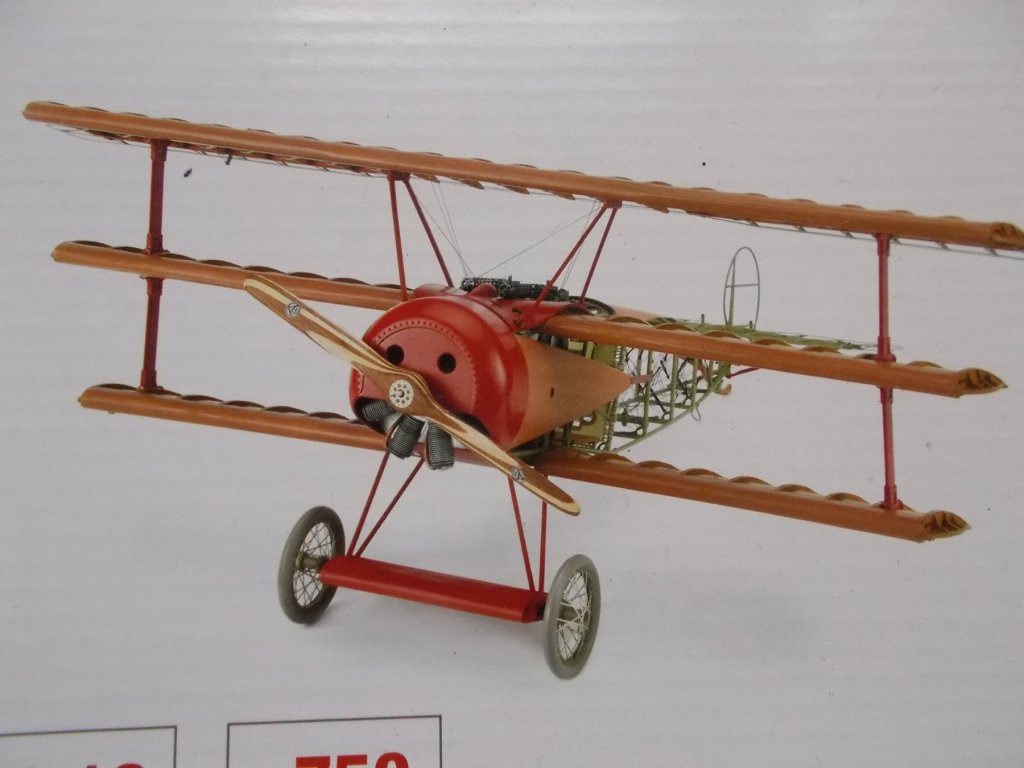
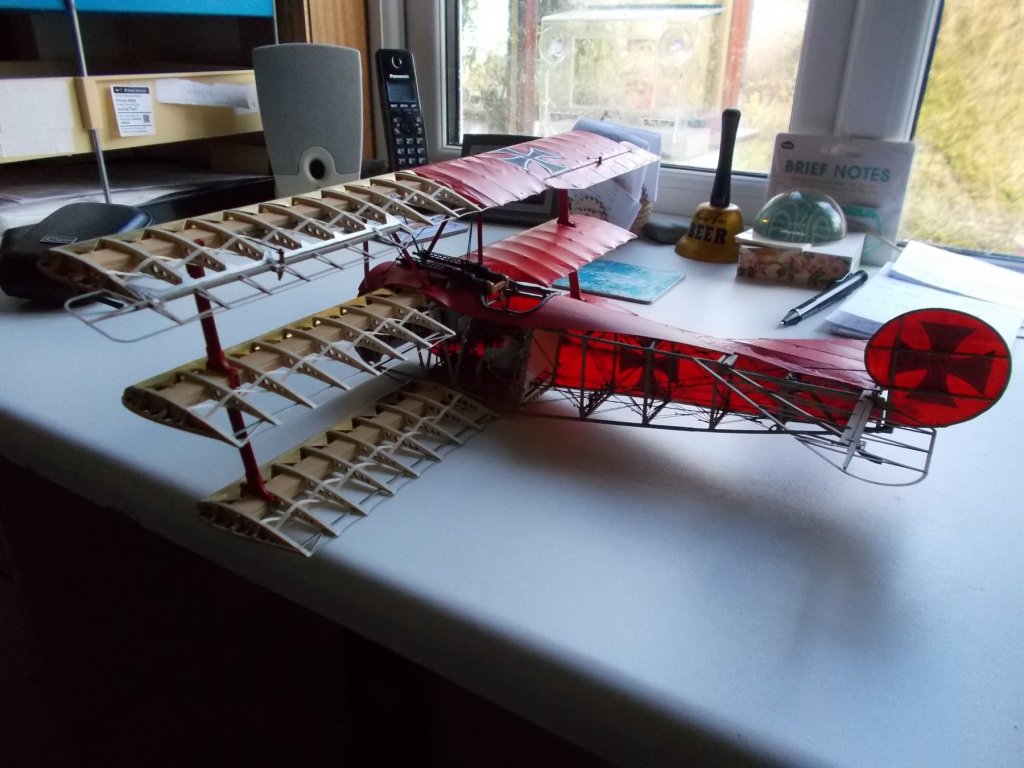
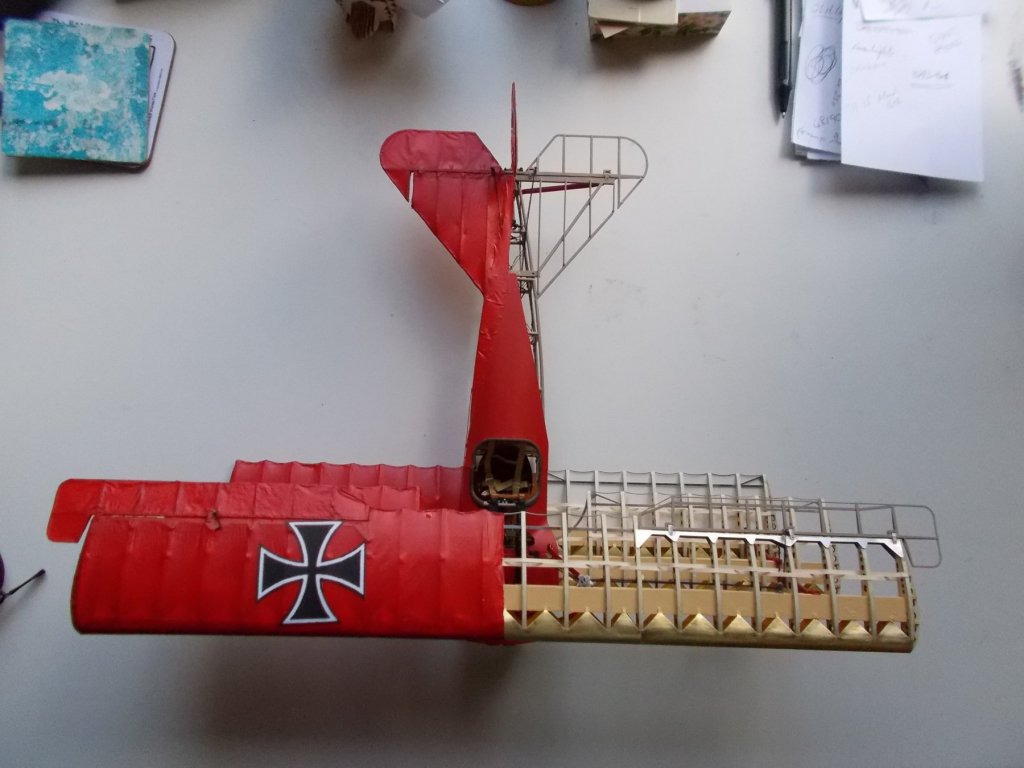
Some advice please viewers. The undercarriage on this plane was formed like a forth wing. On the model it is made of ribs like a wing and thin covered with very thin sheet metal. In view of the fact that I am half covering this model should I have cover this as well or do it all as per the pictures on the box ?

- 141 replies
-
- 14
-
-
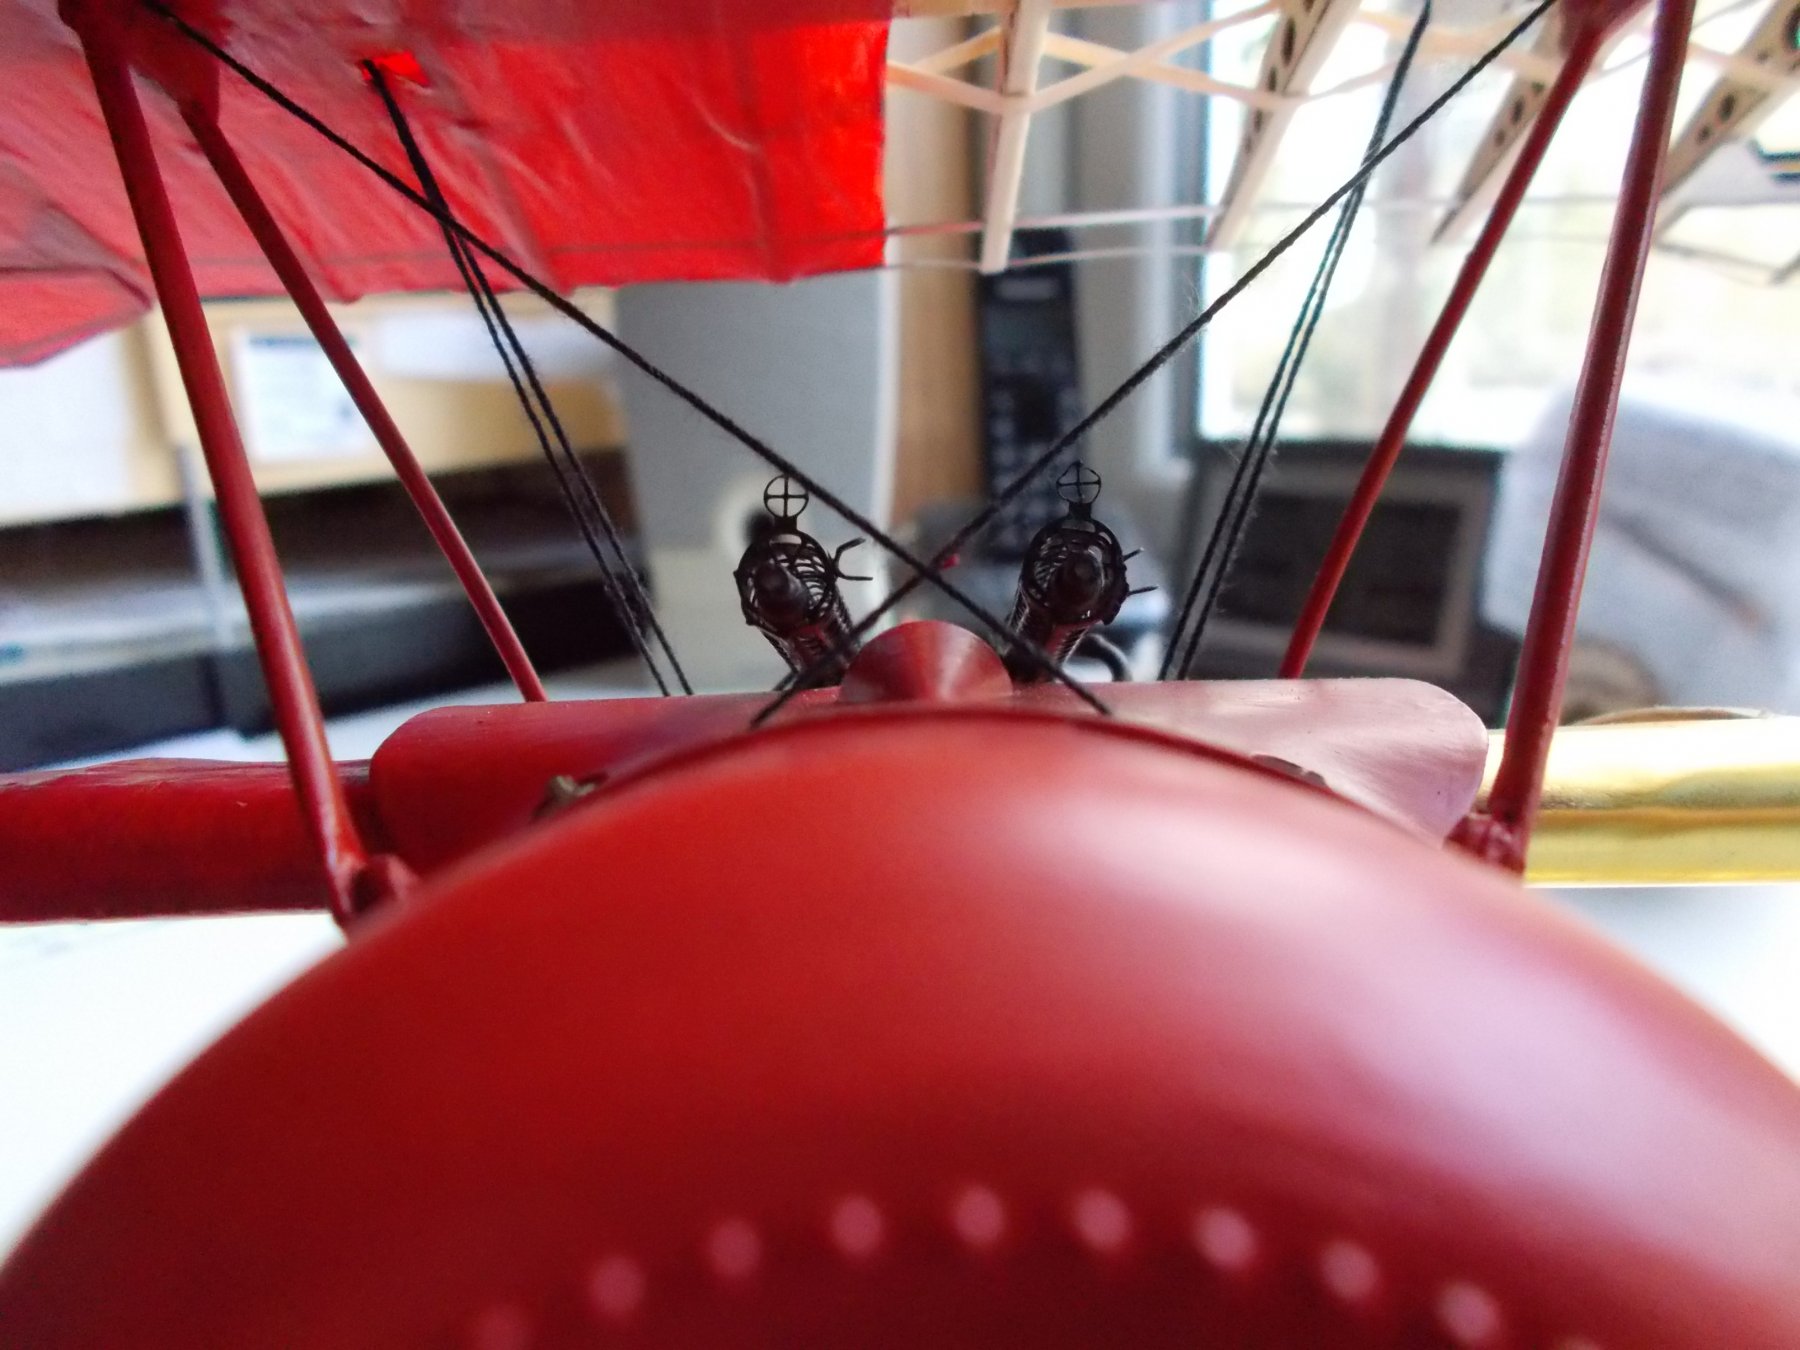
The top wing is installed - what a fight that was trying to line up with the spars and glue them - it is covered, rigged and painted. Next step is the undercarriage
- 141 replies
-
- 17
-