ChrisLBren
-
Posts
789 -
Joined
-
Last visited
Content Type
Profiles
Forums
Gallery
Events
Everything posted by ChrisLBren
-
 I appreciate everyone's compliments/likes and humbled by them. Its not a perfect frame Mark - but am proud of it !
 -
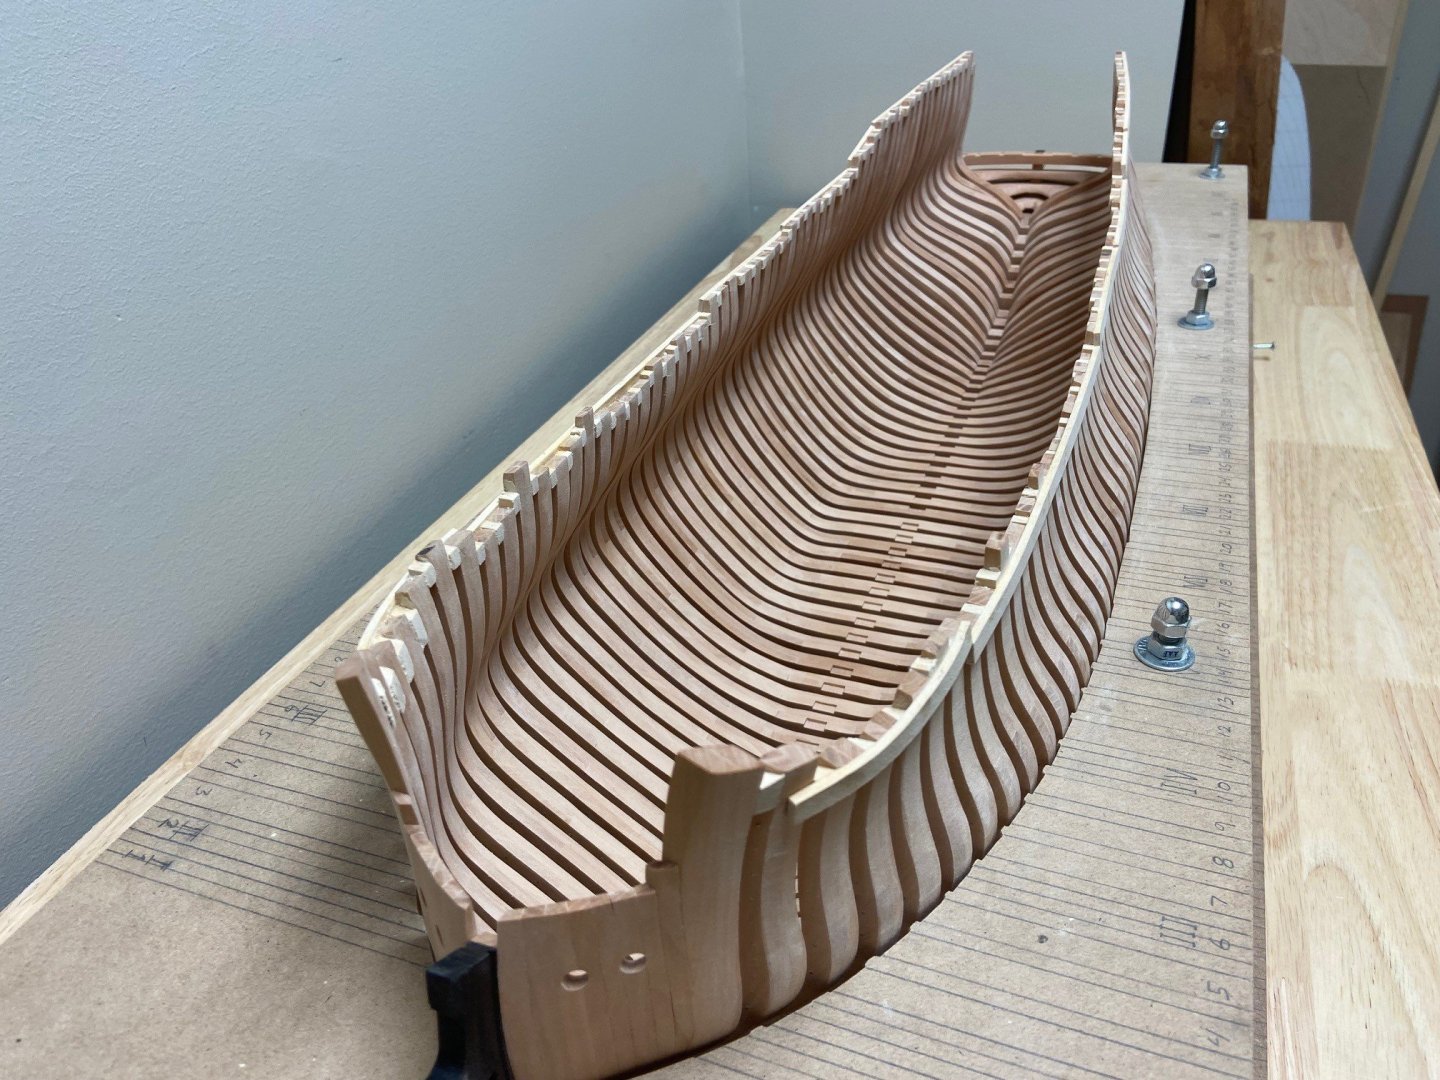
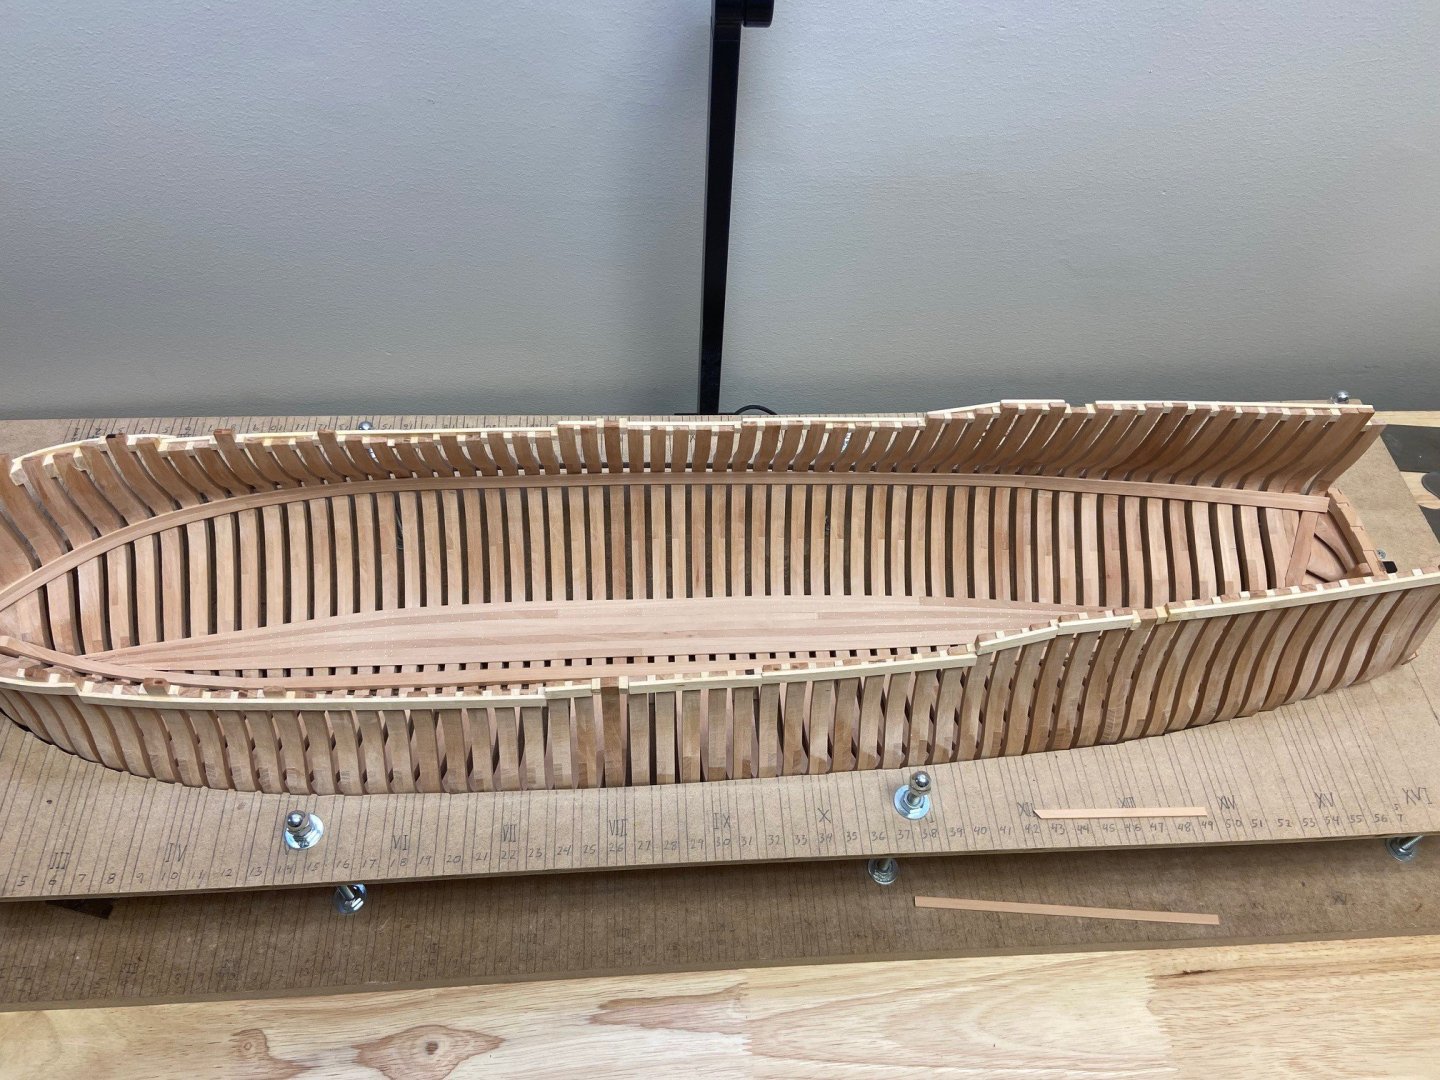
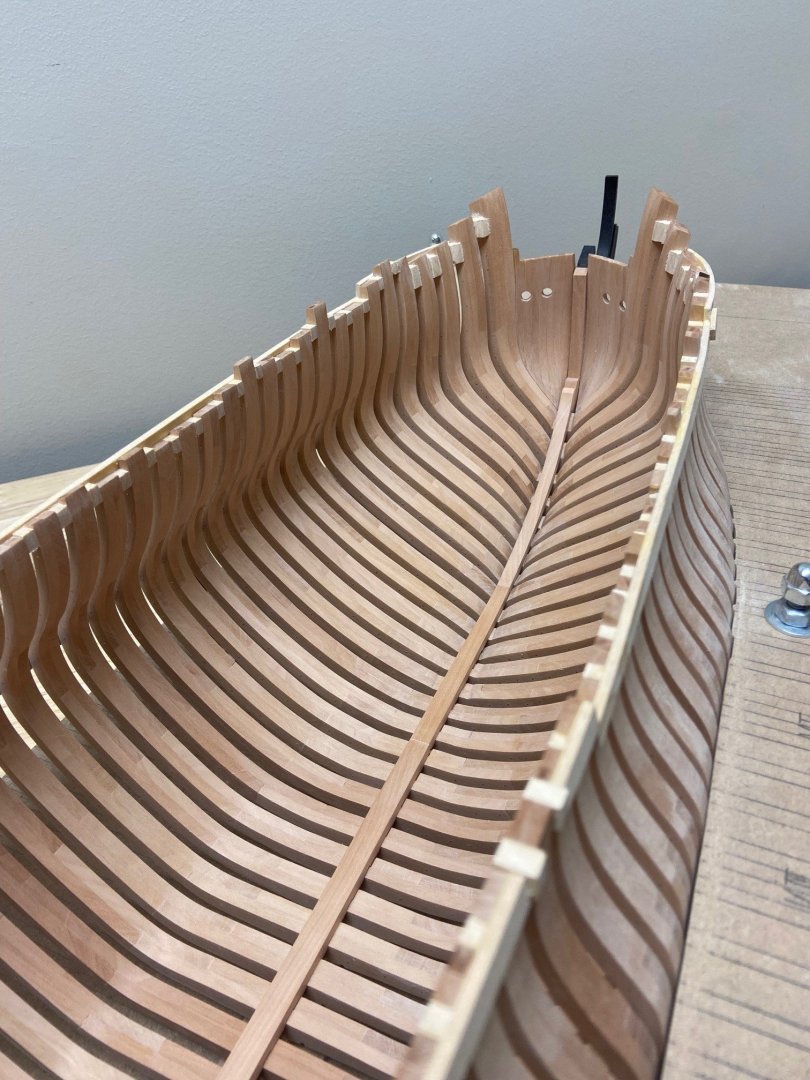
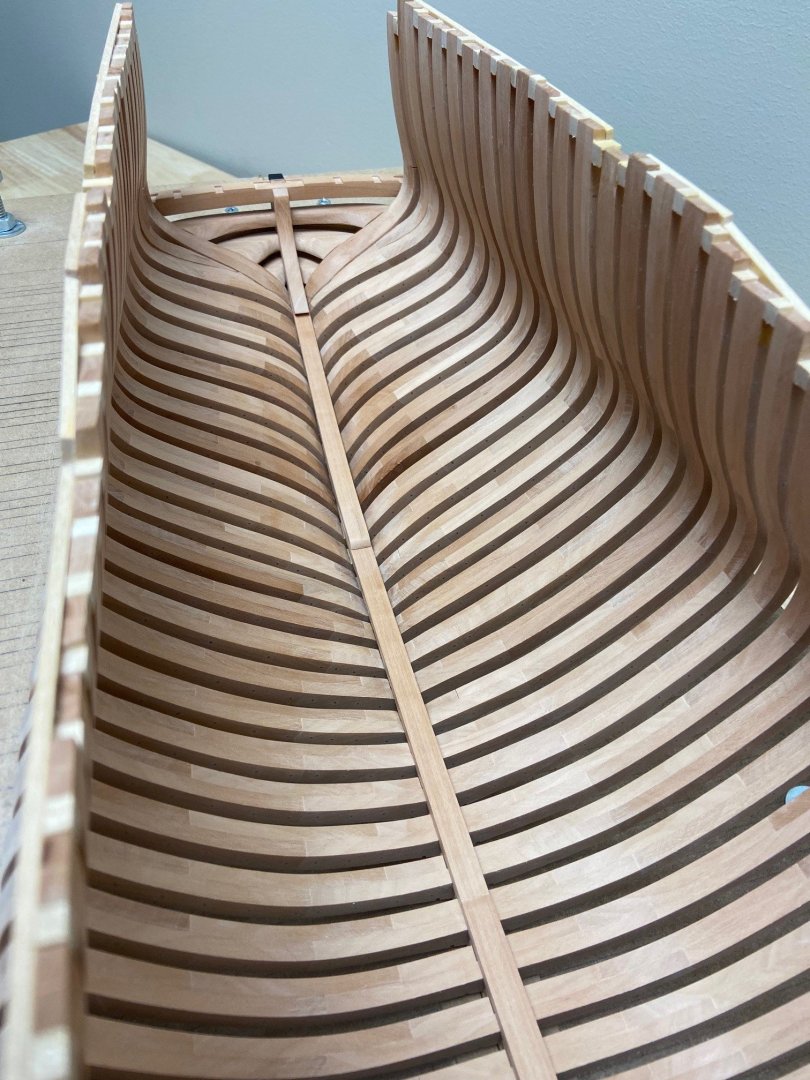
Evening group - the hull has been removed from the construction site and faired mostly with cabinet scrapers. The eel channel needs to be completed at the bow and stern.


-
Thanks Rusty !
-
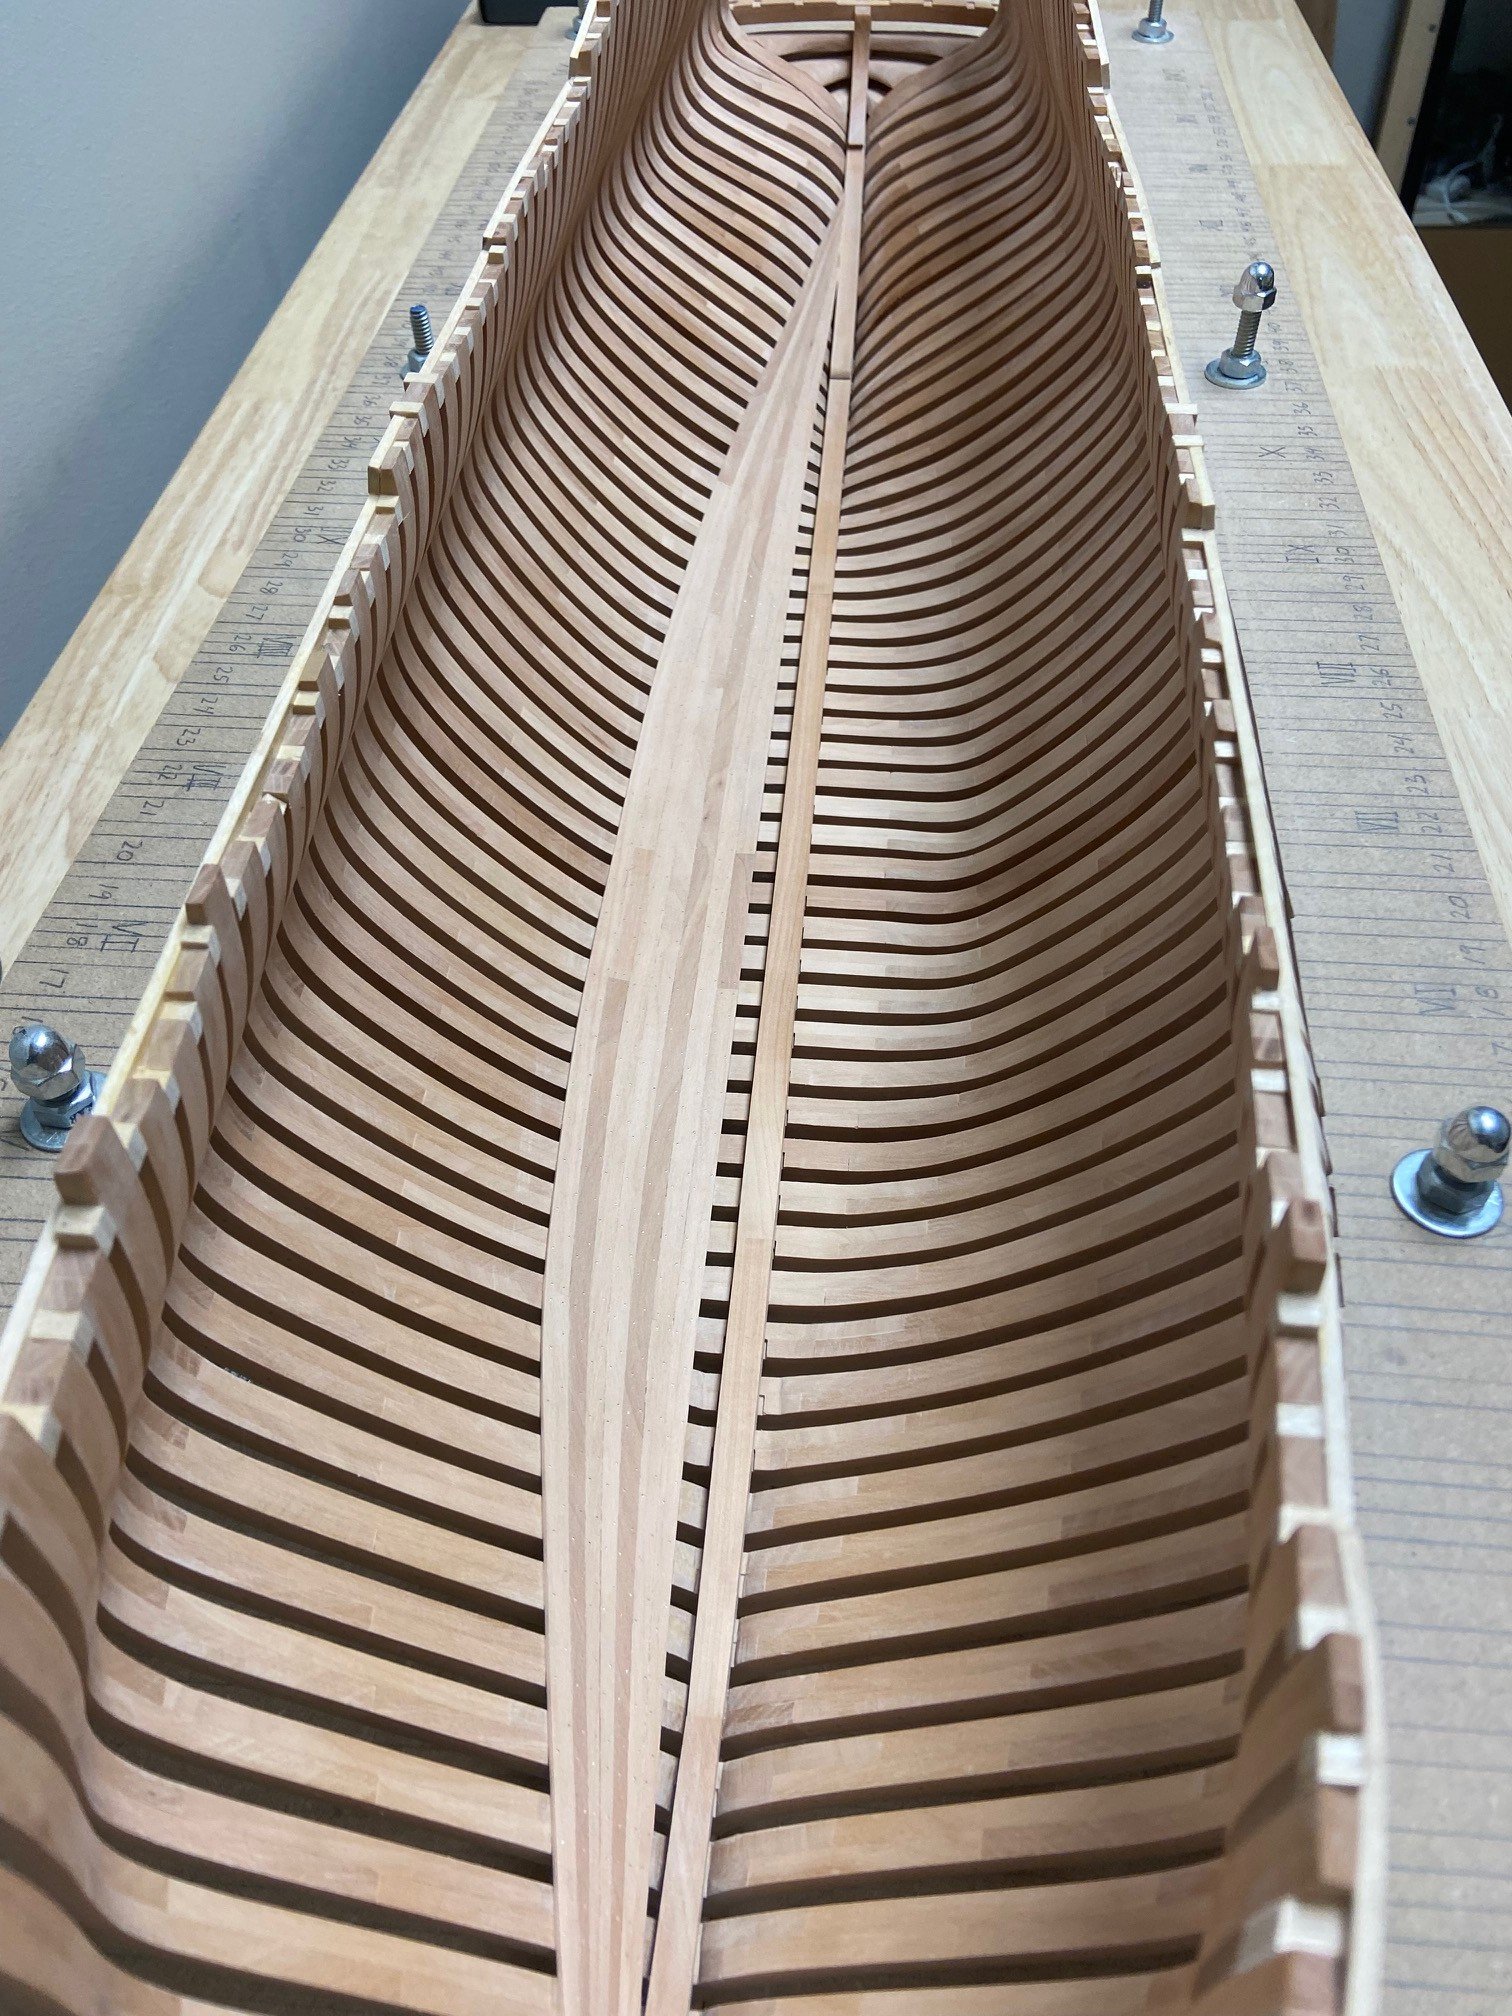
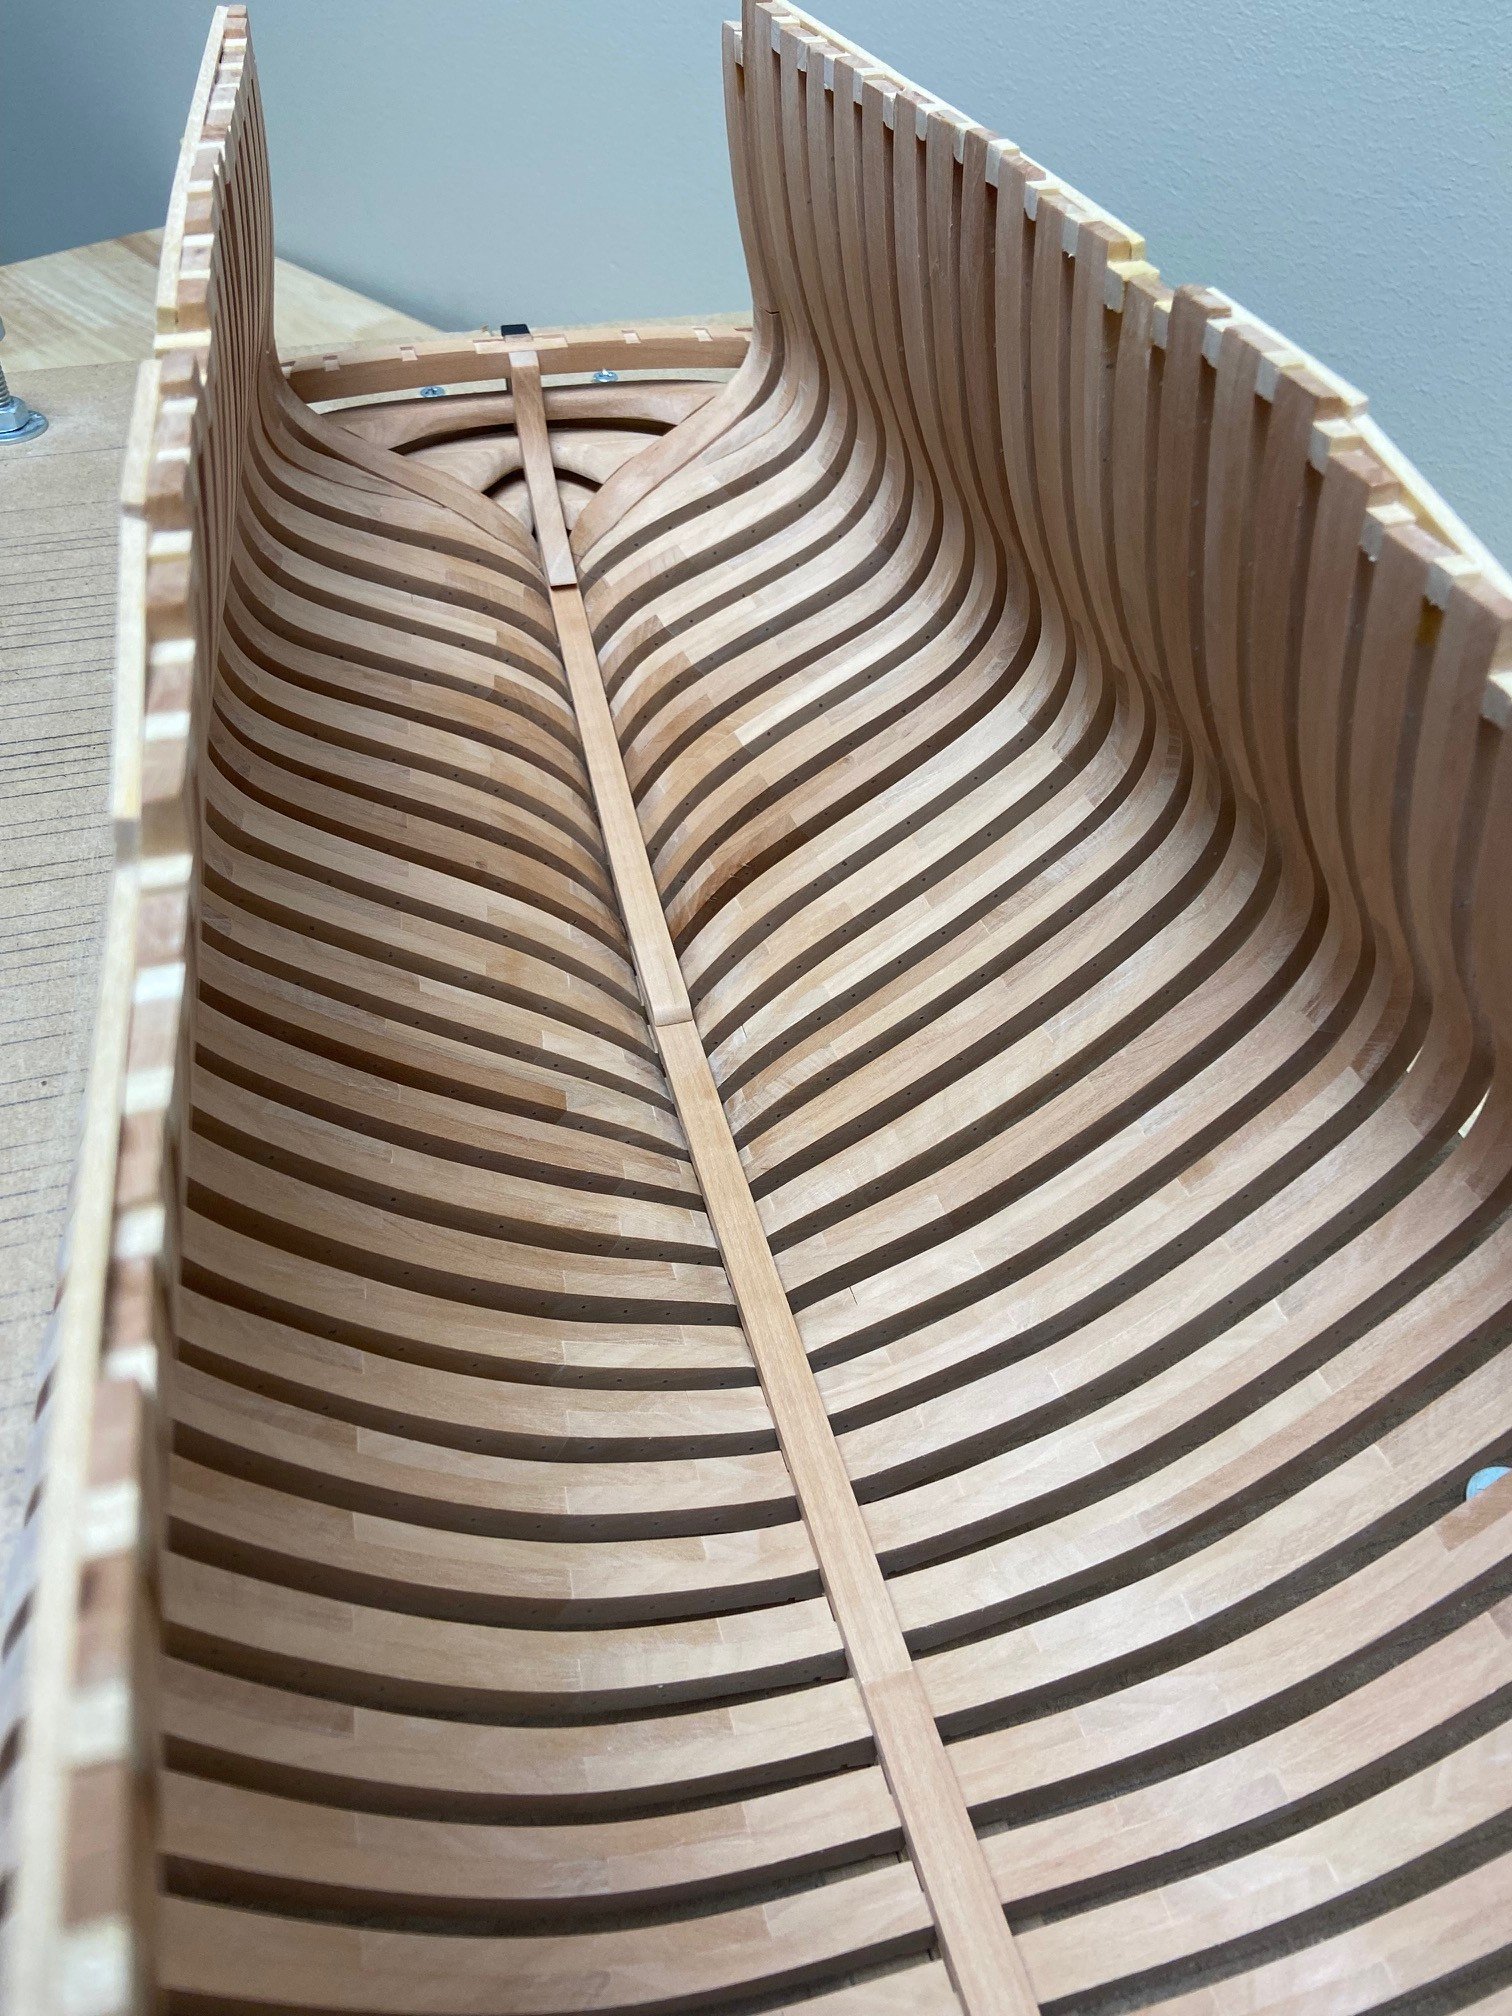
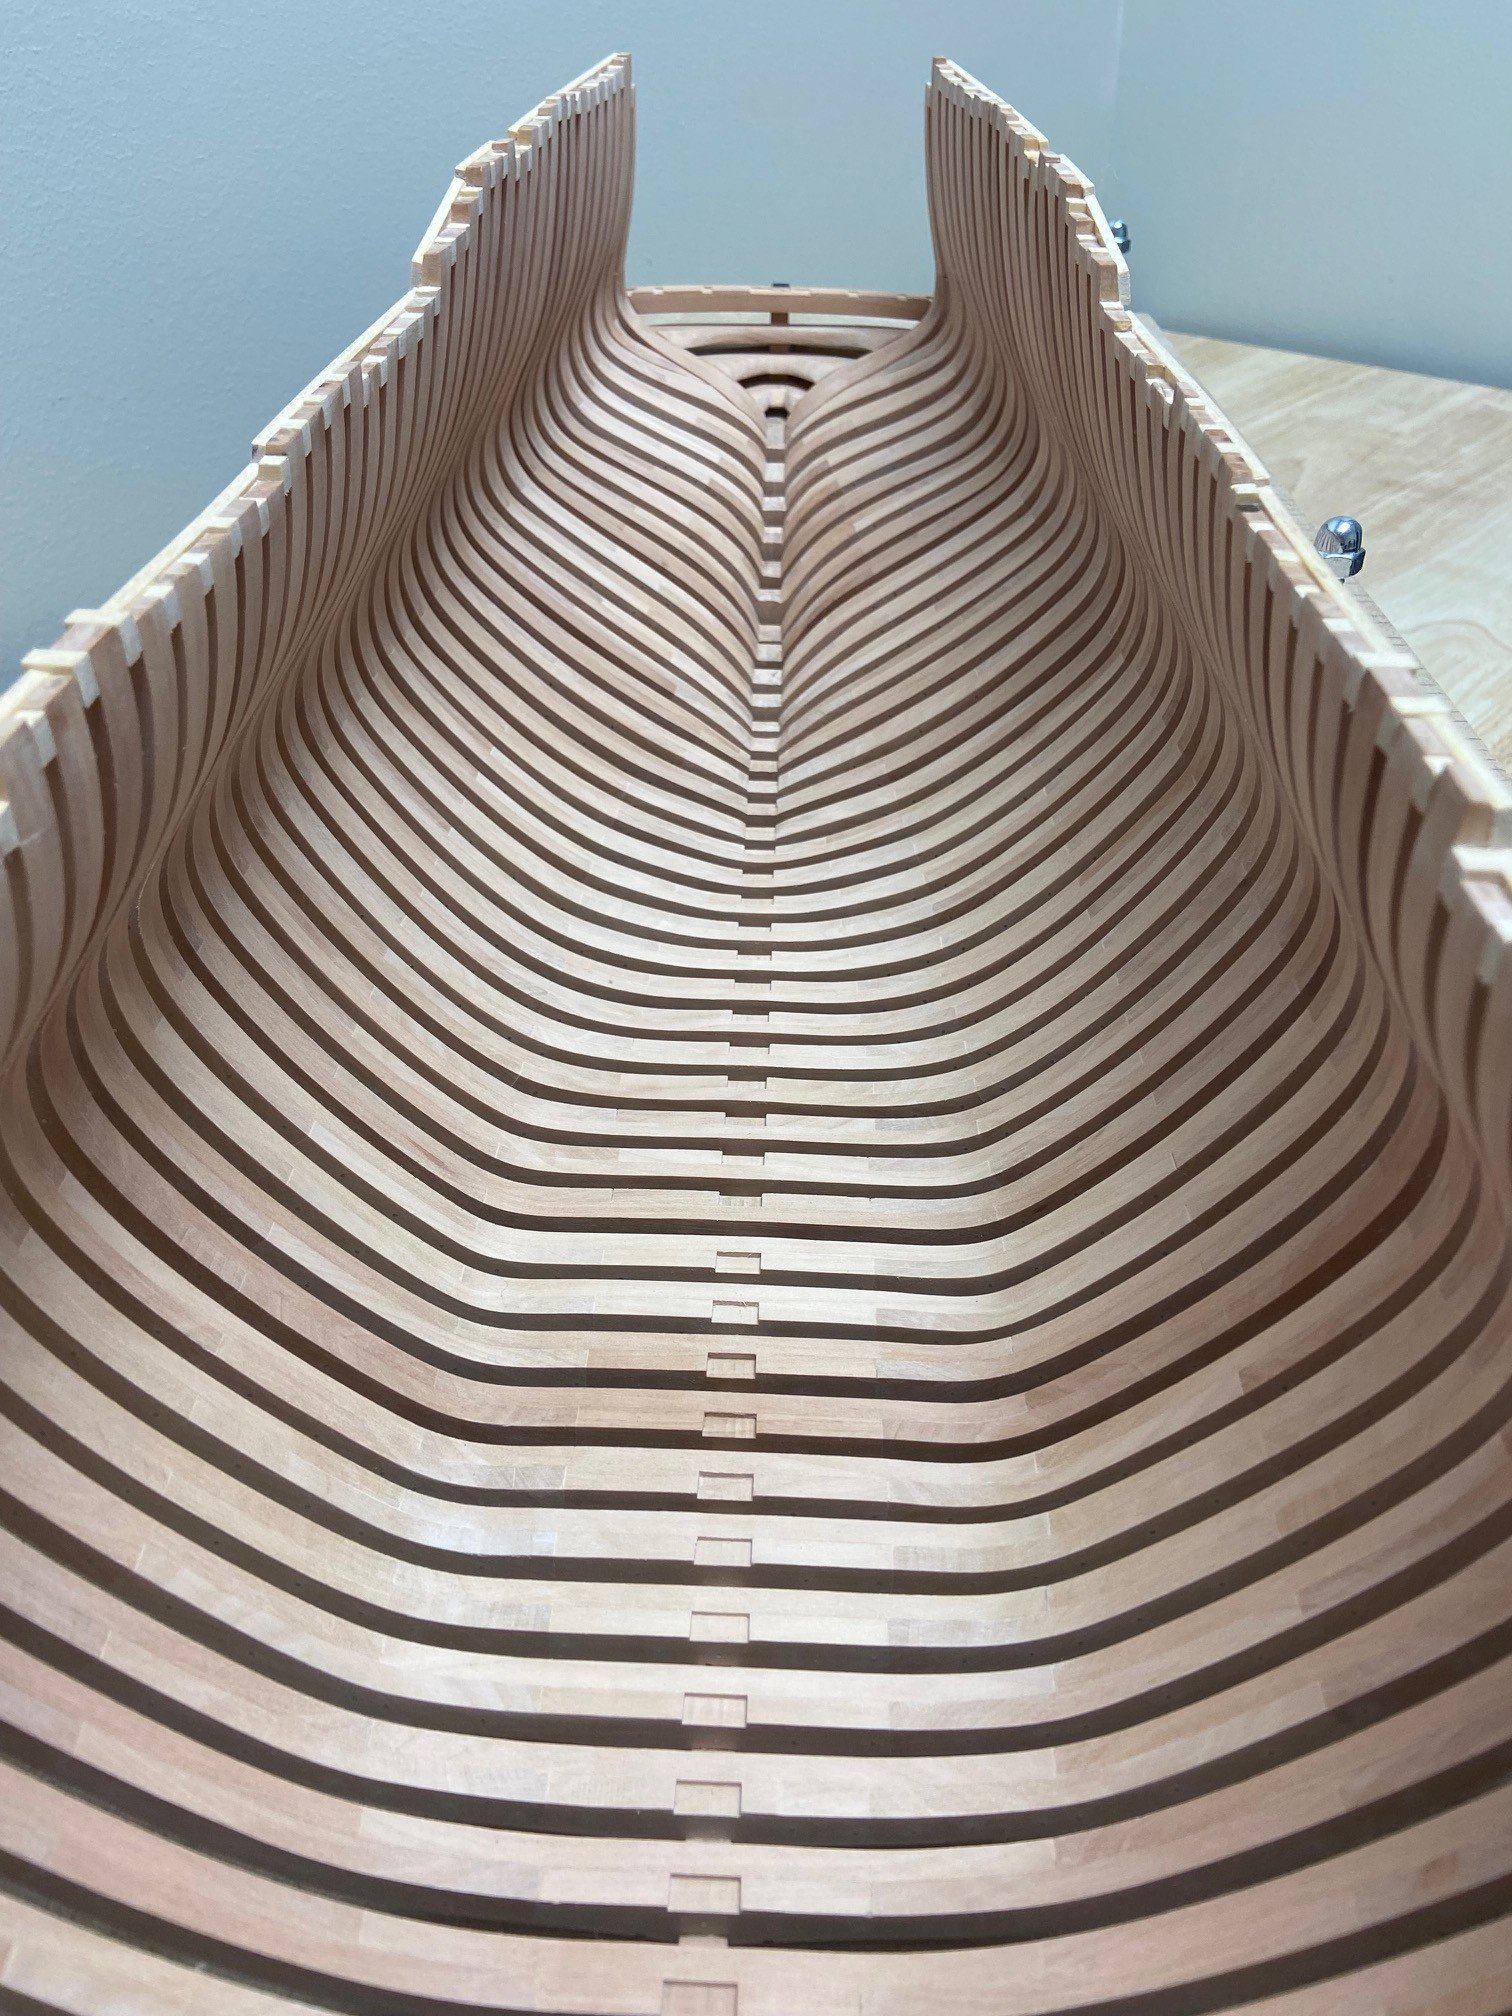
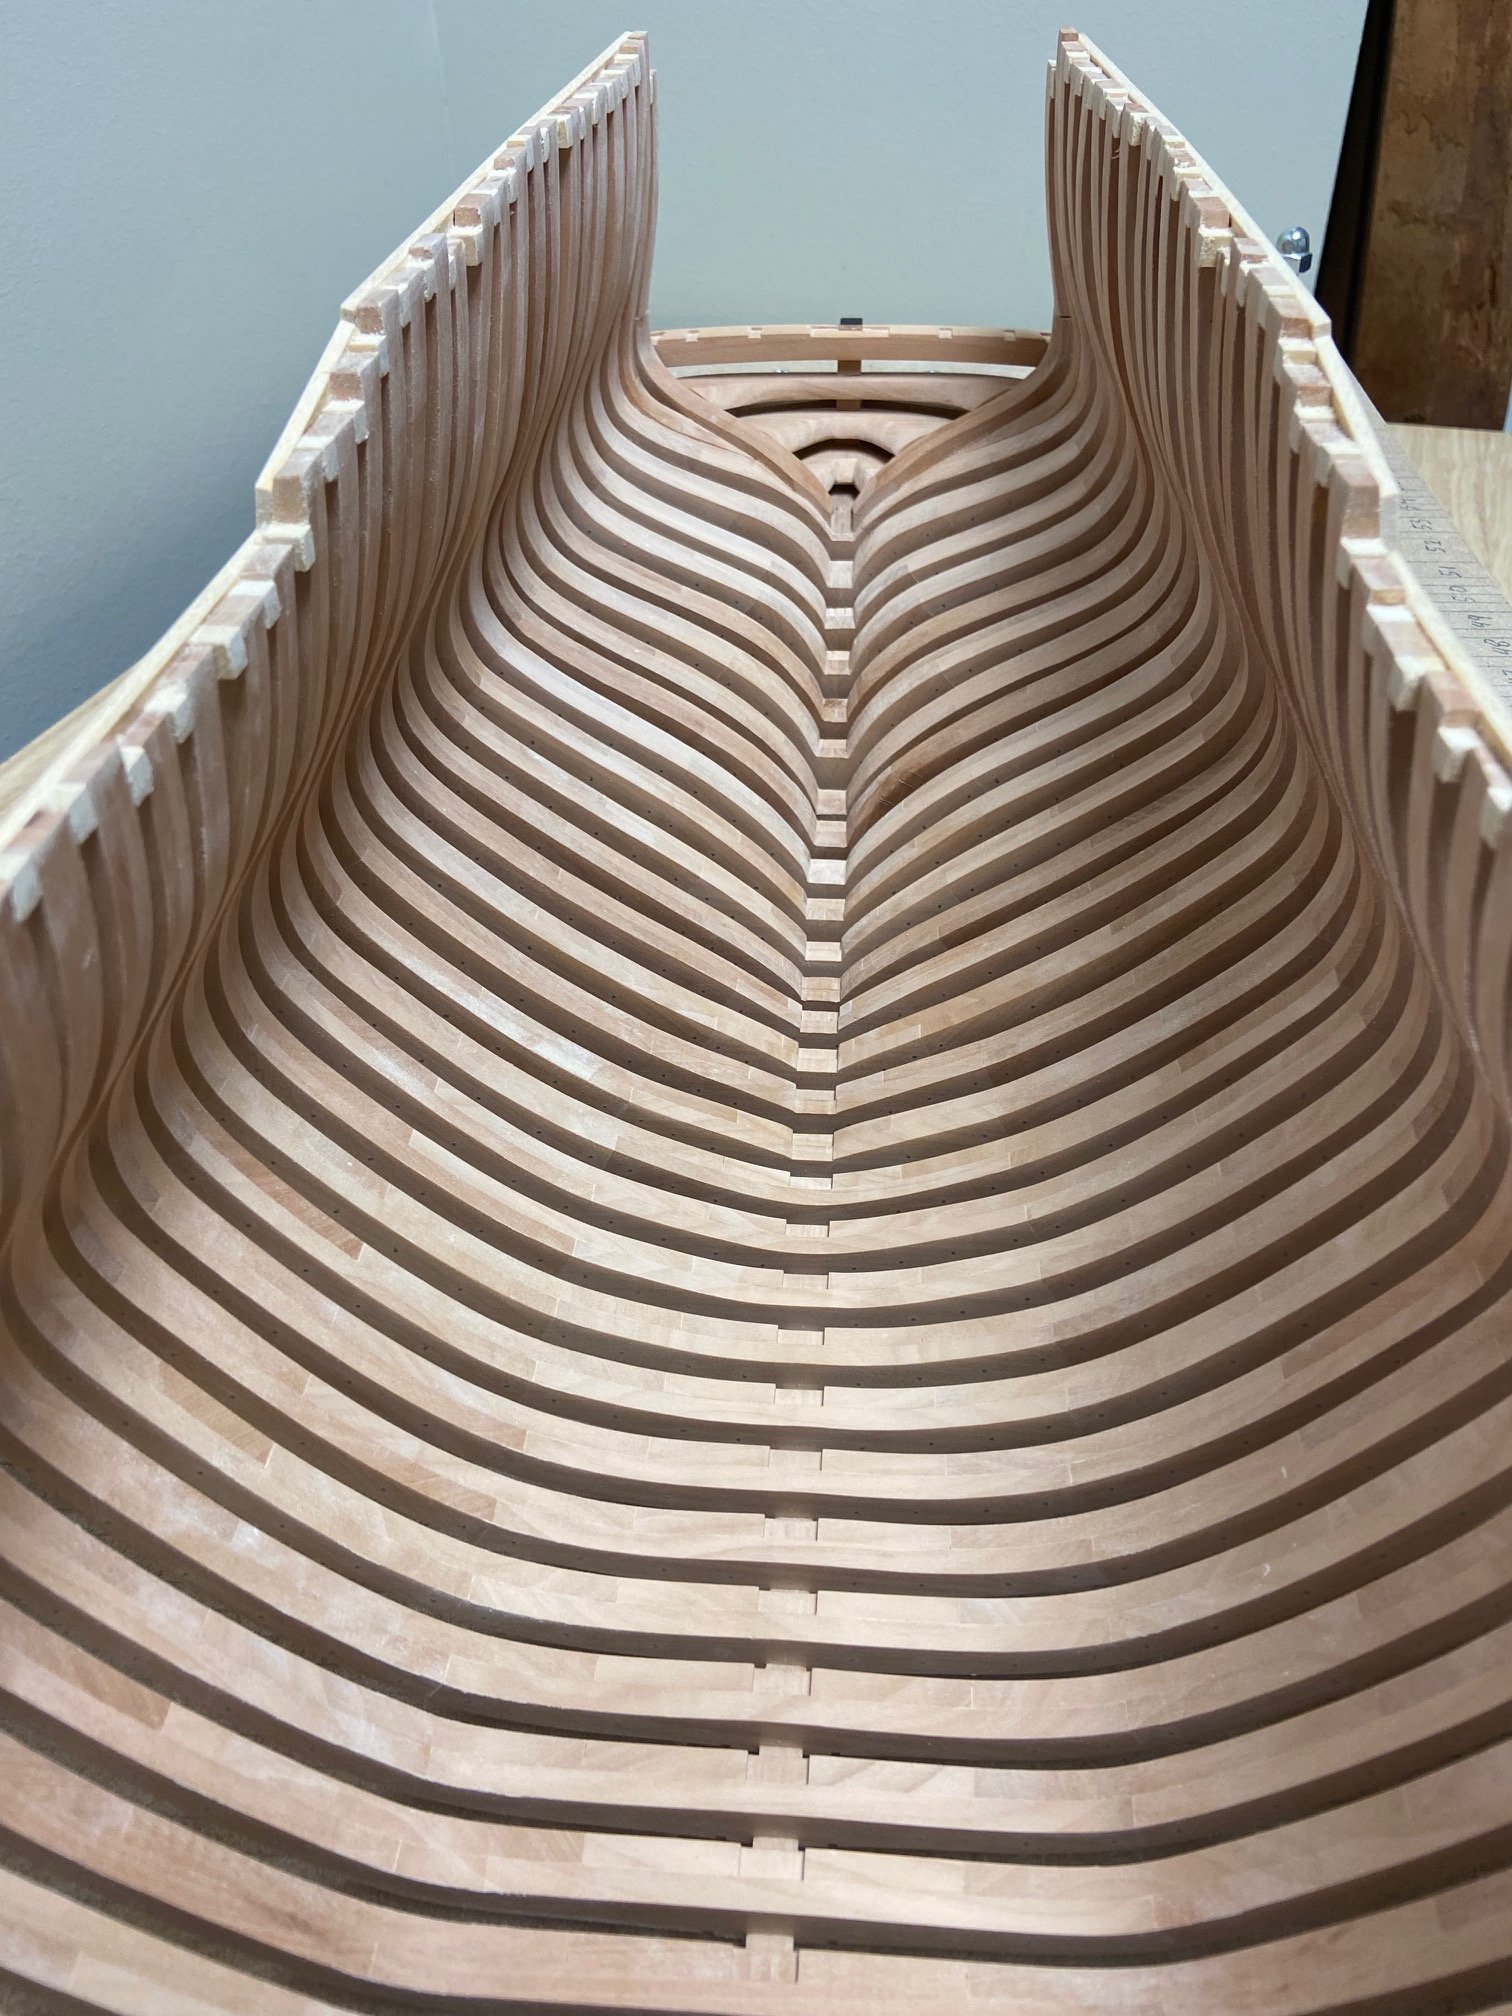
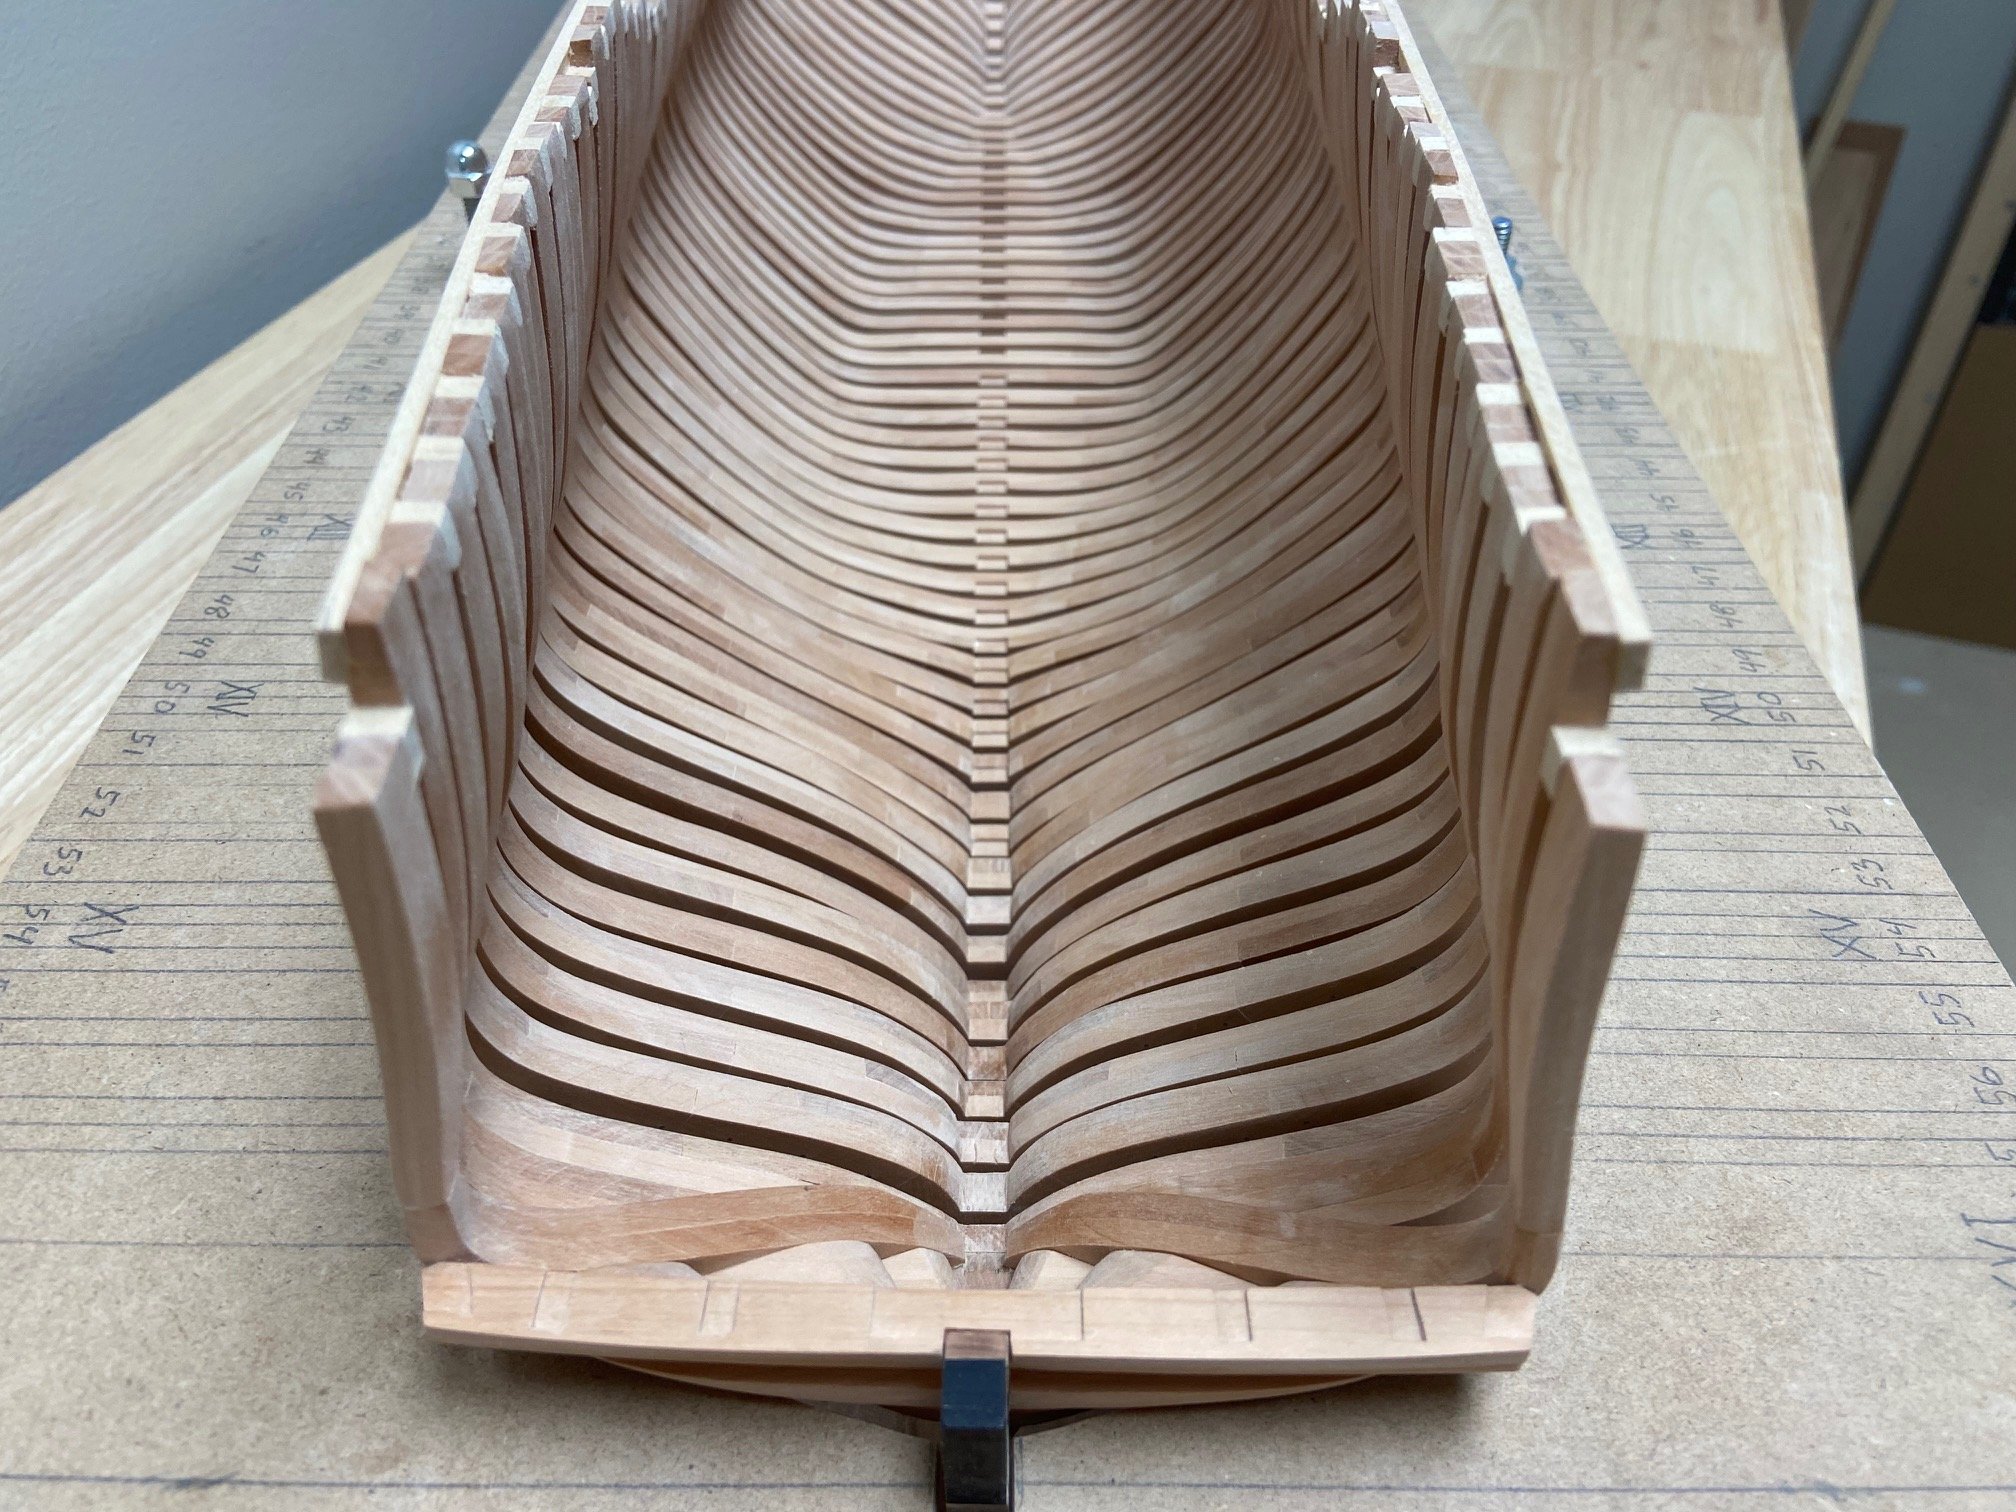
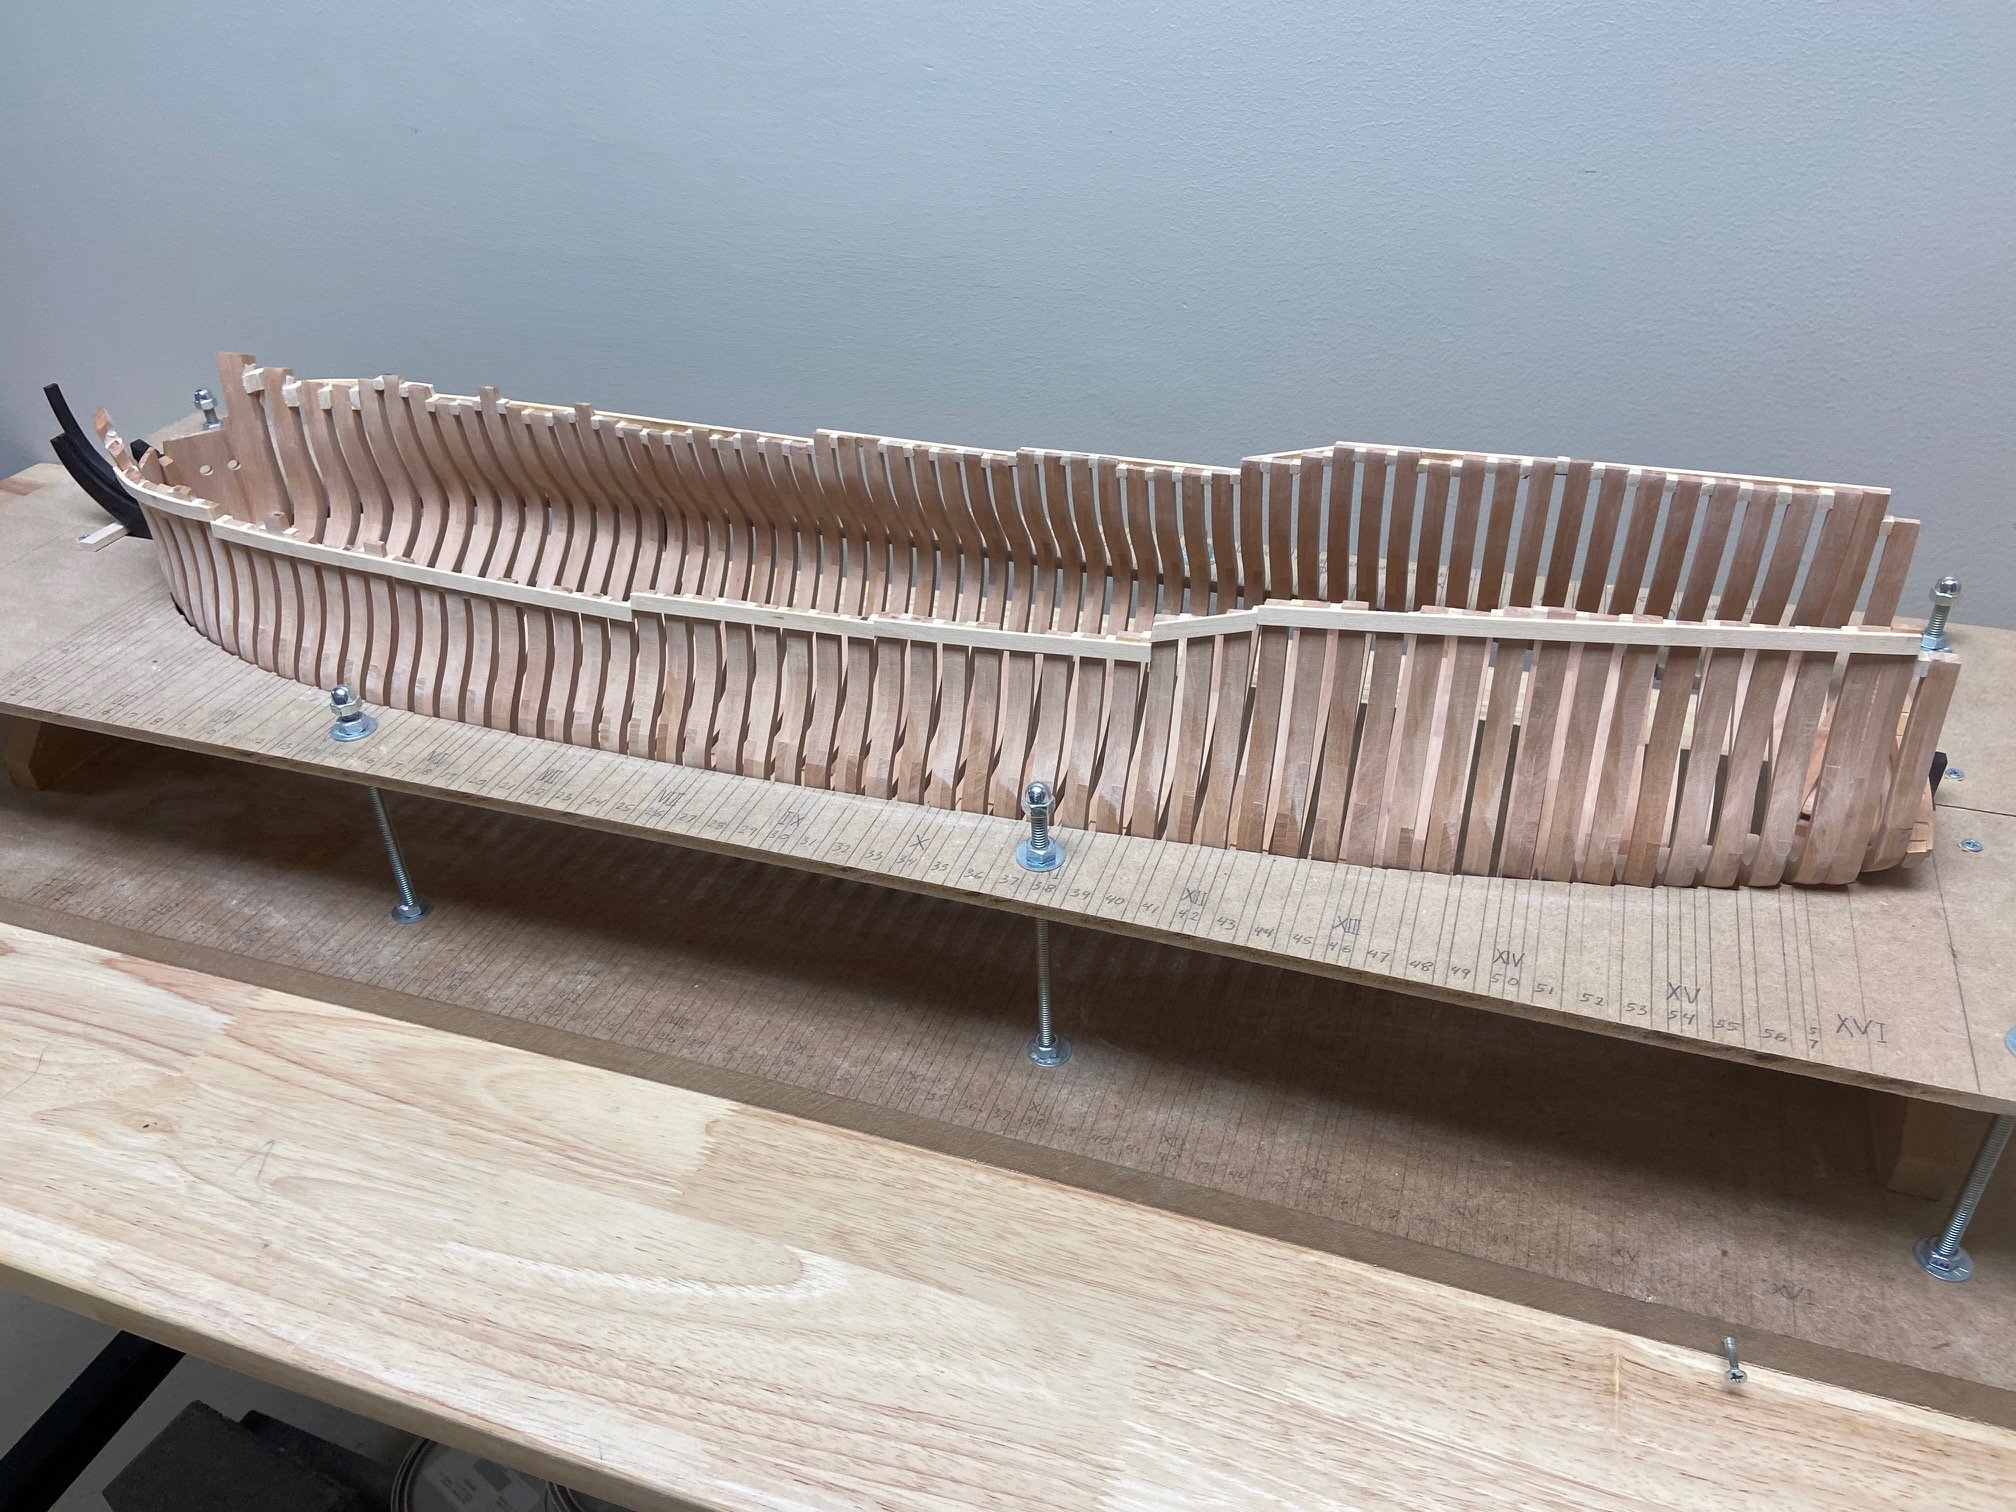
Good morning group - update time. The diagonal planks are installed but not nailed yet. I will revisit this when I proceed with interior construction. I will now remove the model from the jig and fair the exterior. I will soon now if my hard work over the past year is successful.


-
What size are those hinges Mark ?
-
That's the way of the Arsenal !
-
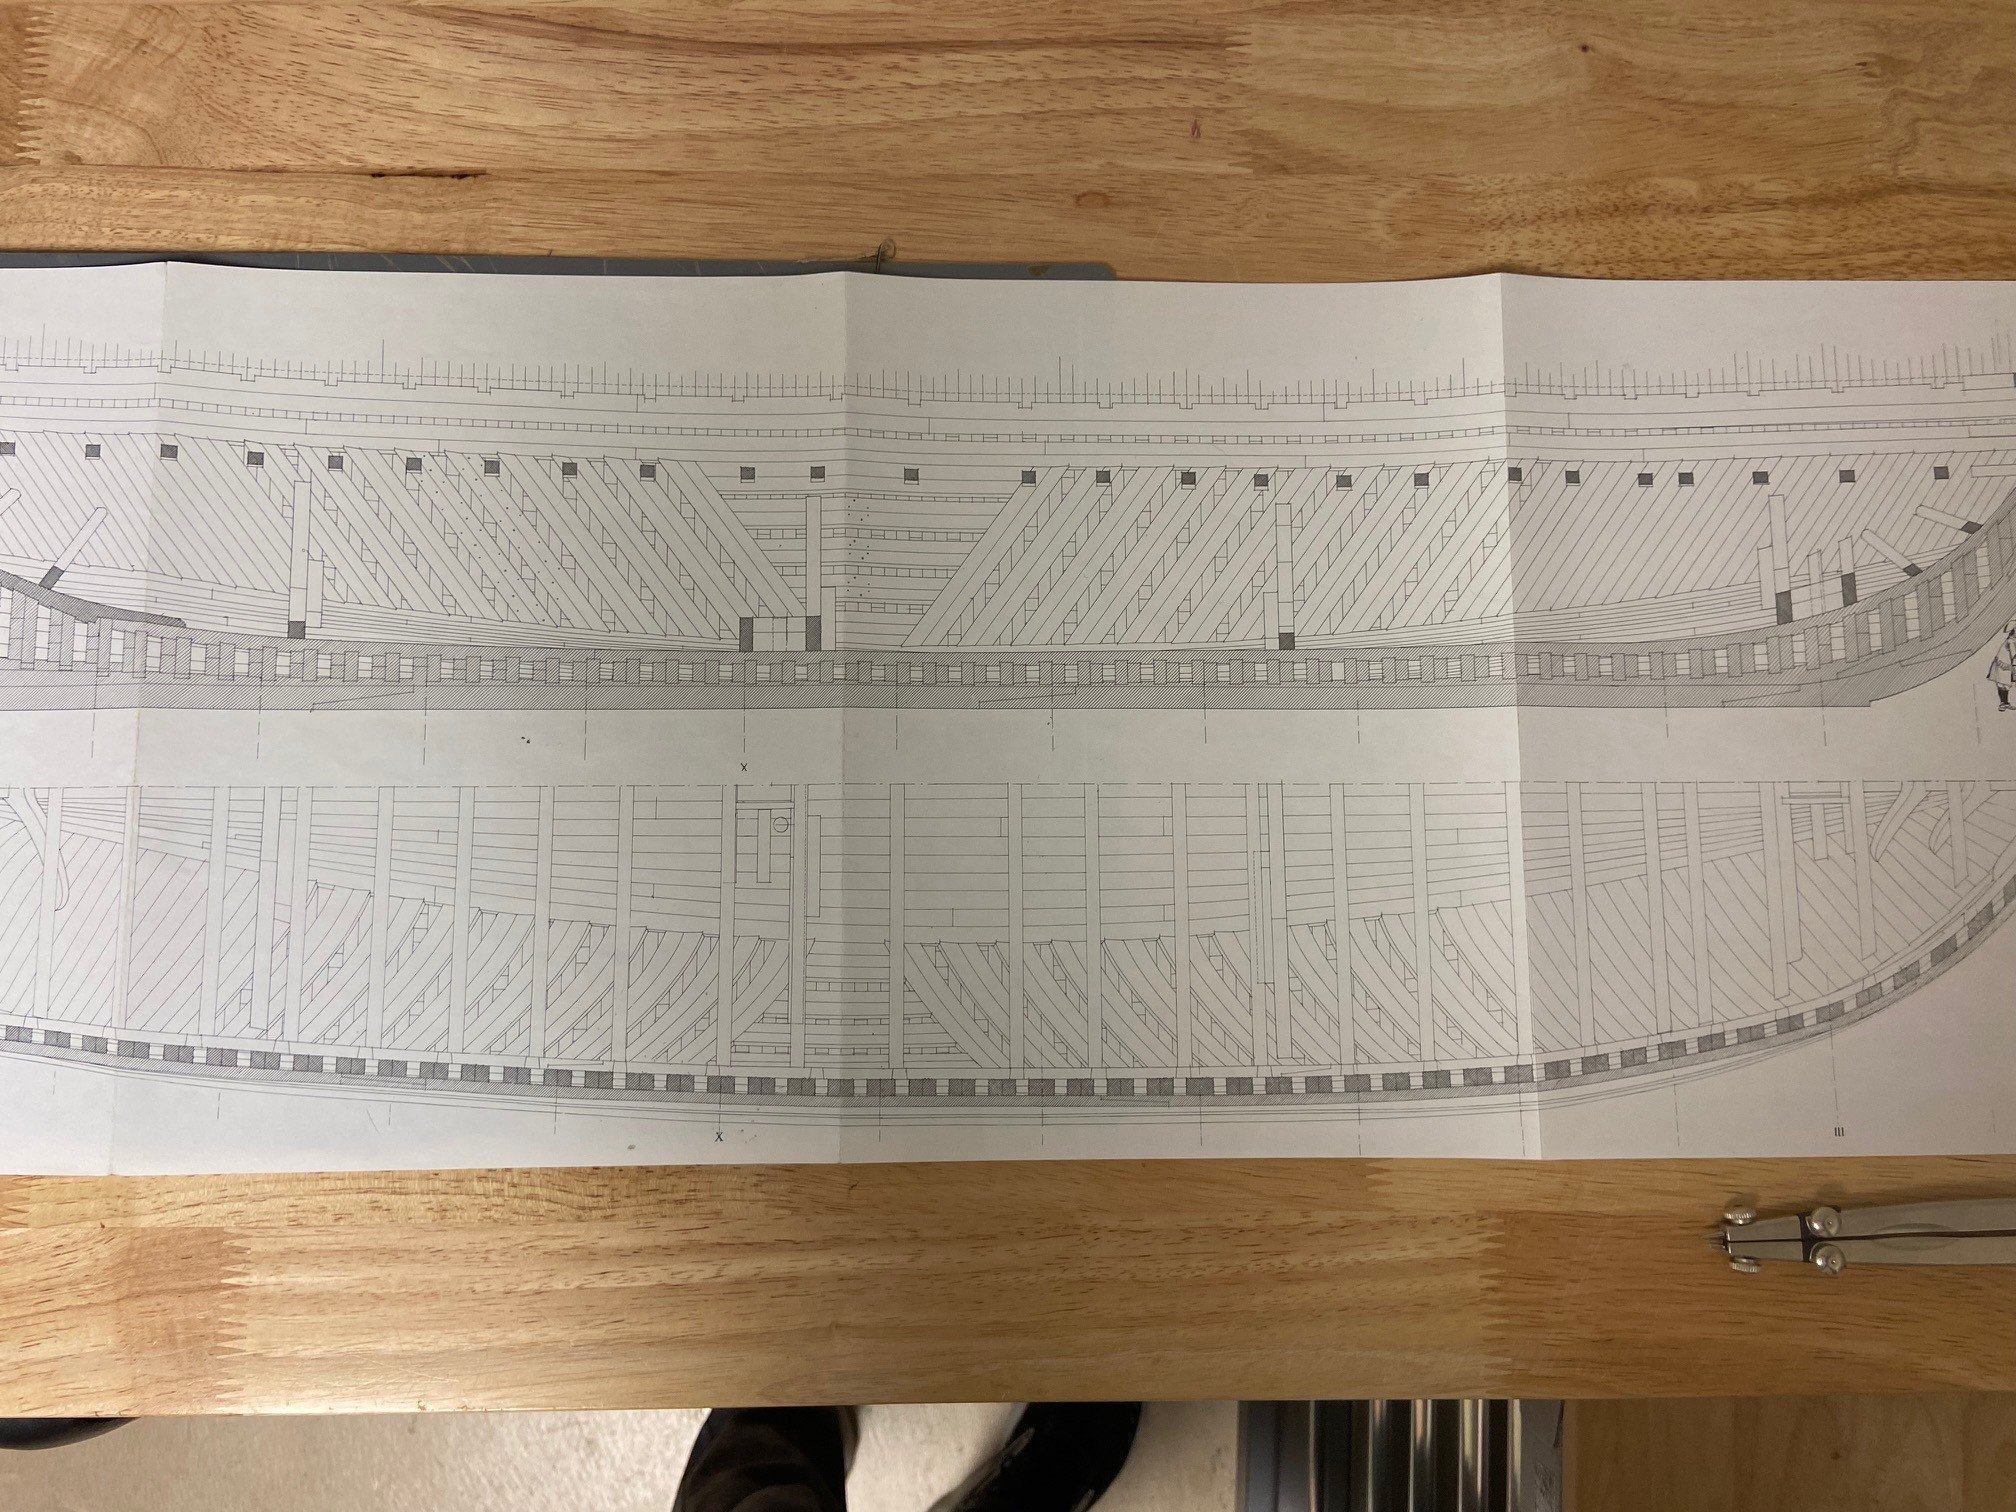
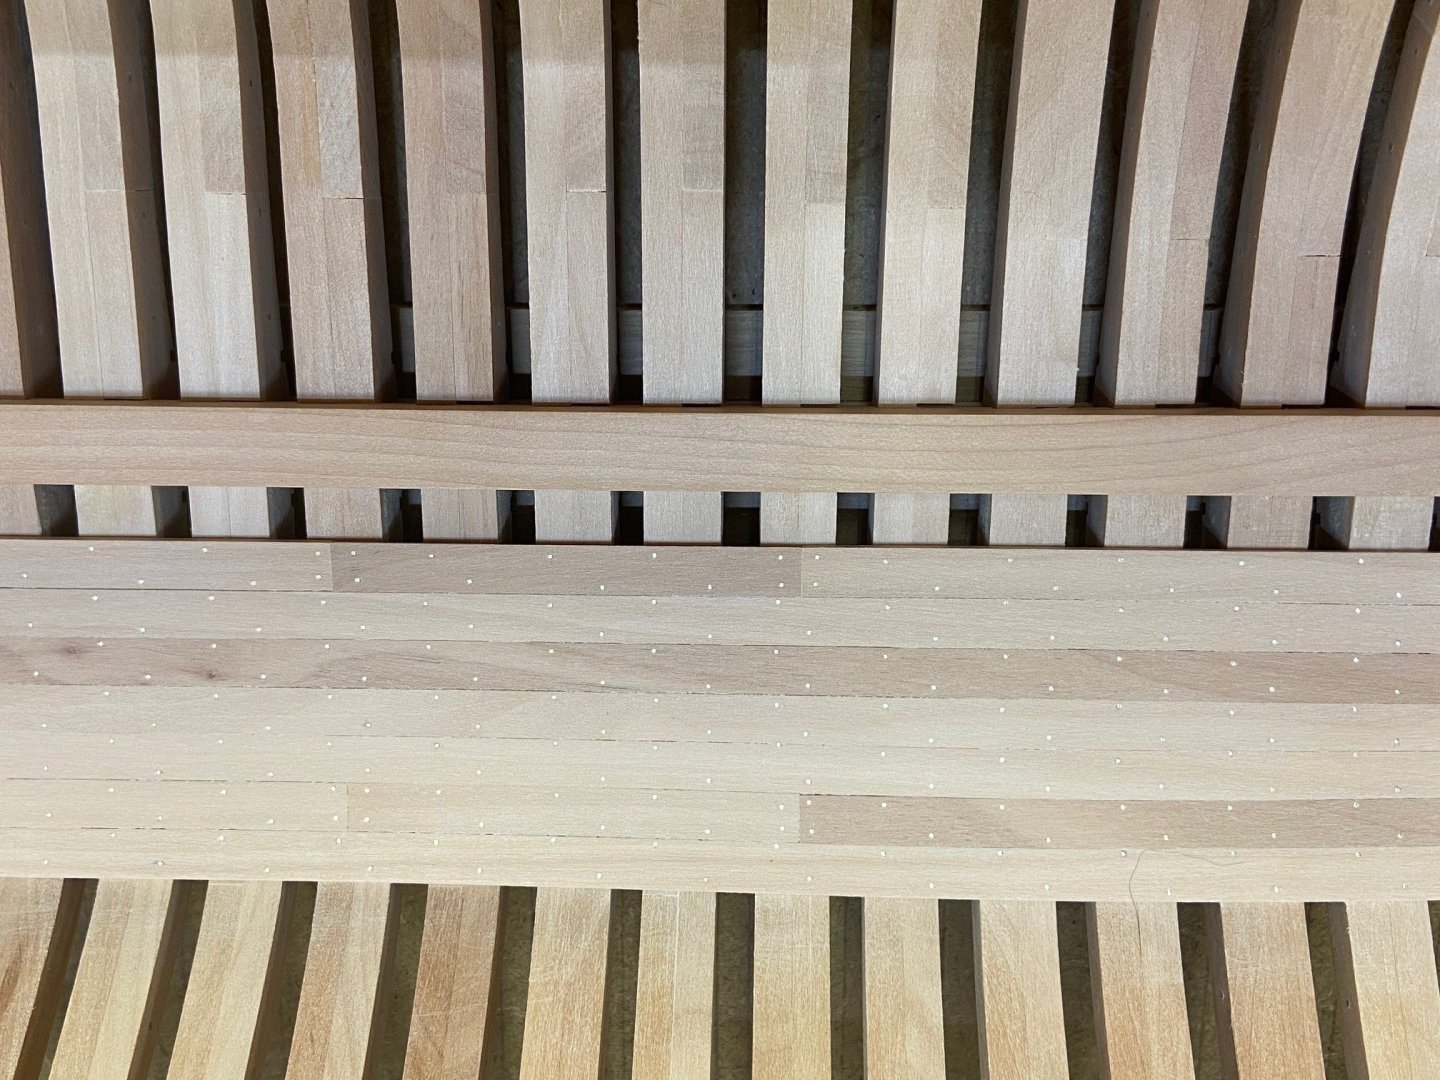
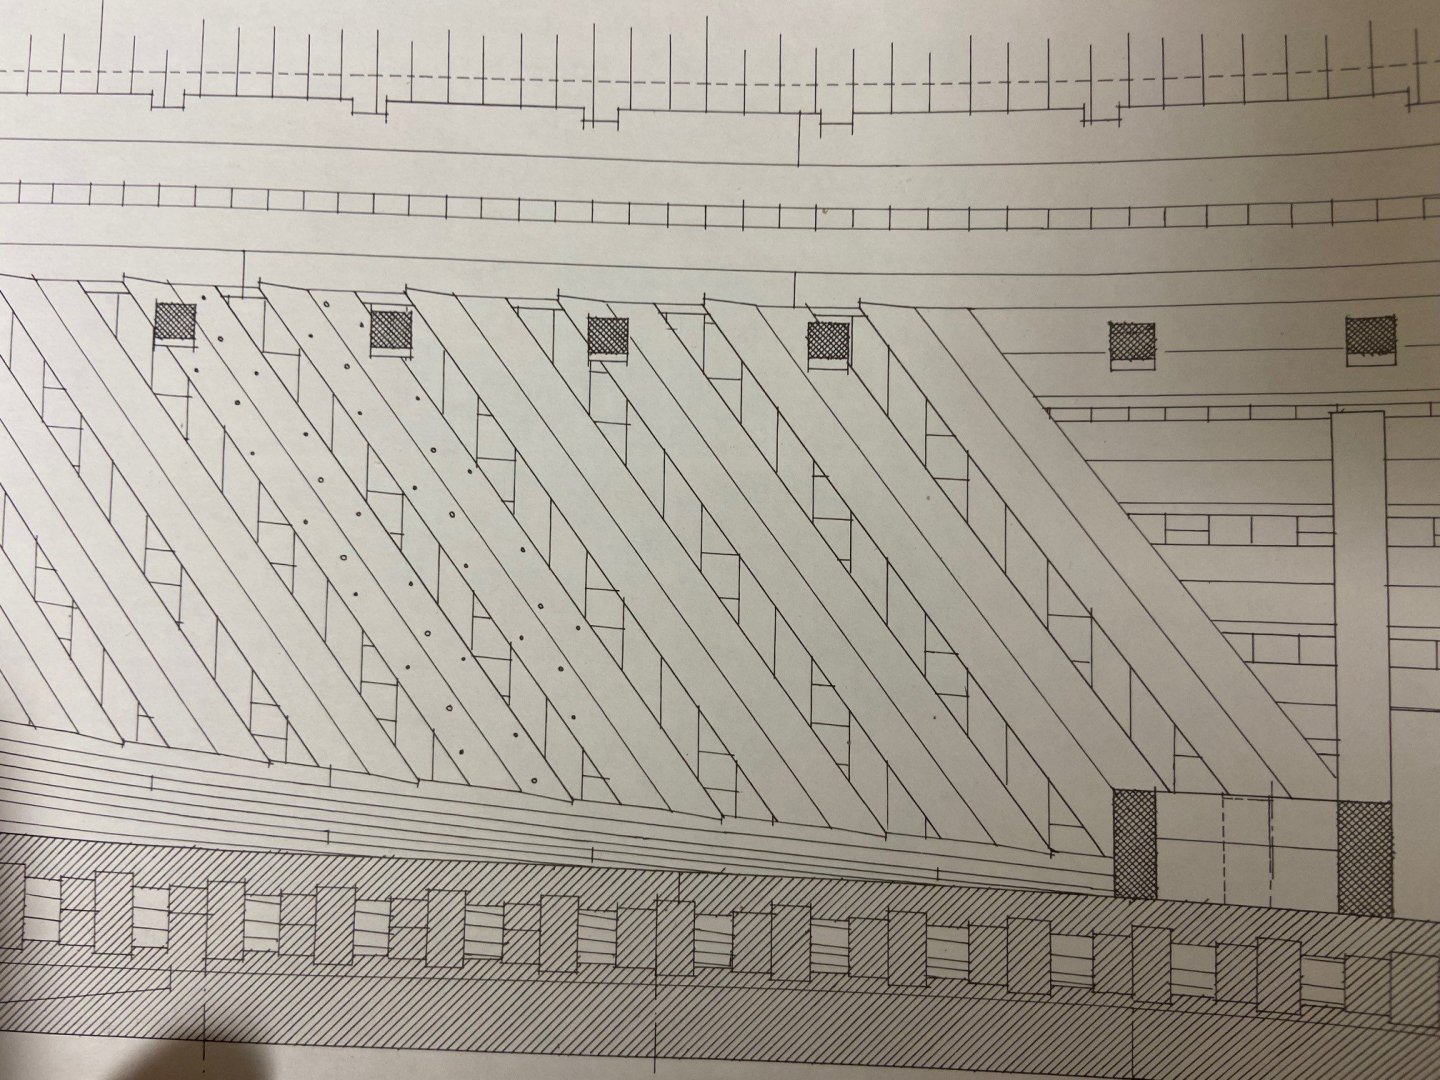
Thanks Mark ! I just installed the horizontal planks which act as the ceiling to the diagonals and it will be challenging enough to get proper tight angled joints. Its a large area to cover, compare the actual to the plans

-
Happy Holidays, A bit of an update - I have decided my approach with La Renommee - I will be completely planking the starboard side of the ship while the port side will remain un planked to show hull construction. I will not be cutting any openings in the hull as I feel it disrupts the beauty of the lines of this frigate. I have begun planking and nailing the starboard side of the hold following this approach and have left out for now that glazing bead strake next to the keelson. Next up is installing the diagonal reinforcement planks or Goebbert system that was used in French ships of that era. I have attached a picture of the plans and one can see notches cut into the horizontal ceiling plank and floor plank. After careful consideration I will not be adding this detail and instead install them flush at an angle without the notches. In other finished models I have noticed this is really hard to execute cleanly as you need to cut the notches in situation. Imperfect joints will drive me crazy and I would rather save myself the frustration here.

-
Wow amazing work G. I admire the work you are able to achieve at this small scale. I am looking forward to following your progress Chris
-
Good luck Andreas ! I had a very tough time with these on my La Renommee build and yours has the additional complication of the spacers to address. I am sure you will get it done beautifully ! Chris
-
Tool to Take Measurement Inside of a Hull
ChrisLBren replied to ChrisLBren's topic in Modeling tools and Workshop Equipment
These are all great ideas - thank you so much - my construction site is built at the waterline so I have a reference point here. That contour gauge is another great idea I can use when I get to planking the wales next year and I need to get the right bend at the bow. -
Hey Group, Just curious what most of you use to take accurate measurements for deck clamps etc on the inside of a hull. Thanks Chris
-
Quick update - keelson is added. Next up interior planking of the hold.
-
Looks like a toy to me - thats one of the reasons I exchanged the Proxxon MF70 for the TAIG Mill. I wanted something sturdy and accurate. I supposed it depends on what sort of work you will be doing on it
-
Good 'Hobby Quality' Metal Lathes
ChrisLBren replied to tmj's topic in Modeling tools and Workshop Equipment
I bought the 2019 ER. It has the more powerful motor and longer bed -
Good 'Hobby Quality' Metal Lathes
ChrisLBren replied to tmj's topic in Modeling tools and Workshop Equipment
Wow KG - tremendous work ! I am thinking about buying a TAIG lathe. I love my TAIG mill and want to add their lathe to my collection. This will be my first lathe - which lathe did you buy and what accessories ? I will need it for cannon, capstans and for other small parts for my La Renommee build. Thanks, Chris -
Good 'Hobby Quality' Metal Lathes
ChrisLBren replied to tmj's topic in Modeling tools and Workshop Equipment
Have a look at TAIG lathes as well. I do not own one but am very happy with their mill and will be purchasing one in the near future. -
Thanks for the kind words - can't recommend learning to sharpen and use scrapers enough - they truly are a game changer.
-
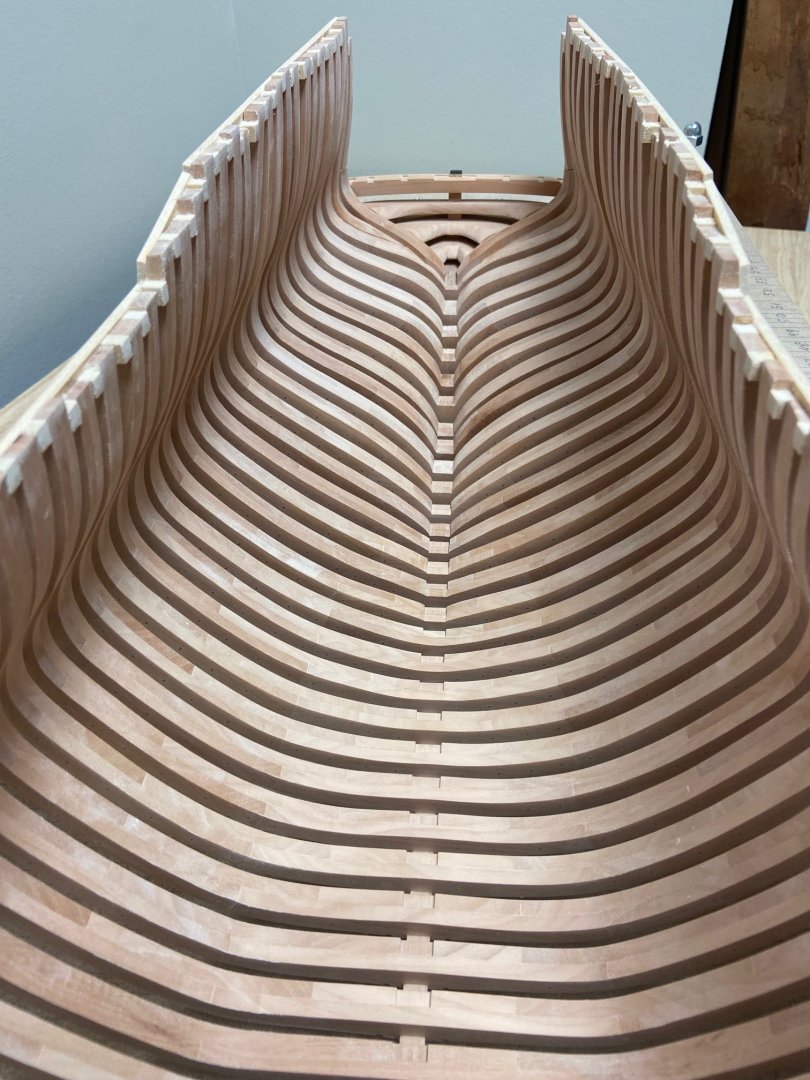
After two weeks of hard work - here are the results. Learning to sharpen and using the card scrapers proved invaluable as this hull was very tricky to shape with its tumblehome. I did use a proxxon angle grinder very sparingly for a few high spots - not recommended for the faint of heart.


-
My vote is HMS Prince - I know you had a design on this one a few years back. It would be a huge seller for those who like 17th Century ships
-
Thanks Brad - I also bought a tool that arrives today that a French Modeler uses successful to aide in this process along with my scrapers. I will post some photos here once it arrives.
-
Not at all Mark ! Druxey I did do a bit of pre fairing on both bow and stern but there's still an enormous time consuming job ahead of me. With this hulls extreme tumblehome it makes things even more tricky. I really want to try to use my gooseneck scraper to do a lot of the heavy lifting here - I dont have a ton of experience with this tool but the finish looks better than sanding and with less dust.
-
Thanks J - I build almost exclusively in pear. On this one there will be some boxwood trim and carvings and black hornbeam for wales etc
-
The crossbeams are removed to access the interior for framing. Lots of sandpaper and elbow grease ahead of me... I did make a correction to the fashion pieces at the stern, they are now aligned properly.