MikkiC
Members-
Posts
132 -
Joined
-
Last visited
Profile Information
-
Gender
Female
-
Location
Pittsburgh, Pennsylvania
Recent Profile Visitors
-
 Baker reacted to a post in a topic:
Mary Rose by Baker - scale 1/50 - "Your Noblest Shippe"
-
 MikkiC reacted to a post in a topic:
Mary Rose by Baker - scale 1/50 - "Your Noblest Shippe"
-
 Baker reacted to a post in a topic:
Mary Rose by Baker - scale 1/50 - "Your Noblest Shippe"
-
 Baker reacted to a post in a topic:
Große Jacht 1679 by Baker - FINISHED - Corel - 1:50 - modified model from the Yacht D'Oro kit
-
 MikkiC reacted to a post in a topic:
Große Jacht 1679 by Baker - FINISHED - Corel - 1:50 - modified model from the Yacht D'Oro kit
-
 MikkiC reacted to a post in a topic:
Große Jacht 1679 by Baker - FINISHED - Corel - 1:50 - modified model from the Yacht D'Oro kit
-
 MikkiC reacted to a post in a topic:
Roter Löwe 1597 by Ondras71
-
 MikkiC reacted to a post in a topic:
Roter Löwe 1597 by Ondras71
-
 MikkiC reacted to a post in a topic:
Mary Rose by Baker - scale 1/50 - "Your Noblest Shippe"
-
 Baker reacted to a post in a topic:
Mary Rose by Baker - scale 1/50 - "Your Noblest Shippe"
-
 MikkiC reacted to a post in a topic:
Mary Rose by Baker - scale 1/50 - "Your Noblest Shippe"
-
 MikkiC reacted to a post in a topic:
Mary Rose by Baker - scale 1/50 - "Your Noblest Shippe"
-
 MikkiC reacted to a post in a topic:
Sultan Arab Dhow by SiriusVoyager - FINISHED - Artesanía Latina - 1:60
-
 MikkiC reacted to a post in a topic:
Mary Rose by Baker - scale 1/50 - "Your Noblest Shippe"
-
 Waldemar reacted to a post in a topic:
Mary Rose 1511 — the epitome of the Northern tradition
-
Mary Rose 1511 — the epitome of the Northern tradition
MikkiC replied to Waldemar's topic in Nautical/Naval History
You explain things well @Waldemar. I'm enjoying this well written -rather academic - thread. My brain is so engaged and ready for the next entry. -
MikkiC started following Mary Rose 1511 — the epitome of the Northern tradition
-
 Mr Whippy reacted to a post in a topic:
San Martin by MikkiC - Dusek - 1:72
-
 Mr Whippy reacted to a post in a topic:
San Martin by MikkiC - Dusek - 1:72
-
 Mr Whippy reacted to a post in a topic:
San Martin by MikkiC - Dusek - 1:72
-
 Mr Whippy reacted to a post in a topic:
San Martin by MikkiC - Dusek - 1:72
-
Ah the Revenge. She's a great ship. Amati makes one of the nicer kits out there. I built Occre's Revenge. I modified it a lot. The kit is ok, just ok.
- 210 replies
-
- San Martin
- OcCre
-
(and 1 more)
Tagged with:
-
 Mr Whippy reacted to a post in a topic:
Mary Rose by Baker - scale 1/50 - "Your Noblest Shippe"
-
San Martin by MikkiC - Dusek - 1:72
MikkiC replied to MikkiC's topic in - Kit build logs for subjects built from 1501 - 1750
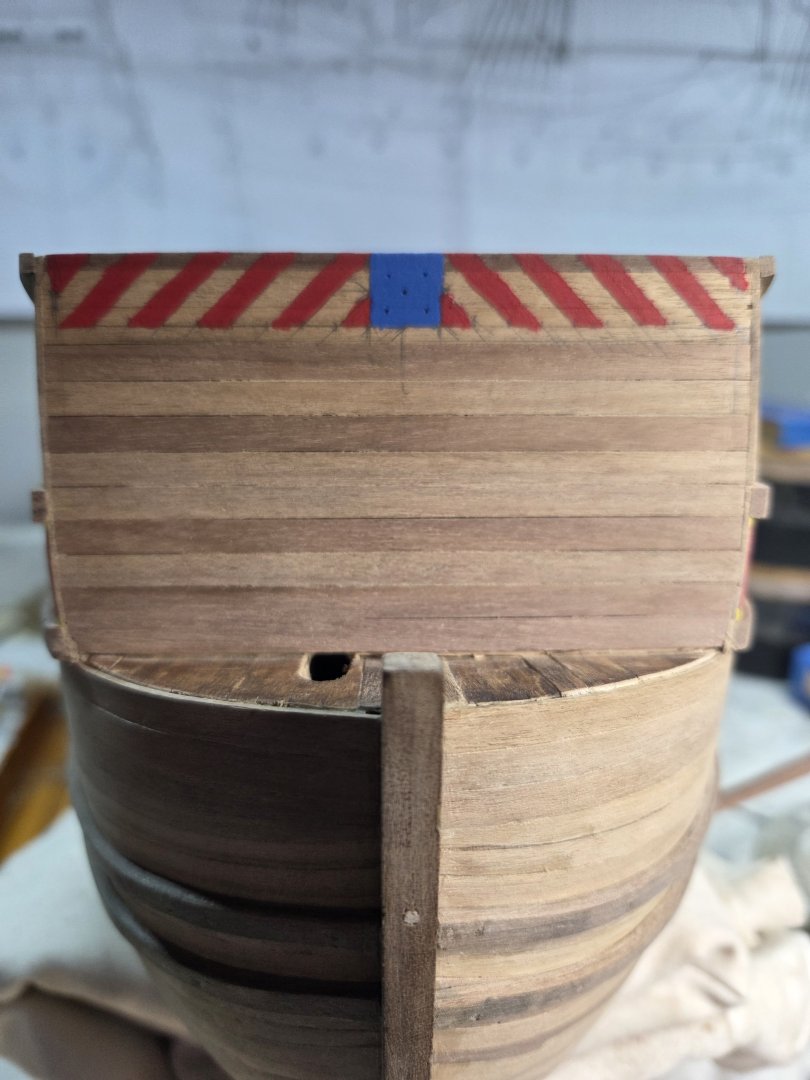
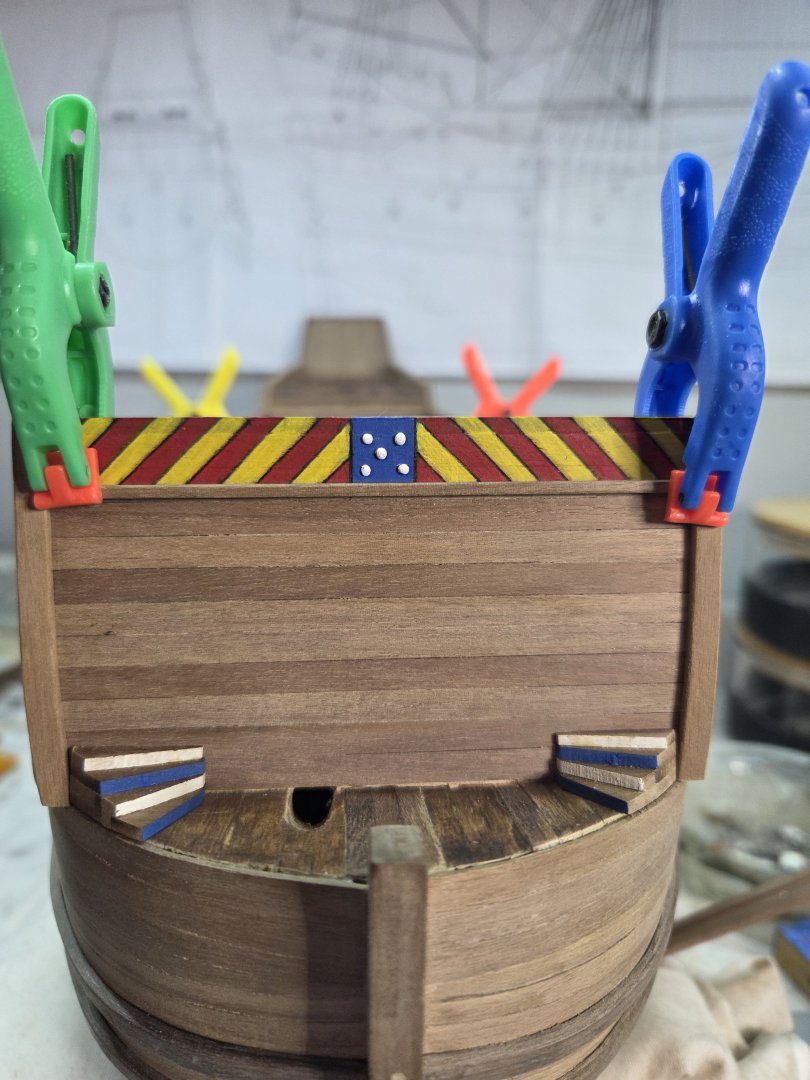
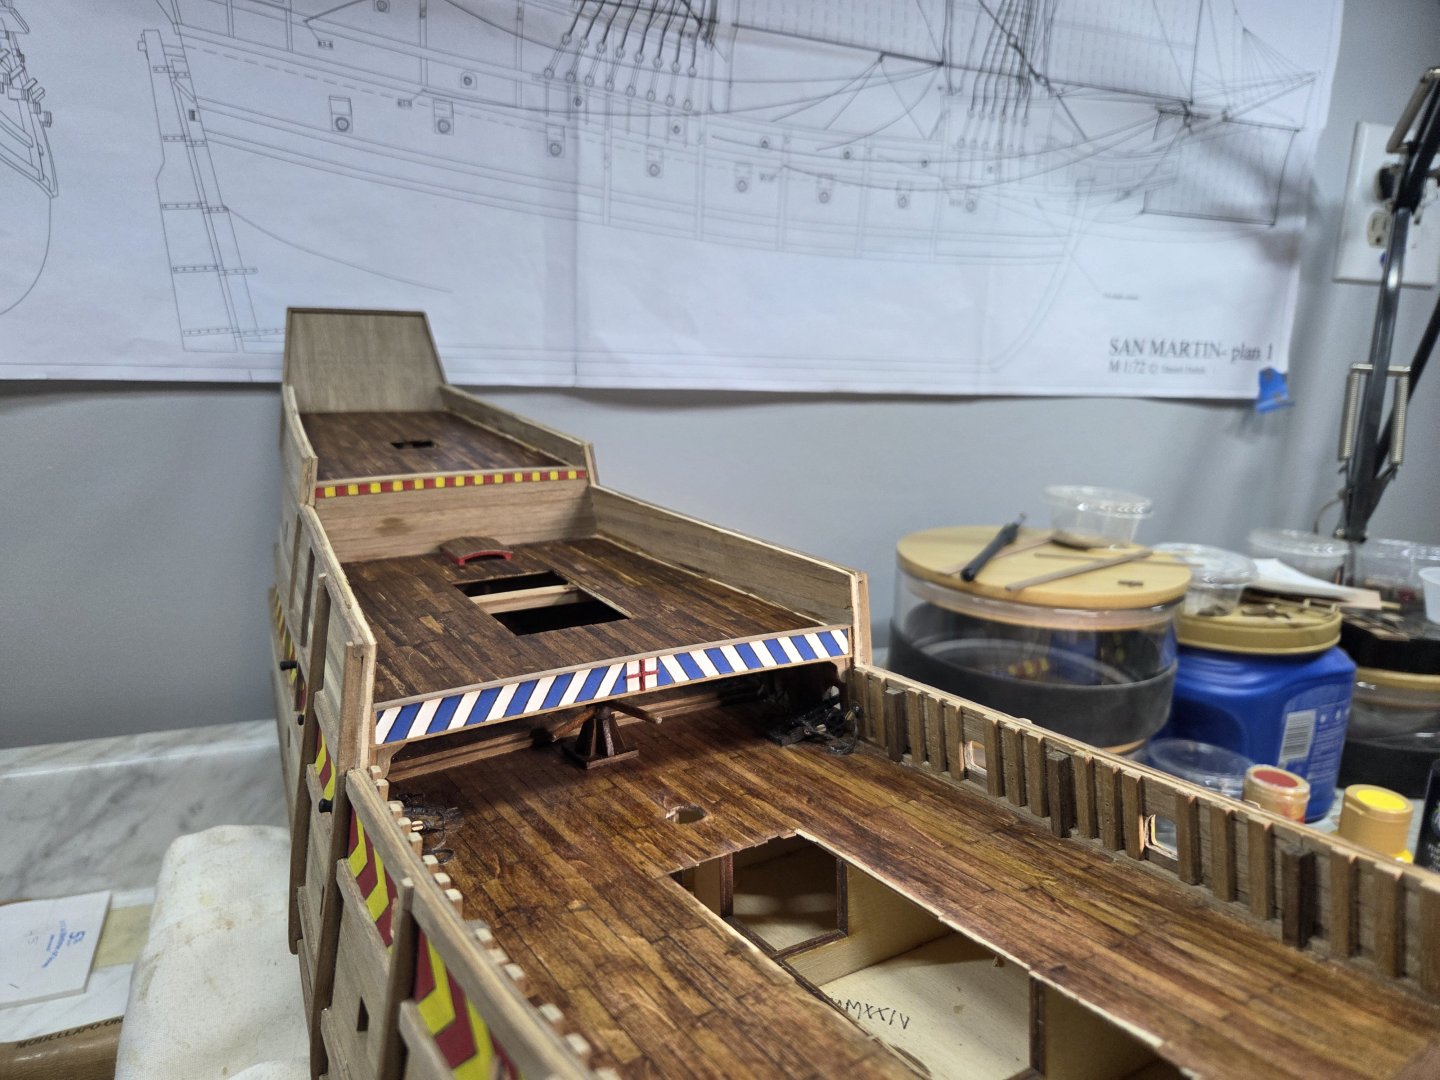
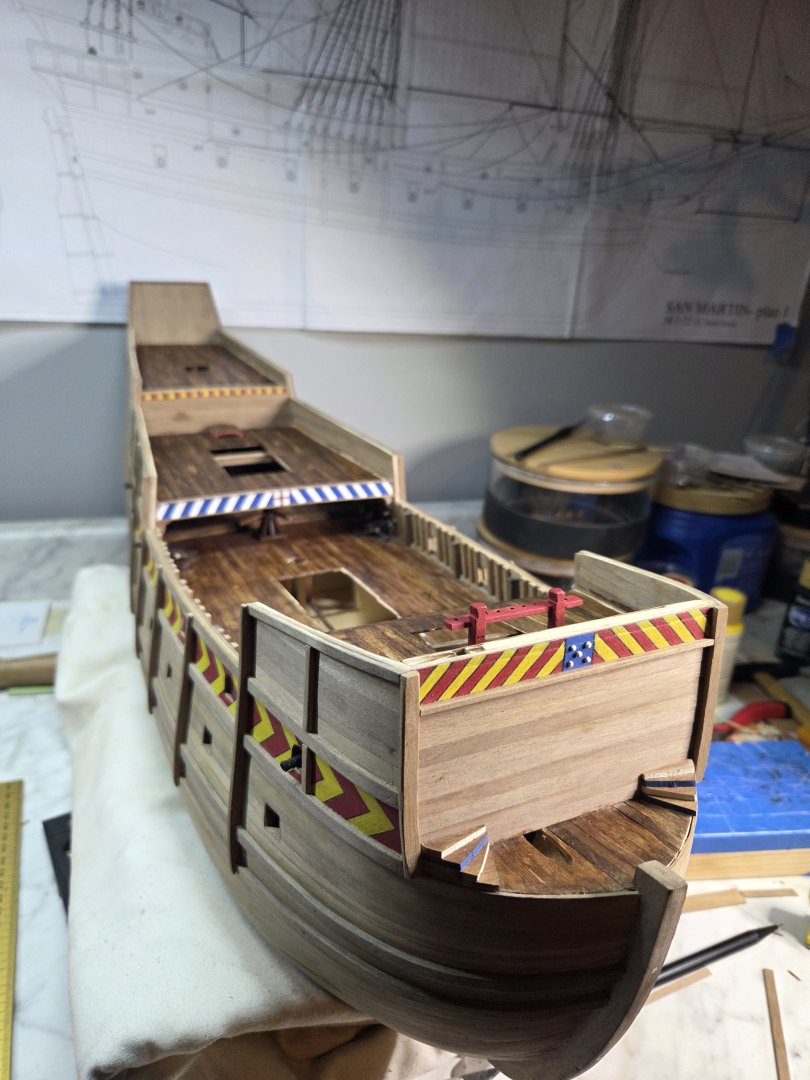
I must admist that the white dots gave me A LOT of trouble. They were hard to paint and outline, so I cheated on those. I painted the heads of nails. It was a clean solution. That red/yellow combo kills me though. Reminds me of ketchup and mustard and a worldwide fast food chain that used to have red roof on the building with a giant yellow (golden) "m" (arches) on top. 🙃 I'm sure the original ship had little to no blue and white, but I'm giving a nod to the Portuguese who built her. -
San Martin by MikkiC - Dusek - 1:72
MikkiC replied to MikkiC's topic in - Kit build logs for subjects built from 1501 - 1750
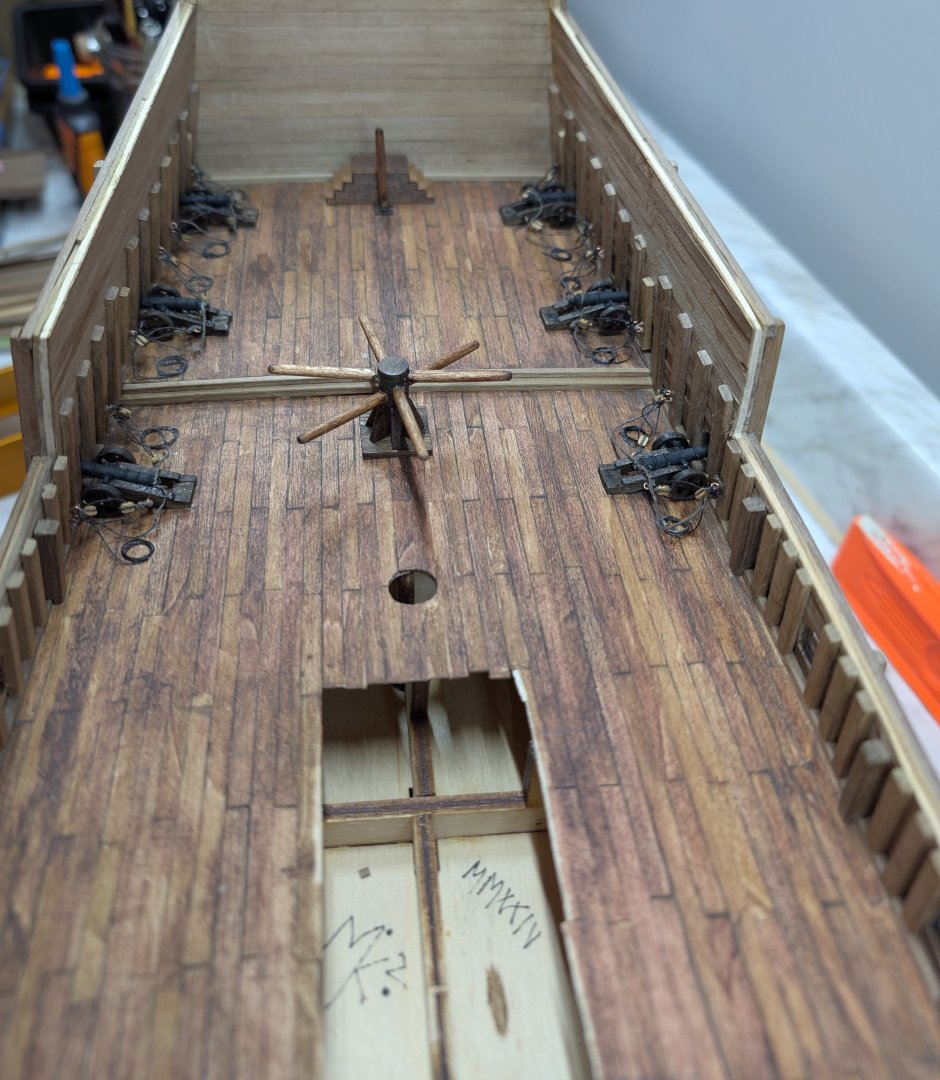
Well it's been a bit, but I've made some progress. Working towards the railings so I can get to transom galley and beak. -
Well donne Mate! You did a great job, and I enjoyed following this. So....what's next?
- 210 replies
-
- San Martin
- OcCre
-
(and 1 more)
Tagged with:
-
Welcome from Pennsylvania! I'll be in TN in September.
About us
Modelshipworld - Advancing Ship Modeling through Research
SSL Secured
Your security is important for us so this Website is SSL-Secured
NRG Mailing Address
Nautical Research Guild
237 South Lincoln Street
Westmont IL, 60559-1917
Model Ship World ® and the MSW logo are Registered Trademarks, and belong to the Nautical Research Guild (United States Patent and Trademark Office: No. 6,929,264 & No. 6,929,274, registered Dec. 20, 2022)
Helpful Links
About the NRG
If you enjoy building ship models that are historically accurate as well as beautiful, then The Nautical Research Guild (NRG) is just right for you.
The Guild is a non-profit educational organization whose mission is to “Advance Ship Modeling Through Research”. We provide support to our members in their efforts to raise the quality of their model ships.
The Nautical Research Guild has published our world-renowned quarterly magazine, The Nautical Research Journal, since 1955. The pages of the Journal are full of articles by accomplished ship modelers who show you how they create those exquisite details on their models, and by maritime historians who show you the correct details to build. The Journal is available in both print and digital editions. Go to the NRG web site (www.thenrg.org) to download a complimentary digital copy of the Journal. The NRG also publishes plan sets, books and compilations of back issues of the Journal and the former Ships in Scale and Model Ship Builder magazines.


