*Hans*
-
Posts
465 -
Joined
-
Last visited
2 Followers


Recent Profile Visitors
4,170 profile views


-
 Archi reacted to a post in a topic:
Cocca Veneta by Vivian Galad - Corel - 1:70 - modified
Archi reacted to a post in a topic:
Cocca Veneta by Vivian Galad - Corel - 1:70 - modified
-
SiriusVoyager reacted to a post in a topic:
Duyfken by Olli Sukunimisson - Kolderstok - 1:50
-
*Hans* reacted to a post in a topic:
Duyfken by Olli Sukunimisson - Kolderstok - 1:50
-
Olli Sukunimisson reacted to a post in a topic:
Duyfken by Olli Sukunimisson - Kolderstok - 1:50
-
 The easiest way to messure the thickness of a thread is by winding it 10 or 20 times around a dowel, windings close to each other, and then measure the total width. Divide it through the number of windings - et voila!
 -
Baker reacted to a post in a topic:
Duyfken by Olli Sukunimisson - Kolderstok - 1:50
-
cotrecerf reacted to a post in a topic:
Duyfken by Olli Sukunimisson - Kolderstok - 1:50
-
 Olli Sukunimisson reacted to a post in a topic:
Duyfken by Olli Sukunimisson - Kolderstok - 1:50
Olli Sukunimisson reacted to a post in a topic:
Duyfken by Olli Sukunimisson - Kolderstok - 1:50
-
In his 17th century book Aloude en hedendaagsche scheepsbouw en bestier (ancient and current ship-building and sailing) , Nicolaes Witsen gives an overview of the thickness of various ropes and rigging for ships. These thicknesses are related to mast diameters or circumferences. An indication of the thickness of the ratlines that can be obtained from his tables gives a value of about 1/4 to 1/3 of the thickness of the shrouds. So, with a shroud thickness of 0.8 mm for this model, a ratline of about 0.2 to 0.27 mm thickness can be used. And yes - this is quite thin 🙂
-
*Hans* reacted to a post in a topic:
Duyfken by Olli Sukunimisson - Kolderstok - 1:50
-
*Hans* reacted to a post in a topic:
Duyfken by Olli Sukunimisson - Kolderstok - 1:50
-
*Hans* reacted to a post in a topic:
Duyfken by Olli Sukunimisson - Kolderstok - 1:50
-
Ondras71 reacted to a post in a topic:
Duyfken by Olli Sukunimisson - Kolderstok - 1:50
-
*Hans* reacted to a post in a topic:
Duyfken by Olli Sukunimisson - Kolderstok - 1:50
-
*Hans* reacted to a post in a topic:
Duyfken by Olli Sukunimisson - Kolderstok - 1:50
-
Olli Sukunimisson reacted to a post in a topic:
Duyfken by Olli Sukunimisson - Kolderstok - 1:50
-
She’s looking very good!
-
*Hans* reacted to a post in a topic:
Duyfken by Olli Sukunimisson - Kolderstok - 1:50
-
*Hans* reacted to a post in a topic:
Duyfken by Olli Sukunimisson - Kolderstok - 1:50
-
*Hans* reacted to a post in a topic:
Duyfken by Olli Sukunimisson - Kolderstok - 1:50
-
Nice!
-
catopower reacted to a post in a topic:
A Dutch 17th century pleasure vessel by Ab Hoving - CARD
-
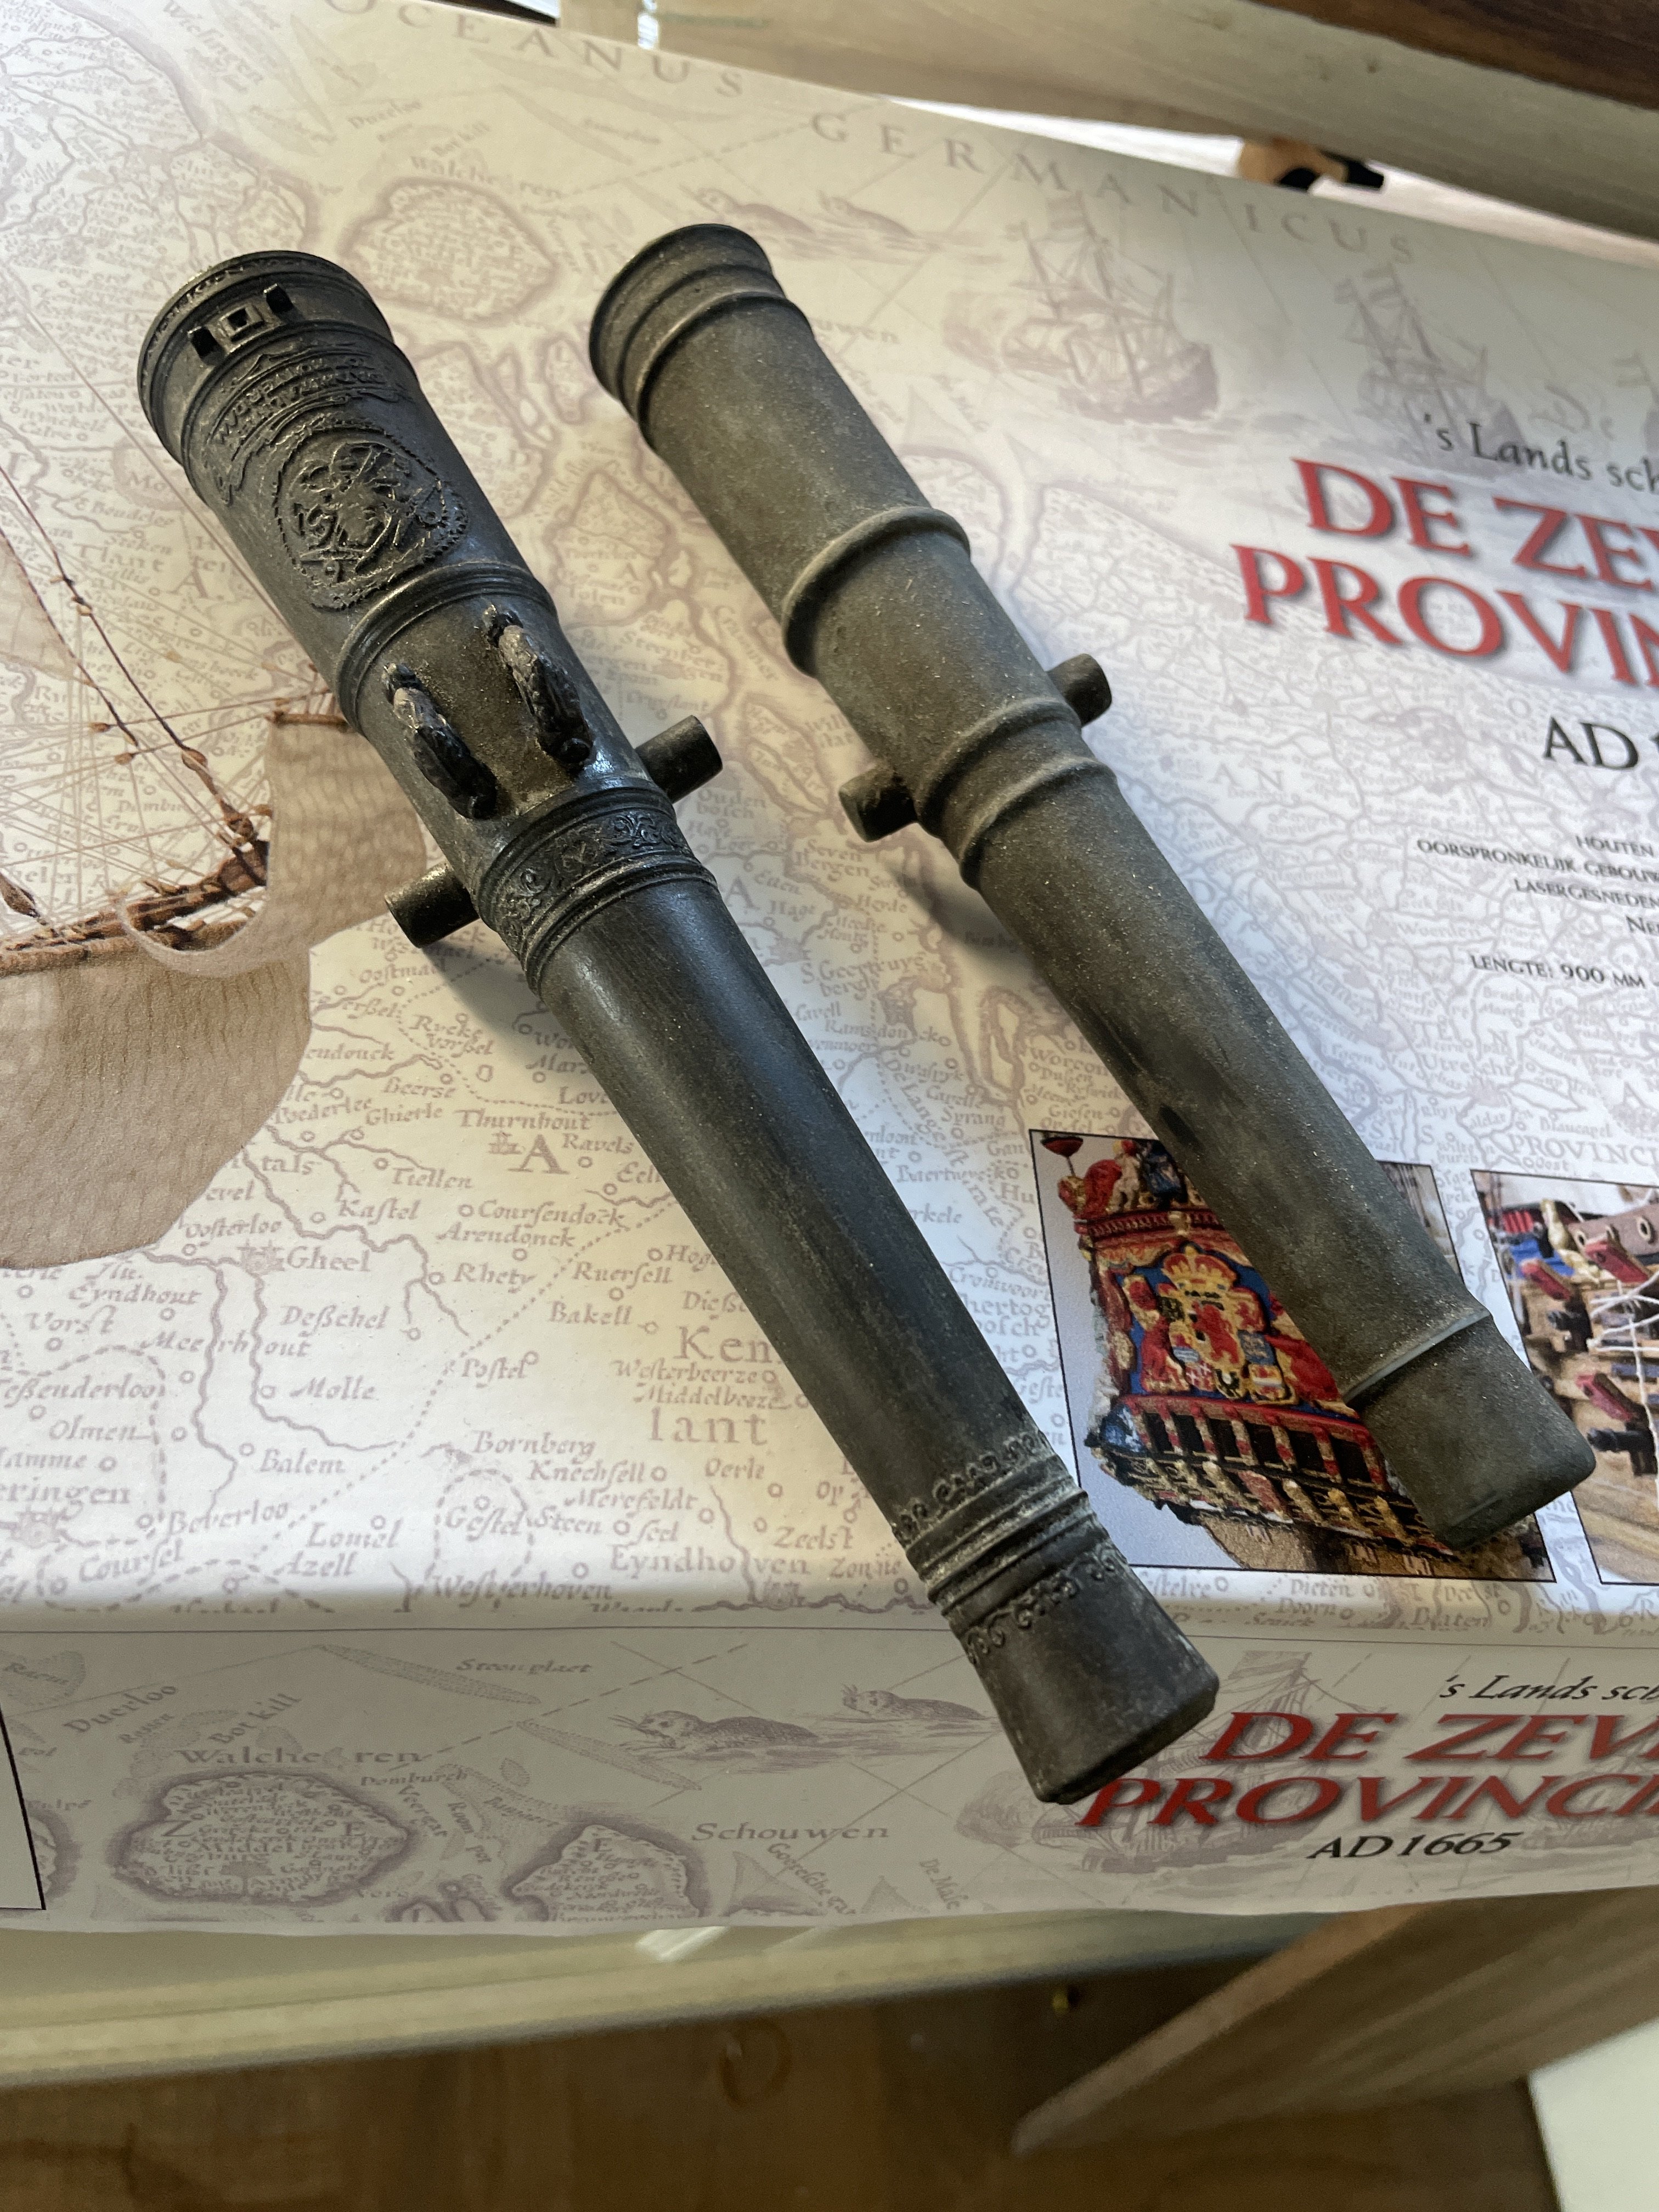
I’ve got two barrels now, one plain first try, and the second one with all the decoration and modifications in the size. This is okay: size of the spindle and diameter of the inner barrel

-
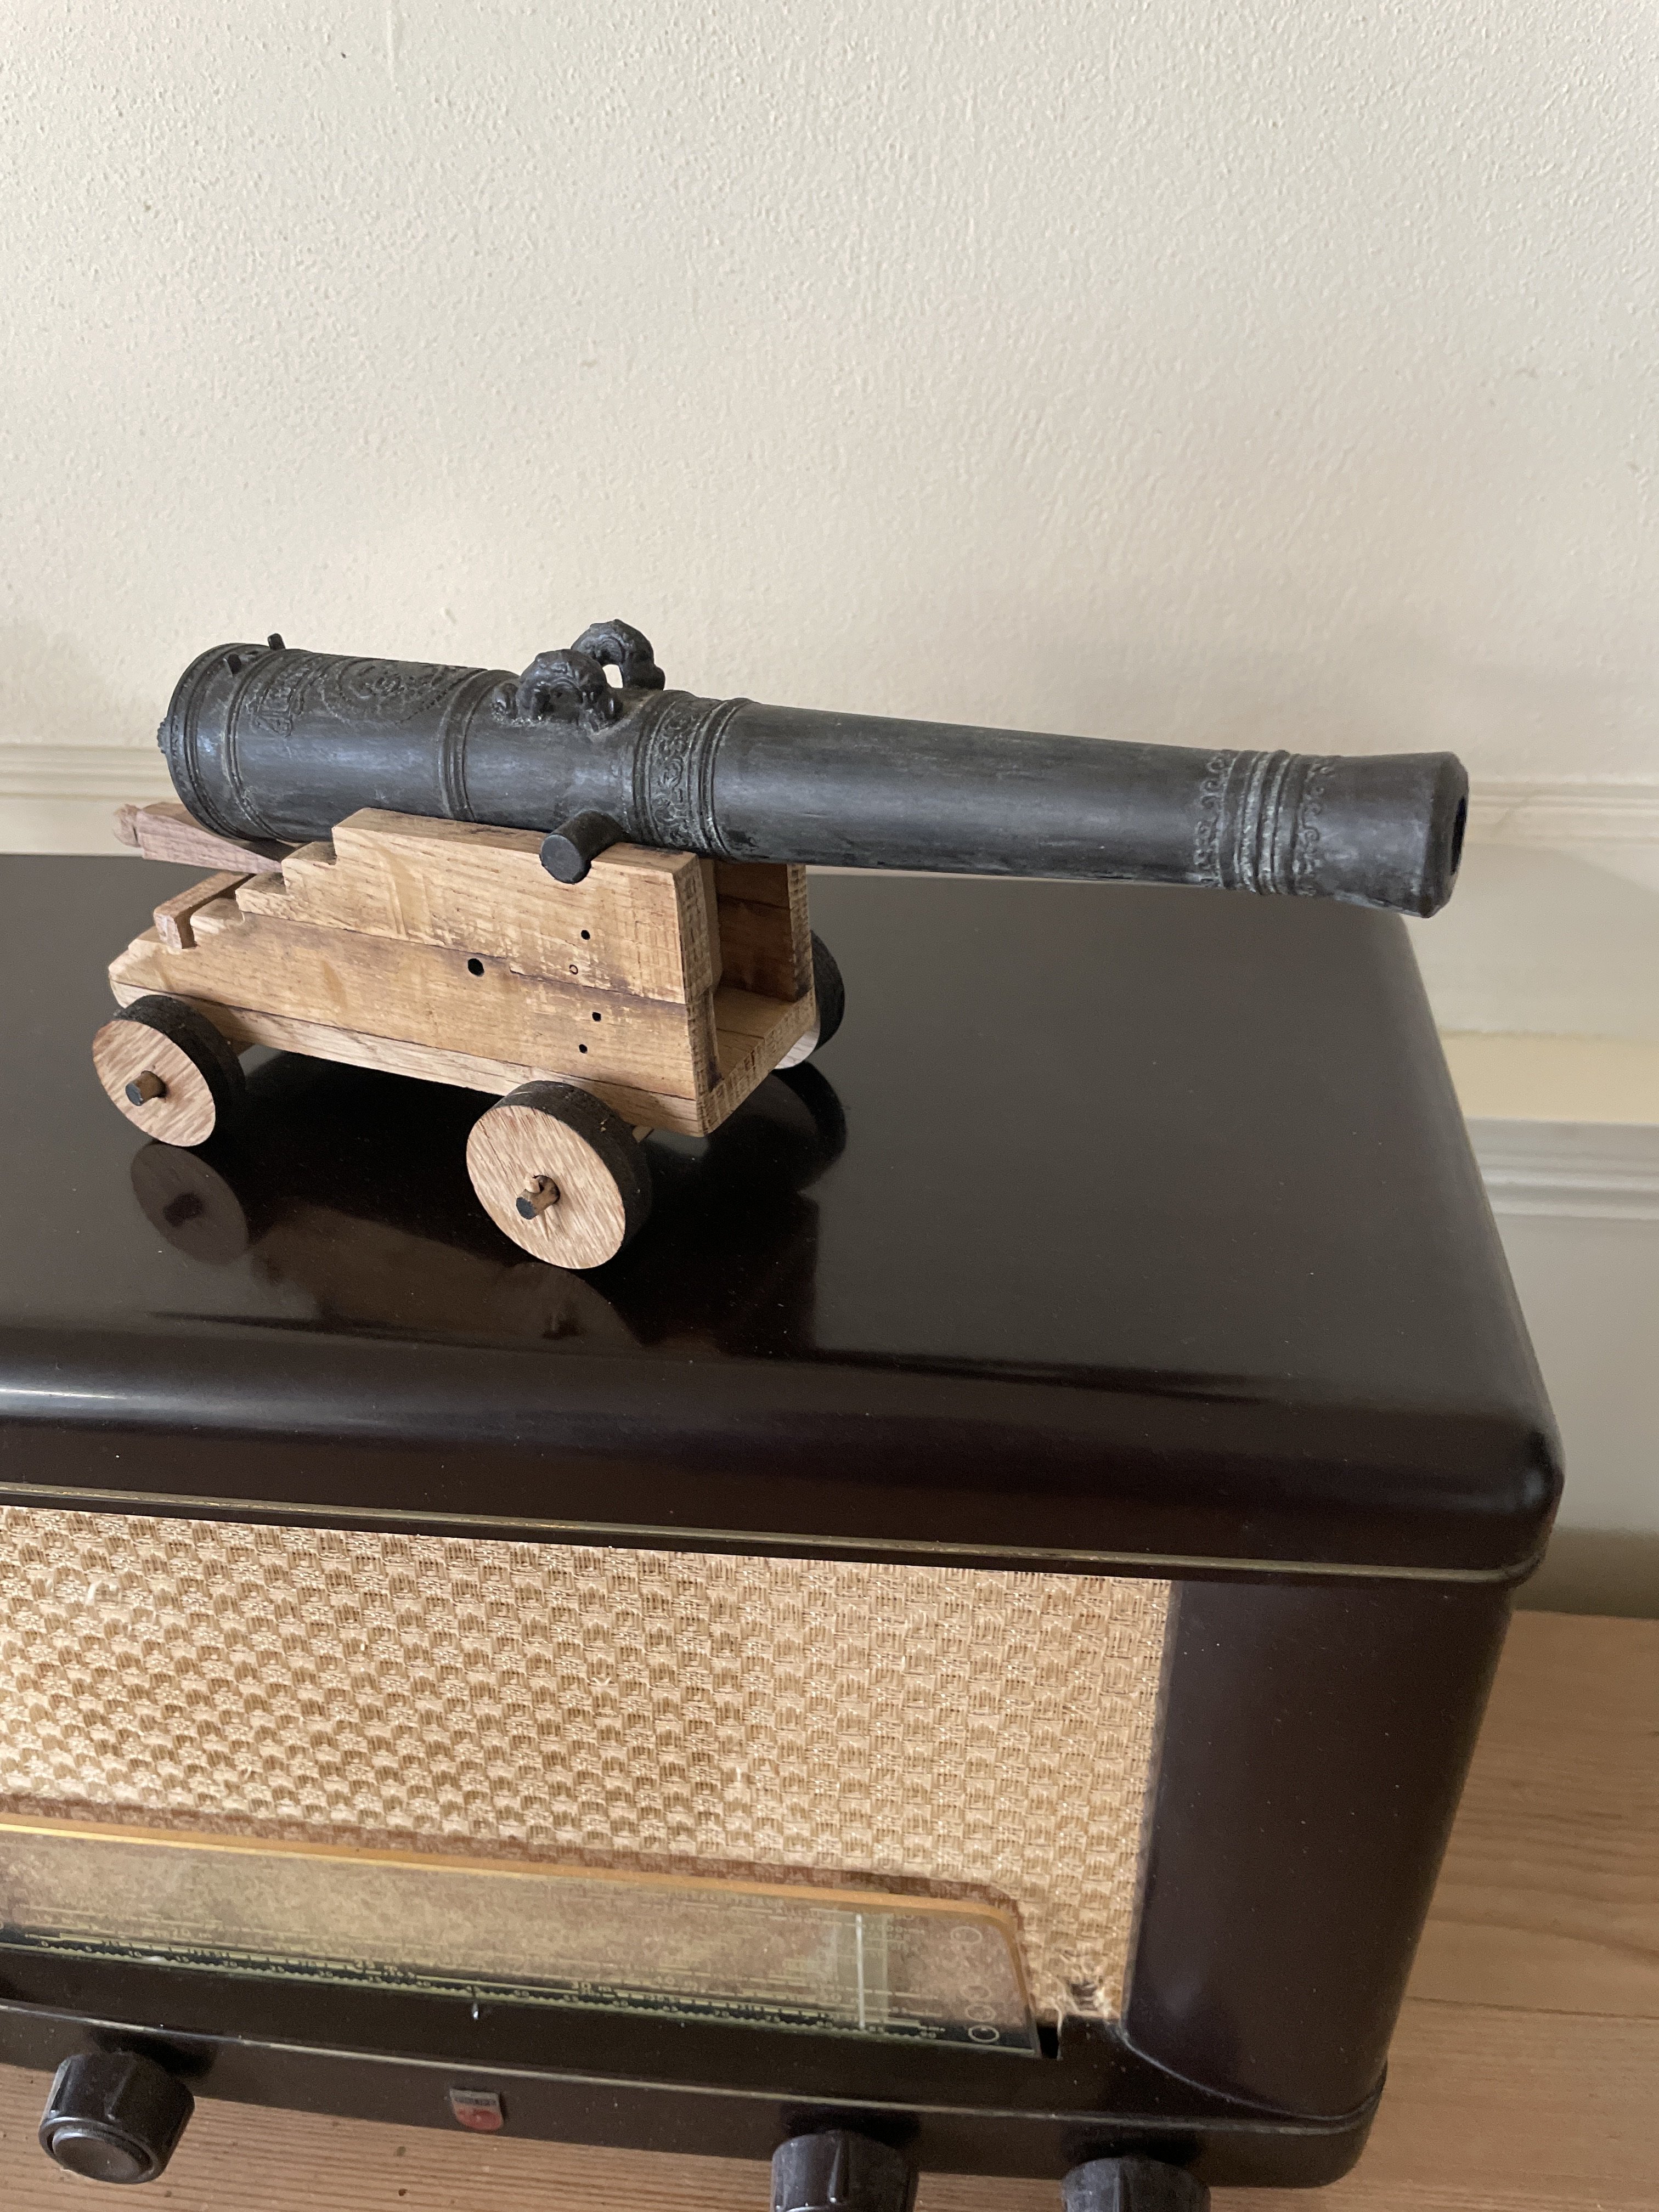
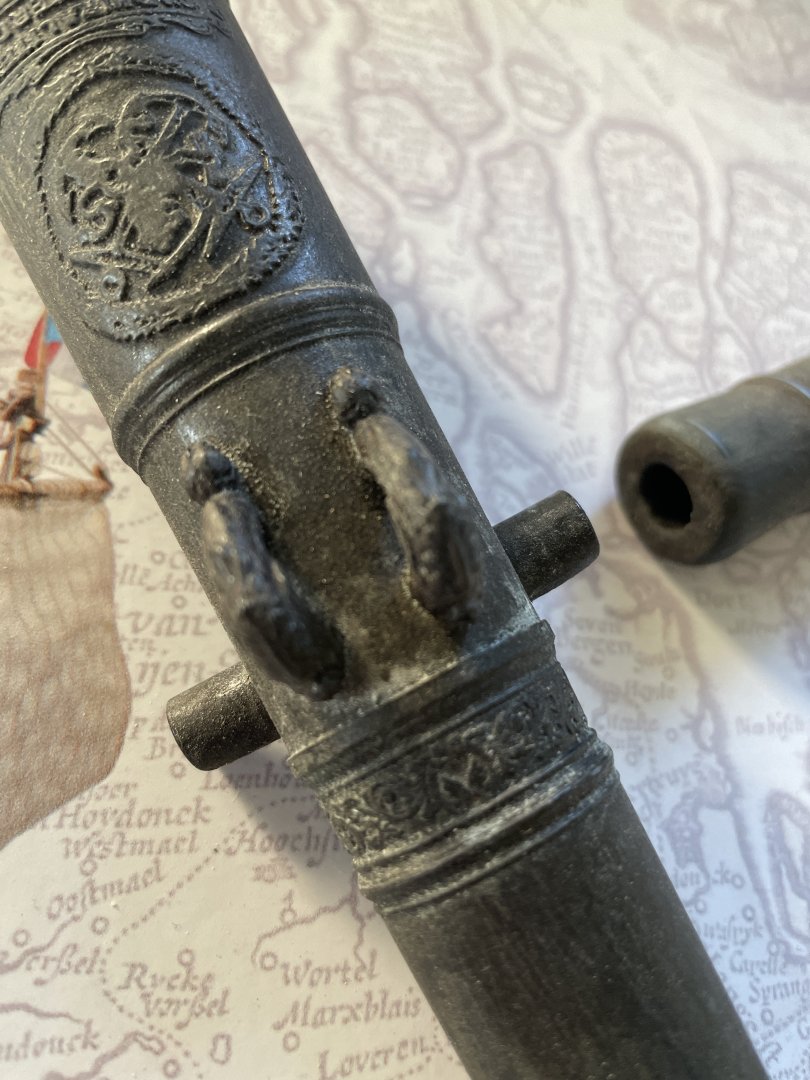
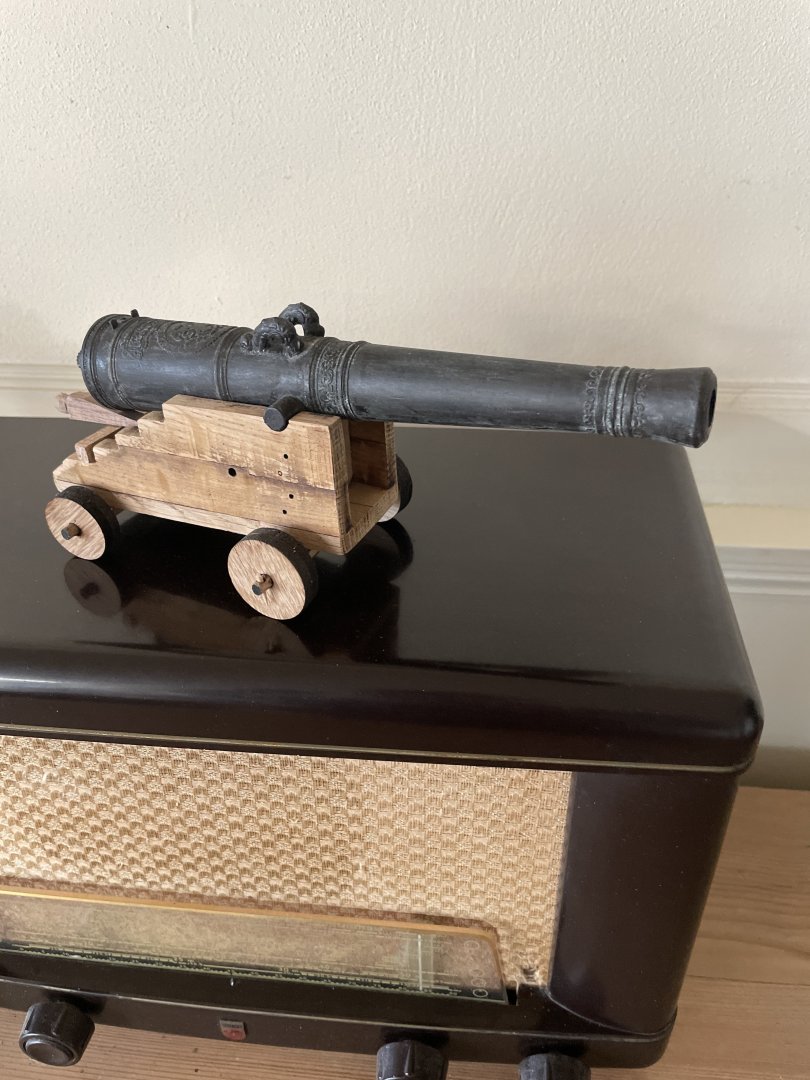
It is resin (credits to my son who designed it after an original 17th century canon), 3D printed on a resin printer. I coated it with real bronze powder, soluted in schellack, and gave it a ammonia treatment to give it the authentic weathered look. We can print in in almost any scale, but the maximum length is roughly 20 cm. The carriage is made out of oak, but for the kit this will be most likely elm (which was the most used wood for carriages, according to Blom). I am still “struggling” with the size of the weels, as they might be a bit to large.
-
You might find this interesting: we have started some time ago with the development of a kit of a 17th century bronze canon. This should come to live somewhere this year. @ Olli, sorry for interrupting your log.

-
The hole in the barrel is just a few mm deep, as drilling them deeper caused production difficulties (and a lot higher production price). I just glued them in position with a drop of pva glue underneath it. Hans
-
Very nice work! When I was busy designing this little ship as a model kit, I had great difficulties finding gratings in larger quantities for an acceptable price. Therefore the covered version 🙂
-
You could go for closed gunports, and stow the cannons to the sides of the ship, parallel to the hull. If not in use the cannons where put aside to the hull, tight up with ropes.
-
Looking very fine! Regarding your photo of the deadeyes: make sure they all are mounted in the correct position, with two holes on top and one on the bottom. They should look like a surprised young lady. A deadeye is called a “juffer” in Dutch, and this is an old fashion word (17th century) for a young (unmarried) lady. If you look at it you will see.
-
Then, about the decorations and carvings. We are busy replacing every decoration for 3D designed and printed ones. This is unfortunately a very time consuming and therefore slow process.
-
Ha, I did not see thus topic before, until I was noticed about it on the Dutch forum. Very nice work you’ve been doing here, and completely in the Dutch way, where every ship was uniquely decorated to the wishes of the owner and captain.
-
A little bit late from my side, but yes, it is available!